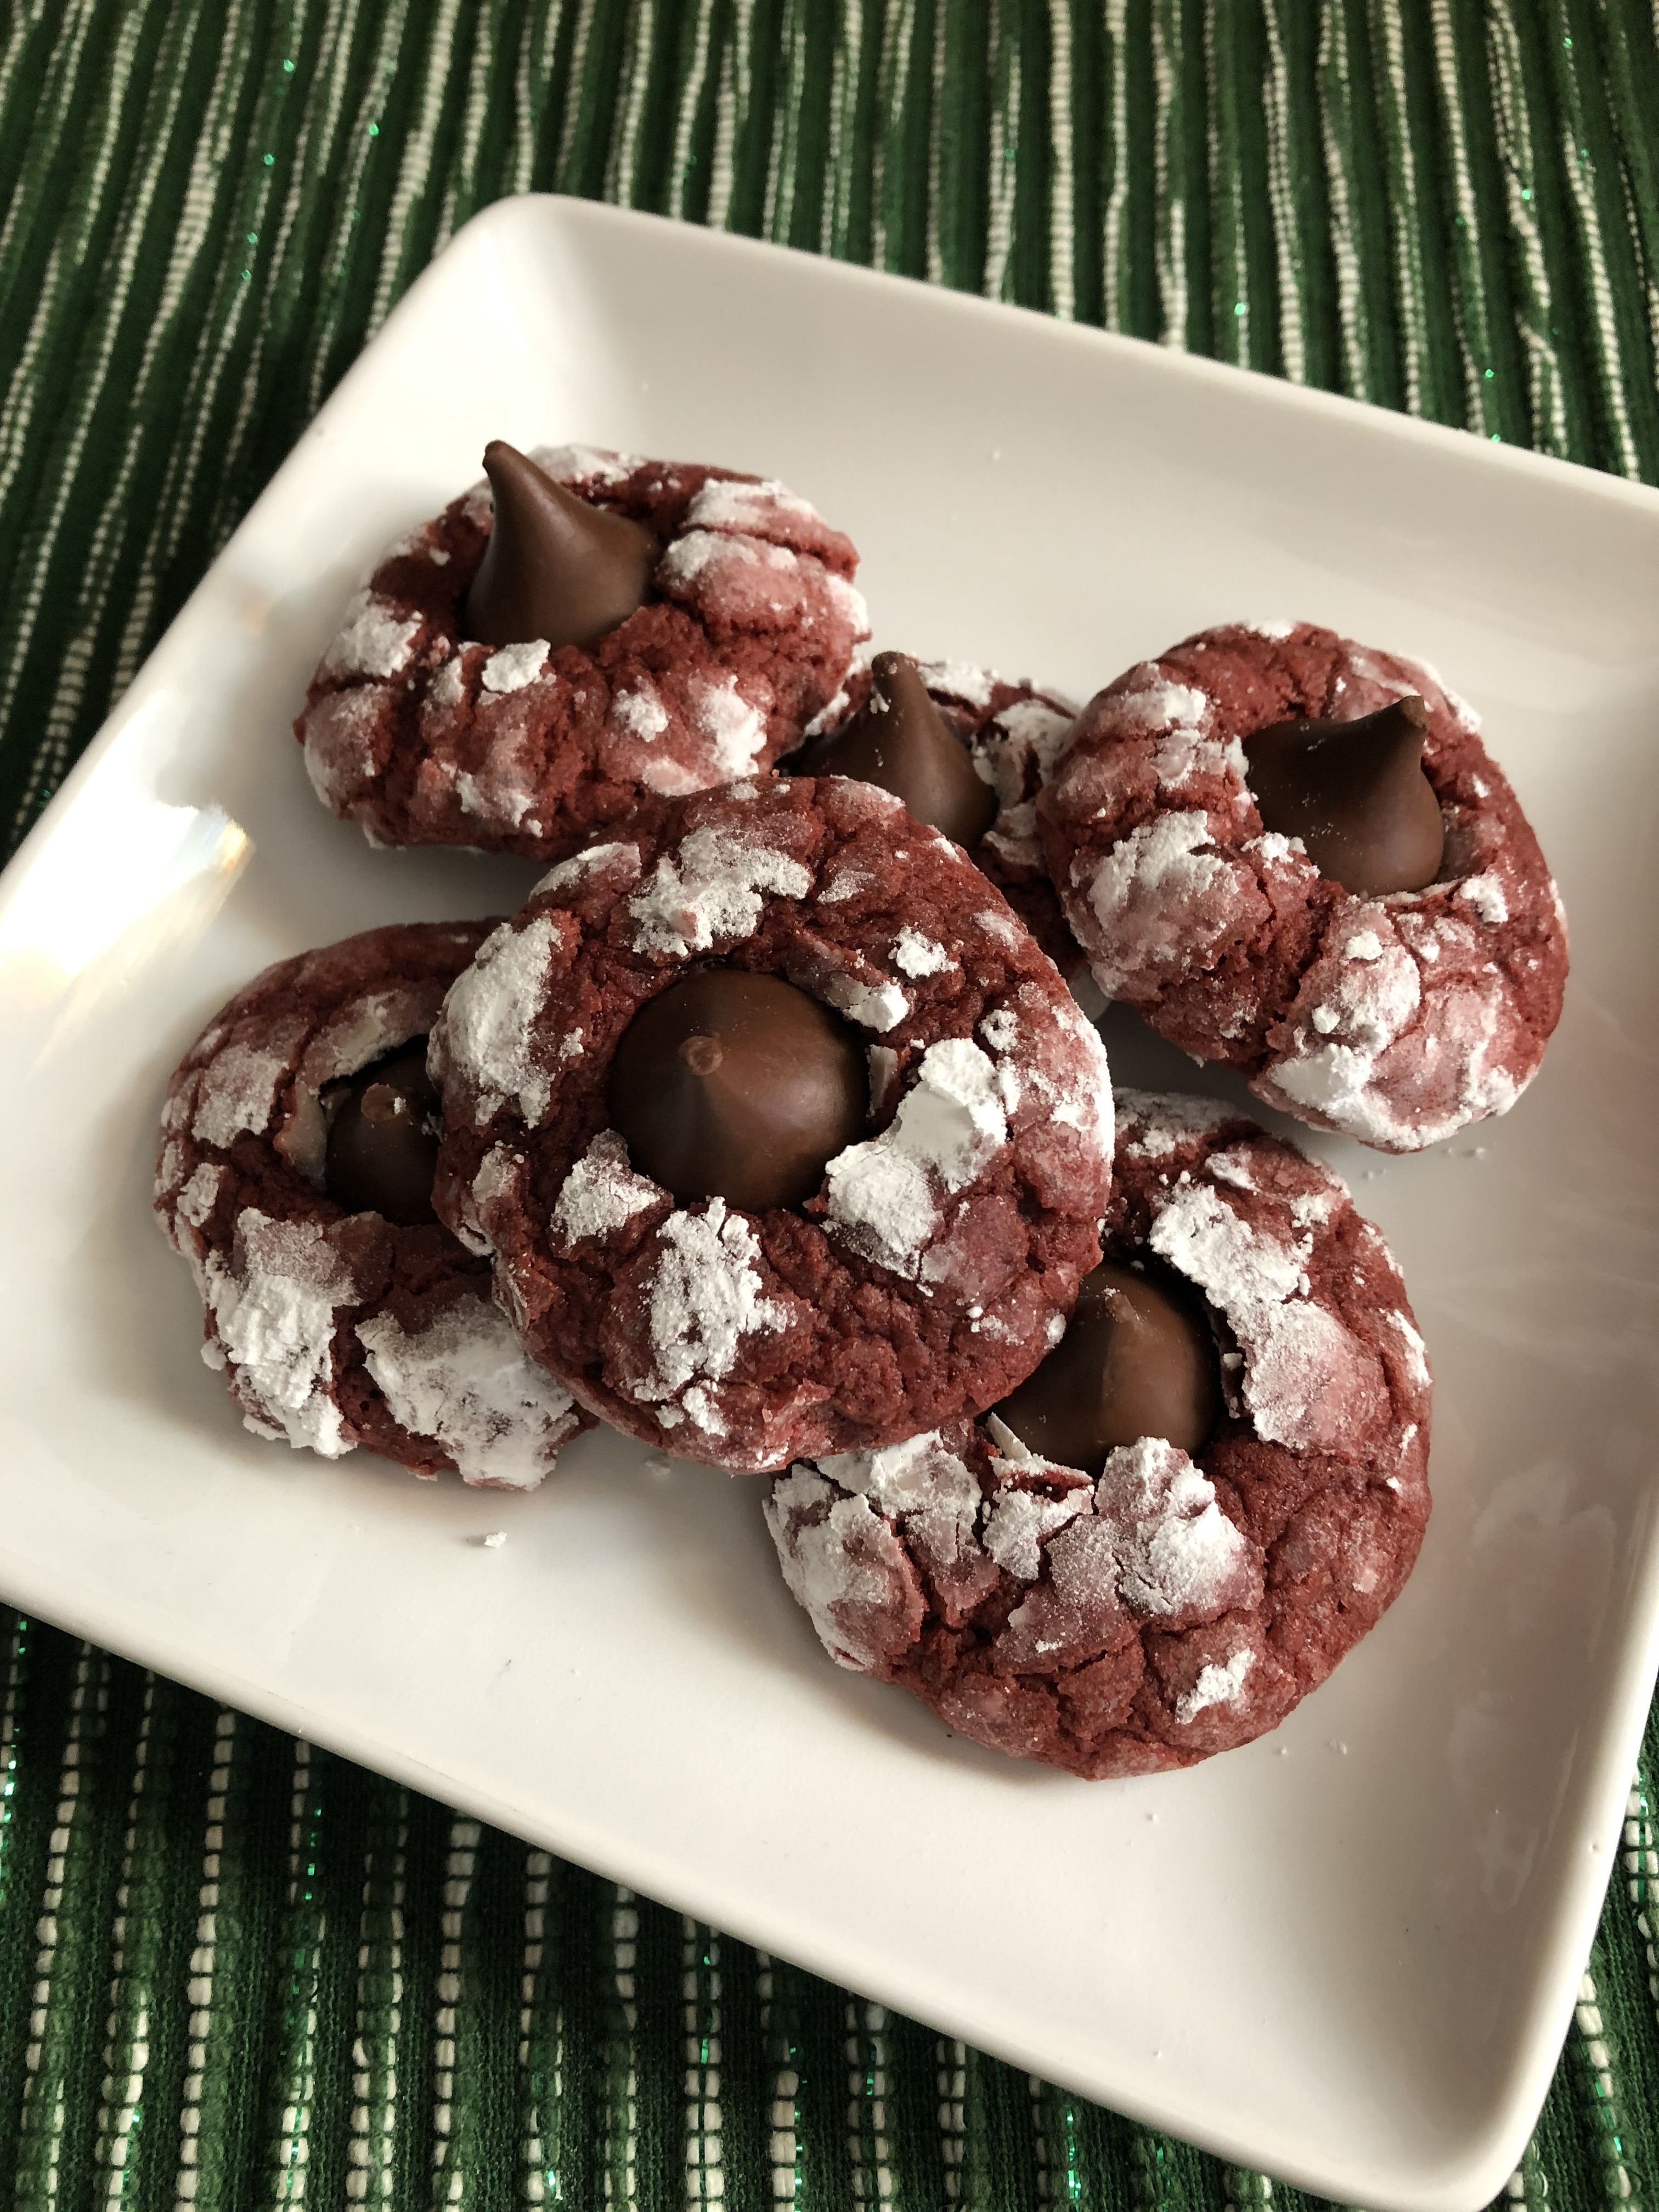
Crinkles are great holiday cookies. You can make them in numerous flavors or stick with a simple recipe and tint the batter red and/or green for Christmas or blue for Hanukkah. In fact, I have been sharing a crinkle cookie recipe for the past couple of years during my Cookie Palooza. Believe it or not there is a science behind crinkle cookies. The cookies get their look and name because the surface of the cookie dries out before the cookie is done spreading and rising while baking. This causes the cookie to harden, crack and pull apart, hence the name crinkles. This is all thanks to rolling the dough in granulated sugar and then confectioners’ sugar prior to baking. I’ve shared quite a few crinkle recipes here on my blog and today I am sharing my favorite thus far, a Brown Butter Crinkle.

To start, you need to make brown butter. To do so I melted a stick of unsalted butter in a saucepan over medium high heat. Once it started to boil, I reduced the heat to medium and let the melted butter simmer until foamy. I stirred it occasionally and scraped the bottom of the pan until the foam subsided and the butter turned a golden brown and had a nutty aroma. I then transferred the melted butter and the brown specks that formed to a large heatproof bowl and let it cool for about 10 minutes.
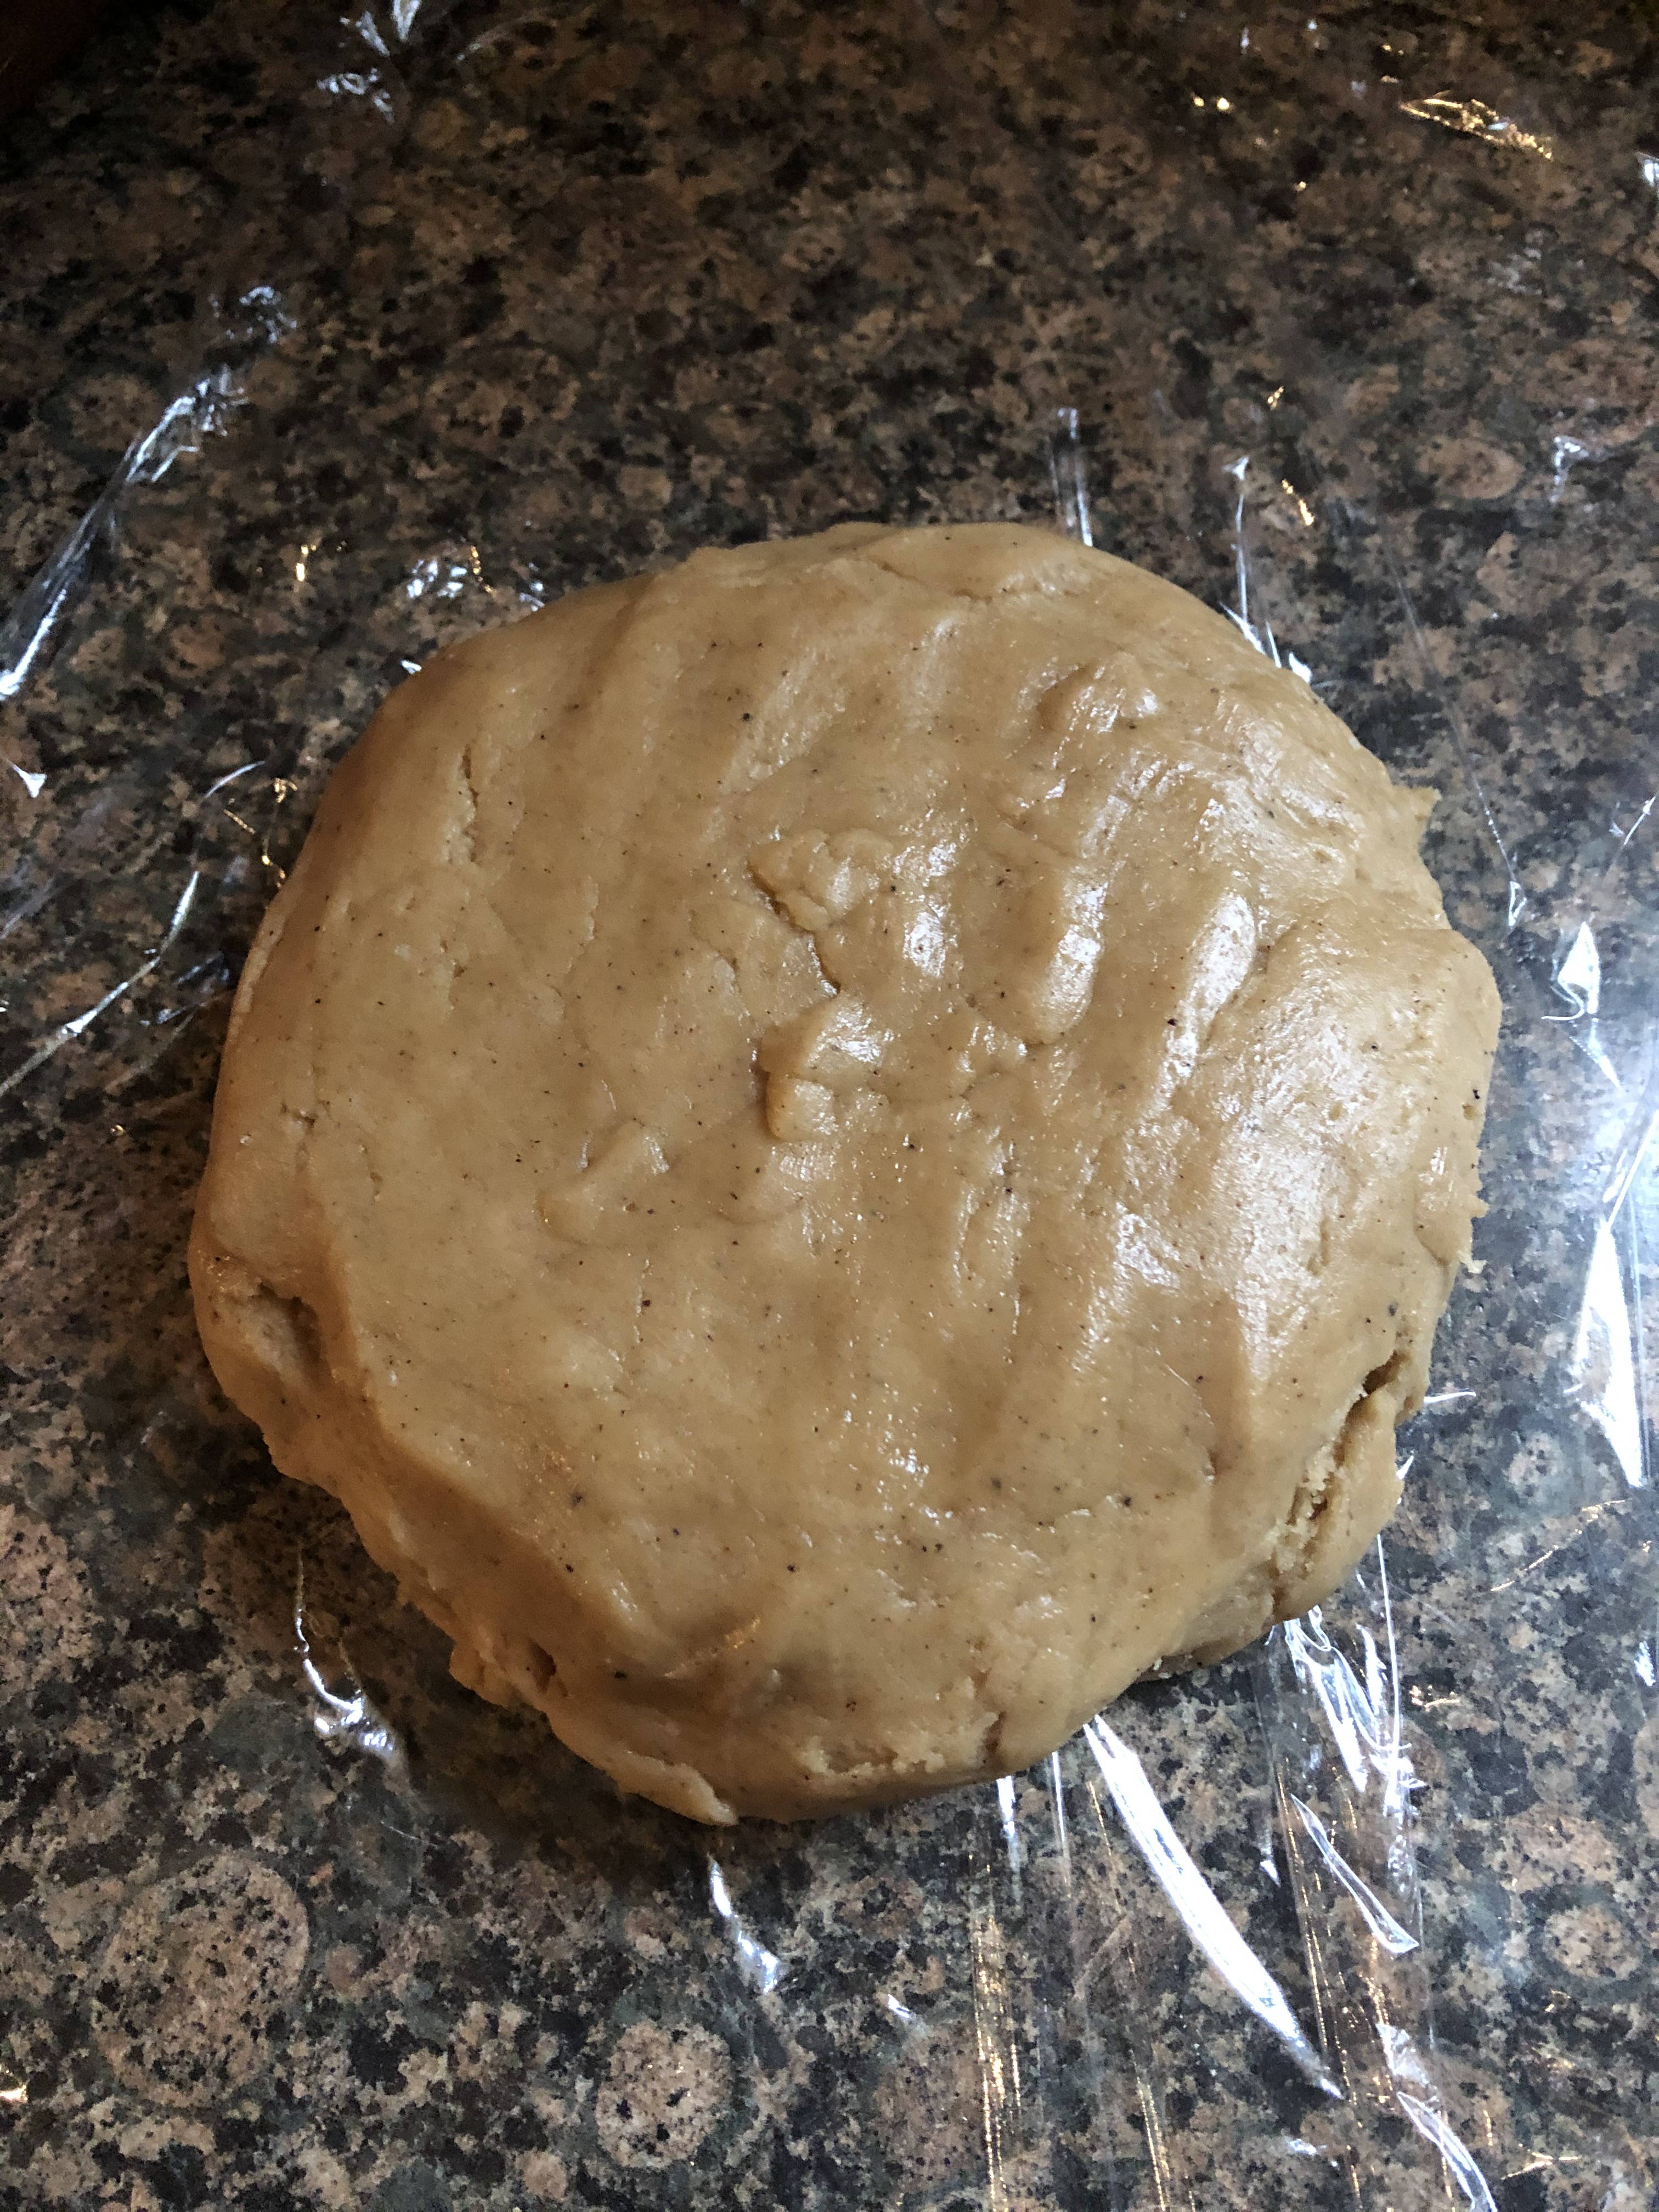
While the butter cooled I combined the dry ingredients in a medium bowl. Once the butter cooled, I mixed in granulated sugar, dark brown sugar, eggs, vanilla extract and finally the flour mixture until the dough formed. I then transferred it to a piece of plastic wrap and shaped it into a disk and refrigerated it for an hour. The dough needs to be refrigerated because it is extremely soft. Thanks to the brown butter, the dough (and ultimately the cookie itself) had a nice mocha color.
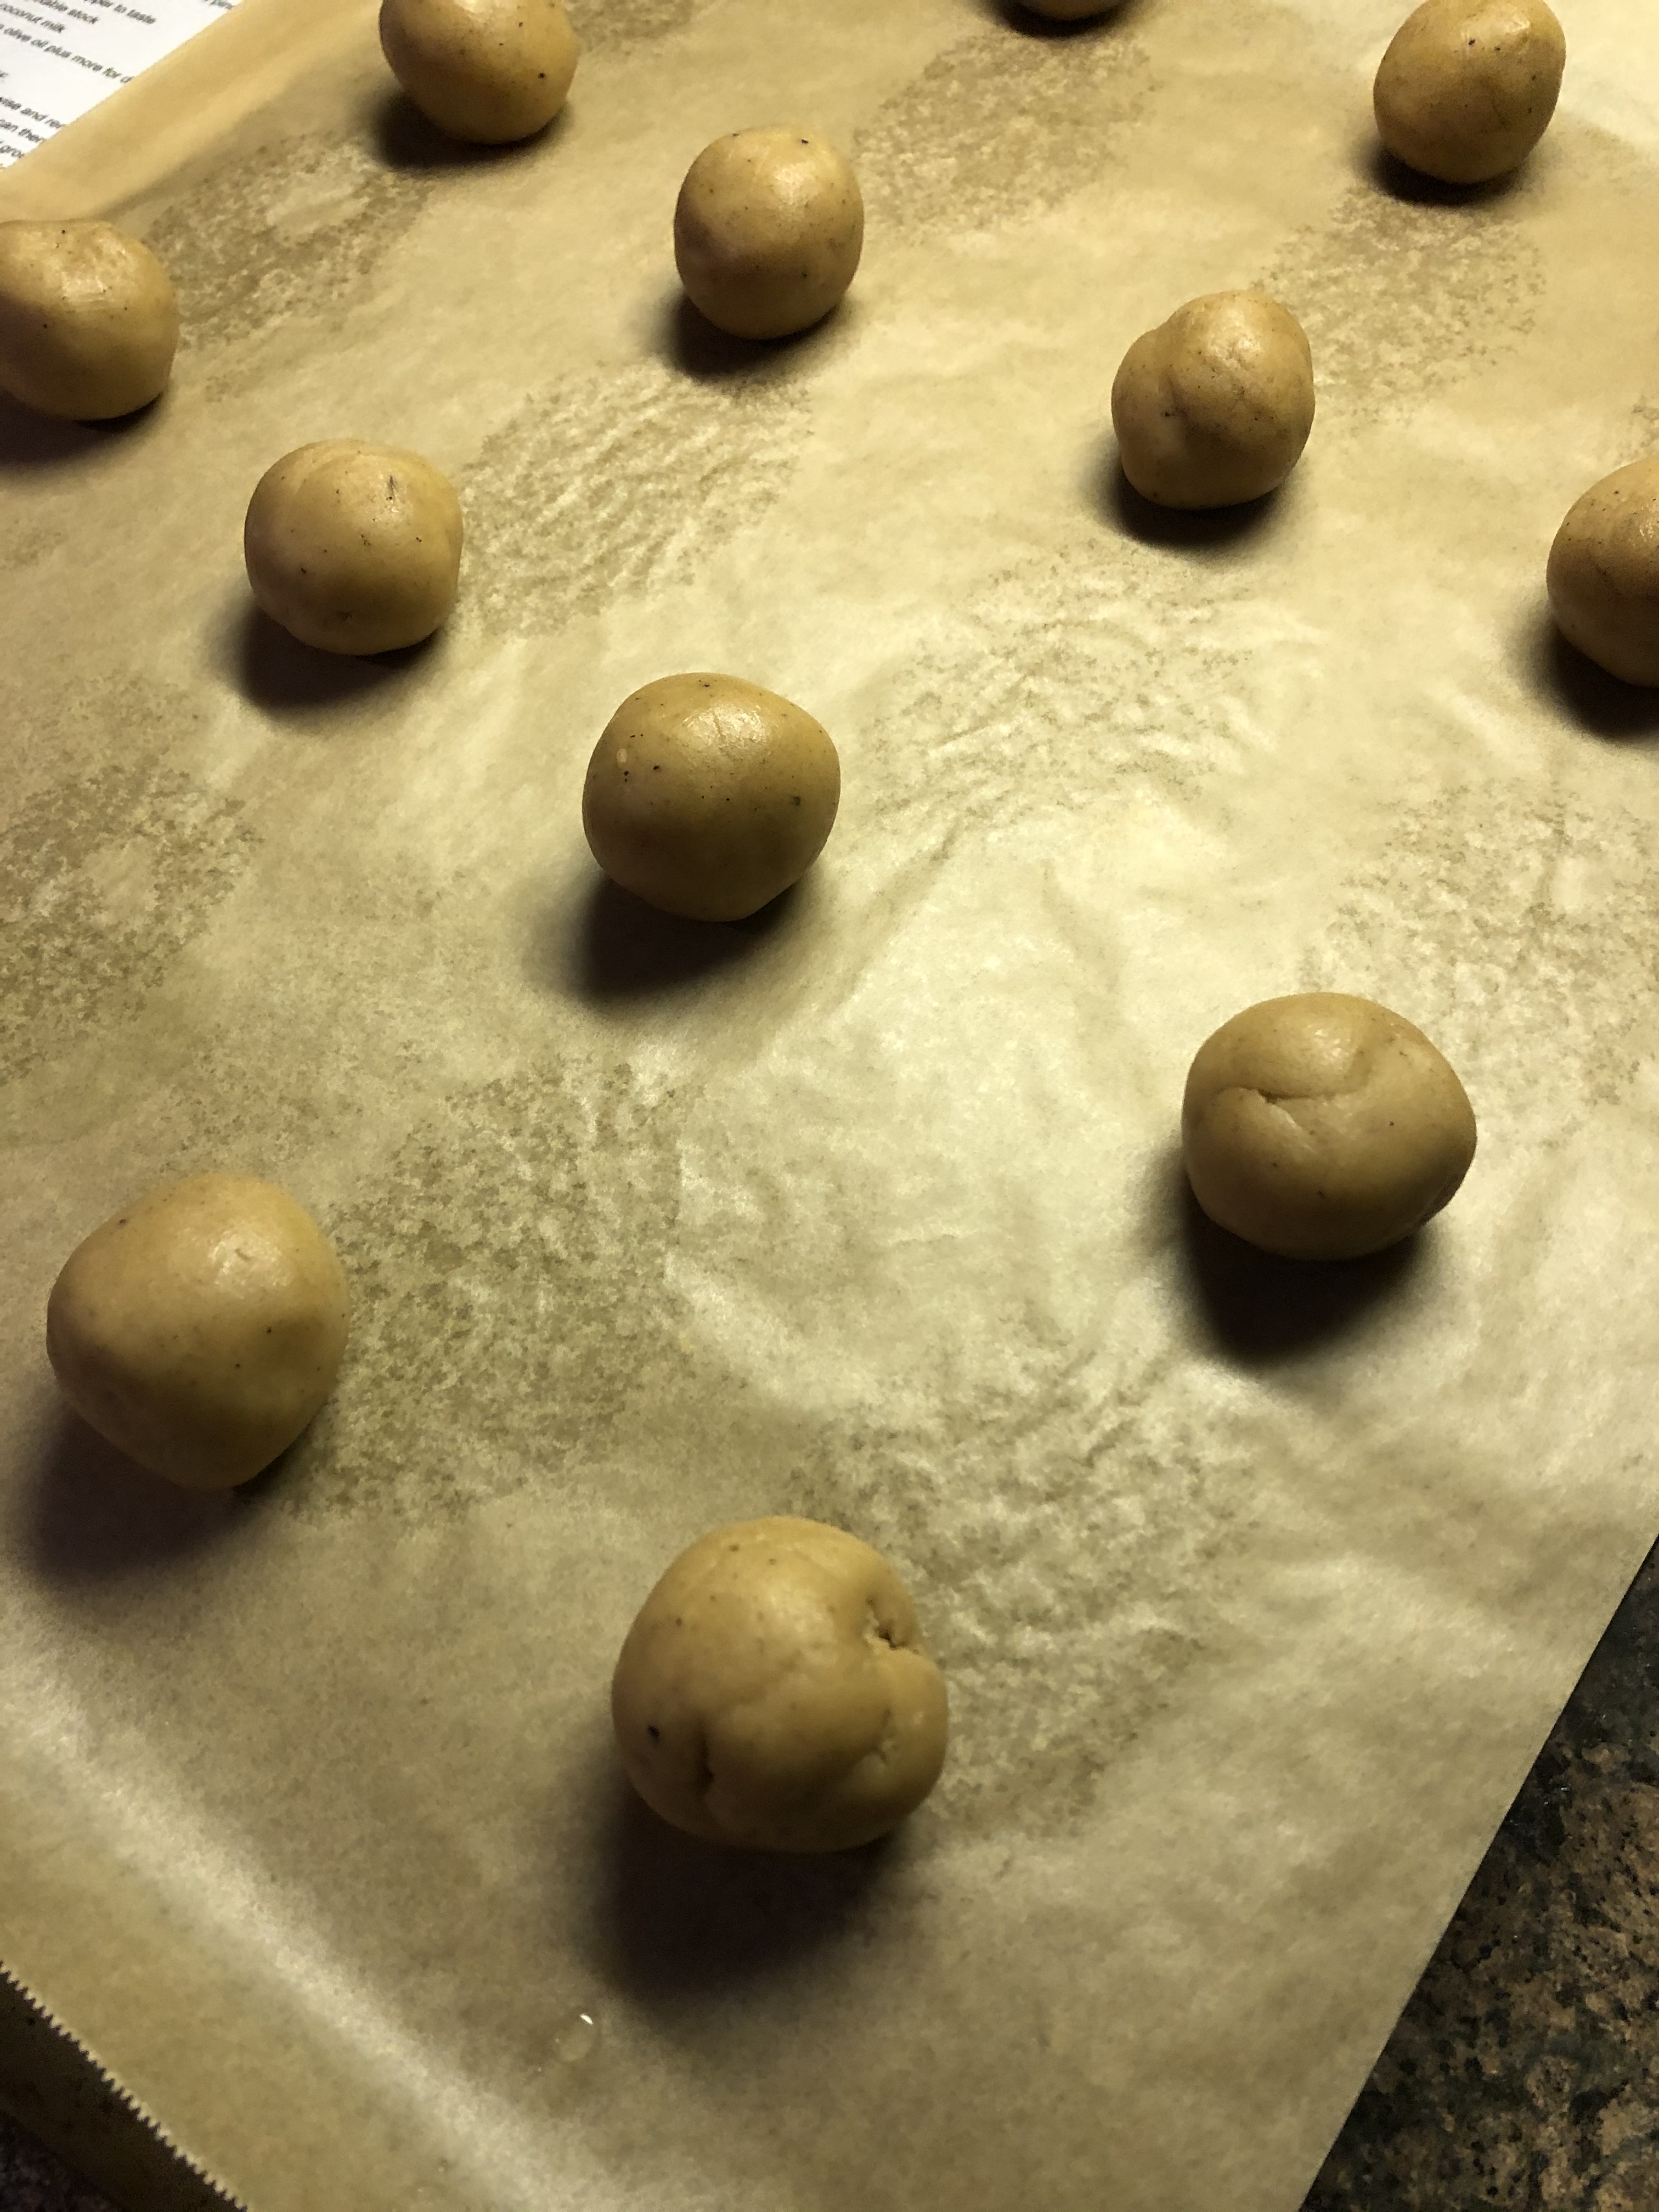
After an hour I removed the dough from the refrigerator and while the dough did firm up some, it was still soft enough to scoop with a cookie scoop. I scooped the dough and rolled it into a ball…
And then coated each with granulated sugar and then confectioners’ sugar.
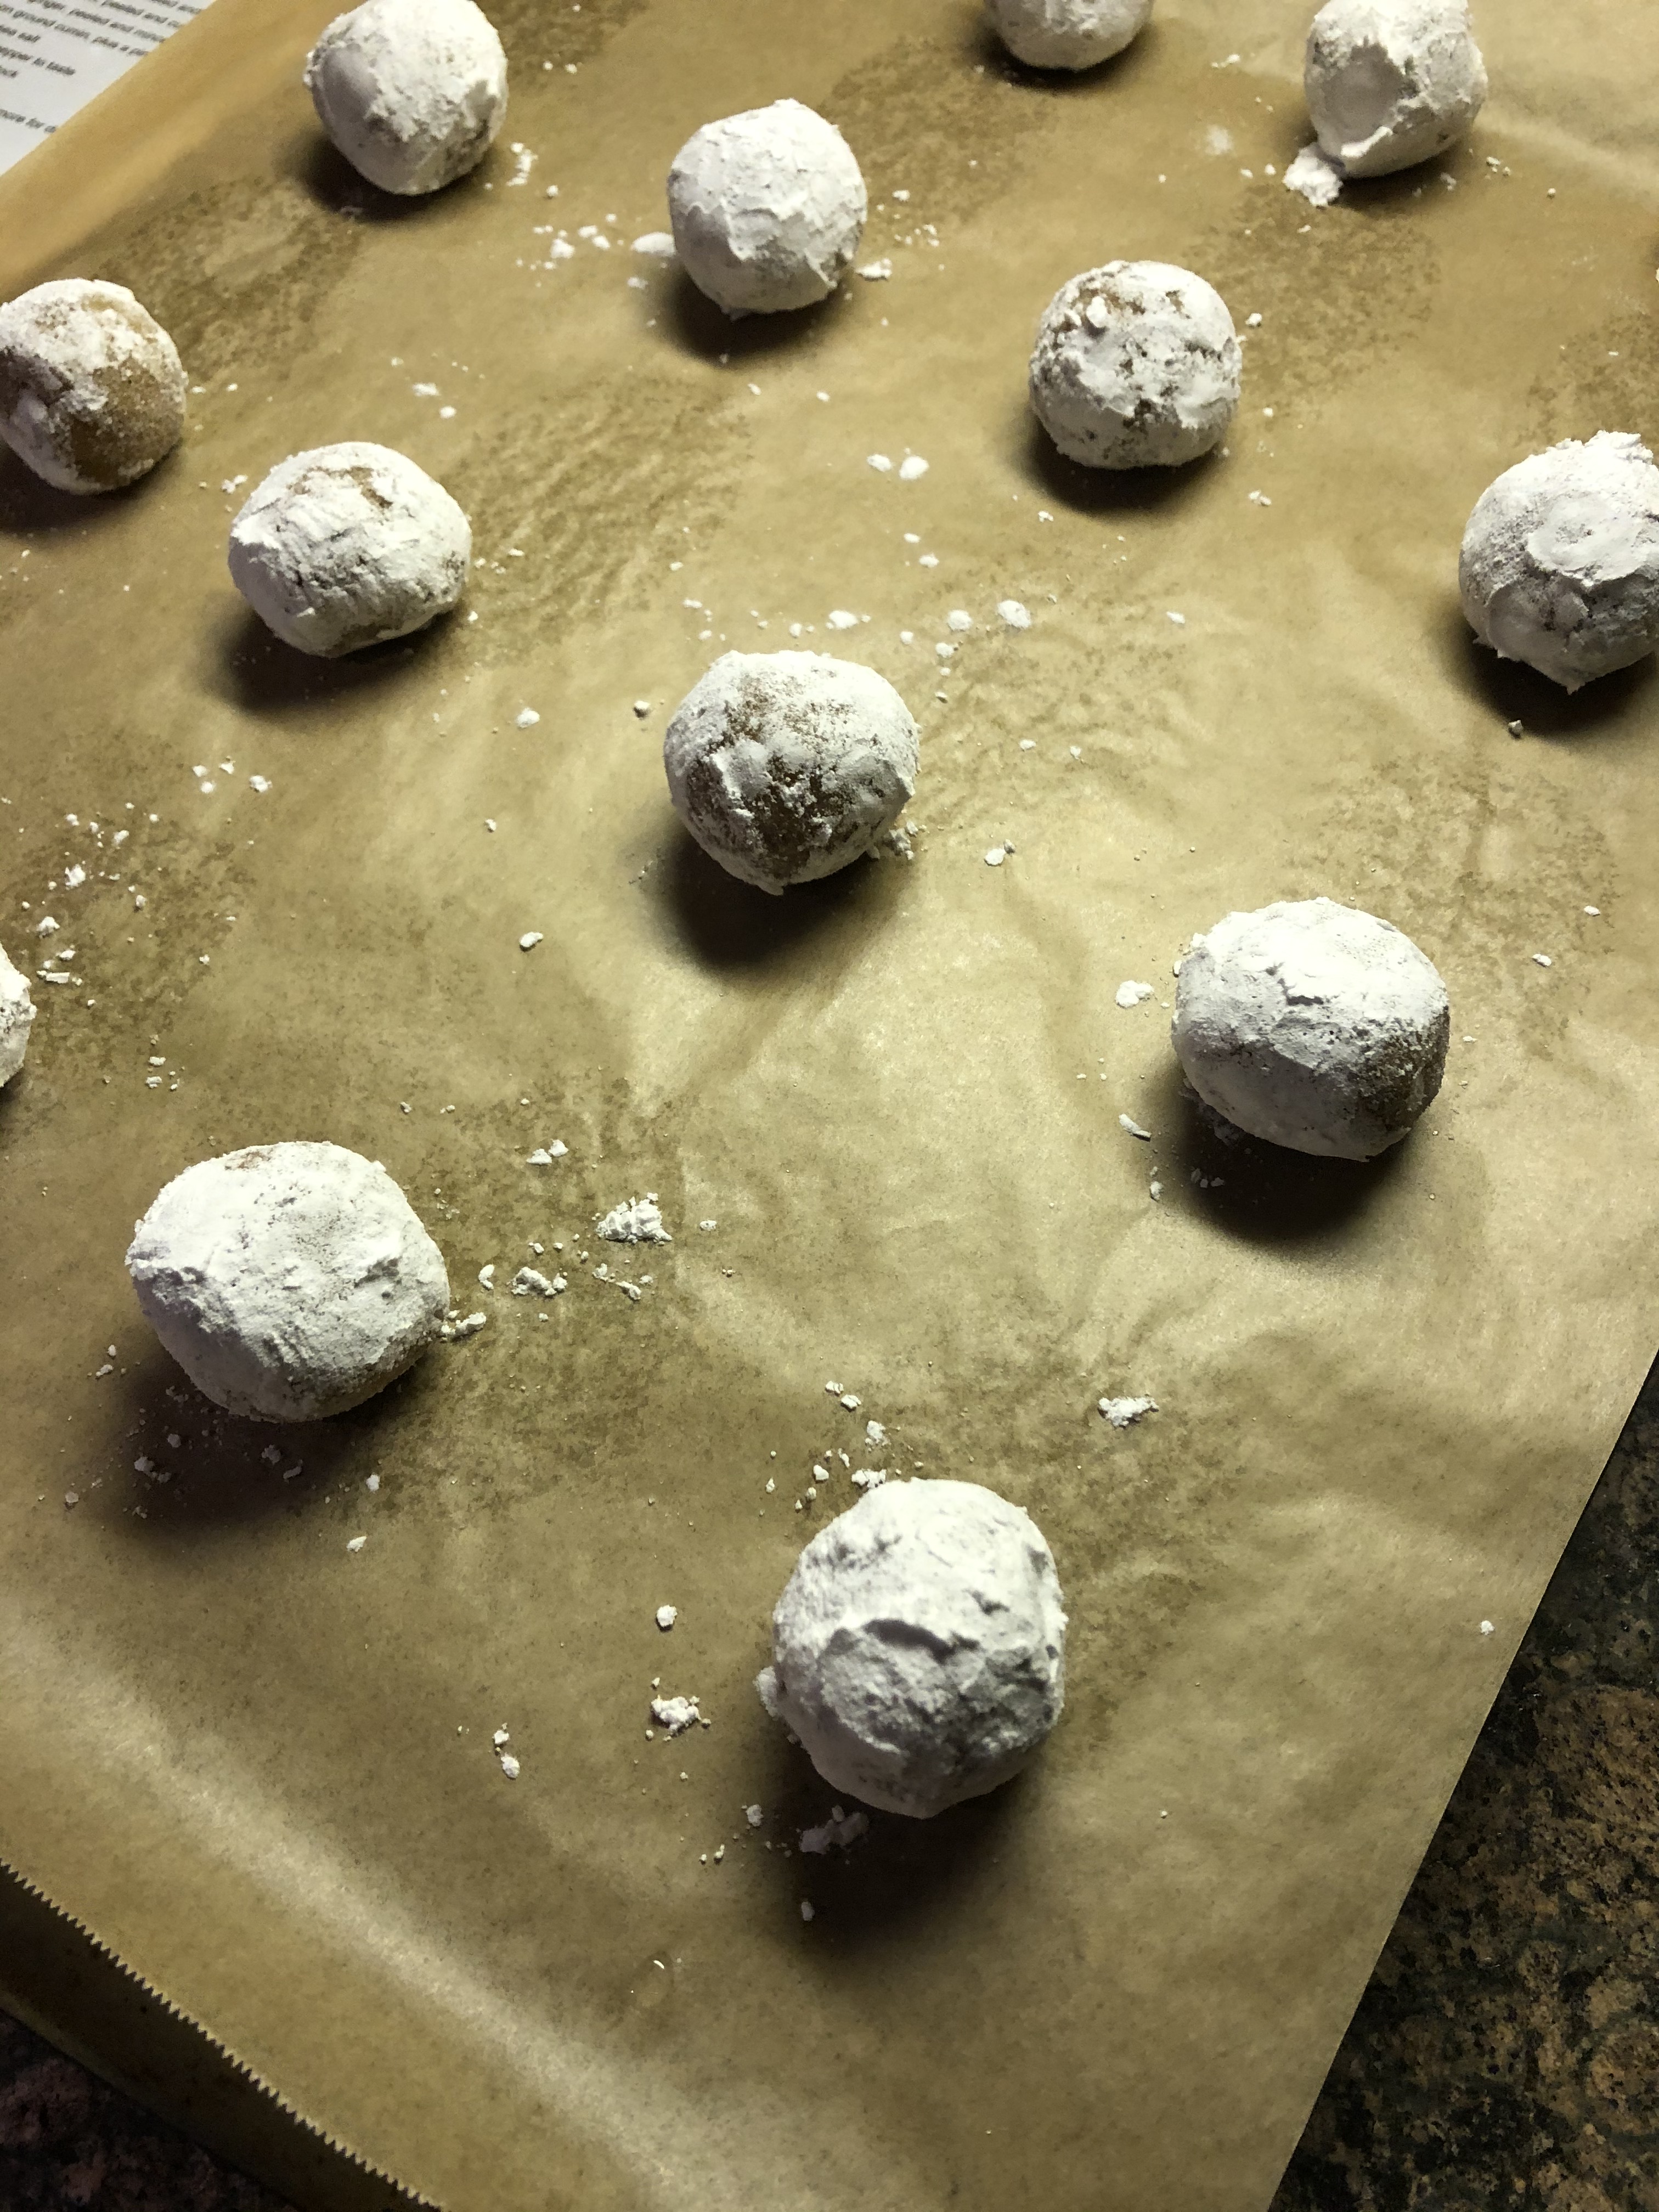
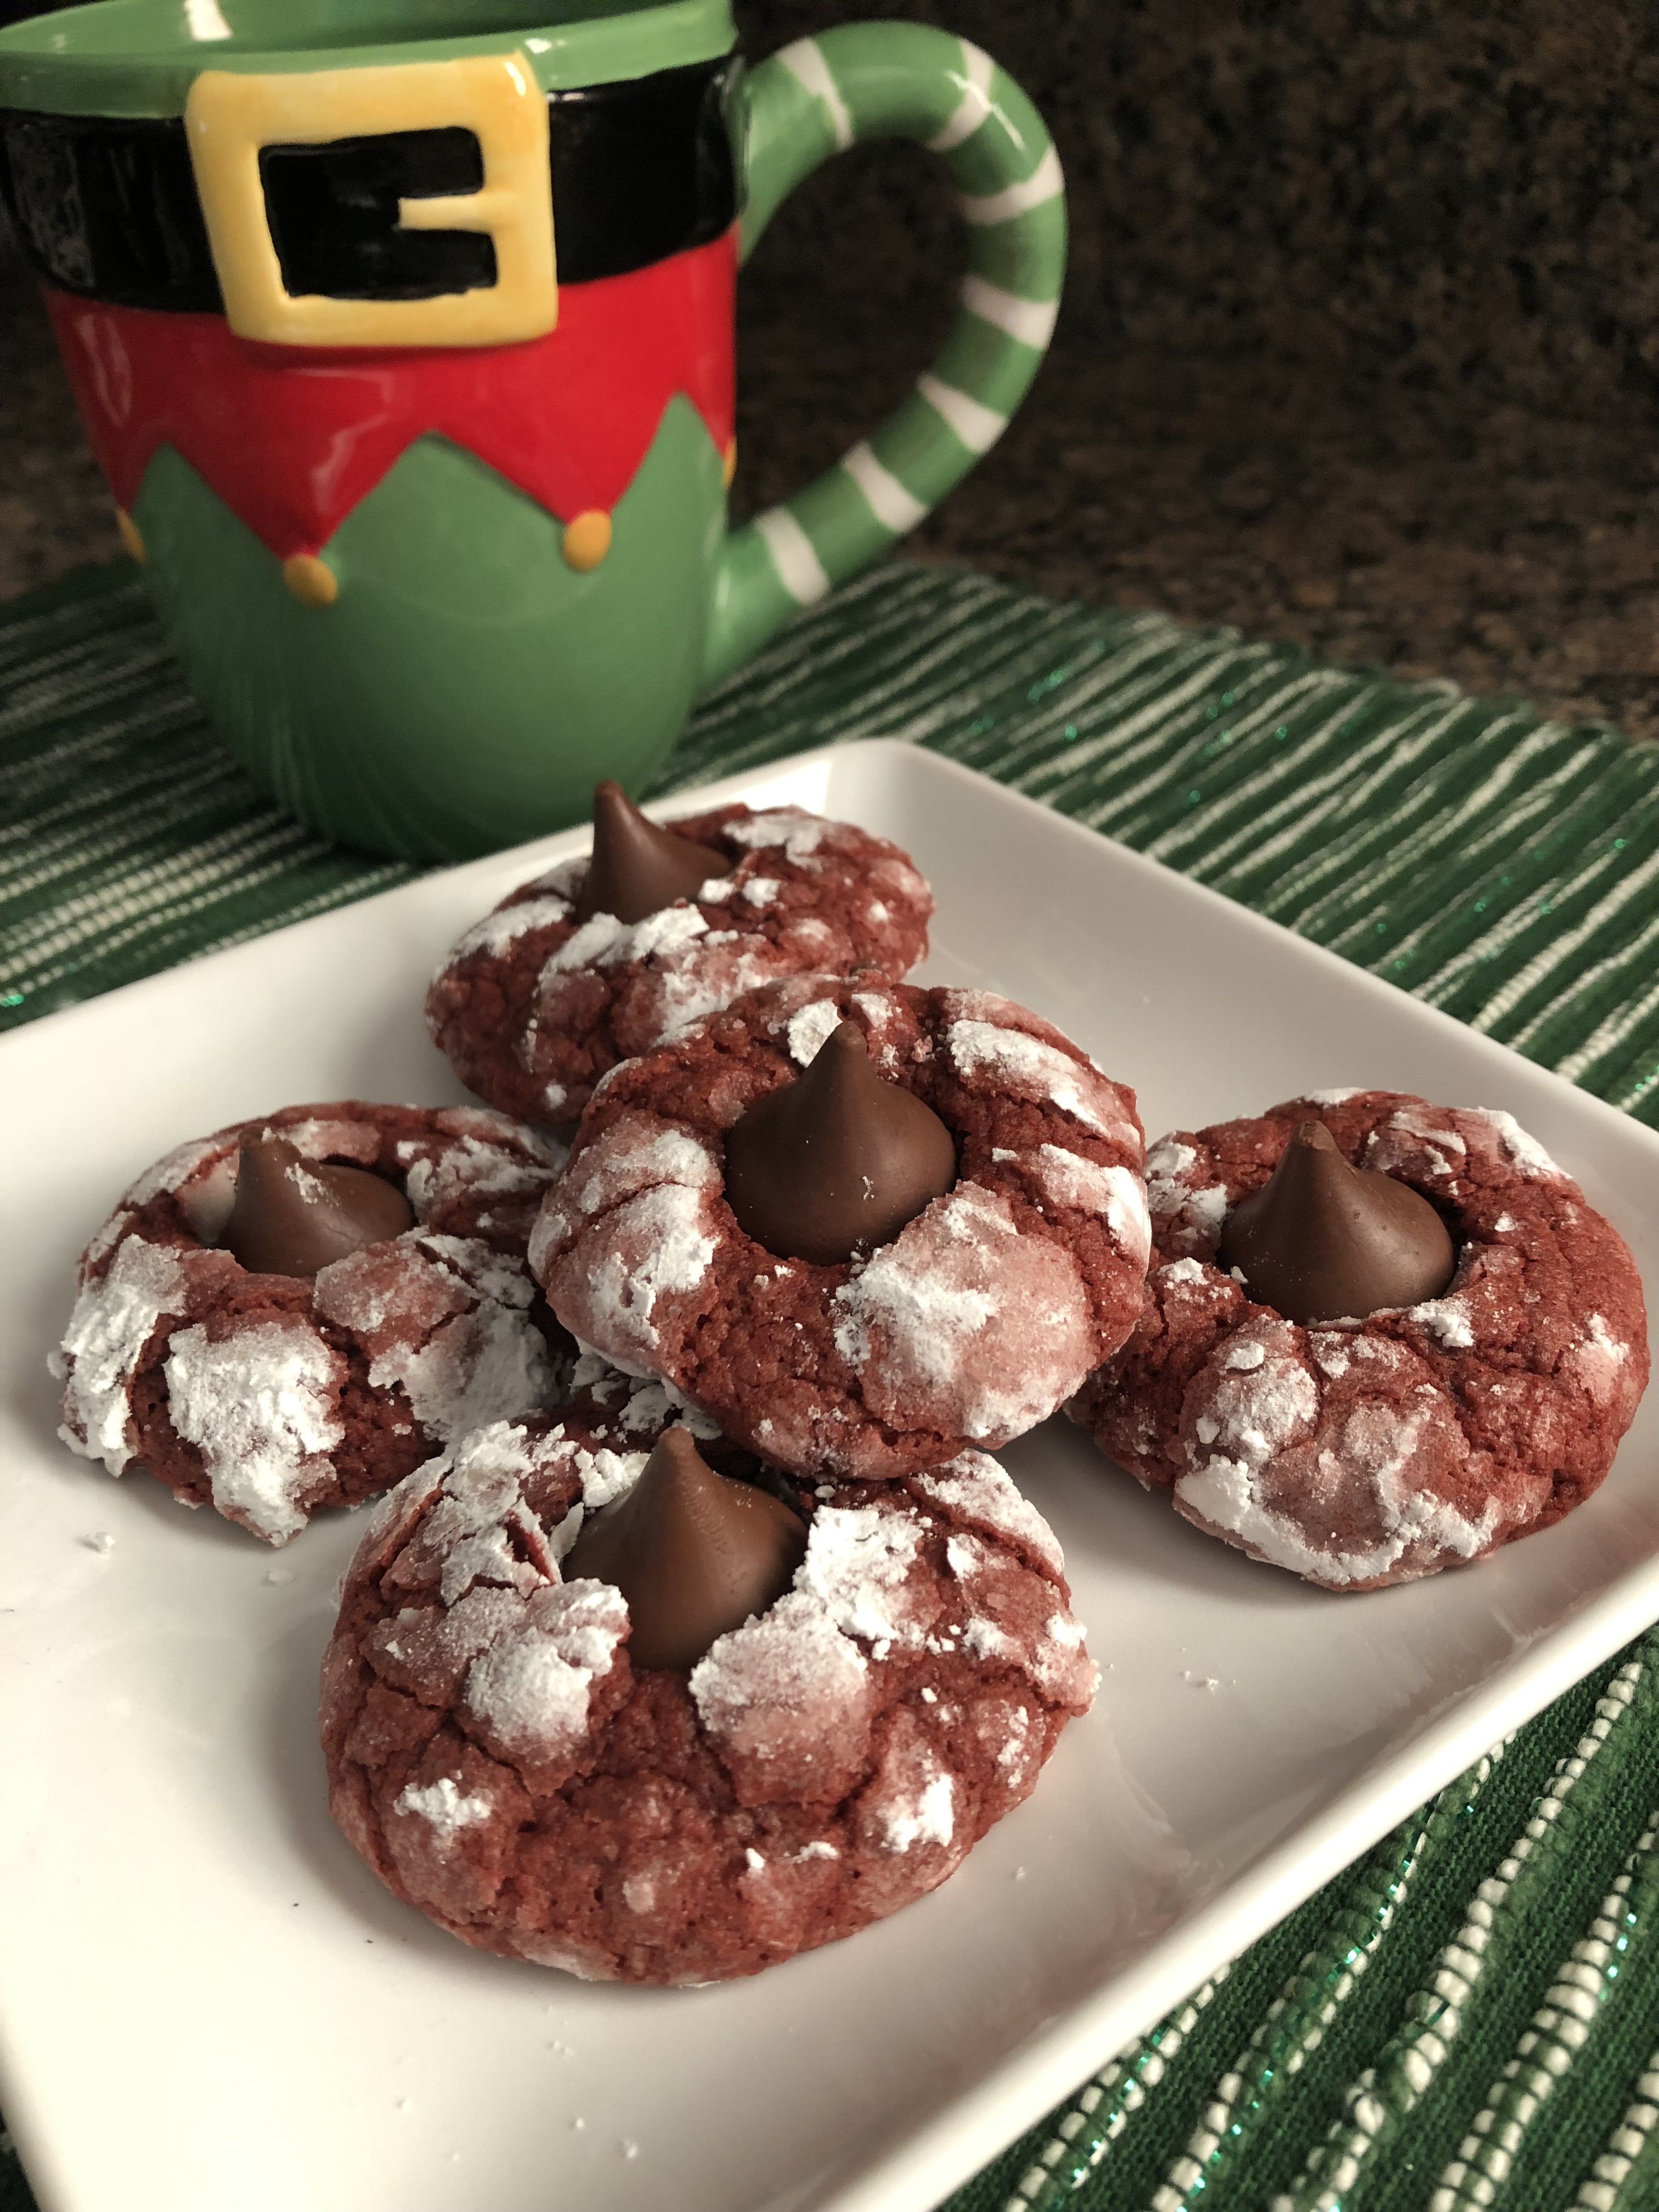
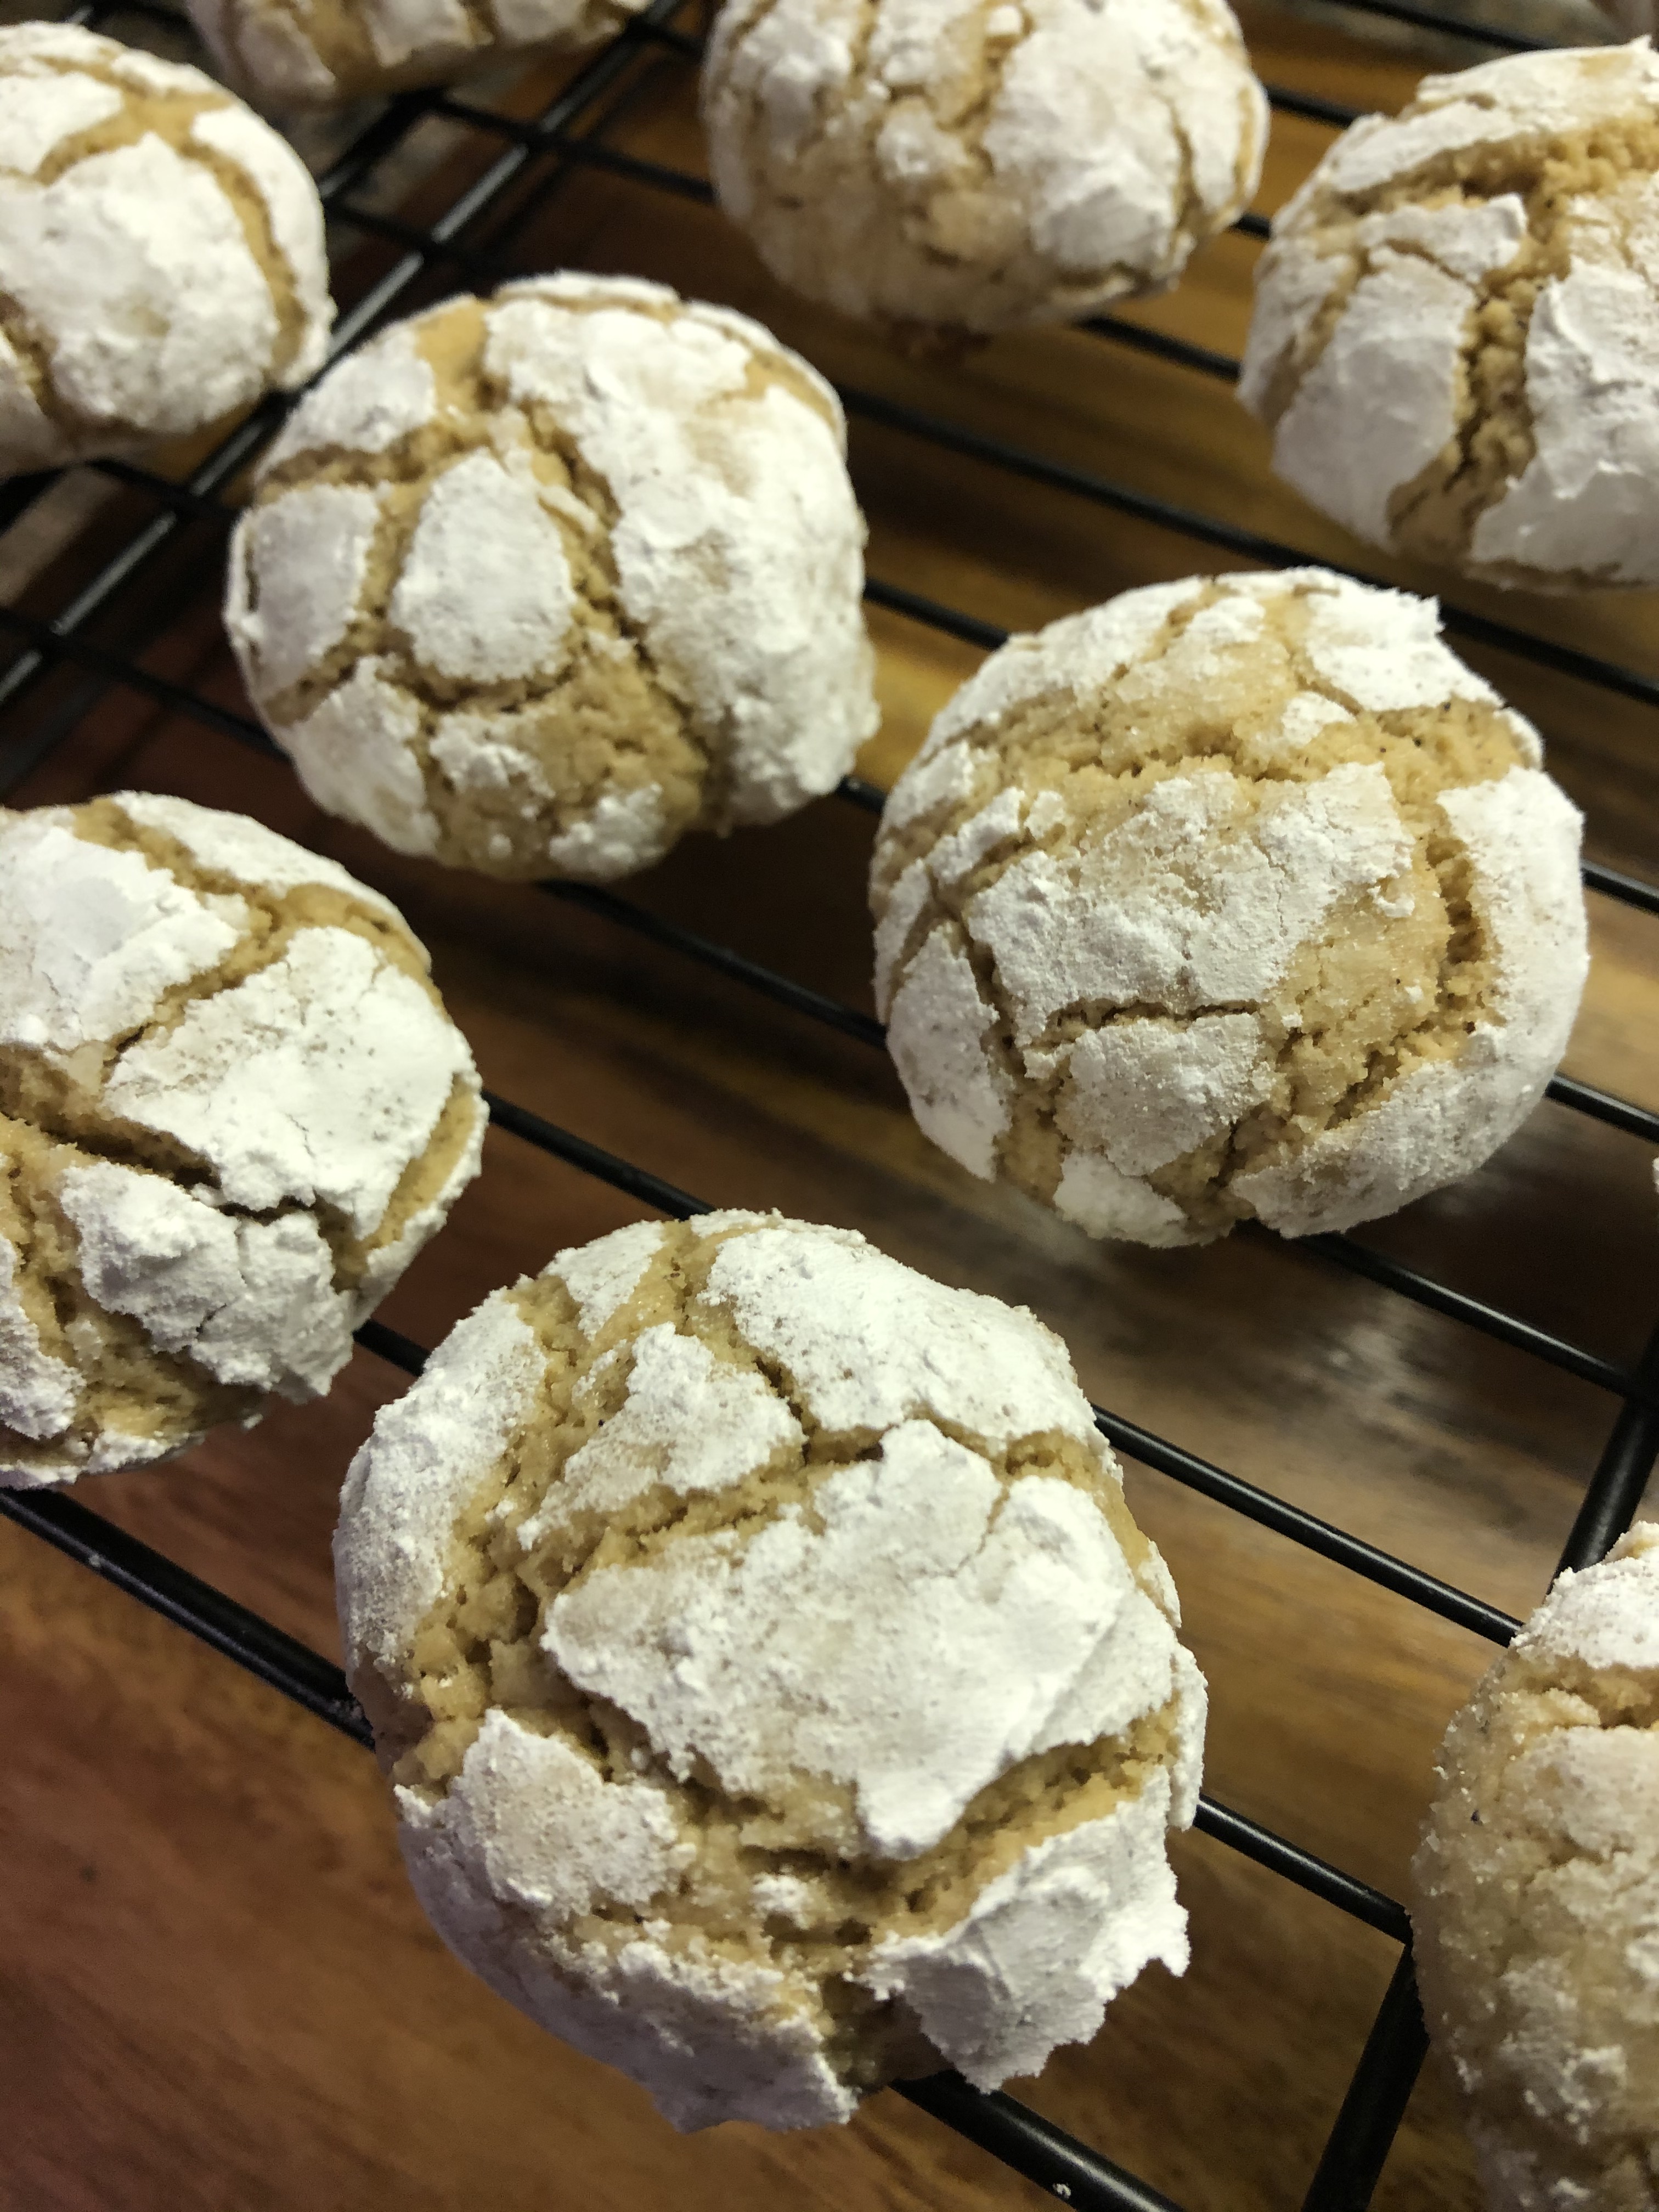
And baked them in a 350 F preheated oven for about 15 minutes. After letting them cool on the baking sheets for a few minutes I then transferred them to a wire rack to cool completely.
So, why are these my favorite crinkle cookies now? Well, it’s because of the brown butter. Brown butter added a nice nutty flavor to the cookie.
Looking for more crinkle flavors, check out these recipes:
Brown Butter Crinkles
Ingredients:
1 stick unsalted butter
2 1/4 cups unbleached flour
3/4 teaspoons baking powder
1/2 teaspoon ground cinnamon
3/4 teaspoon coarse salt
1 cup granulated sugar
1/2 cup dark brown sugar
2 large eggs
1 teaspoon vanilla extract
3/4 cup confectioners’ sugar, sifted
Directions:
Melt the stick of butter in a medium saucepan over medium-high heat. When the butter begins to boil reduce the heat to medium and simmer until foamy. Continue cooking the butter, stirring occasionally and scraping the bottom of the pan, until foam subsides, and the butter has turned a golden brown with a nutty aroma and milk solids separate into brown specks that sink to the bottom of the pan, 2 to 7 minutes. Remove from the heat and transfer to a large heatproof bowl and let cool for 10 minutes.
In a medium bowl whisk together the dry ingredients – flour, baking powder, cinnamon and salt – and set aside.
Once the butter has cooled, stir in 1/2 cup of the granulated sugar and the dark brown sugar into the brown butter until combined. Add in the eggs and vanilla and finally the flour mixture until the dough forms. Transfer the dough to piece of plastic wrap, shape into a disk and then wrap tightly and refrigerate for at least 1 hour and up to 2 days.
Preheat the oven to 350 F and line two baking sheets with parchment paper. Place the confectioners’ sugar in a small bowl and the remaining 1/2 cup sugar in another small bowl. Scoop 1 tablespoon of the dough and roll into a bowl. Roll the dough in the granulated sugar and then in the confectioners’ sugar. Place on the prepared on the baking sheet, spacing the cookies about 1 inch apart.
Bake in the preheated oven for 15 to 18 minutes. The cookies will be done when they spread slightly, crackle and are set at the edges. Let cool on the baking sheets for 5 minutes before transferring to a wire rack to cool completely.
Recipe from Martha Stewart’s Cookie Perfection