Truth be told I am not a big pie eater or baker; I may have mentioned that on here a few times before. I sometimes find them too sweet and pie crust is not one of my favorite things to work with. I always have these ambitious thoughts to make pie crust from scratch, but it never happens. My go-to is always Pillsbury refrigerated pie crusts. It’s been a no-fail for me and why risk a good thing. A bad crust can ruin any pie, even one with a delicious filling. With berries being in season I decided to try my hand at a Blueberry Pie. And this pie was a WINNER! Everyone who had a piece loved it and my niece, who is also not a big pie eater, had two pieces.
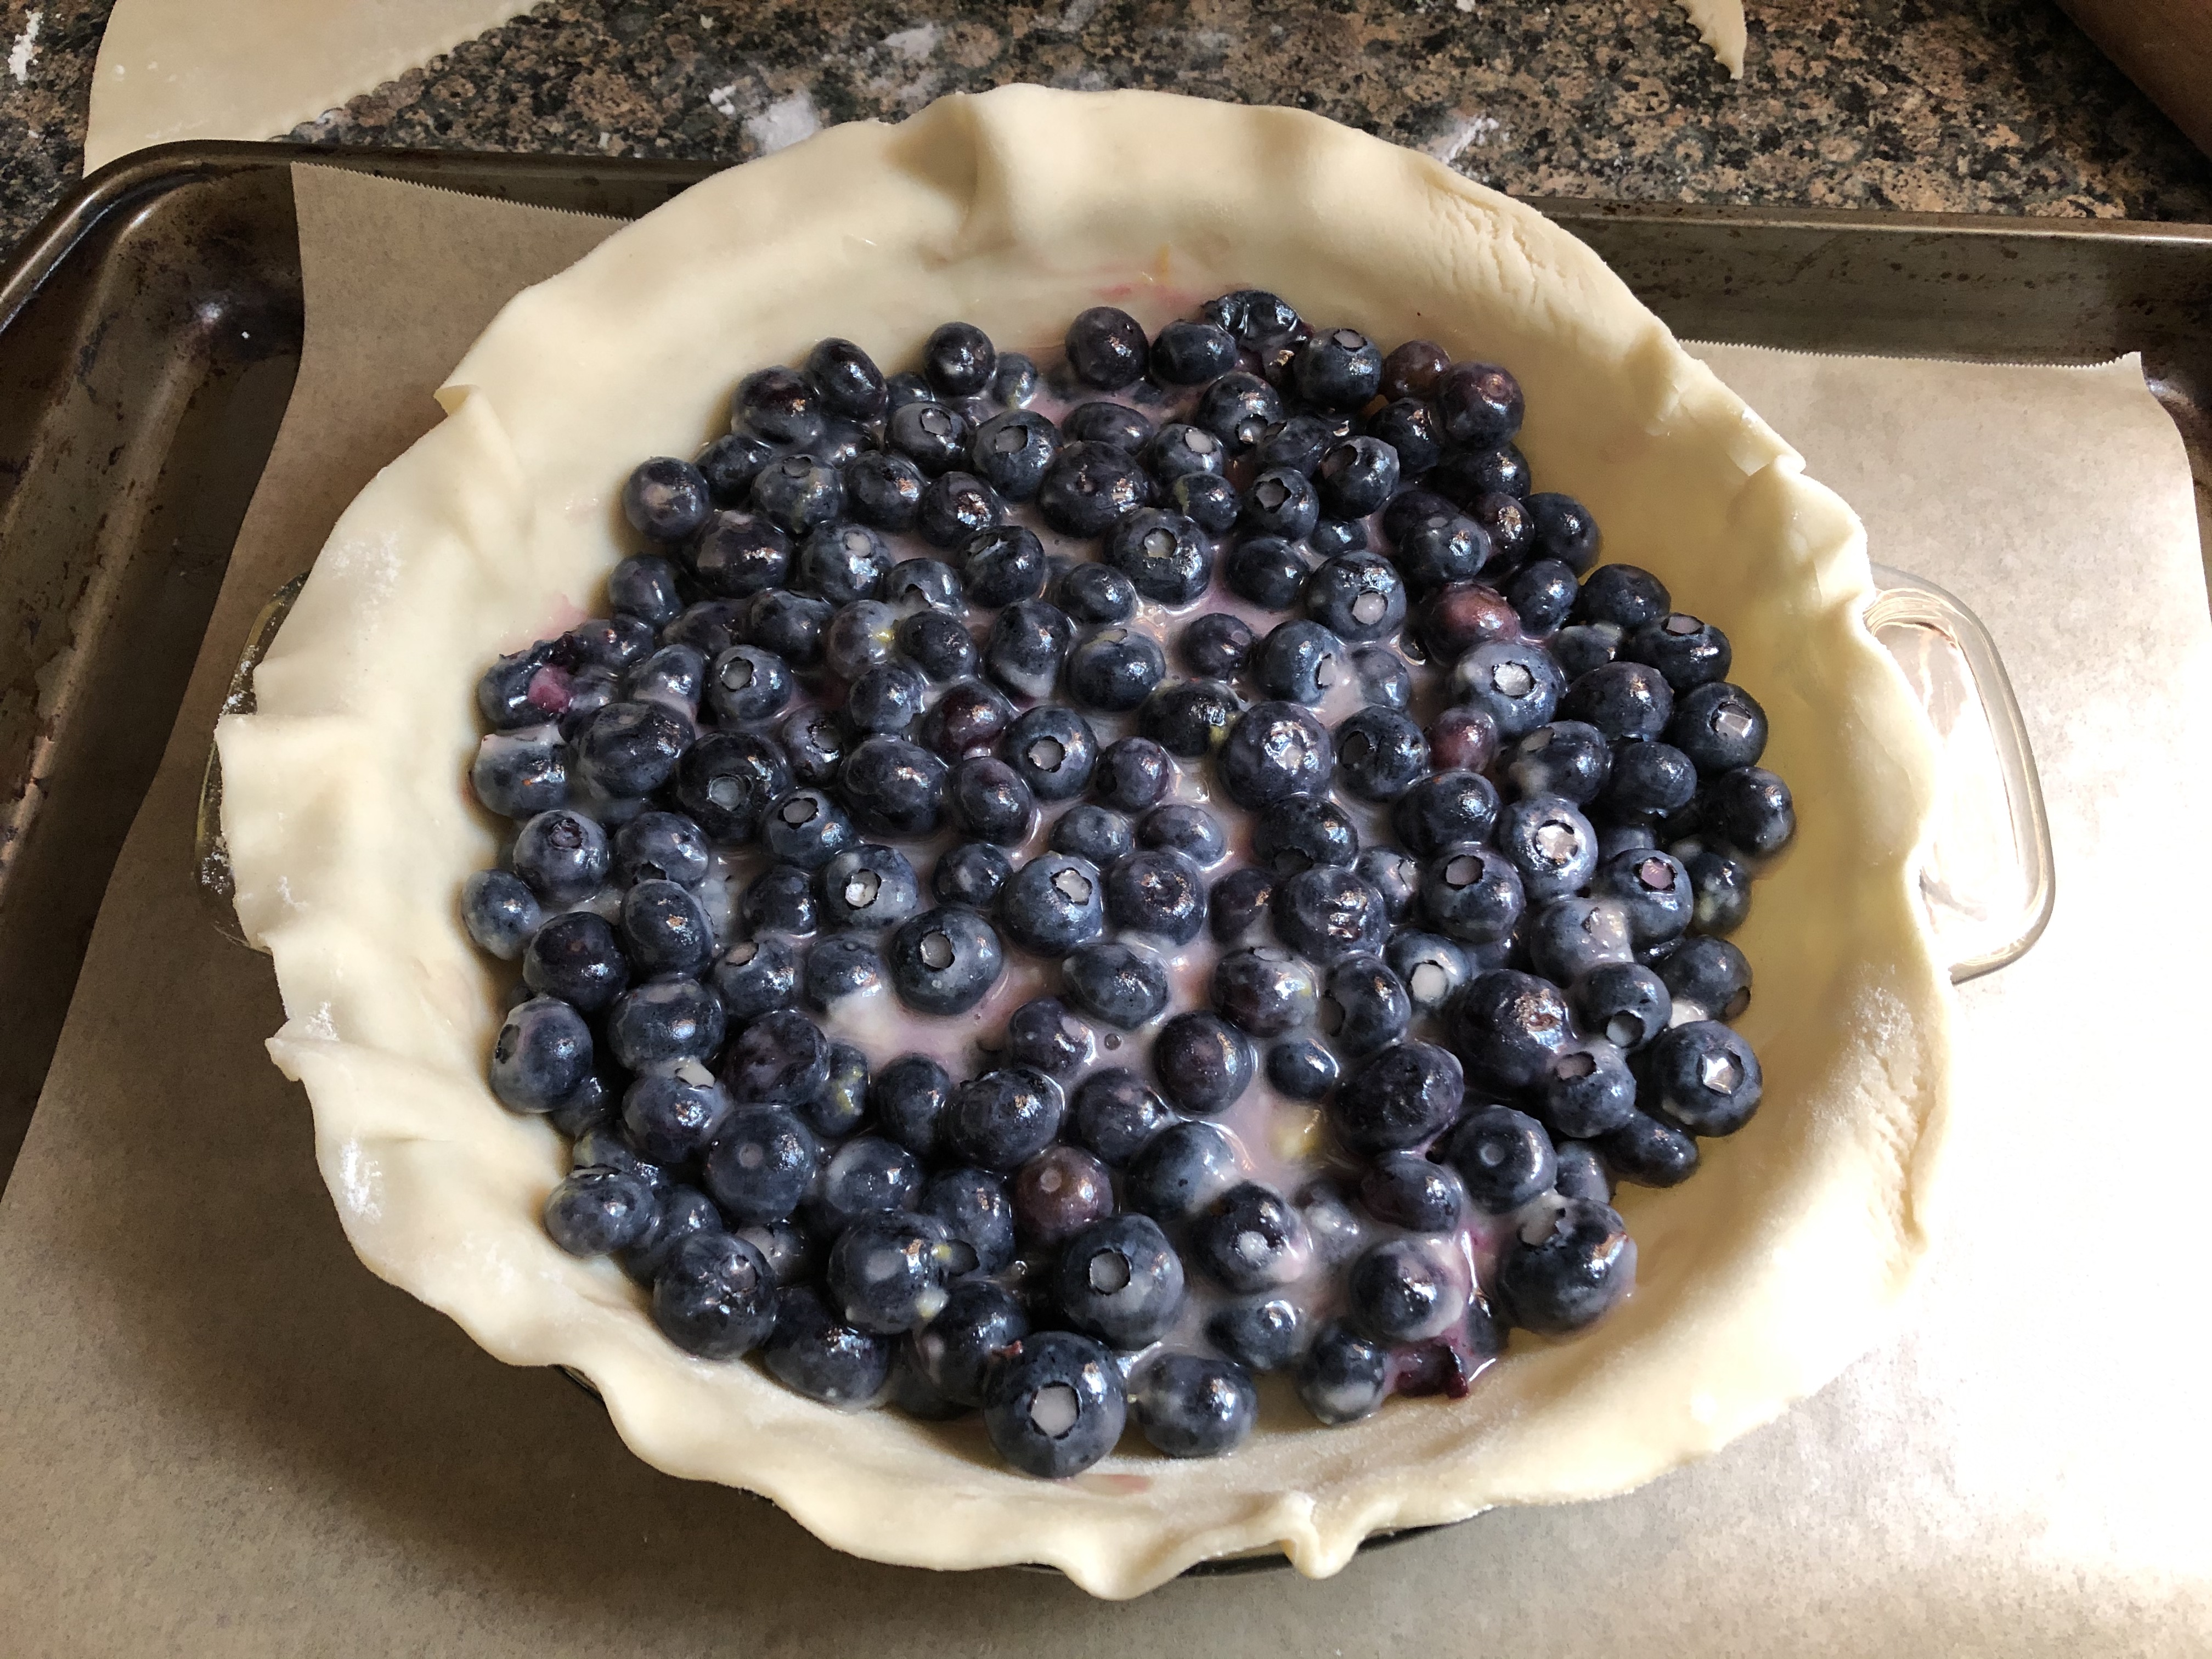
To make the filling I combined fresh blueberries, sugar, flour, lemon zest and freshly squeezed lemon juice in a large bowl. Using a store-bought pie crust, I rolled out one of the crusts an extra inch or so and then placed it in a 9-inch pie plate. I then filled the crust with the blueberry filling. I won’t lie, I thought it looked a bit sparse, but I figured the filling would be the perfect amount once the pie was baked.
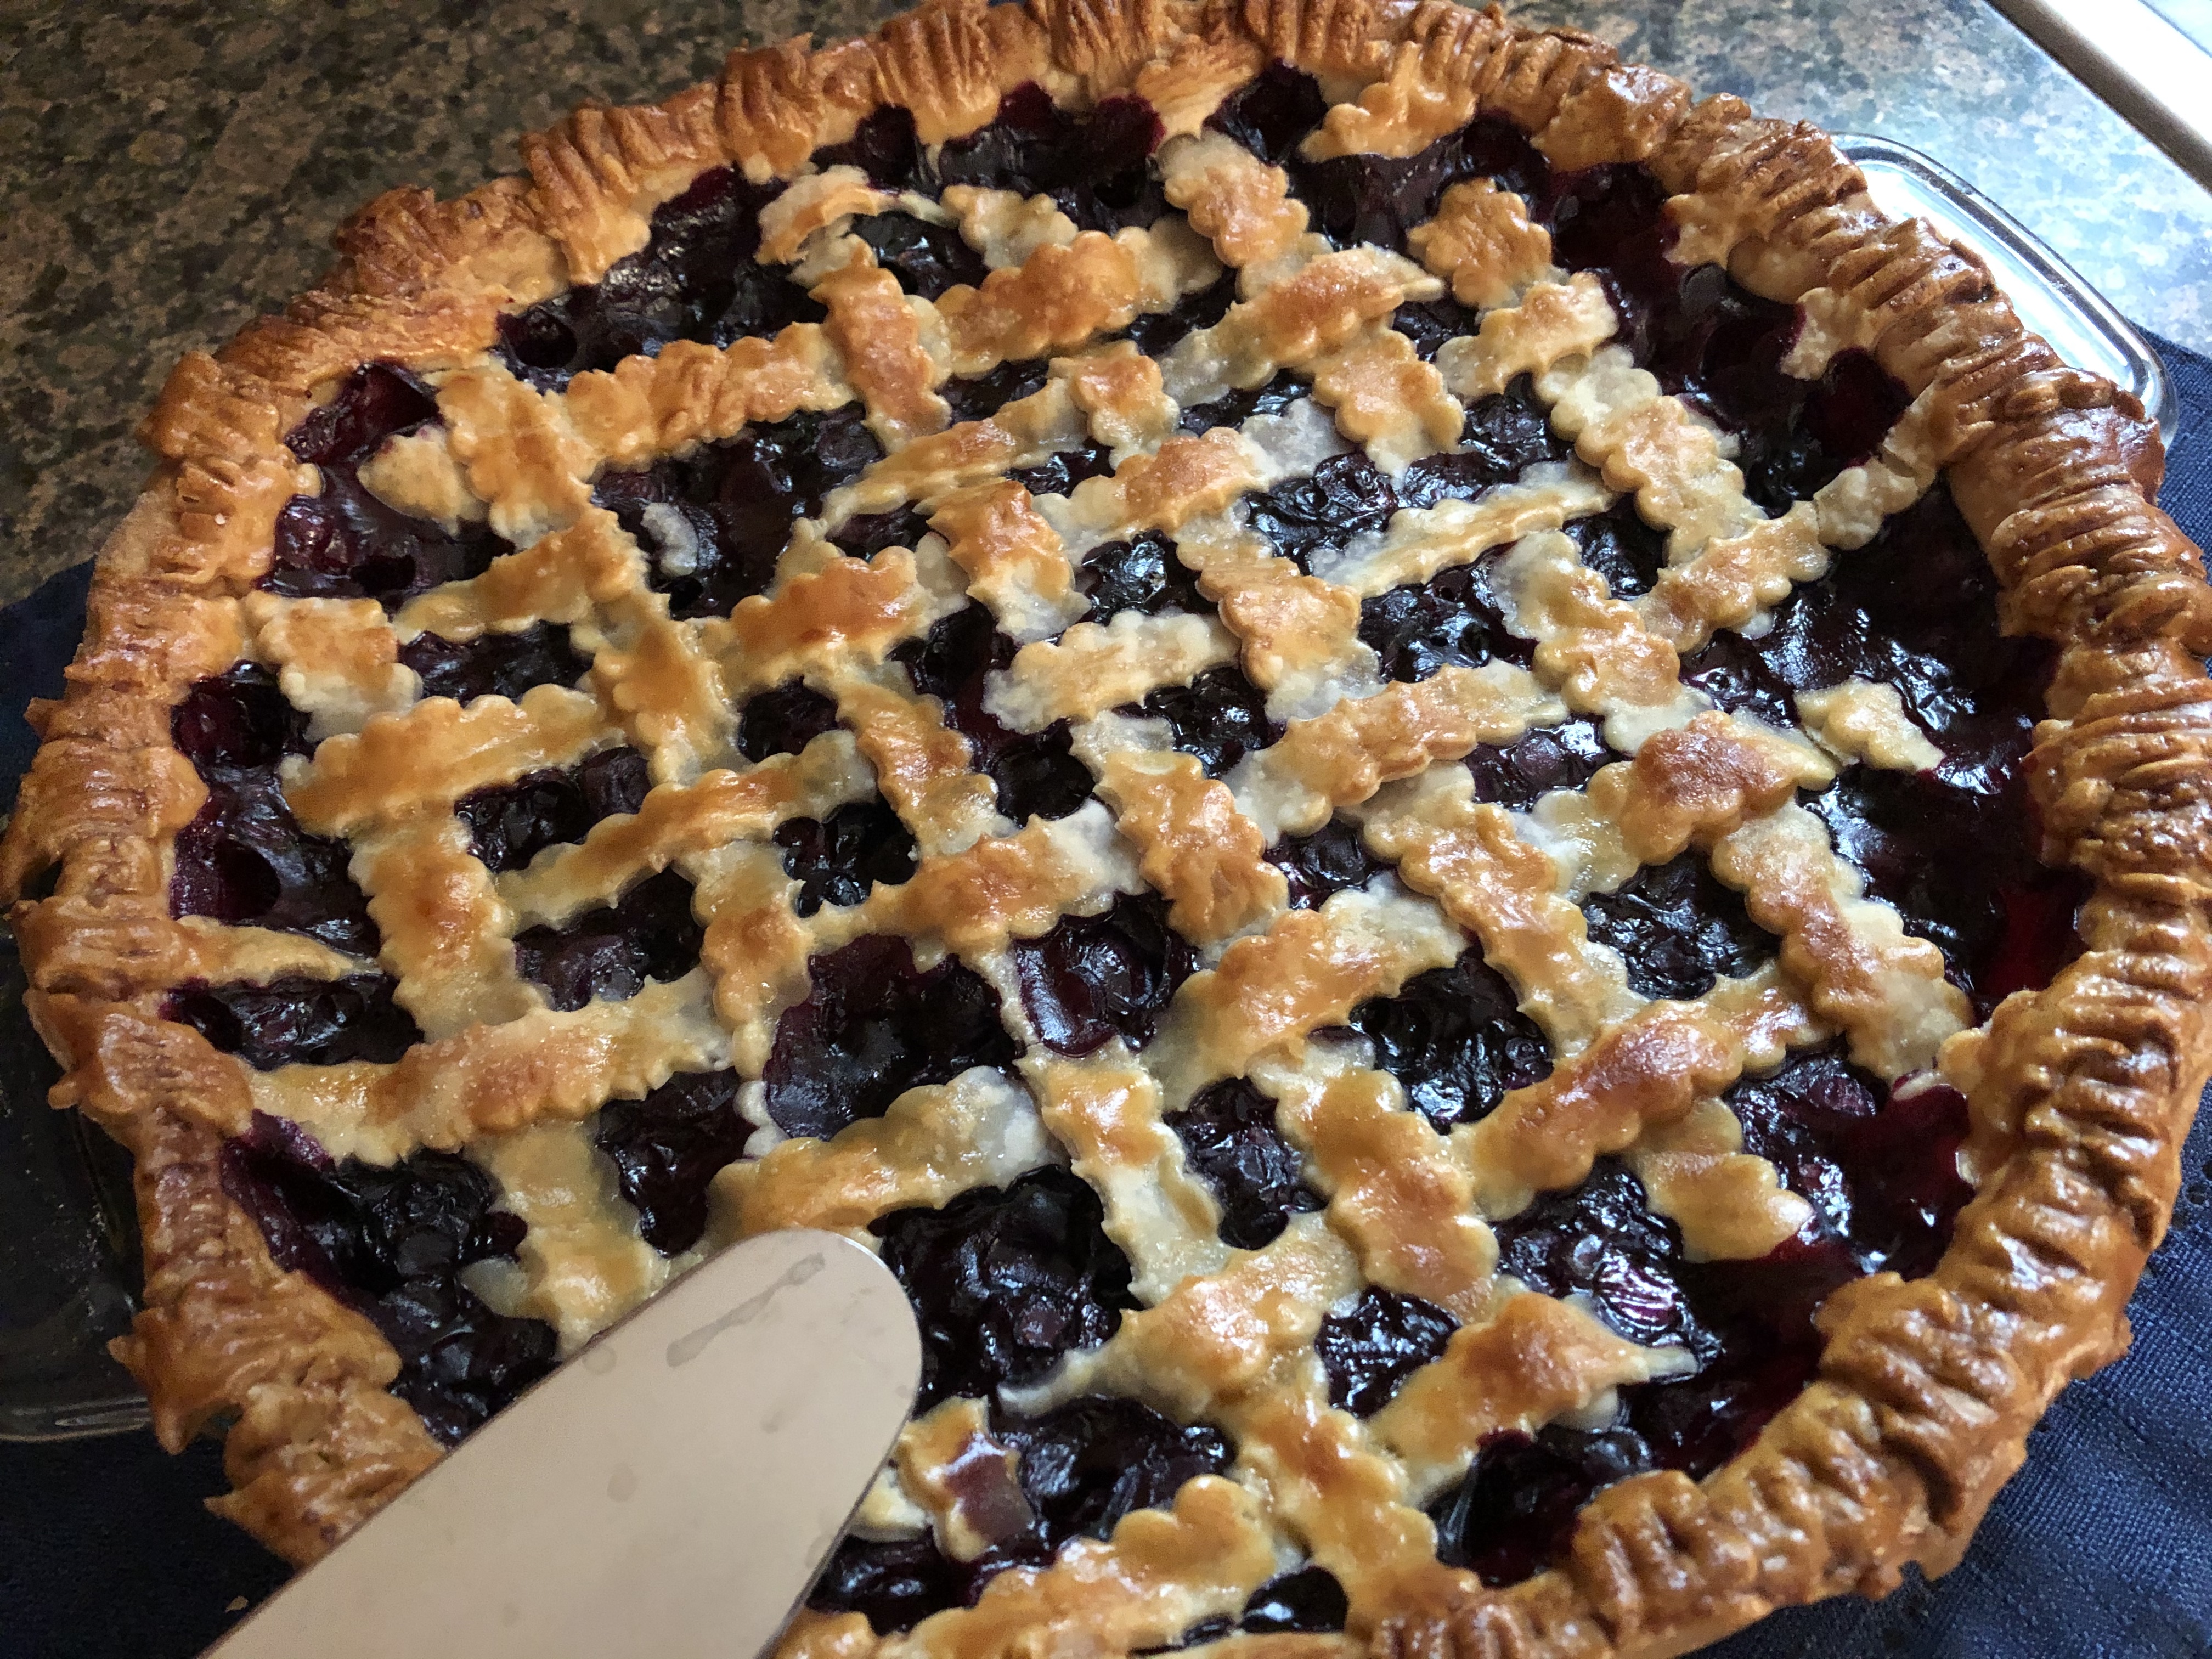
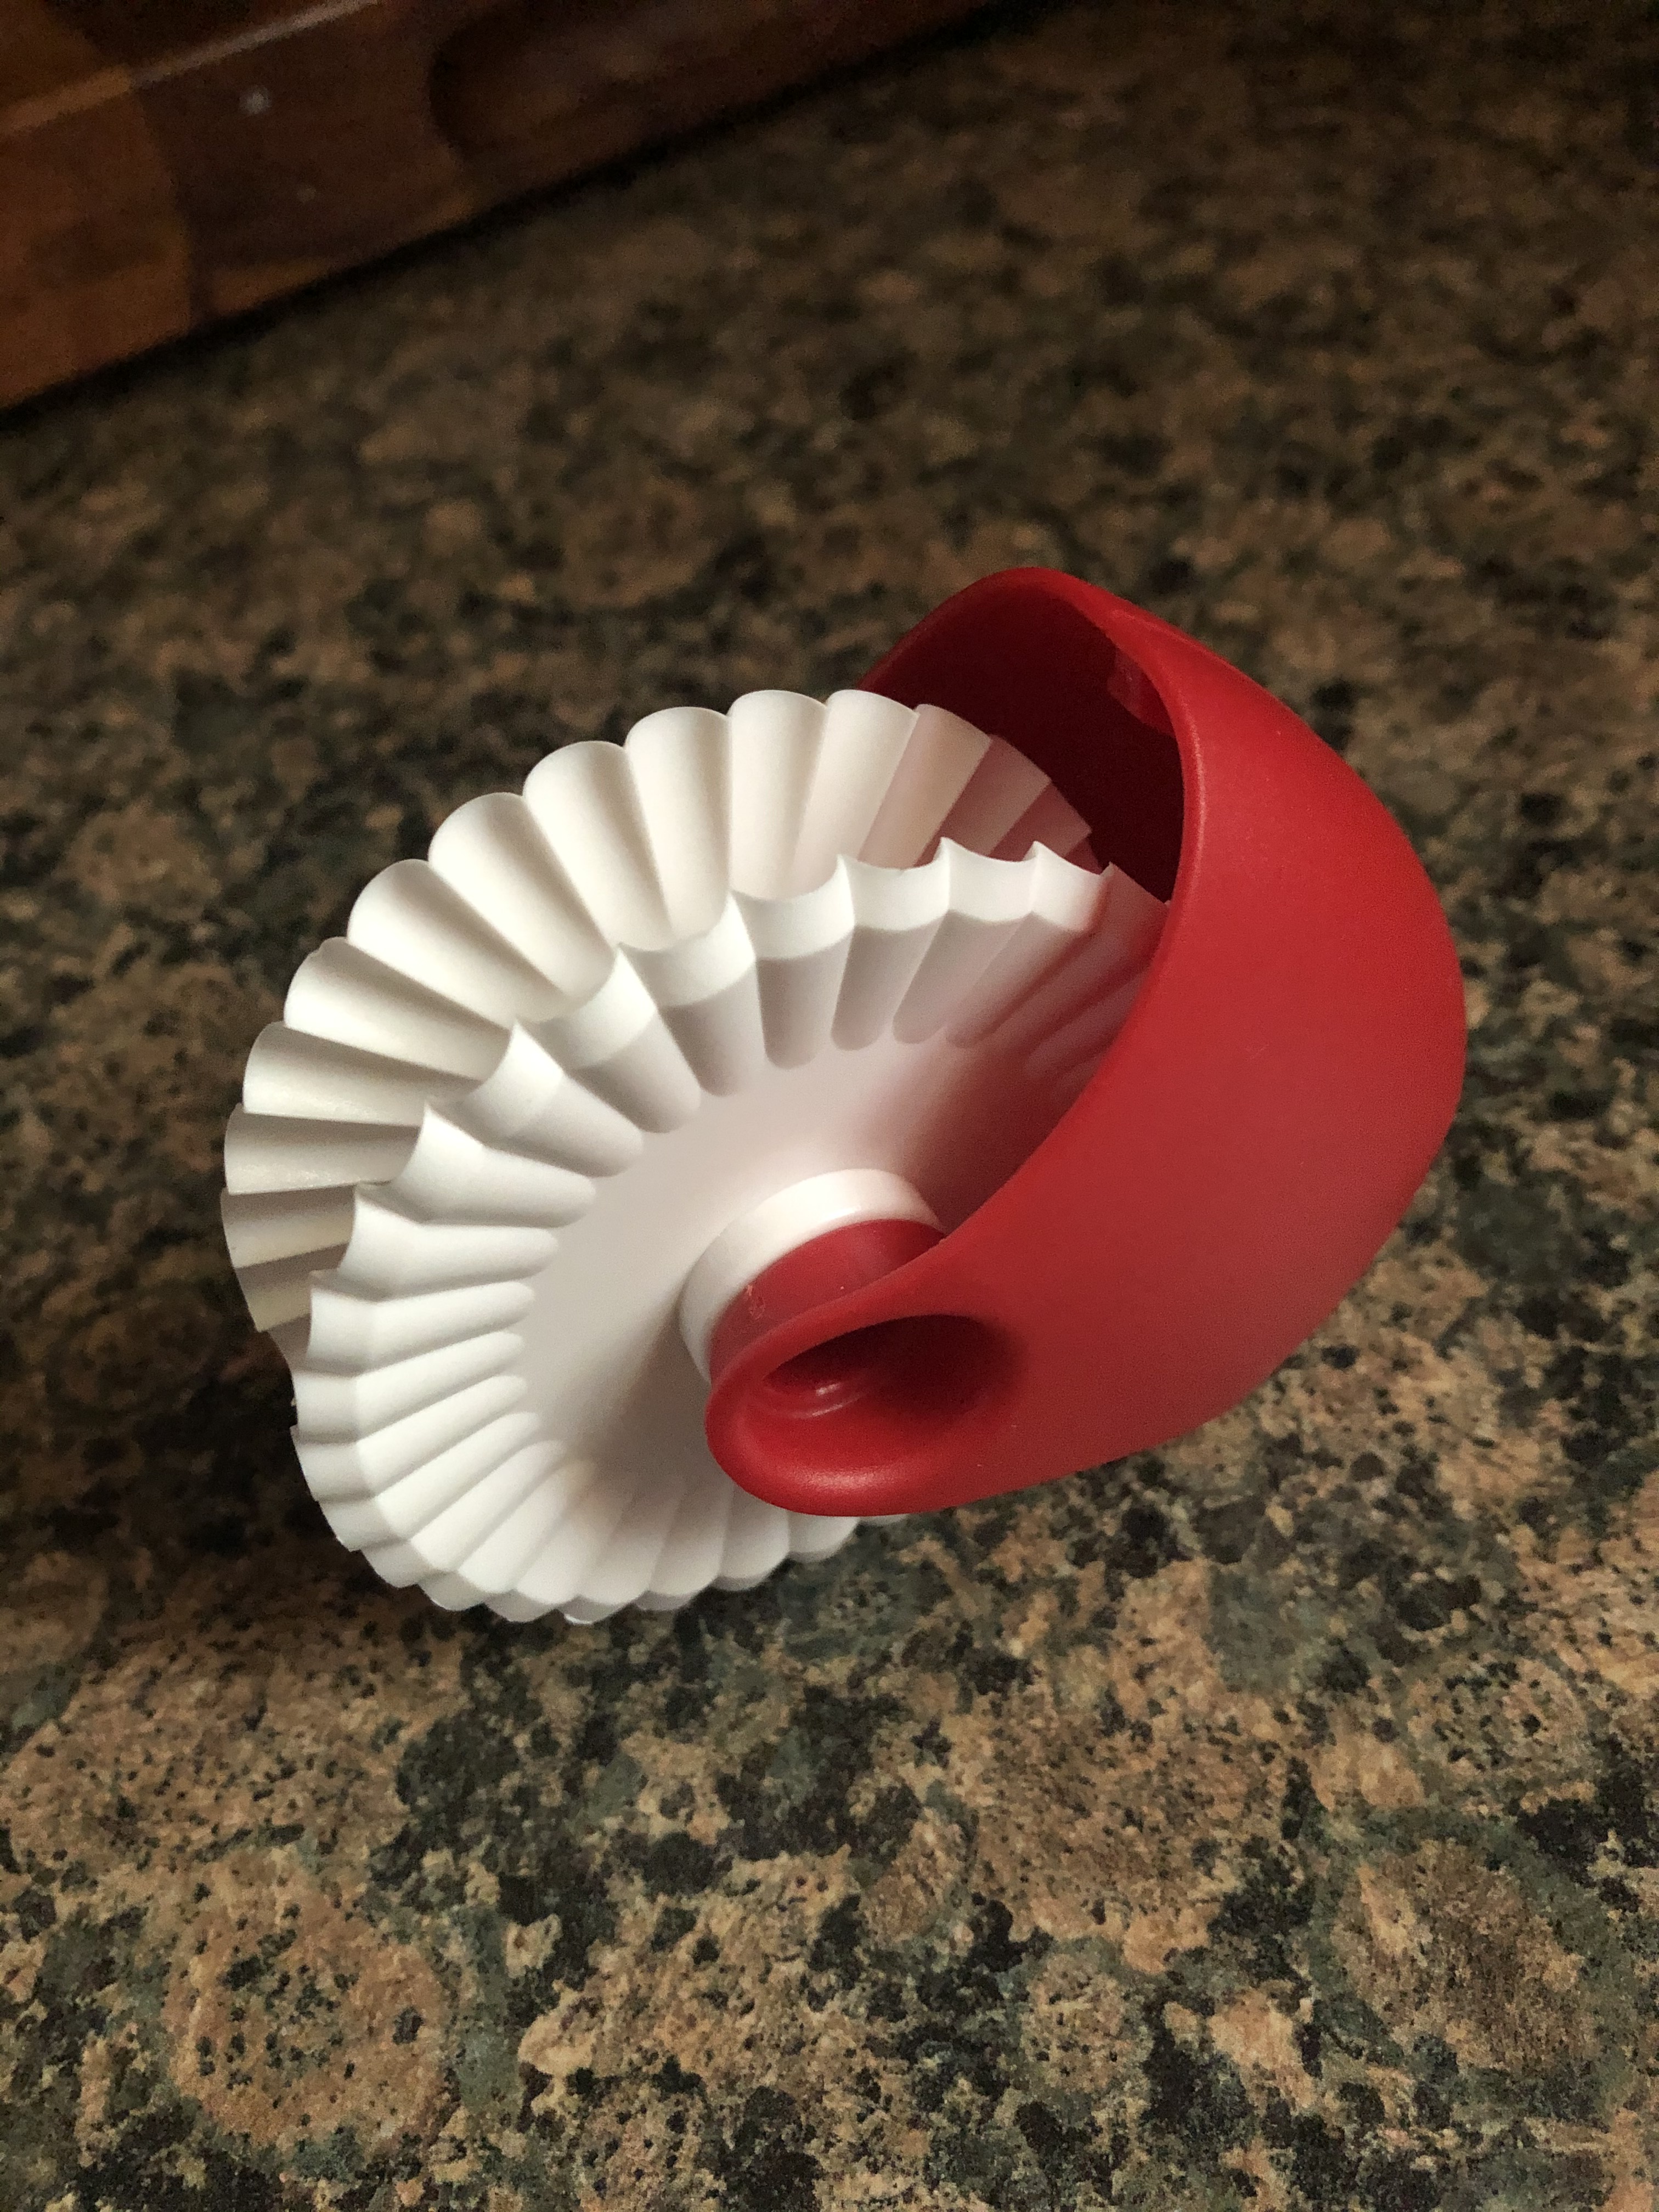
Next, I worked on the lattice topping. I rolled out another store-bought pie crust an extra inch or so and using a pastry wheel lattice cutter I cut strips of the crust. This small tool makes it super easy to make a lattice pie. Each strip is the same width so there’s no need for measuring and hoping you will cut each piece the same size.
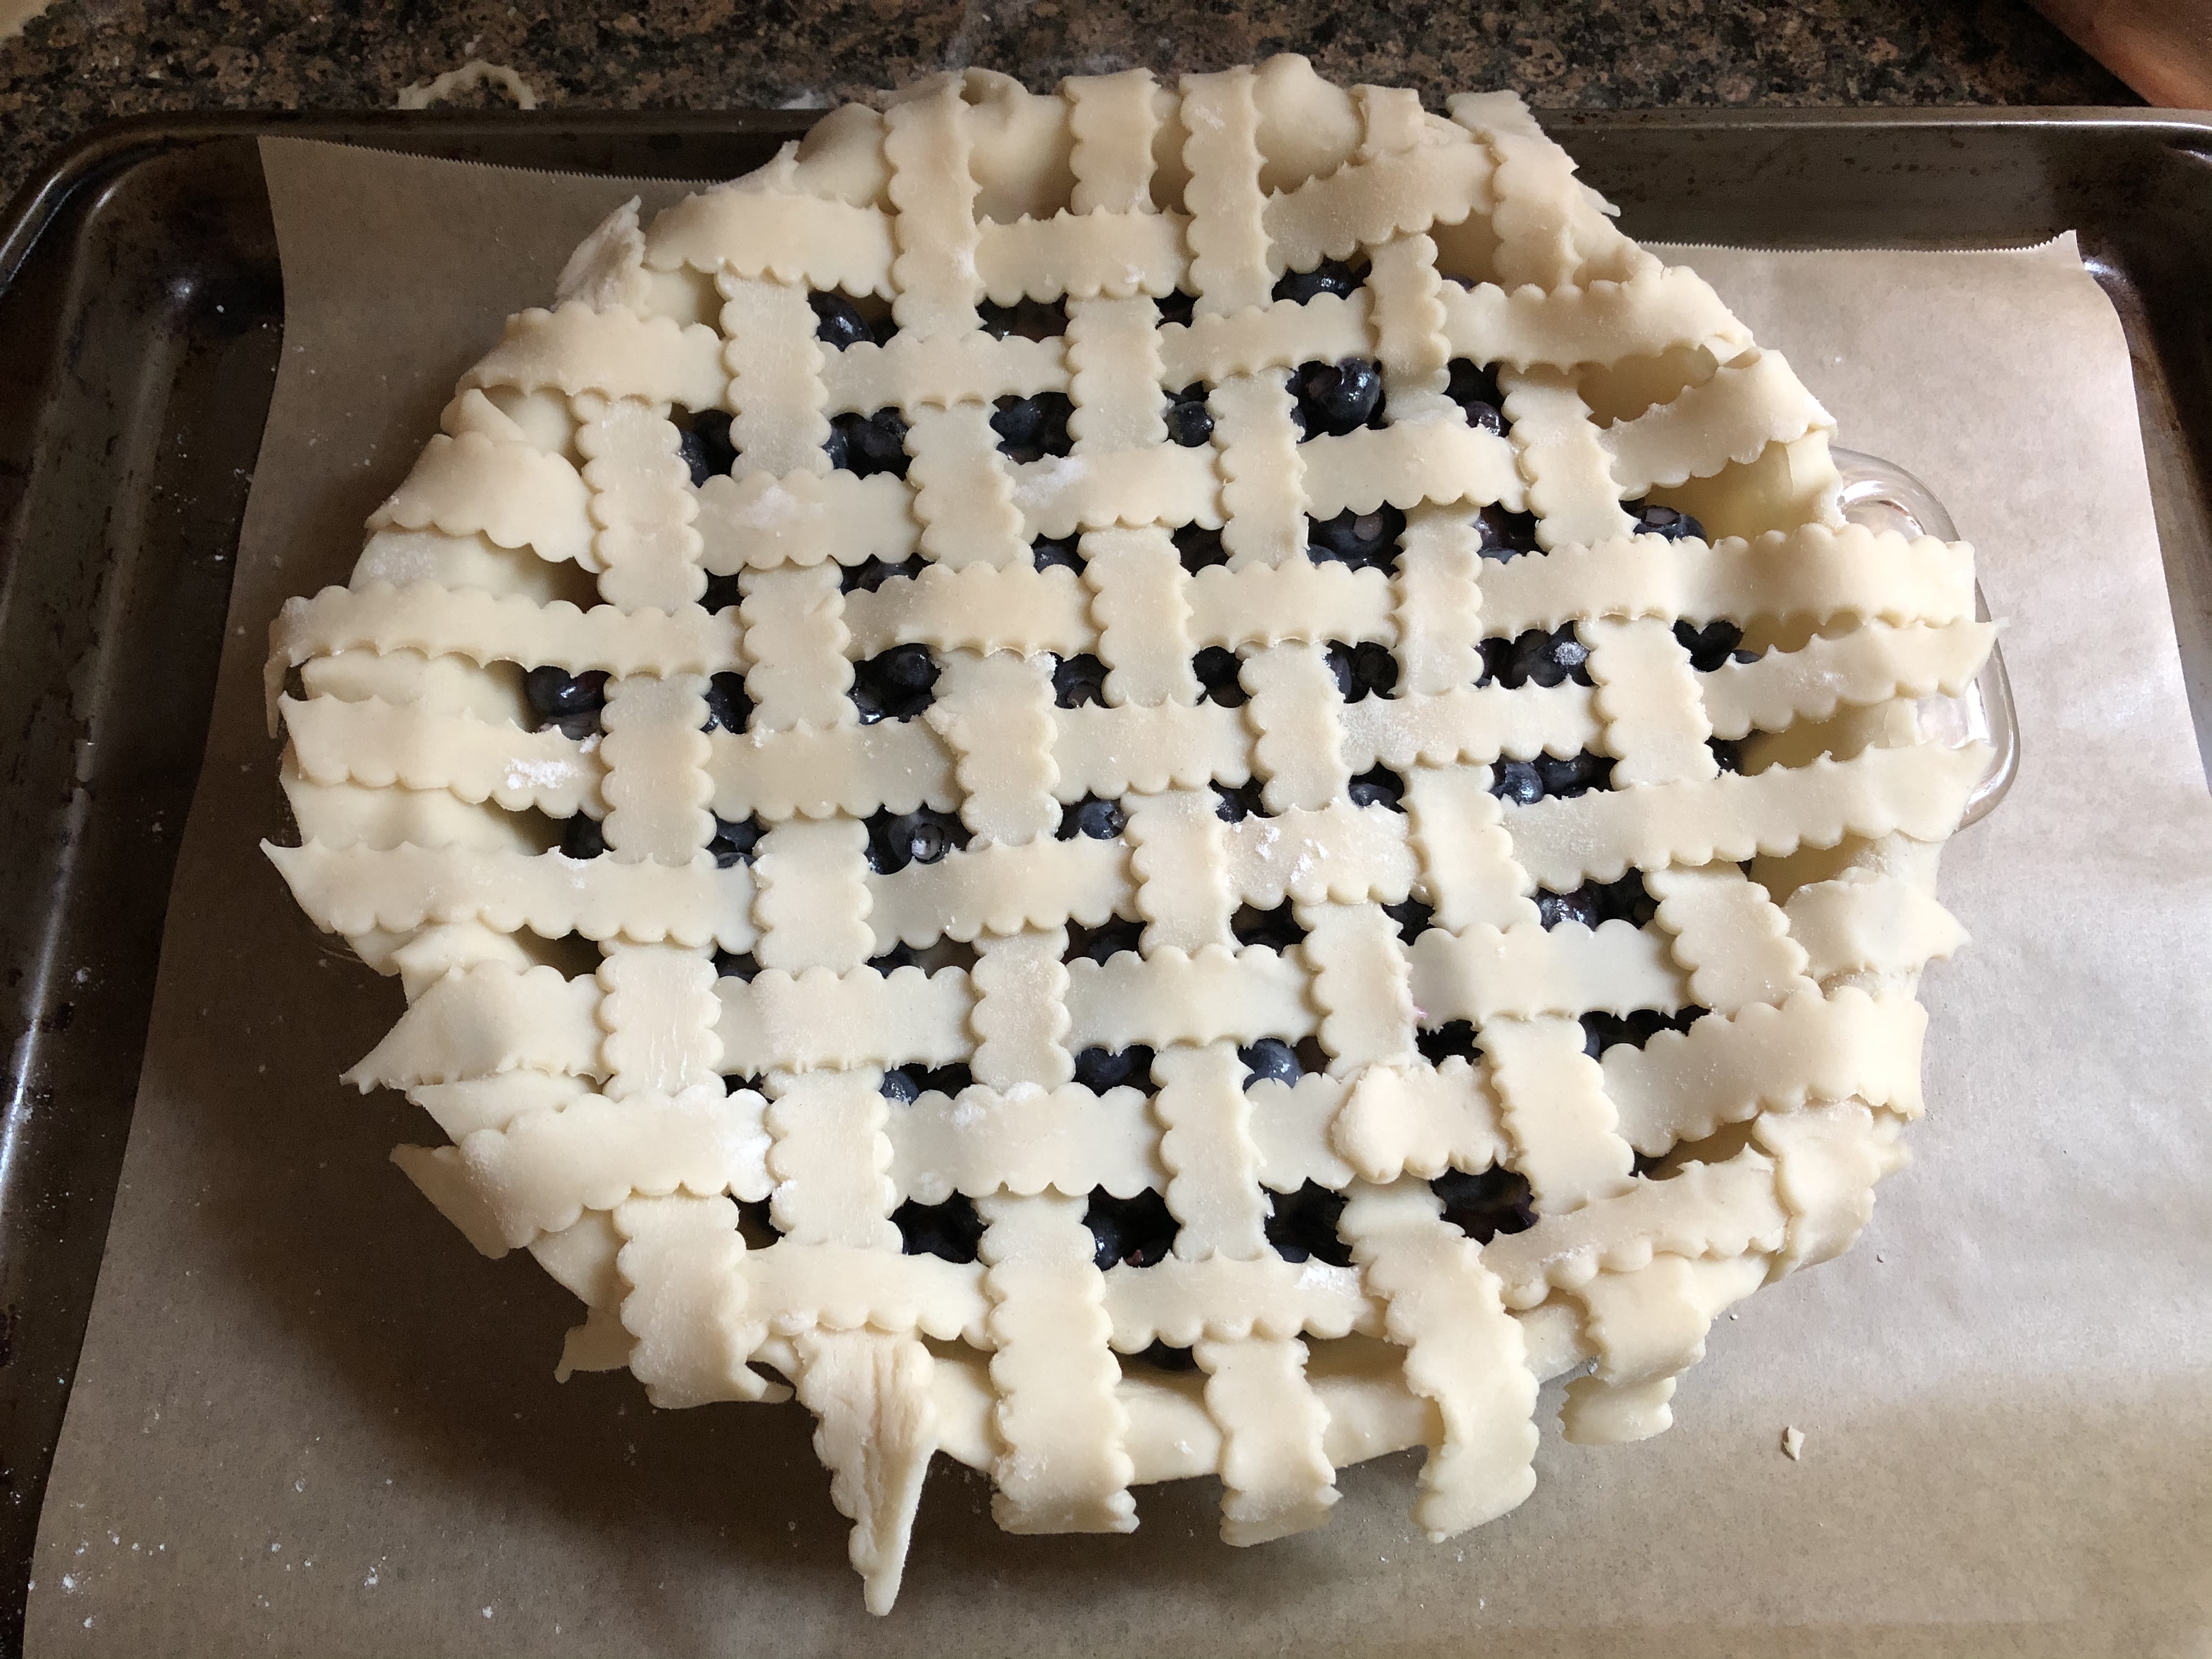
I don’t have a great way of explaining how to make a lattice topped pie and unfortunately, I didn’t take pictures while making this one. It was 90 degrees outside, and my oven was already preheated to 400 F so I wanted to get it done quickly and, in the oven, so I could get out of the kitchen. After cutting all the strips, I placed half of the strips on the pie close together. Next, I weaved in the strips to make the lattice design by folding back every other strip that was on the pie and placed a pie strip perpendicular to the strips folded back and then unfolded the strips I folded down. For the next row I folded back those strips I hadn’t folded back from the first row and then placed another pie strip across. I repeated these steps until my pie was covered with the lattice design.
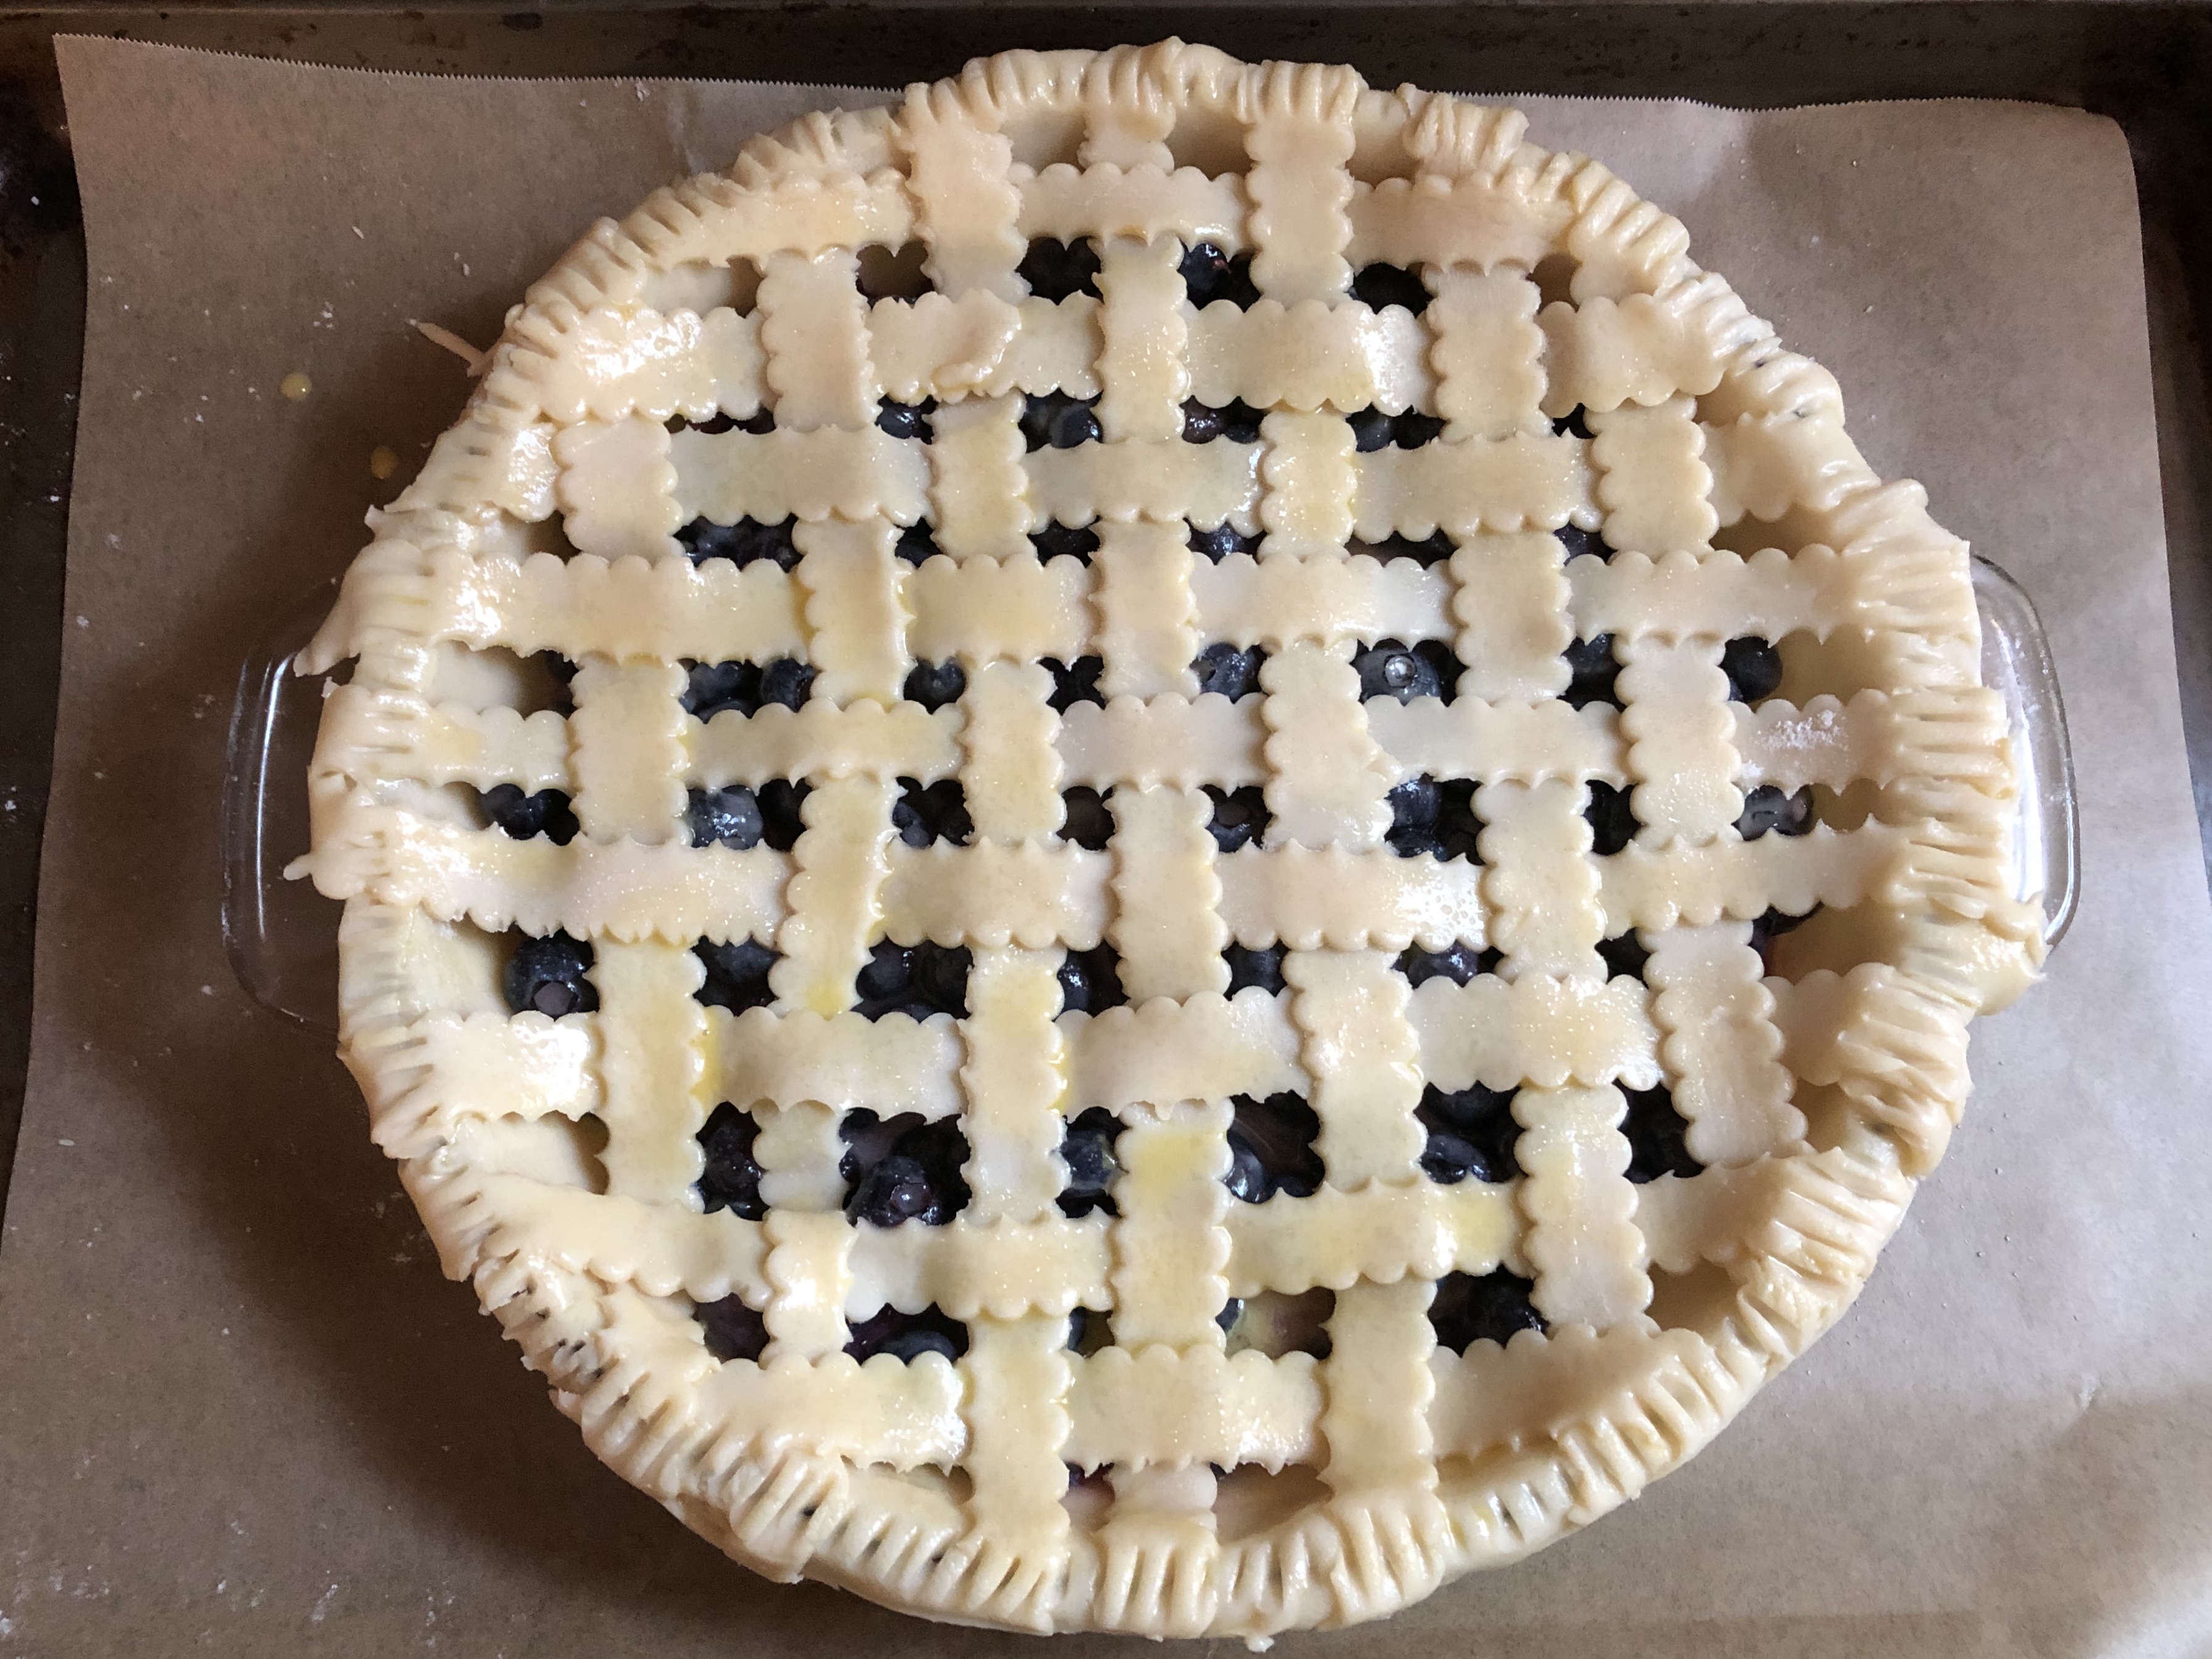
To finish the pie, I trimmed the edges around the pie and crimped the edge of the pie with a fork and then brushed the entire pie with an egg wash and sprinkled it with sugar.
I placed the pie on a parchment lined baking sheet and baked it in a 400 F preheated oven for about 45 minutes, the blueberry filling was quite bubbly. After about the first 20 minutes of baking I placed a pie shield around the pie so the edges of the pie wouldn’t burn.
Unfortunately, my lattice wasn’t as pretty coming out of the oven as it was going in, but it was delicious!
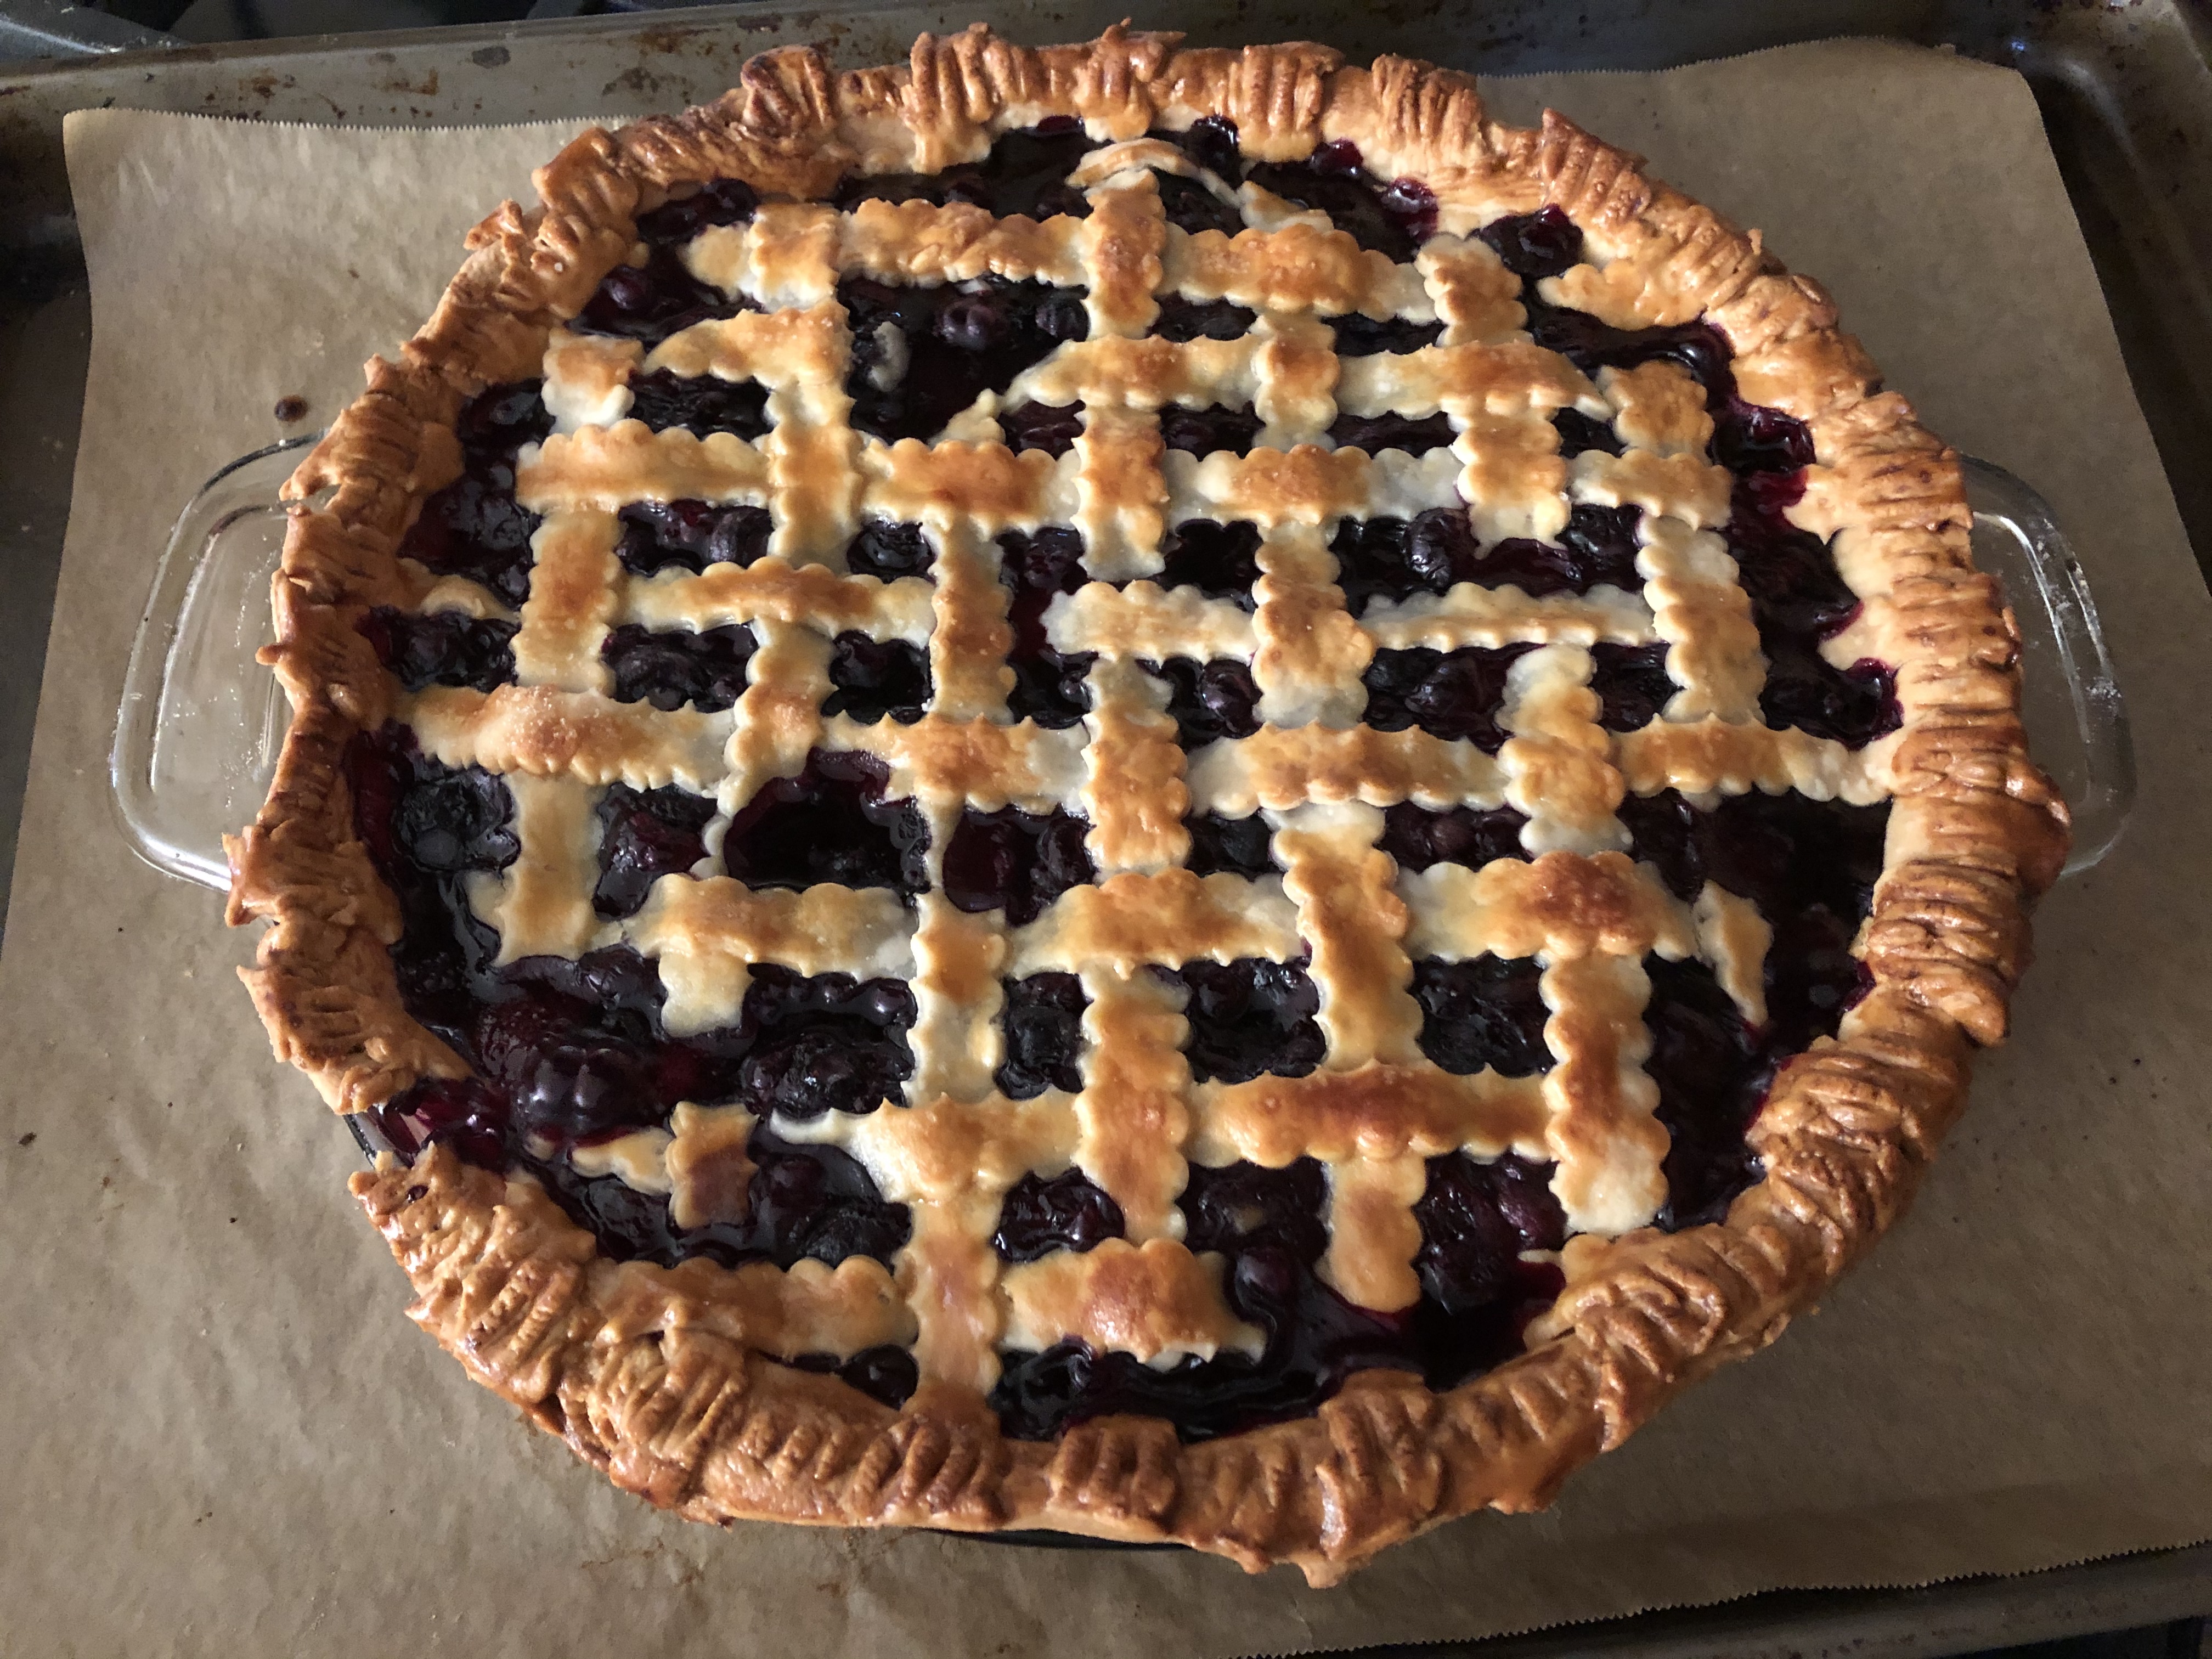
And as you can see, my filling was the perfect amount. It was also the perfect consistency; it wasn’t runny at all.
Blueberry Pie
Ingredients:
Store-bought pie crust, or your favorite homemade pie crust
4 cups fresh blueberries, washed and dried
1/2 cup sugar, plus extra for sprinkling on the pie
1/2 cup flour
1 teaspoon lemon zest
1/4 cup freshly lemon juice, from two lemons
1 egg beaten with 1 tablespoon milk for egg wash
Directions:
Preheat the oven to 400 F. Line a baking sheet with parchment paper and set aside.
In a large bowl combine the blueberries, sugar, flour, lemon zest and lemon juice. Mix the ingredients together well. Set aside.
Place one of the crusts into a 9-inch pie plate and fill with the blueberry mixture. Lay the second crust on top of the pie, or, use the second pie crust to create a design for the top of the pie. Place the pie on the prepared baking sheet and then brush with the egg wash and sprinkle the top with sugar.
Bake in the preheated oven for 45 – 50 minutes, or until the filling is bubbly and the crust has a nice golden color.
Cool on a wire rack to room temperature and then serve and enjoy!