Mess Free Piping

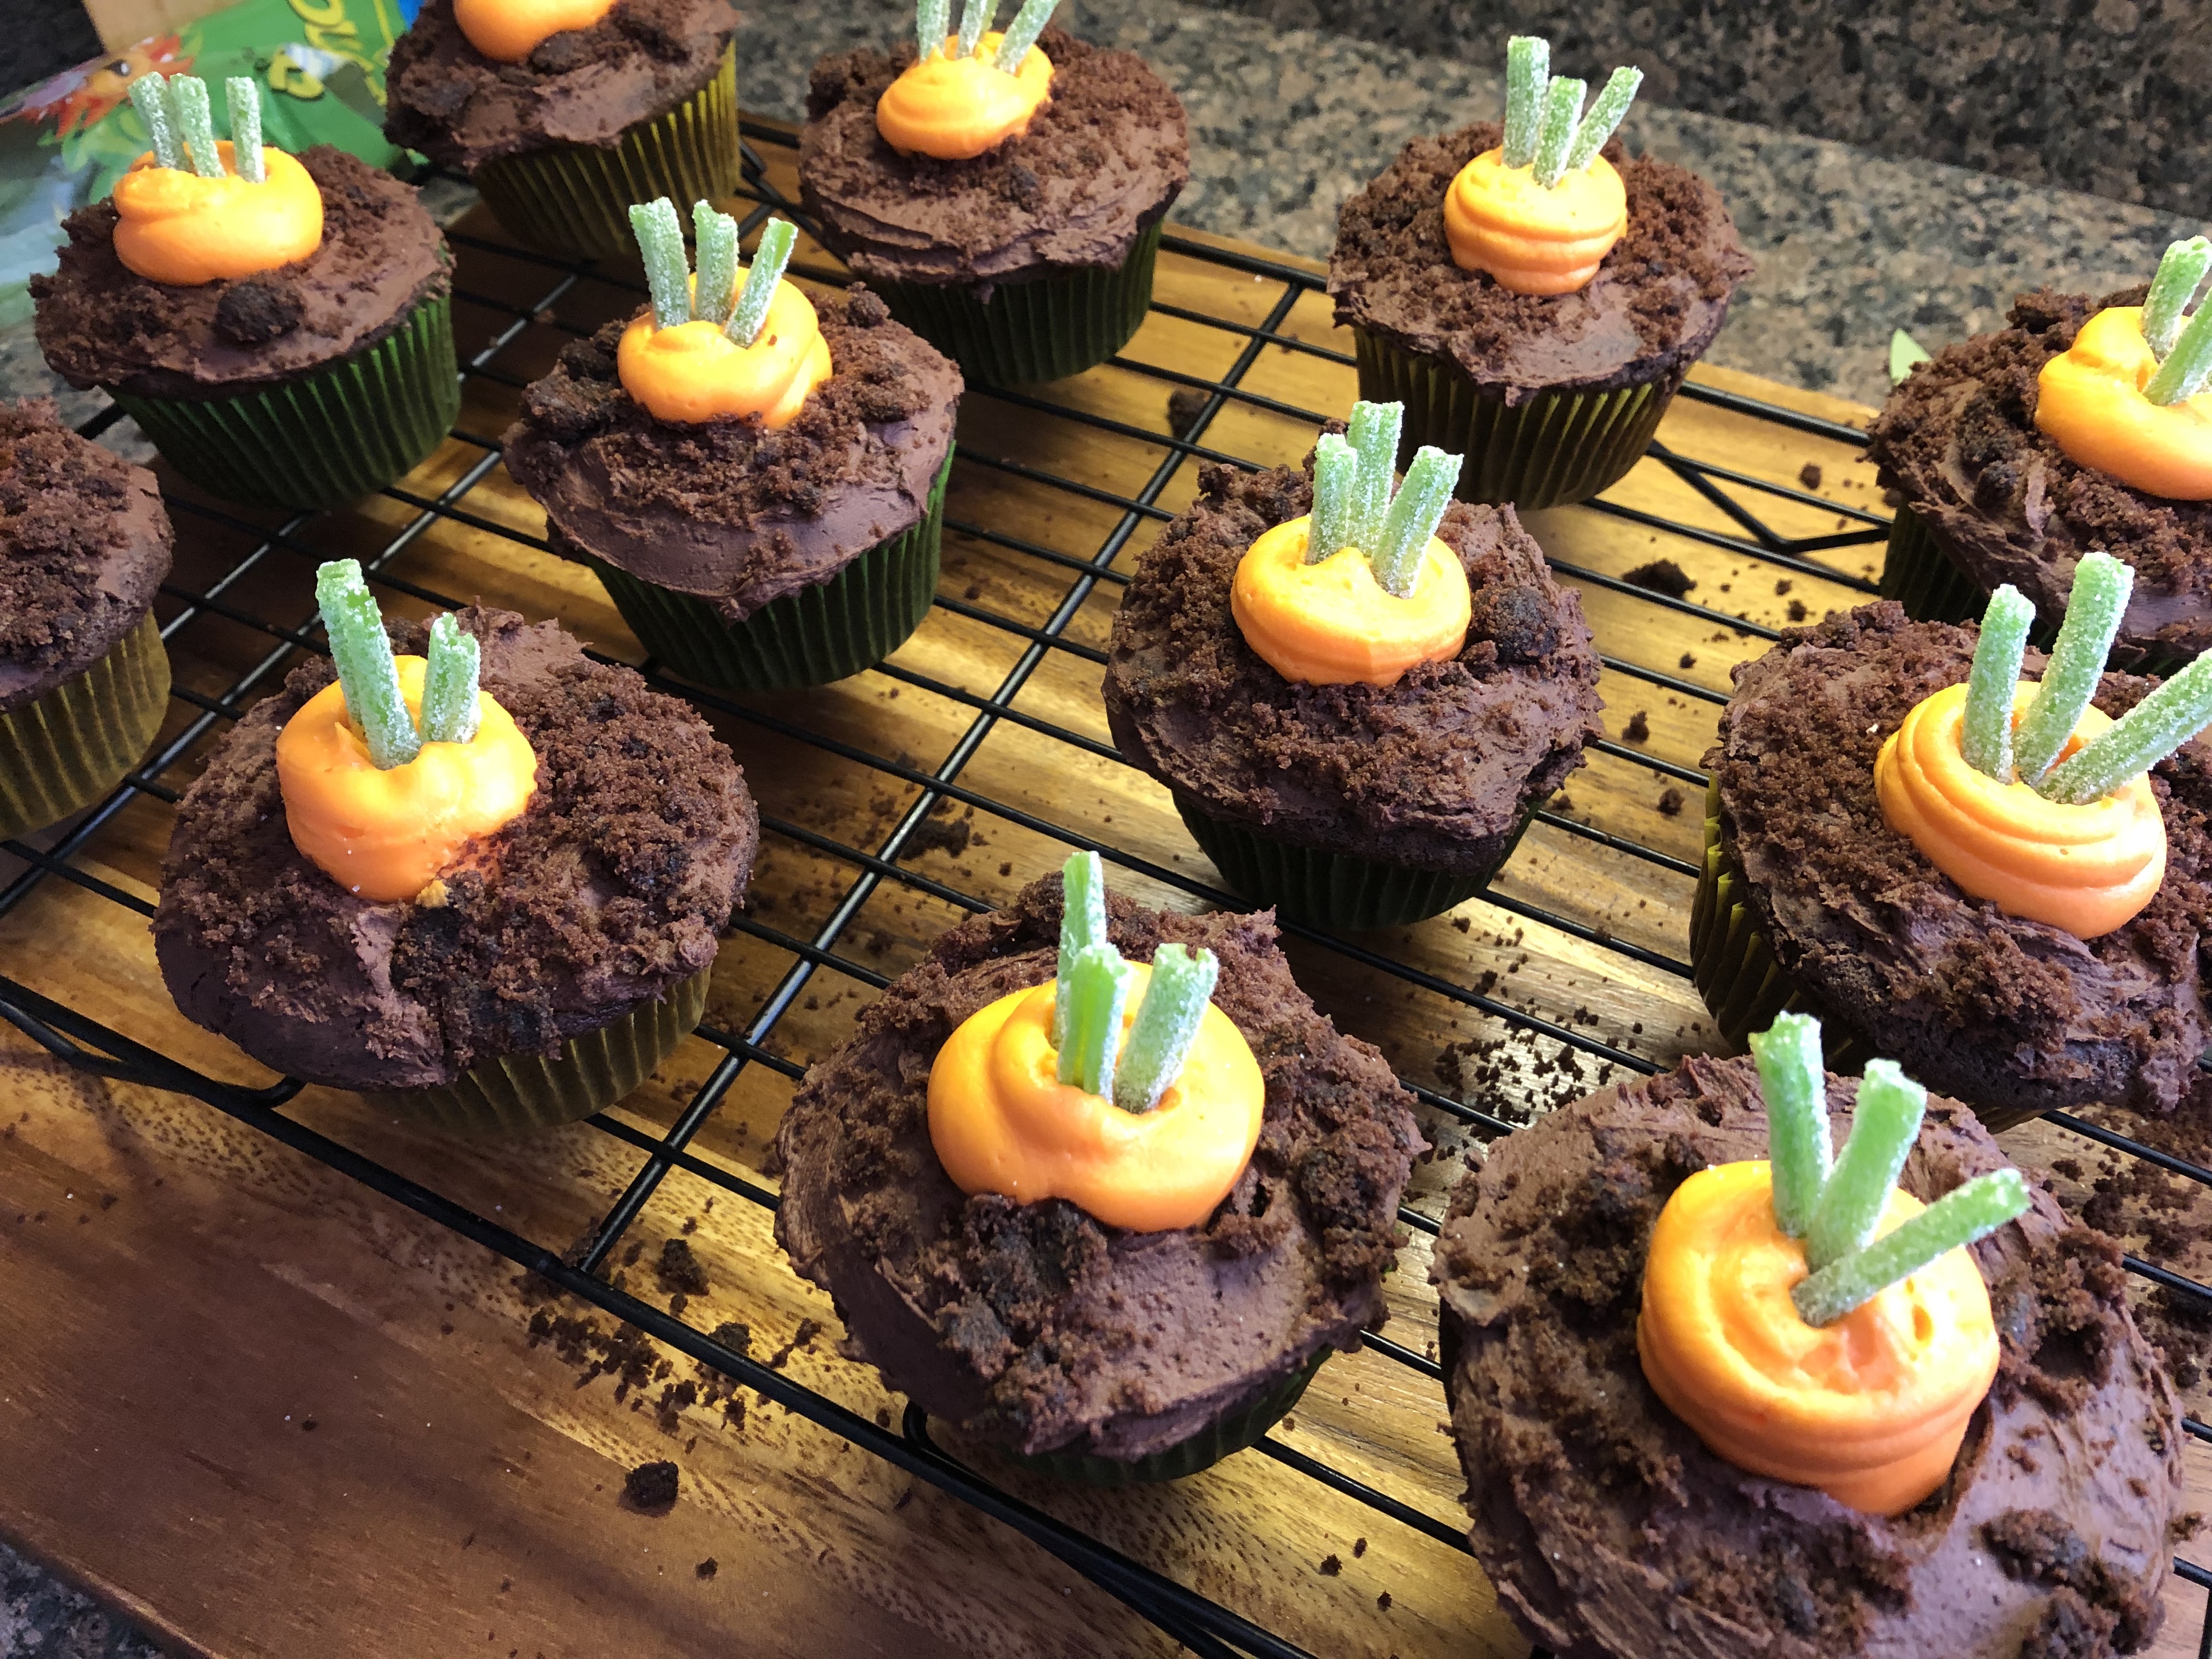
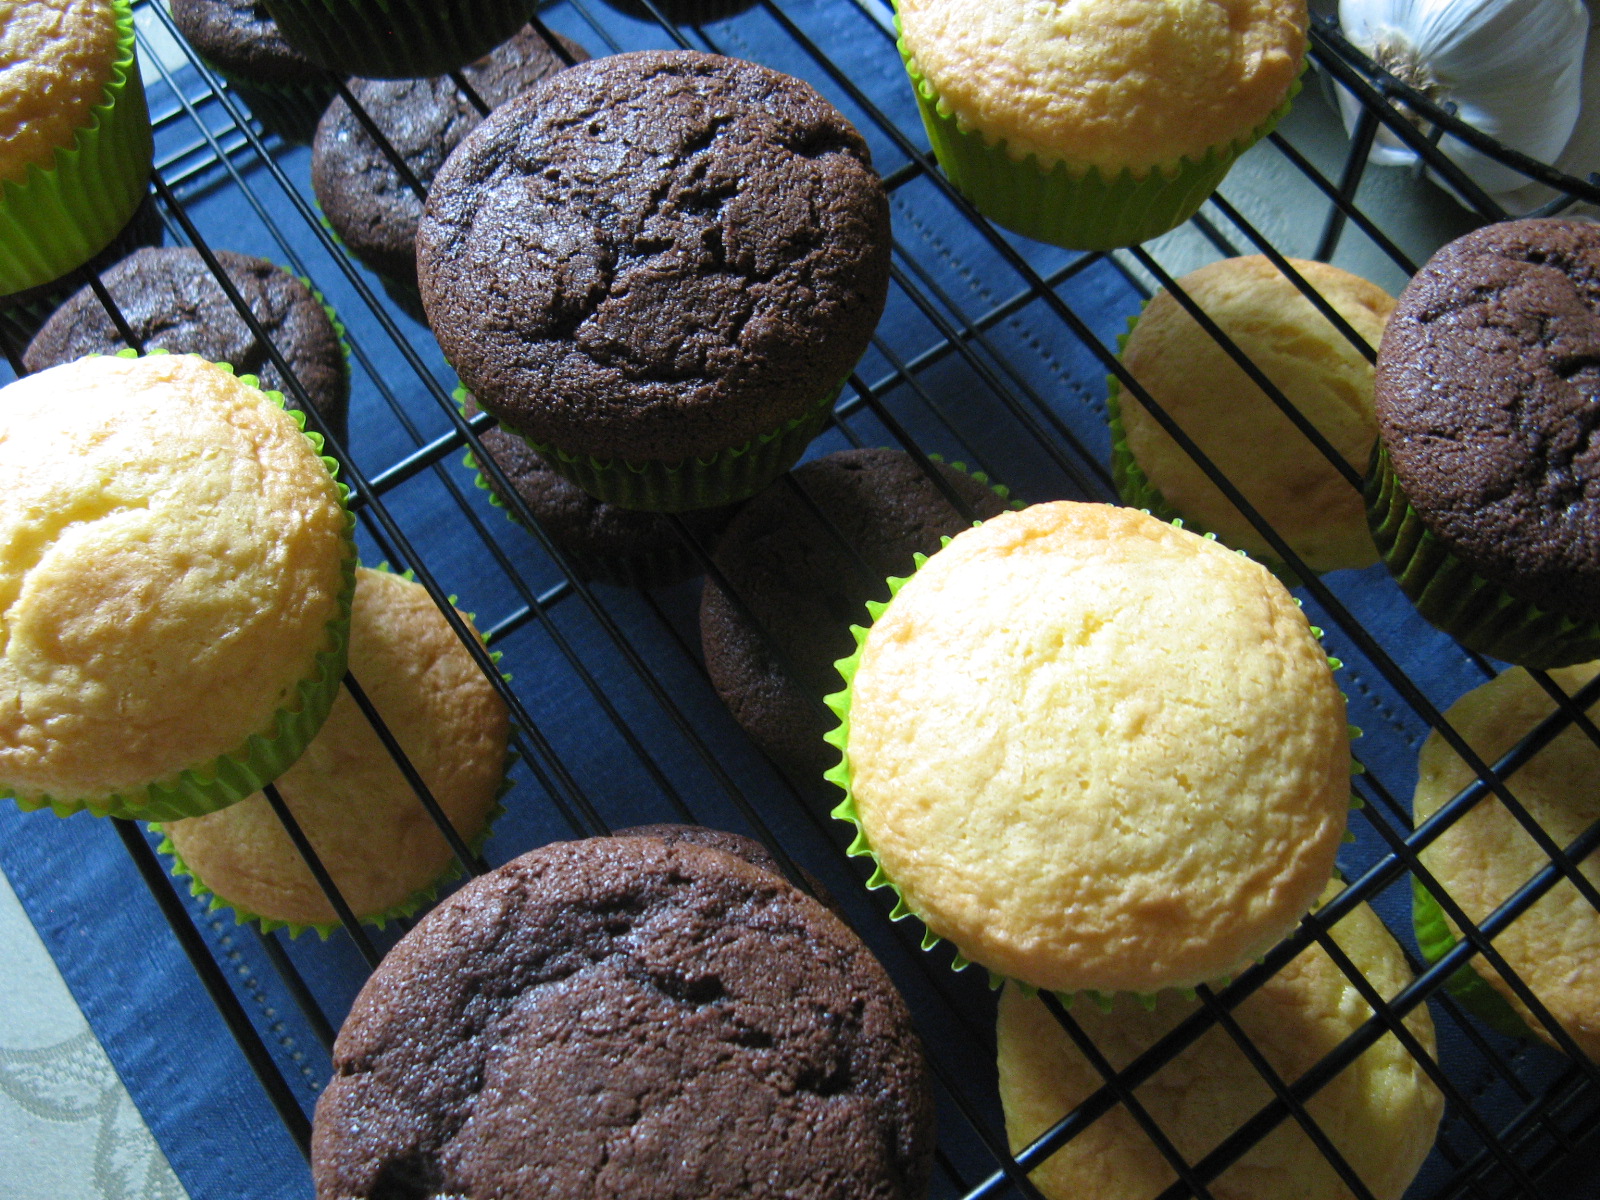
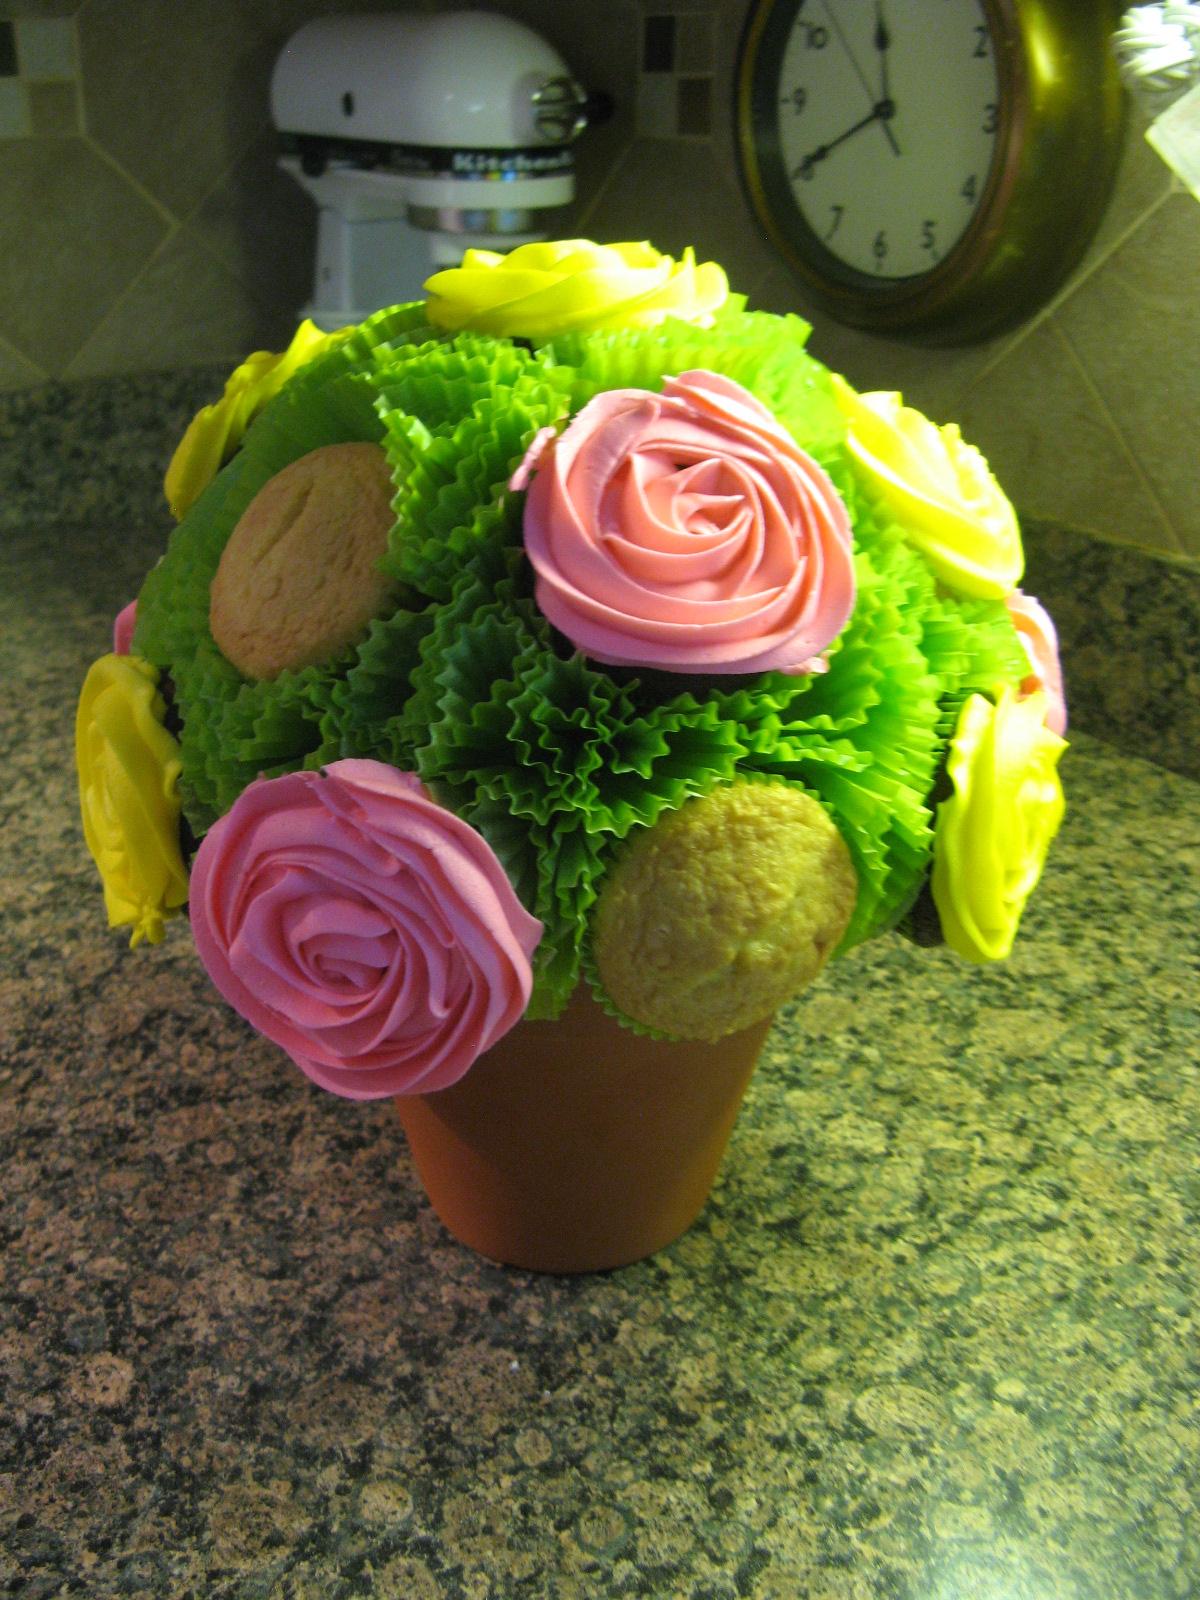
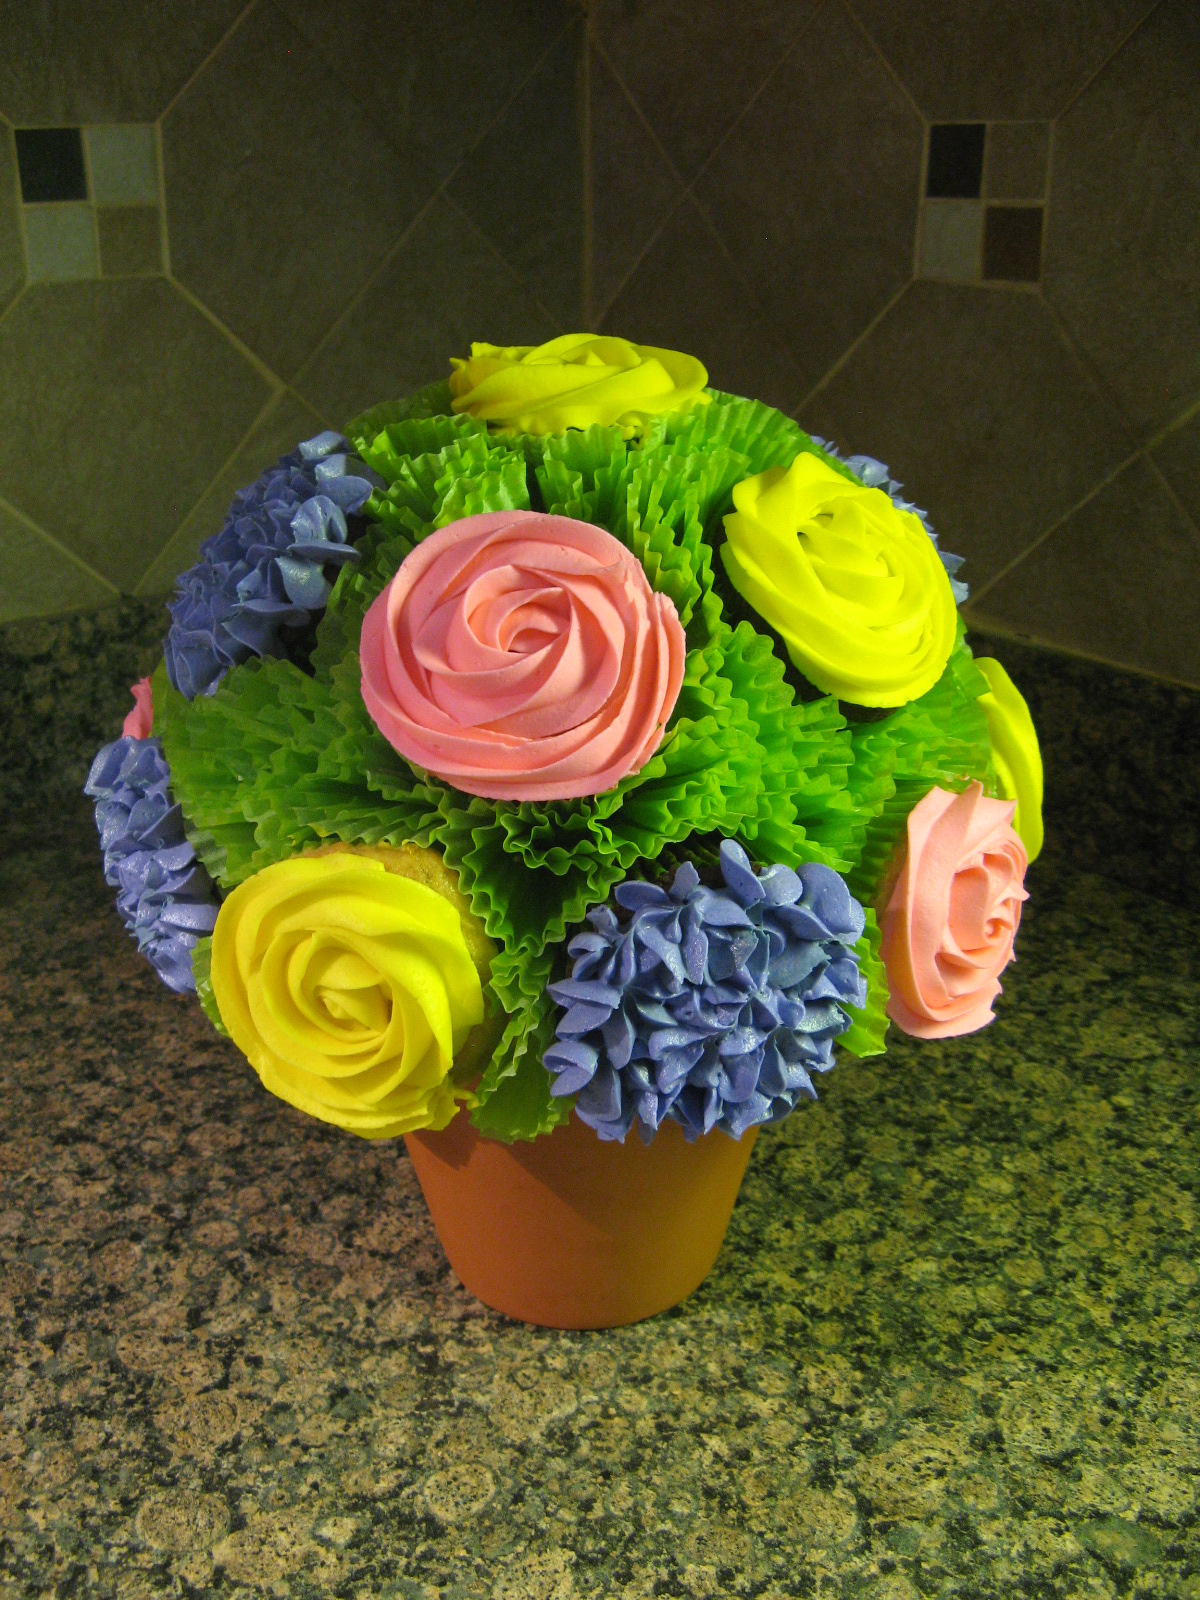
I’ve been seeing people use plastic wrap inside of their piping bags for some time now- on other blogs, Pinterest, Instagram, etc.- especially when piping two or more colors together to create a fun swirl on a cupcake or to pipe flowers. I haven’t had a reason to try it until this past weekend when I decided to make chocolate cupcakes with vanilla frosting to go along with the carrot cake I made for Easter. Carrot cake is usually not a hit amongst kids so I decided I should bake something that was more kid friendly and you can you can’t get more kid friendly than a chocolate cupcake with colorful frosting.

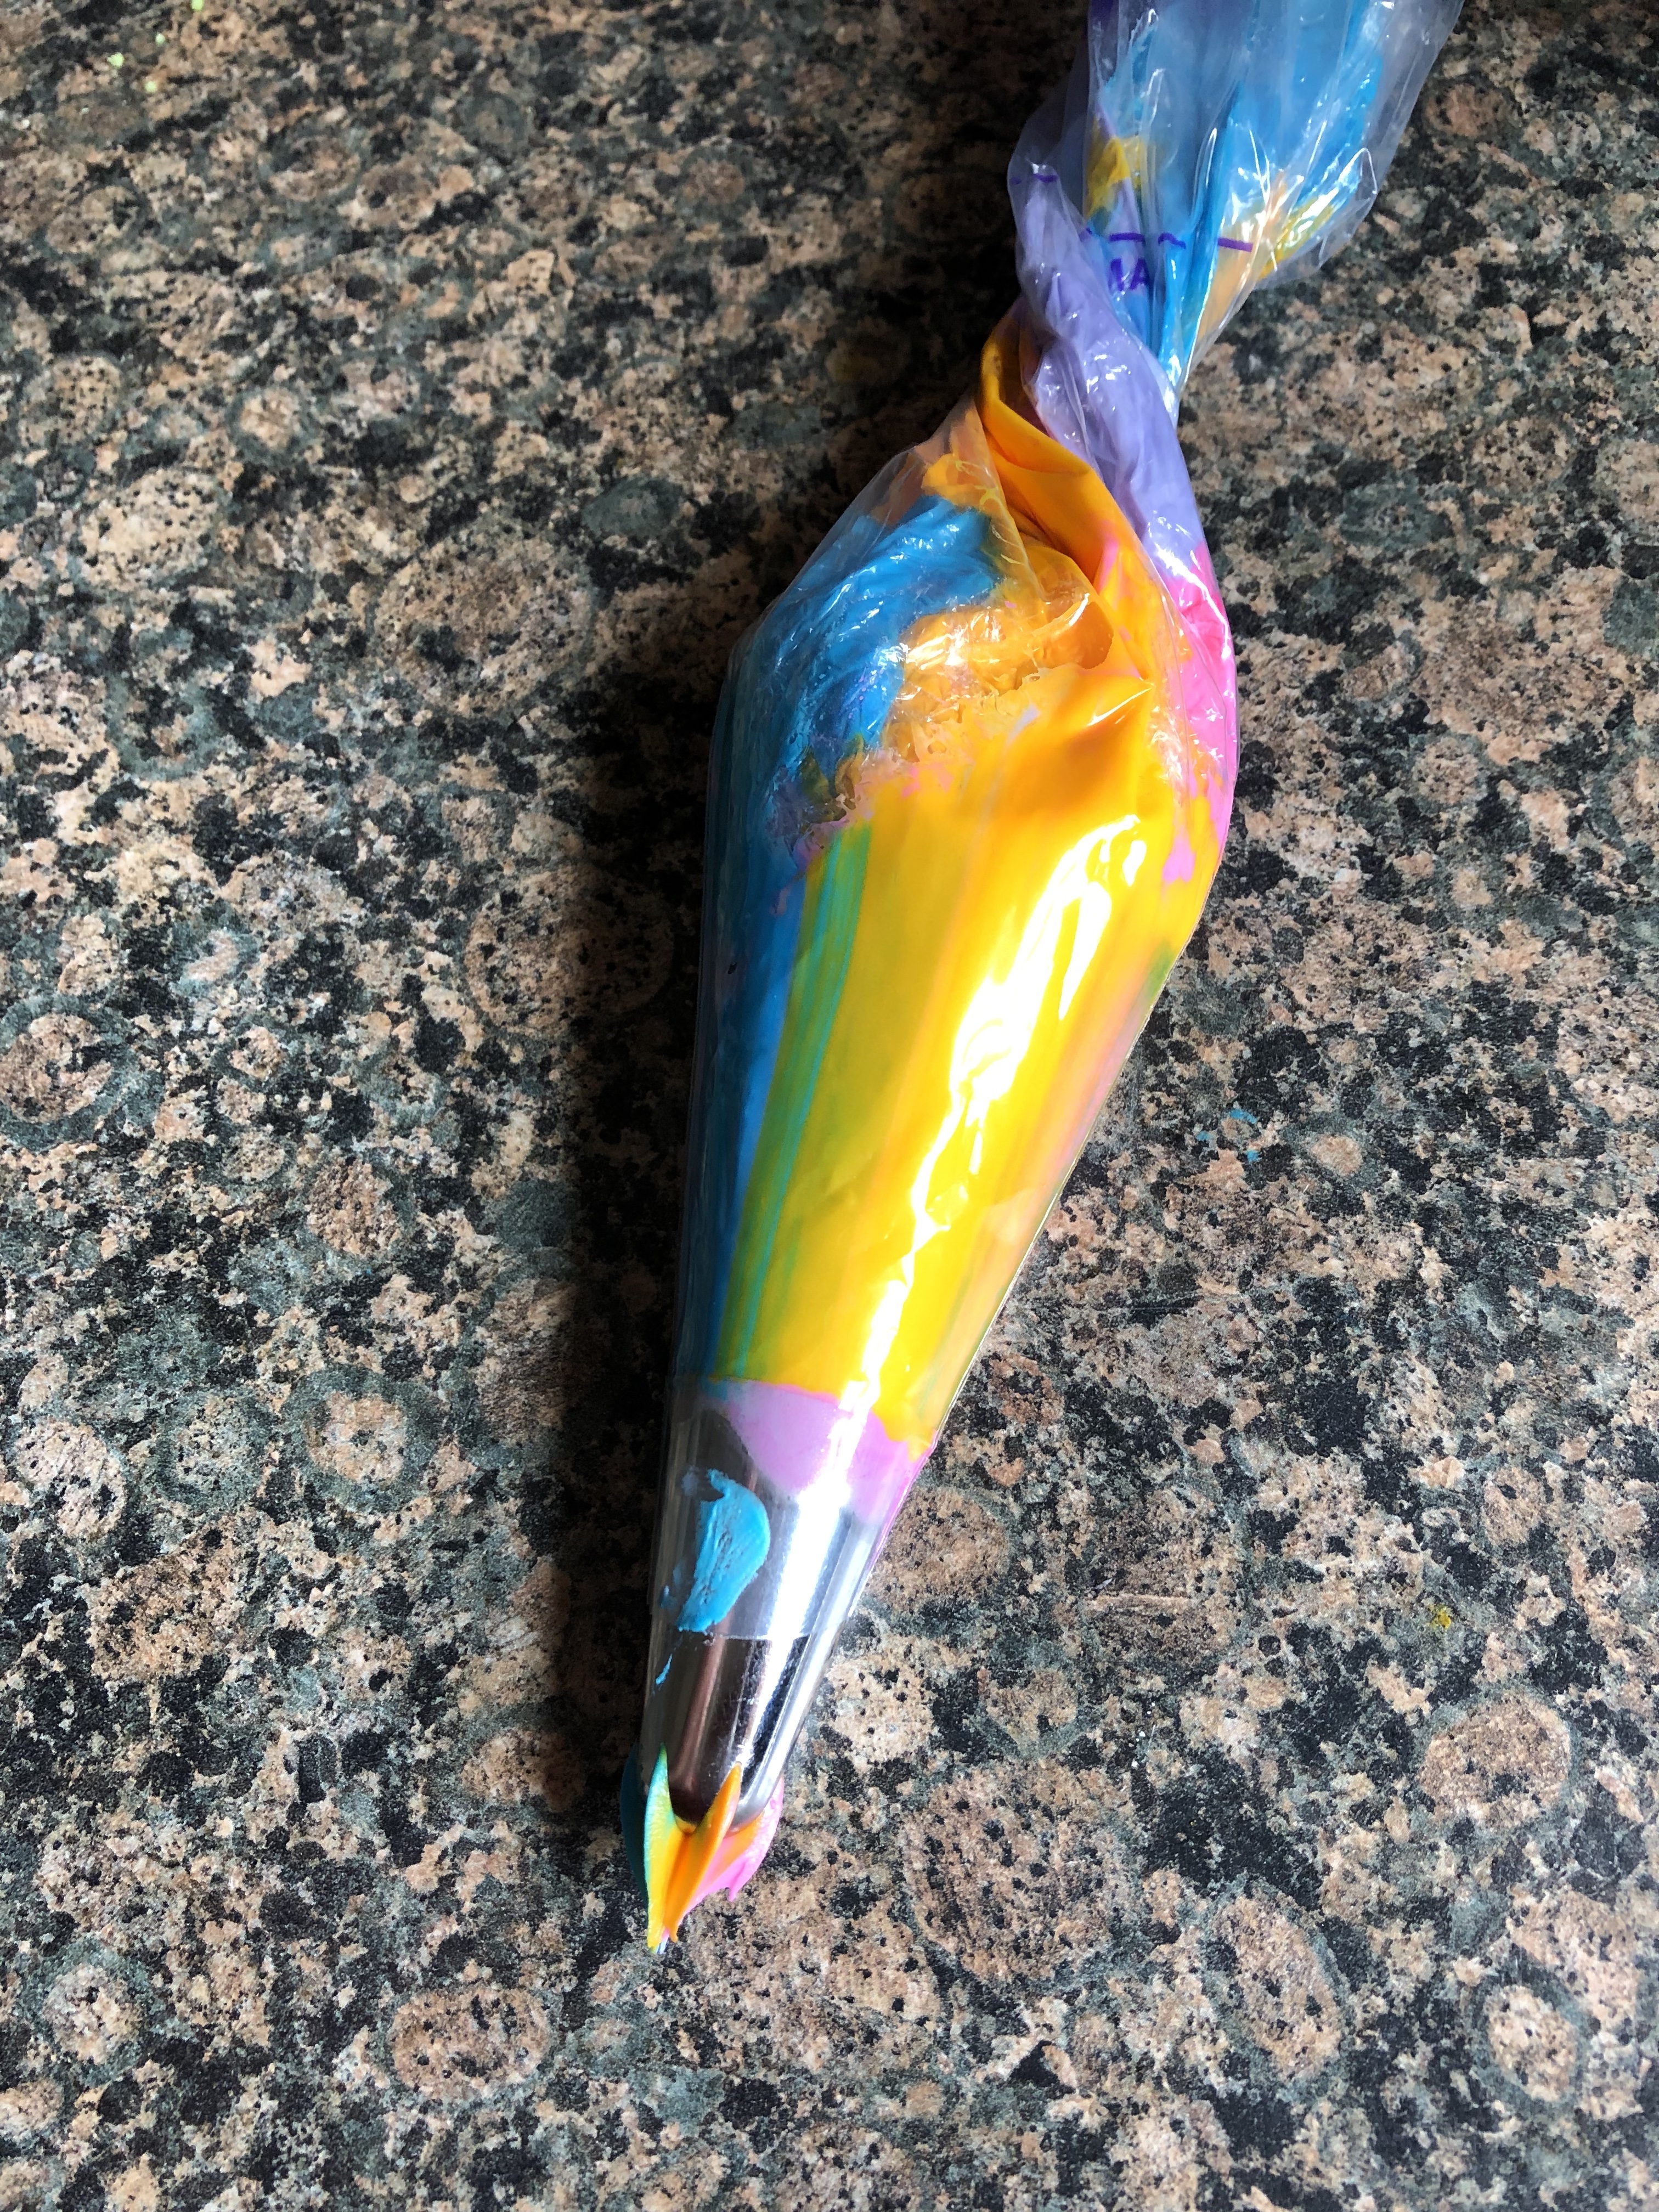
After tinting the frosting I placed small amounts of it on a decent sized piece of plastic wrap as below.

Next I folded the plastic wrap in half and then simply rolled the entire thing to create a cylinder shape and tightly wound the ends of the plastic wrap so the frosting couldn’t “escape.” I quickly realized that I may have placed too much frosting on the plastic wrap since I didn’t have too much plastic wrap on the ends to wind together.

I then snipped one of the ends of the plastic wrap off and dropped it into a piping bag that I had already fitting with a Wilton 2D piping tip.

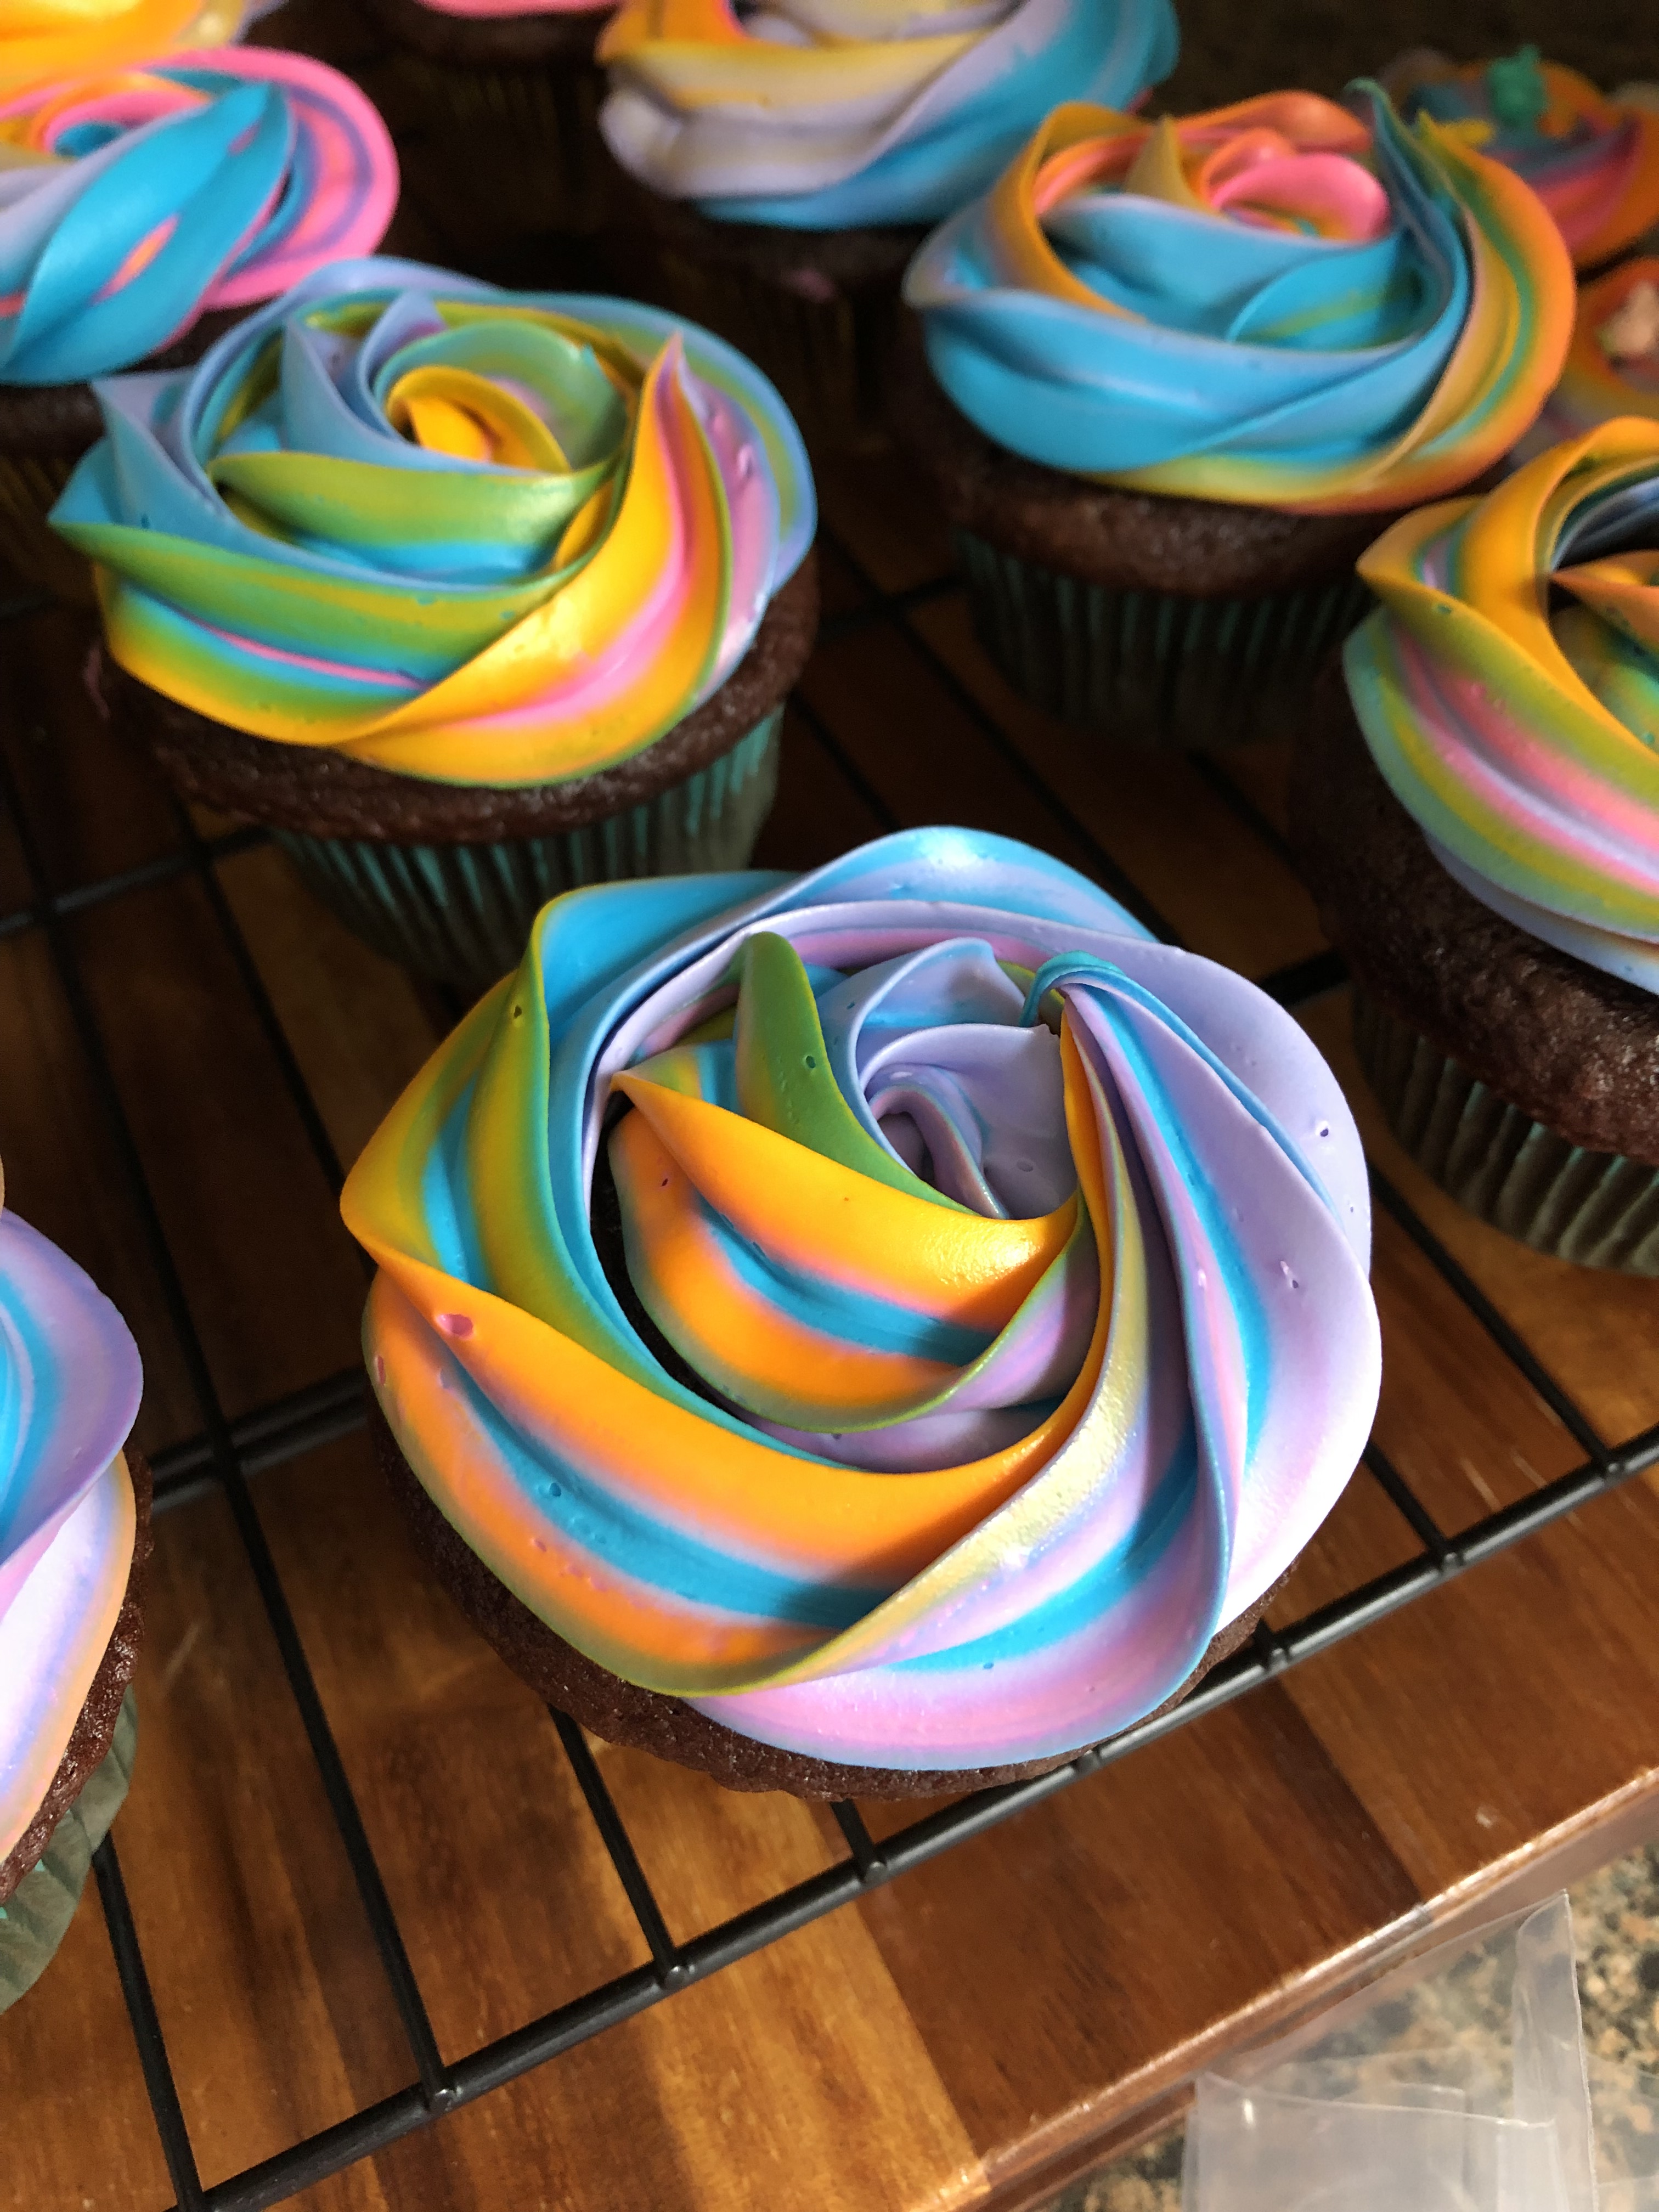
And I simply piped a large rosette on the cupcake to get this beautiful and colorful top.

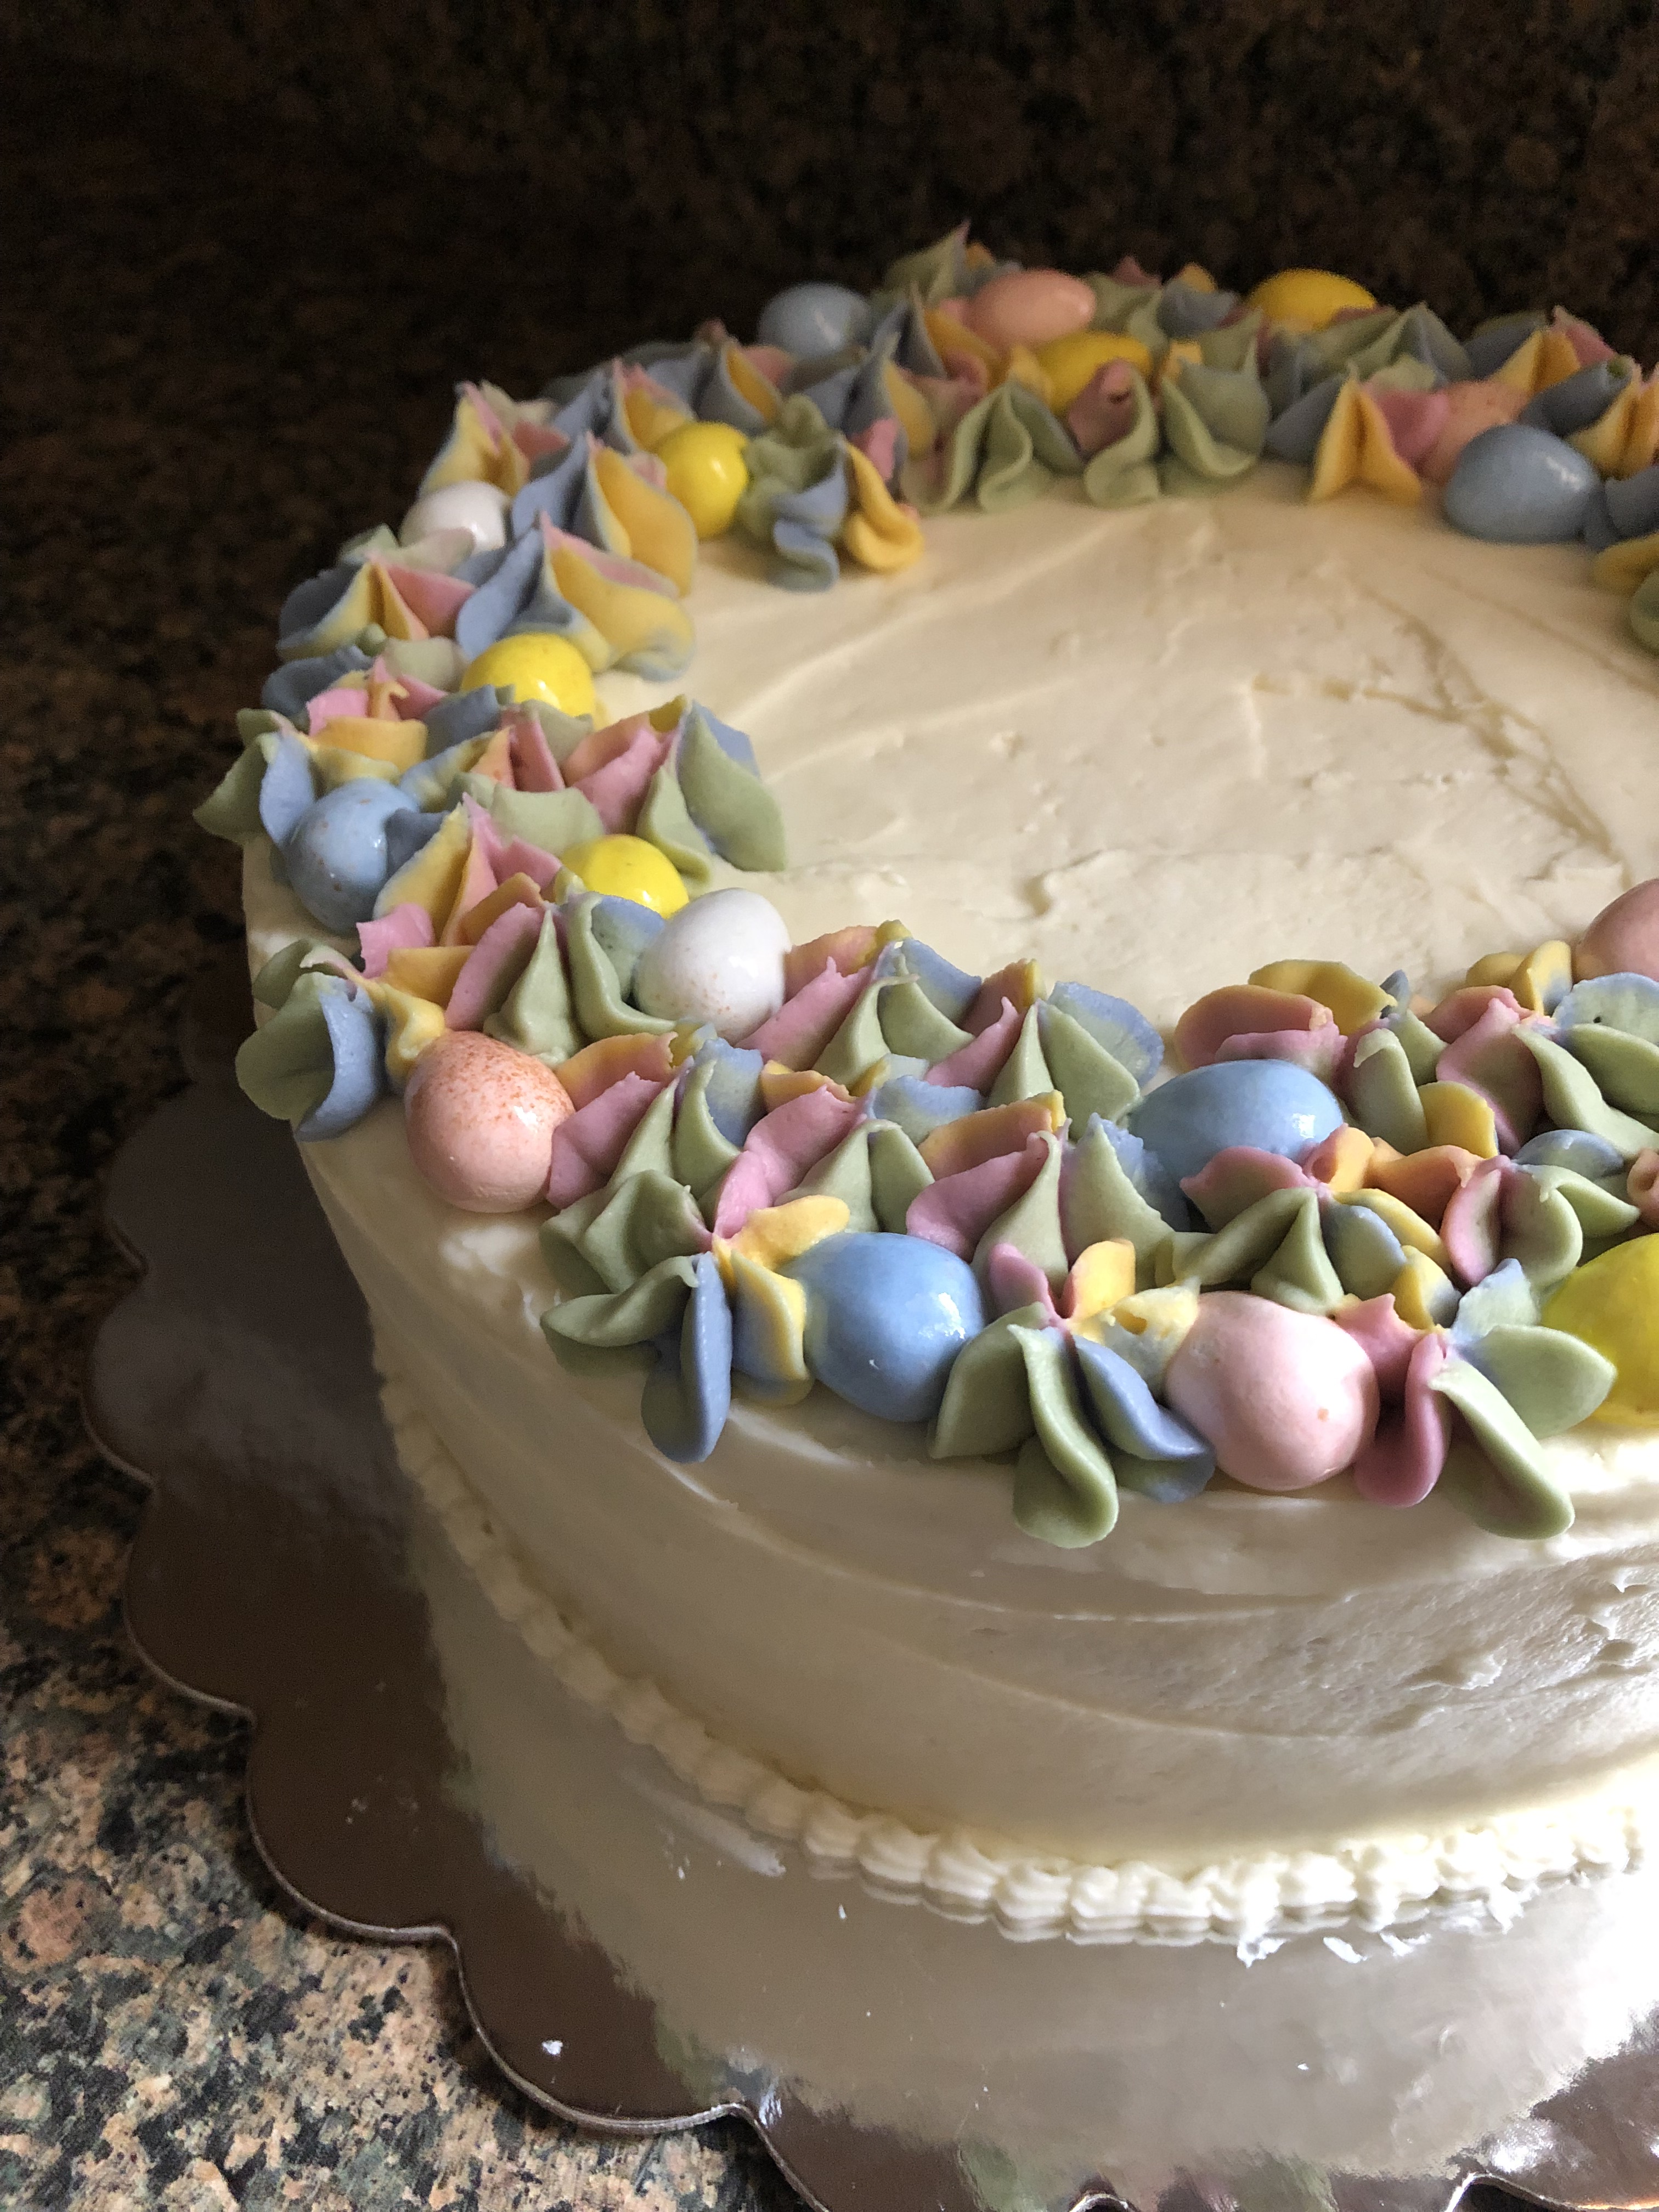
I used the same technique to decorate the top of my Easter cake, using pastel colors to match the Mini Cadbury Eggs I placed on top of the cake. Instead of rosettes though, I simply decorated the cake with drop flowers, once again using the Wilton 2D piping tip.

In all honesty I think I will be using this plastic wrap method going forward with all of my cake decorating / piping. One of the things I dislike about using piping bag is no matter how tight I wind the top of the bag or use a rubber band to seal it, frosting always seems to seep out. And also, I just find it super messy having to refill the bag with more frosting while I am decorating. With this method I can simply remove the plastic wrap wrapped frosting and drop in another. Yes, I may be using extra plastic wrap doing this, but, it’s worth it.

Bunny Ear Cupcakes

Earlier this week I showed you how quick and easy it is to create Sprouting Carrot Cupcakes and today I am showing you a fun companion cupcake to go with them, Bunny Ear Cupcakes.

For these cupcakes I decided to make coconut cupcakes, since it is a popular flavor for Easter, topped with cream cheese frosting (my favorite frosting flavor). I then sprinkled the top of the frosting with sweetened shredded coconut.  If you are not a fan of coconut, or, just want to make something a bit quicker and simpler you could opt to make a white or yellow box cake mix into cupcakes and then top it with store bought vanilla frosting and instead of topping the cupcakes with coconut opt for white sprinkles.

Using kitchen shears I cut large marshmallows in half on the diagonal. I then dipped the cut side in a small bowl I filled with pink sanding sugar. And voila, bunny ears.

Next, I placed the marshmallow bunny ears on to the cupcakes.

And there you have it, Bunny Ear Cupcakes. While I decided to stop with the ears, sometimes less is more, you could decorate these cupcakes further by using chocolate chips for the eyes and rolling a small ball of marshmallow in the pink sanding sugar for a nose.

Coconut Cupcakes

  • Servings: 12 Cupcakes
  • Print

Ingredients:

1 1/2 sticks unsalted butter, at room temperature

1 cup sugar

3 large eggs, at room temperature

3/4 teaspoon vanilla extract

3/4 teaspoon almond extract*

1 cup flour

1/2 teaspoon baking powder

1/4 teaspoon salt

1/2 cup buttermilk**

7 ounces sweetened shredded coconut***, plus more for topping cupcakes

*If you want a stronger coconut flavor, substitute the almond extract with coconut extrac

**I’ve gotten into the habit of making my own buttermilk. To do so, add 4 1/2 teaspoons of vinegar to a measuring cup, then fill it with enough milk (I’ve used 2% and whole milk) to reach 1 cup. Stir it a few times then let it sit for 10-15 minutes. The buttermilk is ready when it begins to curdle. For this recipe since I only needed 1/2 cup of buttermilk, I used 2 1/4 teaspoons of vinegar and added enough milk to my measuring cup to reach 1/2 cup.

***I used about a 1 1/2 cups of coconut

Directions:

Preheat the oven to 325 F. Line a 12-cup cupcake tin with cupcake liners and set aside.

Using a stand mixer or a handheld mixer beat the butter and sugar together on high spend until light and fluffy. Reduce the speed to low and add the eggs, 1 at a time. Scraping the bowl as needed between each addition. Add in the vanilla and almond extracts and continue mixing until everything is well incorporated.

In a separate medium bowl sift together the flour, baking powder, baking soda and salt.

Add the dry ingredients to the butter mixture in 3 additions, alternating with the buttermilk, beginning and ending with the dry ingredients. Mix until well combined and then fold in the shredded coconut.

Divide the batter among the prepared cupcake tin, filling the batter to the top.

Bake in the preheated oven for 25 – 30 minutes, or until a cake tester inserted in the middle comes out clean. Let the cupcakes cool in the pan for 15 minutes, and then transfer them to a wire rack to cool completely. Once completely cooled top with frosting.

Recipe modified from Food Network


Cream Cheese Frosting

Ingredients:

1 8oz. packages of cream cheese, at room temperature

1 stick unsalted butter, at room temperature

2 cups confectioners’ sugar, sifted

1 teaspoon vanilla extract


Directions:

In a stand mixer or using a handheld mixer, beat the cream cheese and butter at medium speed until creamy. Gradually add in the sugar until well combined. Add in the vanilla extract and continue beating until the mixture is smooth and creamy.


Sprouting Carrot Cupcakes – Tutorial

With Easter right around the corner I decided to make some fun themed cupcakes to get in the spirit of the holiday. Today I am sharing with you these Sprouting Carrot Cupcakes and later this week I will be sharing with you Bunny Ear Coconut Cupcakes.

I began by baking a batch of chocolate cupcakes. While they cooled, I made the frosting. I made a basic buttercream frosting and then removed a third of it. In this third I stirred in melted unsweetened chocolate until it was fully incorporated. I tinted the remaining frosting orange and then transferred it to a piping bag fitted with a large round tip.

After the cupcakes were cool I used a paring knife to cut a small cone-shaped piece out of the center of each one. I crumbled these small pieces of cake into a small bowl and set it aside.

Next, I spread the chocolate frosting over the cupcakes leaving the holes open. I then patted the crumbled pieces of chocolate cake onto the frosting to resemble dirt.

To make the carrots I piped the orange tinted frosting into the holes and then mounded it a bit above the hole. And finally, I cut small pieces of green sour apple straws and placed them in the piped carrots.

And there you have it… Sprouting Carrot Cupcakes.


While I opted to make my cupcakes and frosting from scratch, you could easily go the time-saving route and use a box chocolate cake mix and store bought chocolate and vanilla frosting. If you opt for store bought frosting I would advise refrigerating the vanilla frosting after tinting it orange for about 10-15 minutes prior to piping the carrots. Store bought frosting tends to be on the softer side so decorating with it can be frustrating since it won’t take shape, refrigerating it helps to stiffen it.


Supplies:

12 chocolate cupcakes

1 cup chocolate frosting

1 1/2 cups vanilla frosting

Orange food coloring

Green sour apple straws

Piping Bag fitted with a round tip


Cupcake Bouquet Tutorial

I came across Cupcake Bouquets while doing some research on Pinterest for something else. Once I saw it though I knew I wanted to try making one myself.

To begin, I gathered my supplies: a 6-inch pot, a 6-inch Styrofoam ball, 9oz. paper cups, toothpicks, and glass weights or rocks. You will also need a hot glue gun. A couple of things to point out… Make sure that the size of your pot and ball are the same size, or close to it, so that ball can fit snug inside of the pot.

Since I had a piece of circular Styrofoam I decided to cut it down to fit inside the bottom of the pot…

So, just in case any of my glass weights escaped from the newspaper I wrapped them in they wouldn’t fall through the hole in the bottom of the pot. The reason for the weights in the pot is to prevent it from tipping over if all the cupcakes are removed from one side.

Next, I lined the inside of the top of the pot with hot glue and placed the Styrofoam ball inside and let it dry for a few minutes before hot gluing paper cups – that I cut to an inch tall – to the ball. Make sure you place the cups just above the rim of your pot, you don’t want too much space. You could attempt to just stick the cupcakes on to the ball using toothpicks, but, using the cups will give the cupcakes more support and less chance of them falling off.


I continued gluing the cups around the ball, placing them fairly close together. I ended up with 9 cups in my first round.

For the second round, I placed the cups in between two cups from the first round, ending up with a total of 6 cups. And then, one final cup on top of the ball. Don’t worry about the spaces as they will be filled later with cupcake liners.


And finally I placed toothpicks inside of each of the cups. Three toothpicks forming a triangle in the first round, and two toothpicks in the cups on the second round and the one on top. Leave about half of the toothpick out. Be careful as you might stick yourself with a toothpick here and there and it can be quite painful.

A quick recap… A 6-inch Styrofoam ball in a 6-inch pot will yield a 16-Flower Cupcake Bouquet.

Next, bake your favorite cupcakes – I decided on Chocolate & Yellow cupcakes. Once they cooled I stuck one into each of the cups on the ball.


Now it’s time to fill the spaces between the cupcakes. Using green cupcake liners, I gathered them and began placing them in the empty spaces, using toothpicks to anchor them to the ball.


Next, the fun part – decorating the cupcakes. Since you will be piping flowers, make sure your frosting is firm enough to be piped. Your best bet is to make your own. My favorite frosting to use for piping and decorating is this Fluffy Vanilla Frosting. It’s the perfect consistency and tastes delicious. I used a Wilton 1M tip to creates the roses and a 2D tip to create the hydrangeas. Before you start piping the flowers on to the cupcakes just give them a little nudge to make sure they are all the way into the cups secured by the toothpicks.


And finally… You have your Cupcake Bouquet. This is a nice gift for a birthday, a cute idea for a baby shower, or a nice alternative to flowers, etc.

%d bloggers like this: