Sprouting Carrot Cupcakes – Tutorial

With Easter right around the corner I decided to make some fun themed cupcakes to get in the spirit of the holiday. Today I am sharing with you these Sprouting Carrot Cupcakes and later this week I will be sharing with you Bunny Ear Coconut Cupcakes.

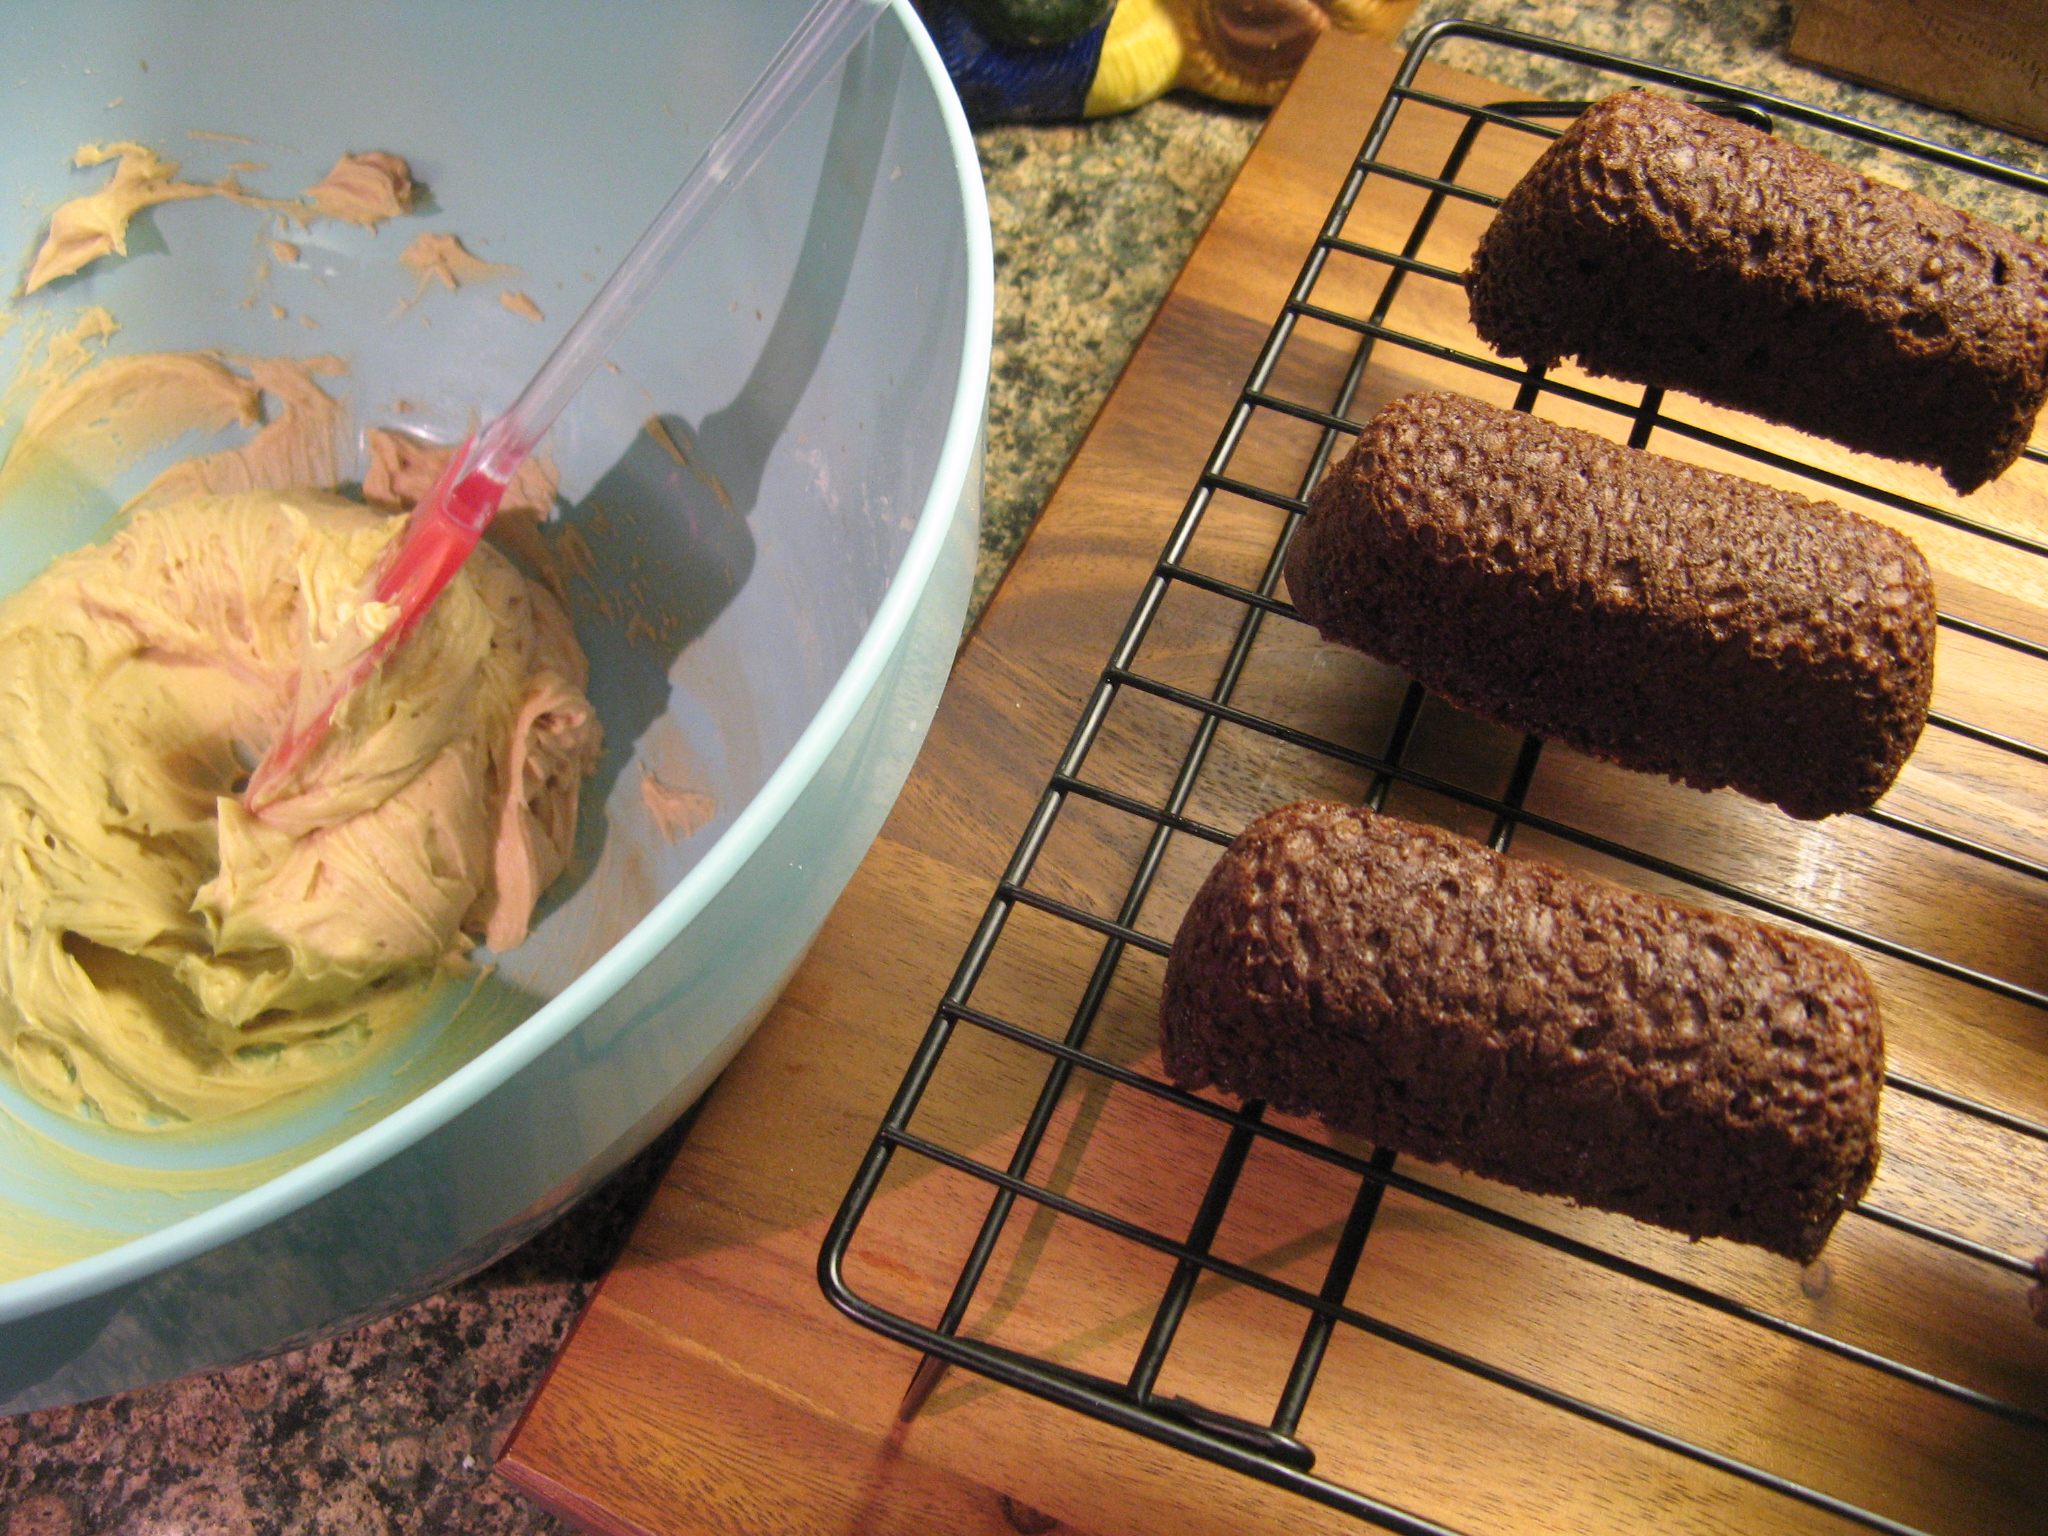
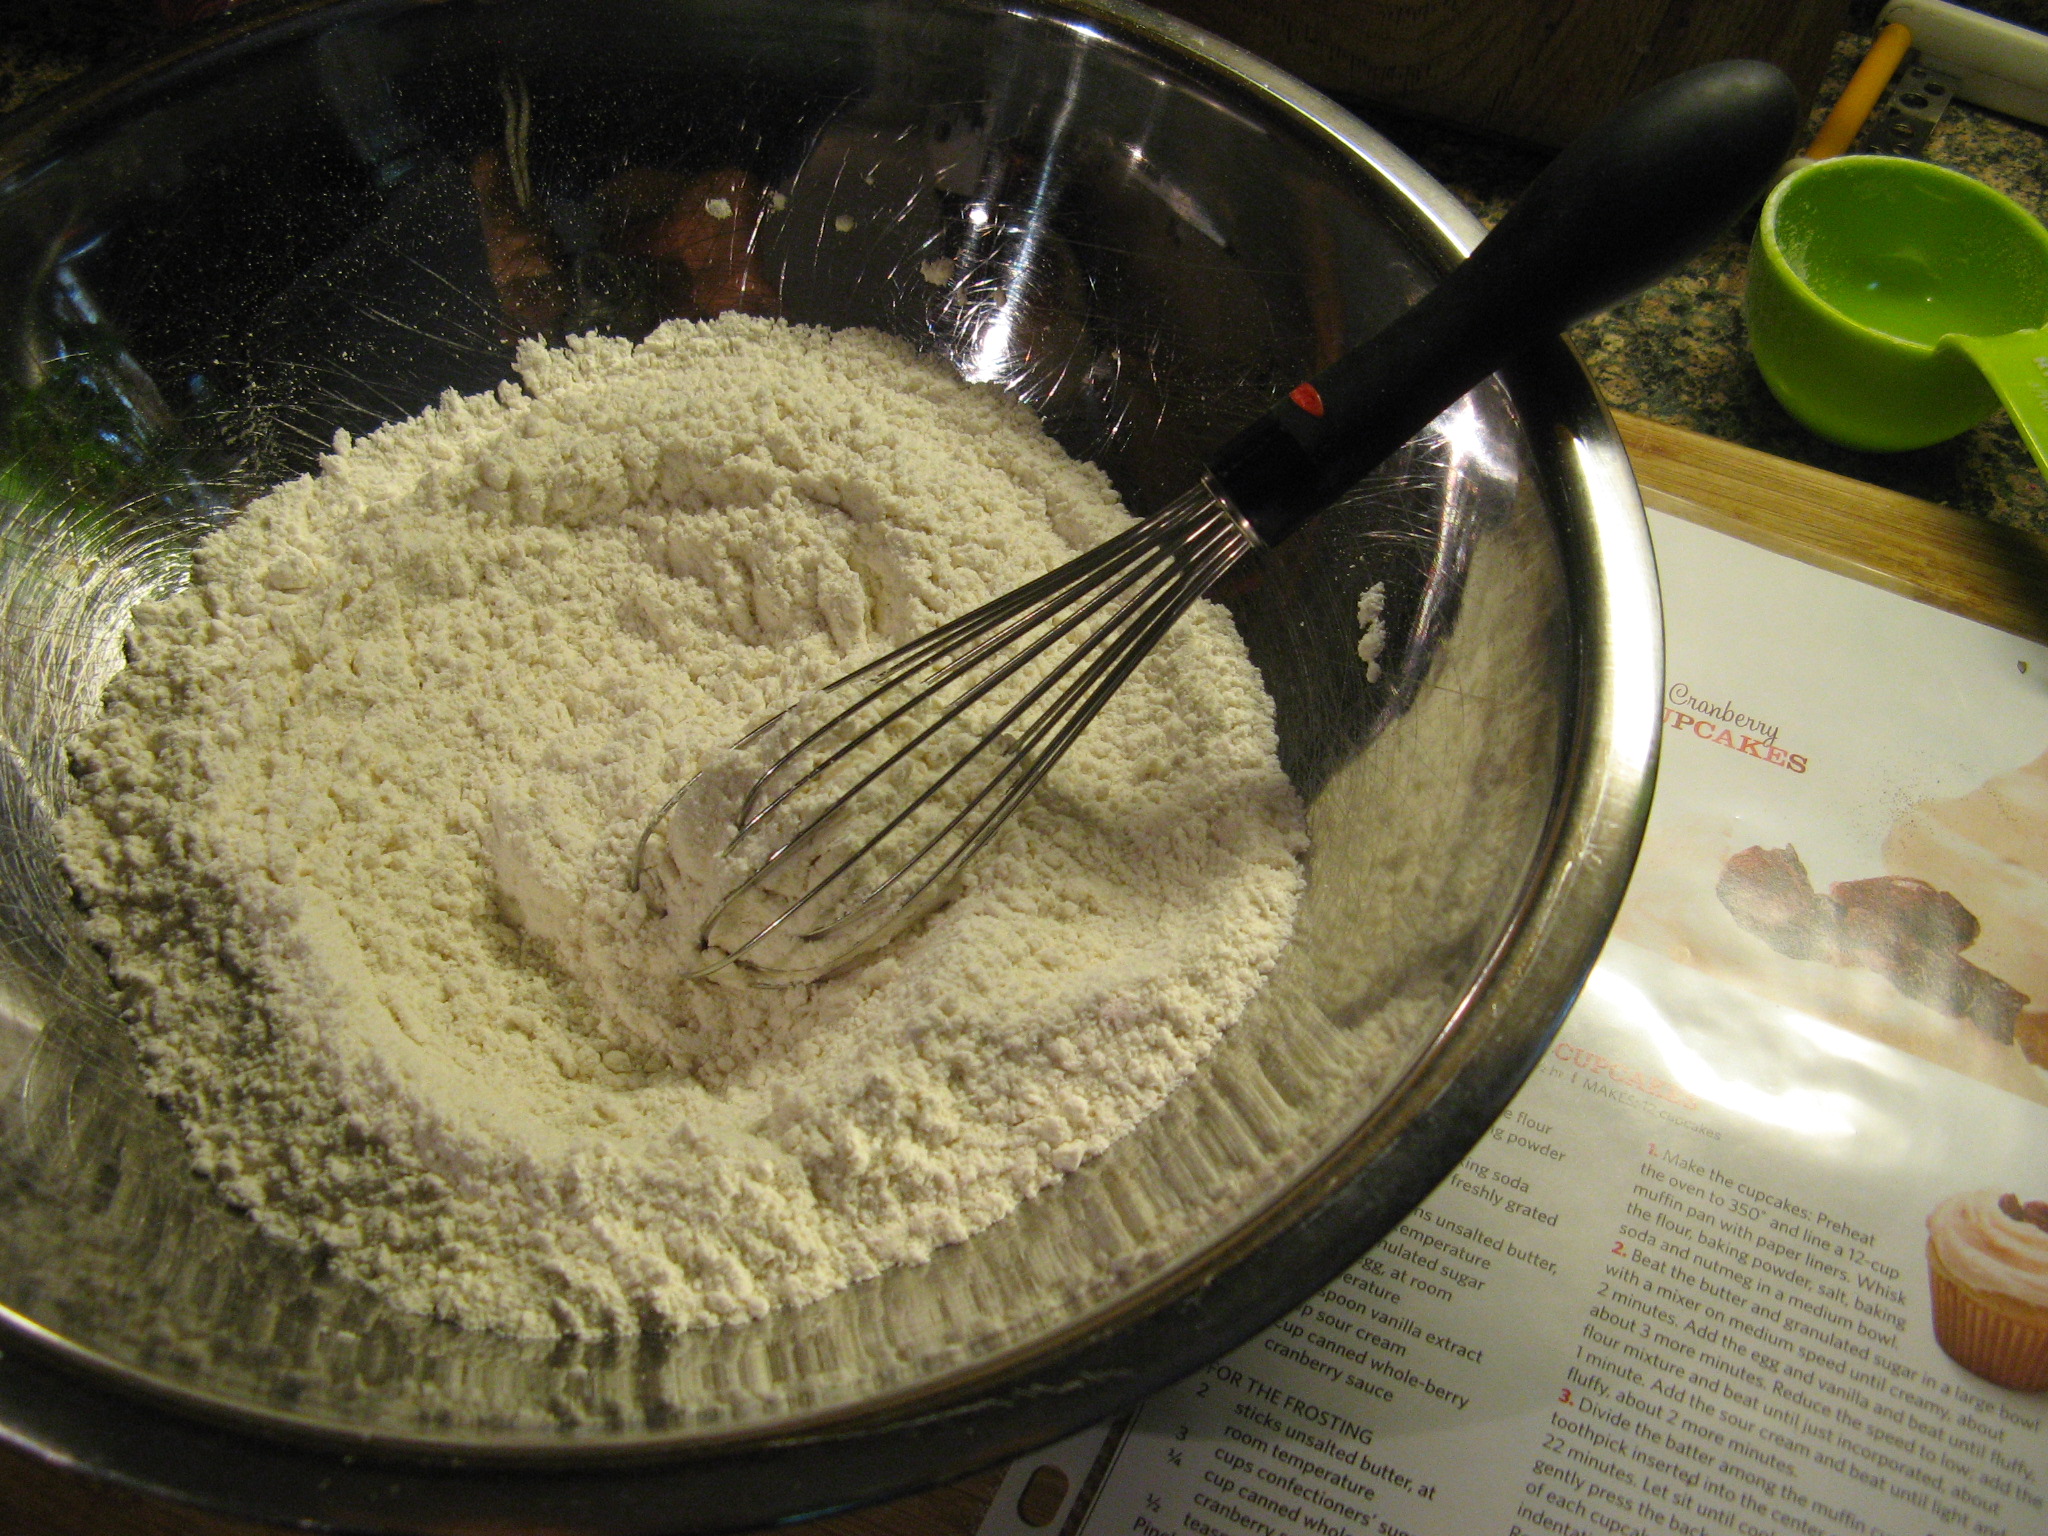
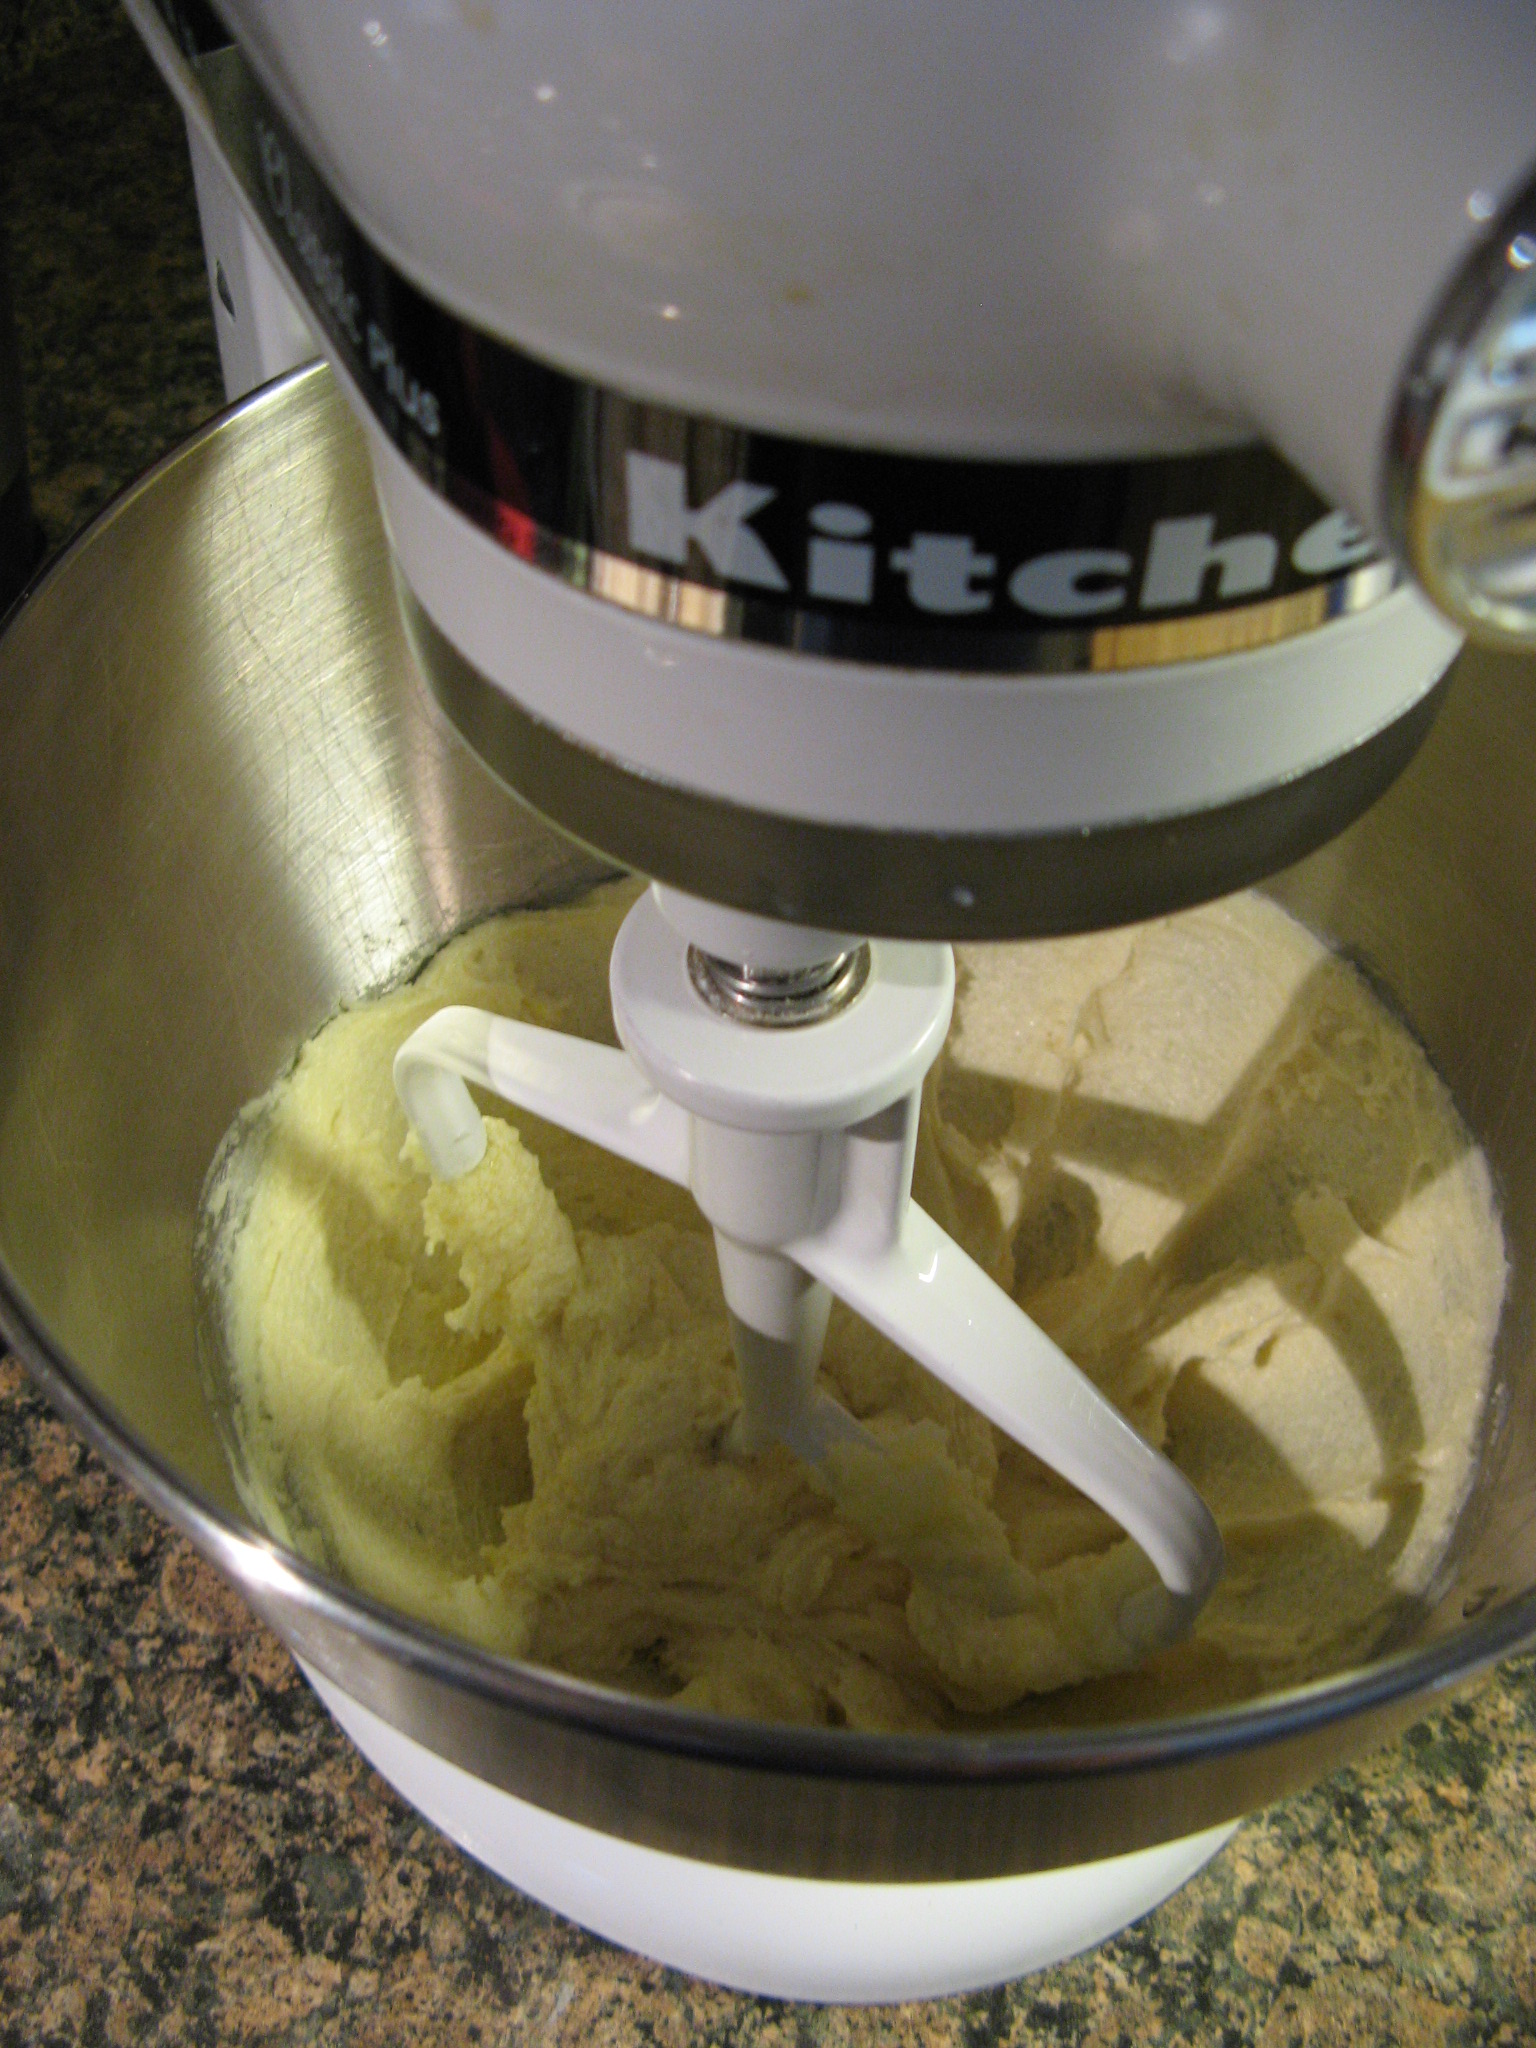
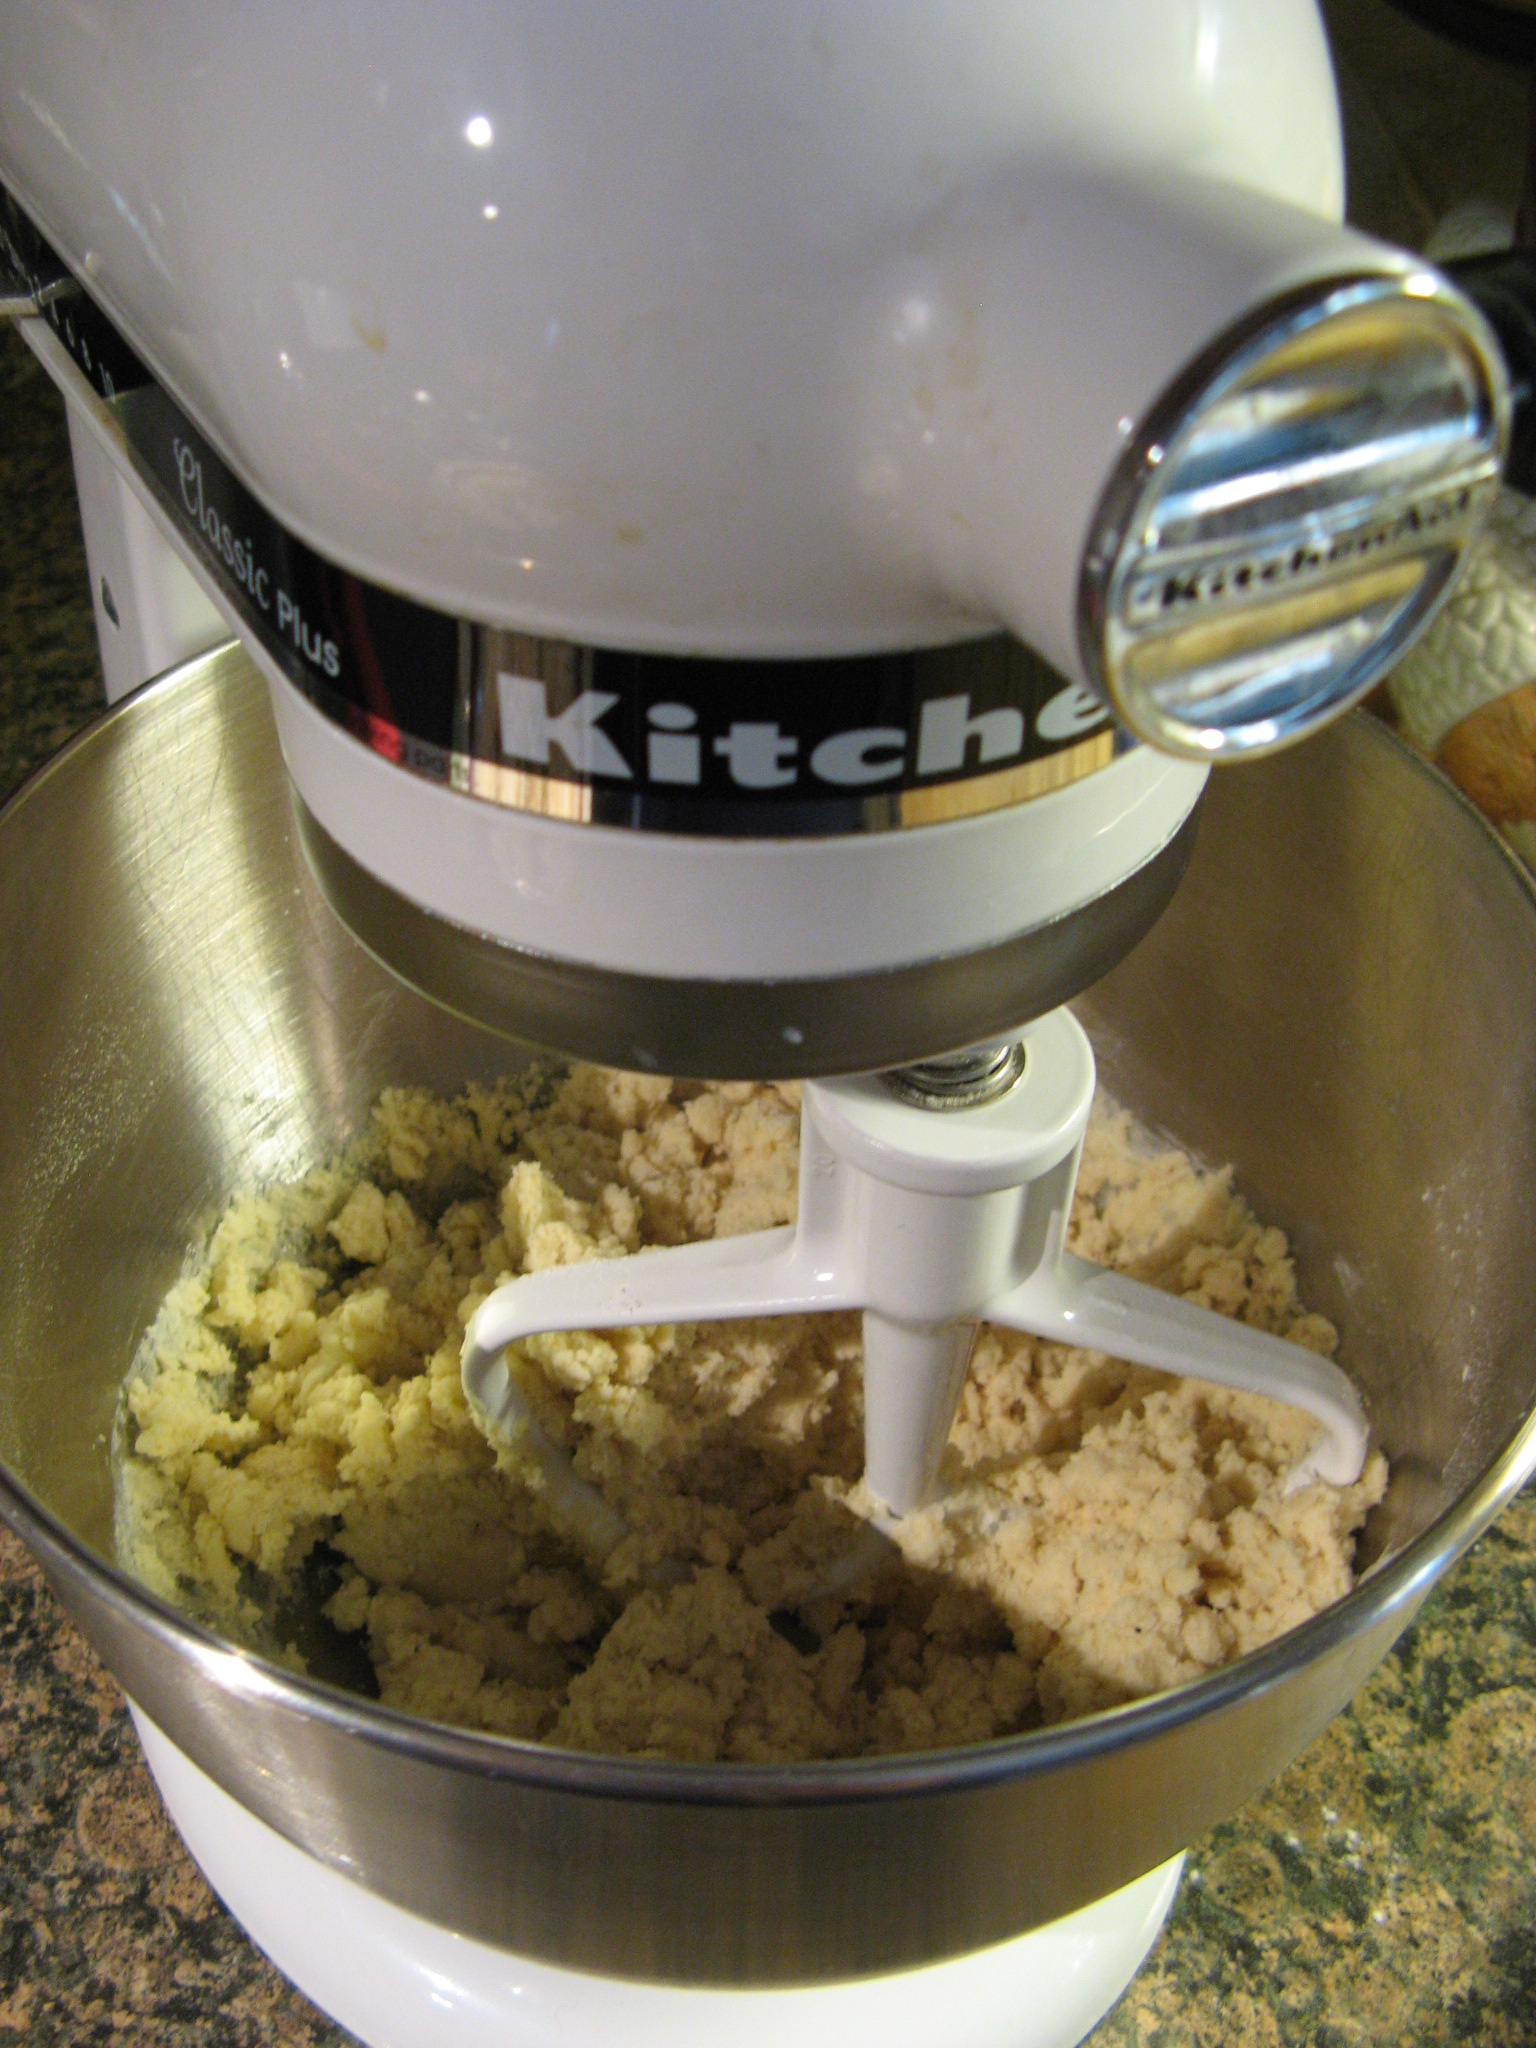
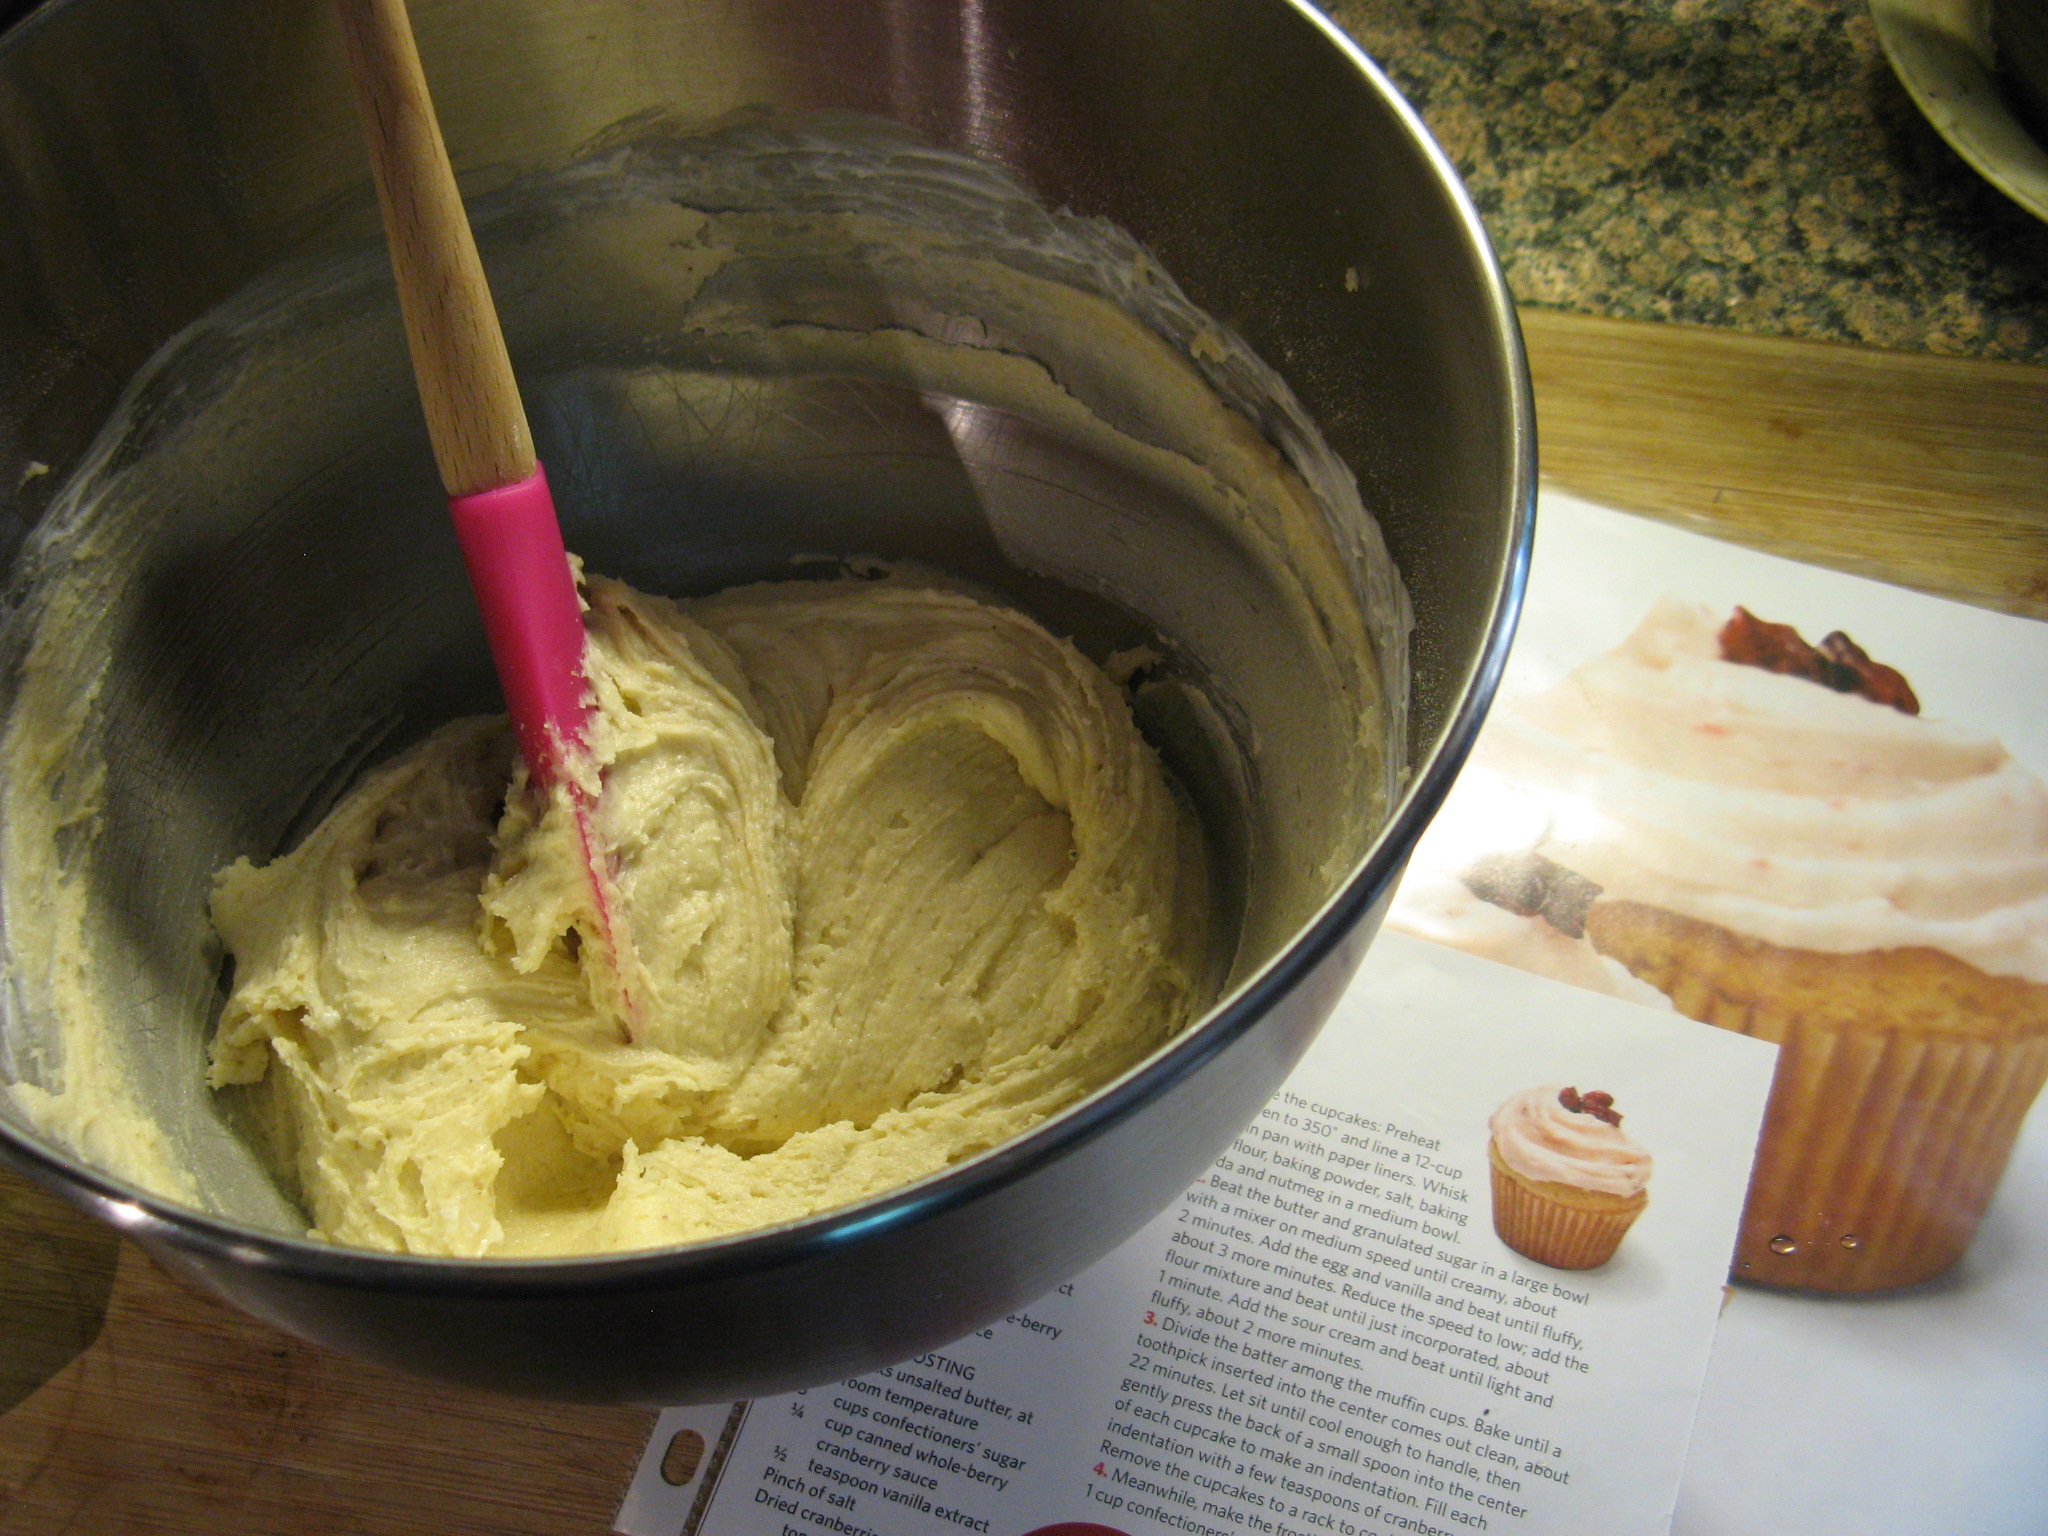
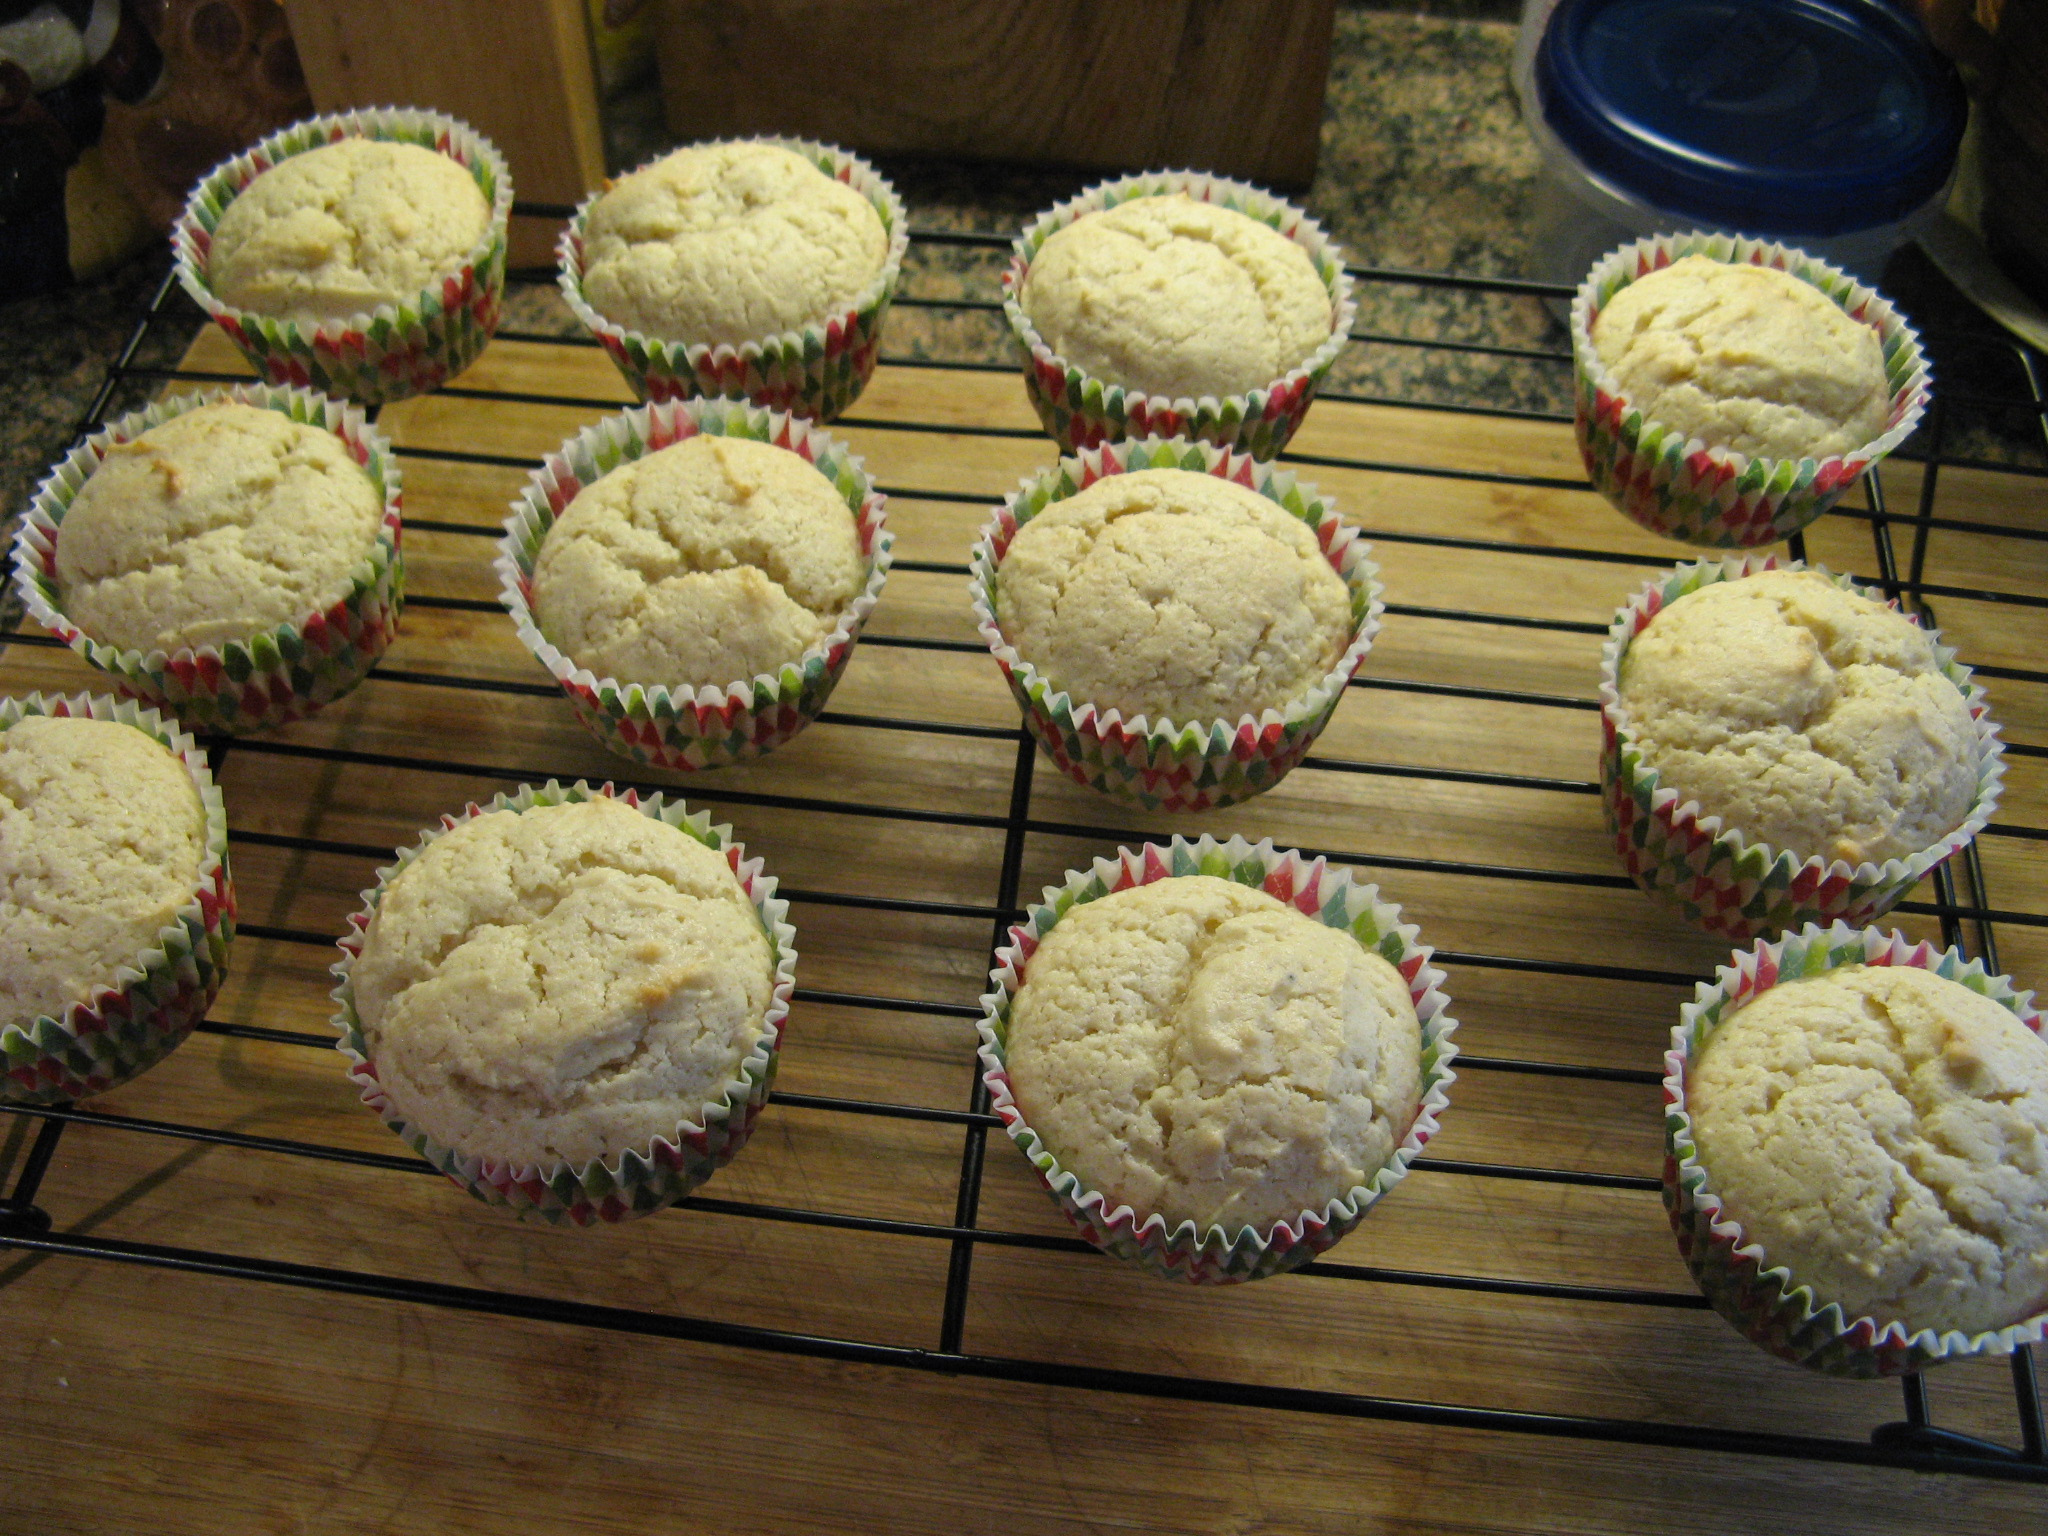
I began by baking a batch of chocolate cupcakes. While they cooled, I made the frosting. I made a basic buttercream frosting and then removed a third of it. In this third I stirred in melted unsweetened chocolate until it was fully incorporated. I tinted the remaining frosting orange and then transferred it to a piping bag fitted with a large round tip.

After the cupcakes were cool I used a paring knife to cut a small cone-shaped piece out of the center of each one. I crumbled these small pieces of cake into a small bowl and set it aside.

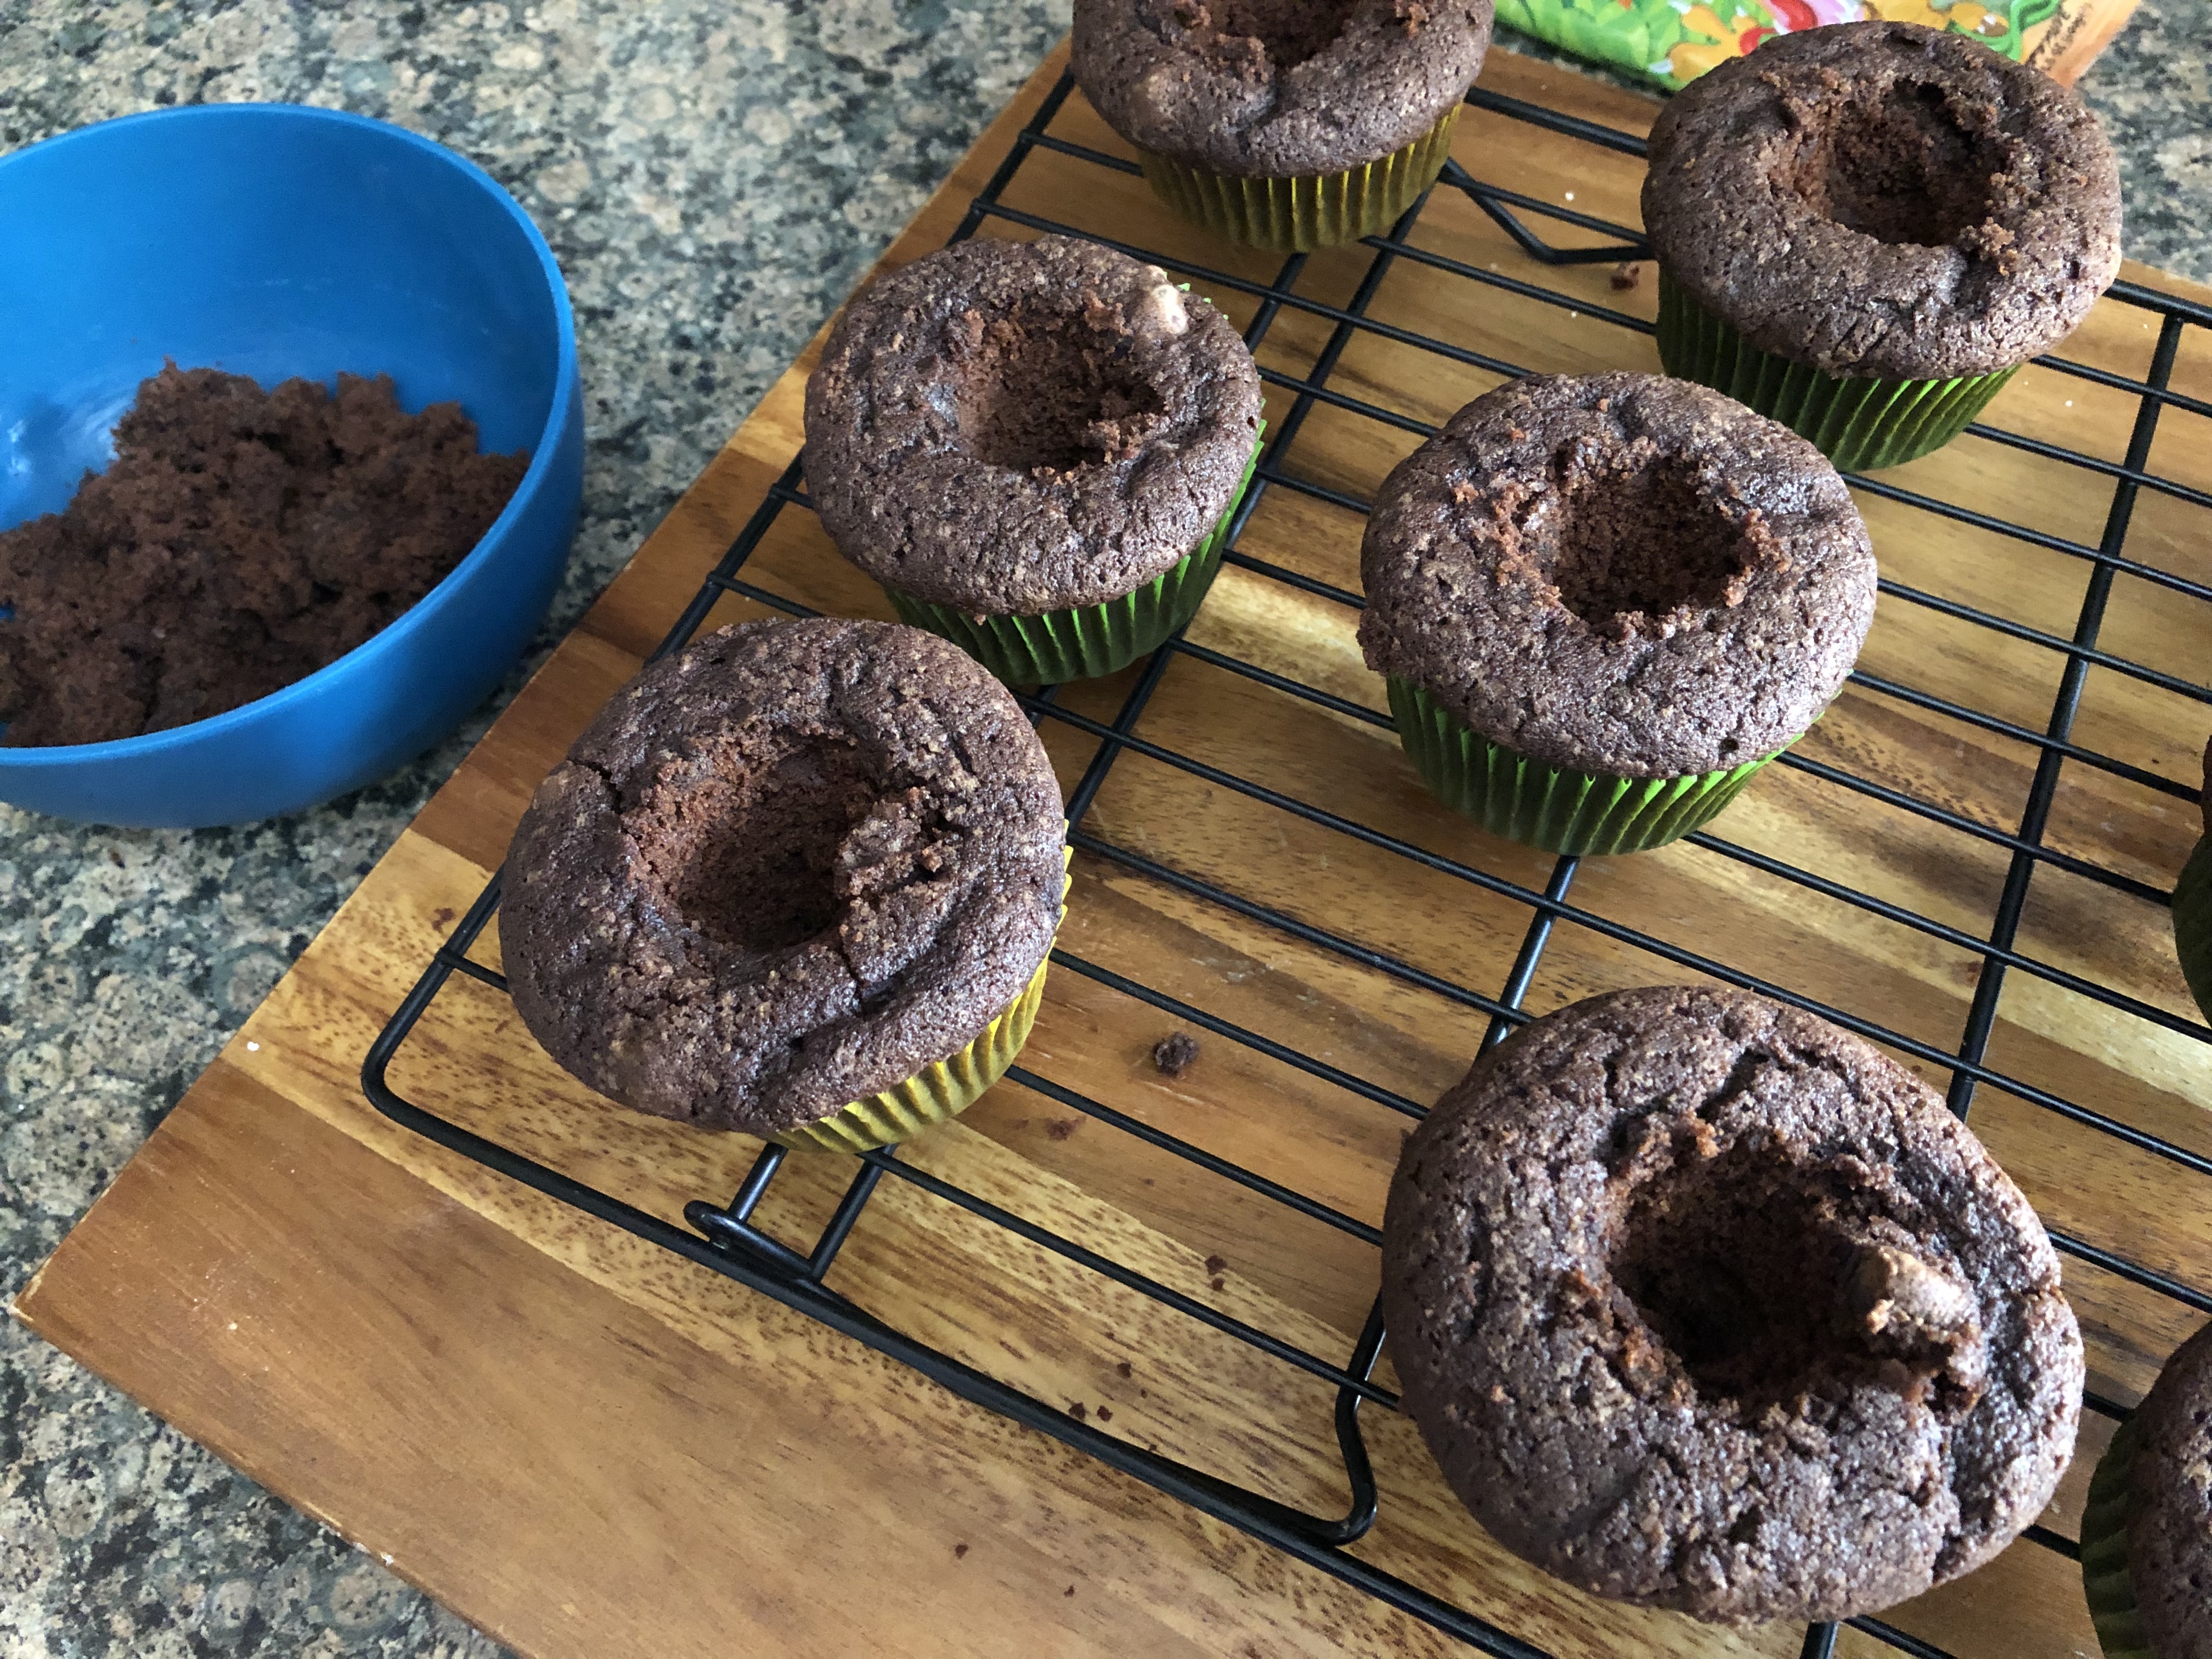
Next, I spread the chocolate frosting over the cupcakes leaving the holes open. I then patted the crumbled pieces of chocolate cake onto the frosting to resemble dirt.

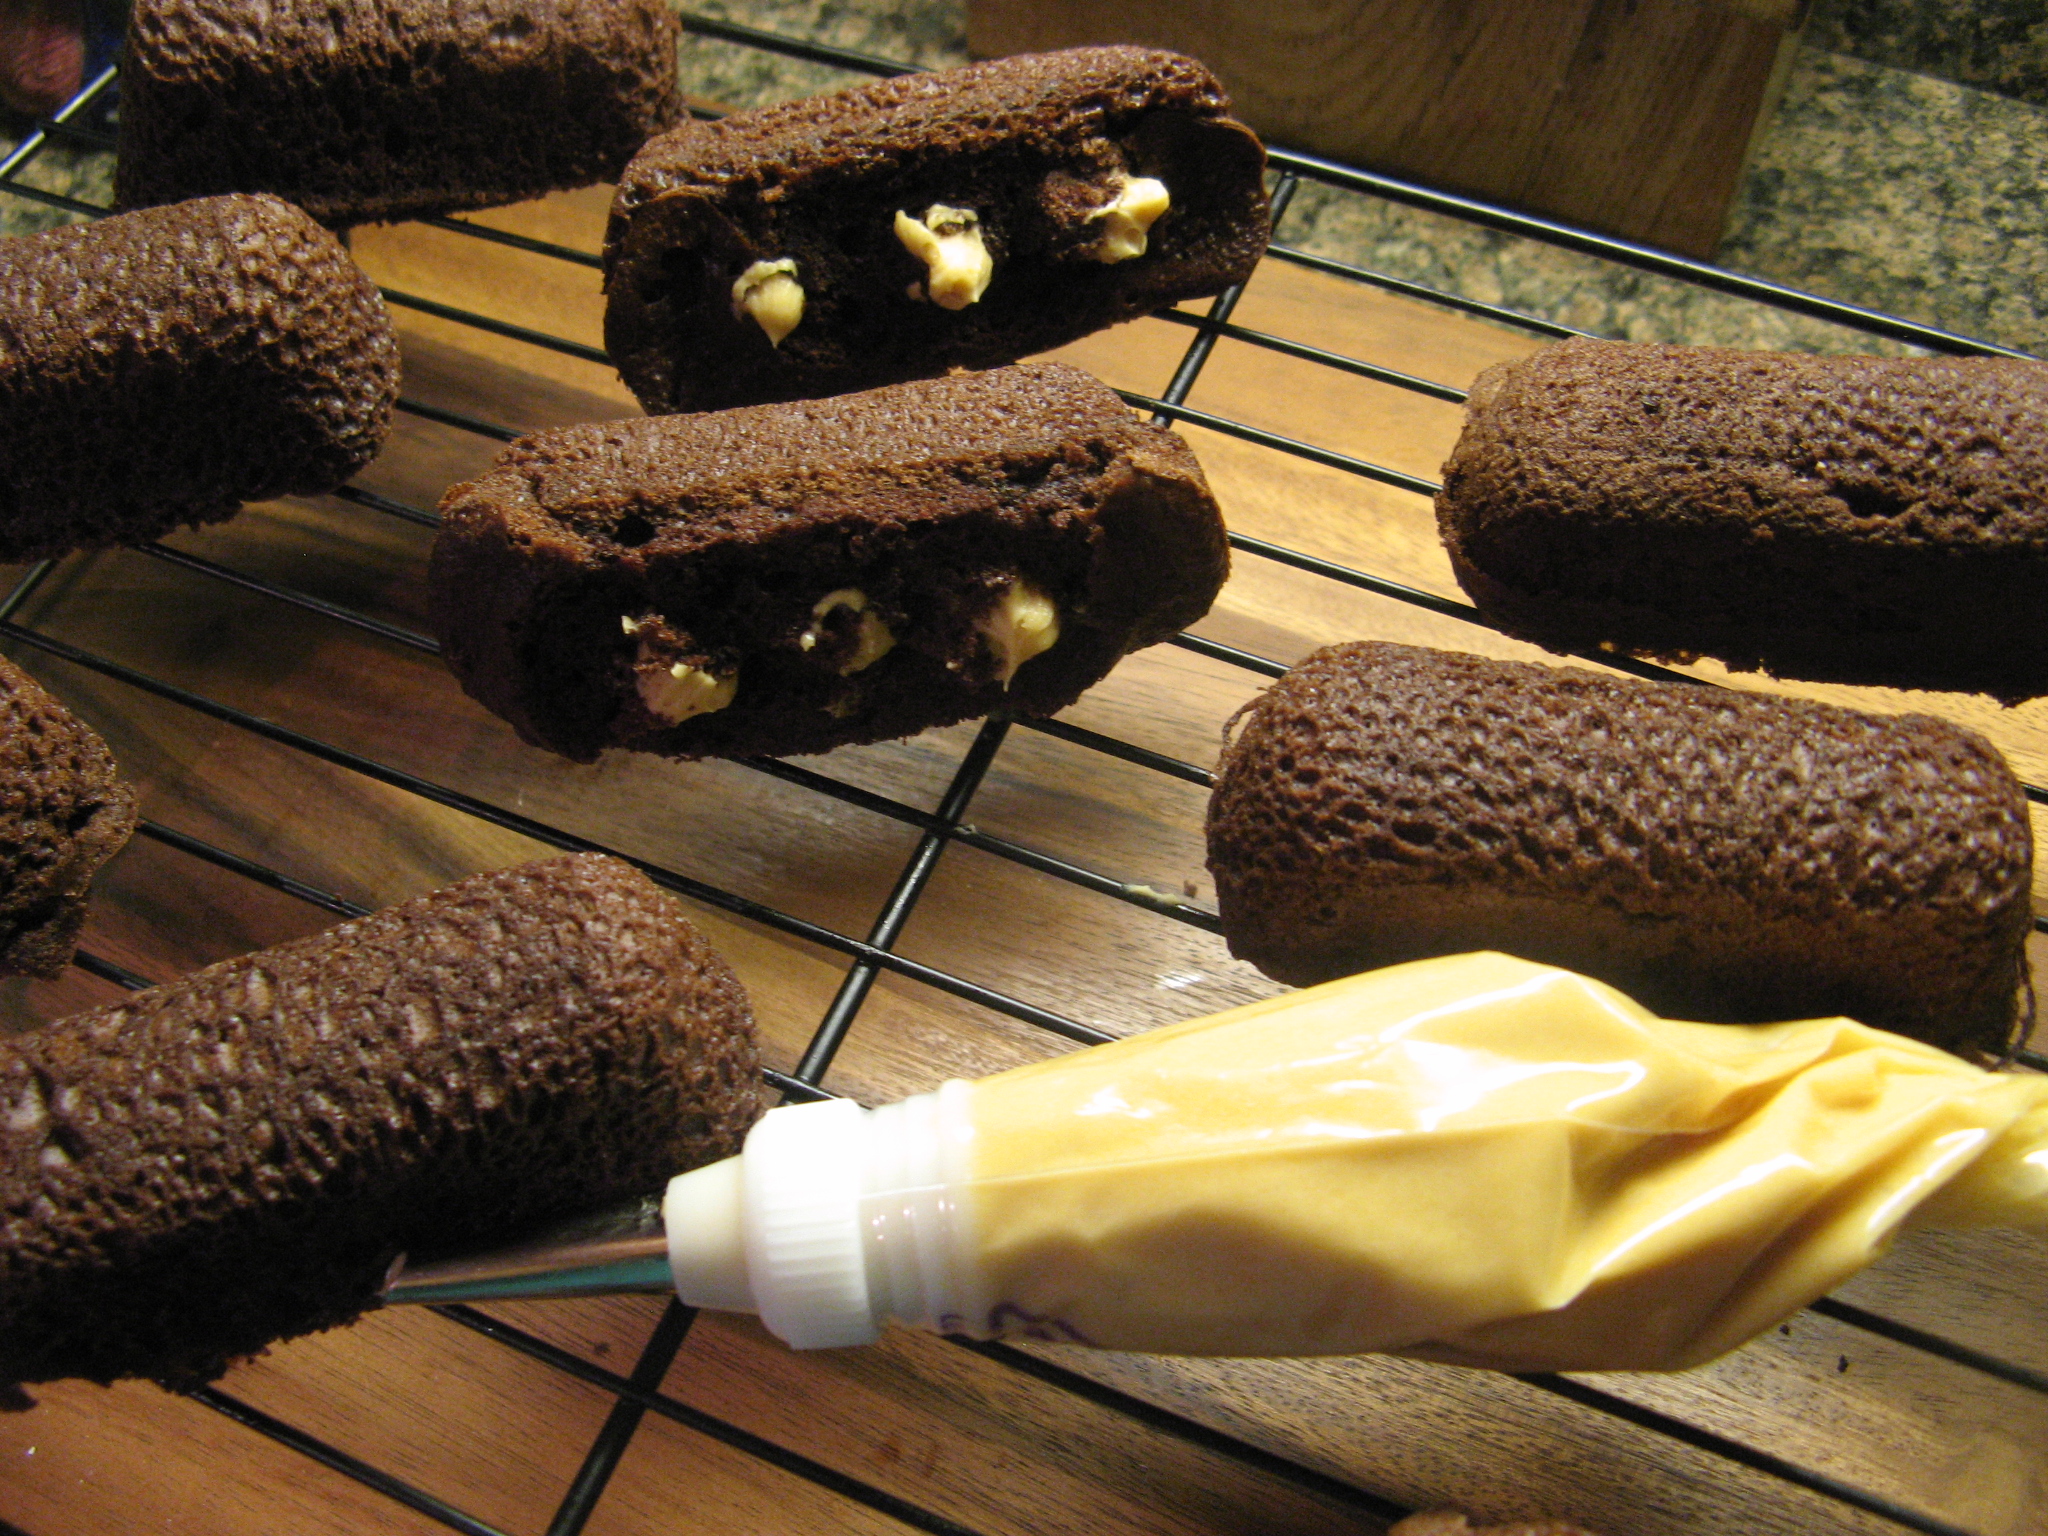
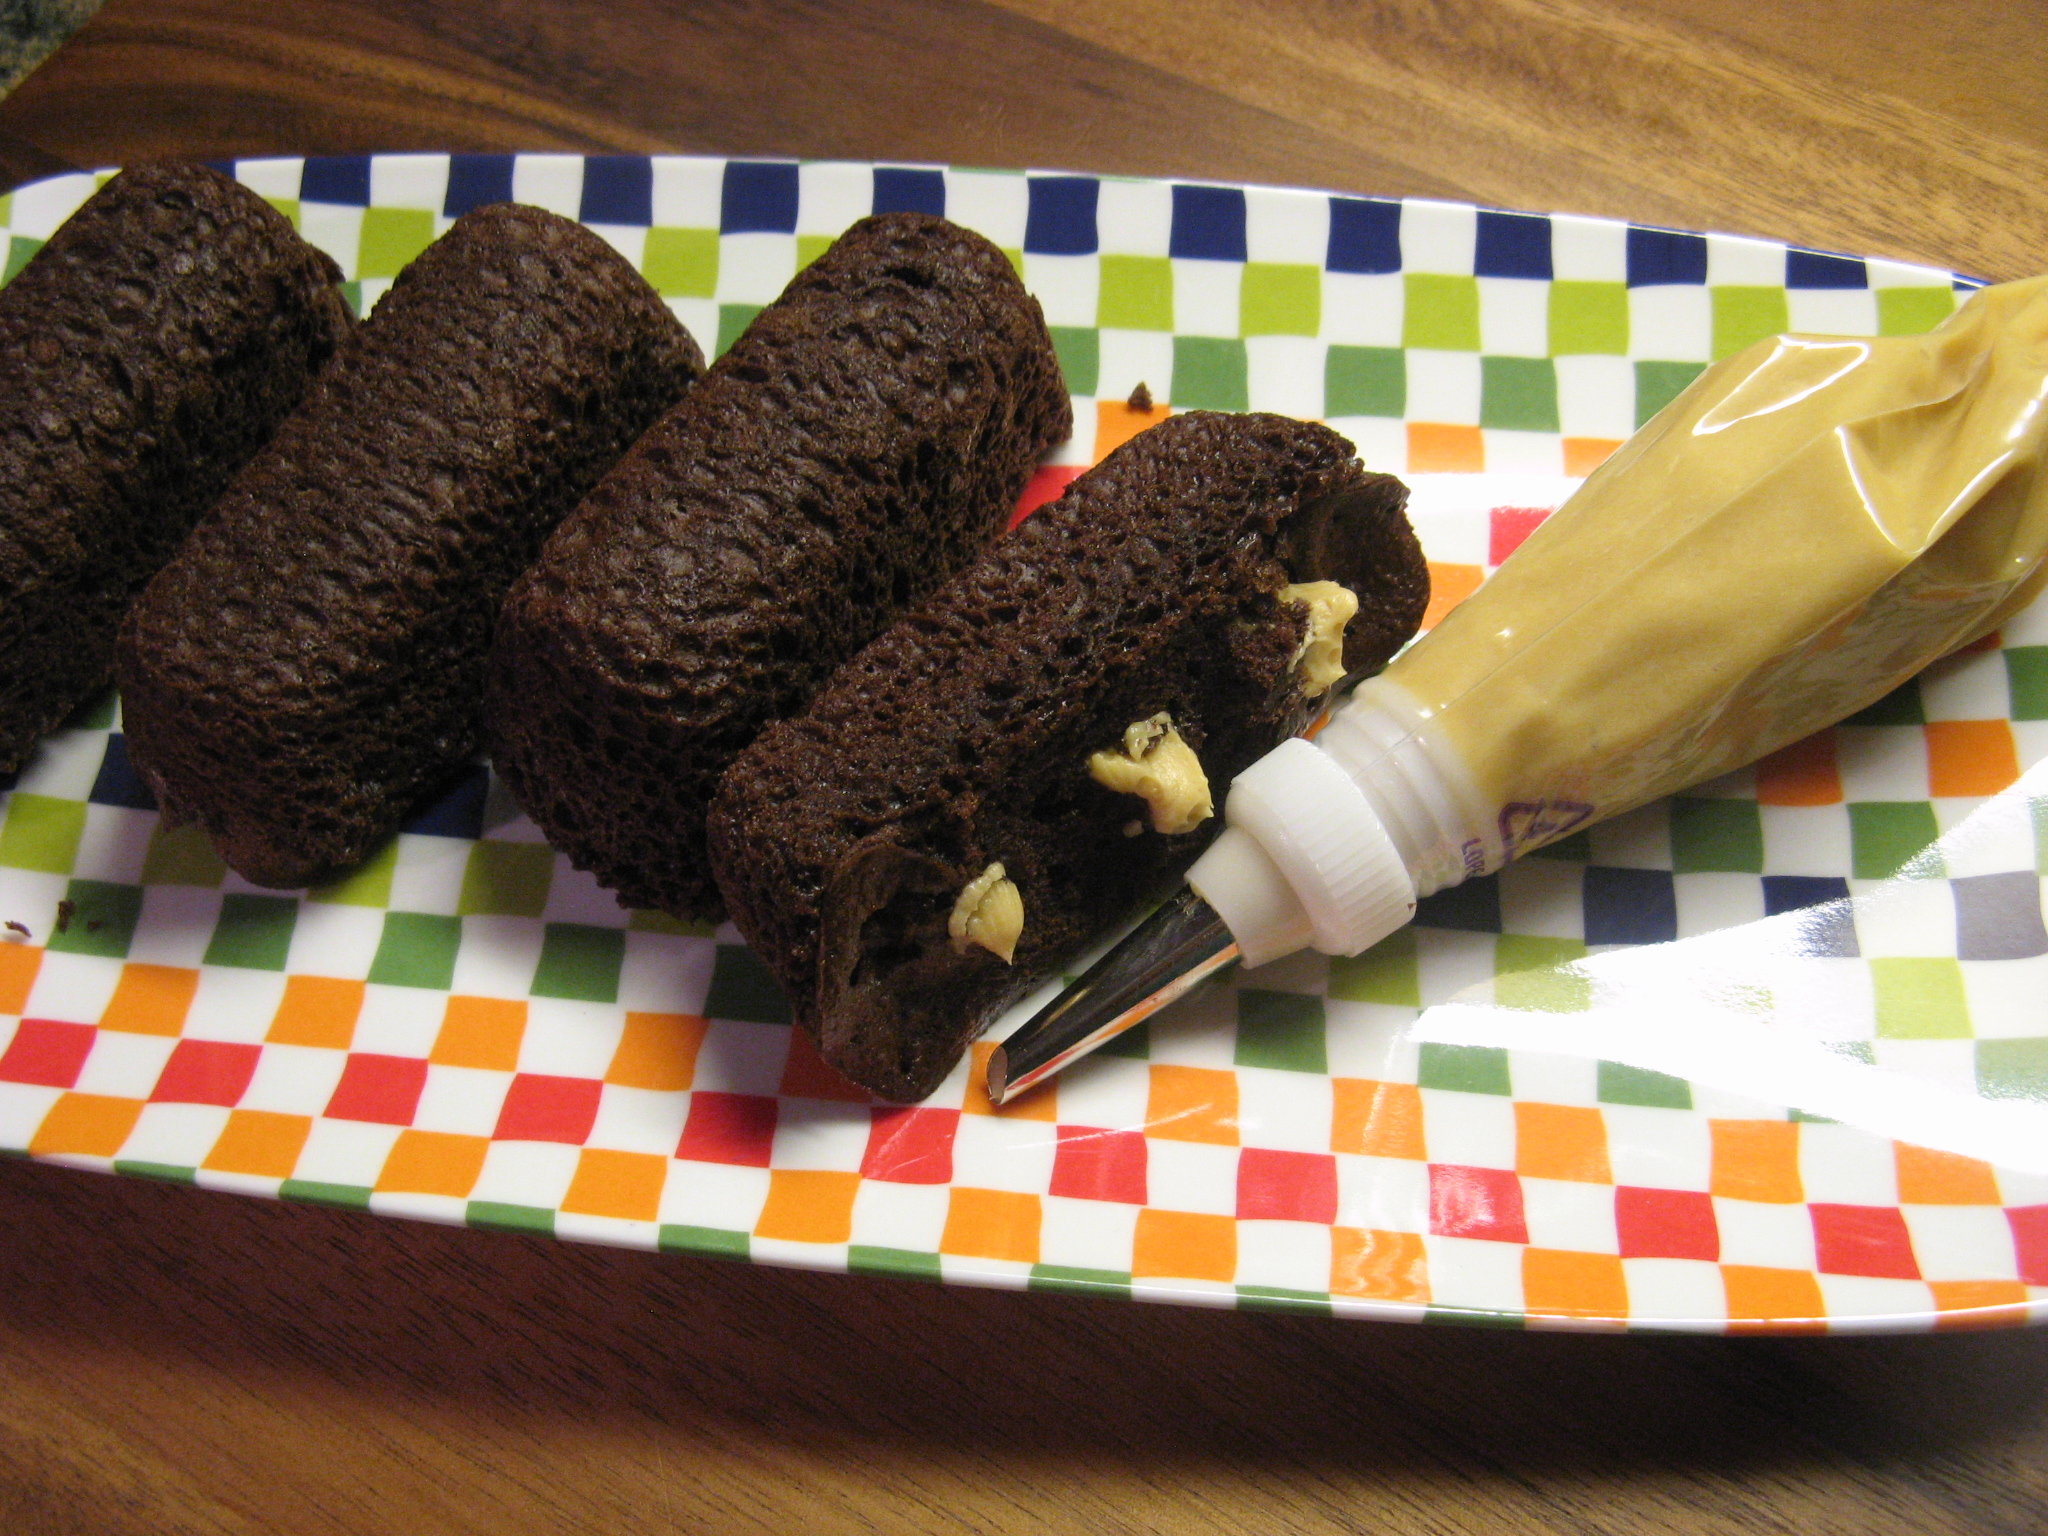
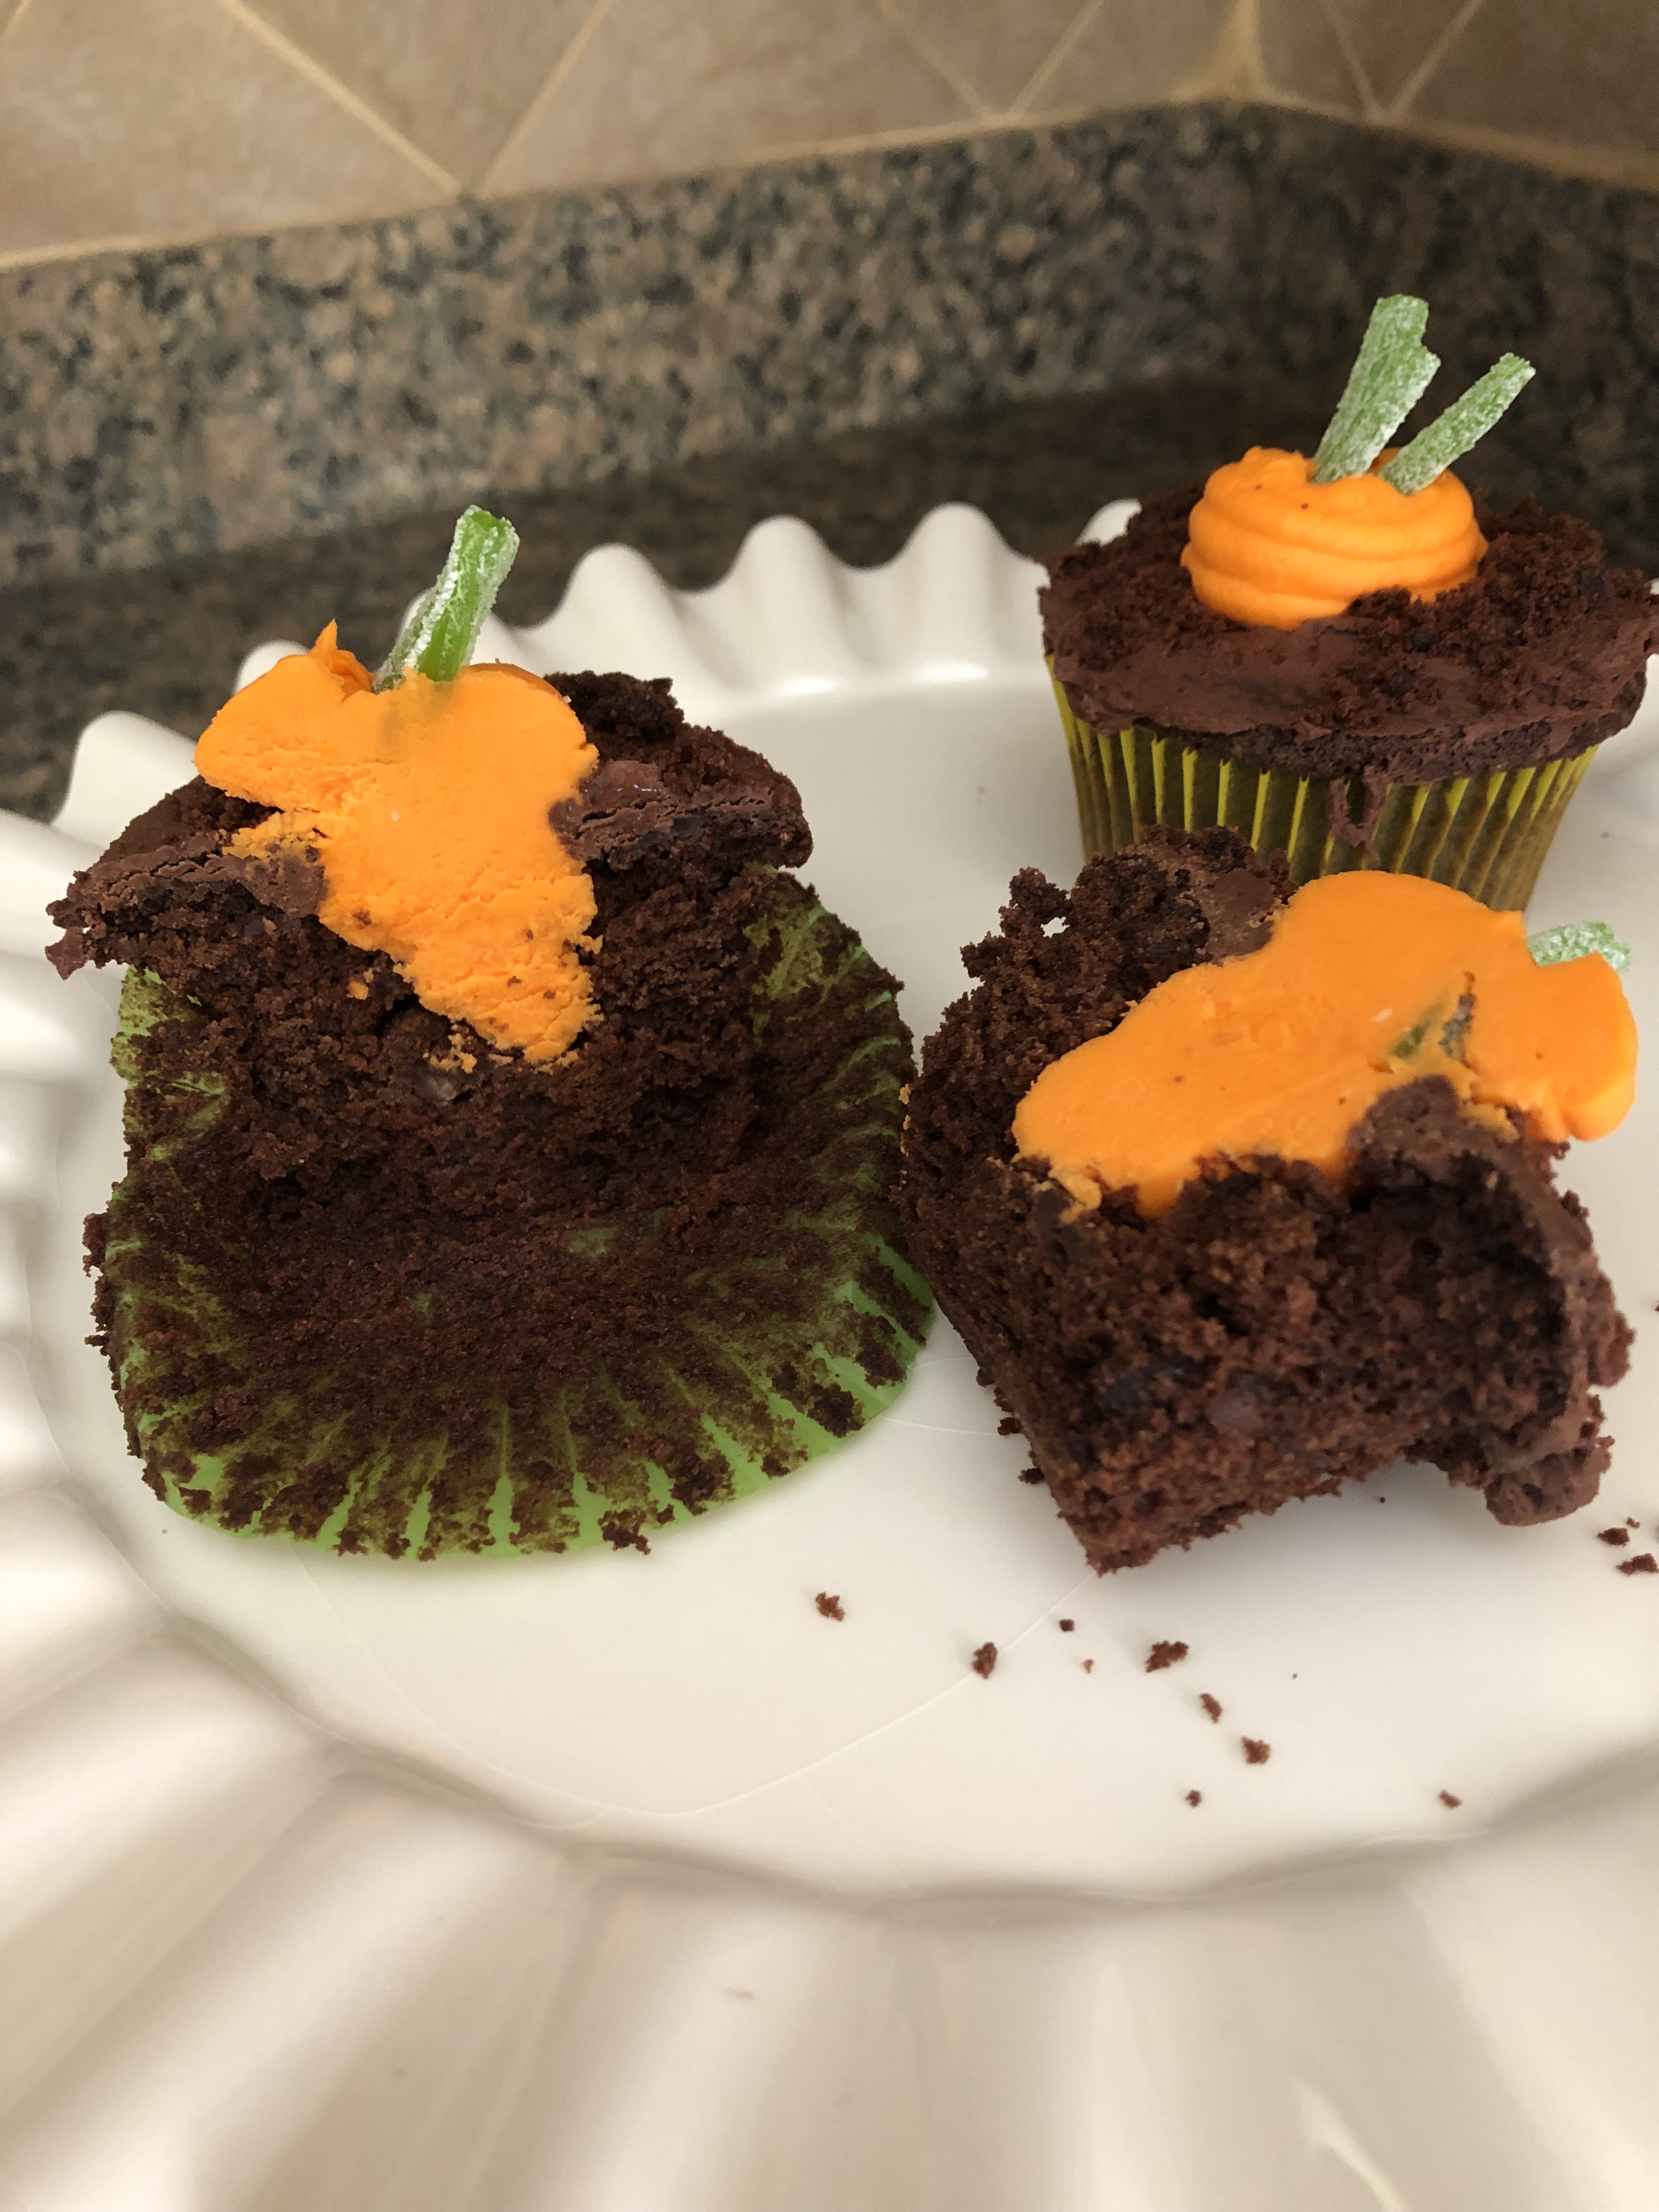
To make the carrots I piped the orange tinted frosting into the holes and then mounded it a bit above the hole. And finally, I cut small pieces of green sour apple straws and placed them in the piped carrots.

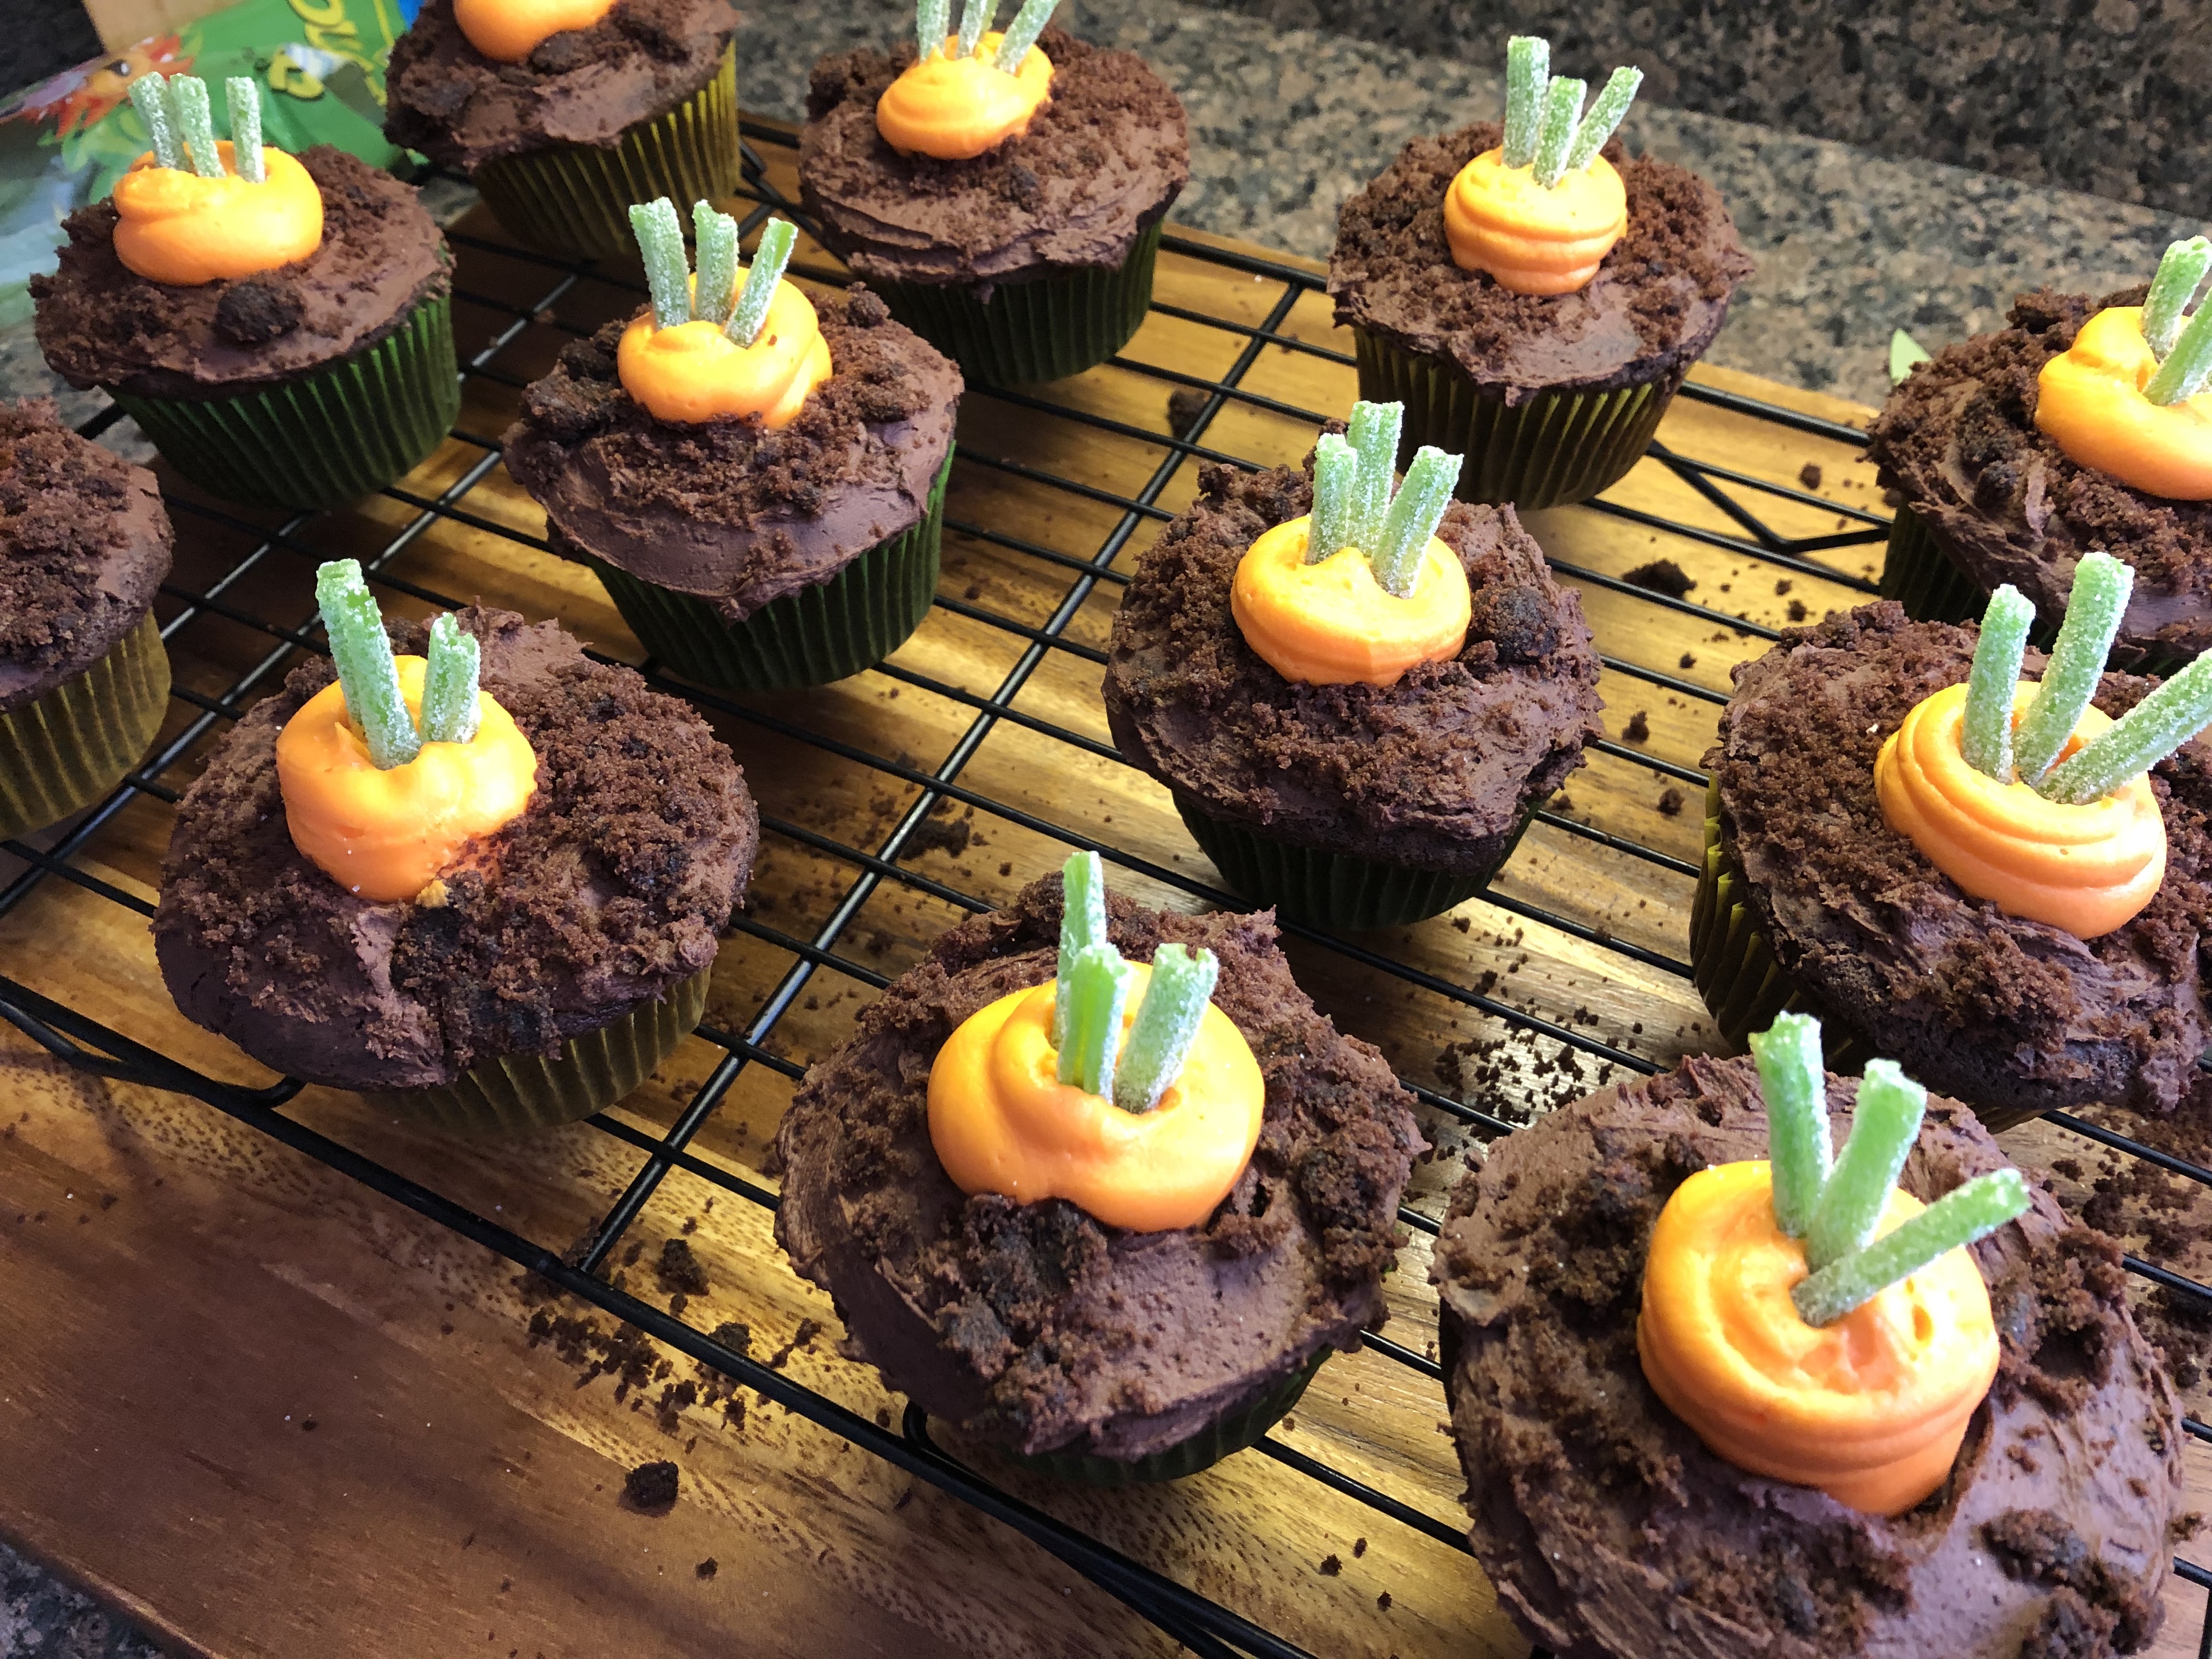
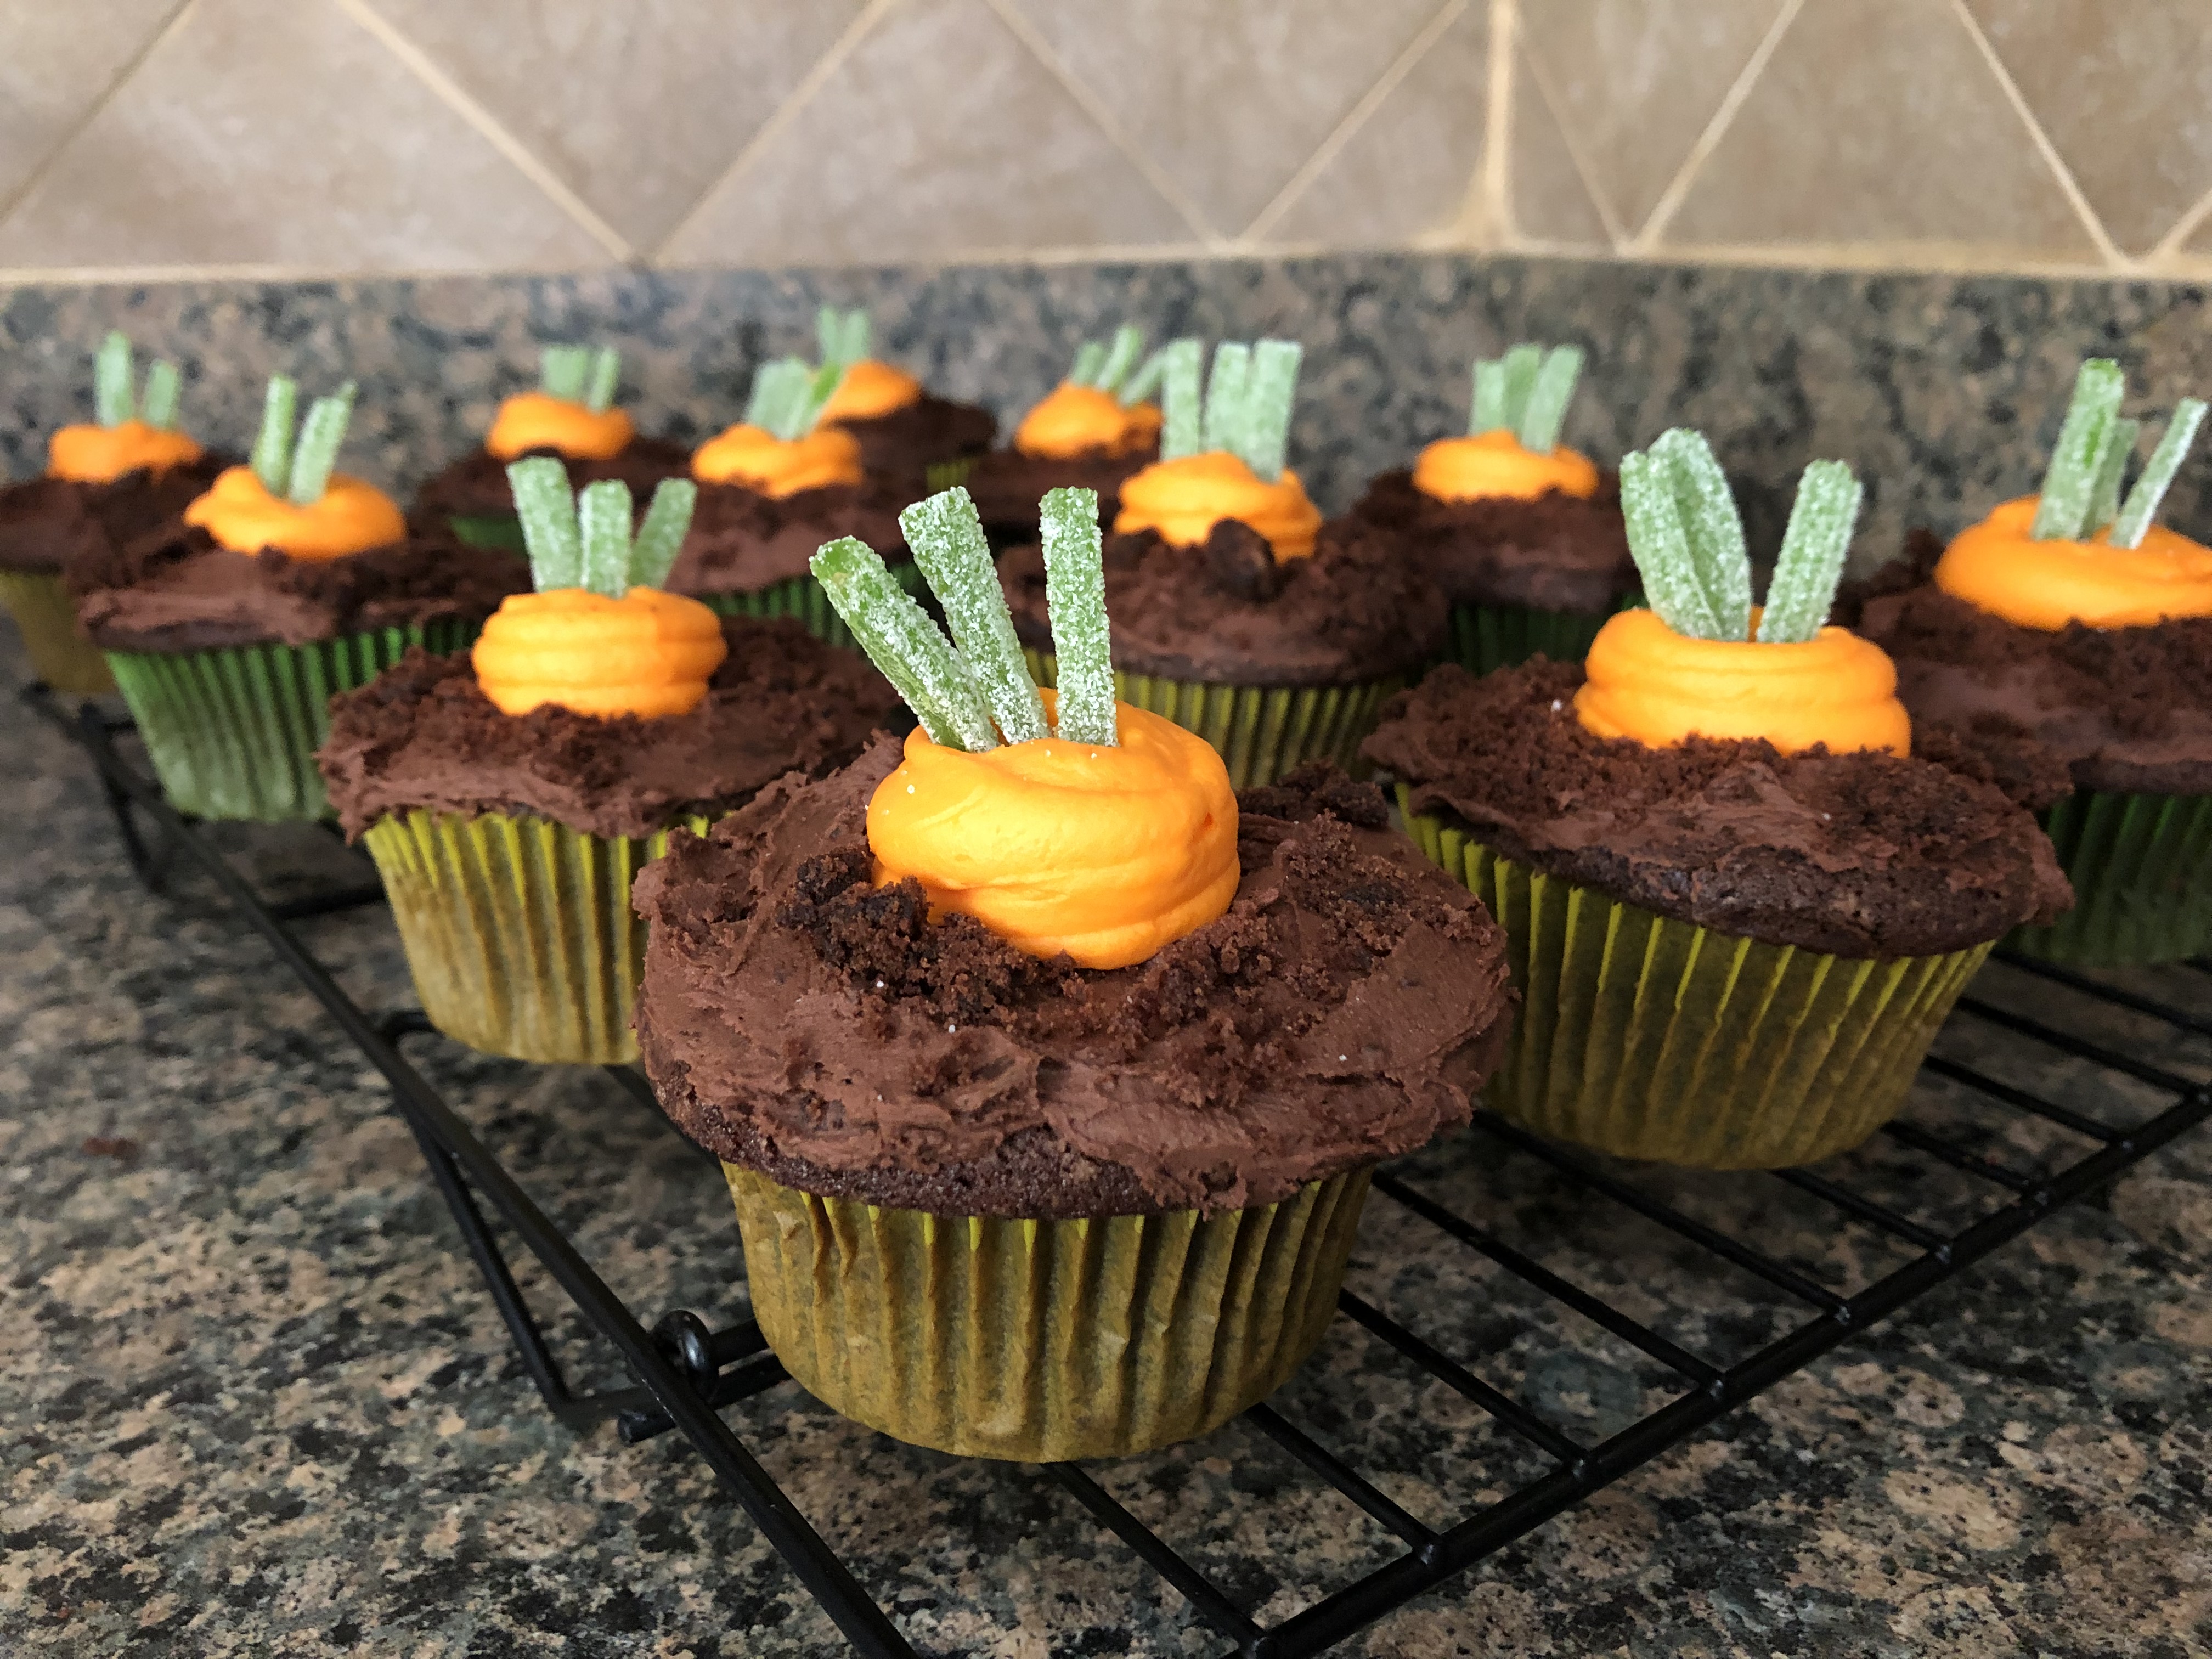
And there you have it… Sprouting Carrot Cupcakes.


While I opted to make my cupcakes and frosting from scratch, you could easily go the time-saving route and use a box chocolate cake mix and store bought chocolate and vanilla frosting. If you opt for store bought frosting I would advise refrigerating the vanilla frosting after tinting it orange for about 10-15 minutes prior to piping the carrots. Store bought frosting tends to be on the softer side so decorating with it can be frustrating since it won’t take shape, refrigerating it helps to stiffen it.


Supplies:

12 chocolate cupcakes

1 cup chocolate frosting

1 1/2 cups vanilla frosting

Orange food coloring

Green sour apple straws

Piping Bag fitted with a round tip


Sugar Skull Cake

Feliz Dia De Los Muertos! Today is the final day of the three-day celebration to remember and honor loved ones who have died. If you want a little more info on the holiday check out my Dia De Los Muertos Cupcakes blog post. In celebration of the day I am sharing with you a Sugar Skull Cake. Sugar Skulls, or Calaveras, are often used to decorate the ofrendas (offerings) & gravestones during the three-day celebration. They got their name because they are traditionally made of clay molded sugar and then decorated with colorful adornments. The sugar skull I created definitely has sugar in it, but, not molded sugar. I opted to make a chocolate cake, frosted it with buttercream frosting and then decorated it with fondant and confetti sprinkles.

To begin, using the same skeleton pan I used to make my Mummy Cake, I baked a chocolate cake – I used a box cake mix. After letting the cake cool I covered it in plastic wrap and refrigerated it overnight.

The next day, I made a batch of Brenda’s Bakery Buttercream – also the same frosting I used for the Mummy Cake. After removing the cake from the refrigerator, I used a large circle cookie cutter to cut out larger eyes for the skull. I used the cookie cutter to make an indentation in the cake and then used a butterknife to carve out the eyes.

Next, I crumb coated the cake and placed it back in the refrigerator so the frosting could set, about a half hour.

After 30 minutes I finished frosting the cake. I added a little extra frosting in the cheek area so the skull would have a more defined look. I then placed it back in the refrigerator so the frosting could firm up.

Once the frosting was firm, I removed the cake from the refrigerator and attempted to smooth the spatula swipe marks by laying a piece of paper towel on sections of the cake and then gently rubbed the sections with my fingers. This worked for the most part, except I then had the imprint of the paper towel on my cake.

Then, the fun part began. I brought my skull to life using fondant & sprinkles. Luckily, I had left-over fondant from the Trolls Cake I made last year. Don’t worry, the fondant was un-opened and still good. Using black fondant and the same round cookie cutter I used to widen the eyes I cut out eye sockets. For the mouth, I actually had a band aid cookie cutter from a Doc McStuffins themed cake I made last year that was the perfect size. You could easily cut out a rectangle using black fondant though. For the nose socket, I cut out a pink heat and then placed it on the cake upside down. And for the rest of the cake I used daisy cutters to cut out different sizes to decorate around the cake along with confetti sprinkles. This was probably one of the simplest cakes I decorated (I feel like I say that about a lot of cakes these days!)

For a more detailed instruction on creating your own Sugar Skull cake check out The Cake Girls


Cookies and Cream Cake

If you love Oreos then this is the cake for you… A Cookies and Cream Cake that has crushed Oreos baked into the batter as well as folded into the buttercream.

I took the easy route and opted to use a box cake, a Duncan Hines Classic White Cake Mix to be exact. I made one minor adjustment to the batter, I added in an extra 1/4 cup of water so that the Oreo crumbs wouldn’t thicken the batter too much. Once the batter was ready, I then folded in a cup of Oreo crumbs. To create the crumbs I placed a bunch of Oreos in a Ziploc bag, sealed it and then rolled it with a rolling pin. I left some of the Oreos in fairly large crumbs so that the cake wouldn’t just be speckled with little pieces of Oreos, but have some noticeable pieces. I then divided the batter between two 8-inch round pans that I sprayed with baking spray and baked it in a350 F preheated oven until a cake tester inserted in the middle came out clean, about 25 to 30 minutes. I let the cakes cool for a few minutes and then inverted them on wire racks to cool completely.

Meanwhile, I made the frosting. My go-to frosting is a Fluffy Vanilla Frosting that I got from a Martha Stewart cookbook and have been using for quite some time now when it comes to decorating my cakes. It tastes good (not overly sweet) and holds up well to piping and tinting. If frosting is too soft when you tint it it will only get softer and when you try to pipe it it inevitably droops. While I love using the frosting, I am not a fan of making it. It involves adding the confectioners’ sugar 1/2 cup at a time and raising and lowering the speed of my stand mixer. What ultimately happens, even though I cover the mixer with a kitchen towel, is sugar dust gets everywhere on my counter. I was also concerned that the recipe wouldn’t yield enough frosting to fill, frost & decorate the cake. So, while doing a little research for this cake – I couldn’t decide in the beginning if I should make the cake from scratch or use a box mix – I came across a buttercream frosting that incorporated crushed Oreos that I decided to try. I began by beating the butter in my stand mixer until it was light and fluffy and then added in confectioners’ sugar and heavy cream and mixed it on low speed until the sugar was incorporated and then slowly raised it to medium until everything was well blended. Using a rubber spatula I folded in Oreo cookie crumbs. You may be tempted to make the frosting in advance and then store it in the refrigerator. I suggest not doing that. Doing so will allow the cookie crumbs to soften and when you go to use it your frosting may end up looking more gray than speckled with Oreos.

Once the cake cooled I torte both to remove the small dome that formed during baking and then spread some of the frosting on one the cakes and then topped it with the other. I then crumb coated the cake and refrigerated it for about 15 minutes so the frosting could set and then finished frosting it. I had some remaining Oreo crumbs so I pressed them along the bottom of the cake.

Next, I made the chocolate ganache that I poured on top of the cake and spread around. Using a squeeze bottle I tried to create a chocolate drip around the cake. Unfortunately it was a bit warm in my house so the chocolate didn’t set well (even after refrigerating it for a few minutes) so it was a bit runny, hence the chocolate drizzle running down the sides of the cake. Oh well! Finally, using a Wilton 1M tip I piped dollops with the remaining frosting on top of the cake and place a mini Oreo in each one. A little tip, if you plan on piping frosting that has crumbs in it make sure your tip is large enough for the crumbs to pass through. I actually had a few instances of the crumbs getting stuck.

And there you have it… A Cookies and Cream Cake.


Cookies and Cream Cake

Ingredients:

For the Cake:

1 15.25 oz. white cake mix

3 large egg whites

1 1/4 cups water

1/3 cup vegetable oil

1 cup Oreo crumbs


For the Frosting:

3 sticks unsalted butter, at room temperature

5 cups confectioners’ sugar

1 1/3 cups Oreo crumbs

1/4 cup heavy cream


For the Chocolate Ganache:

1 cup (8 ounces) semi-sweet chocolate (can use chocolate chips or a baking bar chopped)

1/2 cup heavy cream


*You will need 1 package of Oreos and 1 small container of mini Oreos


Directions:

Preheat the oven to 350 F. Spray two 8-inch round cake pans with baking spray or butter and flour.

In a large bowl combine the cake mix, egg whites, water and oil. Prepare according to box directions then fold in the Oreo crumbs. Divide the batter among the two pans and bake in the preheated oven for 25 to 30 minutes, until a cake tested inserted in the middle comes out clean. Let the cakes cool in the pans for 15 minutes and then invert them on a wire rack to cool completely.

While the cakes are cooling make the frosting. Beat the butter on medium speed until light and fluffy. Add in the confectioners’ sugar and heavy cream and beat on low speed until incorporated and then raise the speed to medium and continue beating until well blended. Using a rubber spatula fold in the Oreo crumbs.

Once the cake has cooled, torte, fill and apply a crumb coat. Refrigerate the cake for about 15 minutes.

While the cake is in the refrigerator make the chocolate ganache. Place the chocolate in a bowl. Warm the heavy cream in a small saucepan over low heat until steaming and then pour over the chocolate. Let sit for 5 minutes and then stir until smooth. Set aside until ready to use.

Remove the cake from the refrigerator and finish frosting. If you have Oreo crumbs remaining press them along the bottom of the cake. Once the ganache has thickened, transfer to a squeeze bottle and squeeze some of the ganache on the center of the cake. Using an off-set spatula gently spread the ganache towards the outside of the cake, careful not to let it spill over. Add more ganache is necessary. With the remaining ganache in the squeeze bottle drip the chocolate the chocolate along the sides of the cake. Place in the refrigerator so the chocolate can set.

Once chocolate has set use the remaining frosting to pipe dollops on top of the cake. Add mini Oreos to the dollops or cut larger Oreos in half and add those to the dollops.

Frosting Recipe from the Preppy Kitchen

Chocolate Snack Cakes with a Caramel Buttercream Filling

Remember a few years ago when people were going crazy with the idea of there being no more  Twinkies available on store shelves due to the bankruptcy of Hostess, well, I wasn’t one of those people. I did find it amusing though how people were selling the packaged baked good on EBay for insane amounts of money. I don’t have anything against Twinkies; I just never found them all that tasty. I always preferred the Hostess snack of Ding Dongs, but, it was something I definitely had to be in the mood for. Thankfully many people got their wish when Twinkies made it back to store shelves after some business negotiations. So, even though I am not a Twinkies fan that didn’t stop me from buying Fat Daddio’s Snackcake Pans when I saw them at Sur La Table in the clearance section for a ridiculously irresistible price of $2.99 each. There are so many flavor combinations that could be made that I was sure I would be able to find my favorite version of the American legend treat!

IMG_5924

Since I was essentially testing out these pans I decided to use a mix to make the snack cakes.

IMG_5915 IMG_5913

After prepping the batter according to the box directions…

IMG_5917

I then filled each cavity about half-way. I honestly thought that since the mix was enough for 12 cupcakes I would end up with 12 snack cakes, but the batter was only enough for 9.

IMG_5920

I baked them in a 350 F preheated oven for 20 minutes and after letting them cool it was time to fill them. I opted for a caramel buttercream filling which was super simple to make as I purchased prepared caramel sauce as opposed to making it myself.

IMG_5922

Using a Wilton No. 230 tip I was able to fill the snack cakes without much mess or fuss.

IMG_5925

Final verdict… You can’t go wrong with the flavor combination of chocolate and caramel! These were a hit that went super-fast.

IMG_5935

Caramel Buttercream Filling

Ingredients:

1/2 cup unsalted butter, 1 stick

1 cup Confectioners’ sugar

3 tablespoons prepared caramel sauce

1 teaspoon vanilla extract

Directions:

1. Using an electric mixer beat the butter at medium speed until creamy.

2. Reduce the speed to low and gradually add in the sugar and beat until well combined

3. Add caramel sauce and vanilla extract and continue beating until all ingredients are incorporated.

Cranberry Cupcakes

While everyone is so focused on pumpkin being the “it” flavor of the Fall, another fruit quietly makes its way into the fold – albeit mainly to be a nice accompaniment to your Thanksgiving turkey… the cranberry. Granted most of us don’t (or won’t) eat raw cranberries due to their bitterness, but they are quite tasty when dried, blended into wonderful juice combinations (thanks Ocean Spray!) or made into a sauce (my personal favorite.) So when I came across a recipe for Cranberry Cupcakes  in a recent issue of Food Network Magazine I knew I had to try it.

To begin, I whisked together flour, baking powder, salt, baking soda and nutmeg in a bowl and set it aside.

IMG_2135

I then mixed together my wet ingredients. Starting with the sugar and butter, then adding in an egg and vanilla extract.

IMG_2141

Next I added in the flour mixture and mixed it until the two mixtures were just incorporated.

IMG_2143

And finally I added in sour cream, which allows for a denser cupcake. After mixing it with the mixer I gave it a couple of extra stirs with a spatula.

IMG_2145

The batter was the perfect amount for 12 cupcakes.

IMG_2147

I baked them for 20 minutes in a 350F preheated oven and voila…

IMG_2150

Next, I made a small indentation in each of the cupcakes…

IMG_2151

And then added in a few teaspoons of canned cranberry sauce into the indentation. Since the cupcakes are denser there are no concerns about them falling apart due to the liquid of the sauce.

IMG_2152

While they cooled I made a Cranberry Buttercream Frosting.

IMG_2154

Once they cooled completely I piped a 1M Swirl of frosting on each of the cupcakes.

IMG_2162

Final verdict… They’re a keeper! Although next time I’m thinking of trying them with a different fruit, maybe blueberries.

IMG_2160

Cranberry Cupcakes

Makes 12 Cupcakes

For The Cupcakes

1 1/2 cups all-purpose flour

1/2 tsp. baking powder

1/2 tsp. salt

1/4 tsp. baking soda

1/8 to 1/4 tsp. freshly grated nutmeg

6 tbsp. unsalted butter, at room temperature

3/4 cup granulated sugar

1 large egg, at room temperature

1 tsp. vanilla extract

1/2 cup sour cream

1/2 cup canned whole-berry cranberry sauce

For The Frosting

2 sticks unsalted butter, at room temperature

3 cups confectioners’ sugar

1/4 cup canned whole-berry cranberry sauce

1/2 tsp. vanilla extract

Pinch of salt

Dried cranberries, for topping

1. Make the cupcakes: Preheat the oven to 350F and line a 12-cup muffin pan with paper liners. Whisk the flour, baking powder, salt, baking soda and nutmeg in a medium bowl.

2. Beat the butter and granulated sugar in a large bowl with a mixer on medium speed until creamy, about 2 minutes. Add the egg and vanilla extract and beat until fluffy, about 3 more minutes. Reduce the speed to low; add the flour mixture and beat until just incorporated, about 1 minute. Add the sour cream and beat until light and fluffy, about 2 more minutes.

3. Divide the batter among the muffin cups. Bake until a toothpick inserted into the center comes out clean, about 22 minutes. Let sit until cool enough to handle, then gently press the back of a small spoon into the center of each cupcake to make an indentation. Fill each indentation with a few teaspoons of cranberry sauce. Remove the cupcakes to a rack to cool completely.

4. Meanwhile, make the frosting. Beat the butter and 1 cup confectioners’ sugar in a large bowl with a mixer on medium speed until combined, about 2 minutes. Reduce the mixer speed to medium low; gradually add the remaining 2 cups confectioners’ sugar and beat until fluffy, about 2 minutes. Increase the speed to medium high; beat in the cranberry sauce, vanilla and salt until combined. Spread the frosting on the cupcakes and top with dried cranberries.

%d bloggers like this: