Are you looking for an easy Halloween cake to make? Well, this Mummy Cake might be the one. It’s simple, doesn’t take a lot of time and you don’t need any fancy cake decorating skills to make it. I got the idea and directions from The Cake Girls. They have an online shop with a bunch of cool baking supplies, recipes and step-by-step tutorials with detailed pictures. I first came across their website on a blog I follow, The Cake Blog. A blog that has an array of wonderful recipes and cake decorating ideas and instructions from various bakers and cake designers.

I purchased a skull pan from The Cake Girls website to create the mummy. Now, if you are a good cake carver you could simply bake a box cake mix (or your favorite cake recipe) in a 9×13 inch pan and then carve out the shape of a skull. Or, if you already own one here’s a new idea to put it to good use. I own quite a few shaped pans that I’ve only used once, but I won’t part with them just in case.

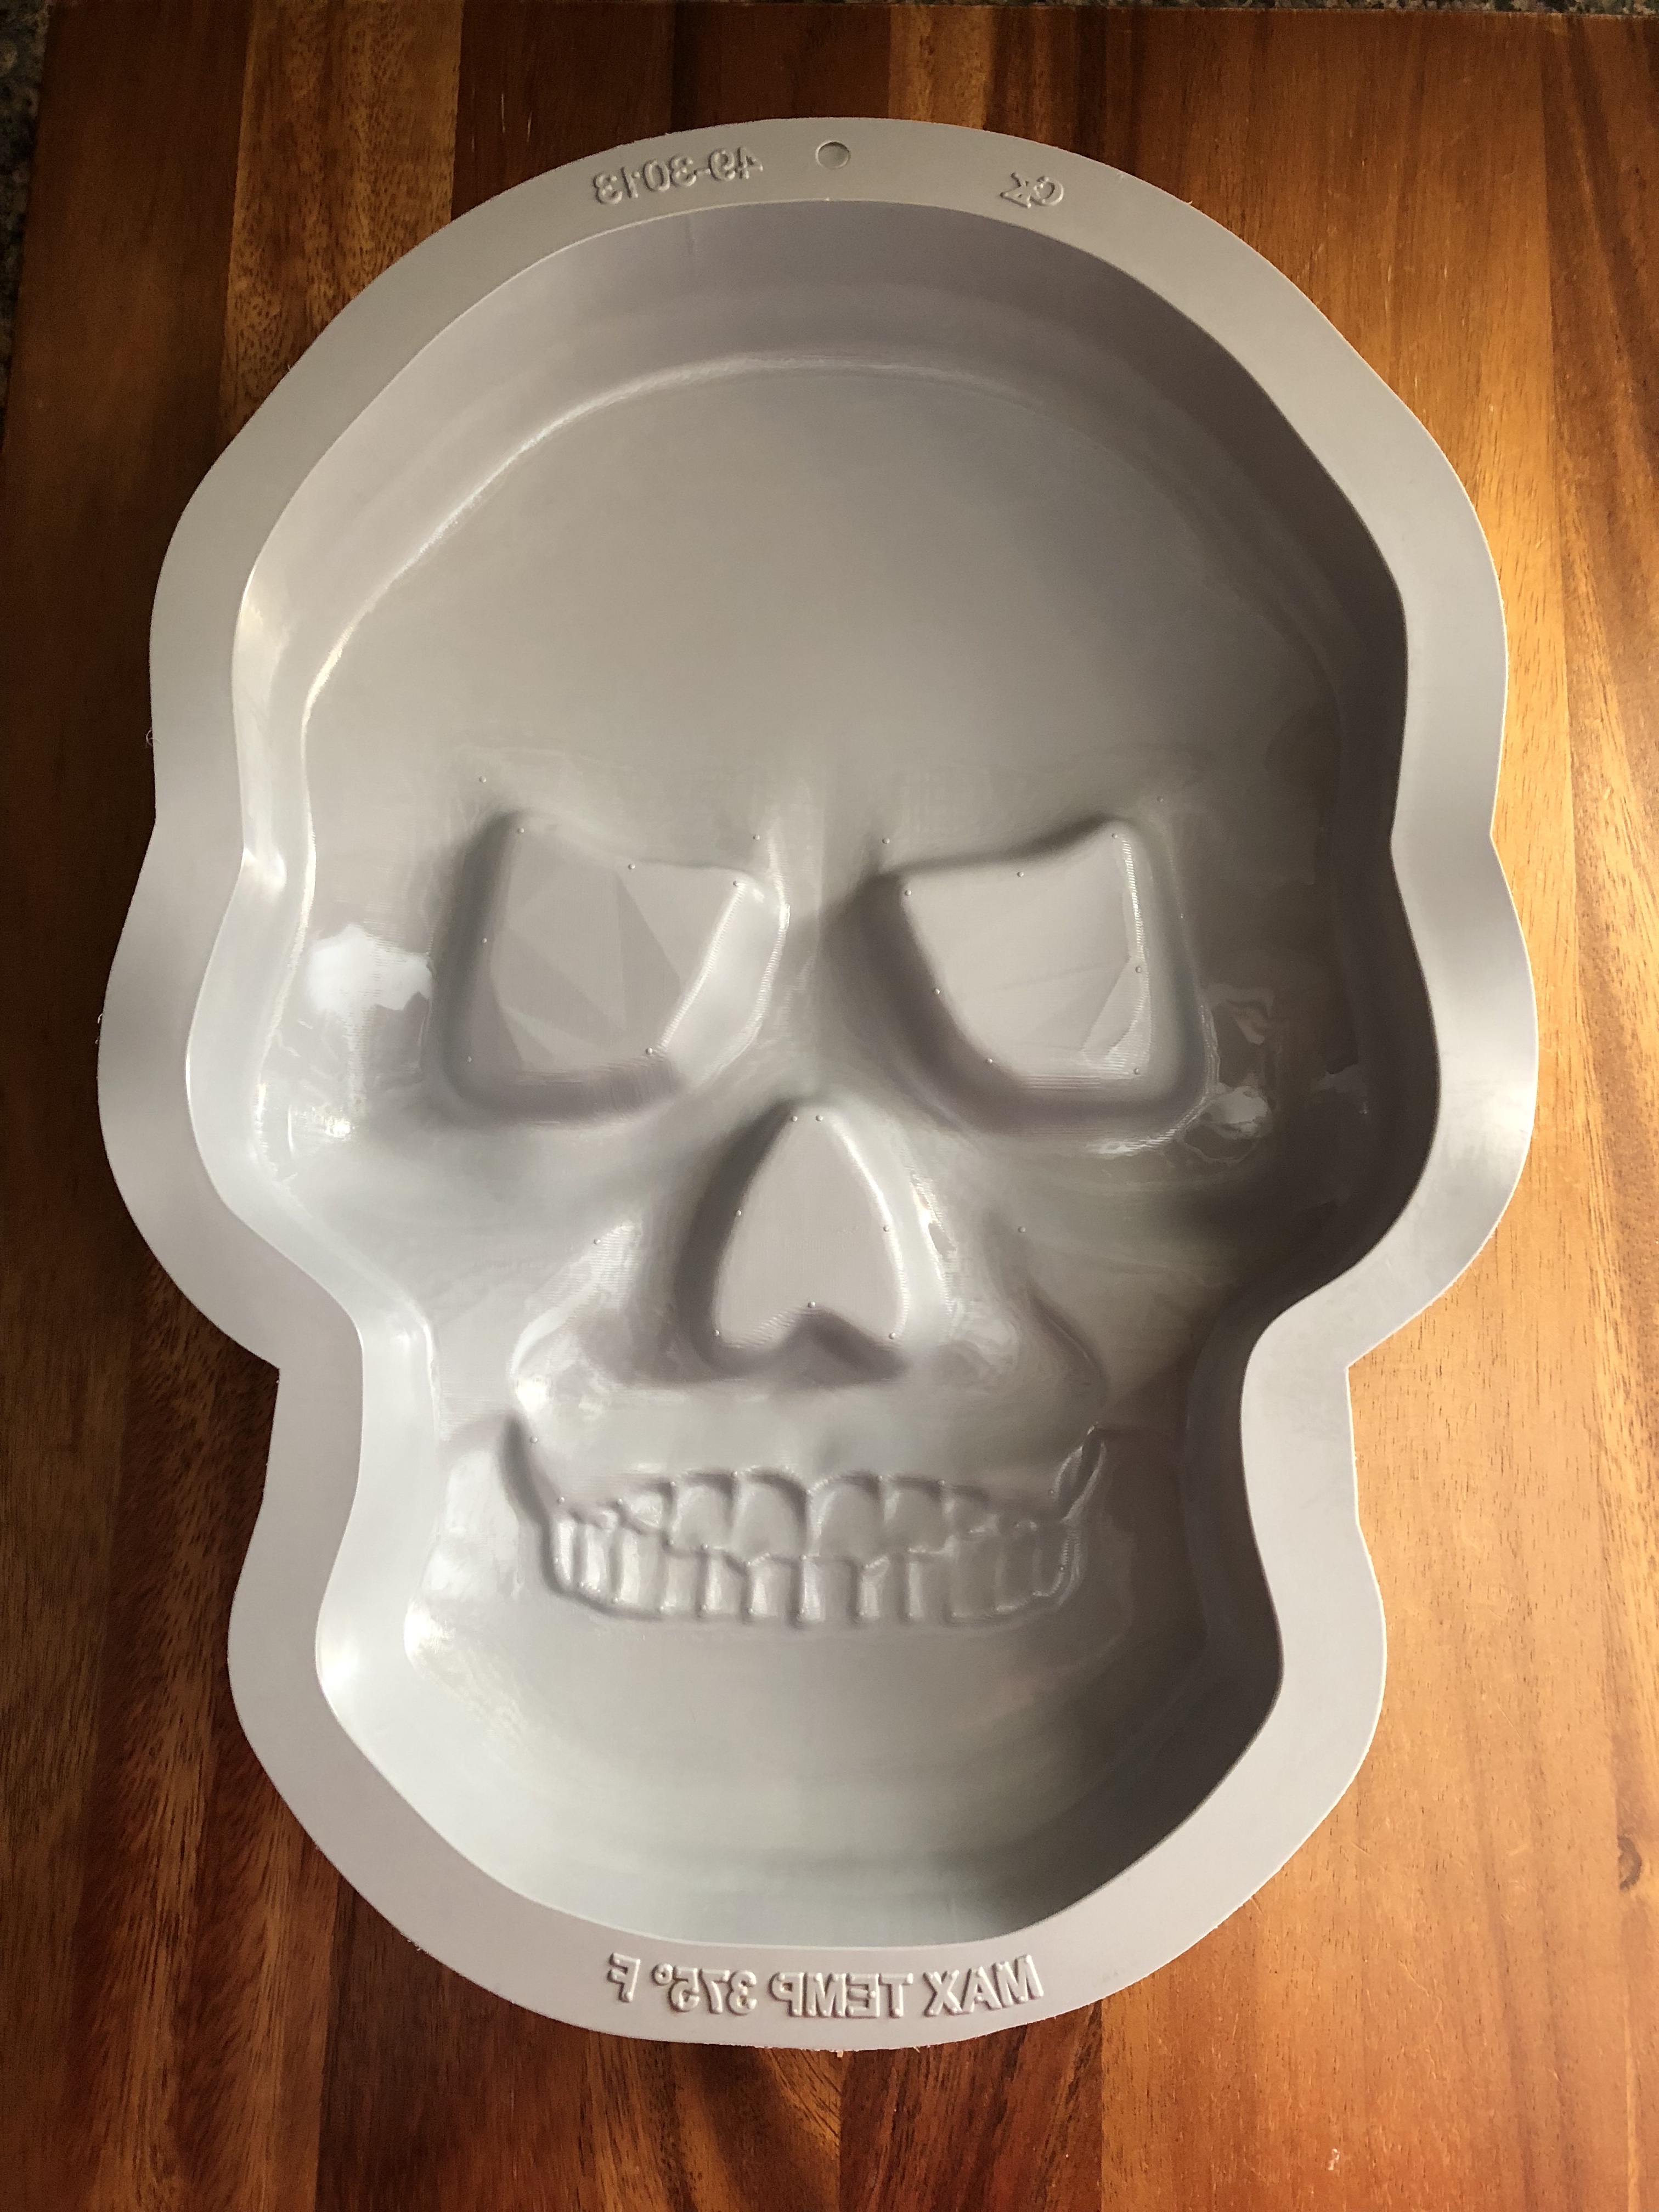
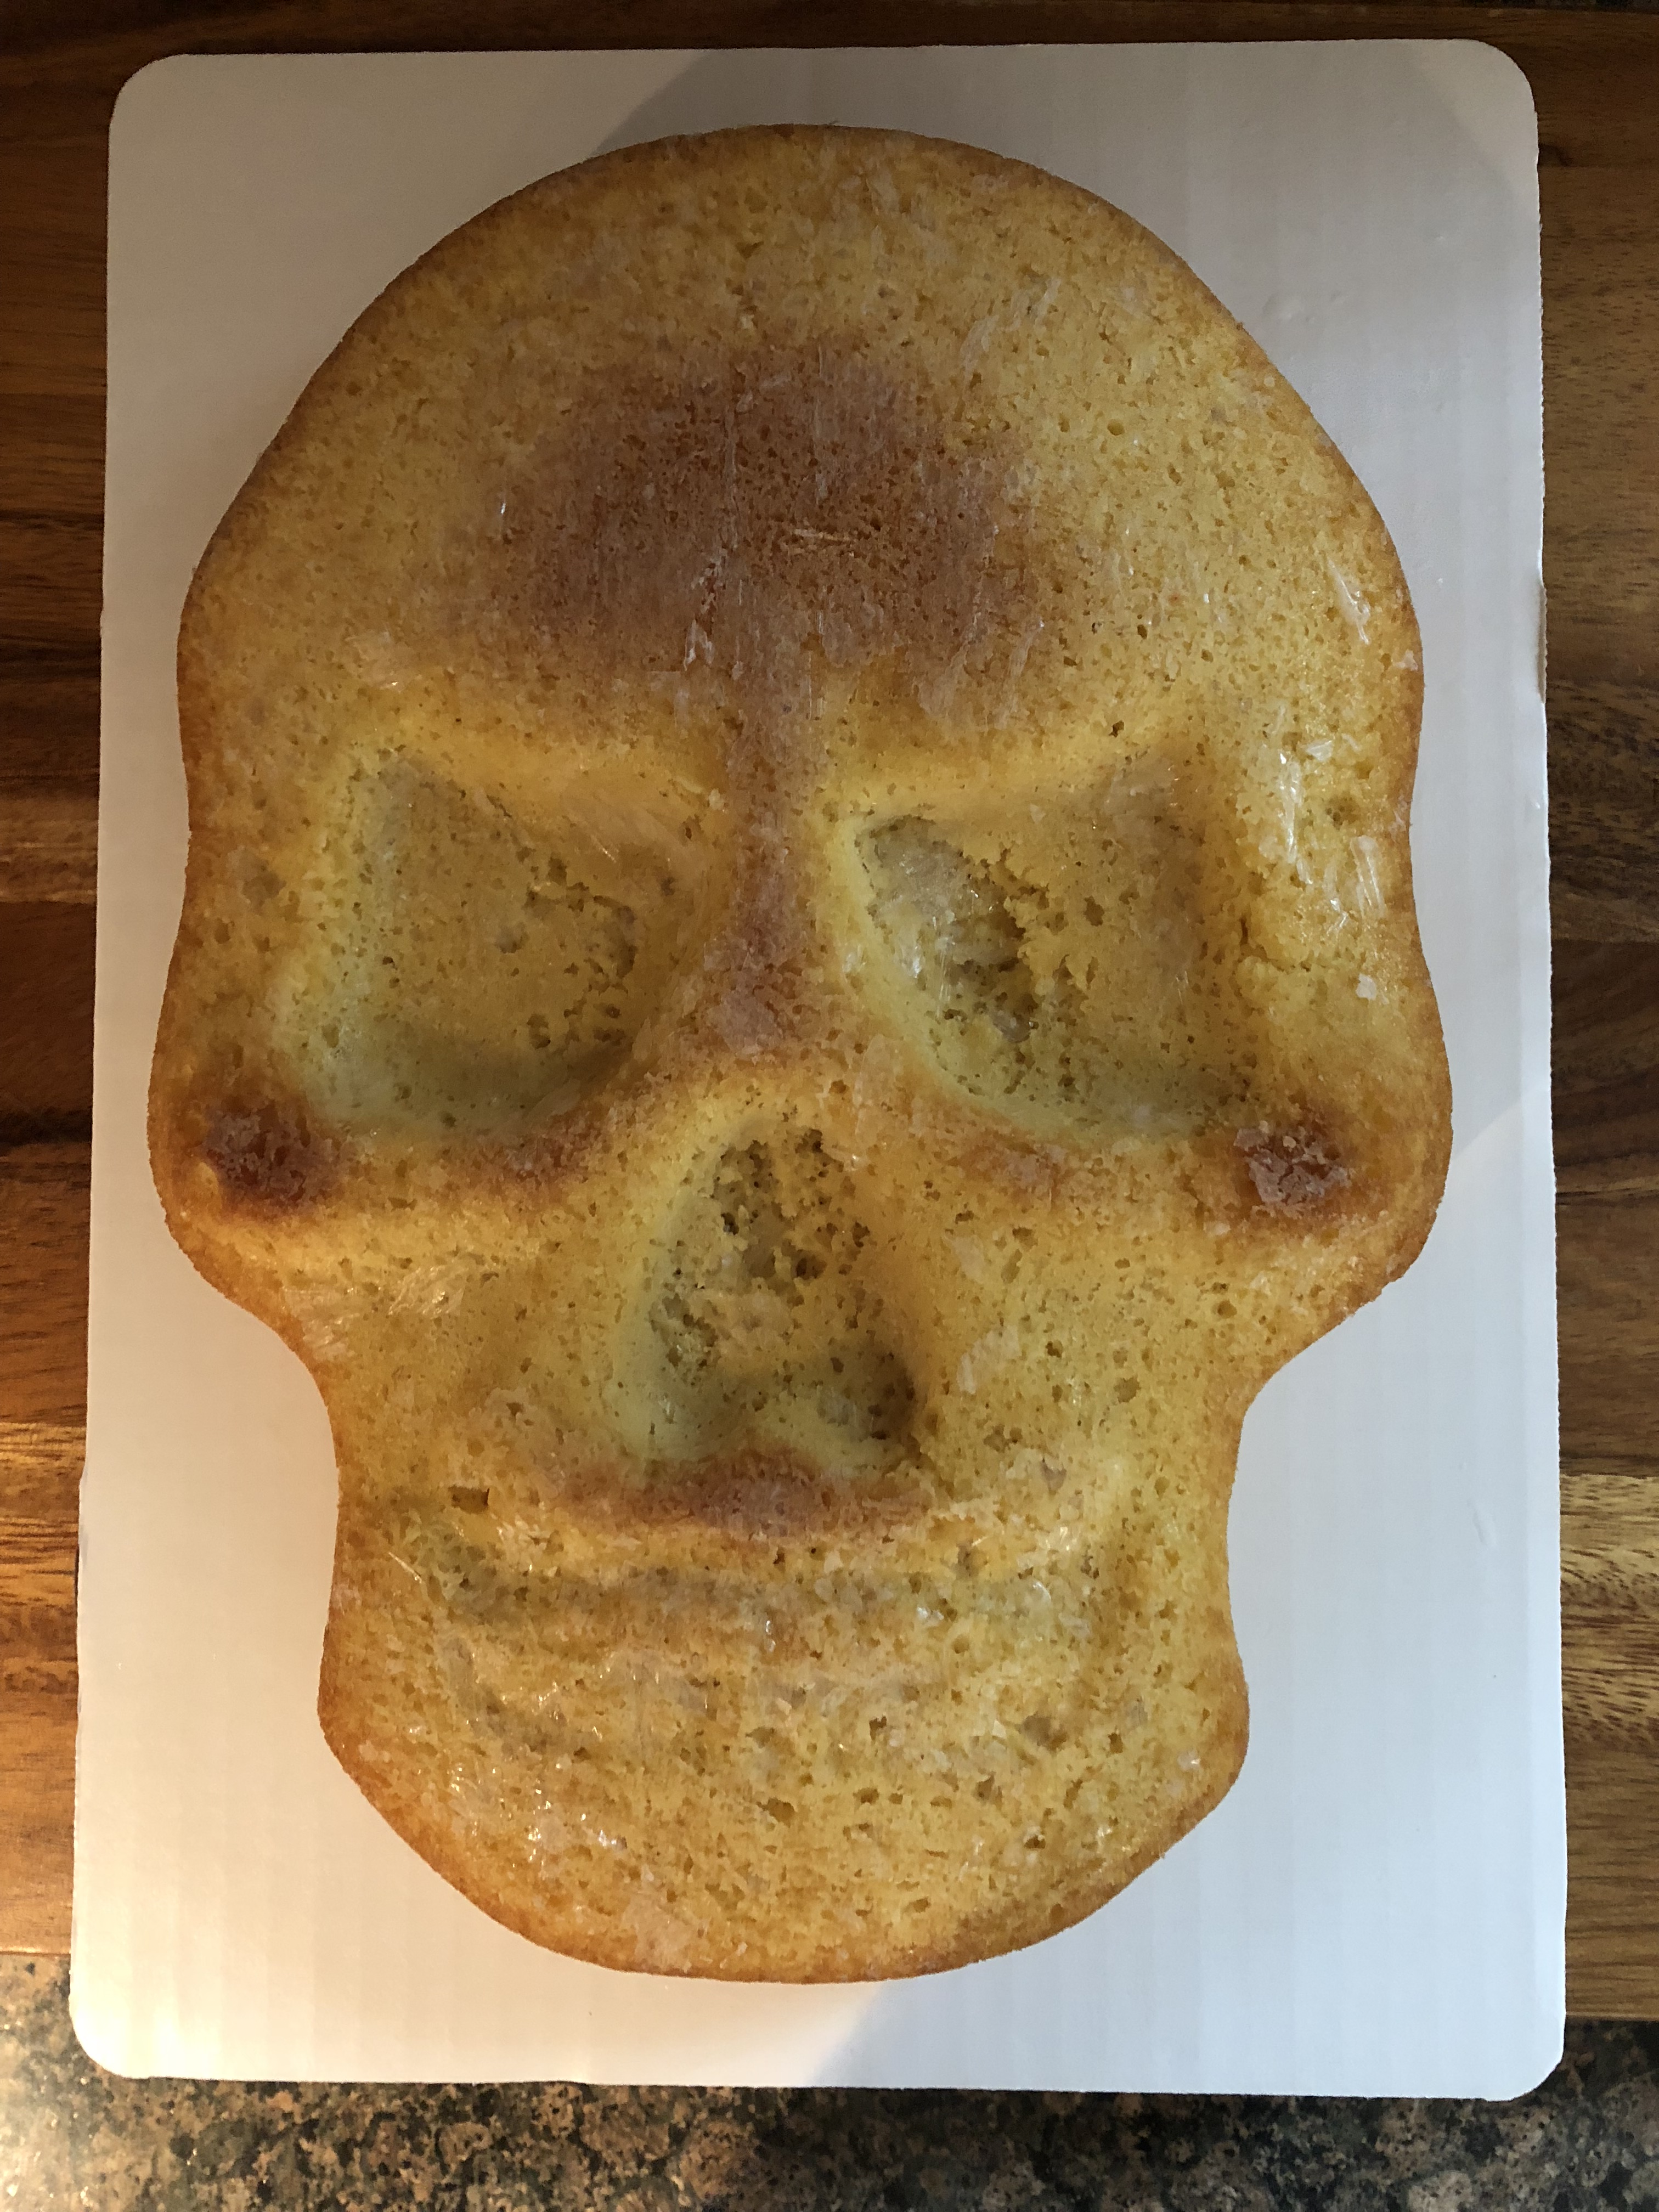
To begin, I sprayed the cake pan with baking spray and then poured my cake batter (I used a box cake mix) into the pan. I placed the pan on a baking sheet and baked it in a 350 F preheated oven until a cake tester inserted in the middle came out clean. I let the cake cool in the pan for a few minutes and then inverted it onto a cake board to cool completely. Don’t worry if your cake has a small dome on it and doesn’t lay completely flat. You will be able to hide this minor imperfection with the frosting design. Once the cake was cool I lightly wrapped it in plastic wrap and placed it in the freezer overnight. Having the cake cold makes frosting it much easier. This was my first time freezing a cake and while I know bakeries and a lot of home bakers do it all the time I have always been apprehensive to do so because I fear the cake will end up having a weird taste/aftertaste once it defrosts. But, I am happy to say that this was not the case.
Before removing my cake from the freezer I made the frosting. I decided to make the frosting that was recommended on The Cake Girls website, Brenda’s Bakery Buttercream. It involves using butter and Crisco, which I am sure some people will frown at, but, when I took the Wilton Decorating Classes a few years ago there go-to frosting recipe included Crisco and I recall it tasting great and holding its shape well when it came to decorating. Something else new I tried… Using chocolate frosting (store bought) to make black frosting. I recently read that making black and red frosting is easier to create when starting with chocolate frosting. I can attest that that is the case for black frosting, but, will have to test the theory for red frosting. Perhaps with a Christmas themed cake. Oh, one other thing I tried, Wilton’s new Color Right Performance Food Coloring, for some reason I thought it was only for chocolate (don’t ask me why) but after doing a little research I learned it can be used on frosting. I believe I saw a video on Instagram of someone using it and that prompted me to find out more about it. I must say, I definitely liked the dropper bottles a lot more than their usual gel color containers. I always seem to get the gel on my hands and they get all clumpy and what not after being opened. I think the dropper bottles are the way to go. They are also supposed to be more concentrated so you can get the color you want a lot quicker and can easily mix the colors to get different hues.
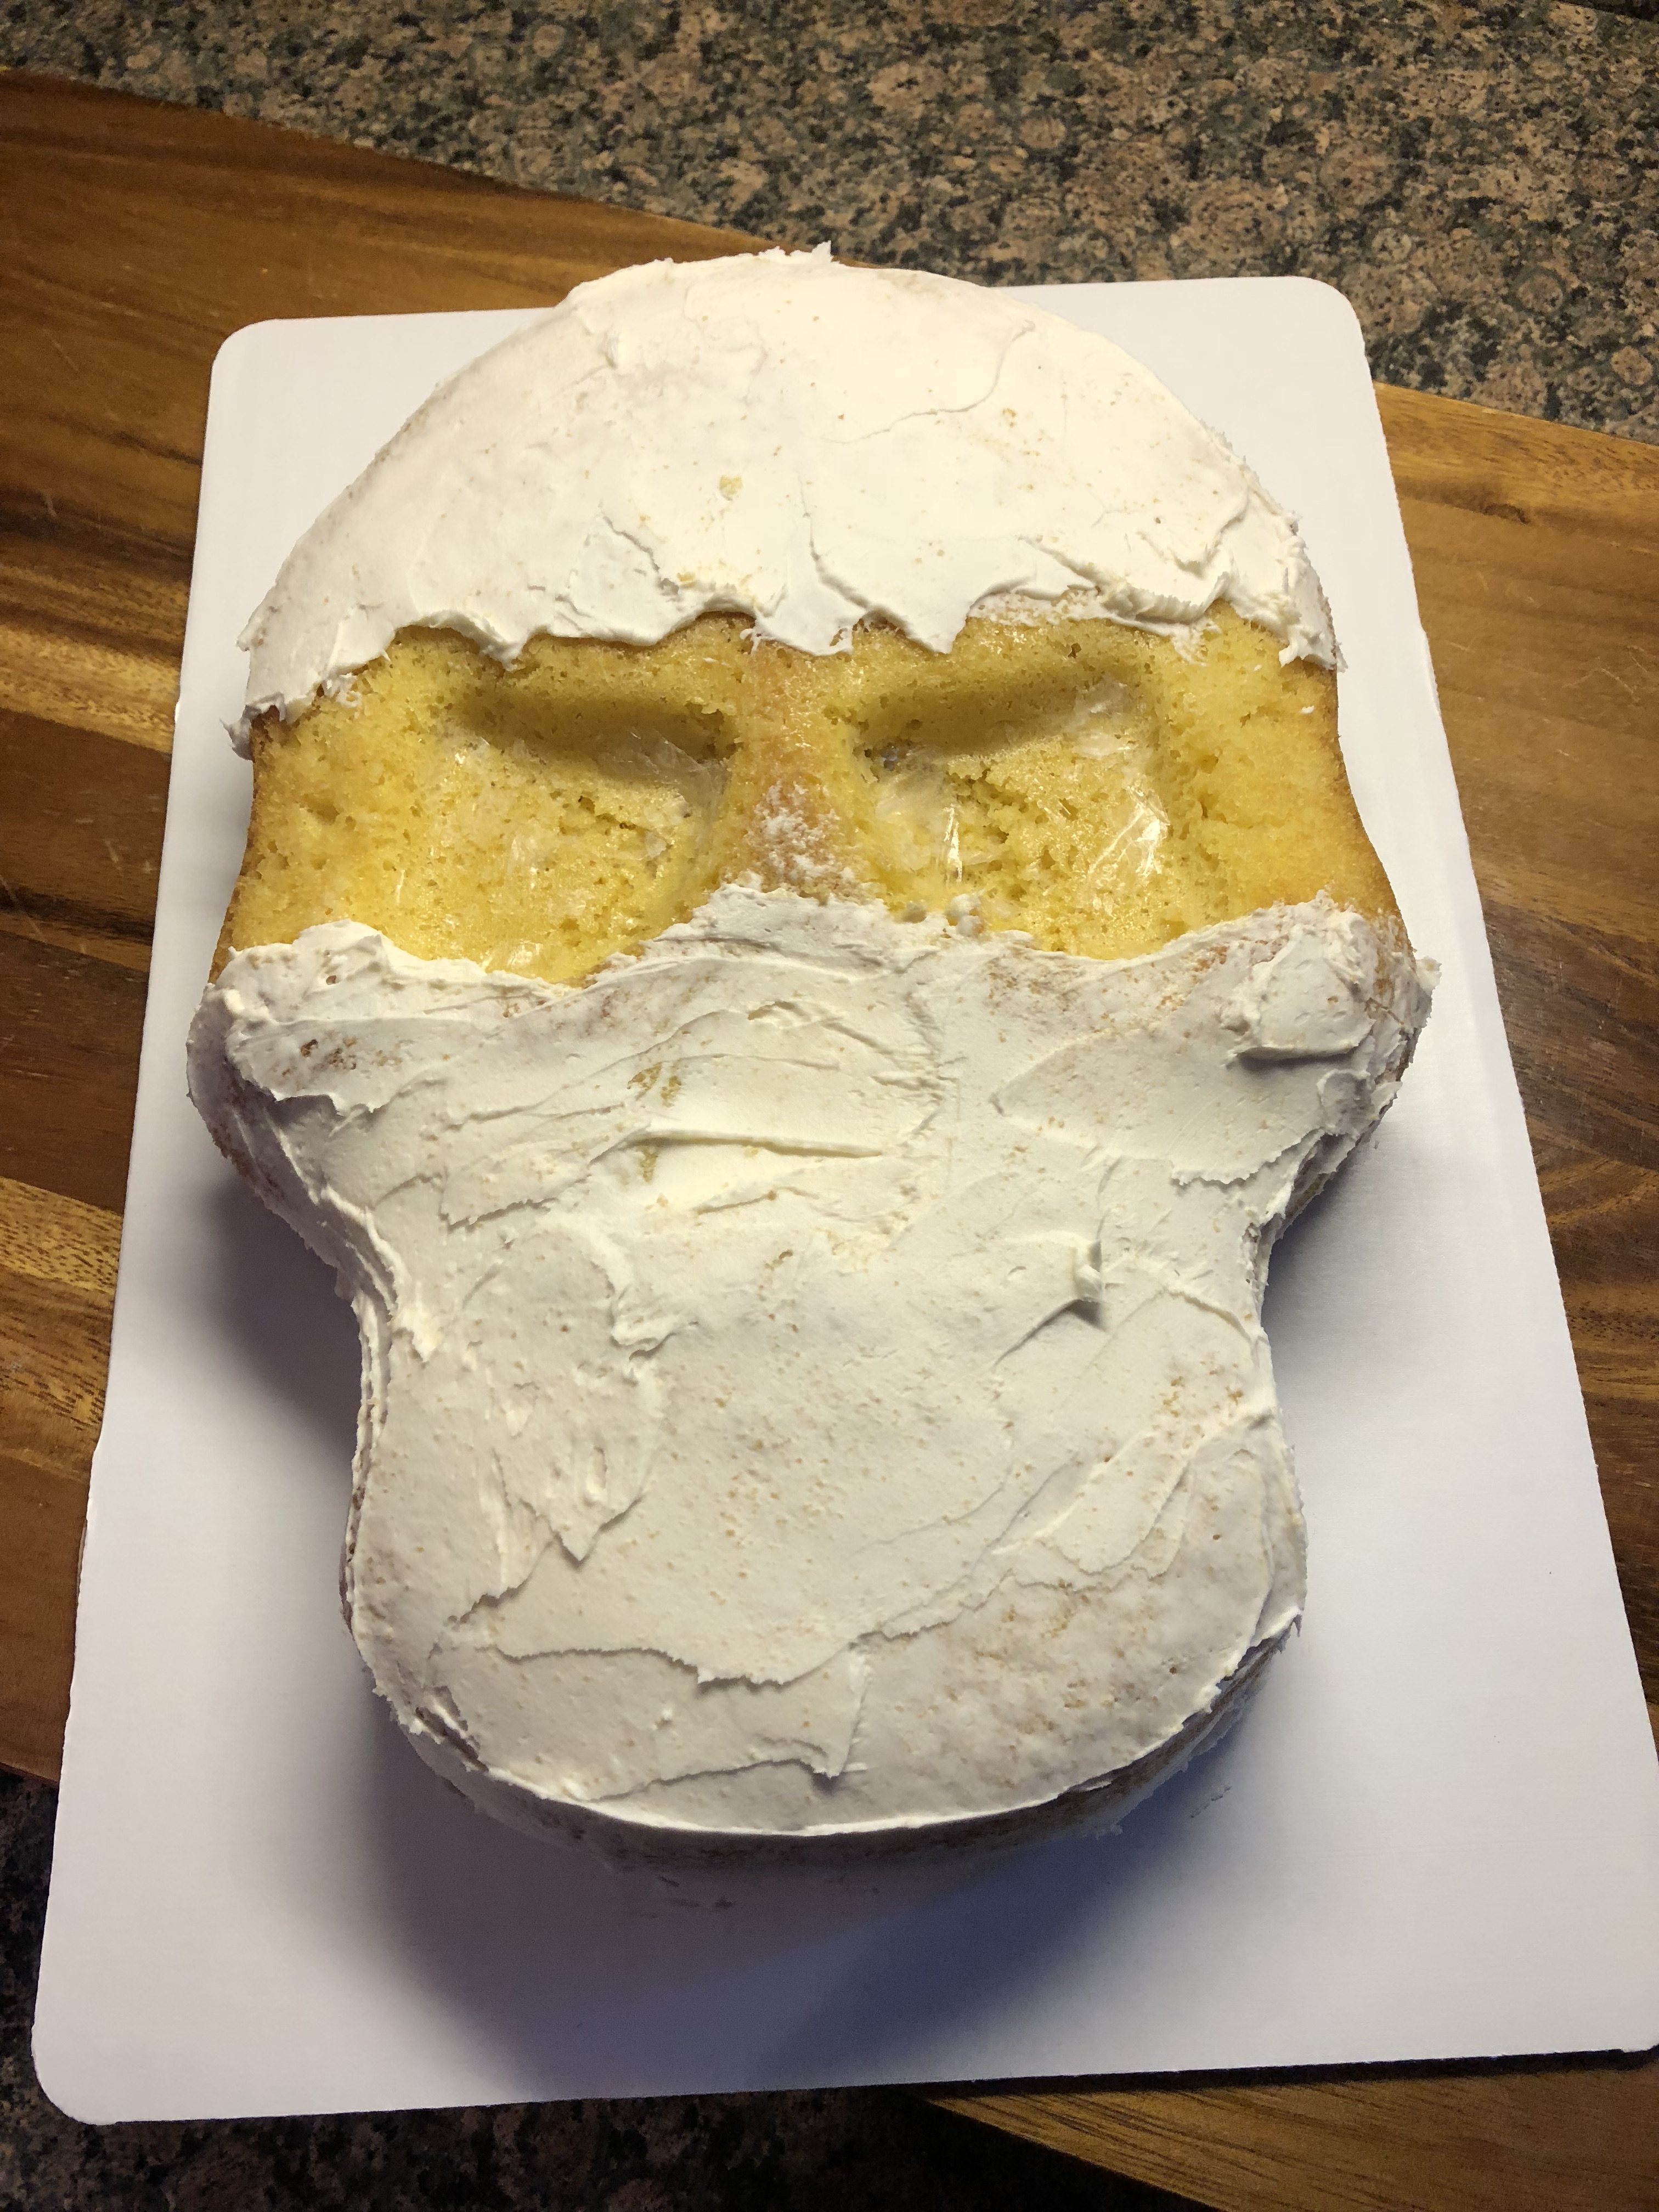
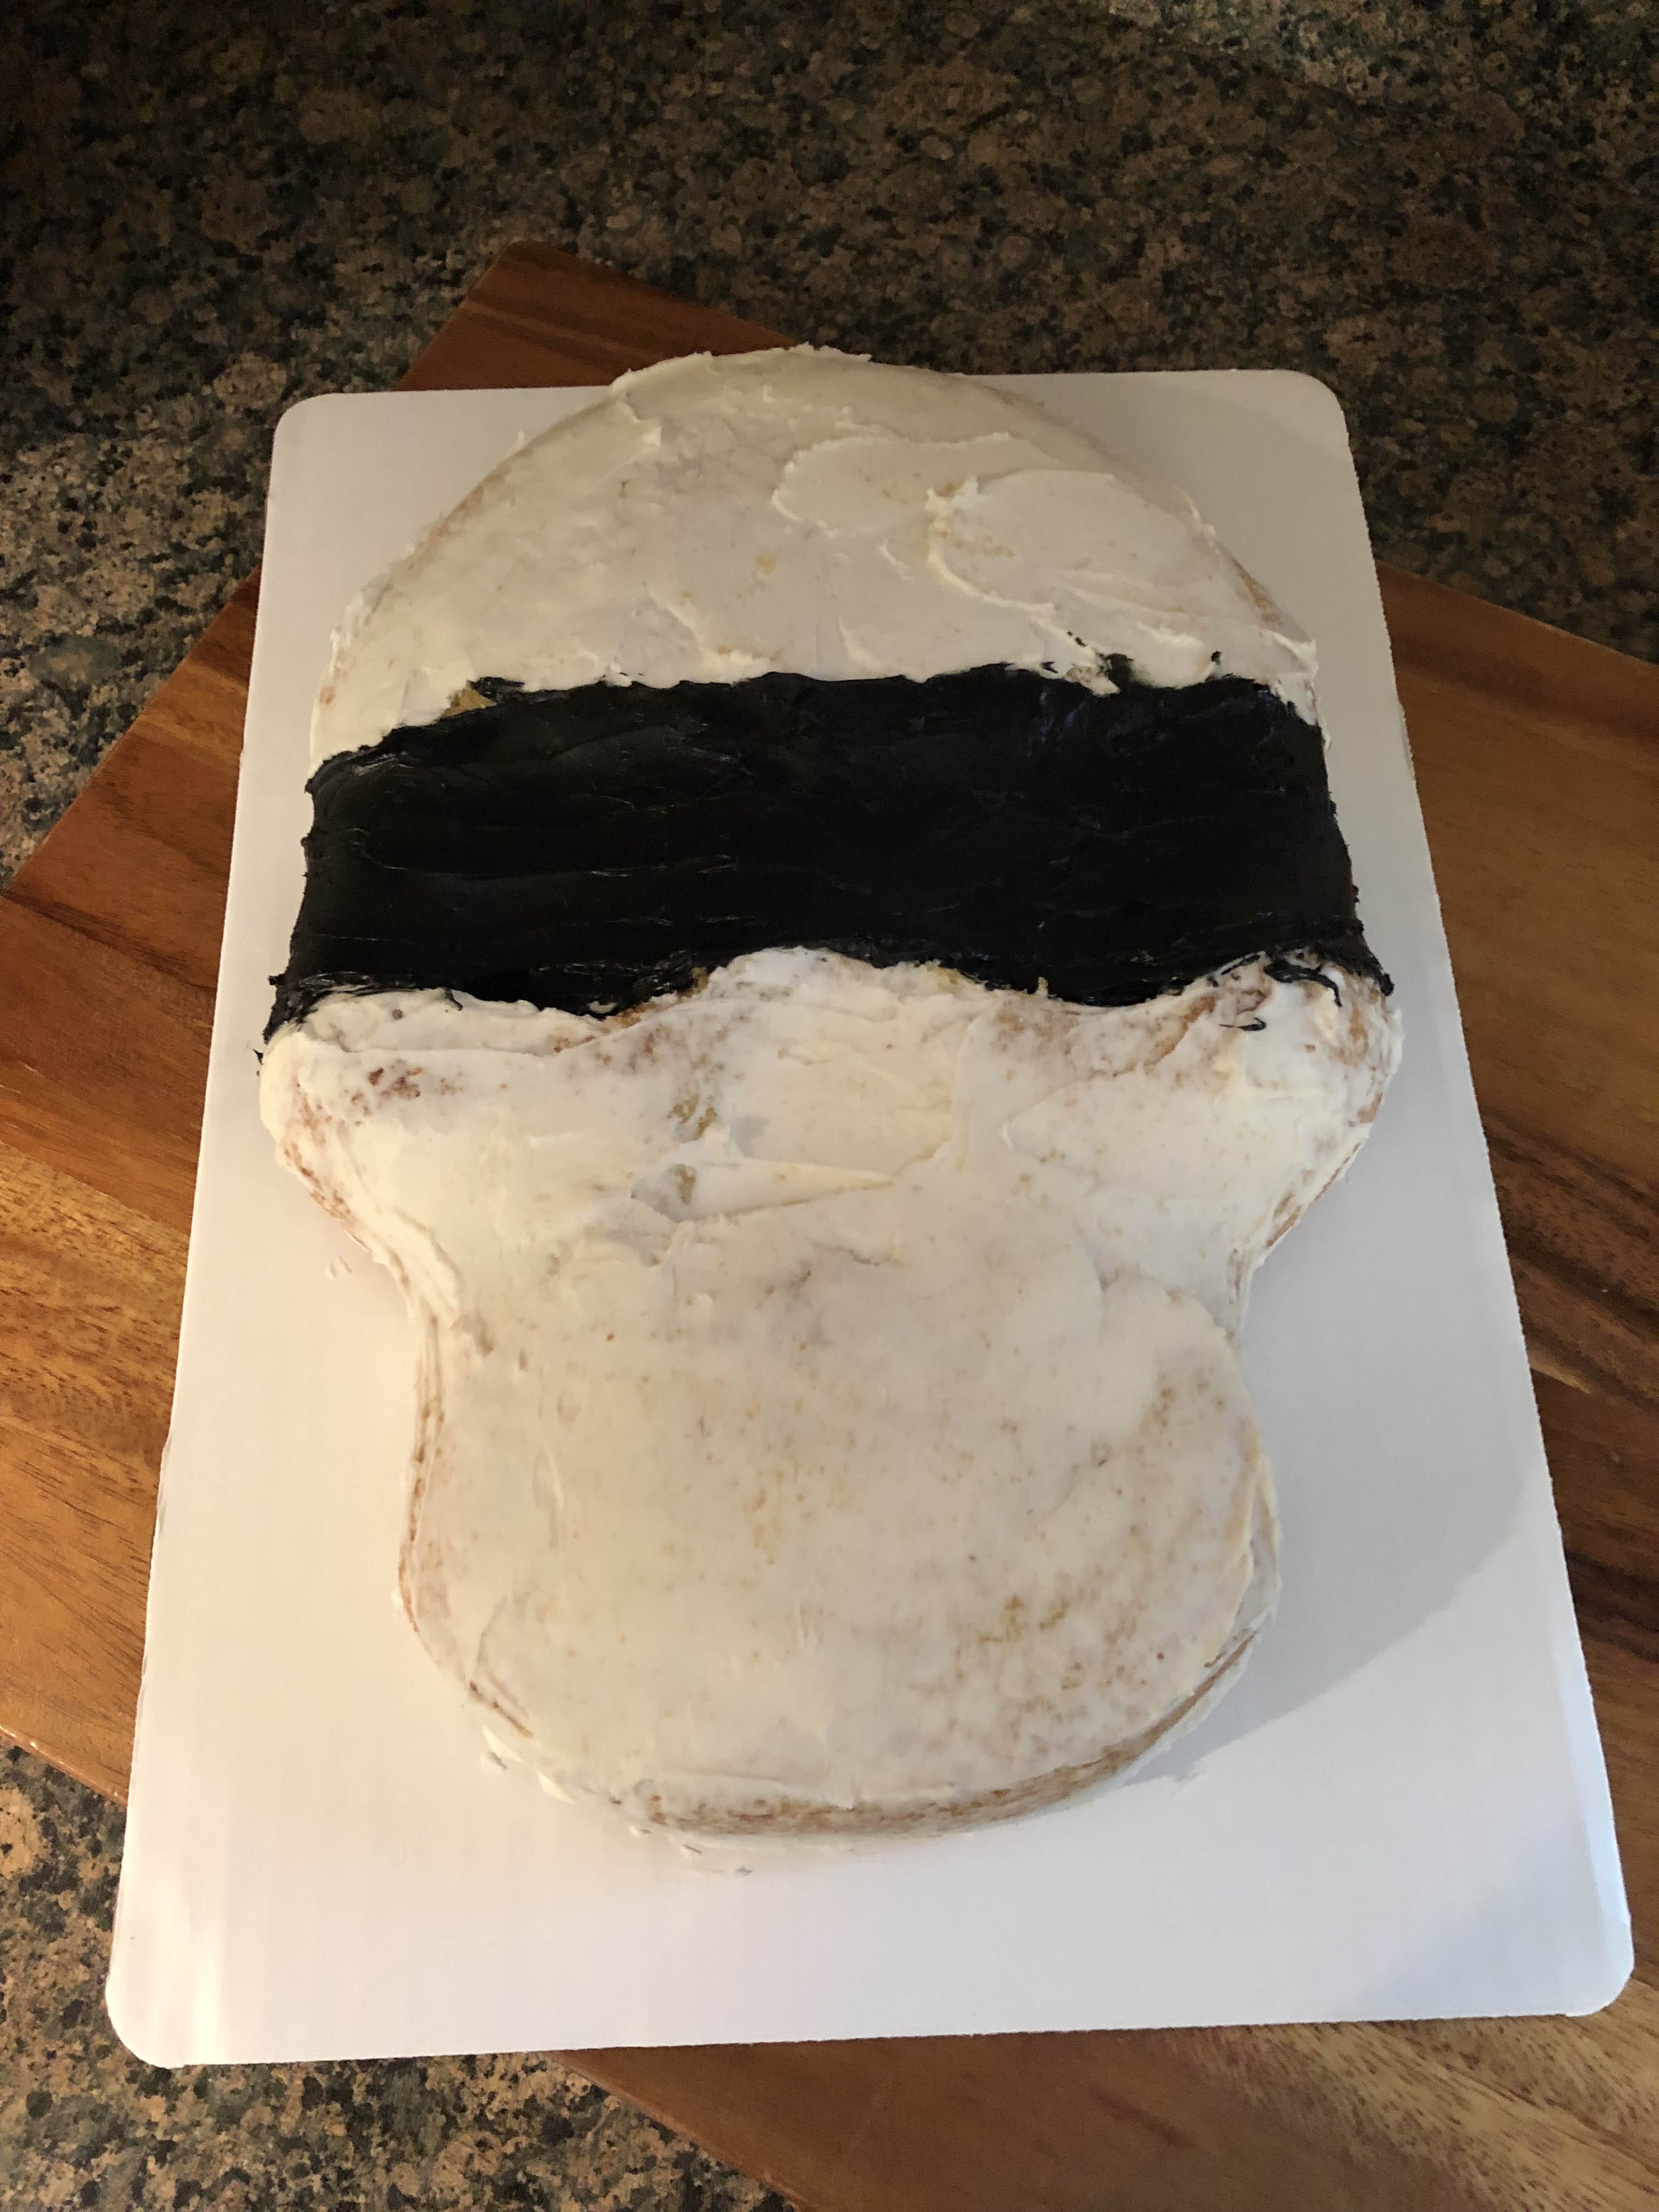
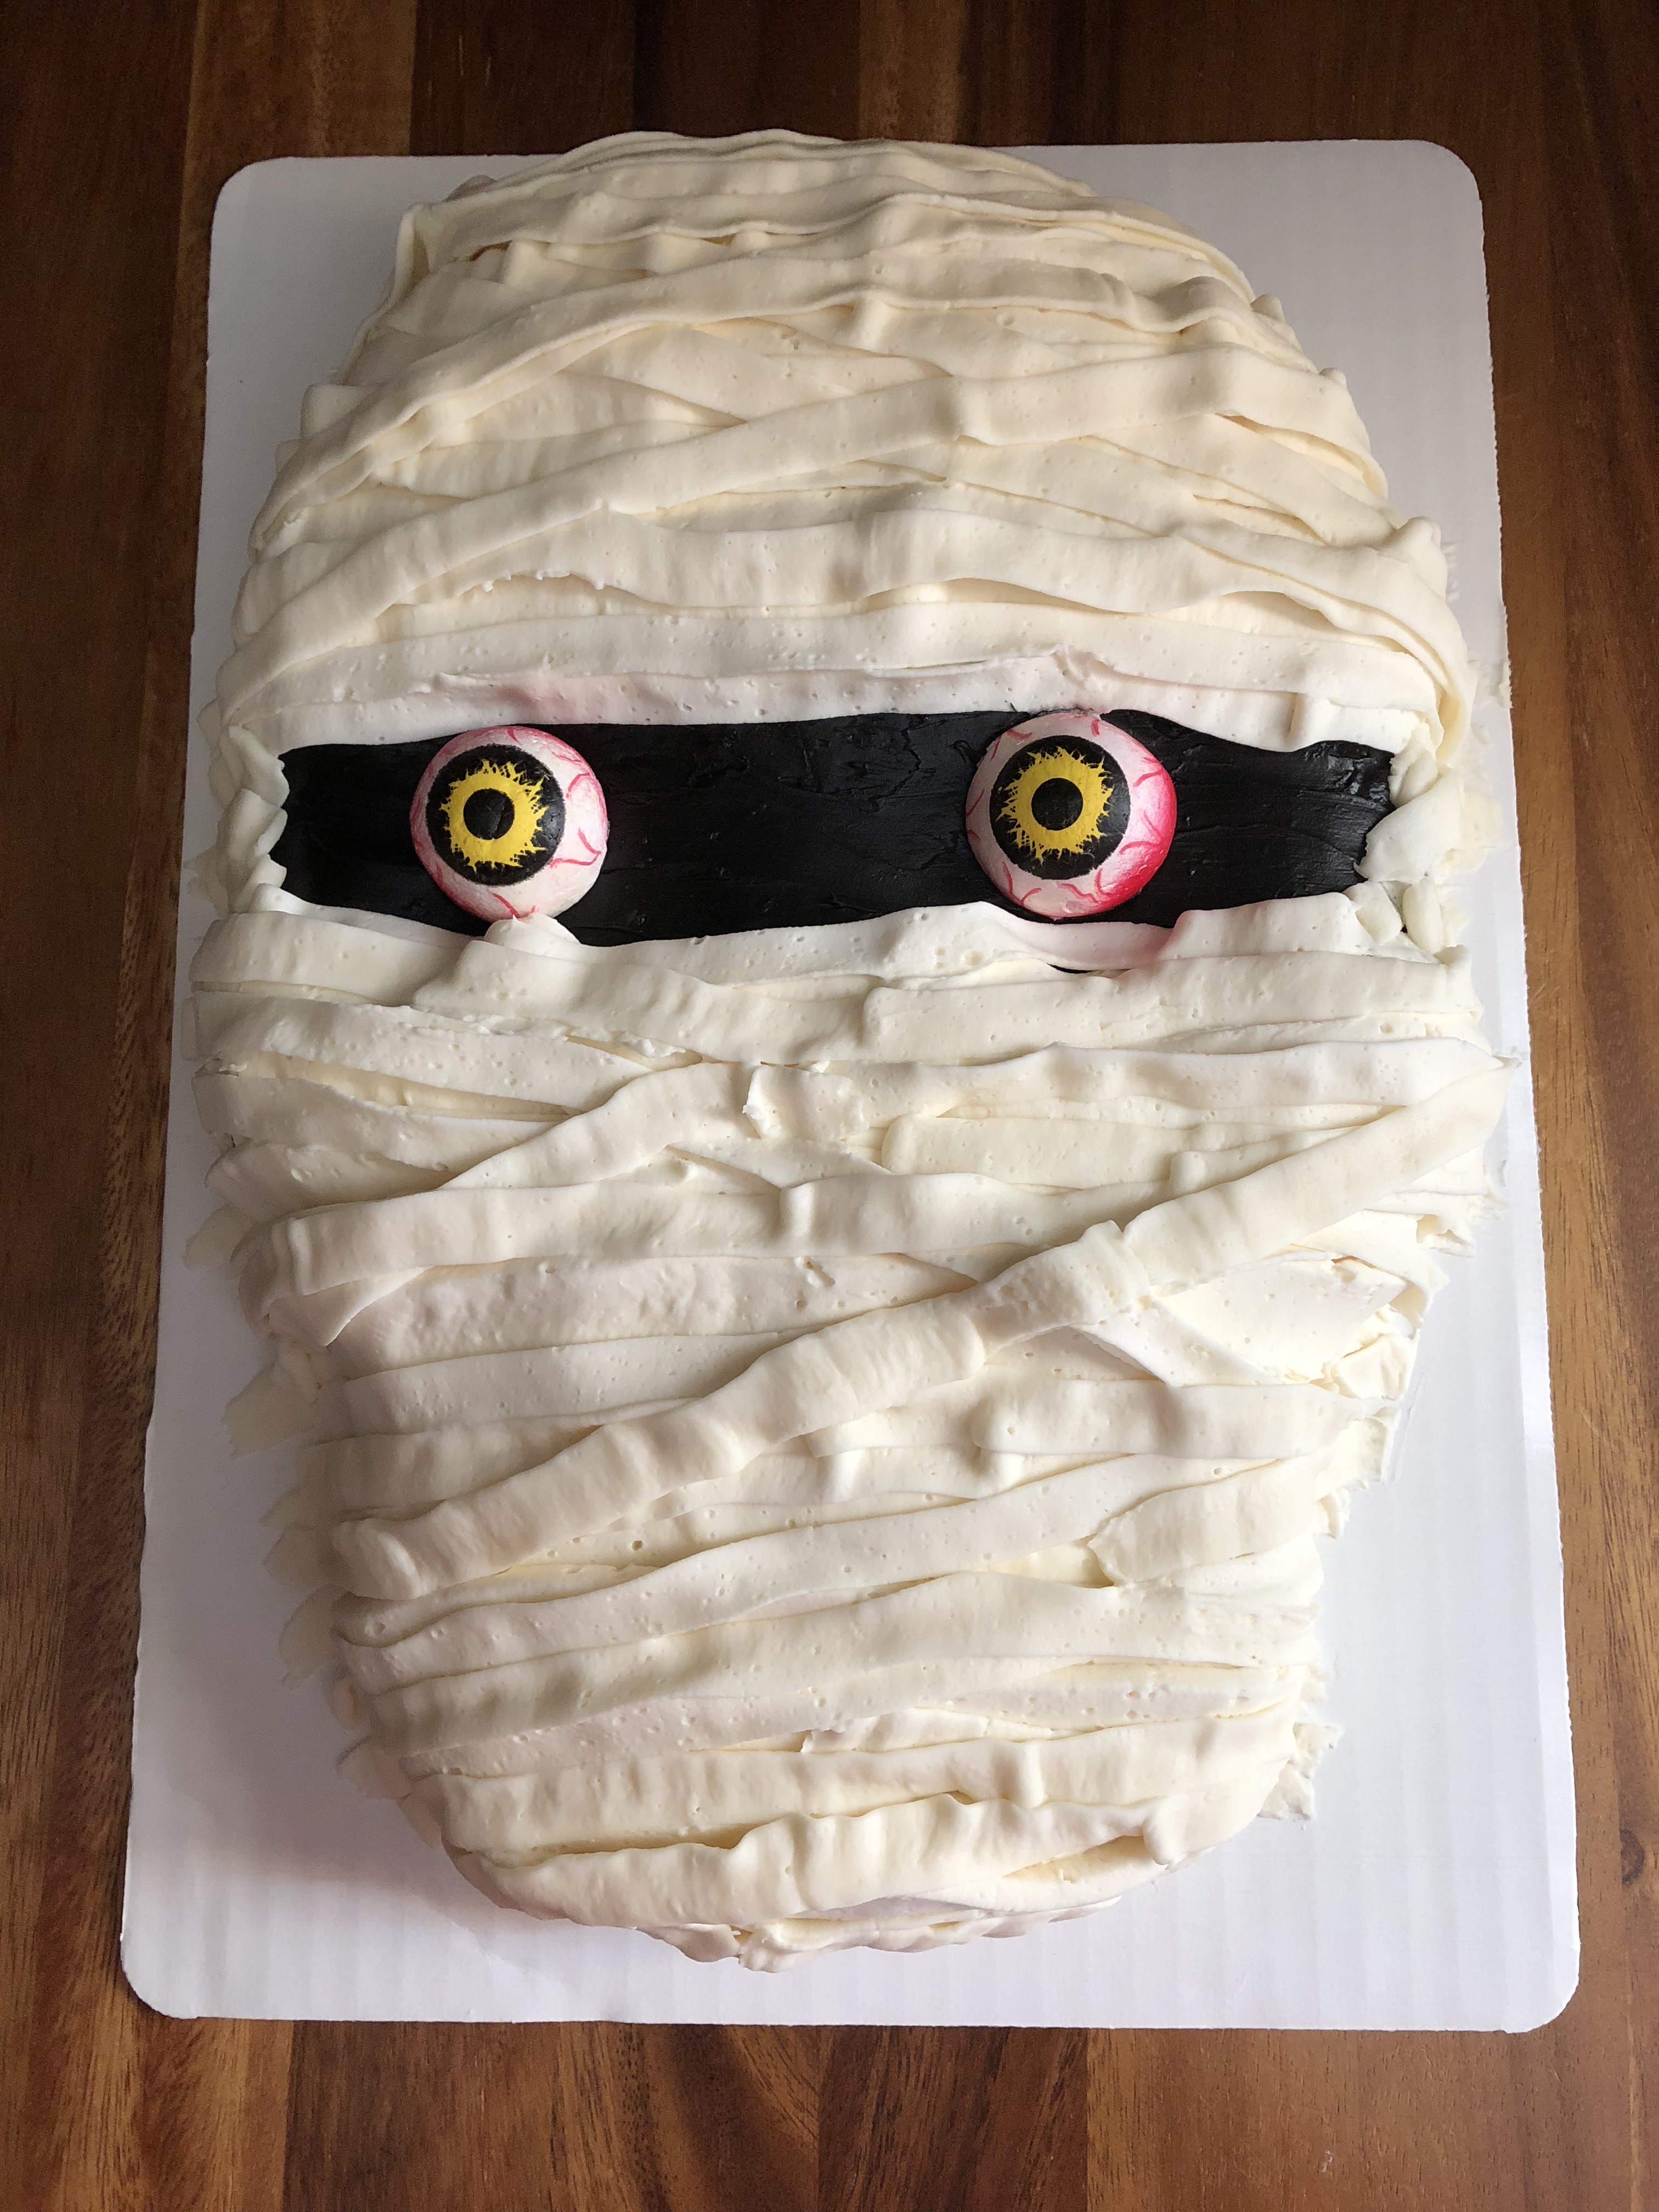
Okay, so once my frostings were ready it was time to get to work. I started by applying a thin coat of white frosting on the skull leaving the eye socket area uniced. I iced the socket area and the sides of the cake in that area with the black frosting. At this point I placed the cake in the fridge for a few minutes because I found that the black frosting wasn’t smooth as I was getting a lot of crumbs mixed into it. While the cake was in the refrigerator I prepped two piping bags with two different tips, Ateco #128 (an XL rose decorating tip) and # 45 (a flat decorating tip), and filled each with the white frosting. Also, I prepped the eyeballs for the cake. I purchased Styrofoam eyeballs from my local craft store and using a sharp knife sliced them in half so they would sit flat on the cake.

Once the cake had chilled for a bit I added more black frosting to the cake and was able to smooth the icing.
Now it was time to decorate…Starting with the larger tip, I began piping stripes of icing across the cake. Not just merely on top of the cake, but on the sides as well. I covered up some of the black icing, but, left enough of a gap to place the eyeballs. I kept piping until the cake was covered. Don’t worry about minor imperfections or the frosting not laying completely flat, you can cover up anything and everything with the next step.
Once the cake had been covered in the large stripes, I used the smaller tip to fill in any gaps and to give the cake more definition. To give it a more ragged look, I started these smaller stripes from different points on the cake, not just edge to edge. I also added some pieces to the sides of the cake on the cake board as well. And finally, I placed the eyeballs on the cake. I covered the back of them with the black frosting before placing them on the cake so there wouldn’t be the chance of any small Styrofoam pieces getting stuck to the cake and accidentally eaten. What’s really nice about this cake is that there is no right way or wrong way to decorate it. You could go crazy with adding the stripes to give it a real ragged look, or keep it clean and simple with the stripes. Either way, your cake will look perfect.

2 thoughts on “Mummy Cake”