For today’s Cookie Palooza recipe I bring you a cookie for those of you who don’t like to drink your alcohol but eat it instead… A Buttered Rum Meltaway.
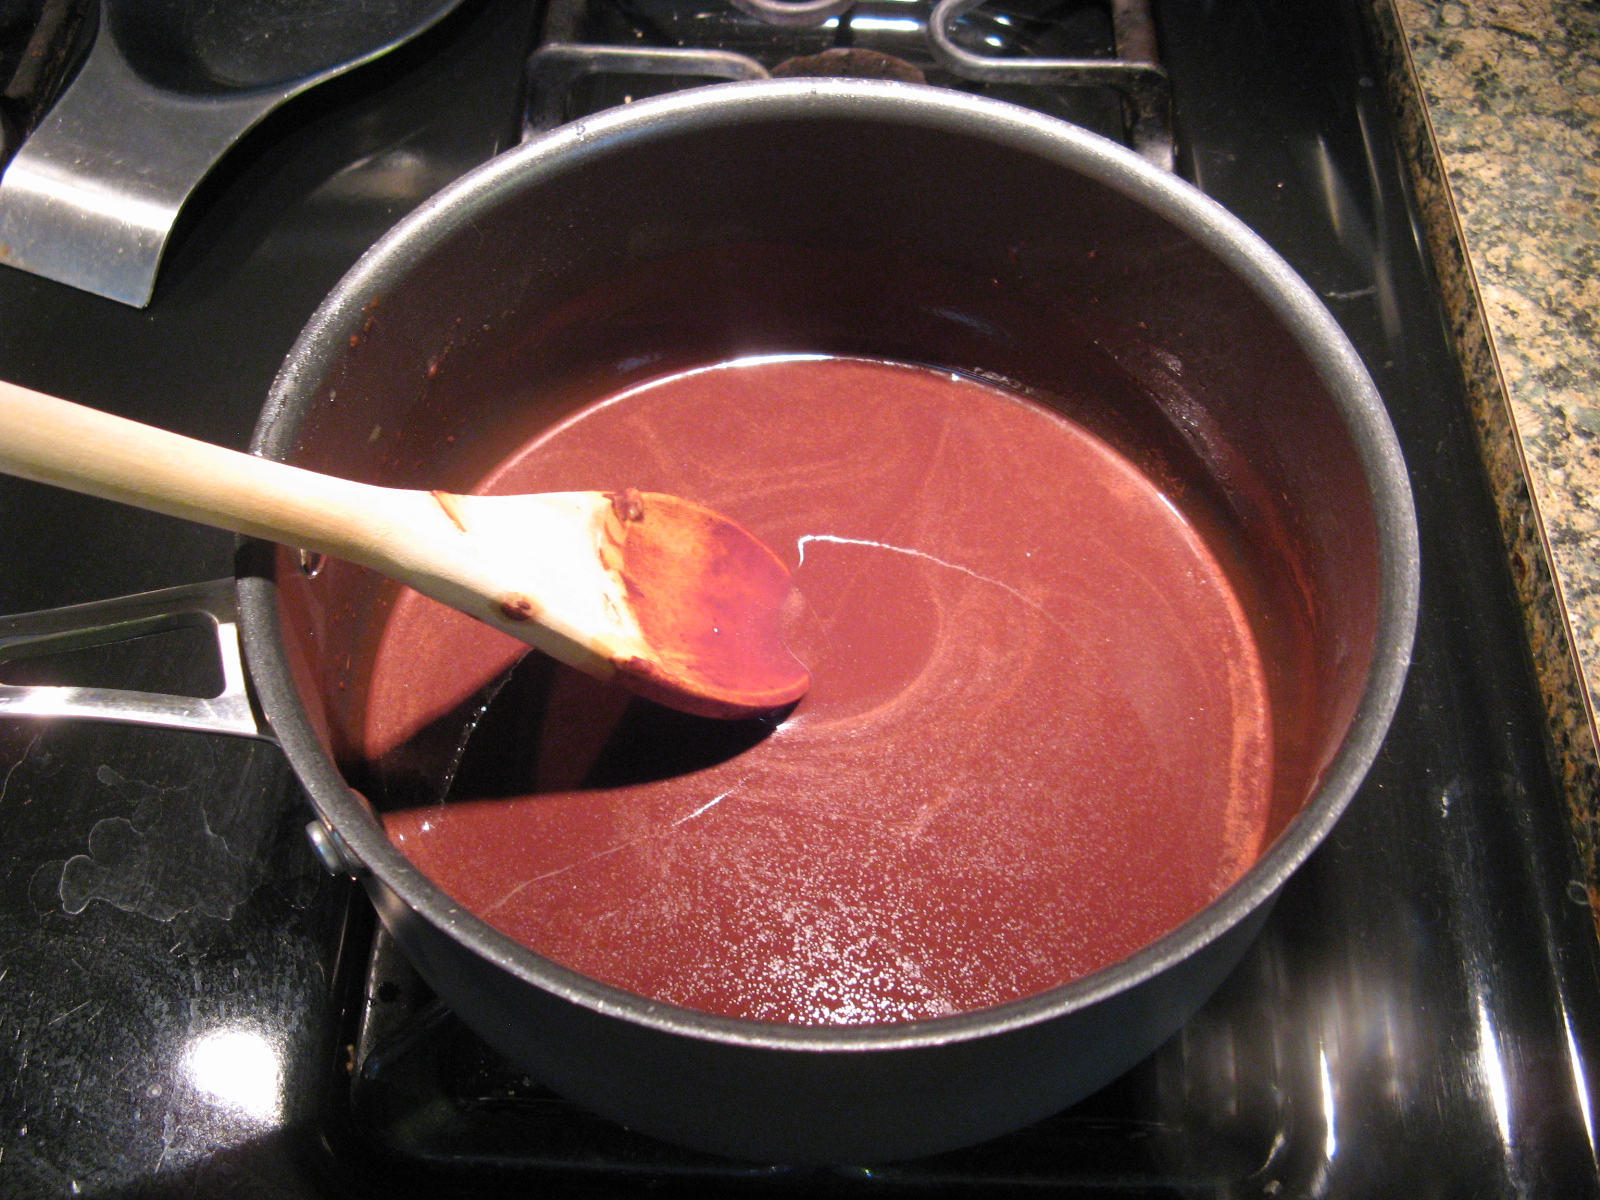
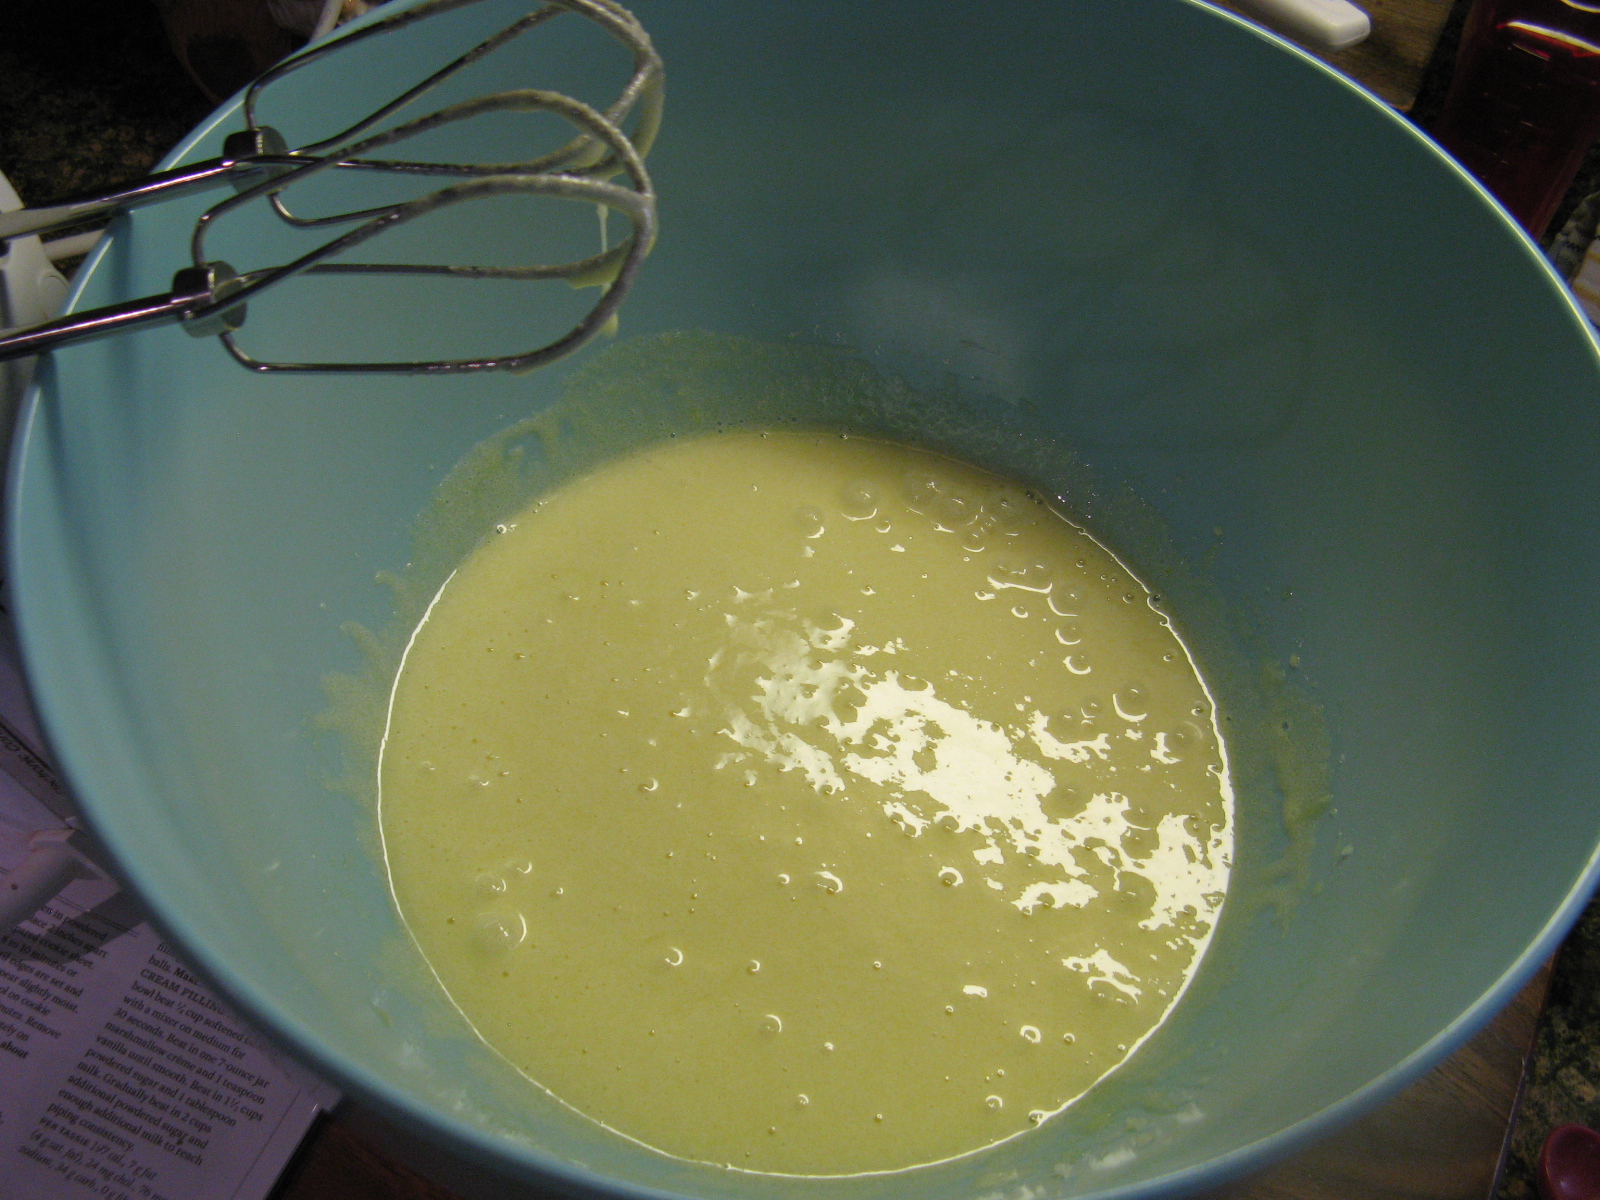
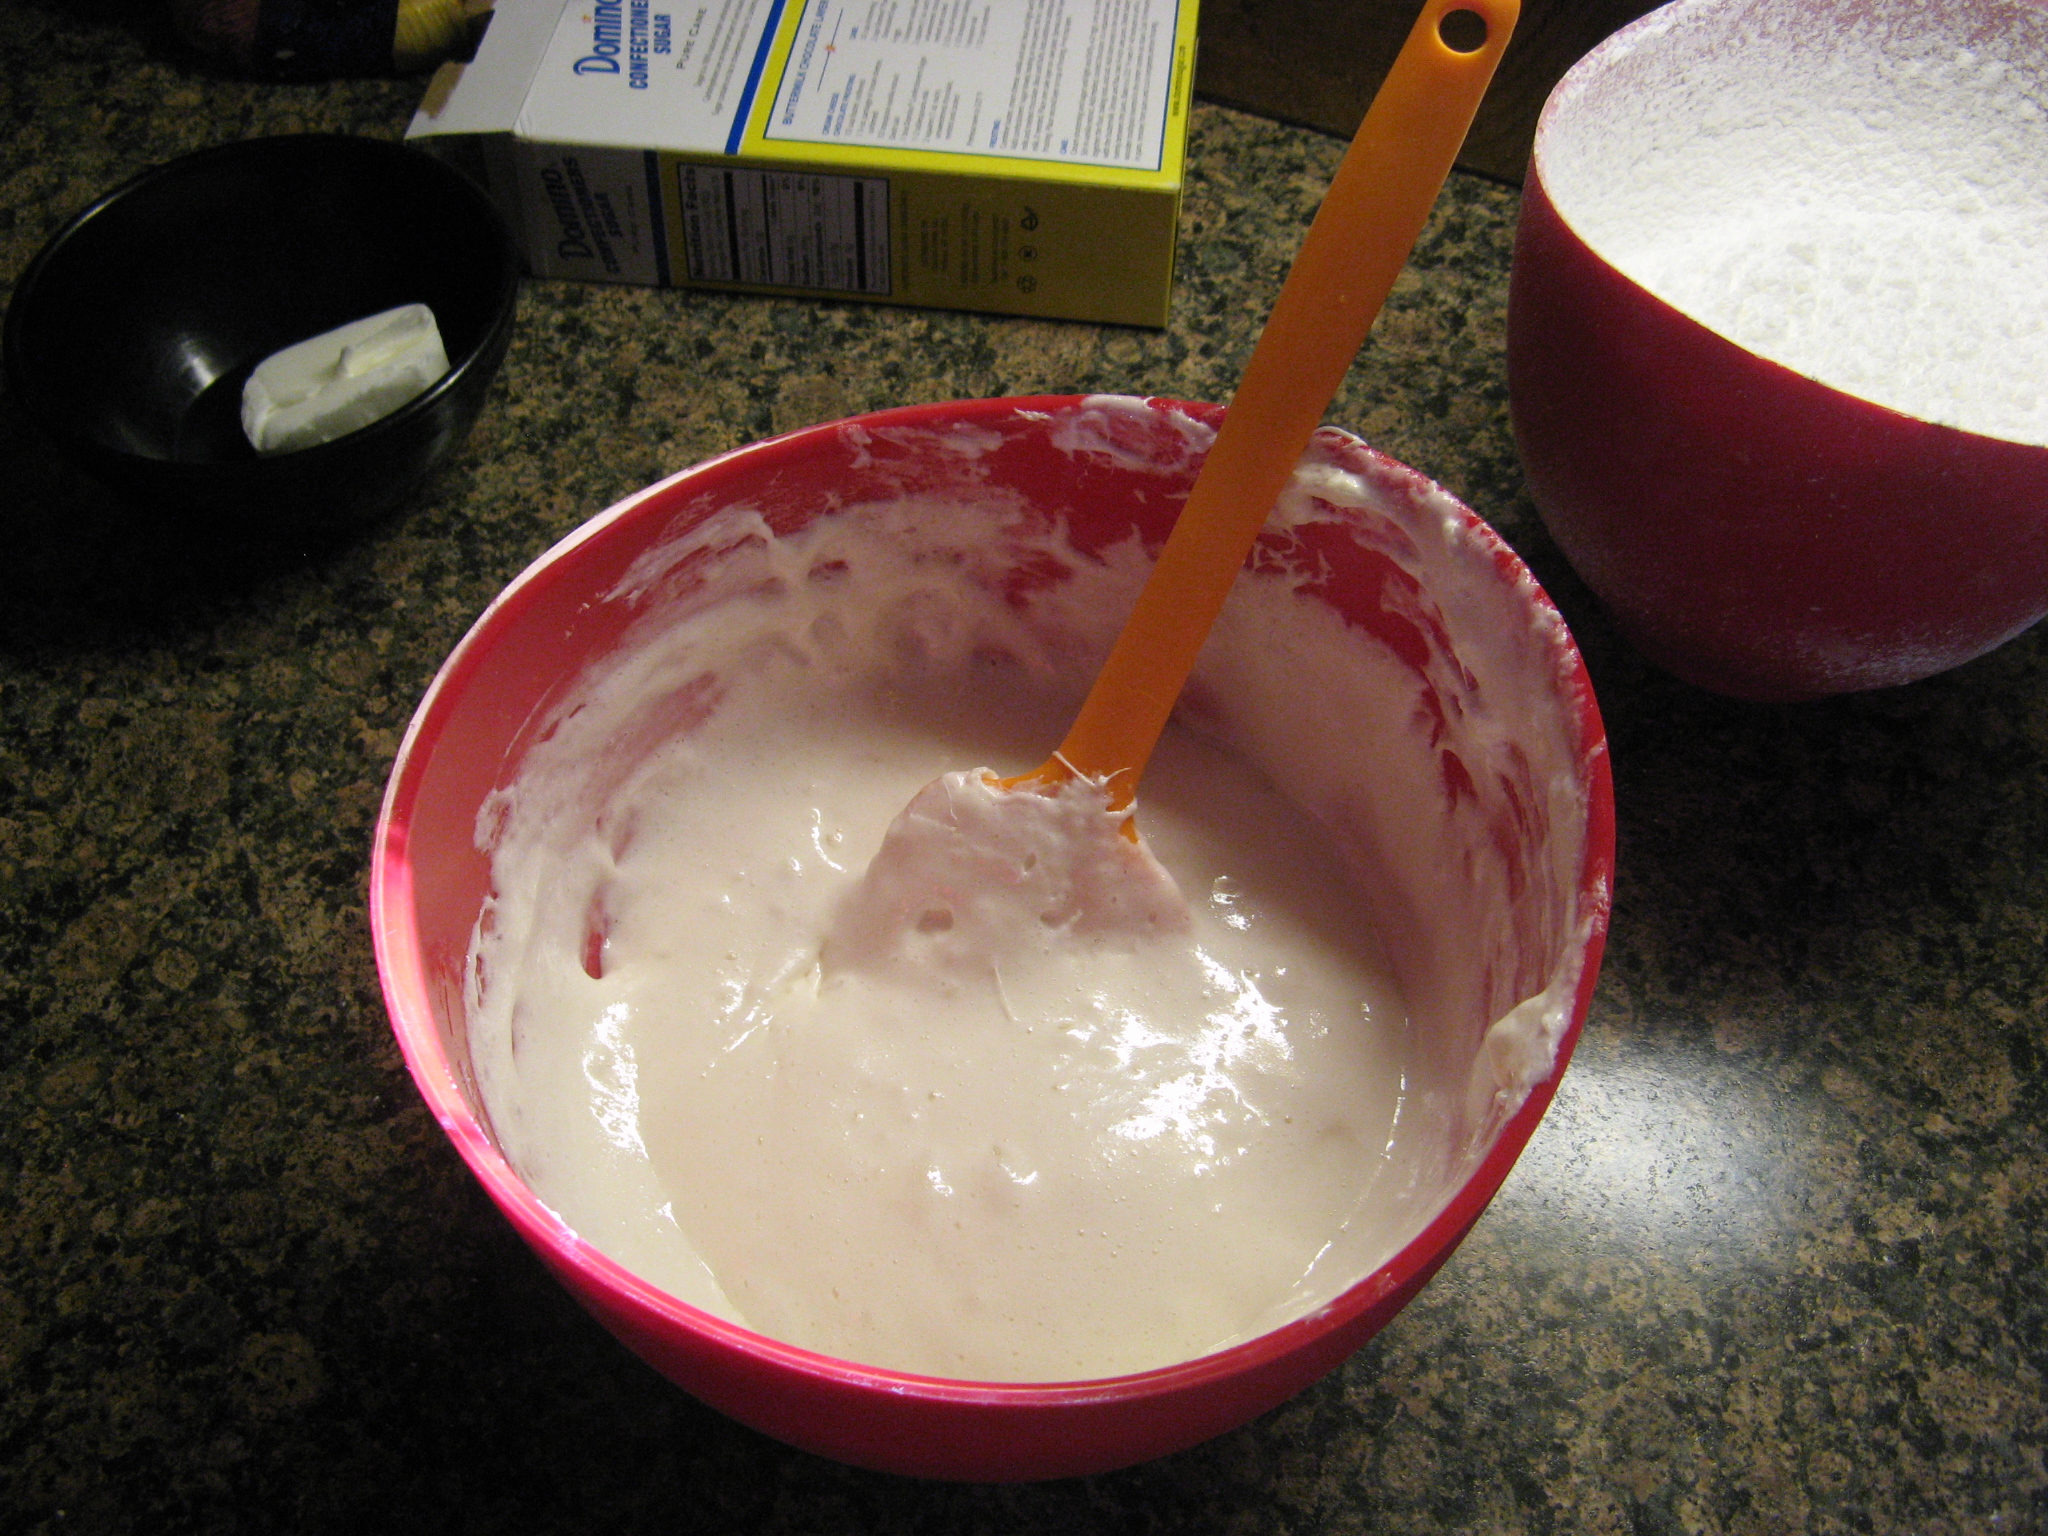
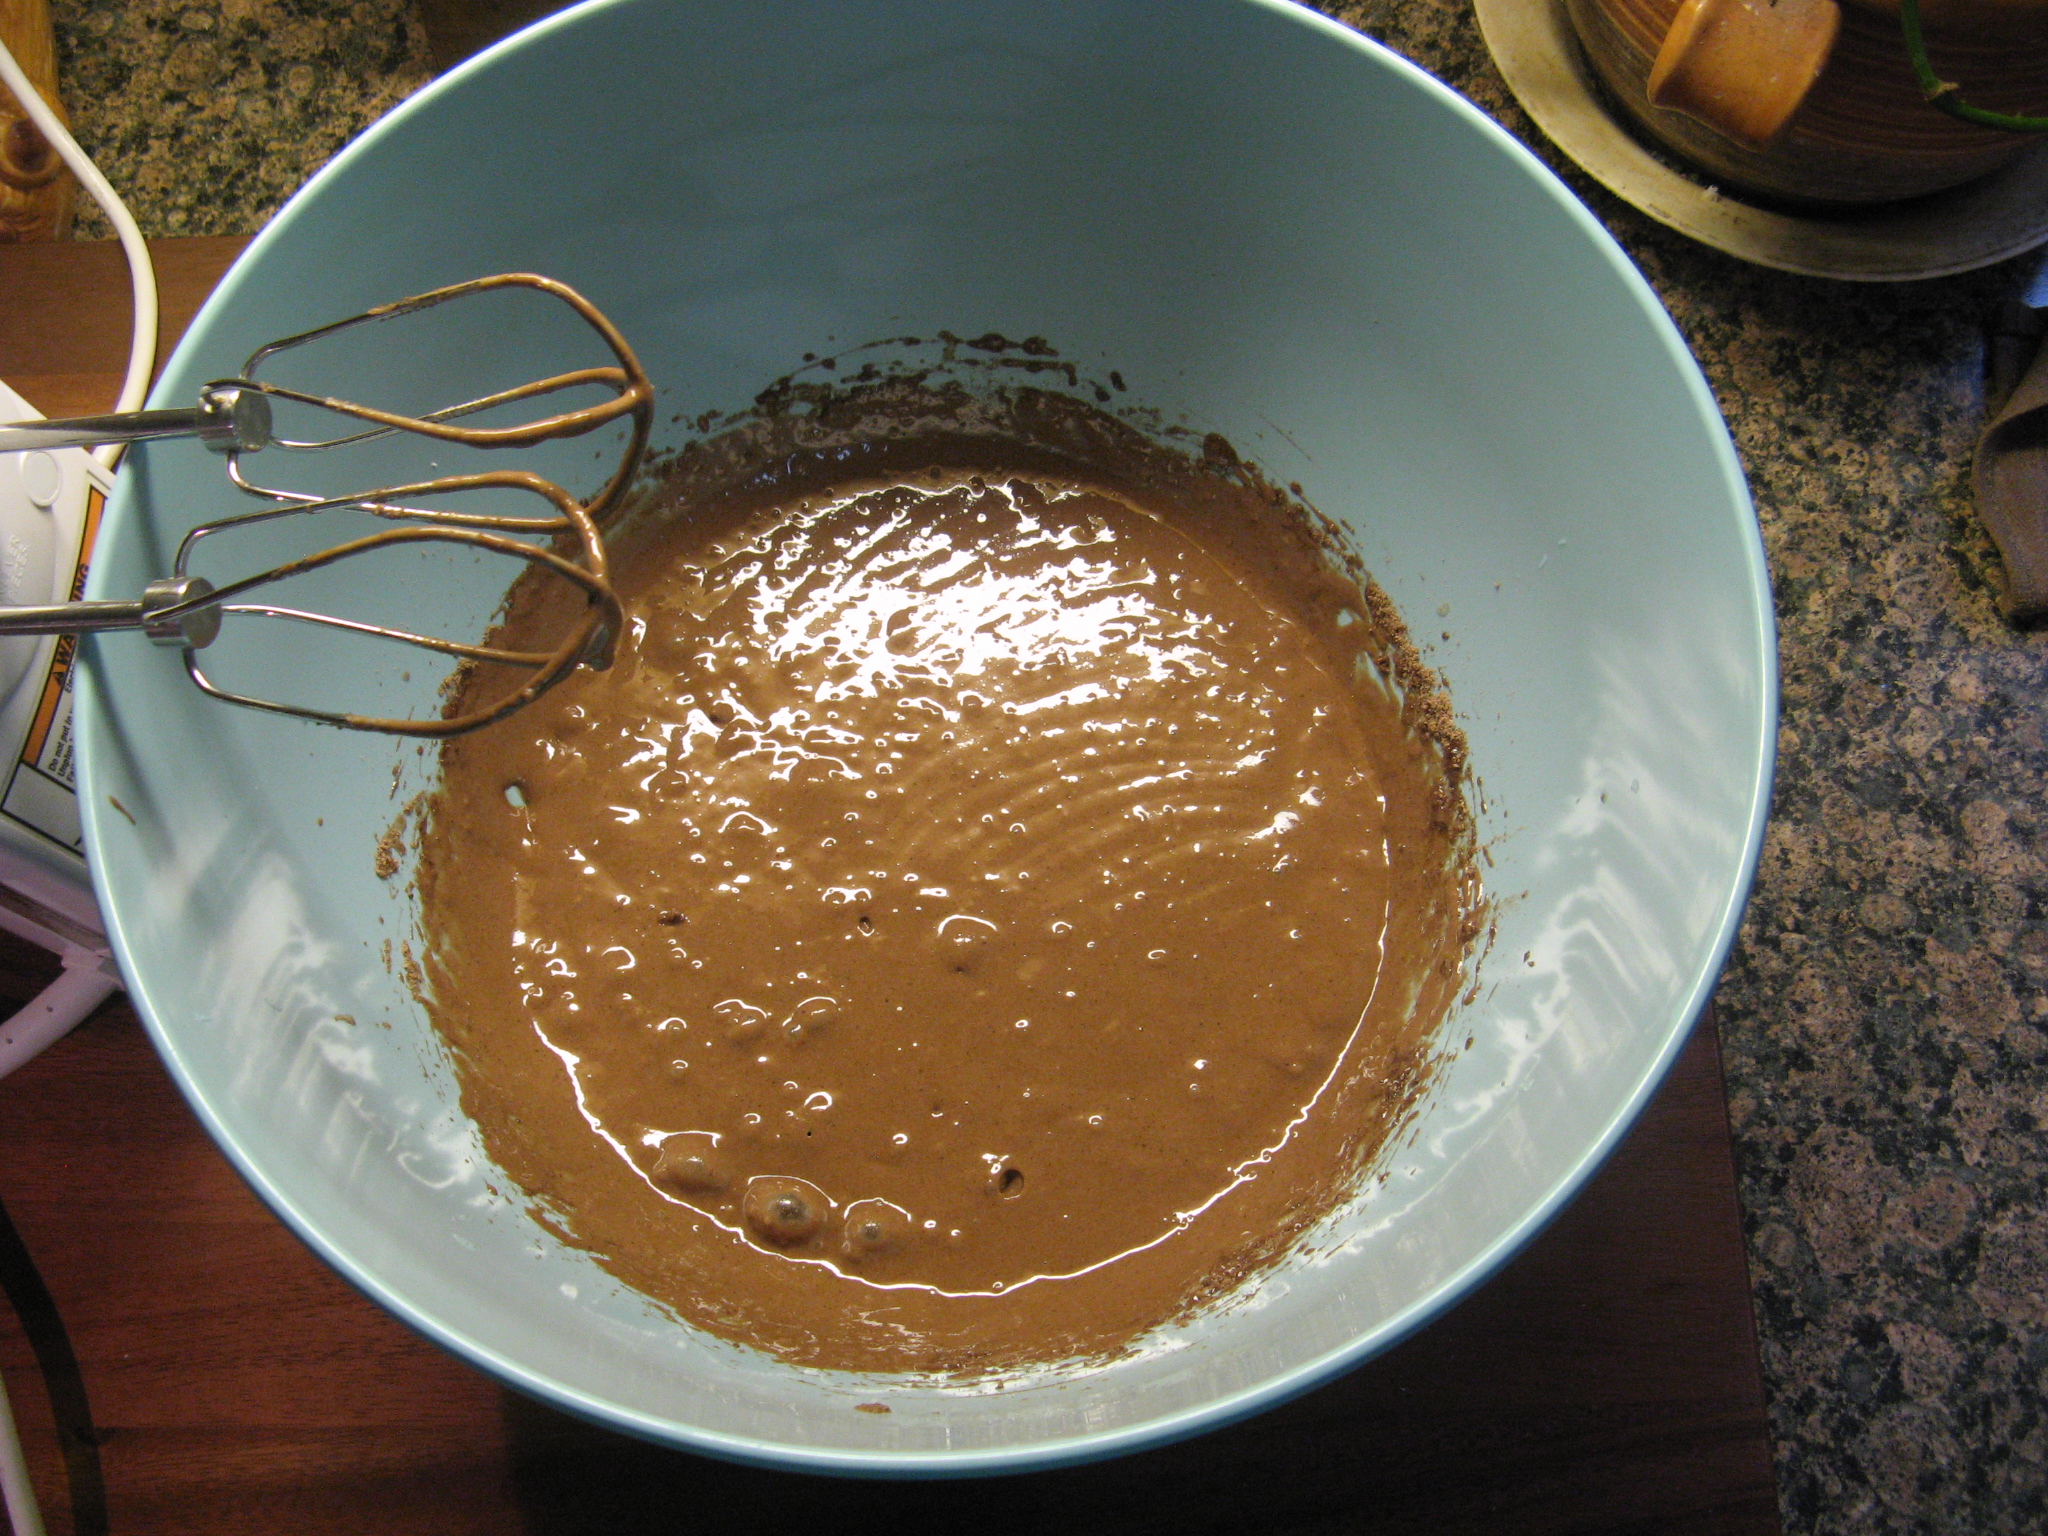
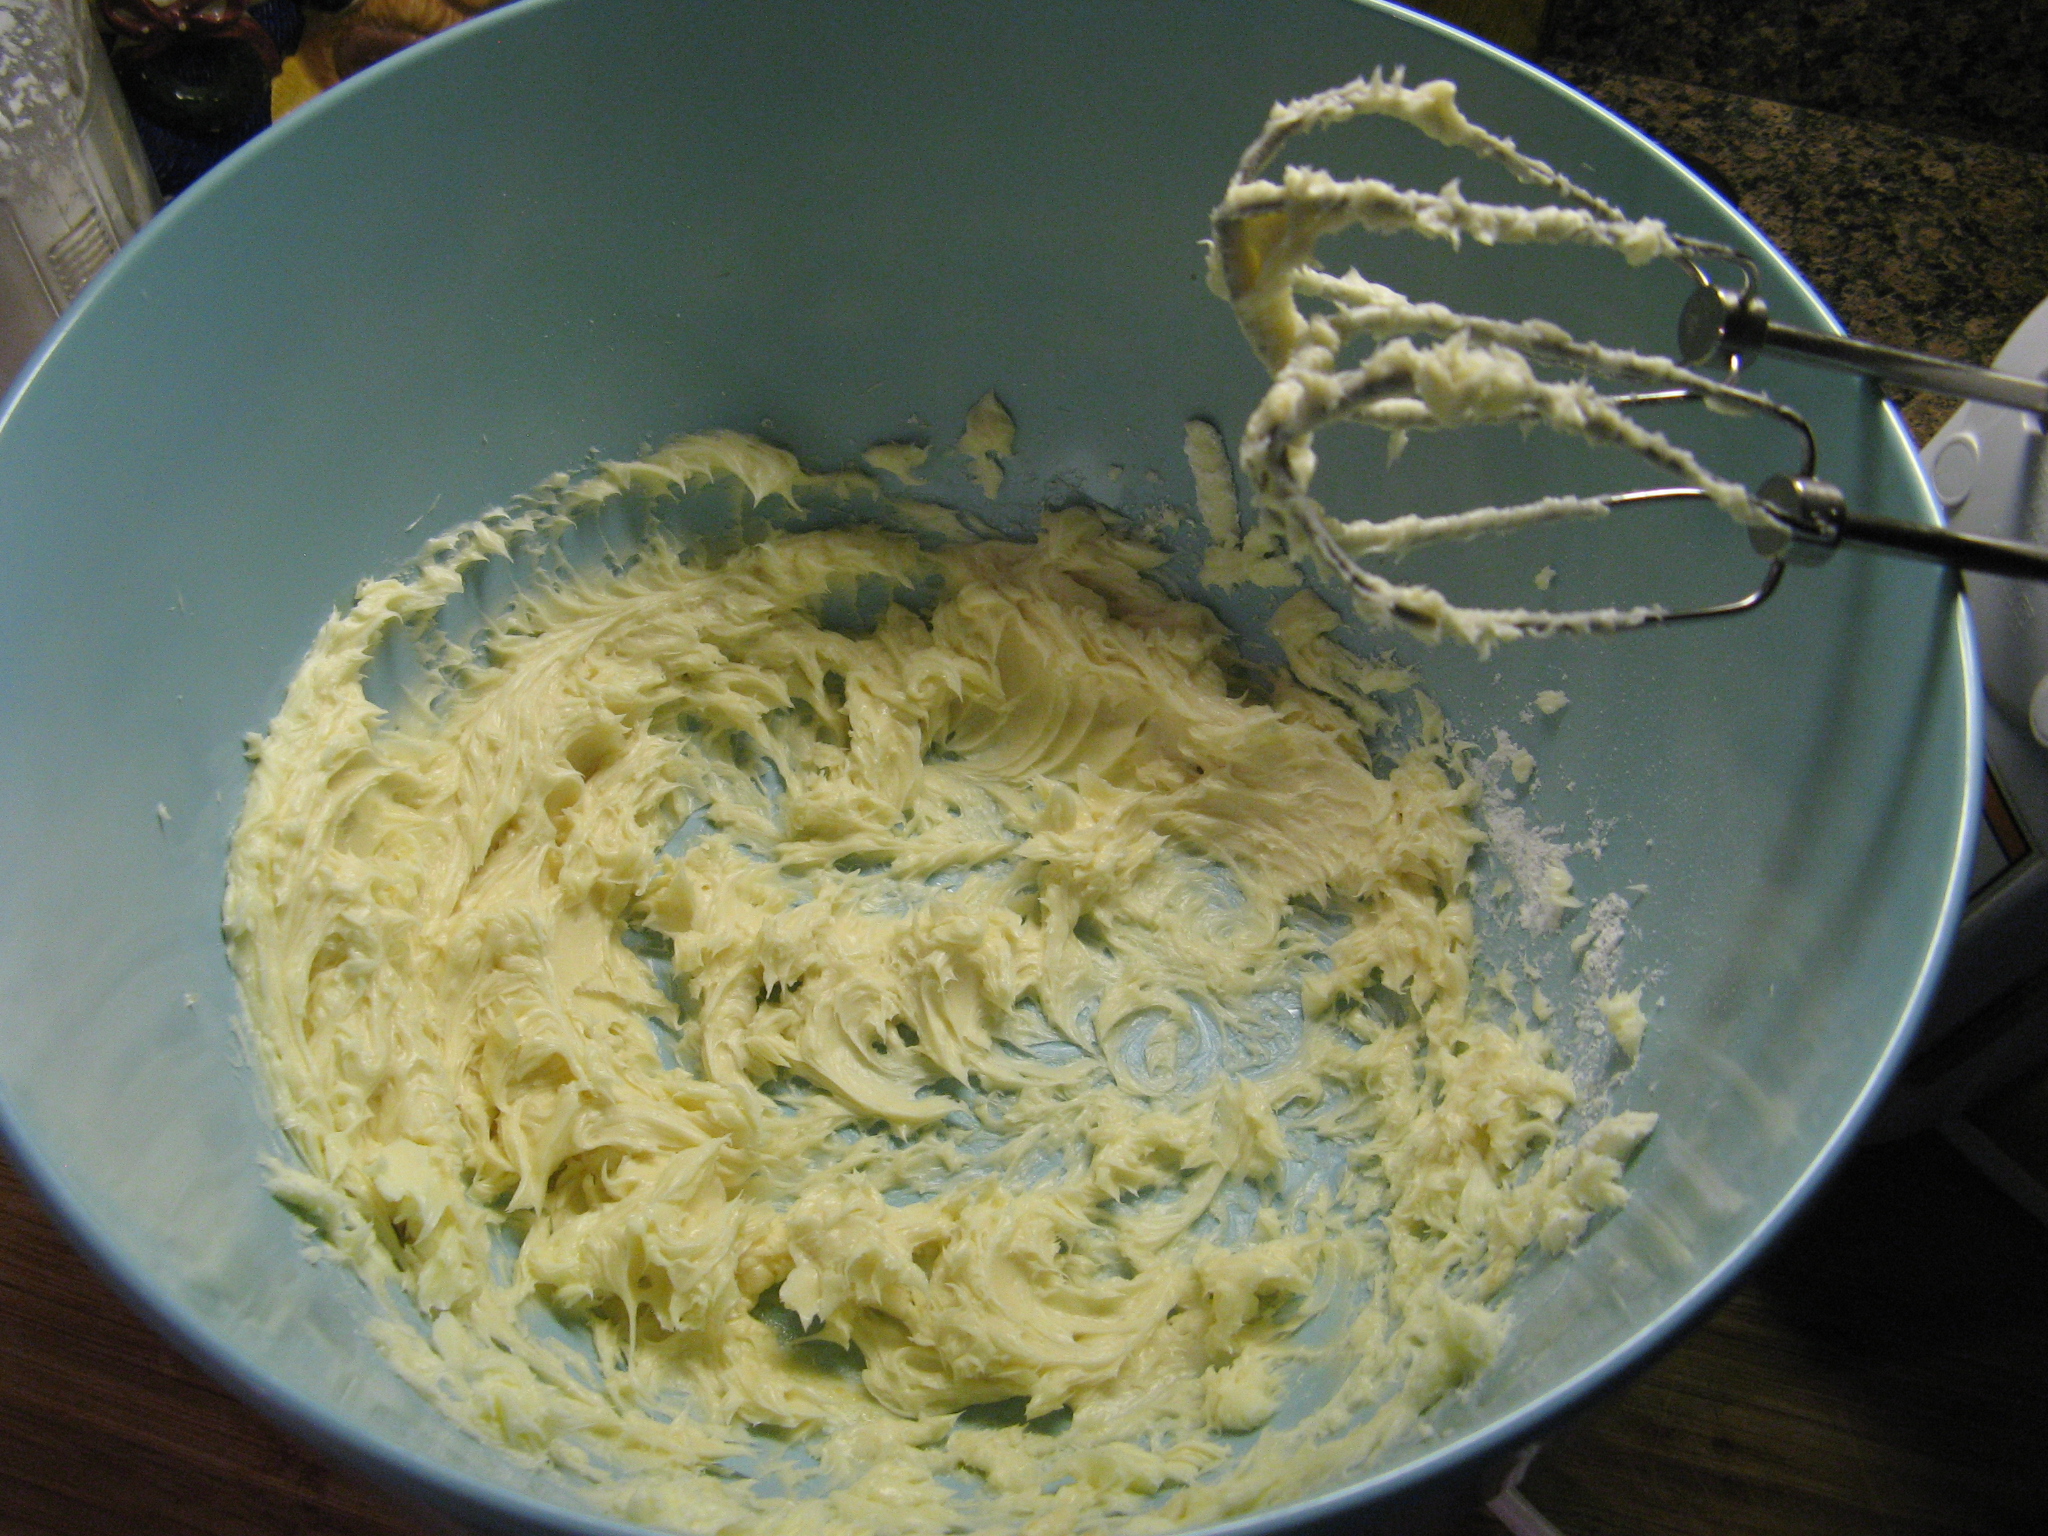
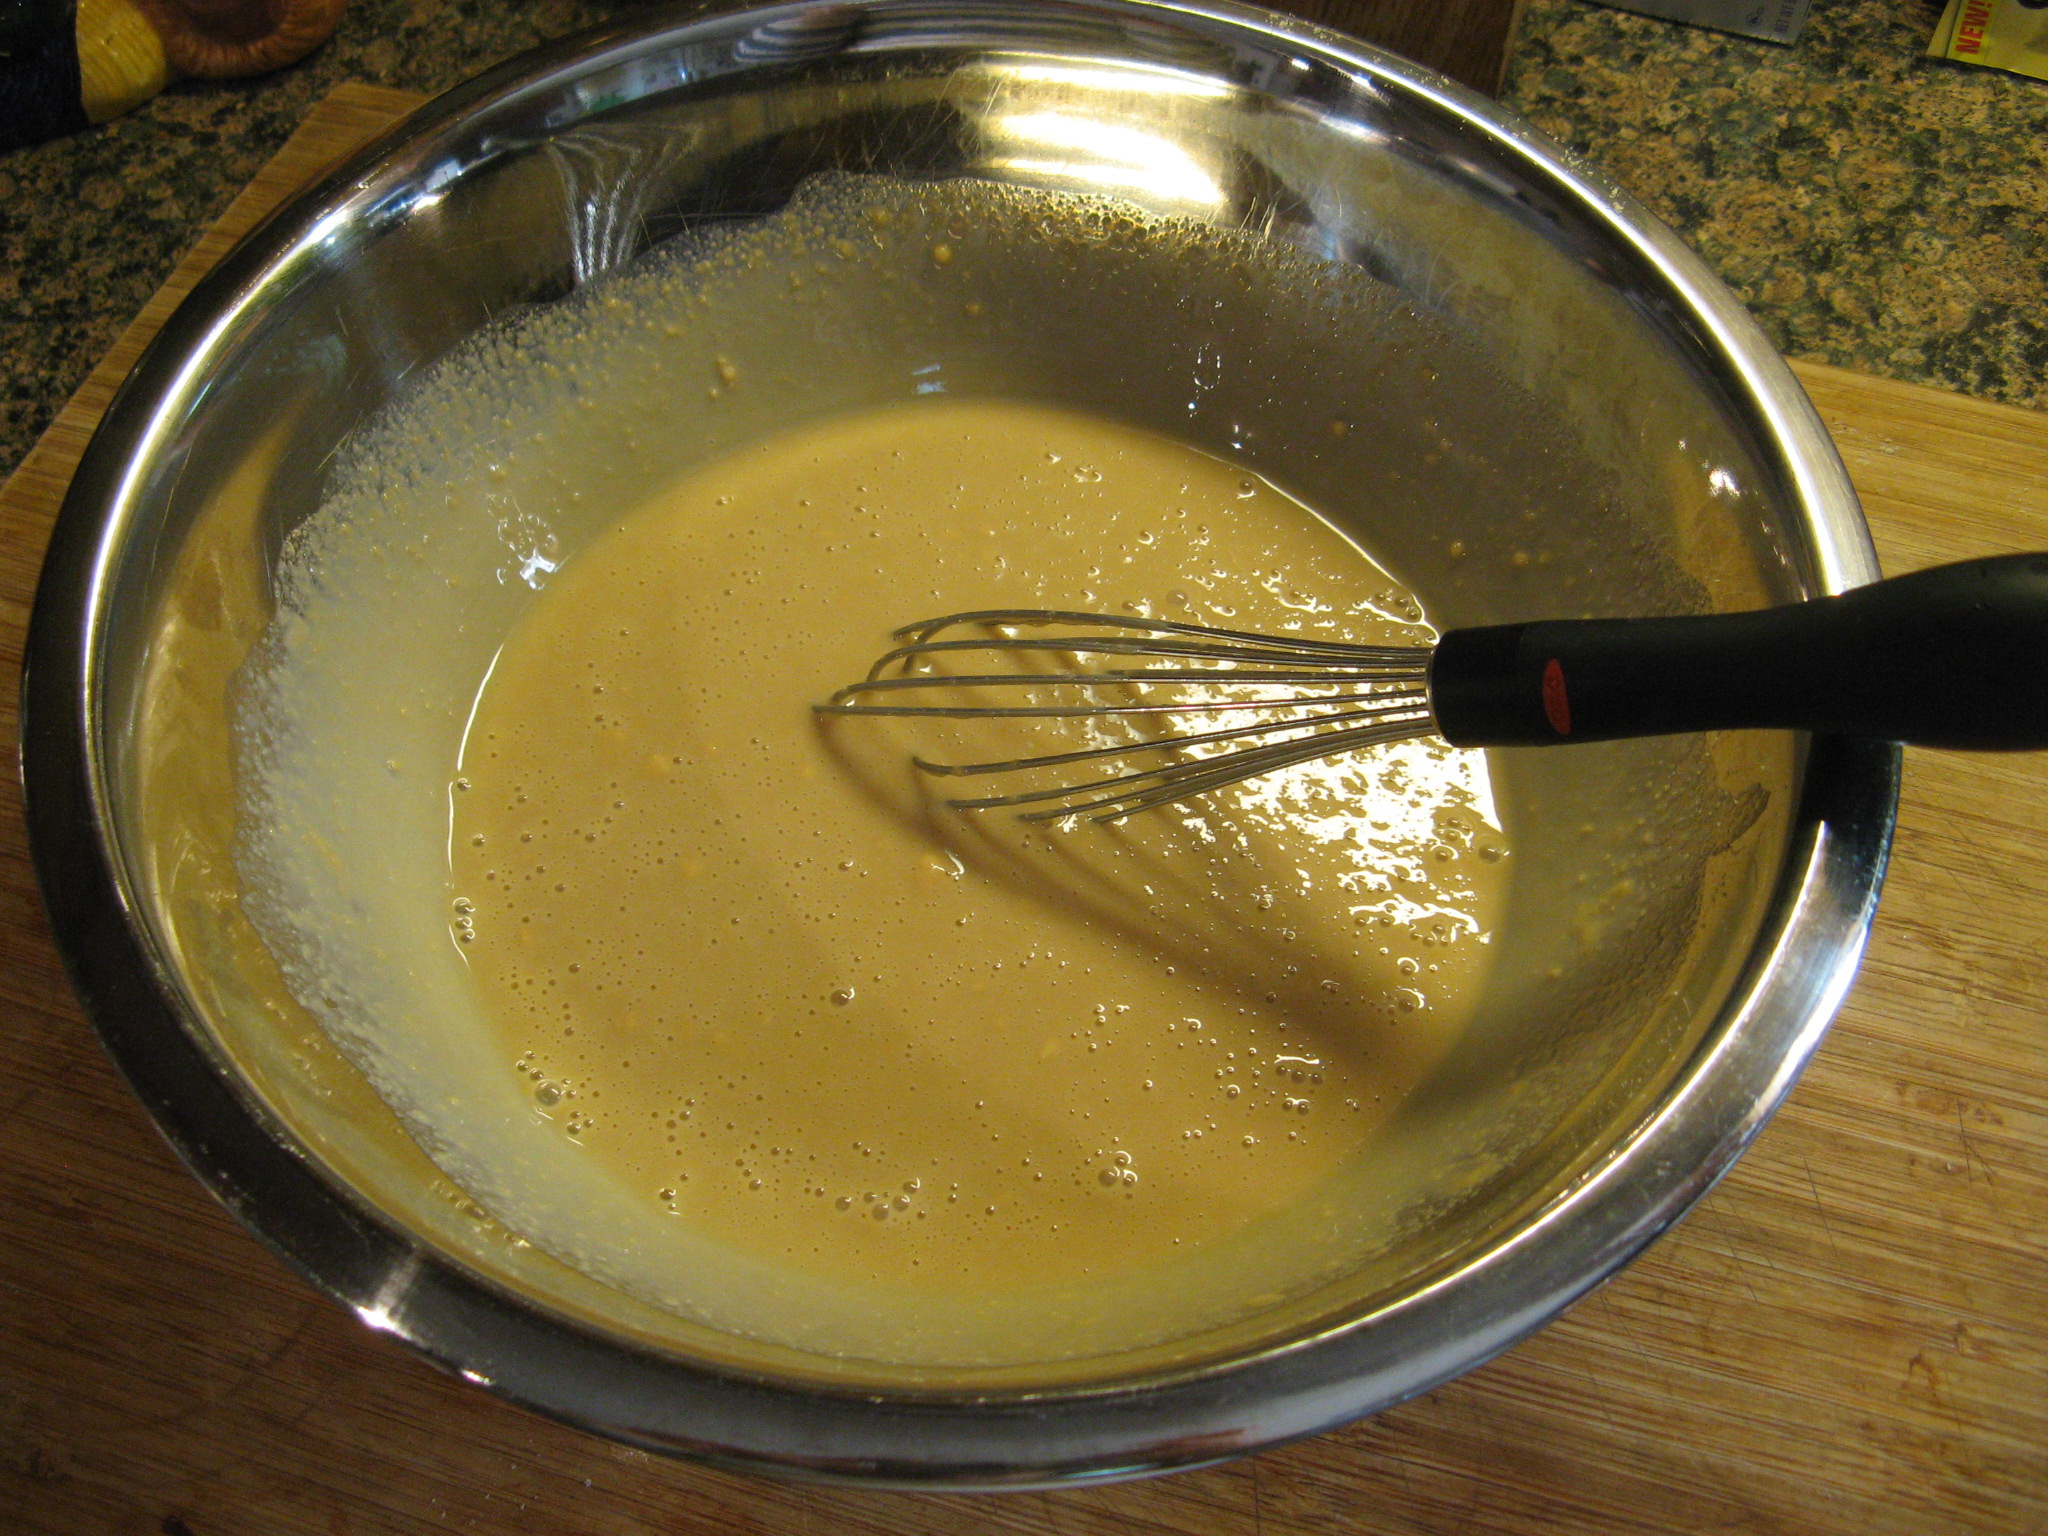
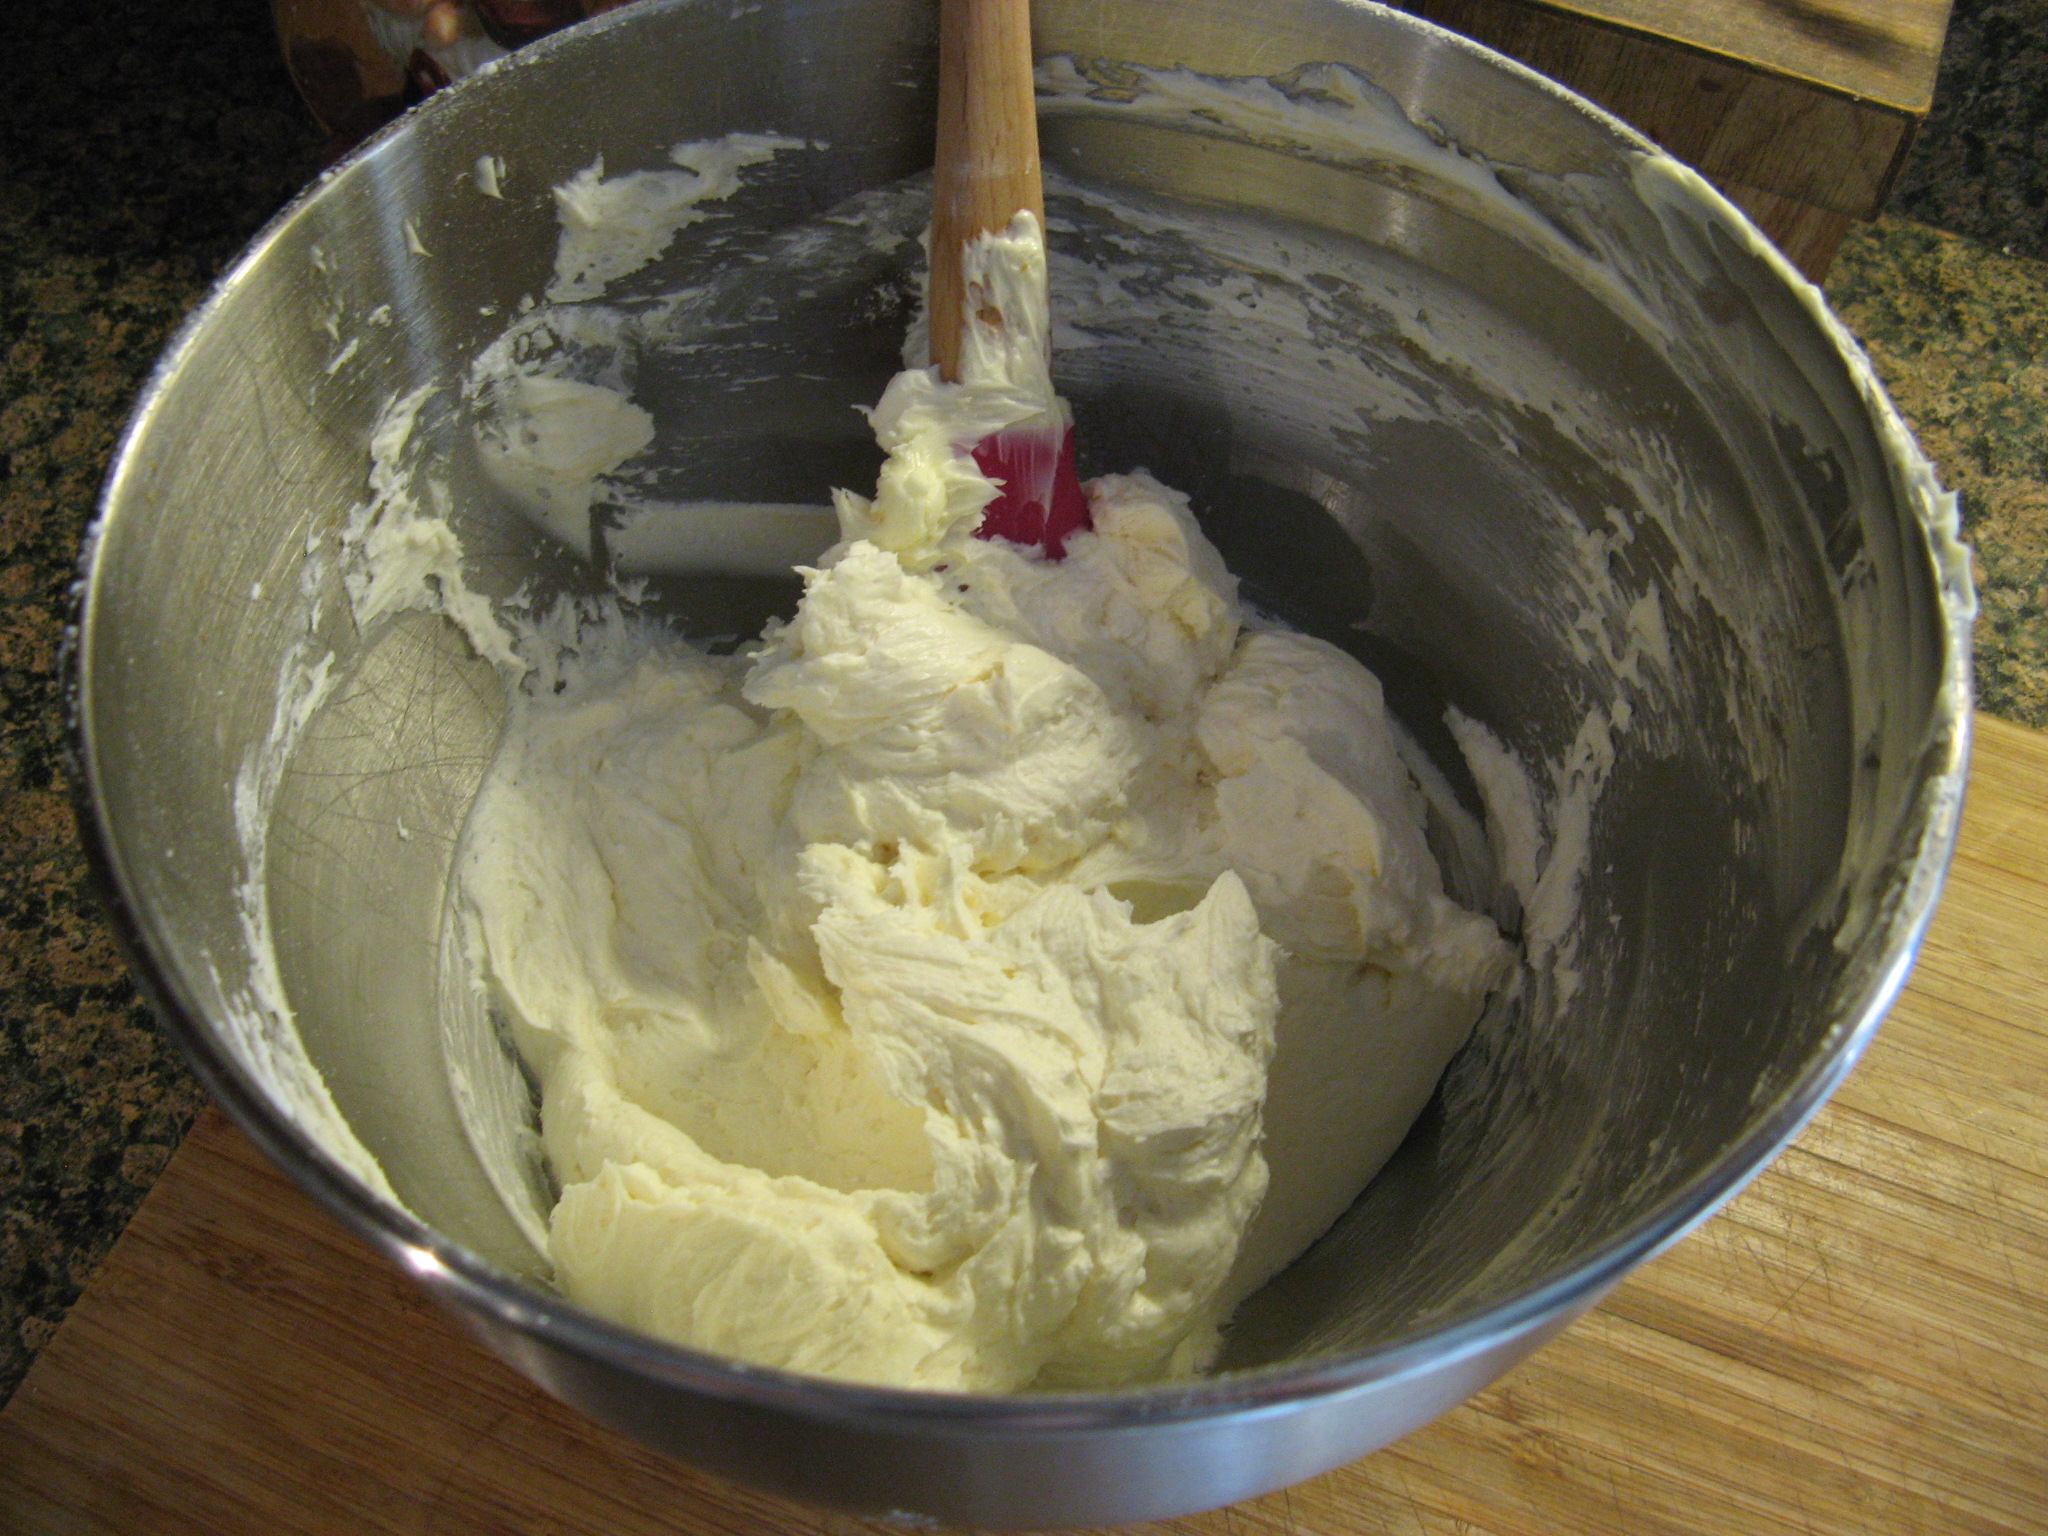
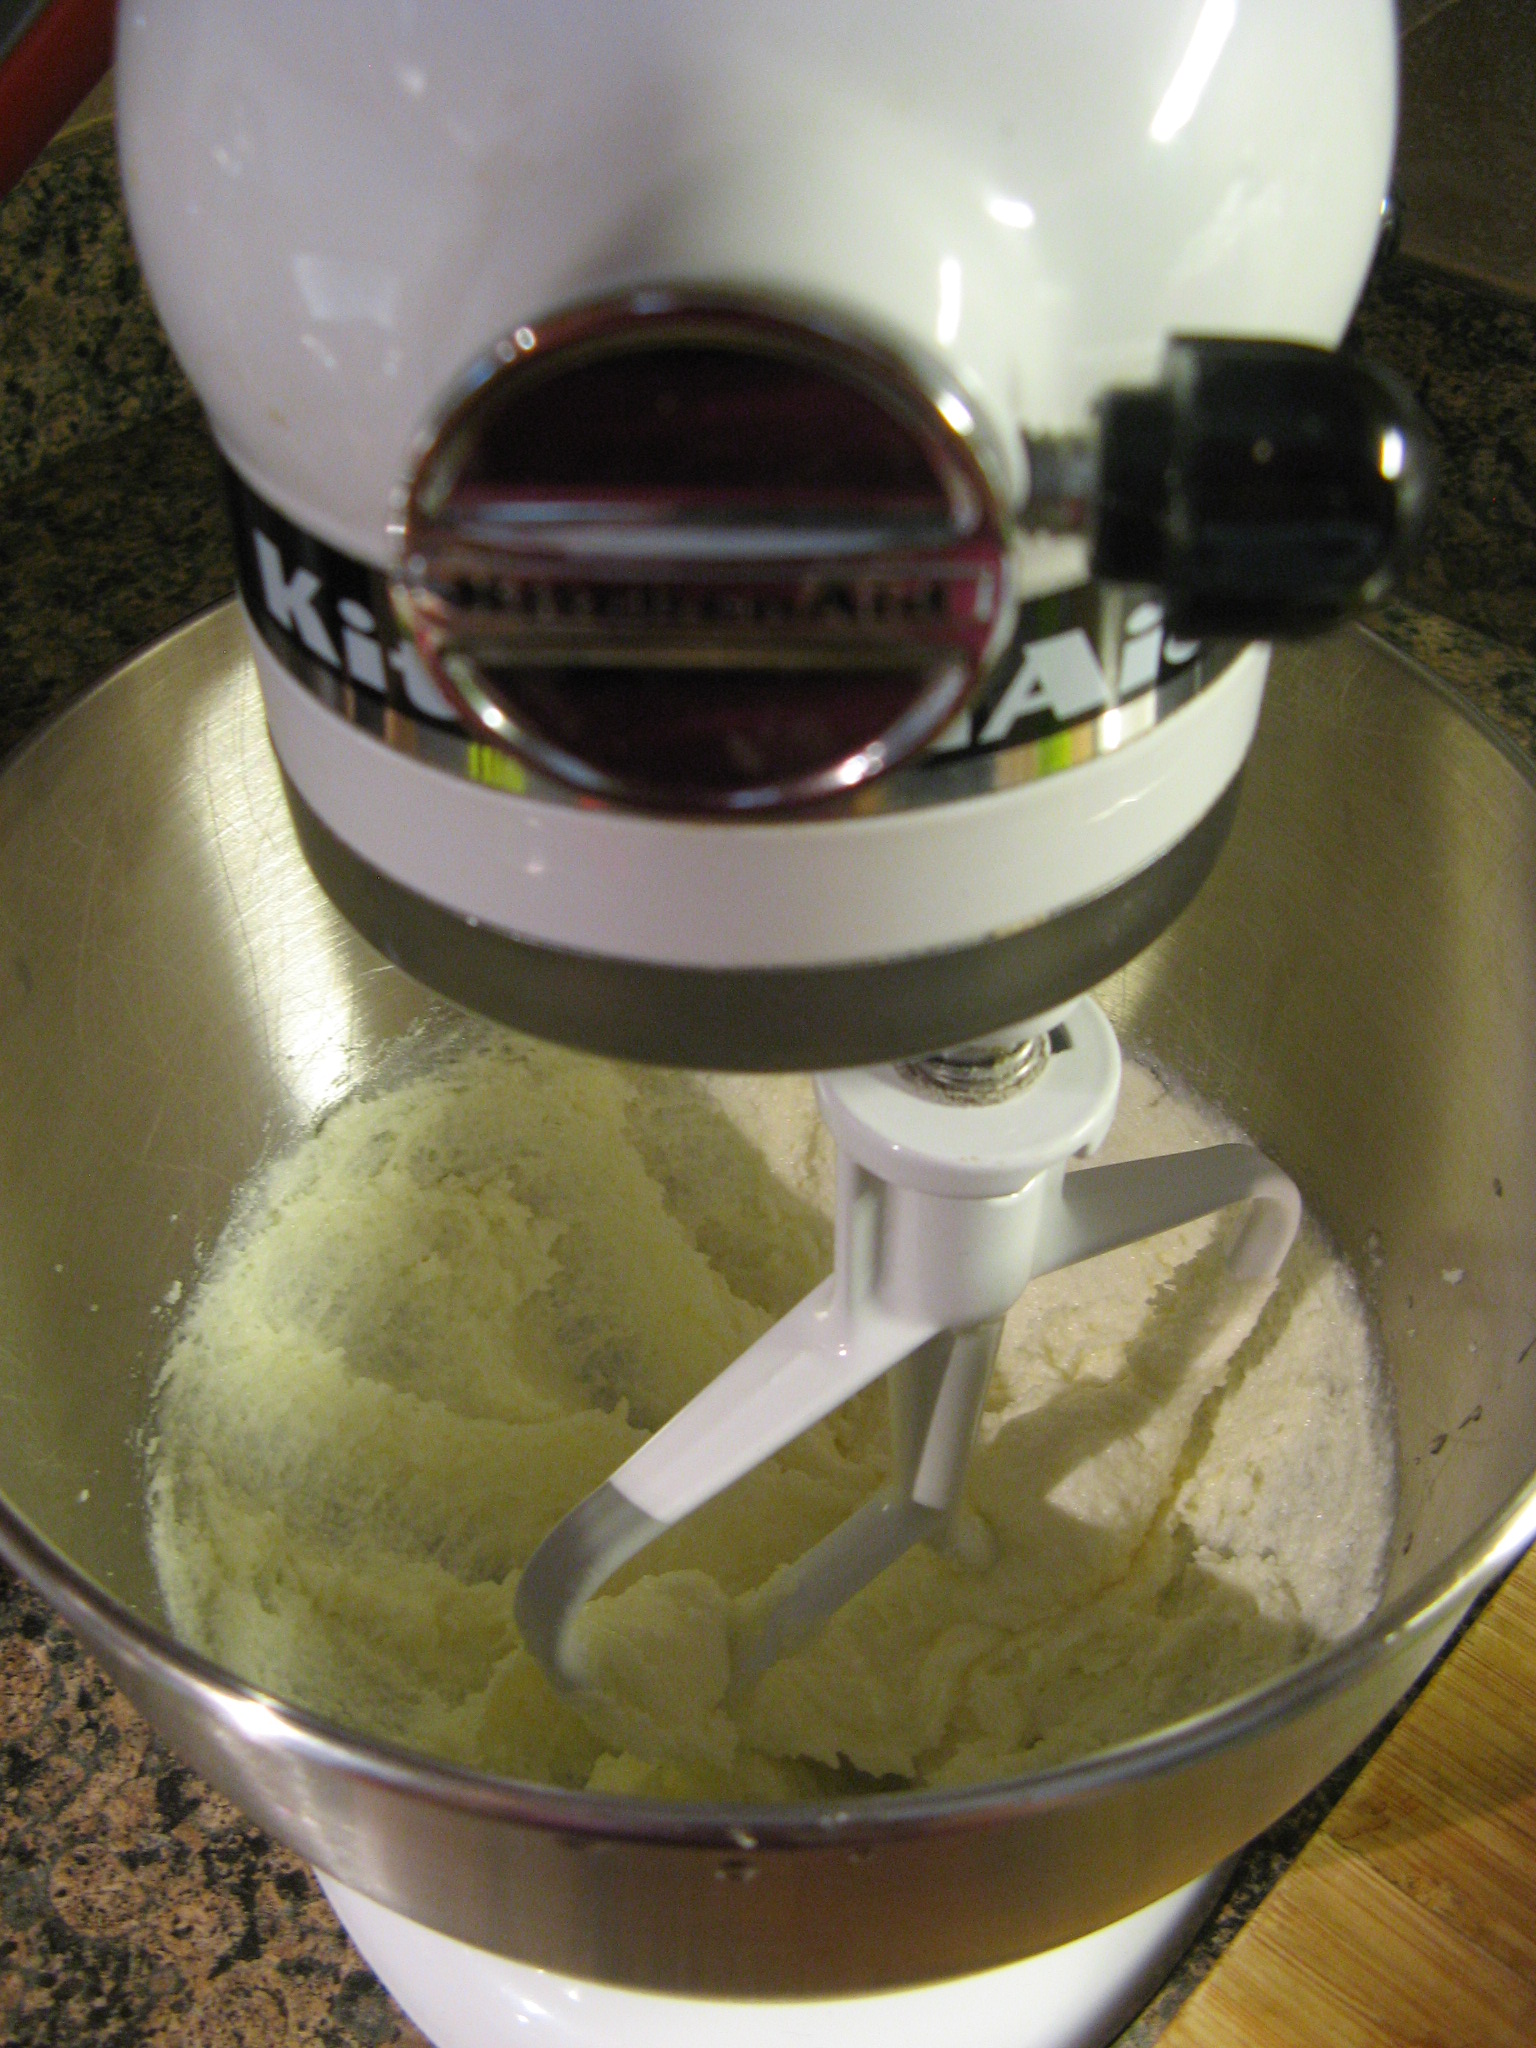
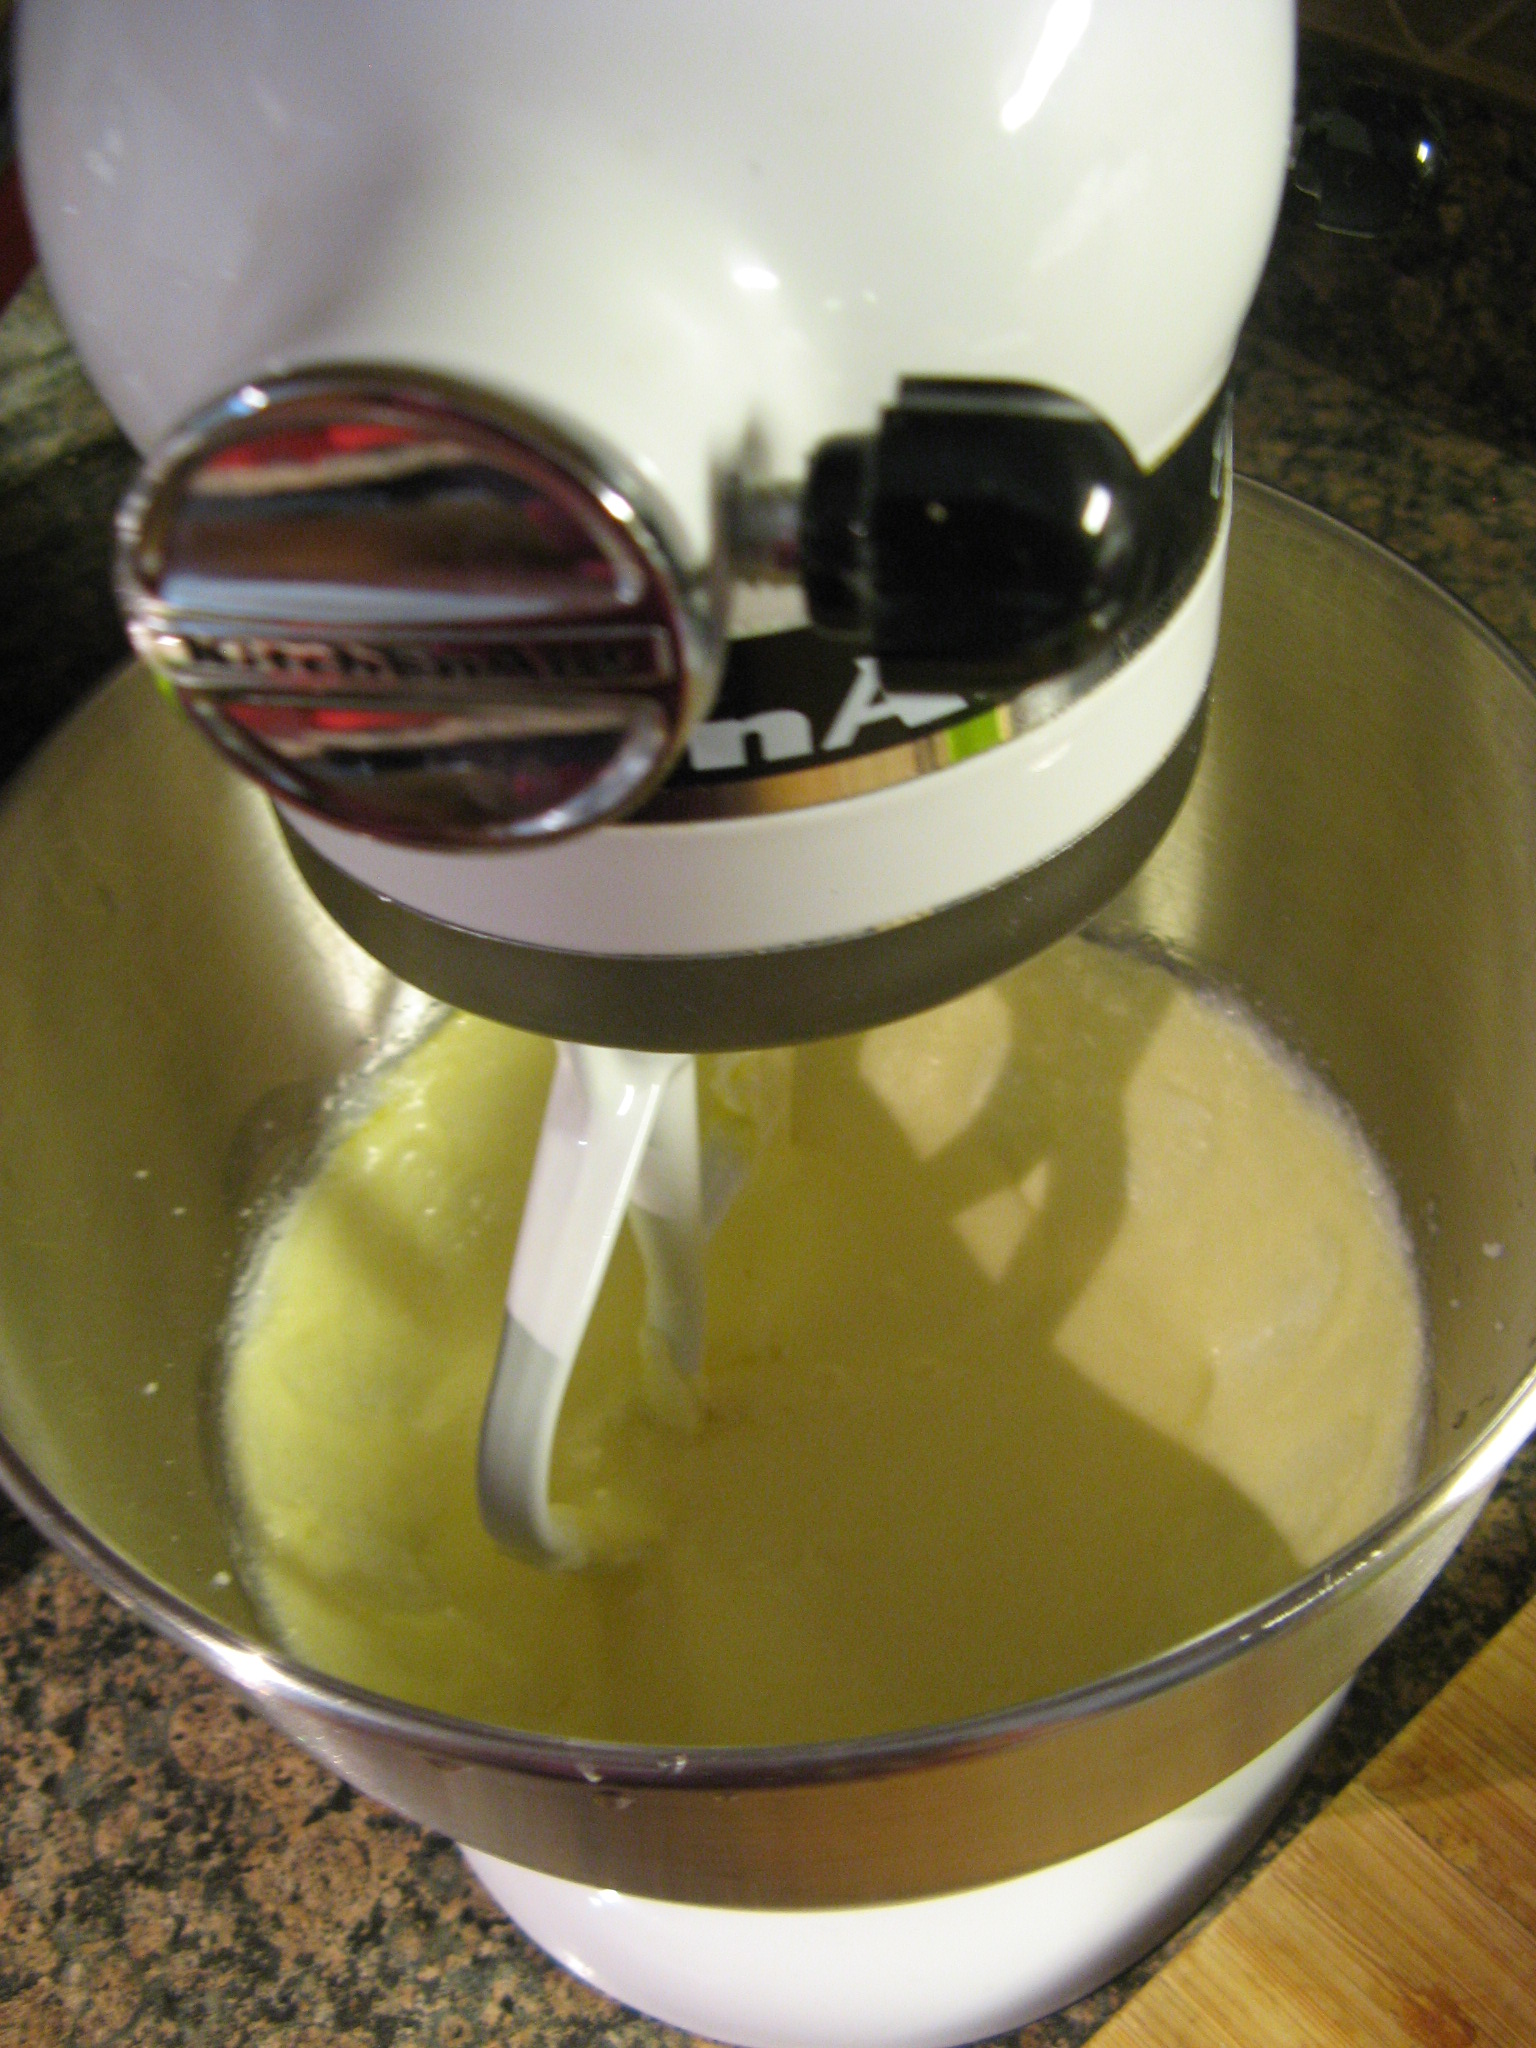
I began by beating butter and sugar until it was pale and fluffy. I then added in vanilla extract and rum.

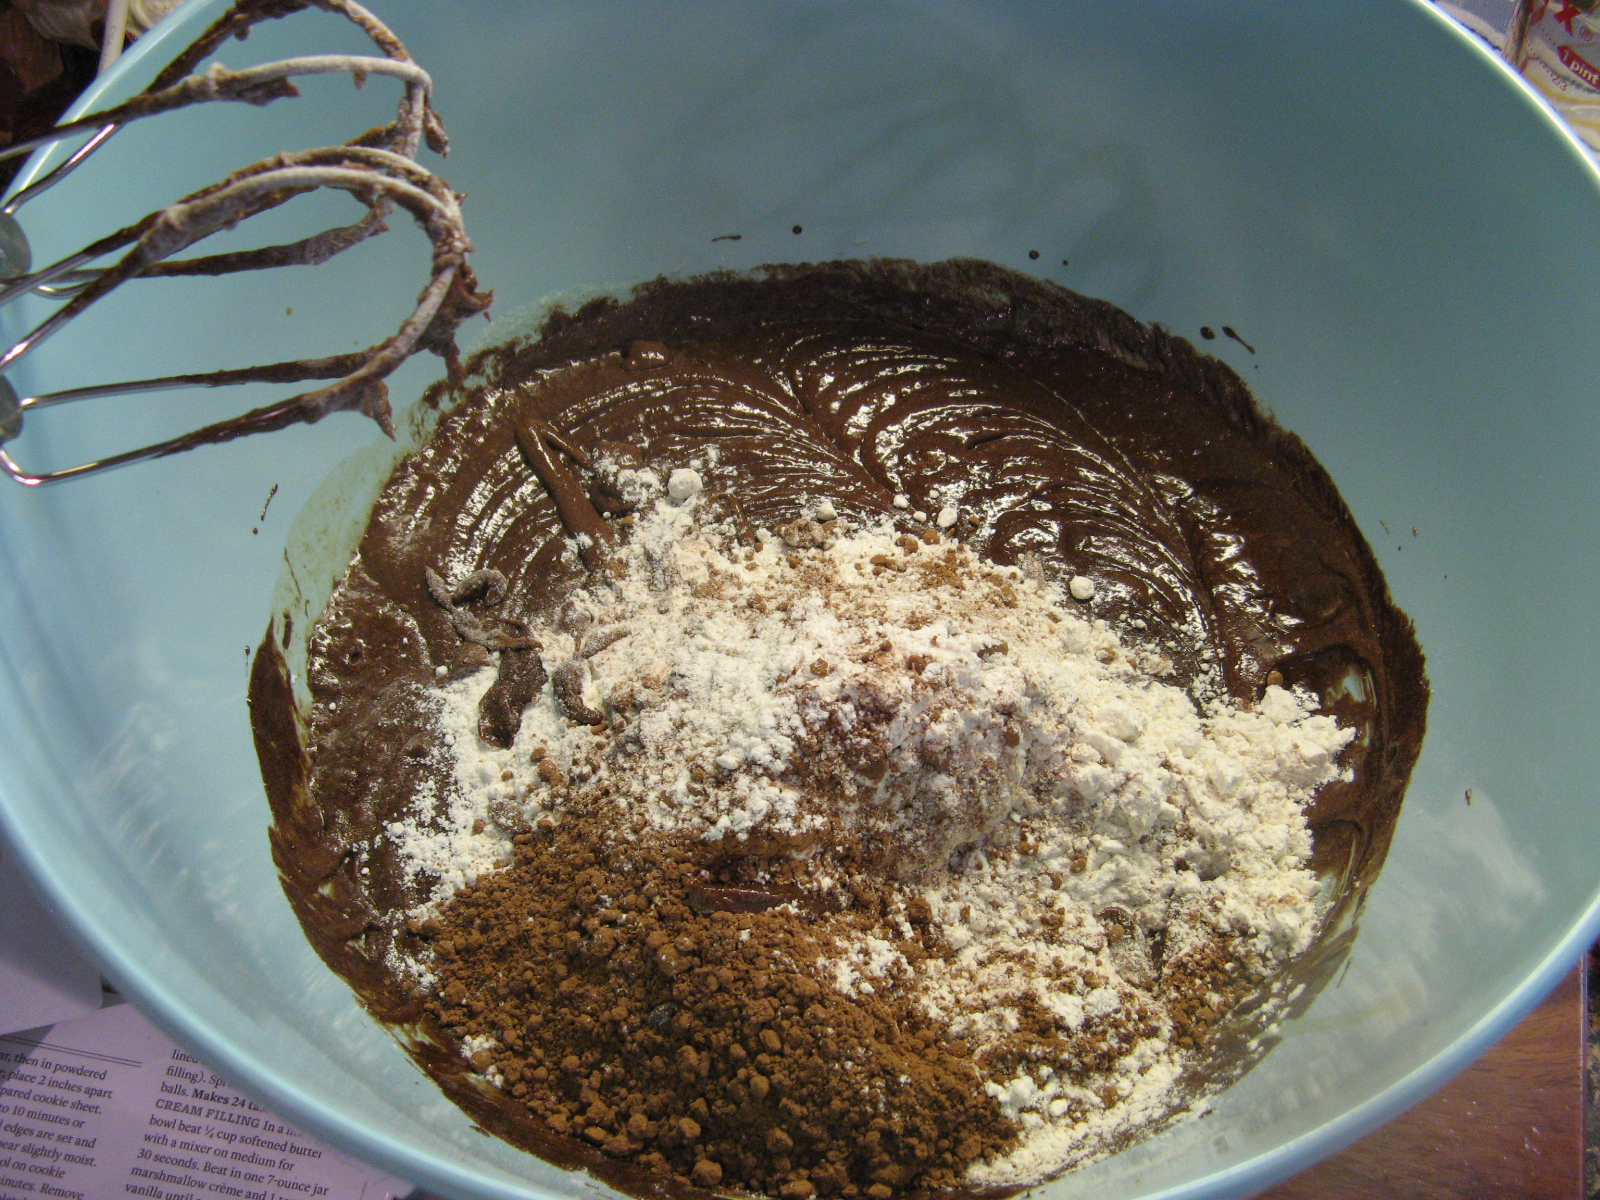
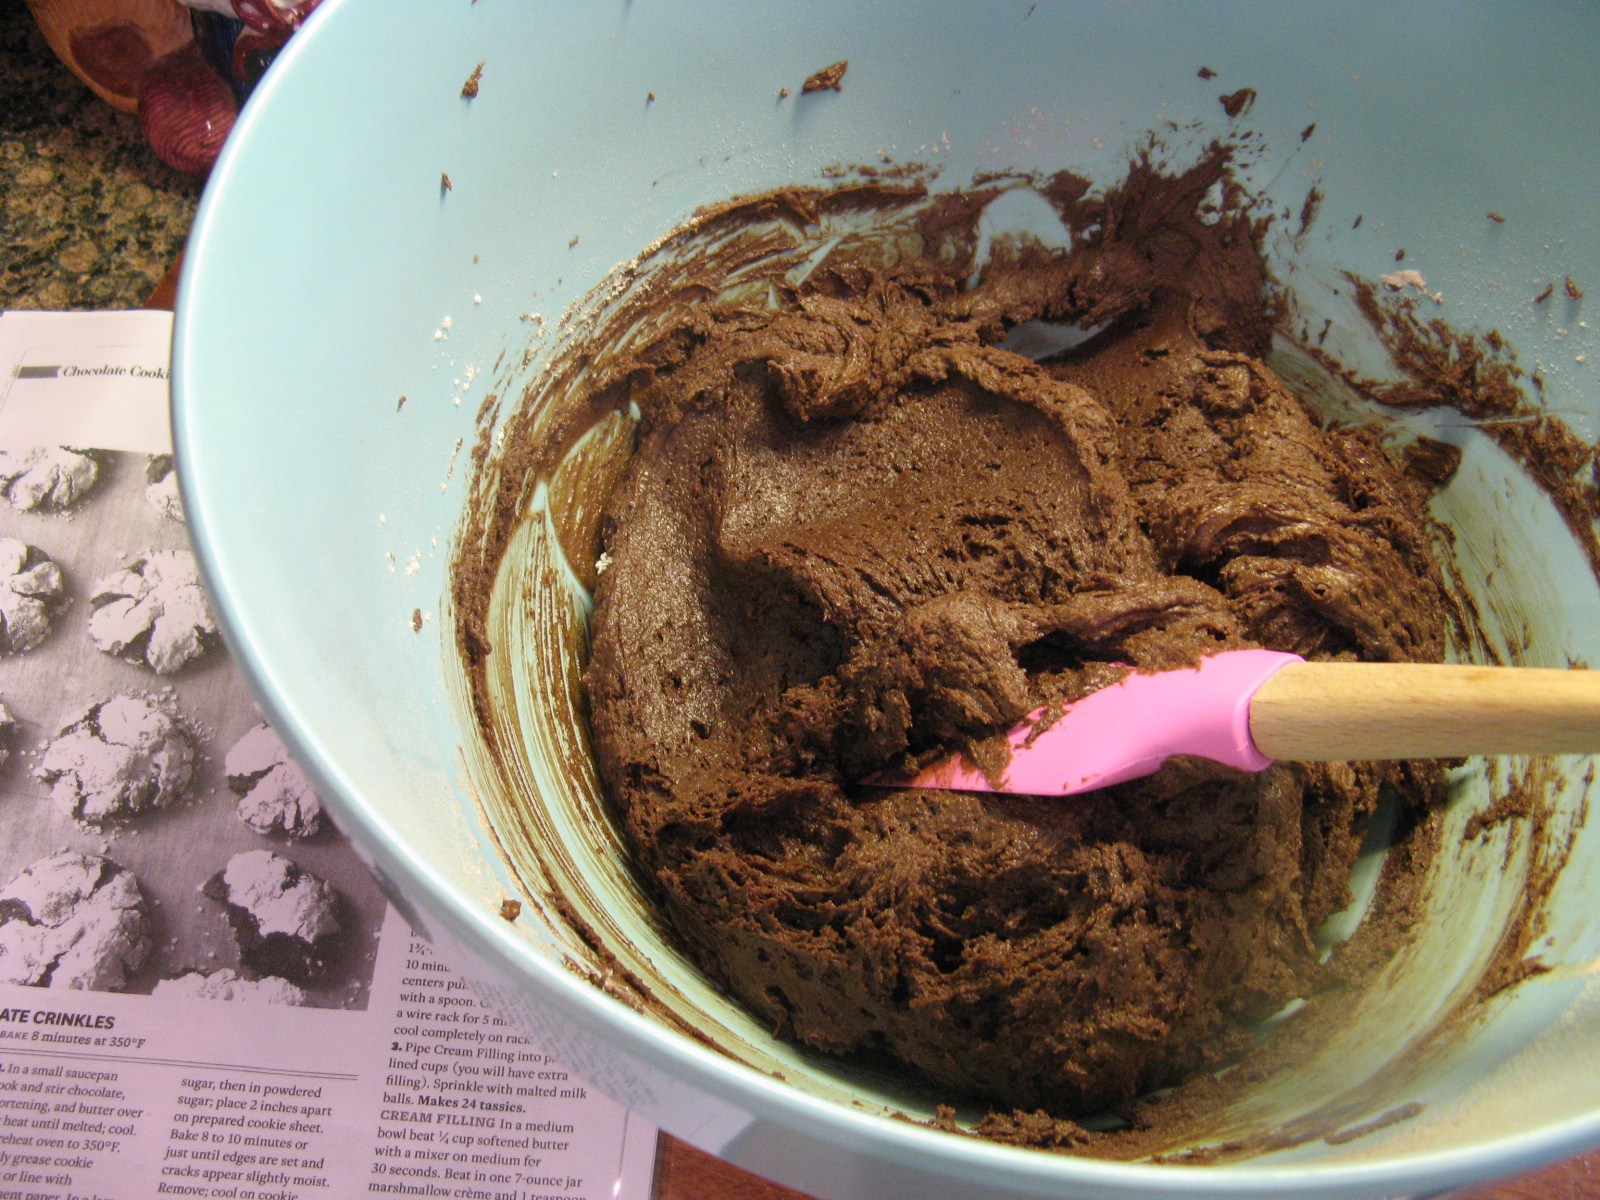
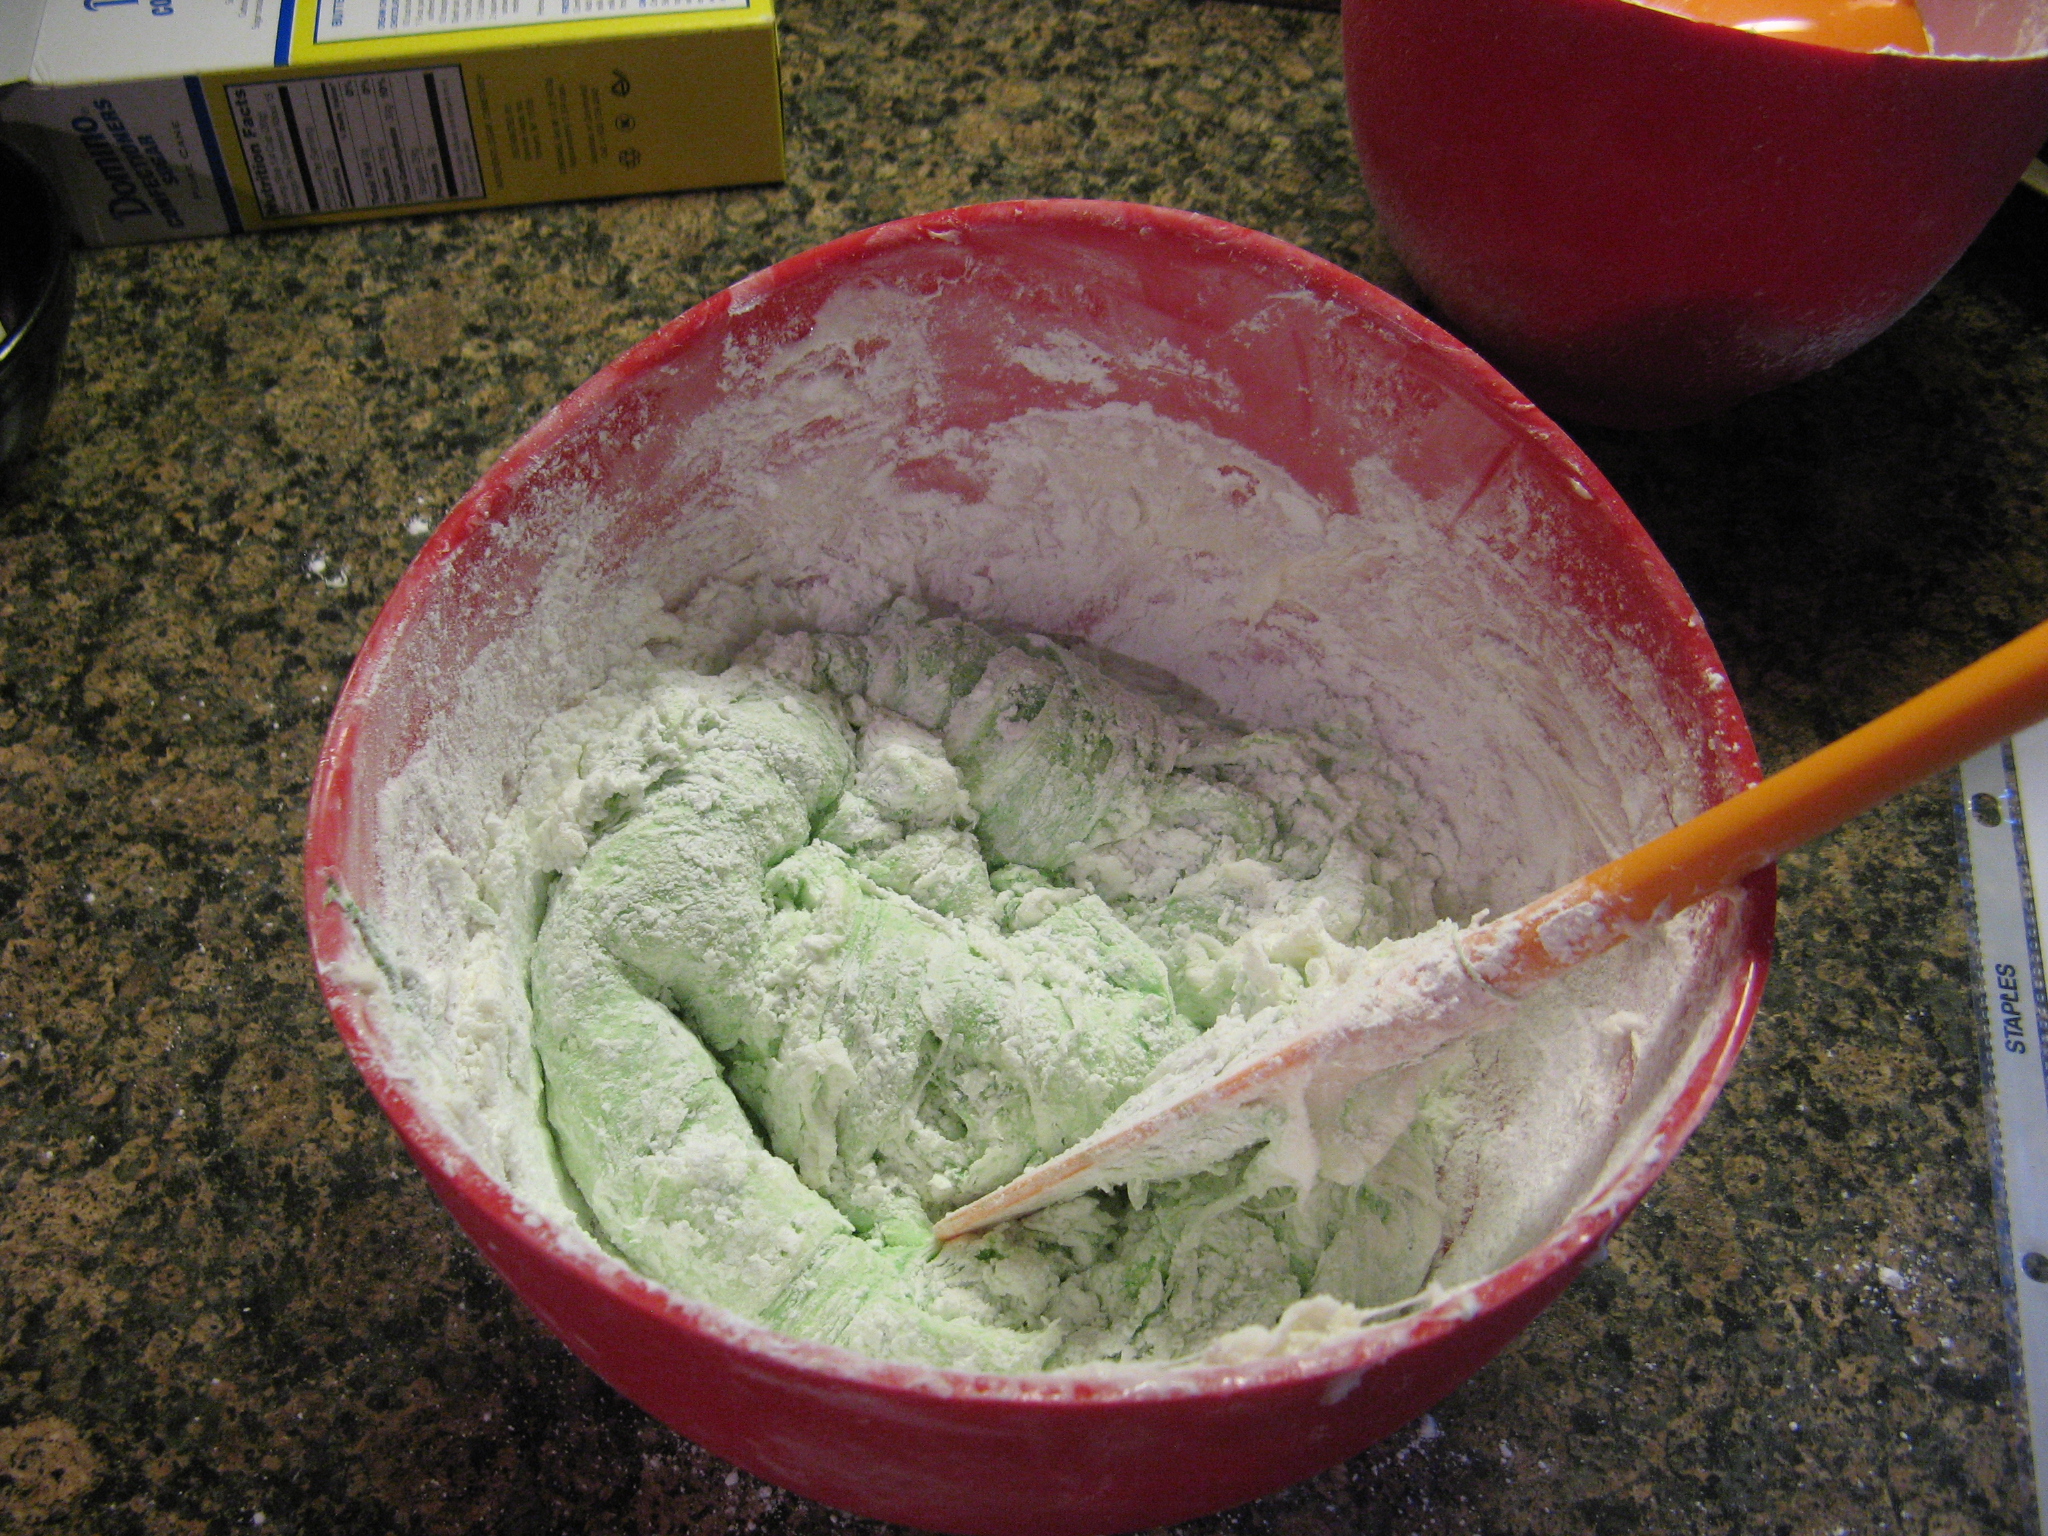
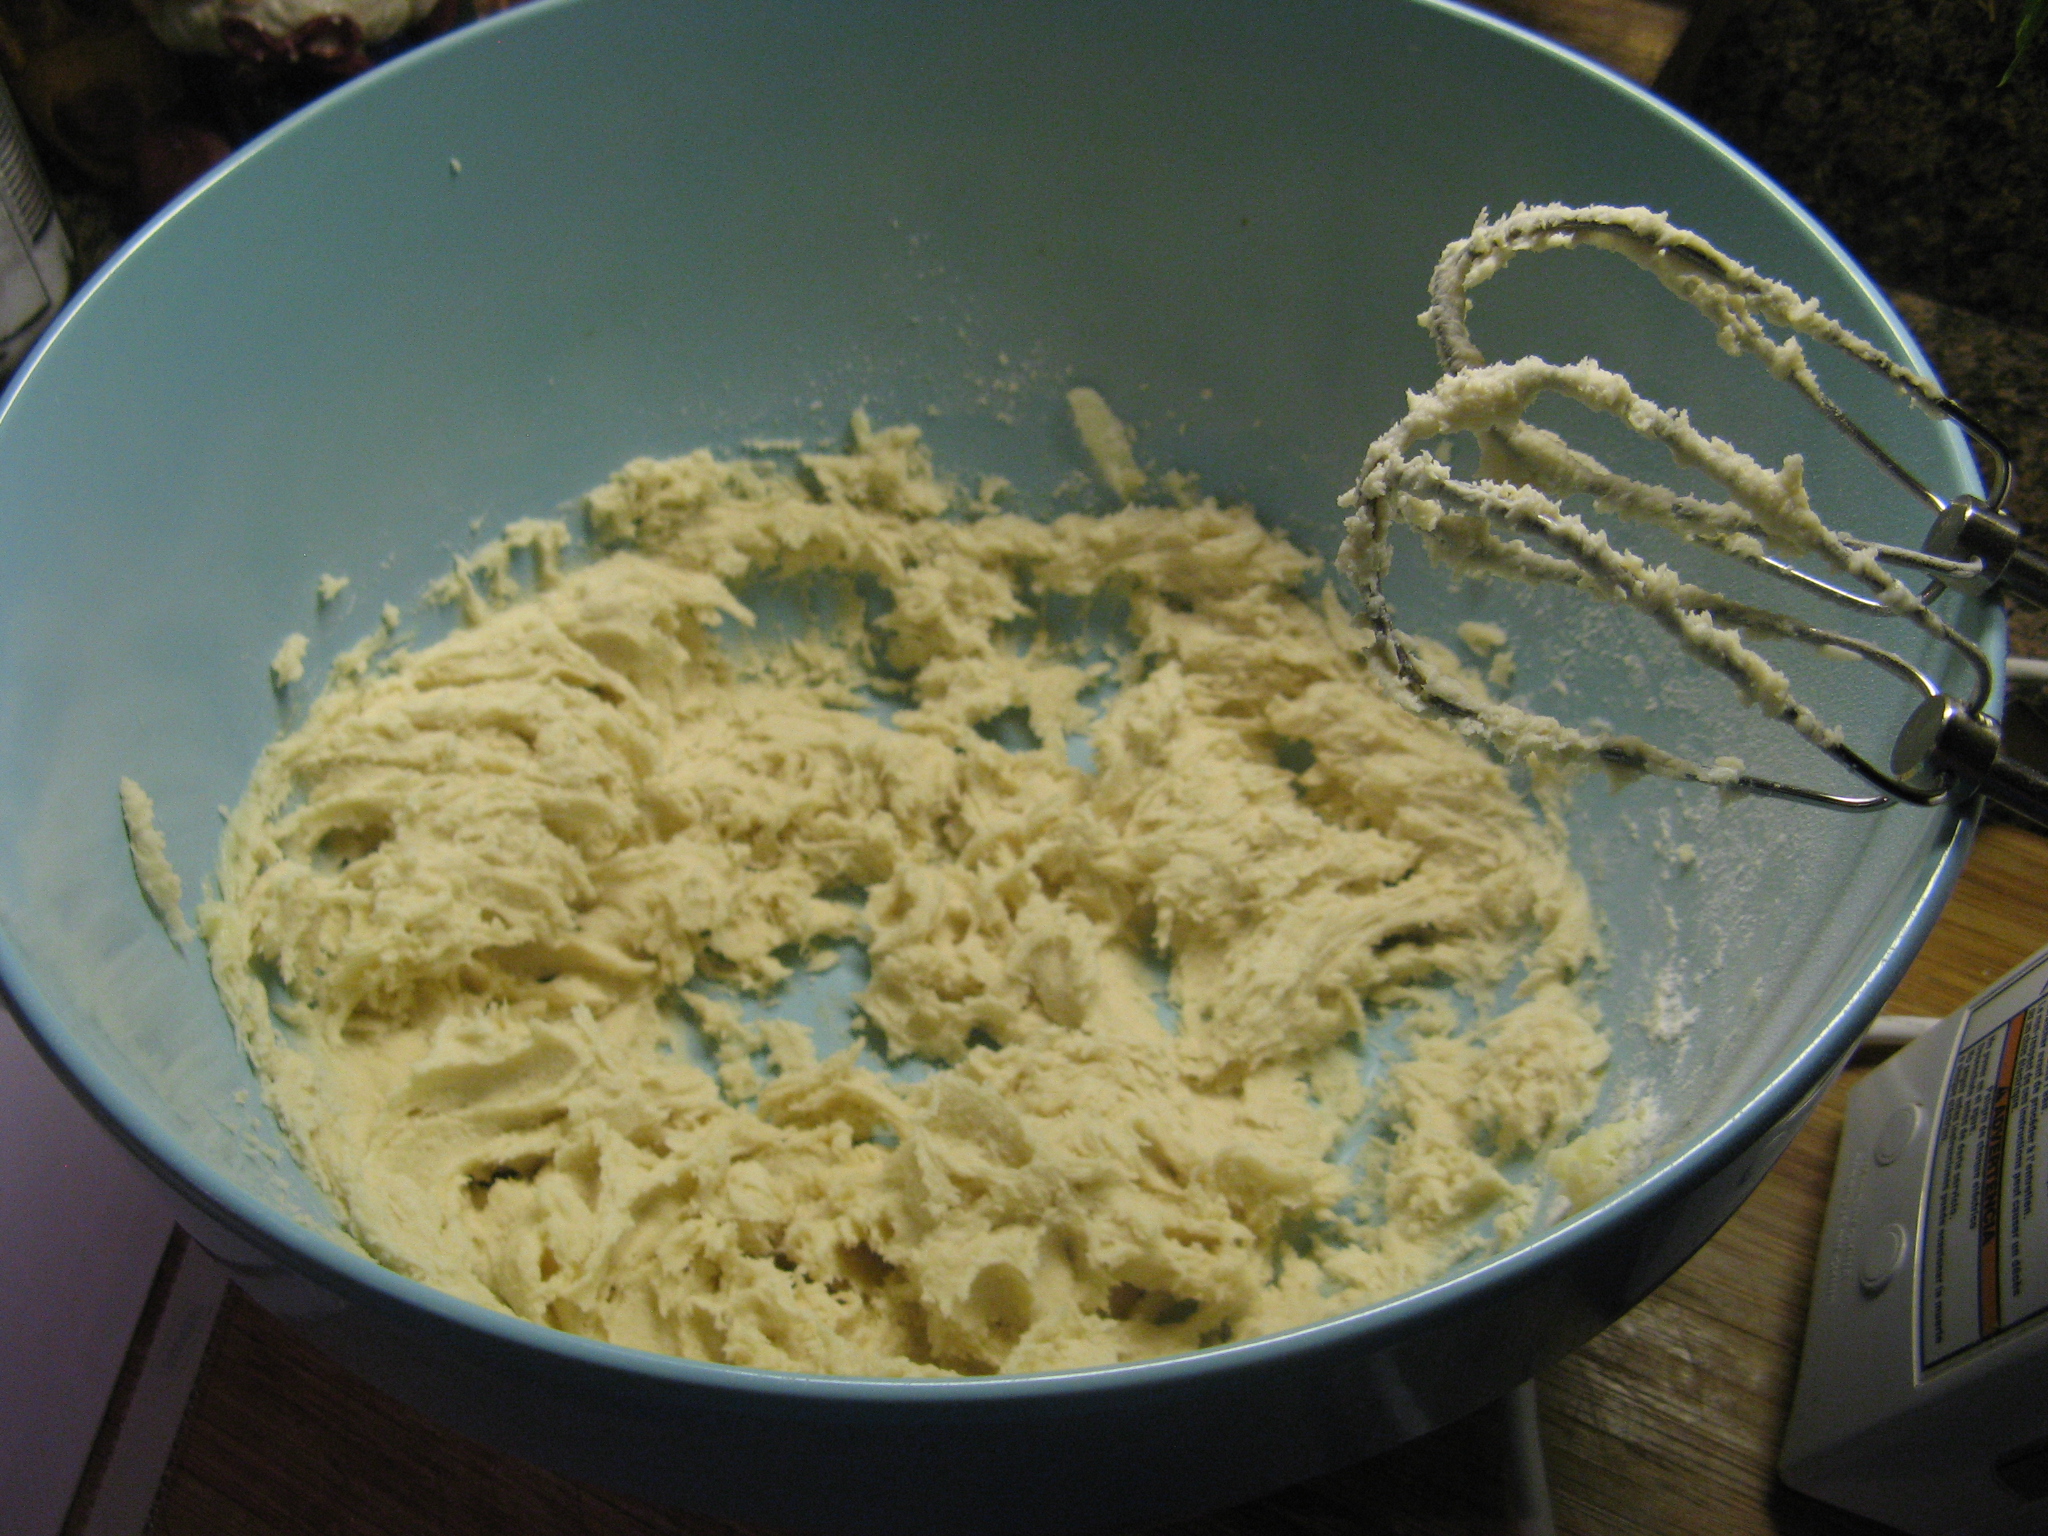
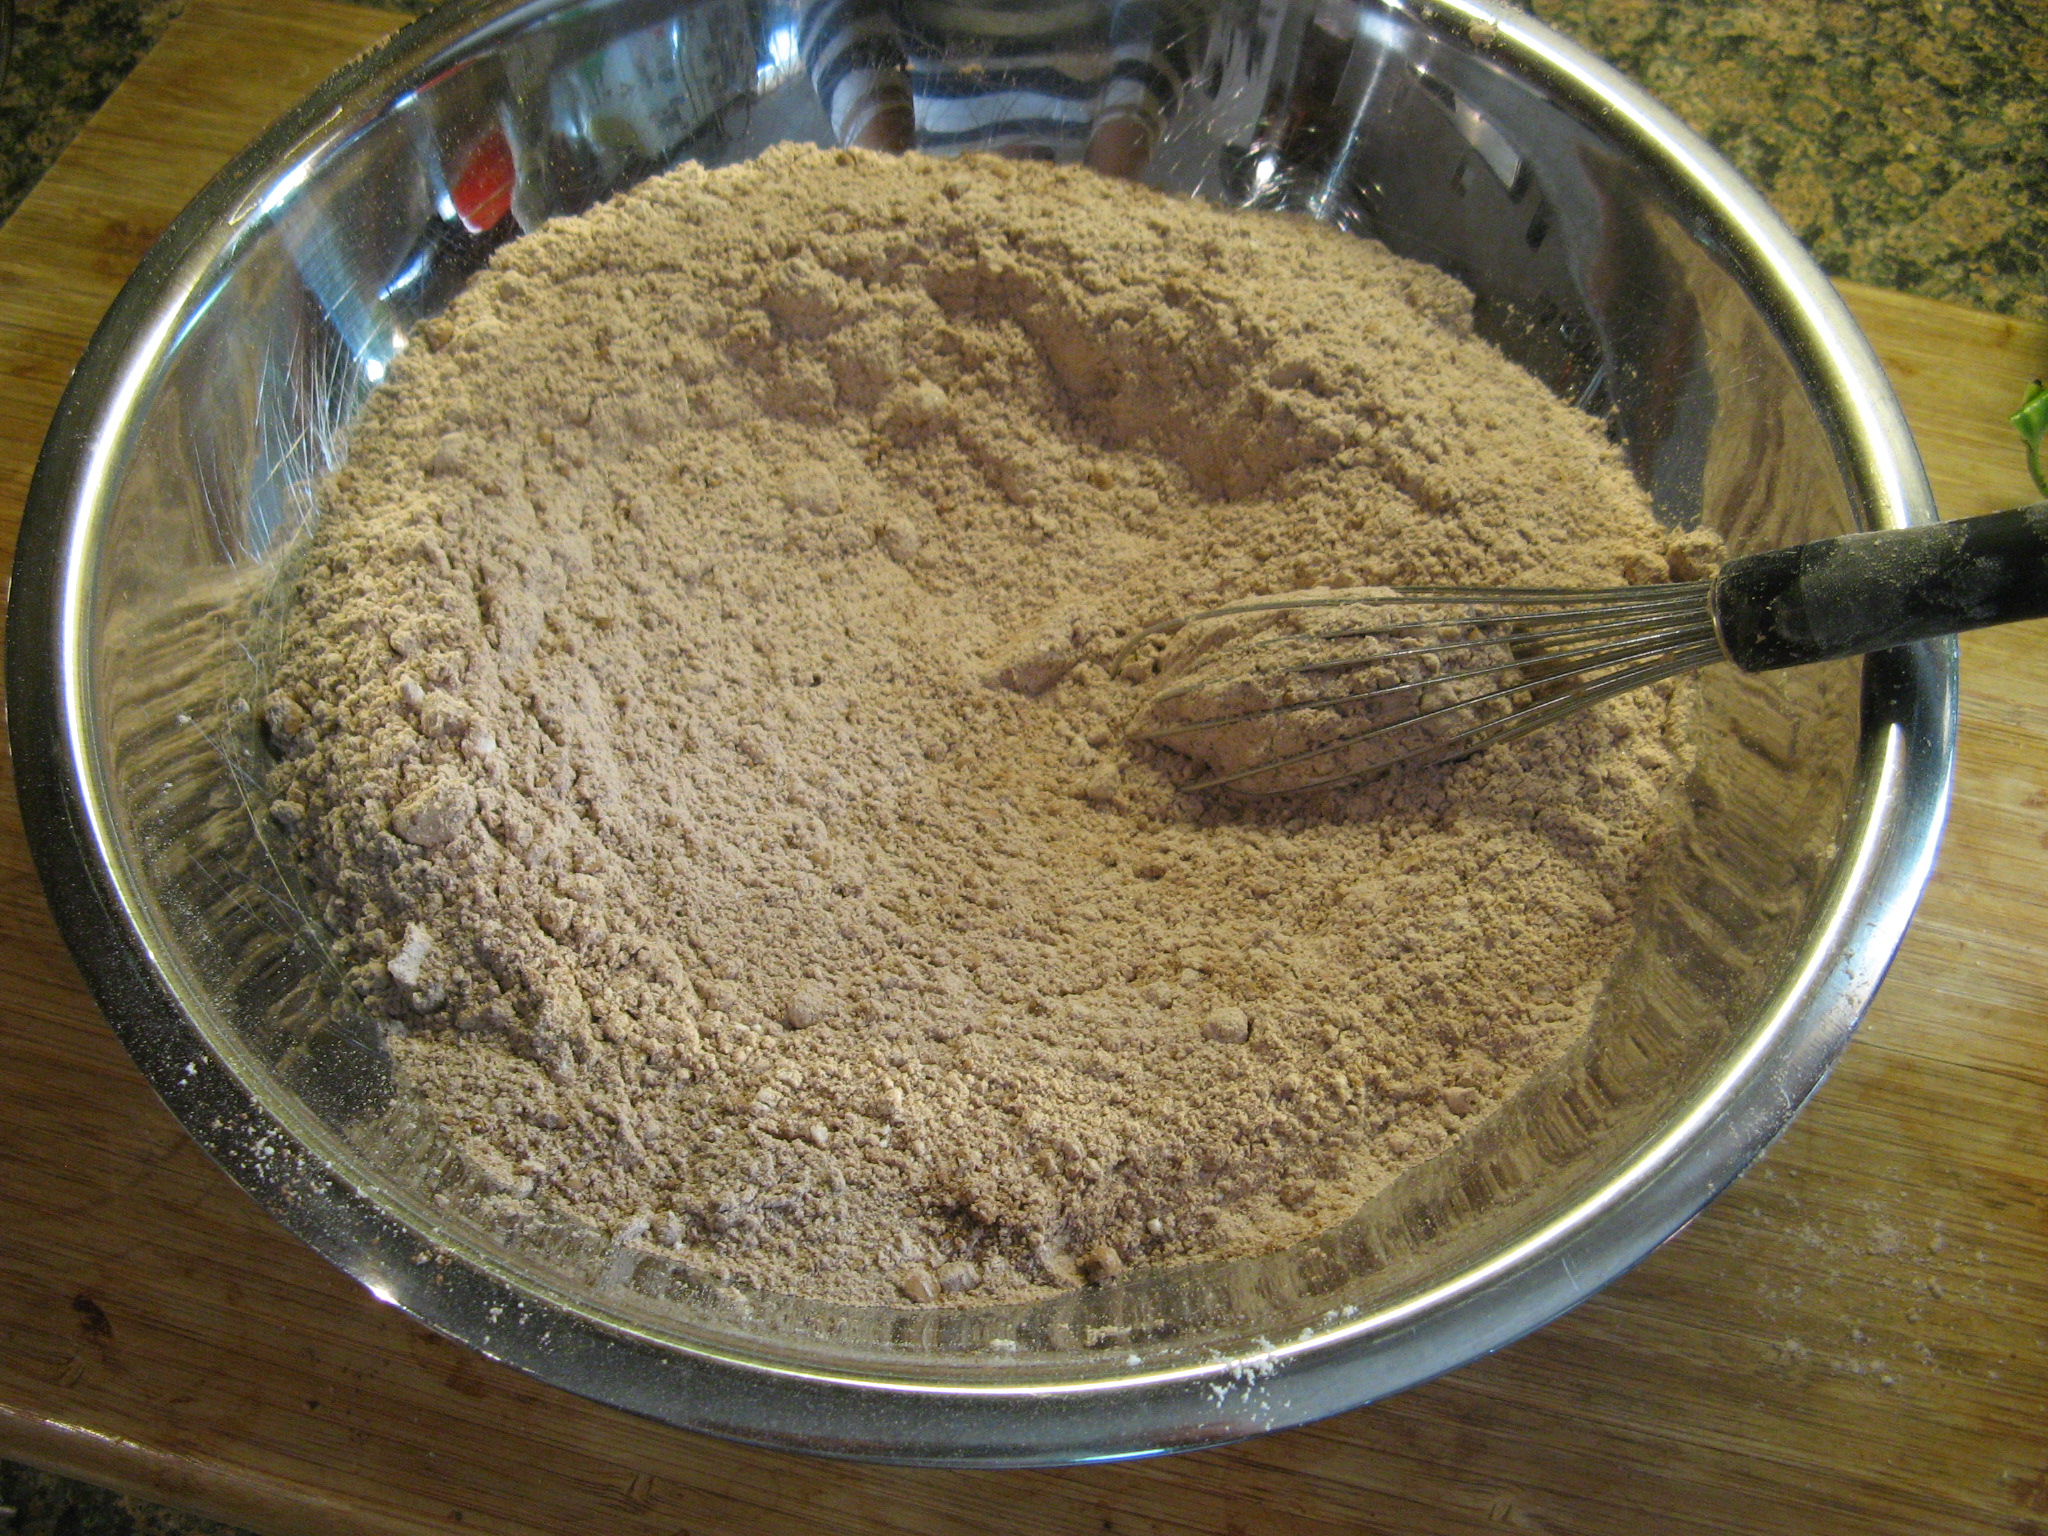
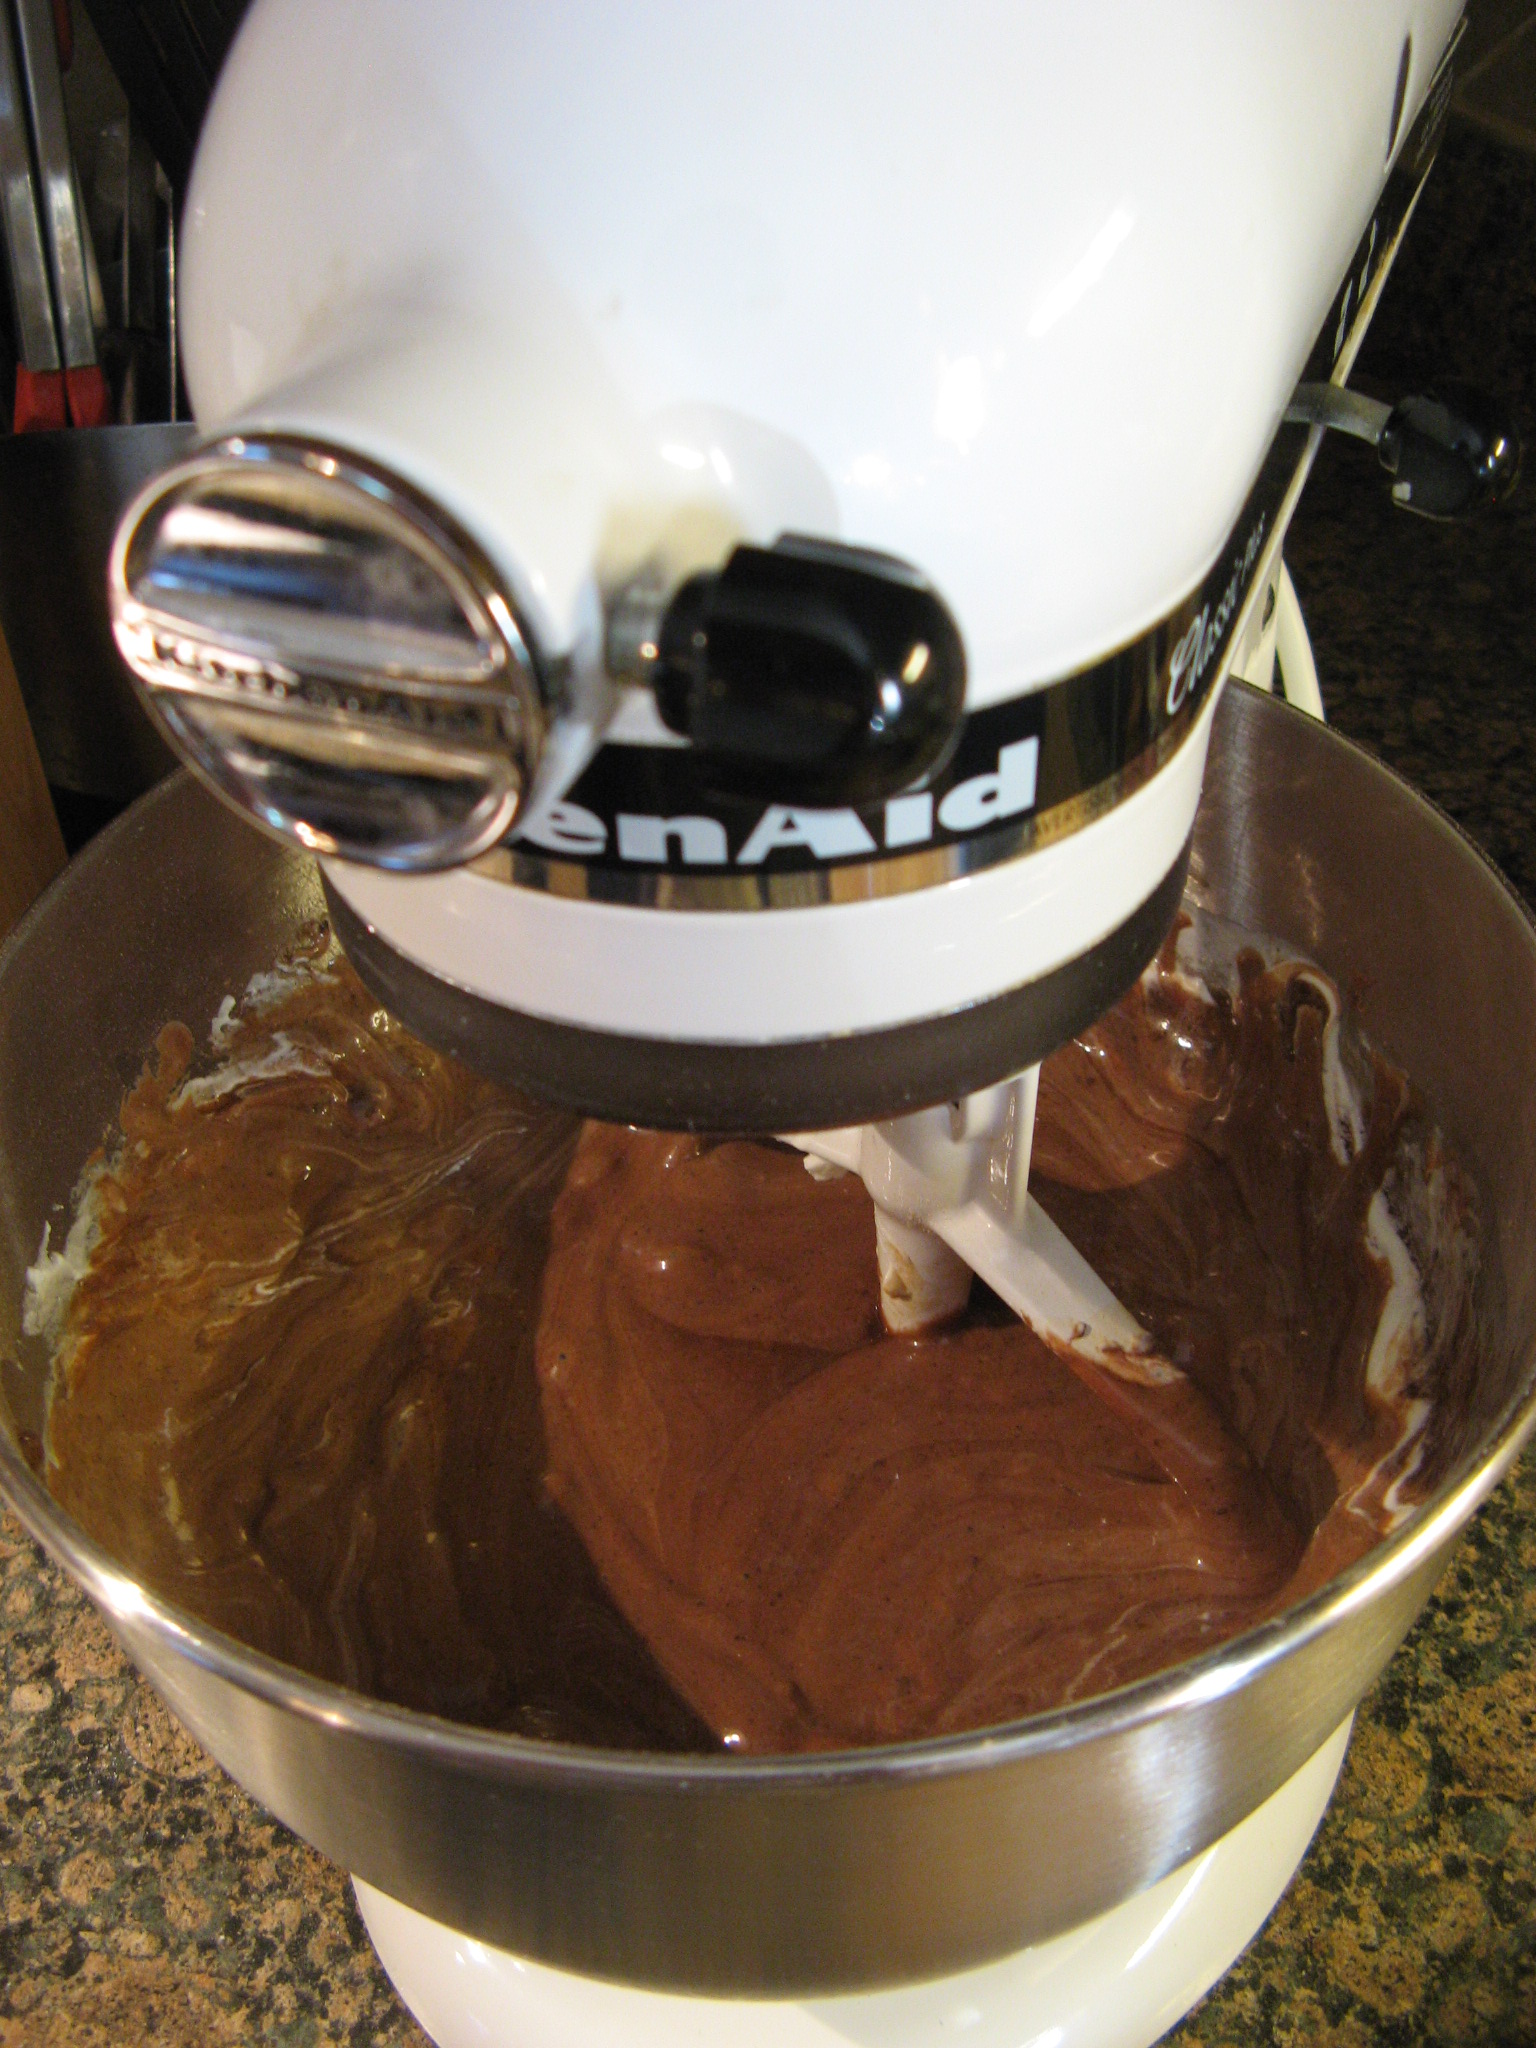
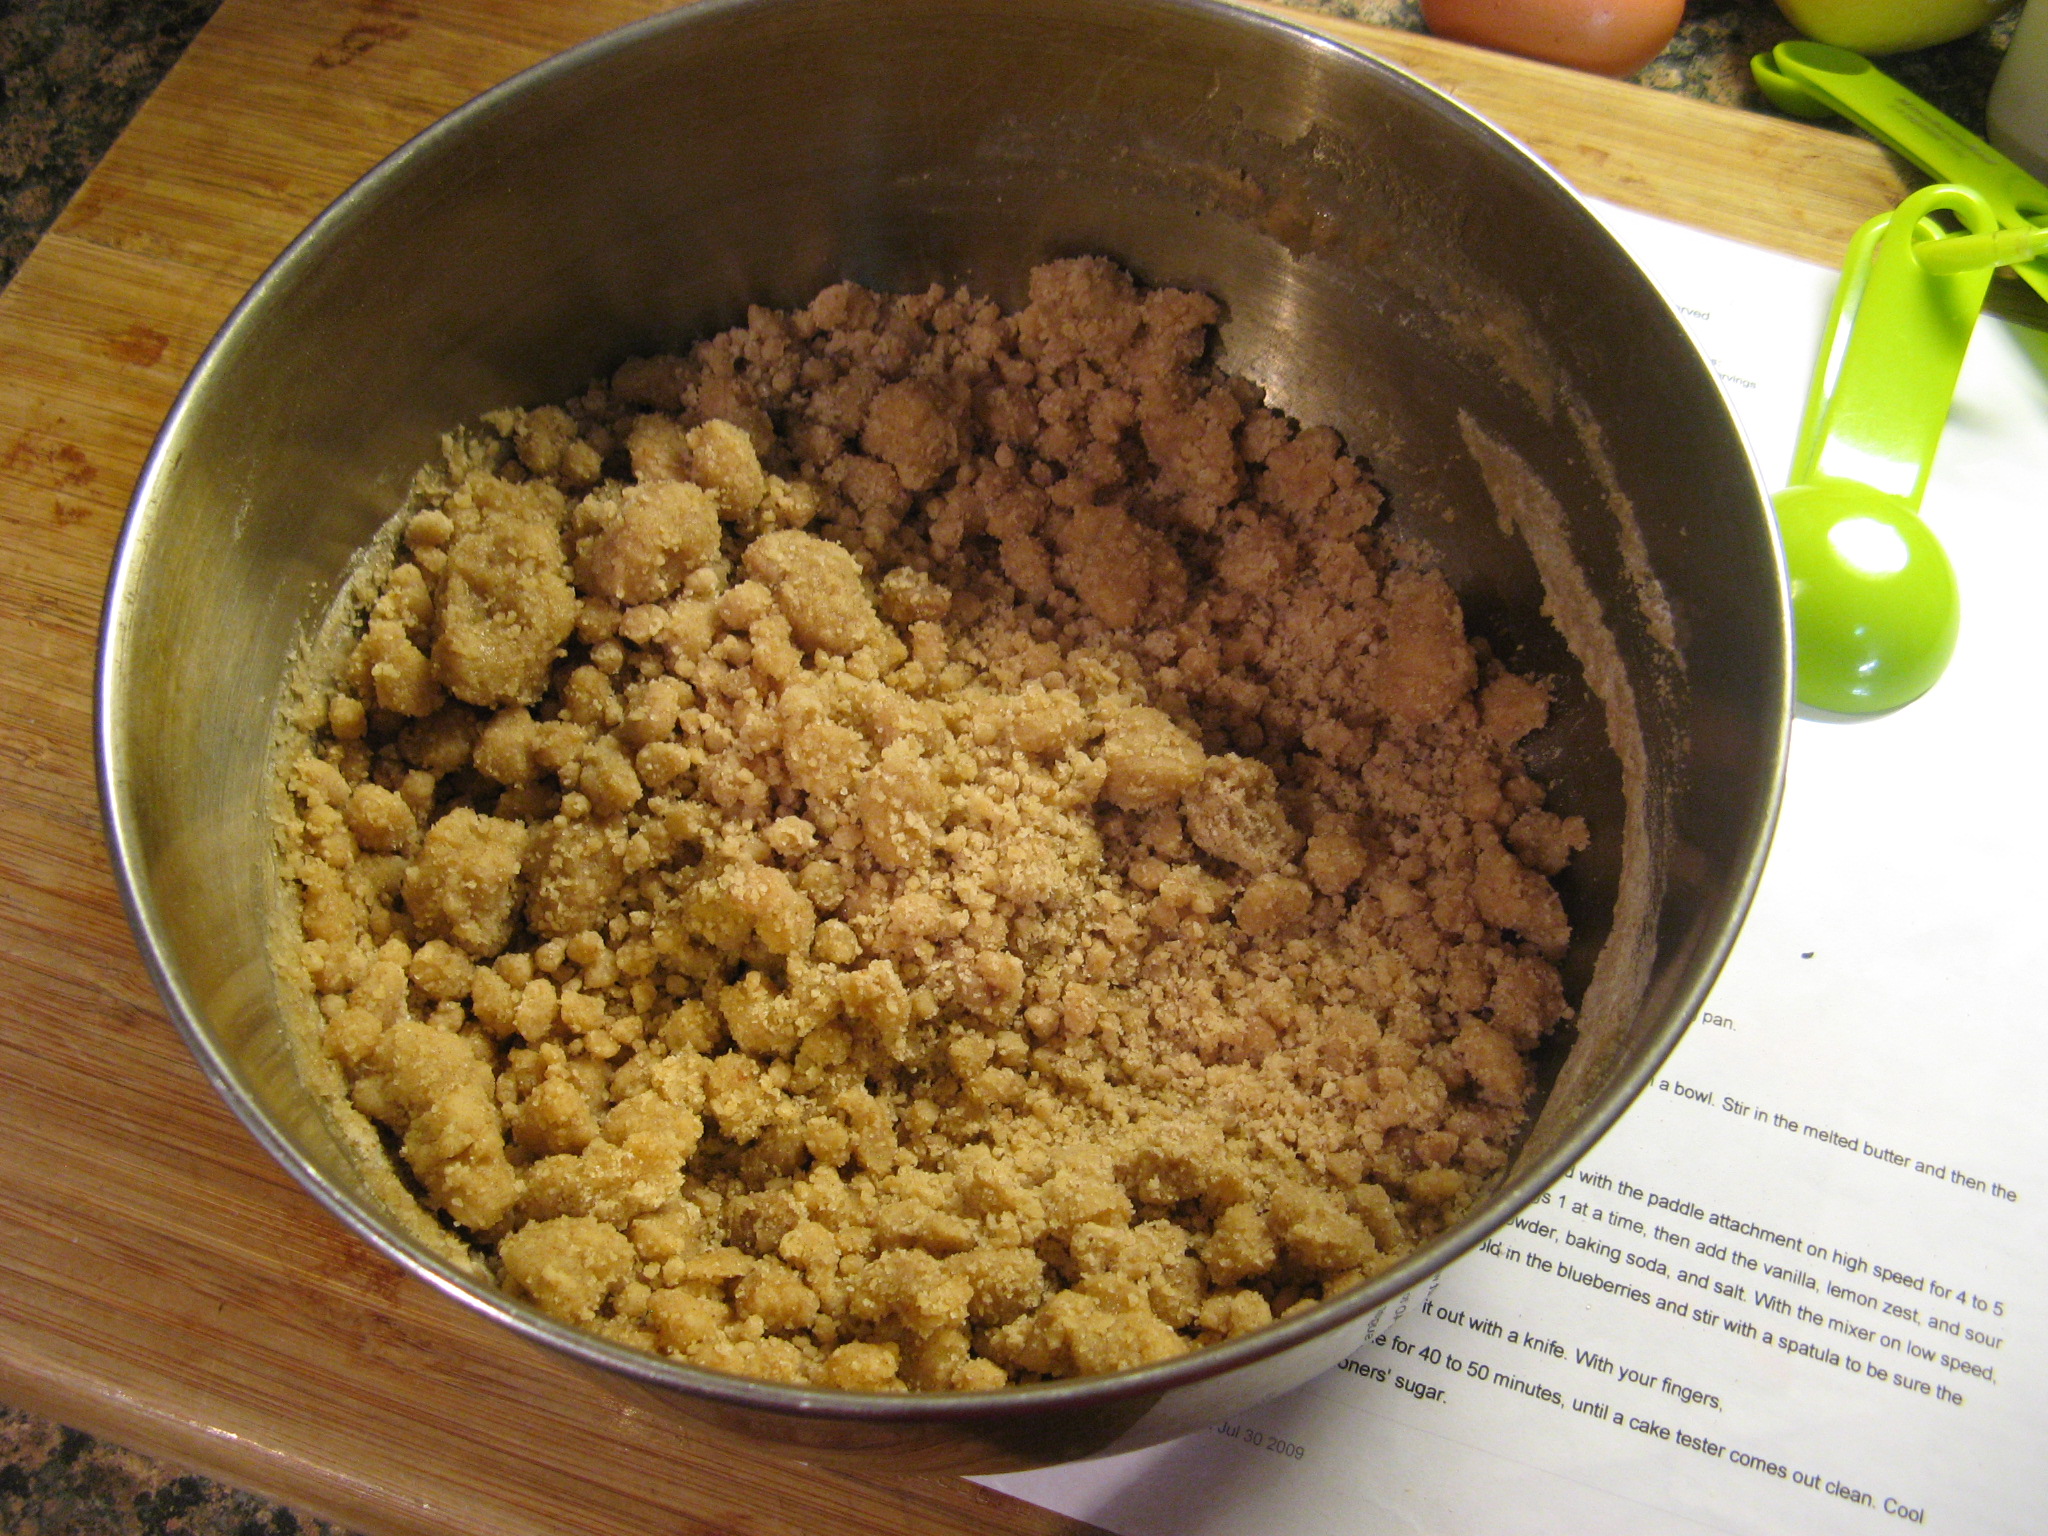
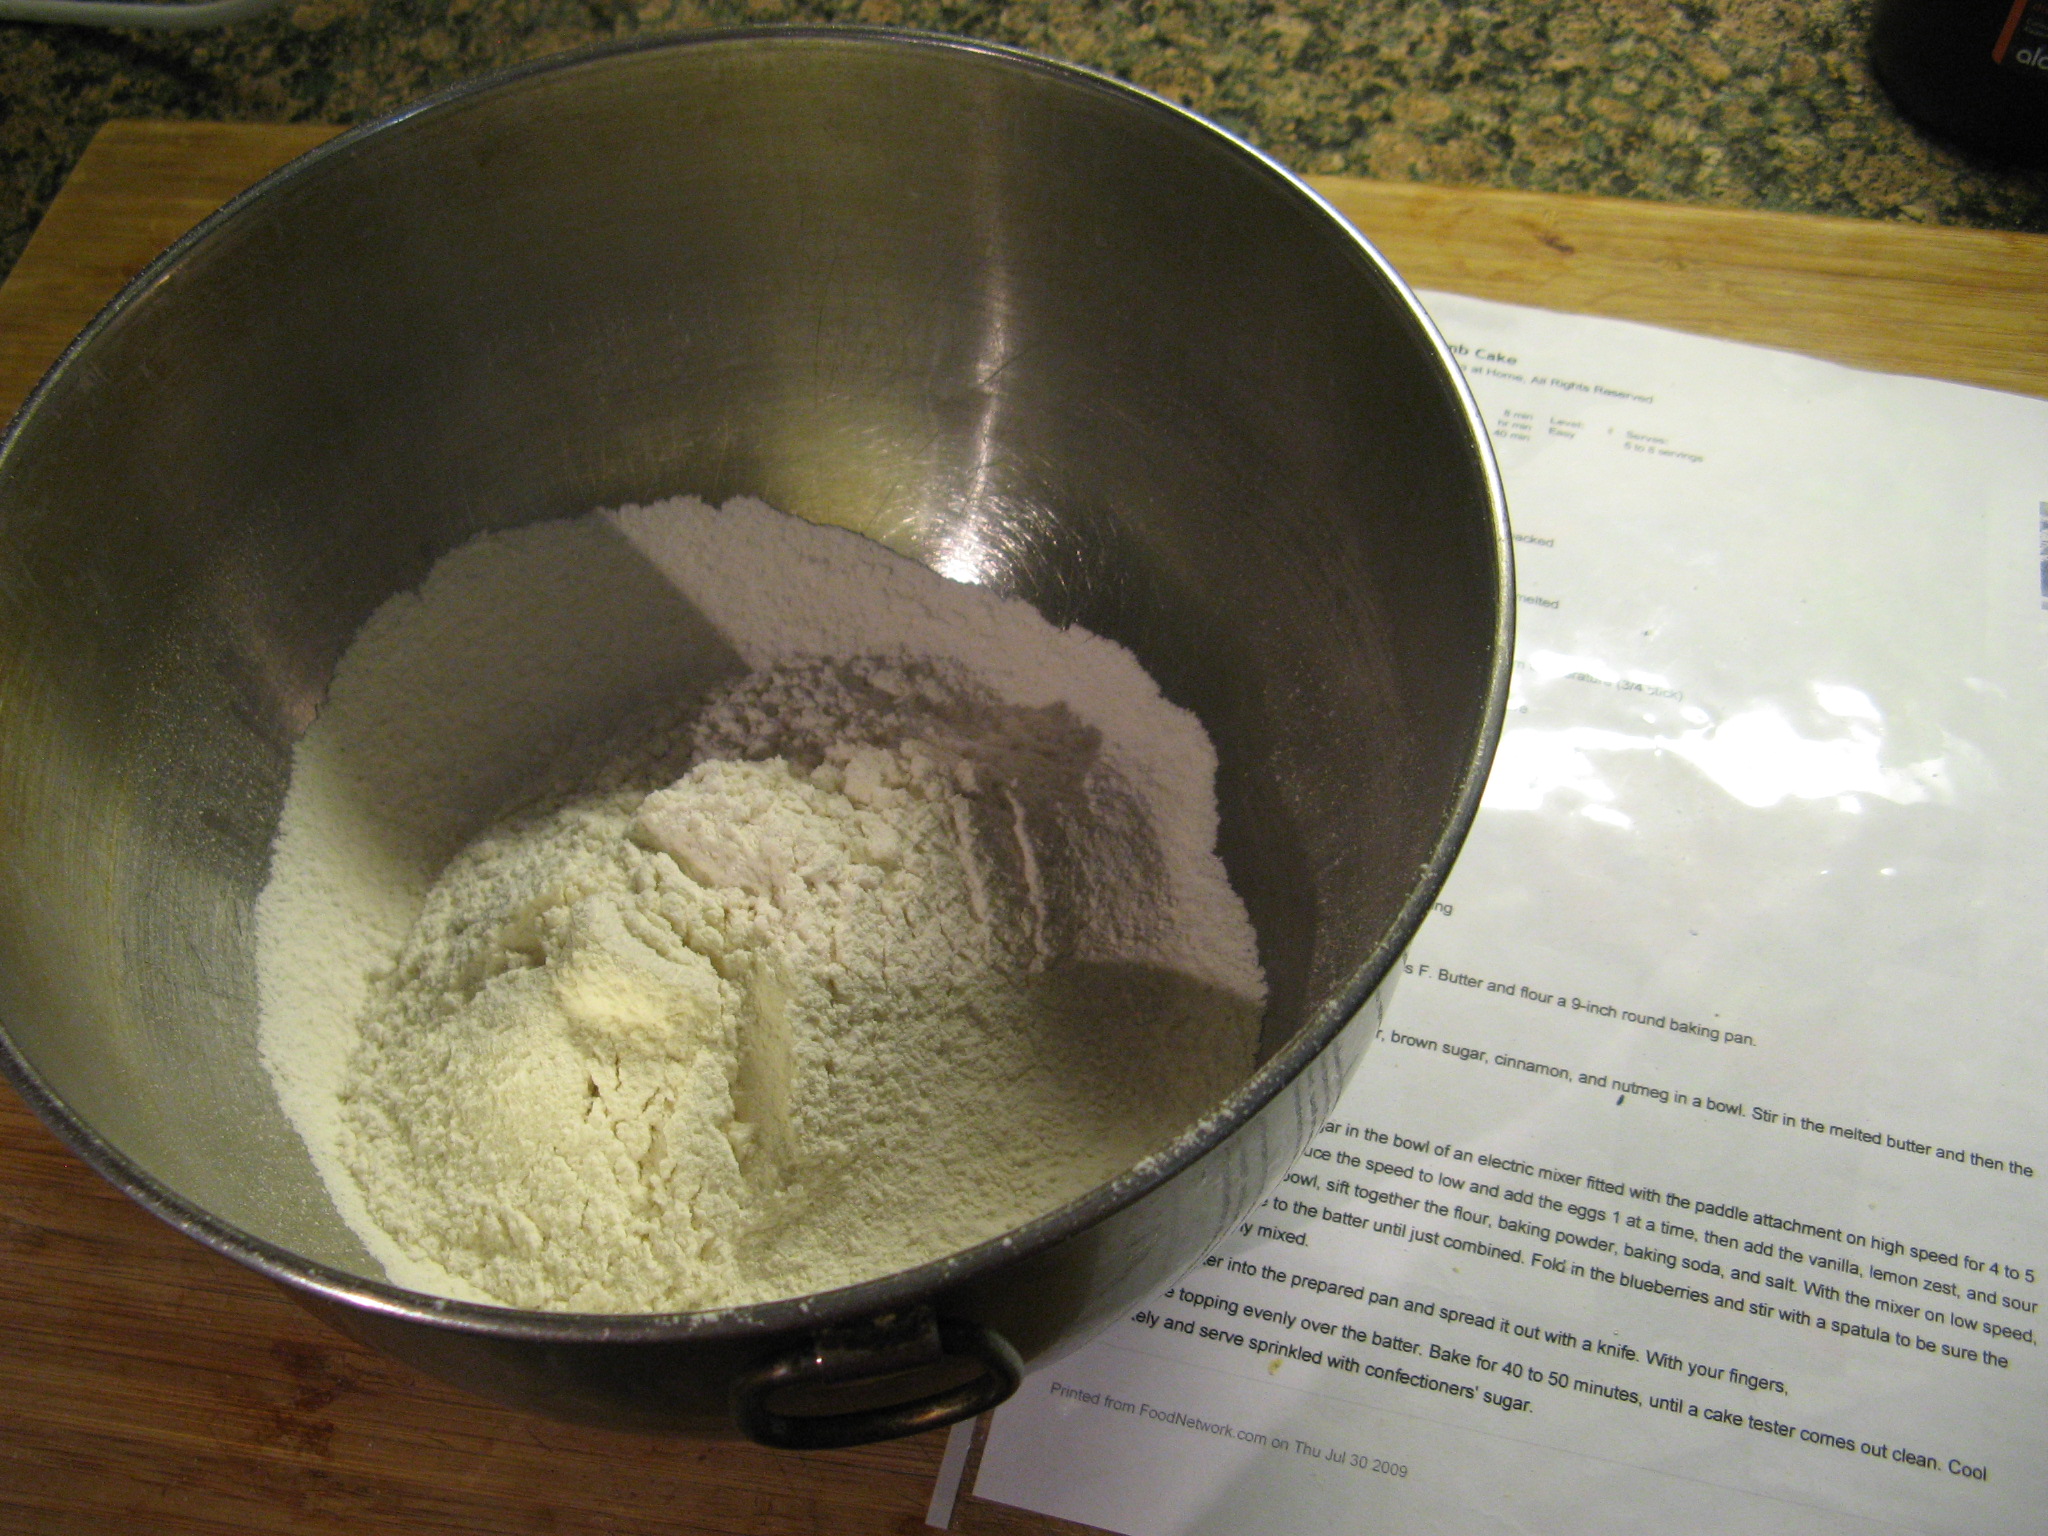
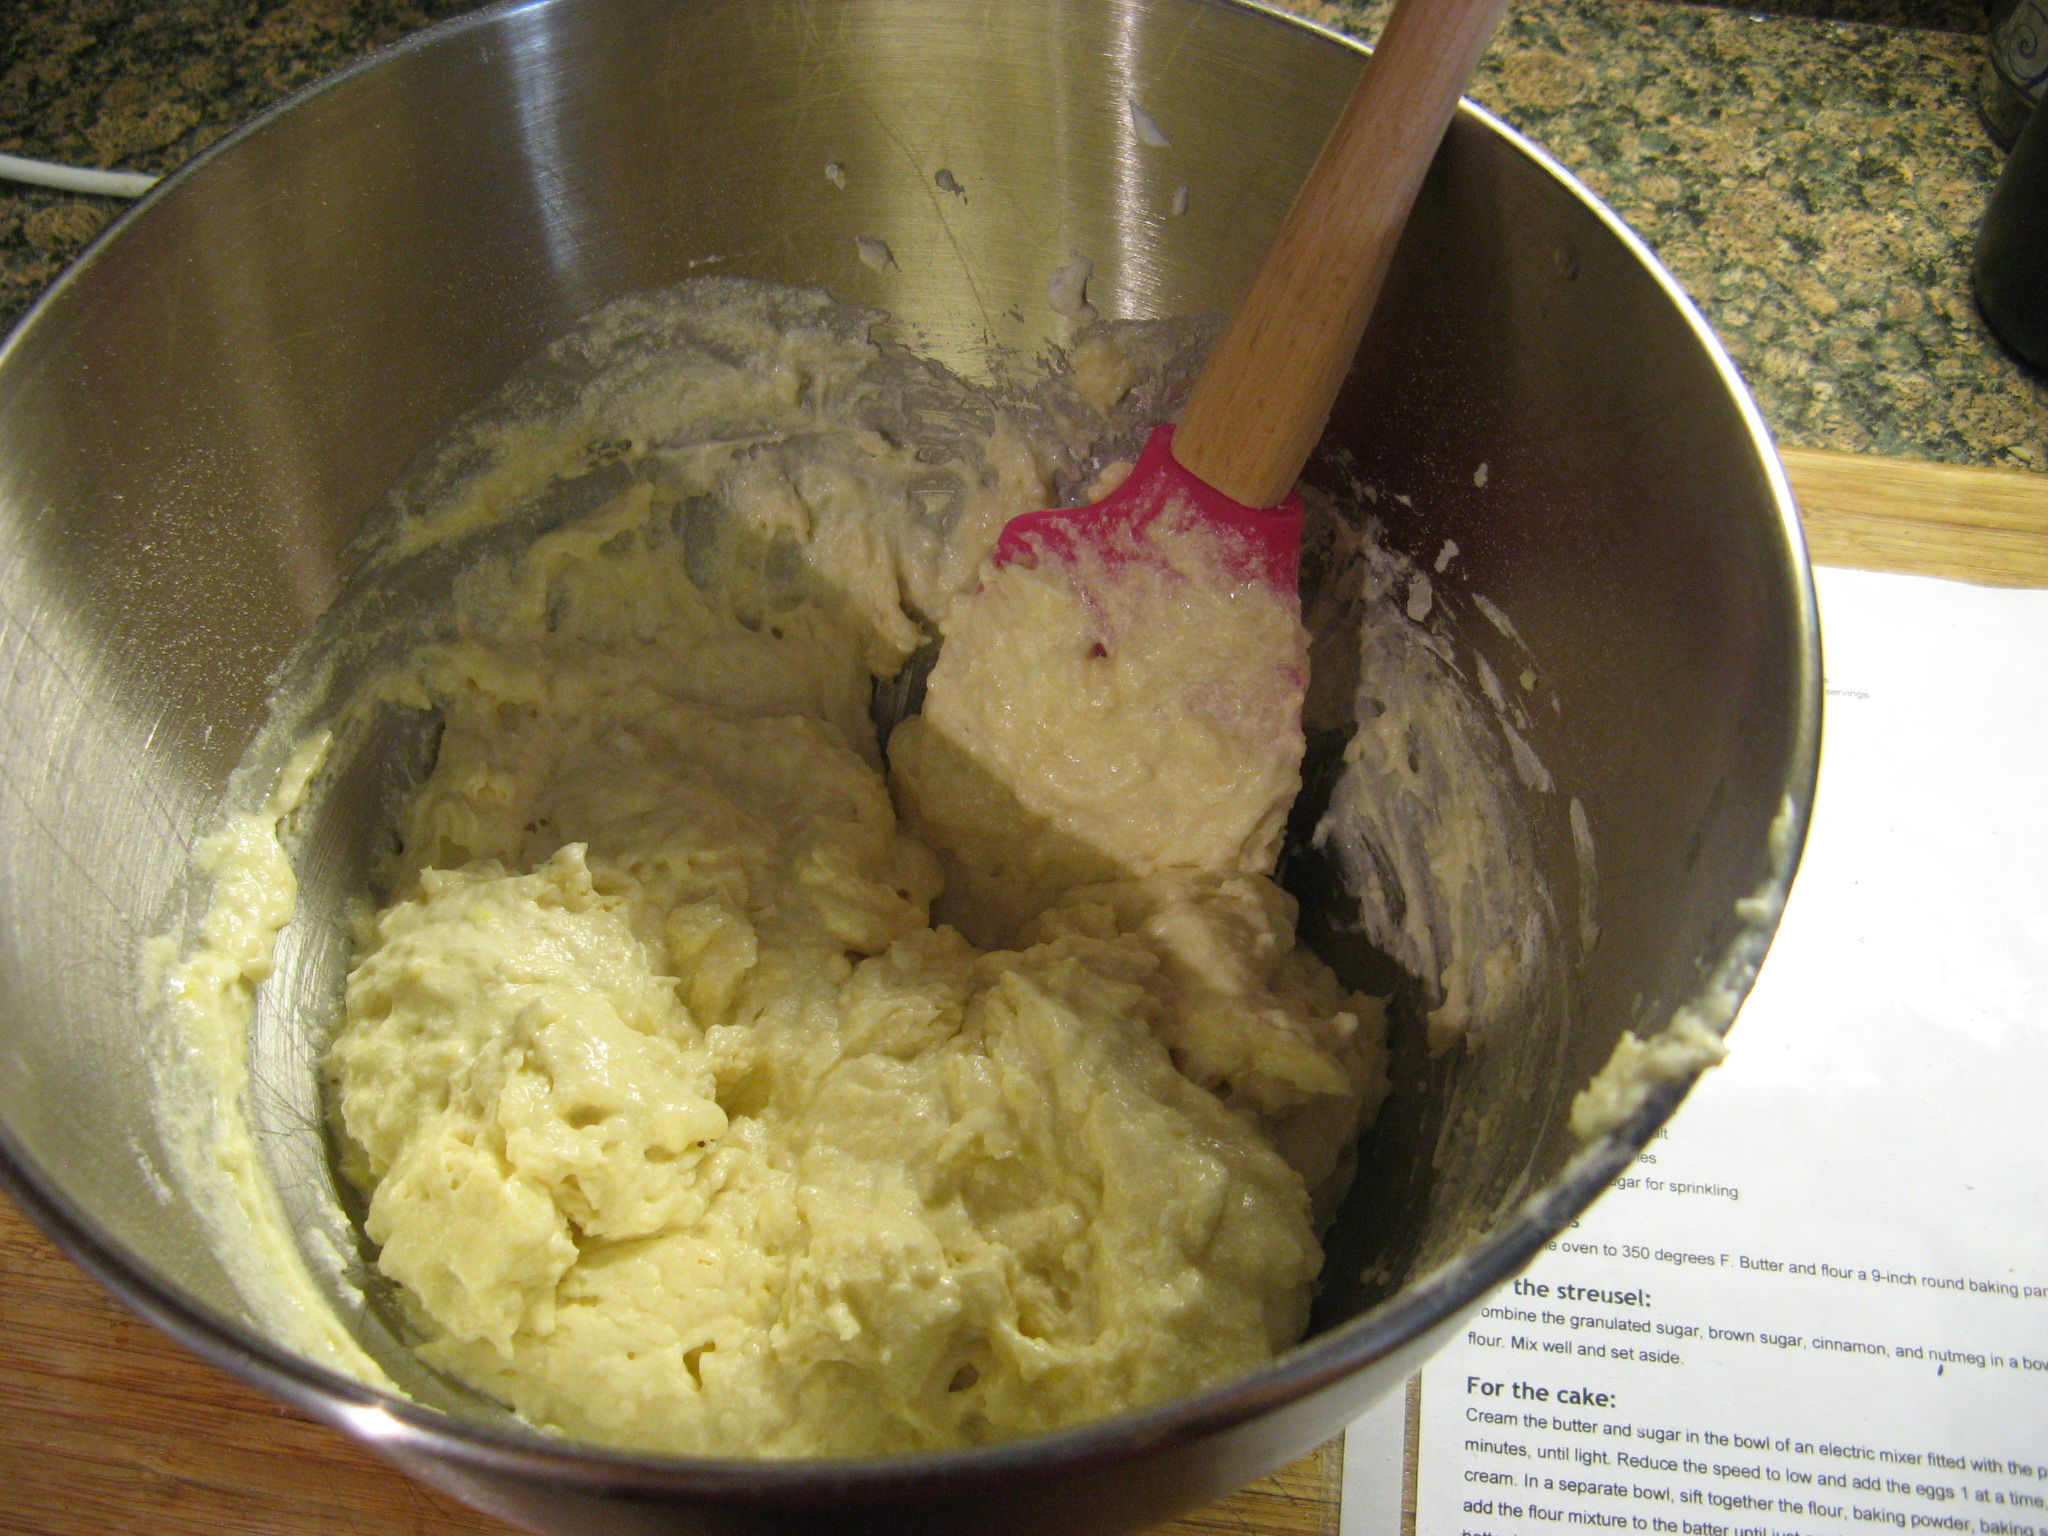
In another bowl I whisked together flour, cornstarch and spices in a medium bowl. Which I then gradually added to the butter mixture.

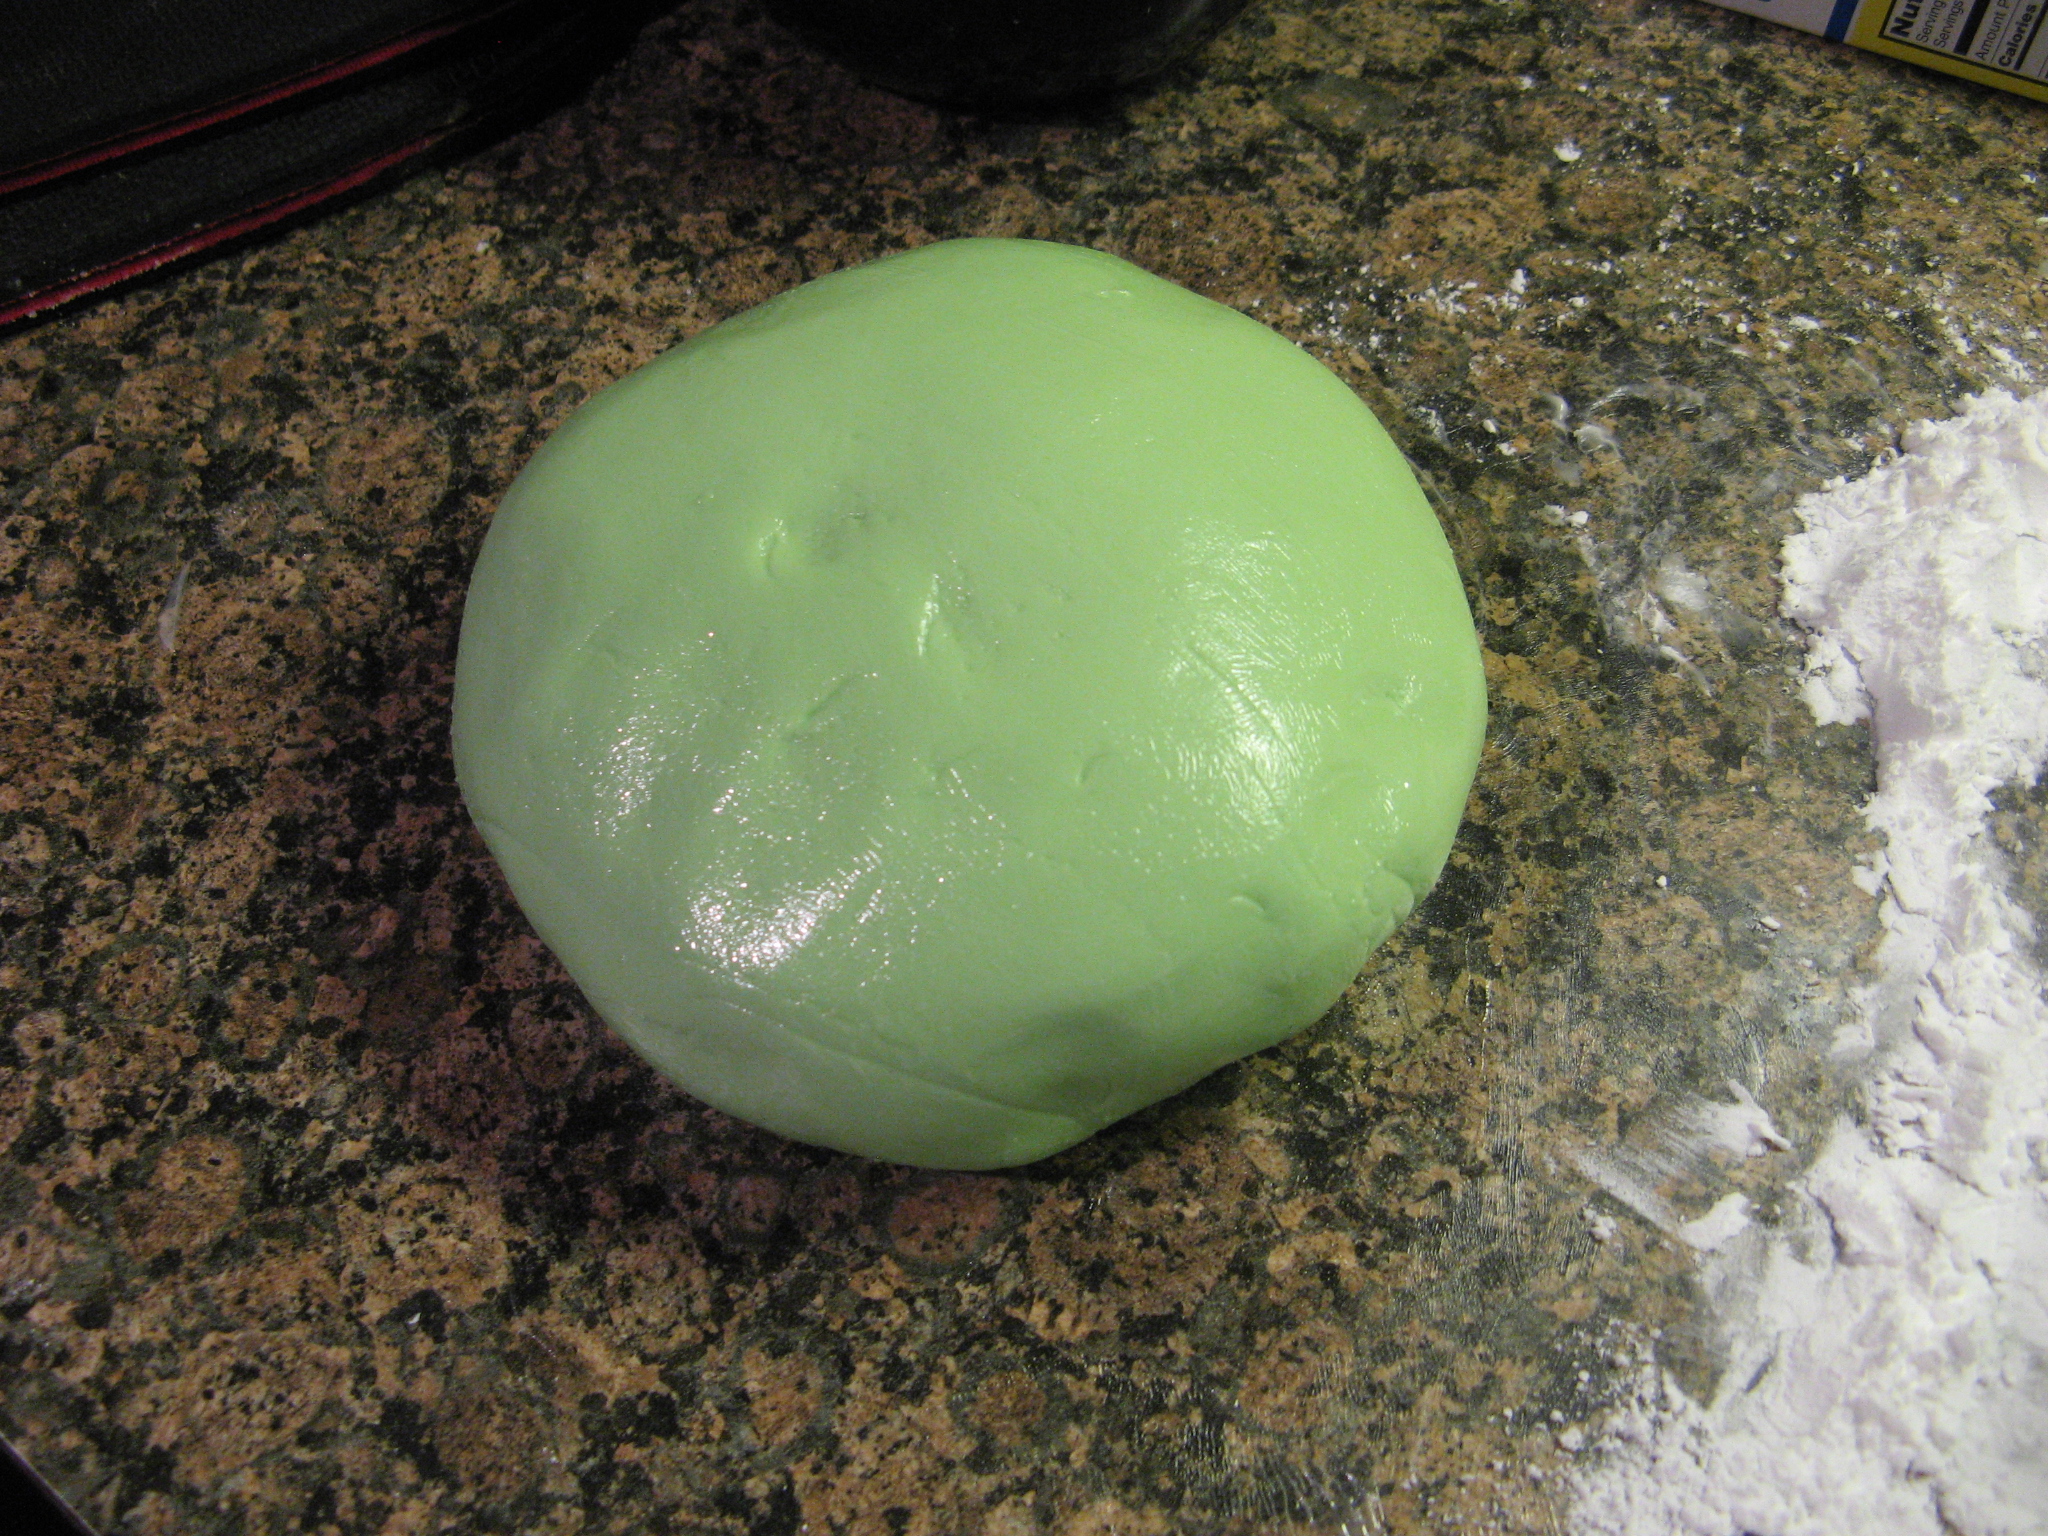
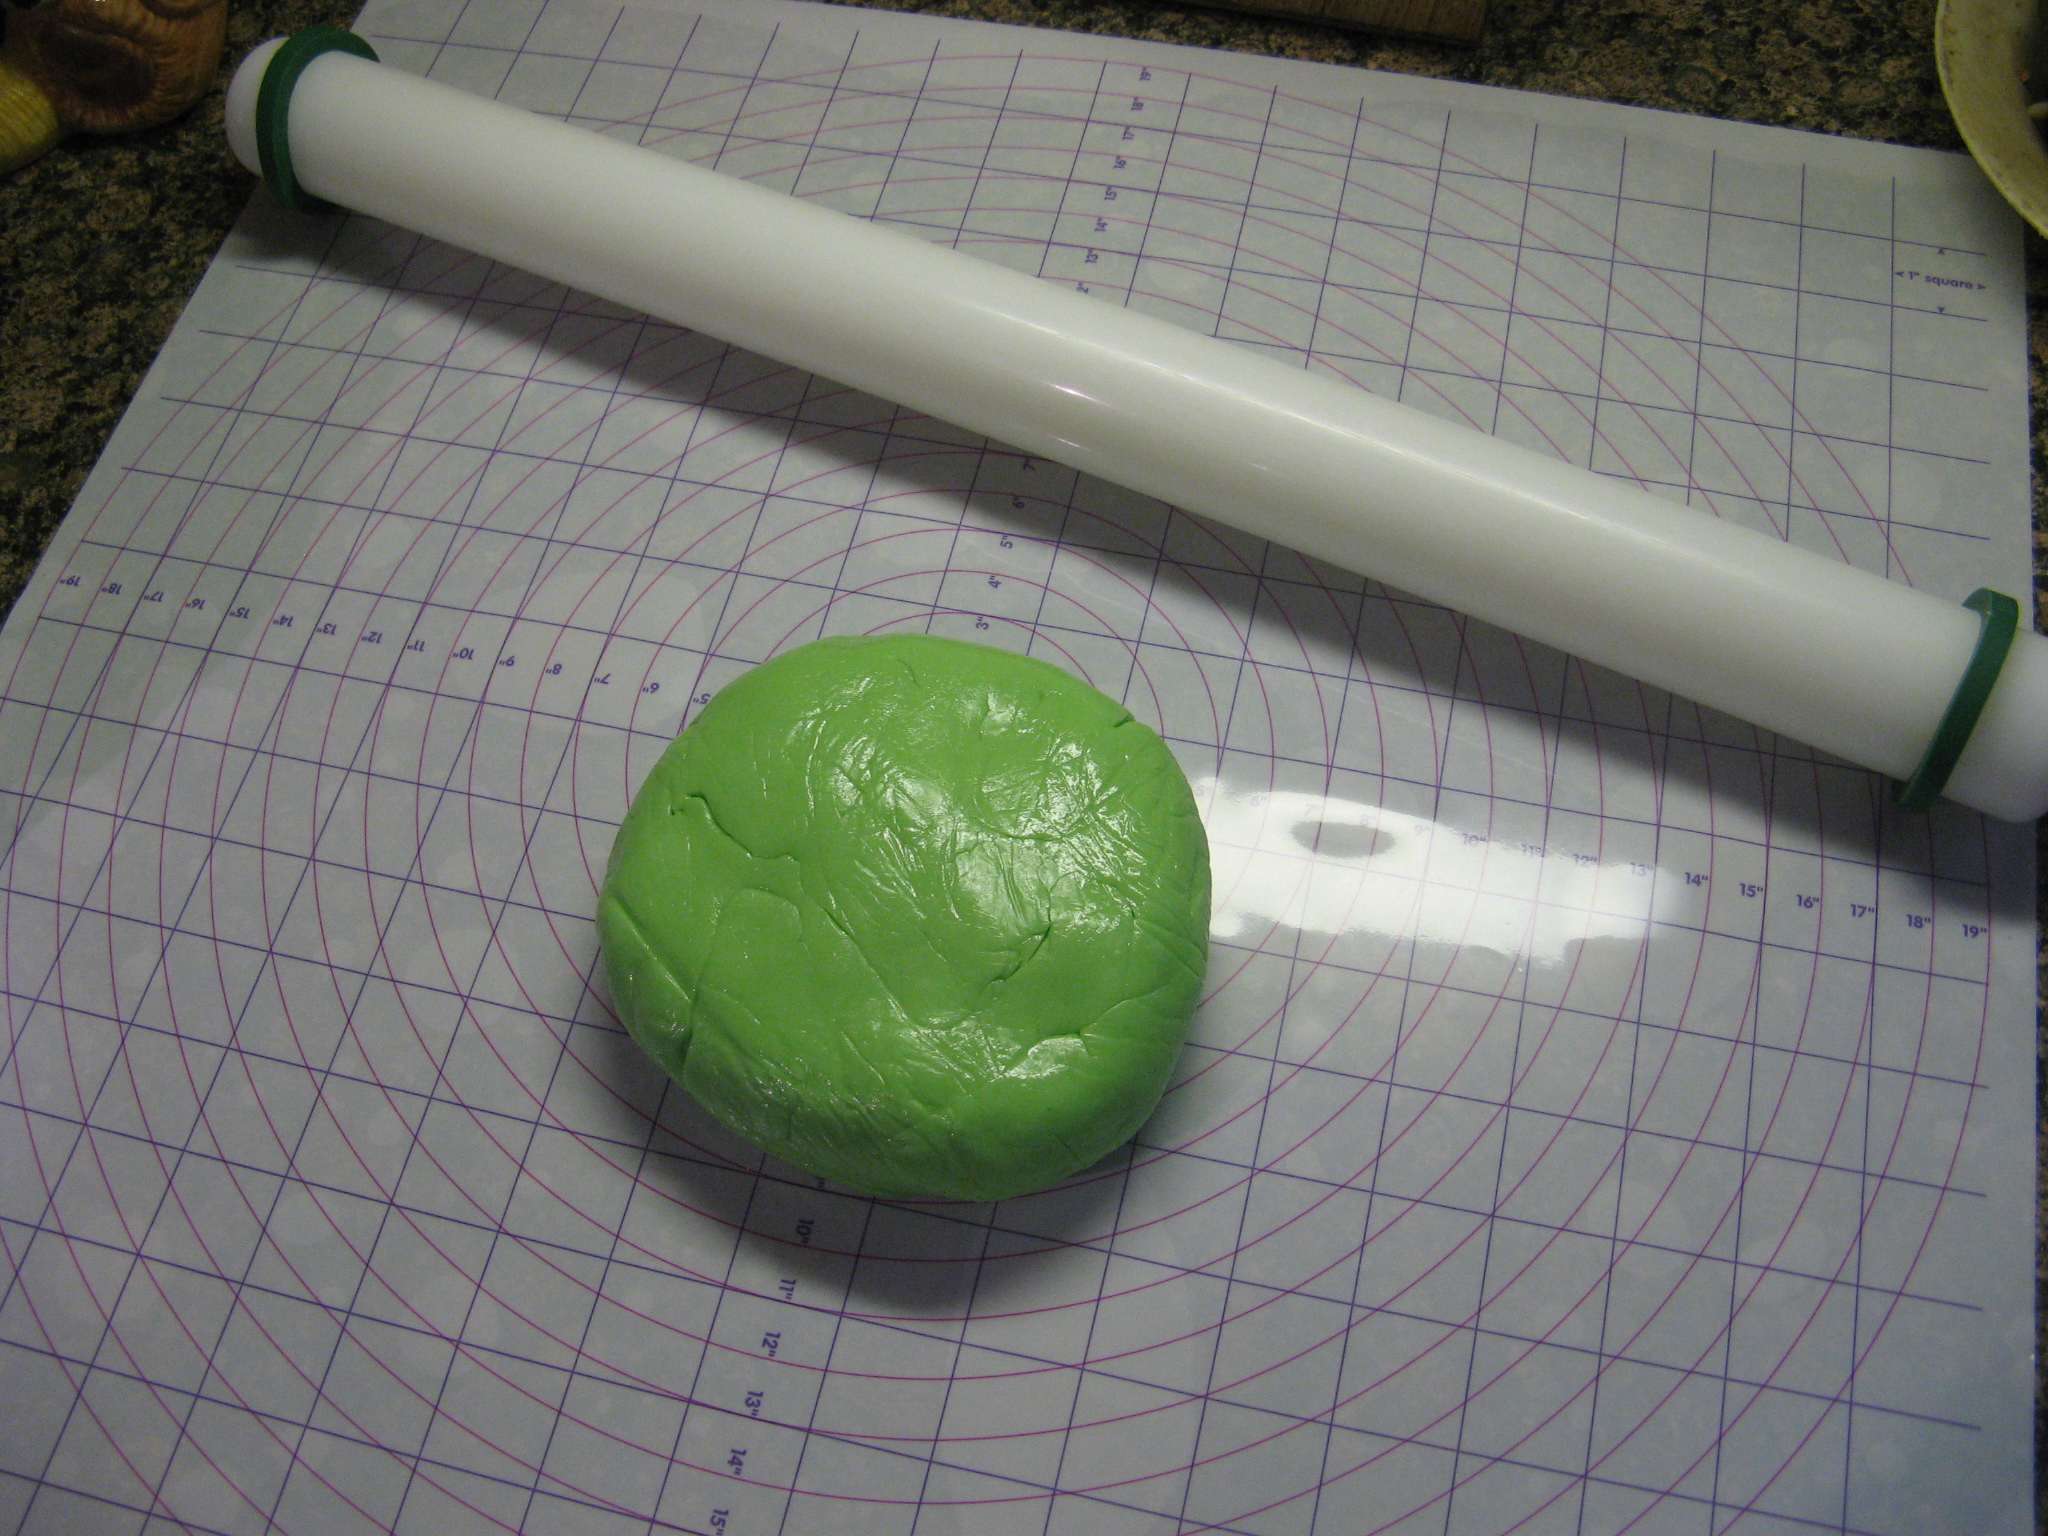
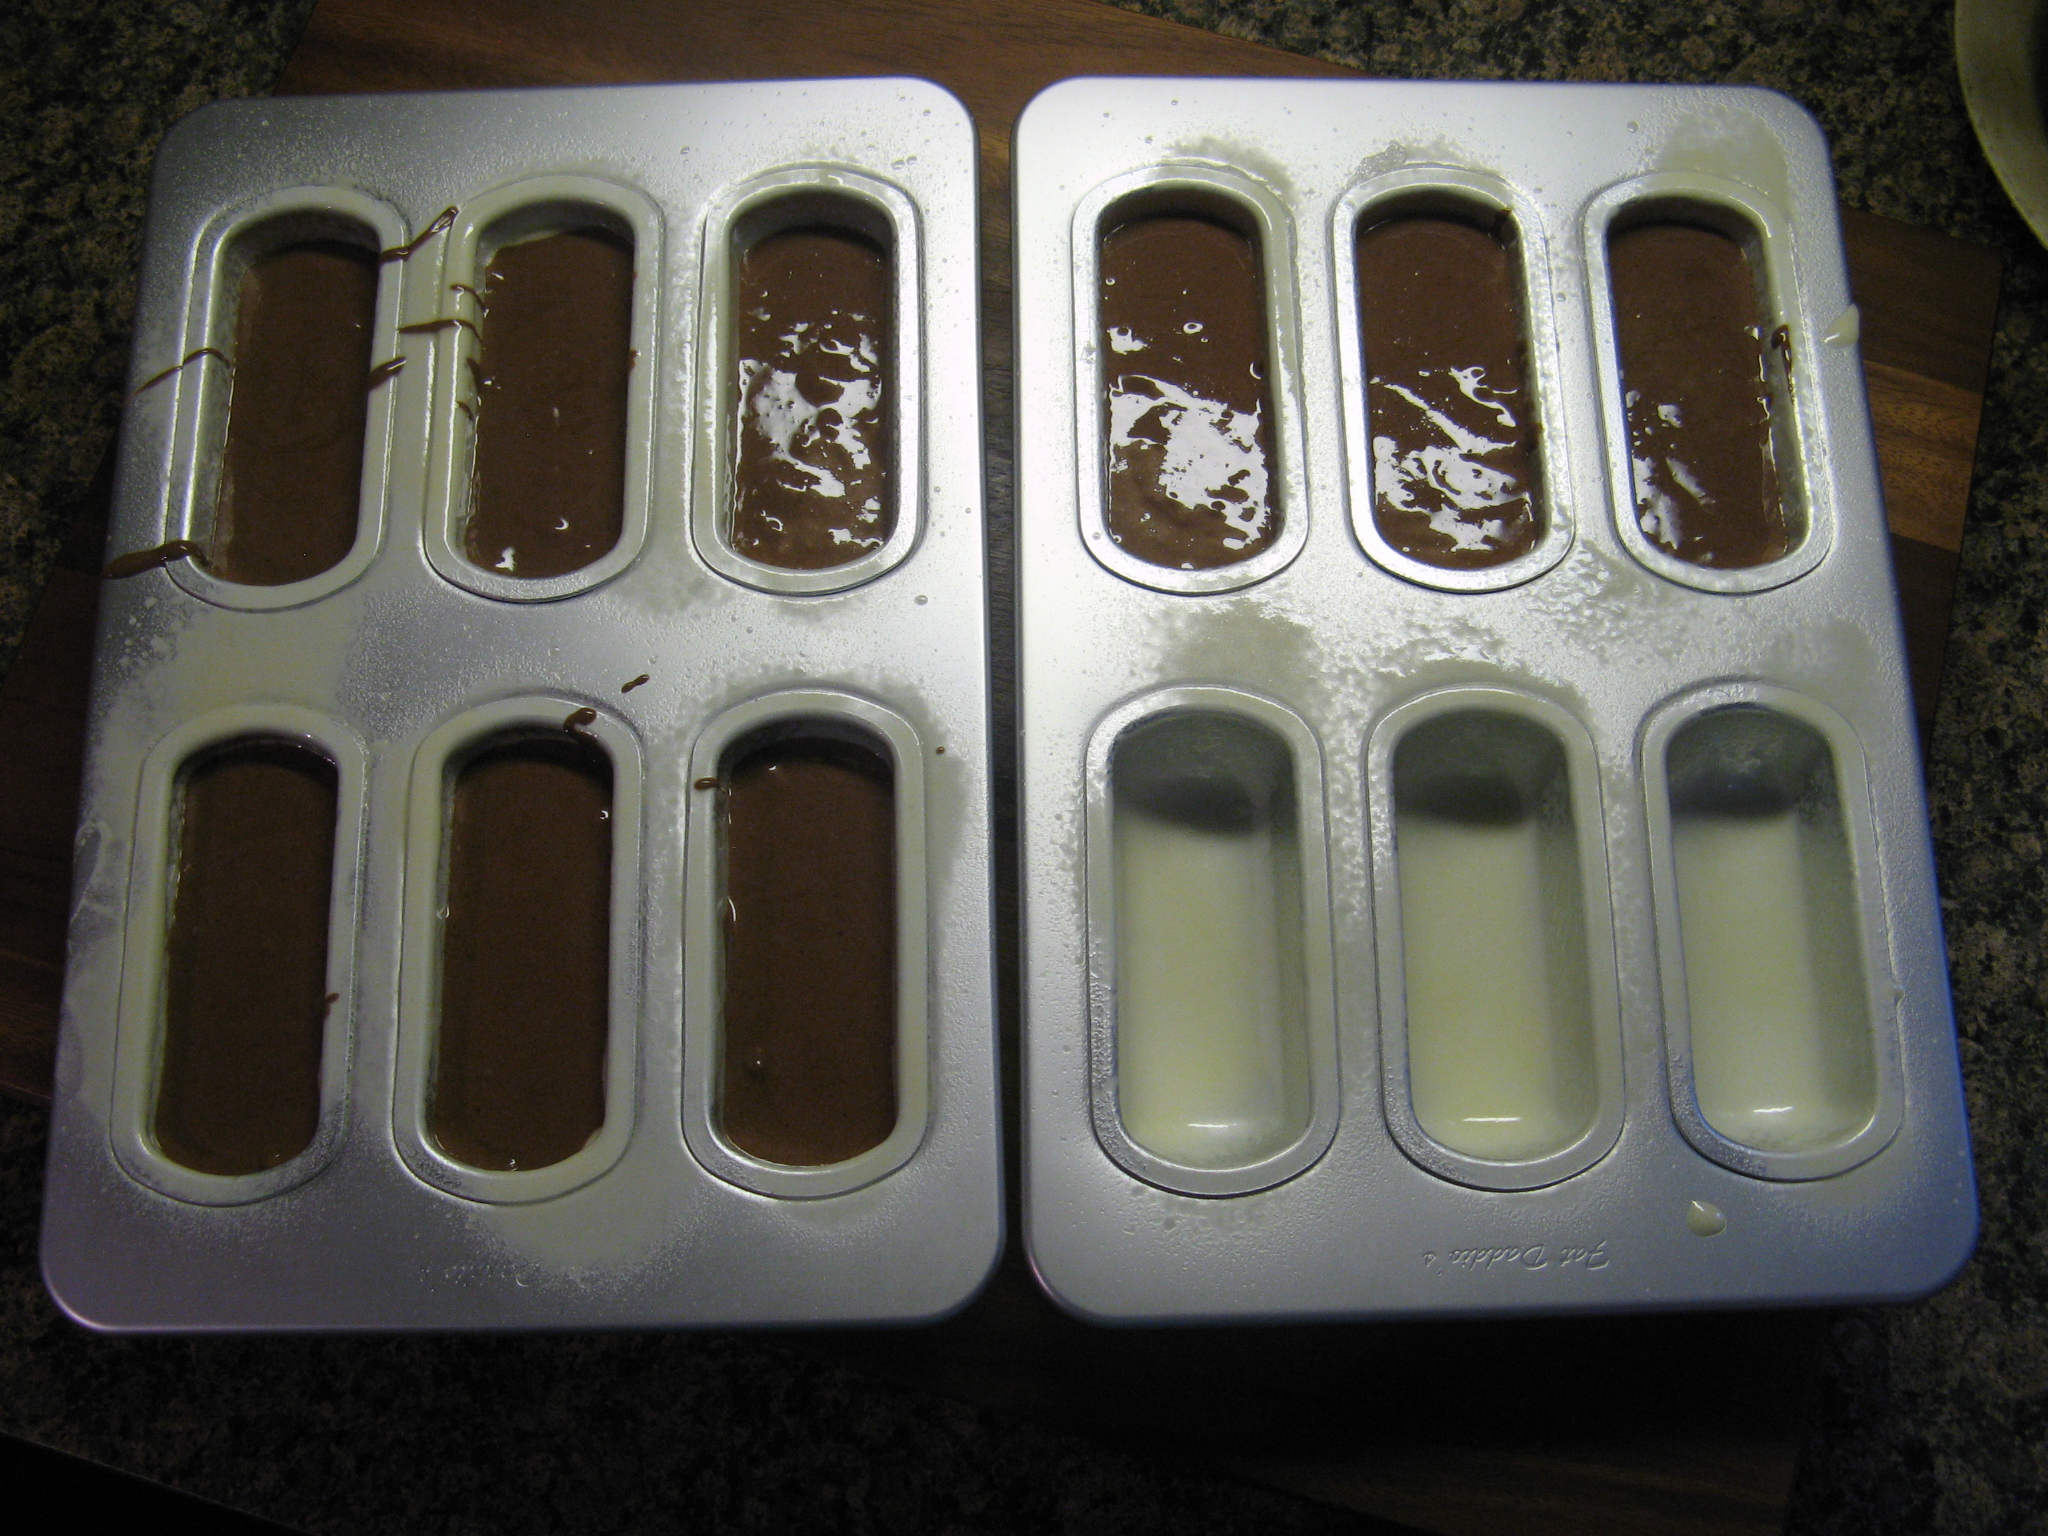
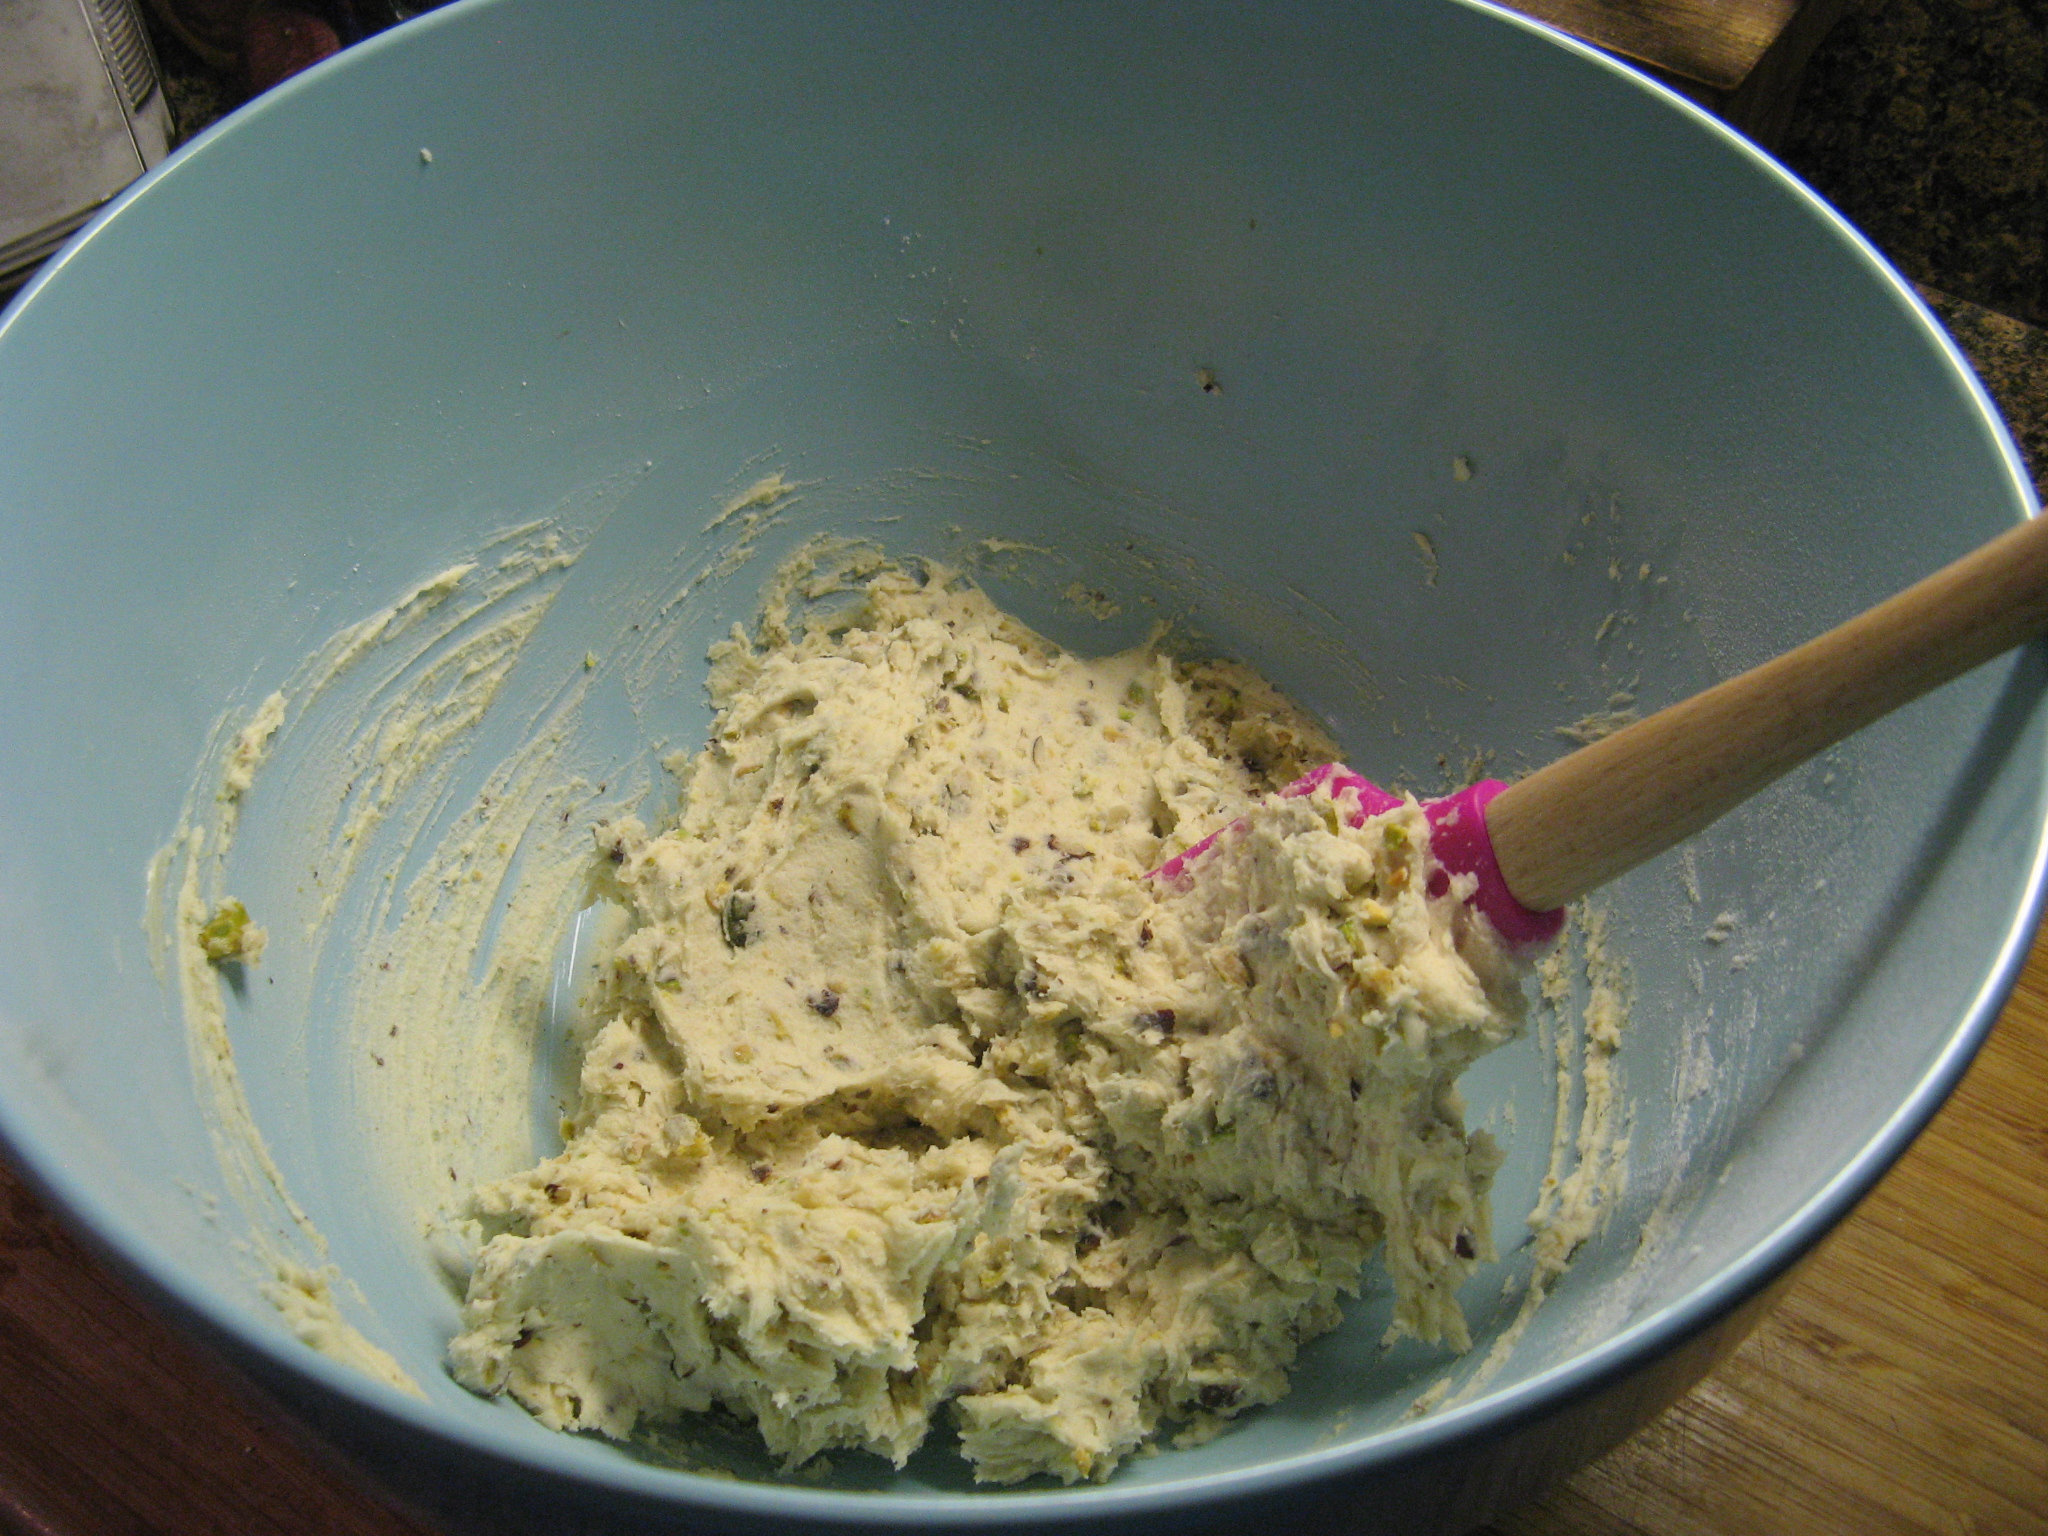
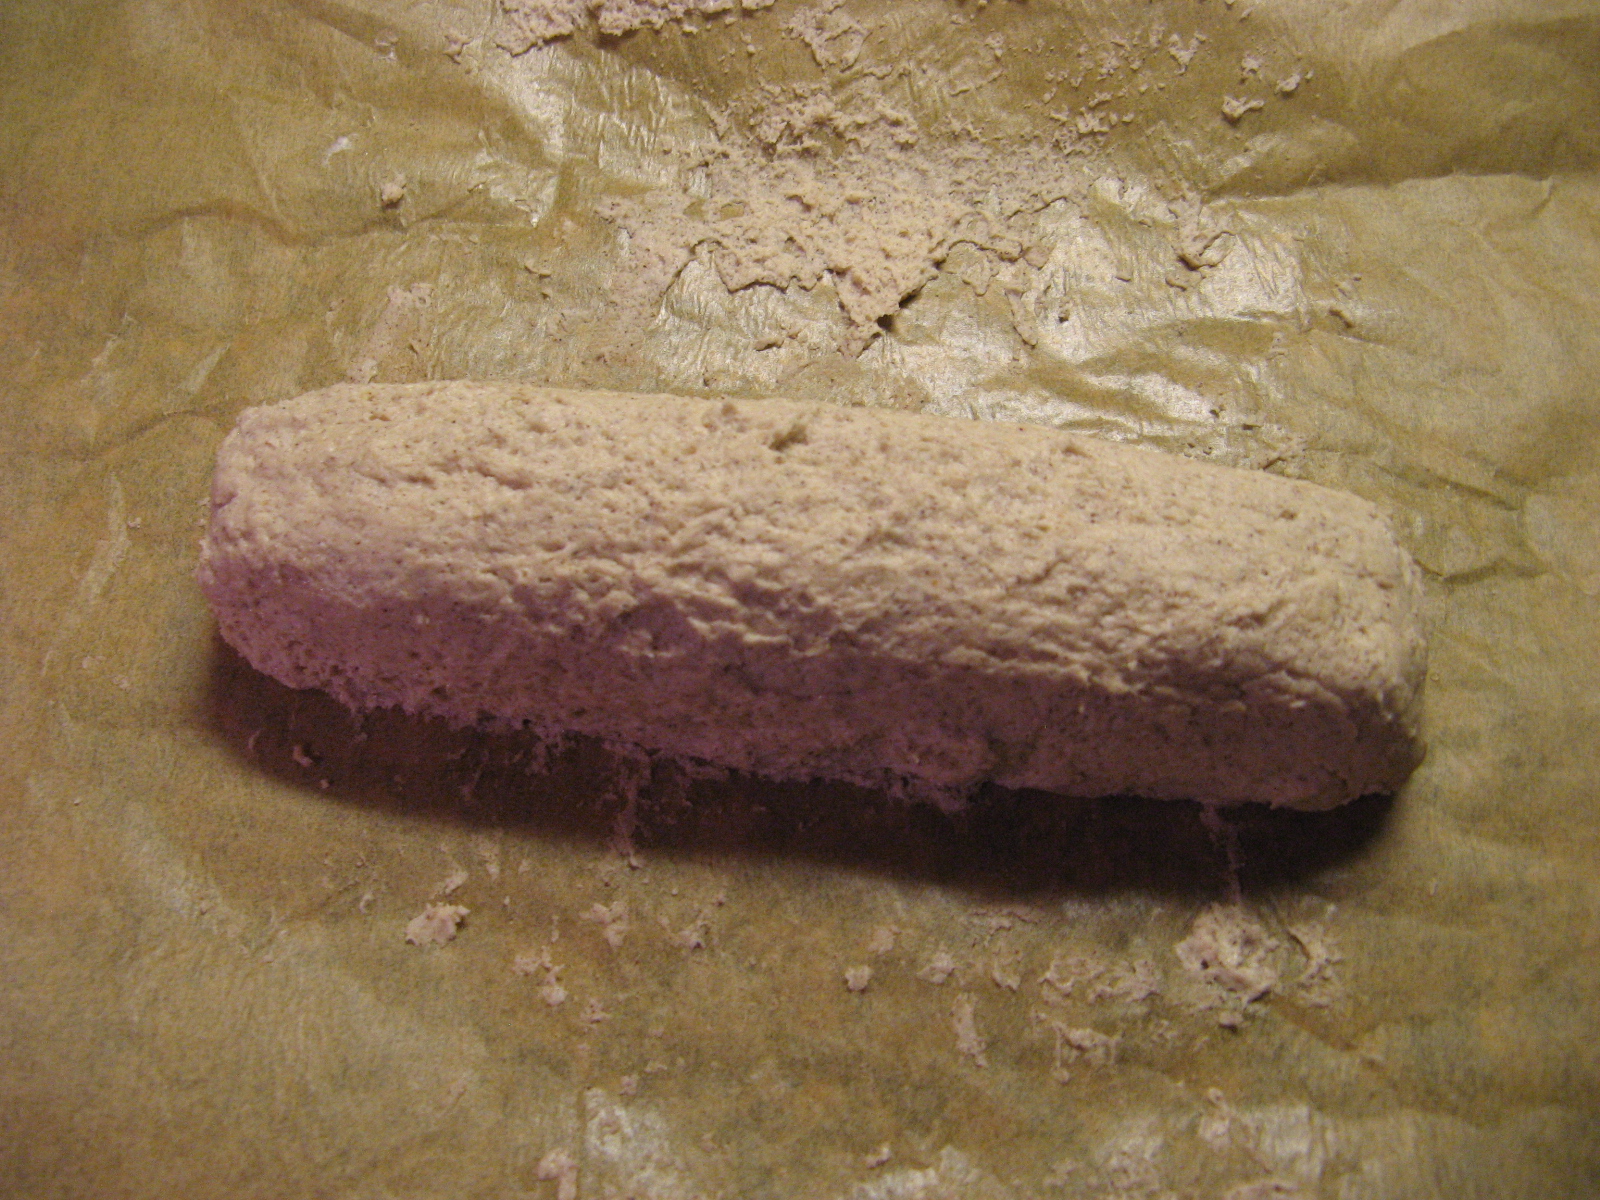
Once the dough came together I shaped it into logs on parchment paper..
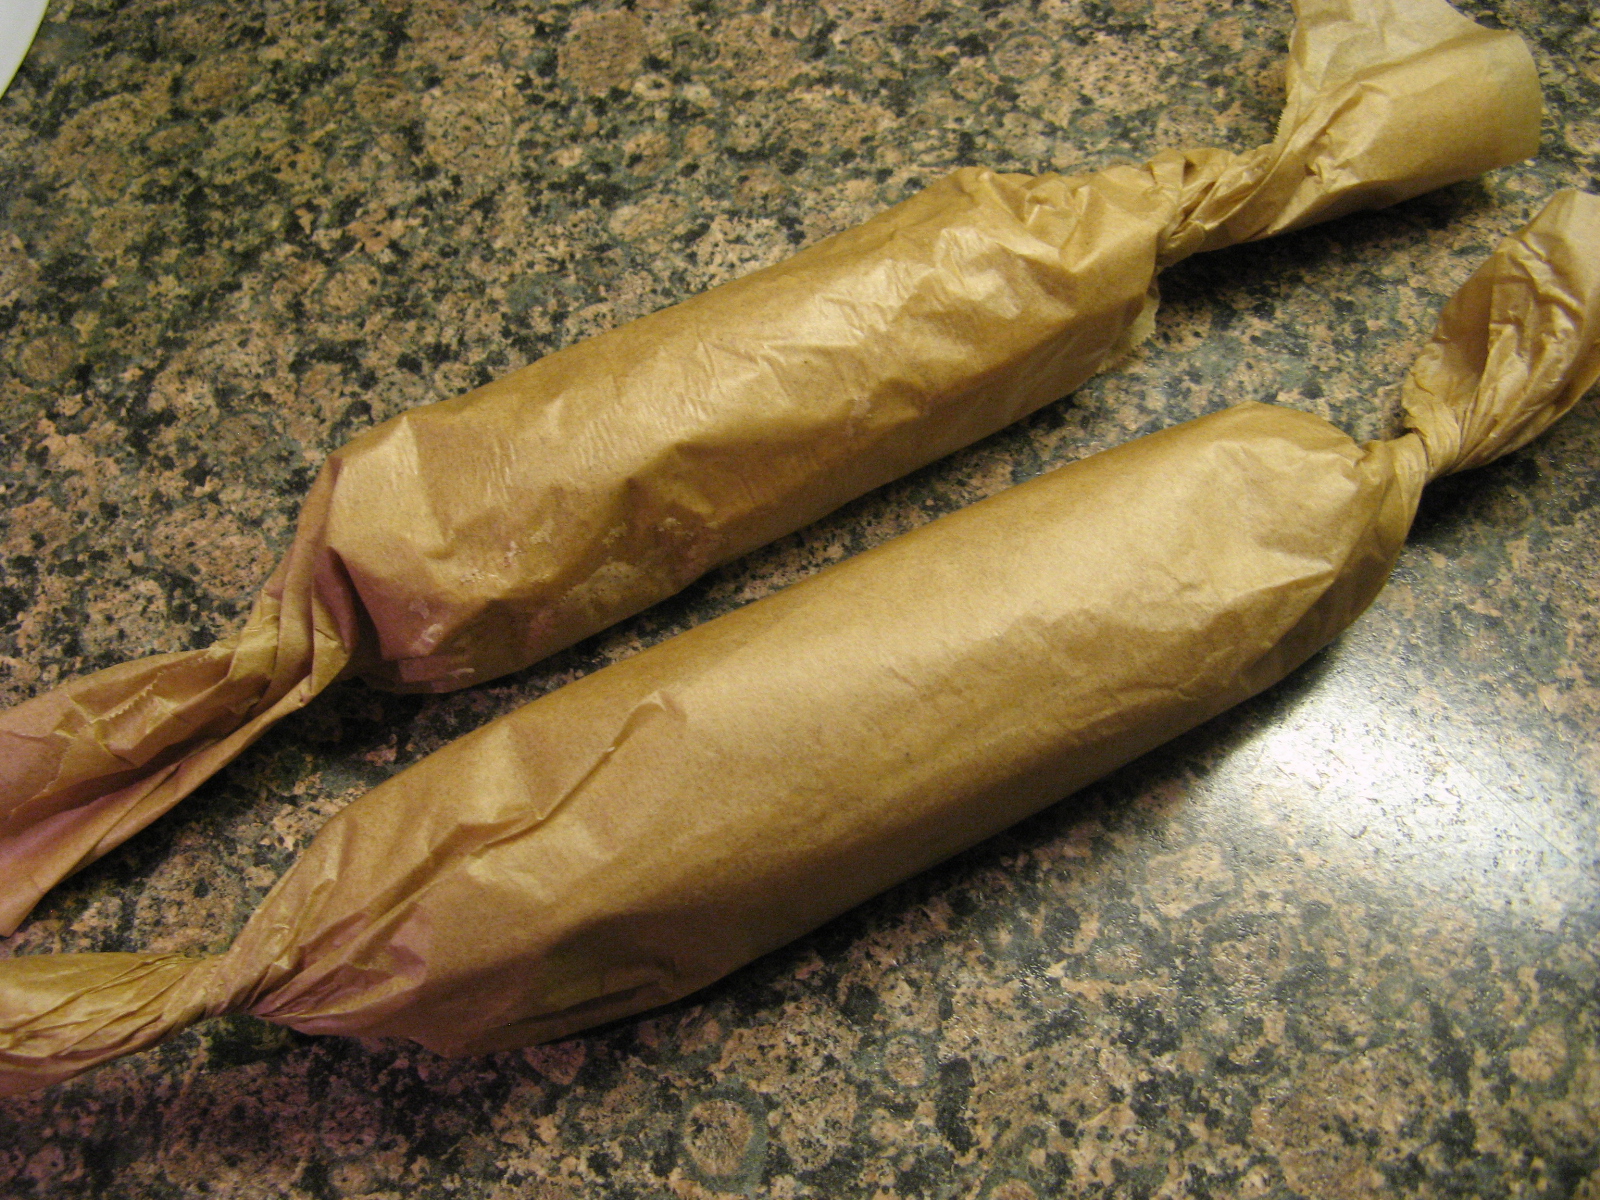
That I then wrapped in the parchment paper and placed in the freezer.
A few days later (you can freeze the dough up to a month) I removed it from the freezer and let it warm a little to make slicing it into 1/4 slices a bit easier.
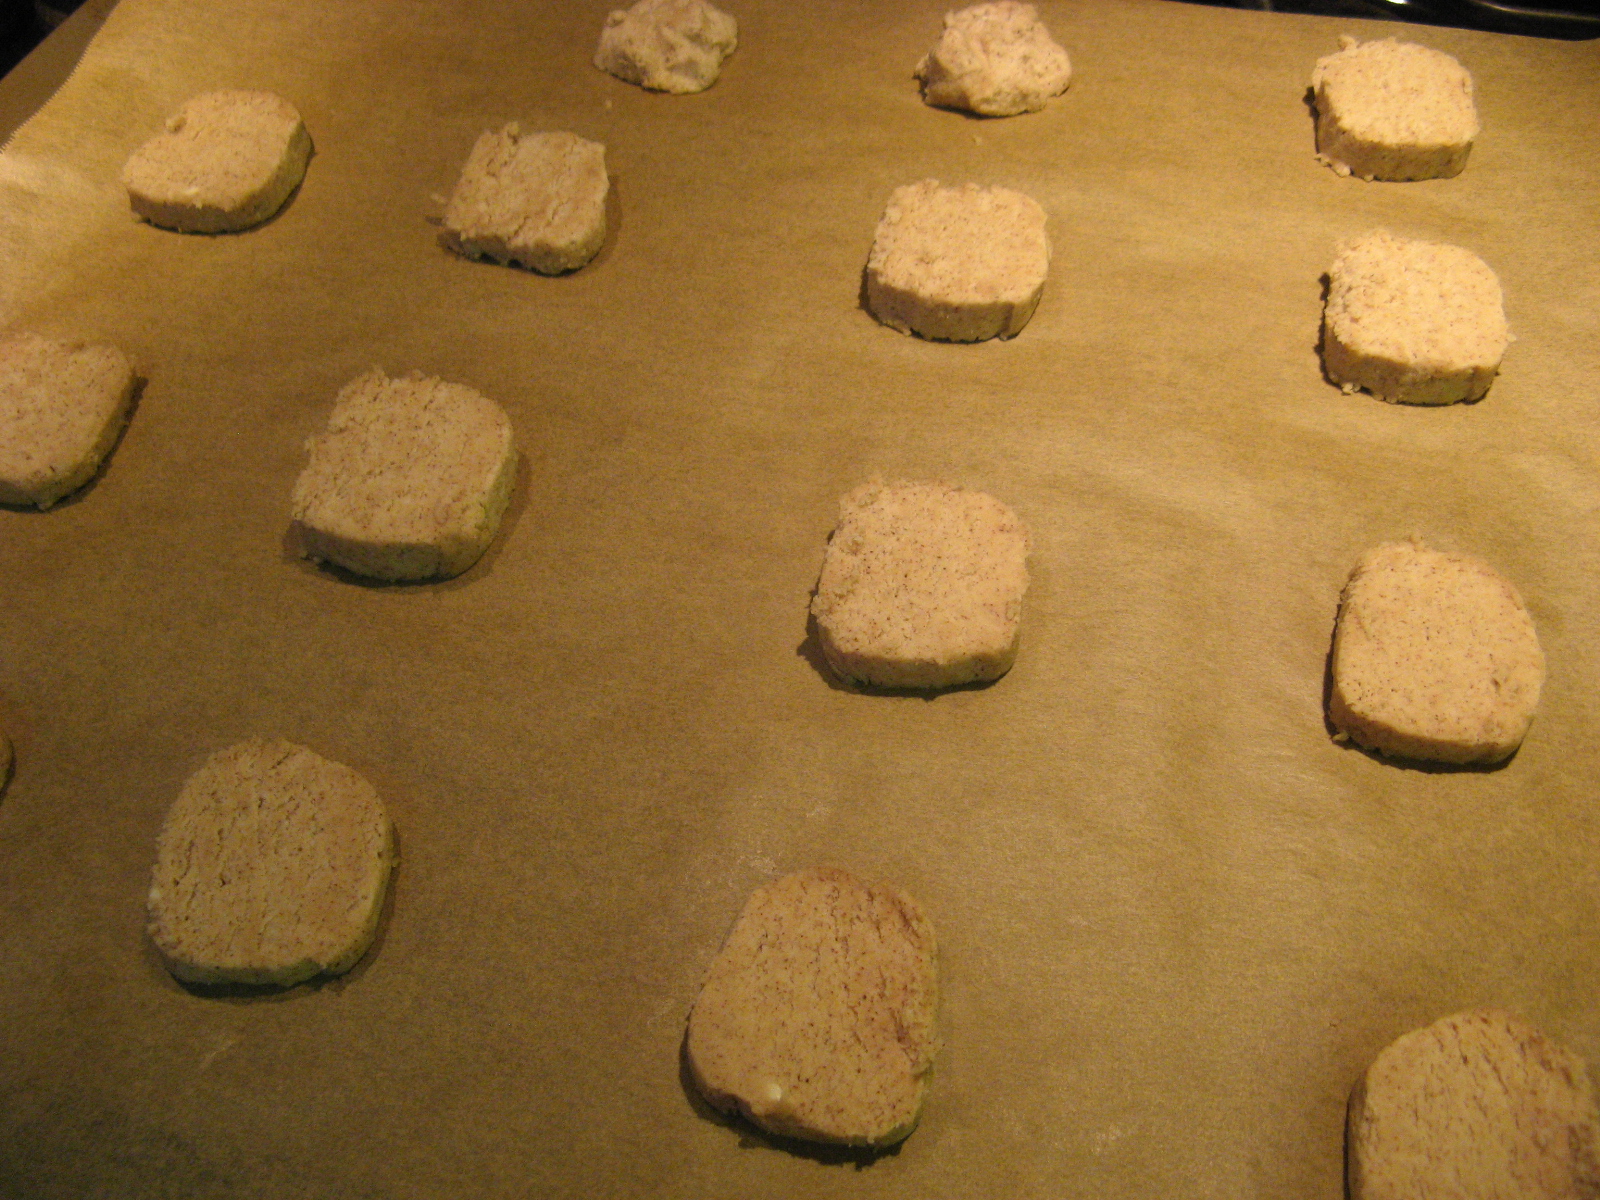
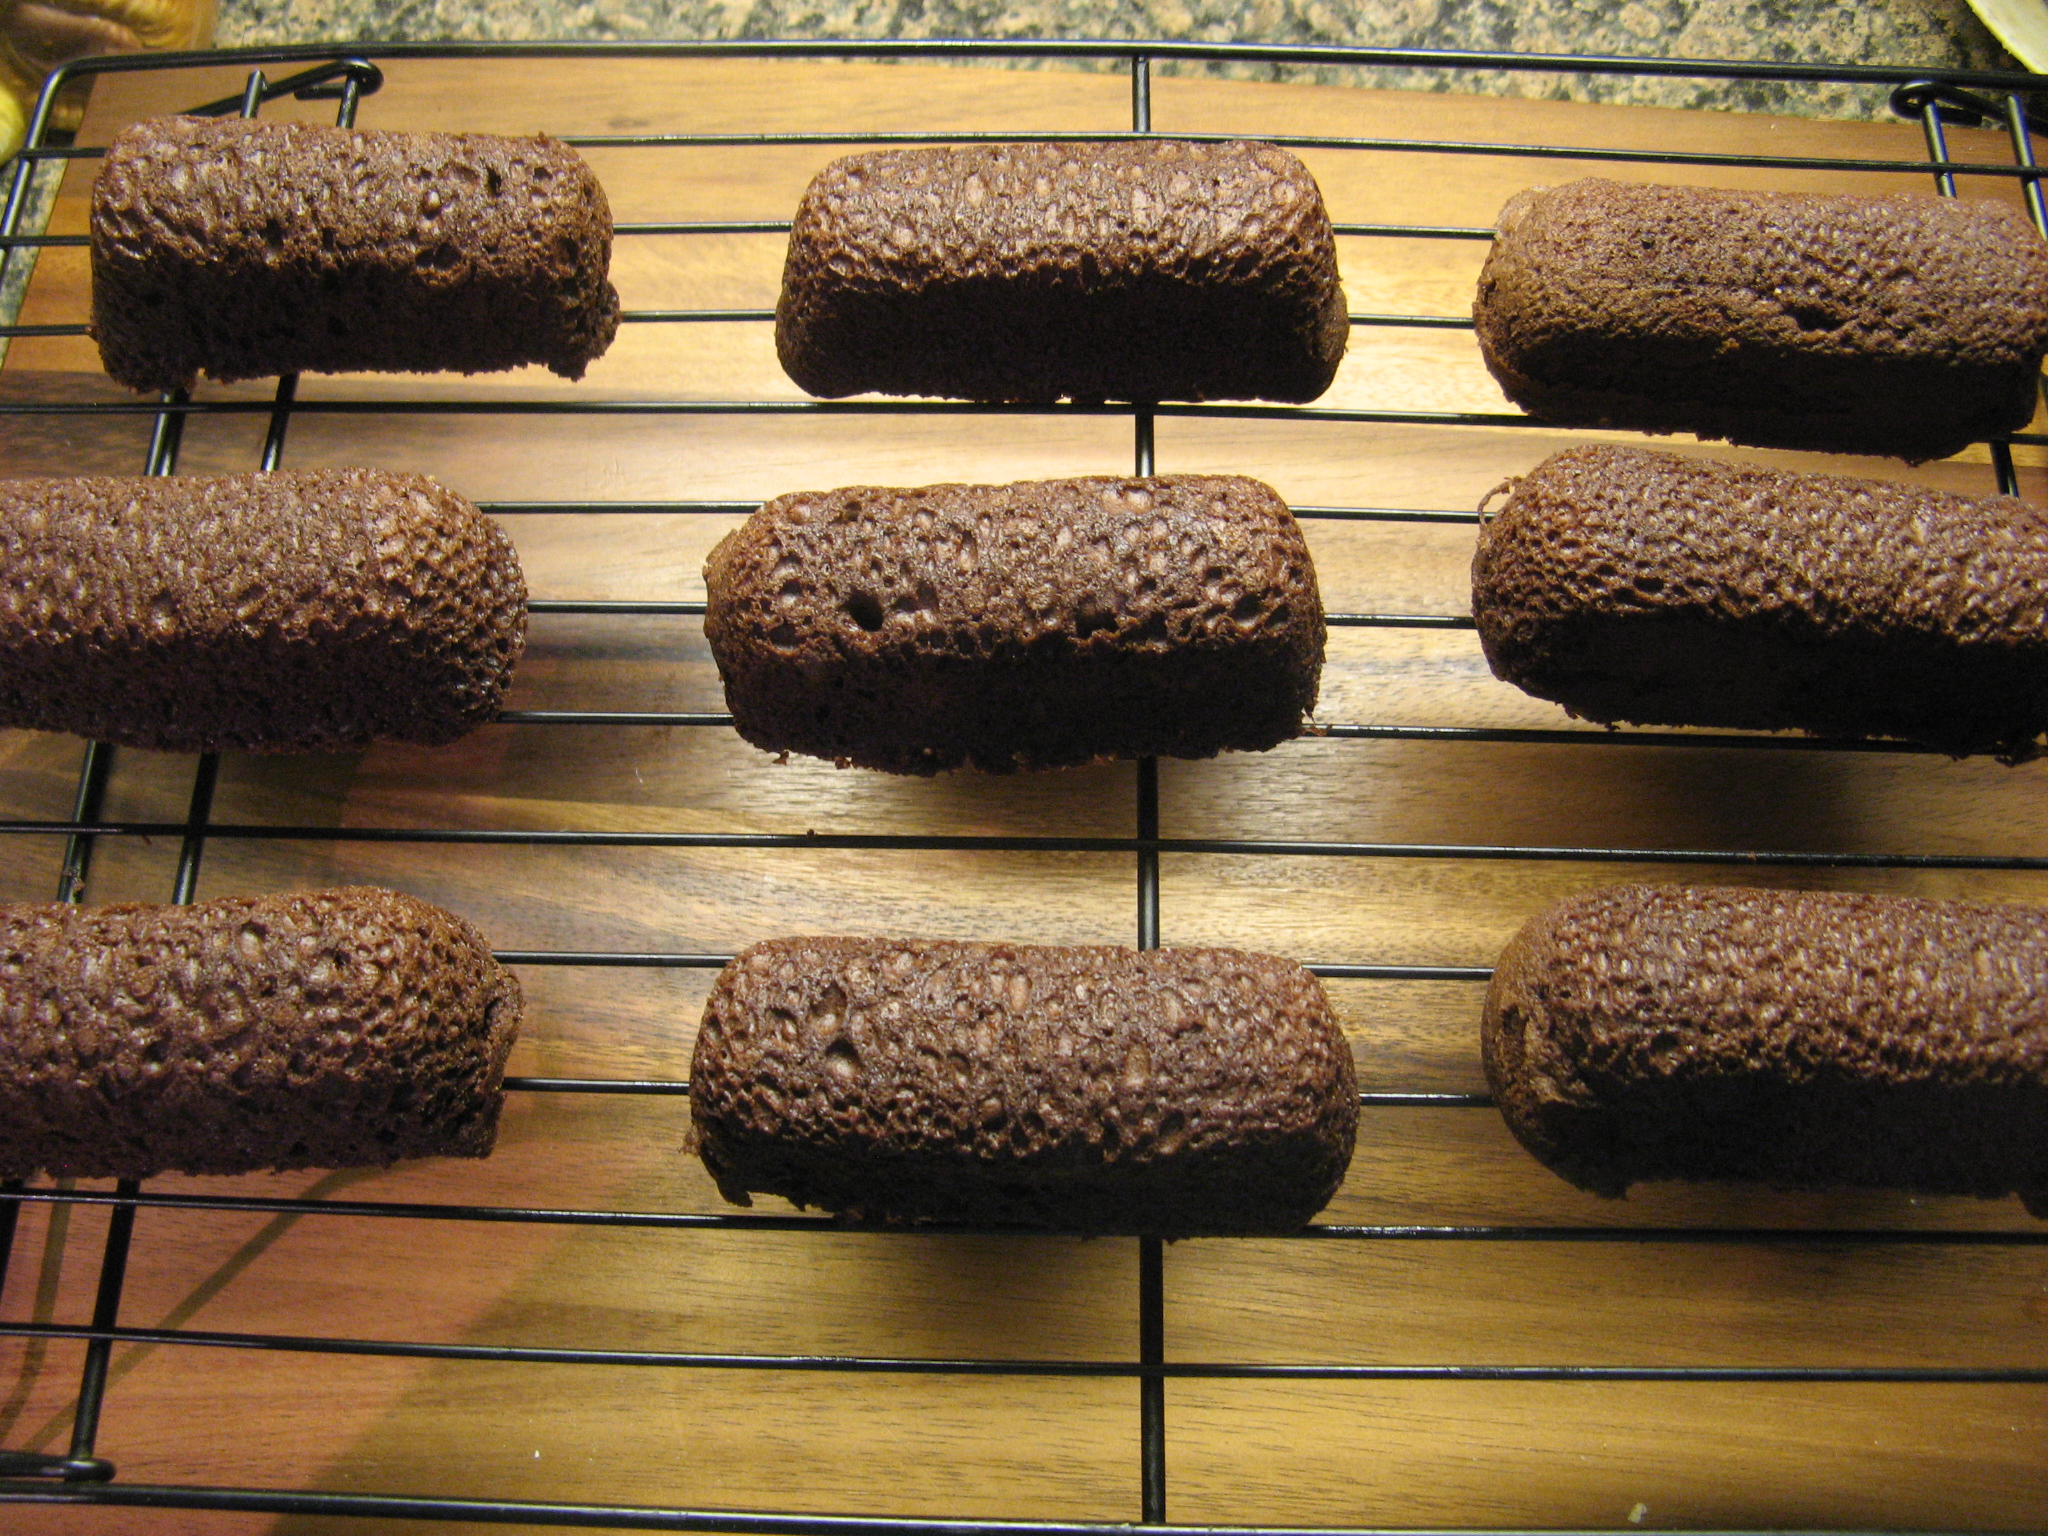
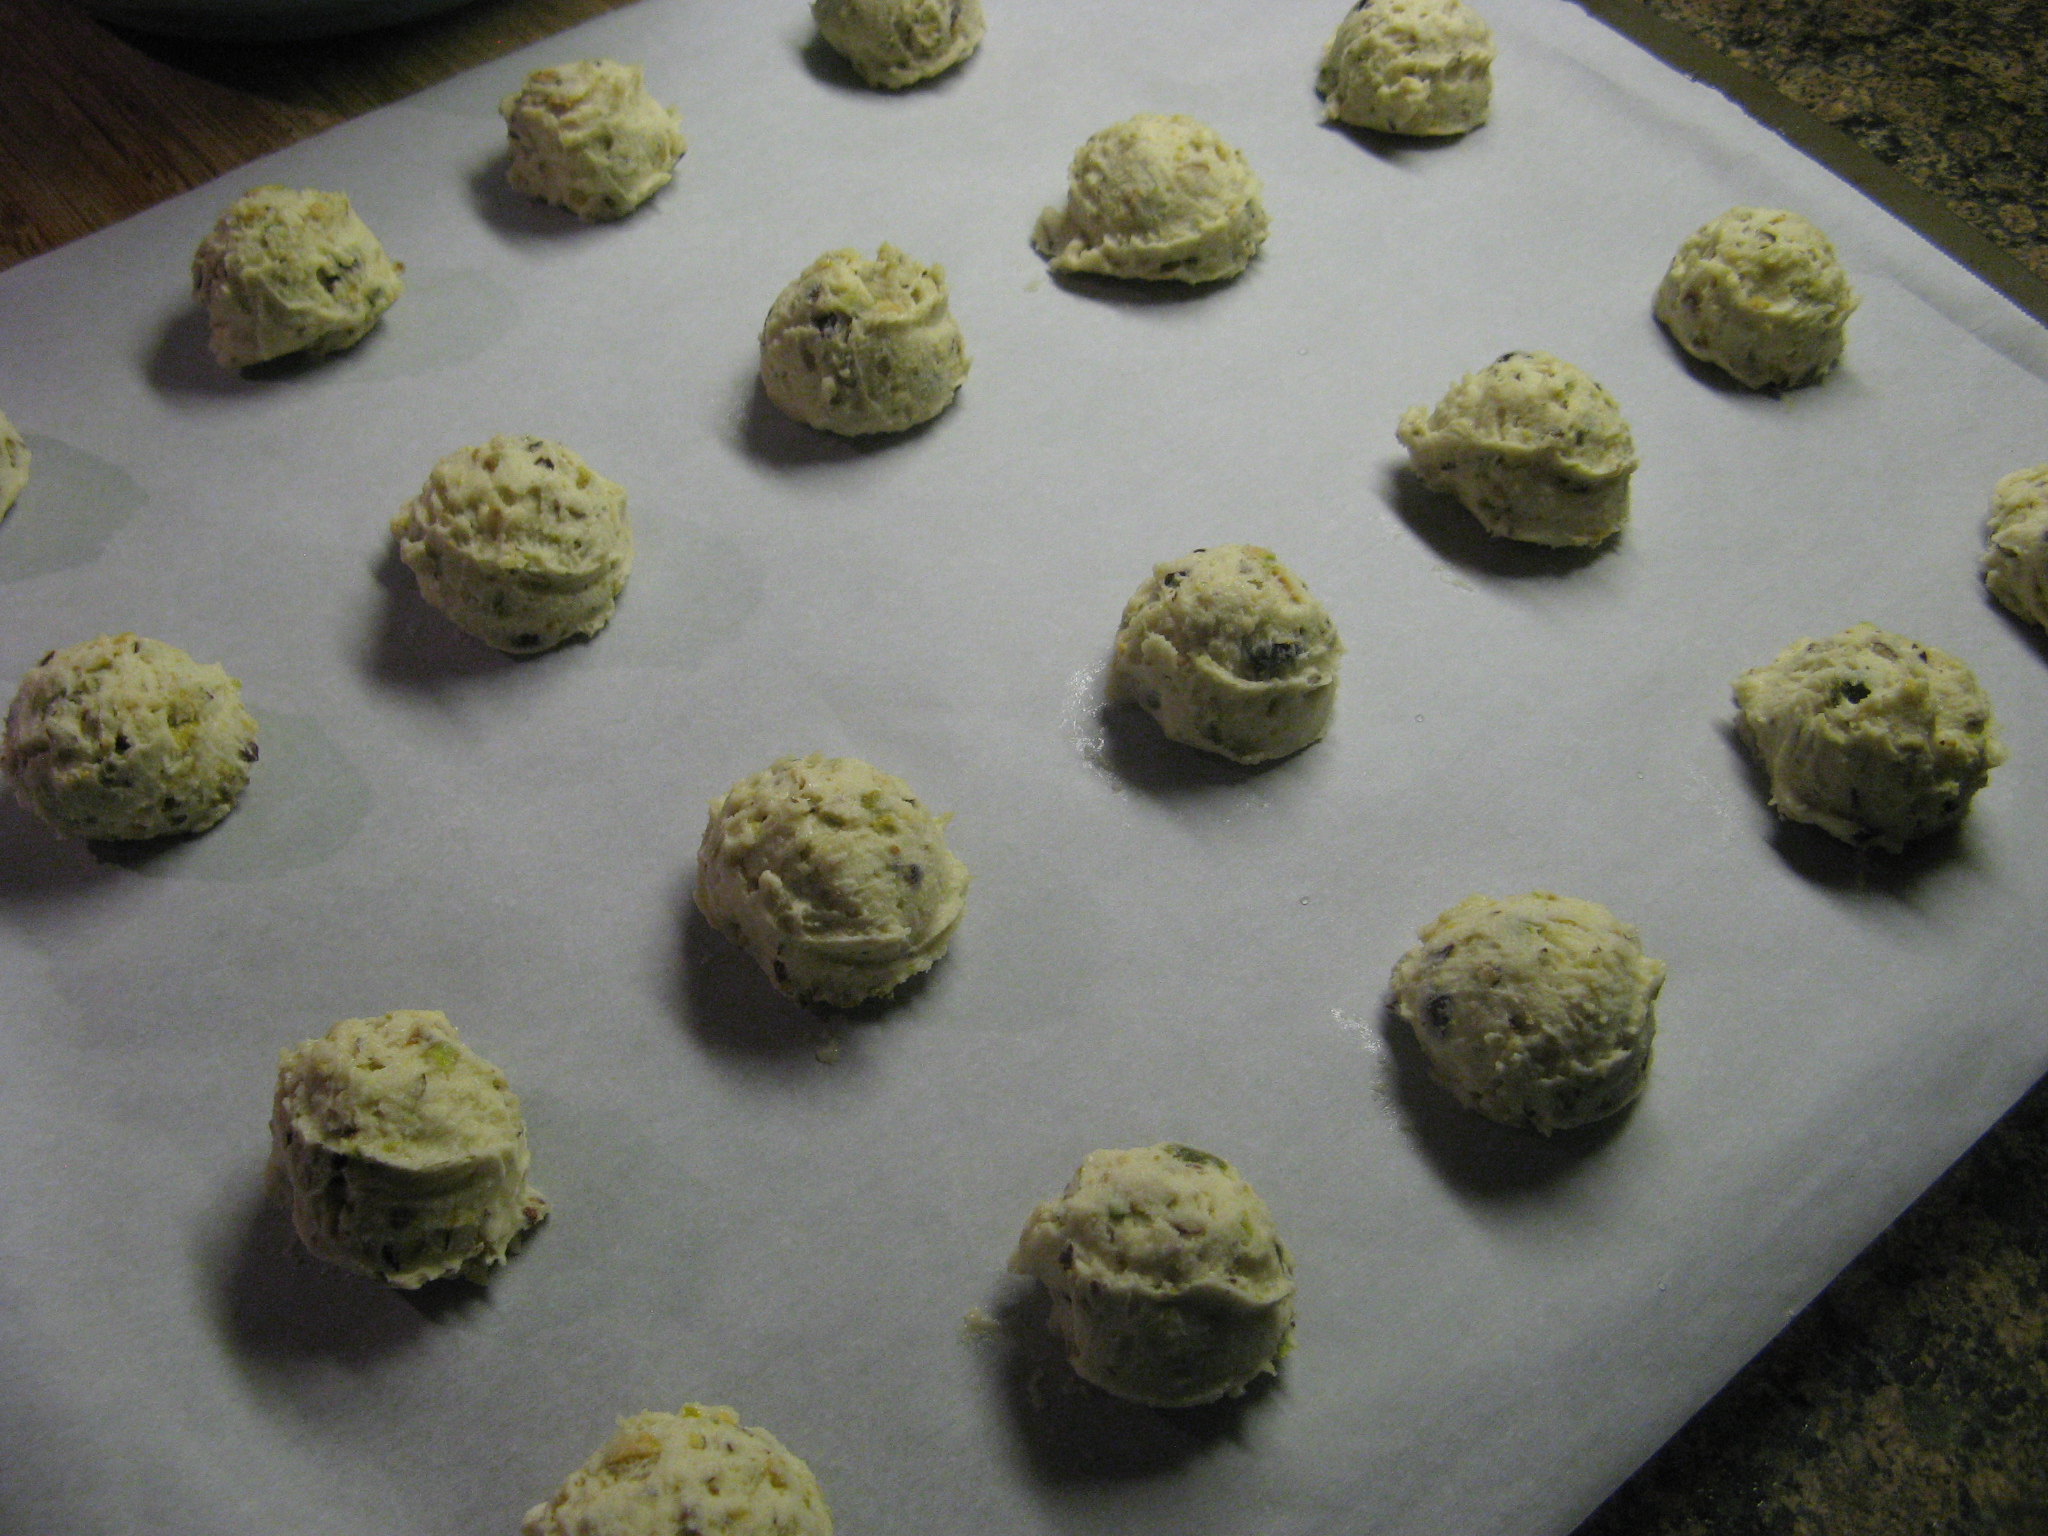
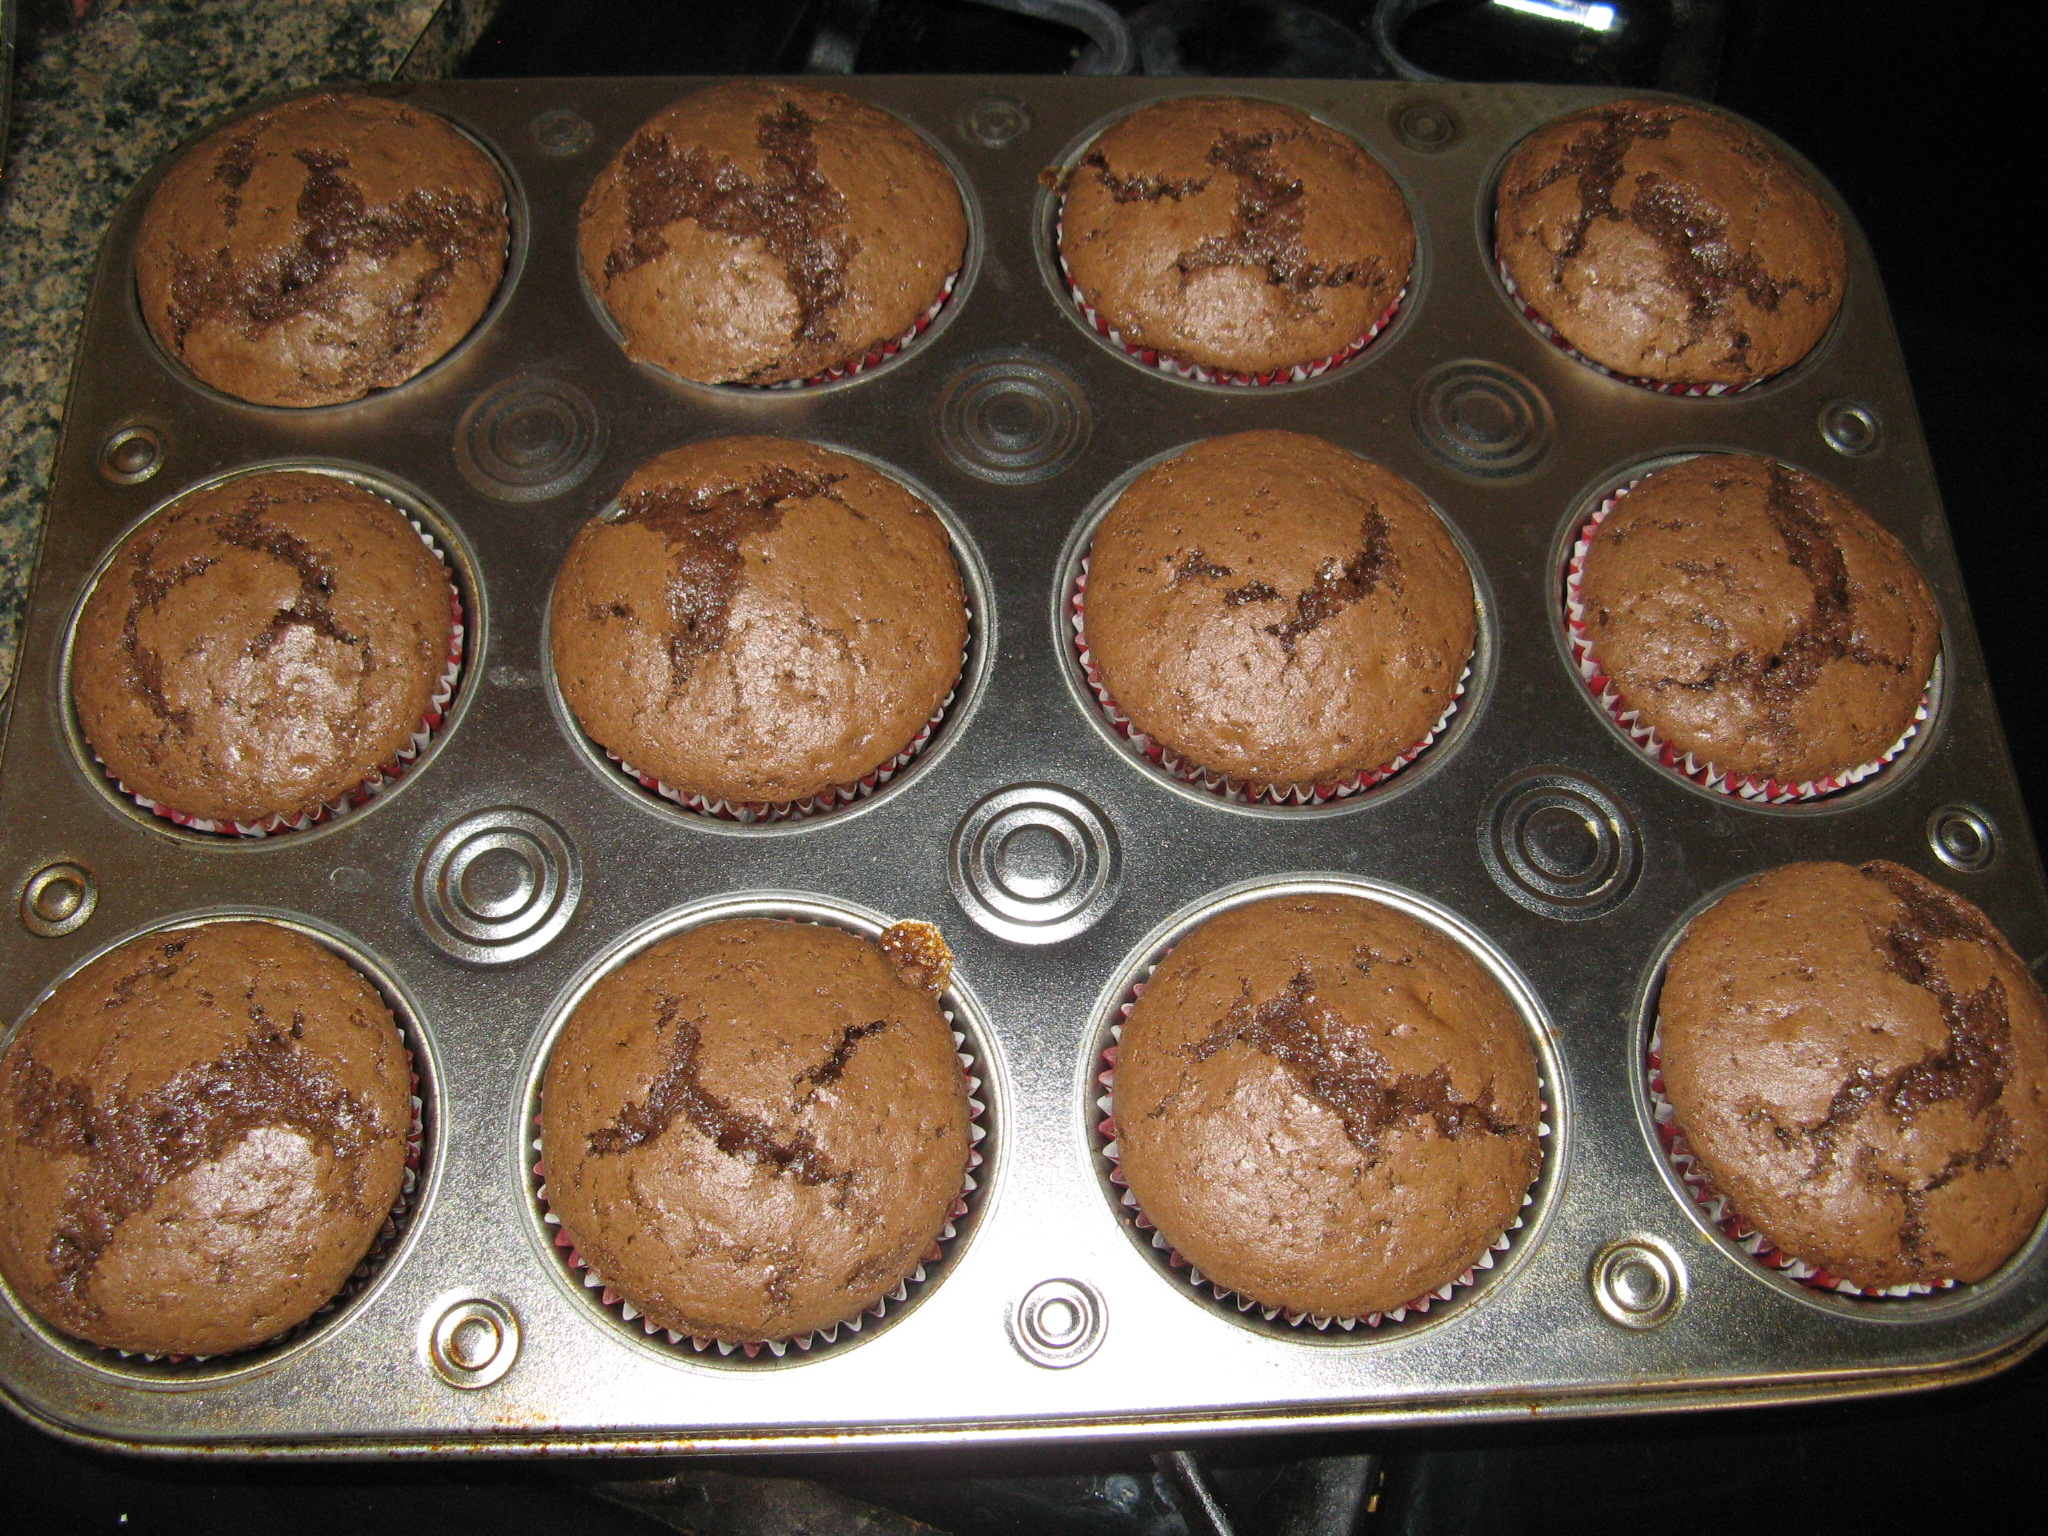
After baking the cookies for about 15 minutes in a 350 F preheated oven…

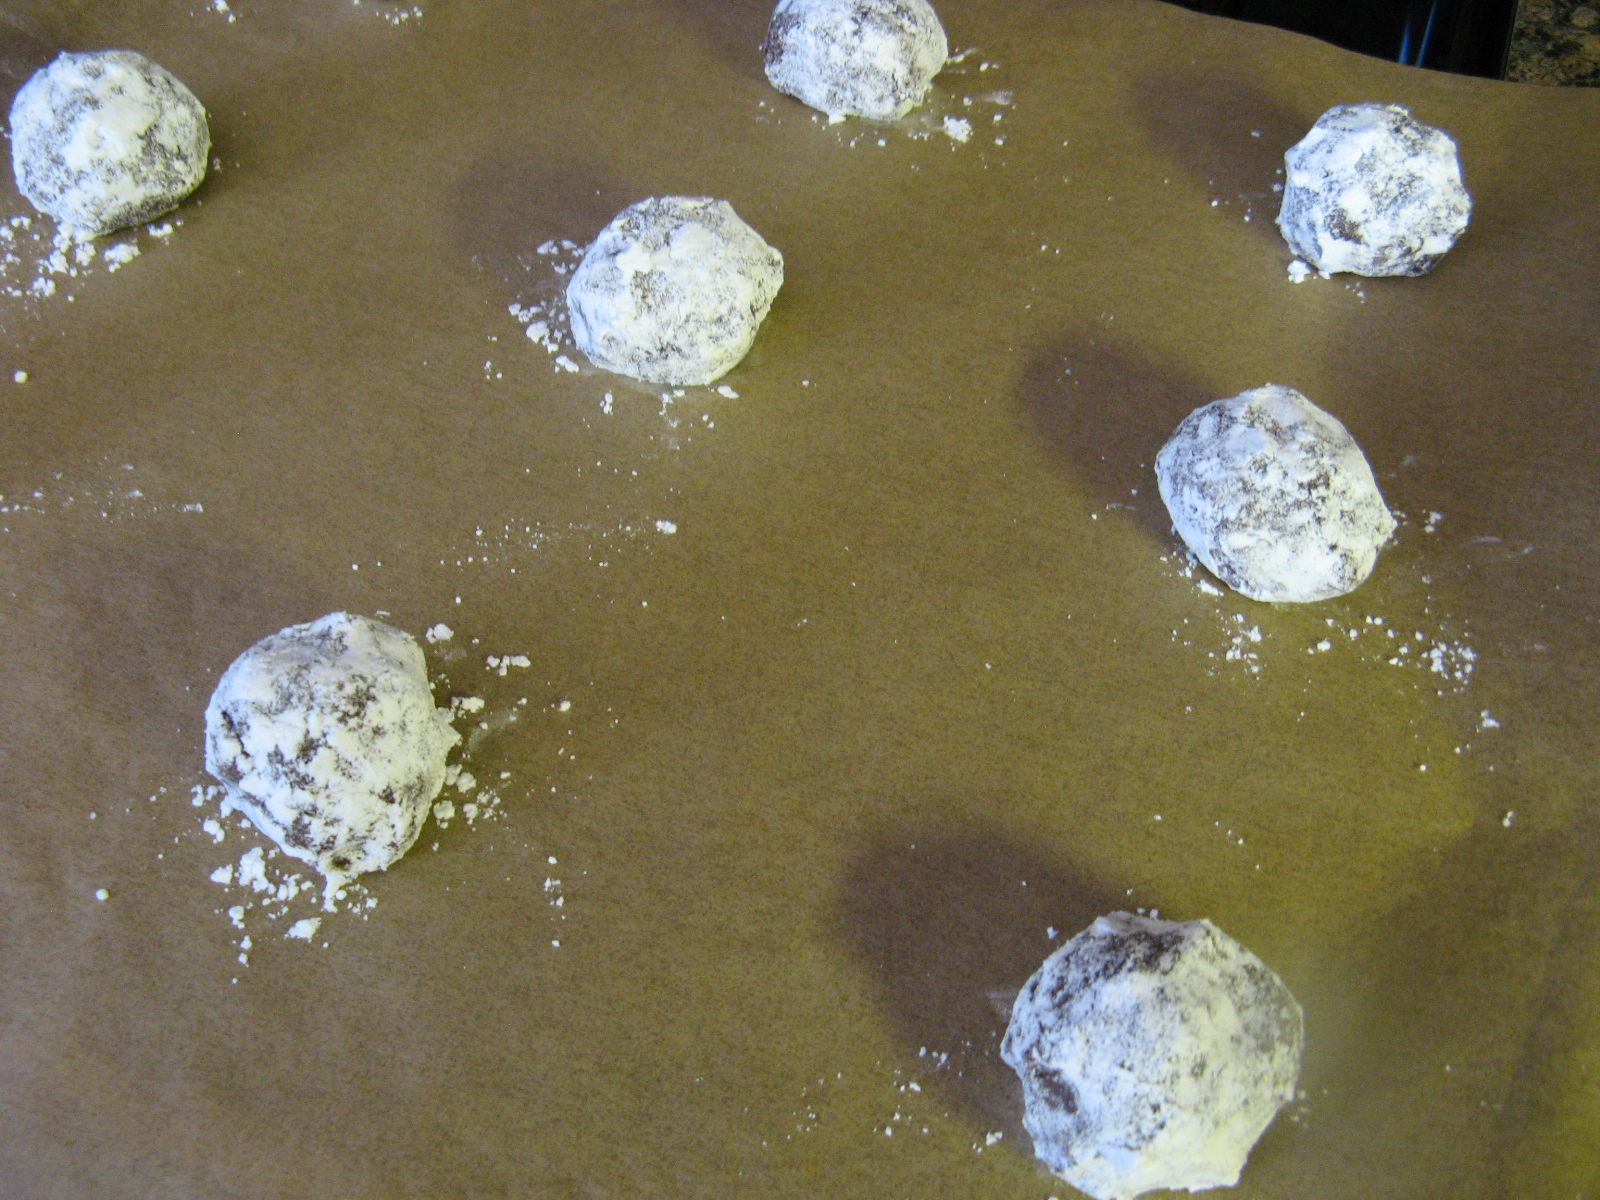
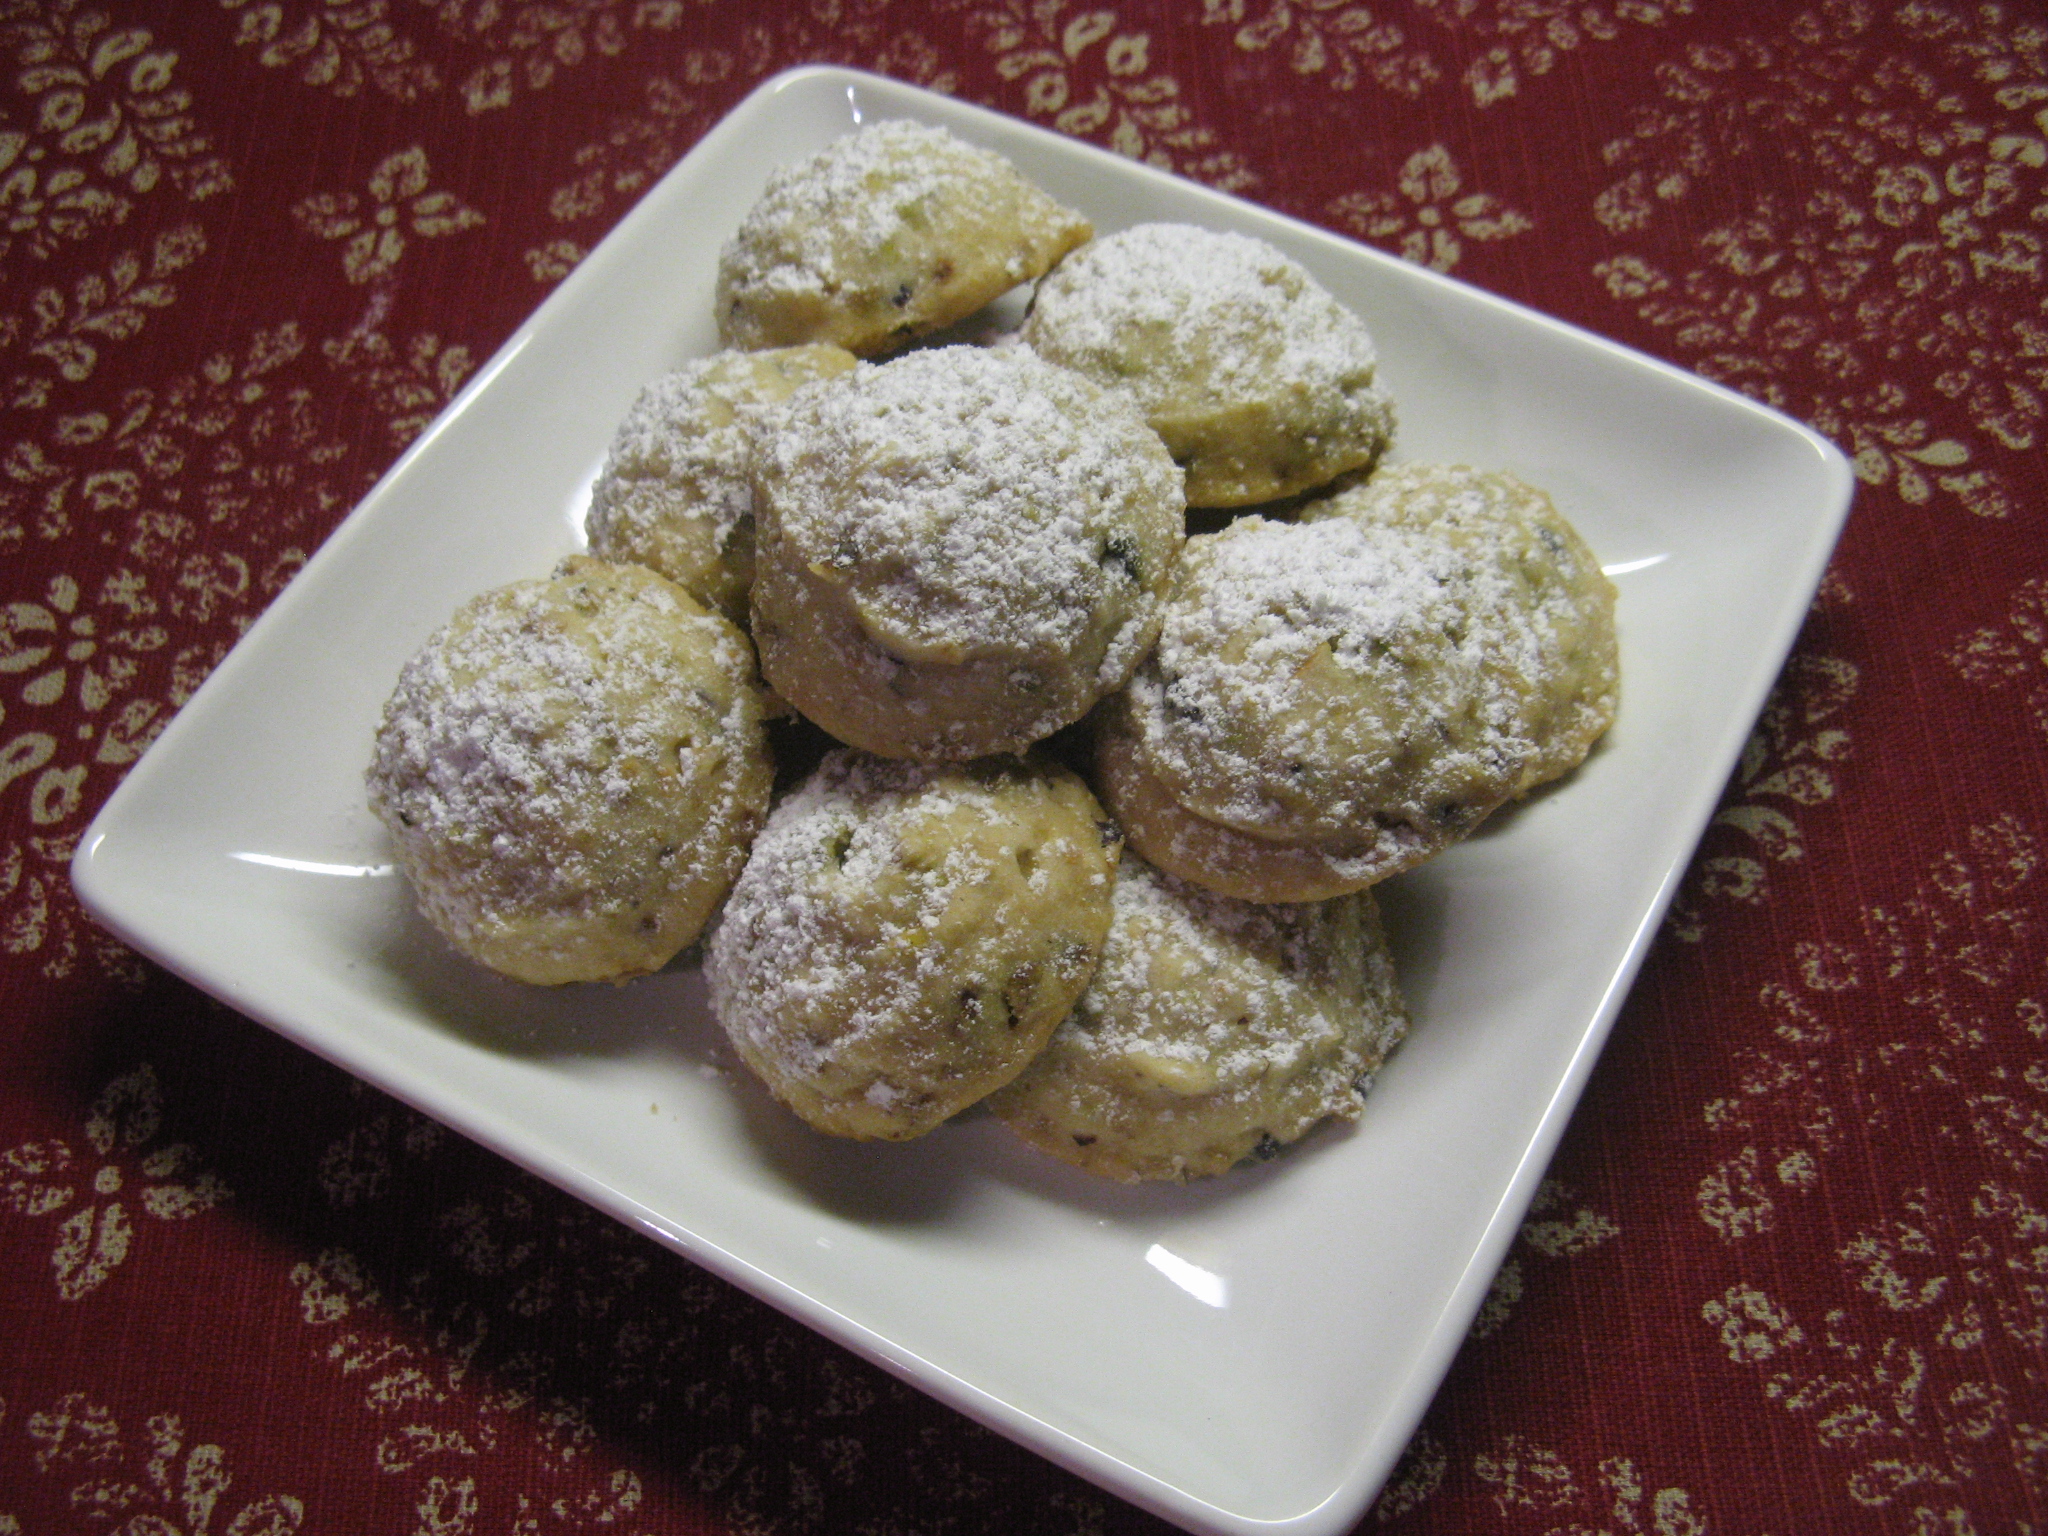
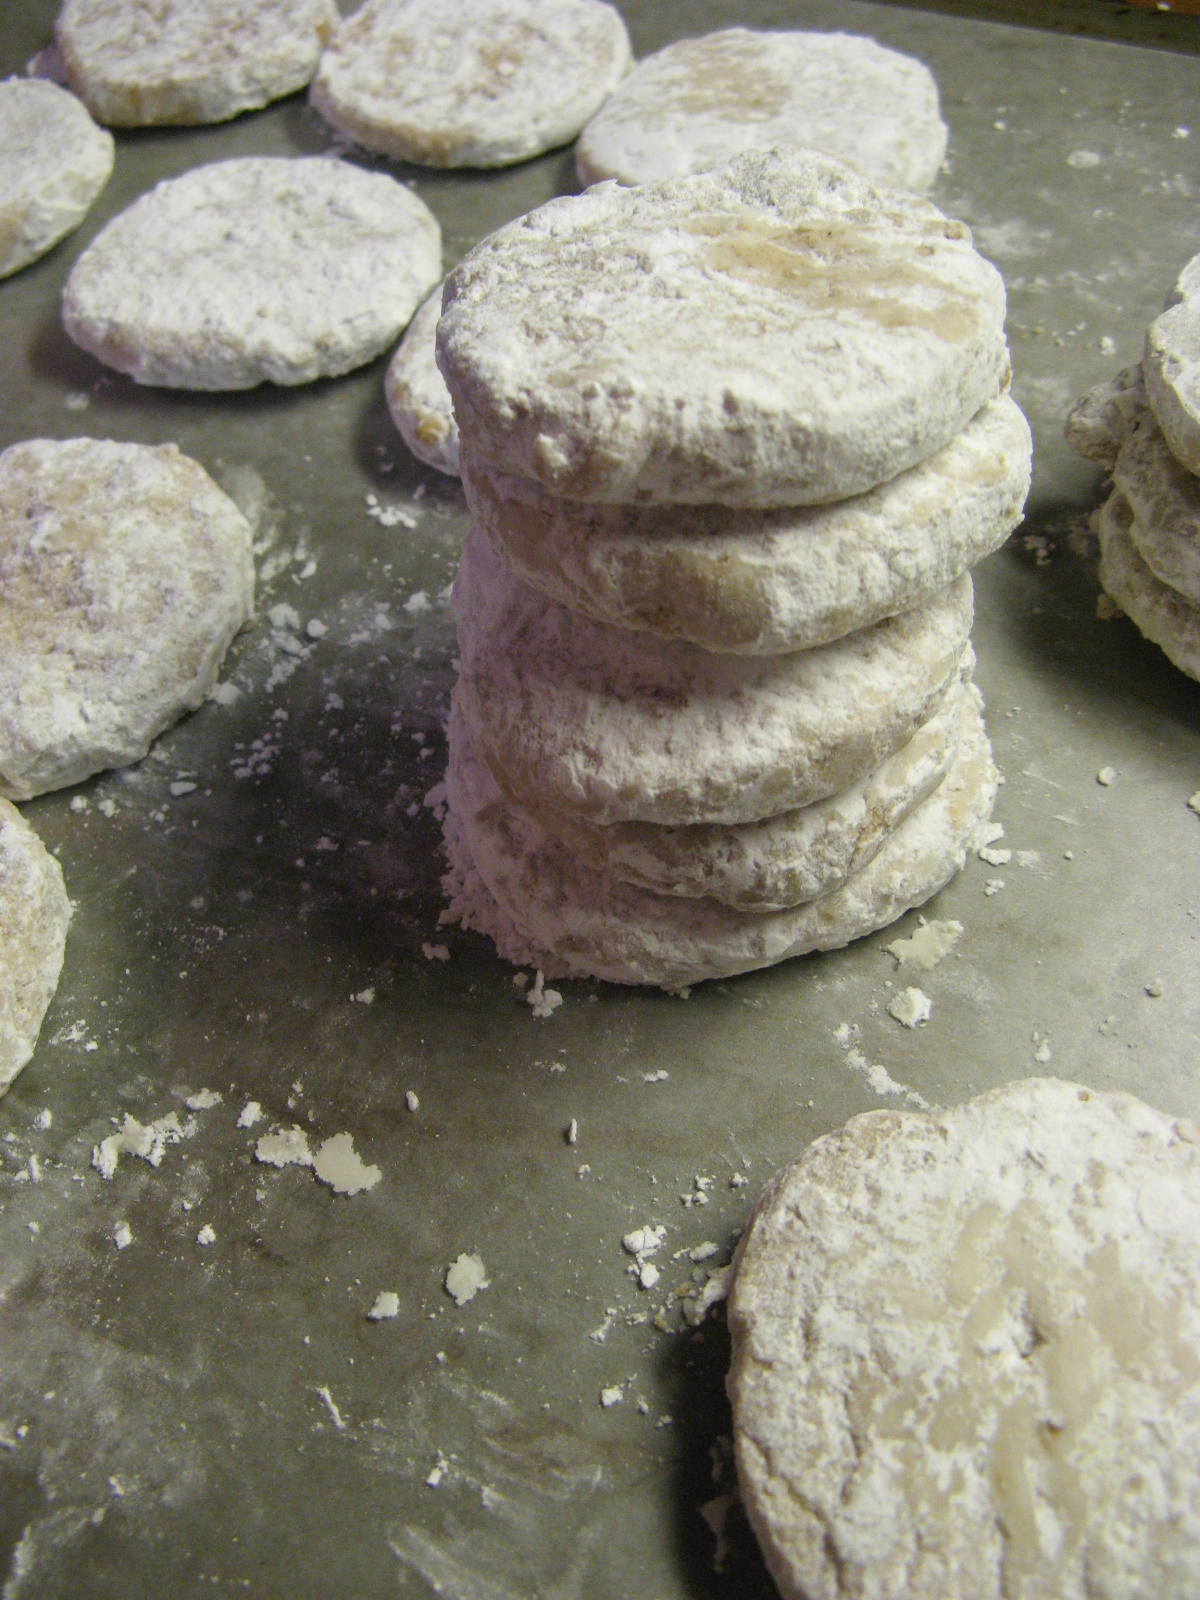
I coated them in confectioners’ sugar by tossing them in the sugar in a Ziploc bag.
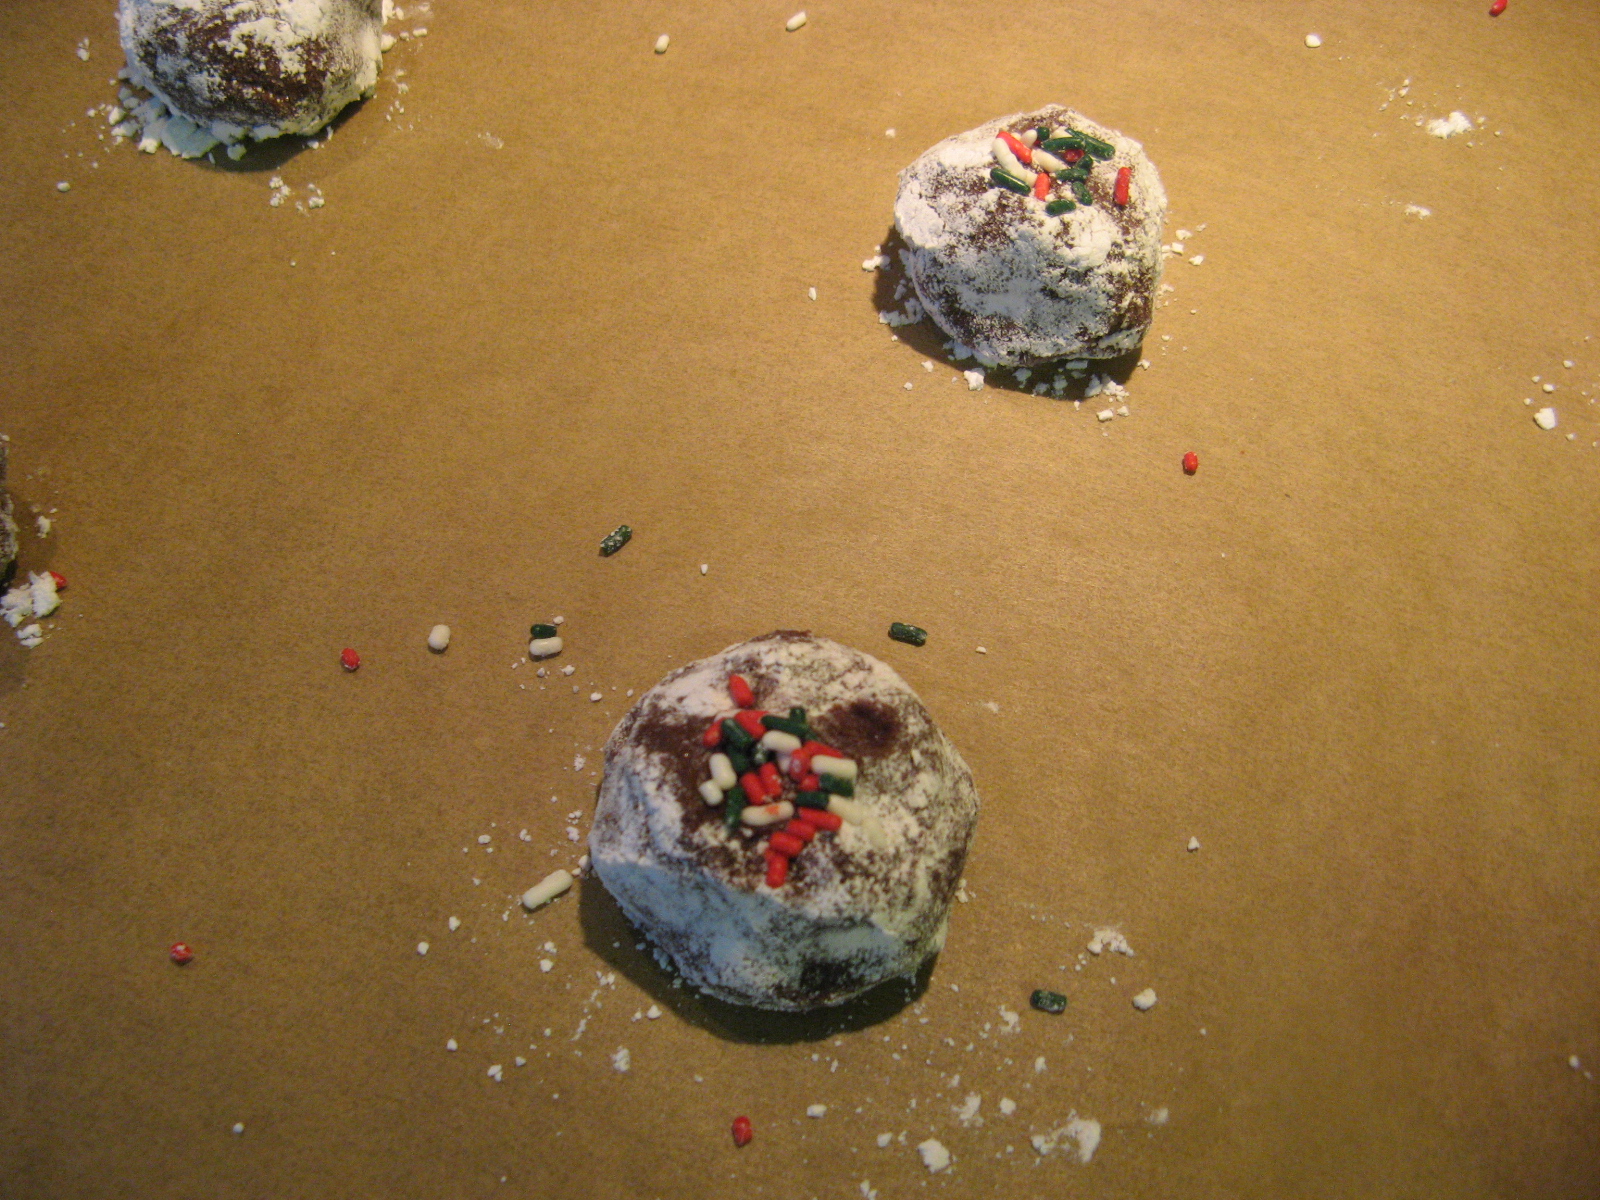
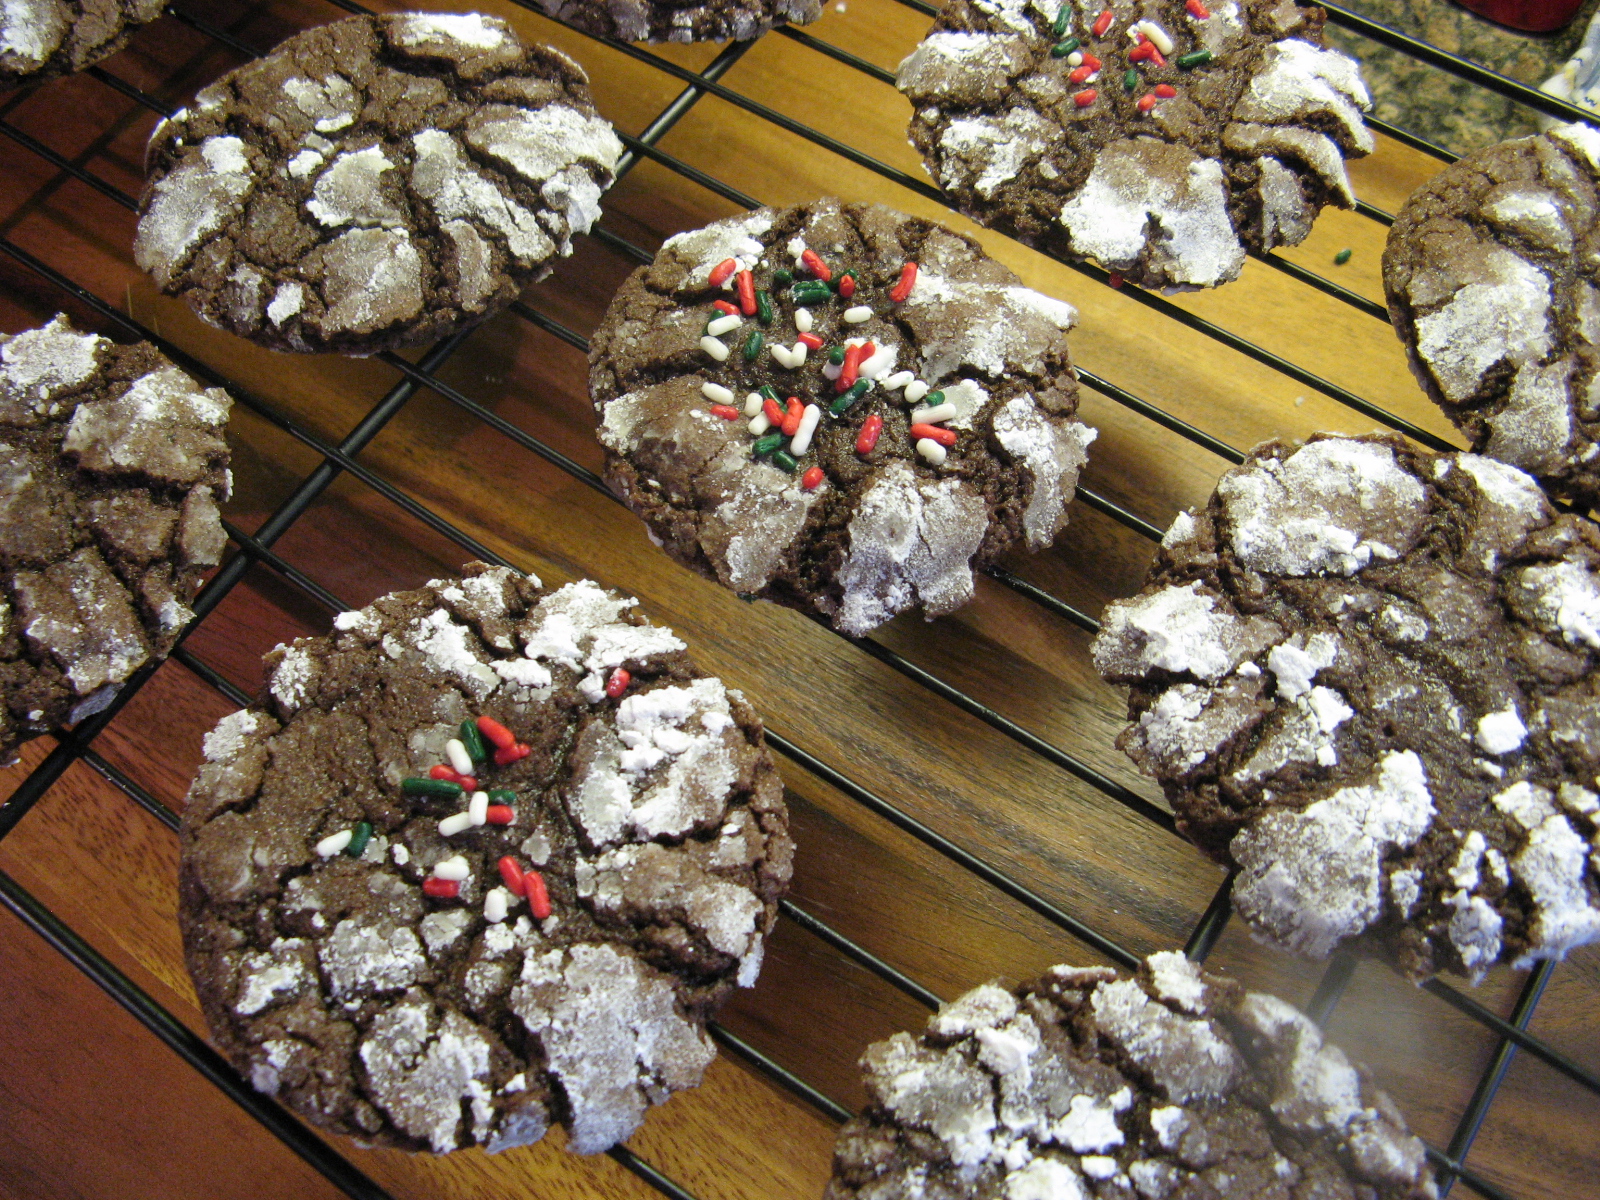
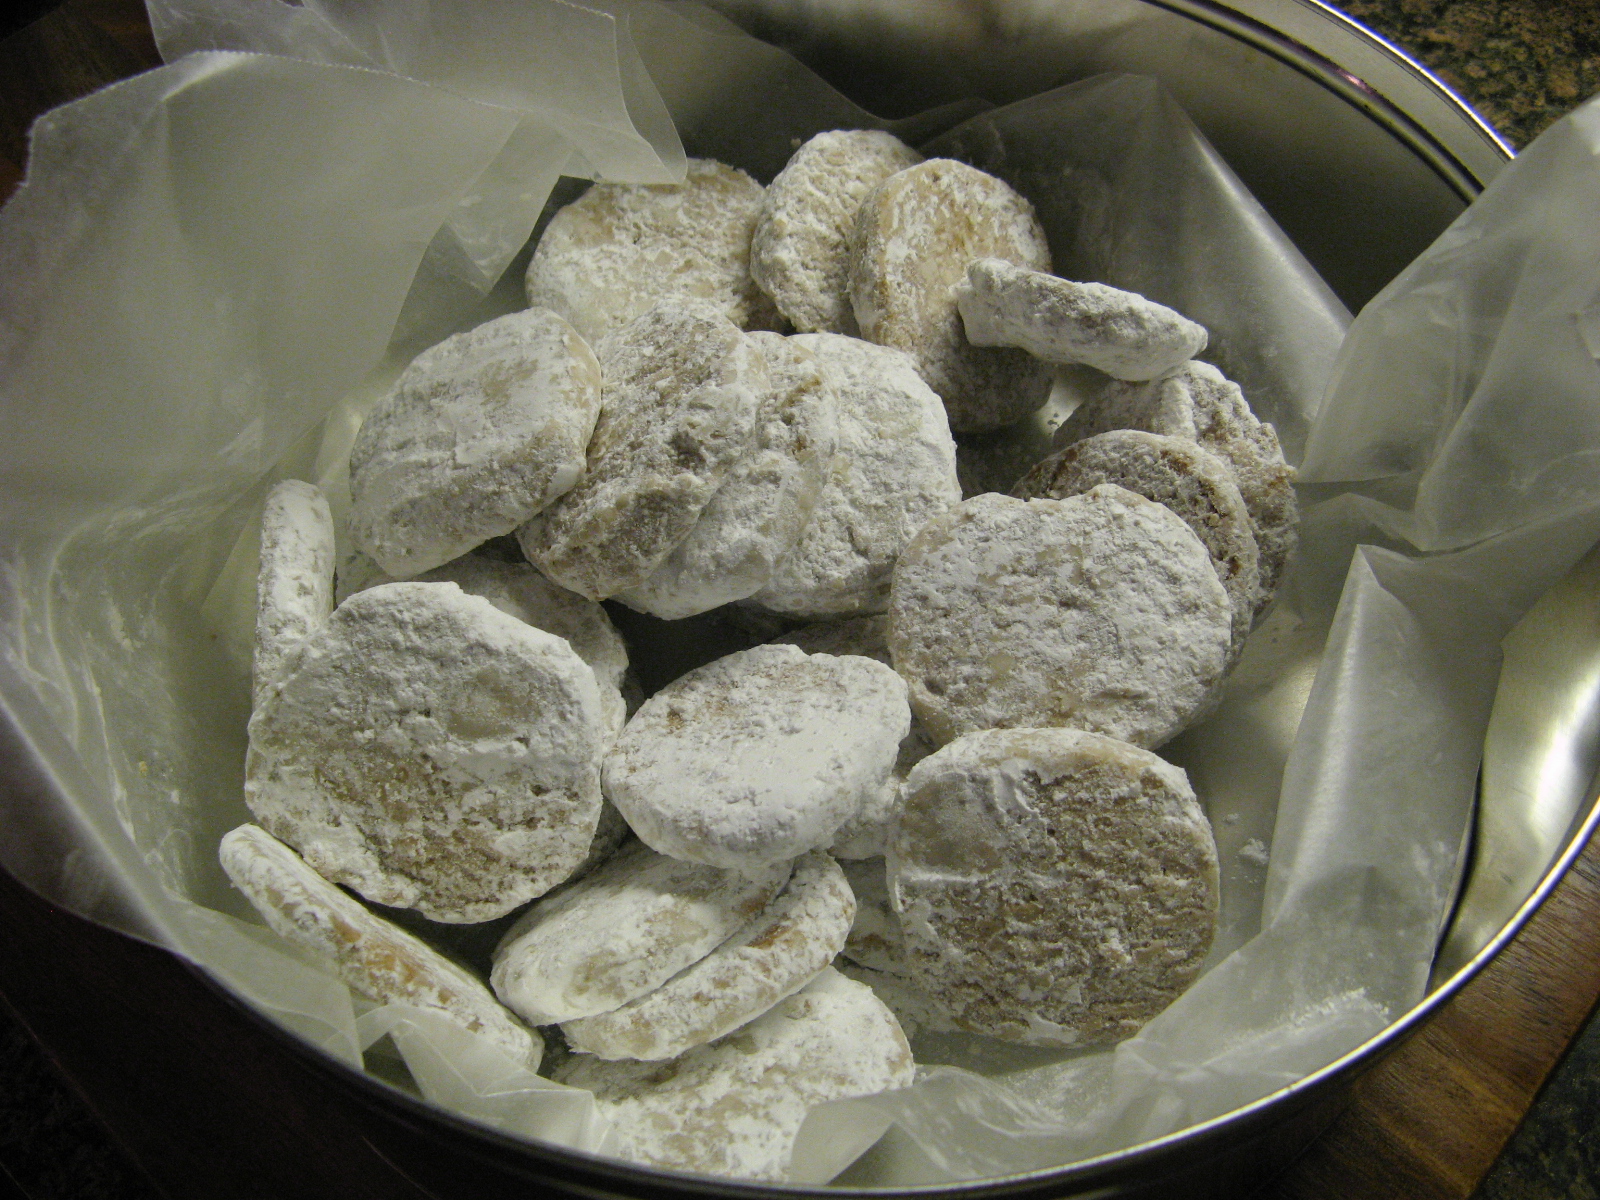
These cookies are so festive looking they would make a wonderful homemade gift or a welcome addition to a dessert table to a Holiday party you may be attending. Another great thing about these cookies, thanks to the rum they can keep up to 2 weeks in an airtight container!
Buttered Rum Meltaways
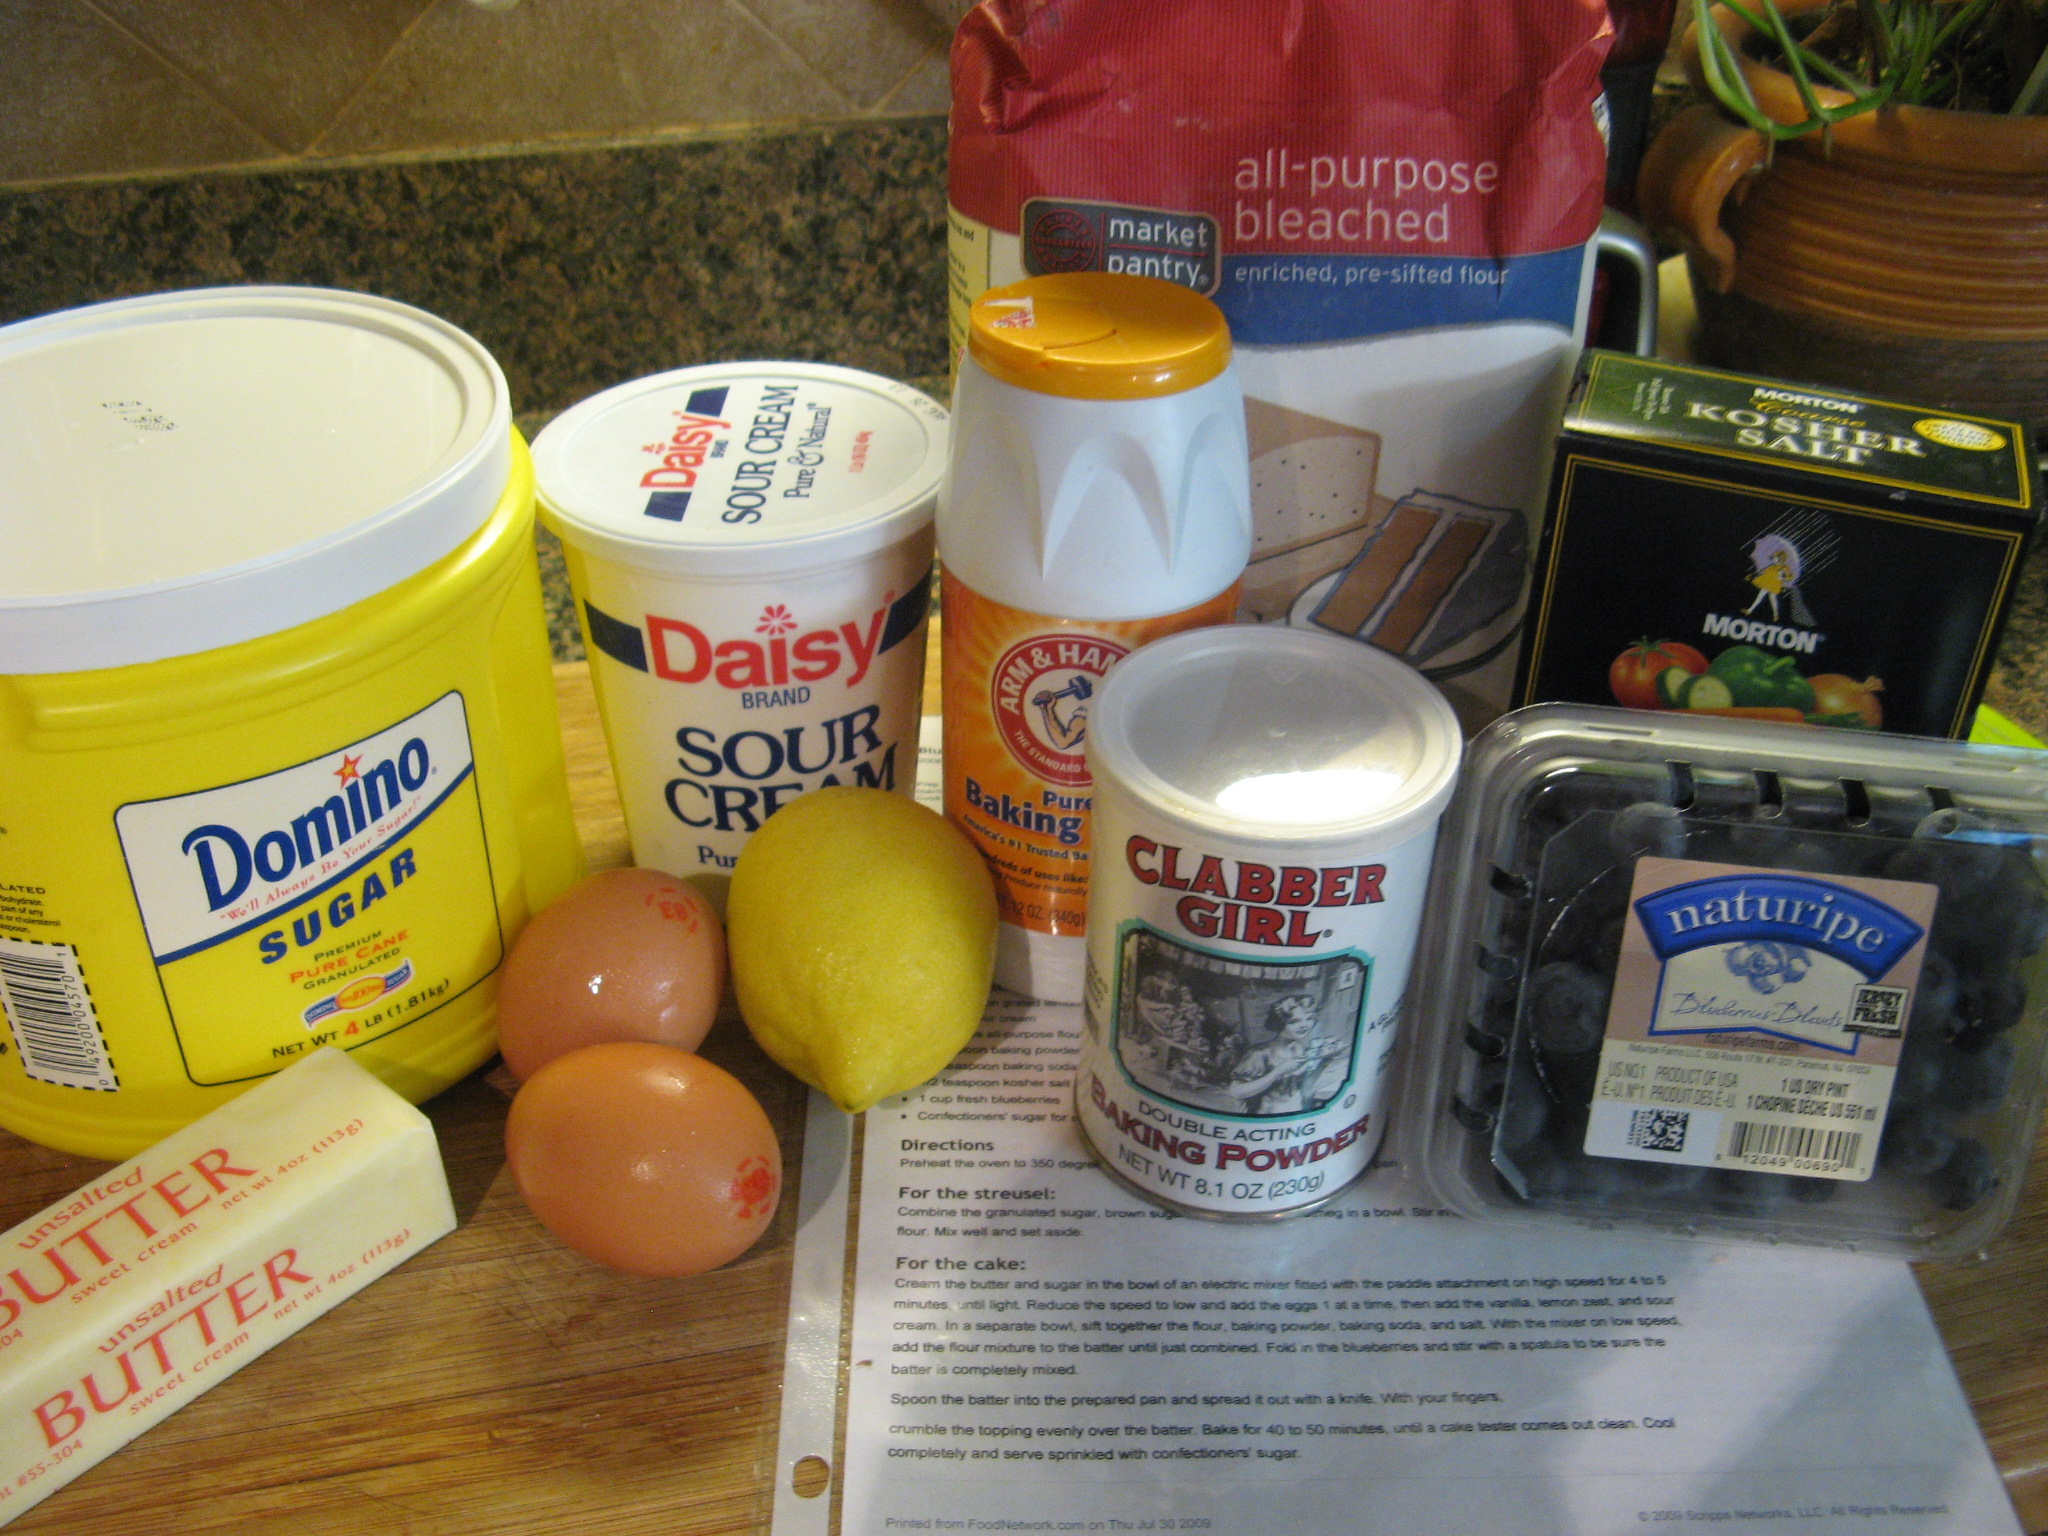
Ingredients:
1 3/4 cups plus 2 tablespoons all-purpose flour
2 tablespoons cornstarch
2 teaspoons ground cinnamon
1 teaspoons freshly grated nutmeg
1/4 teaspoon ground cloves
3/4 teaspoon coarse salt
3/4 cup unsalted butter, at room temperature
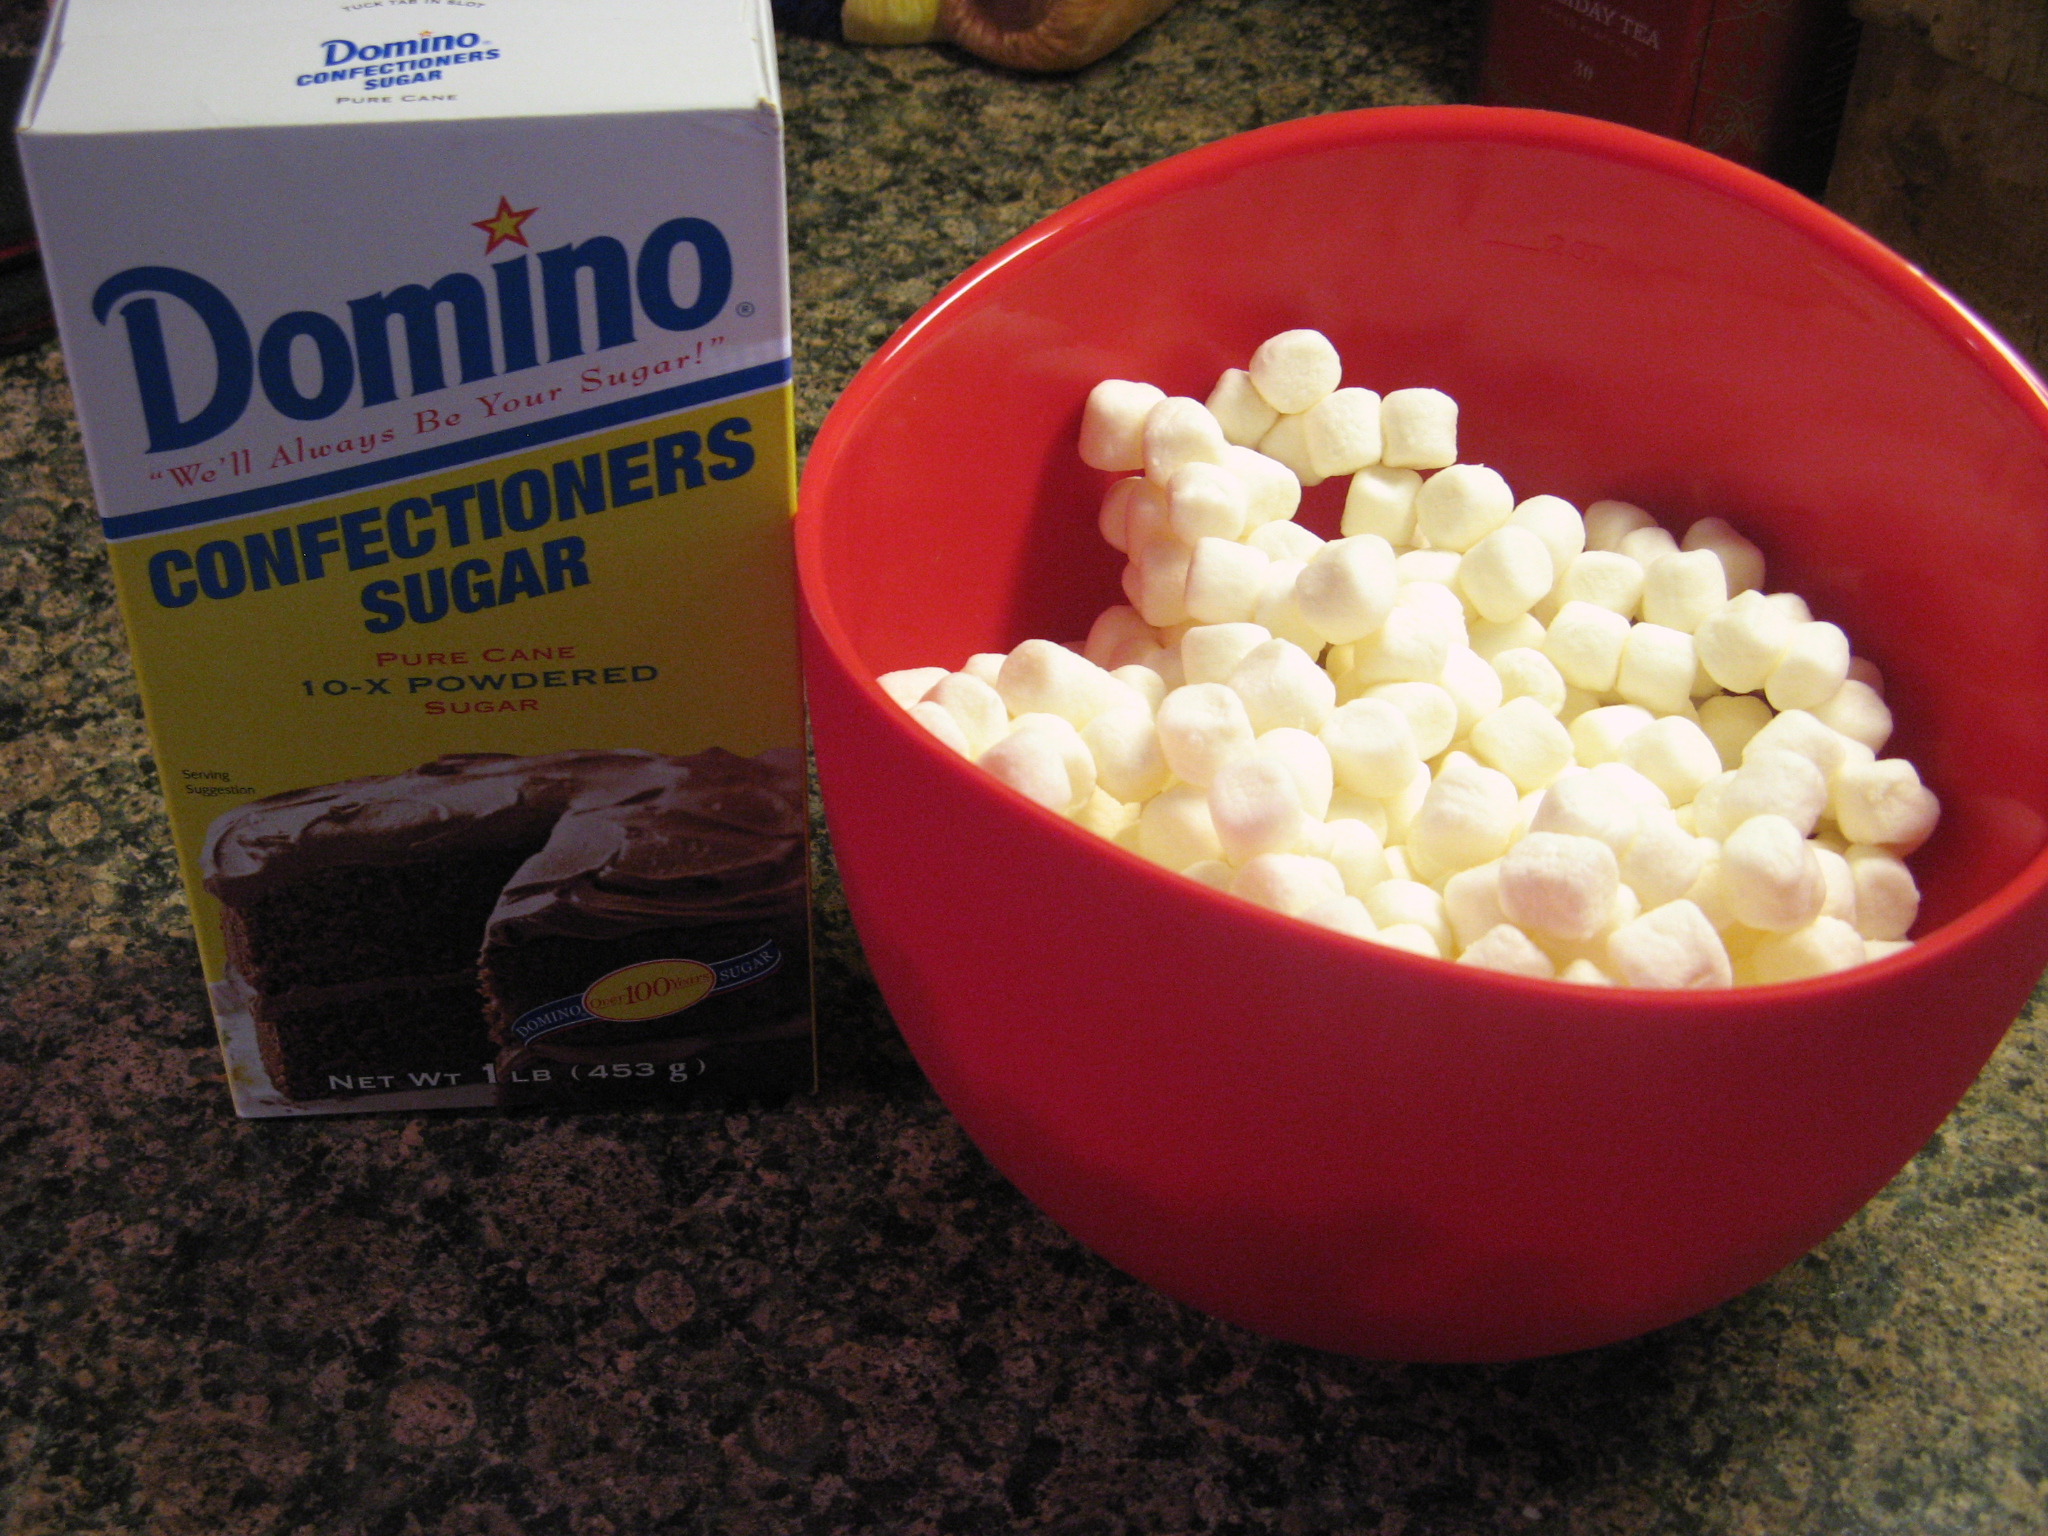
1 cup confectioners’ sugar
1/4 cup rum, dark or light
1 teaspoon pure vanilla extract
Directions:
Whisk together the flour, cornstarch, cinnamon, nutmeg, cloves and salt in a medium bowl and set aside.
Using a handheld mixer or stand mixer beat butter and 1/3 cup confectioners’ sugar on medium speed until pale and fluffy. Mix in the rum and vanilla extract. Reduce the speed to low and gradually add in the flour mixture.
Divide the dough in half and place each half on a piece of parchment paper. Shape the dough into logs. Fold the parchment paper over the dough and using a ruler roll and press the dough into a 1 1/4 inch log. Wrap in parchment paper and chill in freezer at least 30 minutes or up to a month.
Preheat the oven to 350 F. Remove the parchment paper from the dough and slice into 1/4 inch thick rounds. Place on a parchment lined baking sheet and bake for 15 minutes, or until cookies are just golden. Transfer the cookies to a wire rack to cool for 10 minutes. Gently toss the cookies with the remaining confectioners’ sugar in a resalable plastic bag.
Recipe from Martha Stewart