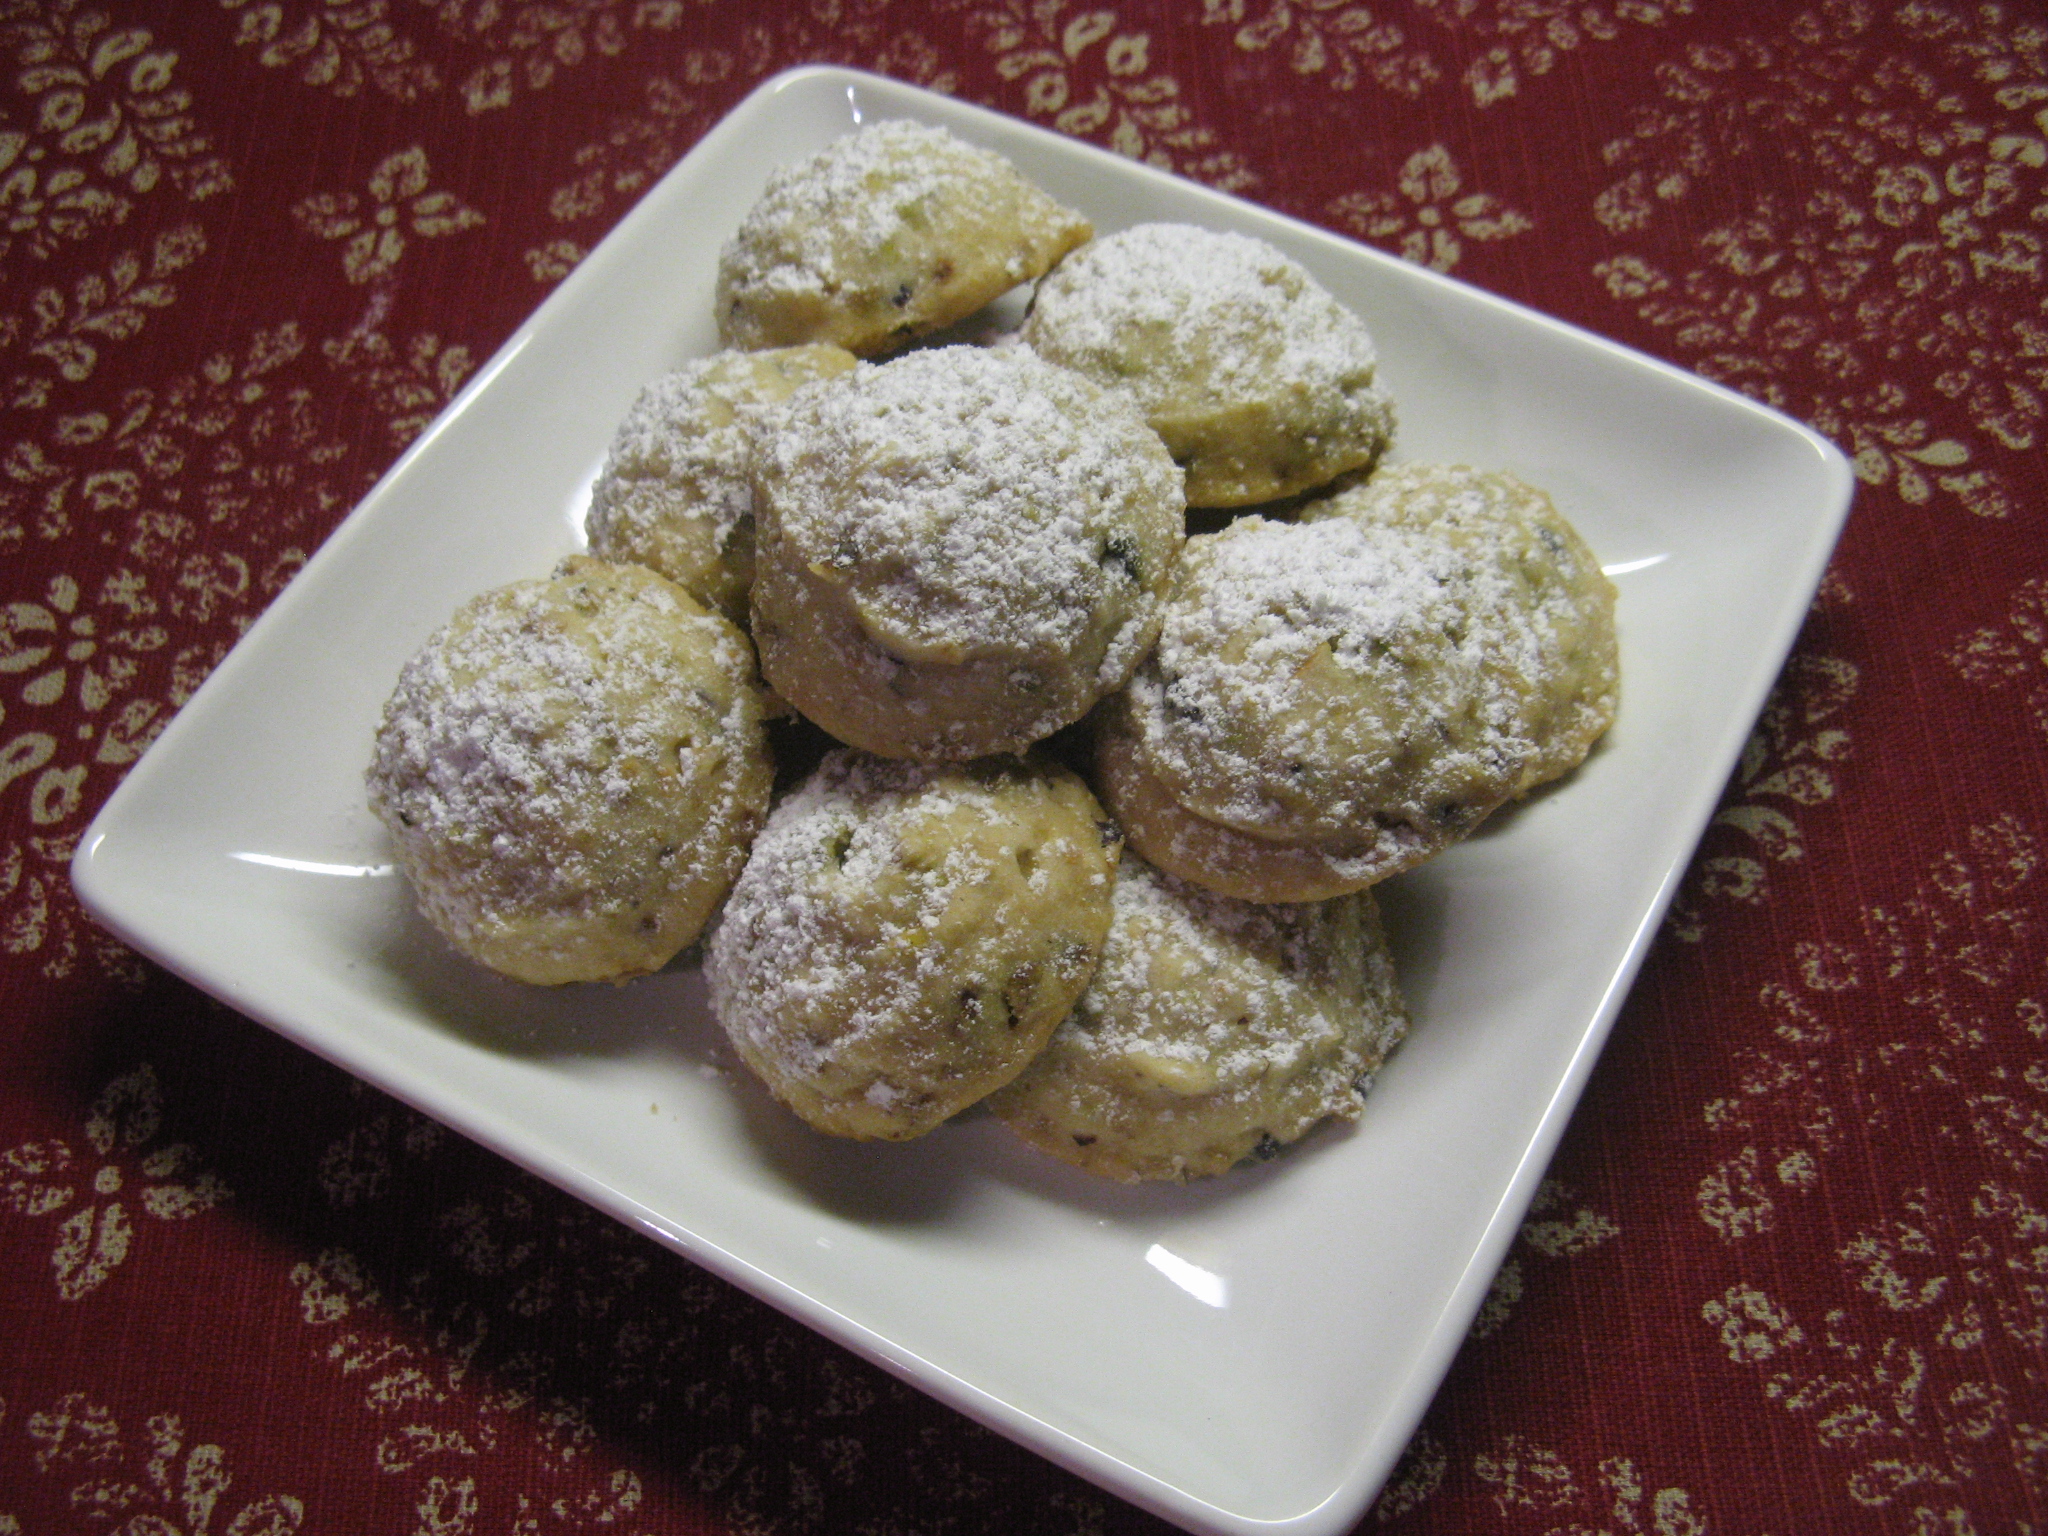
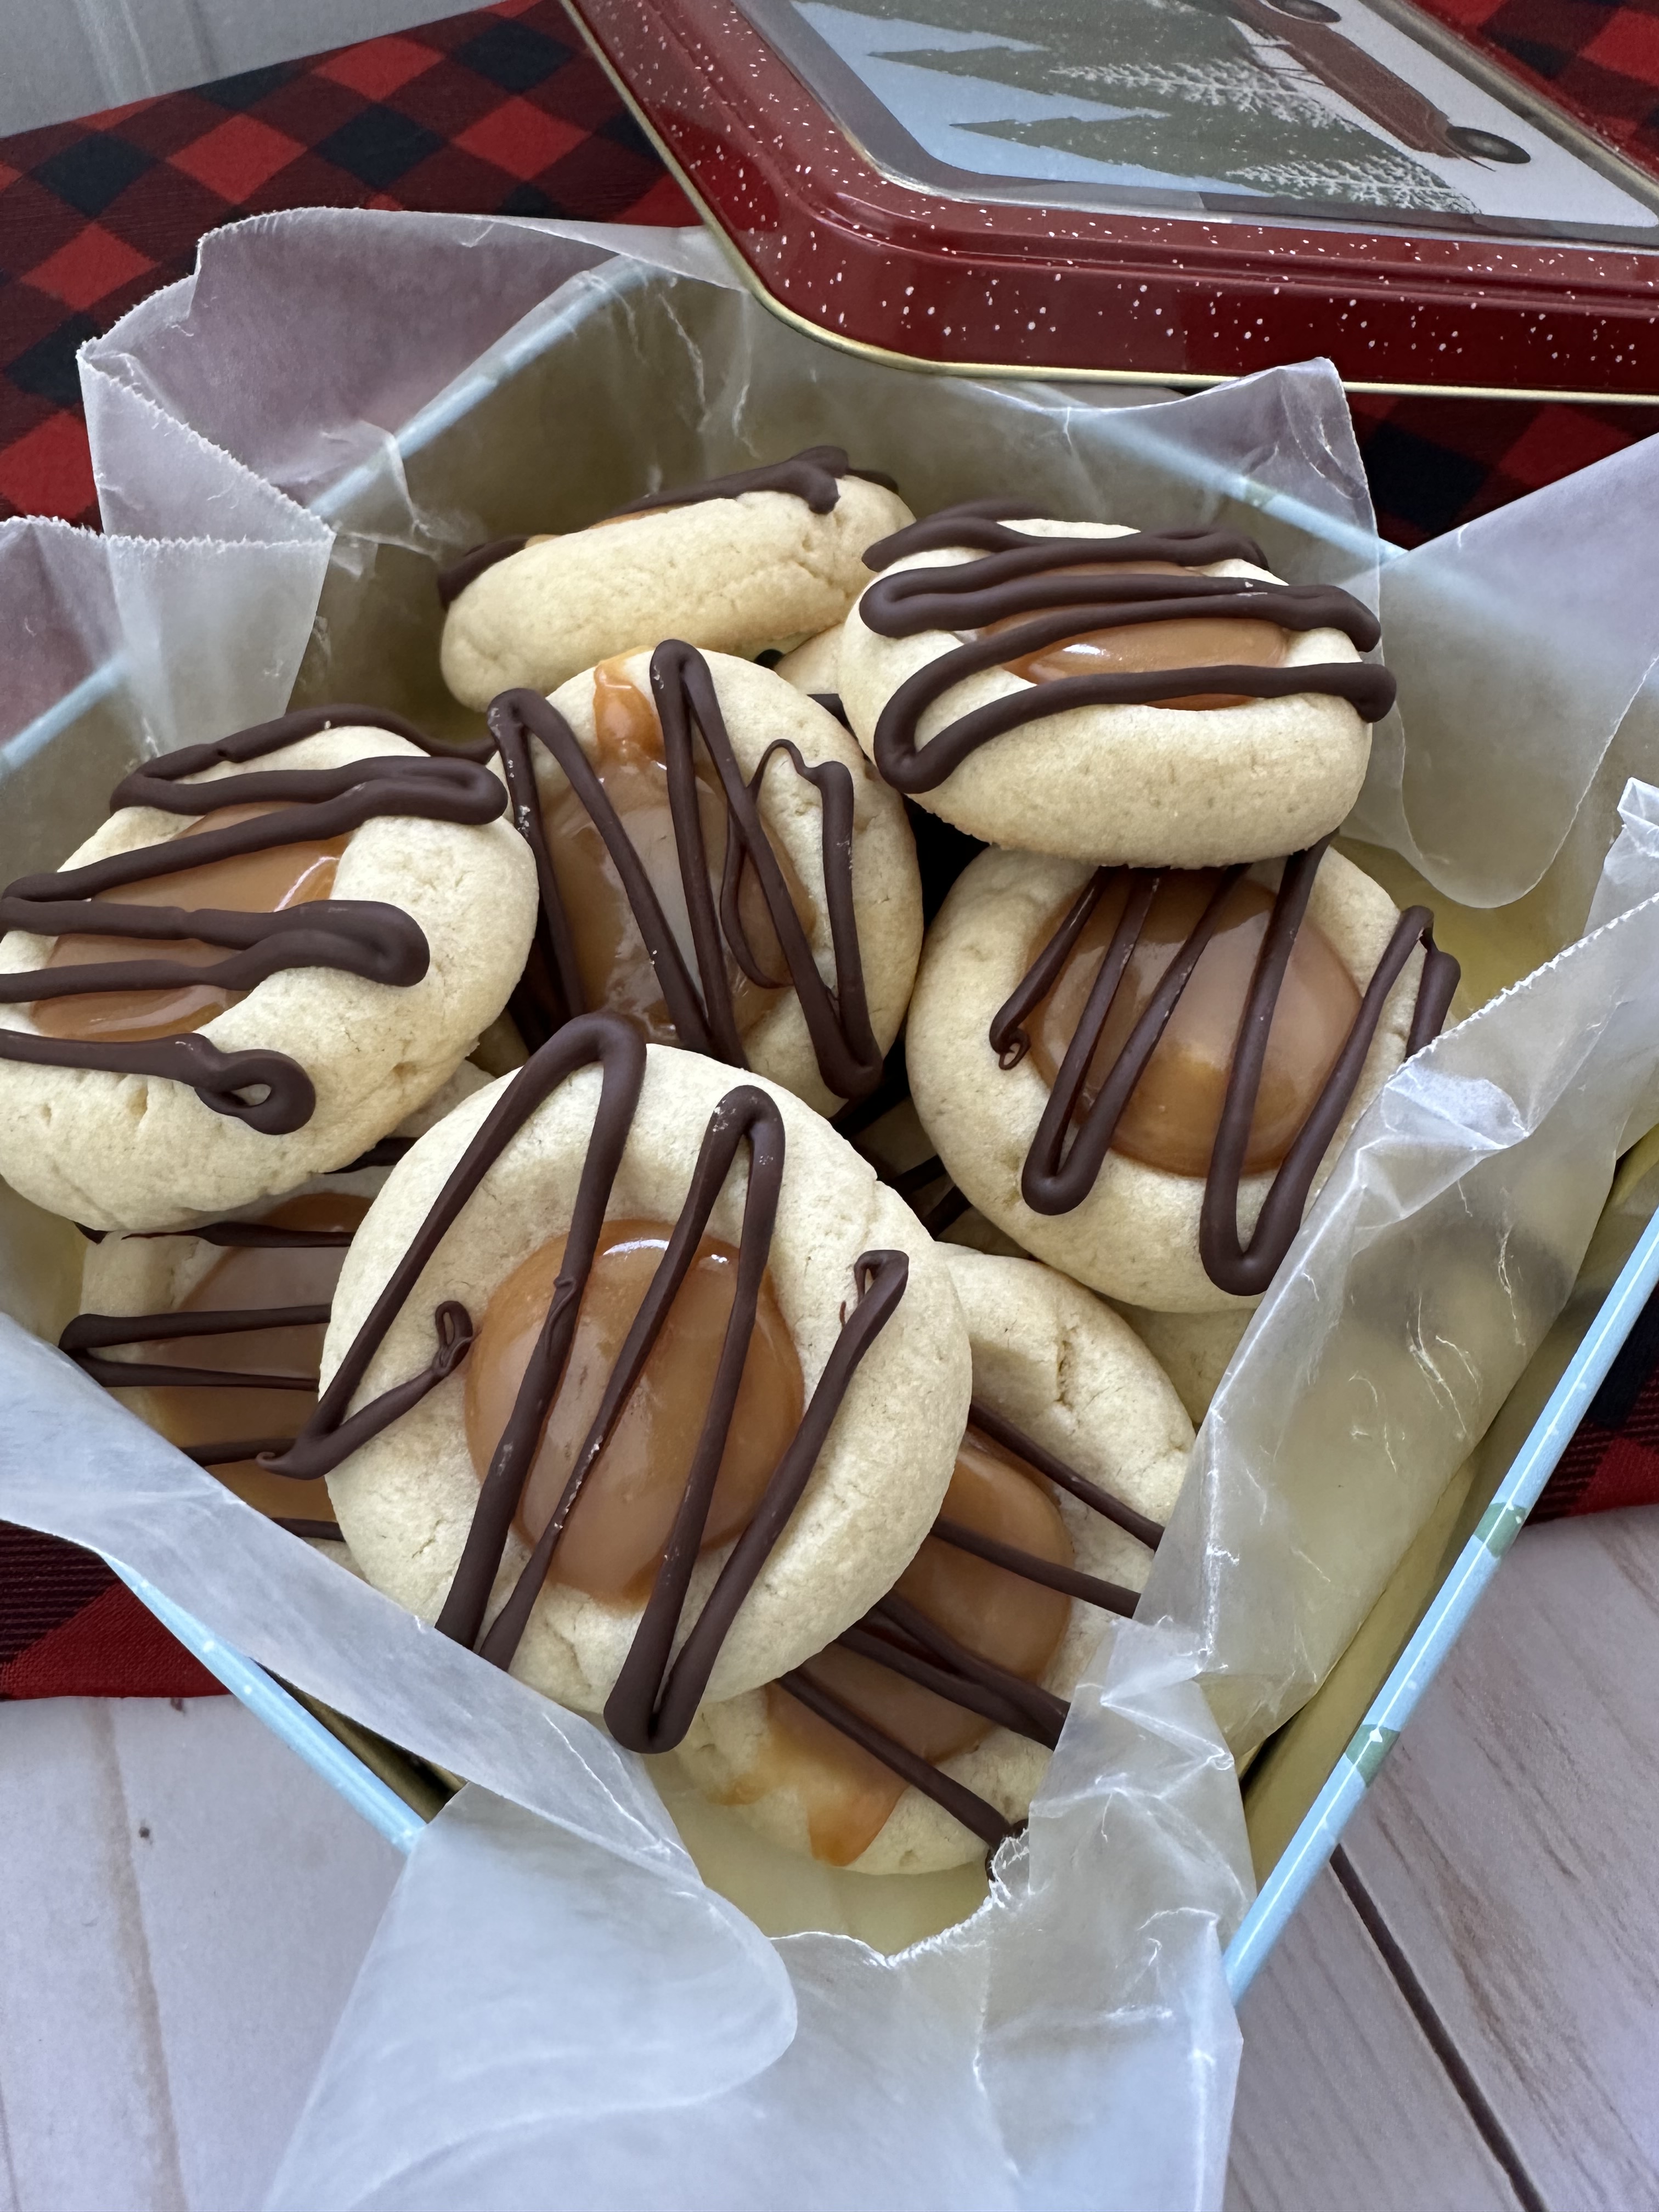
Thumbprints are a popular cookie around the holidays. The simple butter cookie base can be filled with all kinds of yumminess. Jams, curds, chocolate, frosting, etc. The thumbprint I am sharing with you today is filled with caramel and drizzled with melted chocolate… think a Twix bar.
Caramel & Chocolate Thumbprints
Ingredients:
For the Cookies:
1 cup (2 sticks) unsalted butter, at room temperature
2/3 cup sugar
2 egg yolks, at room temperature
1 teaspoon vanilla extract
2 1/4 cup flour
1/2 teaspoon Kosher salt
For the Caramel Filling:
16 caramels, unwrapped
3 tablespoons heavy cream
For the Chocolate Drizzle:
1/2 cup semi-sweet chocolate chips
Directions:
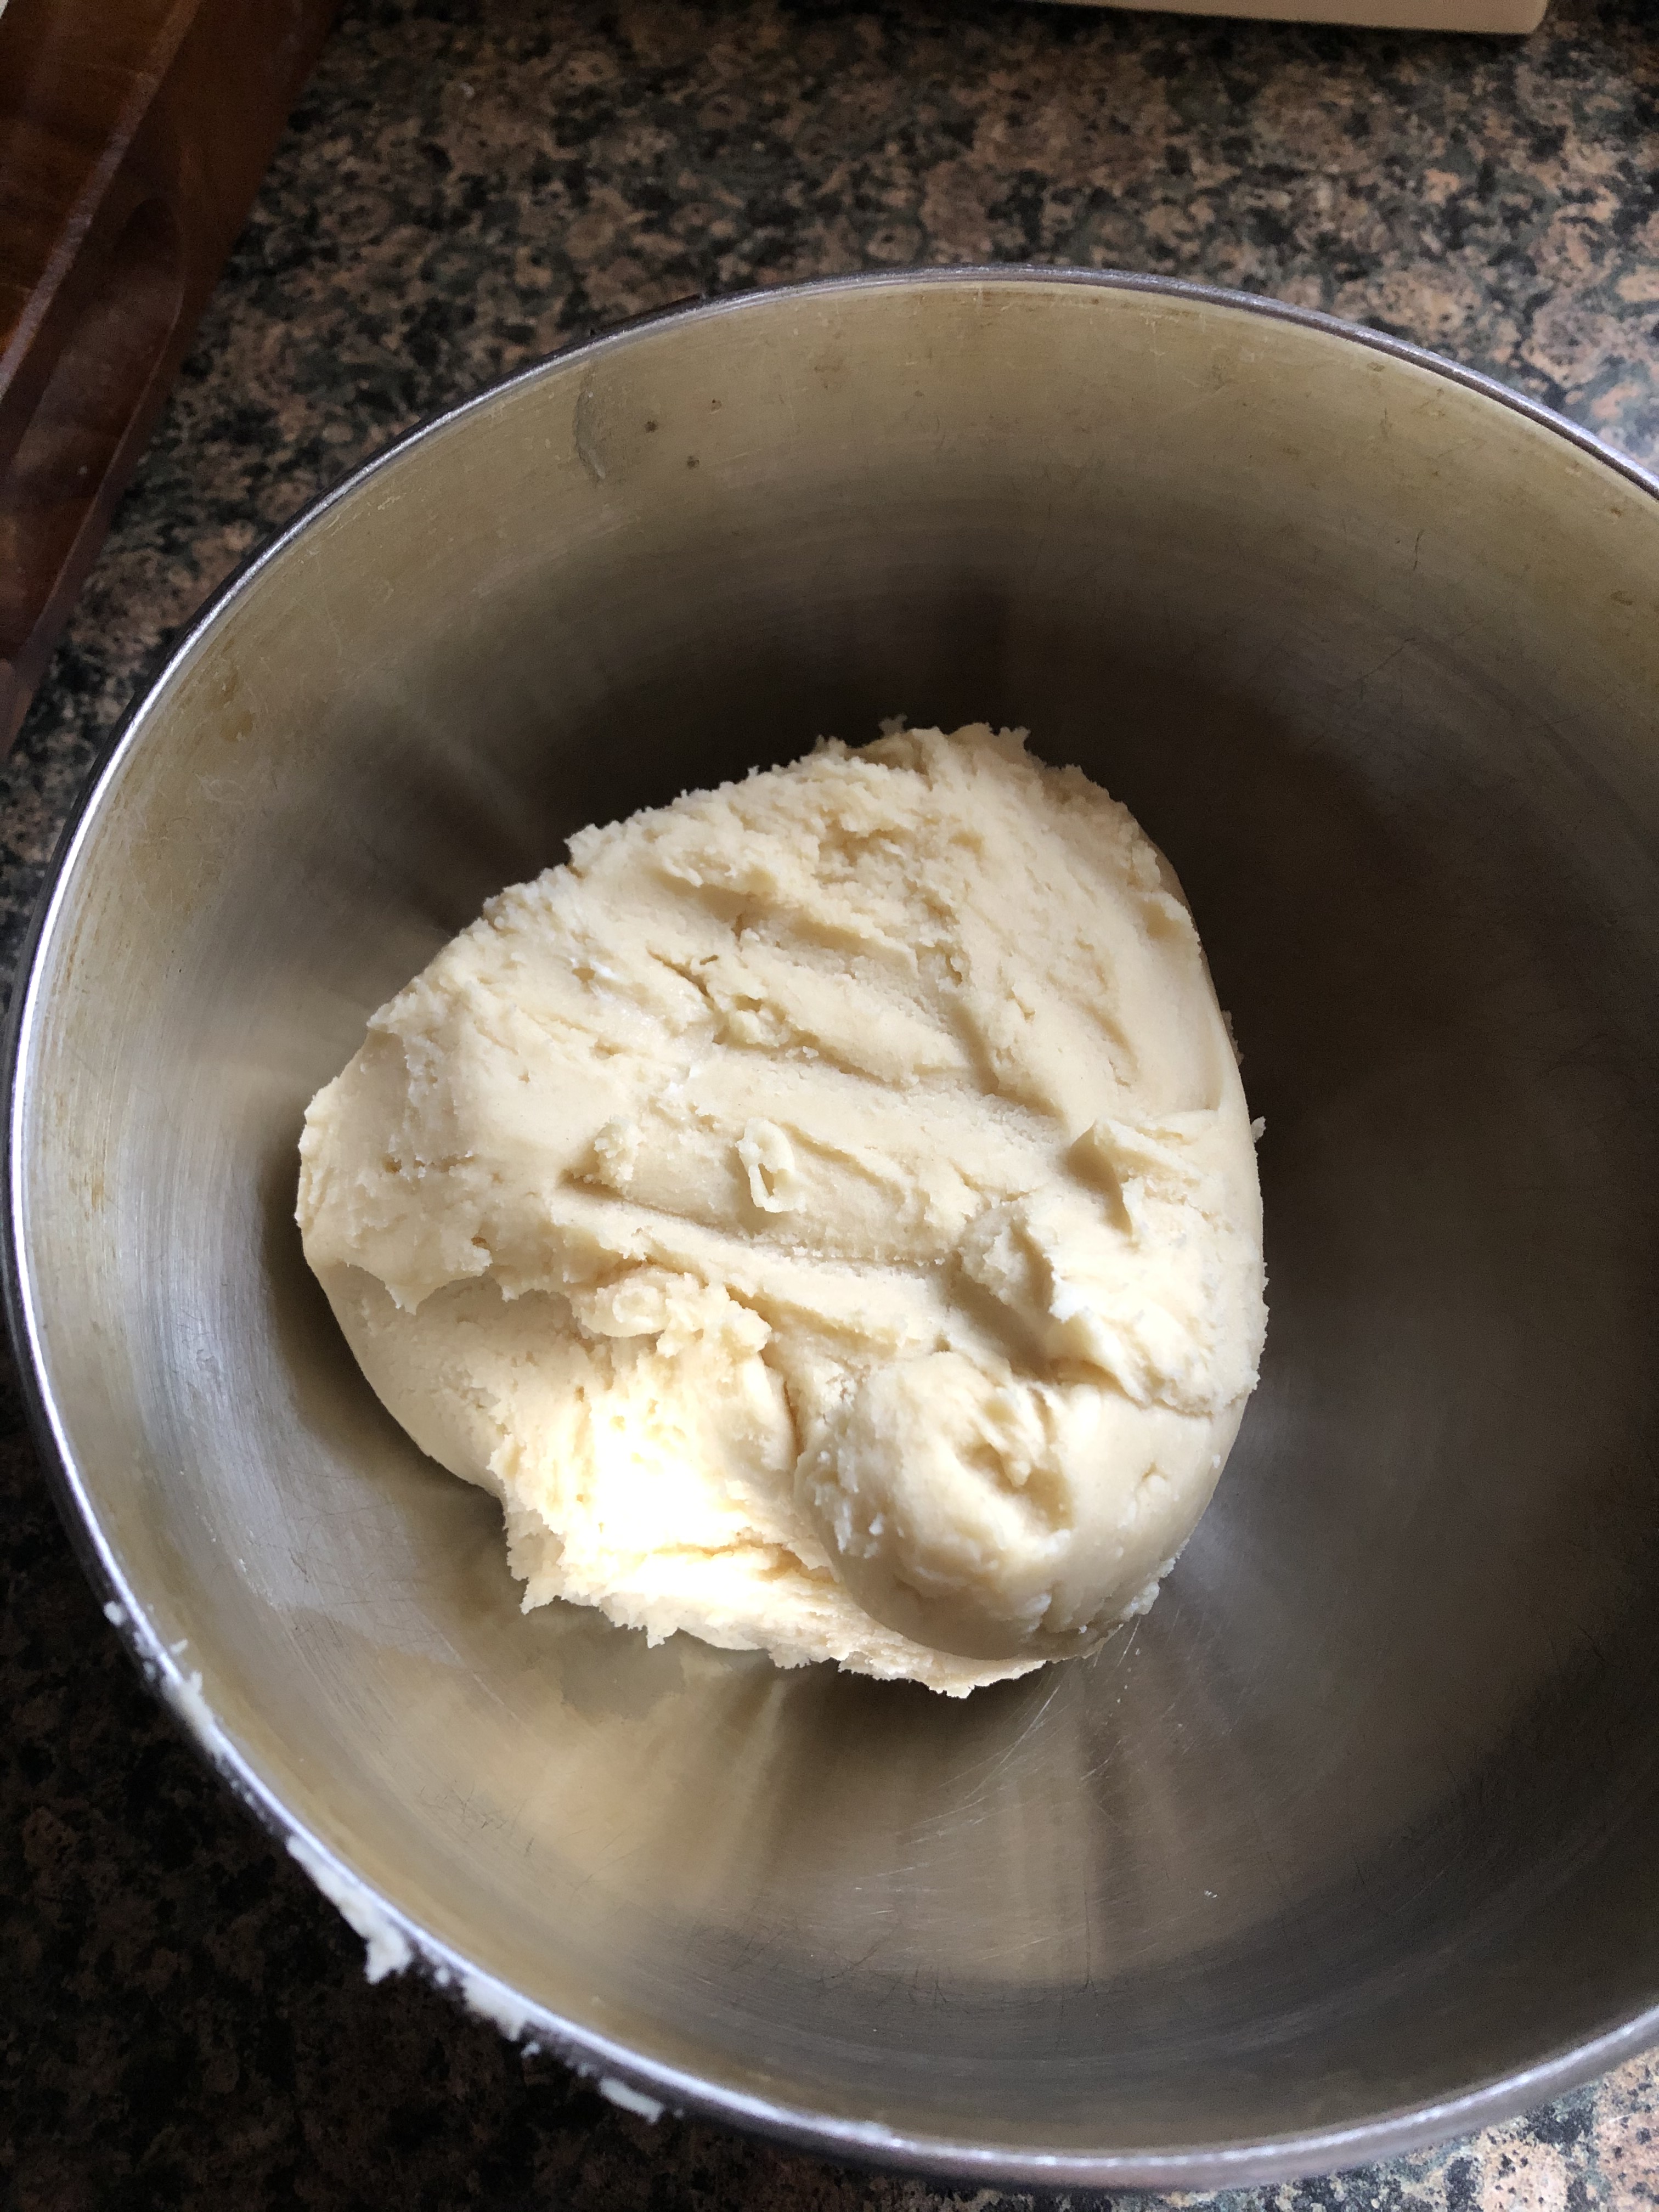
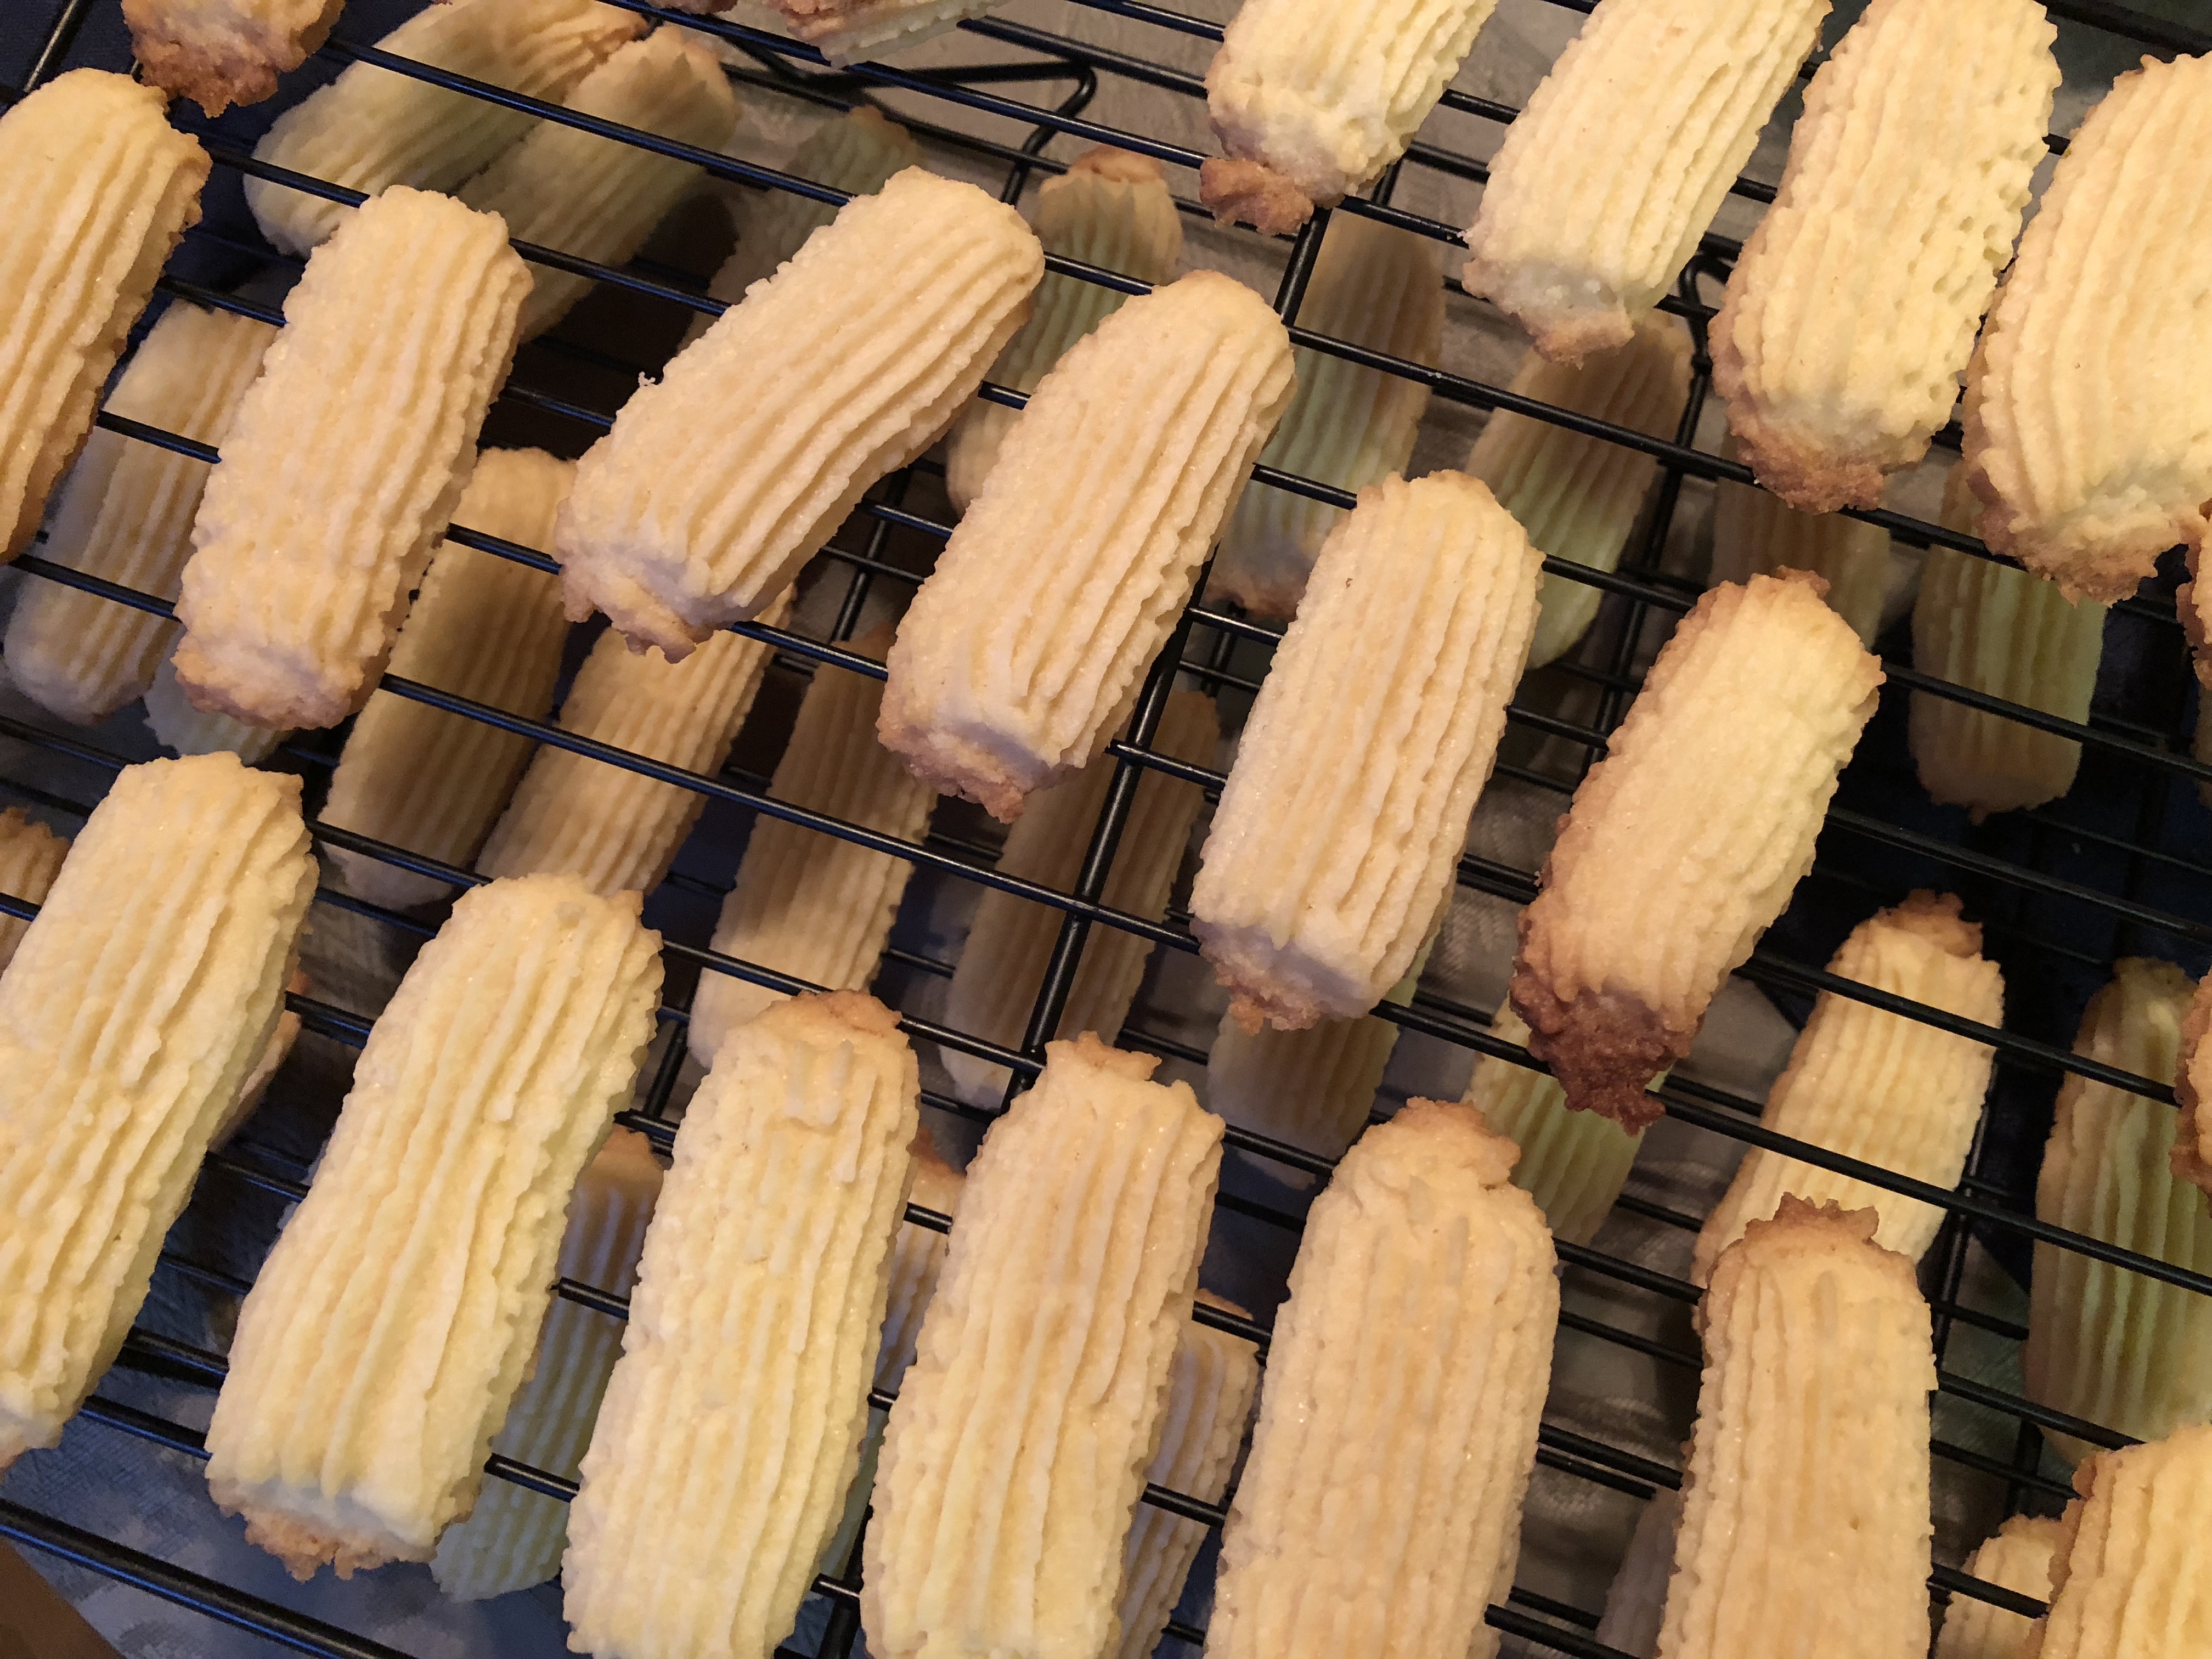
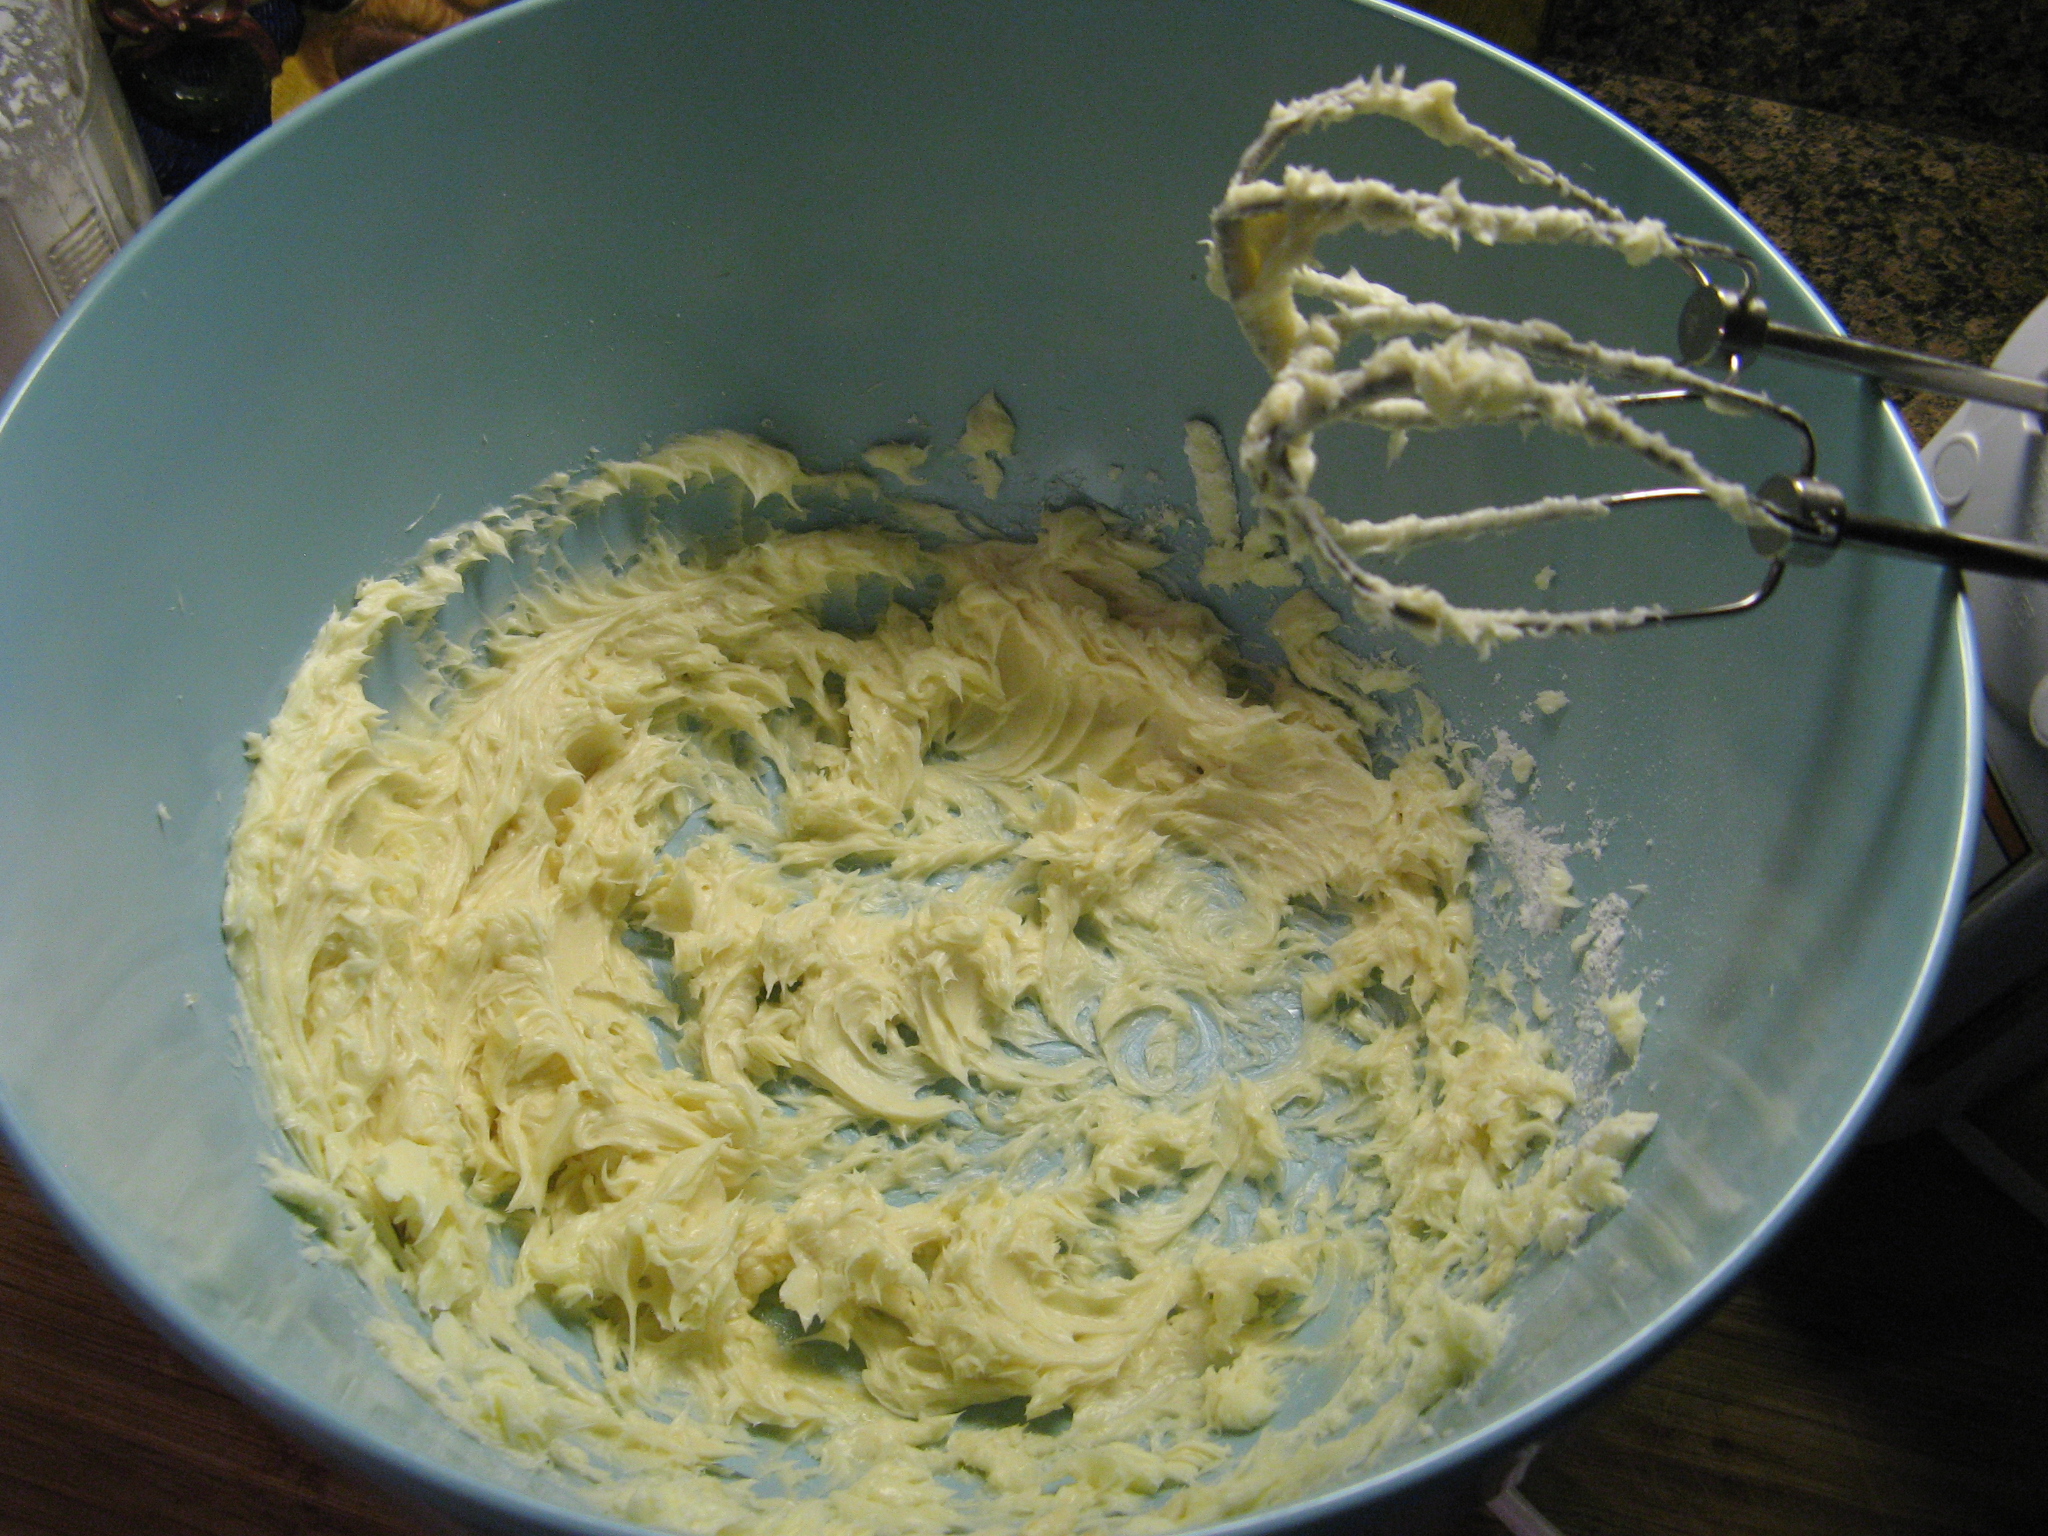
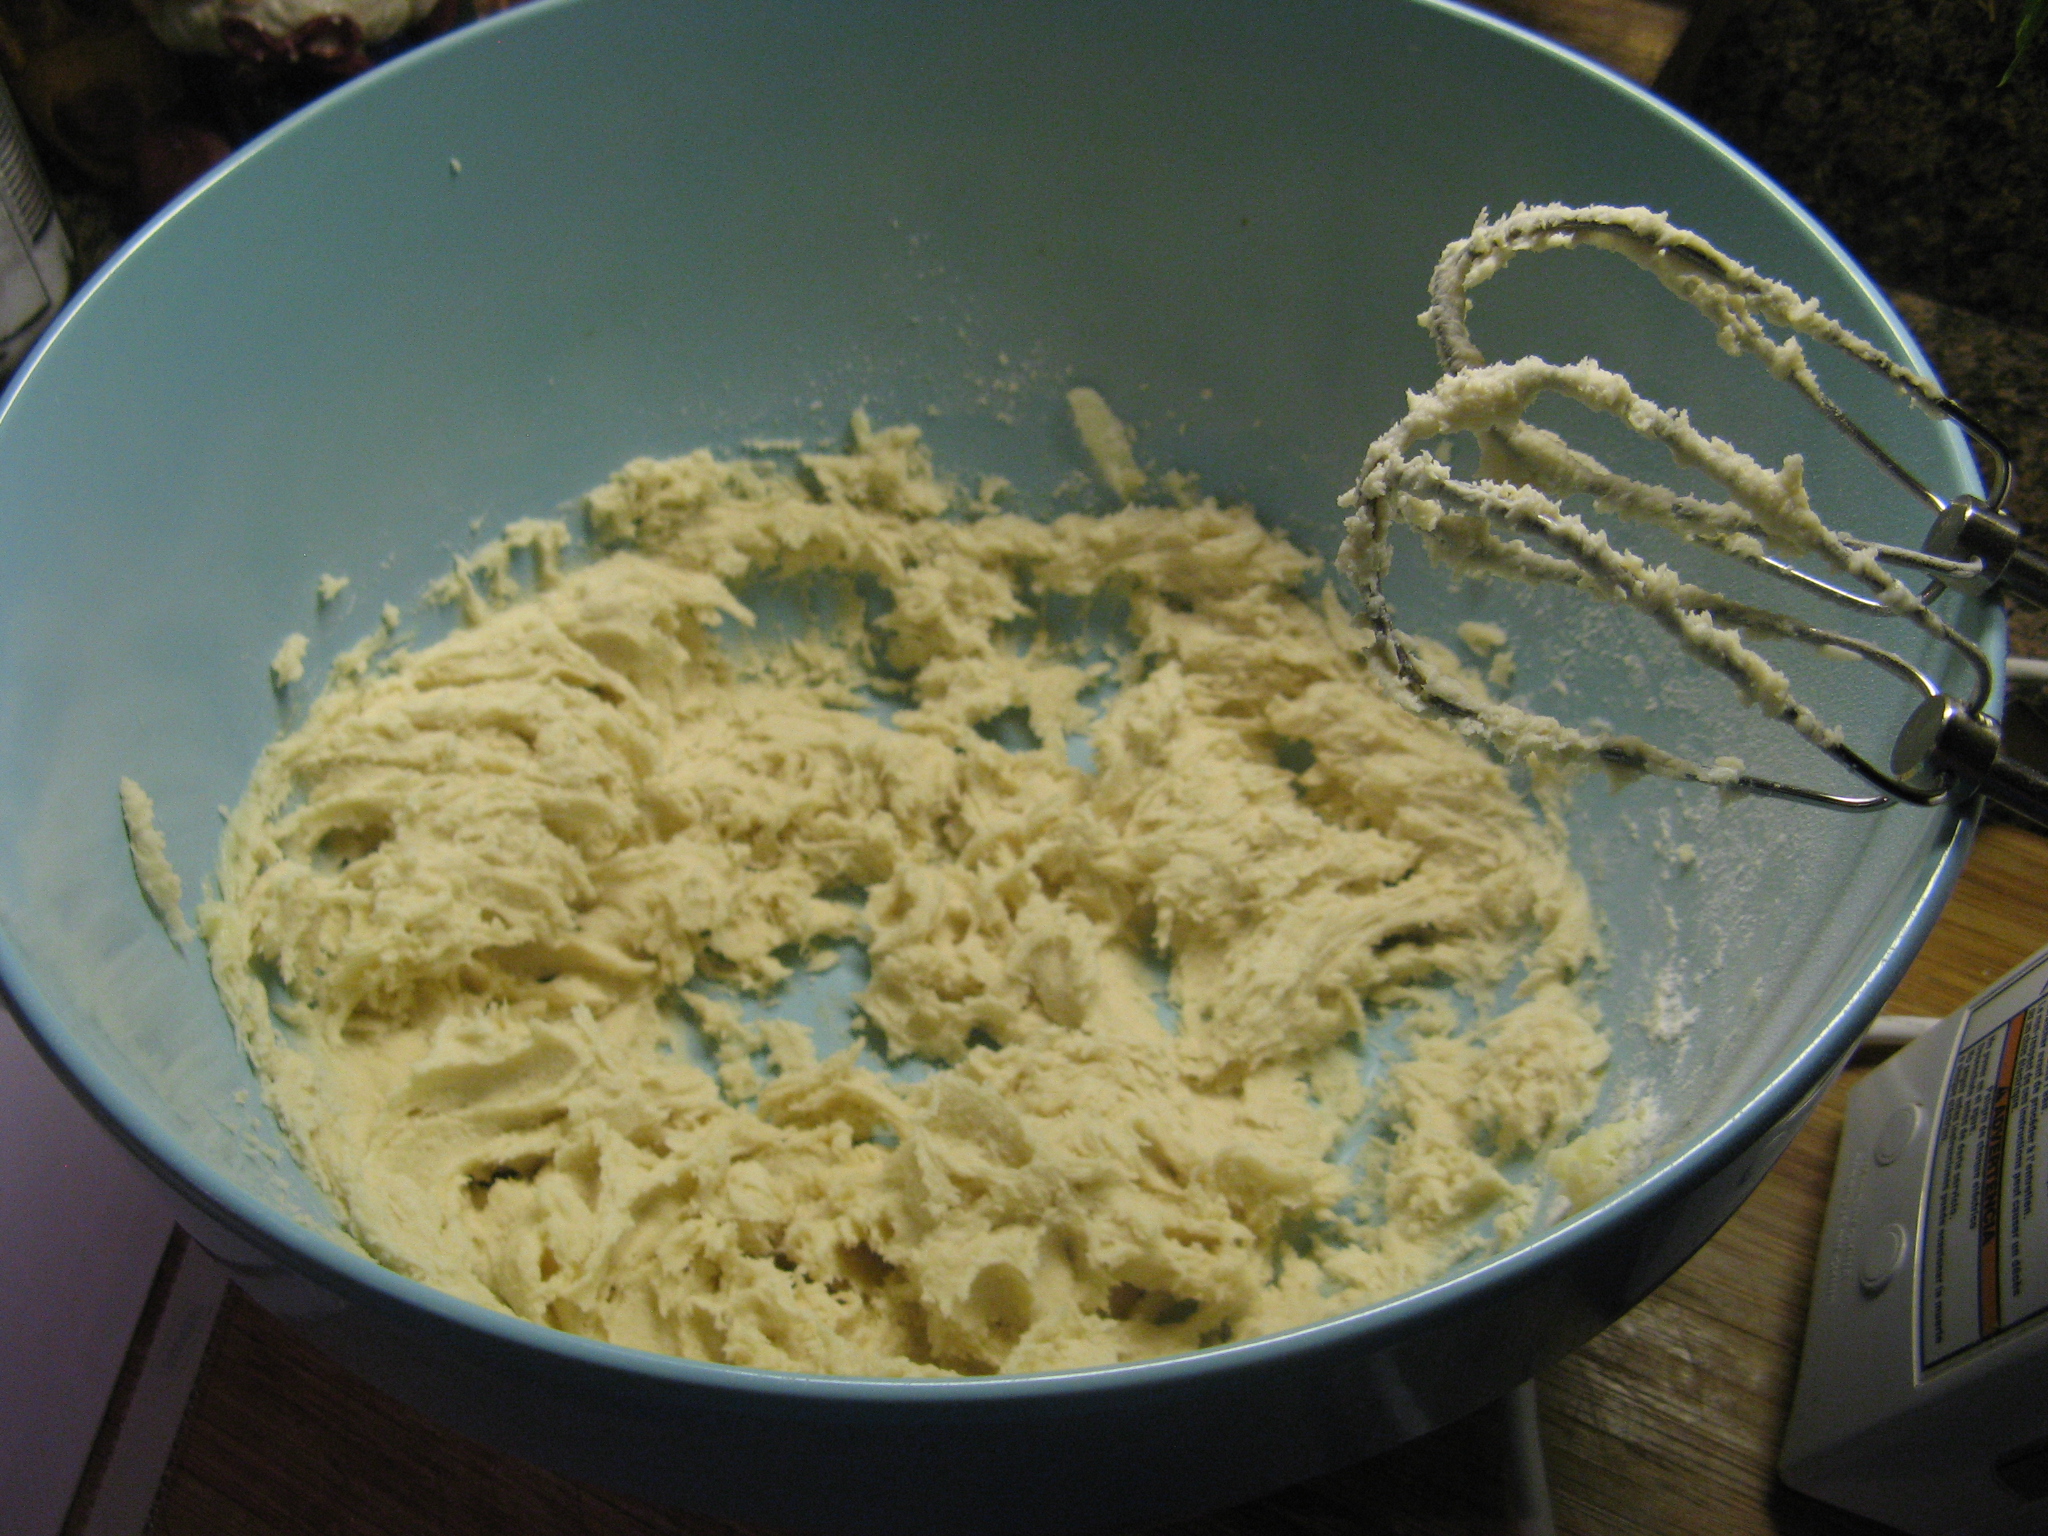
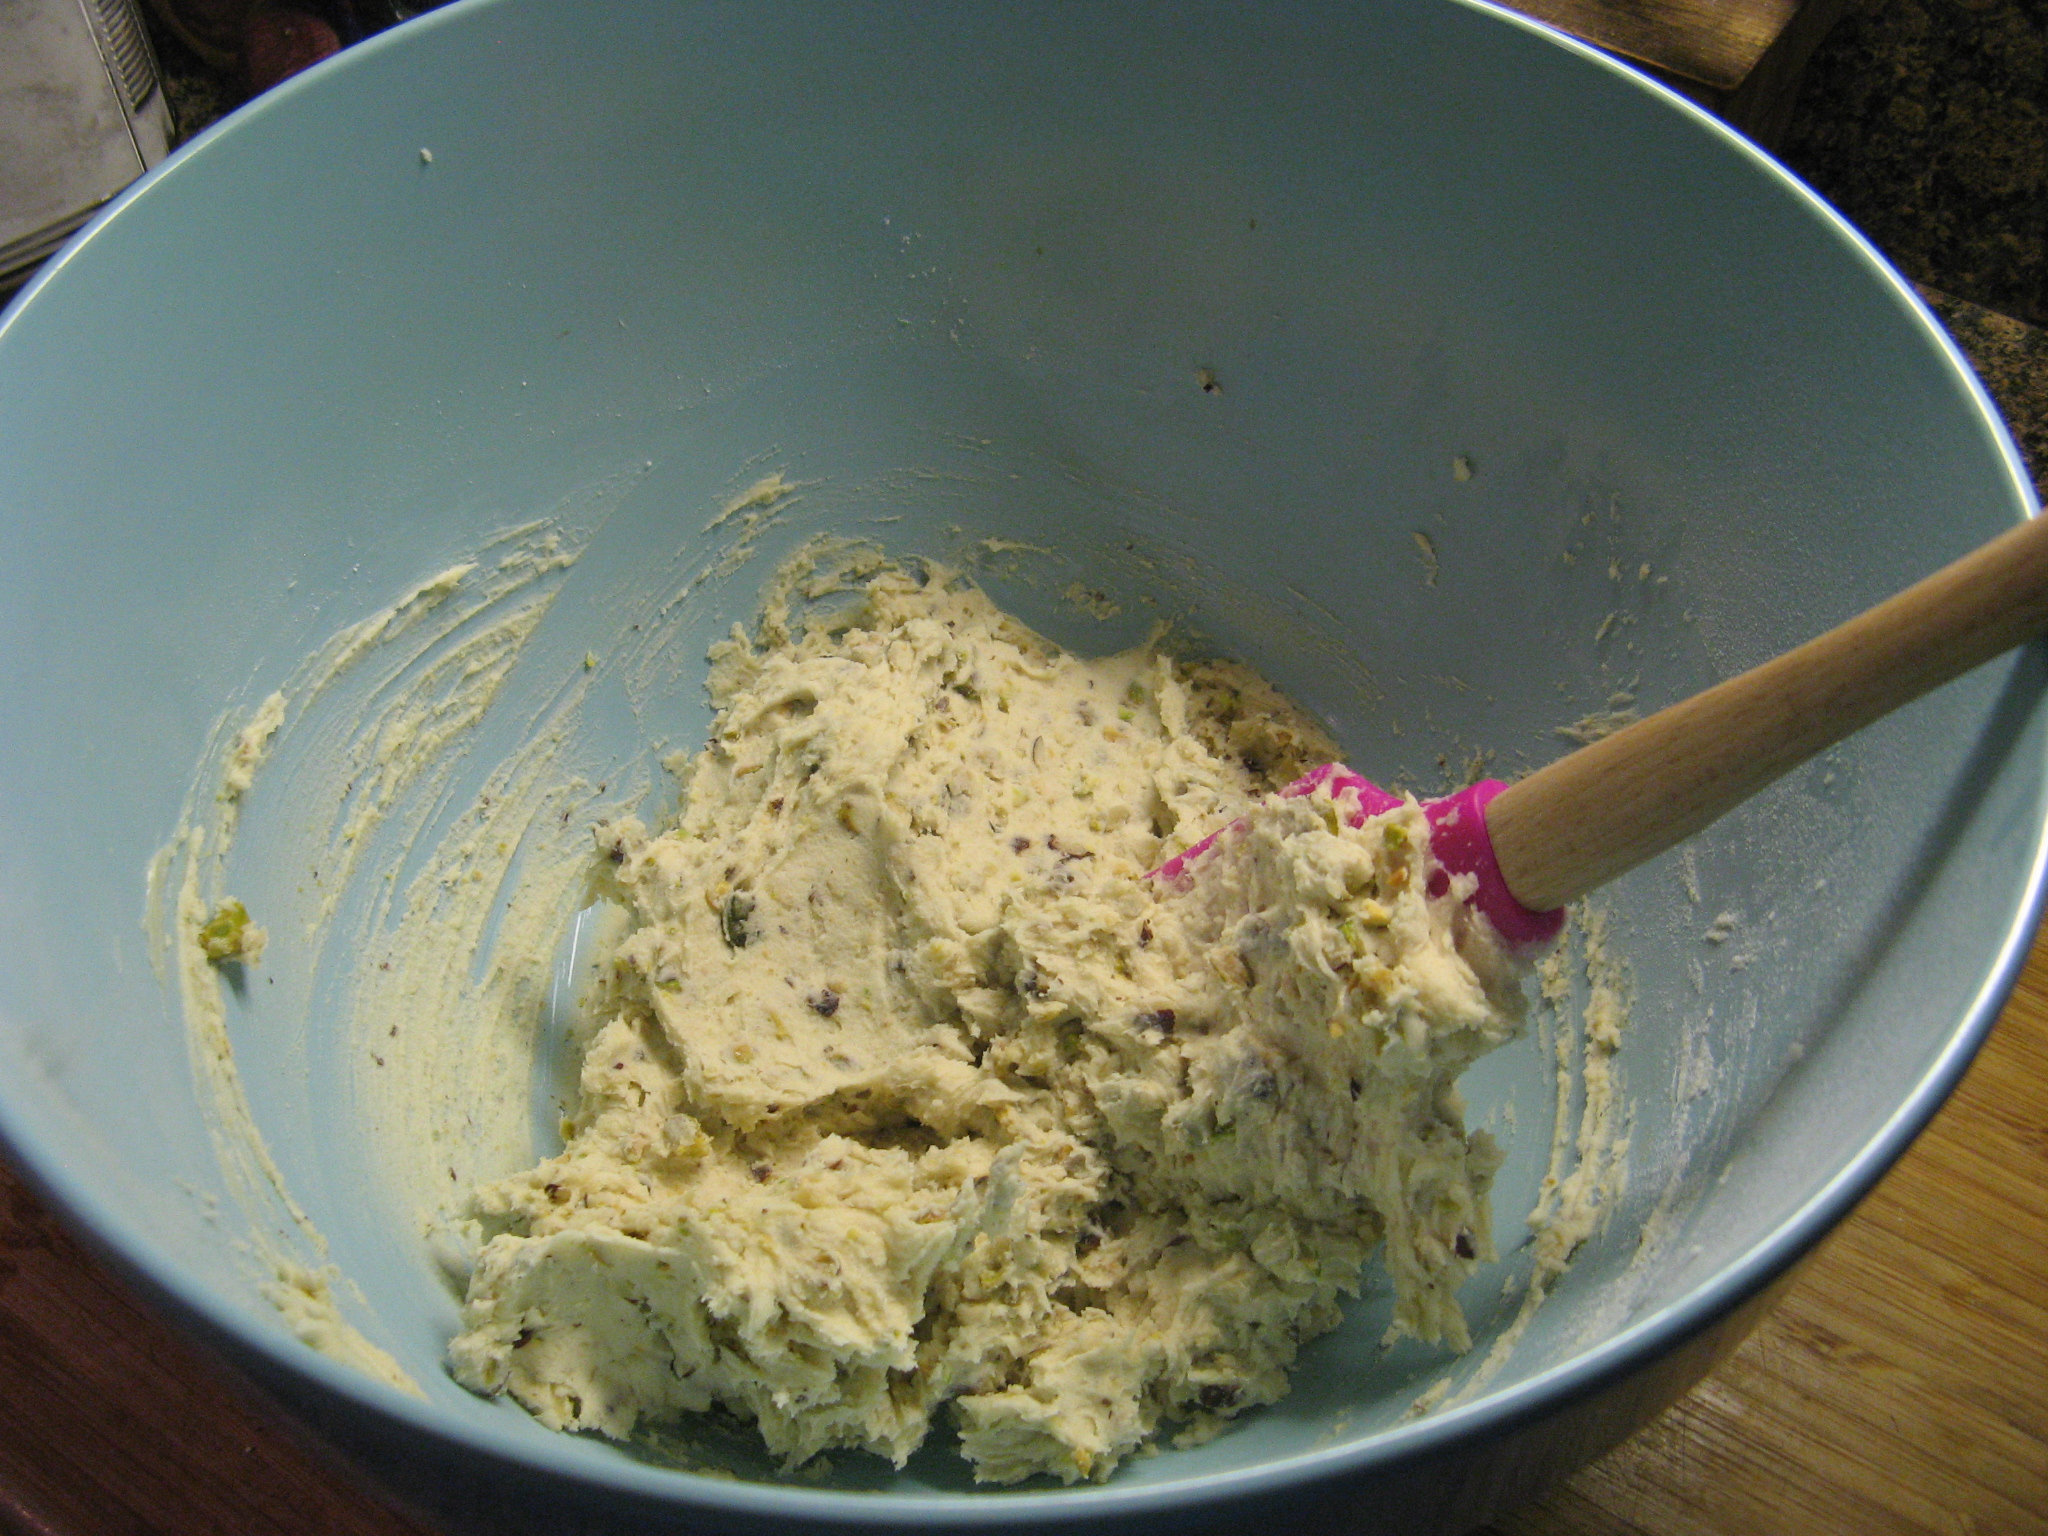
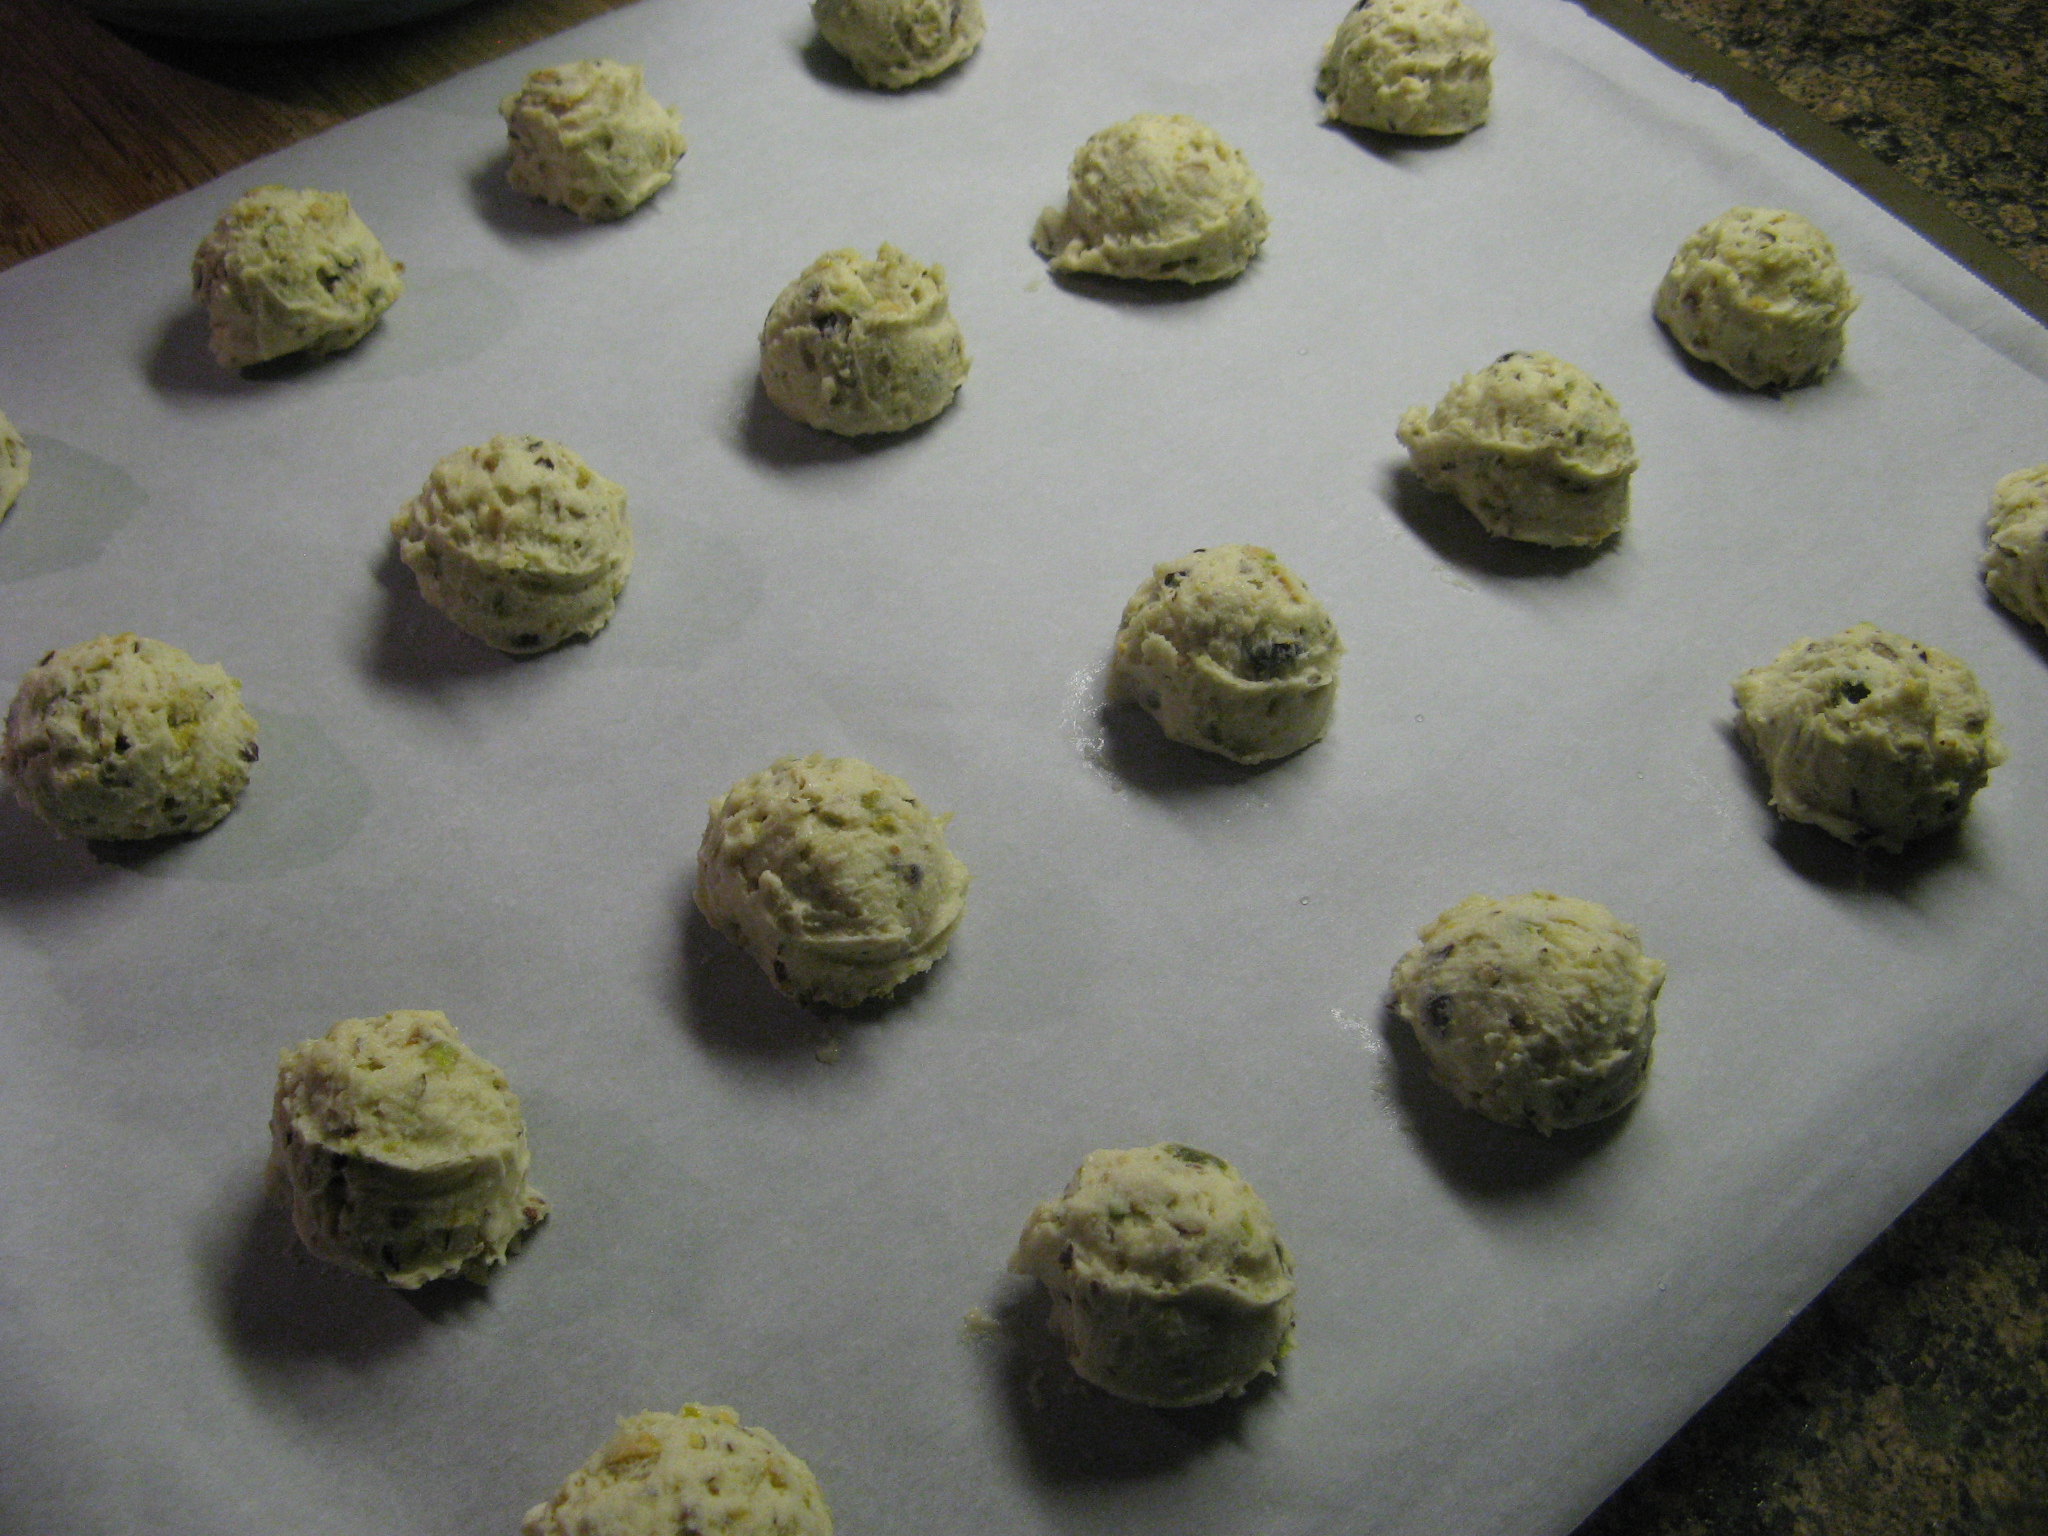
For the Cookies: Preheat the oven to 350 F. Line 2 baking sheets with parchment paper and set aside. In a large bowl beat together the butter and sugar with hand mixer on medium speed until light and fluffy. Add in the egg yolks and vanilla extract and continue beating until well incorporated. Finally, add the flour and salt and continue beating until the dough forms. Scoop tablespoons of the dough, roll into a ball and drop onto the prepared baking sheets 2 inches apart. Using the bottom of a round teaspoon (or your thumb) press into the center of each ball. Bake in the preheated oven for 12-14 minutes. If necessary, press the center of the cookies down again after removing them from the oven. Transfer to a wire rack to cool completely.
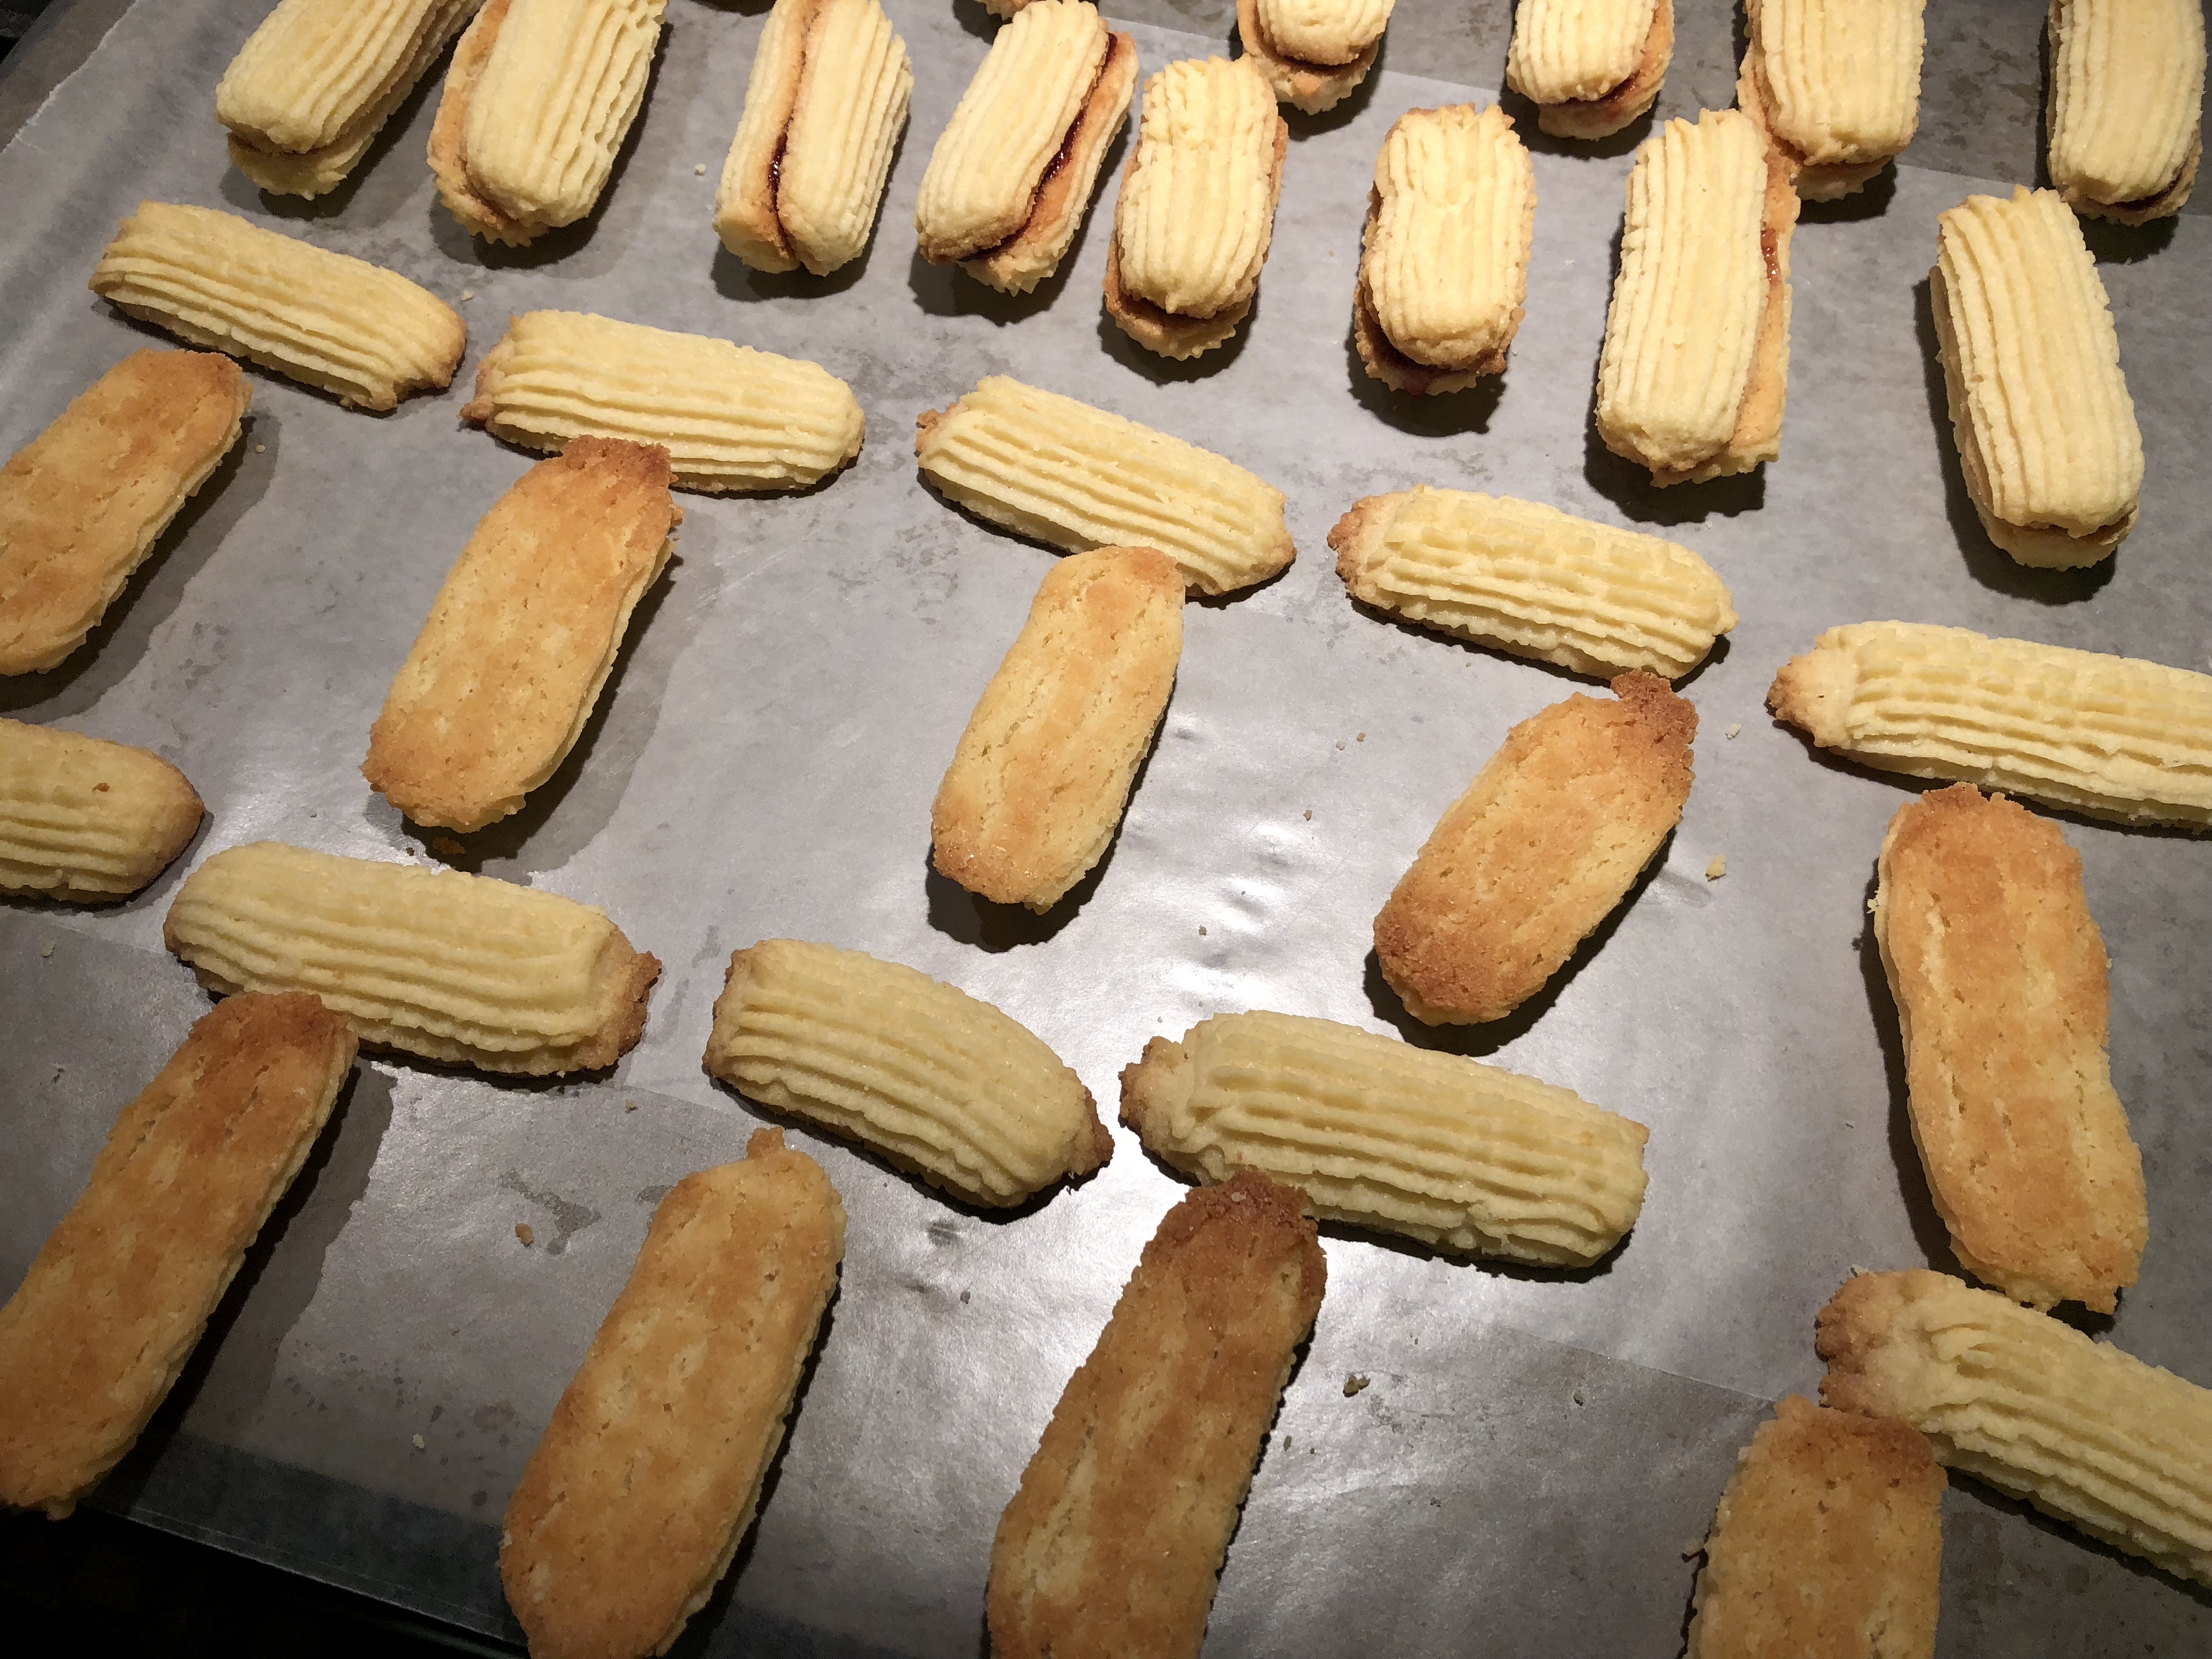
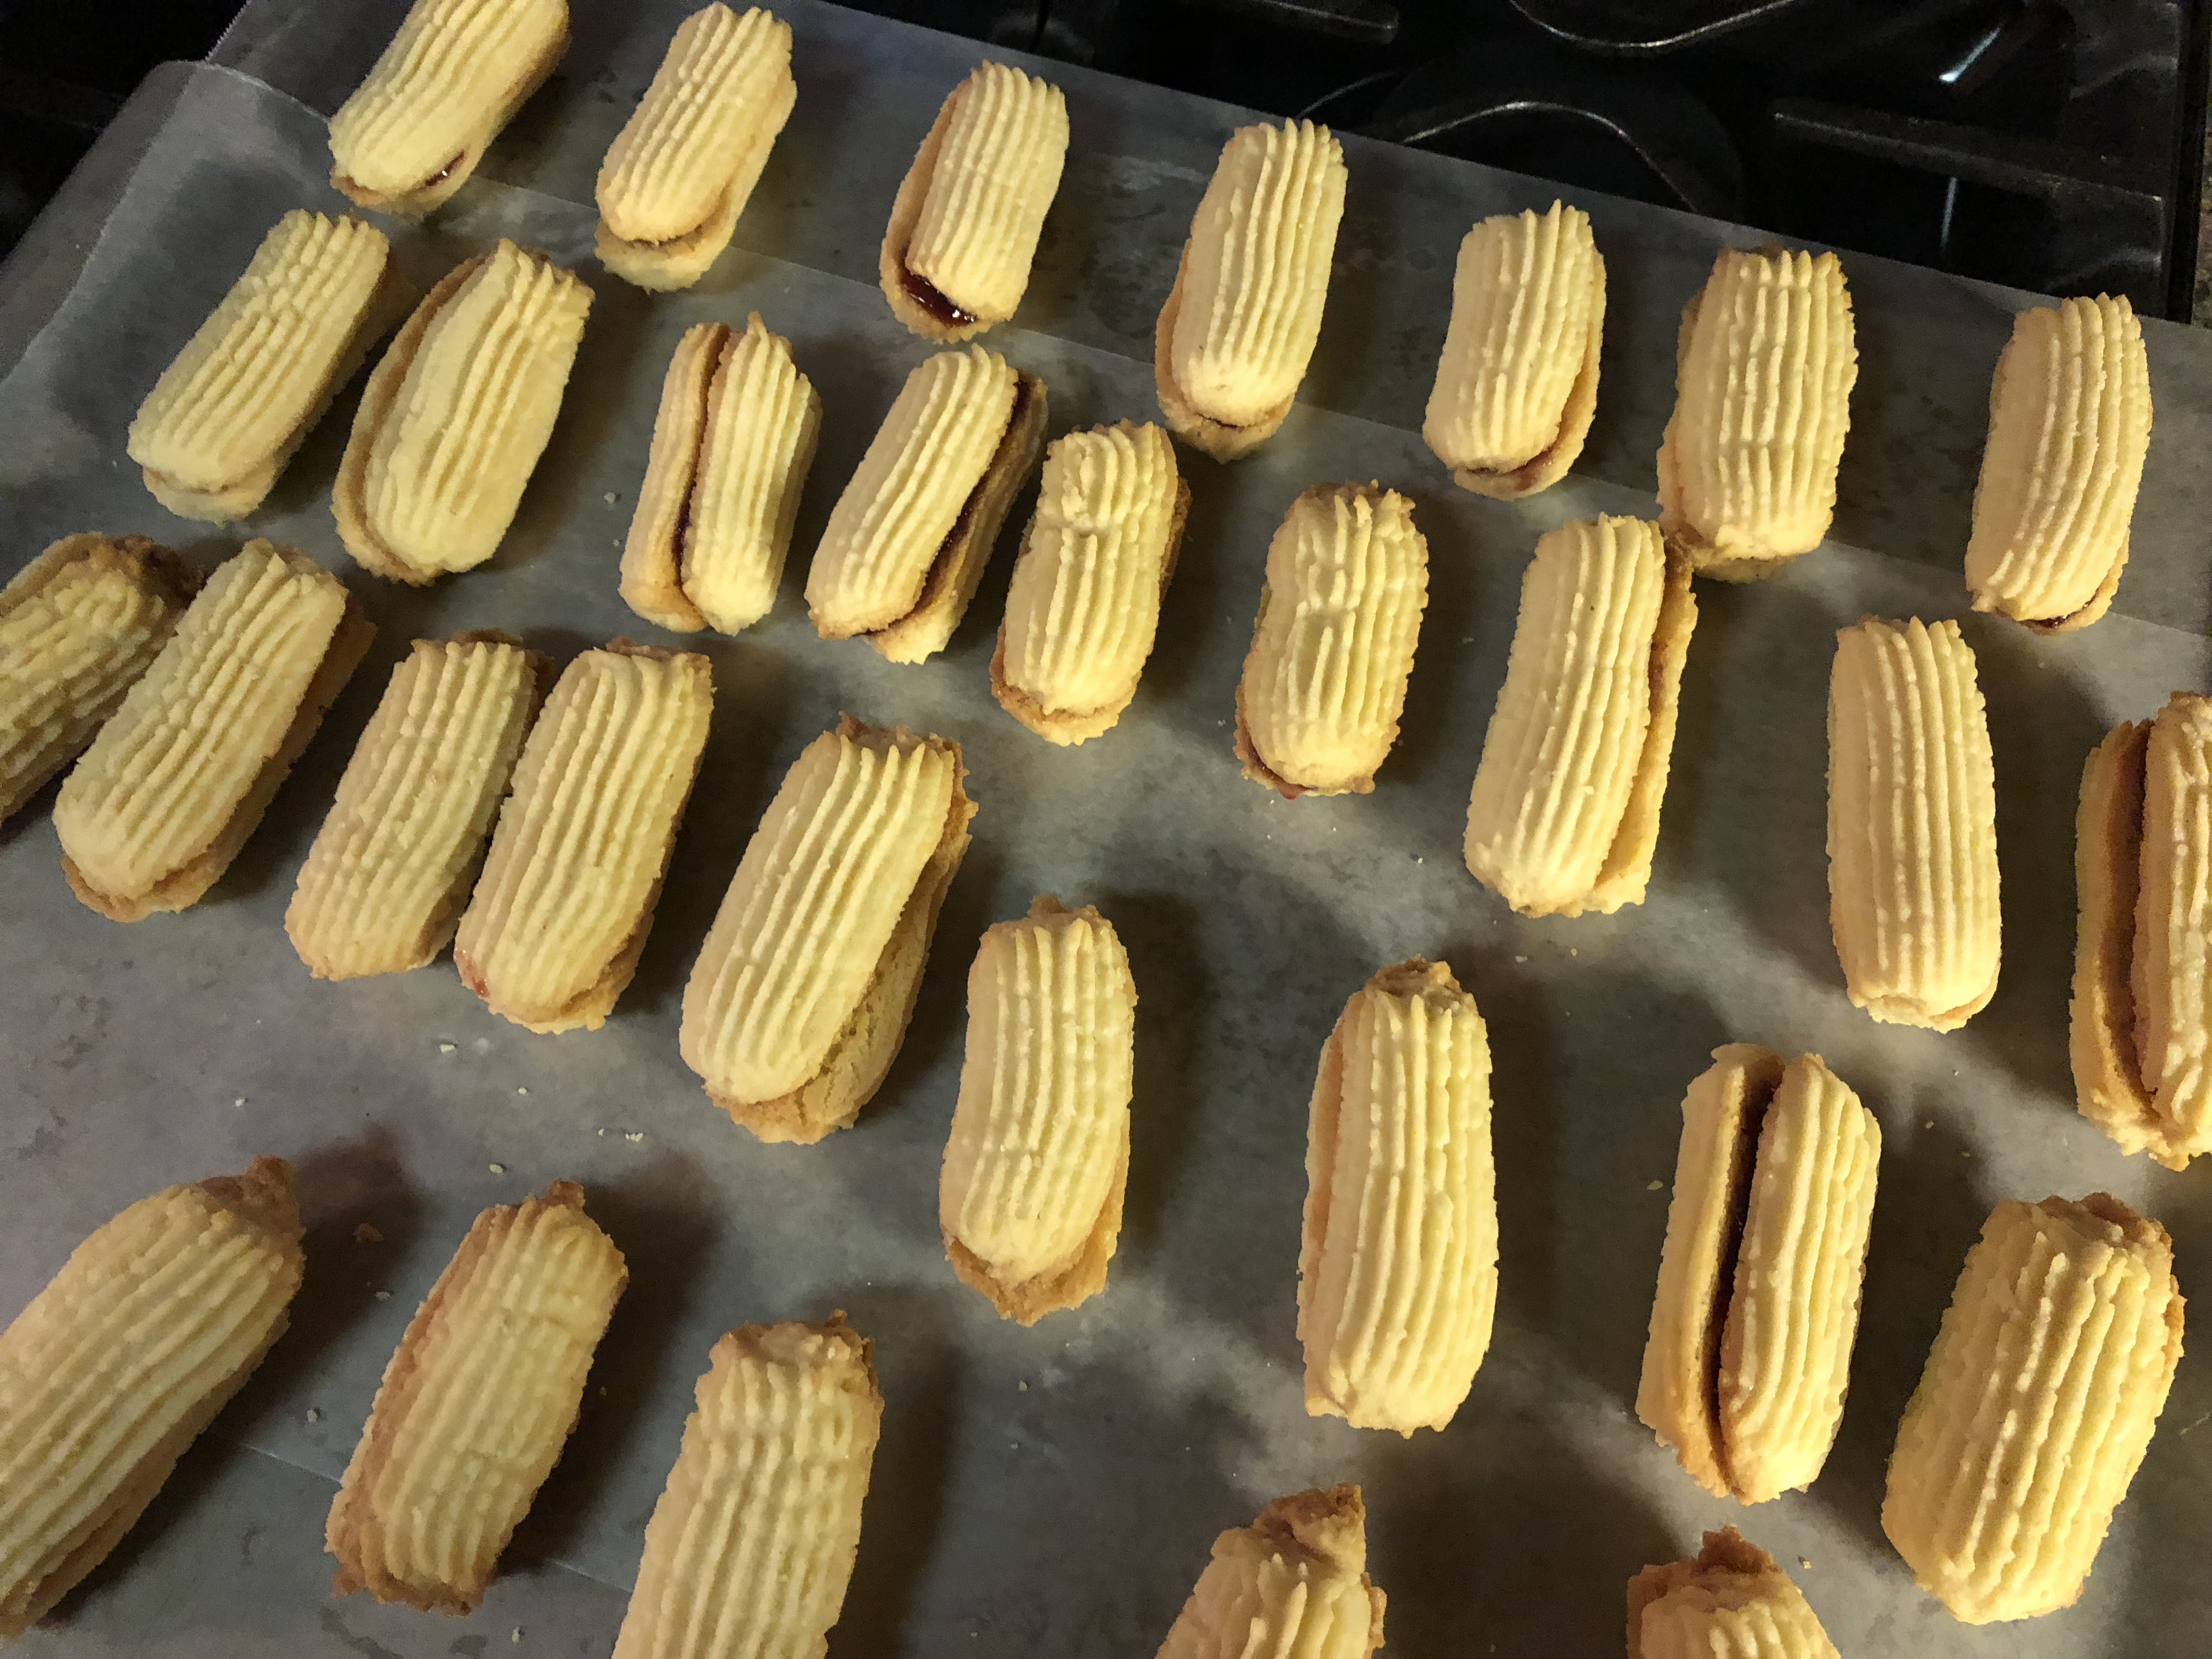
For the Caramel Filling: In a small saucepan melt the caramels with the heavy cream on medium low heat until smooth, stirring occasionally. Fill each cooled cookie with a teaspoon of caramel.
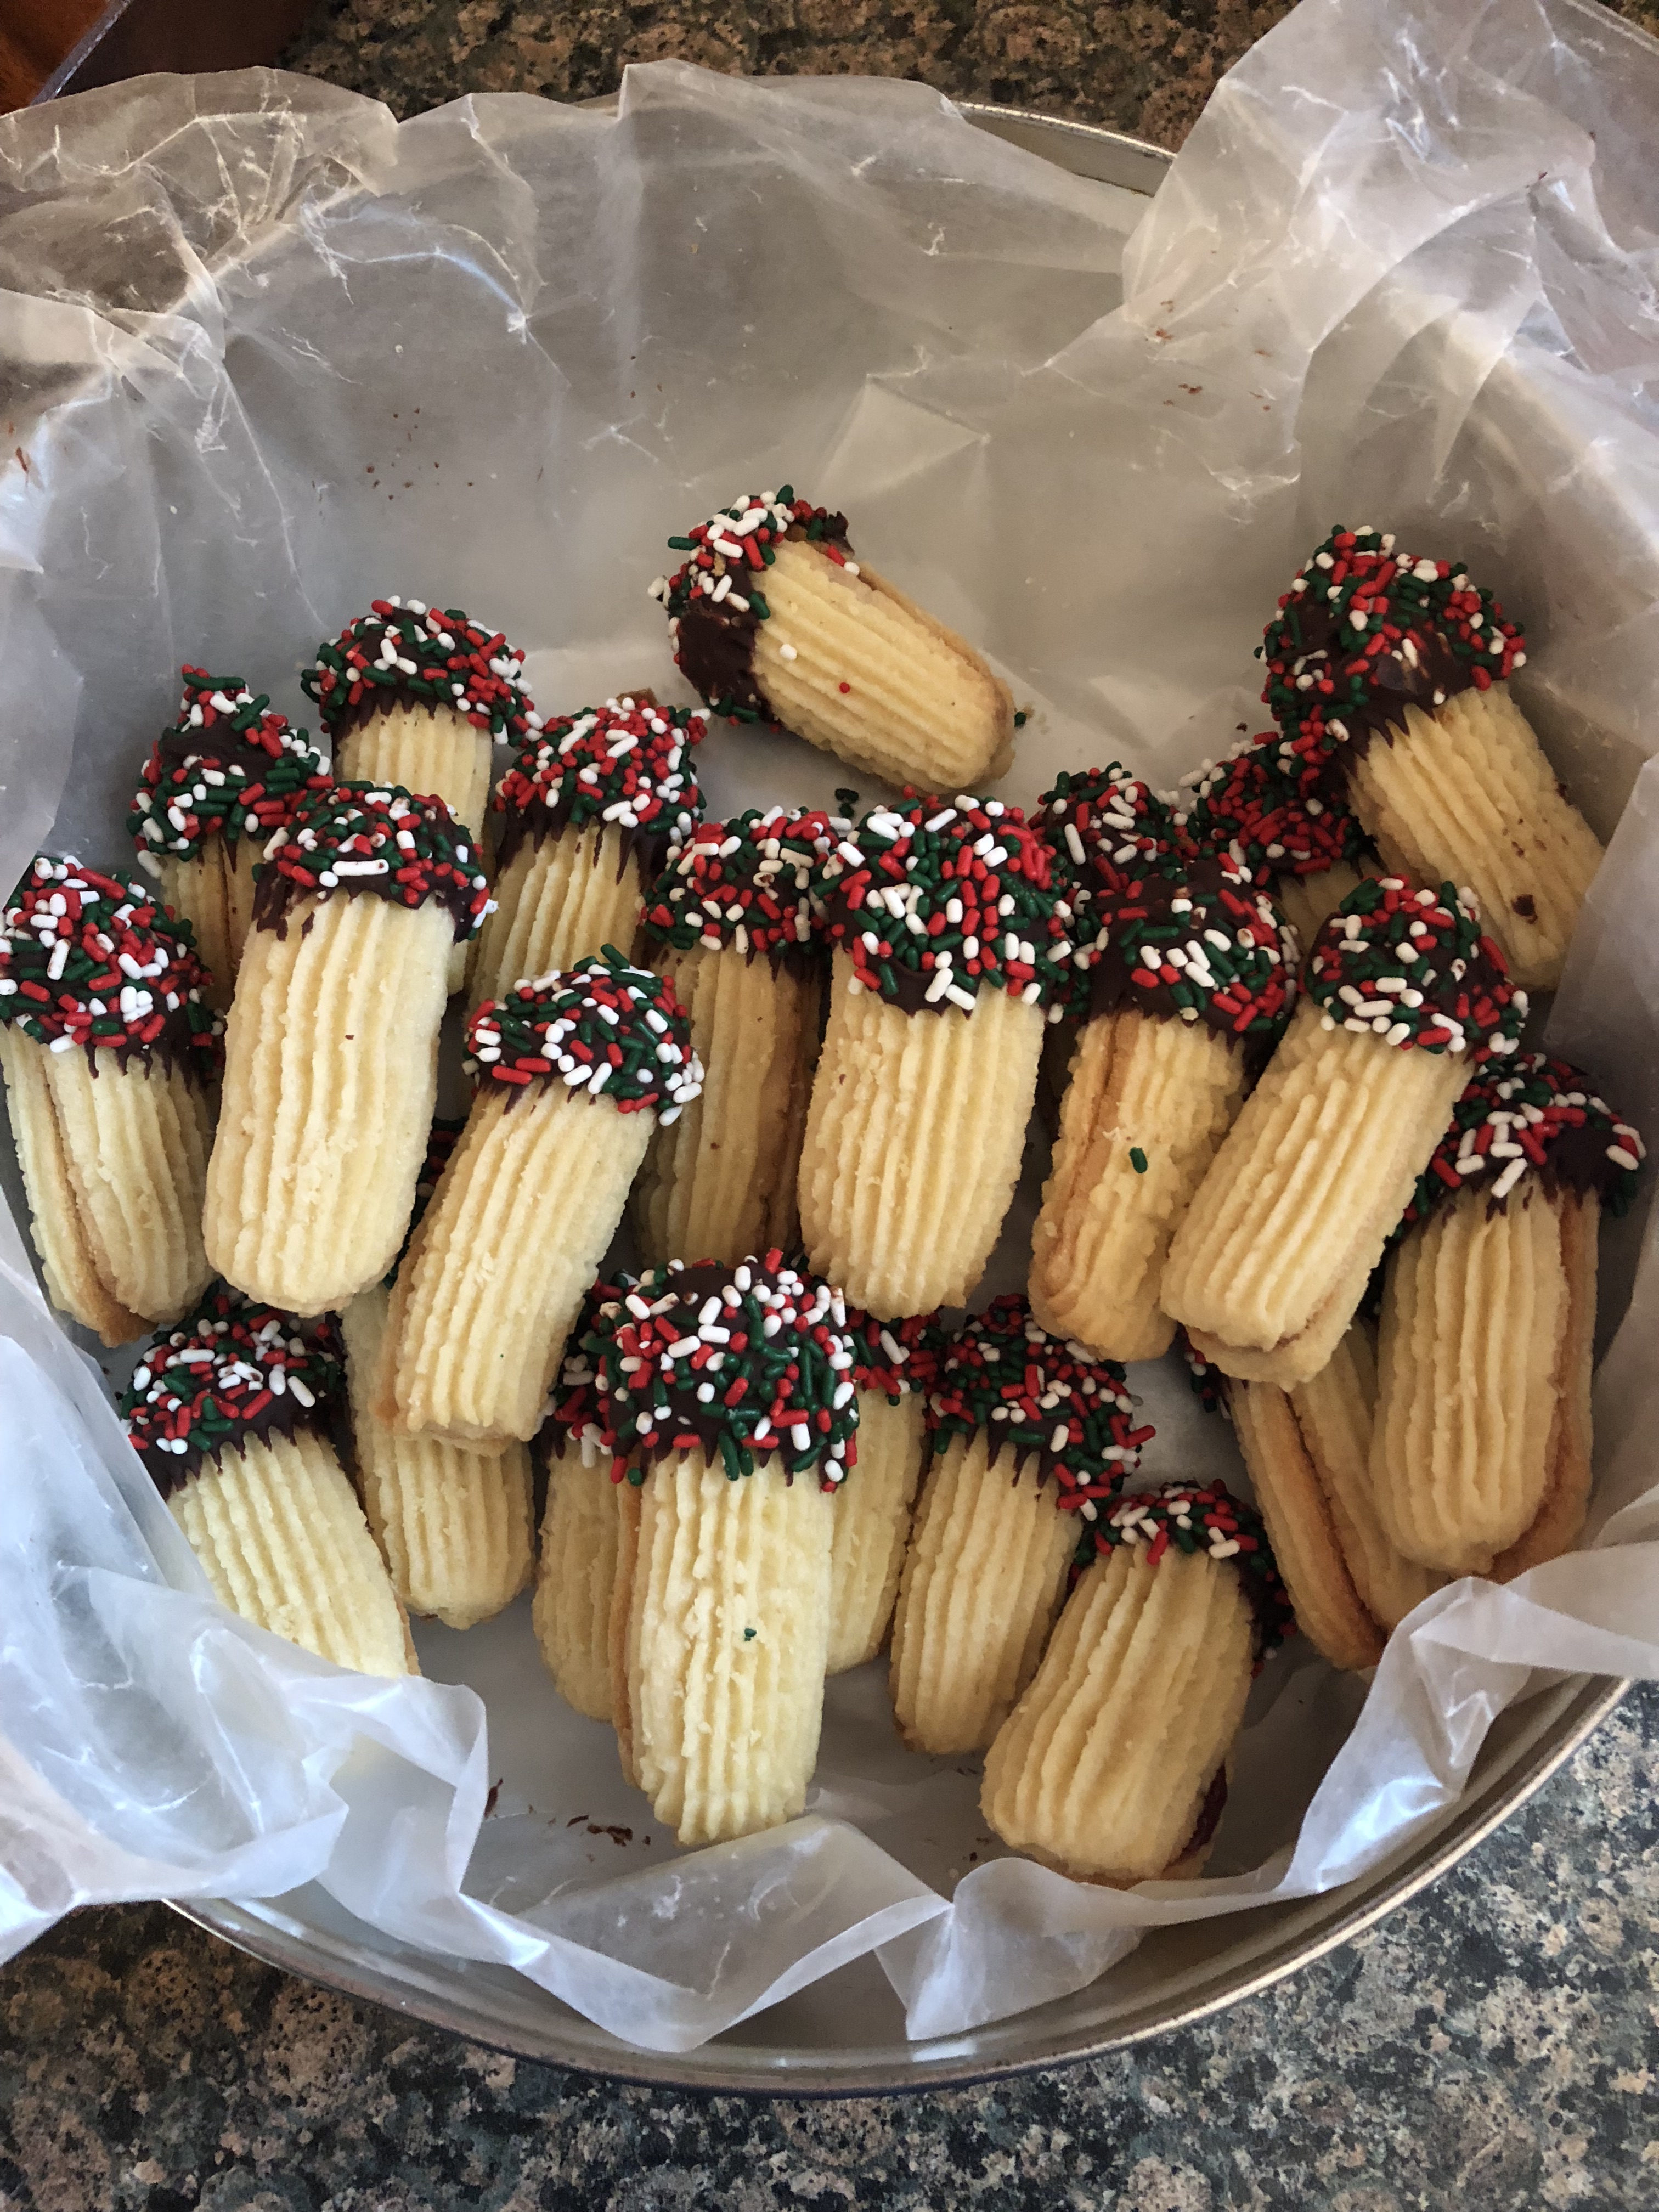
For the Chocolate Drizzle: Melt the chocolate chips in a small saucepan on the stove or in the microwave in 20 second intervals, stirring between each. Transfer the melted chocolate to a piping bag, snip the end and then drizzle over the cookies. Allow the chocolate to set before serving or storing. To speed up the chocolate setting you can place the cookies in the refrigerator for 10-15 minutes.
Recipe first appeared on Bead Yarn & Spatula