It’s Day 3 of Cookie Palooza and once again I am bringing you a cookie that looks difficult to make but really isn’t, a Checkerboard Cookie. Normally I avoid making slice and bake cookies. Mine never end up looking like a perfect circle, but more like an oval. They taste good, but, the shape is off. I prefer drop cookies and occasionally I will make roll-out cookies. But, I am trying to step up my baking and challenge myself a little more and figure out ways to overcome the pitfalls that I encounter when I try different things in the kitchen. Sounds a little silly since I am just talking about simple cookies, but, it’s a good attitude to adopt to face other challenges that life may throw at you. So, I figured these Checkerboard Cookies were a good way to overcome my avoidance of slice and bake cookies. They are simple to make, are pretty forgiving in terms of their shape once sliced and are pretty impressive looking.
To make the dough I combined butter, sugar and vanilla extract and beat it until it was light and fluffy. I then added in flour and an egg and continued mixing until the dough came together. Finally, I divided the dough in half and transferred one half to a piece of parchment paper and left the other half in the bowl I made the dough in. To the bowl I added unsweetened dark cocoa powder and used a rubber spatula to fold the powder into the dough making sure it was fully incorporated and no streaks of the plain dough remained.
Next, I divided the plain dough in half and rolled each piece into a 12-inch log. I did the same with the chocolate dough. I placed one plain log and one chocolate log next to each other on the piece of parchment paper and then placed the remaining 2 logs on top of them alternating the dough. I then wrapped the dough in the parchment paper and rolled it a few times to smooth the dough and to make sure all 4 pieces were pressed together well. Finally I placed the dough in the refrigerator until it was firm, at least an hour.
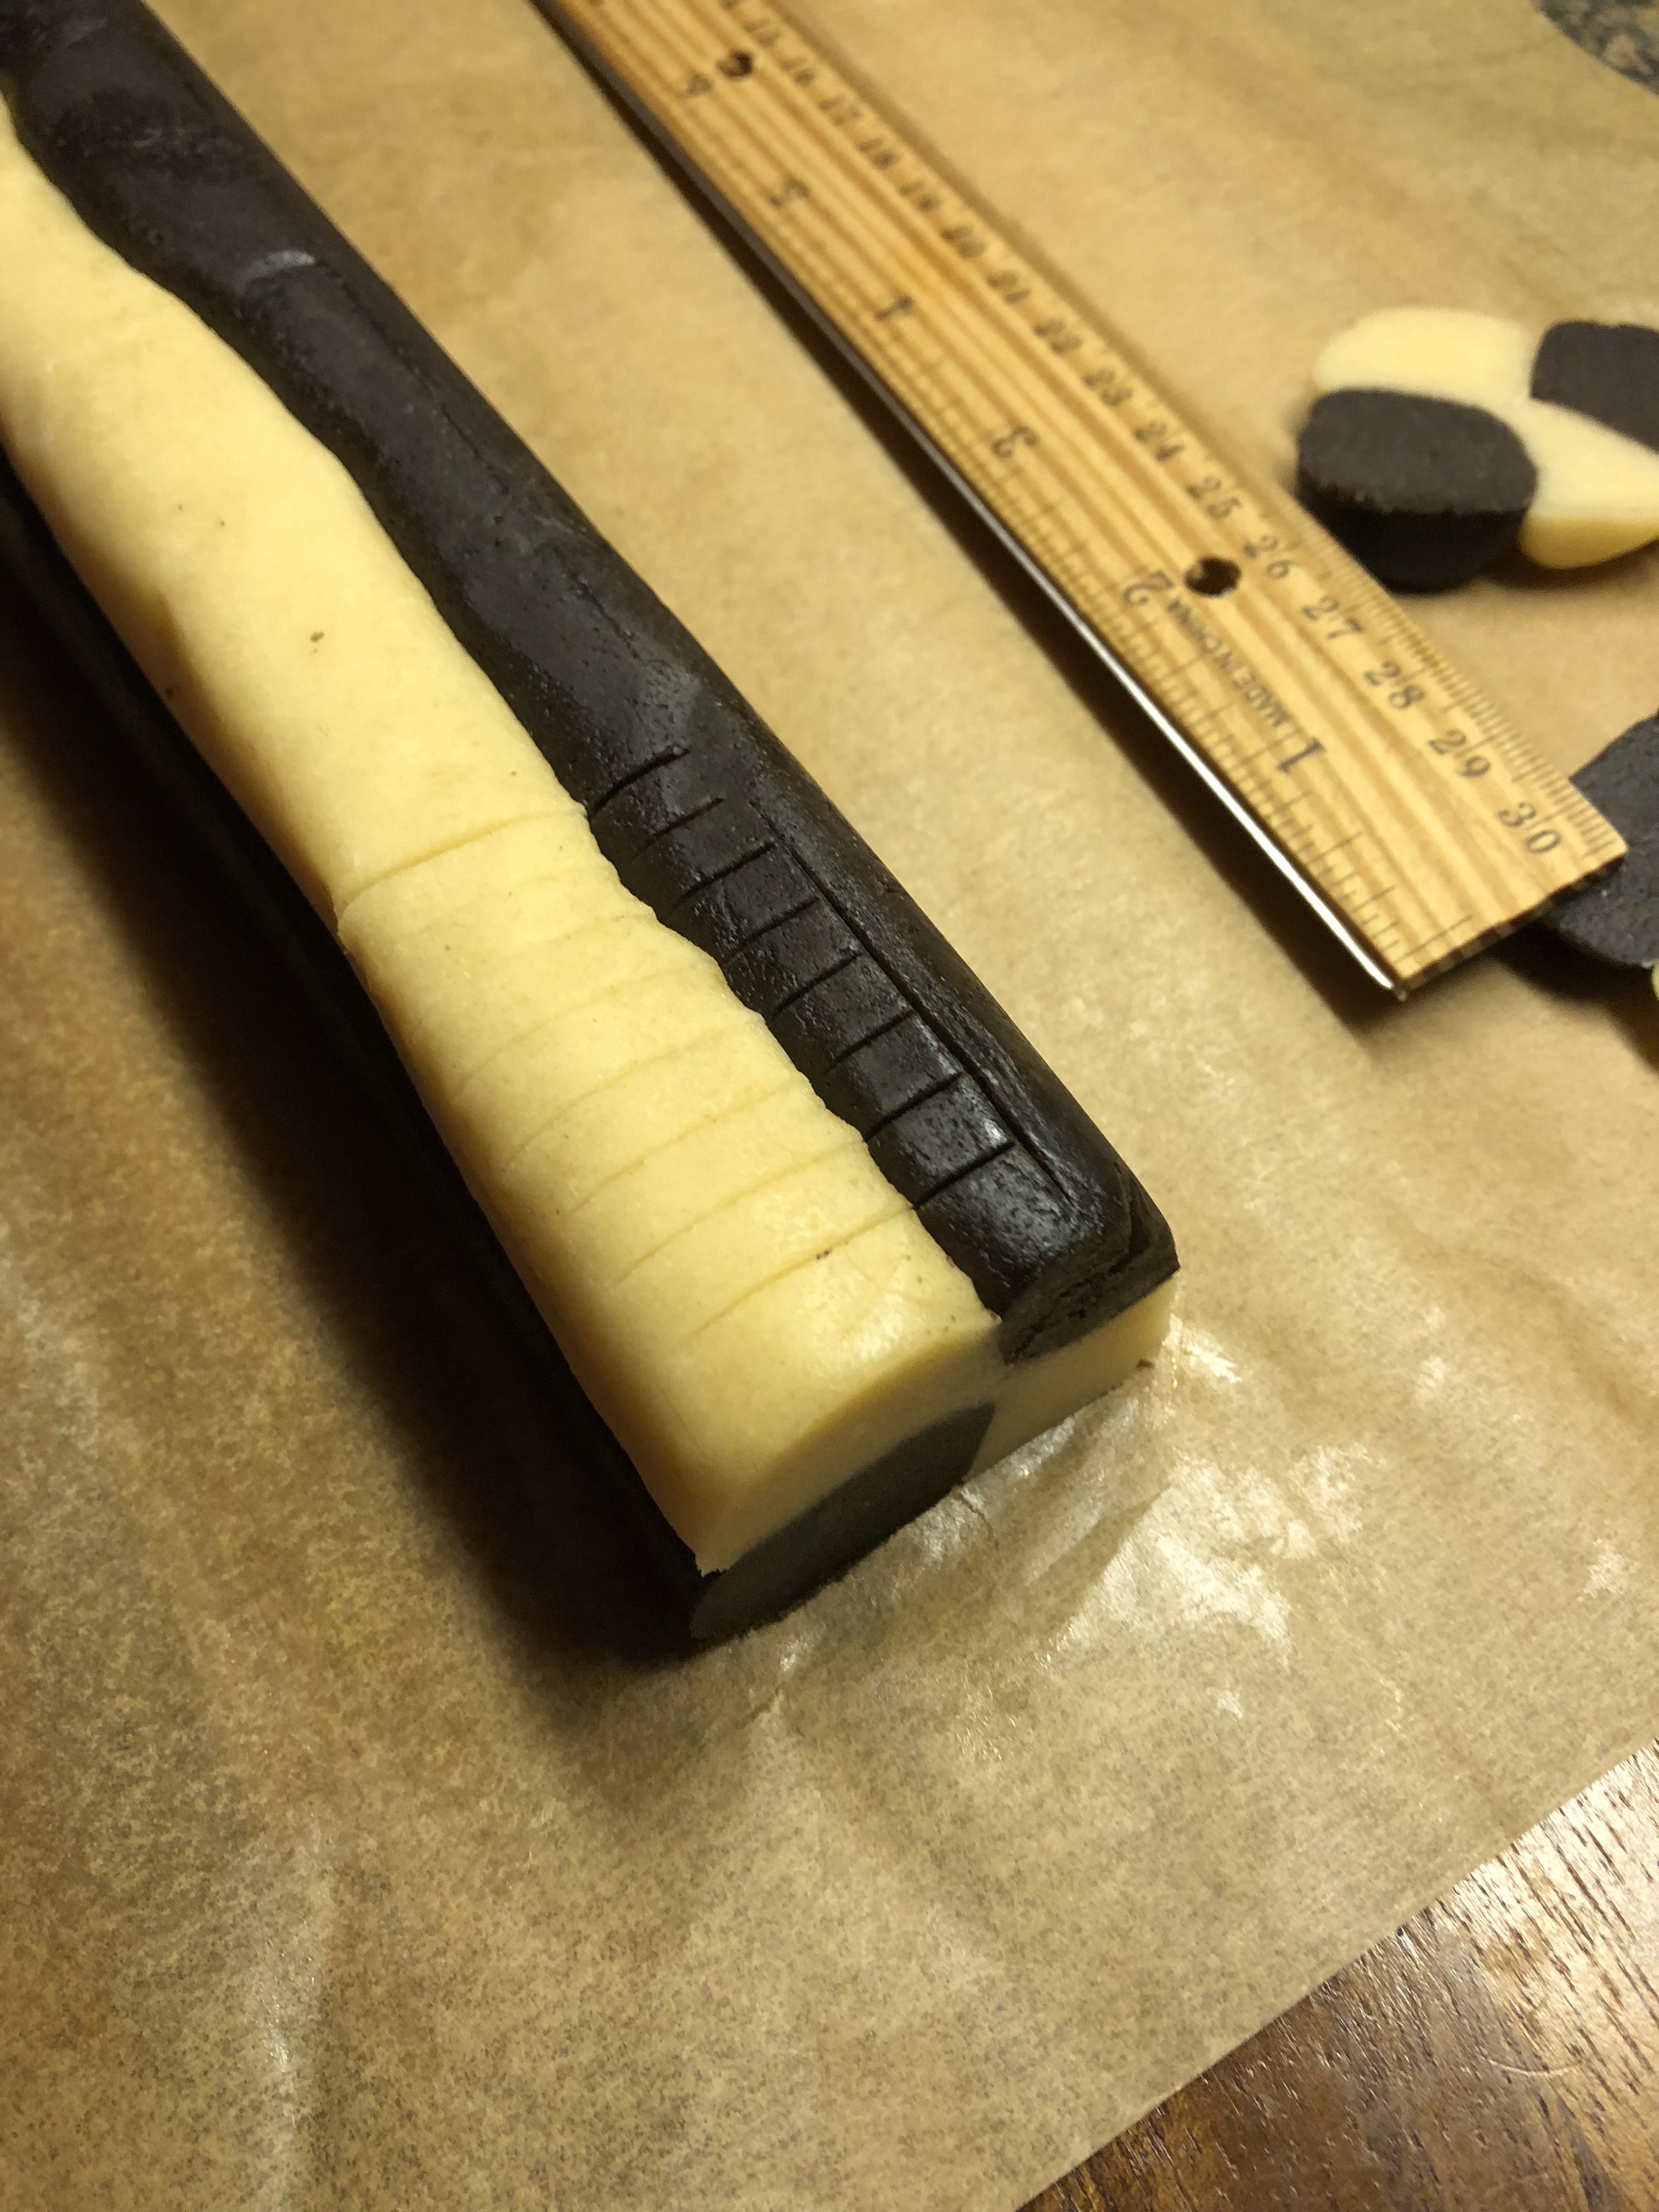
Once firm, I removed the dough from the refrigerator and sliced a small piece from both ends of the log so it would have straight ends. Next, using a ruler and a sharp knife I scored the dough before actually slicing the cookies. You want to work pretty fast as the dough will begin to soften and your slices will become more oval-like than square as the dough warms up. If this happens you can place the dough back in the refrigerator for a few minutes to firm up again, or, simply flip the log so the bottom is now the top.

I placed the slices on a parchment lined baking sheet and placed it in the refrigerator for 10 minutes before baking in a 350 F preheated oven for 12 minutes.
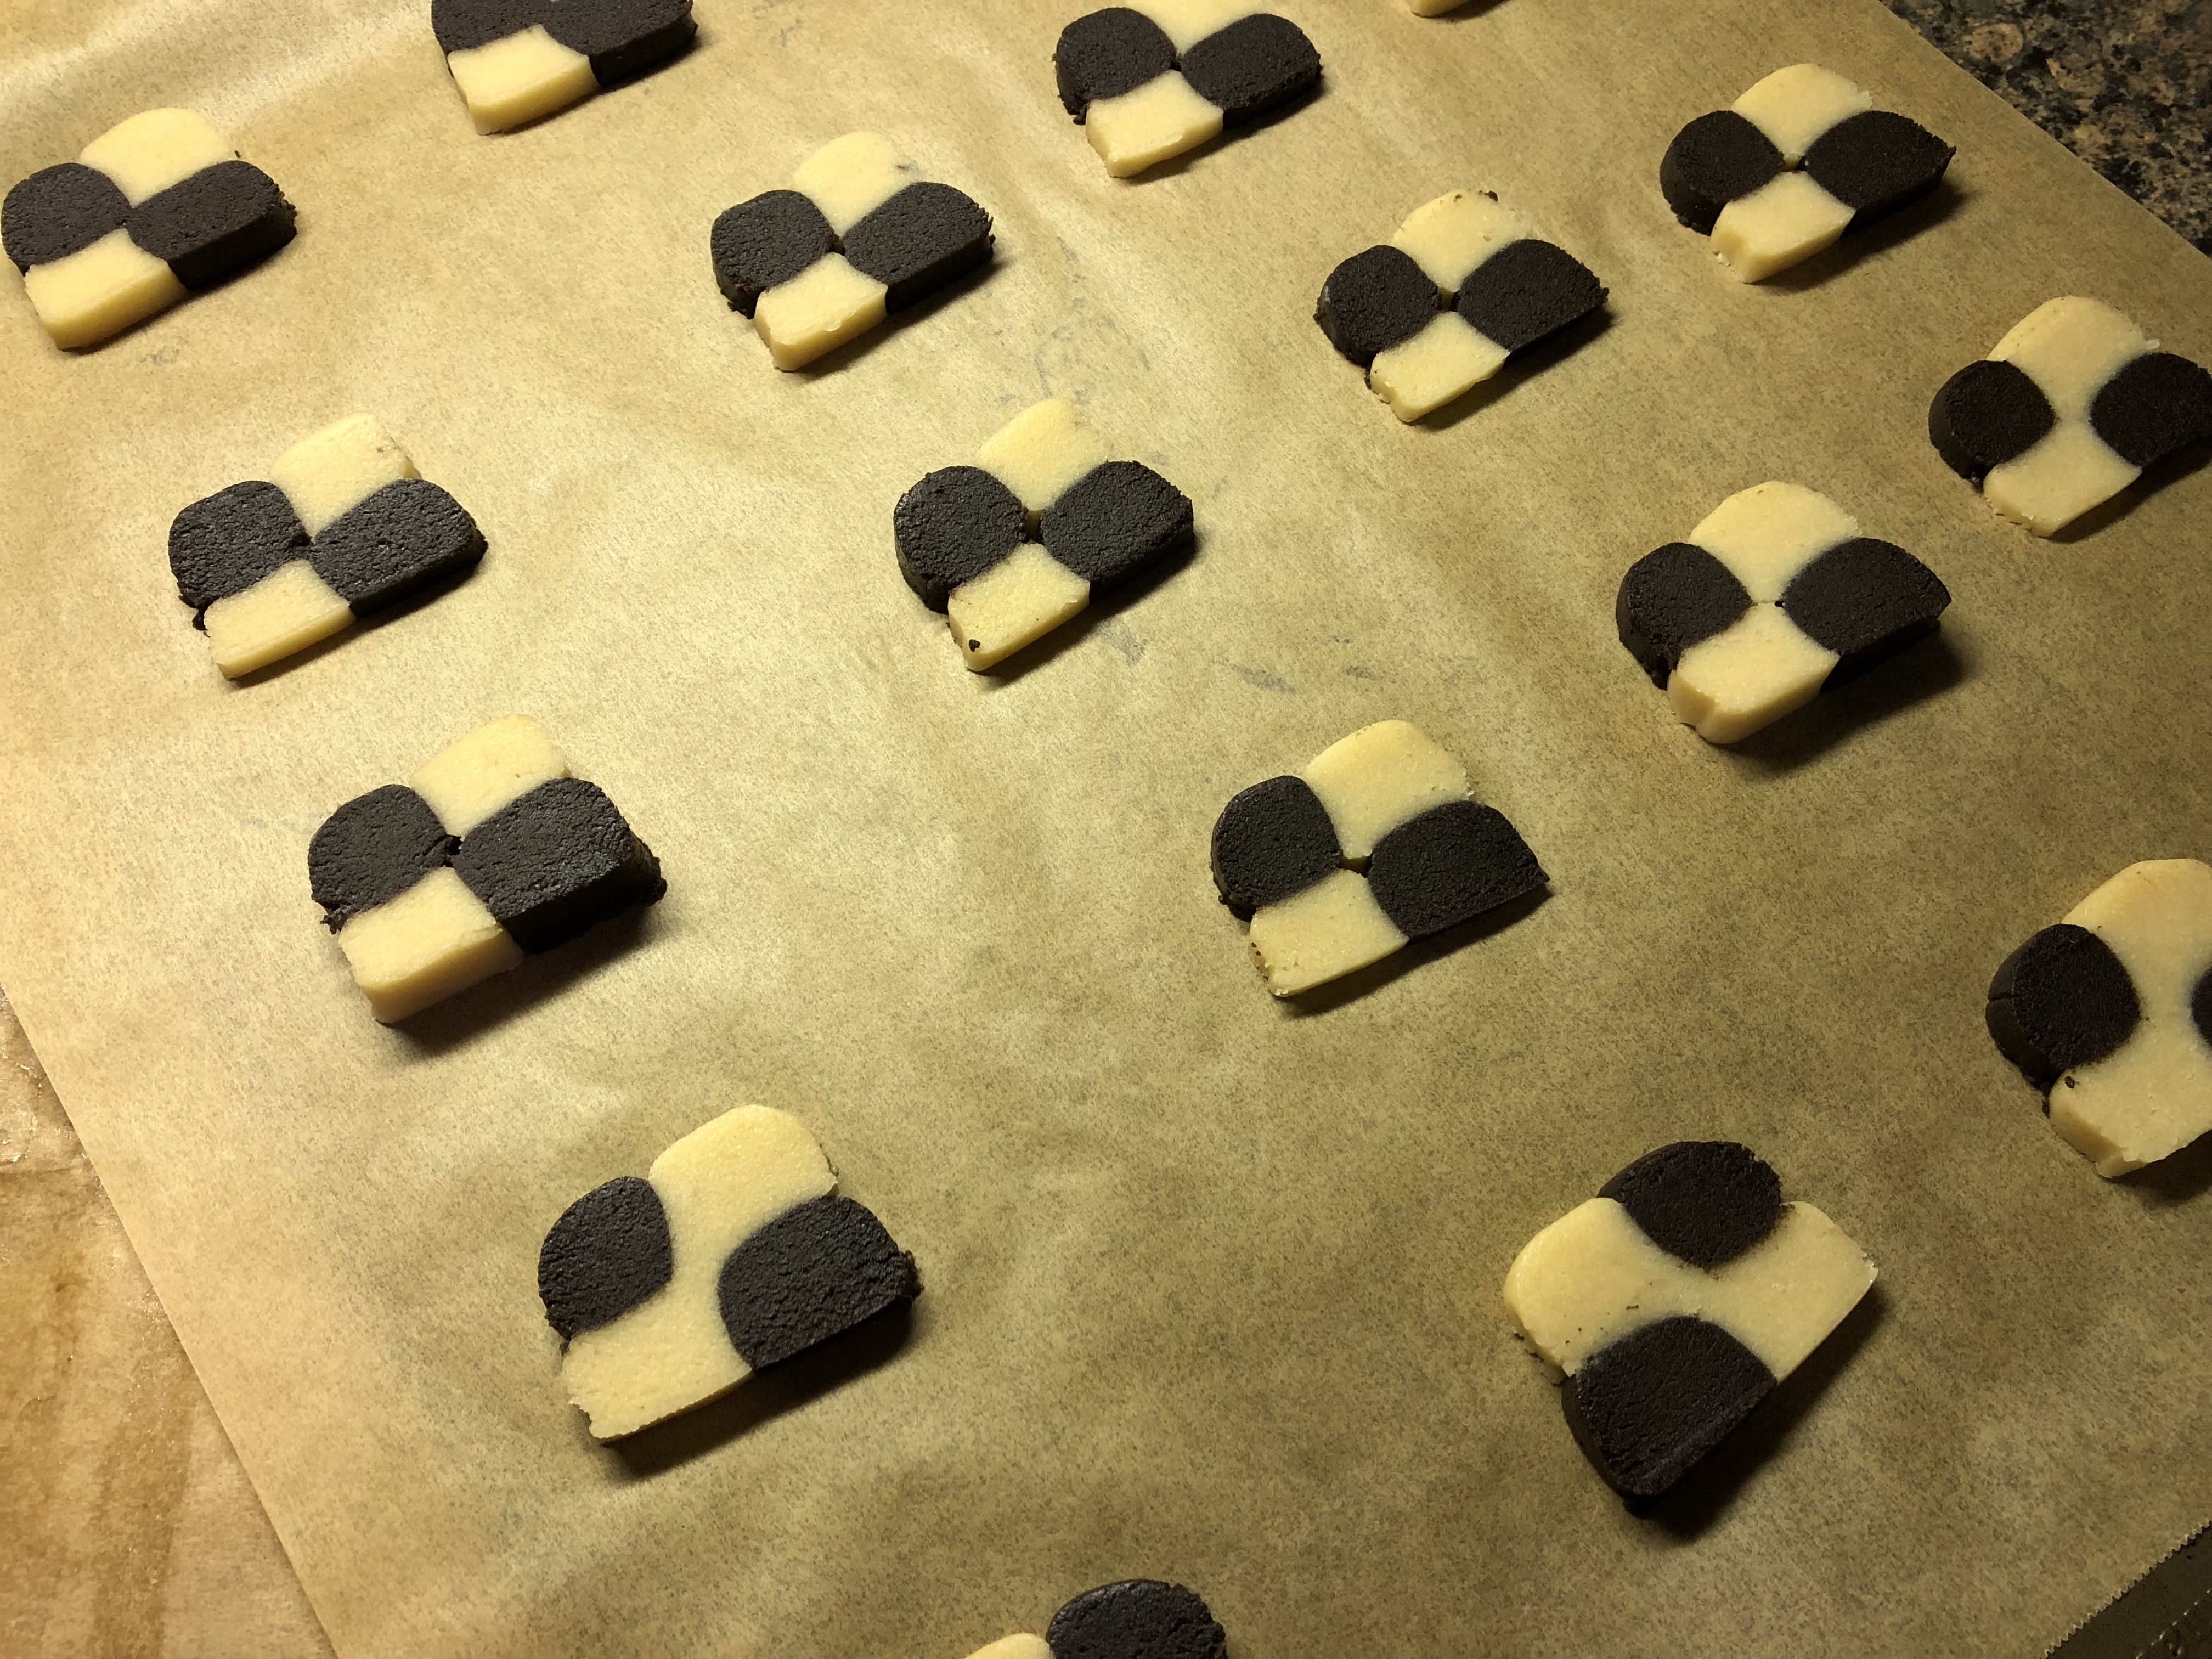
While some of my cookies didn’t have a perfect checkerboard look to them – partly because each of my logs wasn’t the same width – they did taste delicious and the shape wasn’t completely off. These would be a nice addition to any cookie platter you are making this holiday season. Here’s a fun idea, instead of mixing half of the dough with cocoa powder you could tint one half of the dough red and the other green for a real festive checkerboard cookie!

Checkerboard Cookies
Ingredients:
1 stick of unsalted butter, at room temperature
3/4 cup sugar
1 teaspoon vanilla extract
1 3/4 cups flour
1 egg
2 tablespoons unsweetened dark cocoa powder
Directions:
In a large bowl beat the butter, sugar and vanilla extract with a hand mixer on medium speed until light and fluffy, about 2 minutes.
Sift the flour 3 times and add half of it to the butter mixture, beating until just combined. Add the remaining flour and the egg and beat until combined, about 2 minutes.
Divide the dough in half and transfer one piece to a sheet of parchment paper. Leave the other half in the bowl and add in the cocoa powder. Using a rubber spatula, fold the dough and cocoa powder together until no streaks of the plain dough remain.
Divide each piece of dough (plain and chocolate) in half. Roll each of these pieces into a 12-inch log. Place one plain and one chocolate log next to each other on the piece of parchment paper. Place the other two logs on top of them, alternating the pattern to create the checkerboard pattern. The chocolate log should be on top of the plain log and the plain log should be on top of the chocolate one. Wrap the log in the parchment paper and press each of the logs together while rolling and smoothing the edges. Place in the refrigerator until firm, at least an hour.
Preheat the oven to 350 F and line two cookies sheets with parchment paper.
Remove the dough from the refrigerator and unwrap it. Using a sharp knife (and a ruler if necessary) slice the log into 1/4 inch slices and place on the parchment lined cookie sheet, about 2 inches apart. Refrigerate for 10 minutes.
Bake until the cookies are just beginning to turn golden brown around the edges, 10 to 15 minutes. Let cool on the baking sheets for five minutes and then transfer to a wire rack to cool completely. Store in an airtight container at room temperature.
Recipe from Nik Sharma

One thought on “Cookie Palooza: Checkerboard Cookies”