Valentine’s Day Cookies

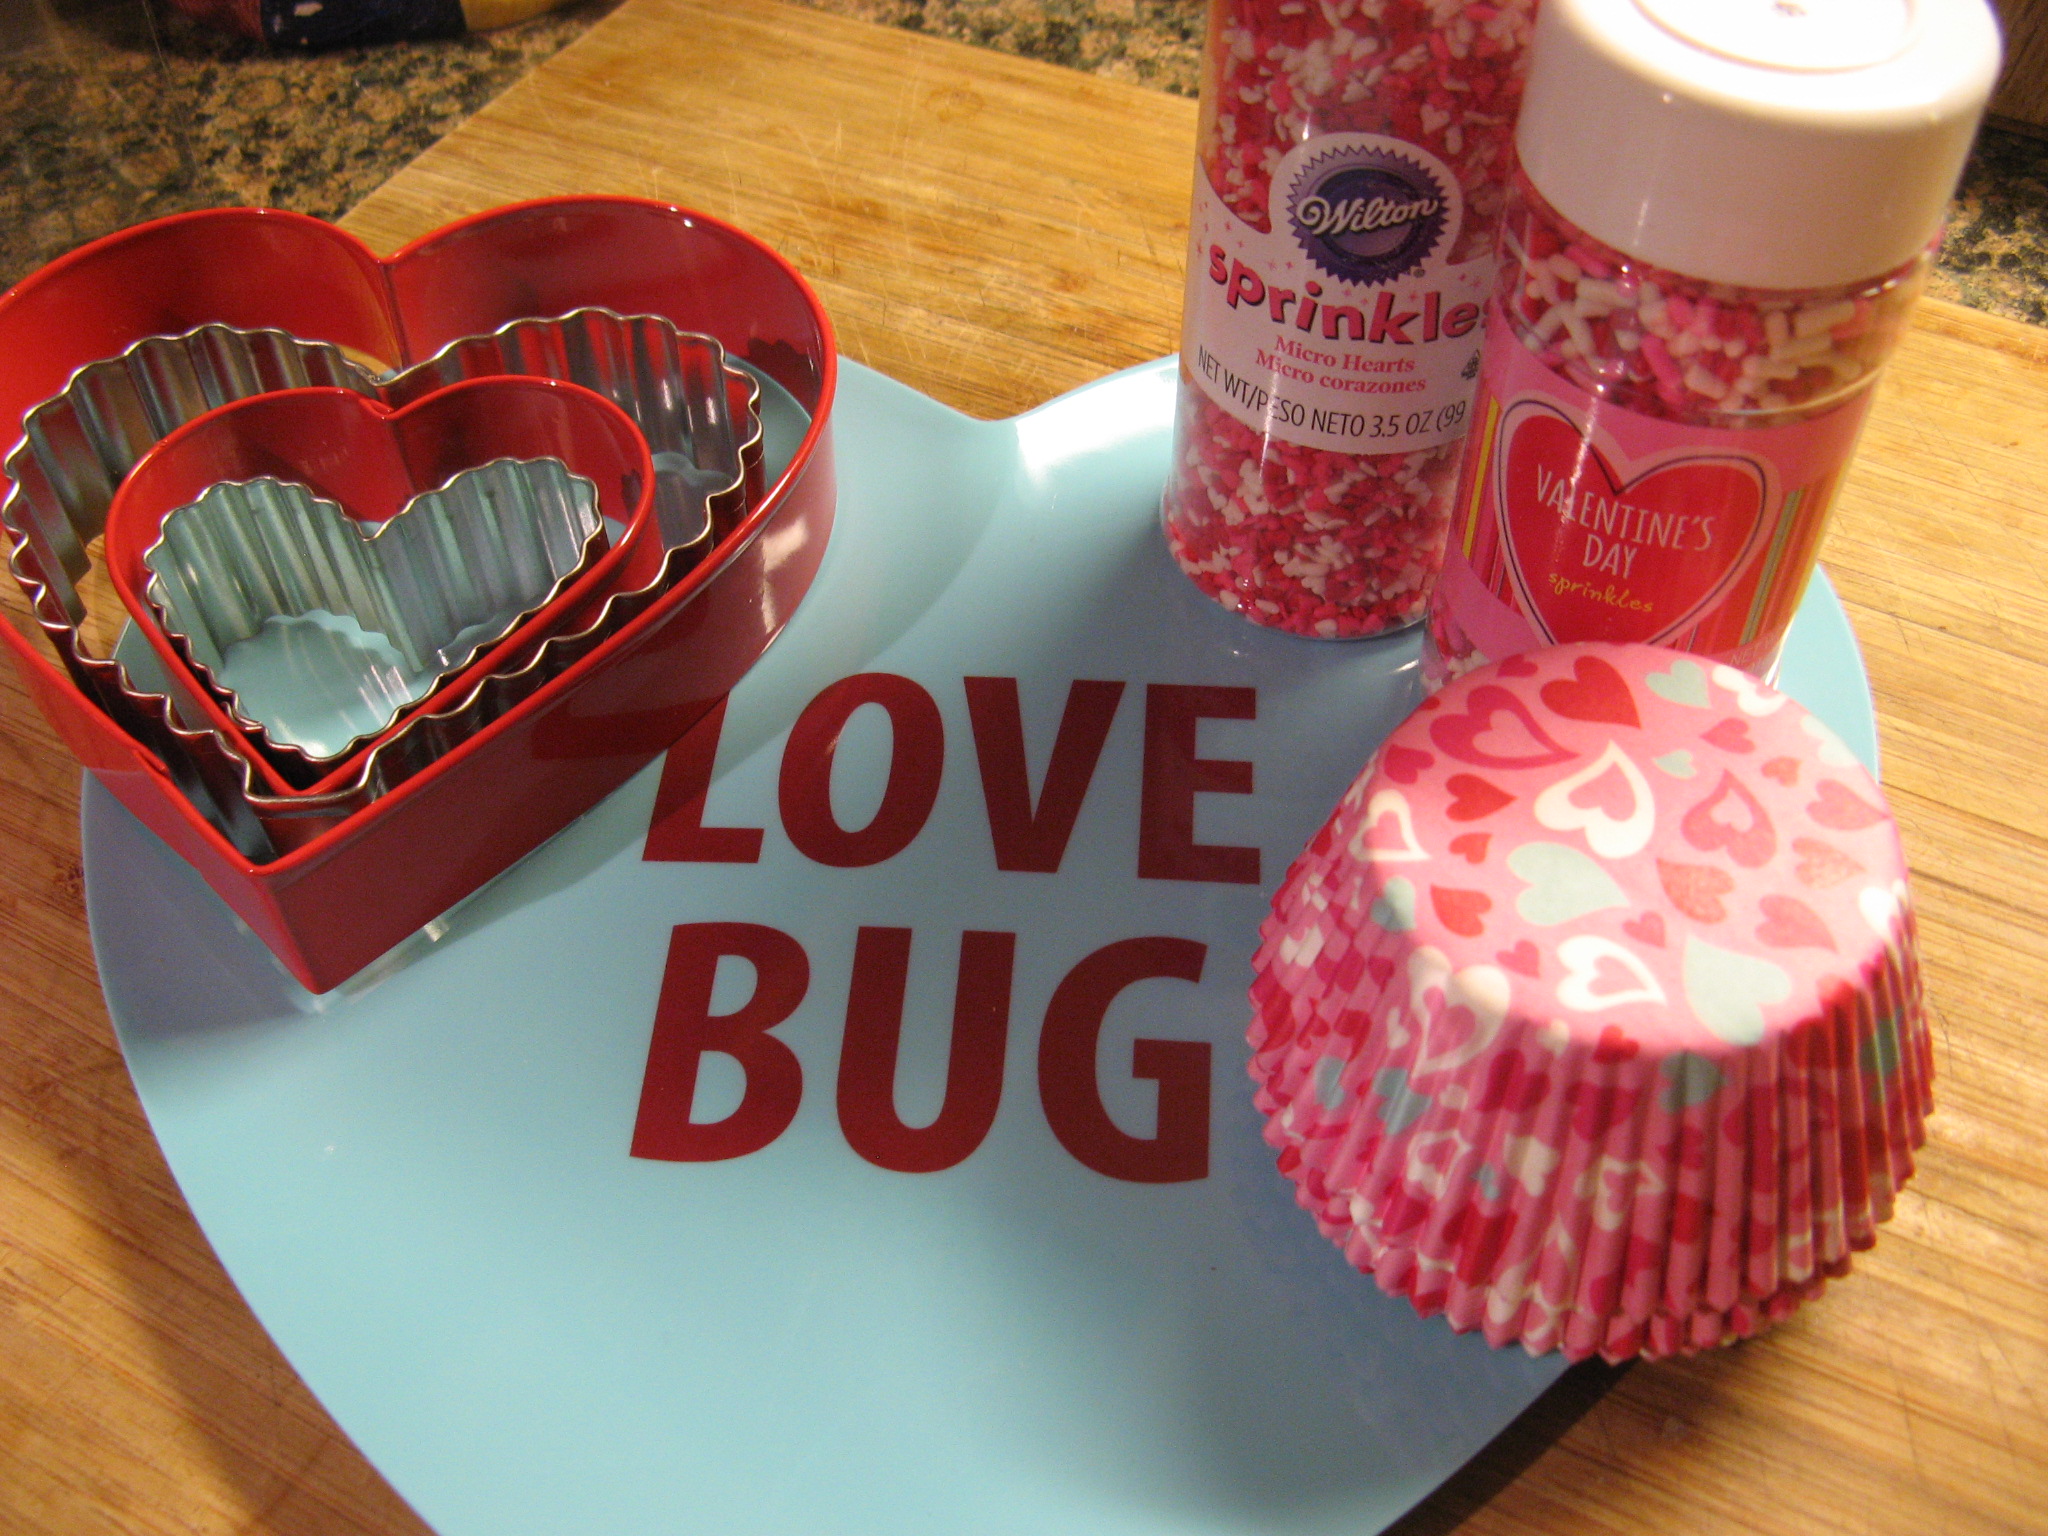
While I enjoy decorating cakes one thing I rarely do is decorate cookies. Around the holidays I always have this grand idea of making sugar cookies and decorating them with royal icing. I actually have a mitten shaped cookie cutter that I have been meaning to use for the past two Christmases to make decorated cookies and it just hasn’t happened. Part of the reason is that I run out of time and the other part is that I am not fond of royal icing. I think it goes back to when I was taking Wilton decorator classes and one of the courses involved making flowers with royal icing. While I liked that the flowers would harden because of the royal icing, which meant you could make them ahead of time to decorate with them later, I just didn’t like the way my flowers looked. And I found working with the royal icing to be a bit of a headache. You have to keep it covered so it doesn’t harden and so forth. Because of all these little things I just avoid it. It’s actually been years since I’ve made royal icing, but, I decided that this year I wanted to make Valentine’s Day cookies that were decorated not just with sprinkles.

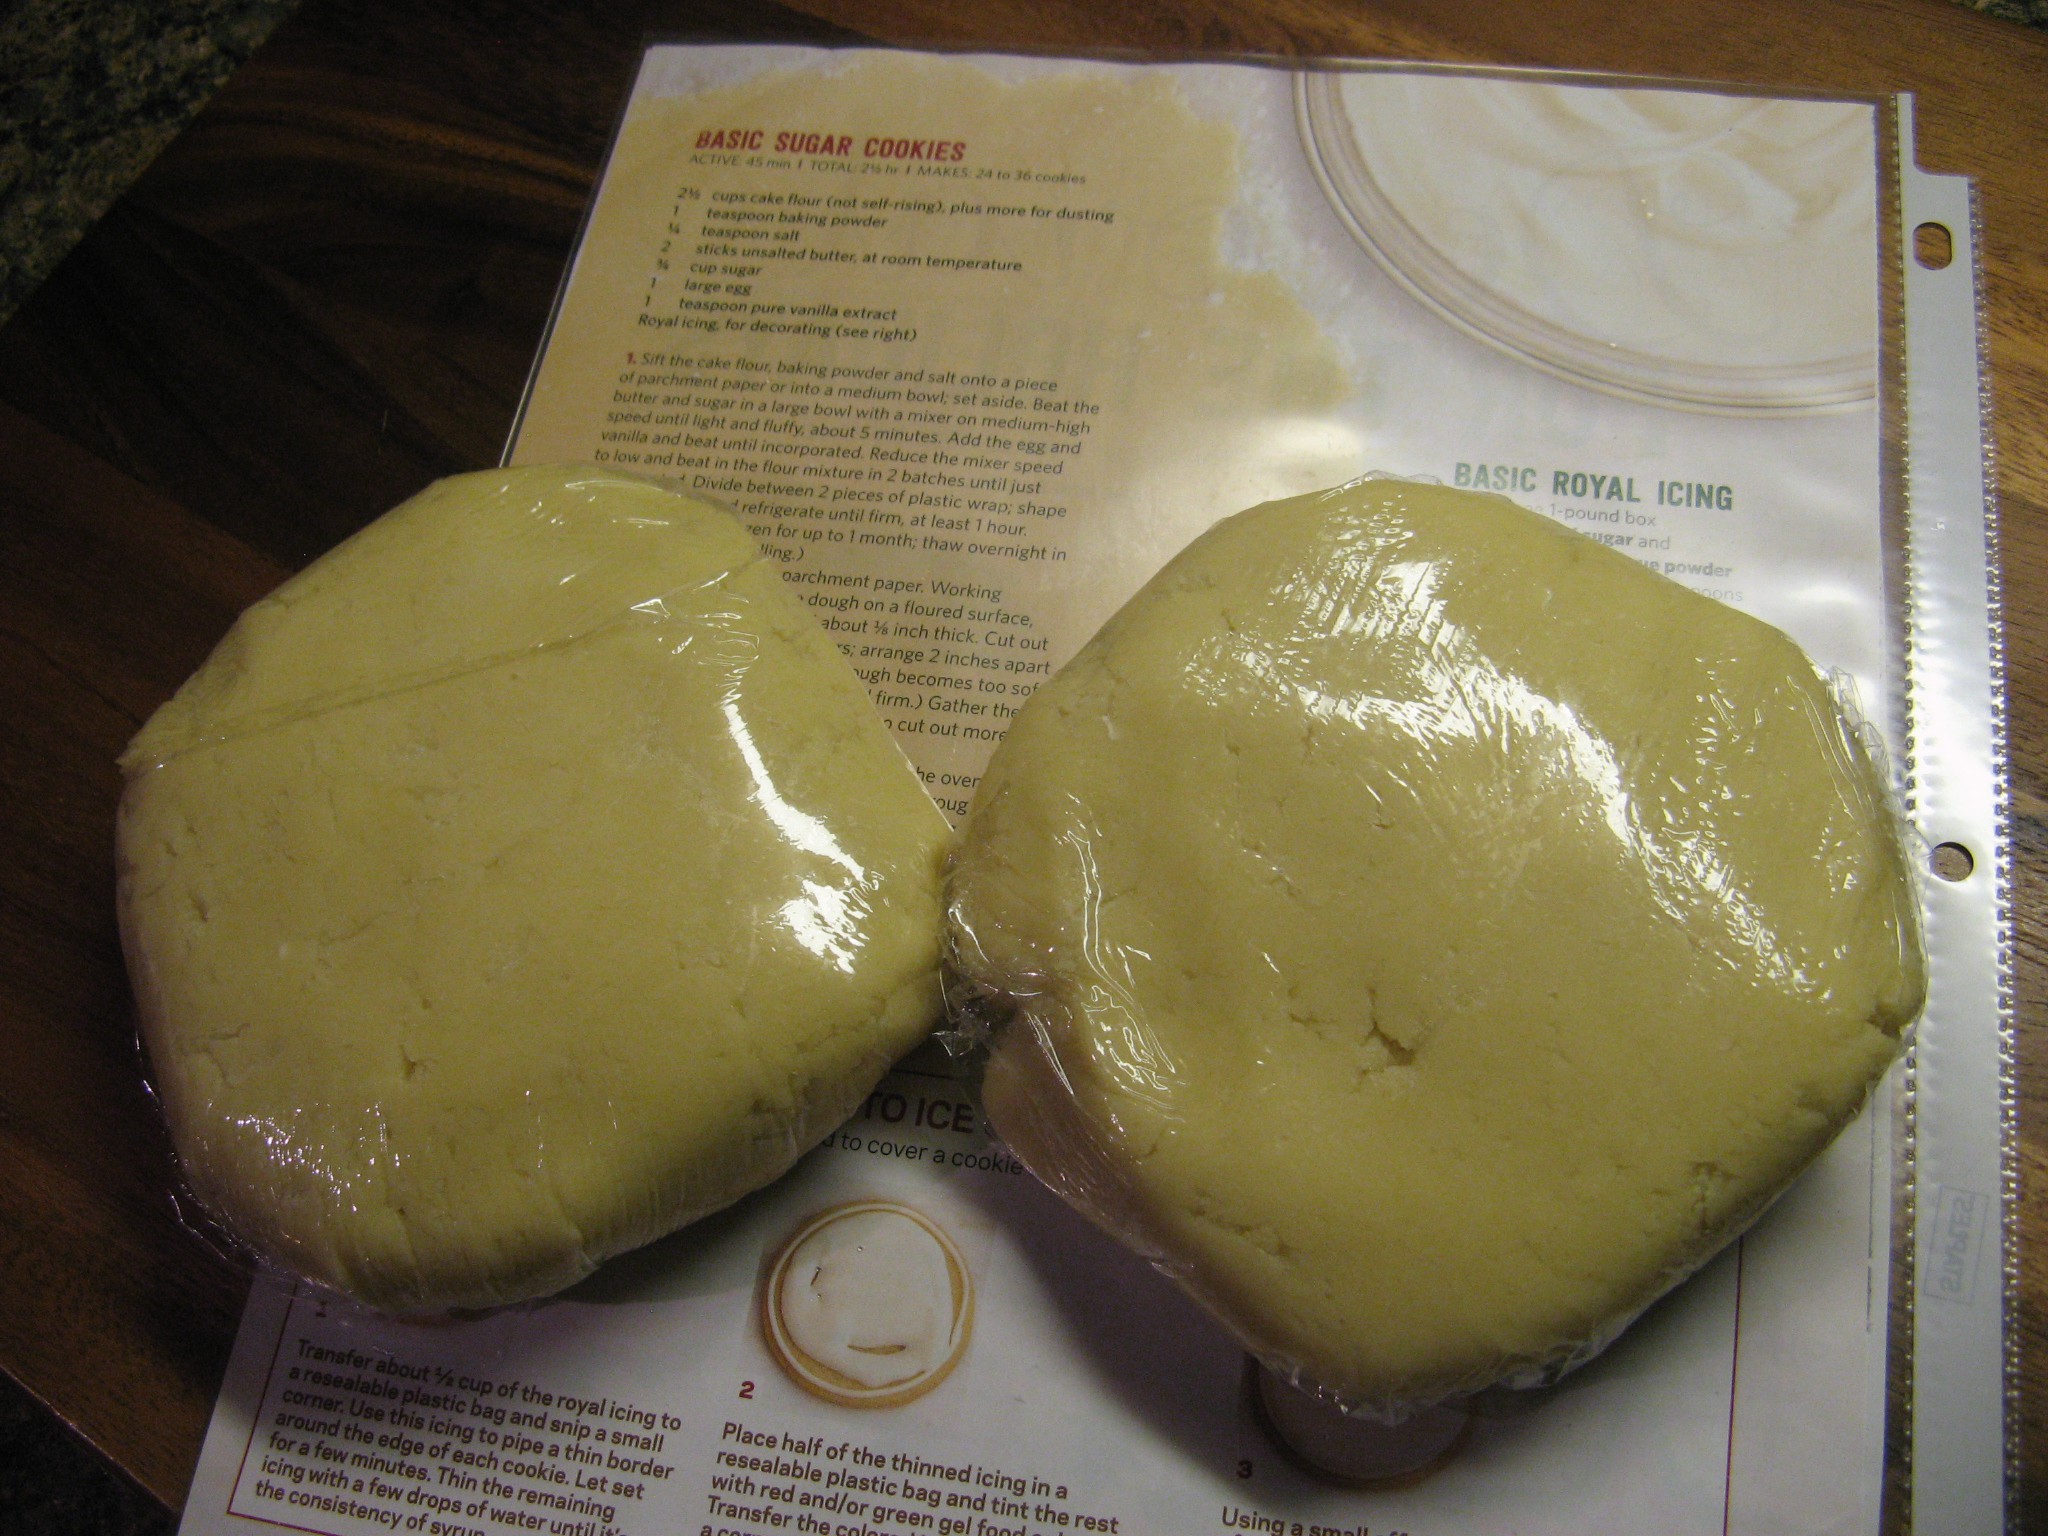
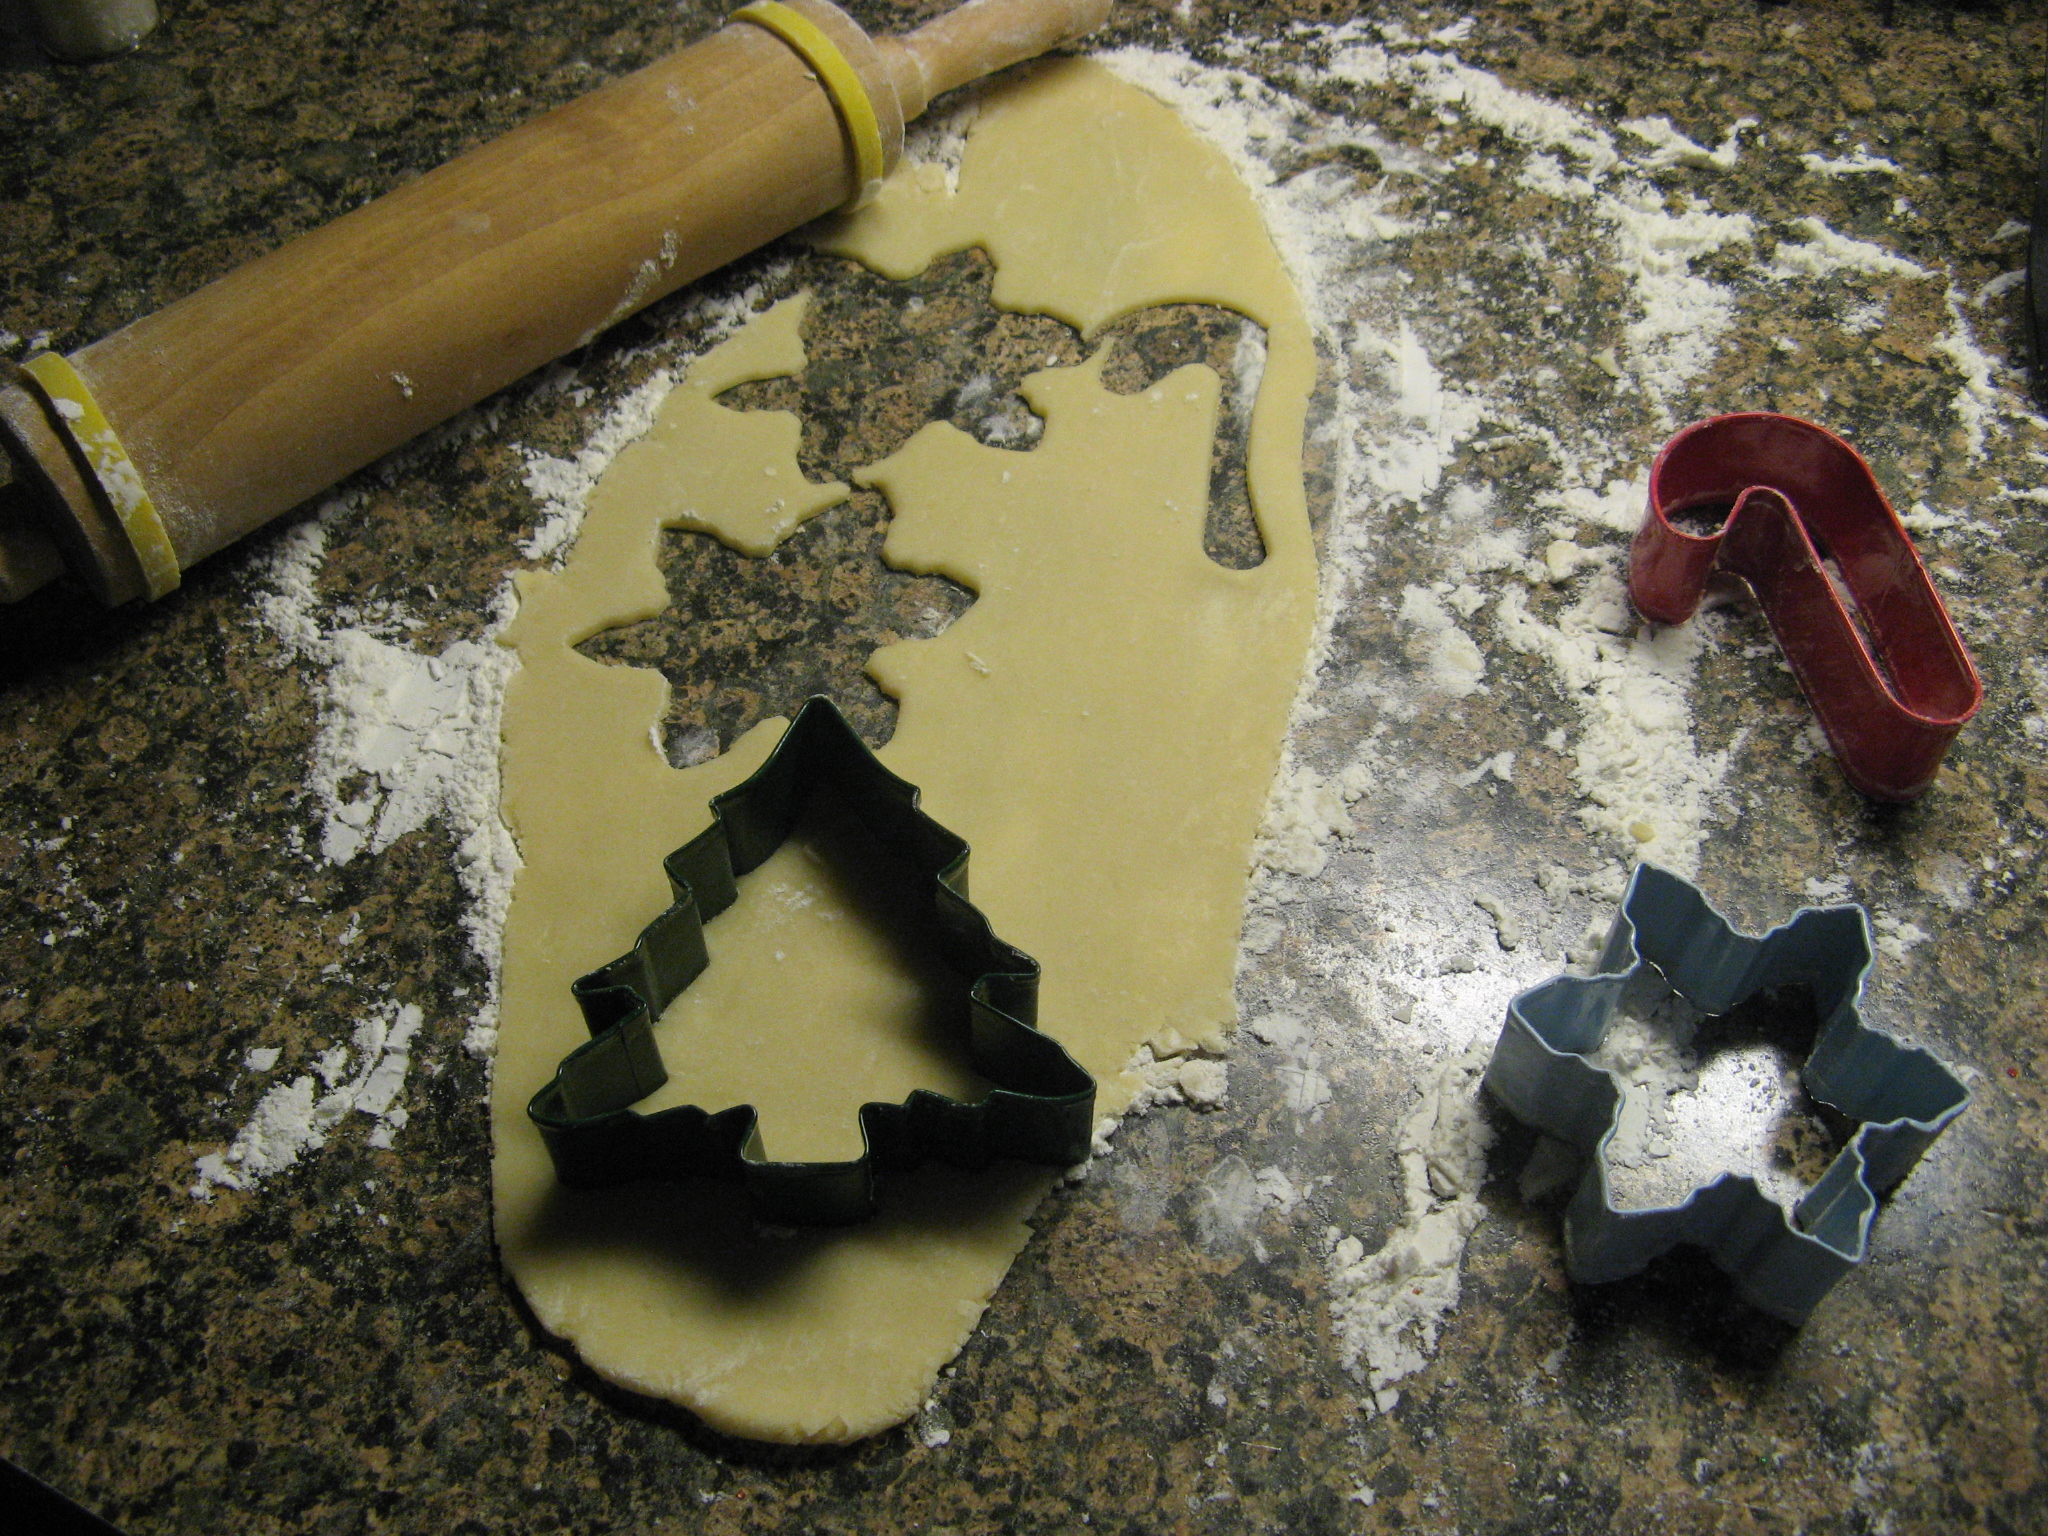
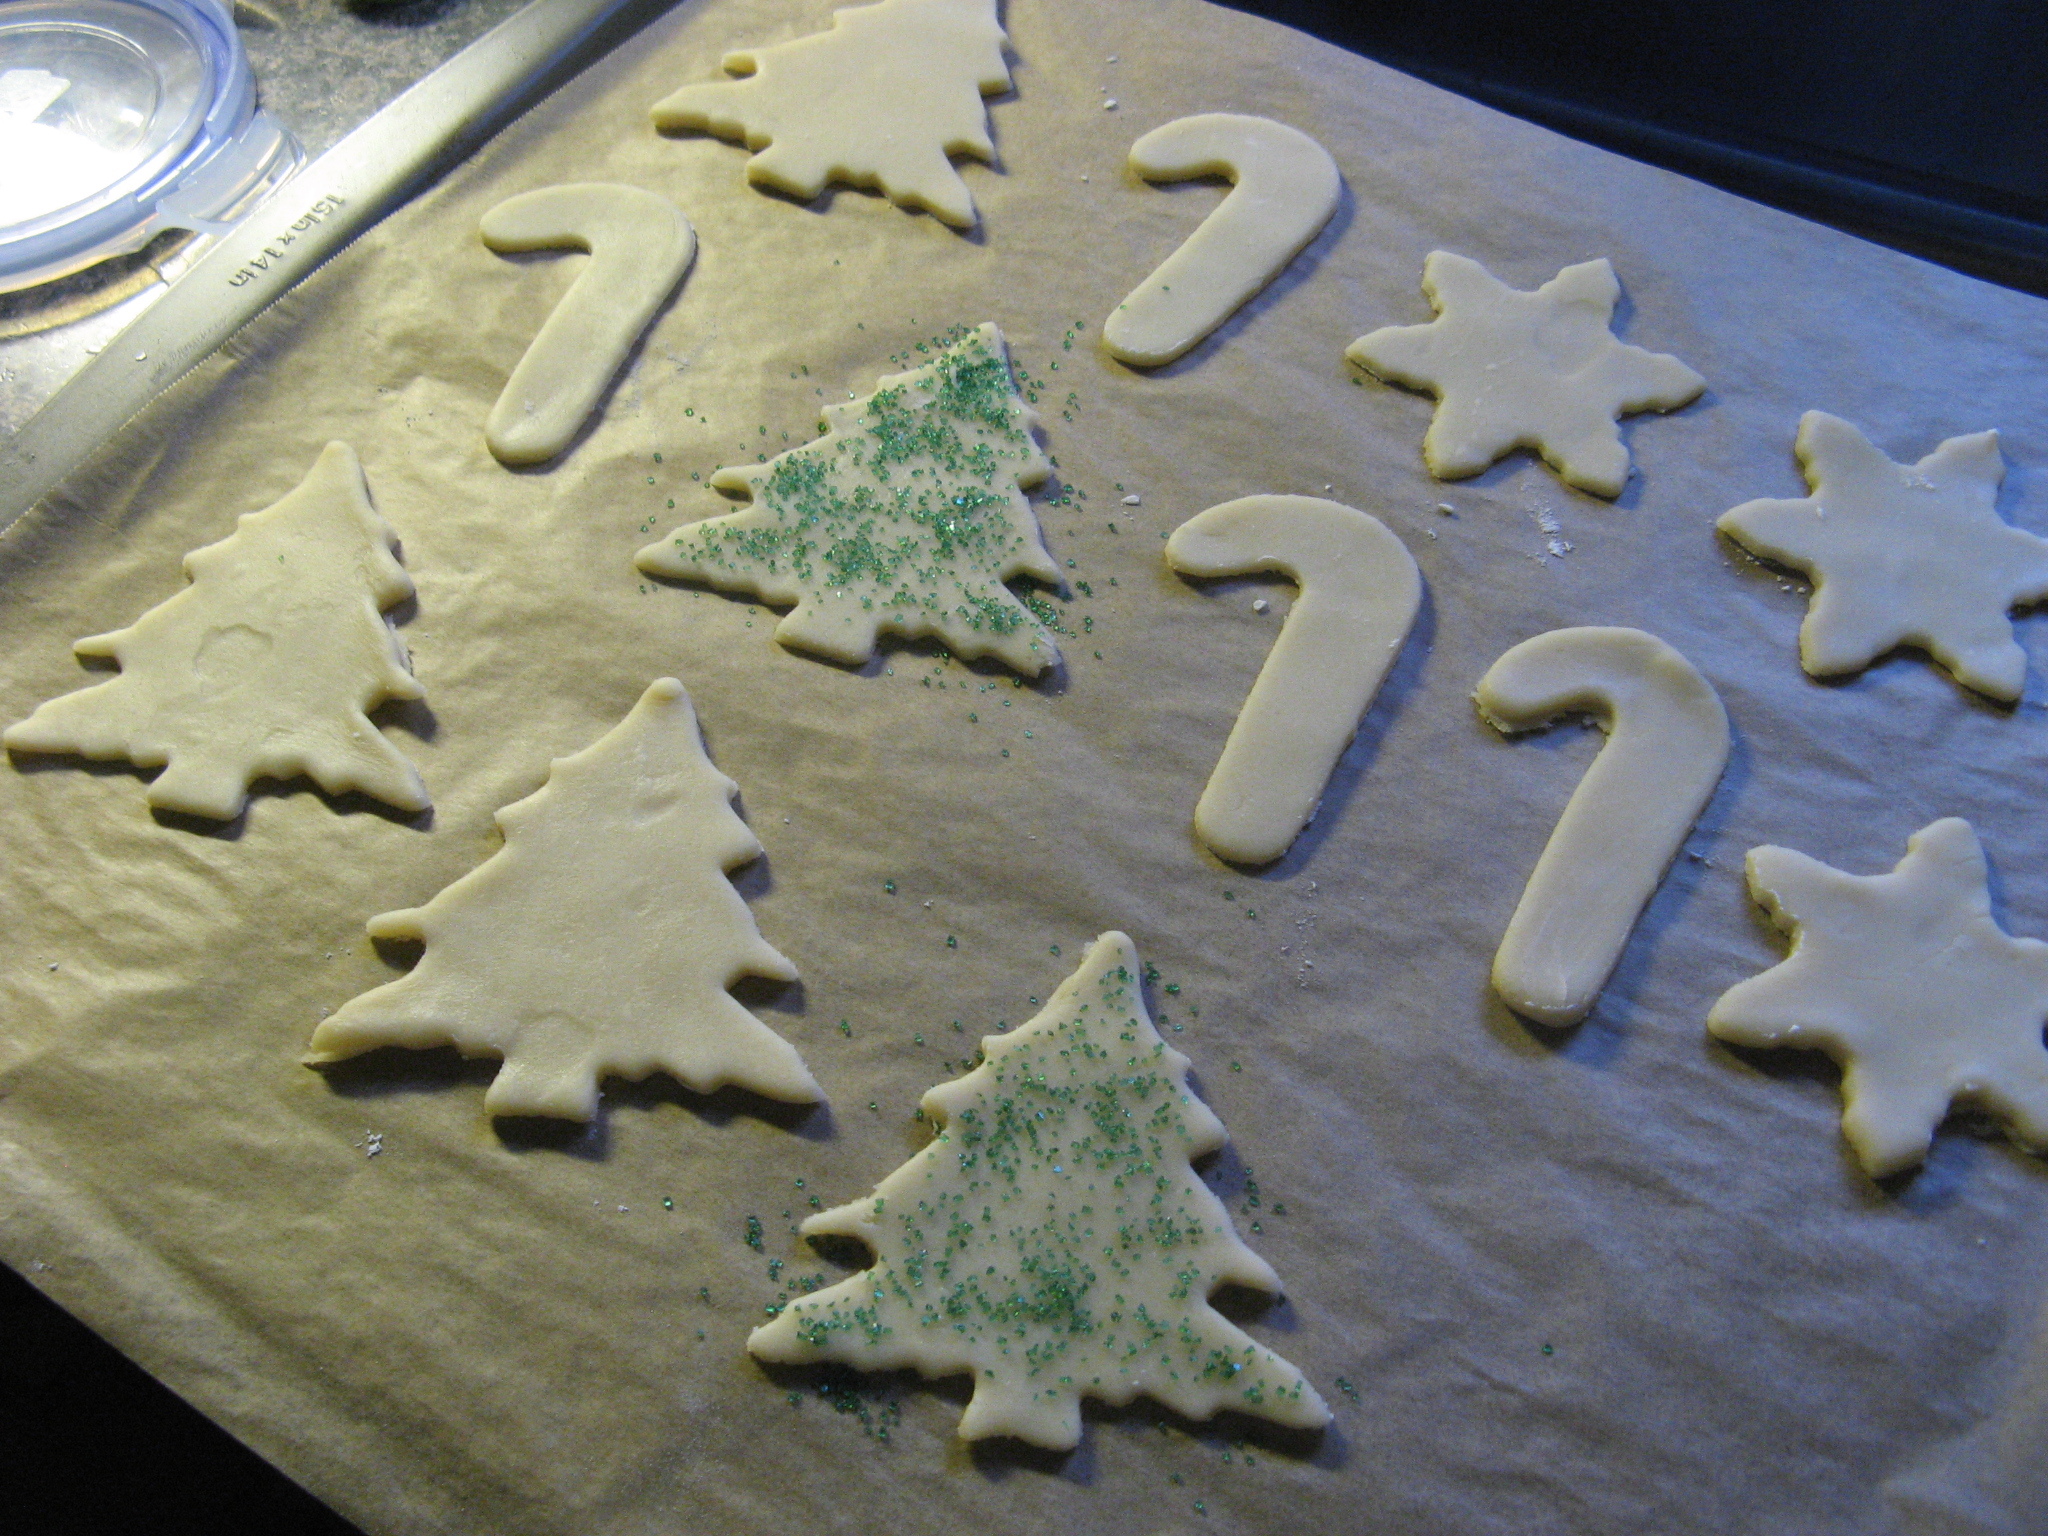
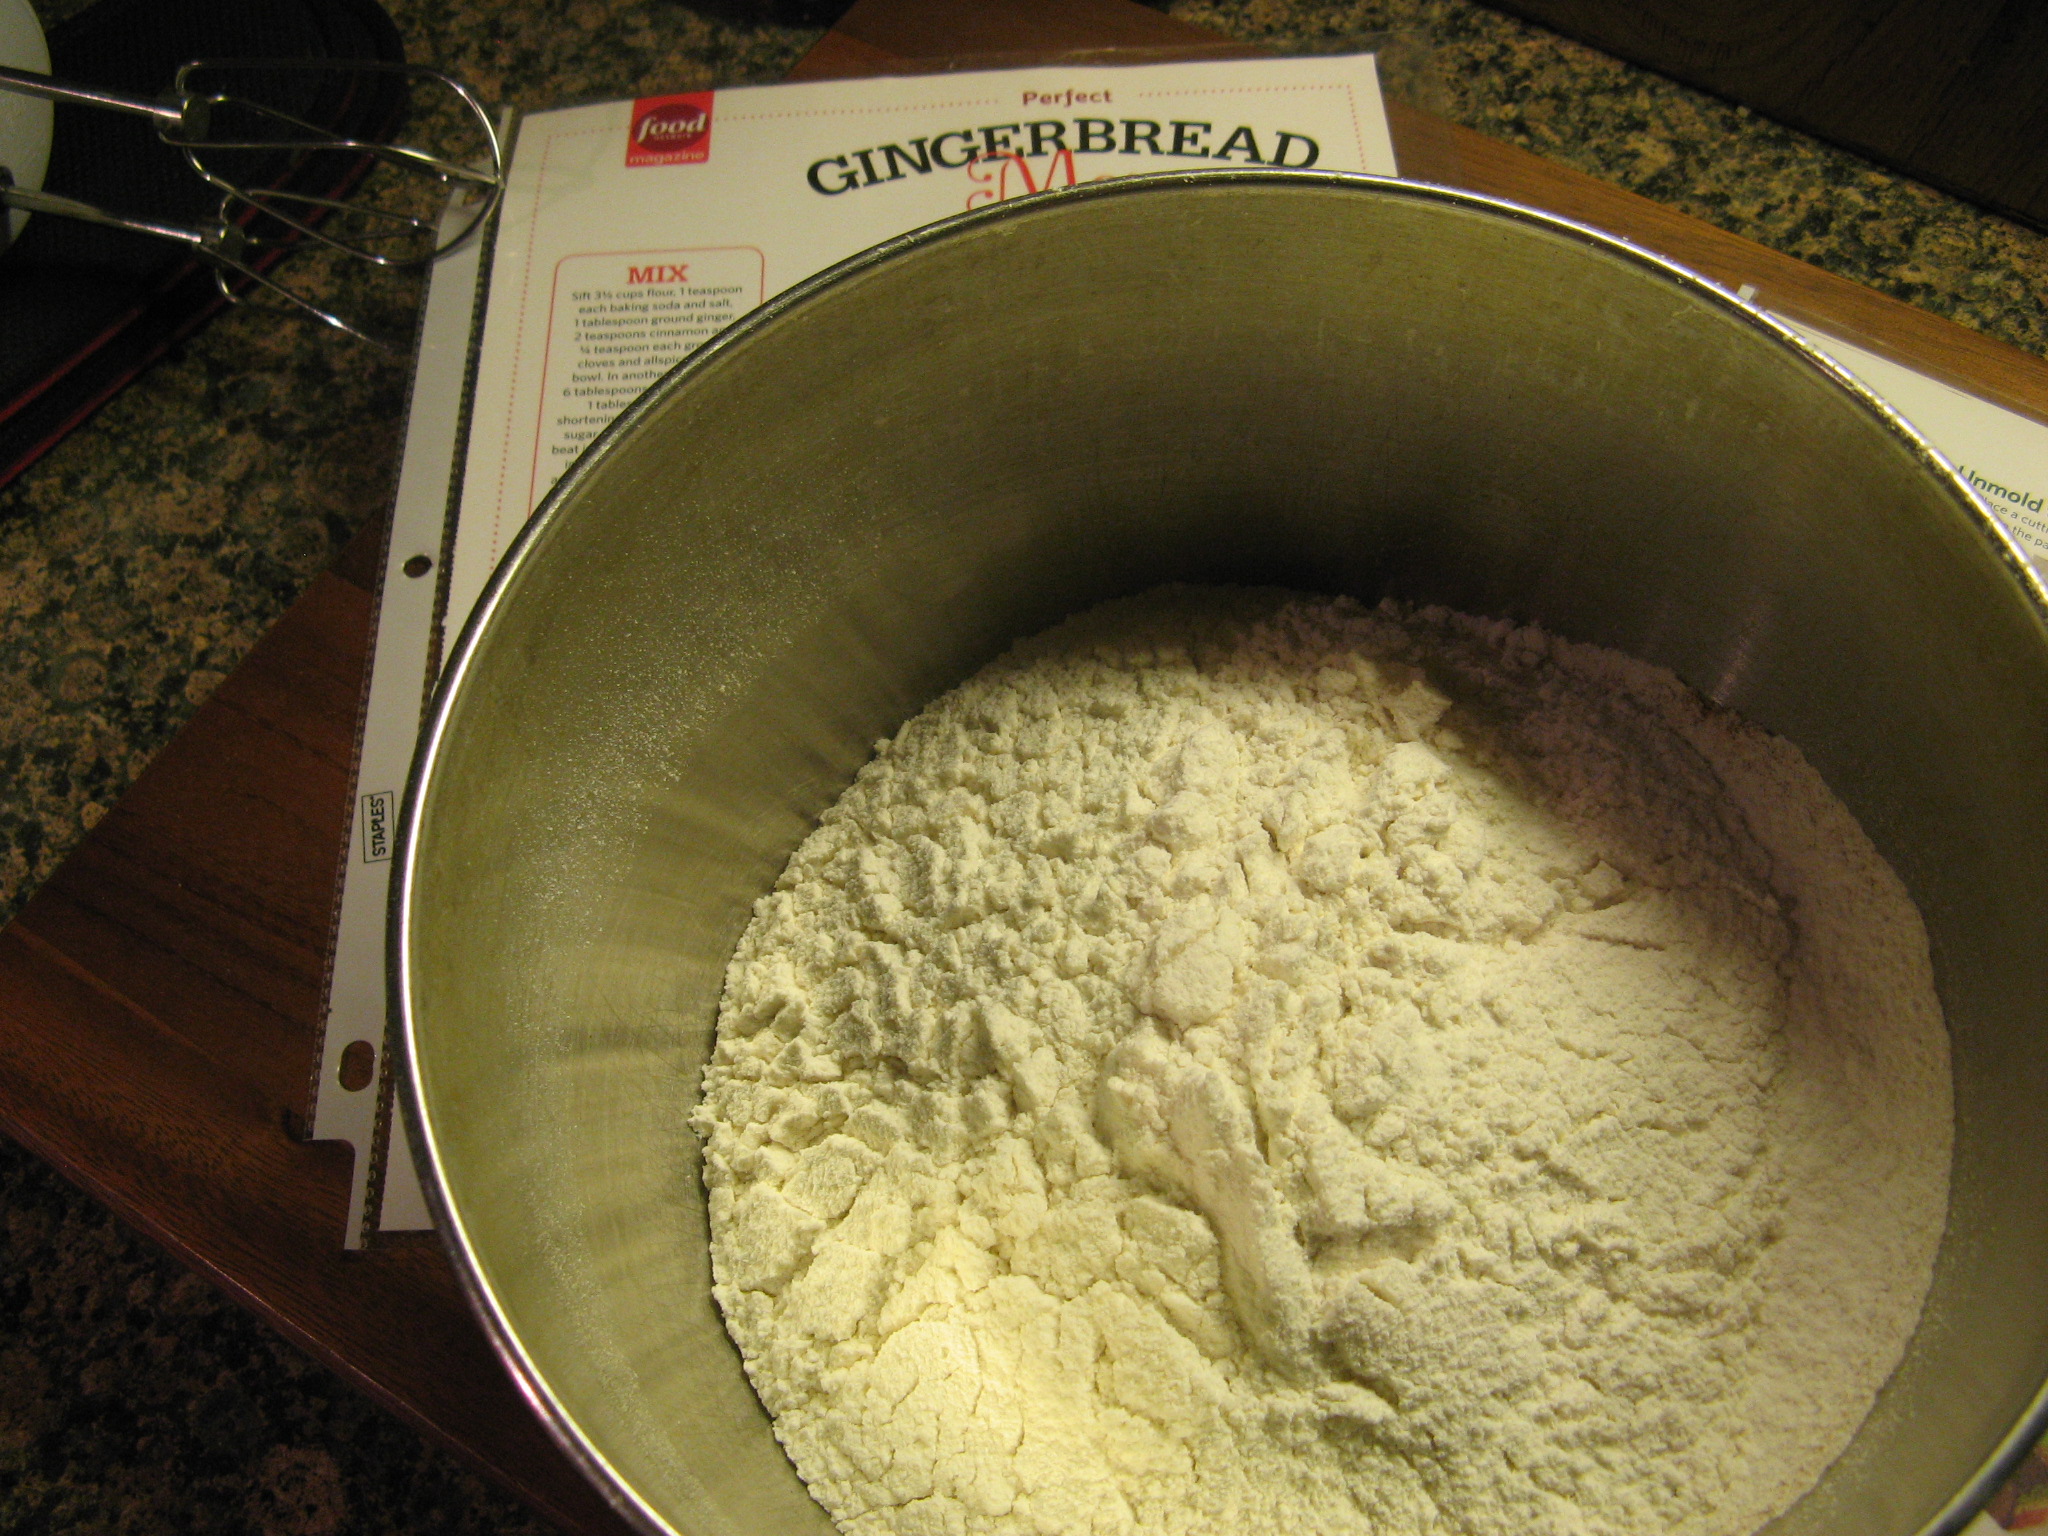
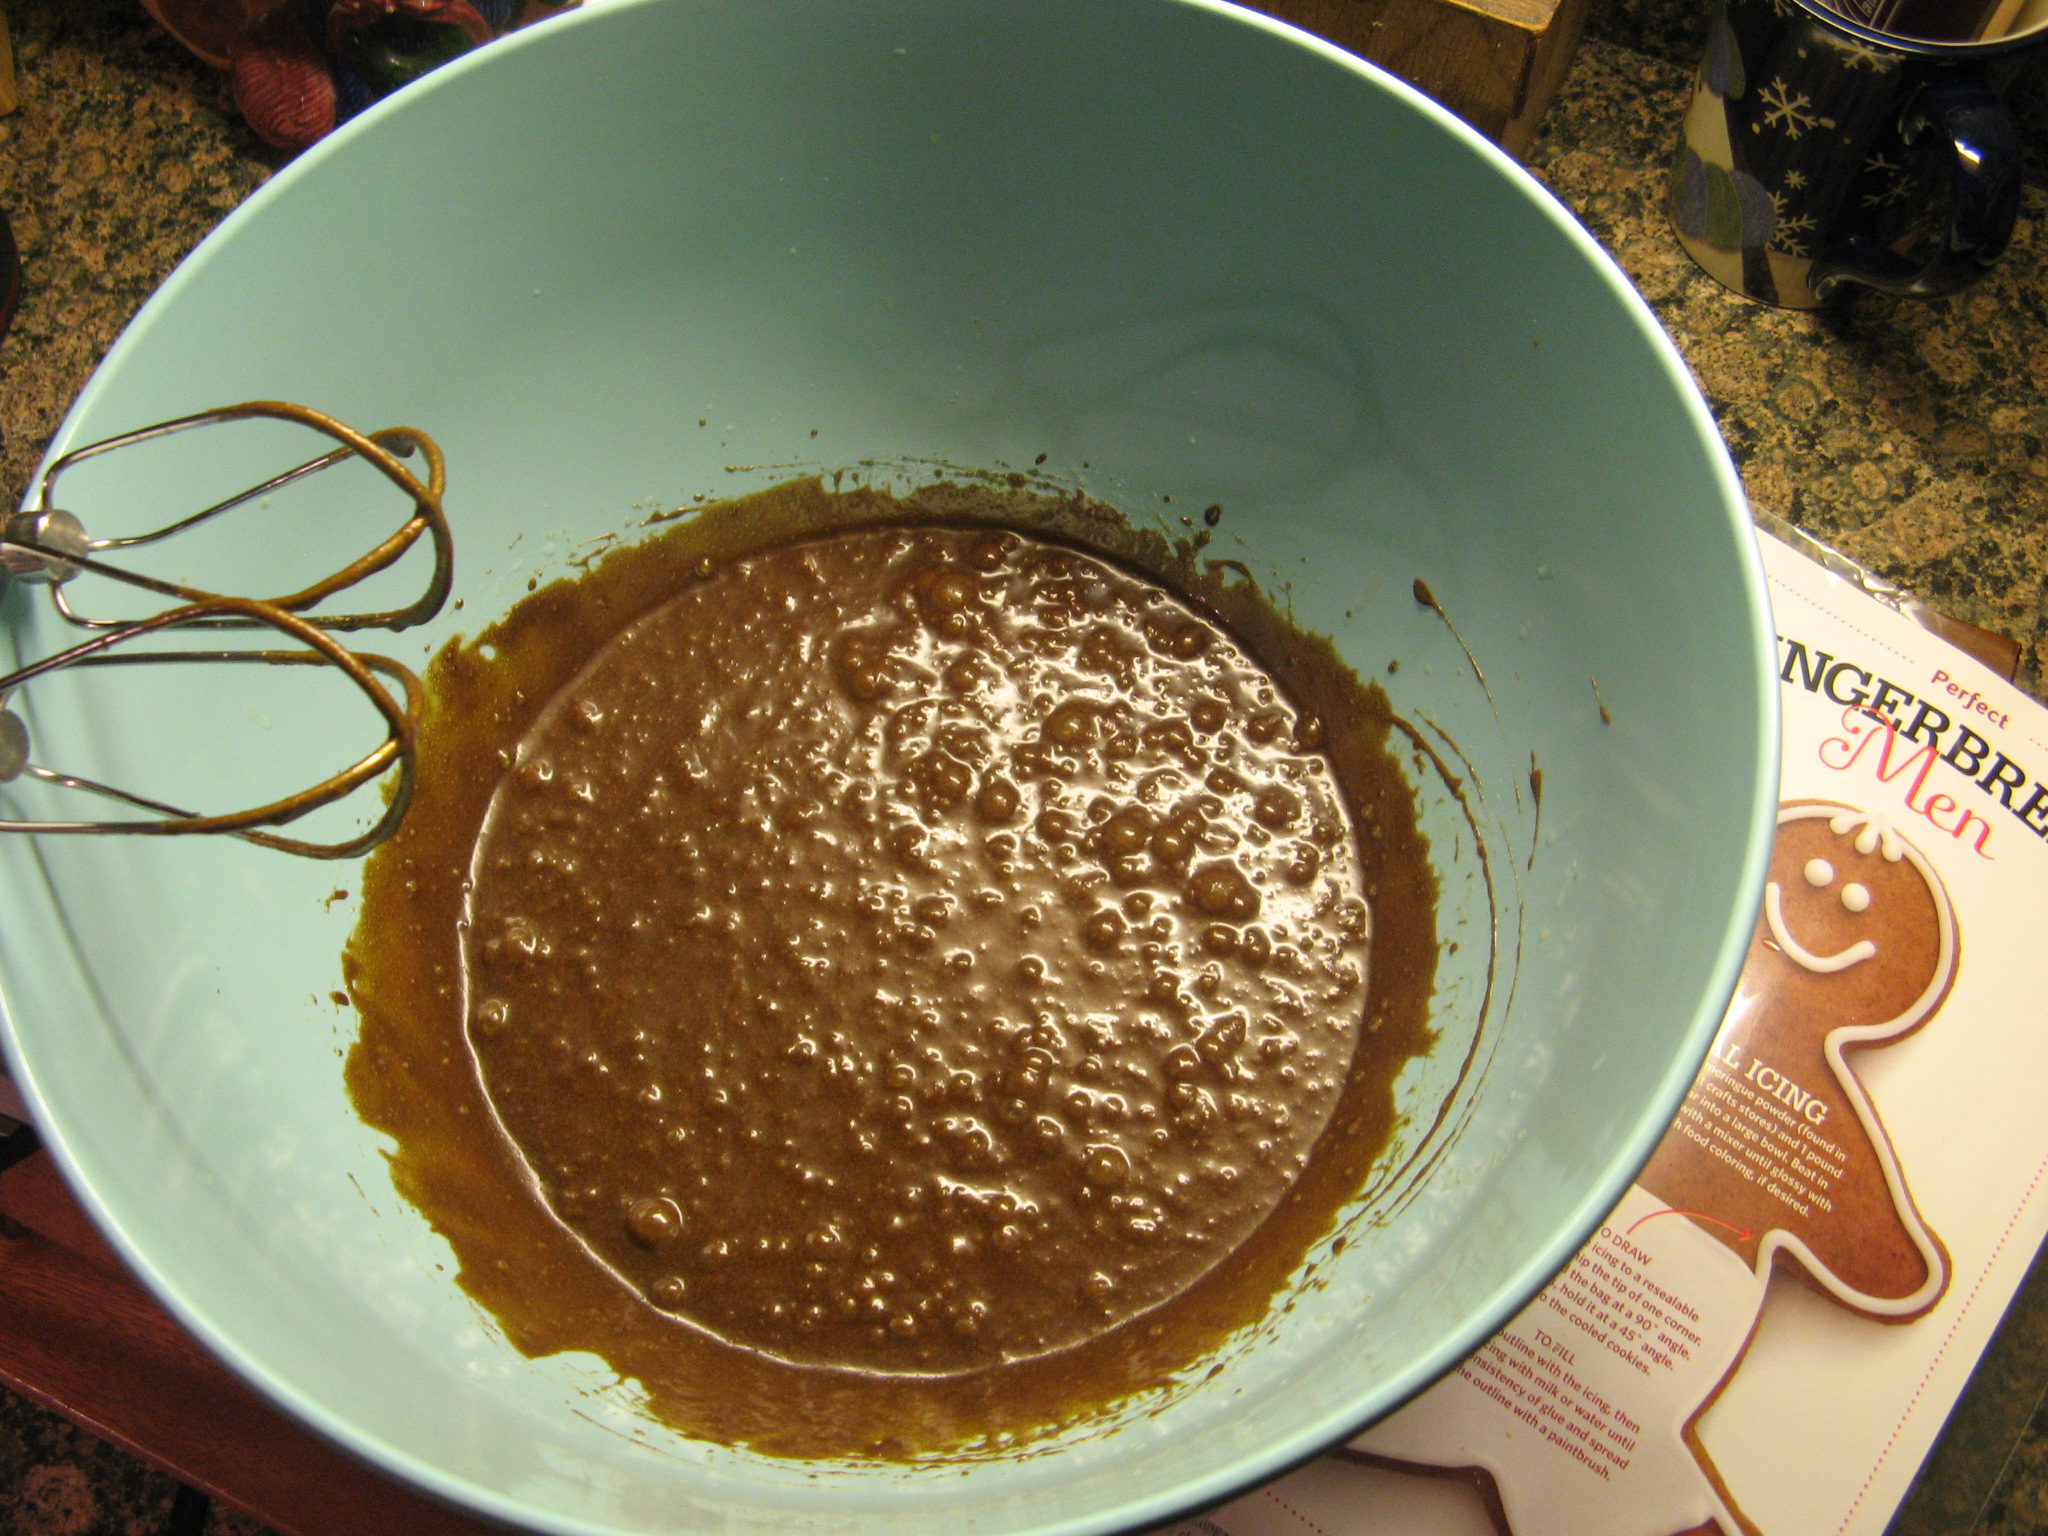
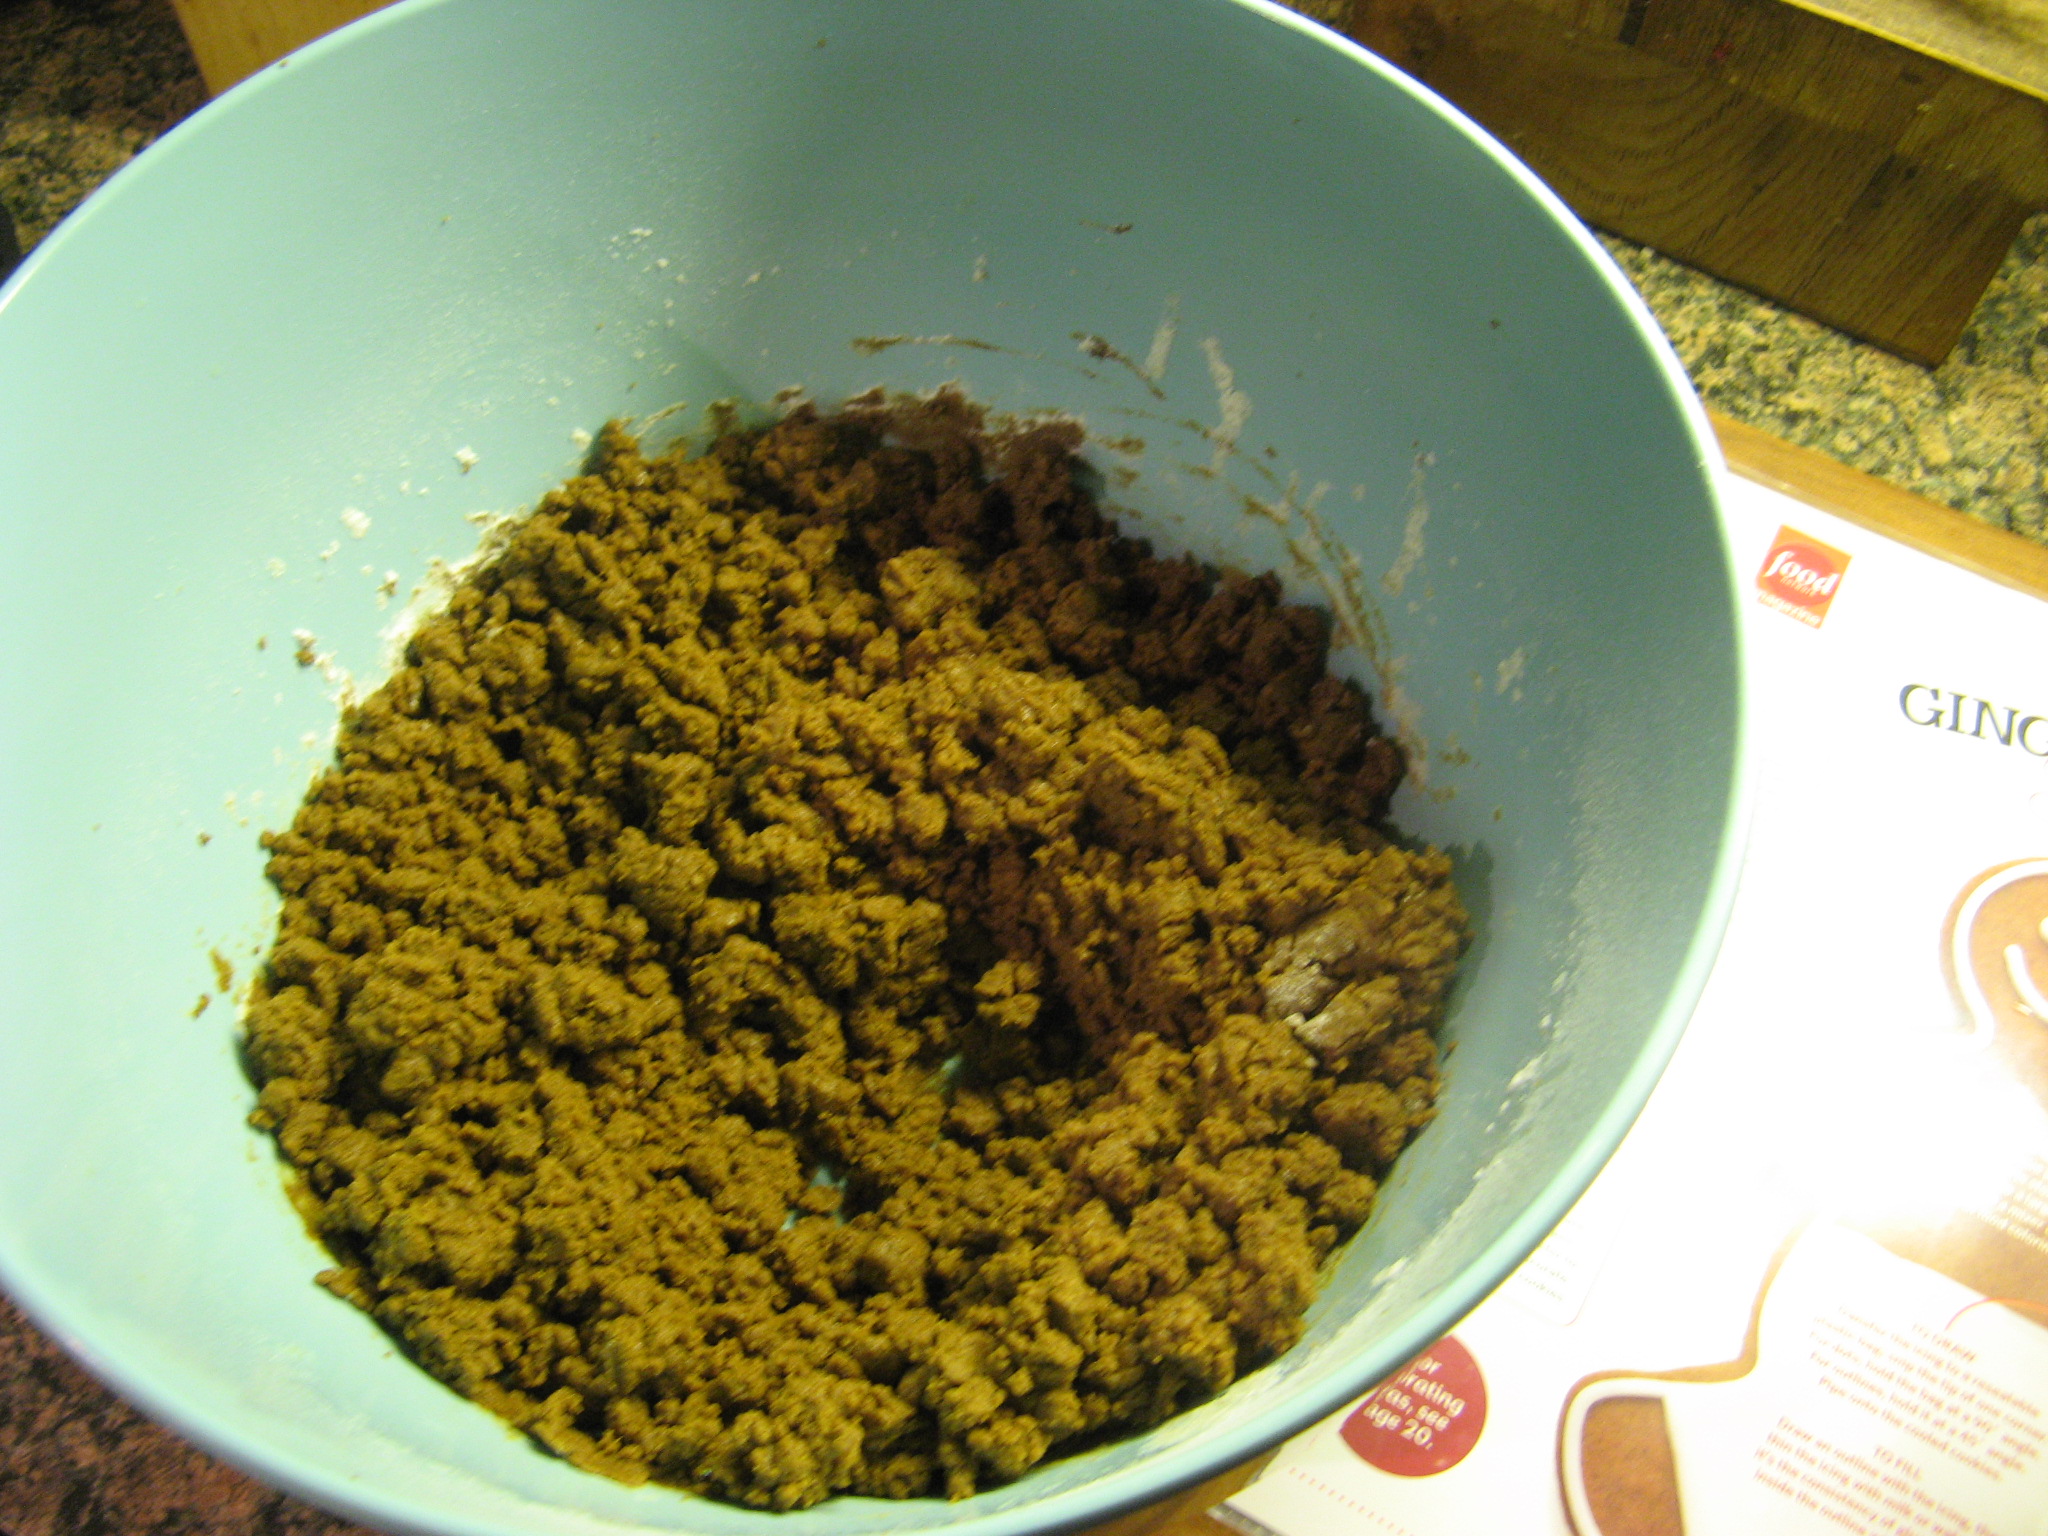
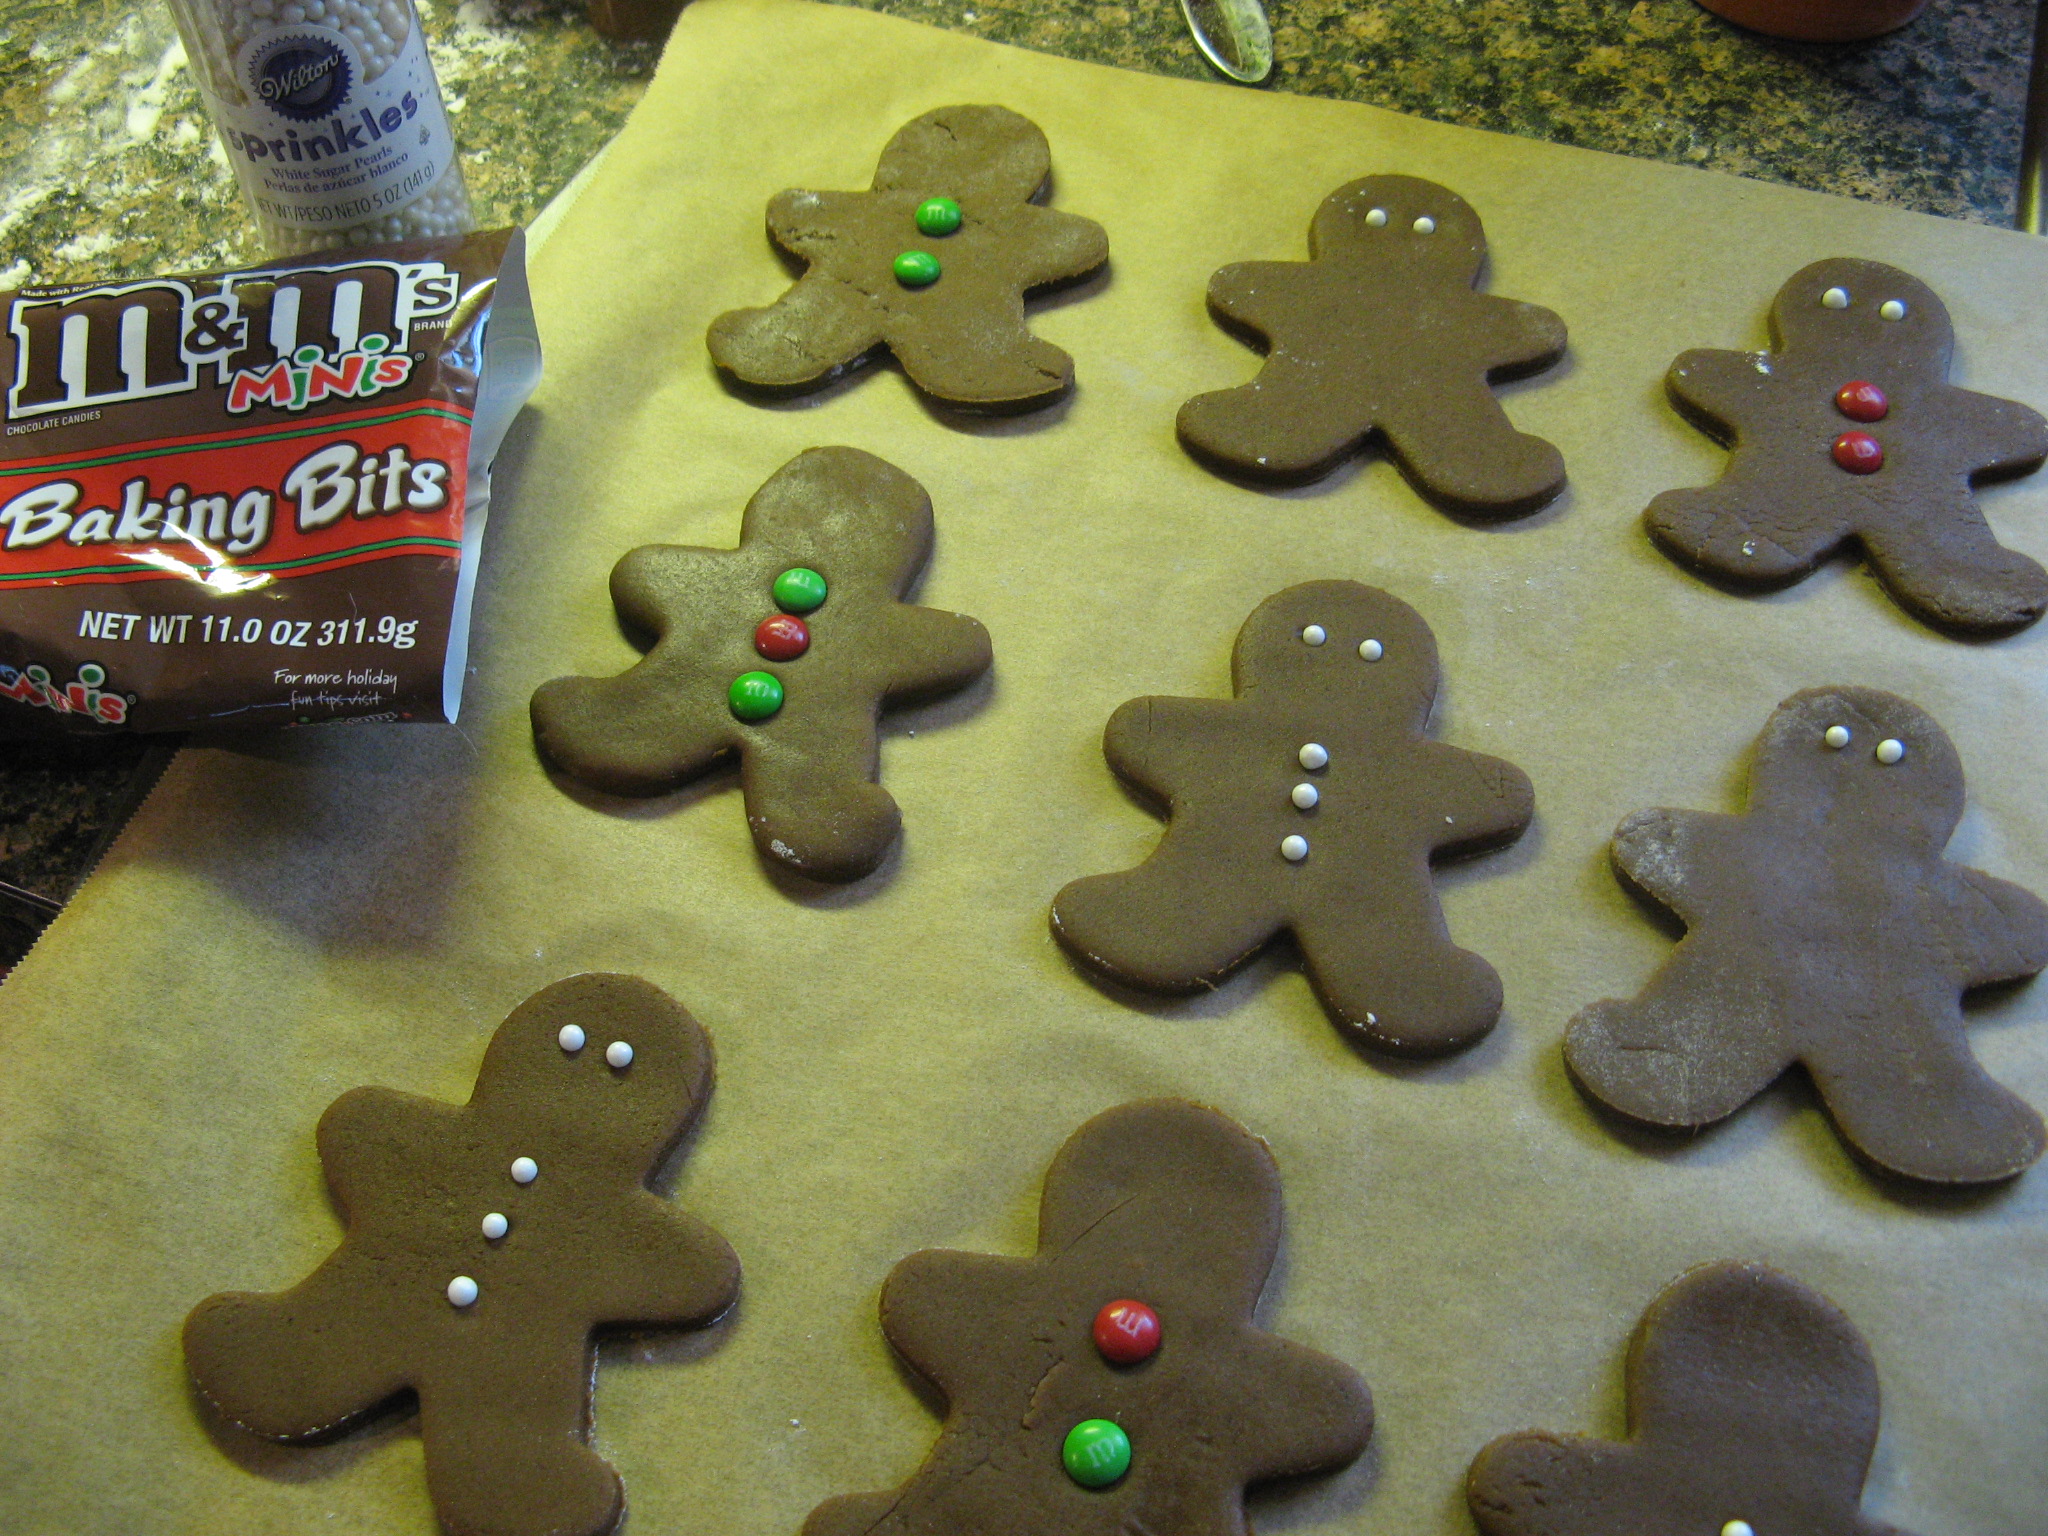
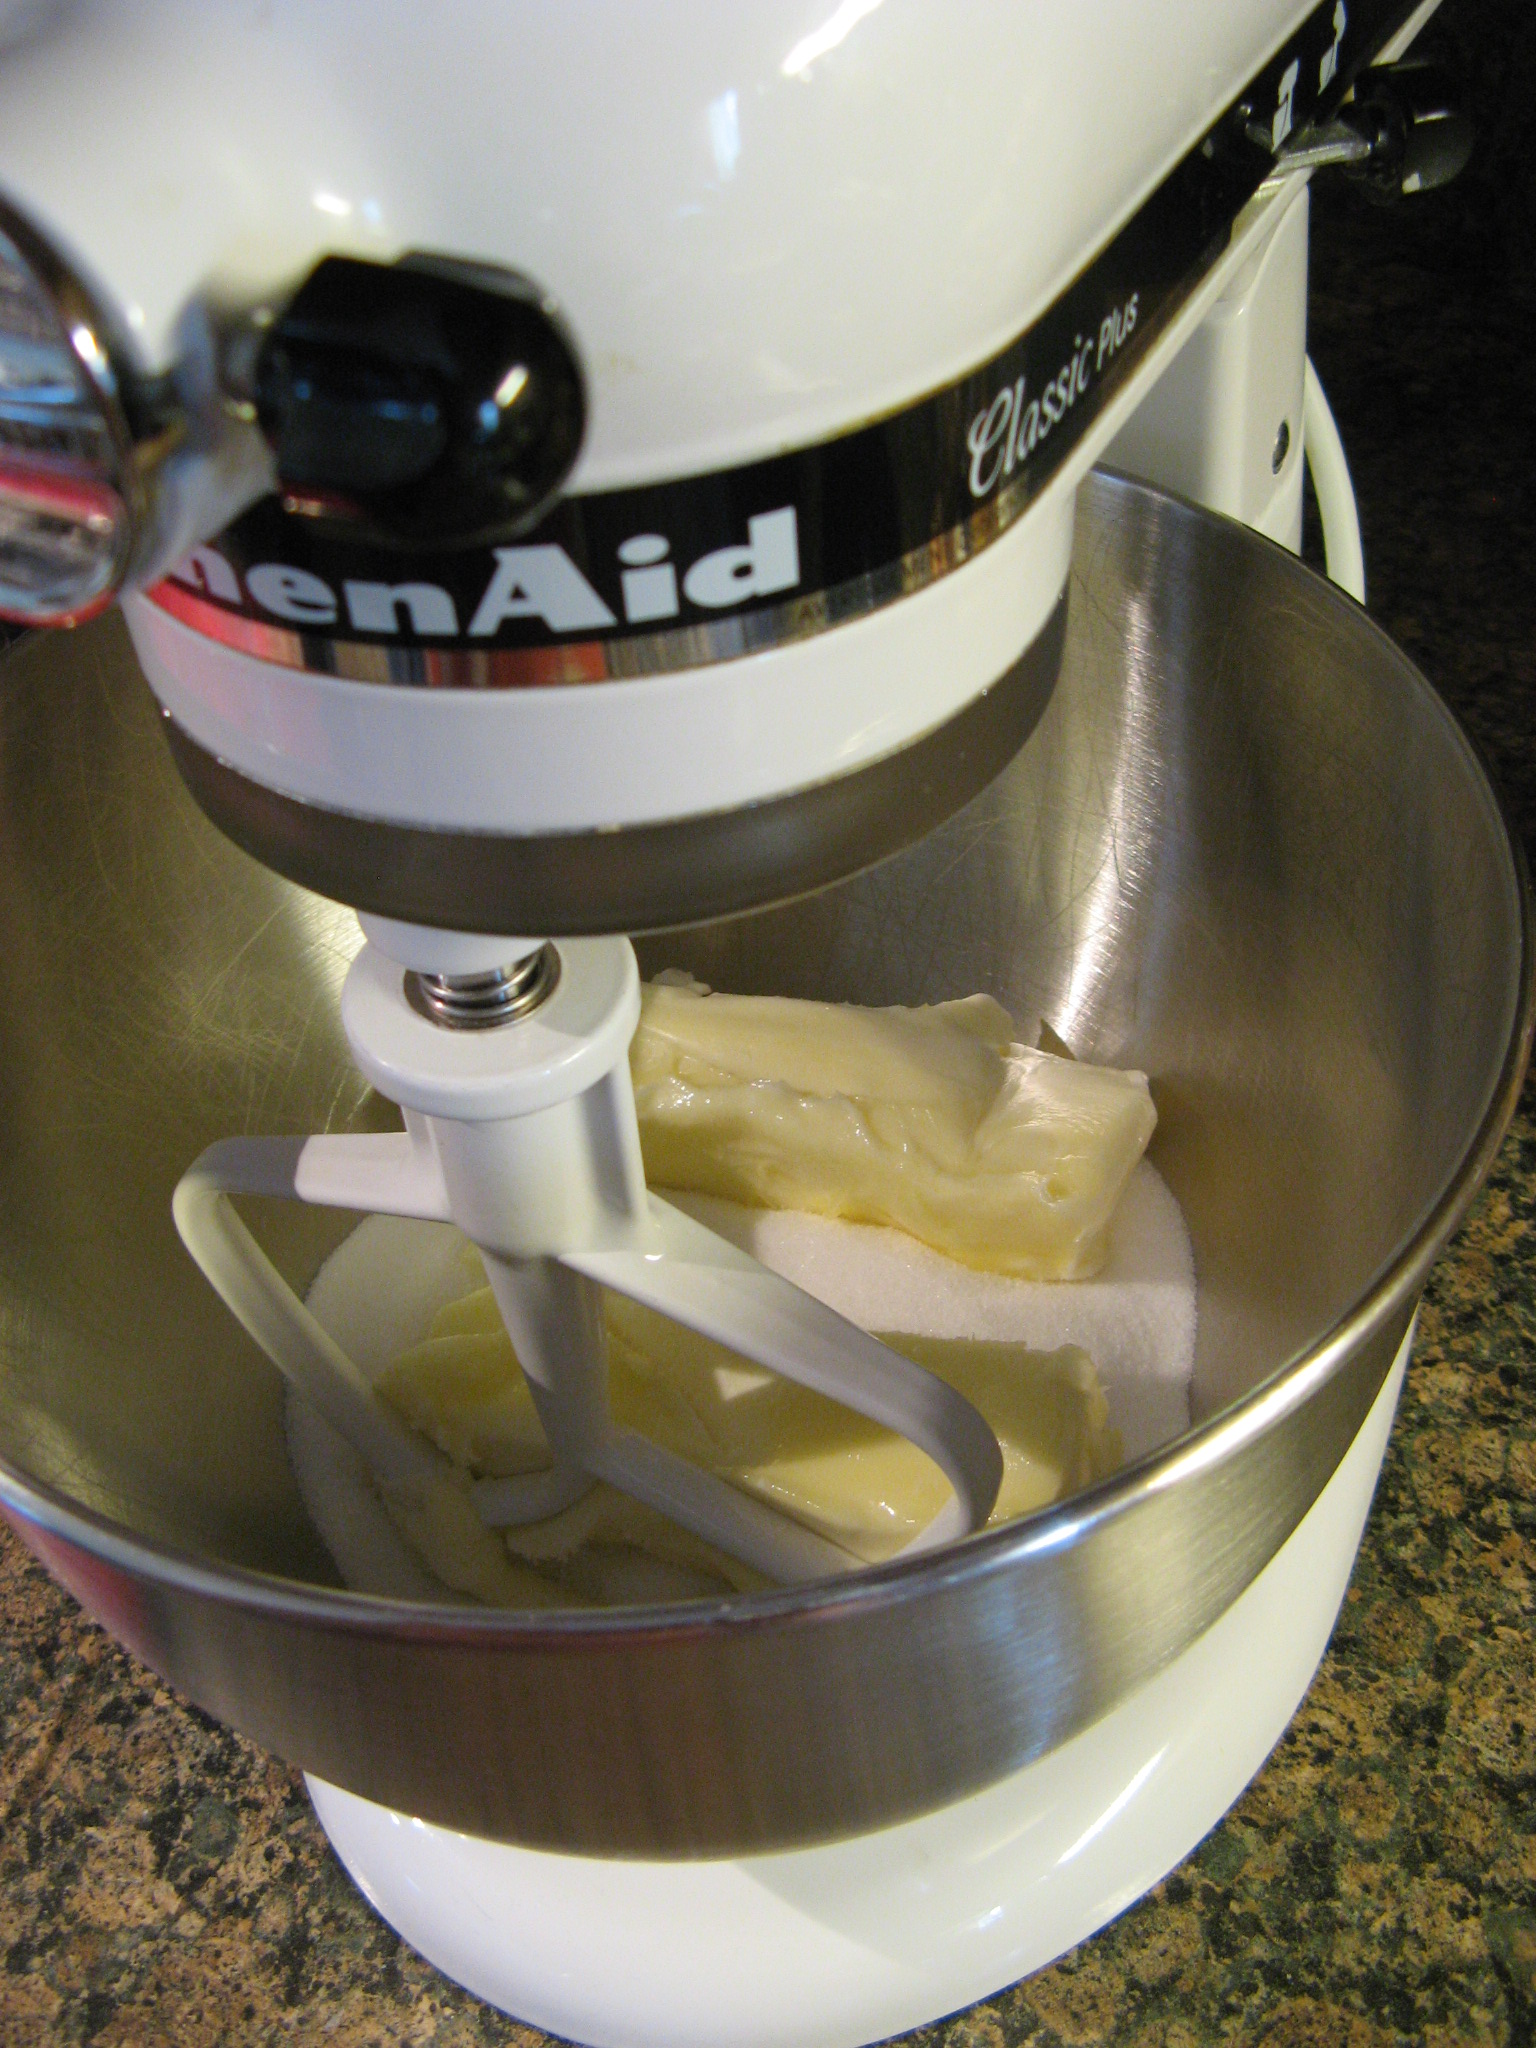
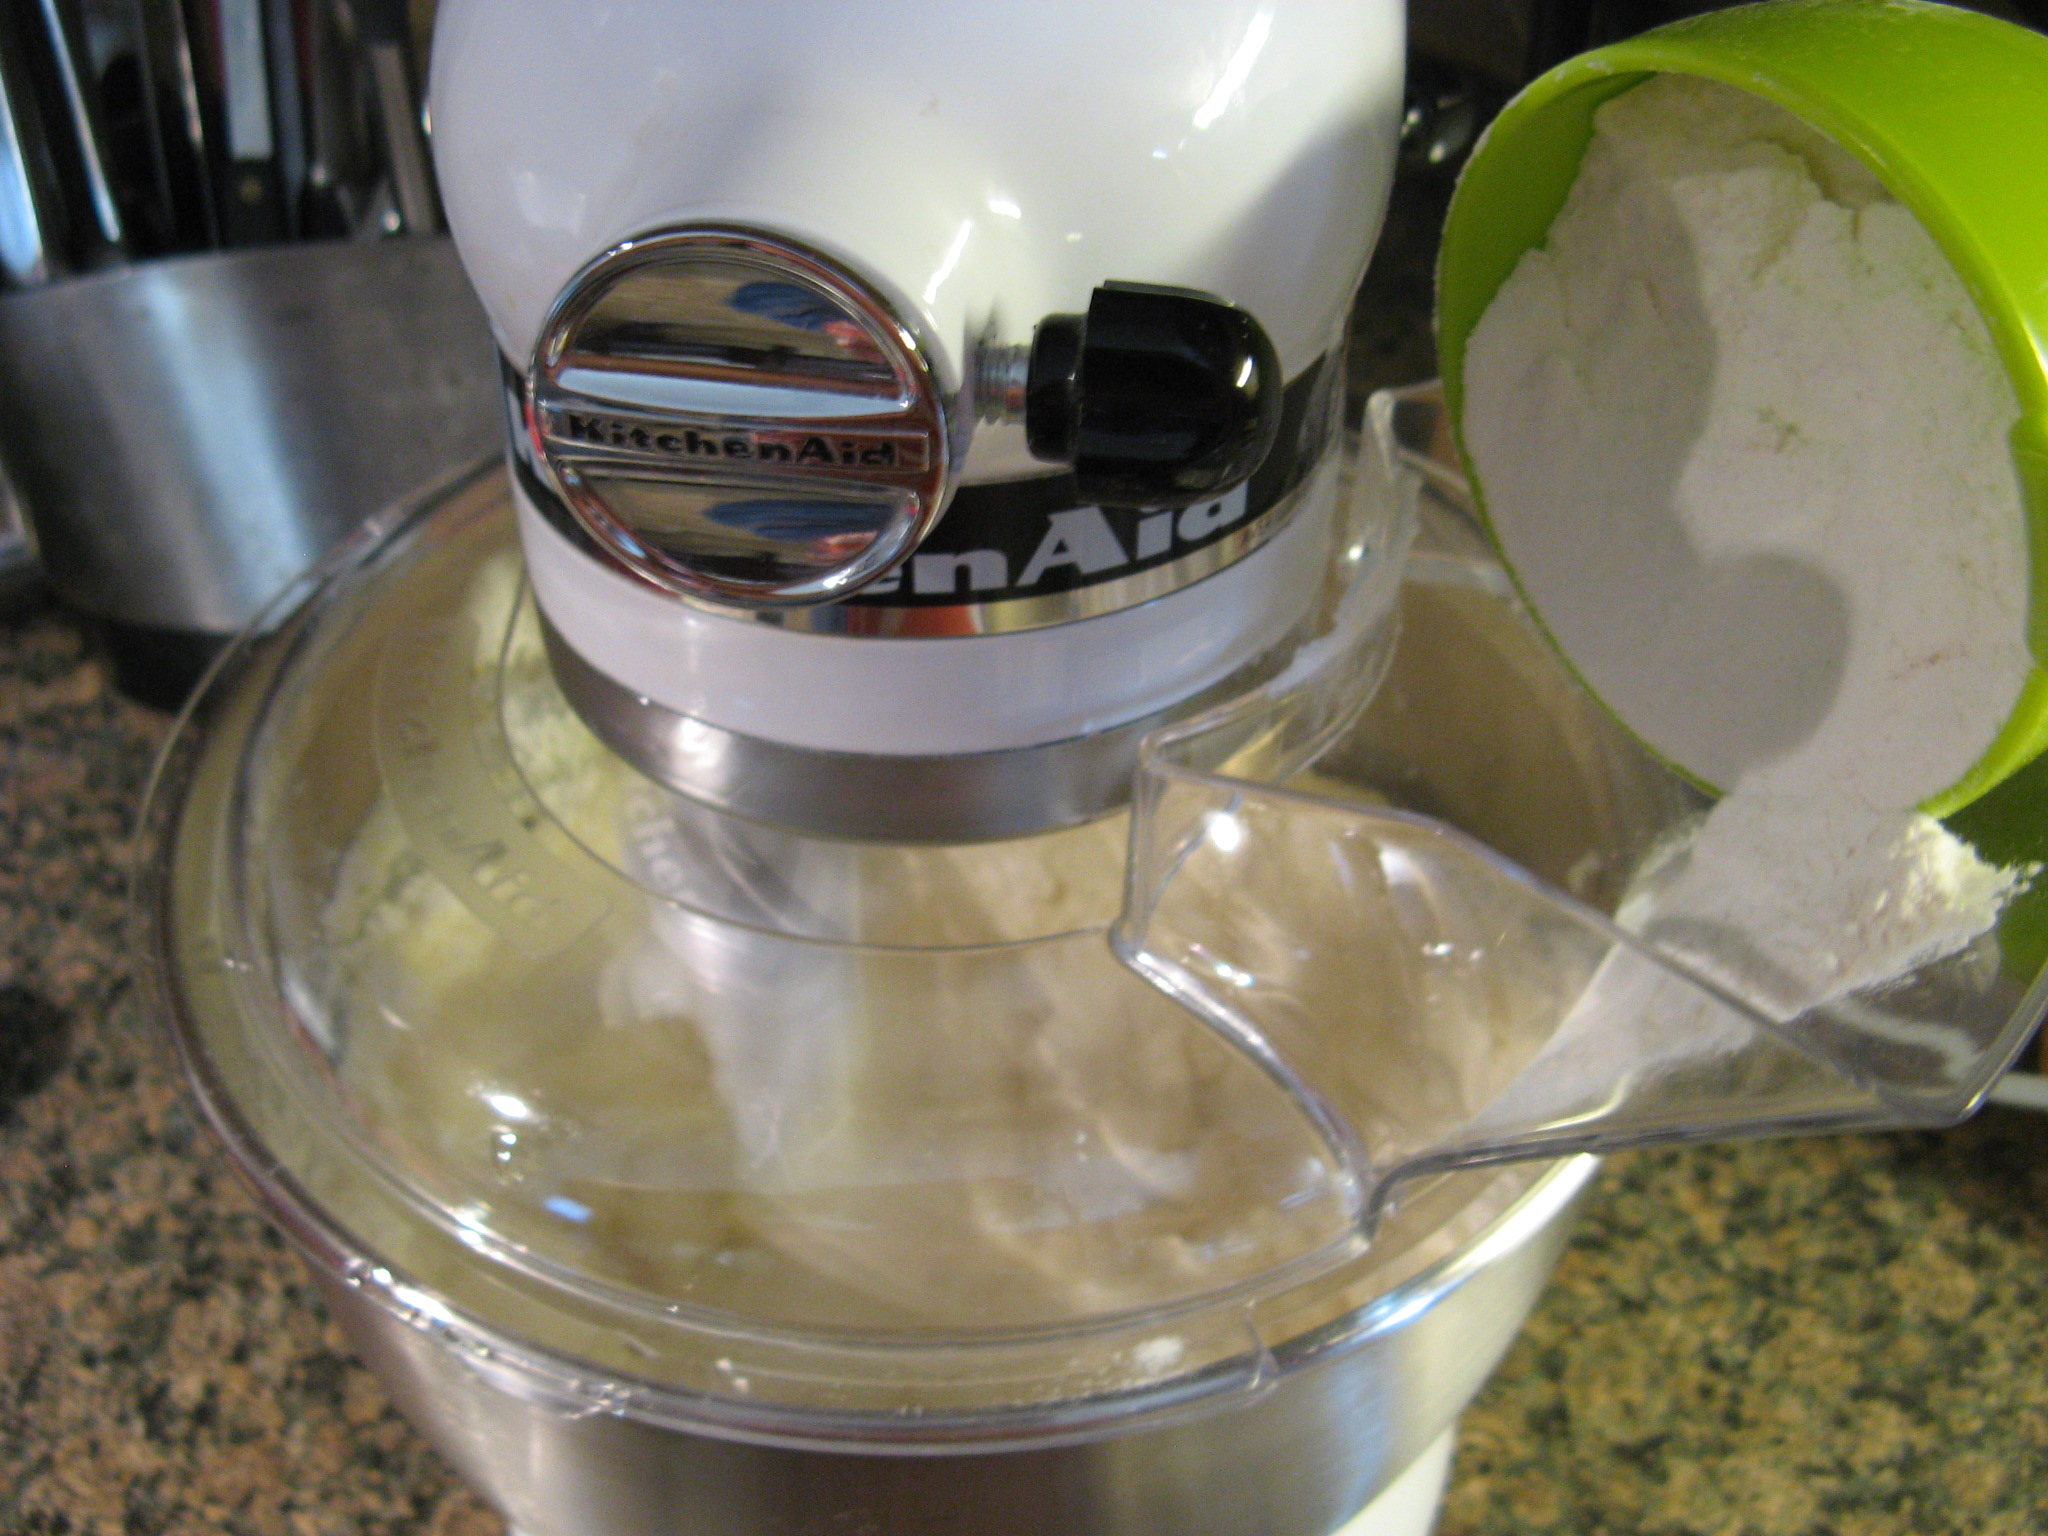
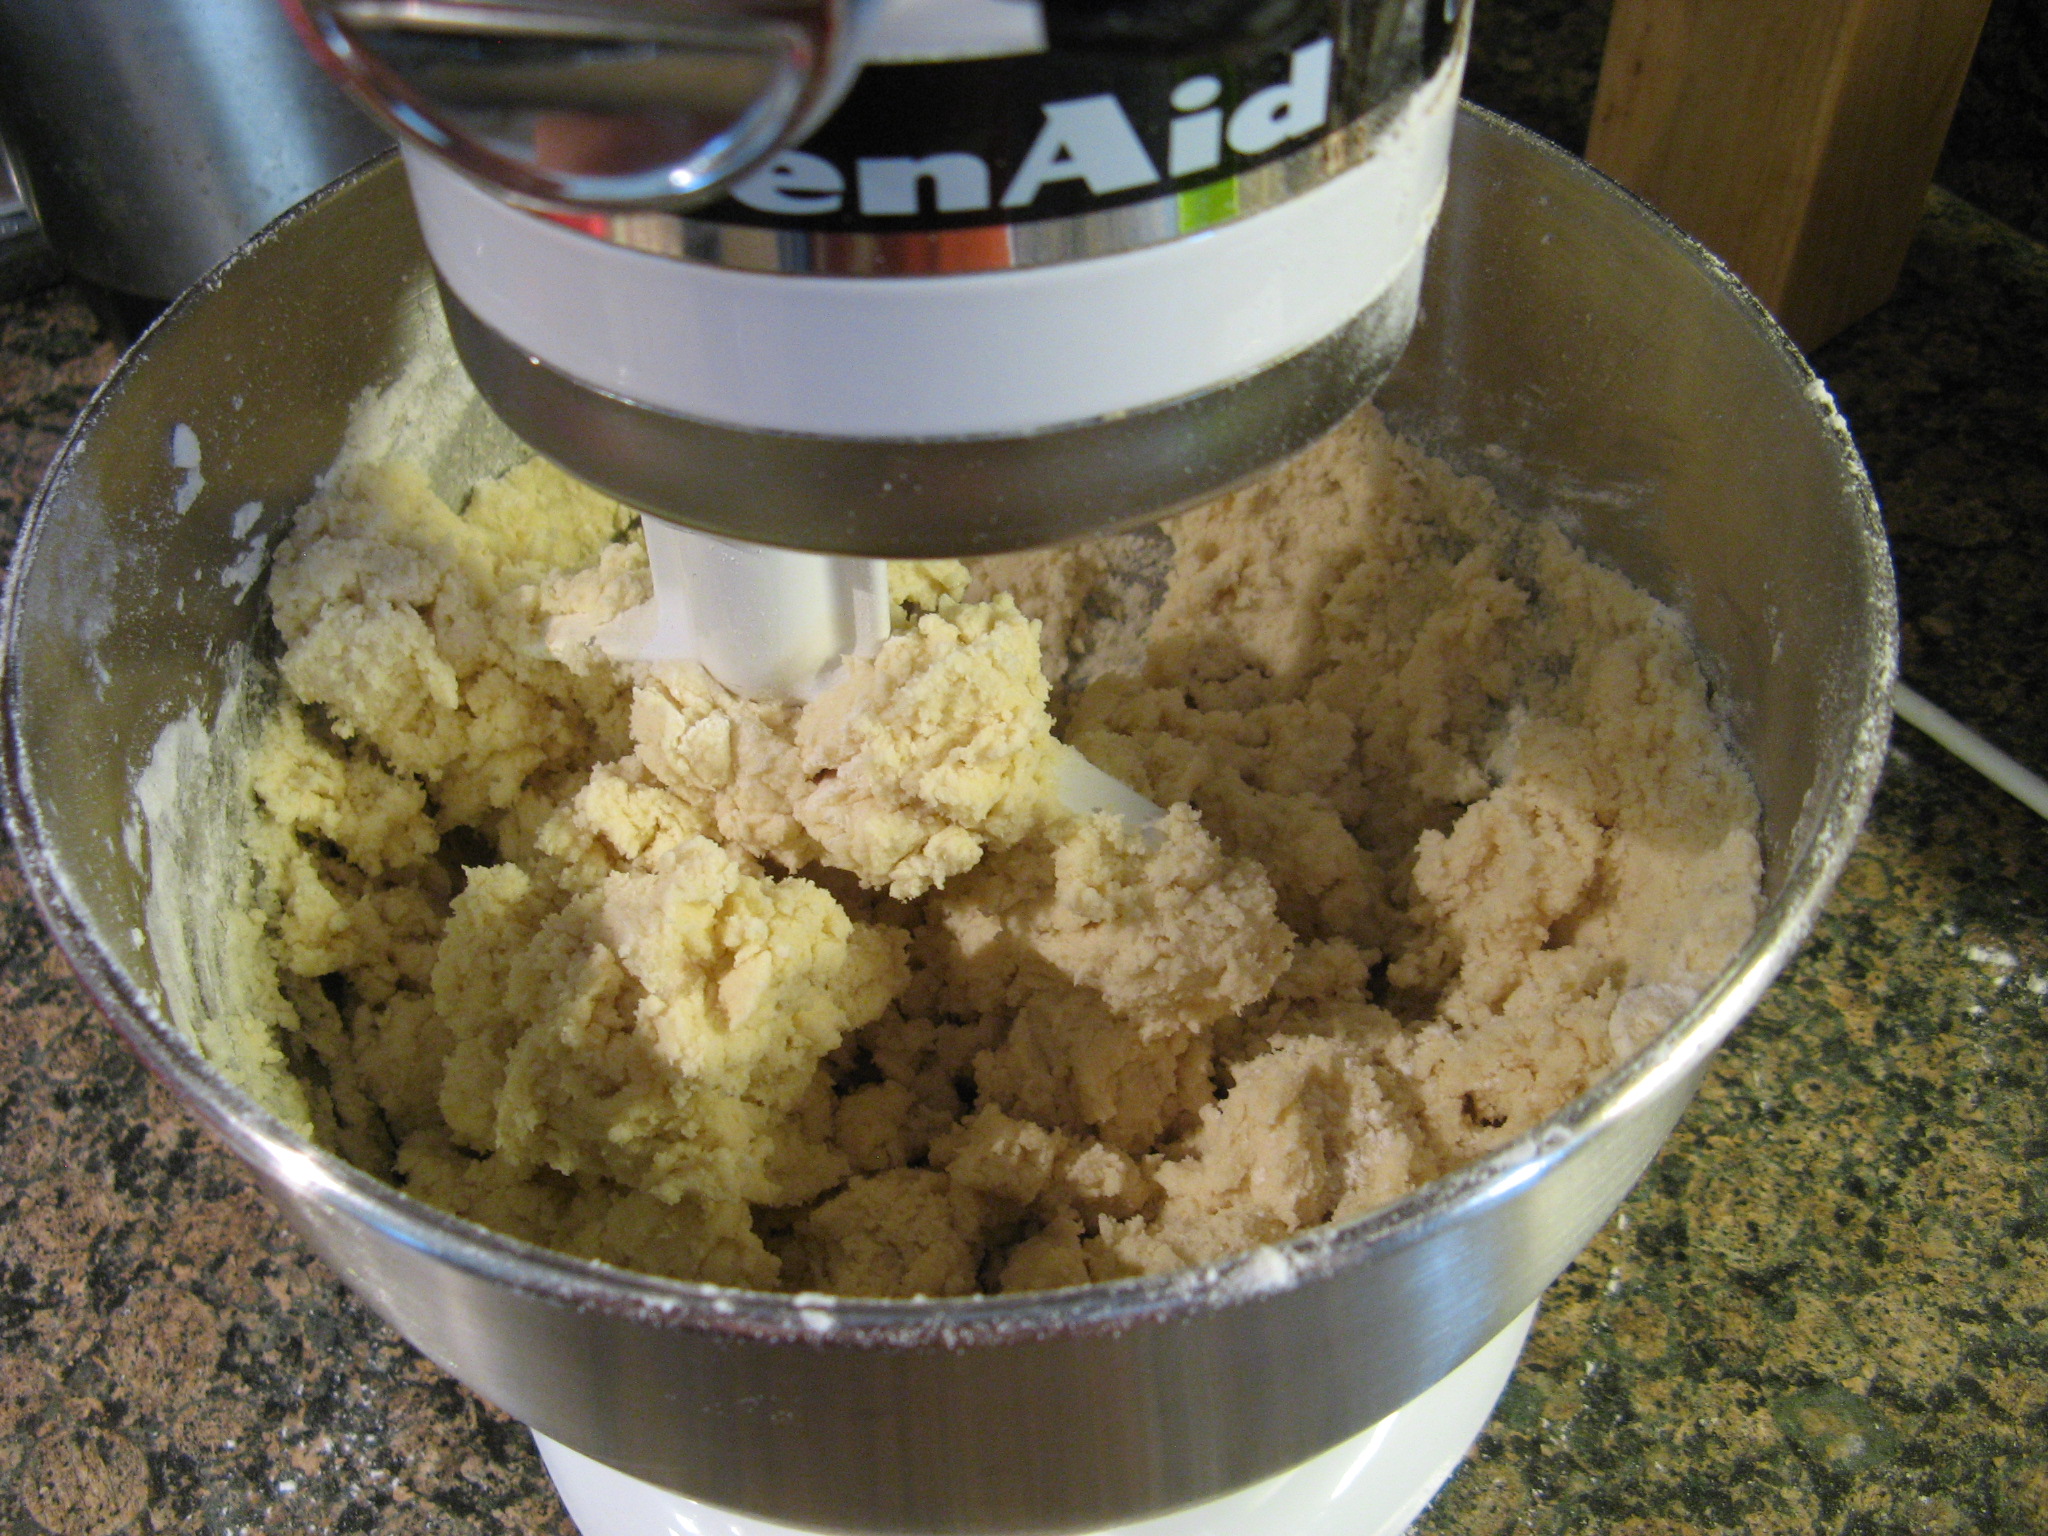
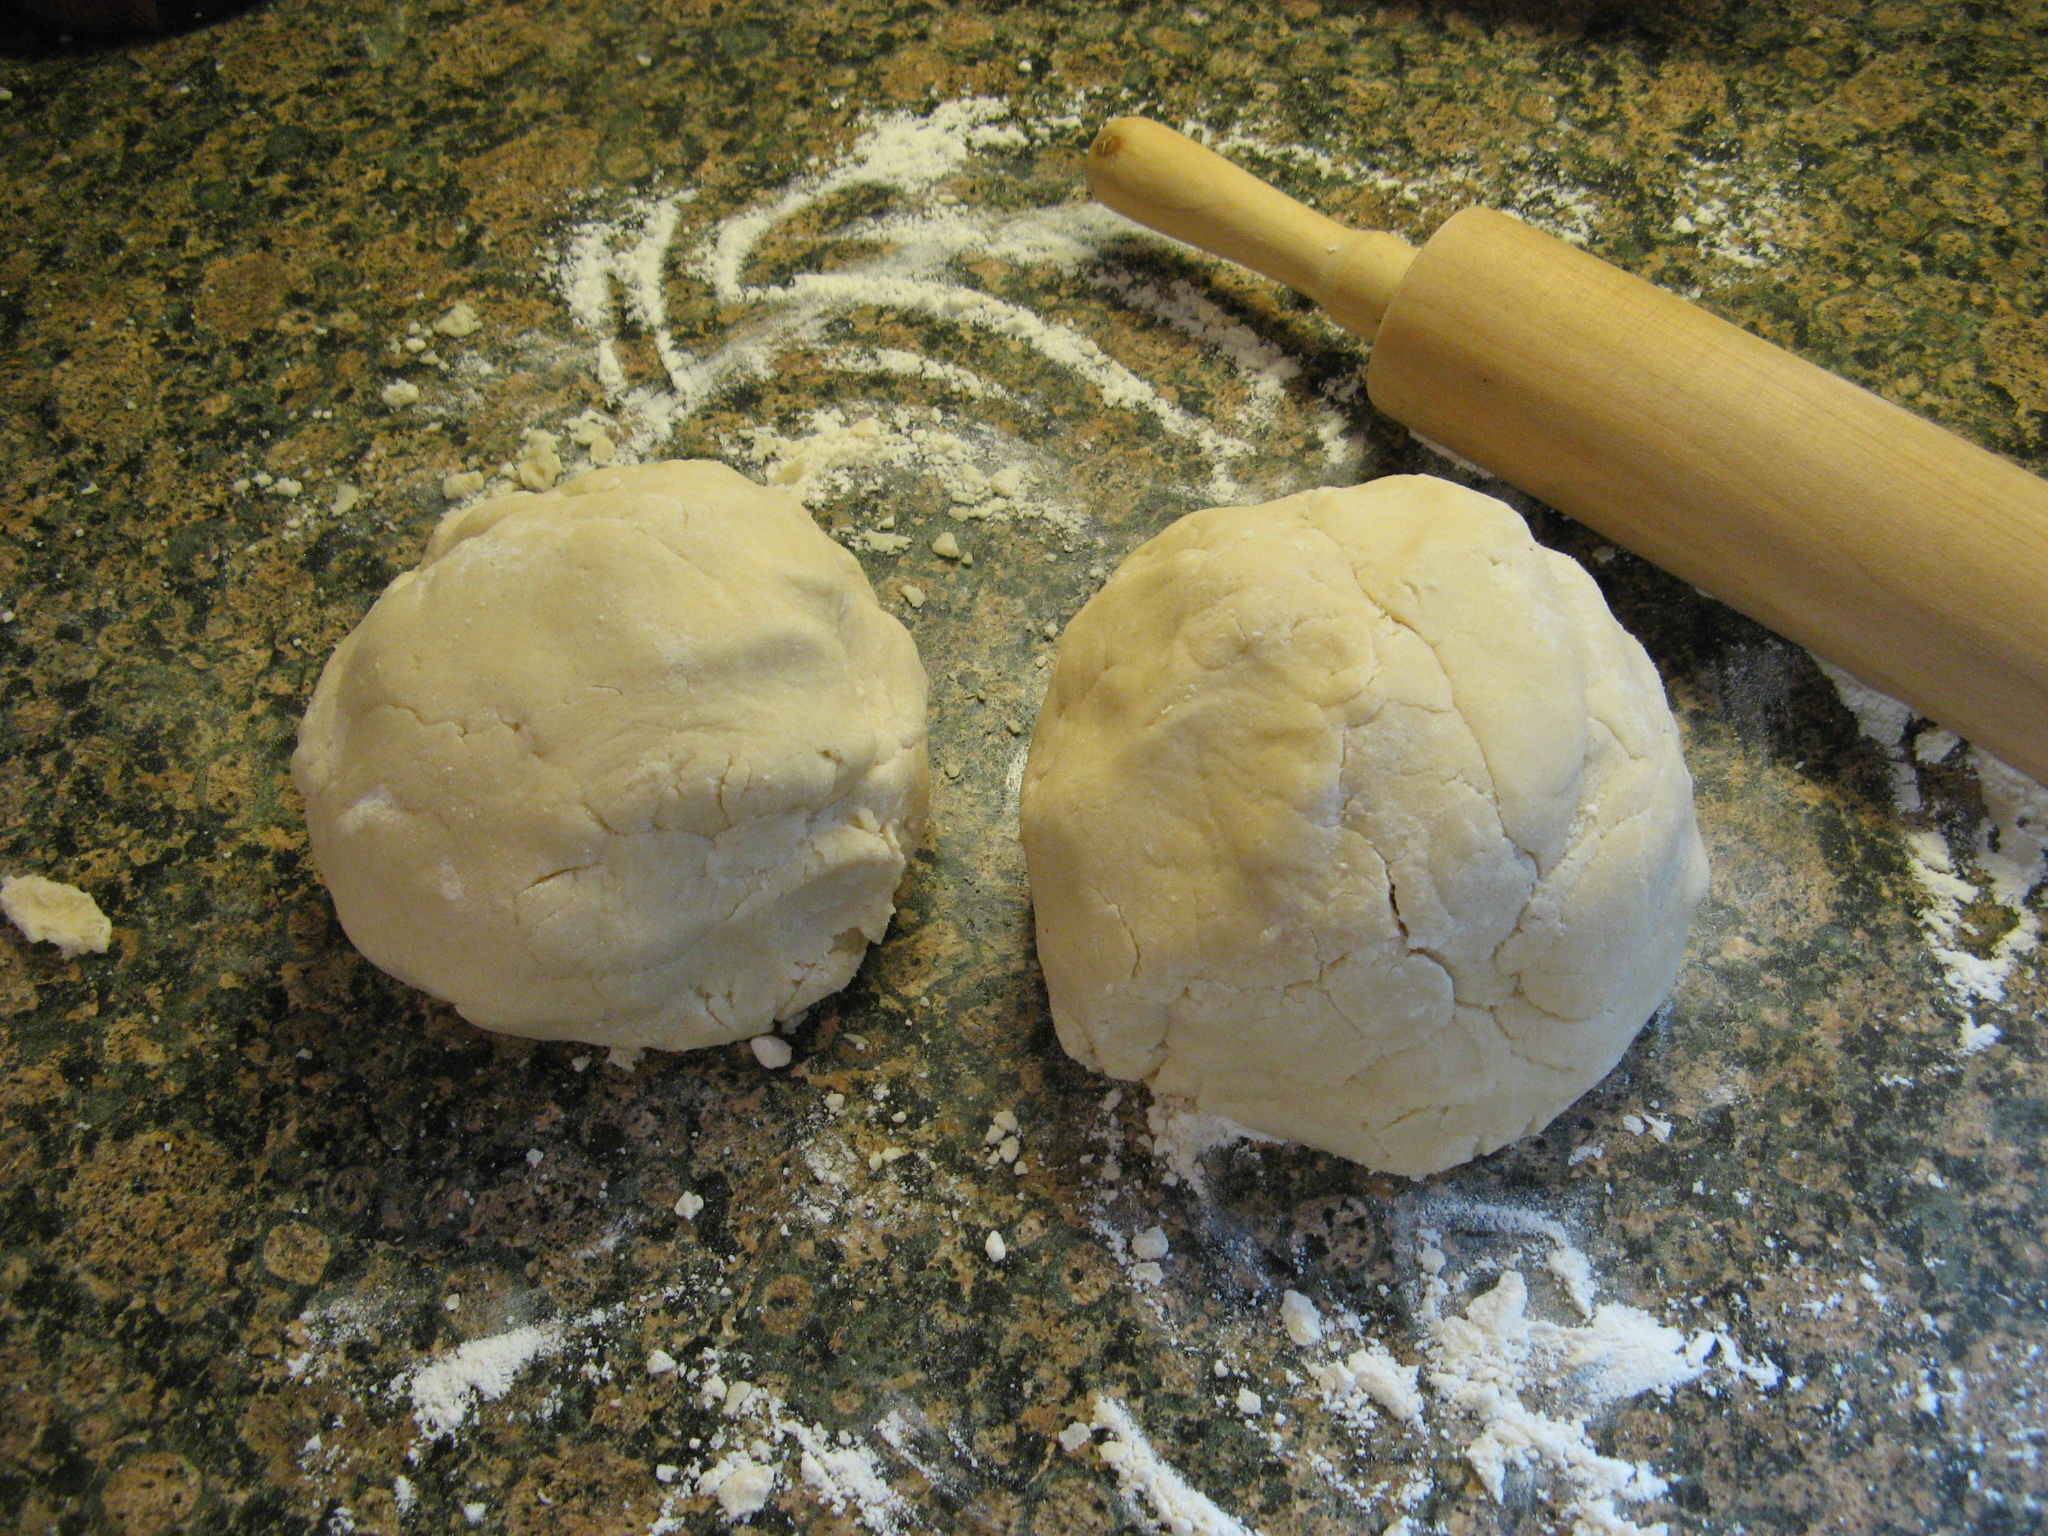
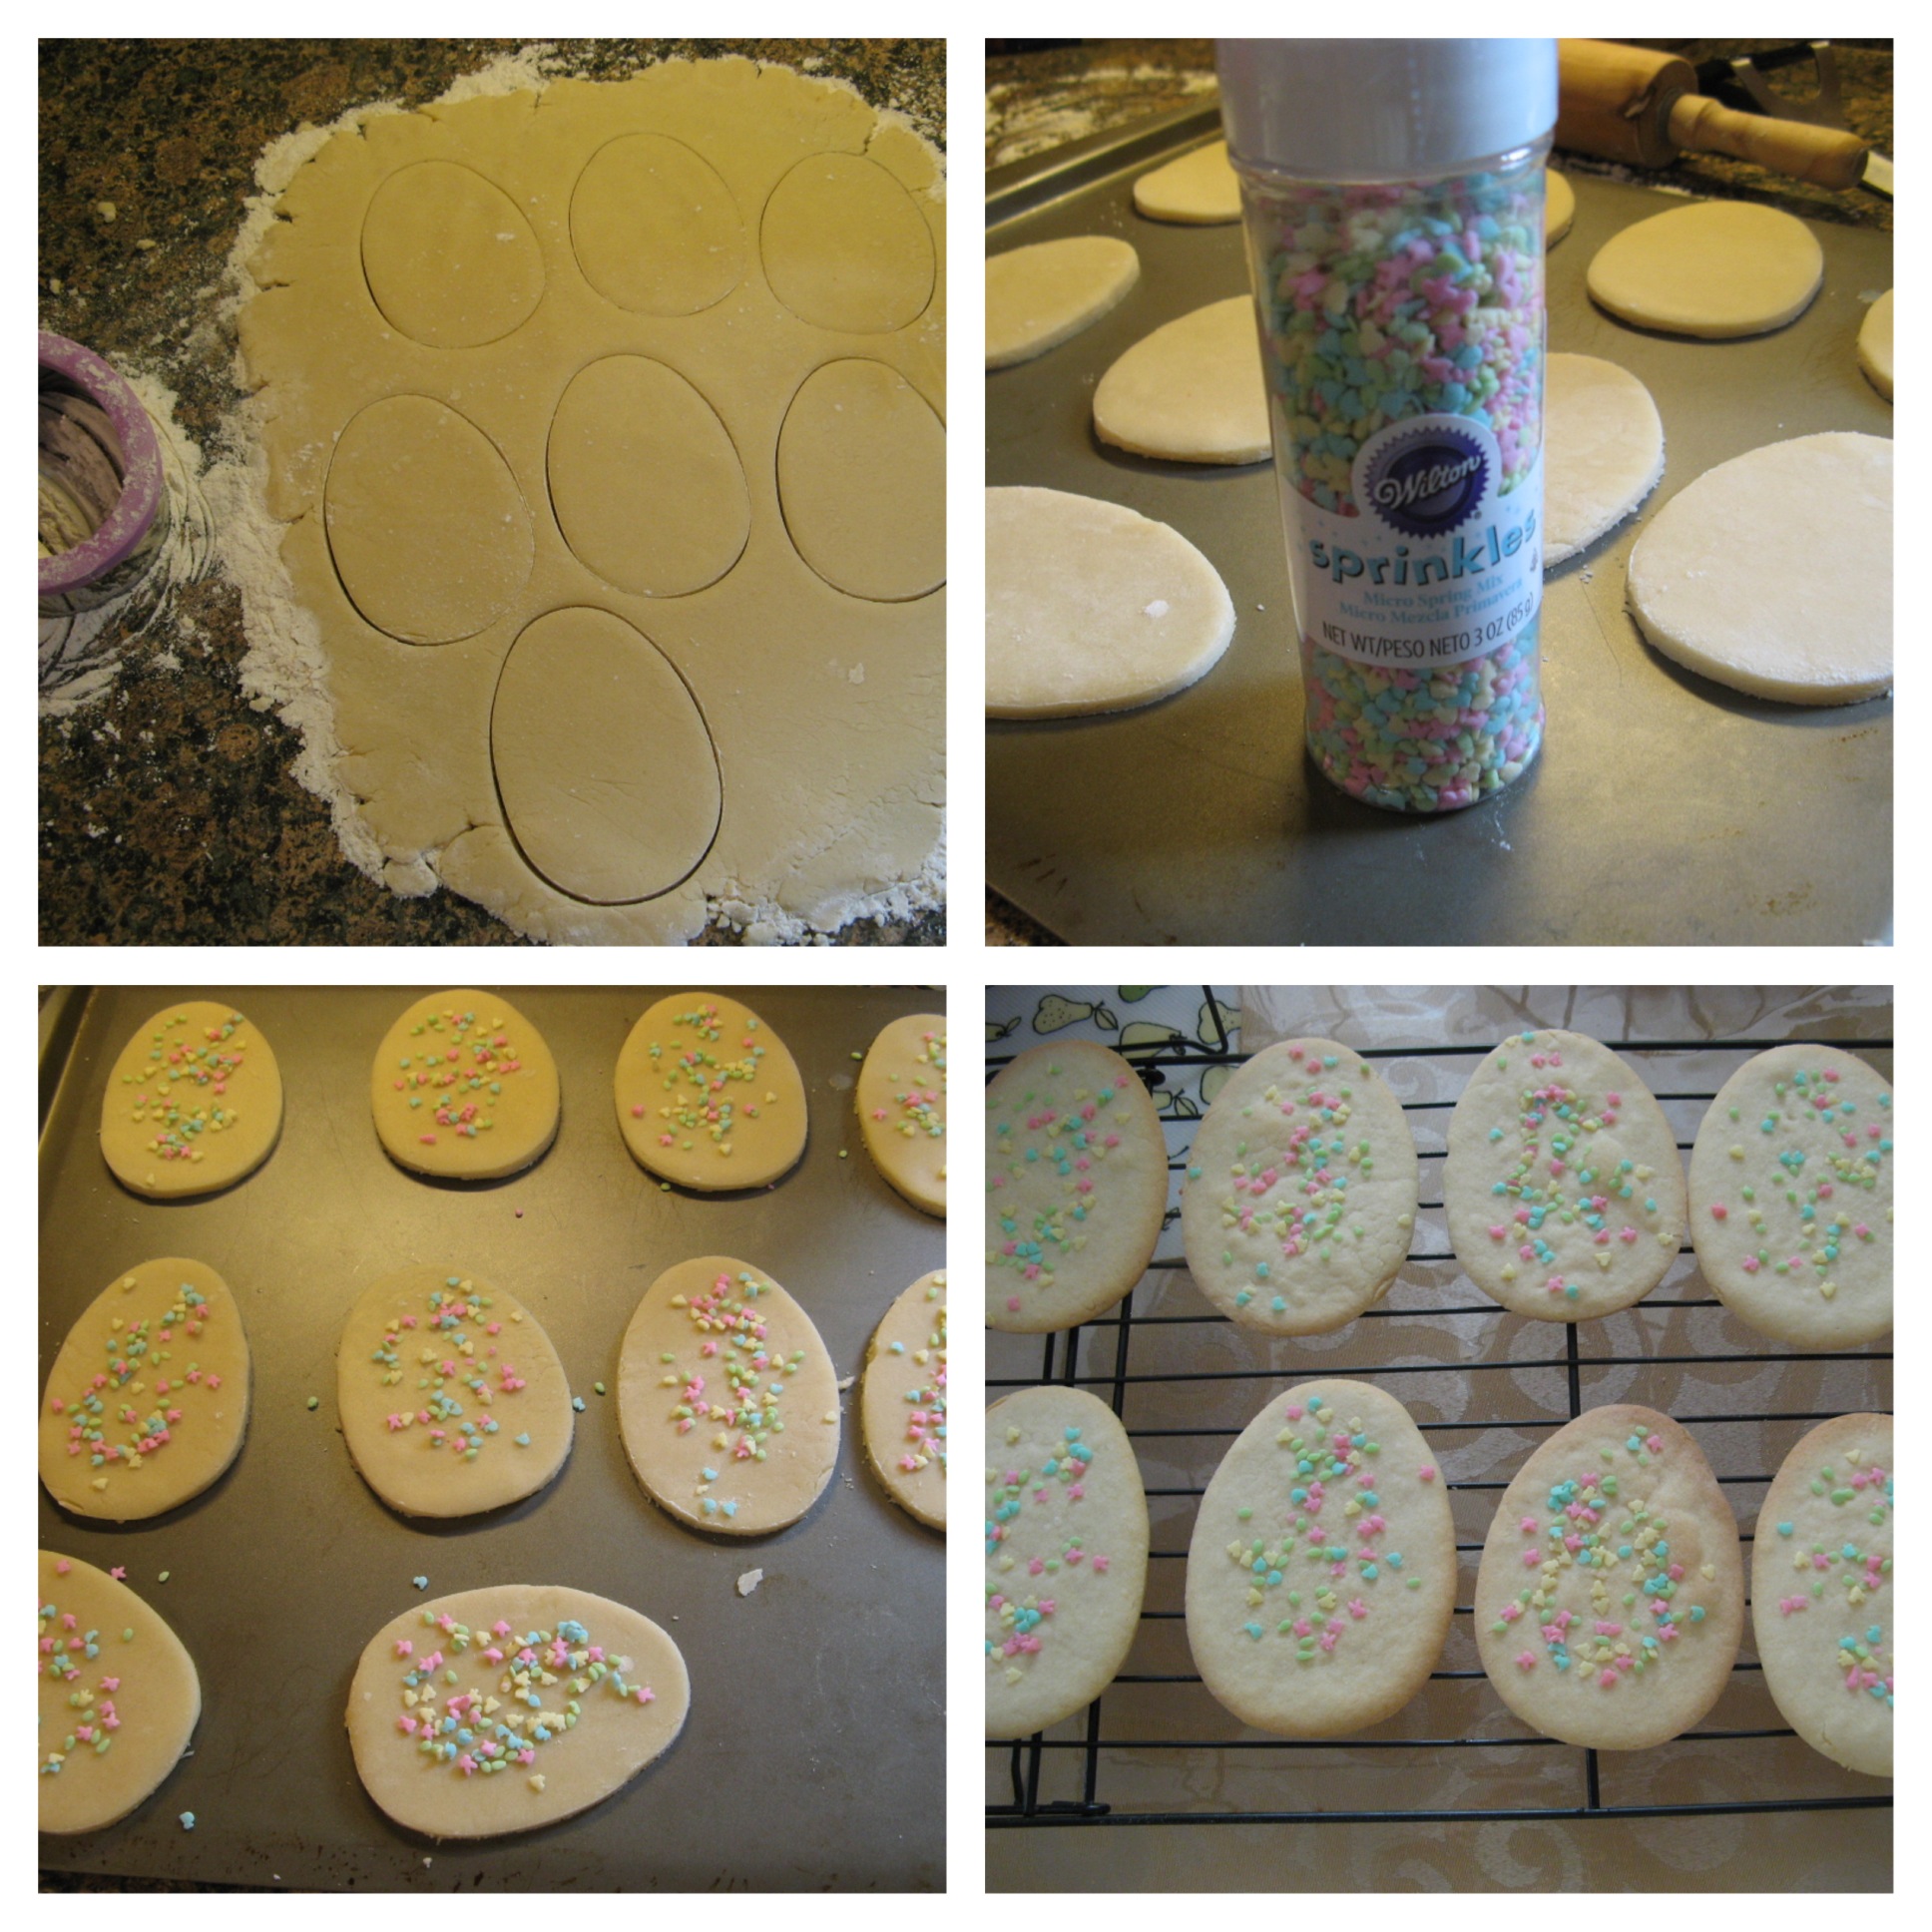
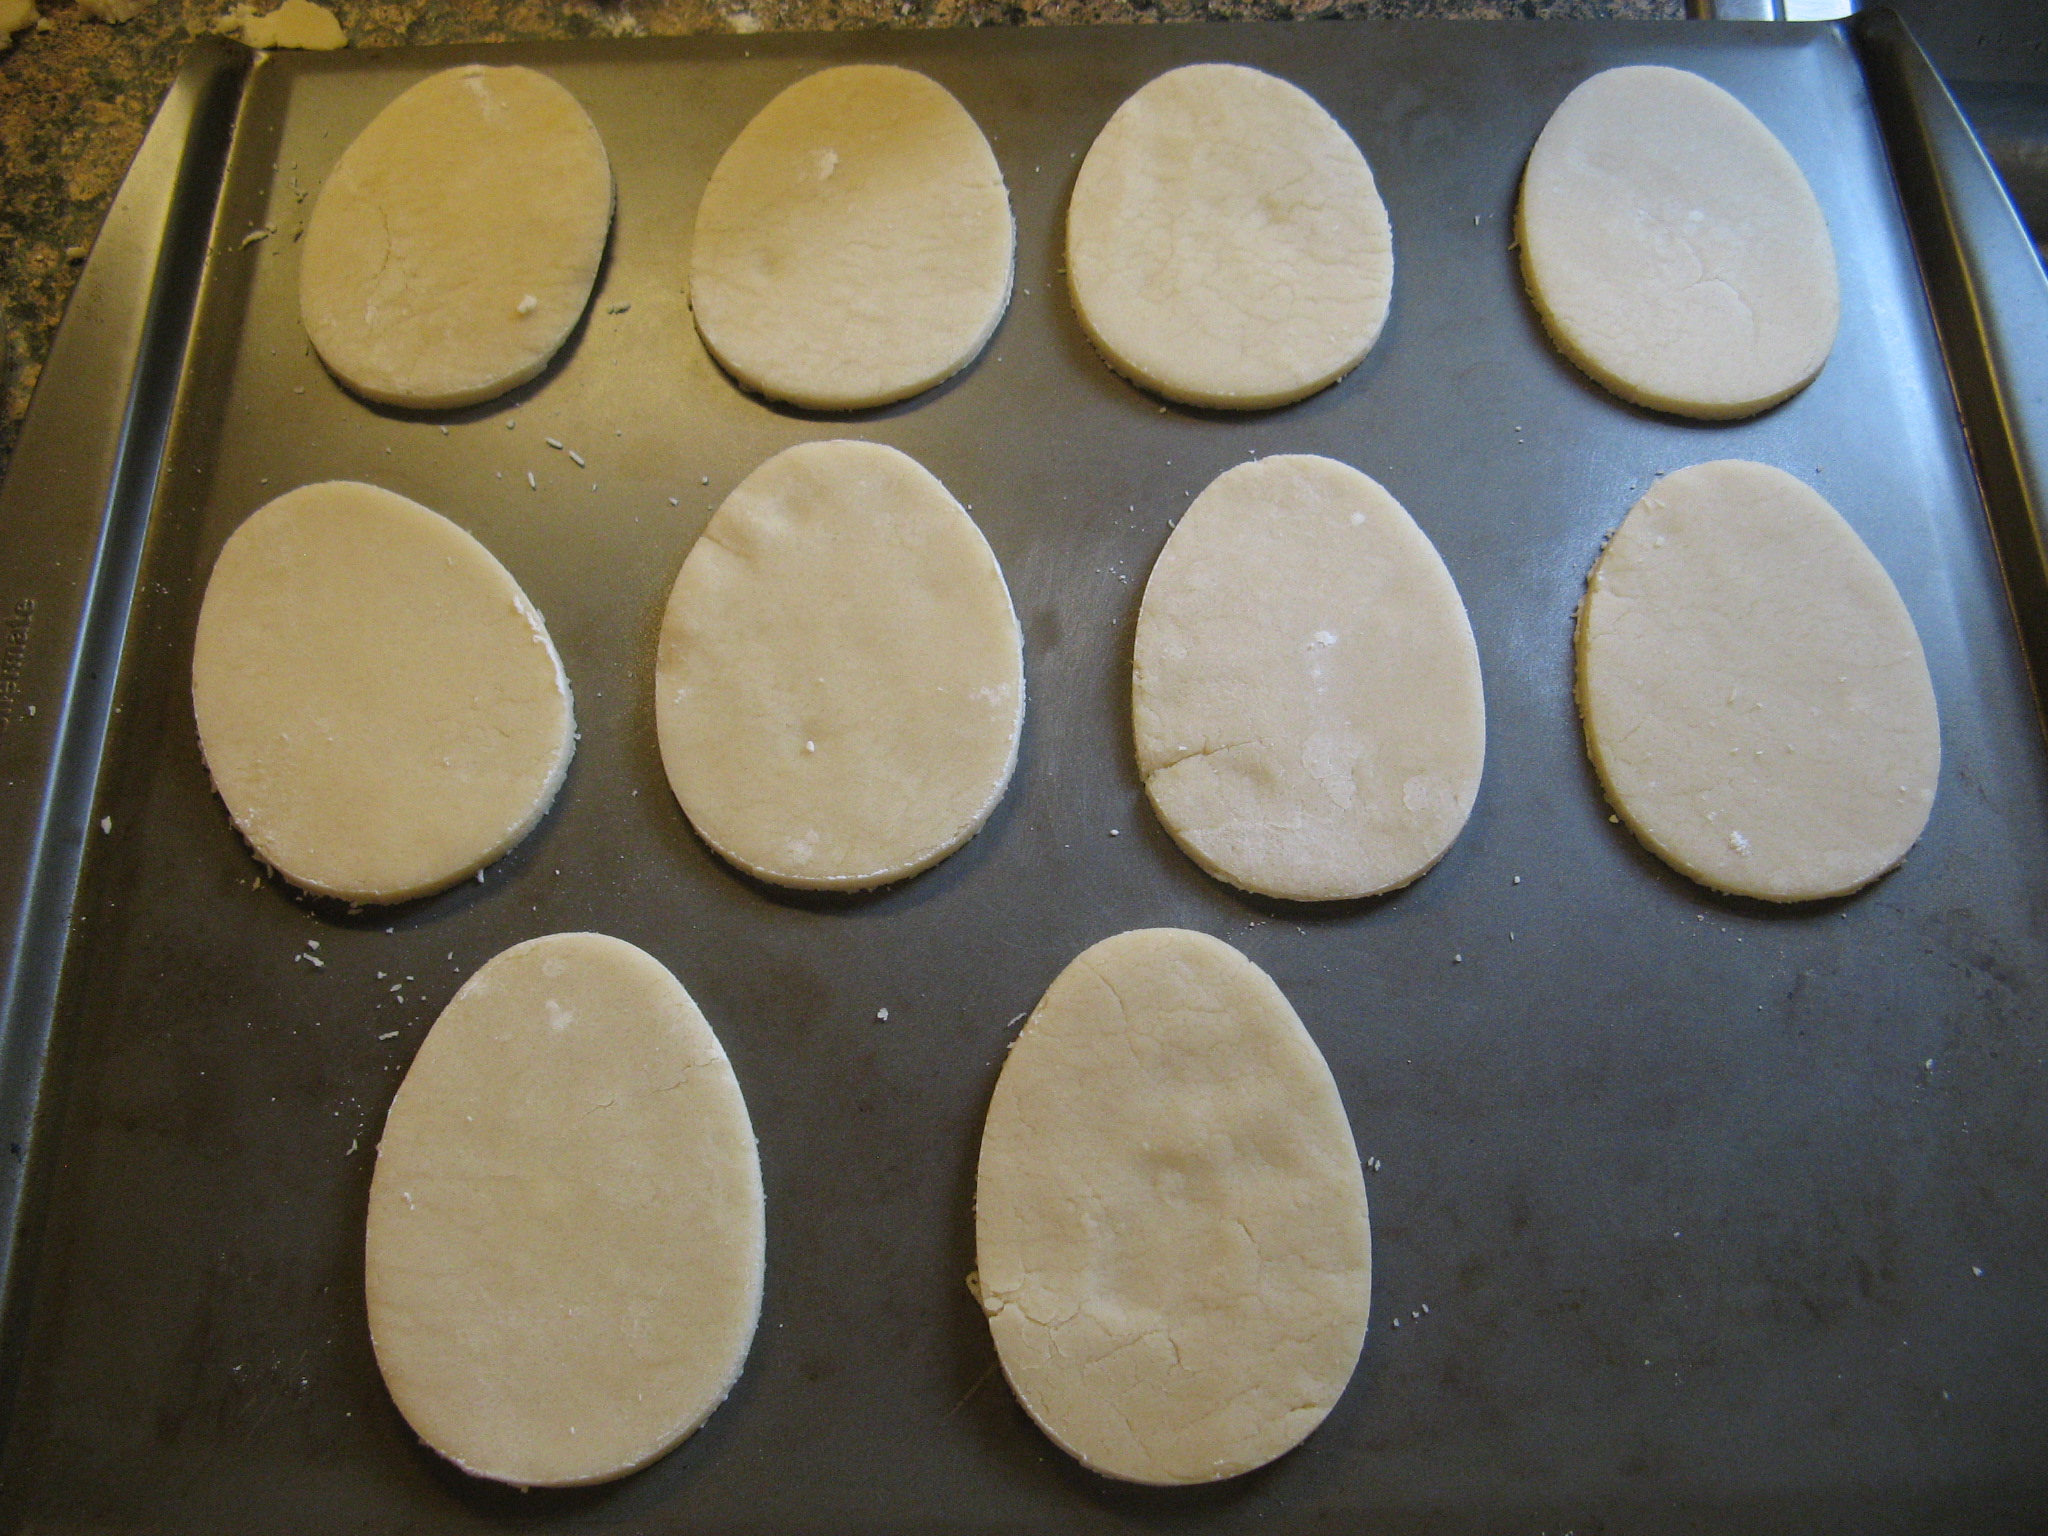
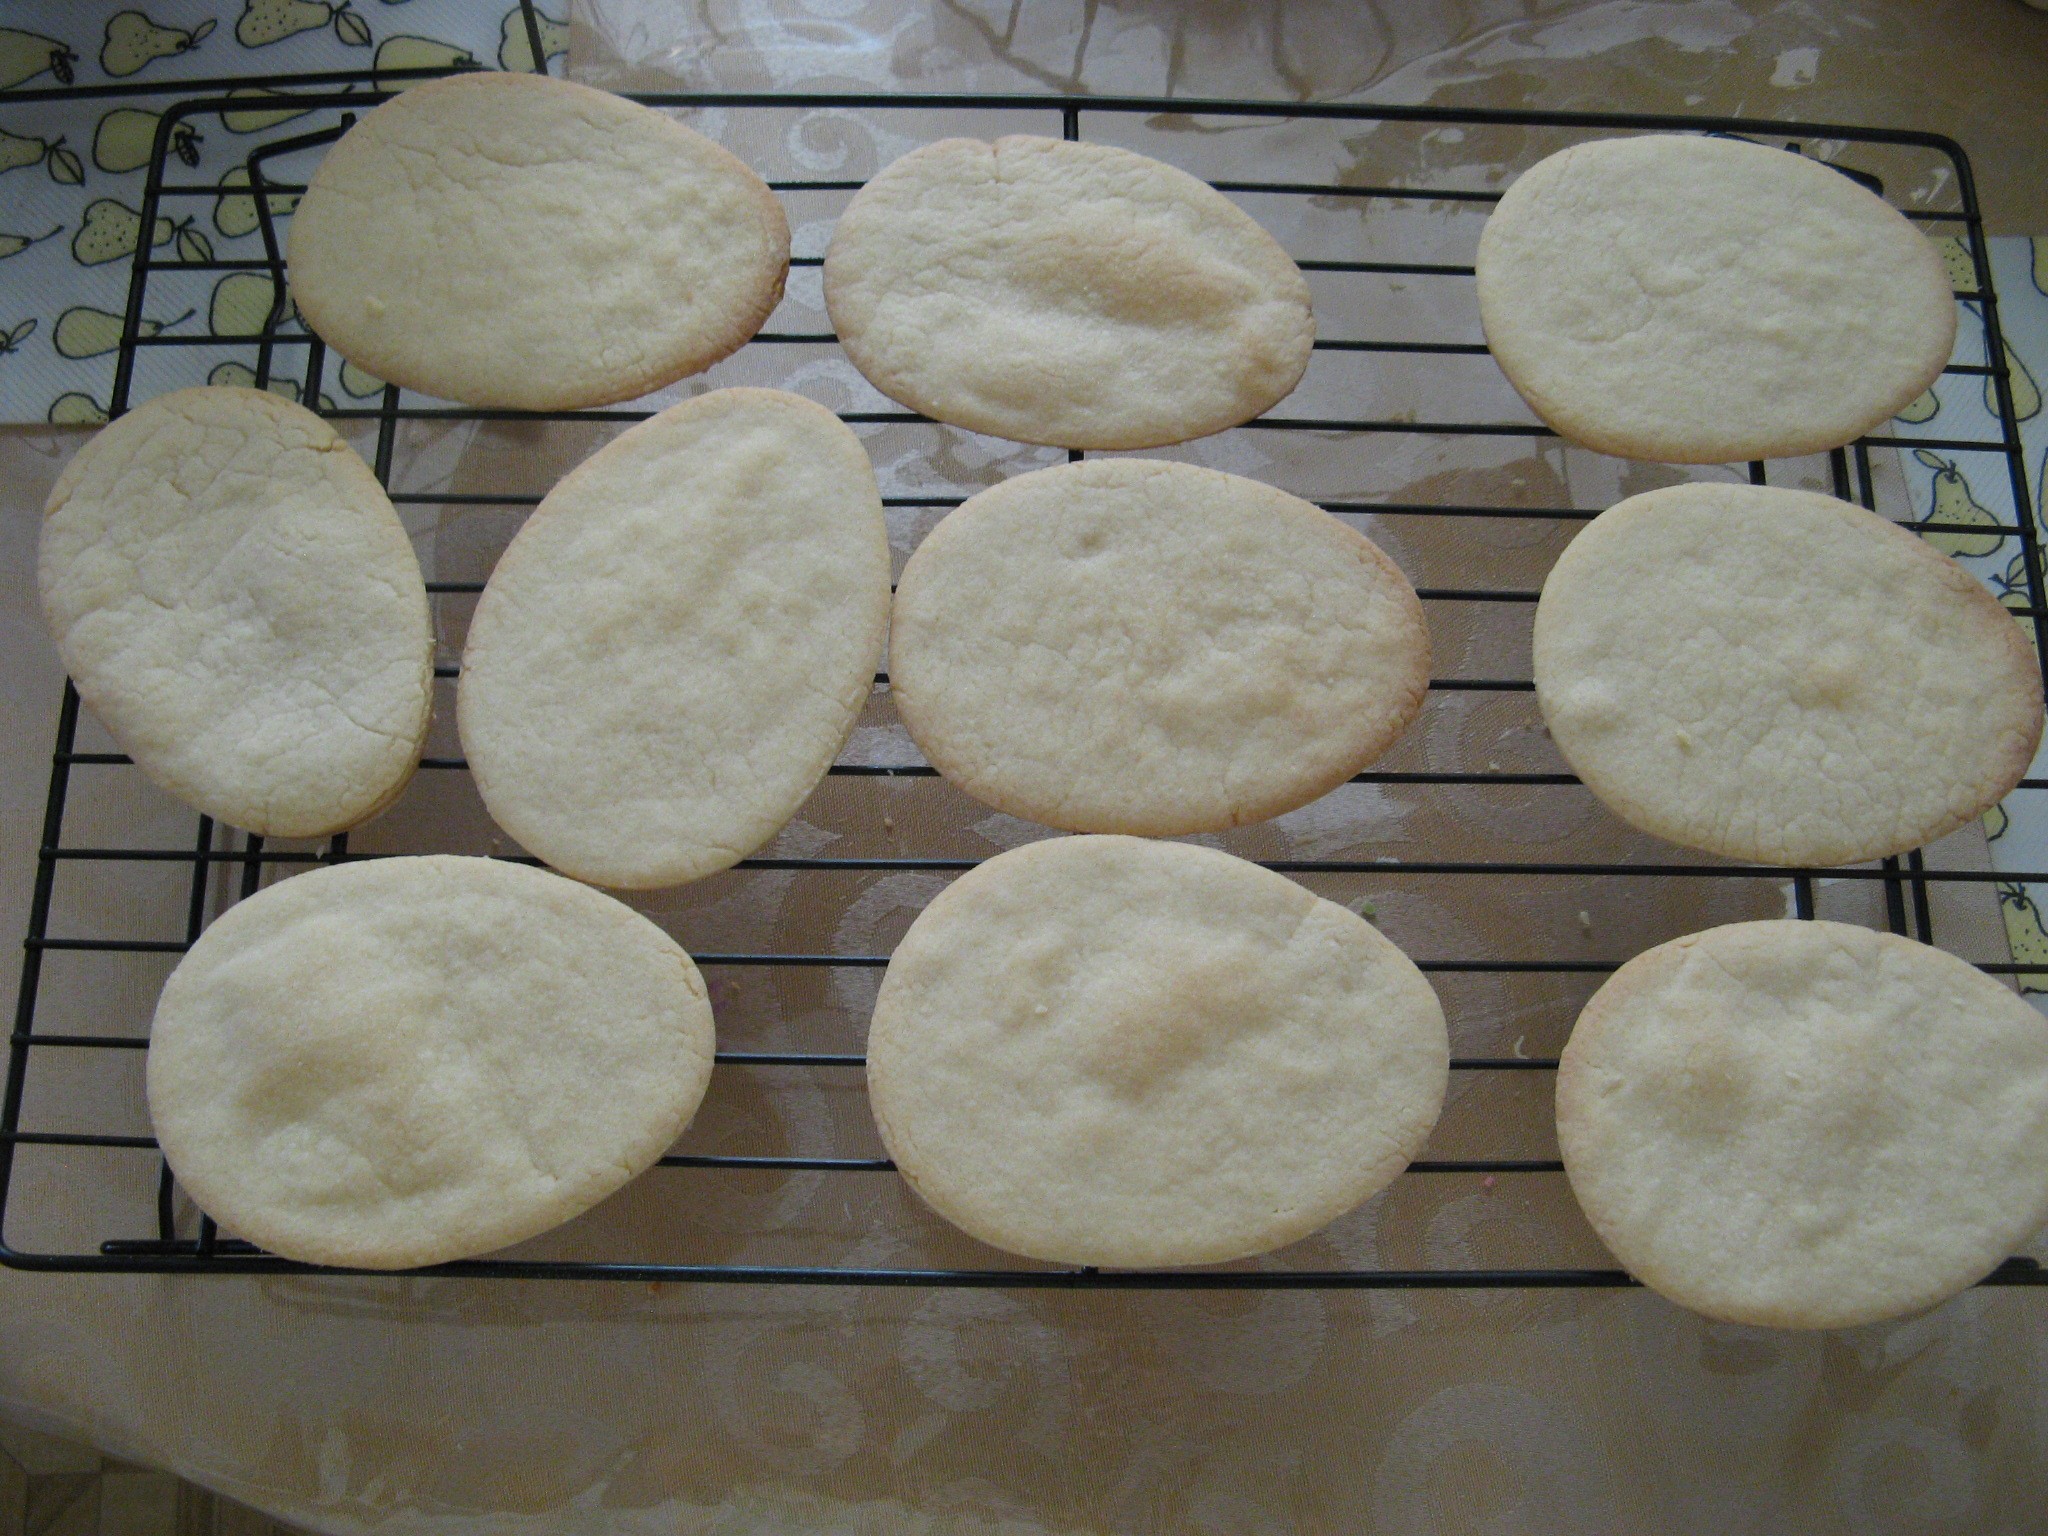
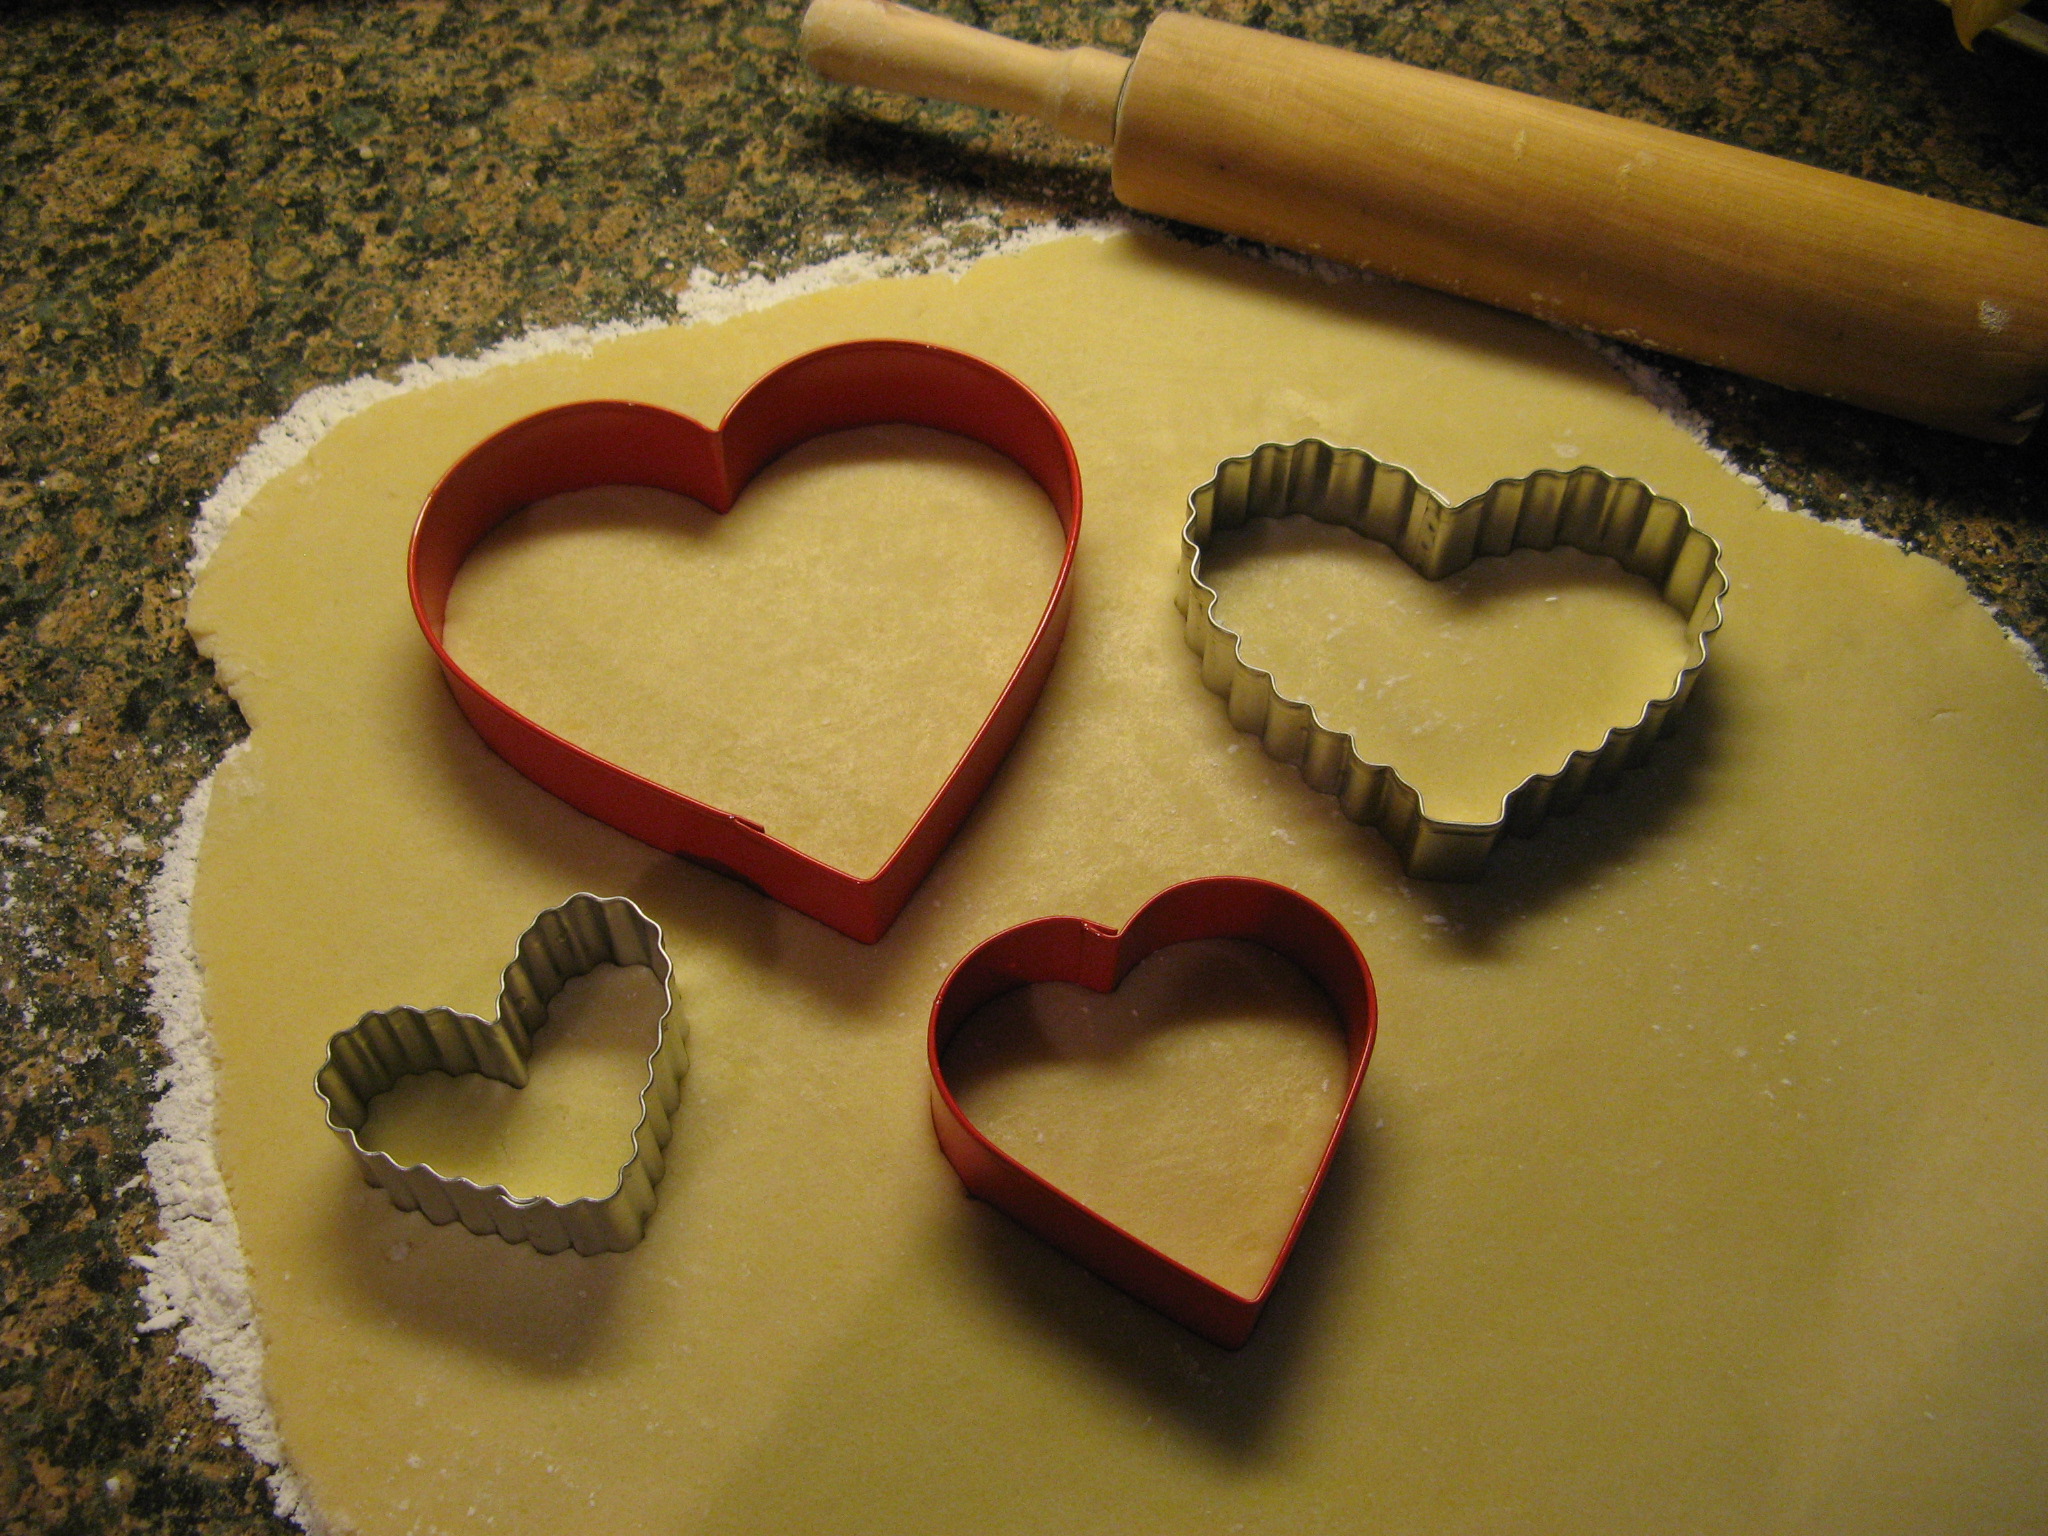
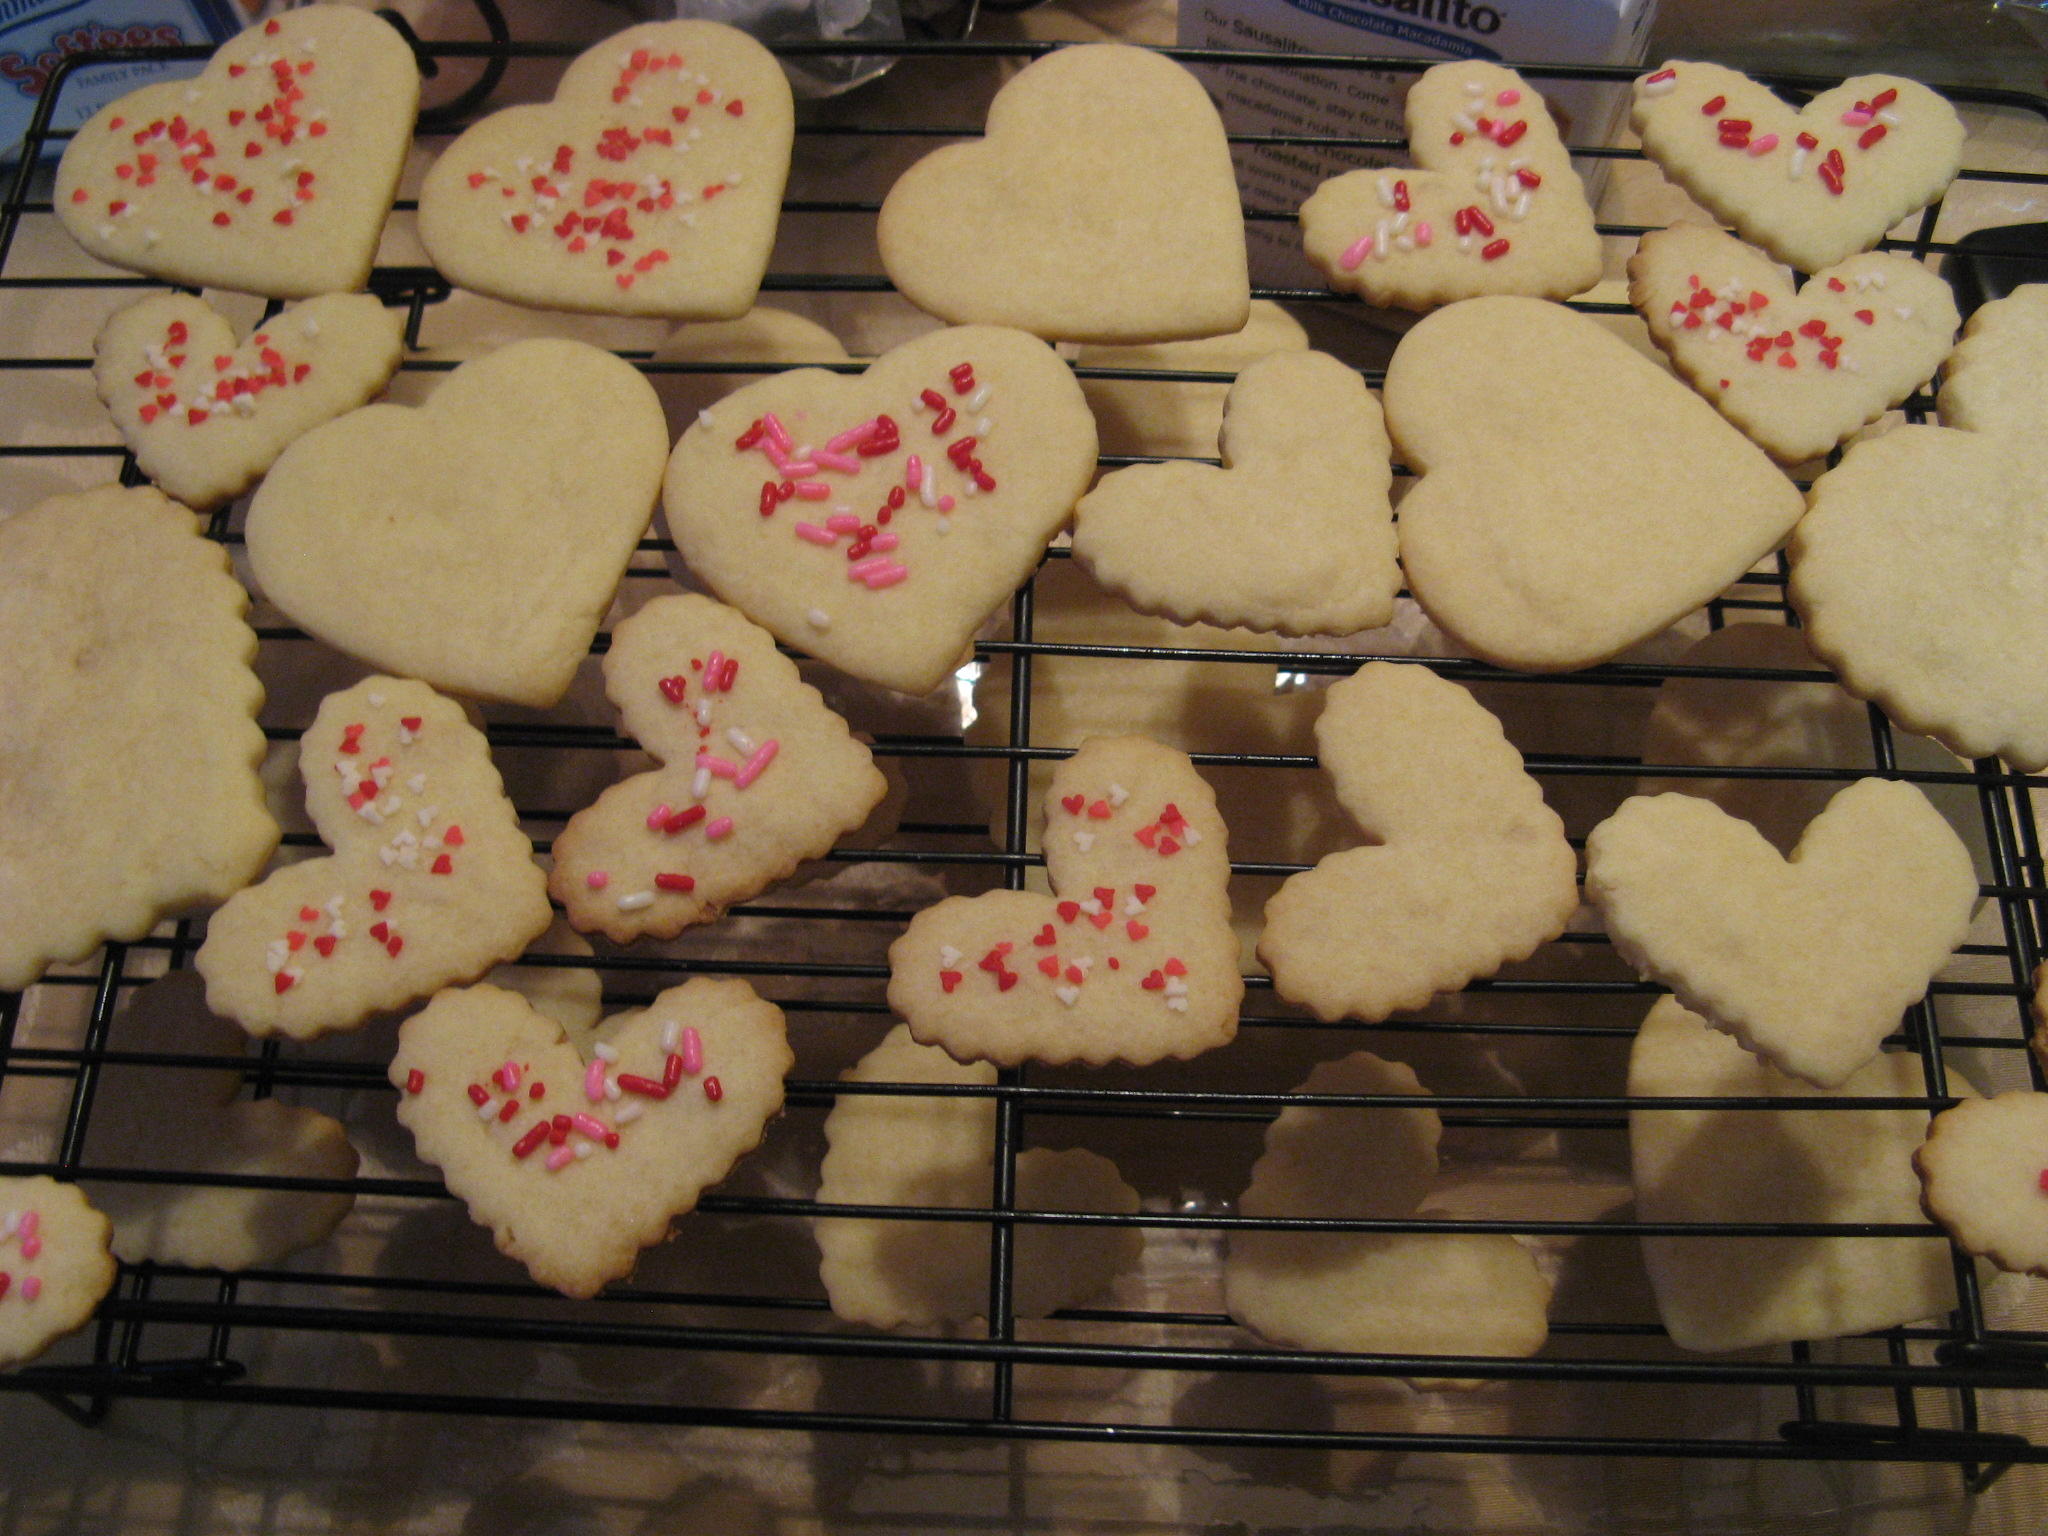
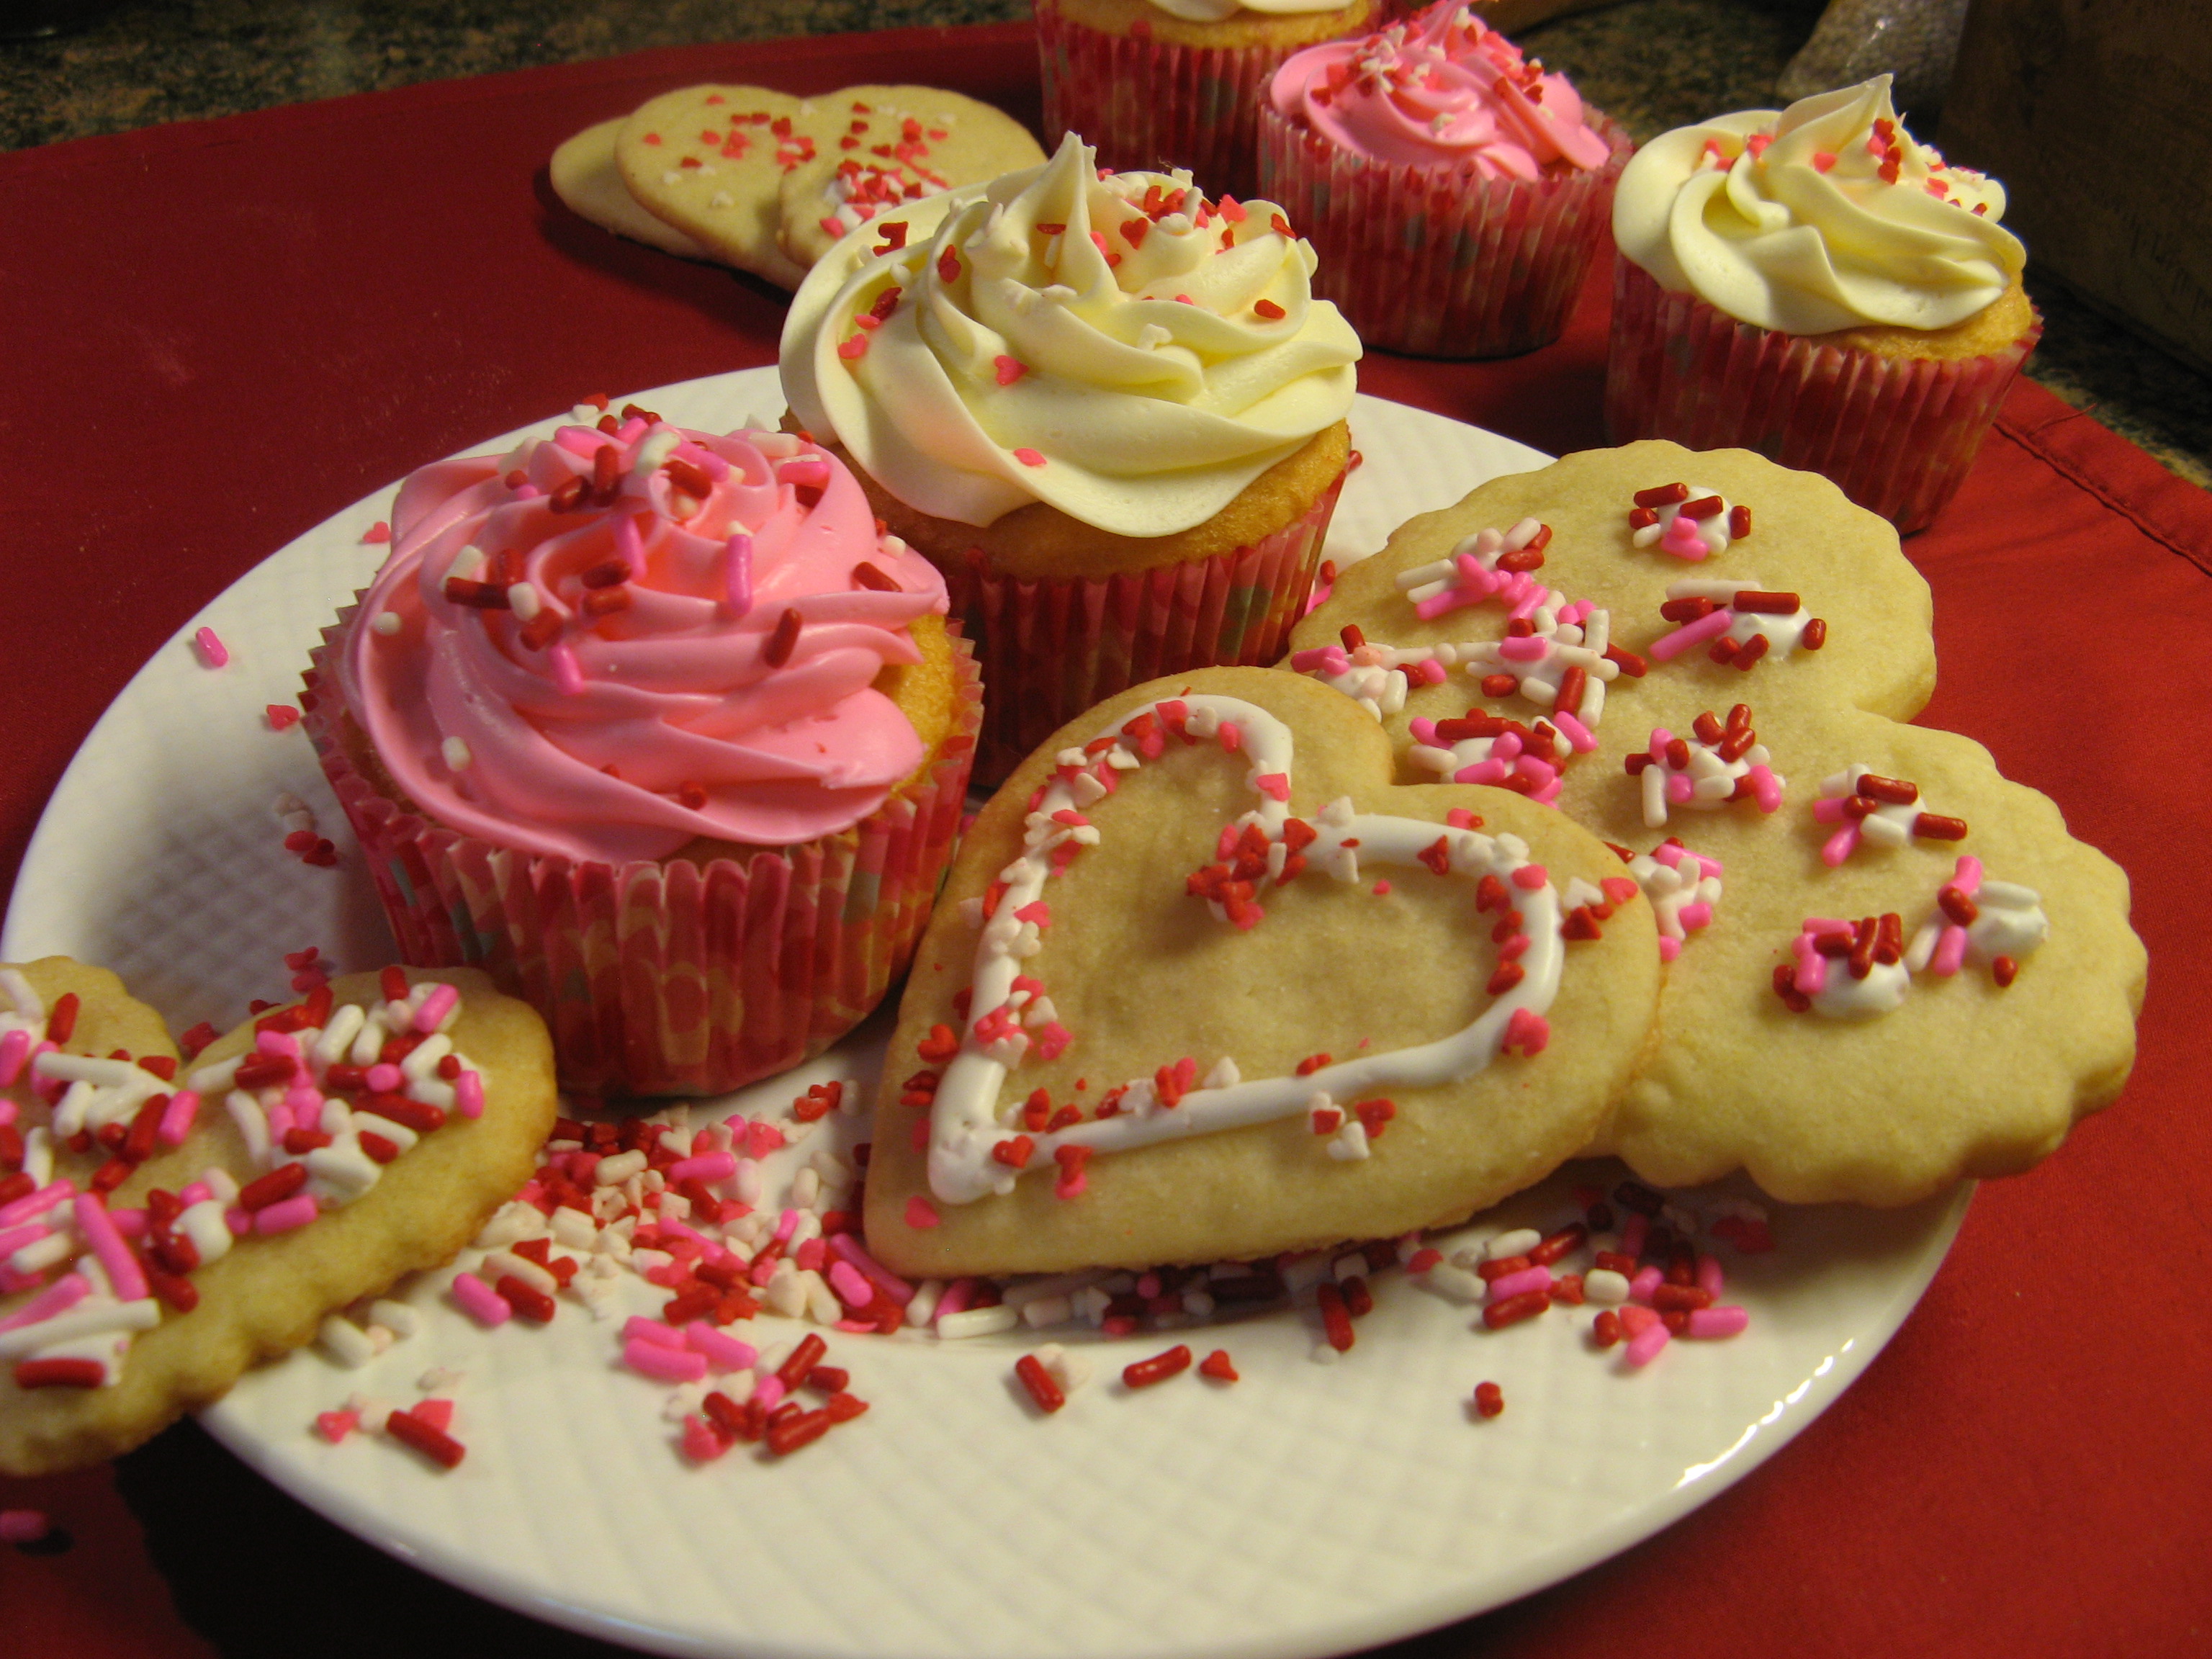
I began by making sugar cookies (I also made a batch of Gingerbread Cookies that you can see in the pics as well). I actually took a major shortcut in making the cookies. I purchased Pillsbury’s Sugar Cookie Dough, the one that comes in a roll not the pre-cut ones, and per the instructions on the wrapper I kneaded in flour before rolling the dough out on a floured surface. I then used a heart-shaped cookie cutter to cut out the cookies. I placed them on a parchment-lined cookie sheet and placed them in the refrigerator for a few minutes before baking them. I was hoping that chilling the cookies for a few minutes would help the cookies keep their shape while baking – cold cookies don’t spread as much while baking. Unfortunately this wasn’t the case. Some of my hearts ended up looking like circles or wonky shaped hearts. The two arches at the top weren’t as noticeable as I hoped they would be. I just figured I would make them look like hearts by decorating them. I ended up reading some reviews about the cookie dough and quite a few of them were negative and expressed what I had experienced. The dough spread way too much while baking. Oh well, I know for next time.

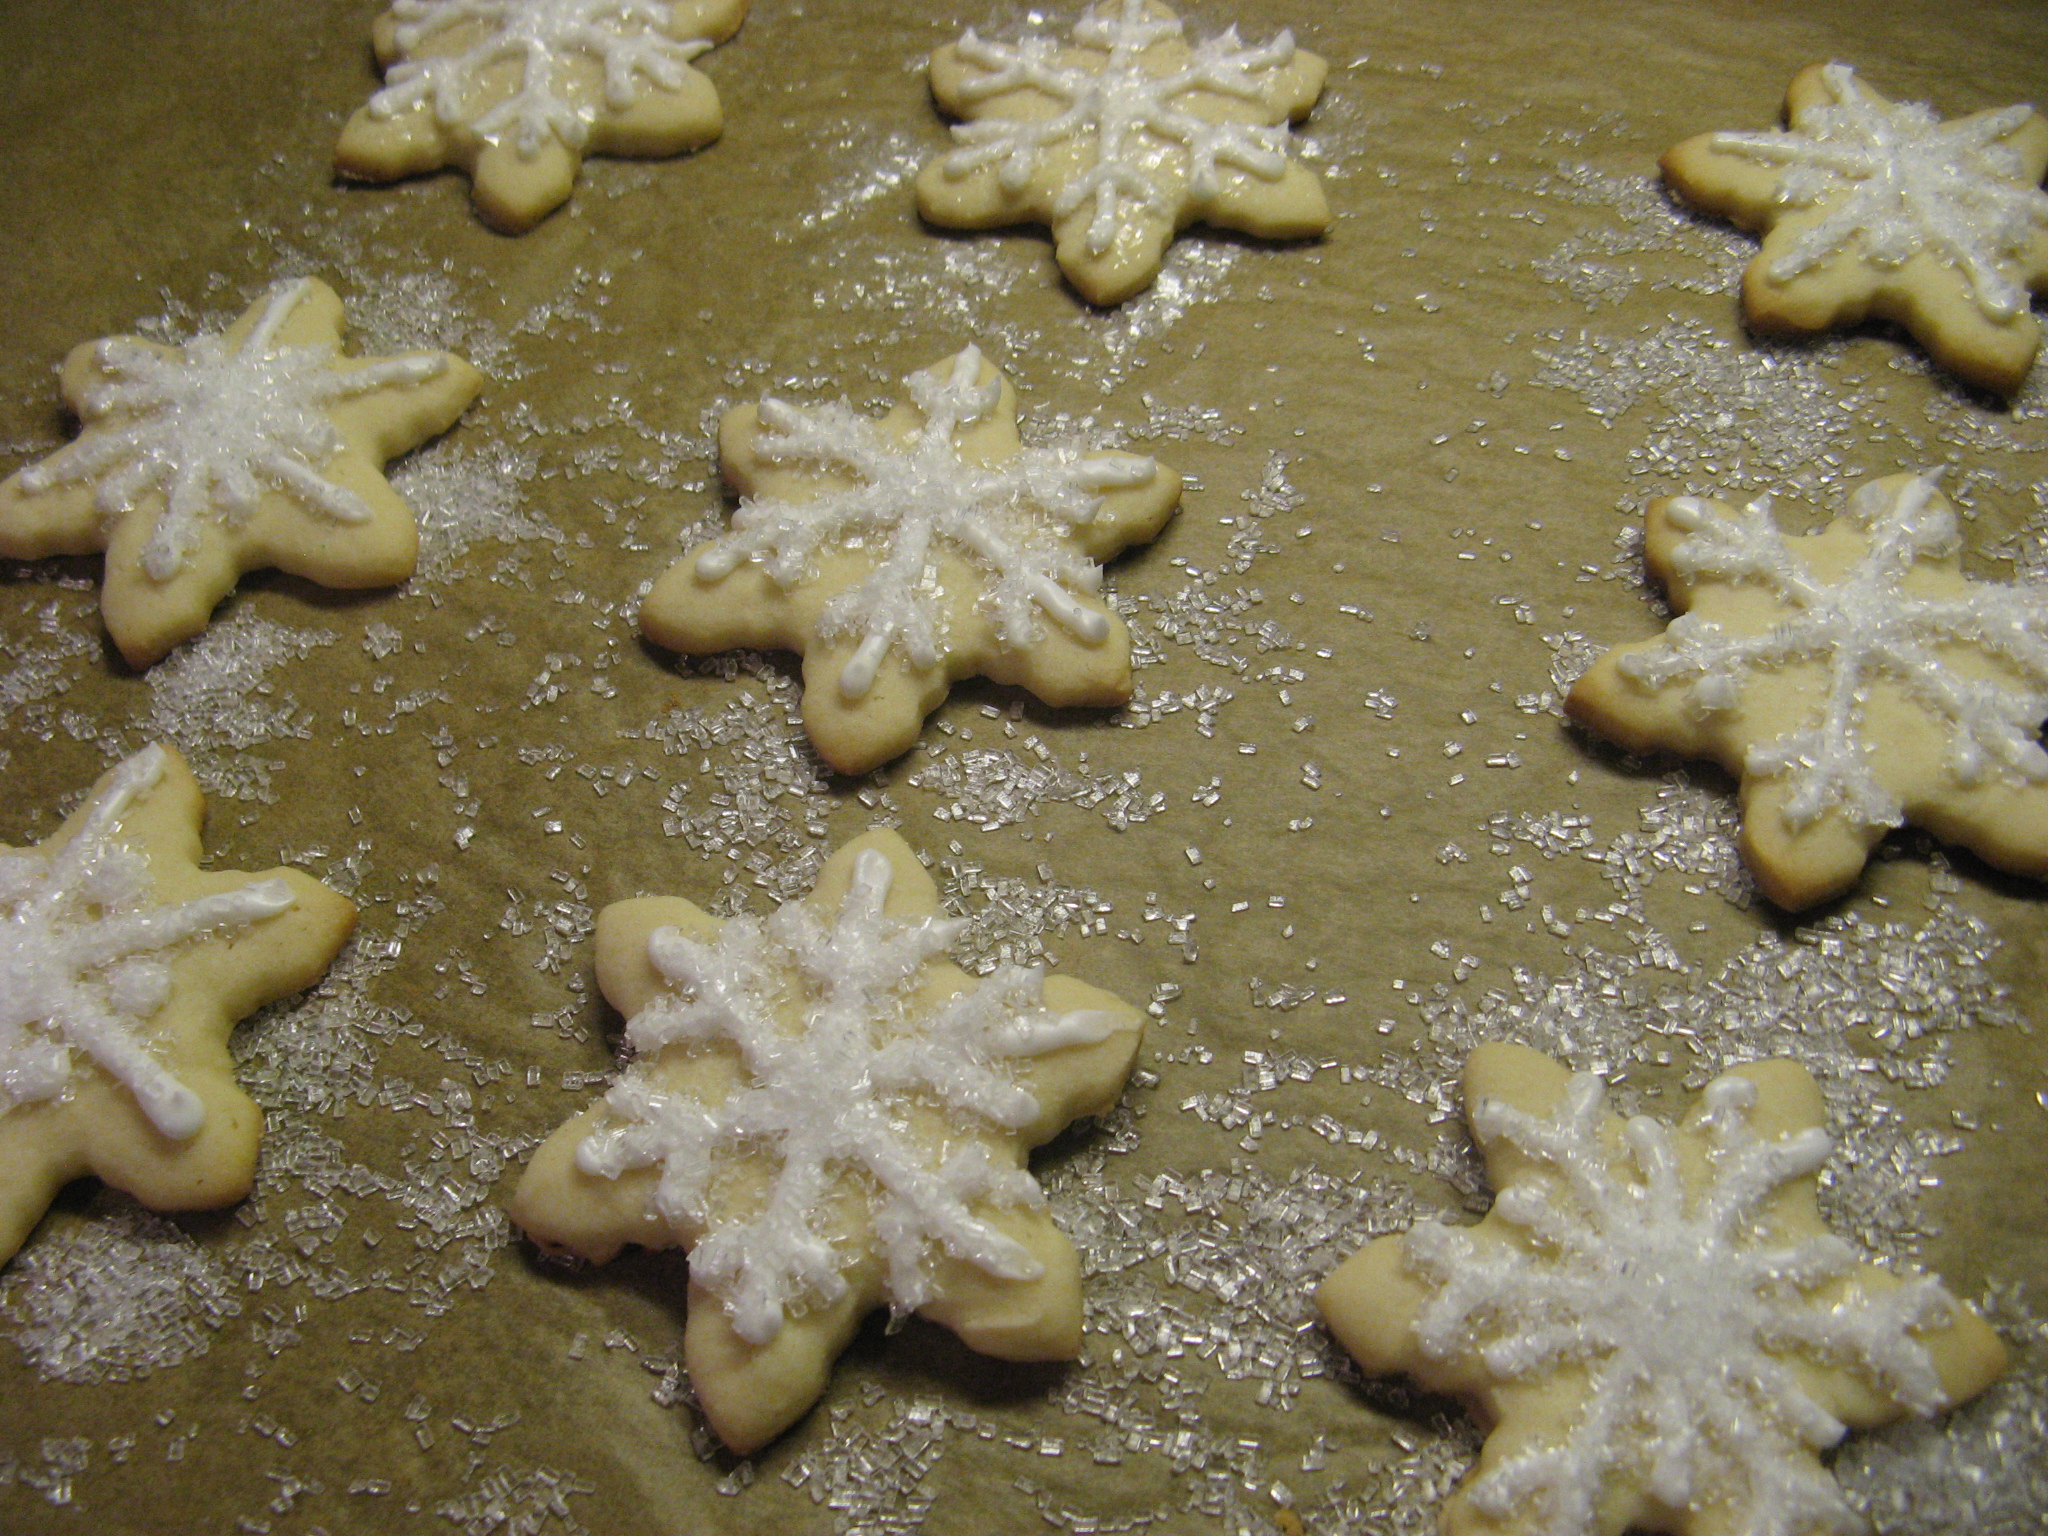
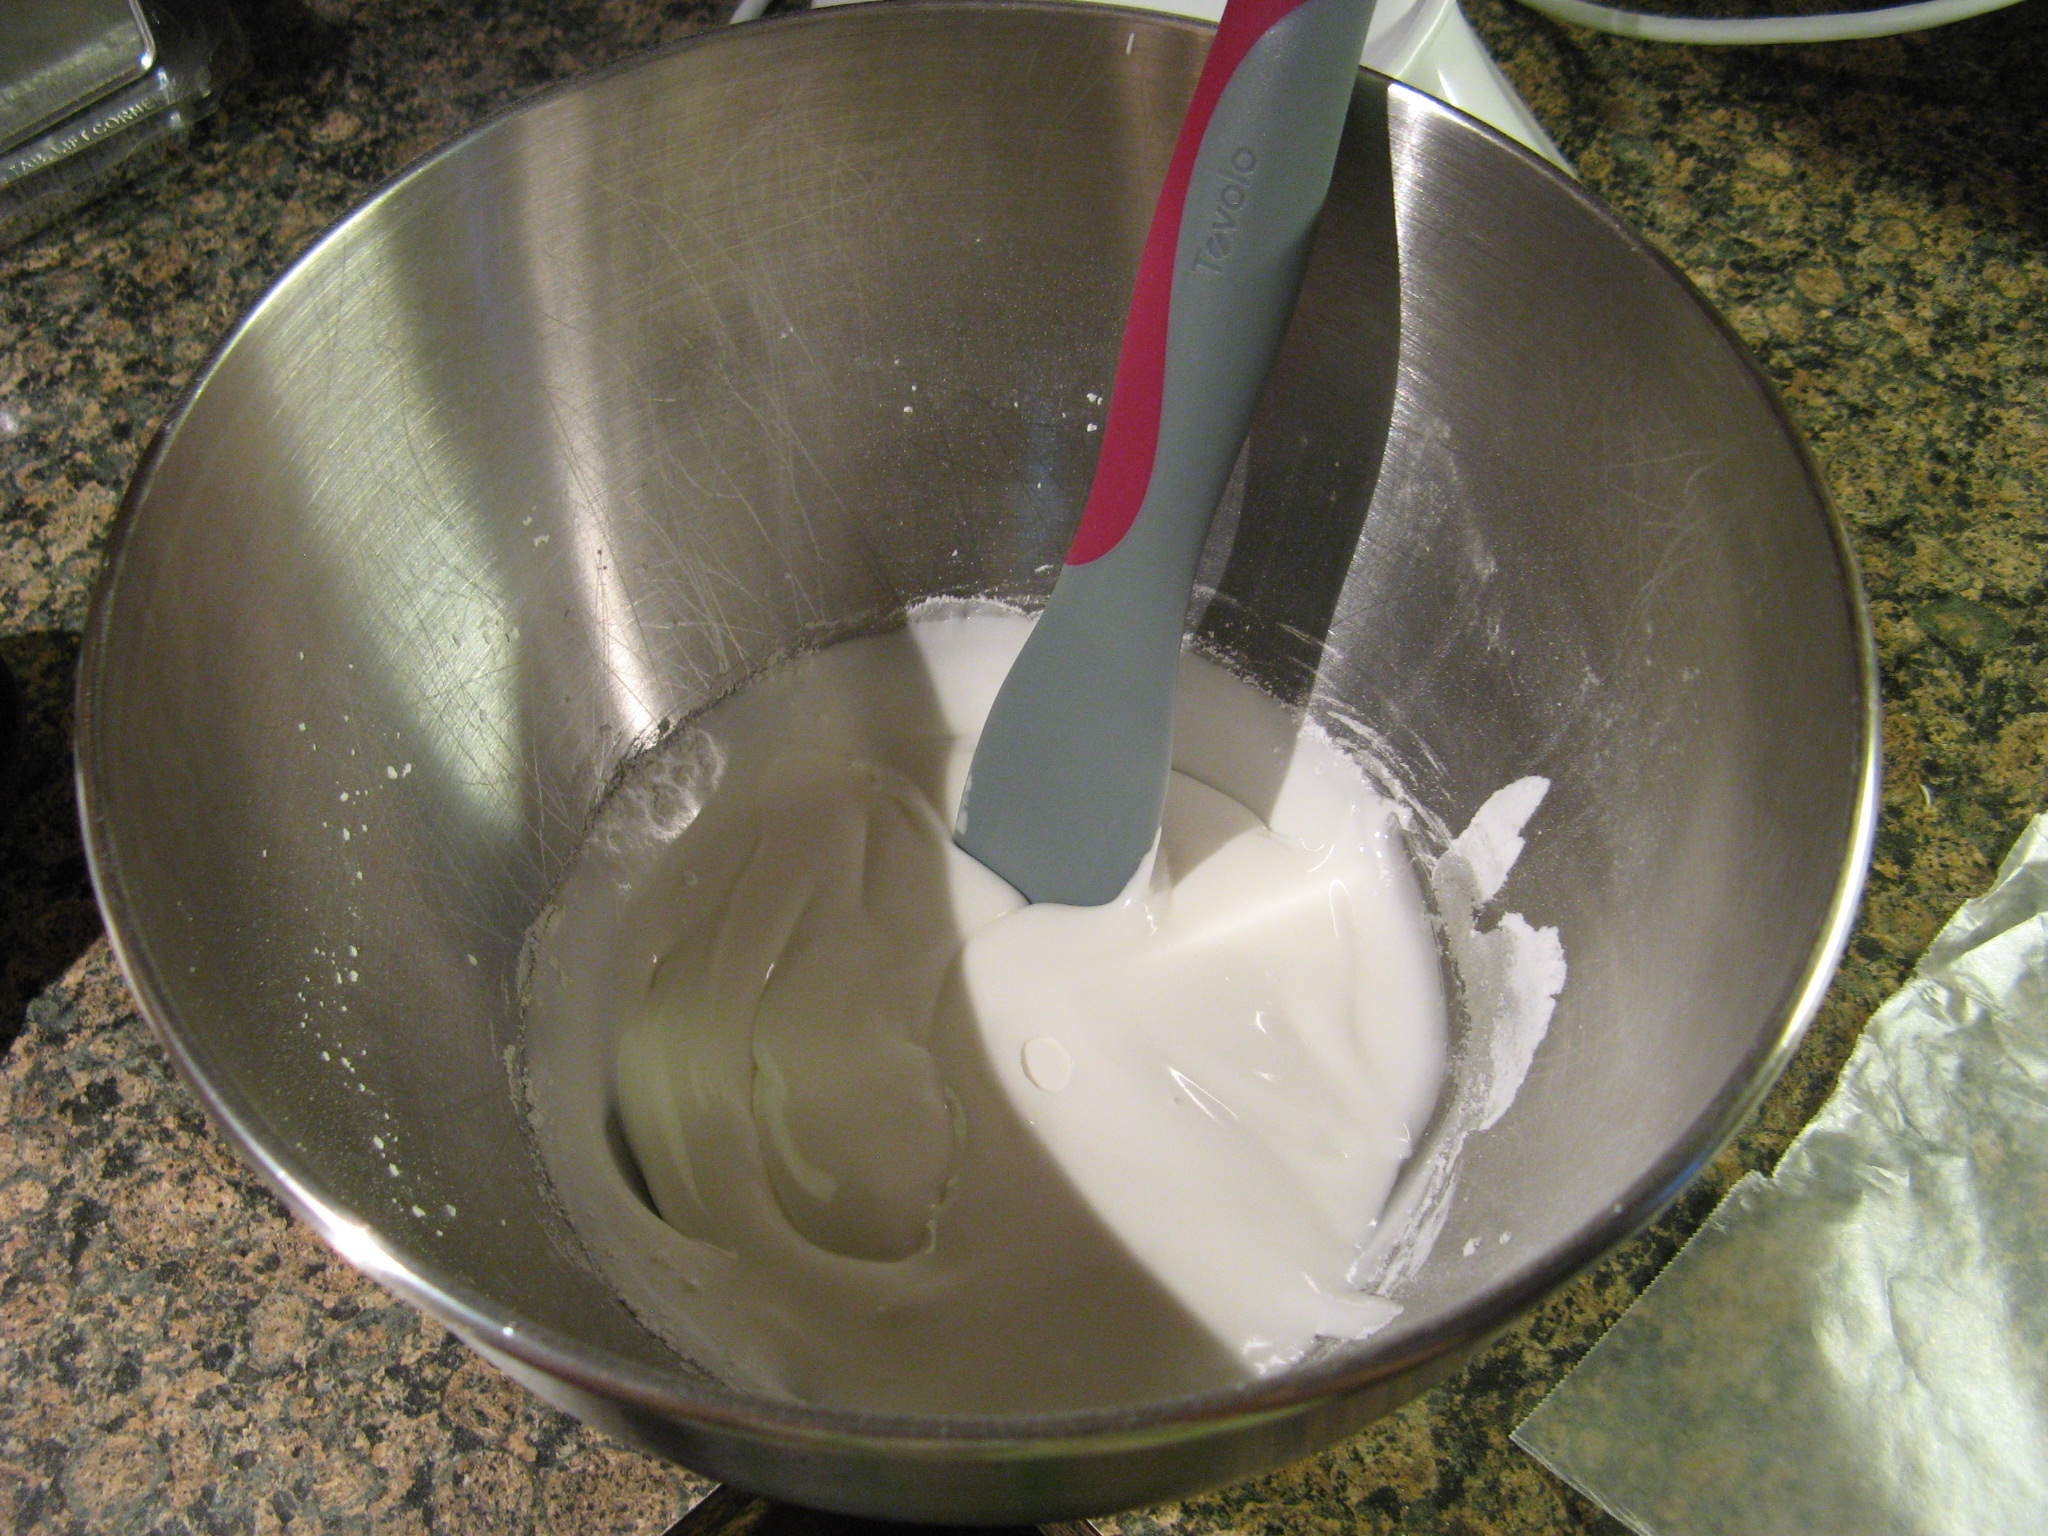
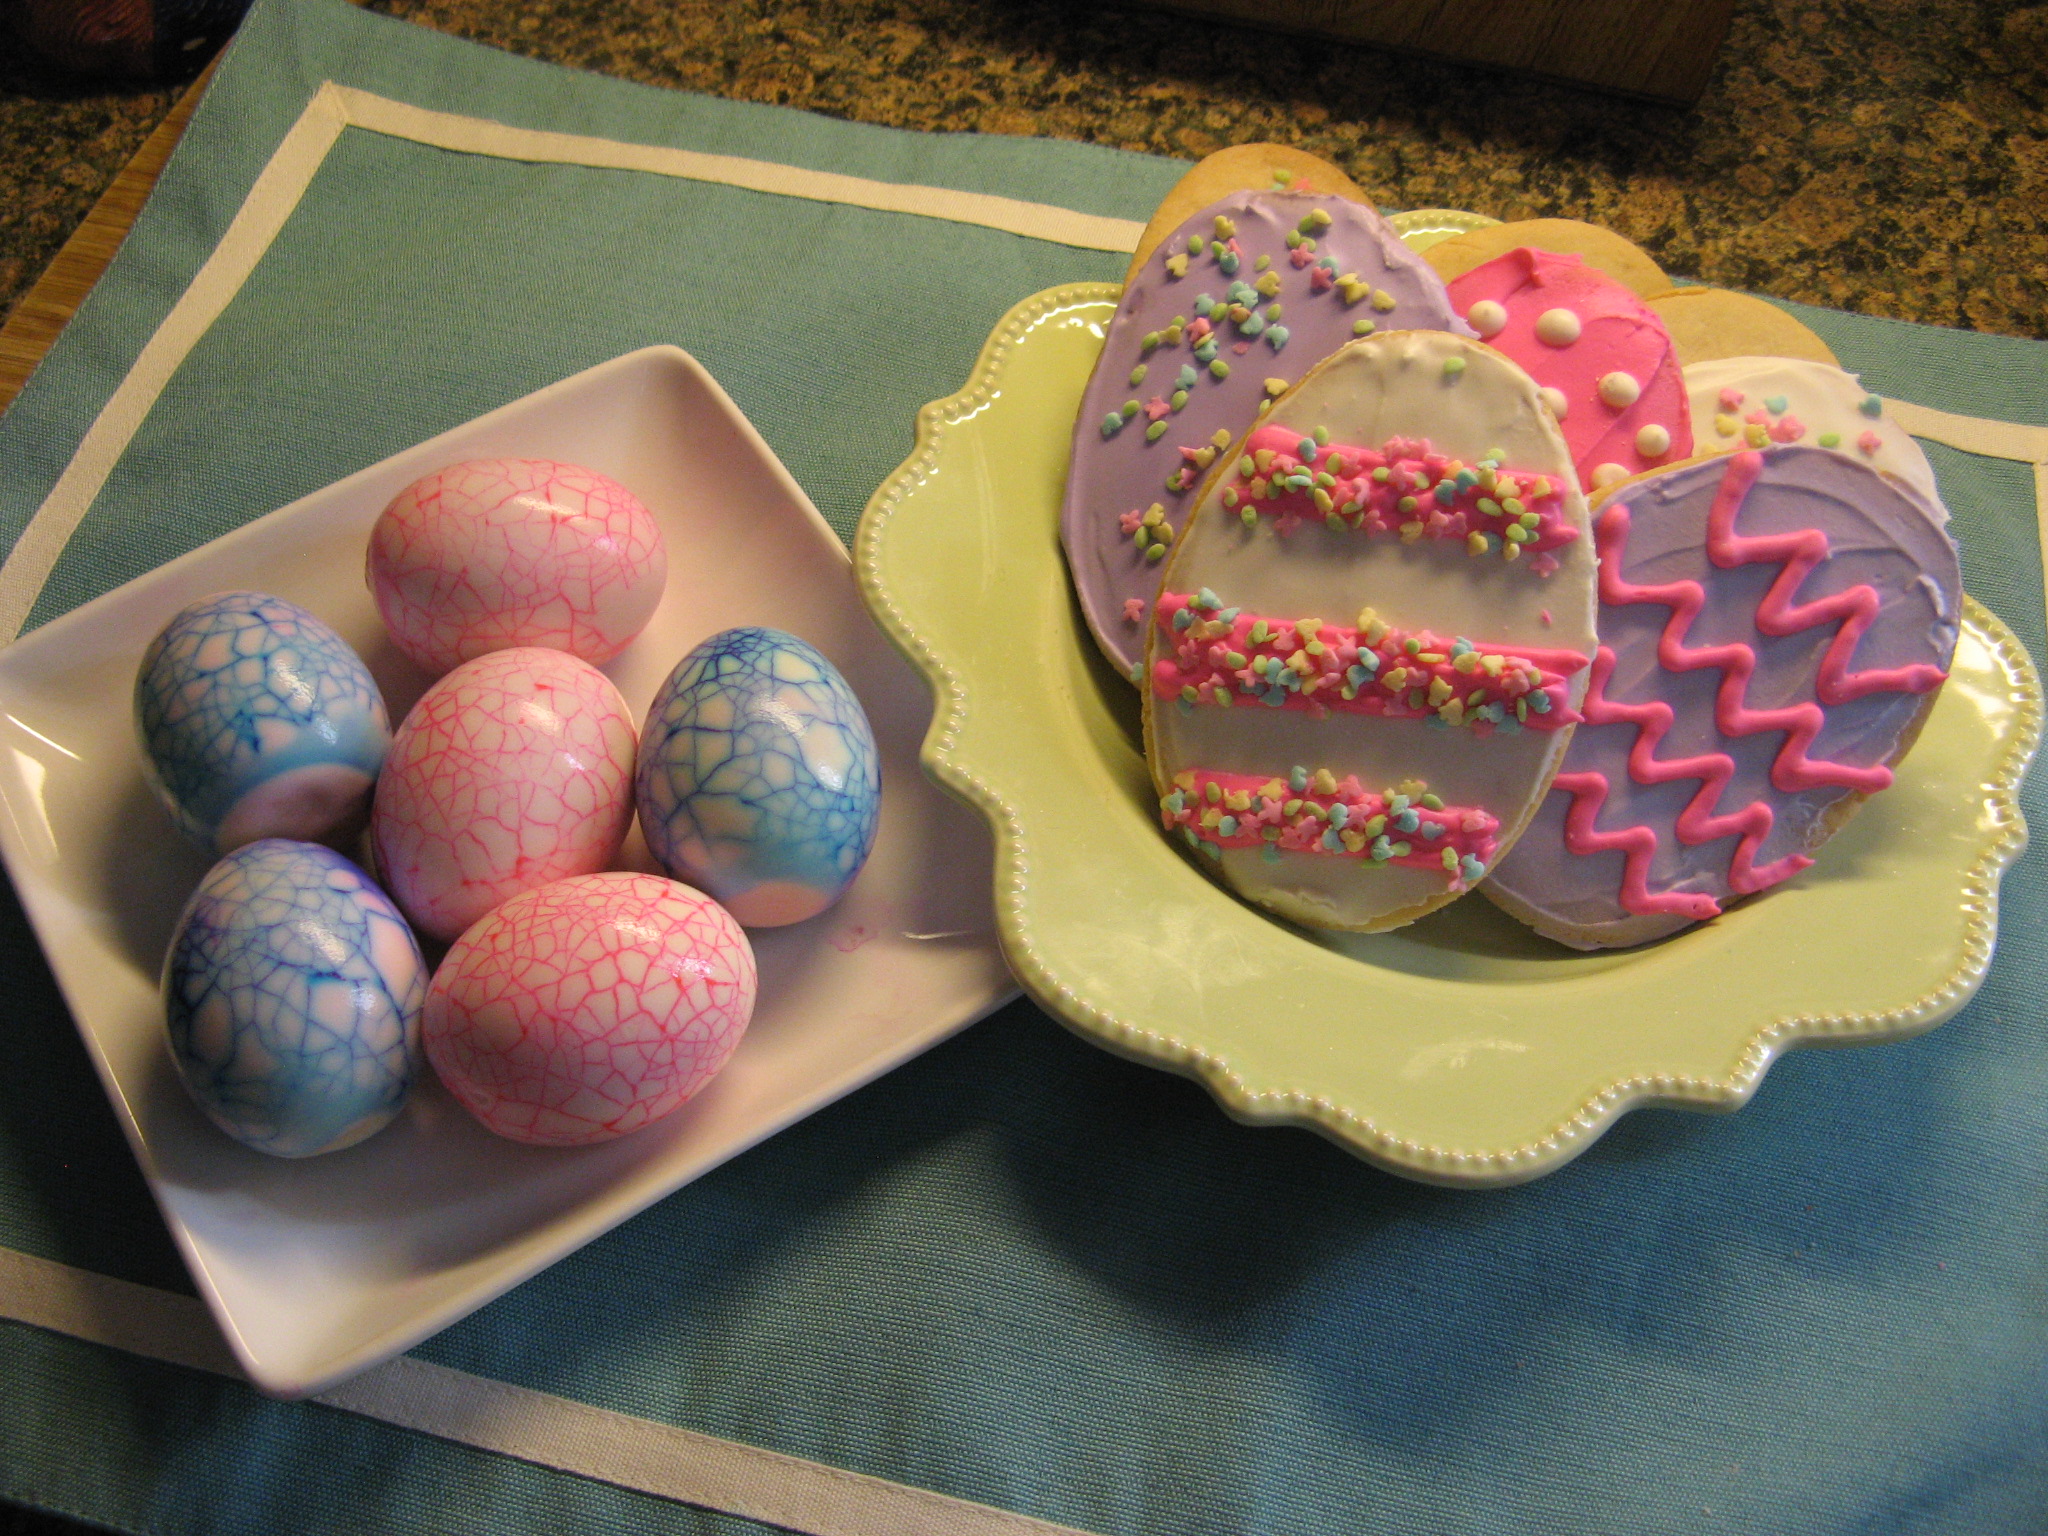
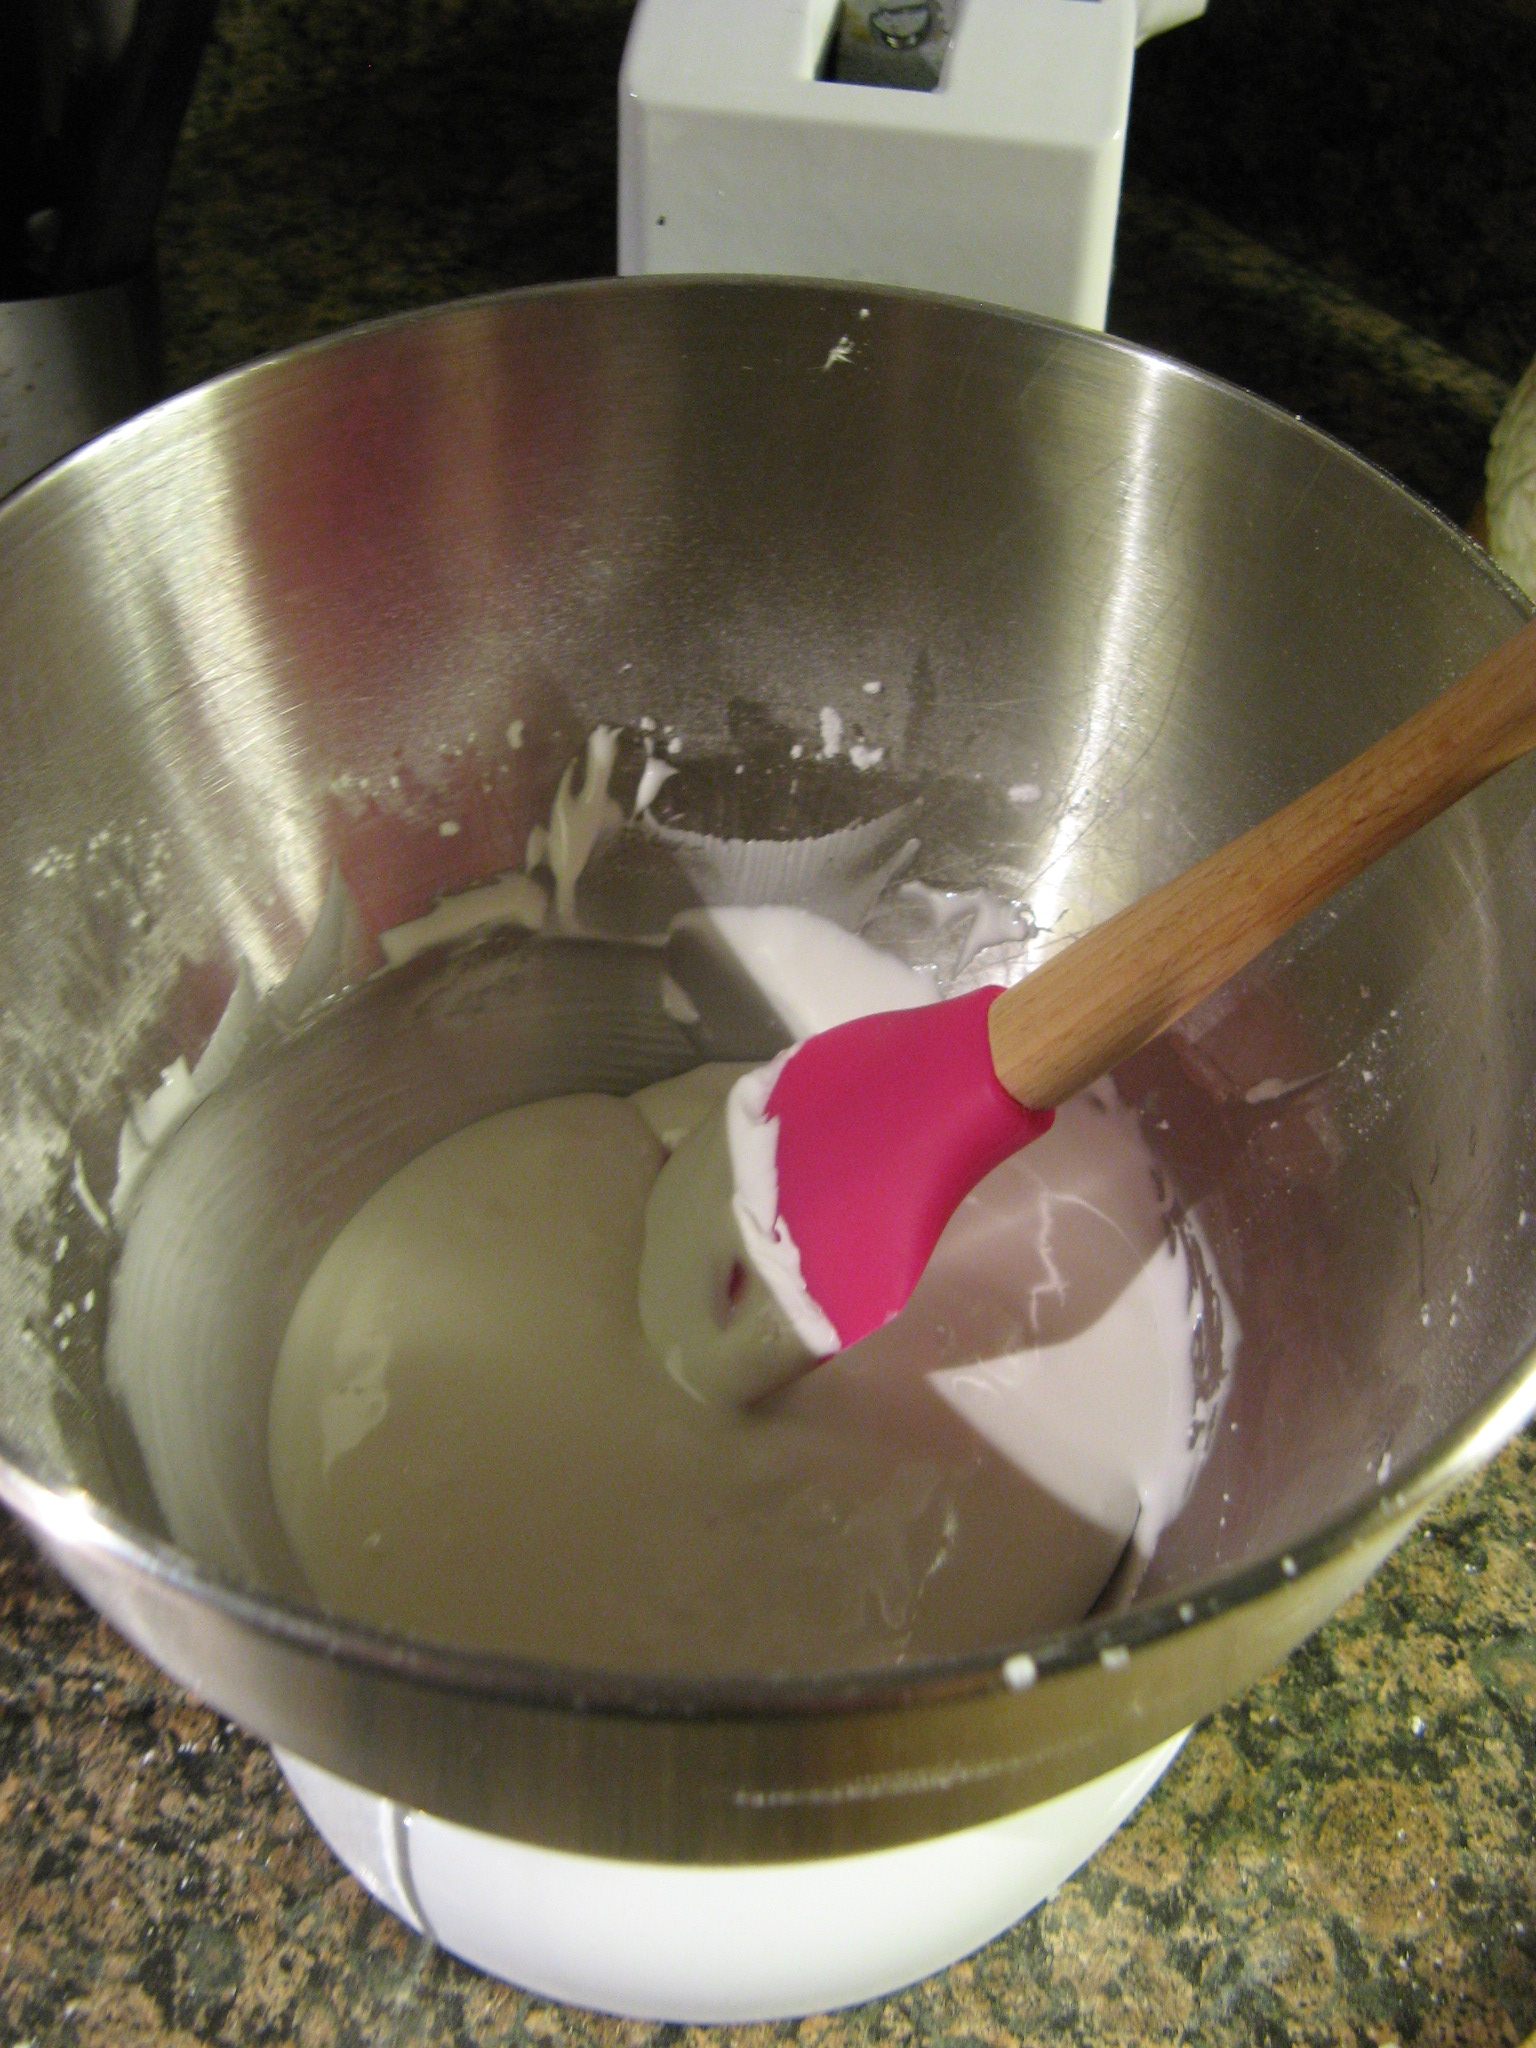
While the cookies were cooling I made a batch of royal icing. I removed about 1/2 cup of the icing and transferred it to a piping bag fitted with a small round tip. I then added in 2 tablespoons more water to the remaining icing to thin it to a syrup consistency. I then removed half of it and transferred it to another piping bag fitted with a small round tip and tinted the remaining icing a light pink and then transferred it to another bag, with, you guessed it, another small round tip. I used the thicker consistency icing to pipe the outline of the hearts on each cookie. After letting that set for a few minutes I then used the thinner consistency to flood the cookies. I didn’t go too crazy with my decorating. I piped horizontal lines in the contrasting color on some of the cookies and made a heart design in other. For both, I piped the secondary color on the icing while the first one was still wet this way the icing would dry together and be smooth. To create the heart designs I piped dots onto the cookies and then used a toothpick to drag a vertical line down the center of the dots. If you want to create a 3-D design on your cookies wait until the flooded icing dries and then pipe whatever design you would like onto the cookies.

I must say, decorating these cookies with royal icing was a lot easier than I remember it being. Or it could be that I find it easier compared to some of the cake decorating I do. I remember when I first started baking making some things seemed so daunting. Just last week I was working on a cake. I had just finished filling and crumb coating it and was about to make another batch of frosting to decorate it when I realized I had a major fail so I had to toss the cake and start over. I was able to bake and decorate another 3-layer 9-inch cake in just a few short hours. Thankfully I didn’t freak out and was able to manage my time to get it done. Had this been a few years ago I wouldn’t have been so calm.

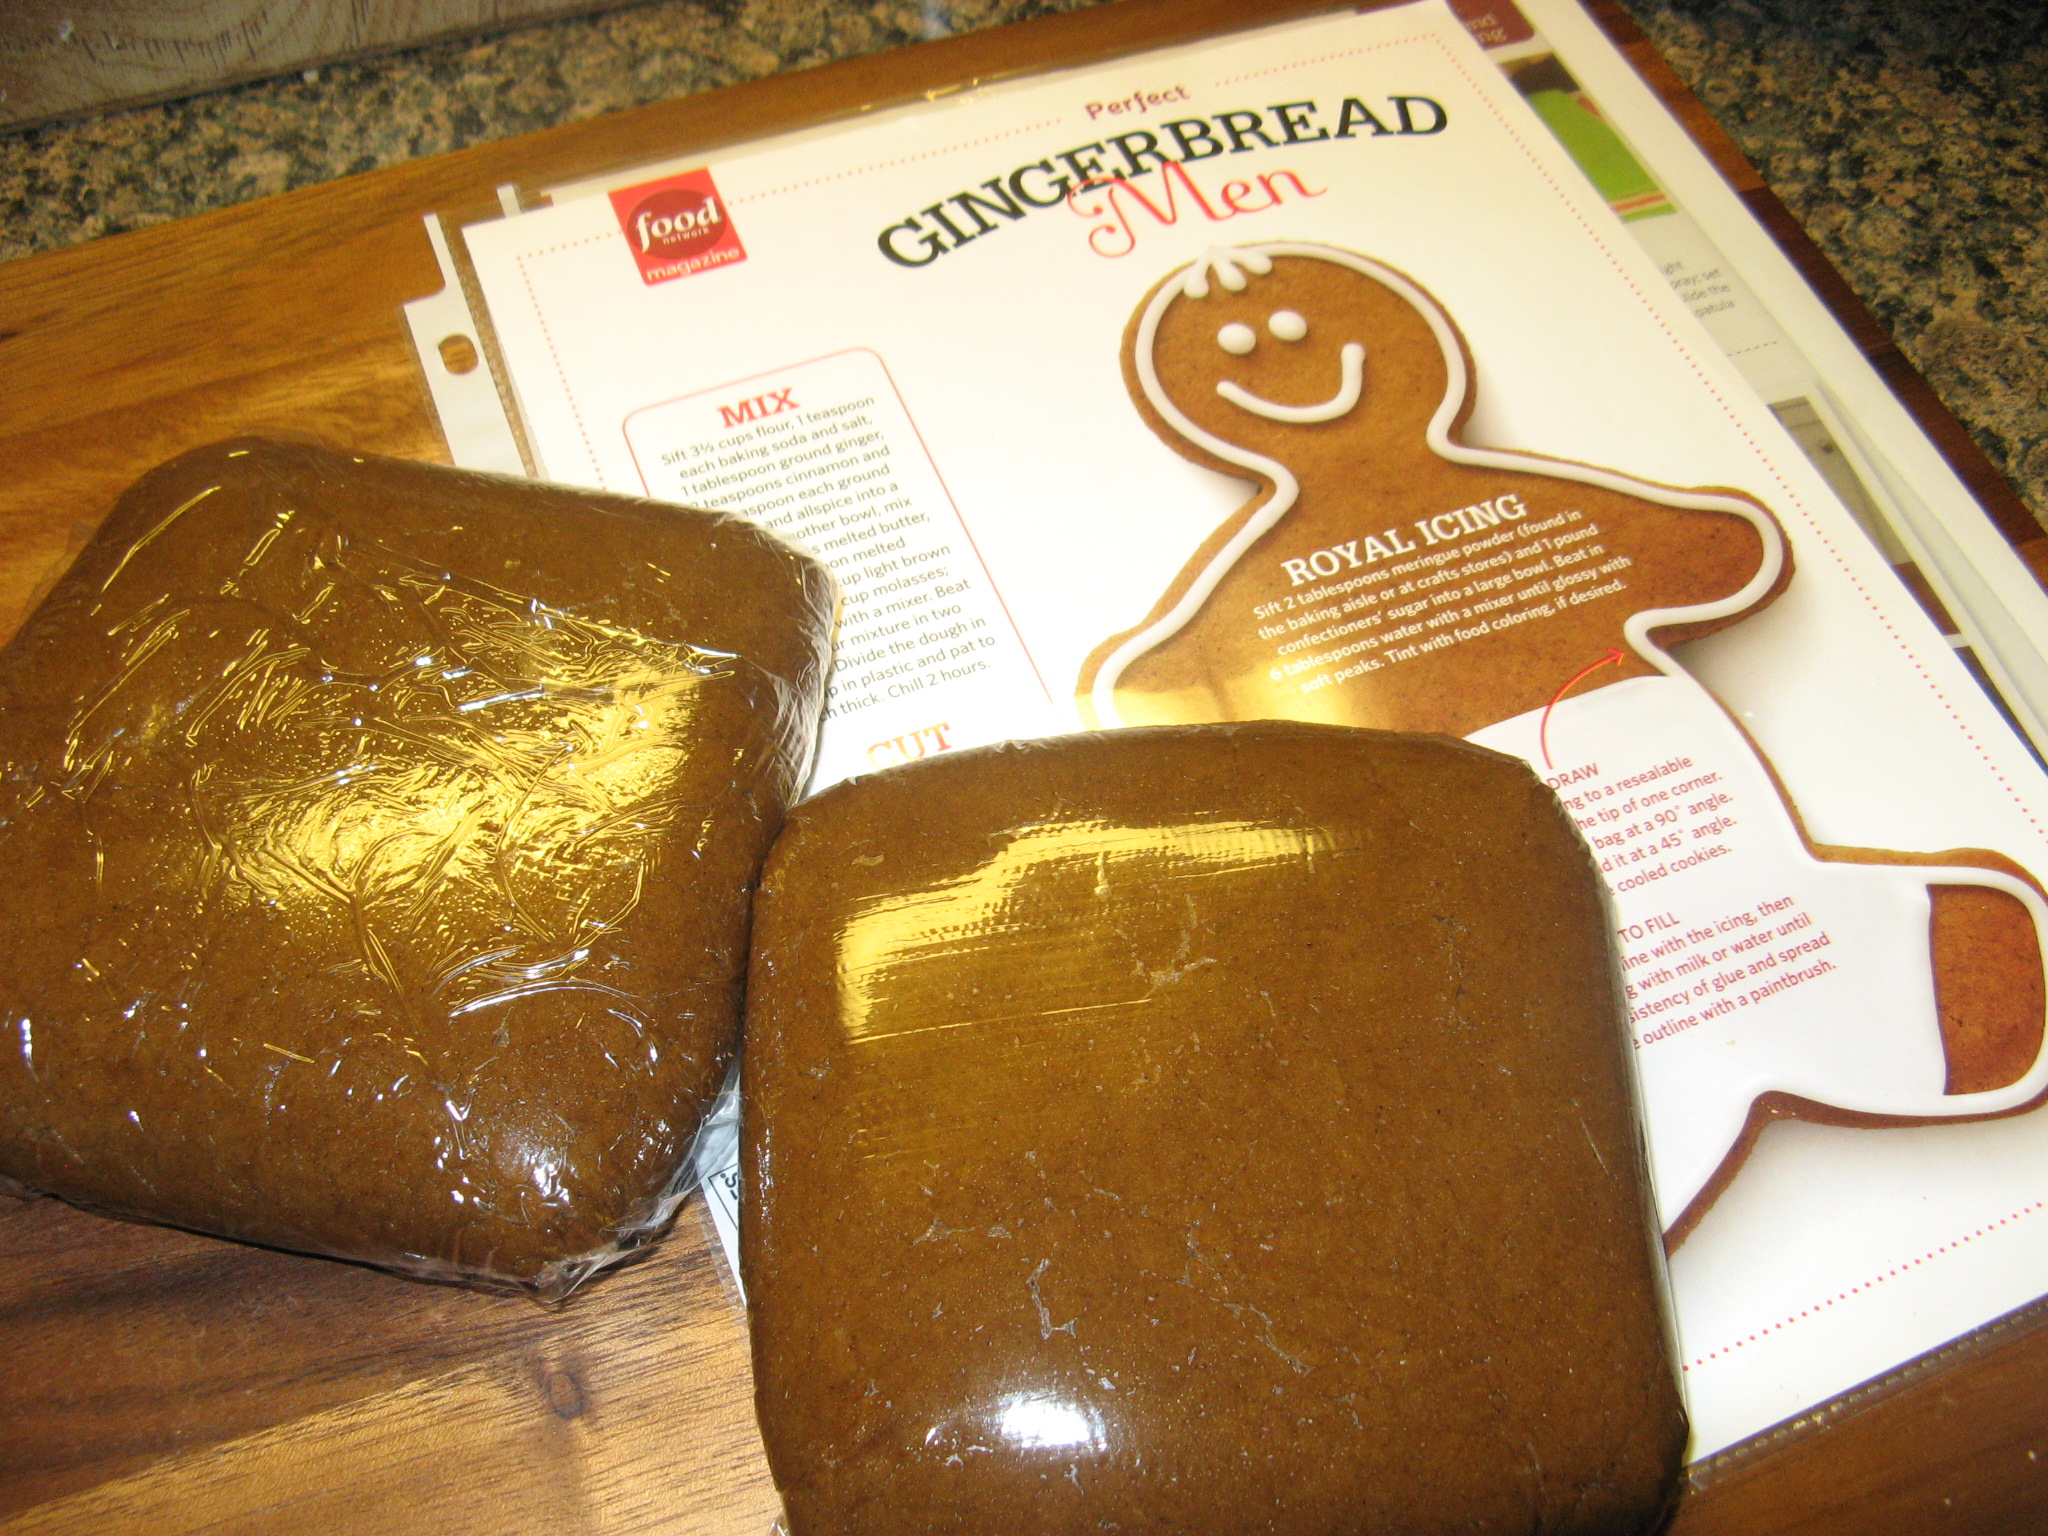
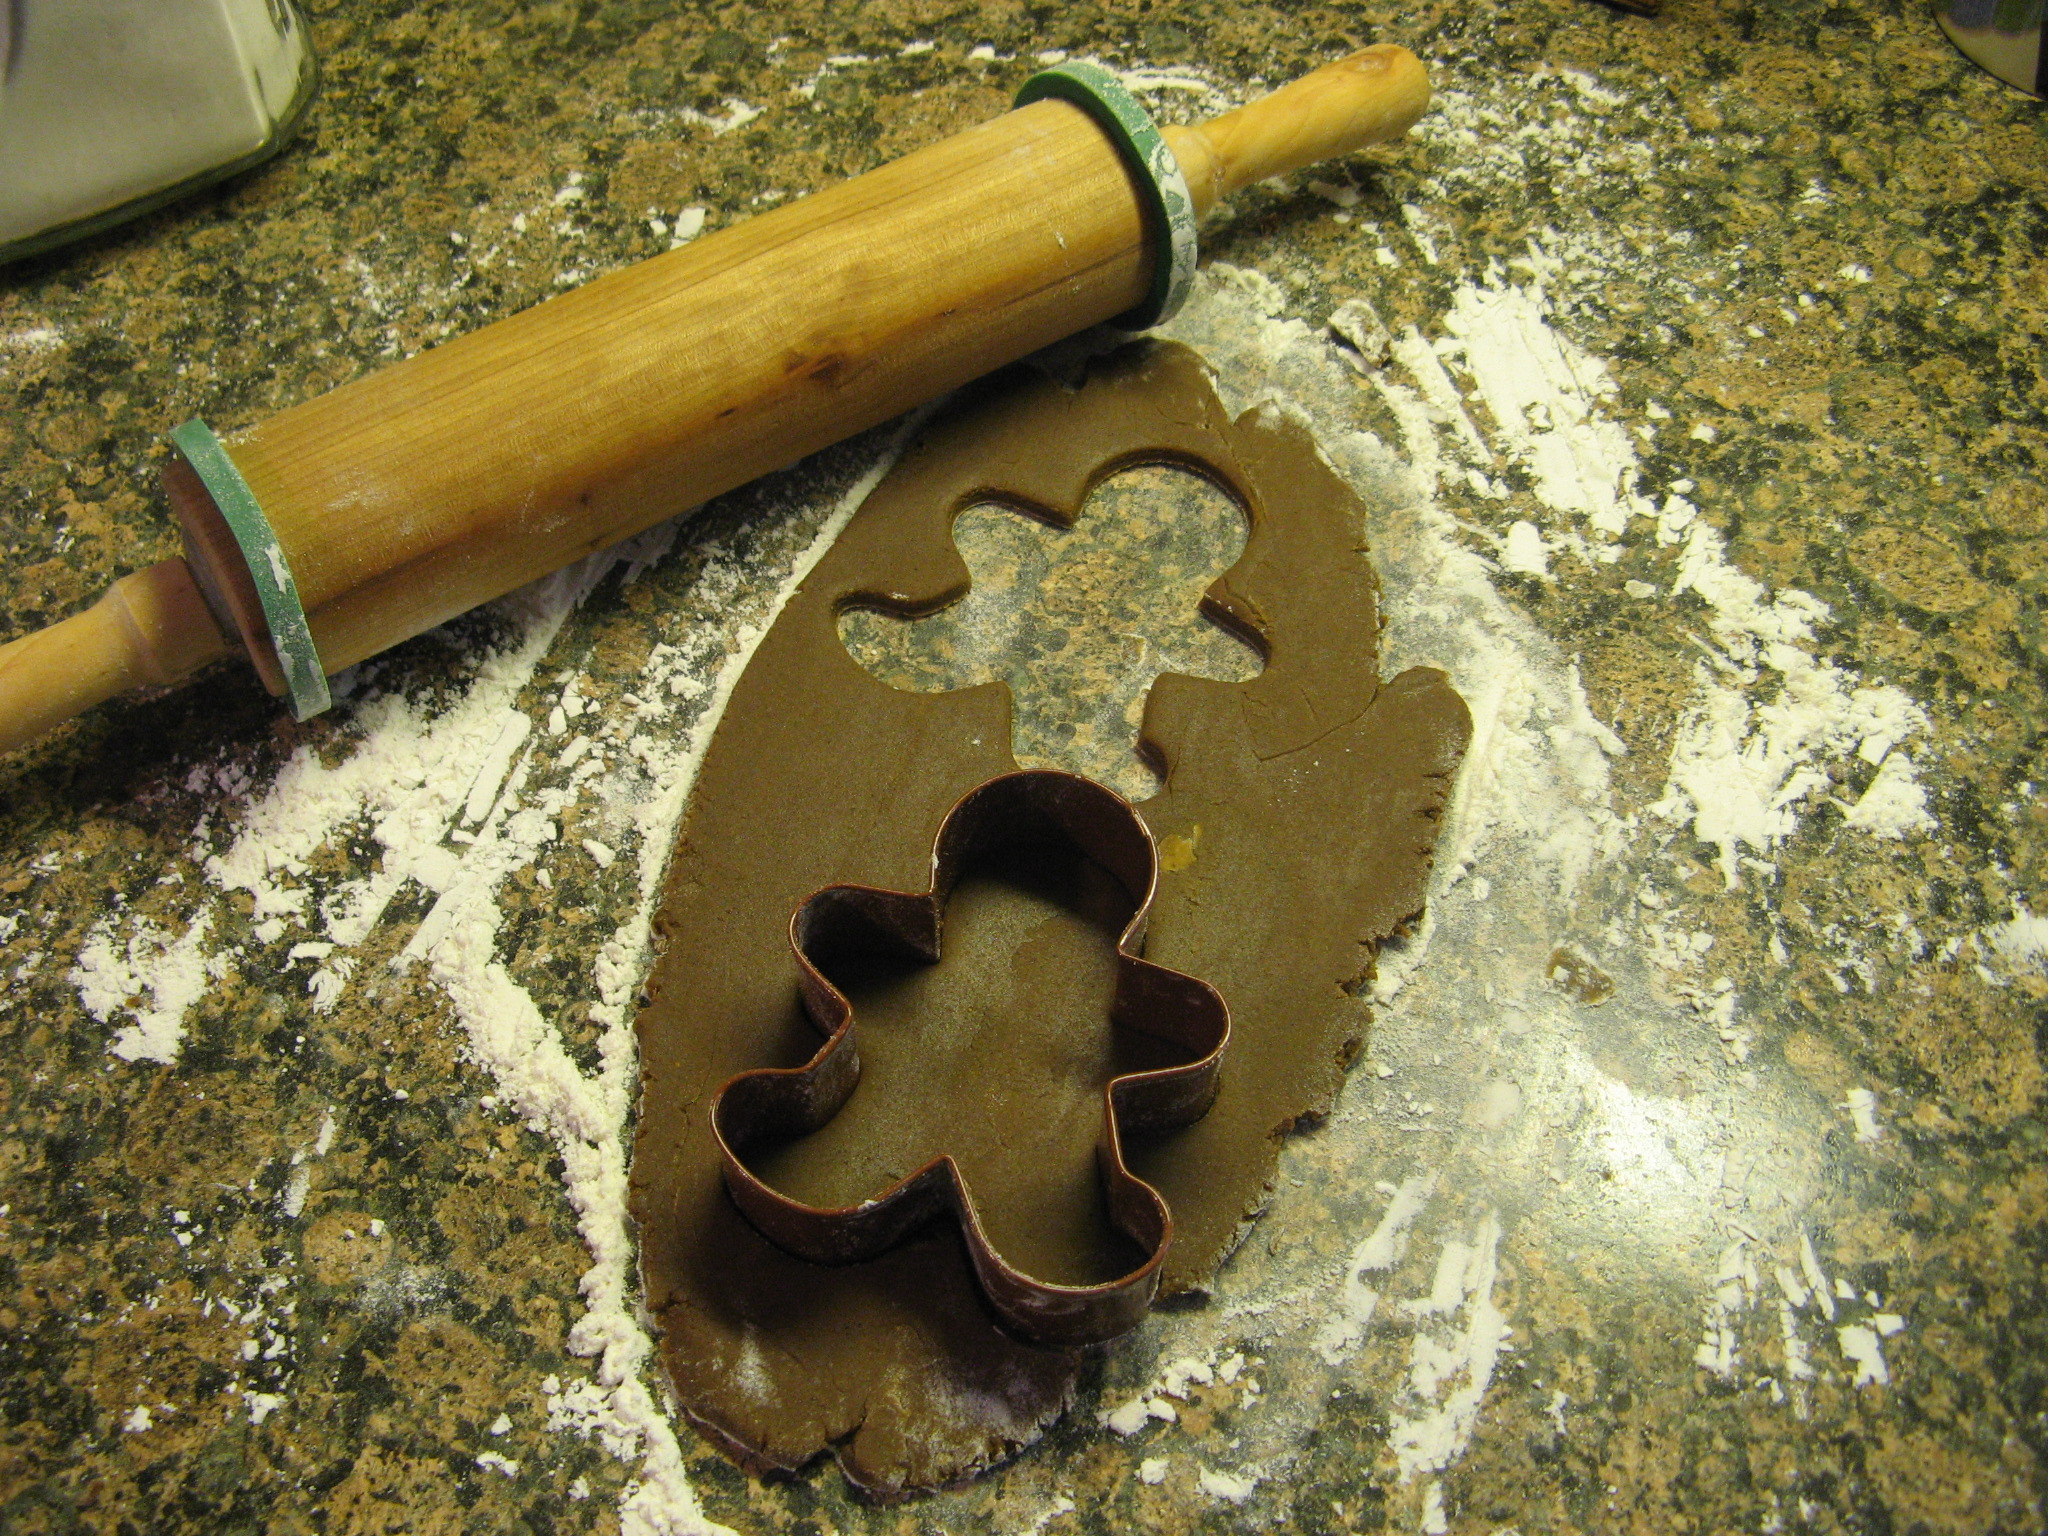
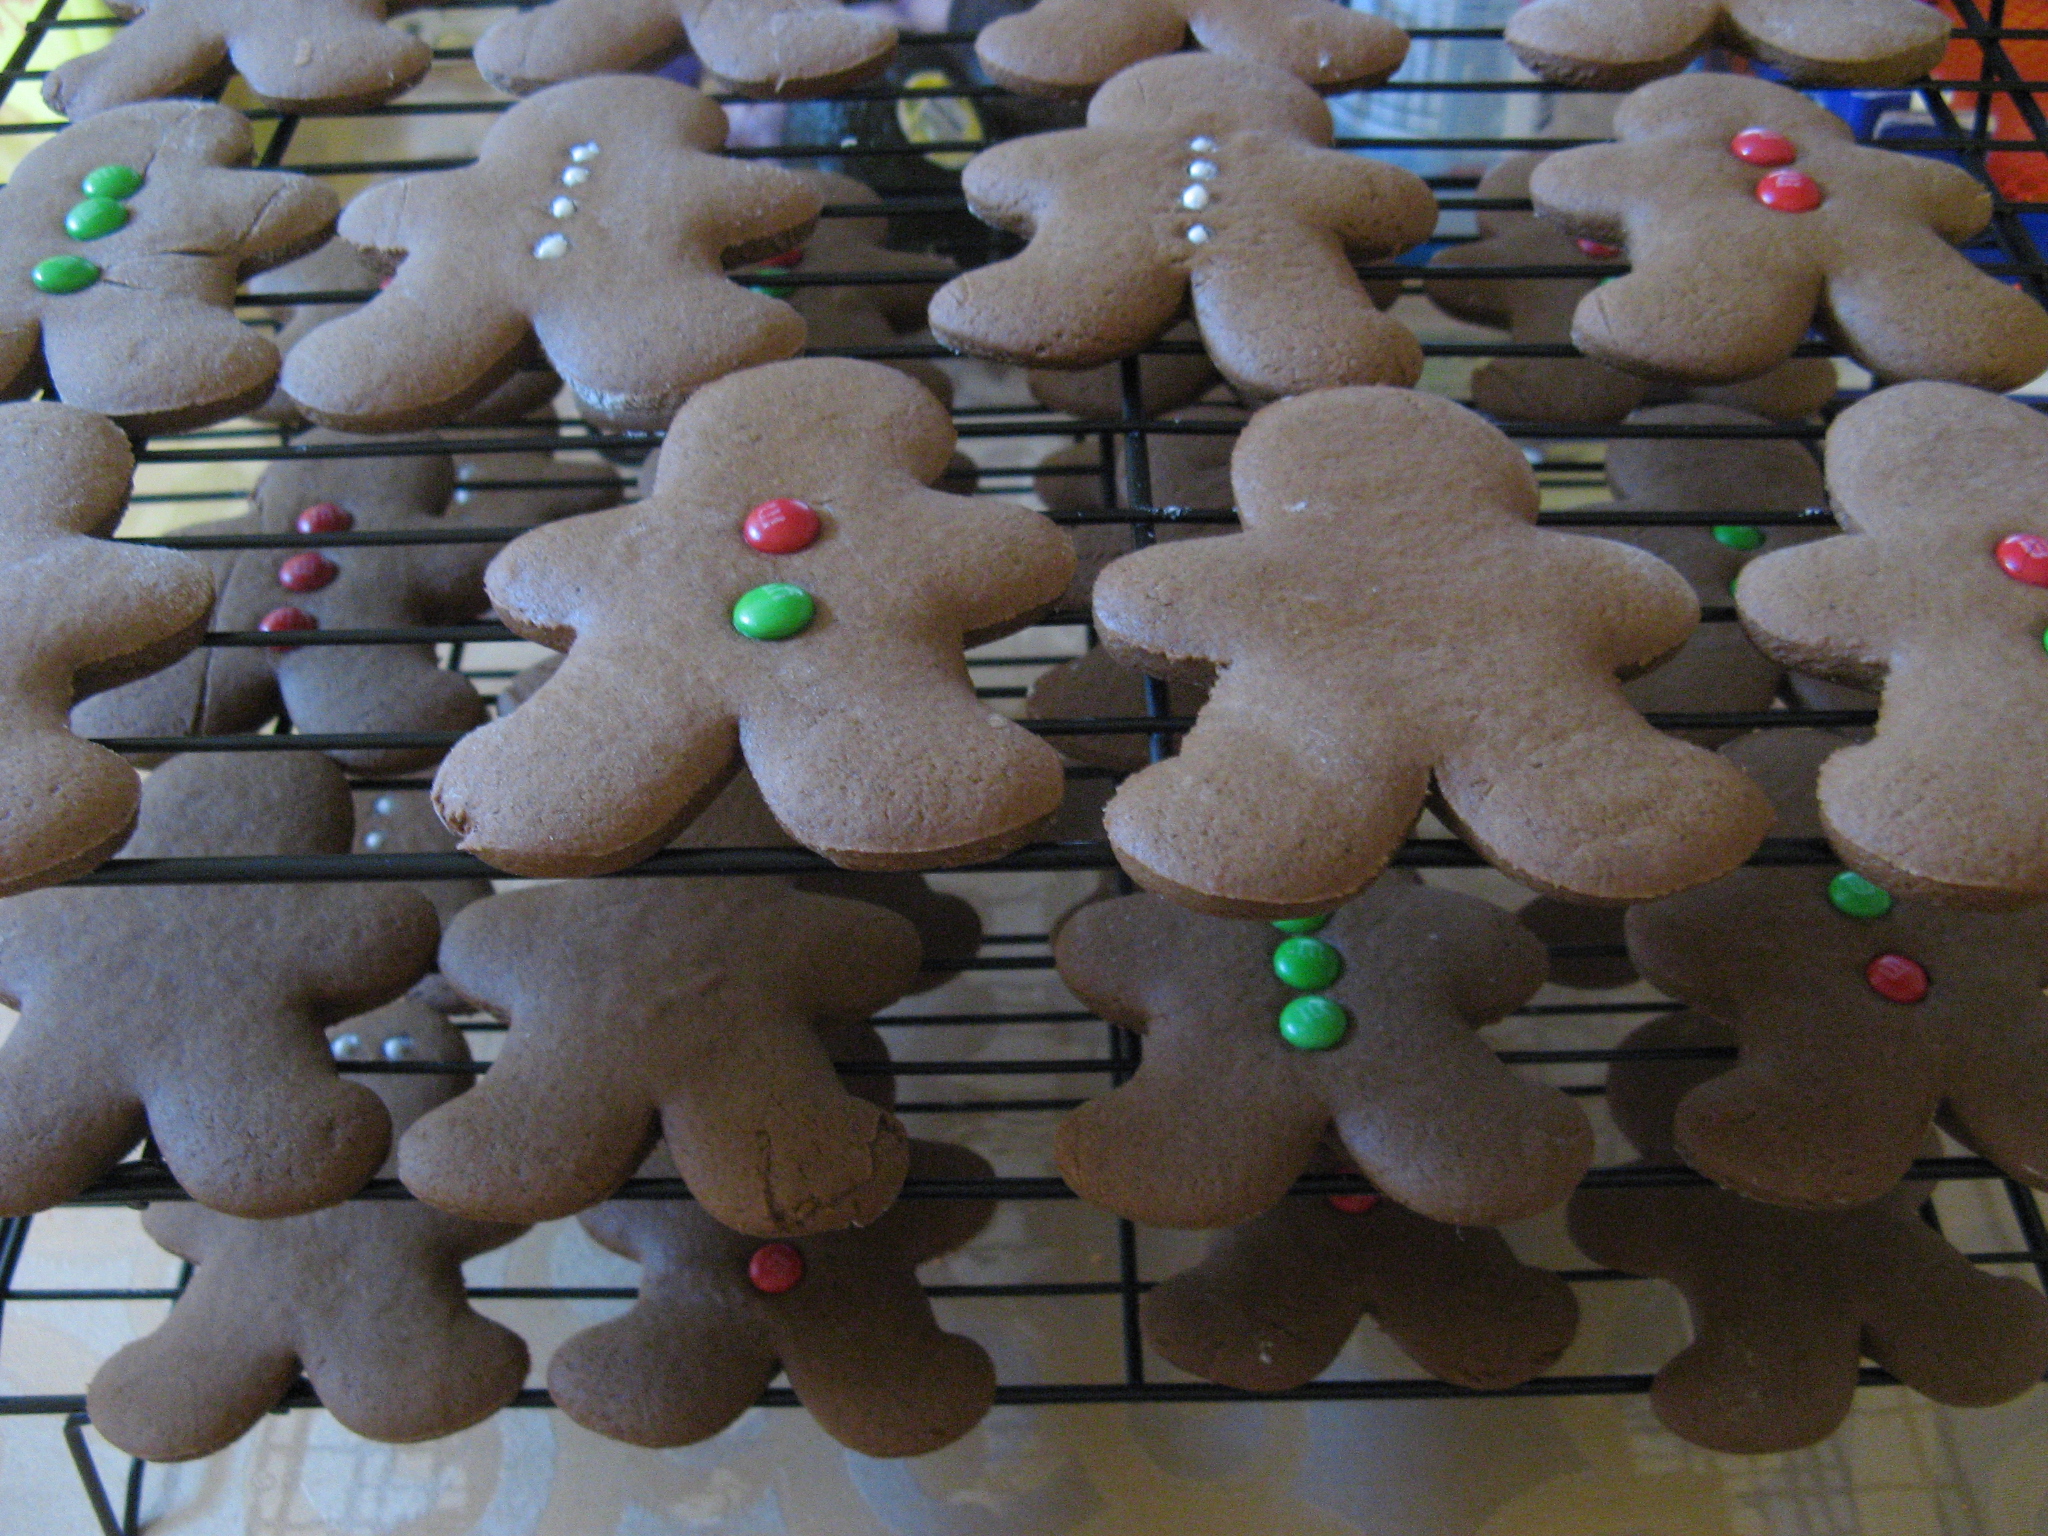
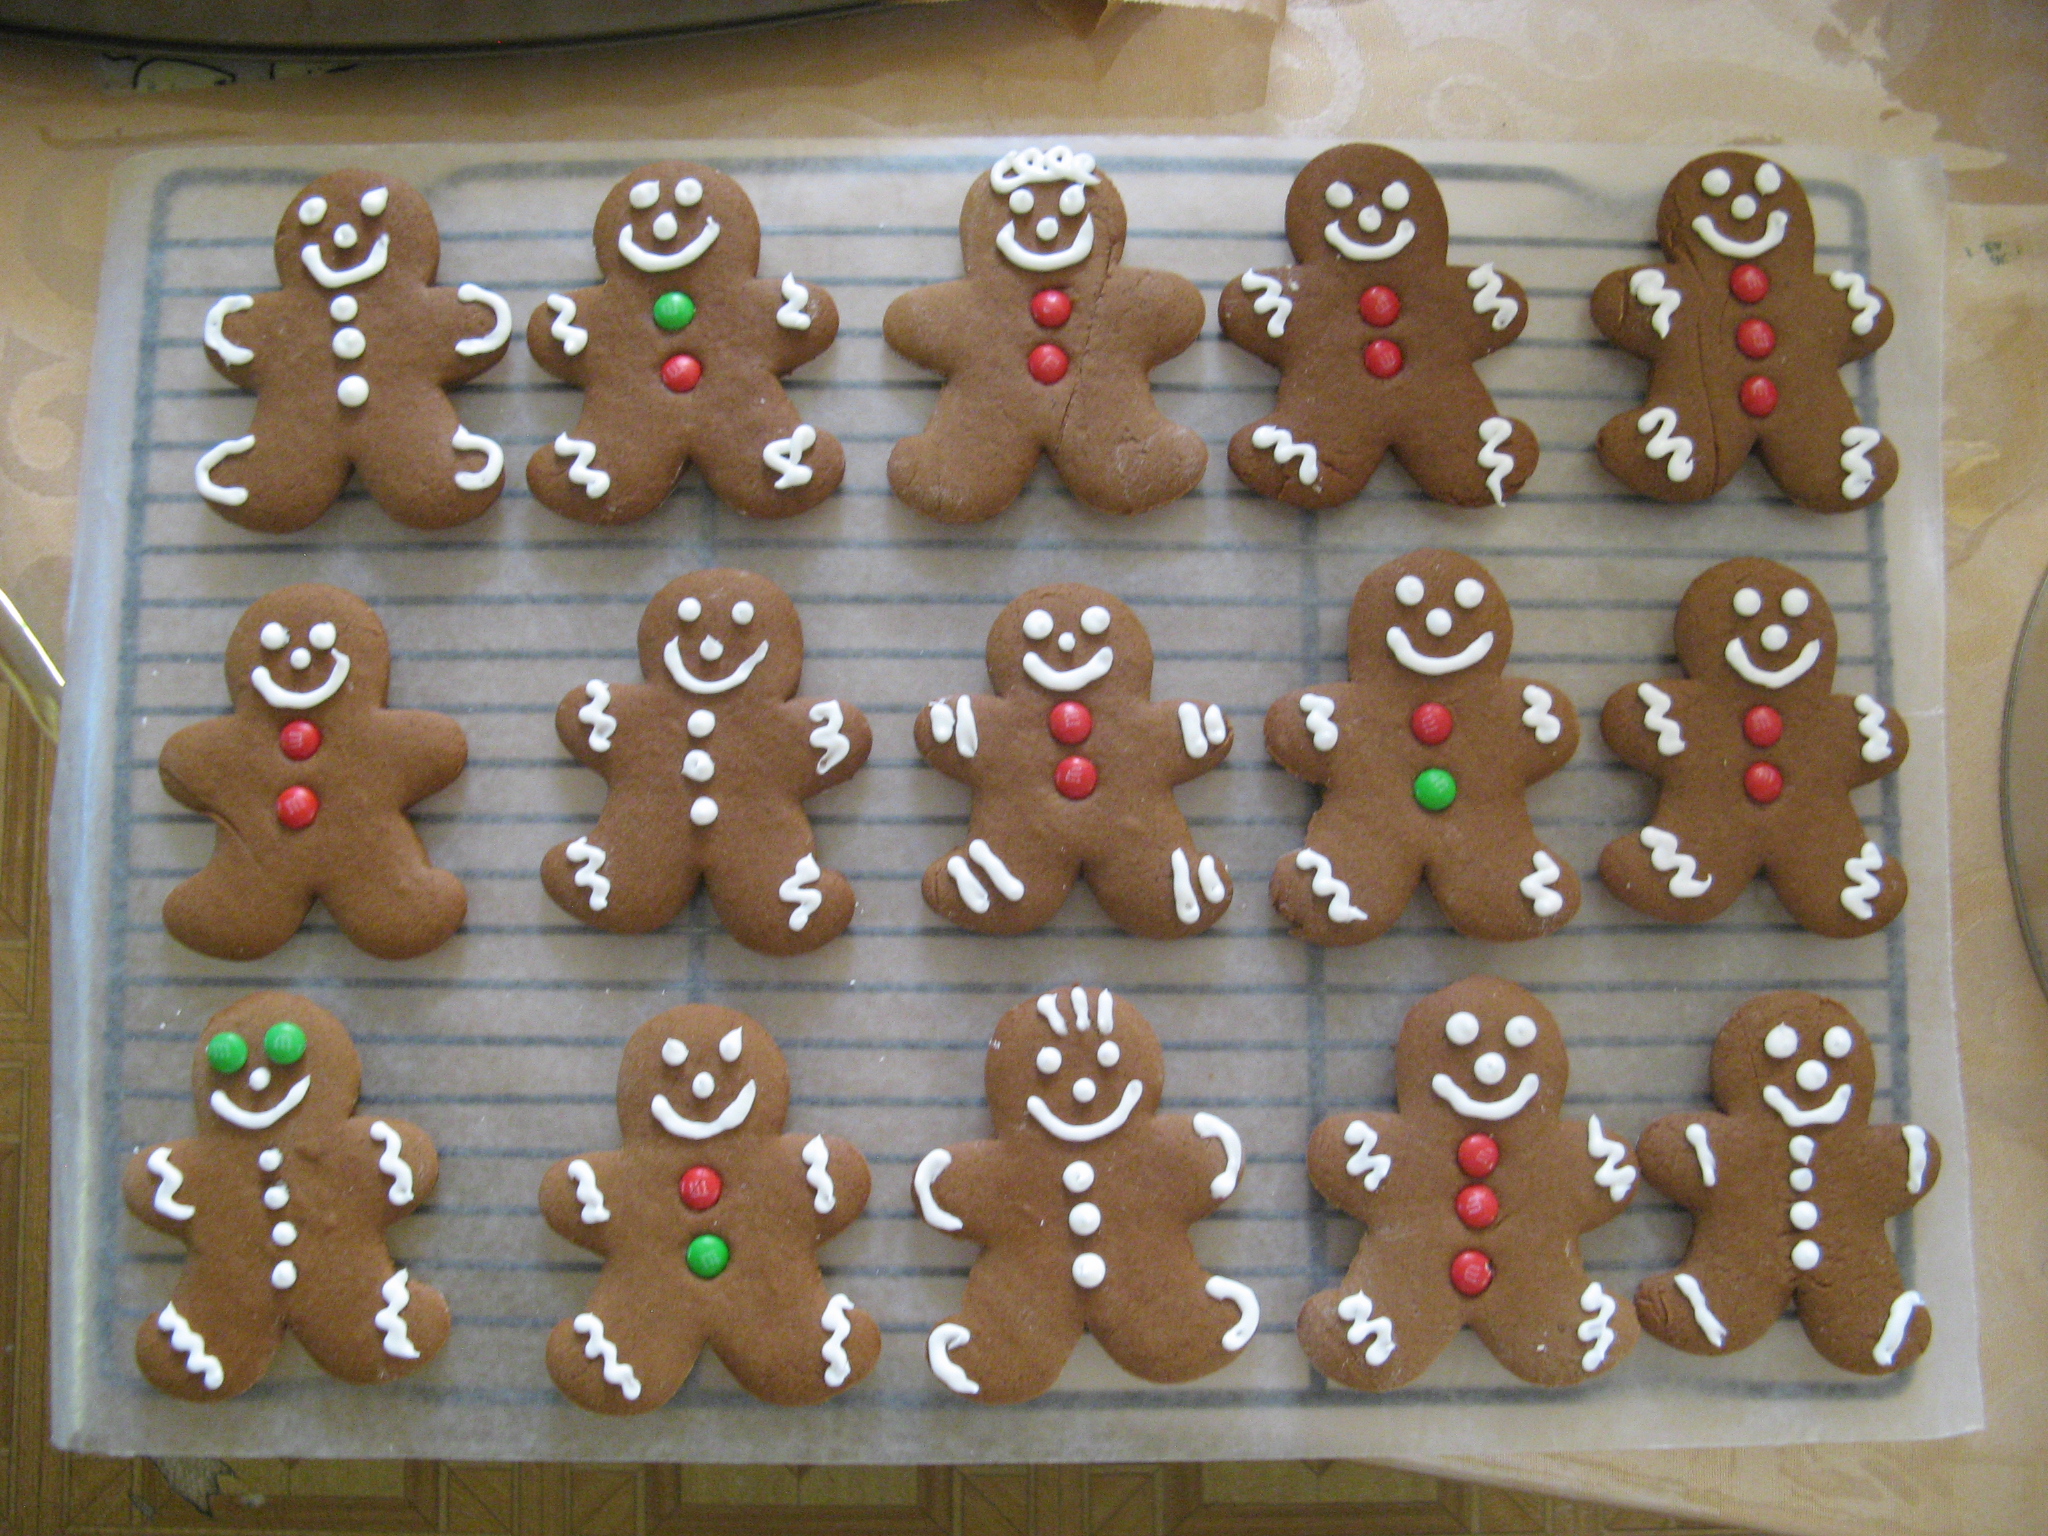
So, will I attempt to make cookies decorated with royal icing again? Absolutely! Although next time I will be making the sugar cookies from scratch or possibly using a store-bought mix I only have to add a few ingredients to in hopes that they will keep their shape better. My gingerbread ones baked up perfectly, but, I also had made the dough a few weeks back and then rolled, cut and froze them until I was ready to bake them.

Christmas Themed Sugar Cookies

It’s Christmas Eve and I am happy to say that all of my Christmas baking is officially done. For my final cookie post before the holiday – check out my Rainbow Cookies and Gingerbread Men from earlier in the week – I am going completely traditional with sugar cookies decorated to reflect the holiday!

IMG_6310

After sifting together cake flour (yes, you read that correctly, cake flour for cookies), baking powder and salt in a large bowl…

IMG_6267

I then mixed together butter and sugar in a separate bowl and then added in an egg and vanilla extract and continued mixing until all of the ingredients were incorporated.

IMG_6268

Next I added in the flour mixture to the butter mixture in 2 additions.

IMG_6271

Once the dough came together I divided it in half and wrapped it in plastic wrap and refrigerated it until it was firm – the recipe stated at least an hour but I left it in the fridge overnight and just let it sit out for a few minutes before rolling it out.

IMG_6272

Whereas the recipe said to roll the dough to about a 1/8-inch thick I found it to be thin to work with and the few cookies that I did manage to cut out at that thinness ended up over-browning when I baked them so I went with the standard 1/4-inch thick.

IMG_6291

I decorated a few of the cut-outs with sanding sugar prior to refrigerating them for 30 minutes before baking them in a 350 F preheated oven.

IMG_6293

After letting the cookies cool it was time to spruce them up with royal icing, sanding sugar and sprinkles.

IMG_6305

These snowflakes were by far my favorite and I must say that the cake flour produced a sugar cookie that was much more delicate than and not as crunchy as your typical sugar cookie. I definitely think this will become my go-to sugar cookie recipe from now on.

IMG_6294

Hope you all have a wonderful Christmas!

Sugar Cookies

Makes 24 to 36 cookies

Ingredients

2 1/2 cups cake flour (not self-rising), plus more for dusting

1 teaspoon baking powder

1/4 teaspoon salt

2 sticks unsalted butter, at room temperature

3/4 cup sugar

1 large egg

1 teaspoon pure vanilla extract

Directions

1. Sift the cake flour, baking powder and salt onto a piece of parchment paper or into a medium bowl; set aside. Beat the butter and sugar in a large bowl with a mixer on medium-high speed until light and fluffy, about 5 minutes. Add the egg and vanilla and beat until incorporated. Reduce the mixer speed to low and beat in the flour mixture in 2 batches until just incorporated. Divide between 2 pieces of plastic wrap; shape into disks. Wrap and refrigerate until firm, at least 1 hour. (The dough can be frozen for up to 1 month; thaw overnight in the refrigerator before rolling.)

2. Line 2 baking sheets with parchment paper. Working with 1 disk at a time, roll out the dough on a floured surface, dusting with flour as needed, until about 1/8 inch thick*. Cut out shapes with 2-to-4-inch cookie cutters; arrange 2 inches apart on the prepared baking sheets. (If the dough becomes too soft as you work, return to the refrigerator until firm.) Gather the scraps and refrigerate until firm; reroll once to cut out more cookies. Chill the cutouts 30 minutes.

3. Position racks in the upper and lower thirds of the oven and preheat to 350 degrees F. Bake, switching the pans halfway through, until the cookies are slightly puffed and just golden, 13 to 15 minutes. Let cool 5 minutes on the baking sheets, then transfer to racks to cool completely before icing.

*I rolled out my cookies 1/4 inch thick.

Gingerbread Men

So, I have a confession to make, prior to making these cookies I had never had a gingerbread cookie. I’m not really sure why that is. Possibly because it’s never been the cookie I reach for when I see a platter of assorted holiday cookies and also I had never tried baking them. This year though I decided to add it to my holiday baking.

IMG_6319

I began these cookies by sifting together flour, baking soda, ginger, cinnamon, ground cloves and allspice into a bowl.

IMG_6228

In another bowl I first mixed together melted butter and shortening, light brown sugar and molasses and then added in an egg.

IMG_6230

Next I beat the flour into the molasses mixture.

IMG_6231

Once the dough came together I divided it in half and wrapped it in plastic wrap and patted it down to about 1/2 inch and refrigerated it. While the recipe stated to refrigerate it for at least 2 hours I ended up refrigerating it overnight and just let it sit out for a few minutes before rolling it out.

IMG_6234

Once the dough was soft enough to roll, I rolled it a 1/4 inch thick and began cutting out some gingerbread men.

IMG_6235

After placing them on a parchment lined baking sheet I decorated them with some mini M&M’s and round sprinkles.

IMG_6236

I then placed the cookies in the refrigerator for 15 minutes and then baked them in a 350 F preheated oven for about 10 minutes and then transferred them to a wire rack to cool completely.

IMG_6253

Then the fun began, well, that depends on whether or not you like to decorate cookies. I’m still on the fence about that one. I made a batch of royal icing and gave my Gingerbread cookies some faces and some squiggles!

IMG_6285

So, did I enjoy my first Gingerbread cookie? Well, yes and no. With my first cookie I thought the flavor was an acquired taste. The molasses was really standing out to me, but, the following day I tried another one and I definitely had other sentiments about it. It’s tasty but not something I could have two or three of in one sitting as with other cookies.

Perfect Gingerbread Men

Makes 2 to 3 Dozen Cookies

Ingredients:

3 1/2 cups flour

1 teaspoon baking soda

1 teaspoon salt

1 tablespoon ground ginger

2 teaspoons cinnamon

1/4 teaspoon ground cloves

1/4 teaspoon allspice

6 tablespoons butter, melted

1 tablespoon shortening, melted

2/3 cup light brown sugar

3/4 cup molasses

1 egg

Directions:

1. In a bowl sift together the flour, baking soda, salt, ground ginger, cinnamon, ground cloves and allspice; set aside.

2. In another bowl mix together the butter, shortening, sugar and molasses, then beat in the egg. Beat in the flour mixture in two additions. Divide the dough in half, wrap in plastic and pat to 1/2 inch thick. Chill 2 hours.

3. Preheat the oven to 350 F and line two baking sheets with parchment paper.

4. On a floured surface roll out each piece of dough to 1/4 inch think, dusting with flour if needed. Cut into 3-to-5-inch gingerbread men and arrange 1-inch apart on prepared baking sheets. Brush off the excess flour and chill 15 minutes.

5. Bake until the cookies are golden around the edges, 10 to 12 minutes. Transfer to a rack to cool, then decorate.


Royal Icing

Ingredients:

1 lb. box on confectioners’ sugar

1 tablespoons meringue powder

5 tablespoons water

Directions:

Whisk the sugar and meringue powder in a large bowl. Add the water and beat with a mixer on medium-high speed until soft glossy peaks form, adding up to 1 more tablespoon water if necessary. Cover the bowl with a damp paper towel and plastic wrap until ready to use to prevent the icing from drying out.

Easter Eggs

I hope you all had a wonderful Easter weekend. Ideally I would have liked to get this post up yesterday, but time got away from me. Since it is Easter Monday  though, I’m not all that late.

I had decided a while back that I wanted to make decorated Easter cookies for the holiday (the decision was easily made after I got this egg cookie cutter from my local craft store.)

IMG_3083

As opposed to Valentine’s Day when I used a package mix to make my decorated cookies, this time I was determined to make them from scratch. (While I do enjoy making things from scratch, rolled out cookies are among my least favorite things to make since I inevitably roll them out too thin or too thick which can lead to the baking time to be off which can then lead to a cookie that is inedible. Maybe it’s time to invest in some rolling pin rings.)

I opted to use the Roll-Out Cookie recipe on the back of the cookie cutter packaging since it didn’t require the dough to be refrigerated prior to rolling (I’m all about saving time whenever possible.)

To begin I mixed the flour, baking powder and salt in one bowl.

IMG_3085

In the bowl of my stand mixer I beat together butter and sugar until it was light and fluffy and then added in vanilla and almond extracts and an egg.

IMG_3086

I then incorporated the flour mixture into the butter mixture one cup at a time, mixing well after each addition.

IMG_3090

It wasn’t long before the dough came together, which I then divided into two balls in preparation for rolling.

IMG_3091 IMG_3092

Once I rolled out my first ball and cut out the cookies I placed them on an ungreased cookie sheet and sprinkled them with Easter themed sprinkles. After baking for about ten minutes in a 350 F preheated oven they were done.

Easter Cookies 1

I baked my second batch without sprinkles since I was planning on decorating them with royal icing.

IMG_3103 IMG_3104

Once the cookies cooled completely I whipped up a small batch of royal icing.

IMG_3122

And after some dyeing, dotting and sprinkling my cookies were done.

IMG_3125

Along with Easter Egg Cookies I decided to make some actual Easter eggs. I haven’t dyed eggs in quite some time, but after seeing the directions for marbled eggs in a few different magazines this past month I decided I had to try it.

And this is what I ended up with. I really liked how the inside of the shell looked more than anything.

IMG_3155

And if you’re curious about Easter Eggs and some fun facts about them check out this article that was in the USA Weekend newspaper magazine this past weekend. Here are a few of my favorites…

-Before those little dissolvable capsules, egg dyes were made from a variety of materials, including onion peels, tree bark, flower petals, and vegetable and fruit juices.

-The PAAS Dye Co. launched its popular product in the 1880s in Newark, N.J. The first packets contained five colors for 5 cents. The company now claims to sell more than 10 million kits annually (no longer just dyes, but also paints, stickers, glitter and more) and says that consumers use them to decorate 180 million eggs.

-Many Easter eggs aren’t actually eggs but are formed from chocolate. In Scotland, a popular treat sold in fish-and-chips shops is deep-fried chocolate eggs.

-“Easter eggs” are found in numerous videogames and movies. That’s a term for an inside joke or hidden message planted by the creator. The term was coined at Atari after a programmer put his name in a hidden room in the game Adventure, released in 1979.

IMG_3160


Roll-Out Cookies

1 cup (2 sticks) unsalted butter, softened

1 1/2 cups granulated sugar

1 egg

1 1/2 teaspoons vanilla extract

1/2 teaspoons almond extract

2 3/4 cups all-purpose flour

1 teaspoon baking powder

1 teaspoon salt

Preheat oven to 350 F.

In mixing bowl, beat butter with sugar until light and fluffy. Beat in egg and extracts. Mix flour, baking powder and salt; add to butter mixture 1 cup at a time, mixing after each addition. Do not chill dough. Divide dough into 2 balls.

On a floured surface, roll each ball into a circle approximately 12 in. wide and 1/8 in. thick. Dip cookie cutter in flour before each use. Bake cookies on an ungreased cookie sheet 8-11 minutes or until cookies are lightly browned.

Valentine’s Day Treats

Happy Valentine’s Day! Many have coined this day a Hallmark Holiday, for me, I personally believe that we shouldn’t have to designate a specific calendar day to show the one’s we love how much we love and appreciate them (If you’re curious here’s a little history on the origins of the day.) We should take a lesson from my friend’s four-year old daughter who will ask me to call her mom while I am baby-sitting her just so she can tell her that she loves her. I will say though that Valentine’s Day does bring about some delicious treats available in stores. I highly recommend the Heart Shaped Brownie Batter Donut from Dunkin’ Donuts… It’s delicious! Something else that is available in stores… an array of baking items so you can bake up your own delicious treats. I definitely couldn’t resist quite a few of those…

IMG_2746

While I would have loved to bake up a batch of sugar cookies from scratch I had to settle on using a bag mix since I was short on time and couldn’t afford to wait the hour or so for my dough to be refrigerated.

IMG_2736

After following the mixing directions on the package for cutout cookies I rolled out the dough and used my heart-shaped cookie cutters to cut out cookies and then popped them in a 350 F preheated oven on an ungreased cookie sheet for six minutes. I got a jump start on decorating a few of them by sprinkling sprinkles on them prior to baking. I then let them cool completely before finishing my decorating.

IMG_2738 IMG_2741

While the cookies cooled I made some cupcakes using Pillsbury’s Valentine’s Day Funfetti Cake Mix. How can you resist the Pillsbury Dough Boy on a Valentine’s Day themed cake mix box!?!? Once they cooled I frosted them using store bought vanilla frosting. I was planning on whipping up a batch of vanilla frosting from scratch, but, after shoveling snow for the umpteenth time this year I just wasn’t in the mood.

IMG_2752 IMG_2756

I tinted half of the frosting pink and then sprinkled some Valentine’s Day sprinkles on them.

IMG_2765

And finally something I did make from scratch… Royal Icing to decorate the cookies.

IMG_2758

I used a squeeze bottle to decorate the cookies with icing and then once again used sprinkles to finish decorating them.

IMG_2759

And finally my Valentine’s Day treats were done and ready to be shared…

IMG_2800

%d bloggers like this: