Do you remember dyeing Easter eggs as a kid? I remember my eggs hardly ever came out the way the PAAS packaging illustrated it would. Maybe I just hadn’t honed in on my crafting skills yet or quite possibly there was more to the decorating that wasn’t explained in the instructions. You know those little tips and tricks you learn by trial and error. I would always wonder too if they were safe to eat. My parents strongly advised against it and I would soon agree once I peeled one or two that had cracked during boiling and the egg white was some funky color due to the dye.
Fast forward a few years and now decorating eggs is on a whole new level. Instead of using real eggs, I’m using this nifty plastic craft eggs I found at Michaels that I can use for years to come to decorate around my house. And forget about dyeing them, I go with using paint to get the exact color I want.
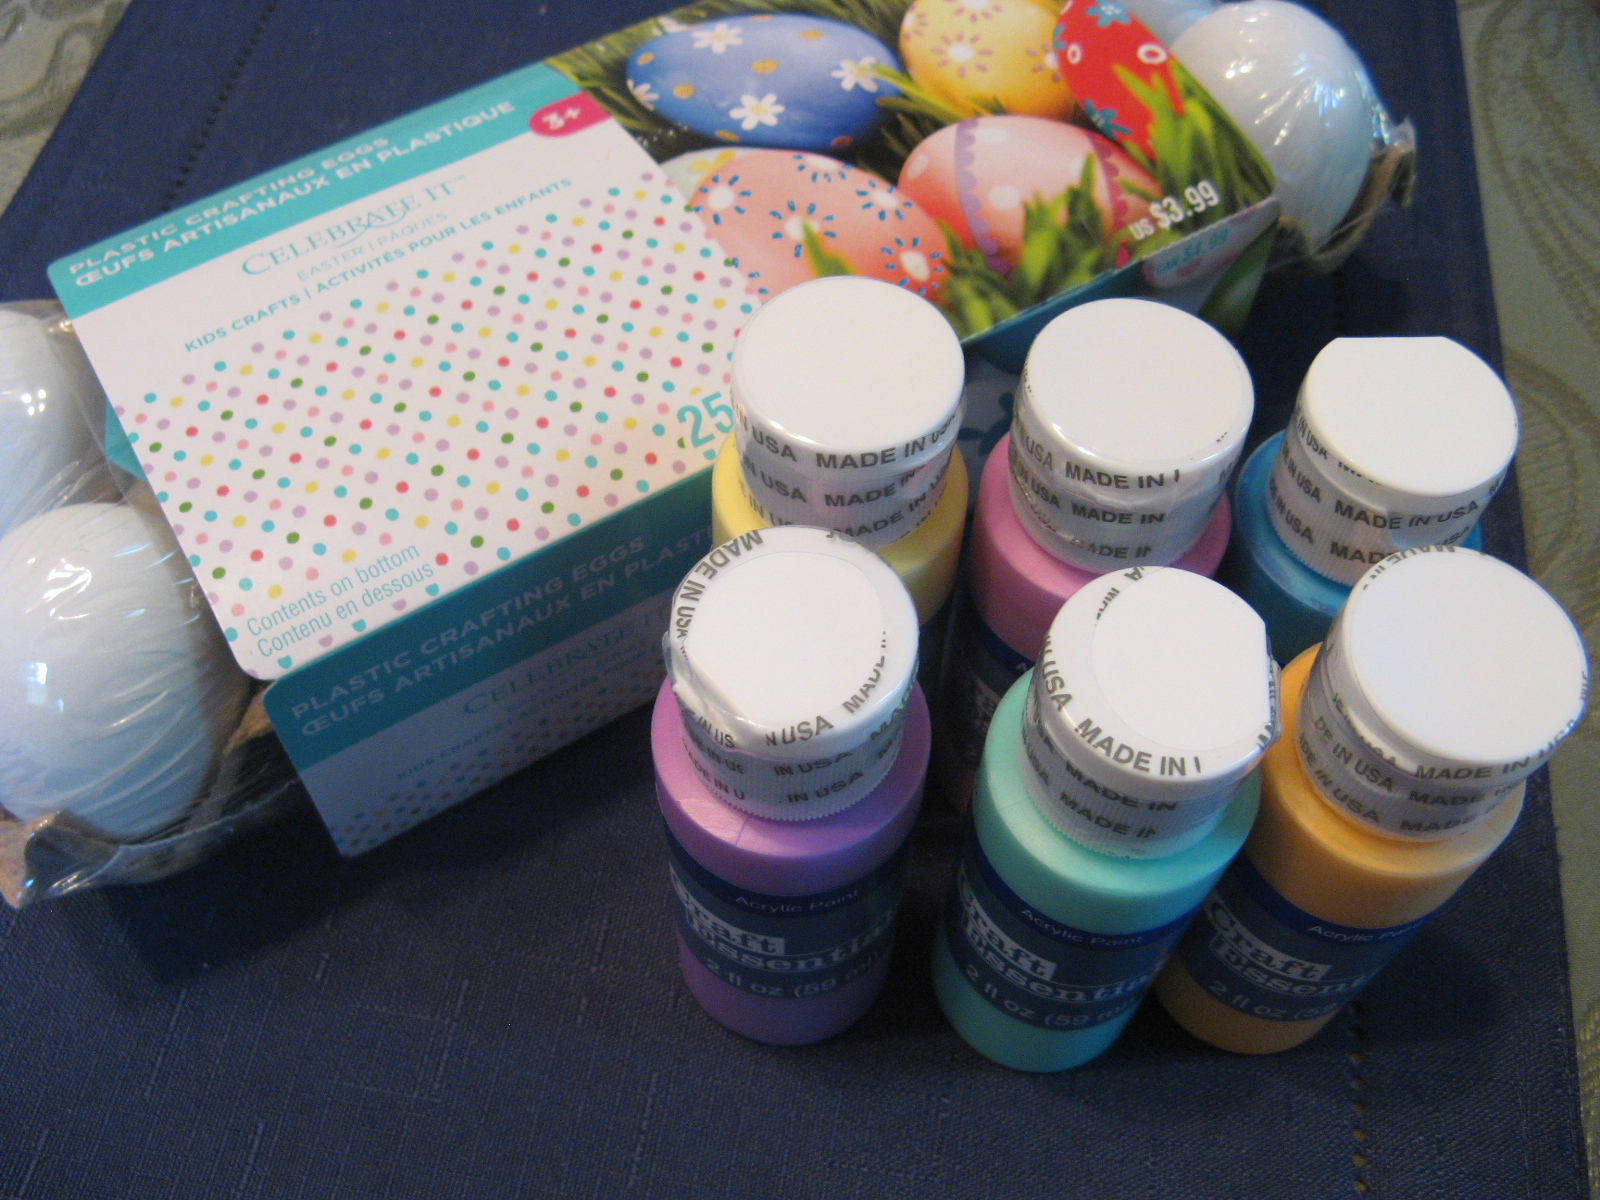
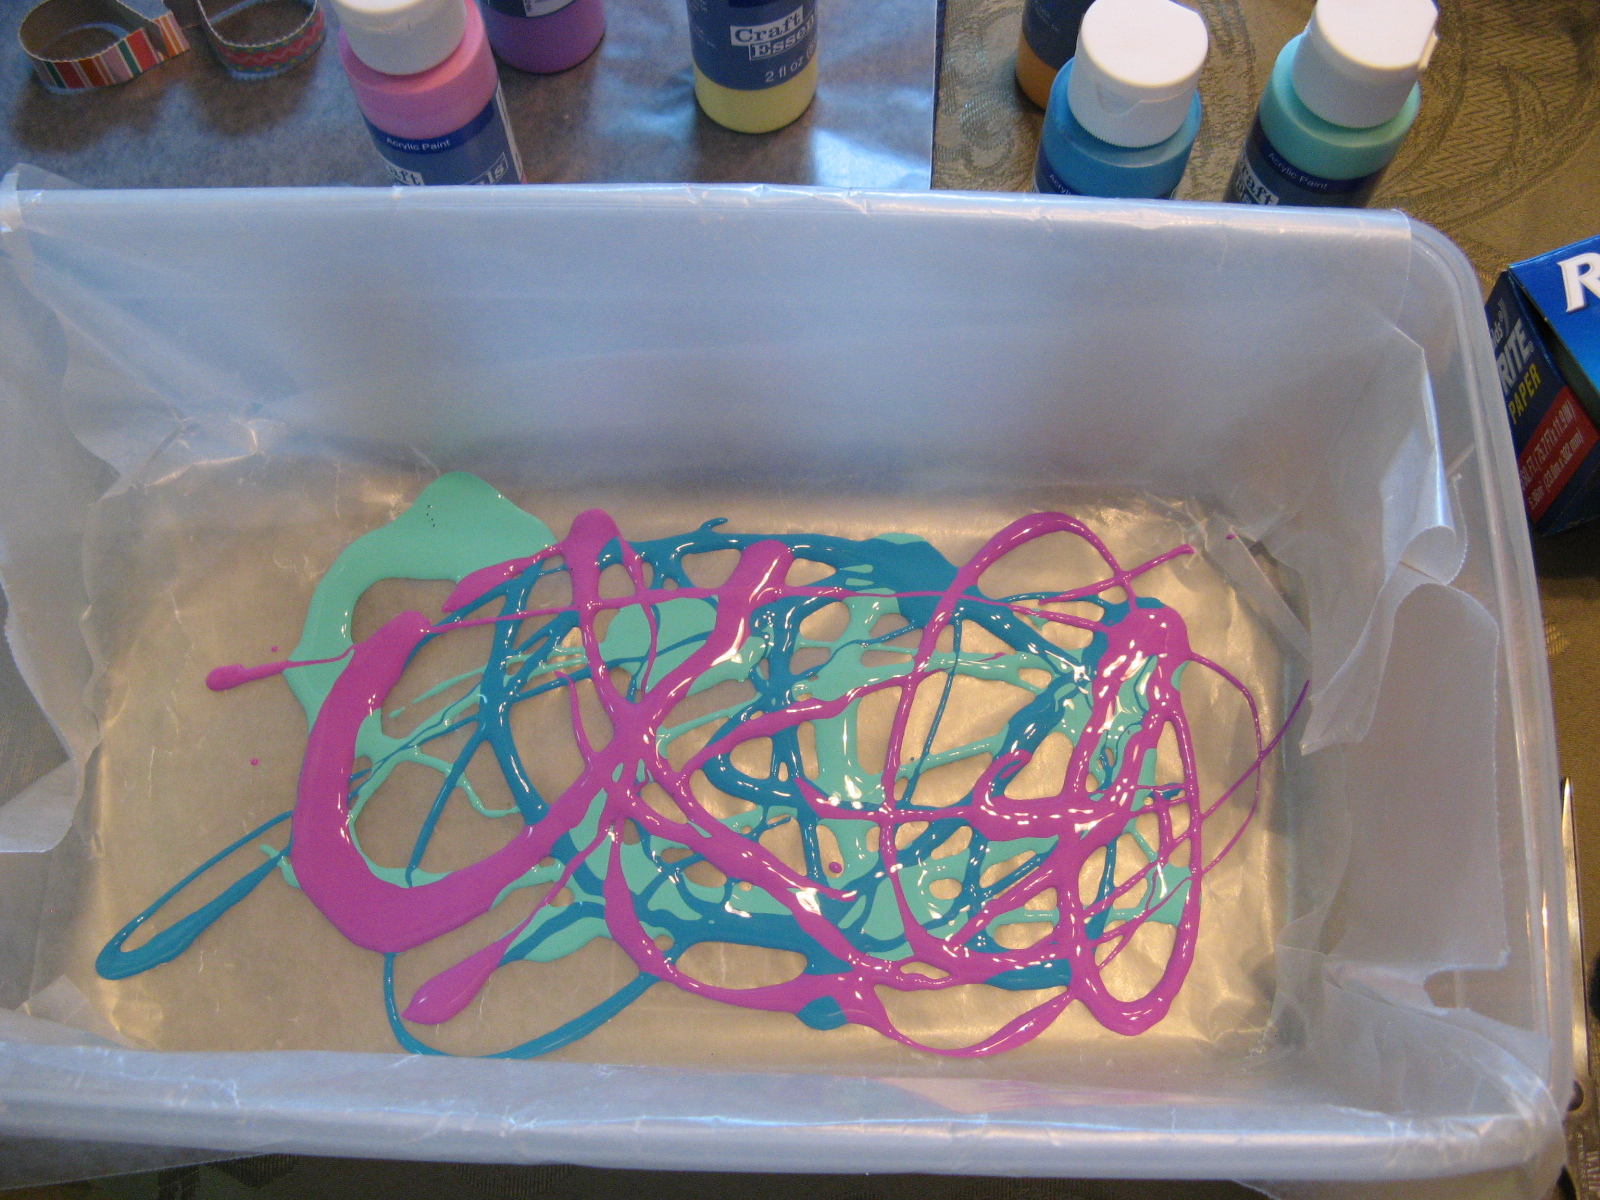
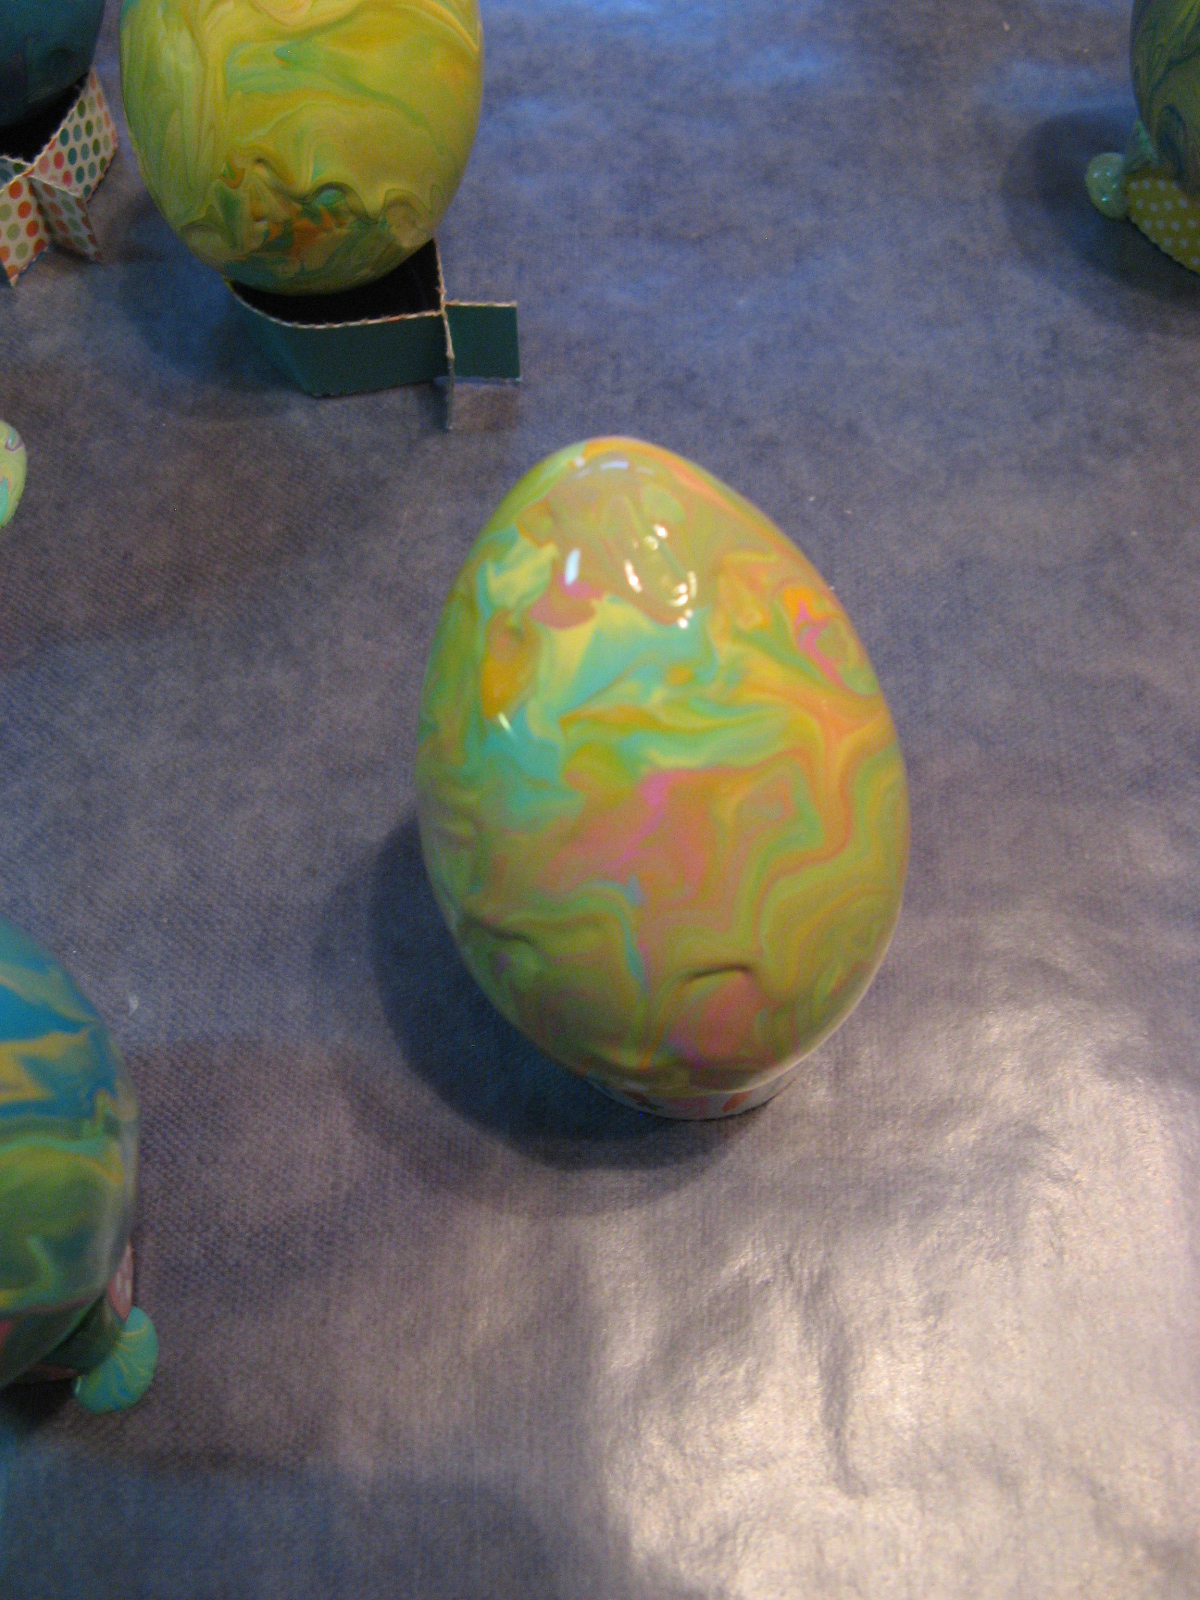
And that brings me to the topic of this blog post… Marbleized Easter Eggs. To create the marbleized affect I lined a plastic shoe box with wax paper. I then squirted some of the paint colors on to the wax paper. Next I placed one of the craft eggs in the shoe box and tilted the box back and forth to roll the egg around so I could get the marbled affect.

I let the eggs dry…
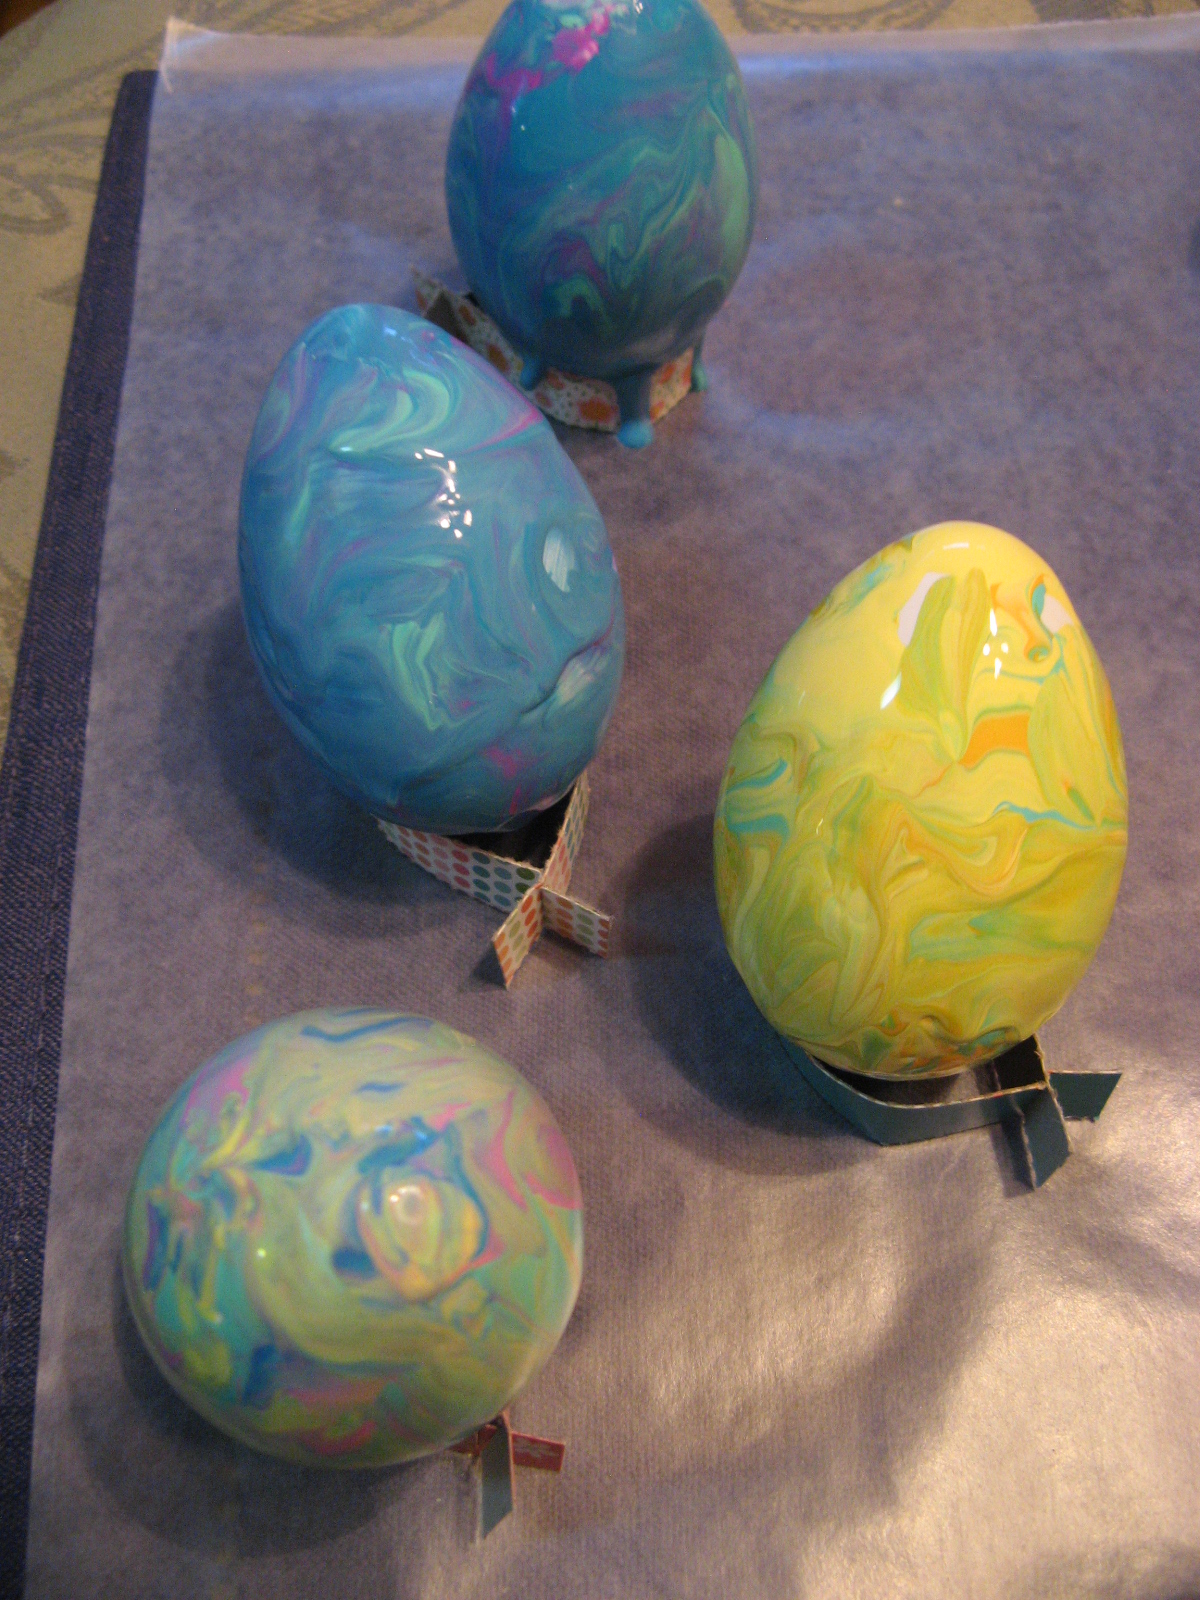
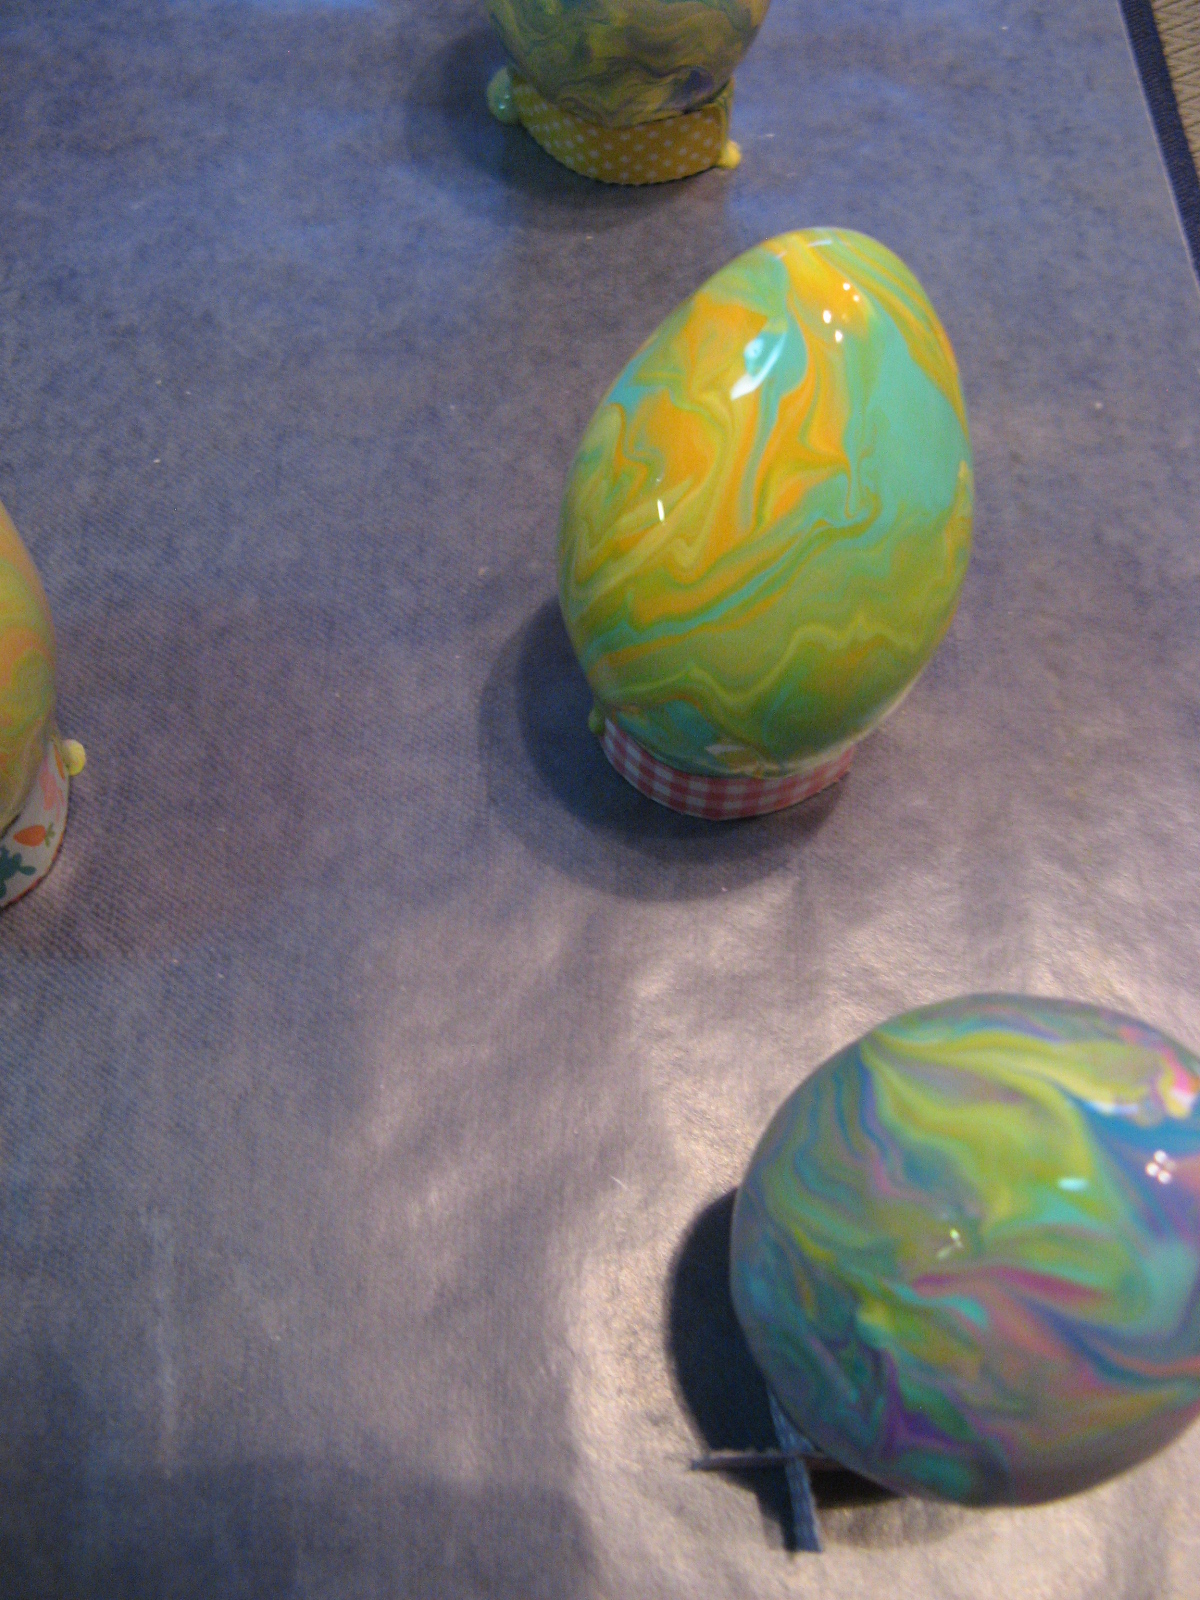
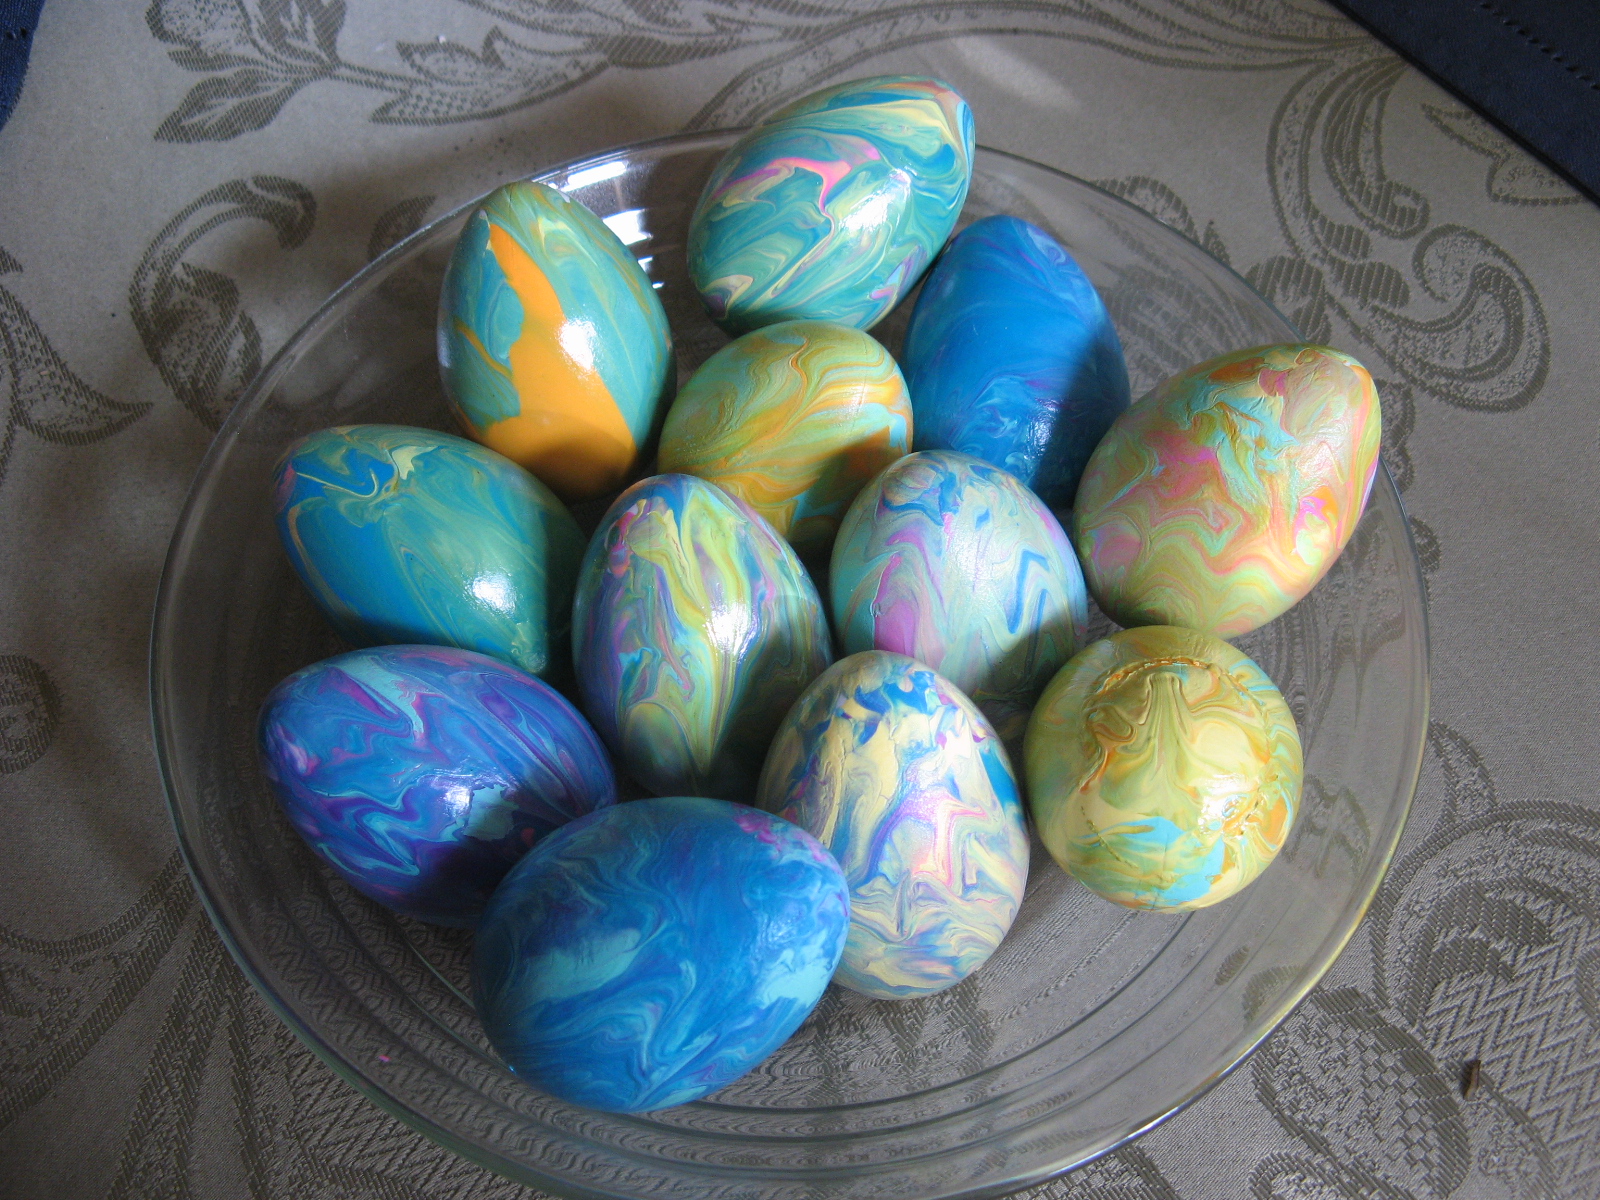
And soon had a dozen marbleized Easter eggs…
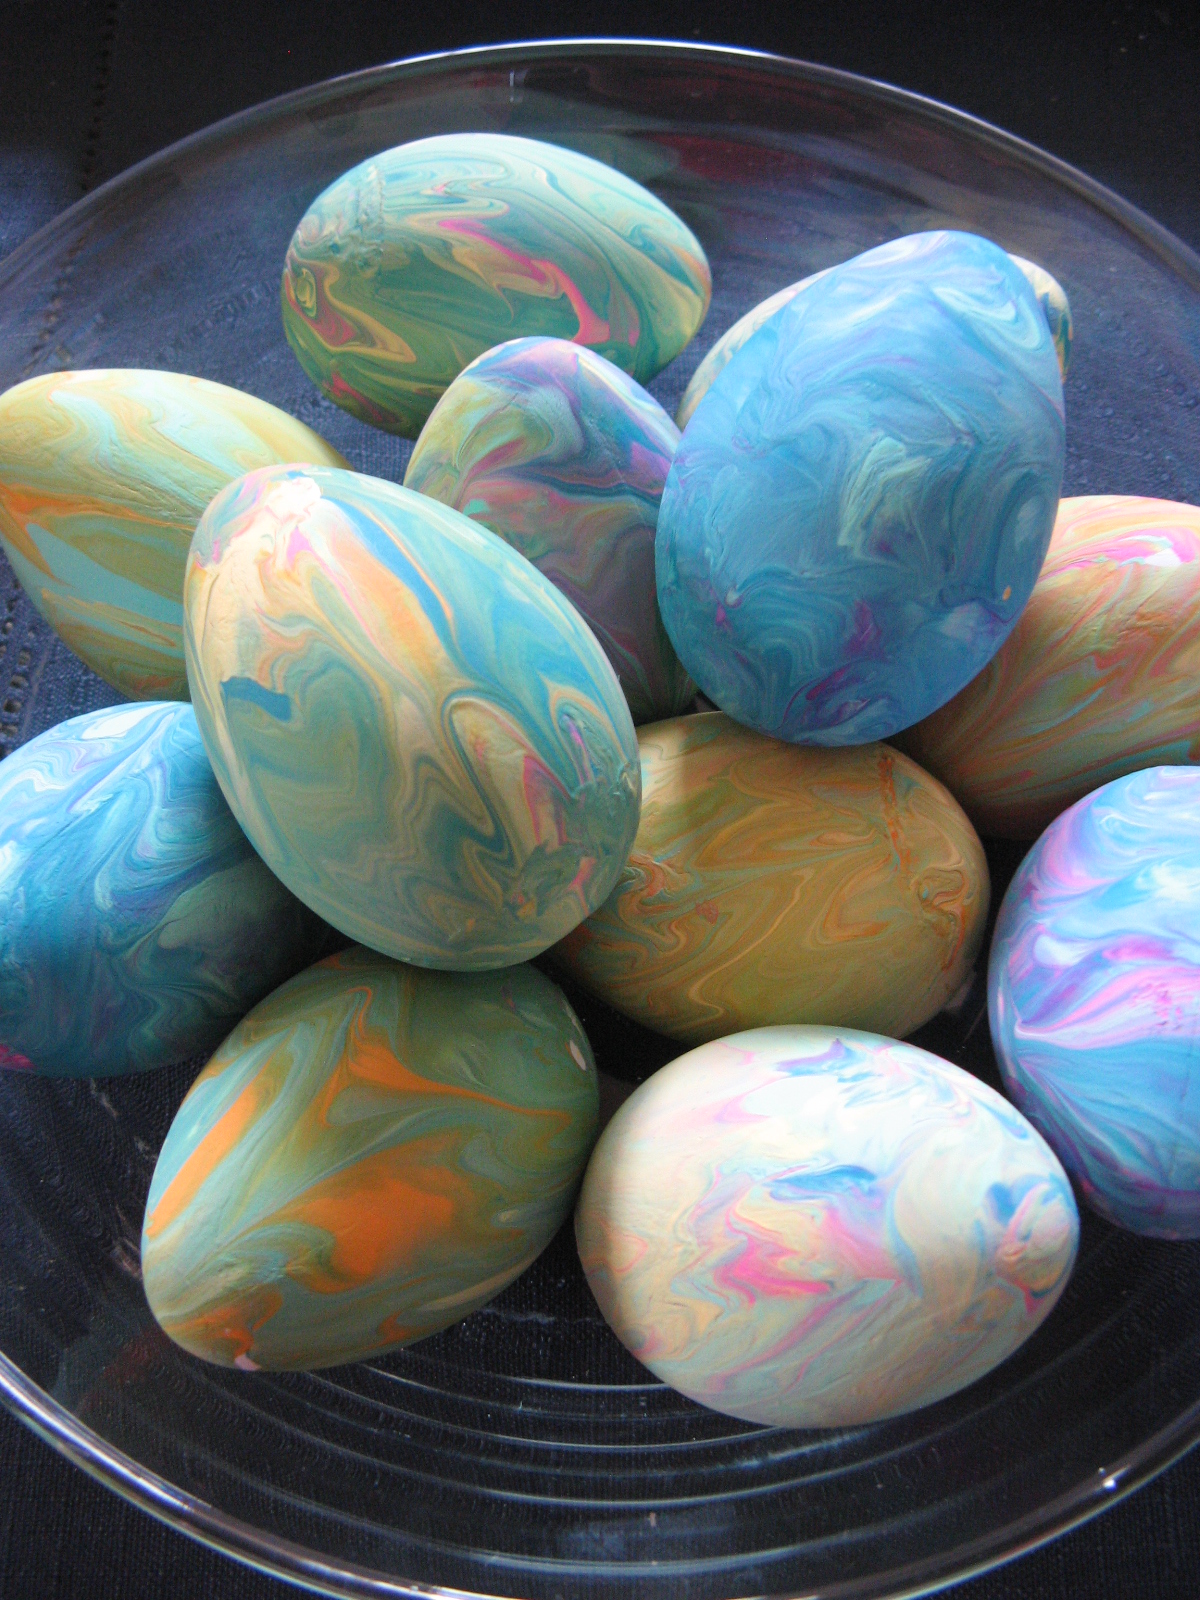
And since I wasn’t too happy with the chalky look of the eggs I sprayed them with a gloss clear spray to give them a little shine. Unfortunately this picture doesn’t show it all that well.
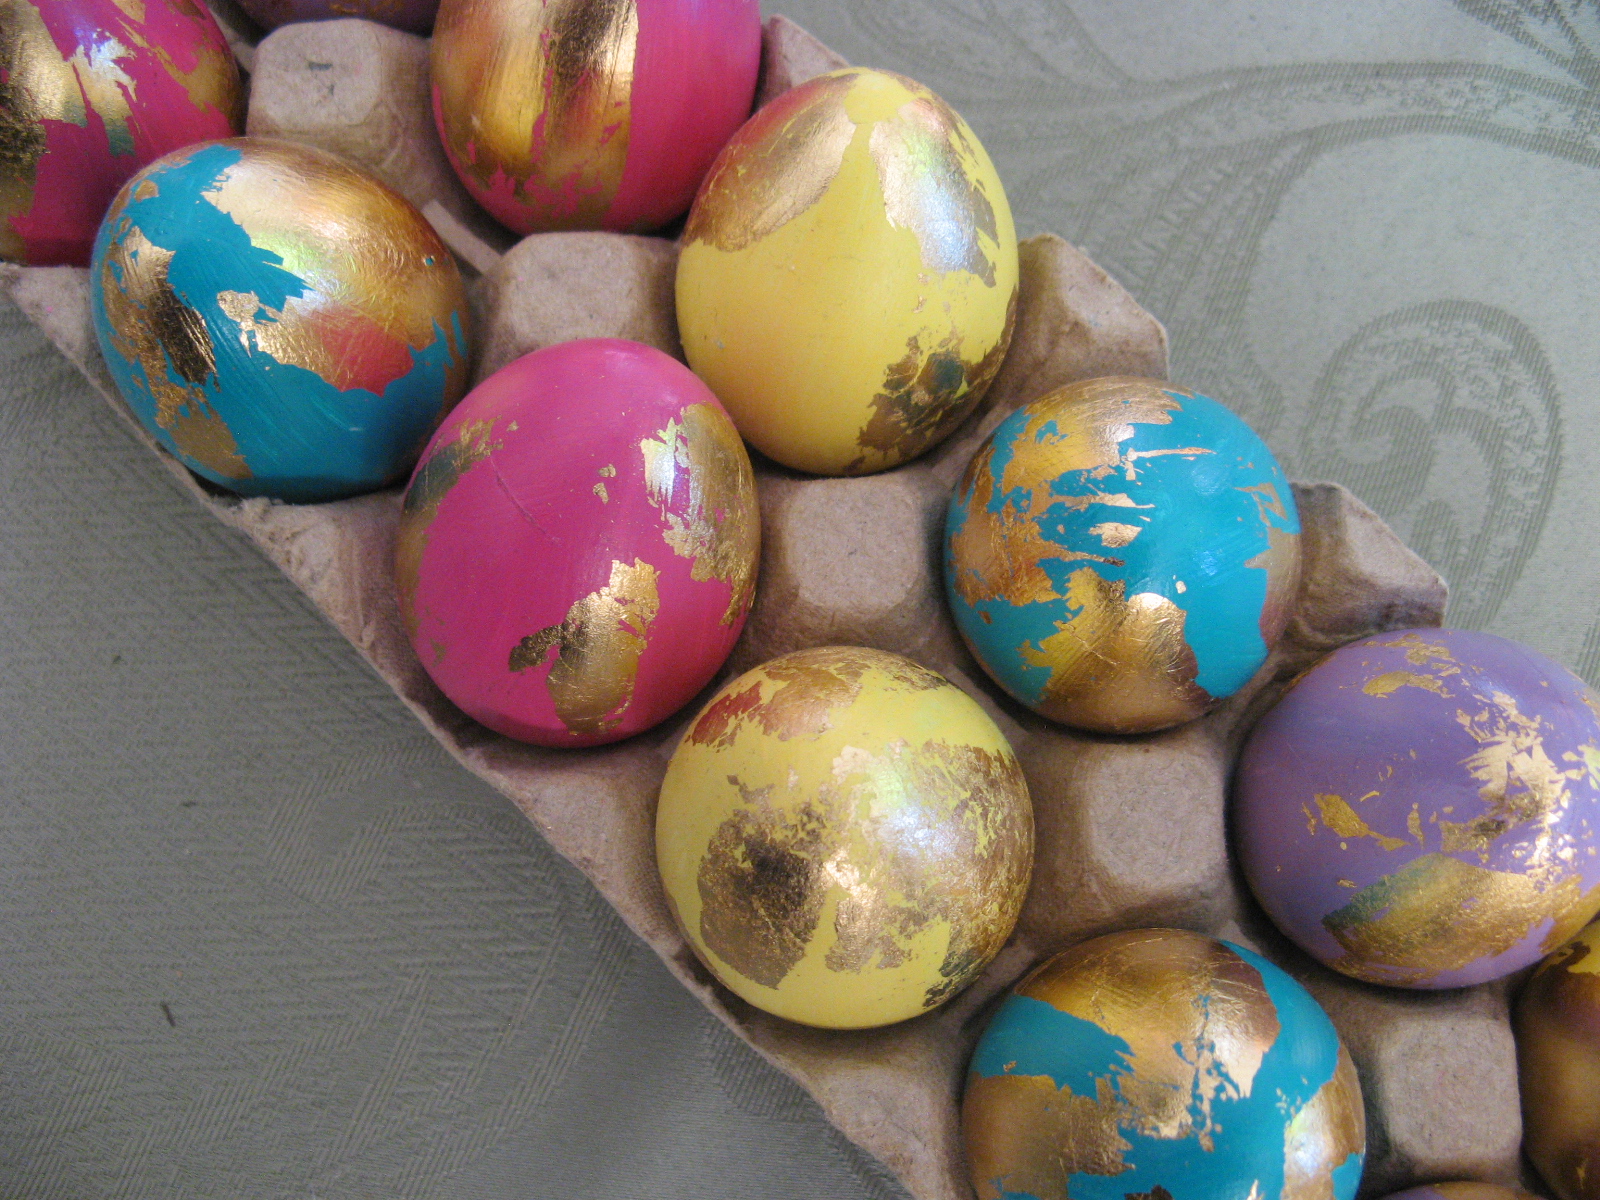
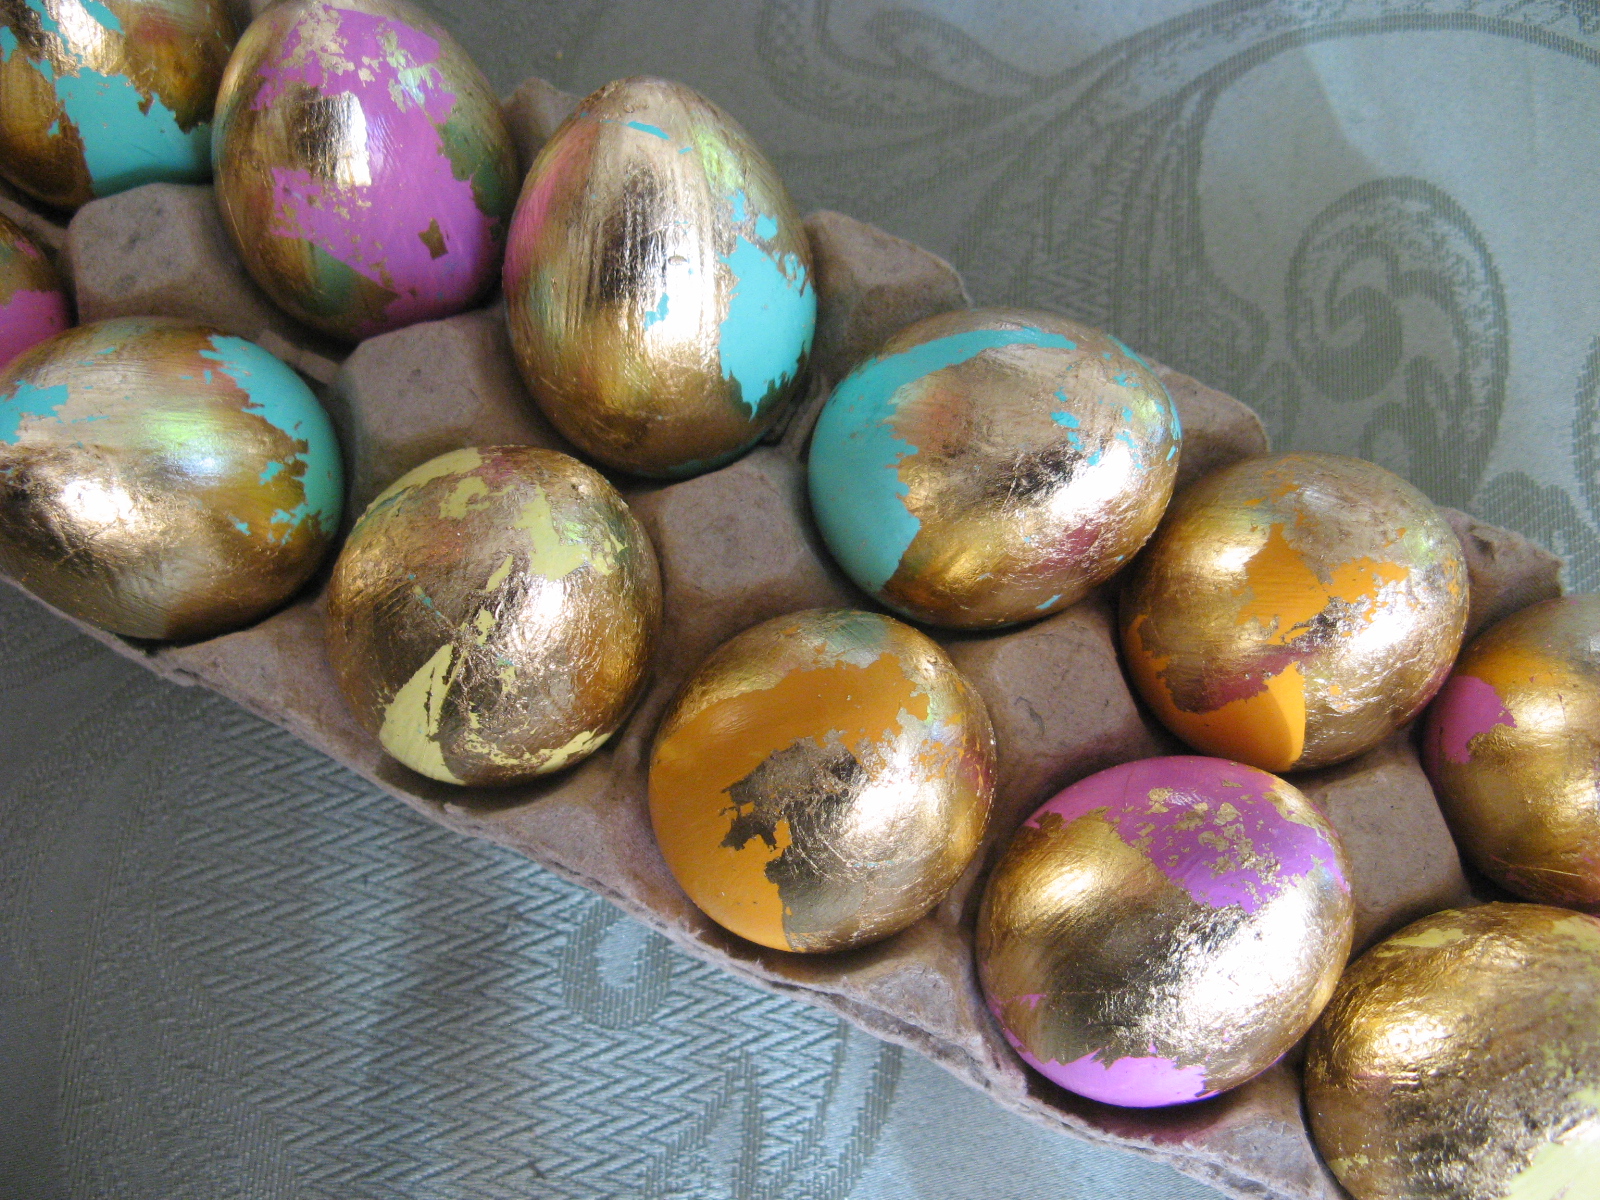
Along with marbleized eggs, I also made two sets of gold-foiled eggs. One that I made last year with more bold colors and one this year with more pastel Spring-like colors. These are quite easy to create as well, but, you will need a Gold Leaf Kit, which you can purchase at your local craft store. You start off by painting the eggs and letting the paint completely dry. Next, you apply the adhesive to the egg, not on the entire surface as you just want the gold foil in random places. You let the adhesive dry for about 10-15 minutes. It’s ready once it begins to feel tacky. Next, you place the gold foil around the egg and using a clean brush brush off the excess gold paper where it didn’t stick. And finally, apply the sealant to the eggs to ensure that the gold foil won’t tarnish and to give the egg a nice sheen.
Please note you could also use these techniques with blown out Easter eggs. I’ll be honest it’s something I have never tried. I feel that if I did I would more than likely break the egg trying to get the contents out and these plastic eggs are so much easier to store! You could very well use hard-boiled eggs, but, I feel like if you are going to decorate your eggs so lovely you should be able to keep them for years to come.
I hope you enjoy dyeing, painting, crafting, hunting or whatever you choose to do with your Easter eggs!

Wow ! Amazing colors, Looks so pretty!
Thank-you!!!