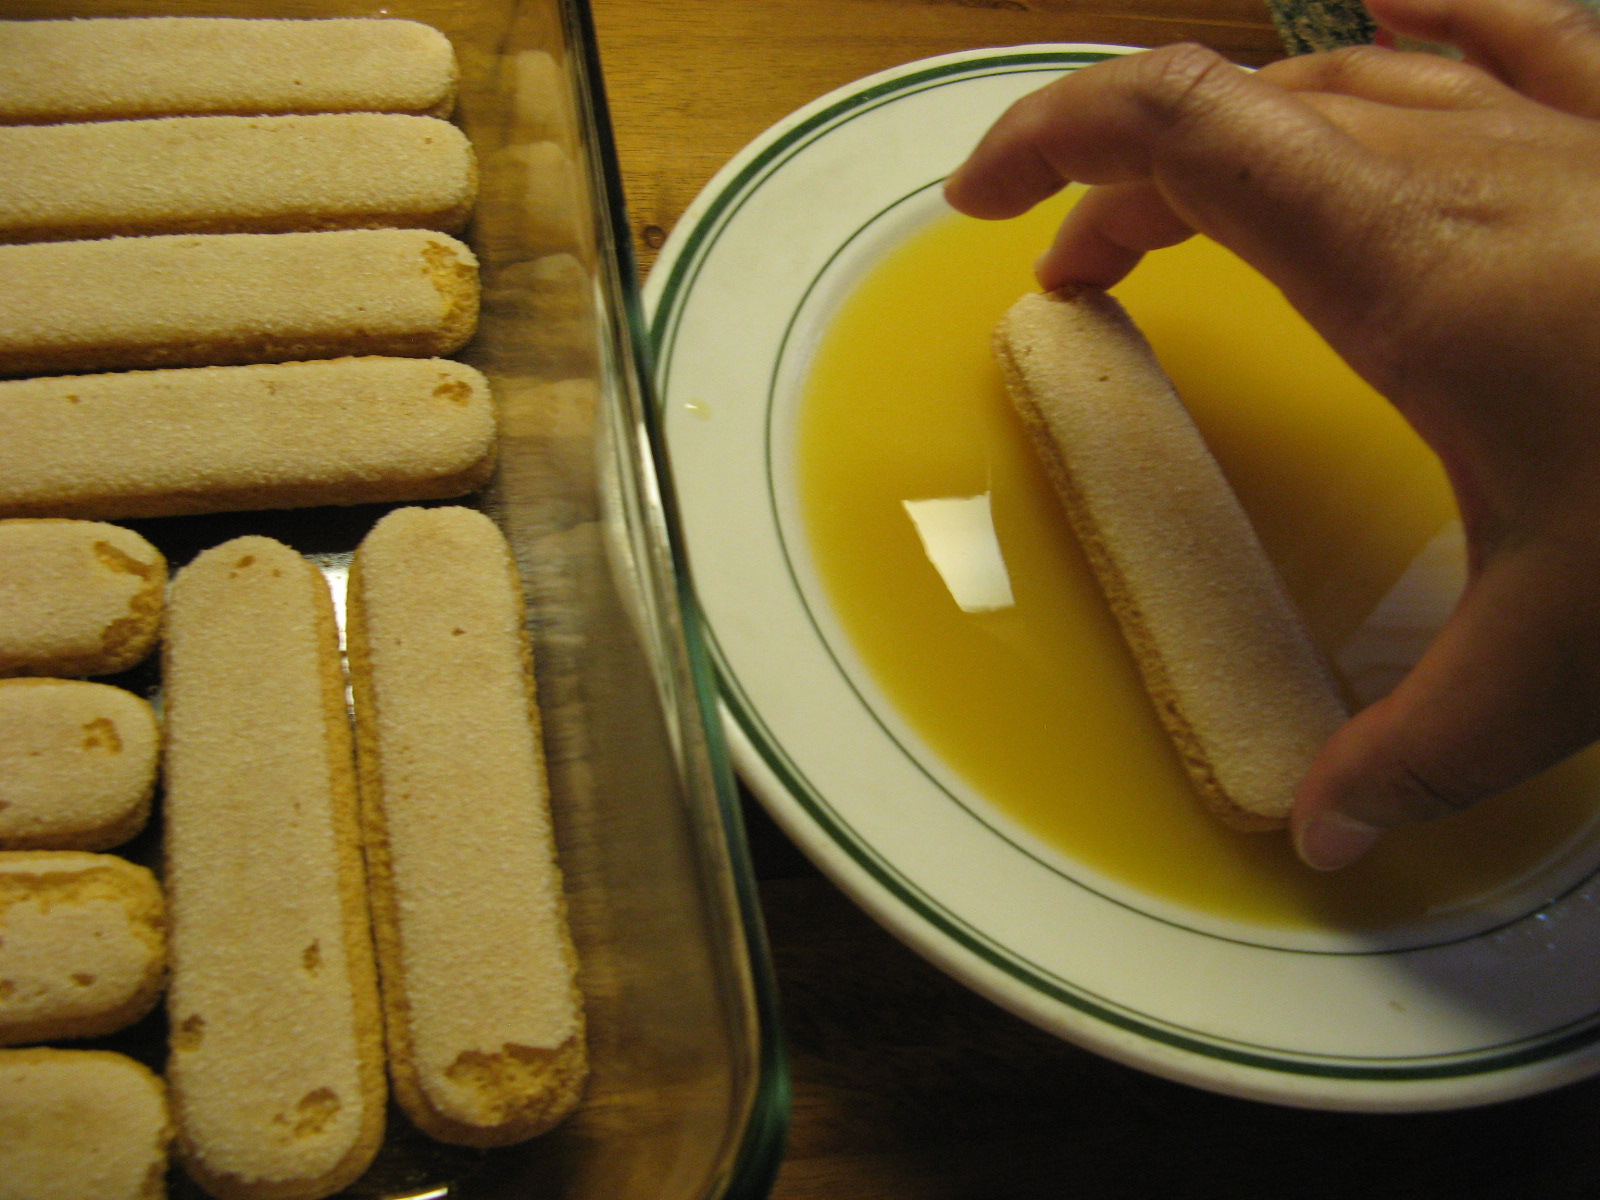
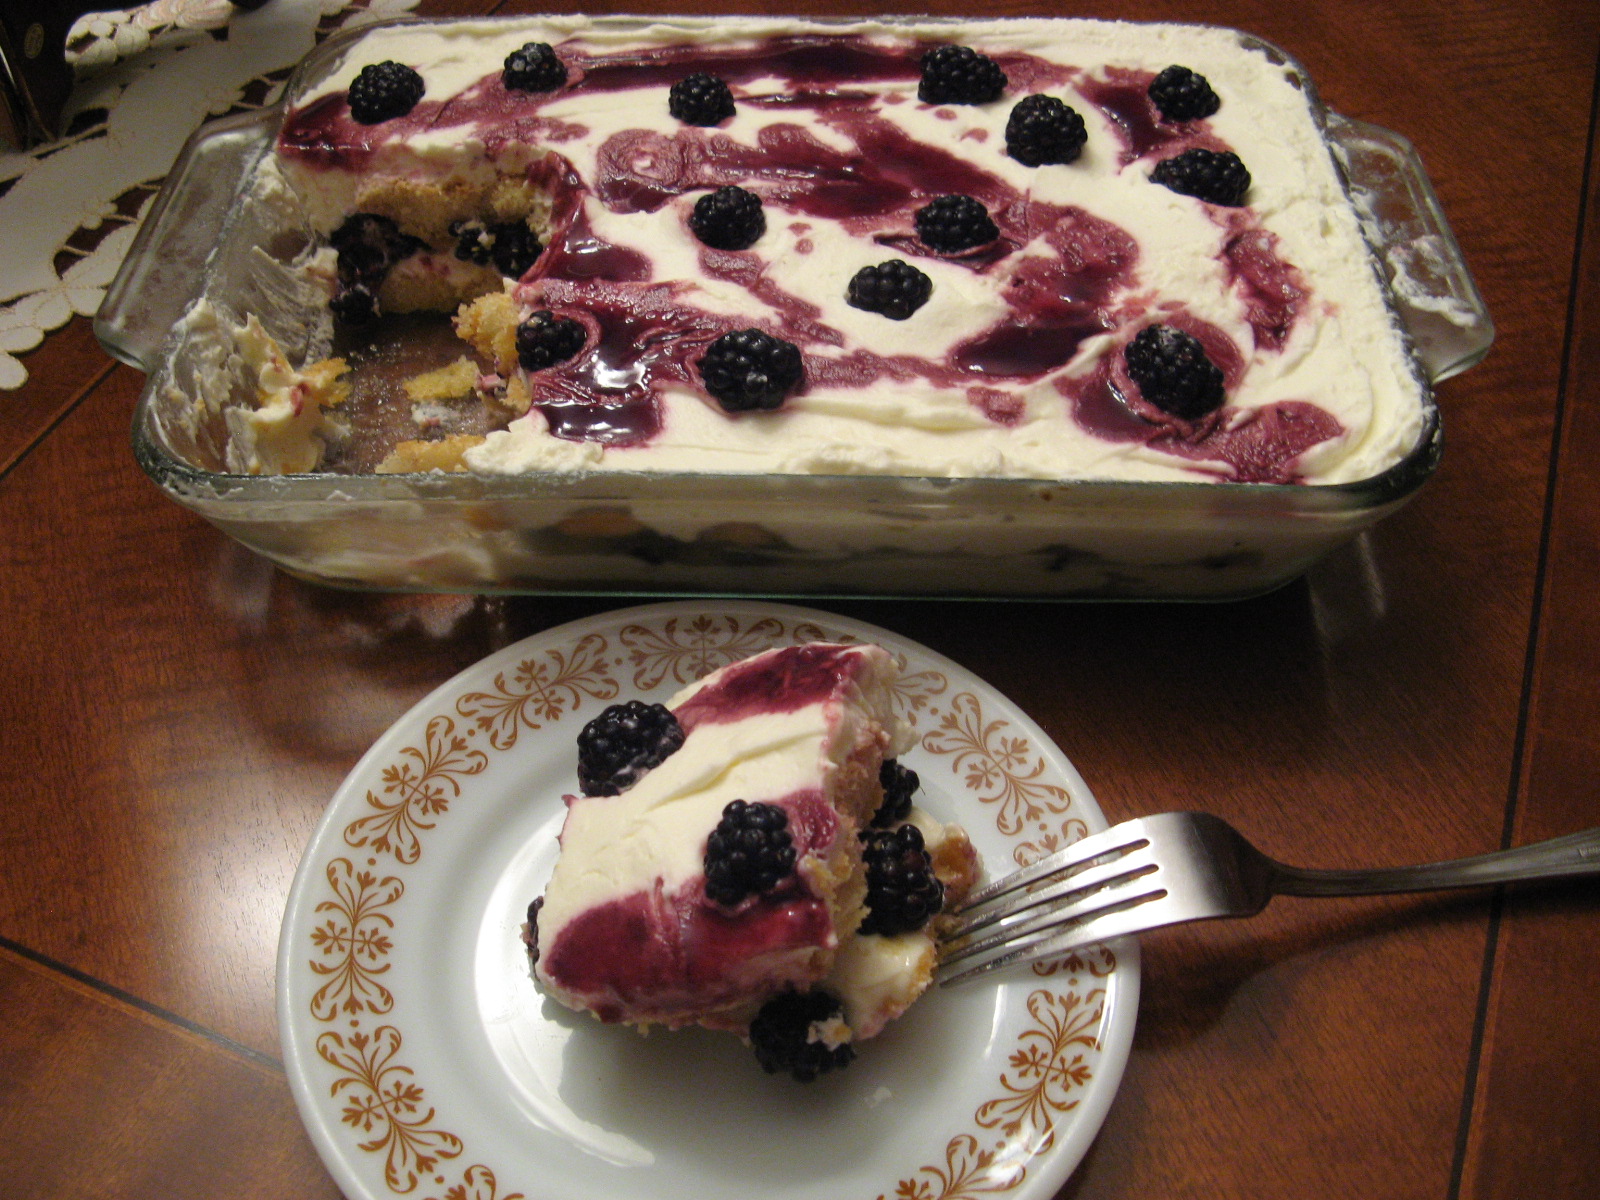
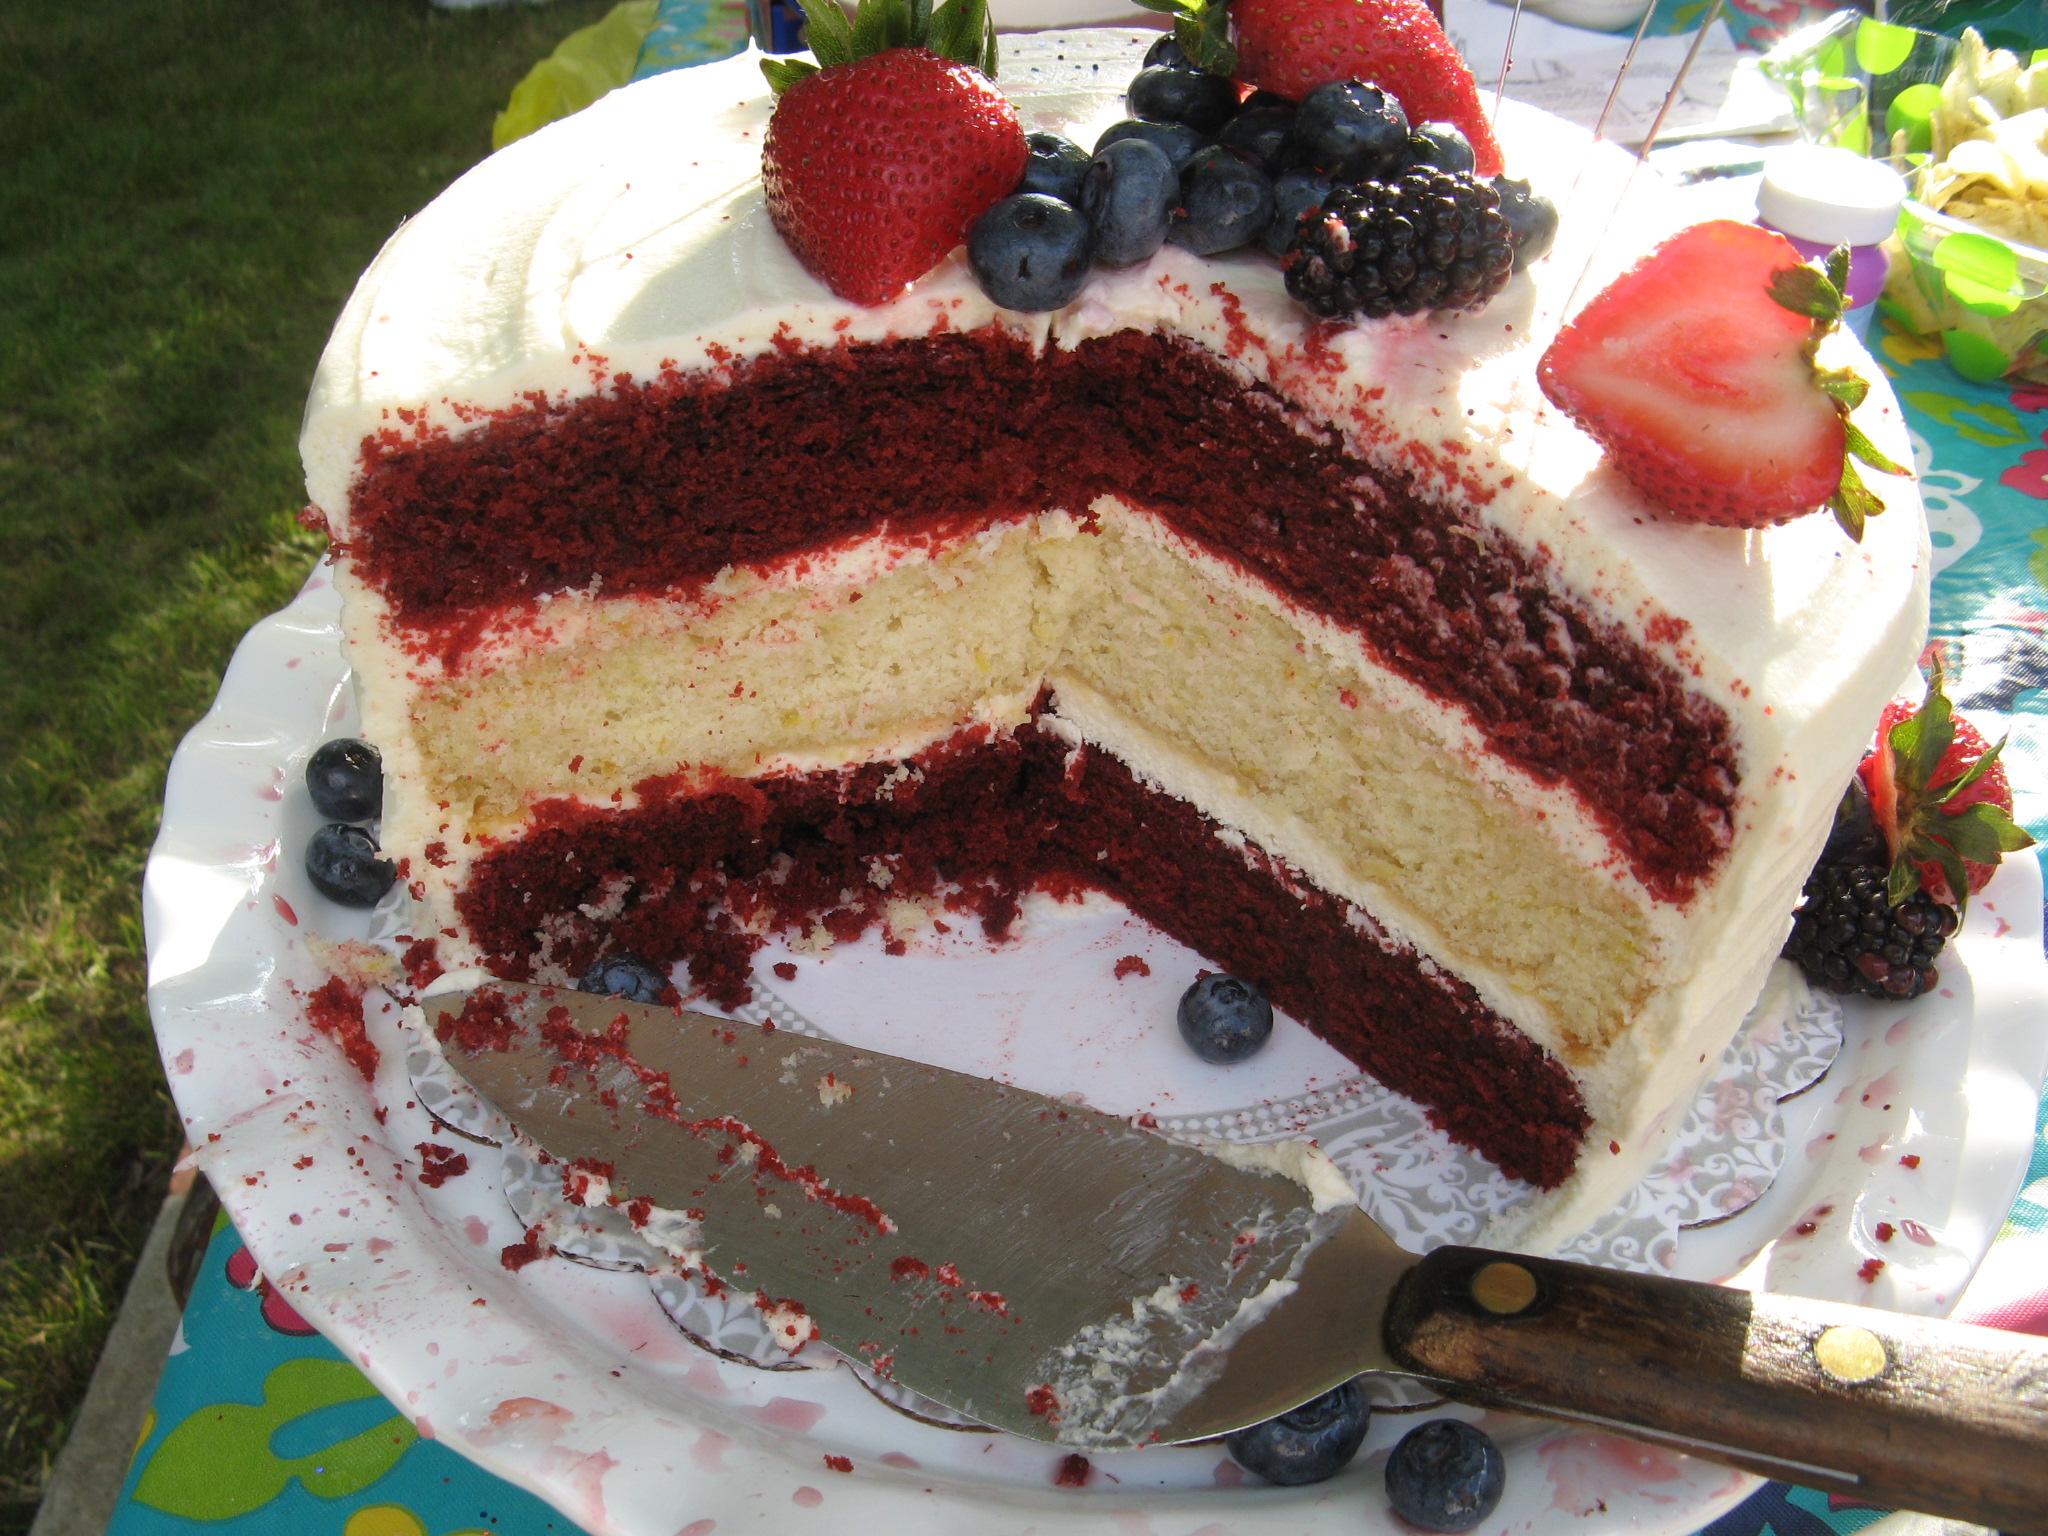
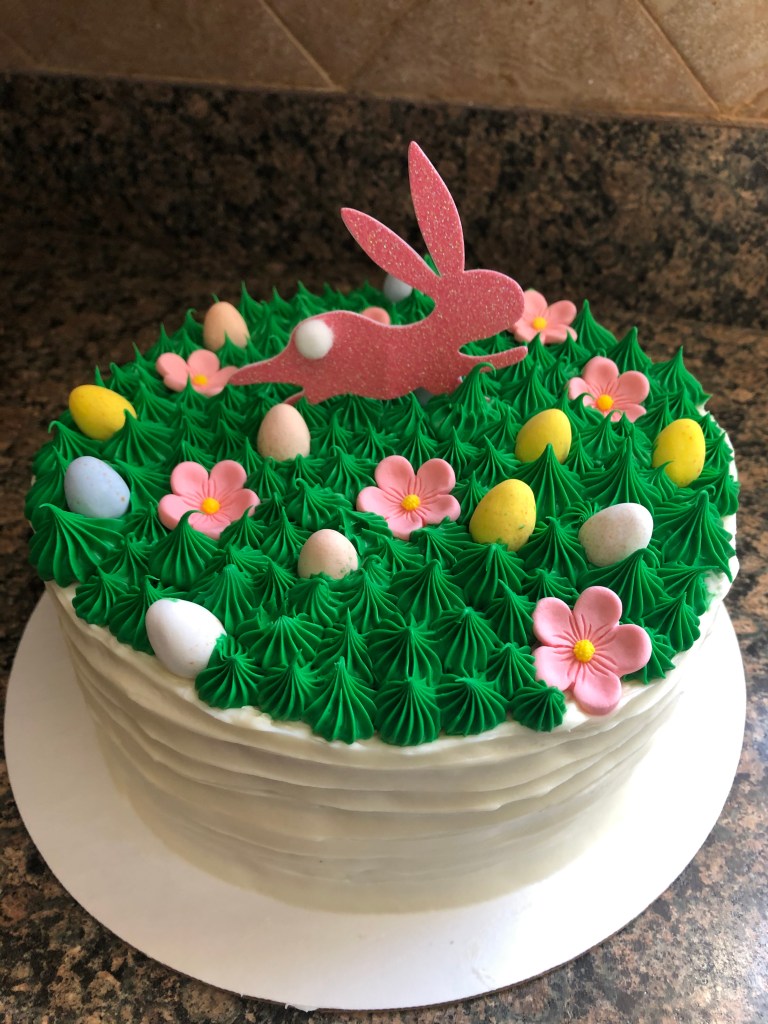
Today I am sharing the cake I made for Easter. I wanted to make something Spring-y this year and something that wasn’t the typical yellow or chocolate cake. Not that there is anything wrong with those. You can never go wrong with a classic! After searching around the internet for some ideas I settled on a Lemon cake with a Blackberry filling and Cream Cheese Frosting. I used to love lemon flavored desserts and then I went thru a phase where I just didn’t care for them. I must have eaten a lemon dessert that rubbed my taste buds the wrong way. Thankfully this lemon cake was just the right amount of lemon without being overpowering or sweet.
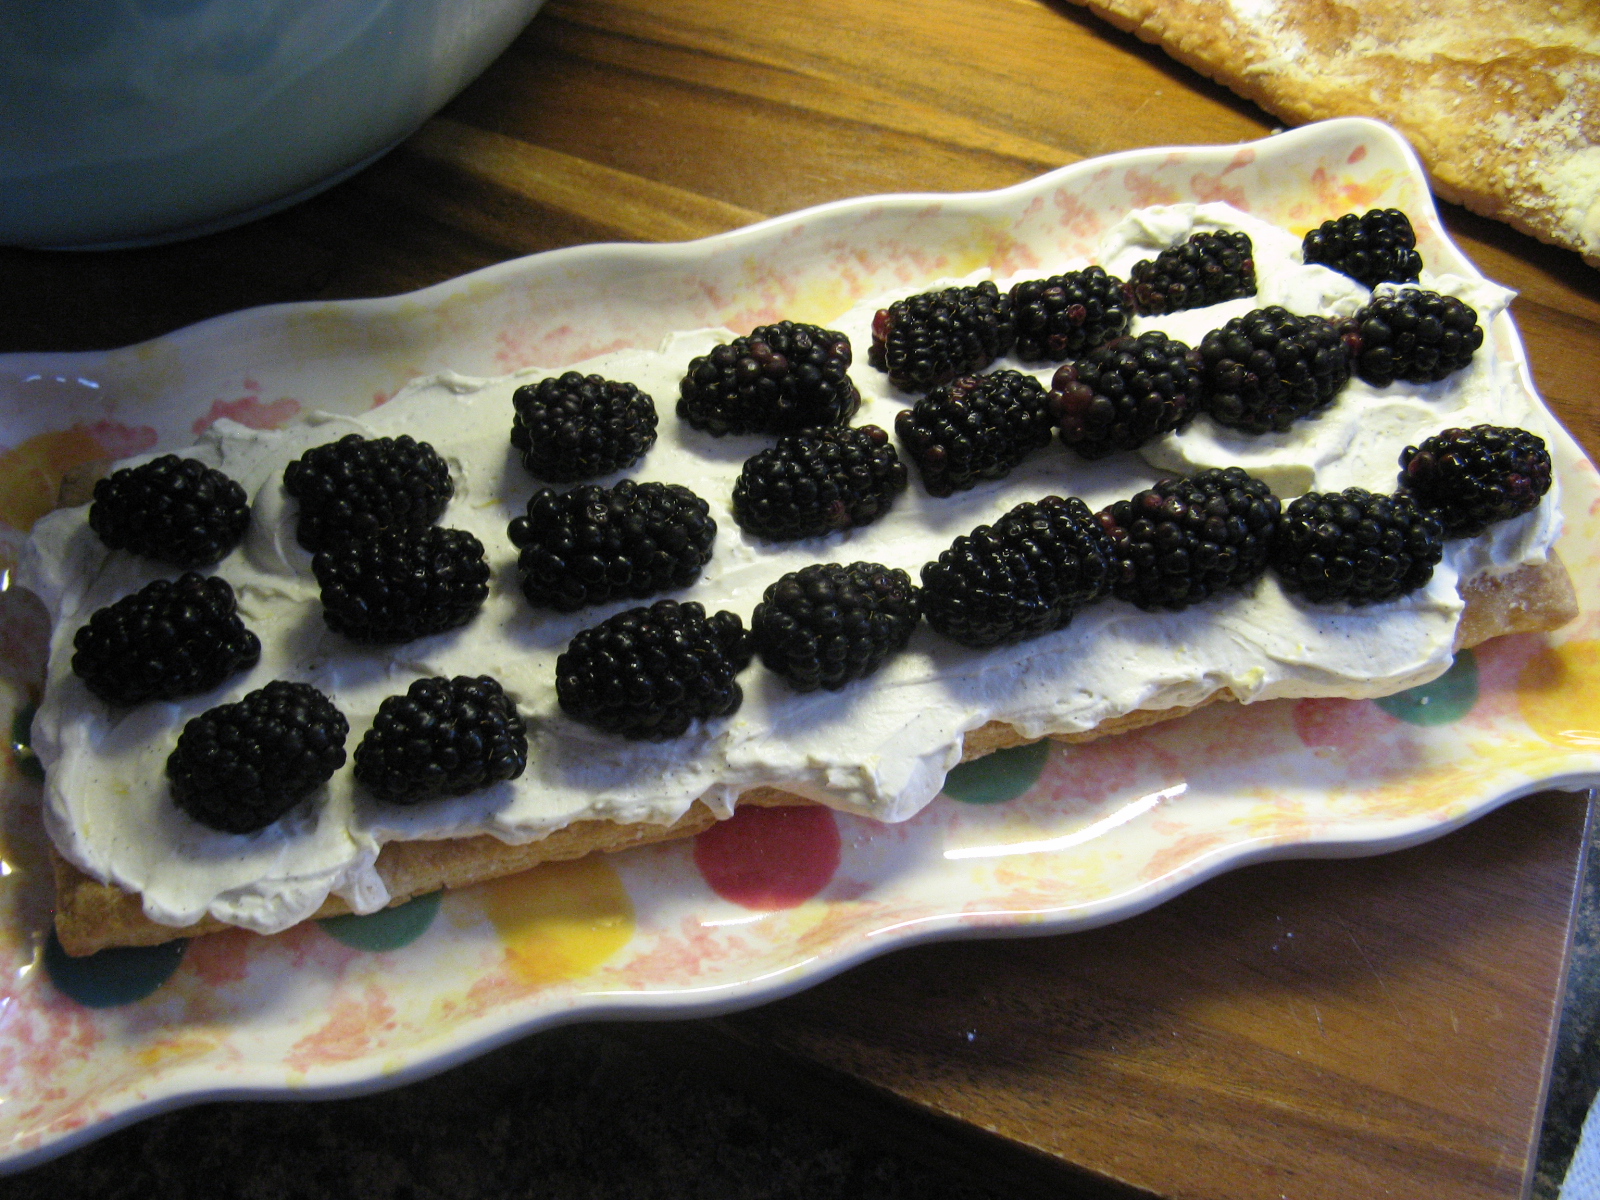
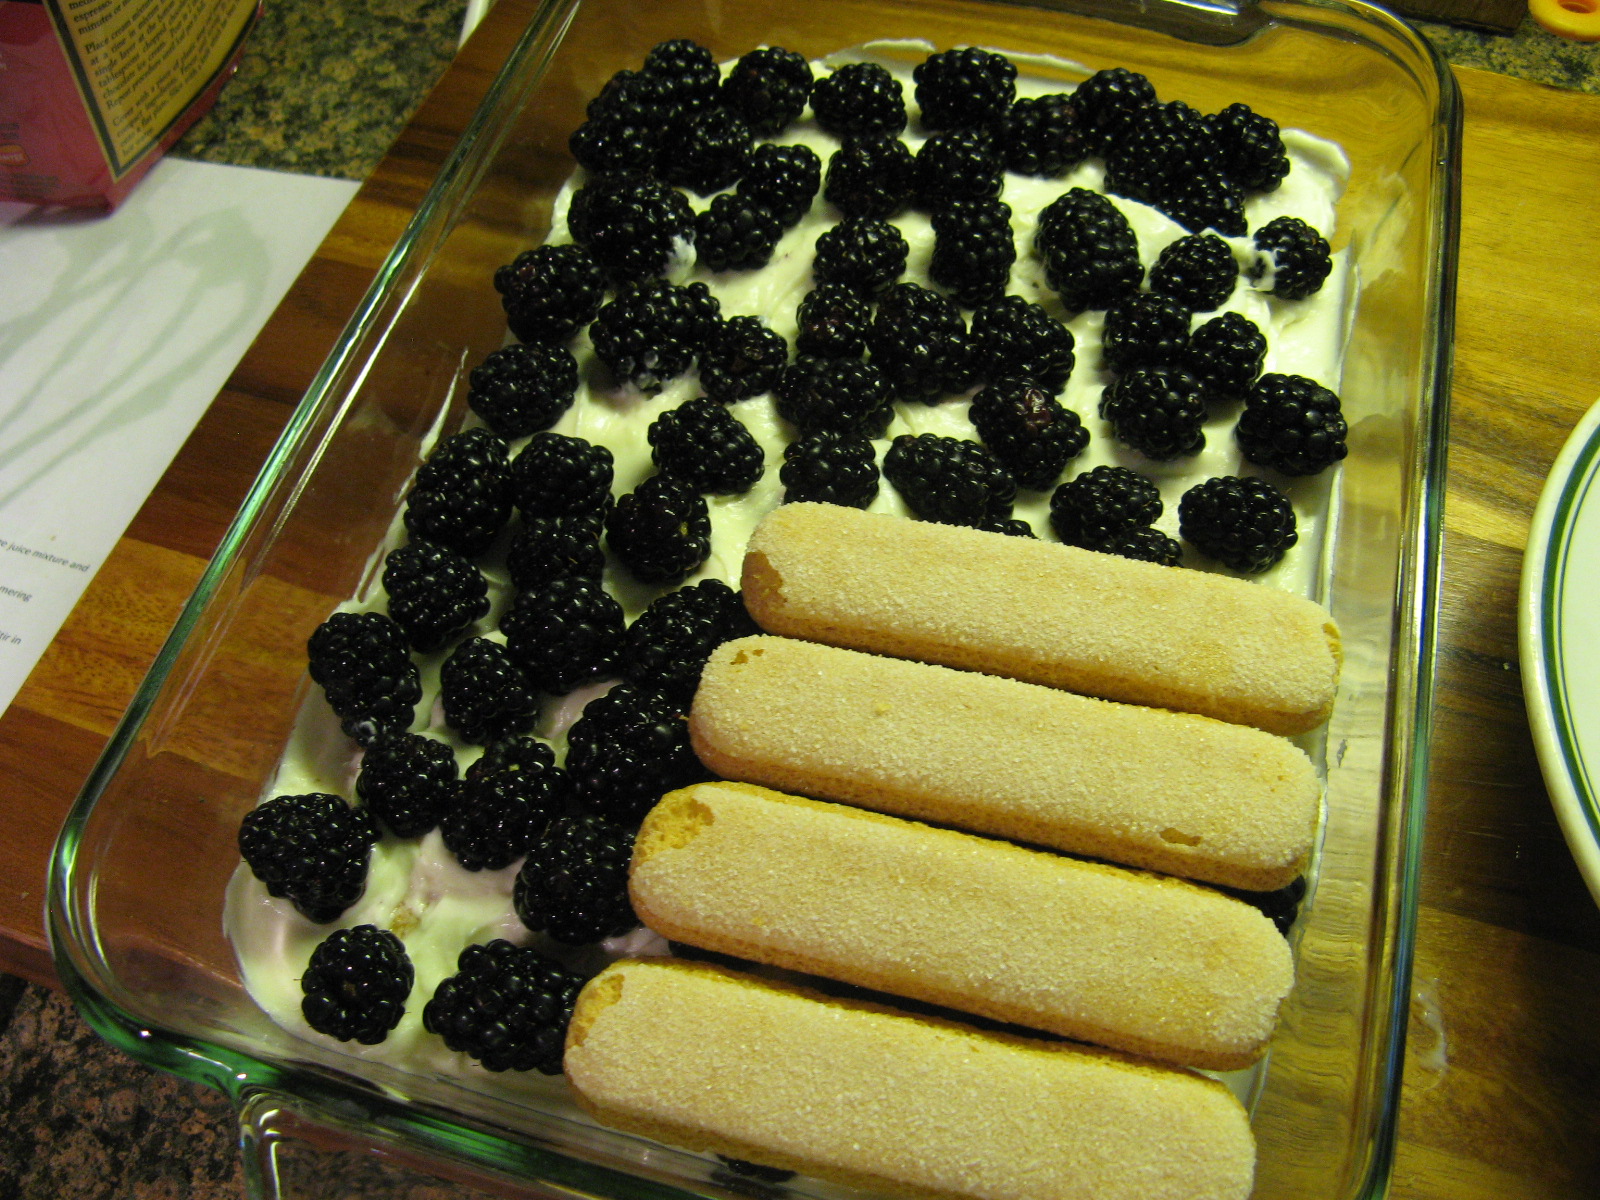
Now, this cake was almost a complete failure! I made my blackberry filling a few days before and I followed a recipe I found online that seemed good but turned out to be overly sweet and was more syrup-like than a cake filling. I soon realized that the amount of sugar that the recipe called for was more so for a pie filling that also required a lot more blackberries than I was using. Now some people have that much of a sweet tooth but not me. Thankfully I bought two packages of blackberries in case of a mishap. The second time I added less sugar and I didn’t strain the blackberry mixture to remove the seeds. I did that the first time and I think that contributed to it being more of a syrup as well. And once I refrigerated the mixture it was the perfect consistency to fill my cake.
And the first cake I made was a fail as well. I followed a recipe that called for altering a box cake mix and I have done this before with no issues. Well, this time my cake looked more like a pancake. Or an inflated pancake I should say. And even though I added in a good amount of lemon zest and fresh lemon juice my cake just tasted sweet with barely any lemon flavor. Granted the recipe I was following did call for a lemon box cake and I used a white box cake because I was concerned that the lemon would taste a bit artificial but that doesn’t explain why my cake had no height. As it was cooling on my kitchen counter, I was staring at it from my couch in my living room and I was trying to figure out how to get more height out of it. Ultimately, I decided to toss it and just bake a lemon cake from scratch.
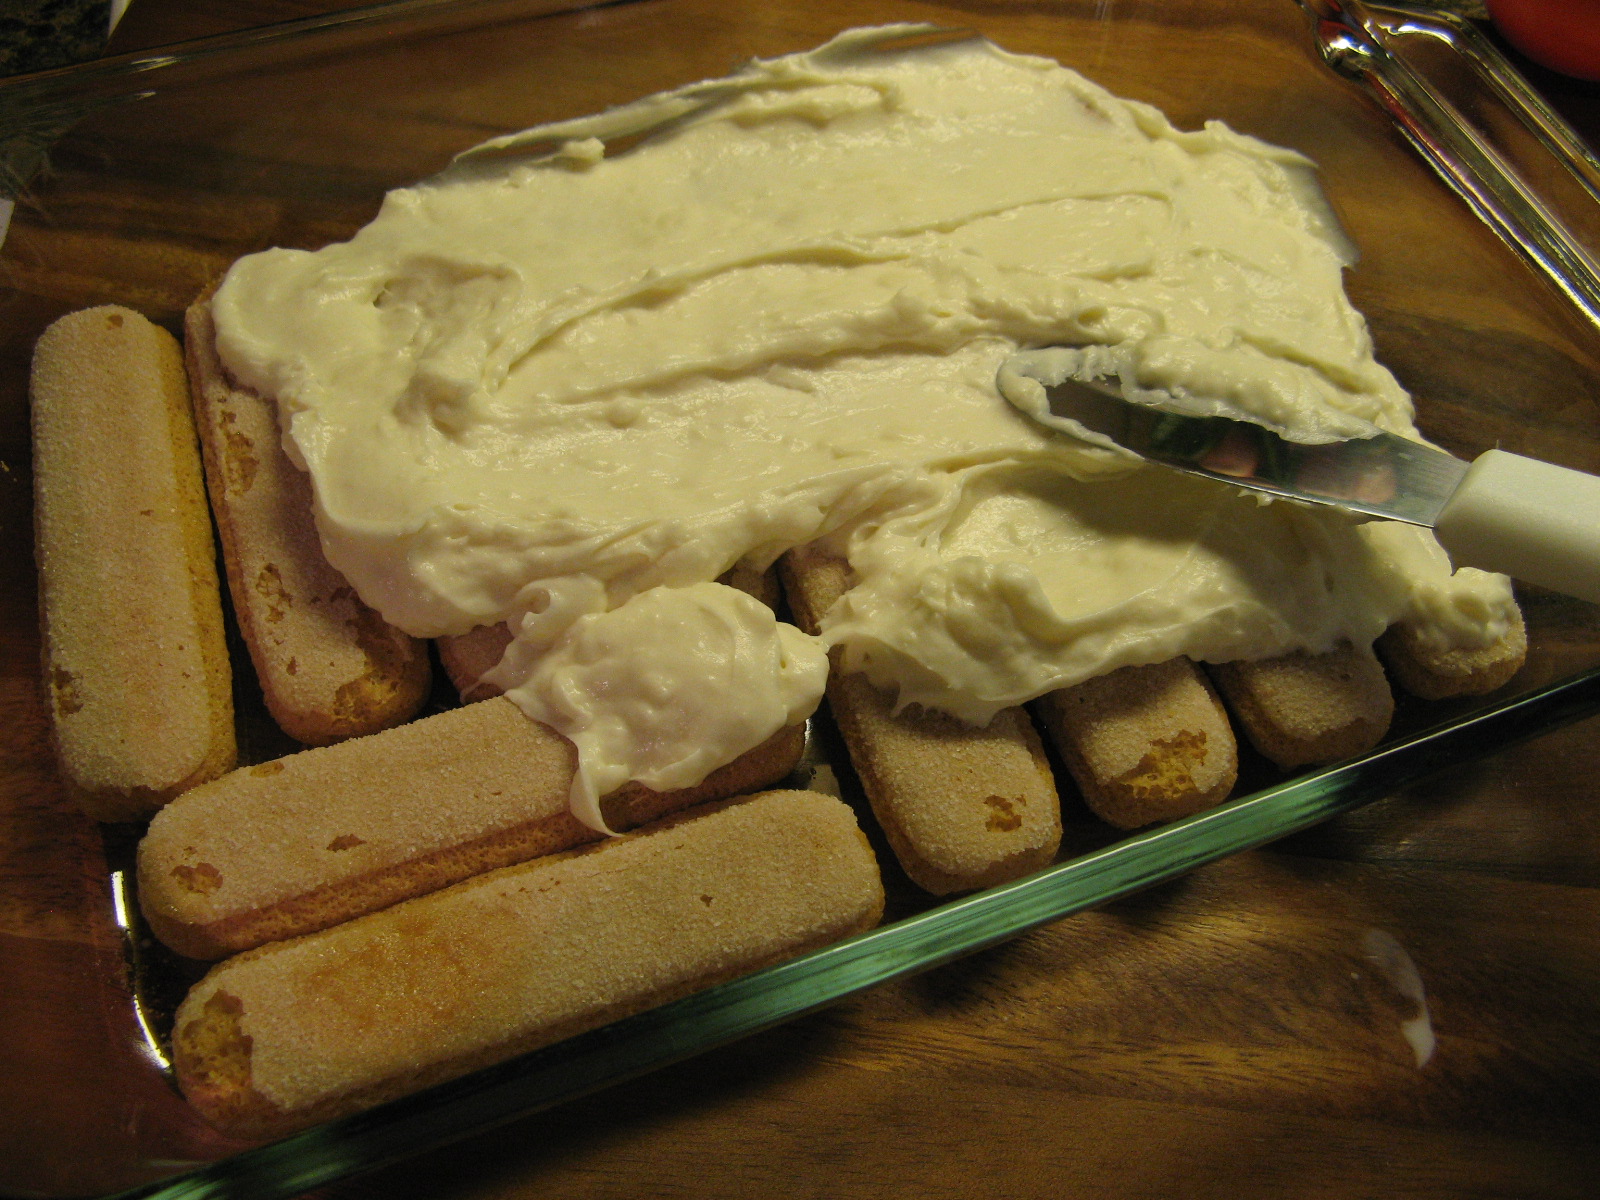
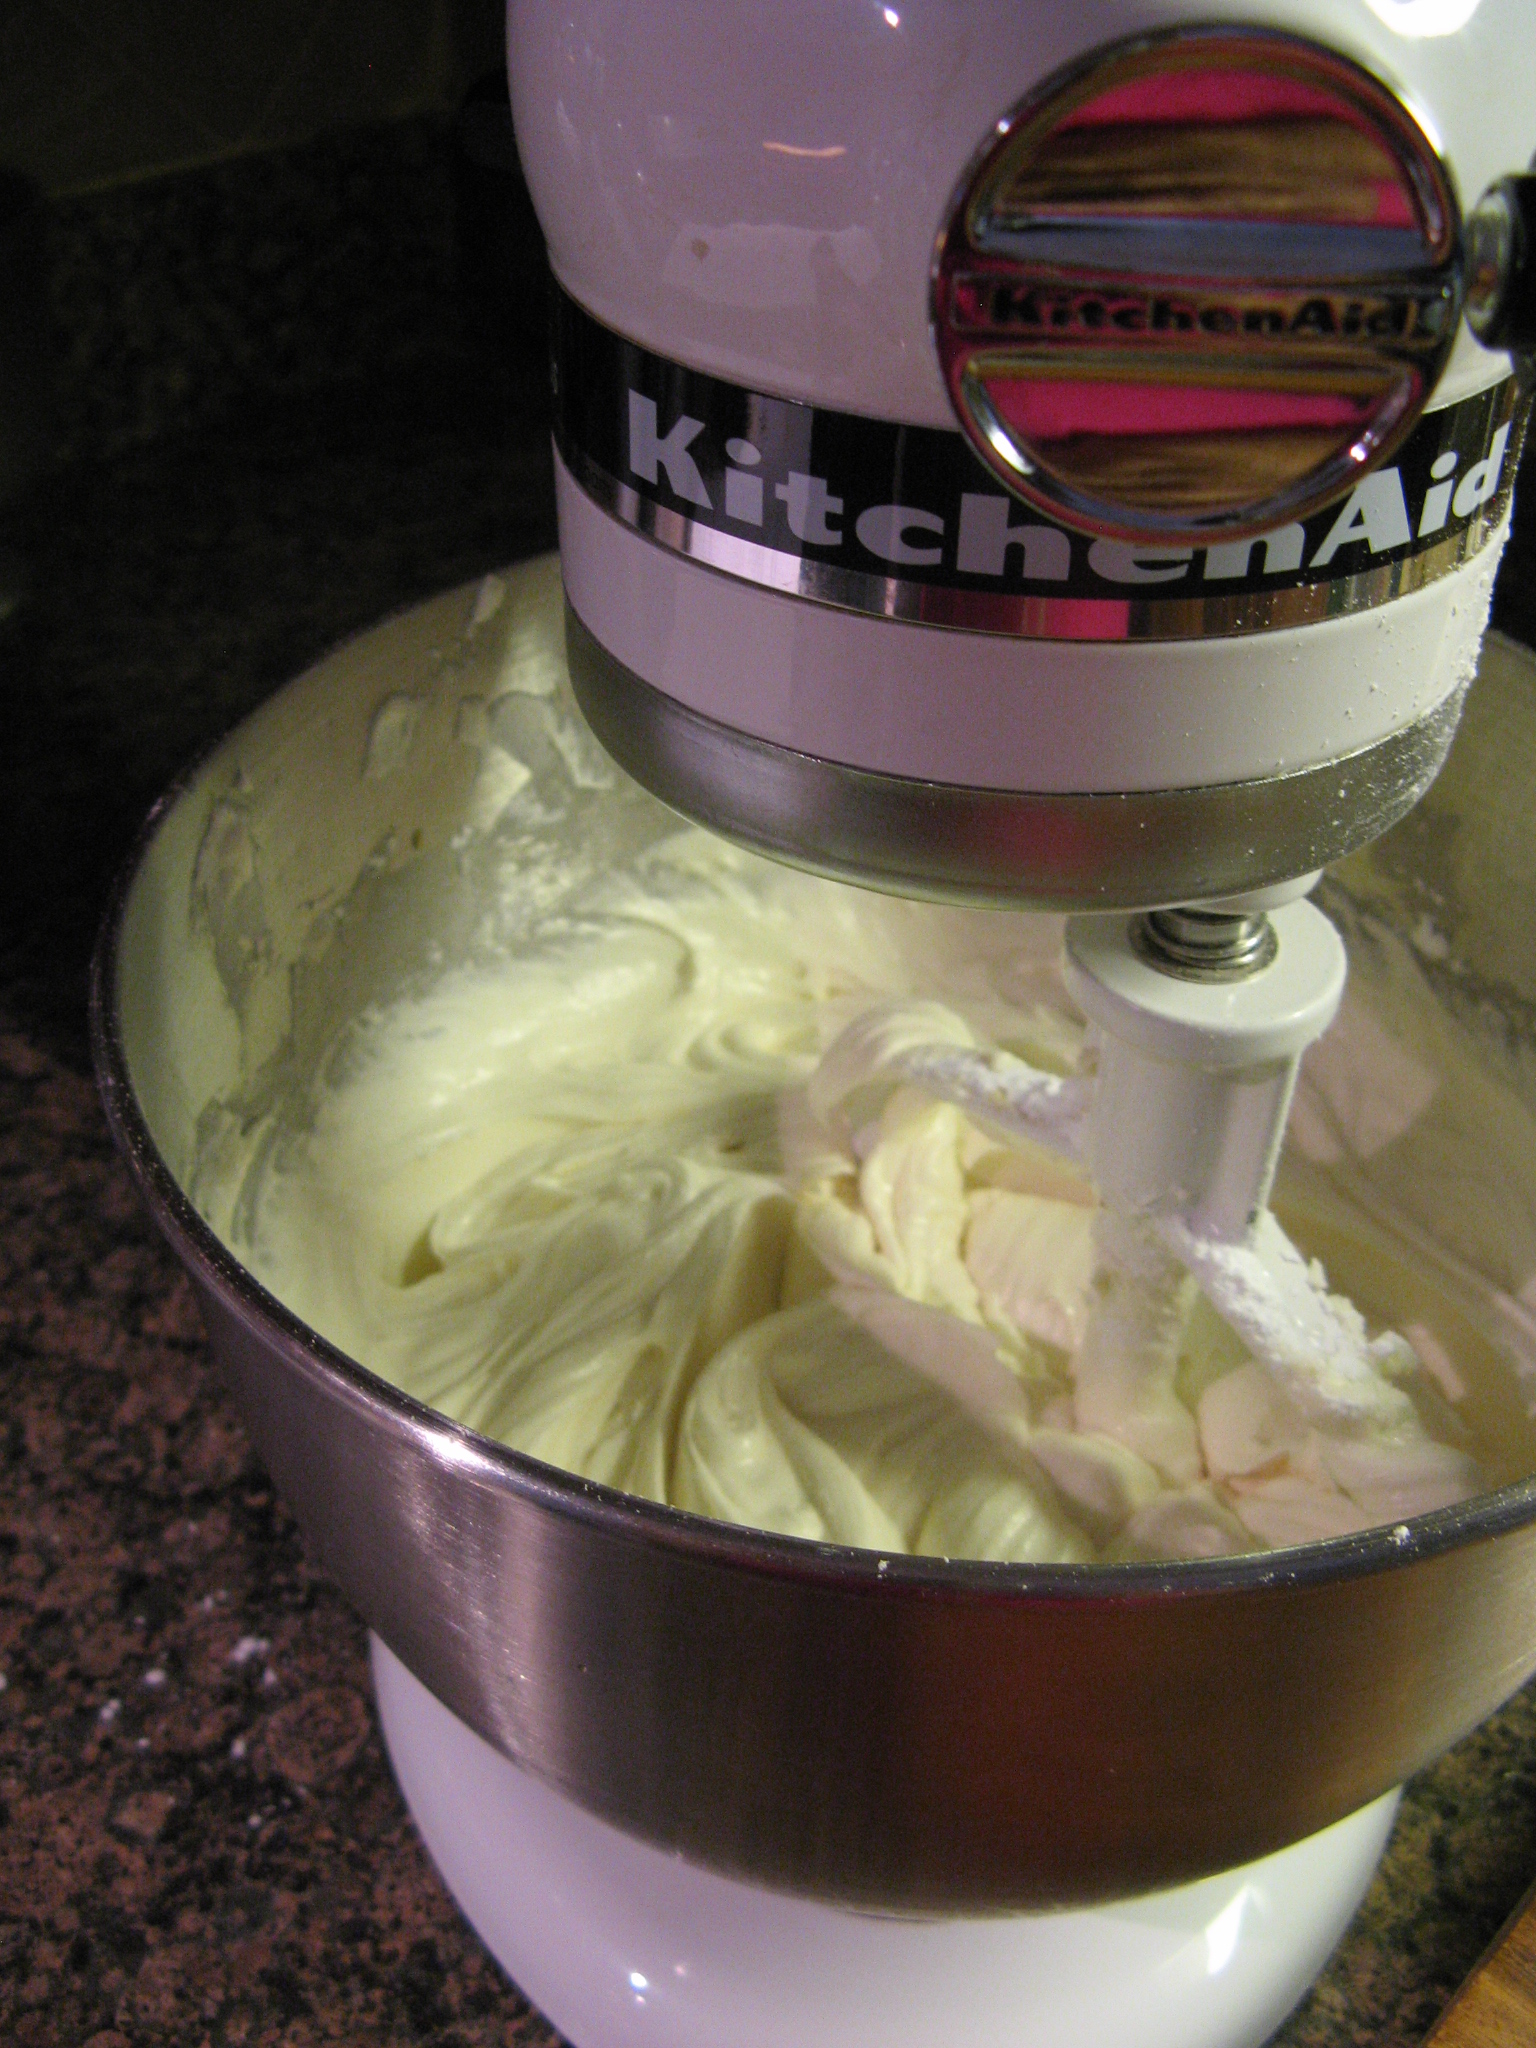
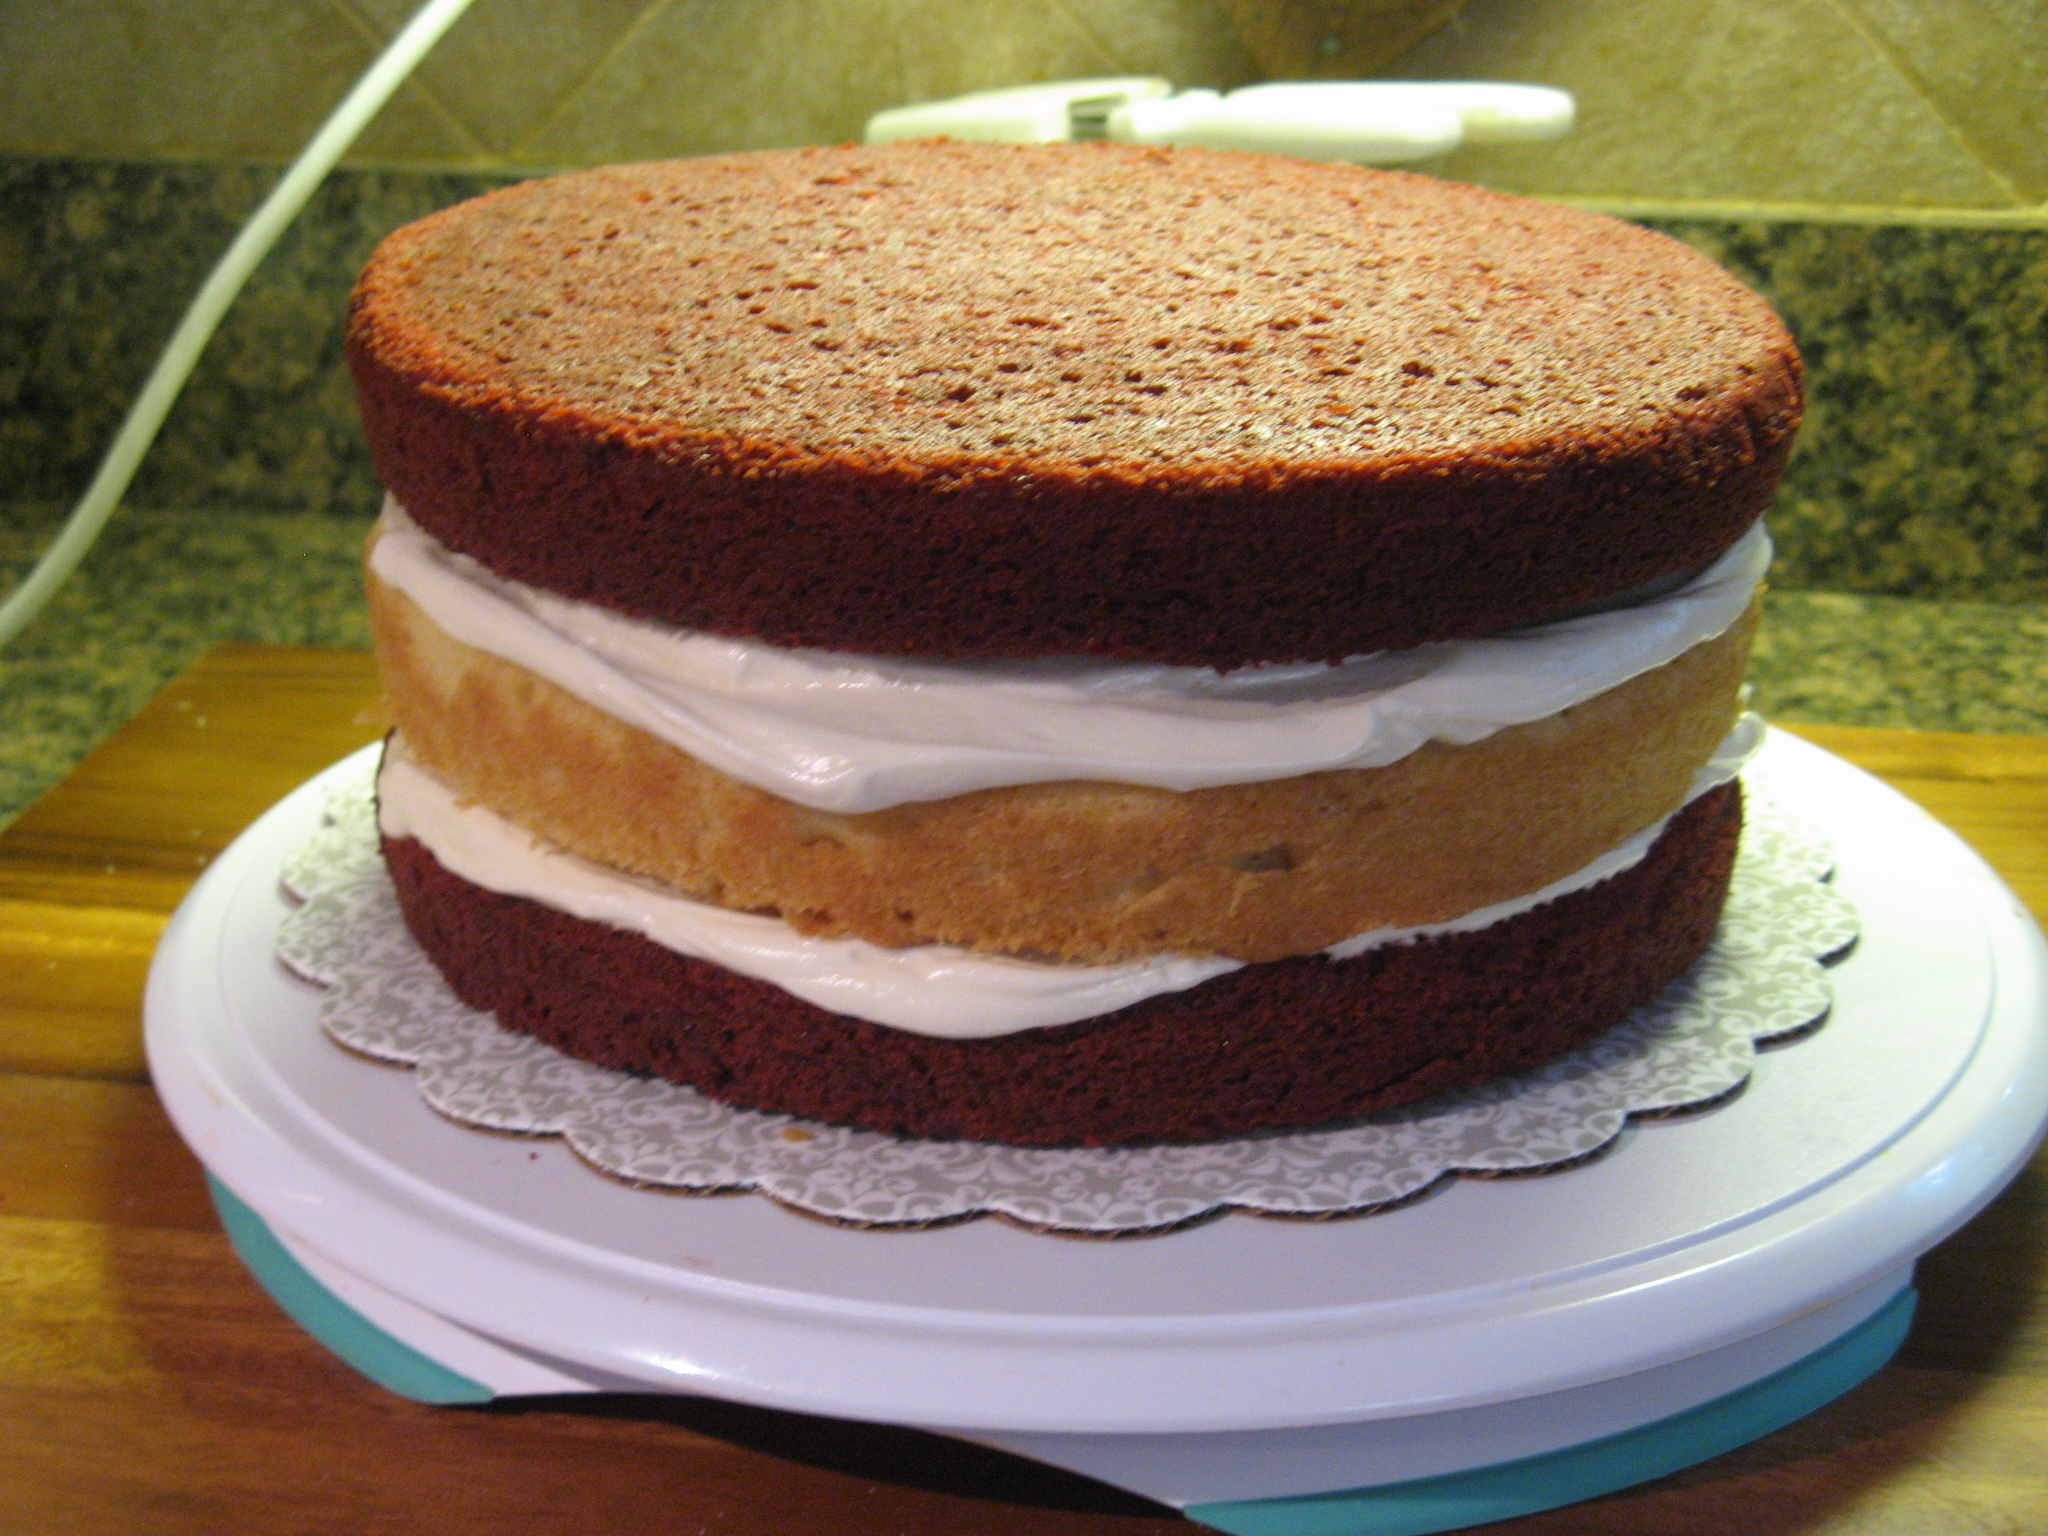
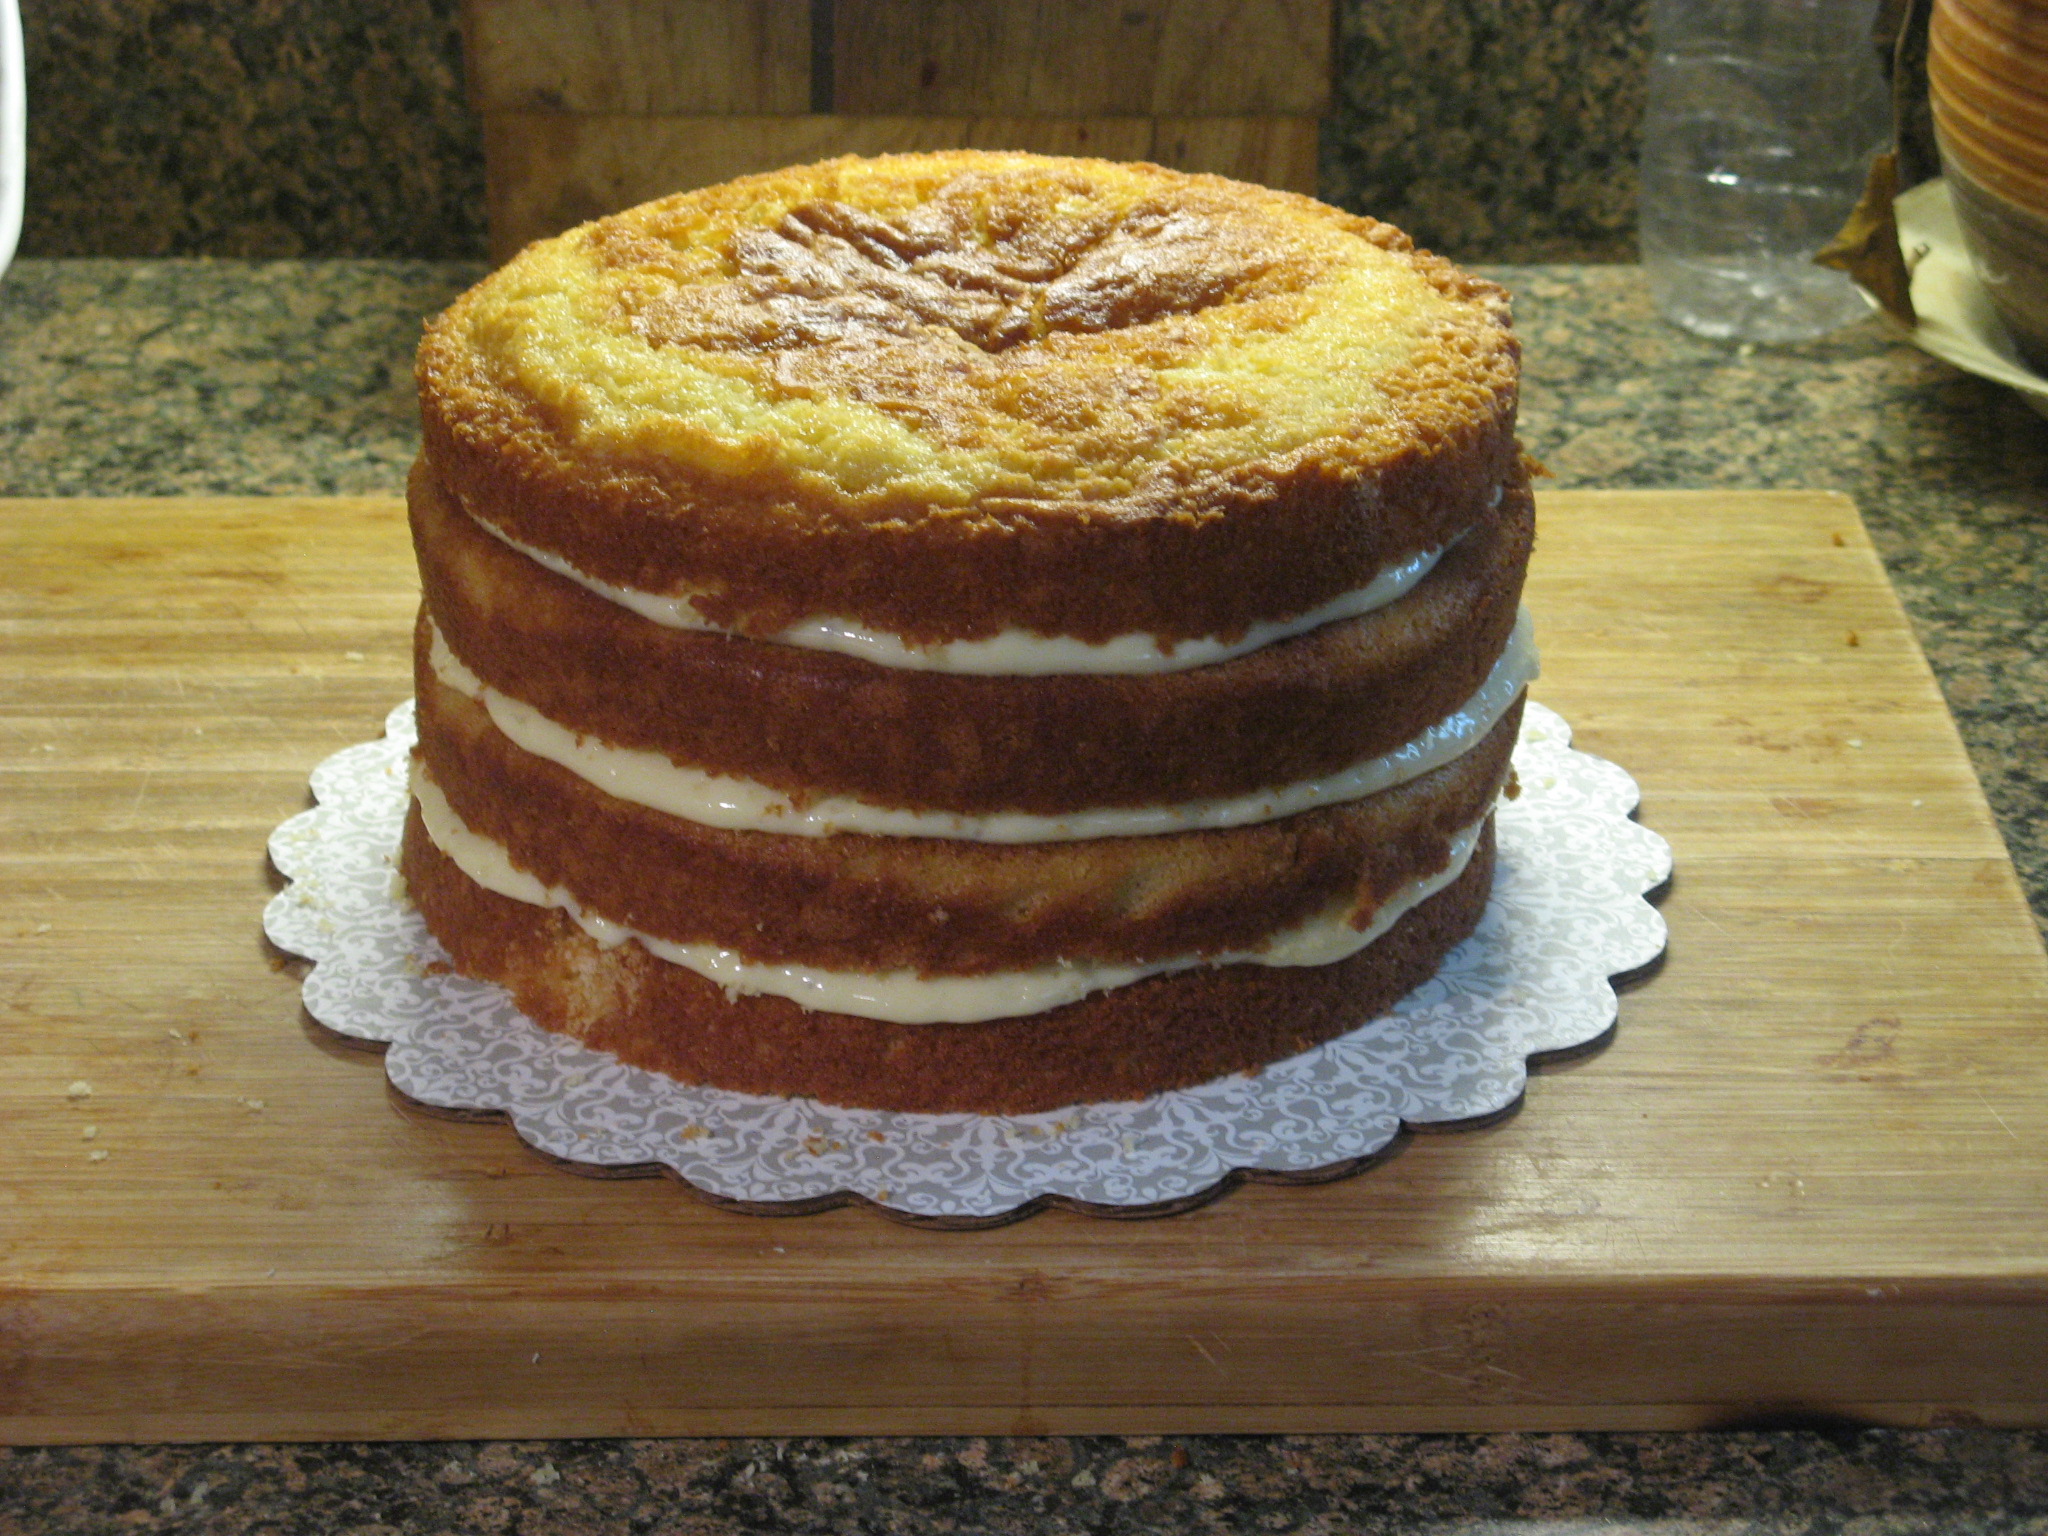
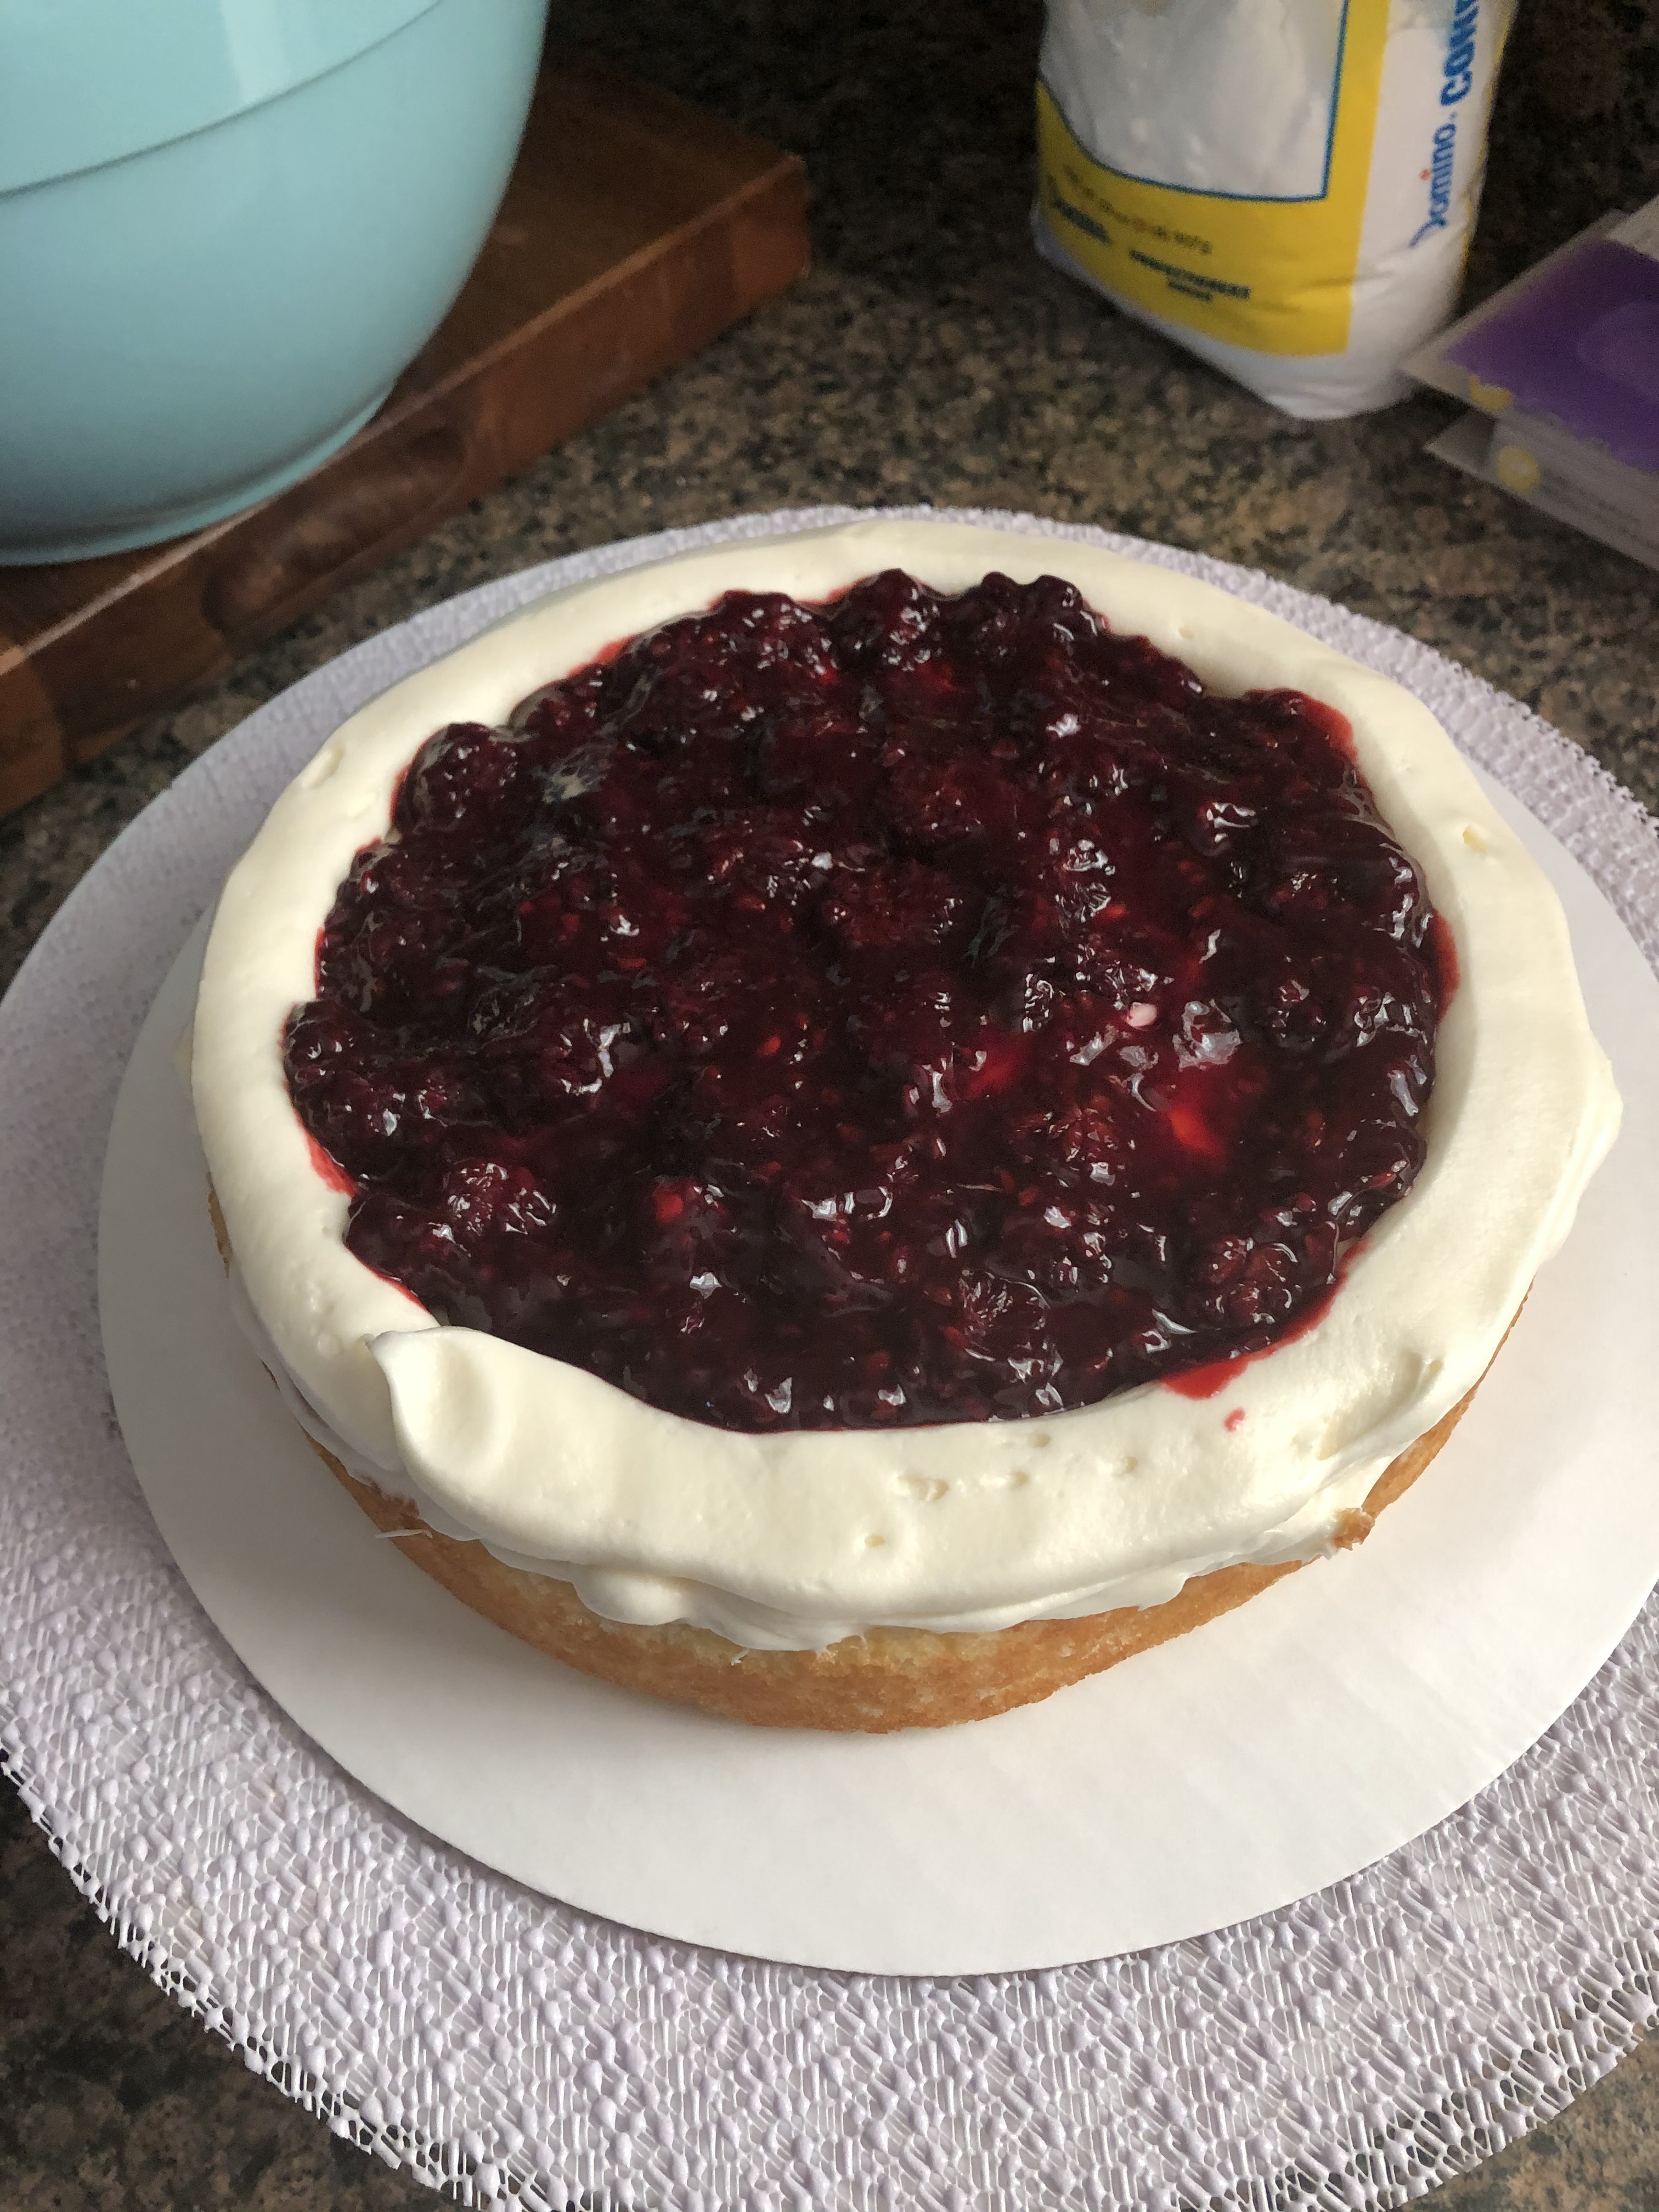
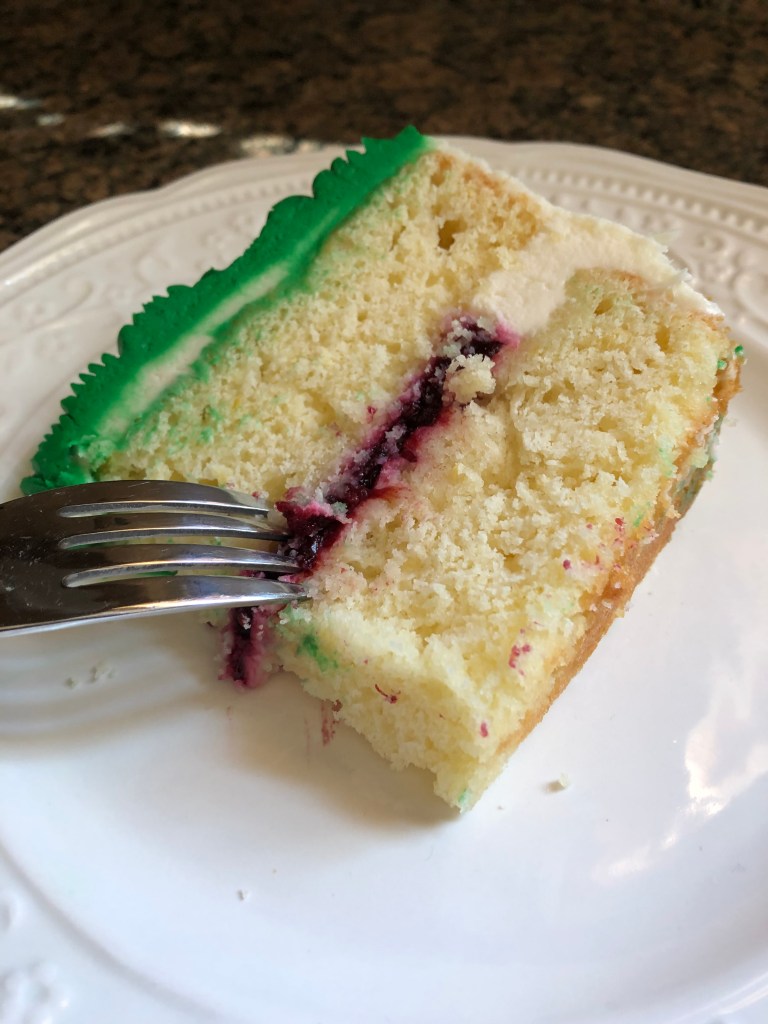
After baking and cooking the cake, I wrapped the layers in plastic wrap and refrigerated it overnight. After whipping up a batch of cream cheese frosting it was time to assemble the cake. I spread a thin layer of frosting over one of the layers of the cake and then piped a dam around the cake and filled it with the blackberry filling.
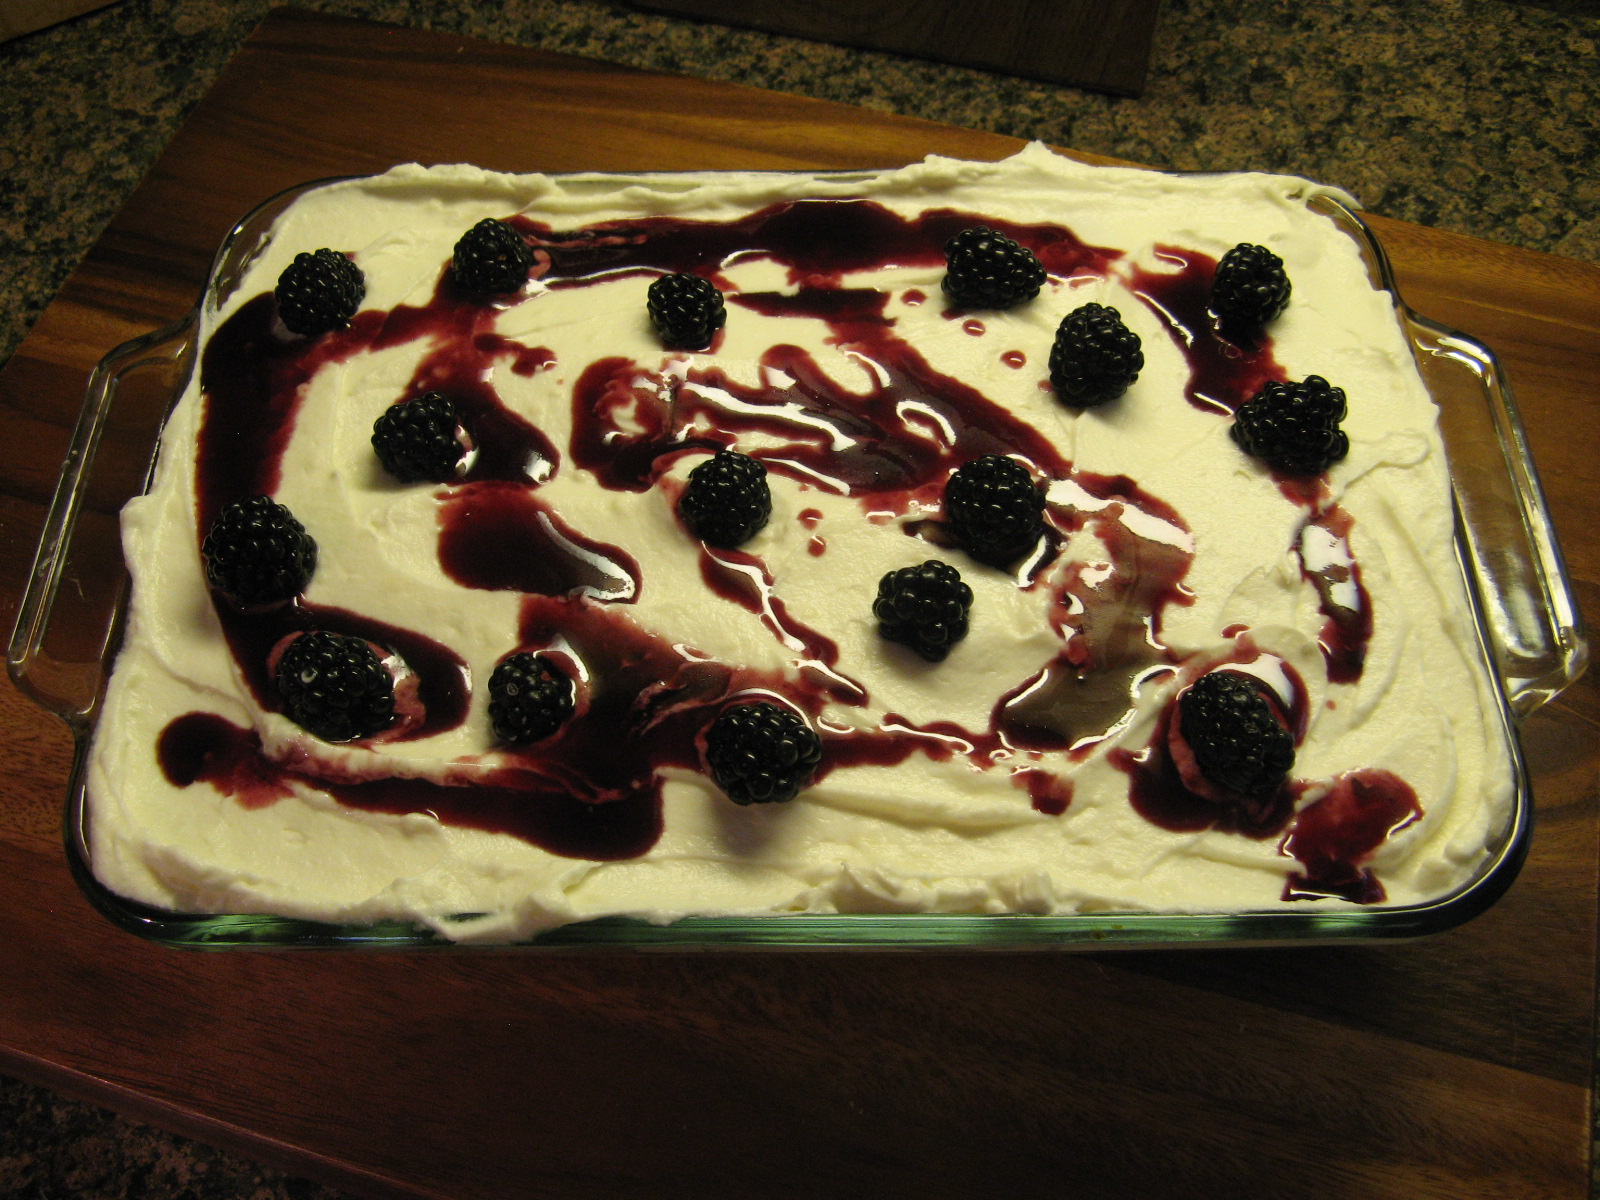
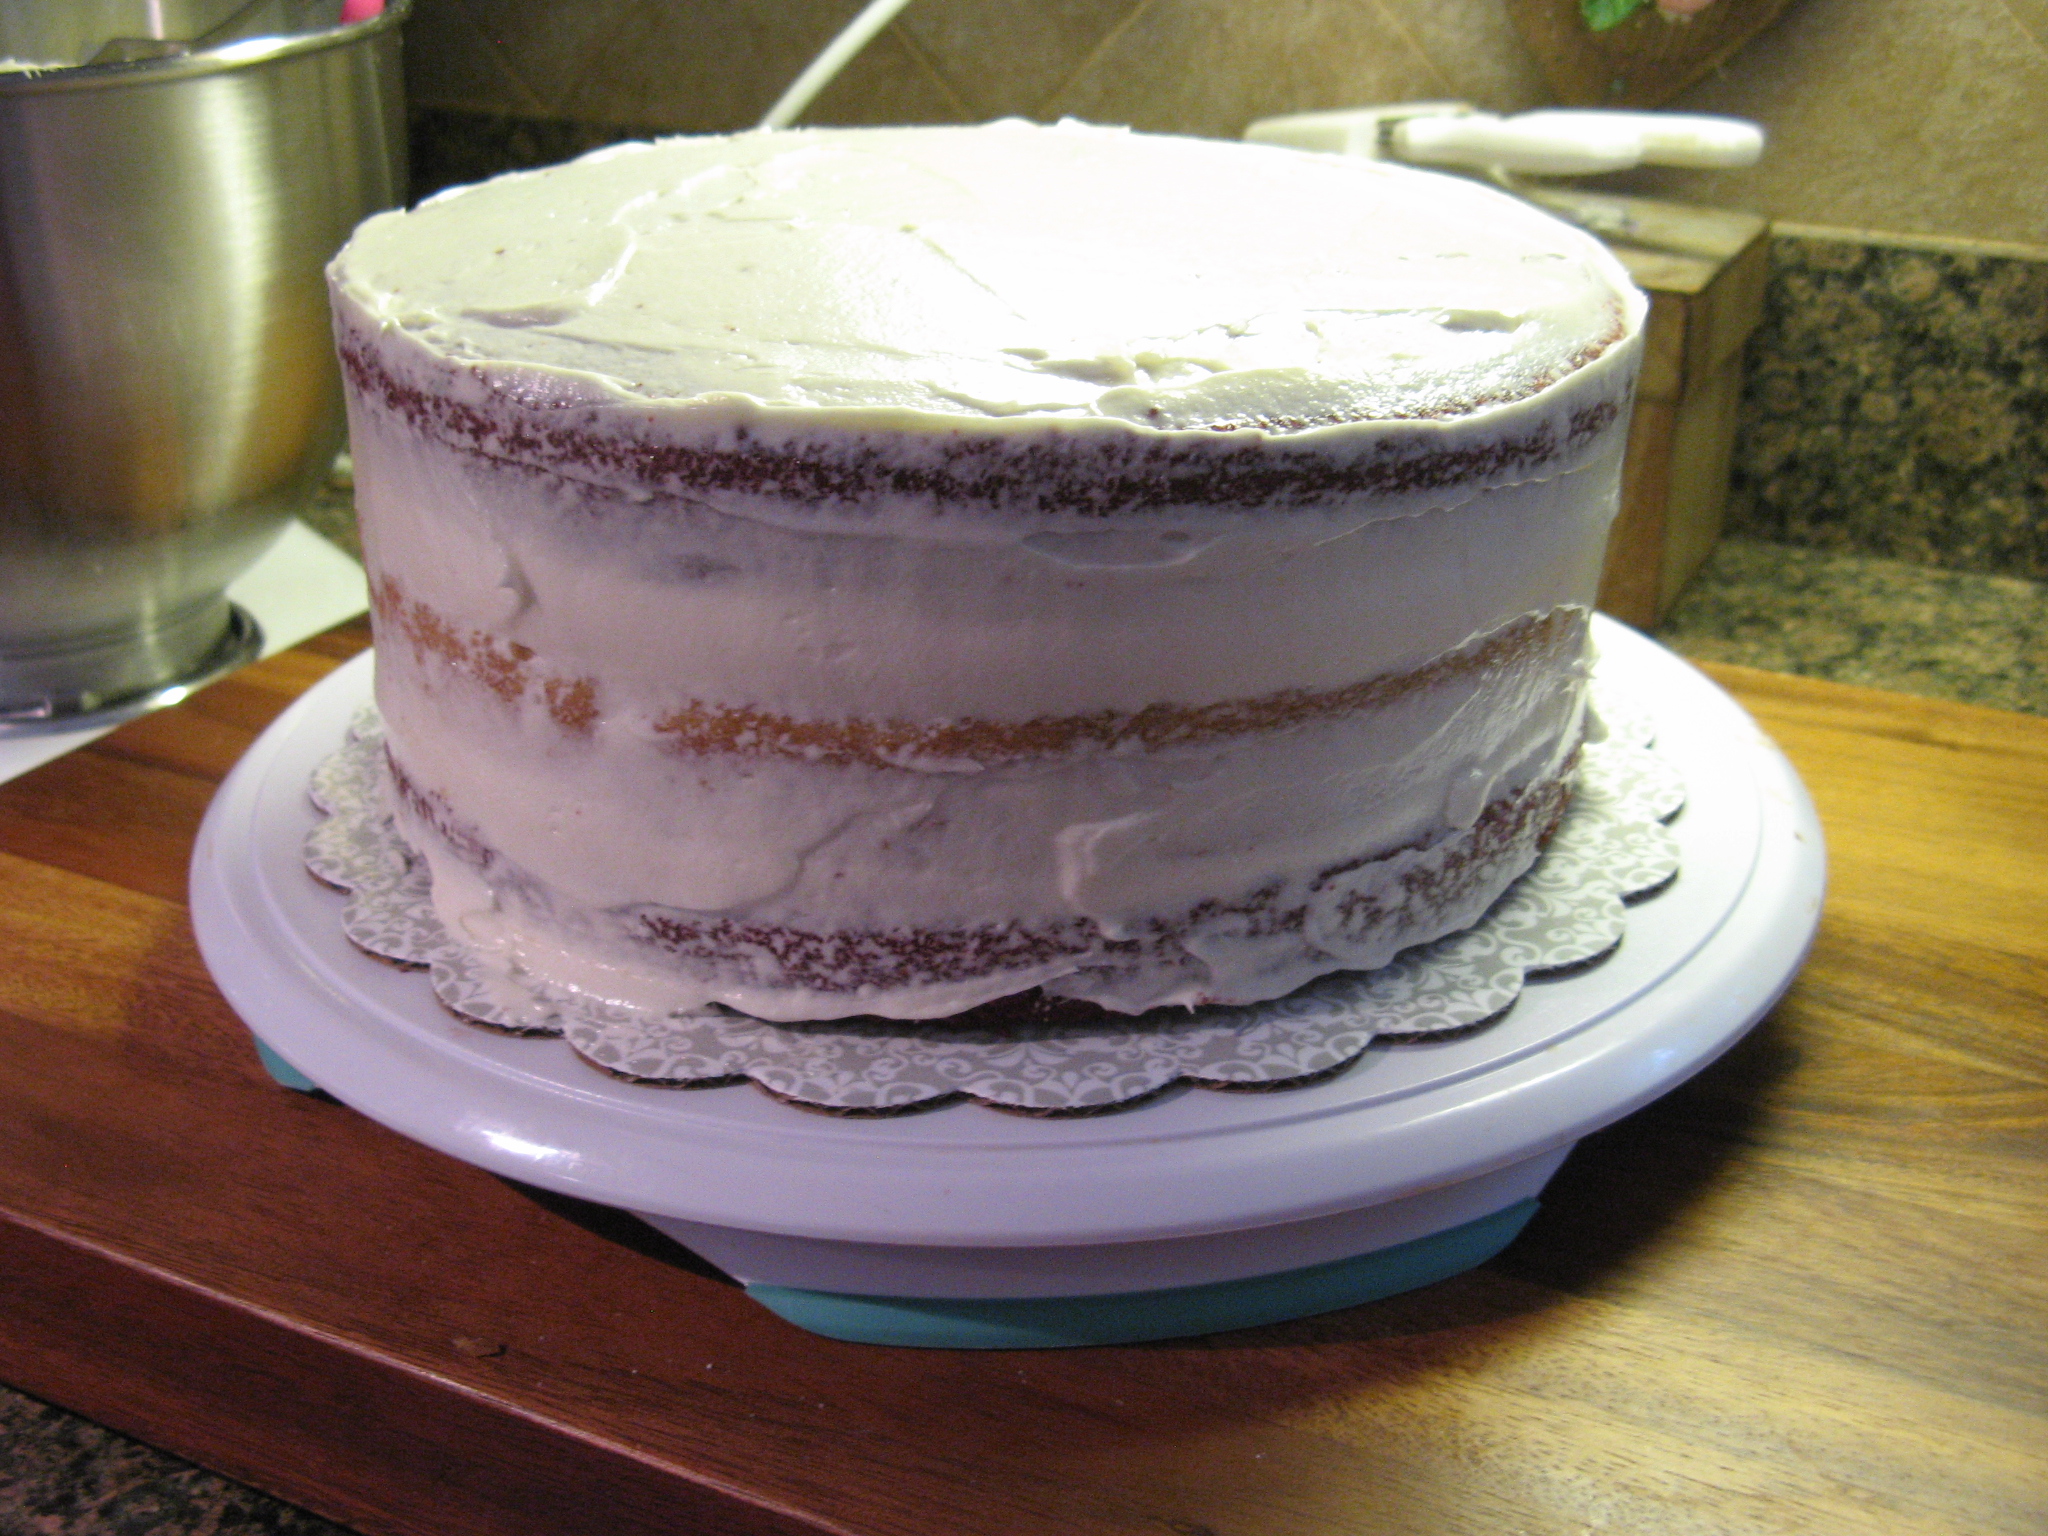
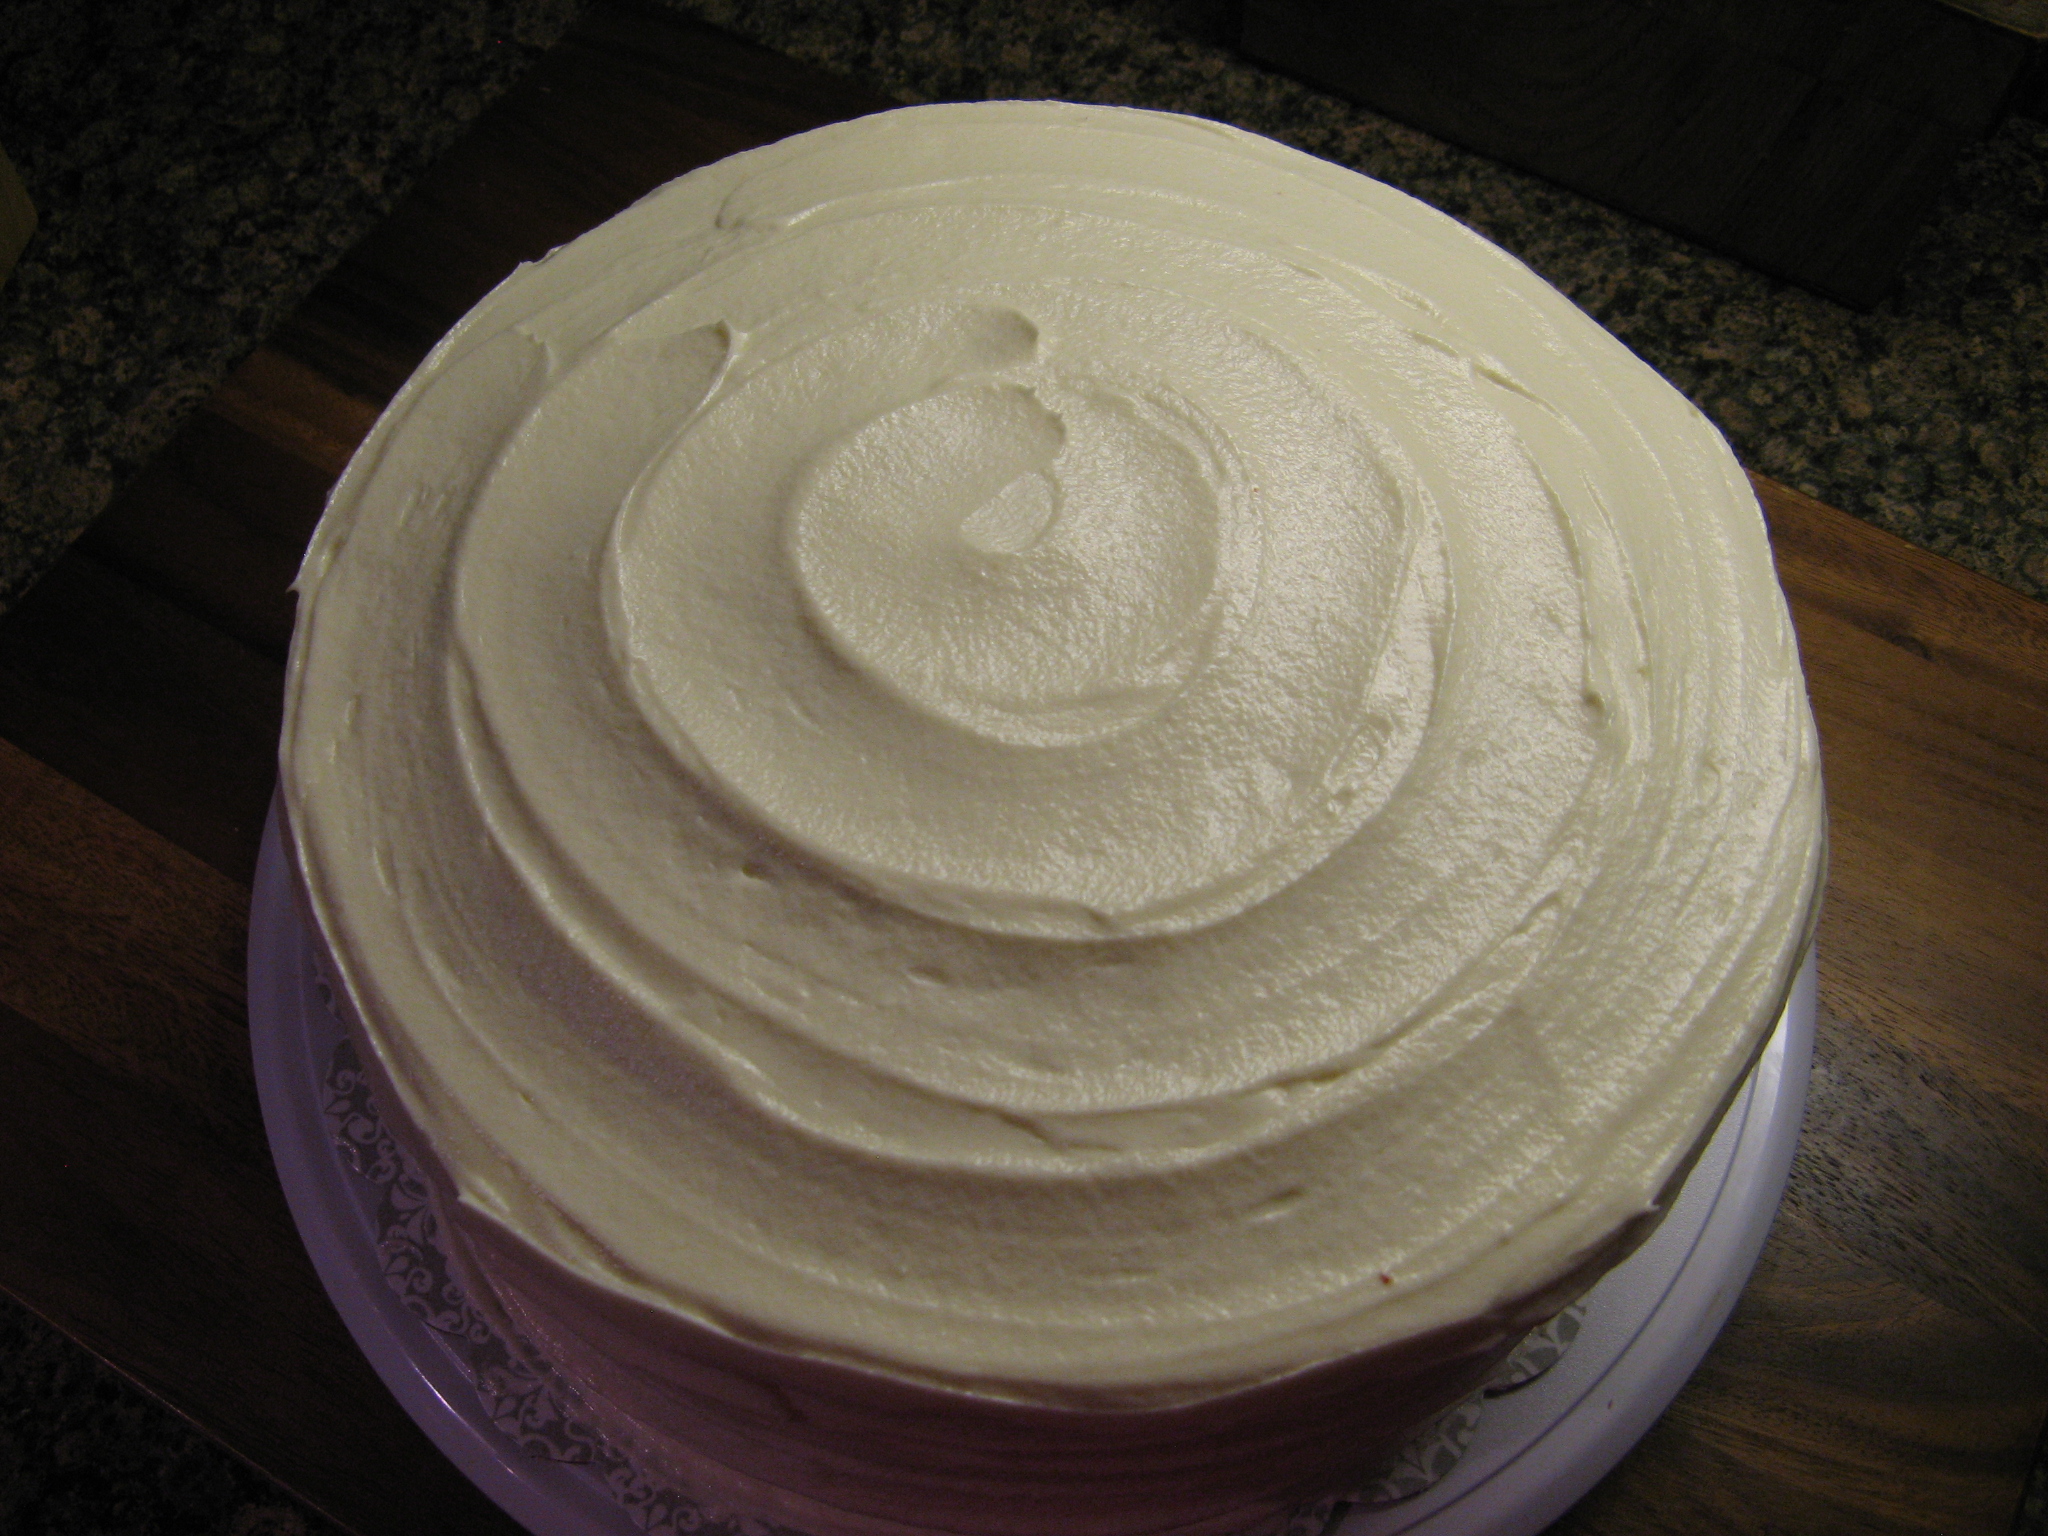
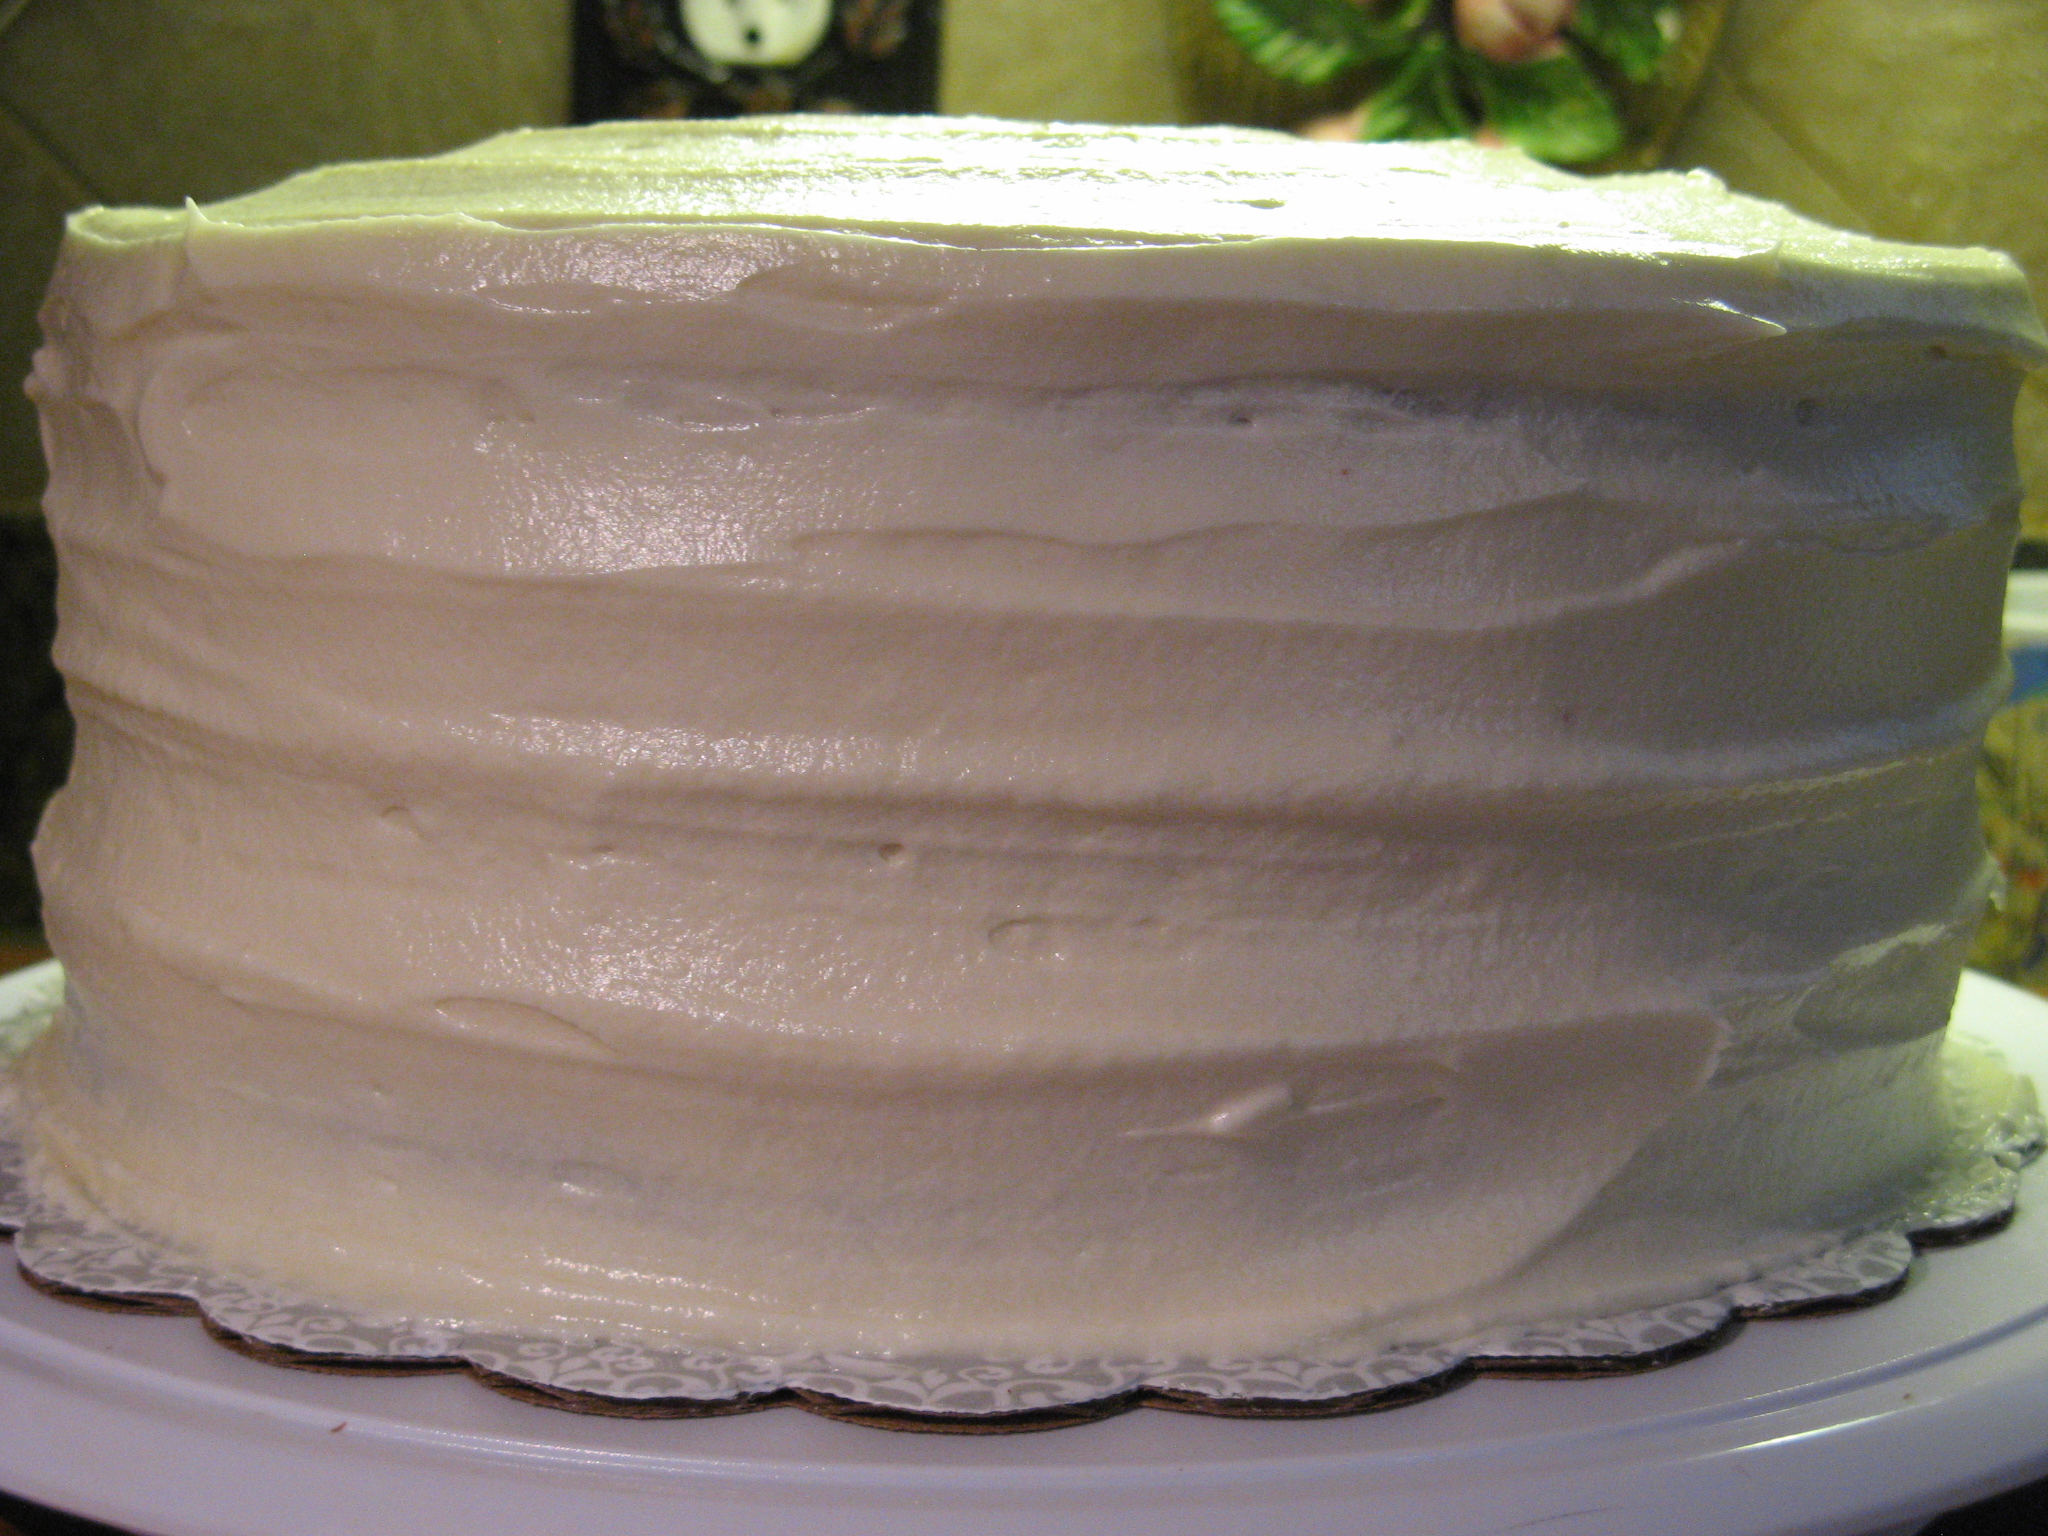
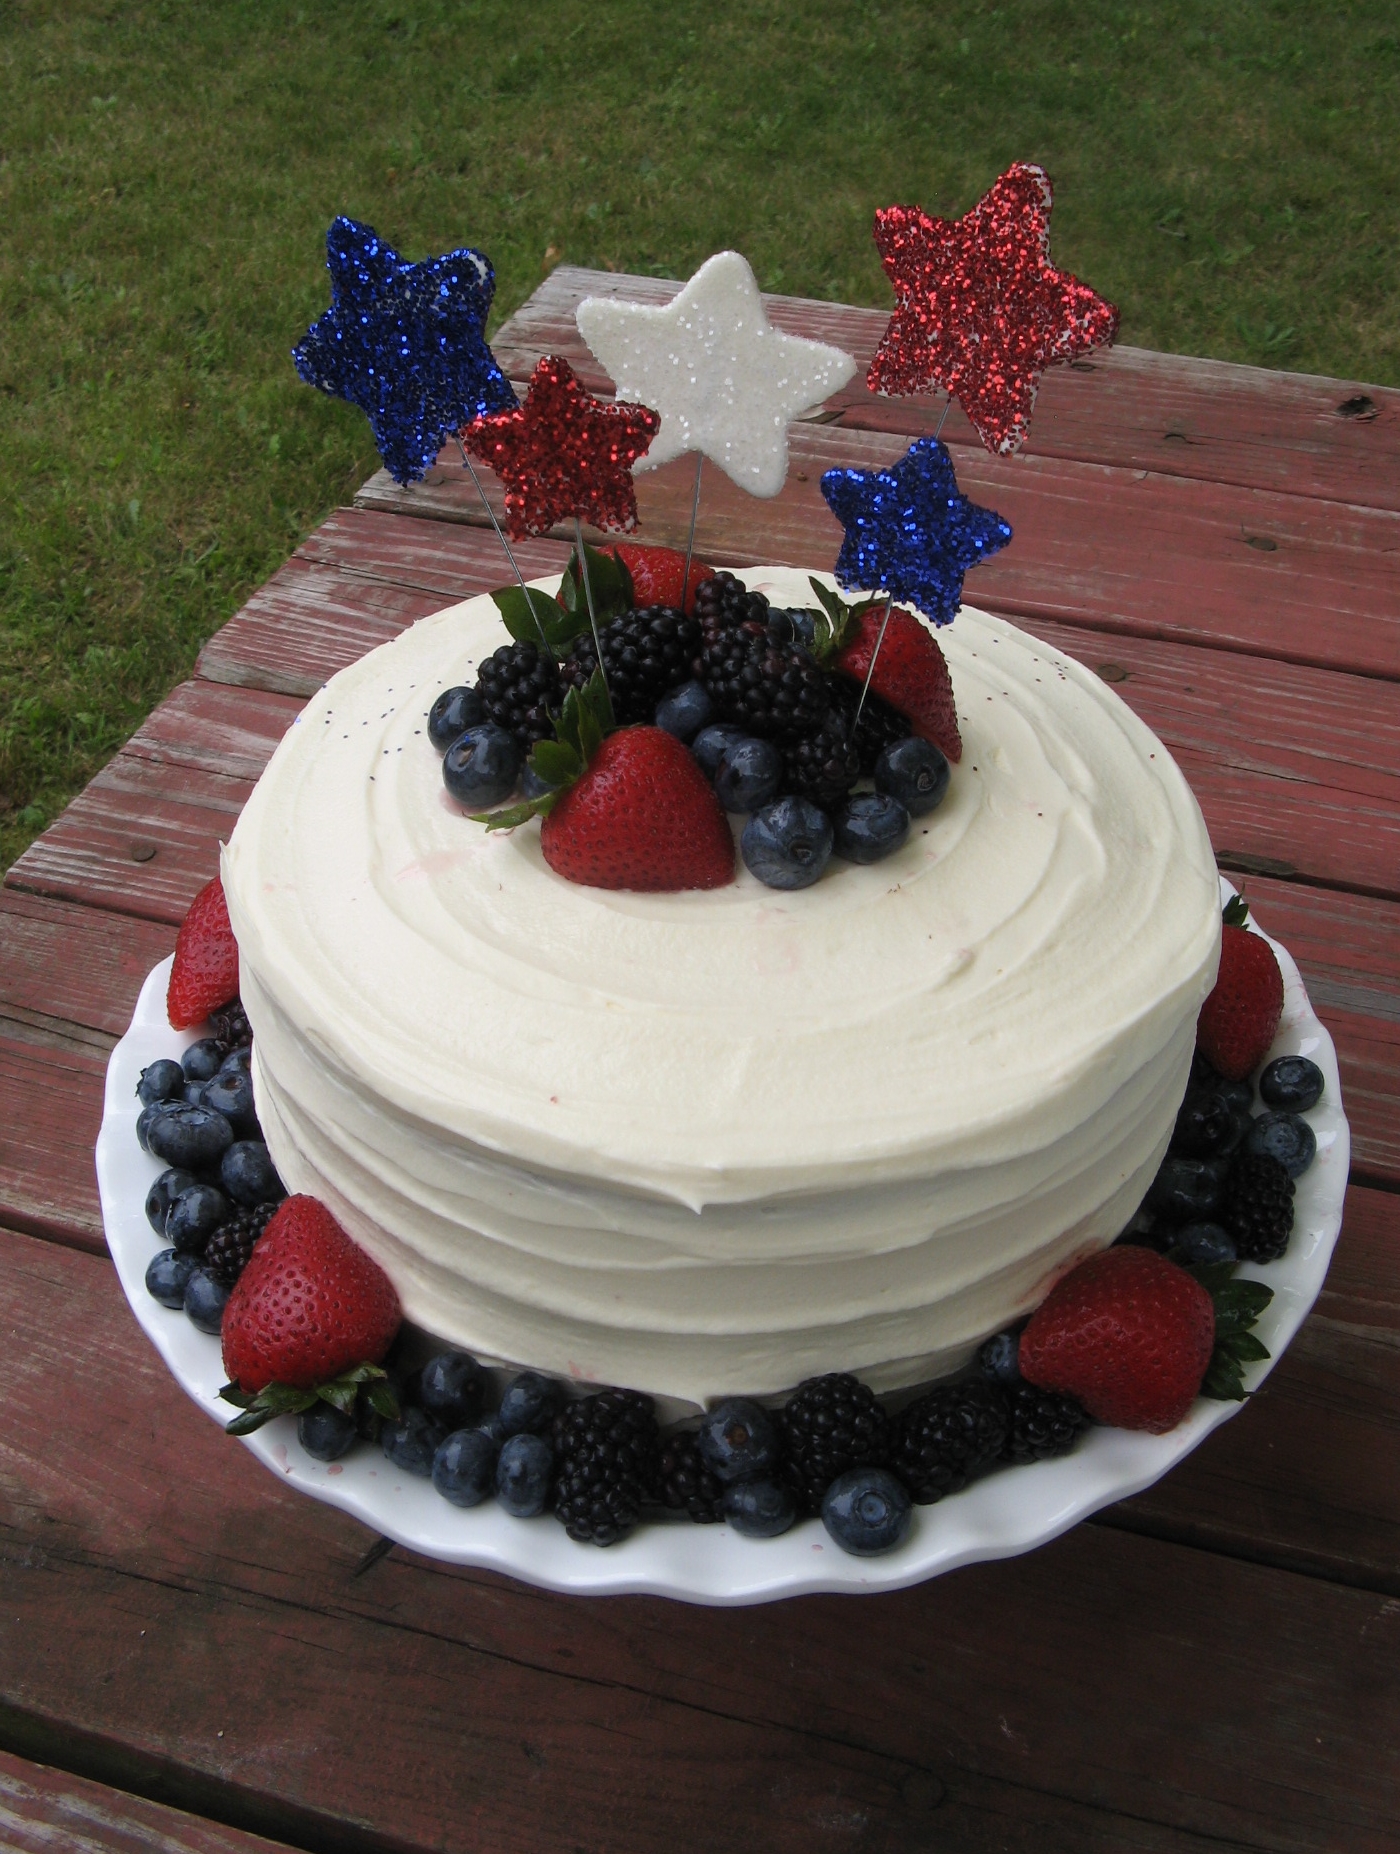
Next, I topped it with the other lemon cake layer, crumb coated it and finally frosted and decorated the cake.
The components of this cake worked well together. If you are not a fan of blackberries you could use raspberries instead and if you want to up the lemon flavor you can add lemon extract to the frosting as well.
Blackberry Lemon Cake with Cream Cheese Frosting
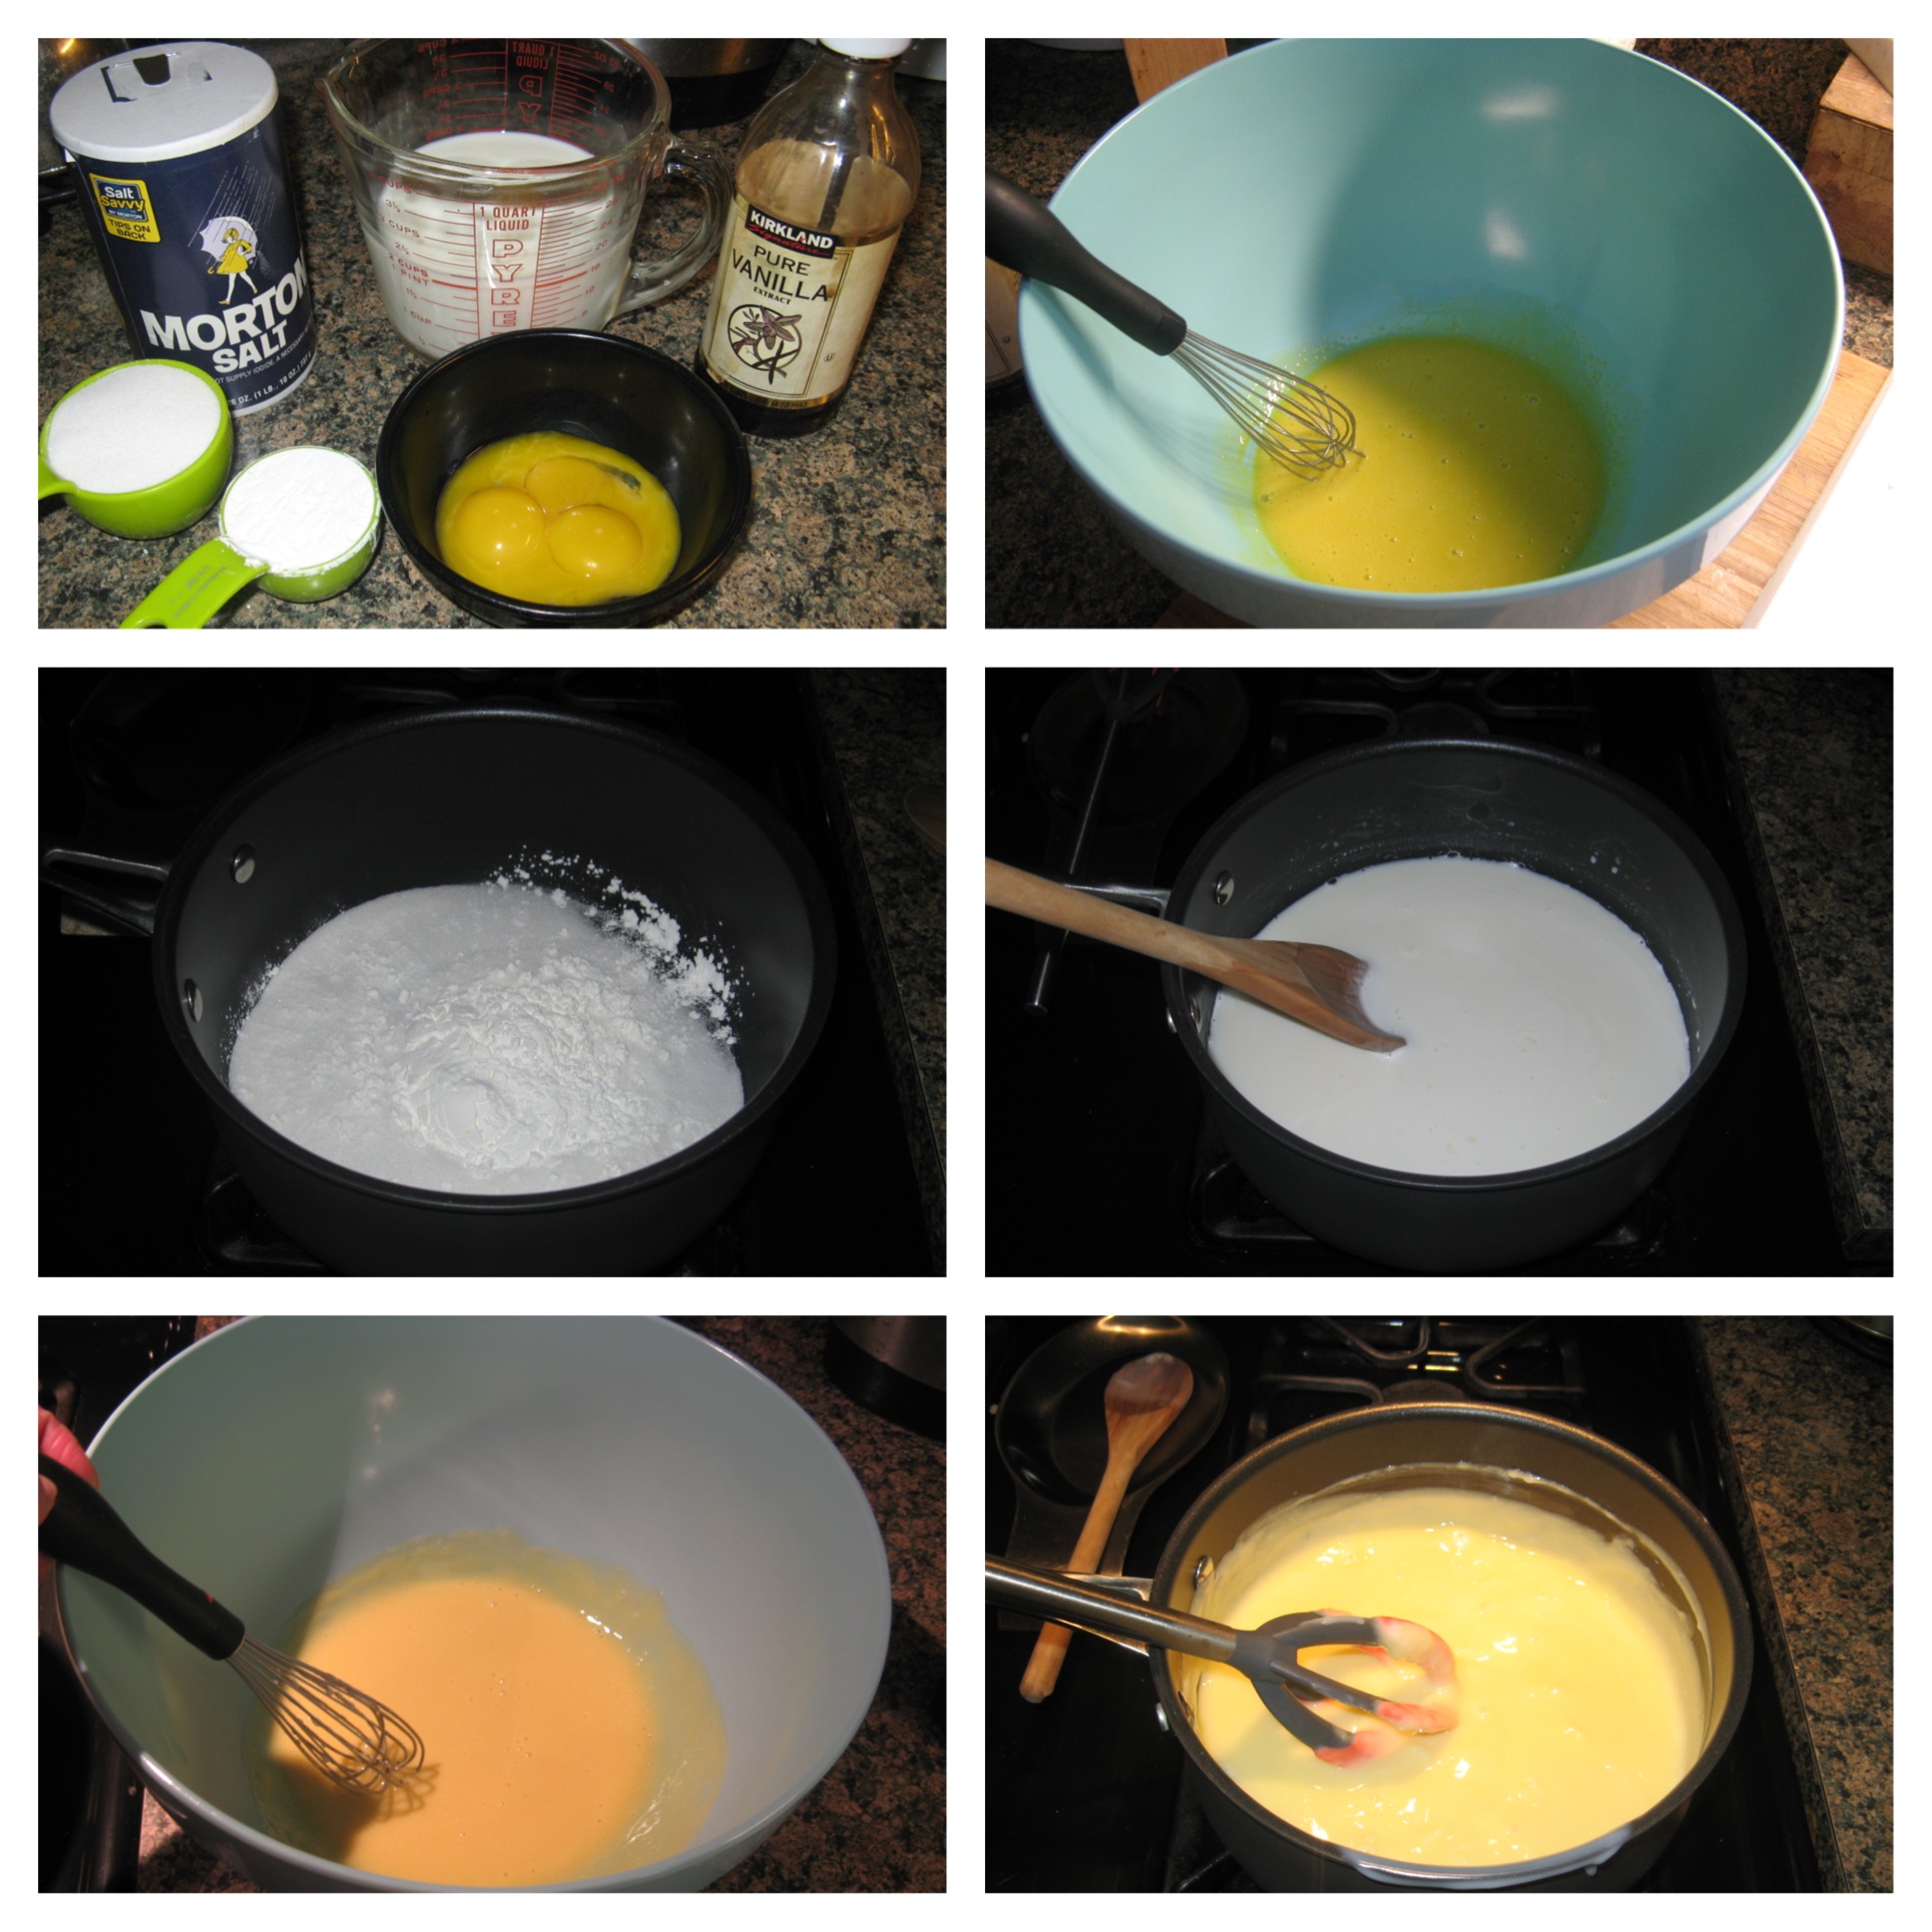
Ingredients:
For the lemon cake:
3/4 cup unsalted butter, at room temperature
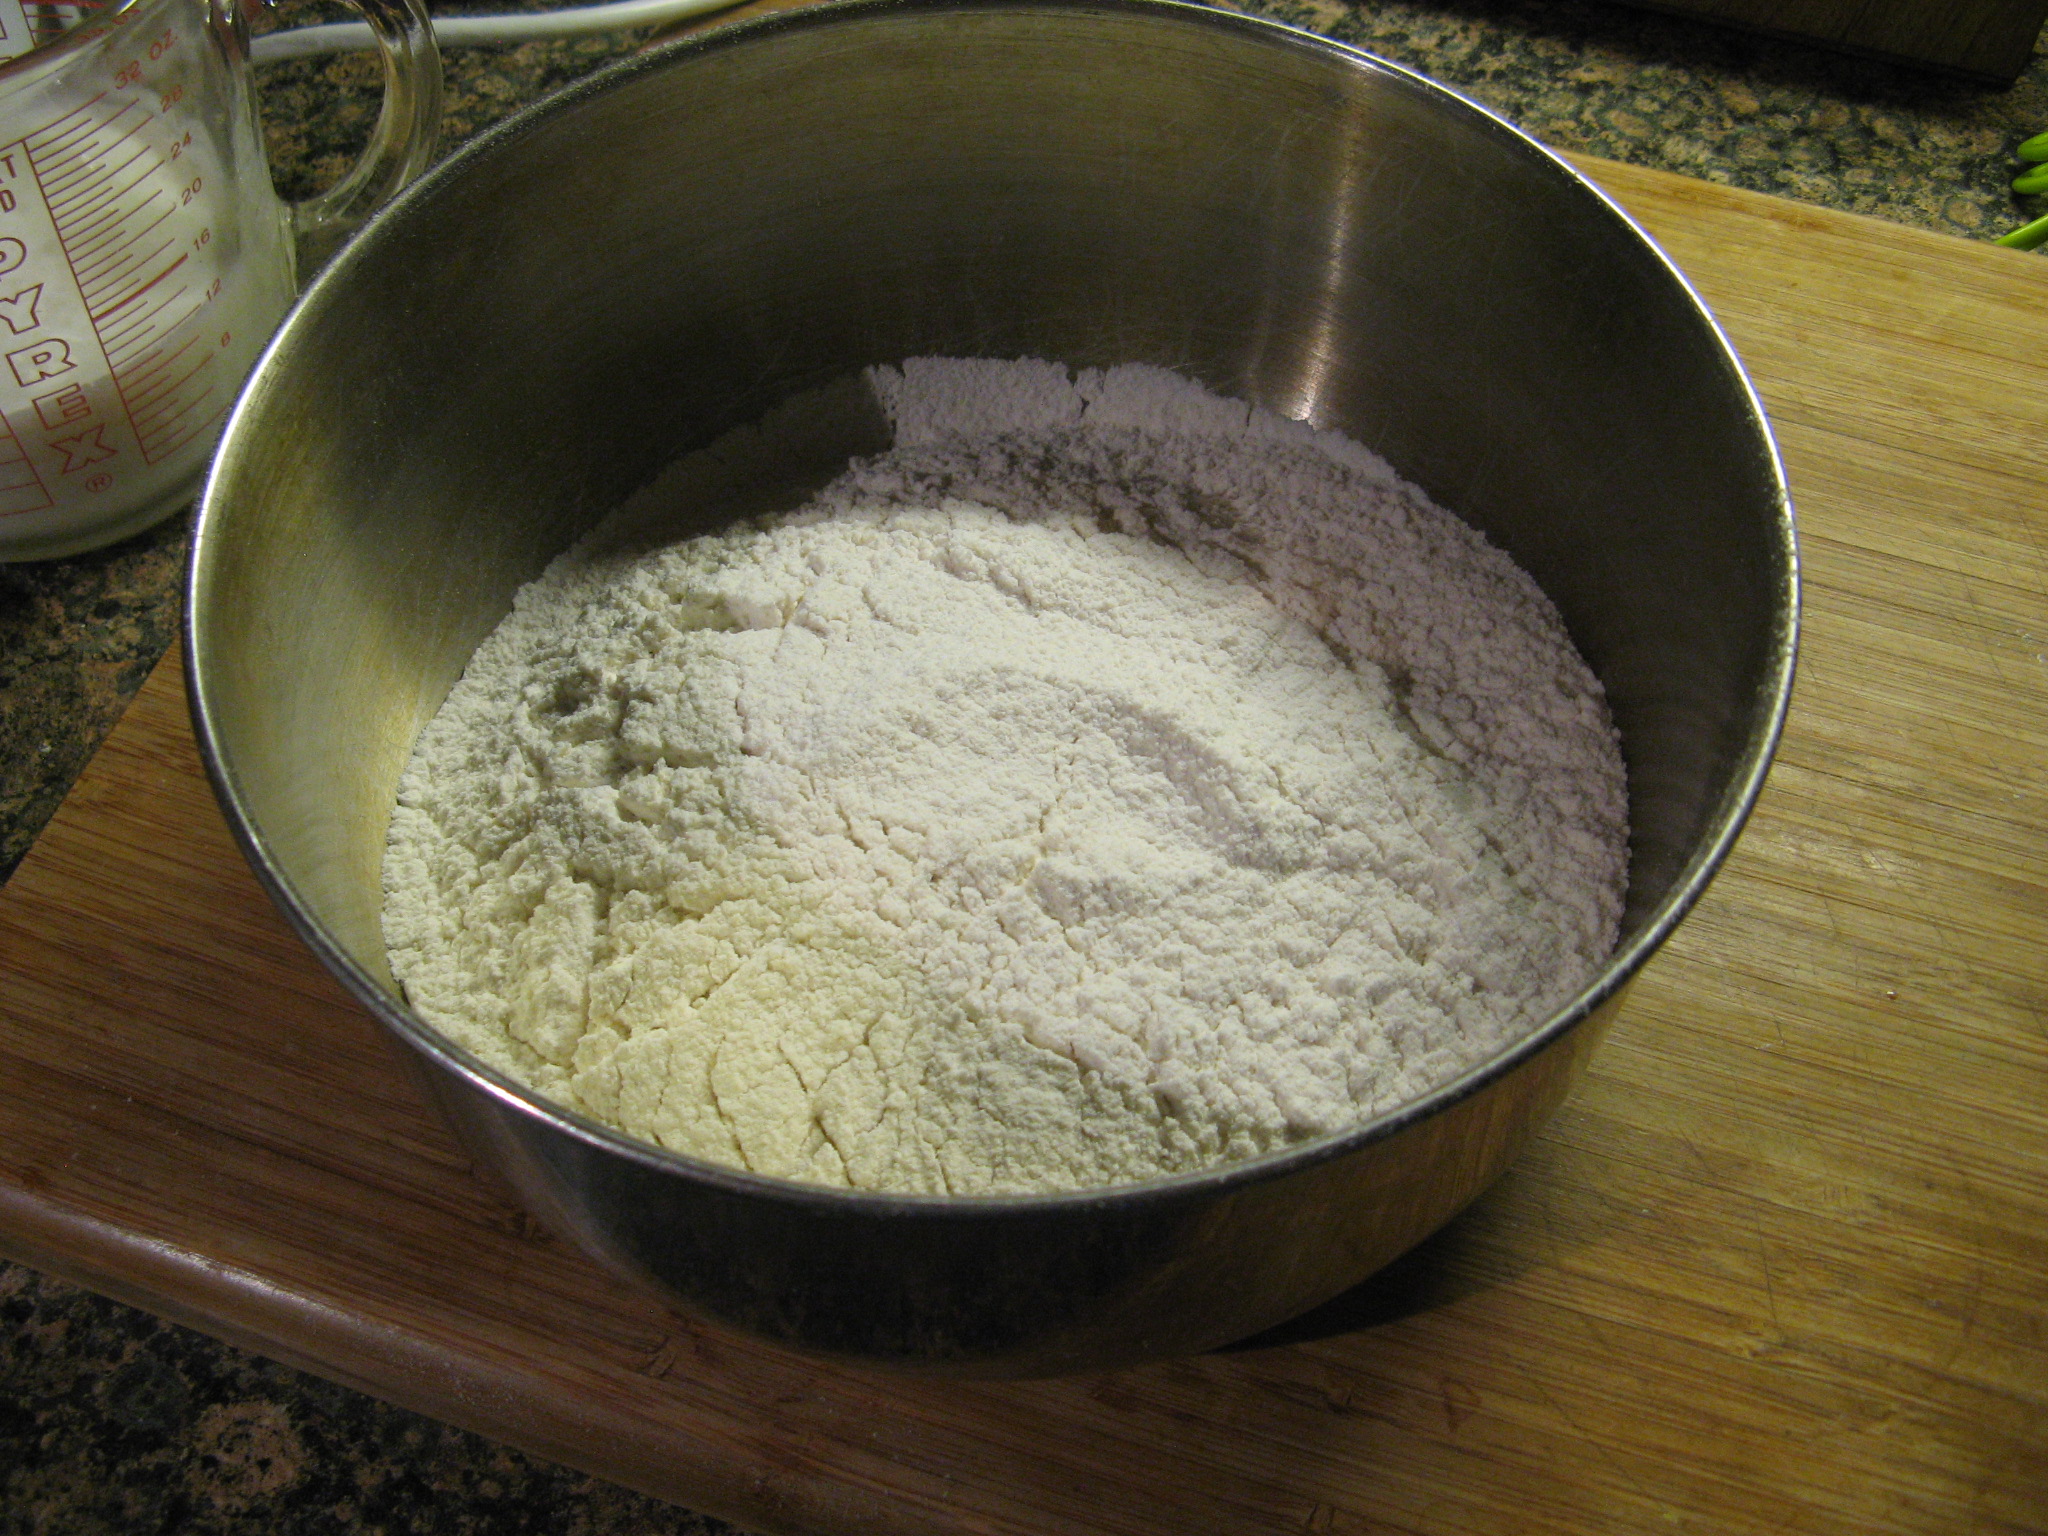
2 3/4 cups cake flour
1 tablespoon baking powder
1/2 teaspoon Kosher salt
1 1/2 cup sugar
4 large eggs
2 teaspoons vanilla extract
Zest from 1 lemon
1/4 cup fresh lemon juice
3/4 cup whole milk
For the blackberry filling:
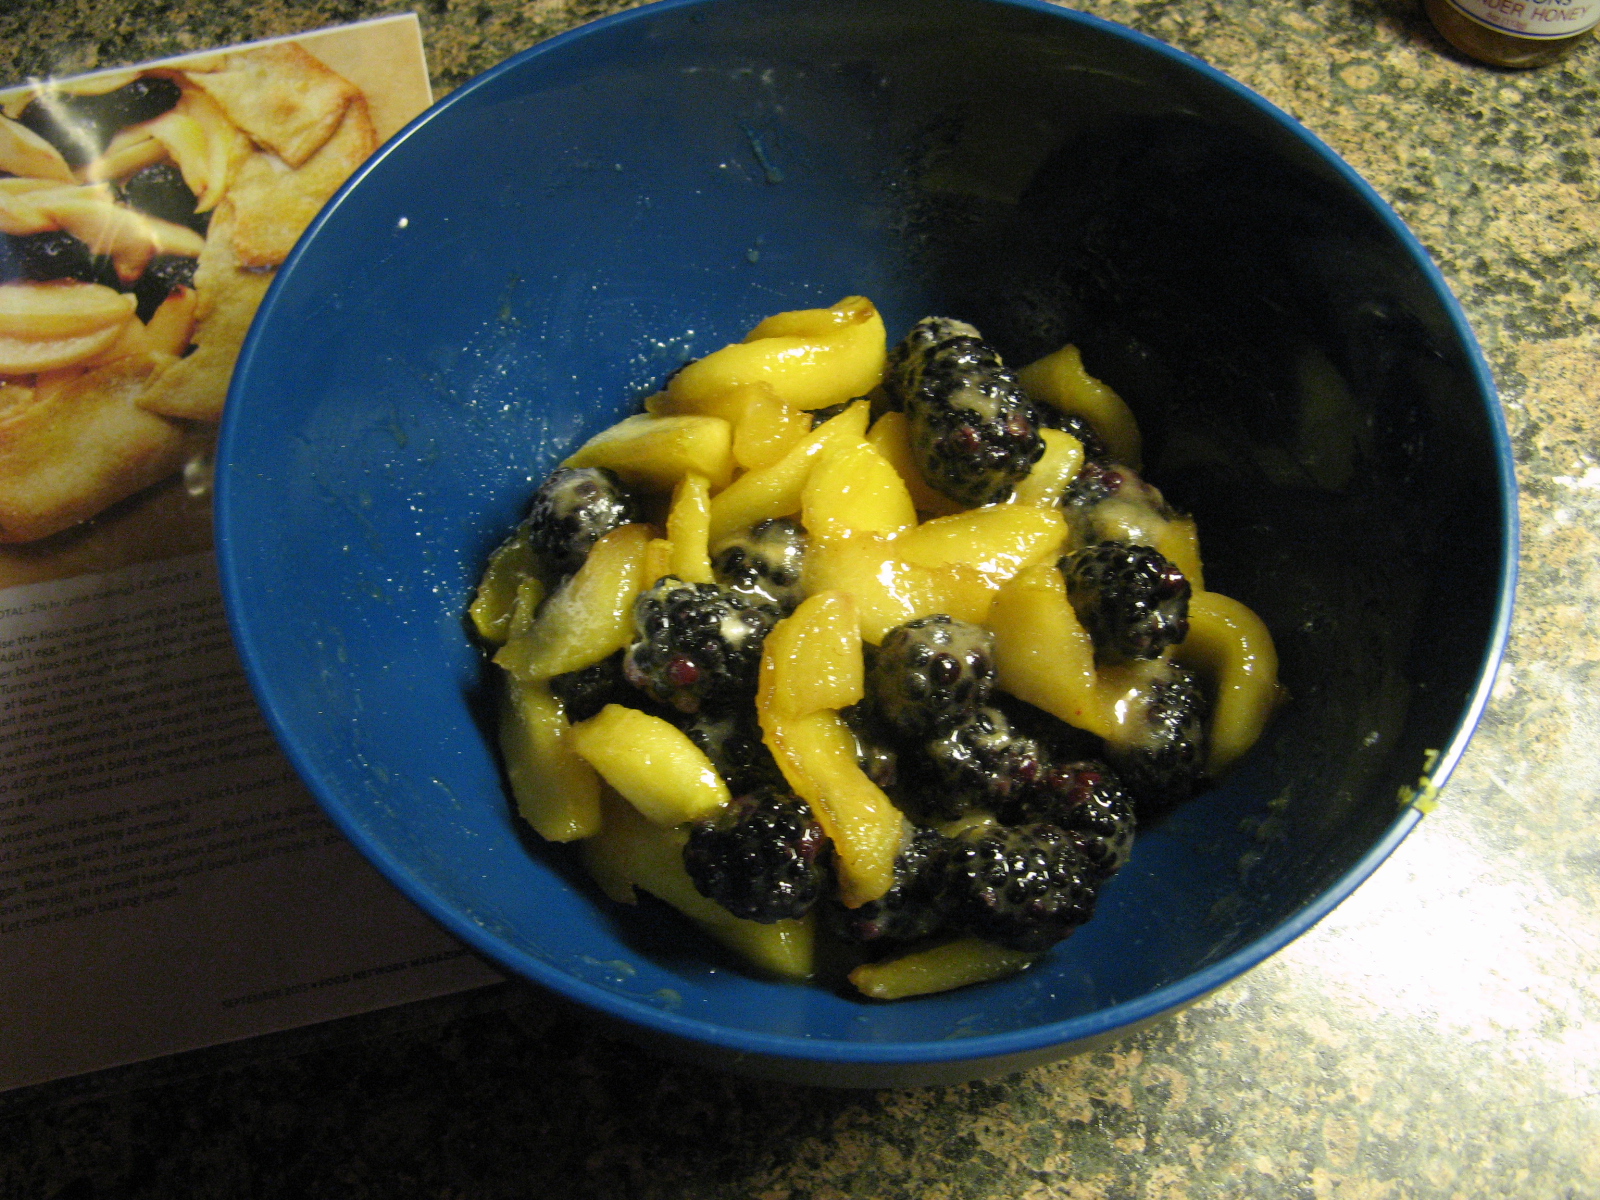
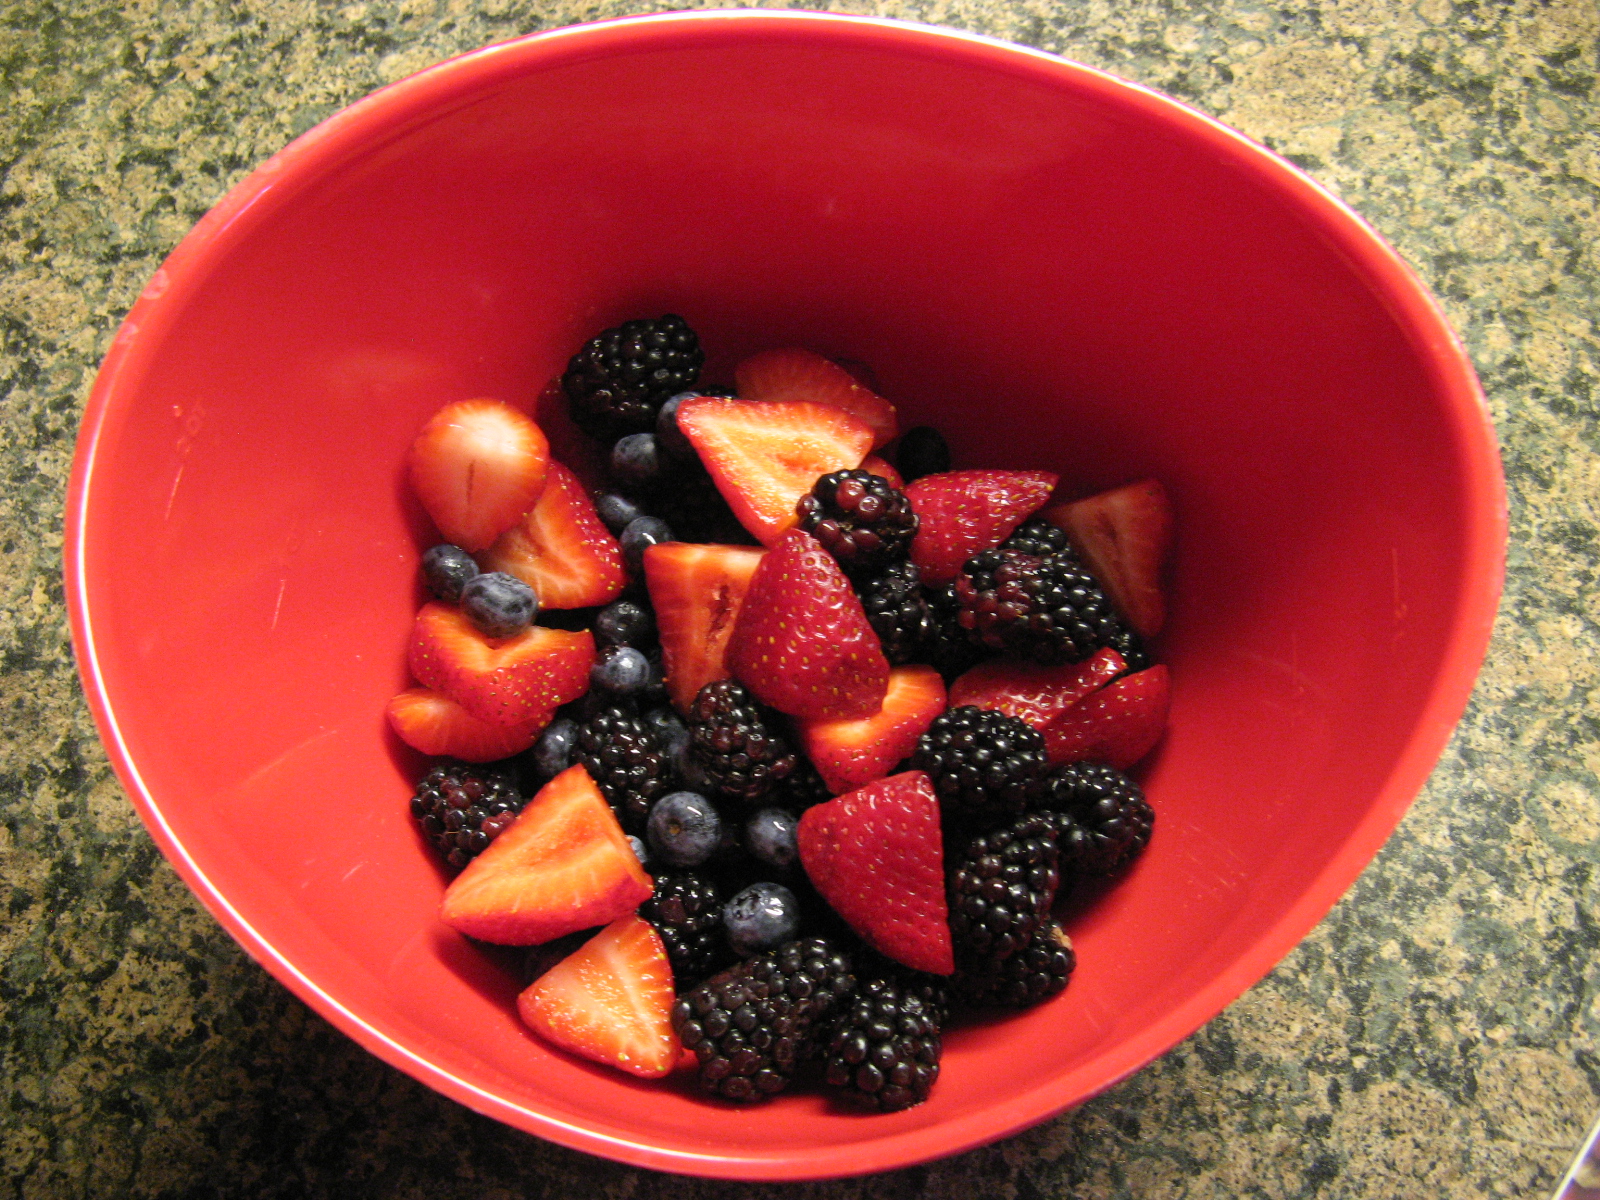
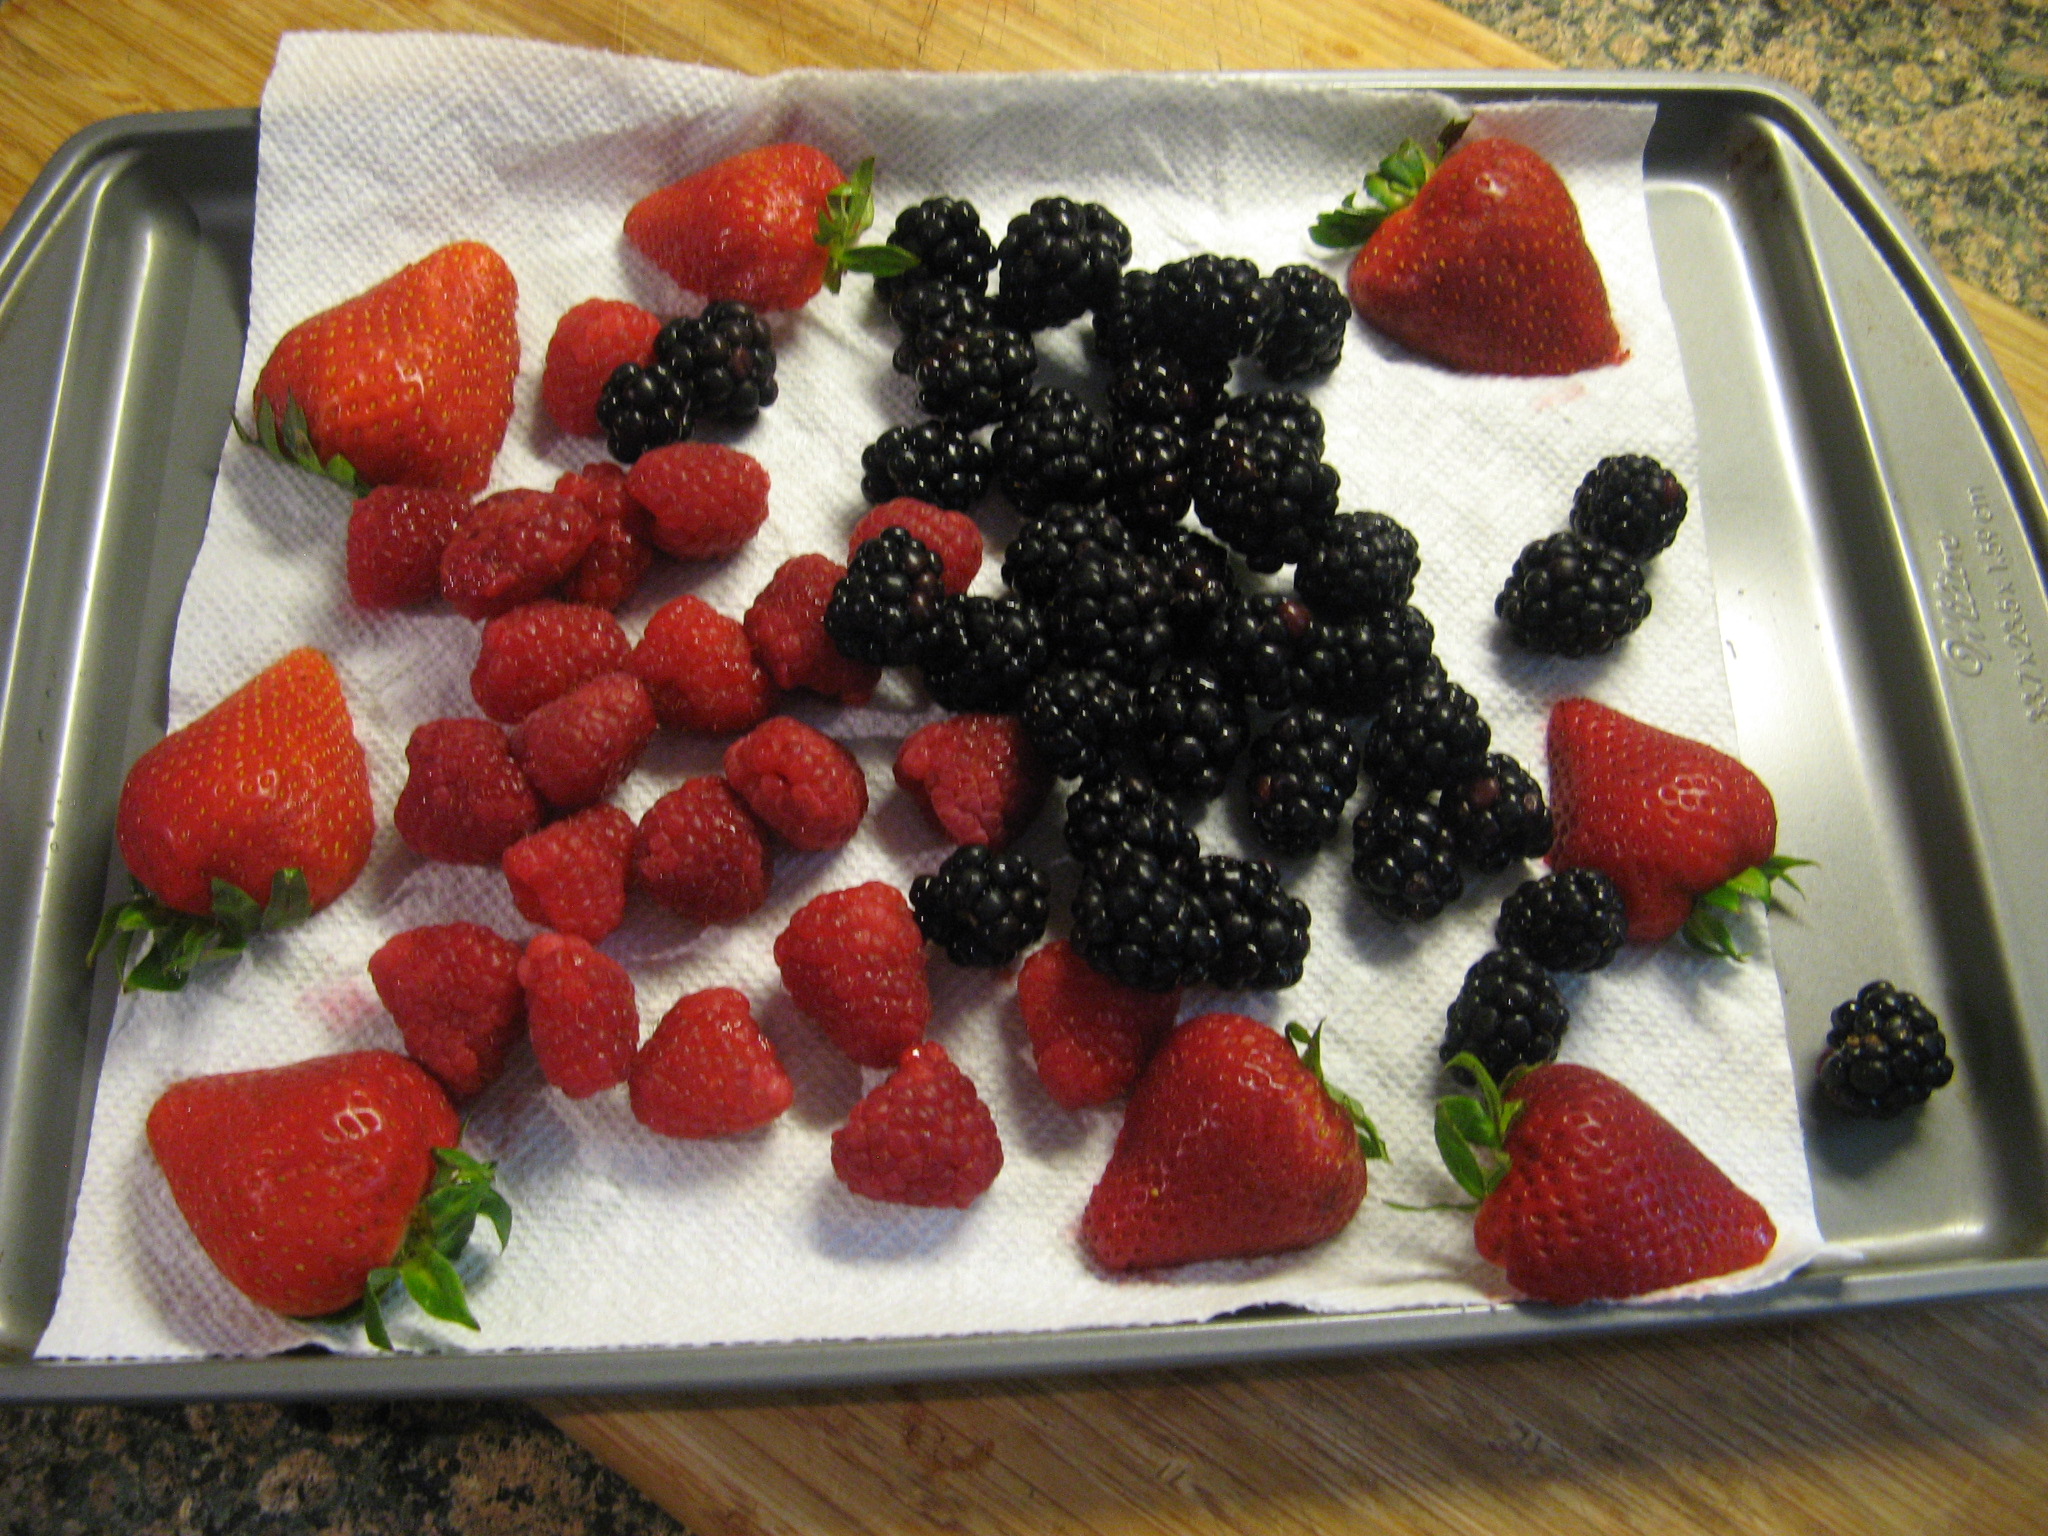
6oz. fresh blackberries
2 tablespoons sugar
1 teaspoon lemon juice
1 teaspoon cornstarch
2 tablespoons water
For the cream cheese frosting:
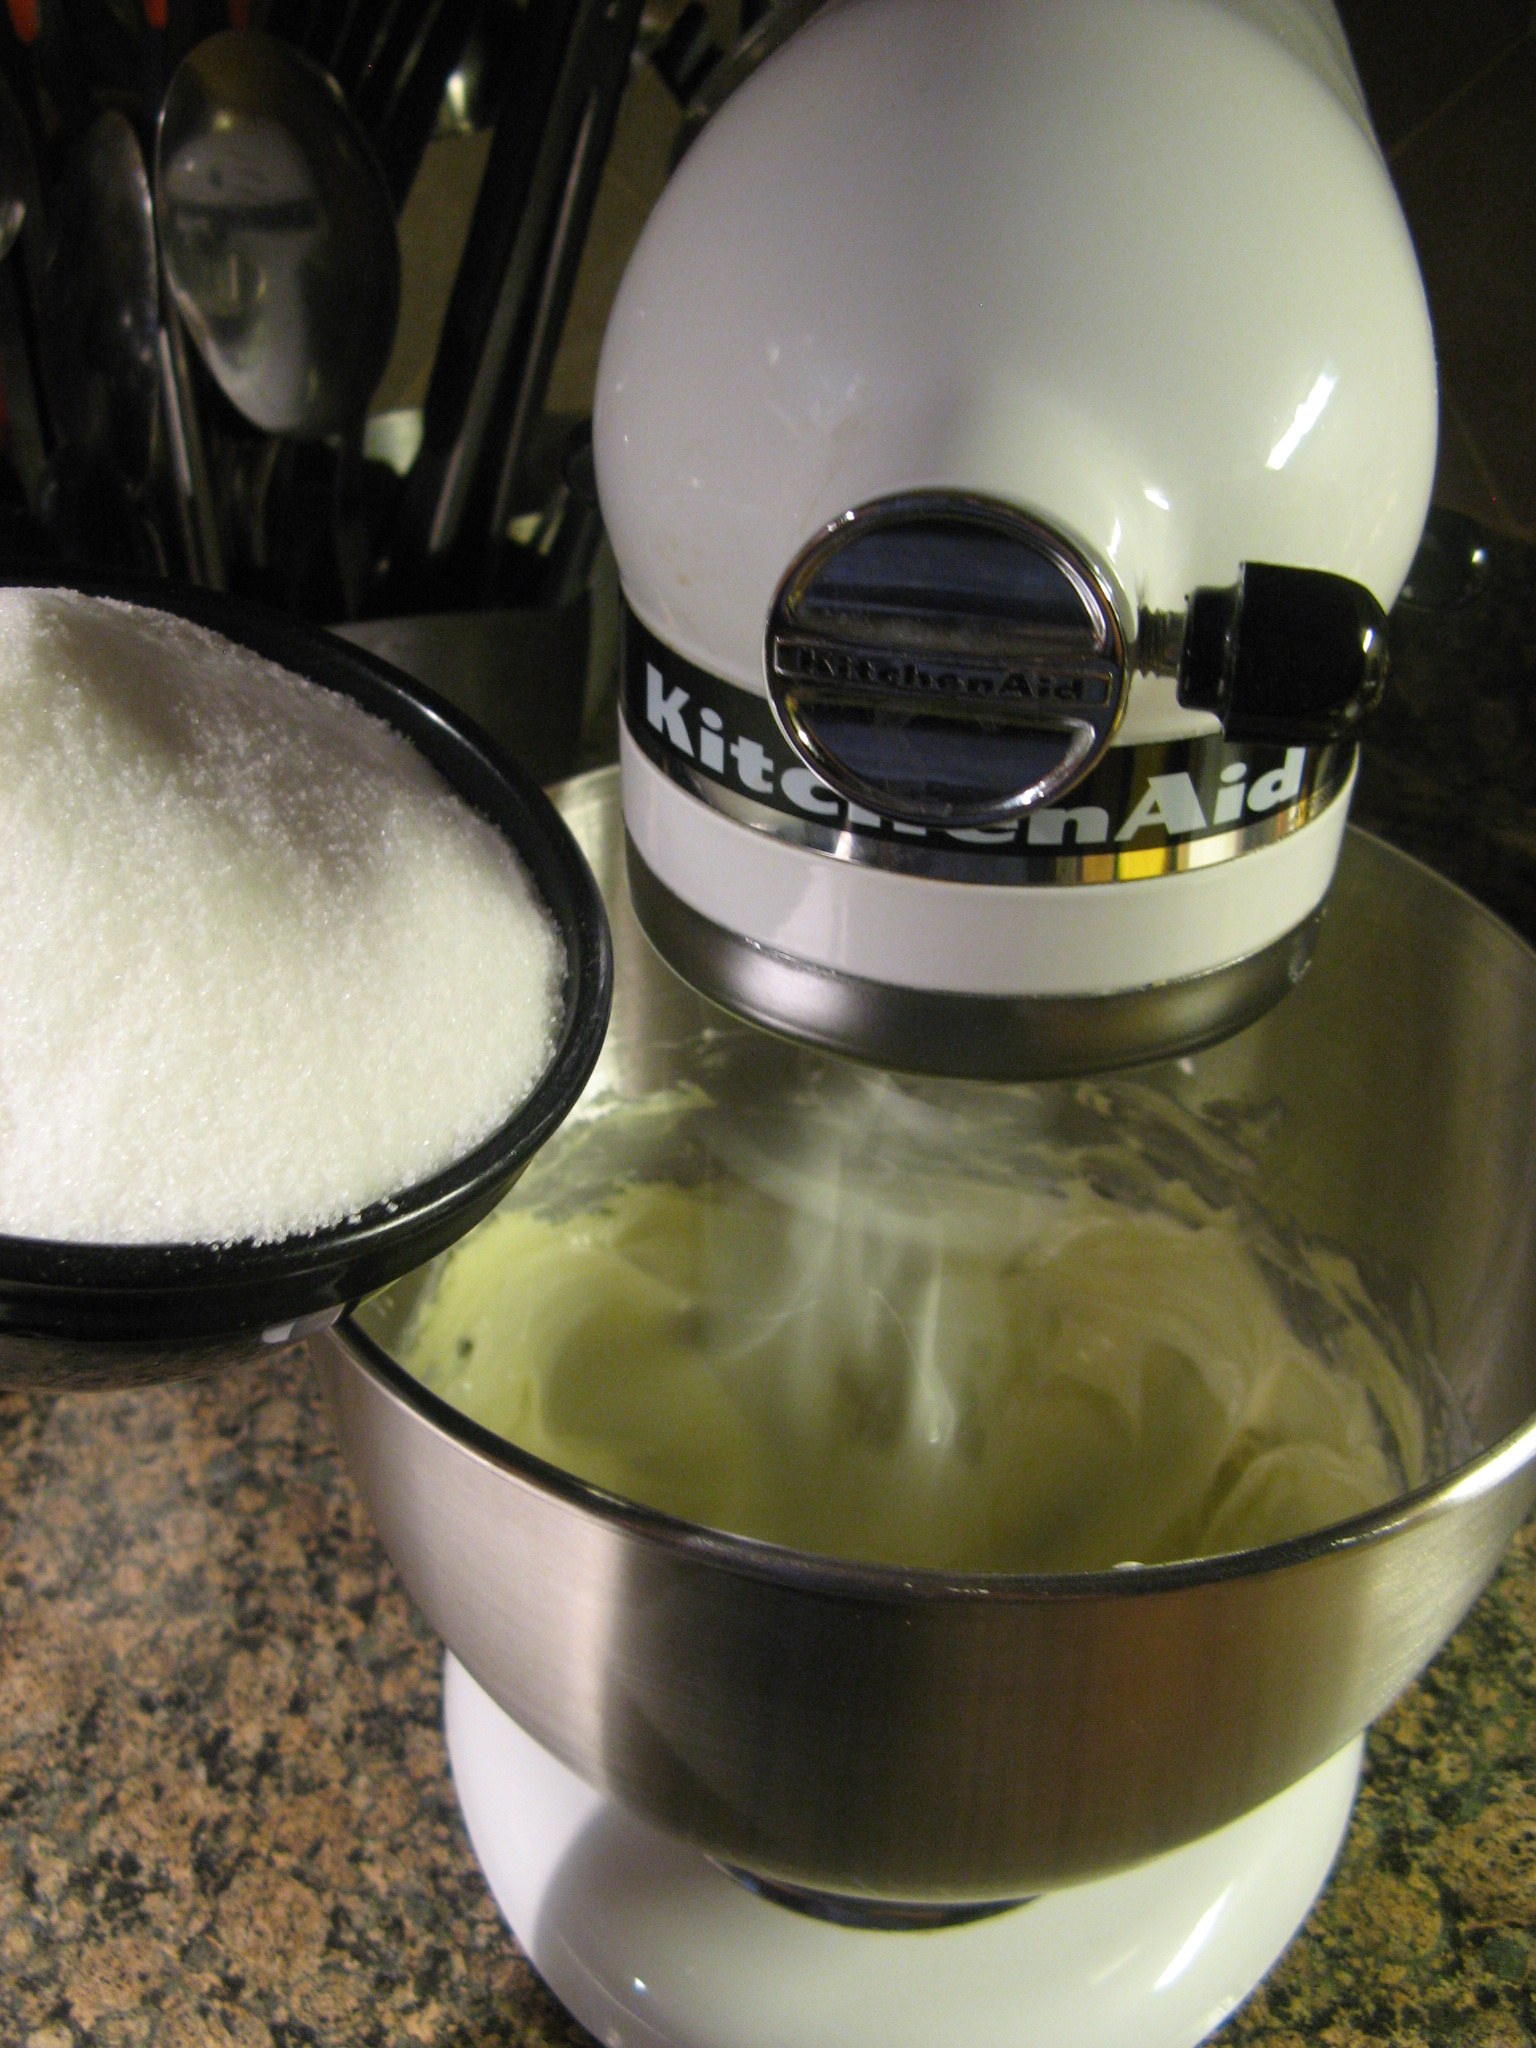
2 8oz. blocks of cream cheese, at room temperature
1 stick unsalted butter, at room temperature
2 teaspoons vanilla extract
4 cups confectioners’ sugar, sifted
Directions:
For the cake:
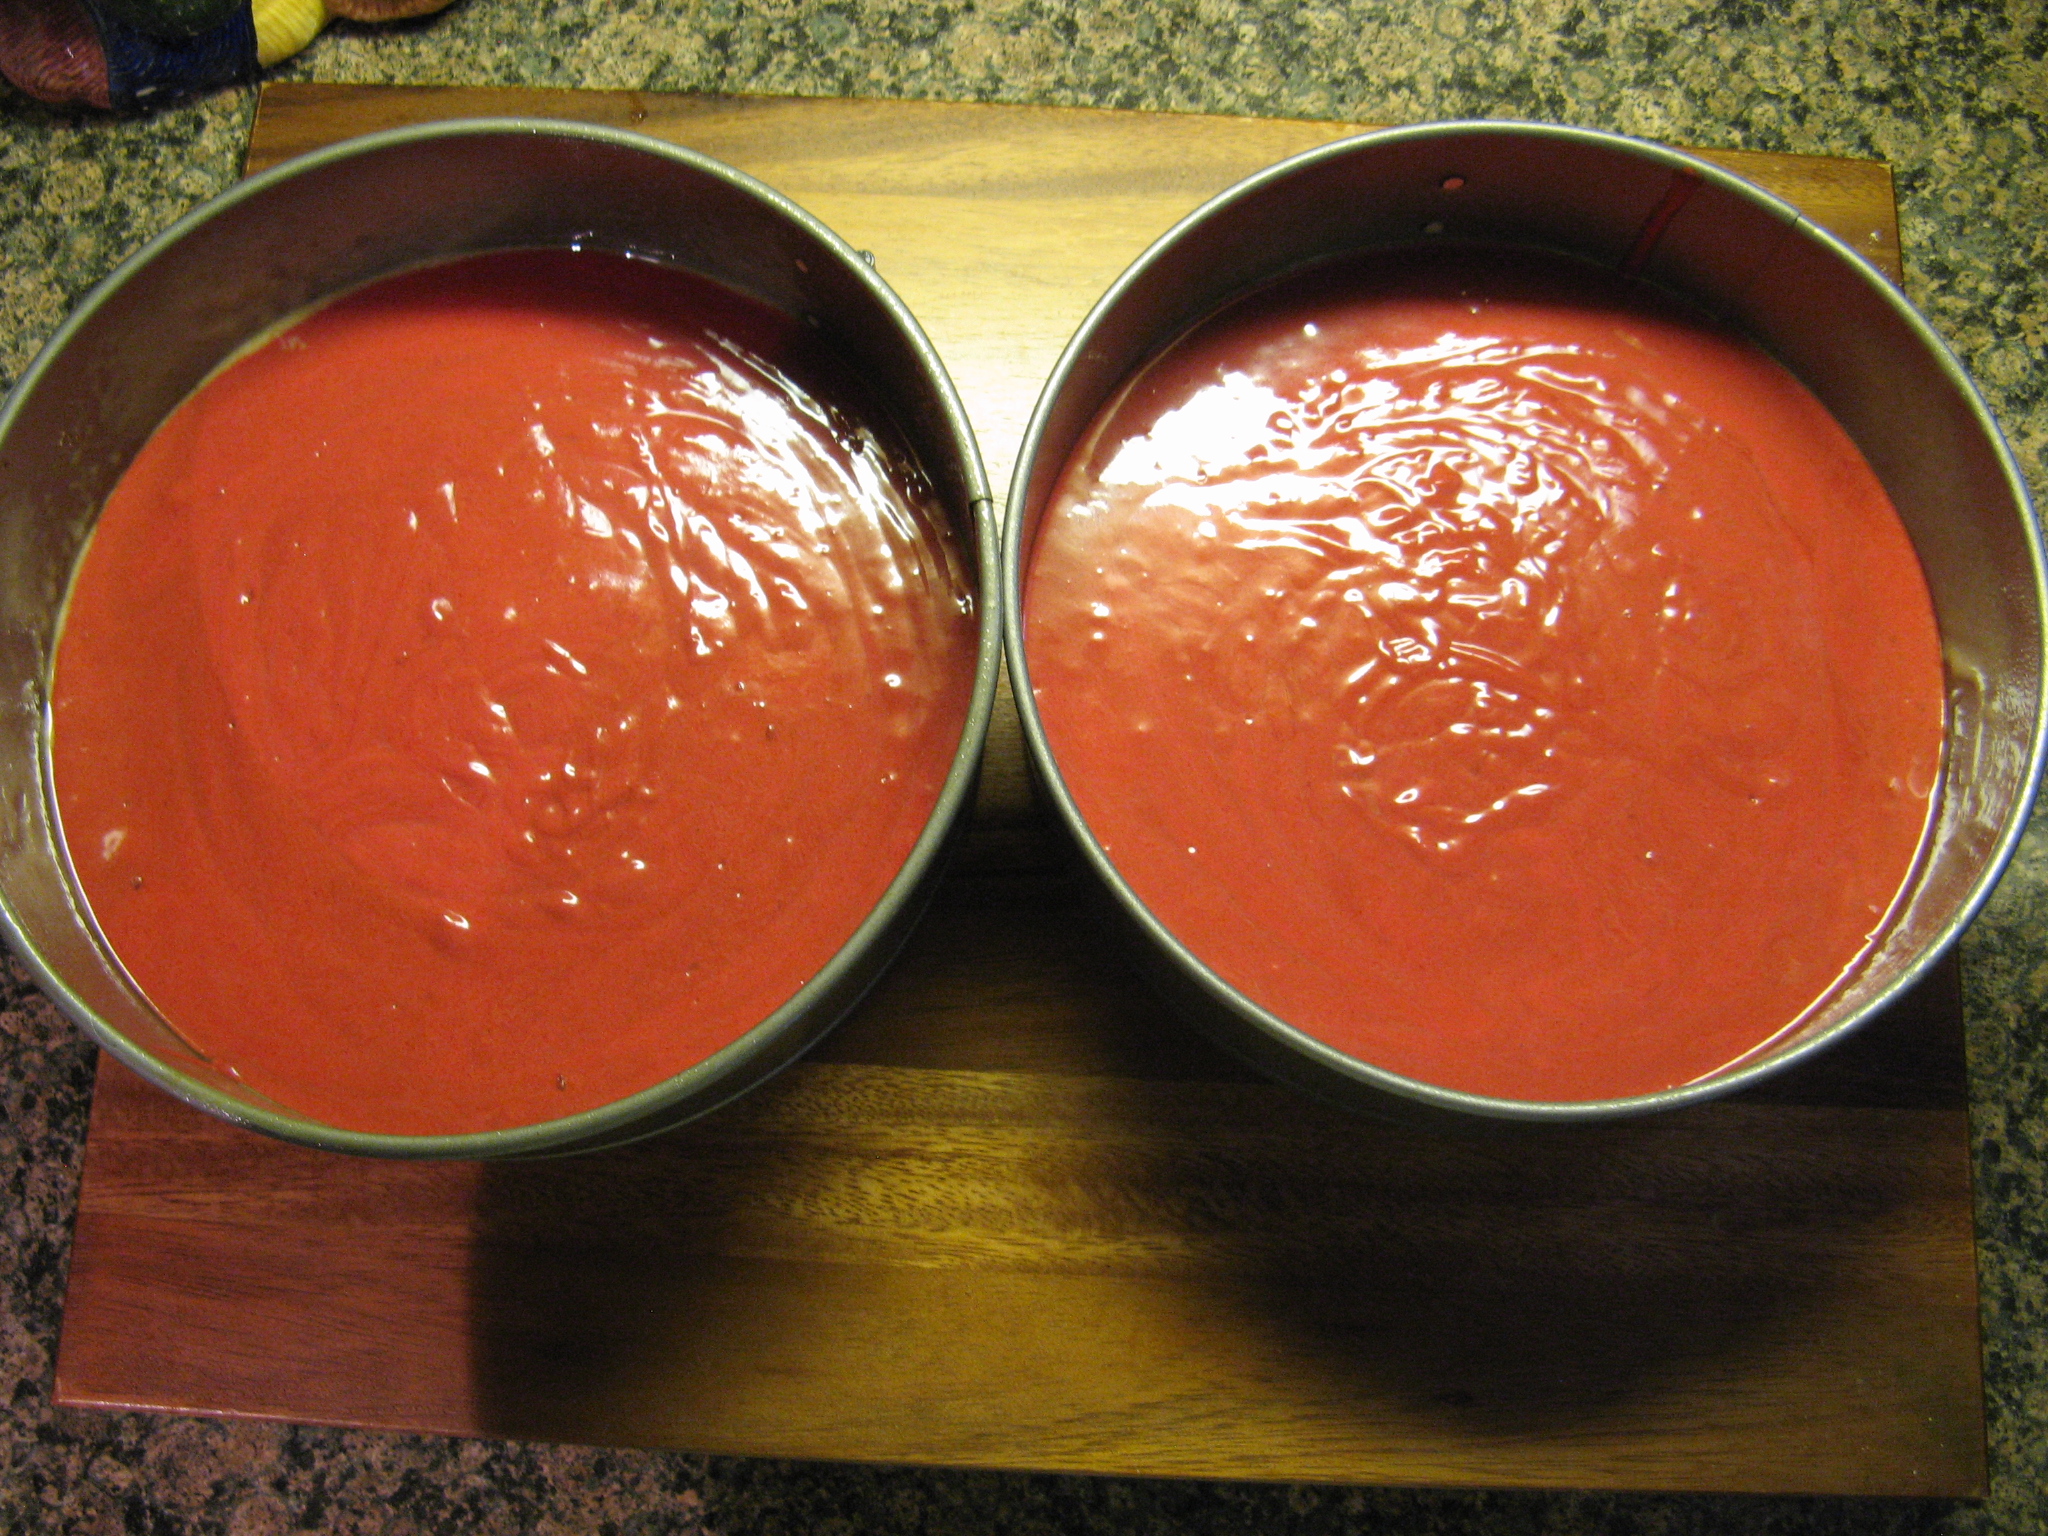
Preheat the oven to 350 F. Spray two 9-inch cake pans with baking spray or coat with butter and lightly dust with flour. Set aside.
In a medium bowl stir together the cake flour, baking powder and salt.
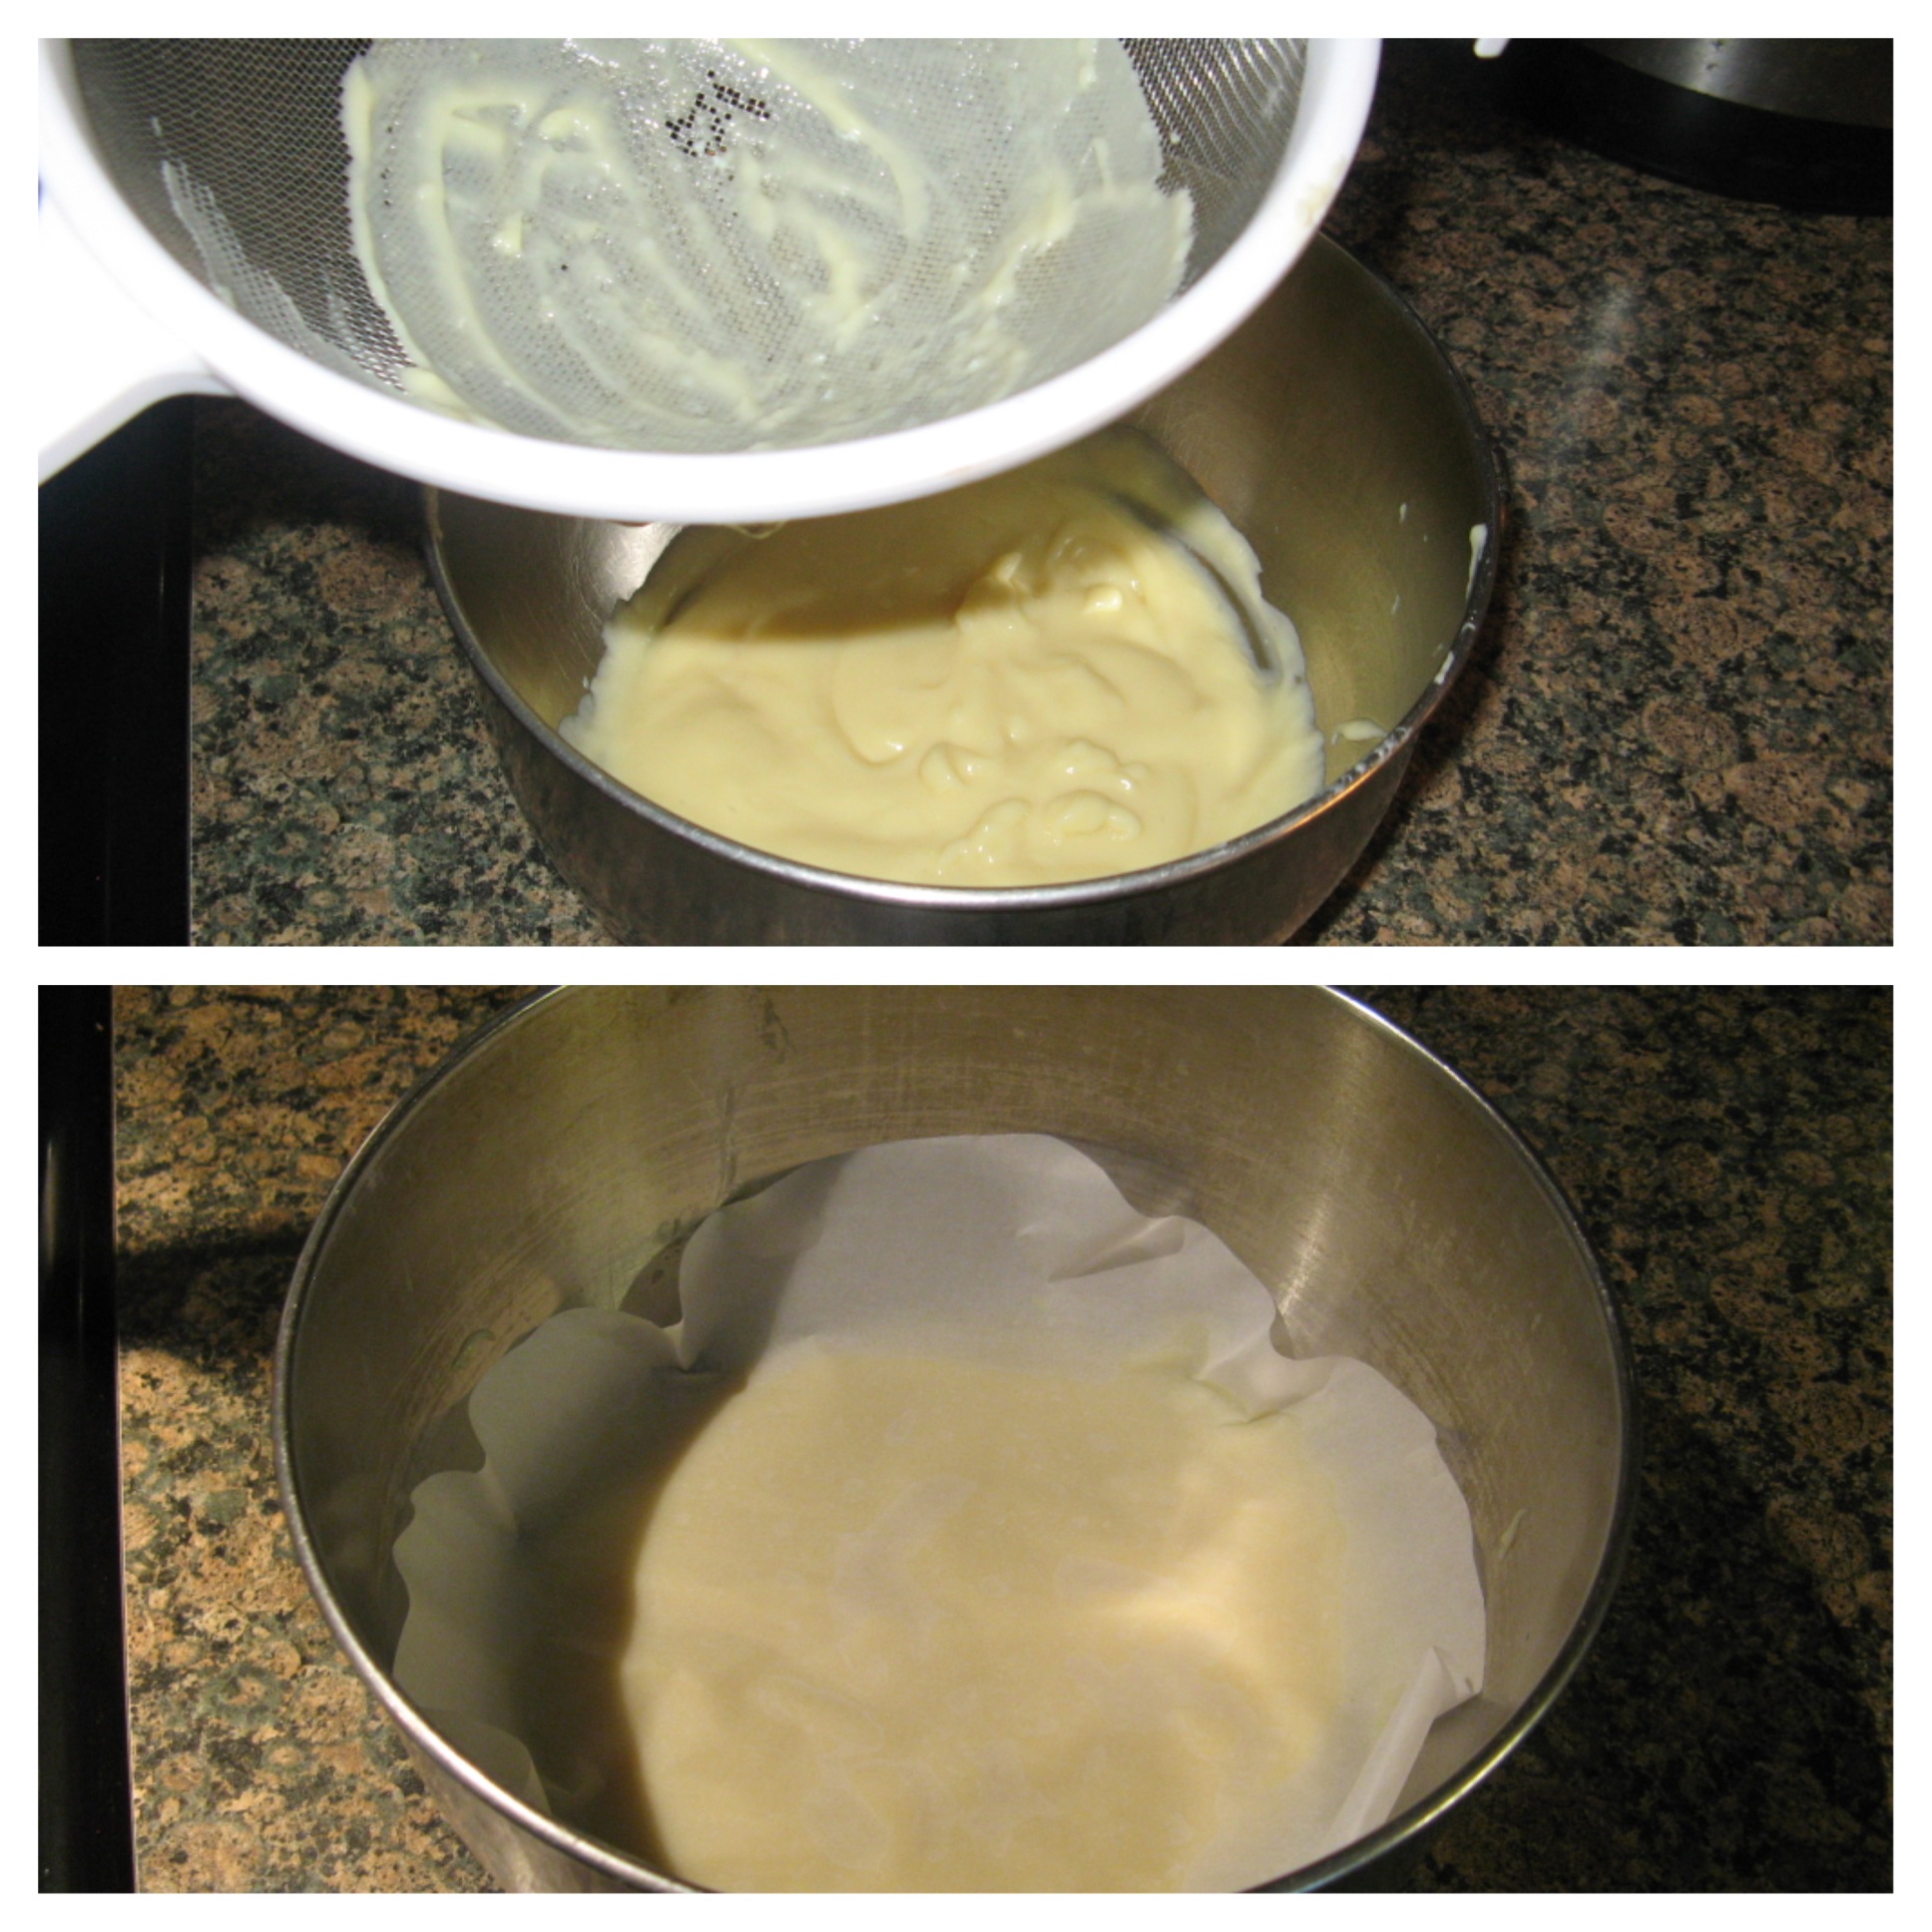
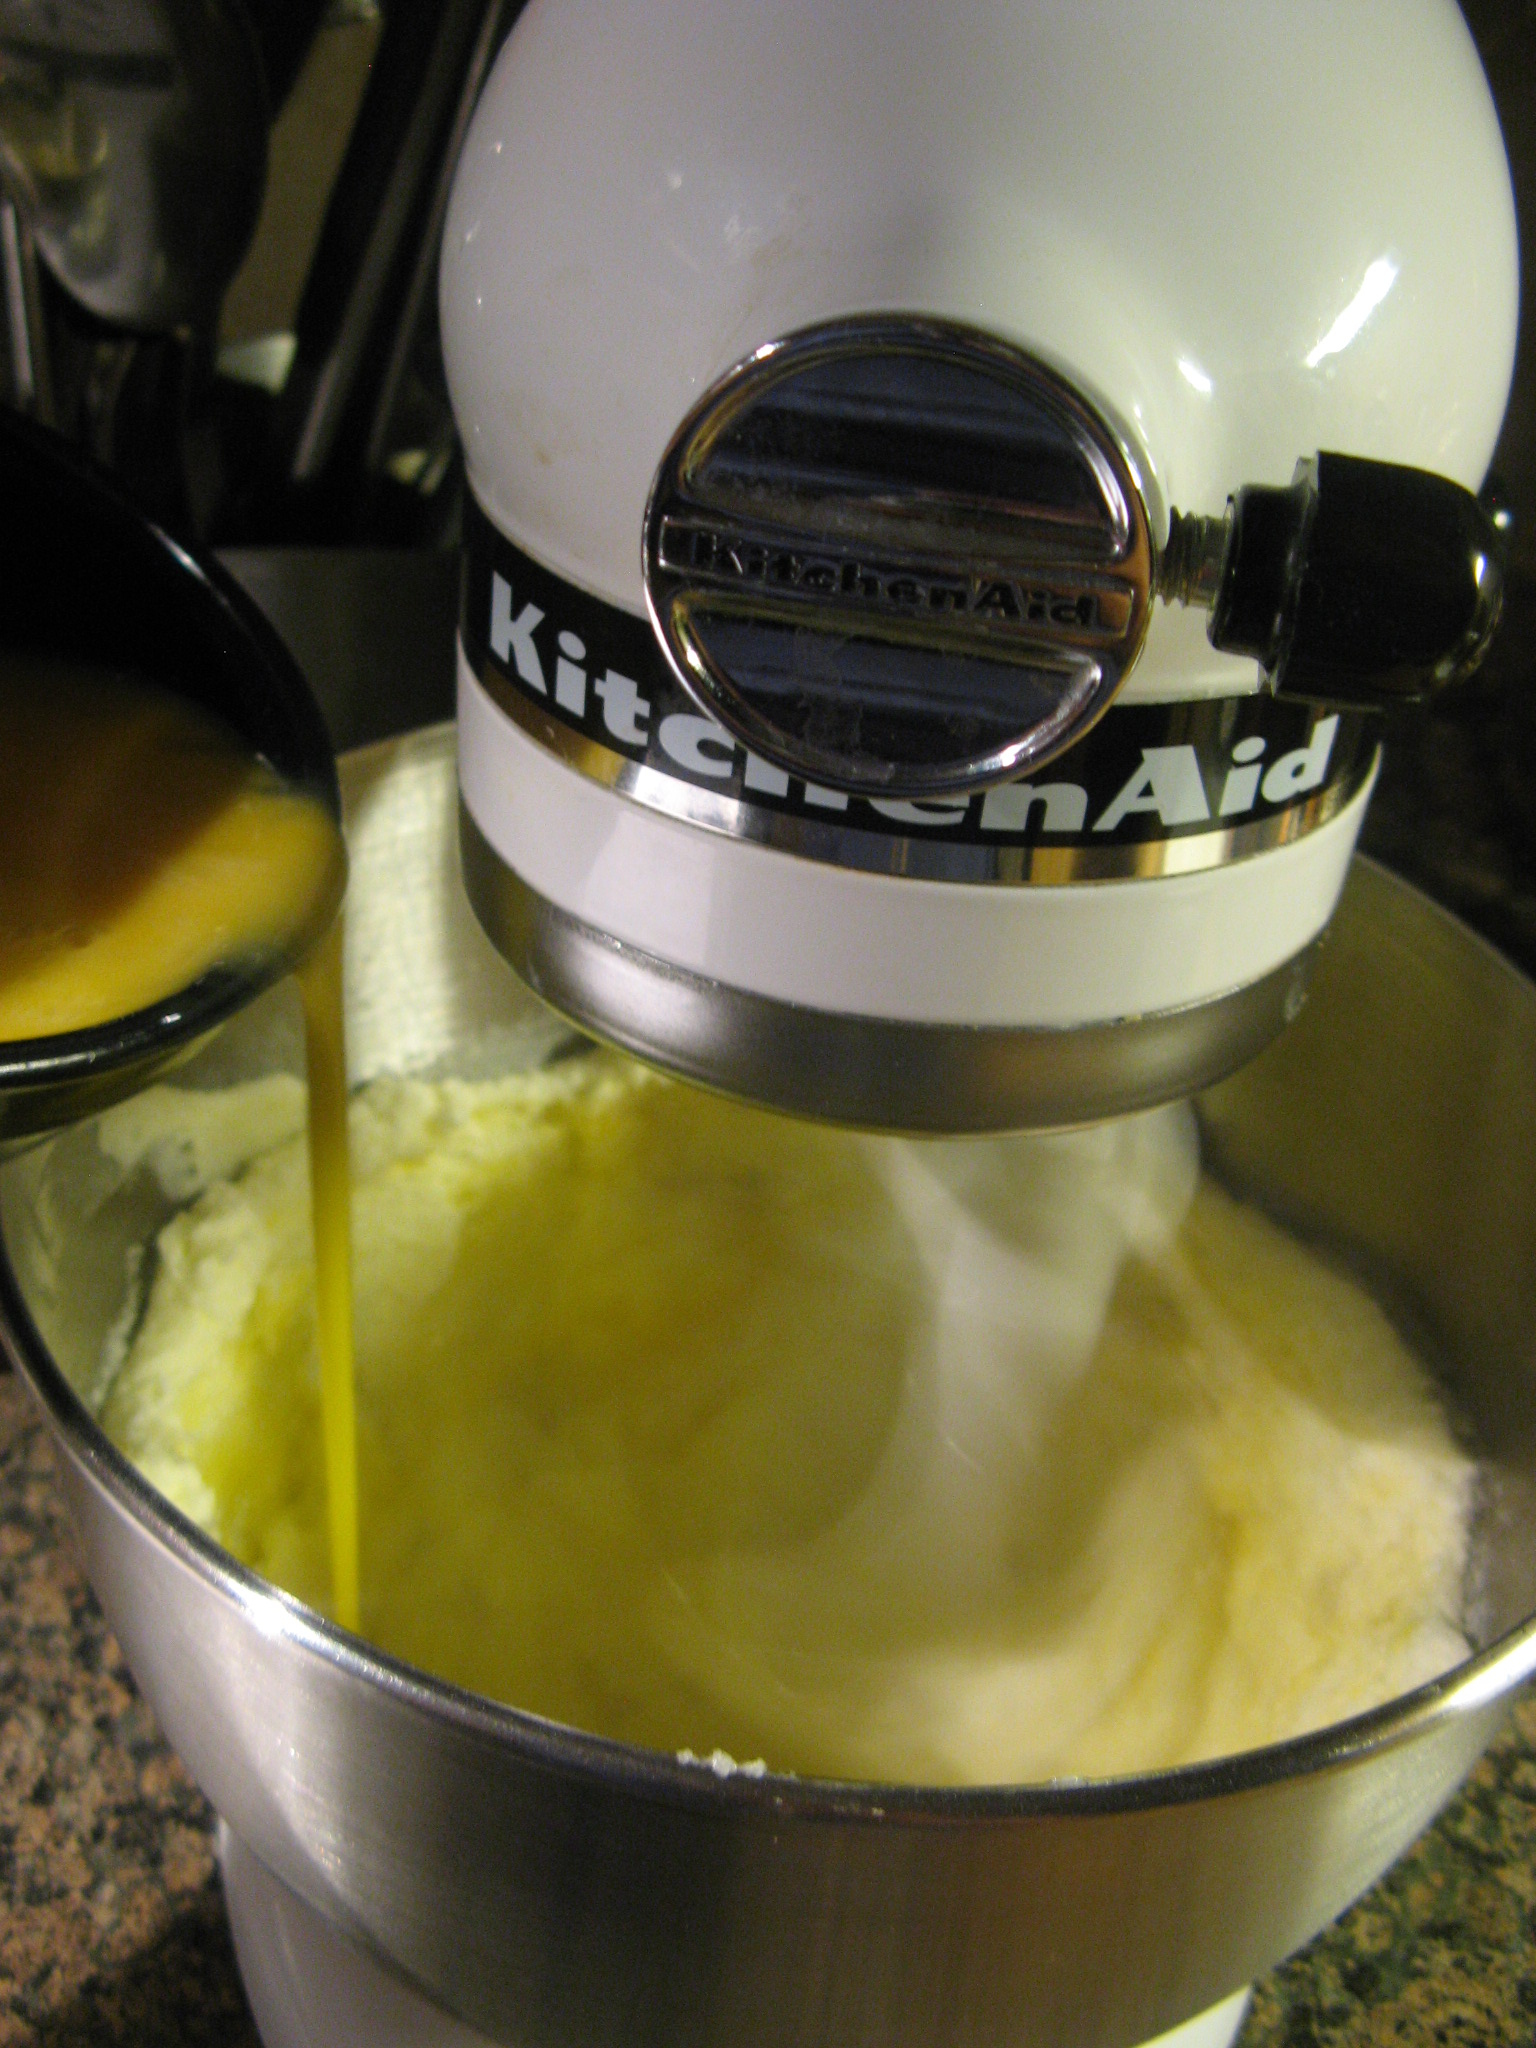
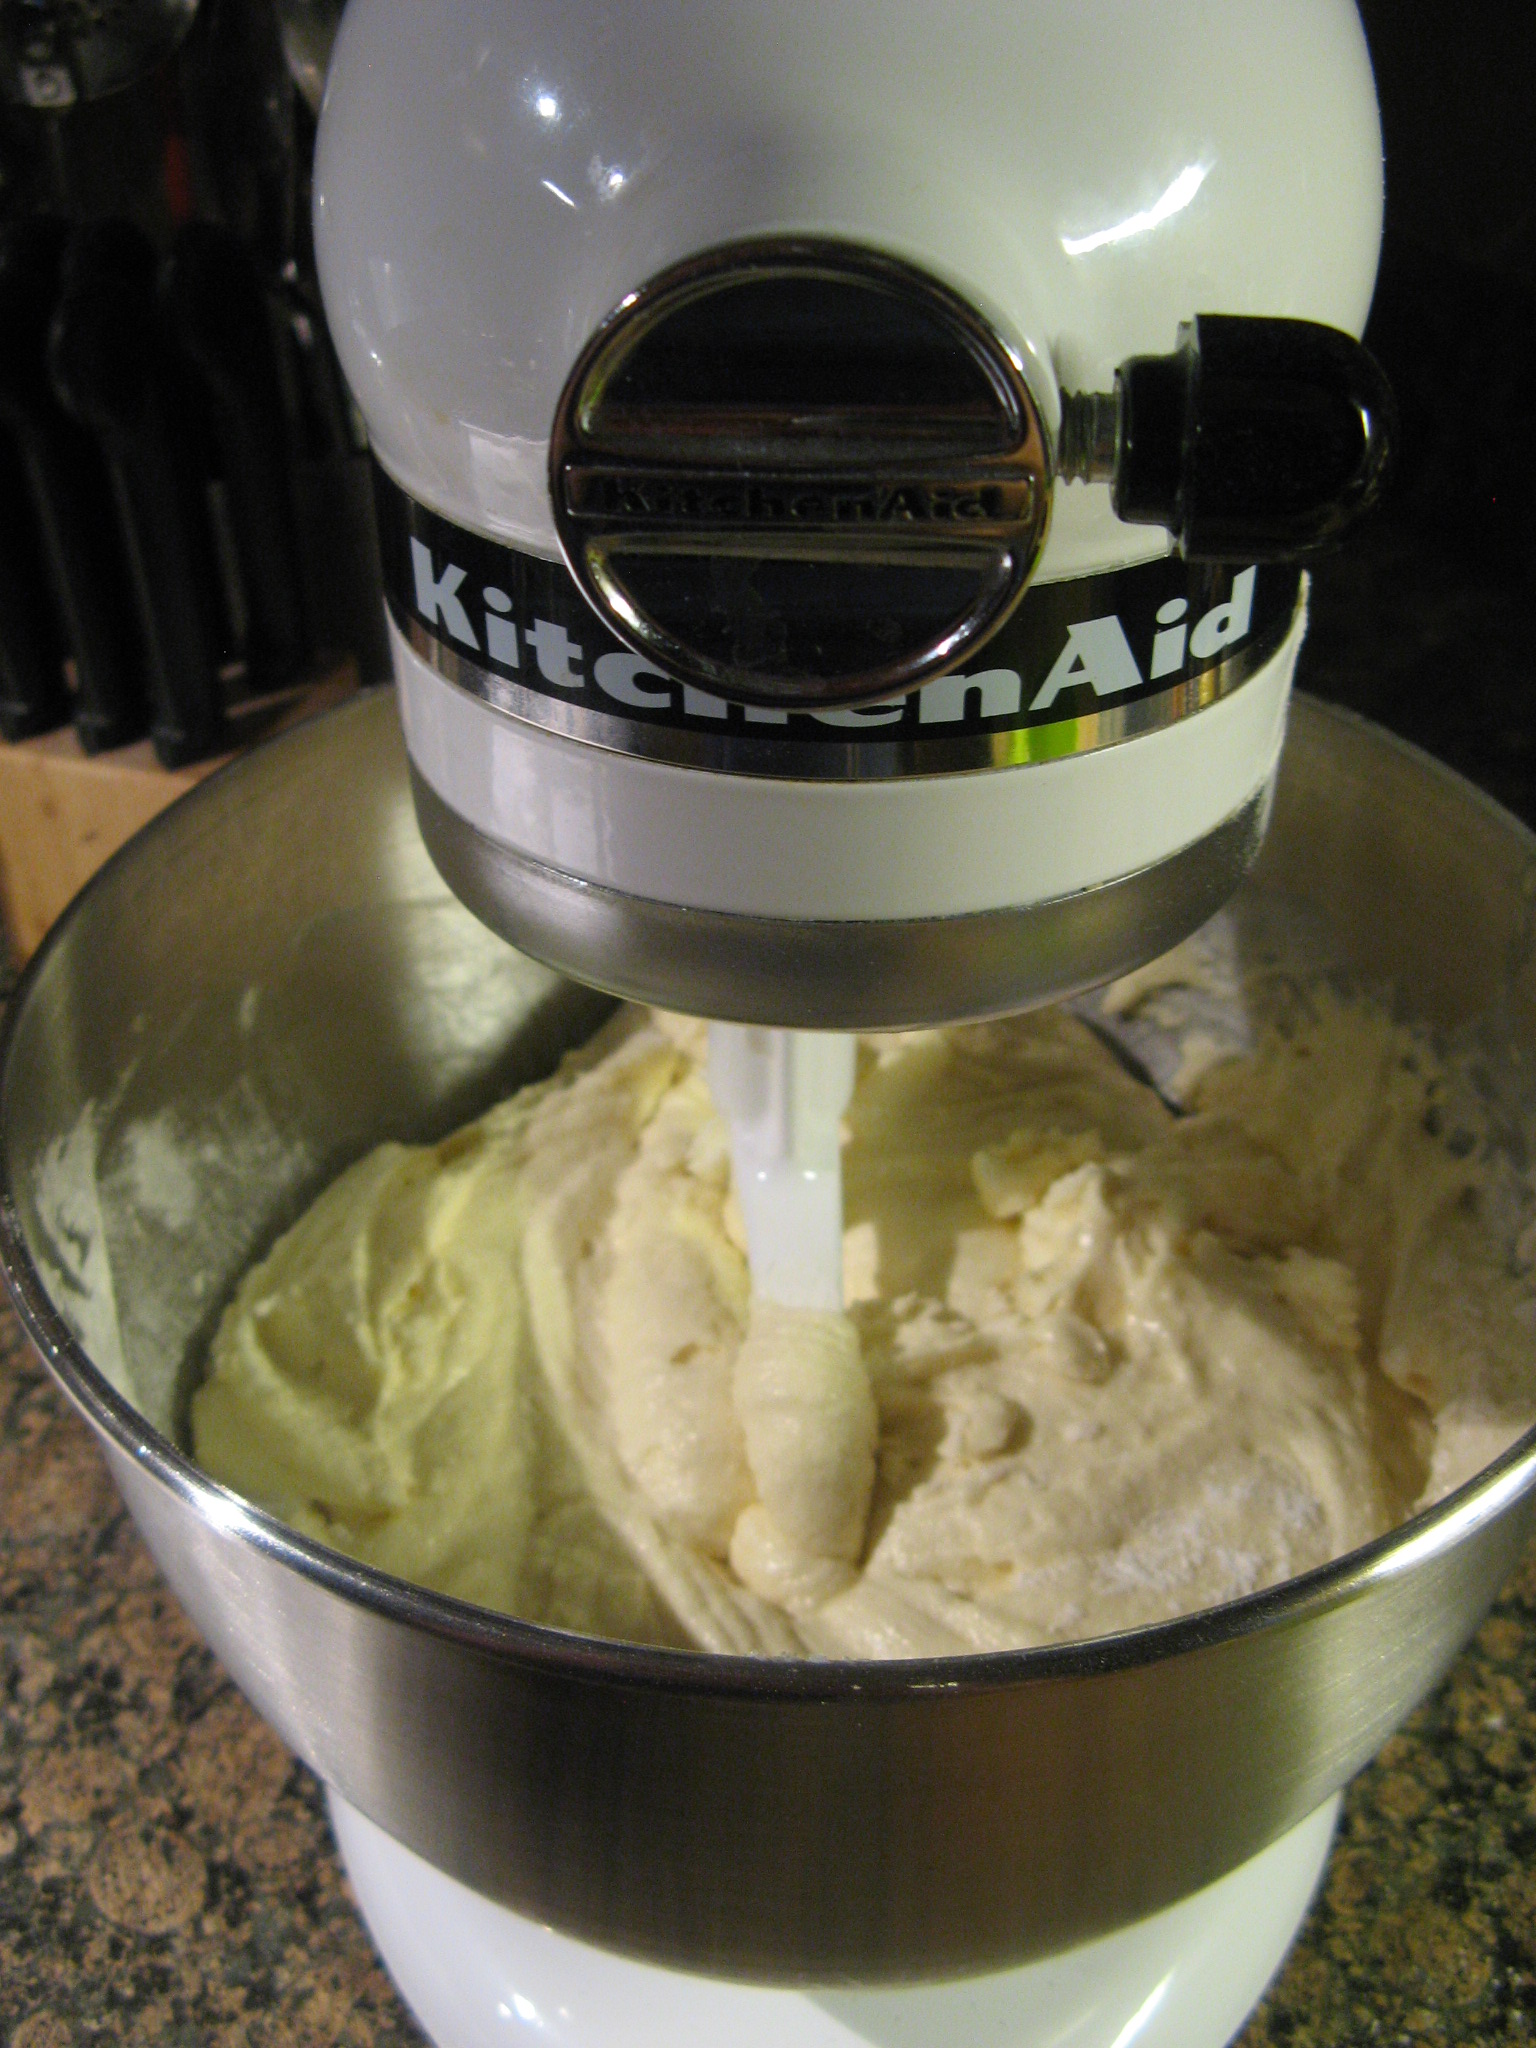
Using a hand mixer or electric stand mixer, beat the butter and sugar on medium speed until fluffy and pale yellow. Add the eggs, one at a time, then the vanilla extract, lemon zest and lemon juice. The batter may appear to break apart at this point. It will come together once the flour is added in. With the mixer on low, add the flour in three parts, alternating with the milk. Continue mixing until the ingredients are just incorporated.
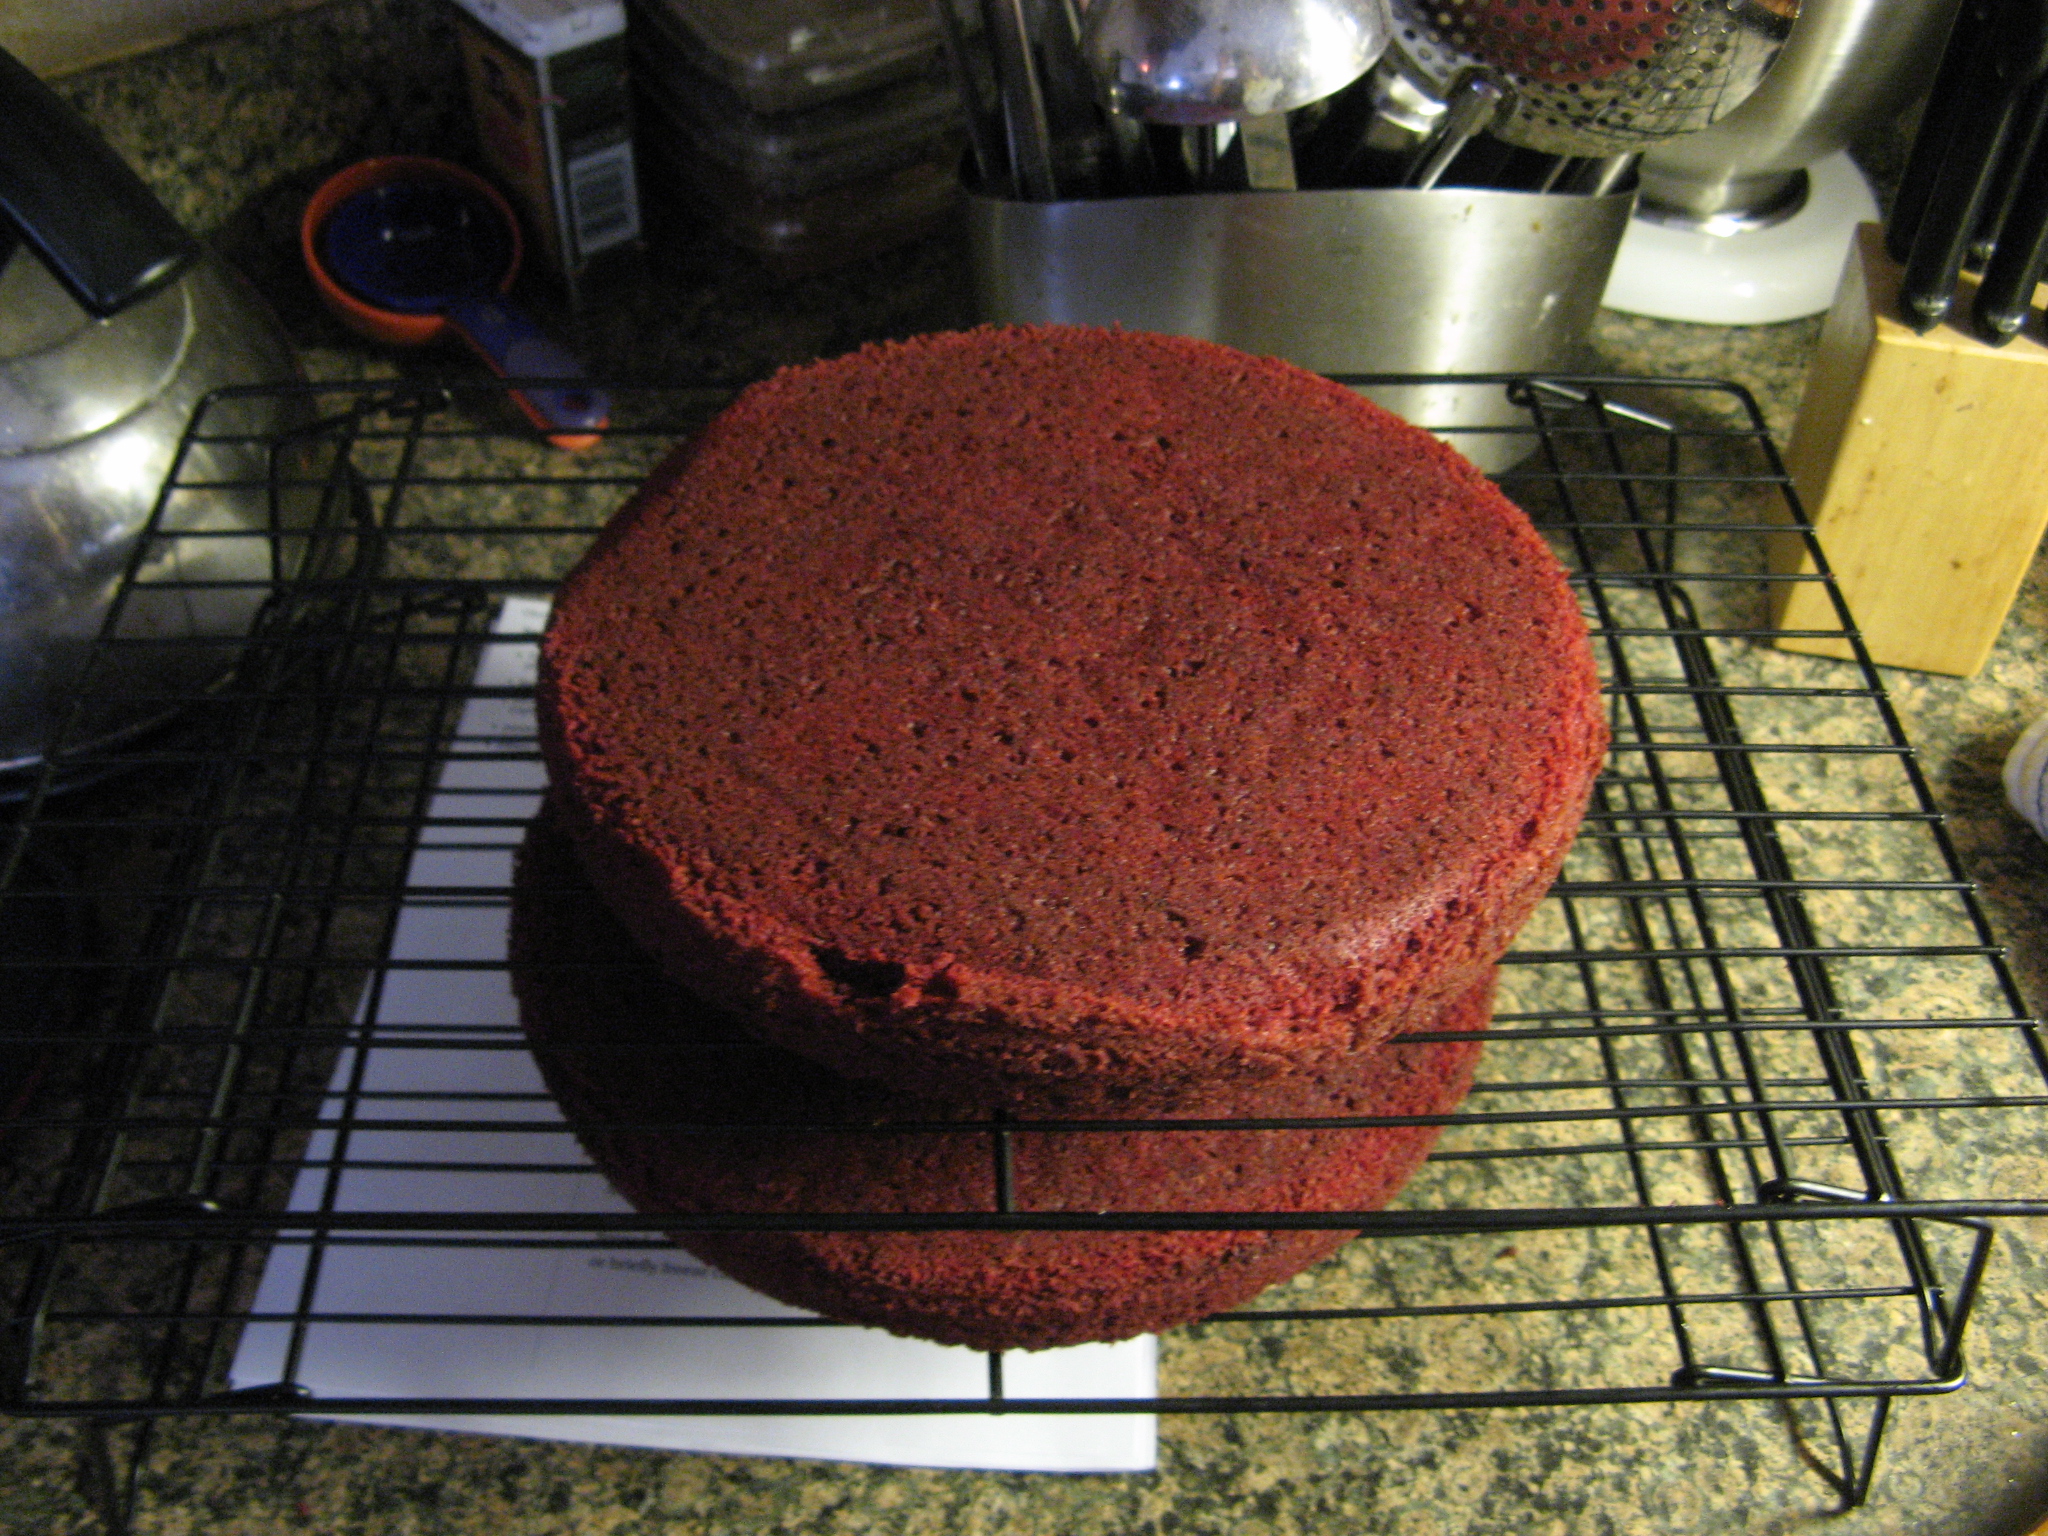
Divide the batter among the prepared pans and bake in the preheated oven for 20 to 25 minutes, or until a cake tester inserted in the middle comes out clean. Cool the cakes in the pans on a wire rack for 15 minutes and then remove from the pan and let cool completely on wire racks.
For the blackberry Filling:
In a small bowl combine the water and cornstarch and set aside.
In a small saucepan combine the blackberries and sugar over medium heat. Stir until the blackberries begin to breakdown and the sugar has melted and it turns into a sauce and begins to thicken. Remove from the heat and add in the cornstarch mixture. Stir to combine.
Transfer to a small container, with a lid, and stir in the lemon juice. Cover and refrigerate until ready to use.
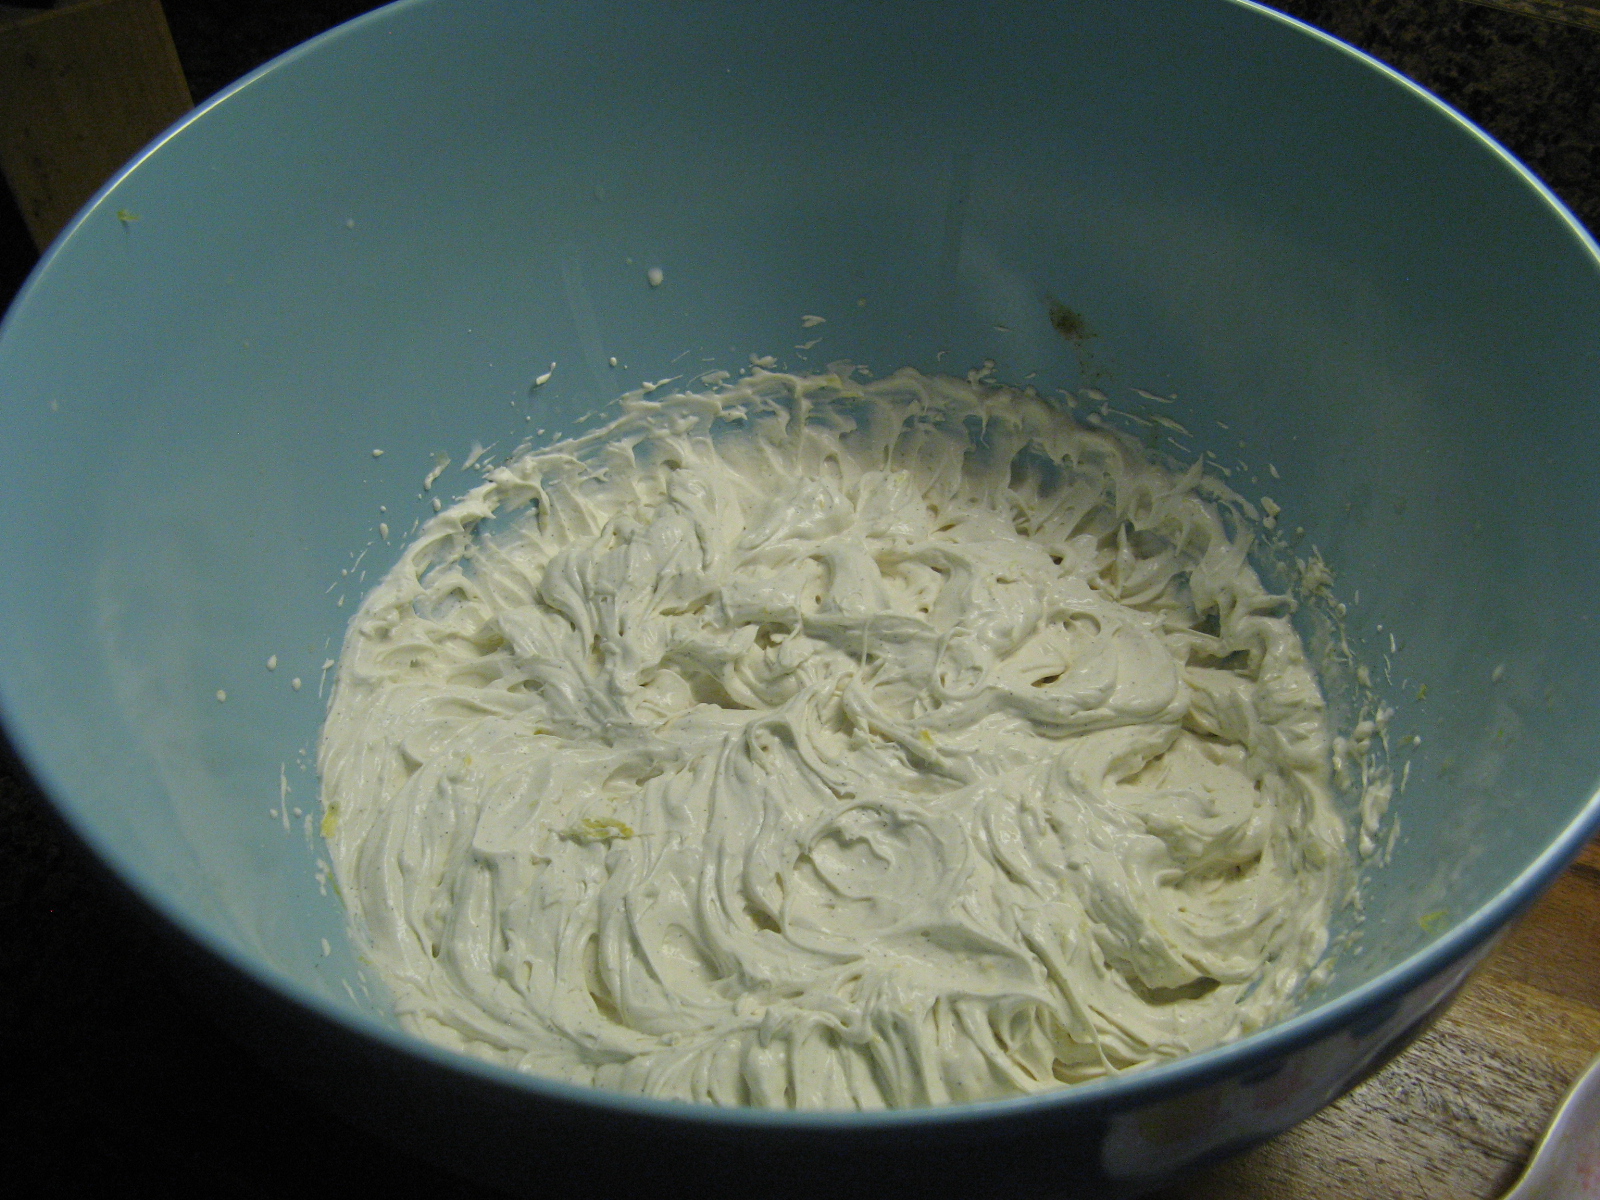
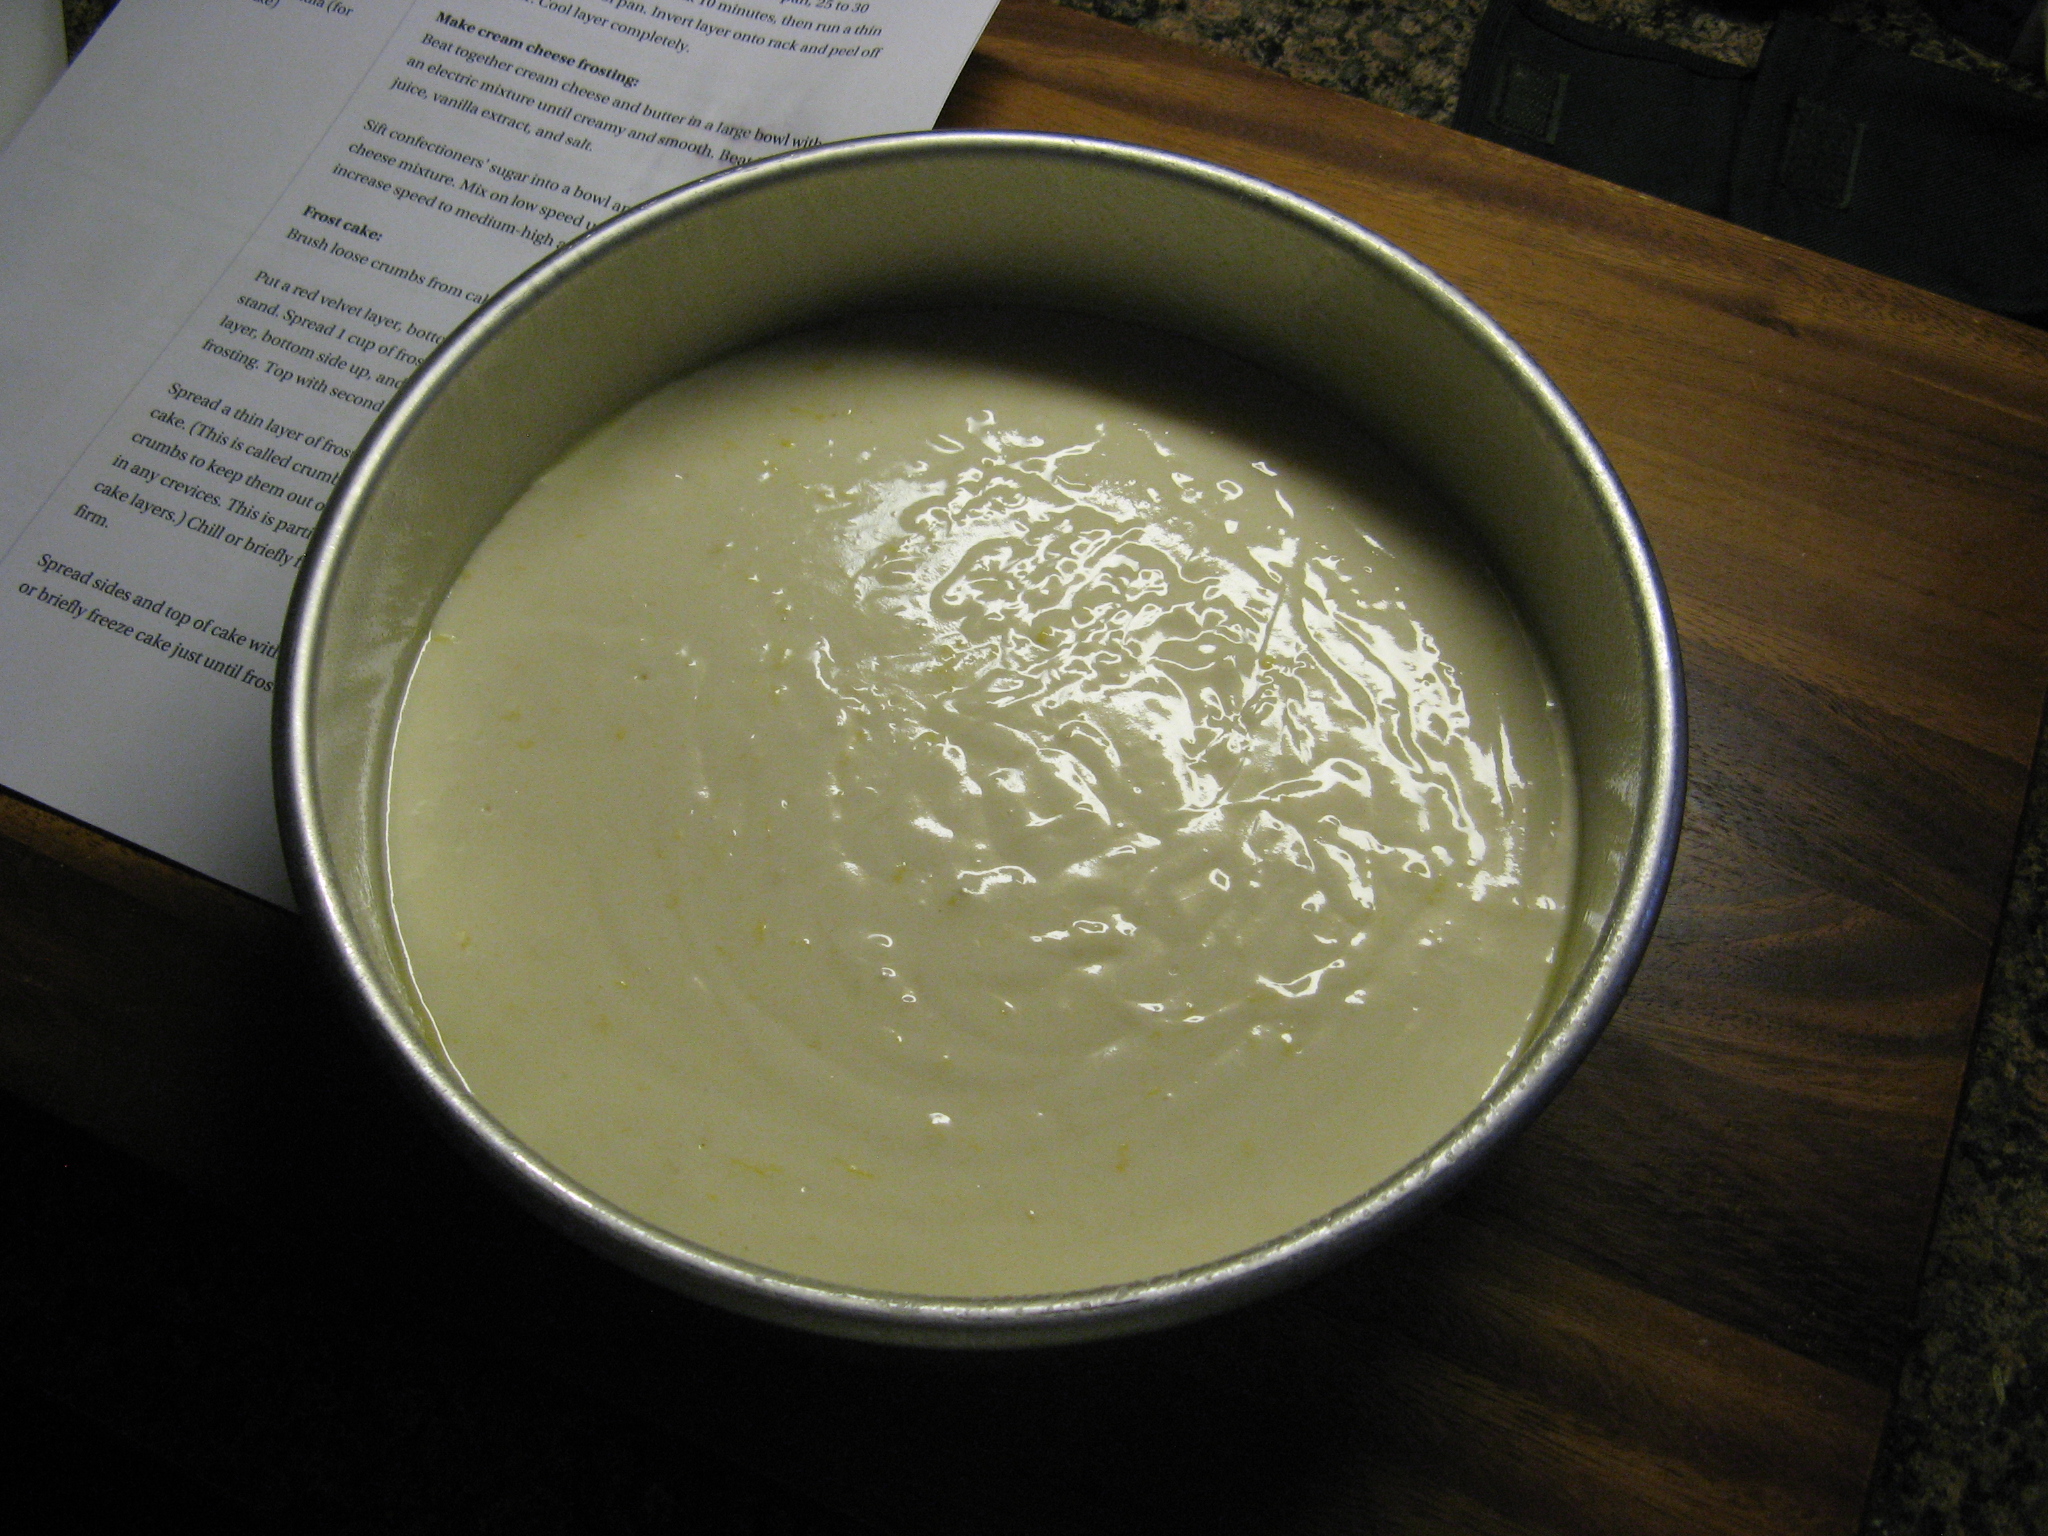
For the cream cheese frosting:
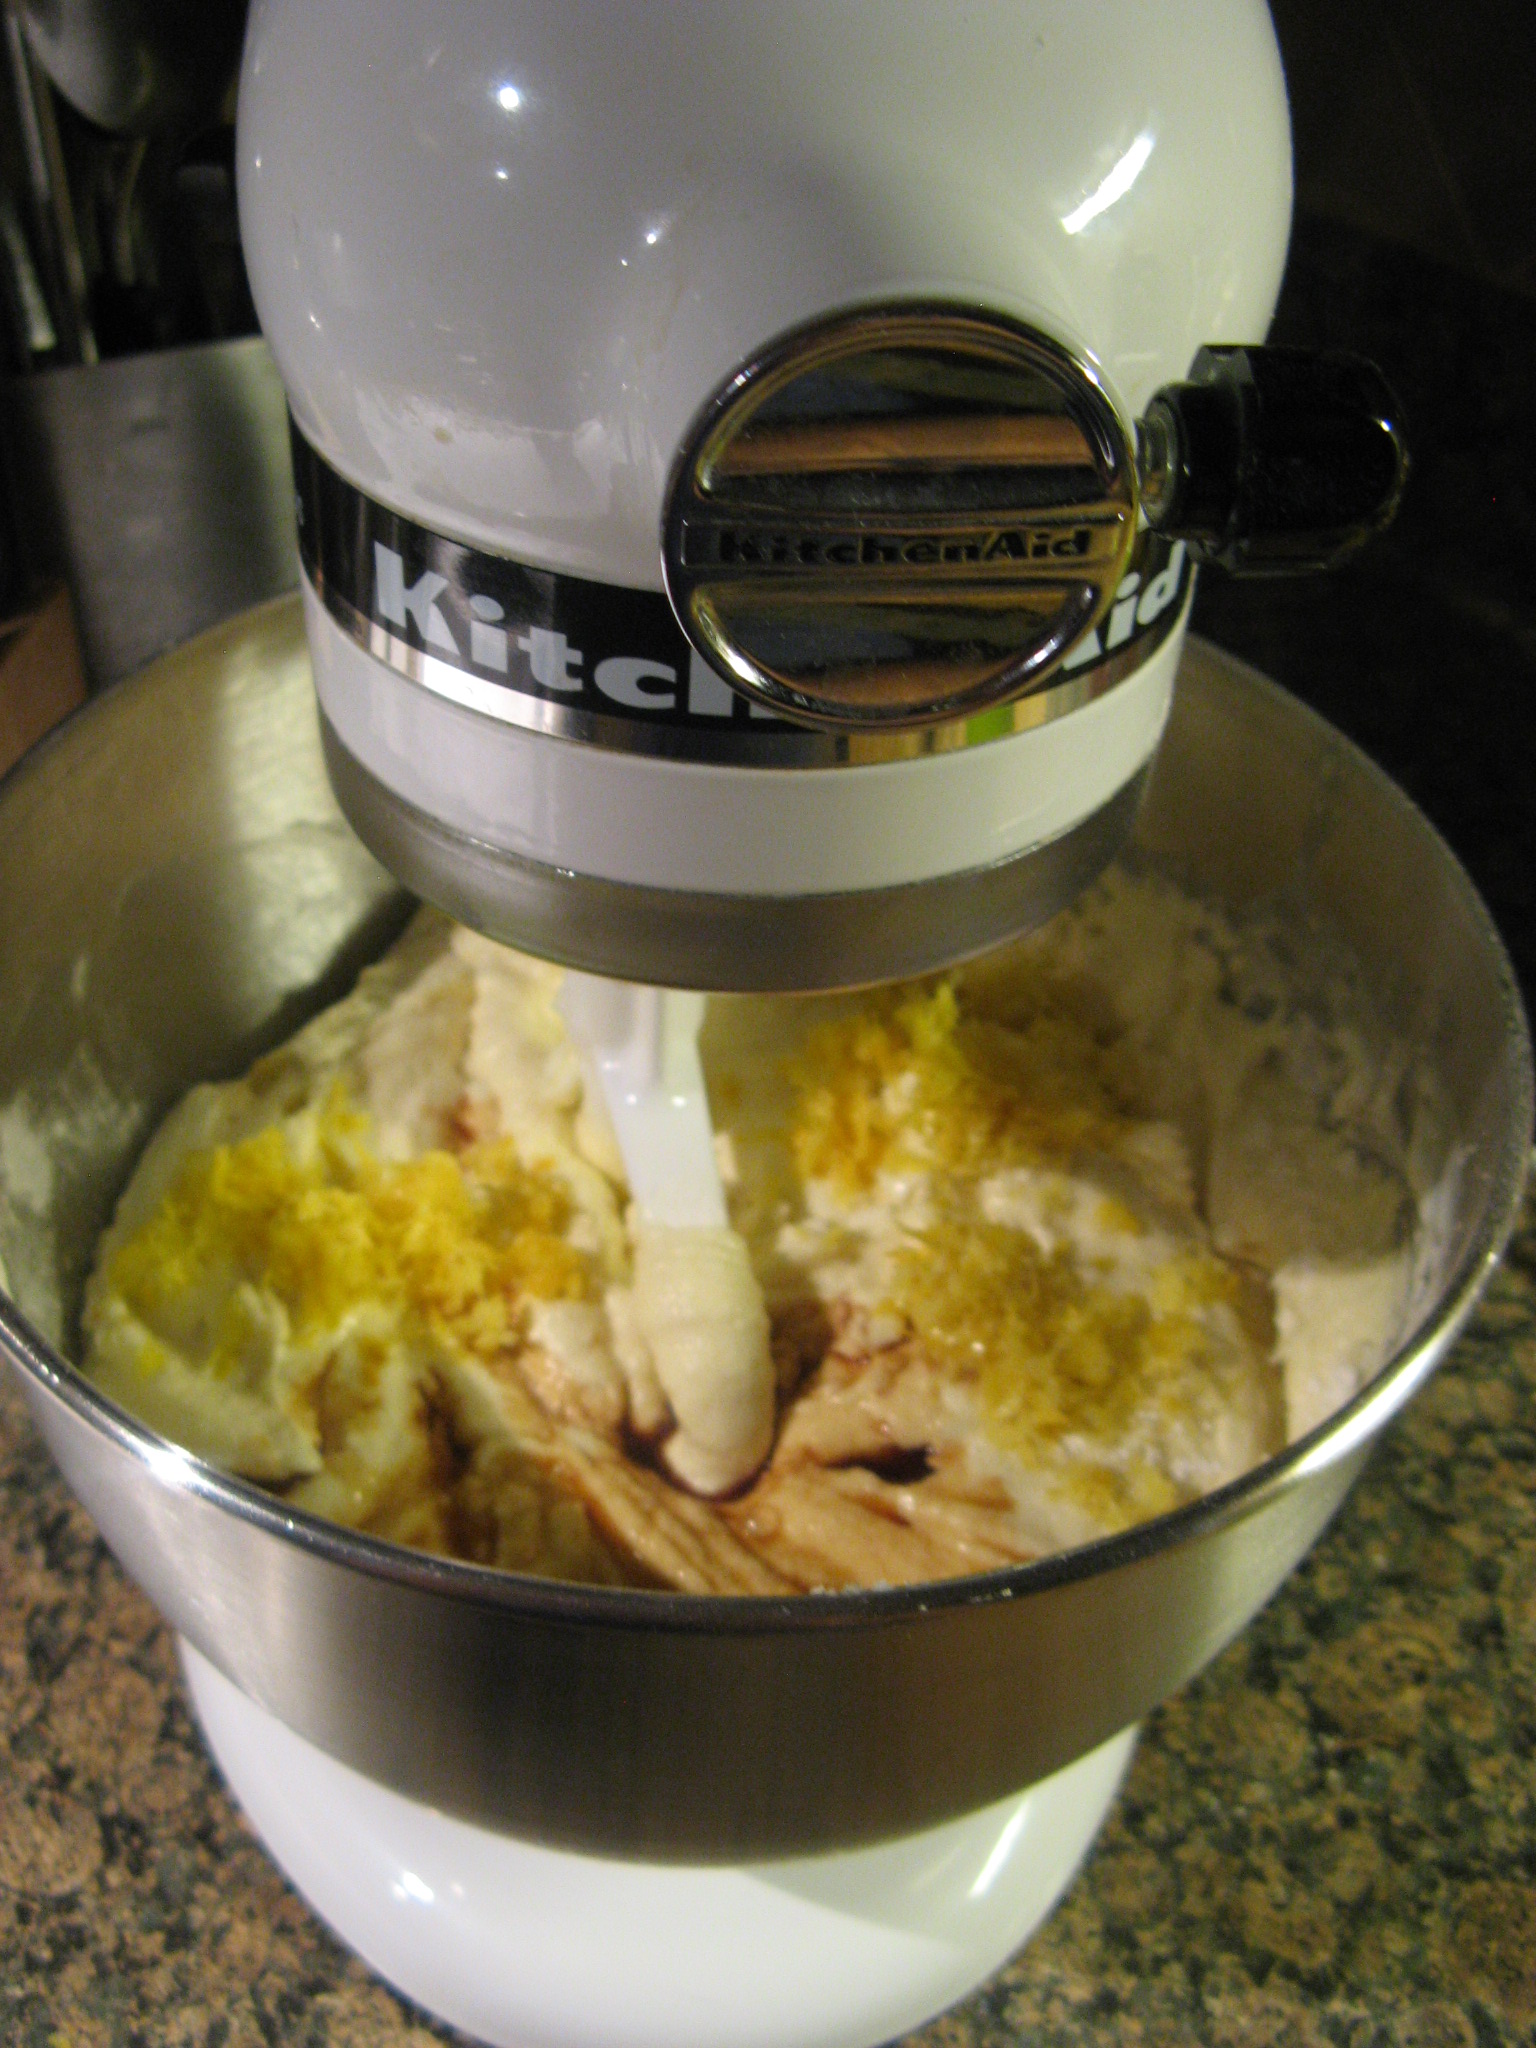
Using a hand mixer or stand mixer, cream together the cream cheese and butter on medium speed. Gradually add in the confectioners’ sugar and continue beating until well incorporated. Add in the vanilla extract and beat for another 30 seconds.
To assemble the cake:
If necessary, torte the lemon cake layers. Spread a thin layer of the cream cheese frosting over one of the layers. Transfer about a cup of the frosting to a piping bag and snip off the end and pipe a ring of frosting around the outer edge of the layer with the frosting. Fill in with the blackberry filling. Top with the other cake and spread a thin layer of frosting on the cake (crumb coat). Refrigerate for 15 minutes and then finish frosting the cake as desired.
Recipe for the Lemon Cake from Food Network