Peanut Butter & Chocolate Mousse Pie

It’s Pi Day! A day not only to celebrate the irrational number pi – 3.14 – but also a great excuse to enjoy a slice of pie or a slice from a pizza pie! Truthfully, it’s never crossed my mind to make pizza to celebrate the day. Maybe I should do that next year. For this year though I am bringing you a pie that is probably among the top 5 pies I have ever made. If you didn’t know, I am not a big pie eater. I love dessert, but I am not partial to desserts that are overly sweet or over the top (like those crazy milk shakes that were all the rage a few years ago) and unfortunately, I find a lot of pies to be extremely sweet. But this one I am bringing you today is just the right amount of sweetness and pairs two things that always go well together… peanut butter and chocolate. It’s a Peanut Butter & Chocolate Mousse Pie.

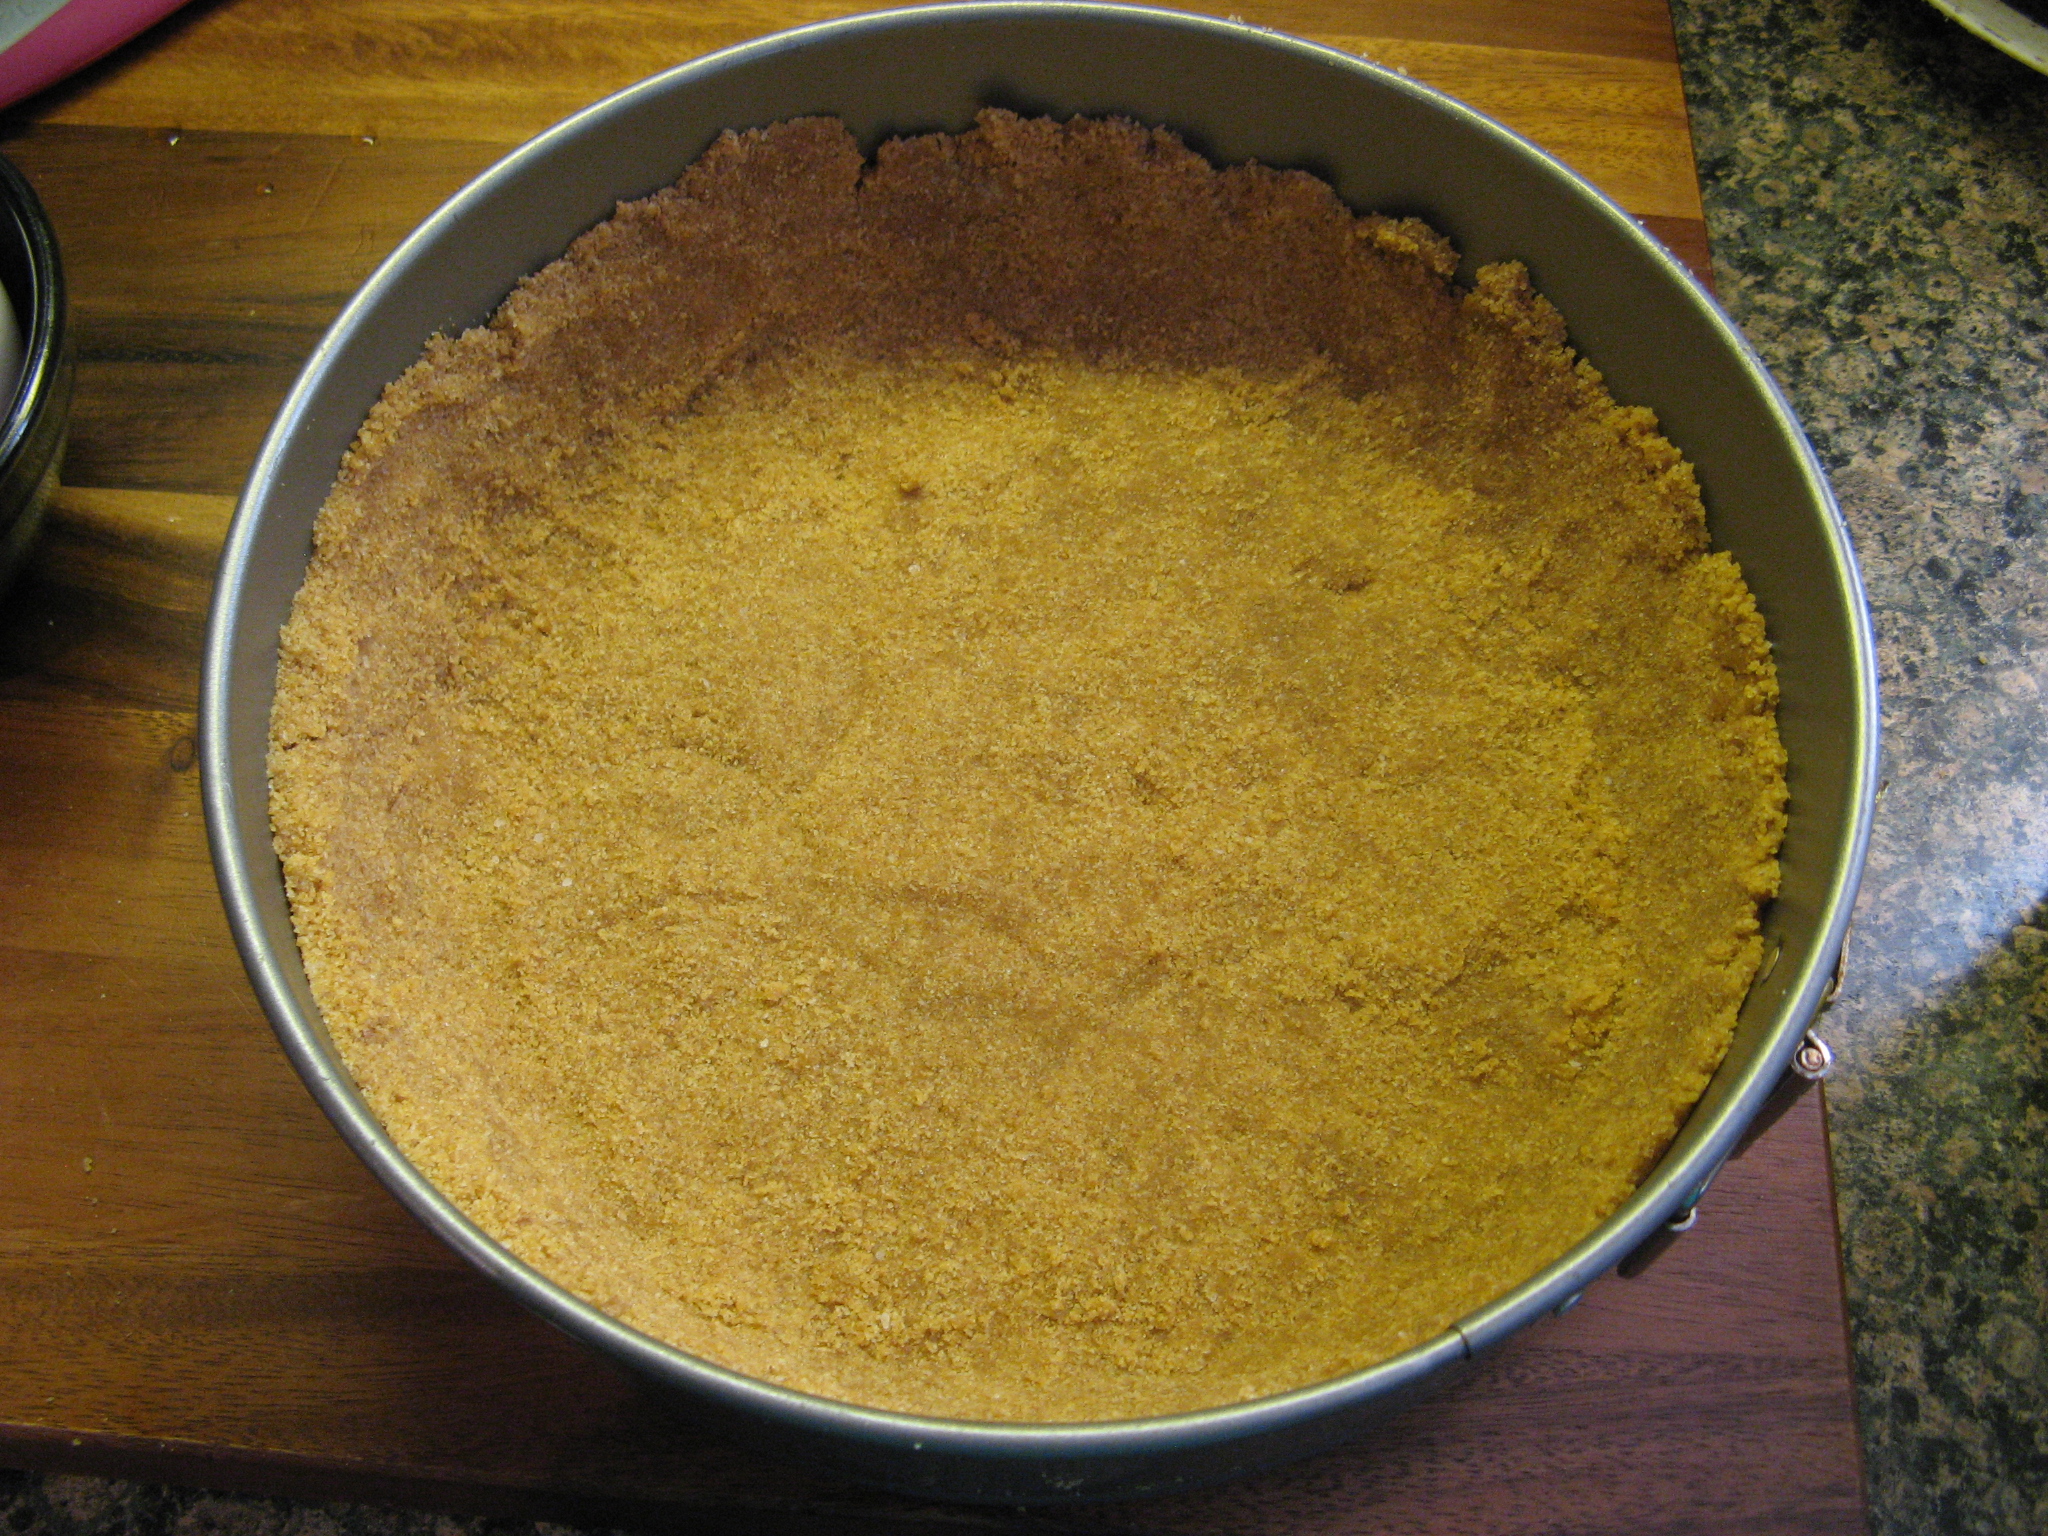
To begin I made the crust for the pie. In my food processor I pulsed 12 graham crackers into crumbs and then added in sugar and melted butter and pulsed everything together a few more times. I then transferred the mixture to a 9-inch springform pan and pressed it into the bottom and up the sides of the pan. I used the bottom of a glass to get the crumbs spread out evenly and the sides of the glass to press them evenly along the sides. I placed the pan on a baking sheet and then baked the crust in a 350 F preheated oven for 10 minutes. I then let it cool on a wire rack while I worked on the chocolate mousse.

To make the chocolate mousse I combined semi-sweet & bittersweet chocolate chips along with vanilla extract, a pinch of salt and instant espresso coffee in a small bowl. I boiled heavy whipping cream in a small saucepan and then poured it over the chocolate chip mixture and stirred everything together to melt the chocolate chips. I continued stirring until the mixture was smooth and then let it cool to room temperature stirring it occasionally, about 10 to 15 minutes. In a medium bowl I whipped additional heavy whipping cream along with confectioners’ sugar until it was stiff.

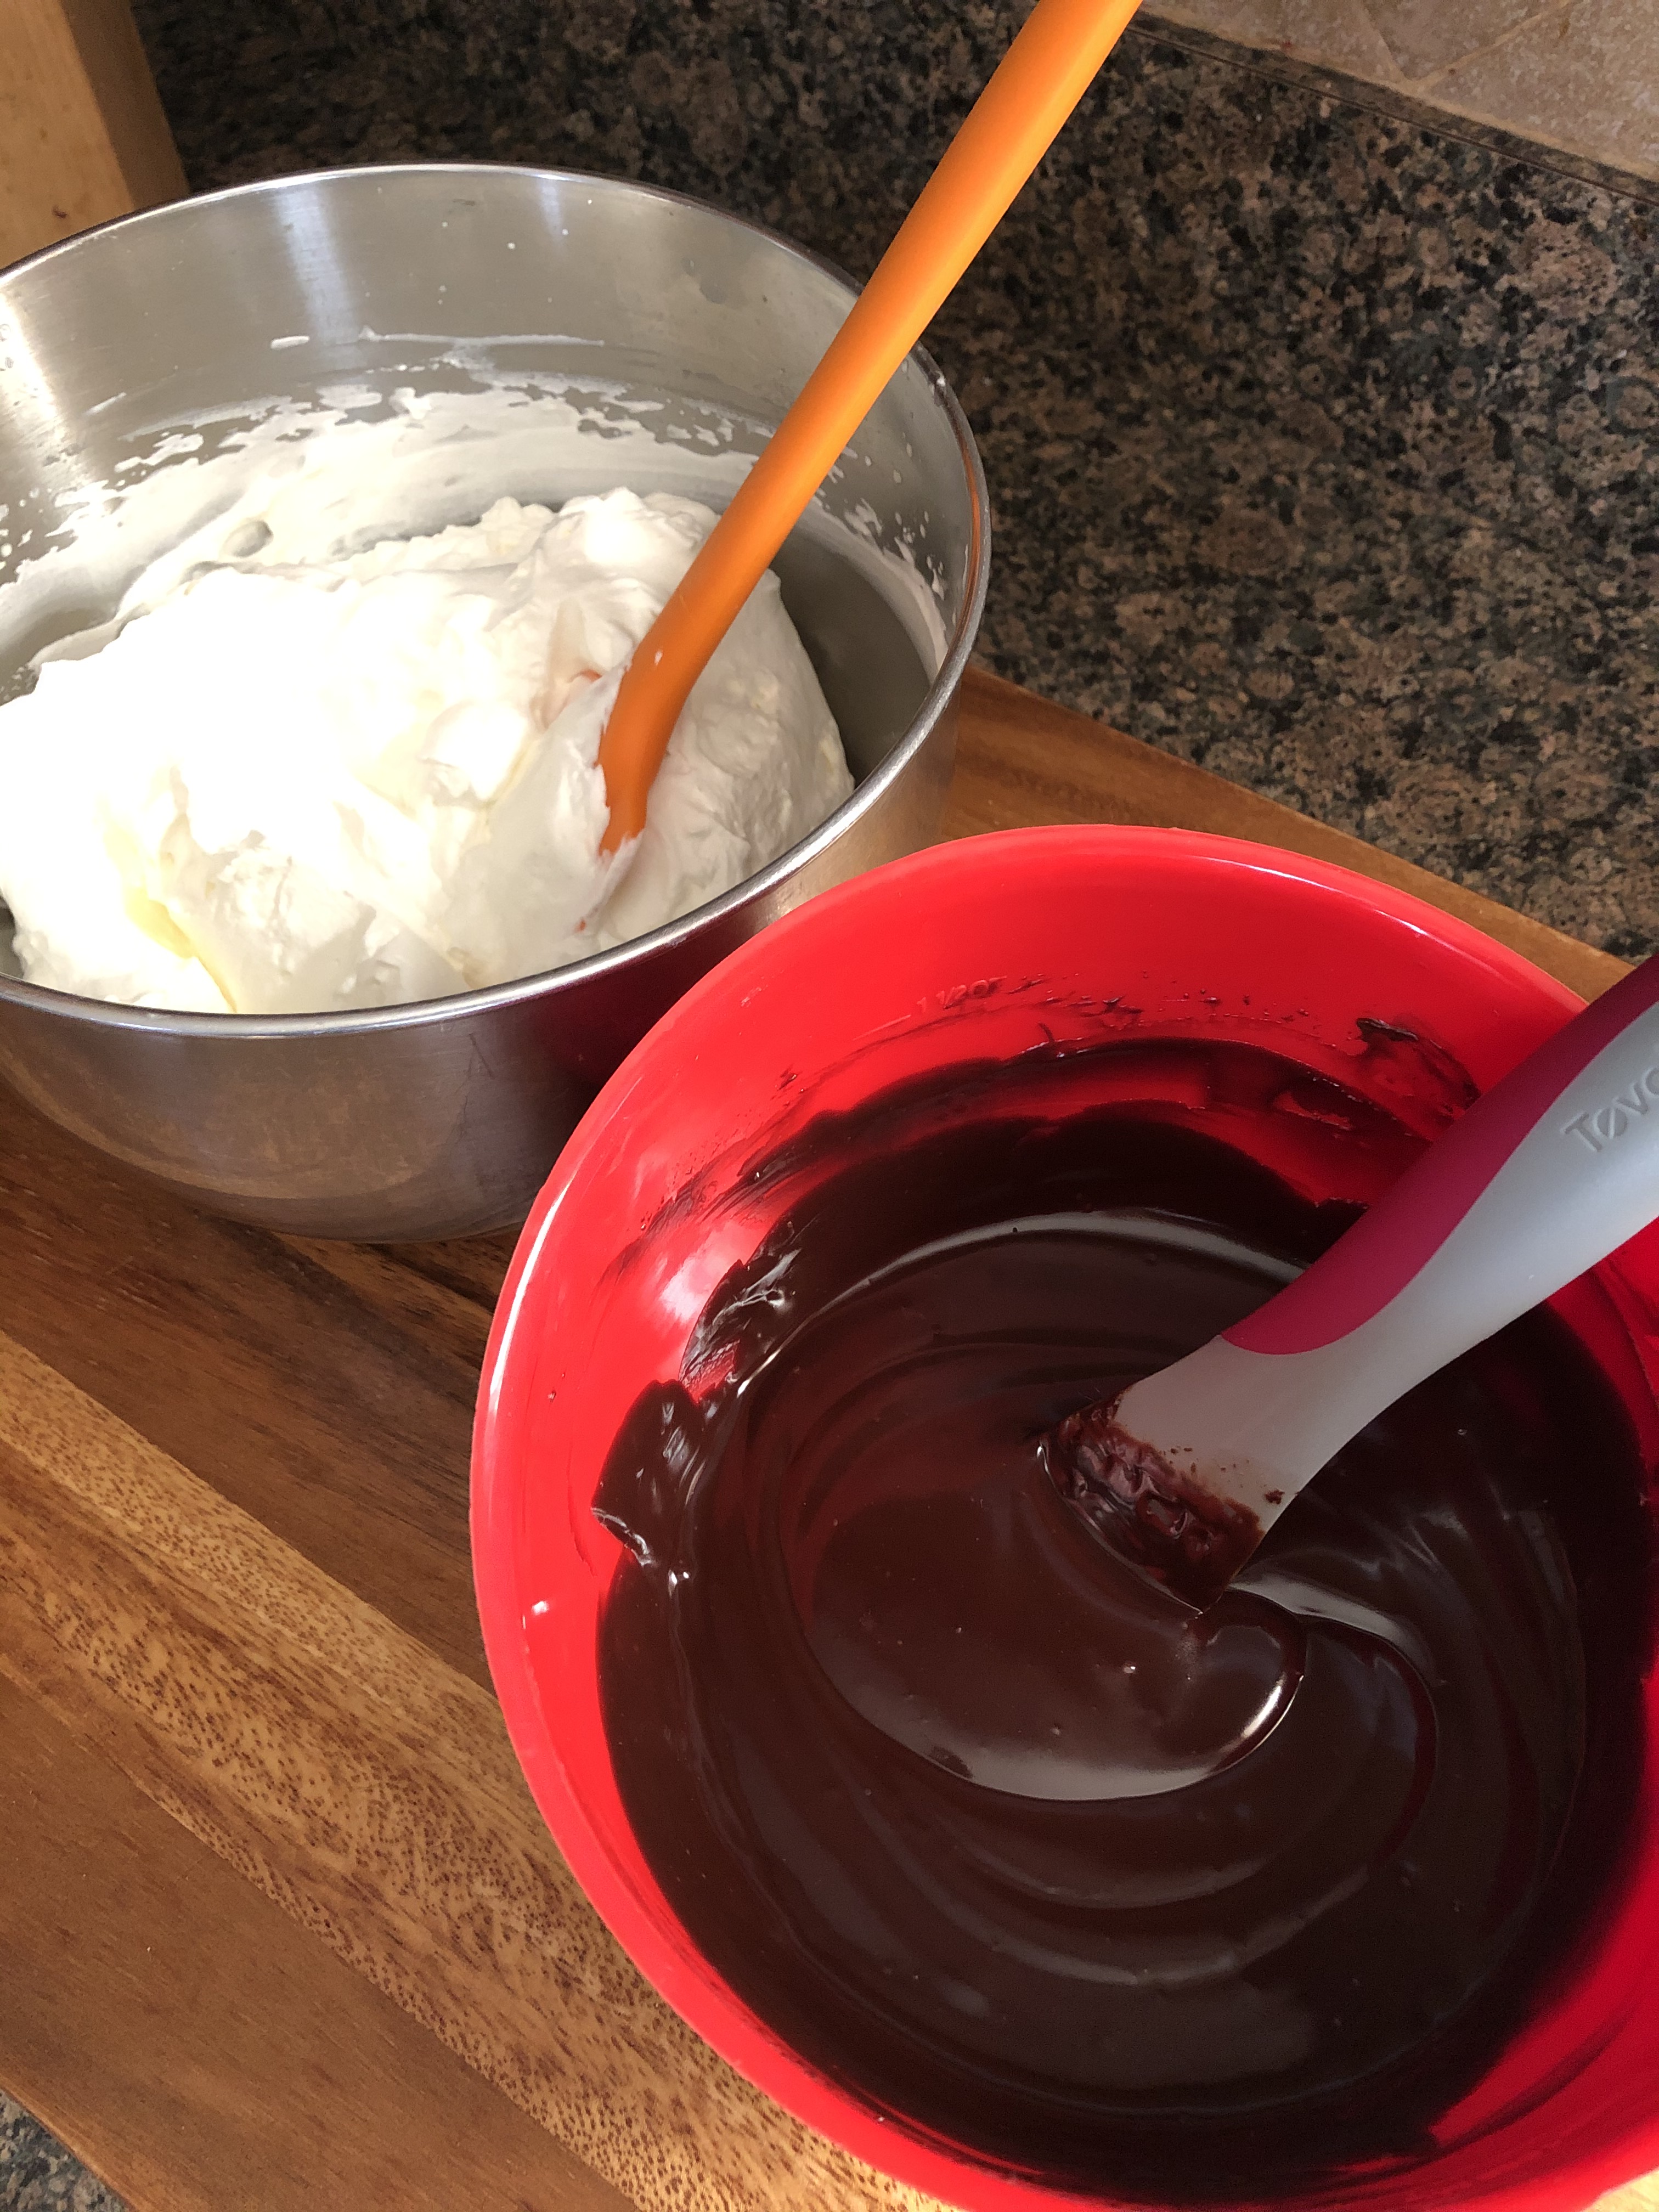
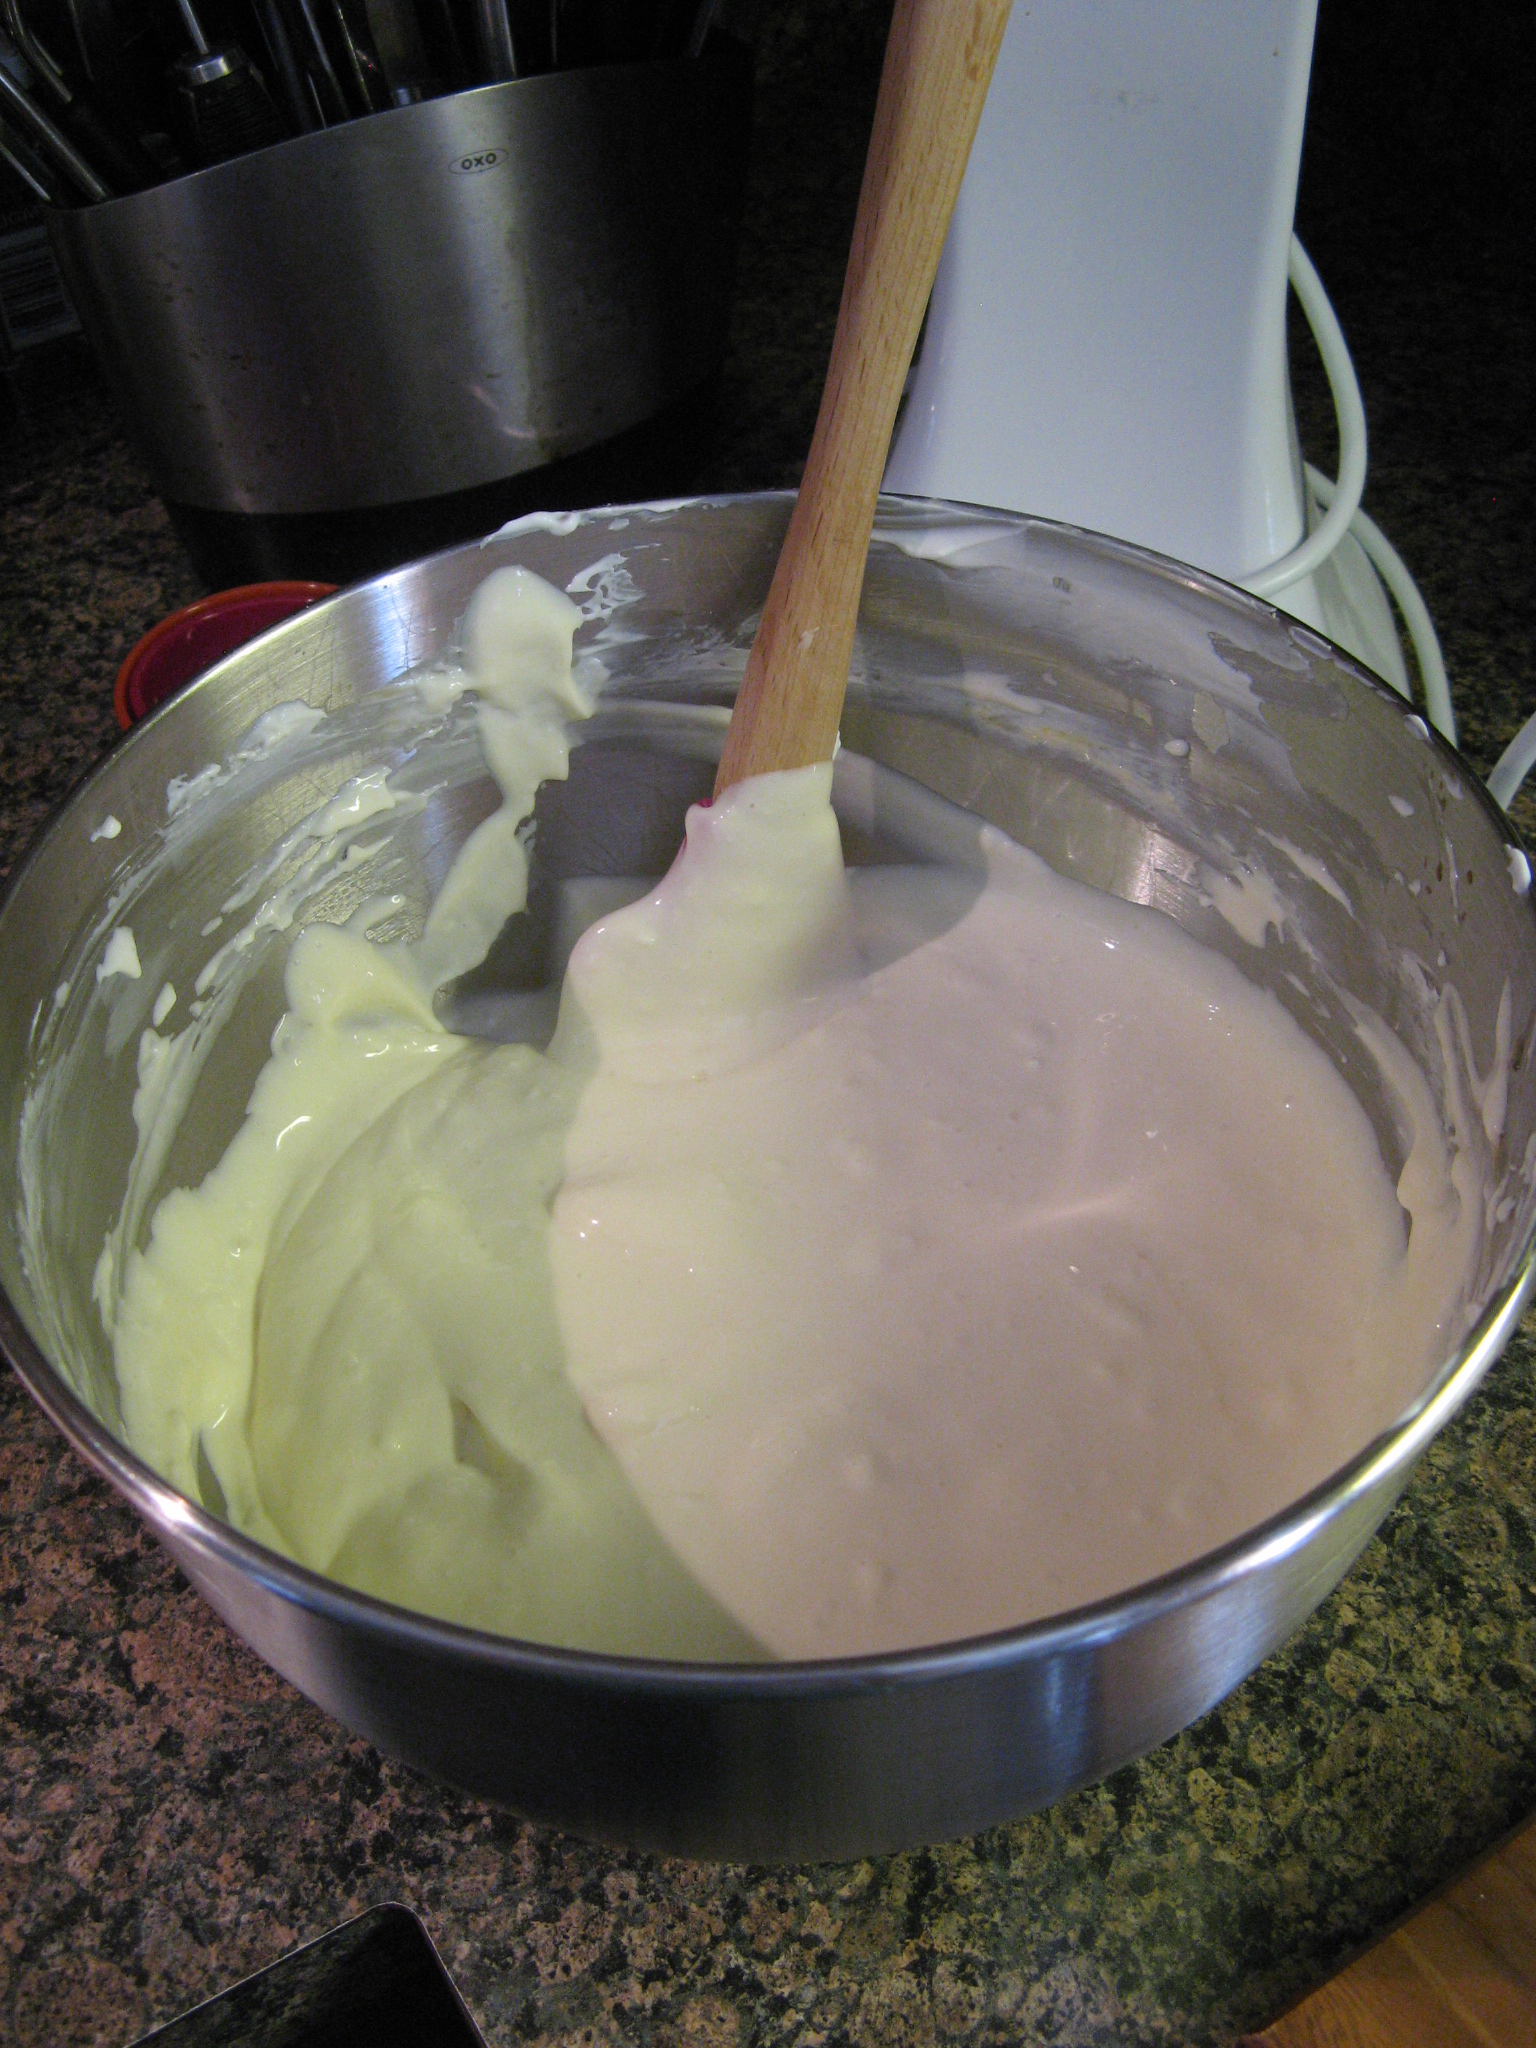
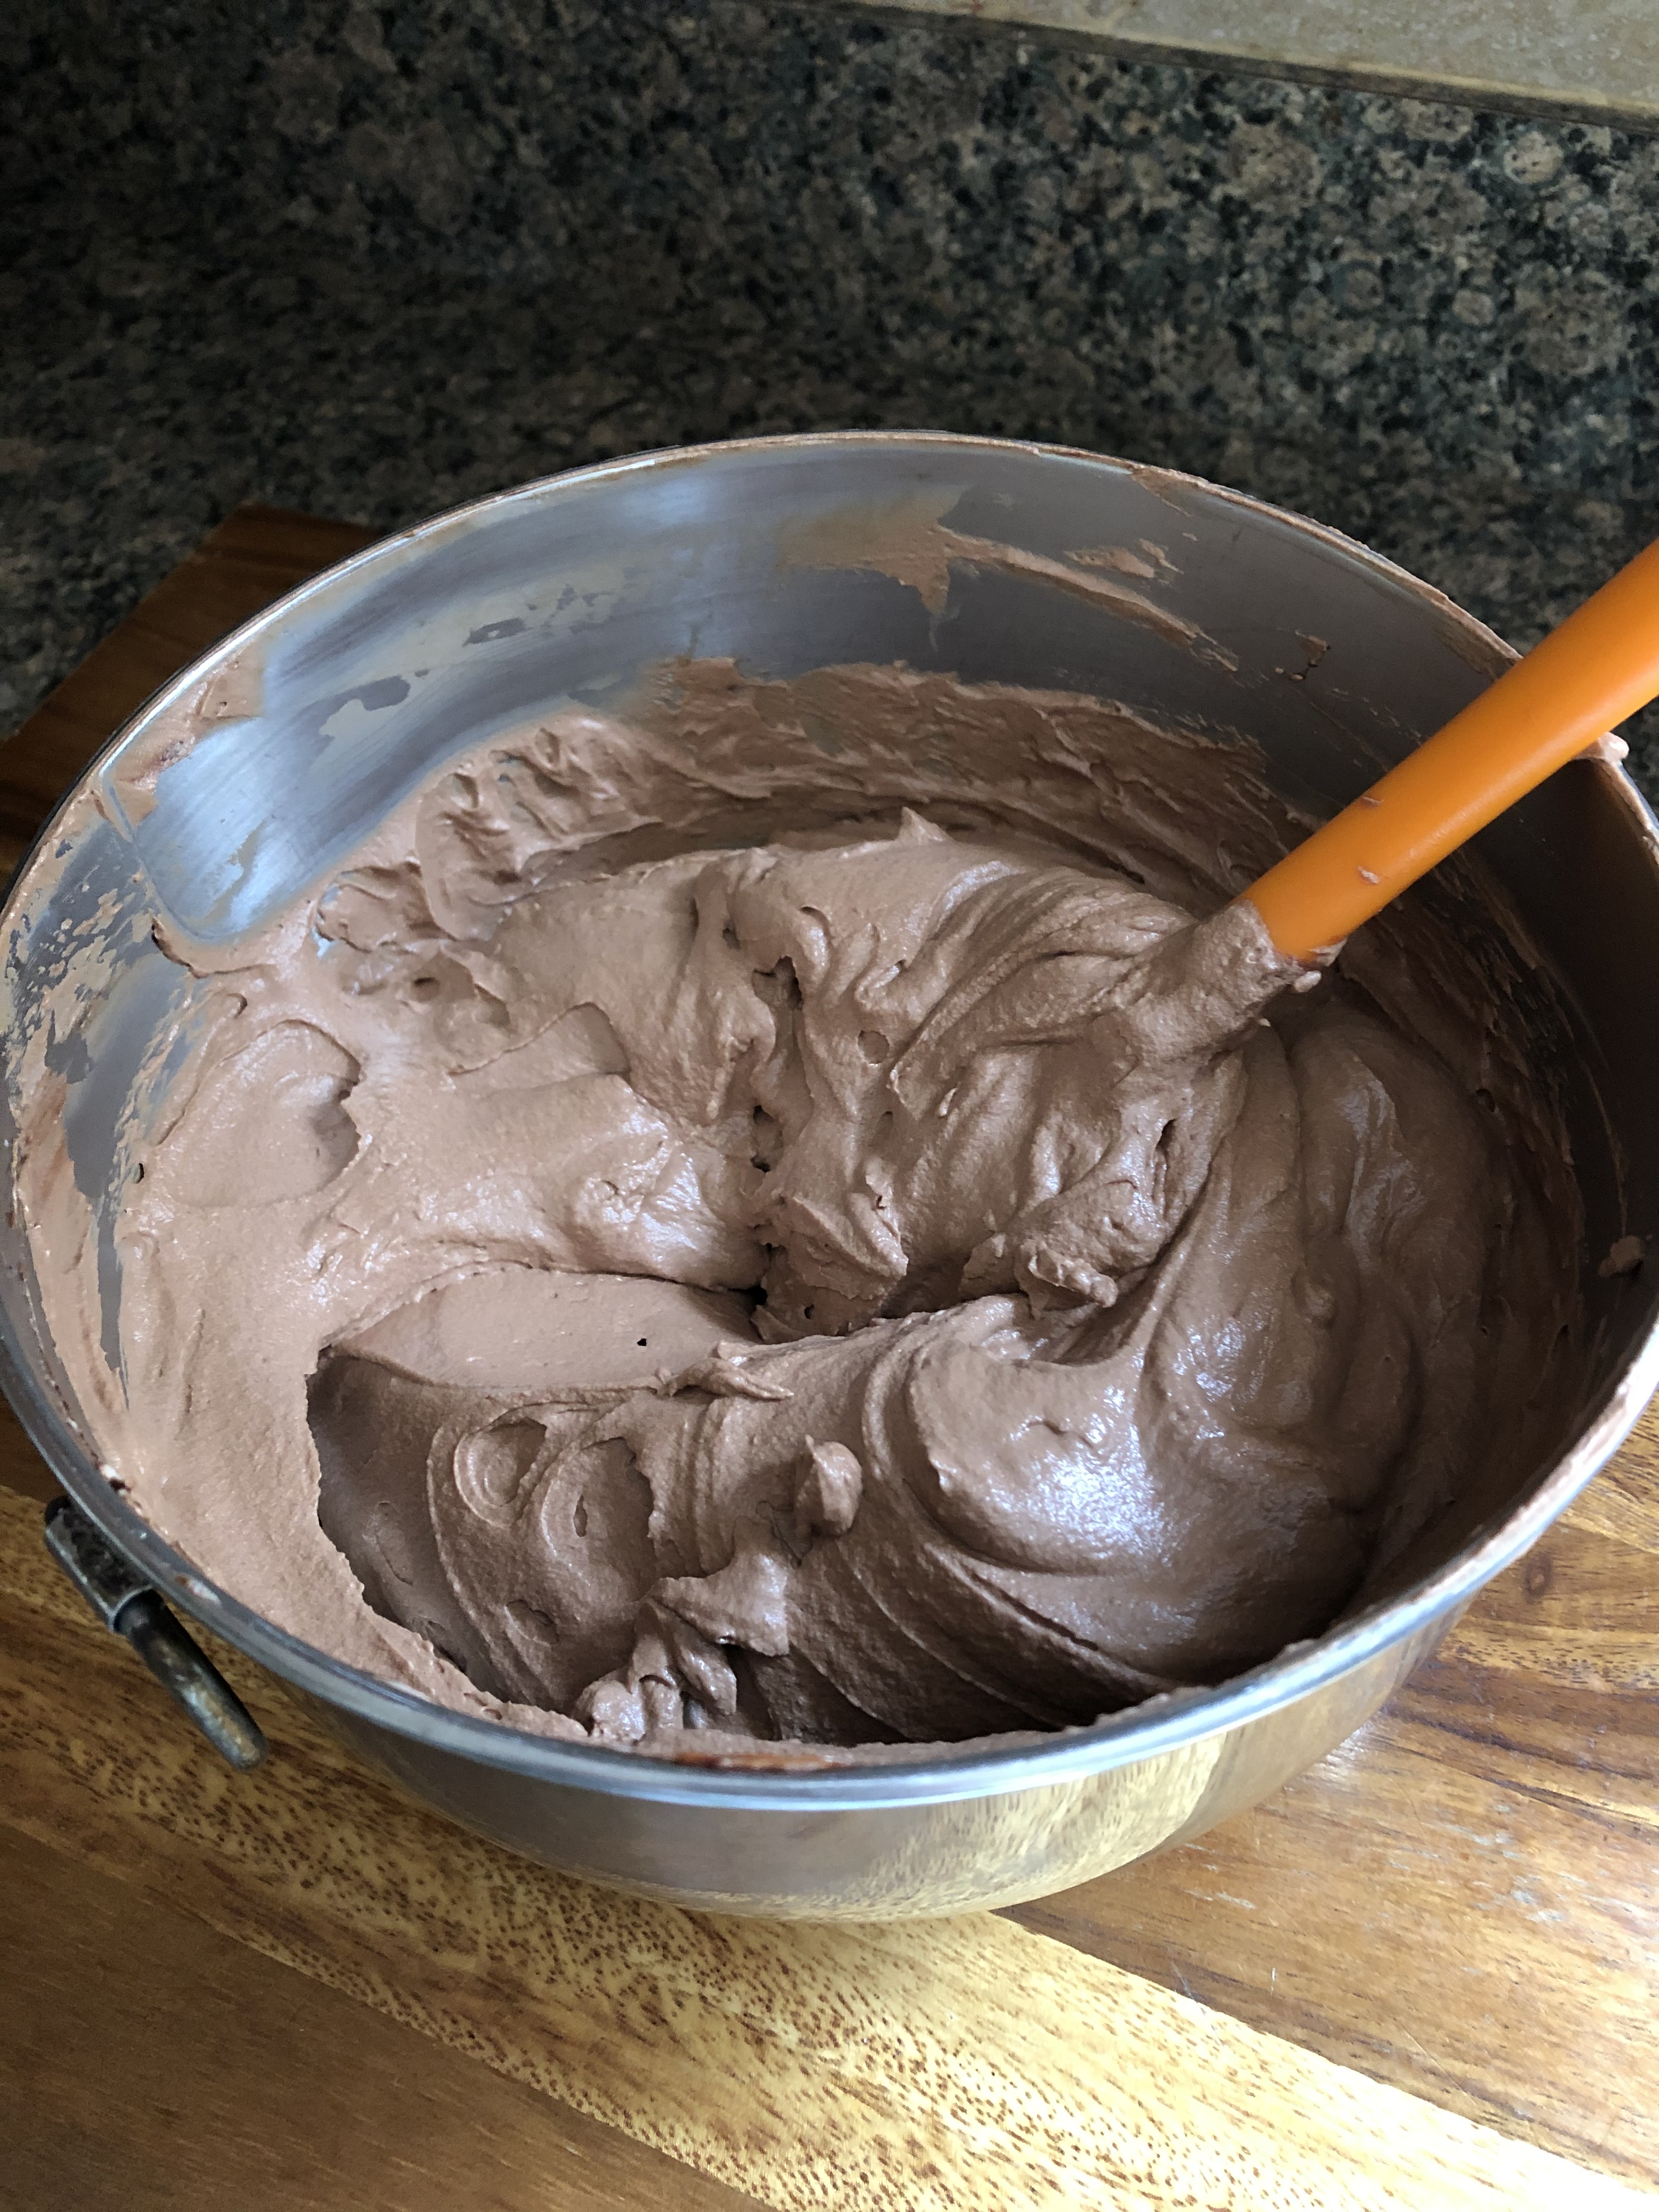
I then gently folded the cooled melted chocolate into the heavy whipped cream. I continued folding the two together until they were well incorporated and no streaks of either the whipped cream or melted chocolate remained. I made sure to scrape the bottom of the bowl as I folded.

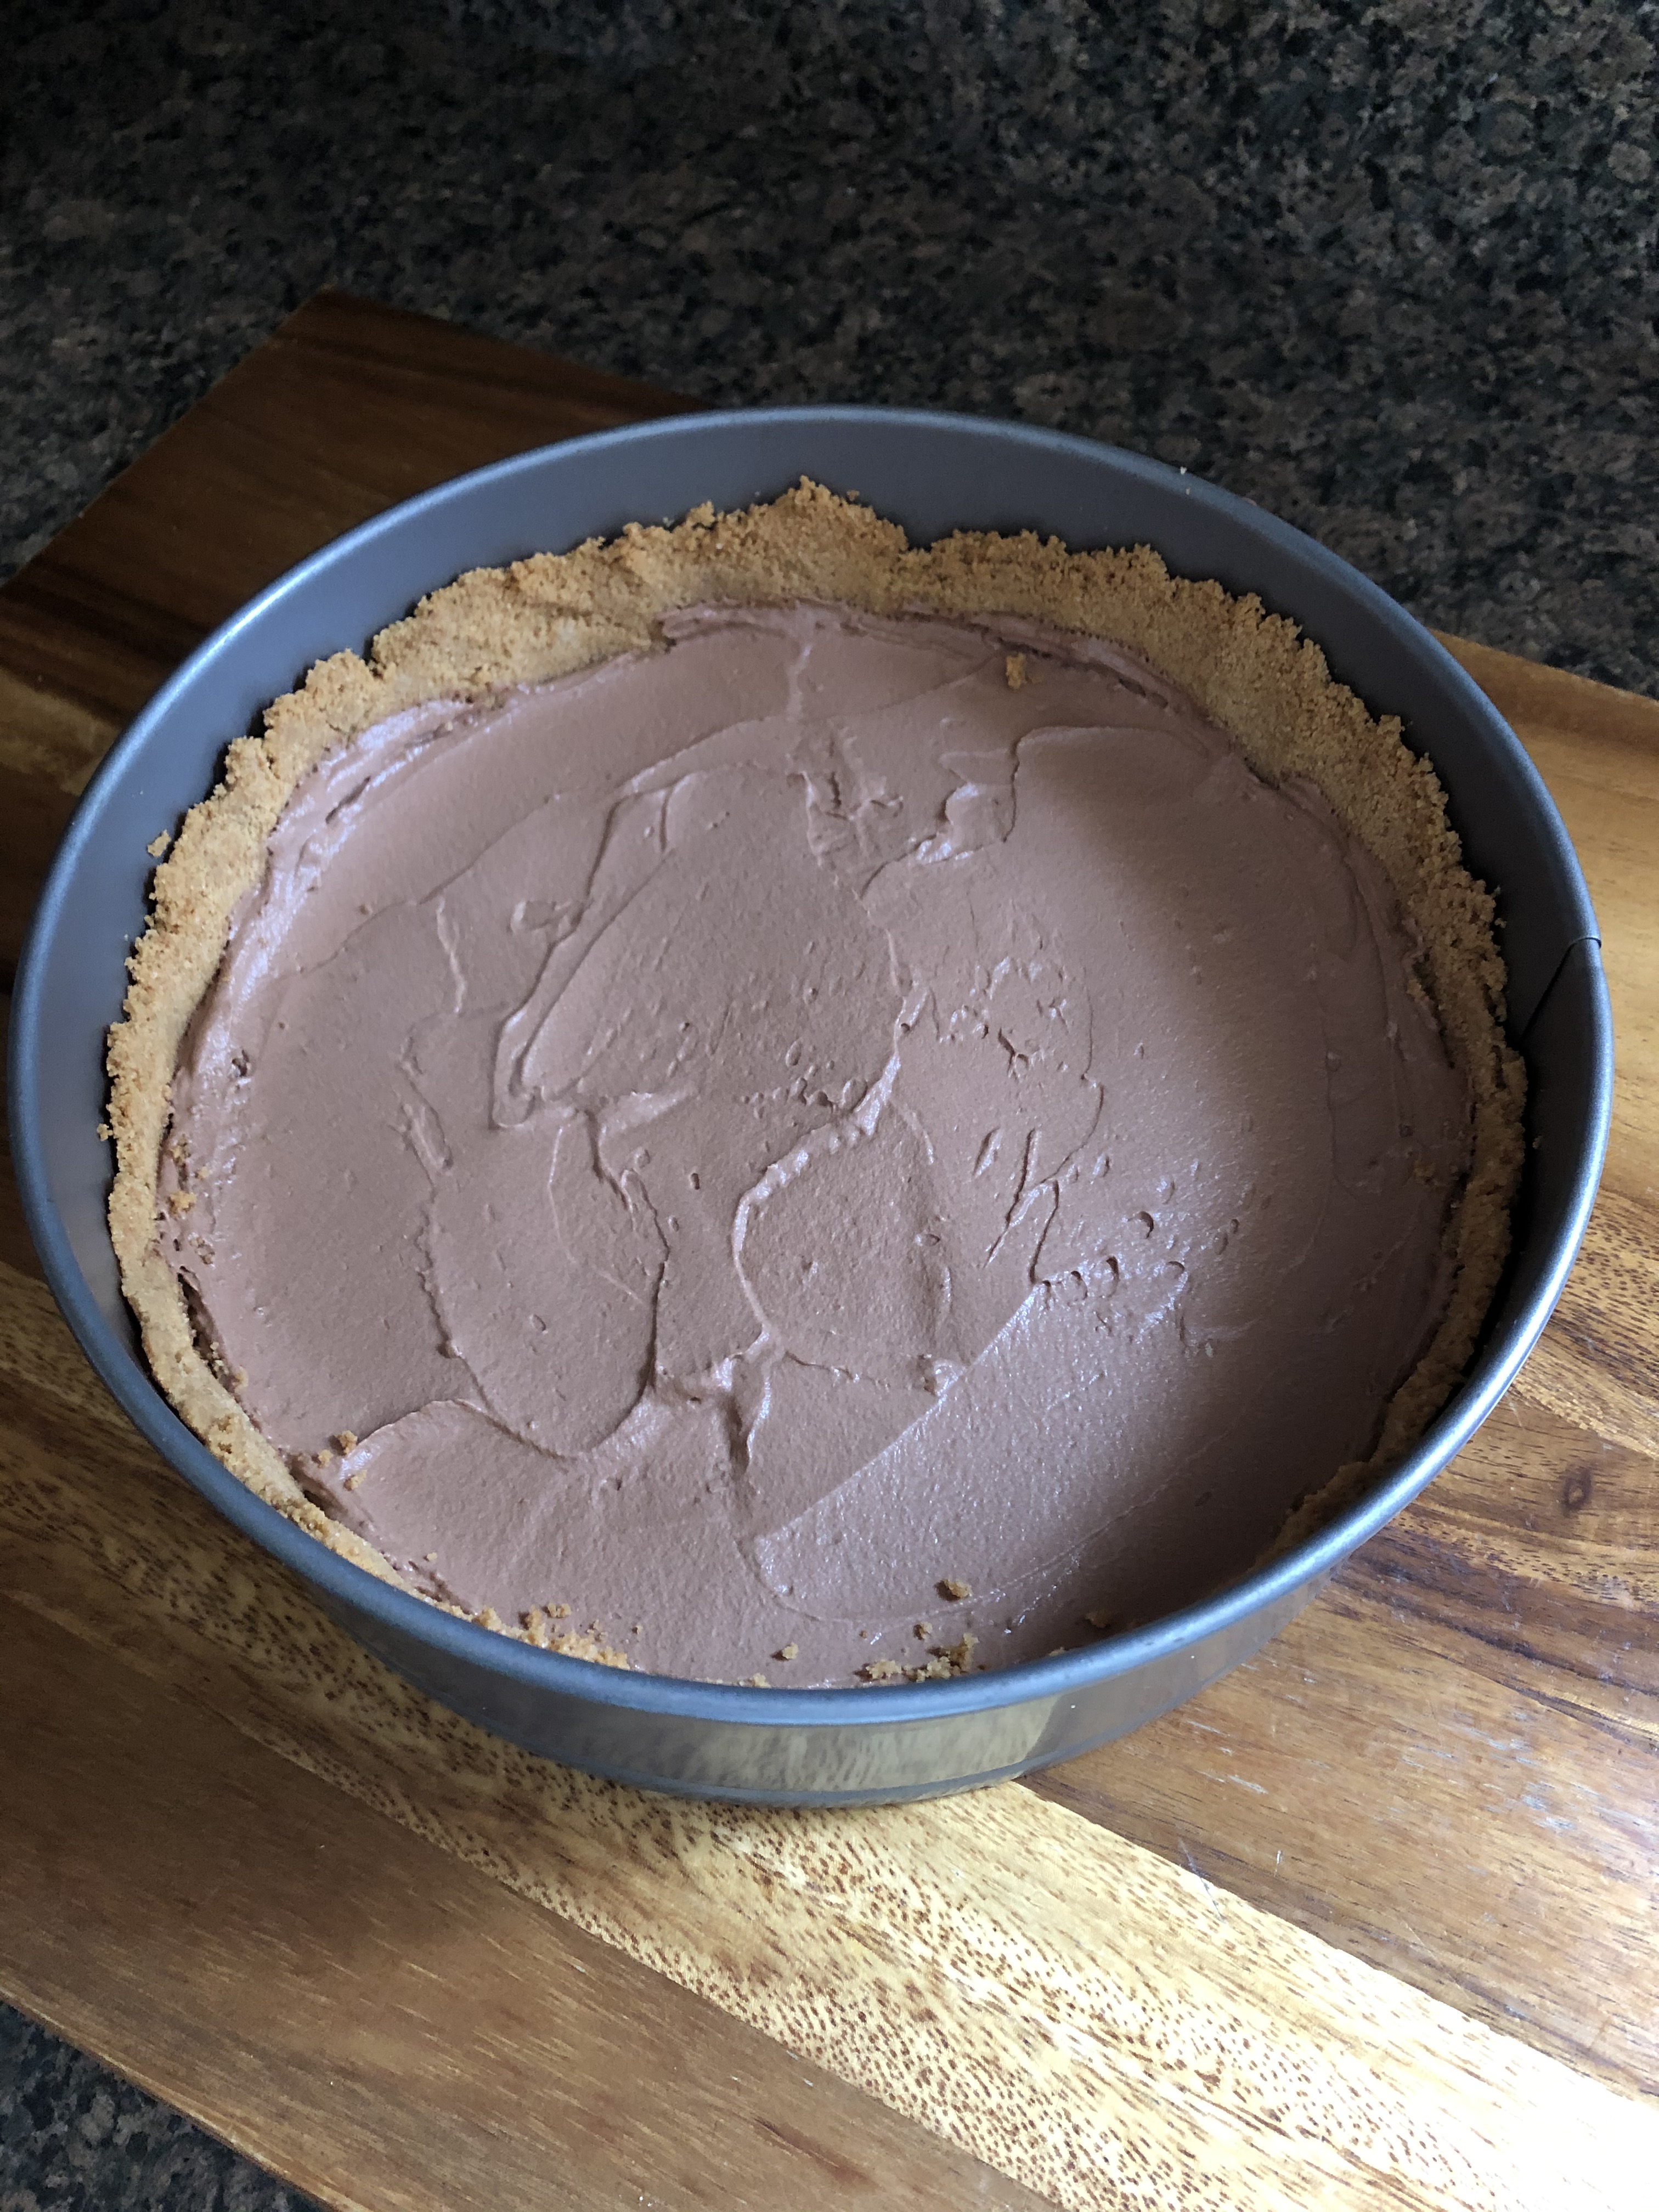
I then spread the chocolate mousse into the cooled graham cracker crust and refrigerated it while I made the peanut butter mousse.

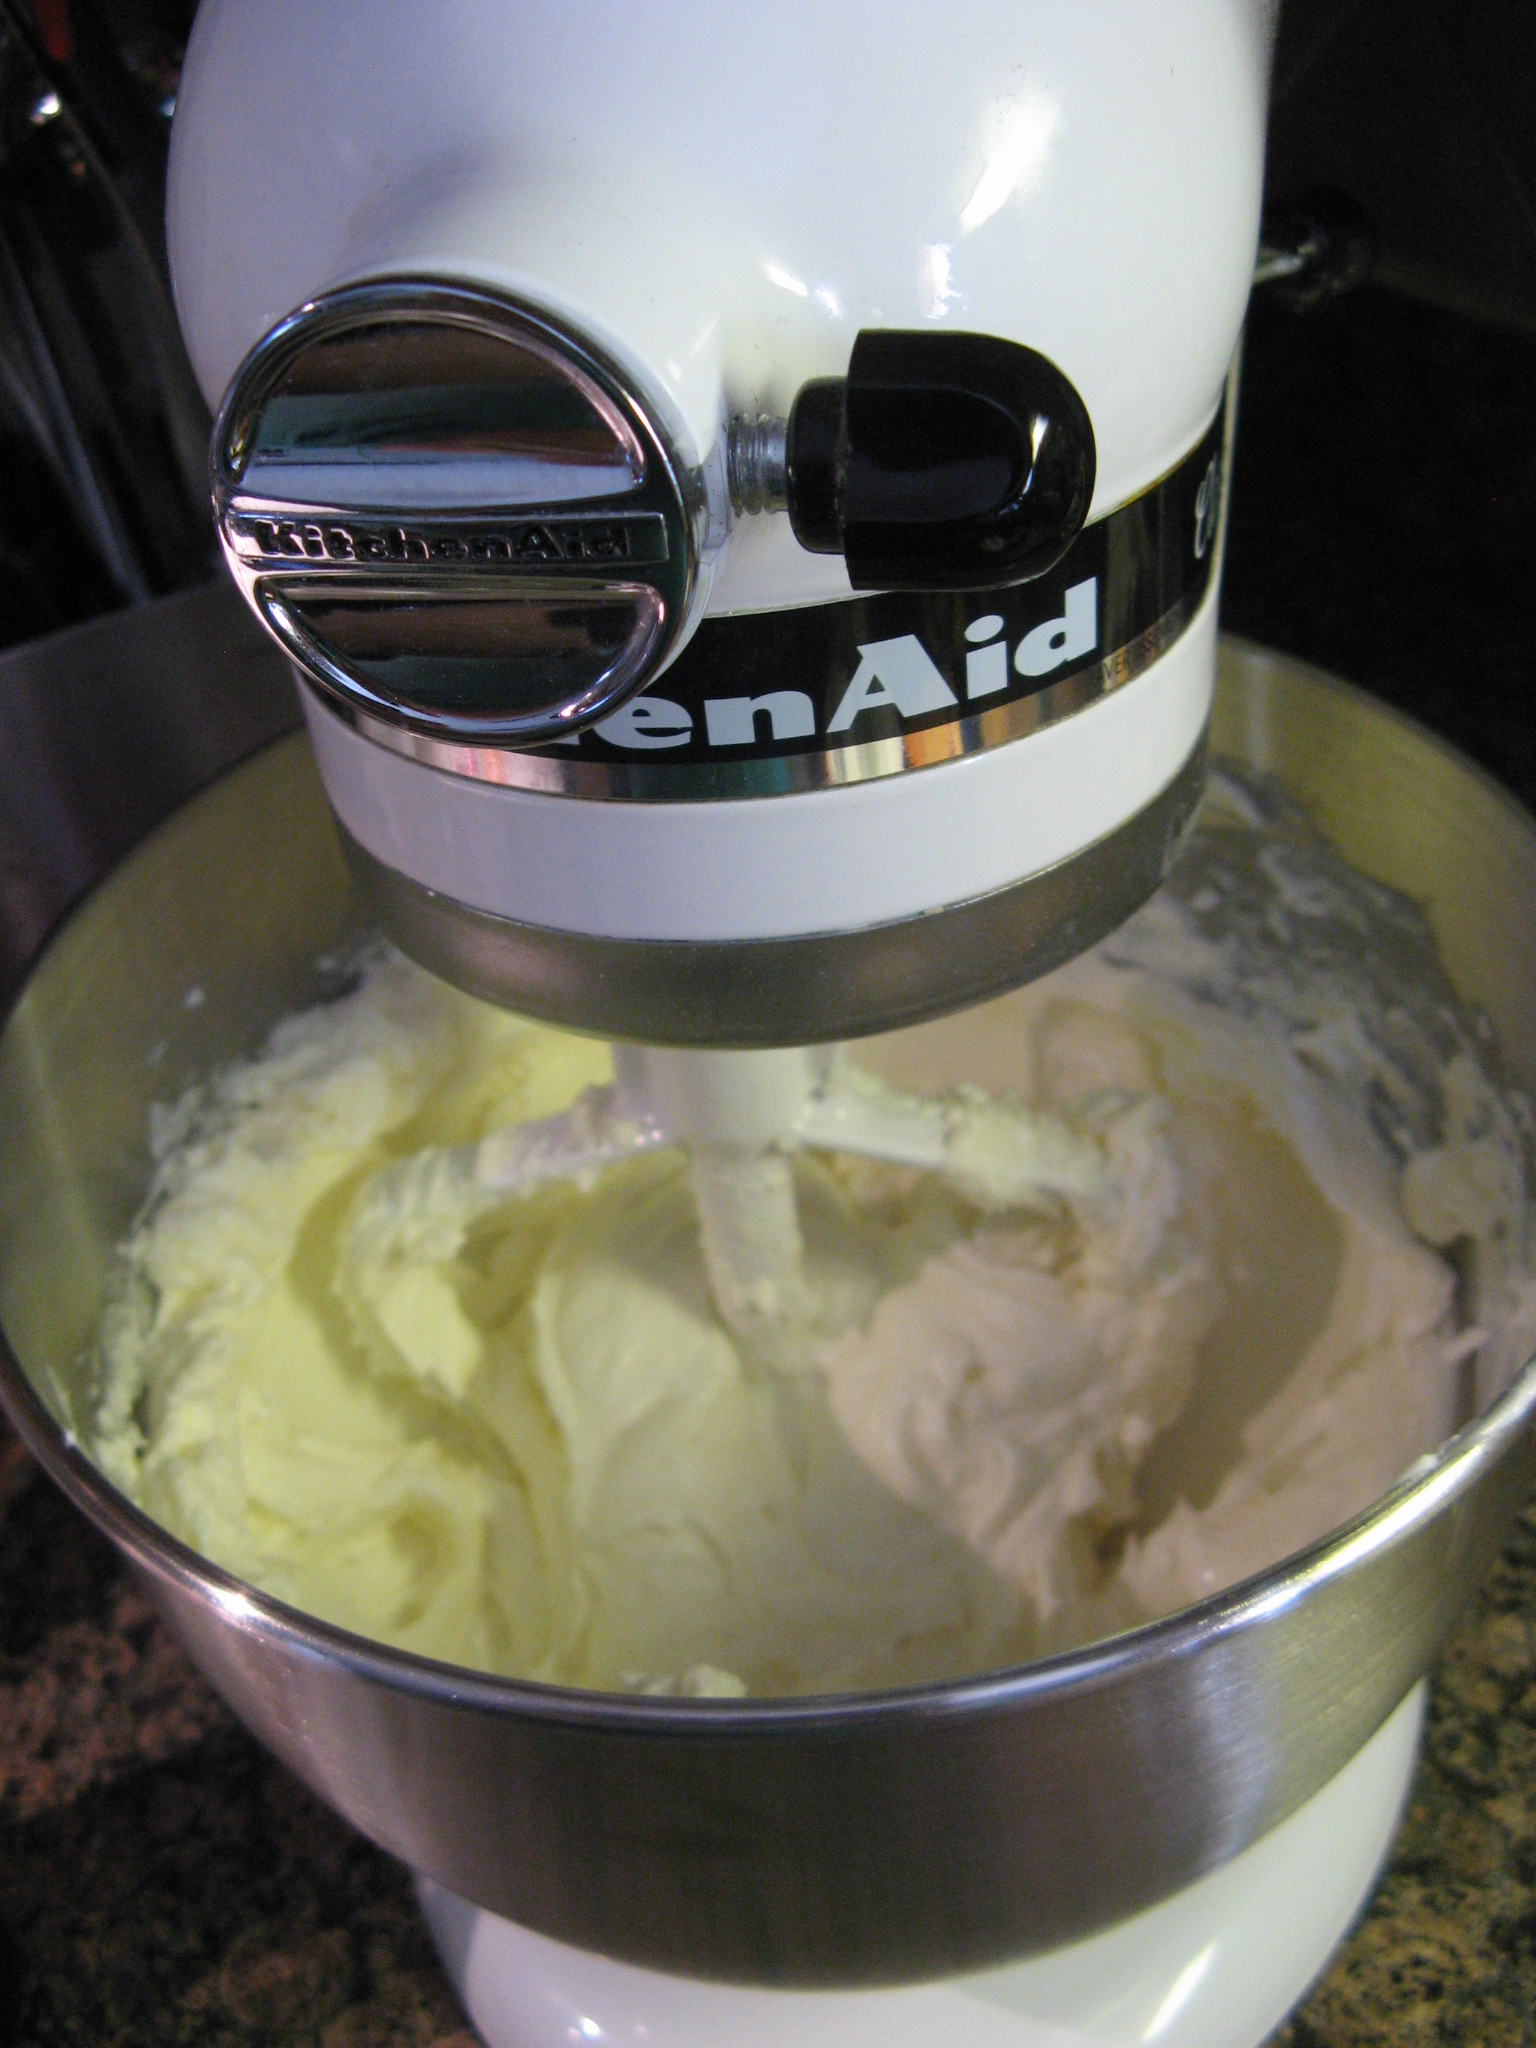
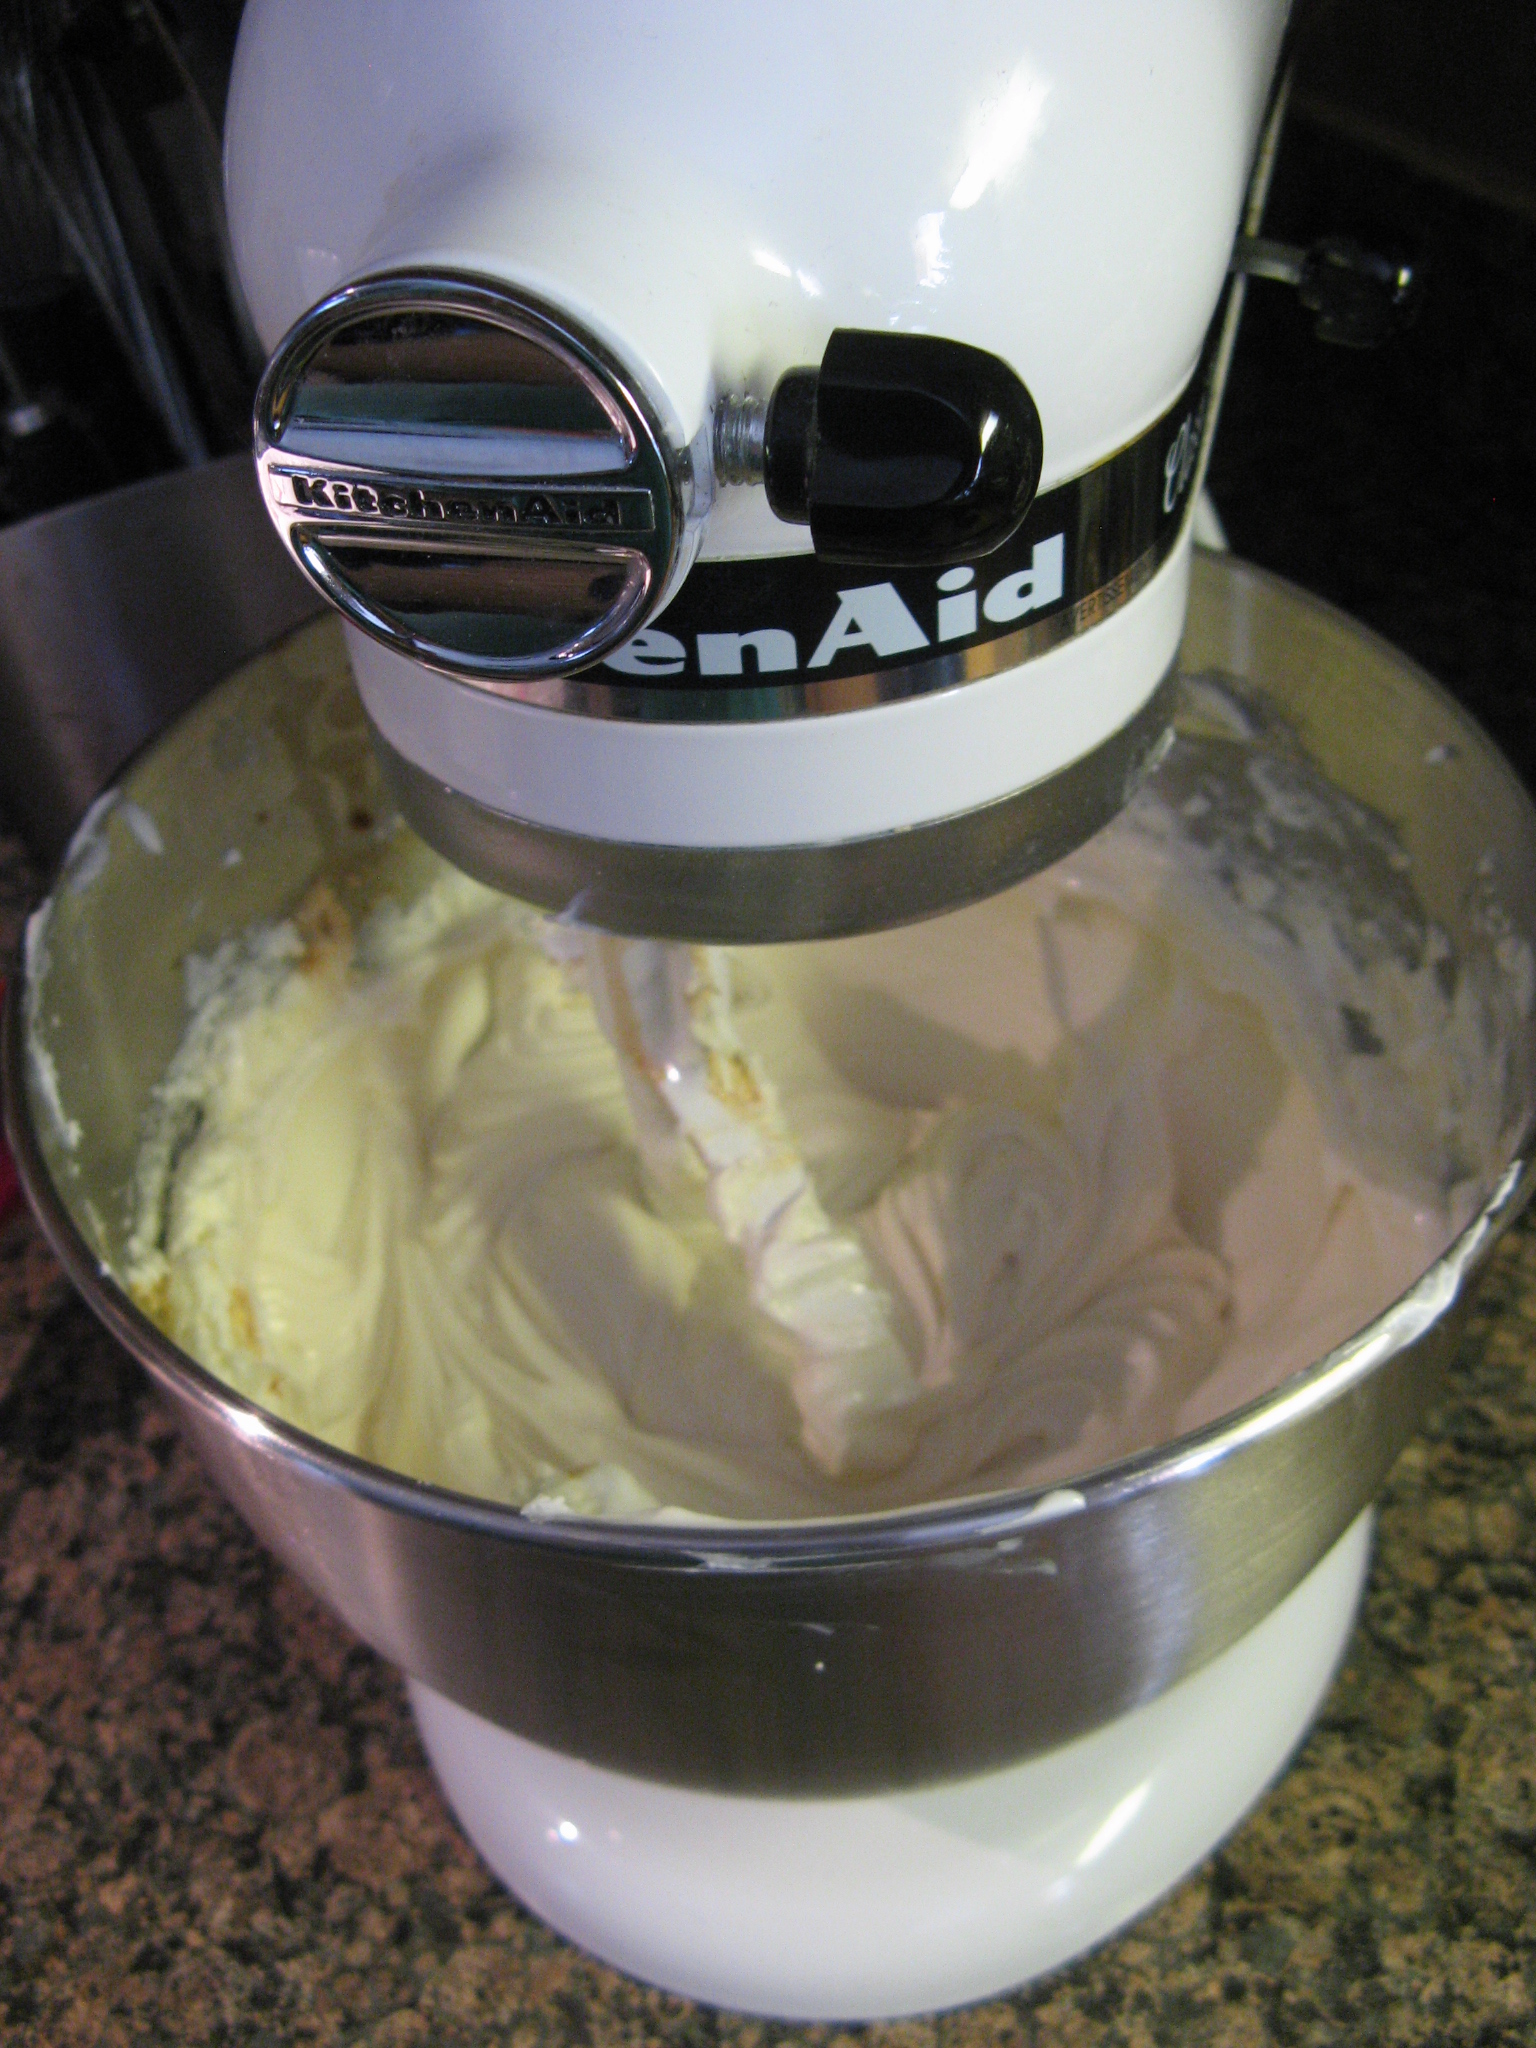
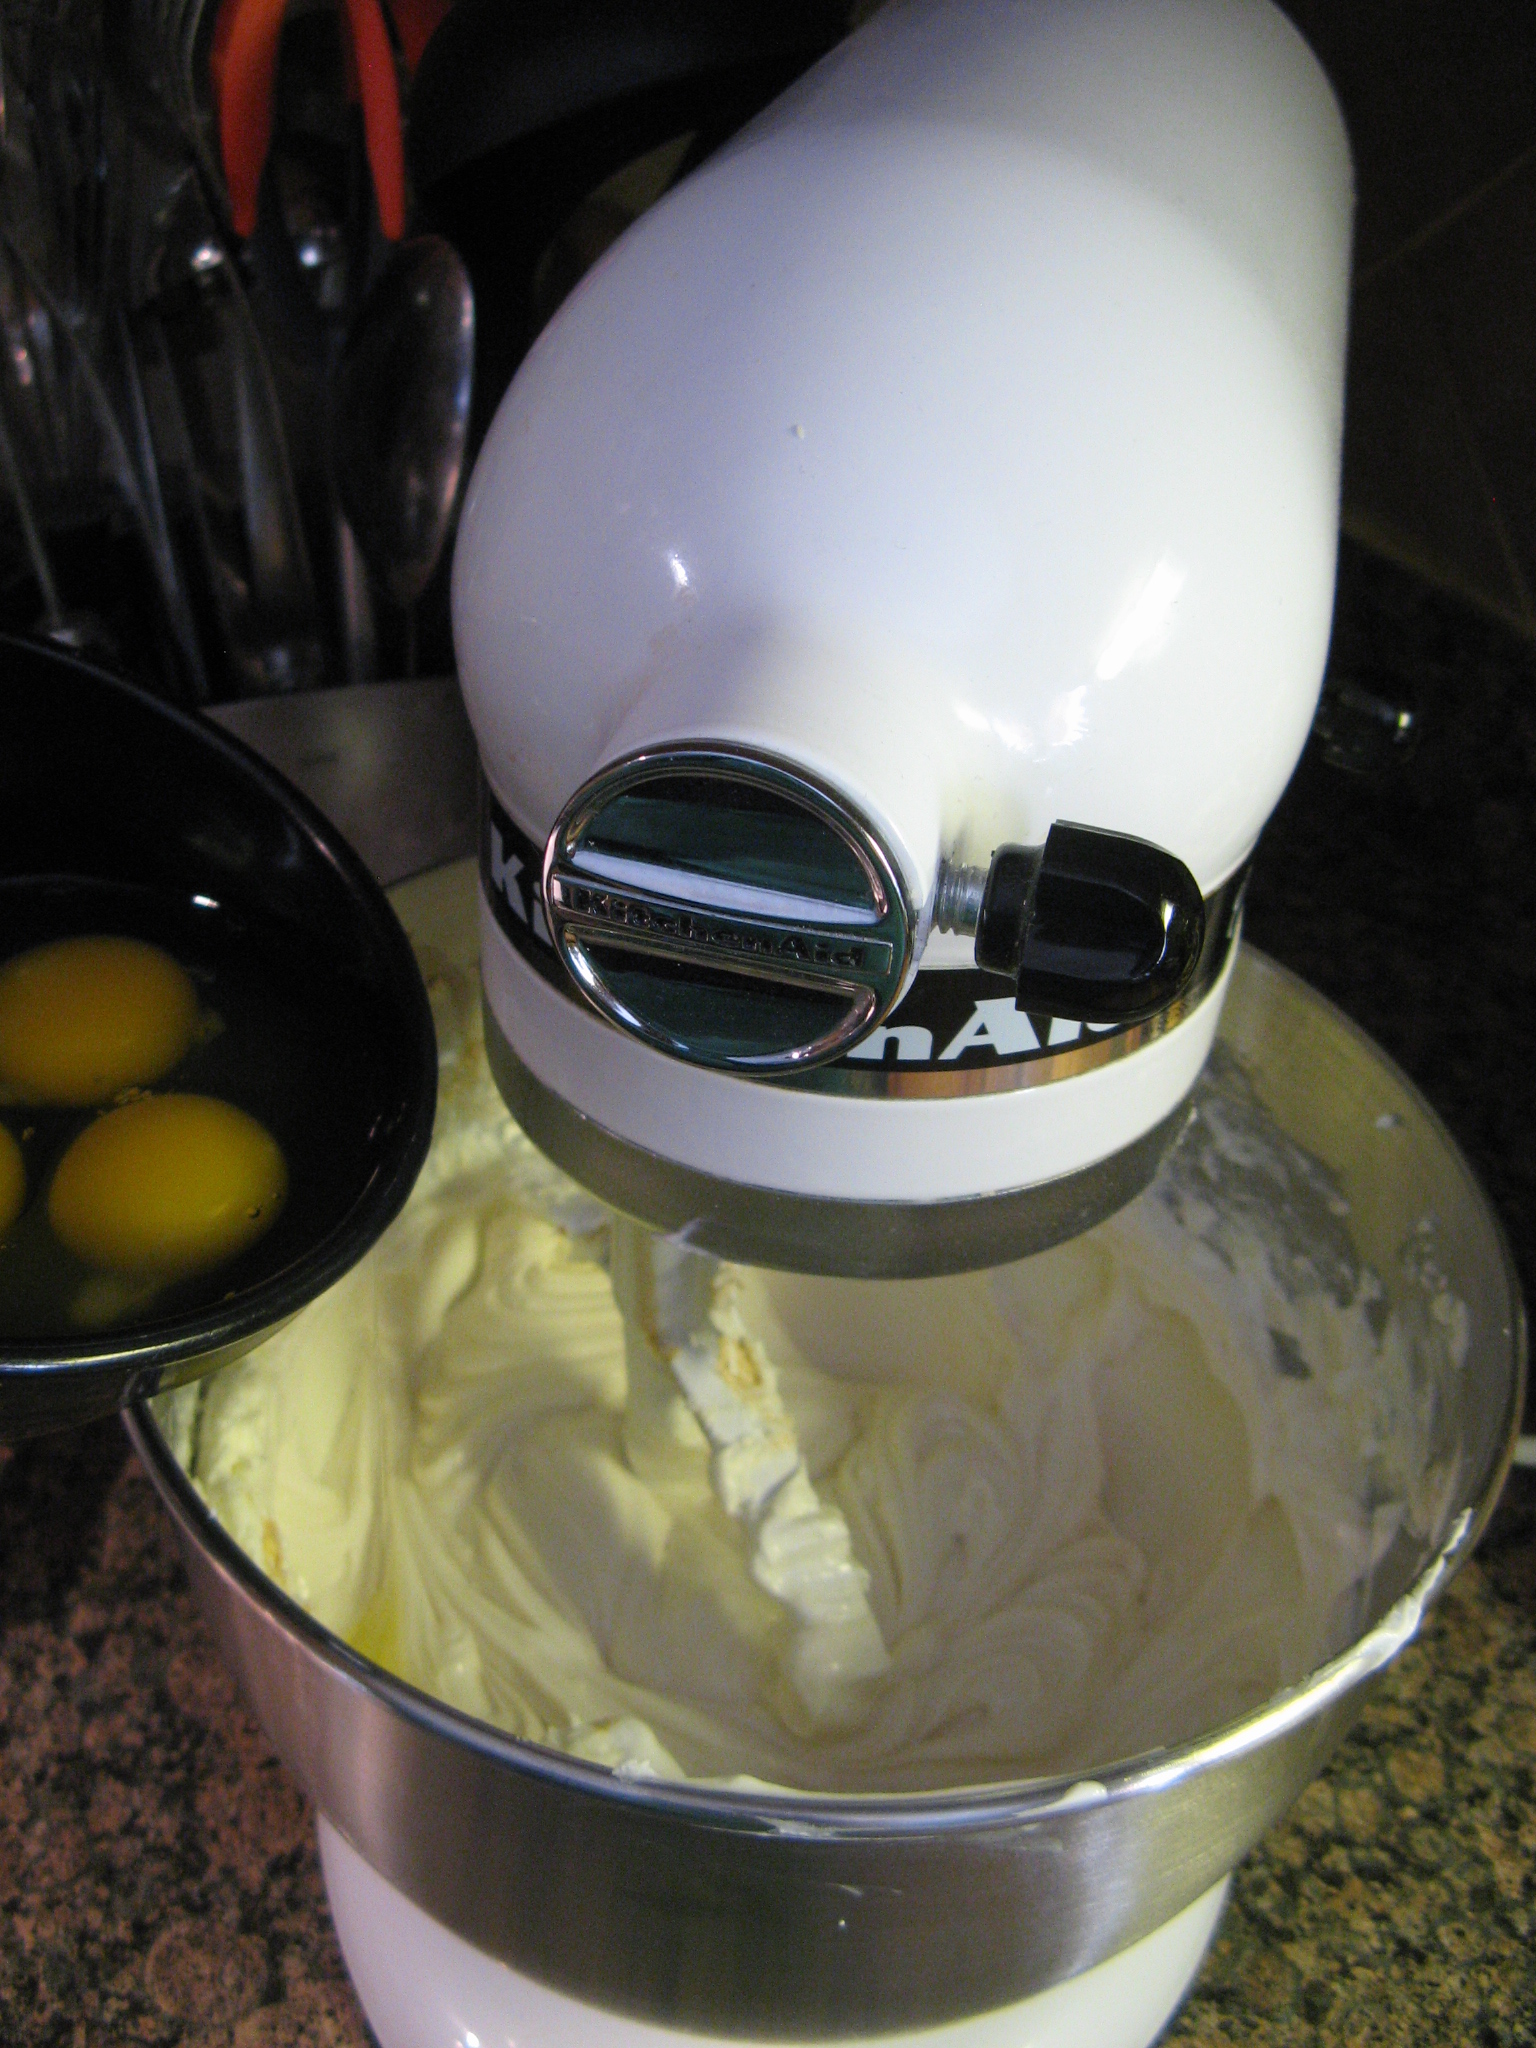
To make the peanut butter mousse I beat heavy whipping cream in a medium bowl until stiff peaks formed and I set it aside. In another medium bowl I beat together cream cheese, creamy peanut butter, vanilla extract, confectioners’ sugar and milk until smooth.

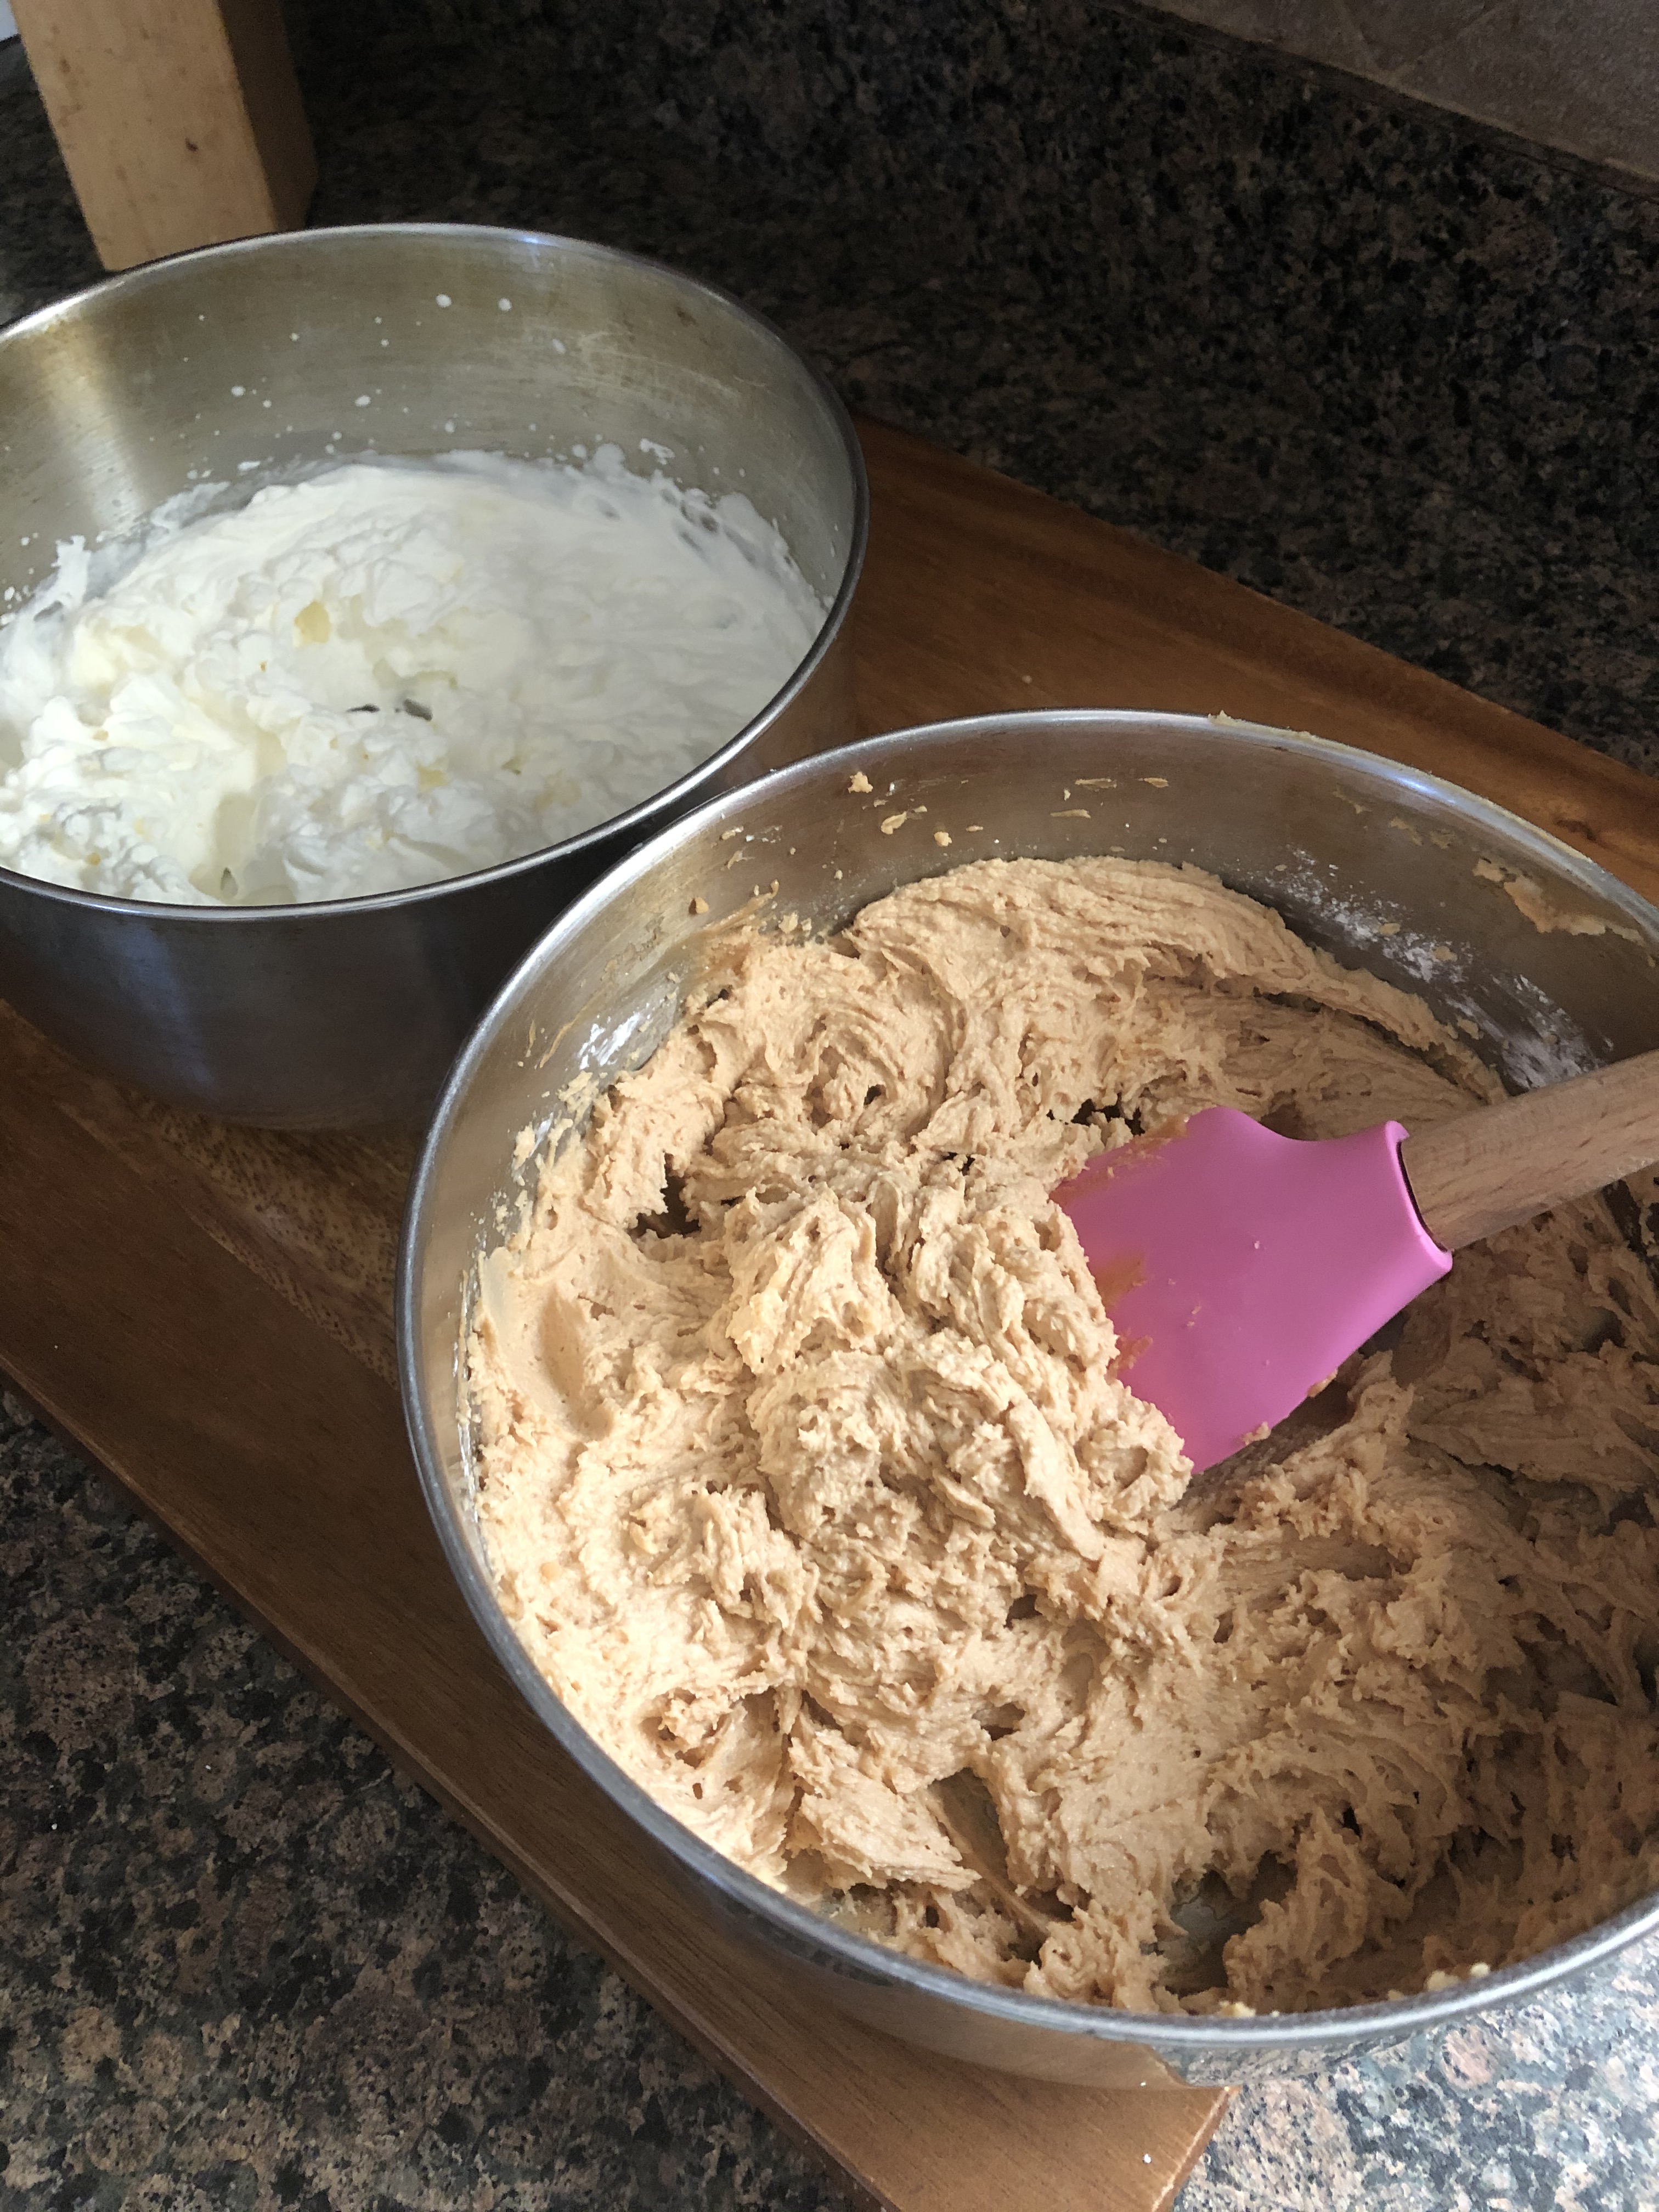
Then, I folded the two together just as I did the chocolate mousse, until no streaks of the peanut butter mixture or whipped cream remained, and once again I made sure to scrape the bottom of the bowl as I folded.

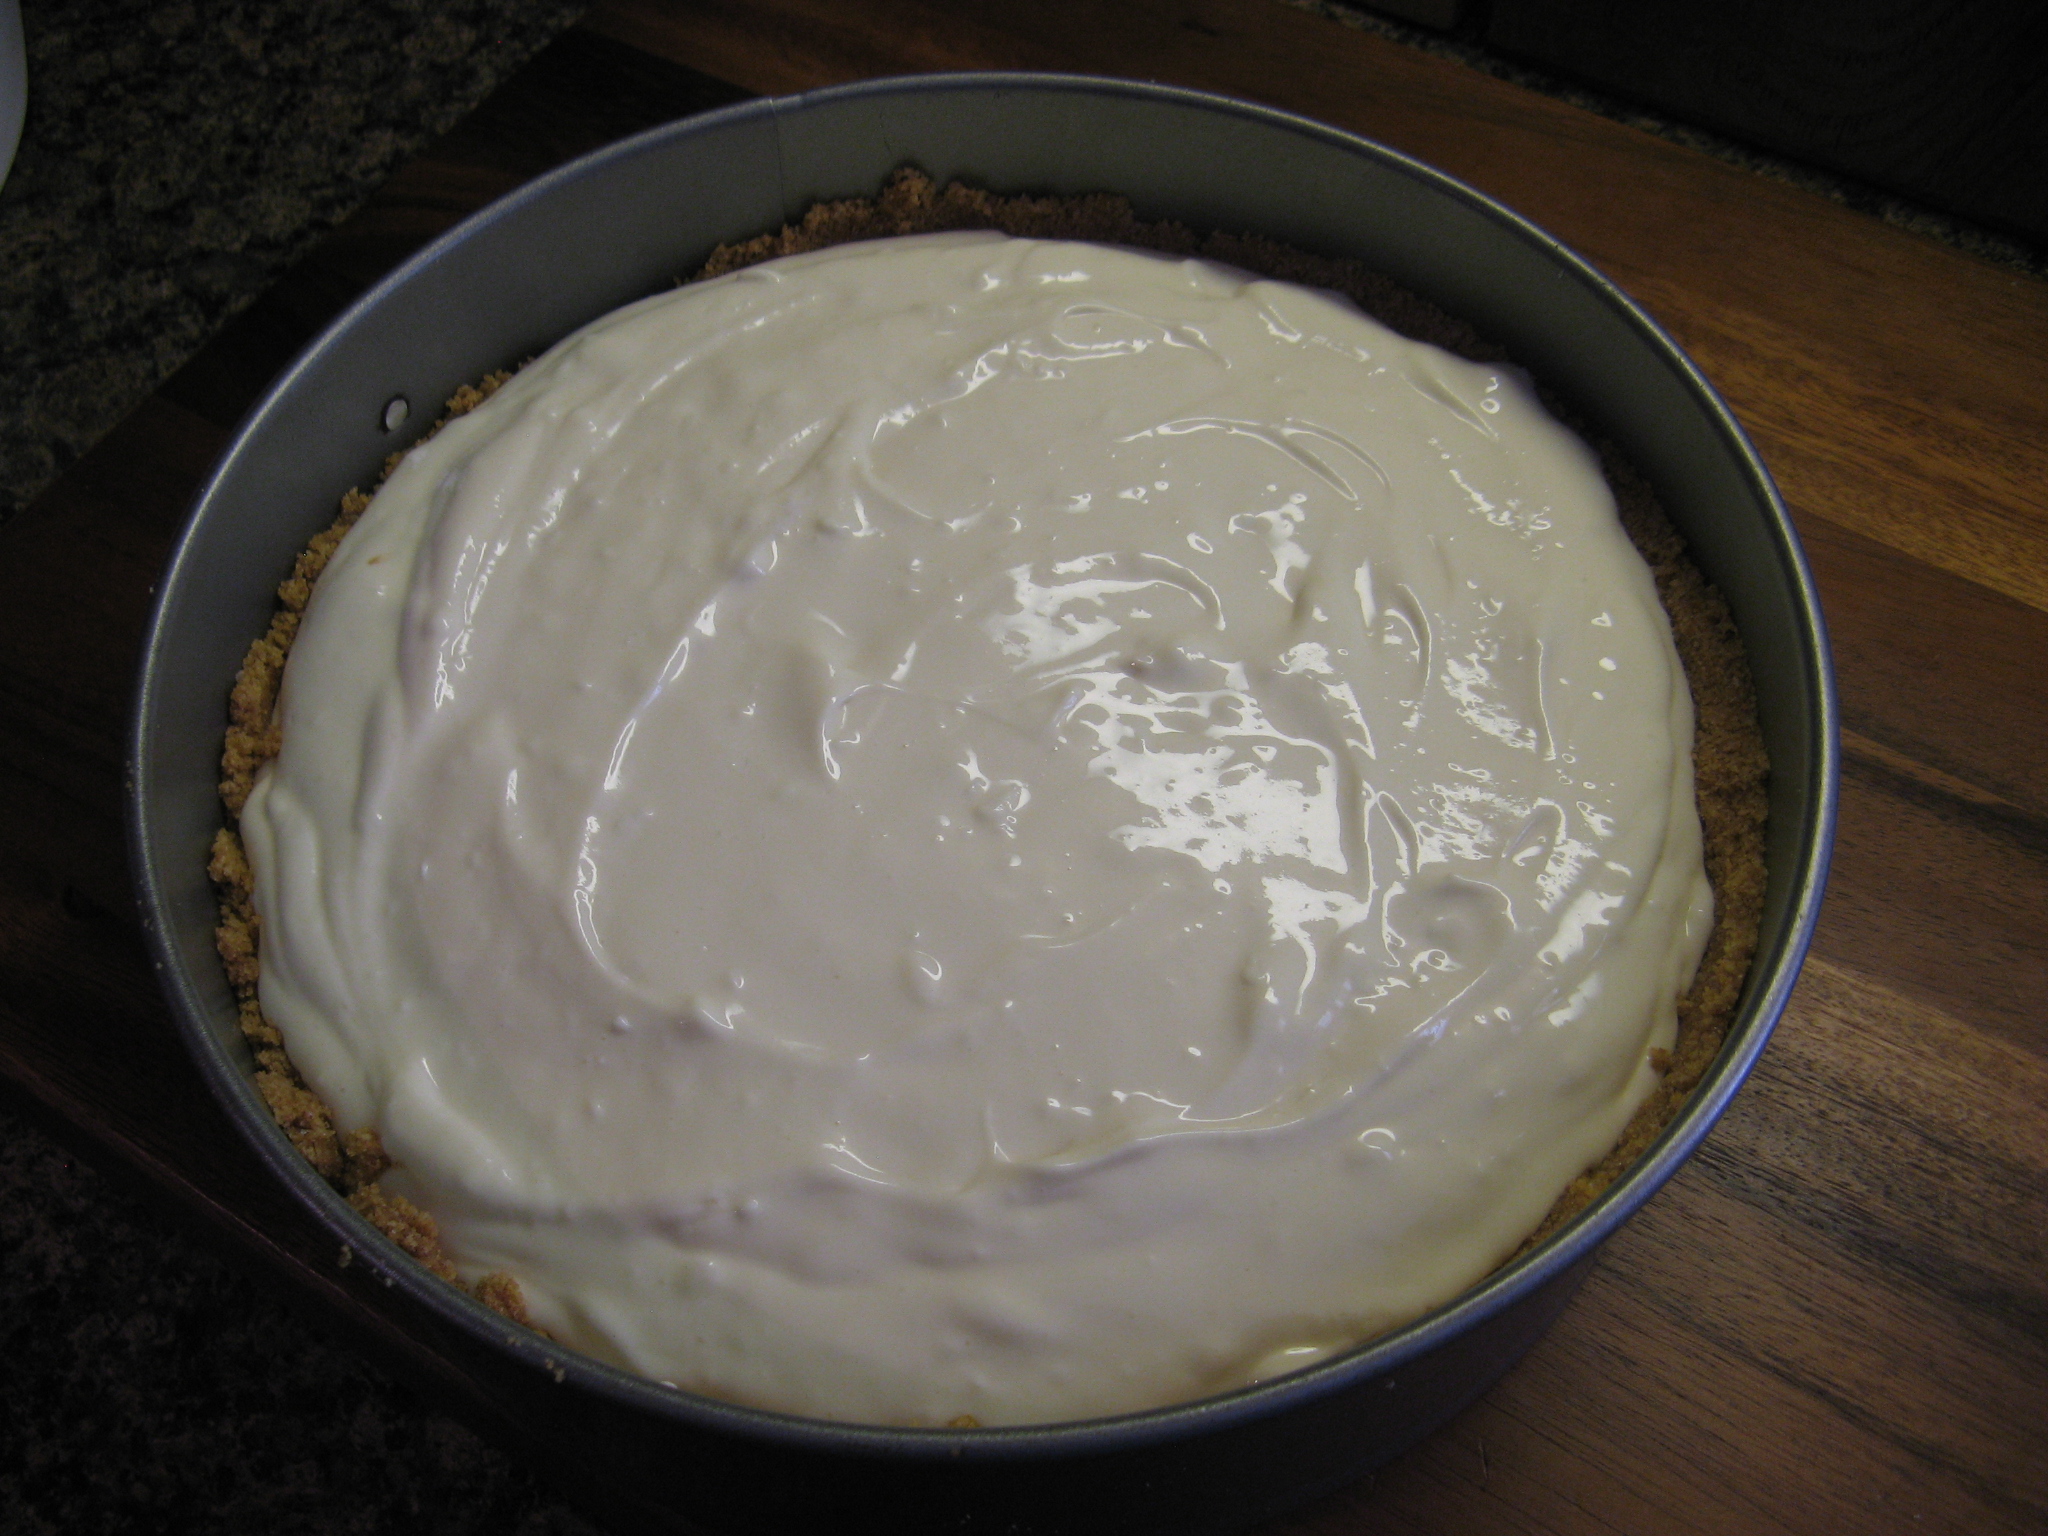
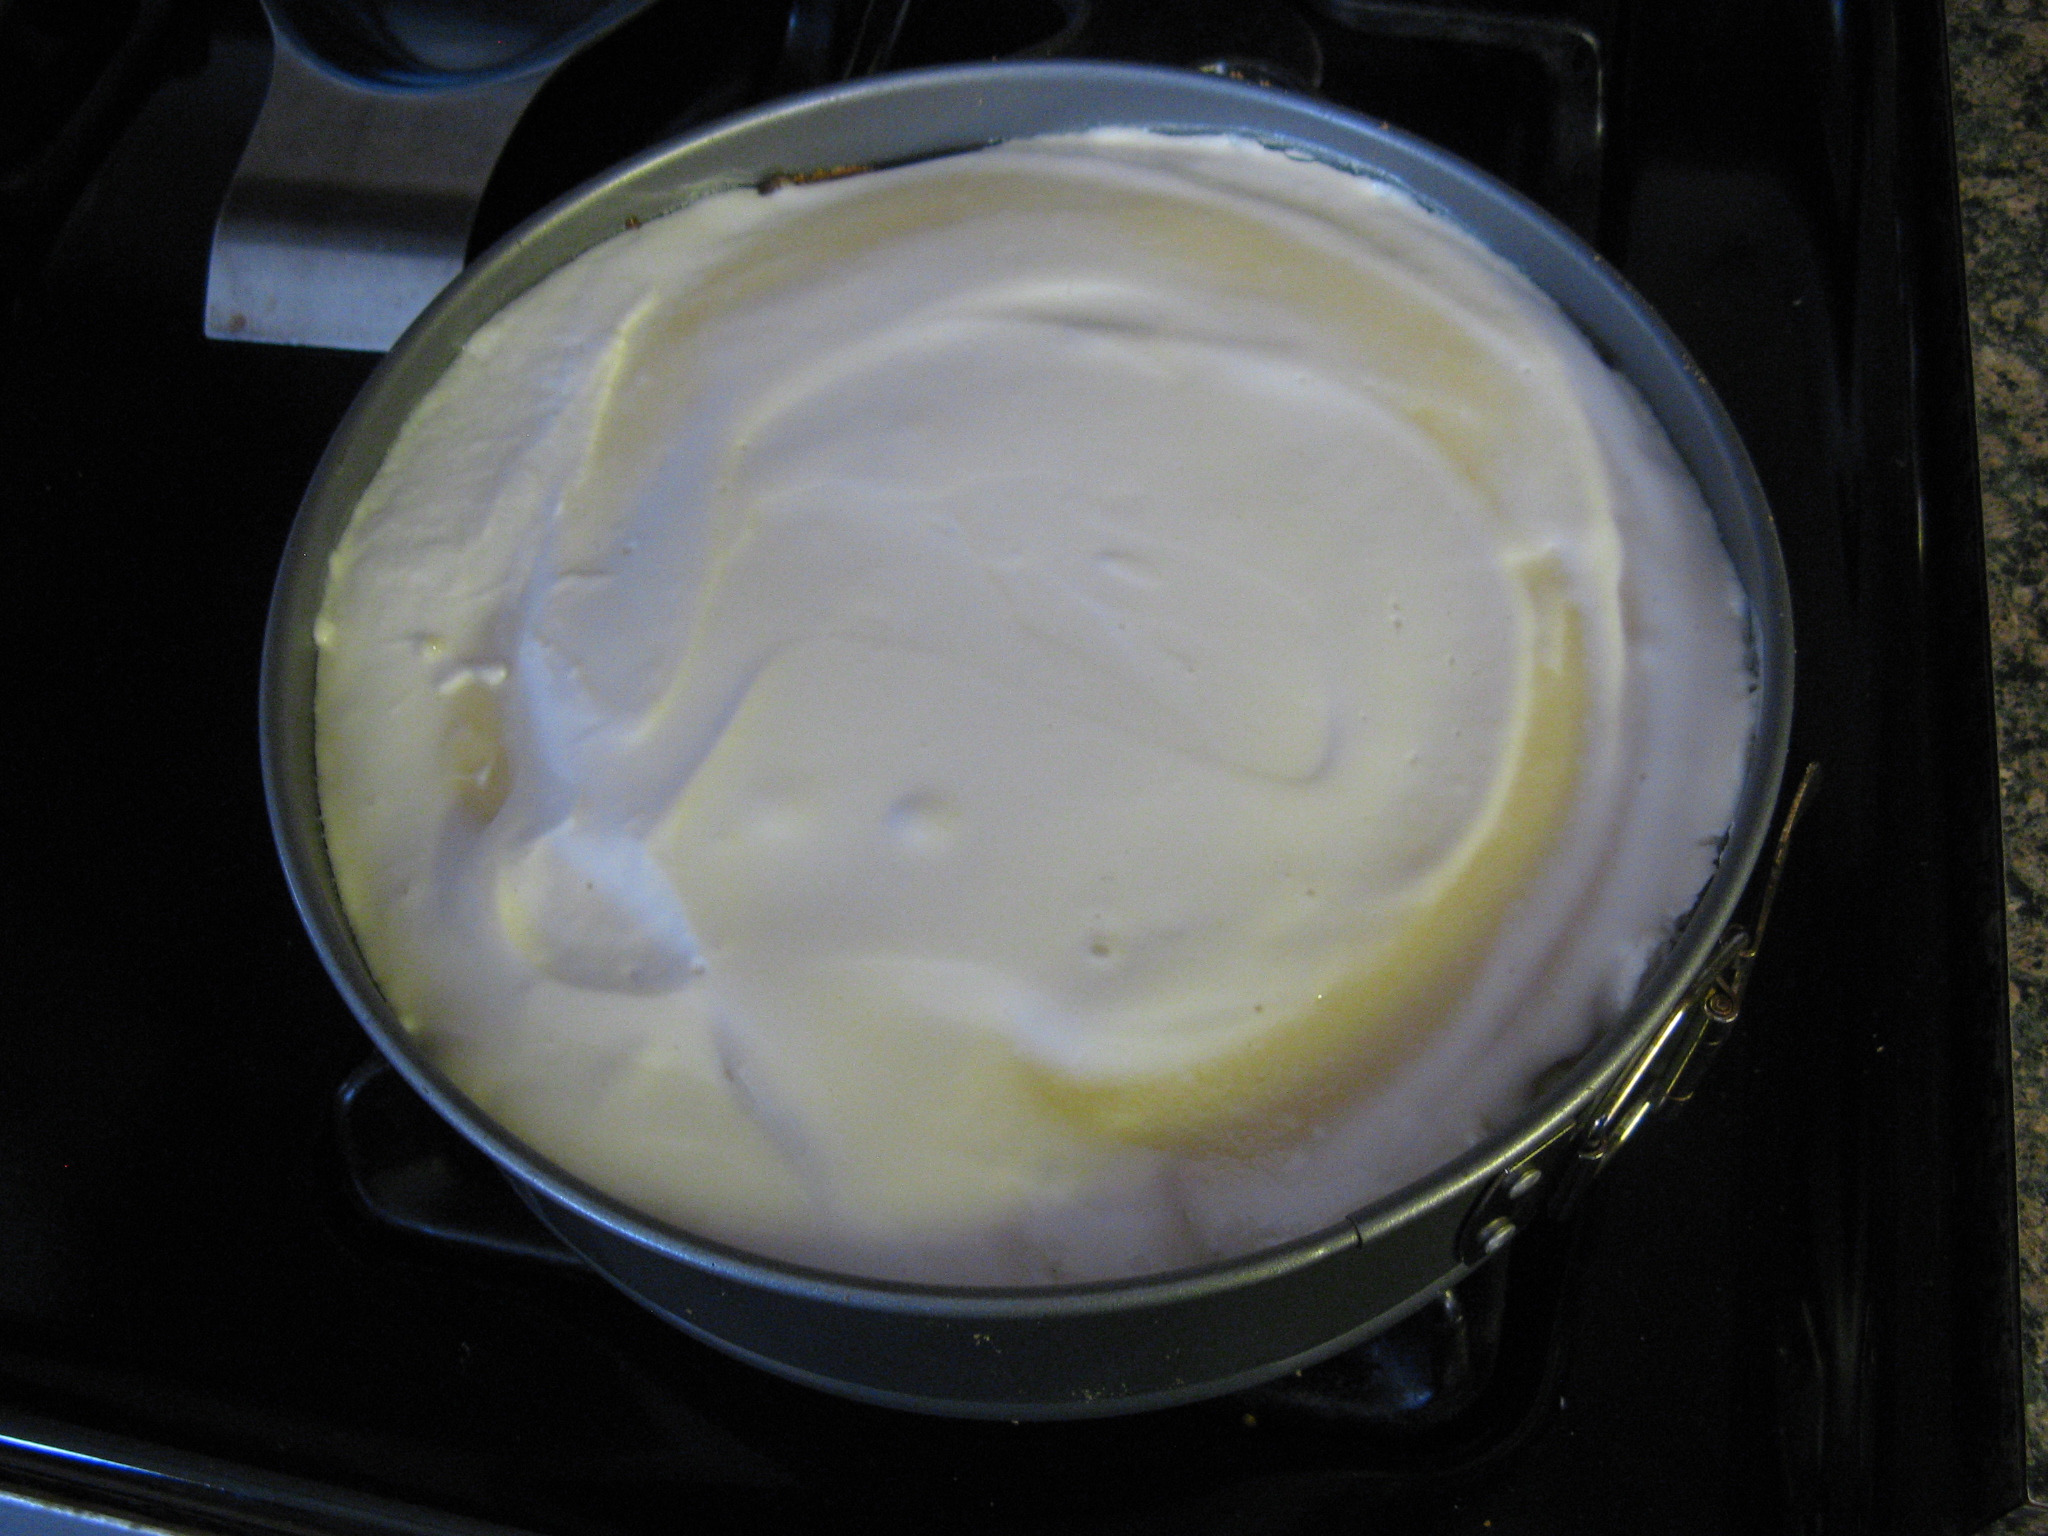
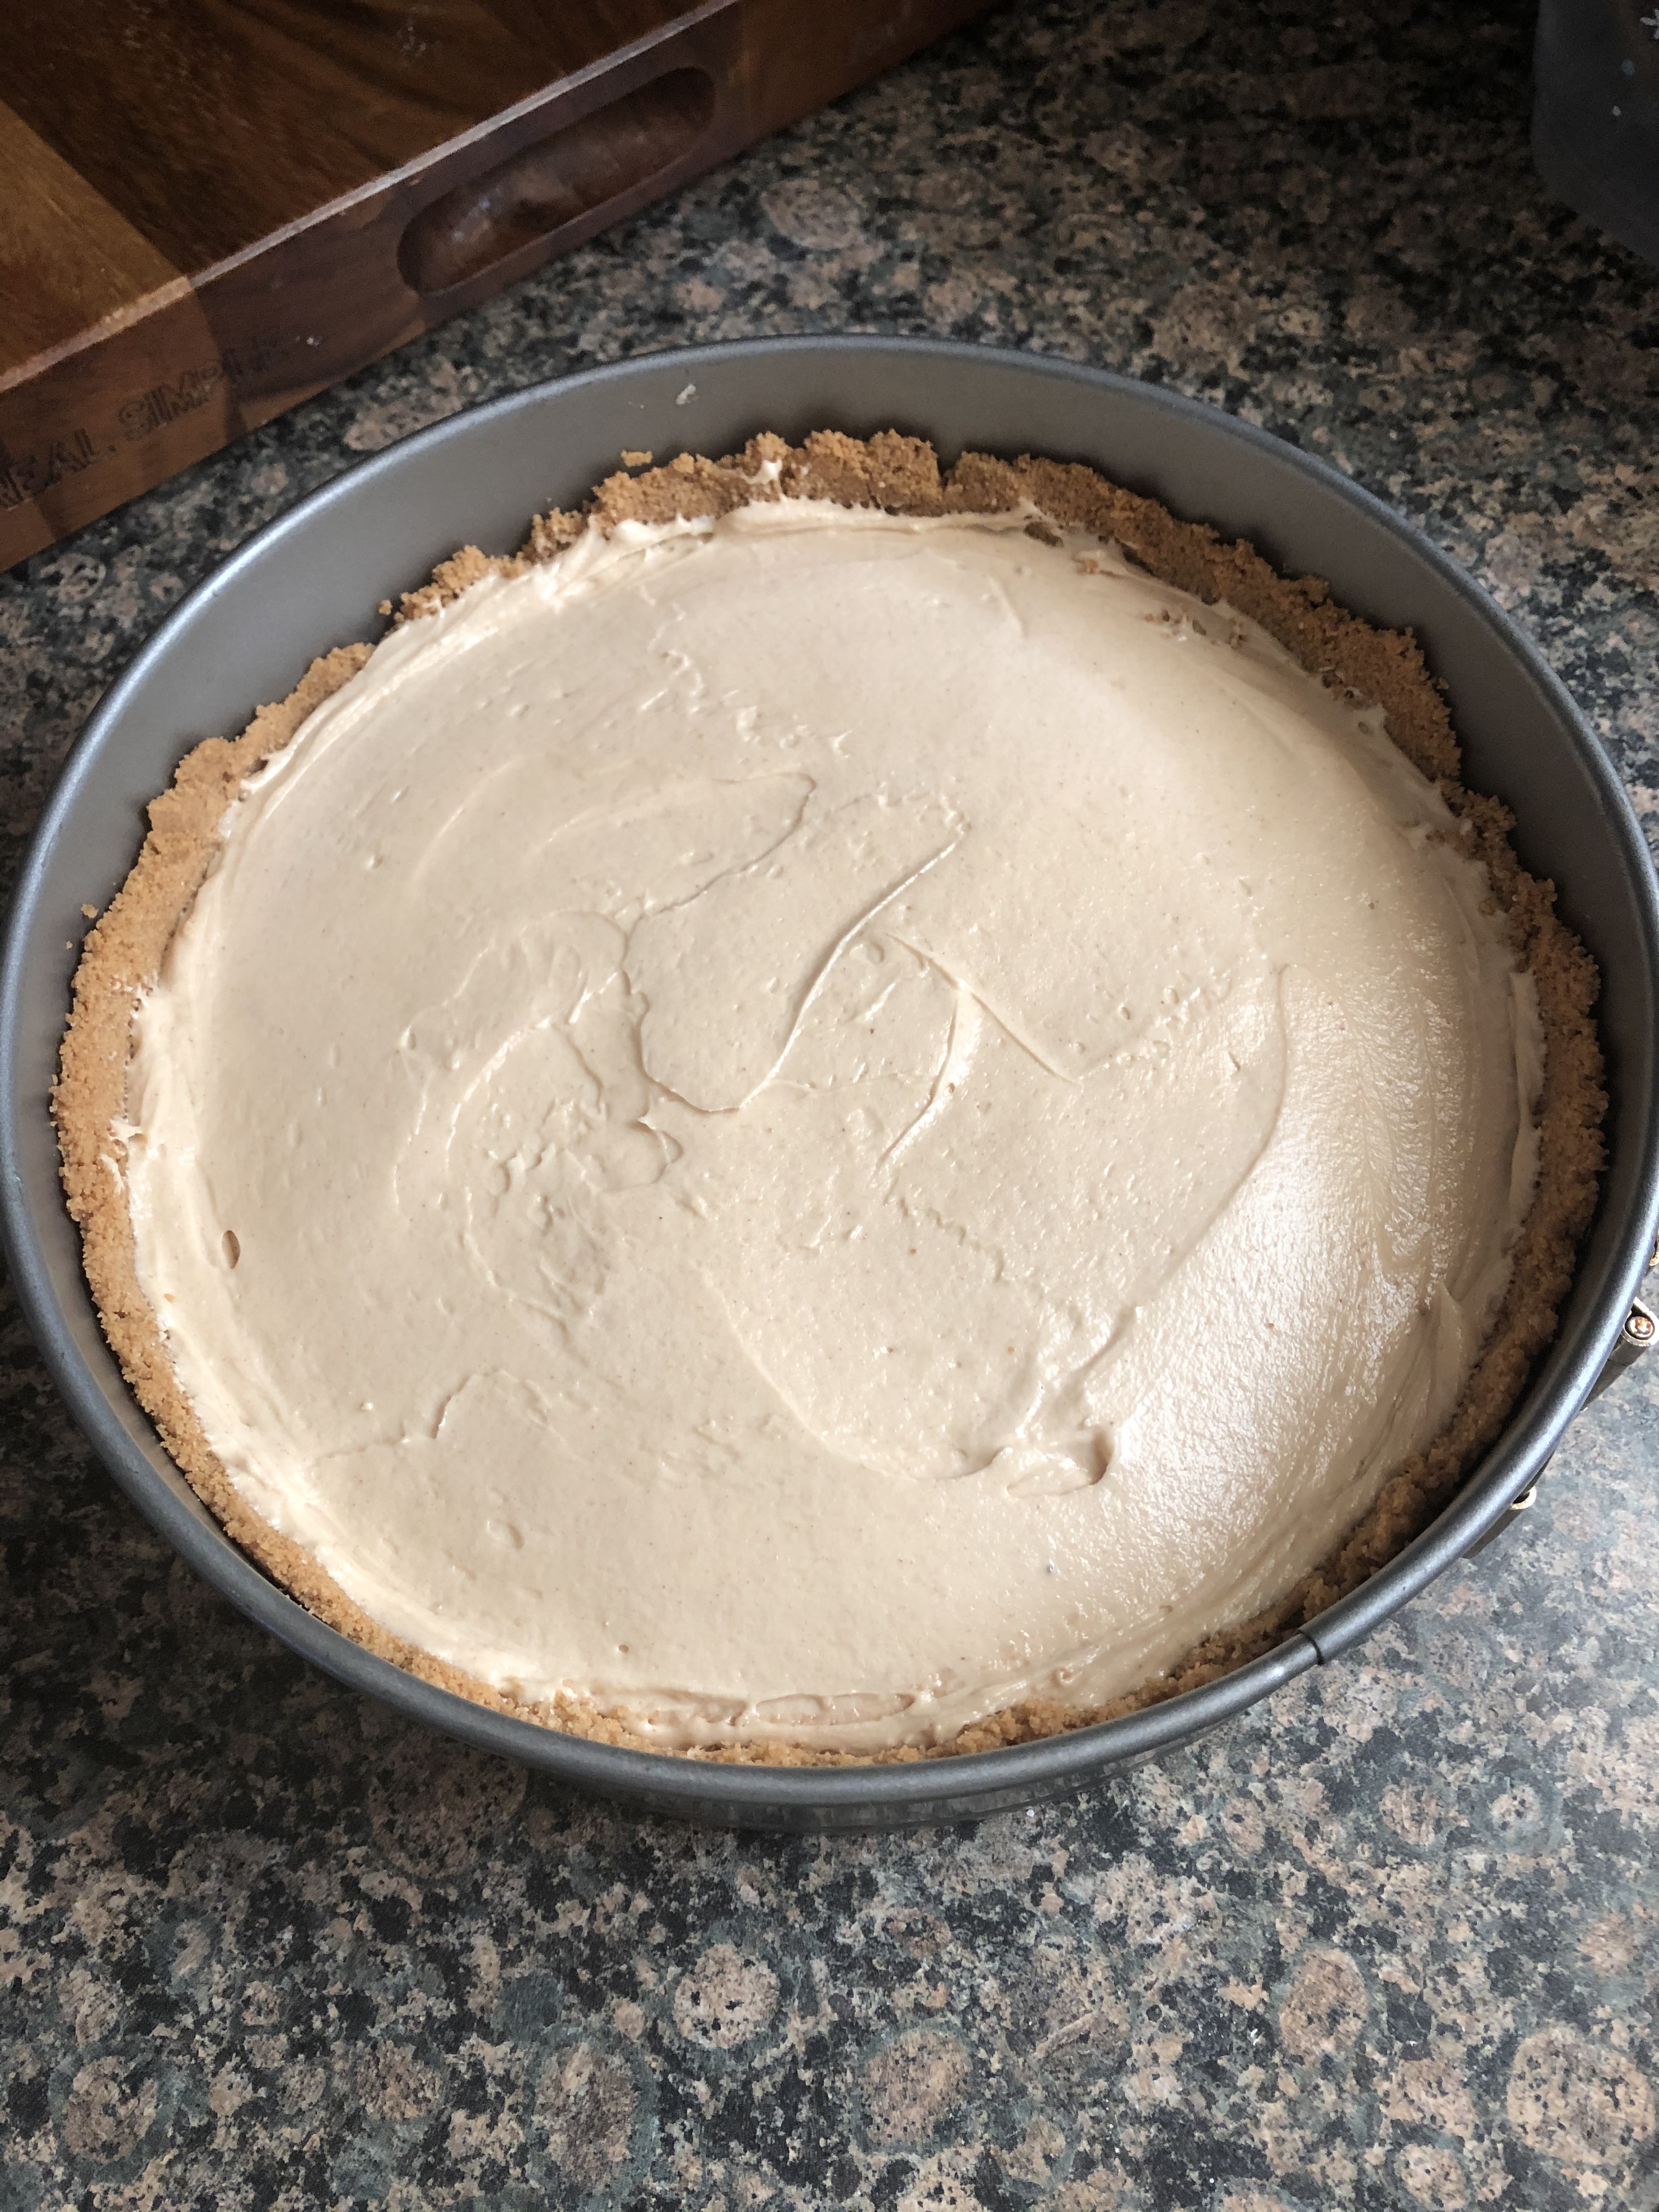
I then spread the peanut butter mousse over the chocolate mousse…

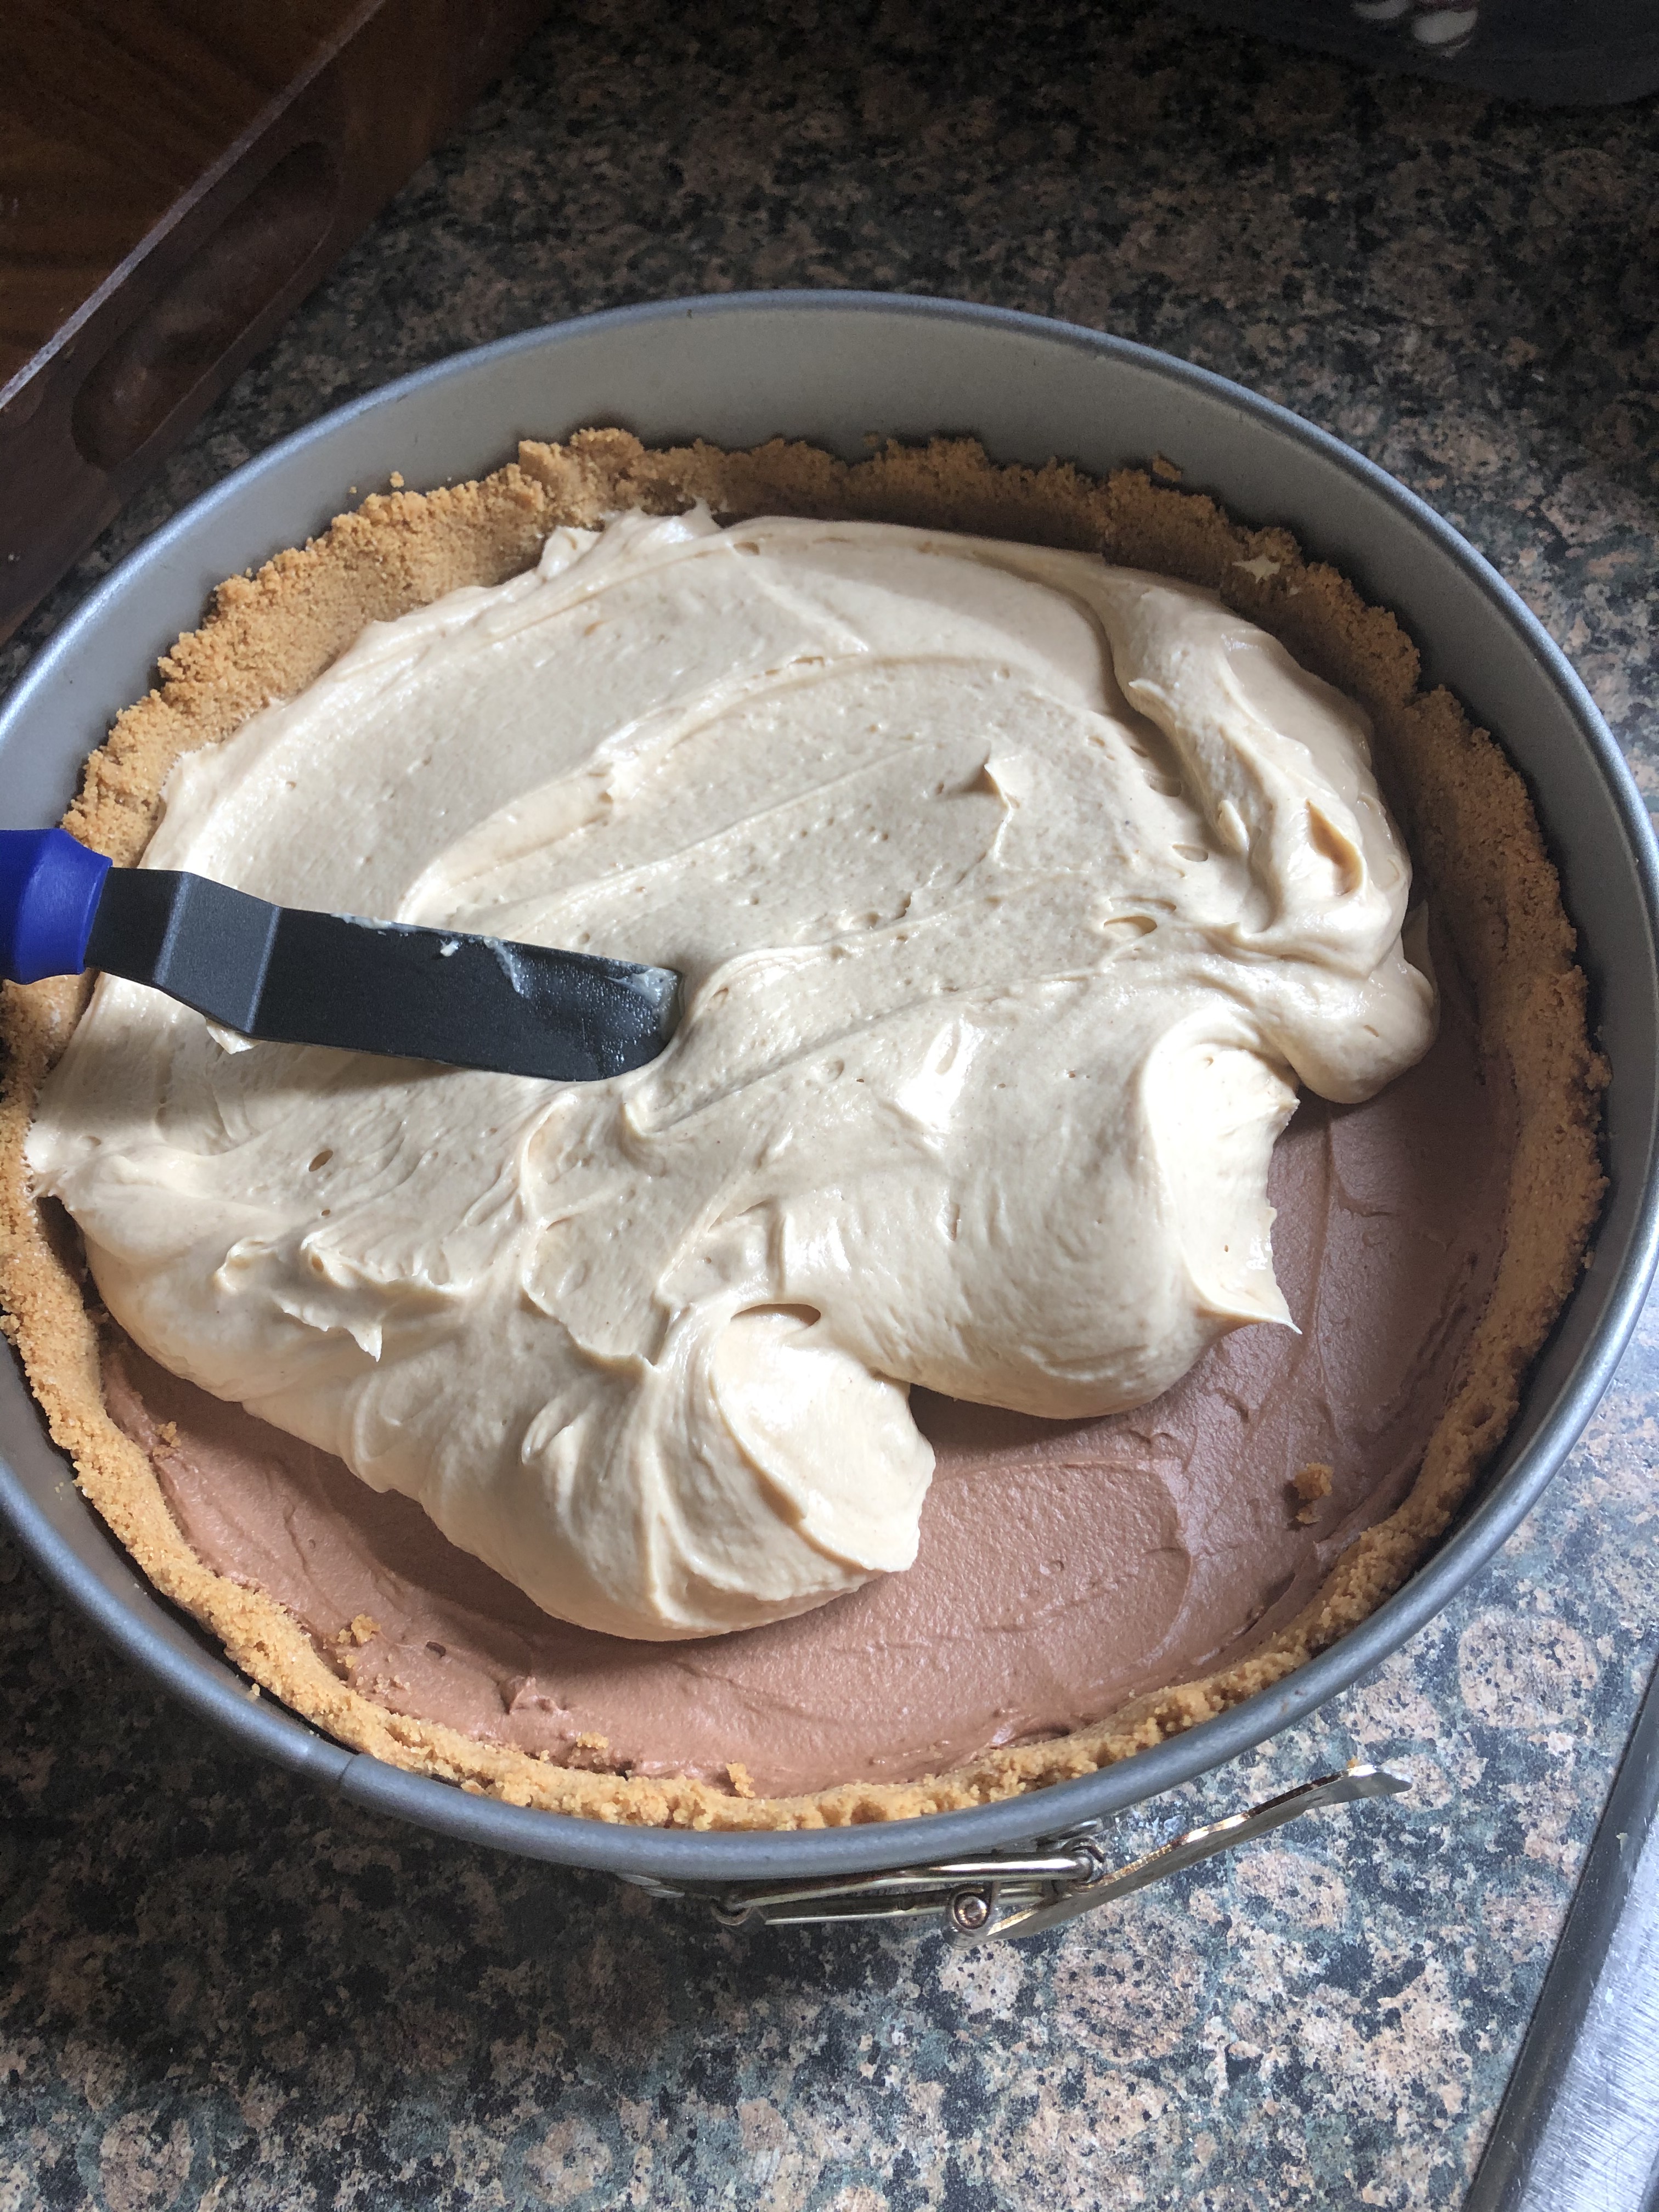
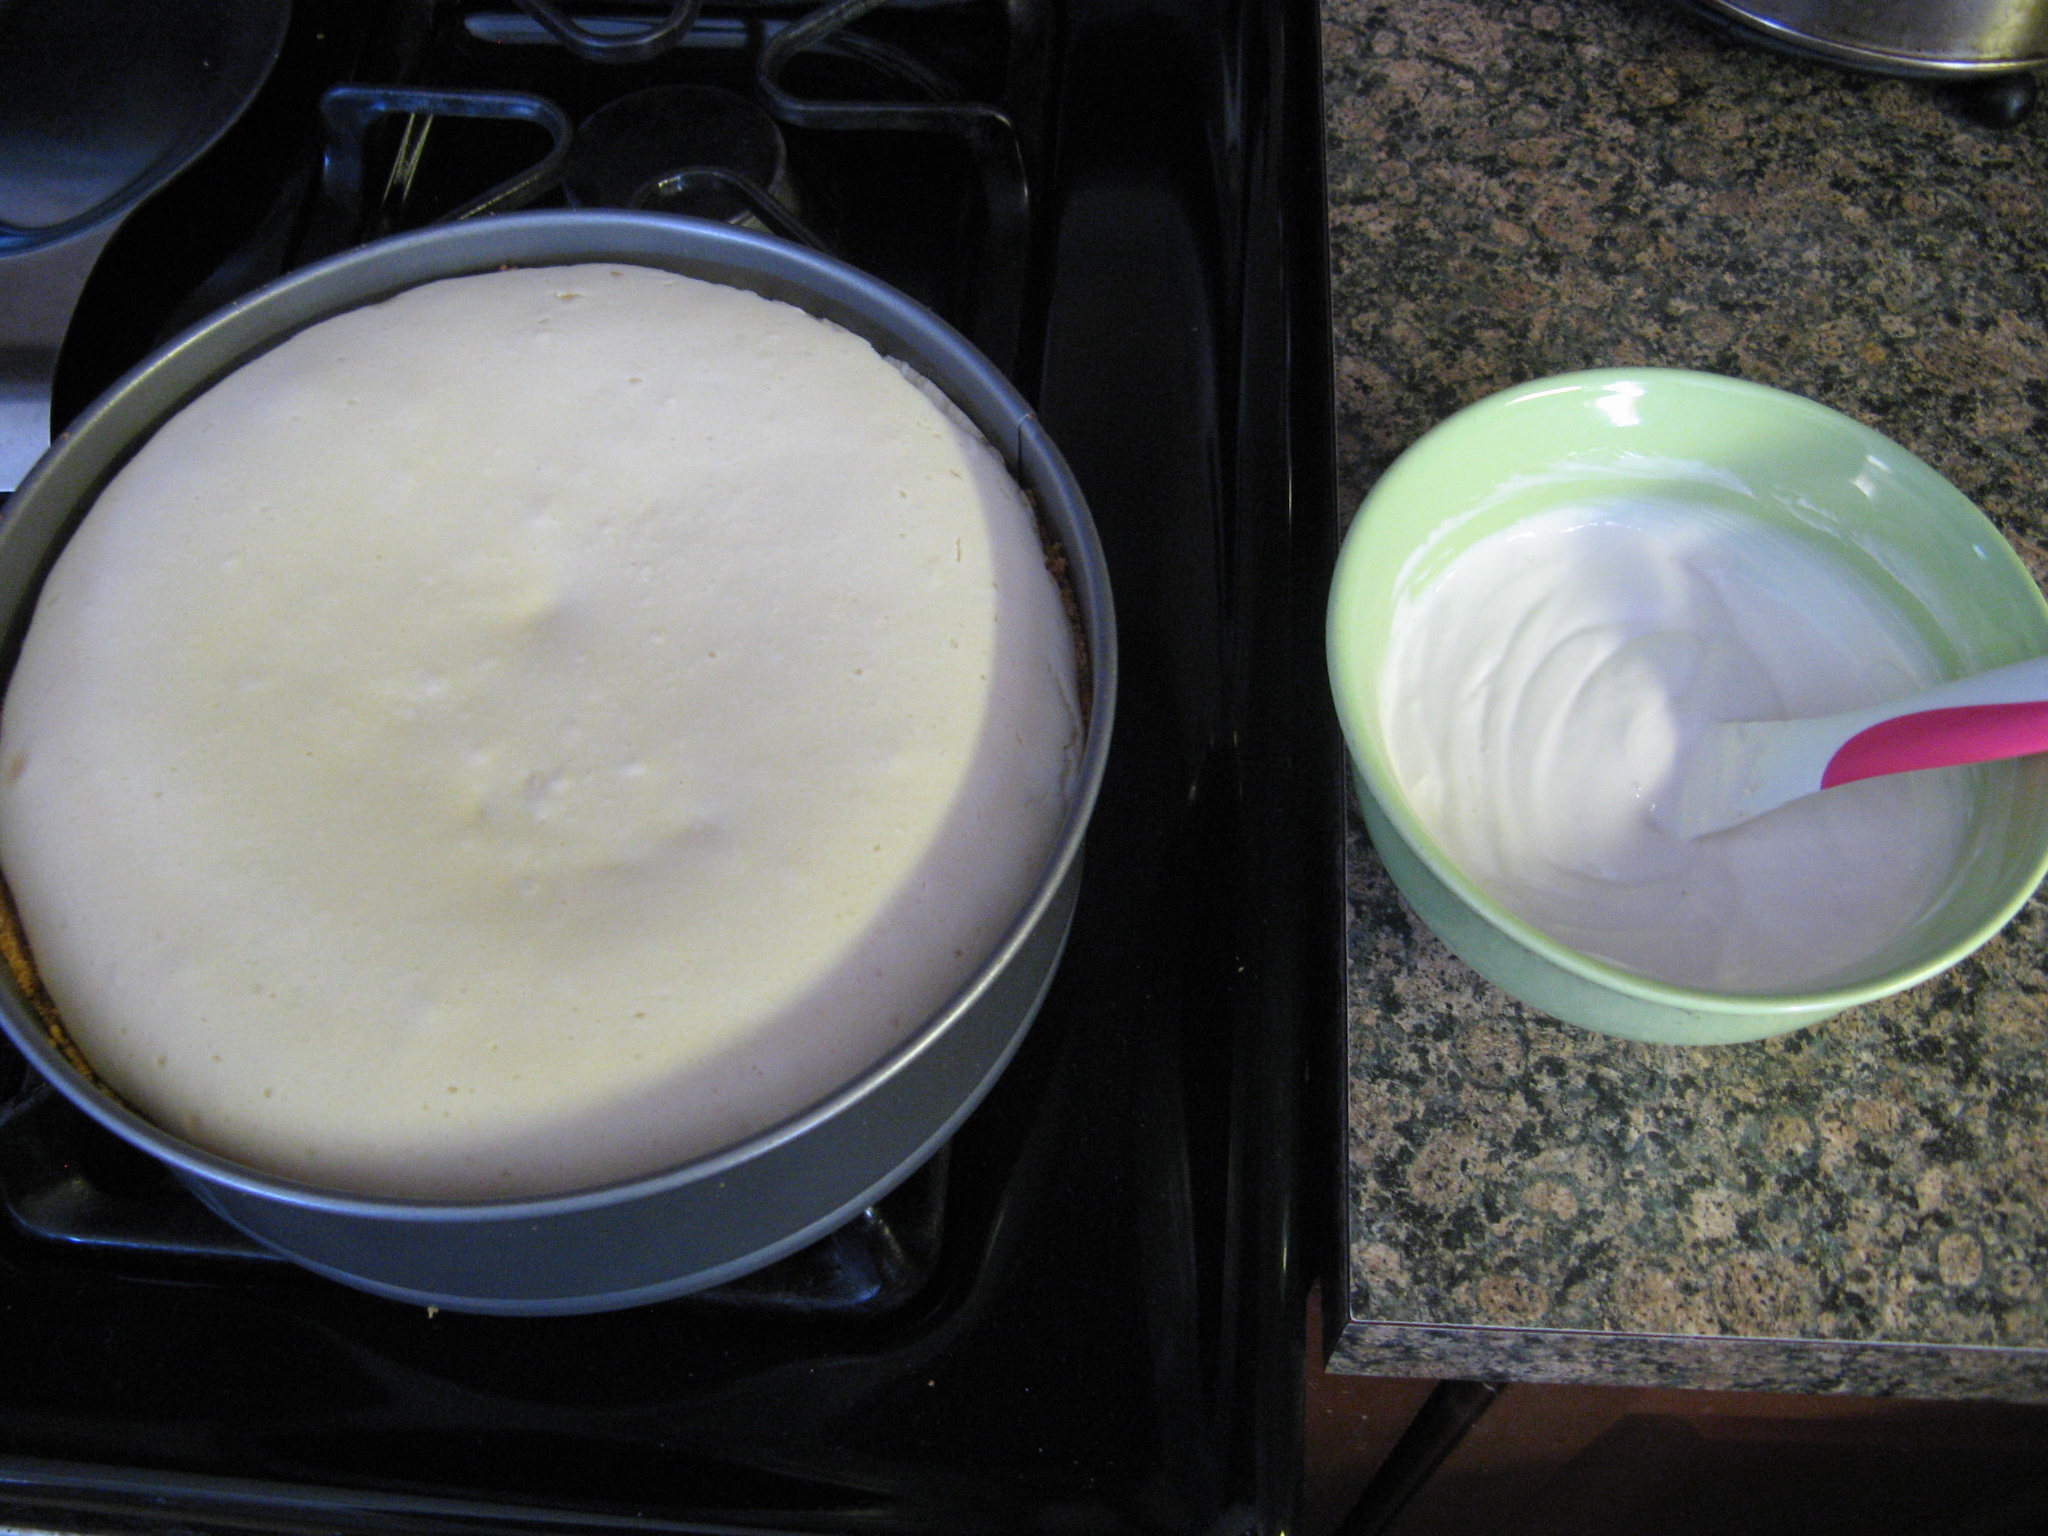
And placed the pie in the refrigerator overnight so both mousses could set.

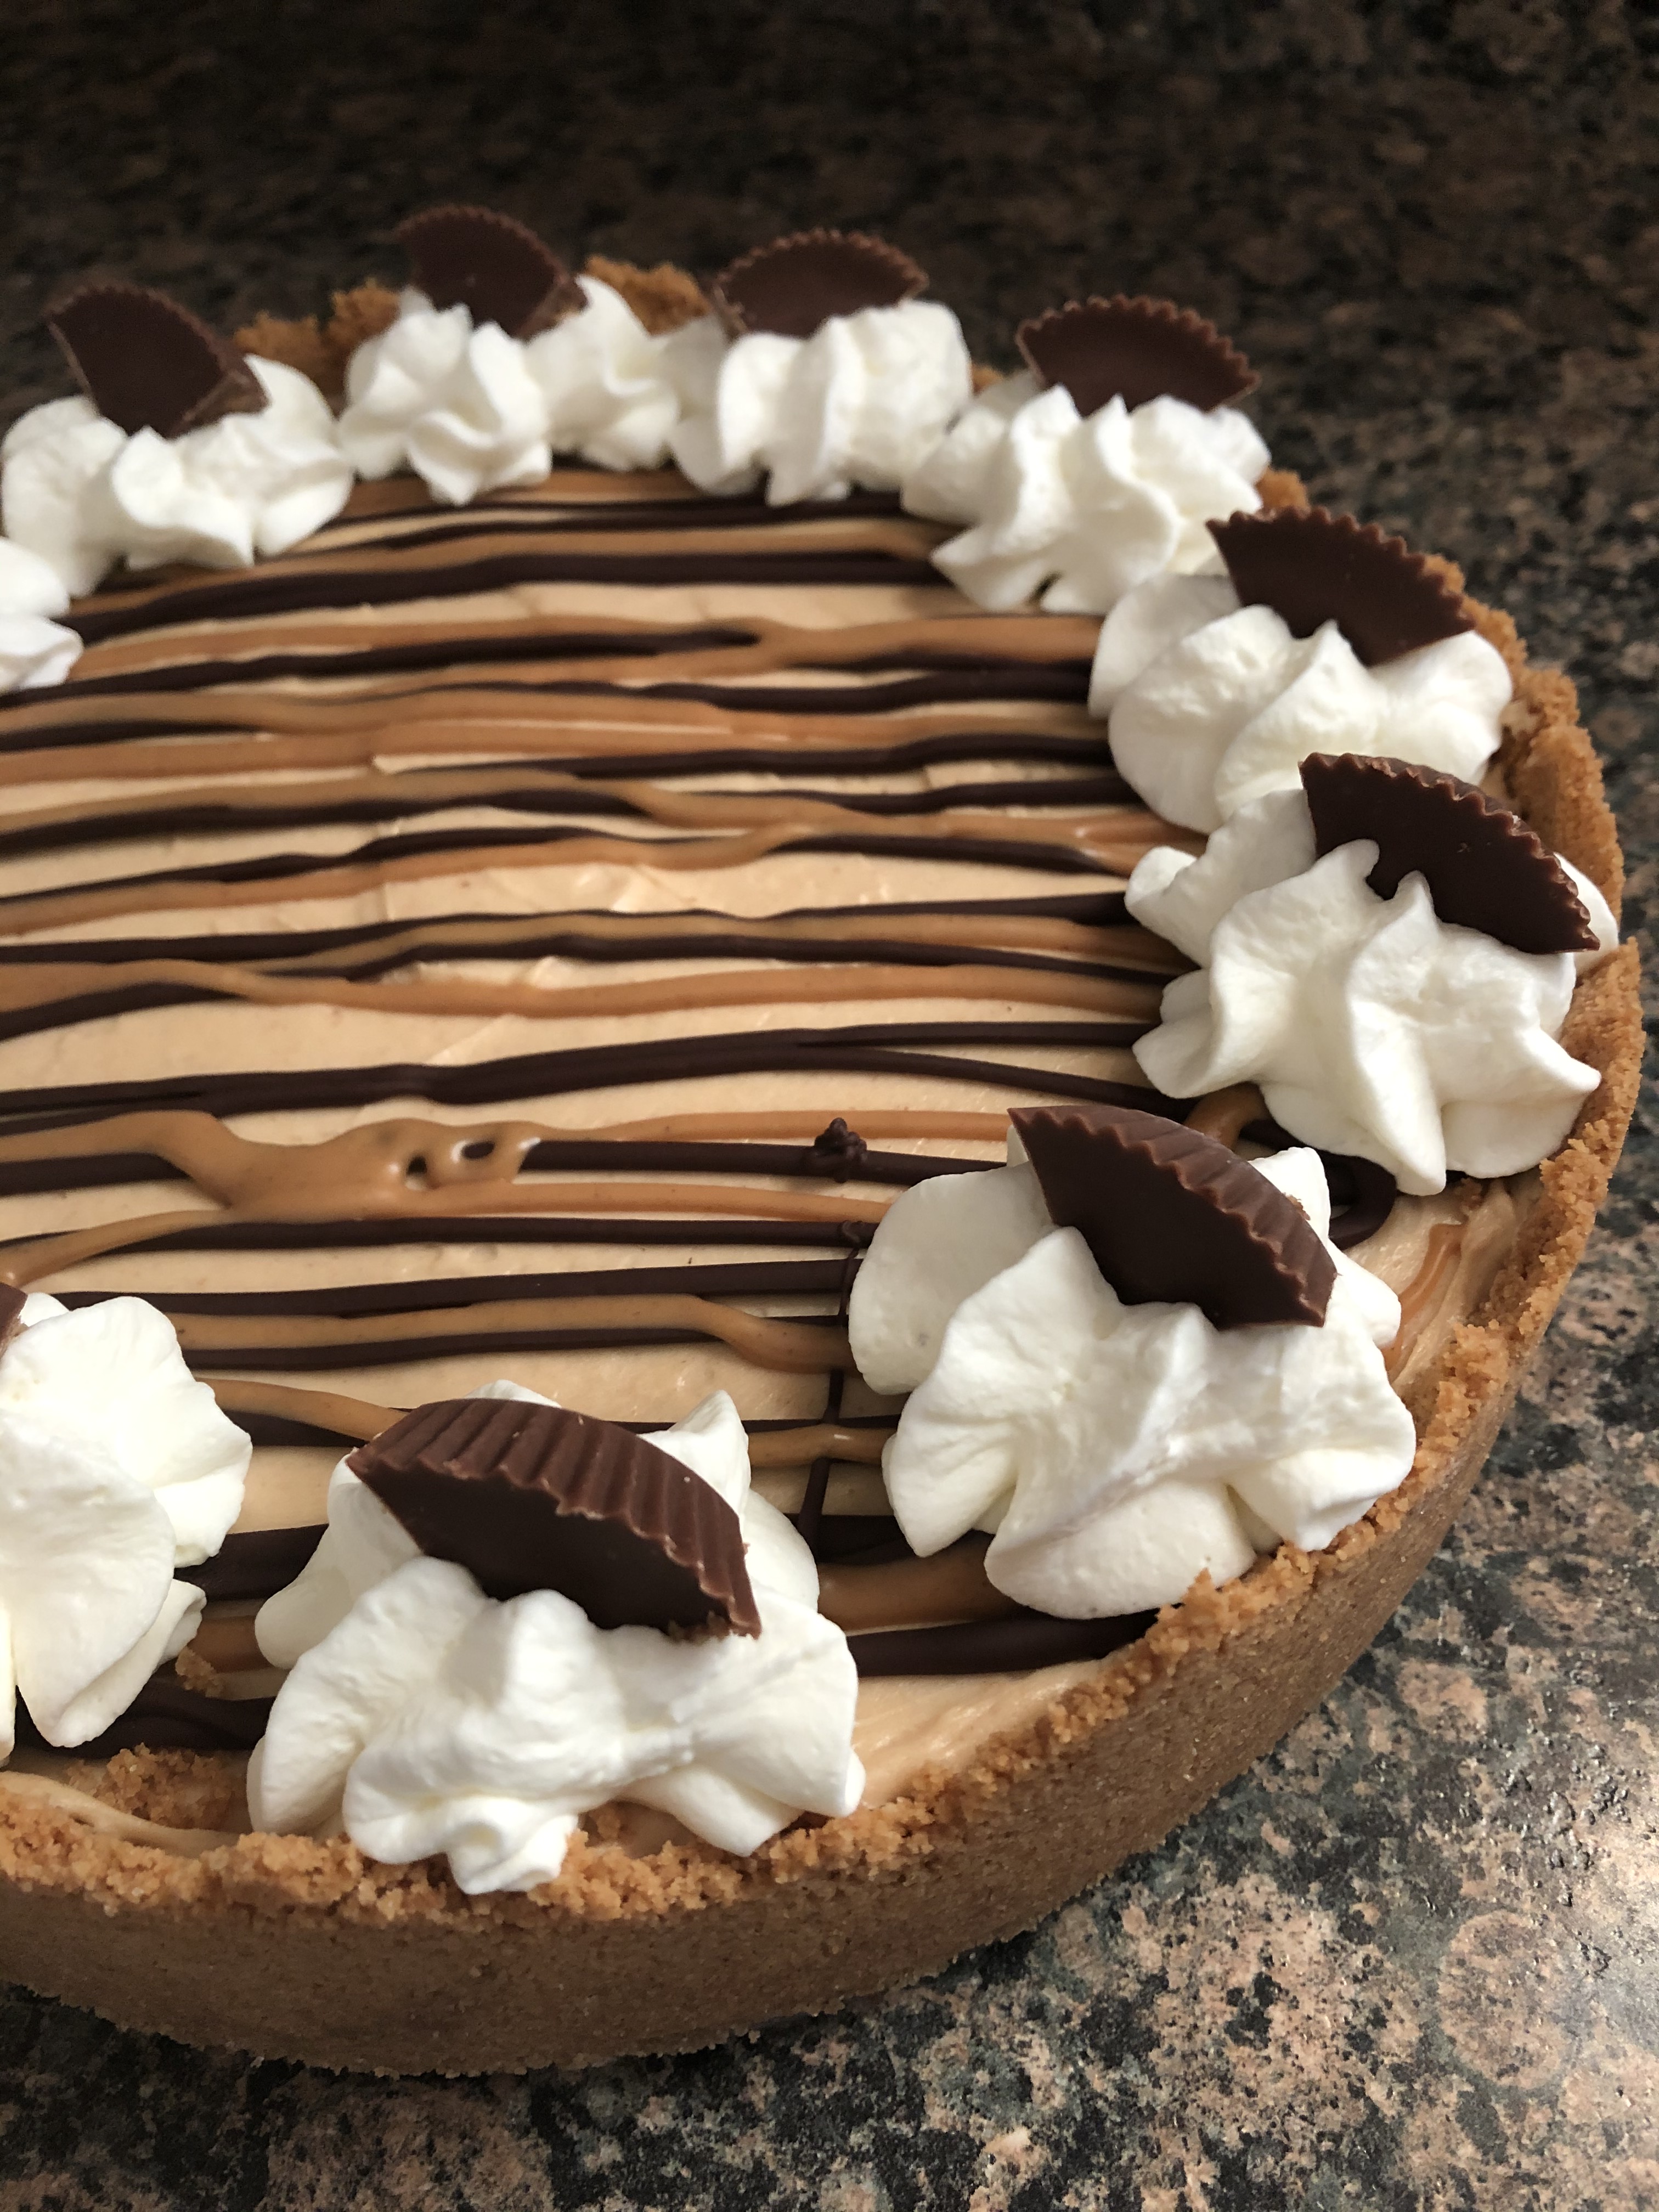
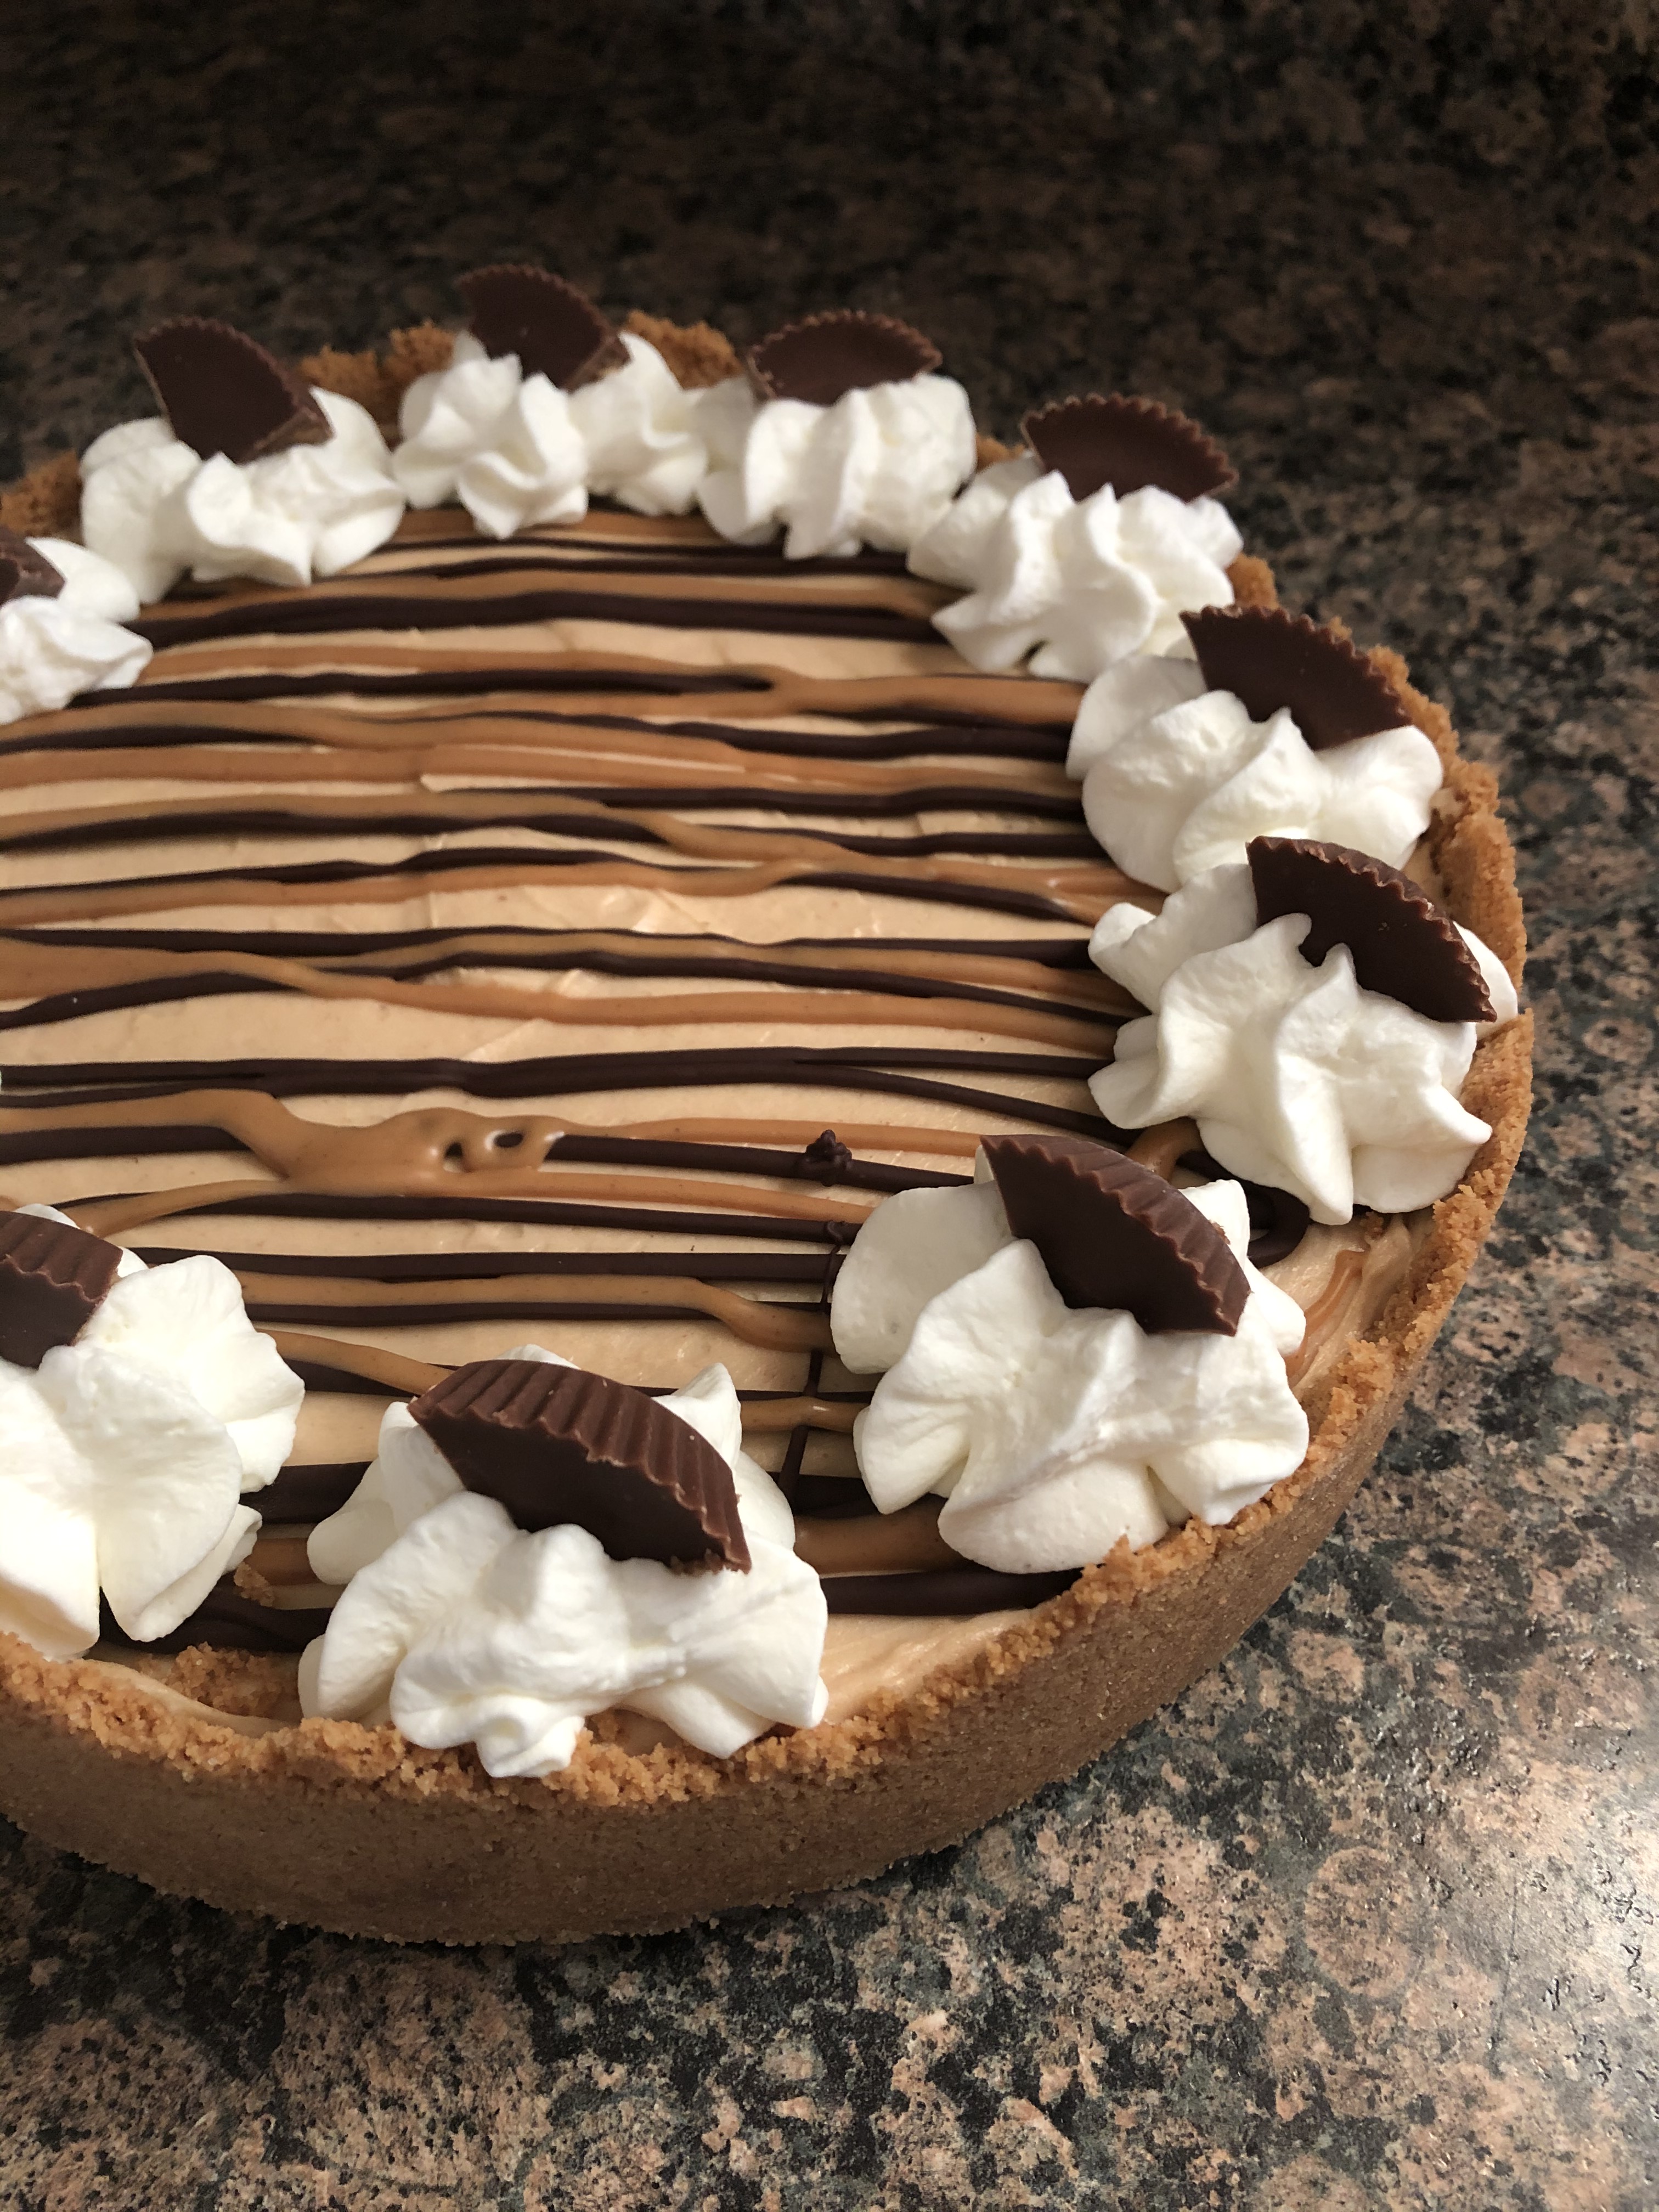
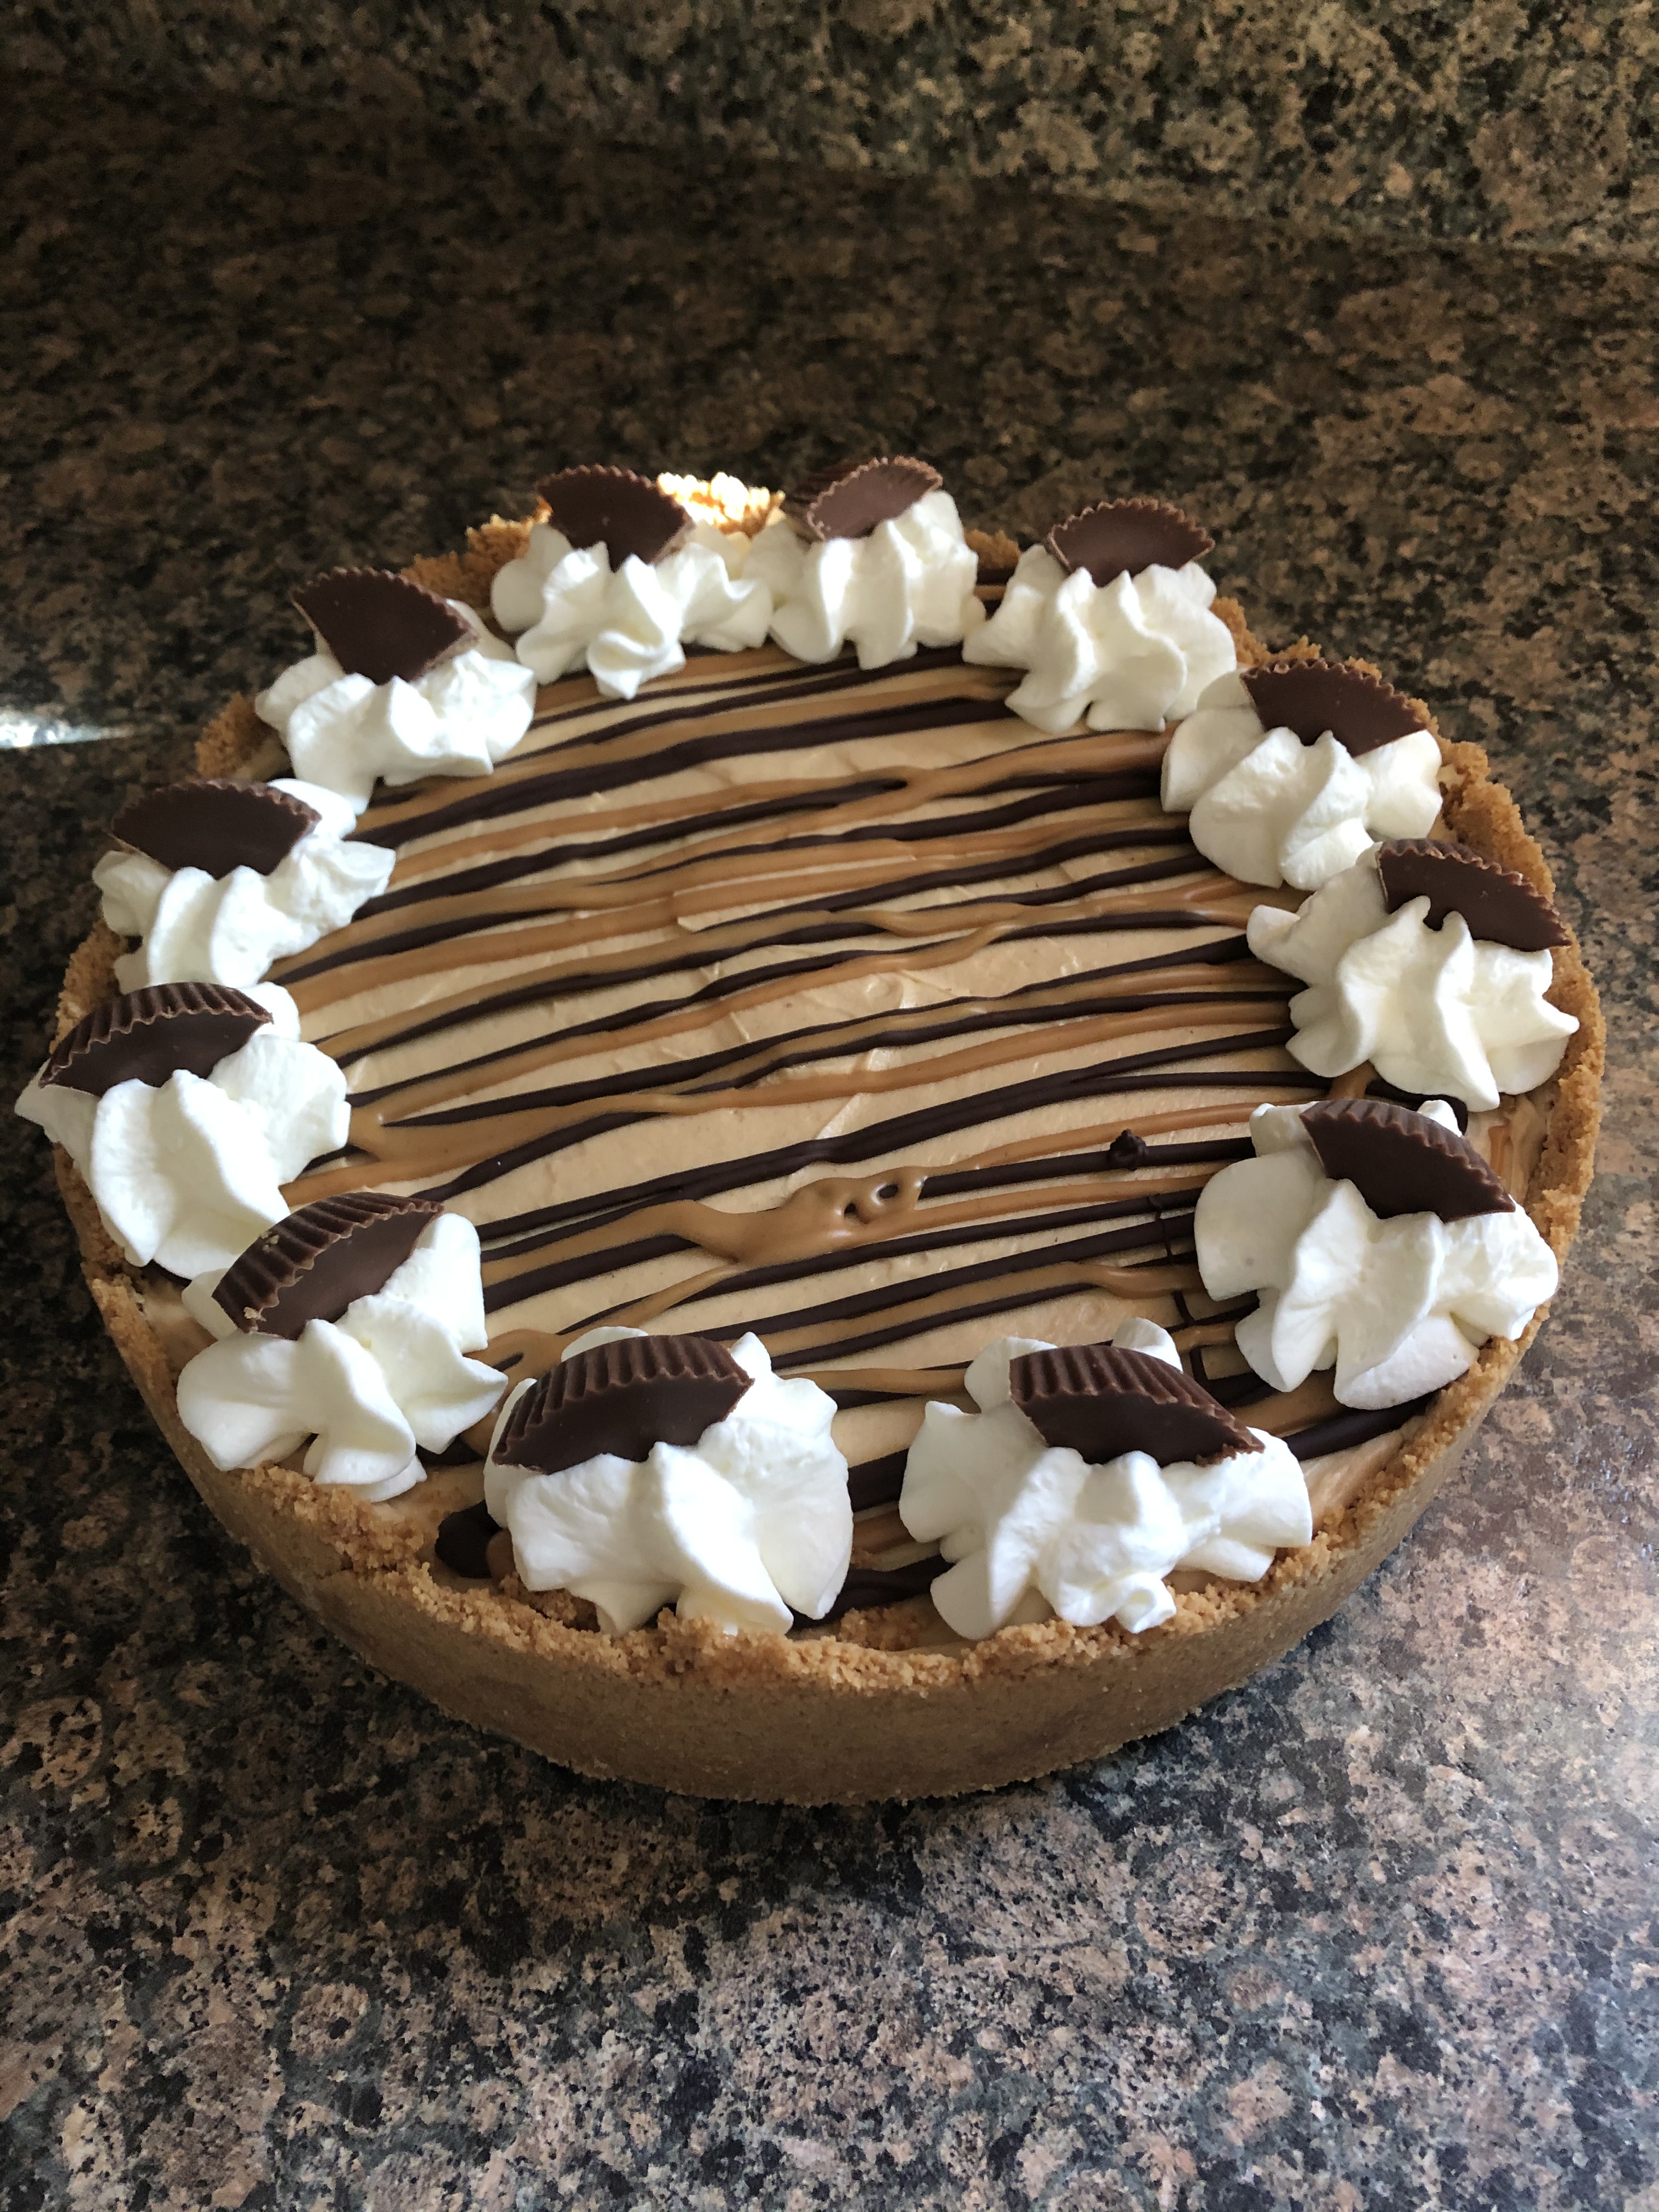
Now, you could enjoy the pie as is, but I decided to spruce it up a little. I melted semi-sweet chocolate chips and creamy peanut butter in the microwave and put each in a piping bag, snipped off the end and drizzled each on top of the pie. I then made whipped cream and piped dollops of it around the pie using a Wilton 1M tip and finally I quartered 3 Reese’s Peanut Butter Cups and placed them on top of the whipped cream. By the way, I had no clue that Reese’s Peanut Butter Cups had gotten so small. The packaging is still the same size, but I am sure the candy itself has shrunk a little since I was a kid.

I kept the pie refrigerated until about 15 minutes before slicing and stored the leftovers in the refrigerator. This pie is delicious. It’s the perfect amount of each the peanut butter mousse and the chocolate mousse. Both complement each other very well, as peanut butter and chocolate always do, and neither mousse overpowers the other.

Peanut Butter & Chocolate Mousse Pie

Ingredients:

For the Graham Cracker Crust:

1 1/2 cups graham cracker crumbs

2 tablespoons sugar

1 stick unsalted butter, melted


For the Chocolate Mousse:

3 ounces semi-sweet chocolate chips

3 ounces bittersweet chocolate chips

1 teaspoon vanilla extract

Pinch of salt

1/2 teaspoon instant espresso coffee*

1 1/2 cups heavy whipping cream

2 tablespoons confectioners’ sugar


For the Peanut Butter Mousse:

1/2 cup heavy whipping cream

4 oz. cream cheese (1/2 of an 8oz. block)

1/2 cup creamy peanut butter

1 teaspoon vanilla extract

1/2 cup confectioners’ sugar

1 tablespoon milk


To Decorate:

1/4 cup semi-sweet chocolate chips

3 tablespoons creamy peanut butter

1/2 cup heavy whipping cream

2 tablespoons confectioners’ sugar


*It’s not necessary to use the instant espresso. I had it on hand and coffee enhances the flavor of chocolate.


Directions:

Preheat the oven to 325 F.

For the graham cracker crust: Combine the graham cracker crumbs, sugar and melted butter in a medium bowl and then press into the bottom and up the sides of a 9-inch springform pan. Place on a cookie sheet and bake in the preheated oven for 10 minutes. Let cool on a wire rack until ready to use.

For the chocolate mousse: Combine the semi-sweet and bittersweet chocolate chips, vanilla extract, salt and instant espresso in a heatproof bowl. Stir together and set aside. In a small saucepan boil 1/2 cup of the heavy whipping cream. Pour over the chocolate chips and stir until the chocolate chips have melted and the mixture is smooth. Allow to cool to room temperature, stirring occasionally. Beat remaining 1 cup of heavy whipping cream along with the confectioners’ sugar until stiff and then fold into chocolate. Spread the chocolate mousse into the bottom of the graham cracker crust and refrigerate while making the peanut butter mousse.

For the peanut butter mousse: In a medium bowl beat the heavy cream until stiff peaks form. Set aside. In another medium bowl beat the cream cheese, peanut butter and vanilla extract until smooth. Add the confectioners’ sugar and then the milk, beating until the mixture is smooth and everything is combined. Fold in the whipped cream. Spread the peanut butter mousse over the chilled chocolate mousse in the crust.

Refrigerate the pie at least 6 hours or overnight before decorating or serving.

To decorate the pie: In a microwave safe bowl melt the semi-sweet chocolate chips in the microwave in 20-second intervals, stirring between each interval. Once melted transfer to a piping bag and snip the end (or a resealable bag and snip off a corner) and drizzle over the pie.

In another microwave safe bowl melt the peanut butter in the microwave 20-second intervals, stirring between each, until the peanut butter is a pourable consistency. Transfer to a piping bag and snip the end (or a resealable bag and snip off a corner) and drizzle over the pie.

In a medium bowl beat the heavy whipping cream and confectioners’ sugar together until it’s stiff. Transfer to a piping bag fitted with a large star or round piping tip and pipe dollops of whipped cream around the pie.

Slice and enjoy!

Store leftovers in the refrigerator.

Chocolate Mousse modified from Epicurious

Peanut Butter Mousse modified from Wishes and Dishes

Lattice-Top Blueberry Pie

It’s Pi day! And no, I didn’t spell that wrong. Today is 3/14, the first 3 numbers for Pi. The Greek letter that is a symbol in mathematics to represent a constant – the ratio of the circumference of a circle to its diameter. It’s an irrational and transcendental number, i.e. it will go on infinitely without repetition or a pattern. Have I bored you yet? Sorry… On to the Pie. In honor of Pi Day, I decided to bake a pie I had never had before, a blueberry pie. A Lattice-Top Blueberry Pie to be exact. Yes, I never had Blueberry Pie until I made this one. I must say, I am not a big pie eater, especially fruit pie. I always feel like they are going to be super sweet. What made this pie a hit amongst those who tried it was the fact that it wasn’t super sweet. Something I was quite happy about as well.

I’m not a fan of making pie crust from scratch so I buy Pillsbury refrigerated crust. I find it works just as well as homemade crust – I am sure there are plenty of you shaking your heads at that comment right now – and its super easy to use to make a decorative crust. And another plus, clean-up is a cinch! So after letting my two crusts (one for the top and one for the bottom) come to room temperature I rolled out what would be the bottom into a 13 inch round; the crust was already a 9-inch round so I had no problem rolling it out the extra few inches. I then fitted it into my 9-inch pie plate.

Next, I made the filling. I combined 7 cups of fresh blueberries with sugar, cinnamon, cornstarch & lemon juice.

I then poured the mixture into the pie plate.

To make the lattice top, I started by rolling out the other half of the pie crust into another 13-inch round.  Then using a fluted pastry wheel I cut the dough into ten 1-inch strips. Thankfully my work mat has 1-inch grid lines on it so cutting out the strips was a breeze. I just had to be sure to cut in a straight steady line.

I placed five of the strips vertically on the pie, evenly spaced.

And then proceeded to fold and unfold the strips to create a lattice pattern.

I then trimmed and tucked in the edges of the crust and crimped it with a fork.

Next, I brushed the pie with an egg yolk-heavy cream egg wash and sprinkled sanding sugar on top.

And after refrigerating the pie for about a half hour in the fridge I placed it on a parchment lined baking sheet and baked it in a 400 F preheated oven for about 20 minutes, until the crust began to brown, and then lowered the oven to 350 F and continued baking the pie for about another hour, until the crust was a deep golden brown and the juices began to bubble. I kept the pie tented with aluminum foil for most of the baking time, removing it for the last 30 minutes of baking so the crust wouldn’t brown too quickly.

Lattice-Top Blueberry Pie

Ingredients:

Pie Crust – Bake your own or store bought

2 pounds (about 7 cups) fresh blueberries

1/2 cup sugar

1/4 cup cornstarch

1/4 teaspoon ground cinnamon

1 tablespoon fresh lemon juice

1 large egg yolk, for egg wash

1 tablespoon heavy cream, for egg wash

Sanding sugar, for sprinkling

Directions:

Preheat the oven to 400 F.

On a lightly floured surface roll out half of your pie crust into a 13-inch round about 1/8-inch thick. Fit dough into a 9-inch pie plate.

In a large bowl combine the blueberries, sugar, cornstarch, cinnamon and lemon juice. Pour the mixture into the pie plate, piling in the center.

On a lightly floured surface roll out the other half of your pie crust. Once again into a 13-inch round about 1/8 inch thick. To make the lattice, cut the dough into 10 1-inch strips using a fluted pastry wheel or a pizza cutter. Carefully place the strips on the pie weaving into a lattice pattern. Trim the dough to a 1-inch overhang and fold the edges under, then crimp with a fork.

In a small bowl whisk together the egg yolk and heavy cream for the egg wash. Brush on top of the dough strips and then sprinkle with the sanding sugar.

Refrigerate or freeze the pie until firm, about 30 minutes.

Place the pie on a parchment lined rimmed baking sheet and bake until the pie begins to brown, about 20 minutes. Reduce the heat to 350 F and continue baking until the crust is a deep golden brown and the juices begin to bubble, about an hour. If the crust begins to brown too quickly tent the pie with aluminum foil.

Transfer to a wire rack to cool completely before slicing in.

Recipe from Martha Stewart Pies and Tarts Book


Cheesecake… Is it a Pie or a Cake?

Well, for today the answer to that question is going to be pie in honor of Pi Day! Yes, it’s the day that Math lovers around the world celebrate in honor of Pi, the irrational number (meaning it cannot be written as the ratio of two integers) that begins with 3.14 and goes on infinitely. This year’s Pi Day is extra special though because it only comes around once every 100 years… The first five numbers of Pi Day is the date (3/14/15) and to go even further at the time 9:26:53 you will have the first ten numbers of Pi in sequence, i.e. 3.141592653. Okay, I’ll stop being a Math geek now and go back to the pie. The idea of cheesecake falling under the pie category isn’t too much a stretch, especially for this cheesecake. Pies tend to have a crust and this one has a graham cracker crust and they also have a filling, the cheesecake part. Okay, maybe it is a tad bit of a stretch, but, I really couldn’t think of a pie I wanted to make but I have wanted to make a cheesecake.

IMG_7027

I began by making the crust… Using a food processor I ground up 18 graham crackers until they were fine crumbs. I then added in a stick of melted butter, sugar and salt and pulse to combine them. Following that I pressed the crumbs into the bottom and approximately 2-inches up the side of a 9-inch springform pan.

IMG_7006

Next I moved on to make the actual cheesecake. Using a stand mixer I beat three 8-oz. bars of cream cheese with a cup of sugar until it was smooth. It’s important to use room temperature cream cheese to ensure you won’t have any lumps in the mixture.

IMG_7007

I then added in a cup of room temperature sour cream and a teaspoon of vanilla extract; beating until these two ingredients were well incorporated.

IMG_7008

And finally I added in three eggs, one at a time.

IMG_7009

Before pouring it into the crust, I gave the cream cheese mixture a few stirs with a rubber spatula to make sure all of the ingredients were blended together well. I tend to find that sometimes ingredients are left on the bottom of the bowl of the stand mixer untouched since the paddle attachment doesn’t fully hit the bottom of the bowl.

IMG_7010

After pouring the cream cheese mixture into the prepared crust I baked it in a preheated 325 F oven for about an hour; until it was set but still wobbly in the center.

IMG_7011

A few minutes before removing the cheesecake from the oven I combined a cup of sour cream, a few tablespoons of sugar and vanilla extract in a bowl. I was happy that the cheesecake didn’t have any cracks in it – that normally happens when I bake cheesecakes.

IMG_7012

I then spread this sour cream mixture over the cheesecake and then placed the cheesecake back in the oven for about five minutes.

IMG_7014

The cheesecake right out of the oven… I let it cool for a few hours before covering it and placing it in the refrigerator.

IMG_7015

I ended up leaving it in the refrigerator overnight and then added some sliced strawberries on top of it the following morning in the shape of the Greek letter used to represent “Pi.” I had to validate this being a Pi Day pie somehow!

IMG_7022

And how did it taste… It was perfectly creamy and not overly sweet! A winning combination for the perfect cheesecake!

IMG_7044


Classic Cheesecake

Ingredients:

18 graham crackers (2 sleeves)

1/2 cup (1 stick) unsalted butter, melted

1/4 teaspoon kosher salt

1 cup plus 4 tablespoons sugar

3 8-oz. packages cream cheese, at room temperature

2 cups sour cream, at room temperature

1 1/2 teaspoons vanilla extract

3 large eggs, at room temperature

Directions:

1. Preheat oven to 325 F. In a food processor pulse the graham crackers until fine crumbs form. Add the butter, salt and 2 tablespoons of the sugar and pulse to combine. Press the mixture on the bottom and 2-inches up the side of a 9-inch springform pan.

2. Use an electric mixer to beat the cream cheese and 1 cup of sugar until smooth. Add 1 cup of the sour cream and 1 teaspoon of the vanilla extract and continue beating until combined. Beat in the eggs, one at a time. Pour the mixture into the prepared crust and bake until just set (the center will be slightly wobbly), 50 to 60 minutes.

3. In a small bowl combine the remaining 1 cup of sour cream, 2 tablespoons of sugar and 1/2 teaspoon of vanilla extract. Spread over the hot cheesecake, then bake until set, 3 to 5 minutes more. Let cool to room temperature in pan, then refrigerate for at least 2 hours. Run a knife around the edge of cheesecake before unmolding.


%d bloggers like this: