No-Bake Blueberry Lemon Pie

I came across the recipe for this no-bake pie at the perfect time. I was randomly watching an episode of Michael Symon’s Symon’s Dinners Cooking Out on the Food Network and it looked and sounded delicious and the following weekend it was one of those scorchers where turning on the oven was out of the question, so I decided to make this for Sunday dessert. If you have read some of my recent posts, you will see that this has been a theme as of late… me avoiding the oven!

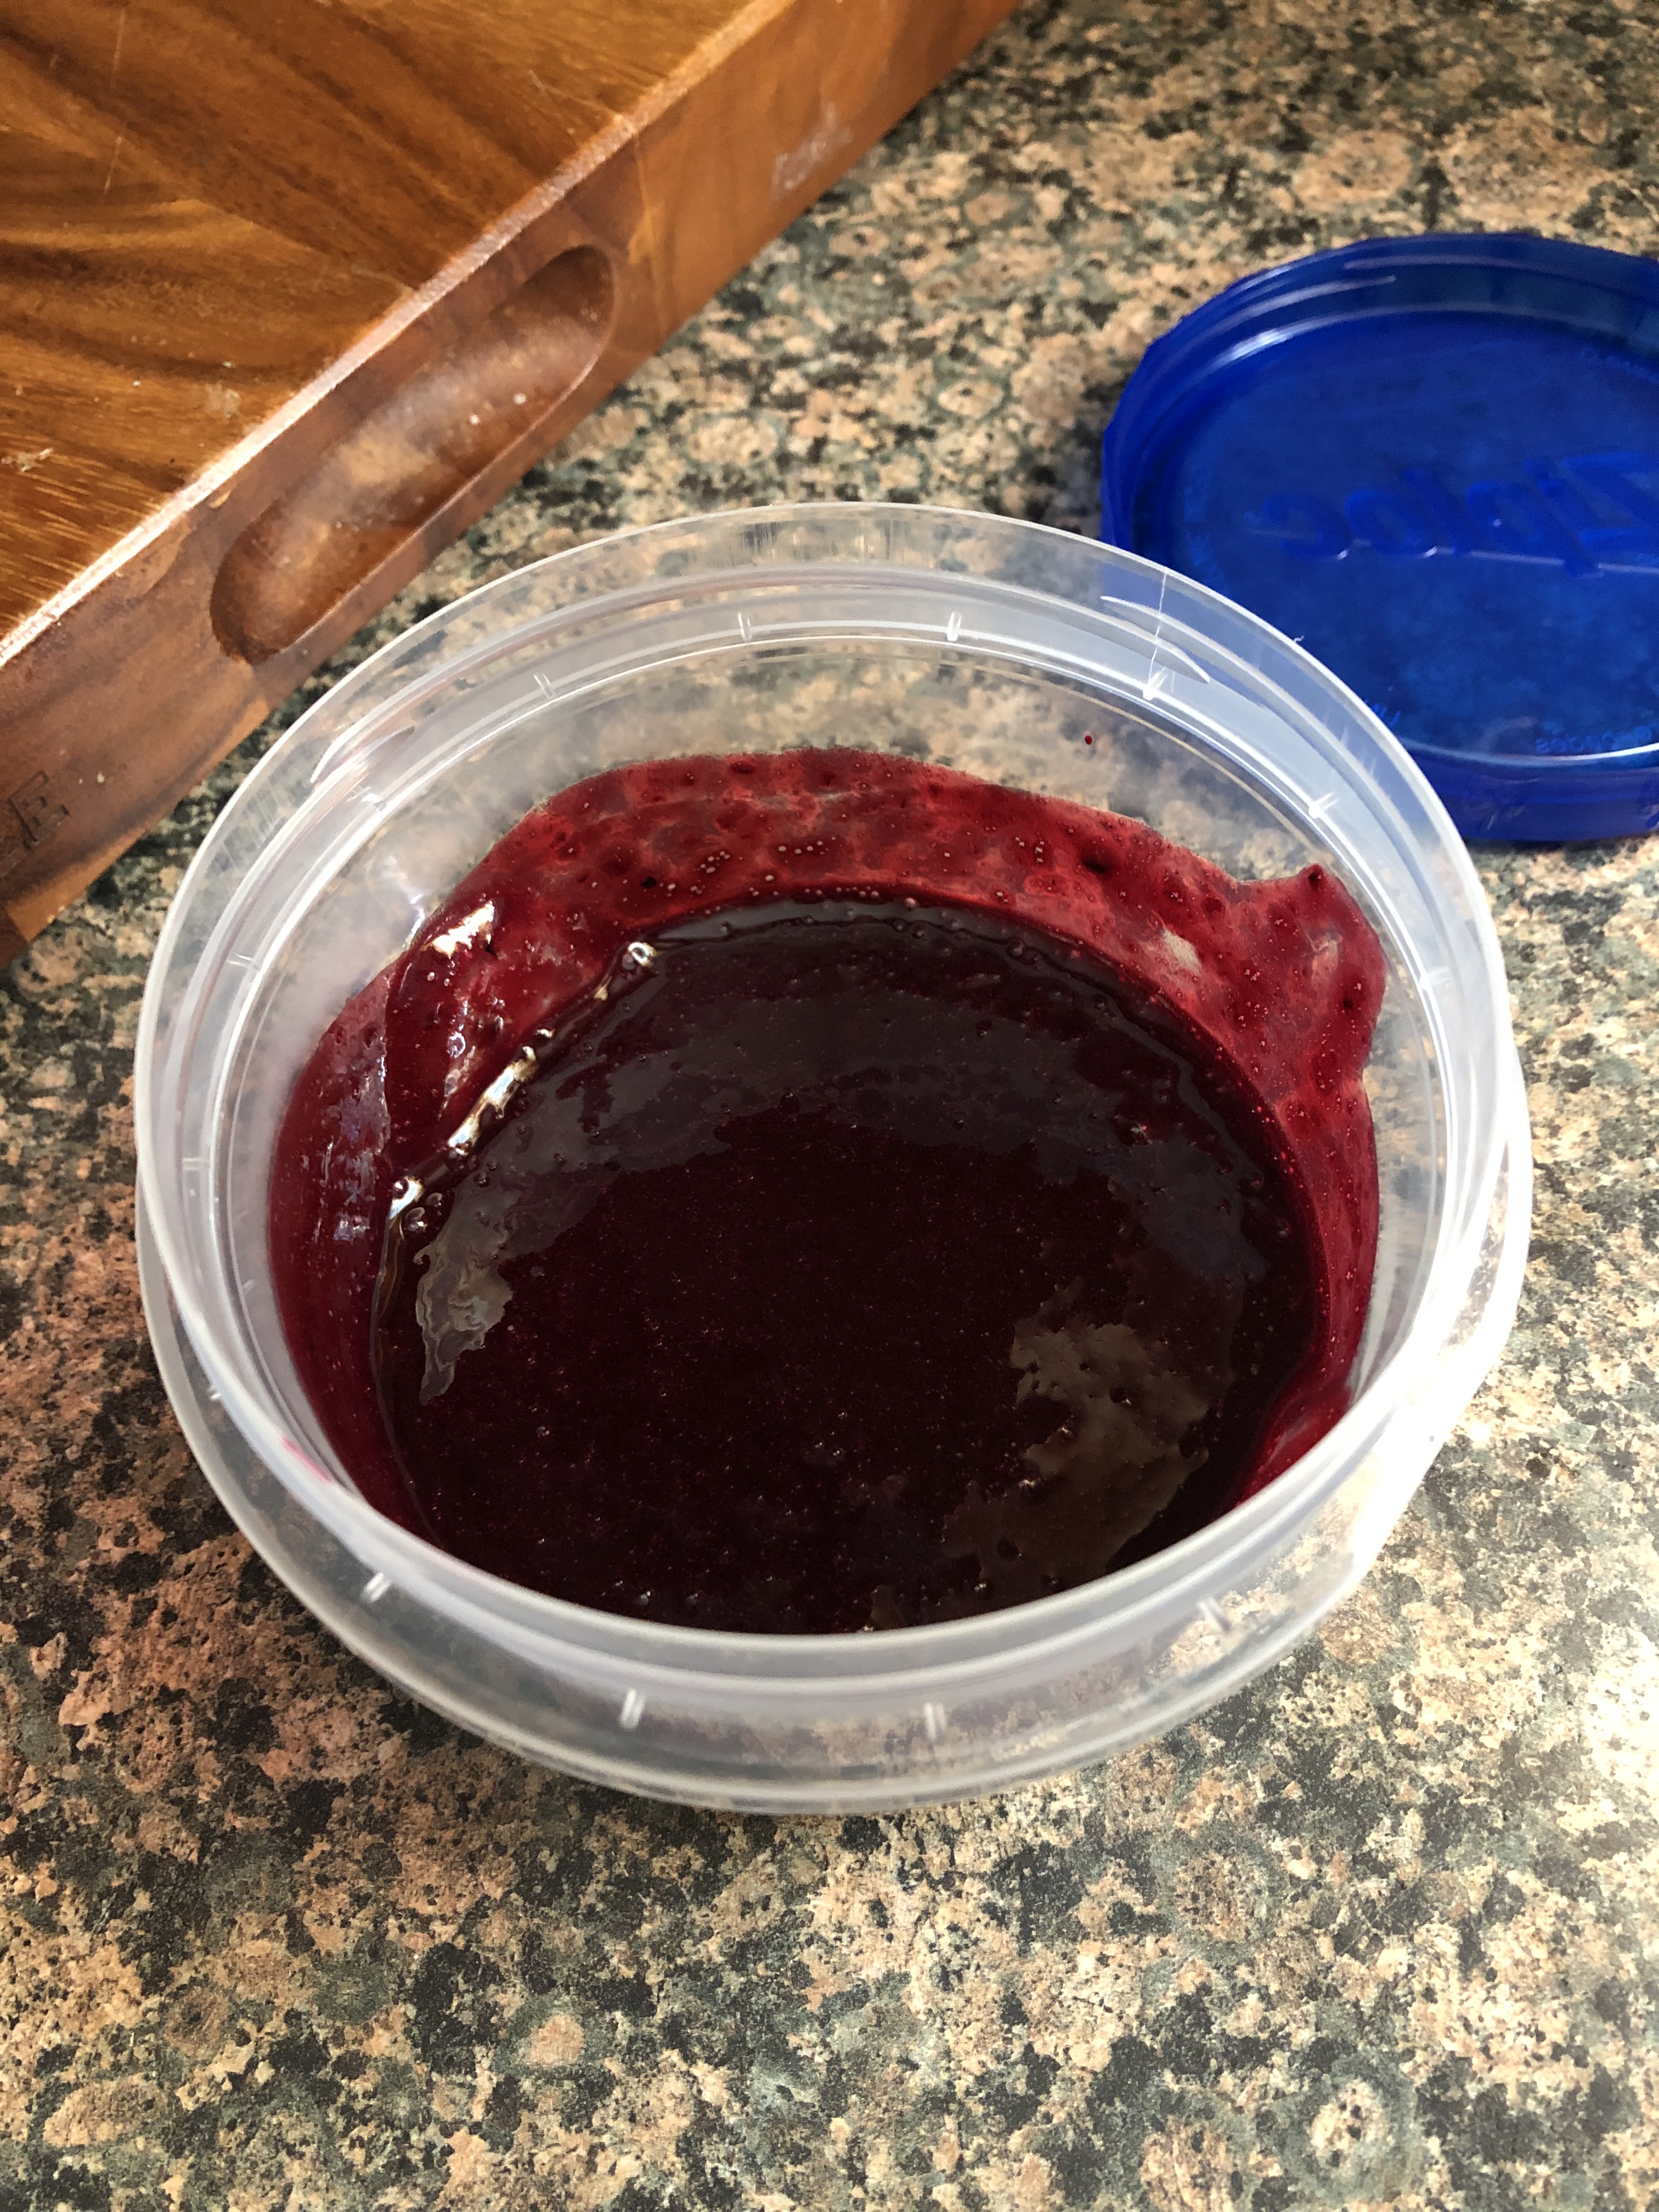
While the recipe called for making the blueberry puree on a grill, I opted to make it on my stovetop. I combined fresh blueberries, sugar, fresh lemon juice and salt in a small saucepan and heated it over medium heat to bring it to a boil. I then lowered the heat to low so the mixture could simmer. Ultimately the blueberries began to burst, and the mixture began to thicken. I then transferred the mixture to my food processor and processed it until it was smooth. Finally, I transferred it to a container and let it cool to room temperature before covering it and refrigerating it. Since the puree needs to be completely chilled before using it, I opted to make the puree early in the day so it could be ready by the time I made the pie.

Next, I made the crust. While you can buy graham cracker crumbs, I opted to crush graham crackers into crumbs. I placed them in a resealable bag and used a rolling pin to crush them. I used two full sleeves of crackers. After combining the crumbs with melted butter, sugar and salt I pressed them on the bottom and up the sides of a 9-inch springform pan.

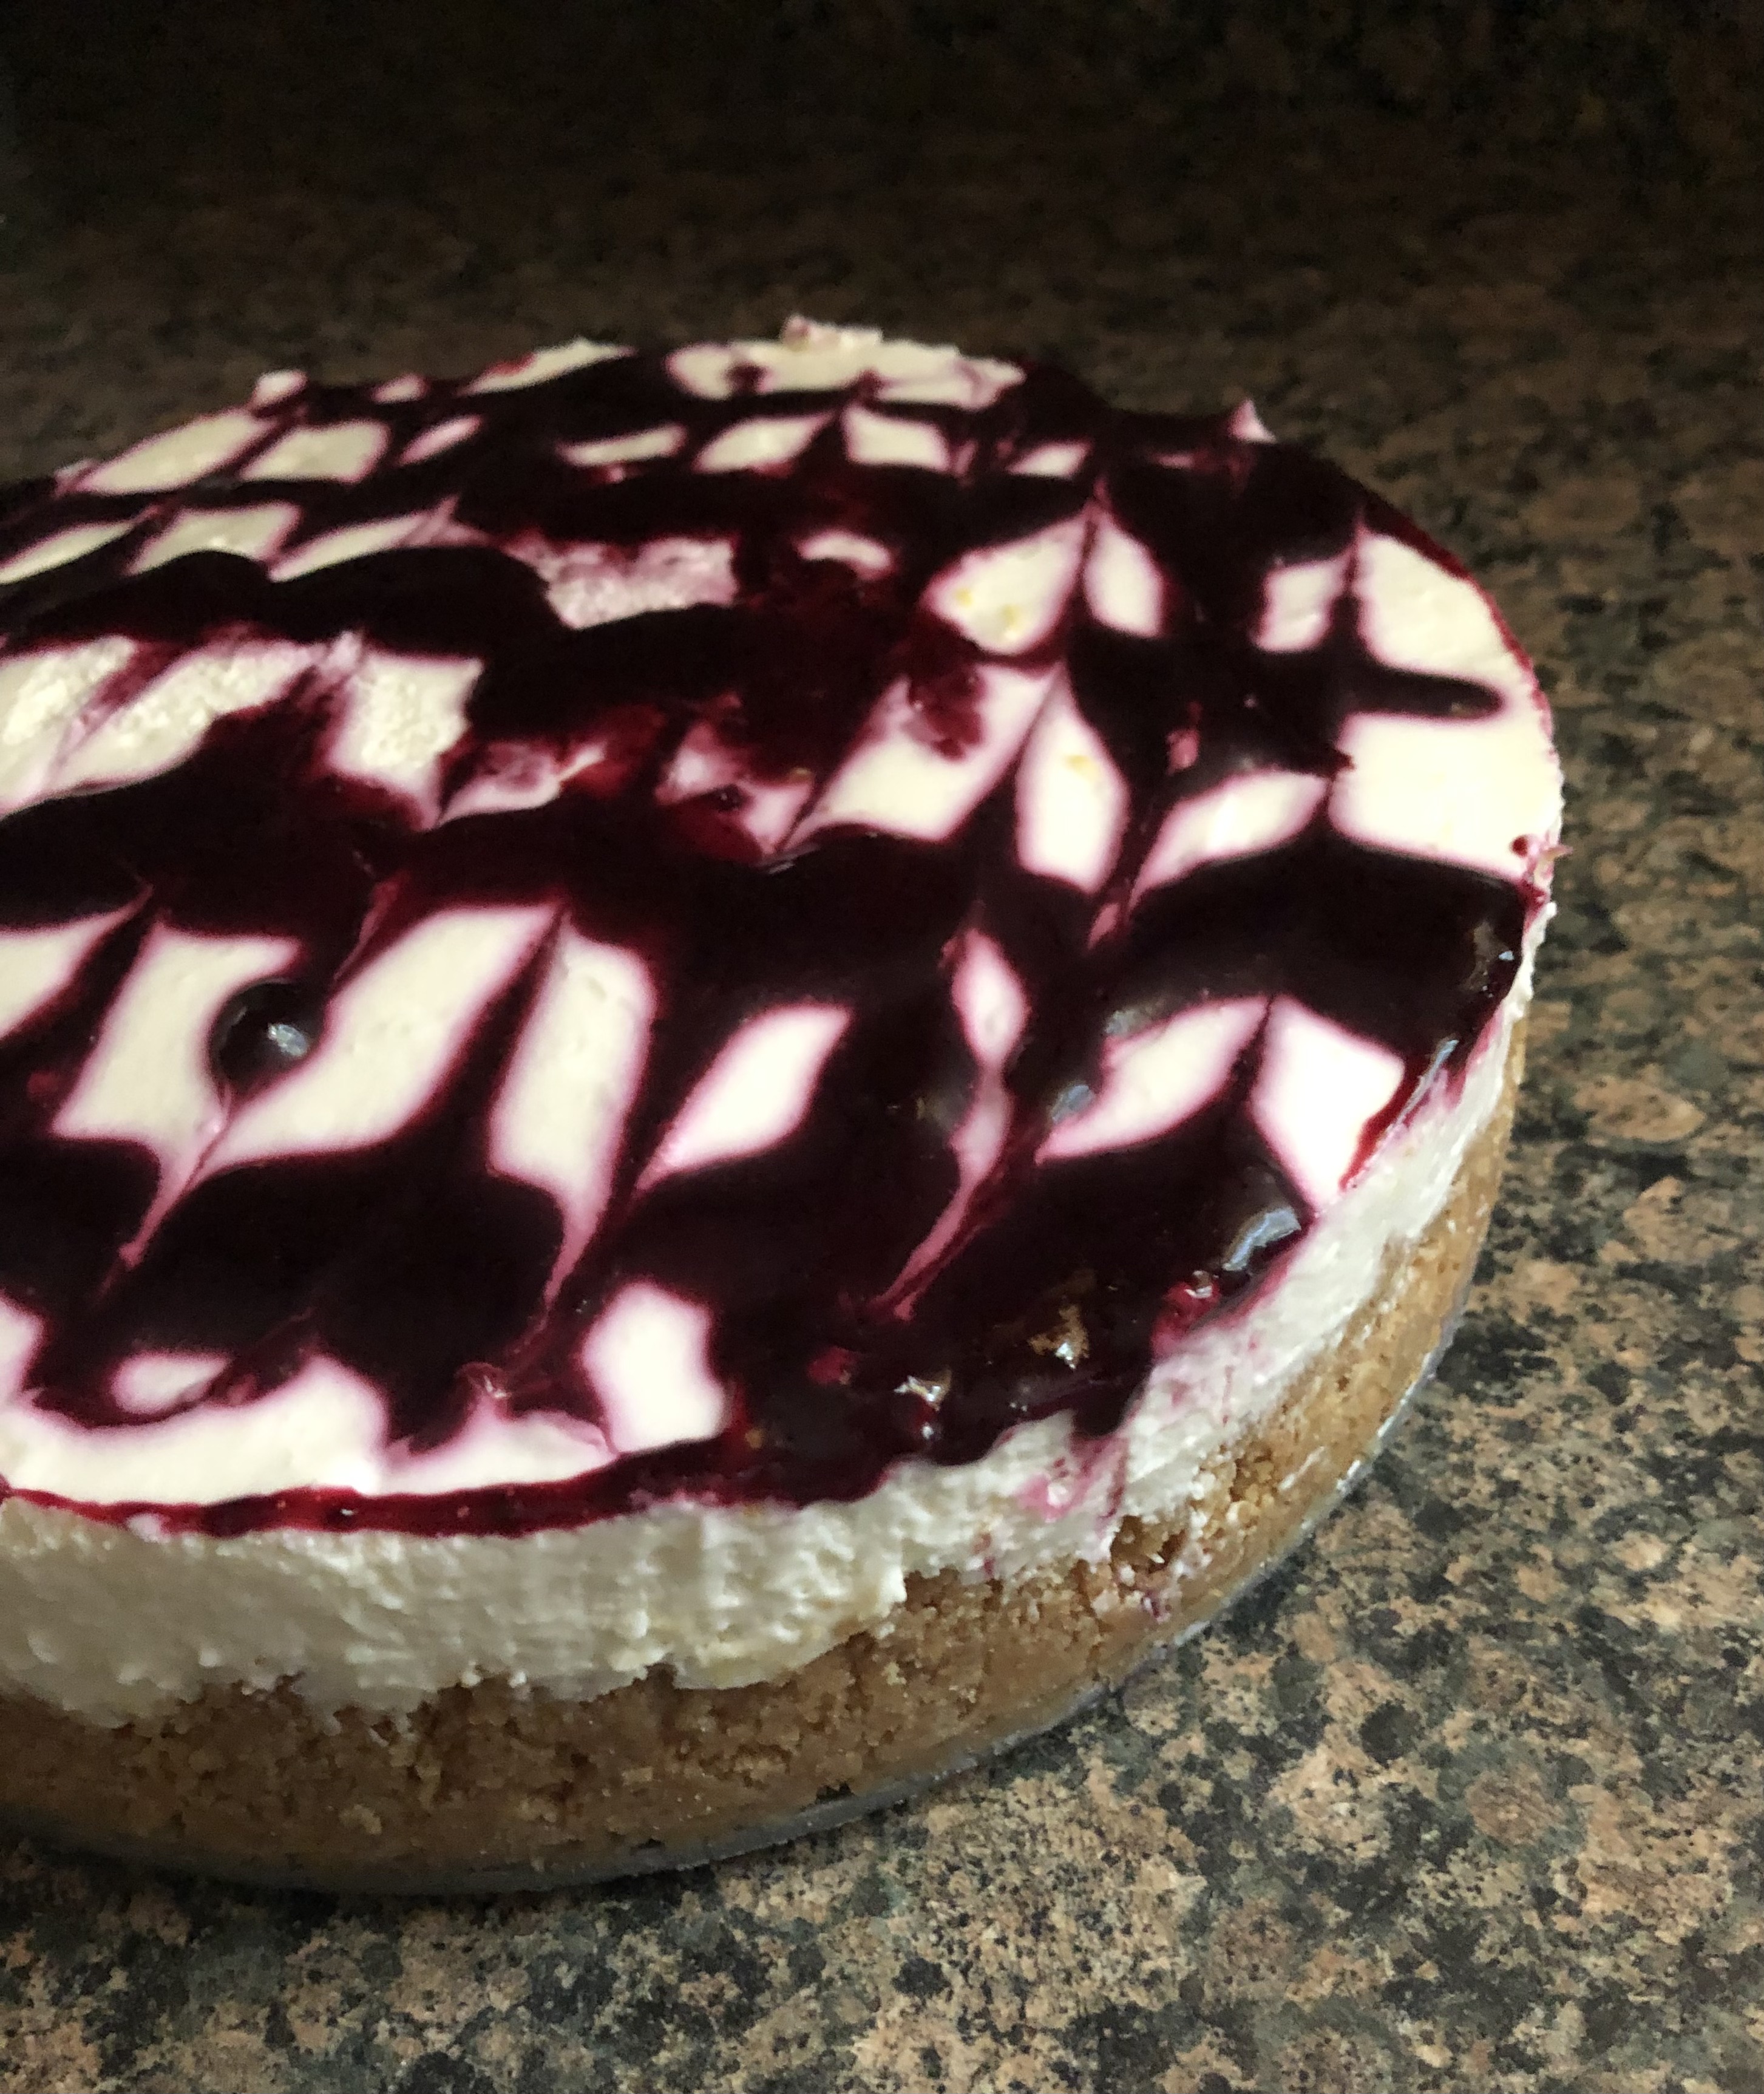
And finally, I made the filling. I started by whipping heavy cream until stiff peaks formed. Next, I whisk together warm milk and unflavored gelatin and let it sit for a few minutes so it could bloom. With a hand mixer I beat together cream cheese, sugar, lemon zest and lemon juice until it was smooth. I then added in the milk mixture and half of the whipped cream and continued beating until it was smooth. I then folded in the remaining whipped cream with a rubber spatula. Next, I poured it into the prepared crust and smoothed the top. I spooned the chilled blueberry puree in thin lines on top of the cake and then used a toothpick to drag the puree in the opposite direction of the lines.

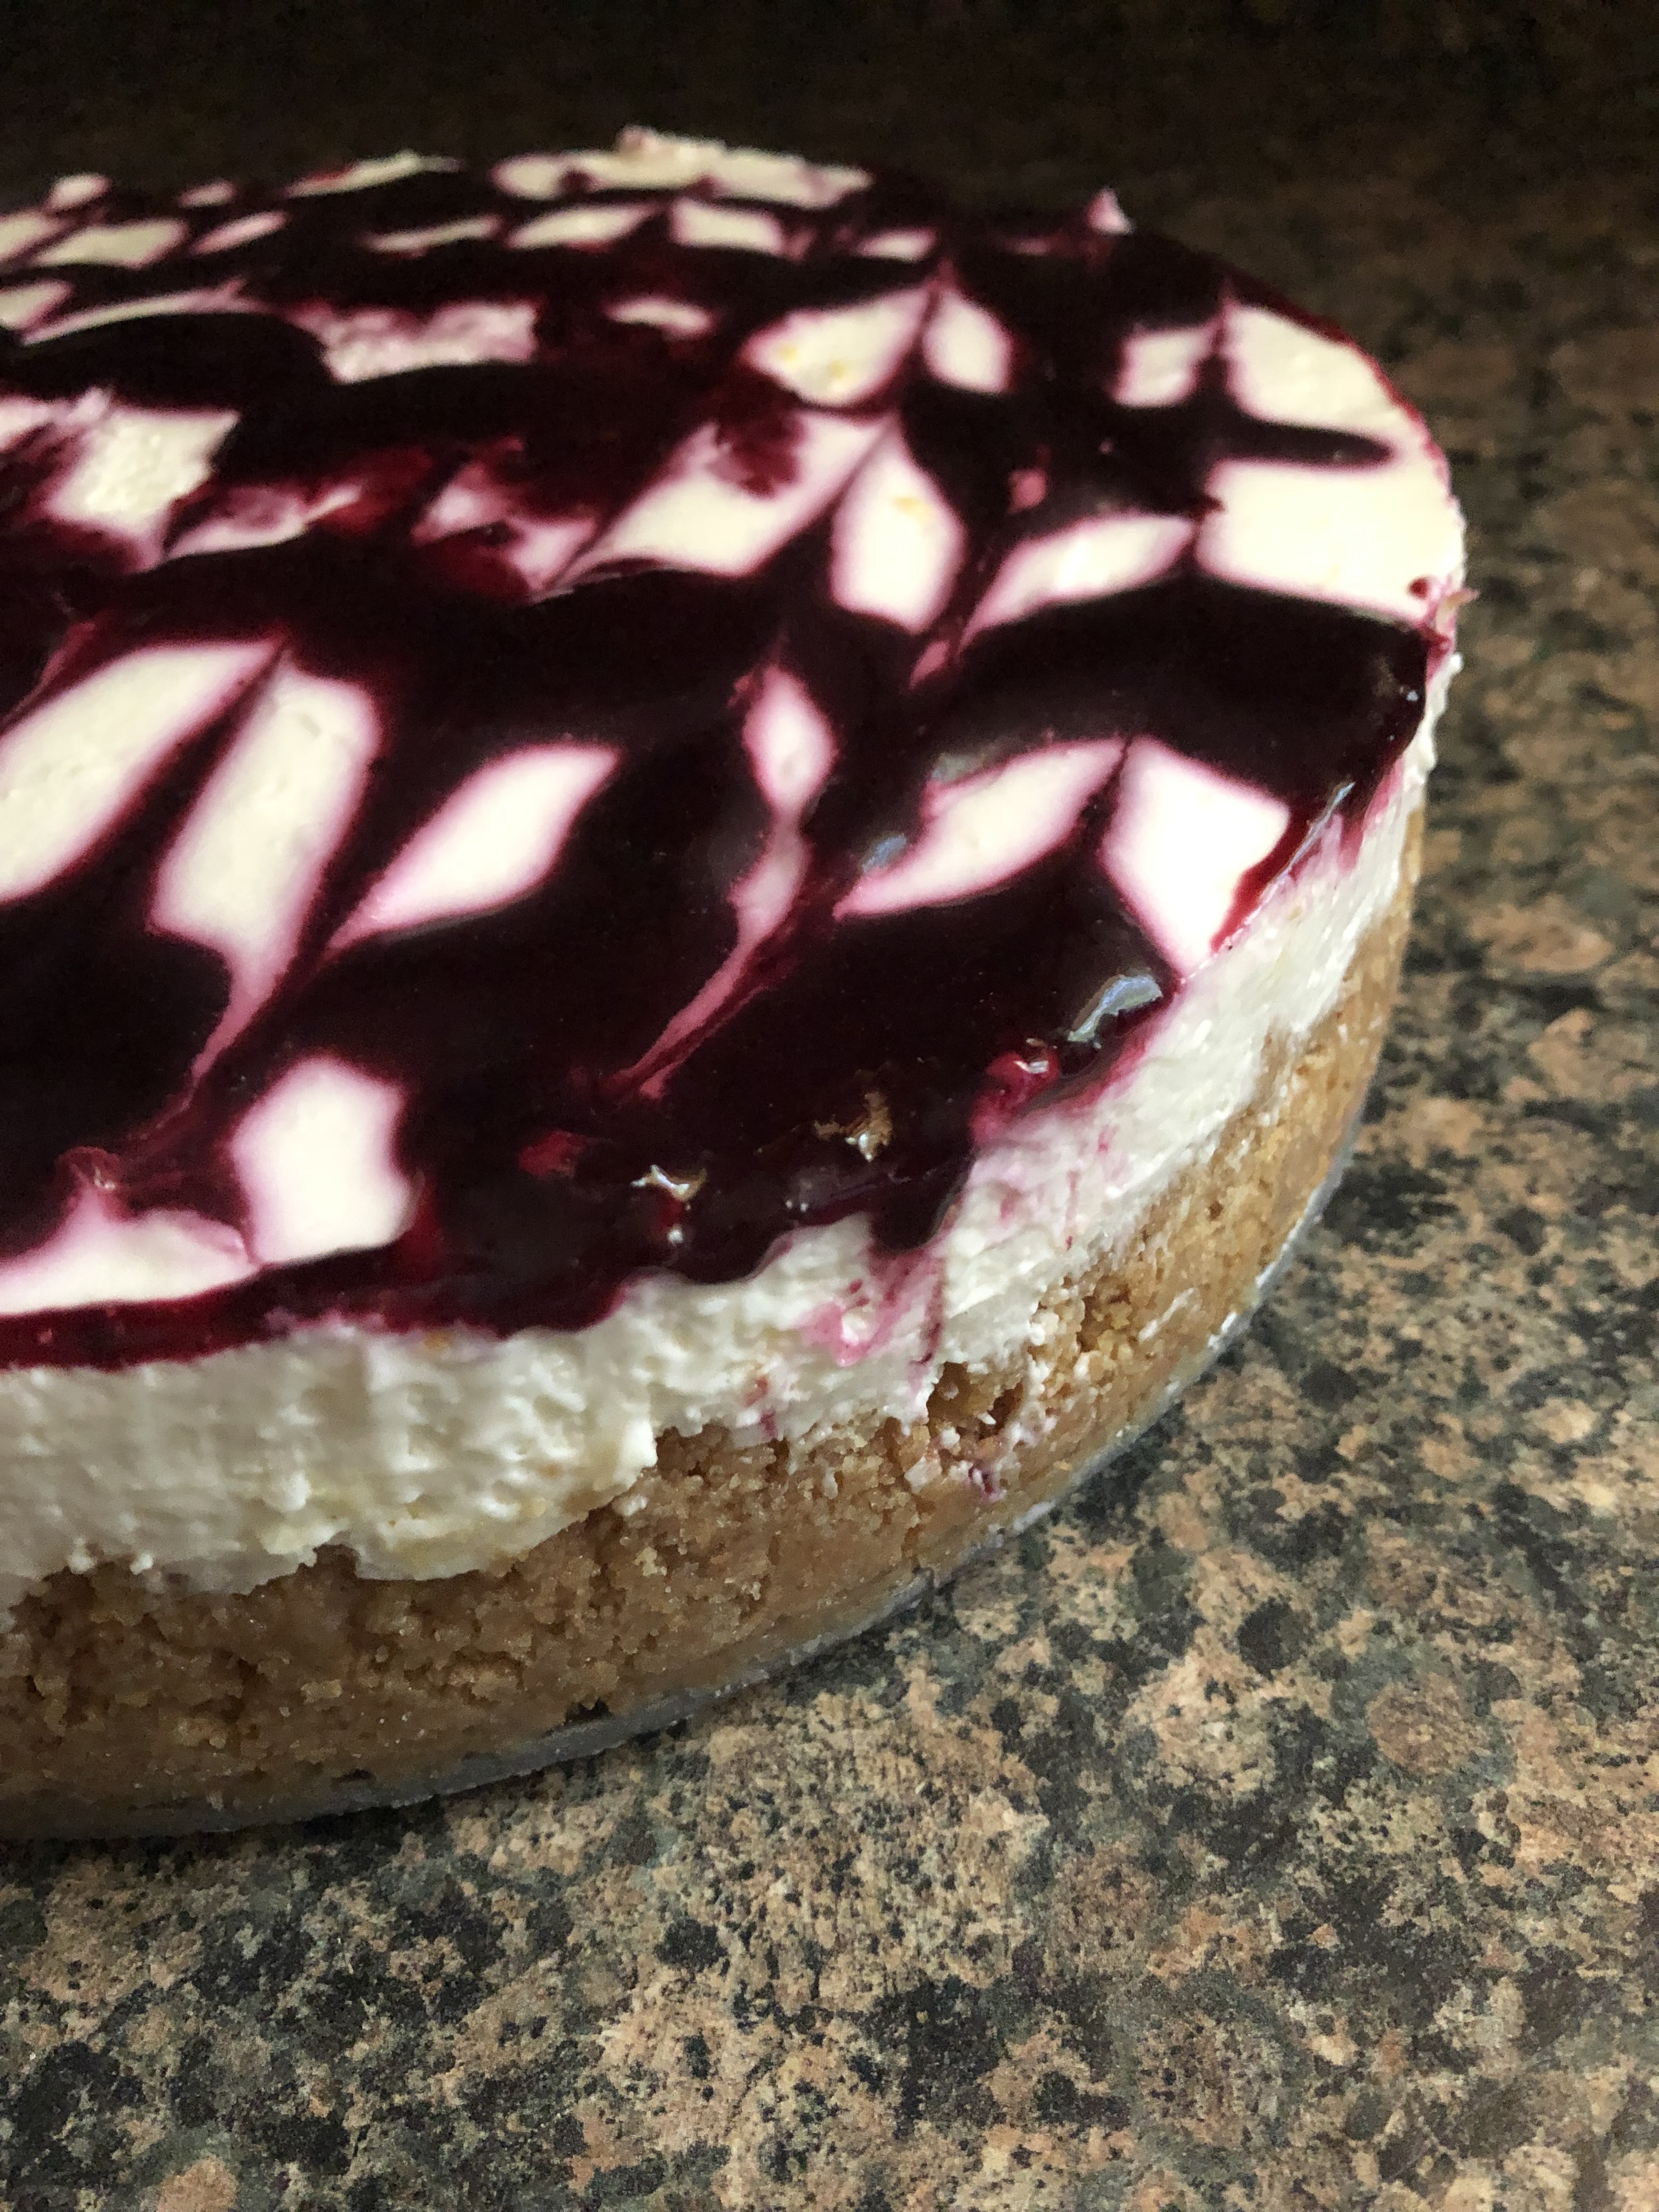
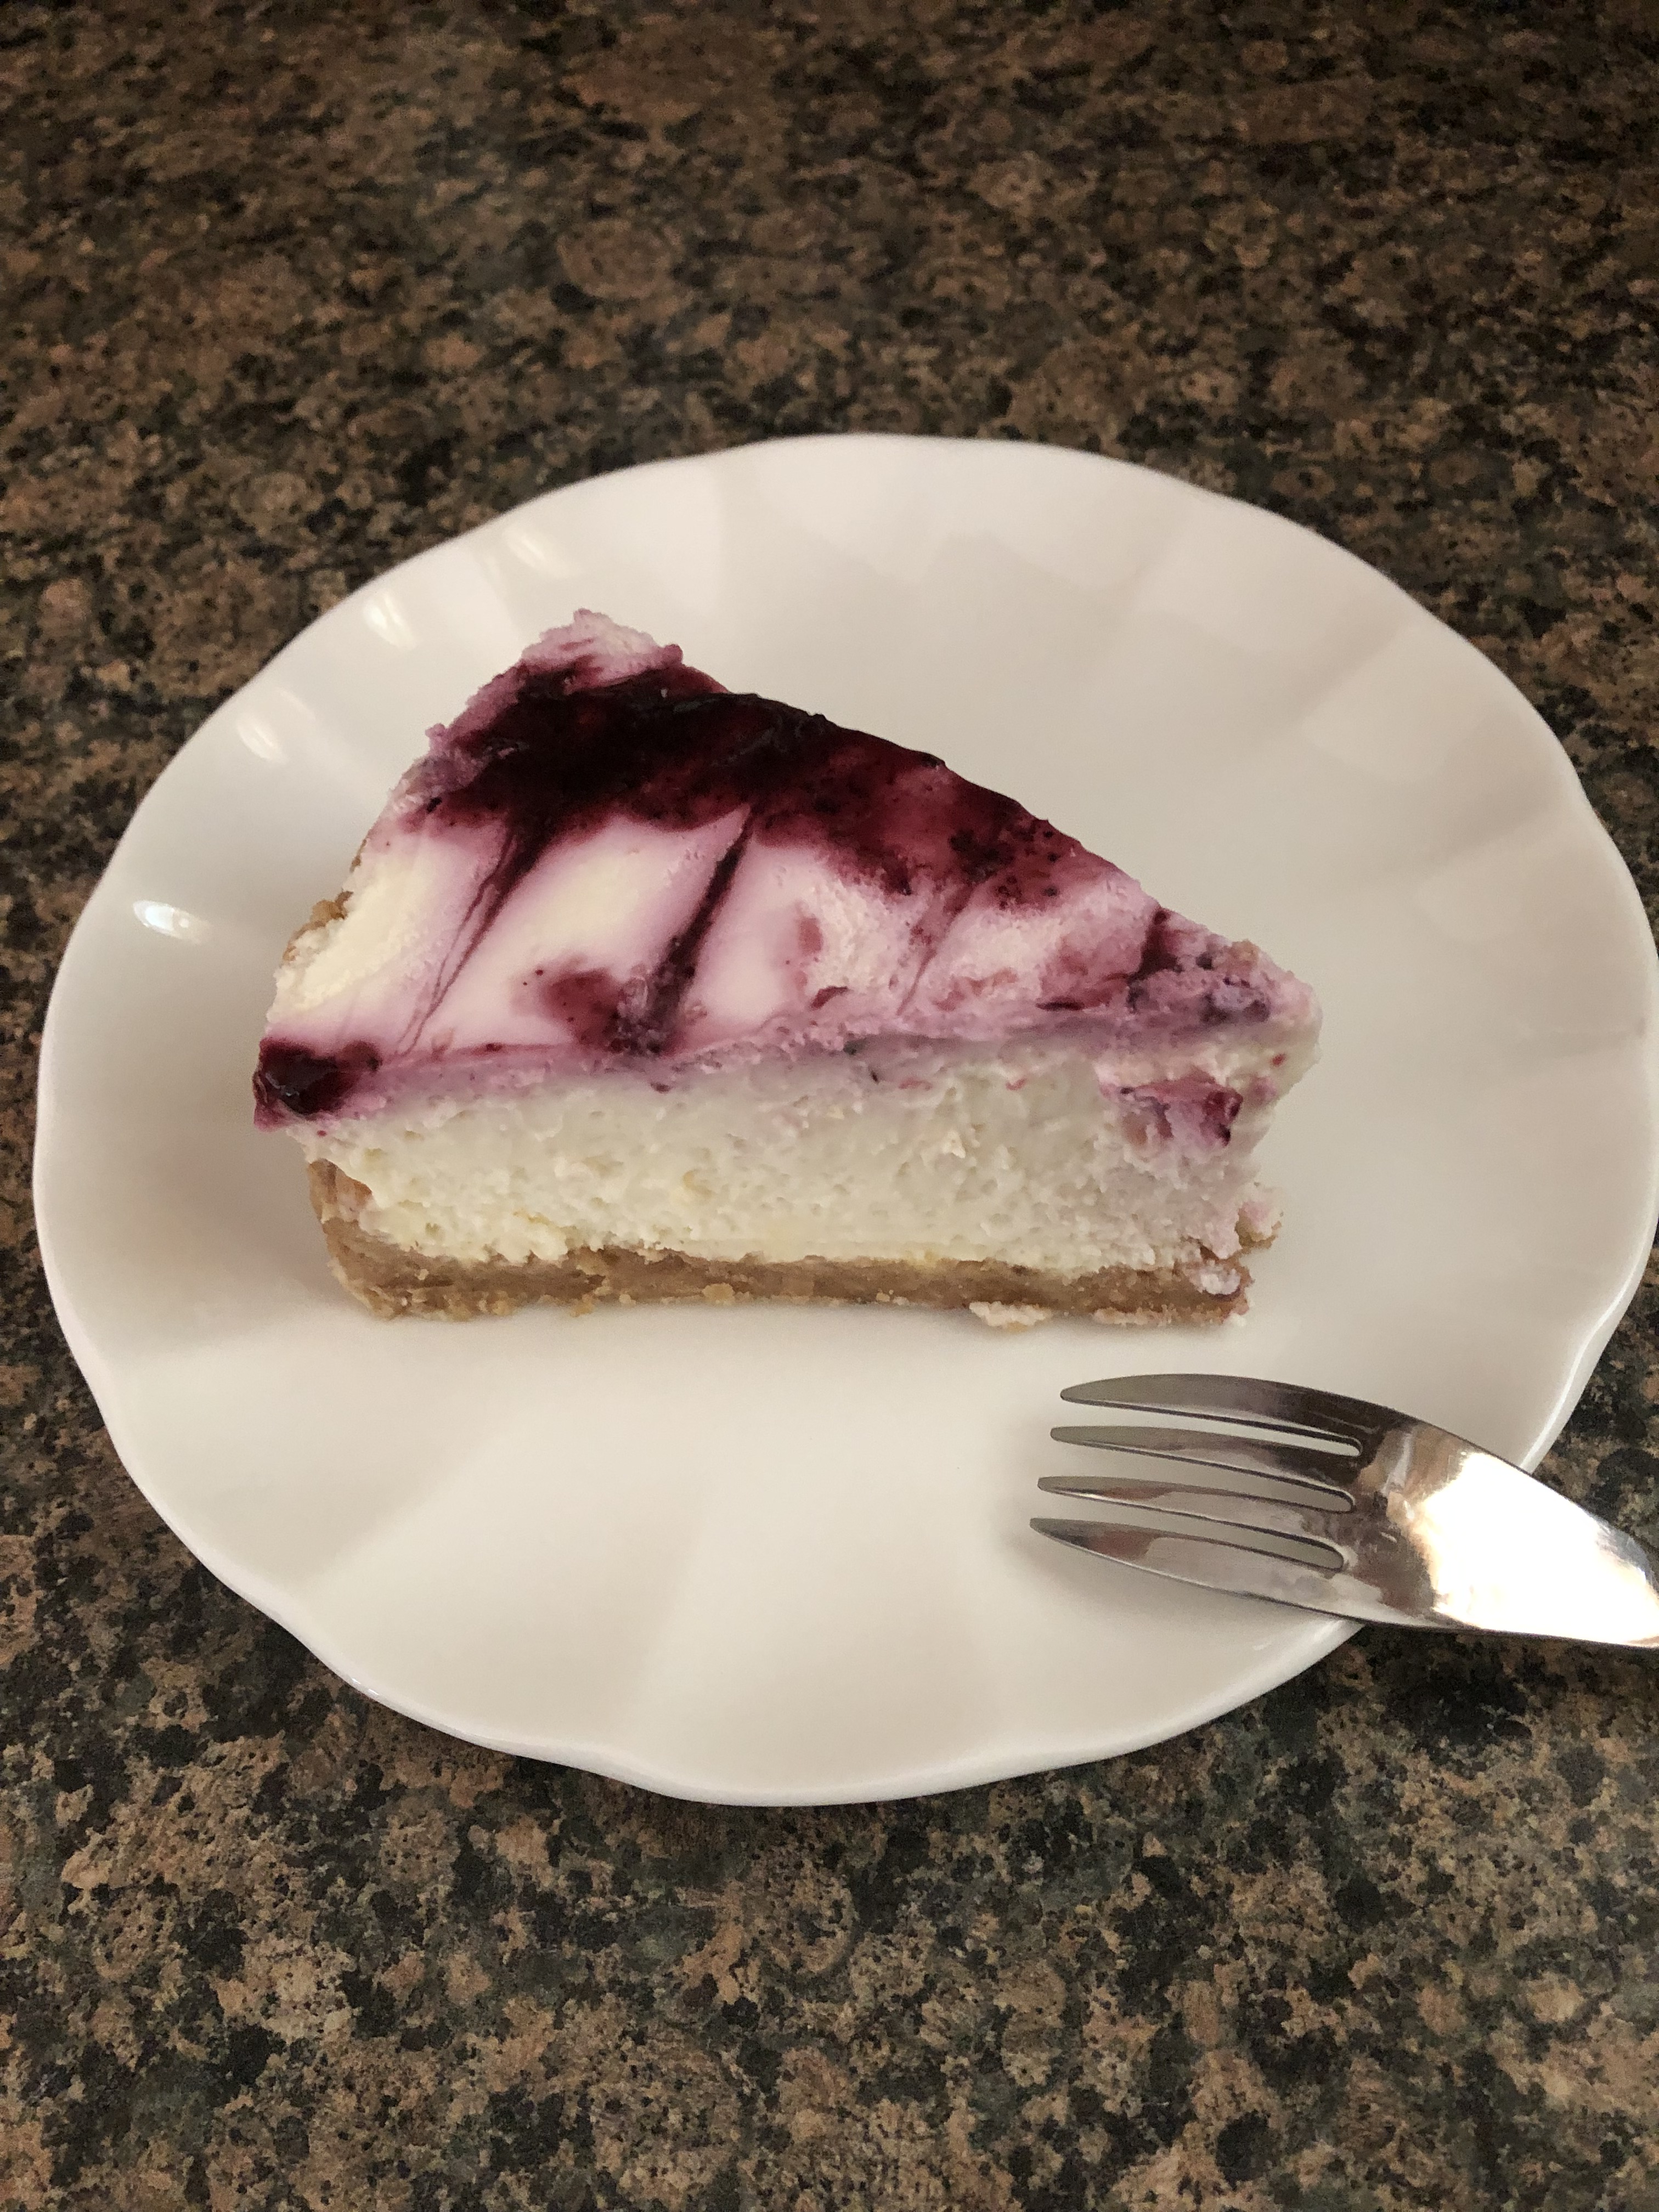
I let it chill in the refrigerator overnight. The next day when it came time to slice it it held together perfectly.  And the flavor was refreshing for these hot summer days! The lemon flavor was spot on and it wasn’t overly sweet. And thanks to the whipped cream the pie has a much lighter texture than cheesecake even though cream cheese was used to make it. If you have some of the blueberry puree leftover it would be perfect to drizzle on each plate before serving.

No-Bake Blueberry Lemon Pie


Ingredients:

Blueberry Puree:

1 cup fresh blueberries

2 tablespoons sugar

Juice of 1/2 lemon

Pinch of salt

Graham Cracker Crust:

2 1/2 cups graham cracker crumbs*

1/4 cup sugar

12 tablespoons unsalted butter, melted

Pinch of salt

Filling:
2 cups heavy cream

1/2 cup whole milk, warmed

1 .25oz. packet unflavored powdered gelatin

2 8oz. packages cream cheese, at room temperature

2/3 cup sugar

Zest and juice of 2 lemons

* Approximately 2 sleeves of graham crackers.

Directions:

Blueberry Puree: In a small saucepan combine the blueberries, sugar, lemon juice and salt. Stir together and then heat over medium heat until the mixture begins to boil. Reduce the heat to low and simmer the mixture until the blueberries begin to burst and the mixture thickens. Transfer to a food processor (or blend) and puree until smooth. Pour into a bowl and allow to cool to room temperature before covering and refrigerating until completely cold.

Graham Cracker Crust: In a medium bowl combine the graham cracker crumbs, sugar, melted butter and pinch of salt. Stir together to combines and then pour into a 9-inch springform pan and press the mixture in the bottom and up the sides of the pan evenly to make the crust. Use the bottom of a measuring cup or glass to smooth the bottom.

Filling: In a large bowl beat the heavy cream with a hand mixer on medium speed until stiff peaks form. Transfer the whipped cream into another bowl.

In a measuring cup whisk together the milk and unflavored gelatin. Let stand for 3-5 minutes so the mixture can bloom.

In the large bowl combine the cream cheese, sugar and zest and juice of lemons. Beat with a hand mixer on medium speed until the mixture is smooth. Add in half of the whipped cream and the milk mixture and continue mixing until smooth. Fold in the remaining whipped cream with a rubber spatula until both are incorporated. Transfer the mixture to the prepared crust and smooth the surface. Spoon the chilled blueberry puree in the lines across the surface of the filling. Using a toothpick or wooden skewer drag the puree in the opposite direction of the lines to create a swirled pattern. Chill for at least 3 hours, or overnight before slicing and enjoying.

Recipe from Food Network

Meyer Lemon Shaker Pie

A pie for Pi Day! To celebrate Pi Day this year I am bringing you a Meyer Lemon Shaker Pie. Meyer lemons are a tad sweeter than your traditional lemons. They are a cross between regular lemons and mandarins and tend to be smaller, rounder and smoother than traditional lemons. They also have a deep yellow / orange hue to them.

I began by thinly slicing the lemons, removing the pits.

I then combined the sliced lemons with sugar and salt and set it aside.

In a medium bowl I whisked together 4 large eggs with vanilla extract and then combined that with the lemons. I opted to use refrigerated store-bought pie dough. After letting it come to room temperature I rolled it out about and extra 1/2-inch and then pressed it into a pie dish that I greased with butter. I brushed the crust with a beaten egg yolk and then poured the lemon mixture into the crust.

Next, I rolled out the other half of my pie crust approximately an extra 1/2 inch and then placed it on top of my pie. I attempted to do a decorate crust my crimping the ends. I am not a great pie maker so I was happy with the way this crust looked when I was done. I did my best not to rush through it and I was very happy that I was able to cut slits in the pie that were four individual slits as opposed to four slits that I over sliced and turned into 2. It’s happened. I am telling you, baking pies knocks me off-kilter and I end up doing something wrong. Practice makes perfect though. My plan at this point was to freeze the pie for an hour prior to baking. But, I found out the hard way (when I went to go put the pie in the freezer) that my freezer wasn’t wide enough for me to get the dish in. UGH! So, I ended up refrigerating the pie overnight instead. On a side note, when it comes time for me to purchase a new refrigerator I will be going to the store with a bag of pie dishes and cookie sheets to make sure I get a freezer part that I will be able to fit things in. Not being able to get certain dishes and pans in my freezer can be maddening at times. I didn’t find it to be such an annoyance until I decided to freeze my cookie dough back in December and I was only able to fit one cookie sheet in there from the 10+ that I own. It definitely slowed down my flow of getting things done! Anyhoo…

After refrigerating the pie overnight I baked it the following morning… I was pleased with the golden brown color of the crust and that my decorative edge didn’t fall apart completely while the pie was baking.

I let the pie cool for a bit and then sliced into it… The filling was jammy as it’s supposed to be, but, I found it incredibly sweet. I tried taking a few bites, but, it was just too much for me. If I make this again I will definitely cut back on the amount of sugar I used per the directions (2 cups). While I was scooping the sugar out to combine with the lemons in the back of my mind I was already thinking “this is way too much sugar,” but since other recipes I saw called for that much I followed along.

While the recipe I followed didn’t call for the lemons and sugar to macerate for 24 hours, I found that many recipes called for this step in order to break down the rind and pith of the lemons to eliminate any bitterness.  If I were to make this recipe again I would definitely do that as well as cut back on some of the sugar. While the pie did have a nice taste to it and the bitterness from the rind and pith wasn’t strong, as I mentioned, the sweetness was just too much for me. So, here is what I would do. I would slice the lemons and combine them with the sugar (probably only a cup and a quarter to a cup and a half) and salt in a large bowl. Cover and refrigerate for 24 hours, stirring occasionally. The following day I would then continue with the recipe, whisking together the eggs and vanilla and then combining that with the lemons. And instead of freezing / refrigerating the pie before baking, I would omit this step and go ahead and bake the pie

Meyer Lemon Shaker Pie

Ingredients:

4 to 7 small to medium Meyer lemons

2 cups sugar

1 teaspoon salt

4 large eggs

1 teaspoon vanilla extract

1 store-bought pie crust or homemade


To finish the pie:

1 large egg separated, white and yolk whisked separately

2 teaspoons sugar


Directions:

Thinly slice the lemons, removing any seeds. You will need 2 cups of sliced lemons. Combine the lemon slices with the sugar and salt and set aside to allow the lemon to macerate. Whisk the 4 eggs and vanilla extract together in a separate bowl.

Lightly grease a 9-inch pie dish. Roll out half of the dough to fit in the dish with a 1-inch overhang. Brush the dough with the beaten egg yolk.

Combine the sliced lemons and egg mixture and then spread into the prepared pie crust.

Roll out the other half of the dough. If using store bought dough, roll it out approximately a 1/2 inch more and then place on top of the dough in the pie dish. Trim off any excess dough and pinch the bottom and top crust together and crimp or seal the edges with your finger or fork.

Cut 4 slits on the top and brush with the beaten egg white and sprinkle the sugar on top. Chill in the freezer for 1 hour or in the refrigerator overnight.

Preheat the oven to 450 F. Bake the pie on the lowest rack of the oven for 15 minutes. Lower the temperature of the oven to 375 F and move the pie to the center rack and bake for another 30 minutes. If the edges of the pie begin to brown too quickly, cover with a pie cover or strips of aluminum foil.

Let the pie cool for at least 30 minutes before slicing and enjoying.

Recipe from The Kitchn

%d bloggers like this: