It’s officially summer! Which means it’s time to enjoy the warmth of the sun on your skin and to feel the sand between your toes. And of course, to indulge in all the summer fruits (I have been enjoying peaches for a few weeks now), BBQ’s and best of all ice cream there is! I can’t believe it’s been three years since I have shared an ice cream recipe here. The last one being a No Churn Coffee Ice Cream. And while I do own an ice cream maker, once I discovered how to make no churn ice cream that has been my go-to way for making this favorite summertime treat. I got the idea for today’s ice cream – a No Churn Salted Caramel Swirl Chocolate Chip Ice Cream (that is a bit of a mouthful) – from a cupcake flavor I saw. I thought the salted caramel and chocolate chips would be a nice addition to a vanilla based ice cream.
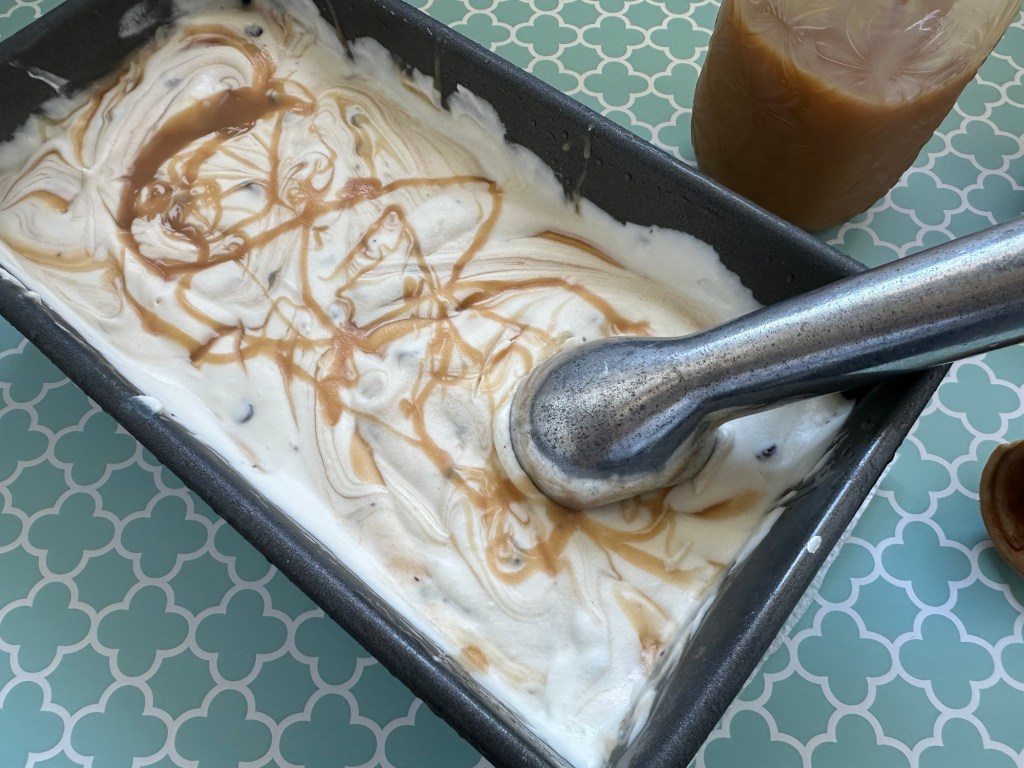
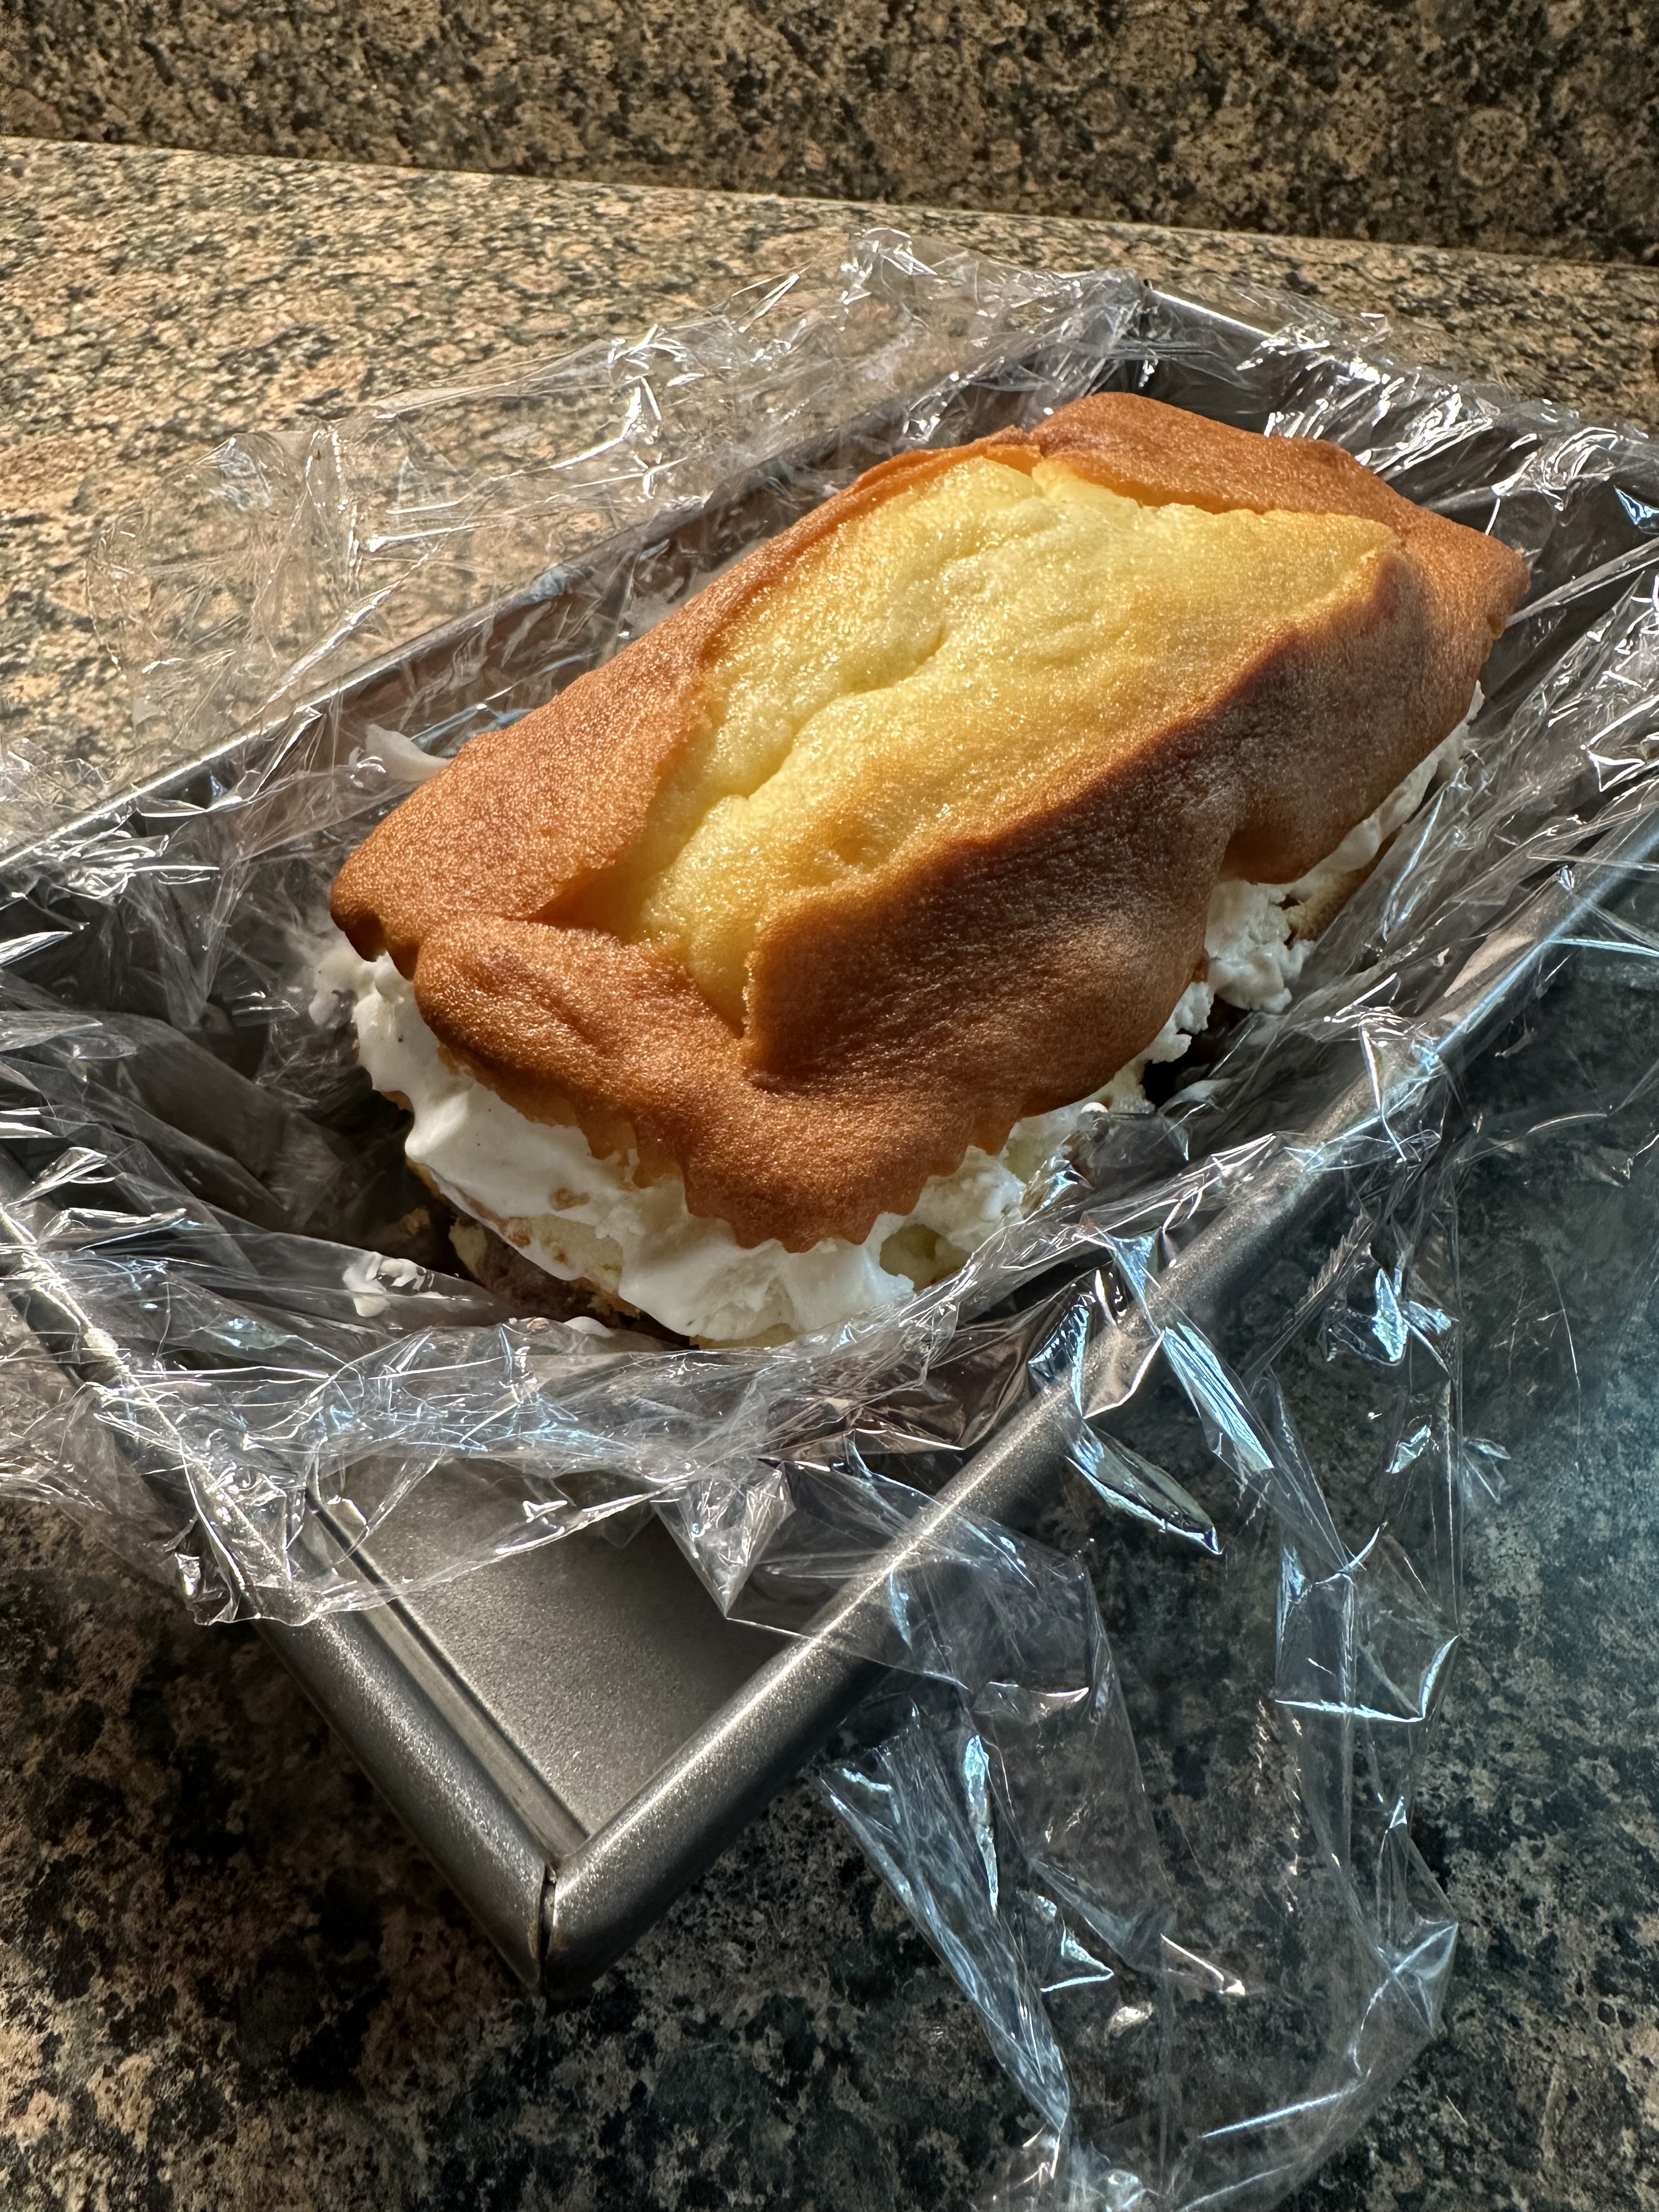
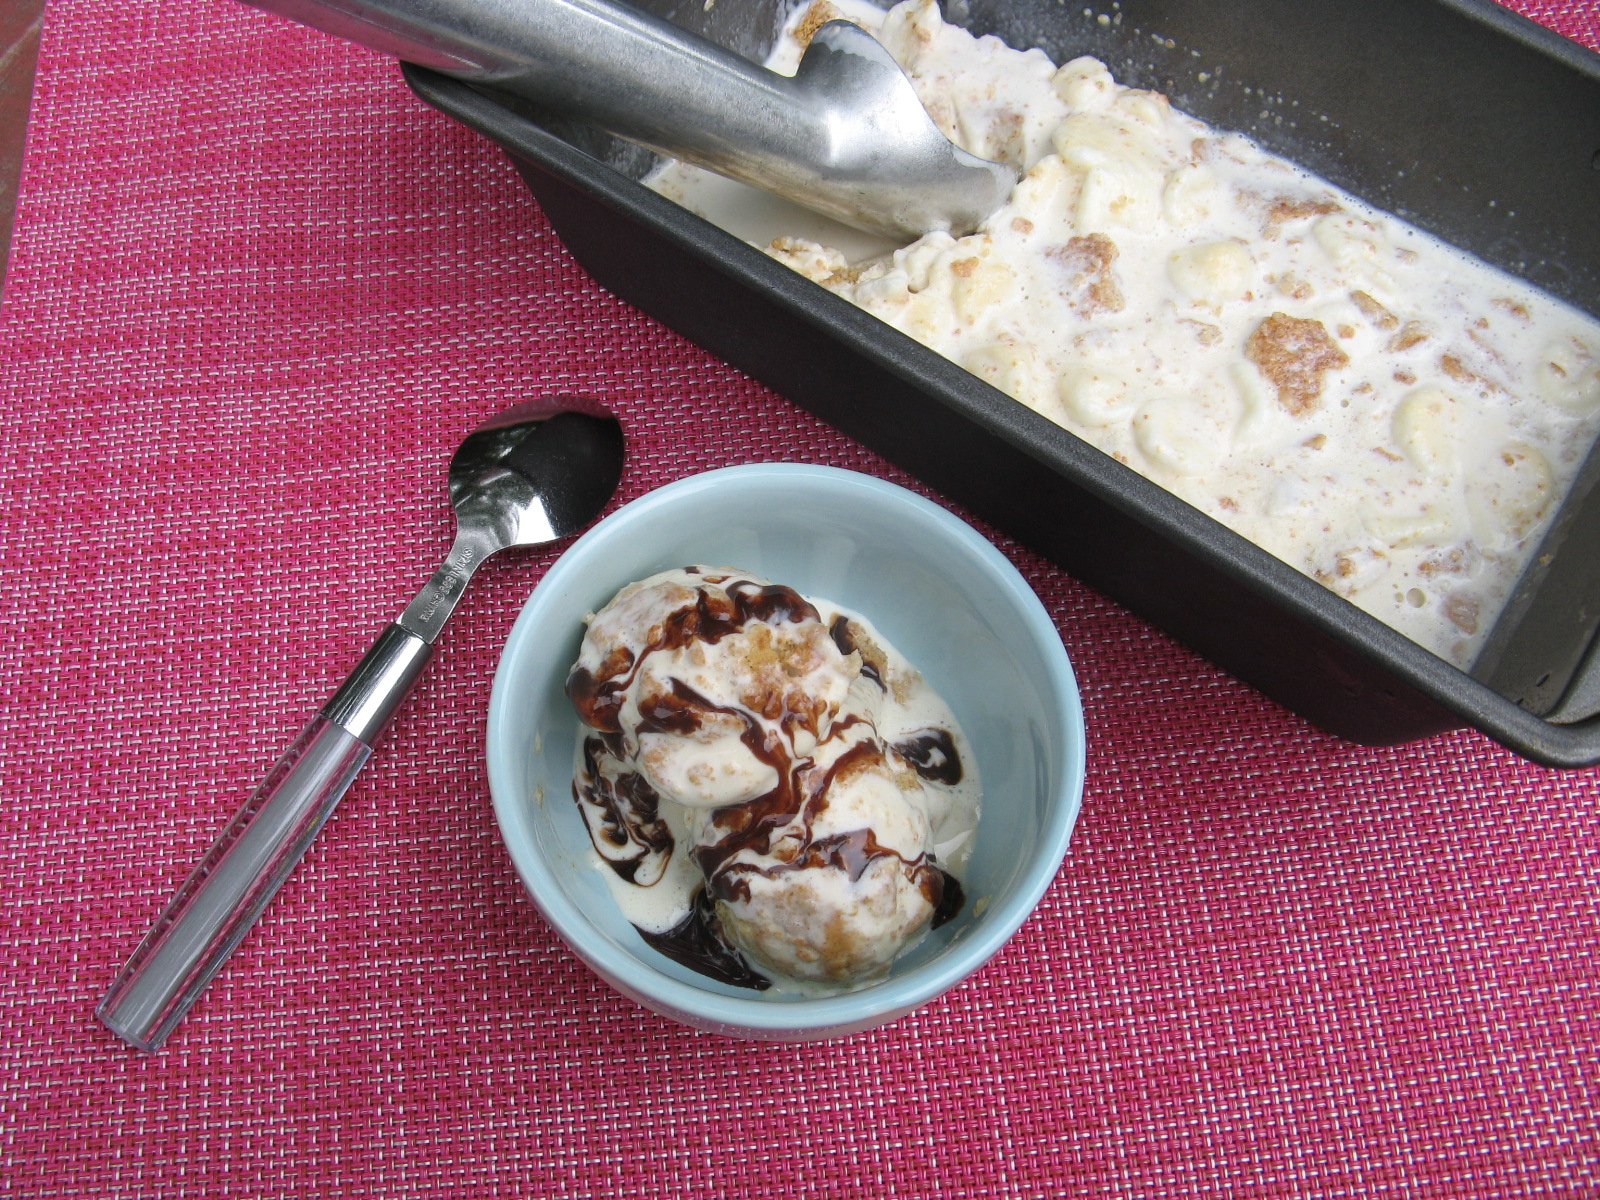
I started off by making the salted caramel sauce since I was going to need it to chill before incorporating it into the ice cream. Making caramel is always a hit or miss for me. Sometimes I let it sit on the stove for too long and it ends up with a burnt flavor, or I don’t trust the process and think I ruined it before even finishing it. But this time I was determined to get it right on the first try. I almost gave up though. All was going well and then I added heavy cream and the caramel began to seize up. I thought all was lost, but then I returned it to the stove over low heat and kept stirring it and it ultimately turned into a smooth sauce. I did end up having a few clumps left in the sauce but to get rid of those I strained it through a fine mesh sieve and was left with the most perfect and delicious salted caramel sauce. The flavor of which reminded me of a Werther’s Original Hard Candy. After letting it cool and refrigerating it overnight so the sauce could thicken, I got to work on making the remaining component of my ice cream, the actual ice cream. I mixed the ingredients for the vanilla ice cream and then folded in mini chocolate chips. I poured half of this into a loaf pan and drizzled some of the caramel sauce on top, I then poured the remaining vanilla mixture on top, drizzled it with more caramel sauce. Swirled everything together with a butter knife and then drizzled more caramel sauce on top.
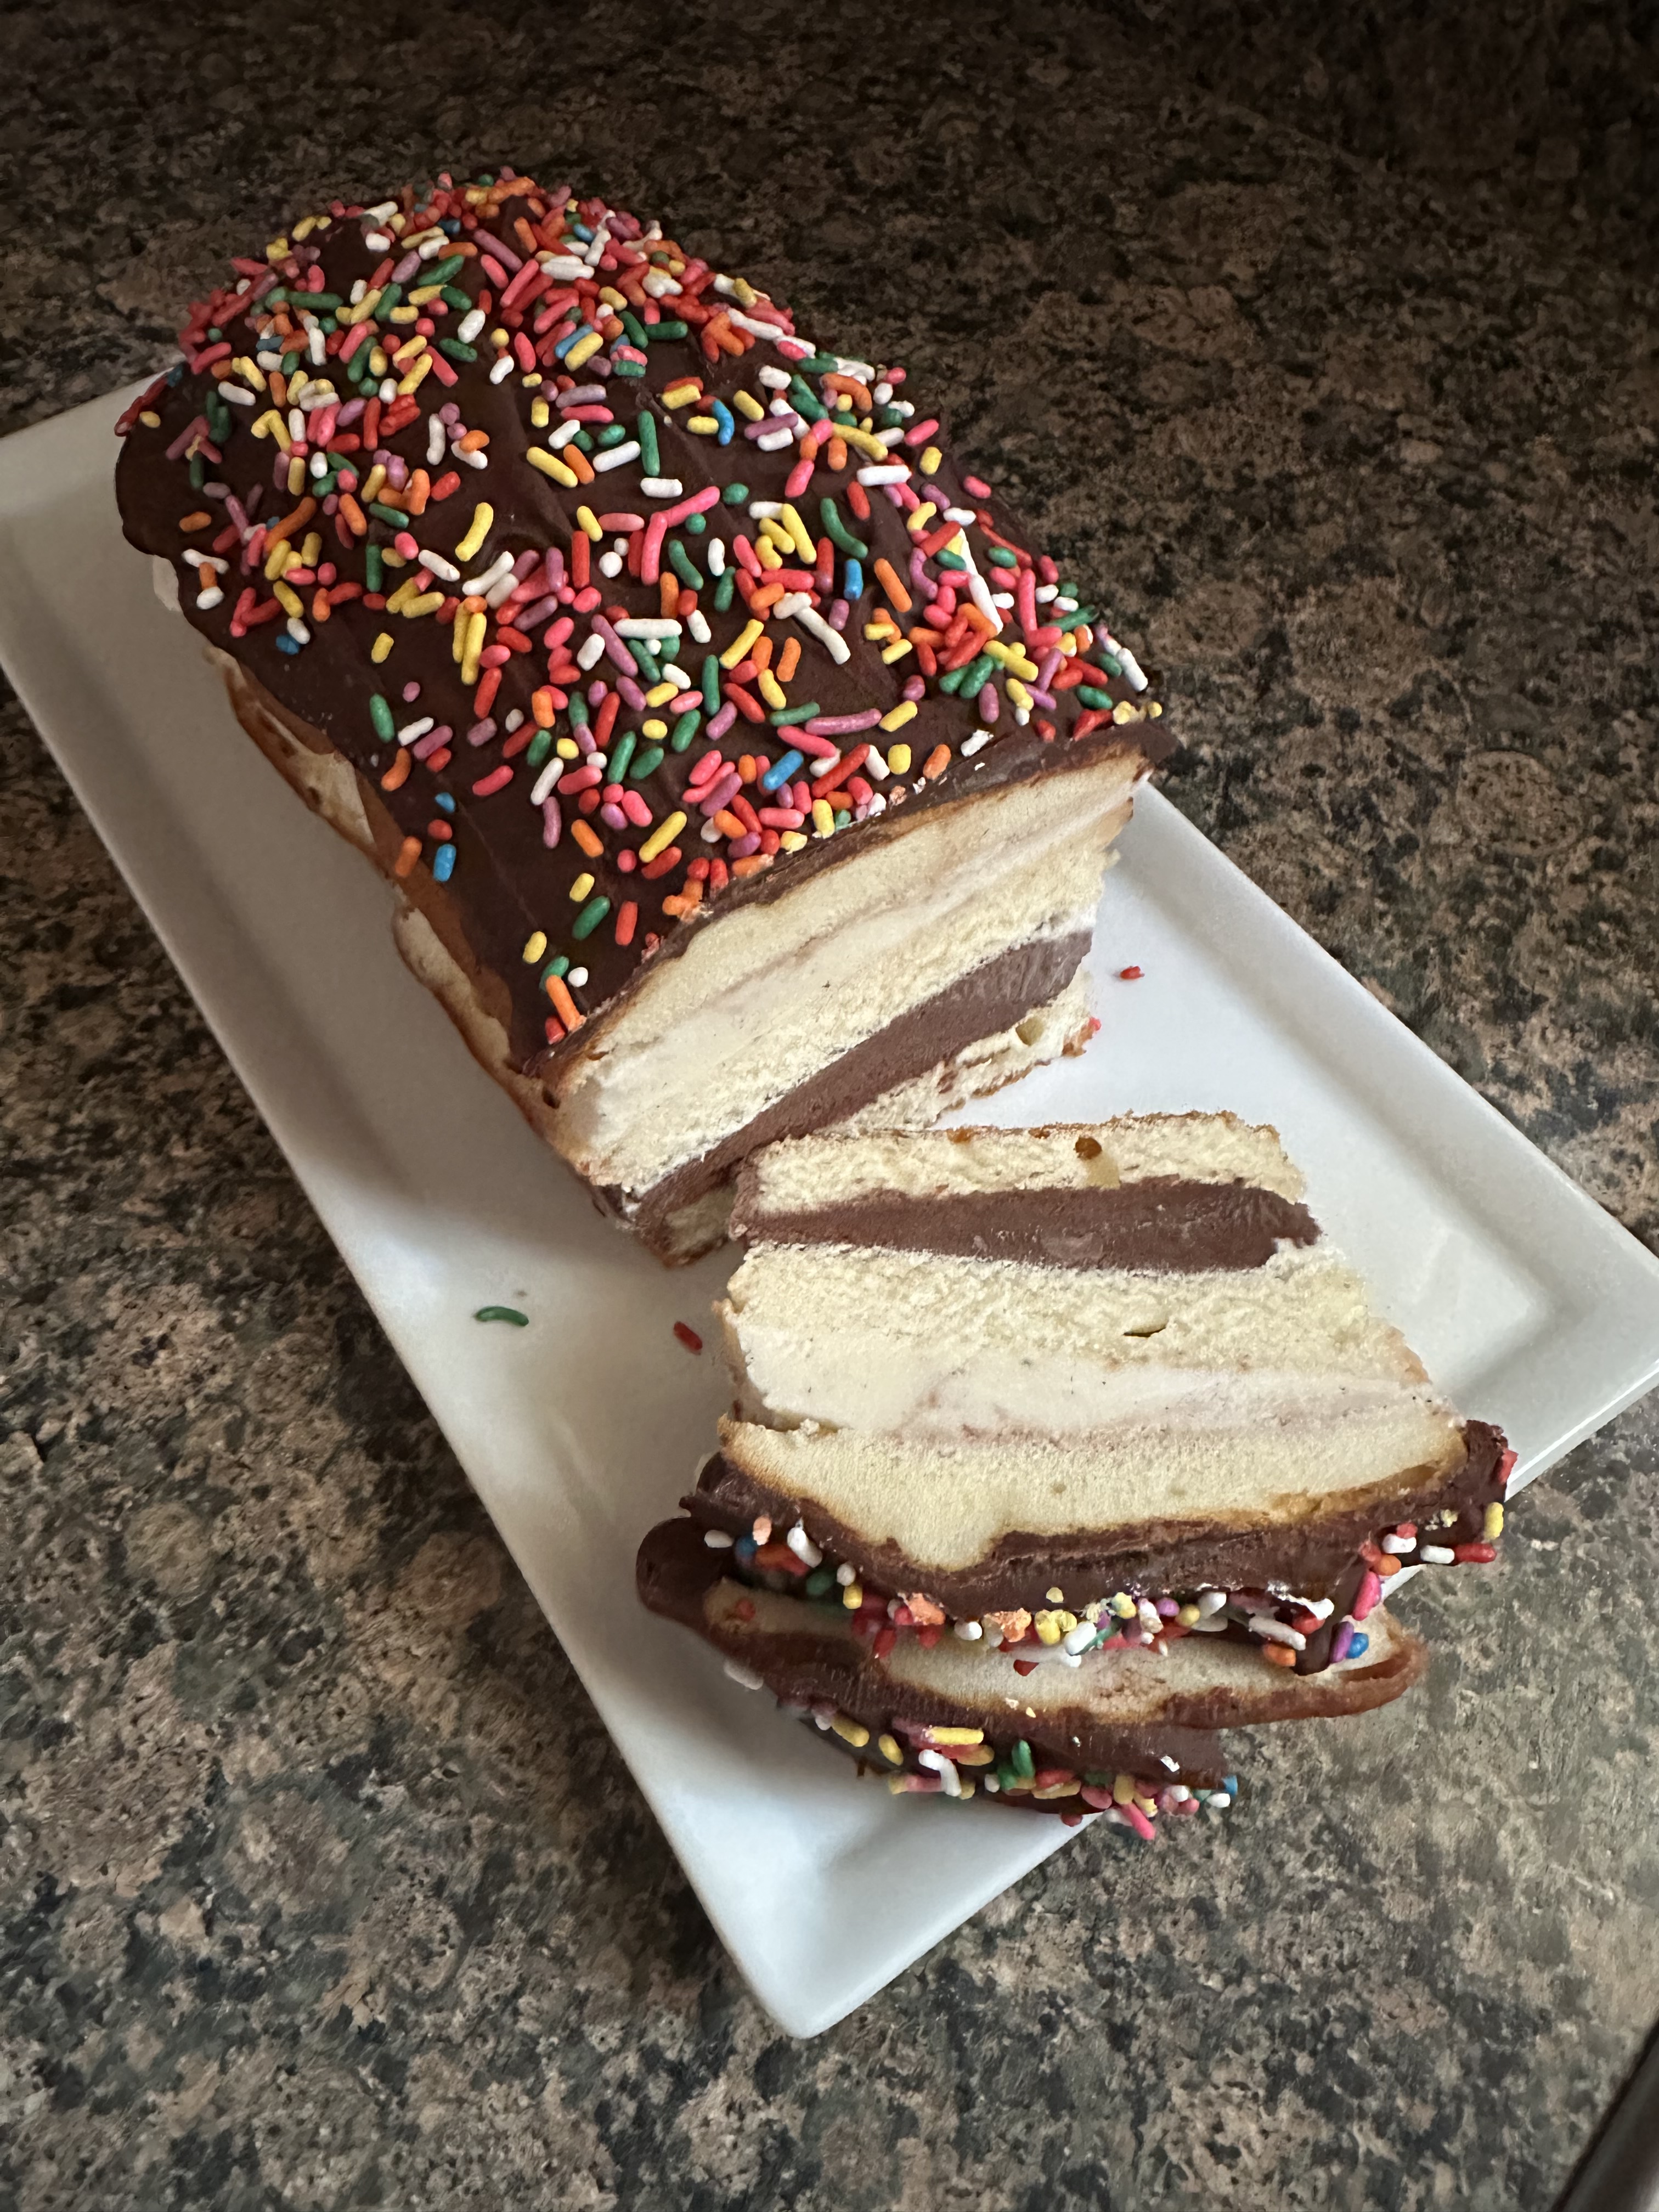
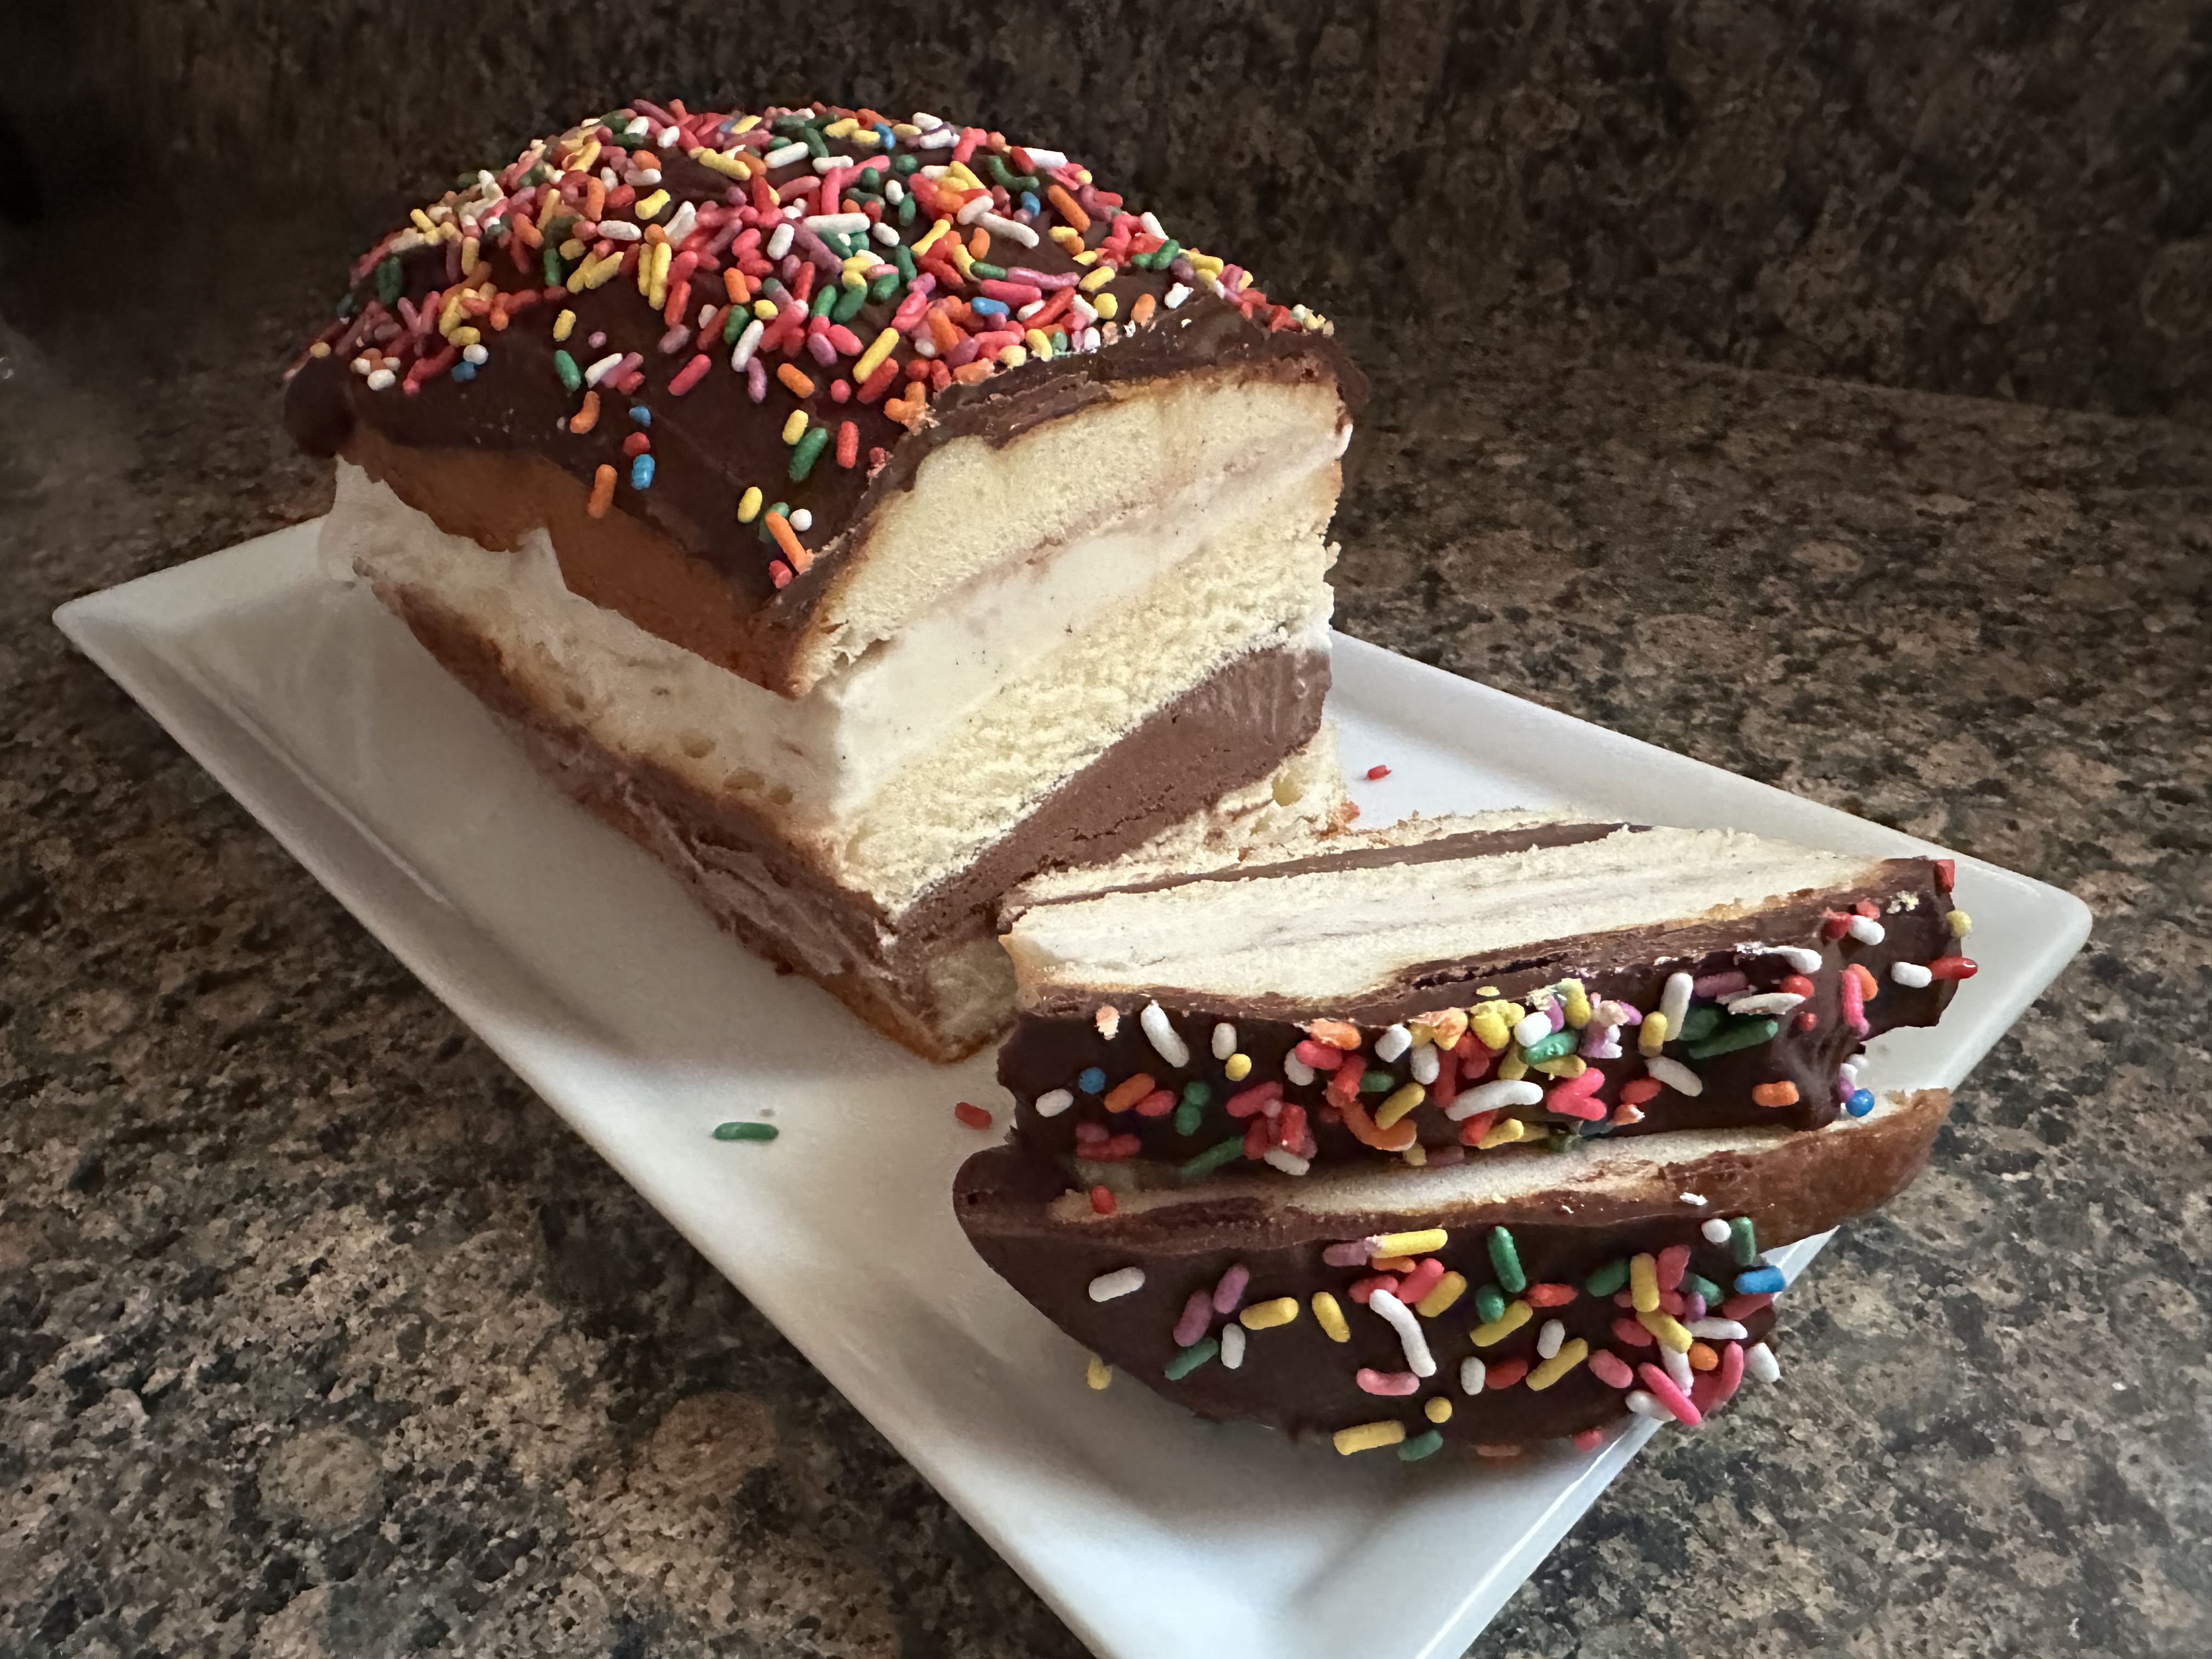
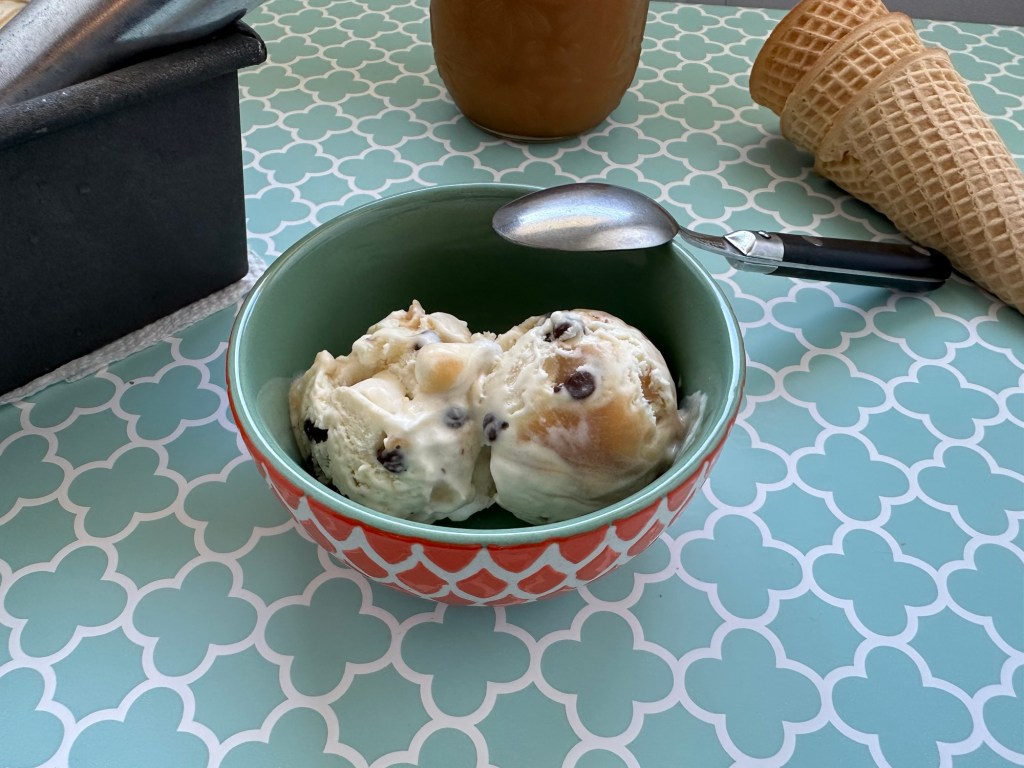
And after patiently waiting for it to freeze I was left with a yummy ice cream that had the perfect hint of saltiness.
No Churn Salted Caramel Swirl Chocolate Chip Ice Cream
Ingredients:
2 cups heavy cream
1 14oz. can sweetened condensed cream
2 teaspoons vanilla extract
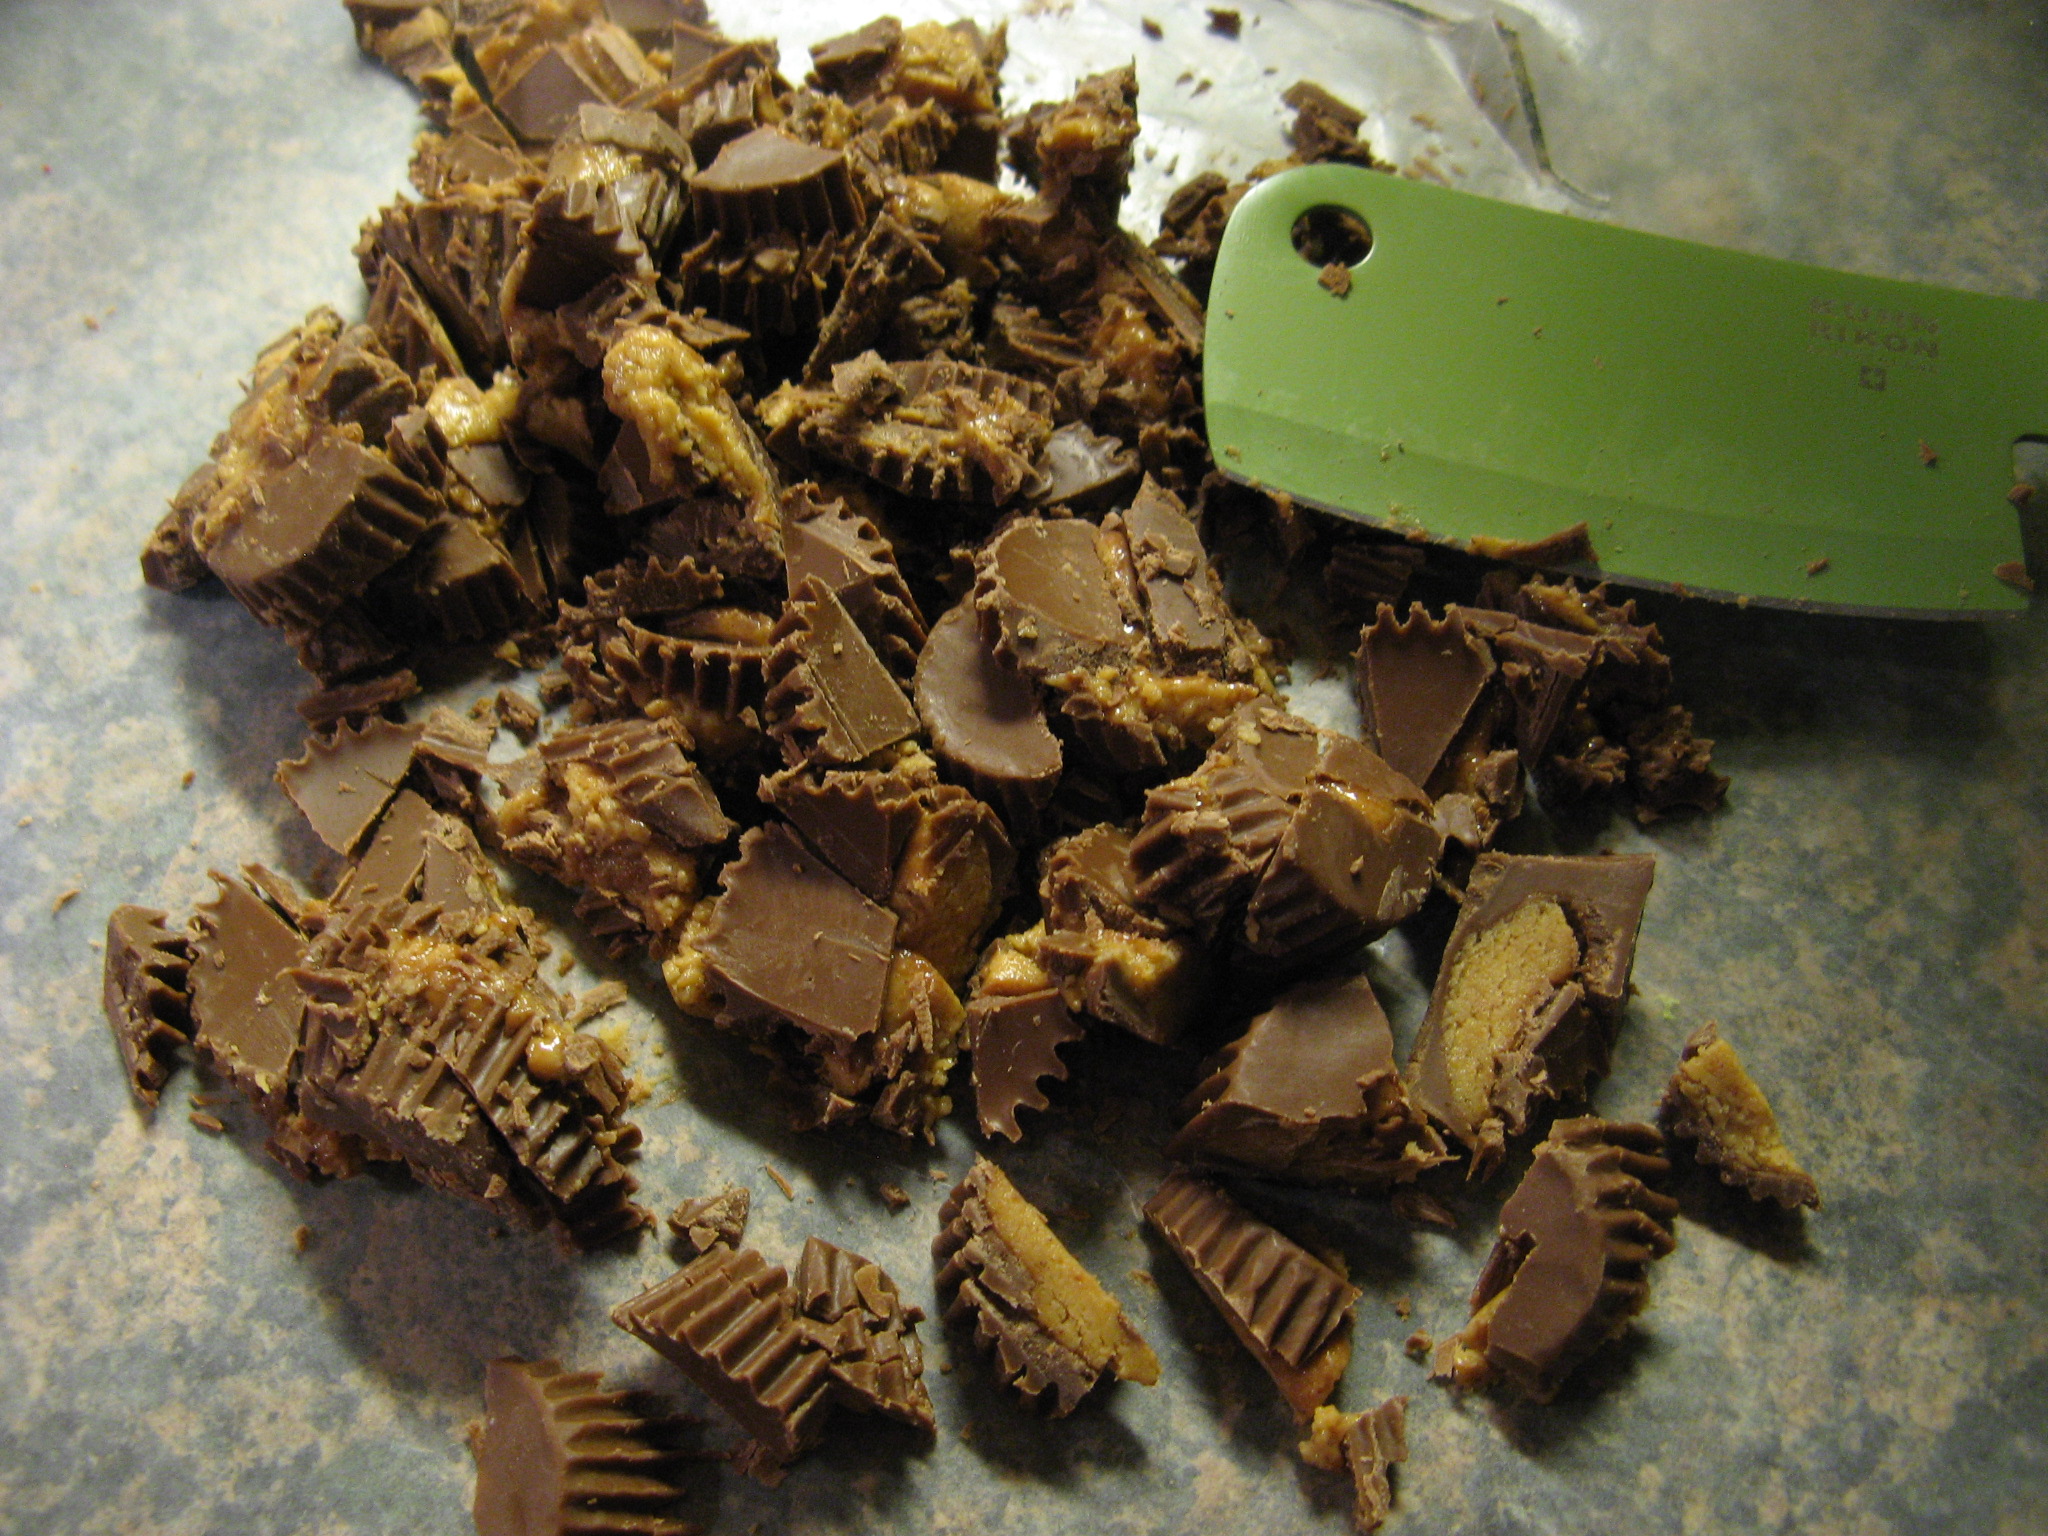
1 cup mini semi-sweet chocolate chips
3/4 cup salted caramel sauce (recipe to follow)
Directions:
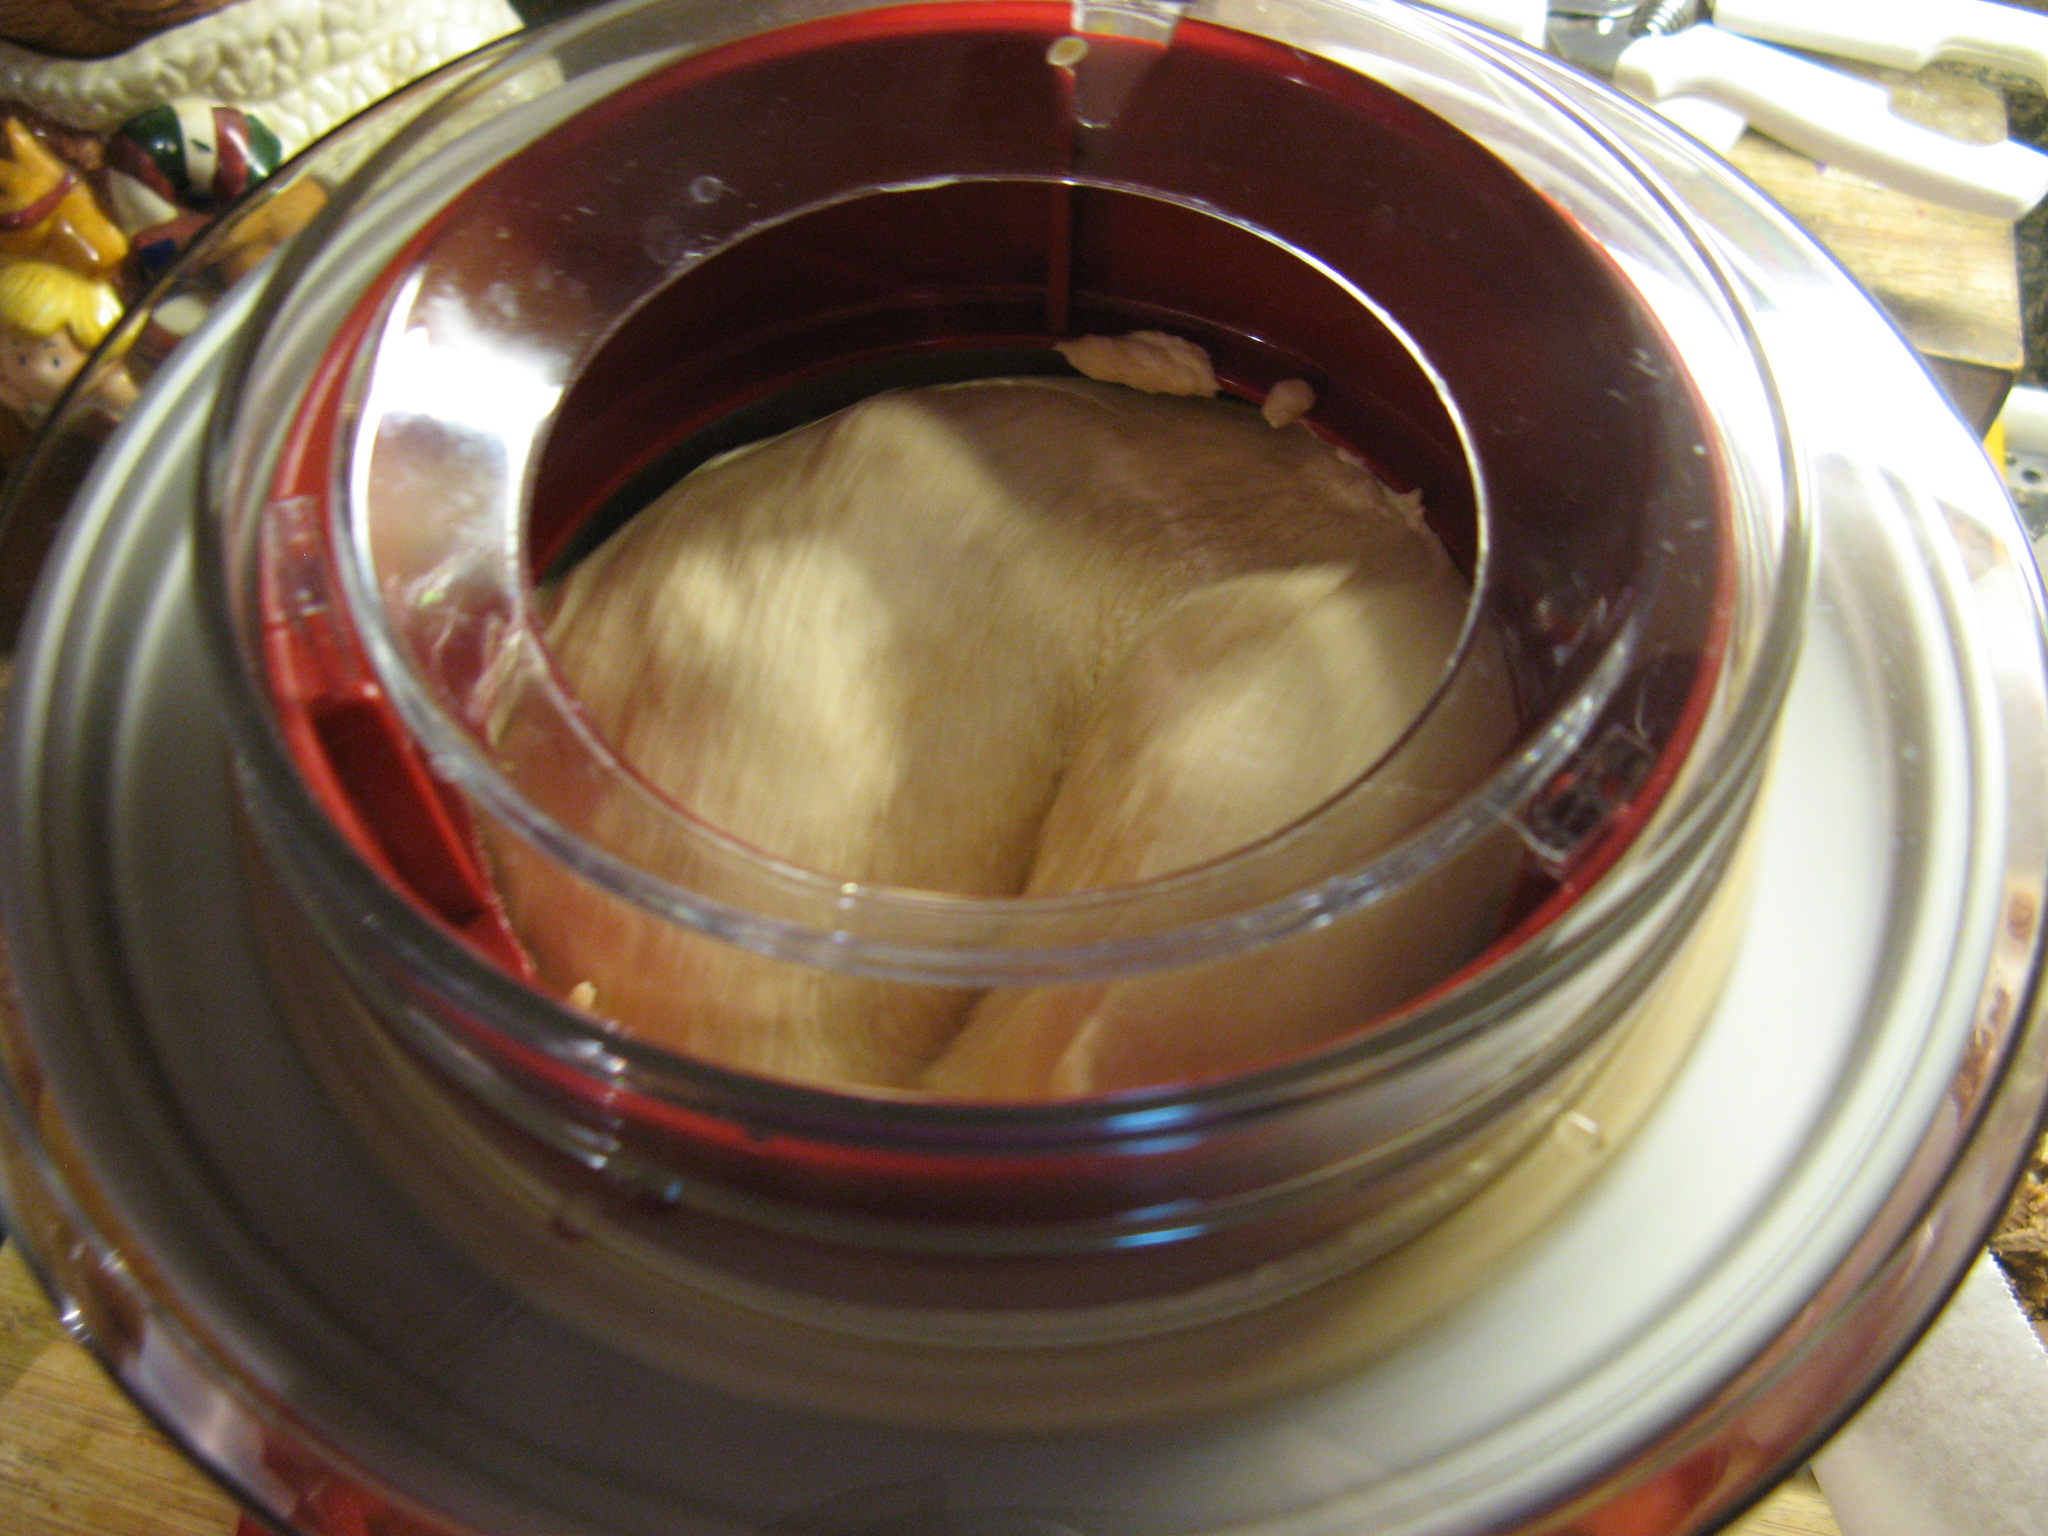
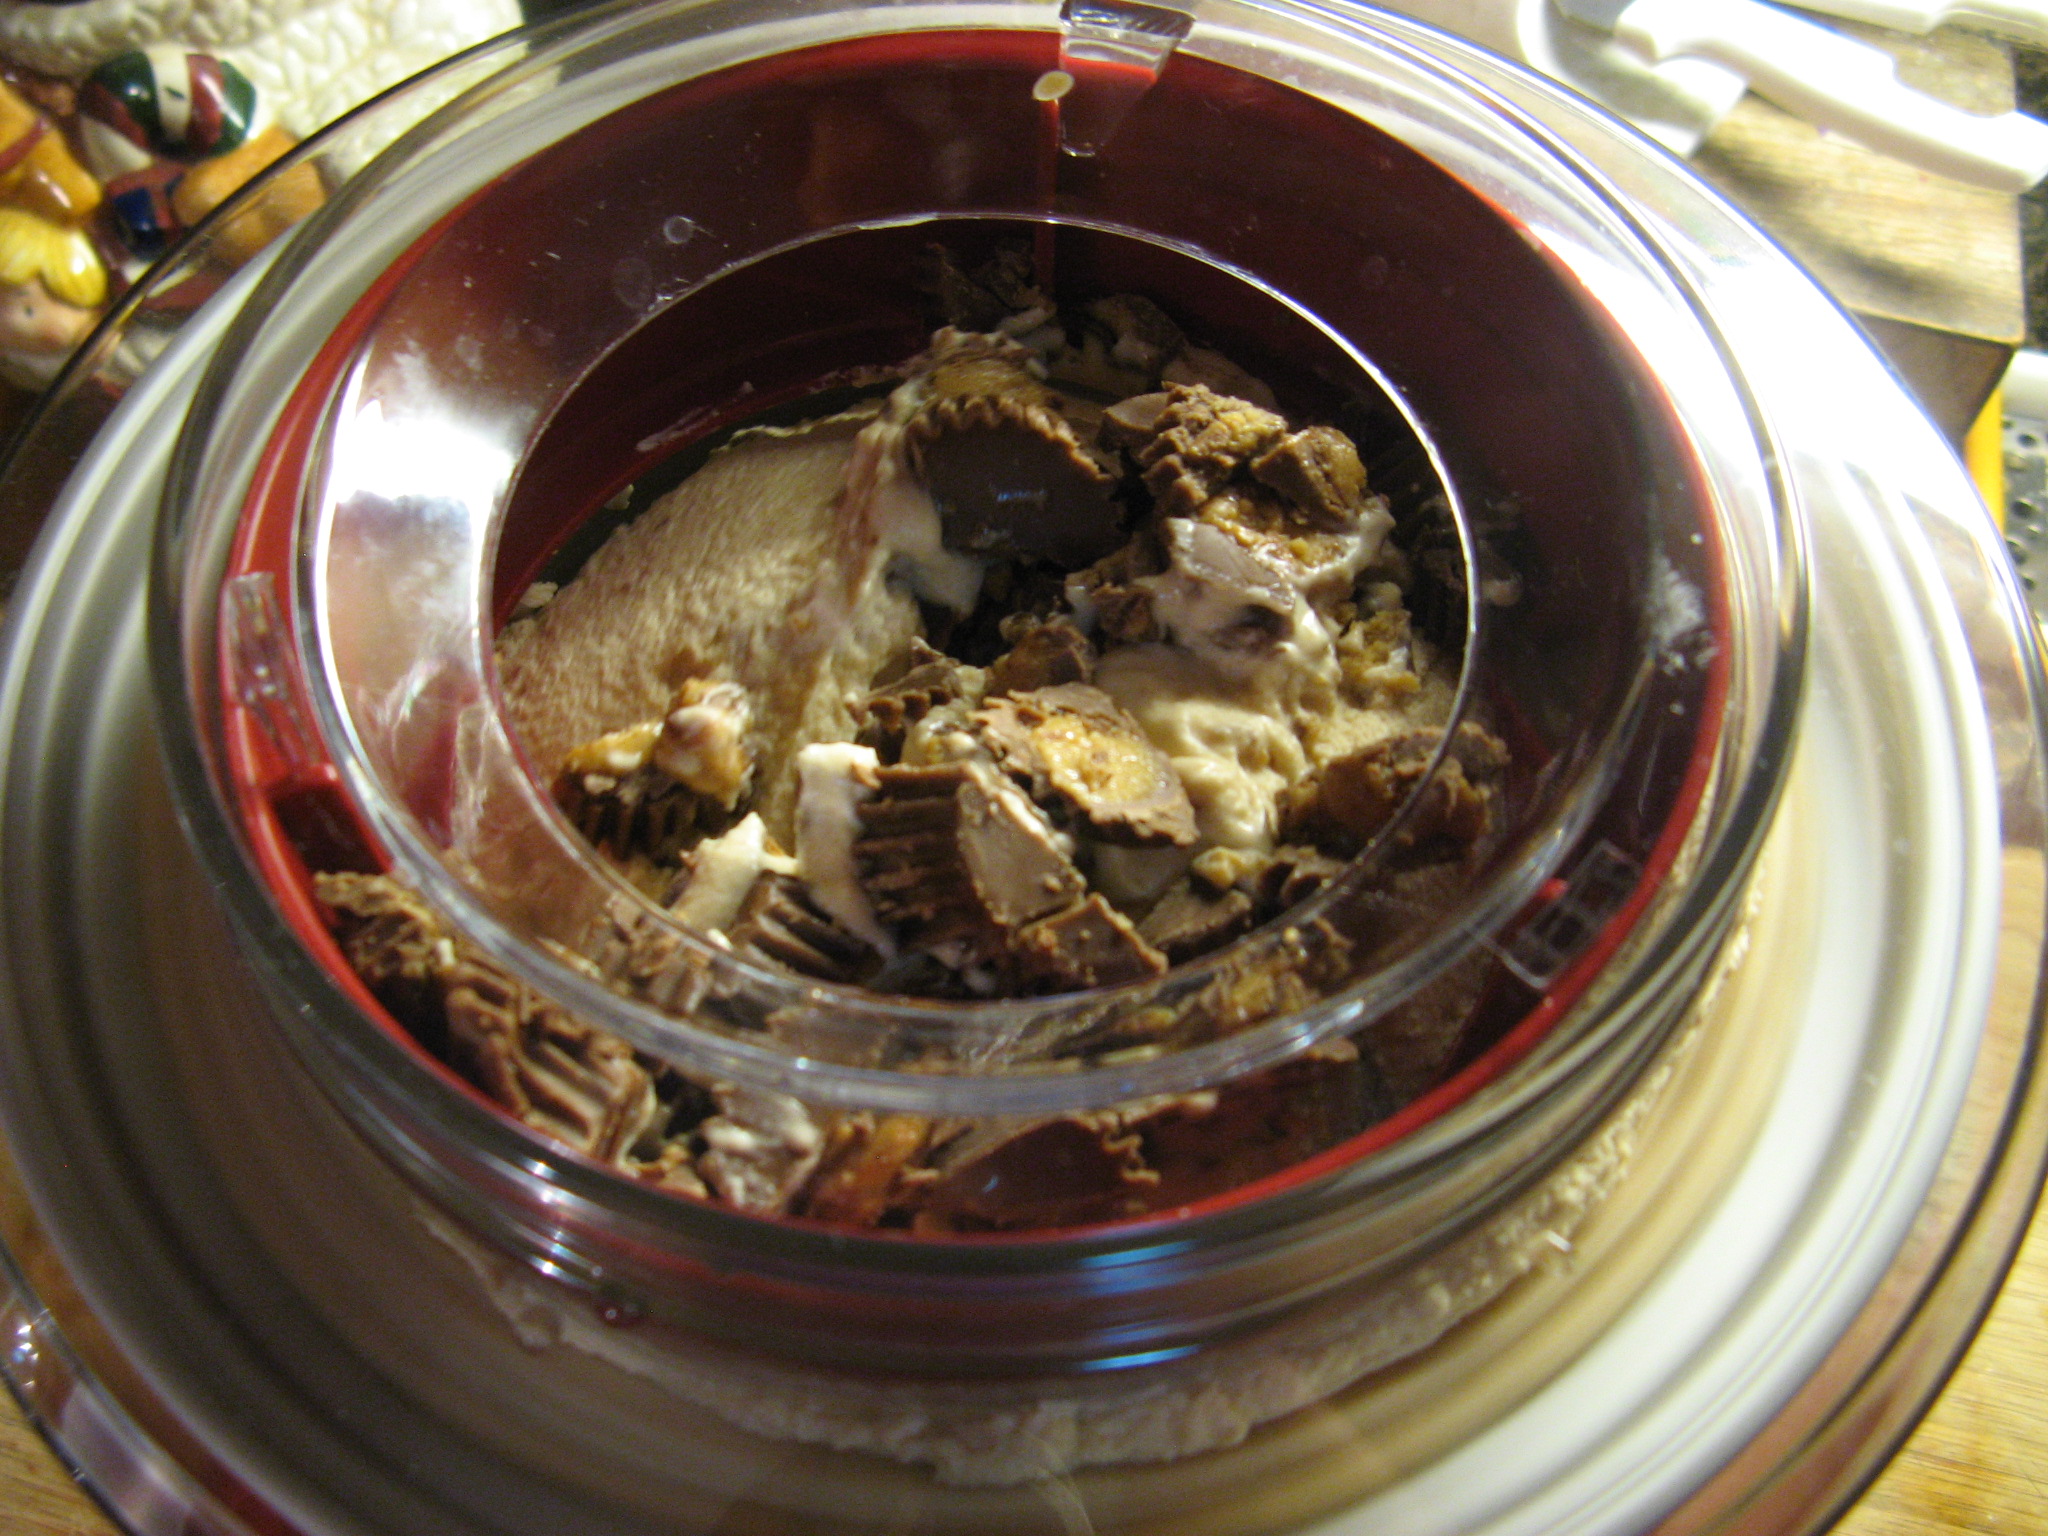
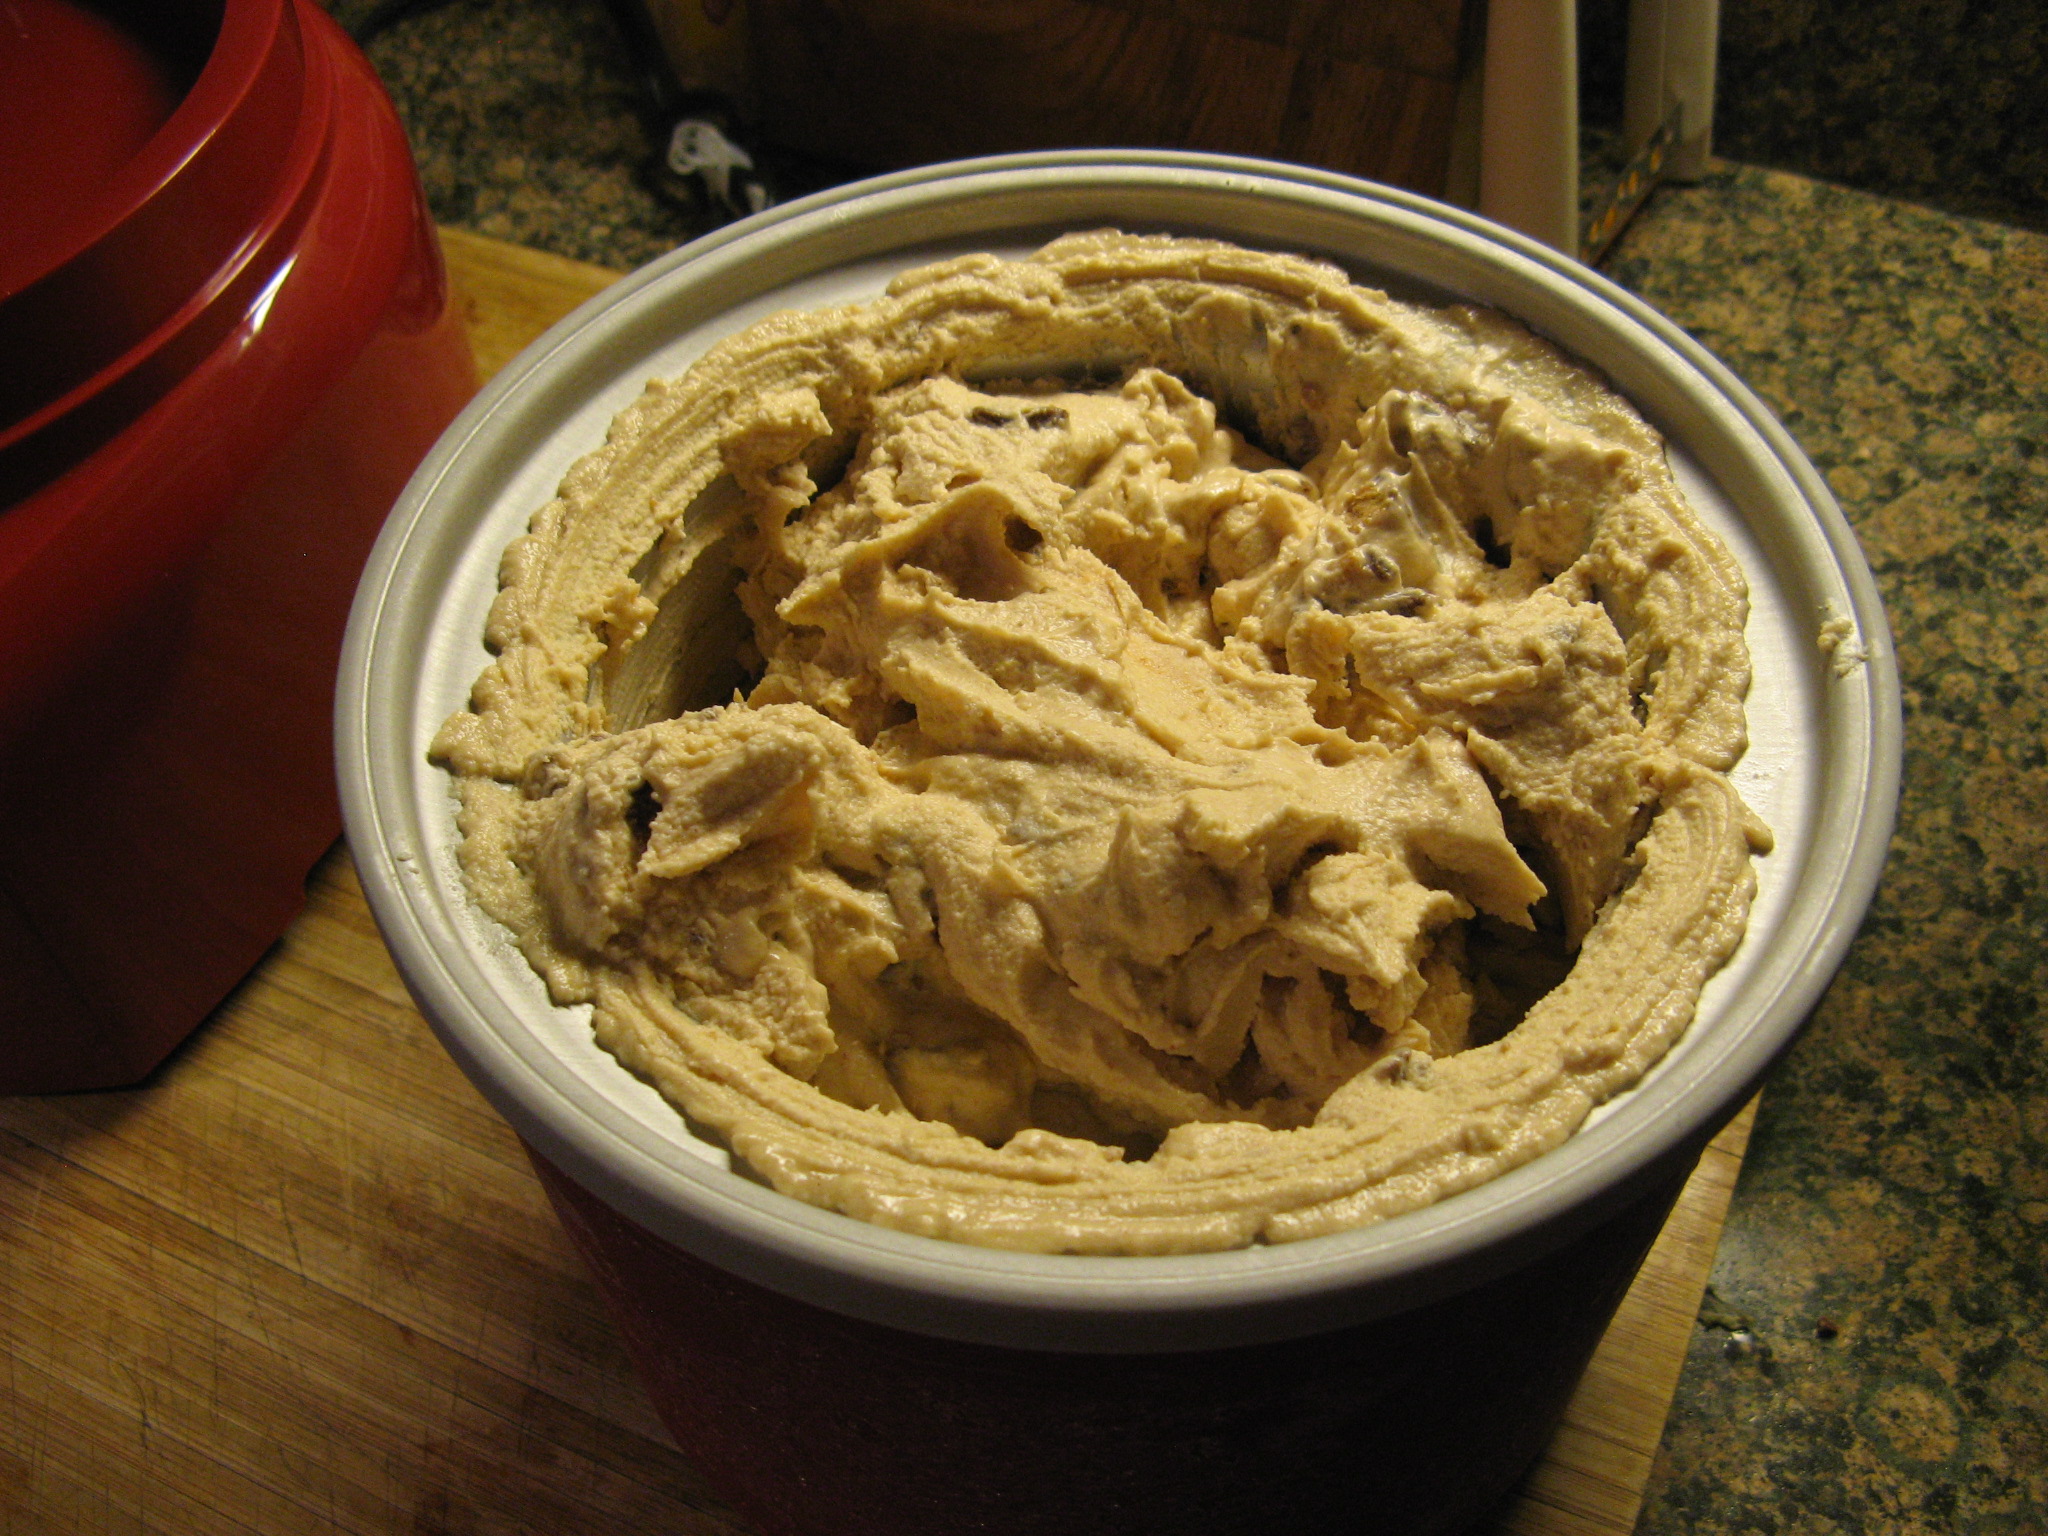
In a medium bowl stir together the sweetened condensed milk and vanilla extract. In another medium bowl beat the heavy cream with a hand mixer on medium speed until stiff peaks form. Fold the sweetened condensed milk mixture into the whipped cream until well combined. Then fold in the chocolate chips.
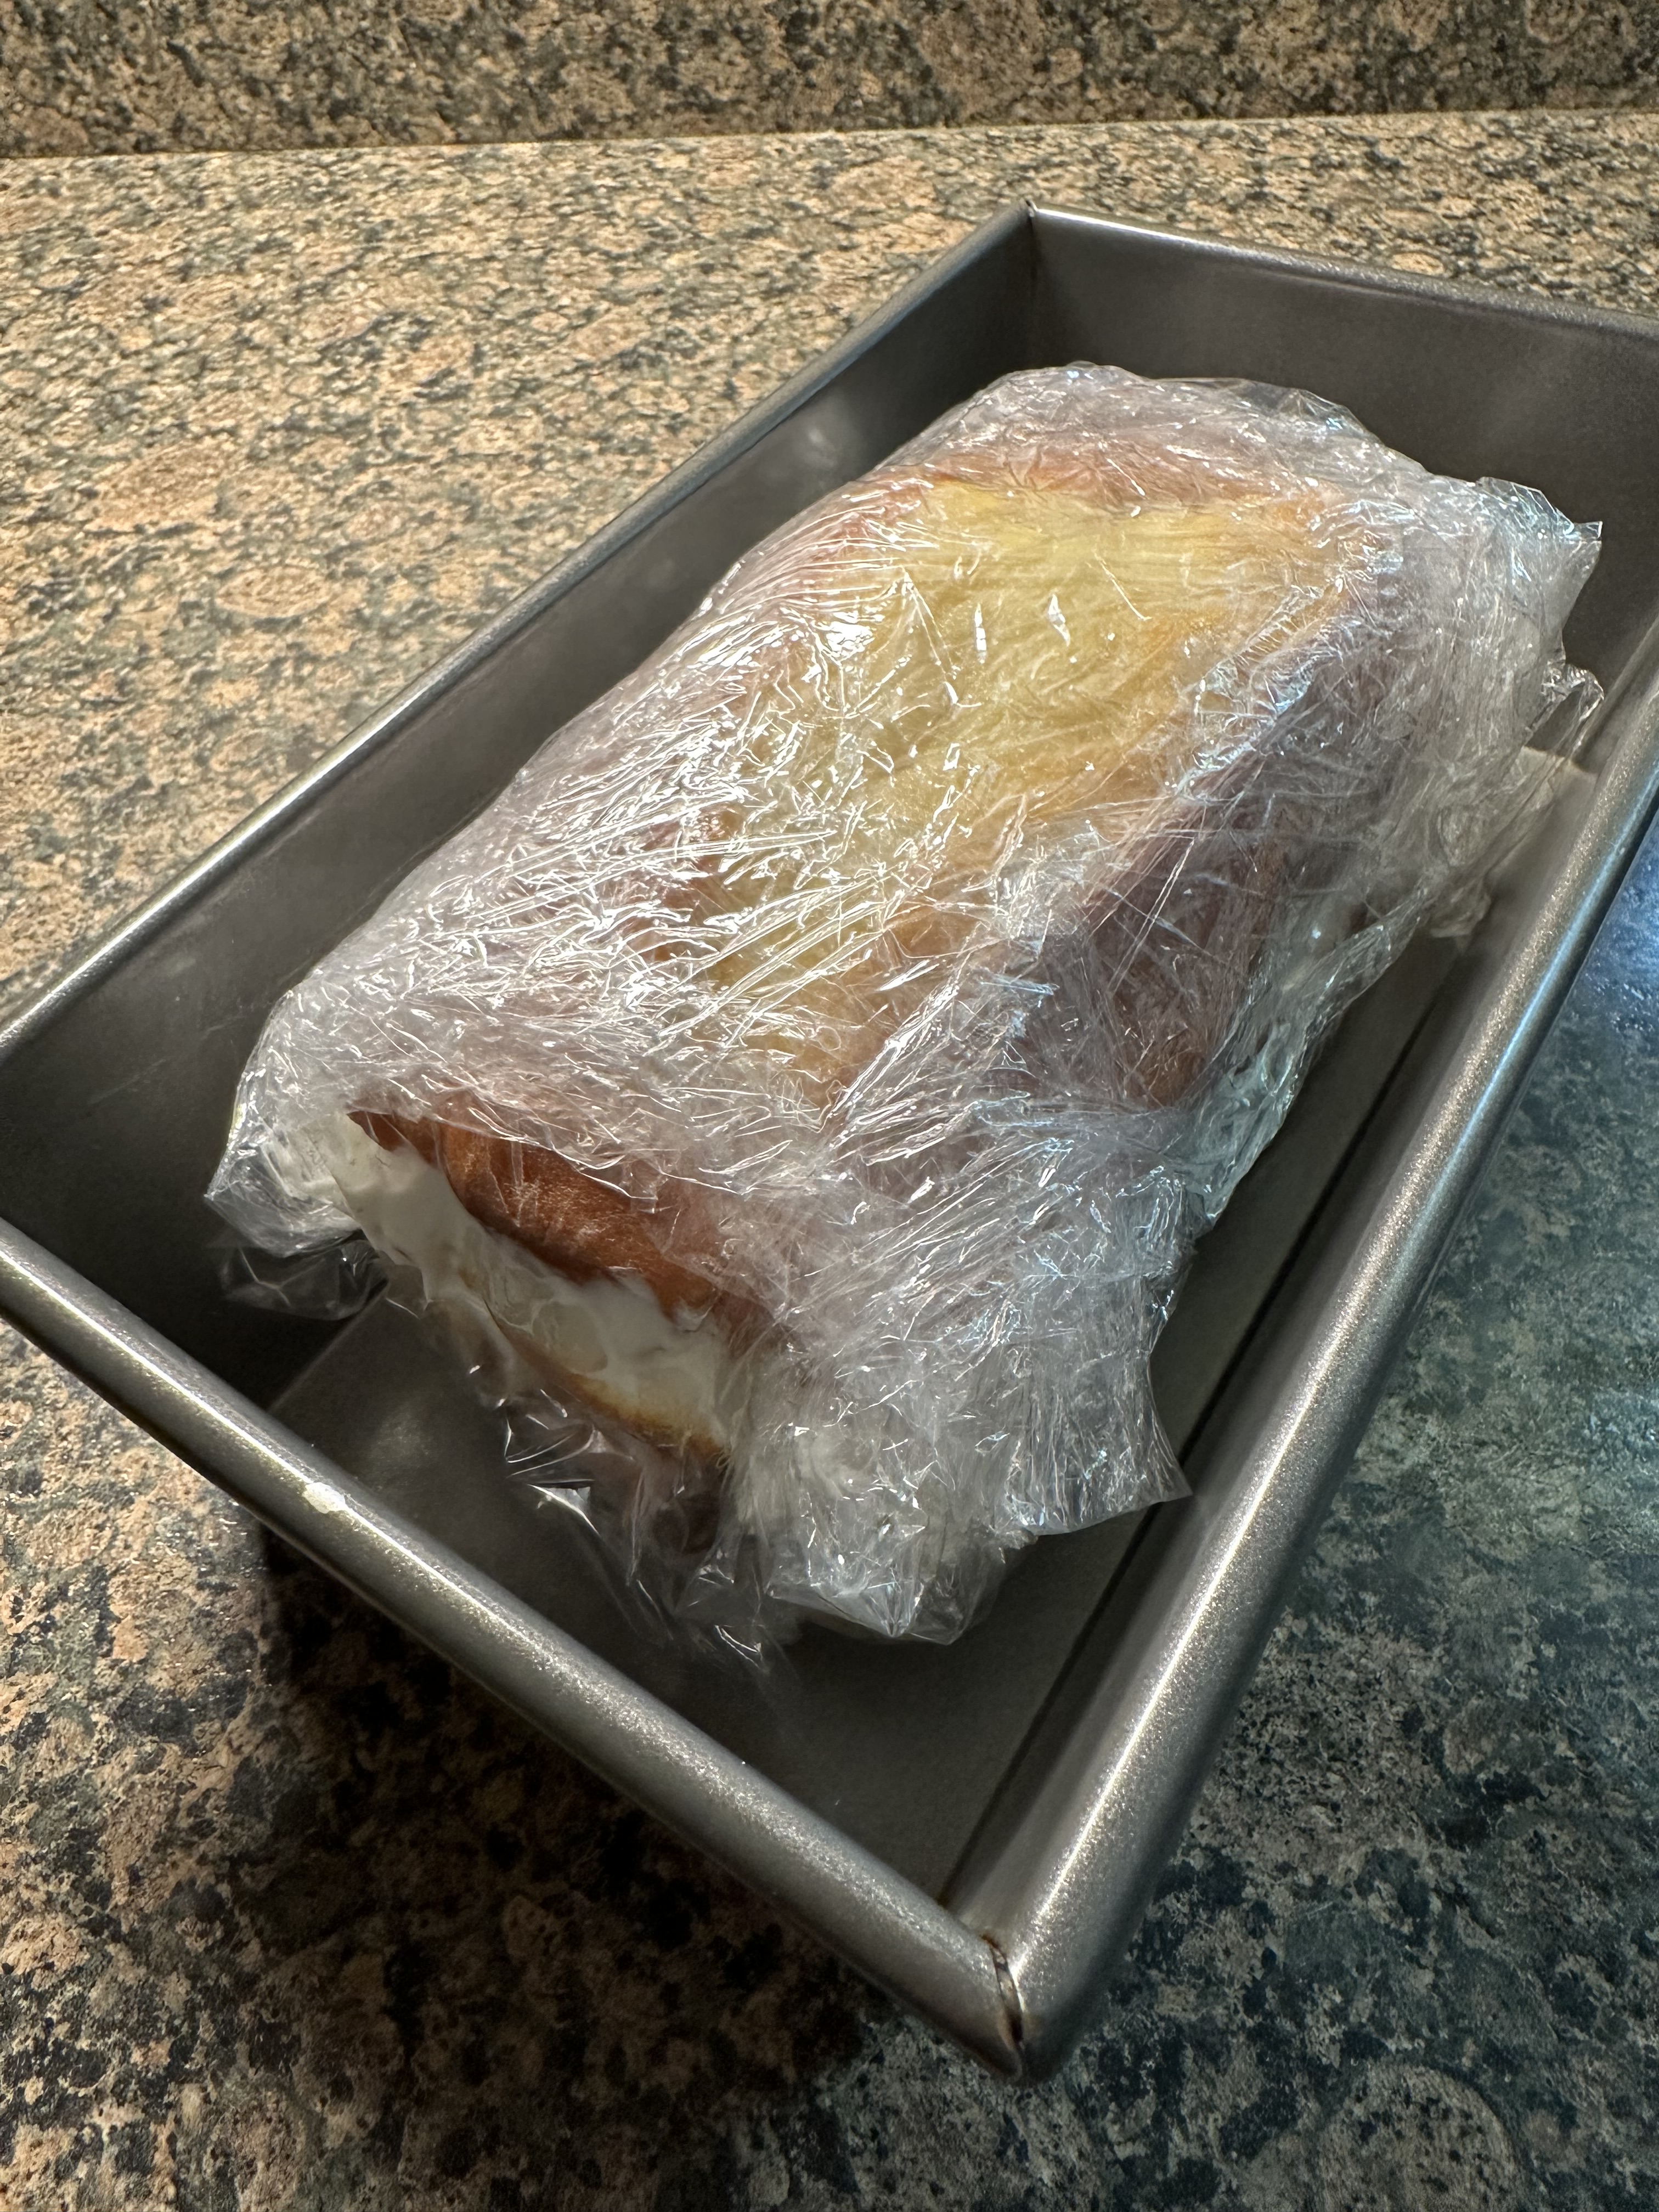
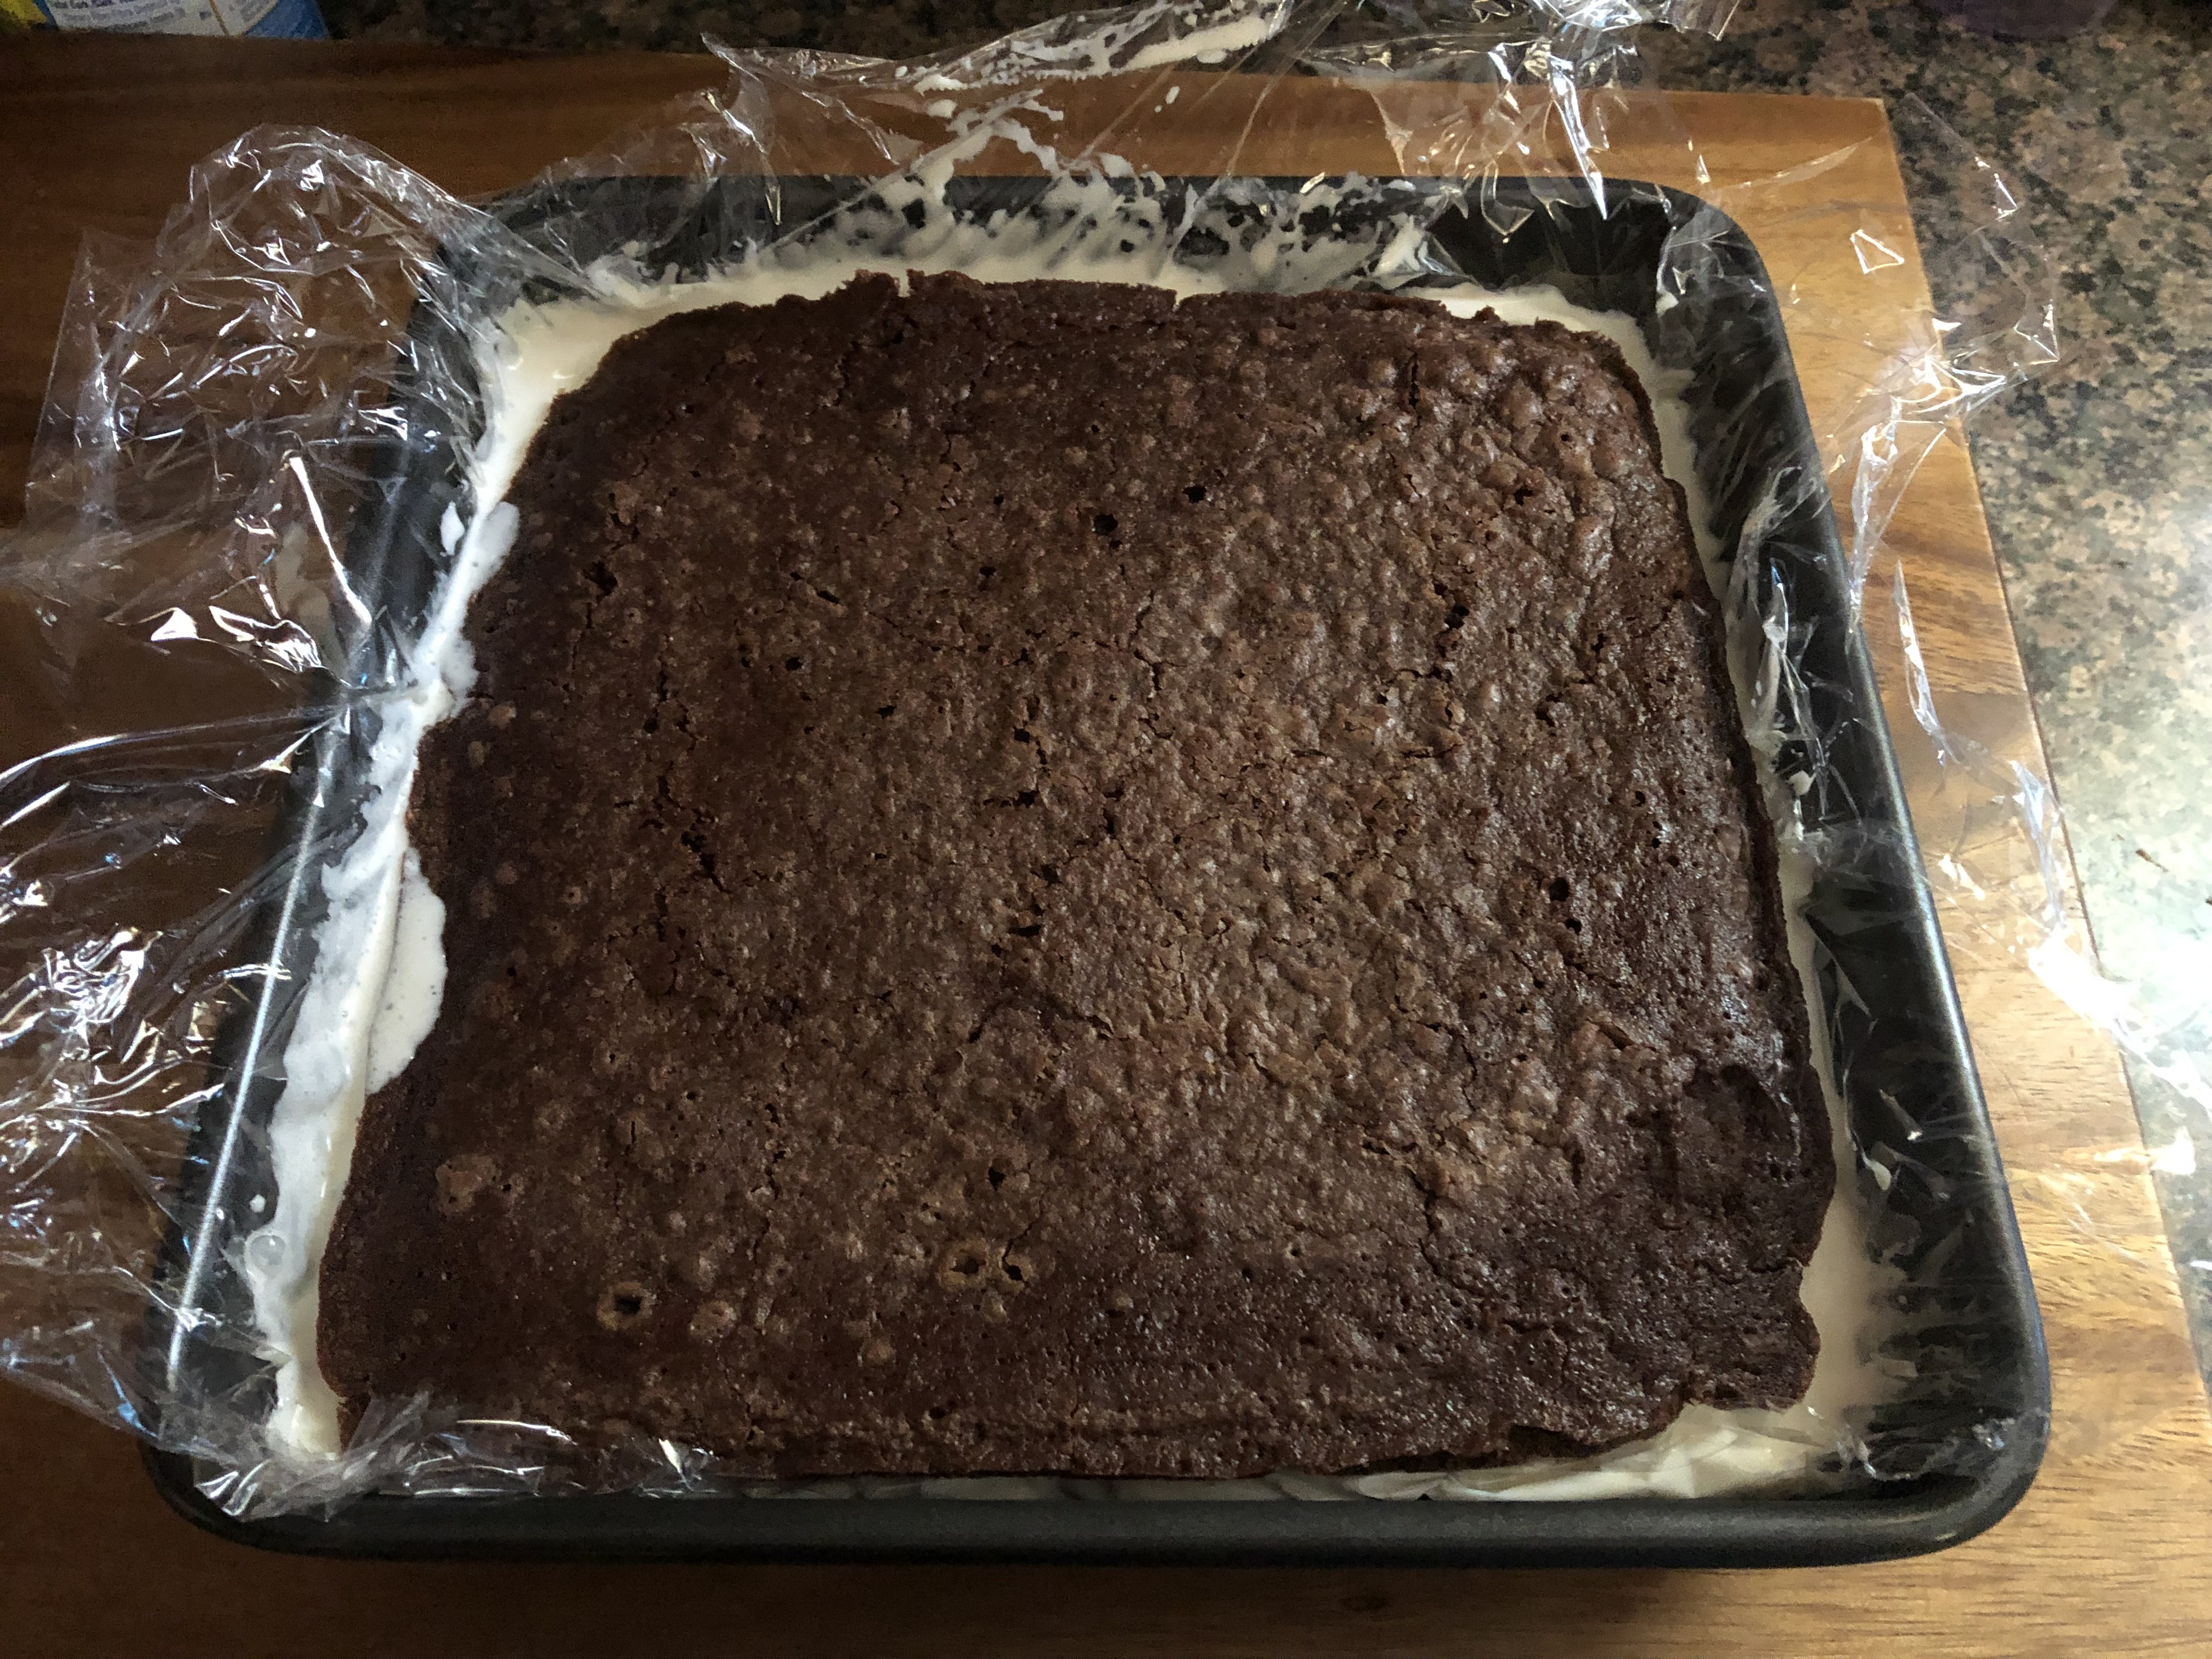
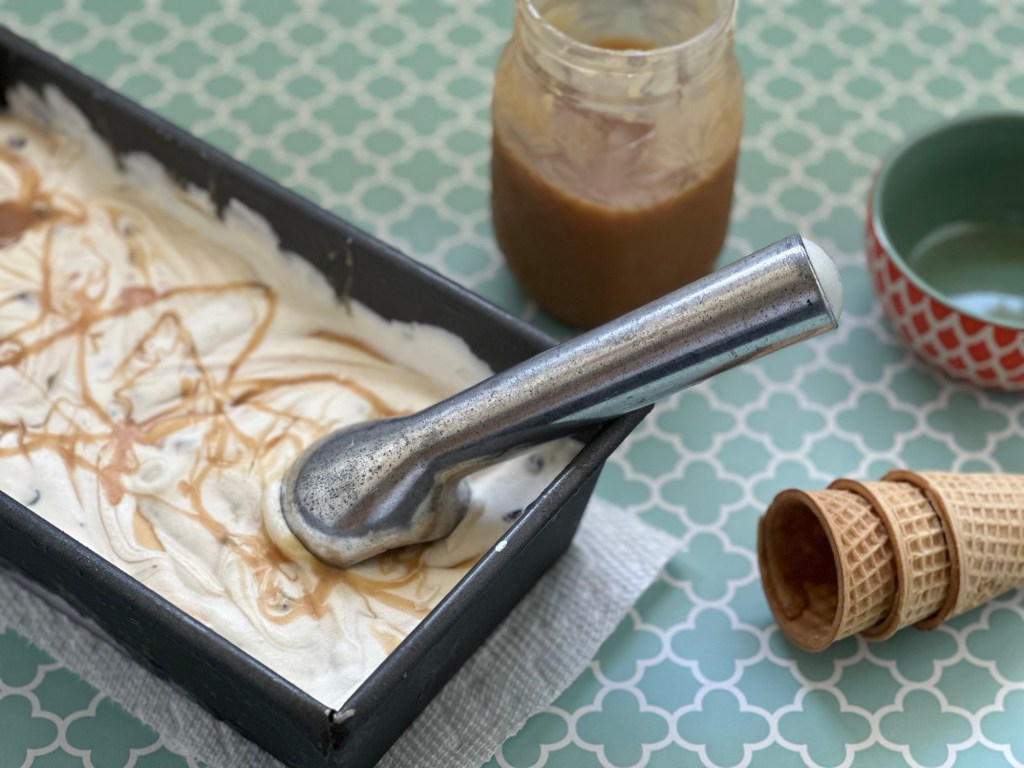
Pour half of the mixture into a 9×5 inch loaf pan and then drizzle with about half of the caramel sauce. Pour the remaining whipped cream mixture into the pan and drizzle with more of the caramel sauce. Use a knife to swirl the caramel sauce into the whipped cream mixture. Drizzle more of the caramel sauce on top. Cover the pan tightly with a piece of wax paper and aluminum foil. Freeze for at least 8 hours or overnight.
Salted Caramel Sauce
Ingredients:
2 cups sugar
12 tablespoons unsalted butter, cubed
1 cup heavy cream
1 tablespoon flaky sea salt
Directions:
Add sugar to a medium saucepan and cook over medium heat, stirring constantly. The sugar will form into clumps but continue to stir as the sugar will melt into an amber-colored liquid/syrup. At this point lower the heat to low and add the butter slowly. Continue stirring until the butter has melted. Remove from the heat and slowly add in the heavy cream, be careful as the caramel will begin to bubble. Mix until well combined. The mixture may seize, if it does return it to a low heat and continue stirring until you are left with a smooth sauce. Finally, stir in the sea salt.
Allow the caramel to cool for 10-15 minutes before transferring to a jar, or another heat safe container, and allow it to cool for another 15-20 minutes before covering and refrigerating. Can store for up to 1 month.
*If your caramel seizes and even after returning it to a low heat some of the hard pieces do not melt simply strain it through a fine mesh sieve when transferring it to a container.