Cookie Butter Chocolate Chip Cookies

In my opinion you can never have too many chocolate chip cookie recipes. You need your basic one and then you need those “special” ones that have some fun ingredients that really make them stand out. I came across the recipe for these Cookie Butter Chocolate Chip Cookies in a recent issue of Food Network Magazine. Not only do they have cookie butter in the dough, but they also have sprinkles. I made them twice around the holidays using red, green and white sprinkles and just recently again for a friend and her family using rainbow sprinkles. Oh, and in case you are wondering, cookie butter is similar in consistency to peanut butter but is made with speculoos cookie crumbs, a fat, flour and sugar and it’s quite tasty.

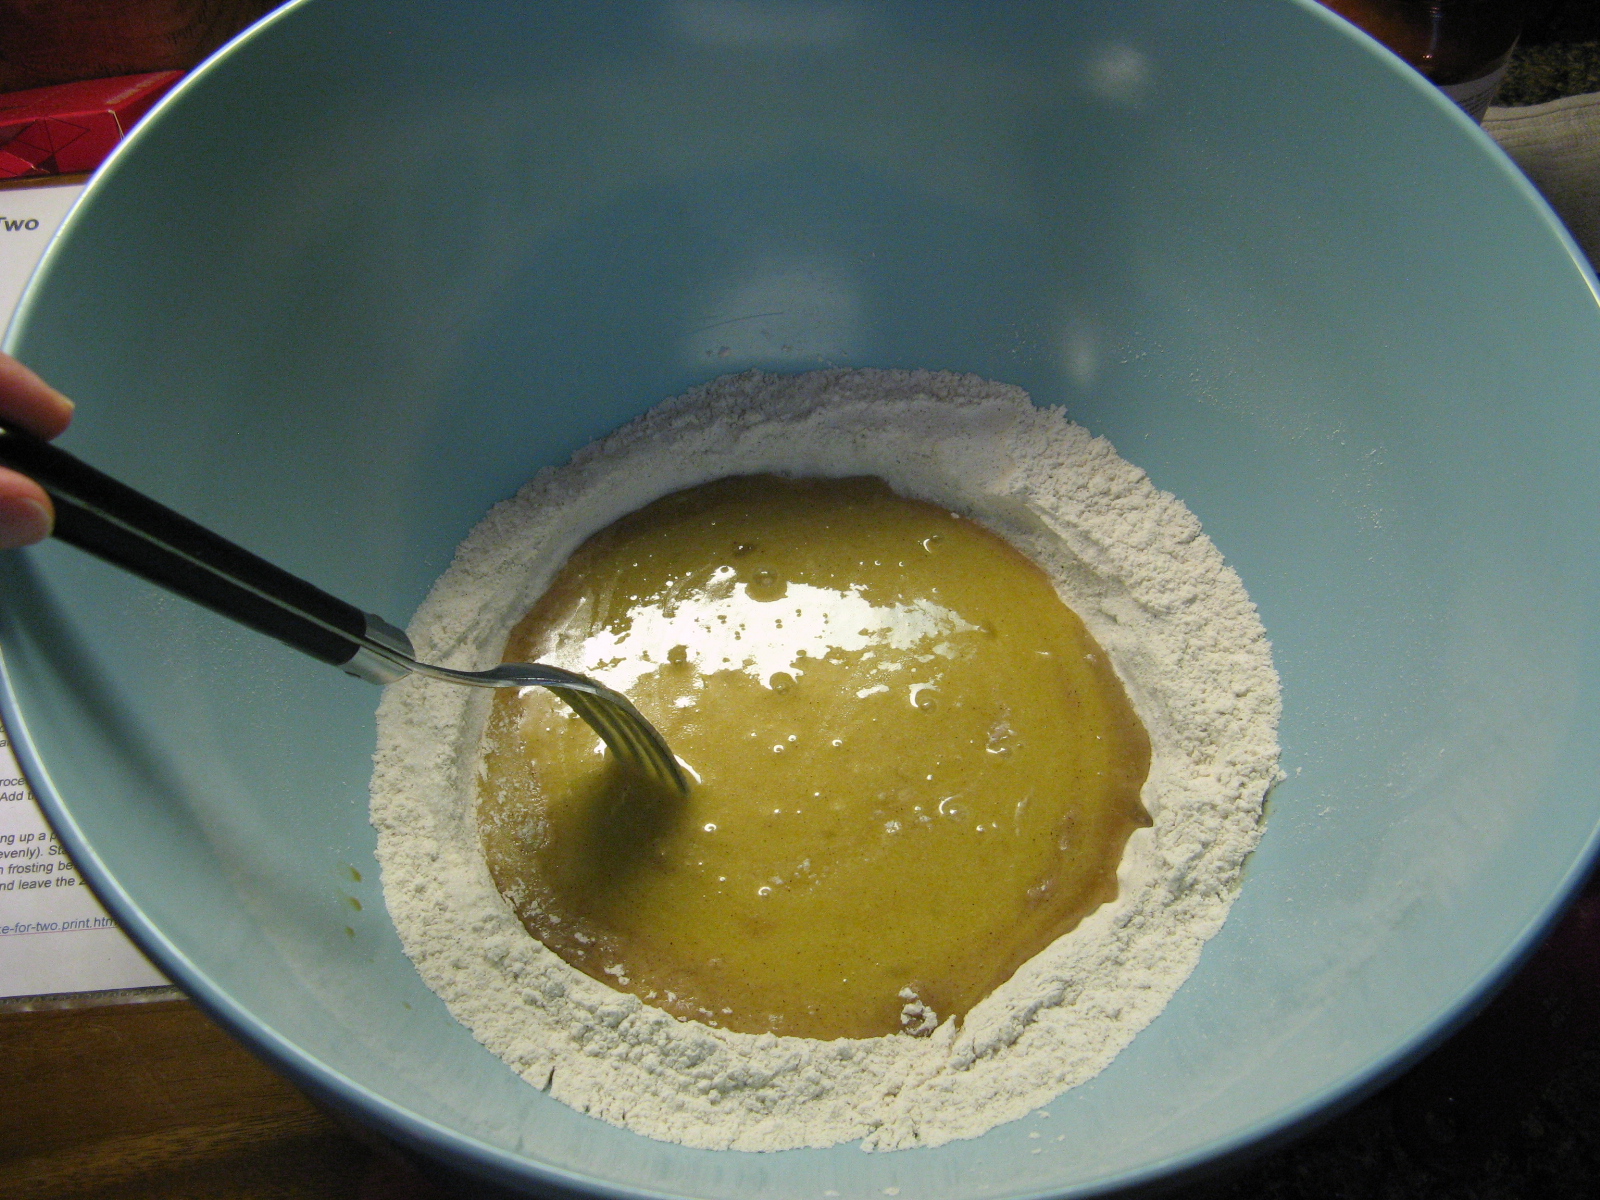
To make the dough I whisked together my dry ingredients in one bowl and my wet ones in another. After combining them, I folded in the chocolate chips and sprinkles. The dough was quite soft so I refrigerated it for about 2 hours so it could firm up. Now, if you are thinking of freezing the dough to make it later, you could skip refrigerating it and scoop it out and place it on a wax-paper lined baking sheet and freeze until hard and then place the dough in resealable bags in the freezer until you are ready to bake it. You will just need to add a minute or two to the baking time.

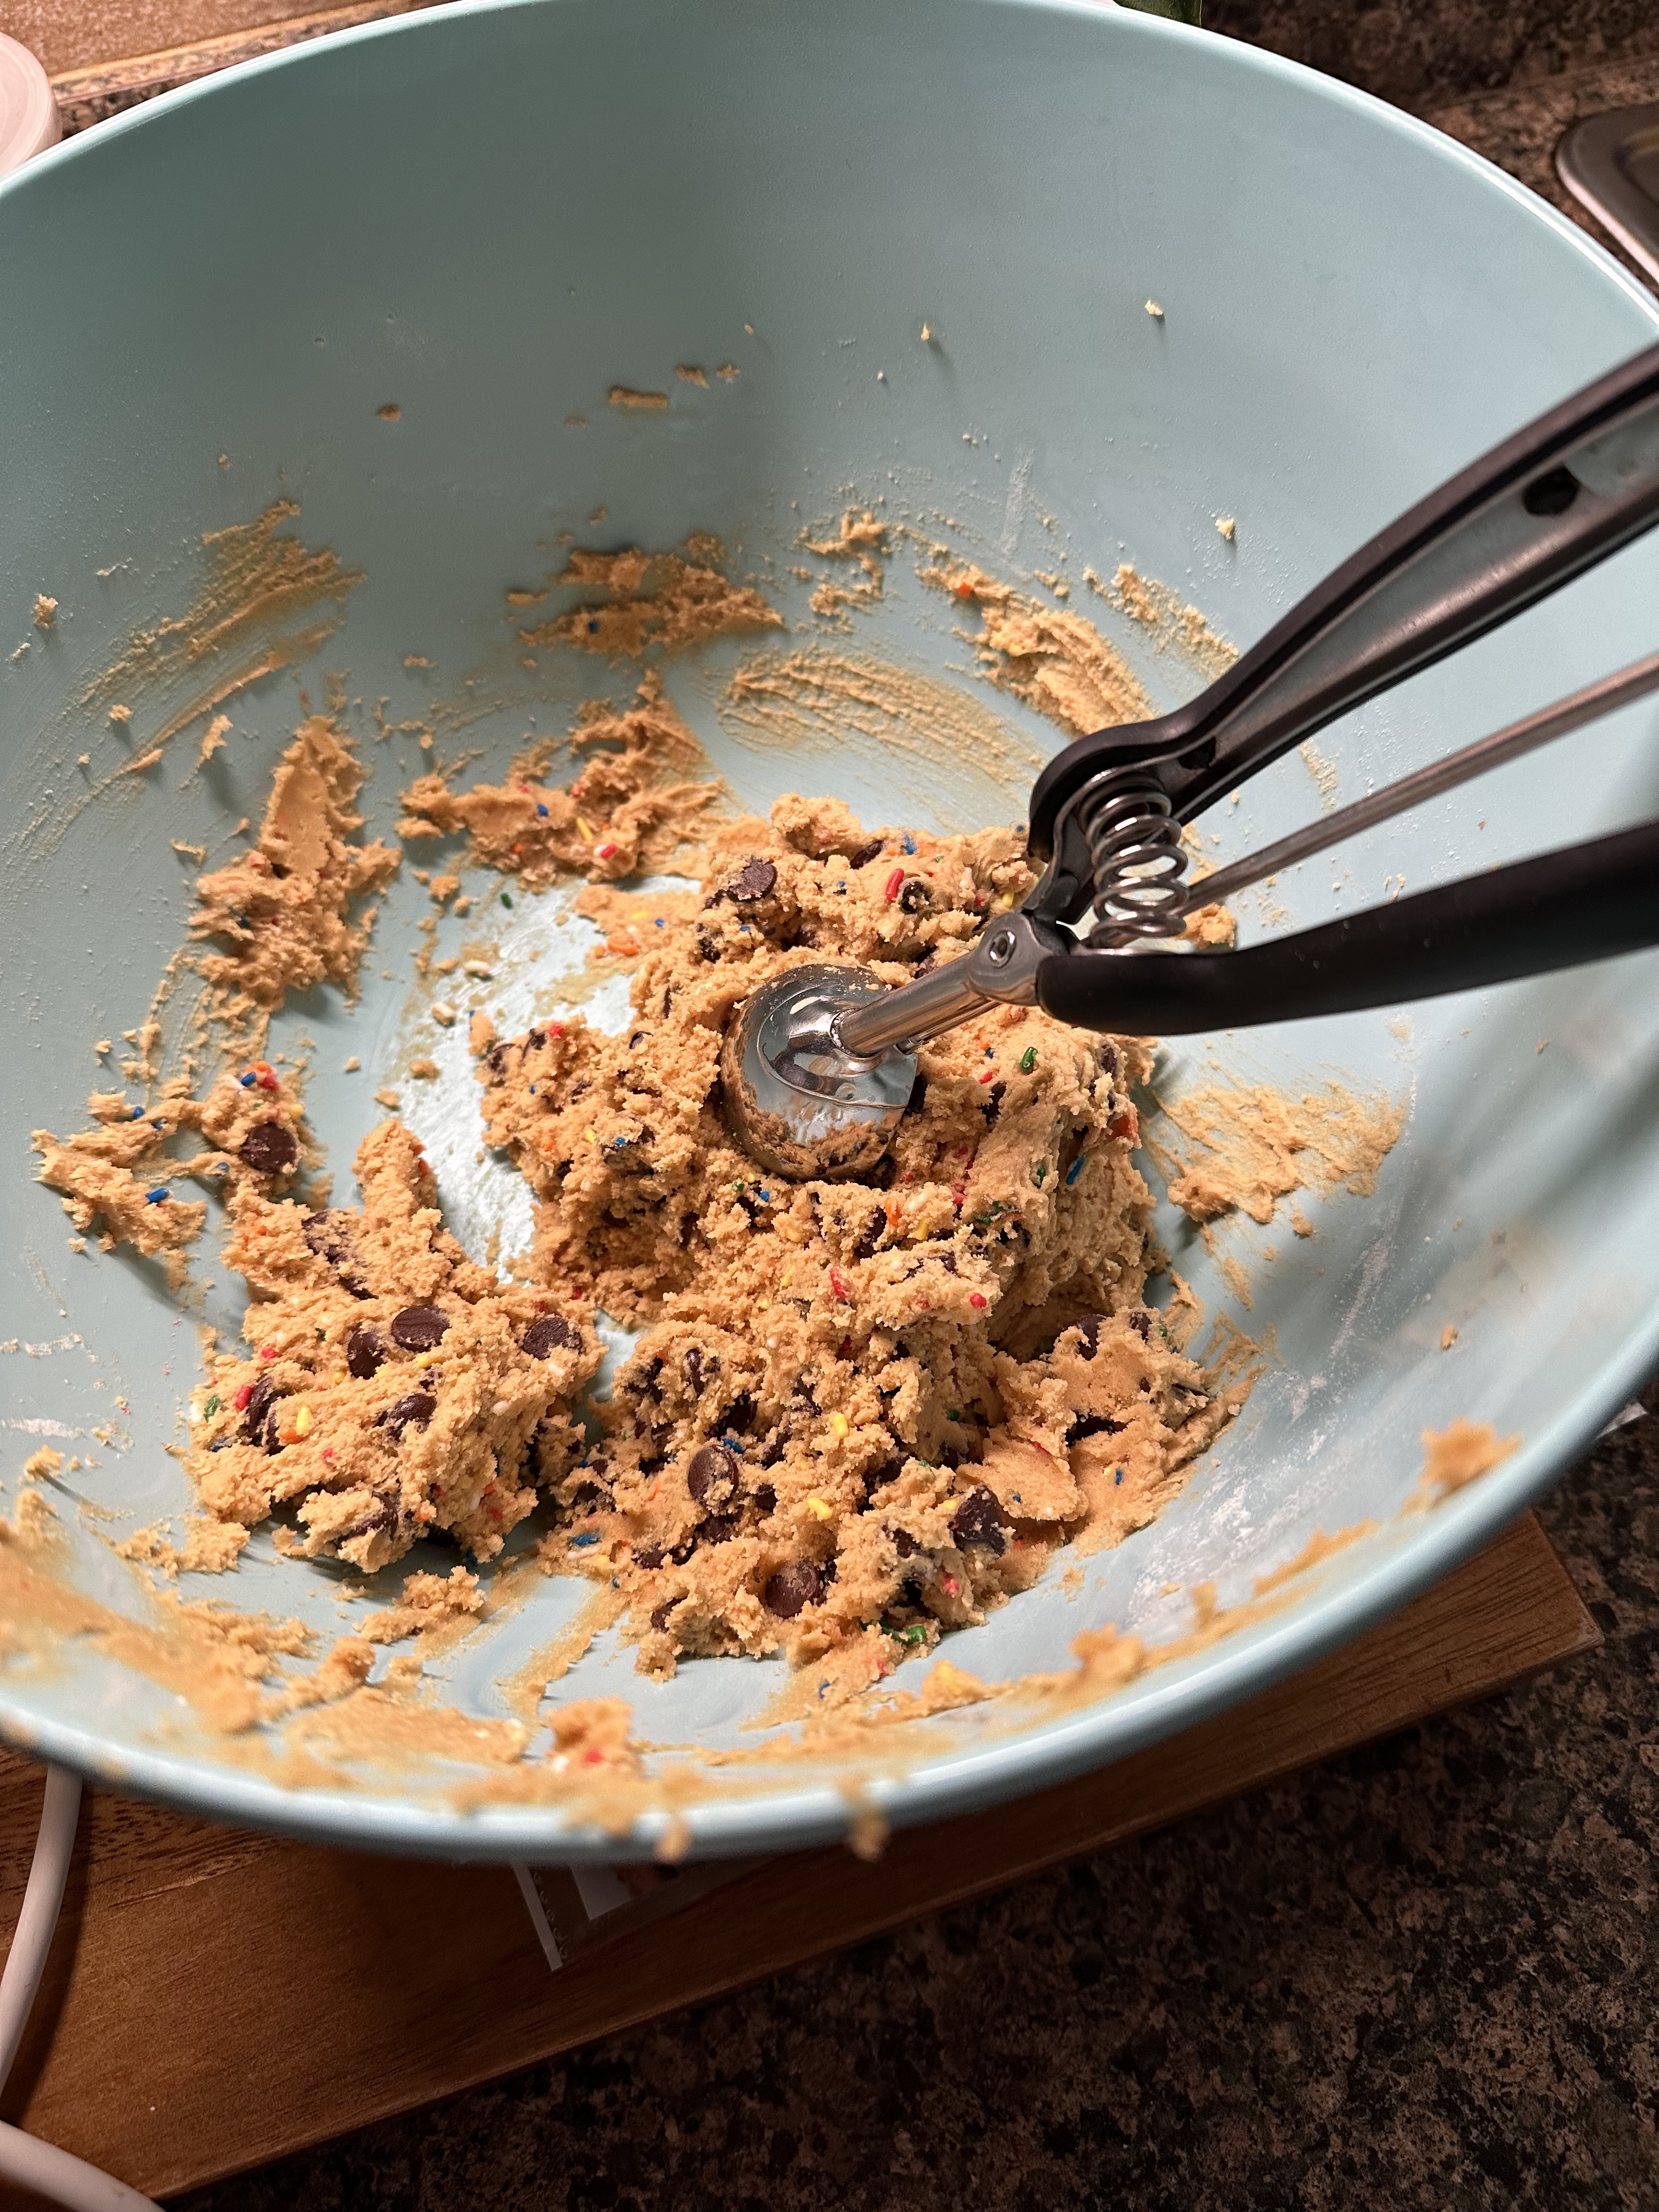
Once the dough was firm I scooped and dropped it onto my prepared baking sheets and pressed some additional sprinkles into the dough before baking them. I believe you can never have too many sprinkles. Whenever I get vanilla soft serve in a cup I ask for sprinkles in the cup before the ice cream is added and then more sprinkles on top. Yum!

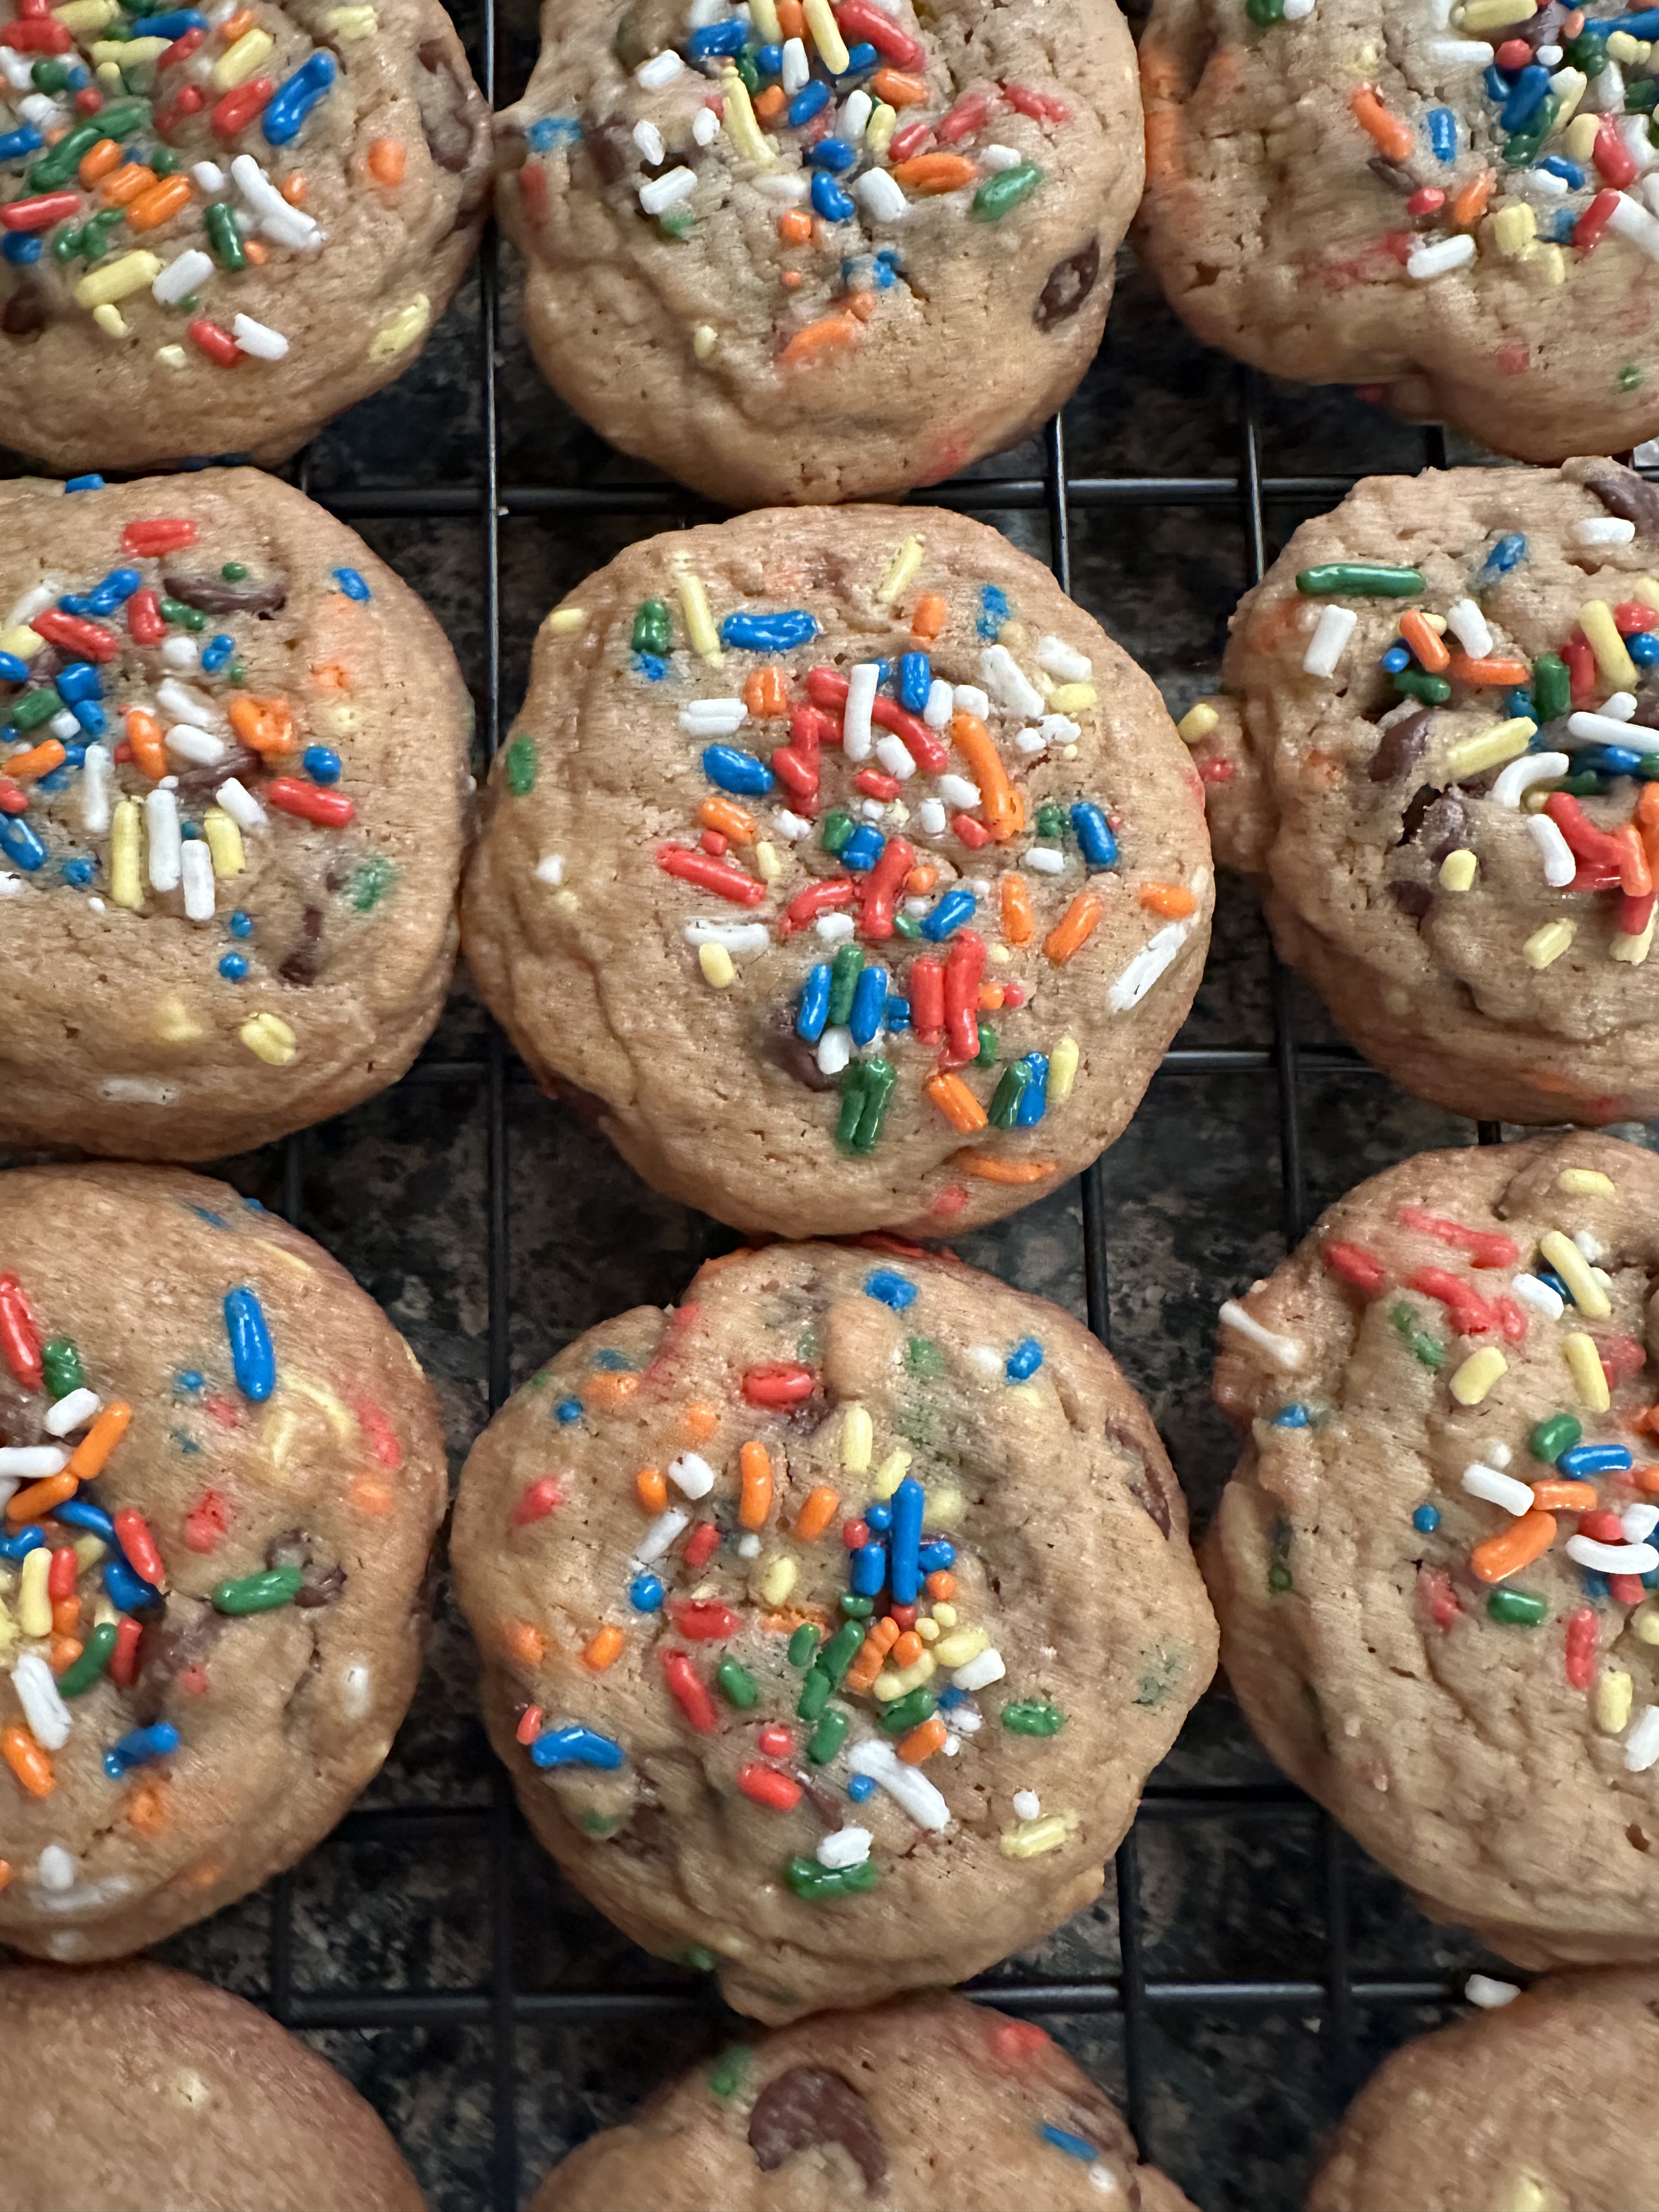
After removing the cookies from the oven, I let them cool on the baking sheet for a few minutes before transferring them to a wire rack to cool completely. The rainbow sprinkles gave the cookies a nice fun look. With Valentine’s Day, St. Patrick’s Day and Easter just around the corner you could really customize these for each of those holidays or any other occasion.

Cookie Butter Chocolate Chip Cookies

  • Servings: 30 cookies
  • Print

Ingredients:

1 3/4 cups flour

1/2 teaspoon baking soda

1/2 teaspoon salt

10 tablespoons unsalted butter, at room temperature

1/2 cup smooth cookie butter

1/2 cup light brown sugar

1/4 cup sugar

2 large eggs

1 teaspoon vanilla extract

1 1/2 cups semi-sweet chocolate chips

3 tablespoons sprinkles (or jimmies, not nonpareils), plus more for topping

Directions:

In a medium bowl whisk together the flour, baking soda and salt. In a large bowl, beat the butter, cookie butter and both sugars with a hand mixer on medium speed until light and fluffy. Beat in the eggs, 1 at a time, then beat in the vanilla extract. With the mixer on low beat in the flour mixture until just combined. Fold in the chocolate chips and sprinkles until combined and evenly distributed throughout the dough. Cover the bowl and refrigerate for 1 to 2 hours, until the dough is slightly firm, but still easily scoopable.

Preheat the oven to 350 F and line two baking sheets with parchment paper.

Using a standard cookie scoop, drop the dough onto the prepared baking sheets 2 inches apart. Press additional sprinkles onto the dough.

Bake in the preheated oven for 12 to 14 minutes, until the cookies are set around the edges, puffed, but still soft in the middle. Let cool on the sheets for 3 to 5 minutes until transferring to a wire rack to cool completely.

Store in an airtight container.

Recipe slightly modified from Food Network.

Brookies – Chocolate Chip Cookie Brownies

Chocolate Chip Cookies and Brownies are probably among the top desserts that people eat. Both can have a slew of variations and add-ins but when it comes down to it they are comforting and familiar. So, what happens when you combine the two? Well you get the best of both worlds in what is perfectly termed a “Brookie.” A brownie layer with a chocolate chip cookie topping.

I came across this recipe in Martha Stewart’s Cookie Perfection cookbook. I made a few slight changes though. I opted to use dark chocolate chips instead of bittersweet chocolate and since unbleached and all-purpose flour are interchangeable I went with all-purpose flour. I bought a bag of unbleached flour for a few recipes last year and ended up never finishing it so I didn’t want to buy another one.  And, I opted to make my brownie batter a bit differently. The original recipe called for melting the chocolate and butter together in a double boiler, but, I decided to melt the two together in the microwave in :30 intervals, stirring between each. I figured I had done before with success so why wouldn’t it be okay this time as well.

I started by making the chocolate chip cookie dough and then set it aside while I made the brownie batter. As I mentioned, I melted the chocolate and butter together in the microwave. I then whisked in the remaining ingredients and then spread the batter in a 9×13-inch pan I lined with parchment paper. I then crumbled the cookie dough over the batter making sure it was evenly spread out. After baking it, I let the Brookies cool completely in the pan on a wire rack. I ended up baking this in the evening so I let them cool overnight on my counter. In case you are wondering, when I leave things to cool on my counter overnight I normally lightly cover them with a paper towel or piece of aluminum foil.

I waited until the following afternoon to slice them. Thanks to the parchment paper they easily came out of my pan and I then sliced them into 16 squares. I ended up with a lot of crumbs and some of the brownie layer didn’t really stick to the cookie dough. I think I should have pressed the cookie dough into the batter as well. And, I also forgot to heat my knife in hot water between each slice.

But, it was all the good. The main thing, they were delicious! Next time though I might slice them into smaller pieces, maybe 24 or 32. They are a bit decadent.

Now, if you want to make your own Brookies but don’t want to go through all the work of making the separate dough and batter, you could always use a brownie box mix and pre-made cookie dough found in most refrigerated sections of the supermarket.  With the holidays coming up these would be a nice addition to your dessert table.

Chocolate Chip Cookie Brownies

Ingredients:

For the Cookie Dough:

1 stick unsalted butter, at room temperature

1 3/4 cups flour

1/2 teaspoon baking soda

1/2 teaspoon baking powder

3/4 teaspoon Kosher salt

1/2 cup light brown sugar

1/2 cup sugar

1 large egg, at room temperature

1 teaspoon vanilla extract

1 cup dark chocolate chips

For the Brownie Batter:  

1 stick unsalted butter, cut into cubes

1 cup dark chocolate chips

1 1/2 cups sugar

3 large eggs, at room temperature

1/4 cup unsweetened Dutch-process cocoa powder

1/2 teaspoon Kosher salt

1/2 cup plus 2 tablespoons flour

Directions:

Preheat the oven to 350 F. Spray a 9×13-inch baking pan with non-stick spray. Line with parchment paper, leaving an overhang on the long sides of the pan, and spray with additional non-stick spray.

For the Cookie Dough: In a medium bowl whisk together the flour, baking soda, baking powder and salt and set aside.

In a larger bow, using a hand mixer on medium speed, cream together the butter and both sugars until pale and fluffy. With the mixer on low, beat in the egg and vanilla extract. Then beat in the flour mixture until just incorporate. Finally, stir in the chocolate chips. Set aside.

For the Brownie Batter: In a microwave-safe bowl add the butter and chocolate chips and microwave on :30 second intervals, stirring between each. Continue to do this until the mixture is smooth. Whisk in the sugar. Then whisk in the eggs, one at a time, until combined. Whisk in the cocoa powder and salt. Finally, fold in the flour until combined.

Spread the brownie batter evenly in the prepared pan and then crumble the cookie dough on top. Lightly press the cookie dough into the batter.

Cover the pan with a parchment paper and then aluminum foil and then bake in the pre-heated oven for 20 minutes. After the 20 minutes remove the parchment paper and foil and continue baking for an additional 25-30 minutes, or until a cake tester inserted in the center comes out moist with a few crumbs.

Transfer the pan to a wire rack to cool completely. Lift the Brookies from the pan using the parchment paper and slice into 16 squares. Store in an airtight container.

Recipe from Martha Stewart Cookie Perfection

Peach Crisp

When I saw this recipe in the most recent issue of Food Network Magazine I knew I wanted to try it before peaches where nowhere to be found at my local supermarket. Truth be told though, I’ve had more bad peaches this summer than good ones. What’s up with that? I found that while I brought them home from the supermarket rock hard so I could eat them over the course of a week, within a few days the skin was wrinkling on some of them and others were completely rotten. To make sure the peaches I used for this Peach Crisp were good I opted to buy tree ripe peaches that were quite enormous but thankfully perfectly ripe (hence the name) without being overly sweet.

To start I made the crisp topping by mixing together old-fashioned oats, almond flour, light brown sugar and salt in a bowl. I then added in melted butter and stirred everything together with a fork until the mixture began to form clumps. Now, I used almond flour, as that is what the recipe called for and I had some because I want to try my hand at making macarons, but, you easily swap the almond flour out for all-purpose flour. I placed this in the freezer as I worked on the peach portion of the dessert.

I sliced the peaches in half and then sliced each of the halves into halves (basically I quartered the peach) and then sliced each piece into thirds. In the end, each peach should give you 12 slices. The peaches I used were so large that I probably could have gotten away with just using 3.

I transferred the slices to a large bowl and added in brown sugar, flour, orange juice, vanilla extract and nutmeg. The original recipe called for lemon juice, brandy (optional) and orange zest. I had already decided I wasn’t going to use orange zest in the recipe. Truthfully, I didn’t feel like buying an orange for a teaspoon of zest, but, I ended up completely forgetting to get a lemon when I went food shopping. And while I did have brandy on hand, it was apple flavored and I just didn’t think the flavors would go well together. Thankfully though I did have orange juice which is a good substitute for lemon juice and gave me some of the orange flavor the zest would have. I decided to use 3 tablespoons of the orange juice since the original recipe call for 2 tablespoons of lemon juice and 1 tablespoon of brandy and since I had so many peach slices I figured the extra liquid wouldn’t hurt.

Once the peaches and other ingredients were mixed together well – I made sure that the peaches were coated by the mixture – I transferred them to my dish along with any juices that remained.

I then topped the peaches with chopped pecans and the crisp topping. I used my hands to break up the slightly frozen topping into small pieces that I scattered on top of the peaches.  

After baking it in a 350 F preheated oven for about an hour I let it cool on a wire rack. Once cooled I covered it with aluminum foil and refrigerated it. To enjoy, I heated it up a spoonful or two and topped it with vanilla ice cream.

Peach Crisp

Ingredients:

Crisp Topping:

1/2 cup old-fashioned oats

1/2 cup almond flour*

1/2 cup light brown sugar

1 teaspoon Kosher salt

5 tablespoons unsalted butter, melted

Peach Filling:

4 large peaches or 5 medium peaches (about 2.5 pounds)

1/3 cup light brown sugar

3 tablespoons flour

3 tablespoons orange juice**

1 teaspoon vanilla extract

1/2 teaspoon ground nutmeg

1/2 cup chopped pecans***

* Could use all-purpose flour

** Original recipe called for 2 tablespoons lemon juice, 1 tablespoon brandy (optional) and 1 teaspoon grated orange zest

*** Could use walnuts instead

Directions:

Preheat the oven to 350 F.

Make the crisp topping: In a medium bowl whisk together the oats, flour, sugar and Kosher salt. Pour in the melted butter and use a fork to stir everything together. Once the mixture begins to clump place in the freezer while working on the peach filling.

For the peach filling: Cut each peach in half and remove the pit. Cut each half in half and then slice each half into thirds. Place the peach slices in a large bowl and add in the sugar, flour, orange juice, vanilla and ground nutmeg. Give everything a few good stirs to make sure each peach slice is evenly coated.

Transfer the peaches to a 9-inch pie dish. Sprinkle the chopped pecans on top.

Remove the crisp topping from the freezer and using your hands break the topping into small pieces and scatter on top of the peaches in an even layer.

Bake in the preheated oven for an hour. Until the crisp topping is lightly browned and you can easily slice into one of the peach slices.

Remove from the oven and enjoy right out of the oven or place on a cooling rack to cool. If you are planning on refrigerating it for later, cool to room temperature and cover with aluminum foil to refrigerate until ready to enjoy.

Serve on its own or enjoy with ice cream!

Recipe from Vallery Lomas

Lemon Ricotta Bars

So, even after I made the Ricotta Orange Pound Cake I posted about last week, I still had ricotta cheese left-over and I didn’t want to toss it. So, I decided to make Lemon Ricotta Bars. Lemon & ricotta go together so well… If you don’t believe me try making these bars, these pancakes I posted about a few years ago or these cookies I posted right before the holidays last year. All were delish!

Lemon Ricotta Bars

Ingredients:

For the crust:

2 cups graham cracker crumbs (15 crackers)

2 tablespoons sugar

1 stick unsalted butter, melted

For the filling:

1 cup whole-milk ricotta

4 large eggs, beaten

1 1/3 cups sugar

3 tablespoons all-purpose flour

2 tablespoons lemon zest

2/3 cup lemon juice, from 3 to 4 large lemons

1/4 teaspoon salt

Directions:

Preheat the oven to 350F. Spray a 9x13x2 baking dish with nonstick cooking spray.

For the crust: Combine the ingredients for the crust in a medium bowl and mix until moistened. Press the mixture evenly in the prepared pan and about 1/4 inch up the sides of the dish. Bake in the preheated oven for 8-10 minutes, until set, and then set aside to cool.

Reduce the oven to 325F.

For the filling: Whisk the ricotta, eggs, sugar and flour in a bowl until well combined. Stir in the lemon zest, lemon juice and salt and blend well. Pour the filling into the crust and bake until filling is firm, about 30 minutes.

Let the pan cool on a wire rack, at least 2 hours. Cut into desired sized bars with a knife, wiping the knife between cuts.

Recipe adapted from Food Network and Food52

Carrot Cake For Two…

Or dessert for One for two days! I love carrot cake, but, truth be told it’s a lot of work to make for just me alone to eat. Okay, it’s really not a lot of work; it’s a lot of cake for me alone. But, I recently came across a recipe for carrot cake that resulted in two perfect-sized slices of cake, which would be great as a dessert for two or in my case dessert for one for two days… Yum! Who doesn’t love a delicious dessert two days in a row?

To make the batter I began by whisking together flour, baking powder, salt, cinnamon and nutmeg in a medium bowl. I then created a well in the center of the flour mixture and added in eggs and sugar and mixed the two together. Next I added in oil and vanilla extract and continued mixing it with a fork.

img_0153

I then incorporated the flour mixture and egg mixture and folded in shredded carrots and pecans to the batter. Once the batter was well combined I transferred it to a 9-inch round pan that I sprayed with baking spray.

img_0154

After baking the cake in a 350 F preheated oven for about 25 minutes I removed it from the oven and allowed the cake to cool in the pan on a wire rack for about 20 minutes.

img_0158

After the 20 minutes, I removed the cake from the pan and allowed it to cool completely on the wire rack. Once it was completely cooled I cut the cake into 4 equal parts and frosted the top of each piece with cream cheese frosting.

img_0164

I then stacked the four pieces and frosted the back curve of the cake.

img_0167

After refrigerating the cake for half an hour I then sliced it in half and was left with 2 perfect sized slices of cakes.

img_0173


Carrot Cake For Two

Ingredients:

For the Cake:

2/3 cup all-purpose flour

1 teaspoon baking powder

1/2 teaspoon ground cinnamon

1/4 teaspoon Kosher salt

Pinch freshly grated nutmeg

1/2 cup granulated sugar

1 large egg, at room temperature

1/4 cup vegetable oil

1/2 teaspoon pure vanilla extract

5 ounces carrots (about 3 small), finely grated (about 1 cup)

1/4 cup pecans


For the Frosting:

8 ounces cream cheese, at room temperature

1 stick unsalted butter, at room temperature

3/4 cup confectioners’ sugar

1/2 teaspoon pure vanilla extract


Directions:

For The Cake:

Preheat the oven to 350 F. Spray a 9 -by- 2 inch round cake pan with baking spray.

Whisk together the dry ingredients – flour, baking powder, cinnamon, salt and nutmeg – in a medium bowl. Make a well in the center of the flour mixture. Working within the well, use a fork to mix together the eggs and sugar until well combined. Add the oil and vanilla to egg mixture and continue mixing with a fork until well combined once again. Stir the wet and dry ingredients together with the fork until just combined. Fold in the carrots and pecans.

Transfer the batter to the prepared pan and bake for 20 to 25 minutes, until a cake tester comes out clean. Let the cake cool in the pan for 20 minutes on a wire rack. Turn out the cake and let it cool on the wire rack for about an hour until completely cool.

For The Frosting:

Using a handheld mixer or stand mixer on medium, beat together the butter and cream cheese. Slowly add the confectioners’ sugar and continue beating until well incorporated. Finally add in the vanilla extract.

To Assemble the Cake:

Cue the cake into 4 equal wedges. Frost the top of each wedge with about 3 tablespoons of frosting. Stack the wedges on top of each other and with the remaining frosting frost the back curve of the cake, and leave the 2 sides of the cake open. Refrigerate for about 30 minutes, then cut the cake wedge in half and serve.

Recipe from The Food Network

%d bloggers like this: