Every week I am faced with the same dilemma…. What should I make for dinner? I go through a list of ideas in my head to see which one sparks enthusiasm and makes my taste buds feel excited. As many people do, I have a few good standby’s that I turn to when I just can’t think of anything else. And there are those times when I want to try something new. As was the case when I decided to make Chicken Lo Mein recently. I had come across a recipe in a magazine that I was sure I had ripped out, but, when I went to go look for it, I couldn’t find it. So, I turned to the internet to get some ideas for a recipe. After reading a few, I created my own that turned out delicious and best of all, quick and easy to make.

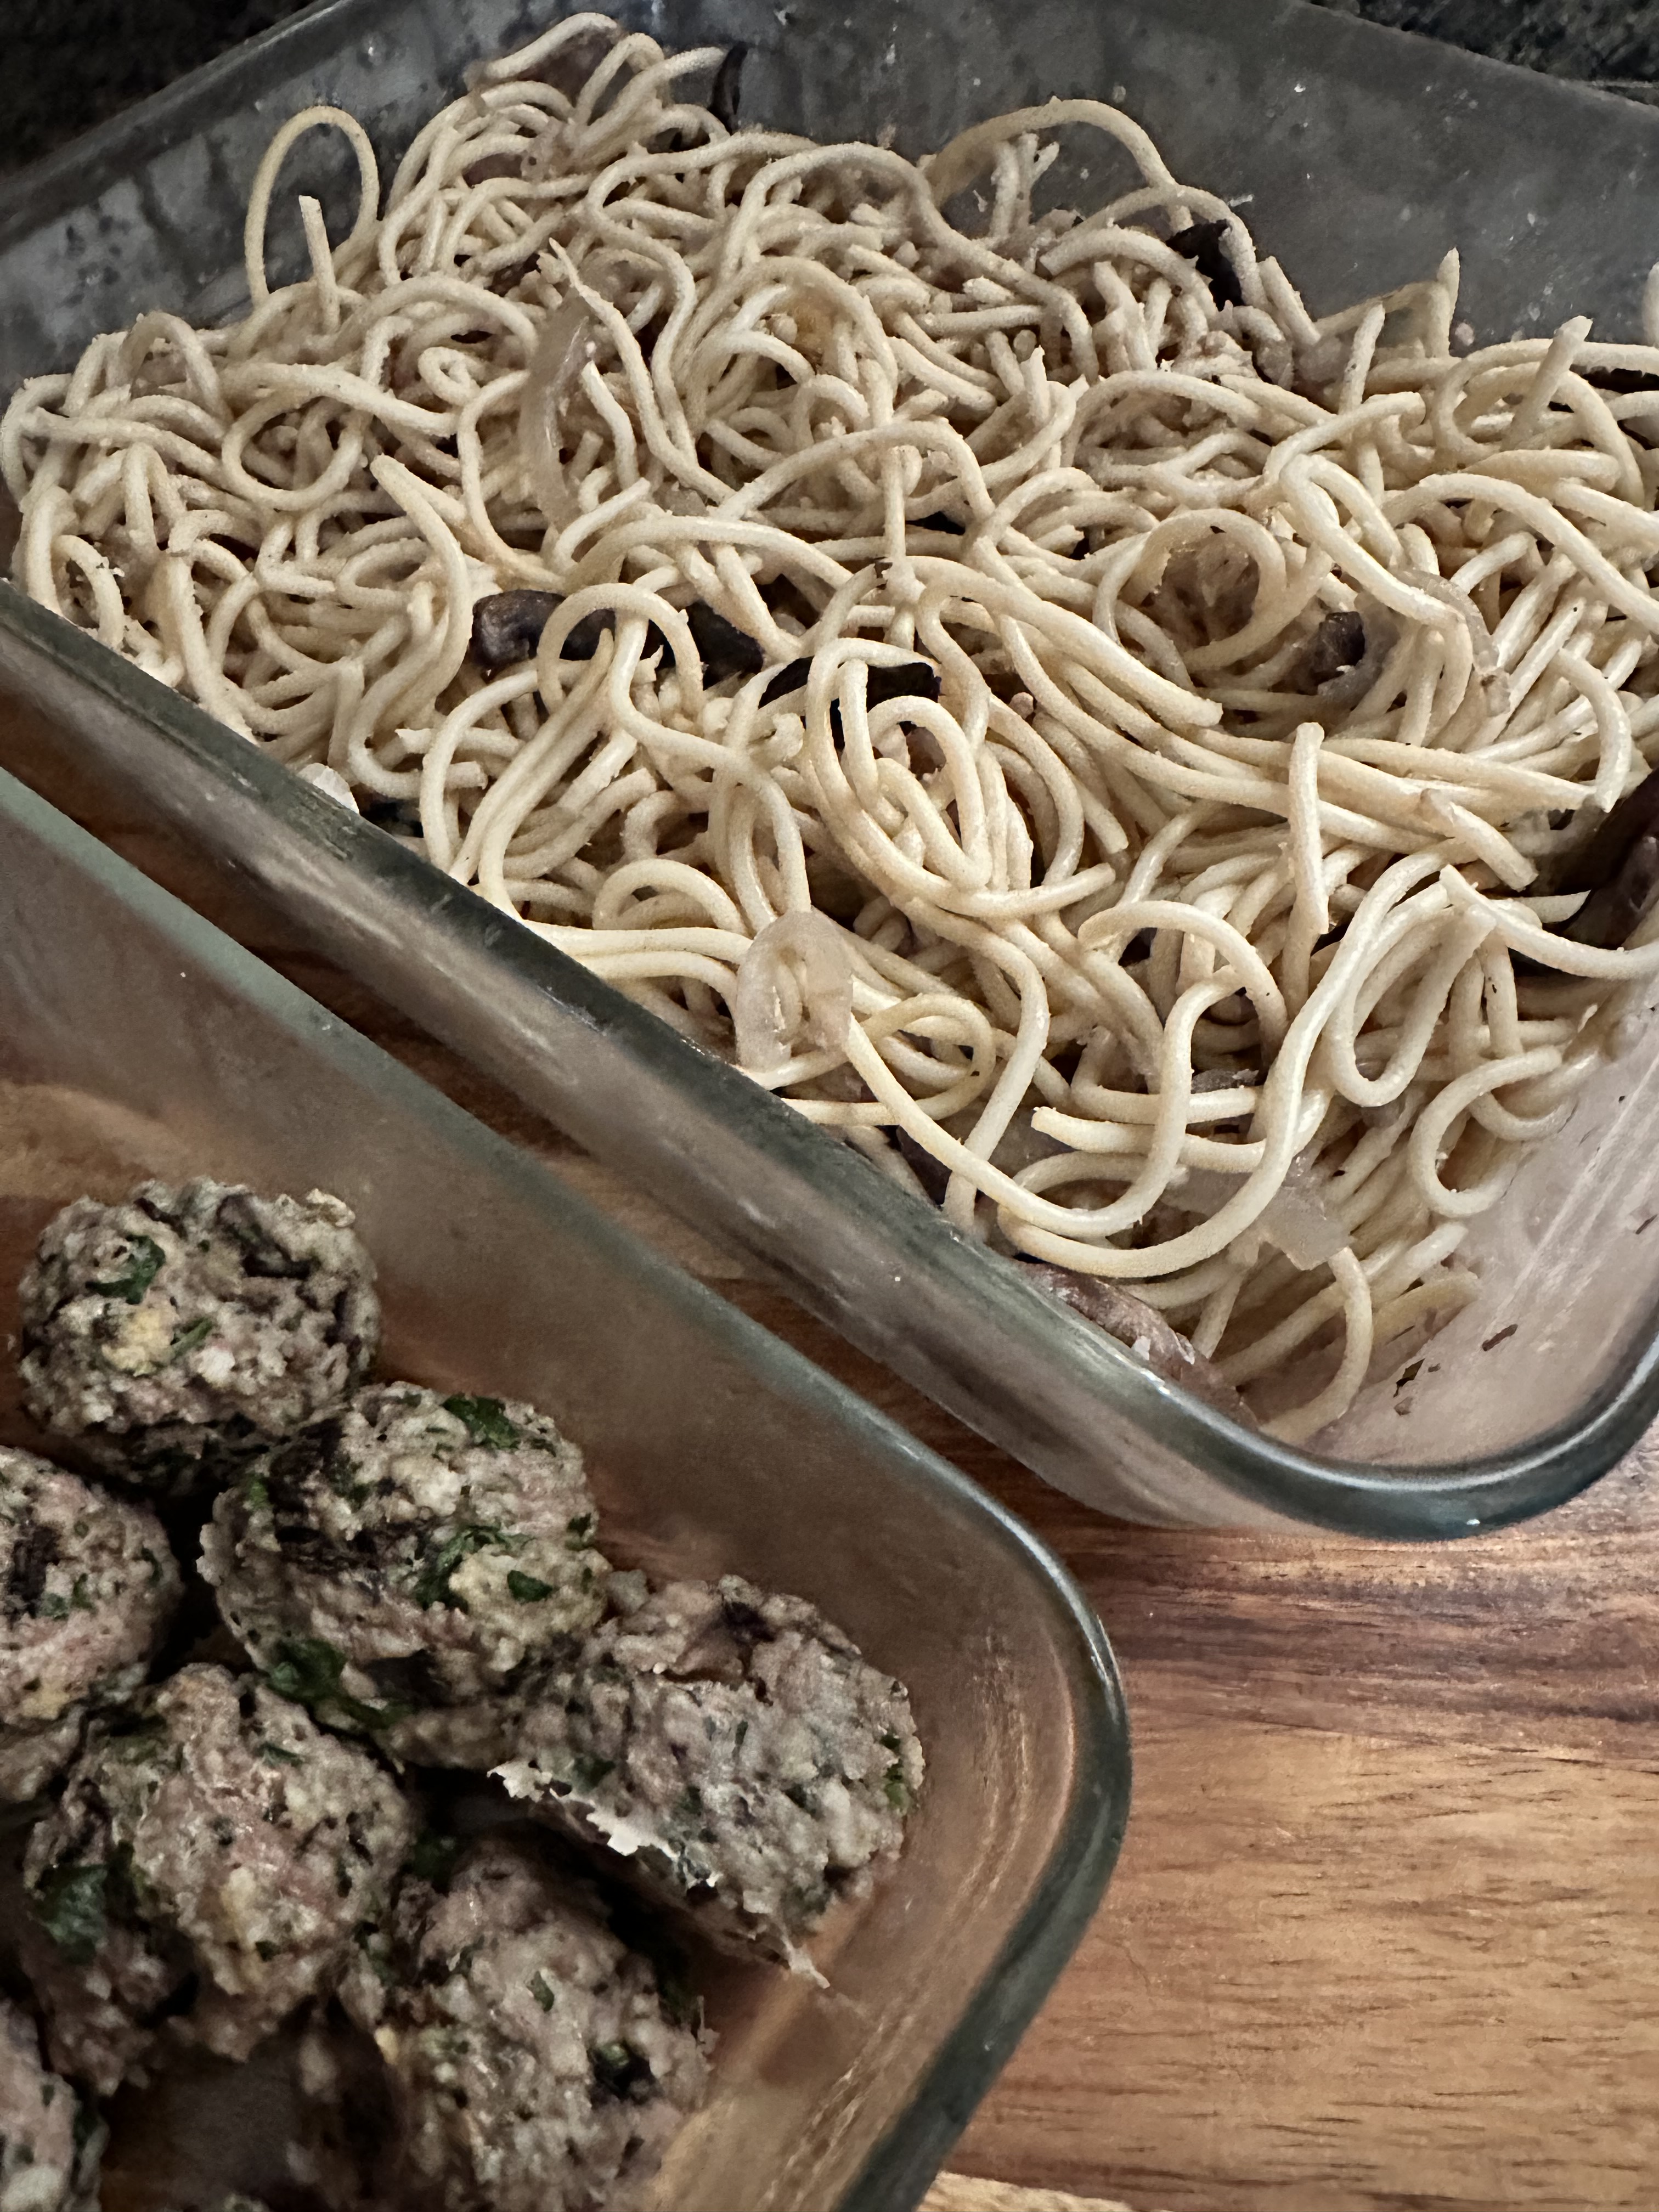
A few of the recipes I saw called for chicken breasts, but I opted to use boneless skinless chicken thighs instead as I find chicken thighs absorb the flavor of a dish better (especially sauces) and they do not dry out as easily as chicken breasts does when slightly overcooked. And while I did plan on using Lo Mein noodles, they weren’t available at my local supermarket so I went with Linguine instead, you could also use spaghetti if you have a preference. One other change I made was the oil I used. Most of the recipes I saw online called for sesame oil, I used canola oil instead. Simply because I had it on hand and I knew it was a good substitute.
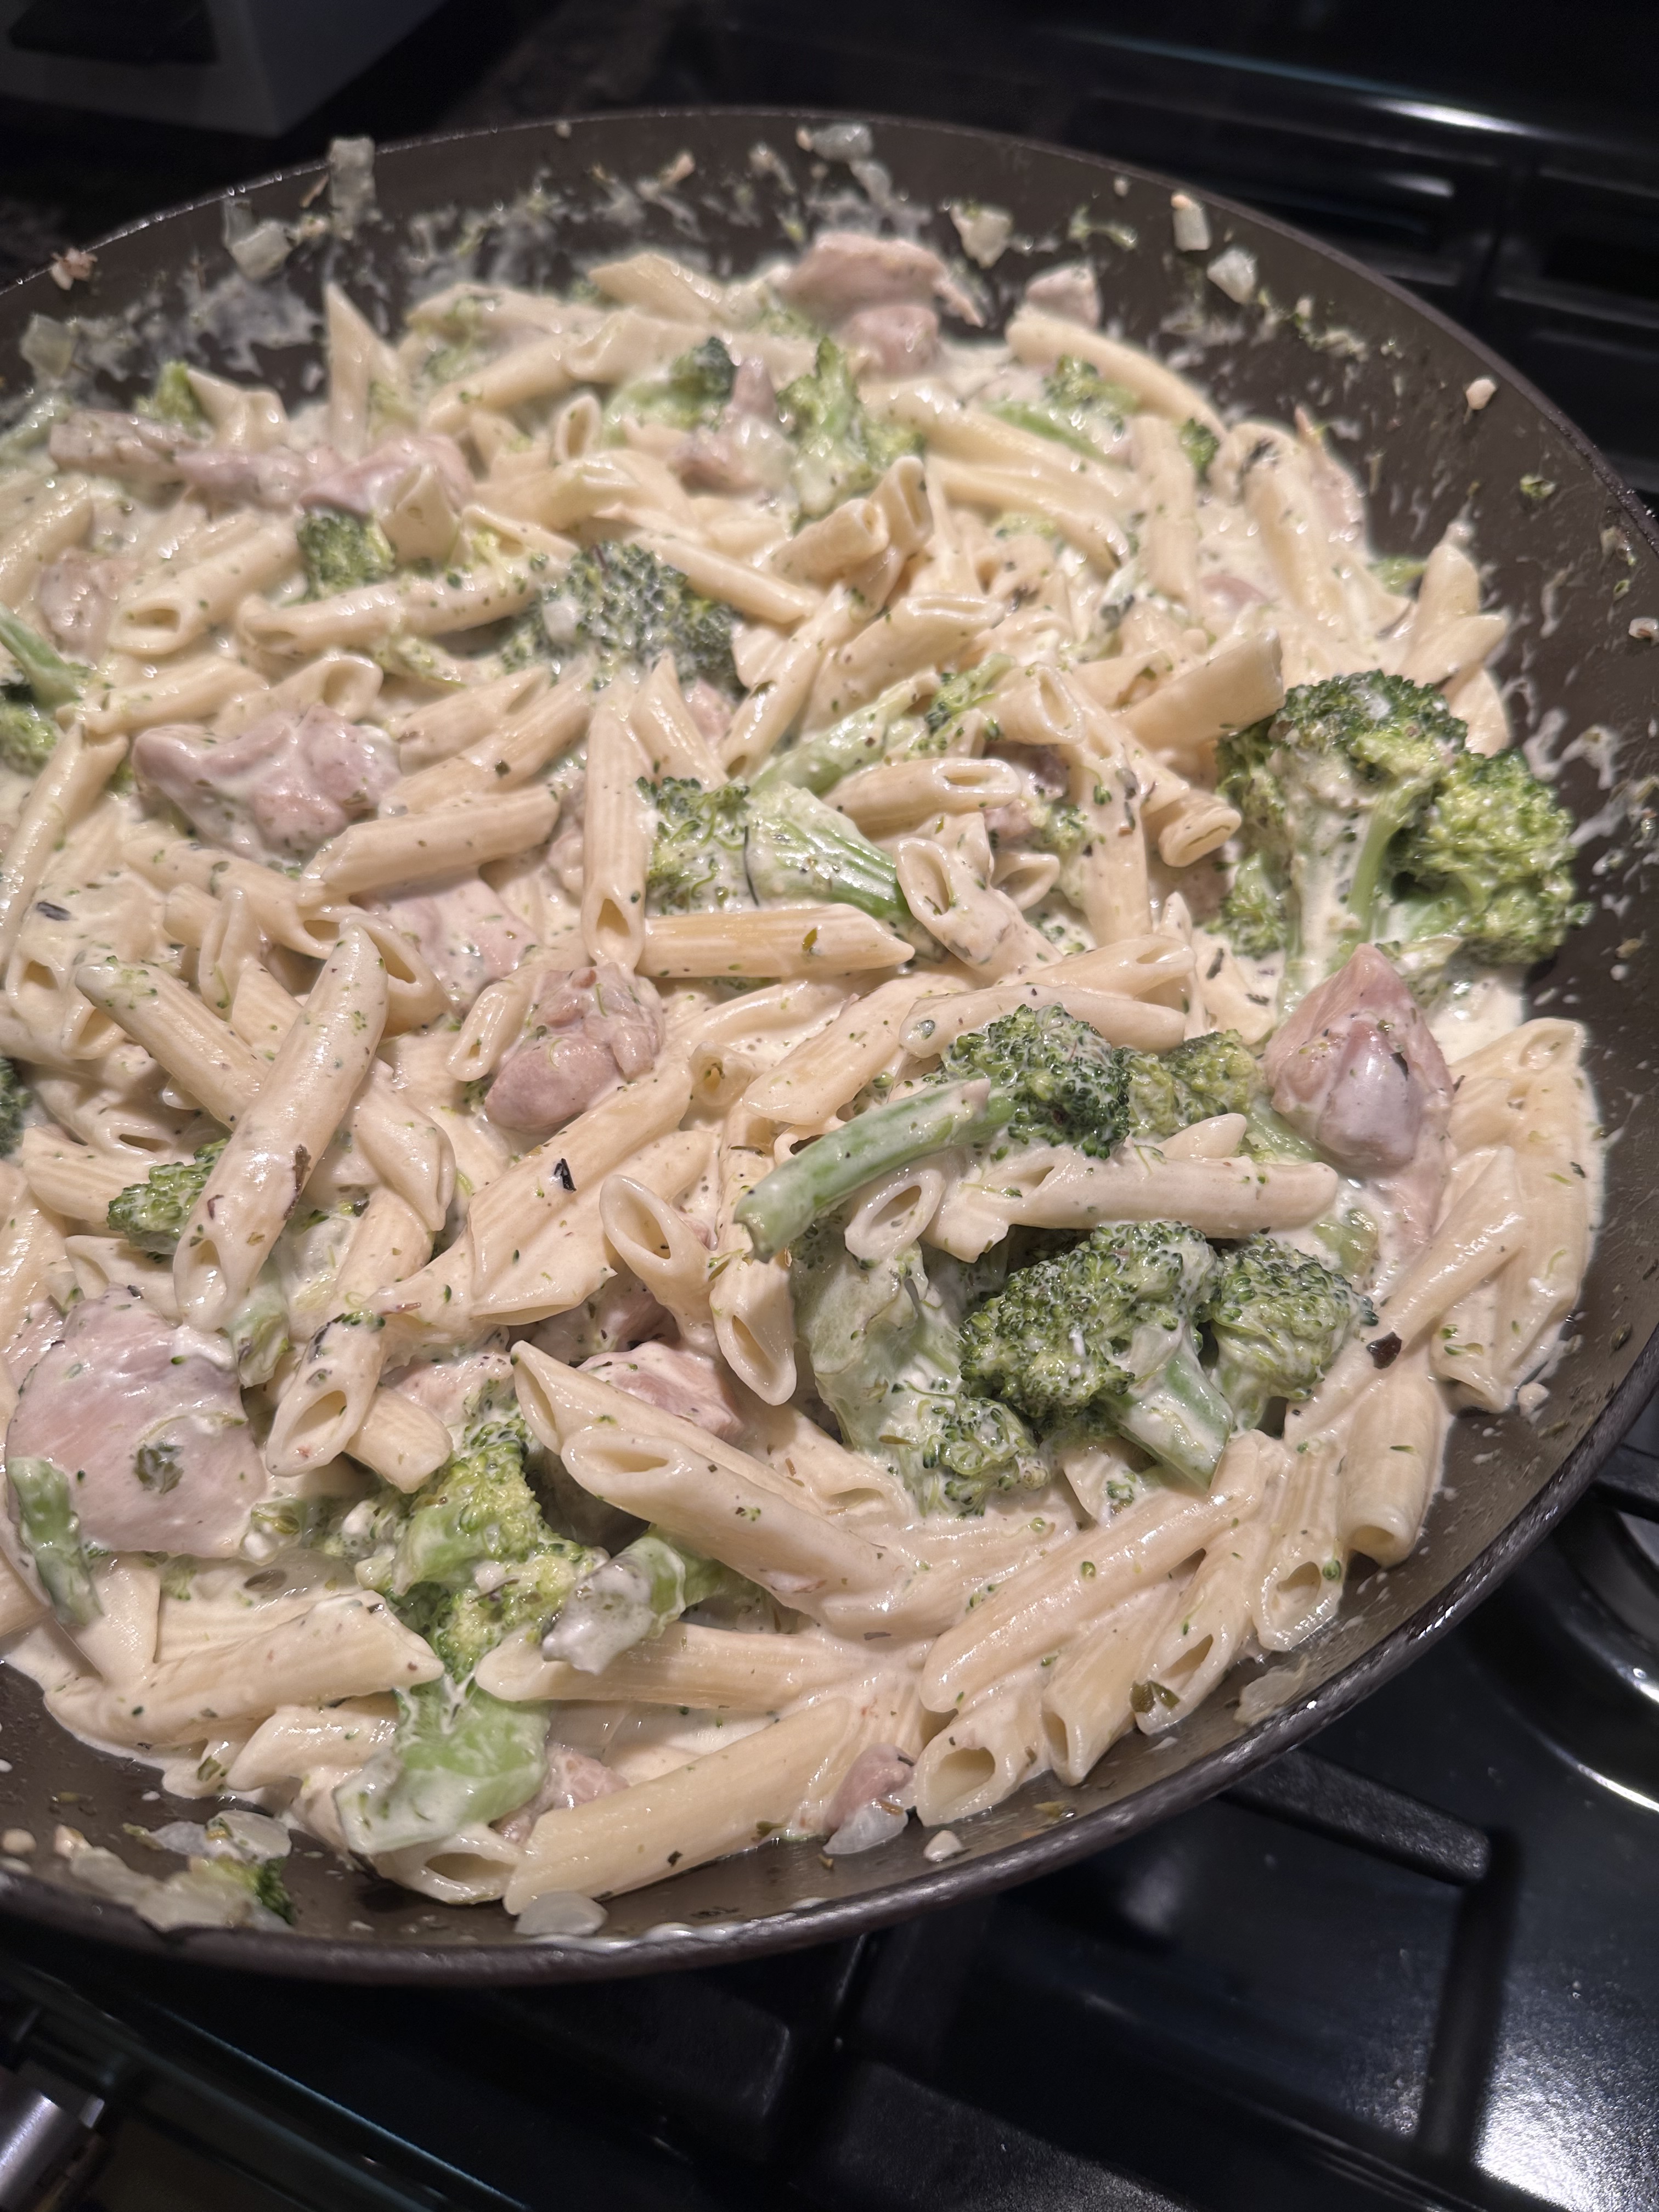
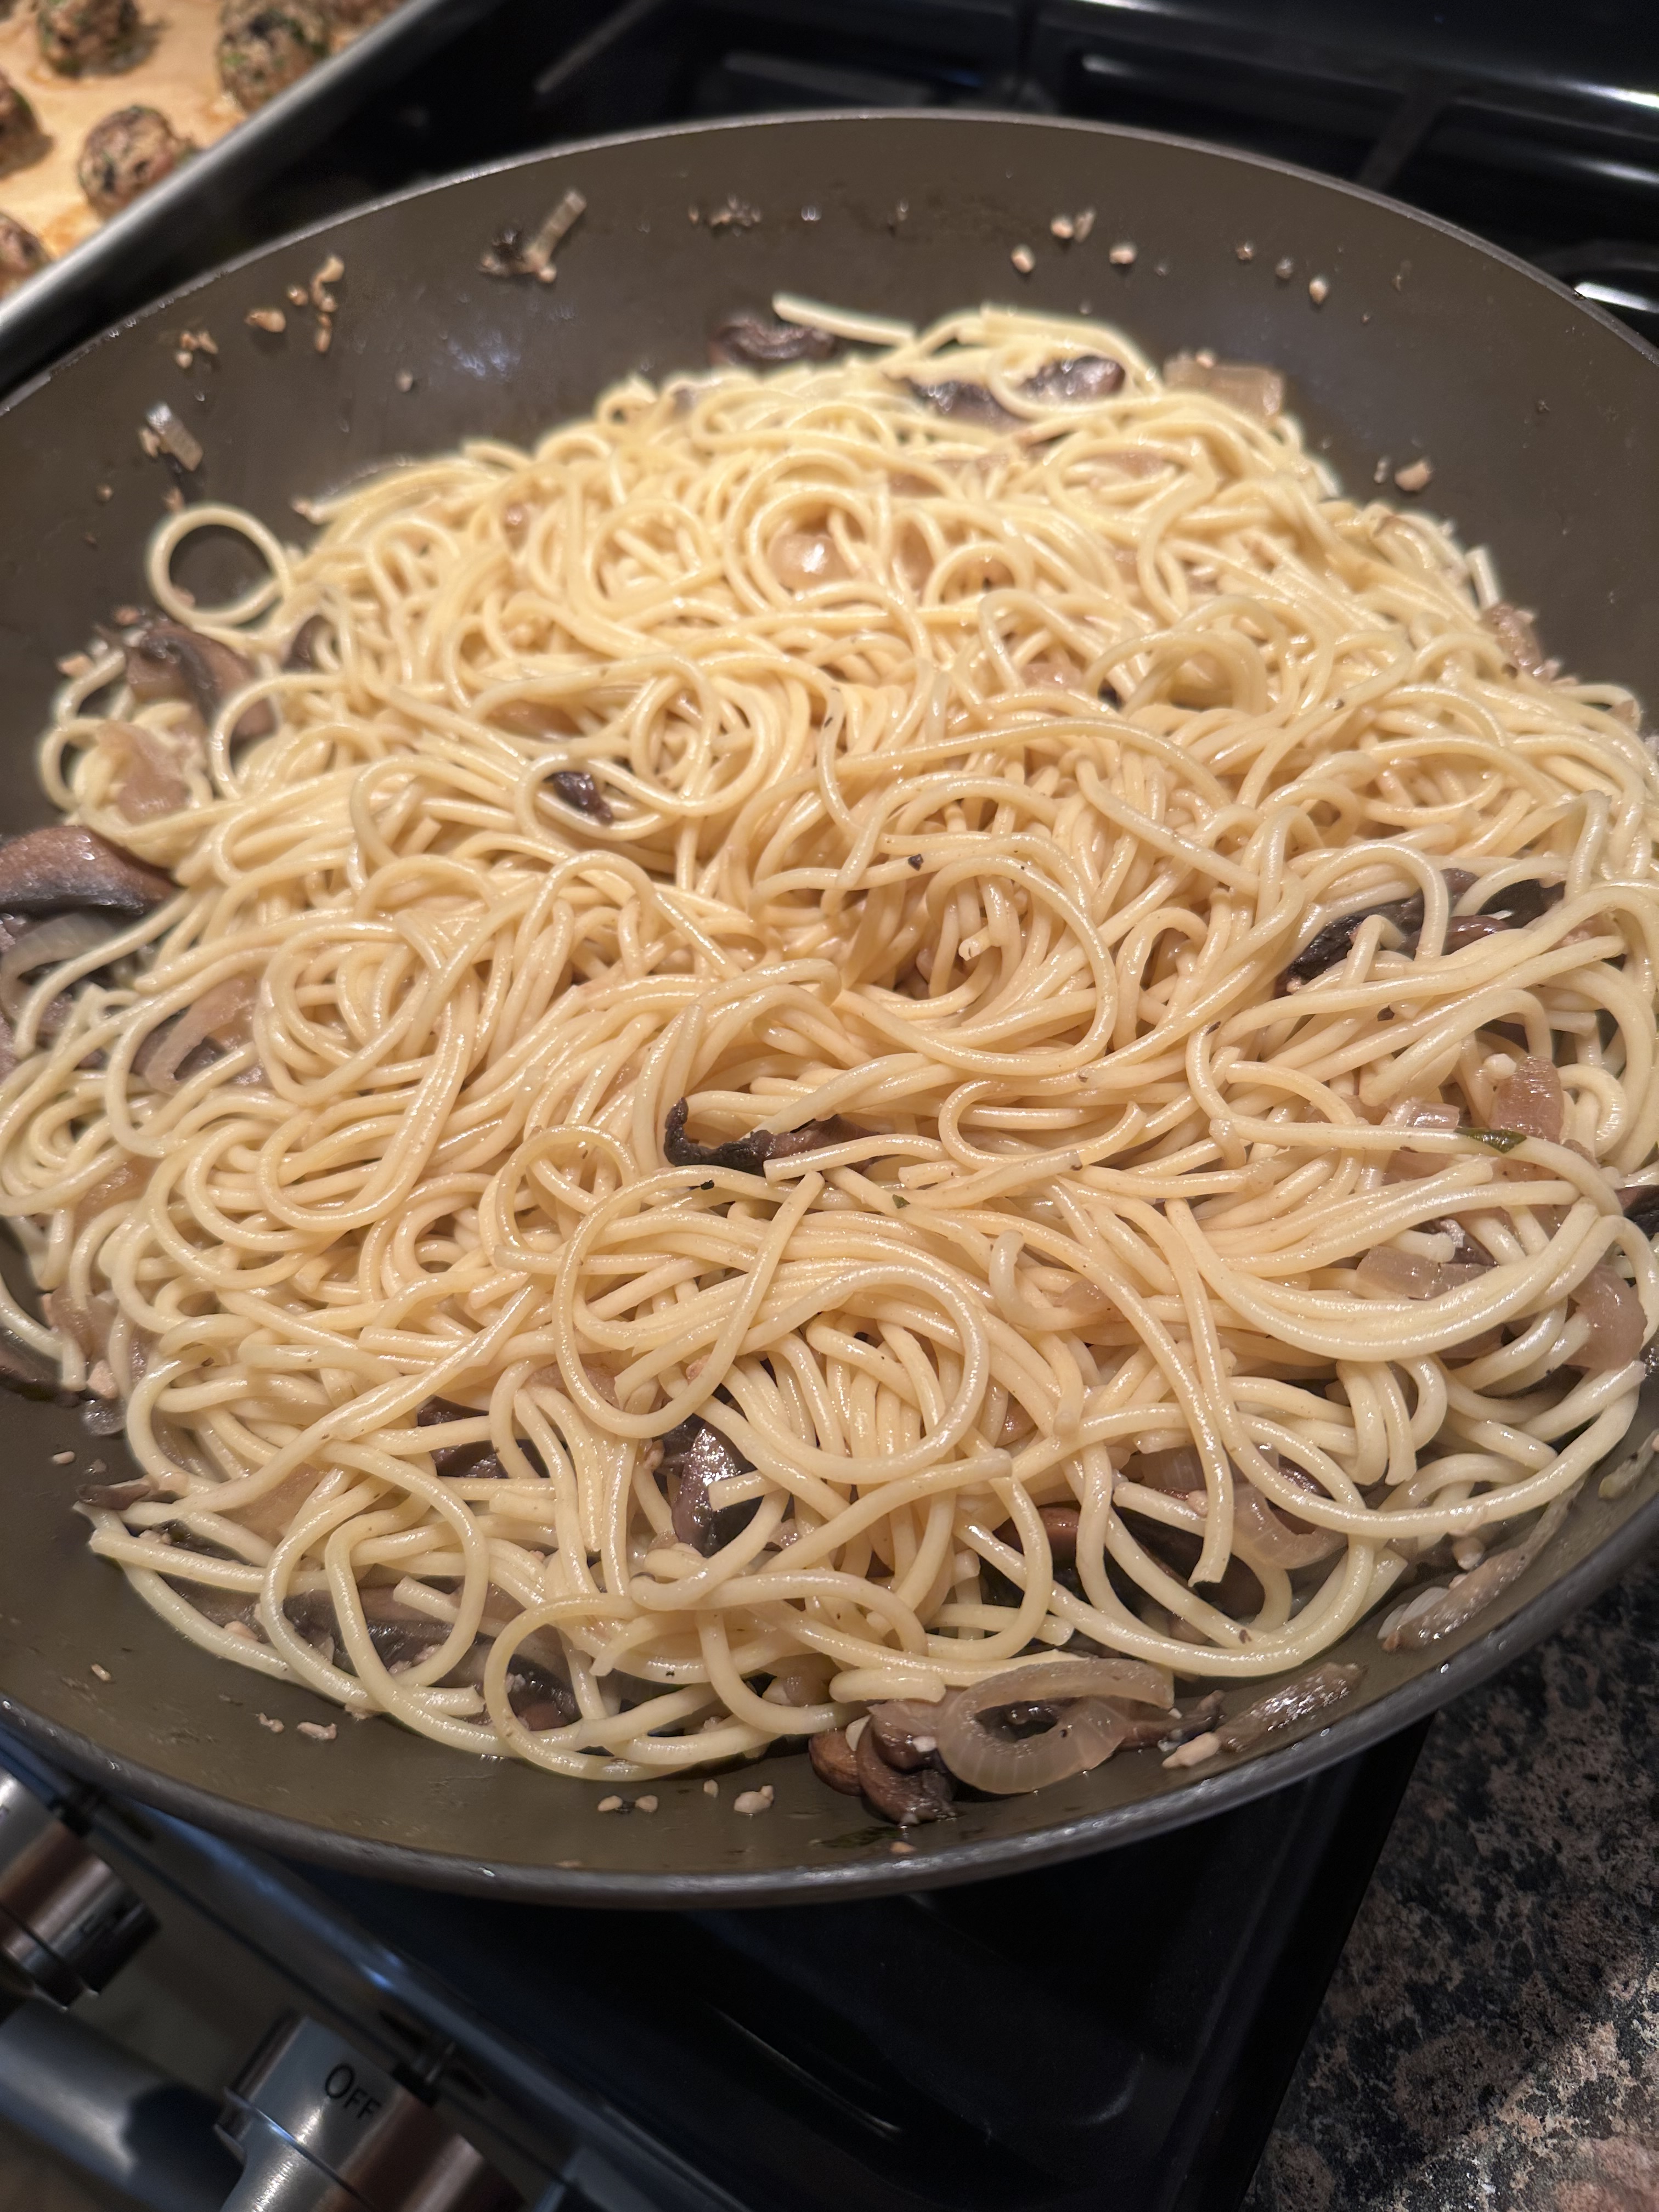
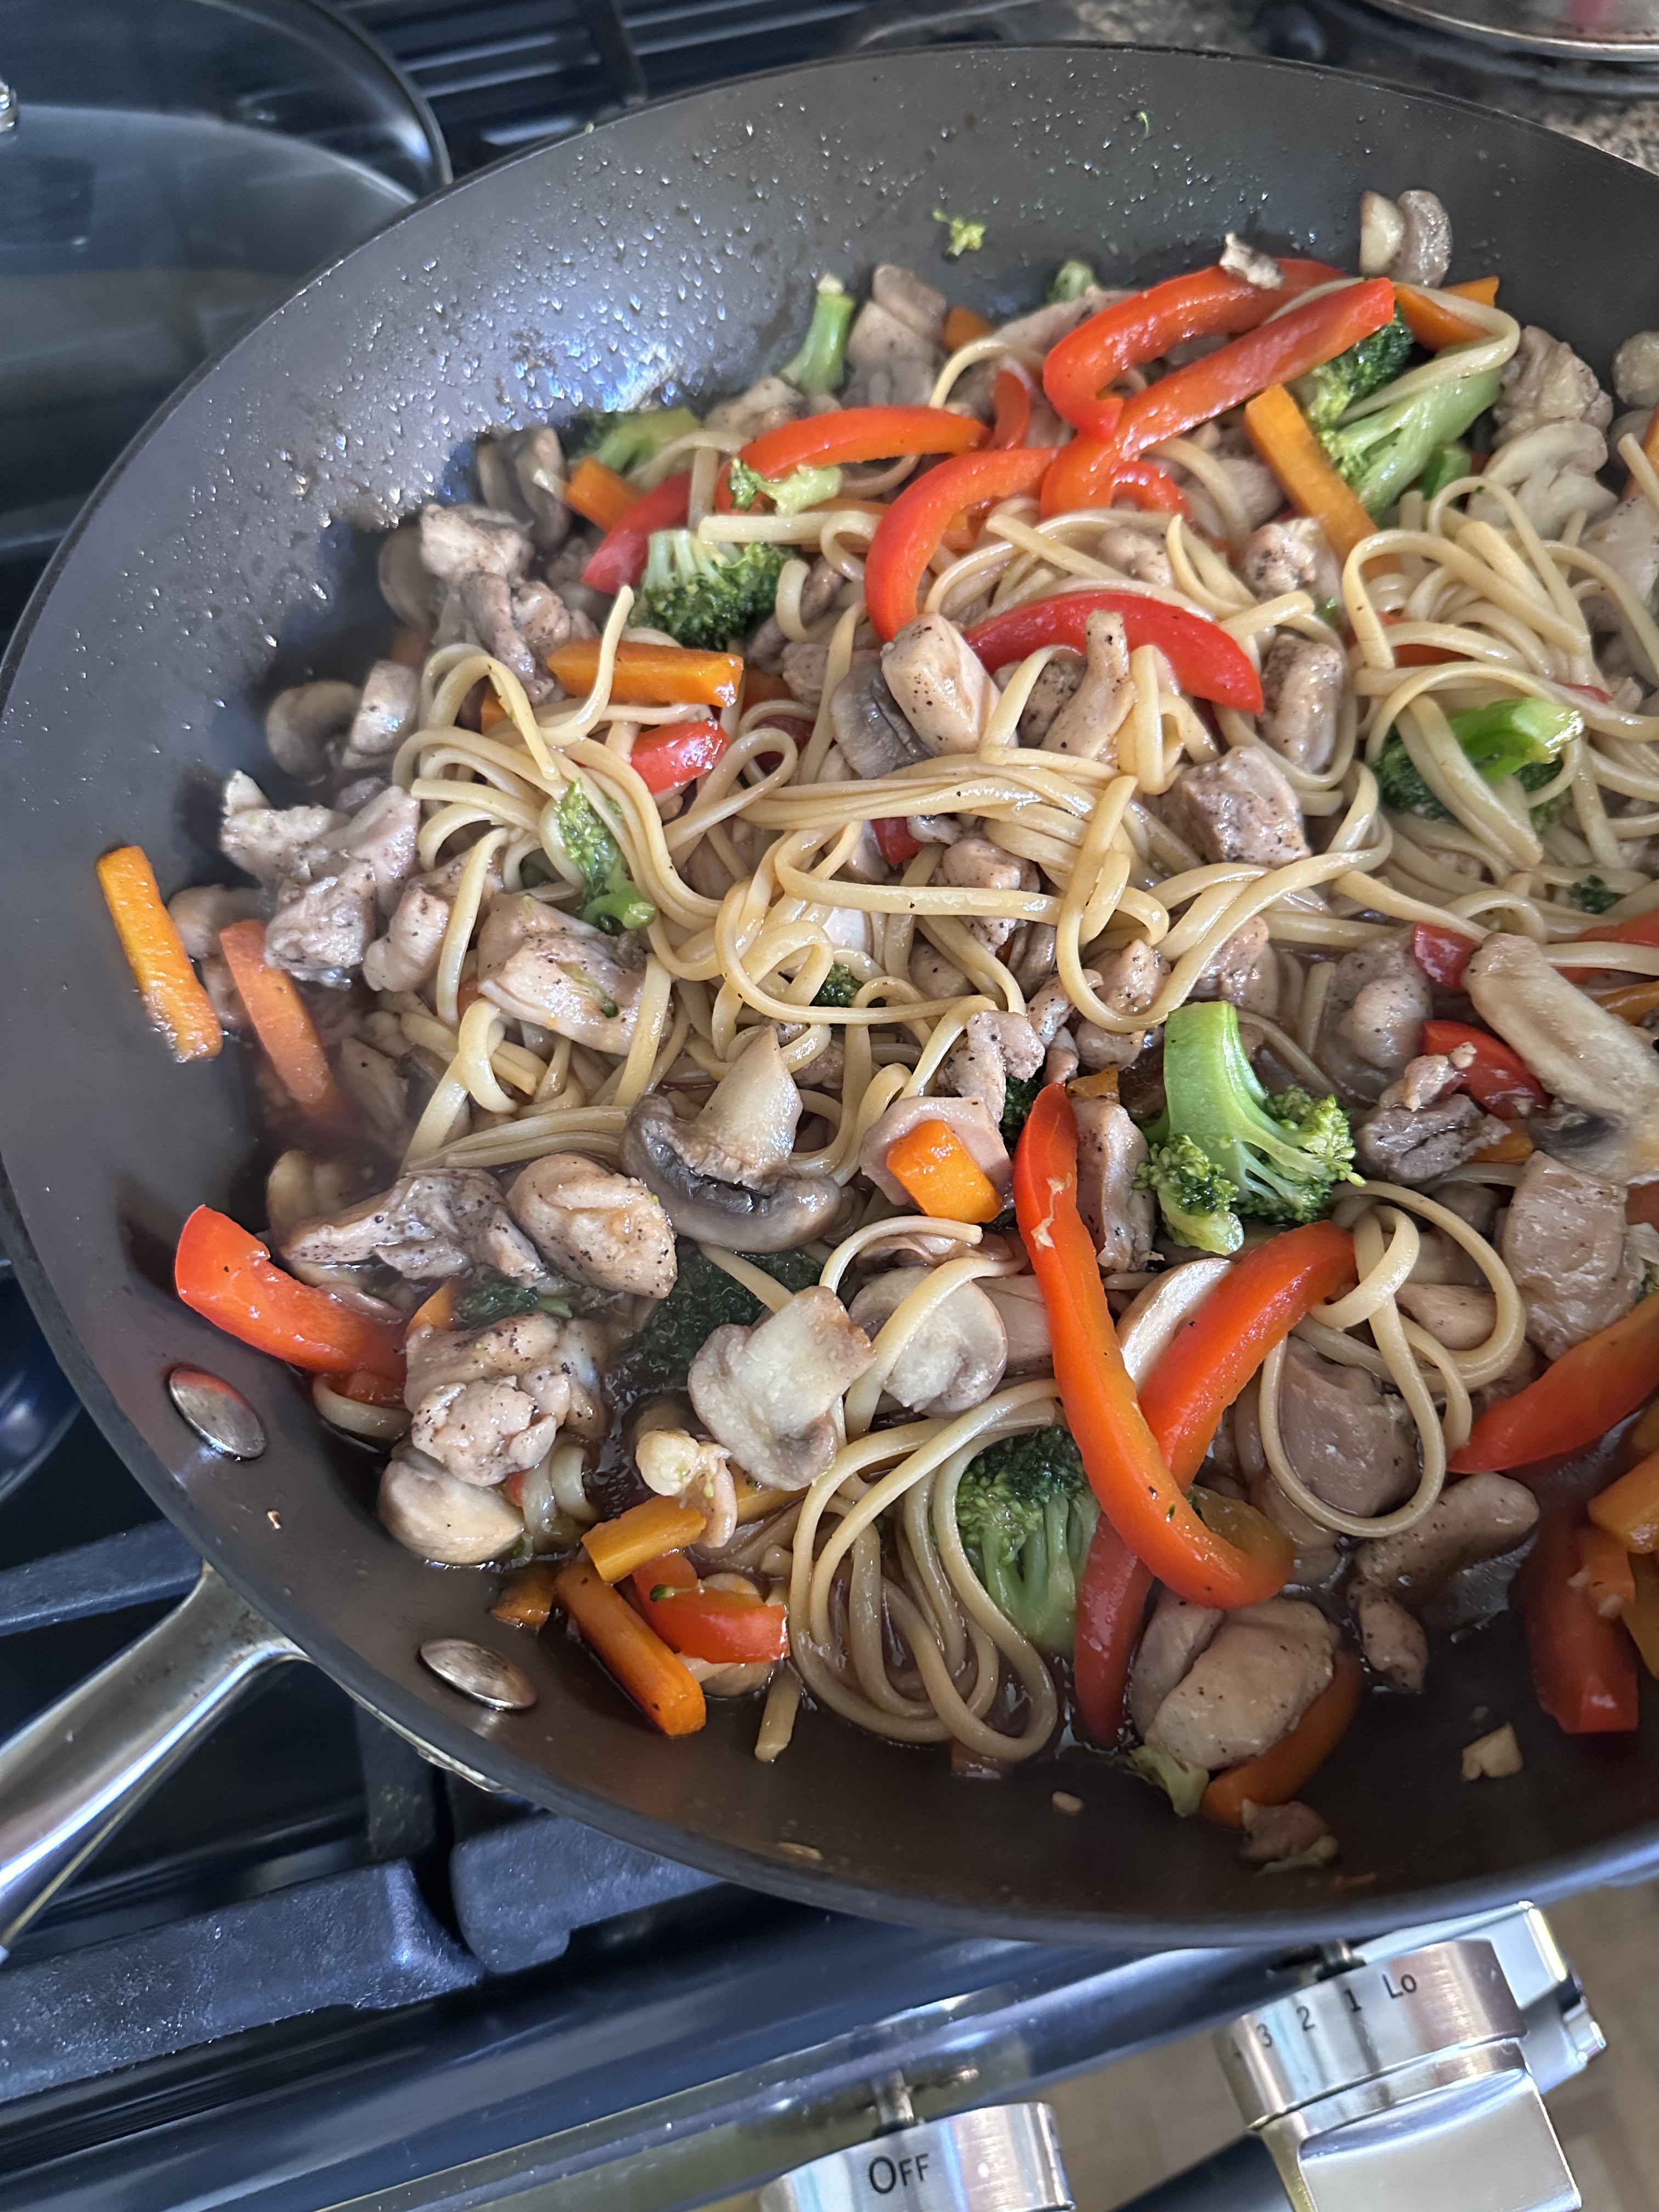
To make the dish I started by cooking the linguine per the package instructions. Once ready, I drained and then tossed them with a bit of oil before setting aside. Meanwhile, I cooked the chicken in a large skillet for a few minutes and then added in the vegetables. After cooking for an additional few minutes, to allow the vegetable to become tender, I added the sauce and noodles and tossed everything together. After letting it cook for a few more minutes it was ready to enjoy!
Chicken Lo Mein
Ingredients:
1 lb. boneless skinless chicken thighs, cut into bite-sized chunks
3 tablespoons canola oil
1/2 cup reduced-sodium soy sauce
2 tablespoons sweet chili sauce
1/4 cup light brown sugar
2 teaspoon corn starch
8 ounces linguine
2 garlic cloves, minced
2 teaspoons minced ginger
1 red bell pepper, sliced into strips
8 ounces white mushrooms, sliced
2 carrots, cut into matchsticks
2 cups broccoli florets
Salt & pepper
Directions:
Cook the noodles per the package instructions, then drain and toss with 1 teaspoon of canola oil. Cover to keep warm.
In a small bowl whisk together the soy sauce, sweet chili sauce, brown sugar, cornstarch and 1 of the minced garlic cloves and 1 teaspoon of the minced ginger.
Season the chicken with a teaspoon each of salt & pepper.
Heat 3 tablespoons of canola oil in a large skillet over medium heat, add the chicken and cook for 4-5 minutes, until it’s no longer pink on the outside.
Add the remaining garlic and ginger, along with the vegetables – pepper, mushrooms, carrots and broccoli – to the skillet with the chicken and cook covered, stirring occasionally, until the vegetables are tender. Add the soy sauce mixture along with the cooked linguine and stir to combine – it might be easier to use tongs to toss everything together. Cover and allow to cook for a few more minutes for the flavors to meld.
Recipe first appeared on Bead Yarn & Spatula