Sheet Pan Greek Pita

I’m constantly printing out recipes or ripping them out of magazines. Sometimes I take a second (or third) look at them and decide that I just don’t want to make it for various reasons. Usually it’s because it requires too many ingredients or more than I feel like buying. And while the ingredient list for this Sheet Pan Greek Pita is a bit long, it was thankfully ingredients that I normally have on hand or are part of a typical trip to the supermarket.

Another plus to this recipe… It came together in less than 45 minutes. Since the salad requires a little time to sit and marinate I decided to make it earlier in the day so it would be ready by the time my chicken was done.

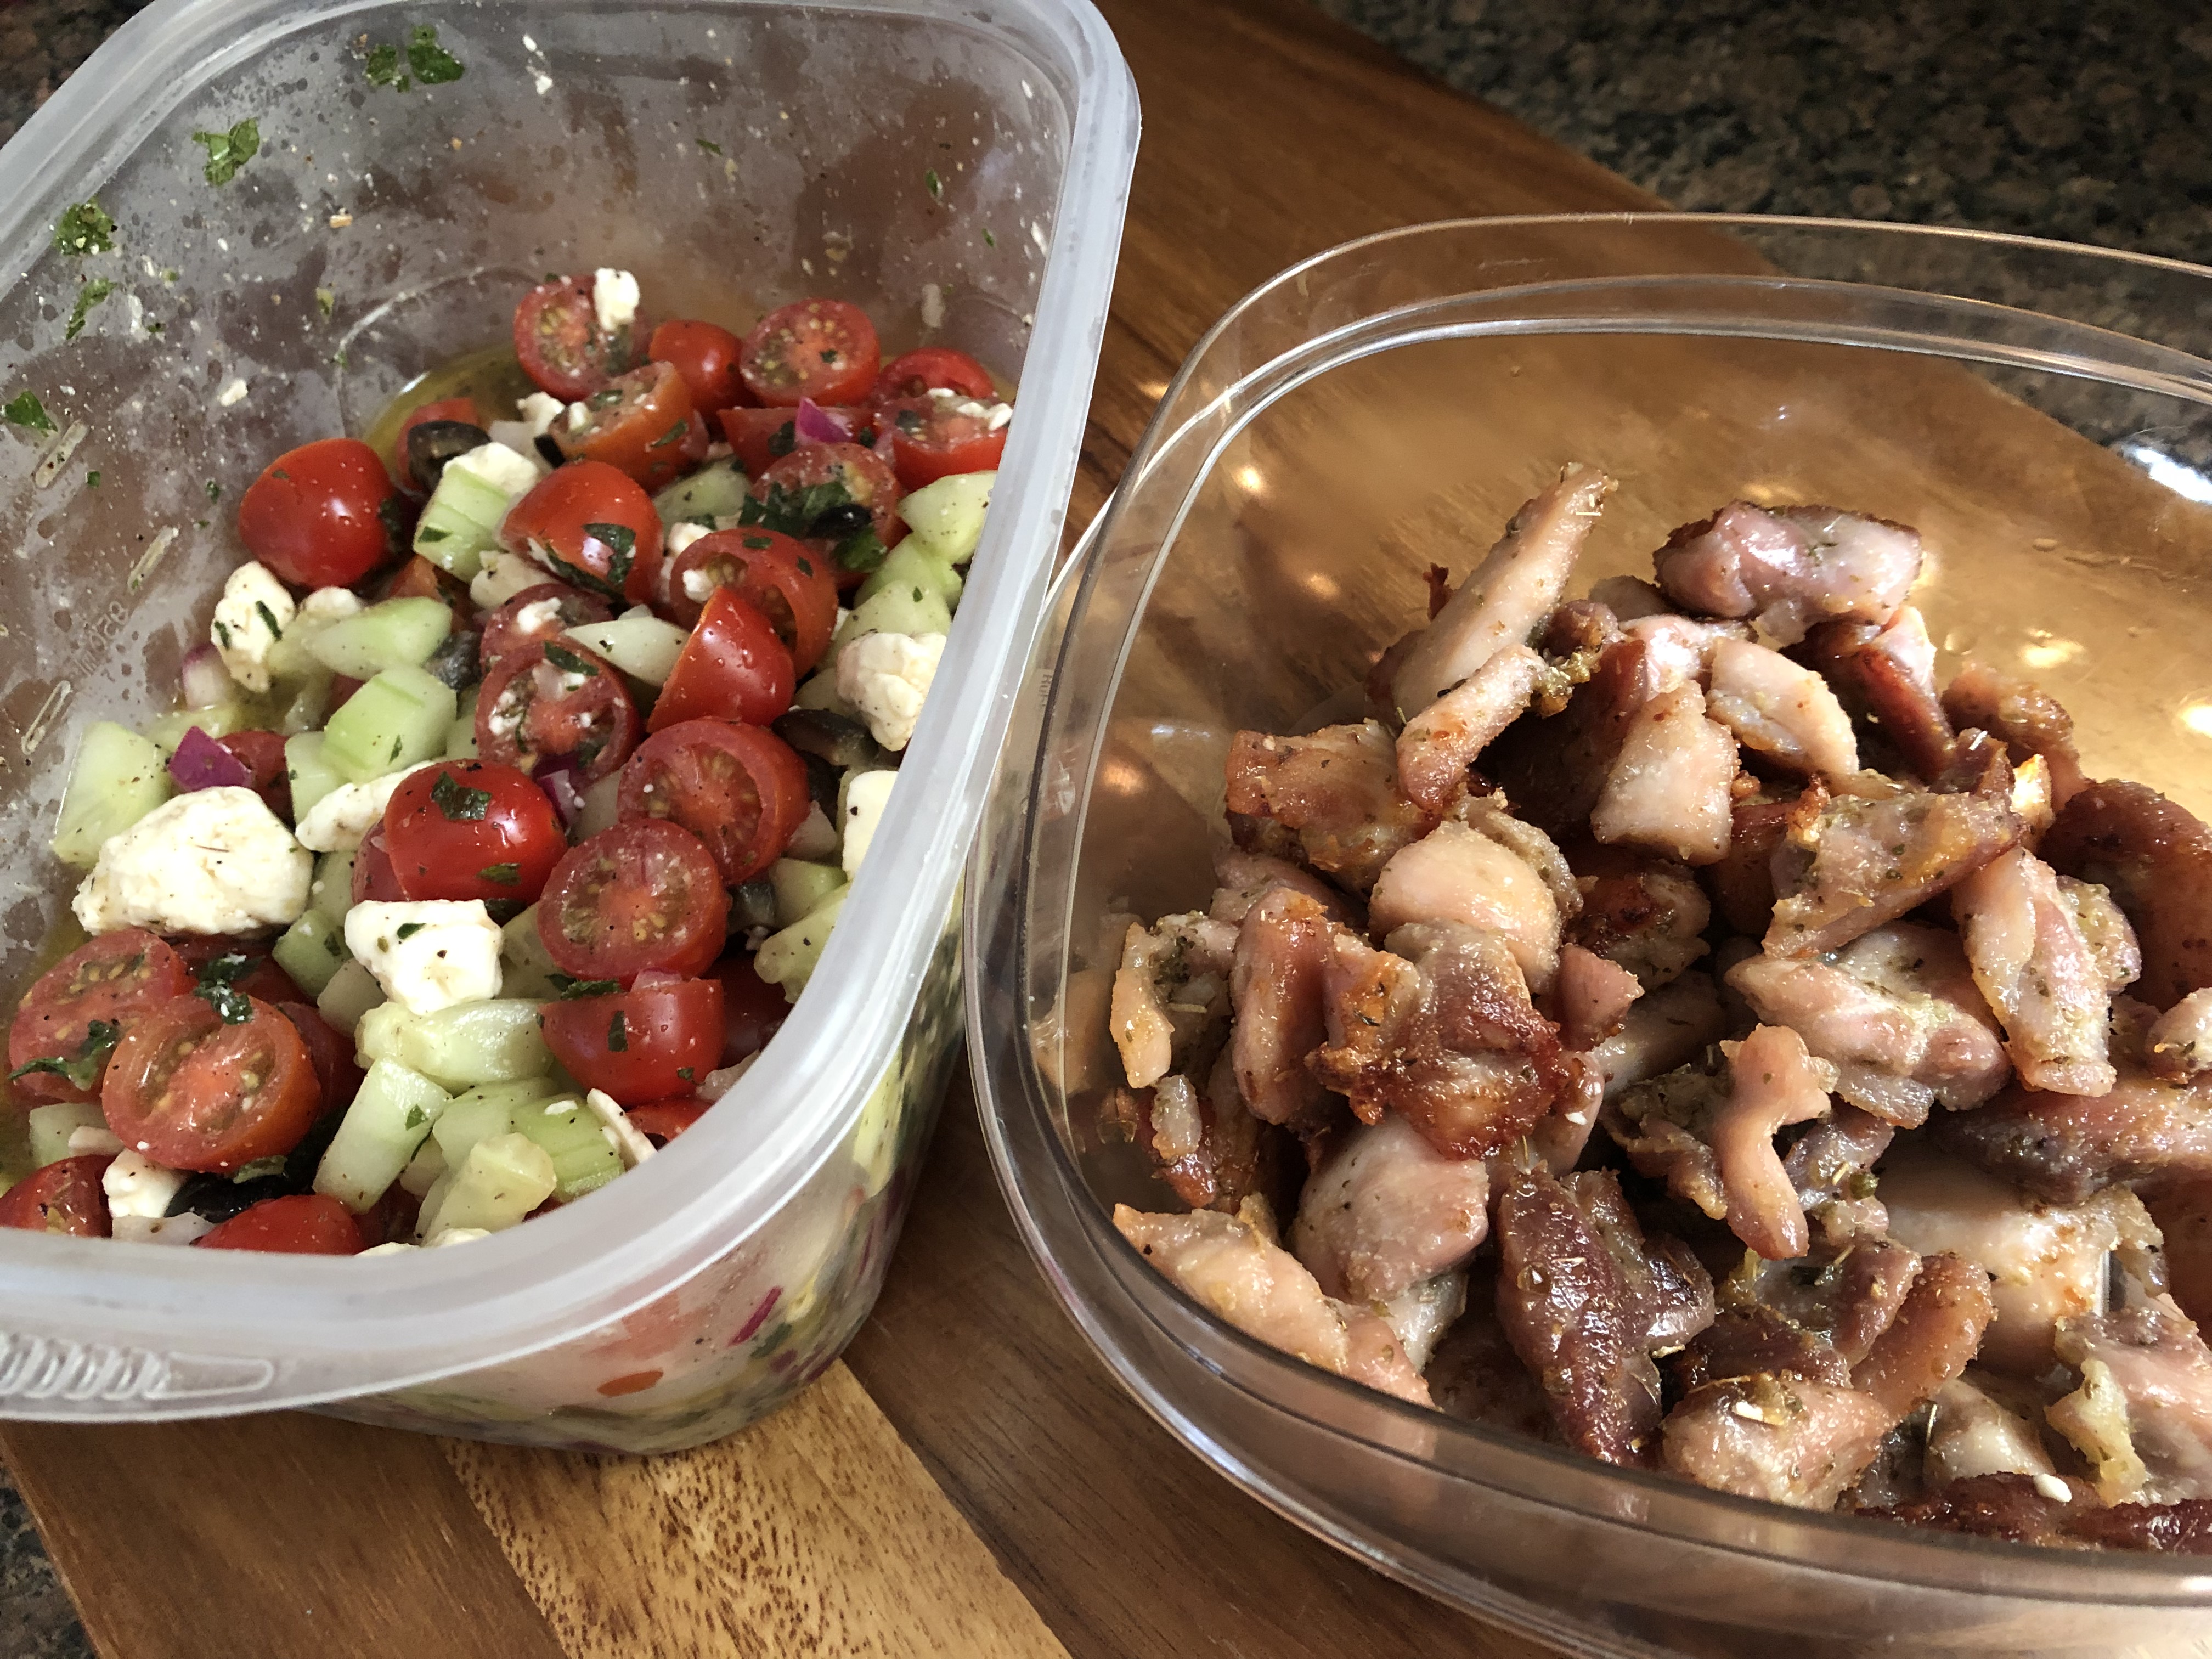
And when it was time to eat, it was super easy to put together. I cut a pita in half, added in some of the salad, some of the chicken and topped it off with more of the salad.  This is one recipe that I won’t be tossing. This pita was delicious and I may have discovered a new way to make my chicken for salads!

Sheet Pan Greek Pita

For the Chicken:

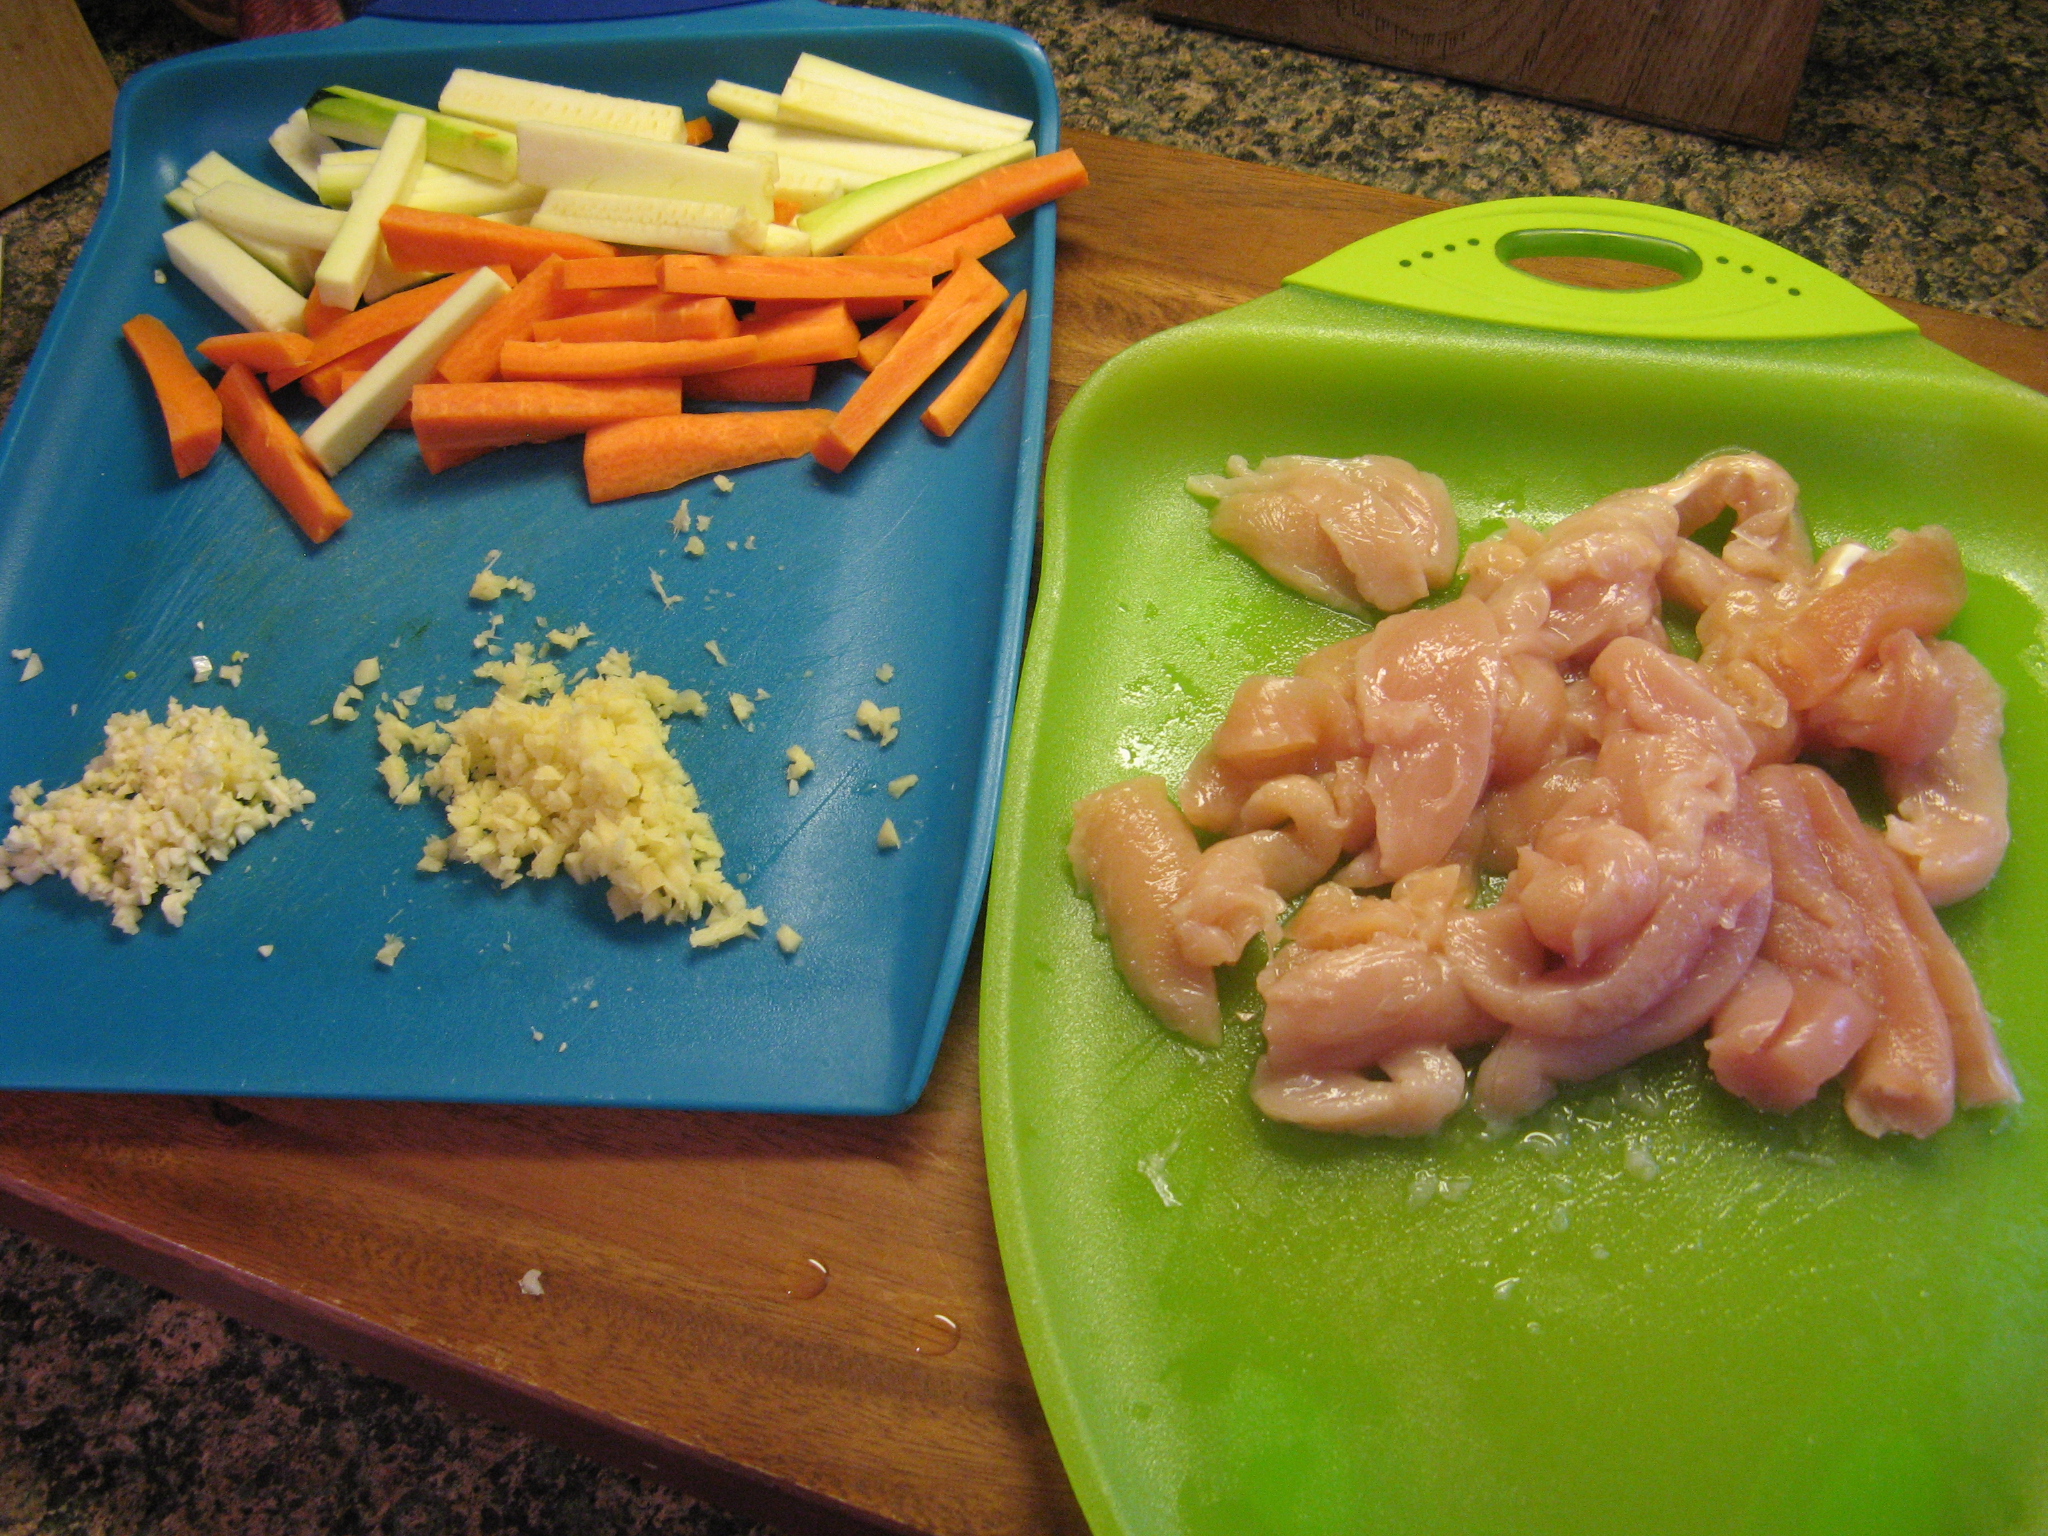
4 boneless & skinless chicken thighs cut into 1-inch pieces

3 tablespoons olive oil

1 1/2 teaspoons garlic powder

1 1/2 teaspoons oregano

1 teaspoon salt

For the Cucumber Tomato Salad:

1/4 cup olive oil

1/4 teaspoon garlic powder

1/4 teaspoon oregano

1 teaspoon salt

1 teaspoon black pepper

1 cucumber, diced

1 pint cherry tomatoes, sliced in half

2 tablespoons chopped mint

1/4 cup diced red onion

1/2 cup black olives chopped (or Kalamata olives)

1 cup crumbled feta cheese

Juice of half a lemon

1/4 cup red wine vinegar

2 Pitas for serving

Directions:

Preheat the oven to 400 degrees.

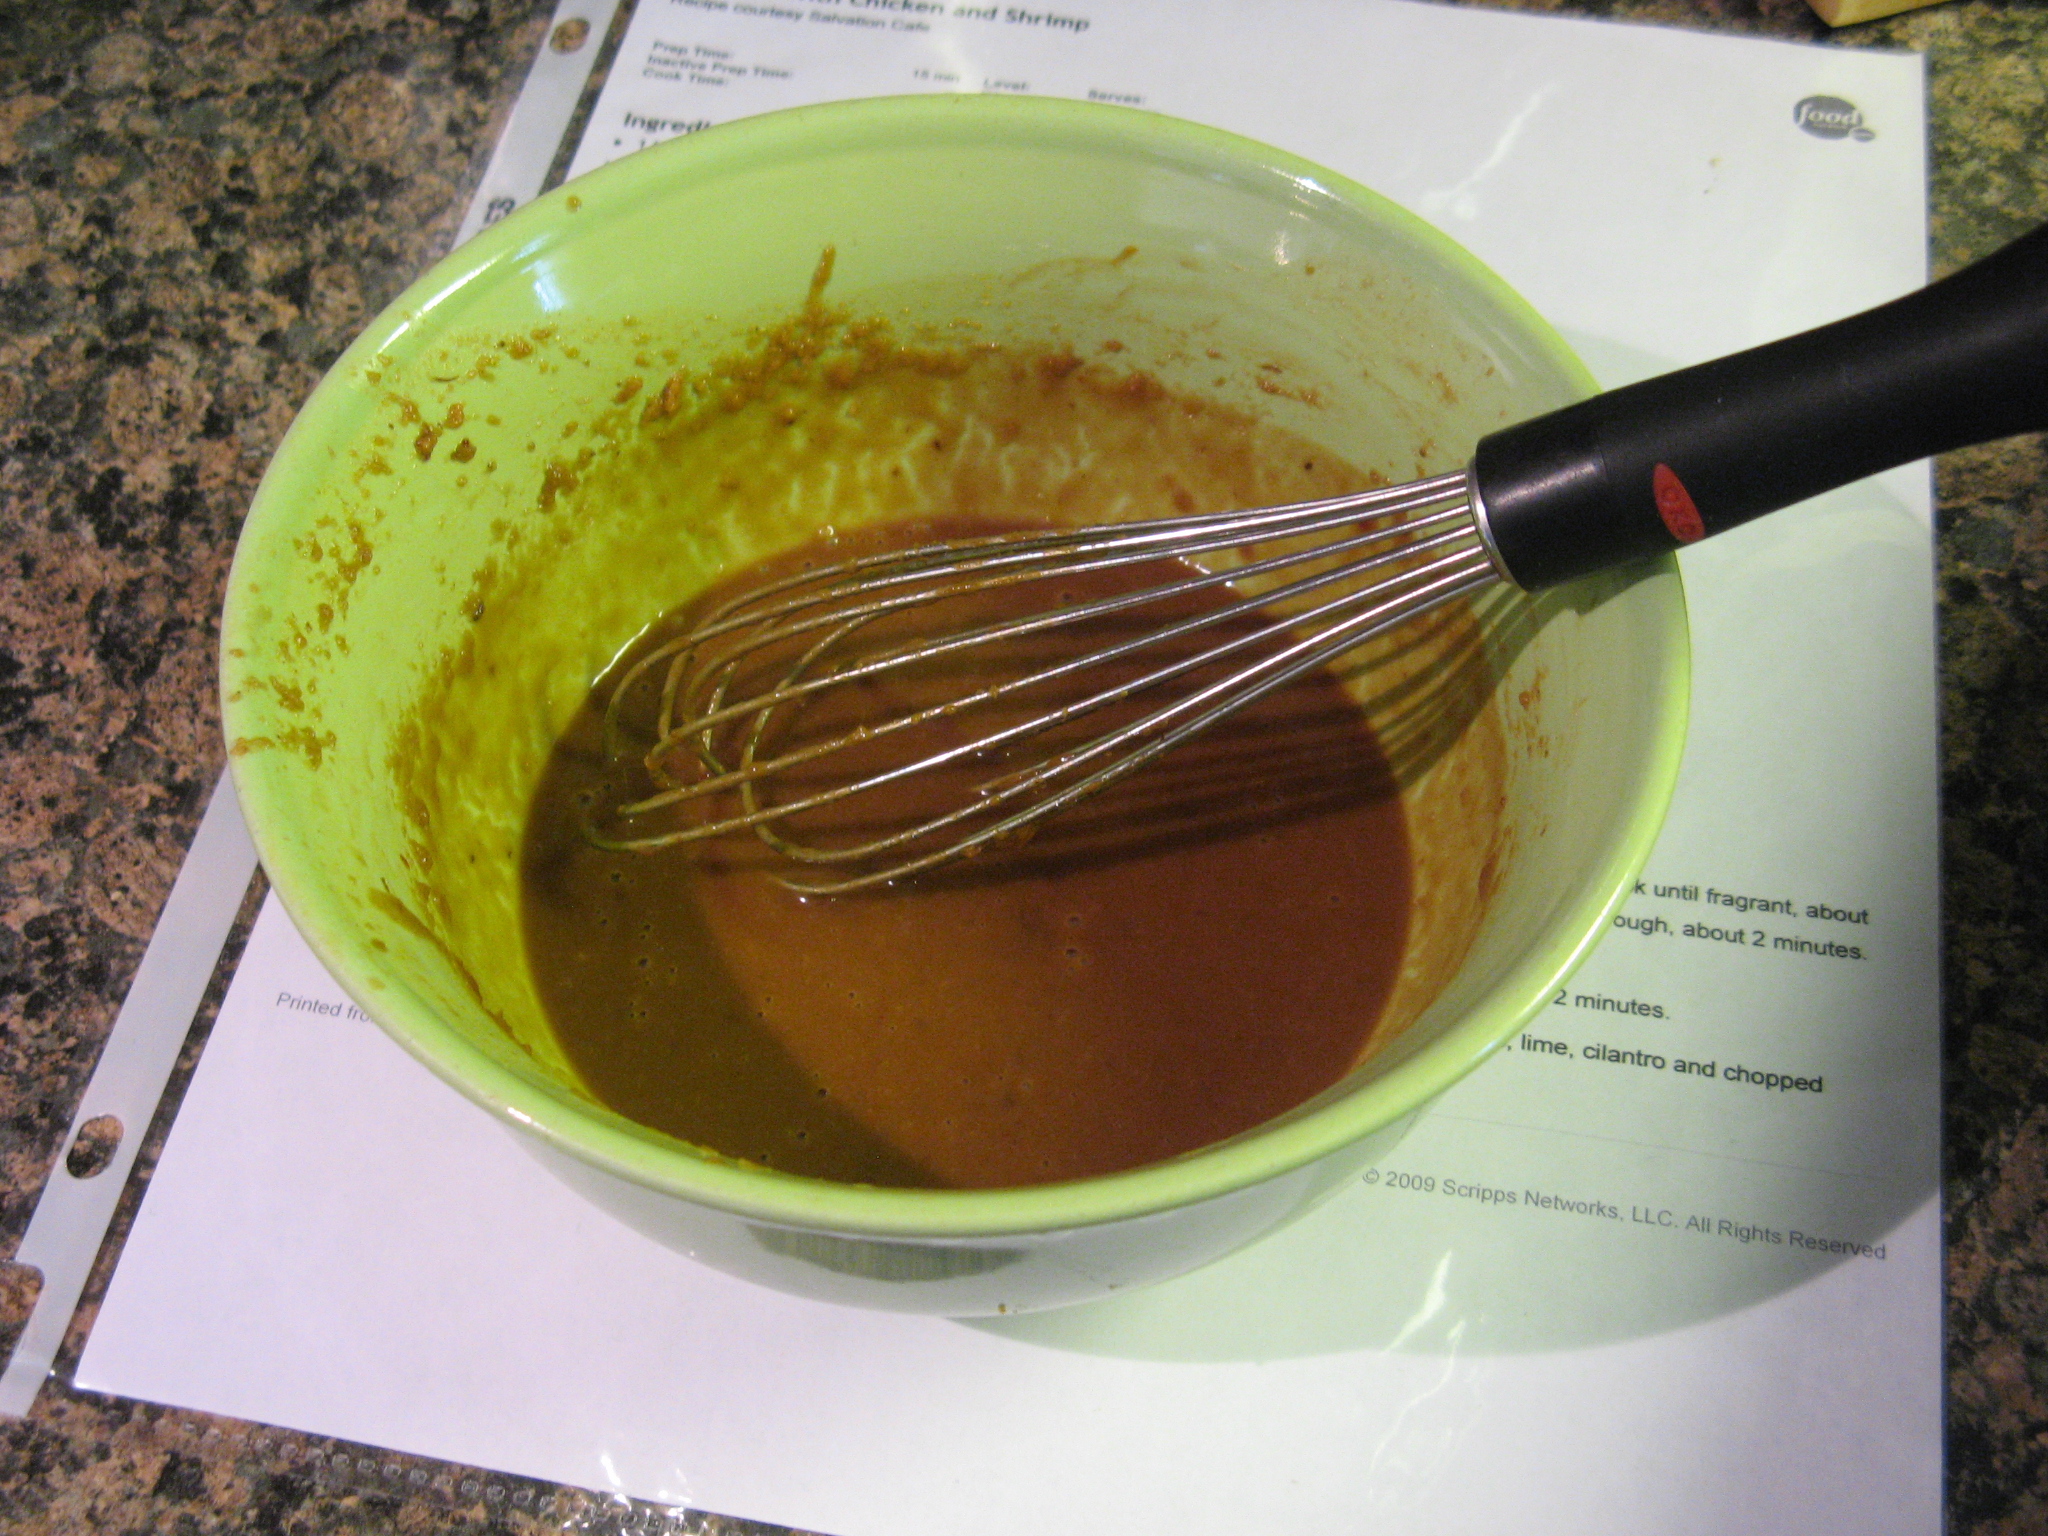
In a medium bowl combine all the ingredients for the salad and mix well. Refrigerate for at least 30 minutes or overnight.

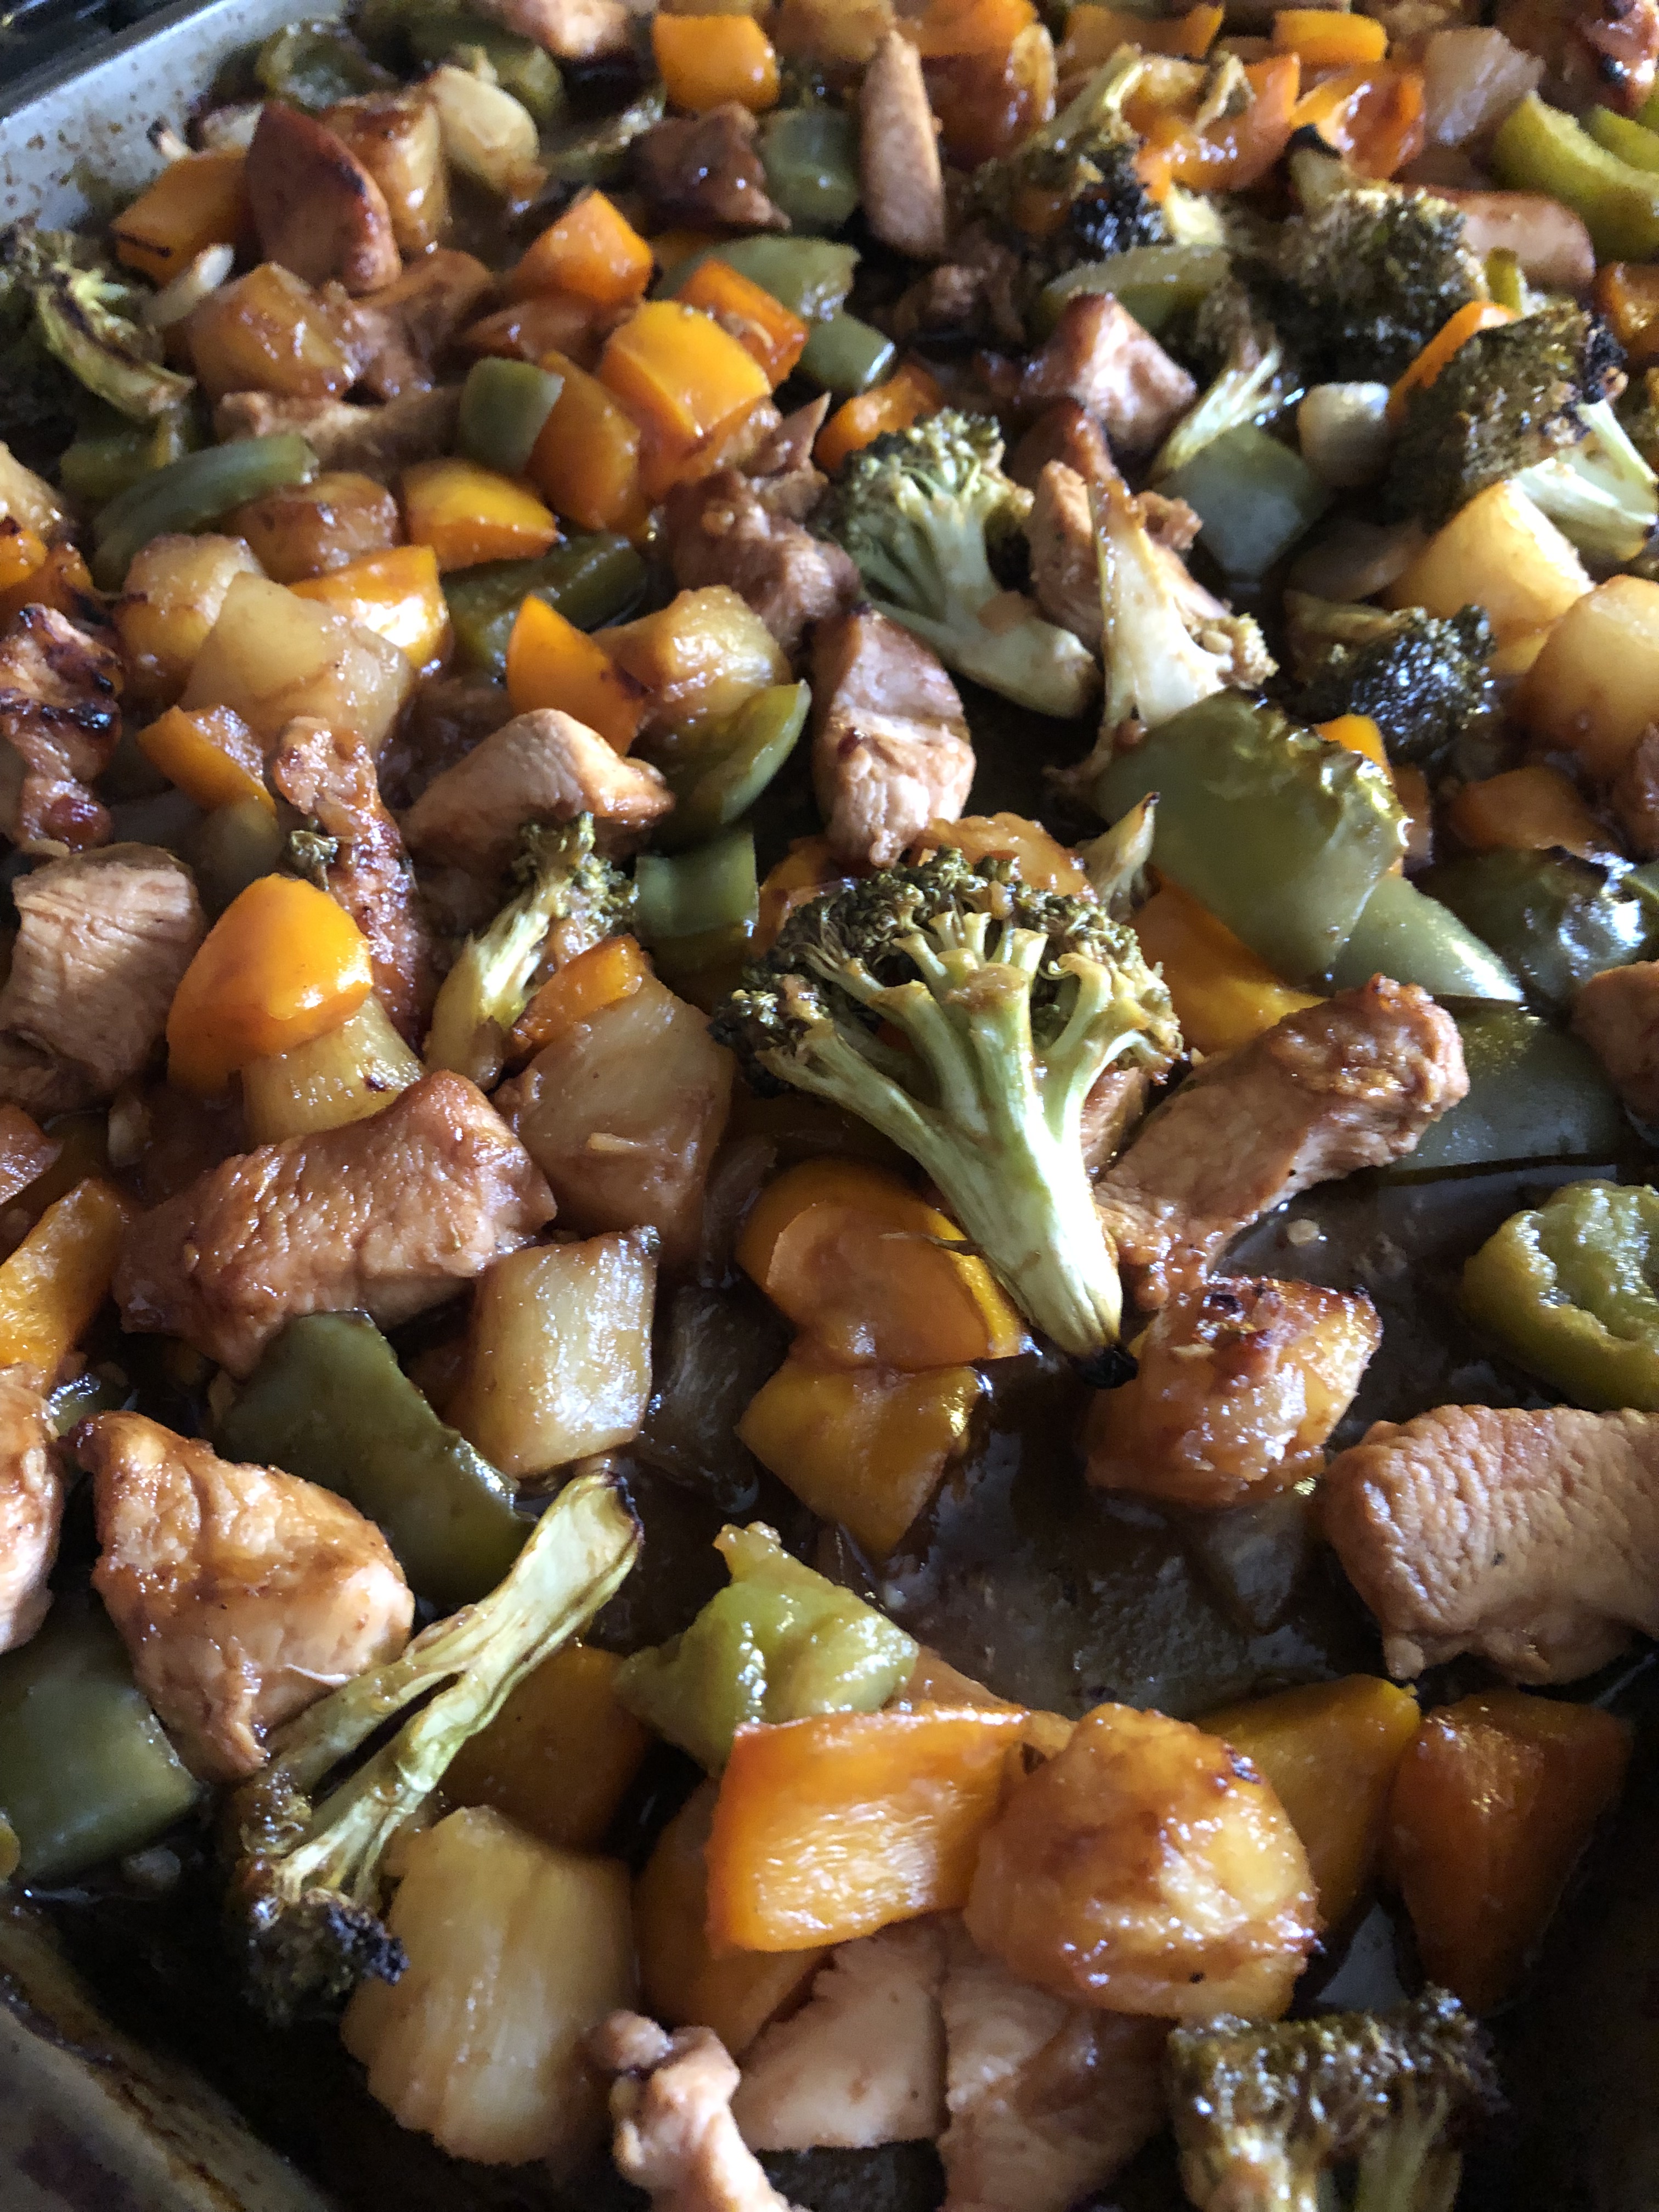
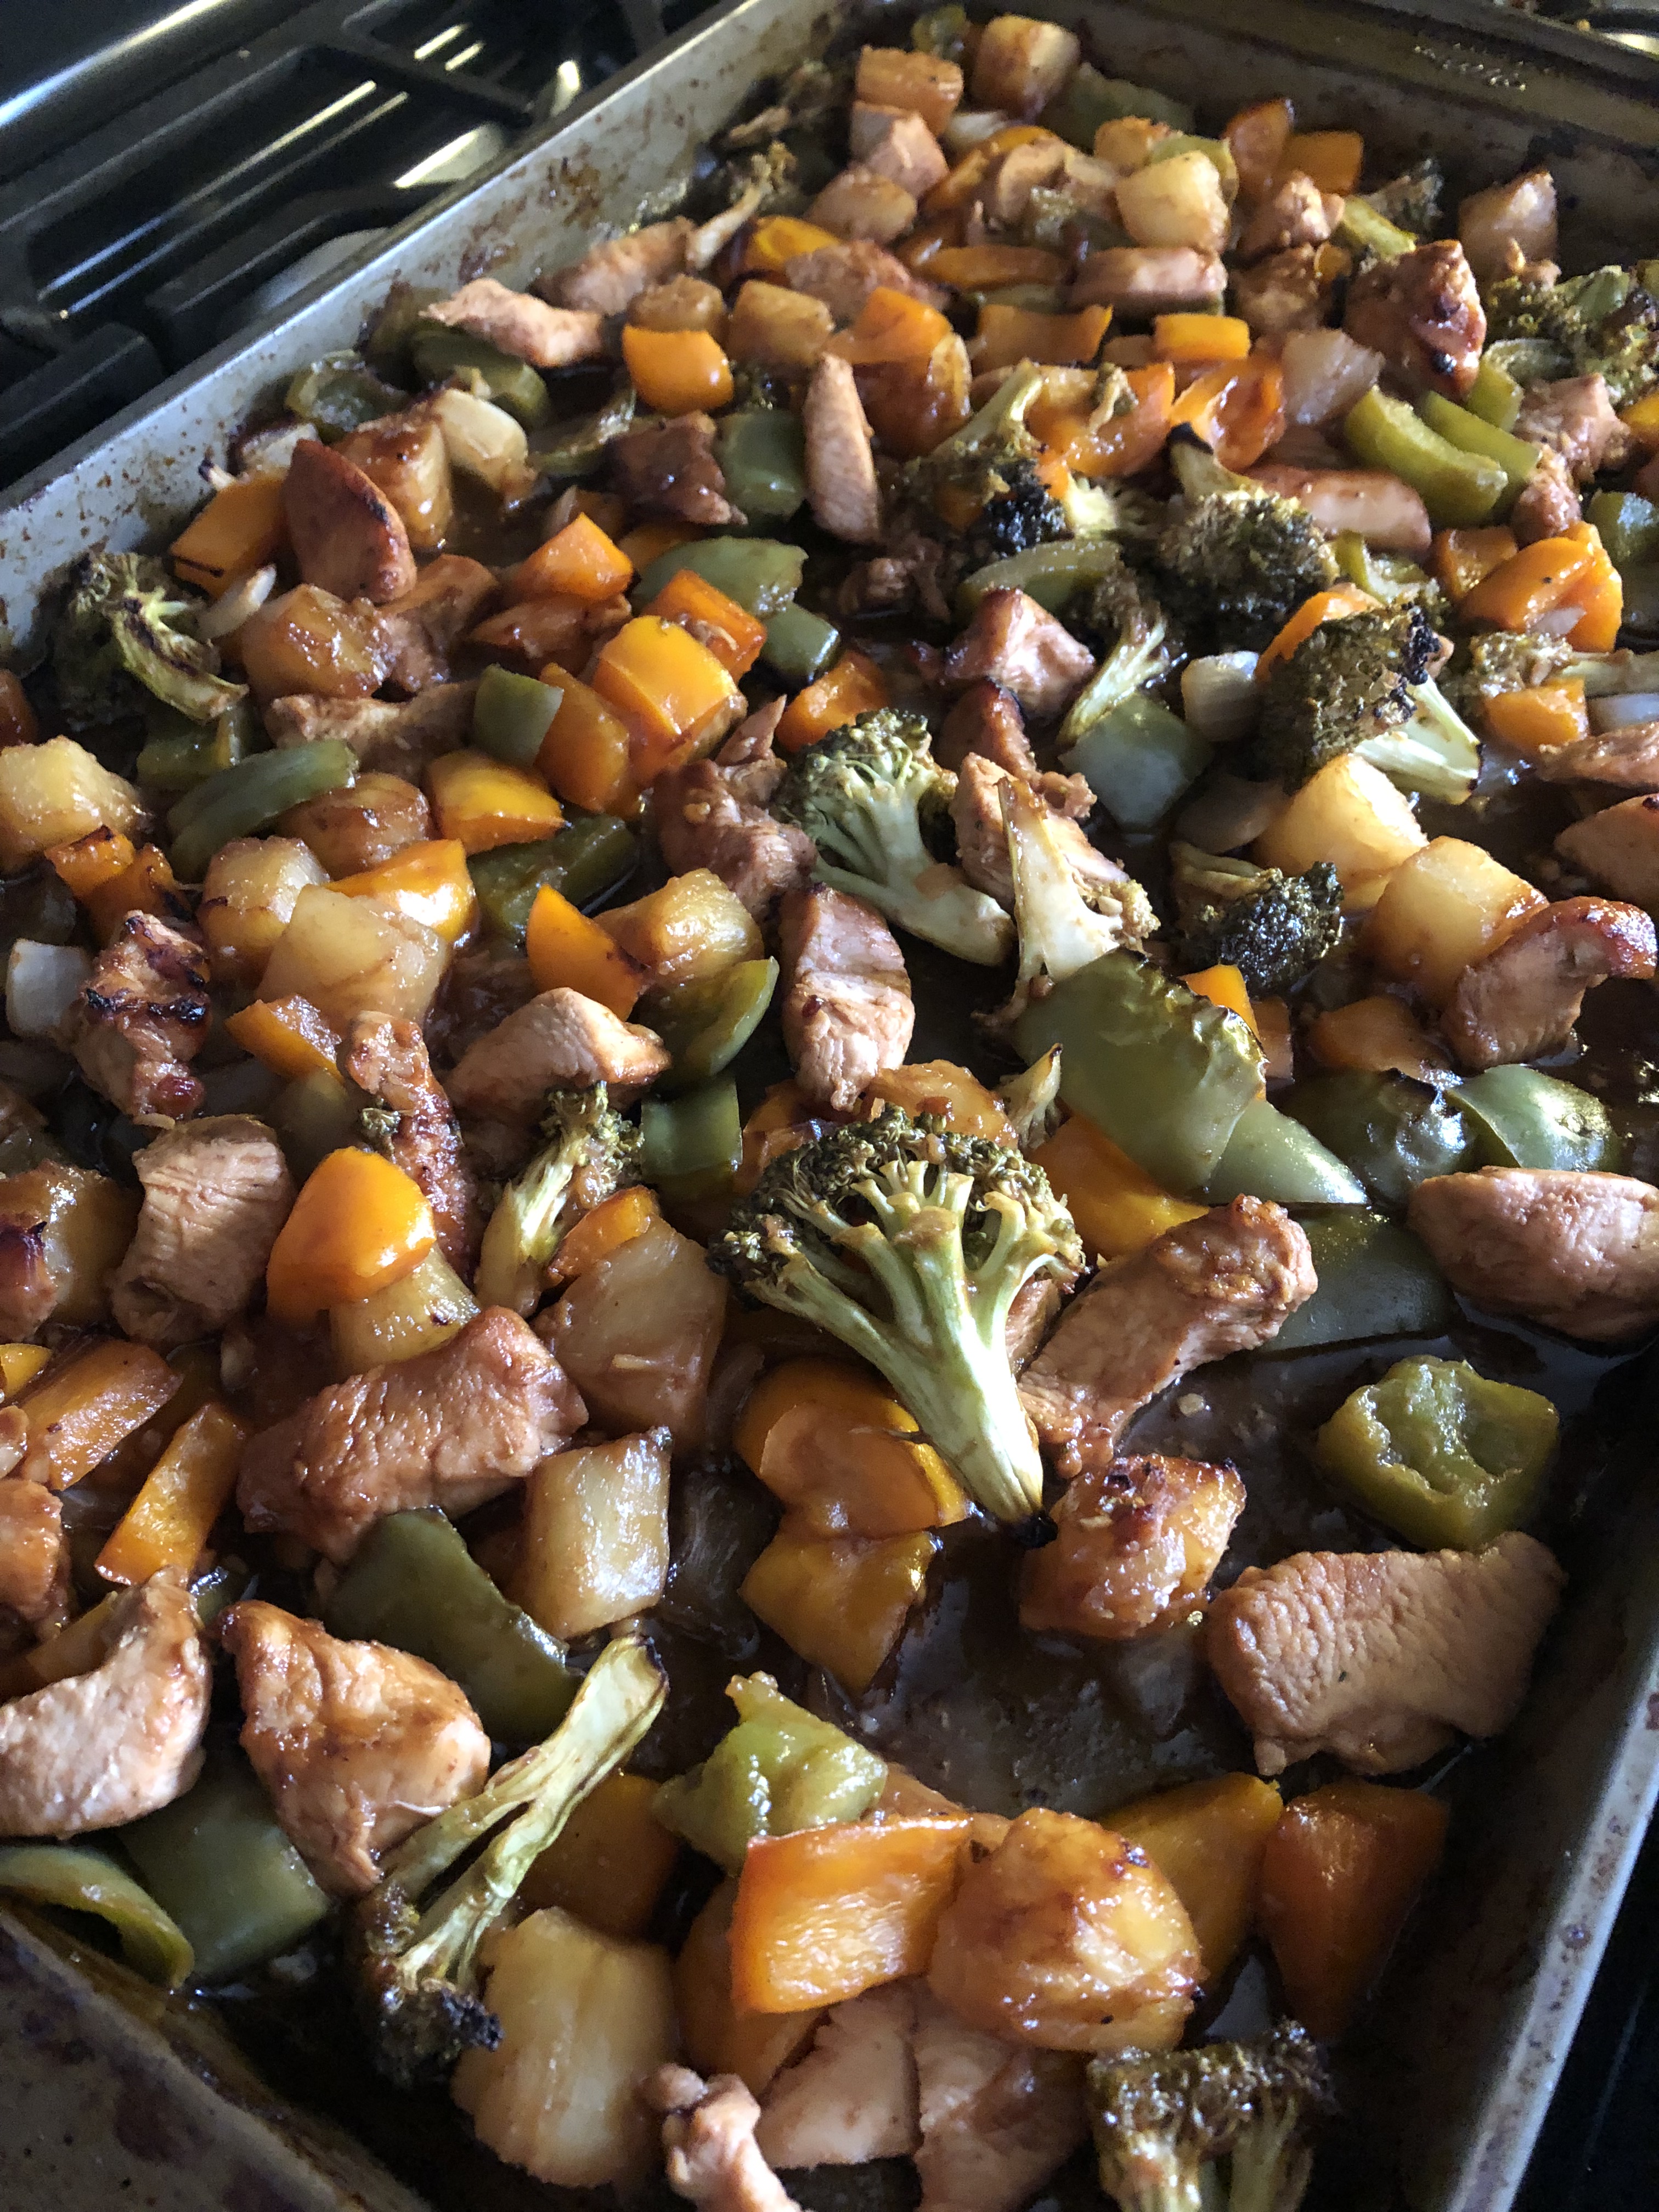
Combine all the ingredients for the chicken in a medium bowl. Mix well and then spread on a large baking pan. Make sure to leave ample space between the chicken so it roasts as opposed to steam. Cook in the preheated oven for 18-20 minutes, until chicken is cooked through.

To serve, slice a pita in half, spoon some of the cucumber tomato salad into the pita, followed by the chicken and top it off with more of the salad.

Recipe from Chef Jason Goldstein

Teriyaki Barbecue Pineapple Chicken Sheet Pan Dinner

Sheet Pan Dinners… They are pretty ingenious. You combine all of your ingredients on a pan, cook it in the oven and dinner is ready. It switches the idea of one pot cooking to a pan and lends itself to an easy and quick clean-up. You can’t beat that. Recently during a lull at work I clicked on a link for 50 sheet pan dinner recipes and came across a few that caught my eye. One is for gnocchi that included a variation to use Trader Joe’s Cauliflower Gnocchi which I currently have a bag of in my freezer. It took me a few trips to Trader Joe’s to finally find it since it’s apparently so popular. On a side note, I normally shy away from making frozen meals or snacks, but I am coming to love some of the frozen food in Trader Joe’s. Some of my faves, their mozzarella sticks, chicken and cilantro wontons, and Mandarin Orange Chicken. Back to the recipe for today though… a Teriyaki Barbecue Pineapple Chicken Sheet Pan Dinner. That’s a mouthful of a recipe title for sure, but, one that turns out a delicious end product.

I began by chopping some of my ingredients into bite-sized pieces: chicken breasts, a green and yellow bell pepper, and a sweet onion. I combined them with broccoli florets – I purchased a bag of these in the produce section – and a can of drained pineapple chunks in a large zip-top bag. In a medium bowl I whisked together the ingredients for the marinade: soy sauce, barbecue sauce, minced garlic, pineapple juice (from the can of pineapple chunks), honey and pepper. I poured some of the marinade into the bag, reserving a cup, and then sealed it and shook and massaged the bag to make sure the marinade was evenly distributed throughout it. I then placed it in the refrigerator for 30 minutes. You could leave it in longer if you have the time.

After the 30 minutes I preheated my oven to 400 F and using a slotted spoon I transferred the chicken and vegetables to a large baking sheet. You want to transfer as little as the marinade from the bag to the pan as possible as the chicken and vegetables will create more liquid as they cook. I then placed it in the oven and cooked it for 20 minutes. The recipe stated 10 minutes but when I checked the chicken at that point it looked way to underdone for my taste so I left it in for another 10 minutes. While the chicken and vegetables were in the oven, I poured the reserved marinade in a small saucepan and simmered it over medium-low heat until it was thickened.

Once chicken was done I removed the pan from the oven and switched it to the broiler setting. Using paper towels I soaked up some of the excess liquid on the pan and then poured the thickened marinade over the chicken and vegetables and stirred it all together. I placed the pan back in the oven and broiled it for about 6 minutes. To go along with this I made rice and had the perfect dinner (and leftovers.)

And there you have it… My first sheet pan dinner that I am sure I will be making again.


Teriyaki Barbecue Pineapple Chicken Sheet Pan Dinner

Ingredients:

2 skinless boneless chicken breasts, cut into bite-sized pieces

1 green bell pepper, cut into bite-sized pieces

1 orange bell pepper, cut into bite-sized pieces

2 cups broccoli florets

1/2 sweet onion, cut into bite-sized pieces

20 oz. can pineapple chunks in pineapple juice, drained and the juice reserved


For the marinade:

1/2 cup soy sauce

1 cup barbecue sauce

1/2 cup reserved pineapple juice

2 tablespoons honey

1/2 teaspoon pepper


Directions:

Combine the chicken, peppers, broccoli, onion and pineapple in a large zip top bag.

In a medium bowl combine the ingredients for the marinade and whisk them together. Reserve 1 cup of the marinade and pour the rest into the zip top bag.

Seal the bag and shake and massage the marinade into the meat until it’s evenly distributed. Refrigerate for at least 30 minutes.

Preheat the oven to 400 F.

Using a slotted spoon (or tongs) transfer the contents from the zip top bag to a sheet pan in a single layer. You don’t want to transfer too much of the marinade since the chicken and vegetables will let off their own liquid as it cooks. Discard the leftover marinade.

Cook in the oven for 15-20 minutes. Until the chicken is just about done.

Meanwhile, pour the reserved cup of marinade in a small saucepan and cook on medium heat until it begins to boil. Reduce the heat to medium-low and continue simmering until the sauce is thickened and has reduced by half.

Remove the pan from the oven and switch the oven to the broiler setting.

Use paper towels to remove any liquid from the pan. Pour the thickened sauce over the chicken and vegetables and lightly toss to coat.

Return the pan to the oven and broil for 5-7 minutes, or until the sauce is bubbly and the chicken and vegetables are browned.

Serve with rice or noodles.

Recipe from Yellow Bliss Road

Chicken Pad Thai

Whenever I go to a Thai restaurant my go-to dish is always Chicken Pad Thai. It’s pretty much foolproof and always delicious. A few years ago I attempted to make it myself and was happy with the outcome – it was super simple and tasted awesome. I recently dug out the recipe I used and whipped it up for dinner.

To begin I prepped all of my ingredients; minced garlic and ginger, sliced three thinly sliced chicken breasts into strips and julienned 2 carrots and 1 zucchini.

IMG_7158

Two of my other ingredients were rice noodles and Asian chili paste.

IMG_7162

Next I whisked together soy sauce, water, peanut butter and the chili paste until it was smooth.

IMG_7163

To cook the vegetables and chicken I began by sautéing the garlic and ginger for about a minute and then adding the vegetables and chicken and cooking everything until the chicken was cooked through.

IMG_7166

While I was cooking the vegetables I prepped the rice noodles by soaking them in warm water (I brought a pot of water to boil and then removed it from the heat). Luckily the rice noodles now come in these individual packets (there are four in a box) so I knew exactly how many noodles I needed – 2 packets. The last time I cooked with rice noodles – granted it was some time ago – they didn’t come in these nifty packages so I had to use my best guess as to what was half of the package.

IMG_7164

The noodles soaking…

IMG_7165

Once the noodles were ready (I followed the directions on the package and soaked them for 5 minutes) I added them to the pan with the vegetables and then added in the peanut/soy sauce I made along with light brown sugar and cider vinegar. I tossed all of the ingredients together to distribute the sauce and let everything cook for a few more minutes and then it was time to enjoy my homemade Chicken Pad Thai and it was delicious!

IMG_7168

Chicken Pad Thai – Modified from here

Servings 4

Ingredients:

2 tablespoons soy sauce

2 tablespoons water

1 1/2 tablespoons creamy peanut butter

2 teaspoons Asian chili paste

3 tablespoons canola oil

2 teaspoons minced garlic

2 teaspoons minced ginger

1 zucchini, julienned

2 carrots, julienned

8 ounces chicken breast, sliced into strips

1/4 pound rice noodles, follow directions on package to prepare

1 tablespoons light brown sugar

1 tablespoons cider vinegar

Optional for garnish:

Lime Wedges

Chopped Peanuts

Bean Sprouts

Directions:

1. In a bowl whisk together the soy sauce, water, peanut butter and chili paste.

2. Heat a large sauté pan (or wok) over medium heat and add the canola oil. Once the oil is hot add the garlic and ginger and cook for about a minute. Add the vegetables and chicken and cook until the chicken is browned and cooked through. Add the noodles and toss to coat them.

3. Add the peanut/soy sauce, brown sugar and cider vinegar and toss to distribute. Cook until heated through.

%d bloggers like this: