Chicken Vegetable Ramen Noodle

When I was in college I used to make ramen noodles a few times a week in my trusty electric hot pot. It was one of the few things that was fool proof to make in there, besides heating up a can of soup. Once I graduated though the hot pot was thrown out and I stopped eating ramen noodles. Then last year not long after my Dad passed away I had a sudden craving for ramen noodles. There was such a feeling of comfort and safety in that bowl of noodles. A reminder of when life was easier and the safety of youth made you feel like nothing could ever go wrong or nothing bad could happen. Grief is a funny thing. It can make you remember things you completely forgot and question whether or not they happened and can make you find comfort in the oddest of things, hence the ramen noodles. To this day I still enjoy the occasional bowl of ramen noodle and have a case of it in my cabinet at all times. It got me thinking, why not try to make a traditional ramen bowl as opposed to the instant one I have been enjoying.

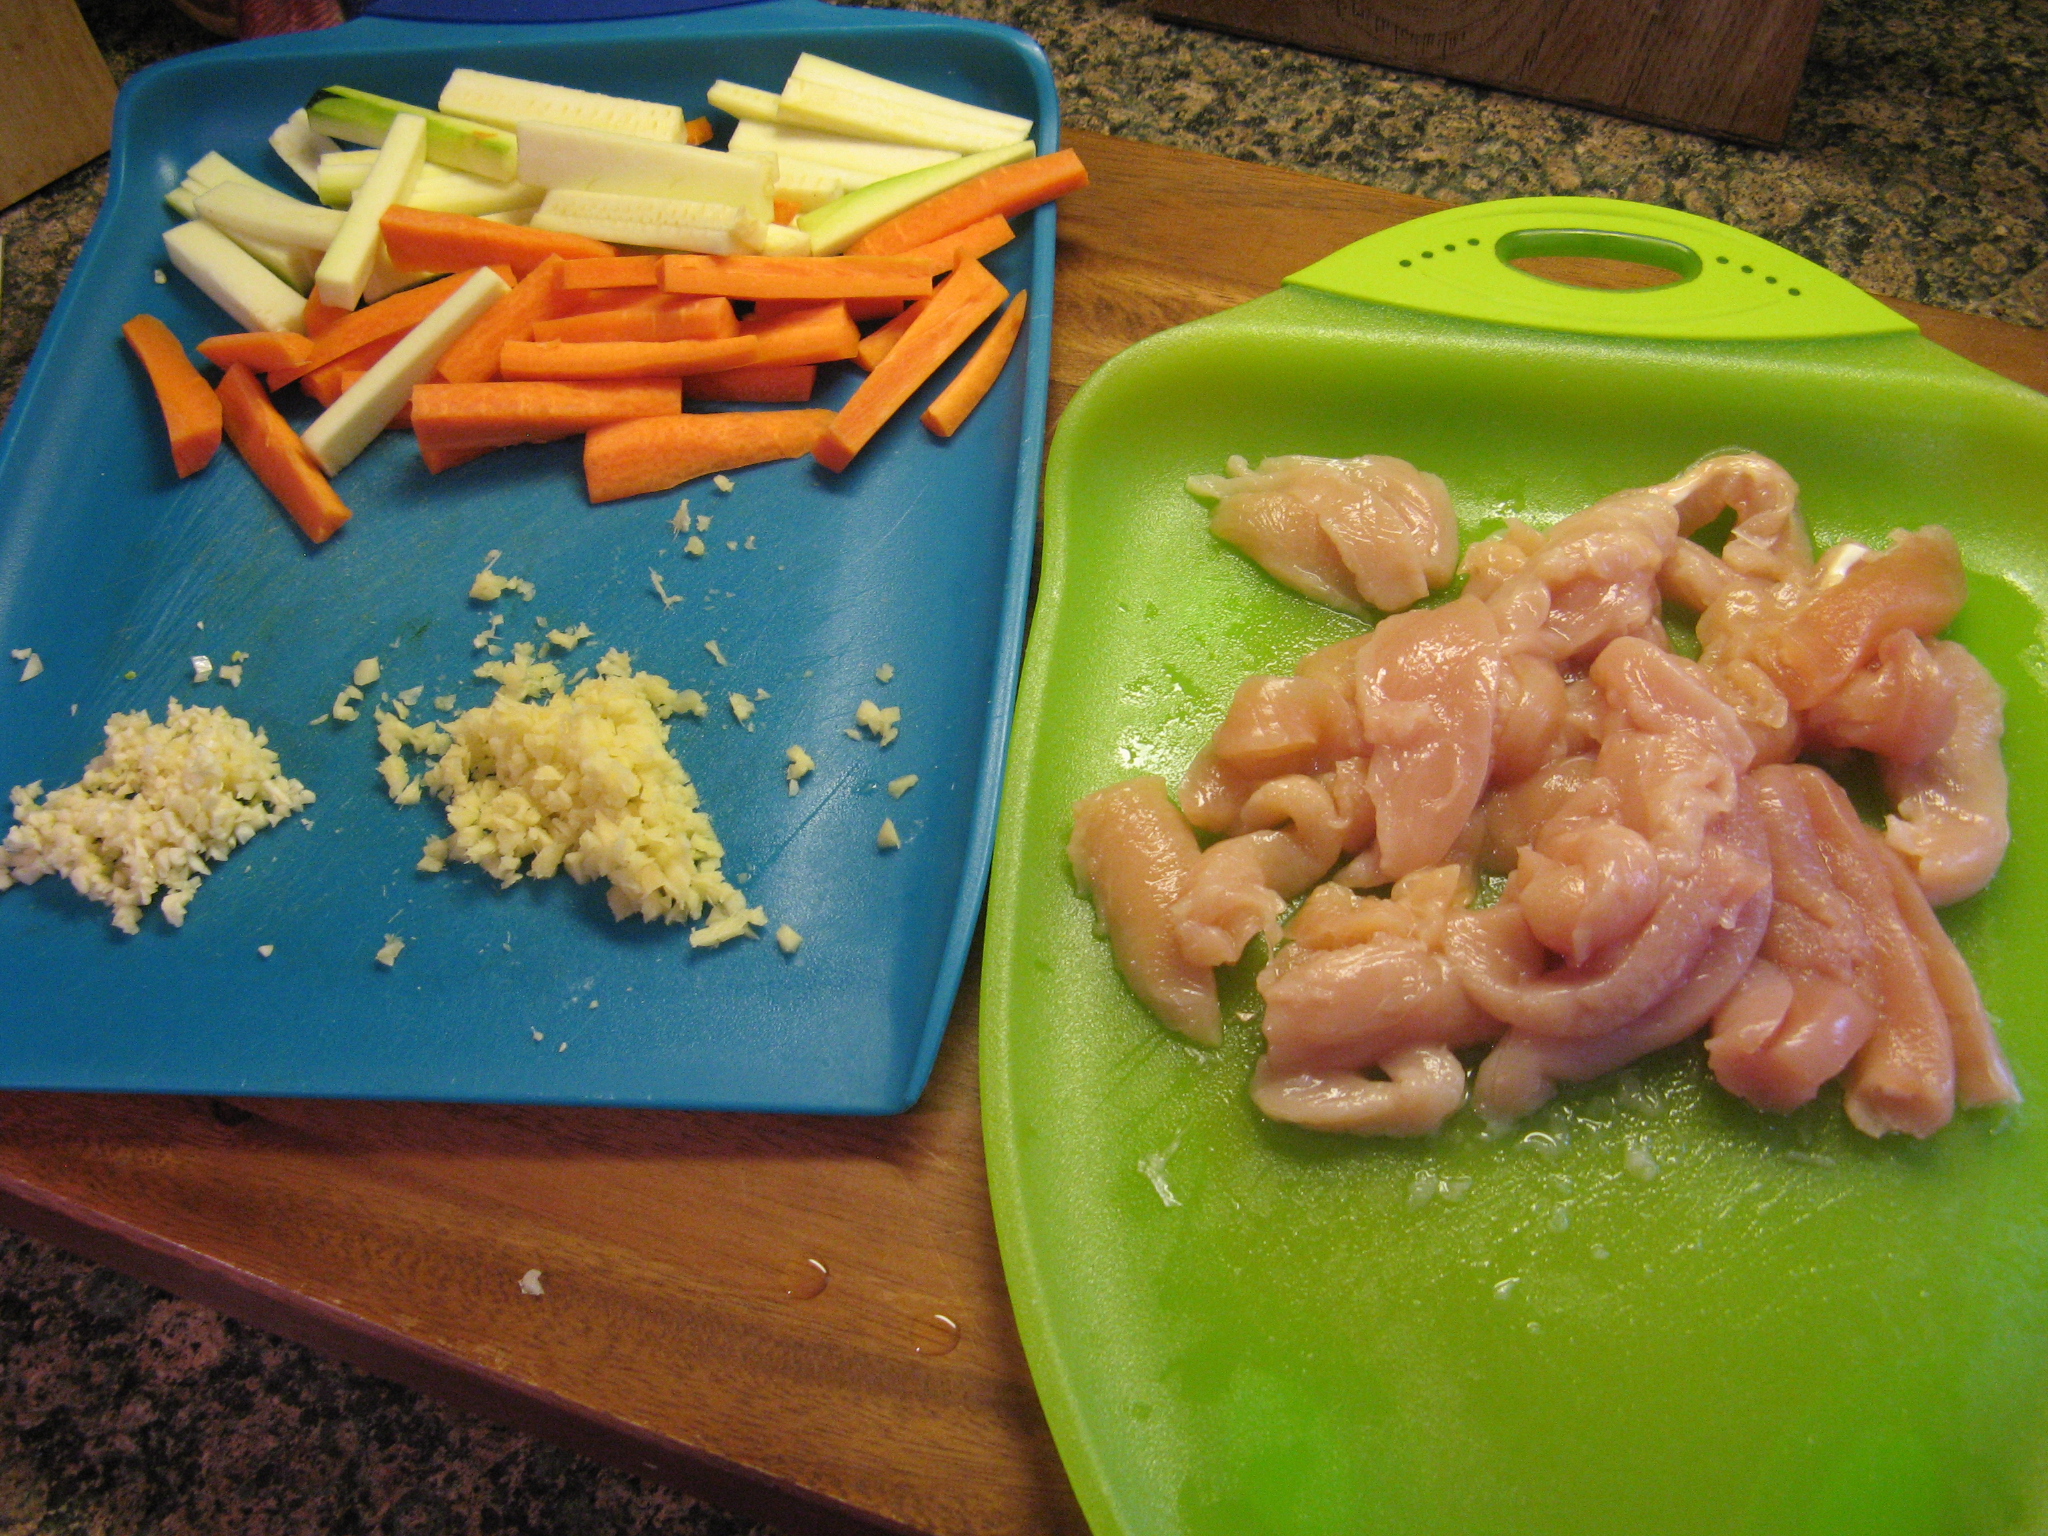
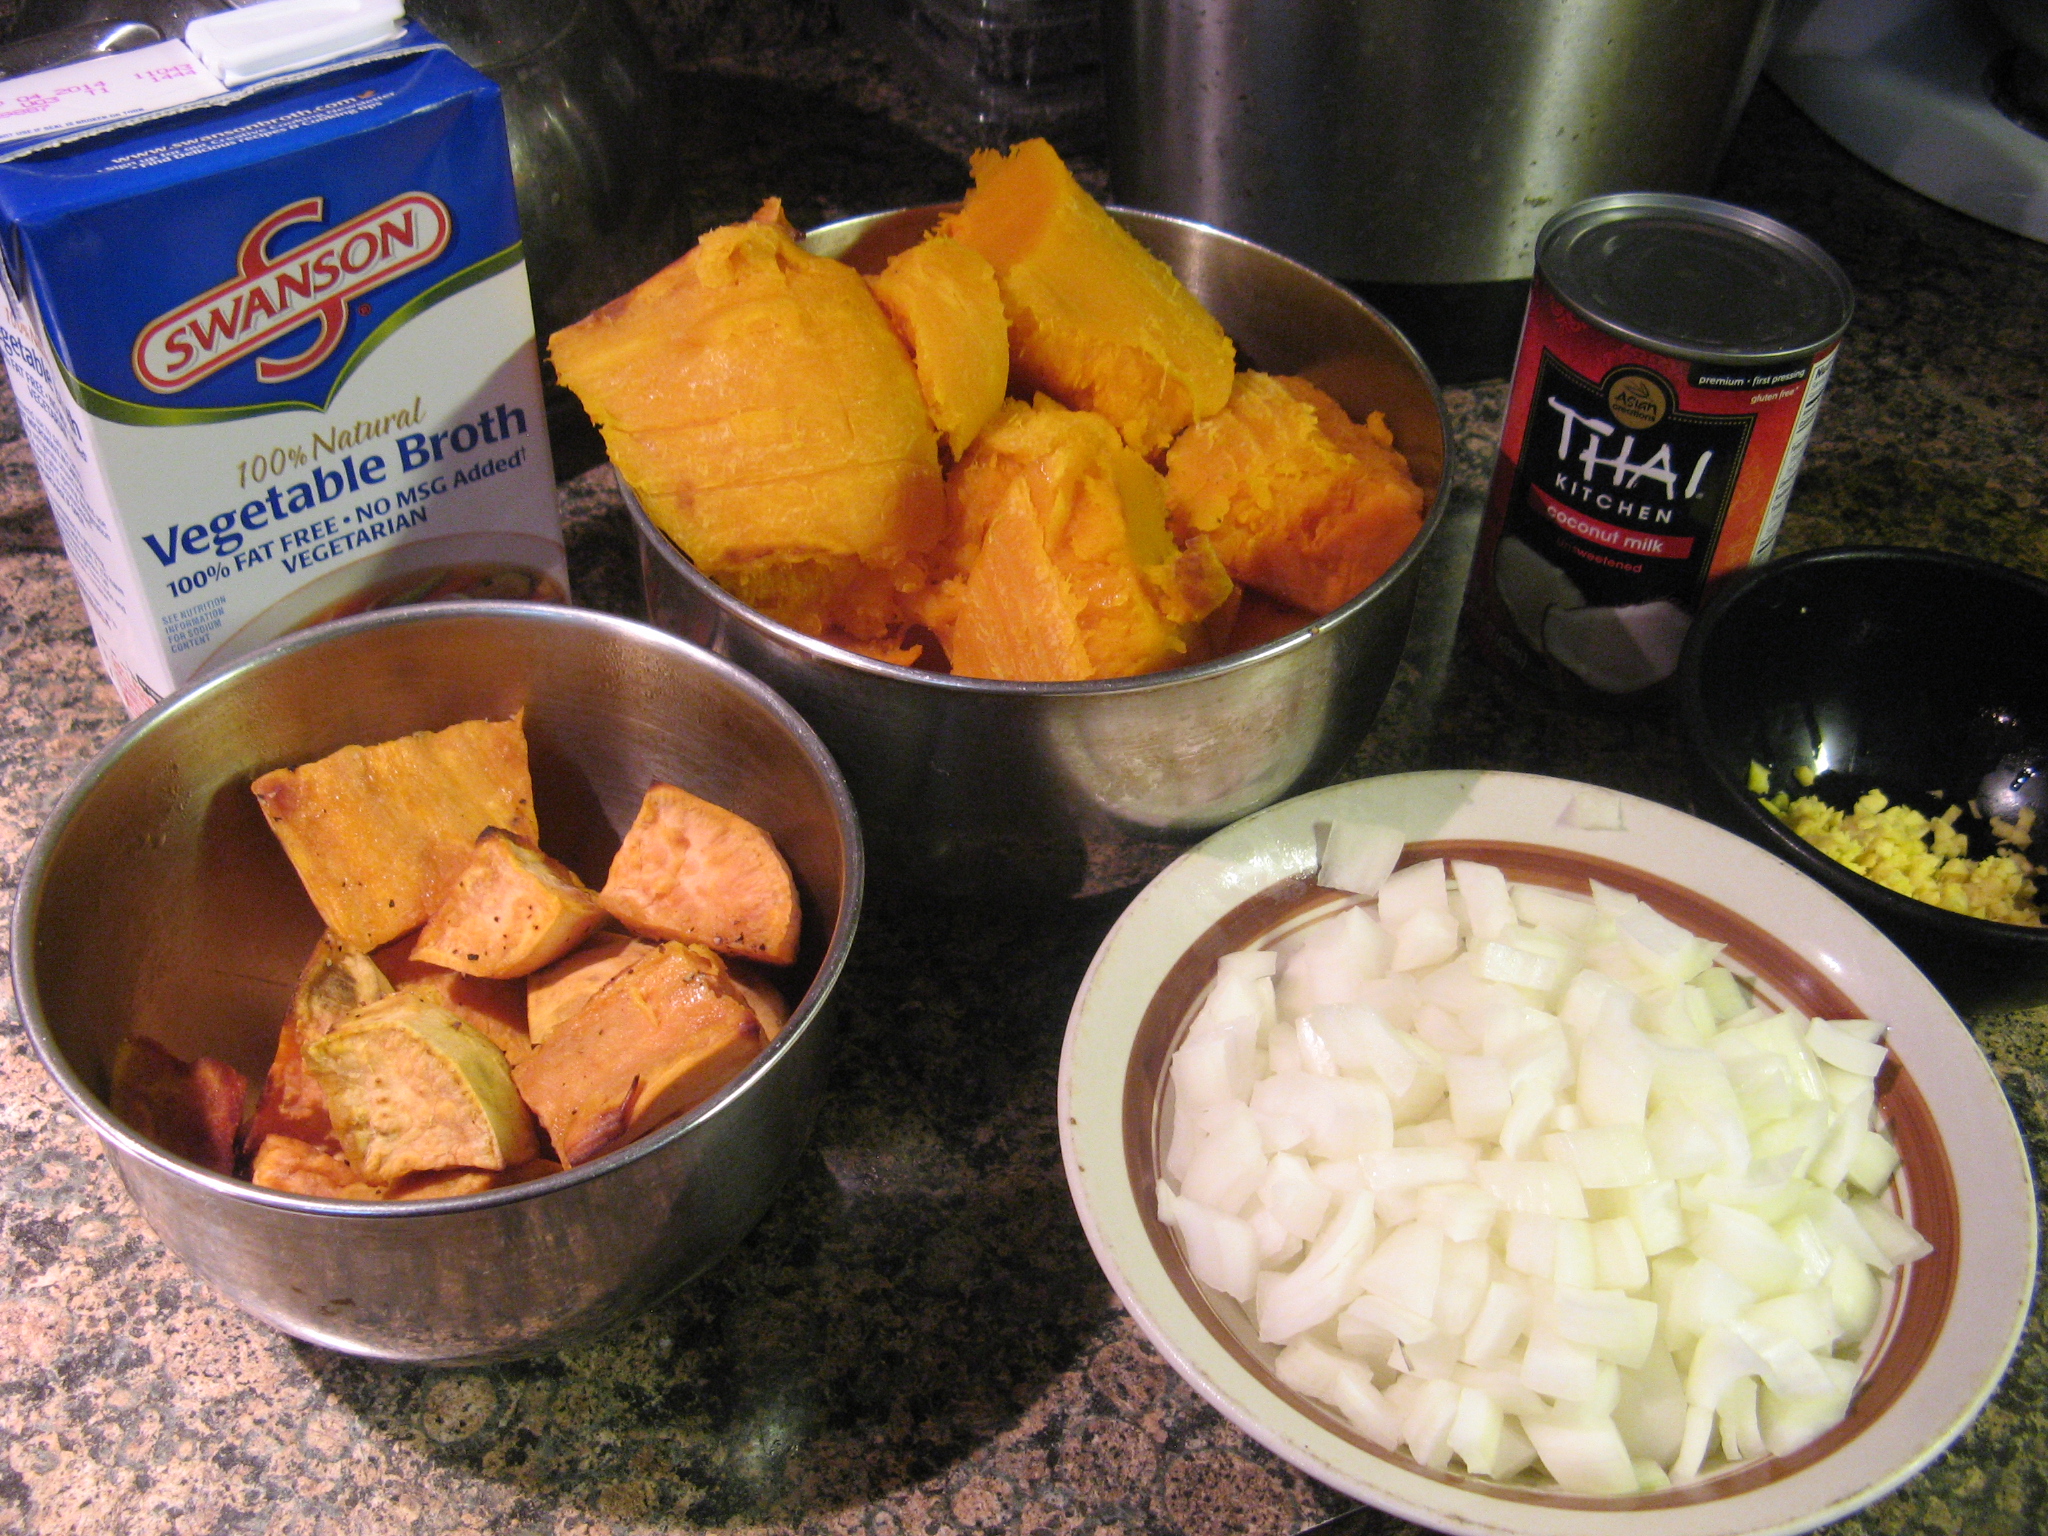
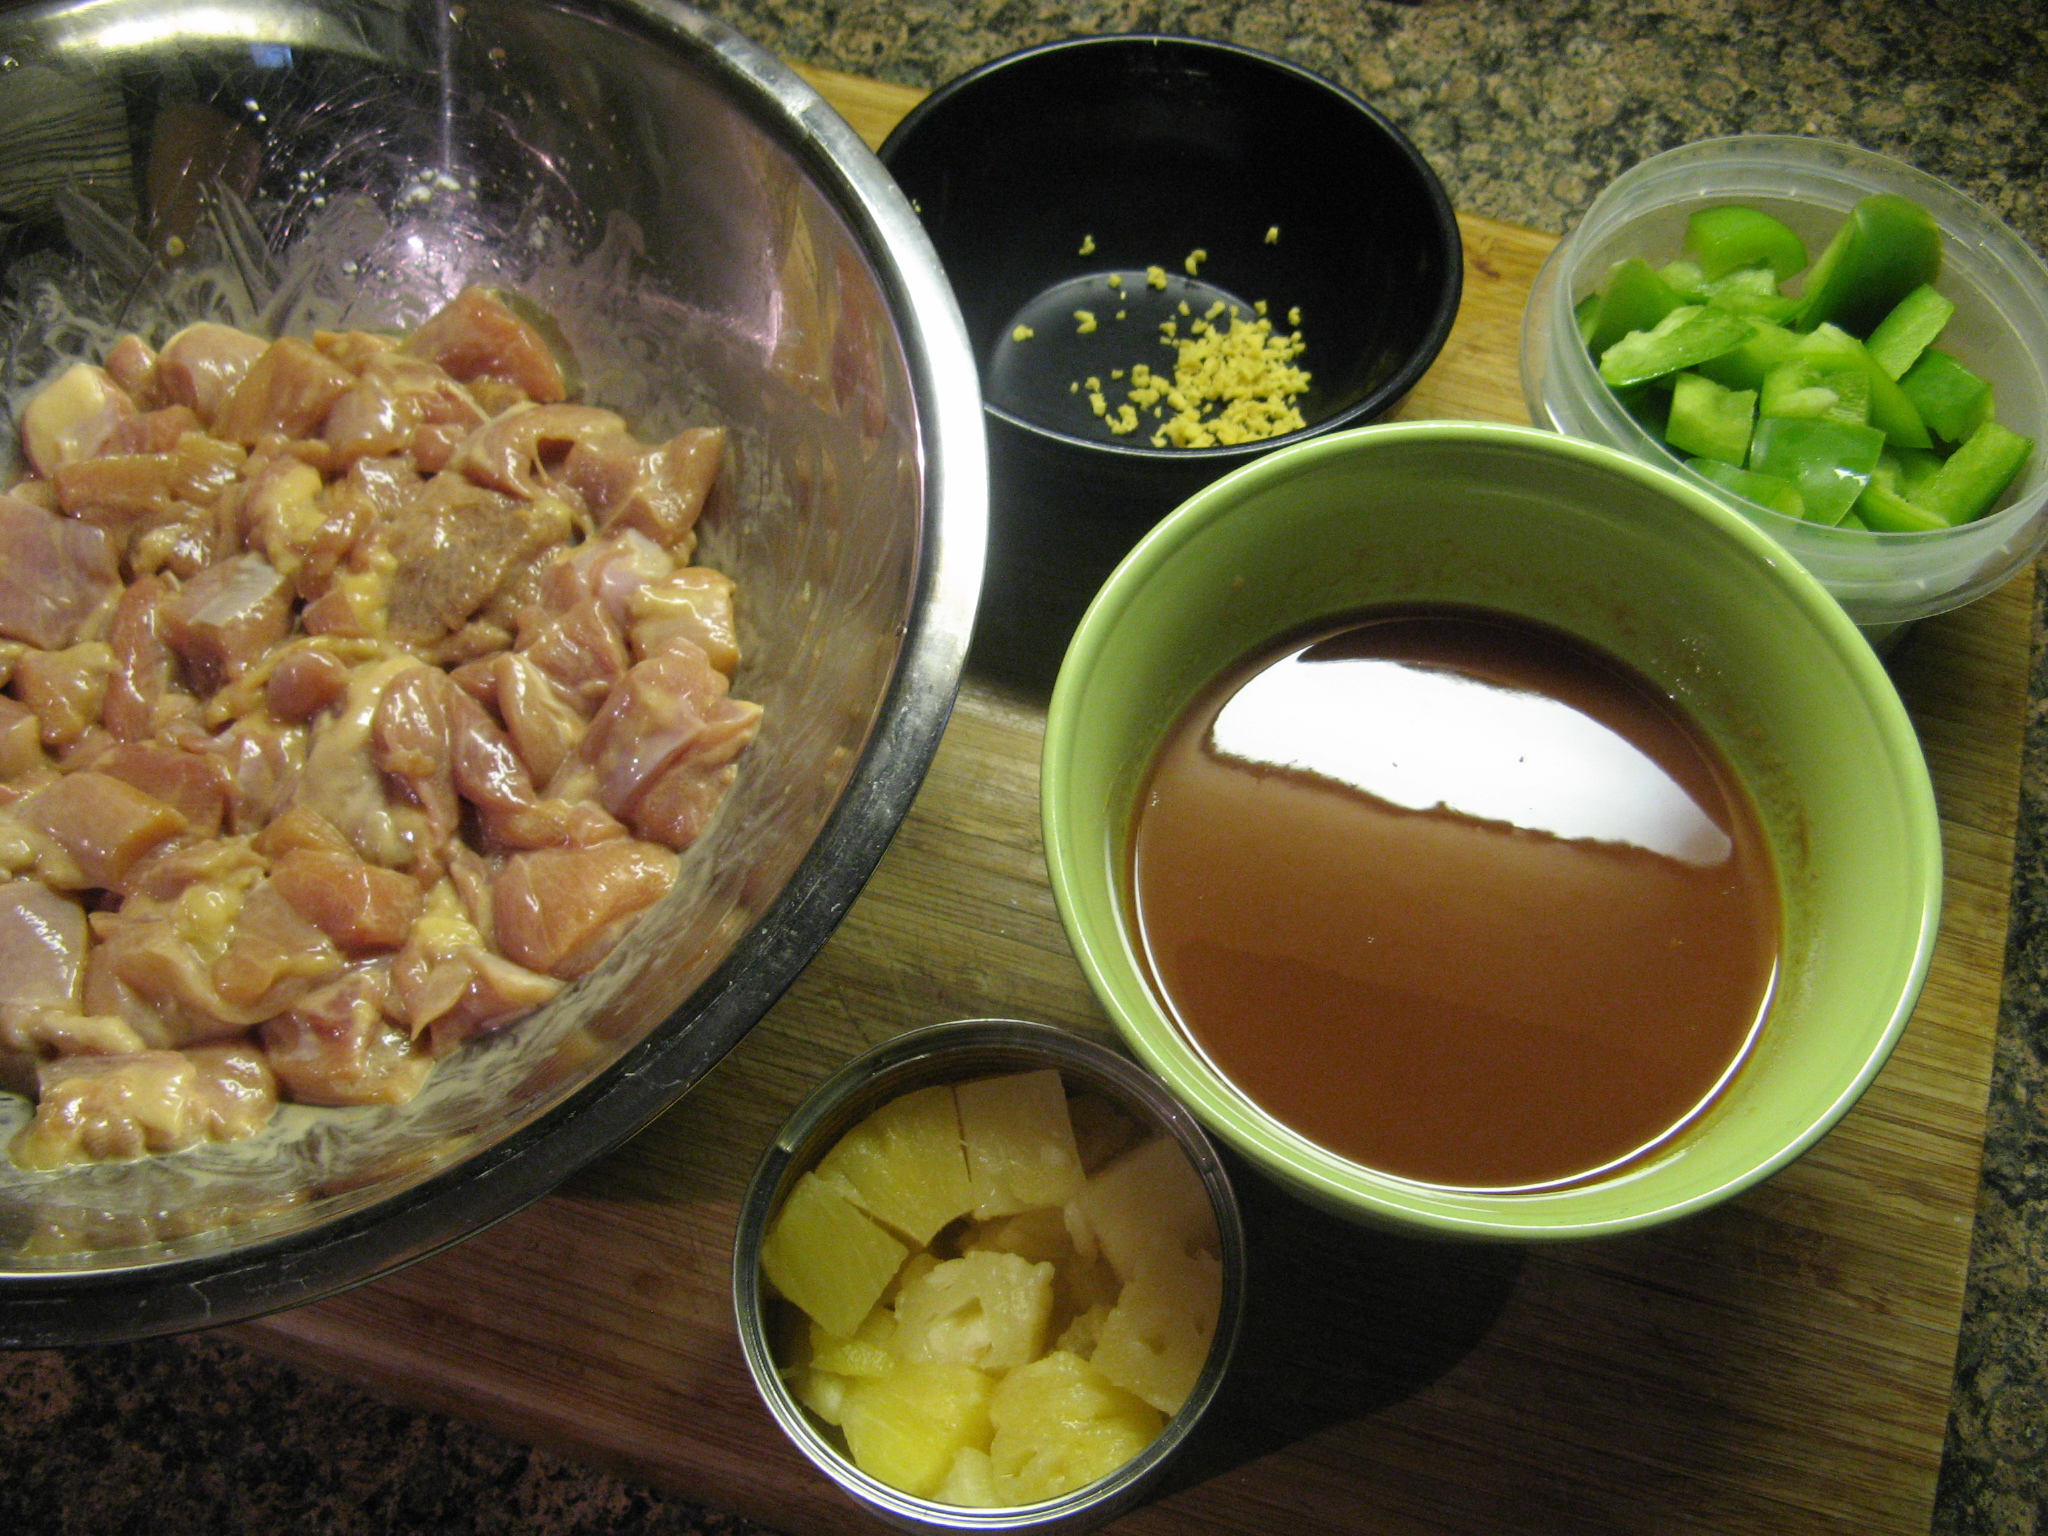
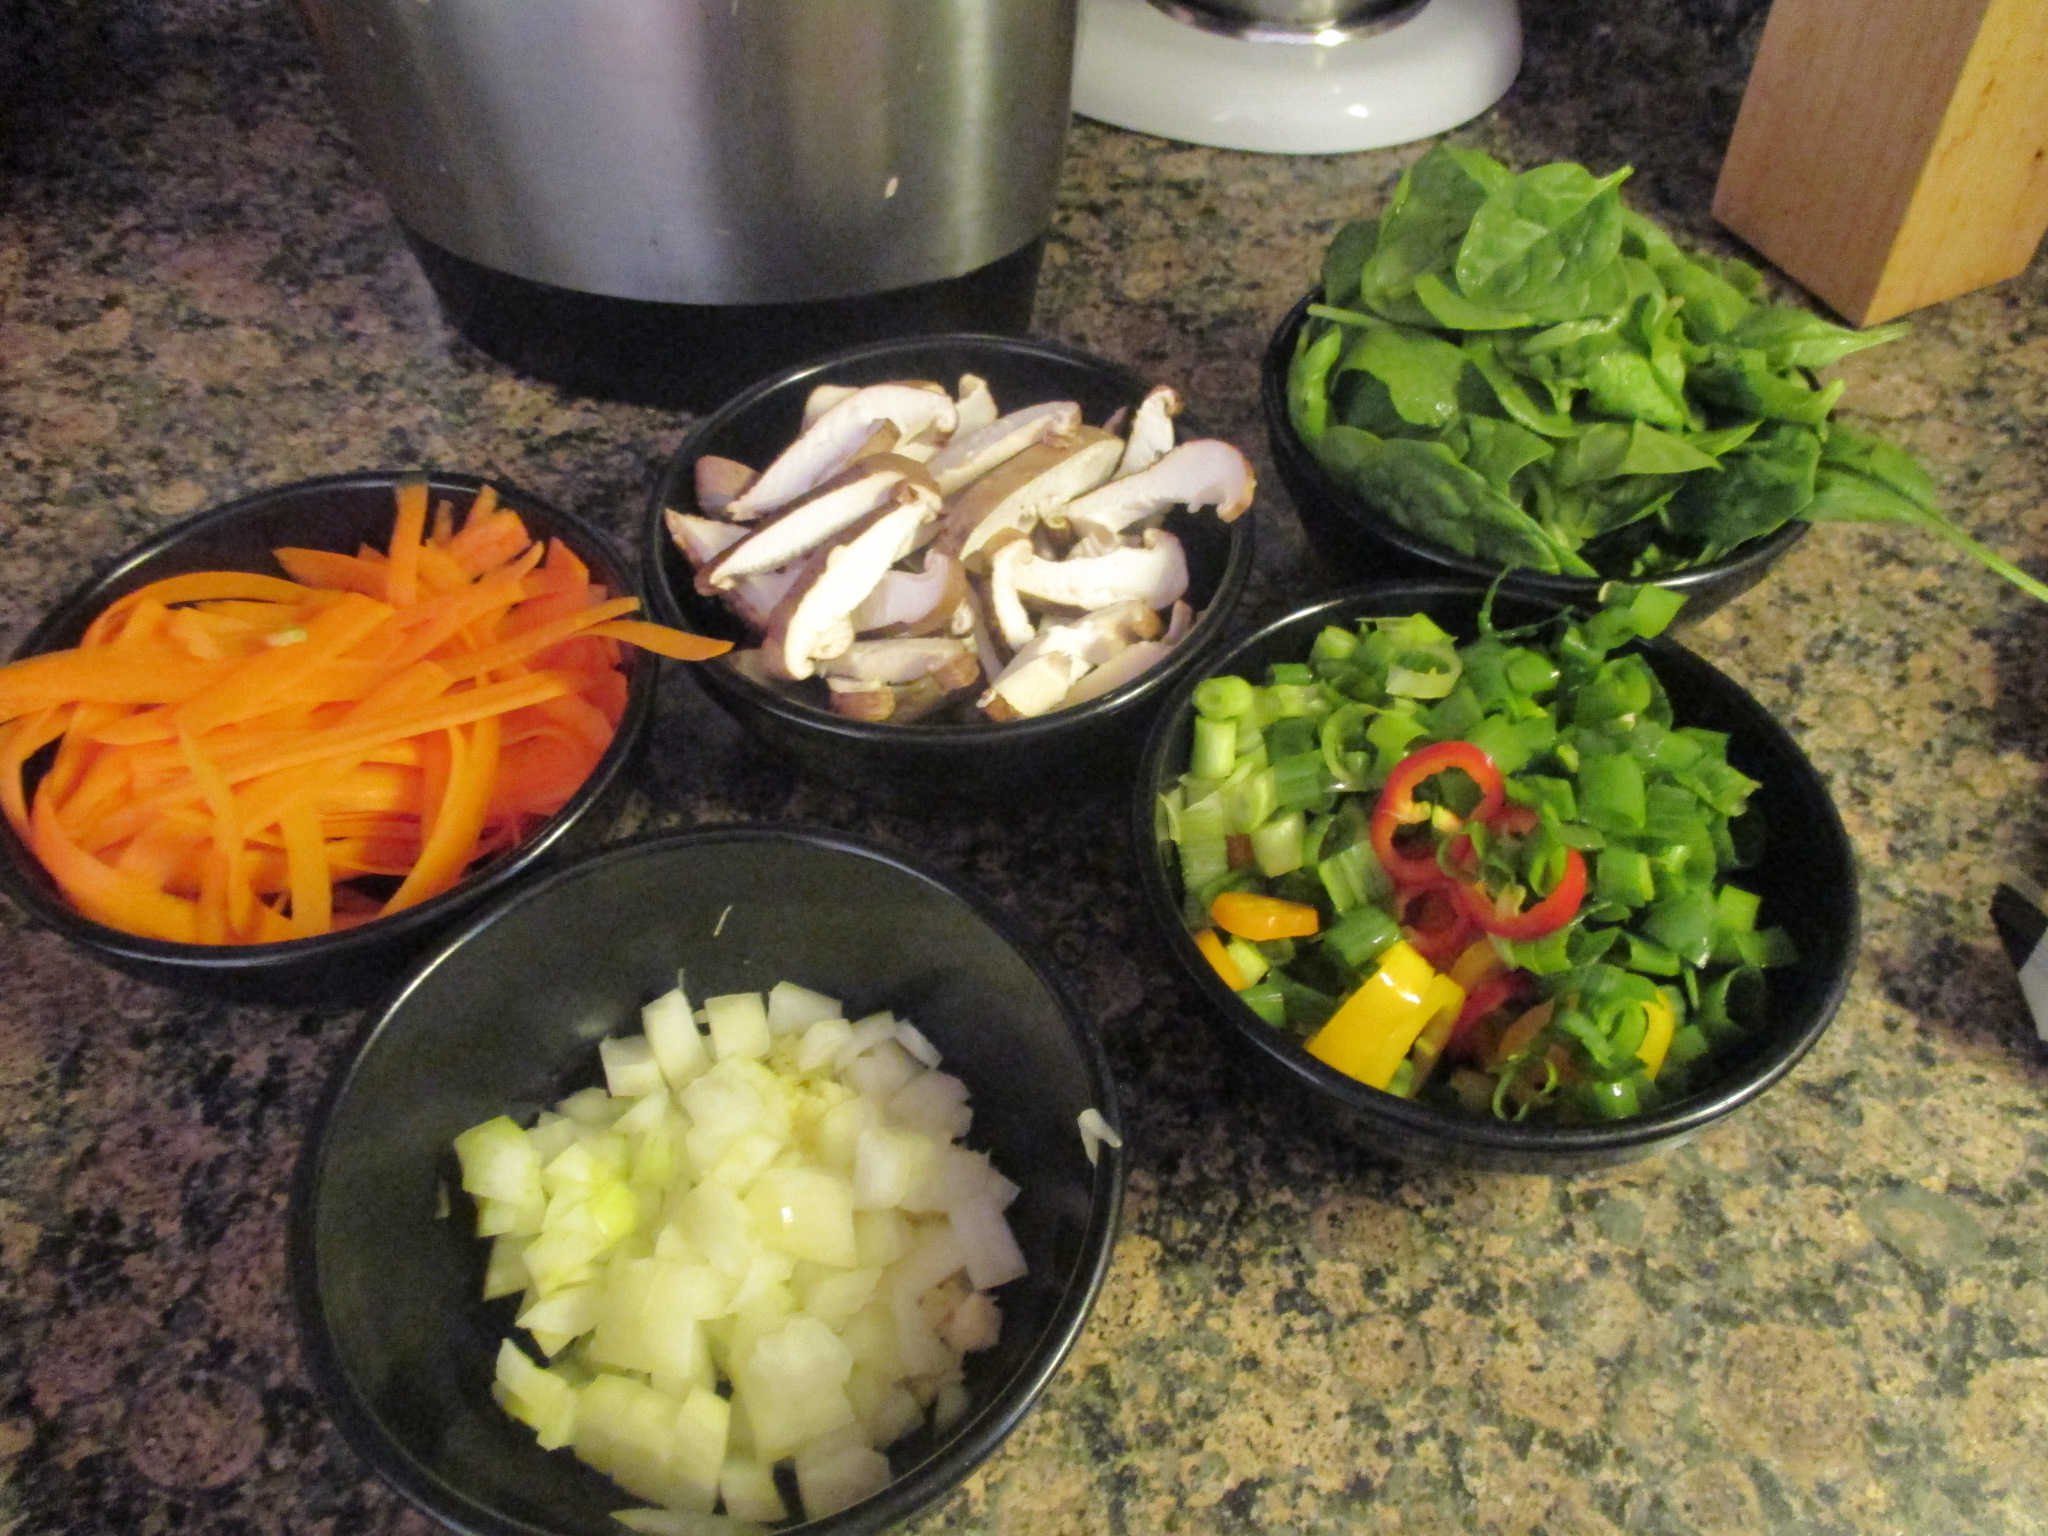
I began by prepping my various vegetables to have them ready to add to the pot as I was going…

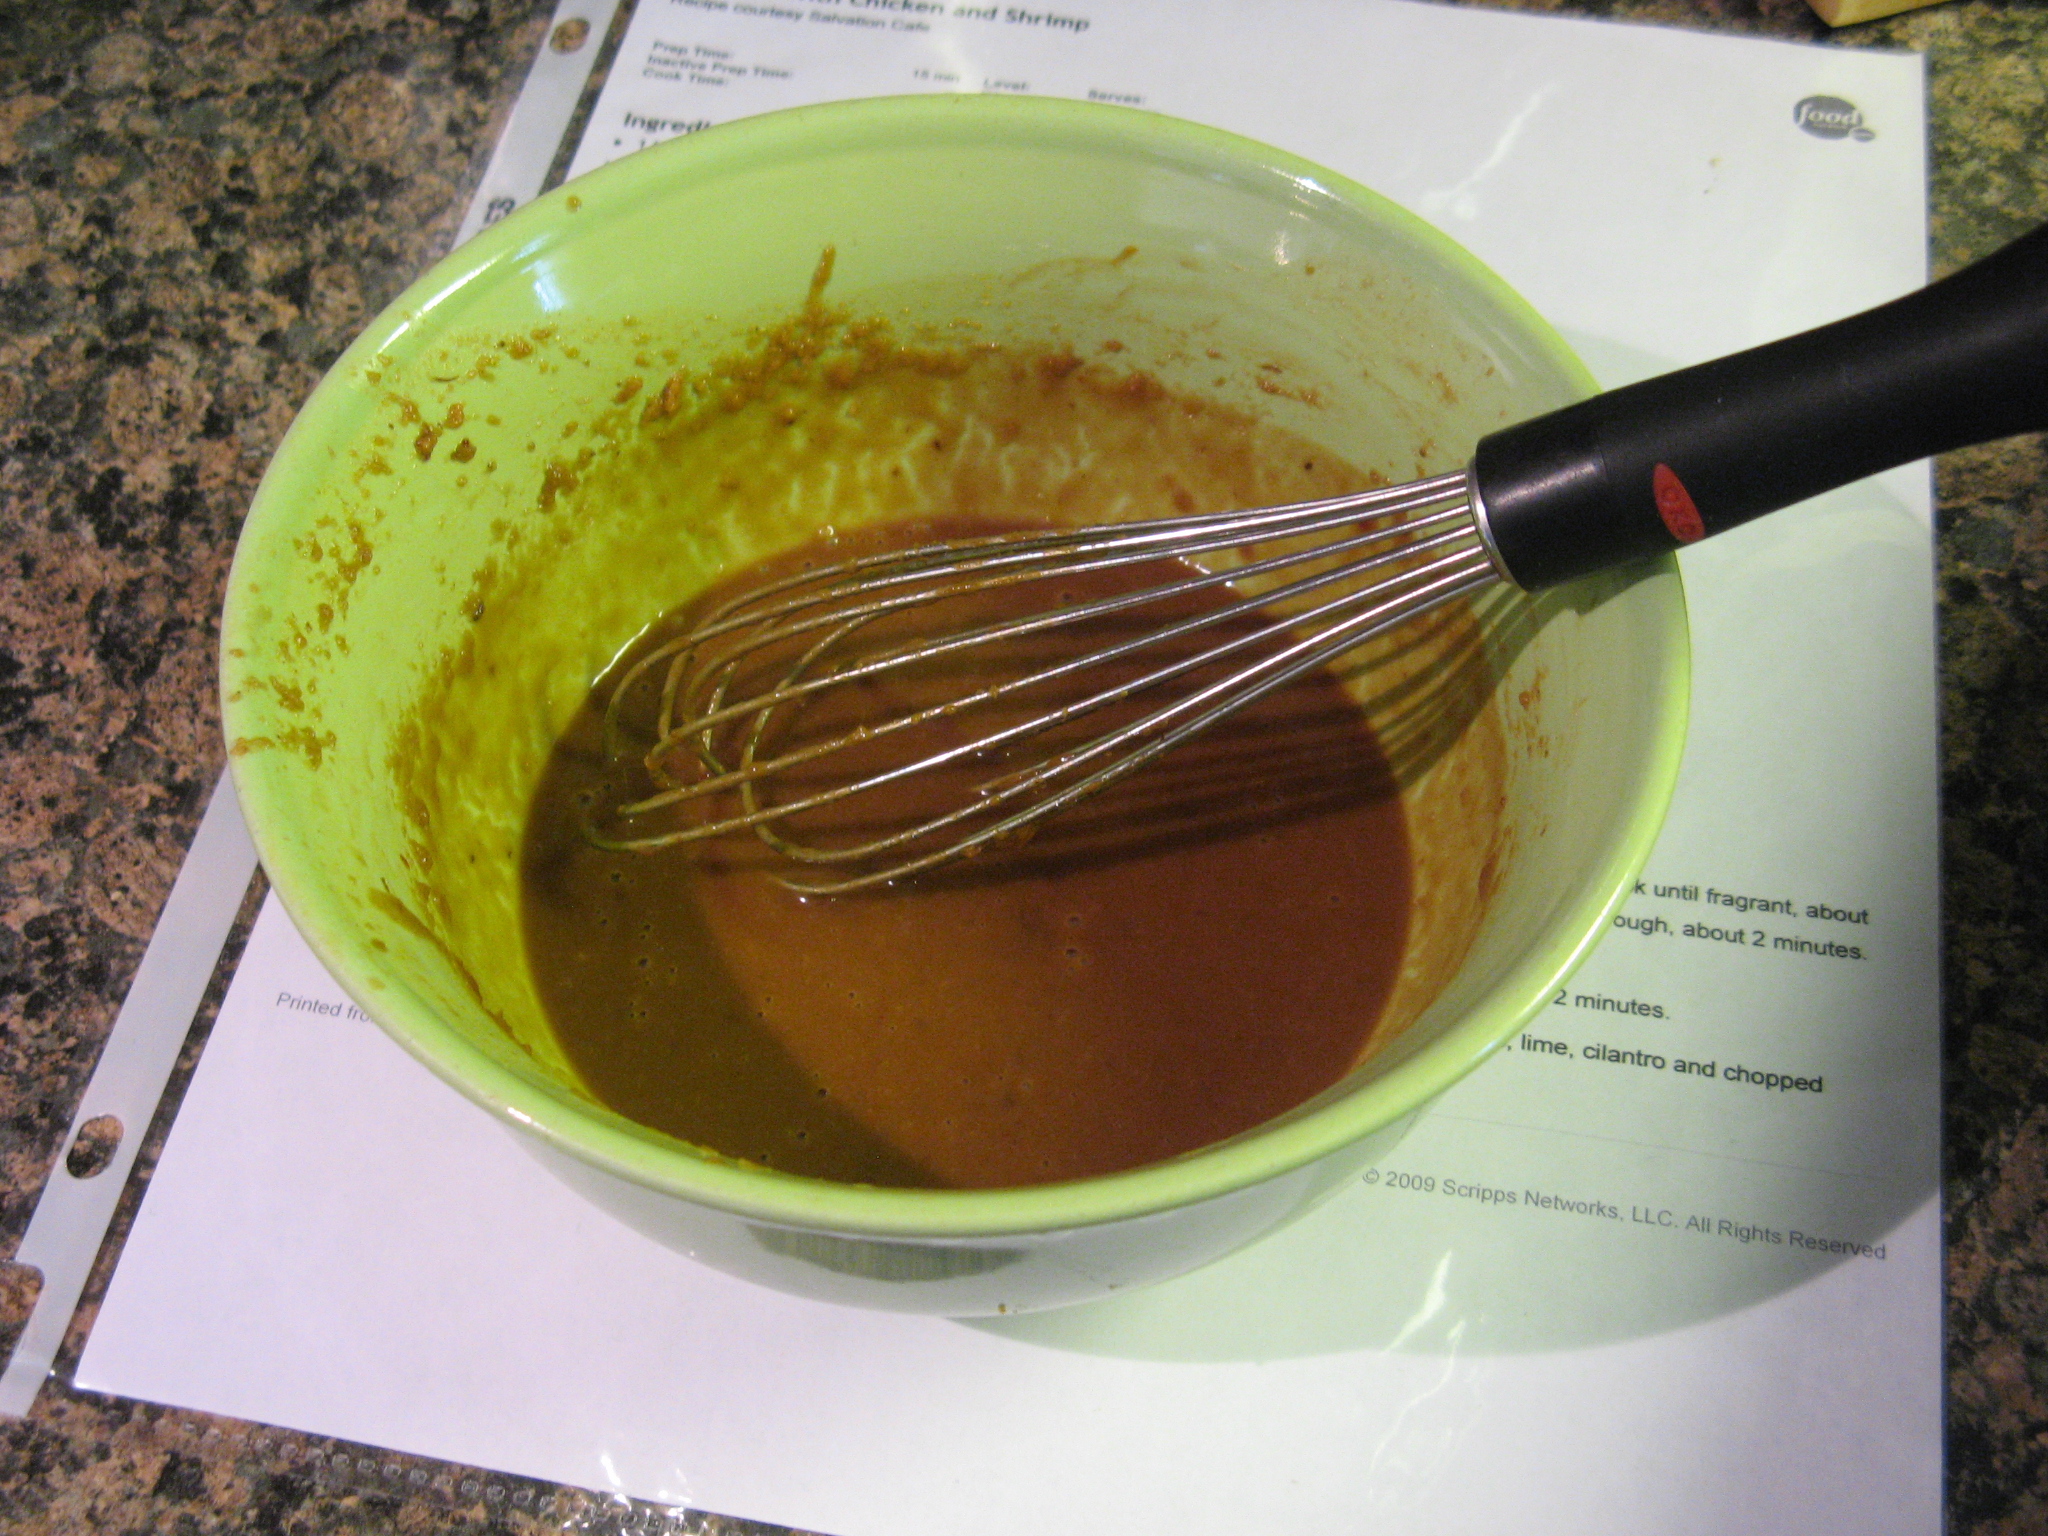
And once I started it came together pretty quick, the most time consuming part of making this ramen bowl was prepping all of the vegetables. Oh yeah, and finding the miso. I ended up going to a local Oriental grocery market that I’ve known about for years. I did find miso at my local supermarket, but, the recipe called for white miso and the one they had was red and I didn’t want to take any chances with subbing ingredients.

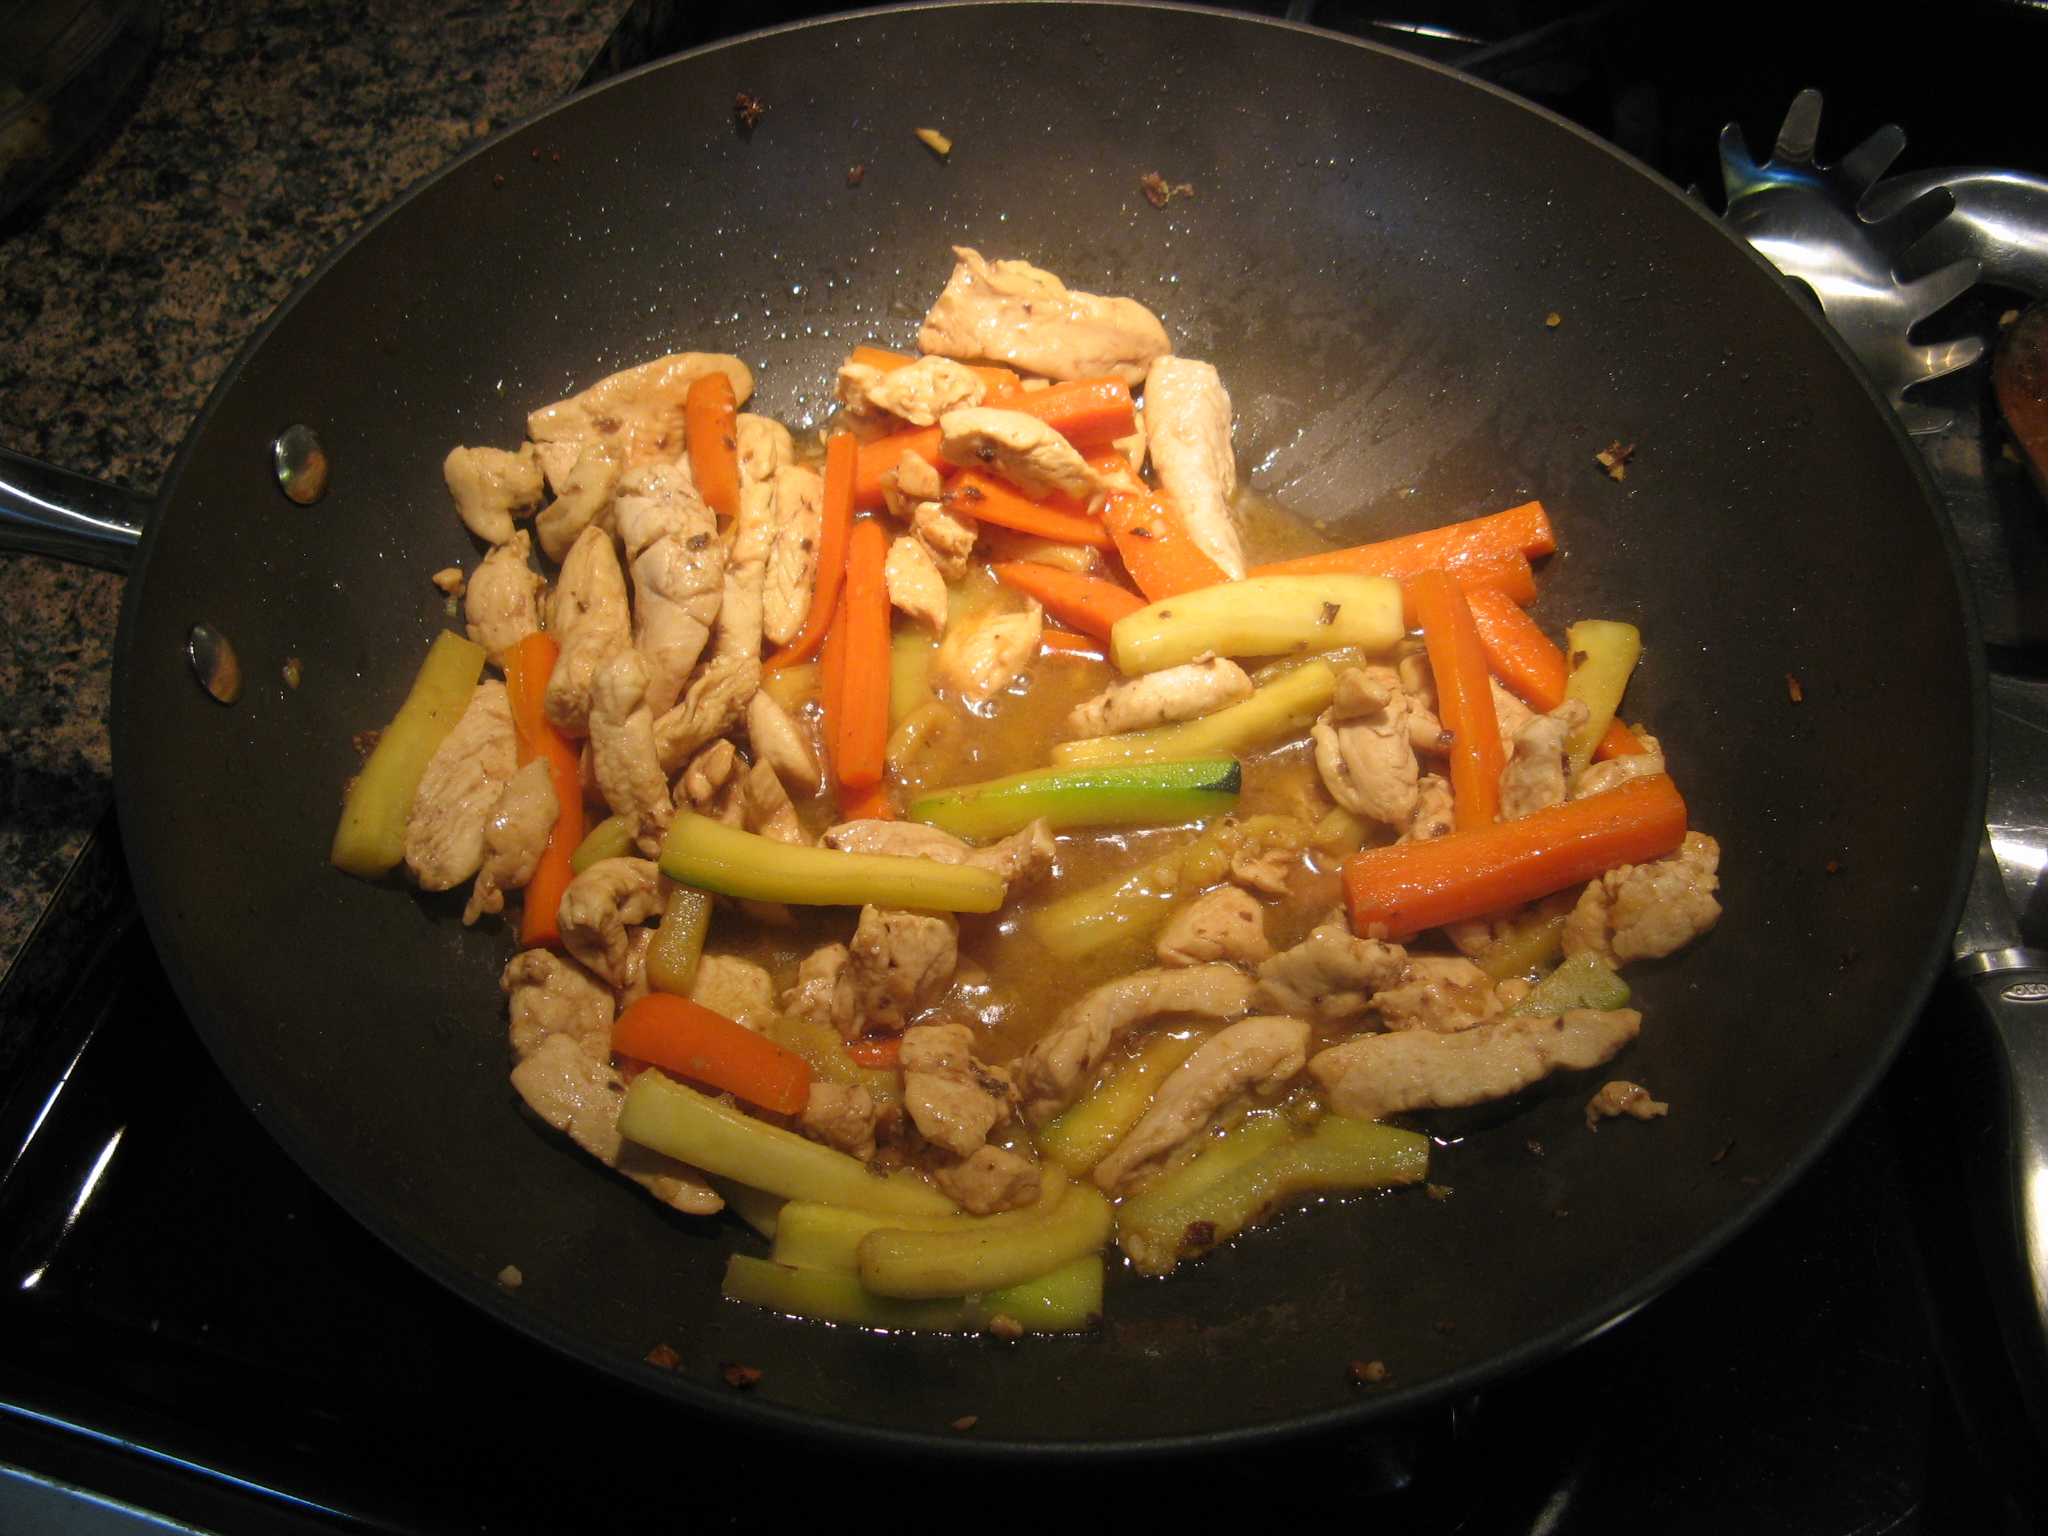
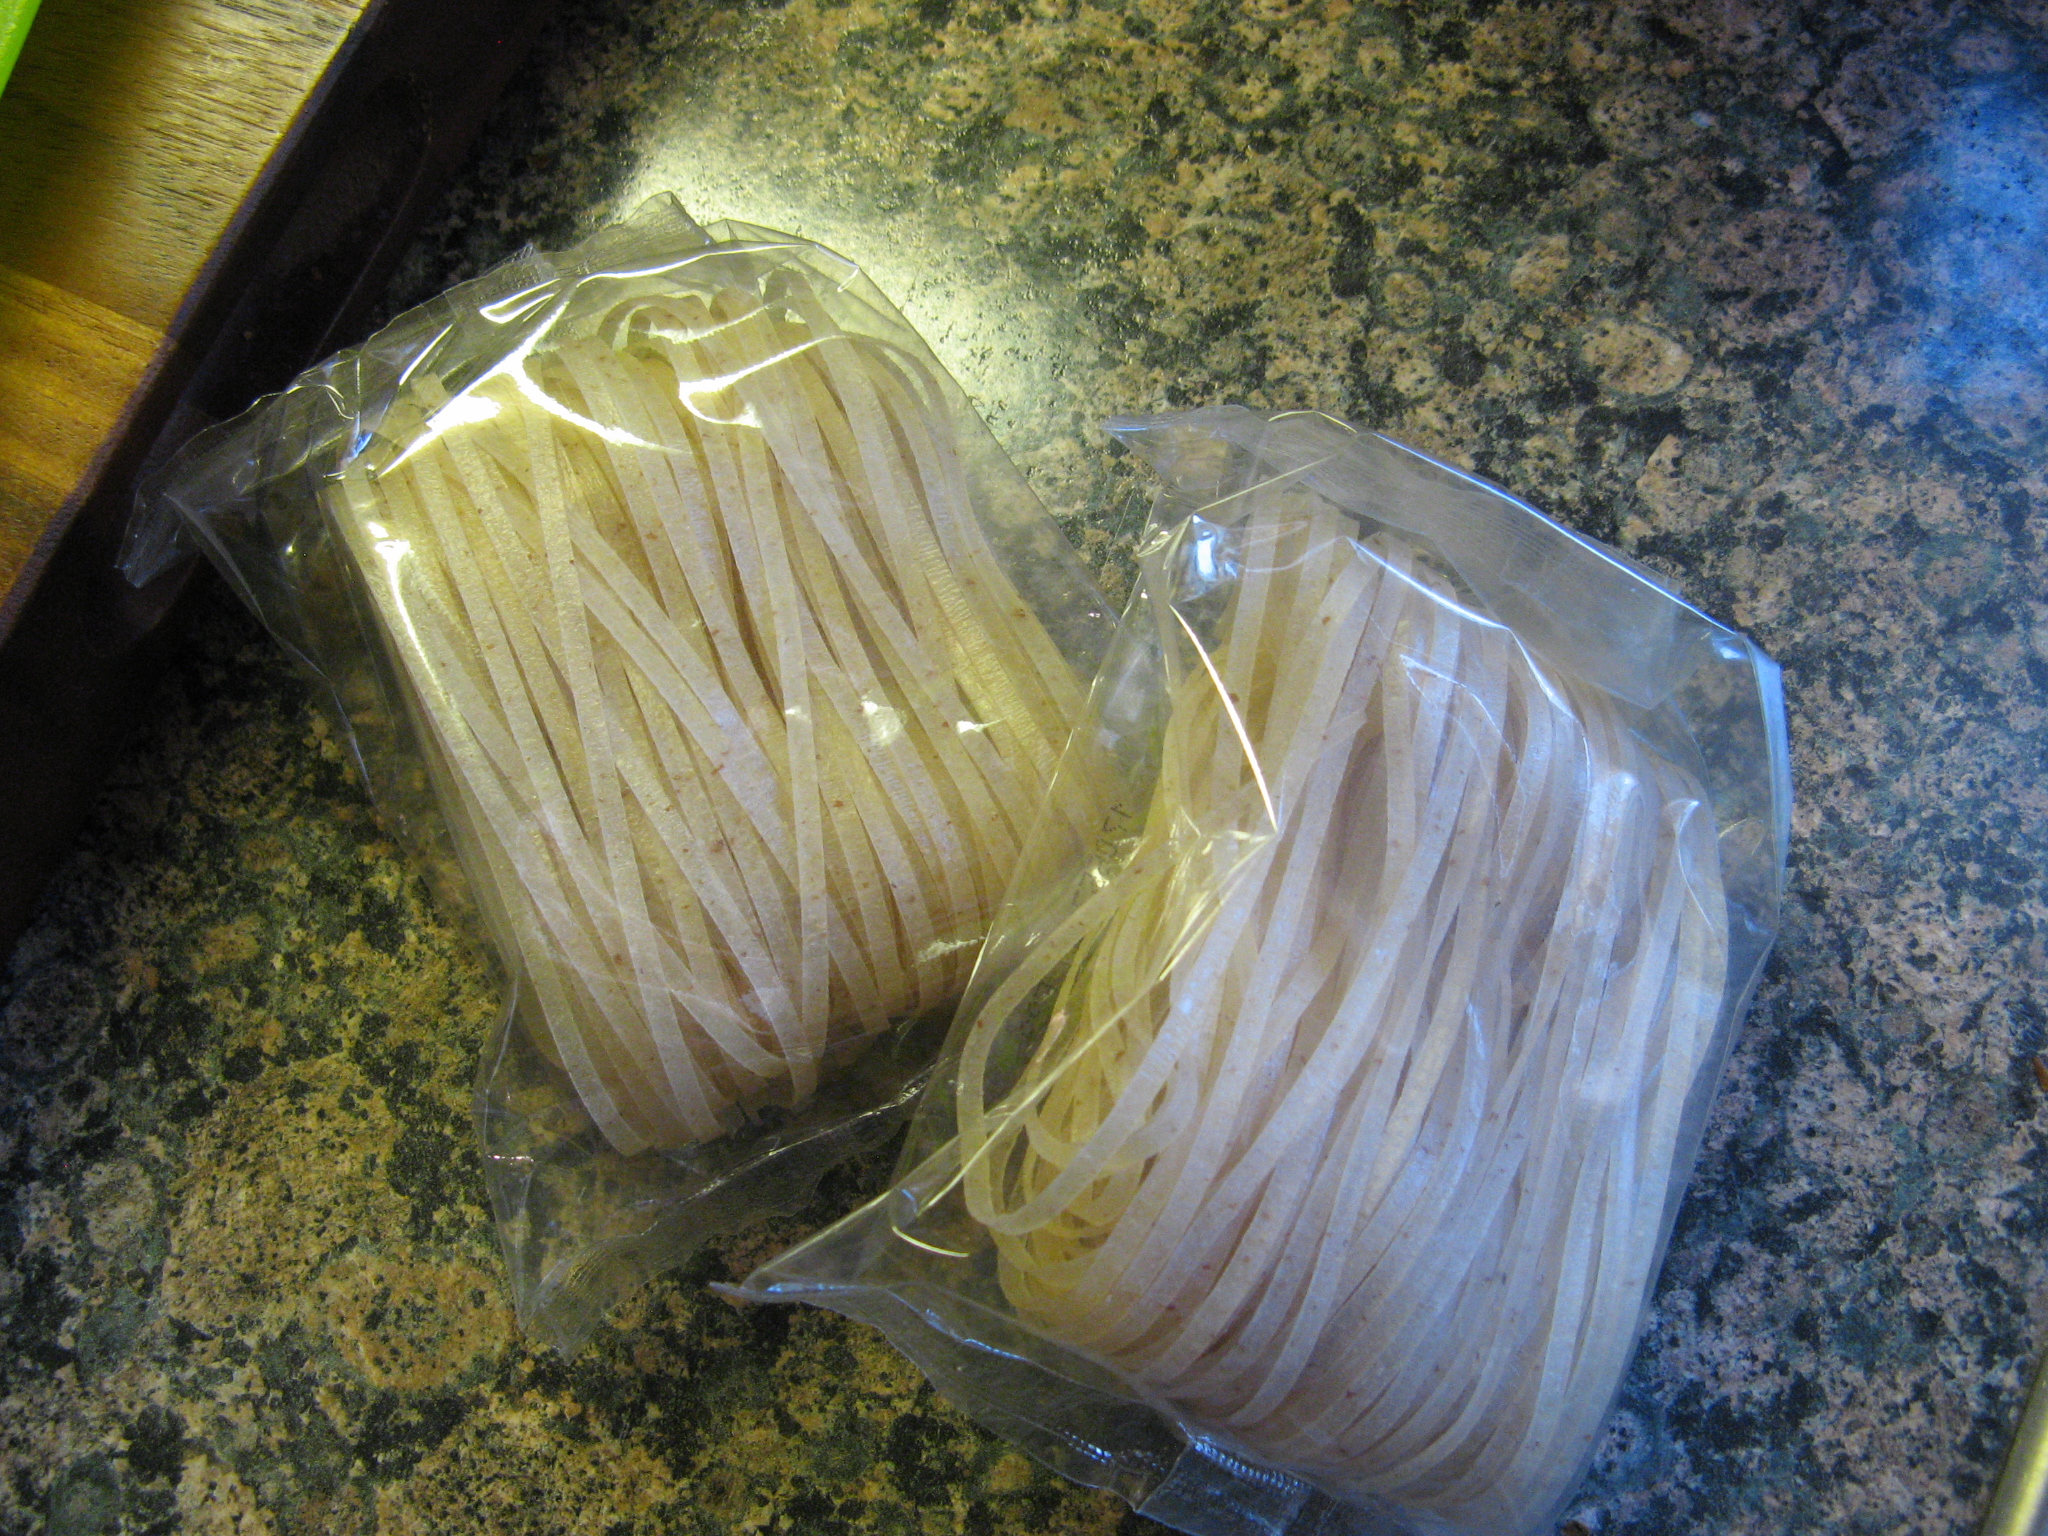
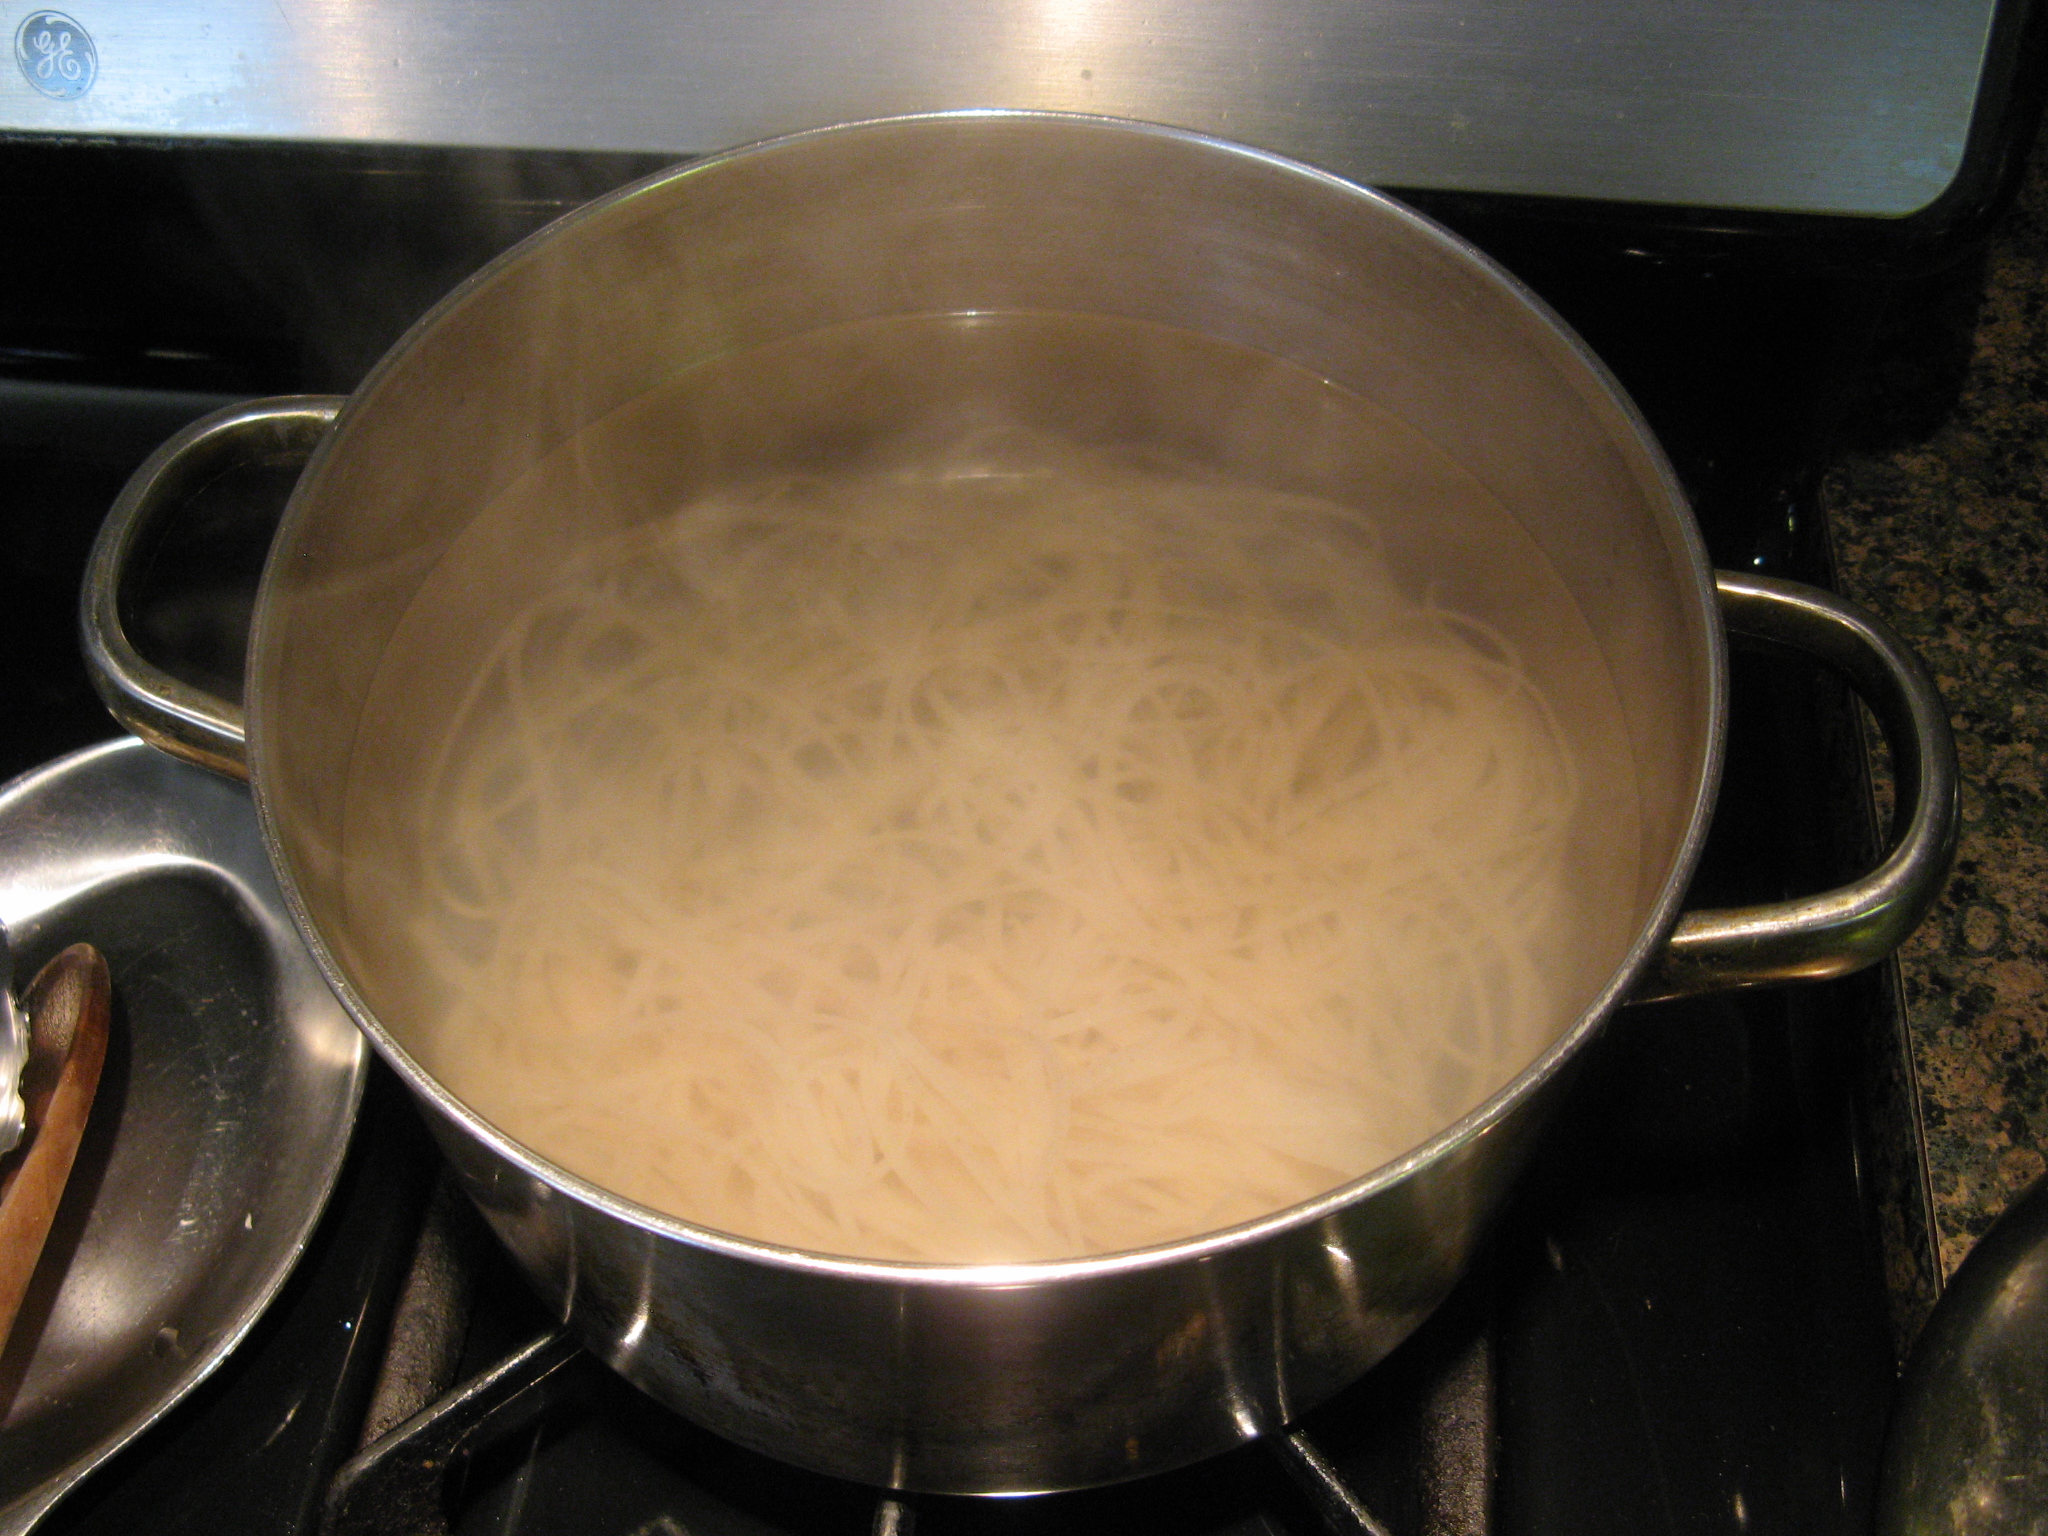
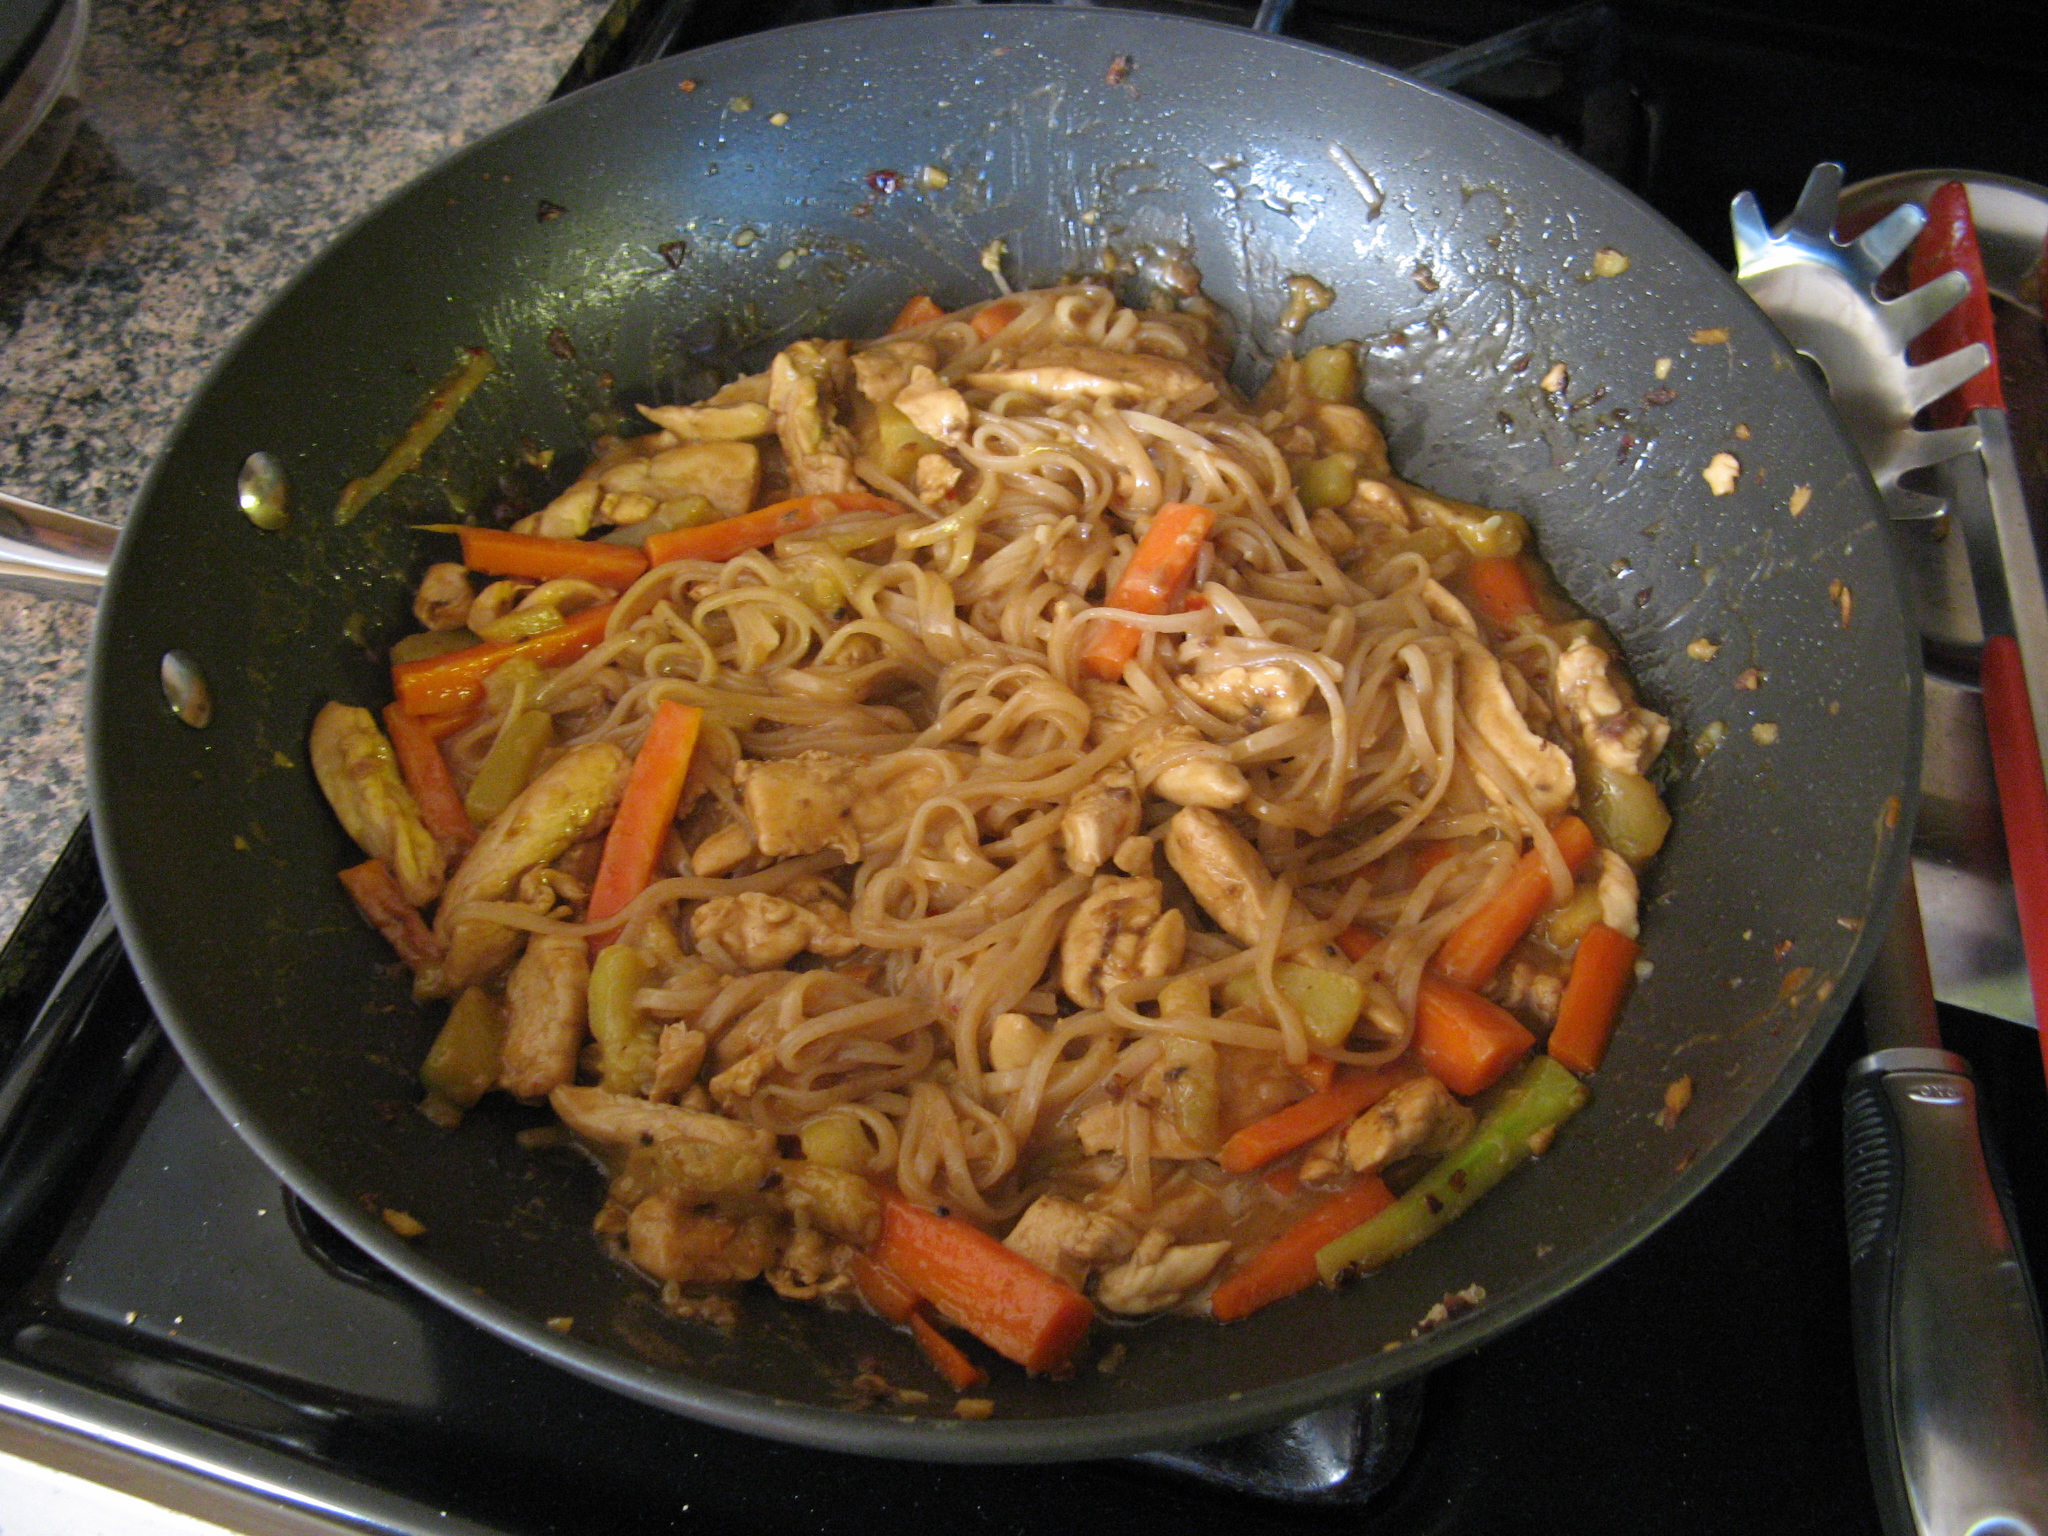
And while it was delicious, I did have a minor mishap. I left the pot covered a little too long with the noodles so I ended up with something more like Lo Mein than ramen soup. I did have enough broth for one bowl, but, not for two.

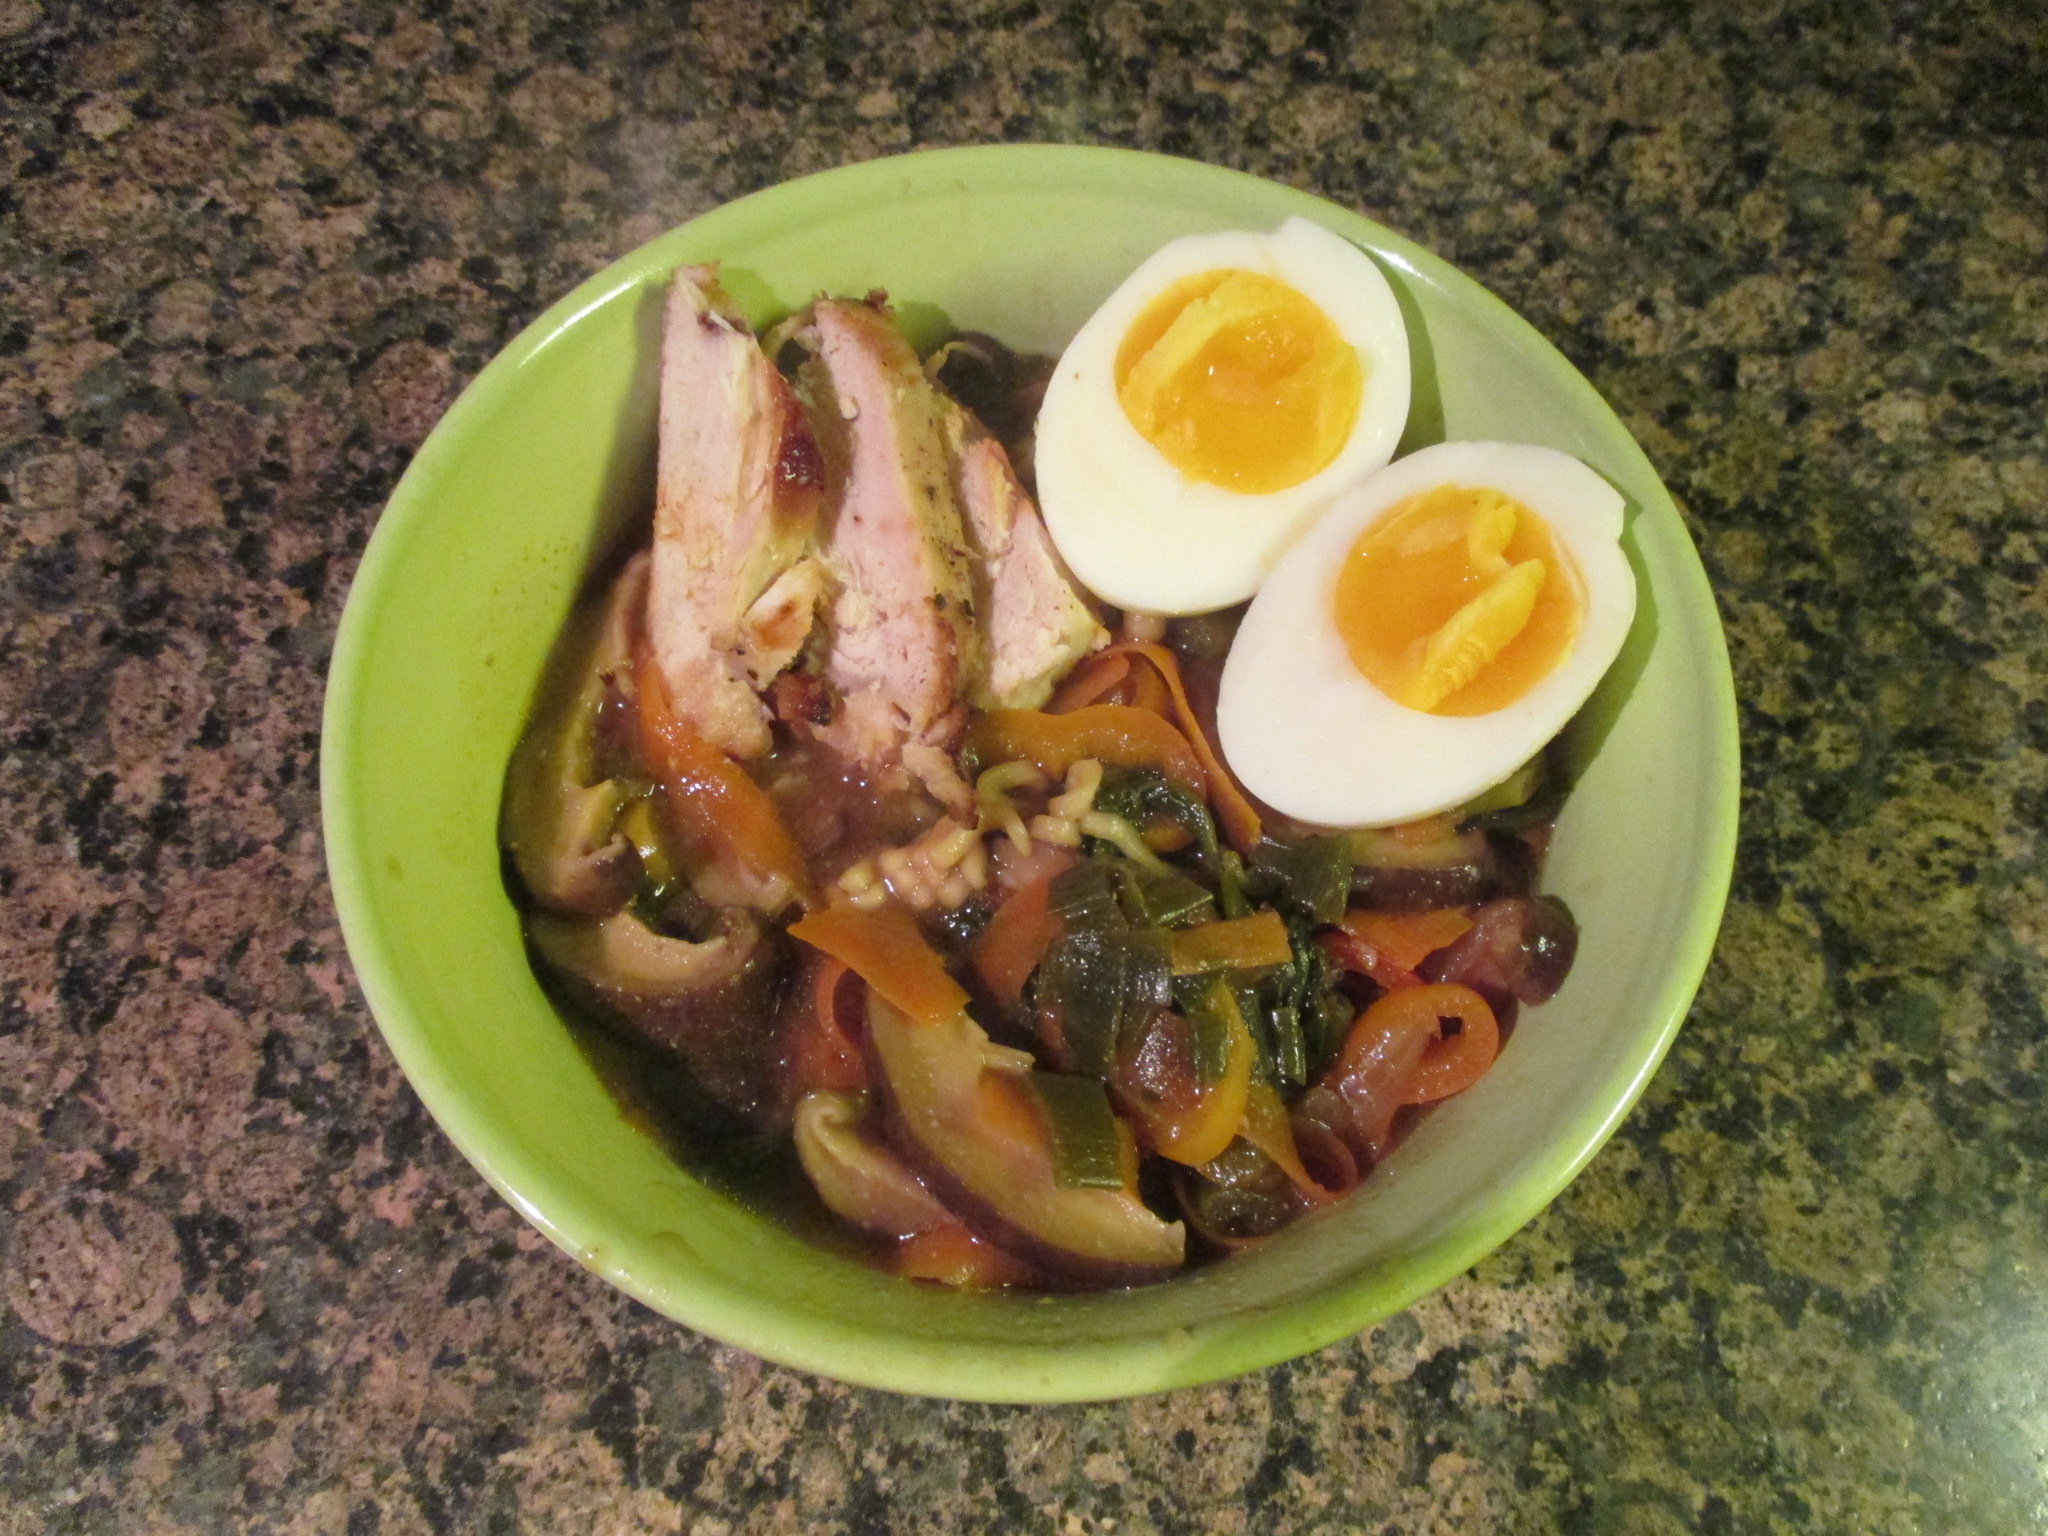
Oh well… My noodles and veggies were just as delicious.

I’ll definitely make this again, but, I think next time I will omit the eggs and the chicken. It was definitely enough with just the vegetables.


Chicken Vegetable Ramen Bowl

Ingredients:

1 teaspoon kosher salt

1/4 teaspoon black pepper

1 teaspoon garlic powder, plus more for seasoning chicken

3 tablespoons toasted sesame oil, divided

1 chicken breasts (about 1 pound)

2 eggs

1/2 medium onion, chopped

1-inch piece ginger, finely chopped

3 tablespoons soy sauce

4 cups chicken or vegetable broth

2 tablespoons white miso

8 ounces fresh shiitake mushrooms, de-stemmed and sliced

1 cup baby spinach

4 to 5 mini sweet peppers plus more for garnish, sliced

3 to 4 green onions plus more for garnish, sliced

1 large carrot, thinly sliced into ribbons

6 ounces ramen noodles


Directions:

Preheat oven to 375 degrees.

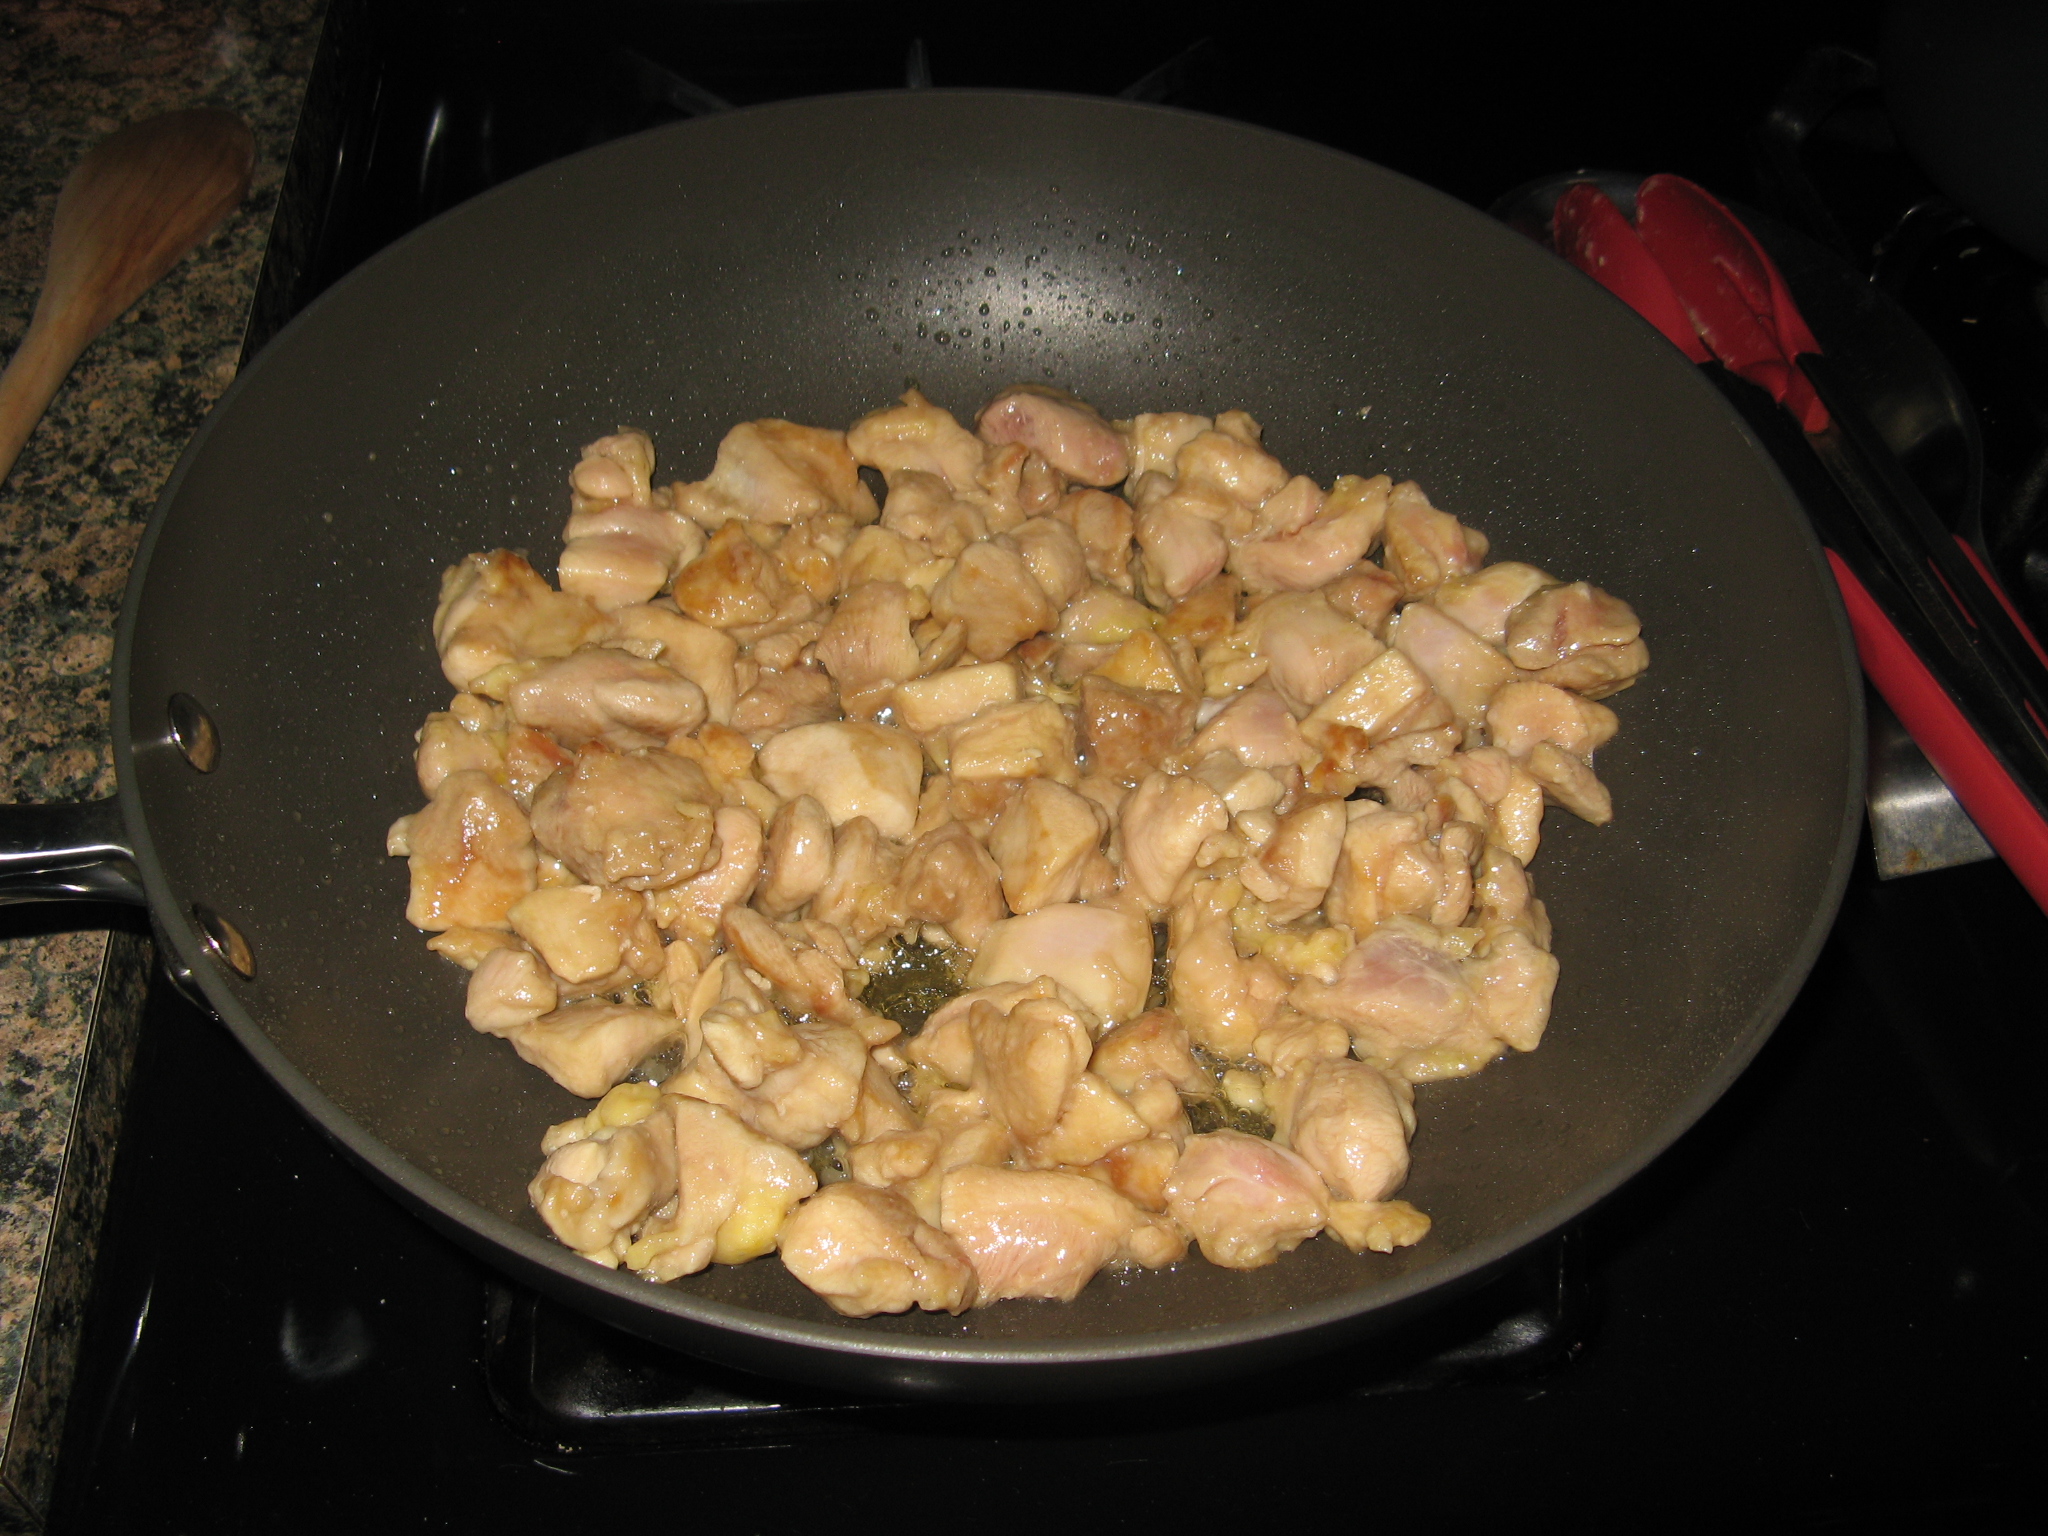
In a skillet over medium-high heat, warm the 1 1/2 tablespoons of the oil. Sprinkle each chicken breast with salt, pepper and garlic powder. Once hot, add the chicken breasts to the skillet. Brown chicken for 5 minutes on each side.

Transfer the chicken to the oven and bake for 20 minutes, until cooked through.

In a small saucepan, place the eggs and cover with water and cover the pan. Bring to a boil then turn off the heat. Keep lid on saucepan for 5 minutes. Drain the hot water and fill with cold water, once cool drain the water and peel the eggs.

In a large stockpot over medium-high heat, warm the remaining oil. Once hot, add onion and ginger. Cook for 5 minutes, until onions are translucent.

Add garlic powder, stirring frequently for 1 minute. Whisk in soy sauce, broth and miso. Add mushrooms and bring to a boil, then reduce to a simmer. Let simmer covered for 15 minutes.

Add the peppers, green onions, spinach and carrots. Continue to simmer covered for 5 minutes. Taste the broth and add salt if necessary.

Finally, add ramen noodles and turn off heat (the heat from the soup will soften the noodles).

Slice chicken breasts and eggs. Divide soup into bowls and serve with chicken and a halved egg.

Recipe from Simply Organic

Chicken Egg Rolls

There’s nothing like making homemade takeout… you know those staples like pizza, burgers, Mexican and probably one of the most popular Chinese. I don’t know about you but one of the things I like the most from my Chinese take-out are the egg rolls. And today I am bringing you a super simple and absolutely delicious recipe to making egg rolls at home!

First, in a medium bowl, I combined shredded chicken (I bought a cooked rotisserie chicken from the supermarket), broccoli slaw (which you can find in your local supermarket in the bagged salad area), cilantro, scallions, and freshly grated ginger along with teriyaki sauce, duck sauce and vegetable oil.

IMG_0197

Next, with the egg roll wrapper positioned in a diamond shape in front of me I placed about two tablespoons of the mixture in the lower corner.

IMG_0198

To roll, I folded up the bottom corner, then each of the sides (it’ll look like an envelope) and then dabbed the top edges with water and then rolled to enclose it.

IMG_0200

Once I had finished rolling all of the egg rolls I heated vegetable oil in my cast iron skillet. I’ll say it was about 1/4 of the way up the sides of my skillet. Now, I’m not one to take the temperature of the oil when frying food. My trick, place a wooden spoon in the center of the oil and if bubbles form around it you know the oil is ready. This is definitely a lot safer than my other “trick,” flicking water into the oil. Not a lot of course, just enough to get a reaction. So, once my oil was ready I fried the egg rolls in batches, turning, about 3-4 minutes until they were golden brown. I then transferred them to a paper towel-lined plate to drain.

IMG_0201

I served the egg rolls with a broccoli slaw salad made by combining the remaining broccoli slaw, cilantro and scallions in a large bowl and tossing it with teriyaki sauce, duck sauce, vegetable oil and rice vinegar. And of course with a side of duck sauce for dipping! YUM! The fresh grated ginger is really the standout ingredient in these egg rolls… You taste it, but, not as an overpowering ingredient but as one that really brings all the flavors together.

IMG_0206

And it wasn’t long before I made these again (less than a week later) but without the chicken, yet, they were just as delicious. I am thinking of trying shrimp next.


Chicken Egg Rolls with Broccoli Slaw

Ingredients:

1 1/2 cups shredded rotisserie chicken, skin removed

4 cups broccoli slaw (about 8 ounces)

1/2 cup roughly chopped fresh cilantro

4 scallions, sliced

2 tablespoons grated peeled fresh ginger

3 tablespoons teriyaki sauce

3 tablespoons duck sauce, plus more for serving

2 tablespoons vegetable oil, plus more for serving

8 egg rolls wrappers

1 tablespoon rice vinegar


Directions:

Mix the chicken, 2 cups broccoli slaw, 1/4 cup cilantro, 2 scallions, the ginger, 2 tablespoons each of teriyaki sauce and duck sauce and 1 tablespoon of vegetable oil in a medium bowl.

Heat about 1/4 inch of vegetable oil in a large skillet over medium-high heat until the oil is hot but not smoking. While the oil is heating, arrange the chicken mixture in the center of each egg roll wrapper.

Tuck in the ends and roll to enclose, dab the edges with water and continue to roll to enclose.

Once the oil is hot, fry the egg rolls in batches, turning, 3 to 4 minutes. Transfer to a paper towel-lined plate to drain.

To make the slaw, combine the remaining broccoli slaw, cilantro and scallions in a large bowl. Add the remaining tablespoon each of teriyaki sauce, duck sauce and vegetable oil along with the rice vinegar, toss. Serve with the egg rolls.

**The original broccoli slaw recipe included a 14-ounce can of baby corn which I opted to leave out.

Recipe from Food Network

Chicken Pad Thai

Whenever I go to a Thai restaurant my go-to dish is always Chicken Pad Thai. It’s pretty much foolproof and always delicious. A few years ago I attempted to make it myself and was happy with the outcome – it was super simple and tasted awesome. I recently dug out the recipe I used and whipped it up for dinner.

To begin I prepped all of my ingredients; minced garlic and ginger, sliced three thinly sliced chicken breasts into strips and julienned 2 carrots and 1 zucchini.

IMG_7158

Two of my other ingredients were rice noodles and Asian chili paste.

IMG_7162

Next I whisked together soy sauce, water, peanut butter and the chili paste until it was smooth.

IMG_7163

To cook the vegetables and chicken I began by sautéing the garlic and ginger for about a minute and then adding the vegetables and chicken and cooking everything until the chicken was cooked through.

IMG_7166

While I was cooking the vegetables I prepped the rice noodles by soaking them in warm water (I brought a pot of water to boil and then removed it from the heat). Luckily the rice noodles now come in these individual packets (there are four in a box) so I knew exactly how many noodles I needed – 2 packets. The last time I cooked with rice noodles – granted it was some time ago – they didn’t come in these nifty packages so I had to use my best guess as to what was half of the package.

IMG_7164

The noodles soaking…

IMG_7165

Once the noodles were ready (I followed the directions on the package and soaked them for 5 minutes) I added them to the pan with the vegetables and then added in the peanut/soy sauce I made along with light brown sugar and cider vinegar. I tossed all of the ingredients together to distribute the sauce and let everything cook for a few more minutes and then it was time to enjoy my homemade Chicken Pad Thai and it was delicious!

IMG_7168

Chicken Pad Thai – Modified from here

Servings 4

Ingredients:

2 tablespoons soy sauce

2 tablespoons water

1 1/2 tablespoons creamy peanut butter

2 teaspoons Asian chili paste

3 tablespoons canola oil

2 teaspoons minced garlic

2 teaspoons minced ginger

1 zucchini, julienned

2 carrots, julienned

8 ounces chicken breast, sliced into strips

1/4 pound rice noodles, follow directions on package to prepare

1 tablespoons light brown sugar

1 tablespoons cider vinegar

Optional for garnish:

Lime Wedges

Chopped Peanuts

Bean Sprouts

Directions:

1. In a bowl whisk together the soy sauce, water, peanut butter and chili paste.

2. Heat a large sauté pan (or wok) over medium heat and add the canola oil. Once the oil is hot add the garlic and ginger and cook for about a minute. Add the vegetables and chicken and cook until the chicken is browned and cooked through. Add the noodles and toss to coat them.

3. Add the peanut/soy sauce, brown sugar and cider vinegar and toss to distribute. Cook until heated through.

Roasted Butternut Squash & Sweet Potato Soup

The temperatures have begun to drop and it’s the perfect excuse to make warm and hearty soups, albeit I made this soup last week on a rainy day, which as we all know is also a perfect day for soup. I’ve actually made this soup a few times before after coming across it on a fellow blogger’s blog last year, but, this was the first time that I made the soup by roasting a whole butternut squash as opposed to the prepackaged chopped ones you sometimes see in the produce area and as crazy as it sounds, it made such a difference in the flavor.

IMG_5579

Luckily the butternut squash wasn’t as difficult to slice as the pumpkins were for the homemade puree I made. Granted the two slices weren’t perfectly equal but they were close enough. After I sliced them I cleaned out all of the pulp and seeds and placed the two halves on a baking sheet and drizzled them with olive oil and a pinch of salt and pepper. I roasted them in a 425 F preheated oven for just shy of an hour, until they were fork tender.

IMG_5591

Along with the butternut squash I also roasted a large sweet potato which I peeled and cubed, the roasting time for the potato was considerably less, about 20 minutes. Once the butternut squashed cooled I removed the peel and chopped it into cubes as well. Of course I couldn’t help but trying a piece and it was absolutely delish. Roasting vegetables really brings out their inner sweetness.

IMG_5605

I then gathered all of the ingredients I needed for the soup along with the squash and sweet potato; 2 diced onions, minced ginger, coconut milk and vegetable stock.

IMG_5606

Now on to making the actual soup… I began by sautéing the onion and ginger until the onions were translucent. I then added in the cubed squash and sweet potato and finally the vegetable stock. Once I brought it to a boil over medium heat I reduced the heat to low and let the soup simmer for 20 minutes.

IMG_5621

And finally using a handheld blender (immersion blender) I pureed the soup until it was smooth and then stirred in the coconut milk.

IMG_5624

I cannot say enough good things about this soup… There is sweetness from roasting the squash and the sweet potato and a hint of ginger that makes this soup so delicious. Another plus, it’s great for many who follow different types of diets… Its vegan, gluten-free, dairy-free and all around healthy. Even those of you who are not keen on veggies will find this soup tasty!

IMG_5636

Roasted Butternut Squash & Sweet Potato Soup – adapted from here

Ingredients:

1 butternut squash sliced in half and pulp and seeds removed

1 large sweet potato, peeled and cubed

2 medium-sized onions, peeled and diced

2-inch piece of ginger, peeled and minced

4 cups vegetable stock

3/4 cup coconut milk

Kosher salt and fresh ground pepper

Olive oil

Directions:

1. Preheat oven to 425 F.

2. Drizzle olive oil over squash and sweet potato; add a pinch of salt and pepper. Place squash cut side down onto a baking sheet. On another baking sheet lay out the sweet potatoes. Cook the sweet potatoes for about 20 minutes, or until fork tender. Cook the squash for about 50 minutes, once again until fork tender. Remove from the oven and let cool for a few minutes.

3. In a large pot, heat a tablespoon olive oil over medium heat. Add the onion and ginger and sauté for 5 minutes, or until the onions are translucent.

4. Remove the peel from the squash and roughly cut it into large cubes and add it to the pot with the onions and ginger along with the sweet potato.

5. Add the vegetable stock and bring to a boil. Lower heat and let the soup simmer for 20 minutes, making sure the squash is tender.

6. Using a handheld blender, puree the soup. Add the coconut milk and stir.


Sweet & Sour Chicken

The past few days I have been on a roll with cooking dinner. It probably helped that I went through my recipe binder and planned out a few meals for the week. Today I am going to share with you a quick and simple recipe for Sweet & Sour Chicken that I got from an issue of Rachael Ray Magazine a while back.

I usually try to do all of my prep-work for whatever I am cooking or baking before getting started, this way I don’t miss anything and I can work smoothly through the recipe. For this Sweet & Sour Chicken recipe I prepped my ingredients by doing the following: cut a pound of boneless skinless chicken thighs into 3/4 inch pieces which I then coated with cornstarch and soy sauce, chopped up a green bell pepper into 3/4 inch pieces, minced up a tablespoon worth of fresh ginger, and finally, drained the pineapple juice of an 8-ounce can of pineapple chunks and set the chunks aside while whisking the juice along with cornstarch, soy sauce, ketchup, sugar, cider vinegar and sugar.

IMG_5231

It was then time to start cooking. I began by cooking the chicken in a large skillet over medium-high heat that I coated with canola oil. Once the chicken was browned I added in the minced ginger.

IMG_5234

Next up I added in the pineapple chunks and the bell pepper and continued cooking the mixture until the peppers were just beginning to get tender.

IMG_5235

And lastly I added in the ketchup mixture and brought it to a boil and cooked it until the sauce thickened. I then lowered the heat to low and continued cooking it for about another 15 minutes to be sure that the chicken was cooked through.

IMG_5238

Then it was time to enjoy my homemade take-out cuisine. I served the chicken with basmati rice and it was the perfect complement. While you do get some hints of the sour components – the soy sauce and cider vinegar – of the chicken the sweet part is definitely the stronger flavor of the two. I am definitely not complaining though… This is one dish I can see myself making quite a few more times.

IMG_5240


Sweet & Sour Chicken

Ingredients:

1 lb. boneless skinless chicken thighs, fat trimmed, then cut into 3/4-inch pieces

6 teaspoons cornstarch

2 tablespoons lower-sodium soy sauce

1/3 cup ketchup

1/4 cup sugar

1/4 cup cider vinegar

1 can (8-oz.) pineapple chinks in juice, drained, juice reserved

2 tablespoons canola oil

1 tablespoon minced ginger

1 green bell pepper, cut into 3/4-inch pieces


Directions:

1. In a medium bowl, combine the chicken, 4 teaspoons cornstarch and 1 tablespoon soy sauce. In a small bowl, whisk the remaining cornstarch and soy sauce, with the ketchup, sugar, cider vinegar, and pineapple juice.

2. In a large skillet, heat the oil over medium-high heat until it shimmers. Add the chicken and cook, turning once, until browned, about 4 minutes. Add the ginger and cook, stirring often, until fragrant, 30 seconds. Add the pineapple chunks and bell peppers. Cook, stirring occasionally, until the pepper is crisp-tender, about 3 minutes. Stir in the ketchup mixture, bring to a boil and cook until sauce thickens, about 1 minute.

%d bloggers like this: