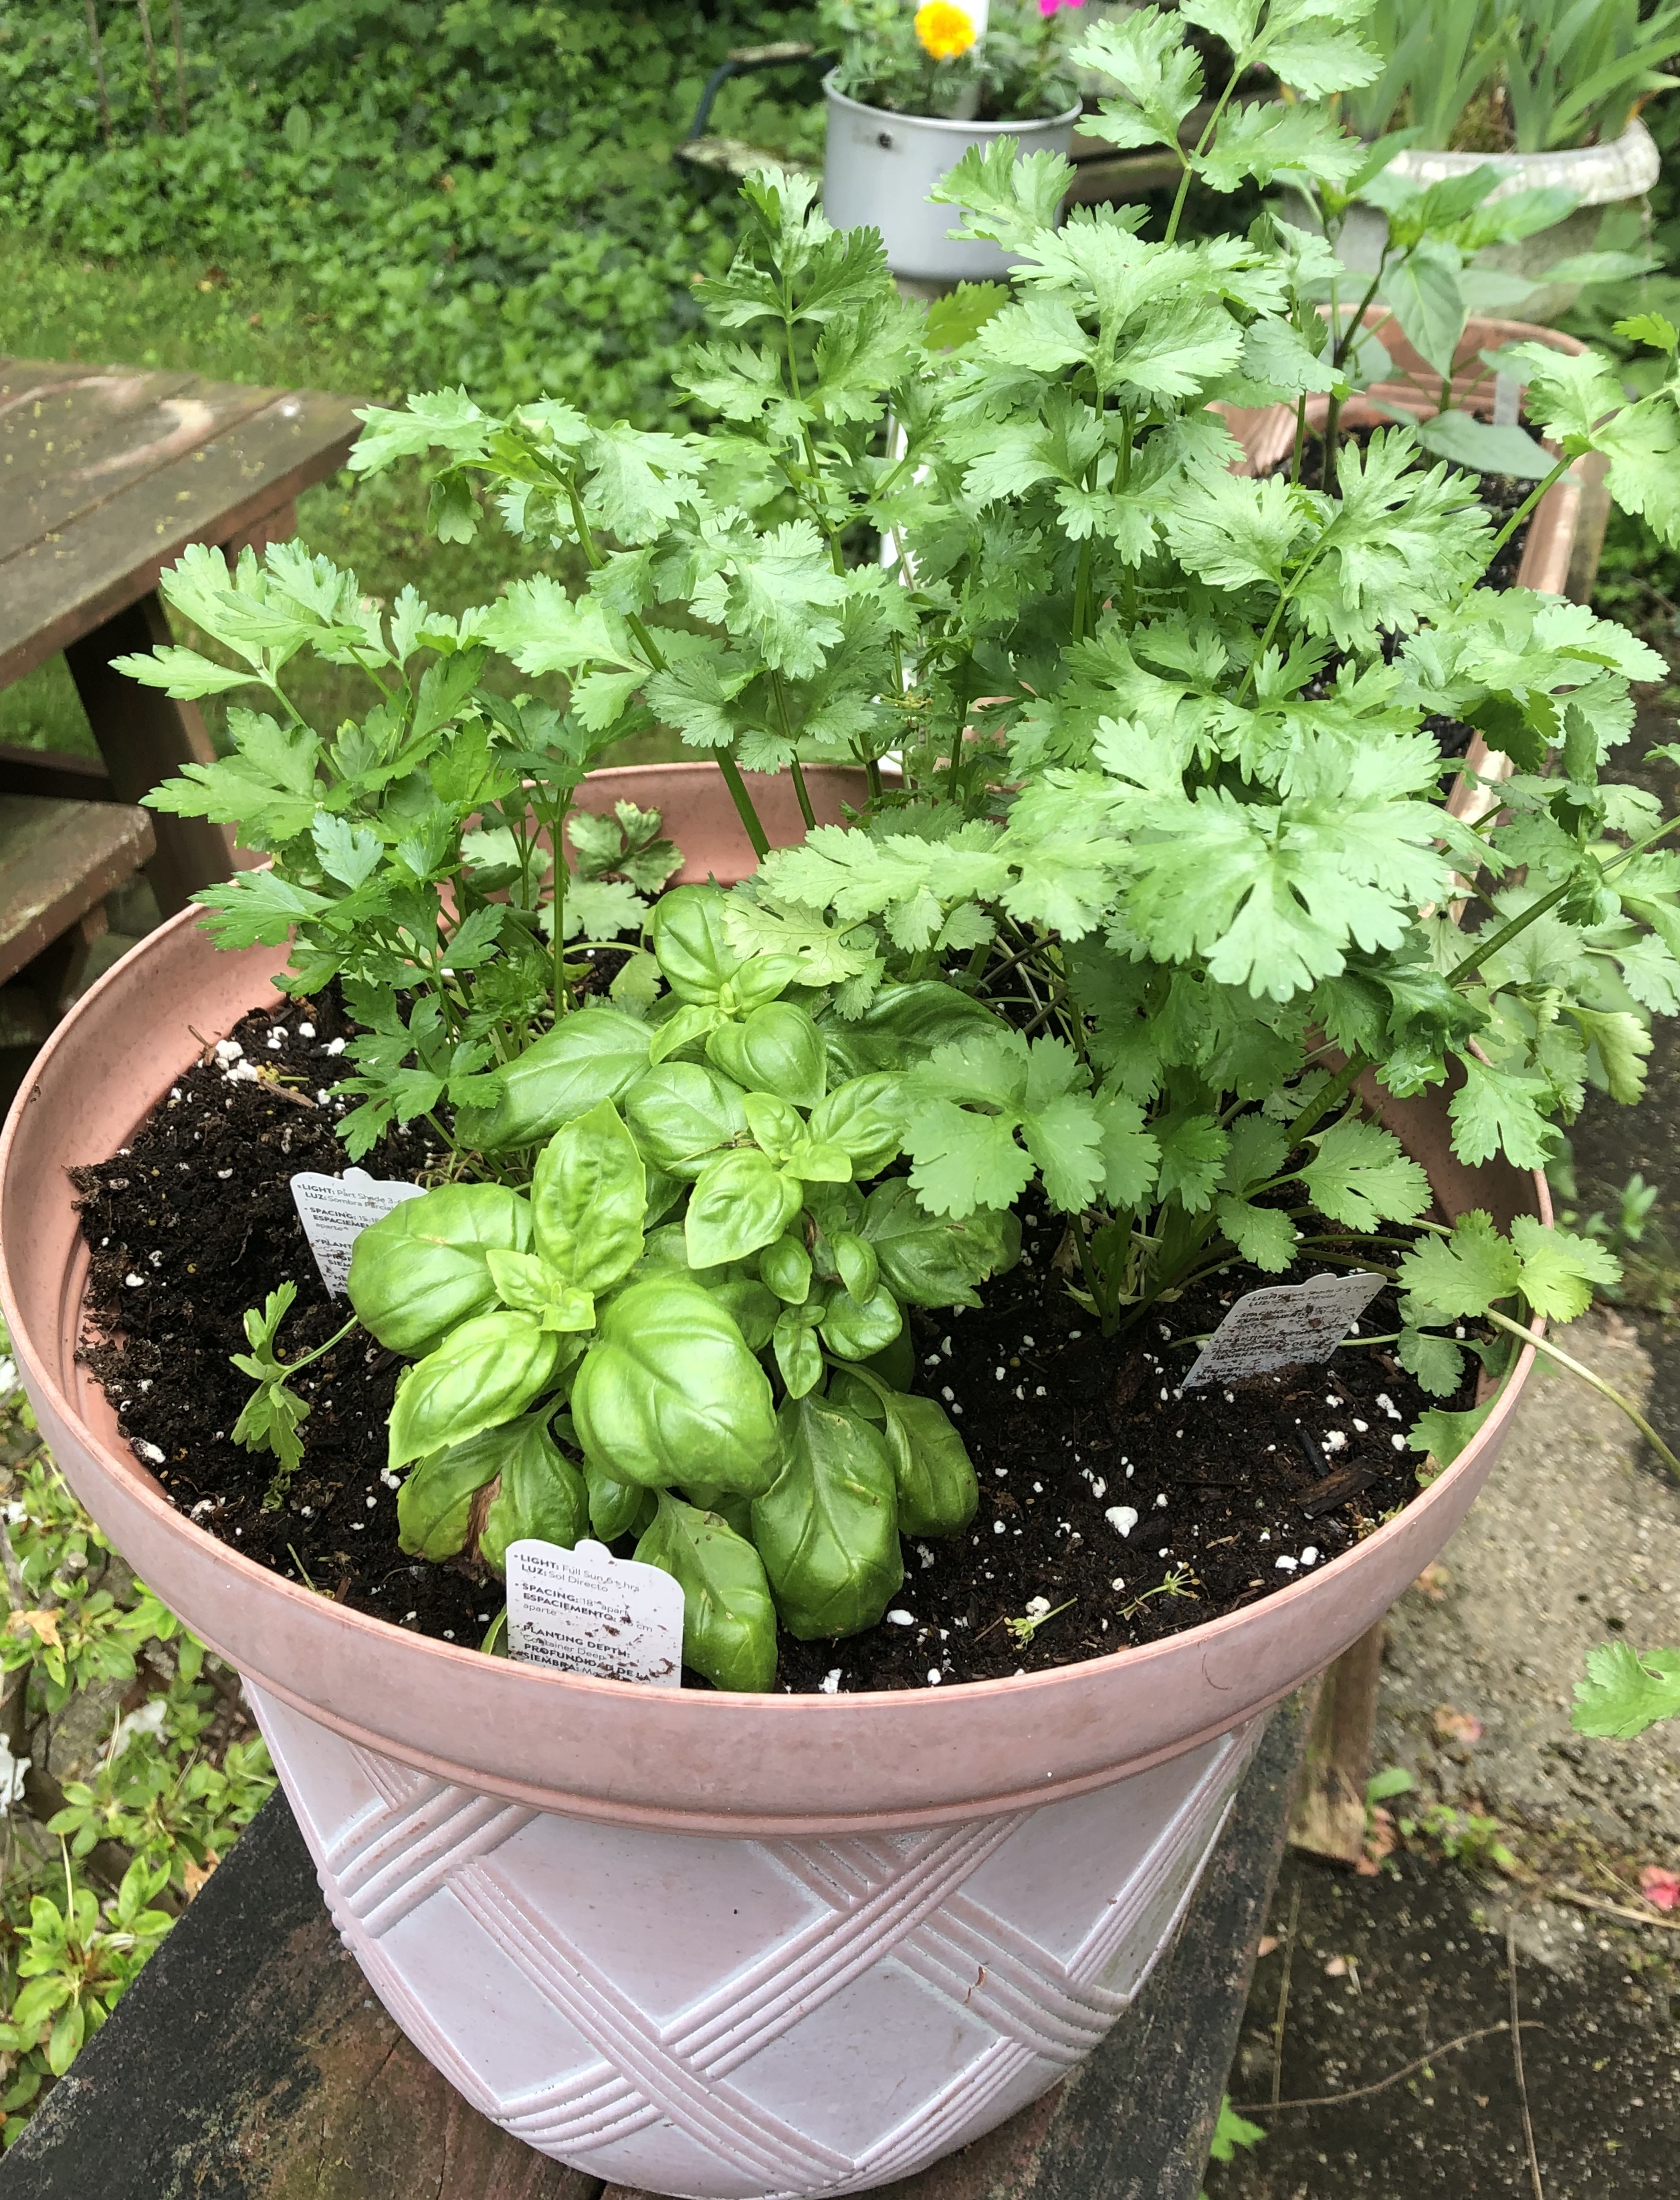
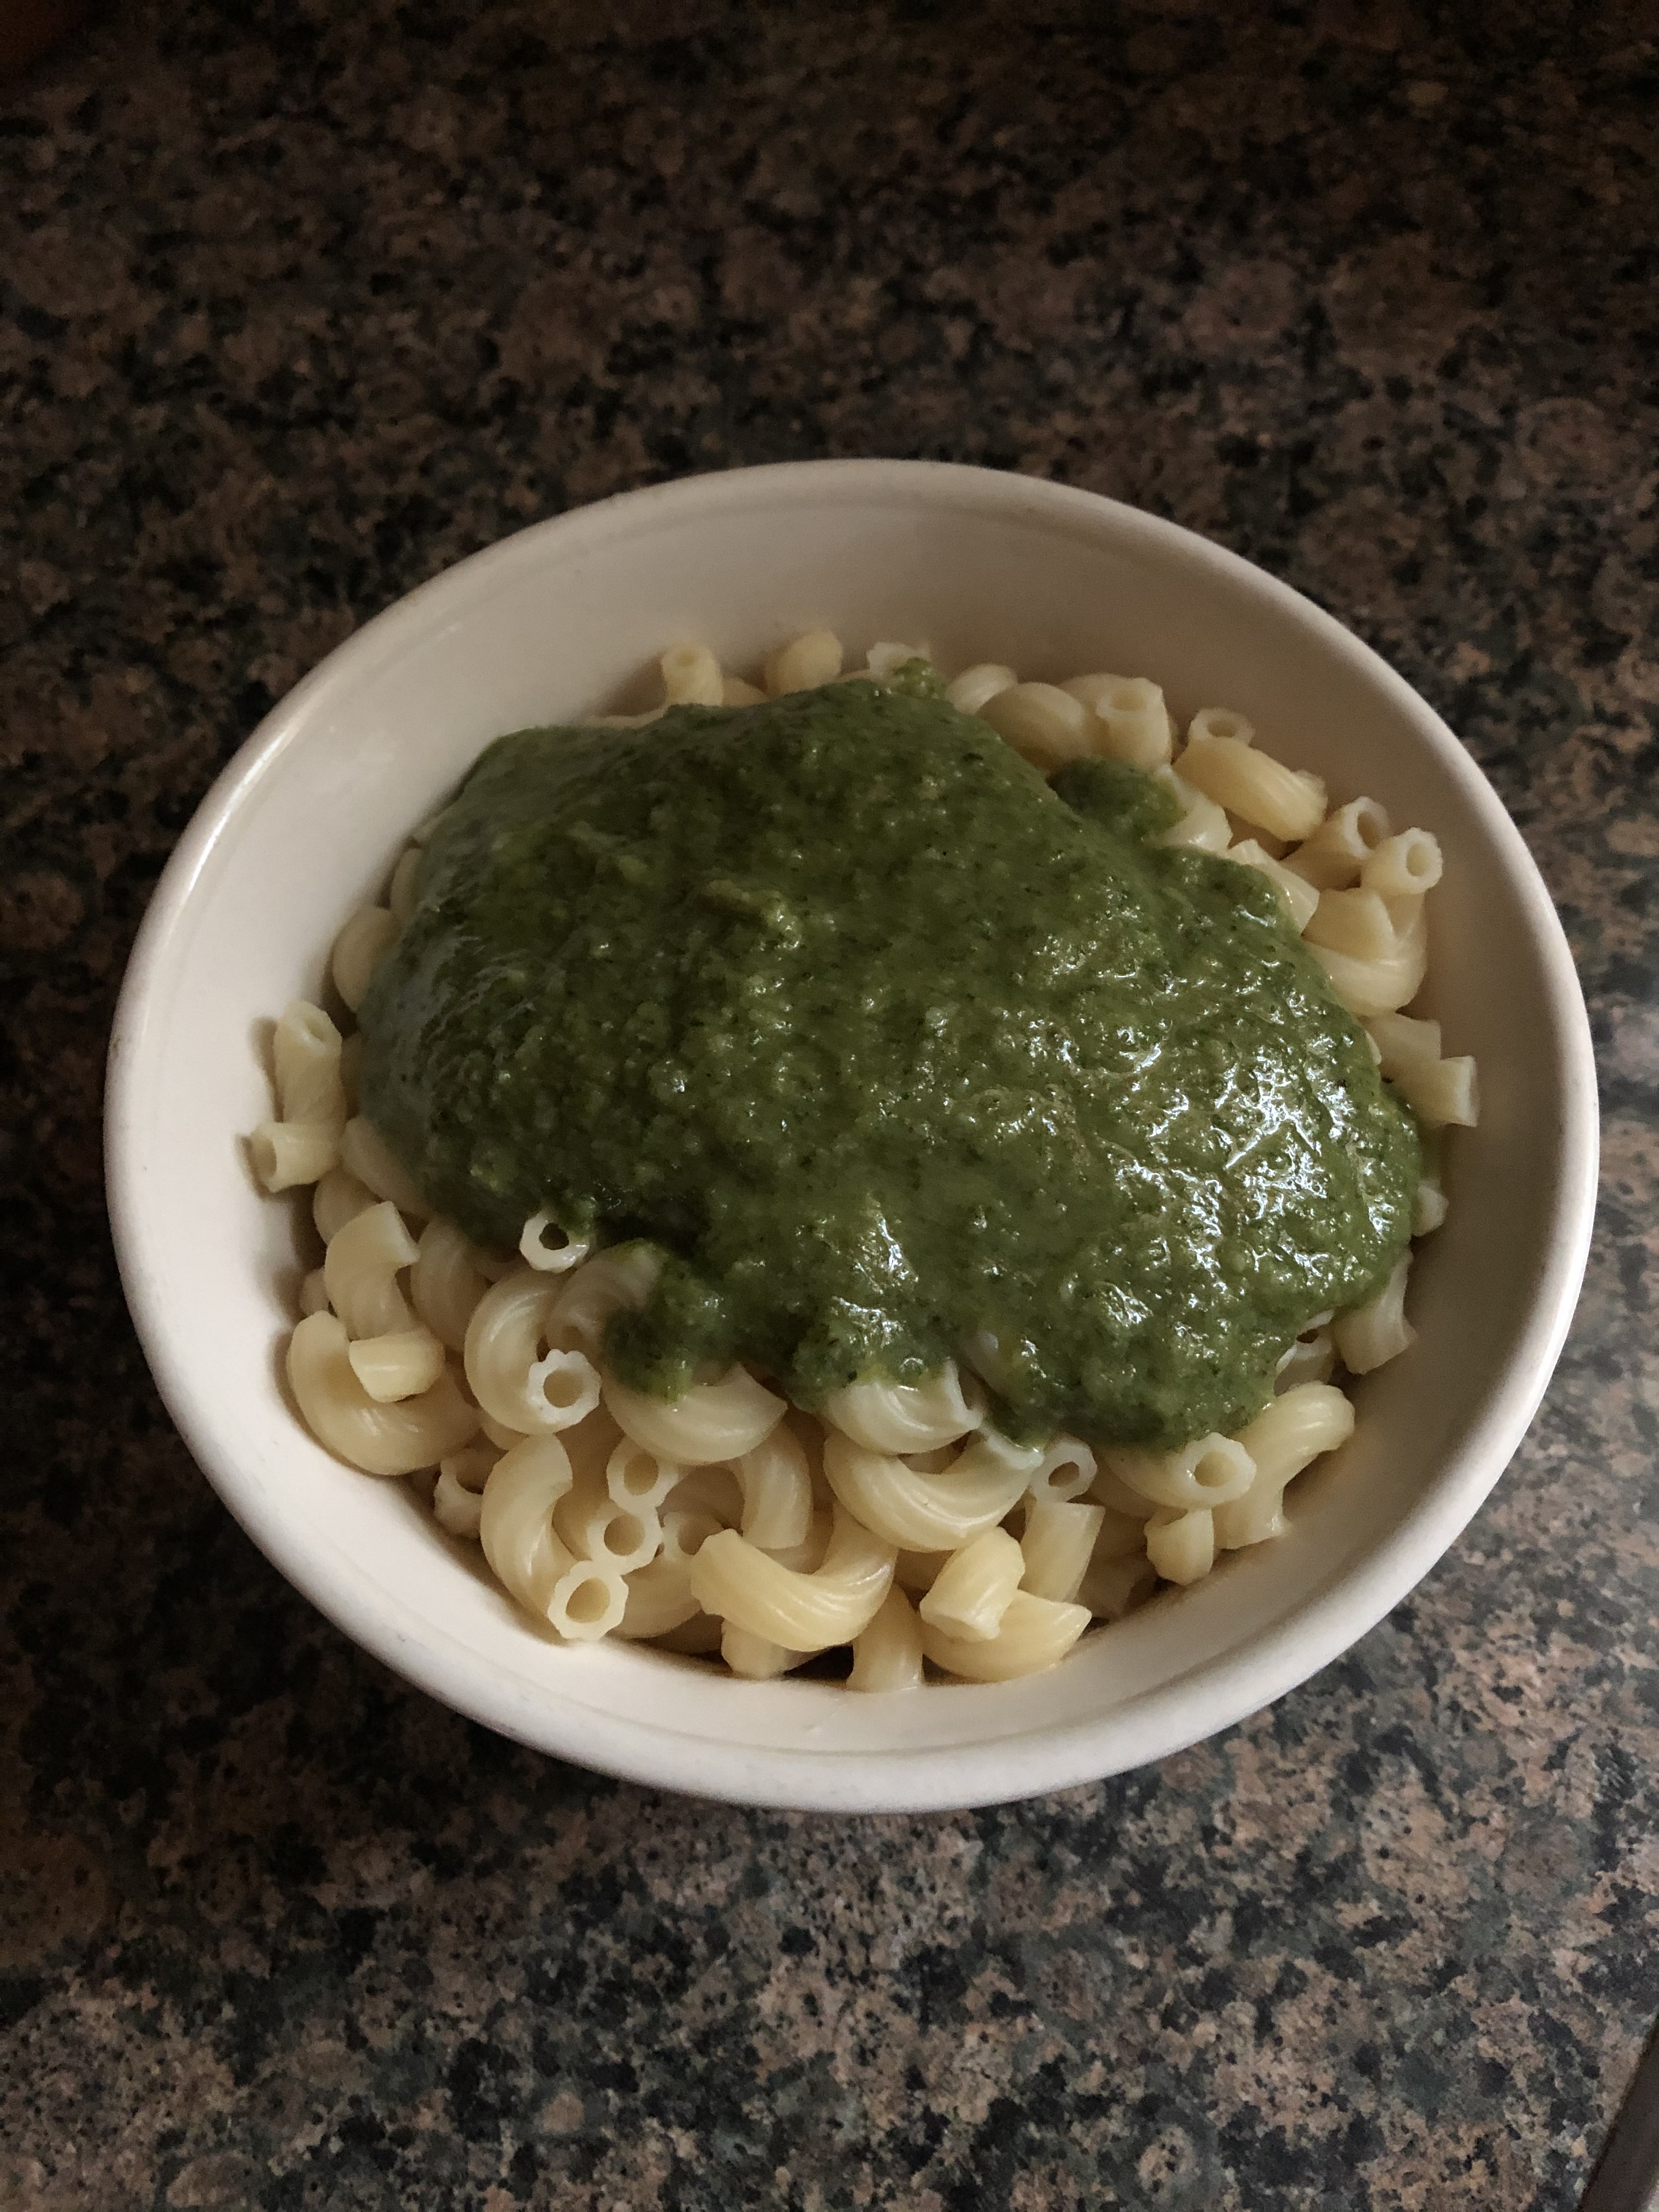
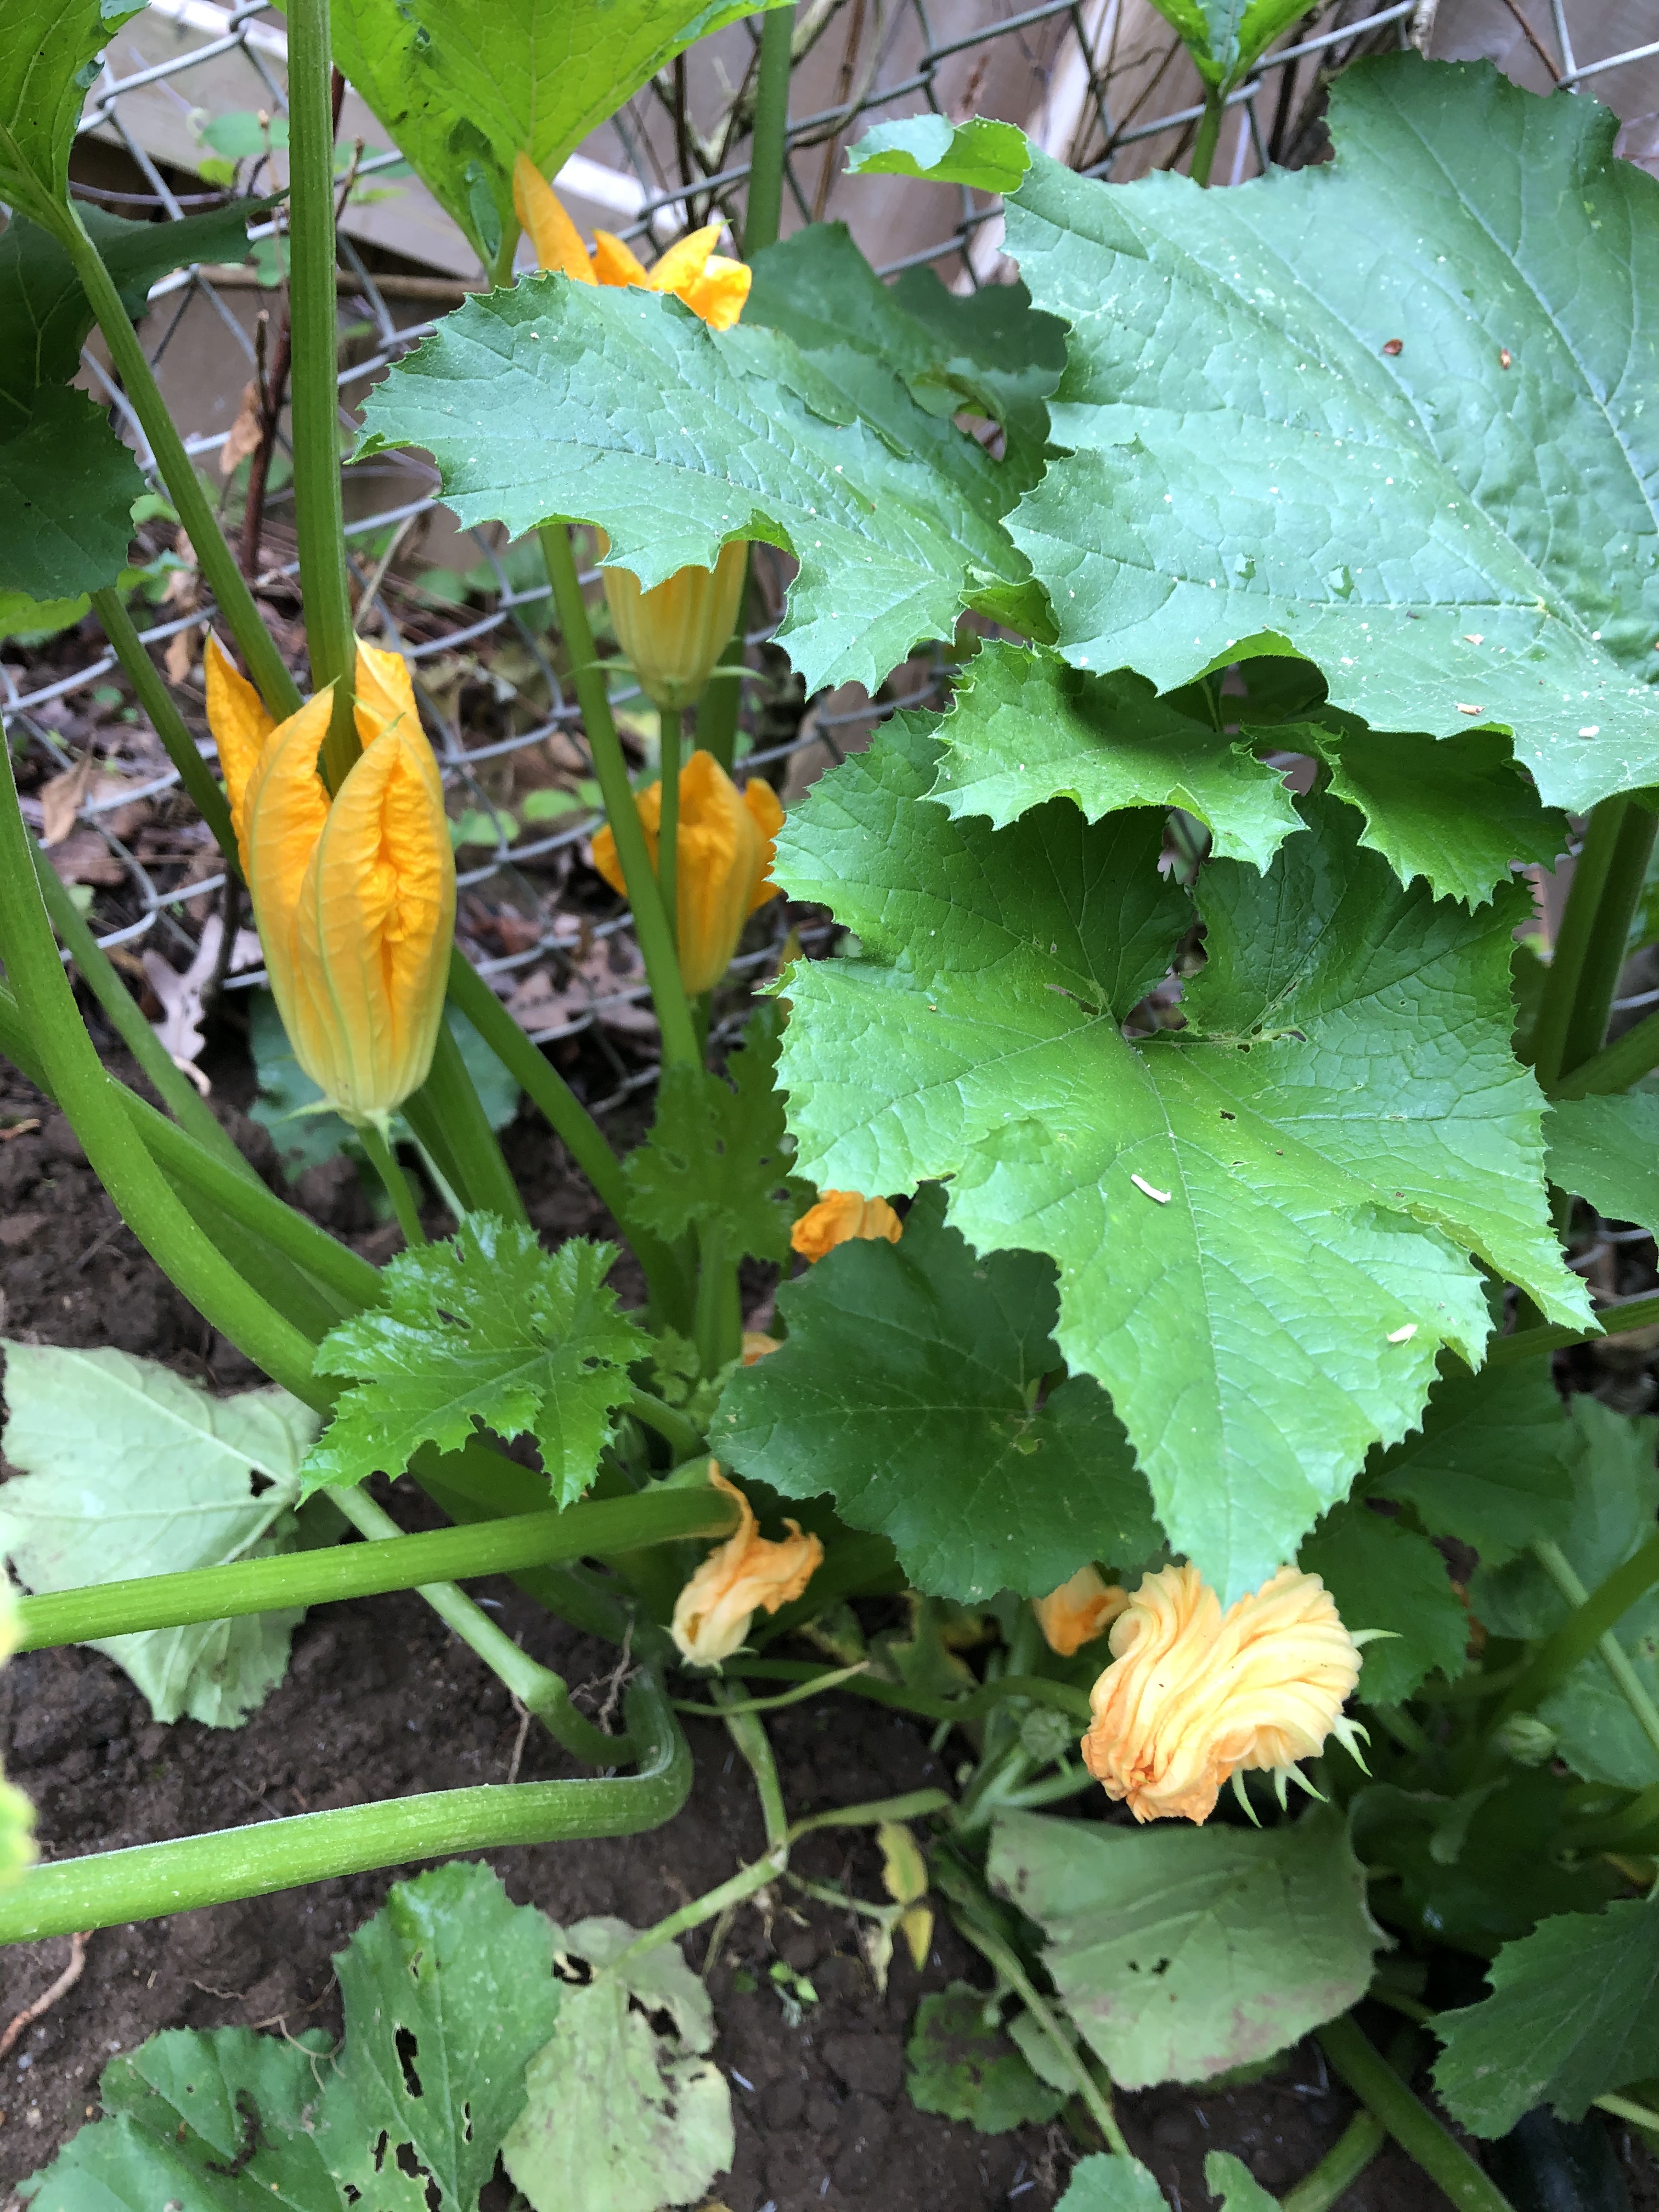
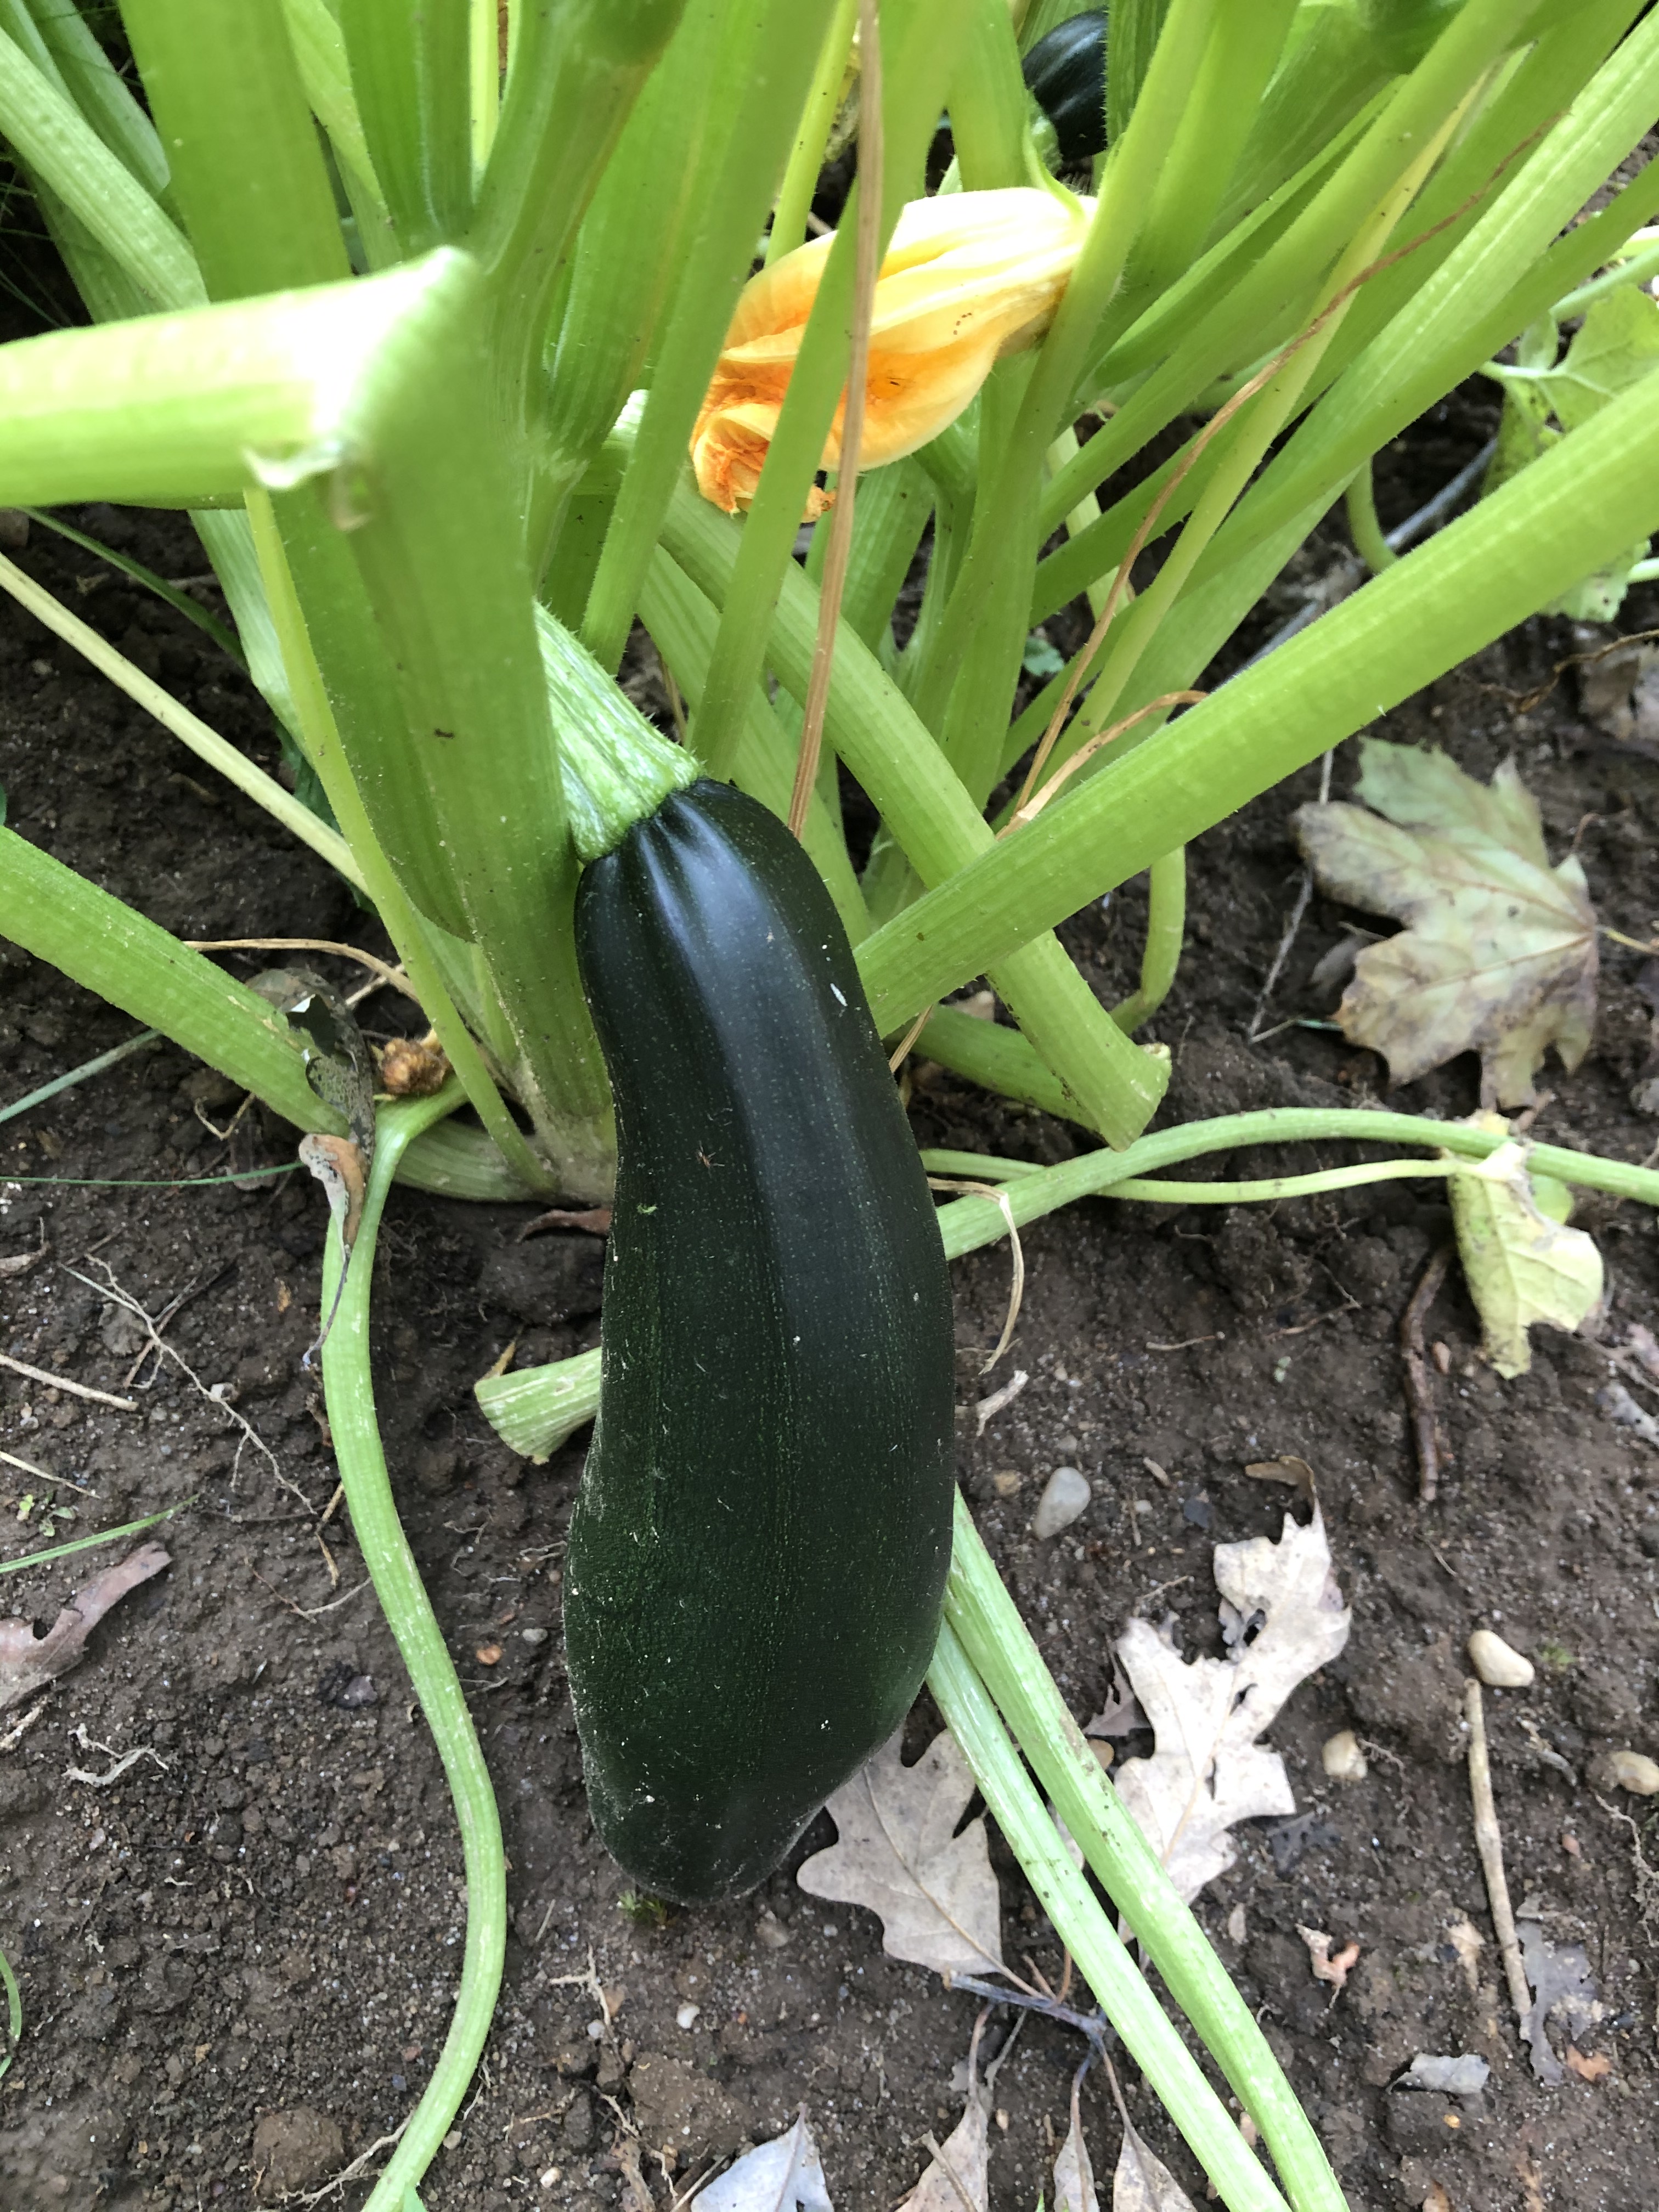
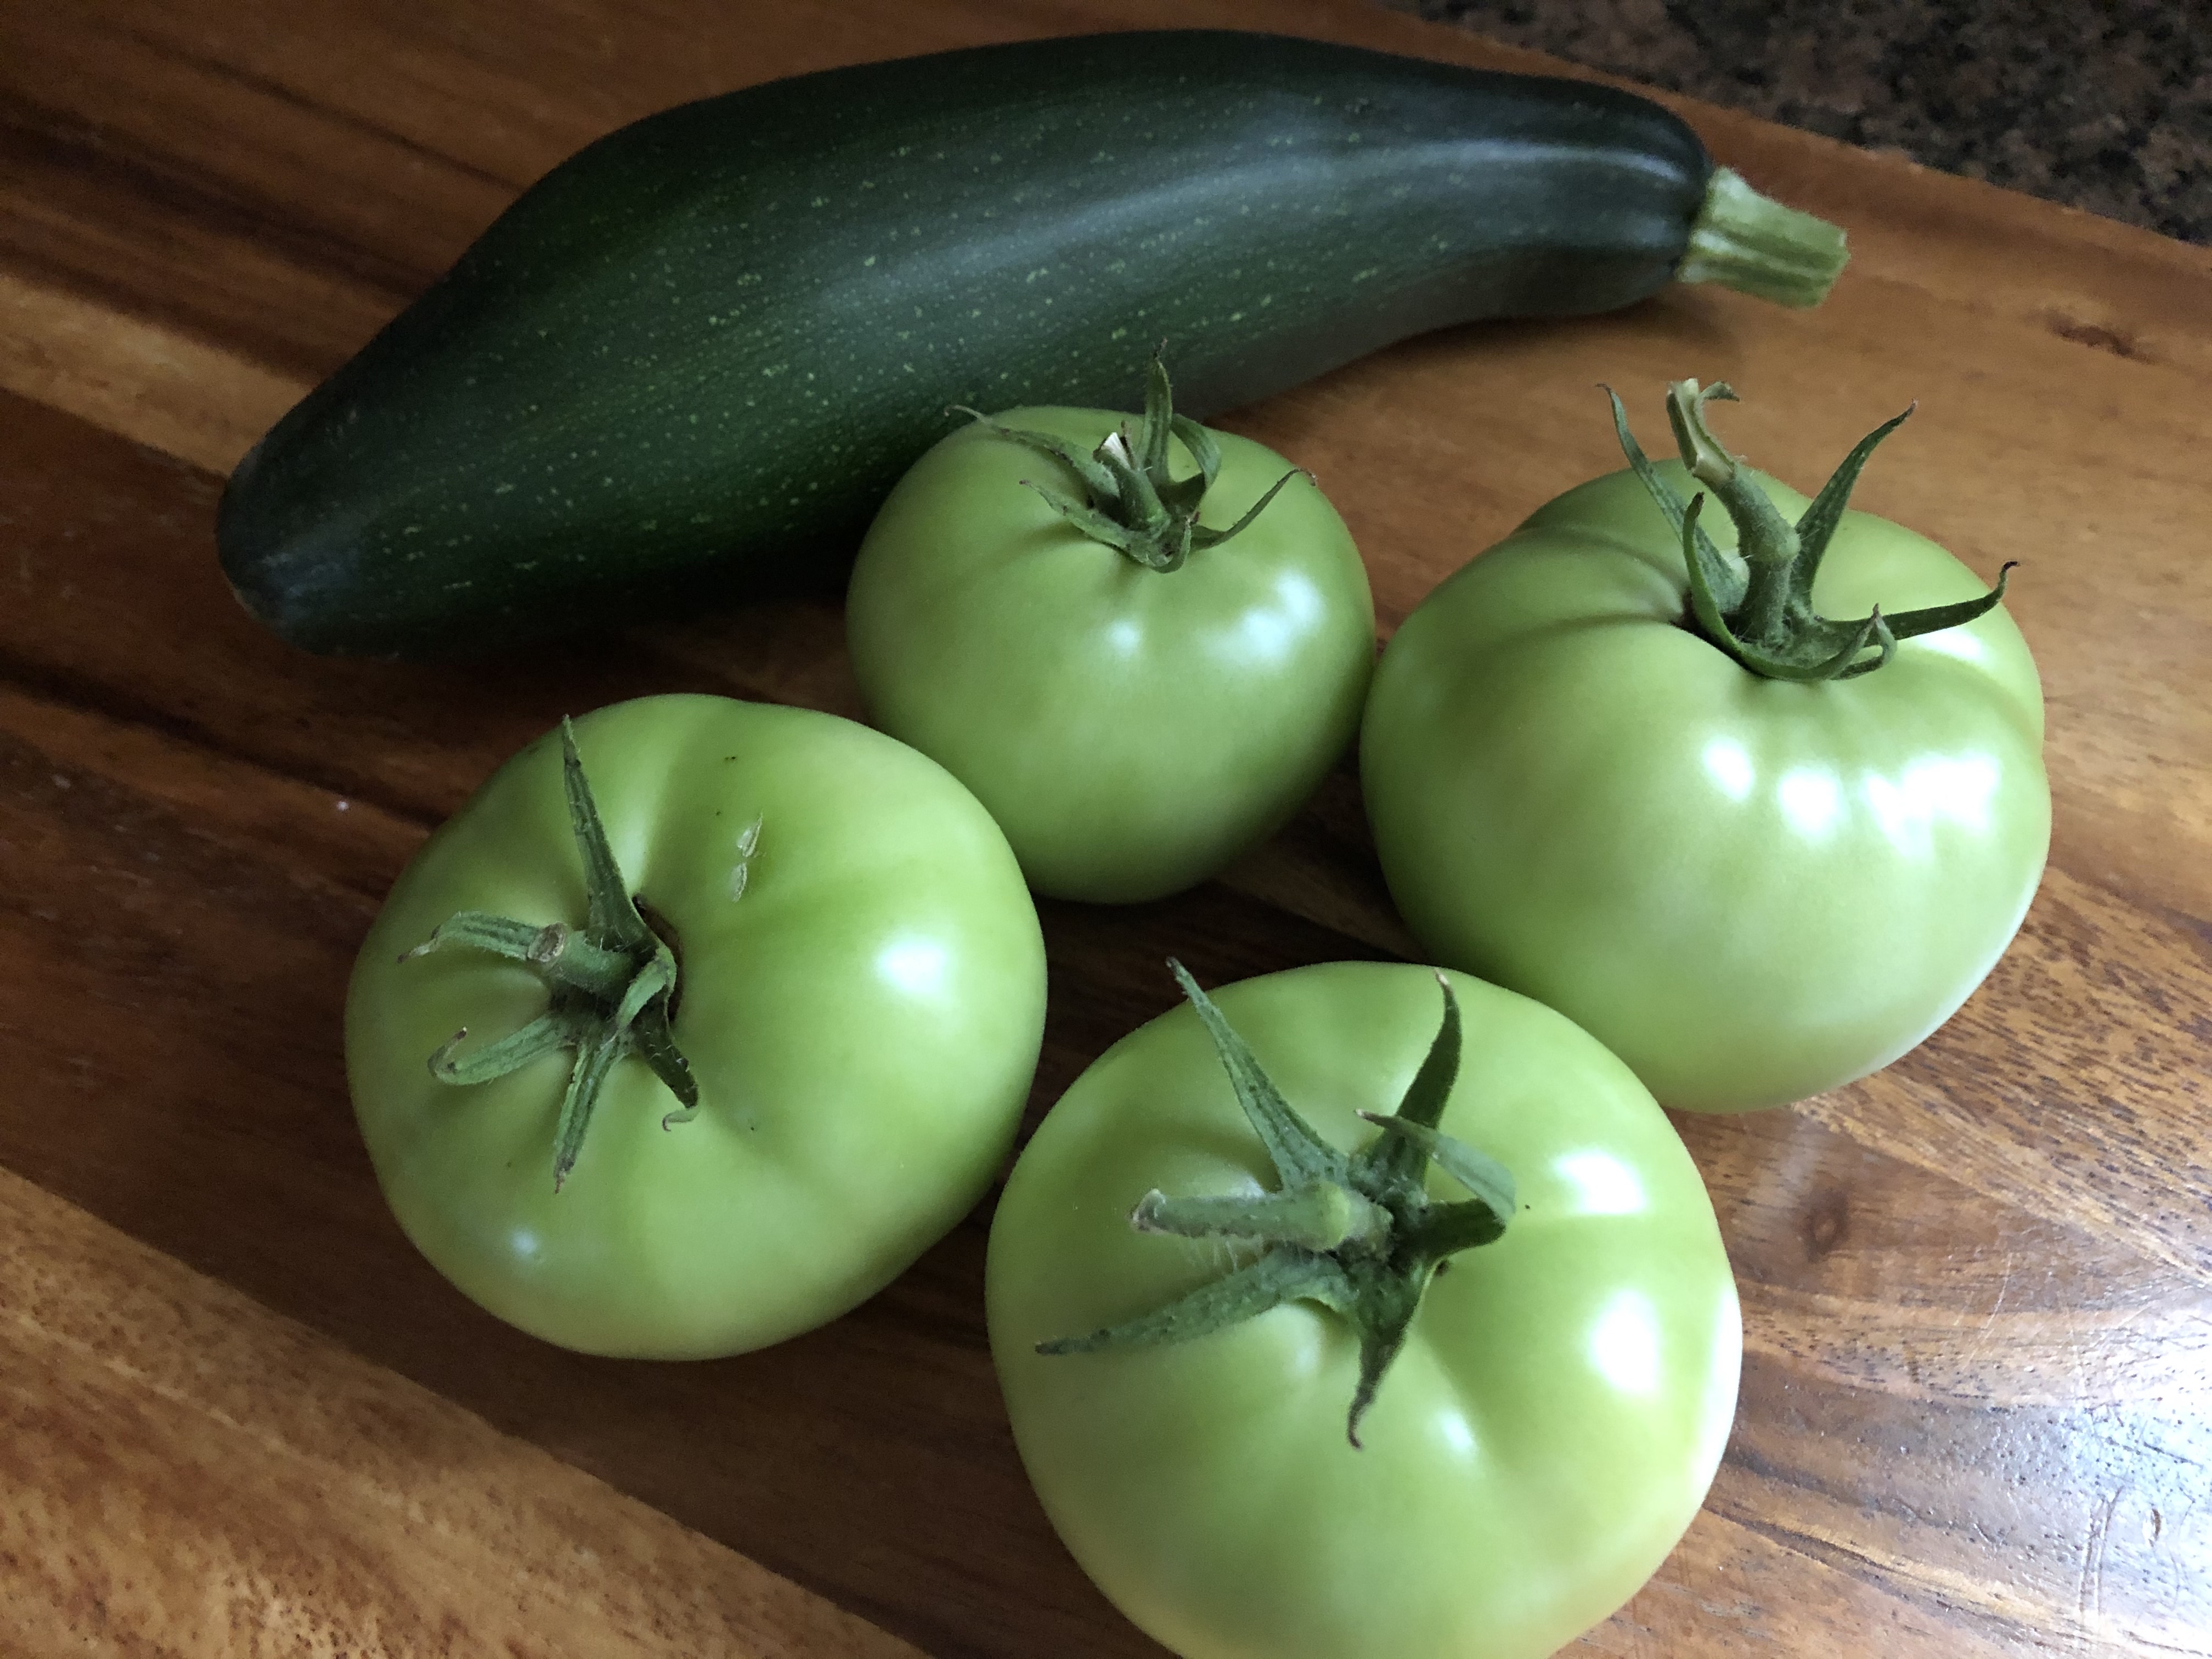
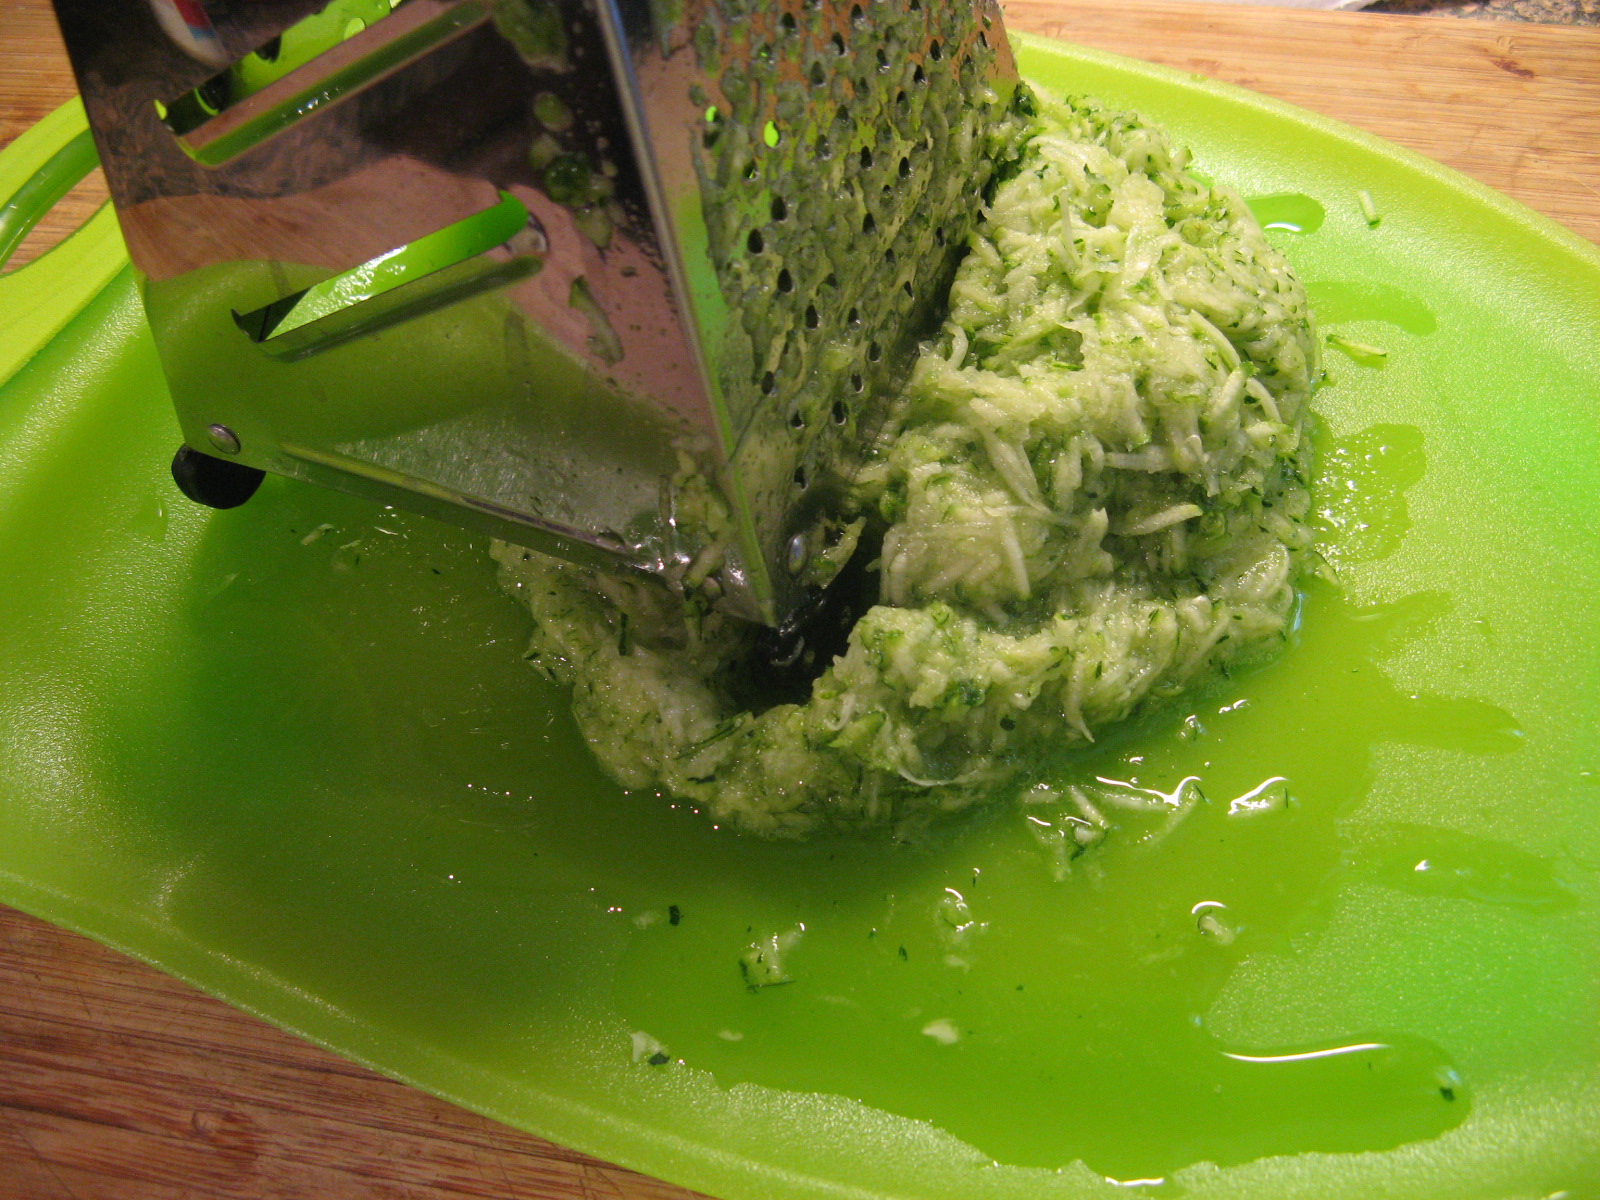
If you have been following along, you know that I decided to plant a garden this year. I posted about it a few weeks when I shared a recipe for Walnut Pesto. I mentioned in that post that I was hoping to make zucchini fried with the zucchini I was growing. Well, a day or so after picking my first decent sized zucchini another one was ready for picking. So, it seemed like the perfect time to make zucchini fries.
Initially I was planning on frying them. And while I have nothing against fried food, I just don’t like the clean-up involved after frying things indoors. The oil always splatters, and you must wait until the oil cools down before you can wash your pot. I am one of those people who likes to clean as they go while they are in the kitchen. So, I randomly came across a baked option and thankfully I had all the ingredients on hand. And the recipe was super simple, I had them in the oven in less than 10 minutes. And best of all, they didn’t get soggy like fried zucchini fries get and they didn’t need a dipping sauce since they were seasoned perfectly!
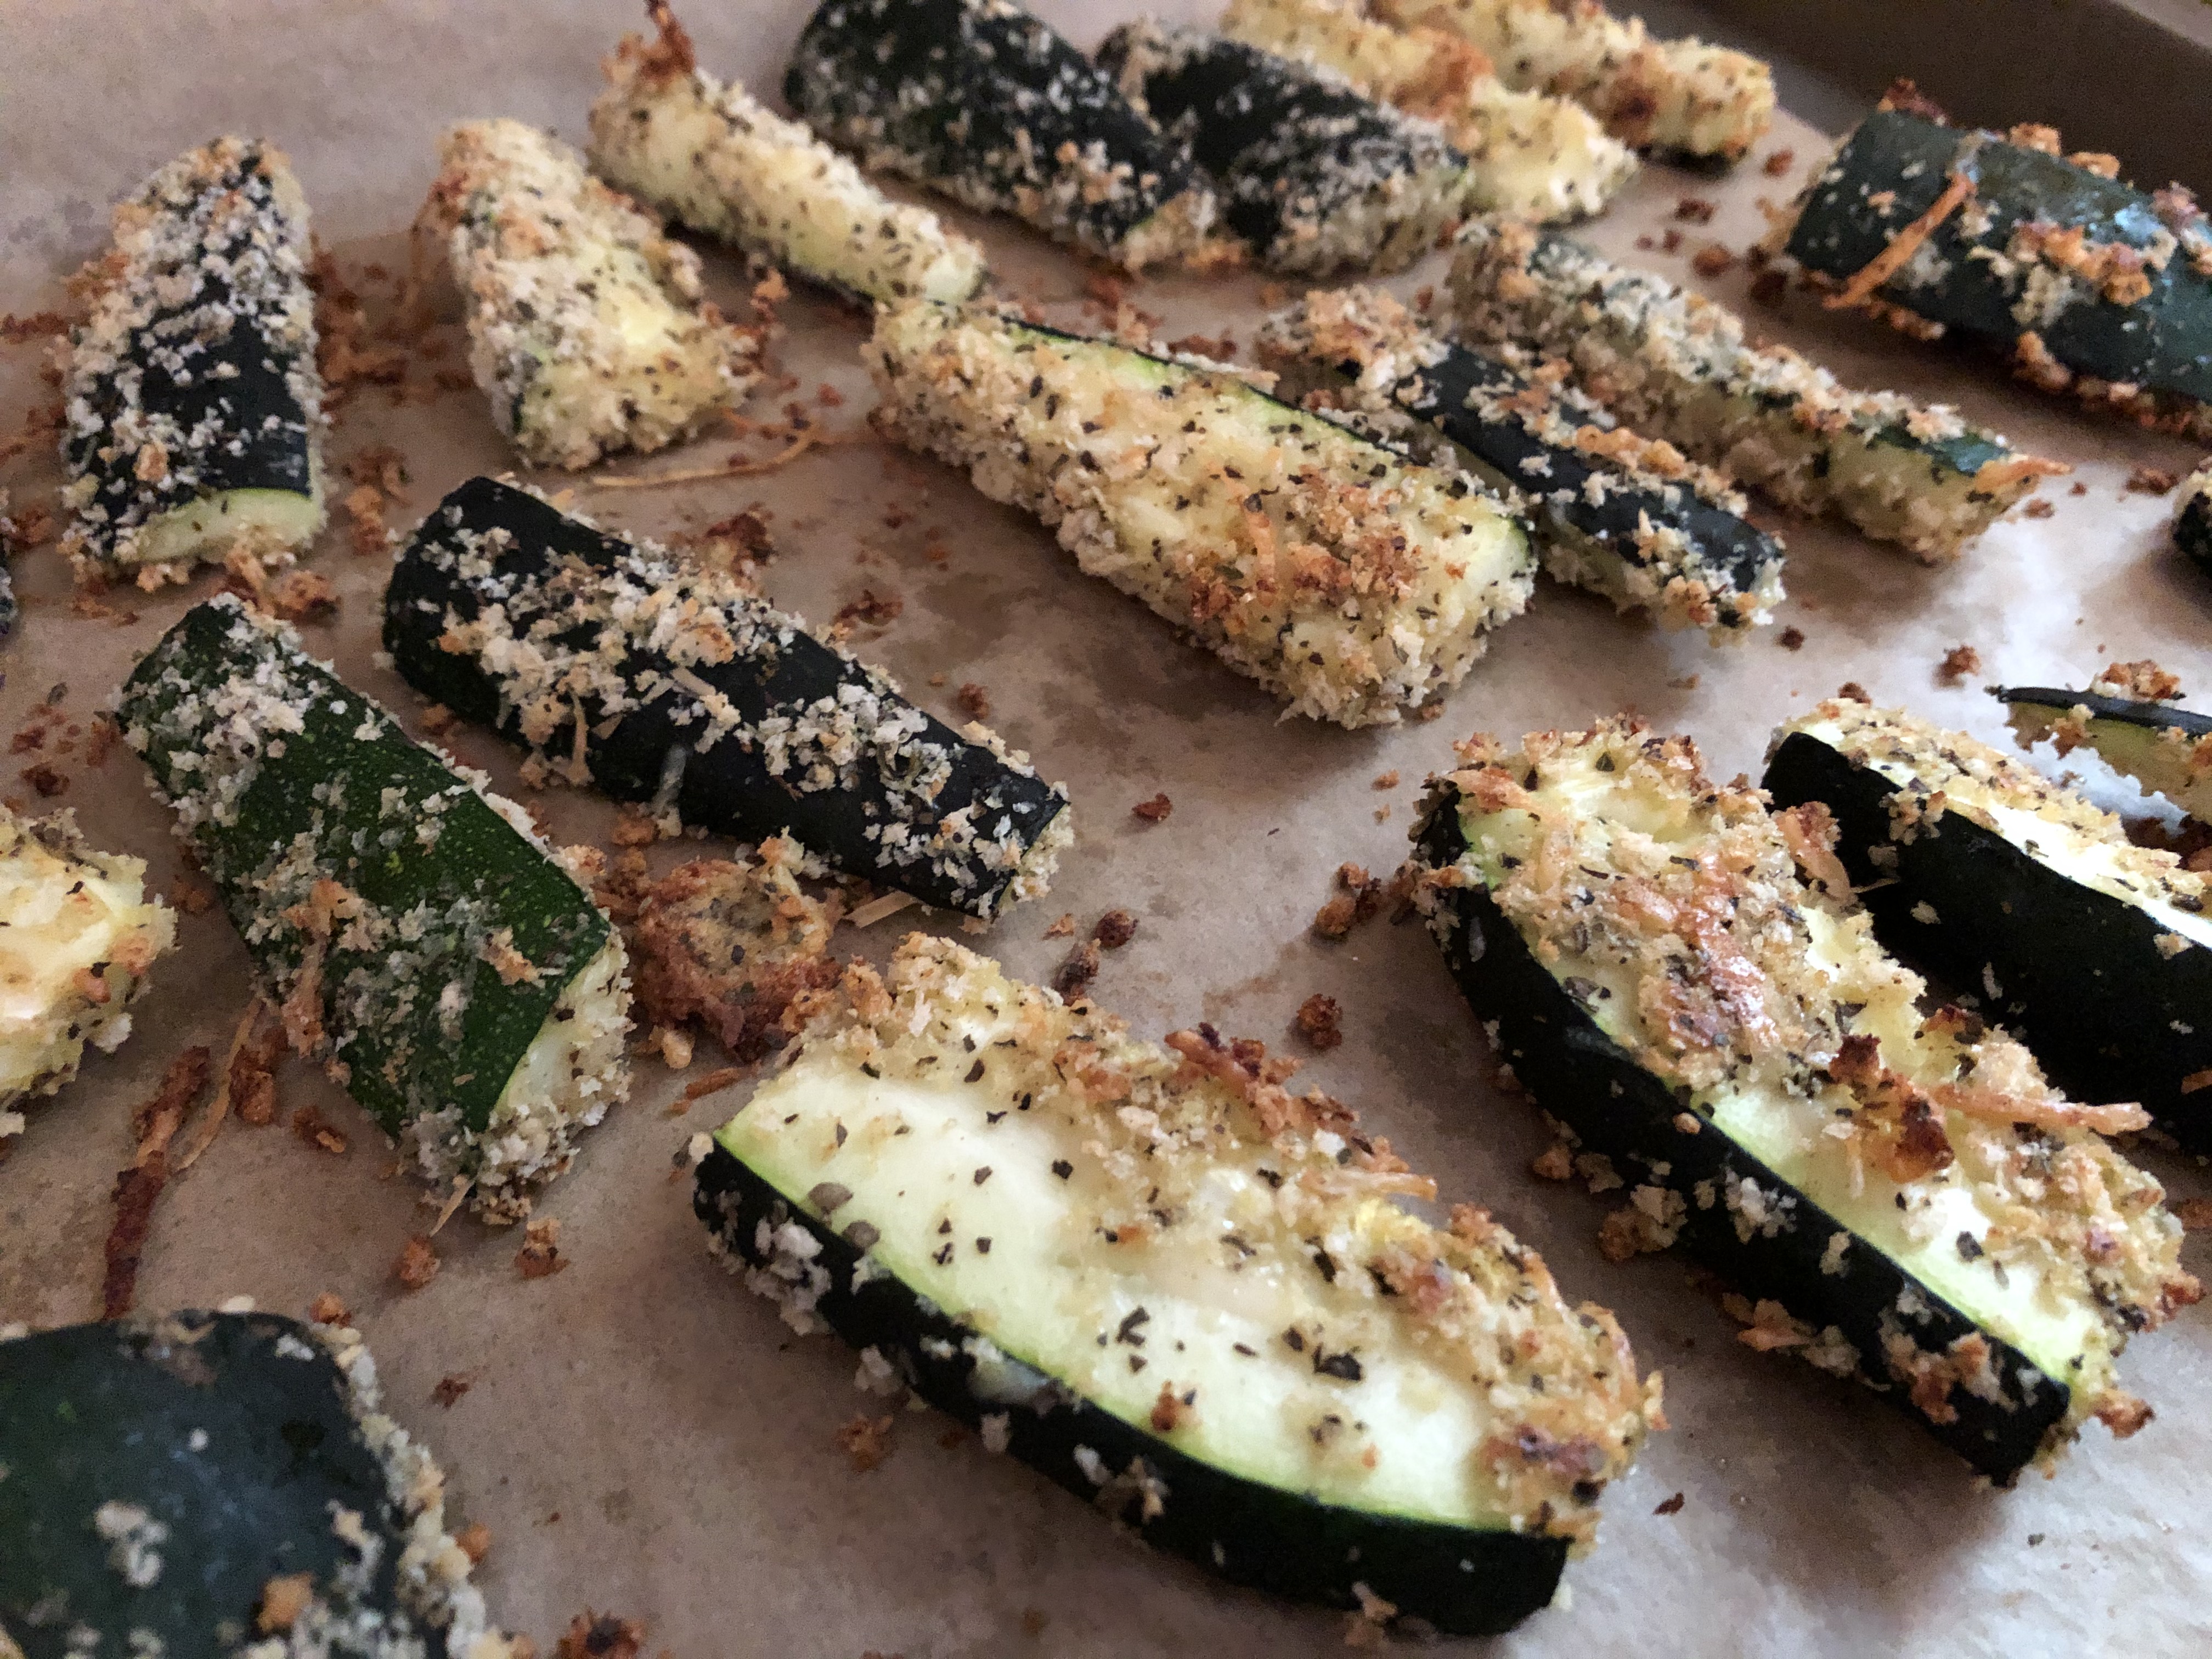
Baked Zucchini Fries
Ingredients:
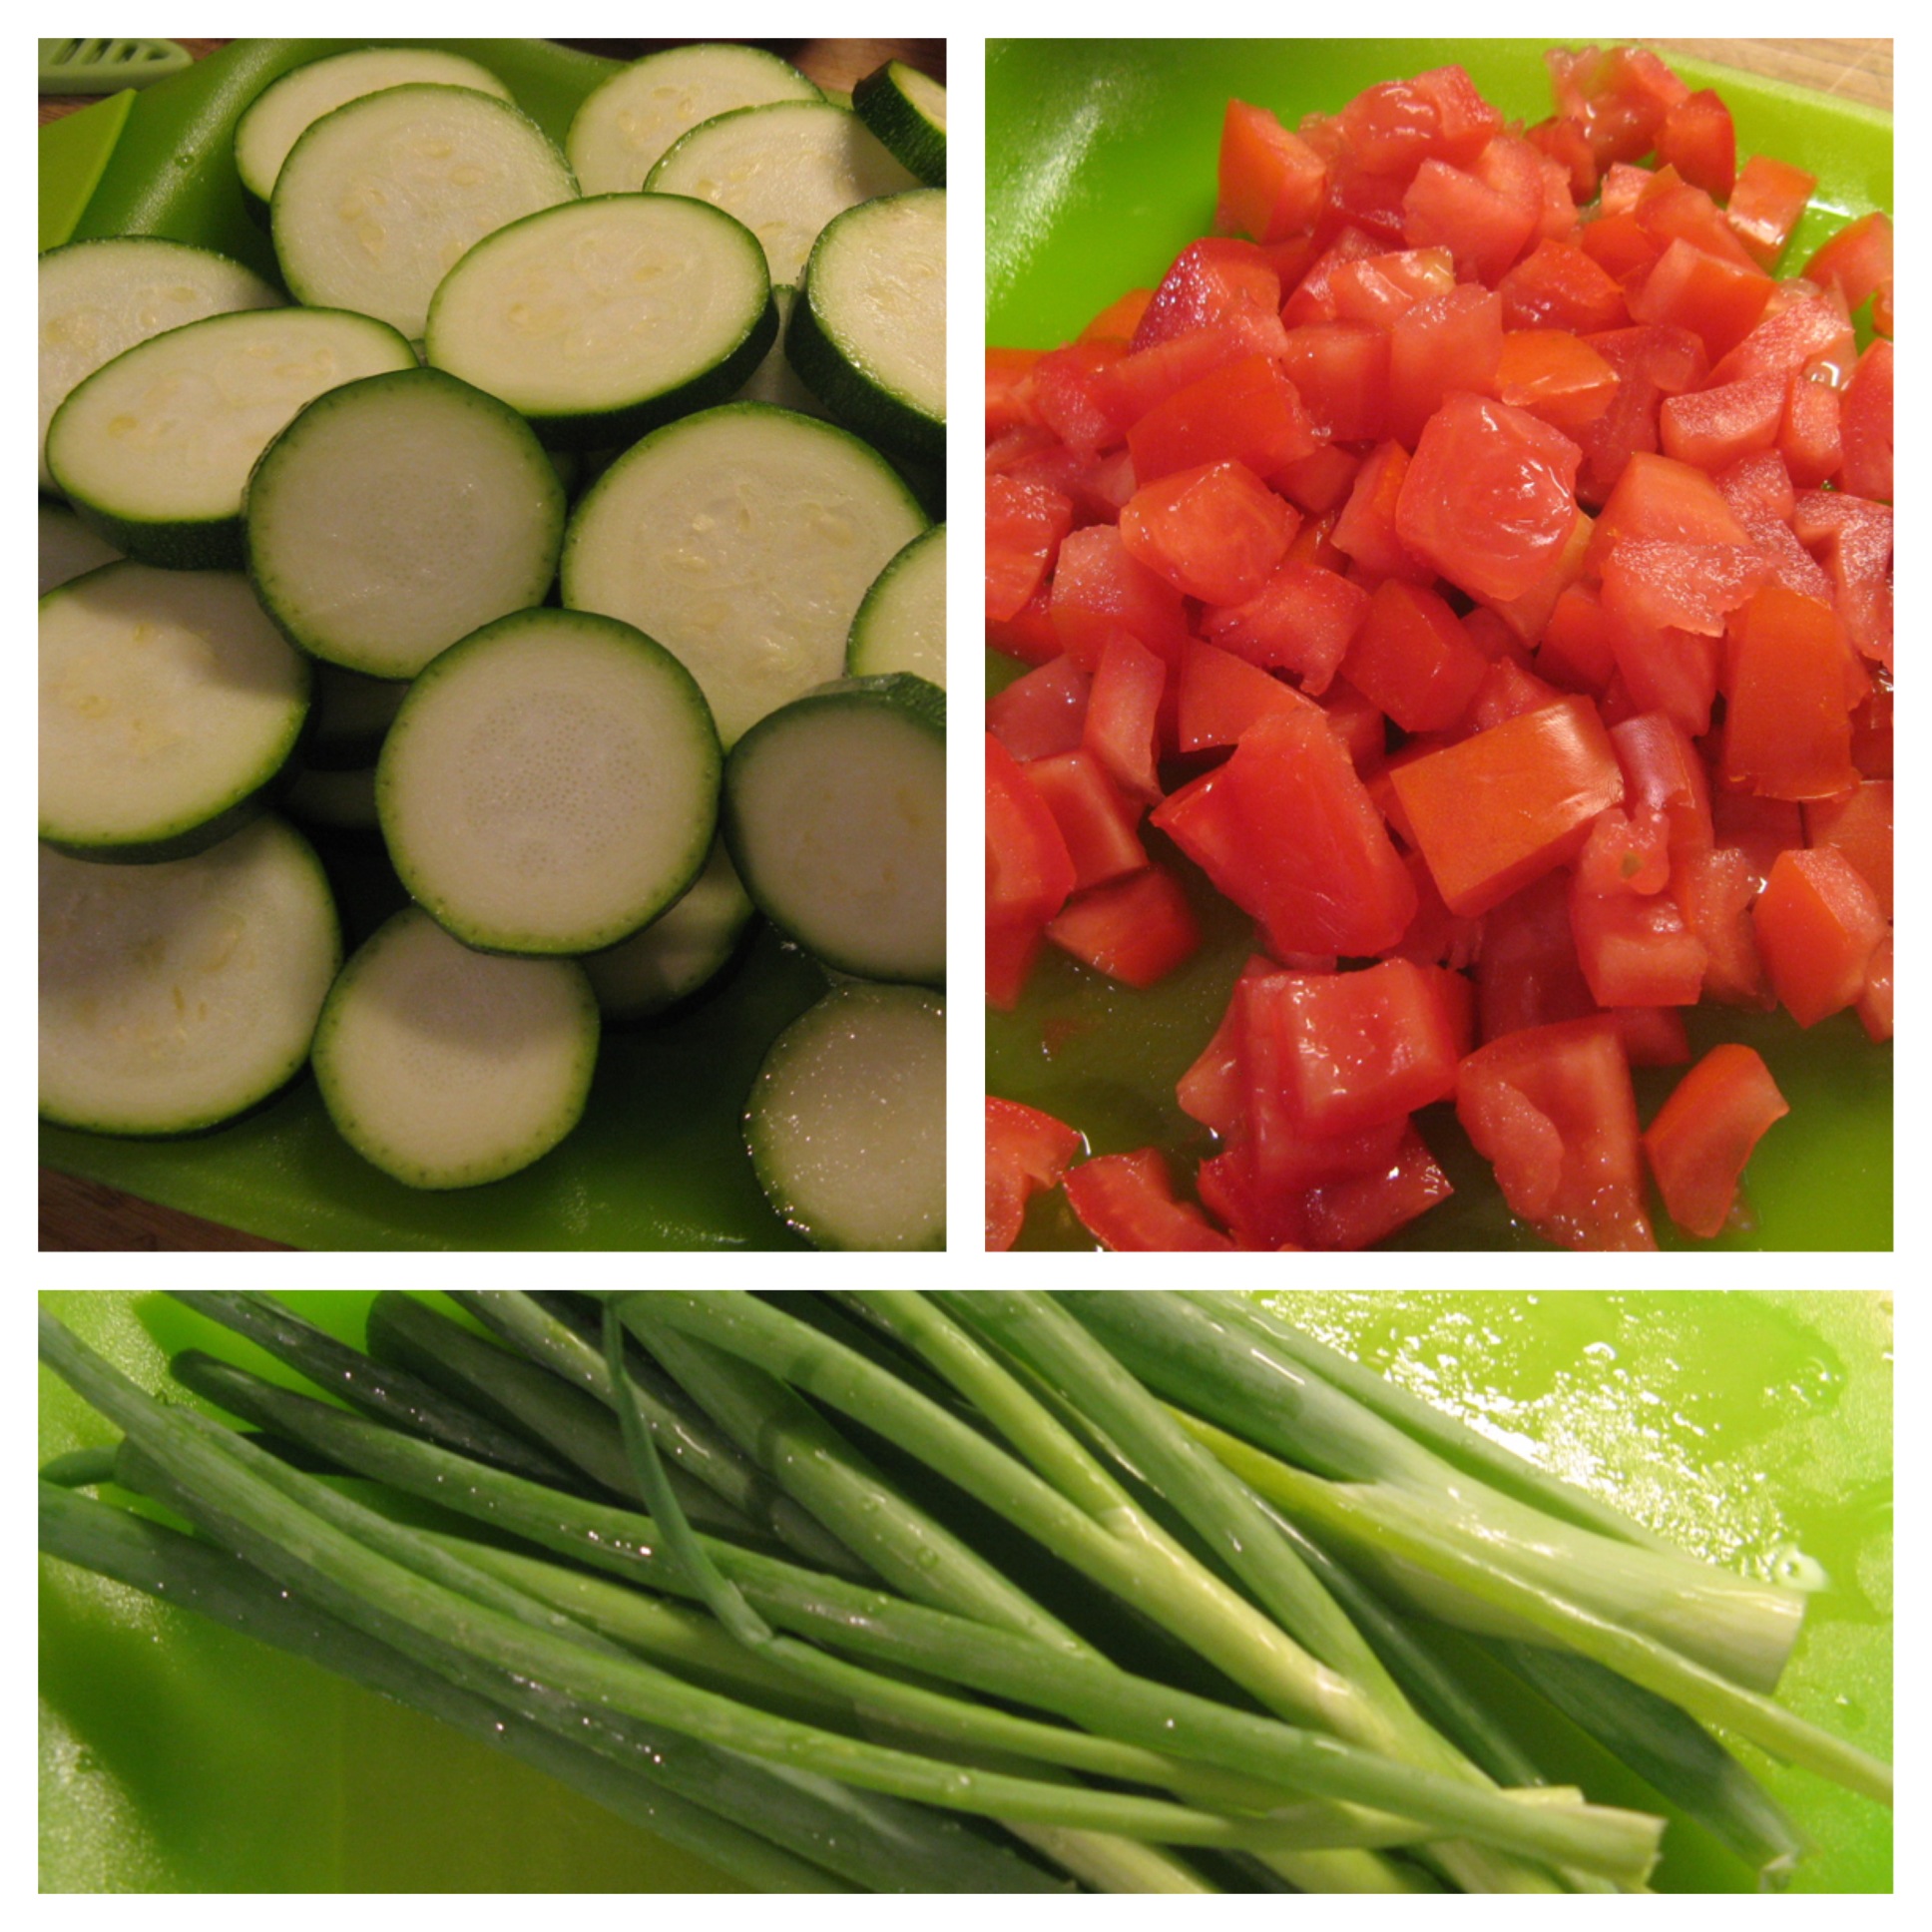
2 medium zucchinis, sliced into fries/spears
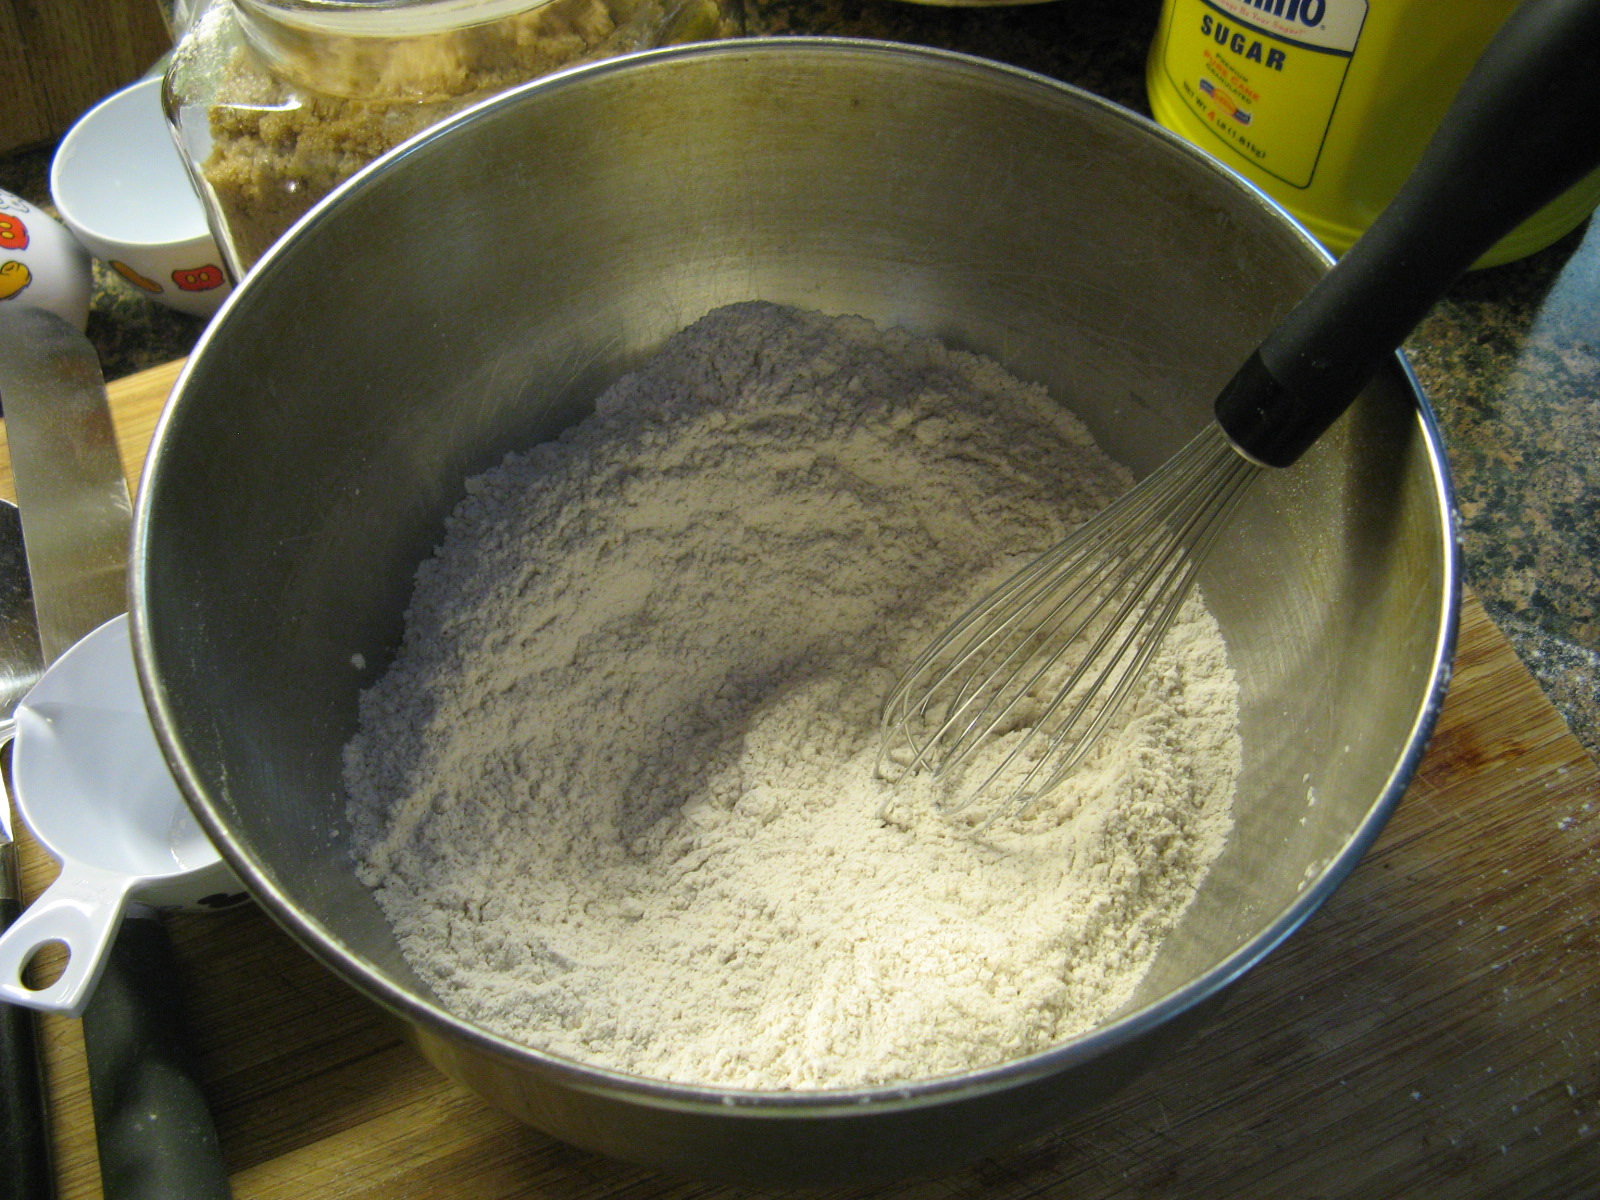
1 cup panko breadcrumbs
1 tablespoon garlic powder
1 tablespoon dried basil
1 teaspoon salt
1 teaspoon black pepper
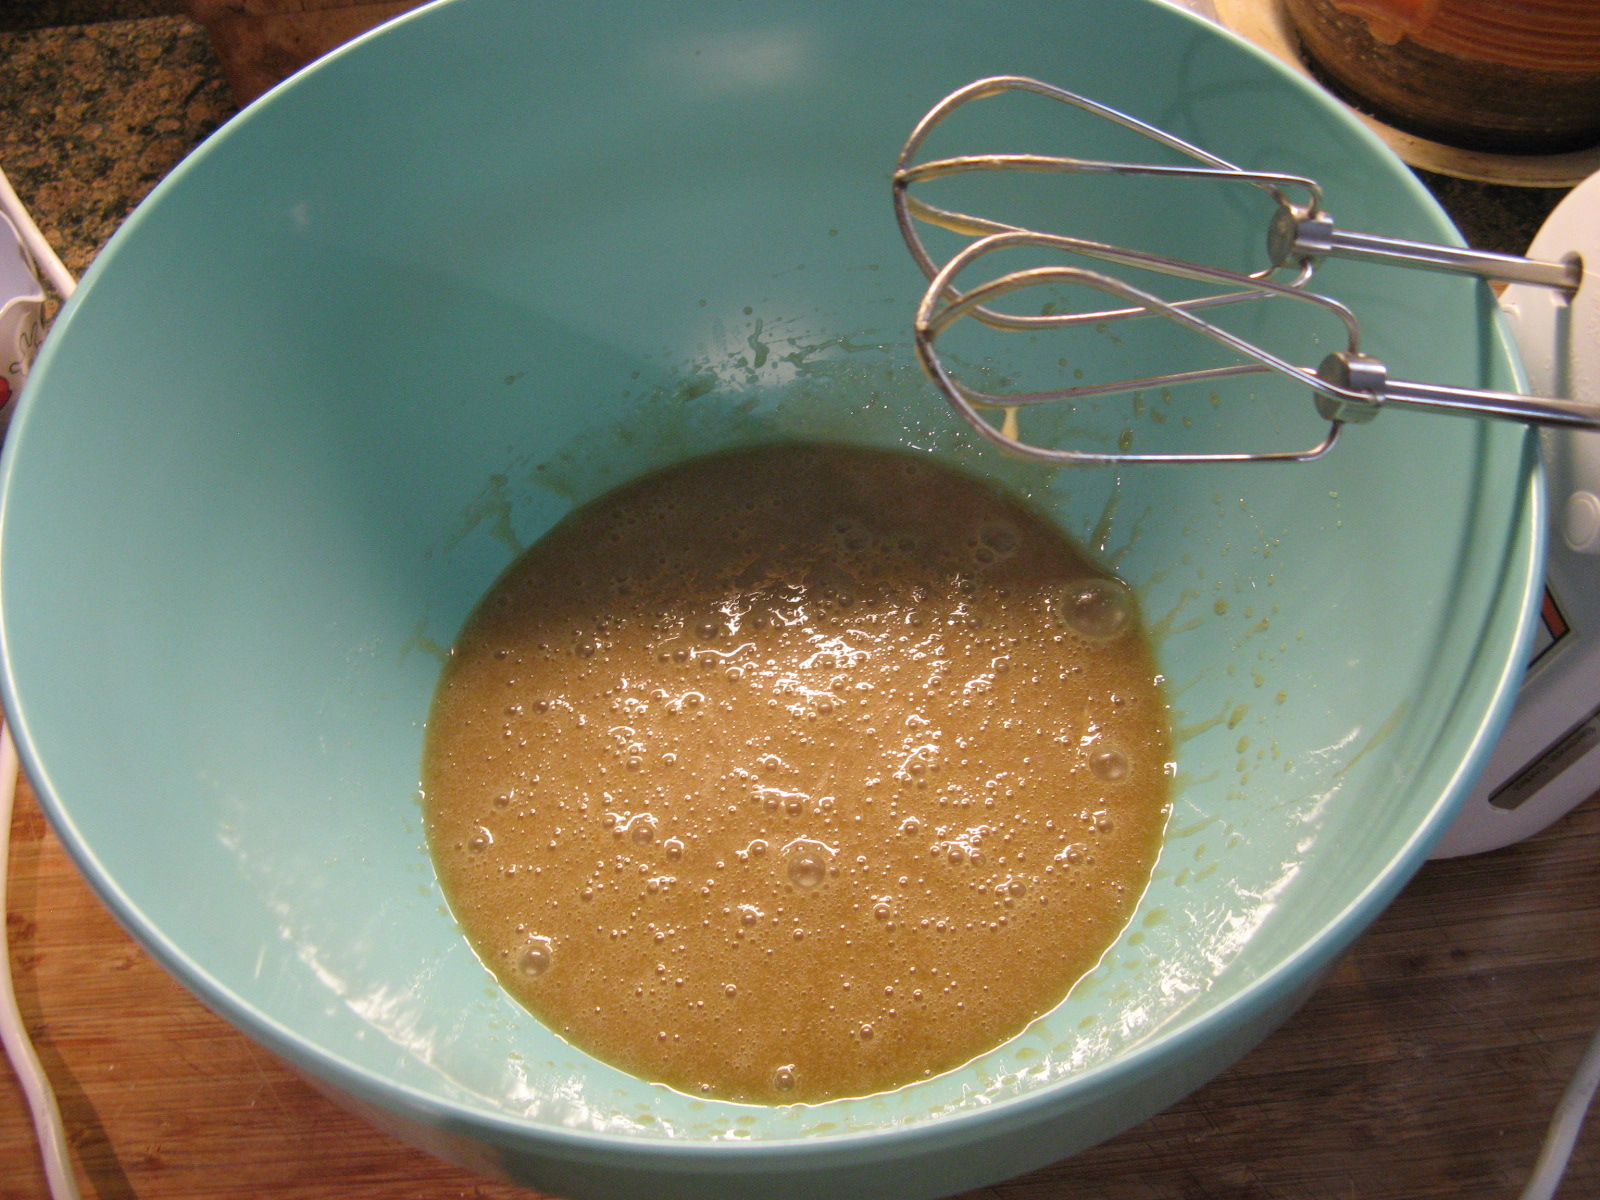
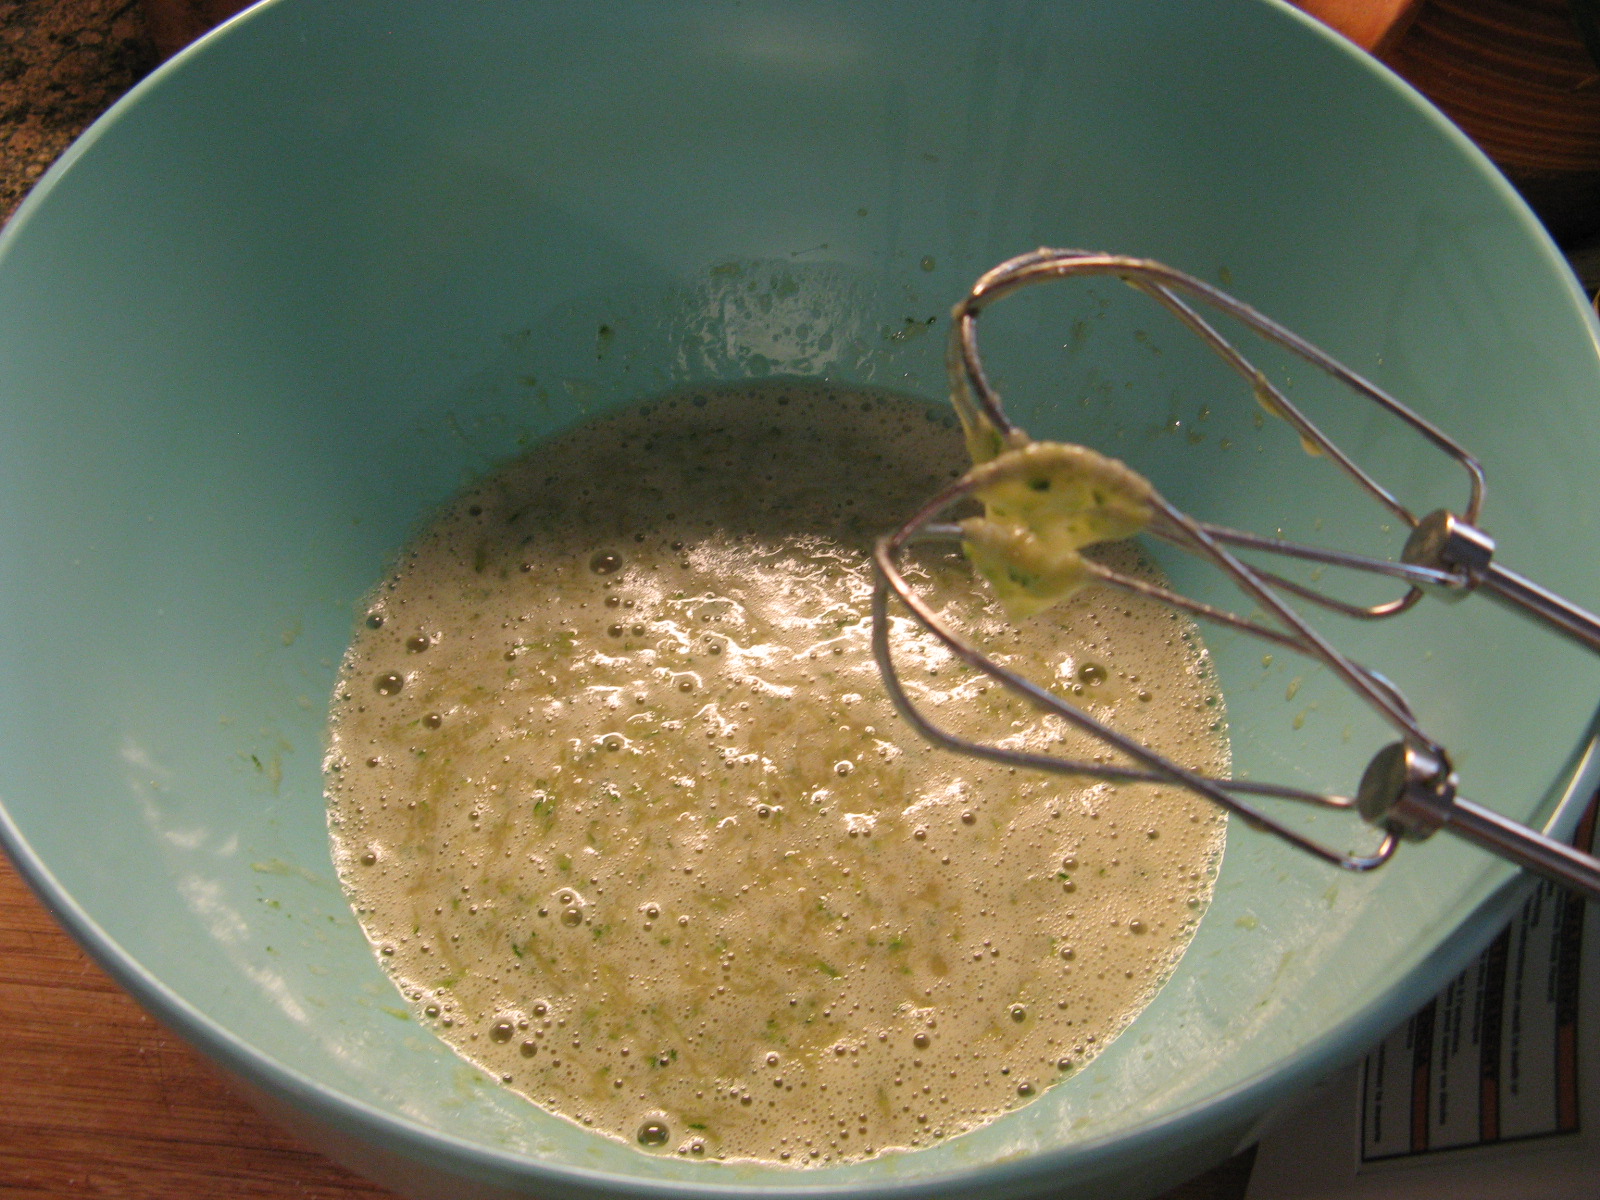
2 eggs, lightly beaten
Directions:
Preheat the oven to 425 F. Line a large baking sheet with parchment paper.
In a large bowl combine the breads crumbs, garlic powder, dried basil, salt and pepper and set aside.
In another large bowl combine the zucchini with eggs and mix them well to make sure the zucchini is evenly coated by the eggs.
Toss the zucchini in the bread crumb mixture a few at a time and then transfer to the prepared baking sheet. Continue doing this until all the zucchini has been coated with the bread crumb mixture.
Bake in the preheated oven for 15-20 minutes, flipping the zucchini halfway through the baking.
Recipe from Tasty