Pesto Chicken Packets

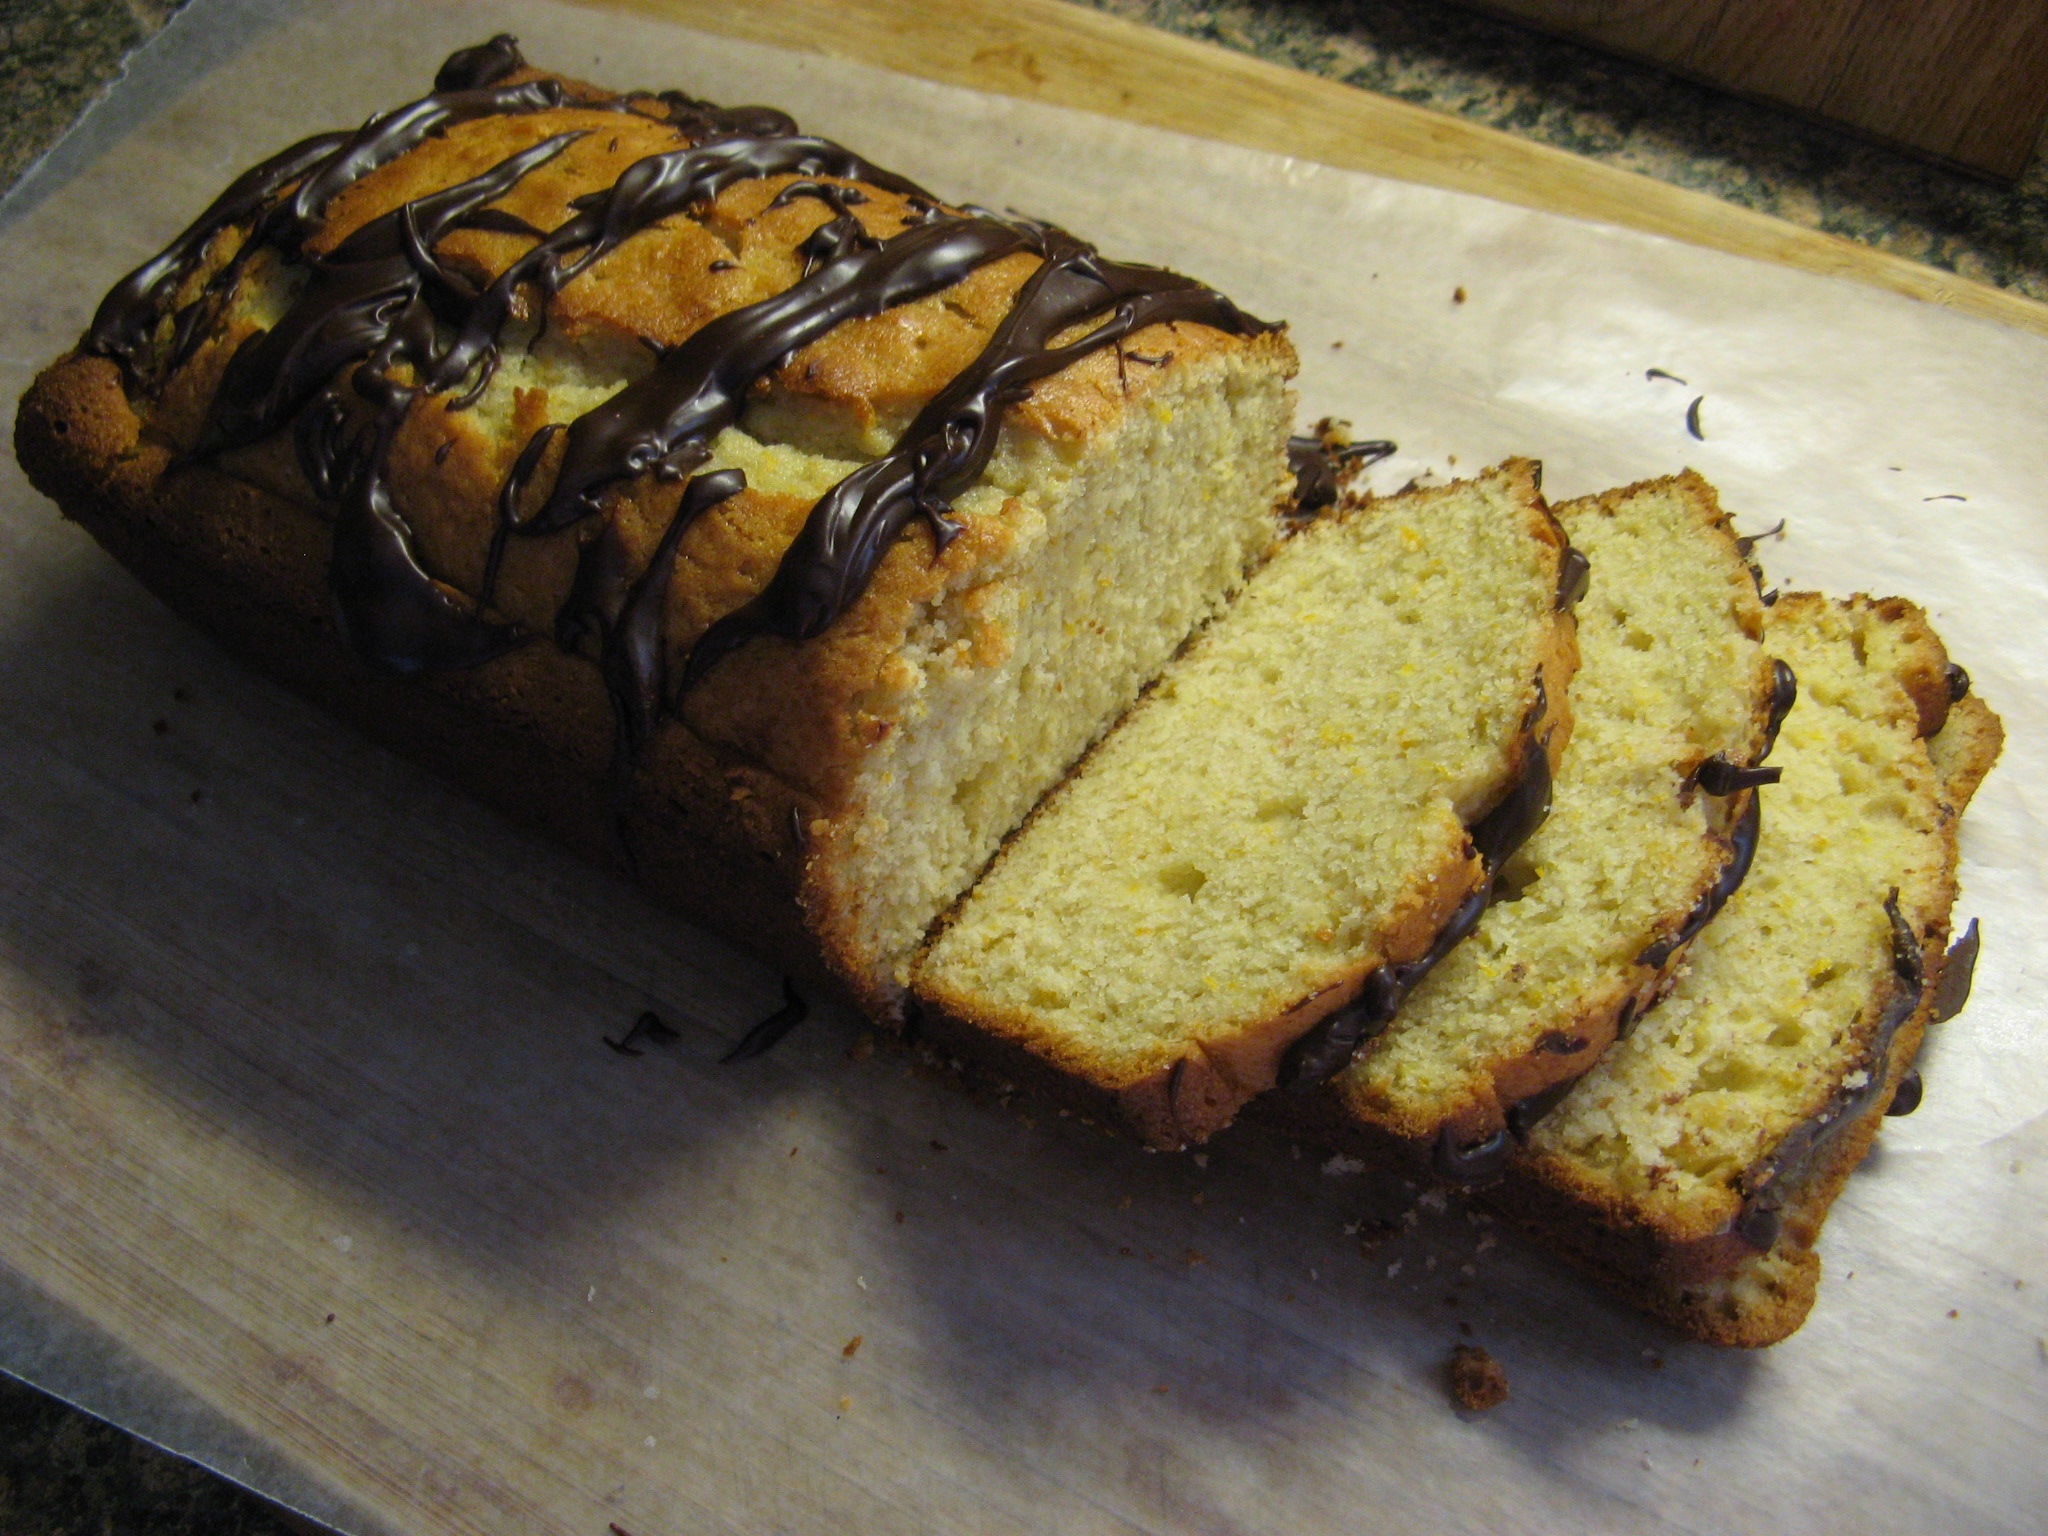
As I mentioned in a previous post I was rained-in last week and went on a bit of a cooking binge making a Chicken Corn Chowder, a Meyer Lemon Yogurt Cake and a Pesto Sauce; the latter of which I finally put to good use and made Pesto Chicken Packets – a recipe I came across in an issue of Rachael Ray Magazine a few years back. Let me take a few steps back though and go over how I made the Pesto Sauce.

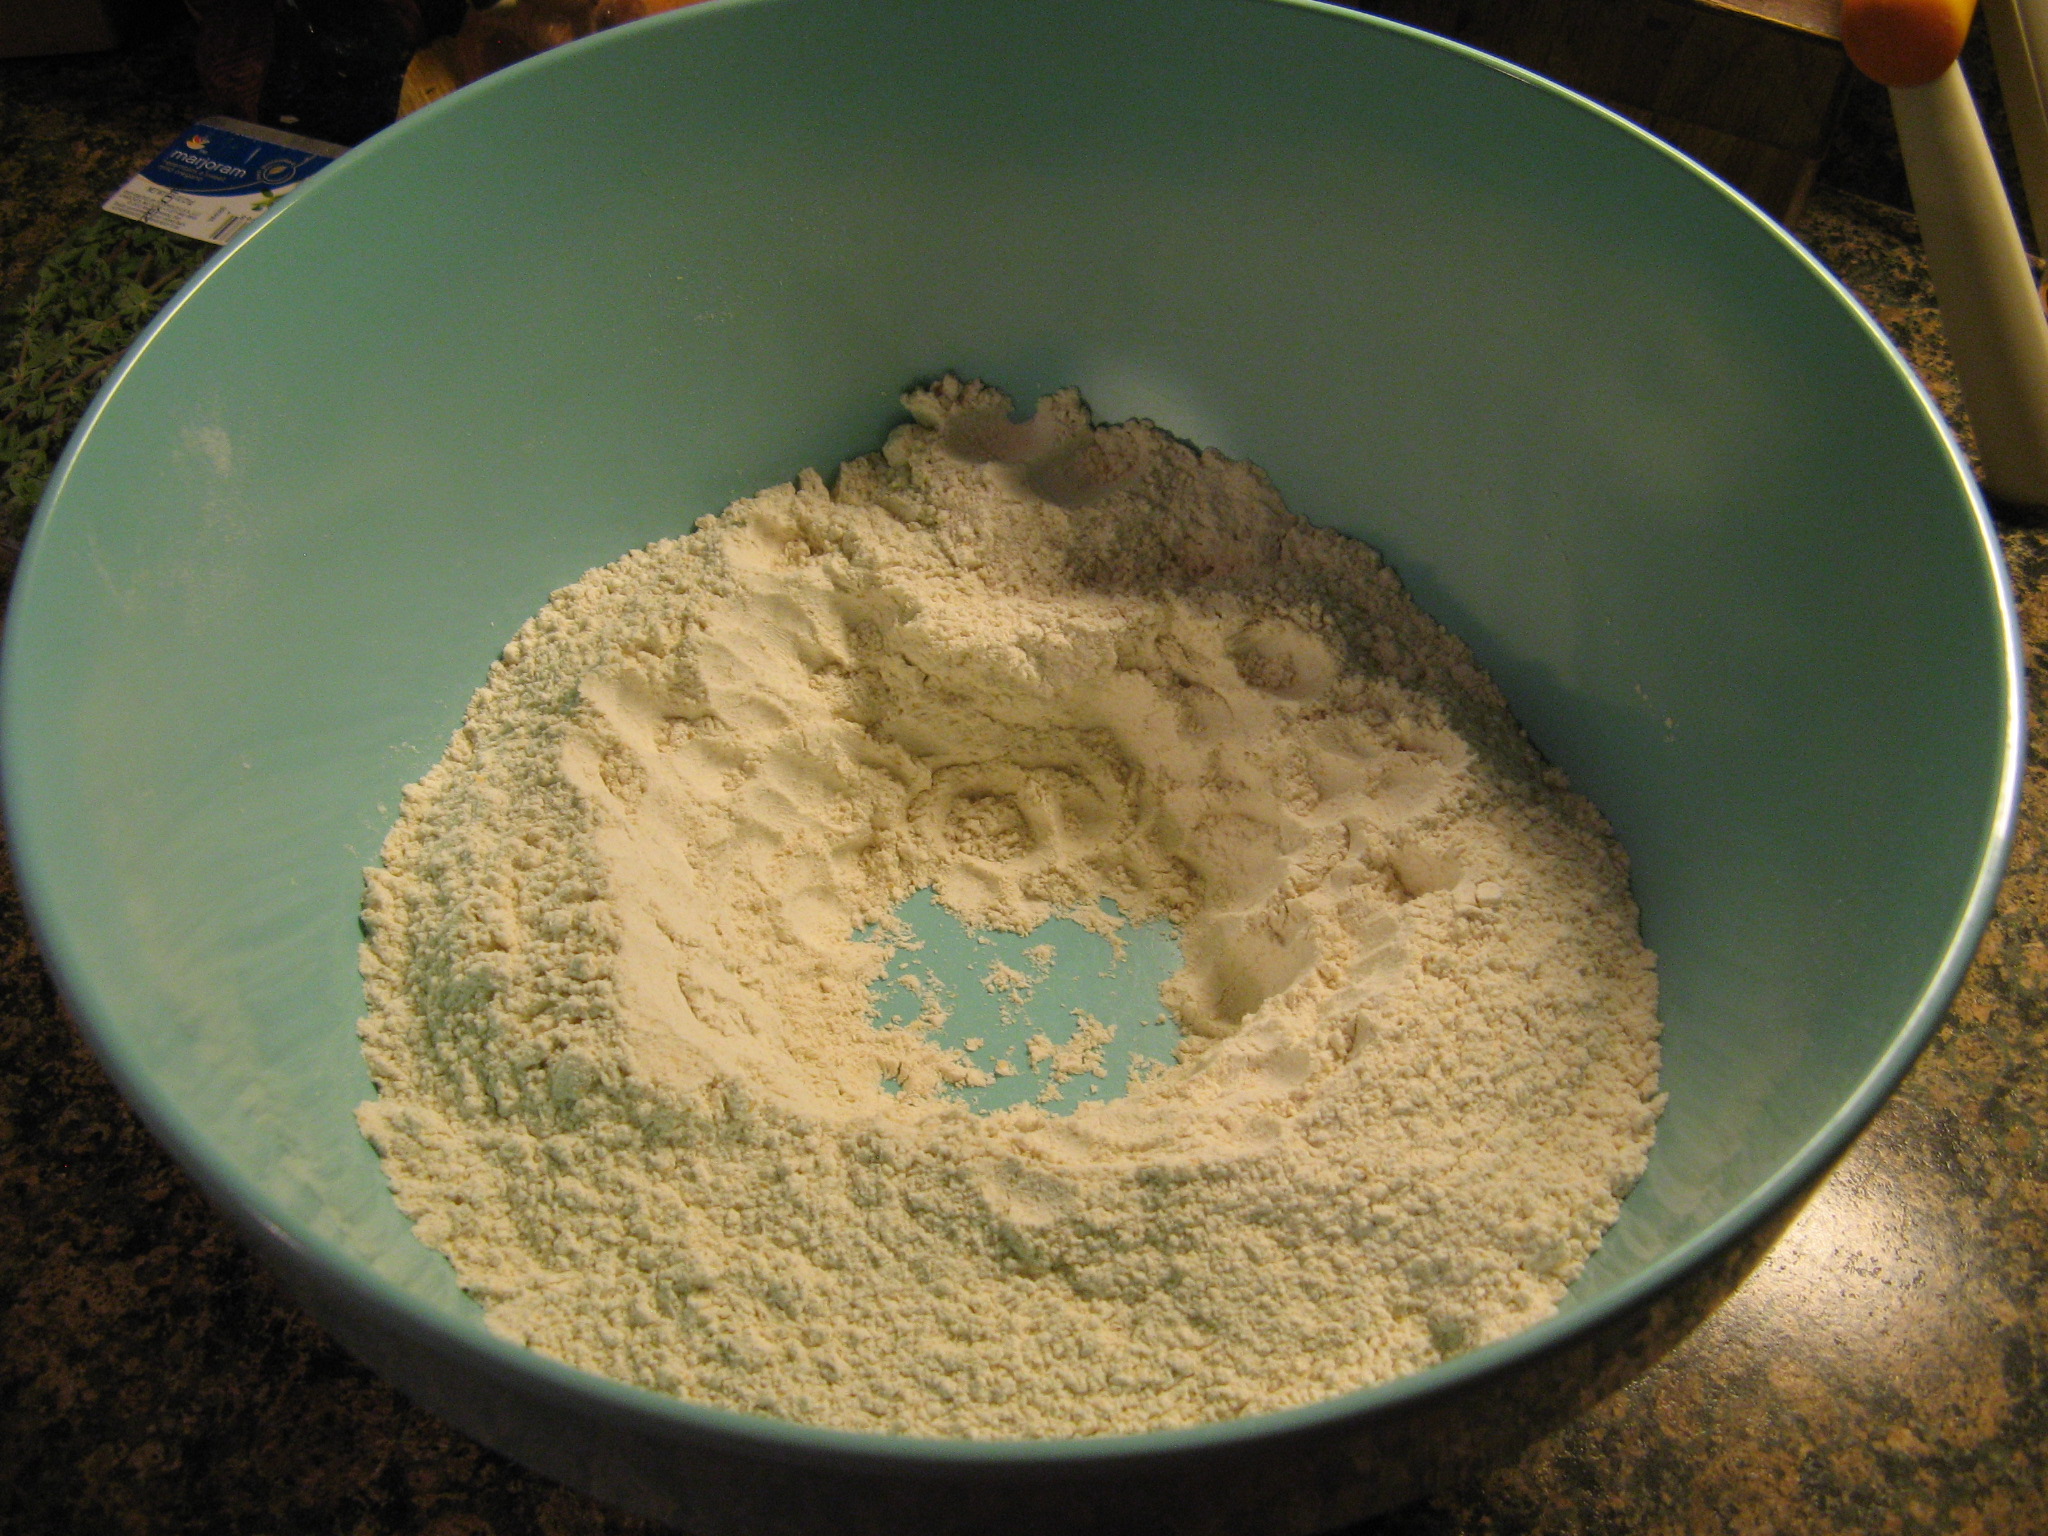
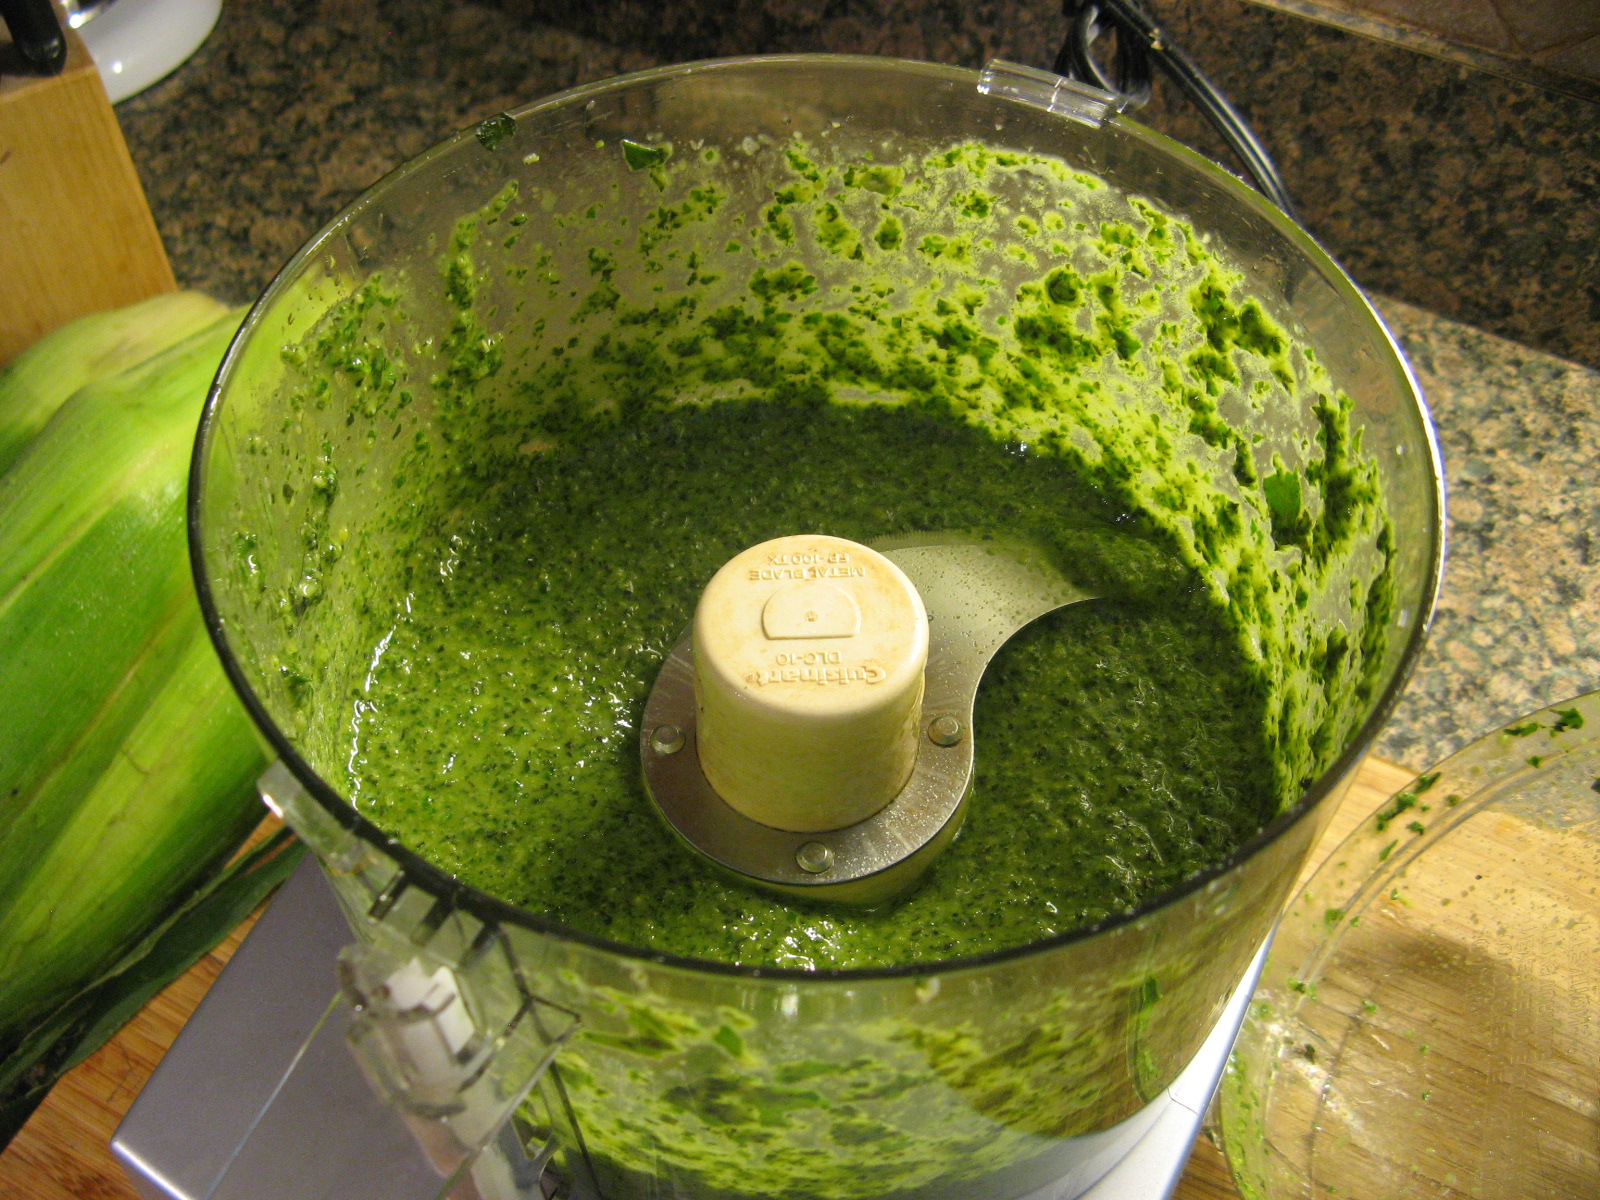
To make the sauce I combined 3 cups of basil, 1/4 cup of pine nuts, a garlic clove, 1/2 teaspoon kosher salt, and 1/4 teaspoon of black pepper in the bowl of a food processor.

IMG_4727

I pulsed the ingredients until they were combined.

IMG_4728

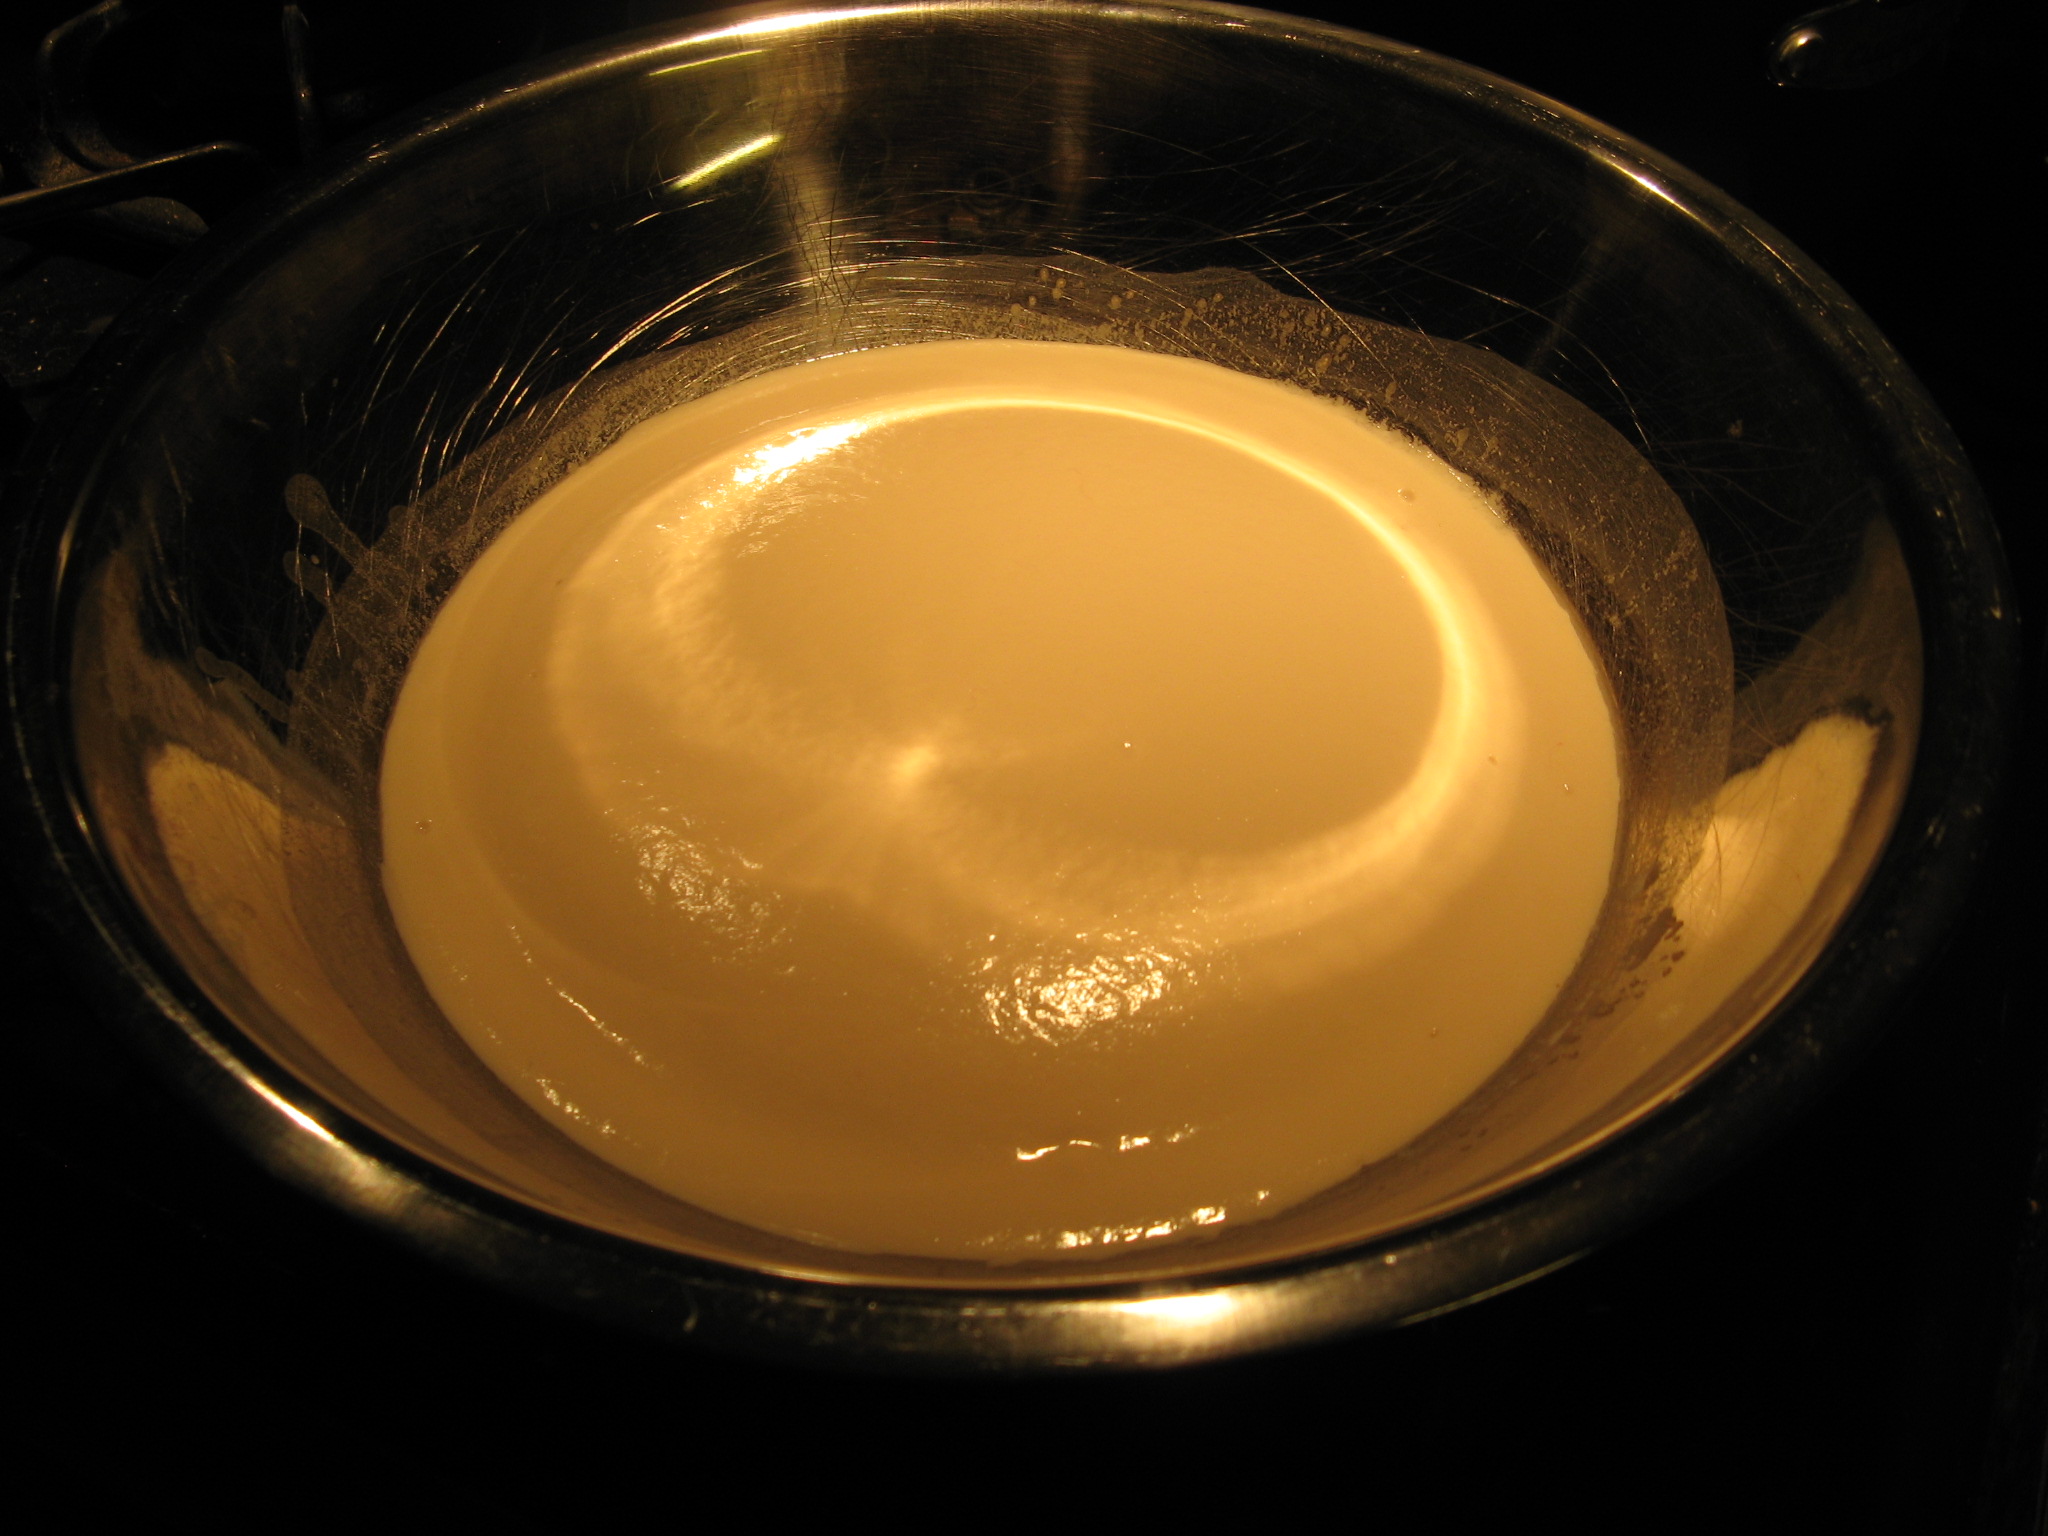
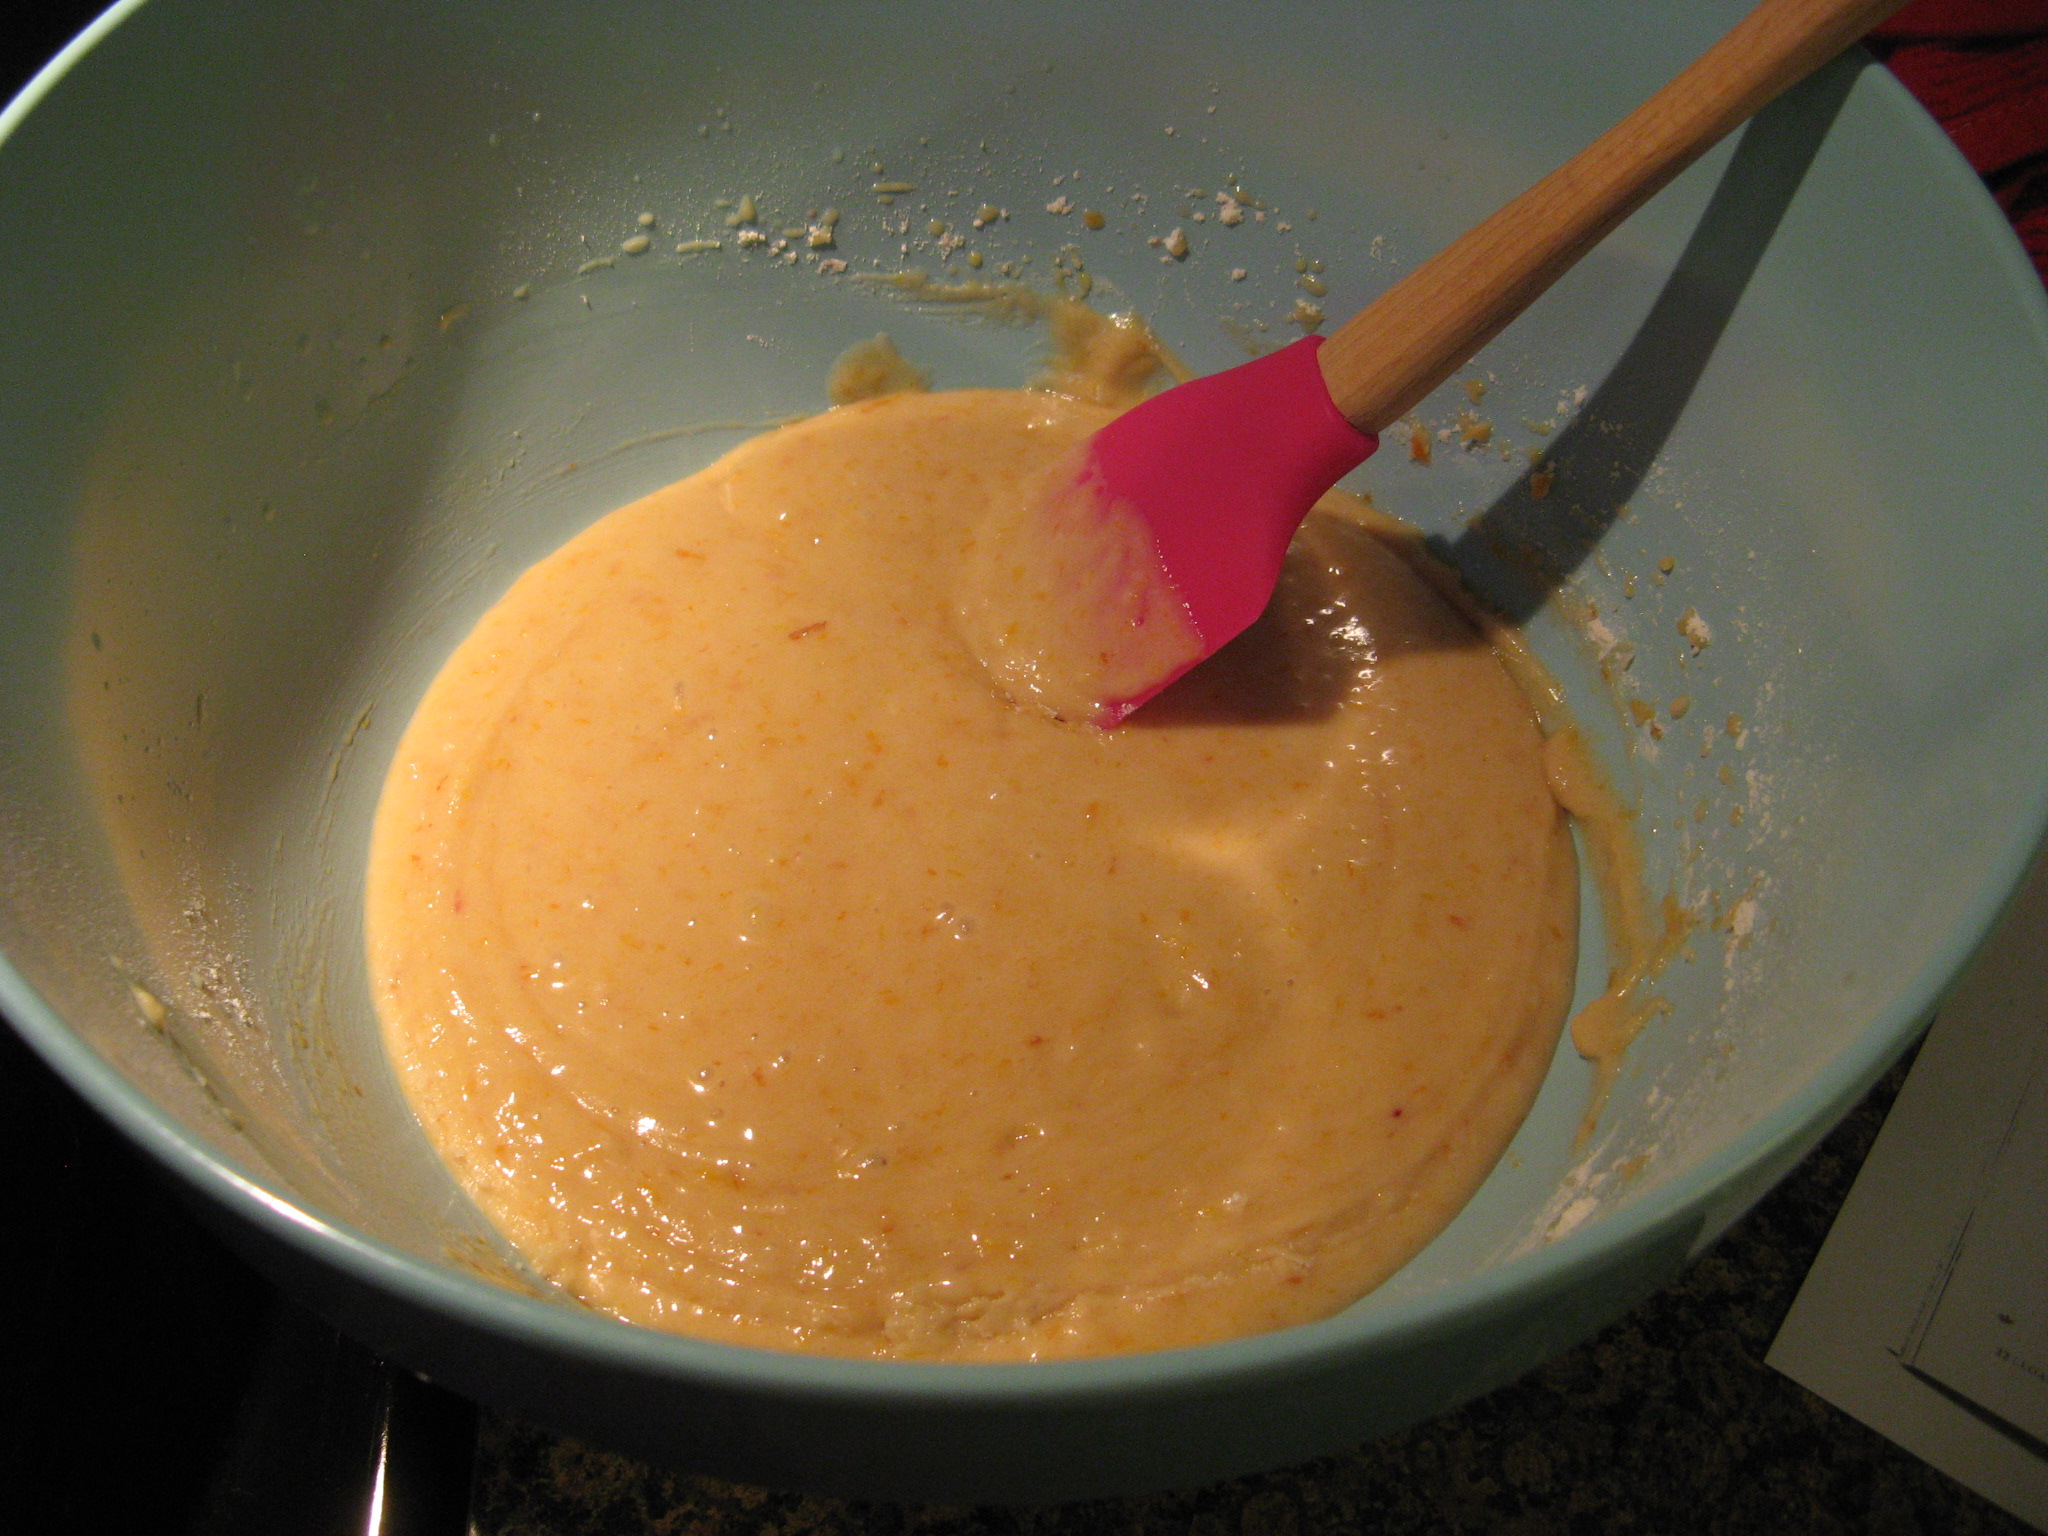
And then let the machine run while I drizzled 2/3 cup of olive oil into the mixture.

IMG_4729

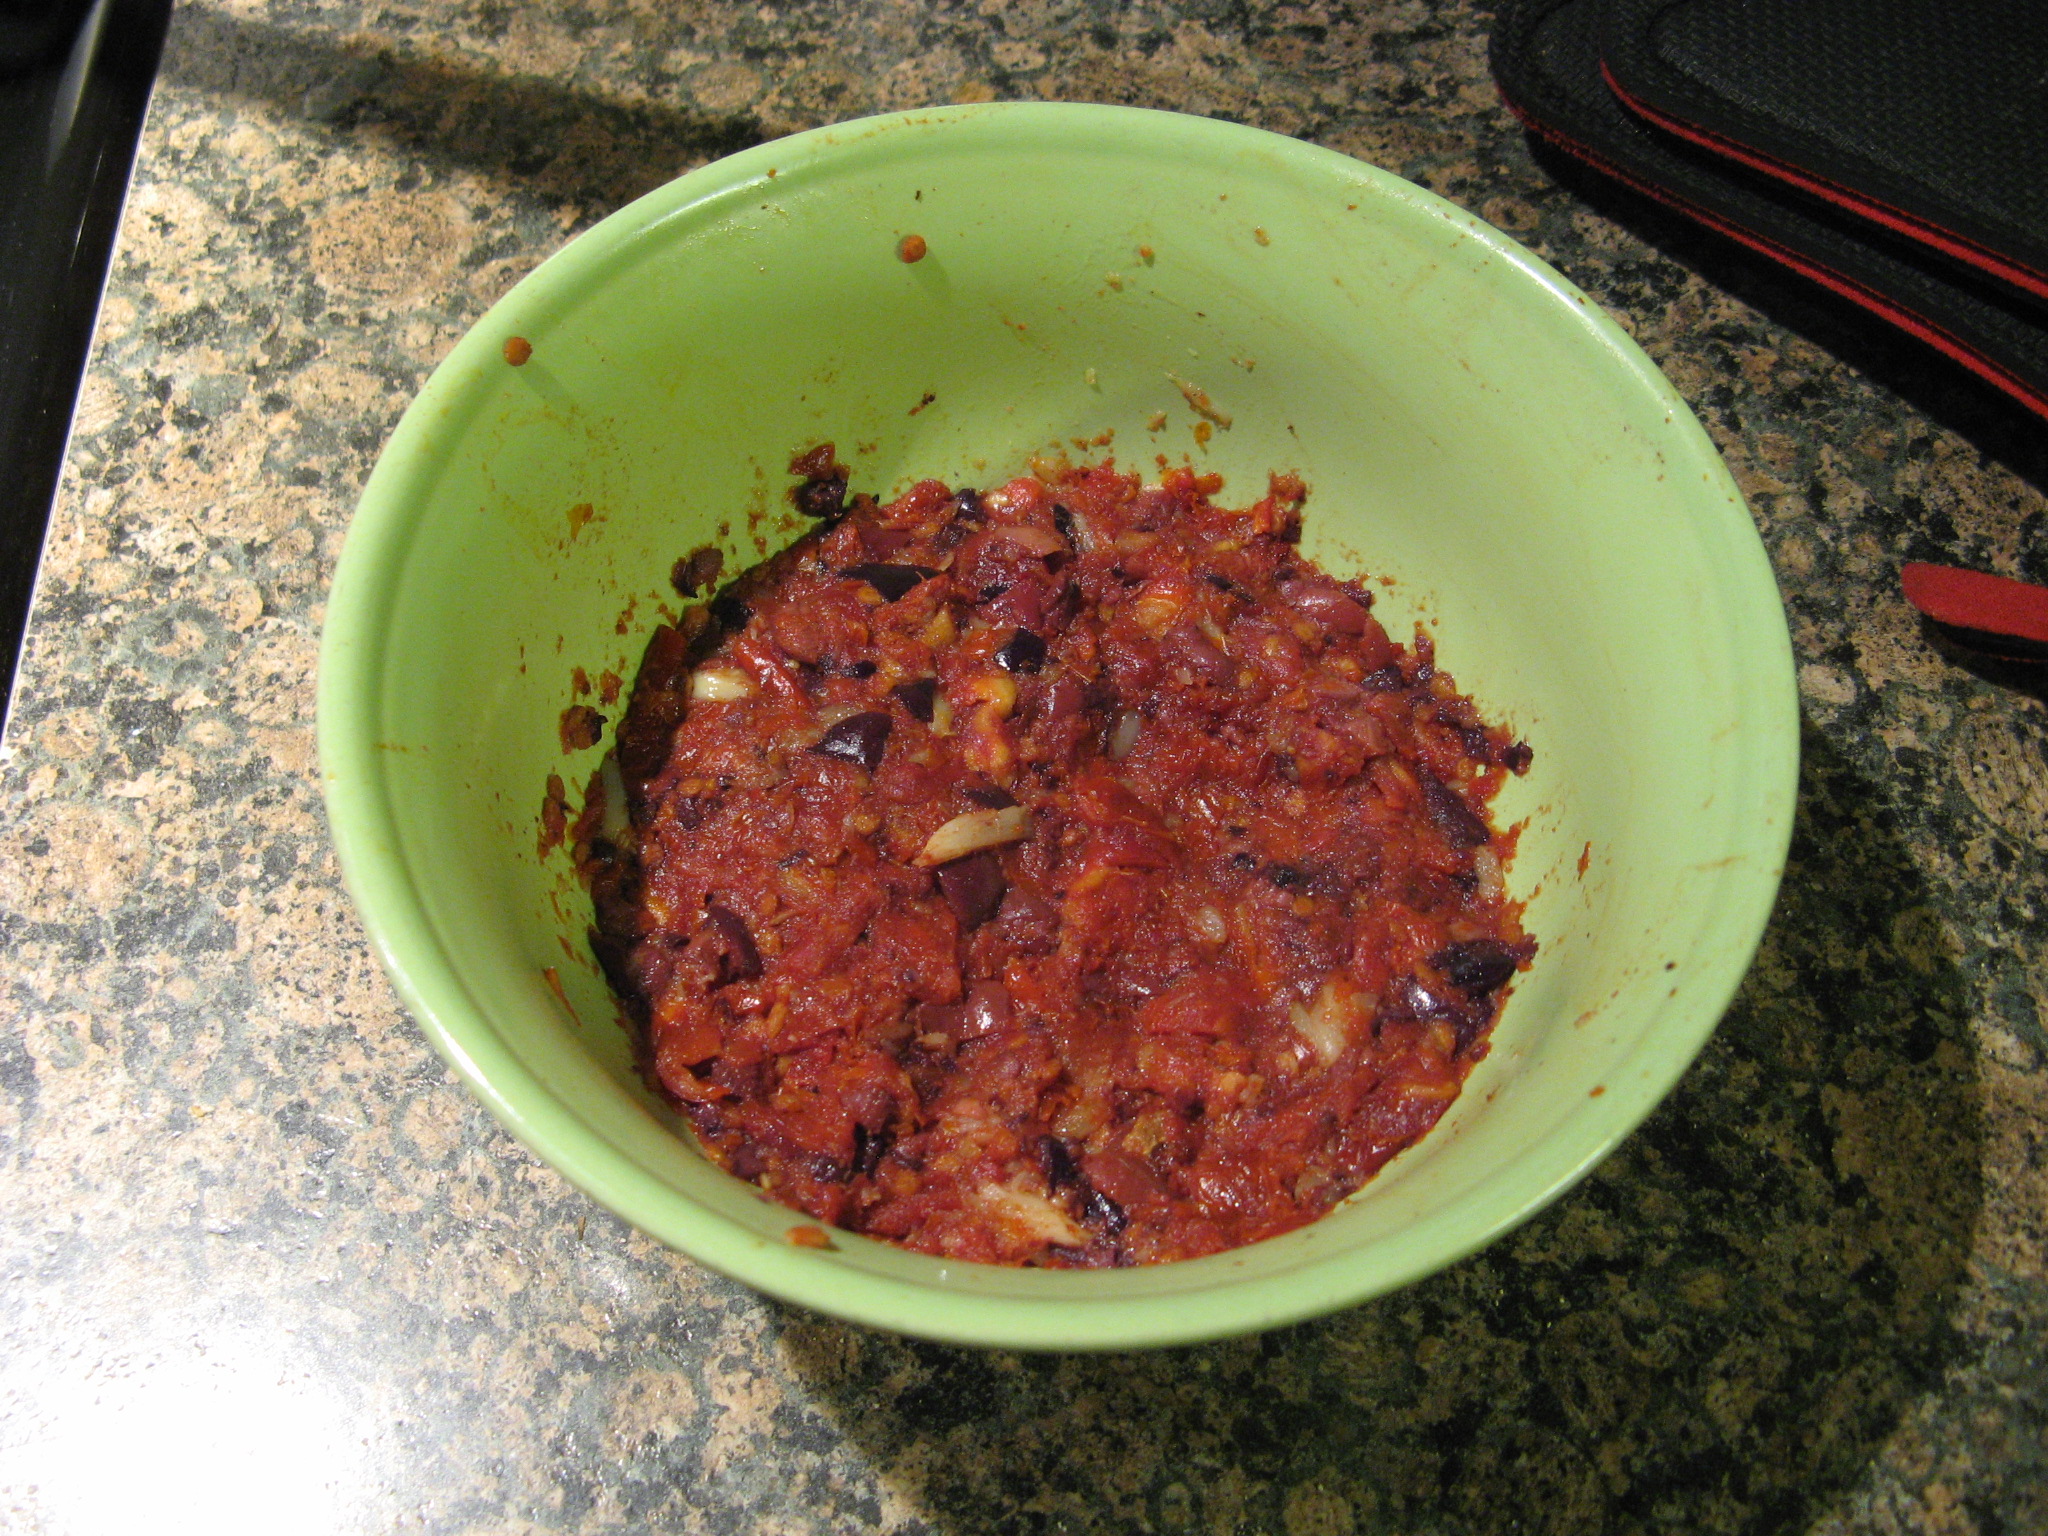
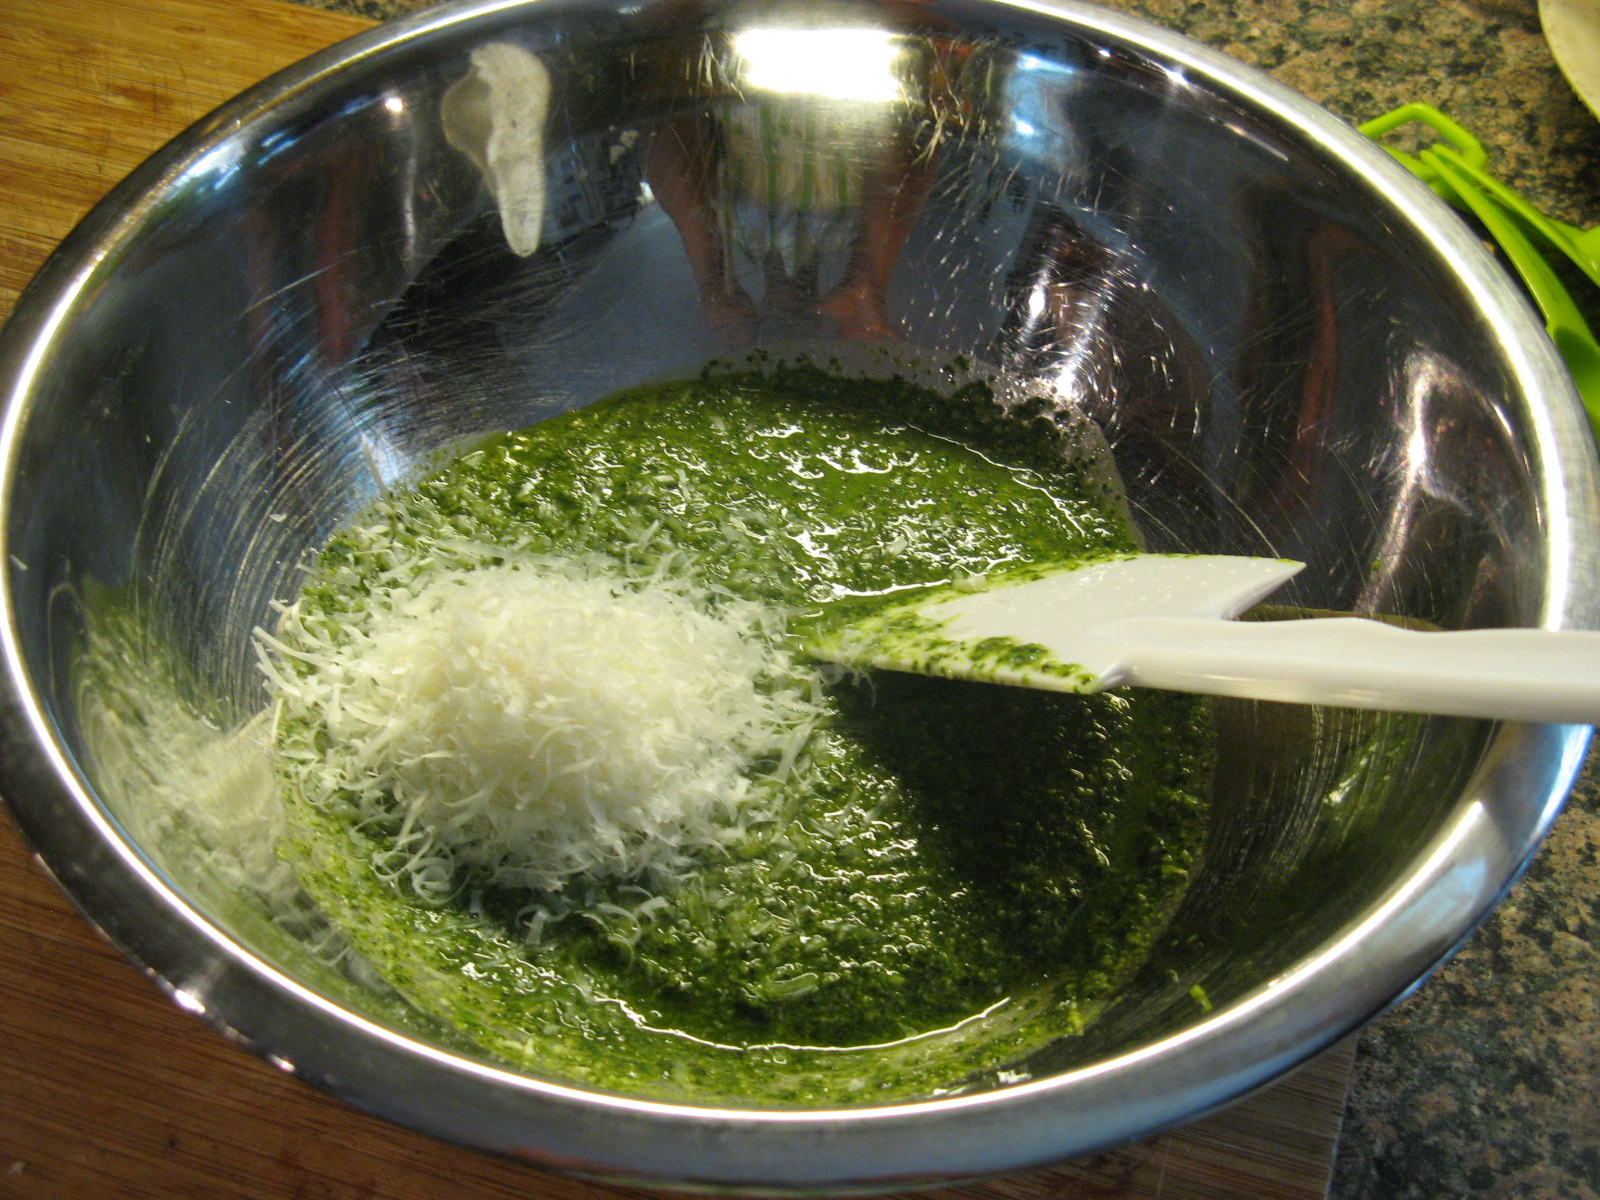
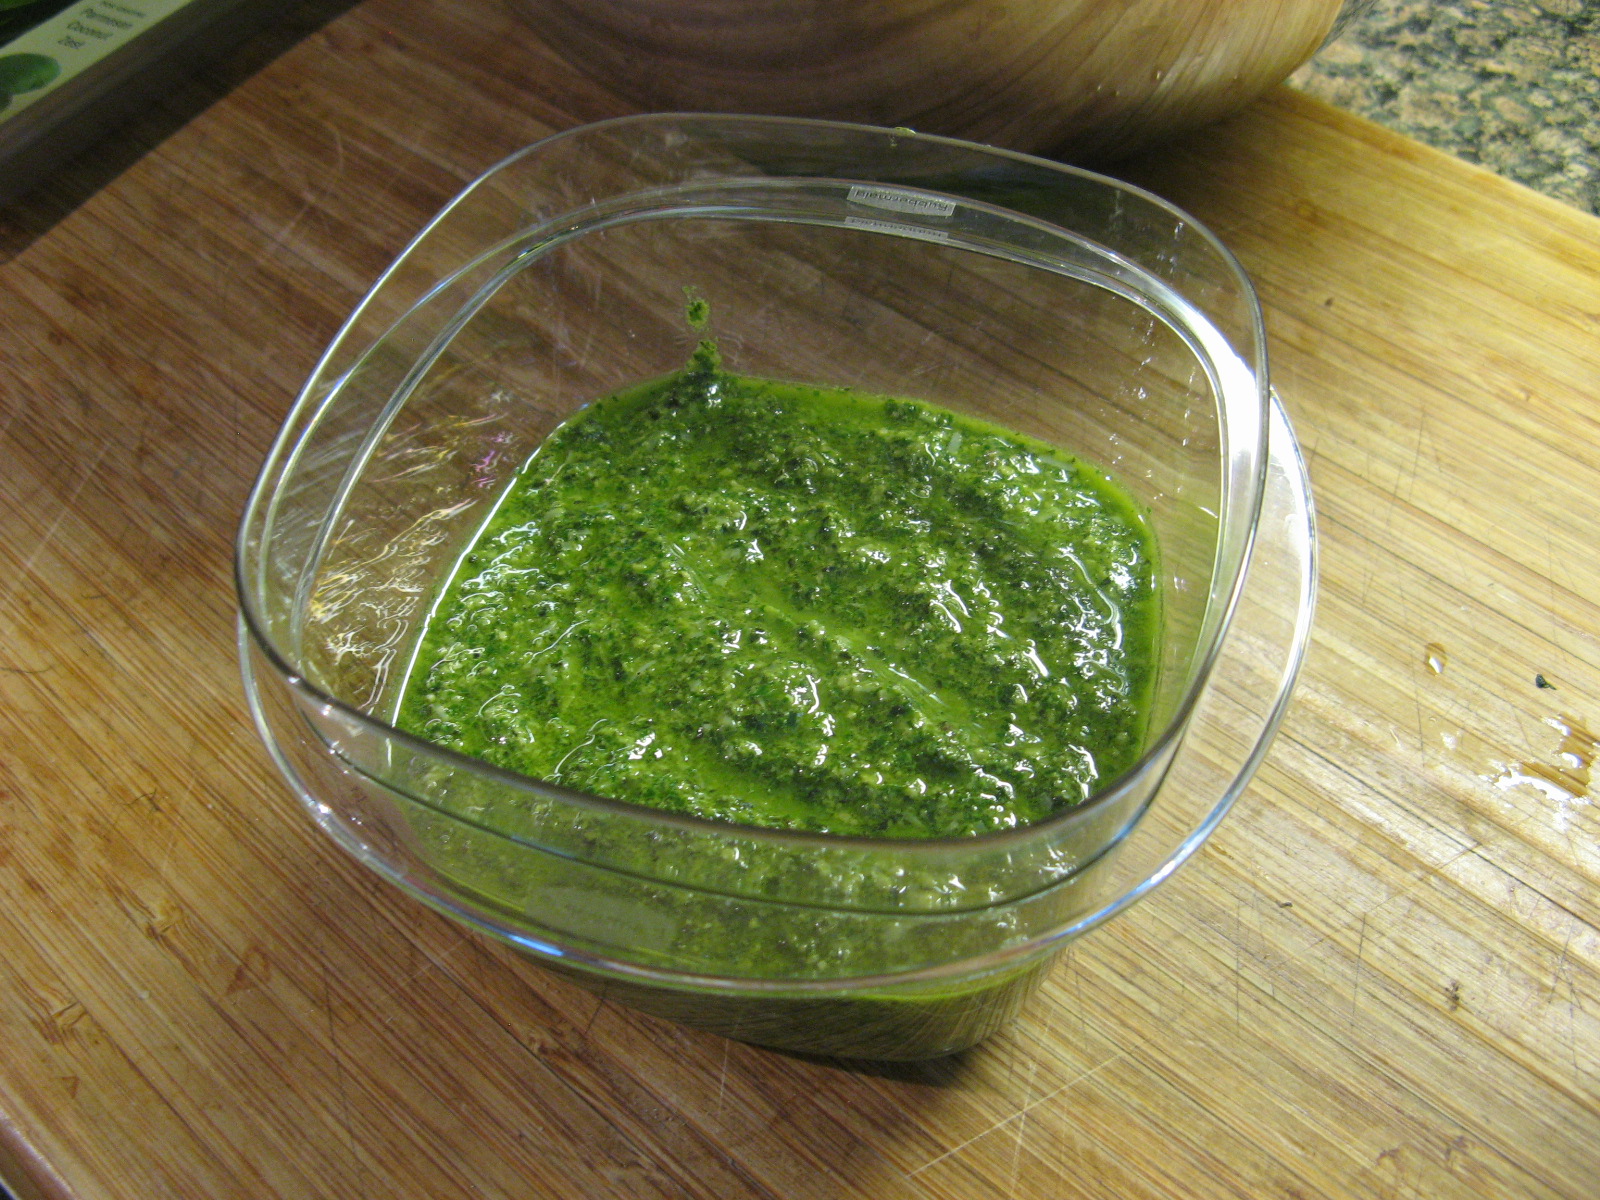
After transferring the mixture to a bowl I stirred in a 1/4 cup of freshly grated of Parmesan cheese.

IMG_4730

Since I wasn’t using the Pesto Sauce immediately I stored it in an airtight container in my refrigerator. After being in the fridge for a few days I added a little more olive oil to the top of it to make sure it would stay fresh. And when I was ready to use it was perfect.

IMG_4732

On to the Pesto Chicken Packets…

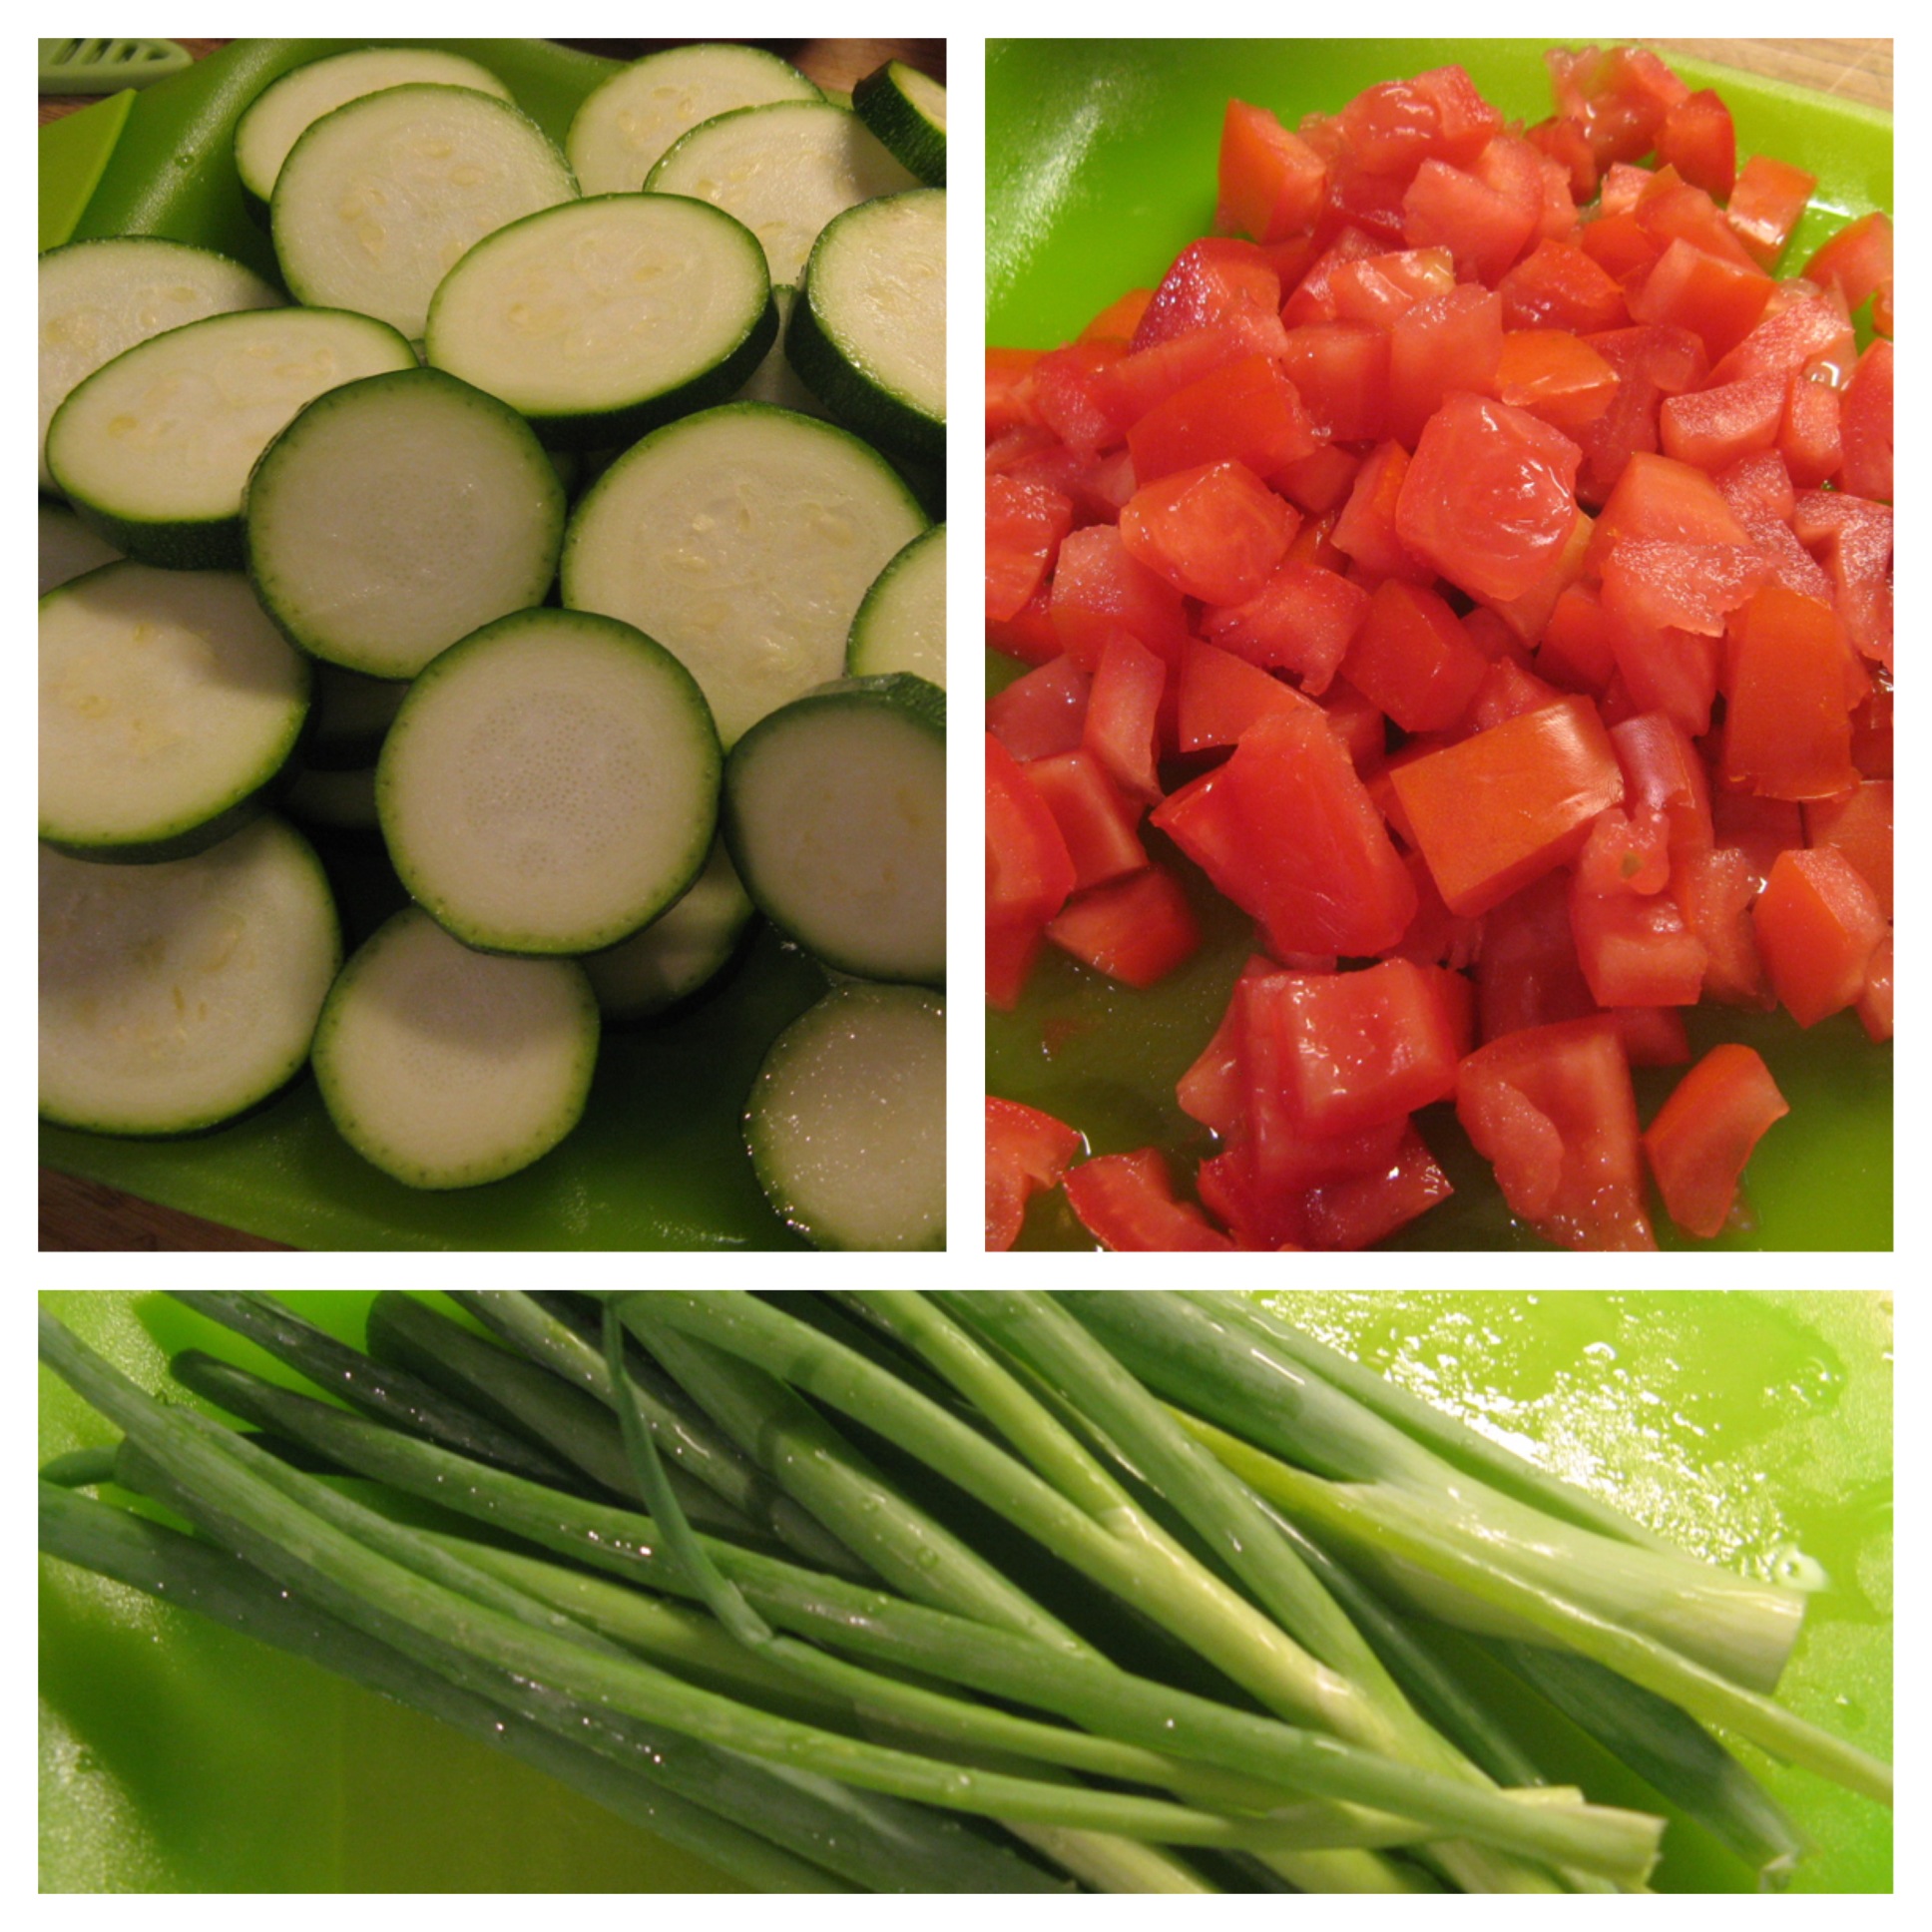
Along with the chicken and pesto, I also needed zucchini, plum tomatoes and scallions for the recipe.

IMG_4793

I prepped the vegetables by slicing the zucchini, chopping the tomatoes and trimming the scallions.

Pesto 1

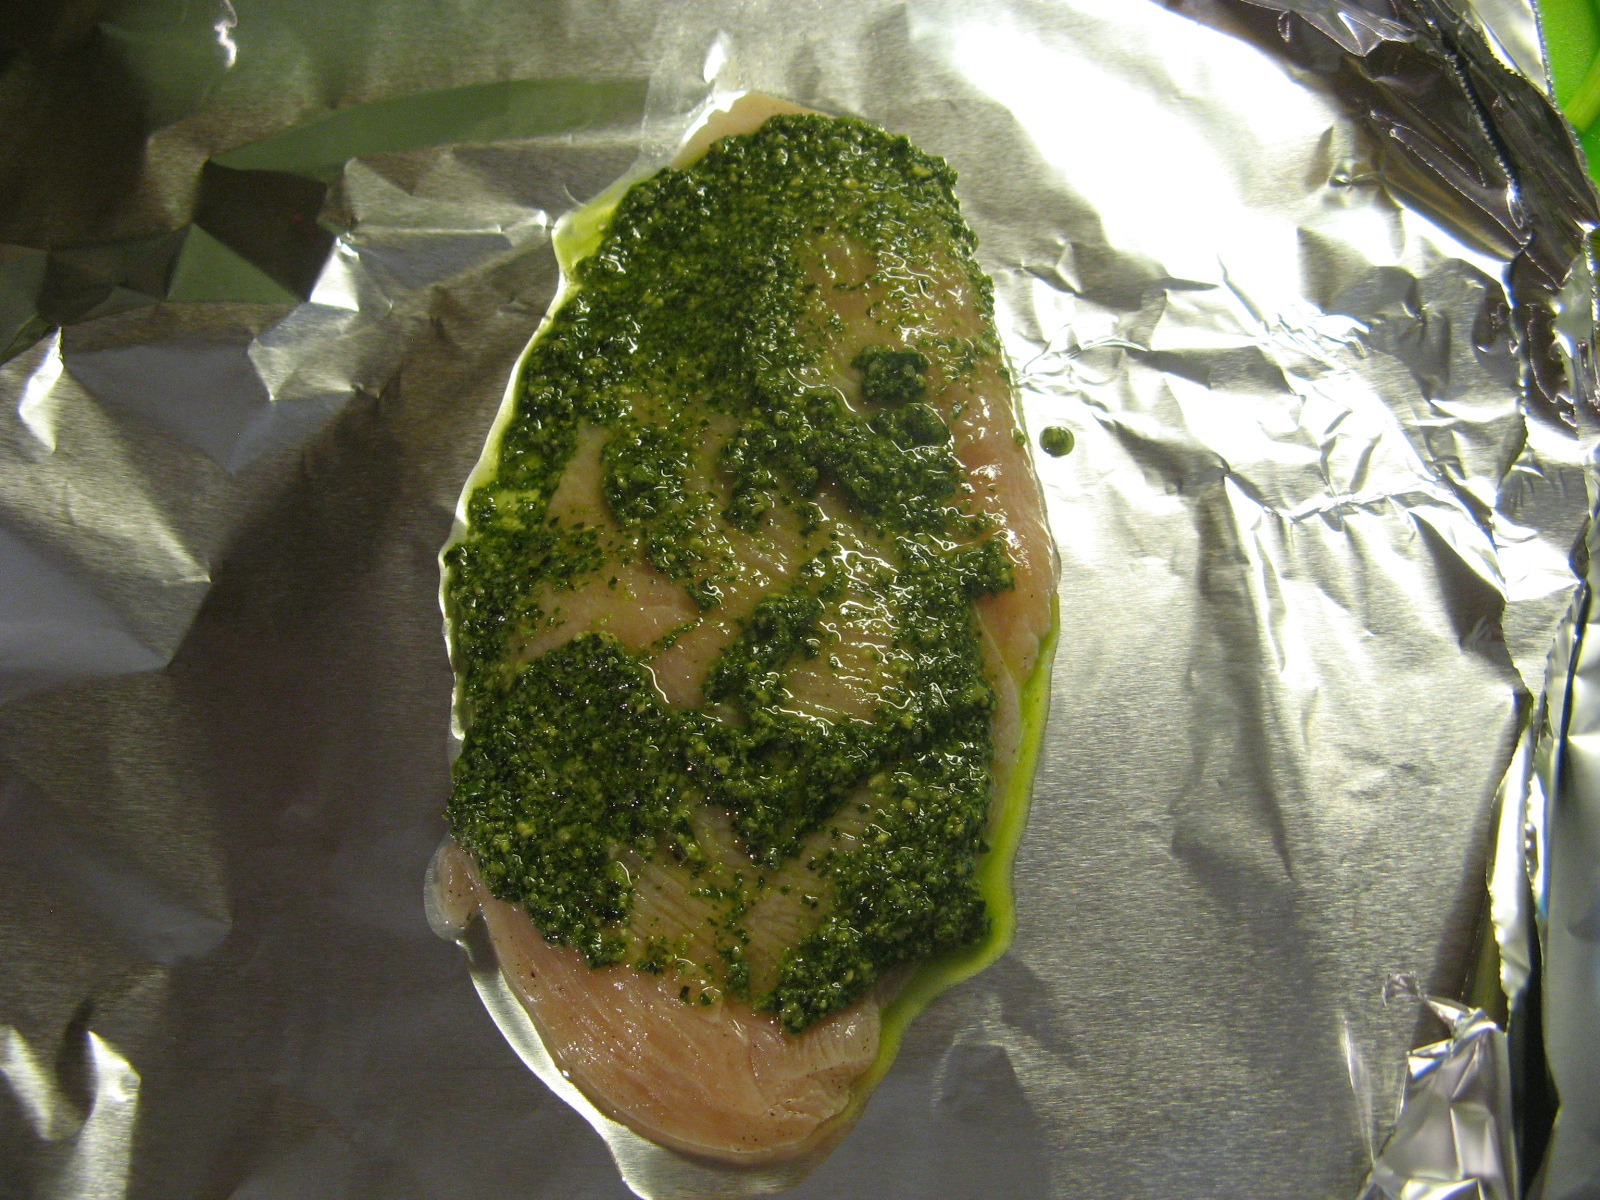
Then it was time to prep the chicken packets for the oven. I drizzled about a teaspoon of olive oil in the center of a 12-inch long sheet of aluminum foil and placed a thin-sliced chicken breast seasoned with salt and pepper on top of it. I then spread about a tablespoon of the pesto over the chicken.

IMG_4799

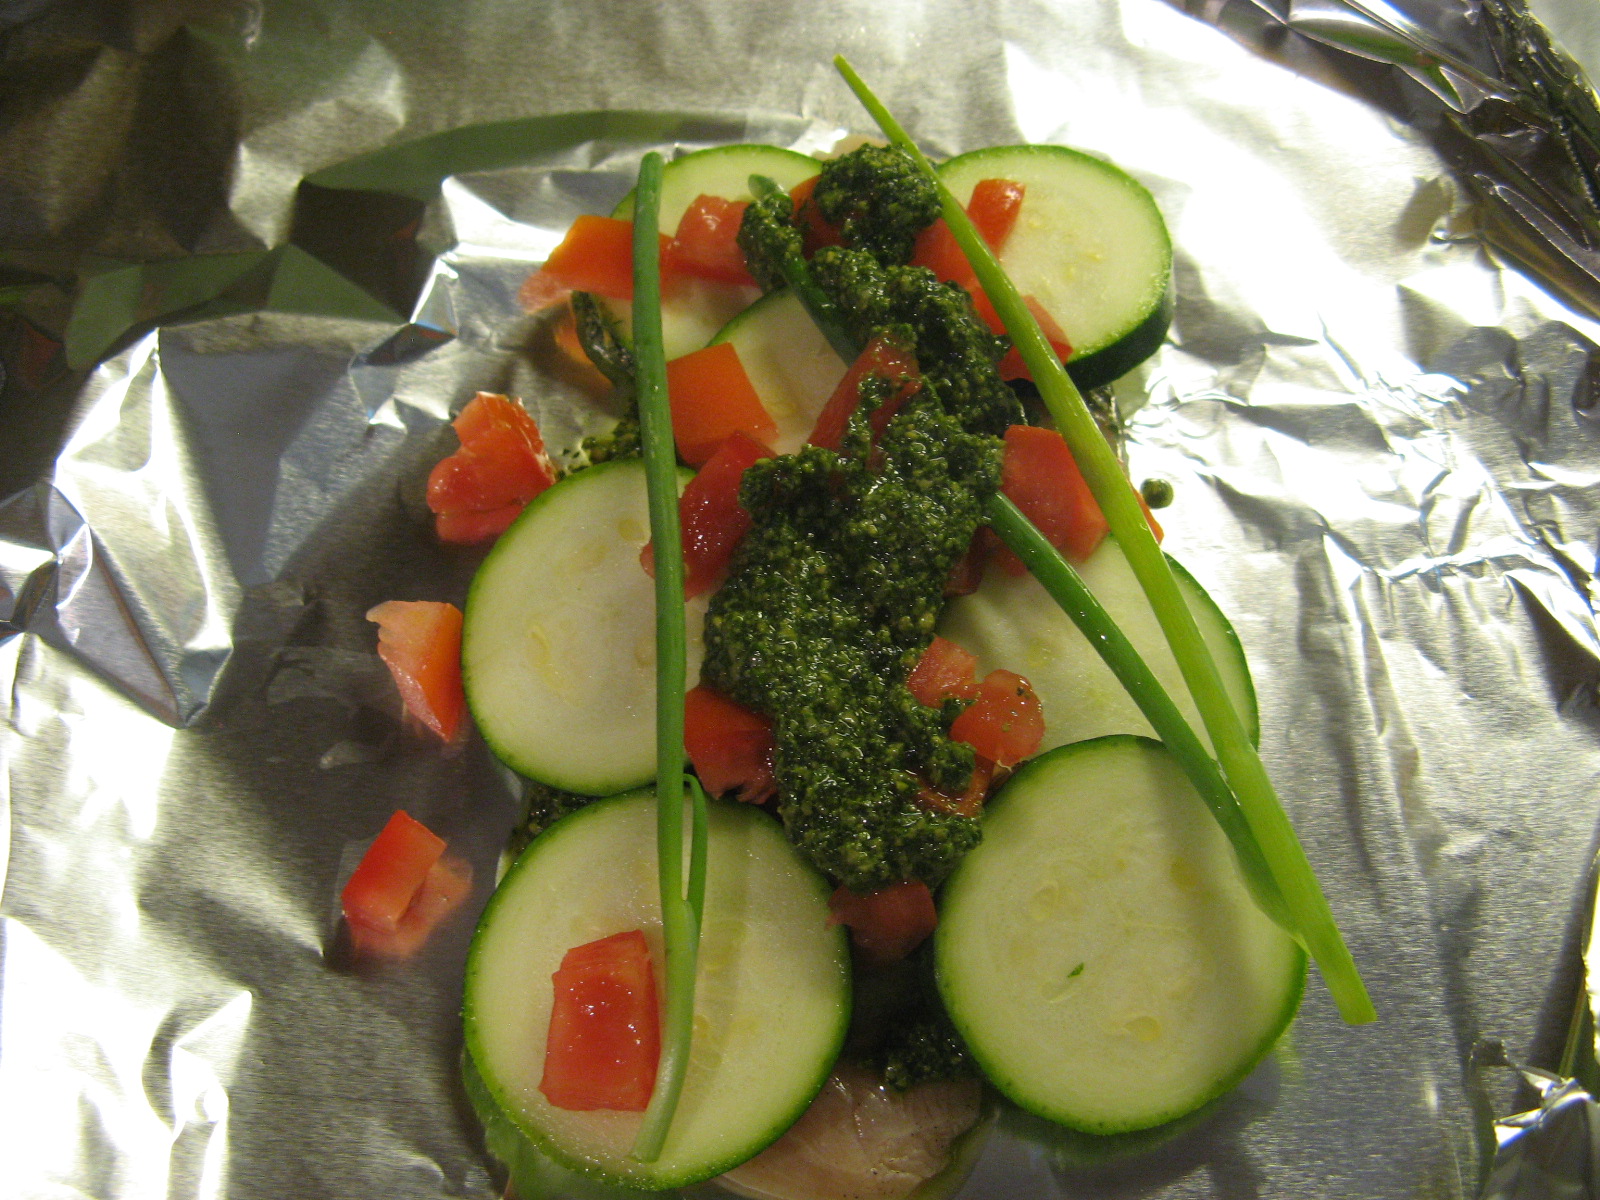
Next it was time to cover the chicken with about a handful of the sliced zucchini and chopped tomatoes and a few of the scallions. Prior to closing the packets I also dolloped about two tablespoons of the pesto on top.

IMG_4800

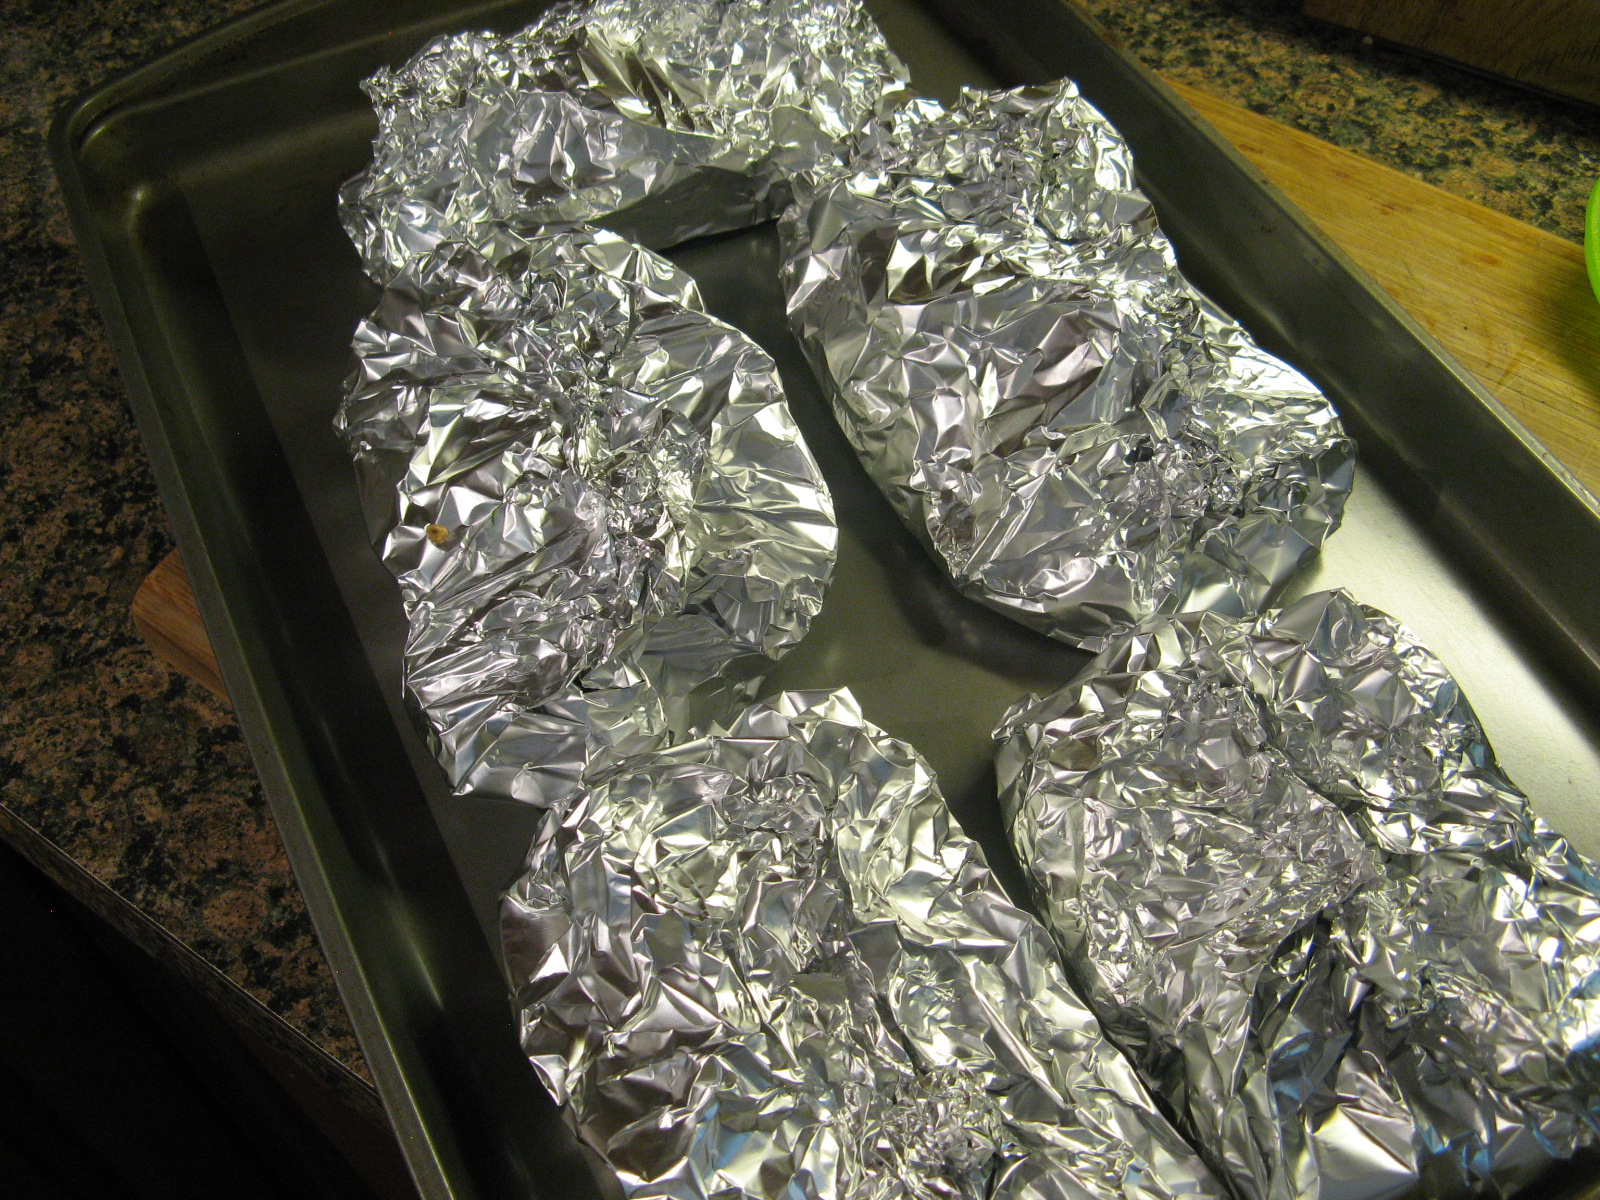
I placed all of the packets on a baking sheet and baked them in a 355 F preheated oven for 40 minutes.

IMG_4801

And voila, they were perfectly cooked in that time. This is definitely a great recipe for chicken as the juices of the zucchini, tomatoes and of course the pesto produces a chicken breast that is perfectly juicy and flavorful. I served them with brown rice and no worries I did take the chicken along with all of its components out the aluminum packet prior to eating it. How else was I going to be able to mix all the wonderful juices in with my rice?

IMG_4803


Pesto Sauce

Ingredients:

3 cups loosely packed fresh basil leaves, washed

1/4 cup pine nuts

1 garlic clove

1/2 teaspoon kosher salt

1/4 teaspoon black pepper

2/3 cup extra virgin olive oil

1/4 cup freshly grated Parmesan cheese


Directions:

1. Place the basil, pine nuts, basil, salt and pepper in the bowl of a food processor and pulse to combine.

2. While the machine is running drizzle the olive oil through the feed tube, stopping occasionally to scrape down the sides.

3. Transfer to a bowl and stir in the Parmesan cheese.


Pesto Chicken Packets

Ingredients:

Extra-Virgin olive oil, for drizzling

5 Thinly sliced skinless and boneless chicken breasts

Salt and Pepper

1 cup Pesto

2 zucchini, thinly sliced

4 plum tomatoes, chopped

10 scallions, trimmed


Directions:

1. Preheat the oven to 355 F. Cut five 12-inch long sheets of heavy-duty foil. Drizzle 1 teaspoon olive oil in the center of each sheet.

2. Season the chicken with salt and pepper. Lay 1 piece of chicken in the center of each sheet and spread 1 tablespoon pesto on top.

3. Mound a handful of the zucchini and tomatoes over each chicken breast along with two pieces of scallion. Dollop a few tablespoons pesto over each mound. Fold the foil over the chicken and vegetables; pinch the edges to seal.

4. Place the packets on a baking sheet and bake for 40 minutes.

Sun-Dried Tomato Bread

As I may have mentioned before I have quite a few cookbooks that I normally mark recipes from but more often than not don’t get around to trying out. Recently I started going through some of these cookbooks to refresh my memory on those marked recipes and also to see if I can make room on my bookshelf for other cookbooks that I will get more use out of. In doing so I came across a Sun-Dried Tomato Bread recipe in Marcus Samuelsson’s New American Table cookbook which I immediately decided I wanted to try. This is one cookbook that I didn’t purchase myself but instead received as part of a prize package I got a few years back and probably haven’t looked at it since. This also marks the first time I attempted to make bread, yes, I have made banana bread and such in the past but, I guess I should clarify that it’s the first time I am making a yeast bread. I’ve only baked with yeast once before, just this past holiday actually, and it was disastrous. I tried to make cinnamon rolls from scratch but my yeast never properly dissolved and reacted with the water so the rolls were a mess, but, they did smell good. Luckily this time my results were a complete 180. I can’t even tell you how happy I was when my loaves actually expanded while they rested prior to me putting them in the oven… Sometimes it really is the little things in life.

I began by preparing the sun-dried tomato – kalamata olive – garlic paste that I ultimately kneaded into the dough. I soaked chopped sun-dried tomatoes in water for ten minutes and after patting them dry I combined them with chopped kalamata olives. To prepare the garlic I cooked four unpeeled cloves in olive oil for about twenty minutes until they were softened and then squeezed the pulp from the cloves into the mixture. I then mashed all three items together with a spoon to form the paste.

IMG_2659

Next I combined the yeast, salt and water in a bowl and let it sit in a warm area until the yeast activated. While the recipe called for fresh yeast I used dry yeast instead. I was able to find the dry equivalent after doing a quick Google search. At first nothing happened with my water, but, after reading the back of the yeast packet I learned that I needed to add a bit of sugar to get the process going. It wasn’t long after that the yeast was ready.

IMG_2660

I poured that into the center of the two flours – unbleached all-purpose and wheat flour – the recipe called for.

IMG_2661

After some kneading the dough was ready to be incorporated with the tomato-olive-garlic paste.

IMG_2663

After some more kneading I formed the dough into two loaves which I placed in prepared (sprayed with non-stick cooking spray) loaf pans.

IMG_2667

I covered them and let them rest for one hour in a warm area so they could double in size. My warm area ended up being right on top of my stove while the oven was on. And boy did they double…

IMG_2670

I then brushed the tops of the loaves with olive oil – I used the same olive oil that I cooked the garlic in to add a little extra flavor – and sprinkled some salt and freshly chopped marjoram on top.

IMG_2672

I baked them in a 375 degree preheated oven for 30 minutes uncovered and then another 25 minutes covered with aluminum foil. After letting the loaves rest in the pan on the wire rack for ten minutes I then removed them so they could cool completely.

IMG_2682

After cooling overnight I sliced them up and am happy to say that baking with yeast this time was a success for me! This bread is delicious!

IMG_2697


Sun-Dried Tomato Bread Recipe

Servings: 2 Loaves

Ingredients

1/2 cup roughly chopped sun-dried tomatoes

2 tbsp olive oil

4 garlic cloves, unpeeled

1/4 cup kalamata olives, pitted and roughly chopped

2 oz fresh yeast (approximately 7 tsp. dry yeast)

2 1/2 tsp salt

2 cups unbleached all-purpose flour

2 cups whole-wheat flour

2 marjoram sprigs, chopped

Directions

1. Preheat the oven to 400 degrees F.

2. Soak the sun-dried tomatoes in cold water for 10 minutes. Rinse and pat dry.

3. Heat the olive oil in a small saute pan over low heat. Add the garlic cloves and cook until softened, shaking the pan occasionally, about 20 minutes. Let cool slightly, then squeeze the pulp from the cloves into a bowl and mix with the olives and sun-dried tomatoes to form a paste.

4. Combine the yeast, 2 teaspoons of the salt, and 2 cups lukewarm water in a mixing bowl. Stir to dissolve, then let sit in a warm place until the yeast begins to bubble, 5 to 10 minutes.

5. Place the all-purpose flour and whole wheat flour in a large bowl and make a well in the center. Pour the yeast liquid into the well. Slowly combine the liquid with the flour. Using your hands, work the flour and liquid together to form a dough. On a lightly floured work surface, knead the dough until smooth and elastic, about 5 minutes. Add the tomato-olive mixture and knead until fully incorporated, about 5 minutes.

6. Divide the dough in half and form into 2 loaves. Transfer to two greased 81/2 x 41/2-inch loaf pans. Cover and let rest in a warm spot until doubled in bulk, about 1 hour.

7. Brush the tops of the loaves with olive oil and sprinkle with the remaining 1/2 teaspoon salt and the marjoram. Place the loaf pans in the oven and bake for 30 minutes. Cover the pans with aluminum foil and bake for another 30 minutes.

8. Remove the loaves from the oven and let cool on a wire rack for 10 minutes. Remove the loaves from the pans and let cool completely on the racks.

Blood Orange-Olive Oil Cake

I recently picked up Martha Stewart’s newest cookbook – Martha Stewart’s Cakes  – and after going through it I was eager to try out one of the many delicious recipes in it. I was all set to make a butter cake until I came across some blood oranges in my local supermarket and remembered a Blood Orange – Olive Oil cake recipe from the book.

The oranges…

IMG_2486 IMG_2506

After zesting and peeling the oranges….

IMG_2488

I squeezed a few segments to get 1/4 cup of juice. While it probably would have been easier just to squeeze the juice into a measuring cup this oddball method was what my hands reached for first.

IMG_2492

After mixing the orange zest and sugar together with my fingers (per the instructions) I then added in the juice and buttermilk and whisked it together with my hand mixer… not my fingers!

IMG_2495

I then added in three eggs and extra-virgin olive oil. No worries… There wasn’t a hint of taste of olive oil in the final outcome and I must say the olive oil produced a very moist cake. If you want some more information on baking with olive oil check out this website.

IMG_2497

And finally I added in a sifted mixture of flour, baking powder, baking soda and salt.

IMG_2498

I knew this cake was going to be a winner when the batter itself already had a wonderful aroma and it wasn’t even in the oven yet.

IMG_2499

I then poured it into a prepared – I sprayed it with non-stick baking spray – 9 x 5 inch loaf pan and baked it in a 350 degrees preheated oven for about forty-five minutes.

IMG_2502

I first let the cake cool in the pan on a wire rack for fifteen minutes and then turned it out on the rack to finish cooling overnight.

IMG_2512

Once the cake cooled I made a dark chocolate glaze to drizzle over it. I did so by chopping up two ounces of bittersweet chocolate and then poured warmed heavy cream over it.

IMG_2514

After letting it sit for a few minutes I whisked it together.

IMG_2516

And then drizzled it over the cake.

IMG_2517

I couldn’t wait to slice it into it and was not disappointed. The cake had a nice orange taste and that little bit of chocolate on top was just perfect! The recipe actually called for a honey-sweetened blood-orange compote to go along with it but I opted not to make it and I definitely didn’t miss it.

IMG_2521


Blood Orange – Olive Oil Cake

1 1/4 cups all-purpose flour

3 blood oranges

1 cup sugar

1/2 cup buttermilk

3 large eggs

2/3 cup extra-virgin olive oil

1 1/2 tsp. baking powder

1/4 tsp. baking soda

1/4 tsp. salt

2 oz. bittersweet chocolate

1/4 cup heavy cream

1. Preheat oven to 350 F. Prepare a 9-by-5 inch with non-stick baking spray. Finely grate enough rind from oranges to yield 1 packed tablespoon zest.

2. Peel the oranges and then working over a bowl squeeze the segments to obtain 1/4 cup juice.

3. Combine sugar and zest in another bowl; using your fingers, rub together well. Add juice and the buttermilk; whisk to combine. Add eggs and oil; whisk to combine. Sift together flour, baking powder, baking soda, and salt into a small bowl; add to buttermilk mixture, whisking until smooth.

4. Transfer batter to prepared pan. Bake until golden and a cake tester comes out clean, 40 to 45 minutes. Transfer pan to a wire rack to cool 15 minutes. Turn out cake onto rack to cool completely.

5. Place chocolate in a heatproof bowl. Bring cream to a gentle simmer in a small saucepan. Pour over chocolate, let stand 5 minutes, and then whisk together until smooth. Drizzle over cooled cake and let set about 1 hour.

%d bloggers like this: