Today’s blog post is a two-for-one special. A bread & soup pairing. And with the rainy days of April just around the corner this may be exactly what you will want to eat.
I’ve made quite a few No-Knead breads that have turned out to be delicious. When you can take the guesswork and work out of how much to knead your dough it’s hard to end up with something inedible. For today’s version, I am sharing with you a No-Knead Roasted Garlic and Rosemary Bread (YUM!) and for something warm and tasty to dunk it into a Roasted Tomato Soup (Double YUM!).
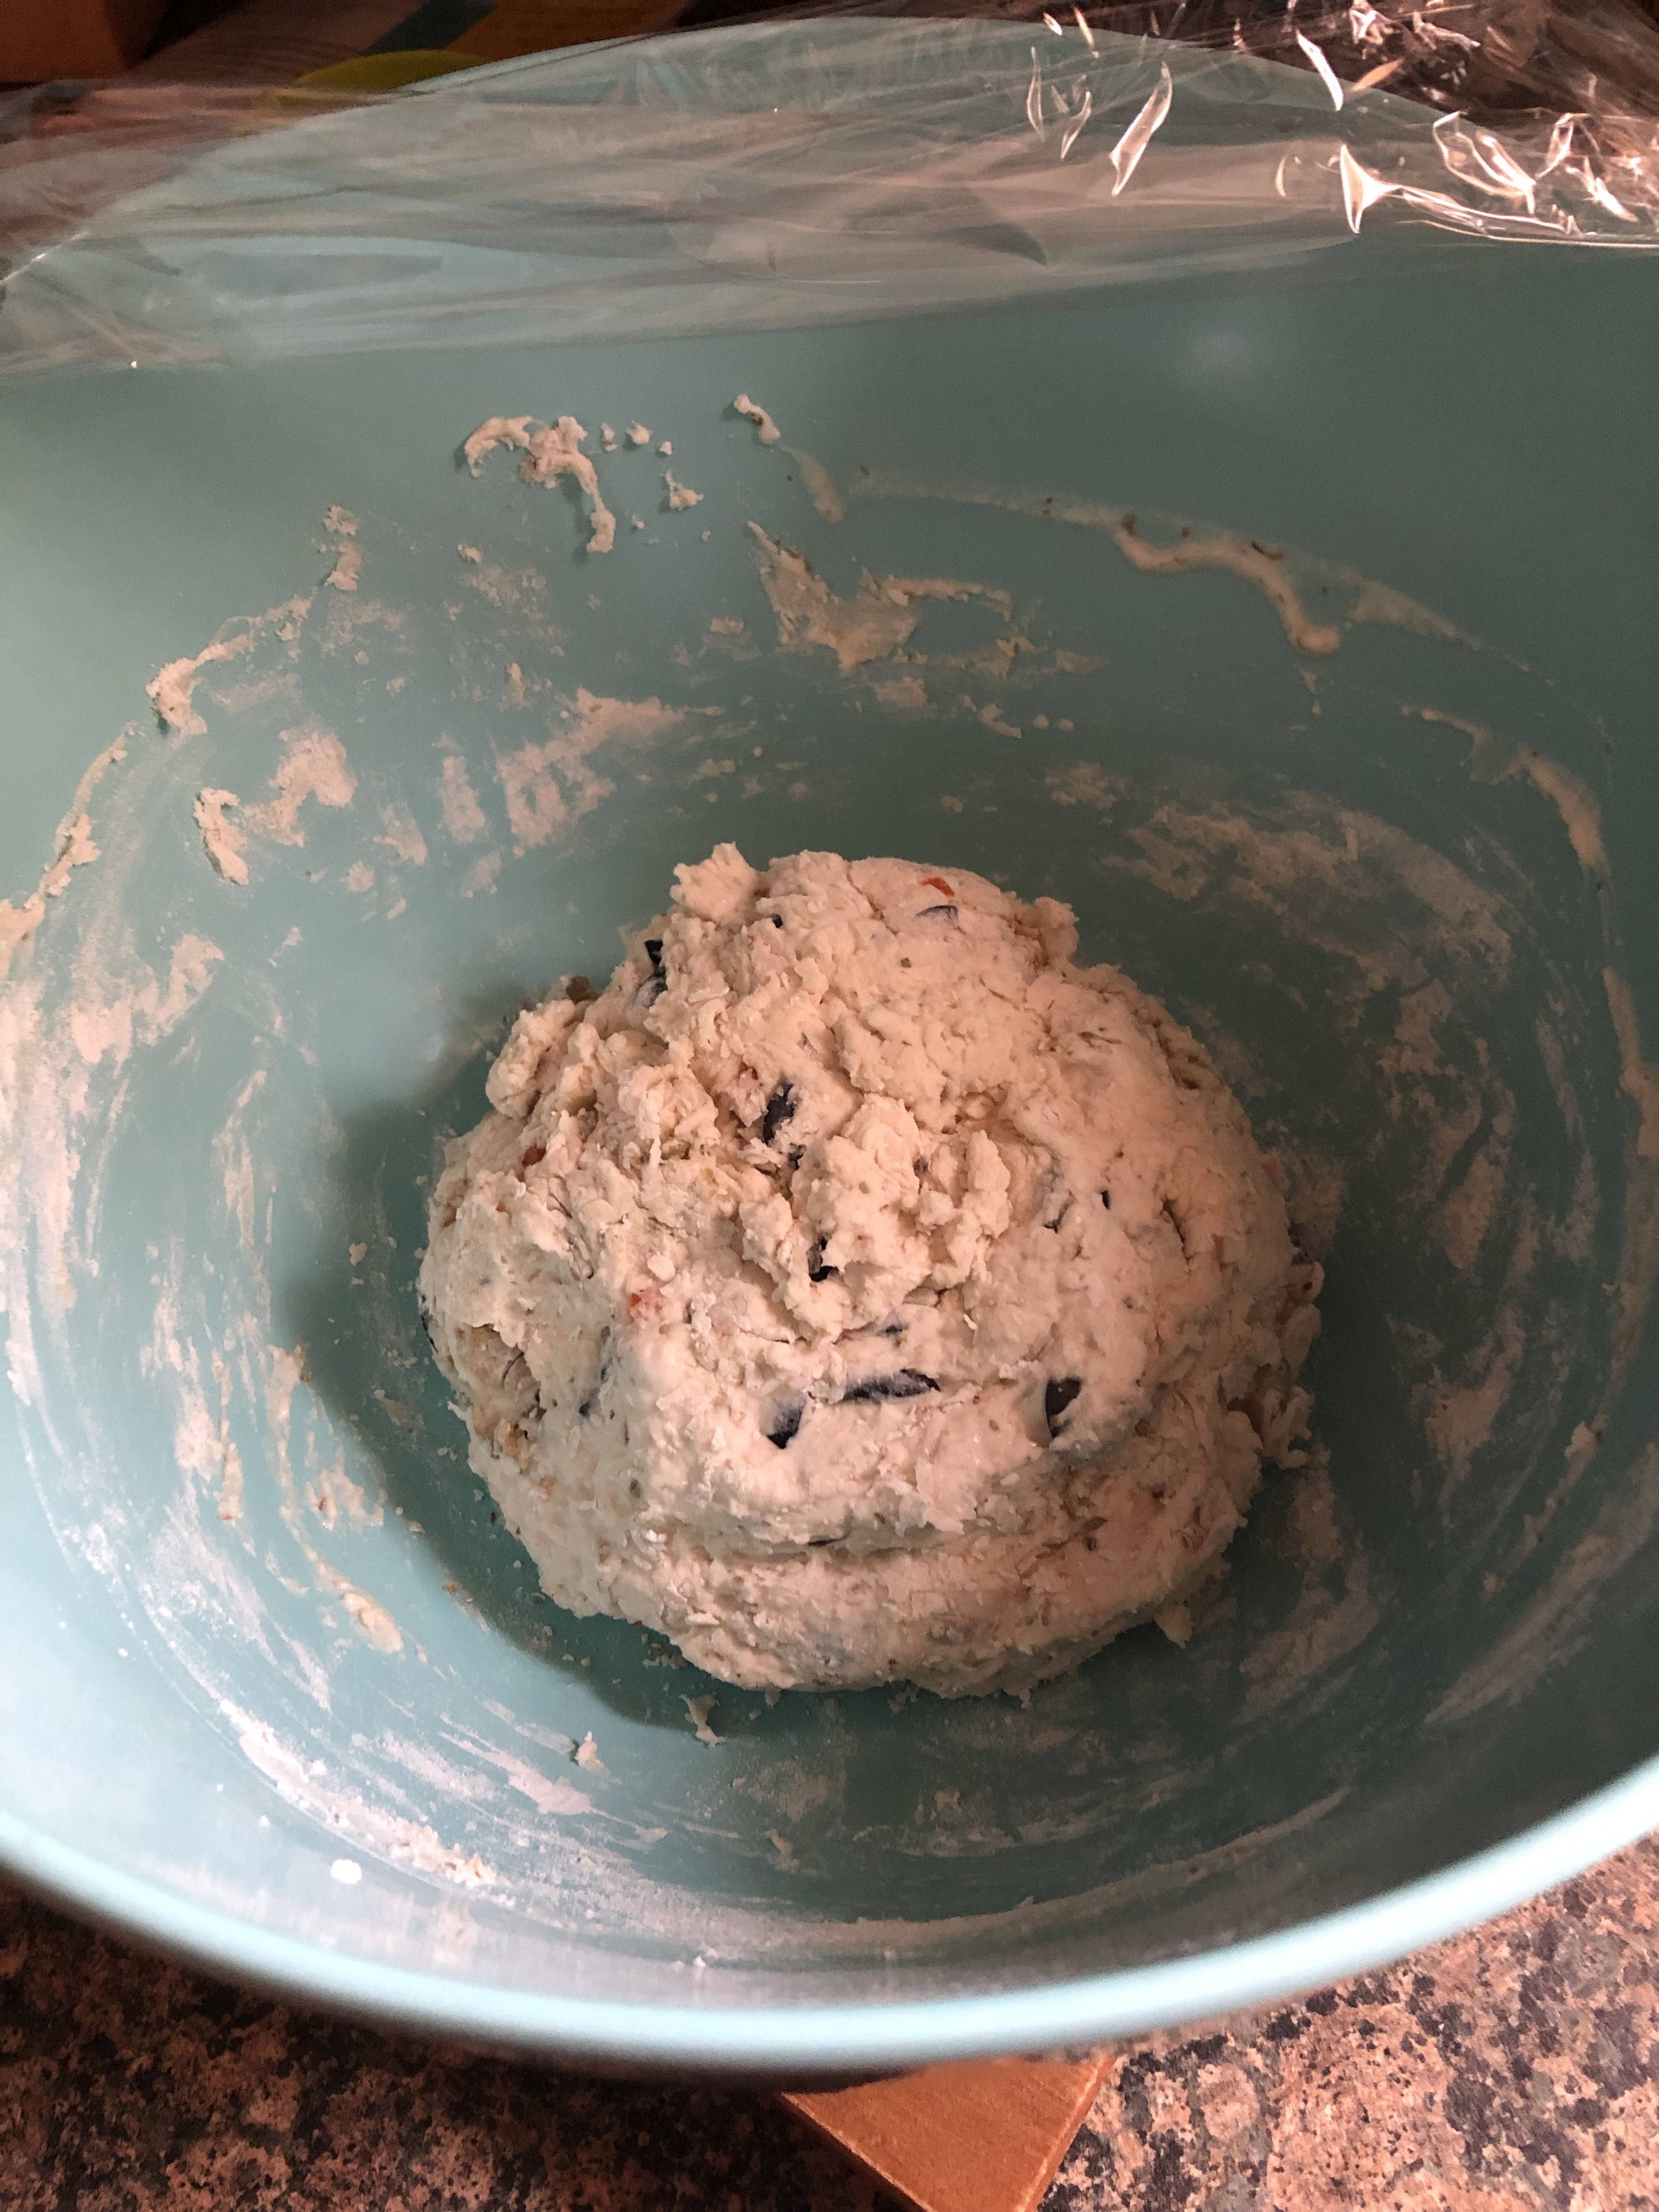
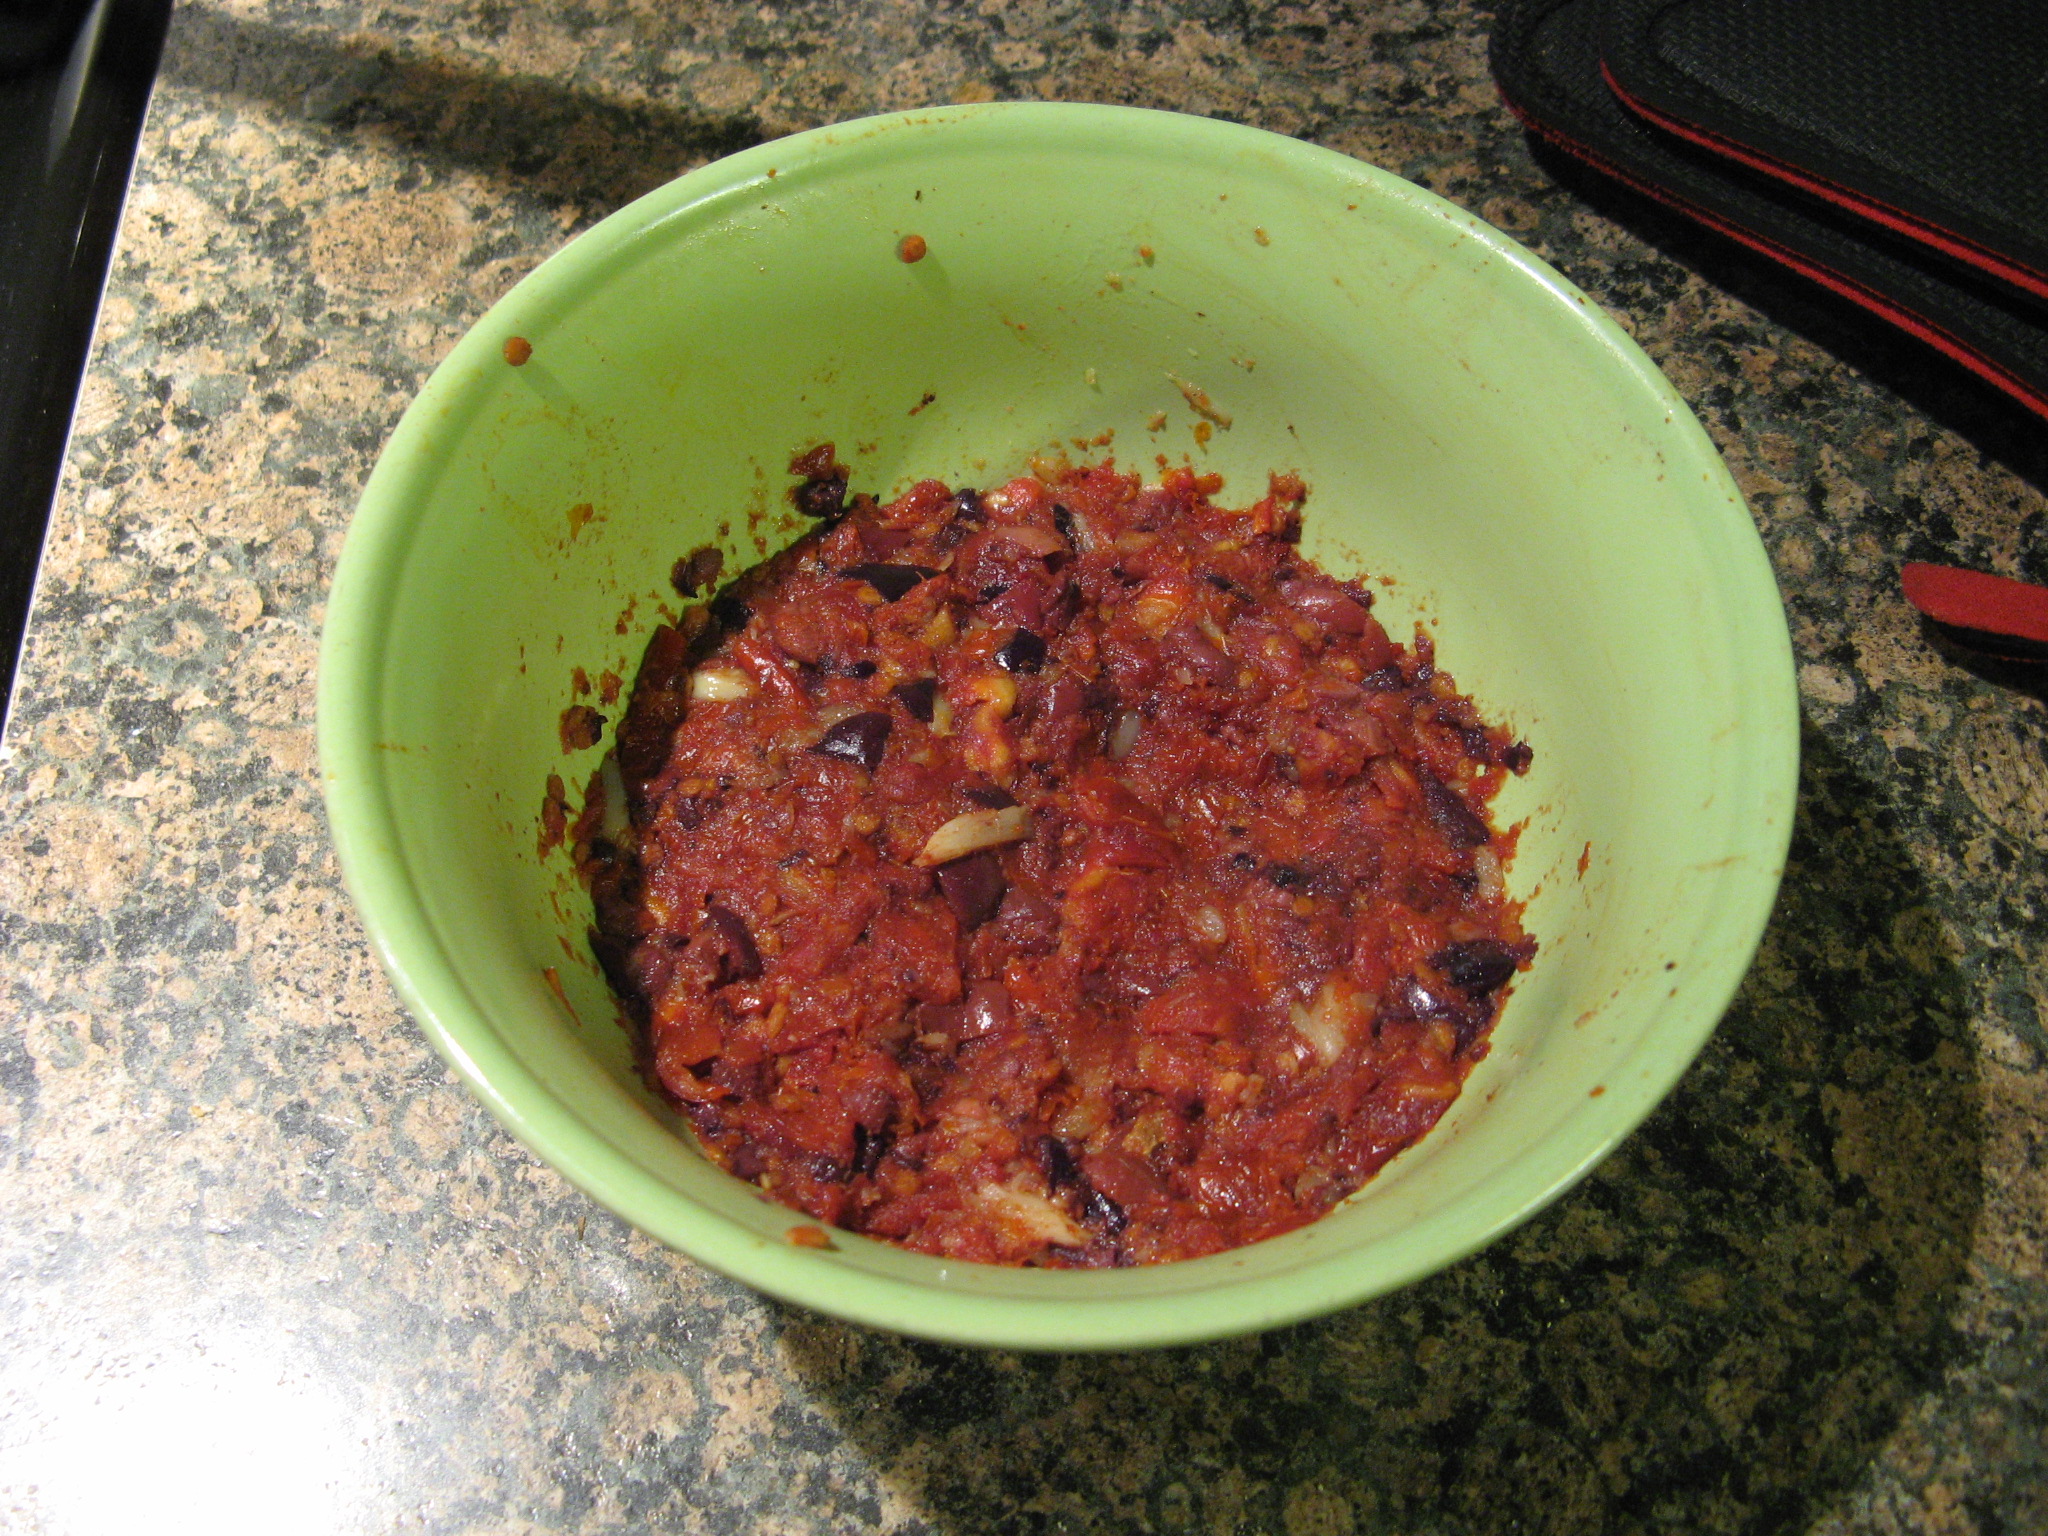
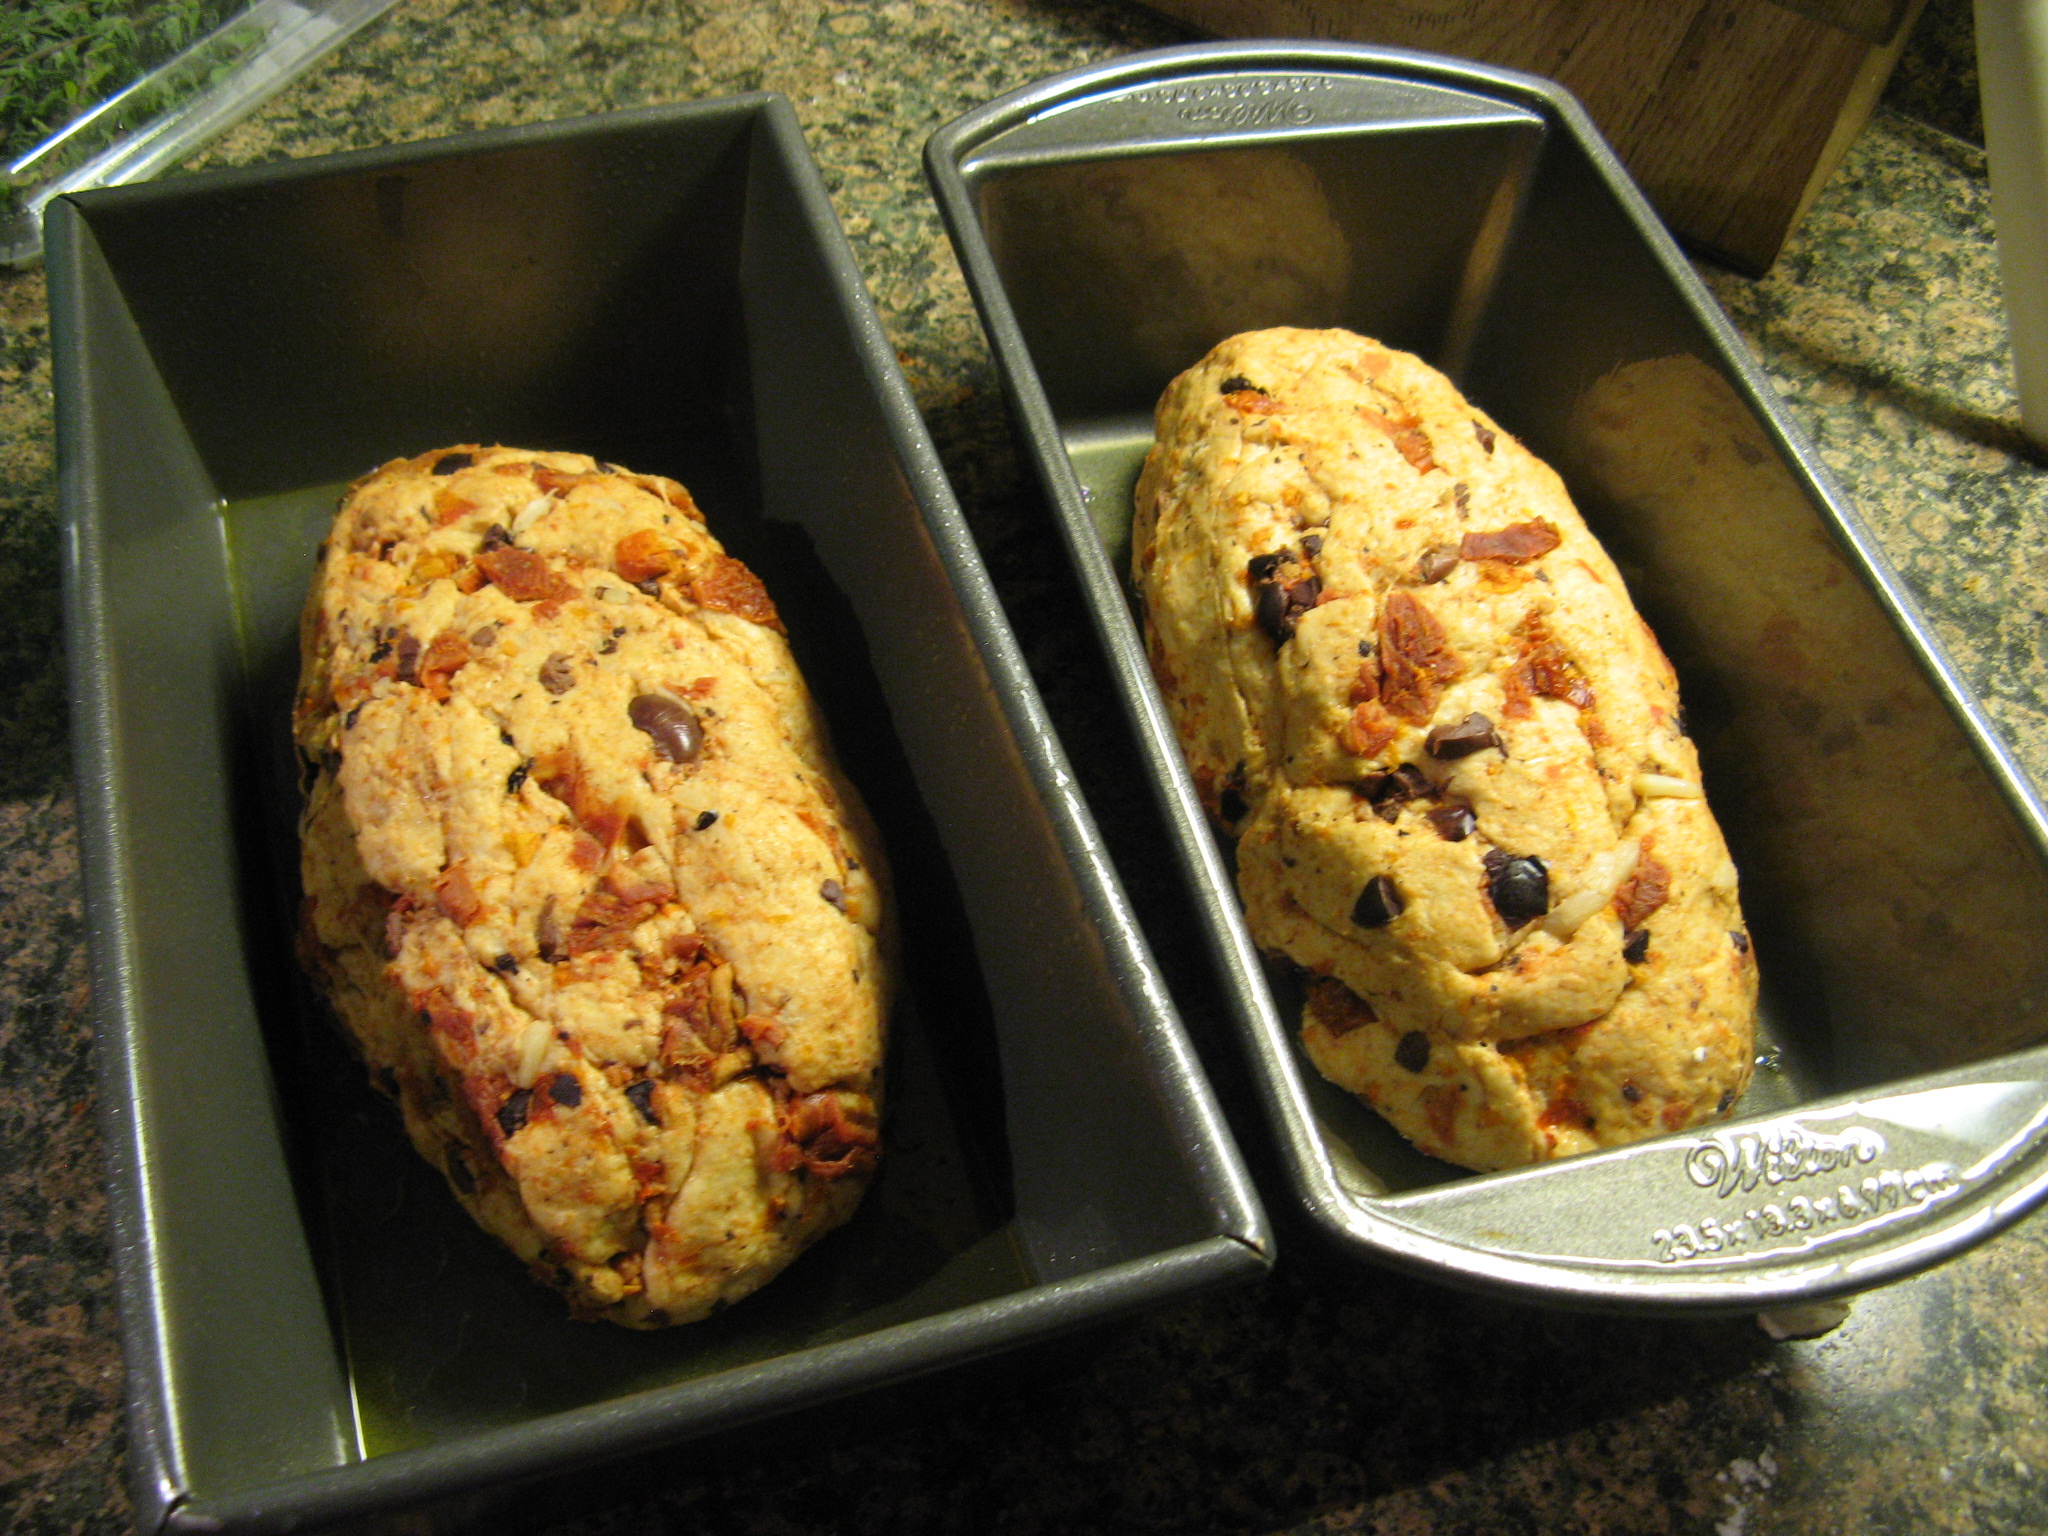
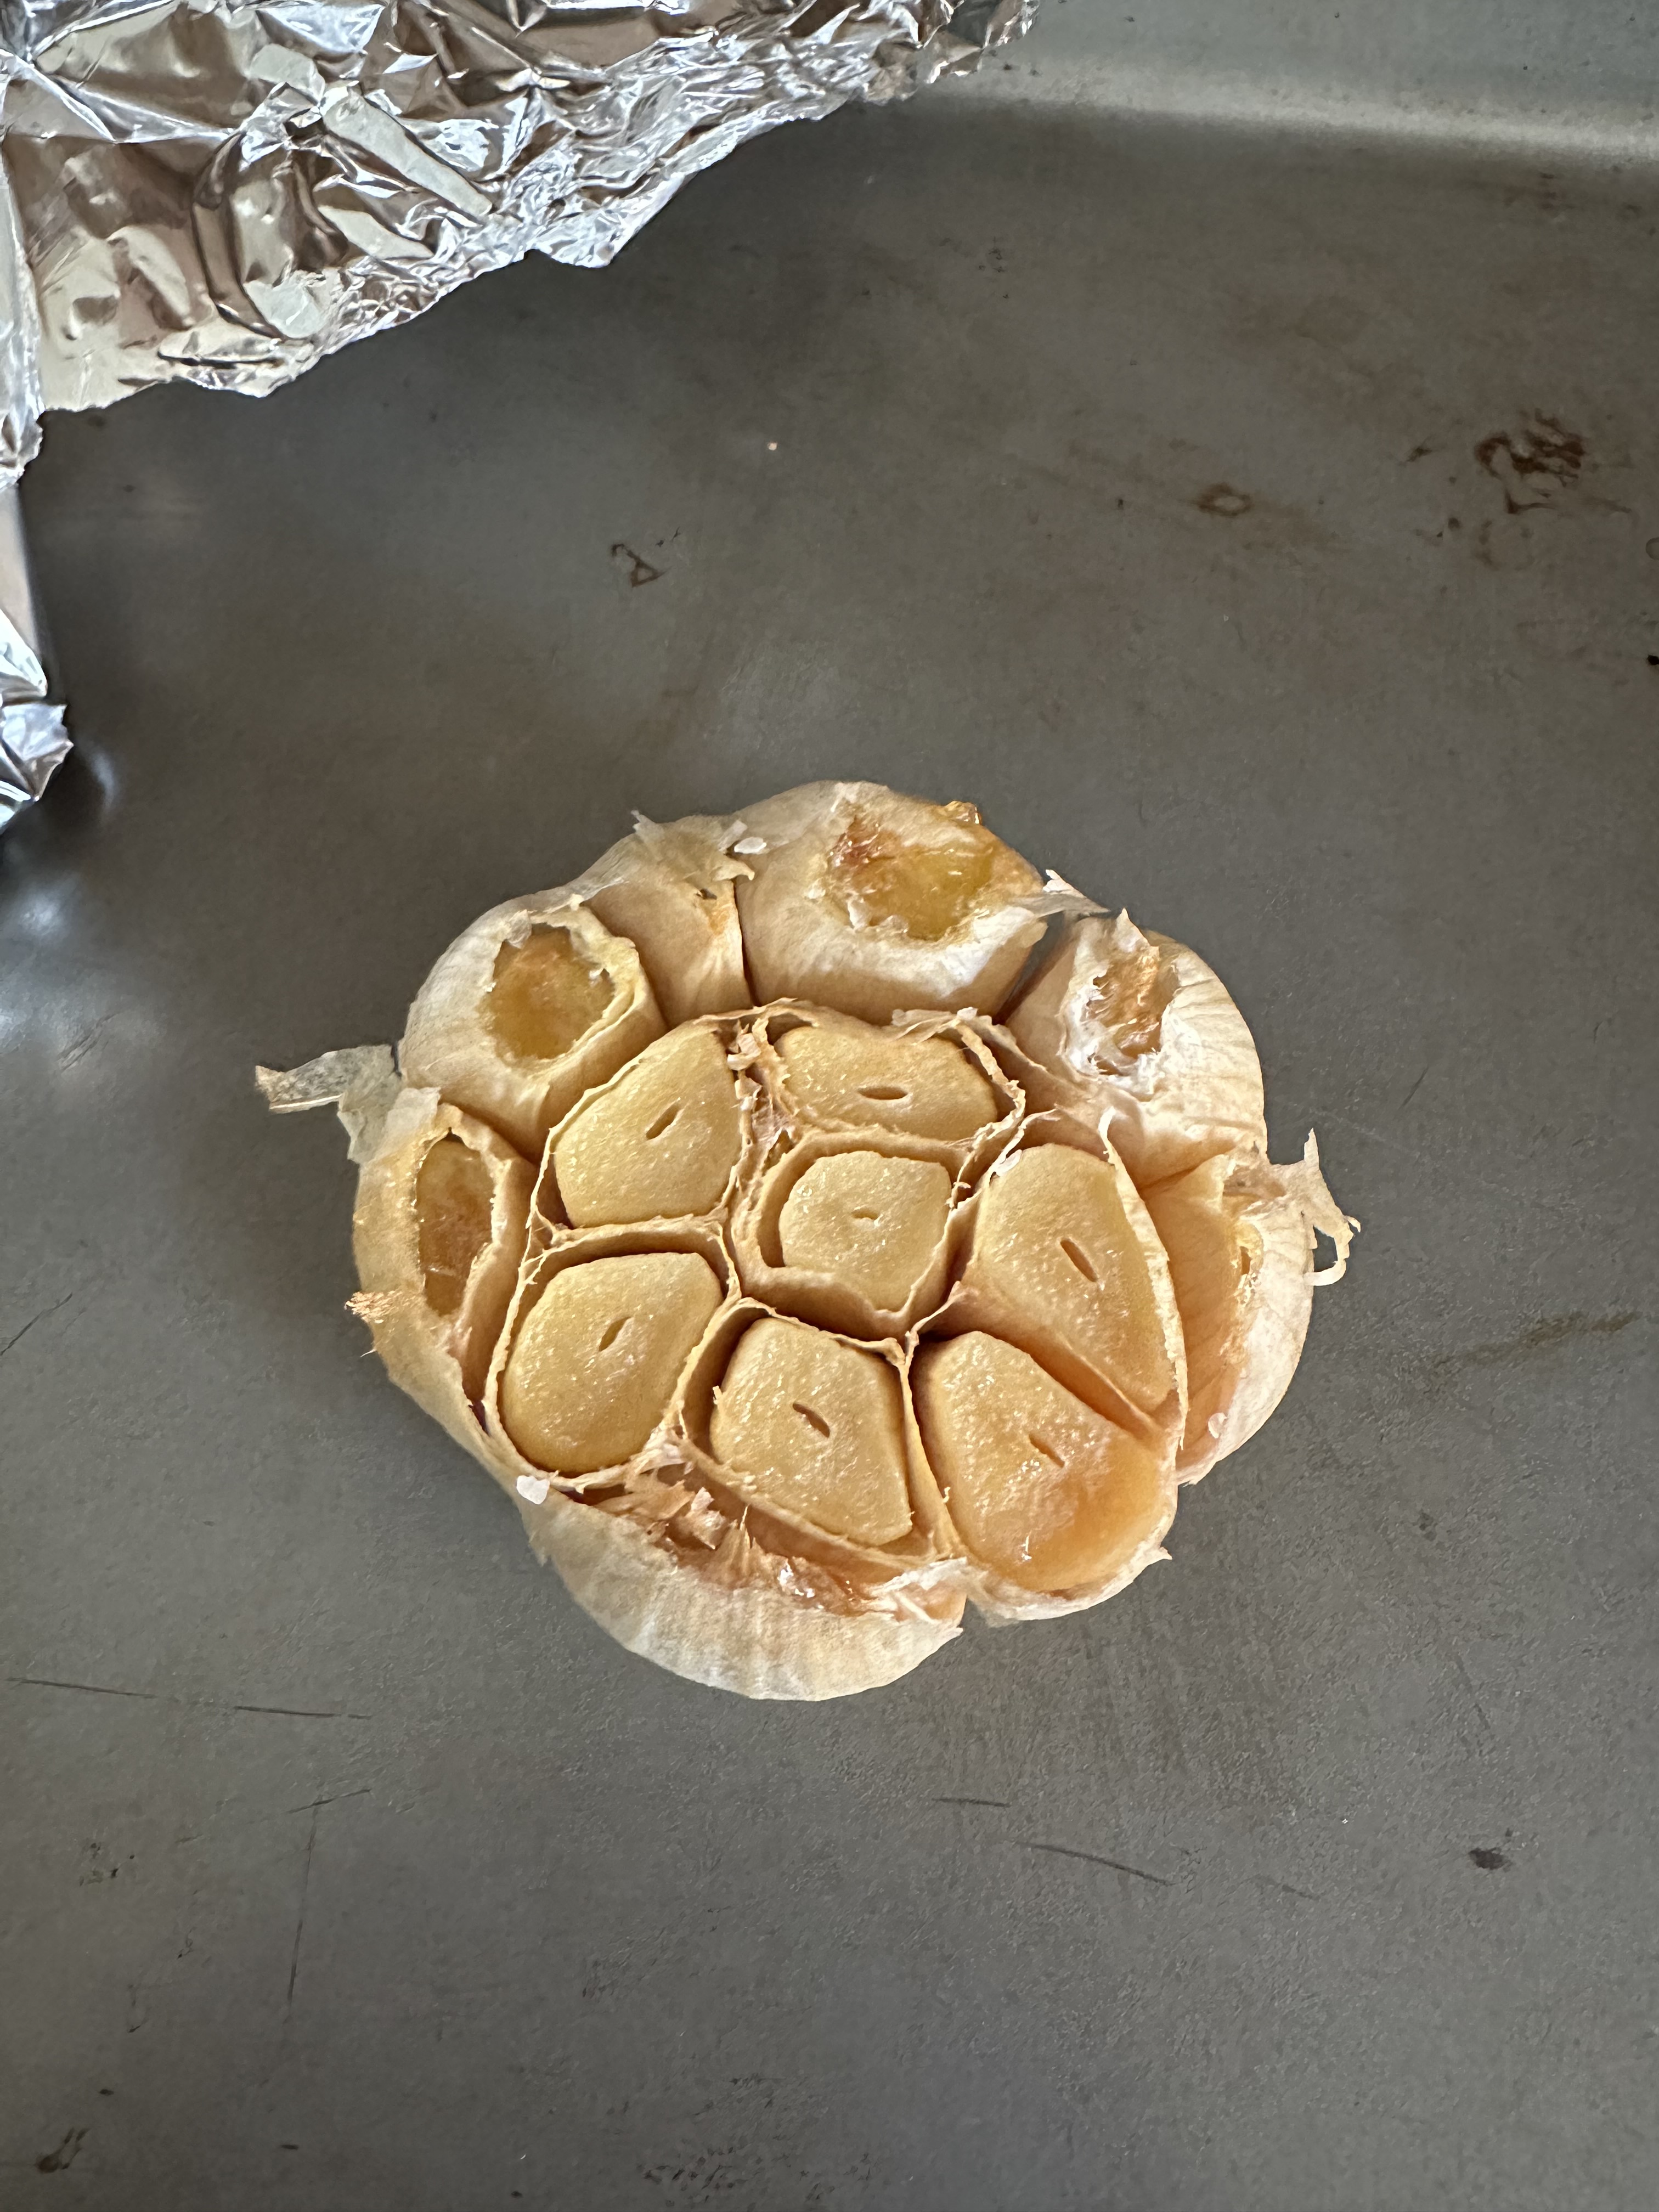
I started by making the bread. First up I roasted a head of garlic in the oven. I trimmed about a 1/2-inch of the head off and removed some of the papery outer layers. I placed the garlic in an aluminum foil packet and drizzled it with olive oil and sprinkled it with salt. I then sealed the aluminum foil and placed on a baking sheet and roasted it in the oven for about an hour. After letting it cool completely, I squeezed the cloves out and mashed them.
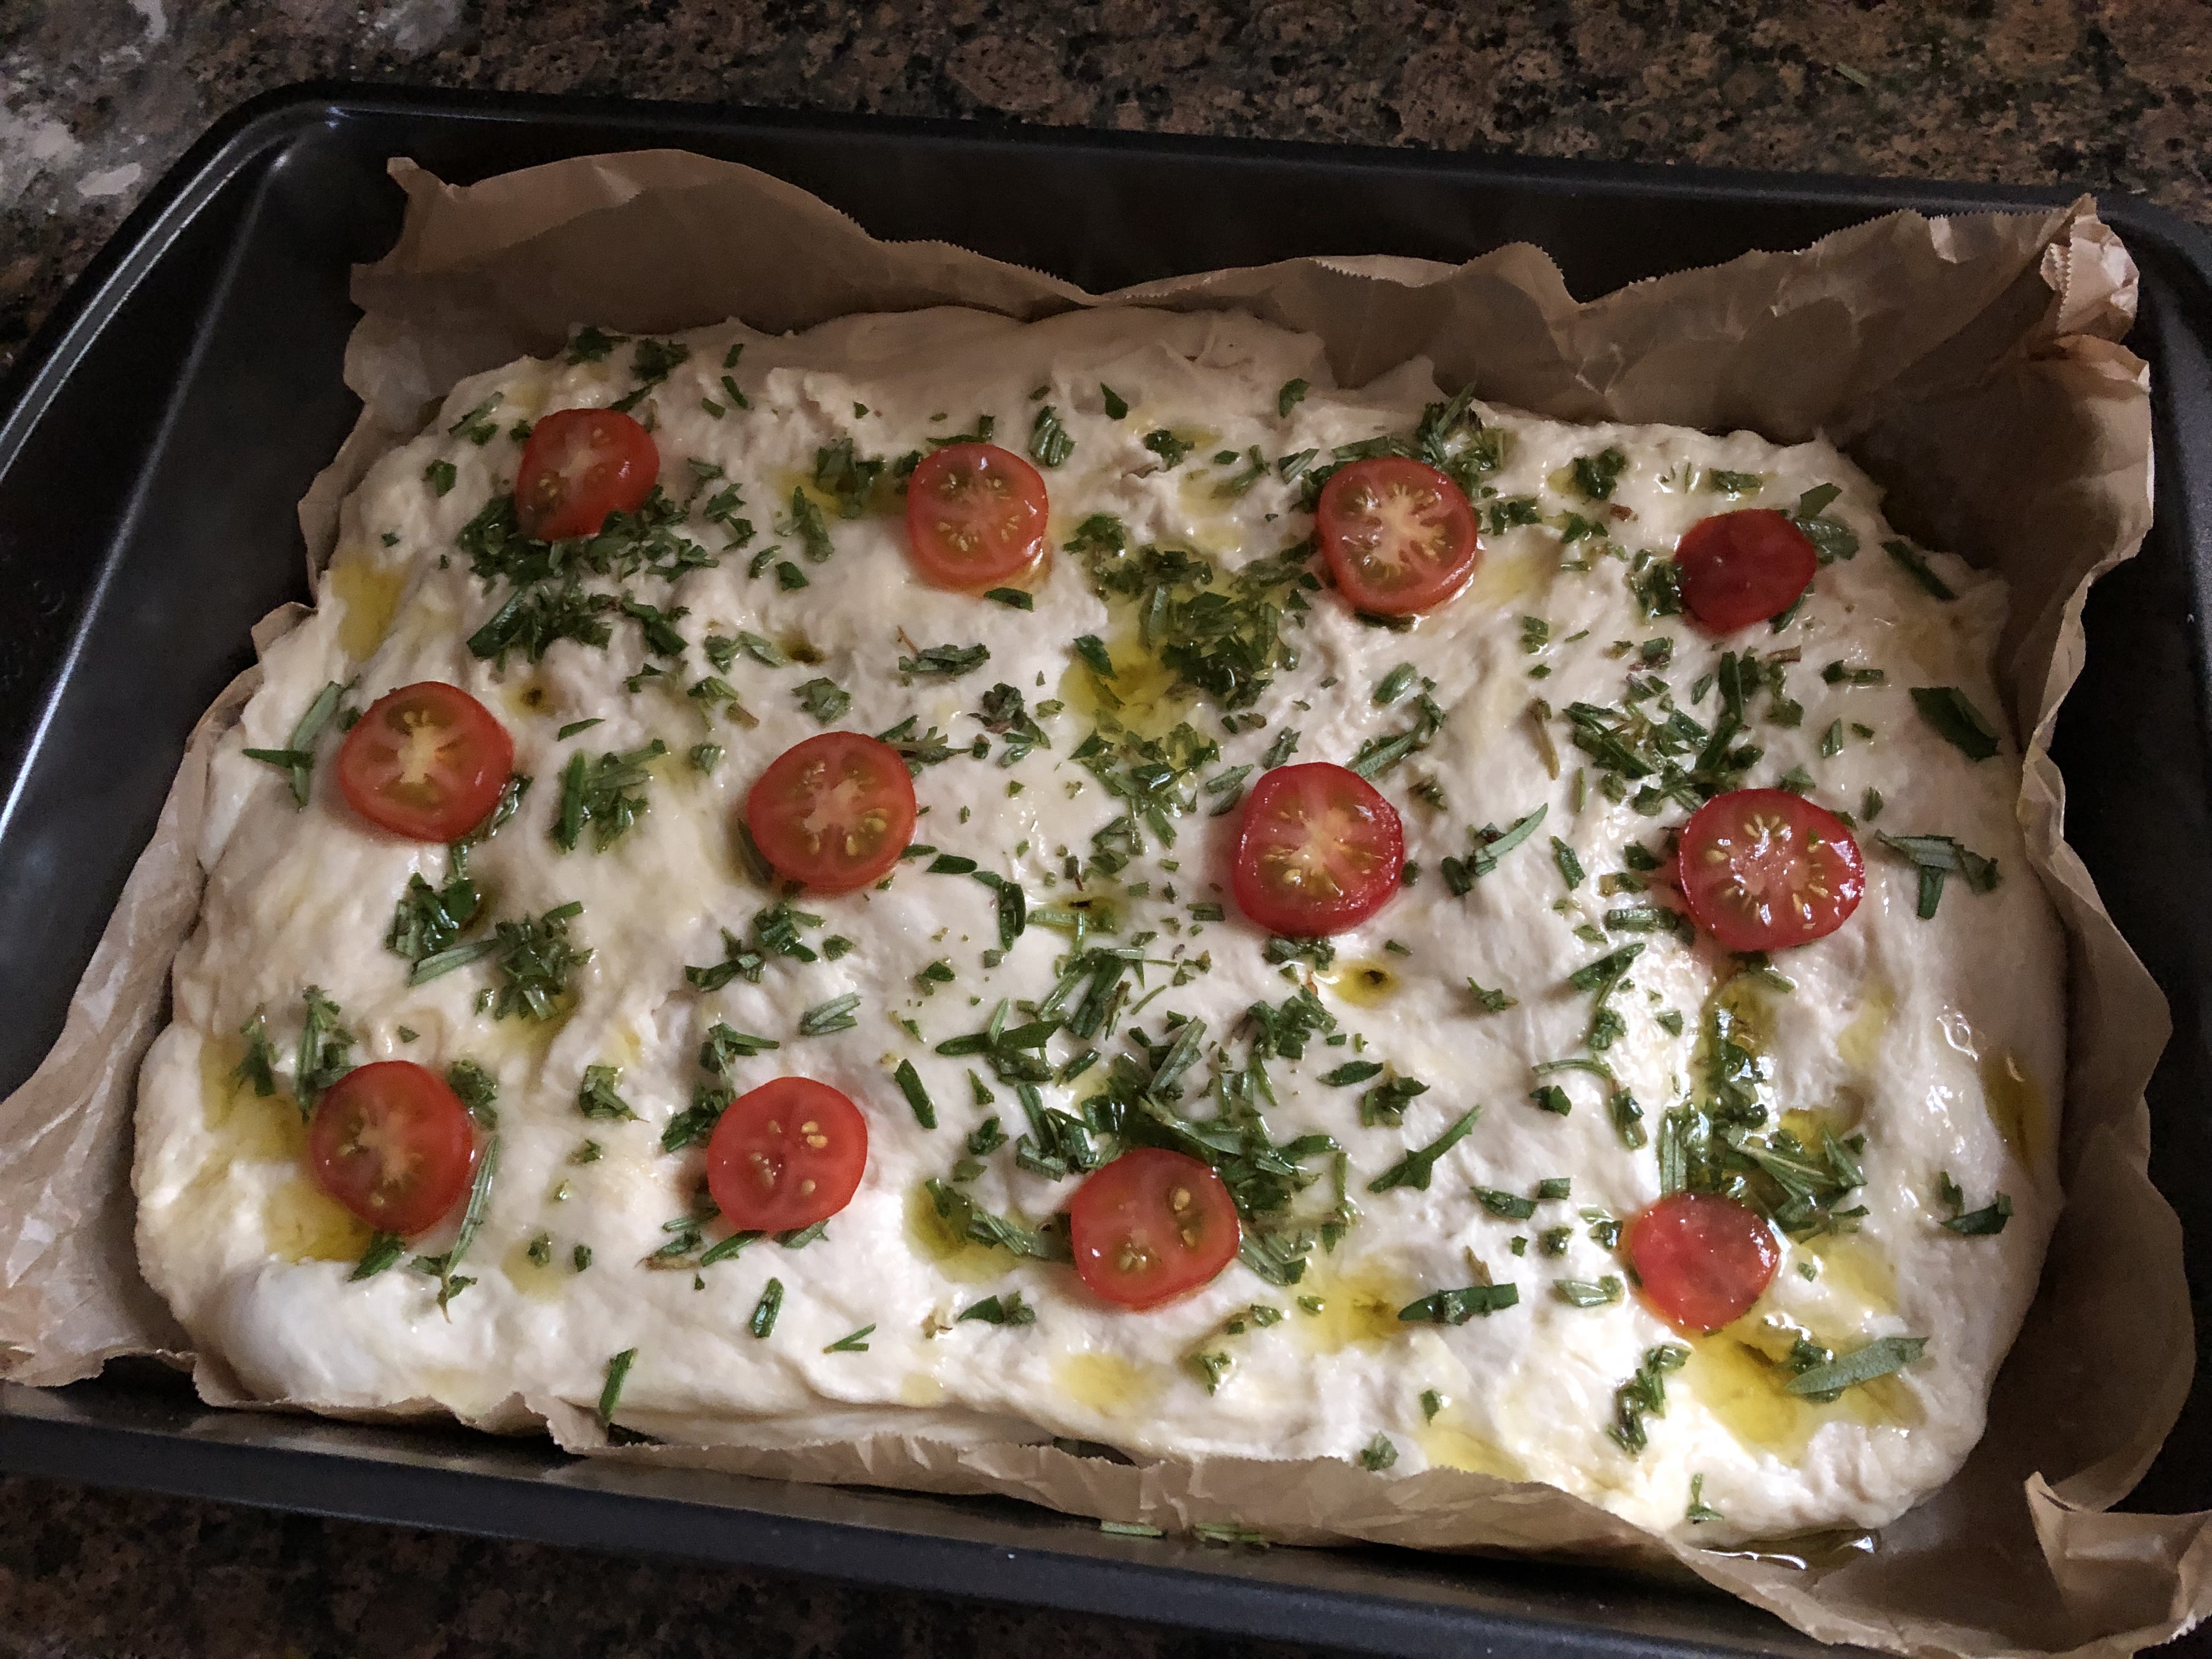
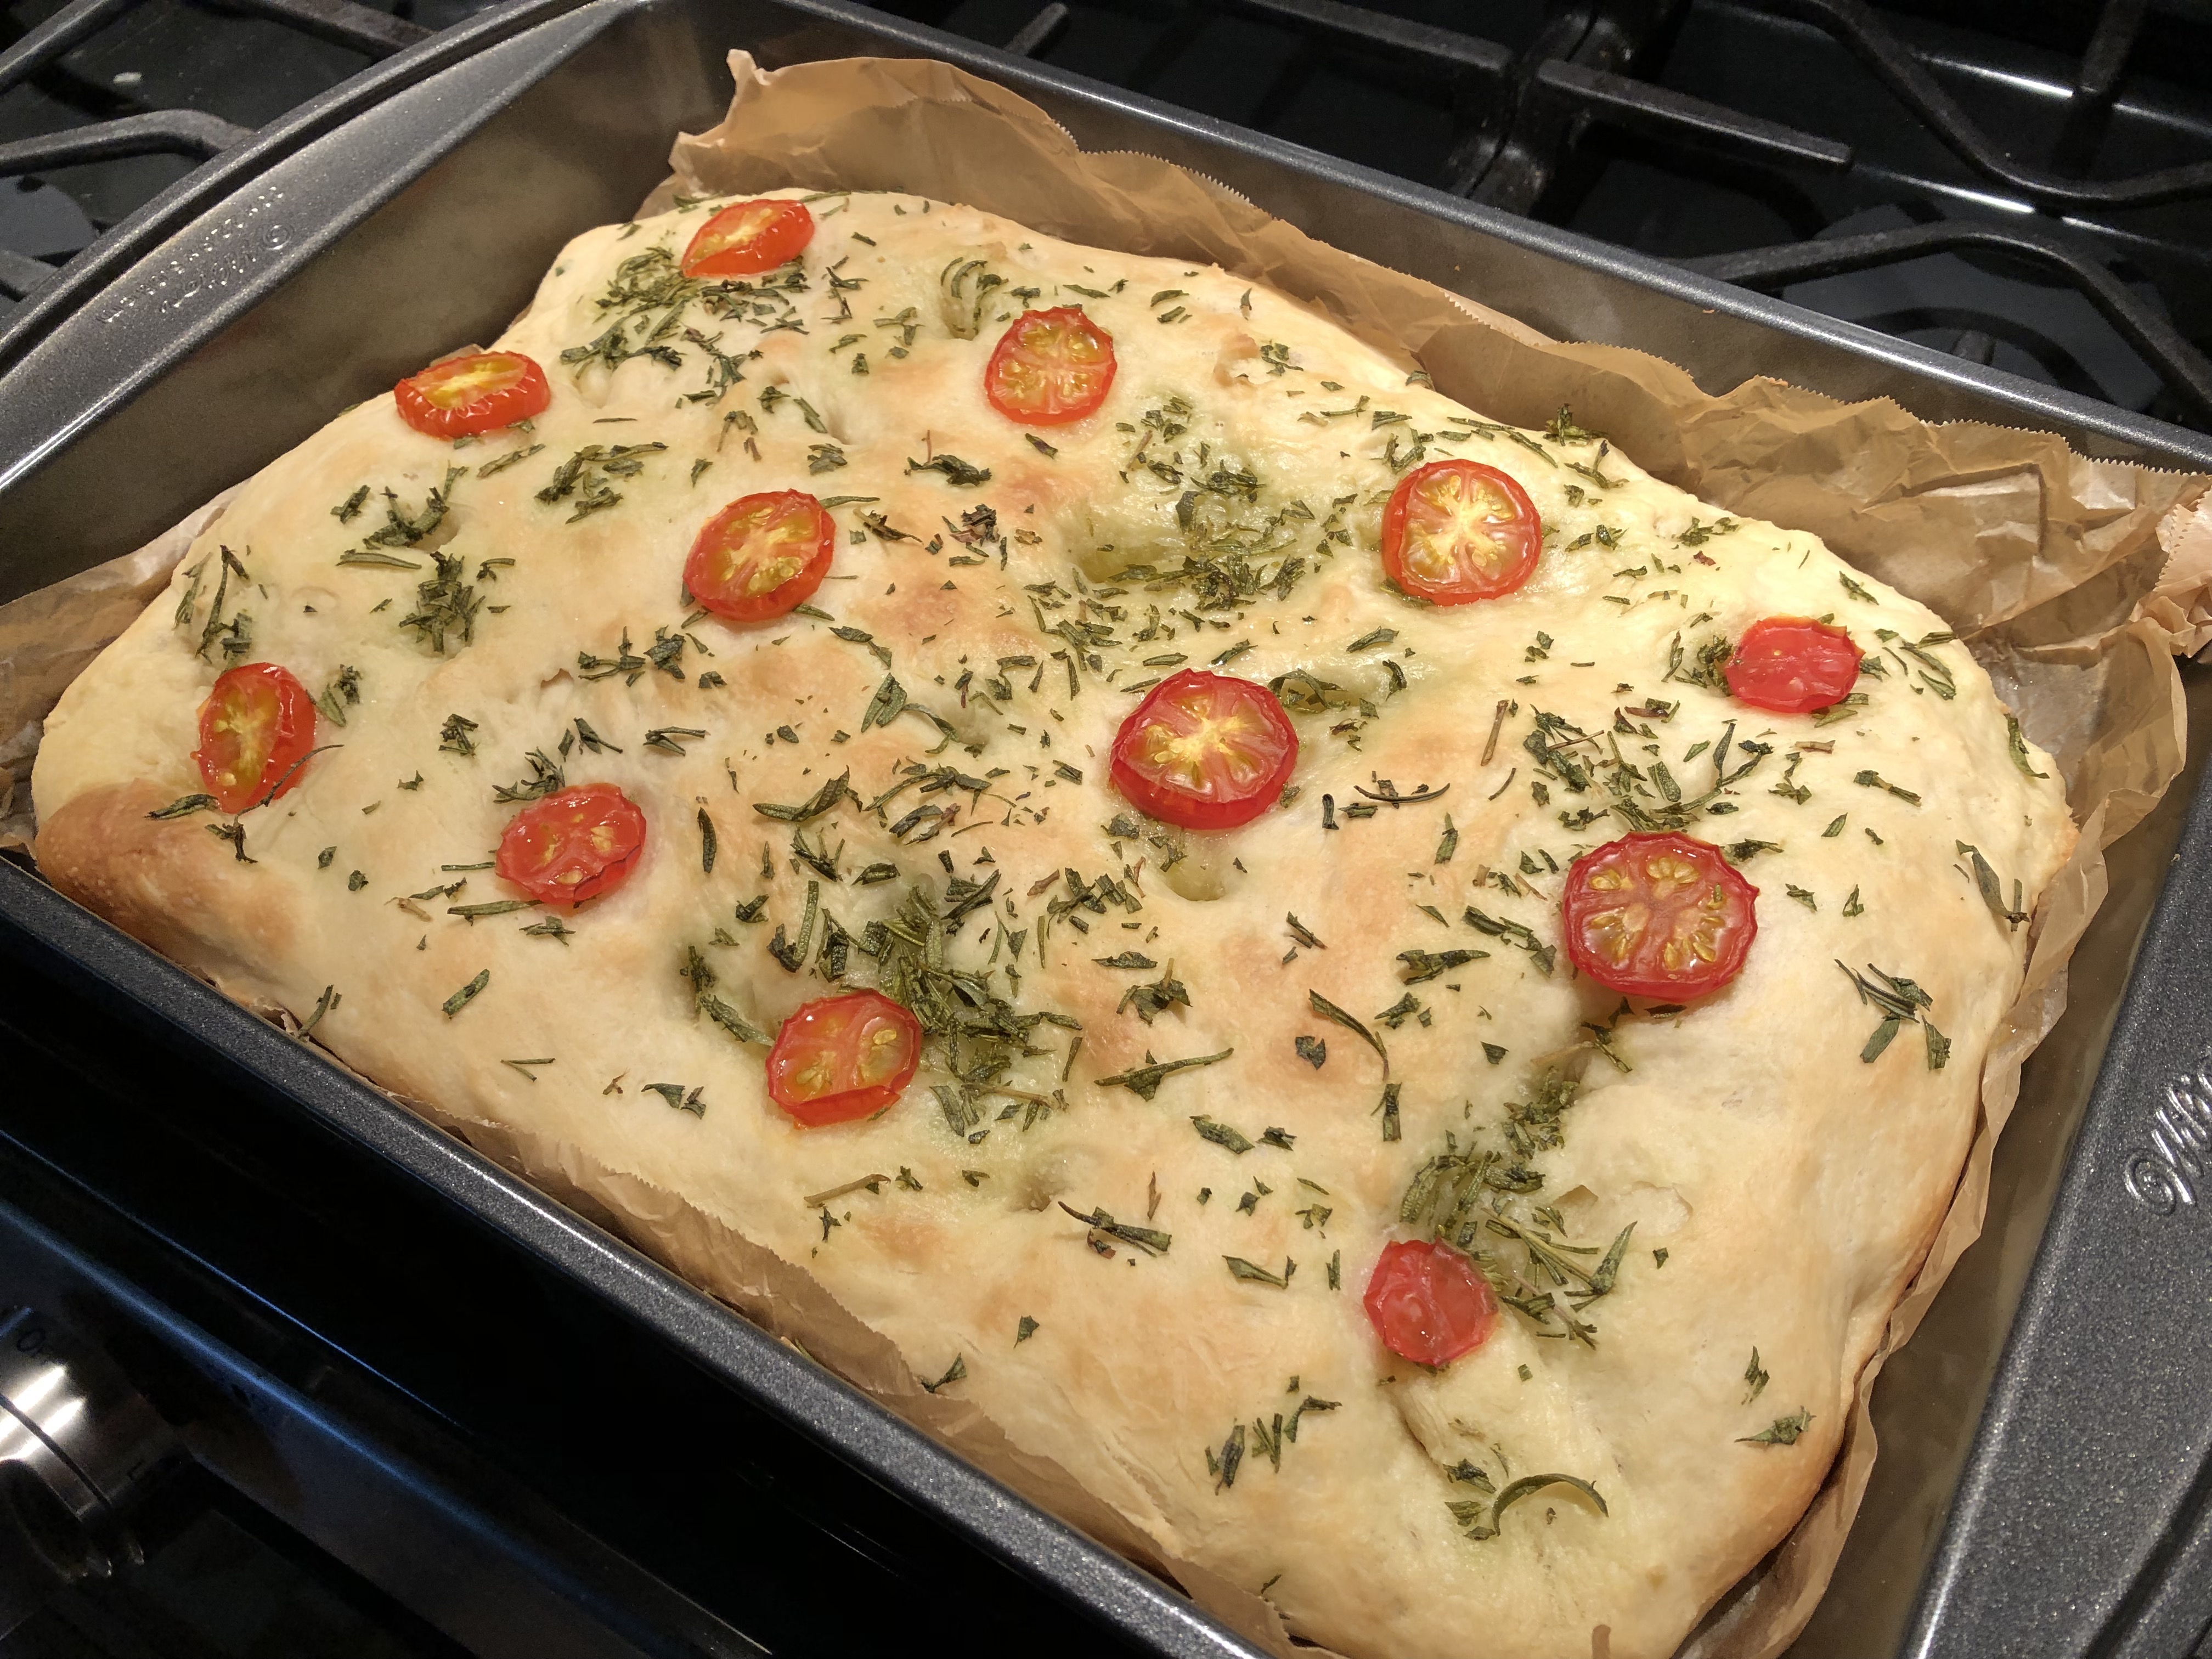
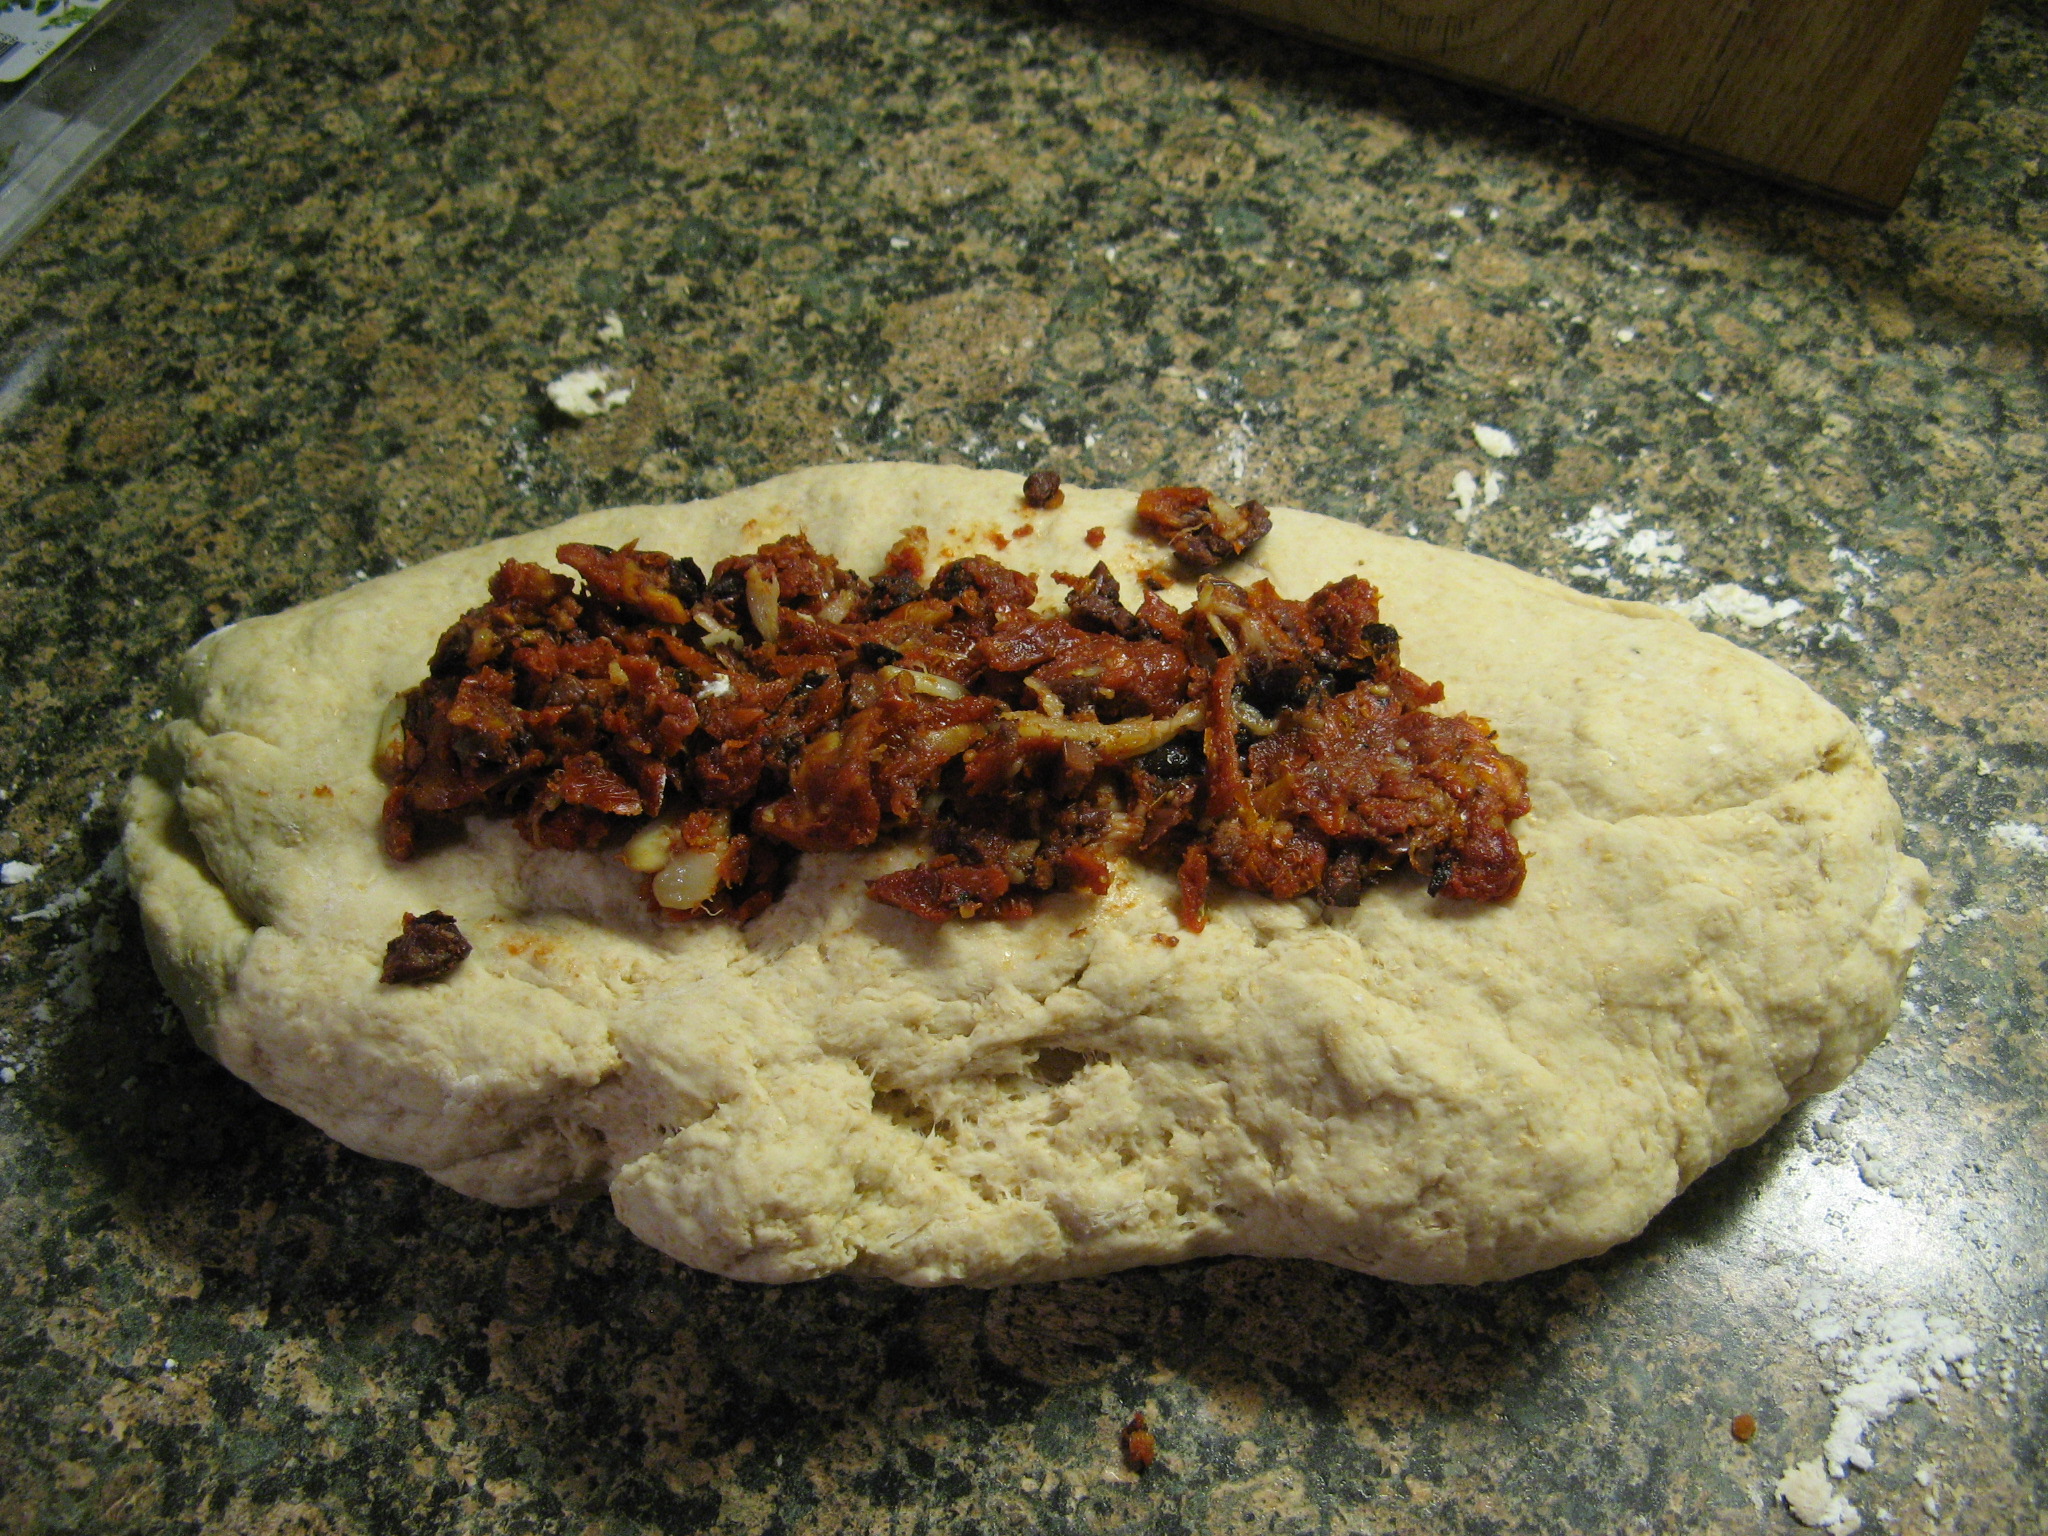
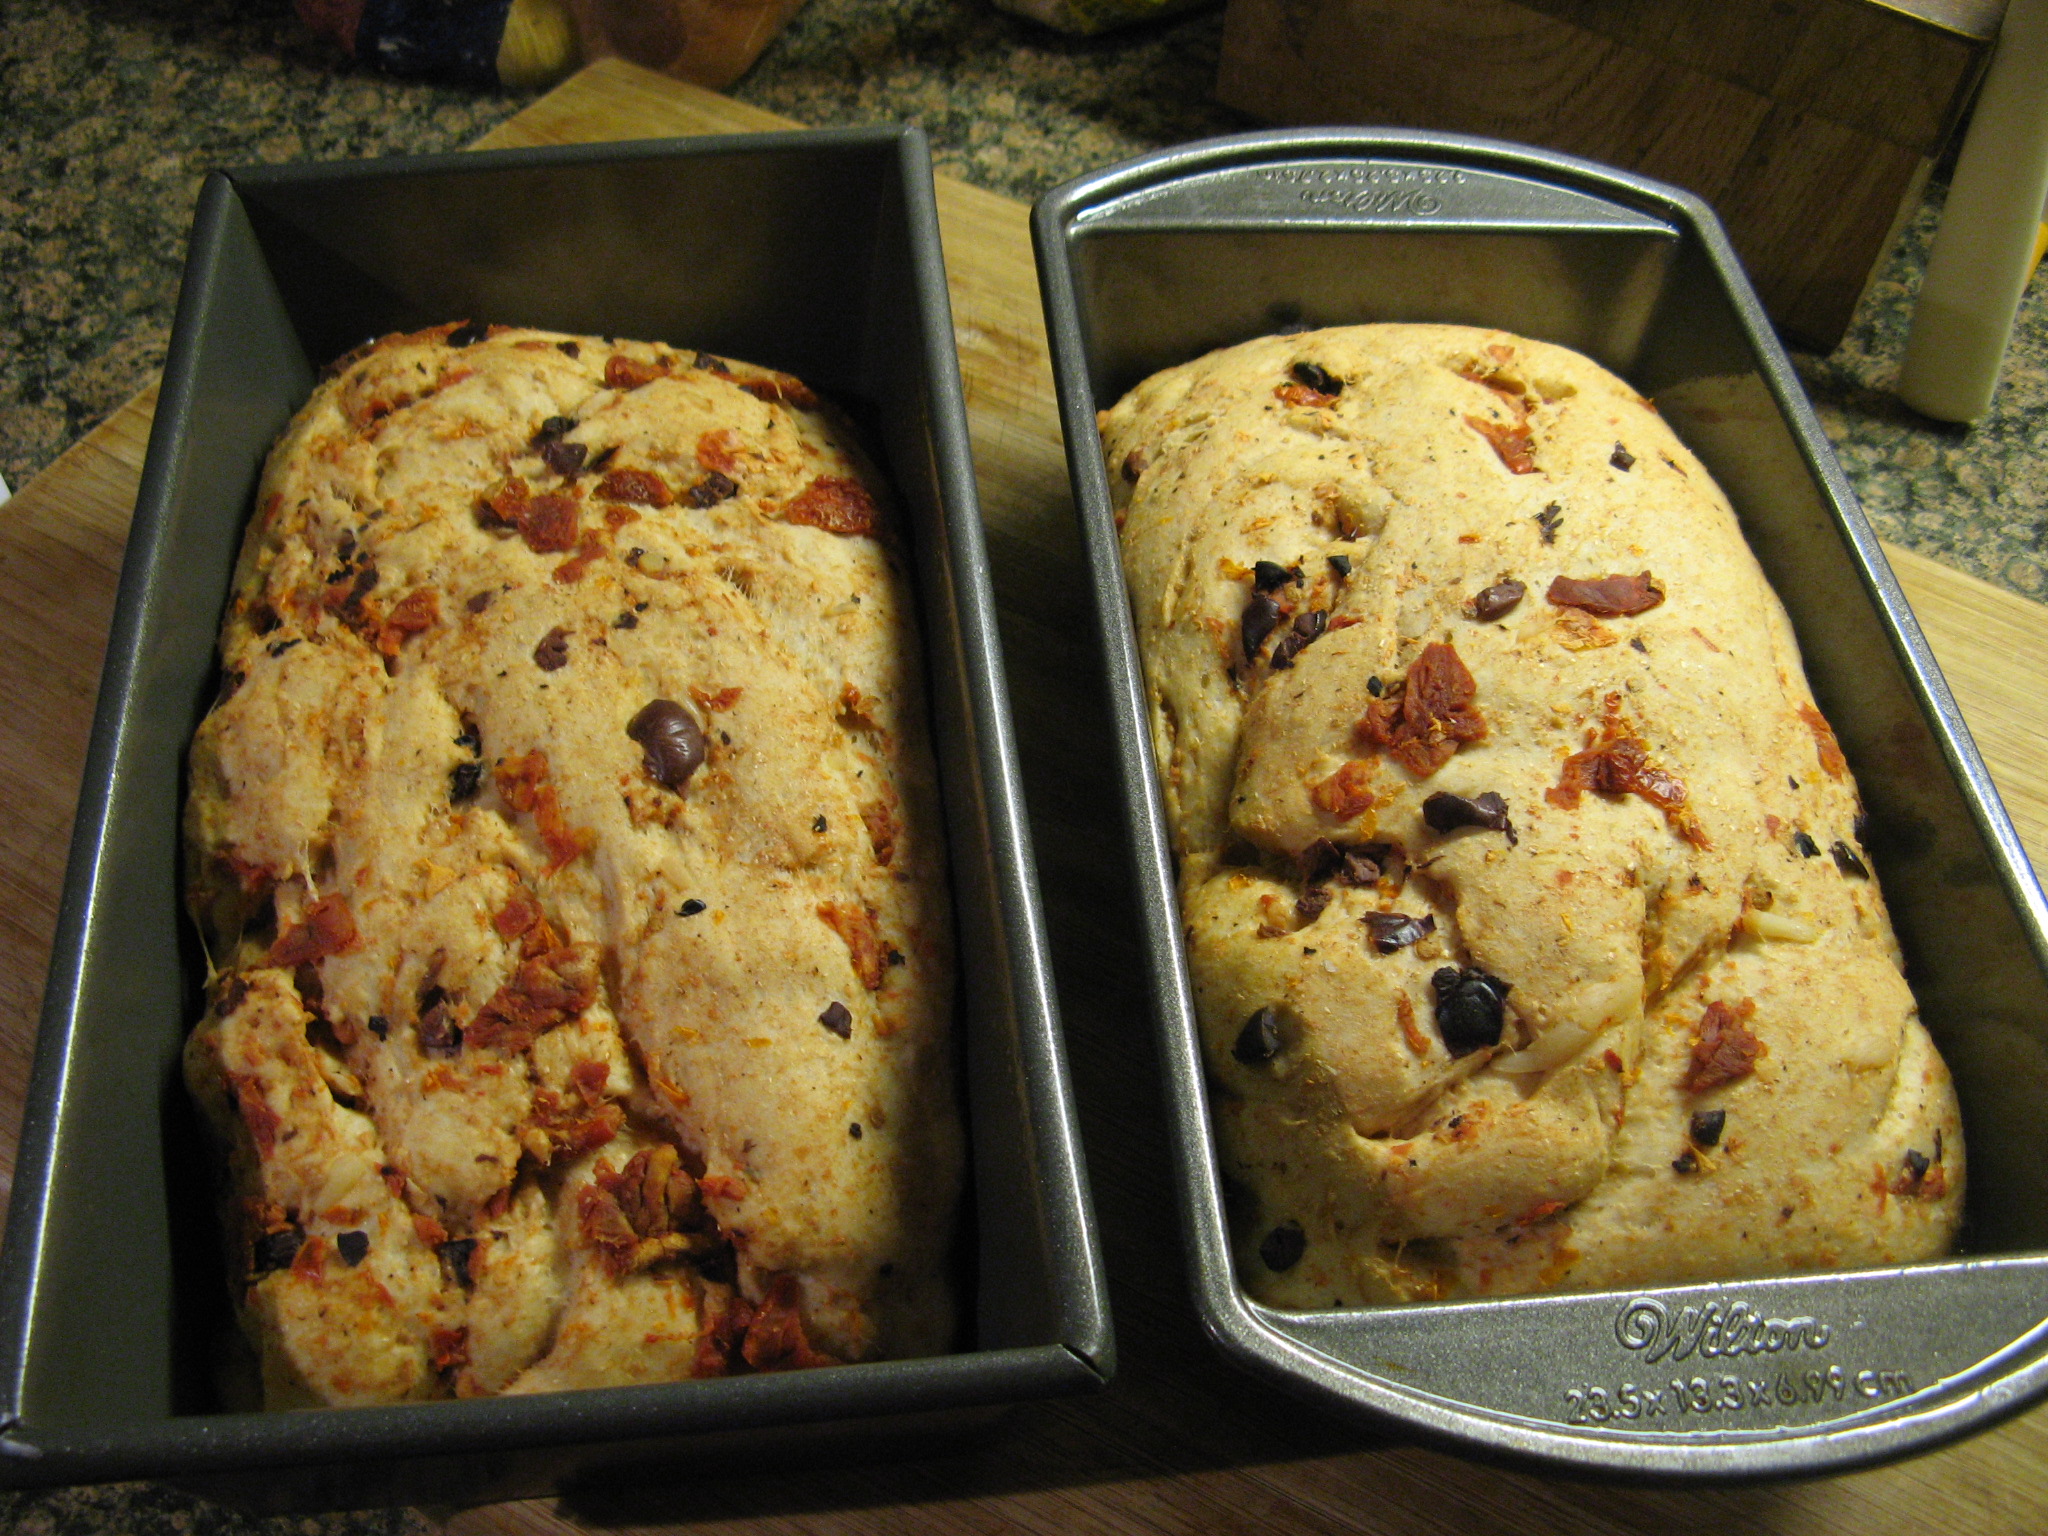
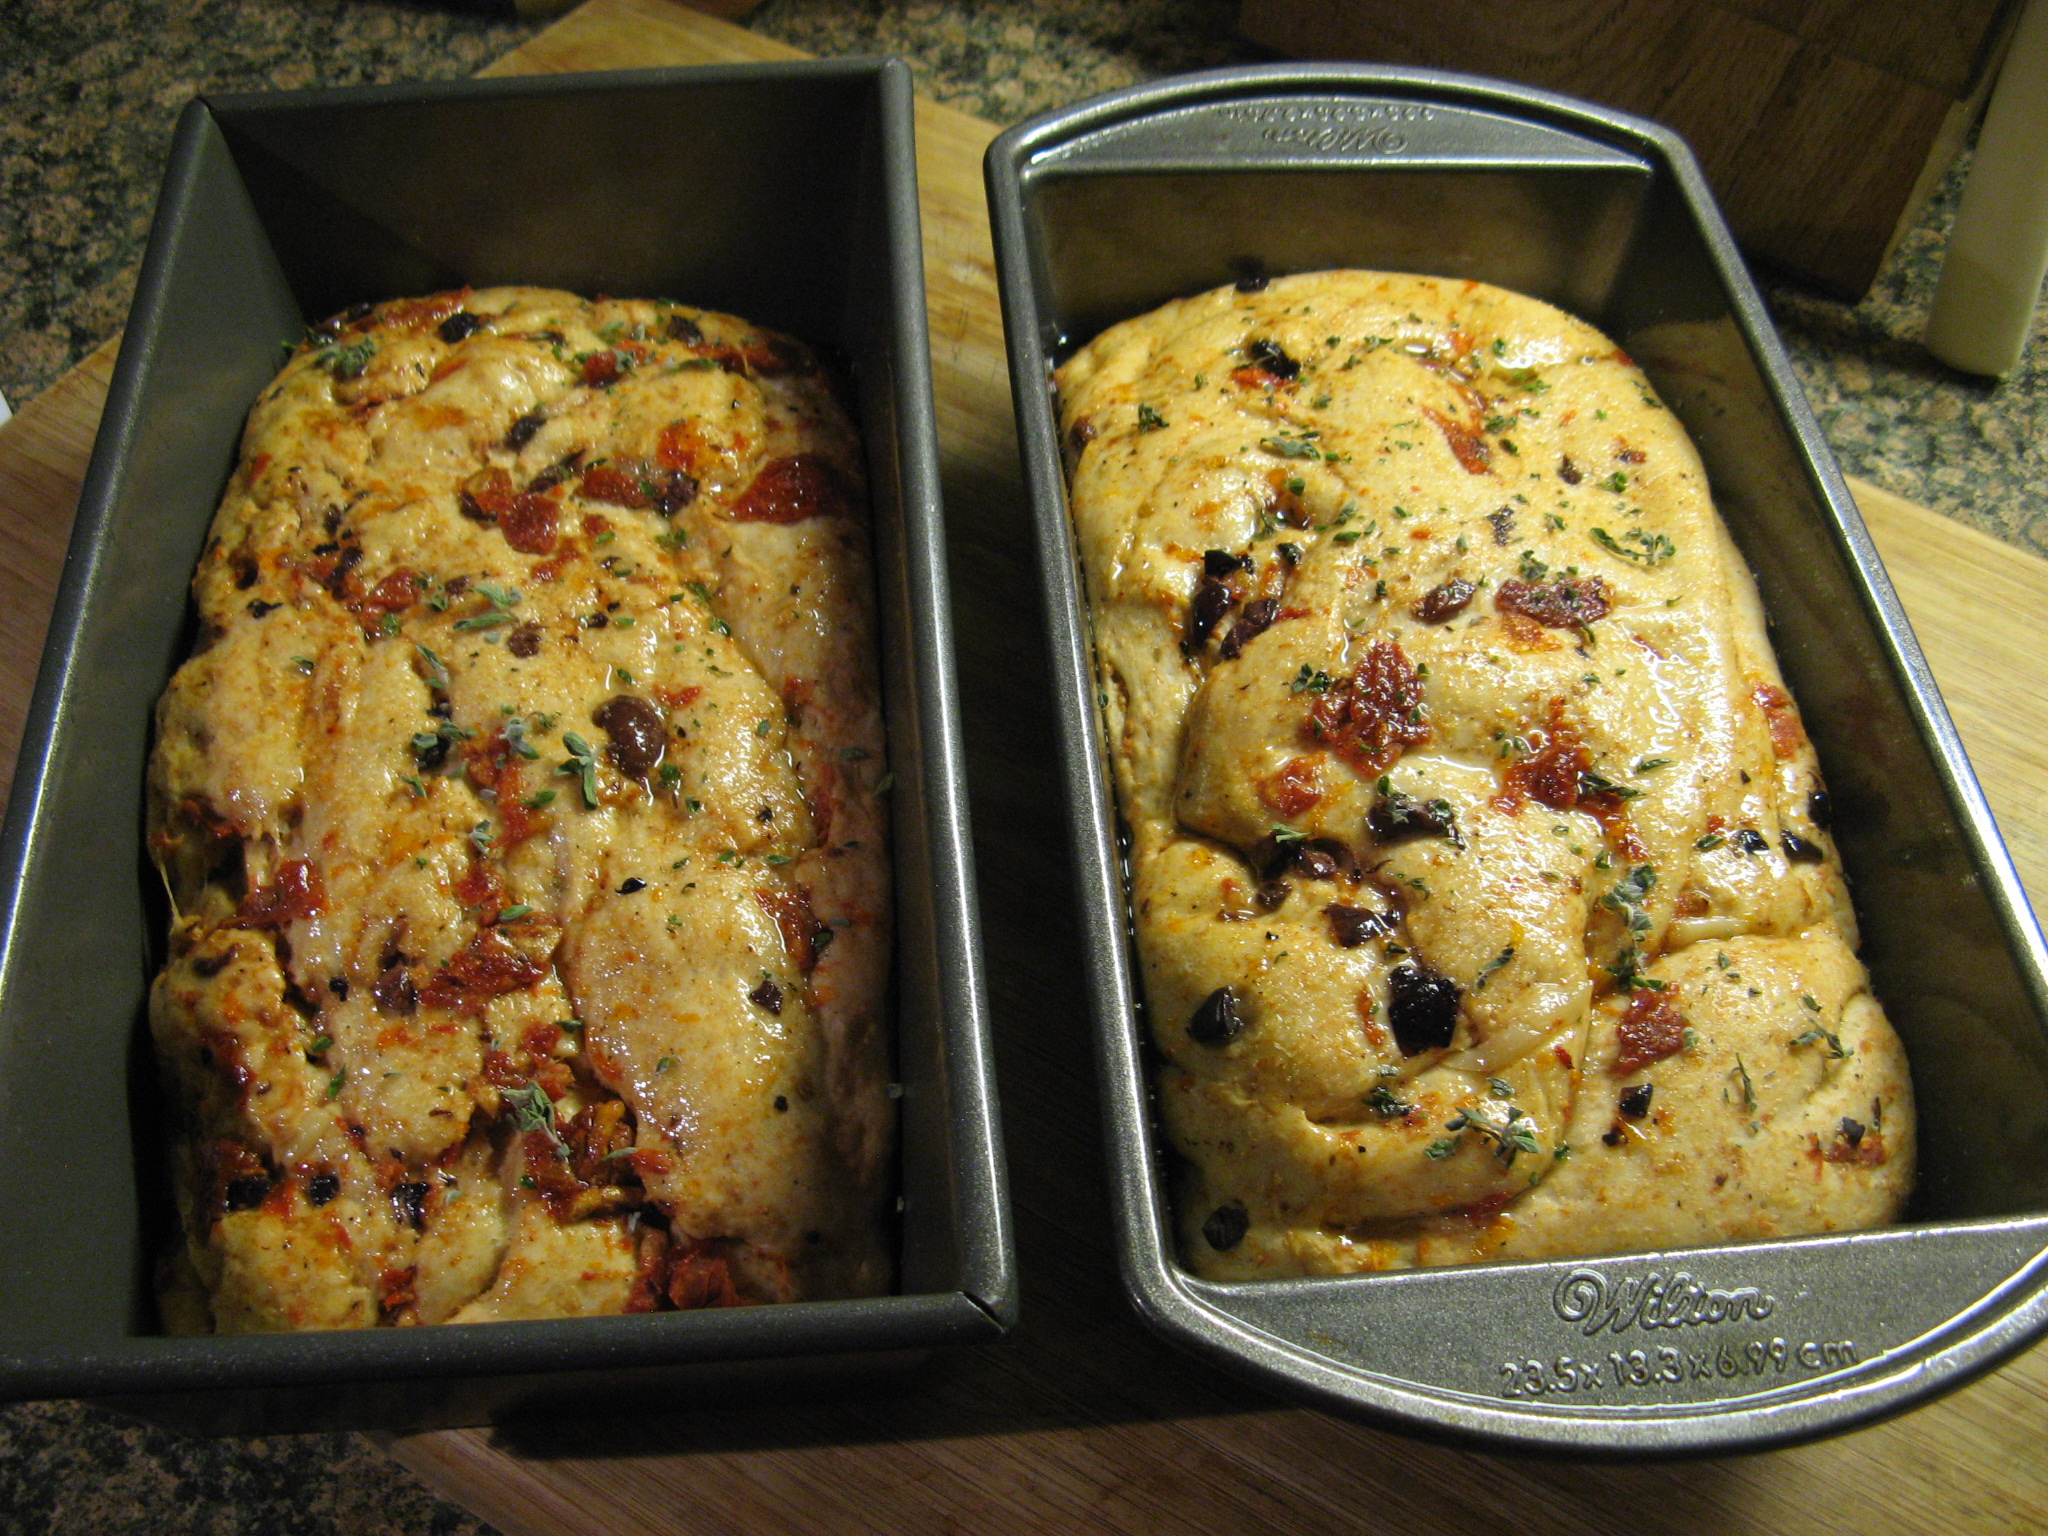
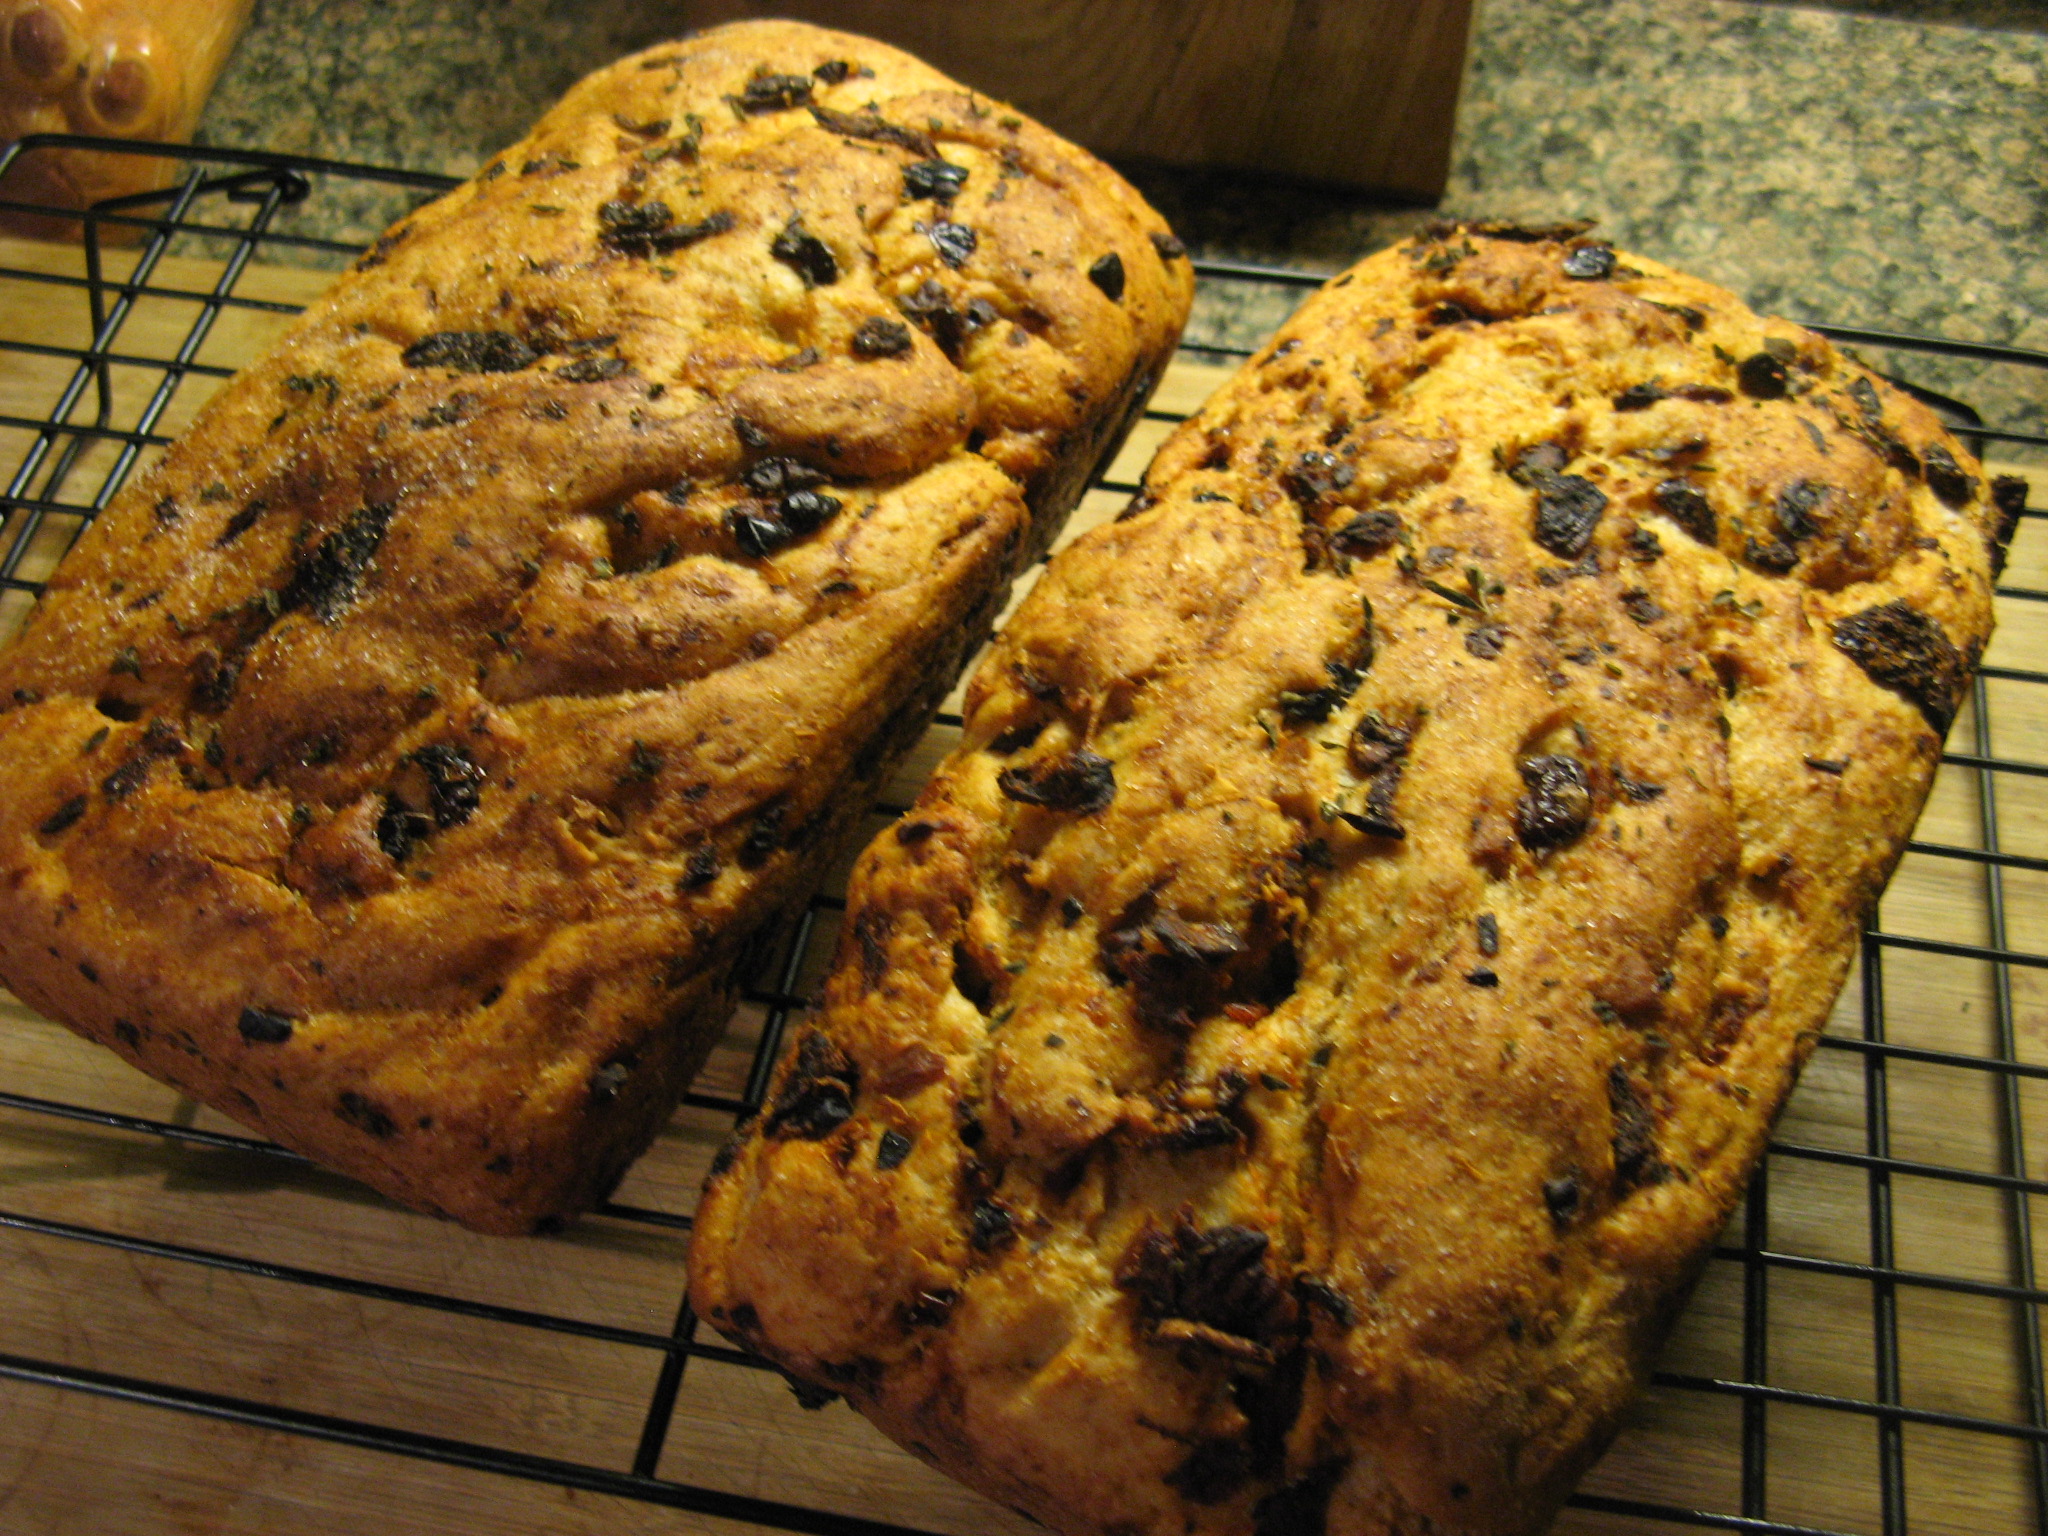
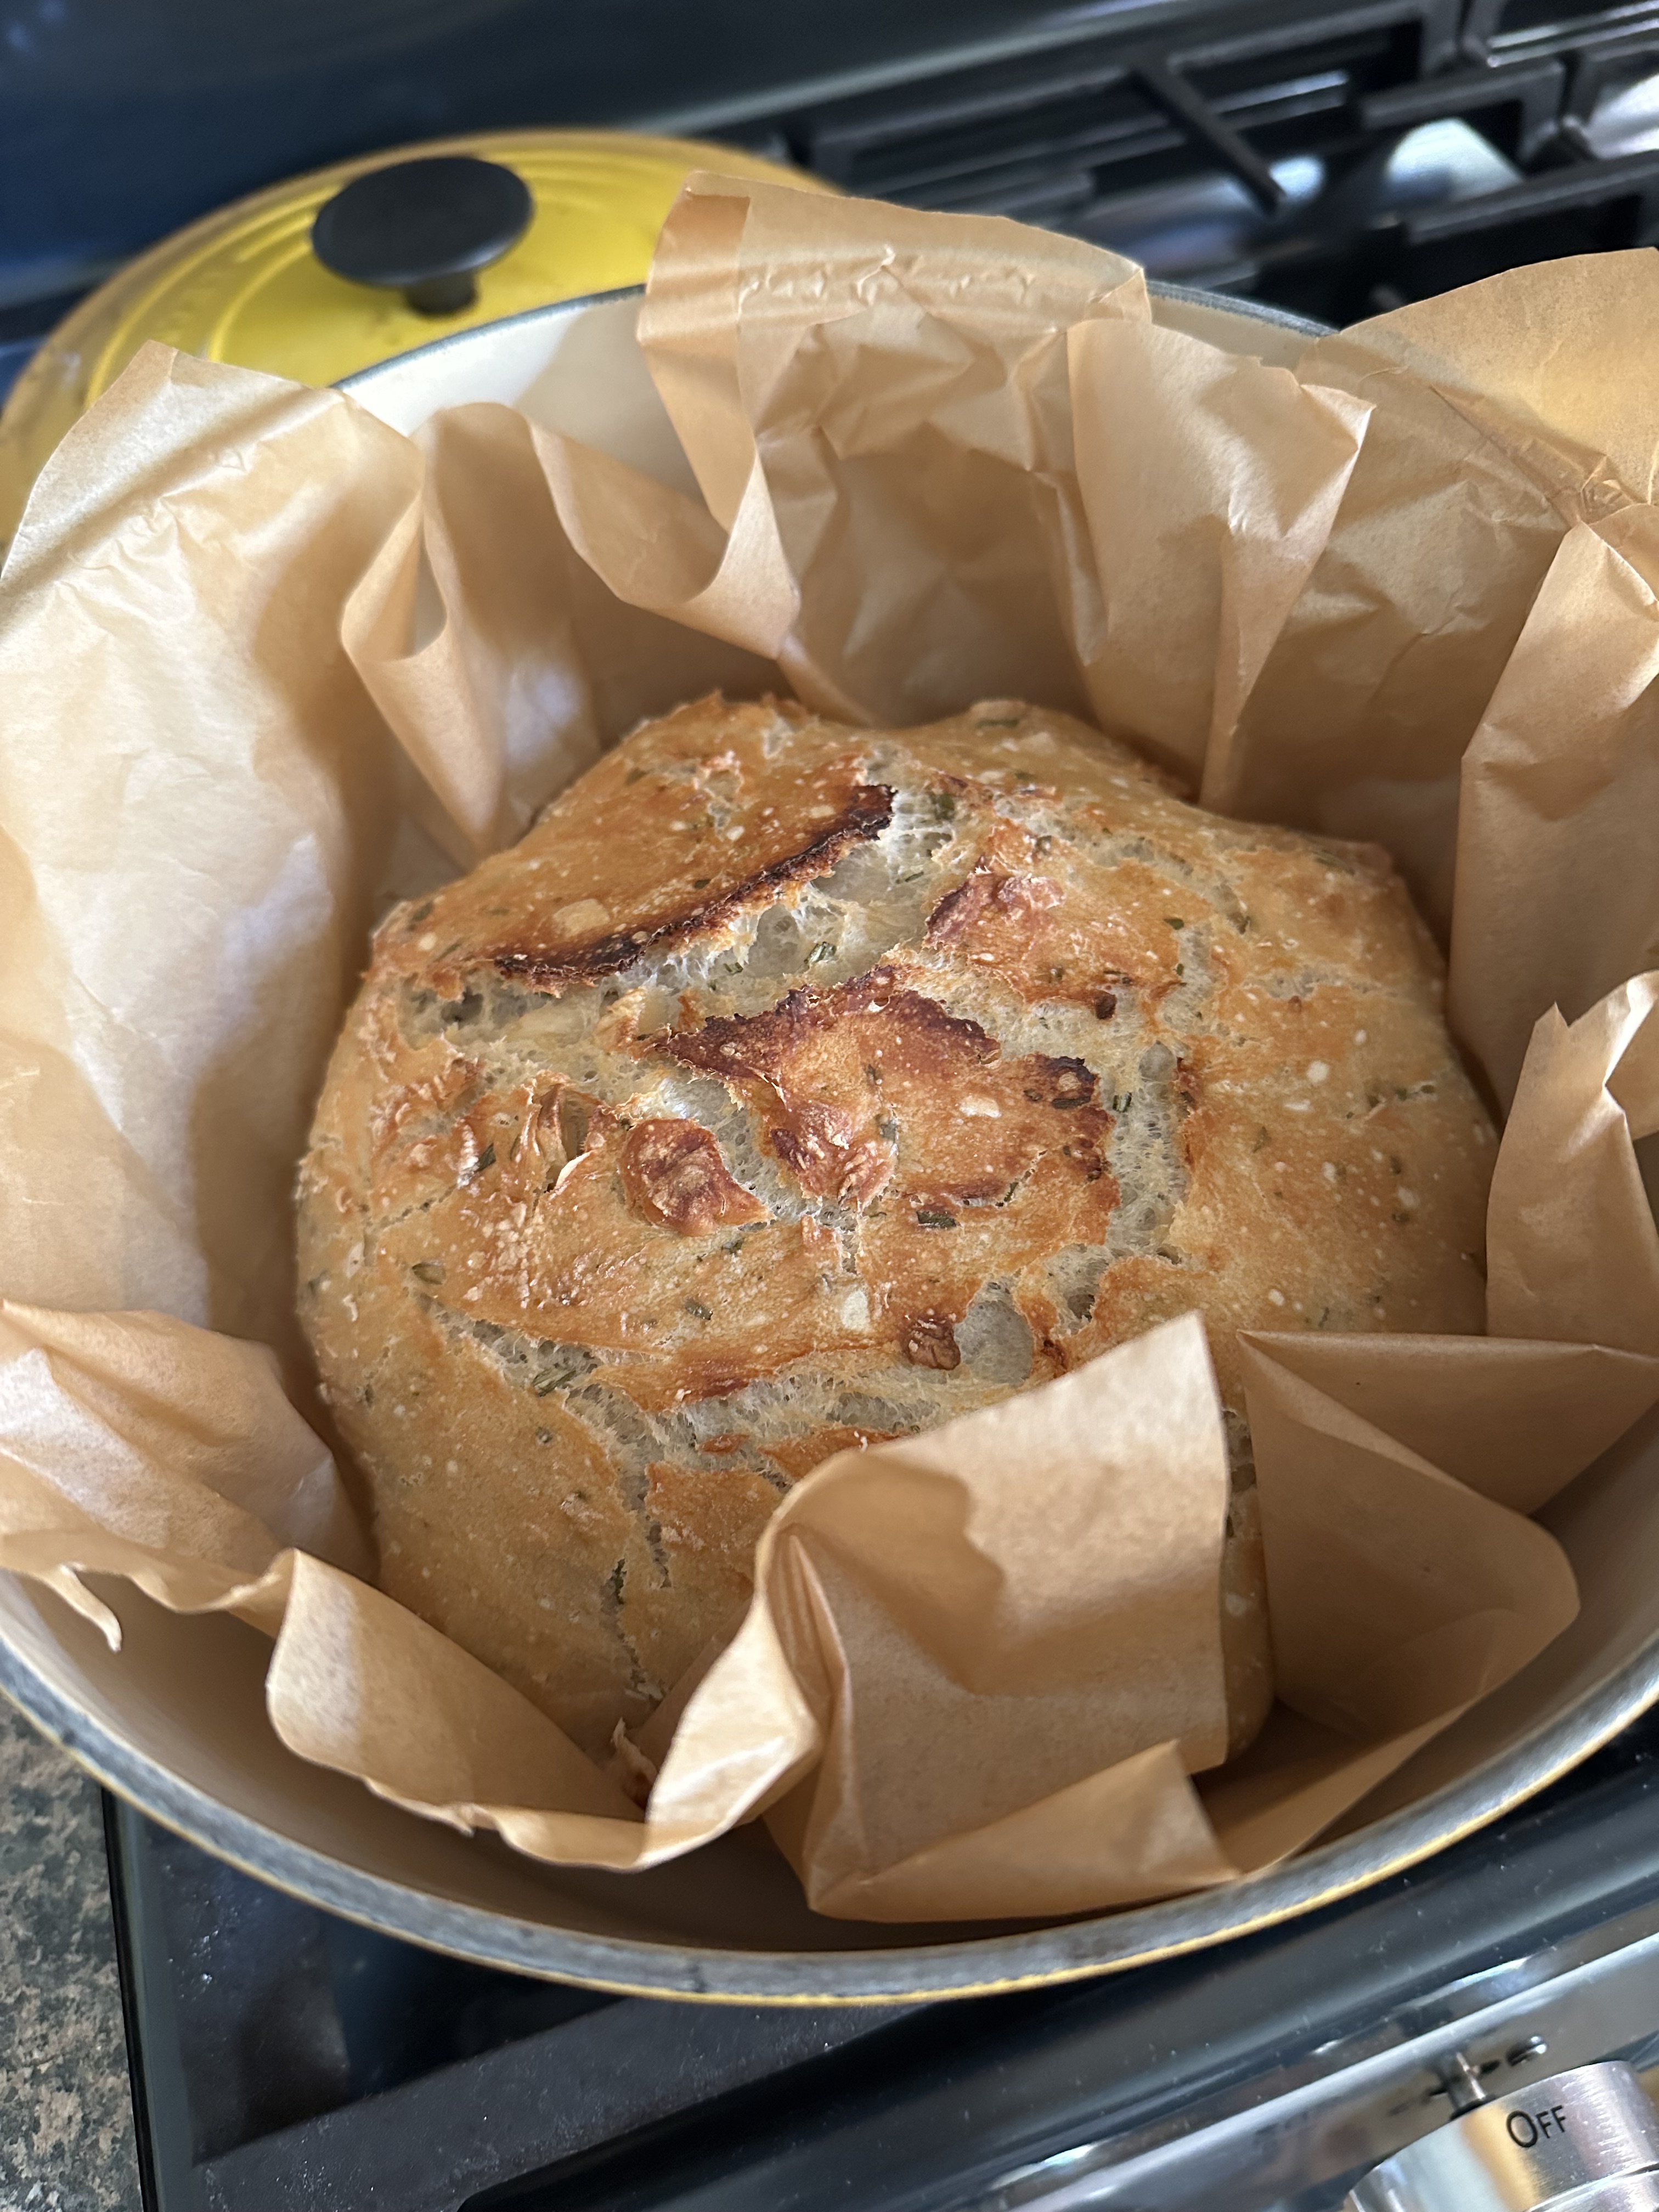
I then added the garlic with chopped rosemary into my dough. After letting the dough rest for about 12 hours – which is the key to No-Knead Bread – it was time to bake it. I ended up with a perfectly golden crust on the outside and soft bread on the inside.
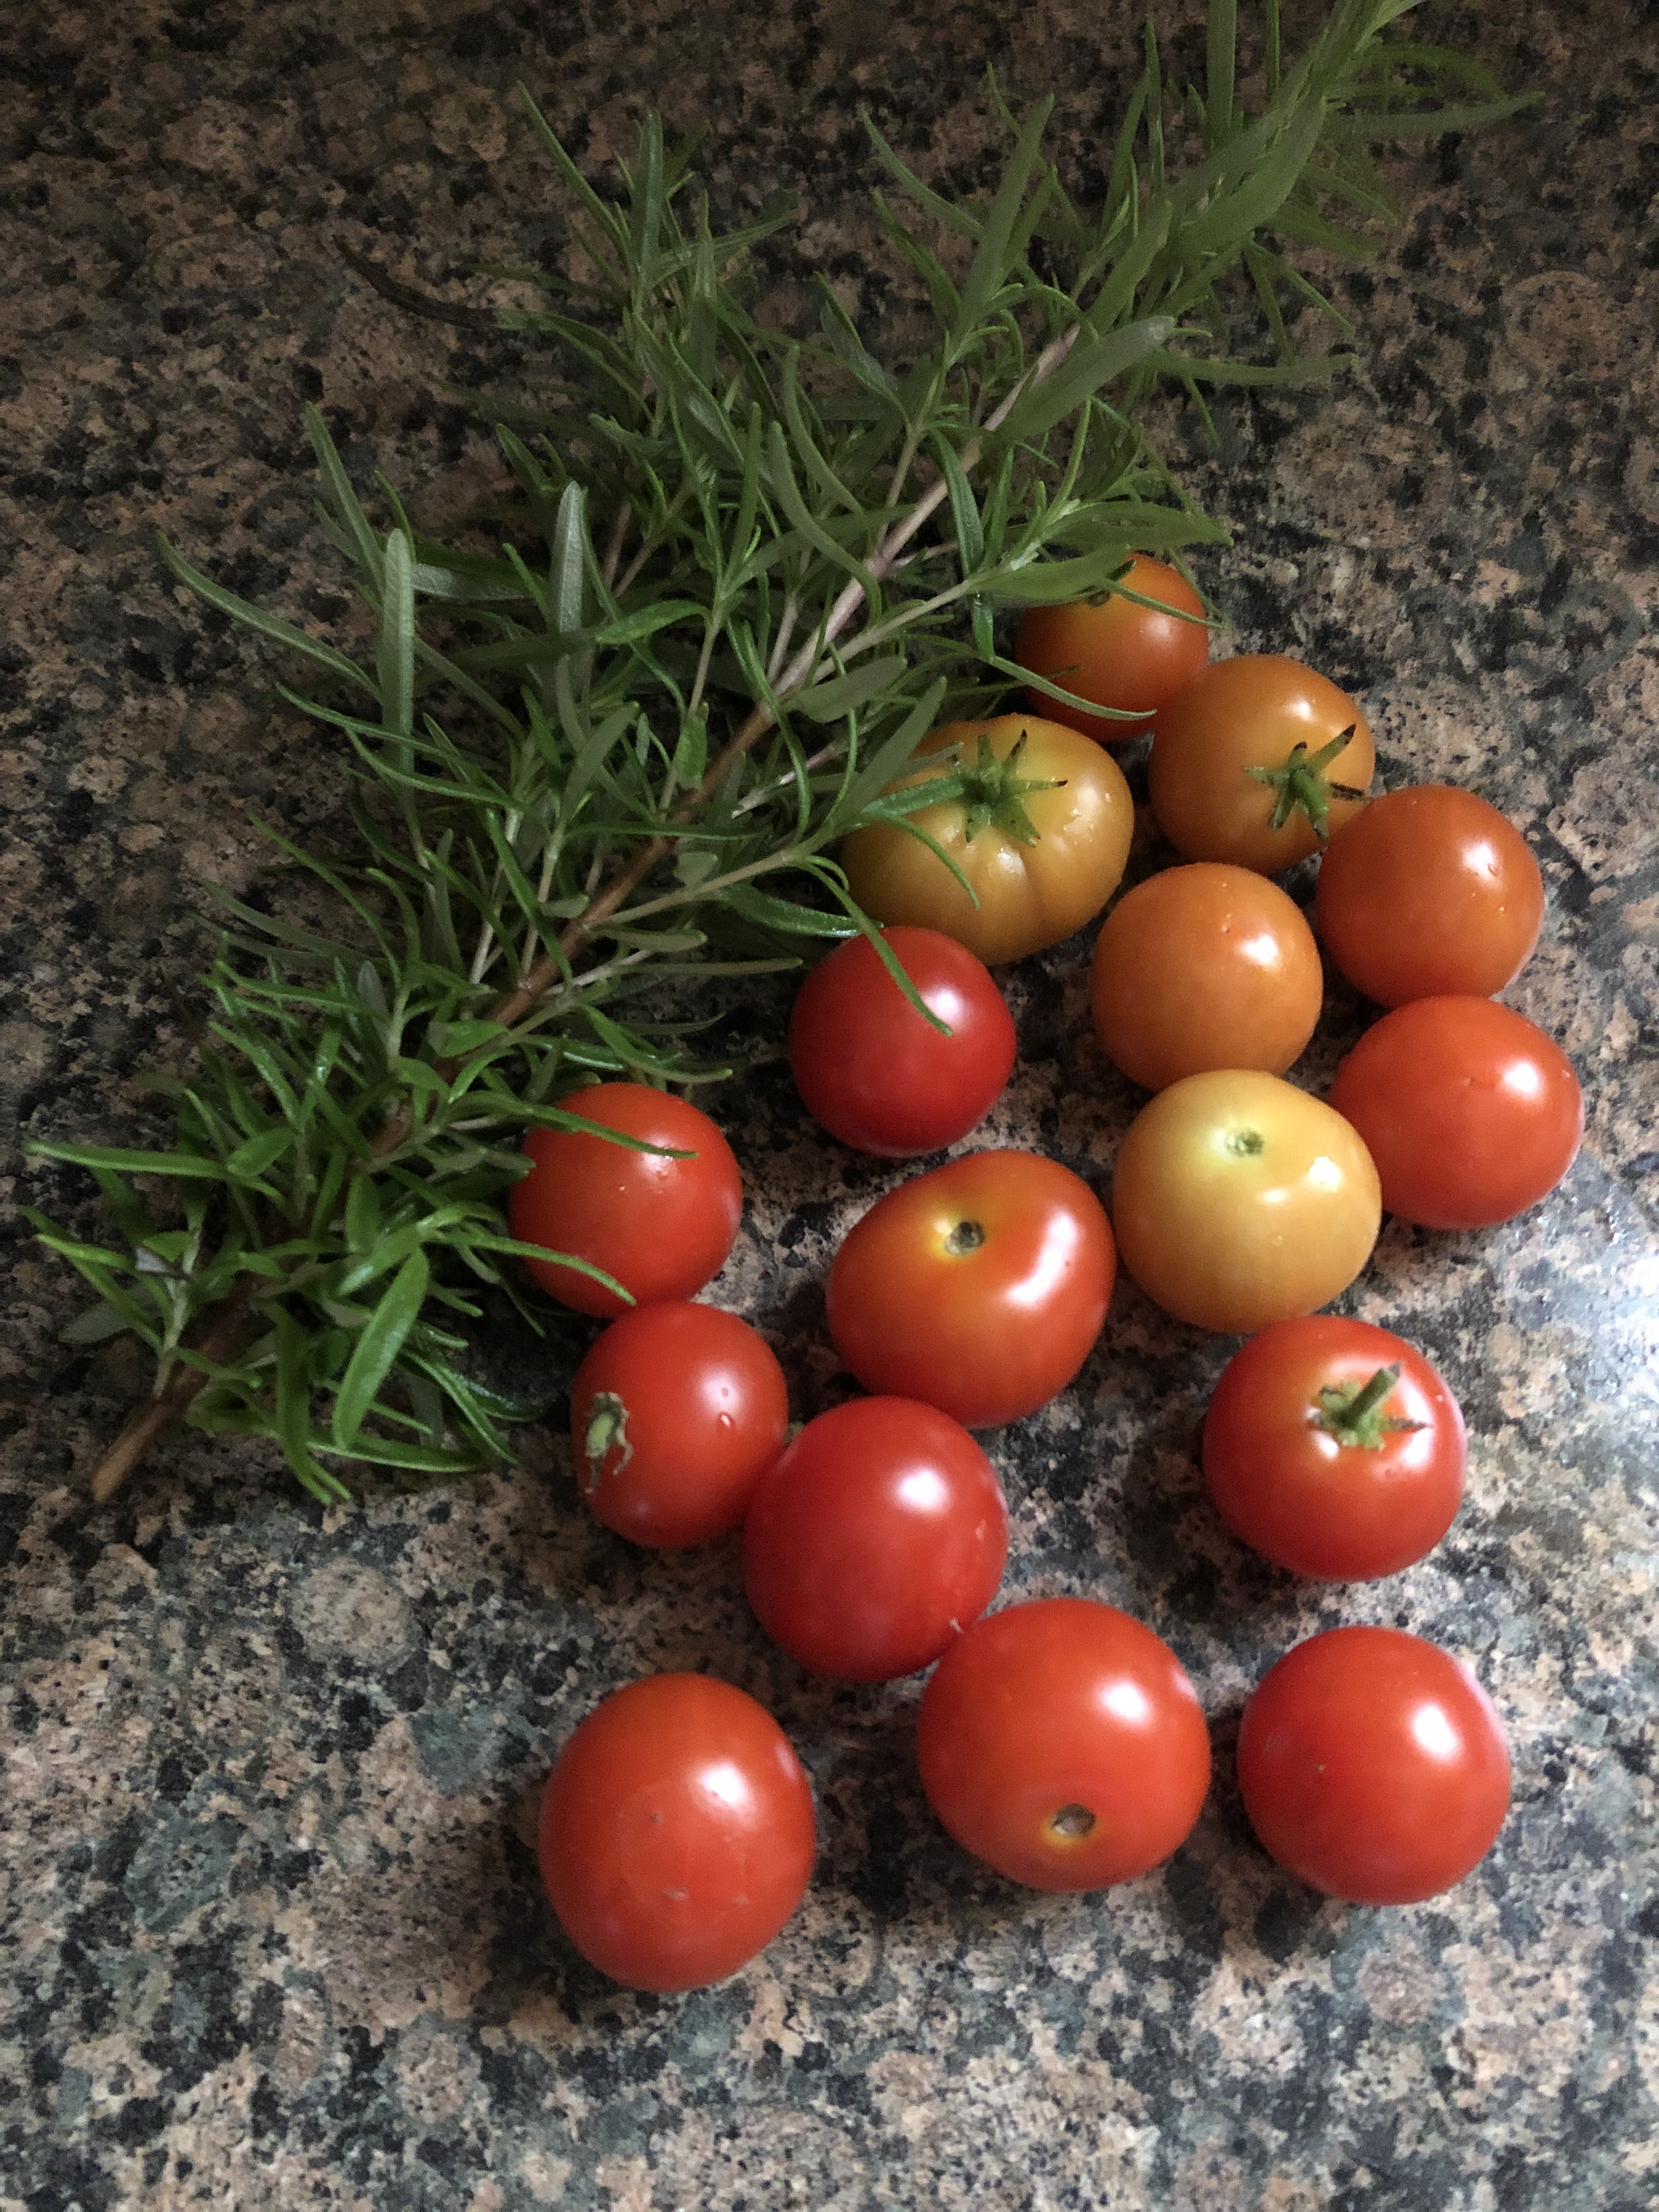
While the bread cooled, I made the soup. I roasted the tomatoes in the oven along with garlic cloves. I opted to remove the seeds from the tomatoes prior to roasting this way I wouldn’t have to worry about straining the soup afterwards to remove them.

I added the tomatoes to the pot where I caramelized the onions along with basil and some vegetable broth and used an immersion blender to blend everything together. I immediately regretted not using my food processor instead. No matter how careful I was there was splatter!

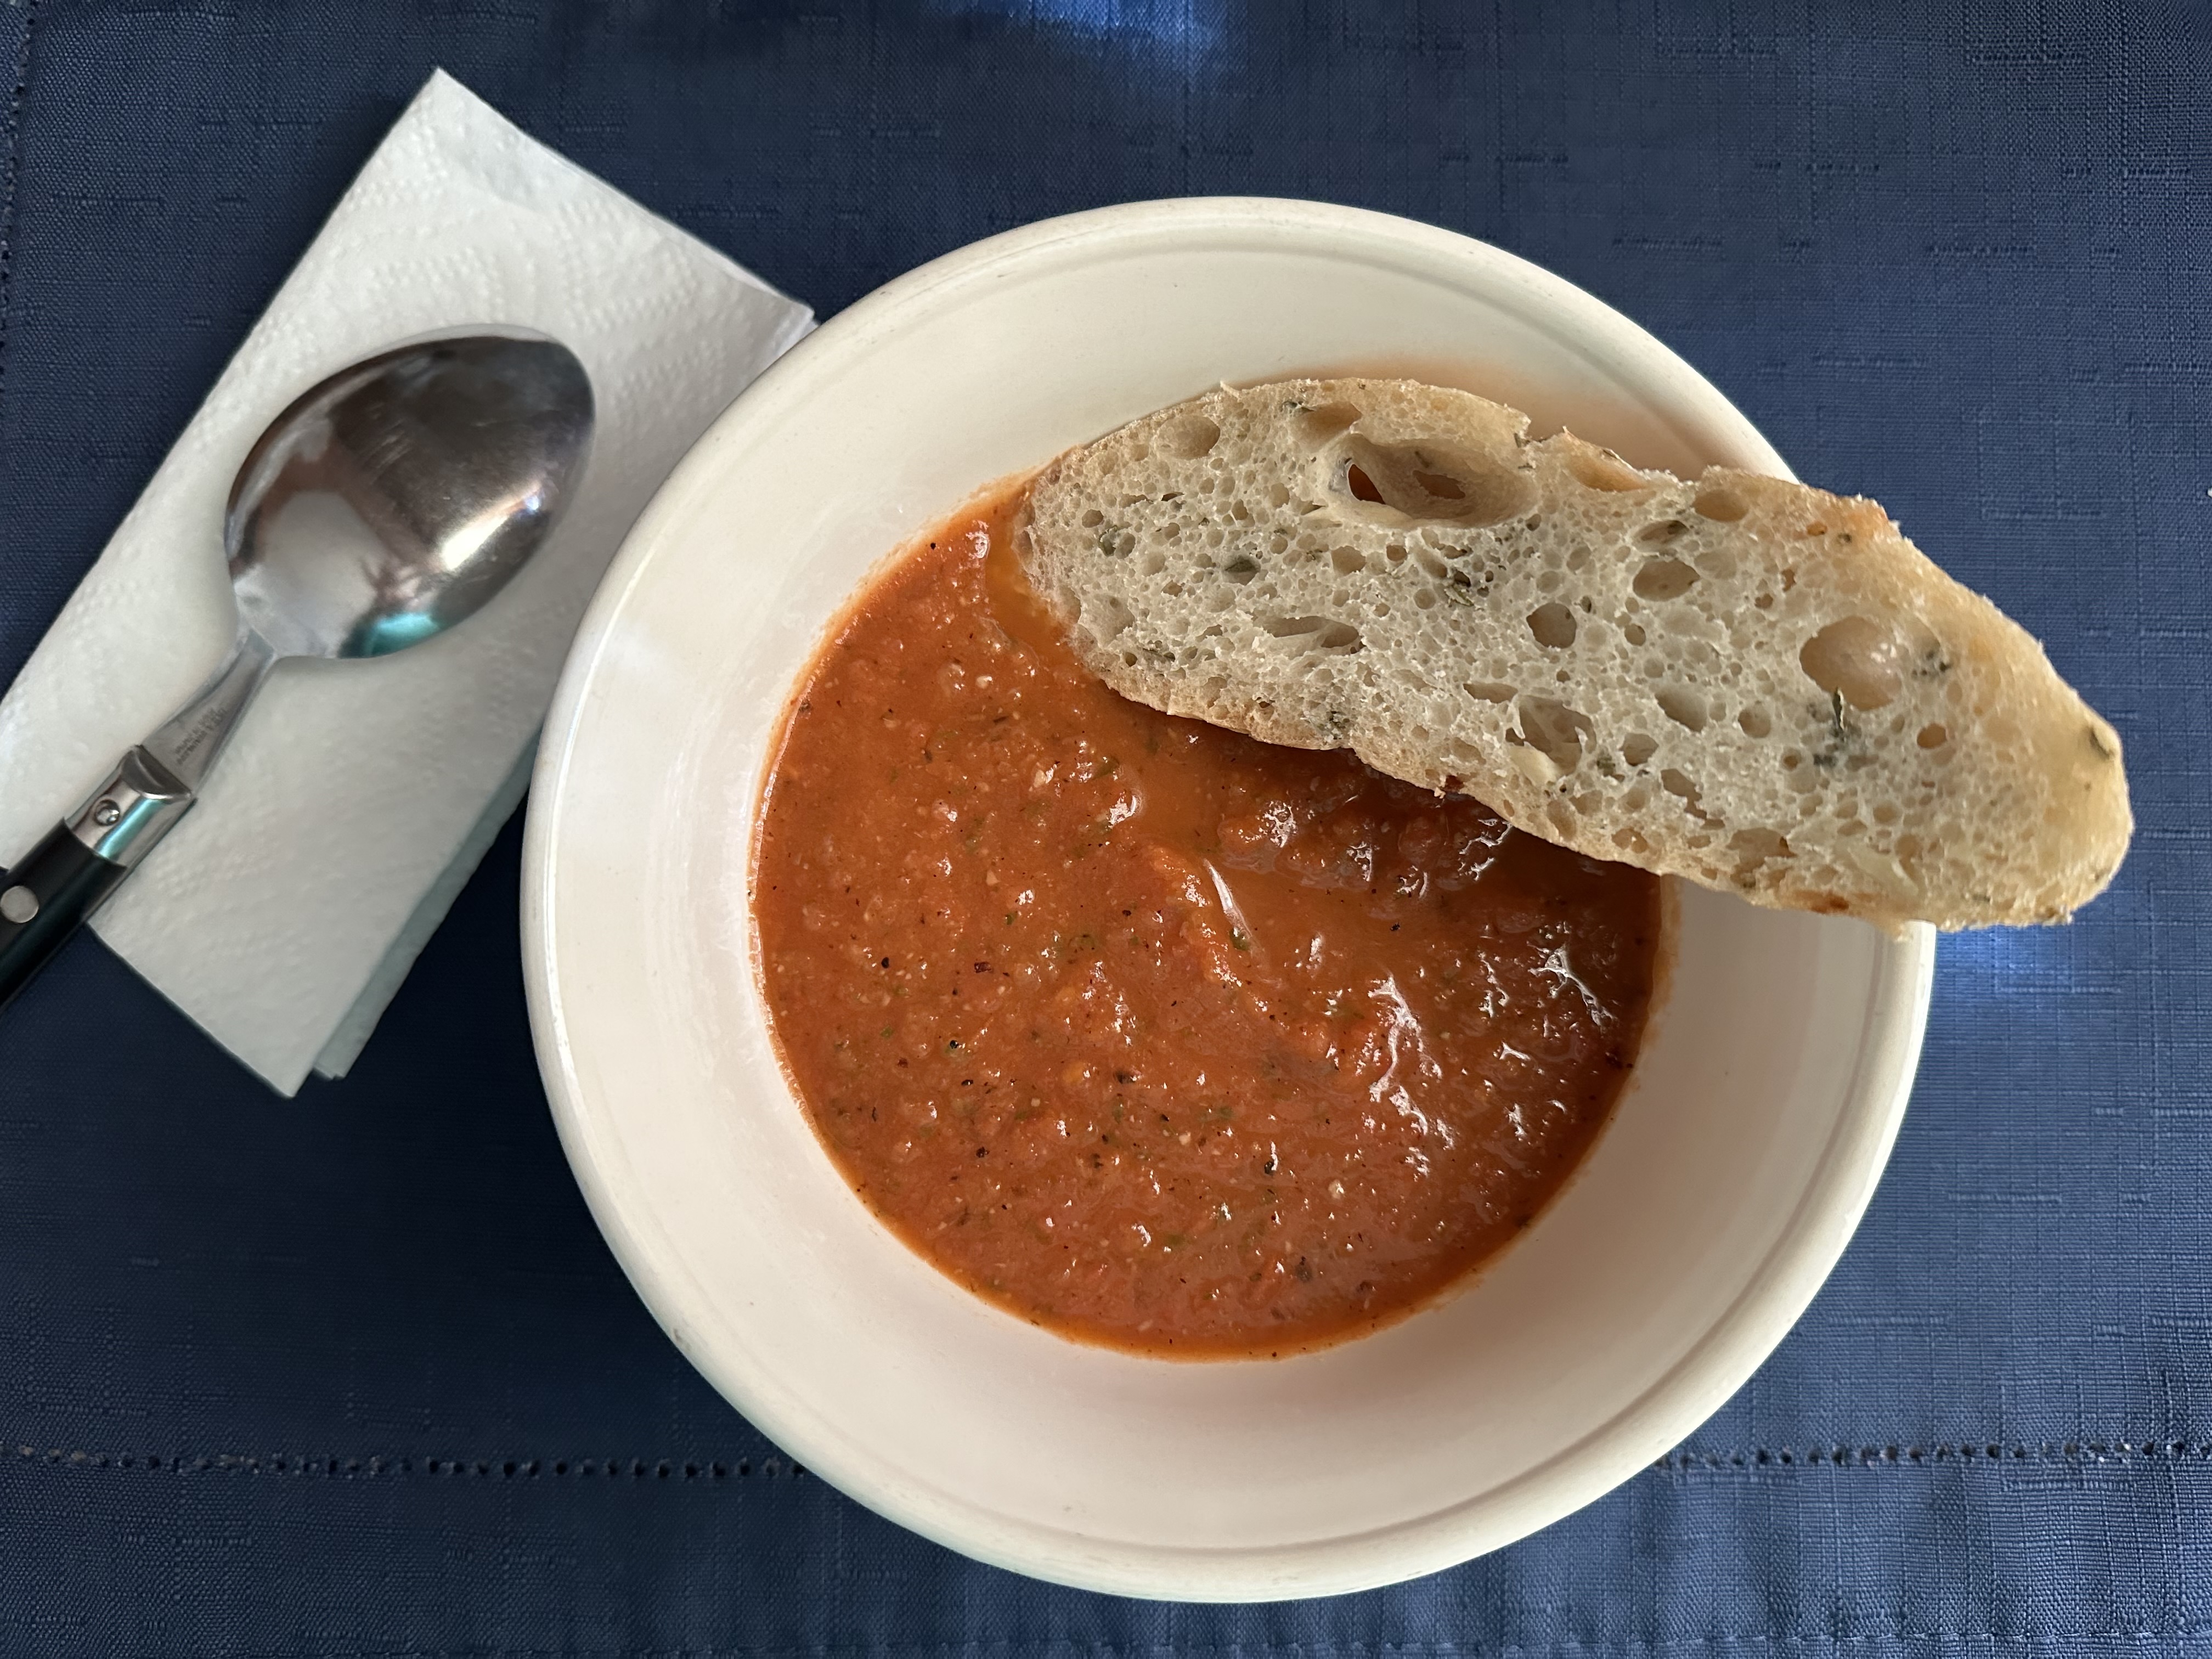
But the mess was worth it. The soup was delicious, and it paired perfectly with the bread.

No-Knead Roasted Garlic and Rosemary Bread
Ingredients:
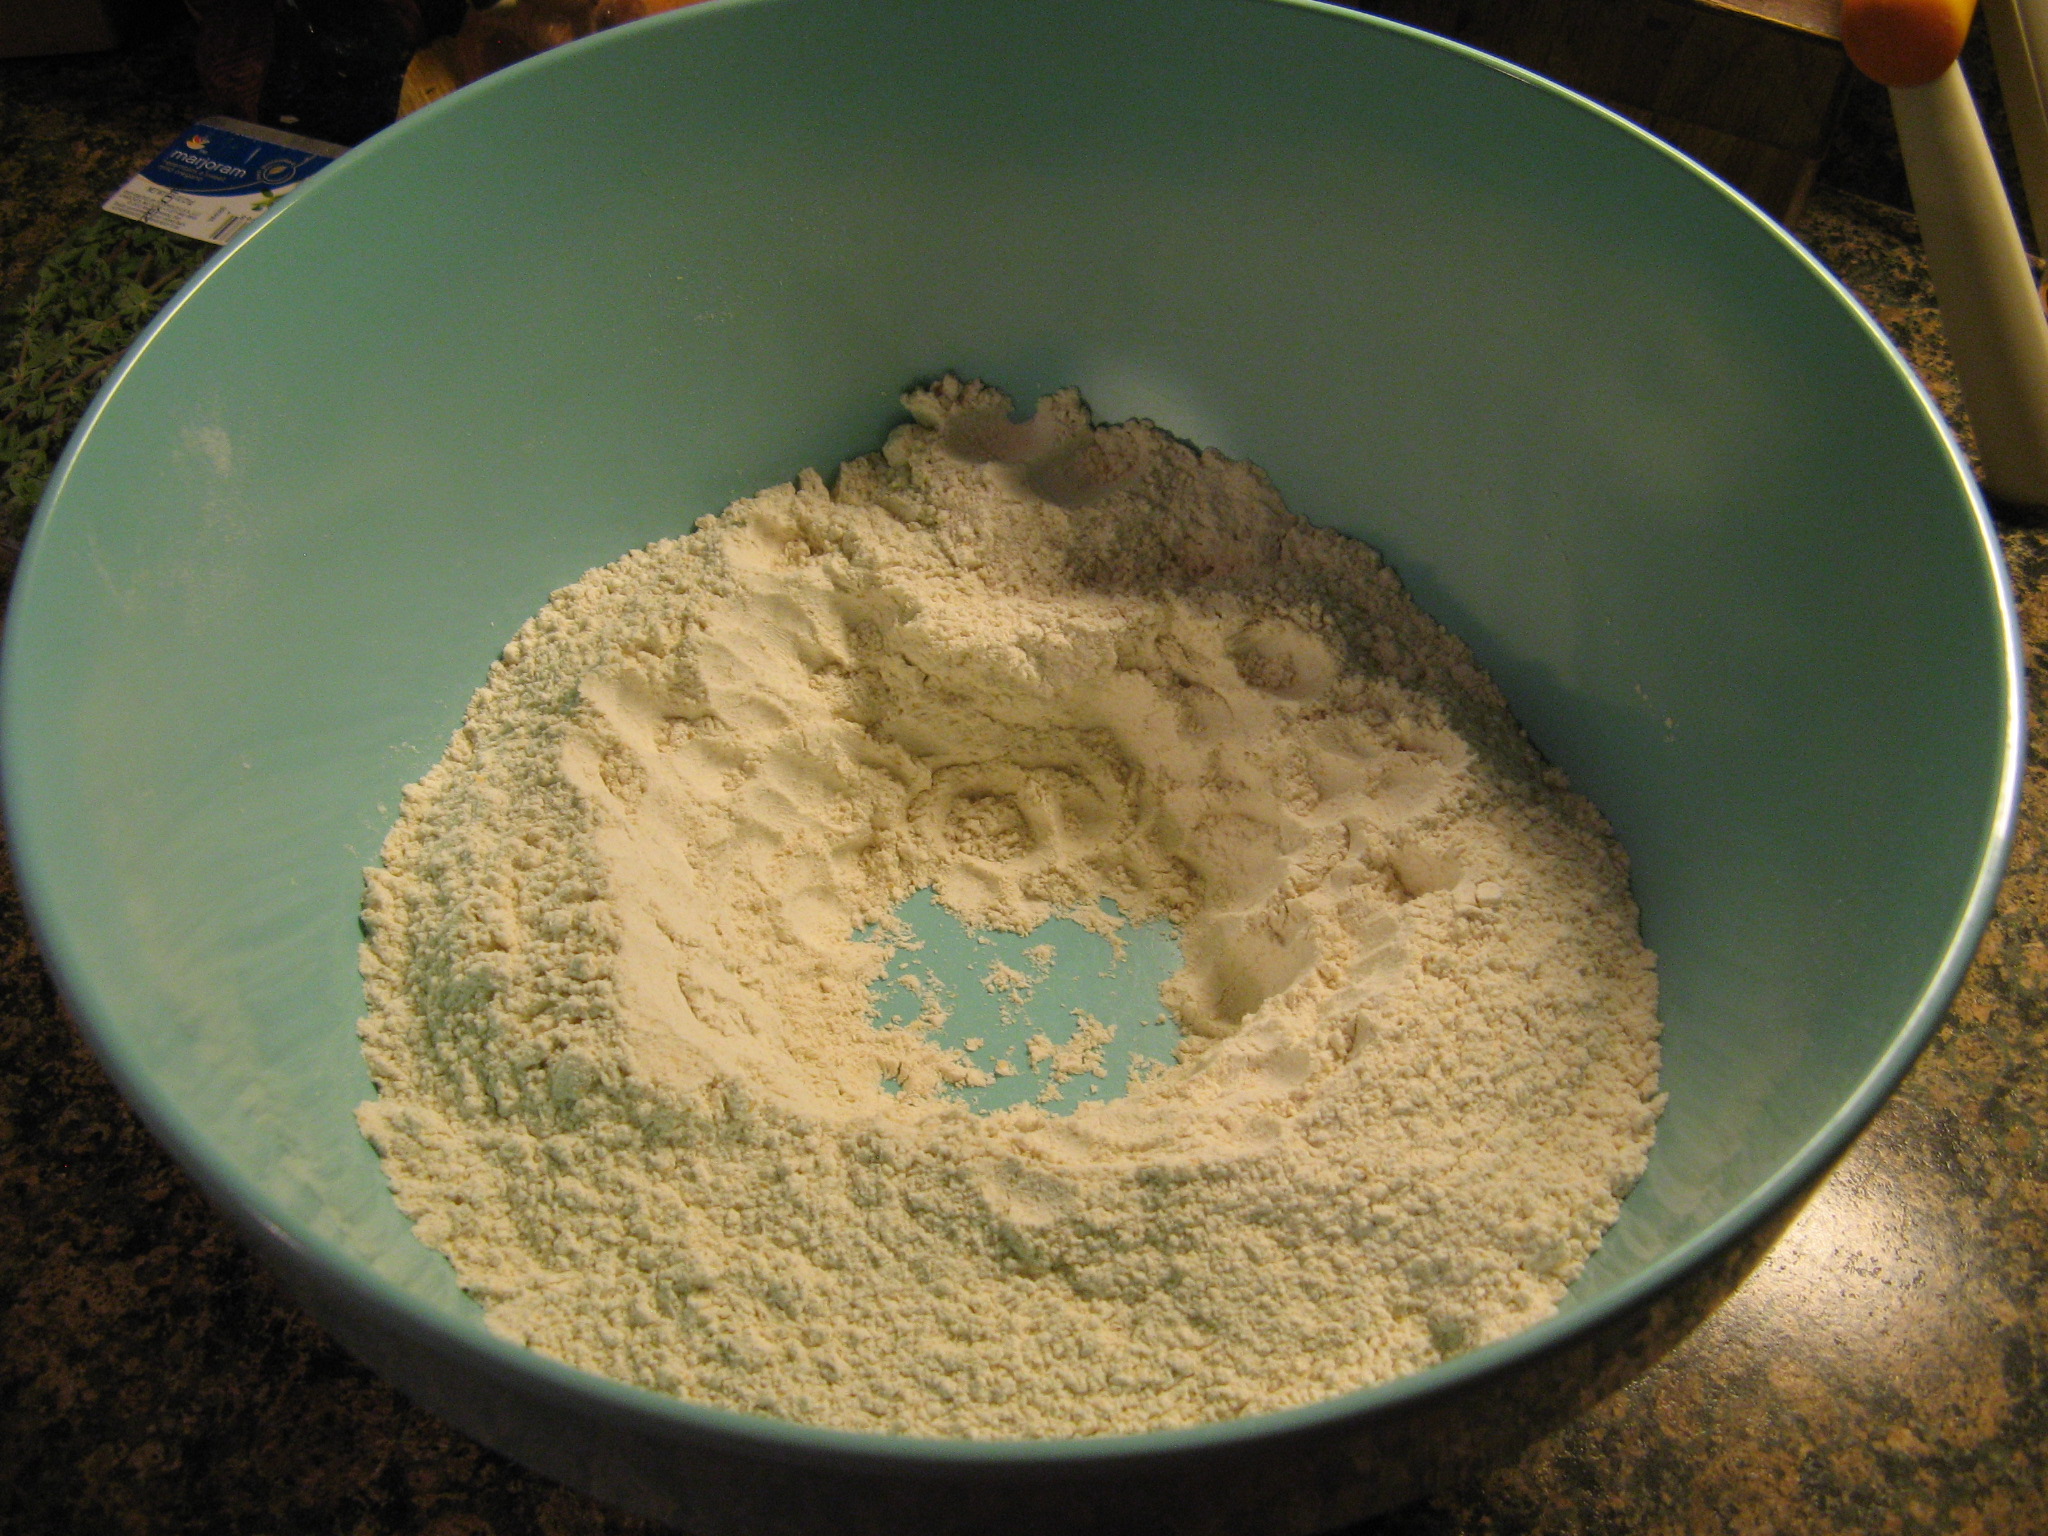
3 cups flour
1 1/2 teaspoons Kosher salt
1/2 teaspoon instant dry yeast
1 head of garlic, roasted & mashed
2 tablespoons fresh rosemary, chopped
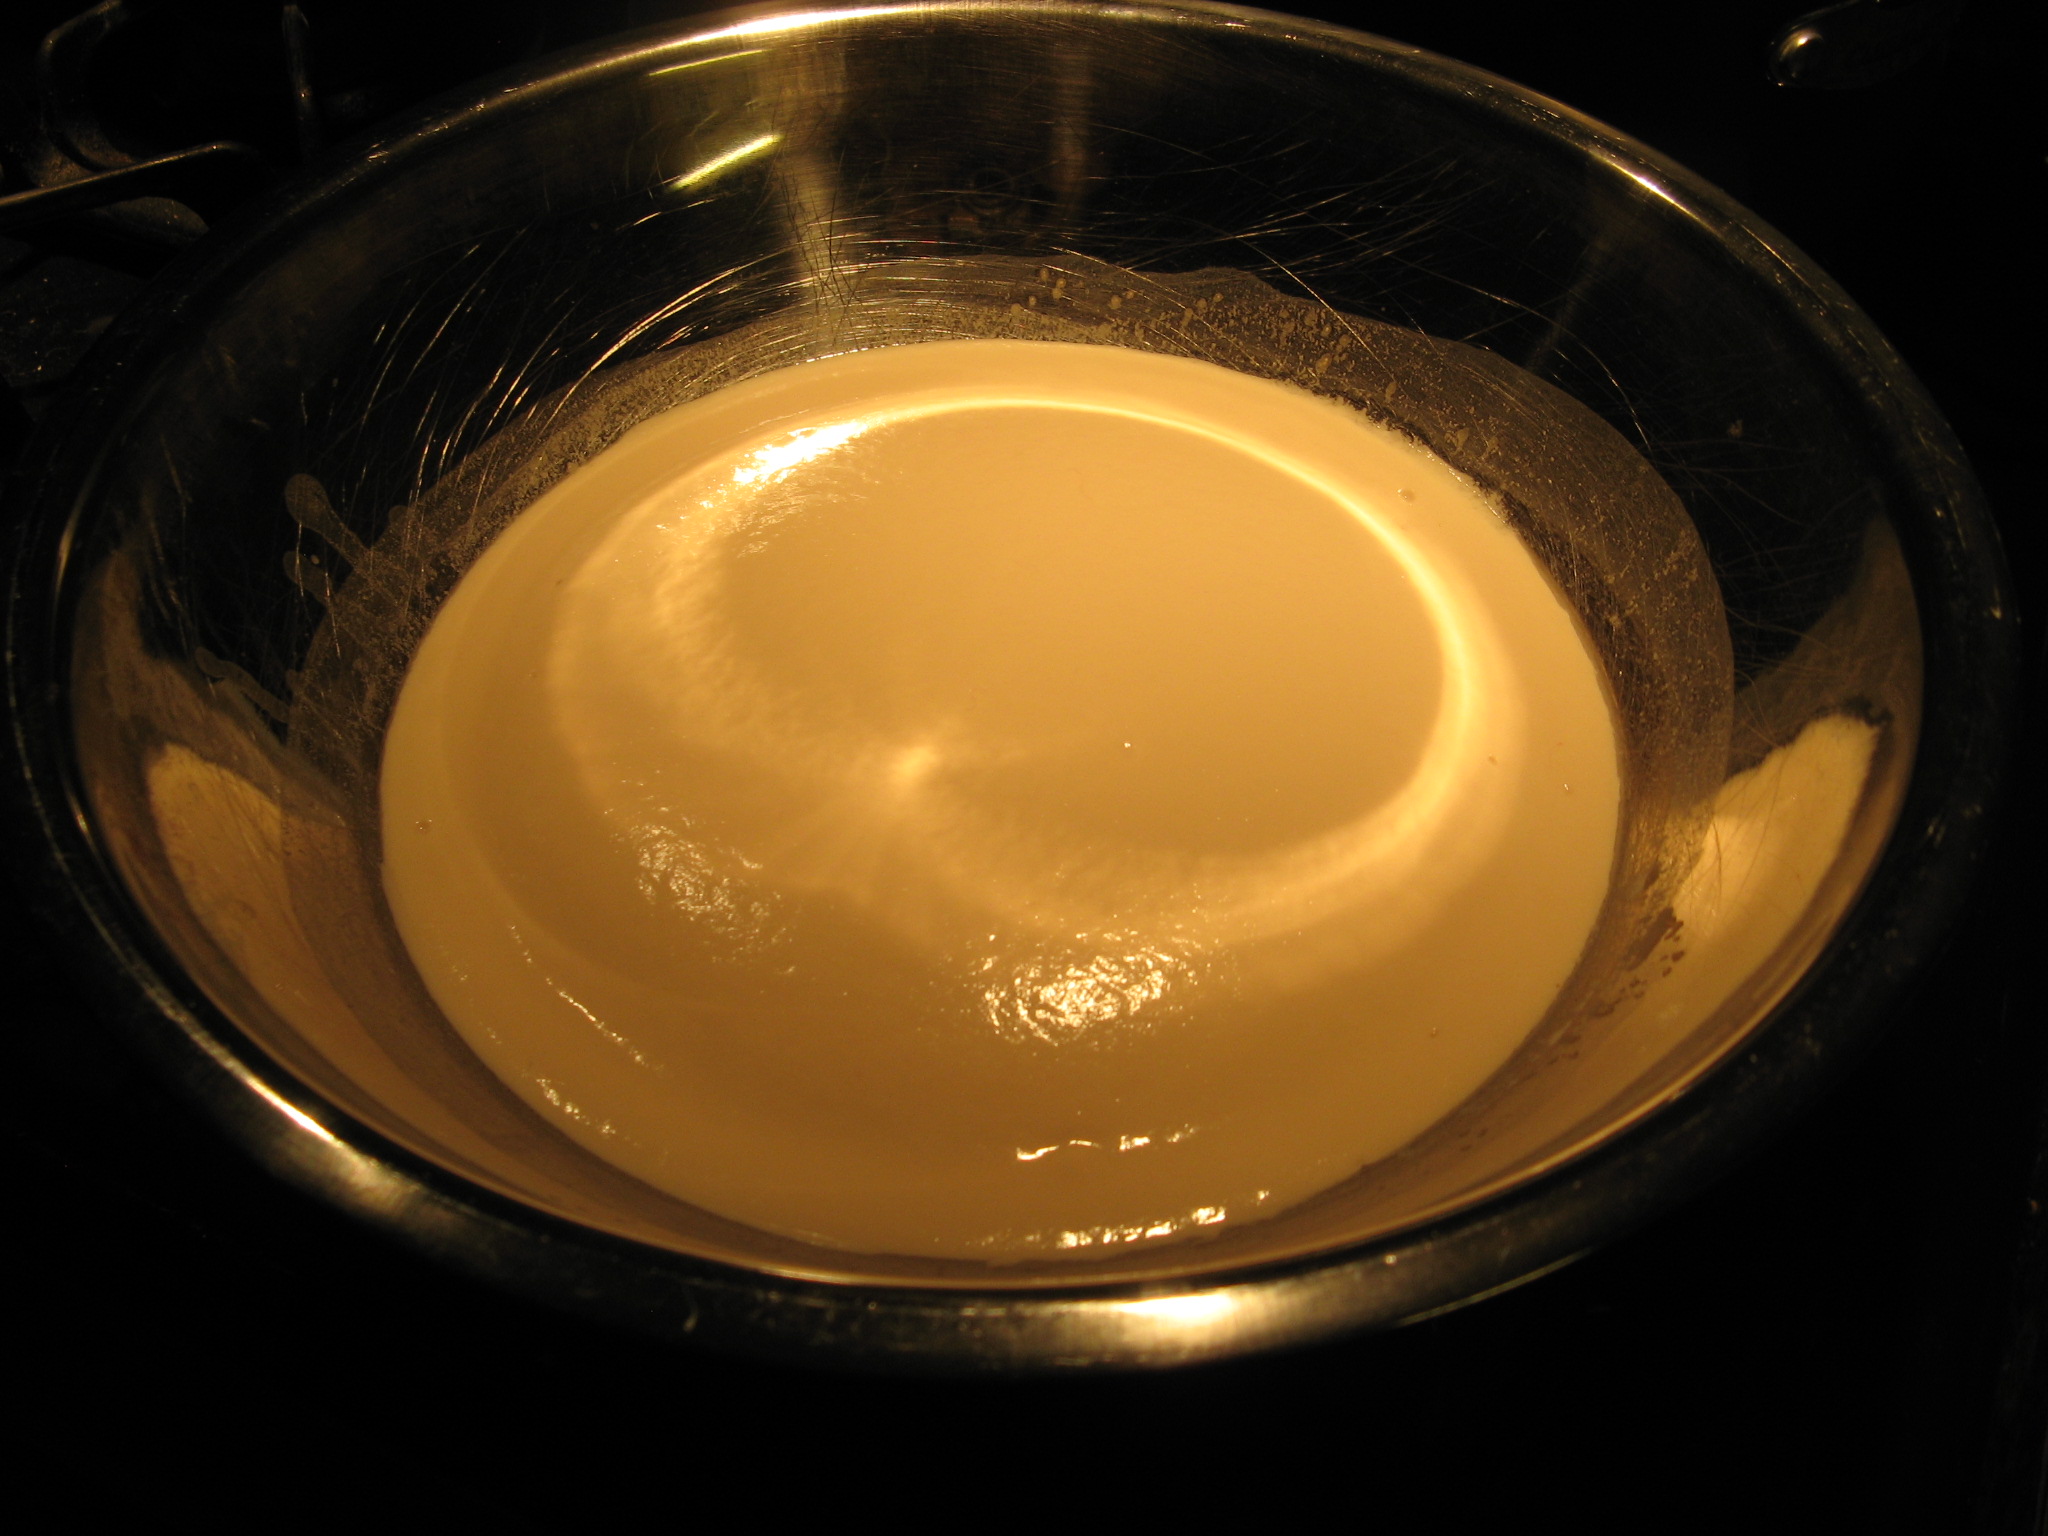
1 1/2 cups warm water, 95F-100F
Olive oil and additional salt to roast garlic
Directions:
To roast garlic: Preheat oven to 400 F. Trim the head of the garlic about 1/4 to 1/2 inch and remove the papery outer layers of the bulb. Place on a piece of aluminum foil and drizzle with olive oil and sprinkle with Kosher salt. Seal the aluminum foil to create a packet and then place on a baking sheet. Roast in the oven for 45 minutes – 1 hour. Let the garlic cool and then squeeze the cloves out of the bulb. Mash the cloves prior to adding to the dough.
In a large bowl stir together the flour, salt, yeast, garlic and rosemary. Add in the water and continue to stir together until the dough forms. It will be sticky. Shape the dough into a ball and then tightly cover the bowl with a piece (or two) of plastic wrap and let the dough rest at room temperature for 12-18 hours. The dough will double in size and be covered with air bubbles.
Once the dough is ready, preheat the oven to 450 F and turn your dough out onto a workspace lightly dusted with flour and with floured hands shape the dough into a ball. Transfer the dough to a piece of parchment paper – large enough to fit inside of the Dutch oven – and then place in a bowl – one that won’t allow the dough to spread much – and cover with plastic wrap and let rest for 30 minutes.
While the dough is resting place your Dutch oven in the oven for the 30 minutes. After the 30 minutes, carefully remove the Dutch oven from the oven and place the dough along with the parchment paper inside and cover. Bake for 25-30 minutes and then remove the lid and bake for additional 10-15 minutes, until the bread is golden brown.
Remove the bread and parchment paper from the pot and place on a wire rack to cool for 30 minutes prior to slicing.
Store leftovers in an airtight container at room temperature.
Notes:
Make sure to check the highest temperature your parchment paper can safely be used in the oven.
If you don’t have a Dutch oven, you can use a heavy-duty pot instead.
Recipe first appeared on Bead Yarn & Spatula.
Roasted Tomato Soup
Ingredients:
For the Roasted Tomatoes:
3 lbs. plum tomatoes, sliced in half and seeds removed
8 garlic cloves
3 tablespoons olive oil
salt & pepper
For the Caramelized Onions:
2 yellows onions, thinly sliced
1/2 tablespoon olive oil
Remaining Ingredients:
1/4 cup basil leaves
1/2 teaspoon dried oregano
2 cups vegetable broth
Additional salt & pepper
Directions:
For the Roasted Tomatoes:
Preheat the oven to 400 F. Line a baking sheet with parchment paper. Place the tomatoes & garlic cloves on the parchment paper cut side up, drizzle with olive oil and sprinkle with salt & pepper. Roast in the oven for 40-45 minutes. Allow to cool for 10 minutes.
For the Caramelized Onions:
In a large pot heat the oil over medium heat. Lower the heat to medium-low and add the onions. Cook for 20 minutes, stirring occasionally. Allow to cool for 10 minutes.
To Make the Soup:
Transfer the tomatoes, onions and basil to the bowl of a food processor (or a large pot if using an immersion blender) and process until everything is smooth and combined.
Transfer the mixture to a large pot or use the same pot if blended with an immersion blender, add in the vegetable broth, oregano and salt & pepper to taste and simmer on medium low heat for 10 minutes to heat through.