Garlicky Baked Shrimp

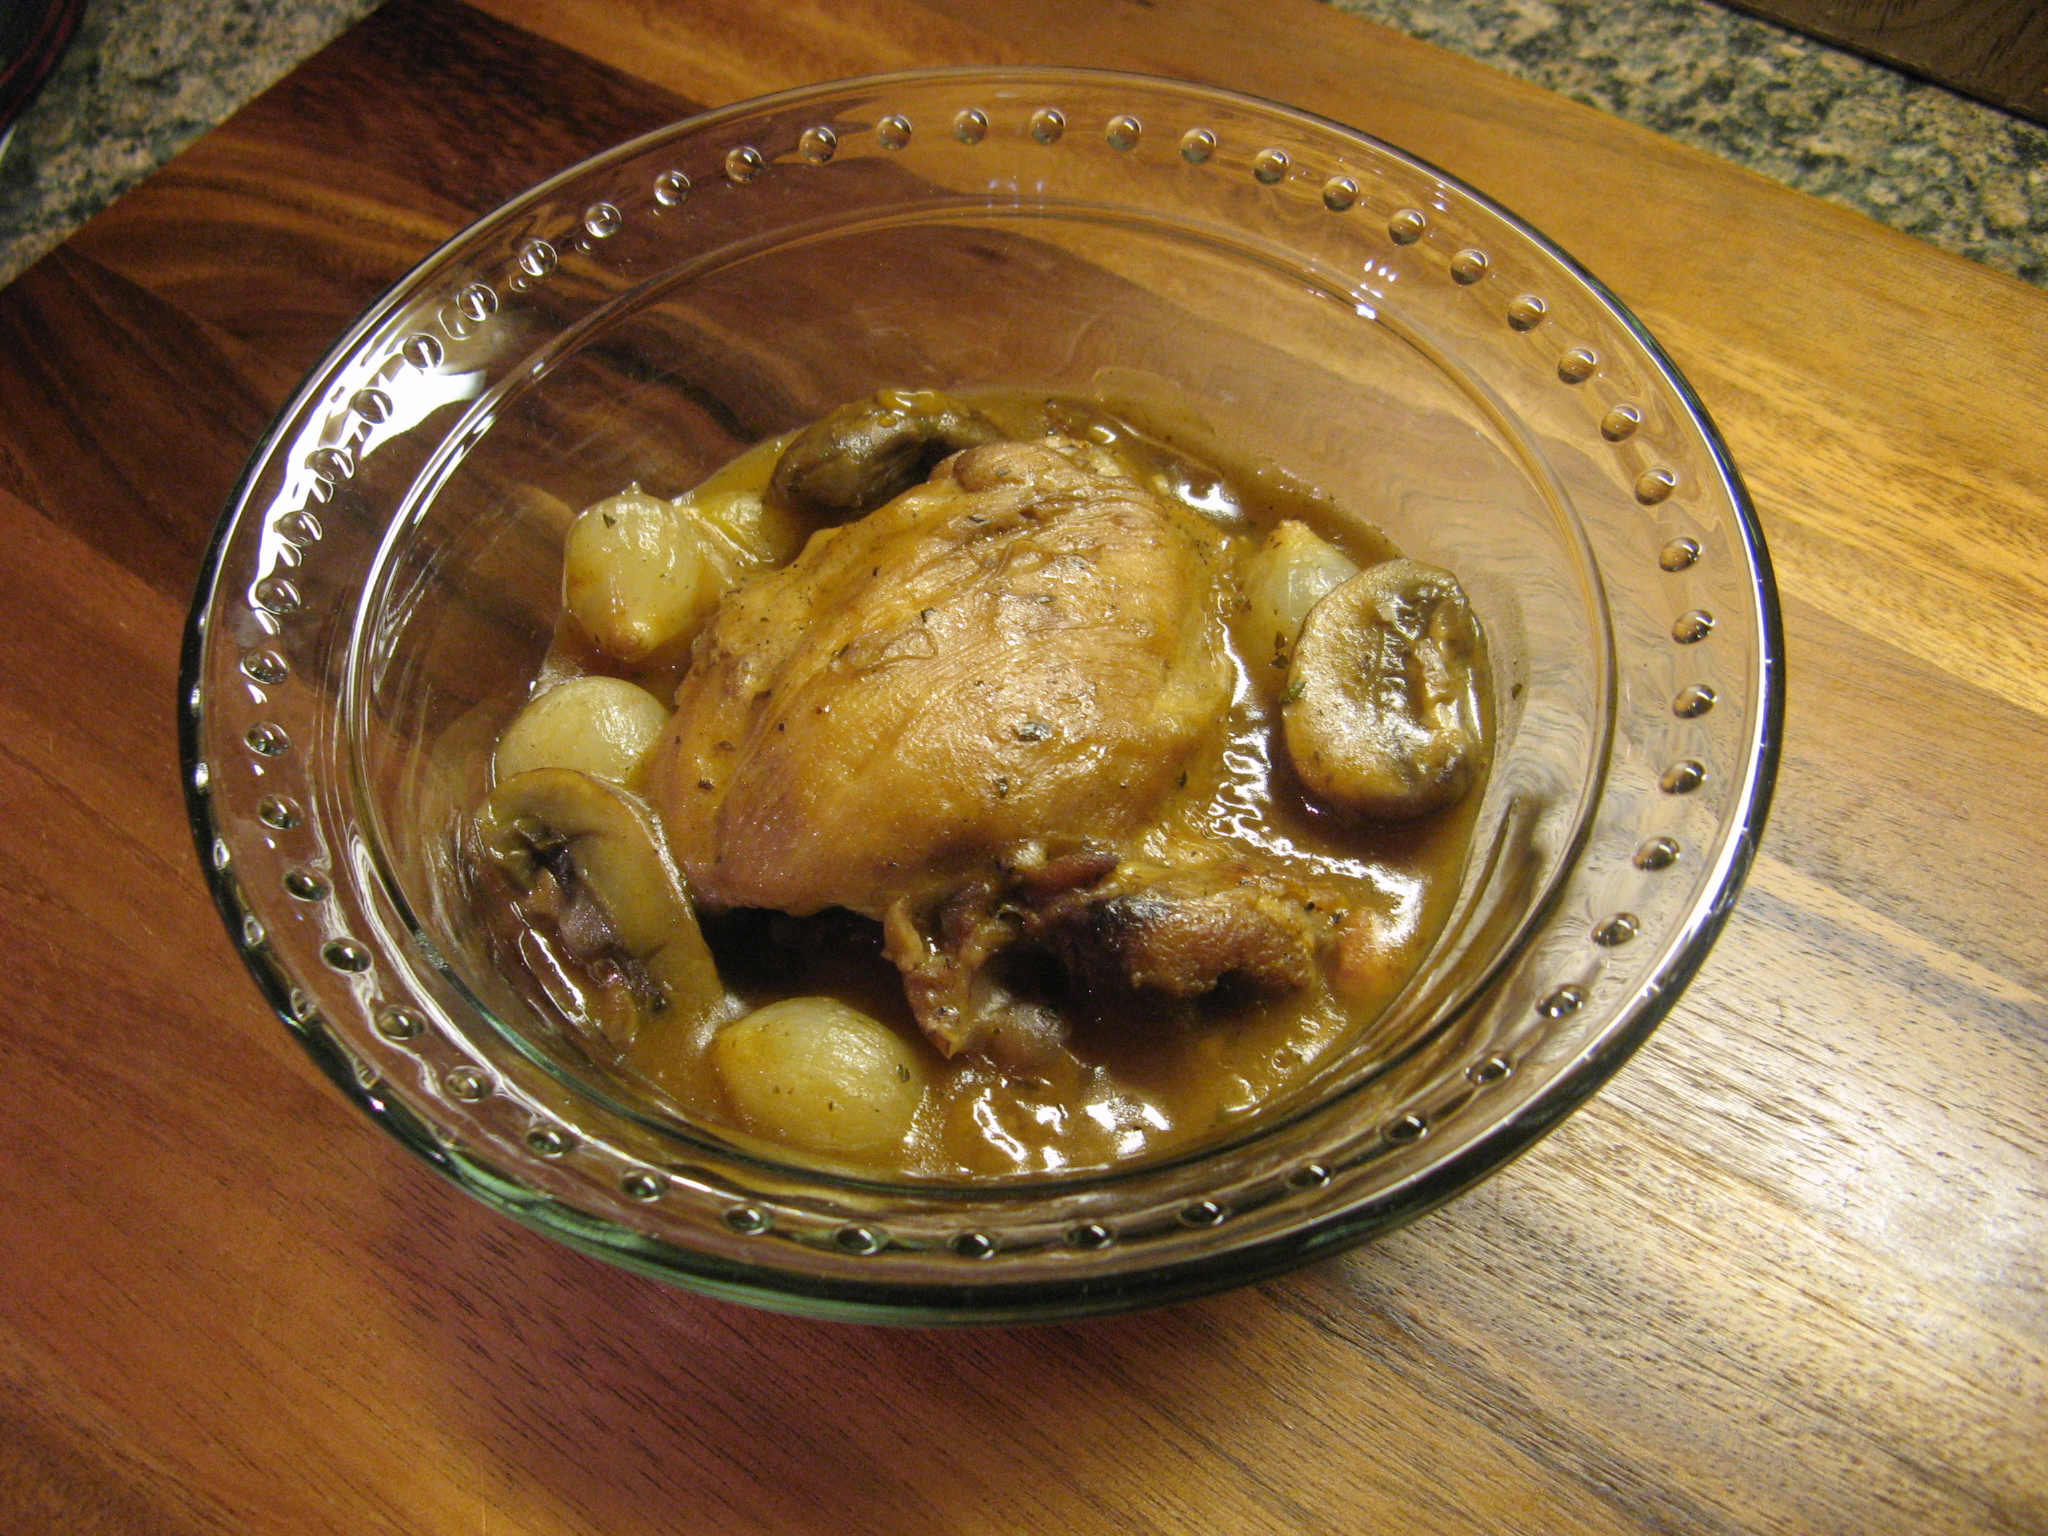
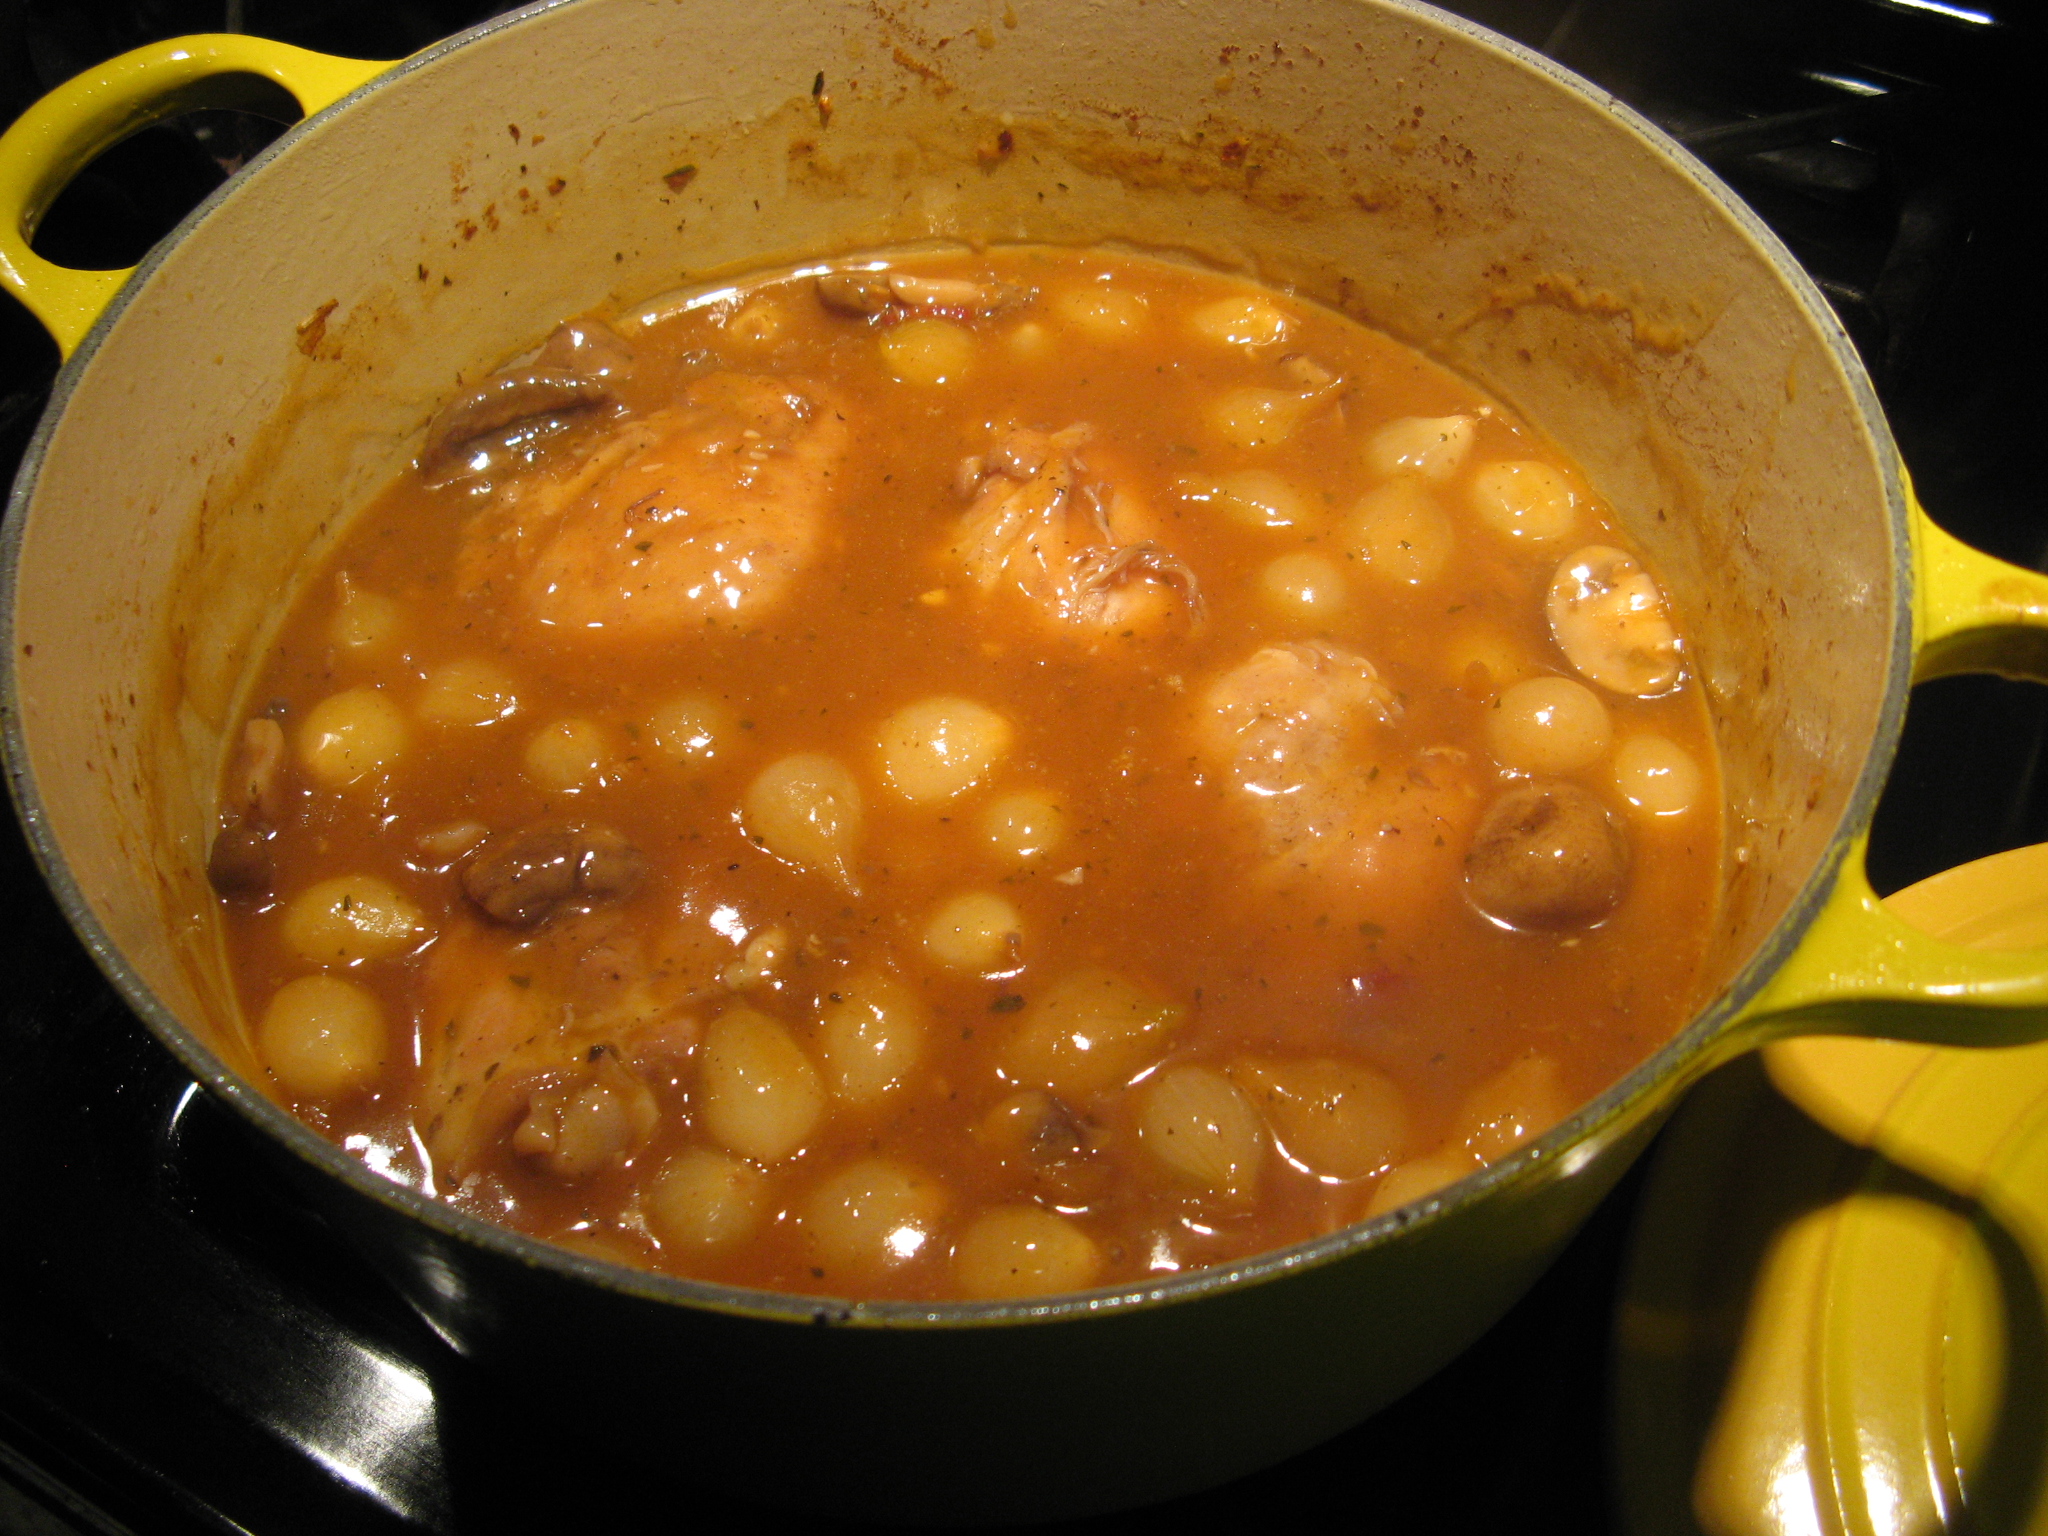
This is my kind of recipe… Quick, simple and foolproof. I’ve made it 3 times and each time it was perfect. What is it… Garlicky Baked Shrimp. I usually serve it with rice, but, I think it would be perfect tossed with some pasta.

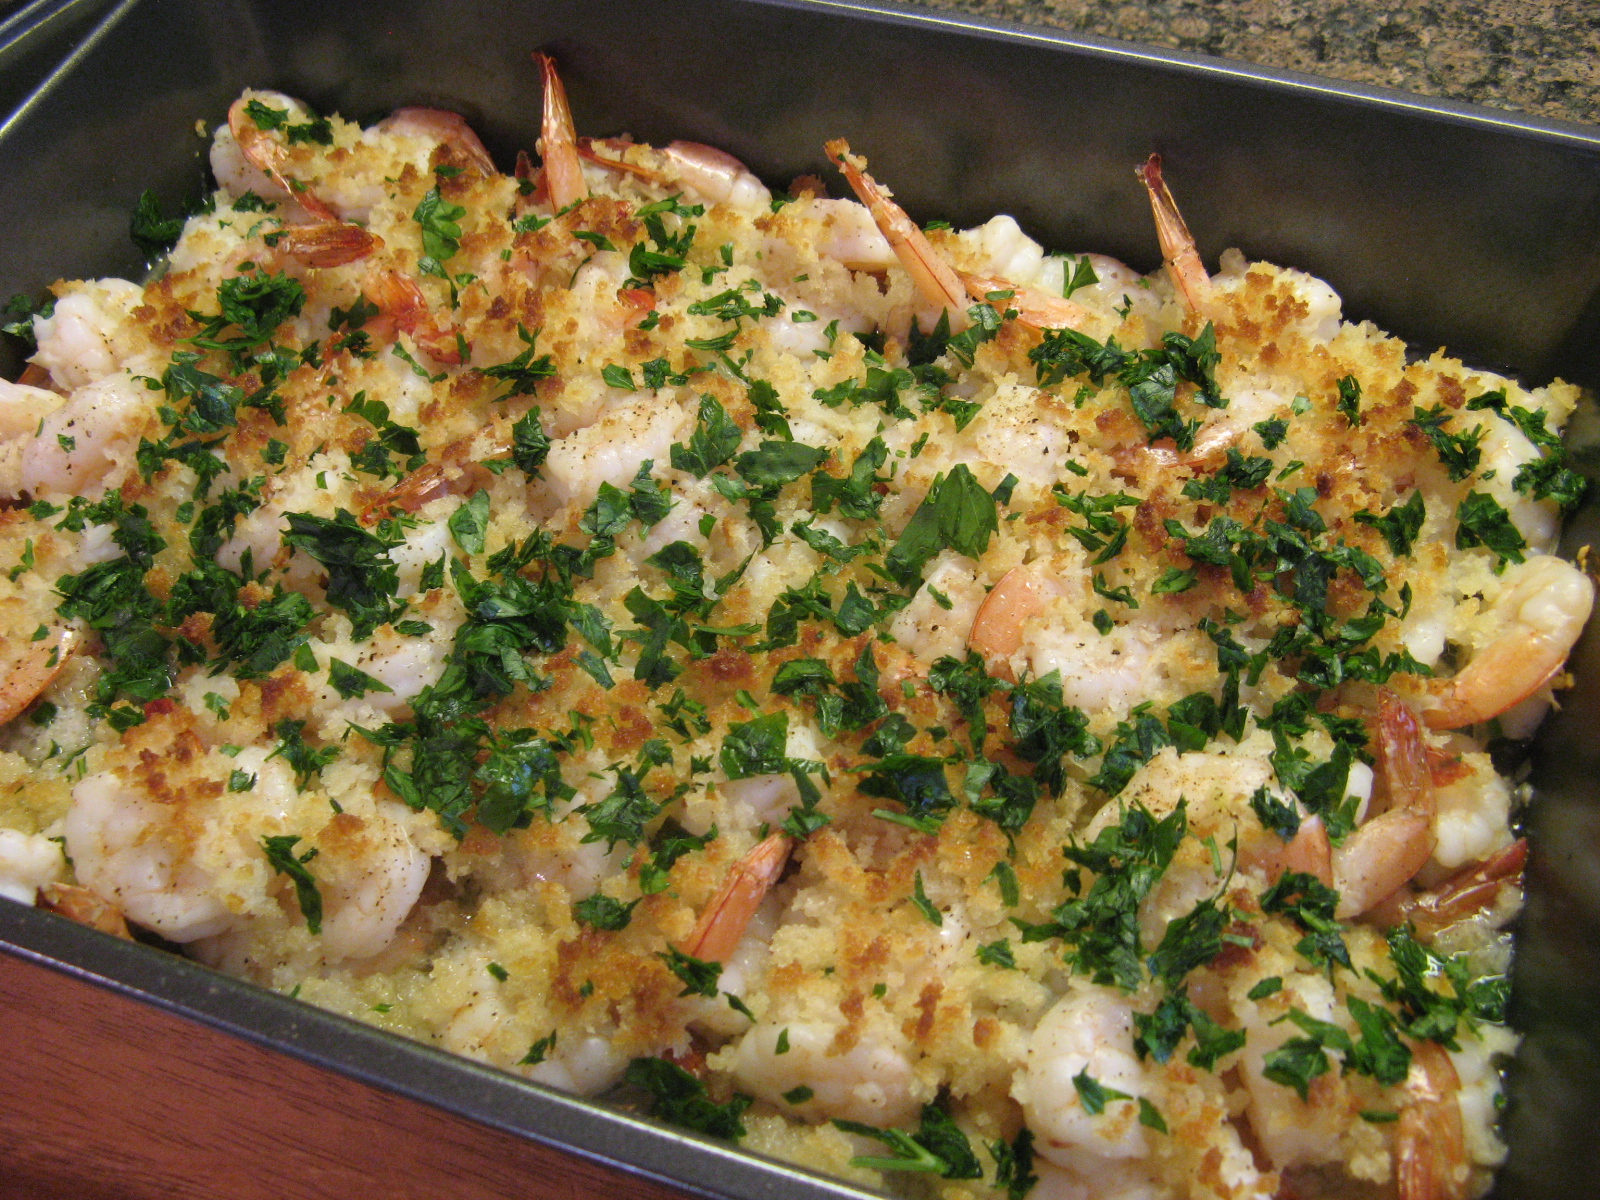
A few things to note… Don’t bake for more than 7 minutes or you will overcook the shrimp and you definitely don’t want rubbery shrimp. You can broil for an extra minute or so, but, once you see the bread crumbs are a nice toasty color you’re good to go – you don’t want garlic shrimp with a burnt topping. And finally, if you like your shrimp extra garlicky, through in an extra clove of garlic or two.

Garlicky Baked Shrimp

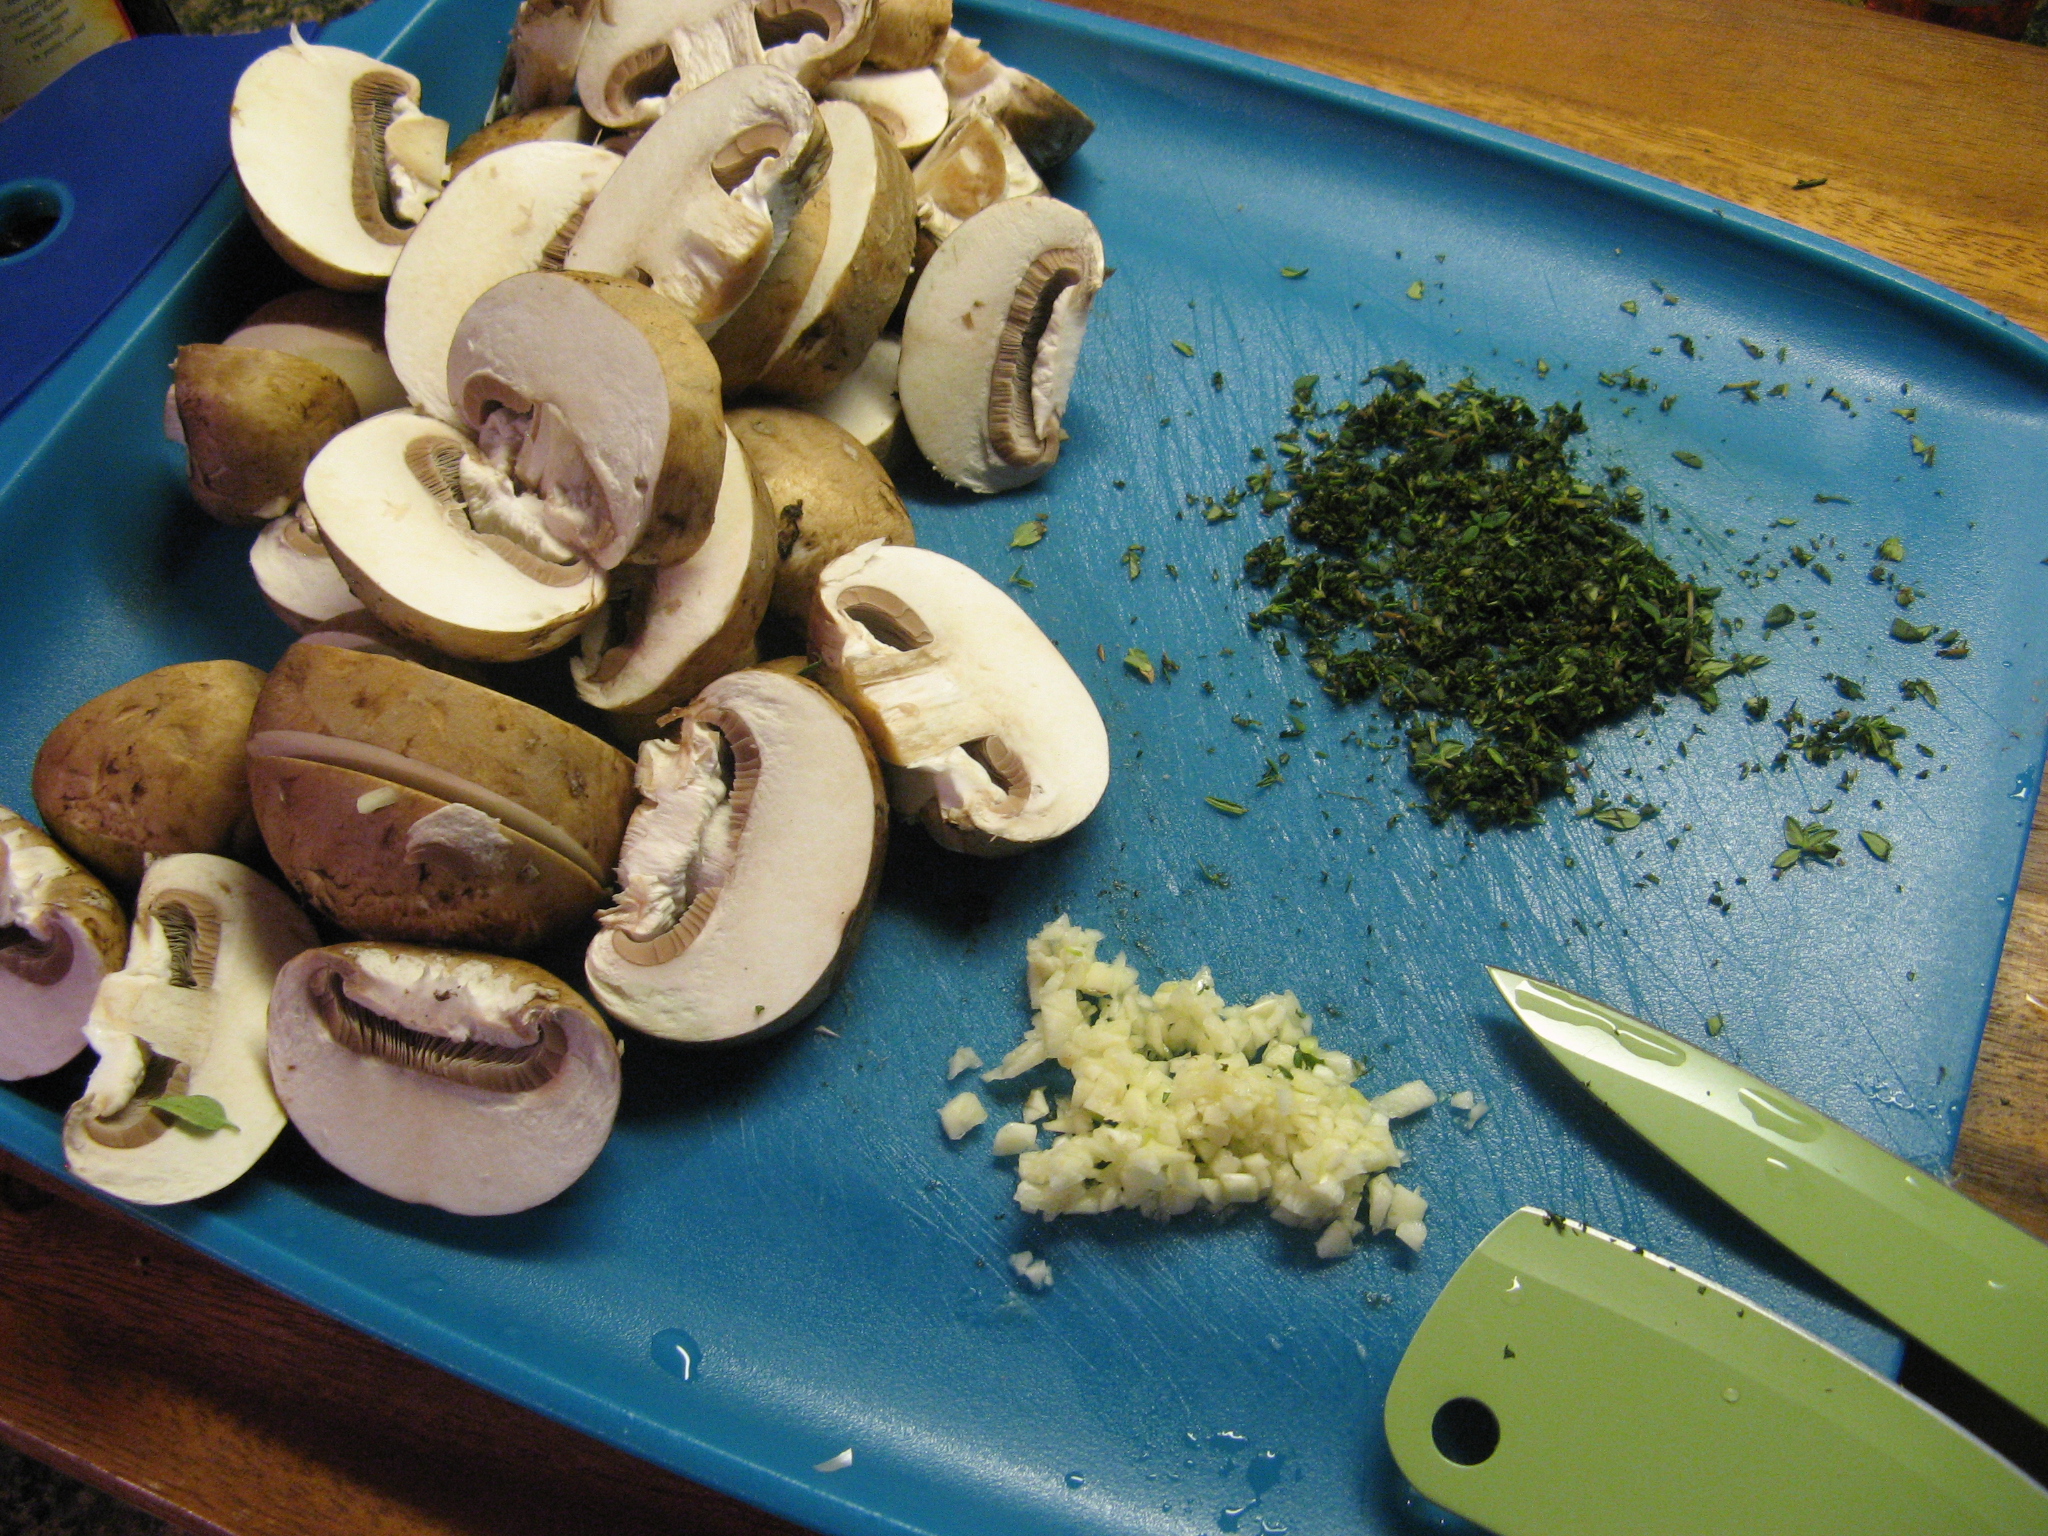
Ingredients:

1 1/2 – 2 lbs. raw shrimp, peeled and de-veined*

6 cloves garlic, minced

3 tablespoons white wine**

Kosher salt and freshly ground black pepper

4 tablespoons melted butter***

1/2 cup Panko bread crumbs

1-2 tablespoons freshly-squeezed lemon juice

2 tablespoons fresh Italian-leaf parsley, chopped

*I buy my shrimp frozen, uncooked, peeled and de-veined. I let it sit out for a few hours to defrost and then proceed with the recipe.

**I used Chardonnay

***I used unsalted. If you choose to use salted keep that in mind when seasoning the shrimp with salt

Directions:

Preheat the oven to 425 F.

In a medium bowl combine the shrimp, garlic and white wine and toss to combine. Transfer the shrimp mixture to a 9 x 13 – inch baking dish and spread it out in an even layer. Season with salt and pepper.

Rinse out the bowl and then add the melted butter and bread crumbs. Use a fork to stir everything together. With your finger, sprinkle the bread crumb mixture evenly over the shrimp.

Bake for about 7 minutes, until the shrimp is just turning pink. Switch the oven to broiler setting (high if you have that option) and broil for 2-3 minutes. Until the shrimp are completely pink and cooked through and the bread crumbs are beginning to turn golden.

Remove from the oven and drizzle the lemon juice over the shrimp and then sprinkle the parsley.

Recipe from Gimme Some Oven Blog


Cheesy Garlic Monkey Bread

So this is sort of a continuation from yesterday’s post – Slow Cooker Marinara Sauce. I made the sauce to go along with today’s post… A Cheesy Garlic Monkey Bread. I originally came across this recipe in an issue of Rachael Ray Magazine last year. Well, the recipe was for a Basic Monkey Bread and then you had a few options to flavor the bread. I was partial to trying the Cheesy Garlic version.

The version in the magazine called for you to actually make the dough for the bread, but, to be honest working with yeast and me don’t always go over that well. So, when I saw a recipe that used Pillsbury Grands! Biscuits as the base for a monkey bread I knew I had to try it.

I began by combining olive oil, grated Parmesan, minced garlic and salt in a large bowl.

img_0412

Next, I cut each Grands! Biscuit into four equal pieces. I ended up using 2 cans of biscuits, each of which has 8 biscuits so I ended up with 64 pieces. After cutting the biscuits of the first can I placed them back in the refrigerator so they would stay cold while I cut biscuits from the second can. It’s best to work with the biscuits when they are cold, you don’t want them to become warm & sticky.

img_0416

I then tossed half of the quartered biscuits in the olive oil mixture and gradually added in the remaining quarters.

img_0417

After spraying a Bundt pan with cooking spray, I layered the biscuit pieces into the pan. I opted to use my hands to spread the pieces into the pan to ensure they would be even throughout the pan.

img_0423

I then baked it in a 350F preheated oven for about 35 to 40 minutes. Until it was browned on top and I was sure that all of the biscuit pieces had cooked throughout the monkey bread. After letting it cool in the pan for a few minutes I inverted it and sprinkled it with freshly chopped parsley…

img_0431

And a side of homemade marinara sauce.

img_0427


Cheesy Garlic Monkey Bread

Ingredients:

2 Cans (16.3 oz.) Grands! Original Biscuits

3/4 cup olive oil

1 cup grated Parmesan cheese

4 garlic cloves, minced

1 1/2 teaspoons salt

2 tablespoons chopped fresh parsley

Directions:

Preheat the oven to 350 F and butter a large Bundt pan.

In a large bowl combine the olive oil, parmesan cheese, garlic and salt and set aside.

Working with 1 can at a time, cut each of the biscuits into quarters. After cutting the first can place it back in the refrigerator while cutting the biscuits of the second can.

Fold half of the quartered biscuits into the olive oil mixture and gradually add in the remaining pieces.

Pile the biscuit pieces evenly into the prepared Bundt pan and bake for 35 to 40 minutes, until browned and cooked through.

Let cool for 5 minutes in the pan and then invert onto a large plate and sprinkle with parsley. Serve with marinara sauce for dipping.

Recipe Adapted From Rachael Ray Magazine


Deep-Dish Margherita Pizza

While I am partial to a thin and crispy crust when it comes to my pizza, once in a blue moon I want something with a little more bite to it, especially when it sounds super simple to make. A while back I came across a recipe for a deep-dish pepperoni pizza using a cake pan, and with these hot and humid days upon us the last thing I really want to do is make something complicated for dinner so this was right up my alley. I do my best to avoid using my oven when it’s too hot, but, this pizza was an exception since the total oven time was less than twenty-five minutes and prep time was just under ten minutes since I opted to make a Deep-Dish Margherita instead.

IMG_8996

To make things even easier for myself I used store-bought refrigerated pizza dough that I brought to room temperature prior to using. While the dough was “warming” I made the pizza sauce by combining whole peeled tomatoes (crushed by hand), olive oil, grated garlic, crushed red pepper and salt. I set this aside so the flavors could marinate and then thinly sliced some fresh mozzarella. Meanwhile, I preheated my oven to 475 F with an inverted cookie sheet on the bottom shelf and brushed the bottom and sides of a 9-inch cake pan with olive oil.

Once the dough was ready I stretched it into the cake pan, placed it on top of the inverted cookie sheet and baked it in the oven for about 10 minutes, until it was puffy and just starting to brown. After removing it from the oven I topped it with the sauce leaving about a 1/2 inch border. I then topped it with the fresh mozzarella and placed it back in the oven – on top of the cookie sheet again – and baked it for another 10 minutes. When I removed it from the oven I was a little scared that something had gone wrong. My pizza was completely puffed up, but, I allowed it to sit for a few minutes and thankfully it deflated and looked “normal.”

IMG_8997

And I’ll admit it’s not the best looking pizza, but, it was delicious! This may be my go to pizza sauce next time I make pizza!

Deep-Dish Margherita Pizza

Ingredients:

1 pound refrigerate pizza dough, at room temperature

1 14.5 oz. can whole peeled tomatoes, crushed by hand

2 tablespoons olive oil, plus an additional 2 tablespoons to brush the pan

2 garlic cloves, grated

1/4 teaspoon crushed red pepper

1 teaspoon salt

4 ounces fresh mozzarella, thinly sliced

Directions:

On the bottom oven rack place an inverted cookie sheet and preheat the oven to 475 F. Brush the bottom and sides of a 9-inch cake pan with 2 tablespoons of olive oil. Press the dough into the pan and bake for 10 minutes, until puffy and lightly golden.

Combine the tomatoes, remaining olive oil, garlic, crushed red pepper and salt in a large bowl and allow the flavors to marinate for a few minutes.

After removing the pizza crust from the oven, top with the sauce*, leaving a 1/2 inch border, and top with the fresh mozzarella. Return to the oven for another 10 minutes, until the cheese is bubbling.

Let the pizza cool for 5 minutes before slicing.

*You will have extra sauce.

Modified from here and here

Chicken Pad Thai

Whenever I go to a Thai restaurant my go-to dish is always Chicken Pad Thai. It’s pretty much foolproof and always delicious. A few years ago I attempted to make it myself and was happy with the outcome – it was super simple and tasted awesome. I recently dug out the recipe I used and whipped it up for dinner.

To begin I prepped all of my ingredients; minced garlic and ginger, sliced three thinly sliced chicken breasts into strips and julienned 2 carrots and 1 zucchini.

IMG_7158

Two of my other ingredients were rice noodles and Asian chili paste.

IMG_7162

Next I whisked together soy sauce, water, peanut butter and the chili paste until it was smooth.

IMG_7163

To cook the vegetables and chicken I began by sautéing the garlic and ginger for about a minute and then adding the vegetables and chicken and cooking everything until the chicken was cooked through.

IMG_7166

While I was cooking the vegetables I prepped the rice noodles by soaking them in warm water (I brought a pot of water to boil and then removed it from the heat). Luckily the rice noodles now come in these individual packets (there are four in a box) so I knew exactly how many noodles I needed – 2 packets. The last time I cooked with rice noodles – granted it was some time ago – they didn’t come in these nifty packages so I had to use my best guess as to what was half of the package.

IMG_7164

The noodles soaking…

IMG_7165

Once the noodles were ready (I followed the directions on the package and soaked them for 5 minutes) I added them to the pan with the vegetables and then added in the peanut/soy sauce I made along with light brown sugar and cider vinegar. I tossed all of the ingredients together to distribute the sauce and let everything cook for a few more minutes and then it was time to enjoy my homemade Chicken Pad Thai and it was delicious!

IMG_7168

Chicken Pad Thai – Modified from here

Servings 4

Ingredients:

2 tablespoons soy sauce

2 tablespoons water

1 1/2 tablespoons creamy peanut butter

2 teaspoons Asian chili paste

3 tablespoons canola oil

2 teaspoons minced garlic

2 teaspoons minced ginger

1 zucchini, julienned

2 carrots, julienned

8 ounces chicken breast, sliced into strips

1/4 pound rice noodles, follow directions on package to prepare

1 tablespoons light brown sugar

1 tablespoons cider vinegar

Optional for garnish:

Lime Wedges

Chopped Peanuts

Bean Sprouts

Directions:

1. In a bowl whisk together the soy sauce, water, peanut butter and chili paste.

2. Heat a large sauté pan (or wok) over medium heat and add the canola oil. Once the oil is hot add the garlic and ginger and cook for about a minute. Add the vegetables and chicken and cook until the chicken is browned and cooked through. Add the noodles and toss to coat them.

3. Add the peanut/soy sauce, brown sugar and cider vinegar and toss to distribute. Cook until heated through.

A Quick and Easy Coq au Vin

The first time I had Coq au Vin was at a cooking demonstration class at Williams Sonoma. I purchased the braising base that was used at the class but unfortunately my result was nothing like the one I tasted at the class. I think part of the reason was that I still wasn’t all that comfortable with cooking – I’m more of a baker, but, slowly but surely my cooking ability is starting to even out with my baking ability. Recently I came across a recipe for Coq au Vin in a magazine and decided to try making it once again, this time from scratch, and I had much better results. And in case you are wondering, Coq au Vin is a French dish of braised chicken in red wine and normally contains bacon, garlic, onions and mushrooms.

IMG_7069

Up first I sliced baby bella mushrooms, minced 2 cloves of garlic and chopped some fresh thyme.

IMG_7048

I then cooked three slices of bacon, which I cut into half-inch pieces, in two teaspoons of olive oil until they were brown, but not crispy.

IMG_7051

After removing the bacon from the Dutch oven and setting it aside I browned four chicken thighs which I seasoned with salt and pepper.

IMG_7052

Next I cooked the mushrooms along with a 16 oz. bag of frozen white pearl onions for a few minutes until they began to soften.

IMG_7054

Following that I added in the thyme, garlic and a tablespoon of tomato paste.

IMG_7056

And then red cooking wine. I cooked the mixture for about 5 minutes until the wine reduced by half…

IMG_7058

And then added in chicken stock.

IMG_7059

And finally I returned the chicken to the pot, reduced the heat to low and partially covered the pot and allowed the chicken to cook through and the onions to soften, about 40 minutes.

IMG_7060

And for the final step, I dissolved three tablespoons of cornstarch in an equal amount of water and added it to the cooking liquid after transferring the chicken to a plate. Once the liquid thickened I returned the chicken and bacon to the pot, stirring to coat the chicken. I must say I have used cornstarch to thicken cooking liquids before but I normally just add it directly to the liquid, dissolving it in water is a much better method as it eliminates the possibility of any clumps forming in the liquid.

IMG_7062

Final Verdict… Definitely something I will make again, although I think next time I won’t add the cornstarch.

IMG_7064


Easy Coq au Vin – Slightly modified from here

Ingredients:

3 slices center cut bacon, cut into half-inch pieces

2 tsp. olive oil

4 bone-in, skinless chicken thighs

16 oz. frozen pearl onions

10 oz. baby bella mushrooms, trimmed and sliced

1 tbsp. tomato paste

2 cloves garlic, minced

1 cup red cooking wine

2 cups chicken stock

3 tbsp. cornstarch

Directions:

1. In a 5 to 6 quart Dutch oven, cook the bacon in the oil over medium heat until browned but not too crispy. Transfer the bacon to a small bowl lined with a napkin. Season the chicken with salt and pepper (I used about 1/2 tsp. each). Increase the heat to medium-high and cook the chicken until golden brown, about 5 minutes per side. Transfer the chicken to a plate.

2. Add the onions and mushrooms to the pot and cook, stirring occasionally, until they soften. Stir in the tomato paste, thyme and garlic. Add the wine and cook, scraping up any browned bits, until the wine is reduced by half, about 5 minutes. Add the stock and bring the liquid to a simmer. Return the chicken and any juices to the pot. Reduce the heat to low, partially cover and gently simmer, turning the chicken once or twice, until the chicken is cooked through and the onions are tender, about 40 minutes.

3. In a small bowl dissolve the cornstarch in tbsp. water. Transfer the chicken to a plate. Increase the heat to medium-high and bring the cooking liquid to a bowl. Add the cornstarch mixture and stir until thickened. Season with salt and pepper. Return the chicken and bacon to the pot, stirring to coat.

%d bloggers like this: