Slow Cooker Sunday: Corn Chowder

One of the best things to make in your slow cooker is soup. I normally make corn chowder during the summer months on the stove thanks to the abundance of fresh corn available, but, for this recipe, I used frozen corn and you guessed it, my slow cooker. And to be honest, using frozen corn requires a lot less effort. Shucking corn and getting the kernels off the cob is just not fun.

In a small bowl I combined 1/2 cup of the frozen corn along with a ¼ cup of diced red bell pepper and a tablespoon of fresh lemon juice. After stirring it together I covered the bowl with plastic wrap and then refrigerated it until my soup was ready.

In my slow cooker I combined the necessary ingredients for the chowder and then set it to cook on low for 8 hours. In case you are wondering, no, I didn’t cook the soup with the thyme on top, after taking this picture I gave the soup a good stir so the thyme sprigs could work their magic while the soup was cooking.

After the 8 hours I transferred 2 cups of the soup to a blender and blended it until it was smooth and then returned it the slow cooker along with heavy cream and butter. I stirred the soup until the butter had melted and then it was ready to enjoy.

I served it topped with the pepper and corn. You may be tempted to pass on the corn and pepper topping but trust me don’t. The fresh lemon juice from the mixture adds a nice taste to the soup.

Slow Cooker Corn Chowder

Ingredients:

1/4 cup diced red bell pepper

1 tablespoon freshly squeezed lemon juice

4 cups (32 ounces) frozen corn

1 pound Yukon gold potatoes, peeled and diced

2 14.5 oz. cans of chicken broth

1/2 cup chopped yellow onion

2 garlic cloves, minced

2 sprigs fresh thyme

2 teaspoons kosher salt

1/2 teaspoon freshly ground black pepper

1/2 cup heavy cream

2 tablespoons unsalted butter


Directions:

In a small bowl combined the diced pepper, 1/2 cup of the corn and the lemon juice. Stir together and the cover and refrigerate until ready to serve.

In your slow cooker add the remaining corn, potatoes, chopped onion, garlic, thyme salt and pepper. Stir everything to combine and then cover and cook on low for 8 hours.

Remove the thyme springs and transfer 2 cups of the soup to a blender and blend until smooth. Return the blended soup to the slow cooker along with the heavy cream and butter. Stir the soup until the butter has melted.

Ladle the soup into bowls and top with the reserved corn and pepper mixture.

Recipe slightly adapted from The Kitchn

Zucchini, Corn and Basil Stir-Fry with Chicken

Quick and delicious meals are something I am always searching for. And, meals that aren’t written for 6 or more servings. Since I cook for just myself 4 or less is perfect. It gives me enough for leftovers for the following day. While you can find quick to prepare food at the supermarket, you know those flavored rice’s and pasta sides, have you ever noticed how much sodium is in them. I am by no means a health nut, but, I do try to avoid certain things whenever possible. Sodium being one of them. Today, I am bringing you a quick dish that can be made with tofu, chicken or shrimp and has a healthy amount of vegetables… A Zucchini, Corn and Basil Stir Fry. What’s really nice about this dish is that there are no sauces that are giving this dish a flavor. Just some salt, pepper, garlic, onions and basil. Yum! And, it’s written for 2 servings… Perfect for me.

Zucchini, Corn and Basil Stir Fry

Ingredients:

8 ounces tofu, chicken breast or sausage, or shrimp

2 tablespoons olive oil

1/2 cup red onion, chopped

3 medium-sized zucchini, sliced into half-moons a 1/2 inch thick

2 garlic cloves, chopped

1 ear of corn, kernels sliced off*

1/4 cup fresh basil, sliced into ribbons

Salt and pepper

Red pepper flakes, optional

*This is approximately 3/4 cup of corn if you want to sub frozen or canned corn

Directions:

Heat the oil in a large skillet over medium heat, season the oil with salt and pepper. Cook your chosen protein to your liking, fully cooked if chicken or shrimp. Set aside.

In the same skillet, add more oil if necessary, add the onion and sauté for 2 minutes until fragrant. Add the zucchini, and continue cooking for about 5 minutes until the zucchini is golden, stirring frequently.

Add the garlic and corn and cook for an addition 2 minutes, stirring. Add more salt and pepper.

Cover the skillet and let it steam for 3-4 minutes. Check the zucchini with a fork for doneness. When the zucchini is ready add the basil and adjust the salt.

Add the red pepper flakes, if using and return your protein the skillet and heat through.

Recipe from Feasting At Home

Slow Cooker Sunday: Creamy Corn Casserole

As the days start to get warmer I am trying to find things to make in my slow cooker that aren’t too heavy. This Corn Casserole fits the bill and it’s perfect for warmer days when fresh corn starts flooding your supermarket and you don’t want to turn on your oven.

I started off by mixing all the ingredients together in a large bowl. I started off by creaming sugar and cream cheese together. Then adding in two eggs. Next, I stirred in the dry ingredients – flour, cornmeal, baking powder, salt, pepper and cayenne. And then some more wet ingredients – melted butter, milk and heavy cream. And finally, I stirred in a chopped jalapeno, cheddar cheese and corn. I used frozen corn, to thaw it out, I left it in a bowl on my counter for a few hours stirring it occasionally.


I then poured the mixture into the insert of my slow cooker that I generously sprayed with cooking spray. I covered it and set it to cook on low for 4 hours. I knew it was was ready once it was set in the middle and the delicious aroma started filling my house.


Now, I made the big mistake of trying to remove the casserole from my slow cooker while it was still warm, so, it broke apart. I “saved” it by just scooping it into a glass dish. Trust me, it didn’t alter the flavor one it. To avoid my mishap, I suggest you remove the insert from the slow cooker once the casserole is done and let it cool a bit.


Slow Cooker Creamy Corn Casserole

Ingredients:

8 ounces cream cheese, softened

1 tablespoon sugar

2 large eggs

1/2 cup all-purpose flour

1/4 cup cornmeal

1 teaspoon baking powder

1 teaspoon salt

1/4 teaspoon freshly ground black pepper

1/2 teaspoon cayenne pepper

2 tablespoons unsalted butter, melted

1 1/2 cups whole milk

1/2 cup heavy cream

1 jalapeno pepper, seeded and minced

2 cups shredded cheddar cheese

4 cups corn, fresh or frozen thawed

Directions:

Spray the inside of a slow cooker with cooking spray.

In a large bowl cream together the cream cheese and sugar until fluffy. Beat in the eggs one at a time. Stir in the dry ingredients – flour, cornmeal, baking powder, salt, pepper, and cayenned pepper, mixing the ingredients together well. Add in the melted butter, milk and heavy cream. Once everything is well combined, stir in the jalapeno, cheddar cheese and the corn.

Pour the mixture into the slow cooker and cook on low for 3 1/2 to 4 hours. Until the center is set and the top is puffy.

Recipe from Slow Cooker Family Favorites

Slow Cooker Sunday: Spicy Mexican Chicken Stew

So, I personally think that one of the best things to make in a slow cooker is soup / stew. I consider them to be more or less one in the same. And this week I am bringing you a Spicy Mexican Chicken Stew that is the ideal Slow Cooker Meal. The only prep is some dicing, chopping and cutting. No sautéing veggies or heating the aromatics to develop the flavors. You control the level of spice with a jar of salsa. I got this recipe in the cookbook I mentioned last week… Slow Cooker Family Favorites. I’m 2 for 2 with the recipes in this book… Yay!

I began by stirring together salsa, cumin, chili powder, salt and pepper in the bowl in my slow cooker.

img_0463

I then added in diced potatoes, frozen corn, cut celery & carrots, a diced onion and minced garlic.

img_0464

I gave everything a few good stirs to make sure the vegetables were coated by the salsa mixture.

img_0466

And finally, I placed 6 boneless skinless chicken thighs on top of the vegetables and poured in a can of chicken broth.

img_0467

So, according to the directions the stew was to be cooked on high for 4 hours, or until the chicken was cooked through and the vegetable were tender. After 4 hours the chicken was cooked through, so I removed it from the slow cooker and shredded it using two forks. But, my vegetables were still a bit undercooked, so I returned the chicken to the slow cooker and cooked everything for about another 2 hours.

img_0468

Which I think was the best thing. The end result were vegetables that were perfectly tender, but, better yet, the chicken was really able to absorb the flavors of the stew. YUM!

img_0469

I packed a bowl for lunch the following day and I must say it was even better then and each subsequent day!

img_0472

Spicy Chicken Mexican Stew

Ingredients:

1 16-oz jar spicy salsa*

1 1/2 teaspoons ground cumin

1 teaspoon chili powder

2 teaspoons salt

1/2 teaspoon freshly ground black pepper

1 1/2 pounds russet potatoes, peeled and diced into 1-inch cubes**

1 16 ounce package frozen corn***

2 celery stalks, cut into 1-inch pieces

2 carrots, cut into 1-inch pieces

1 onion, diced

2 garlic cloves, minced

6 boneless, skinless chicken thighs****

1 14.5-oz chicken broth (approximately 2 cups)


*I used Chi-Chi’s Medium Thick & Chunky Salsa

**I used 2 medium sized potatoes and 1 small one

**The package I used was 12 oz.

****About 1 3/4 pounds of chicken


Directions:

In the bowl of a slow cooker stir together the salsa, cumin, chili powder, salt and black pepper.

Add the potatoes, corn, celery, carrots, onion and garlic. Toss everything to coat the vegetables.

Place the chicken on top and then pour in the chicken broth.

Set to cook on high for 4-6 hours, until chicken is cooked through and the vegetables are tender. Once chicken is cooked, remove from the slow cooker and shred with two forks and return to the slow cooker. Season for taste.

Recipe from Slow Cooker Family Favorites

Slow Cooker Sunday: Italian Vegetable and Pasta Soup

This is probably the best I have ever made and tasted, well, there was this French Onion Soup I had years ago at a restaurant that I still compare all French Onion Soup’s I have had to this day. Maybe I should try making that soup one day. But anyhoo, I digress, as usual. Back to the soup at hand, an Italian Vegetable and Pasta Soup that best of all is made in a slow cooker. There’s nothing better than dumping everything into your slow cooker and then coming back a few hours later with a great meal waiting for you.

I began by adding all of my vegetables to my slow cooker: corn, chopped onion, chopped carrots, sliced zucchini and garlic. I wasn’t sure if garlic could be considered a vegetable, but, adter a little research it turns out it can be.

 img_0001

Next, I stirred in broth, tomato paste, salt and basil until the tomato paste had completely blended into the broth. I used tomato paste with basil, garlic and oregano. I advise using this blend of tomato paste since it adds more flavor to the soup.

 img_0002

I opted to cook it on the high setting for about 3 1/2 hours and then added in dried shell macaroni and a bag of frozen green beans and cooked it for an additional 45 minutes.

 img_0004

Once it was done I served myself a bowl and topped it with shredded parmesan cheese. YUM!

 img_0007

Italian Vegetable and Pasta Soup

Ingredients:

1 10-ounce package frozen whole kernel corn

1 cup chopped onion

1 cup chopped carrots

1 small zucchini, sliced into half moons

2 garlic cloves, minced

6 cups low sodium vegetable or chicken broth

1 6-ounce can tomato paste blended with basil, garlic and oregano

1/2 teaspoon salt

1/2 teaspoon dried basil

1 9-ounce package frozen green beans

1 cup dried small shell macaroni

Shredded parmesan cheese, for topping

Directions:

In a 3 1/2 to 5 quart slow clooker combine the frozen corn, onions, carrots, zucchini and garlic.

Stir in the broth, salt, basil and tomato paste until the tomato paste is completely blended into the broth.

Cover and cook on high for 3 1/2 to 4 hours (or on low for 7 to 8 hours). Add the macaroni and green beans and cook for an additional 45 minutes. Please note, if you cooked the soup on the low setting, set it to high once you add in the macaroni and green beans.

Serve in bowls topped with shredded parmesan cheese.

Recipe from Better Homes and Gardens


2 Salads & A Salsa

With summer in full swing you are probably heading to quite a few BBQ’s or hosting a few yourself. Today I would like to share with you two salads and a salsa recipe that are super easy & super quick to make for any BBQ you may be hosting or invited to or for those days that you just want to make something quick and easy for dinner that doesn’t involve much effort or thought. With all of these recipes I suggest making them a few hours in advance and refrigerating them so all of the flavors can marinate together.

Green Bean – Cucumber Salad

IMG_8395

Ingredients:

1 1/2 lbs. green beans, trimmed

1 pint grape tomatoes, halved

1 English cucumber, sliced

1 shallot, thinly sliced

1/3 cup olive oil

1/4 cup red wine vinegar

salt and pepper

Directions:

1. Bring a pot of water to boil and add green beans. Boil the green beans until they are tender – approximated 7 minutes – and then drain and rinse under cold water.

2.  In a large bowl toss the green beans along with the remaining ingredients and then season with salt and pepper. Transfer to a serving dish and refrigerate until ready to serve.

Black Bean – Corn Salad

IMG_8396

Ingredients:

2 15-ounce cans black beans, rinsed

1 cup canned corn

1 red bell pepper, diced

1 bunch scallions, chopped

1/2 cup cilantro, roughly chopped

1/4 cup olive oil

2 teaspoons honey

Juice of 3 limes

salt and pepper

Directions:

1. Whisk together the olive oil, honey and lime juice in a measuring cup.

2.  In a large bowl add the black beans, corn, pepper, scallions and cilantro. Add the olive oil mixture to the black bean mixture and toss all the ingredients together. Transfer to a serving dish and top with the dice avocado. Refrigerate until ready to serve.

Grilled Pineapple Salsa

IMG_8383

Ingredients:

1/2 cup diced white onion

1 20 oz. can pineapple slices in juice*

2 tomatoes, diced

1 jalapeno pepper, seeded and diced

1 garlic clove, minced

1 teaspoon grated fresh ginger

1/3 cup fresh cilantro, chopped

Juice of 1 lime

Kosher salt

*Alternatively can use 1 pineapple, peeled, cored and cut into rings.

Directions:

1. Soak the onion in cold water for 15 minutes then drain.

2. Preheat an indoor grill pan over medium heat and lightly oil the pan (you could also grill the pineapple on a grill.) Grill the pineapple rings until marked, about 4 minutes per side. Transfer to a cutting board and chop.

3. Combine the pineapple, onion, tomatoes, jalapeno, garlic, ginger and cilantro in a large bowl. Add the lime juice and season with salt then toss. Serve with tortilla chips. This salsa also tastes great over salmon and grilled chicken.

Tomato and Corn Custard Pie

A few weeks ago I posted about a Tomato Fontina Torte with Rosemary Crust that was quite delicious. I got the recipe from a recent issue of Food Network Magazine, well, when I went to put the recipe back into my recipe binder (I’m one of those super-organized individuals) I noticed another recipe that I must have overlooked when I flipped through the magazine, a recipe for a Tomato and Corn Custard Pie that I knew I had to try and finally got around to it earlier this week. It ended up being the perfect combination of sweet and savory.

IMG_5524

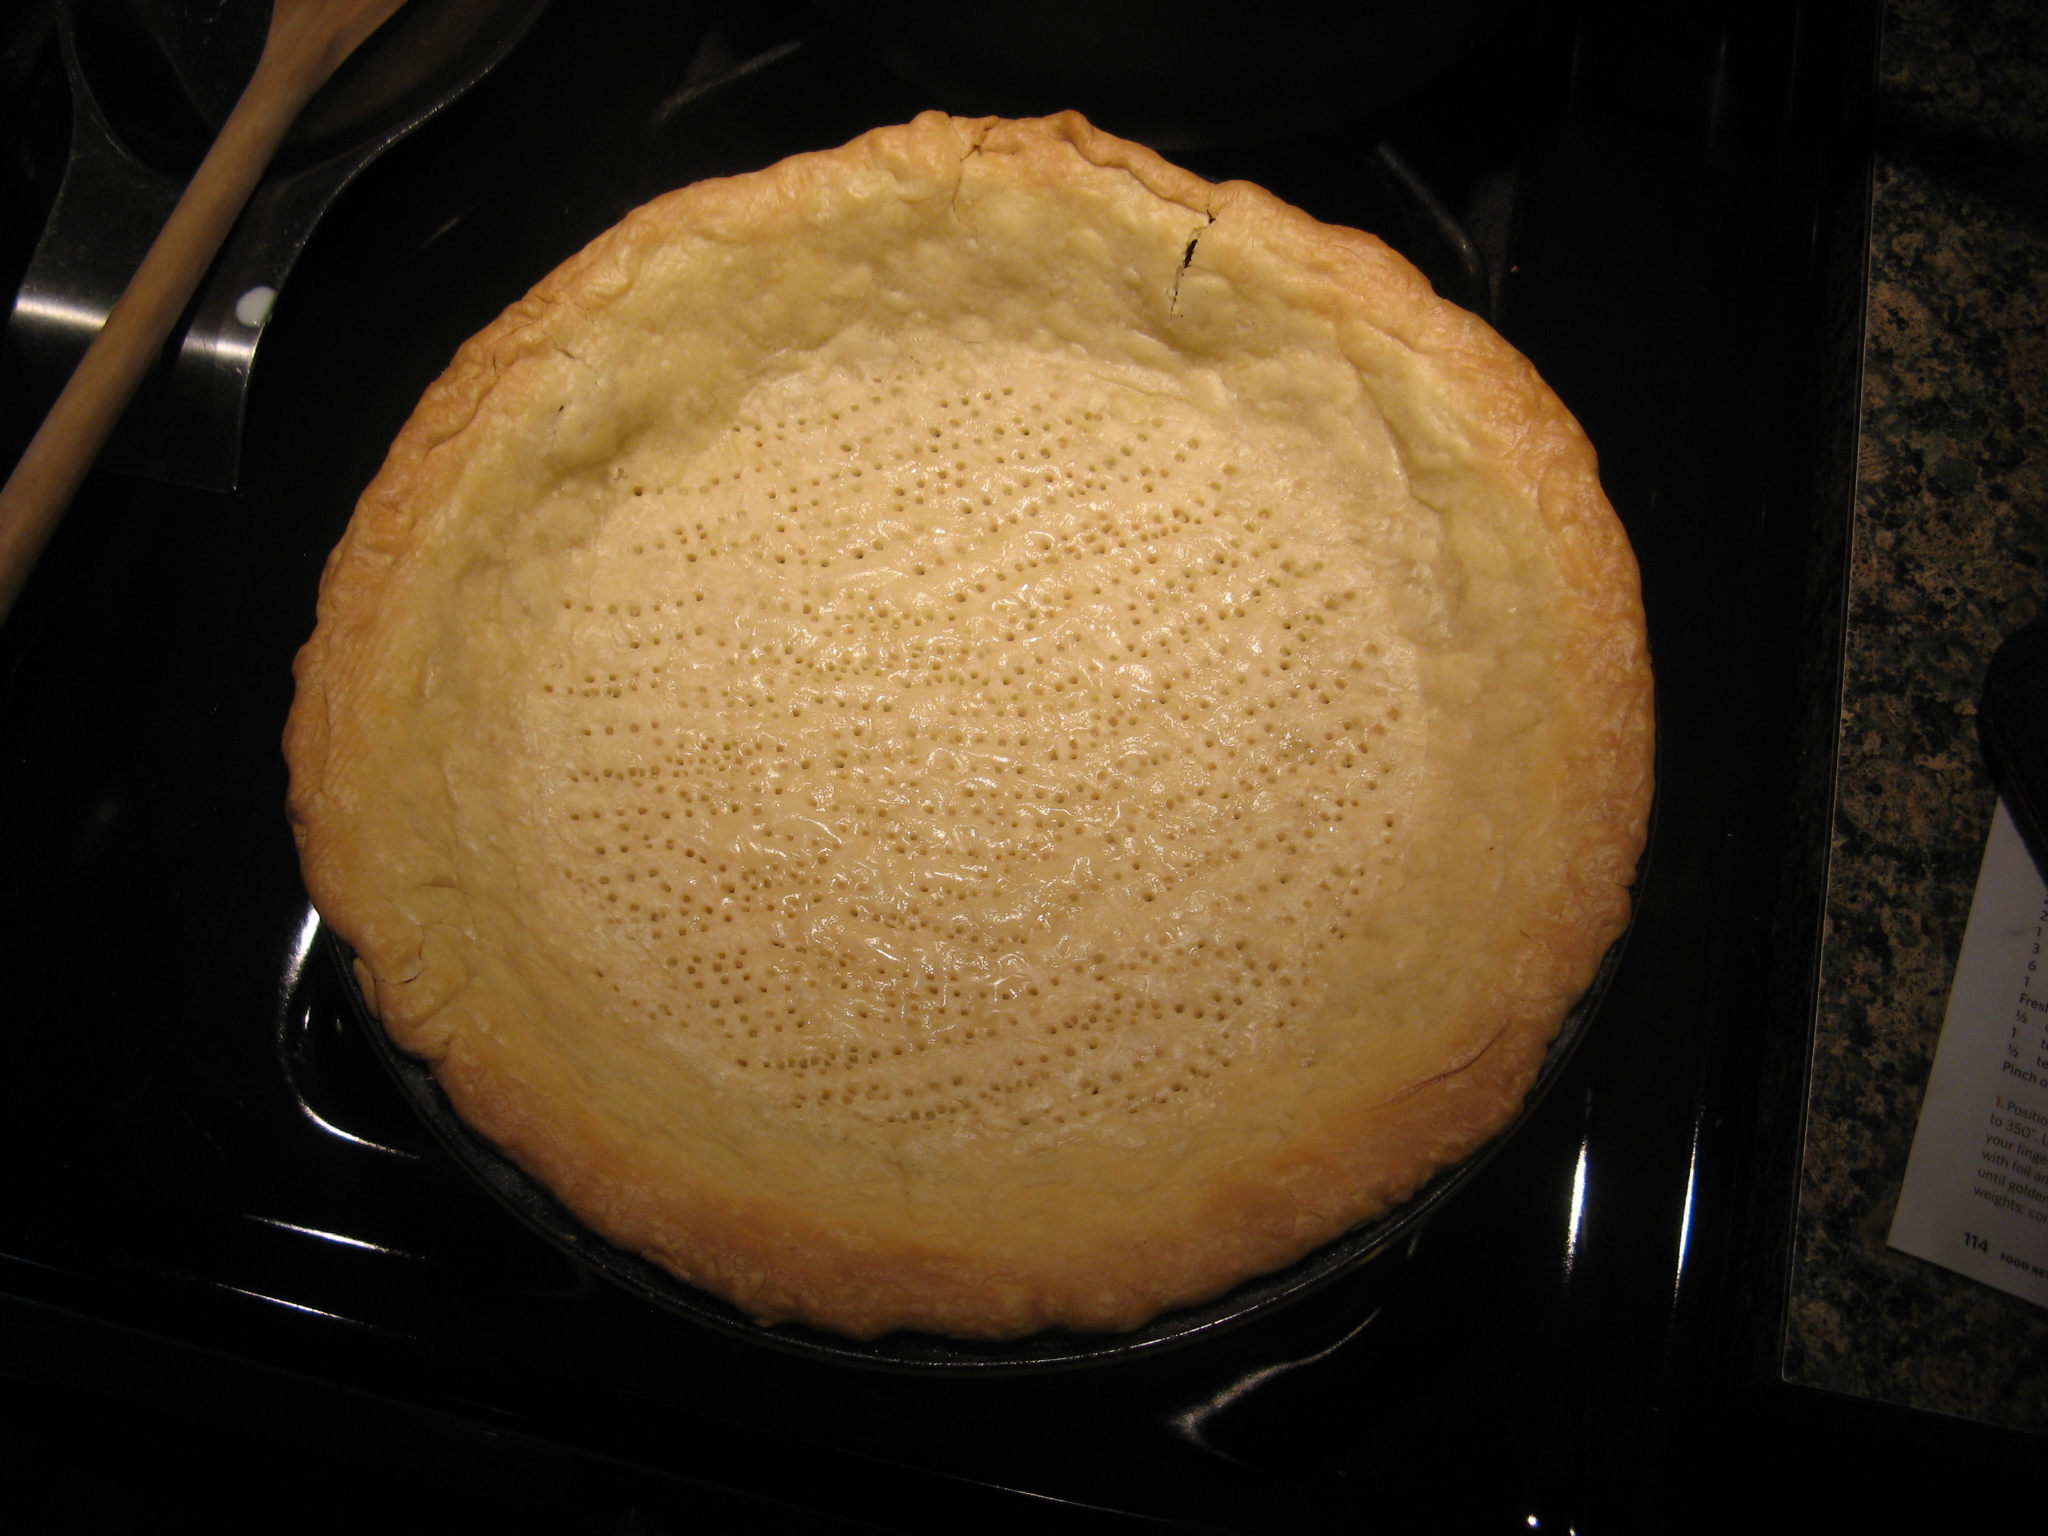
To begin I baked the pie crust. I wish I had used my crust cover while baking the crust so it wouldn’t have browned as much during the final cooking with the actual pie in it.

IMG_5537

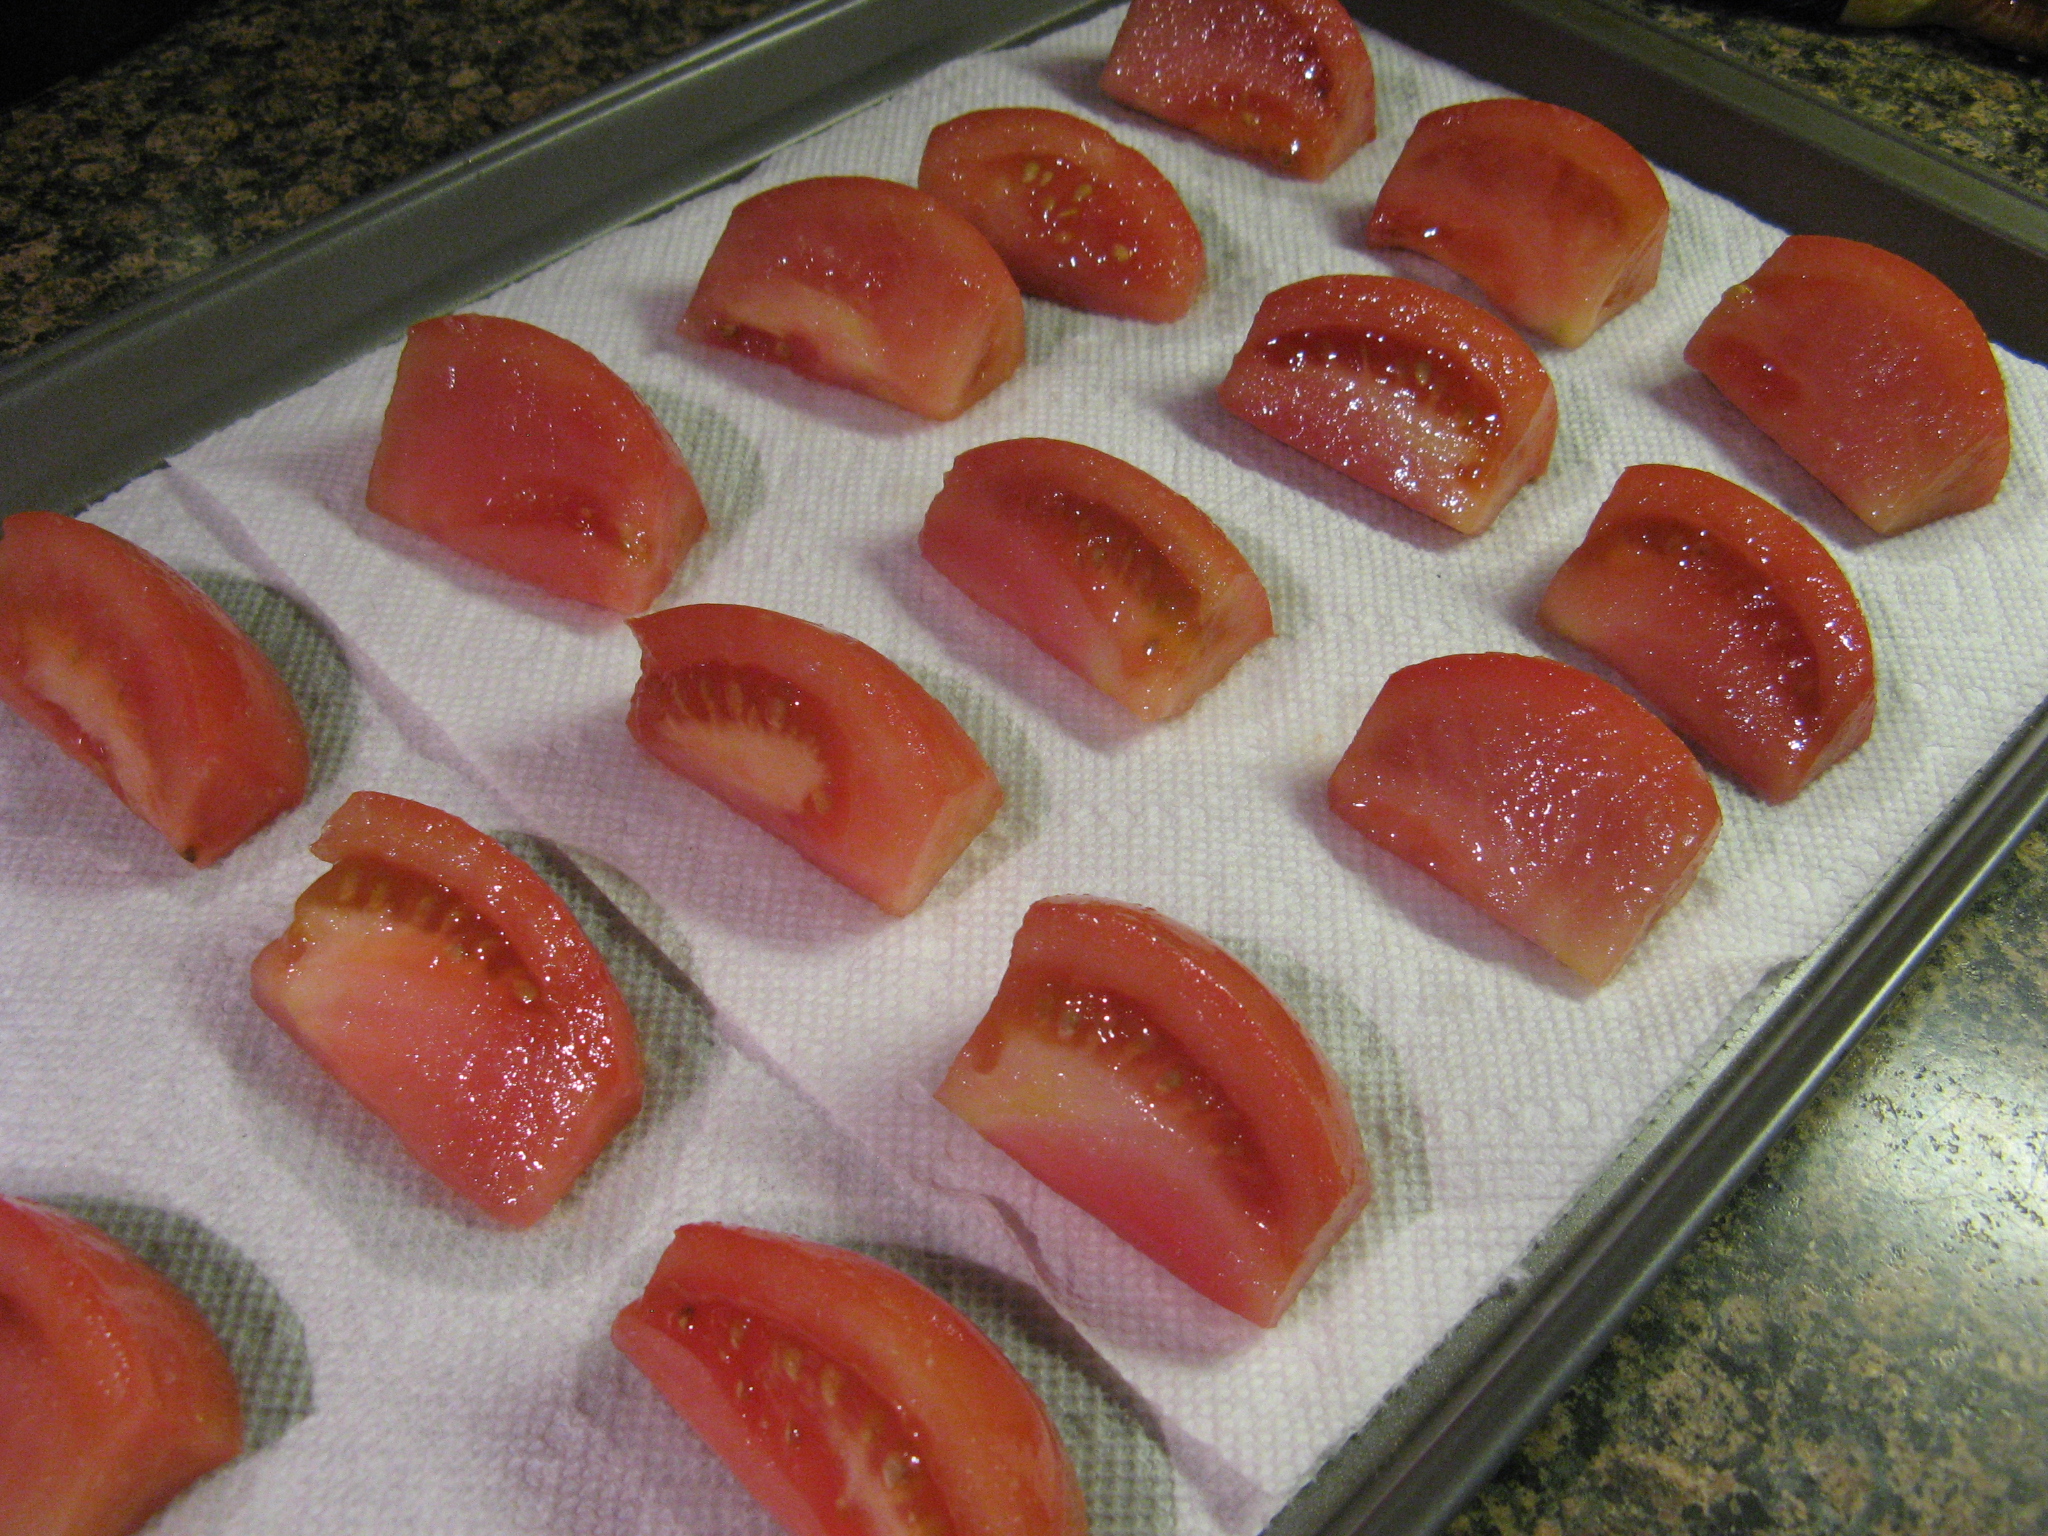
While the crust was in the oven I prepped all of my ingredients. I began by coring the tomatoes and slicing them into quarters. I then tossed them with kosher salt and spread them on a paper towel lined baking sheet so they could release their juices.

IMG_5528

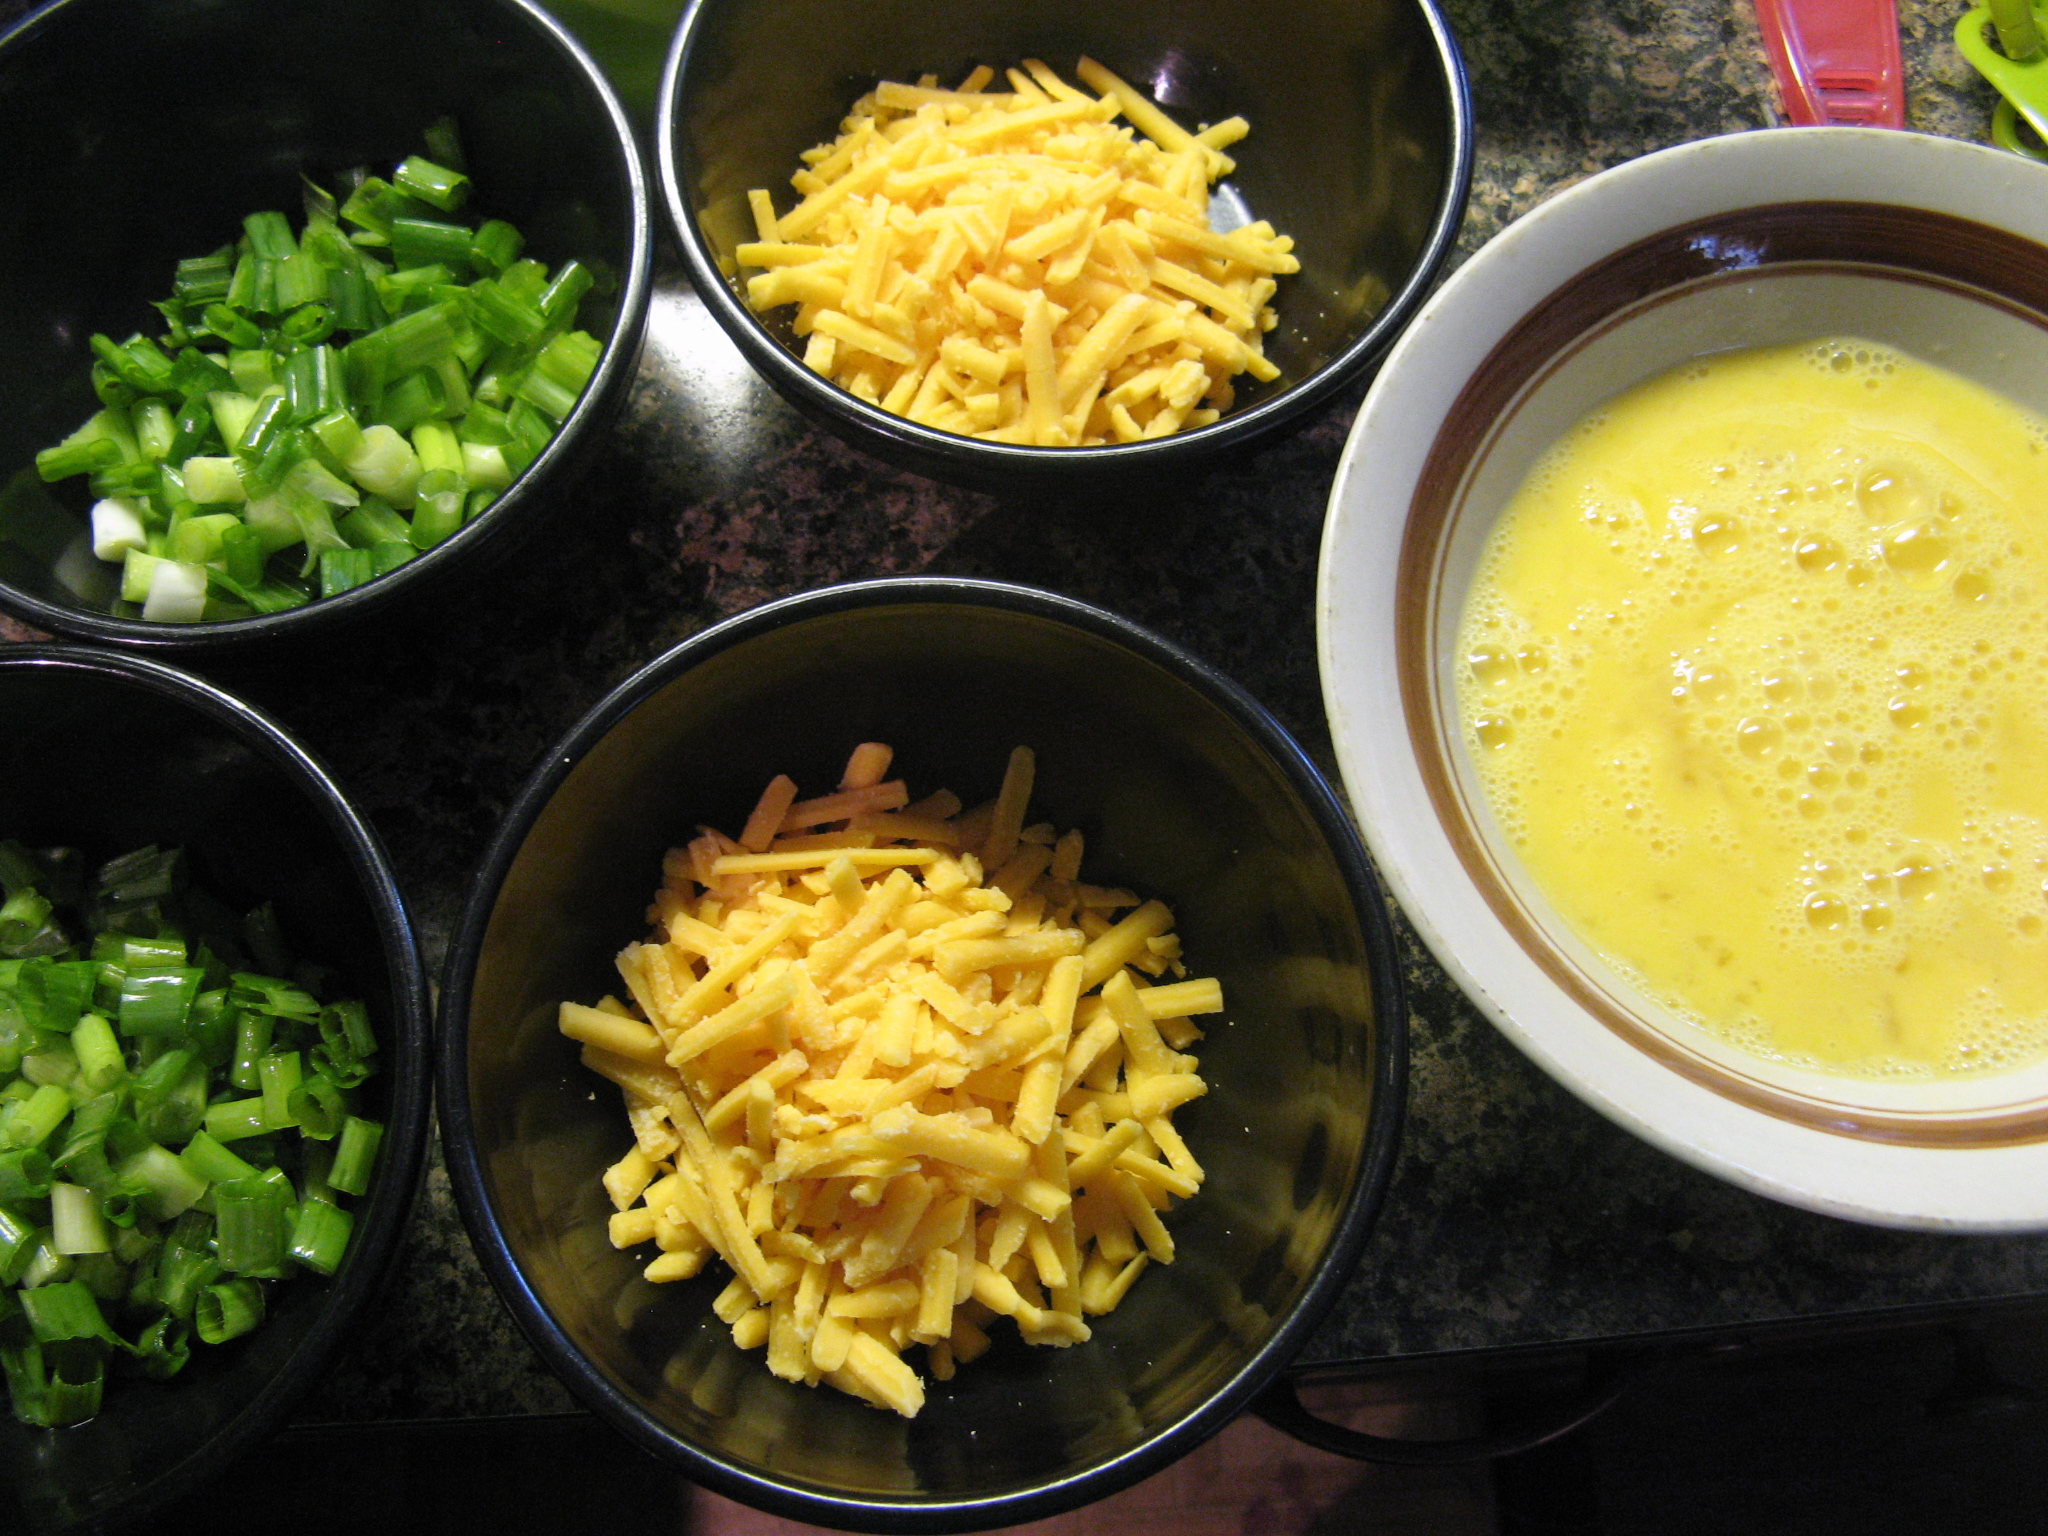
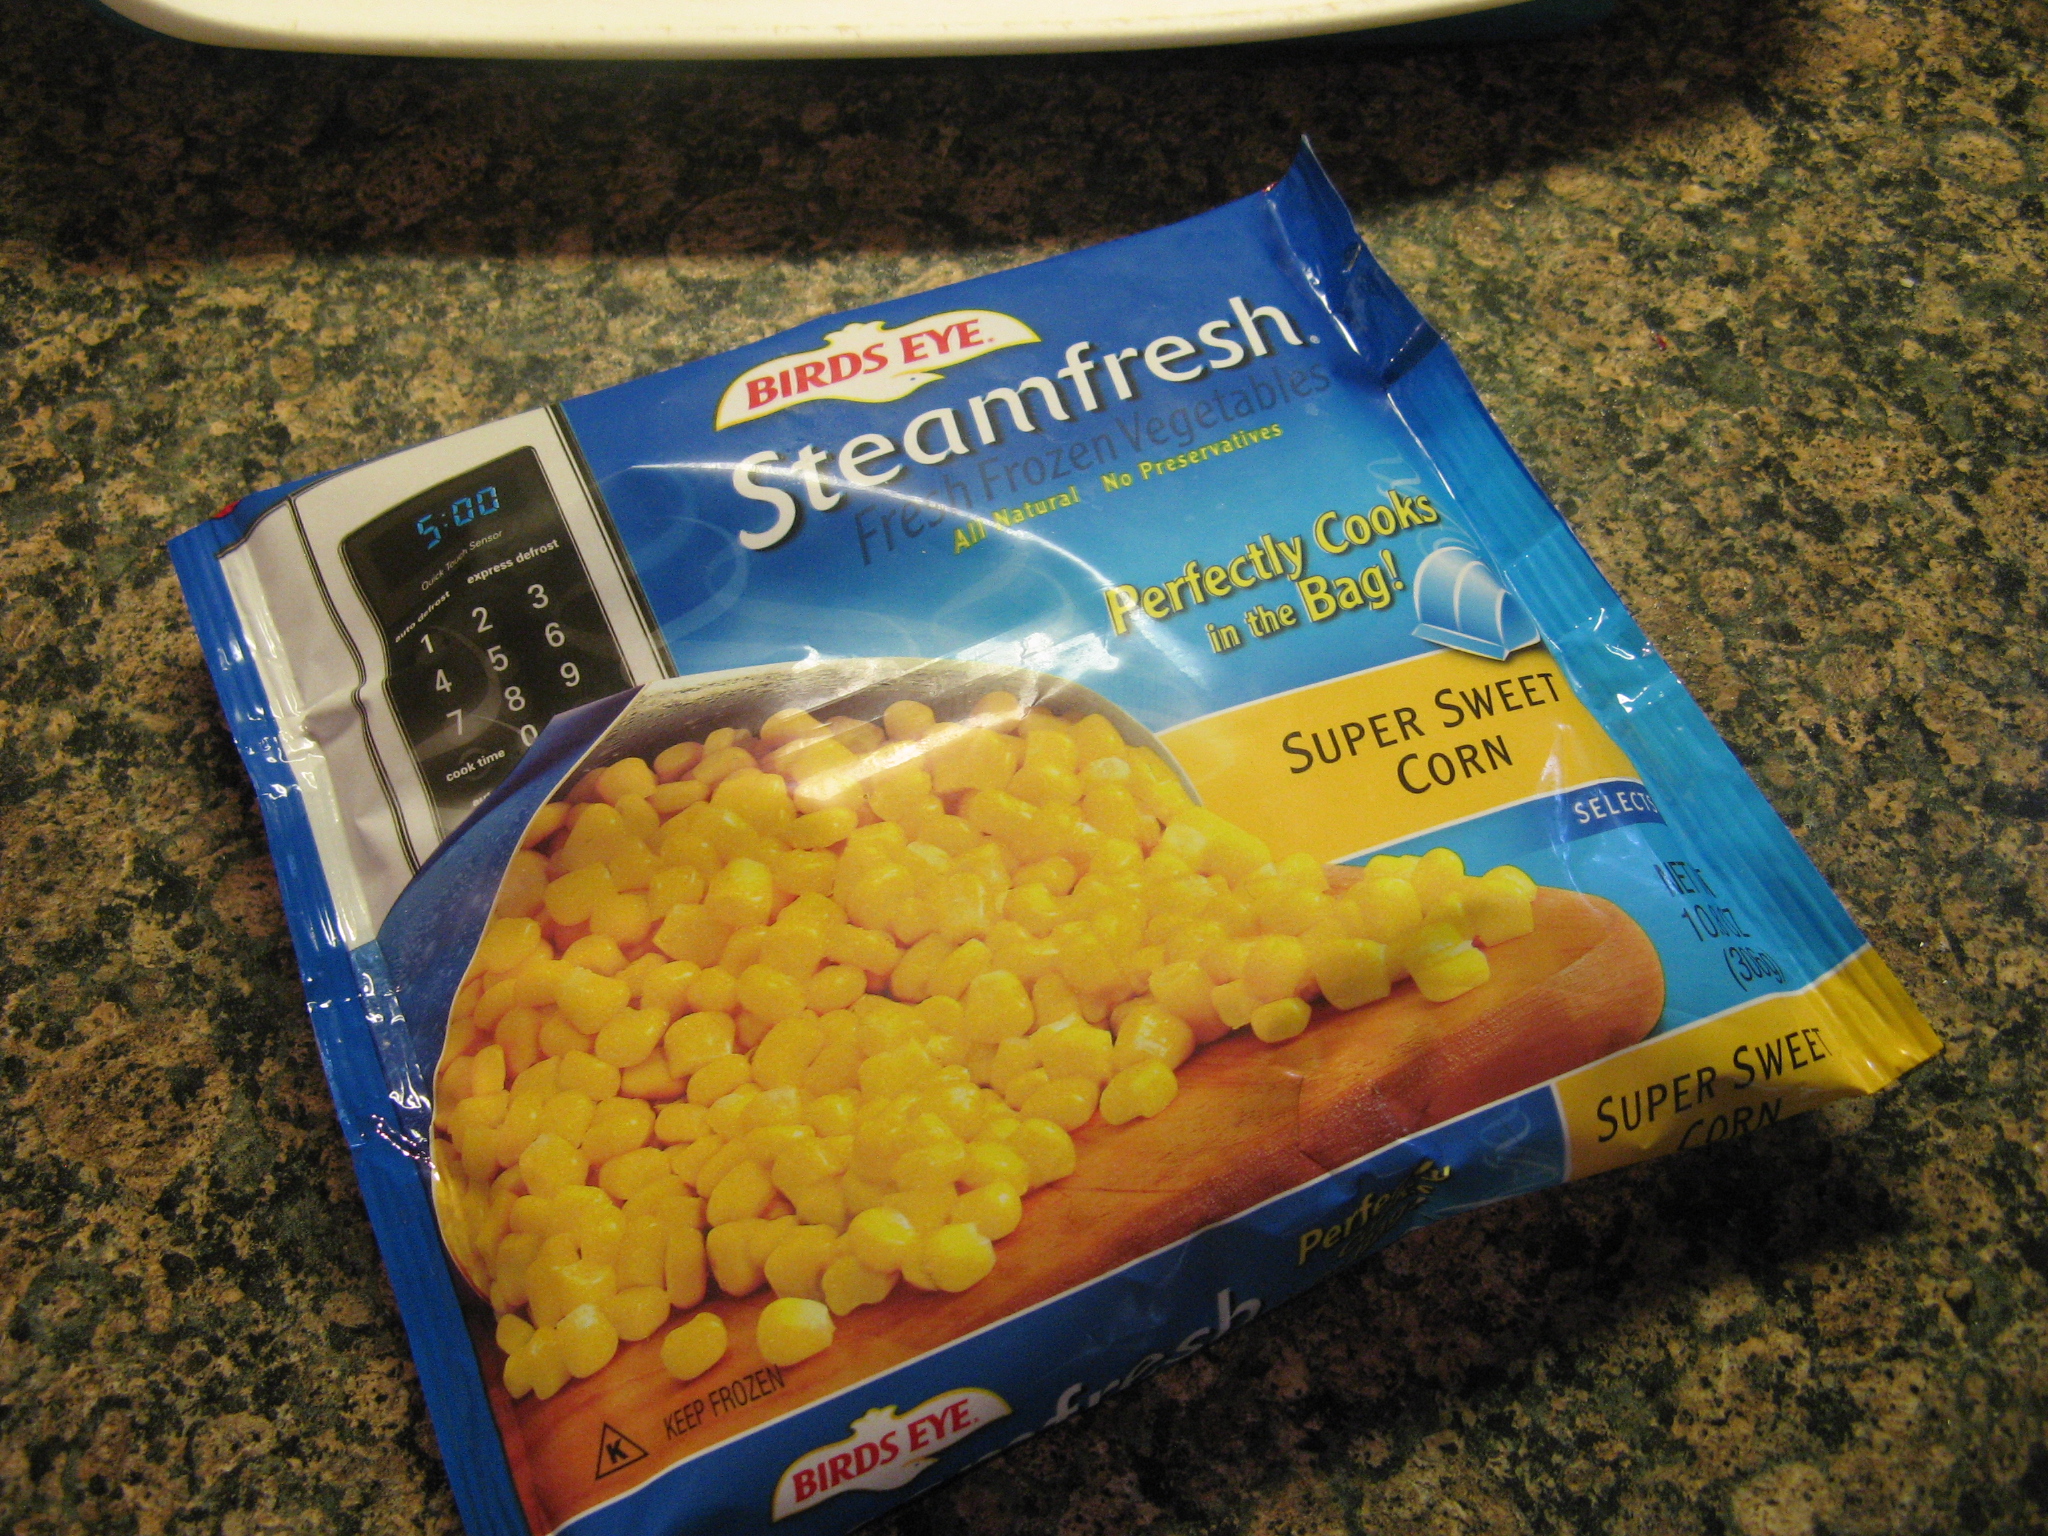
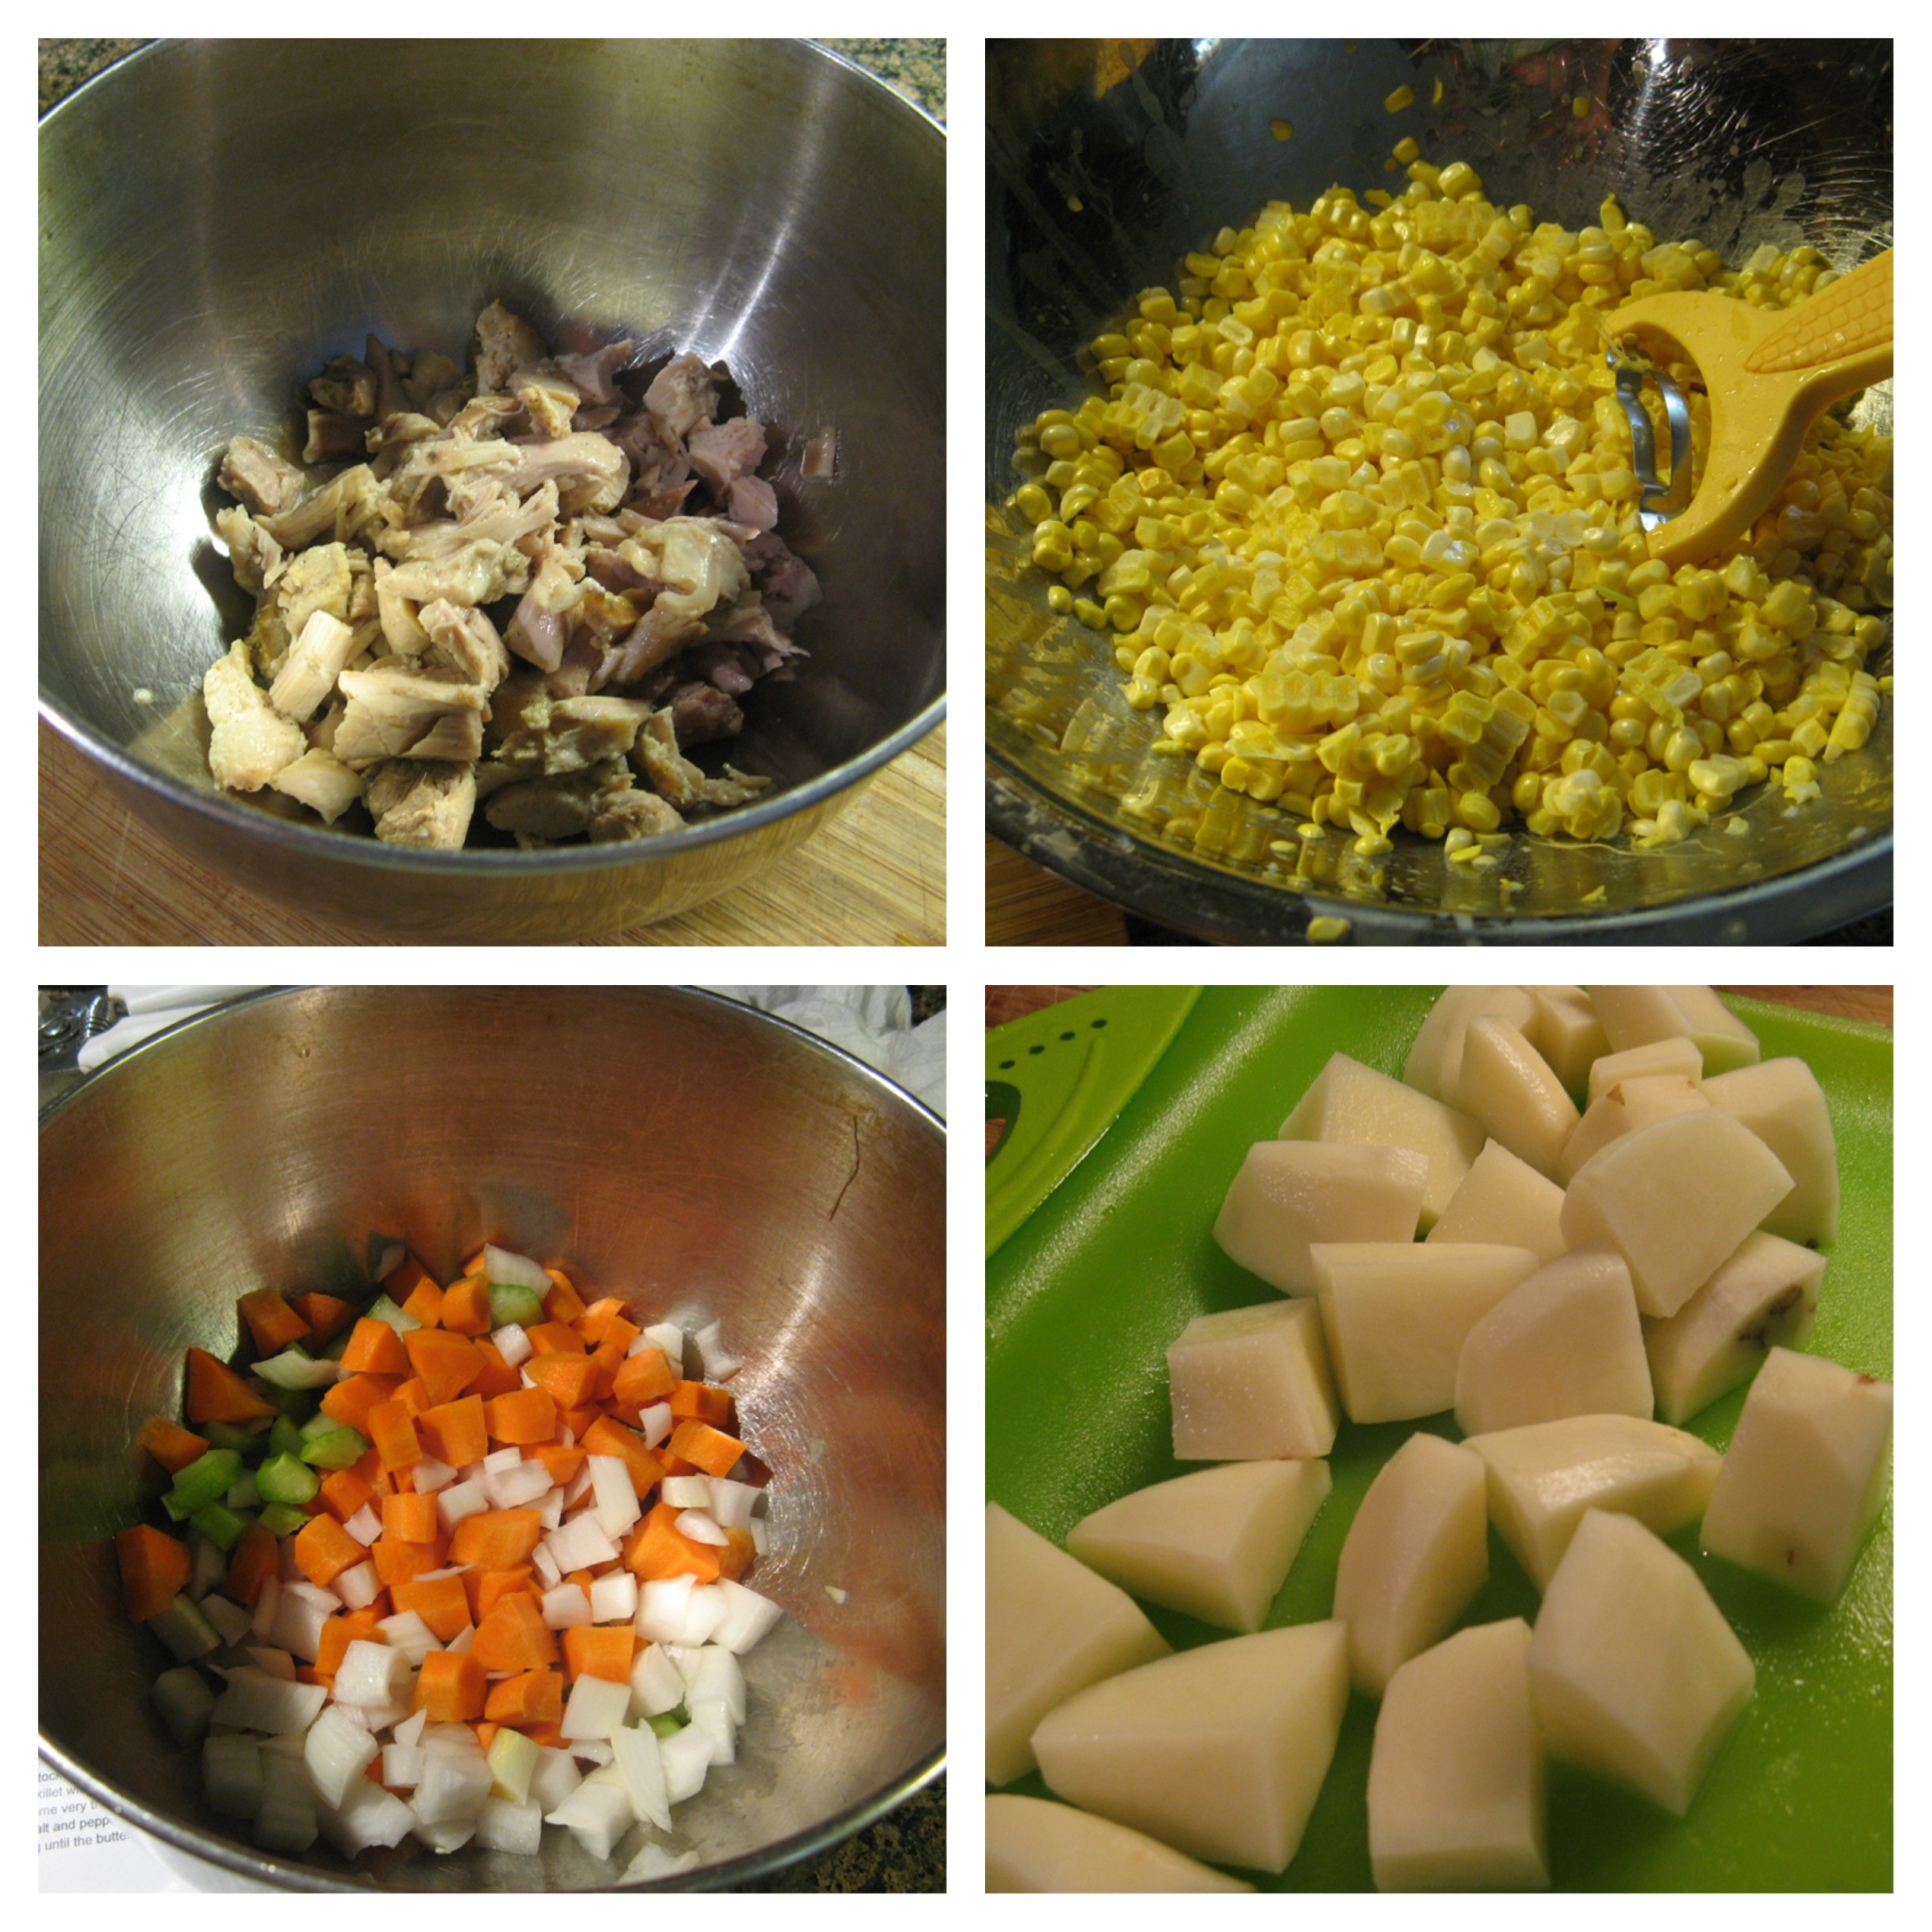
Next I chopped up 6 scallions and divided them into two bowls and lightly beat three eggs. I took two major shortcuts for this recipe… I used pre-shredded sharp cheddar cheese and instead of using fresh corn I opted to use frozen corn that I steamed in the microwave.

IMG_5533 IMG_5530

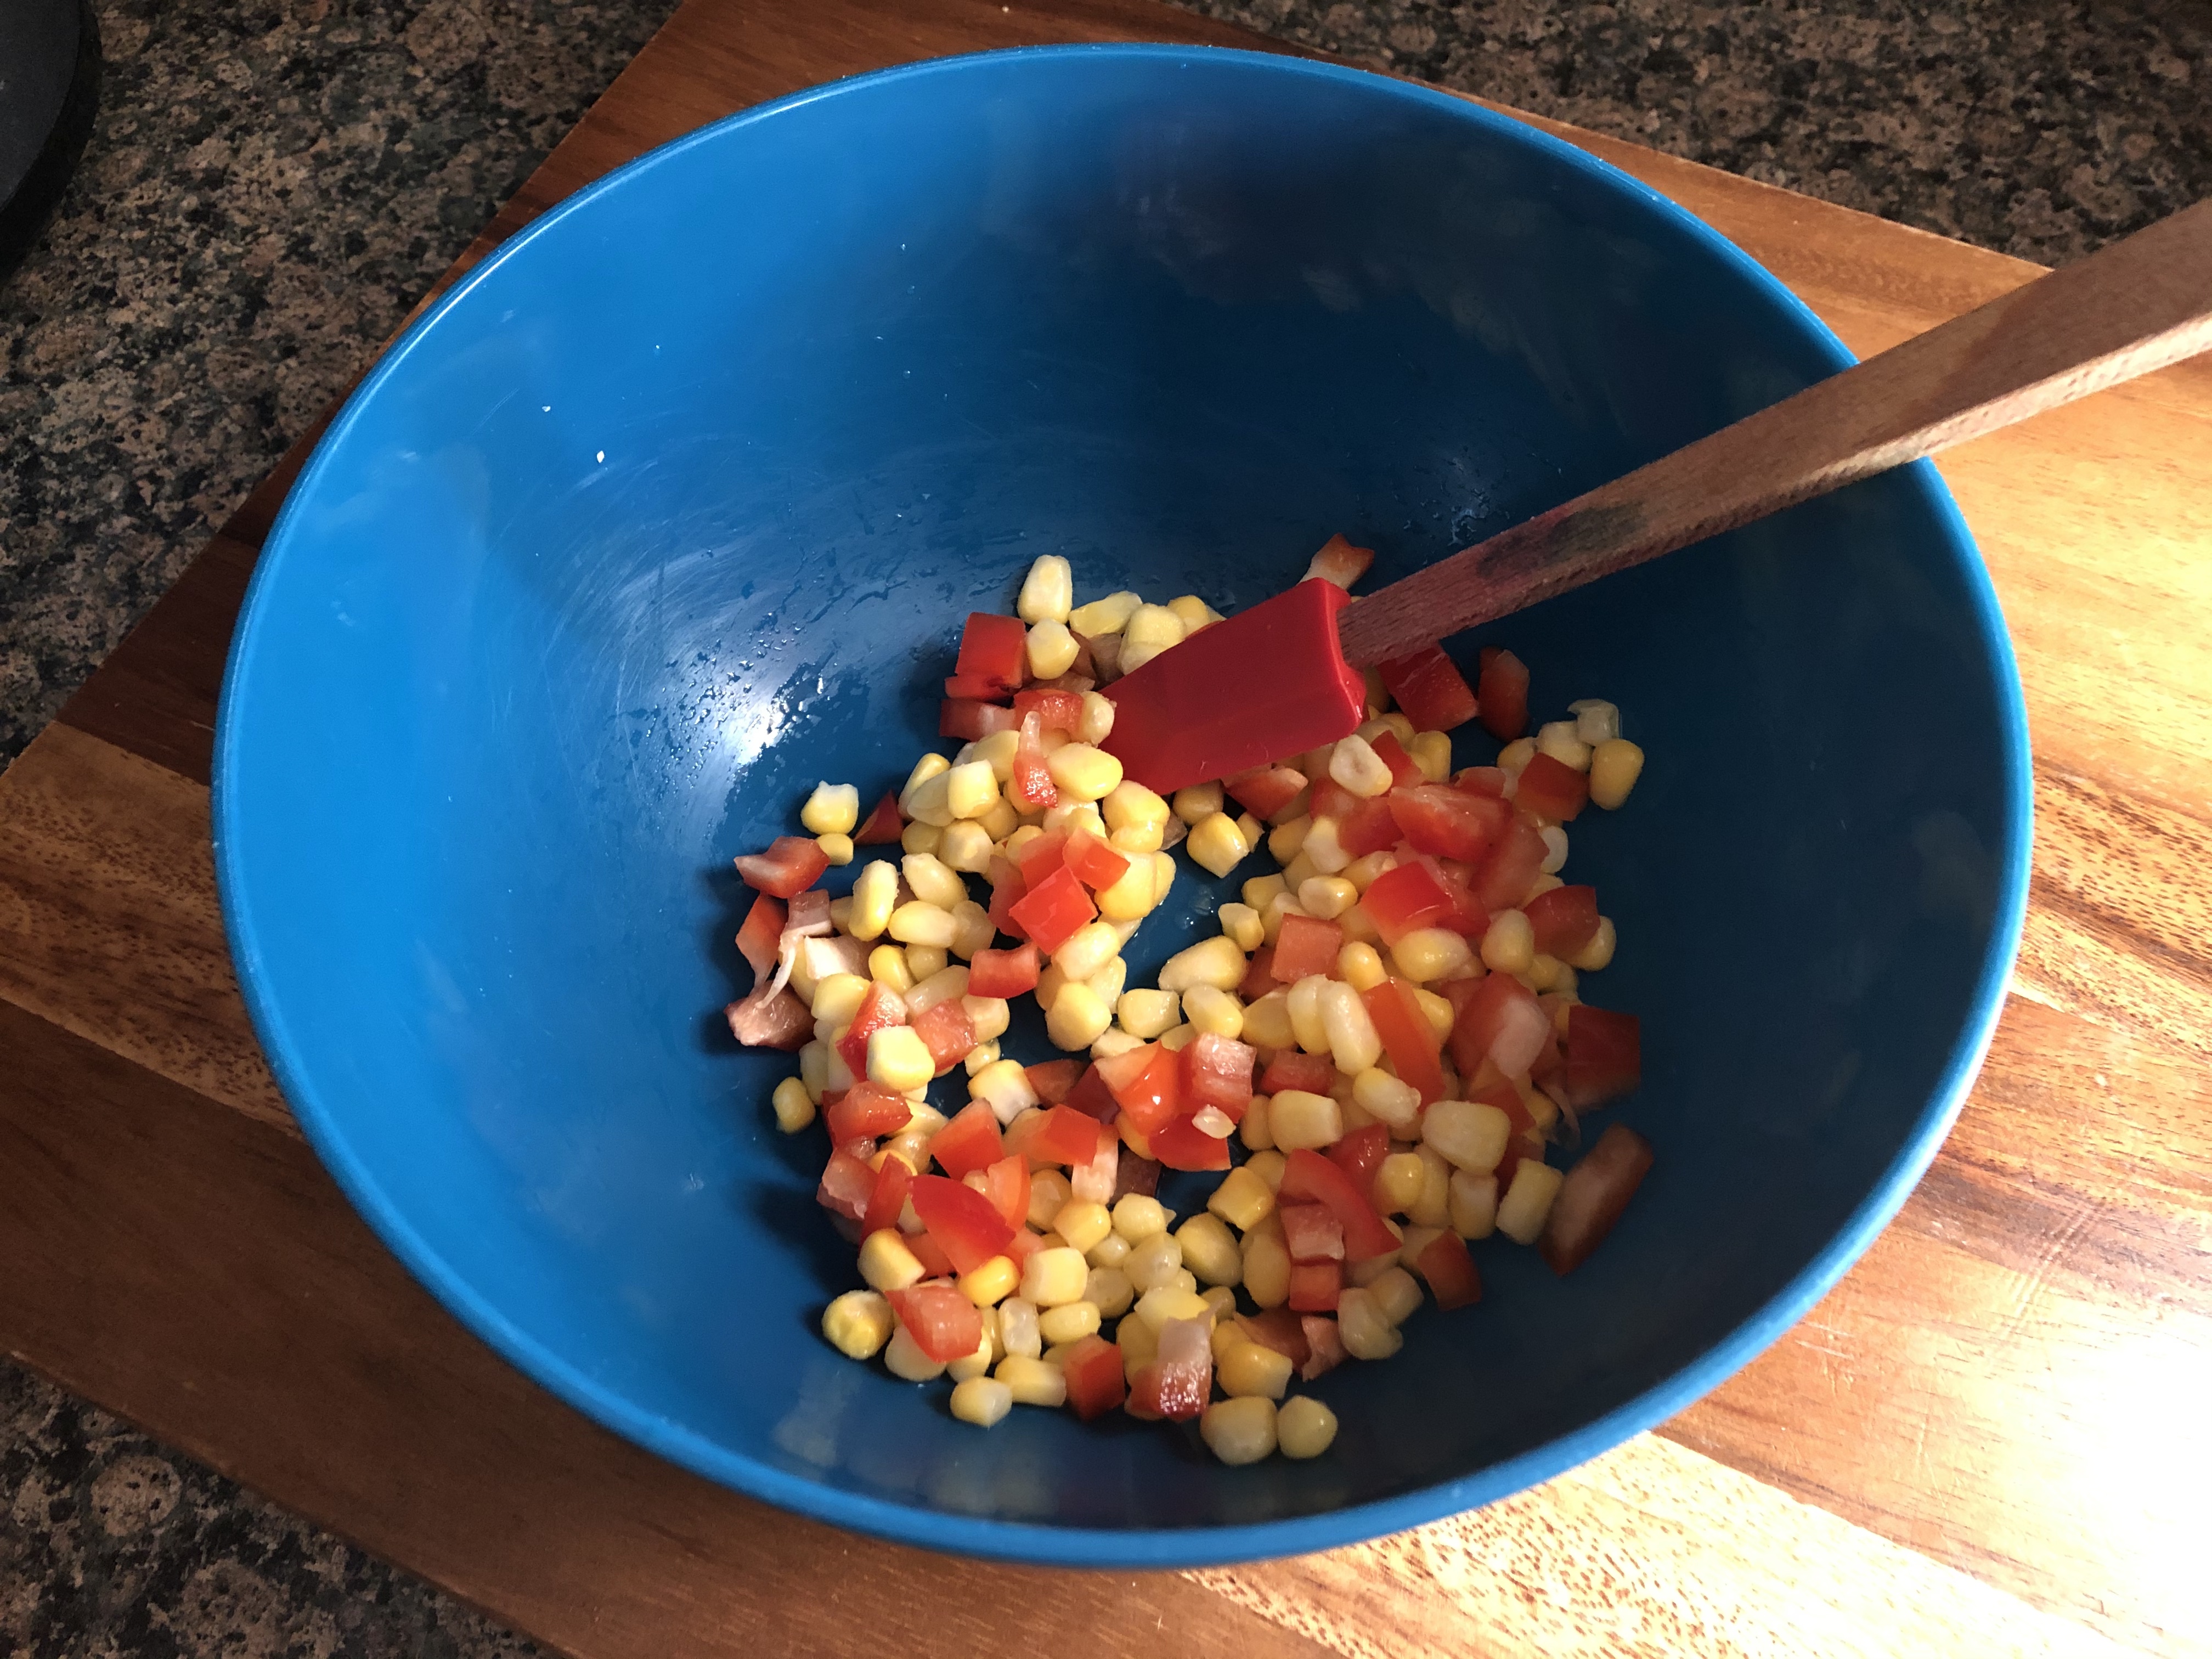
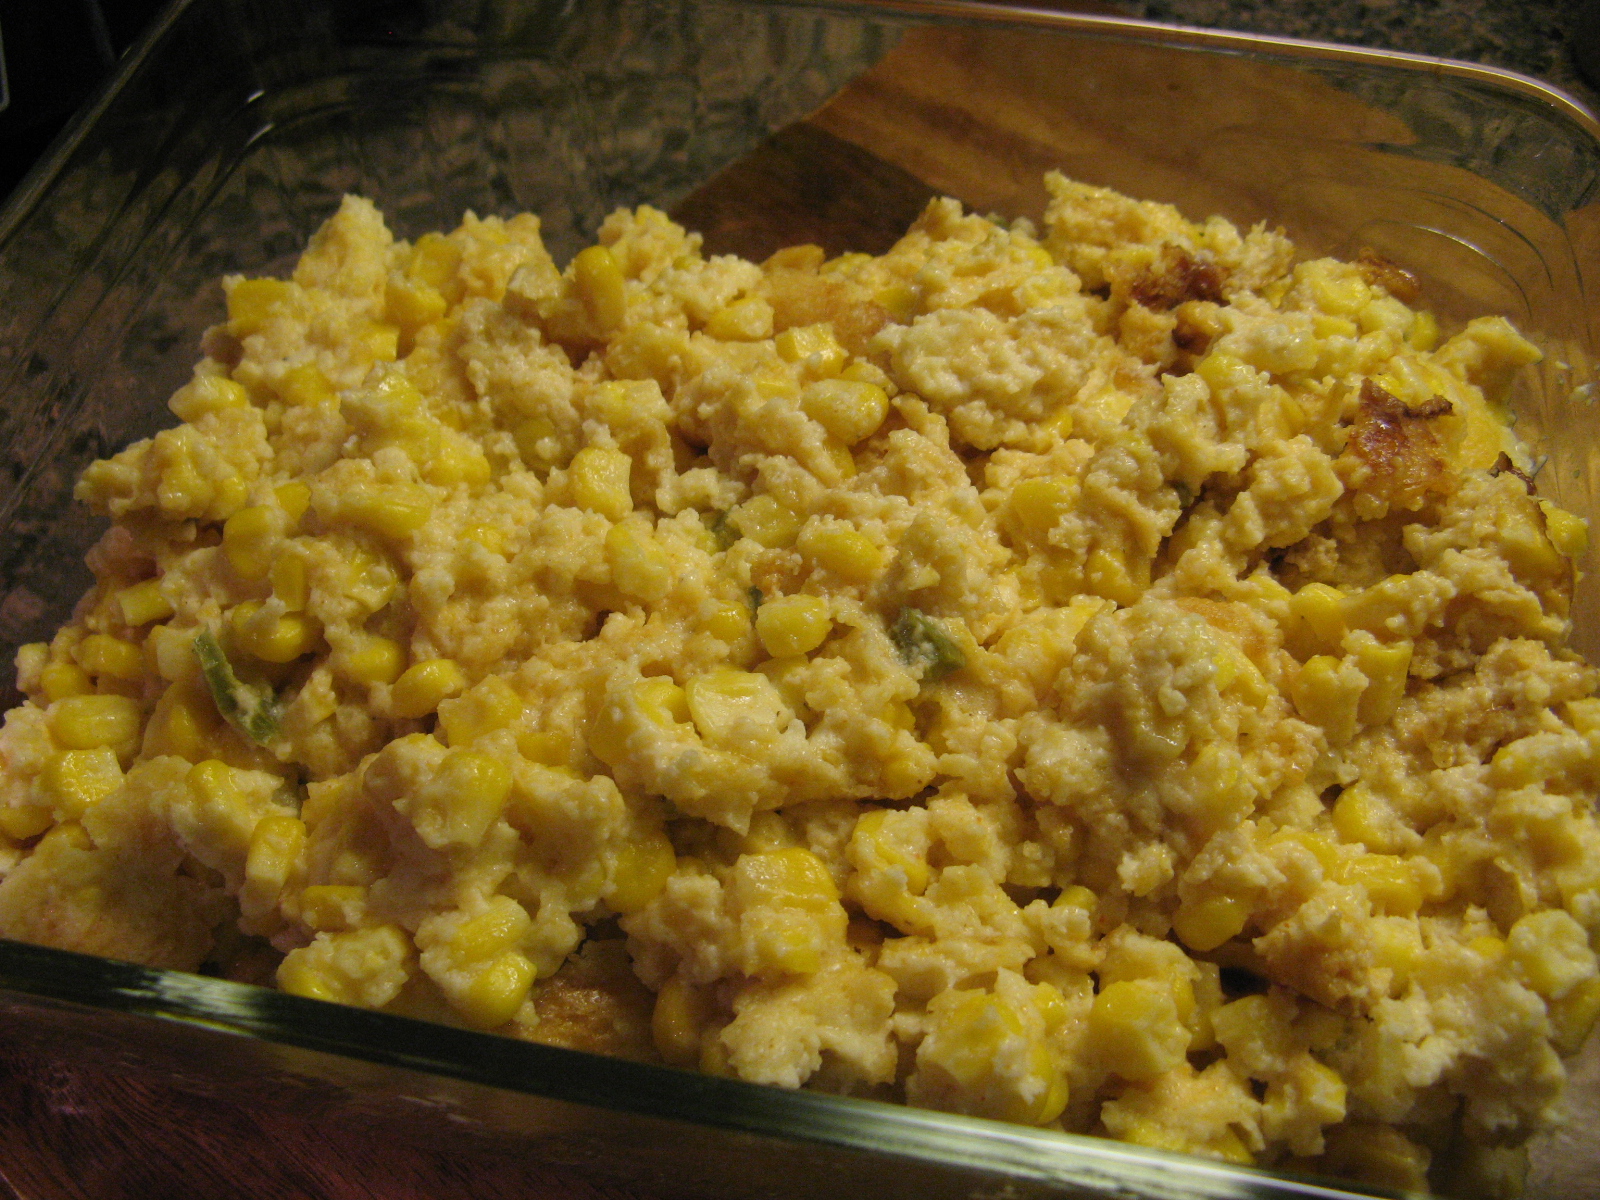
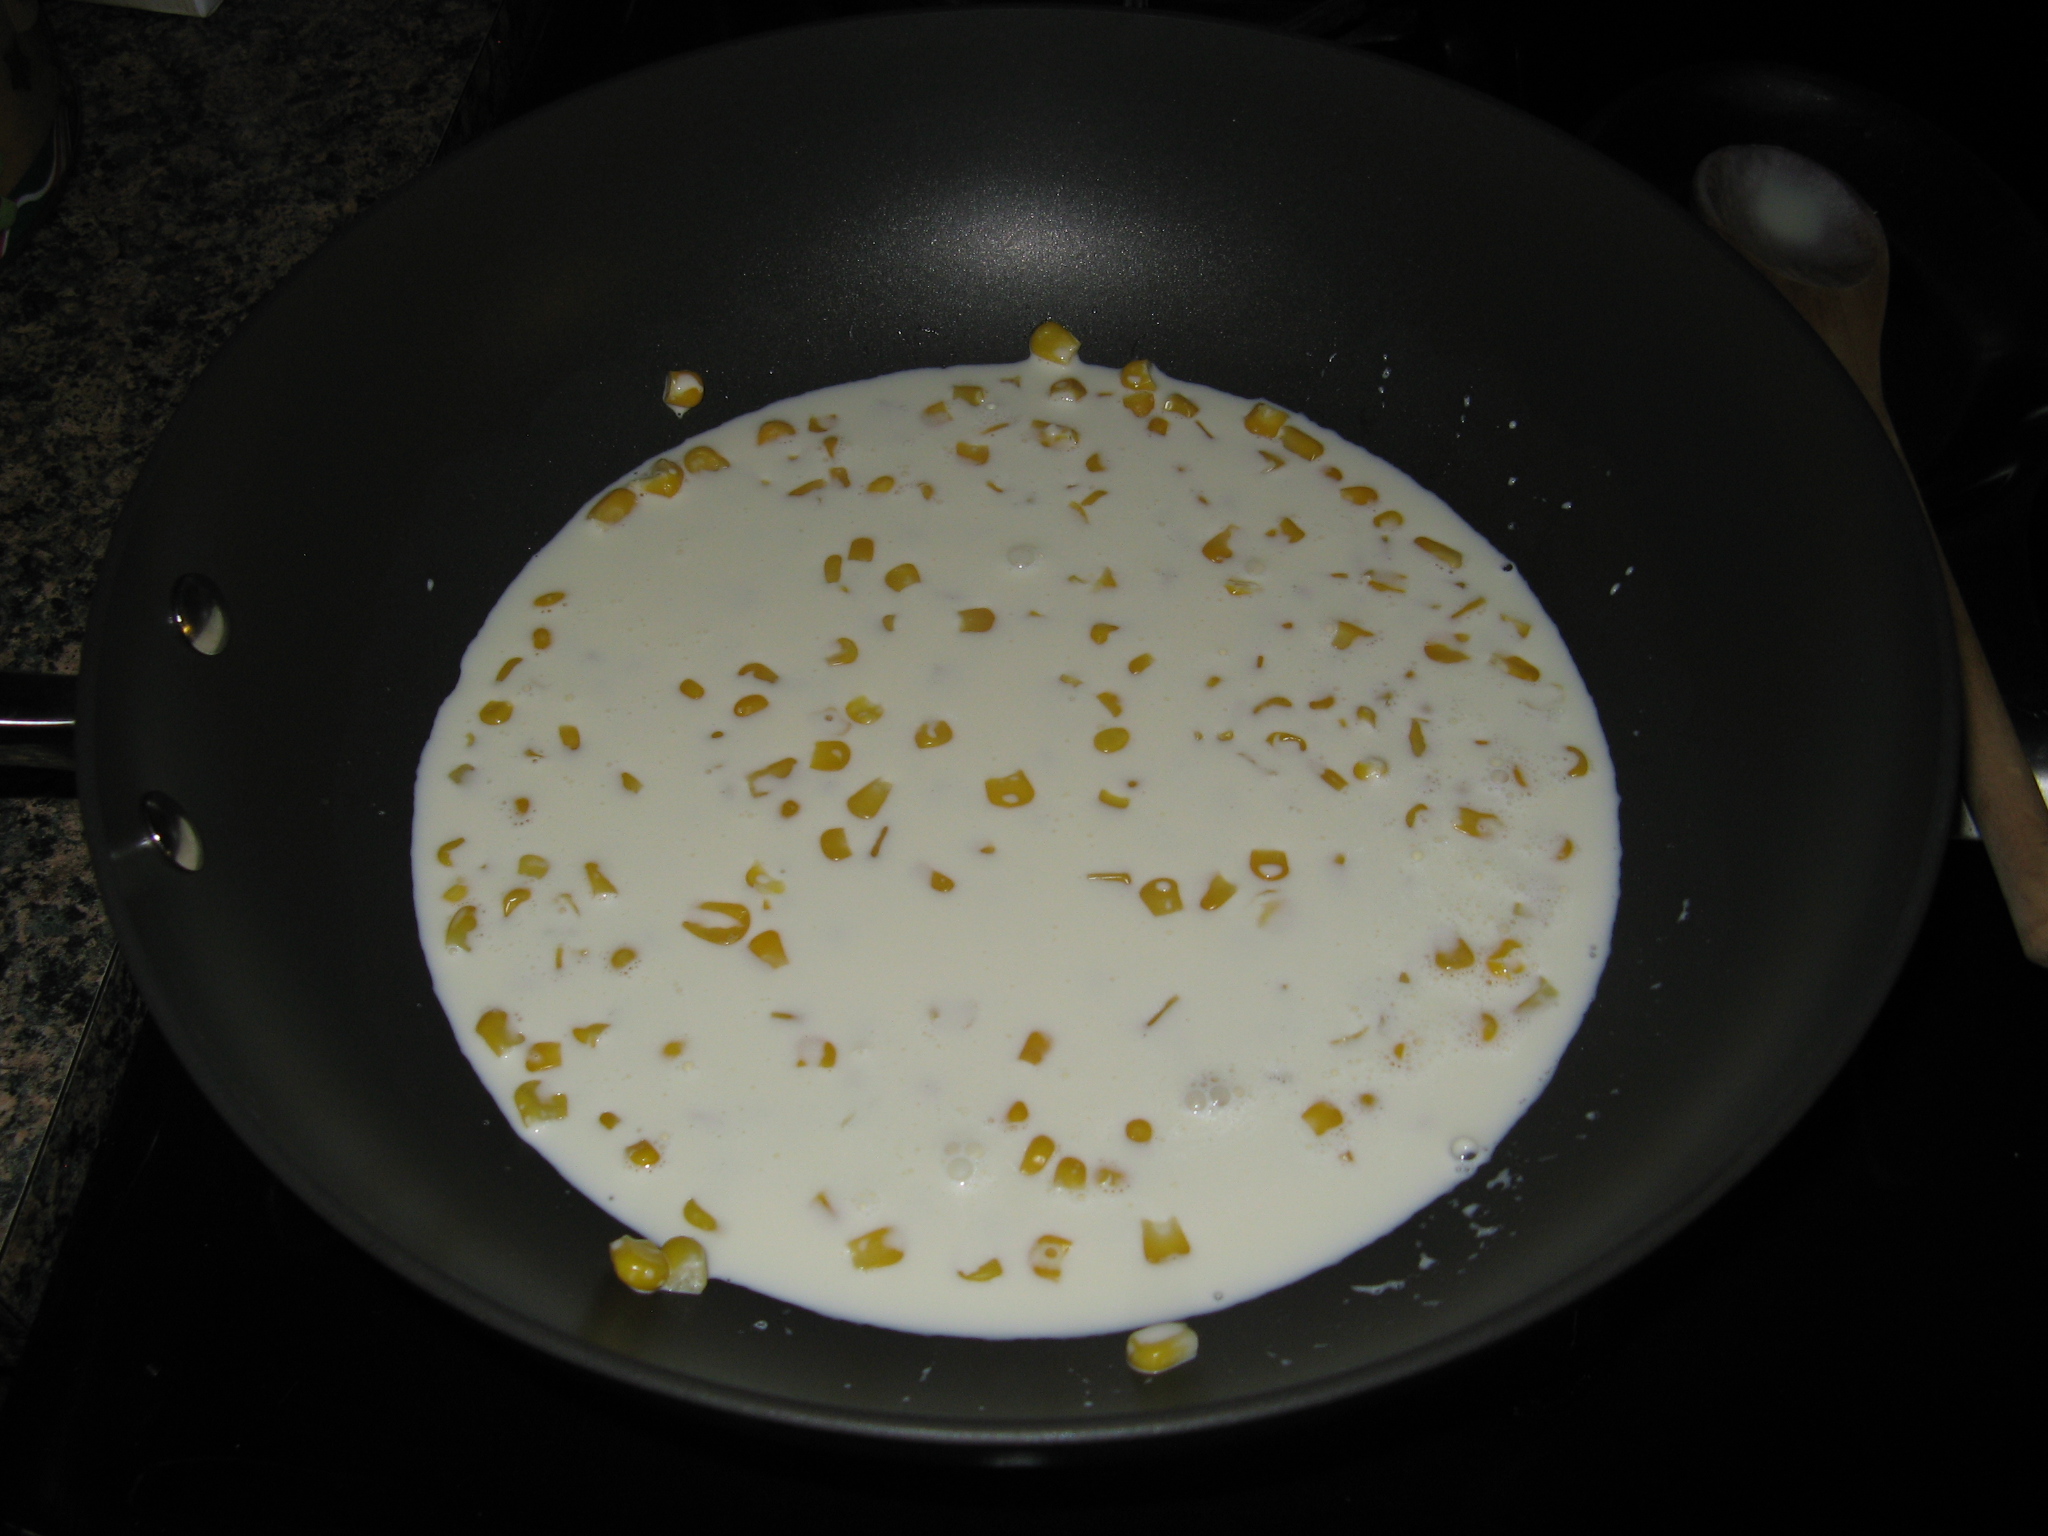
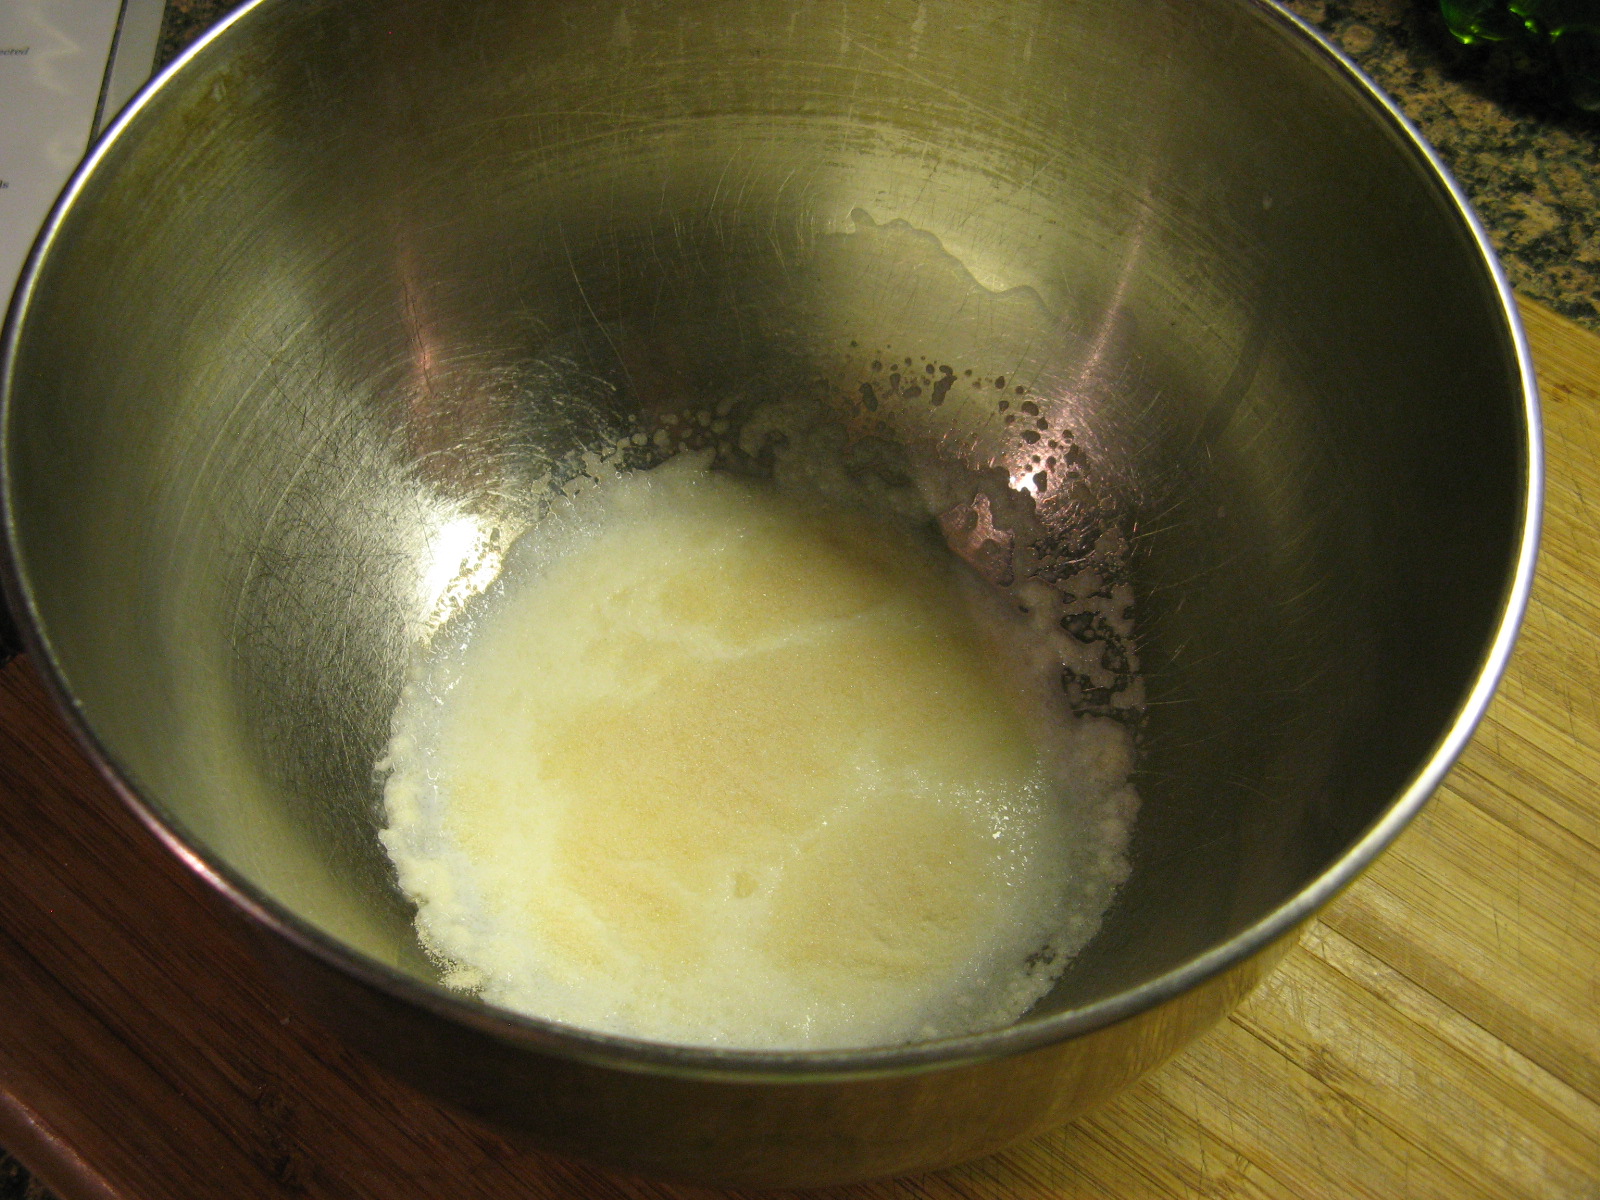
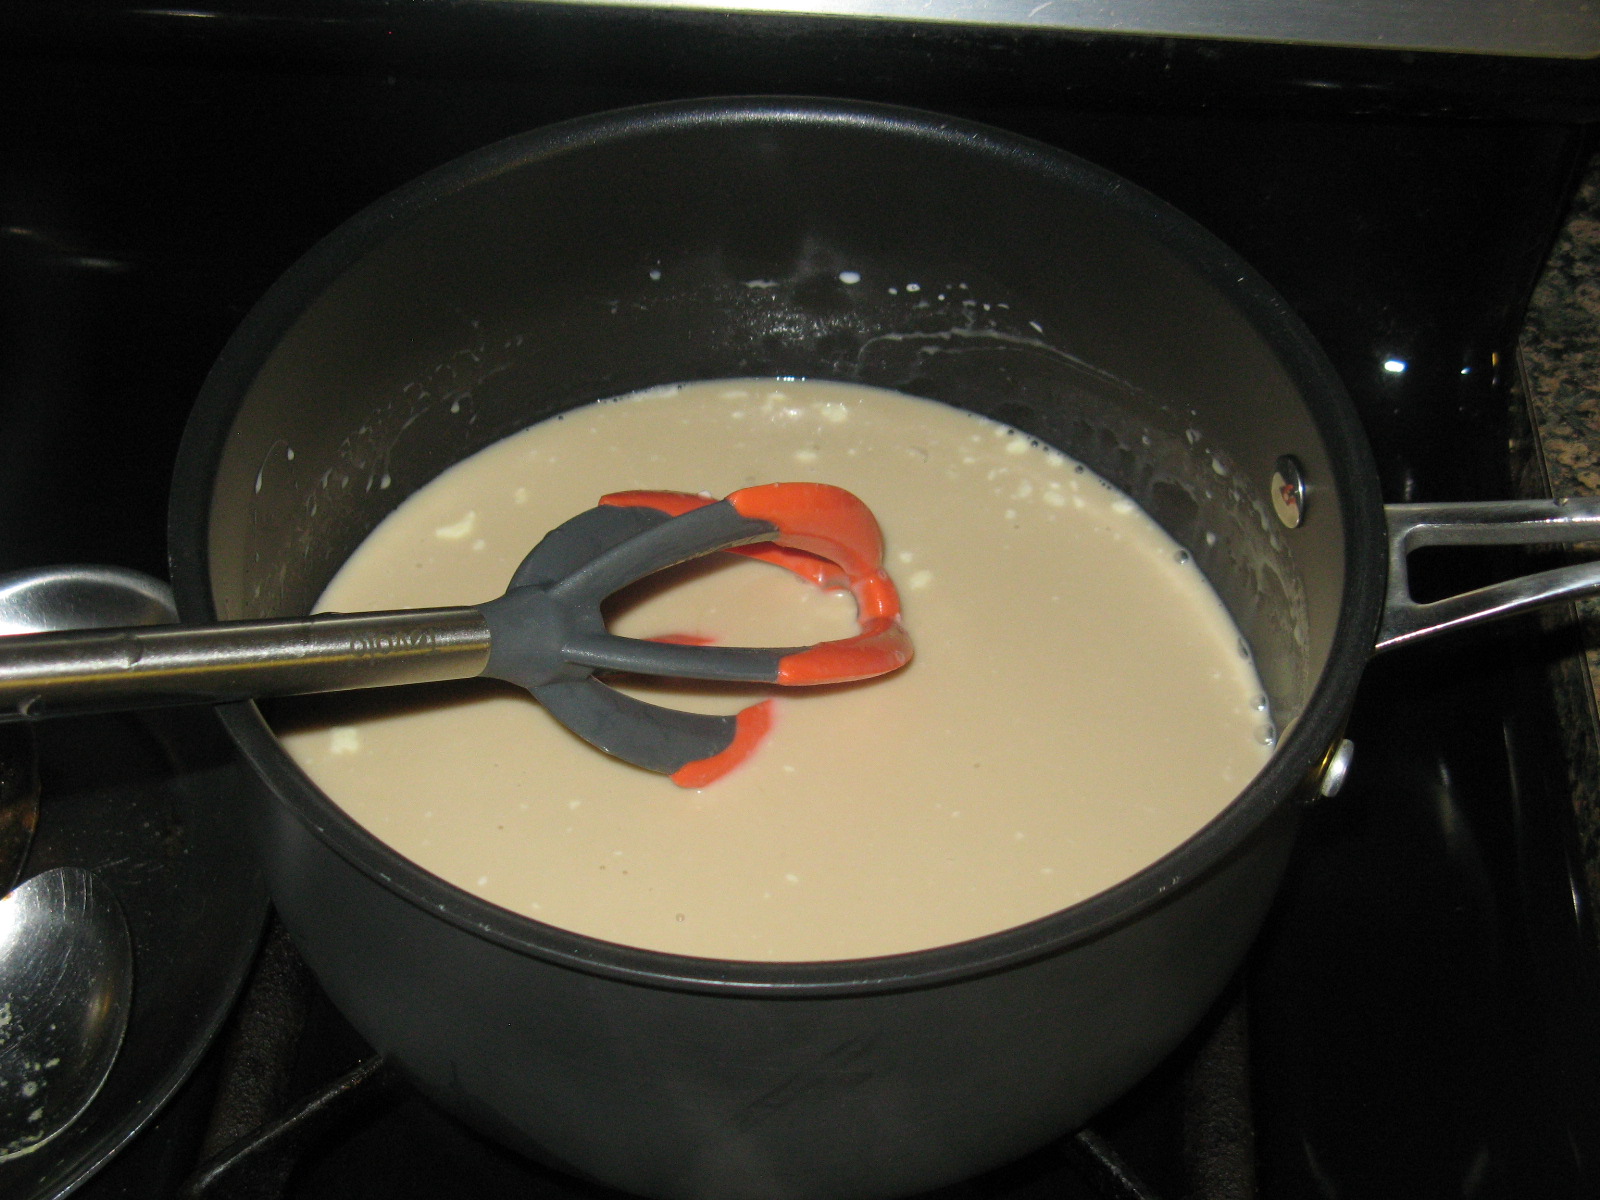
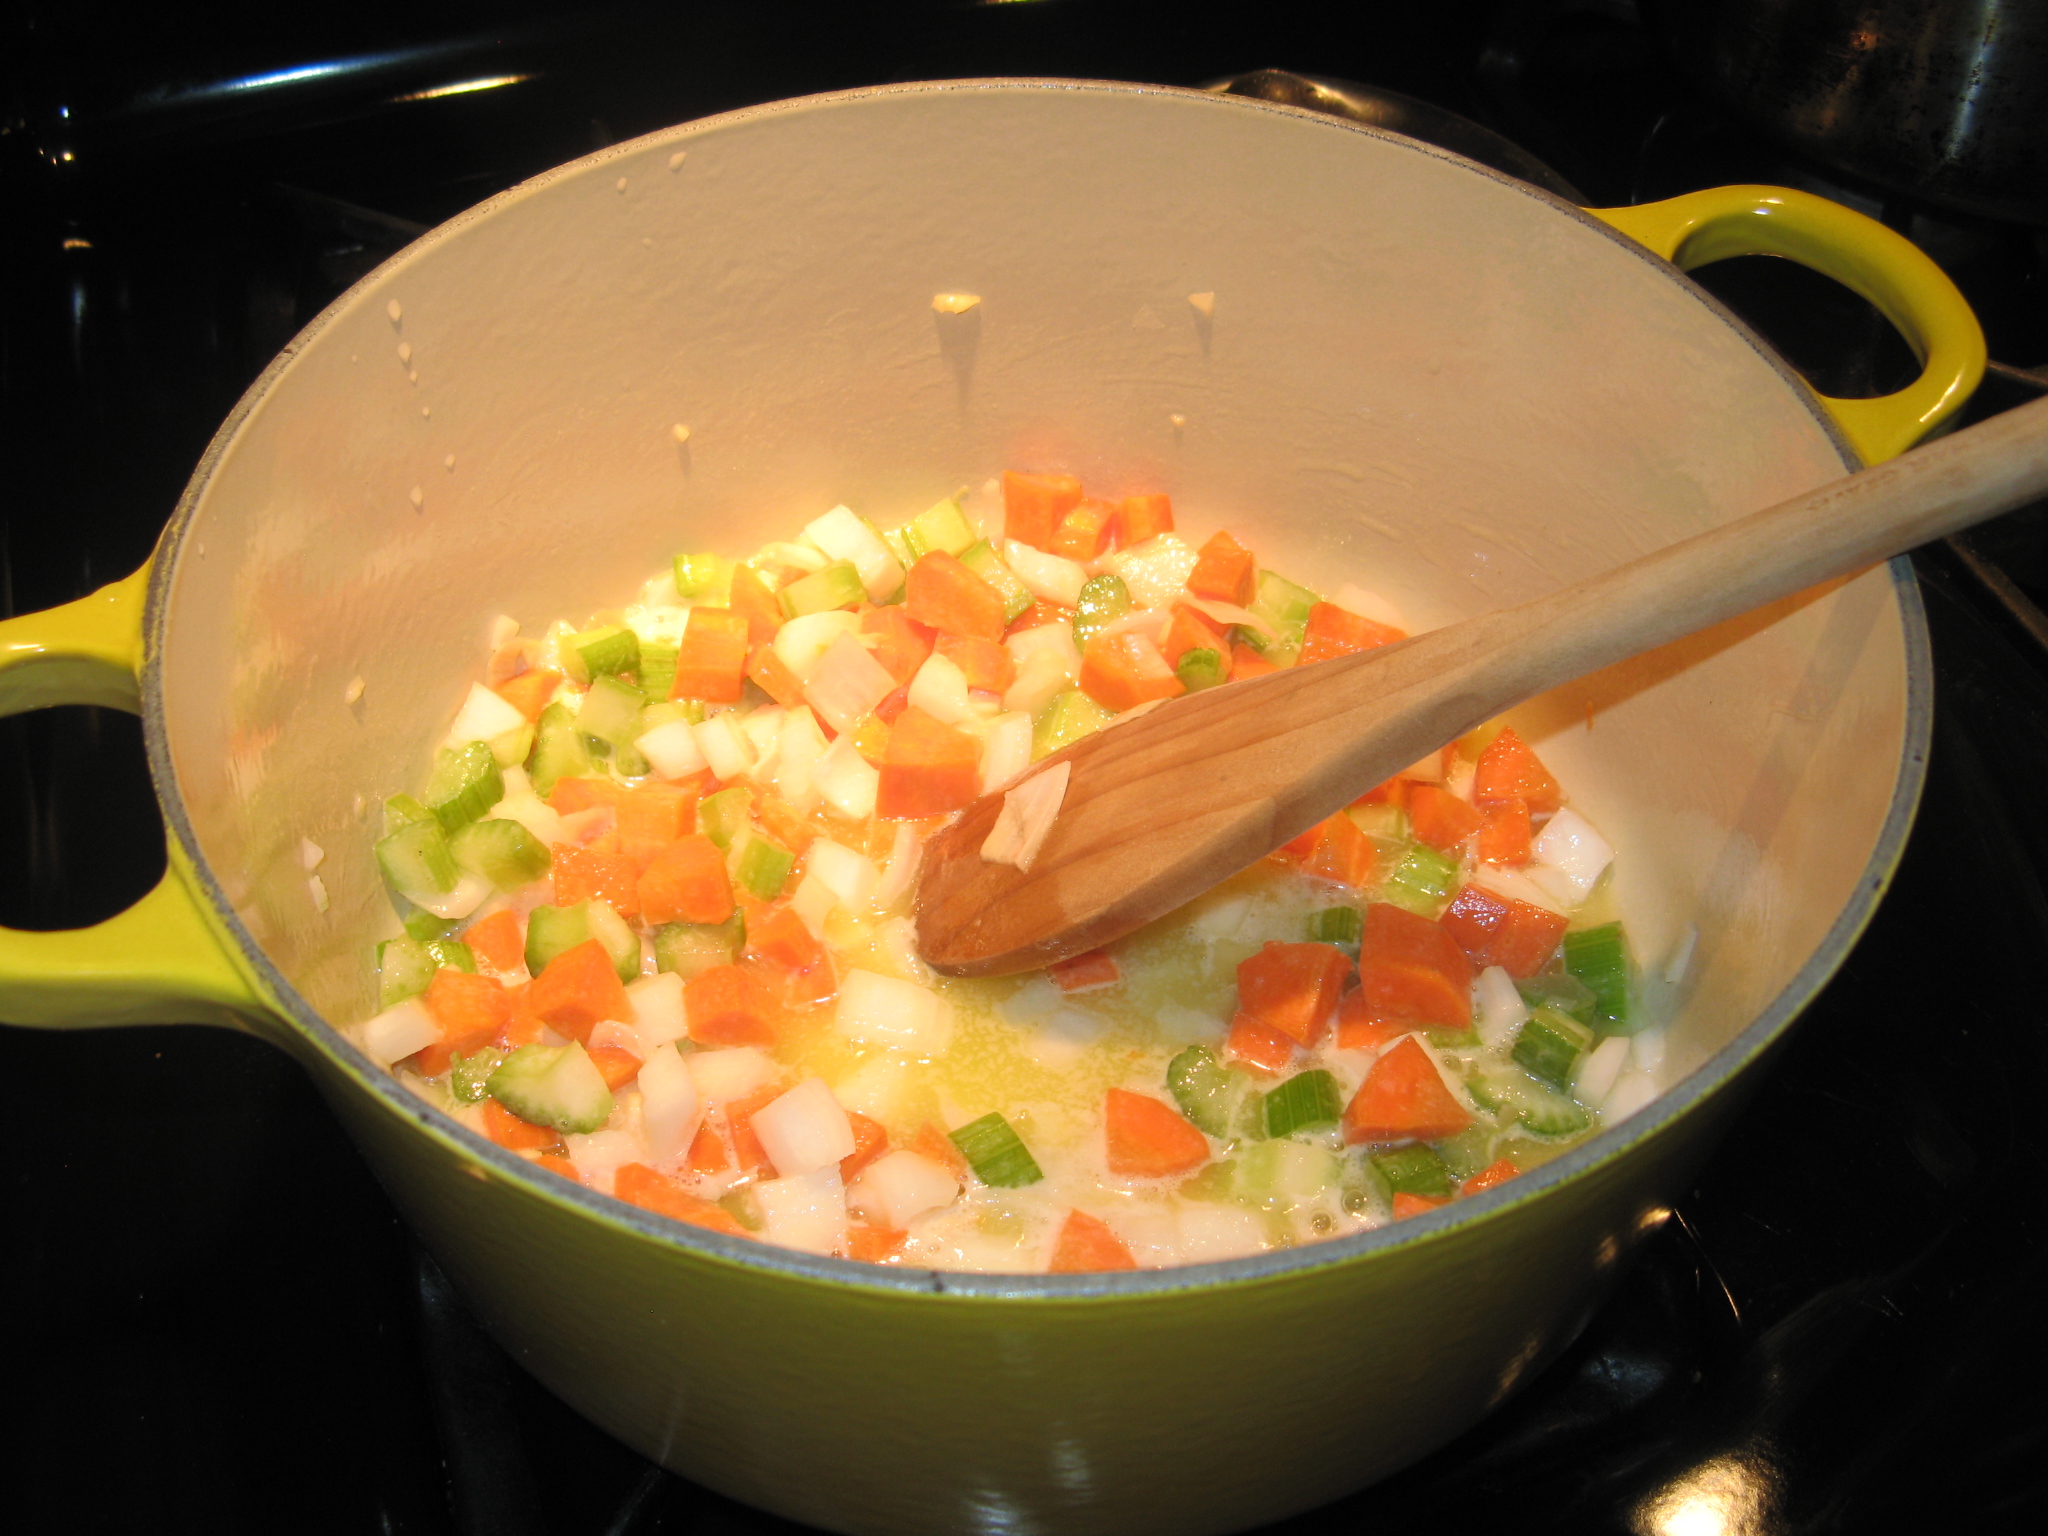
Following that I reserved 1/2 cup of the cooked corn in a large bowl and placed the remaining corn, about 1 1/2 cups, in a sauté pan with heavy cream and brought it to a simmer on medium heat.

IMG_5534

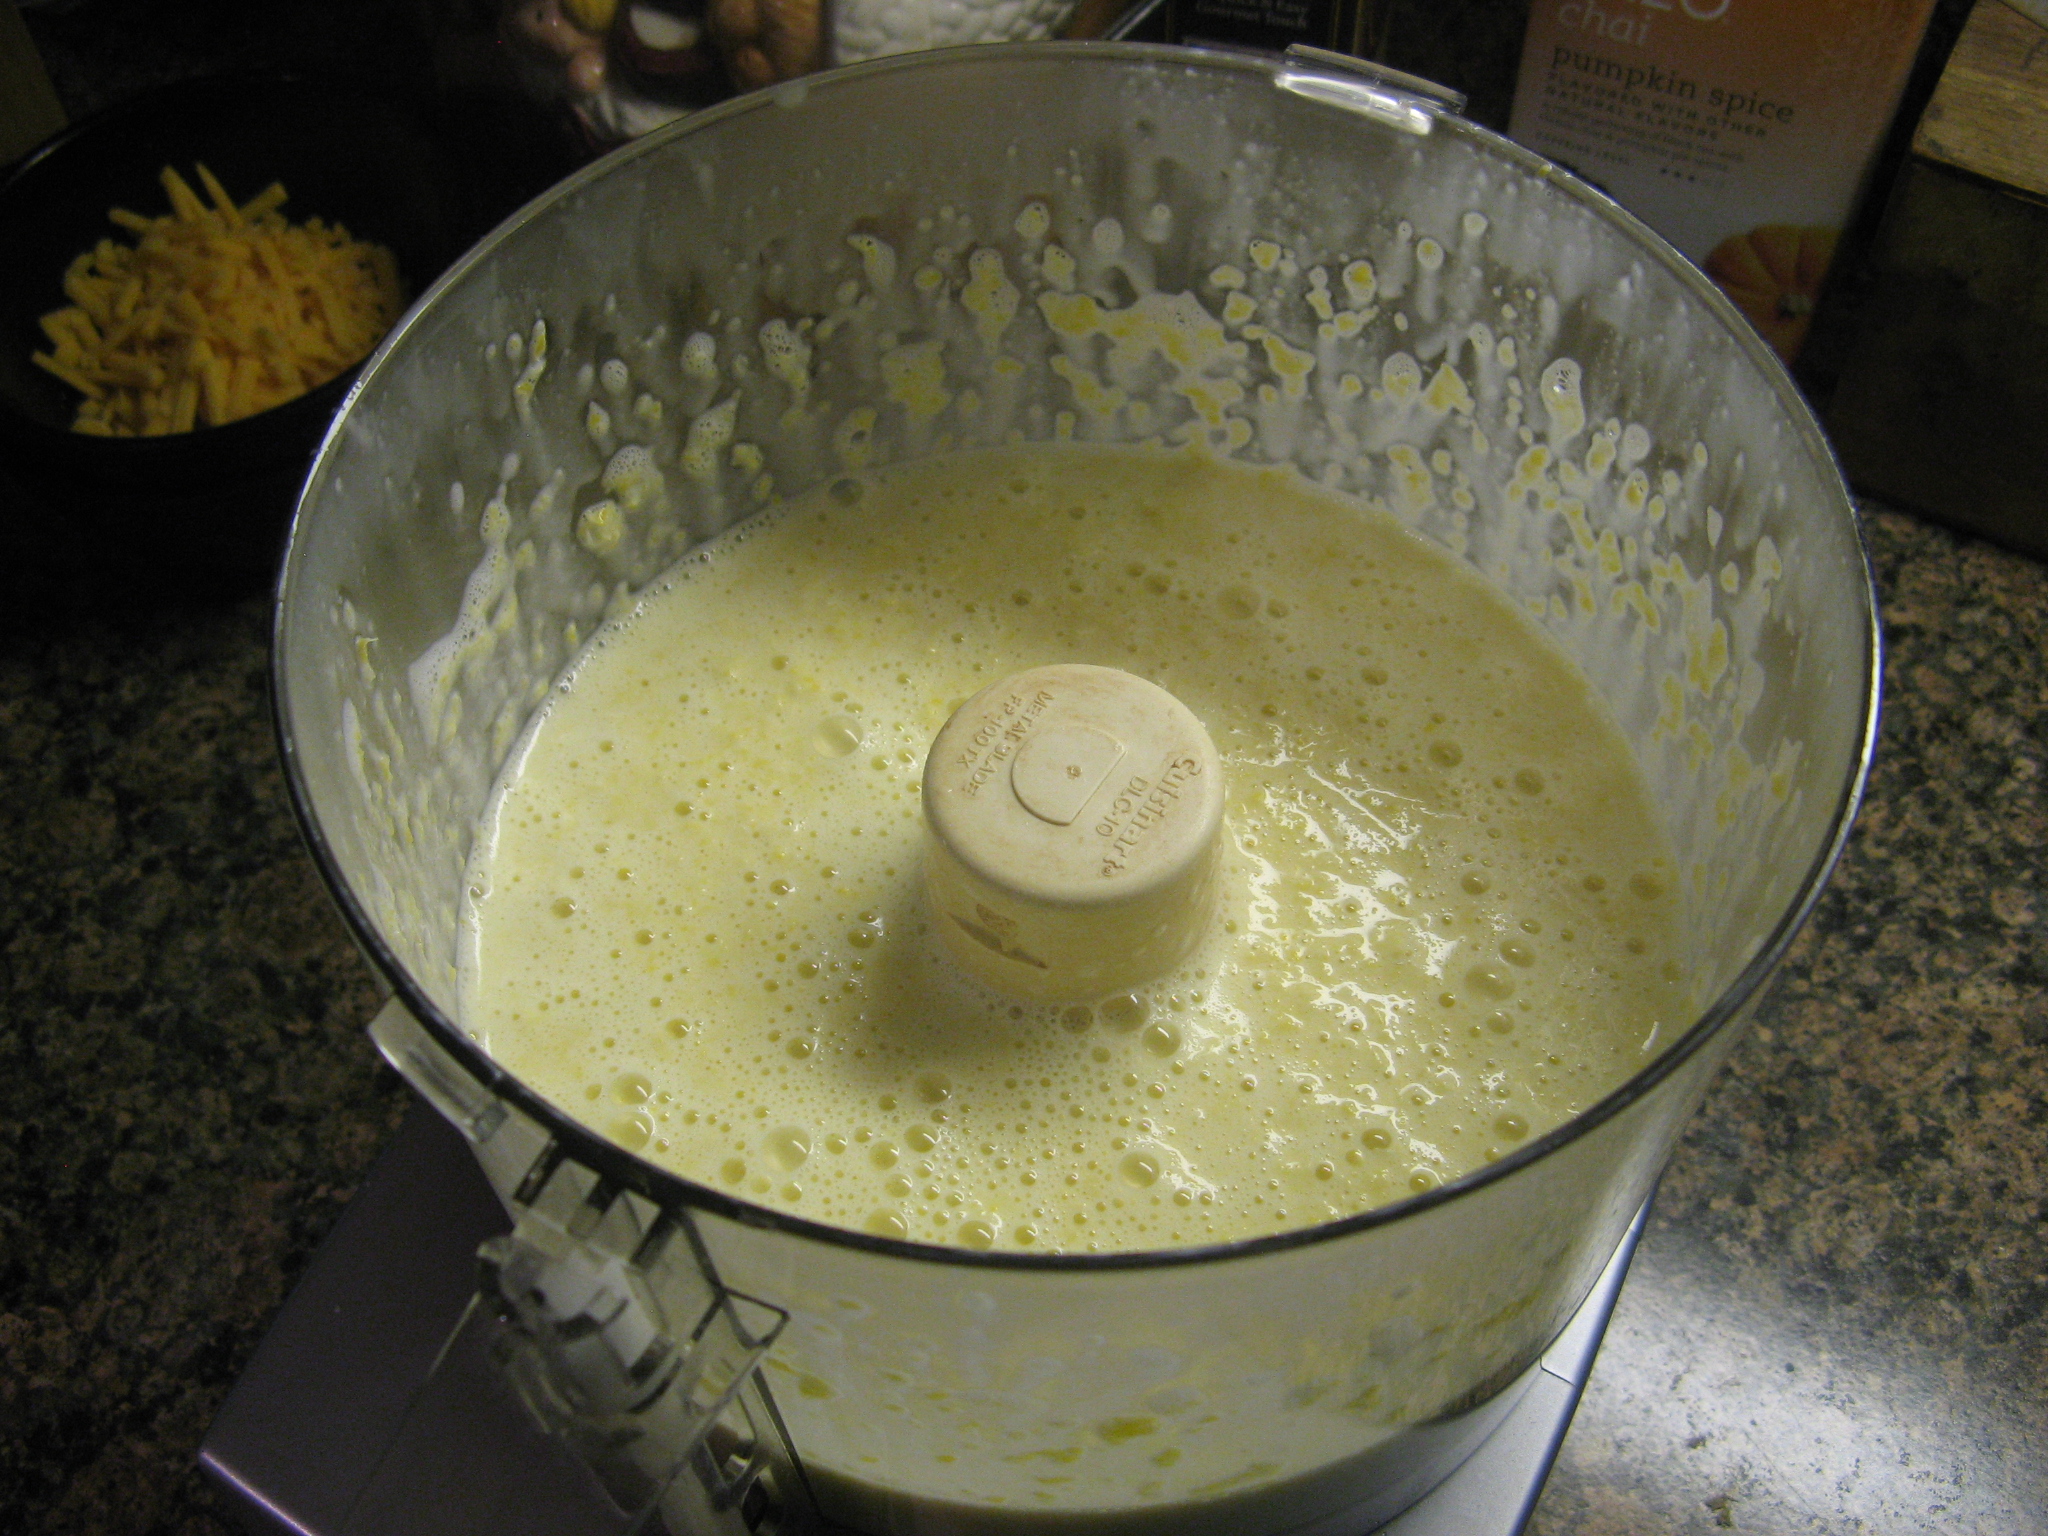
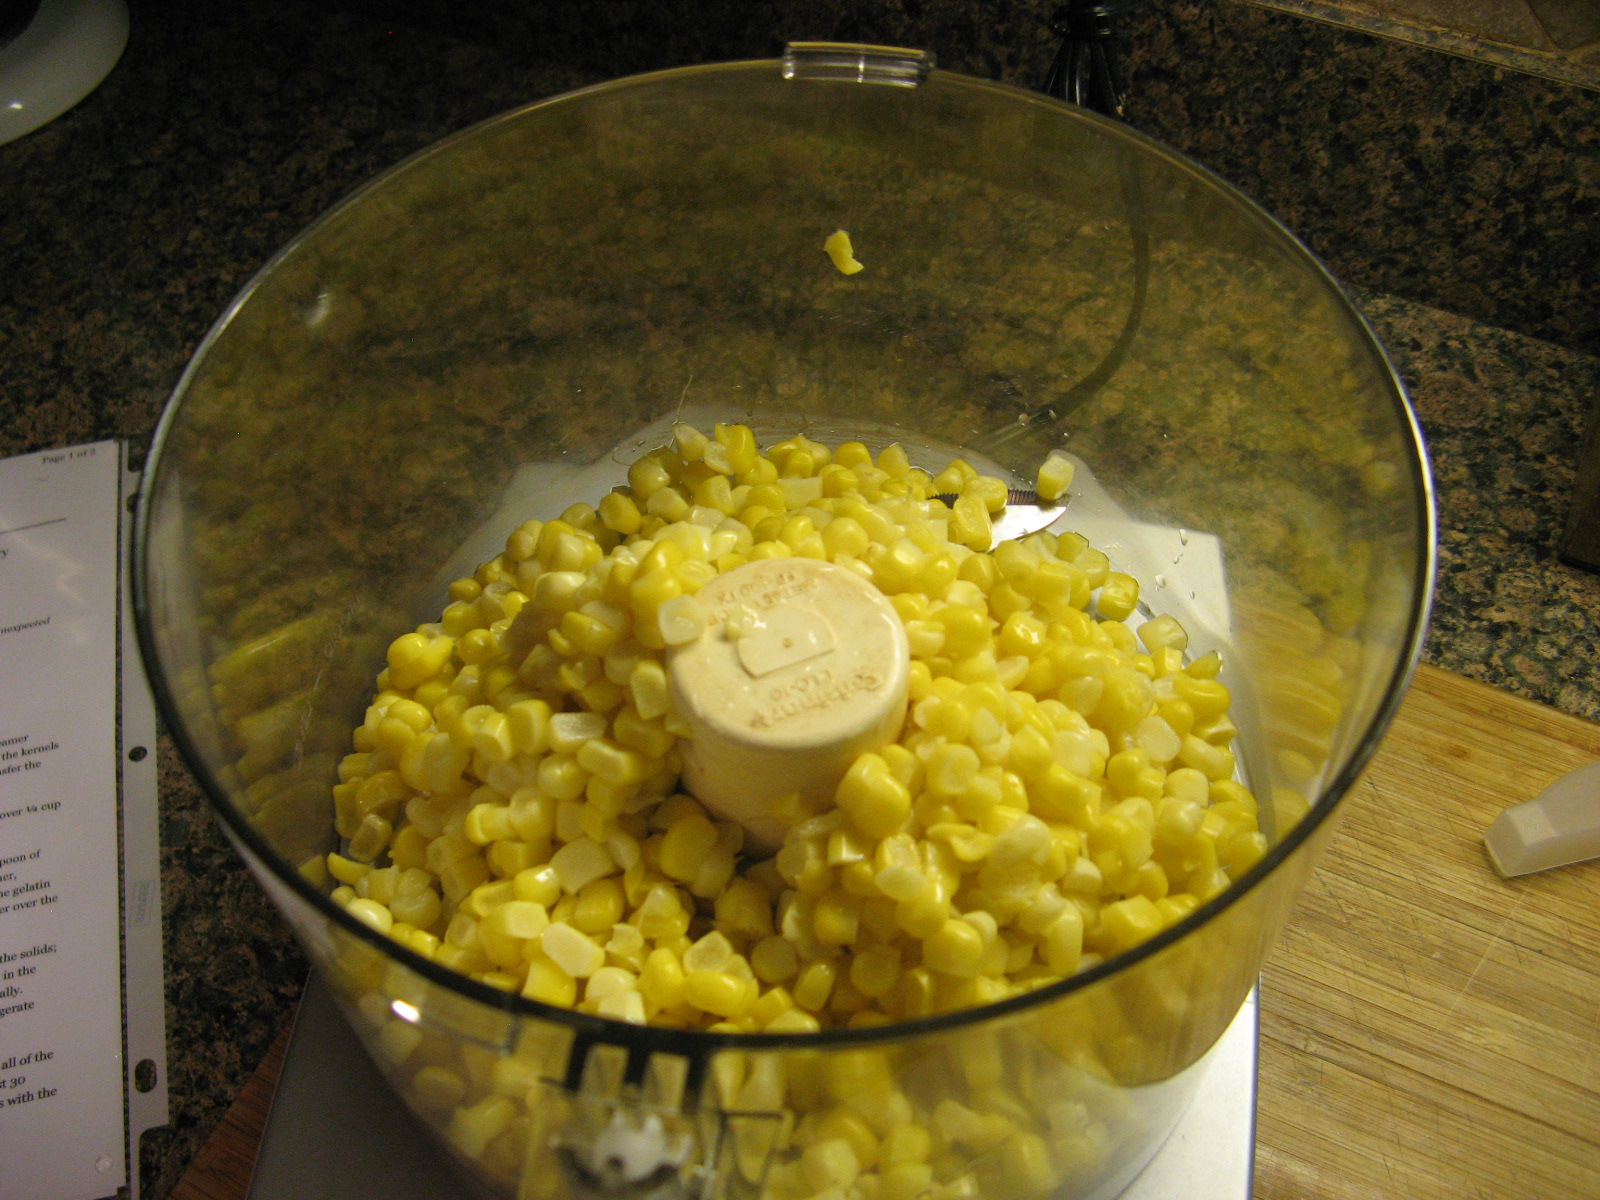
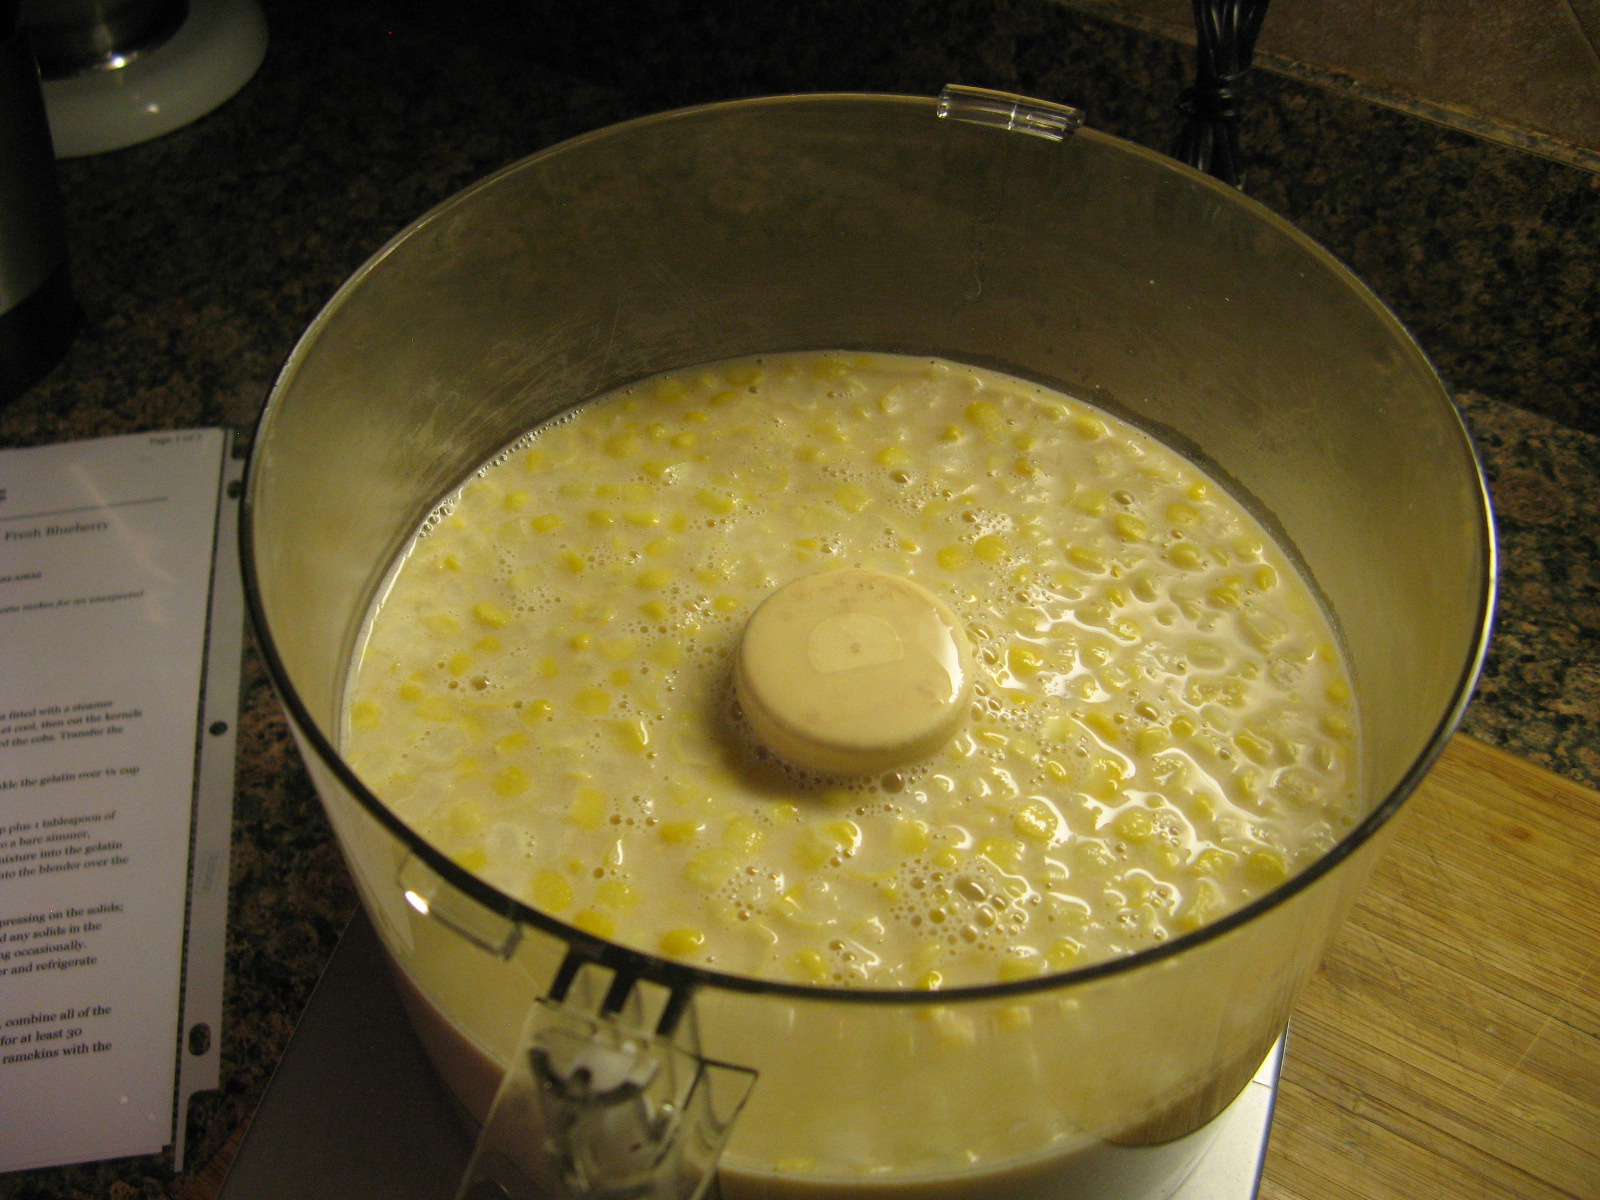
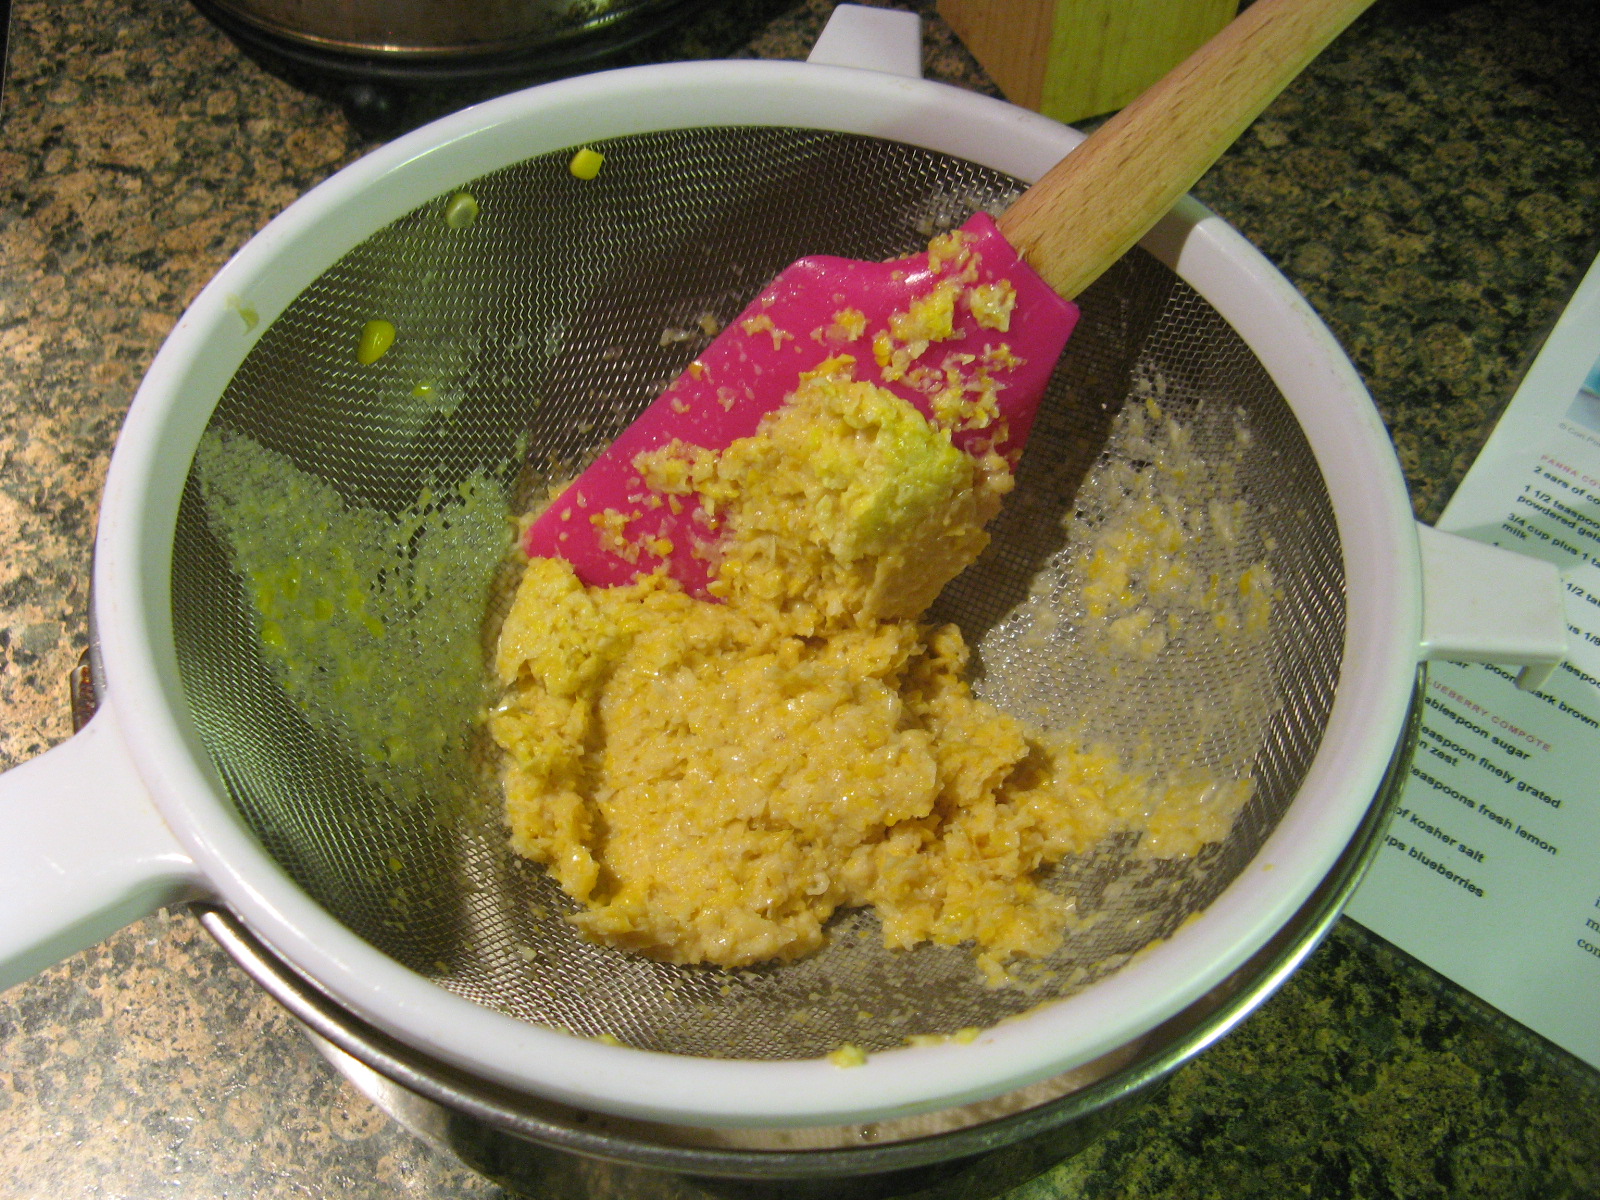
I then poured the mixture into the bowl of my food processor and blended it until it was smooth.

IMG_5539

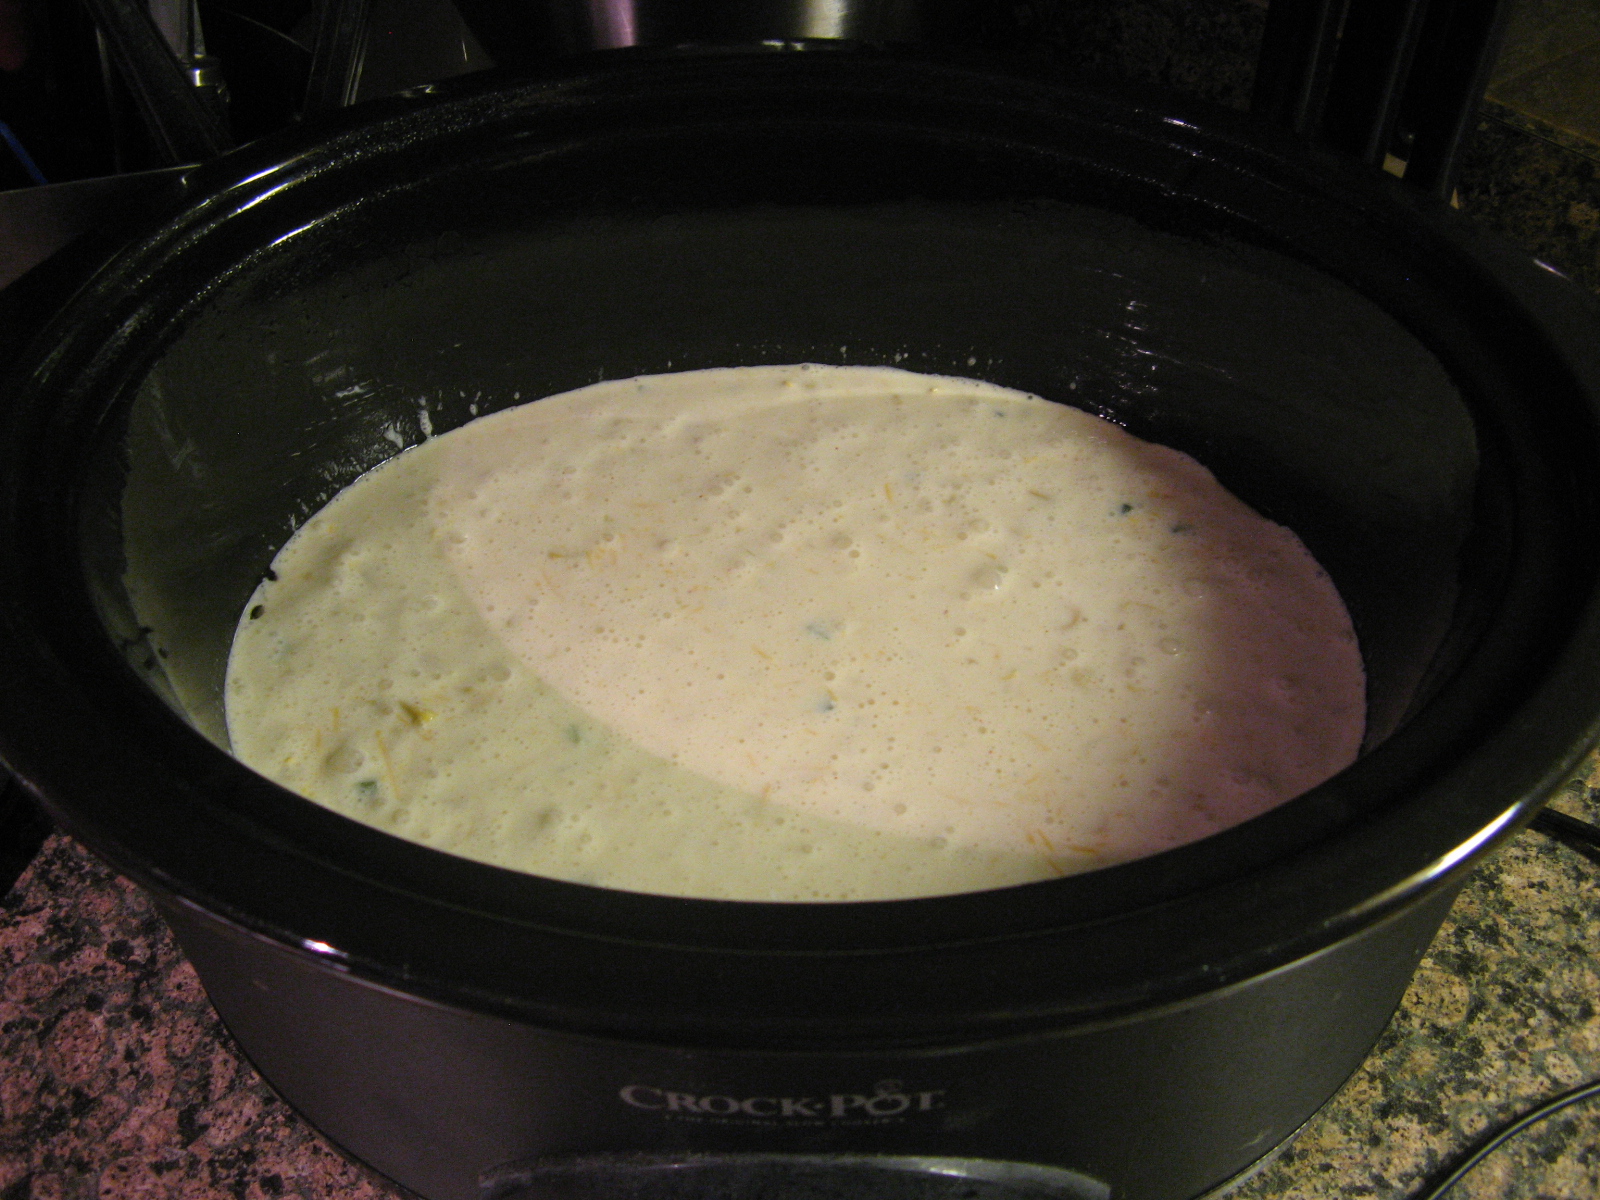
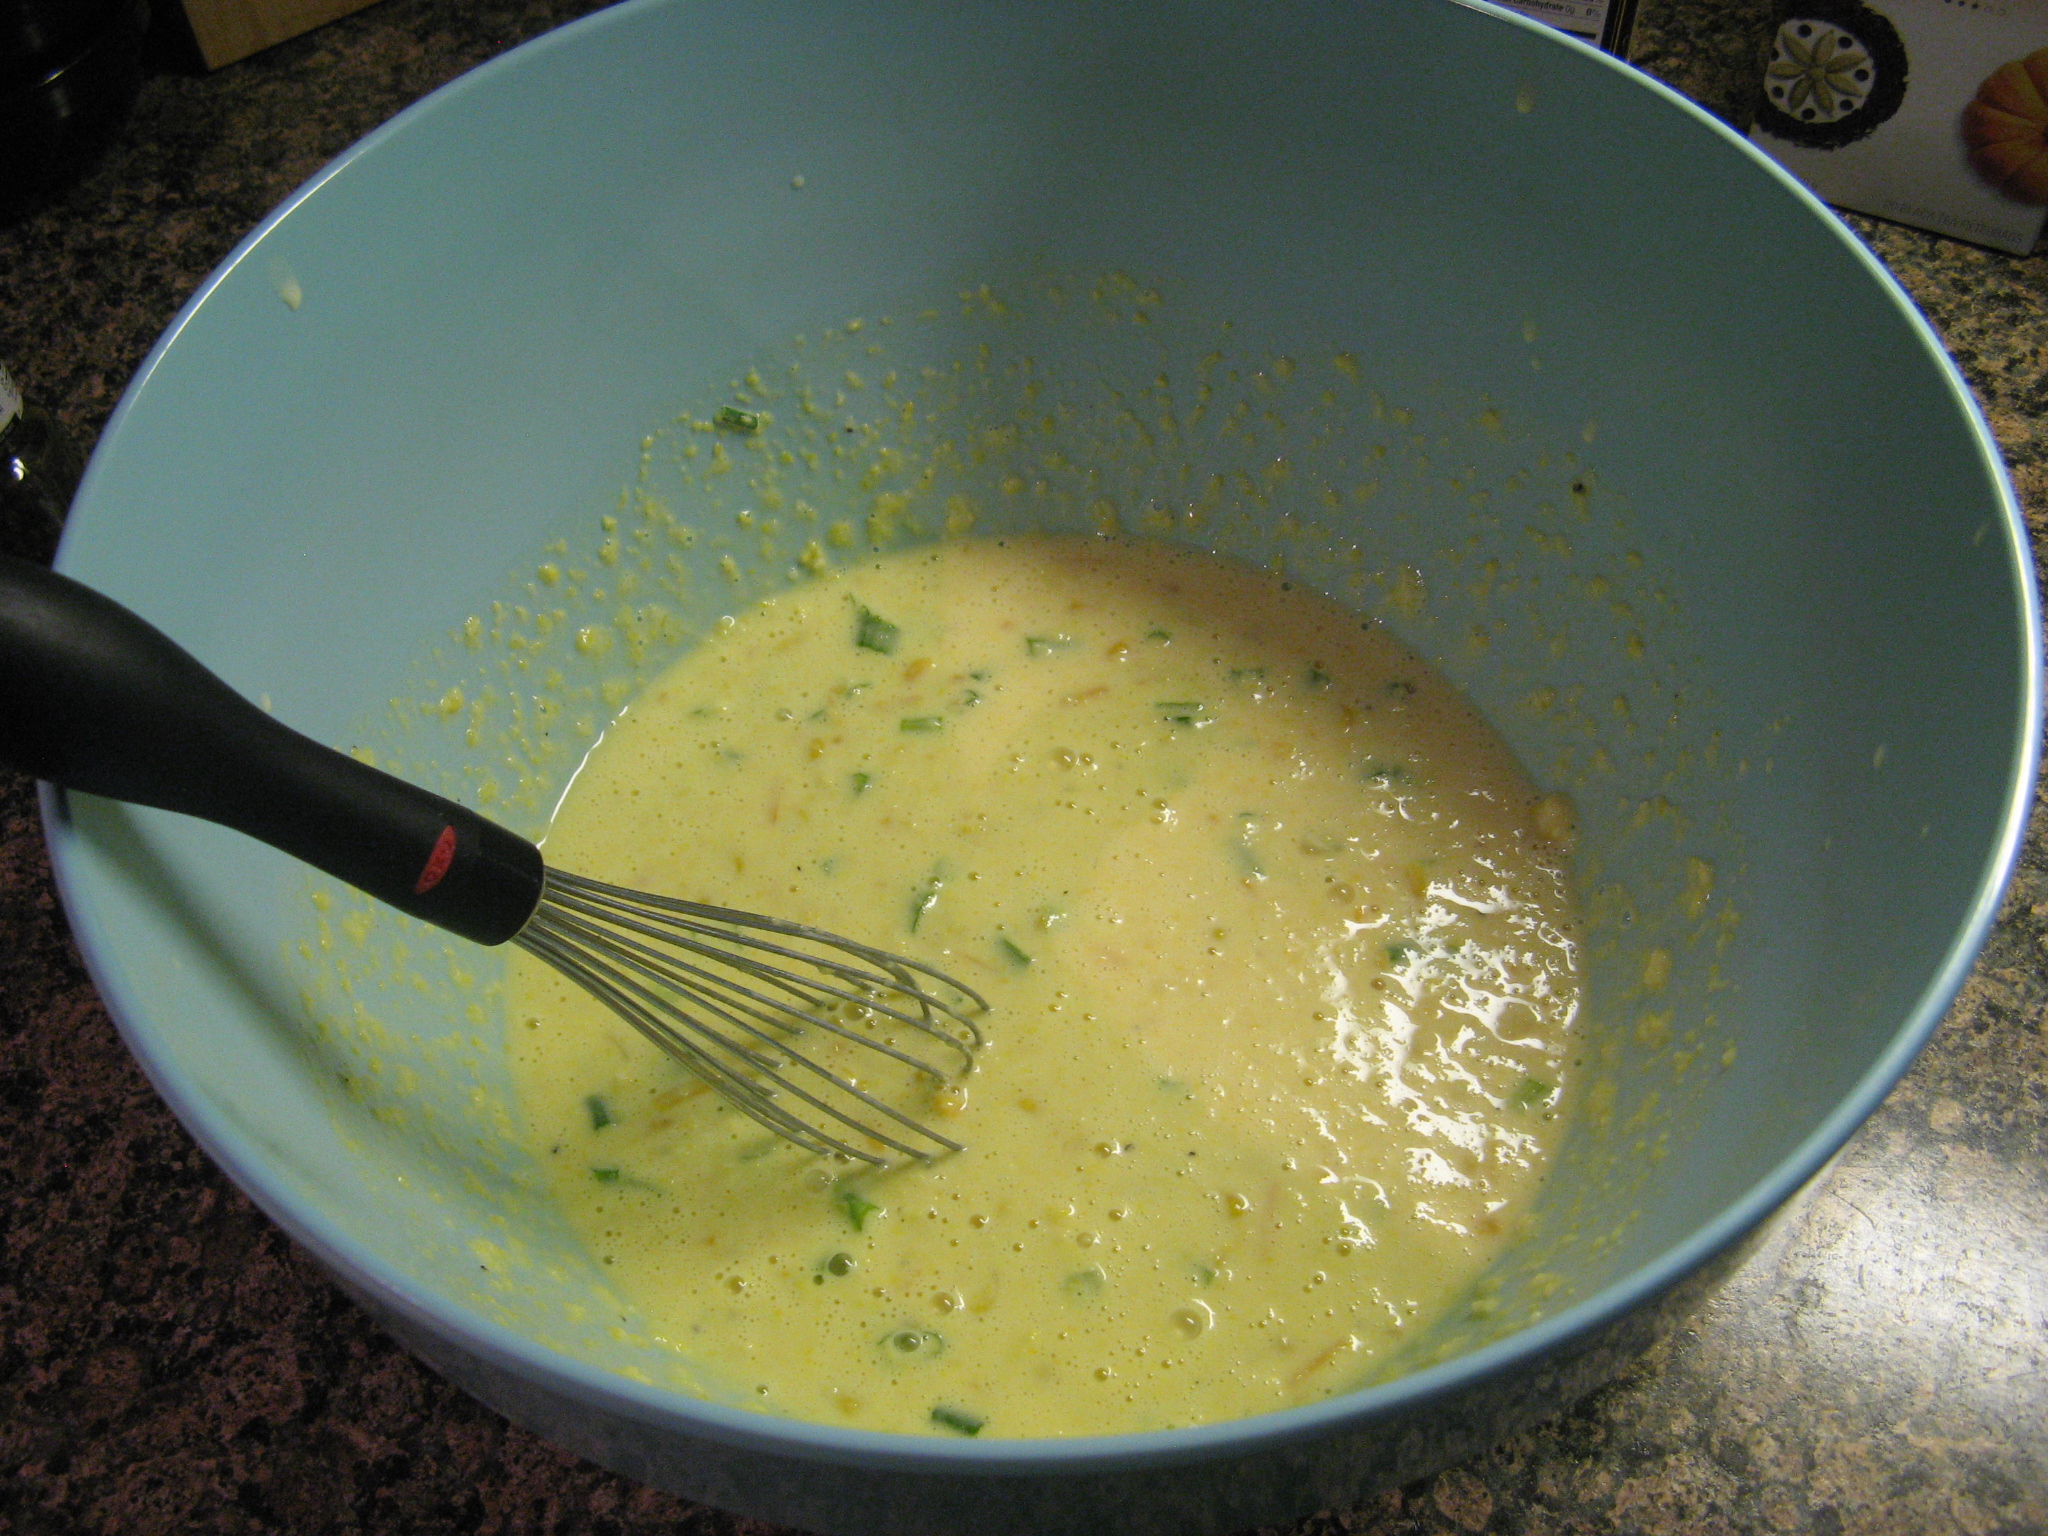
I transferred the pureed corn-heavy cream mixture to the bowl with the reserved corn and whisked in the eggs, half of the cheese and scallions and some fresh ground black pepper.

IMG_5540

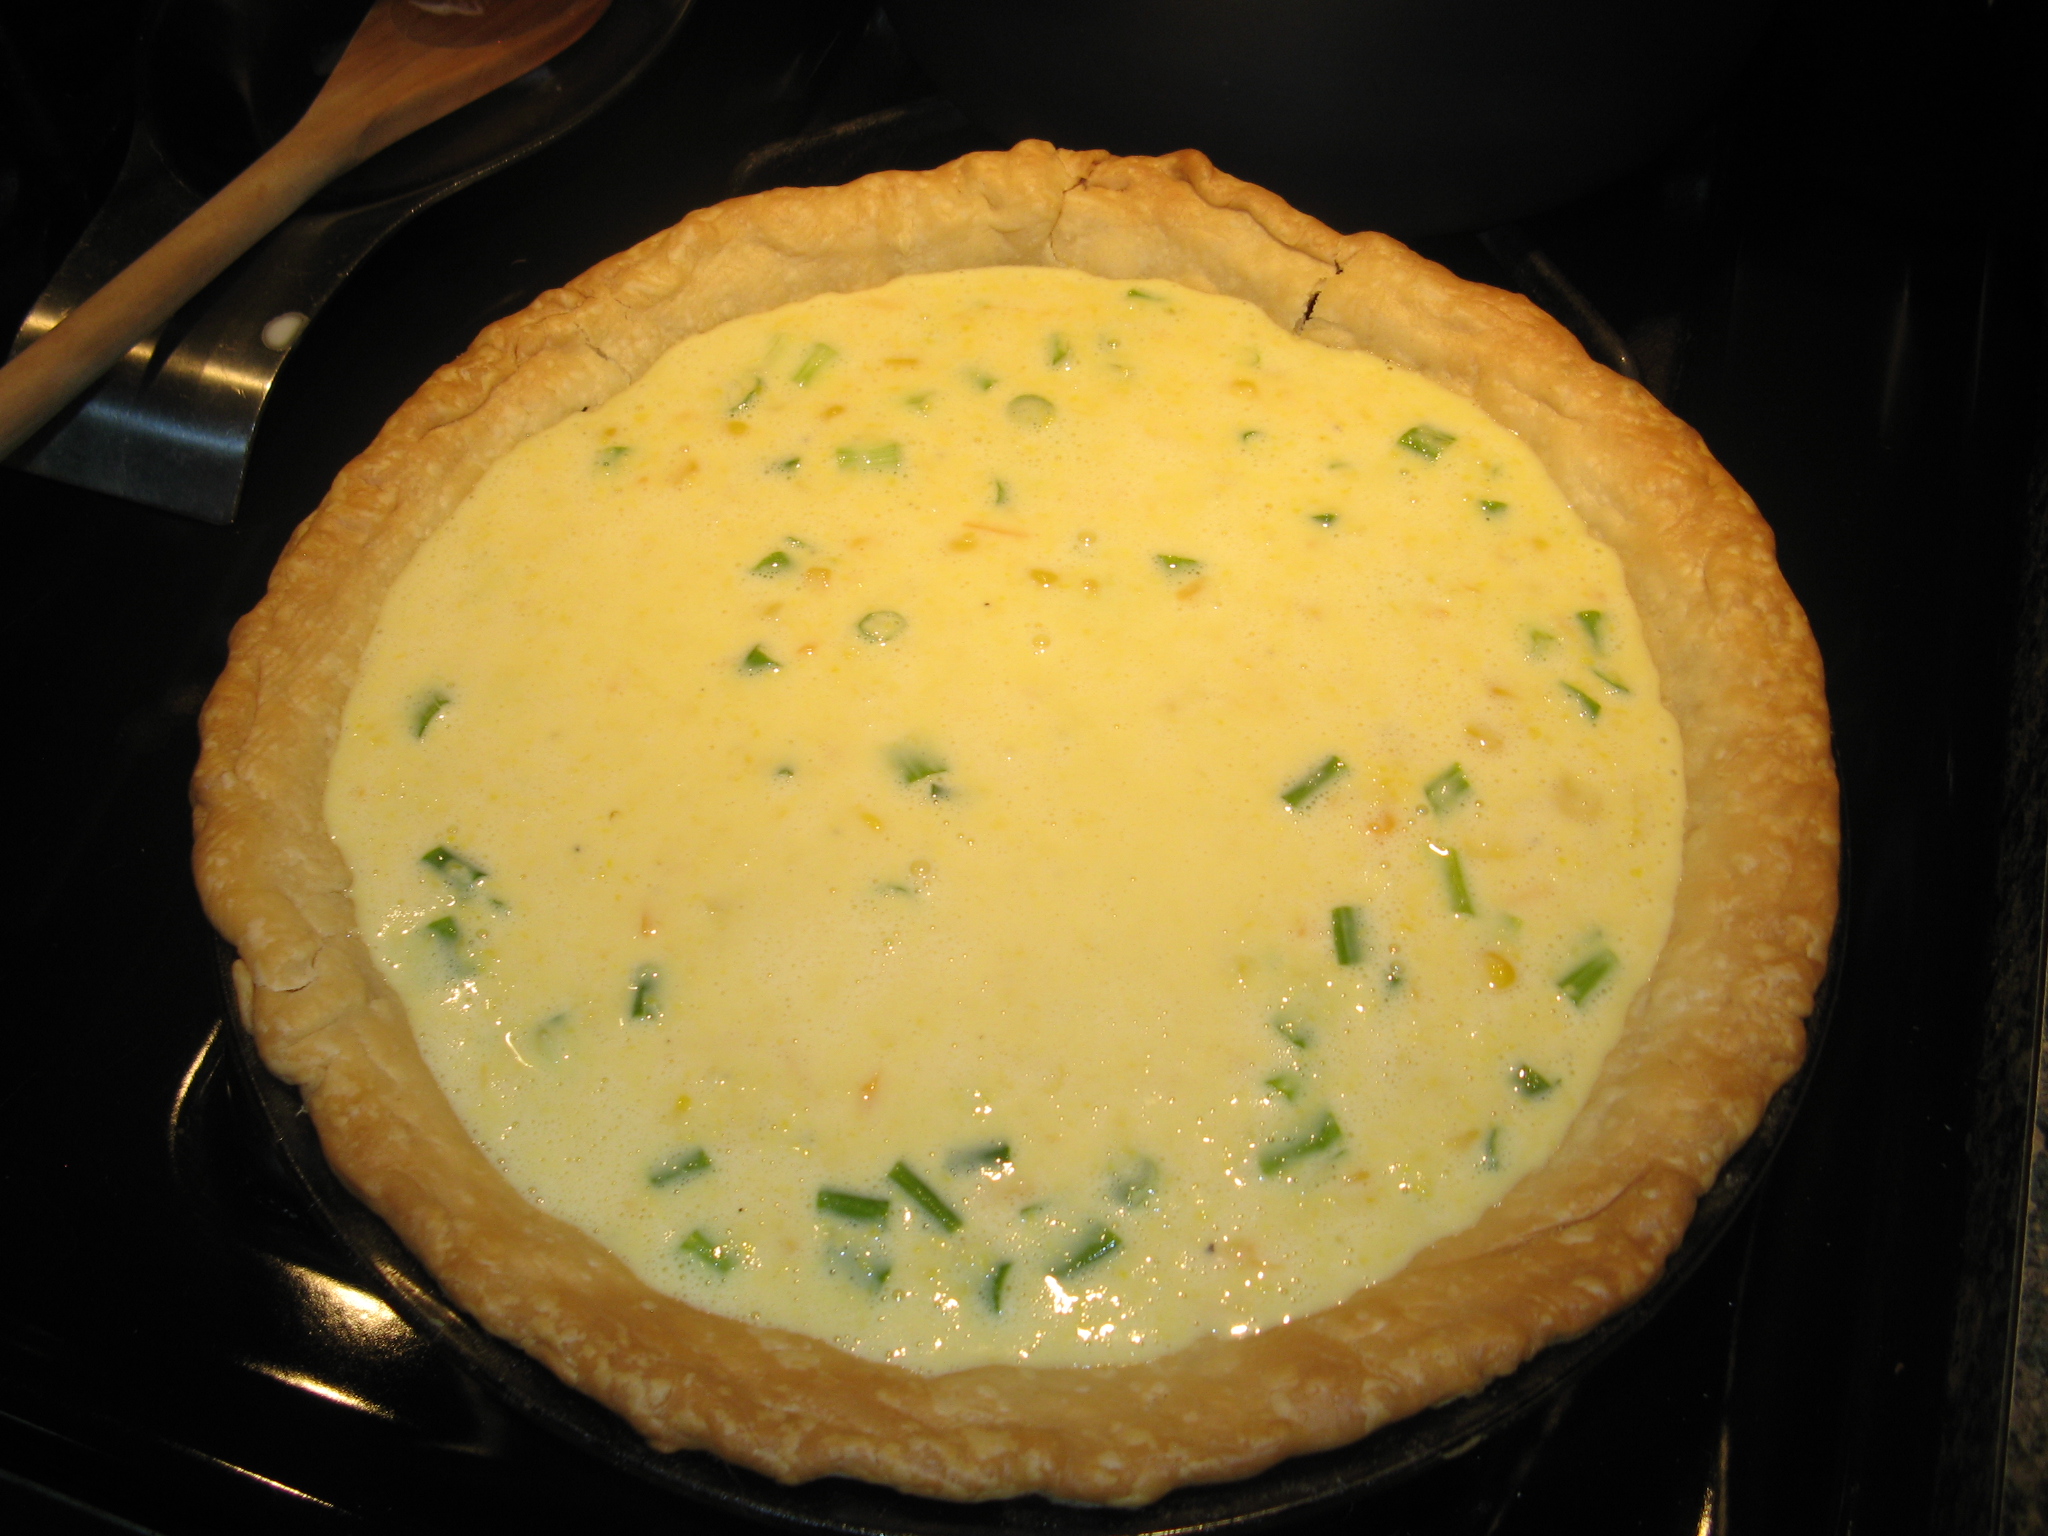
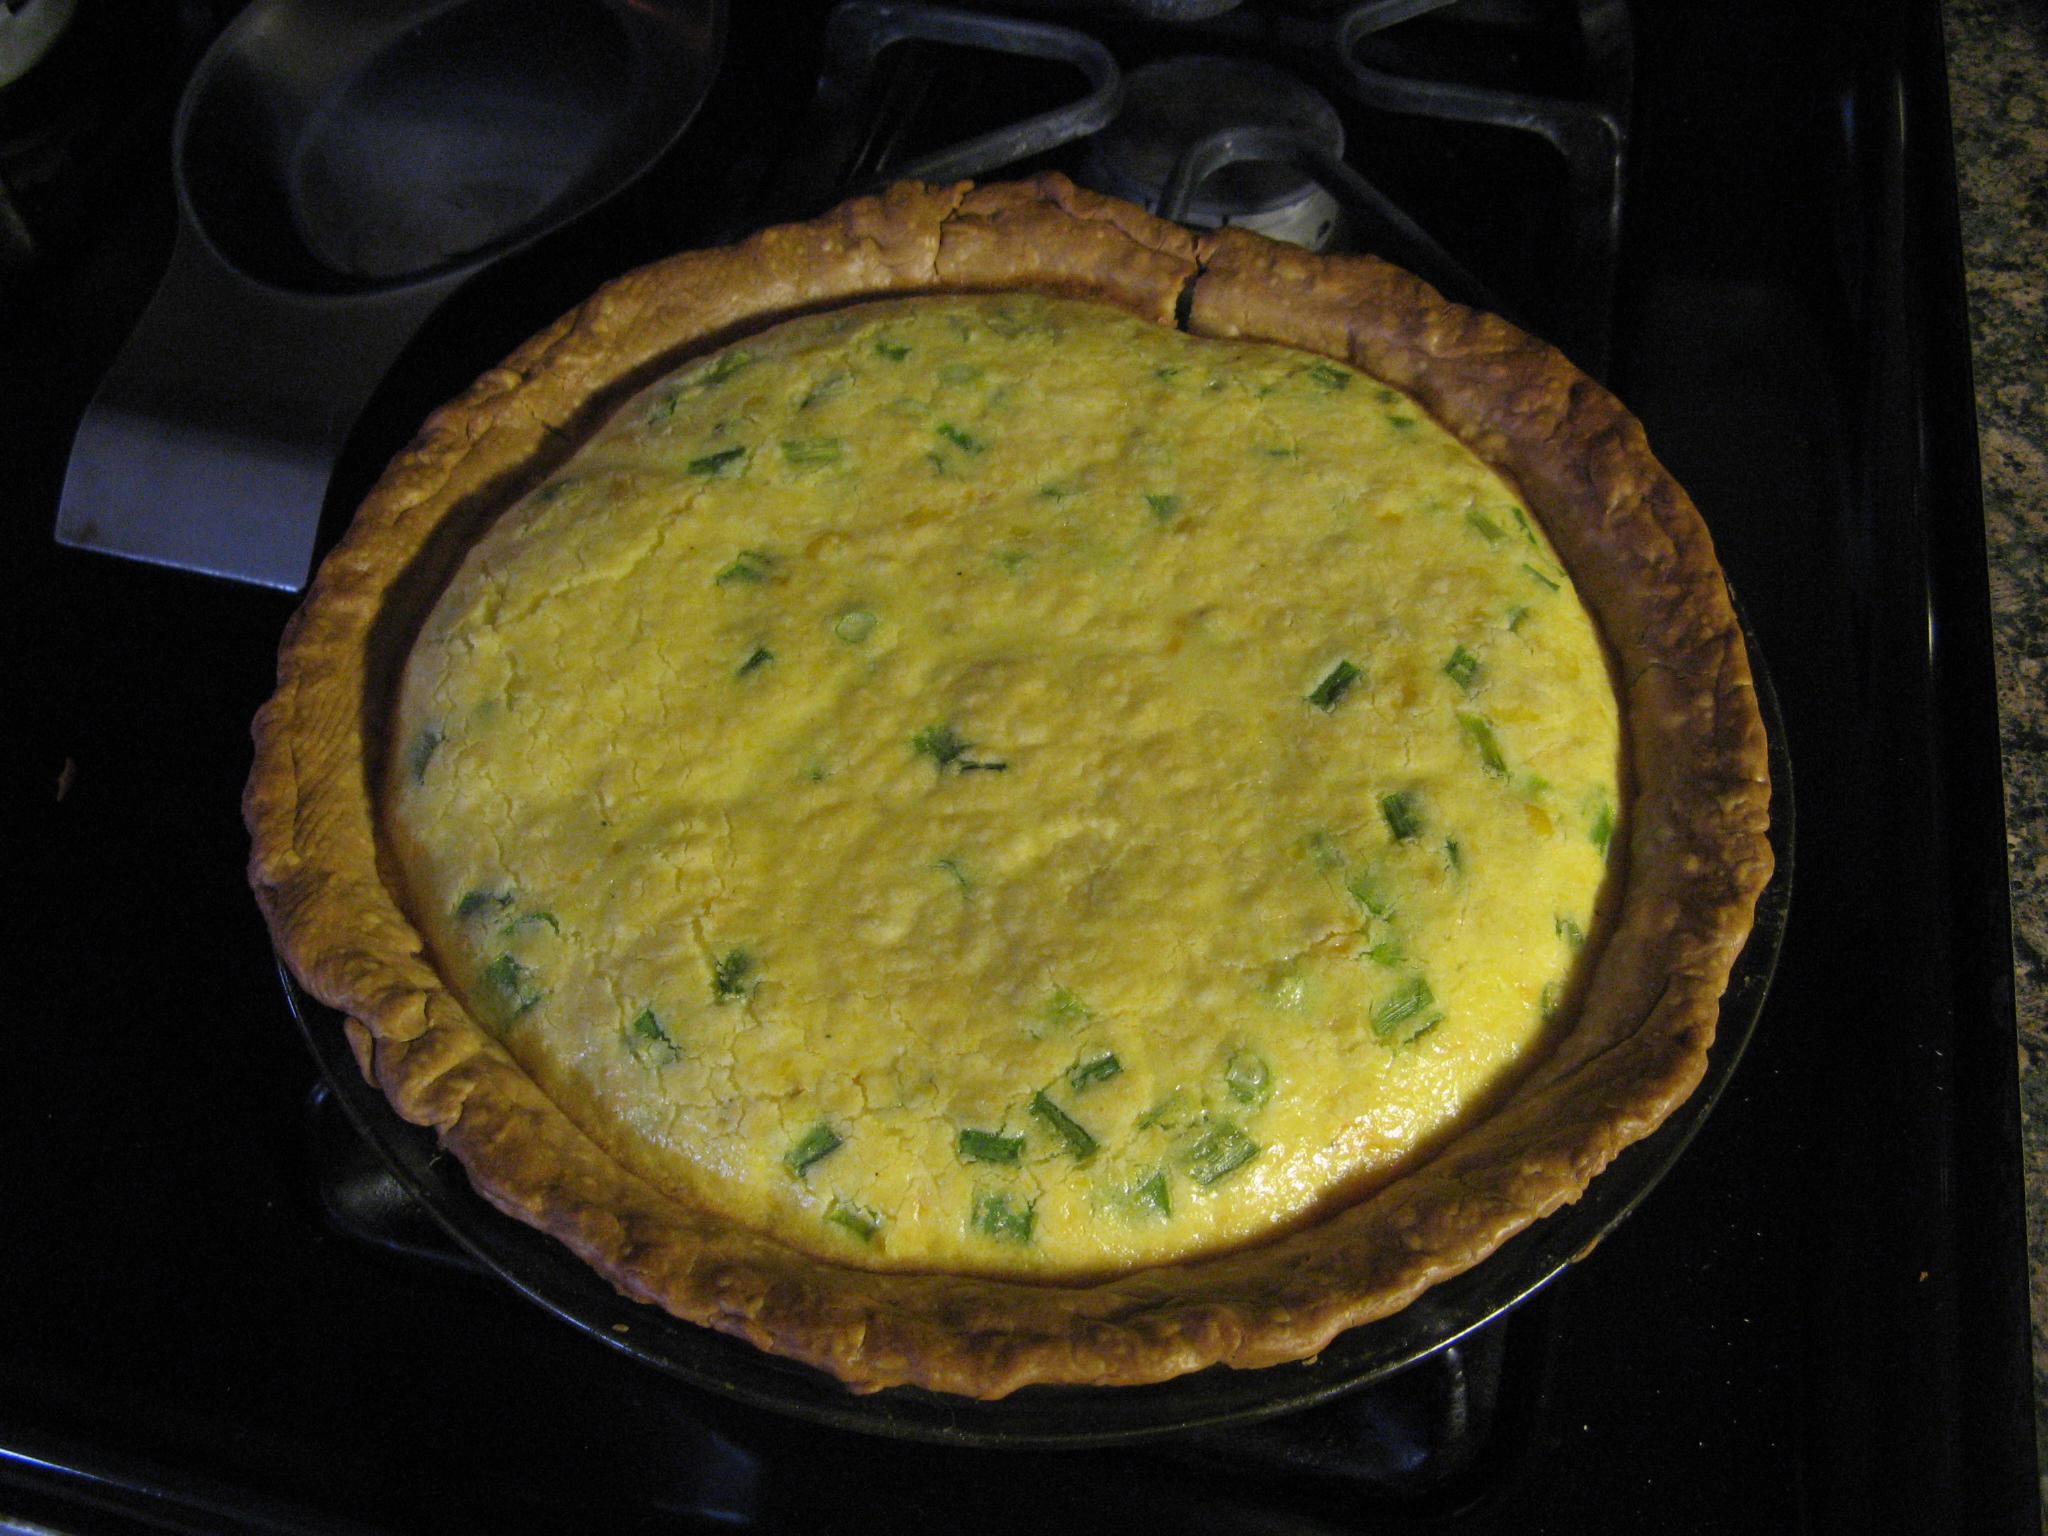
I poured this mixture into my cooked pie crust and placed it in a 350 F oven for 35 minutes until it was just set.

IMG_5541

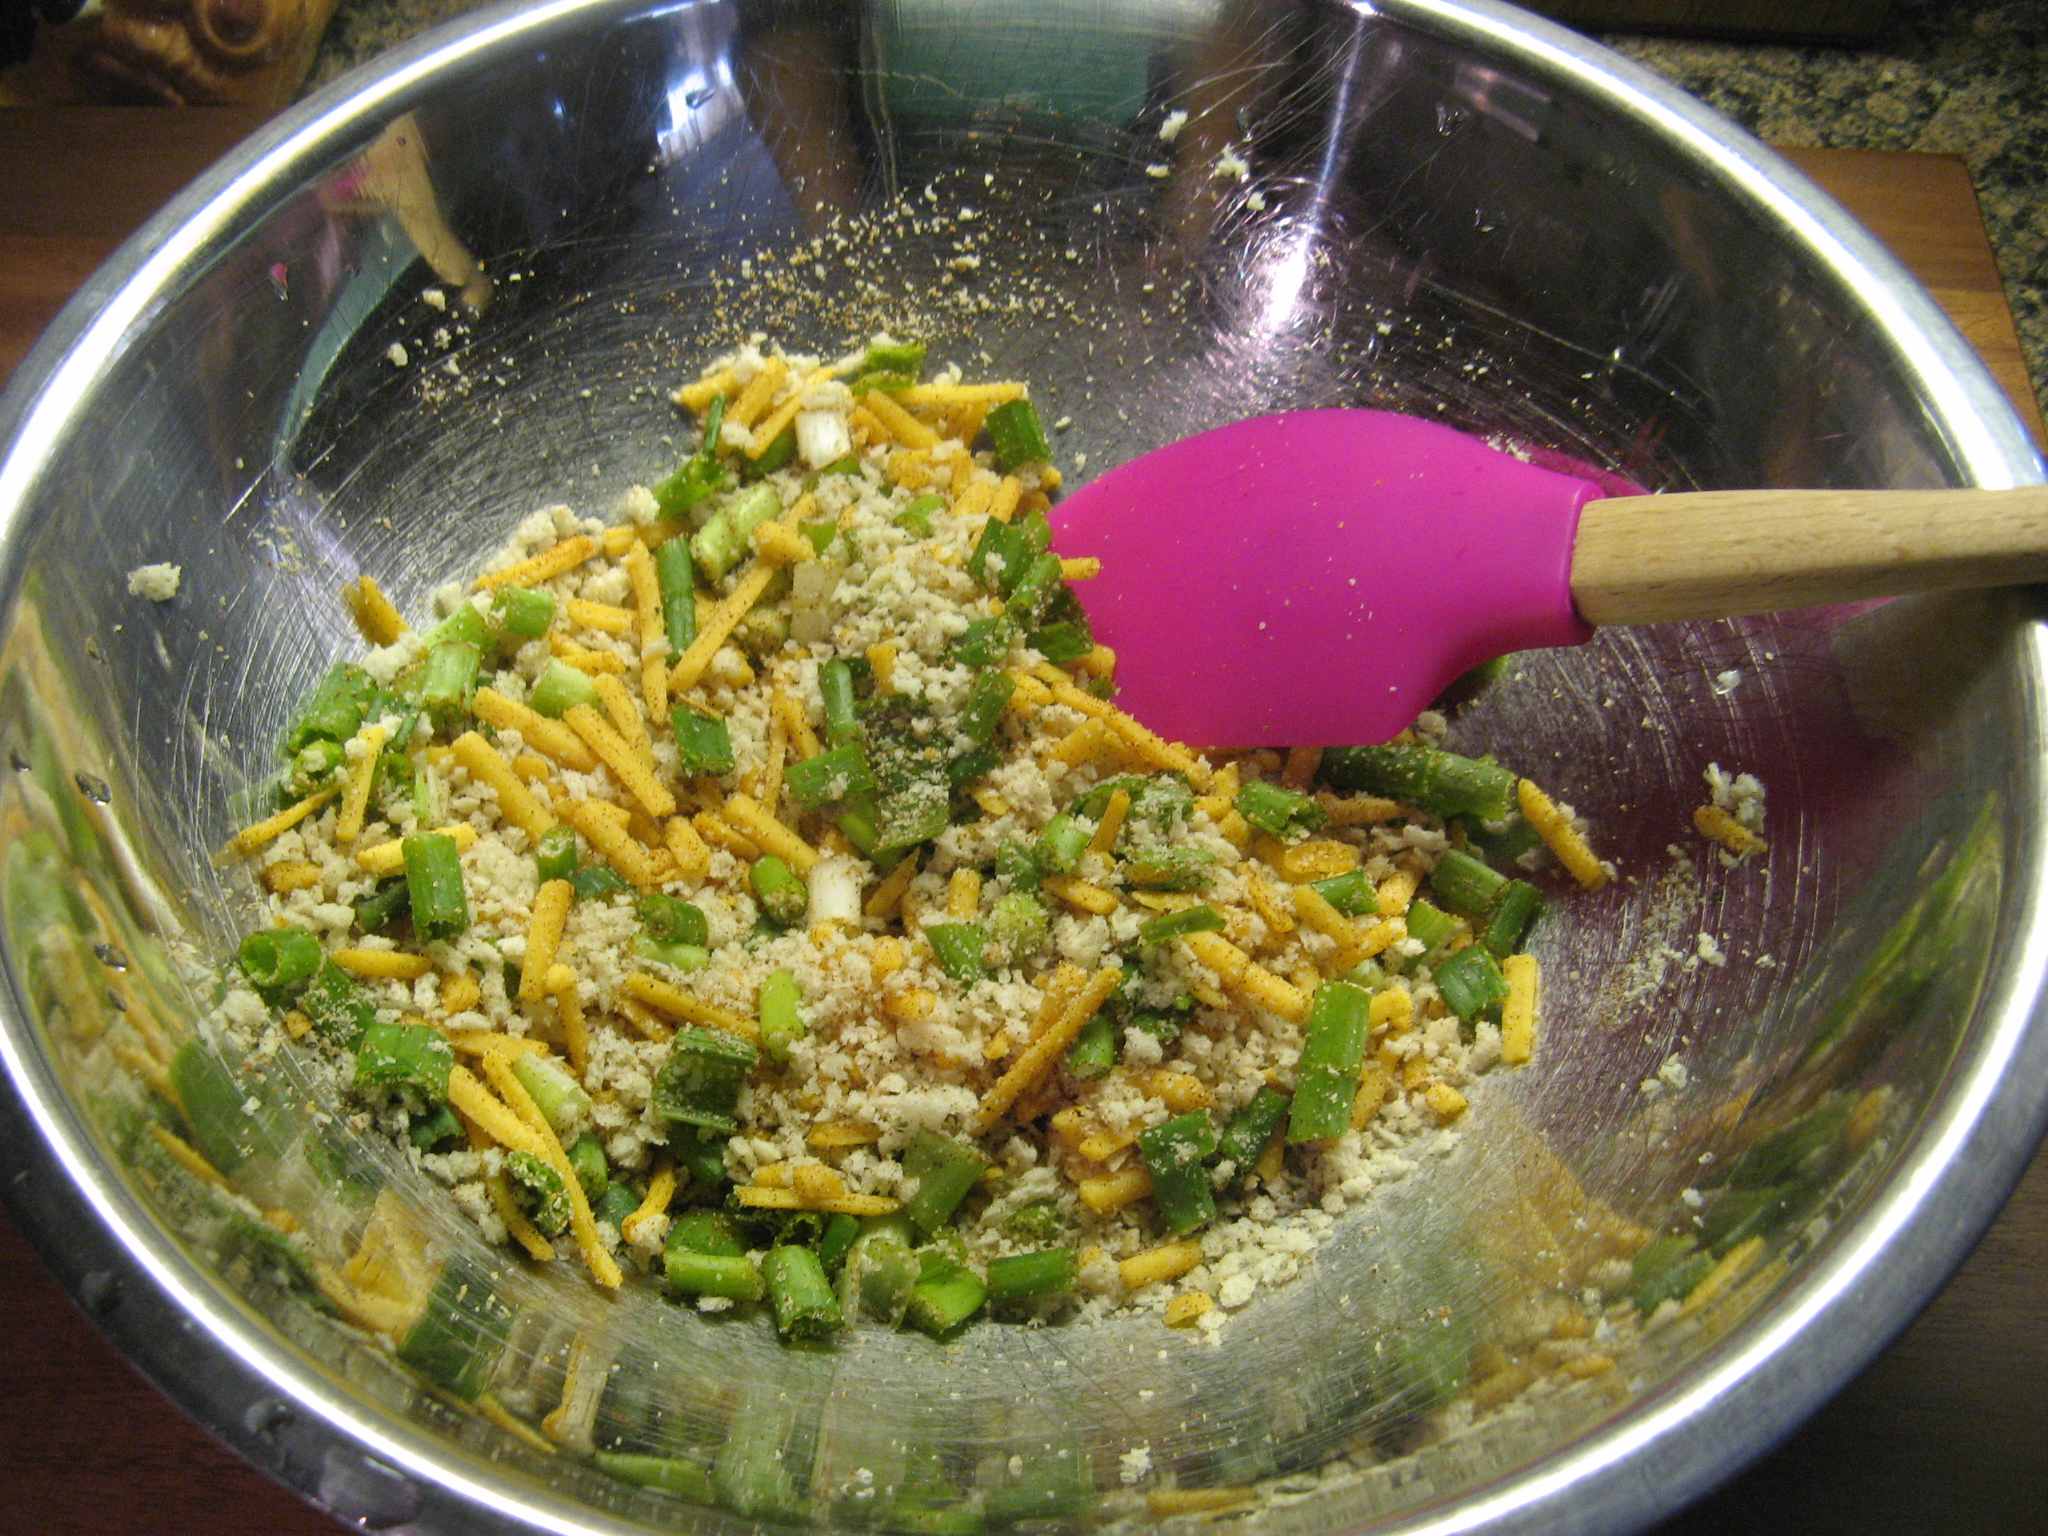
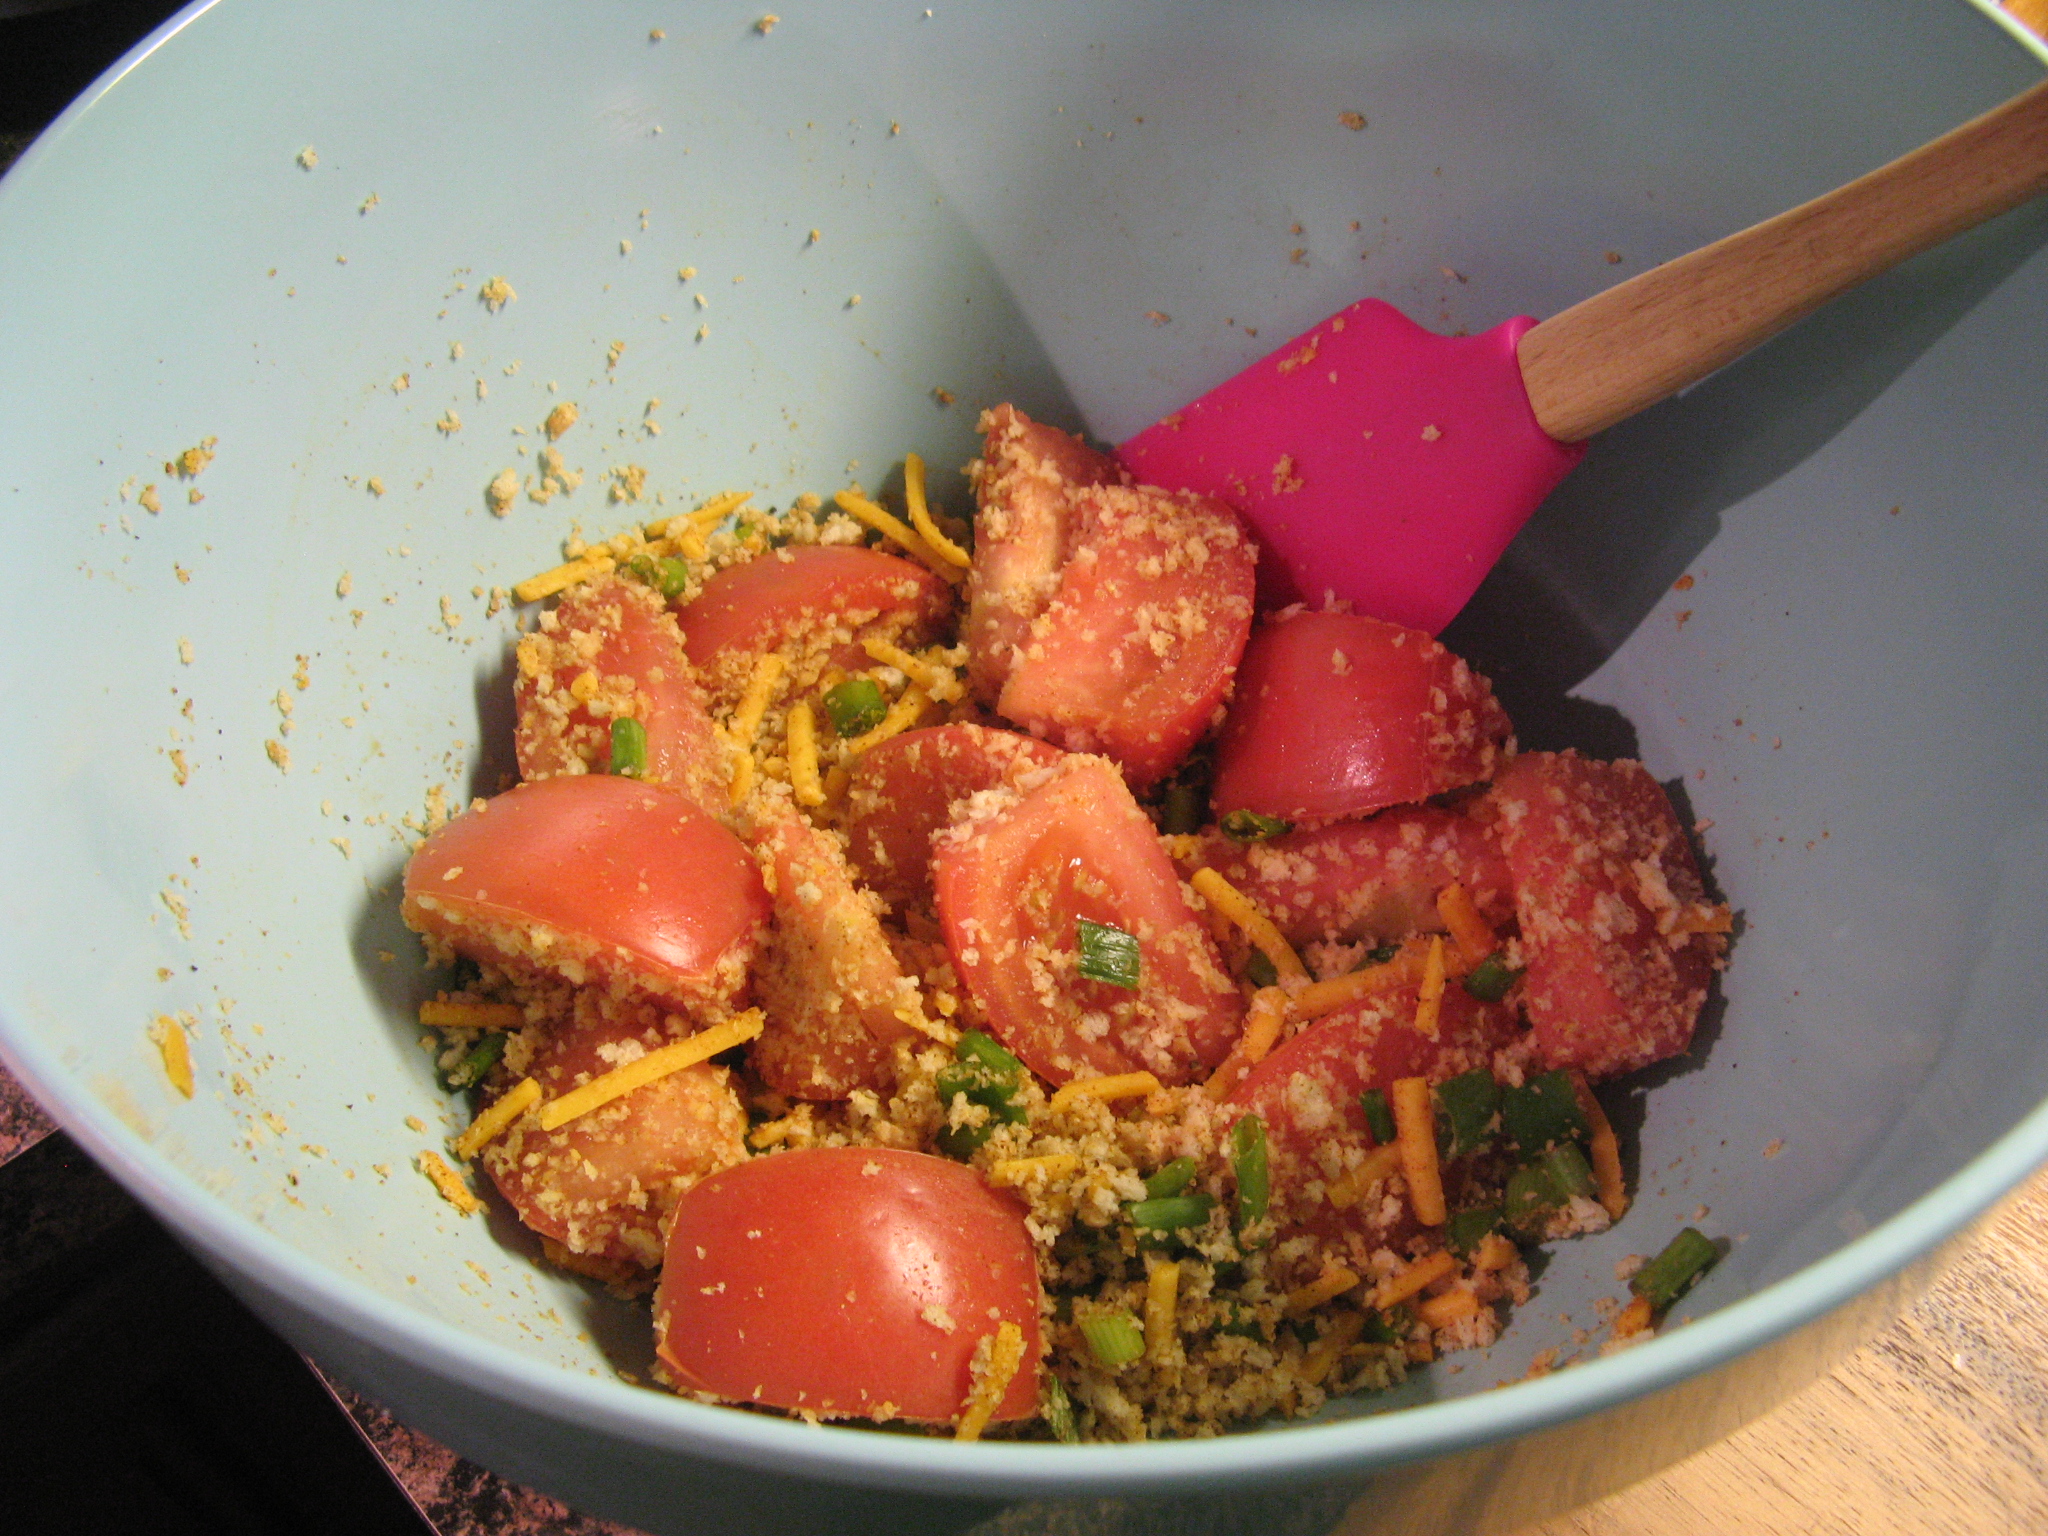
While the custard was cooking in the oven I mixed the remaining scallions and cheese along with panko breadcrumbs and seasoned it with paprika, salt and pepper.

IMG_5548

I reserved 1/4 cup of the mixture and tossed the remaining mixture with the tomatoes.

IMG_5552

Once I removed the pie from the oven I increased the oven temperature to 400 F…

IMG_5549

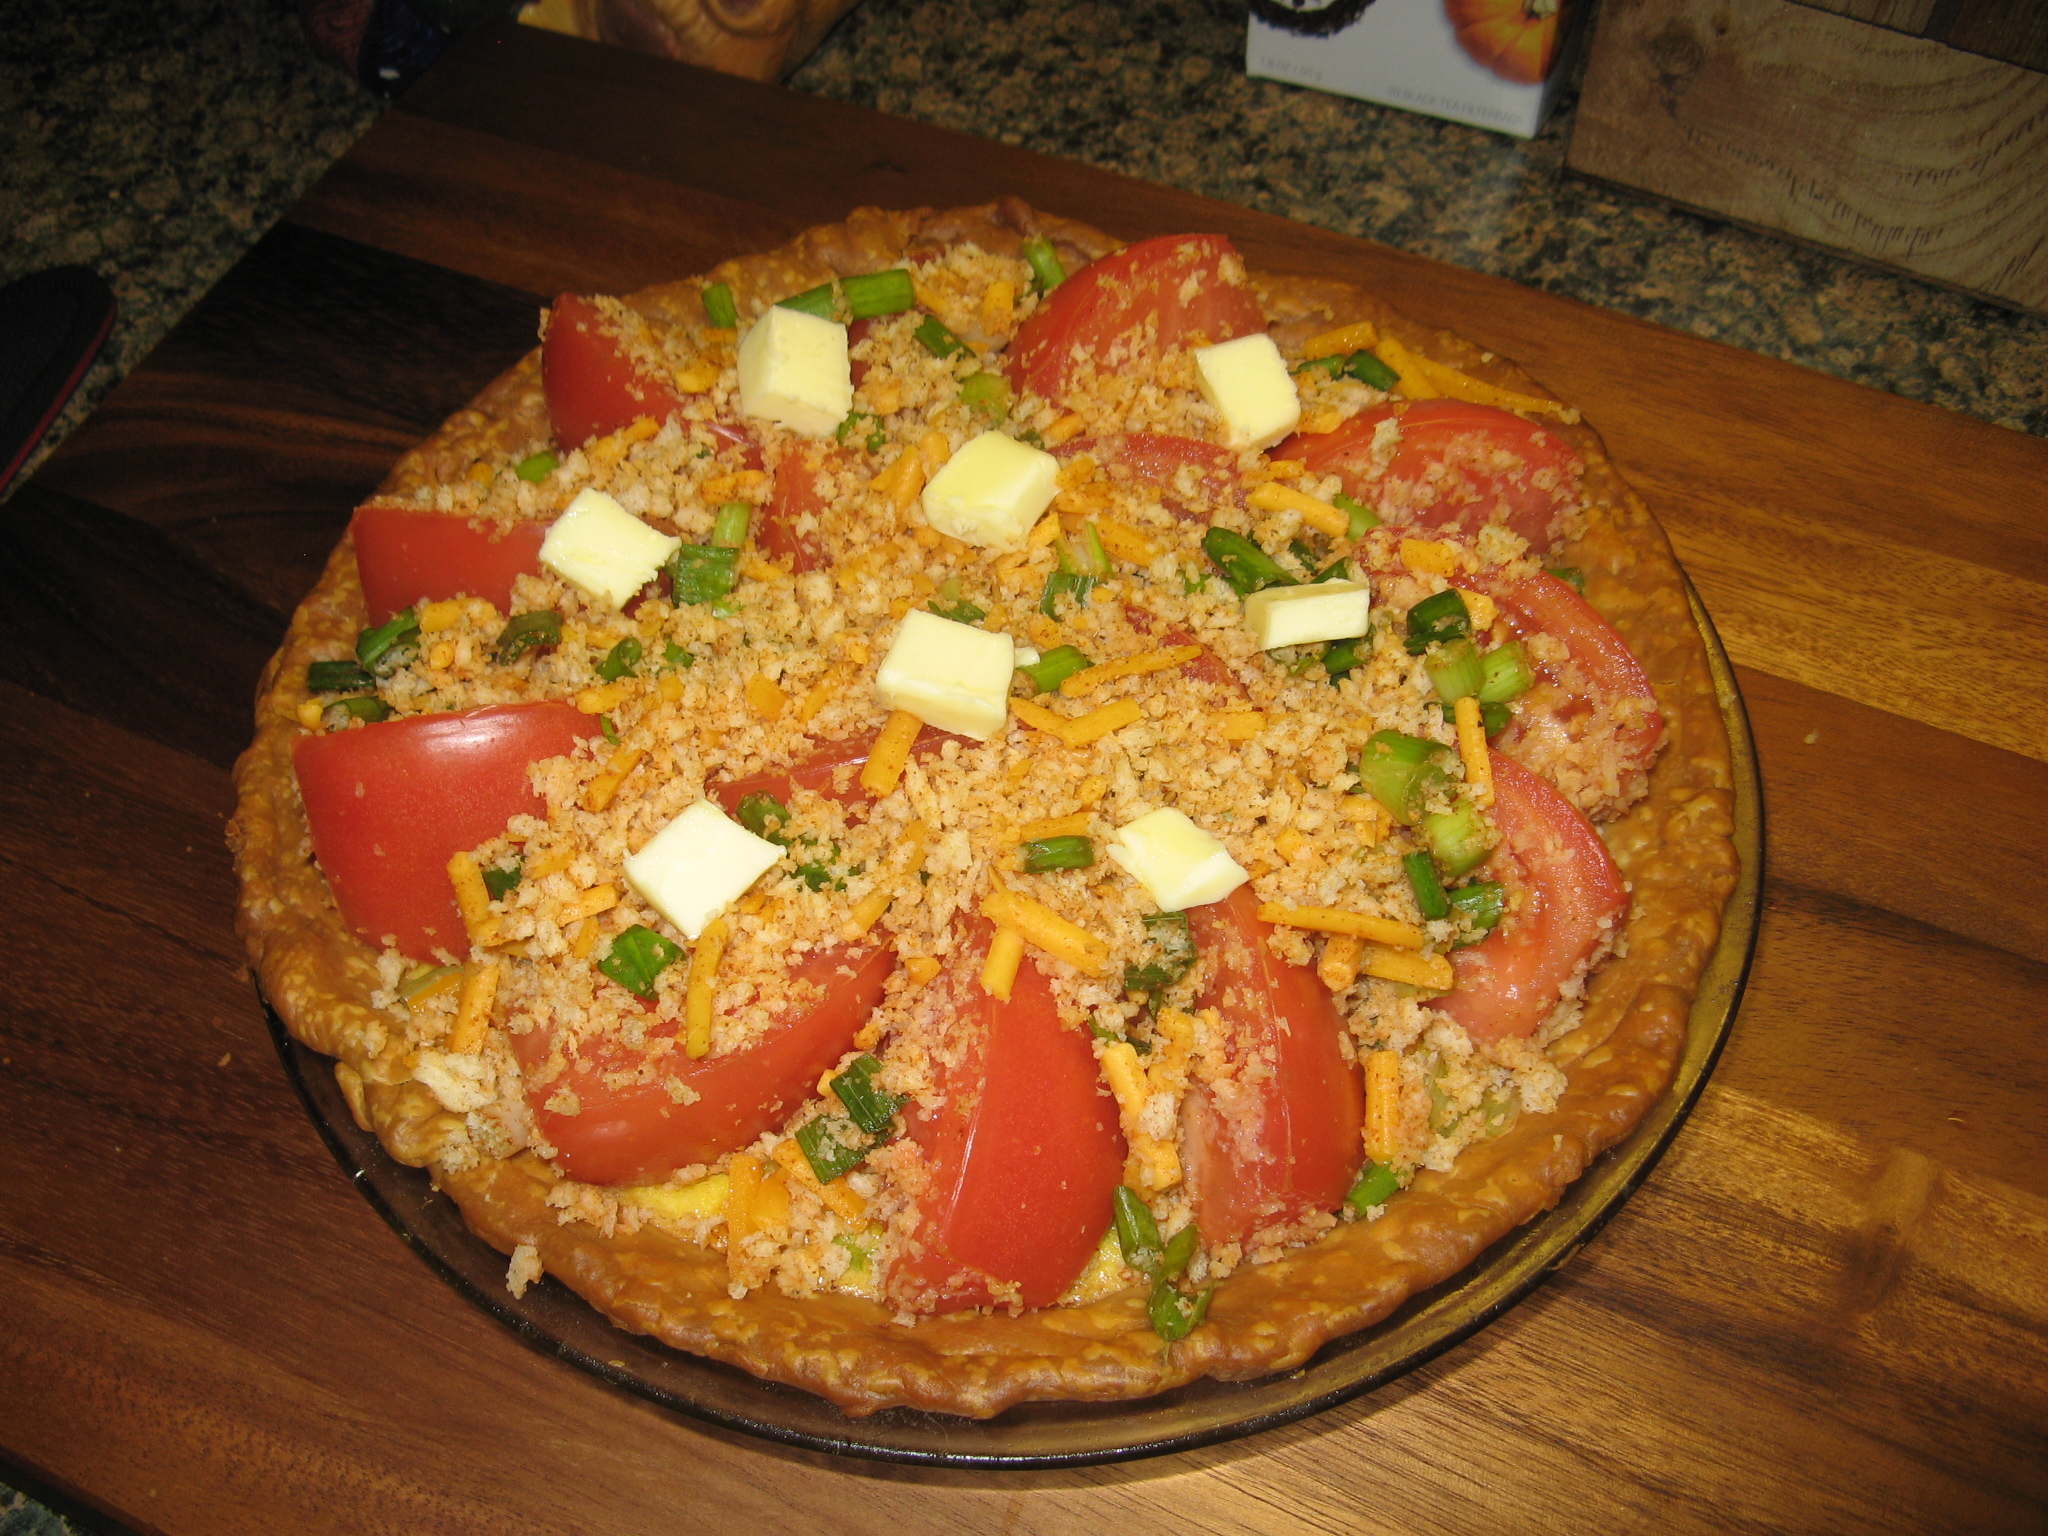
And then topped the pie with the reserved mixture and placed the coated tomatoes on top of the pie and topped it with the remaining panko mixture left in the bowl. Finally I dotted the top of the pie with a tablespoon of butter.

IMG_5556

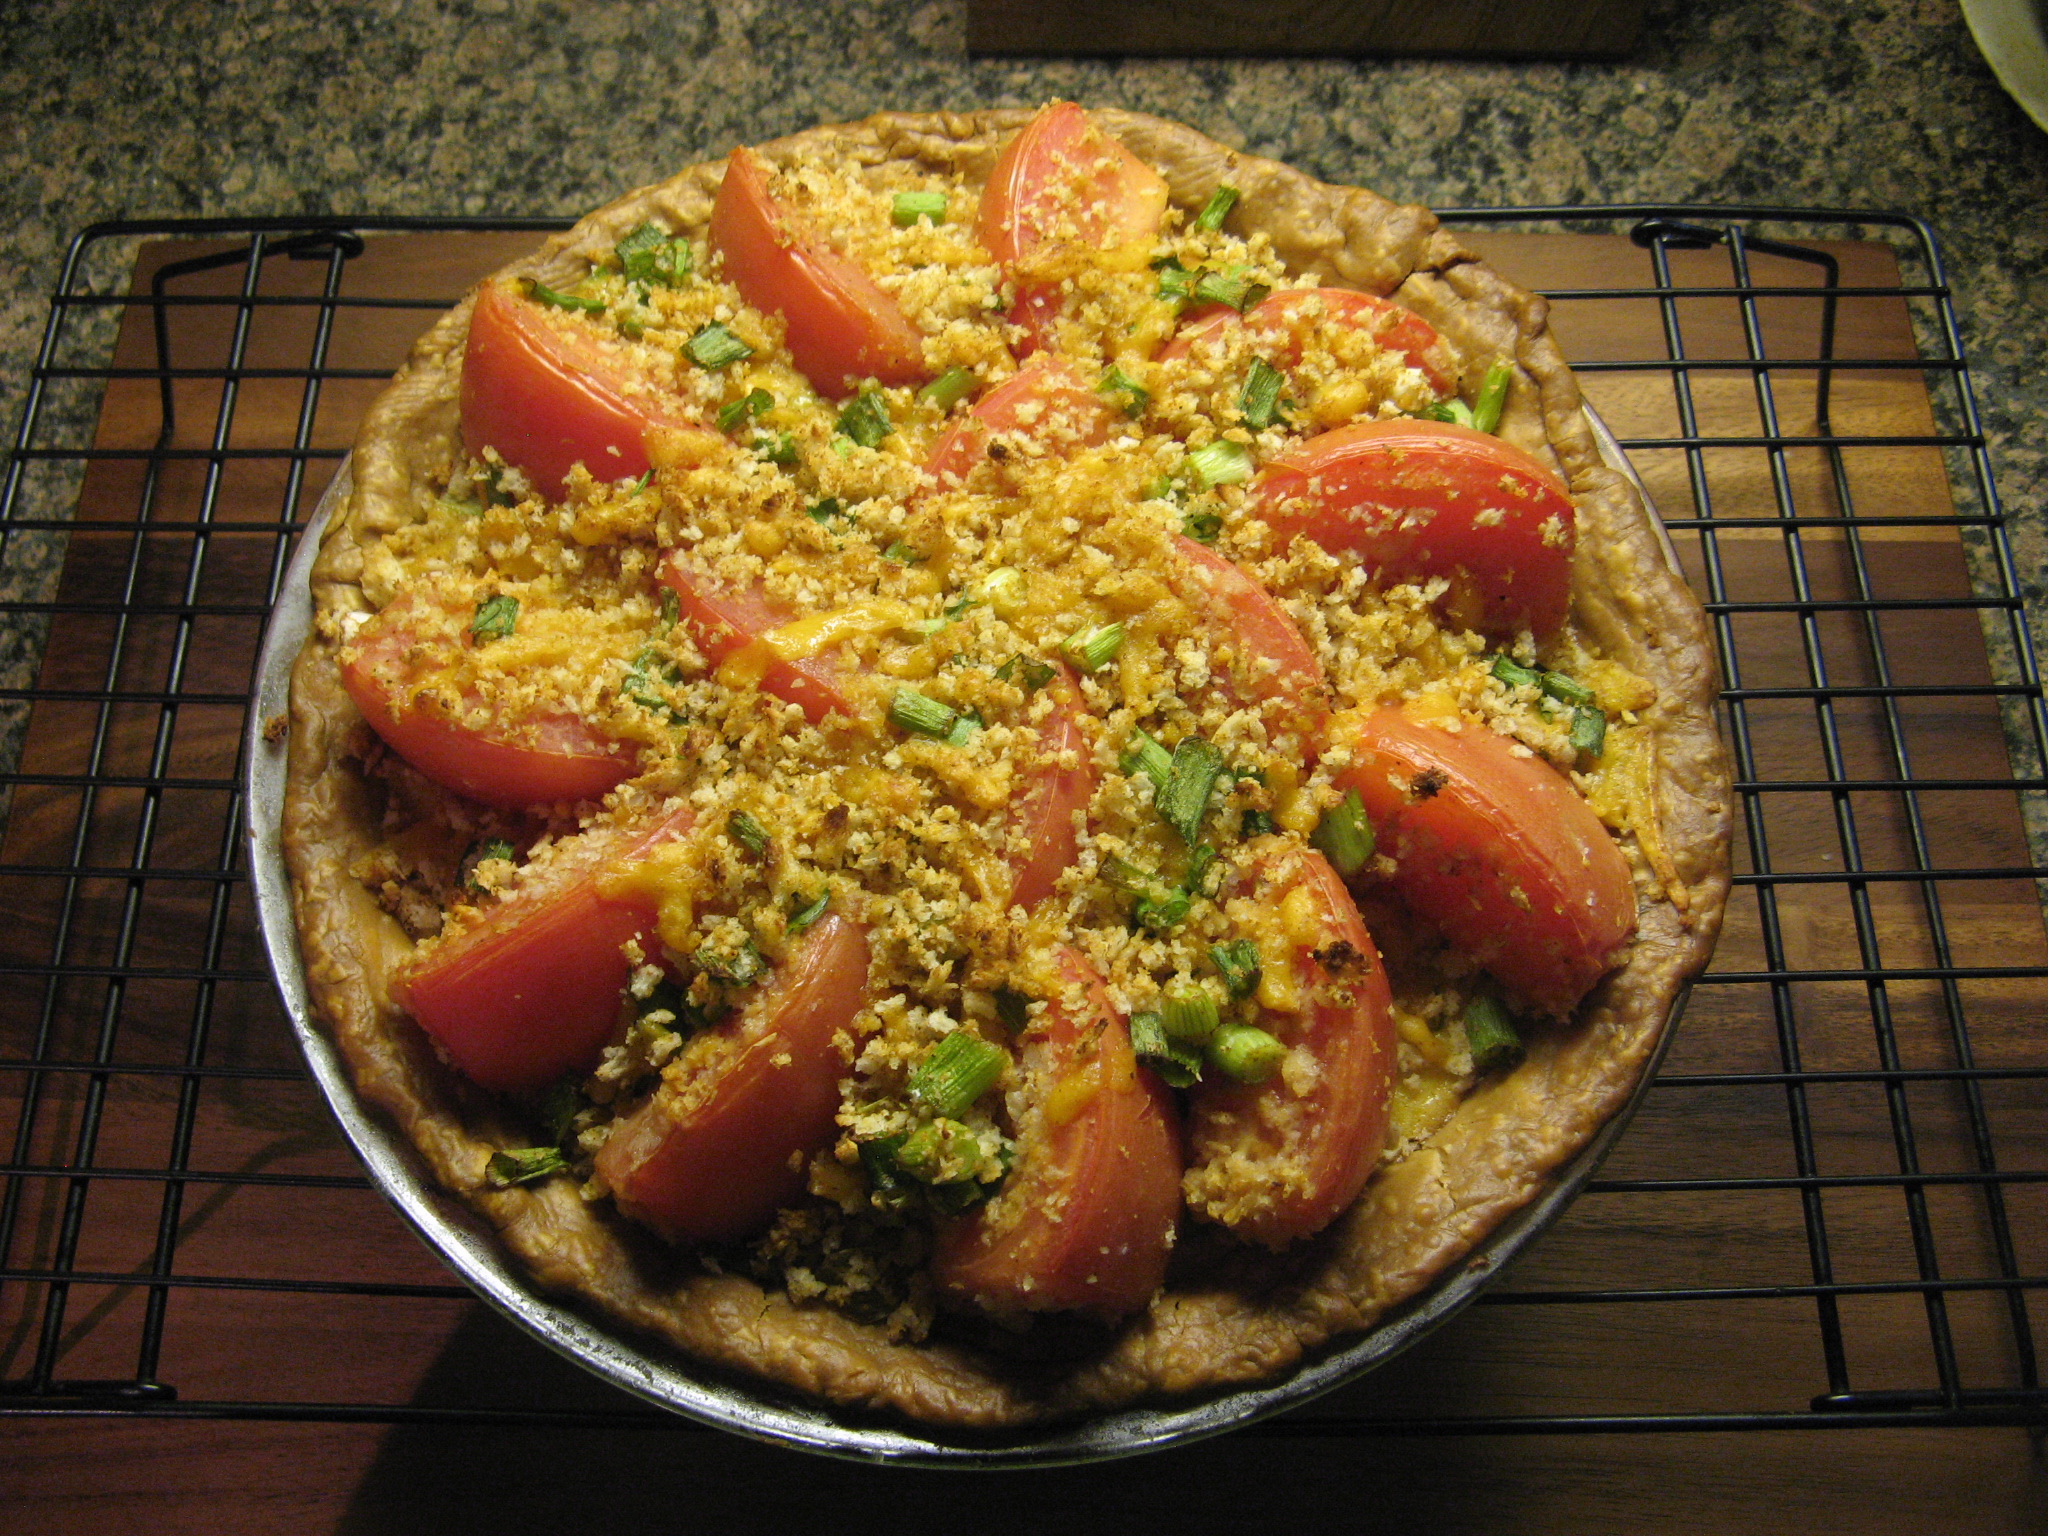
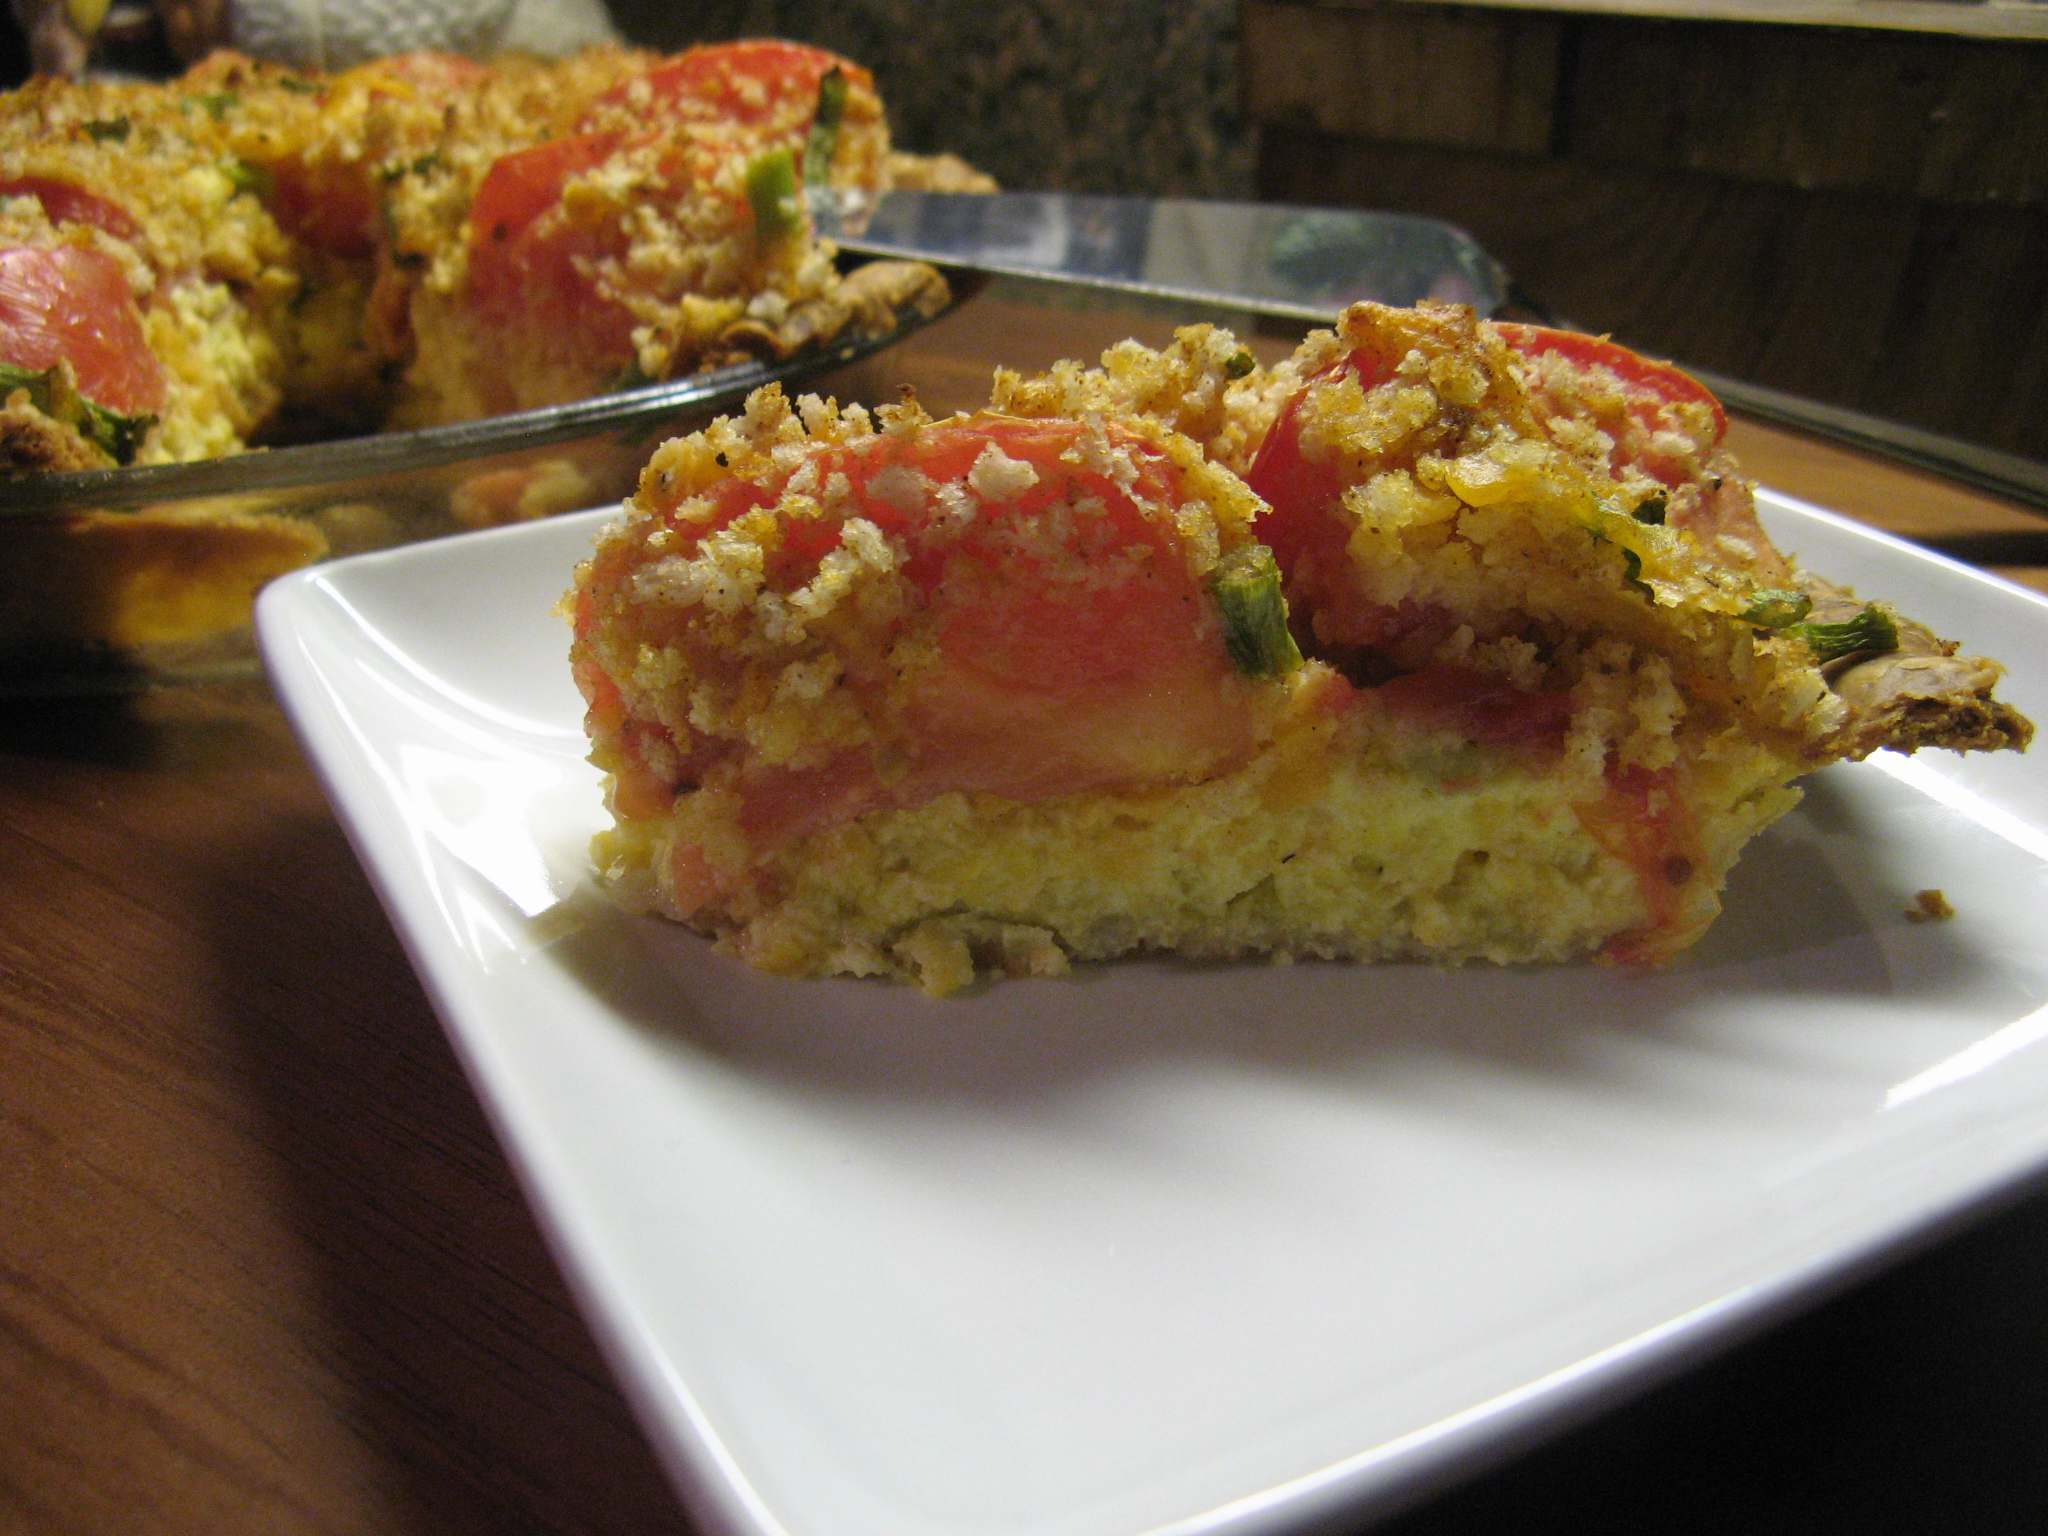
I placed the pie back in the oven for another 15 minutes, until the top was golden, and let it cool for a bit before slicing into it.

IMG_5563

Final verdict… Absolutely delicious! The custard is a tad bit sweet because of the corn and the panko breadcrumb topping is on the savory side because of the addition of the scallions, paprika and cheddar cheese. This is a definite winner I can see myself making many times to come!

IMG_5572


Tomato and Corn Custard Pie

Serves 6 to 8

Ingredients:

1 round refrigerated pie dough (half of a 14-ounce package)

2 beefsteak tomatoes (about 12 ounces)

Kosher salt

2 tablespoons unsalted butter

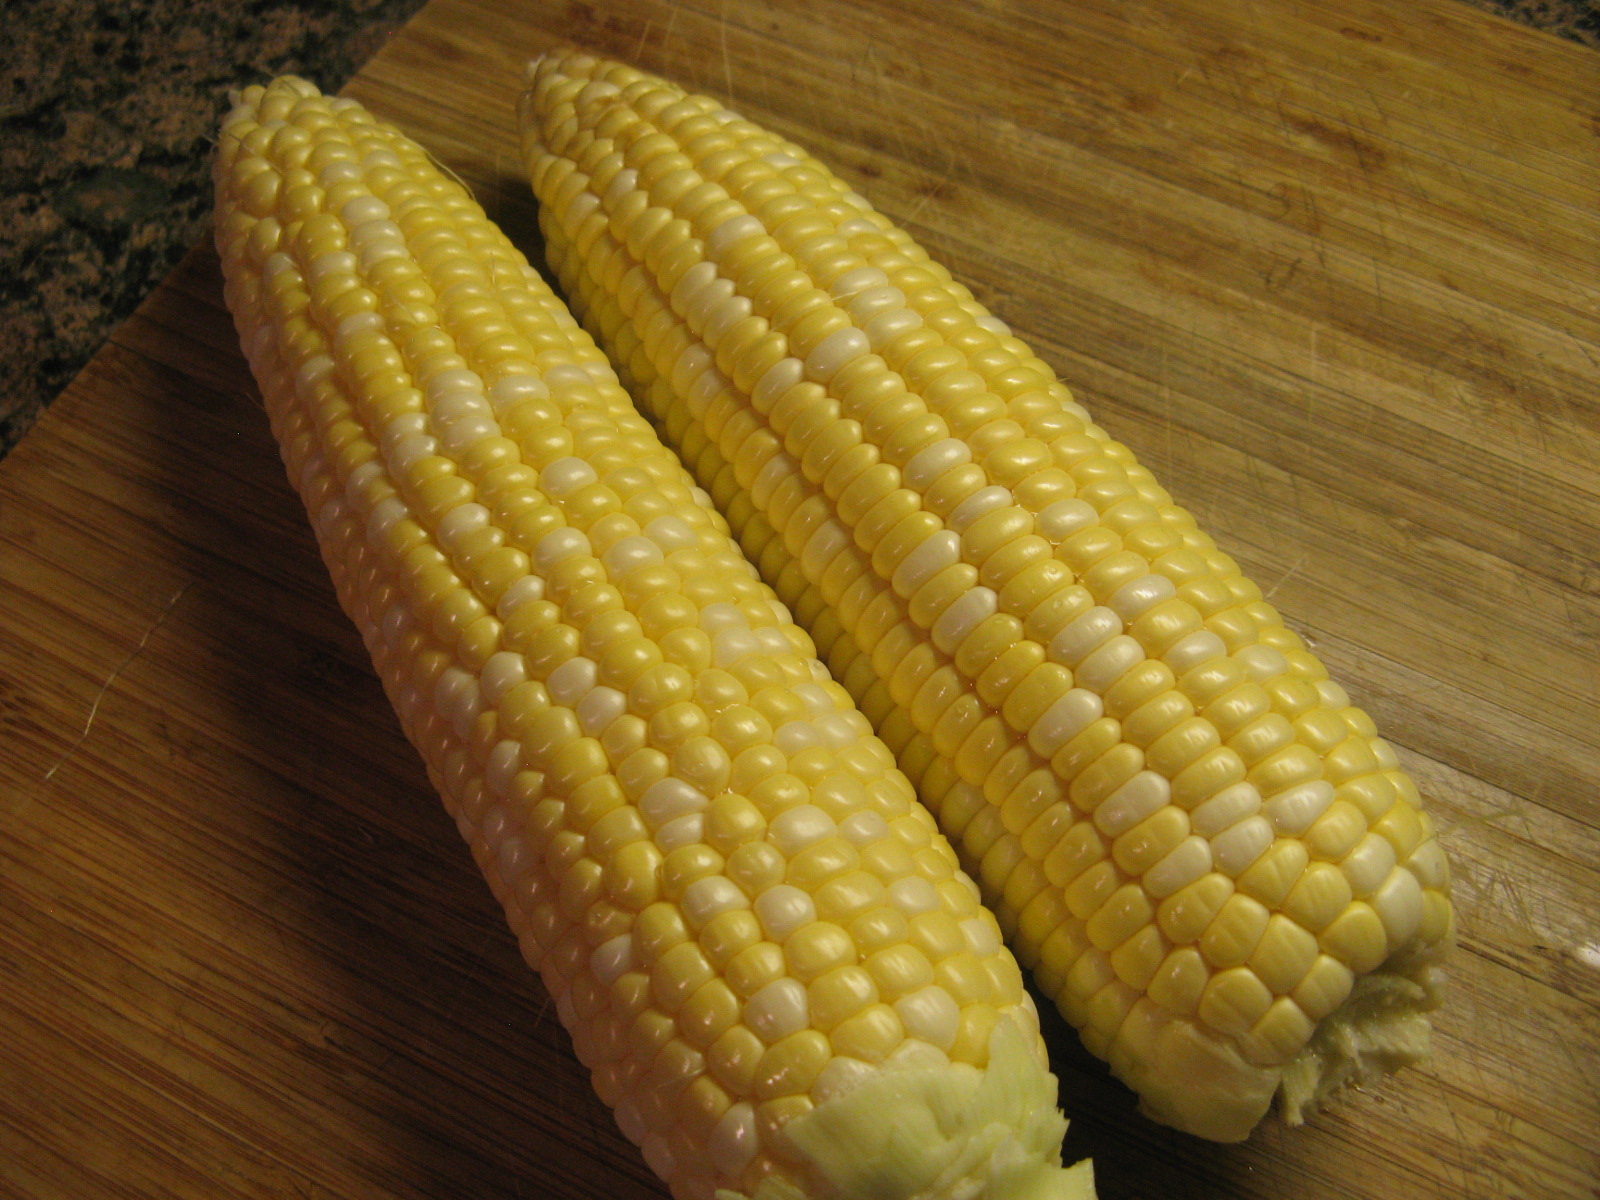
2 ears of corn, kernels cut off (1 to 1 1/2 cups) *I opted to use a 10 ounce bag of frozen corn that I steamed in the microwave)

1 cup heavy cream

3 large eggs, lightly beaten

6 scallions, chopped

1 cup grated sharp cheddar cheese (about 4 ounces)

Freshly ground black pepper

1/2 cup panko breadcrumbs

1 teaspoon chopped fresh thyme*

1/2 teaspoon paprika

Pinch of cayenne pepper*

*I omitted these two spices from my version

Directions:

1. Position racks in the middle and upper third of the oven and preheat to 350 F. Line a 9-inch pie plate with the dough, crimping the edge with your fingers. Poke the bottom of the crust all over with a fork. Line with foil and fill with pie weights or dried beans. Bake on the middle rack until golden around the edge, about 20 minutes. Remove the foil and weights; continue baking until golden all over, about 10 more minutes.

2. Meanwhile, core the tomatoes and cut into 1/2-inch wedges; toss with 1 1/2 teaspoons salt. Spread the tomatoes in a single layer on paper towels to drain until ready to use.

3. Melt 1 tablespoon butter in a medium saucepan over medium heat. Add the corn and cook stirring occasionally, until tender, about 5 minutes. Transfer 1/2 cup of the corn to a large bowl.

4. Add the heavy cream to the saucepan with the remaining corn and bring to a simmer. Carefully transfer the mixture to a blends and puree until smooth; transfer to the bowl with the corn. Whisk in the eggs, half each of the scallions and cheese, and a few grinds of black pepper; pour into the crust. Bake of the middle rack until the custards is just set, 35 to 40 minutes. Remove from the oven and increase the temperature to 400 F.

5. Mix the remaining scallions and cheese, the panko, thyme, paprika and 1/4 teaspoon each salt and pepper in a bowl. Sprinkle 1/4 cup of the mixture on top of the pie. Pat the tomato wedges with paper towels to absorb the excess moisture, then coat with the remaining panko mixture and arrange on top of the tart. Sprinkle any remaining panko on top; dot with the remaining 1 tablespoon butter. Return to the oven on the upper rack and bake until the top is golden, about 15 minutes. Let cool 30 minutes before slicing.


Sweet Corn Panna Cotta with Blueberry Compote

I recently signed up for Food & Wine Magazine’s Daily email where I get one sensational (their words not mine) recipe emailed to me every day. I usually glance at the recipe and then delete the email, not because the dish sounds bad, but because I know I will never make it. A week or two ago I got one recipe that I knew I wanted to try… A Sweet Corn Panna Cotta with Fresh Blueberry Compote. I had panna cotta for dessert at a restaurant a few years ago and instantly loved it; granted that one was a Mango Panna Cotta with a Passion Fruit Sauce. I never attempted to make it myself because I thought that it would be difficult – the one recipe I came across was a bit intimidating but once I saw this one I knew I could handle it.

IMG_4879

I began my shucking two ears of corn and then used a corn zipper to remove the kernels and boiled them for about 15 minutes until they were tender.

IMG_4830

Following that I rinsed the kernels in cold water and then transferred them into the bowl of my food processor.

IMG_4834

Meanwhile I sprinkled 1 1/2 teaspoons of unflavored gelatin powder over 1/4 cup of whole milk, which I let stand for 5 minutes.

IMG_4831

In a small saucepan I combined whole milk, heavy cream, salt, granulated sugar, and dark brown sugar and brought it to a simmer over medium heat whisking it to dissolve the sugars.

IMG_4833

I then poured the hot milk mixture into the bowl with the gelatin mixture and stirred it until the gelatin dissolved.

IMG_4835

I then poured the mixture over the corn in the food processor.

IMG_4837

I pureed the corn and milk mixture until it was smooth and then strained it through a sieve pressing on the solids to get all of the liquid out and then discarded the solids.

IMG_4839

I strained the mixture once again through the sieve and then placed the bowl in an ice bath until it was cool, stirring it occasionally.

IMG_4841

And finally I divided the mixture into four 8-ounce ramekins, covered them and placed them in the refrigerator overnight so they could set. In all honesty, I had my doubts that I made the panna cotta correctly because it was so watery when I poured it into the ramekins. I checked one of them an hour or so after refrigerating it to make sure it was solidifying and I am happy to say I had made them correctly!

IMG_4843

While the panna cotta was “baking” in the fridge I made the Blueberry Compote which couldn’t have been simpler. I combined blueberries with sugar, lemon zest, lemon juice and kosher salt and mixed it until the sugar was dissolved and then let it stand for a bit (at least 30 minutes), stirring it occasionally.

IMG_4846

The set panna cotta…

IMG_4875

And topped with the Blueberry Compote.

IMG_4876

This was absolutely delicious! The panna cotta was the perfect texture, silky and smooth, and the corn flavor was just perfect without being too sweet or having too much of a “vegetable” taste, for those of you who aren’t keen on eating your veggies.

IMG_4882

Sweet Corn Panna Cotta with Fresh Blueberry Compote

Servings: 4

Ingredients:

Panna Cotta

2 ears of corn, husked

1 1/2 teaspoons unflavored powdered gelatin

3/4 cup plus 1 tablespoon whole milk

1 cup plus 2 1/2 tablespoons heavy cream

1/4 teaspoon plus 1/8 teaspoon kosher salt

1/4 cup plus 2 tablespoons granulated sugar

3 tablespoons dark brown sugar

Blueberry Compote

1 tablespoon sugar

1/2 teaspoon finely grated lemon zest

1 1/2 teaspoons fresh lemon juice

Pinch of kosher salt

1 1/2 cups blueberries

Directions: 

1. Make the Panna Cotta: In a medium pot fitted with a steamer basket, steam the corn until tender, 15 minutes. Let cool, then cut the kernels from the cobs (you should have 1 1/2 cups); discard the cobs. Transfer the kernels to a blender.*

2. Meanwhile, in a heatproof medium bowl, sprinkle the gelatin over 1/4 cup of the milk. Let stand for 5 minutes.

3. In a small skillet, combine the remaining 1/2 cup plus 1 tablespoon of milk with the cream, salt and both sugars and bring to a bare simmer, whisking to dissolve the sugars. Scrape the hot milk into the gelatin and stir until the gelatin dissolves. Pour the mixture into the blender over the corn and puree until smooth.

4. Strain the puree through a sieve into a large bowl, pressing on the solids; discard the solids. Strain again without pressing; discard any solids in the sieve. Set the panna cotta in an ice bath until cool, stirring occasionally. Scrape the panna cotta into four 8-ounce ramekins. Cover and refrigerate overnight until firm.

5. Make the Blueberry Compote: In a large bowl, combine all of the ingredients and mix until the sugar is dissolved. Let stand for at least 30 minutes, stirring occasionally. Serve the panna cotta in the ramekins with the compote.

*I opted to remove the kernels from the cobs beforehand and boiled the corn for about 15 minutes and then drained it while running them under cold water to cool them. And instead of using a blender, I used a food processor.

Chicken Corn Chowder

Many people don’t think of summer as the time to eat soup, but, some of the best soups can be made during the warmer months. Especially with the bounty of vegetables that are in-season. Just think of the amazing soups that can be made with watermelon, tomatoes and corn – all three of which have their peak season during the summer. A few years ago I made a Corn Chowder after attending a culinary event at a local Williams-Sonoma and I saw a Corn Zipper used and knew I had to have one. Well, that Corn Zipper has been sitting in a utensil drawer ever since then until last week when thinking of what to make for dinner I saw it and instantly knew what I wanted to make… Chicken Corn Chowder. Just in case you are wondering, a Corn Zipper is exactly what it sounds like, a tool that allows you to zip corn kernels right off of the cob. It’s much easier and safer than using a knife! As luck – or not so lucky depending on how you look at it – would have it I ended up making this chowder on a rainy day last week that resulted in some heavy flooding in my area so I was essentially rained-in. Hence, I took advantage of the day and also made a pesto sauce and a Meyer Lemon Yogurt Cake which I will be posting about within the next day or two.

Along with corn, the other vegetables I added to the chowder were celery, carrots, onion and potatoes.

IMG_4748

My lovely corn once it was shucked. I lucked out with picking perfect corn just by touch because it was way too crowded in the corn area of my supermarket to shuck it there.

IMG_4759

Here are the chicken and vegetables prepped and ready to go. I poached the chicken thighs in chicken stock along with salt, pepper and some spices (onion powder, garlic powder and oregano) for about 40 minutes. More than likely I cooked it longer than need be but since it was in liquid it didn’t dry out or anything. I diced up the celery, a carrot and the onion and mixed it together along with a minced garlic clove. And finally I cut two potatoes leaving them in large chunks so they wouldn’t break down while cooking.

Chicken Corn Chowder 1

Using a large Dutch oven I began by sautéing the onion, carrot, celery and garlic in melted butter for two minutes – this is more or less a mirepoix. A true mirepoix calls for two parts onion and one part each of carrot and celery.

IMG_4764

I then added in a 1/2 cup of flour and stirred the mixture to make a roux. Once the roux had browned I set it aside and let it cool to room temperature.

IMG_4768

While the roux was cooling I combined the corn, potatoes and 3 cups of chicken stock in a pot and brought it to a boil and then let it simmer for about 15 minutes. My gauge for the cooking time was the tenderness of the potatoes. I didn’t want them to be completely cooked through, but, I wanted them pretty close to being done. I then added the chicken stock mixture to the roux – a little at a time – whisking it briskly so it wouldn’t get lumpy and then returned it to the heat and brought it to a boil.

IMG_4772

Once the chowder came together – it was thick – I then heated 2 cups of half-and-half in a small saucepan and added it along with the chicken to the chowder and some salt, pepper and a pinch of nutmeg. I let it simmer for about another 15-20 minutes so the chicken could heat through and the potatoes could finish cooking. This chowder was absolutely delicious and even better the next day.

IMG_4789


Chicken Corn Chowder – Adapted from here

Ingredients:

3 cups chicken stock

2 cups half-and-half

2 cups cooked chicken, cut into pieces (I poached two chicken thighs, but you could easily use a store bought cooked rotisserie chicken)

3 cups corn kernels, fresh or frozen (I used 4 ears of corn)

1/2 cup all-purpose flour

1 clove garlic, minced

1 celery stalk, diced

1 carrot, diced

1 yellow onion, diced

2 potatoes, cut into chunks

1/2 cup (1 stick) butter

Pinch of nutmeg

Salt and pepper to taste


Directions:

1. If you are choosing to cook your own chicken, prepare it whichever way you like. You could use leftovers or as I did simply poach the chicken with chicken stock and spices.

2. Melt the butter in a large Dutch oven (or a large pot) over medium heat. Add the onions, carrot, celery and garlic and sauté for 2 minutes. Add the flour and stir to make a roux. Cook until the roux I lightly browned and then set aside to cool to room temperature.

3. In another pot combine the corn, potatoes and chicken stock and bring to a boil and then simmer for 10 minutes. Add this to the roux slowly, whisking it so it doesn’t lump. Return the pot to the heat and bring it to a boil. The mixture should become very thick.

4. In a small saucepan, gently heat the half-and-half; stir it into the chowder along with the cooked chicken. Add the nutmeg and the salt and pepper to taste. Reduce the heat so the chowder can simmer and so the potatoes can finish cooking and the chicken can heat through.

5. Enjoy!


Quesadilla Casserole

I was running out of ideas of what to make for dinner – I’m a much more creative baker than cook – so I turned to one of the McCormick Recipe Creations I had in my cabinet and opted for a Quesadilla Casserole. The ingredients were basic, it seemed super quick and most importantly it sounded delicious.

IMG_1933 IMG_1934

To start I gathered all of my ingredients together.

IMG_1931

Up first I chopped the onion and cooked it with the ground beef until it was browned.

IMG_1935

After draining the beef and onion mixture I added in two cans of tomato sauce, a can of black beans (drained and rinsed), a can of corn (undrained), and a can of chopped green chiles (undrained).

IMG_1937

After mixing that together I then added in all of the spices: chili powder, ground cumin, minced garlic and oregano leaves.

IMG_1938

I brought the mixture to a boil and then lowered the heat from medium-high to low and let it simmer for five minutes.

IMG_1939

Now it was time to assemble the casserole. I began by spreading 1/2 cup of the beef mixture into a 13 x 9 x 2 inch baking dish which I sprayed with a non-stick baking spray.

IMG_1940

I then topped that with three 8-inch flour tortillas.

IMG_1941

To complete the first layer of the casserole I topped the tortillas with half of the remaining beef mixture and then one cup of shredded cheddar cheese.

IMG_1942

I made the second layer by repeating the tortilla, beef & cheese order.

IMG_1943

I baked the casserole in a 350 degrees pre-heated oven for 15 minutes and then let it rest for 5 minutes before digging in. It was a hit… This recipe is definitely a keeper and thankfully uses spices that I currently have in my cabinet so there’s no need for the recipe packet next time.

IMG_1945


Quesadilla Casserole

2 tsp. chili powder

1 tsp. ground cumin

1 tsp. minced garlic

1/2 tsp. oregano leaves

1 lb. ground beef

1/2 cup chopped onion

2 cans (8 oz. each) tomato sauce

1 can (15 oz.) black beans, drained and rinsed

1 can (8 3/4 oz.) whole kernel corn, undrained

1 can (4 1/2 oz.) chopped green chiles, undrained

6 flour tortillas (8-inch)

2 cups shredded Cheddar cheese

1/2 tsp. red pepper (optional)

1. Brown beef and onion in large skillet on medium-high heat; drain. Add tomato sauce, beans, corn and green chiles; mix well. Stir in all of the spices except red pepper. Bring to a boil. Reduce heat to low; simmer 5 minutes. Add red pepper to taste, if desired.

2. Spread 1/2 cup of the beef mixture on bottom of 13x9x2- inch baking dish sprayed with no-stick cooking spray. Top with 3 of the tortillas, overlapping as needed. Layer with 1/2 of the remaining beef mixture and 1/2 of the cheese. Repeat with remaining tortillas, beef mixture and cheese.

3. Bake in preheated 350F oven 15 minutes or until heated through. Let stand 5 minutes before serving.


%d bloggers like this: