Has your cooking and baking gotten a tad bit creative in these crazy times? As we all try to adhere to social distancing our runs to the grocery store may have become non-existent or minimal. On those times we do go our selections may be slim pickings or restricted. So, what are we to do? We have to make do with what we have at home or get creative with what we can get on our grocery runs.
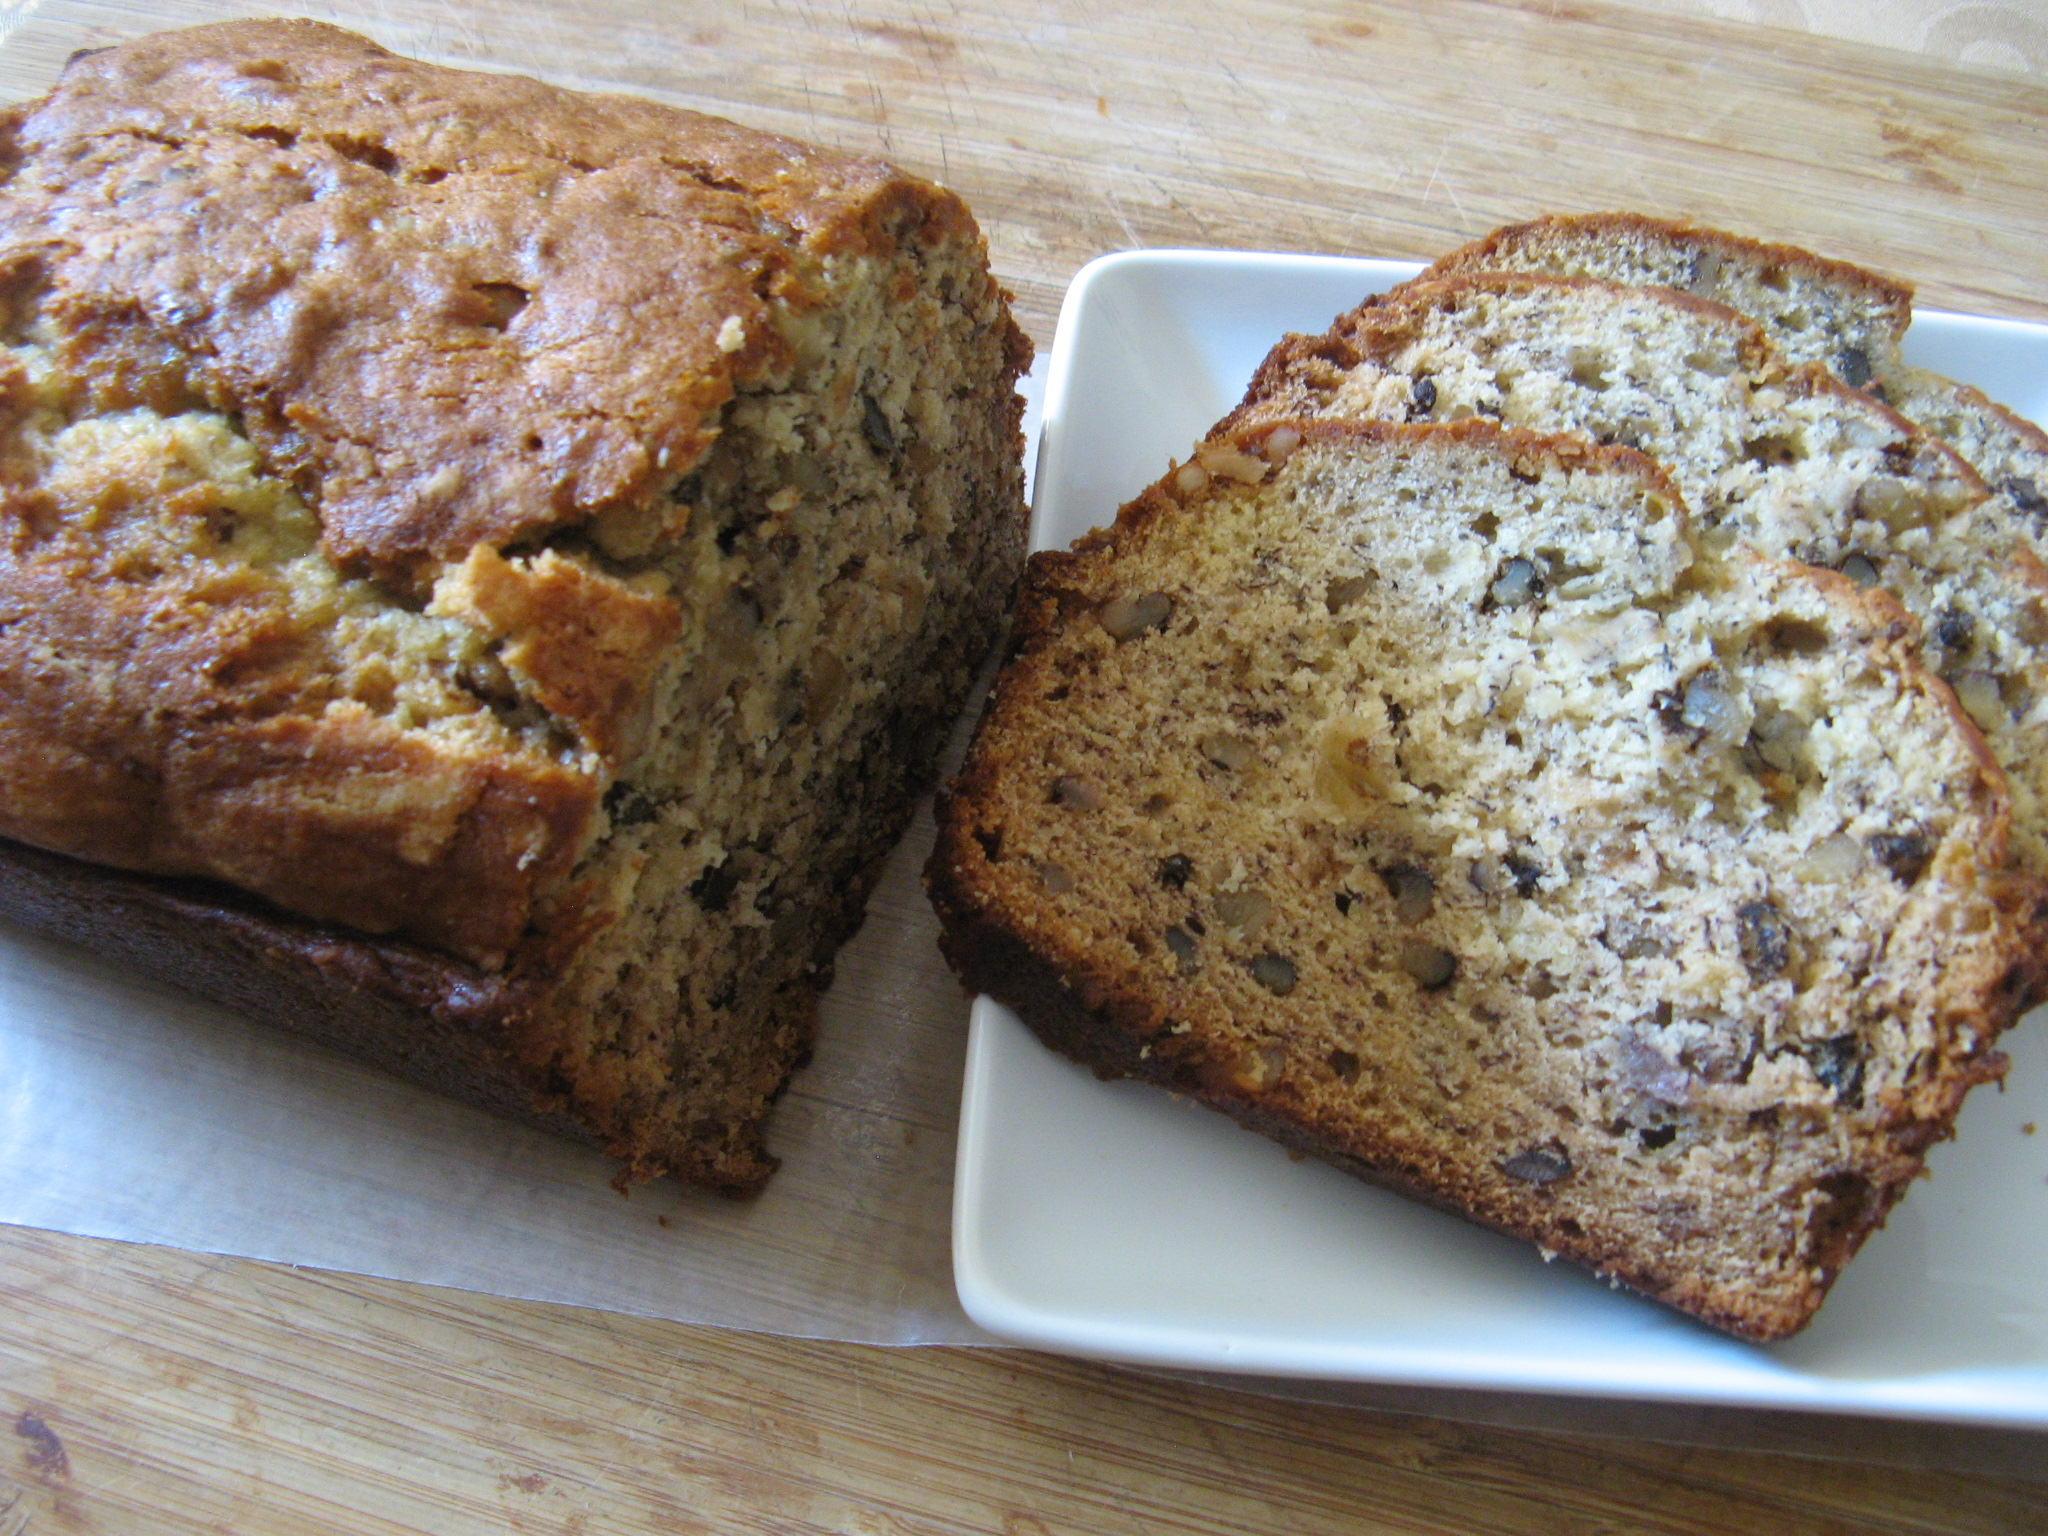
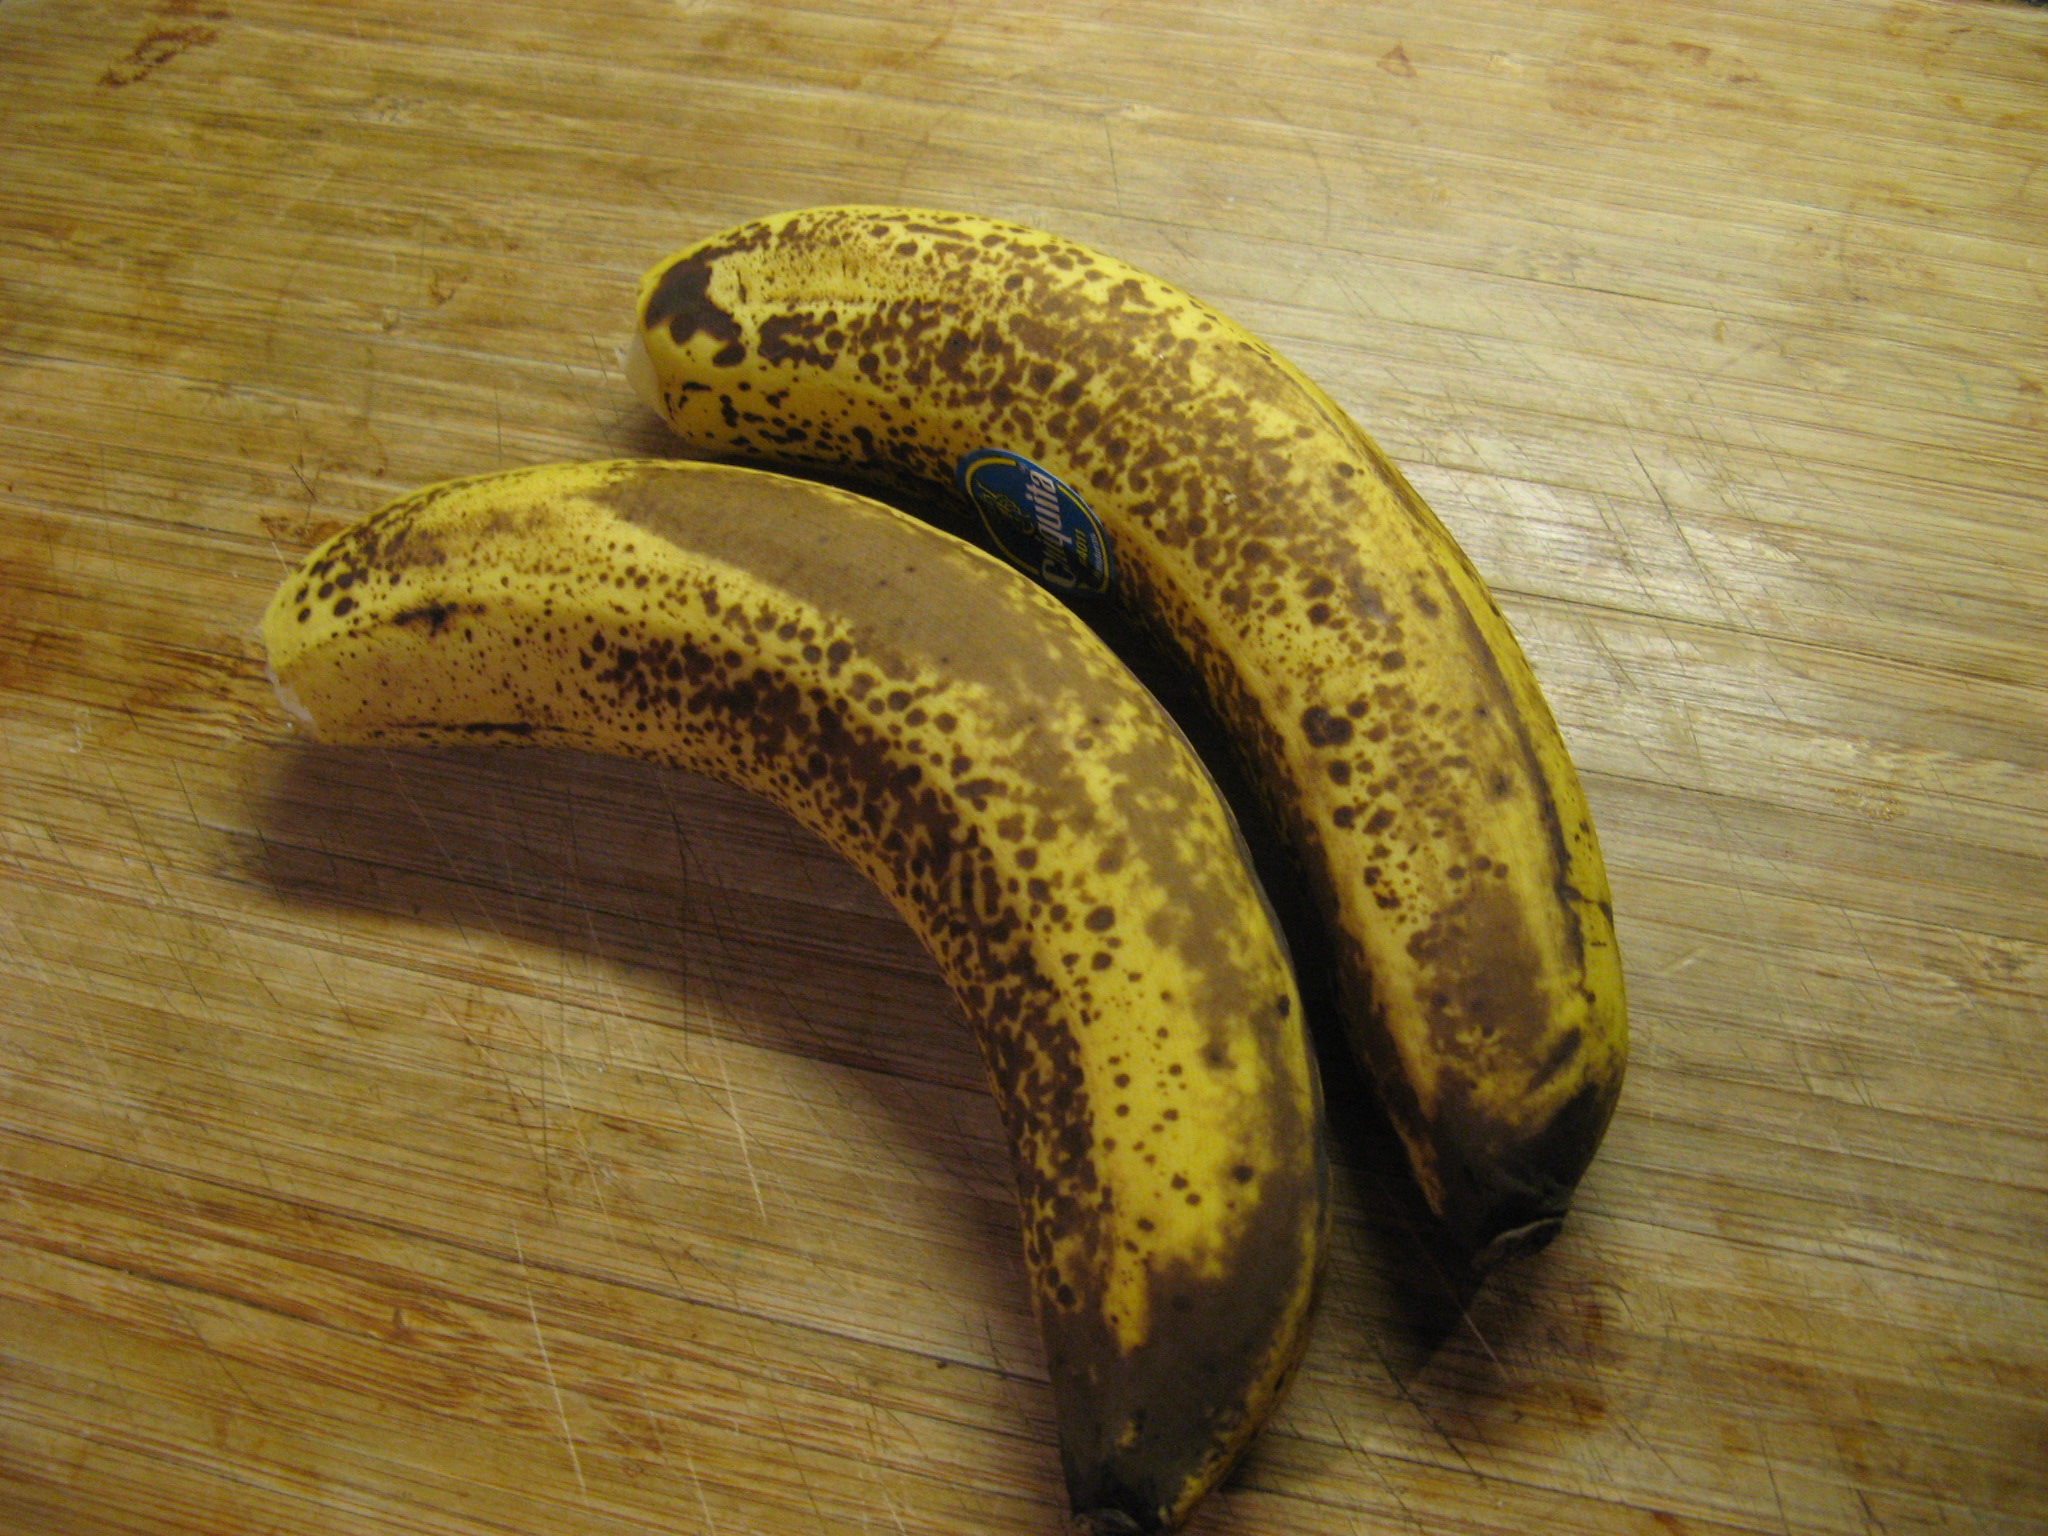
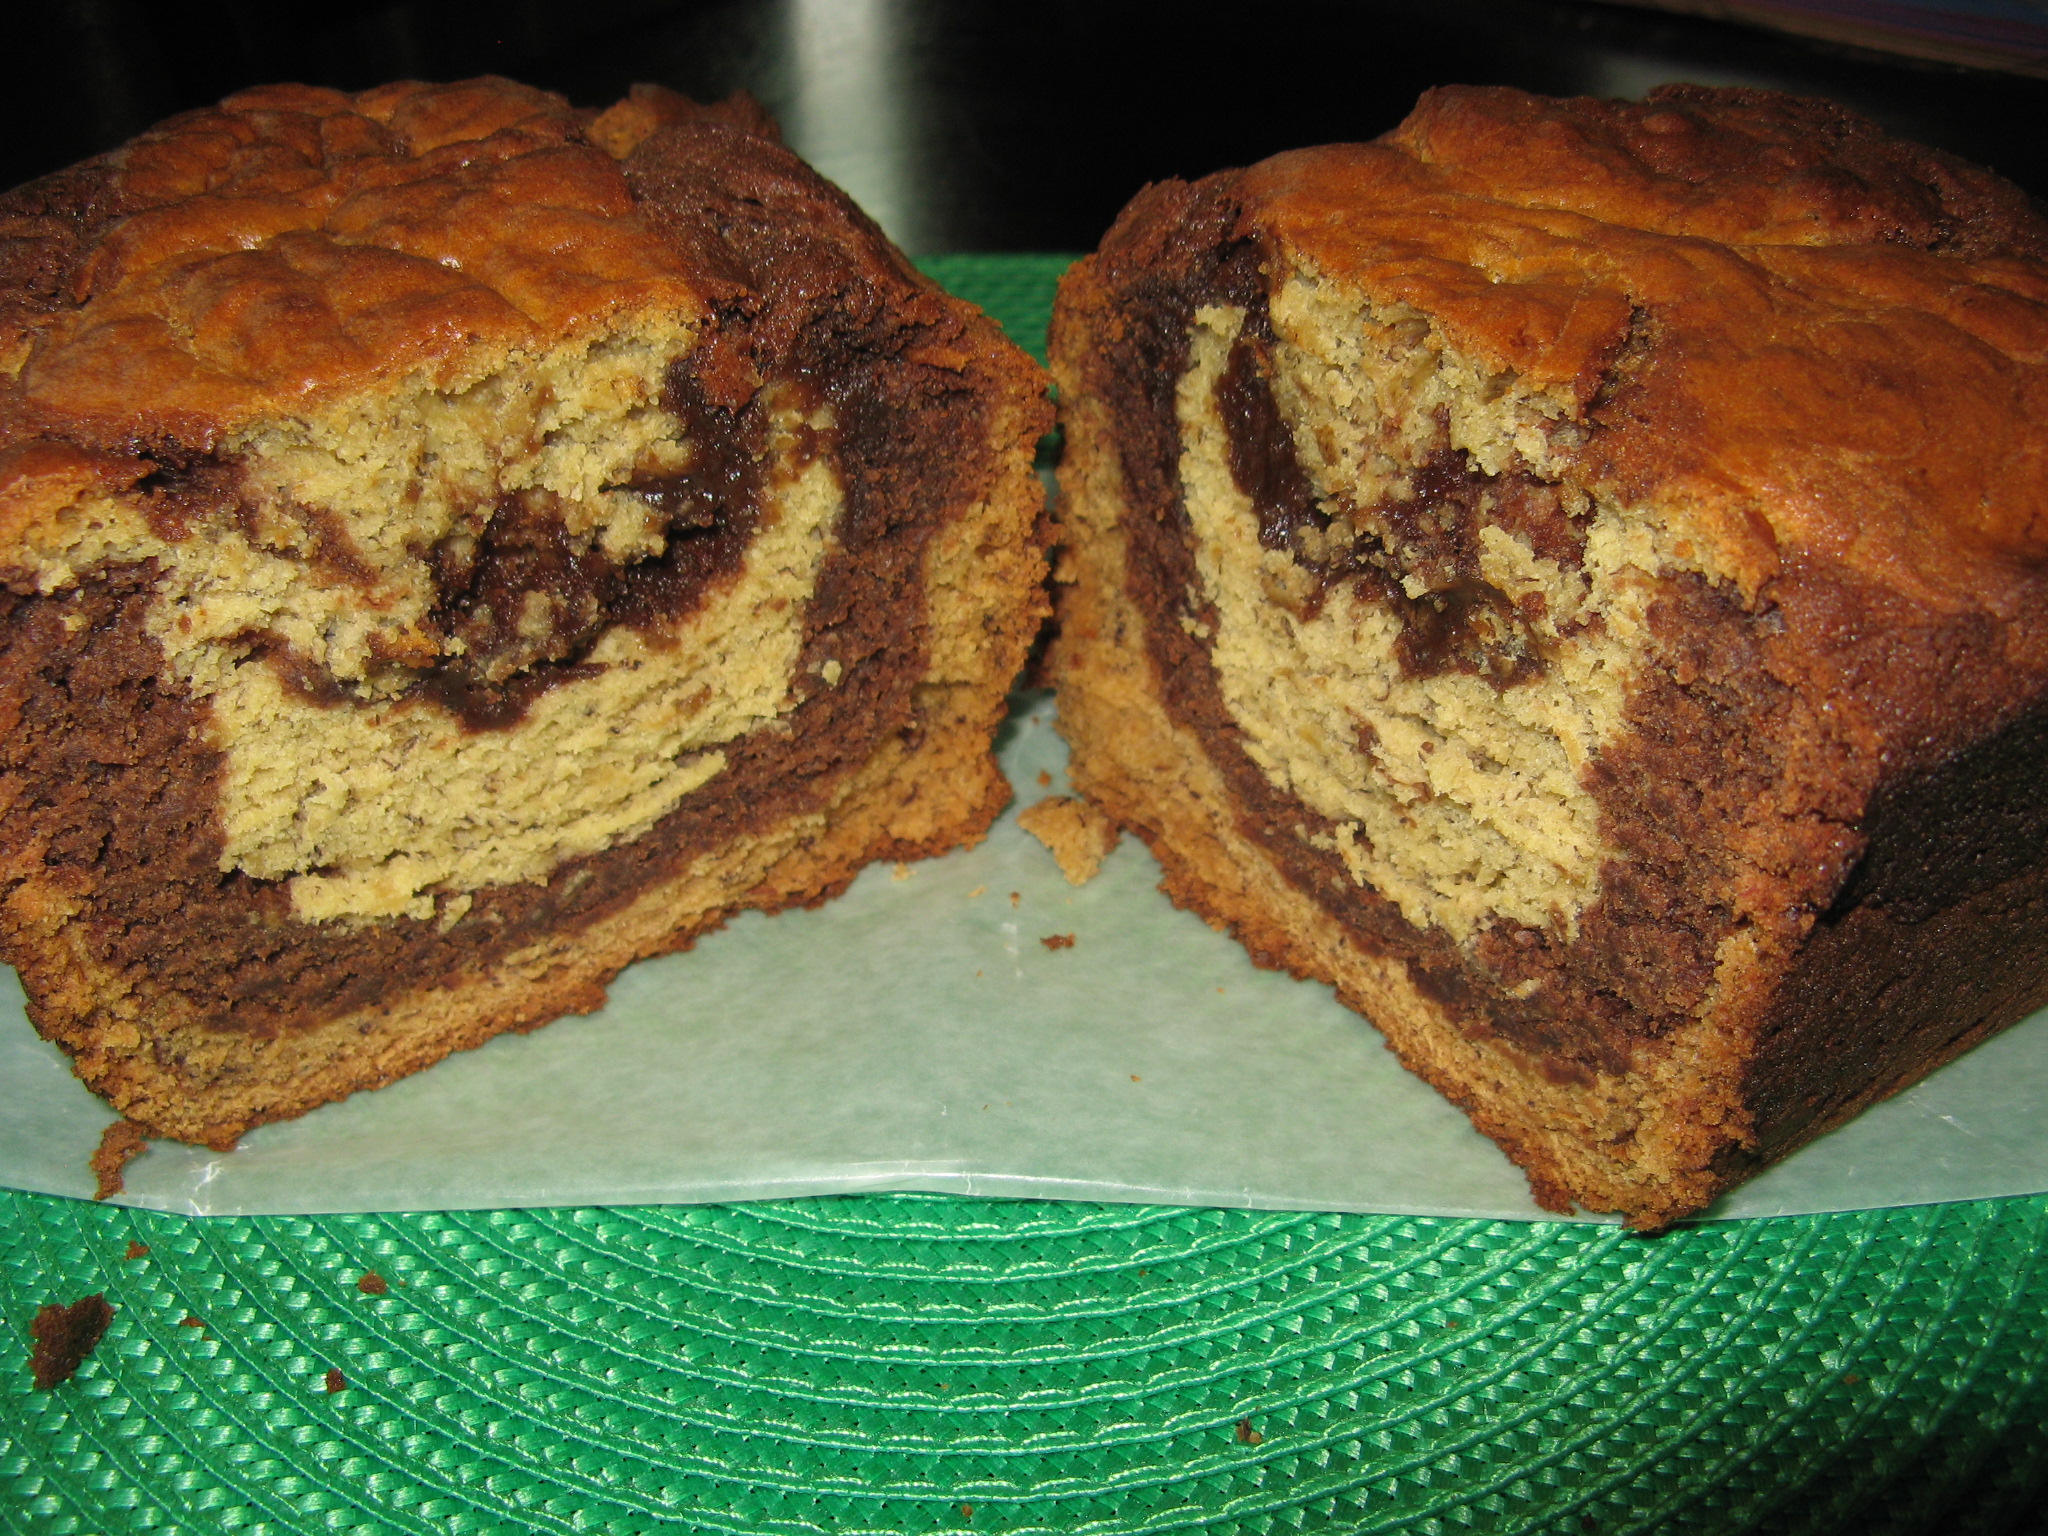
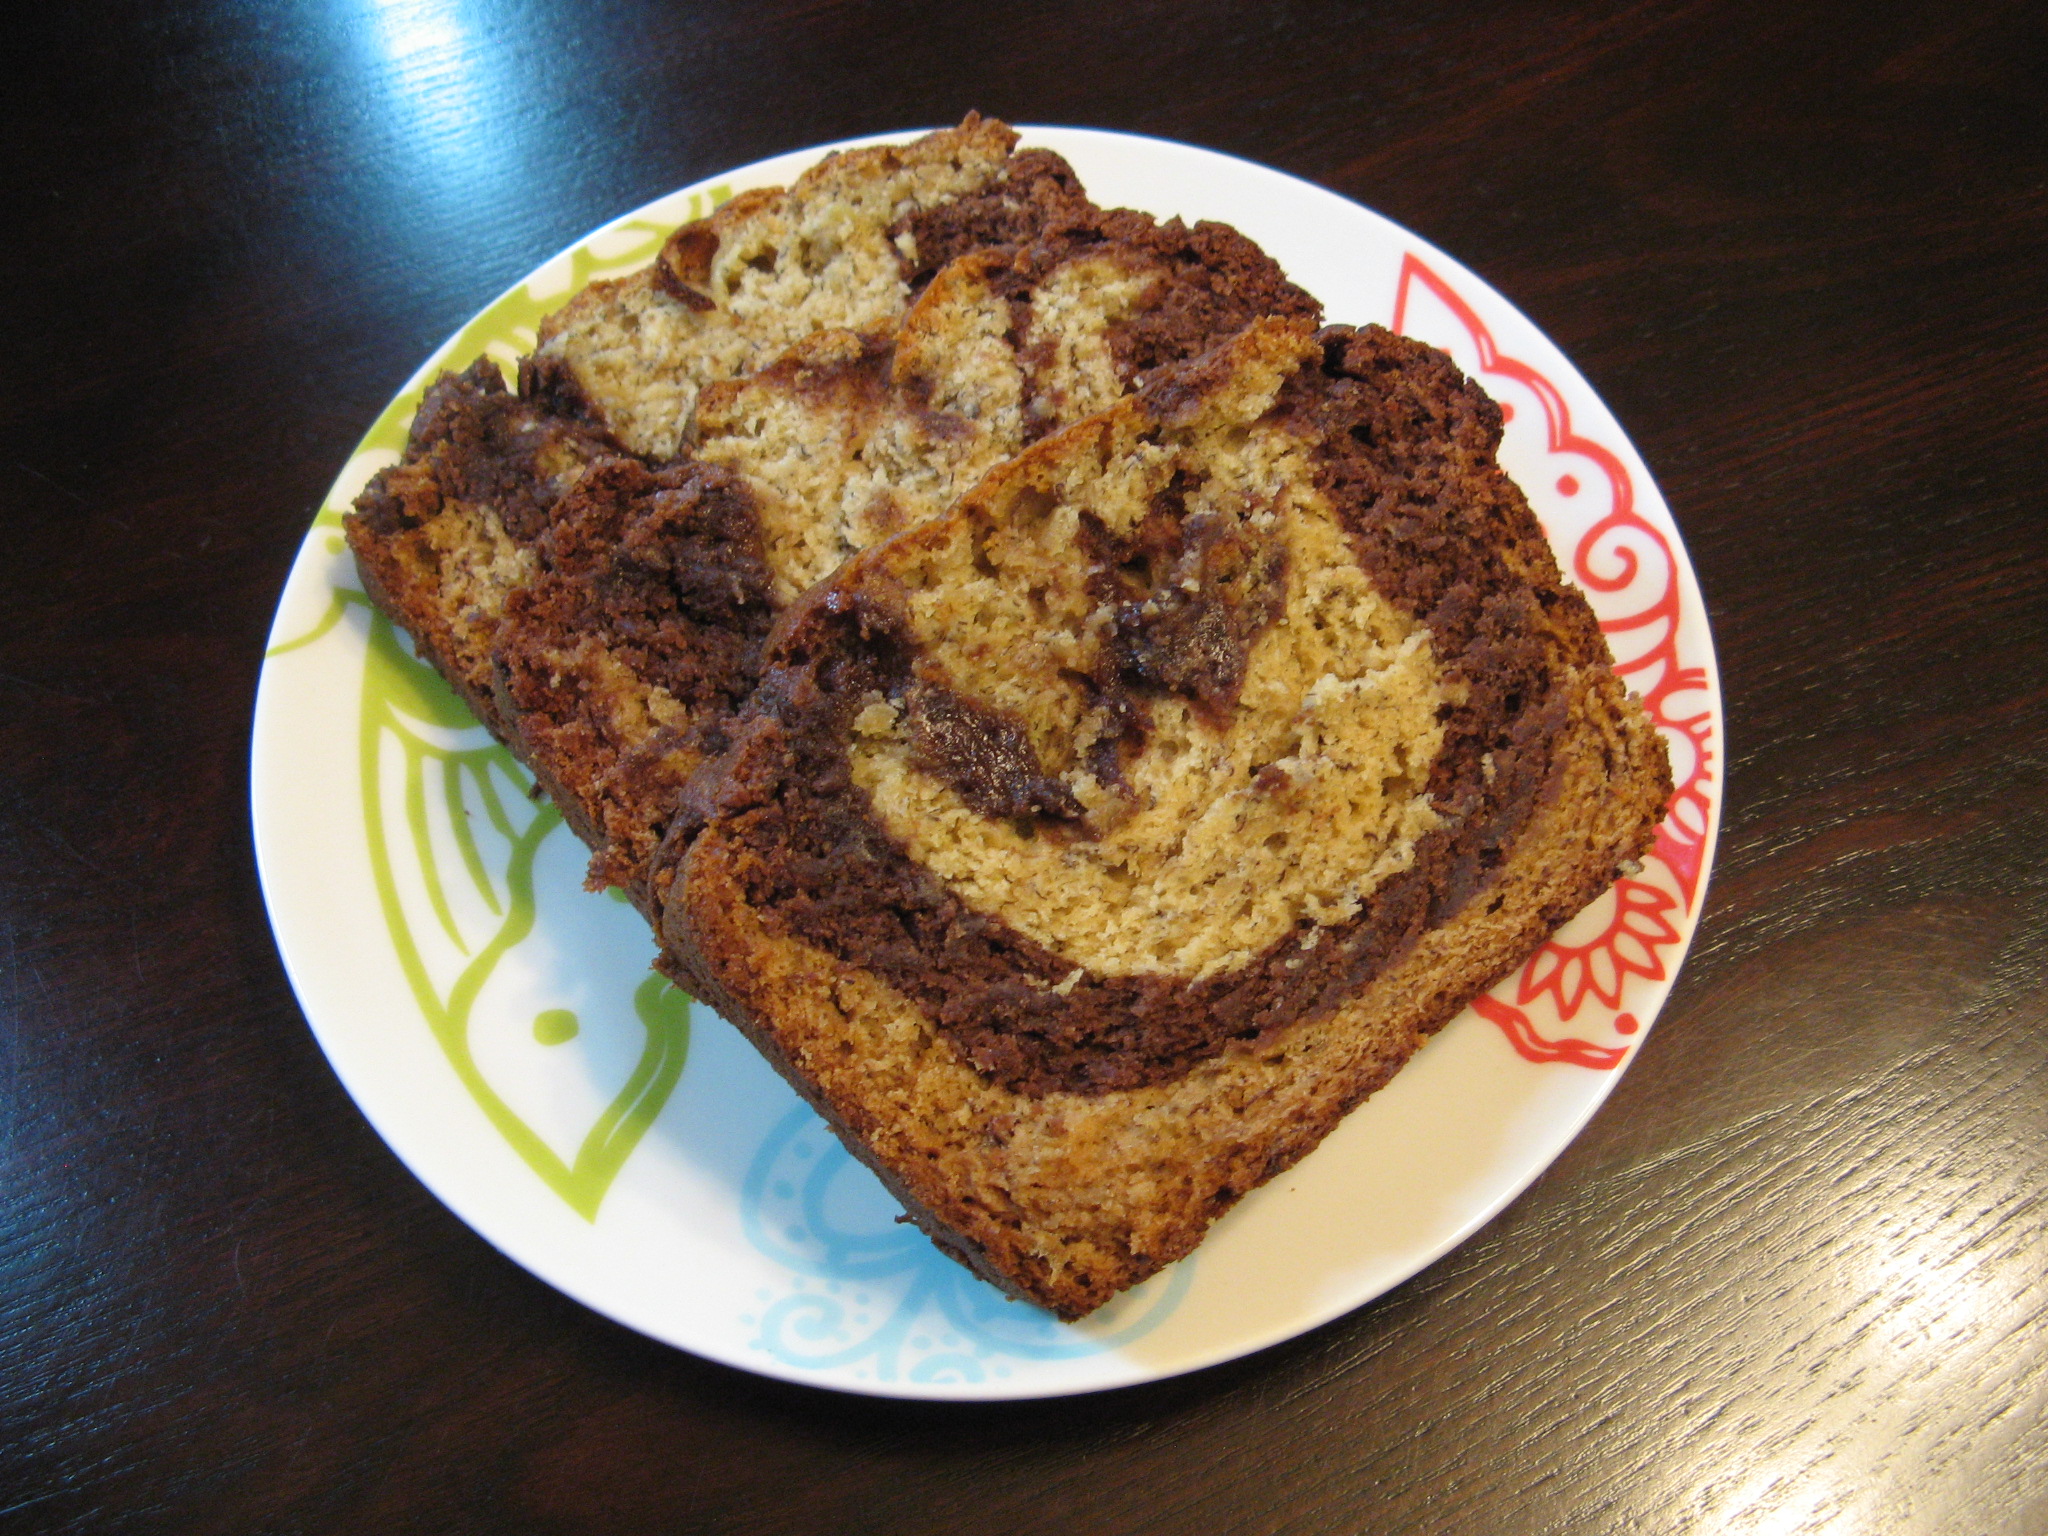
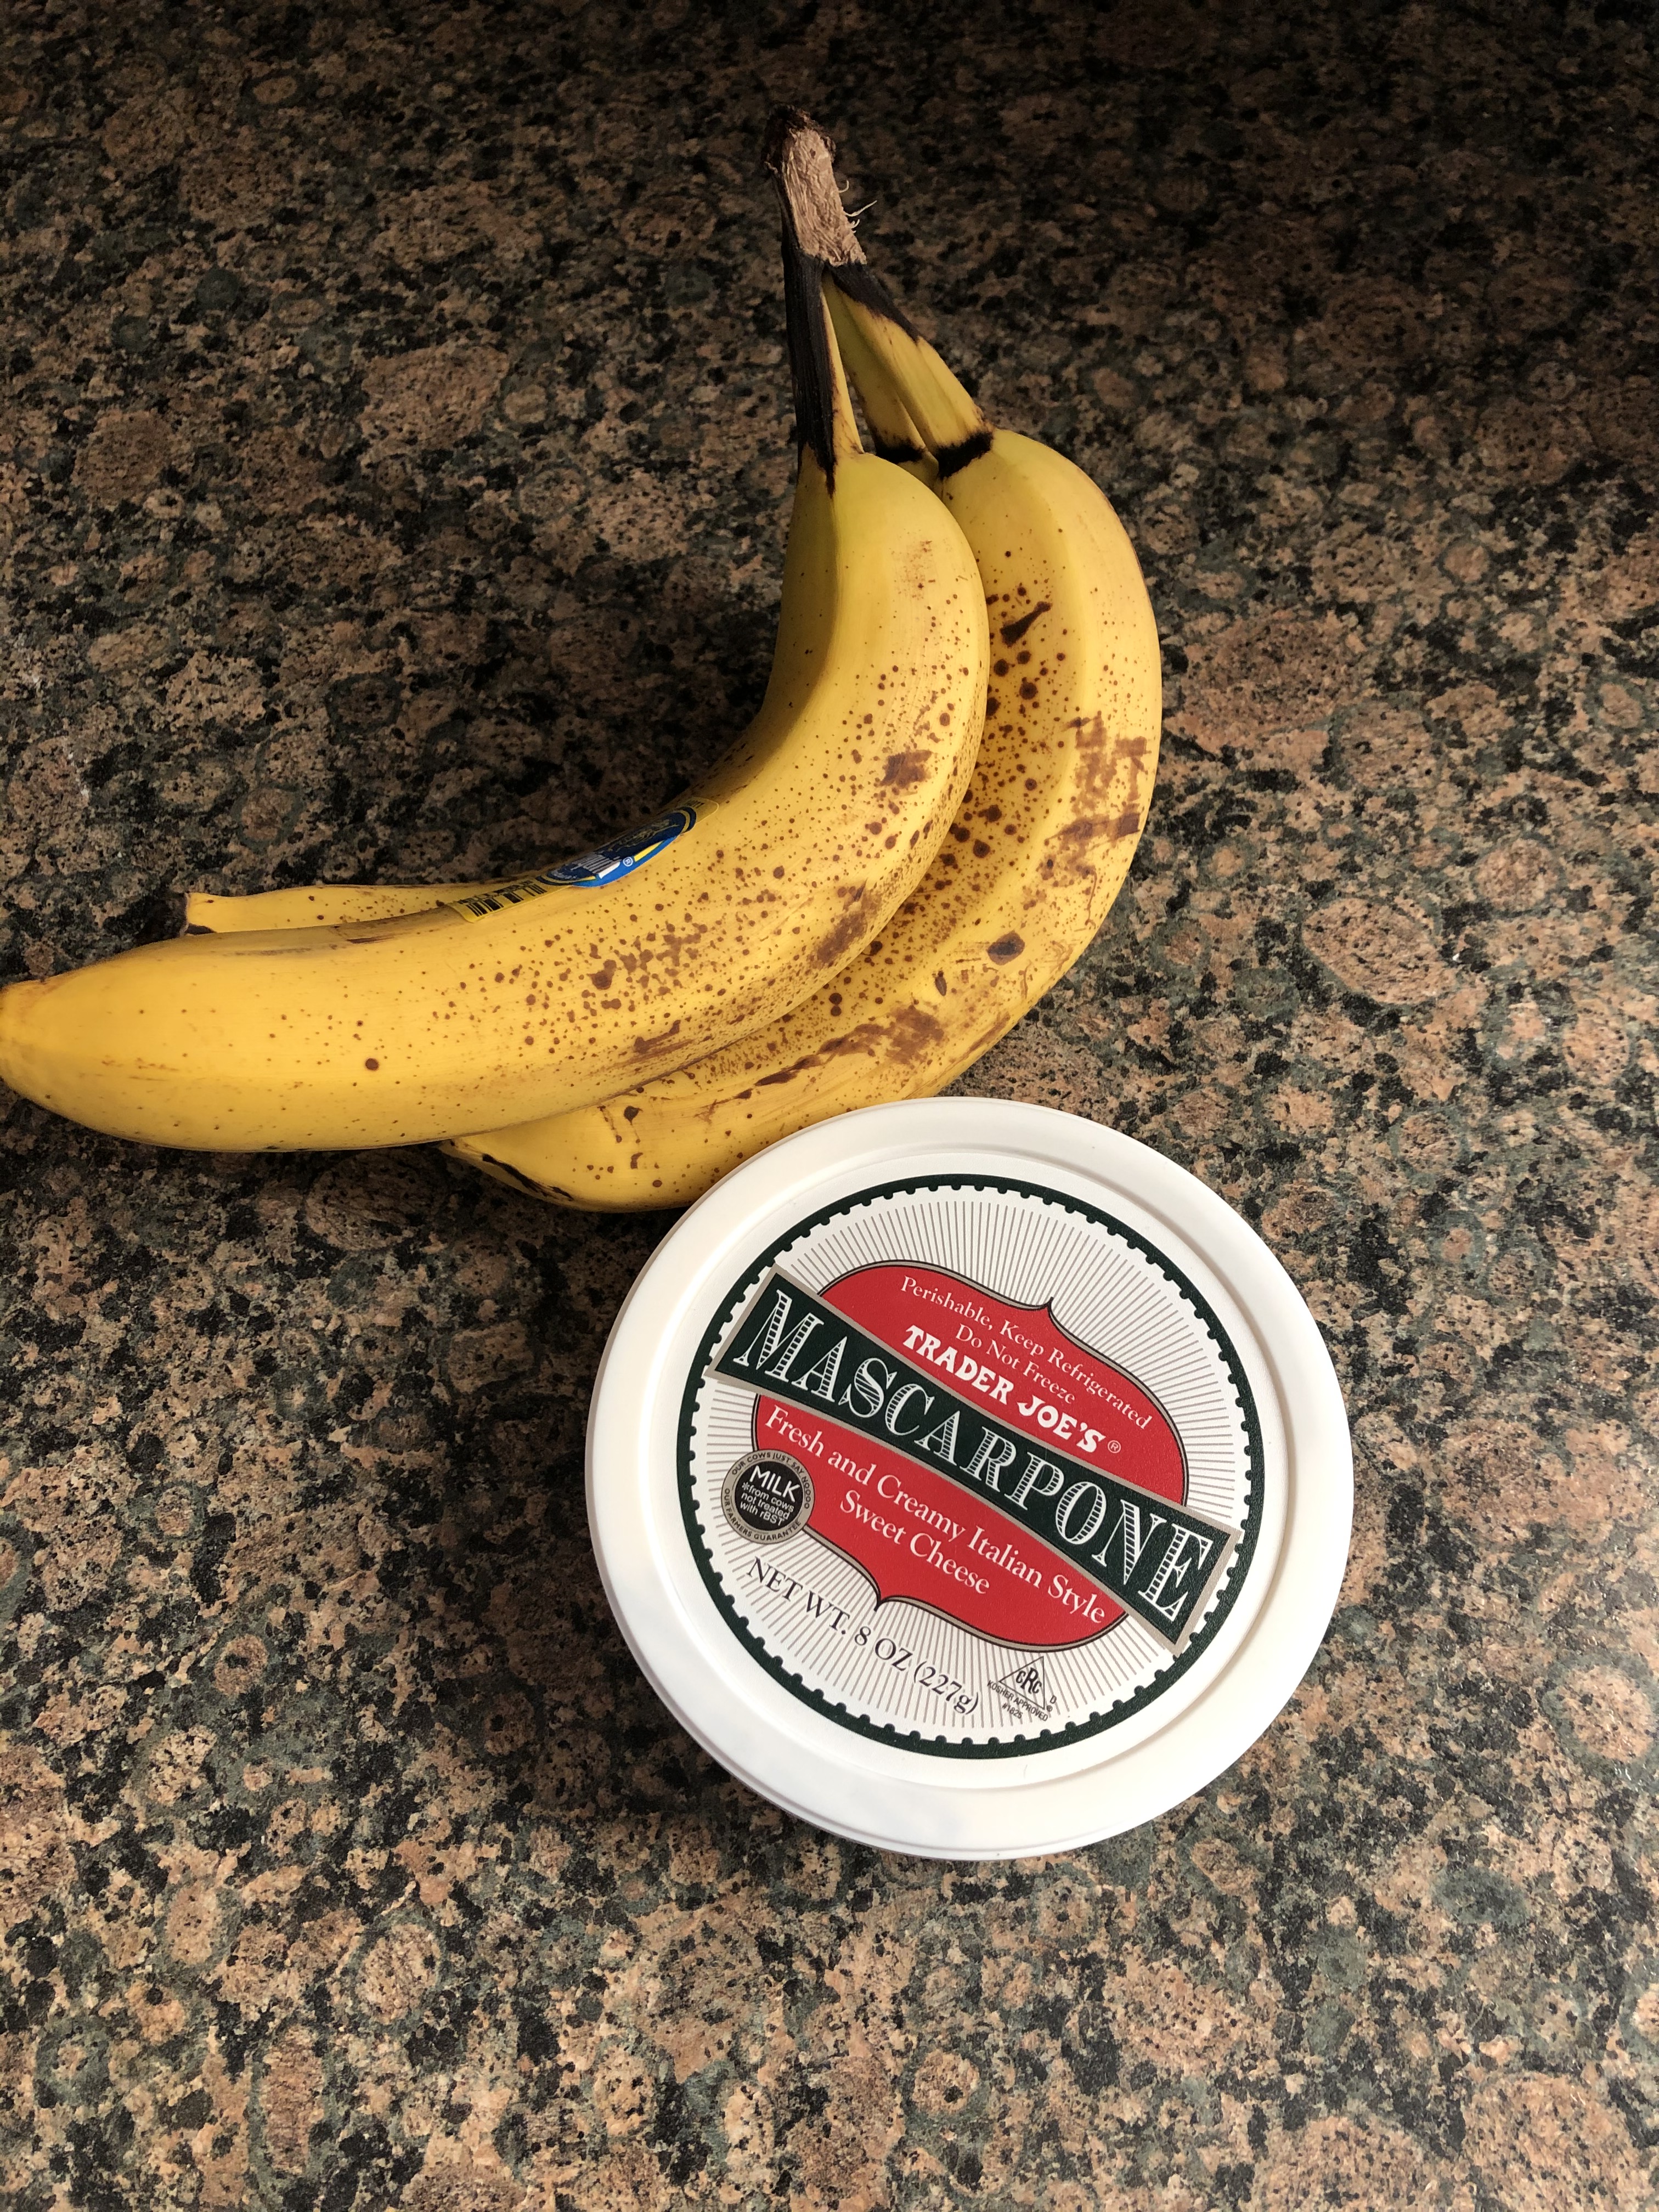
I recently picked up a bunch of bunch of bananas on one of my runs and I always make the mistake of getting a few too many or not eating them fast enough. I prefer my bananas to not have any spots on them. So, with three overripe bananas staring at me I decided to make a banana cake. And initially I was thinking of making a whipped cream frosting to top it, but, then I remembered I had a slightly used container of mascarpone cheese in my fridge that was quickly approaching its expiration date, so I decided to make a Mascarpone Whipped Cream frosting instead. Now, I wasn’t all that sure how the two flavors would go together, but, since mascarpone is closely related to cream cheese (both are essentially the same but mascarpone has a higher fat content than cream cheese, hence it having a richer and creamier taste) and a lot of banana cakes do have a cream cheese frosting I figured they would work together. So, if you don’t have either mascarpone or whipped cream on hand but you do have cream cheese and confectioners’ sugar you could easily just make a cream cheese frosting to top the cake. Or, to make things even easier, and just as delicious, you can enjoy the cake on its own without frosting. Hopefully that wasn’t too much information or rambling.
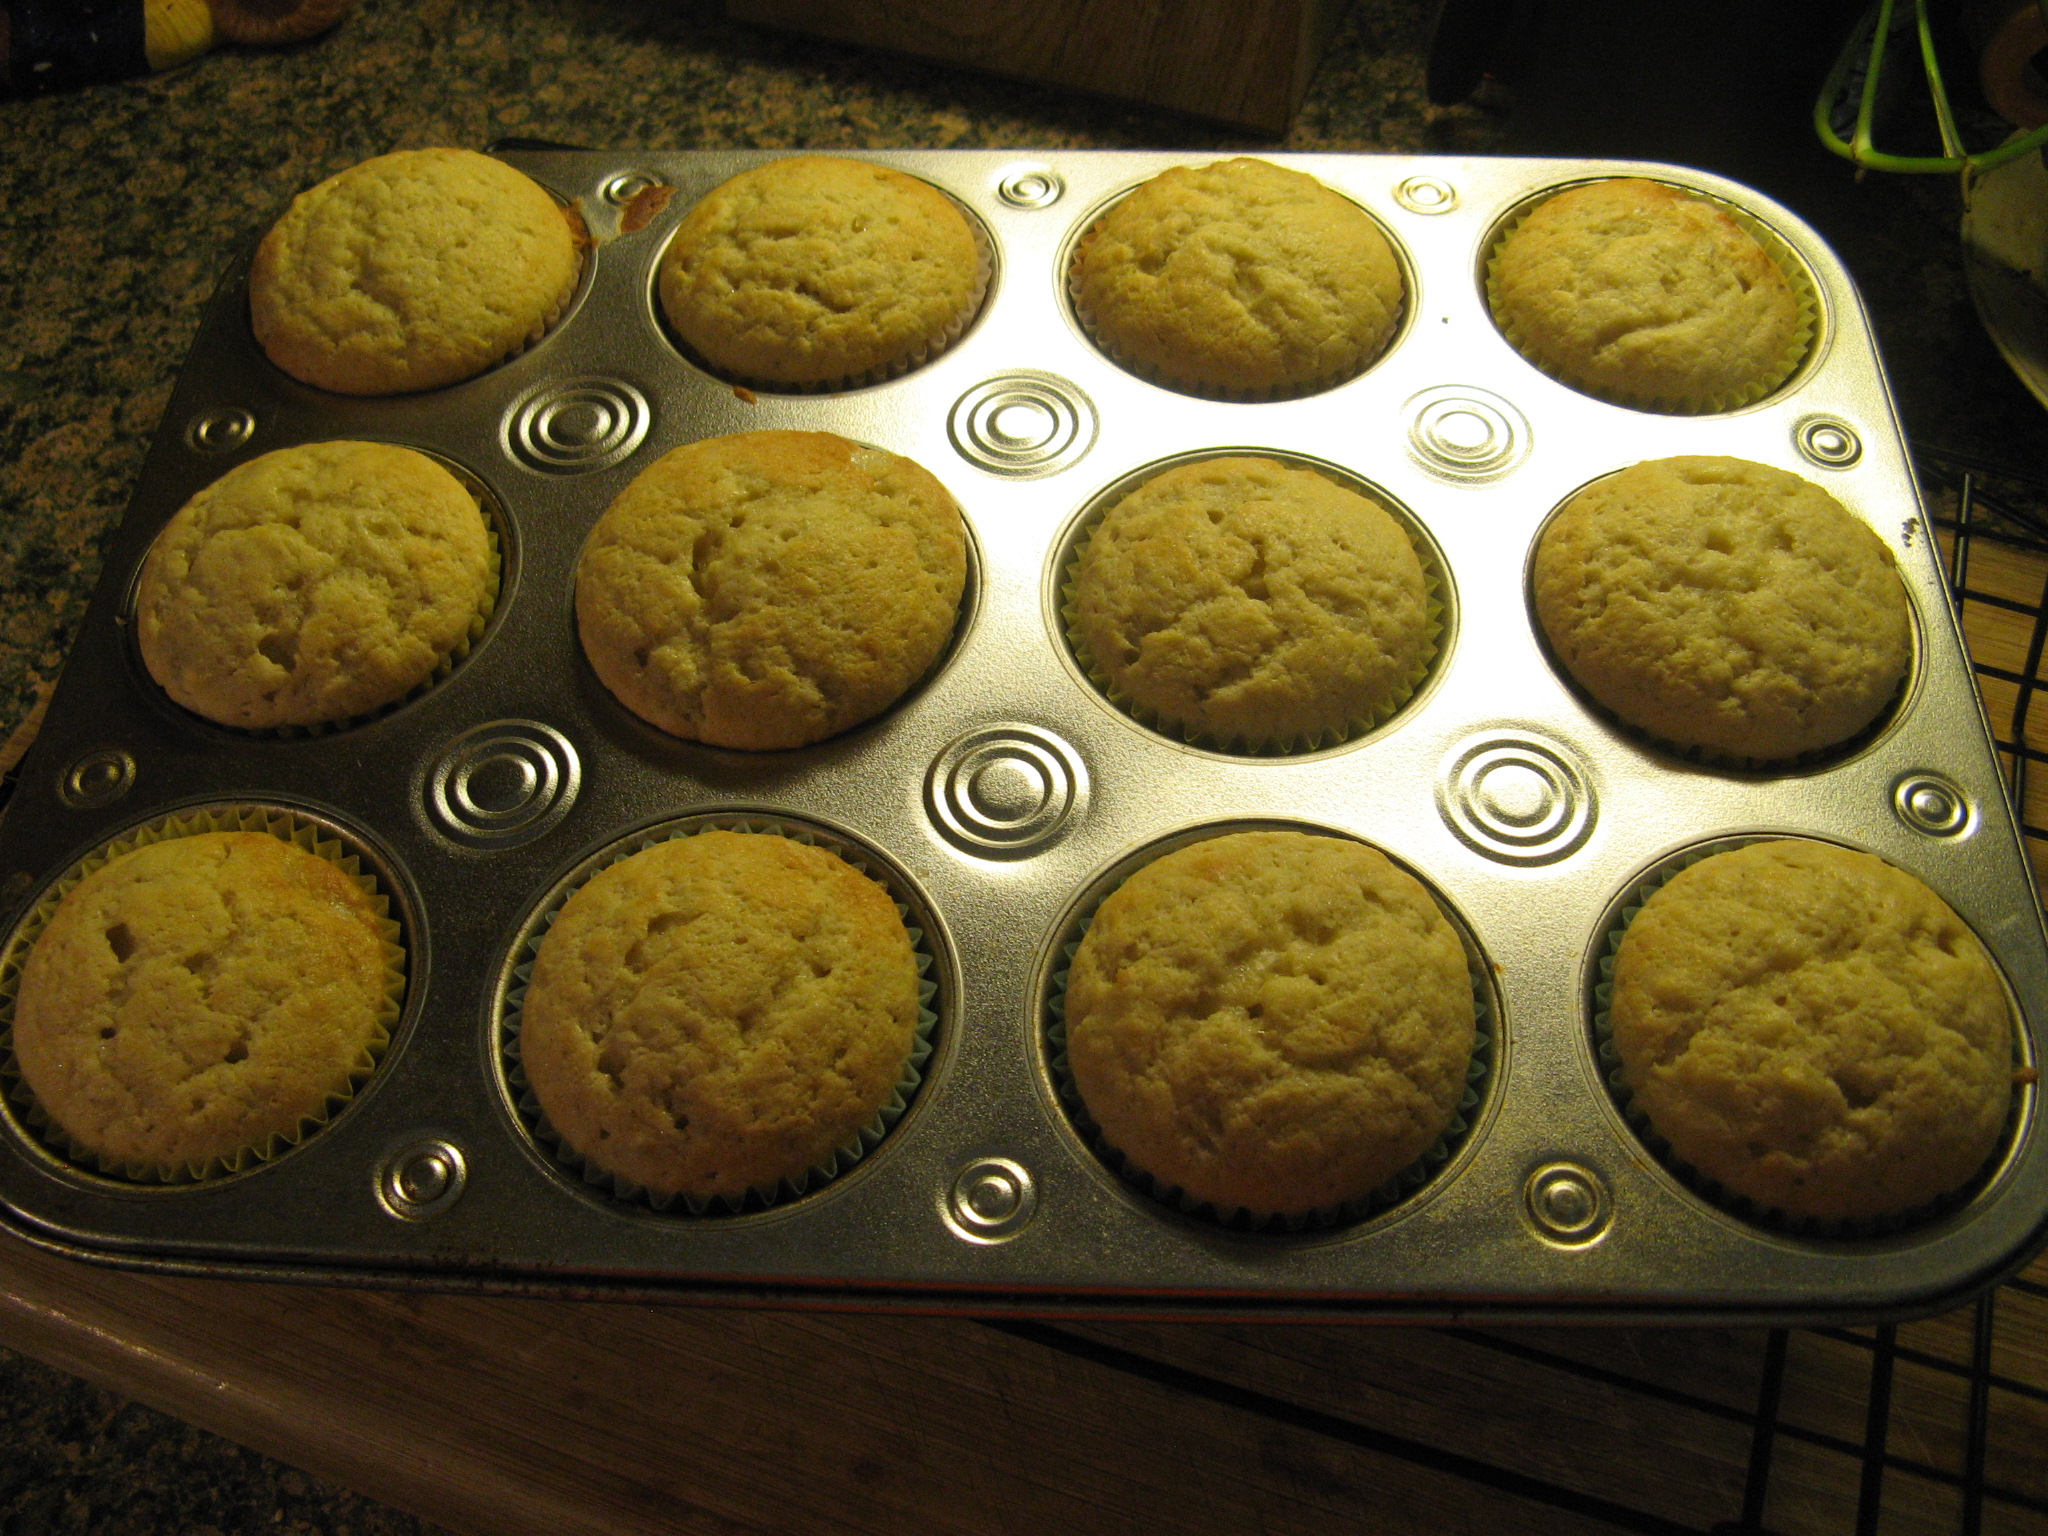
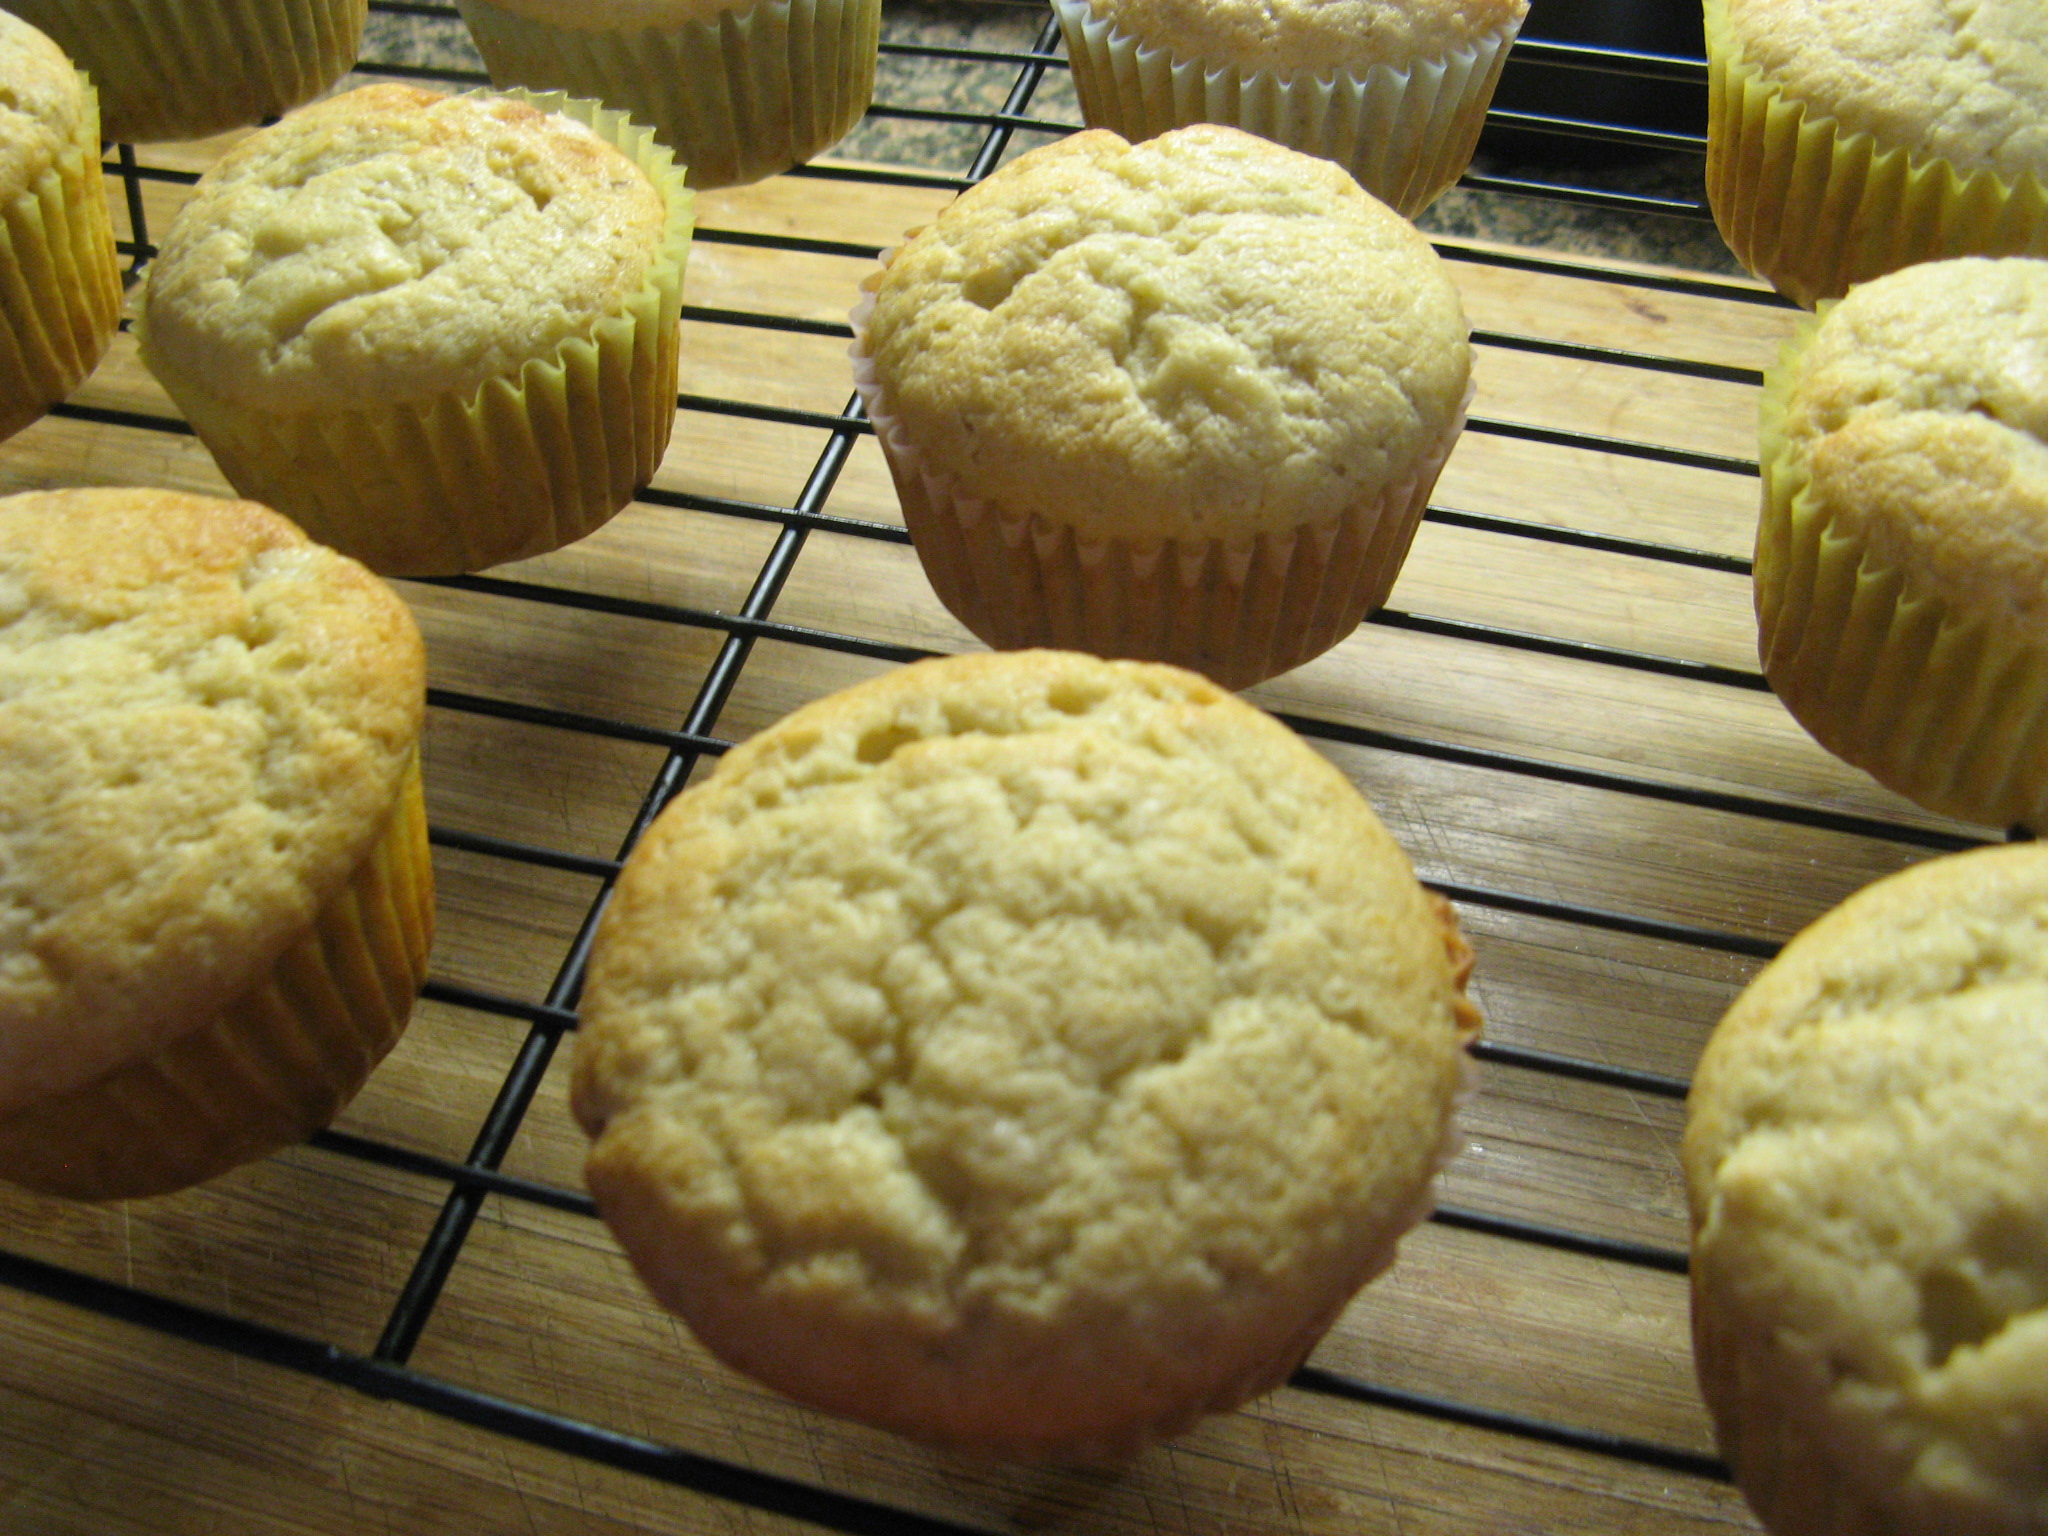
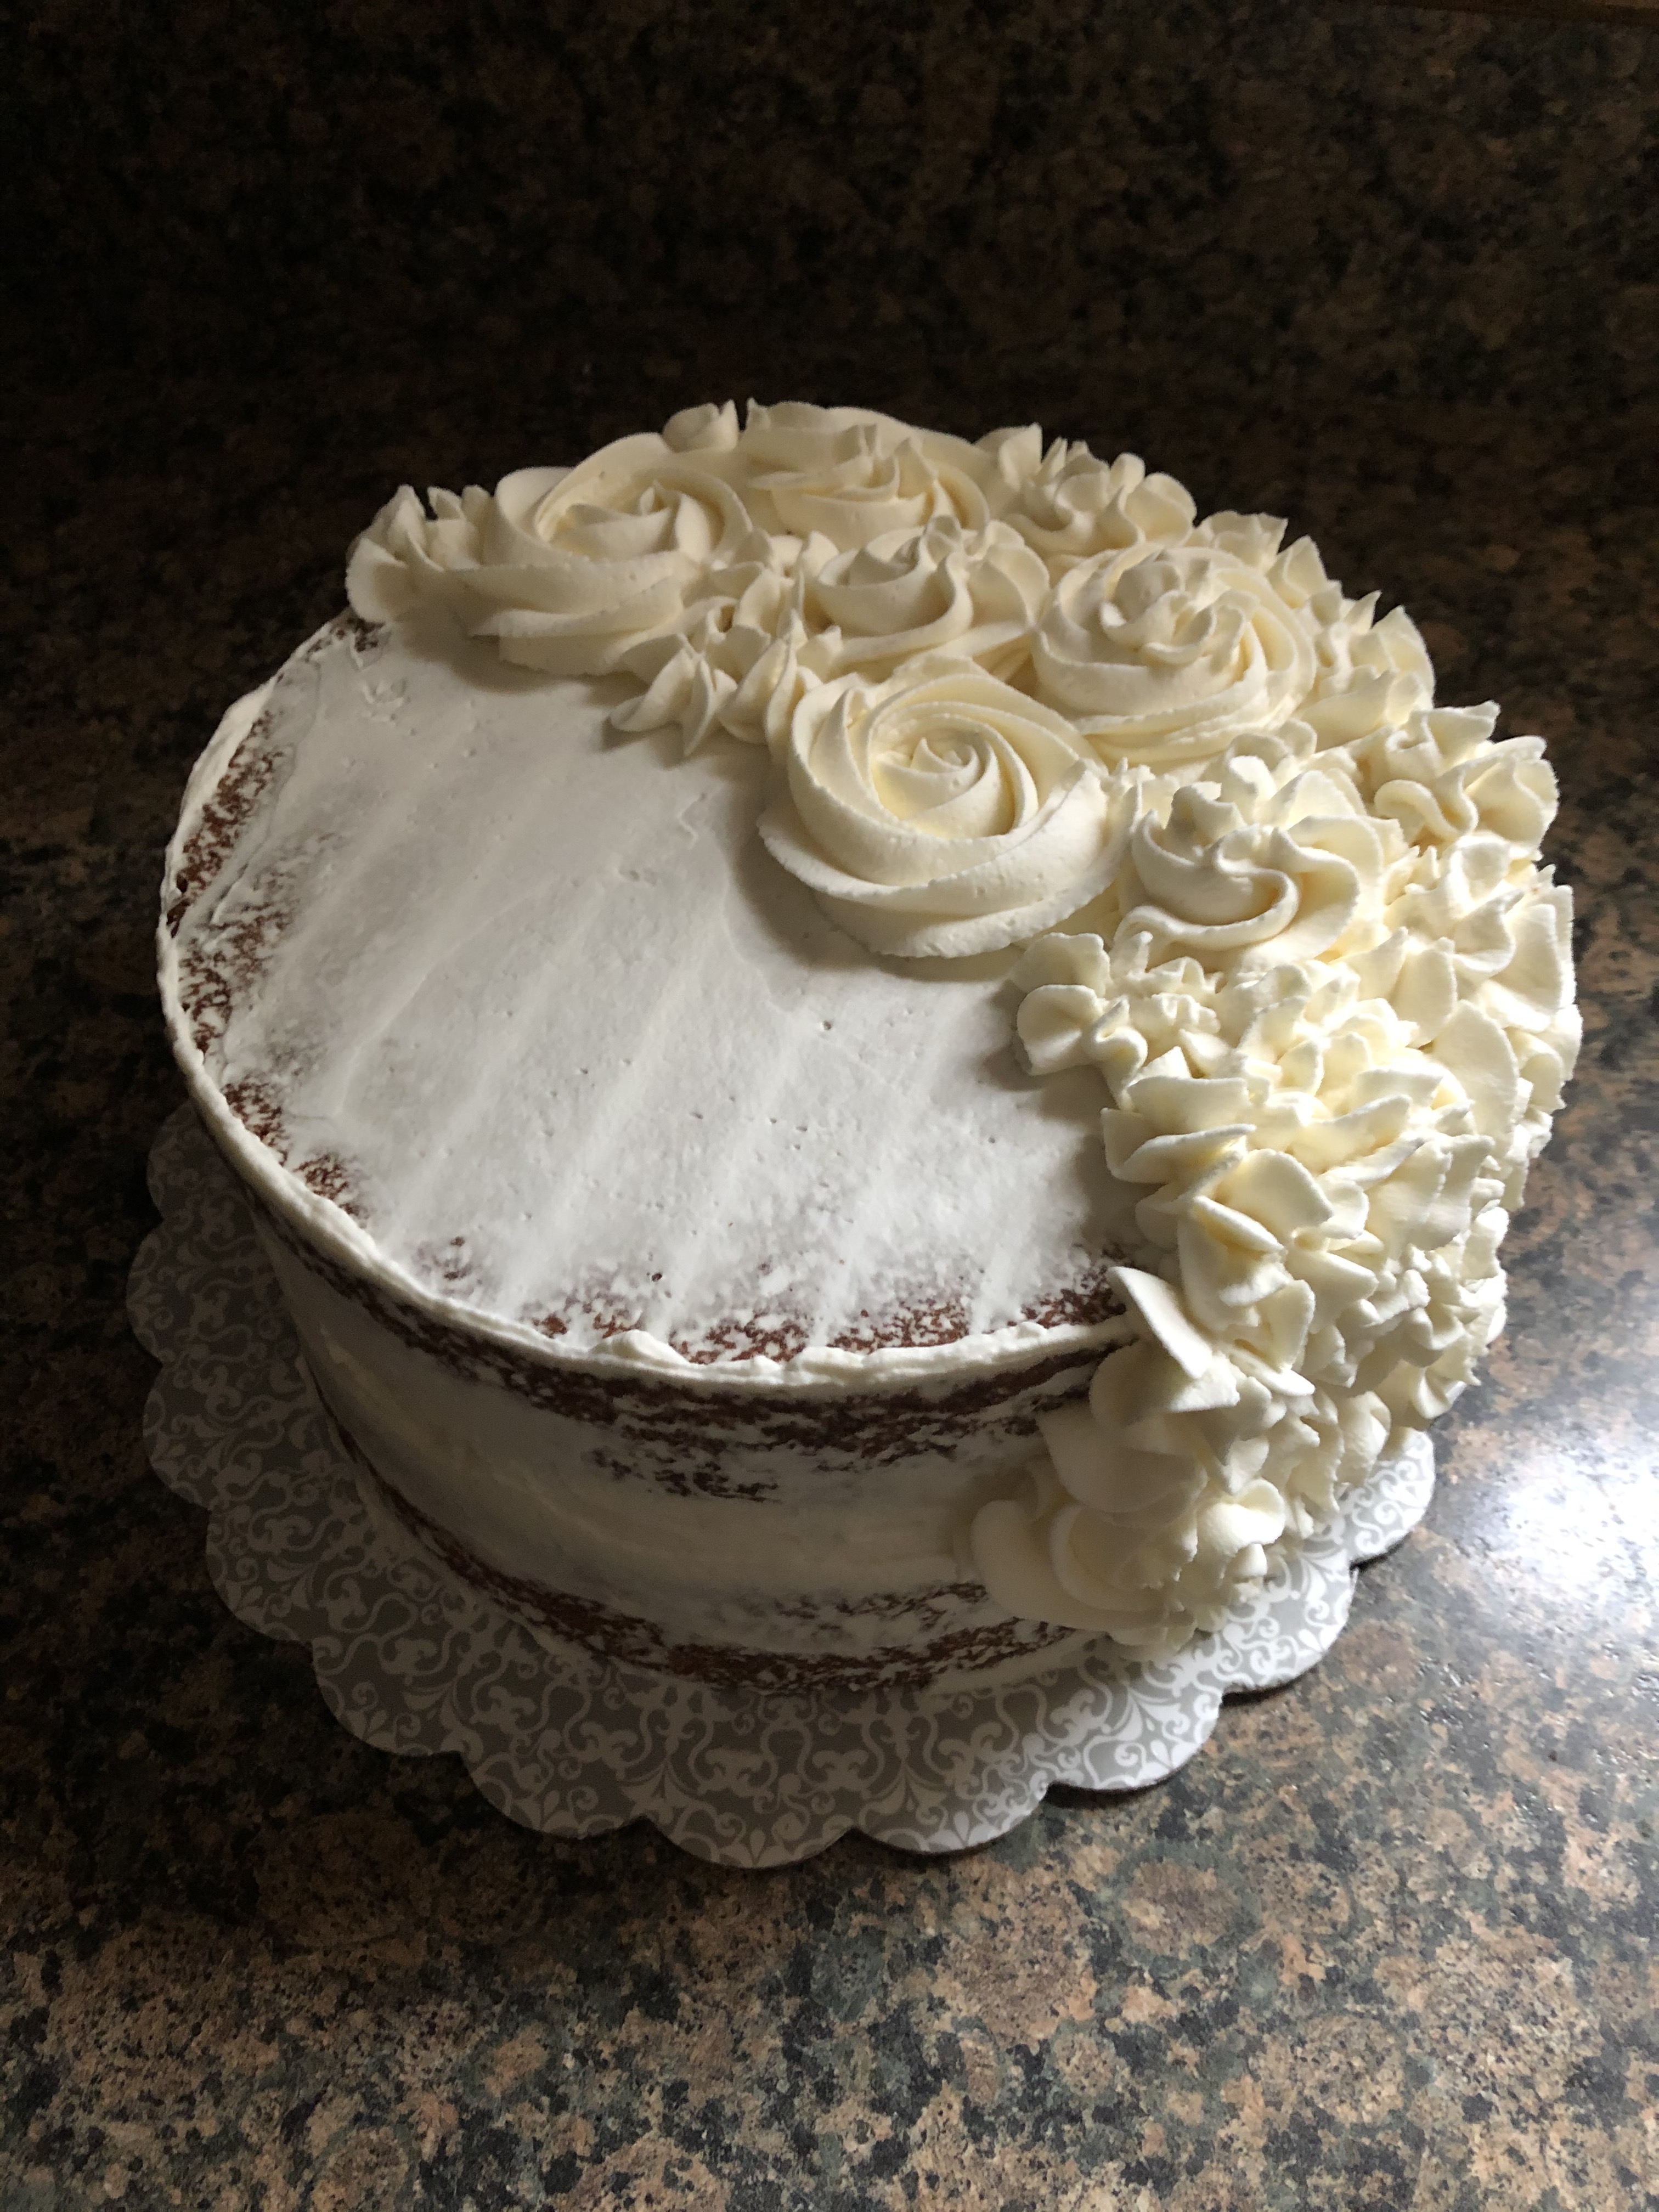
Once I had baked the cakes I let them cool completely before refrigerating them overnight before frosting them.

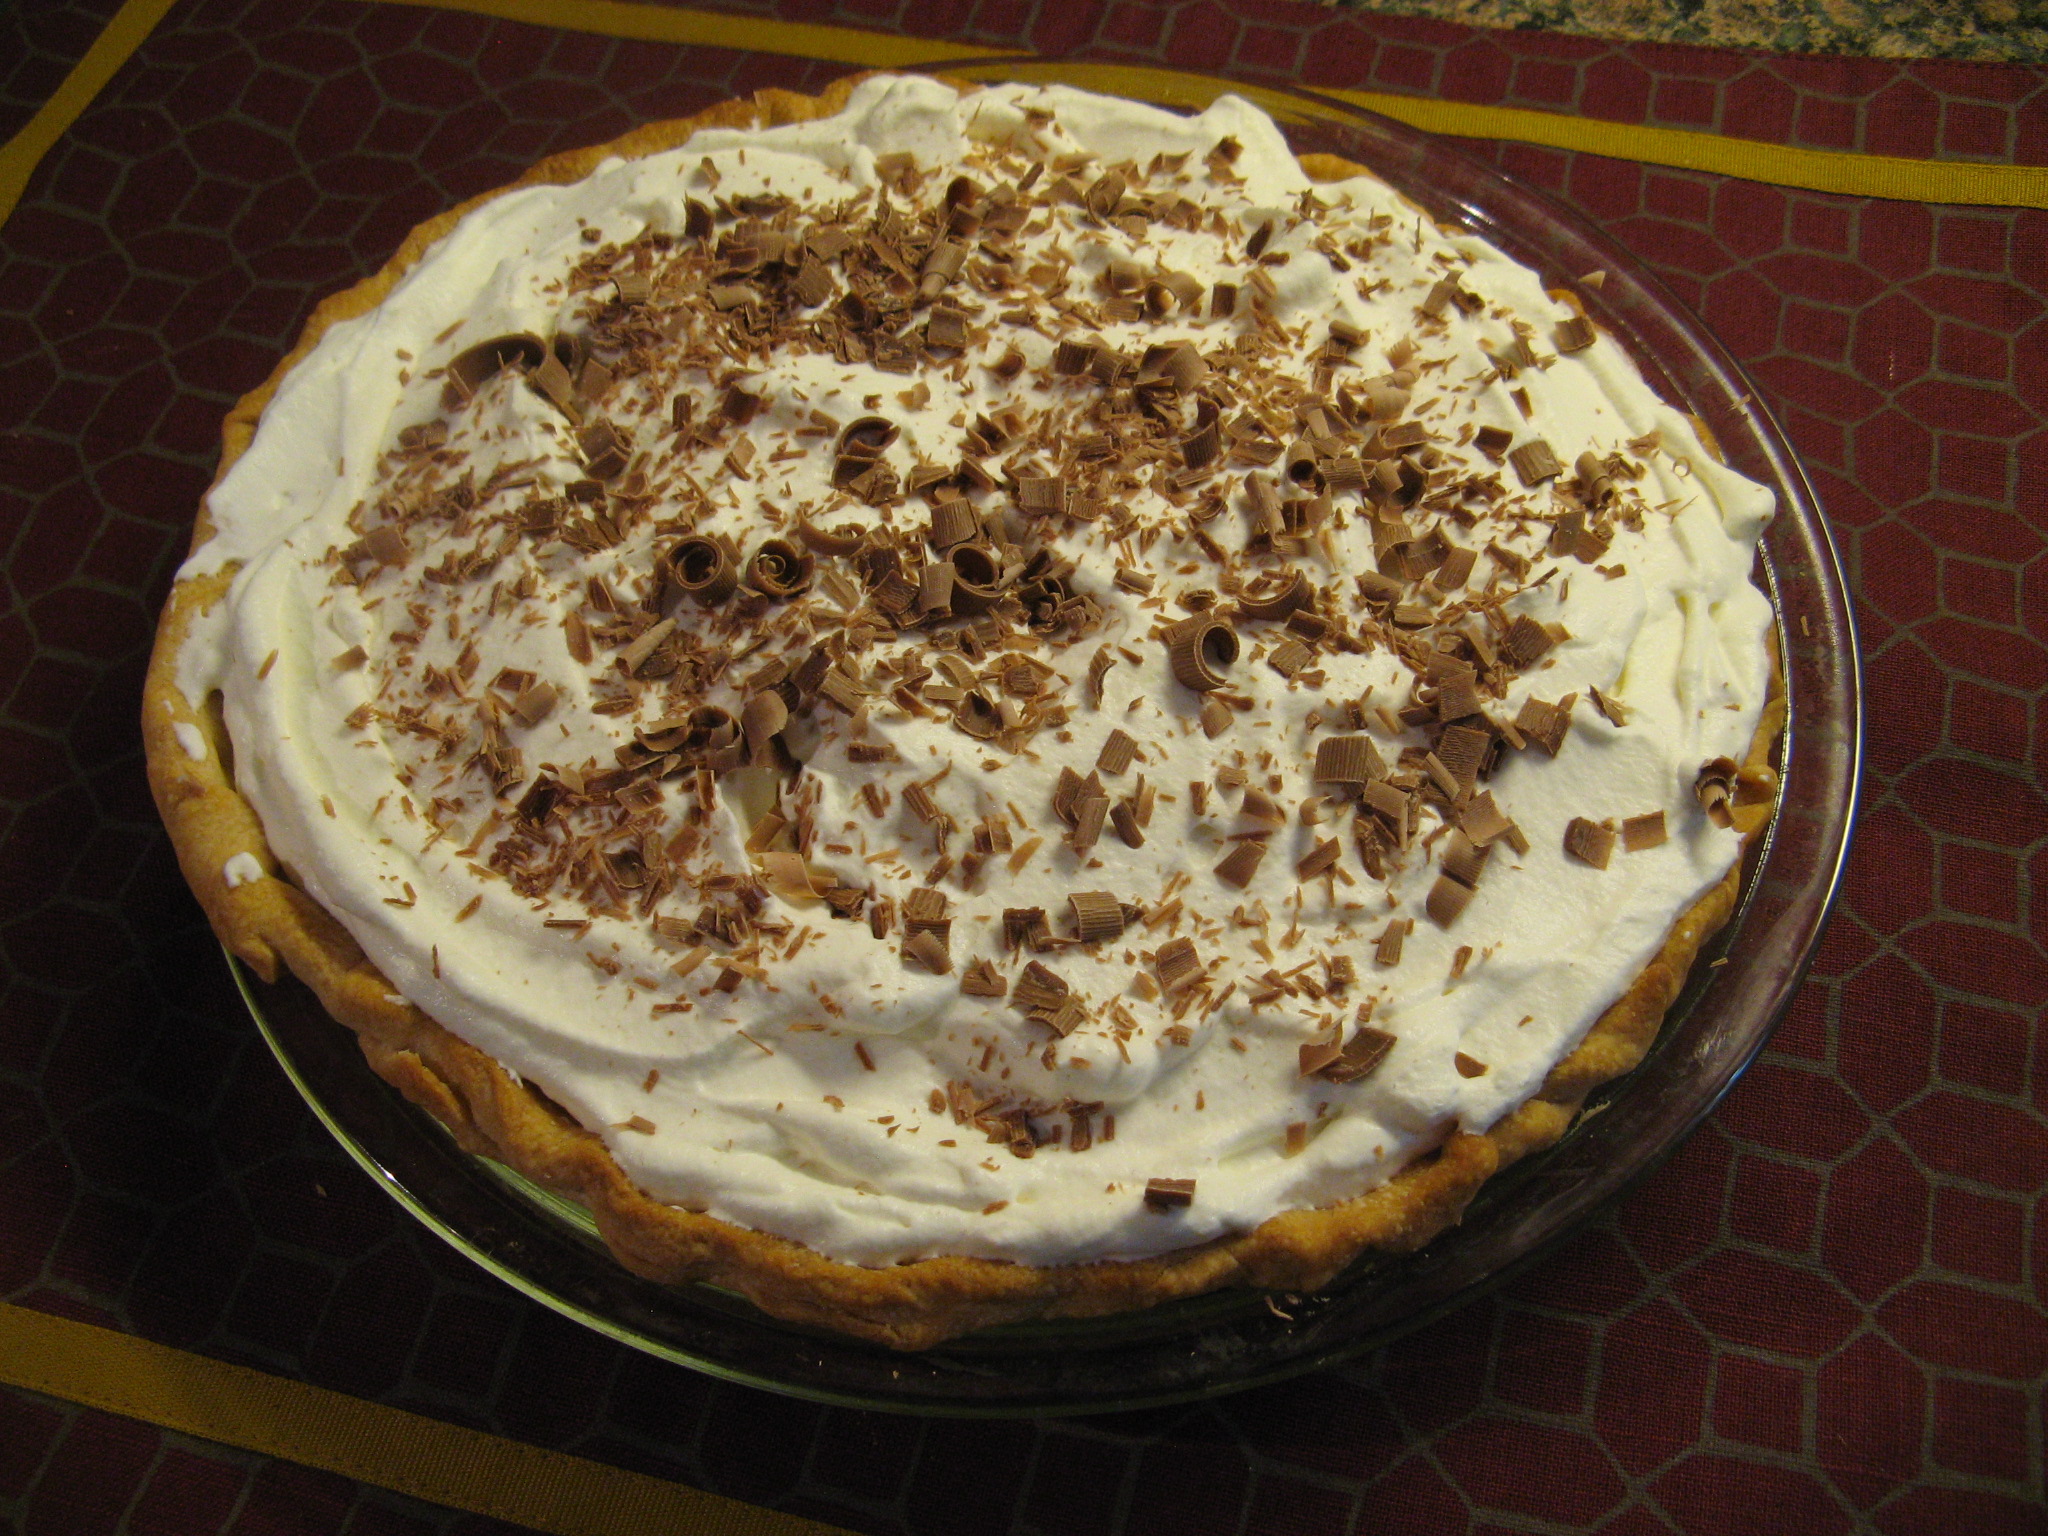
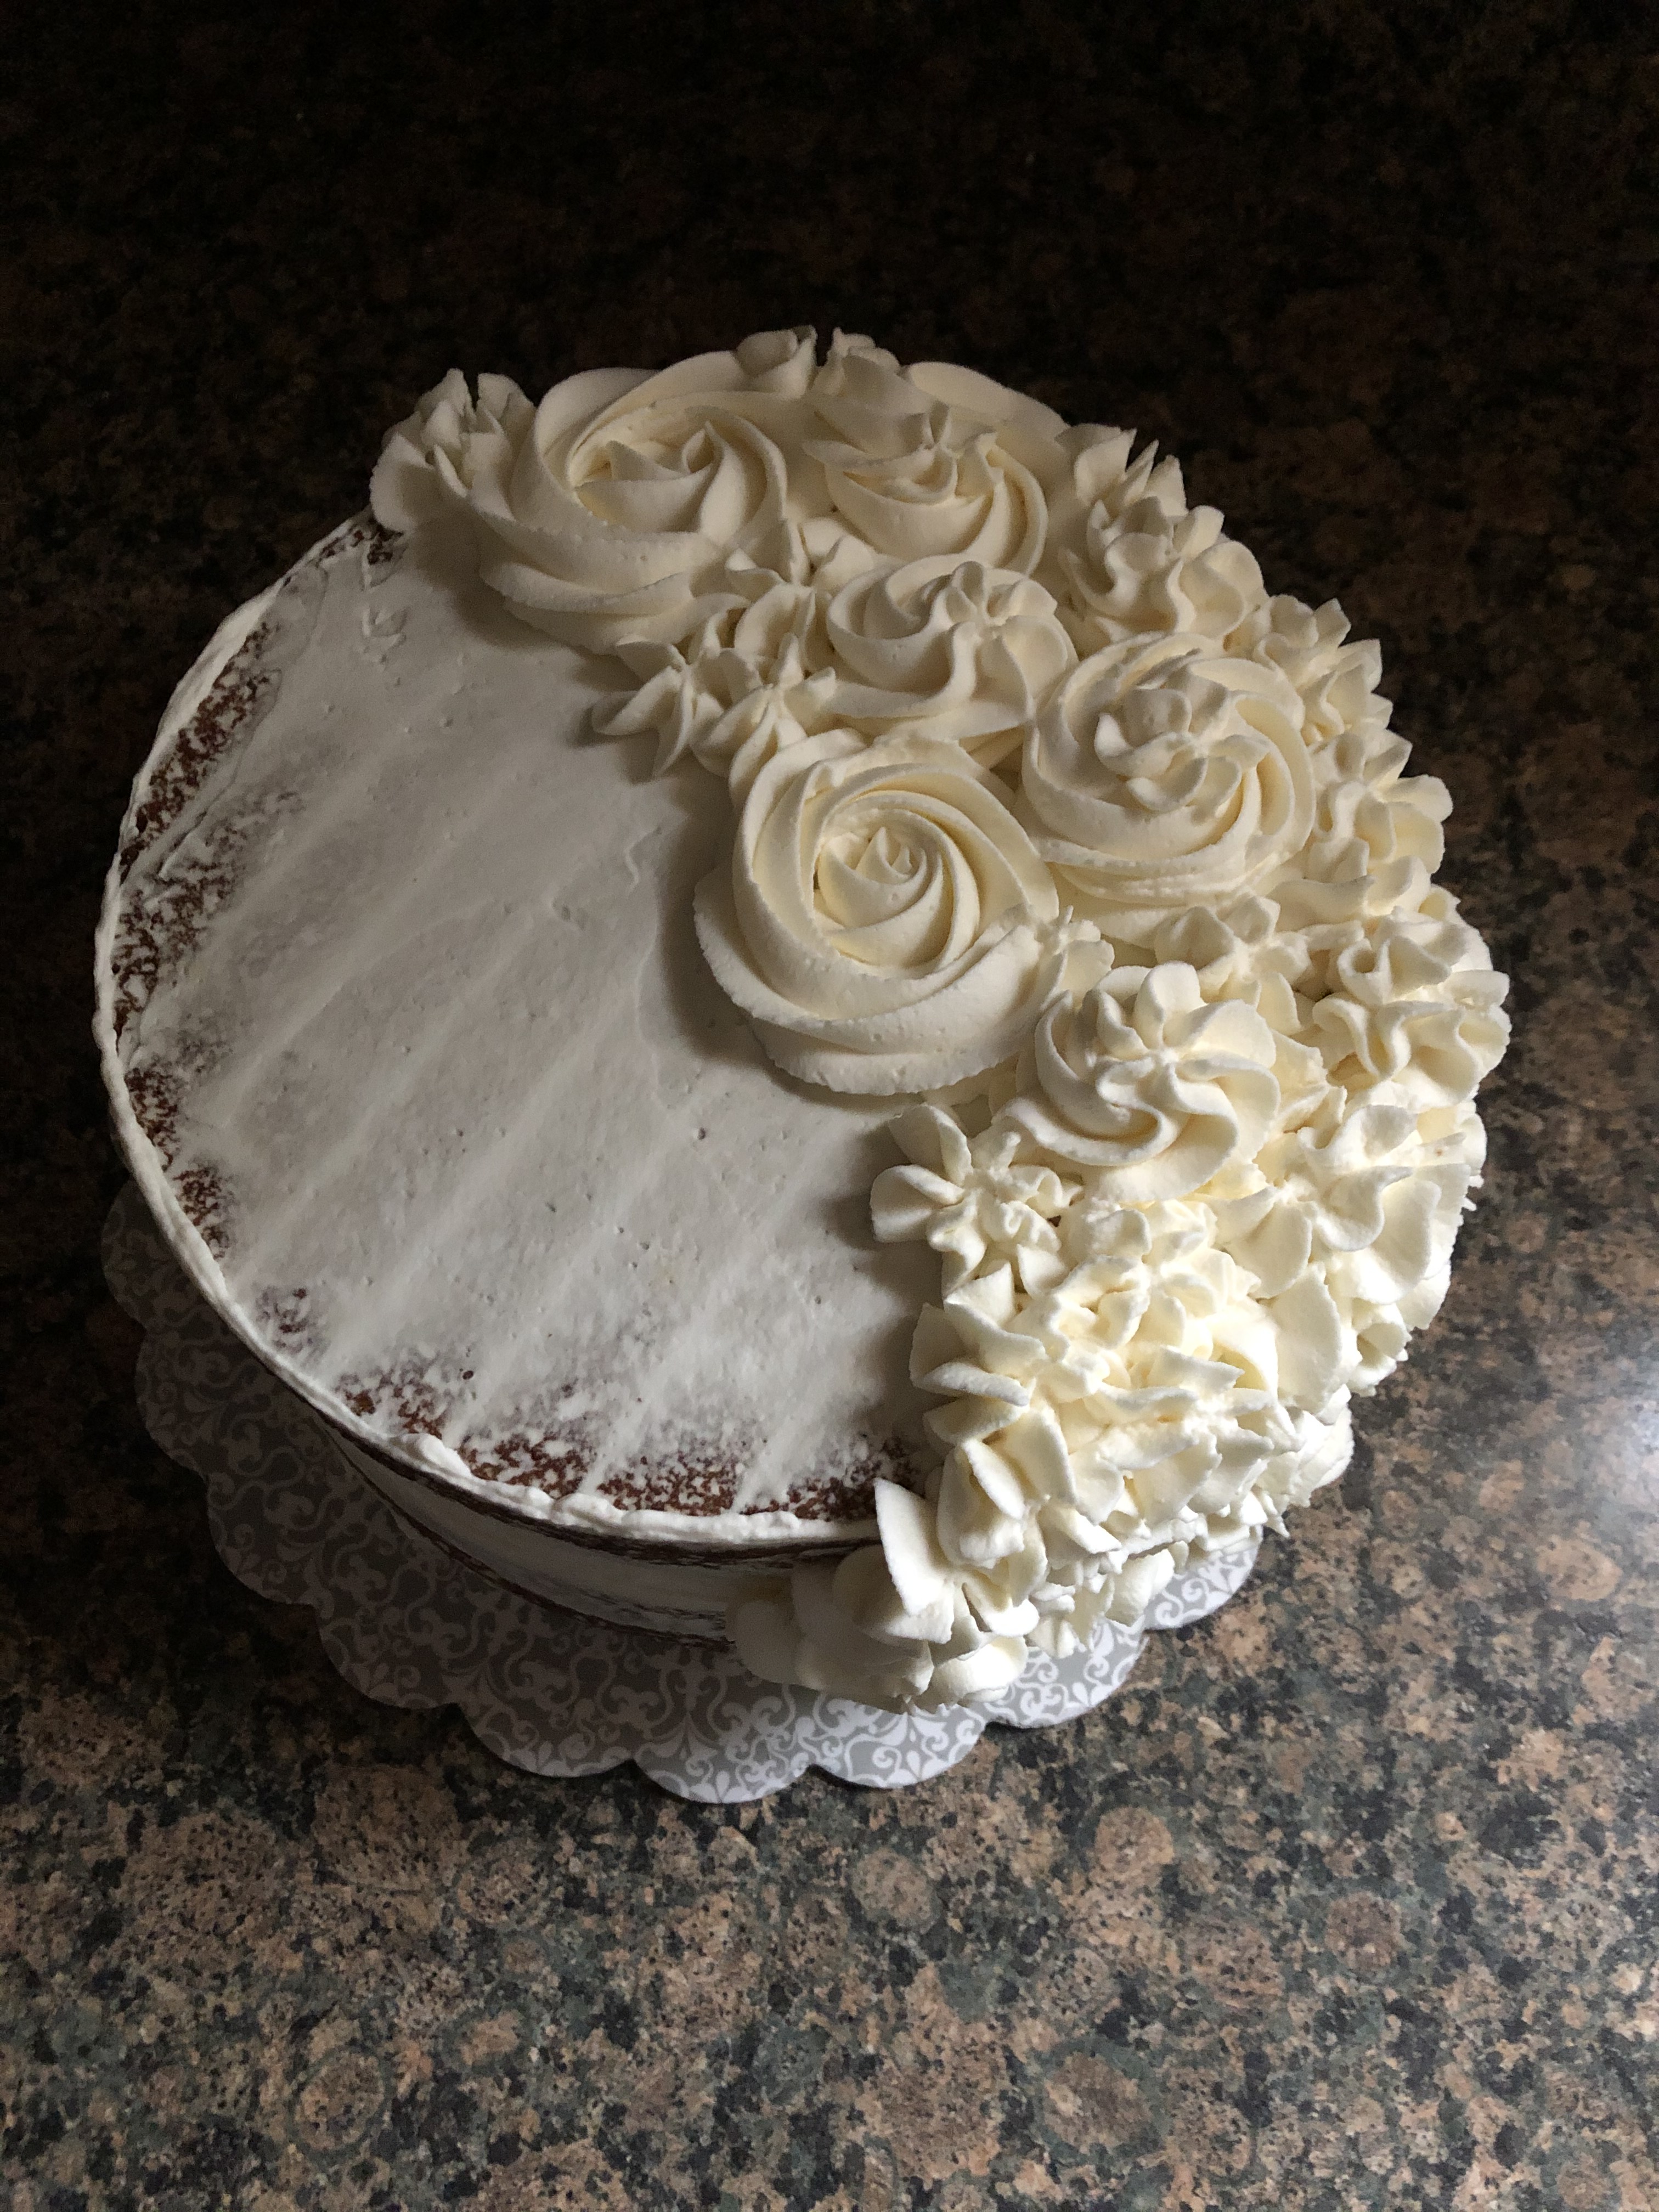
I wasn’t sure if I had enough frosting to fill and cover the cake so I decided to just lightly frost the cake and use the remaining frosting to pipe a few swirls on it.
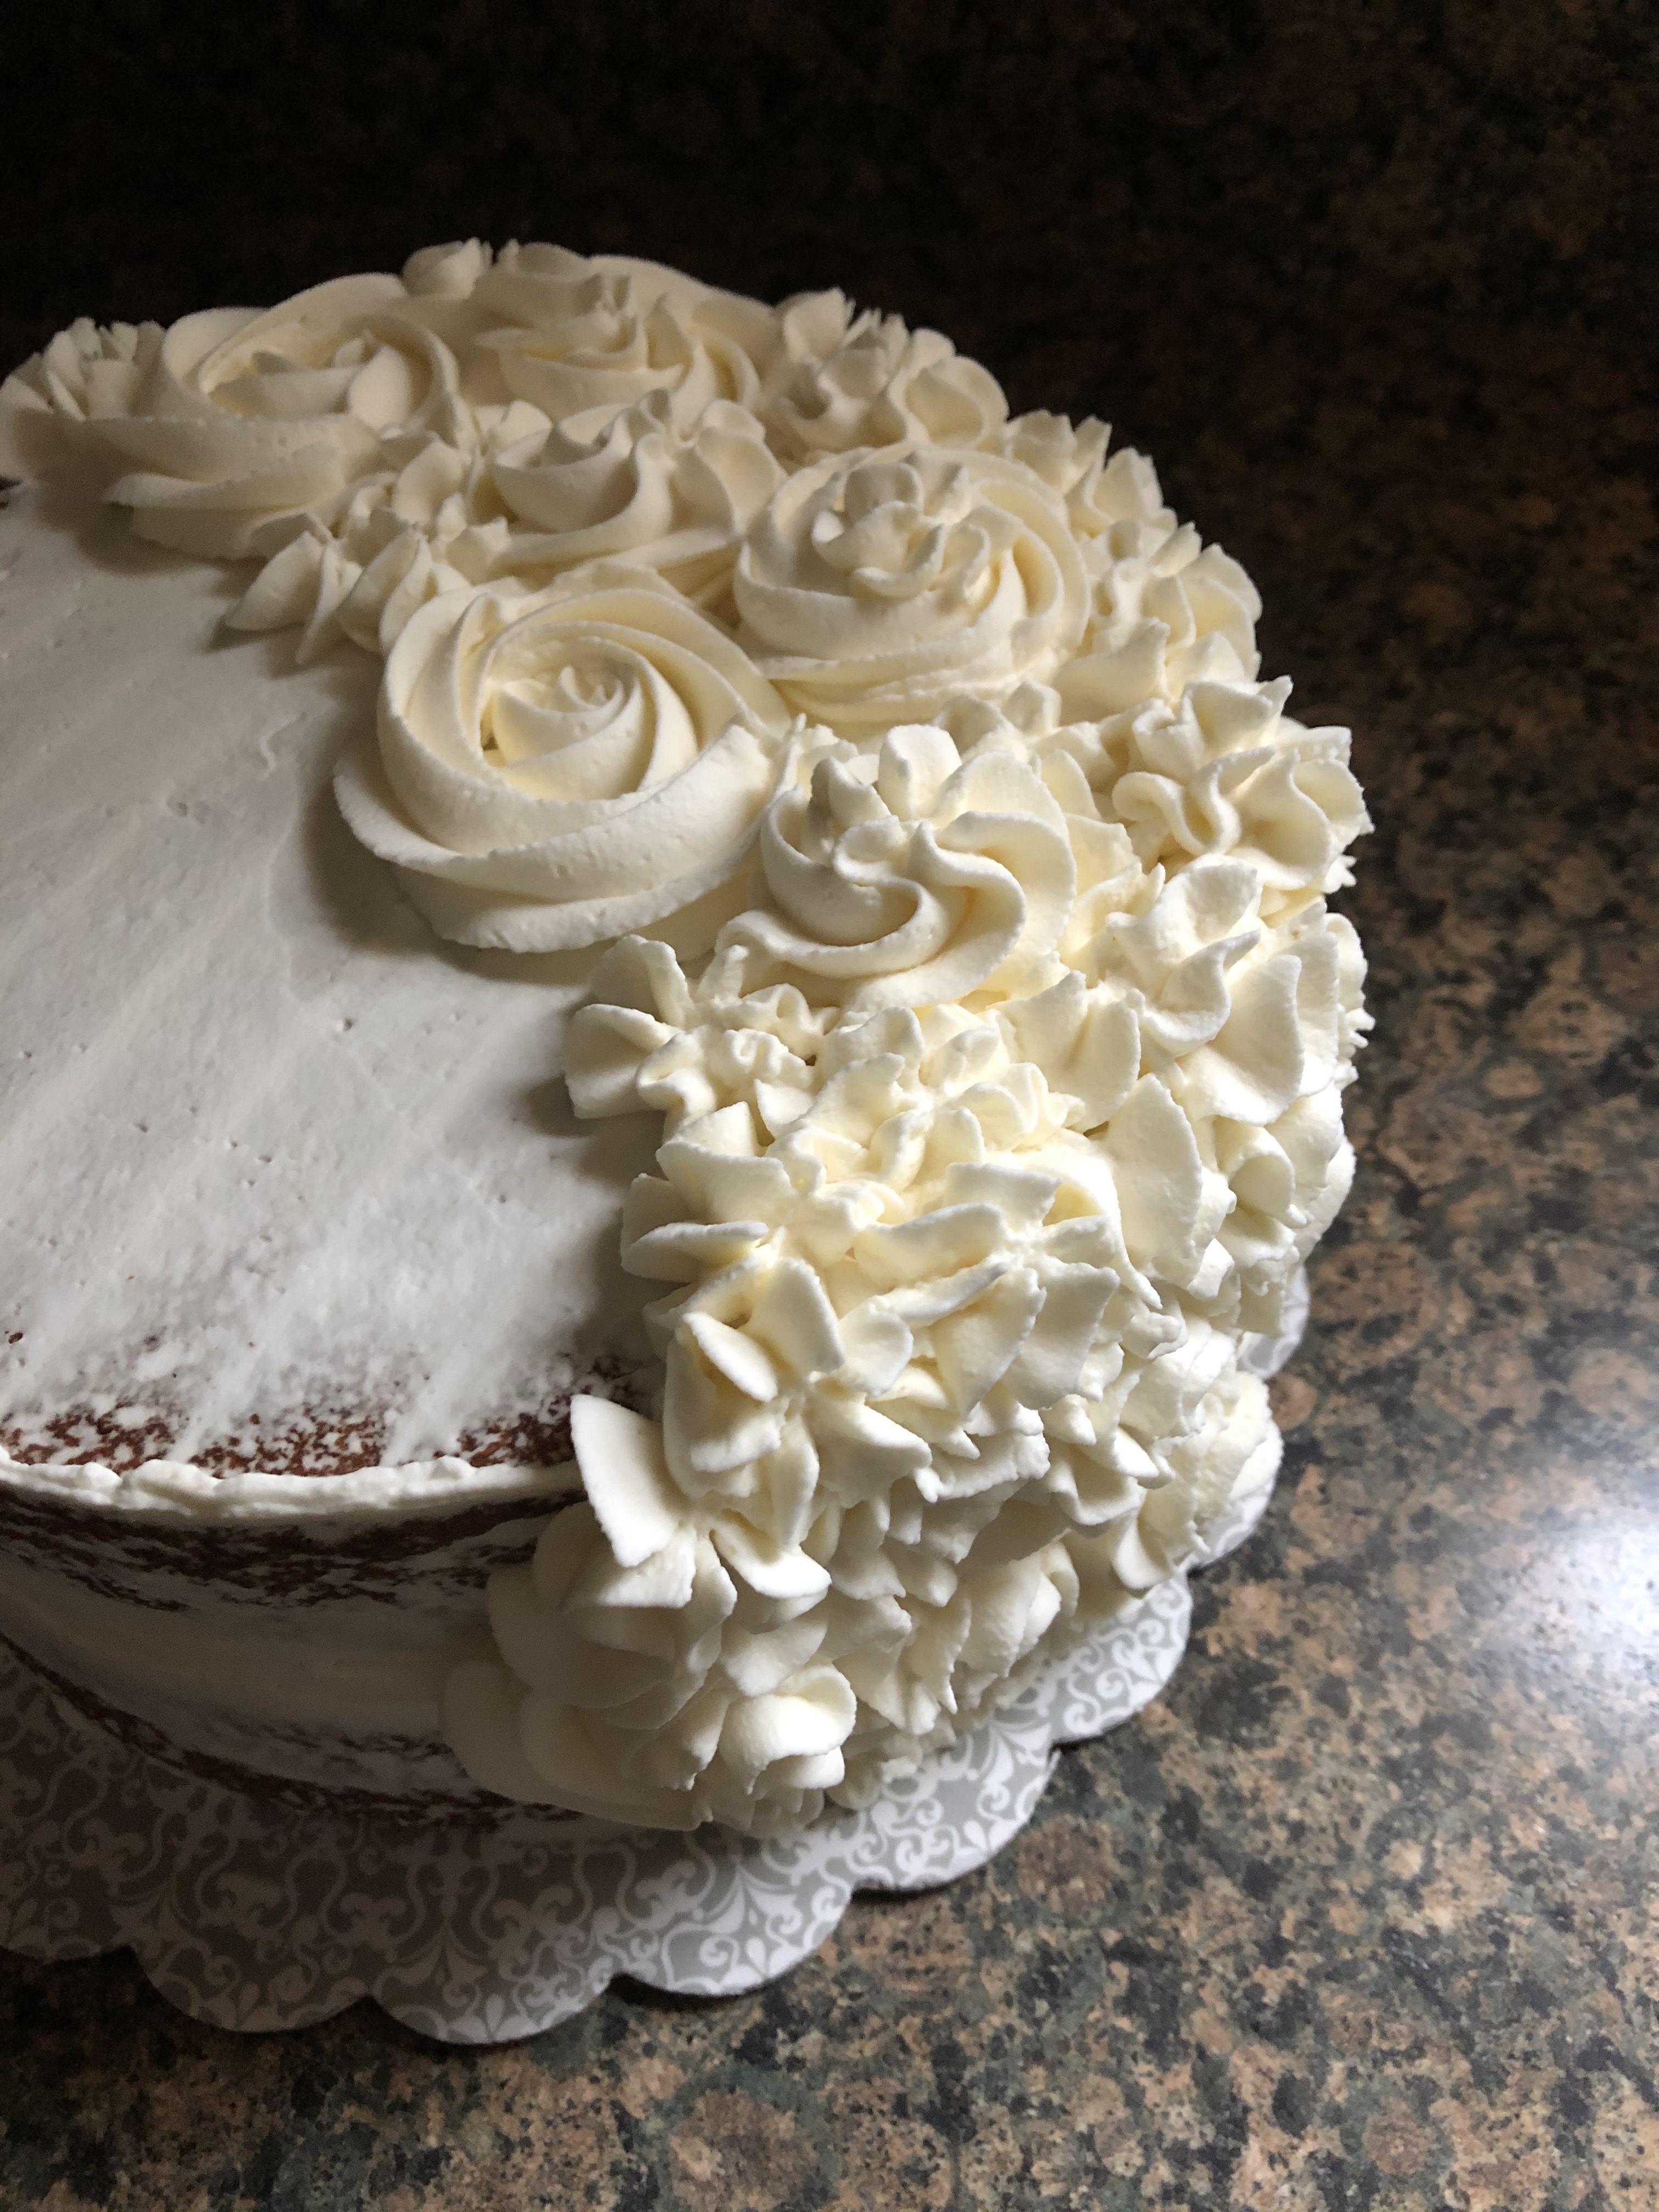
Final verdict… The two flavors worked well together.
Banana Cake
Ingredients:
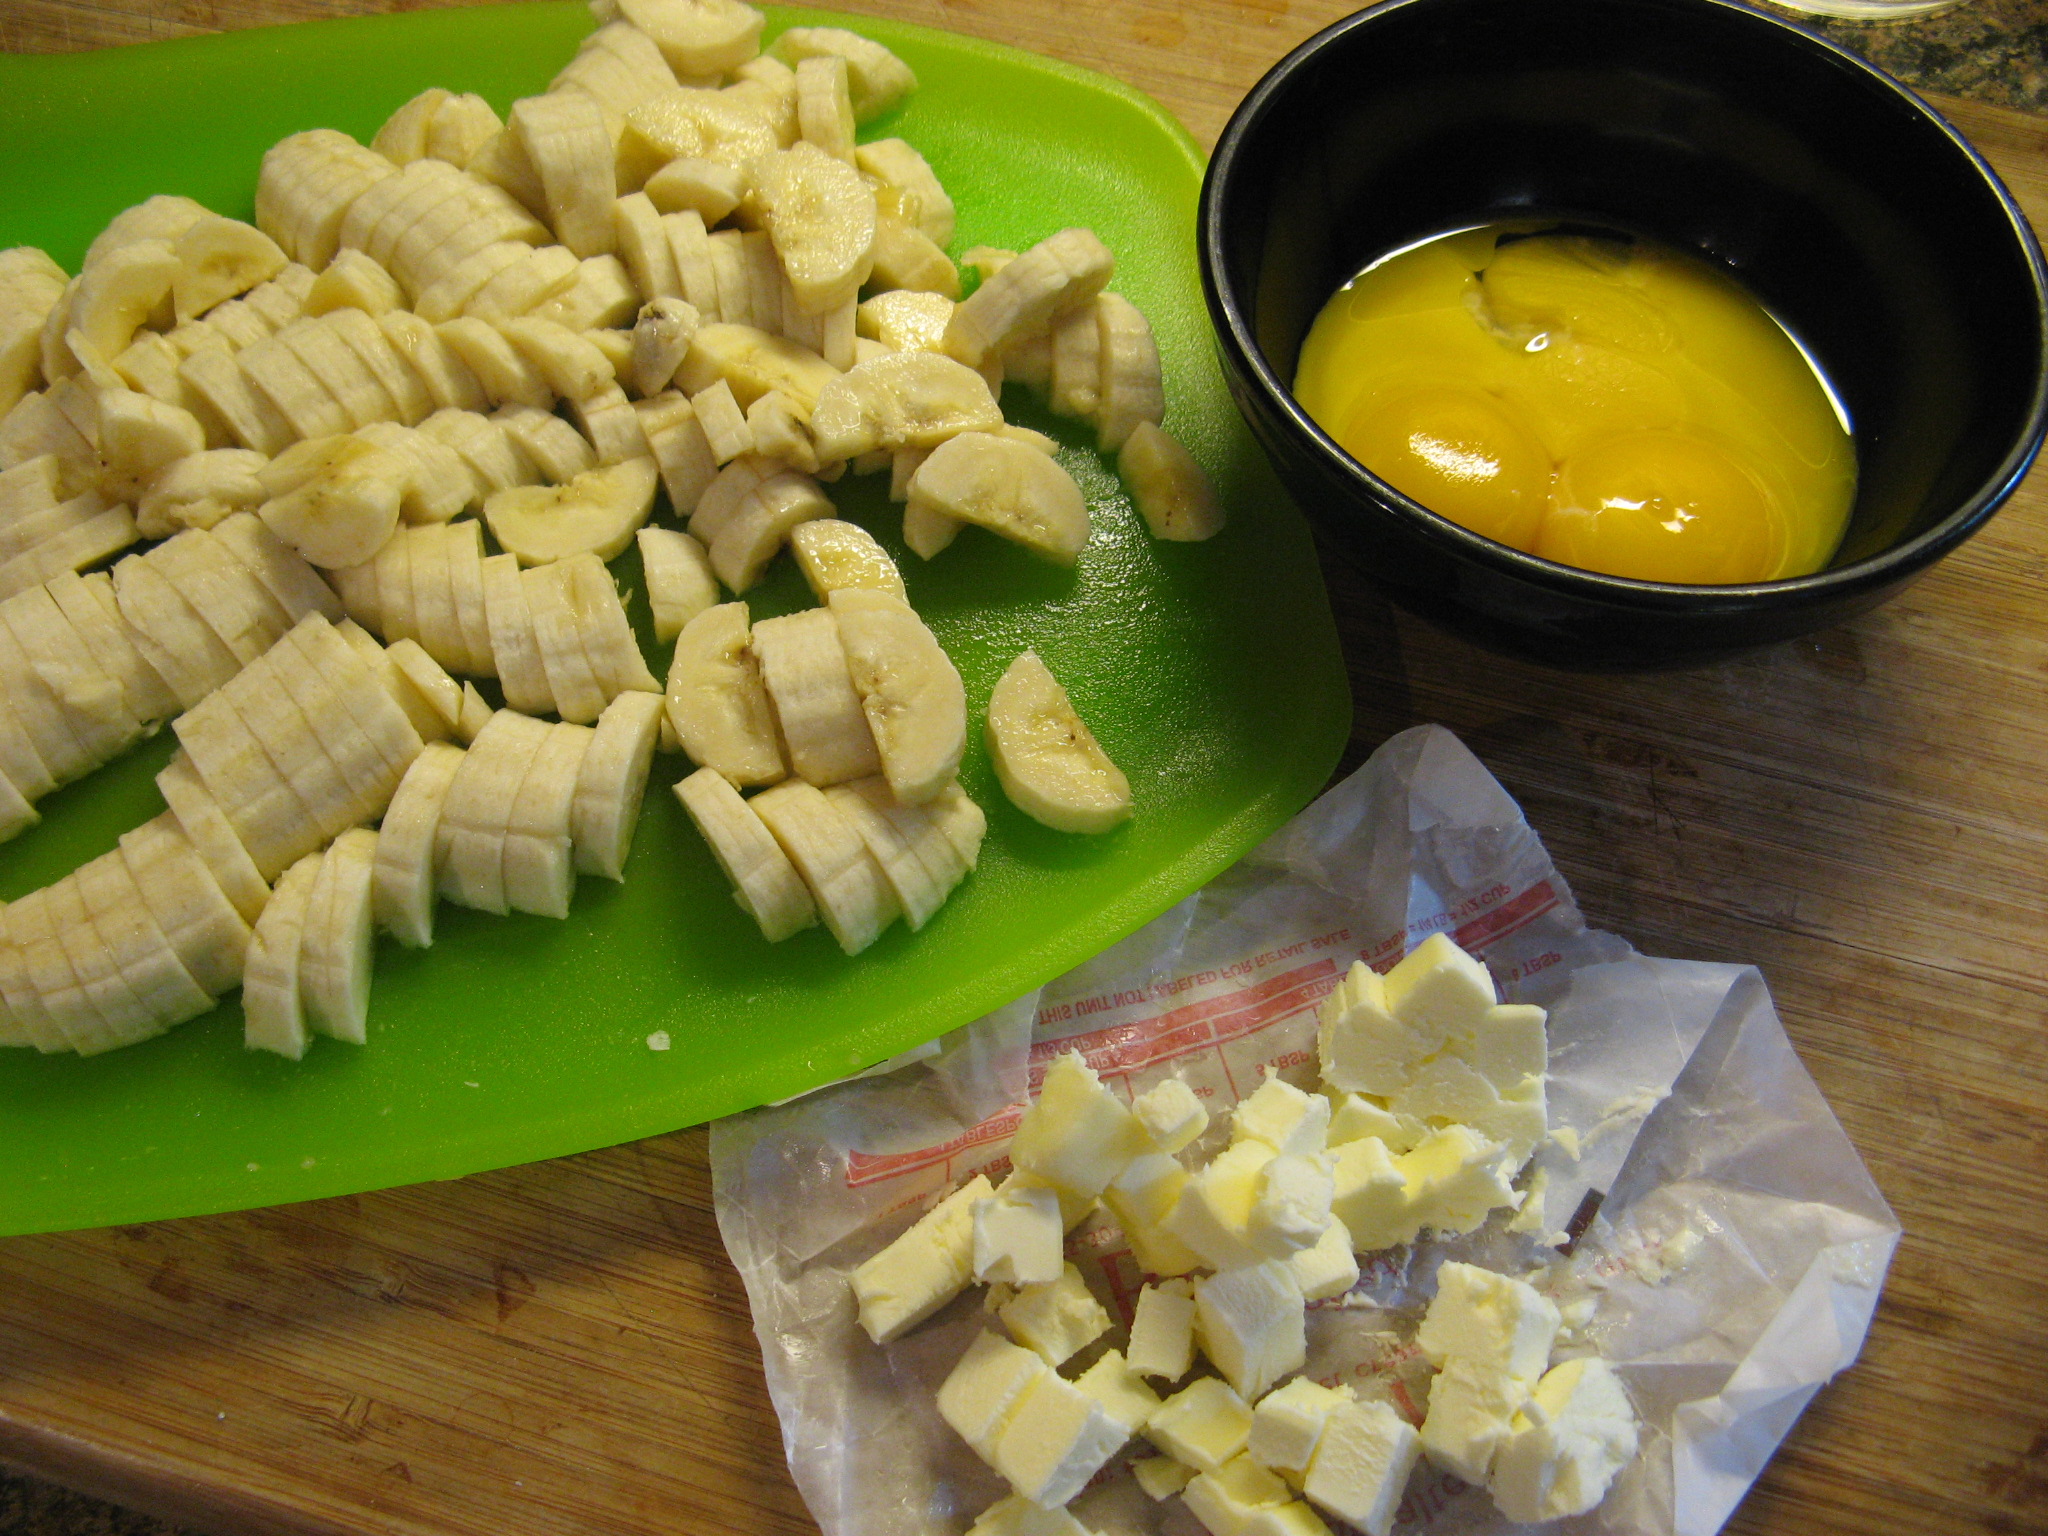
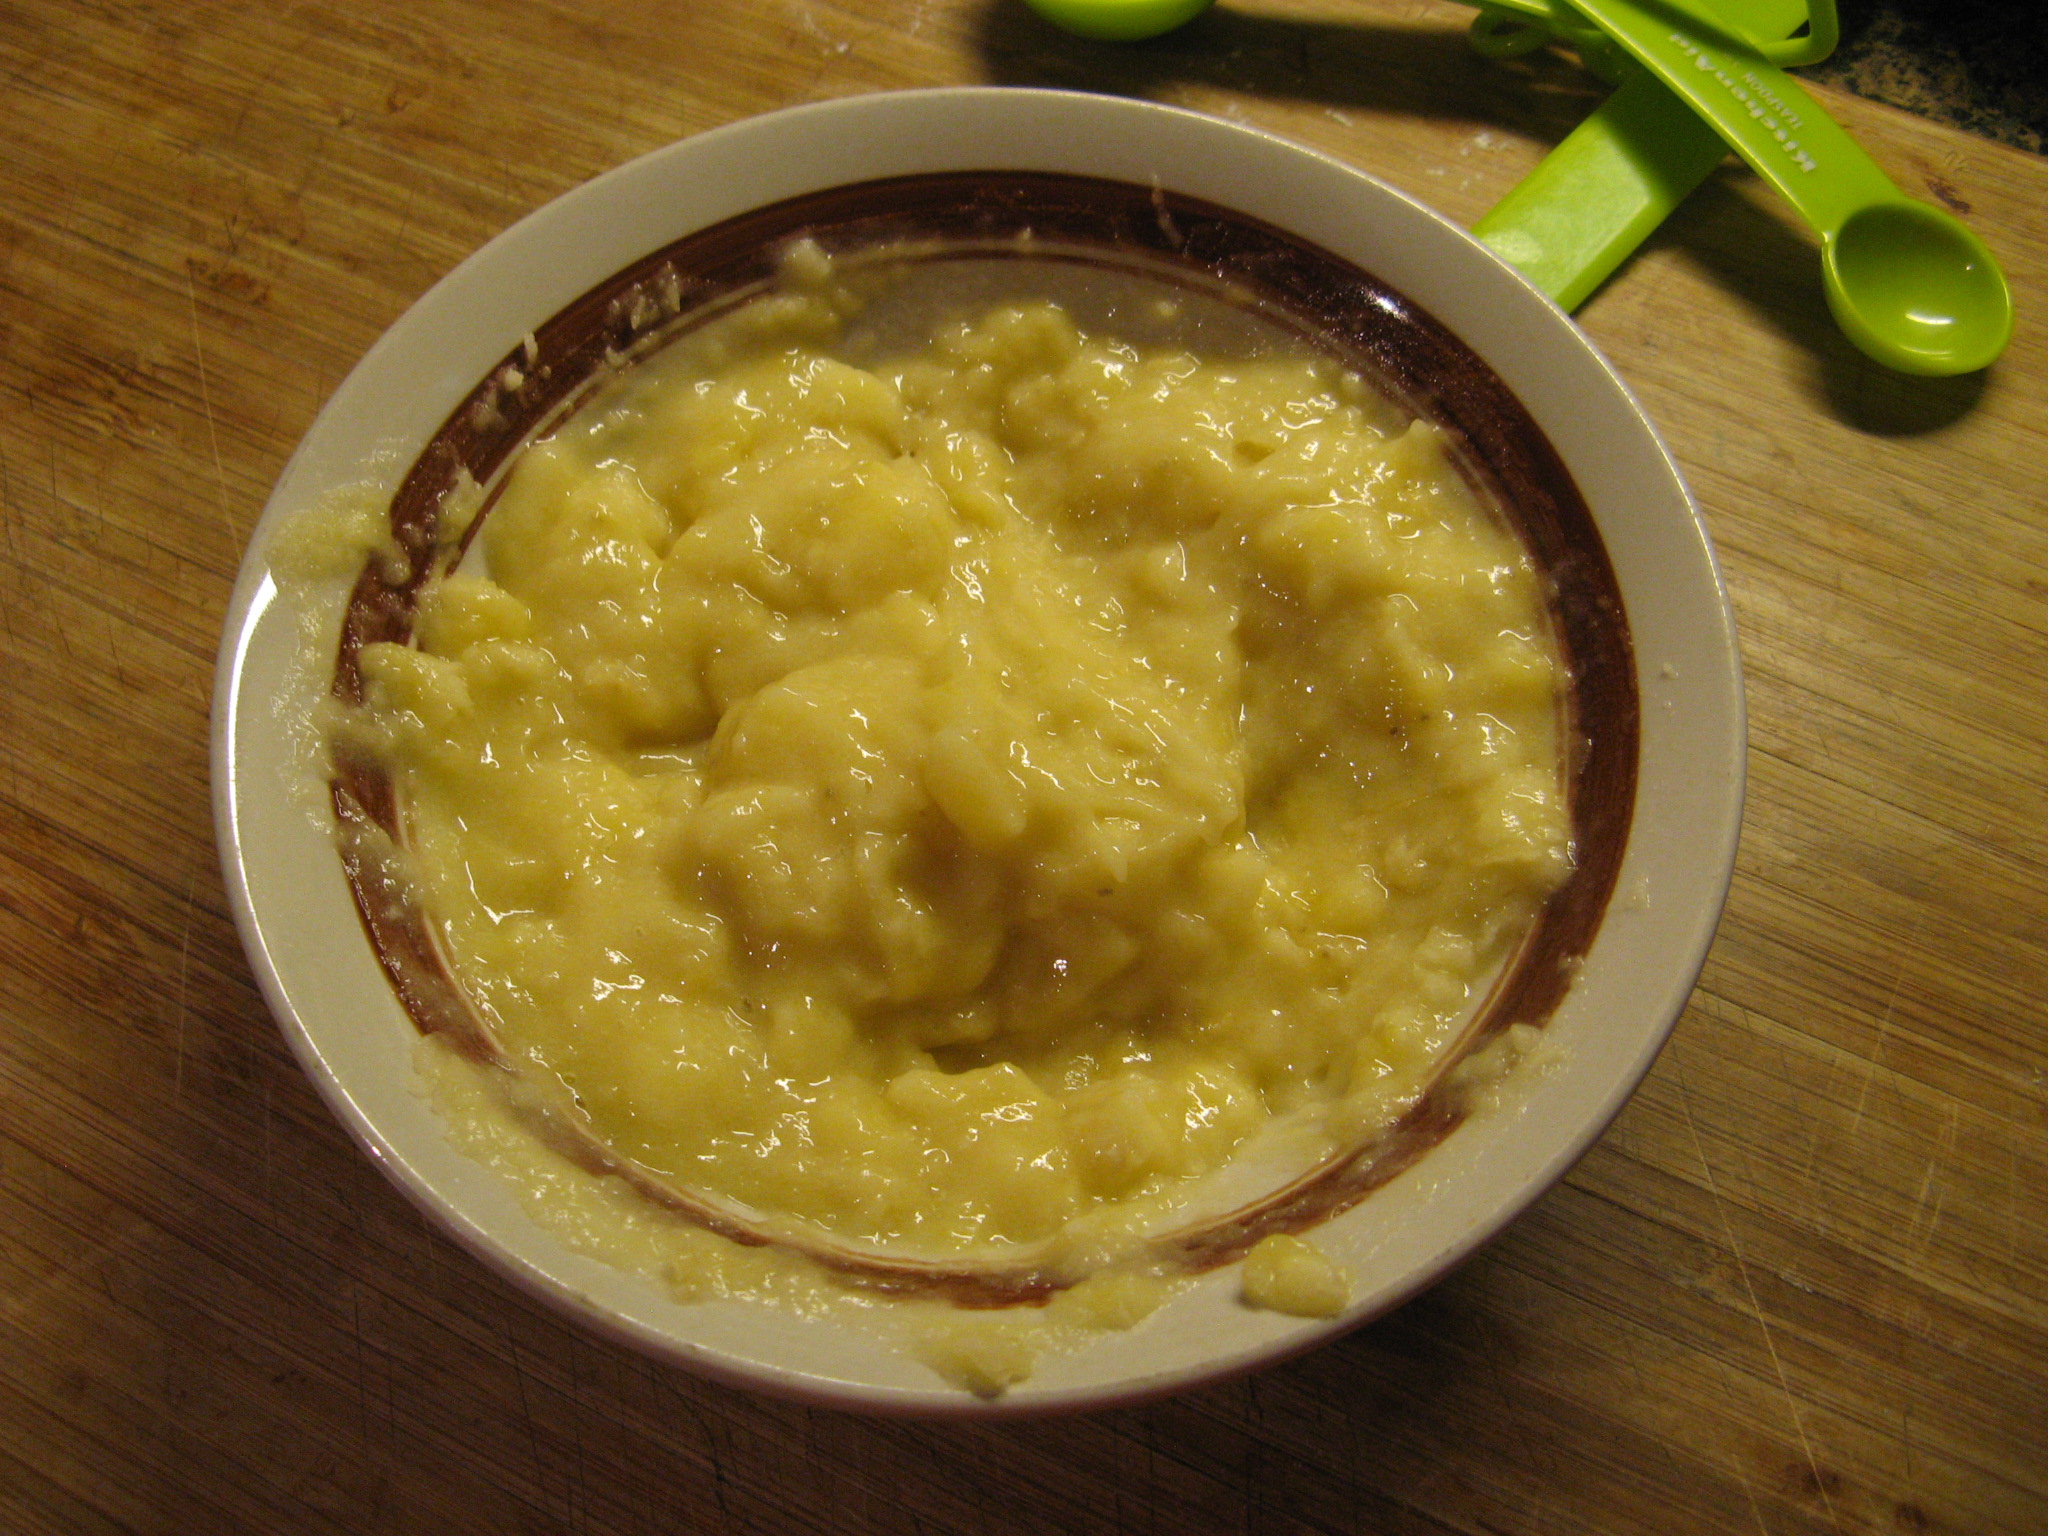
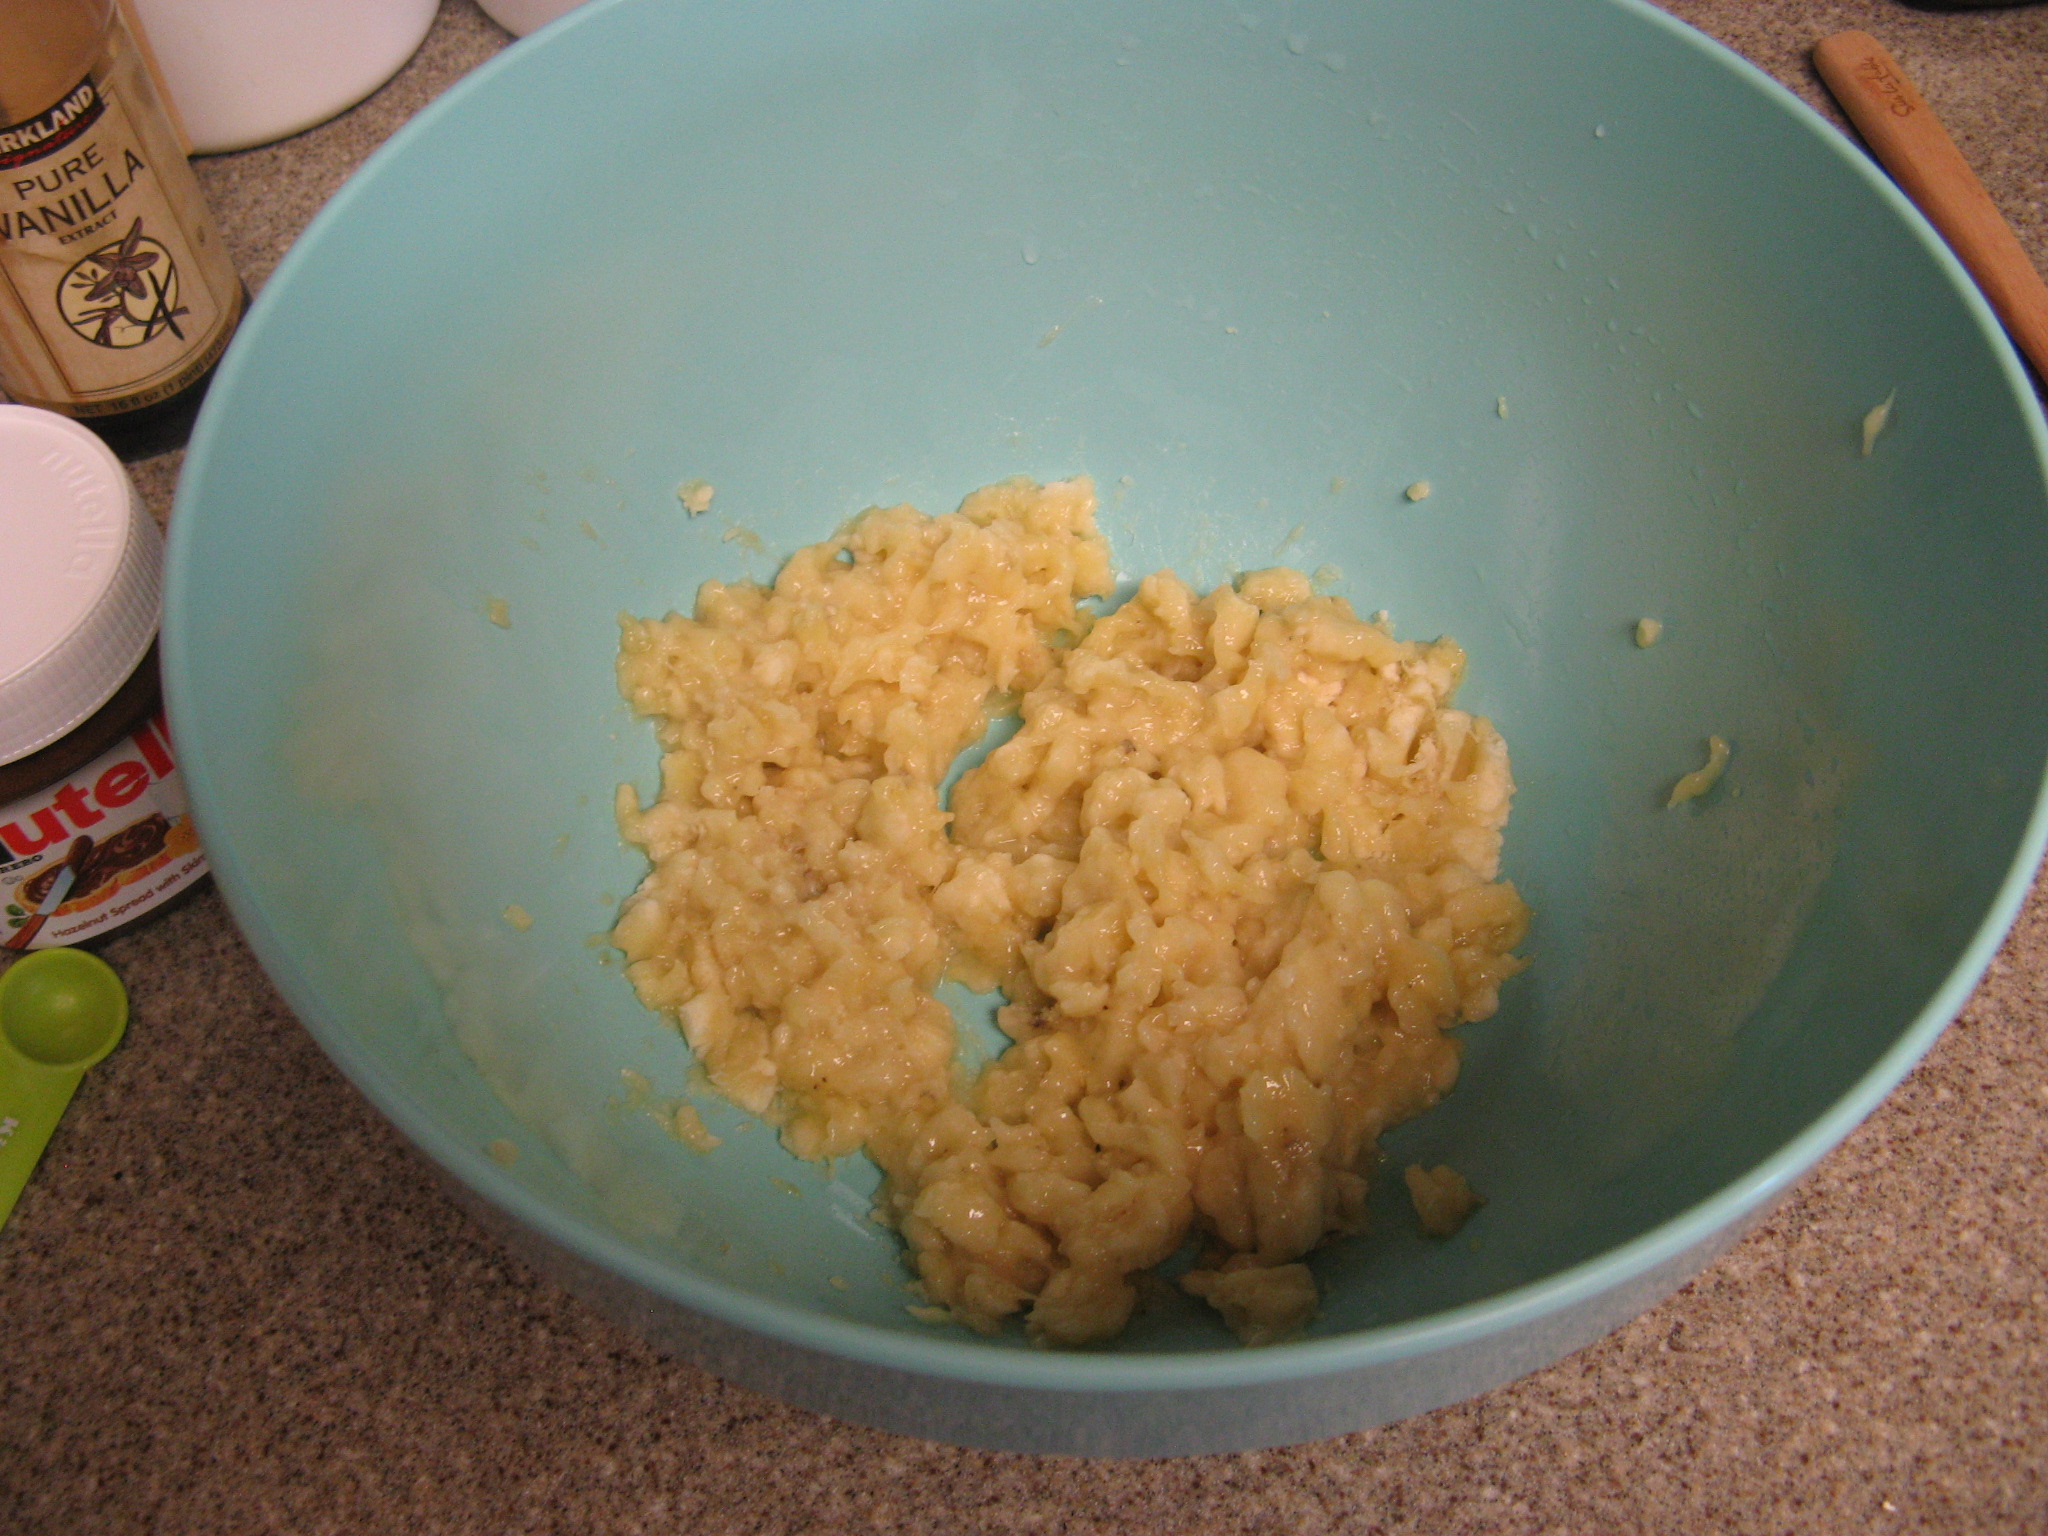
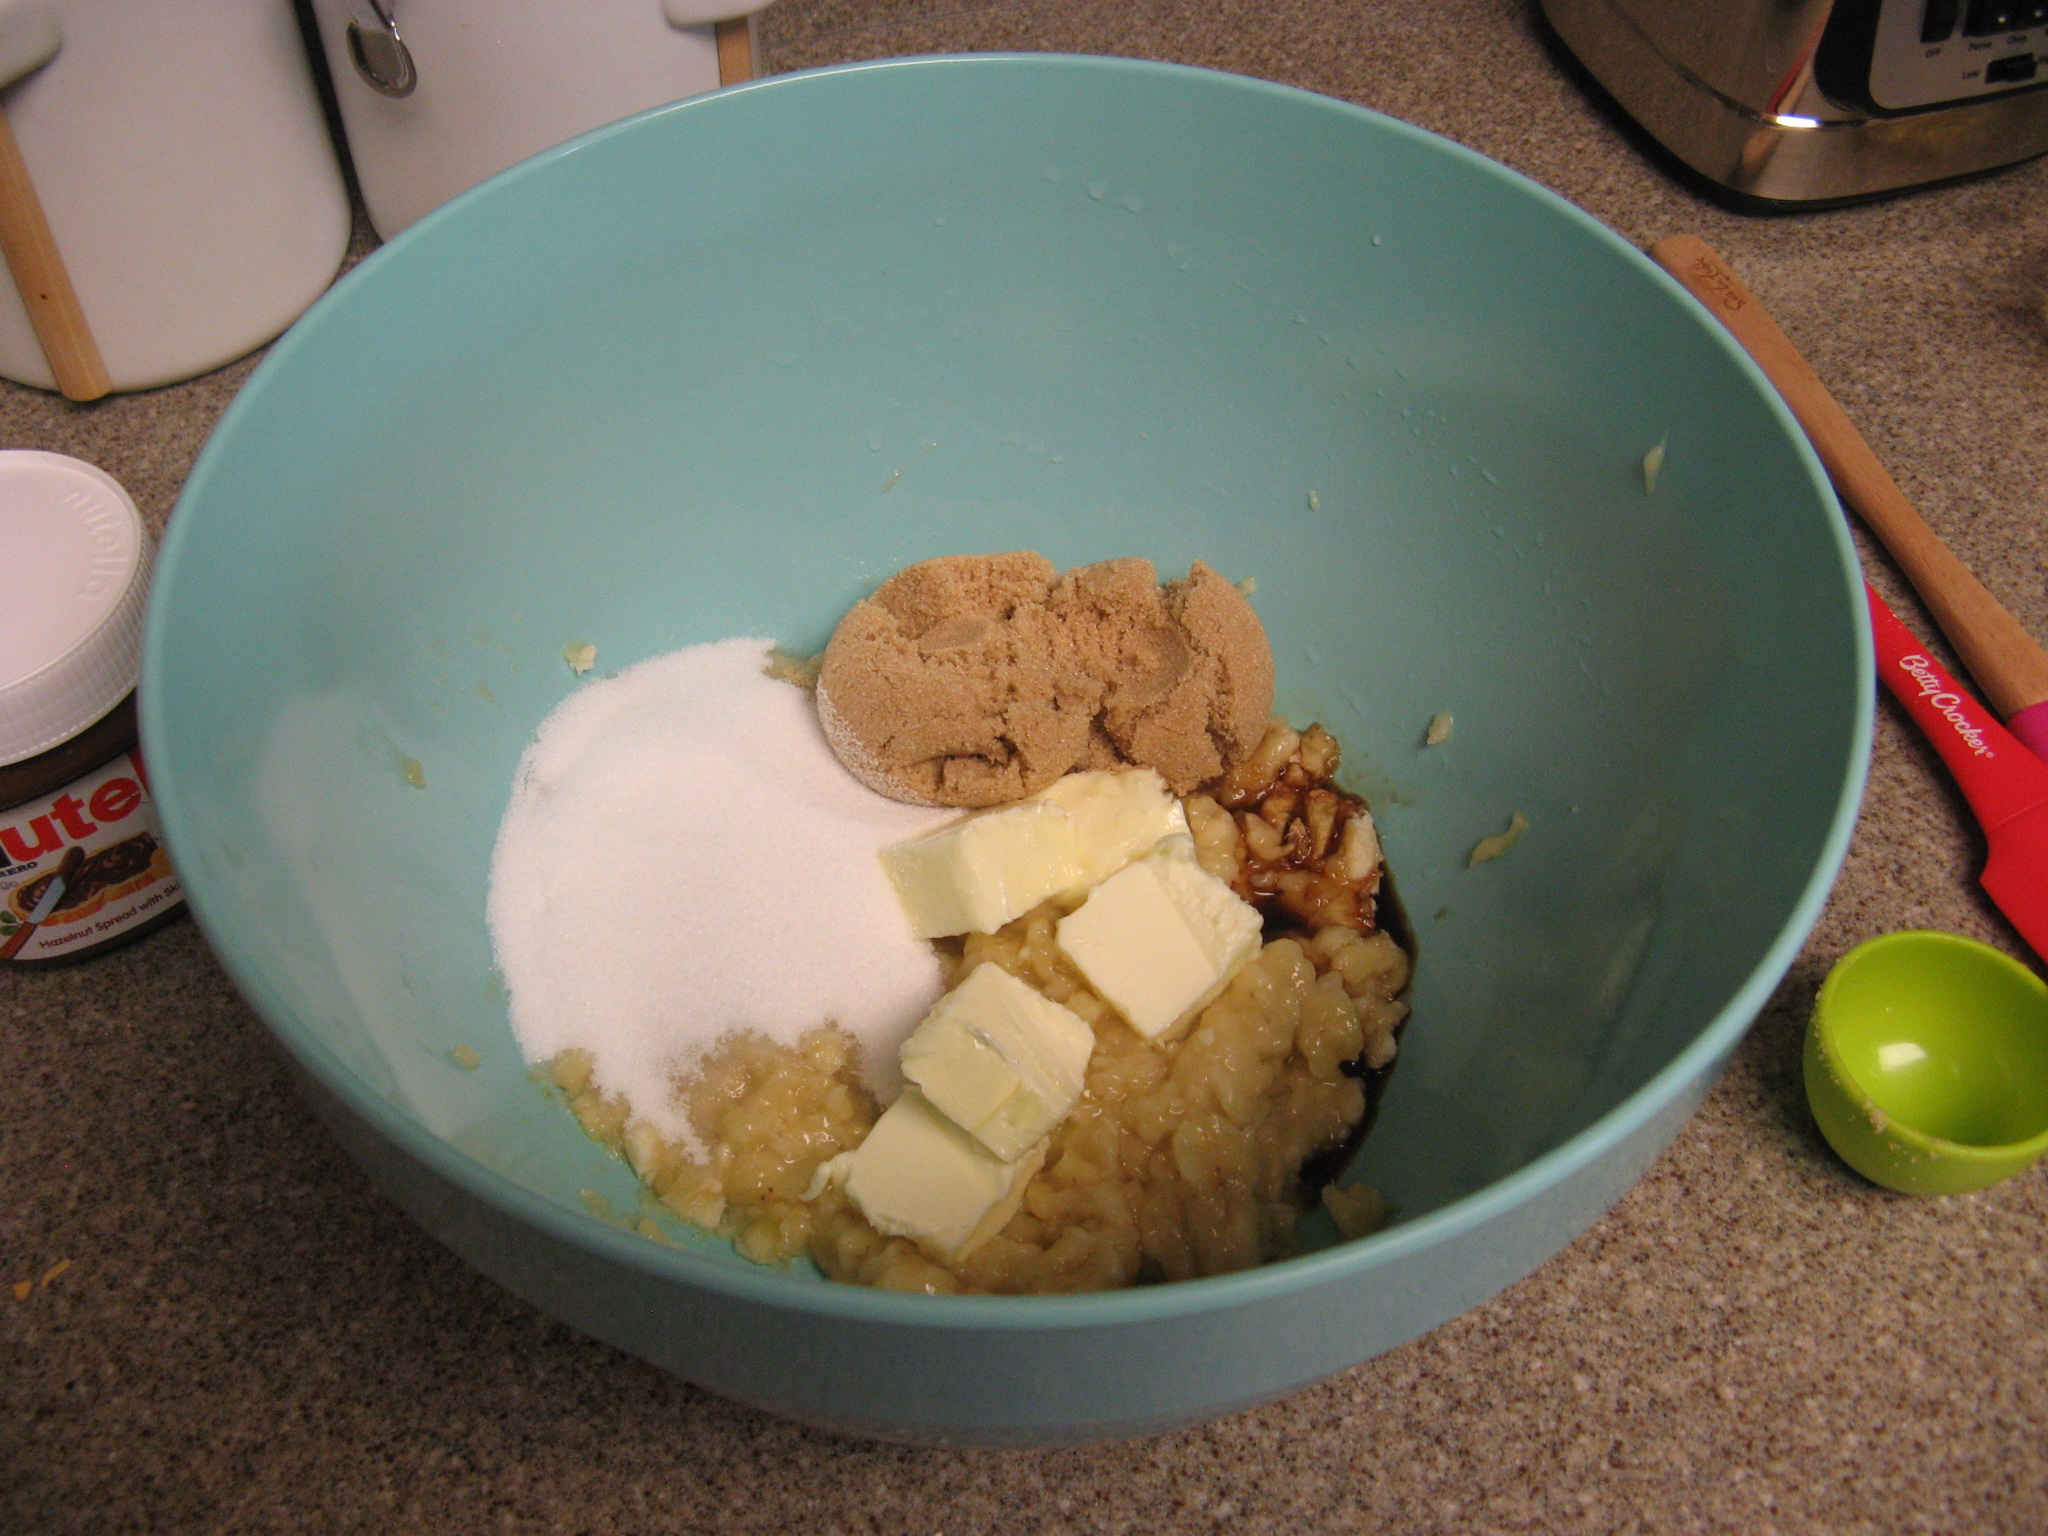
3 overripe bananas, mashed
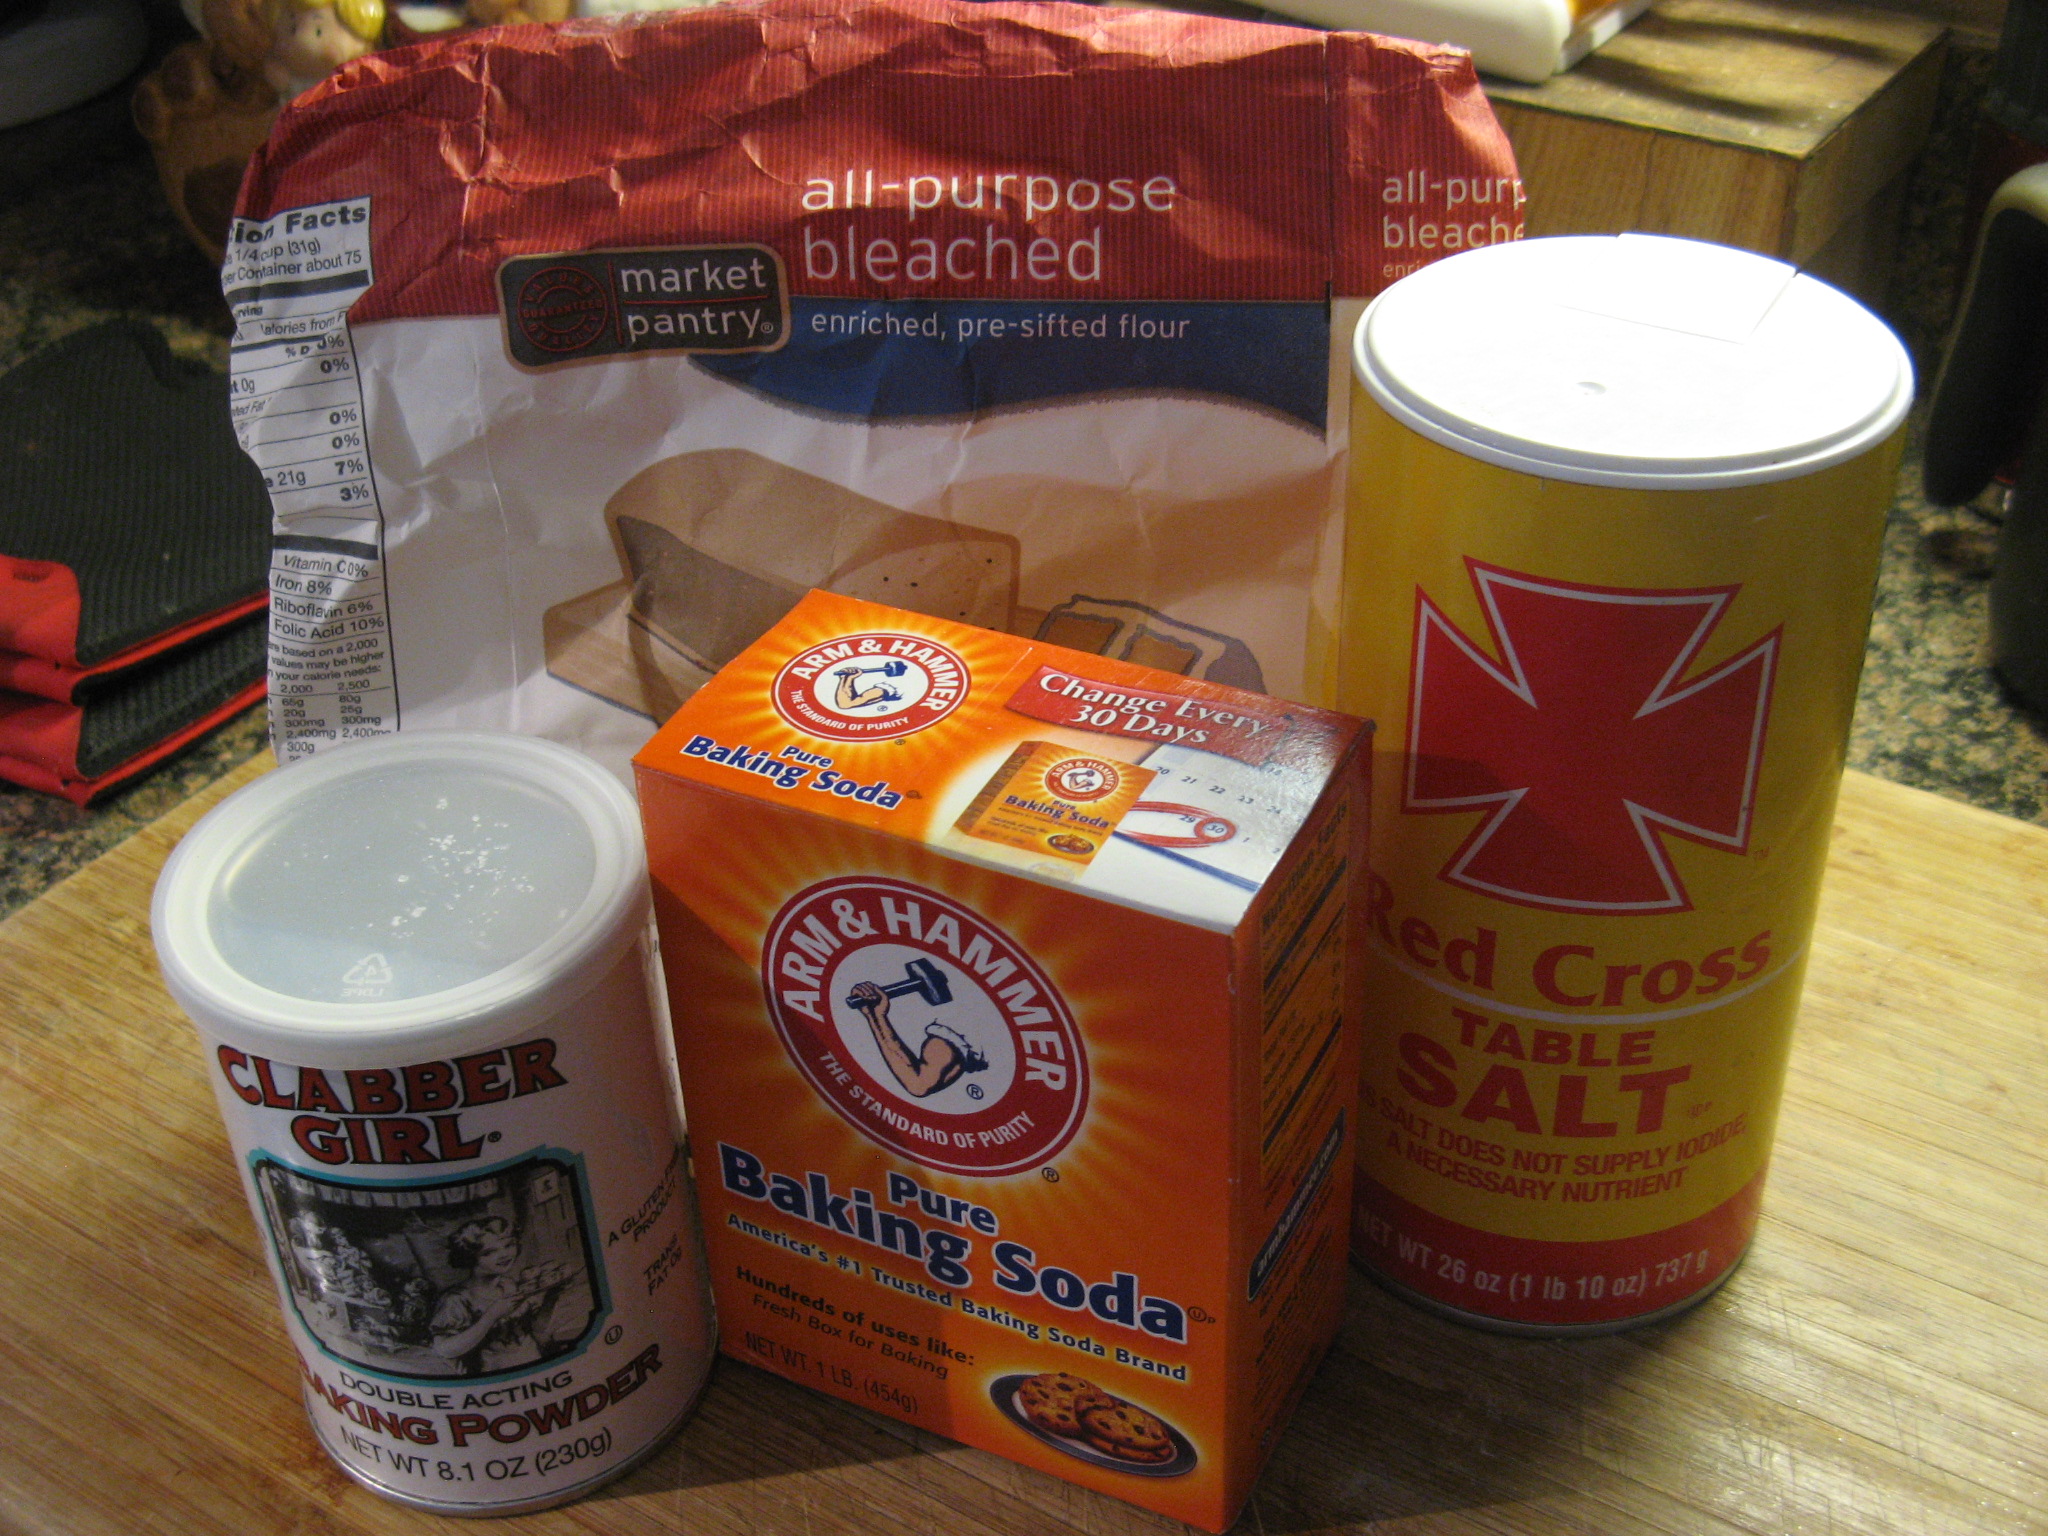
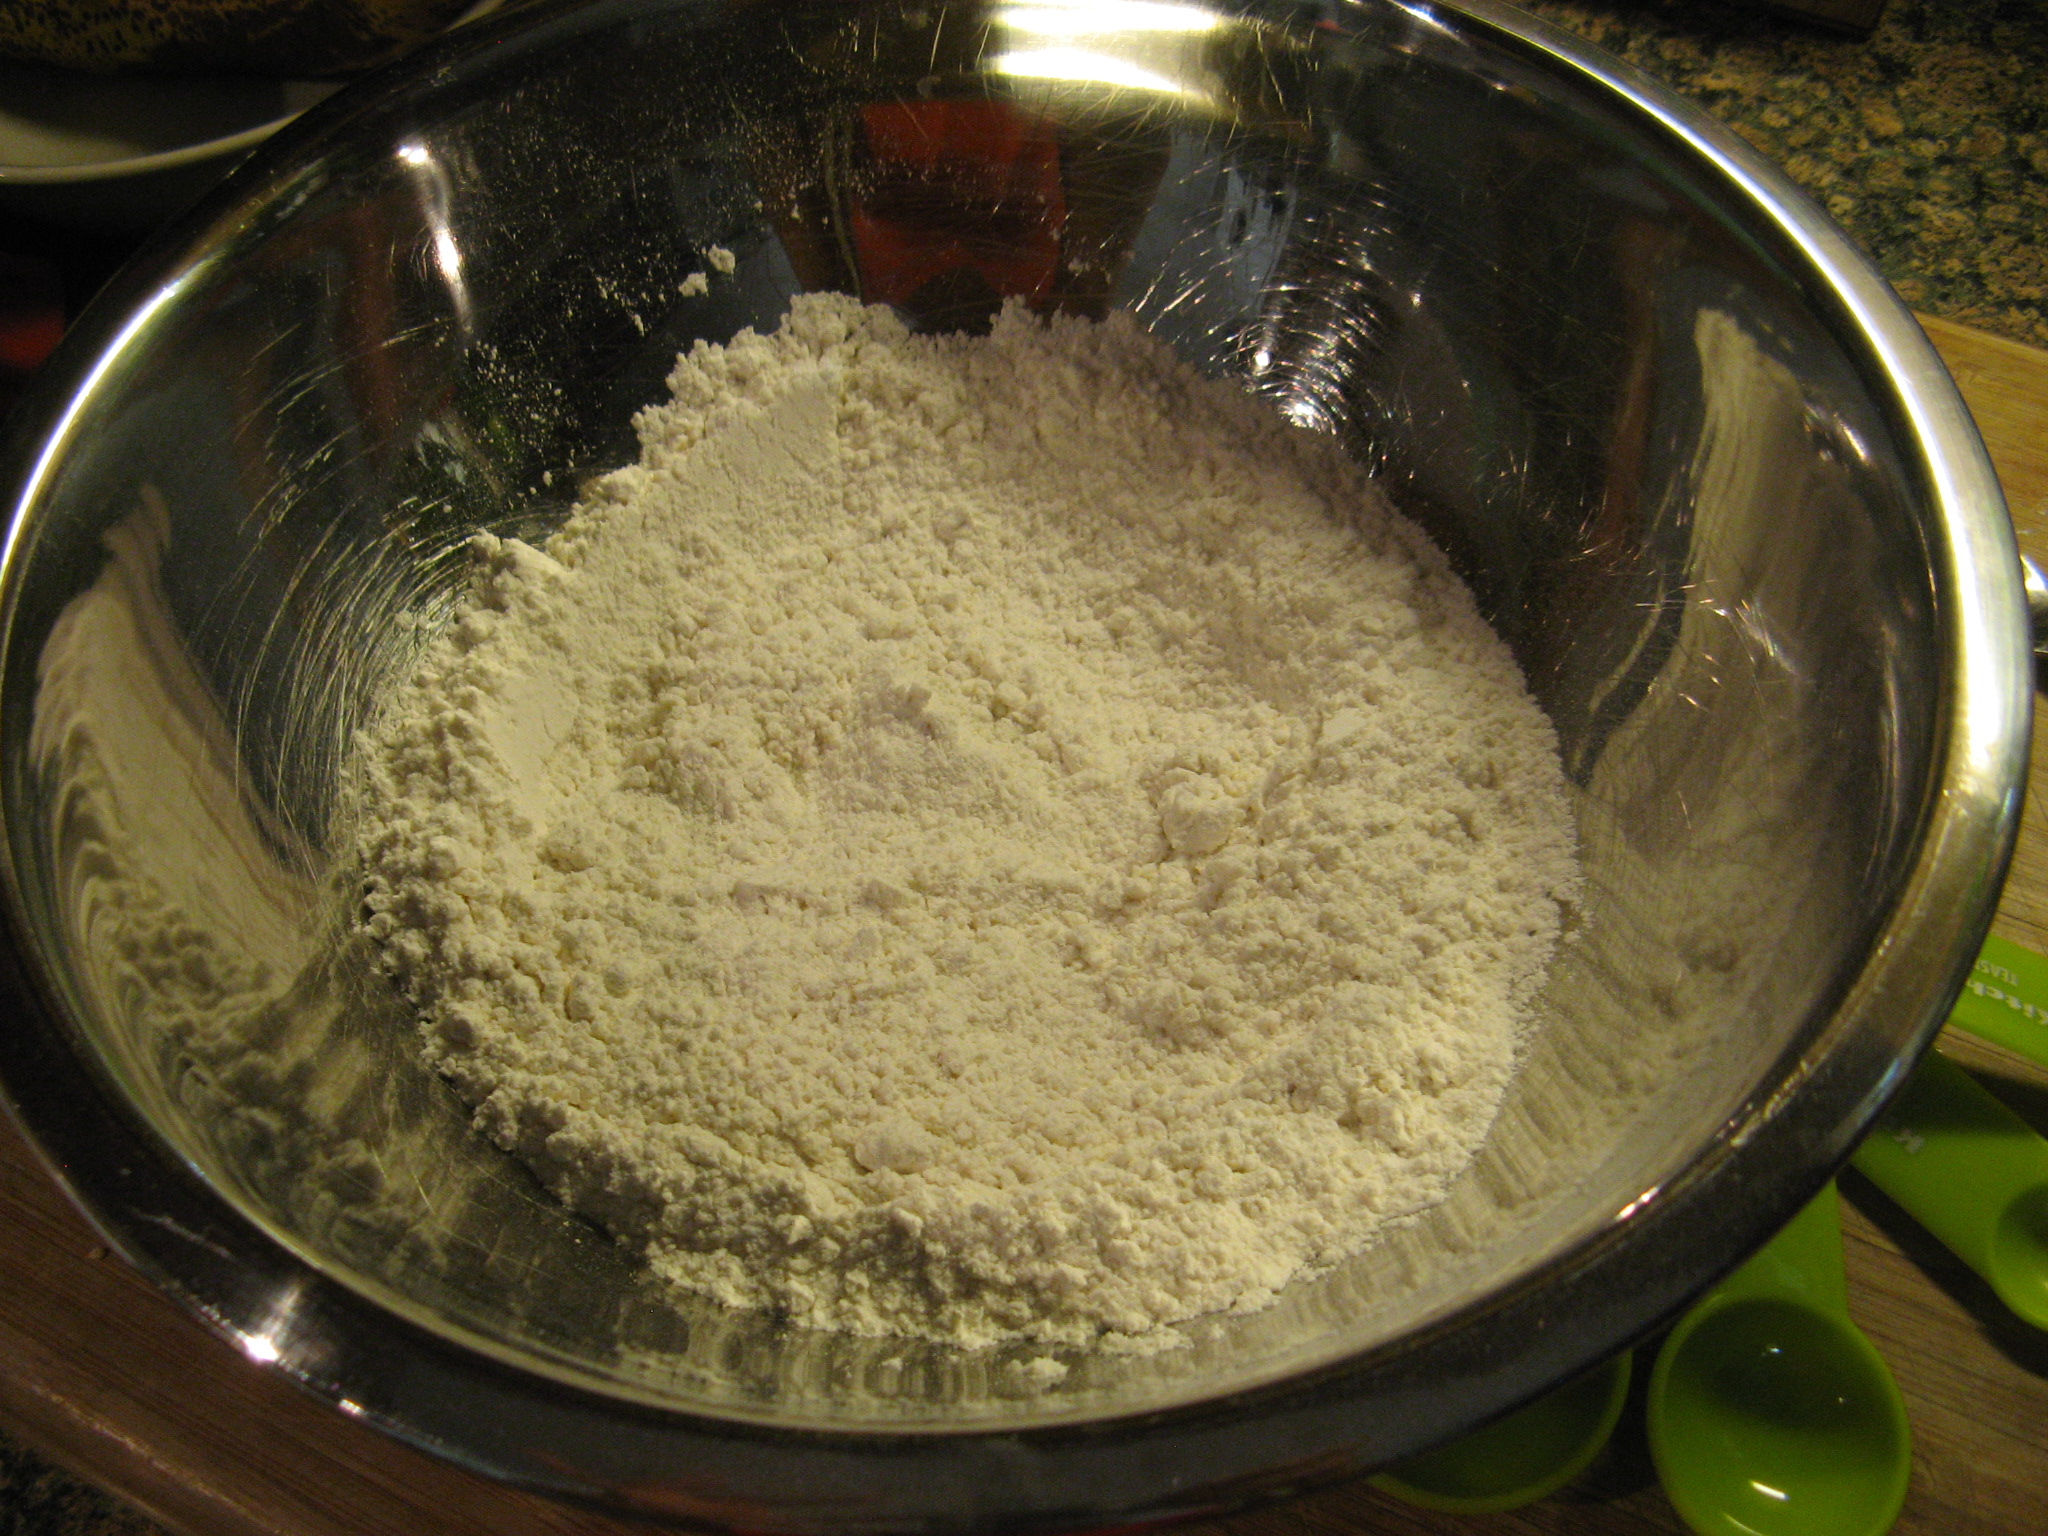
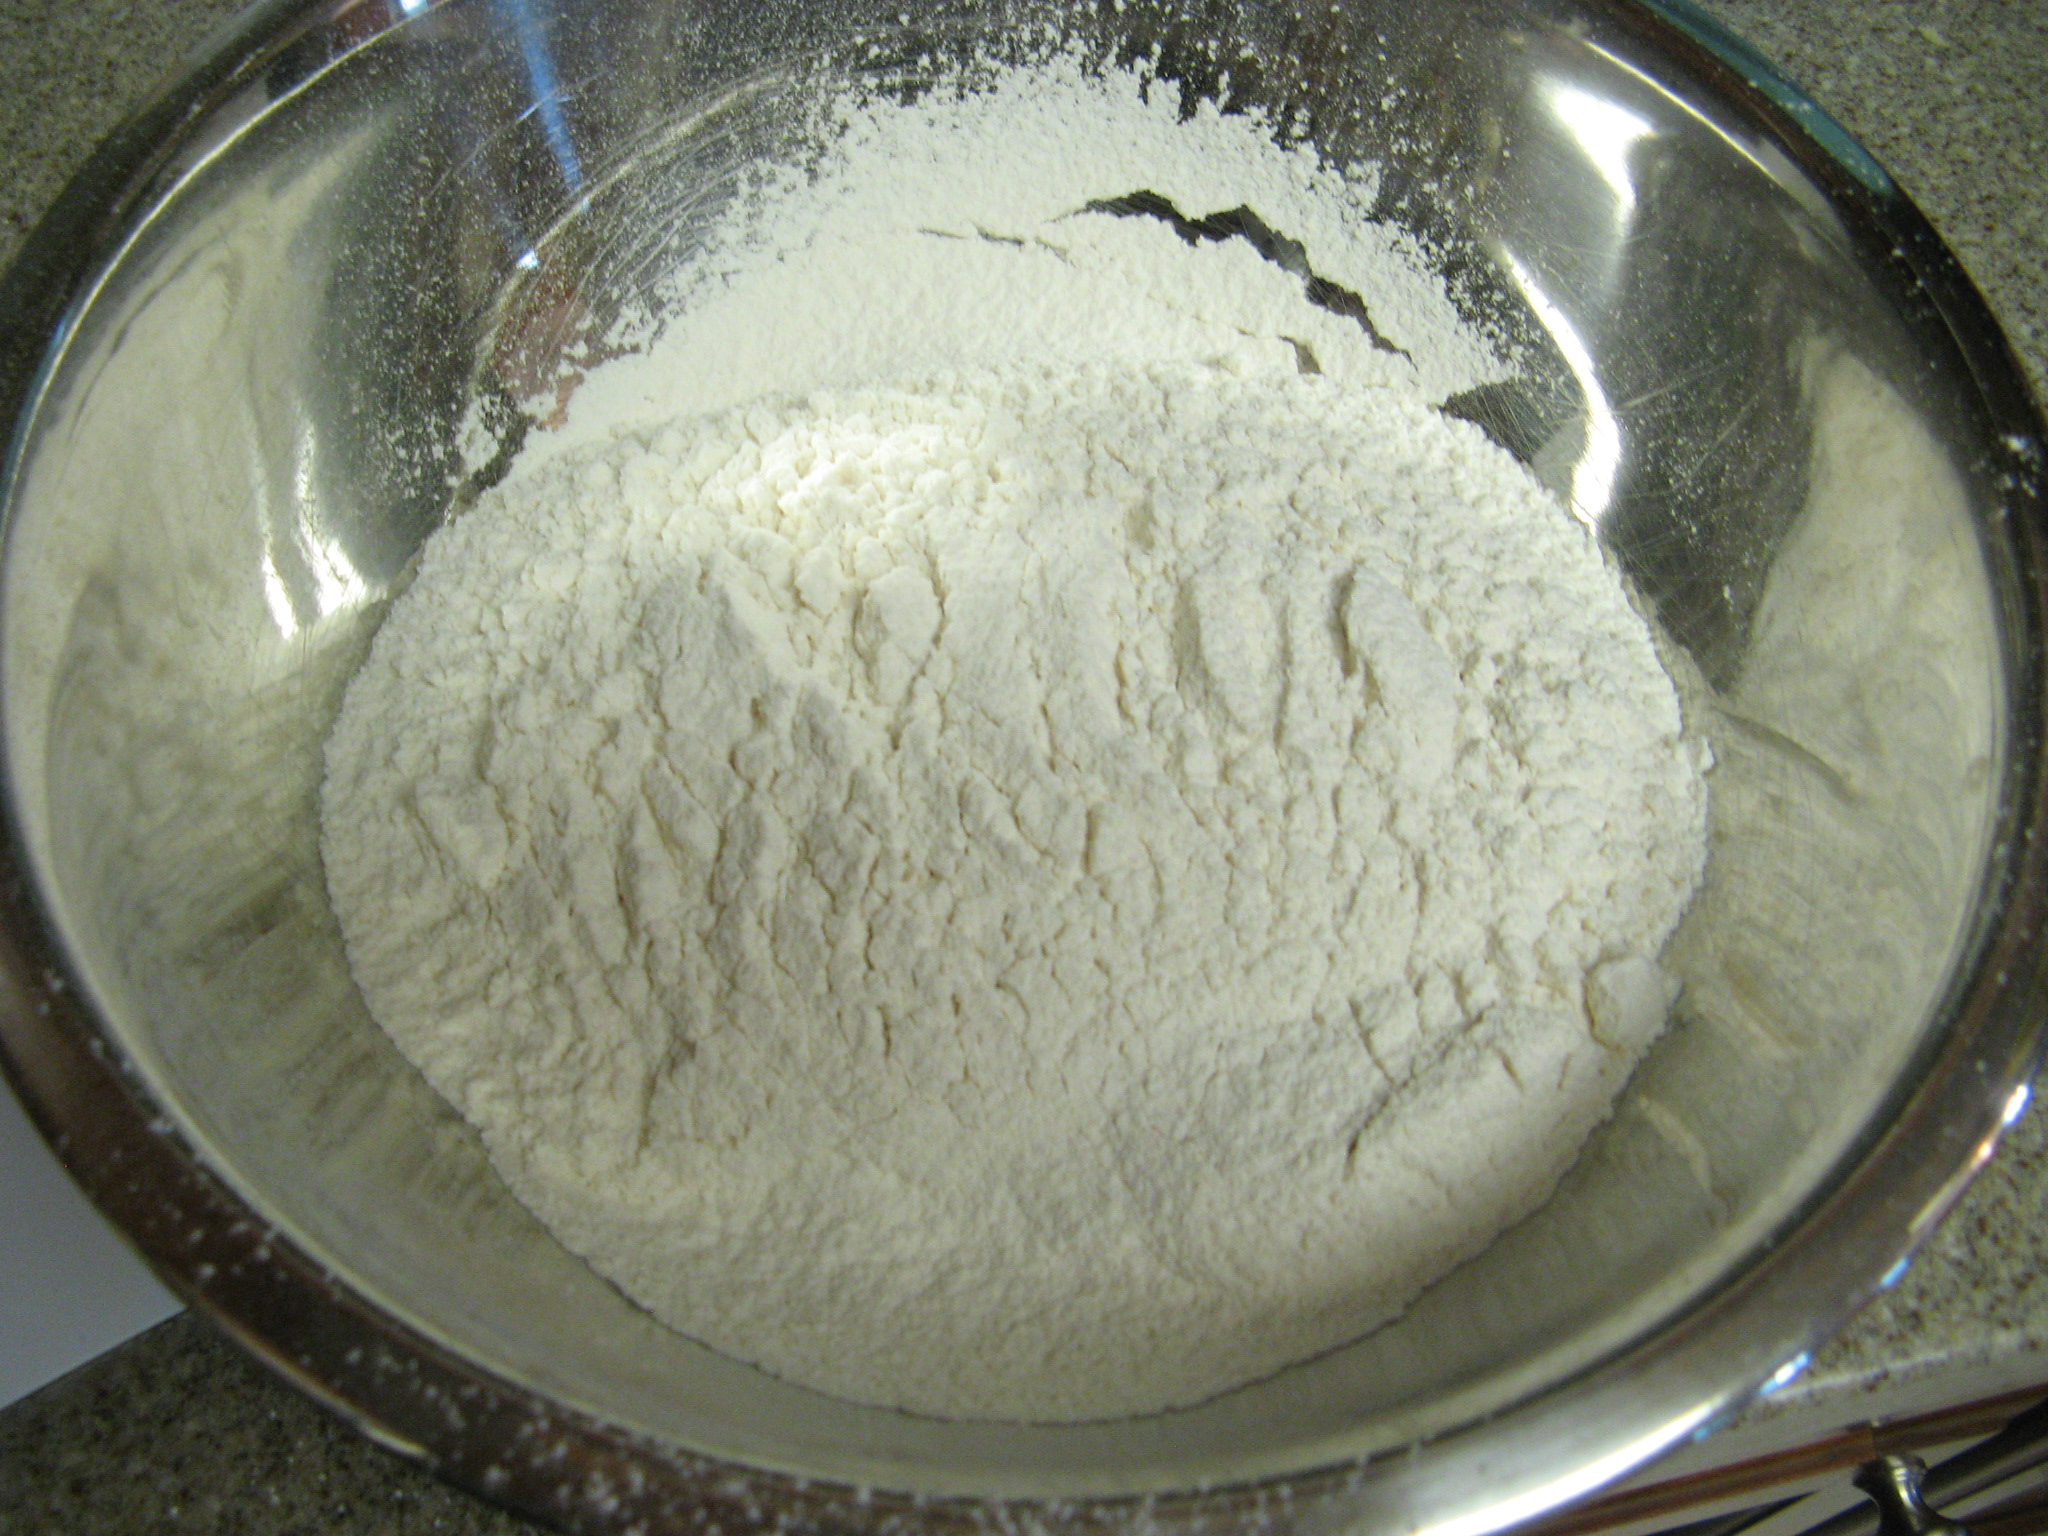
3 cups flour
1 teaspoon baking powder
1 teaspoon baking soda
1/2 teaspoon cinnamon
1/2 teaspoon salt
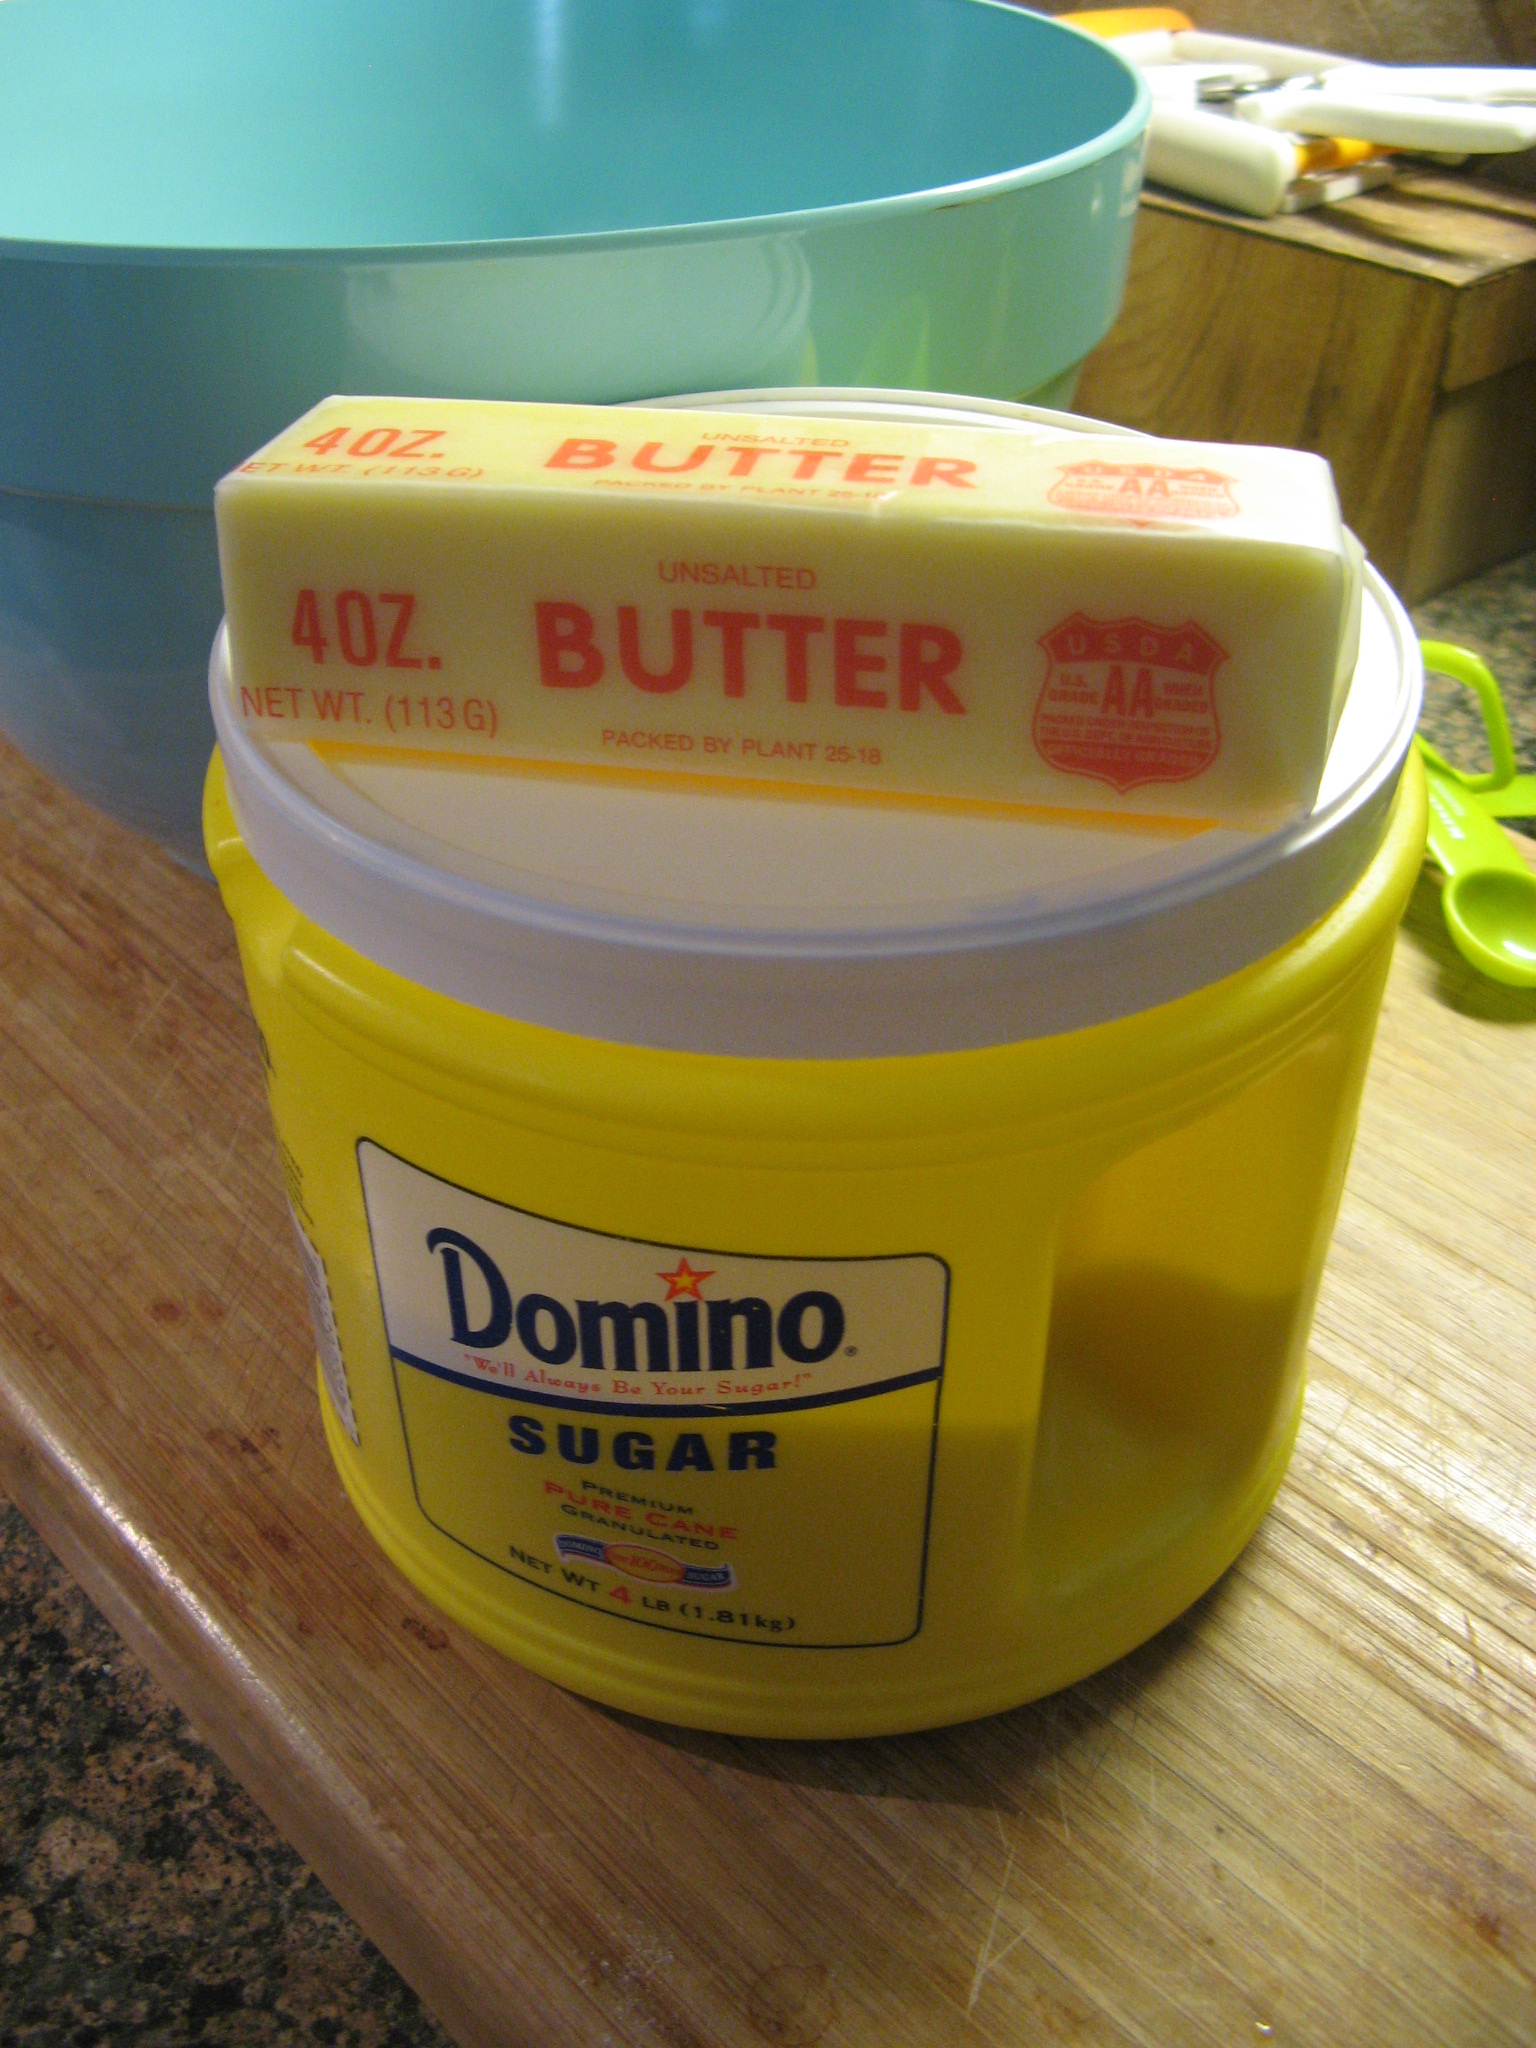
3/4 cups unsalted butter, at room temperature
1 cup sugar
1/2 cup light brown sugar
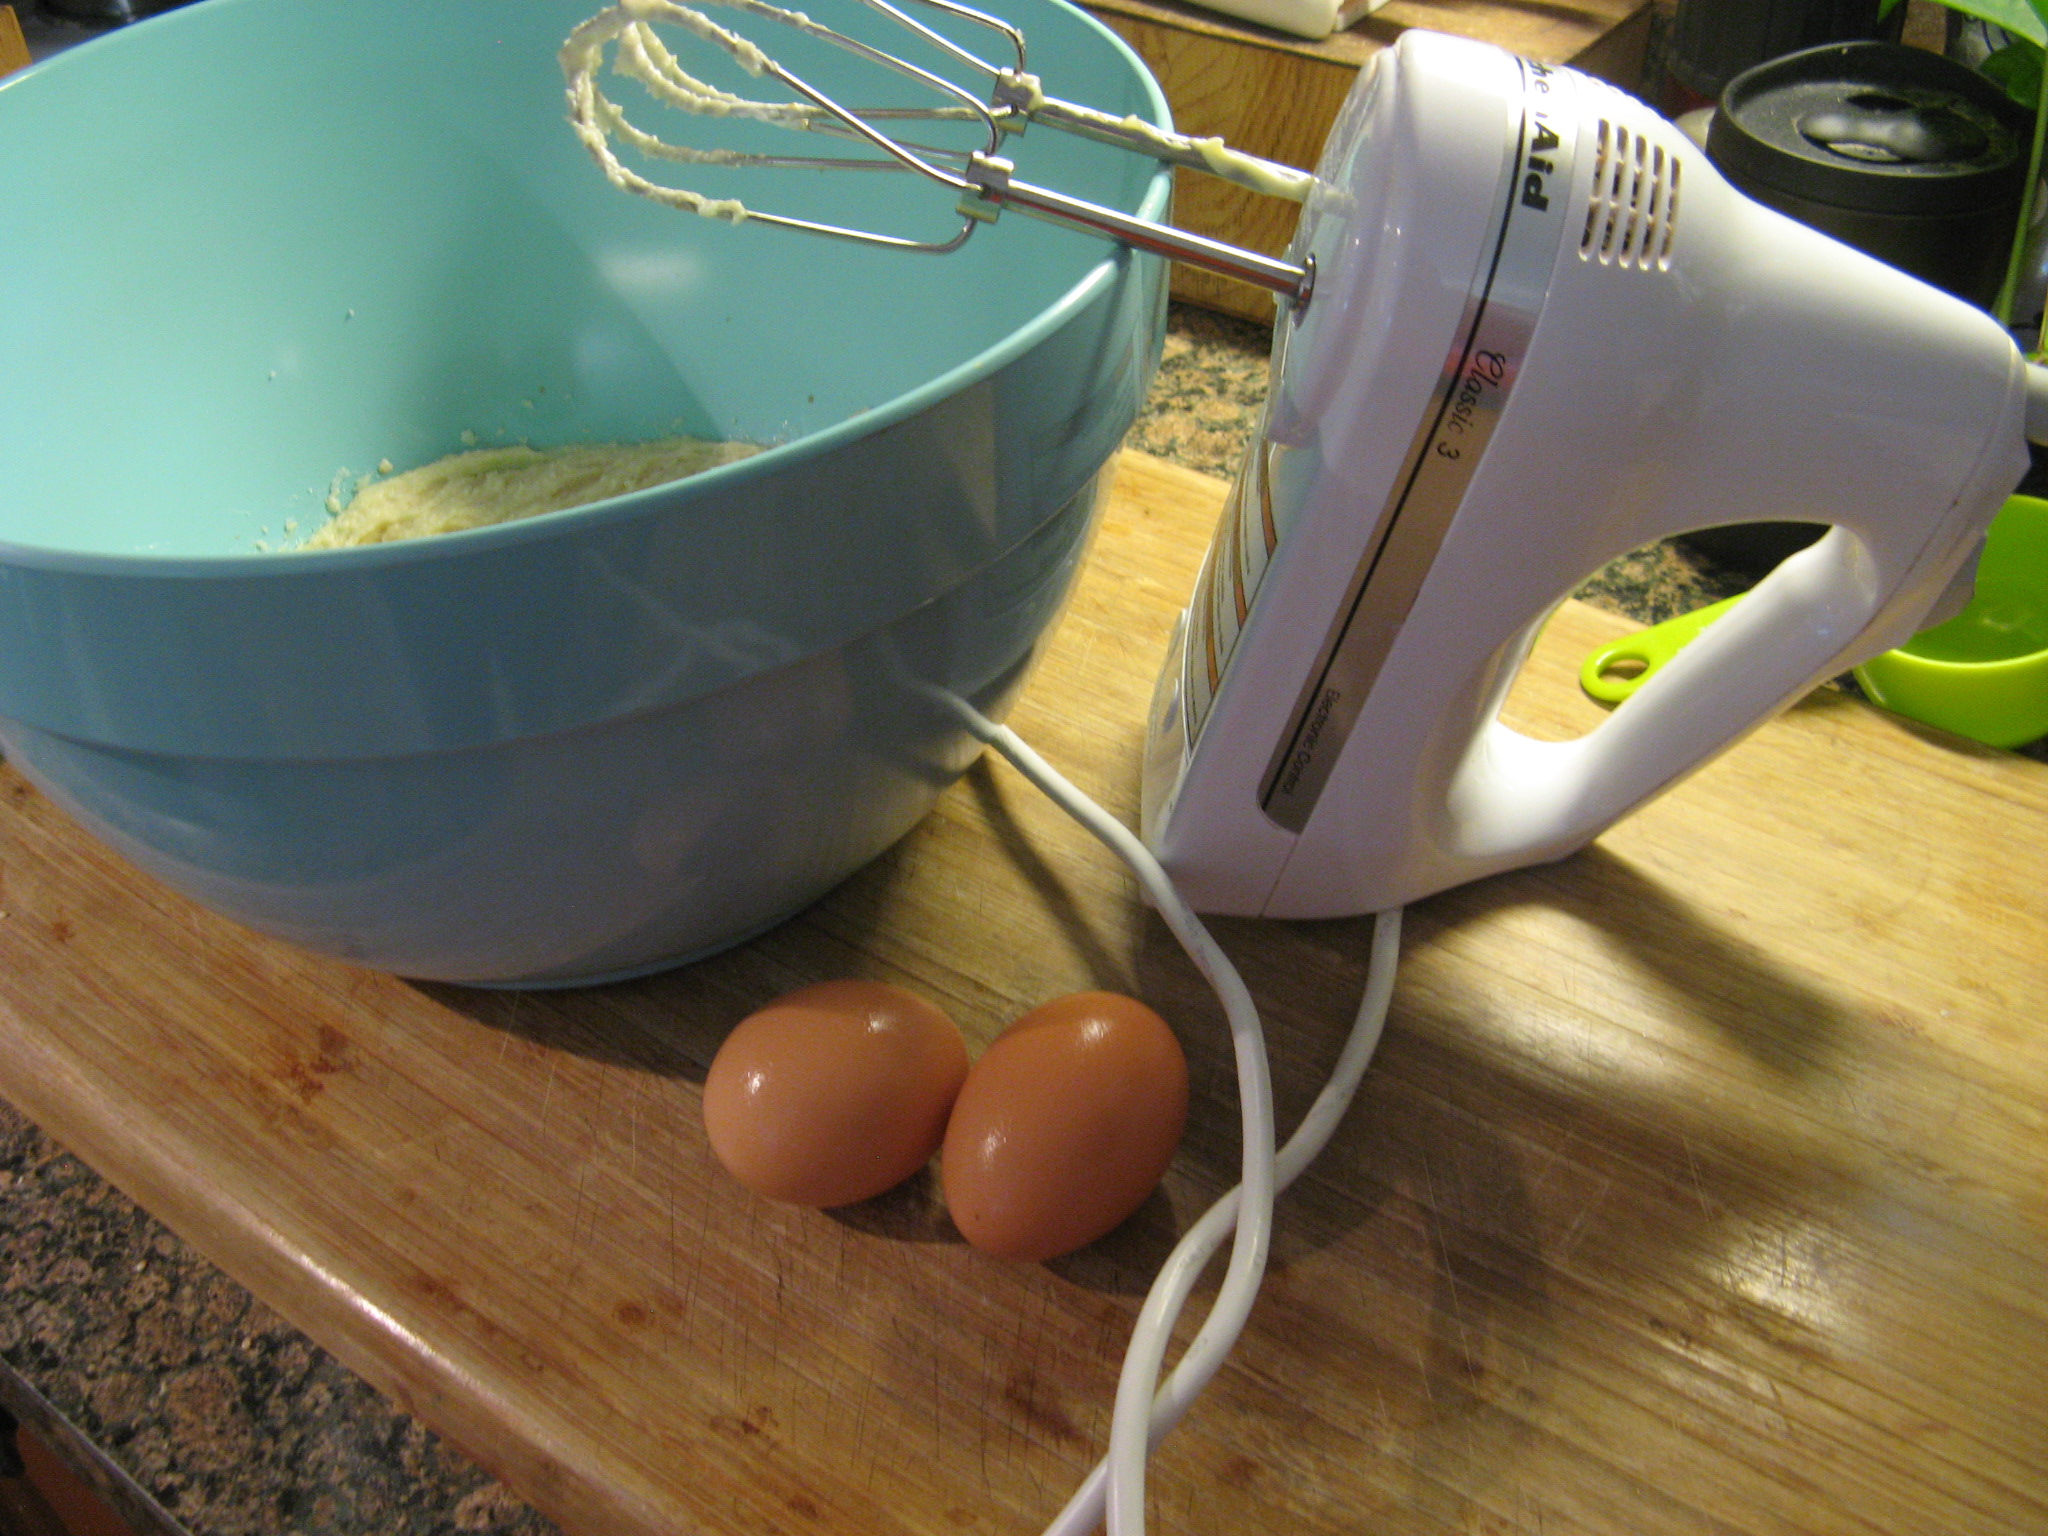
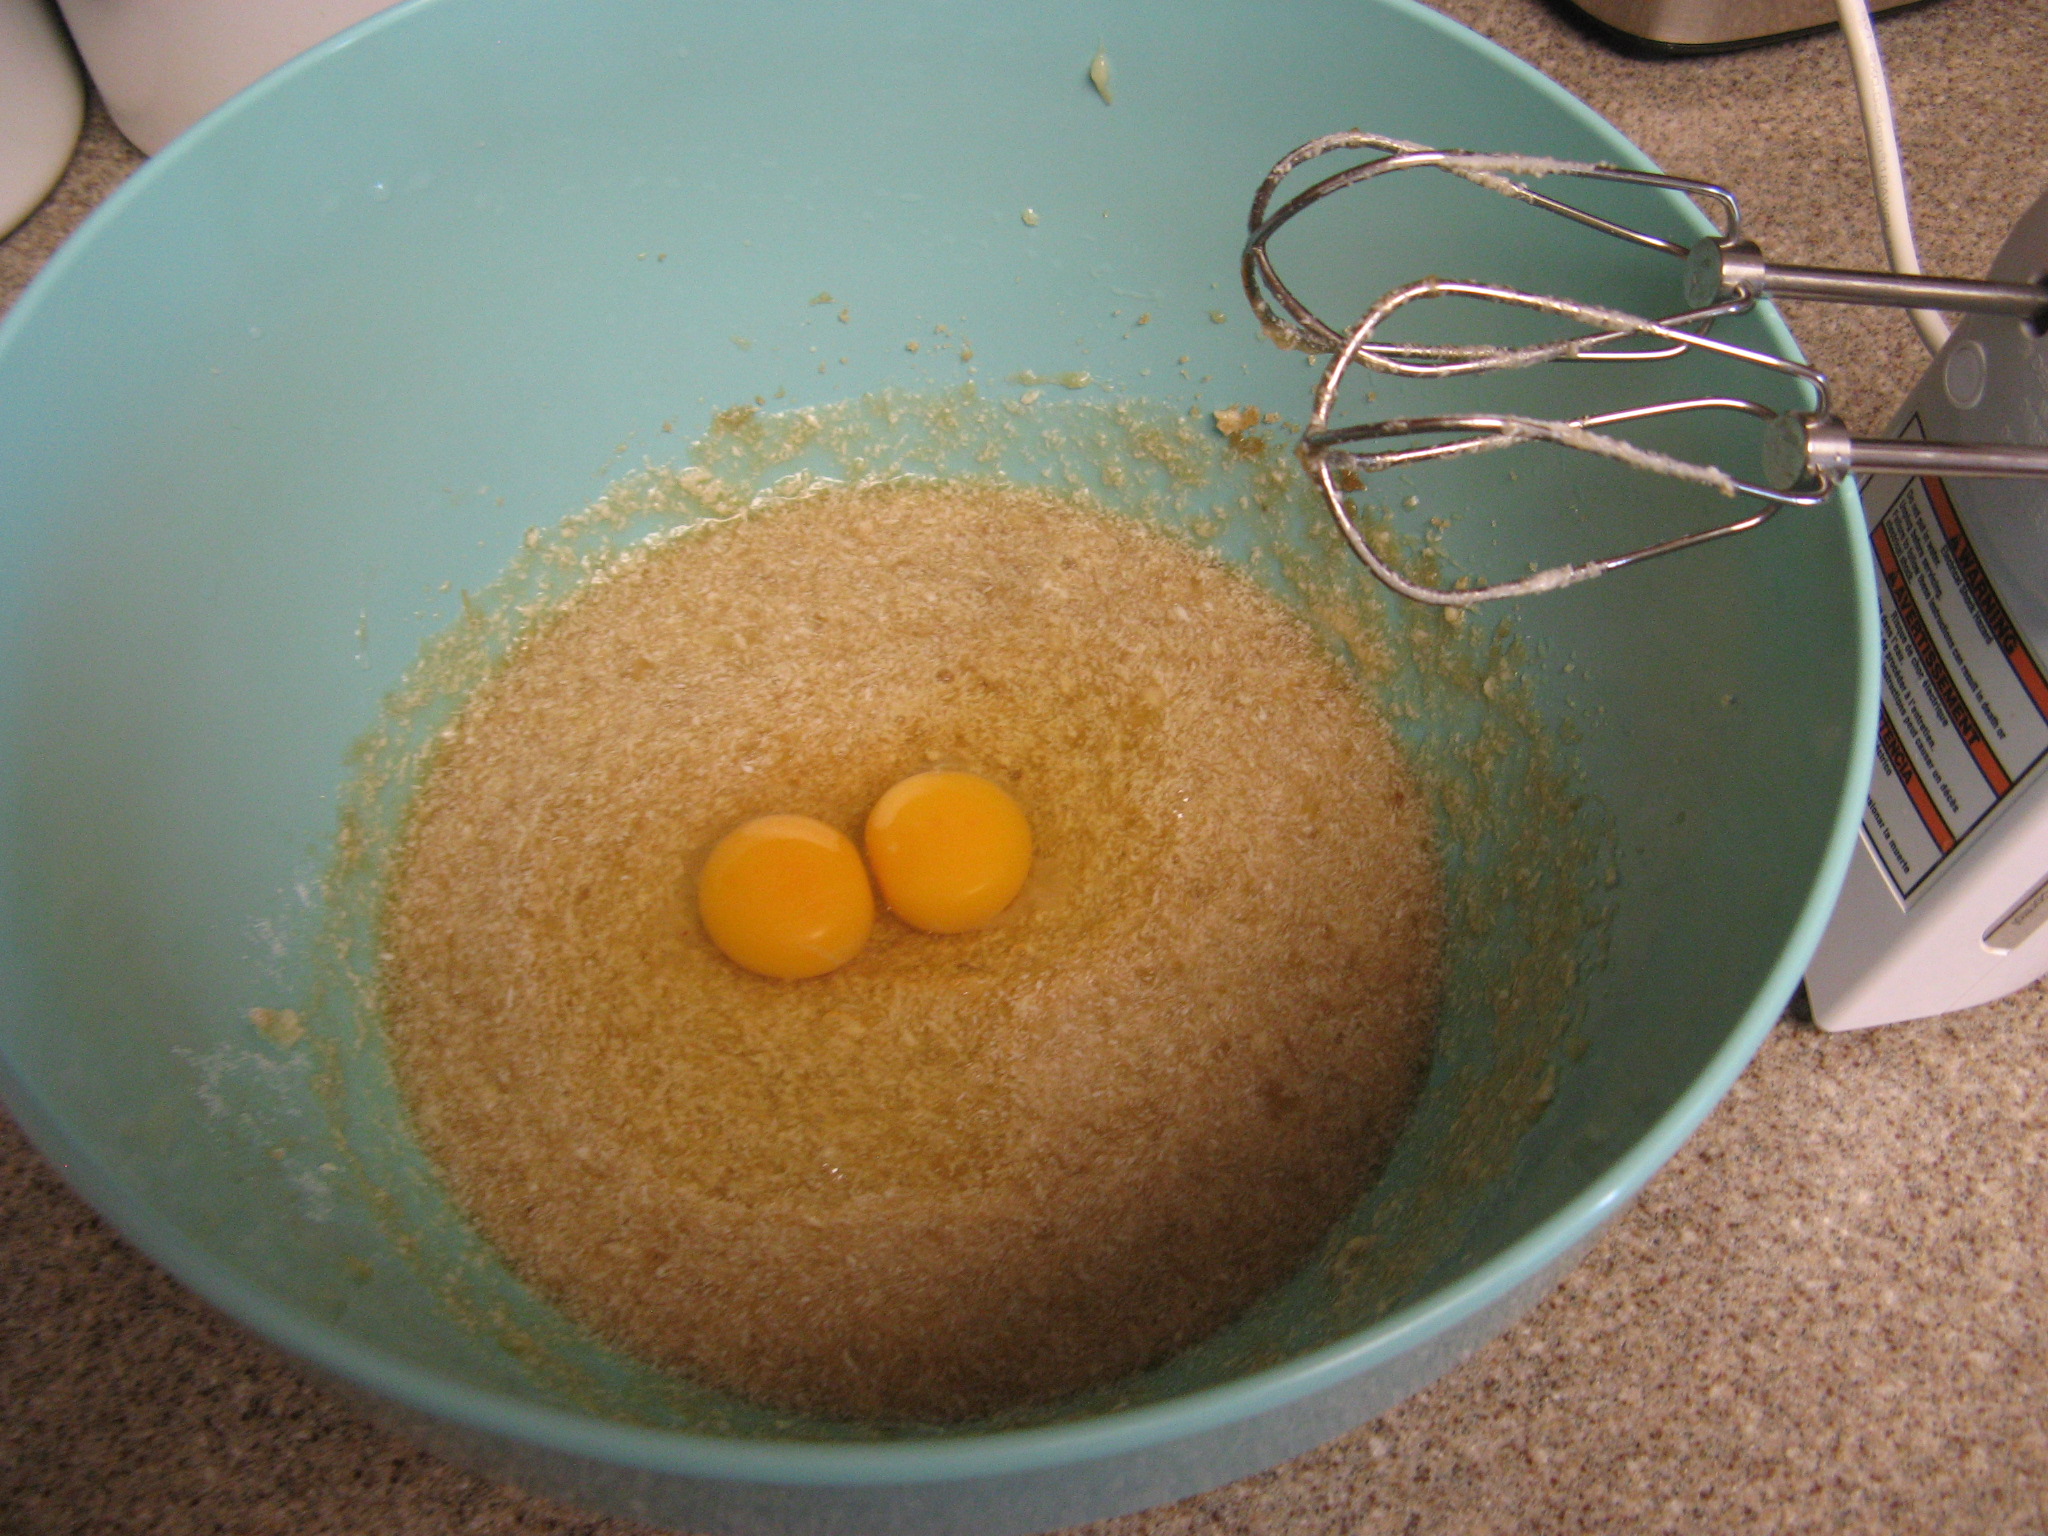
3 large eggs, at room temperature
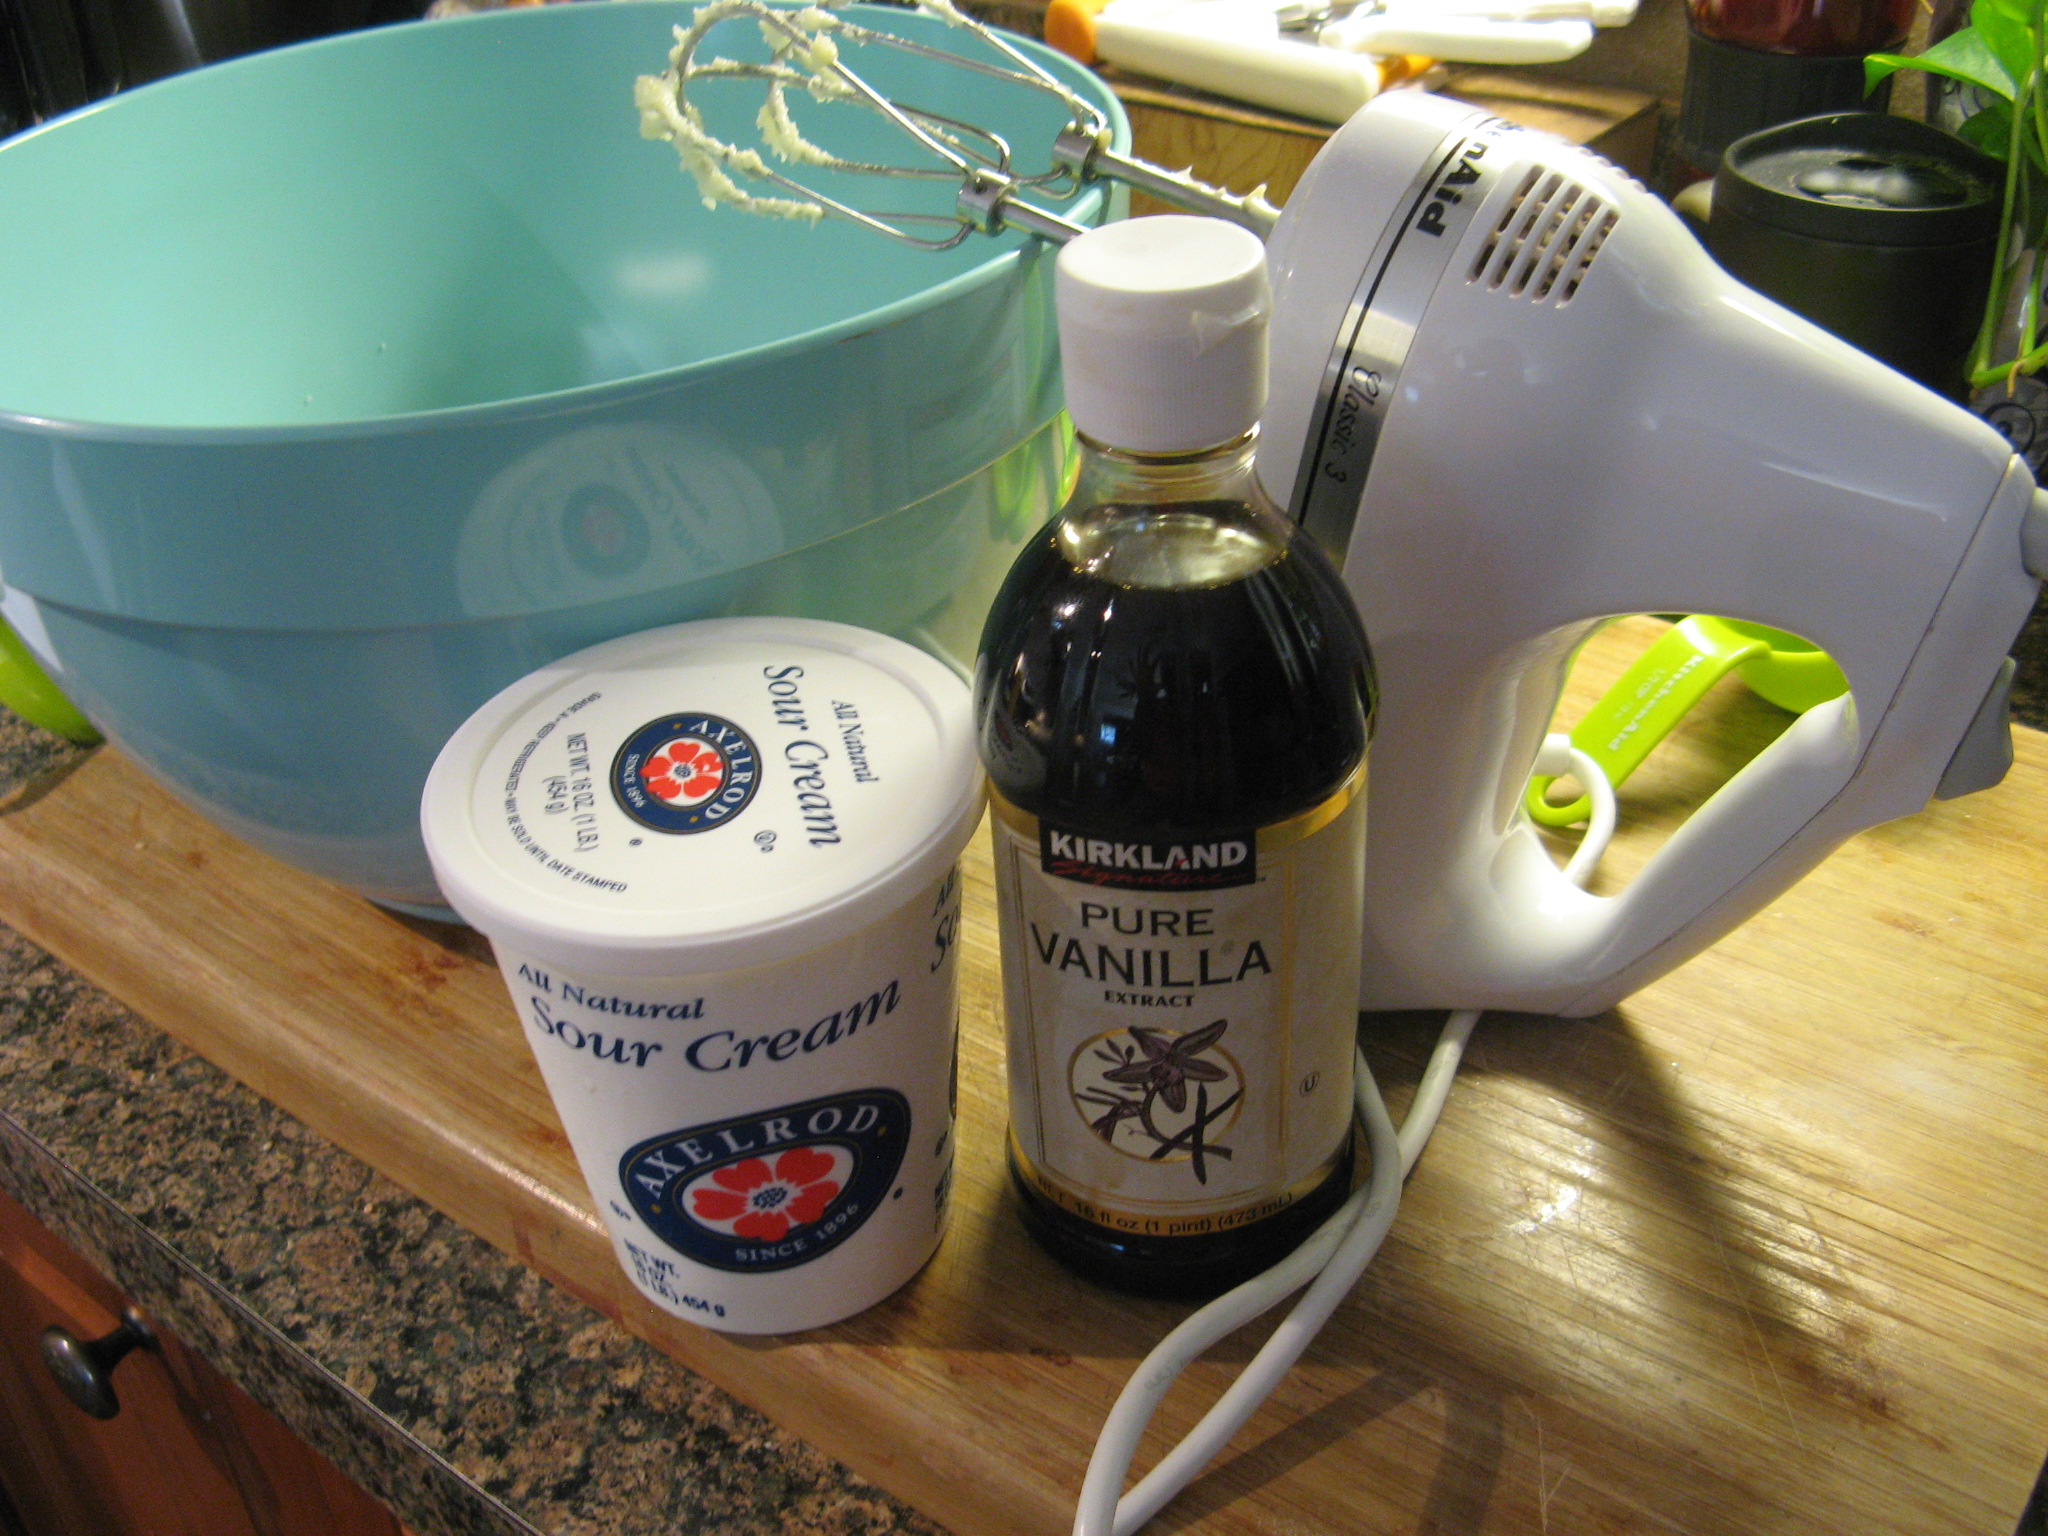
2 teaspoons vanilla extract
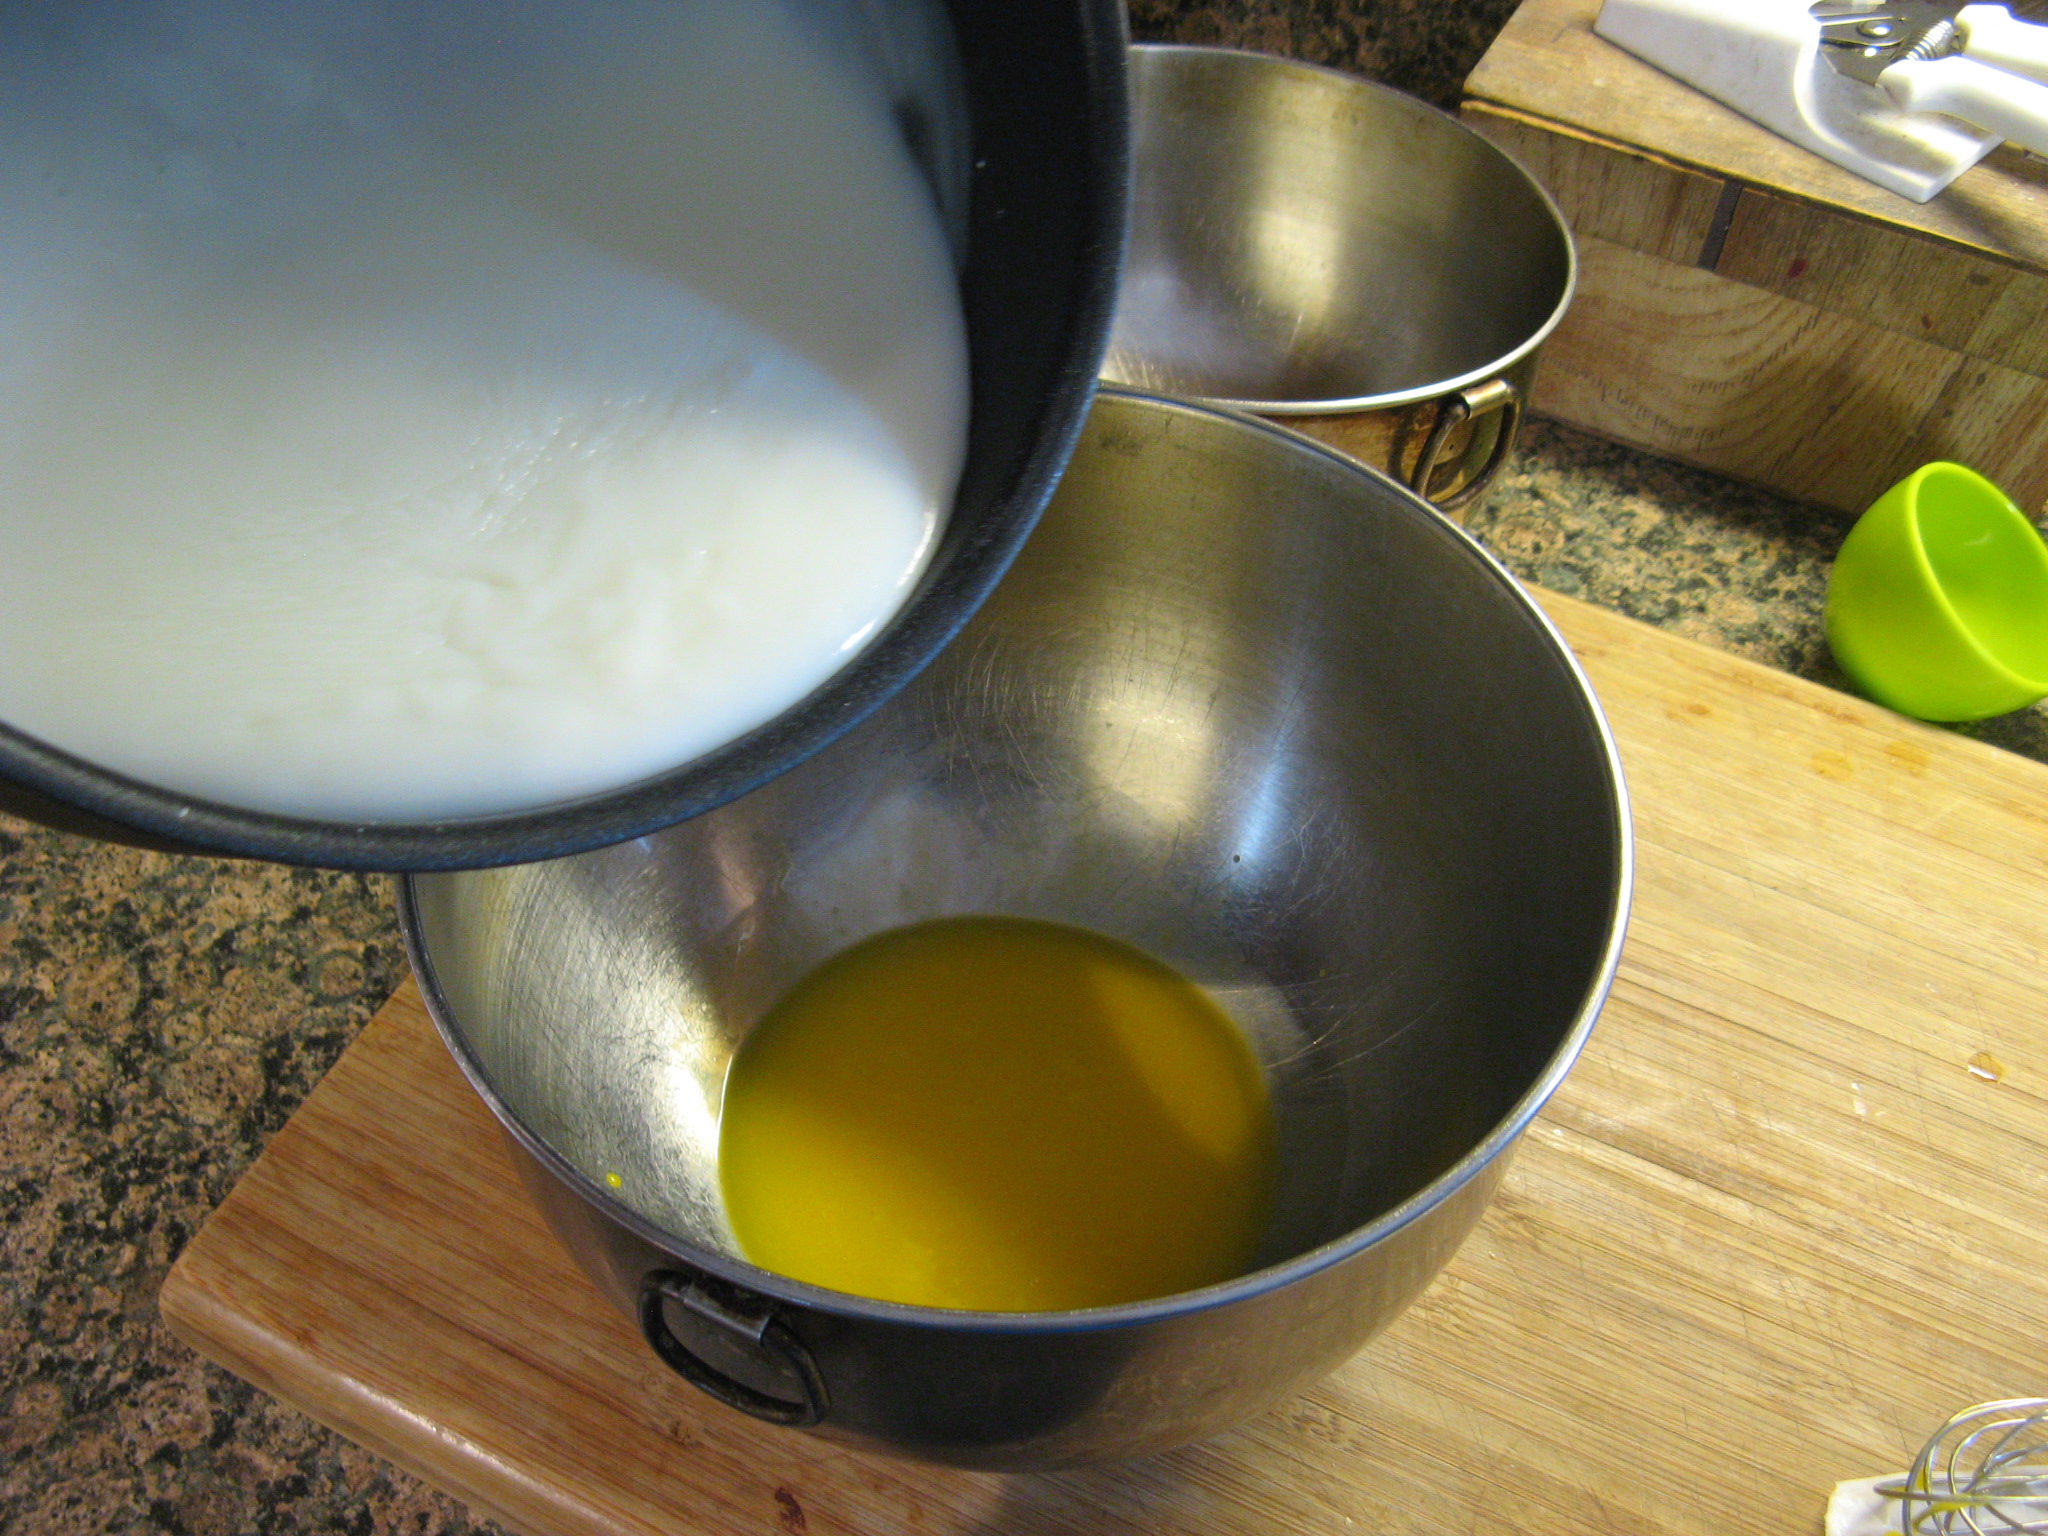
1 1/2 cups buttermilk, at room temperature*
*To make your own buttermilk combine 7 teaspoons of white vinegae with 1 1/2 cups whole milk in a measuring cup. Stir to combine and let stand for 10 to 15 minutes. The buttermilk is ready when the mixture begins to curdle.
Directions:
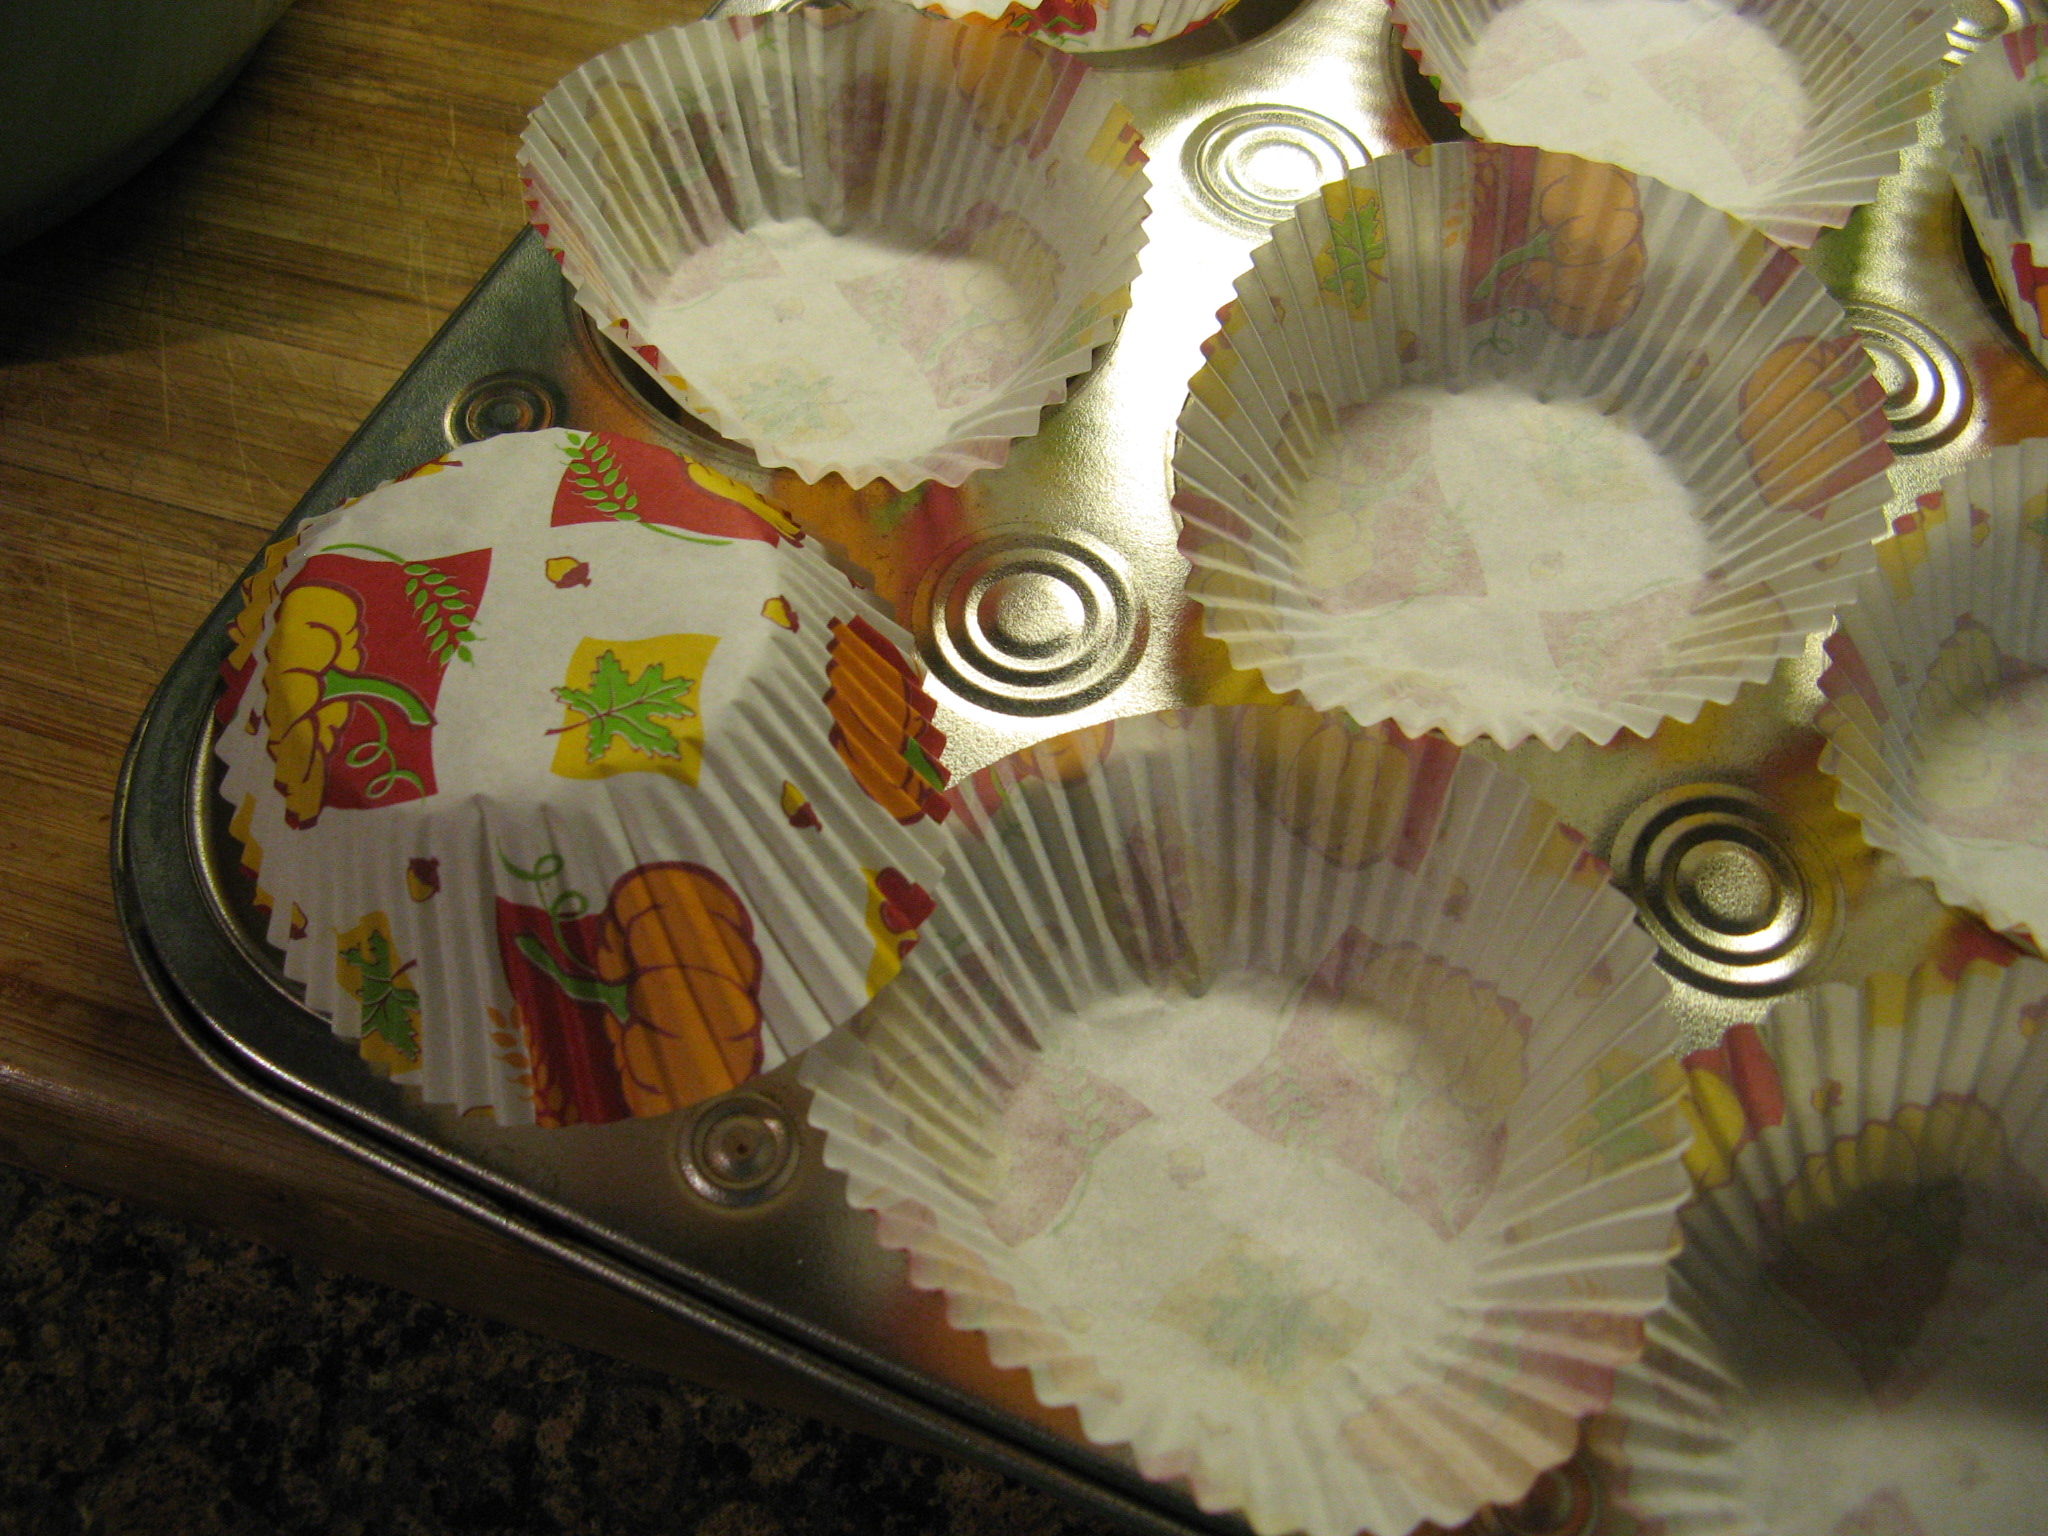
Preheat the oven to 350 F. Spray two 8-inch round cake pans with baking spray (or coat with butter and flour) and set aside.
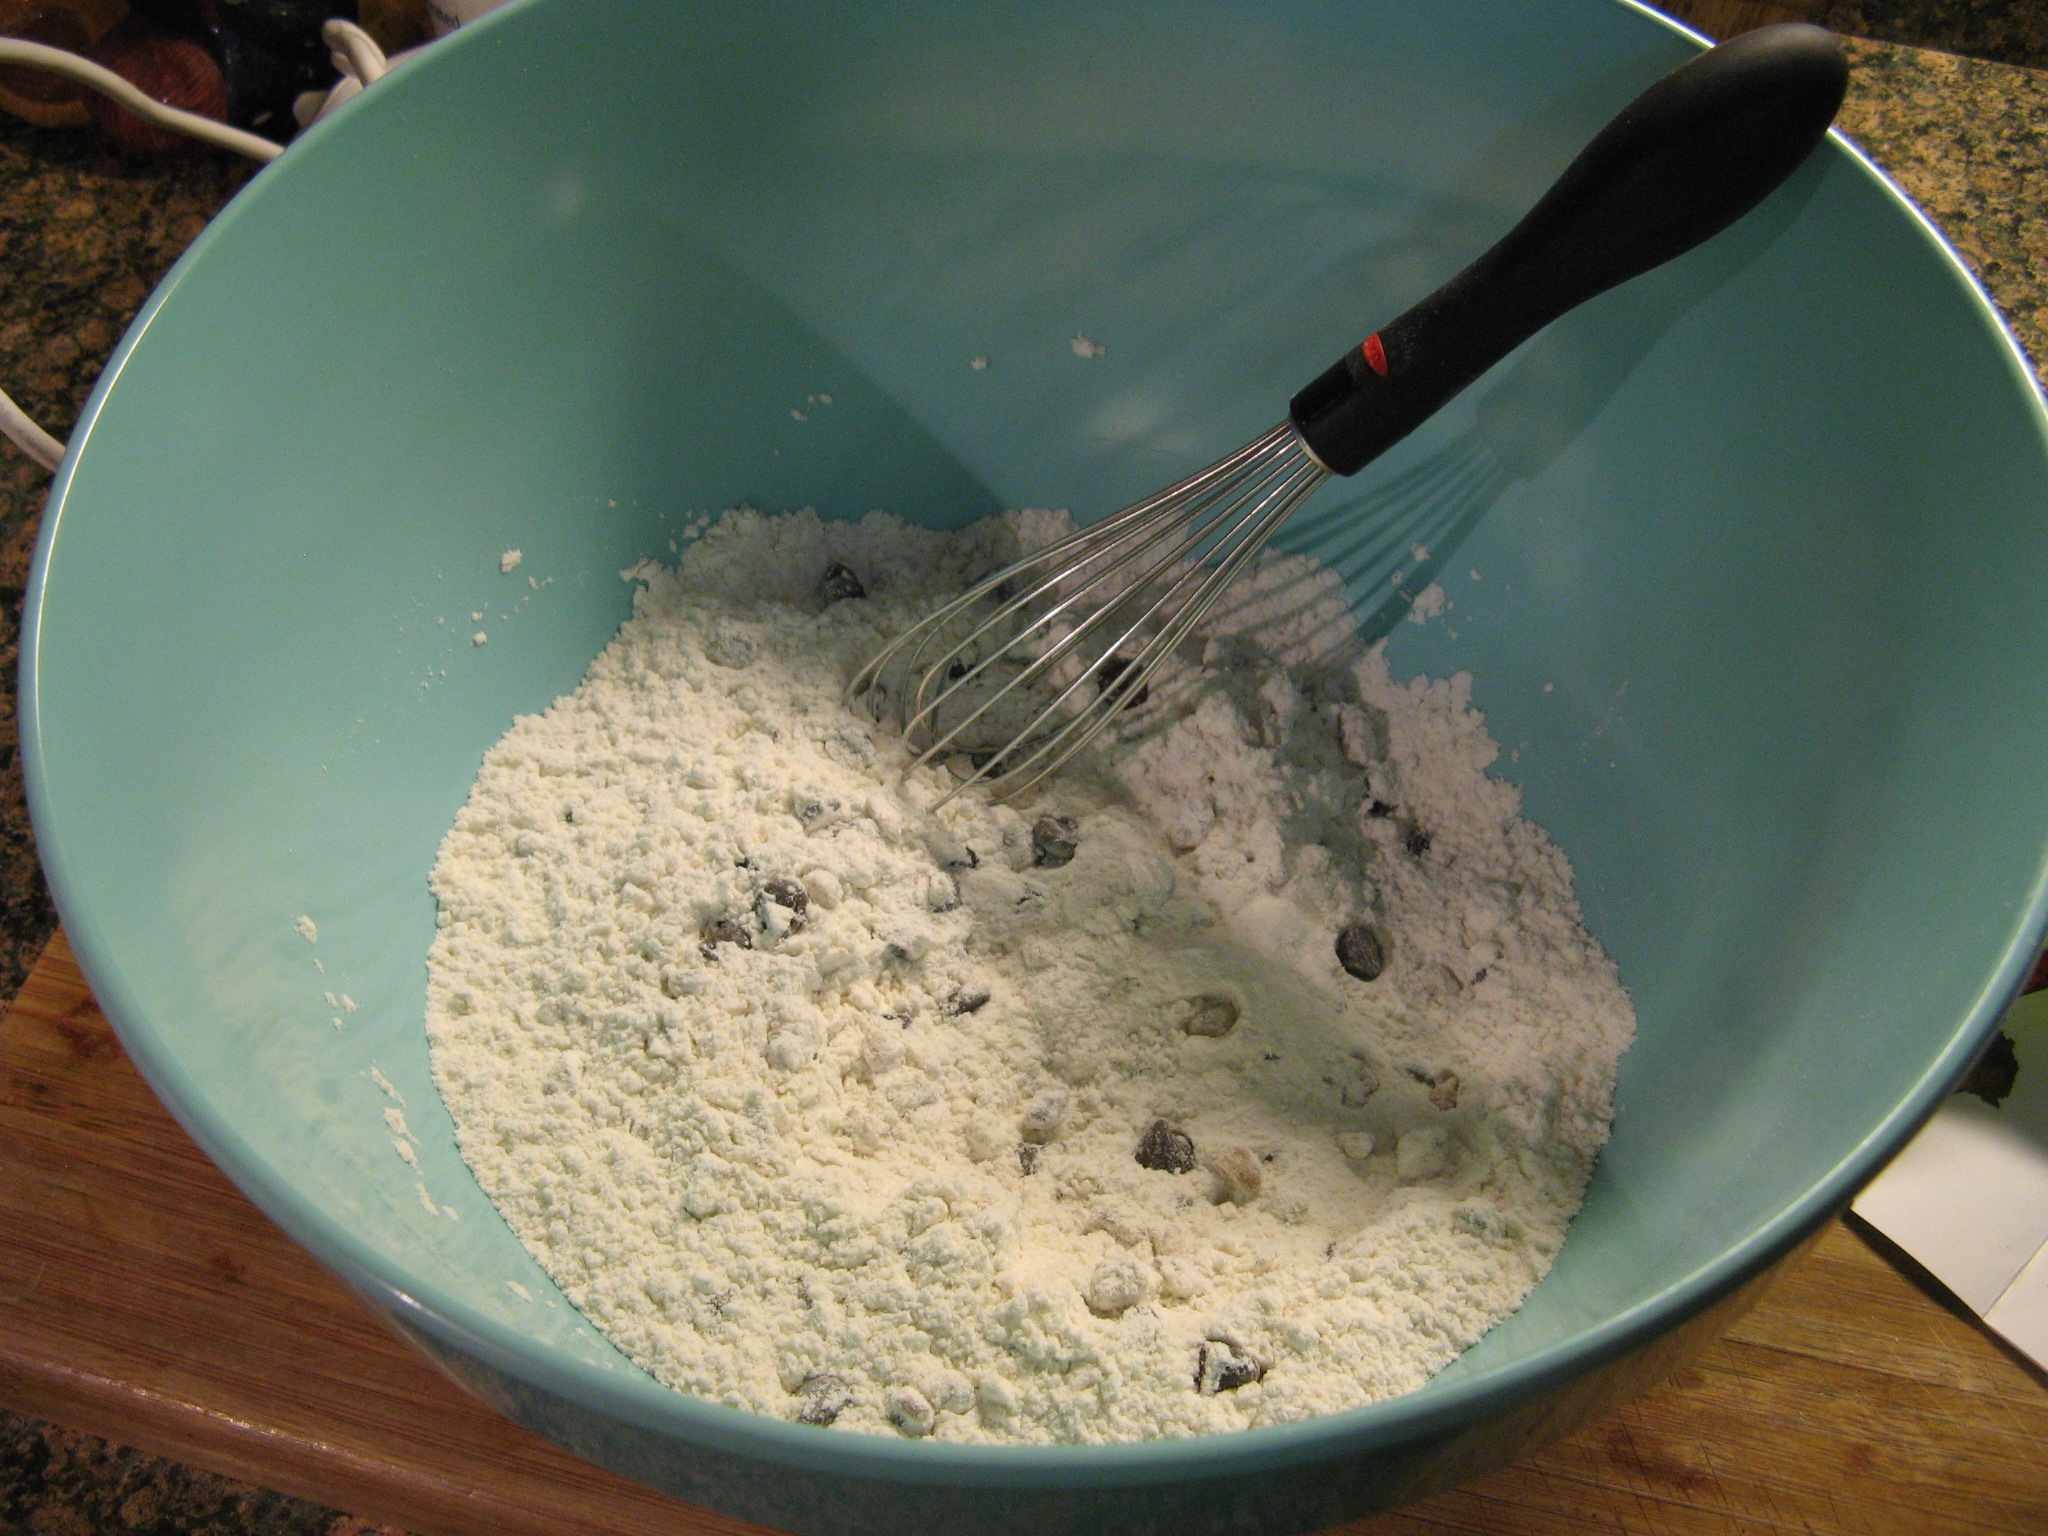
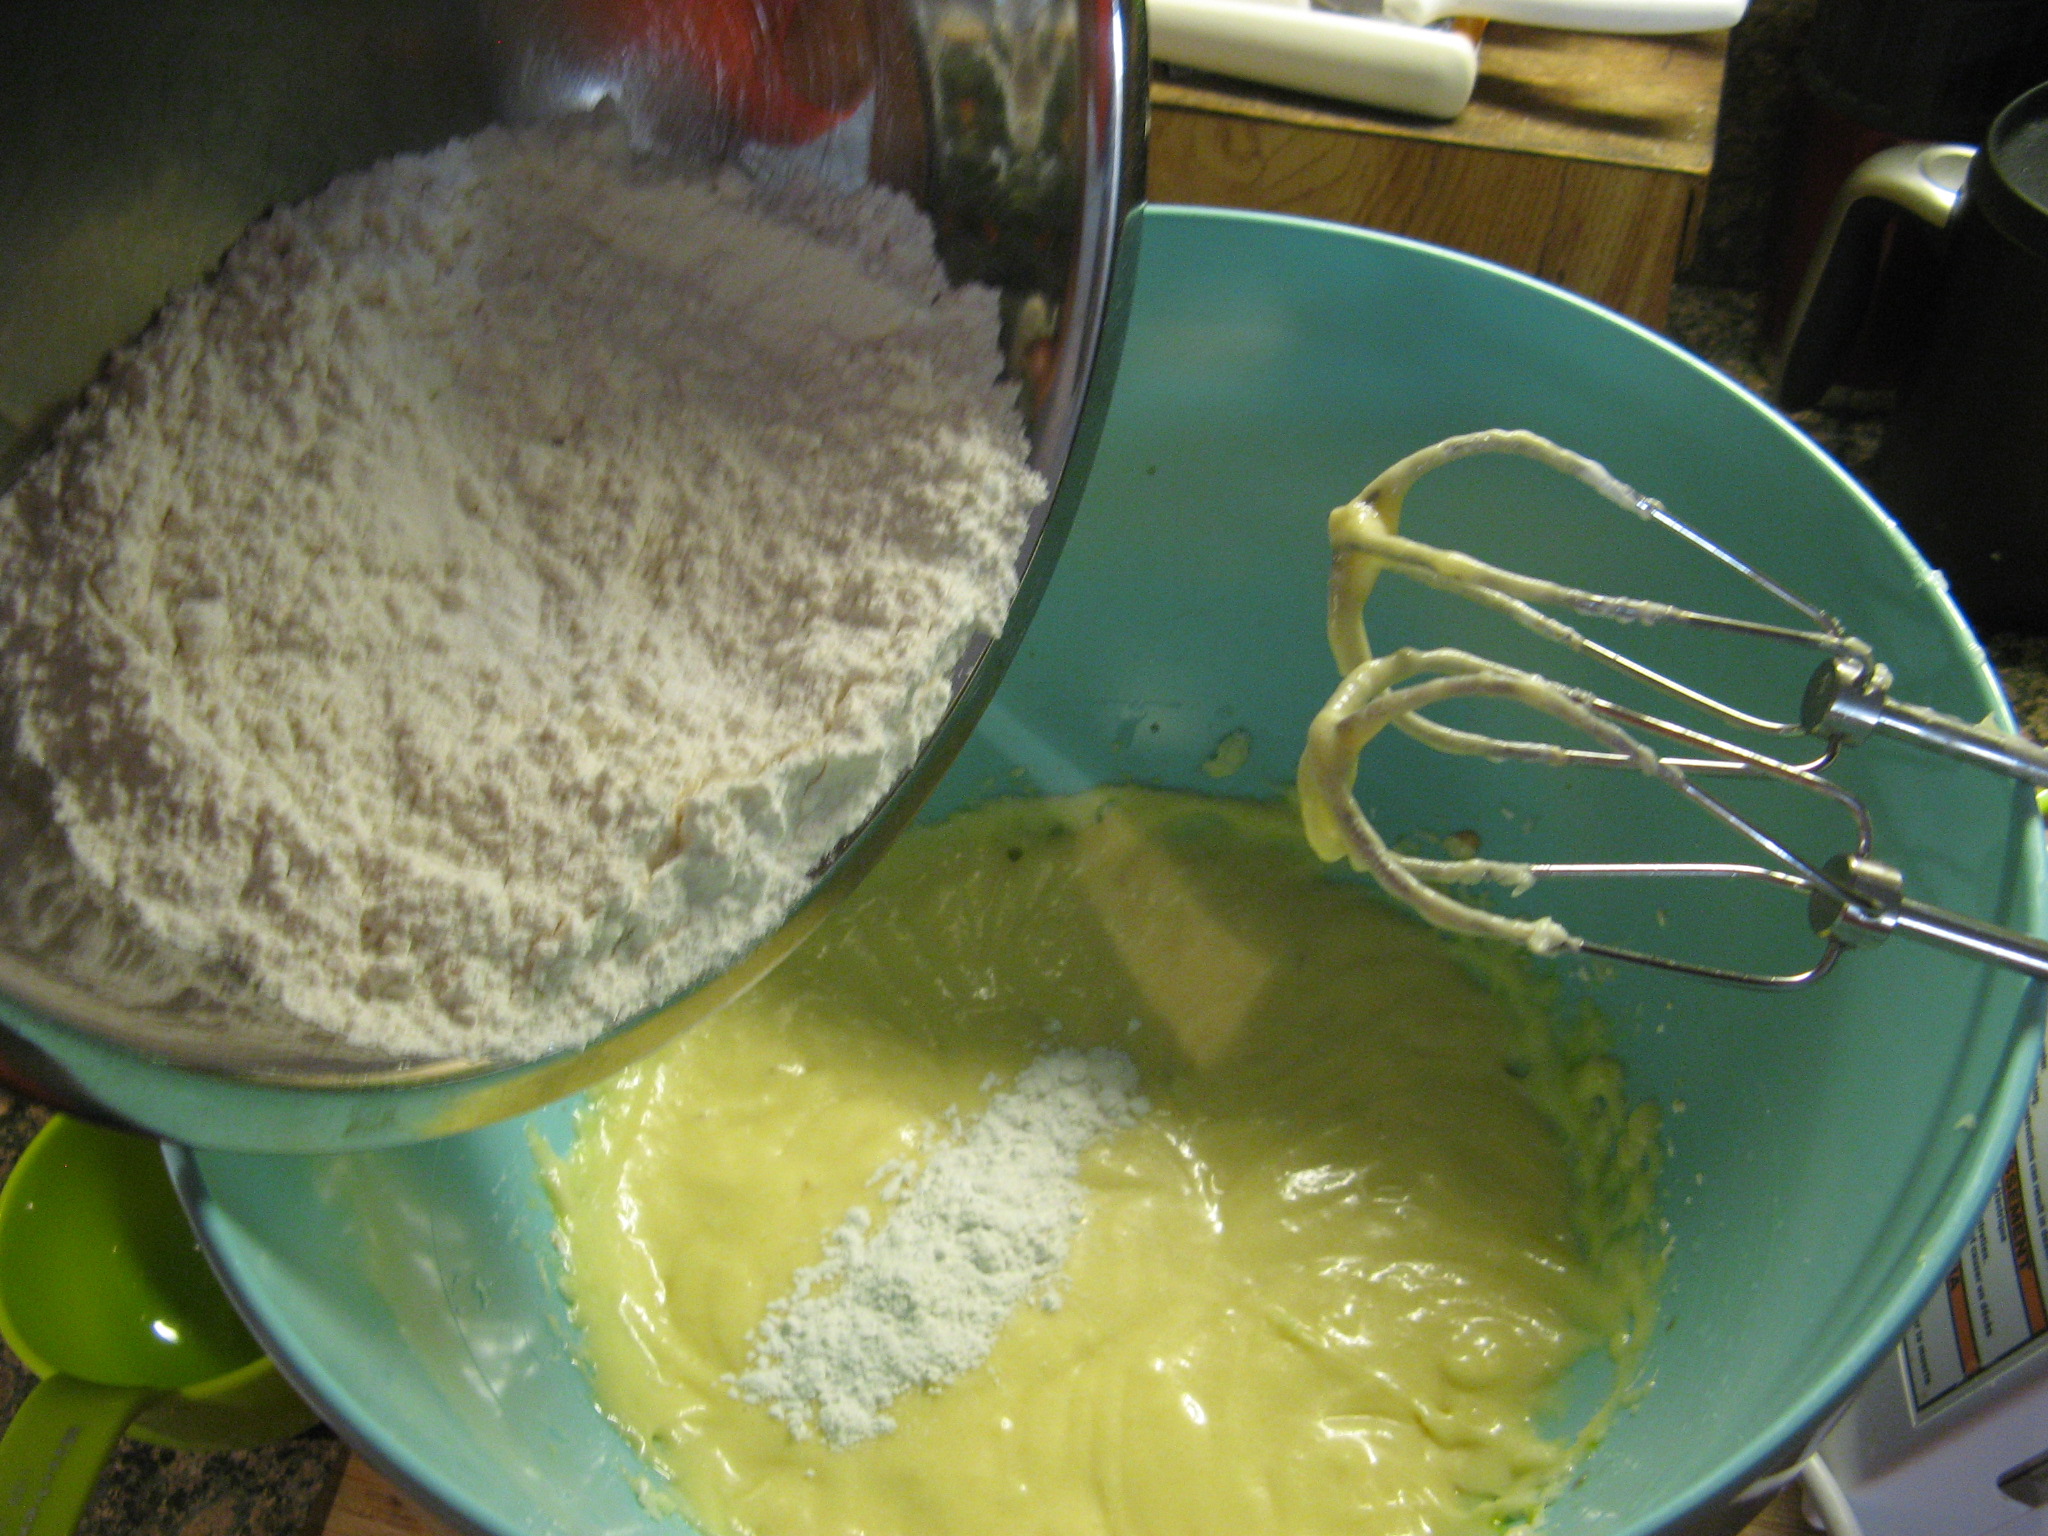
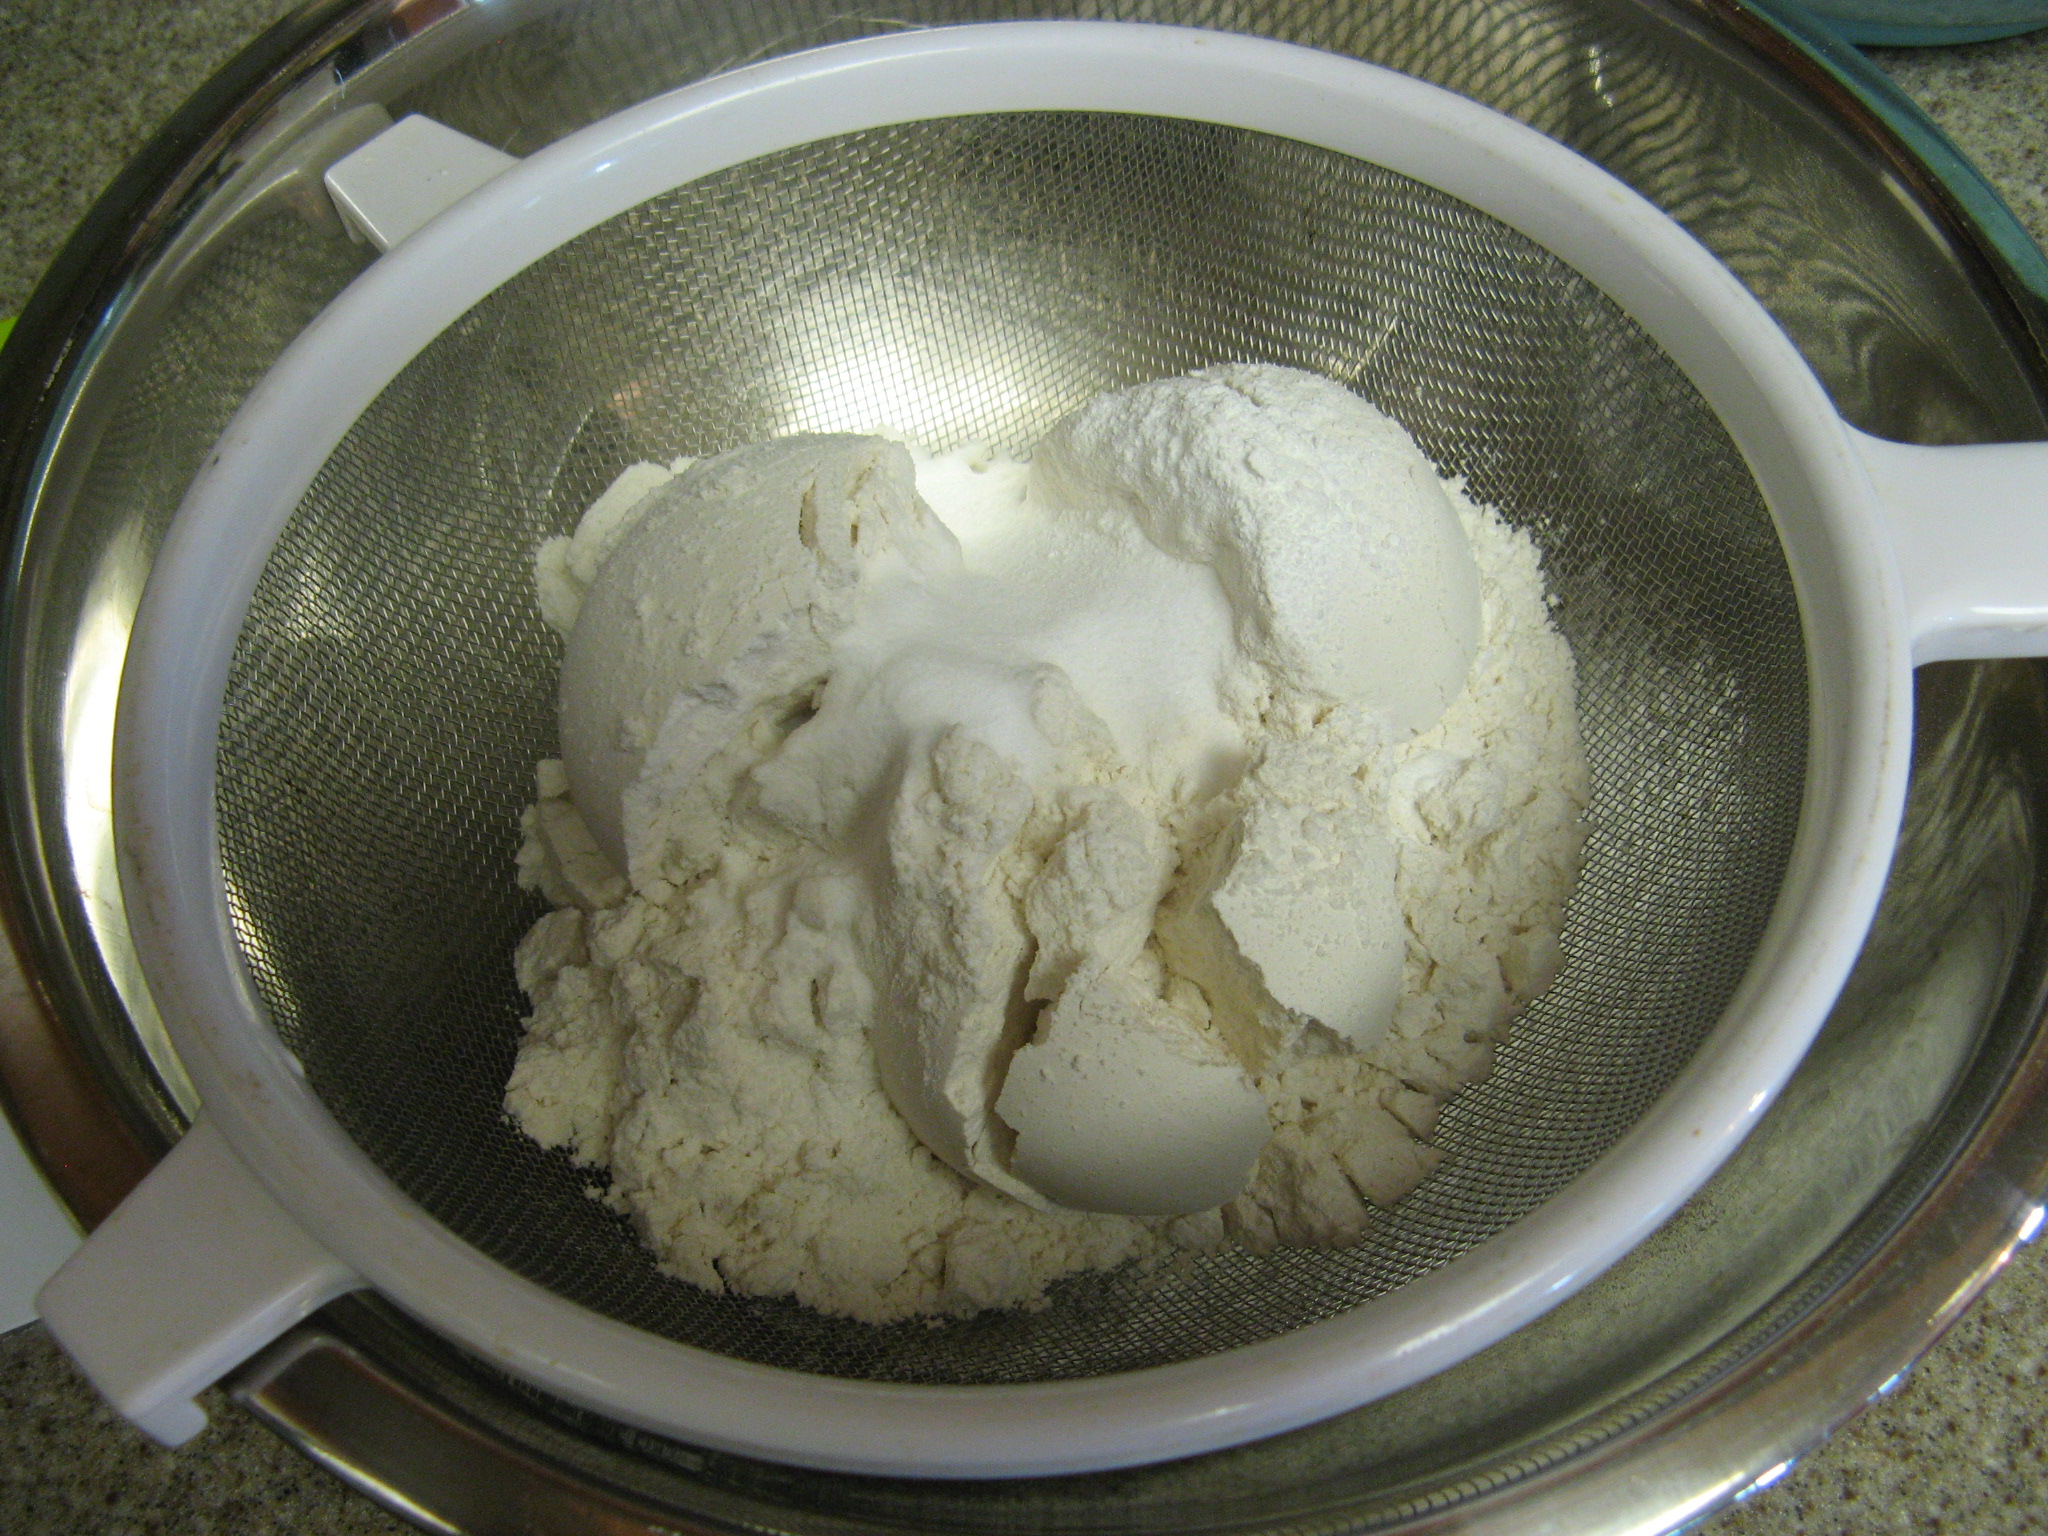
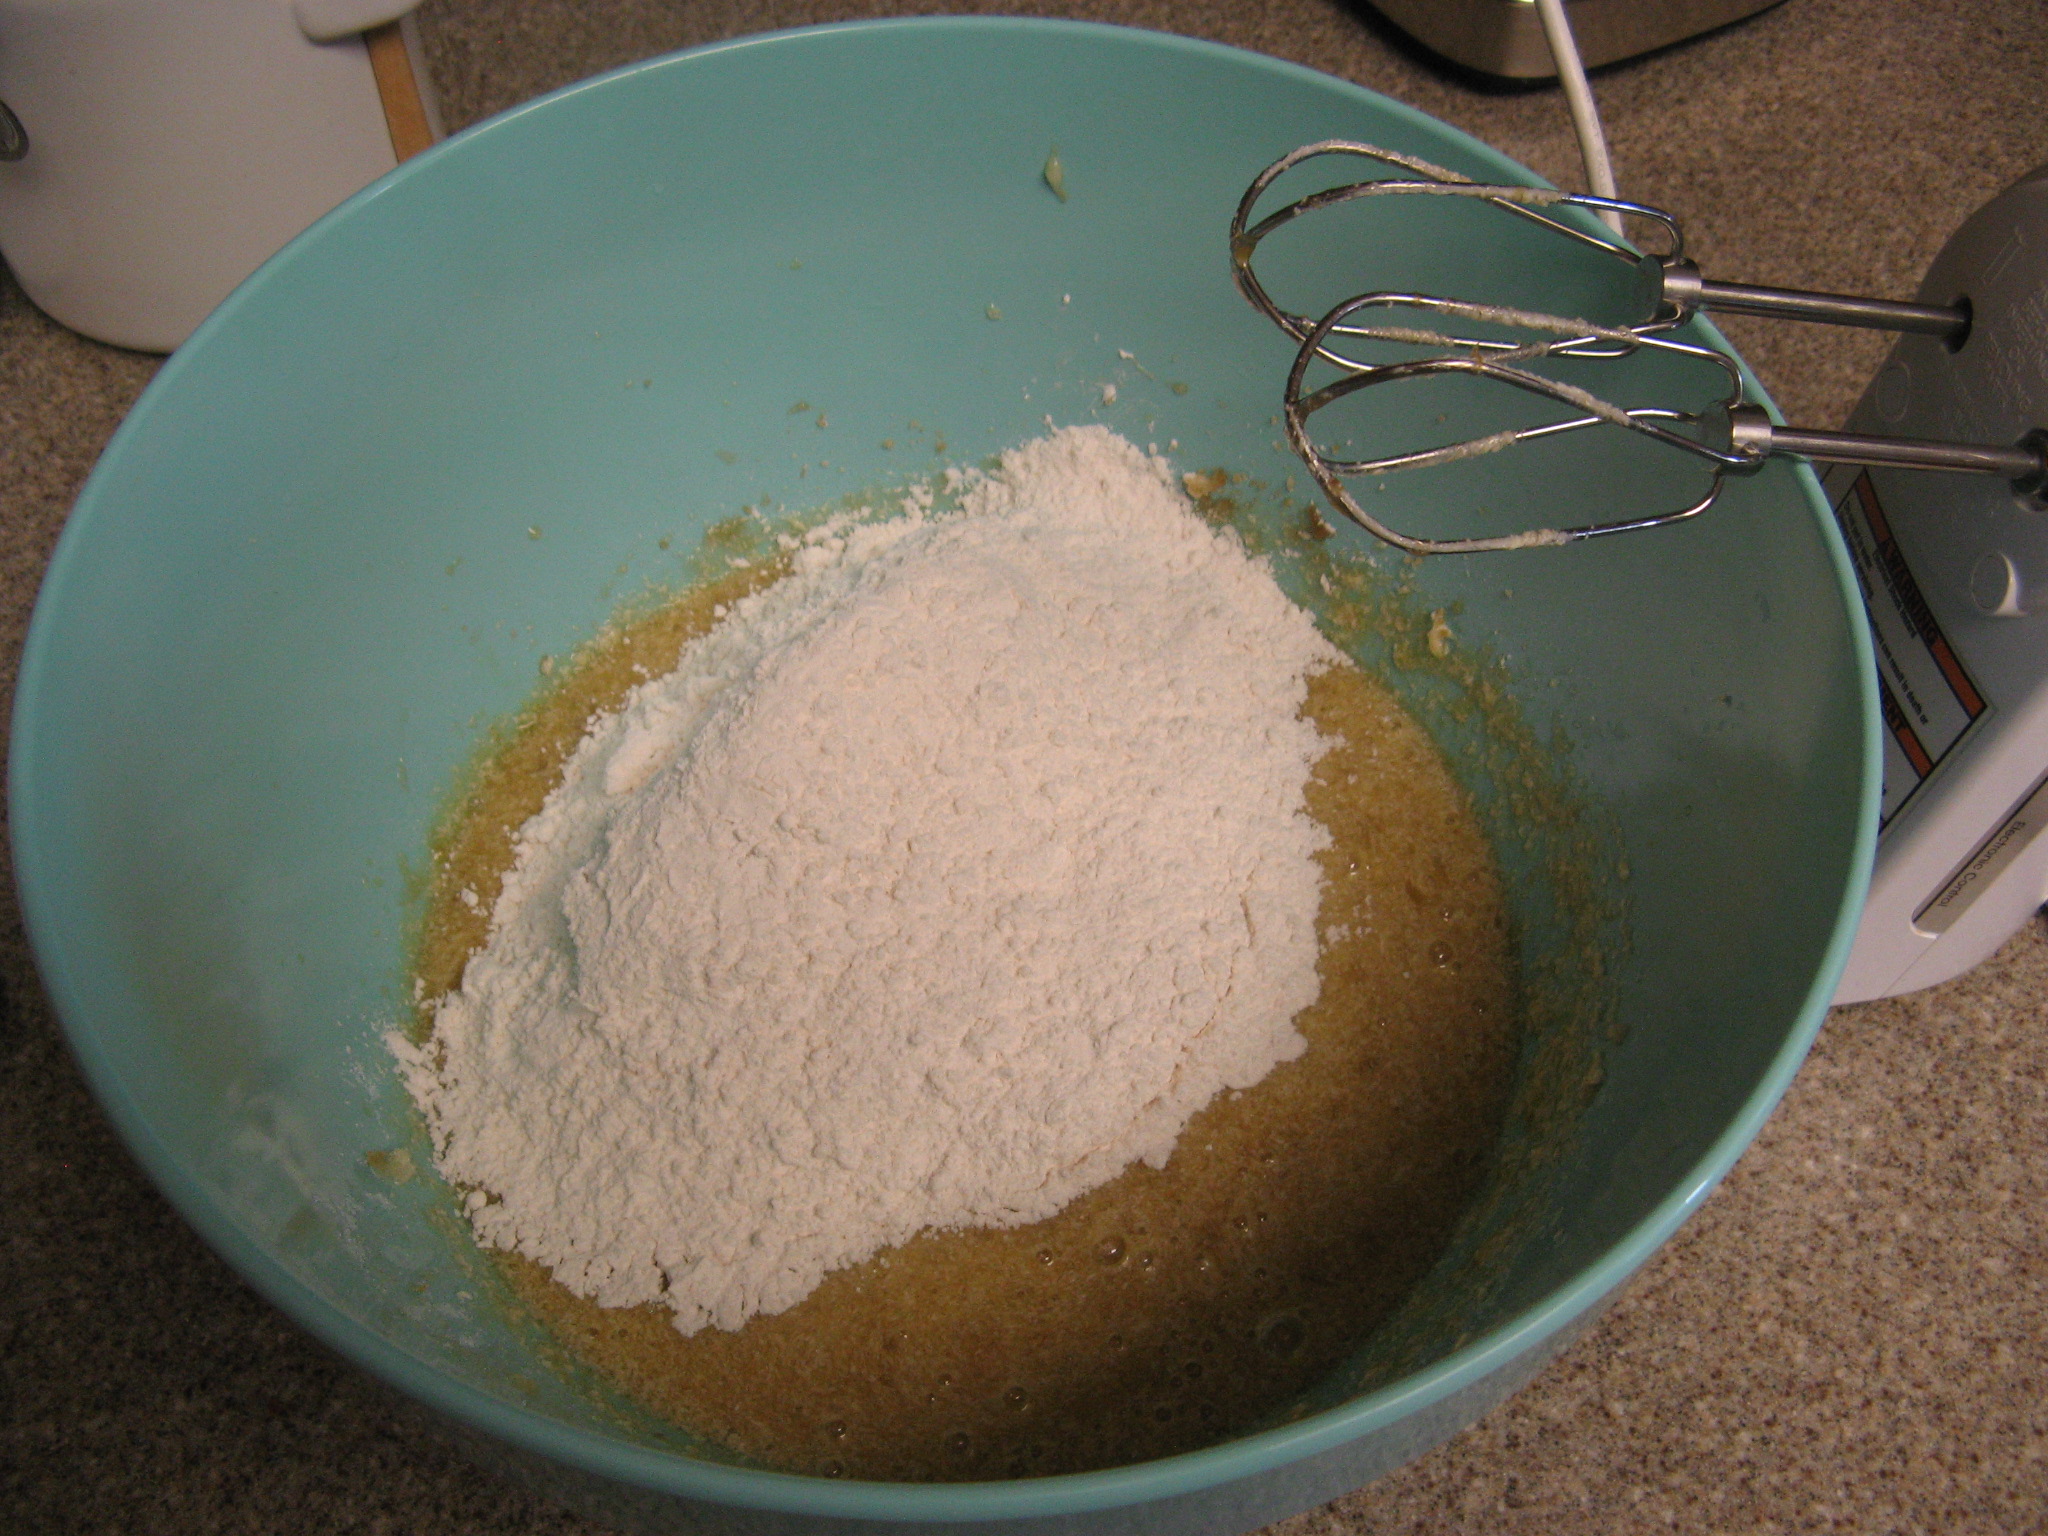
In a medium bowl whisk together the flour, baking powder, baking soda, cinnamon and salt. Set aside.
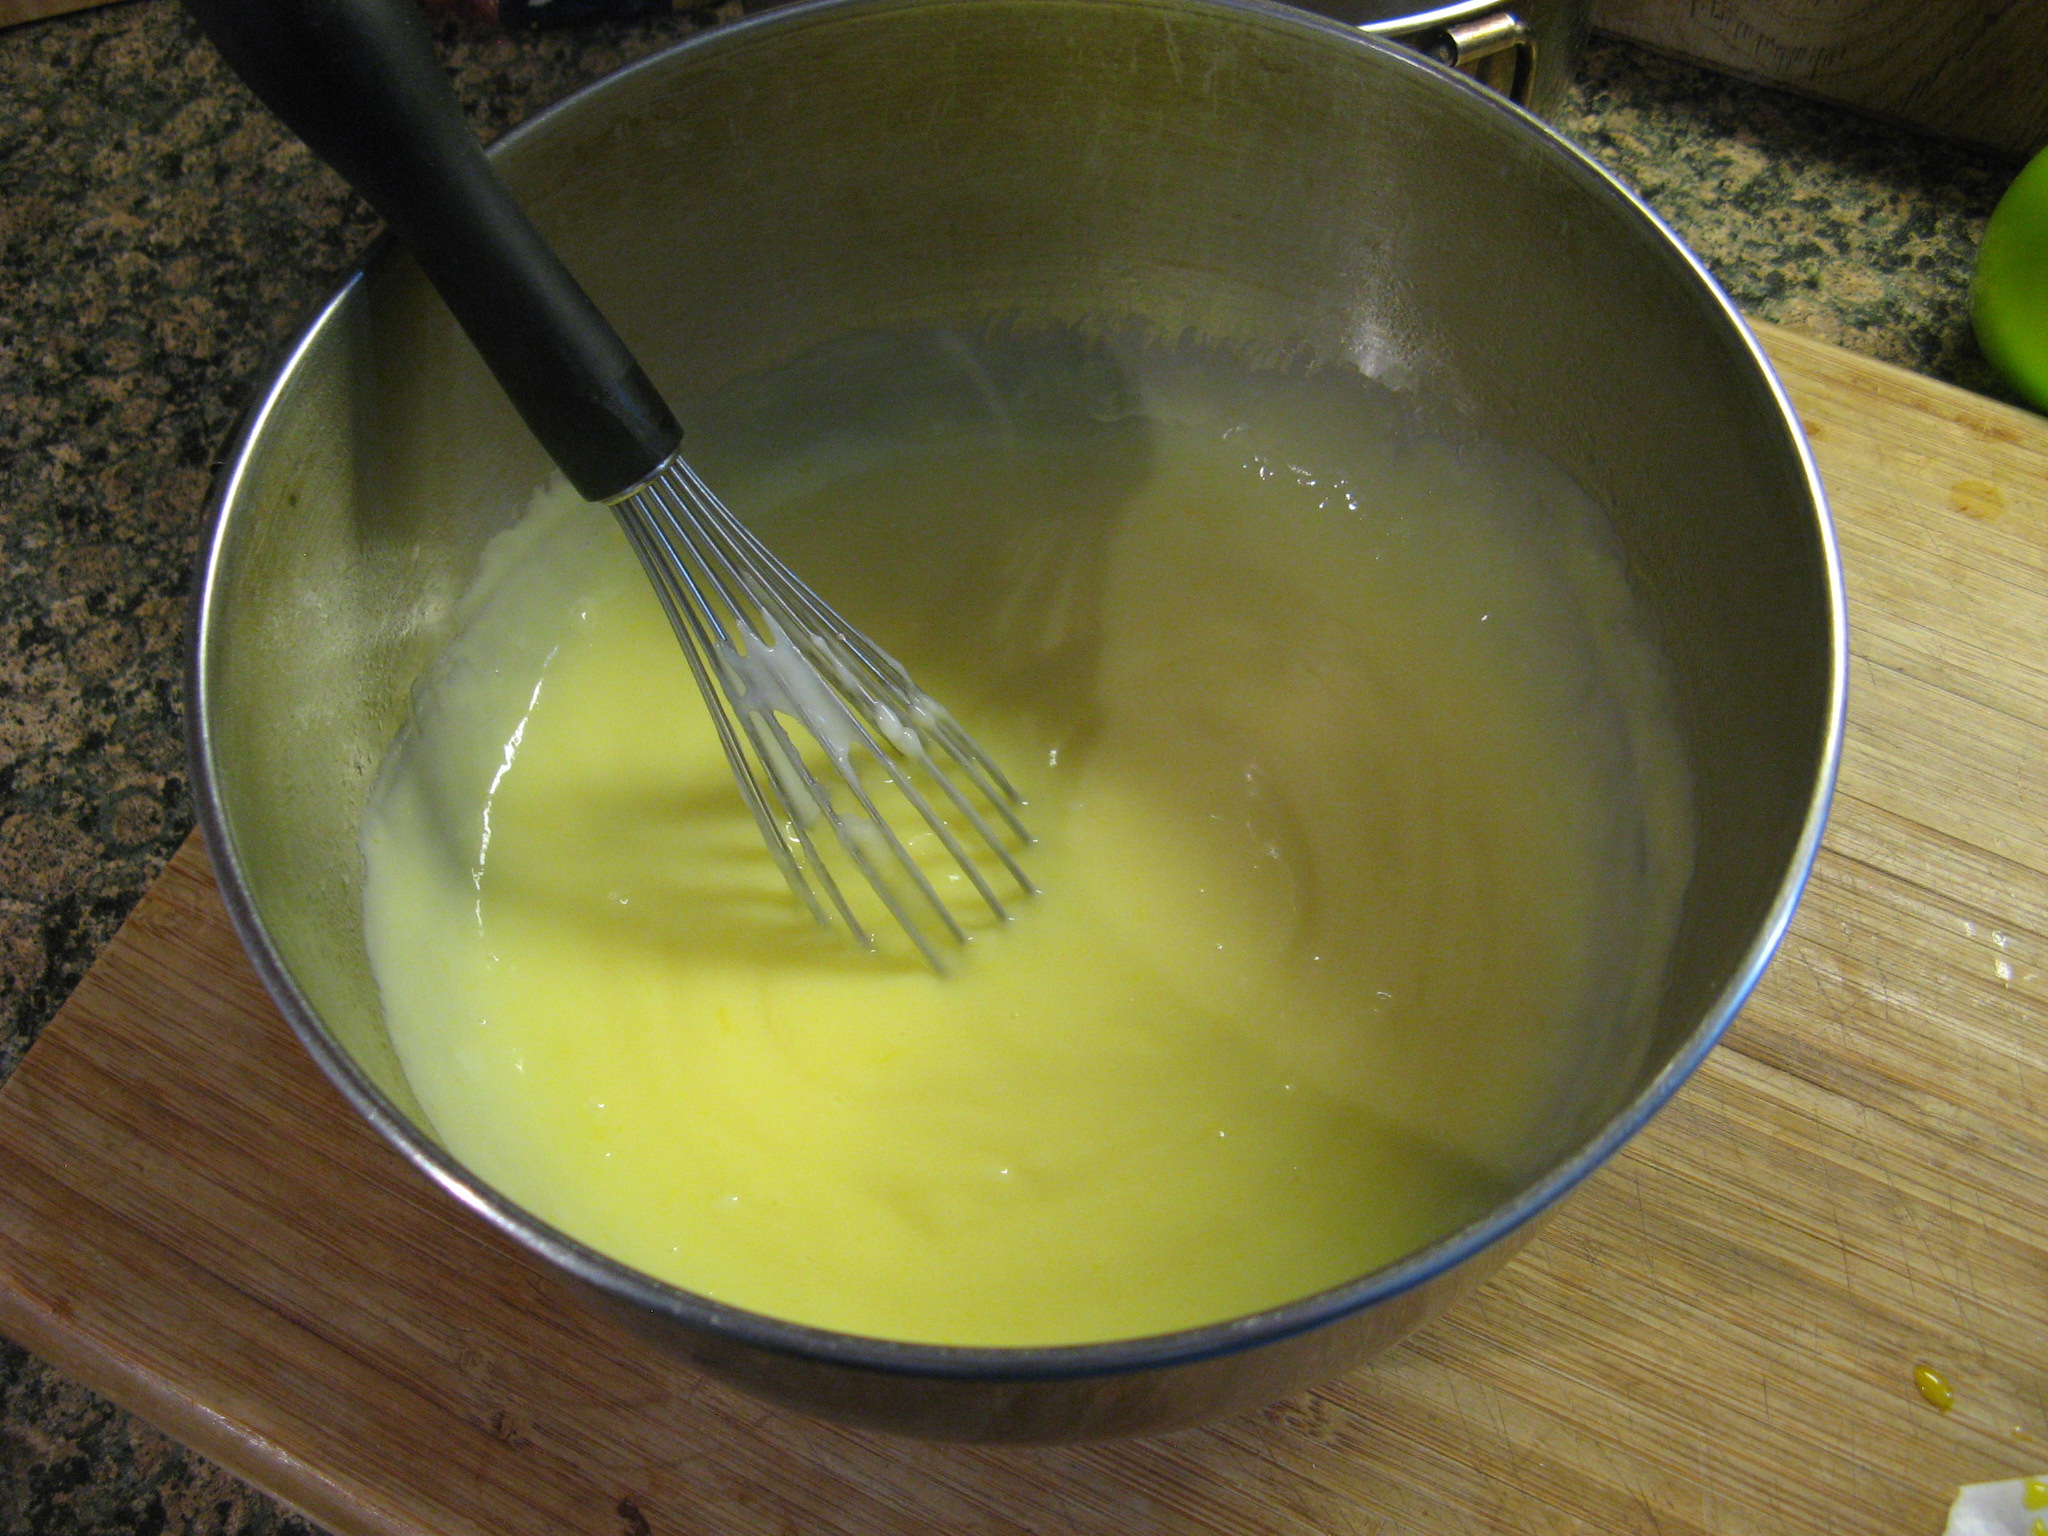
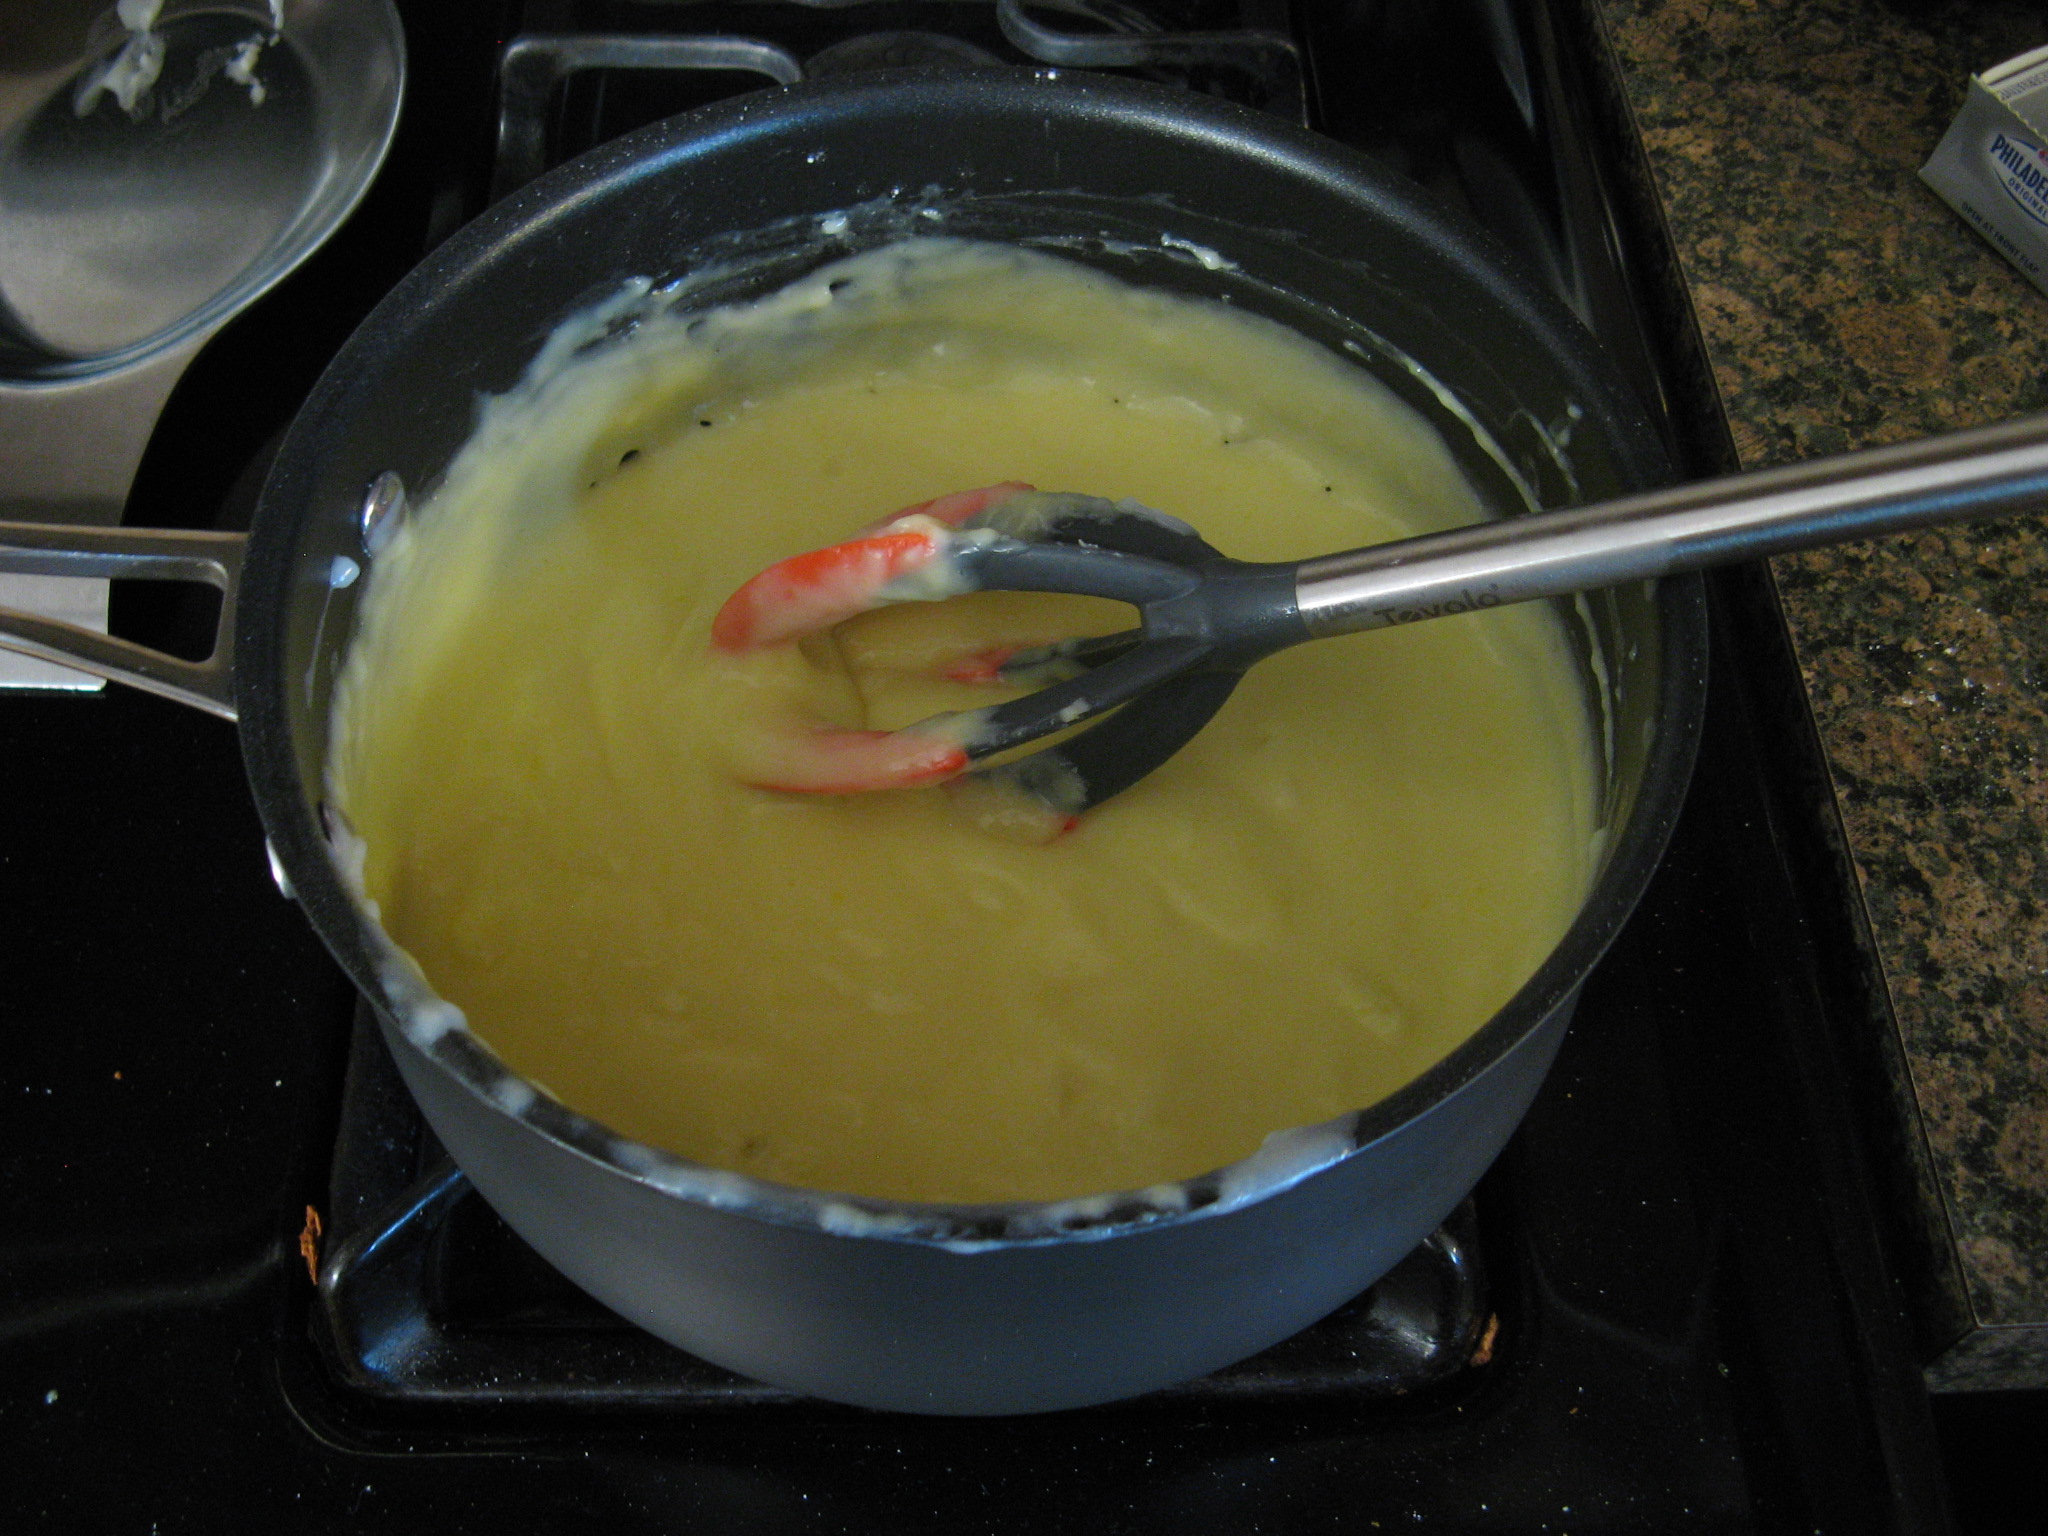
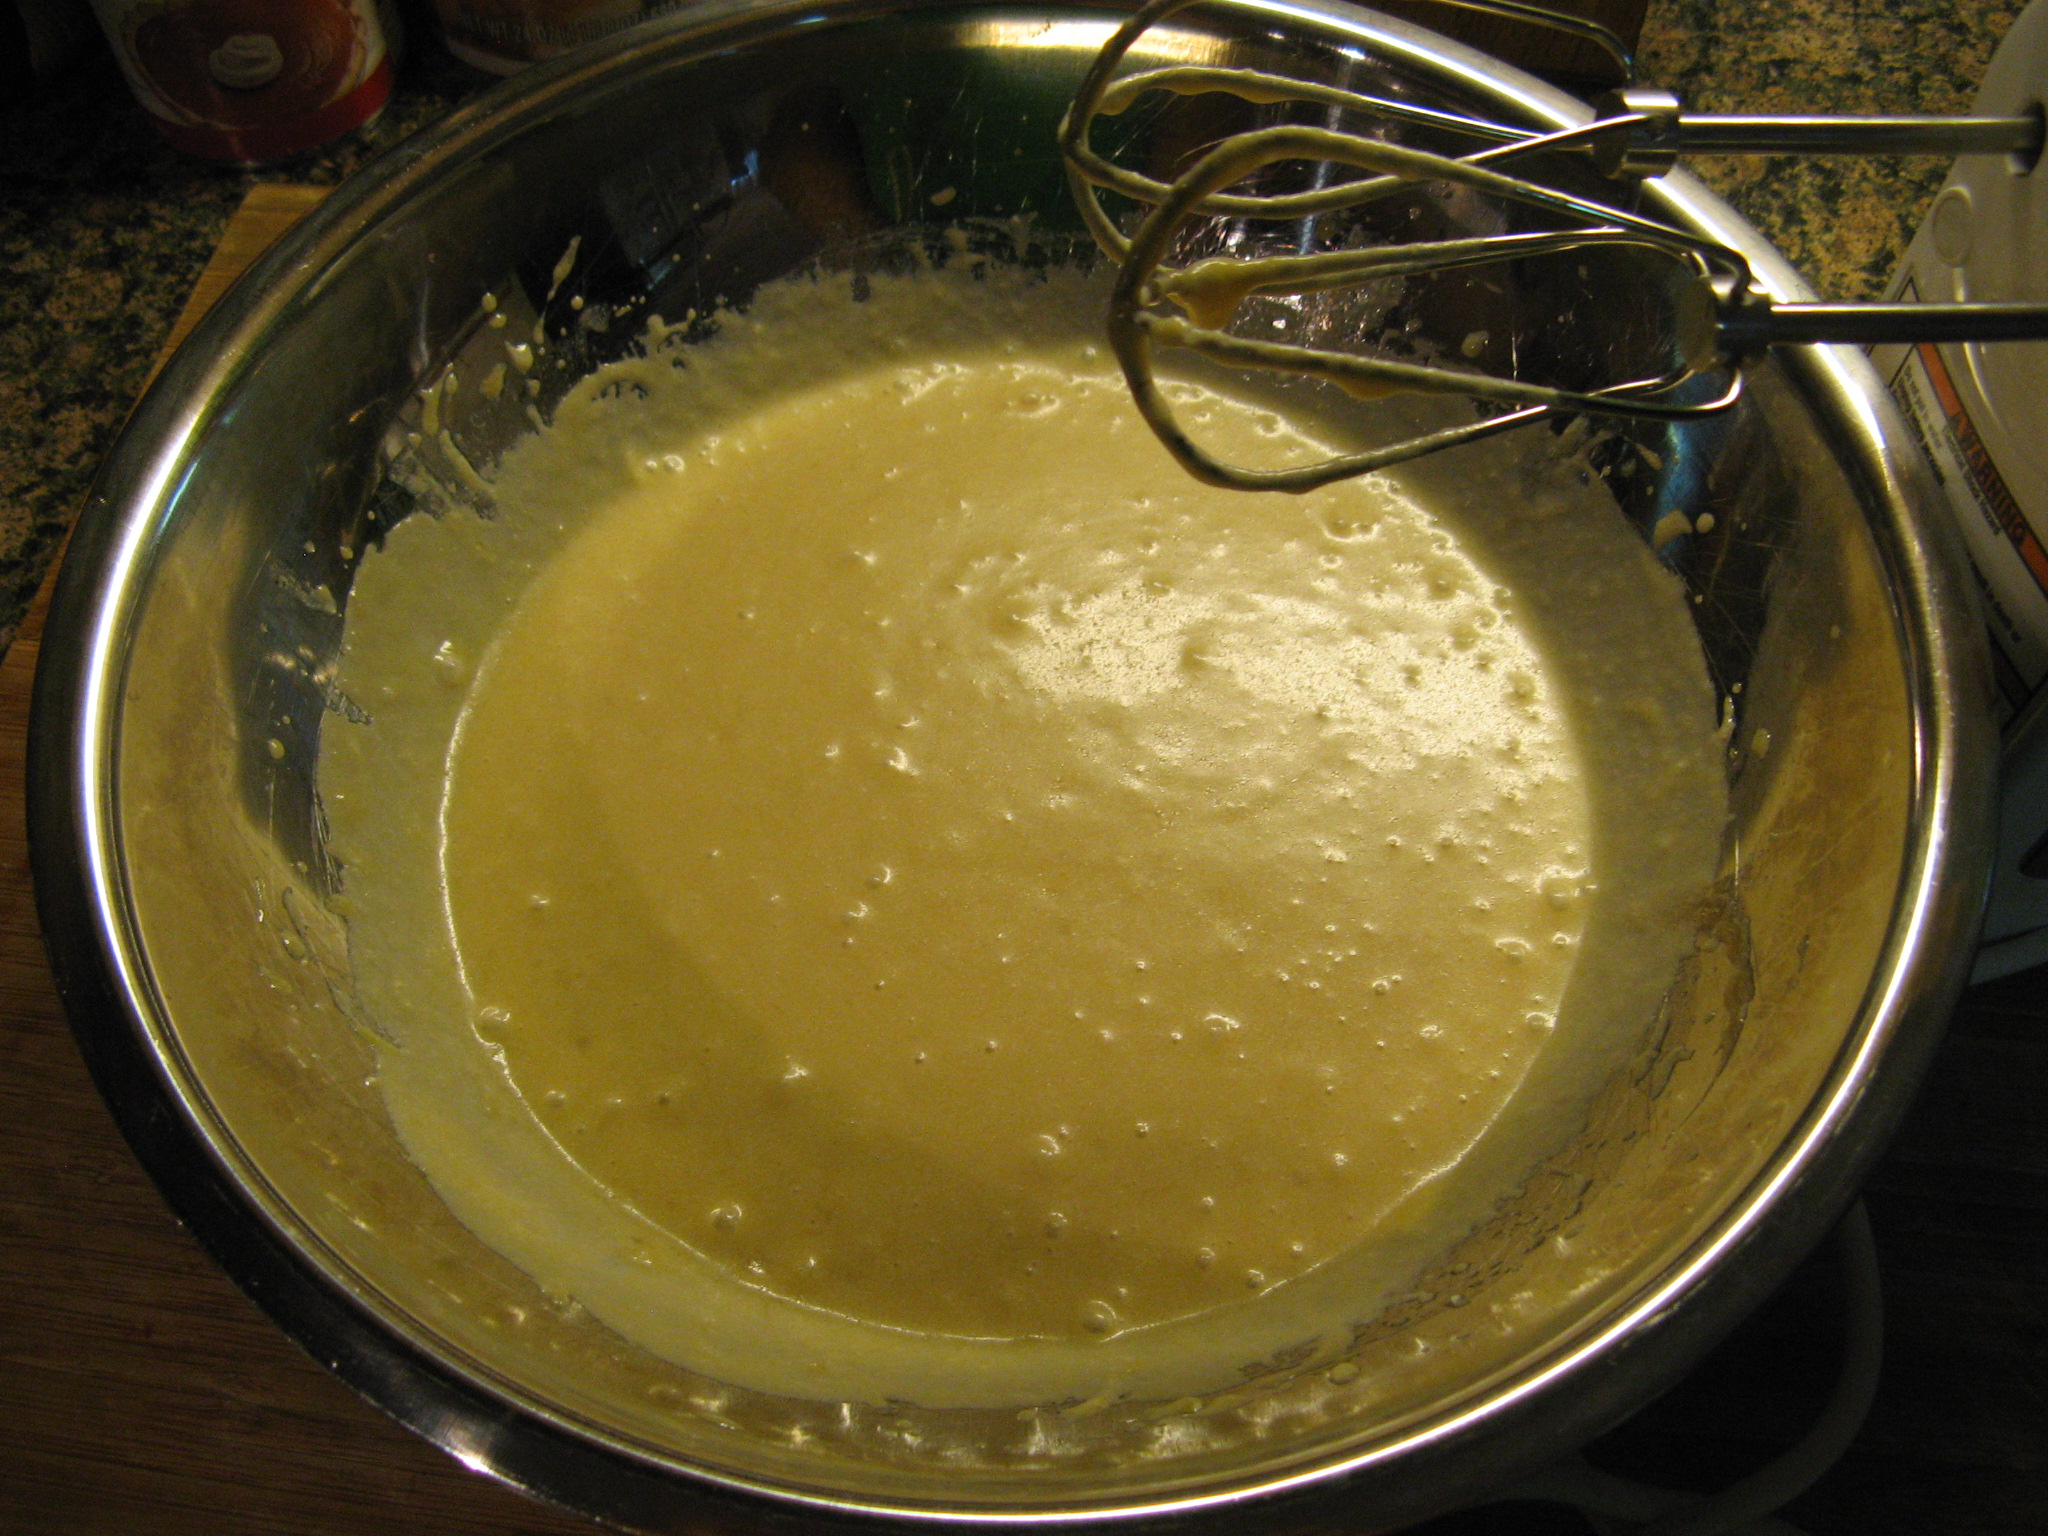
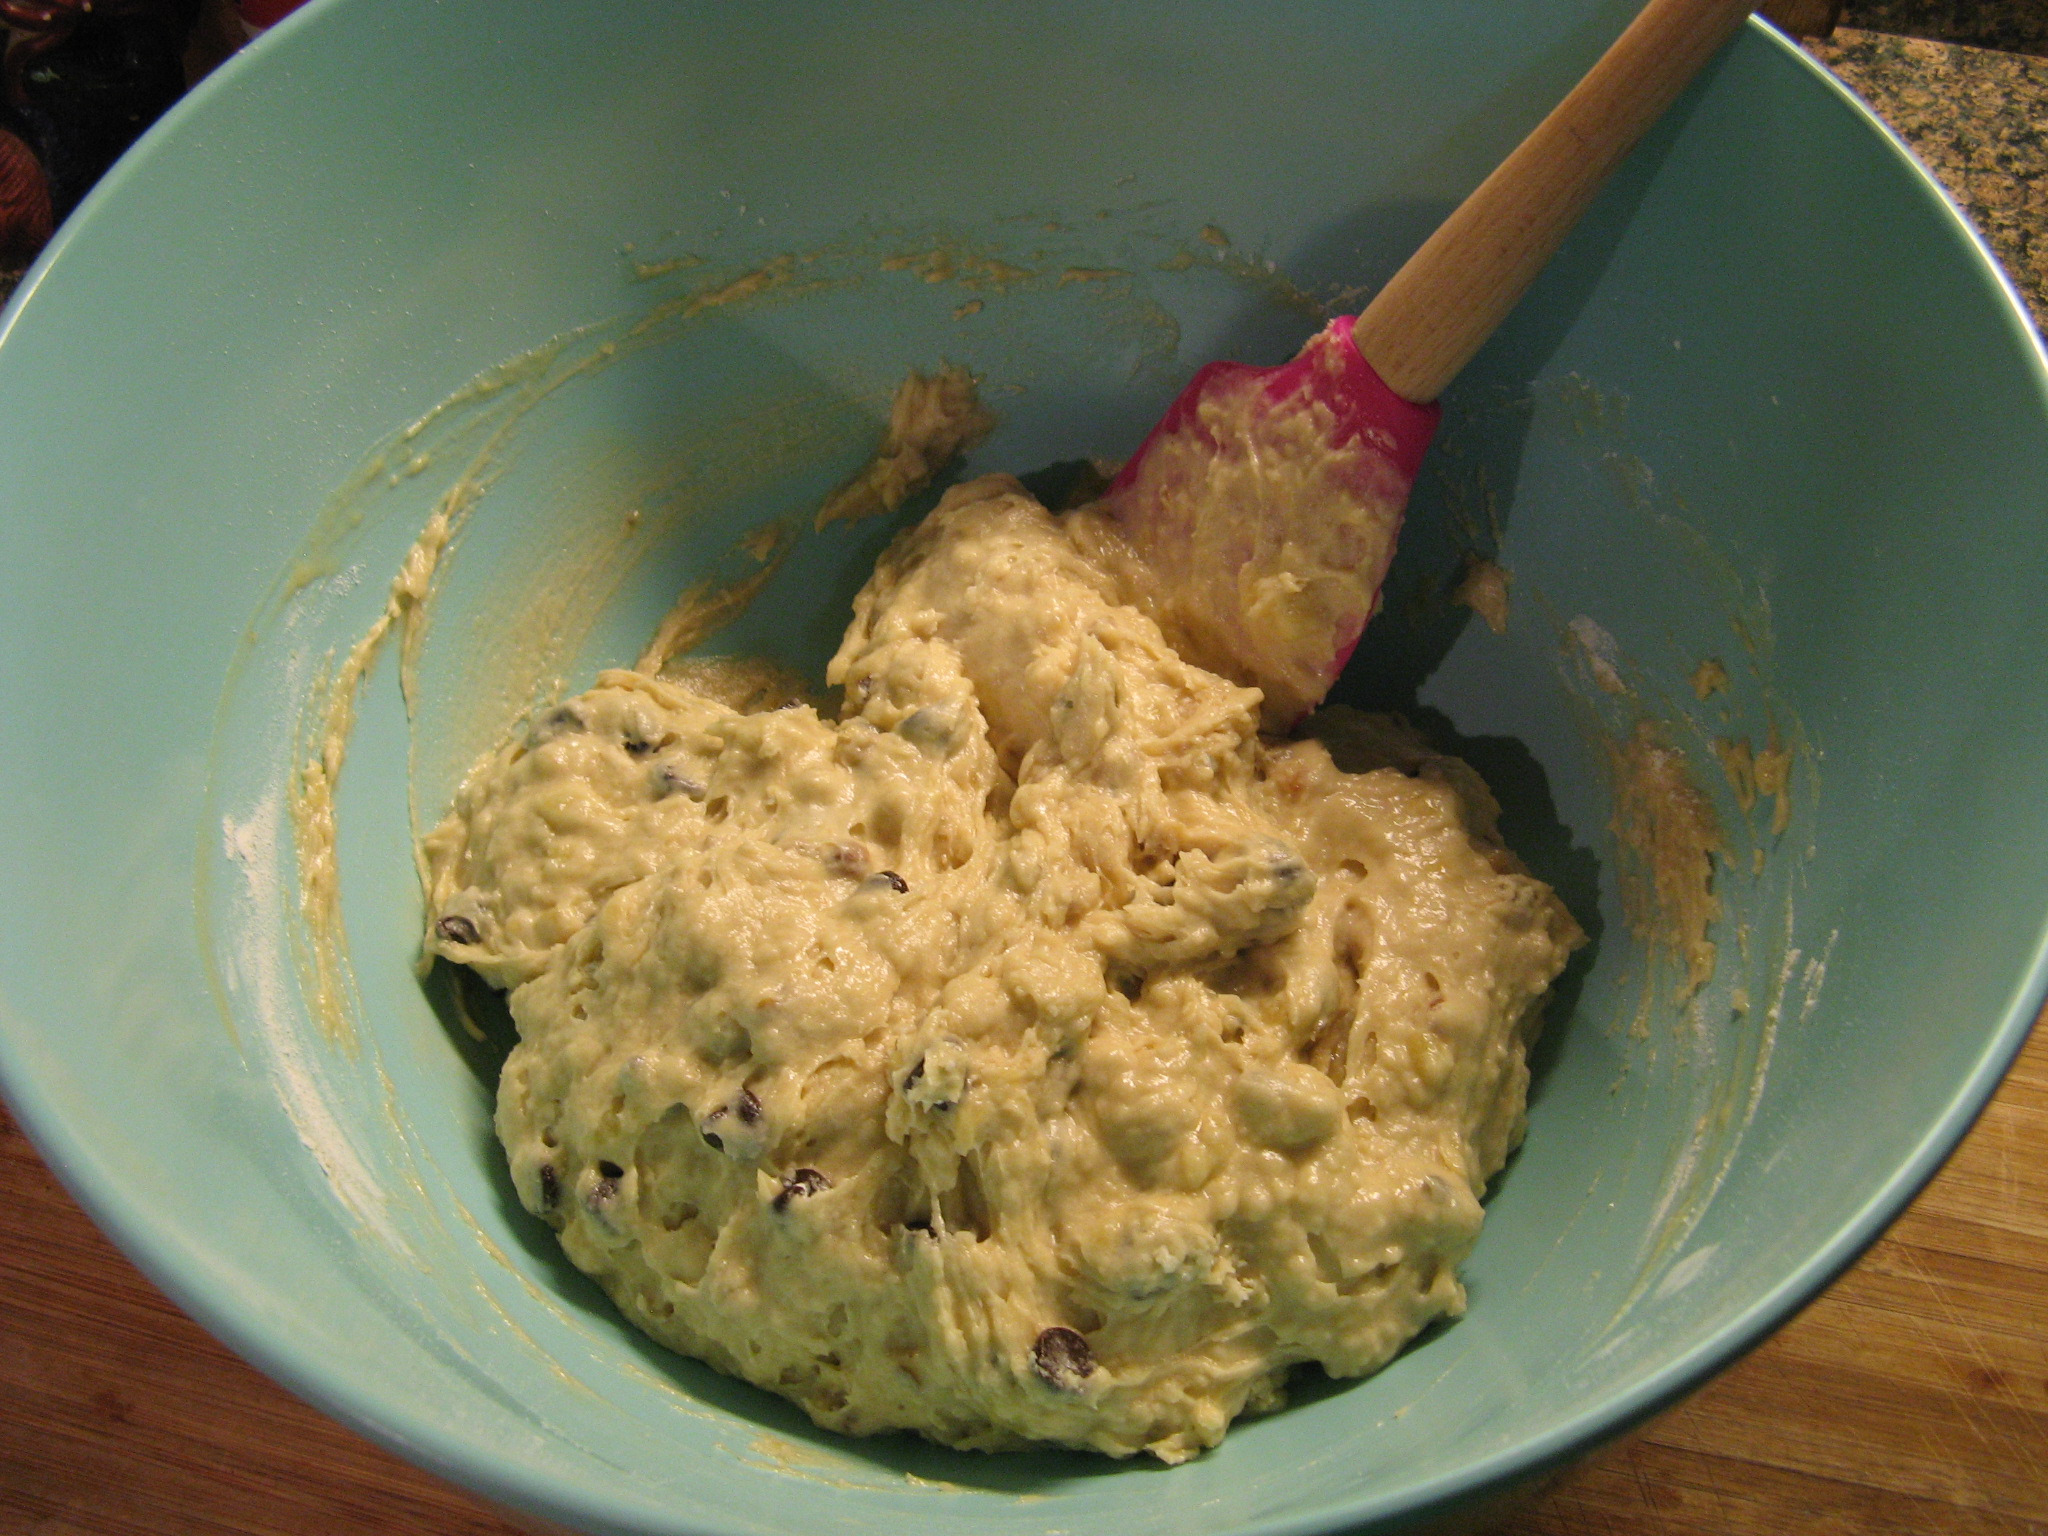
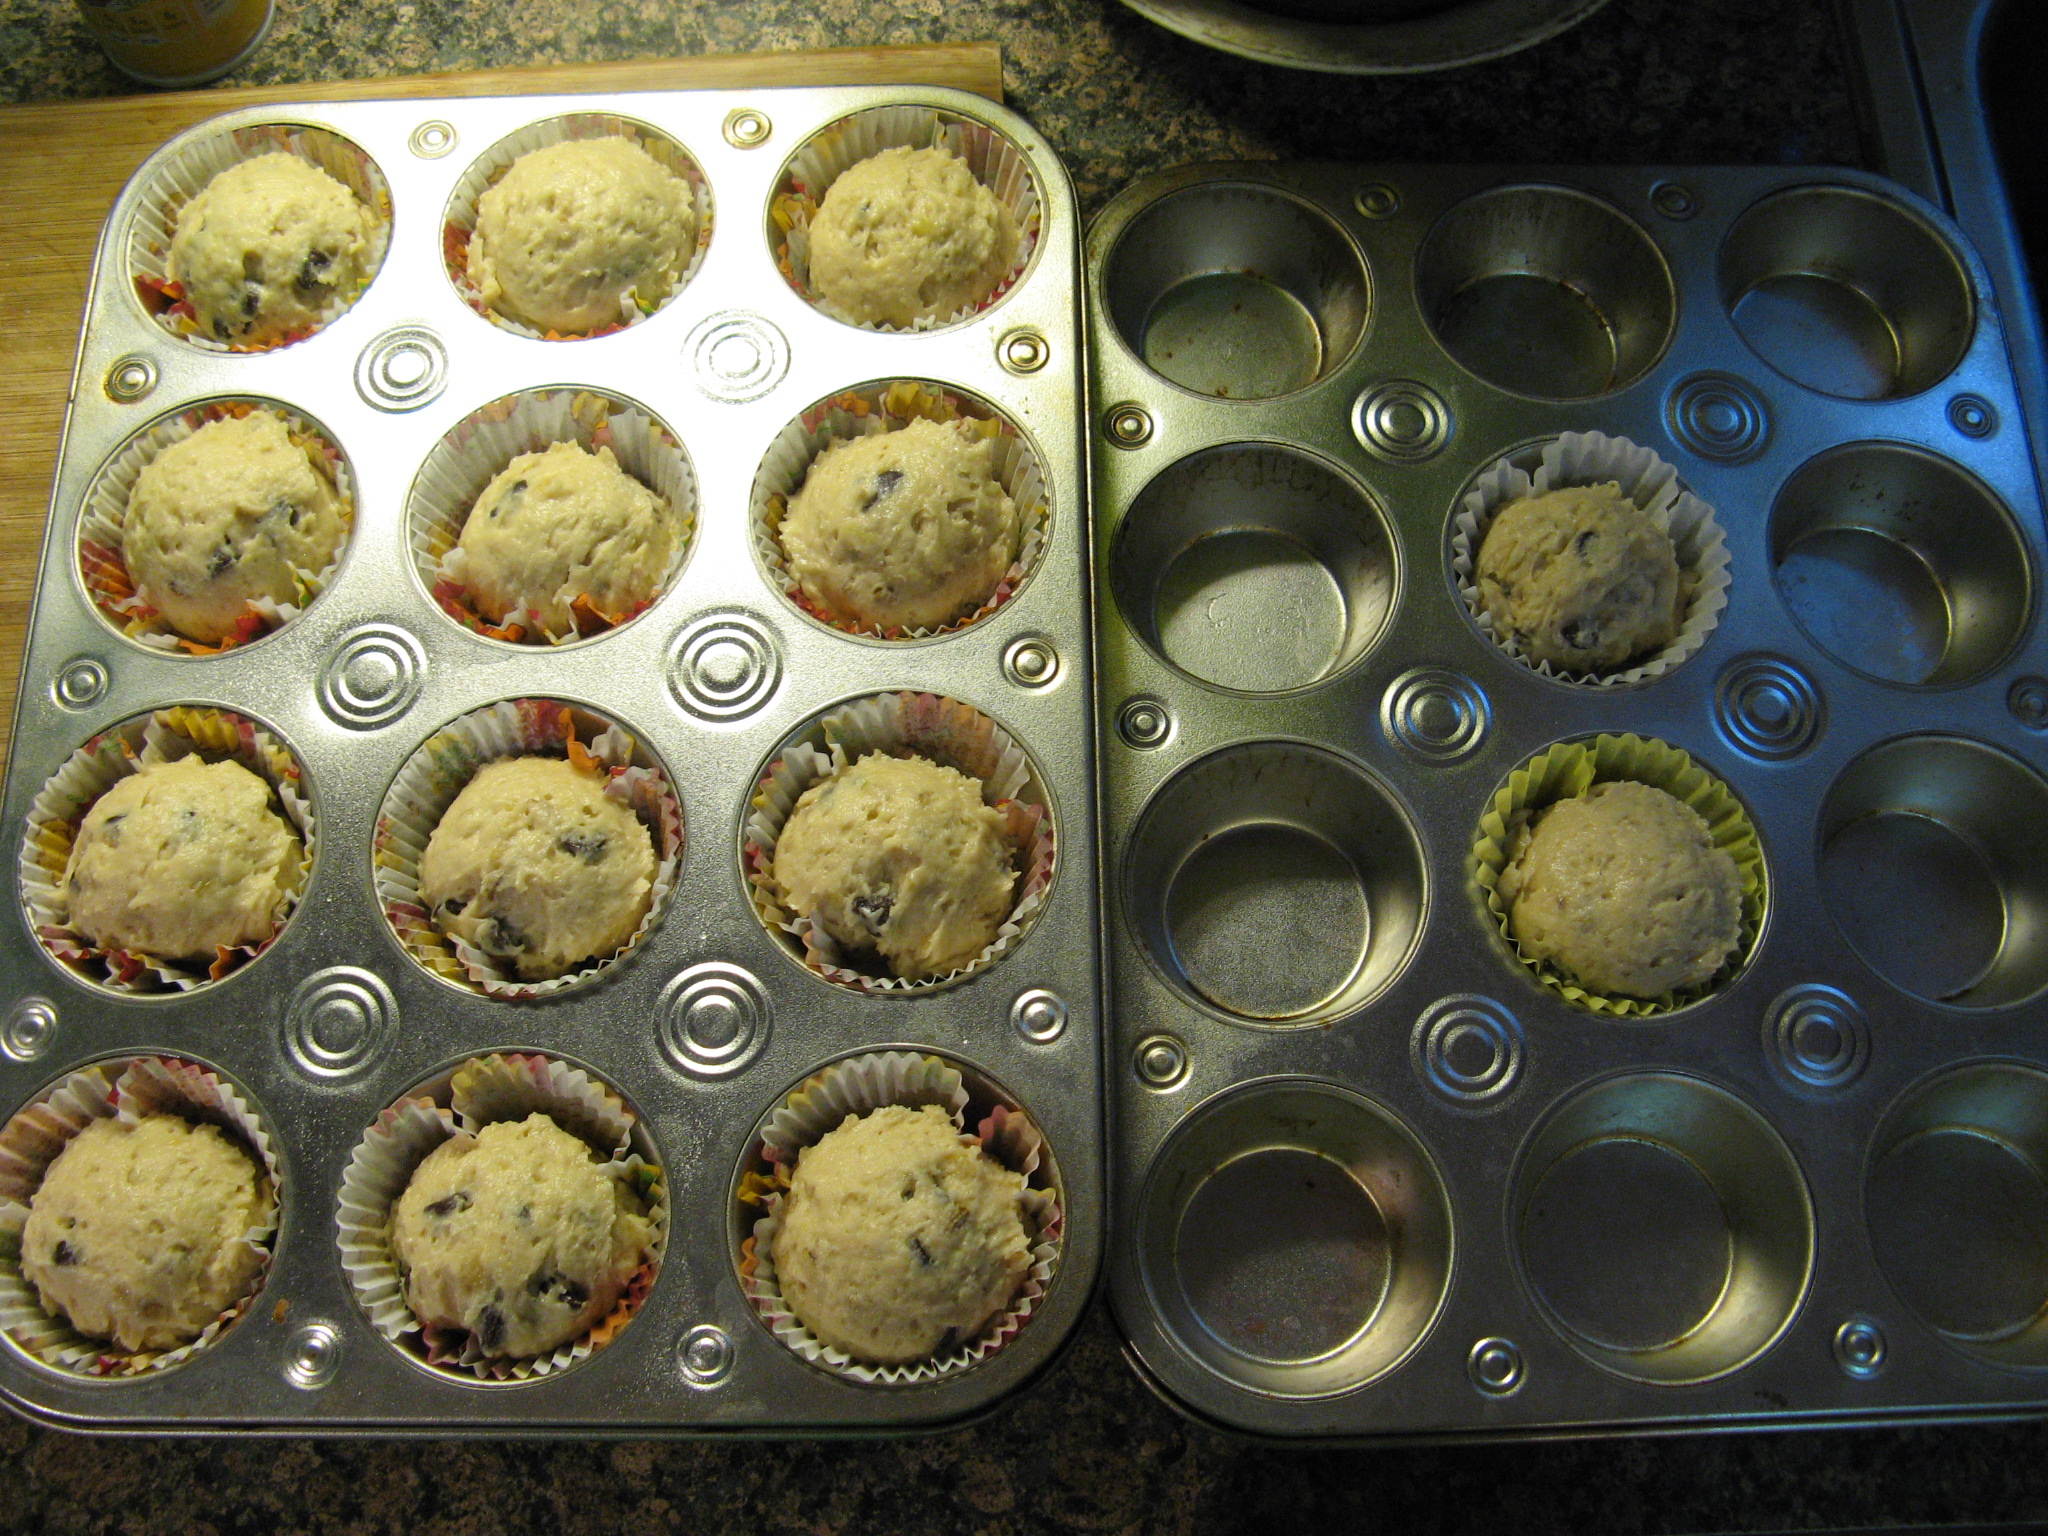
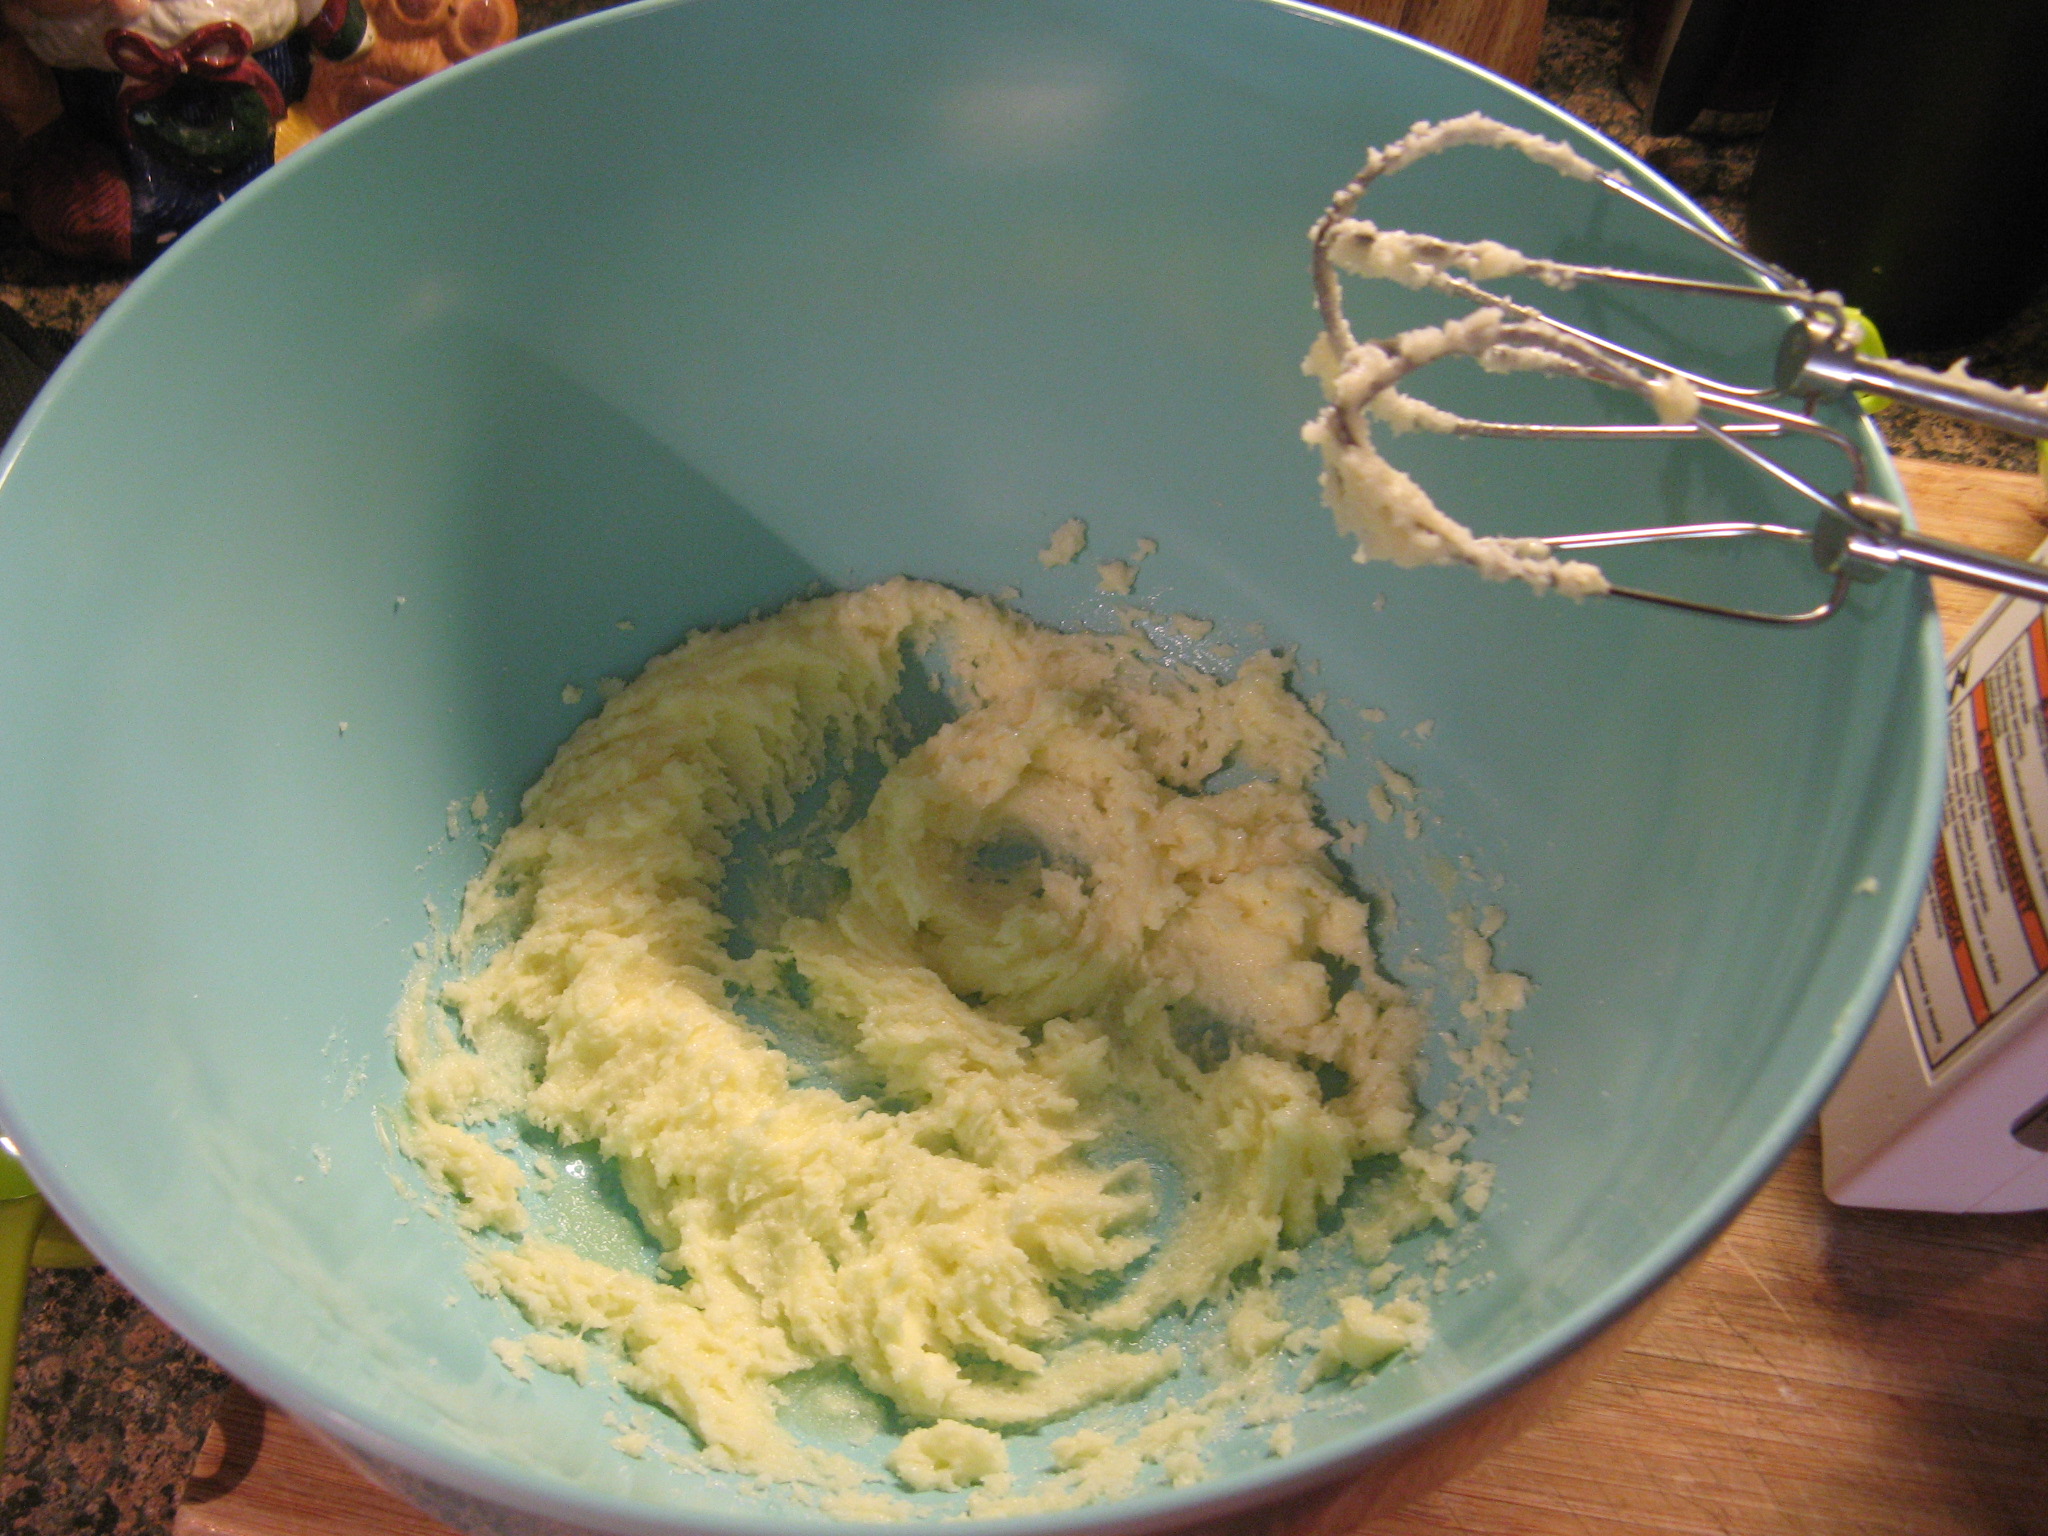
In a large bowl, using a handheld mixer, beat the butter on high speed until creamy. Add both sugars and continue beating until creamed together. Lower the speed to medium and add the eggs and vanilla extract and continue beating until well combined. Add the mashed bananas and beat until just combined. Reduce the speed to low and add the dry ingredients in three parts alternating with the buttermilk. Do not overmix the batter, a few lumps is okay.
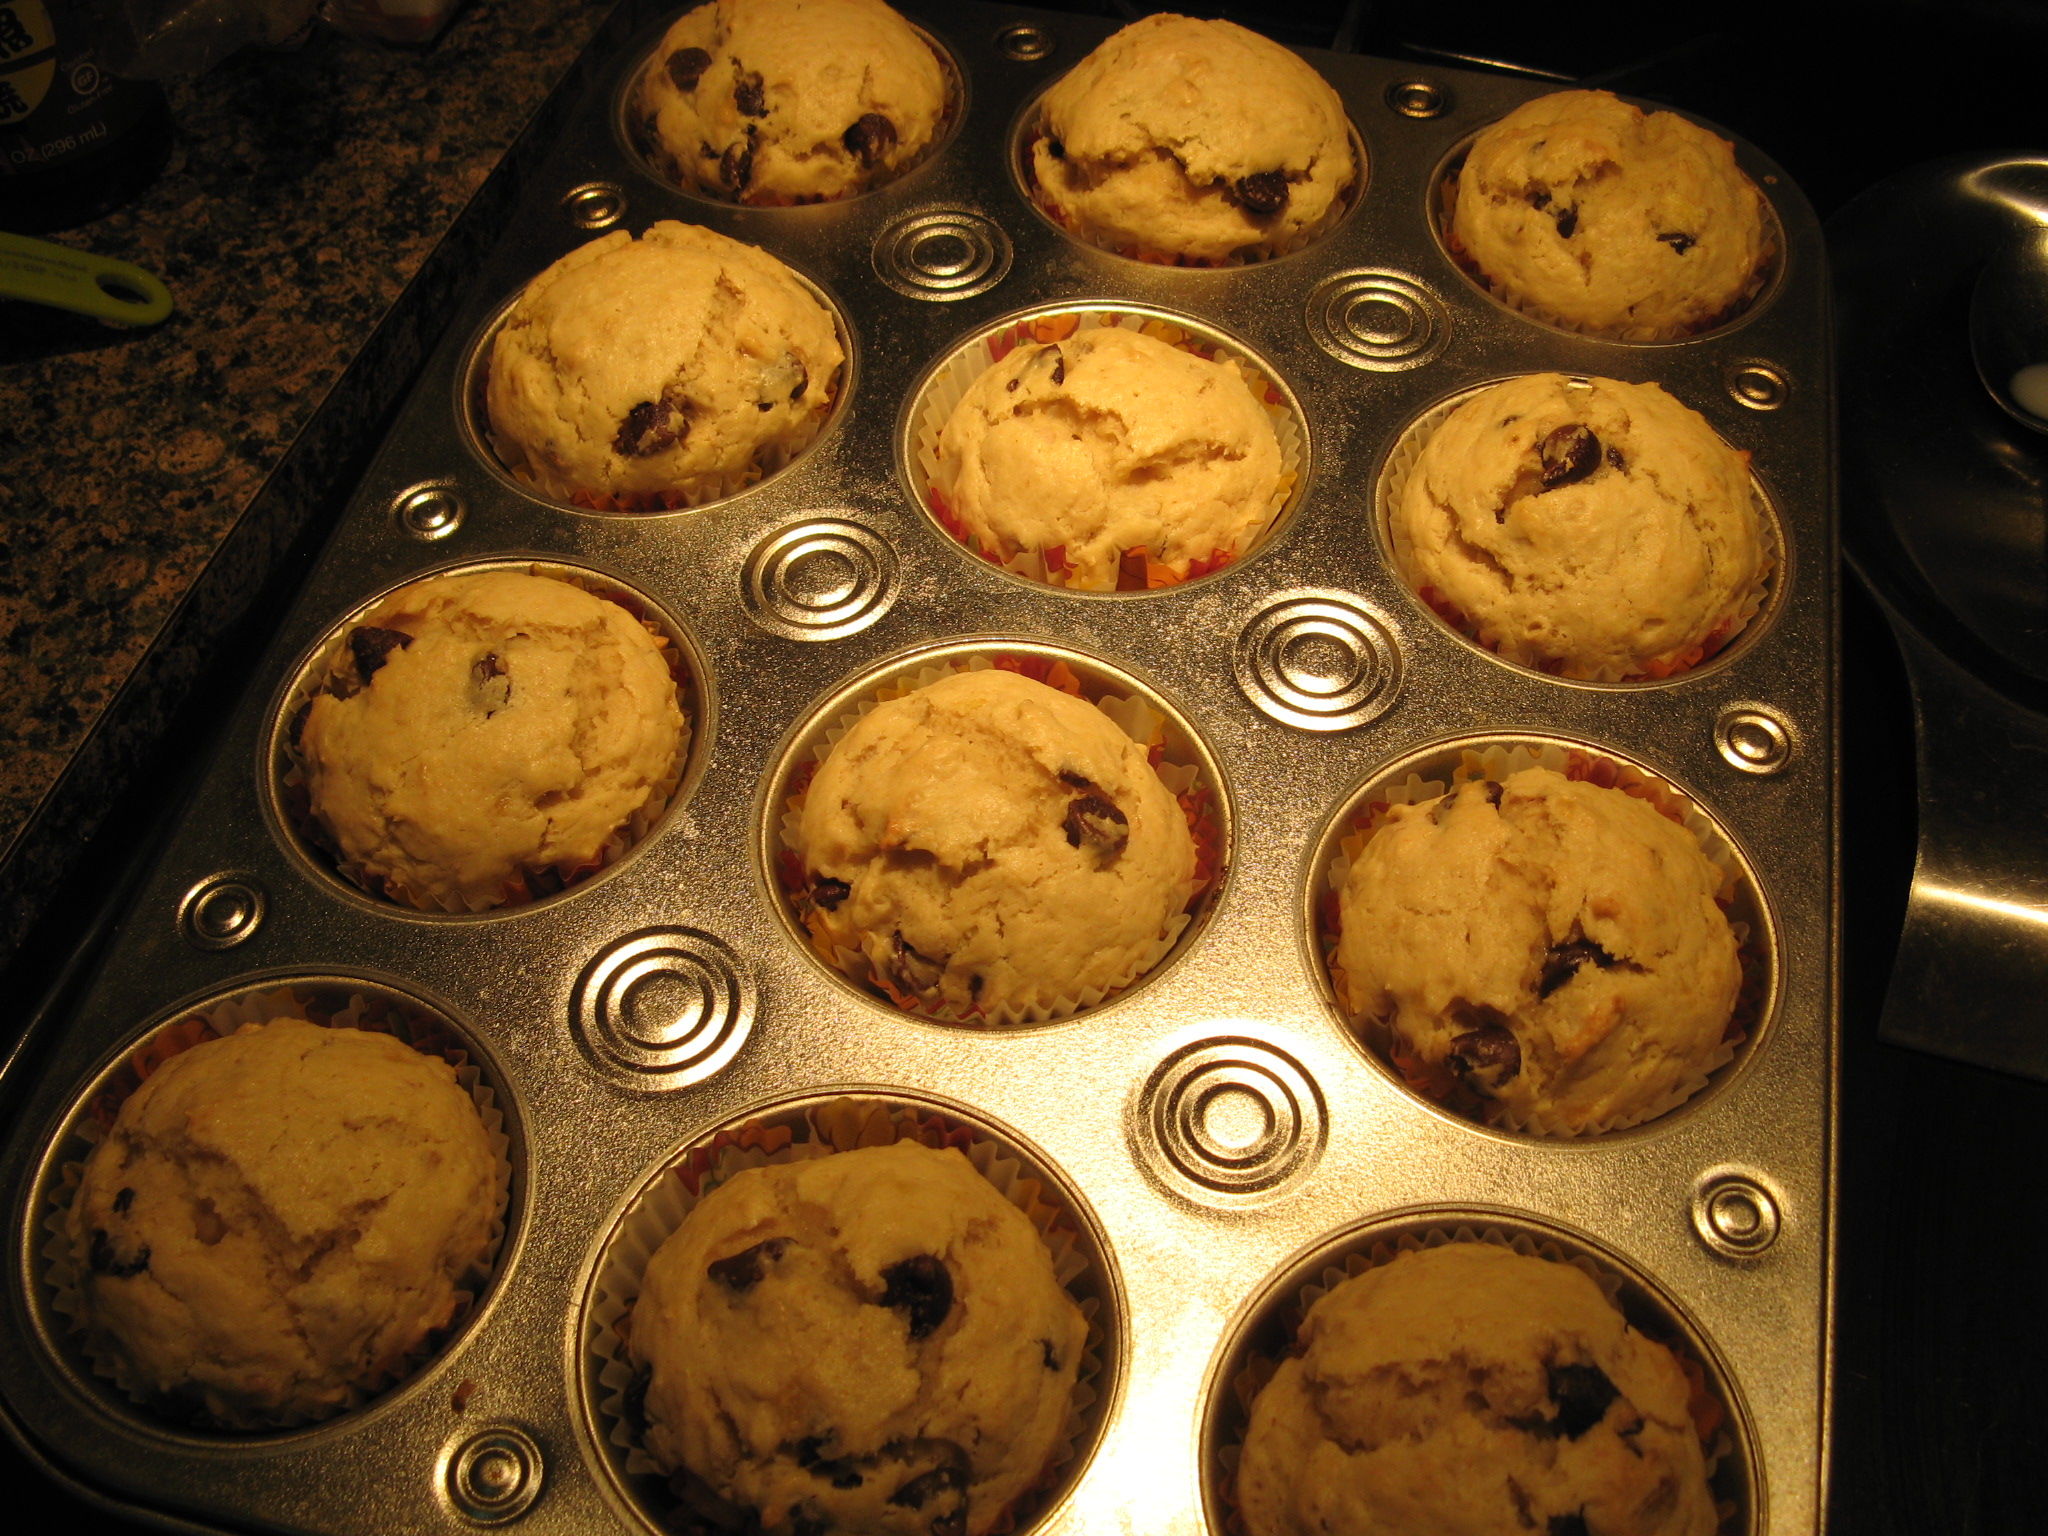
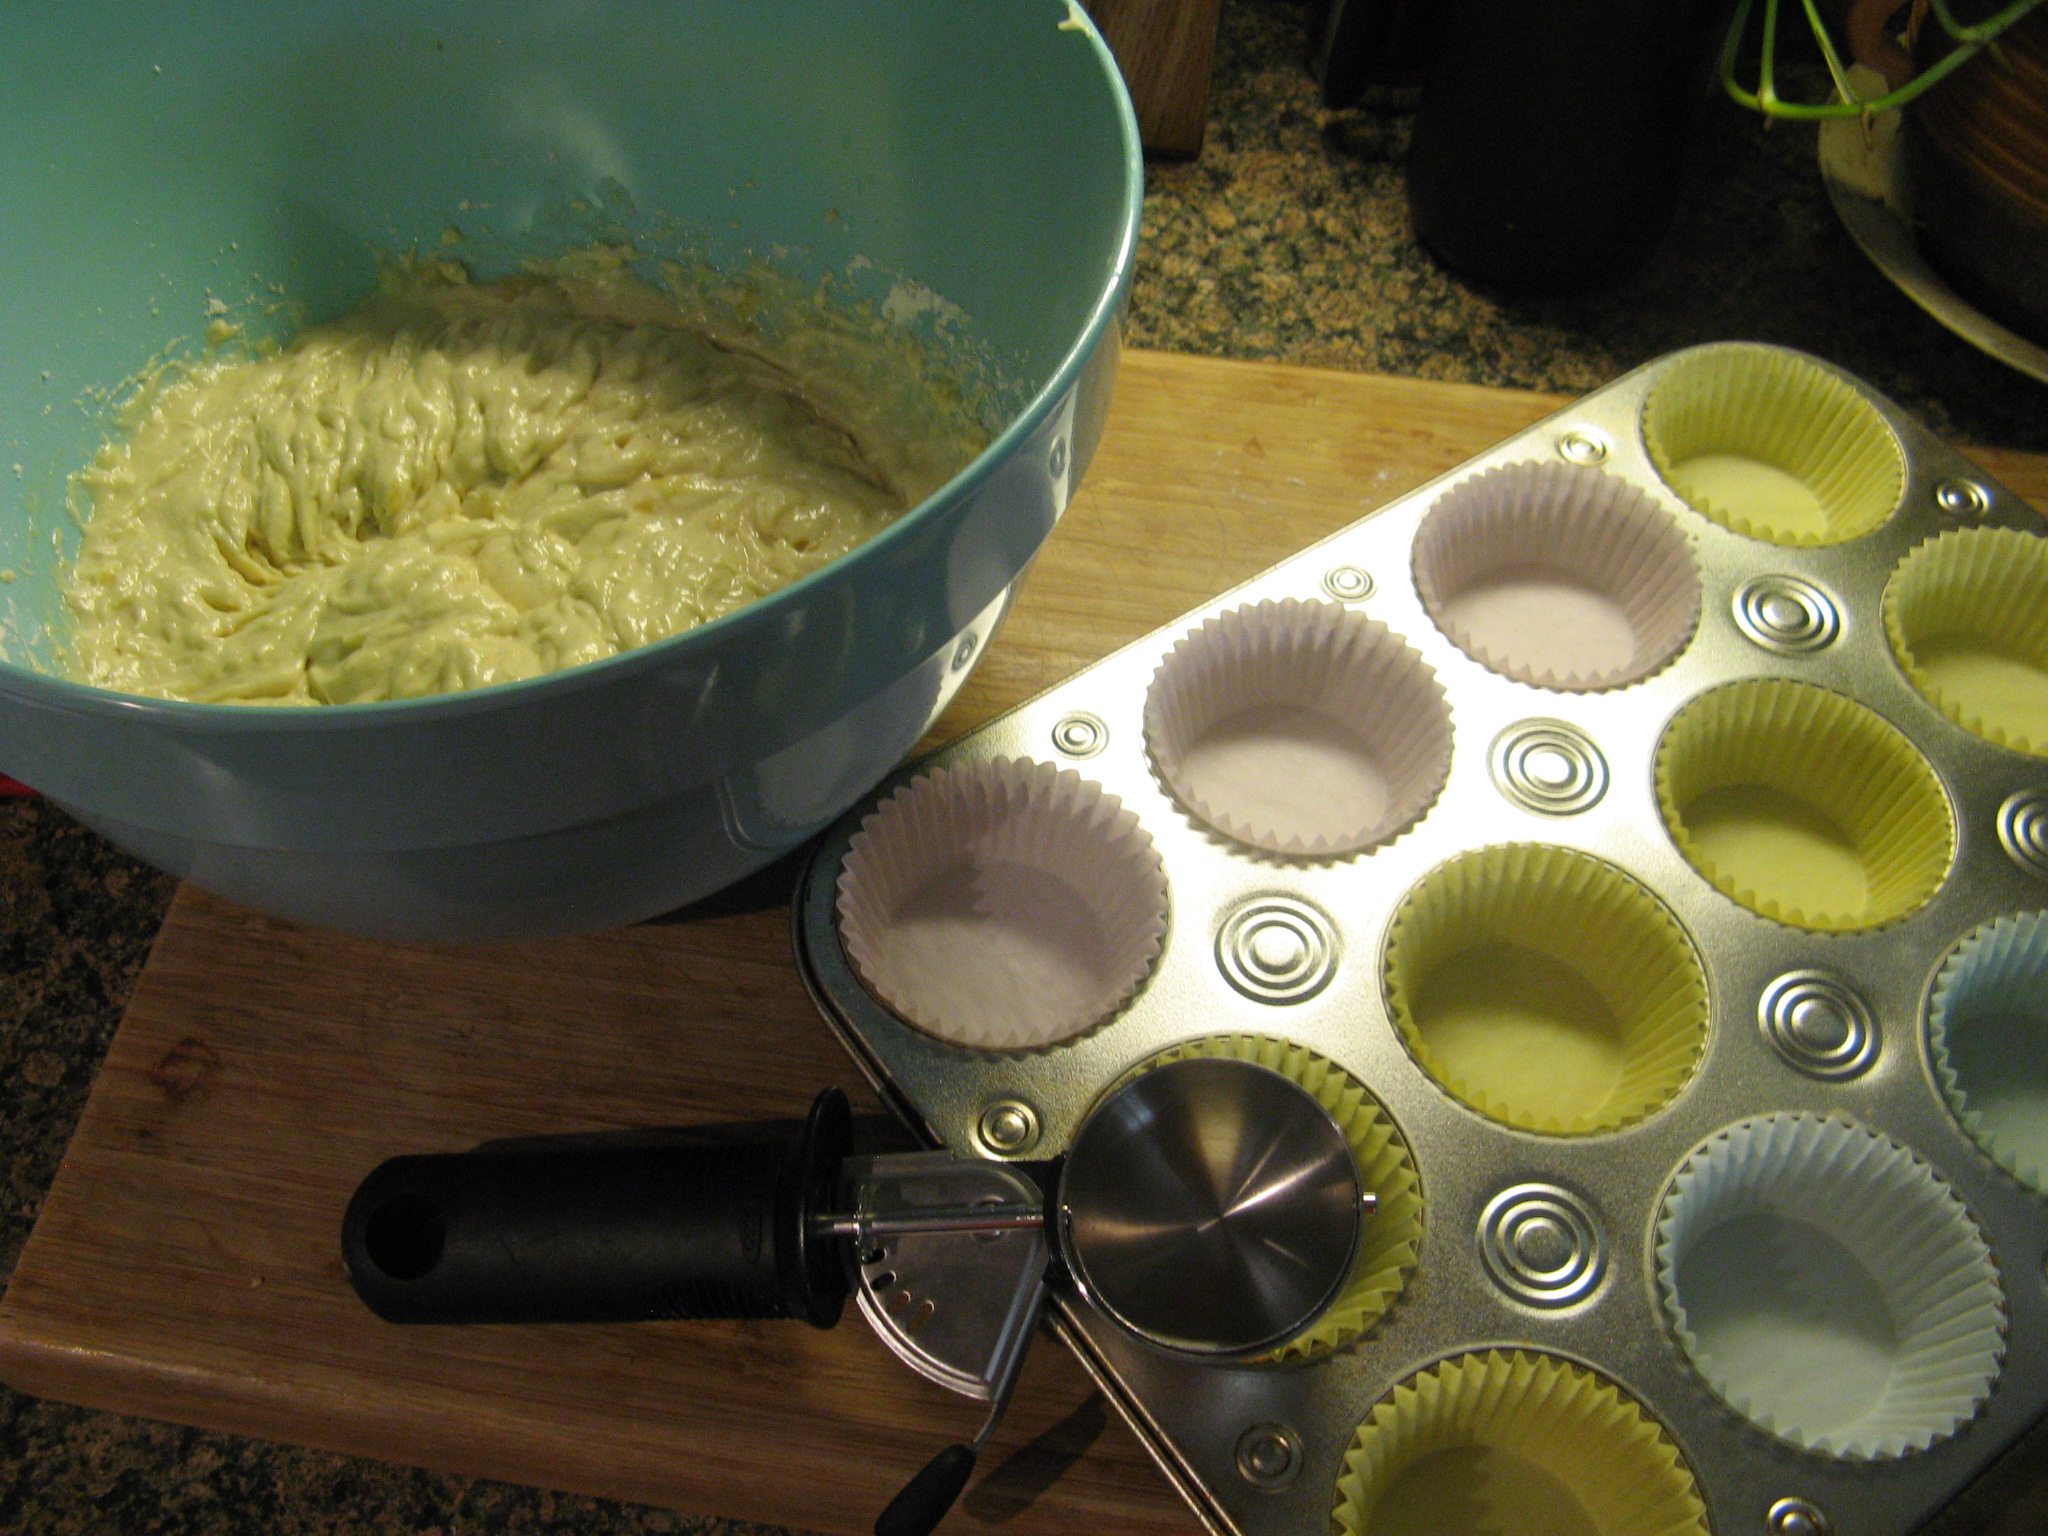
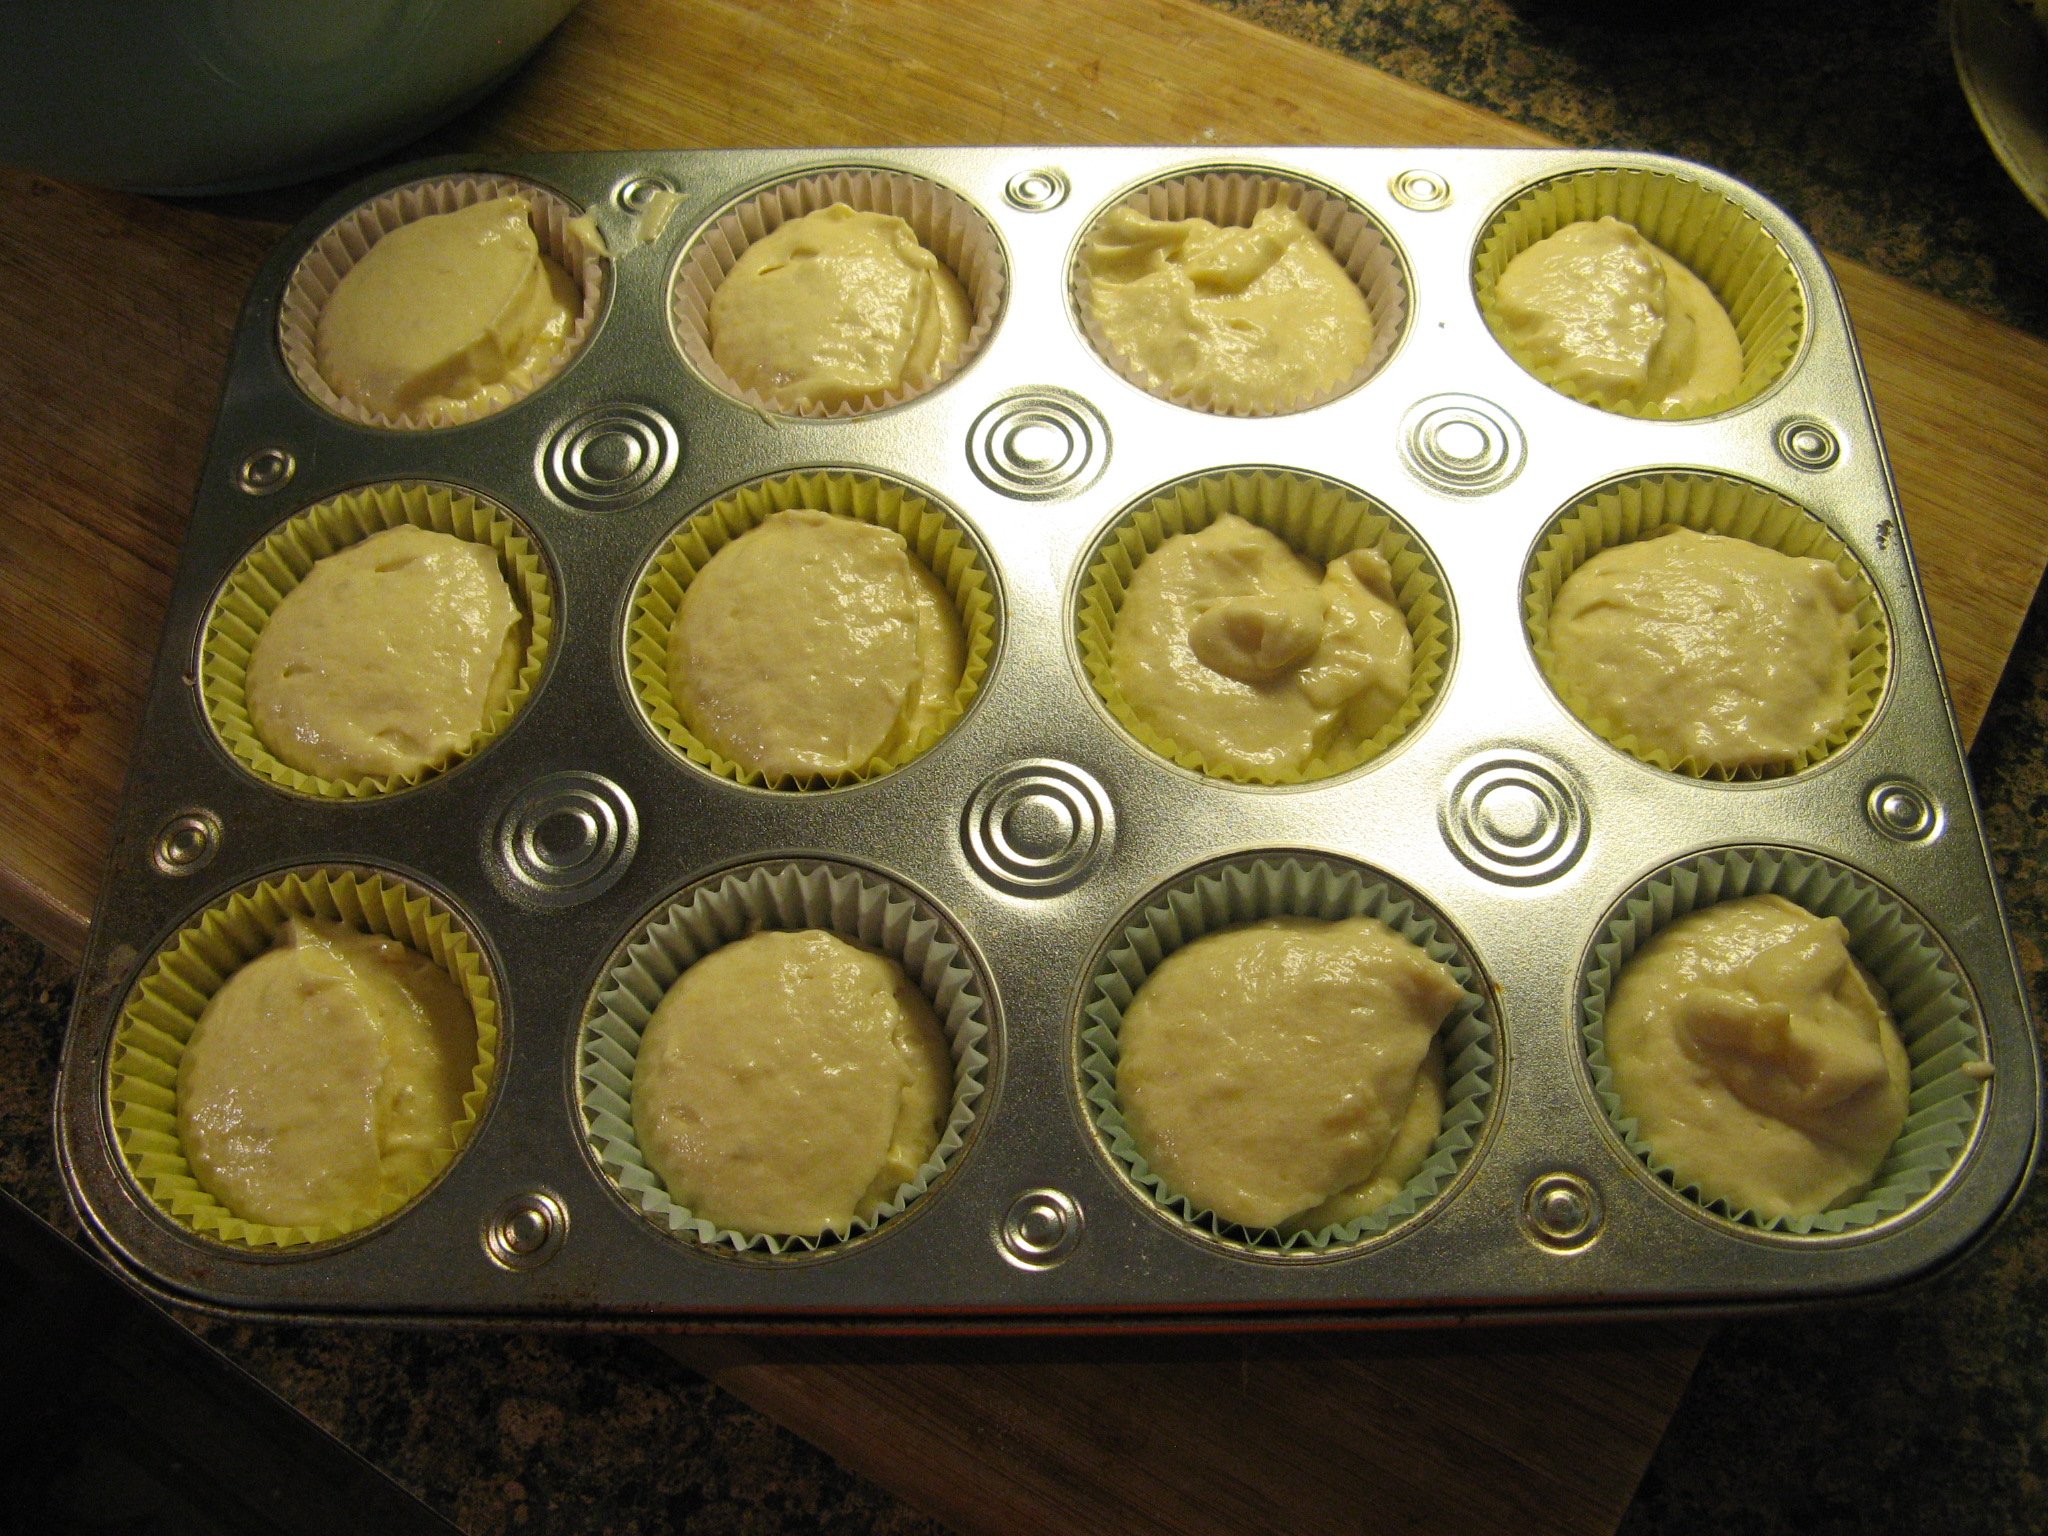
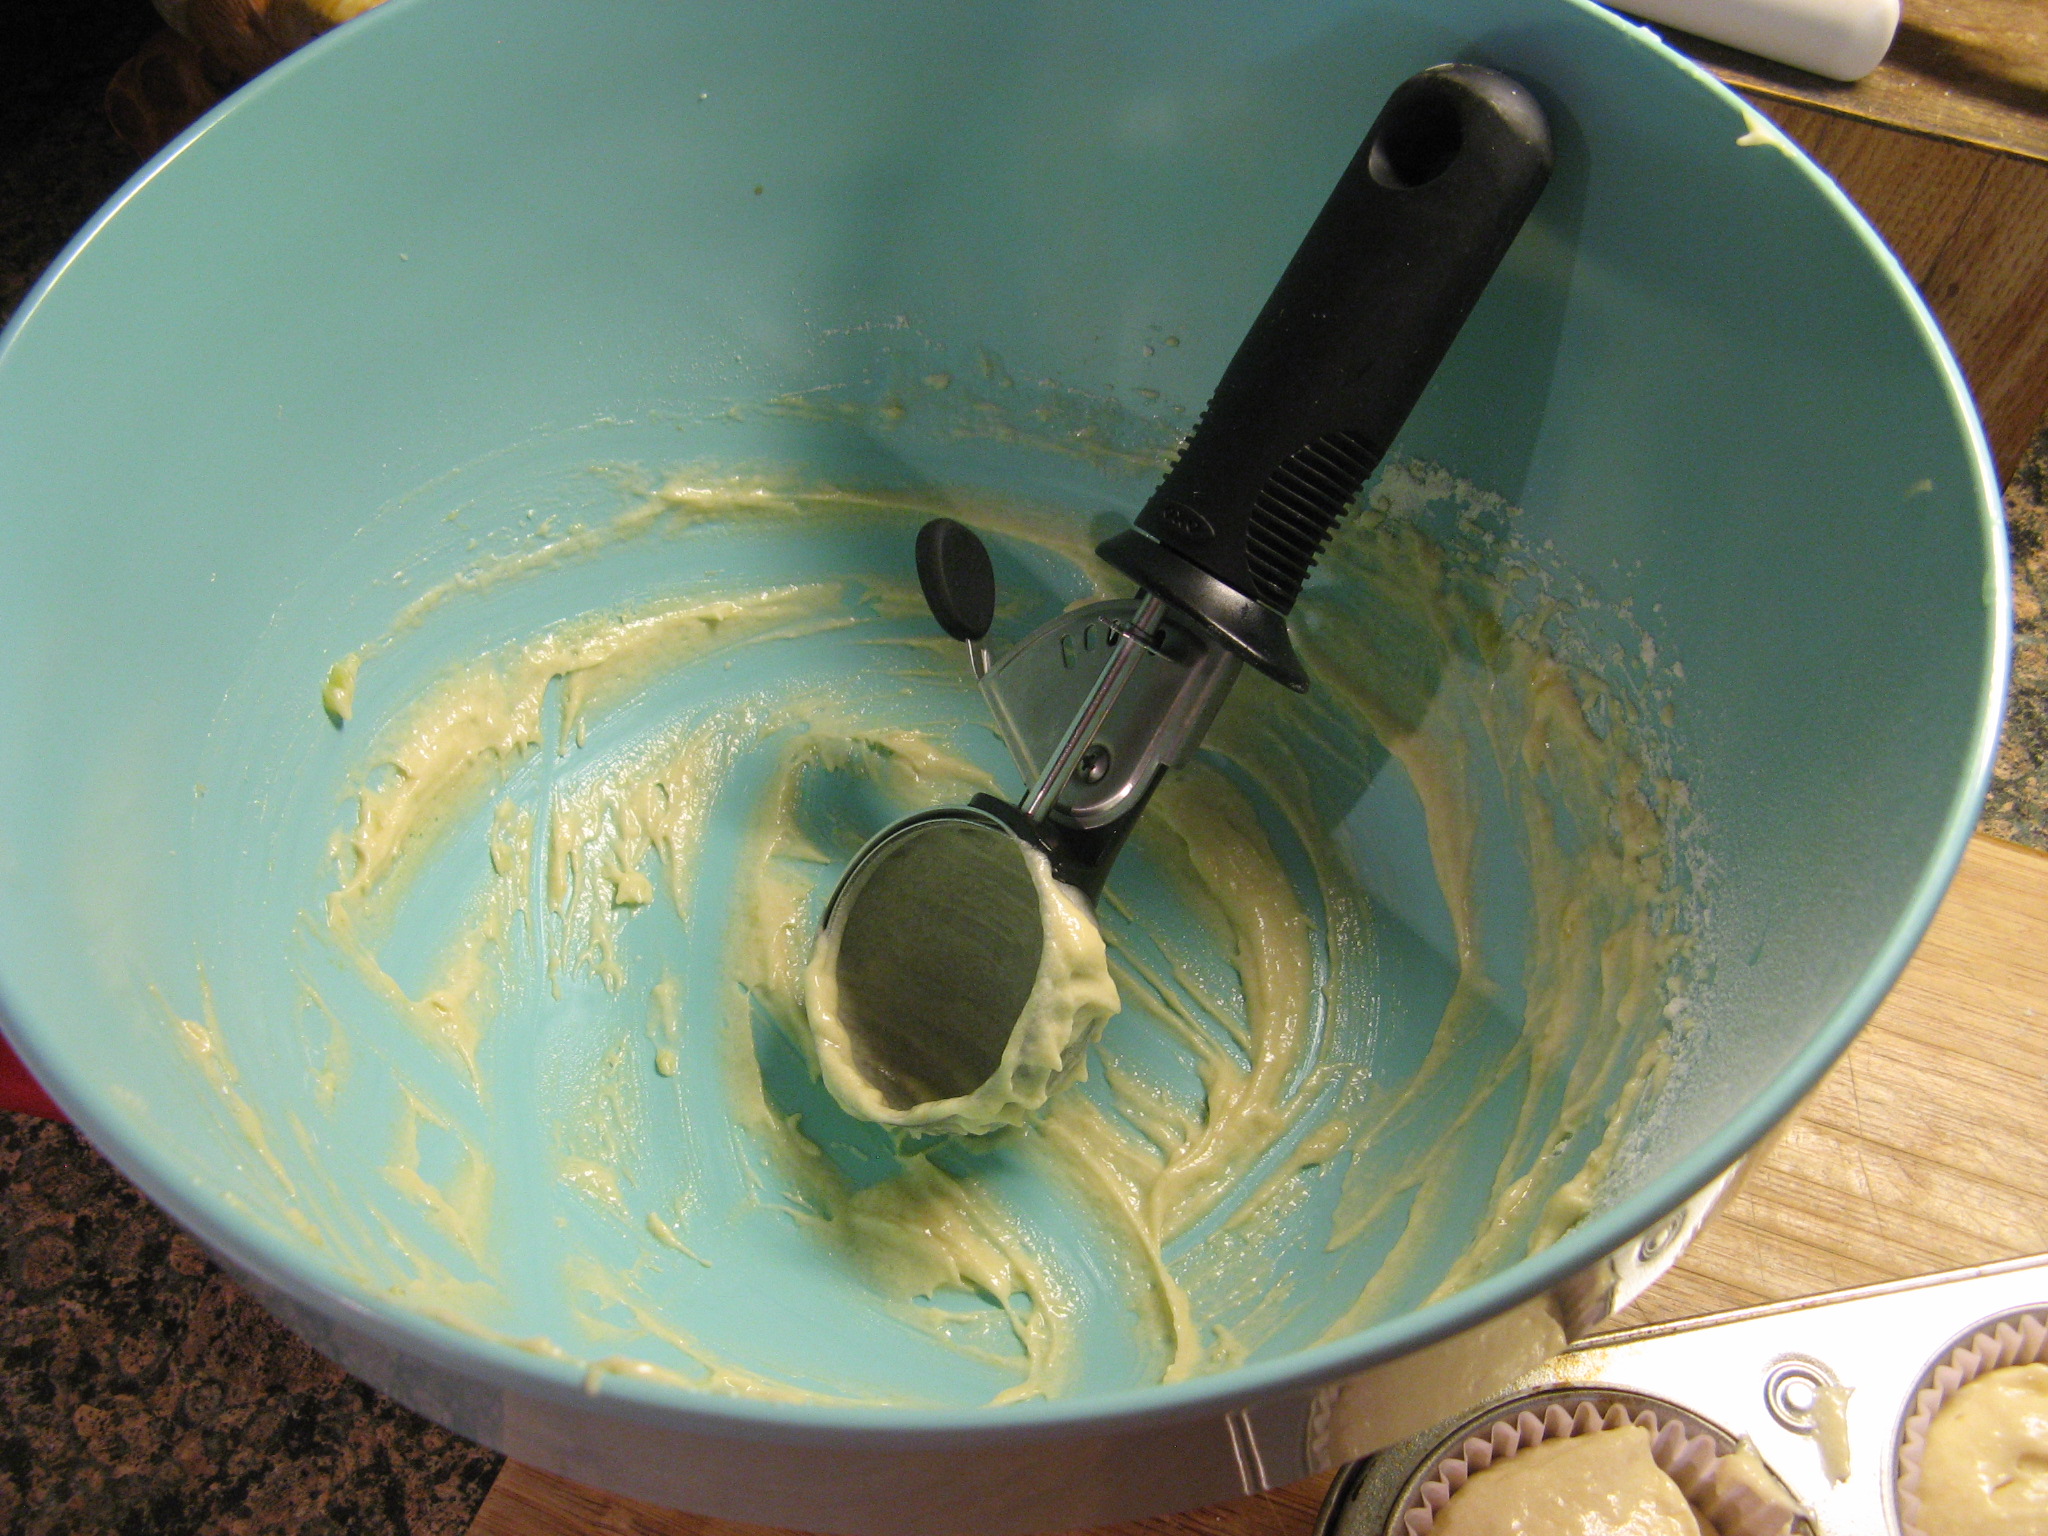
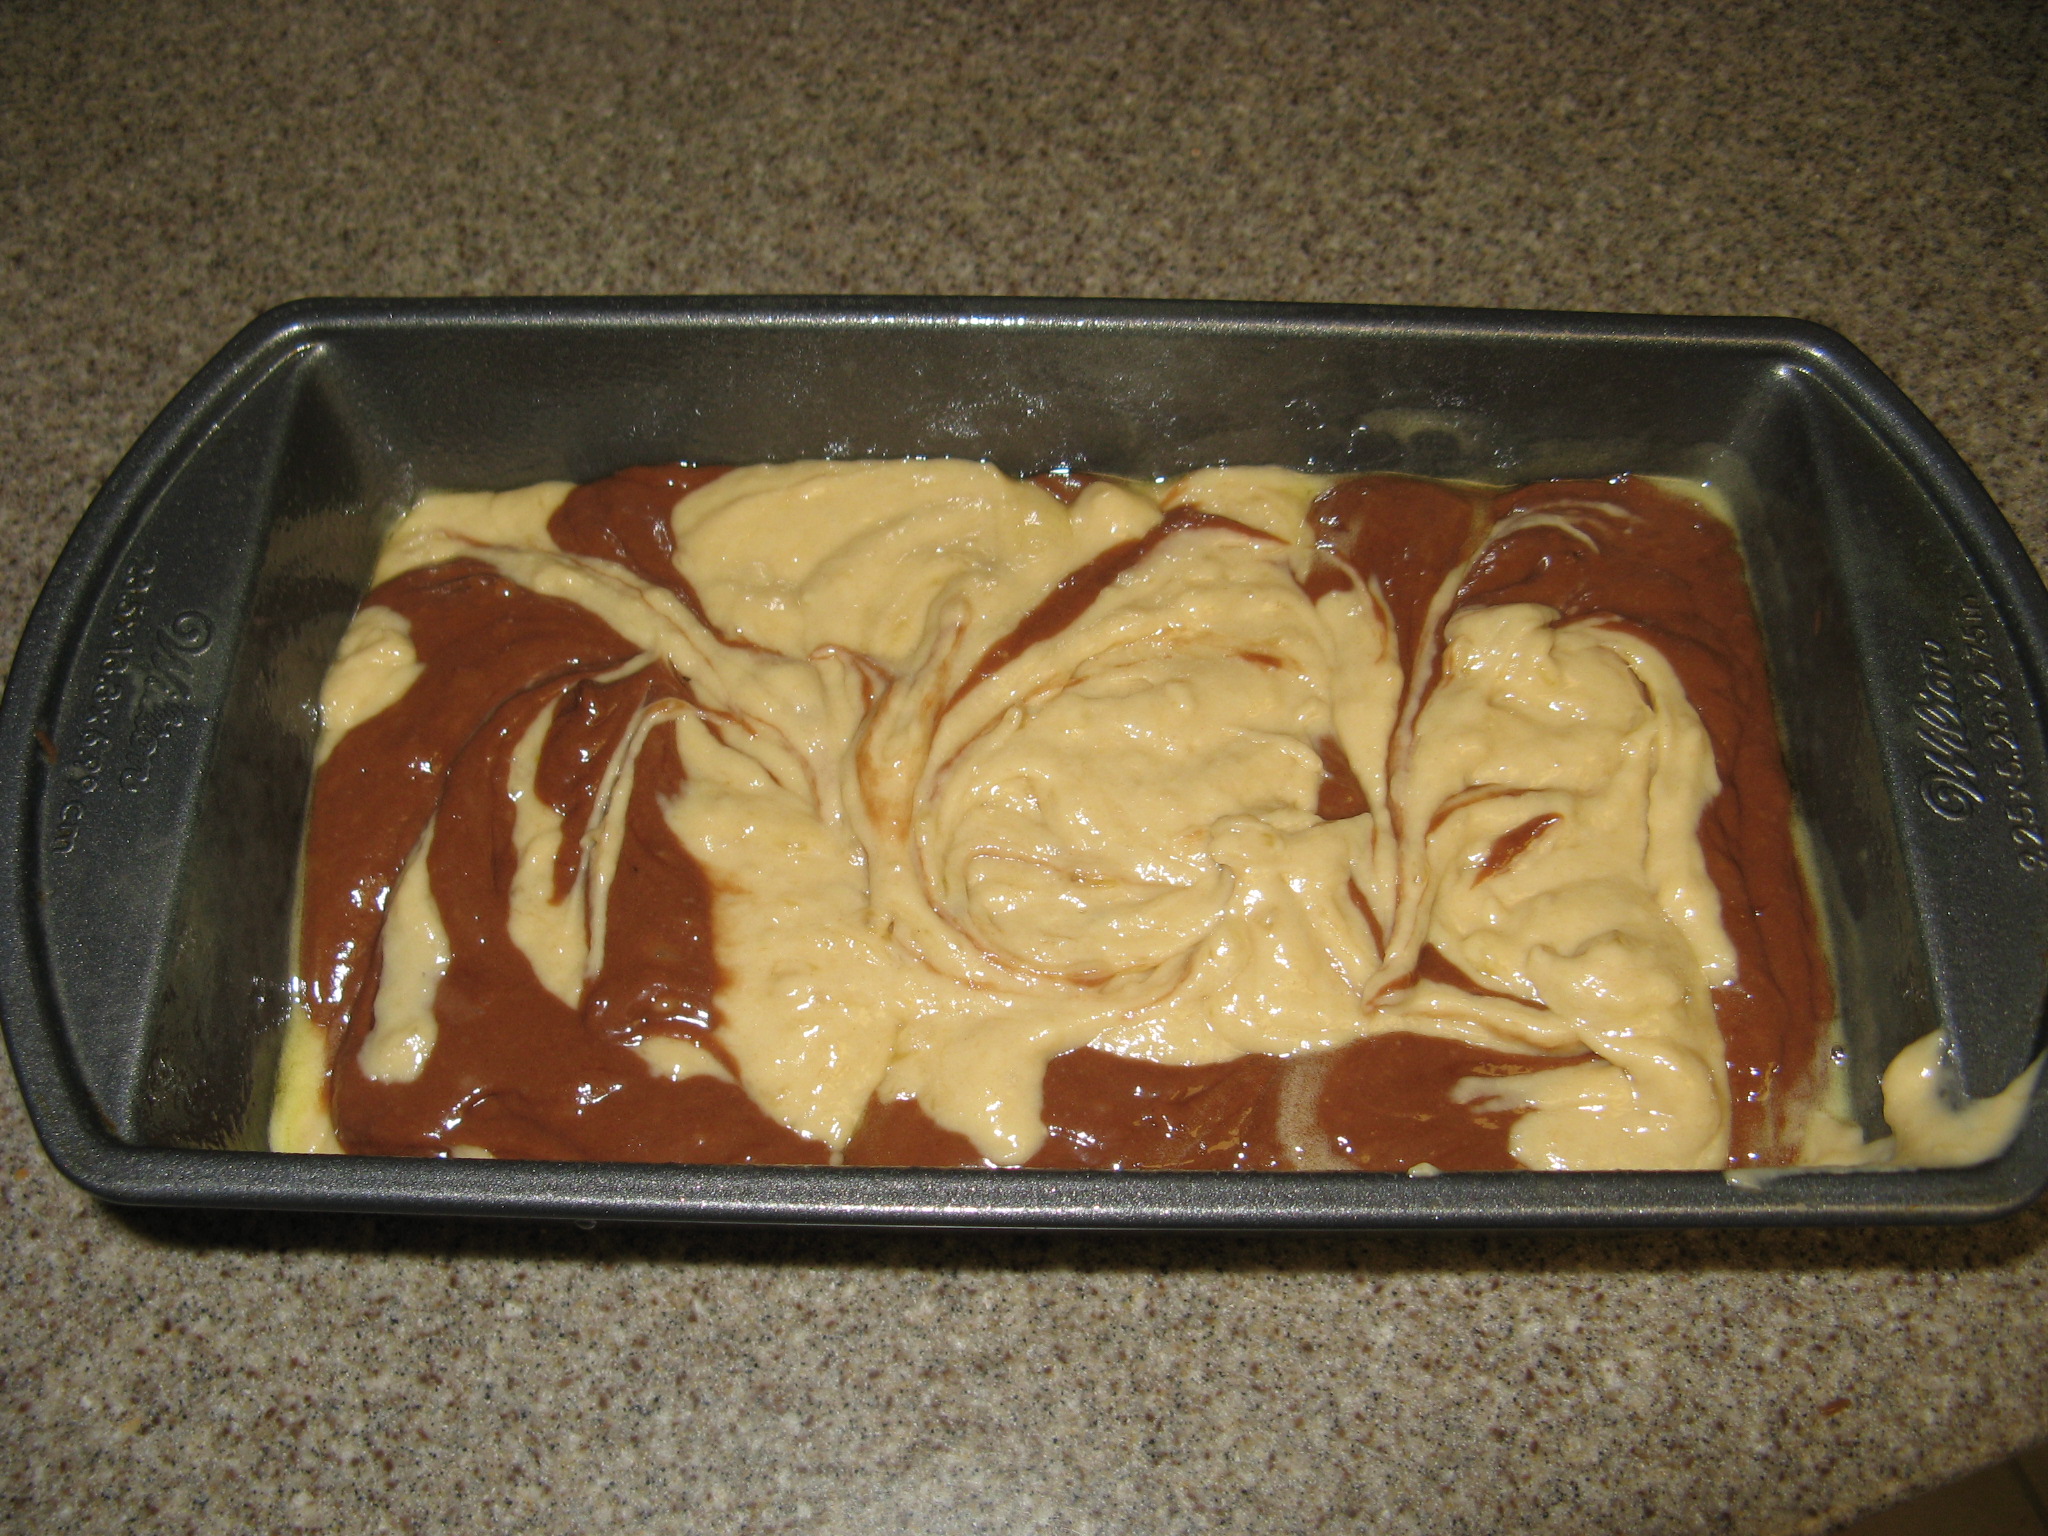
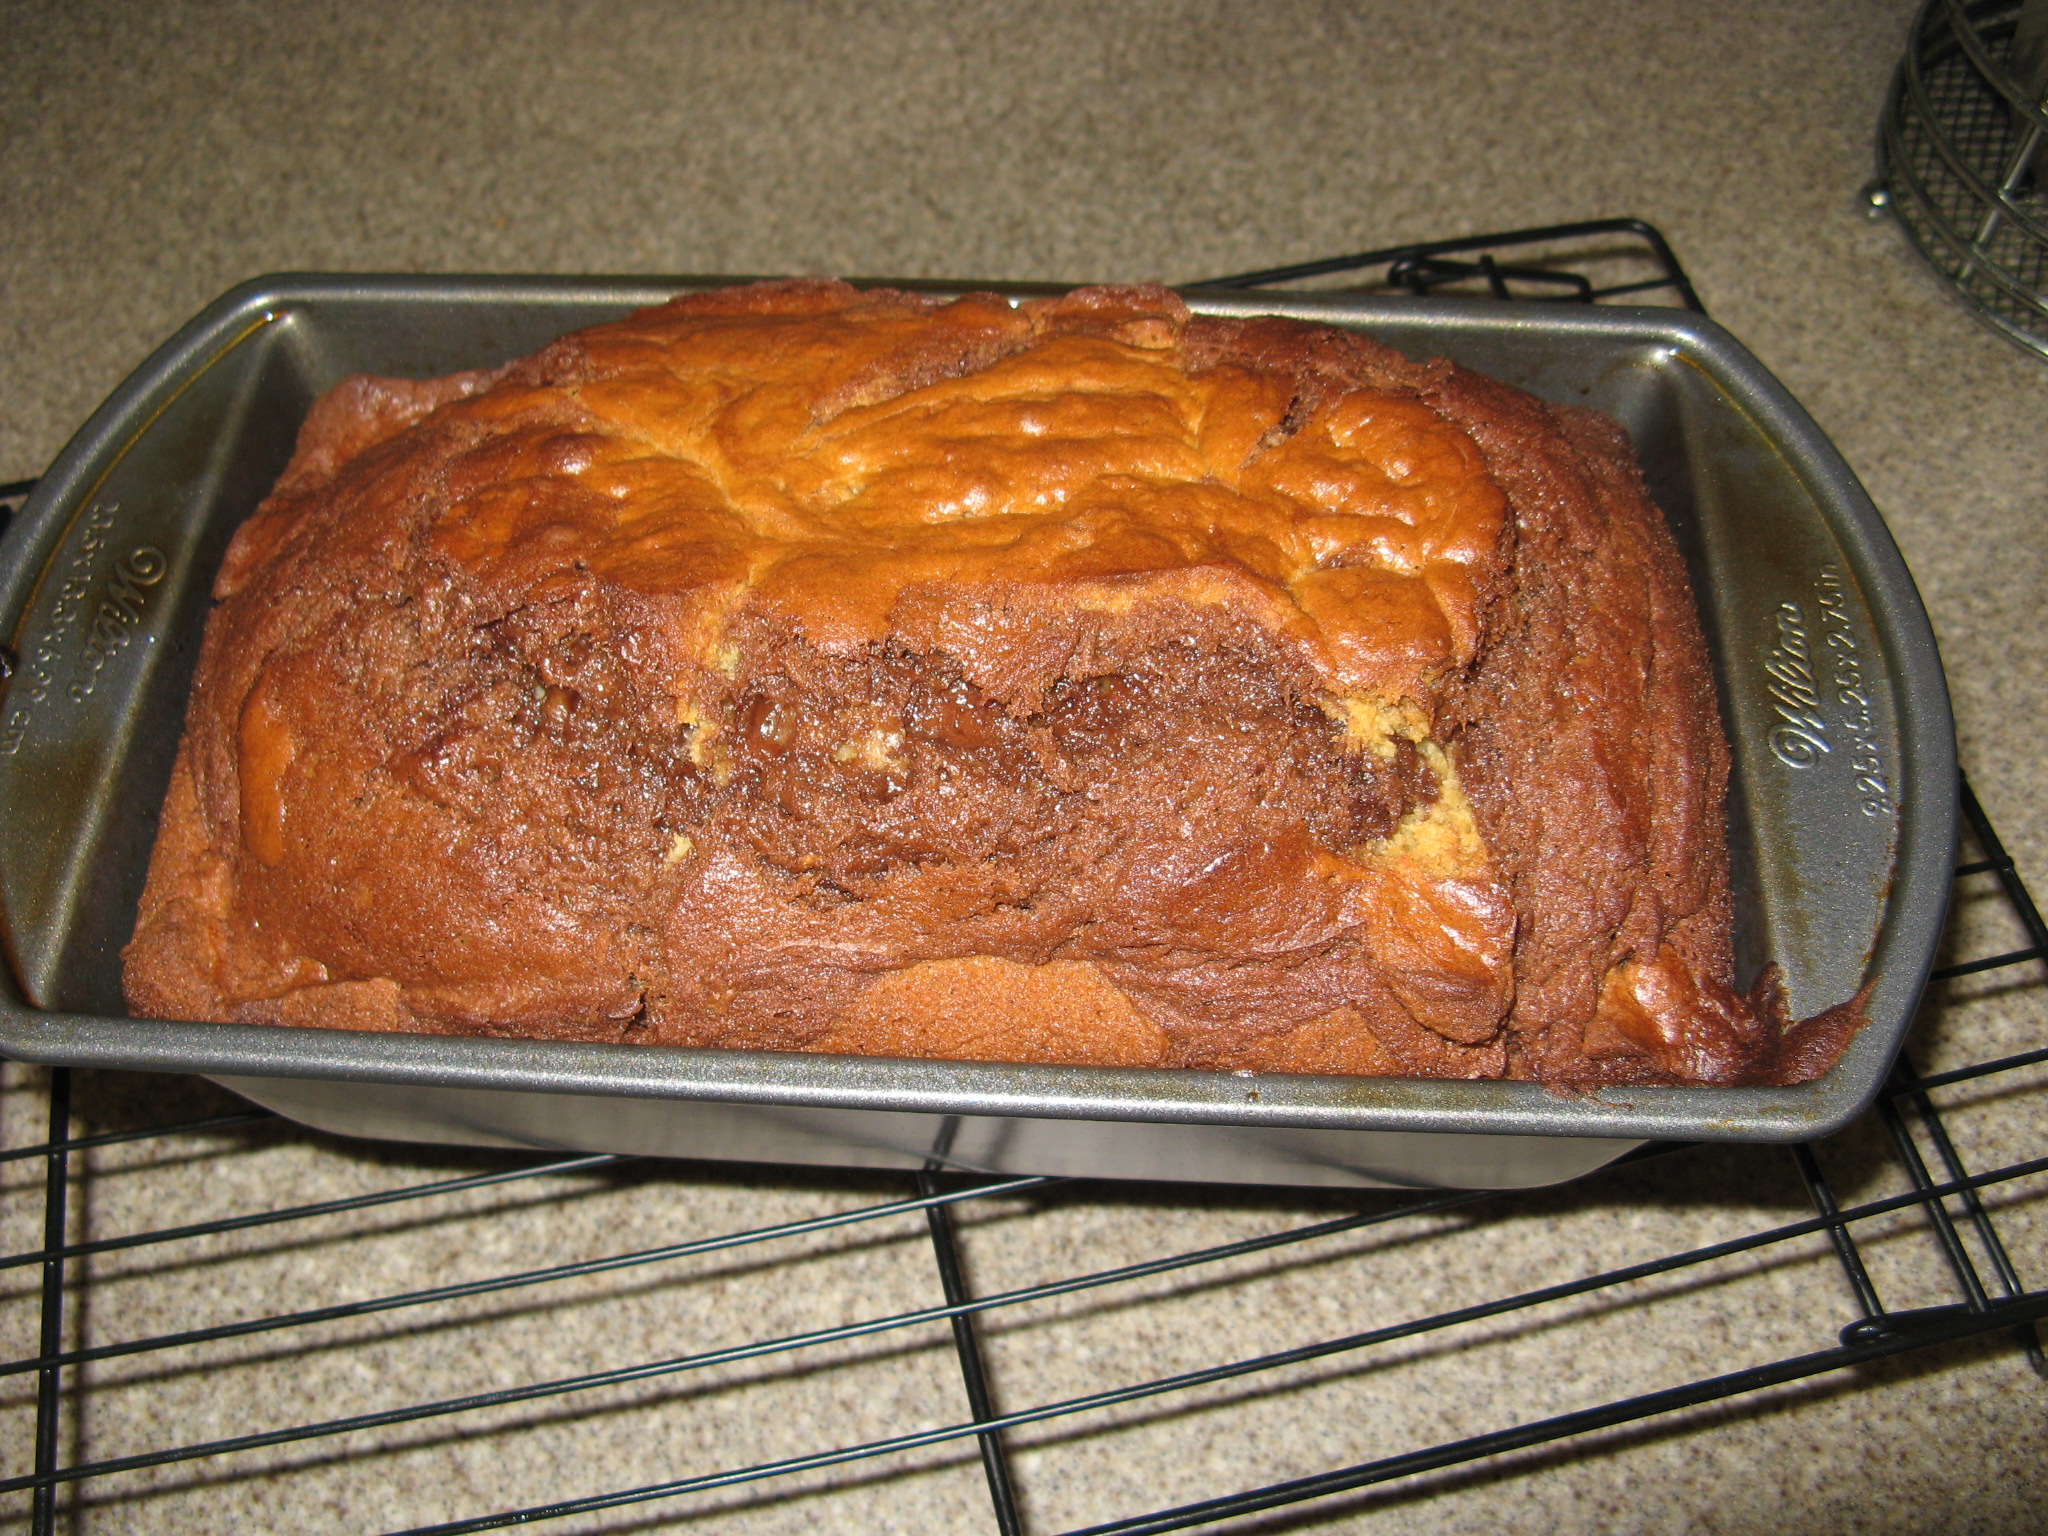
Divide the batter amongst the two pans (about 3 cups each) and bake in the preheated oven for 35 – 40 minutes, or until a cake tester inserted in the middle comes out clean.
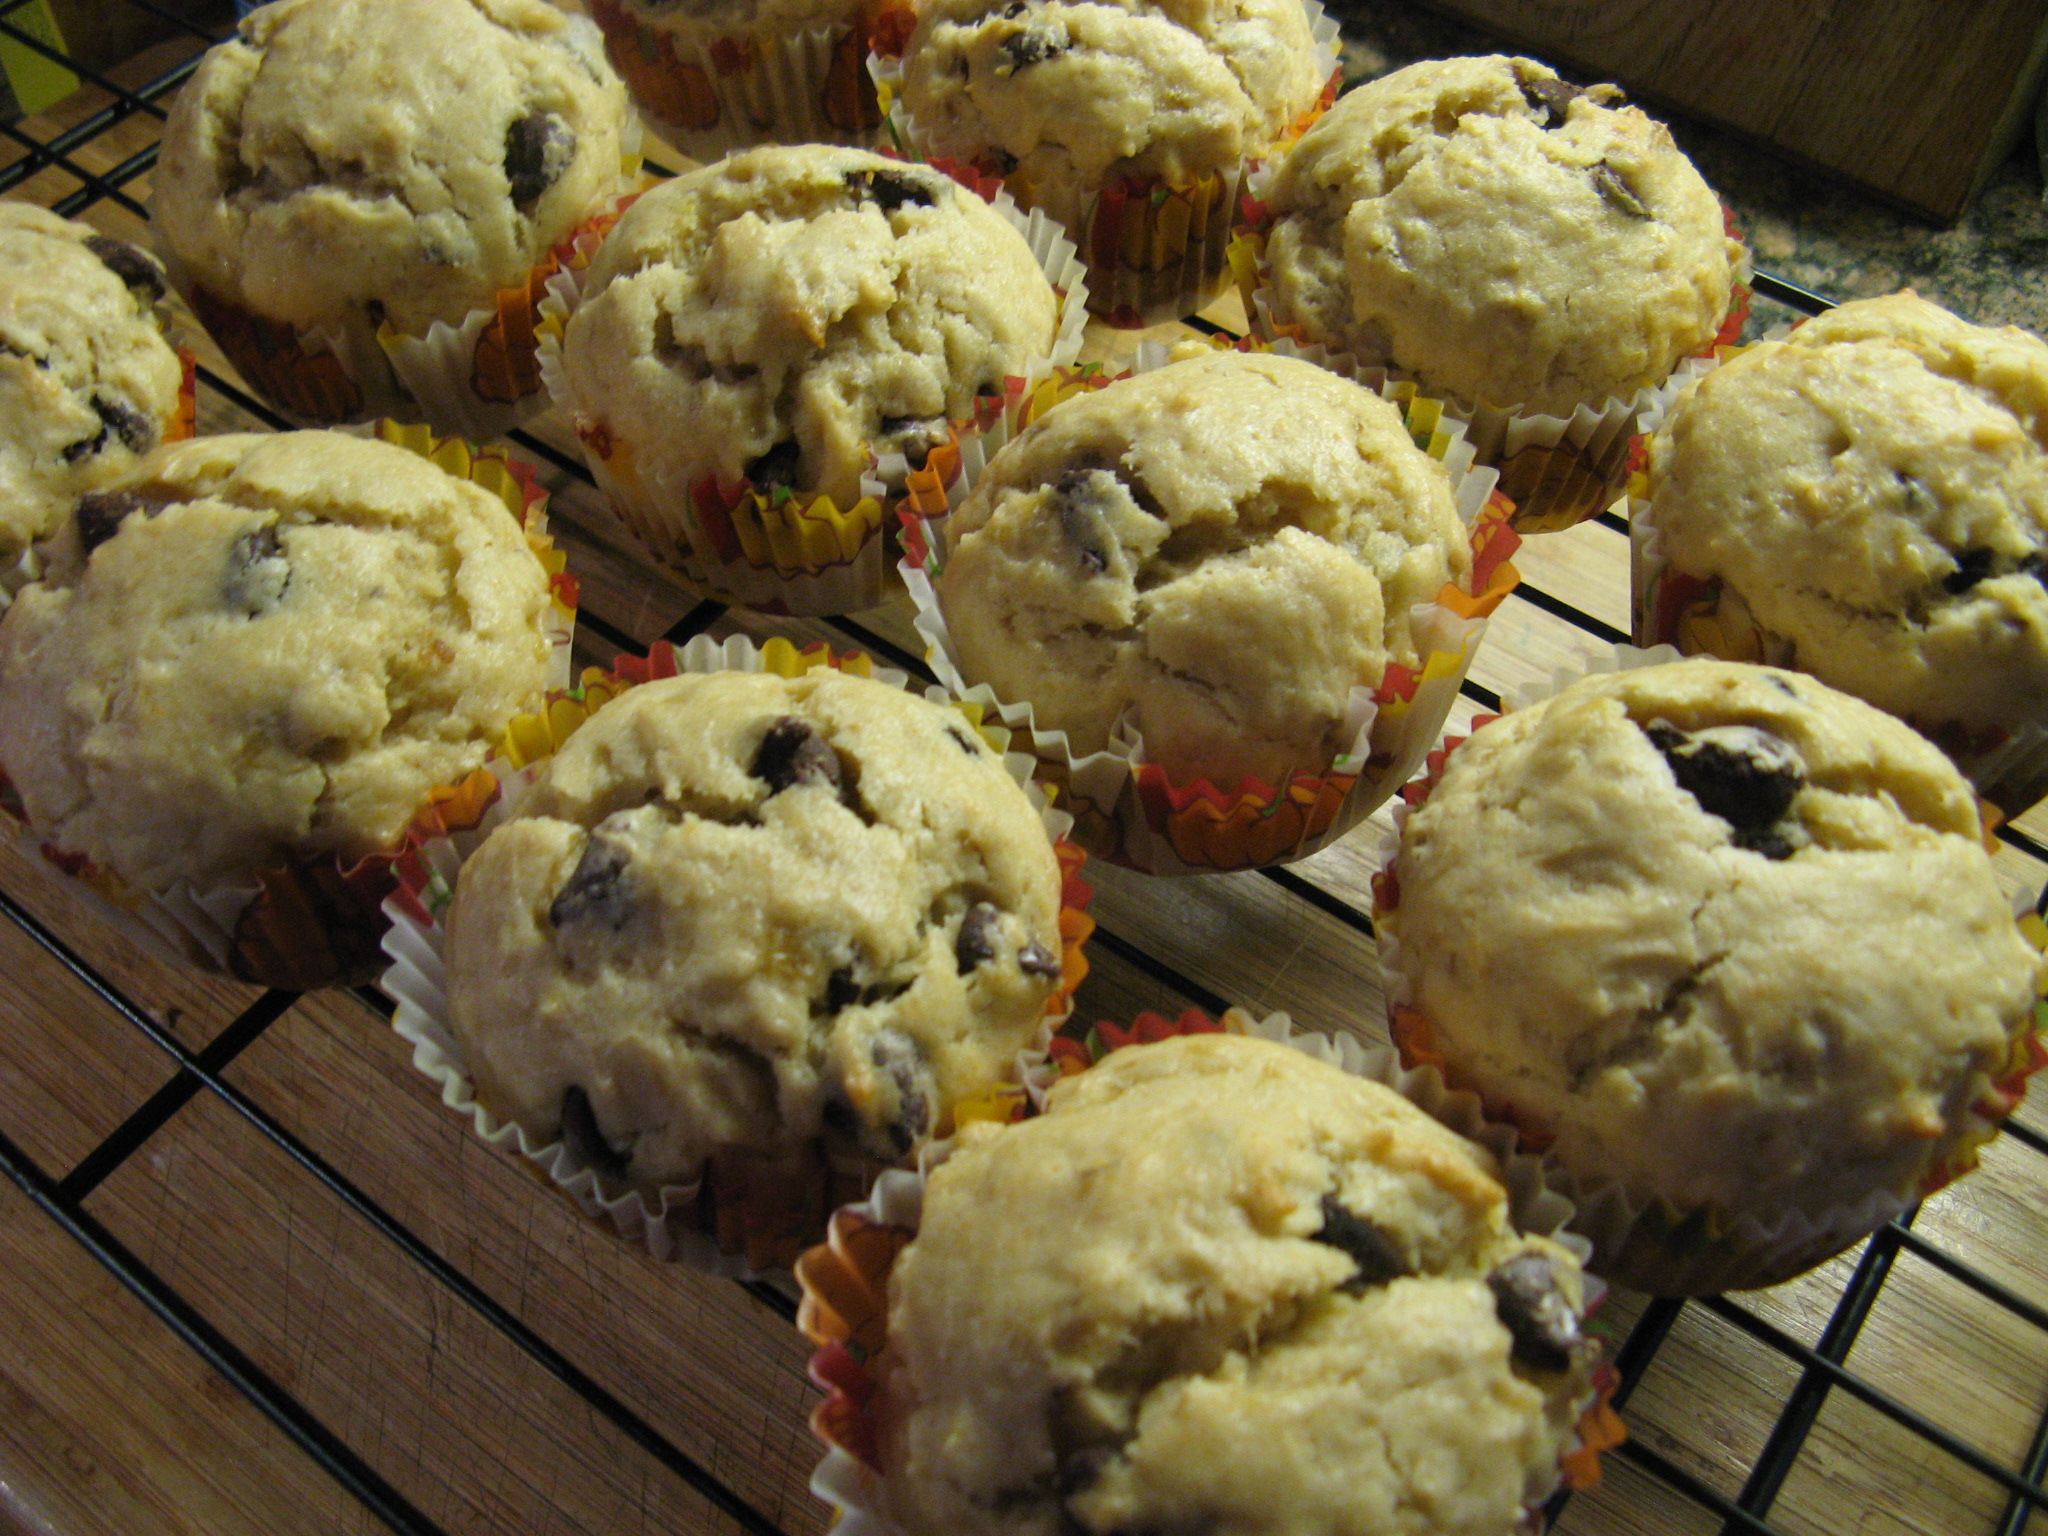
Let the cakes cool in the pans for 15 minutes and then transfer to a wire rack to cool completely.
Recipe from Sally’s Baking Addiction
Mascarpone Whipped Cream Frosting
Ingredients:
1 1/4 cups heavy cream
3/4 cups confecitioners’ sugar
1 teaspoon vanilla extract
8oz. mascarpone cheese*
*You can substitute cream cheese for the mascarpone cheese, or just make a cream cheese frosting with the addition of the heavt cream
Directions:
Remove the mascarpone cheese (cream cheese) from the refrigerator 15 minutes prior to making the frosting. You want the cheese to be softened but still cold.
In a medium bowl, using a handheld mixer, beat together the heavy cream, confectioners’ sugar and vanilla exract on medium speed until soft peaks form. Add in the cheese and continue beating until stiff peaks form.