Rhubarb Cupcakes

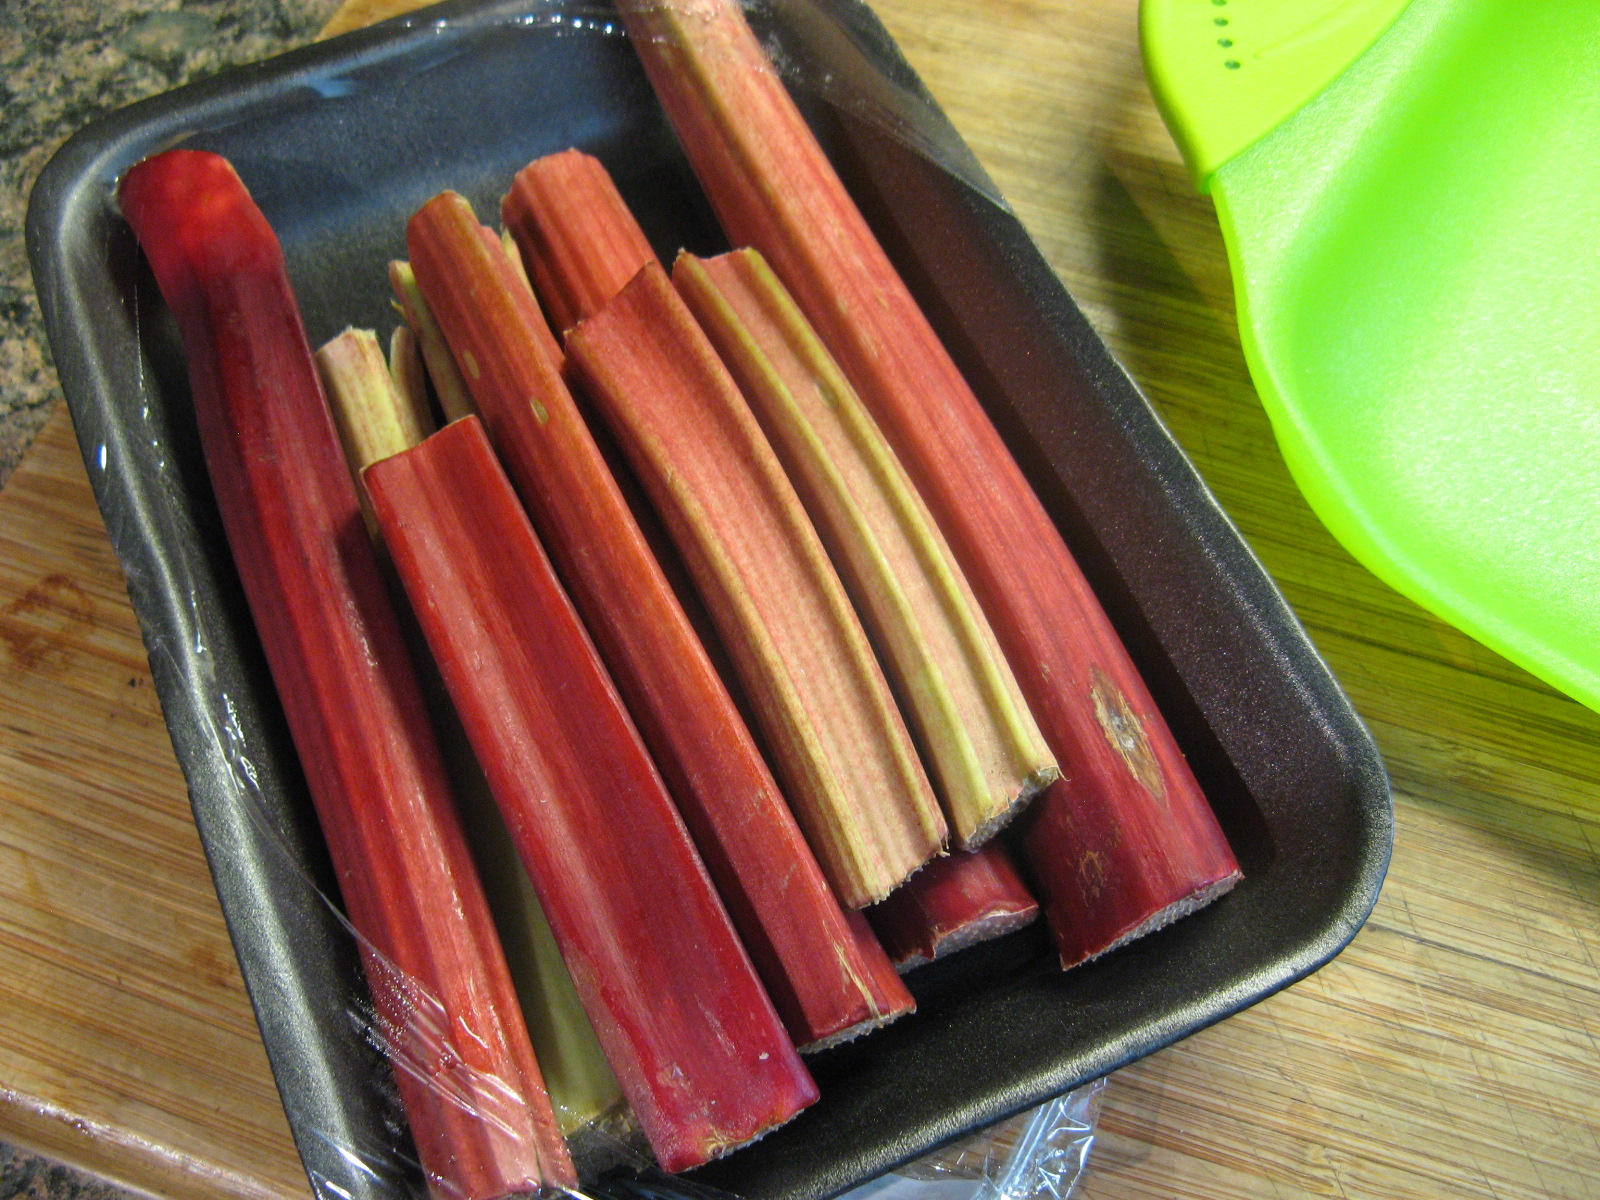
Rhubarb… Those red celery-like stalks that you see in the supermarket during the spring time that you always wonder “what can I make with those?” The usual answer is pie. Recently I was at the supermarket and came across them while looking for raspberries and decided to pick up a pack unsure of what I was going to make with them and then I remembered a cupcake recipe I had seen in Martha Stewart’s Cupcakes cookbook.
IMG_4174

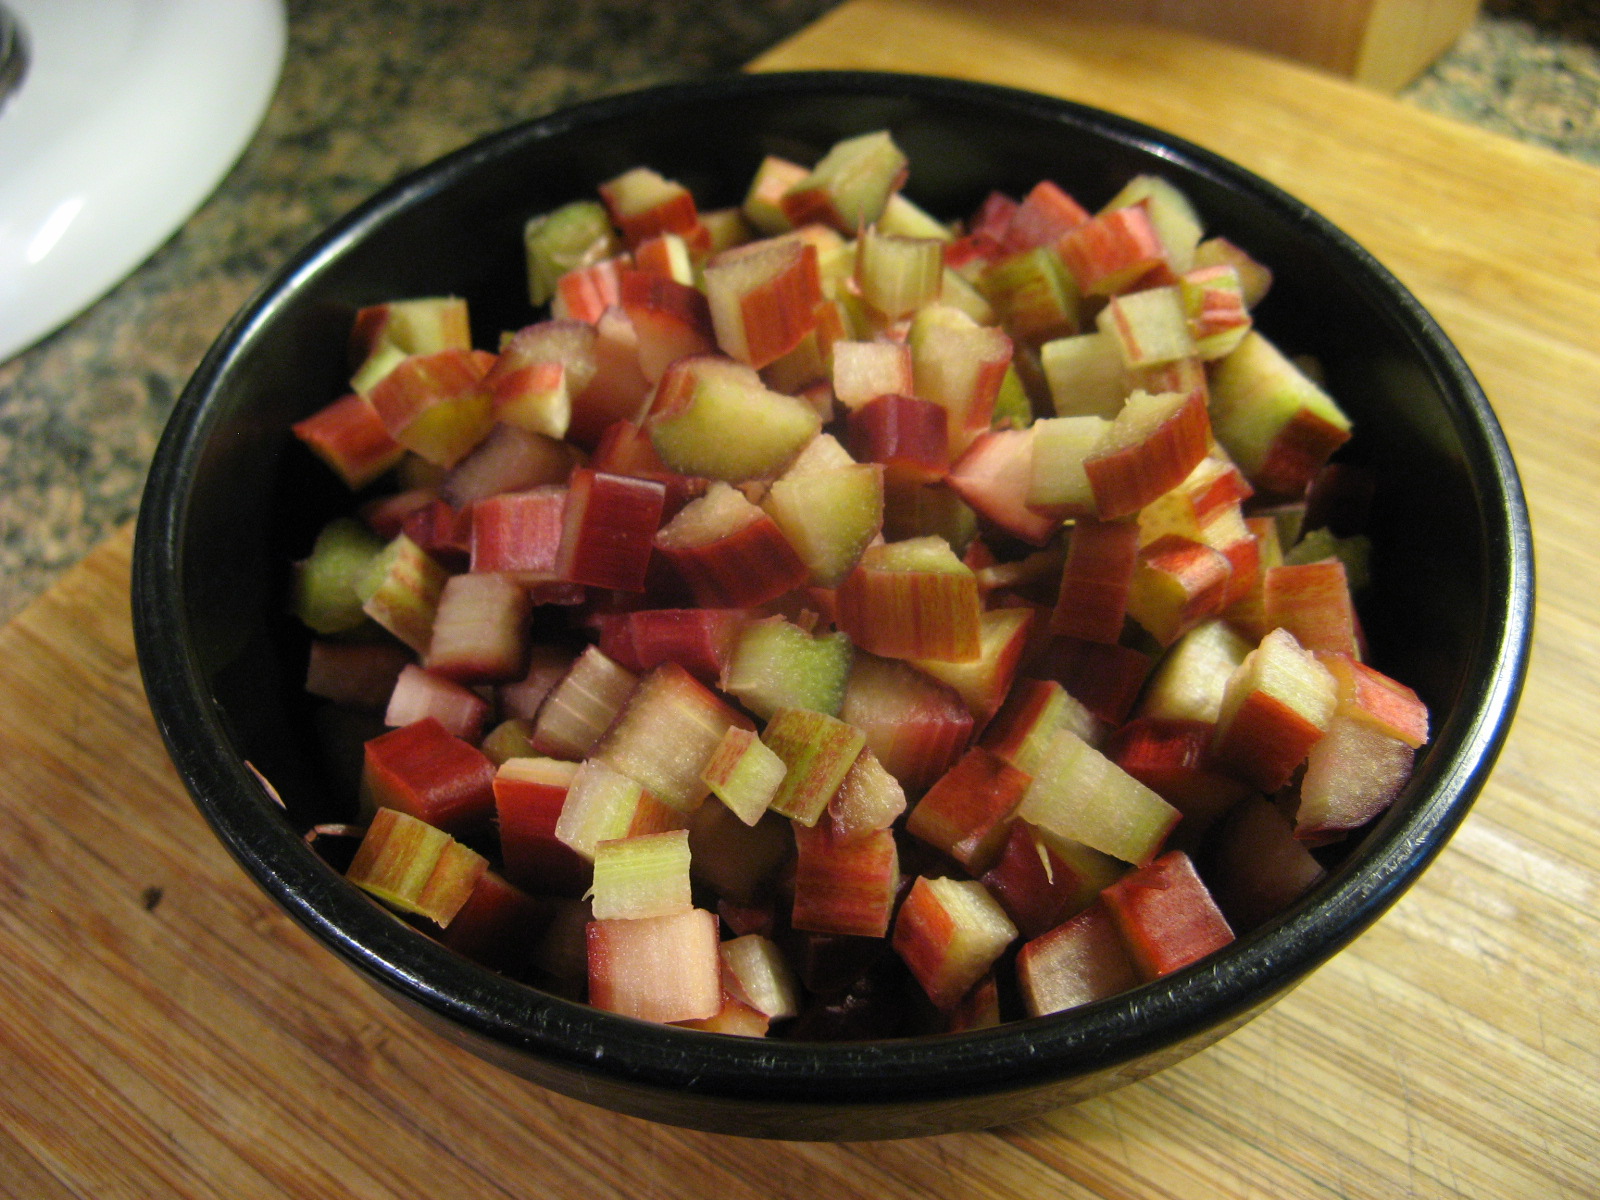
Before whipping up the batter, I did a little prep work. I whisked together flour, baking soda, baking powder and salt in a bowl and set it aside and I diced up enough rhubarb for 2 cups.
IMG_4179

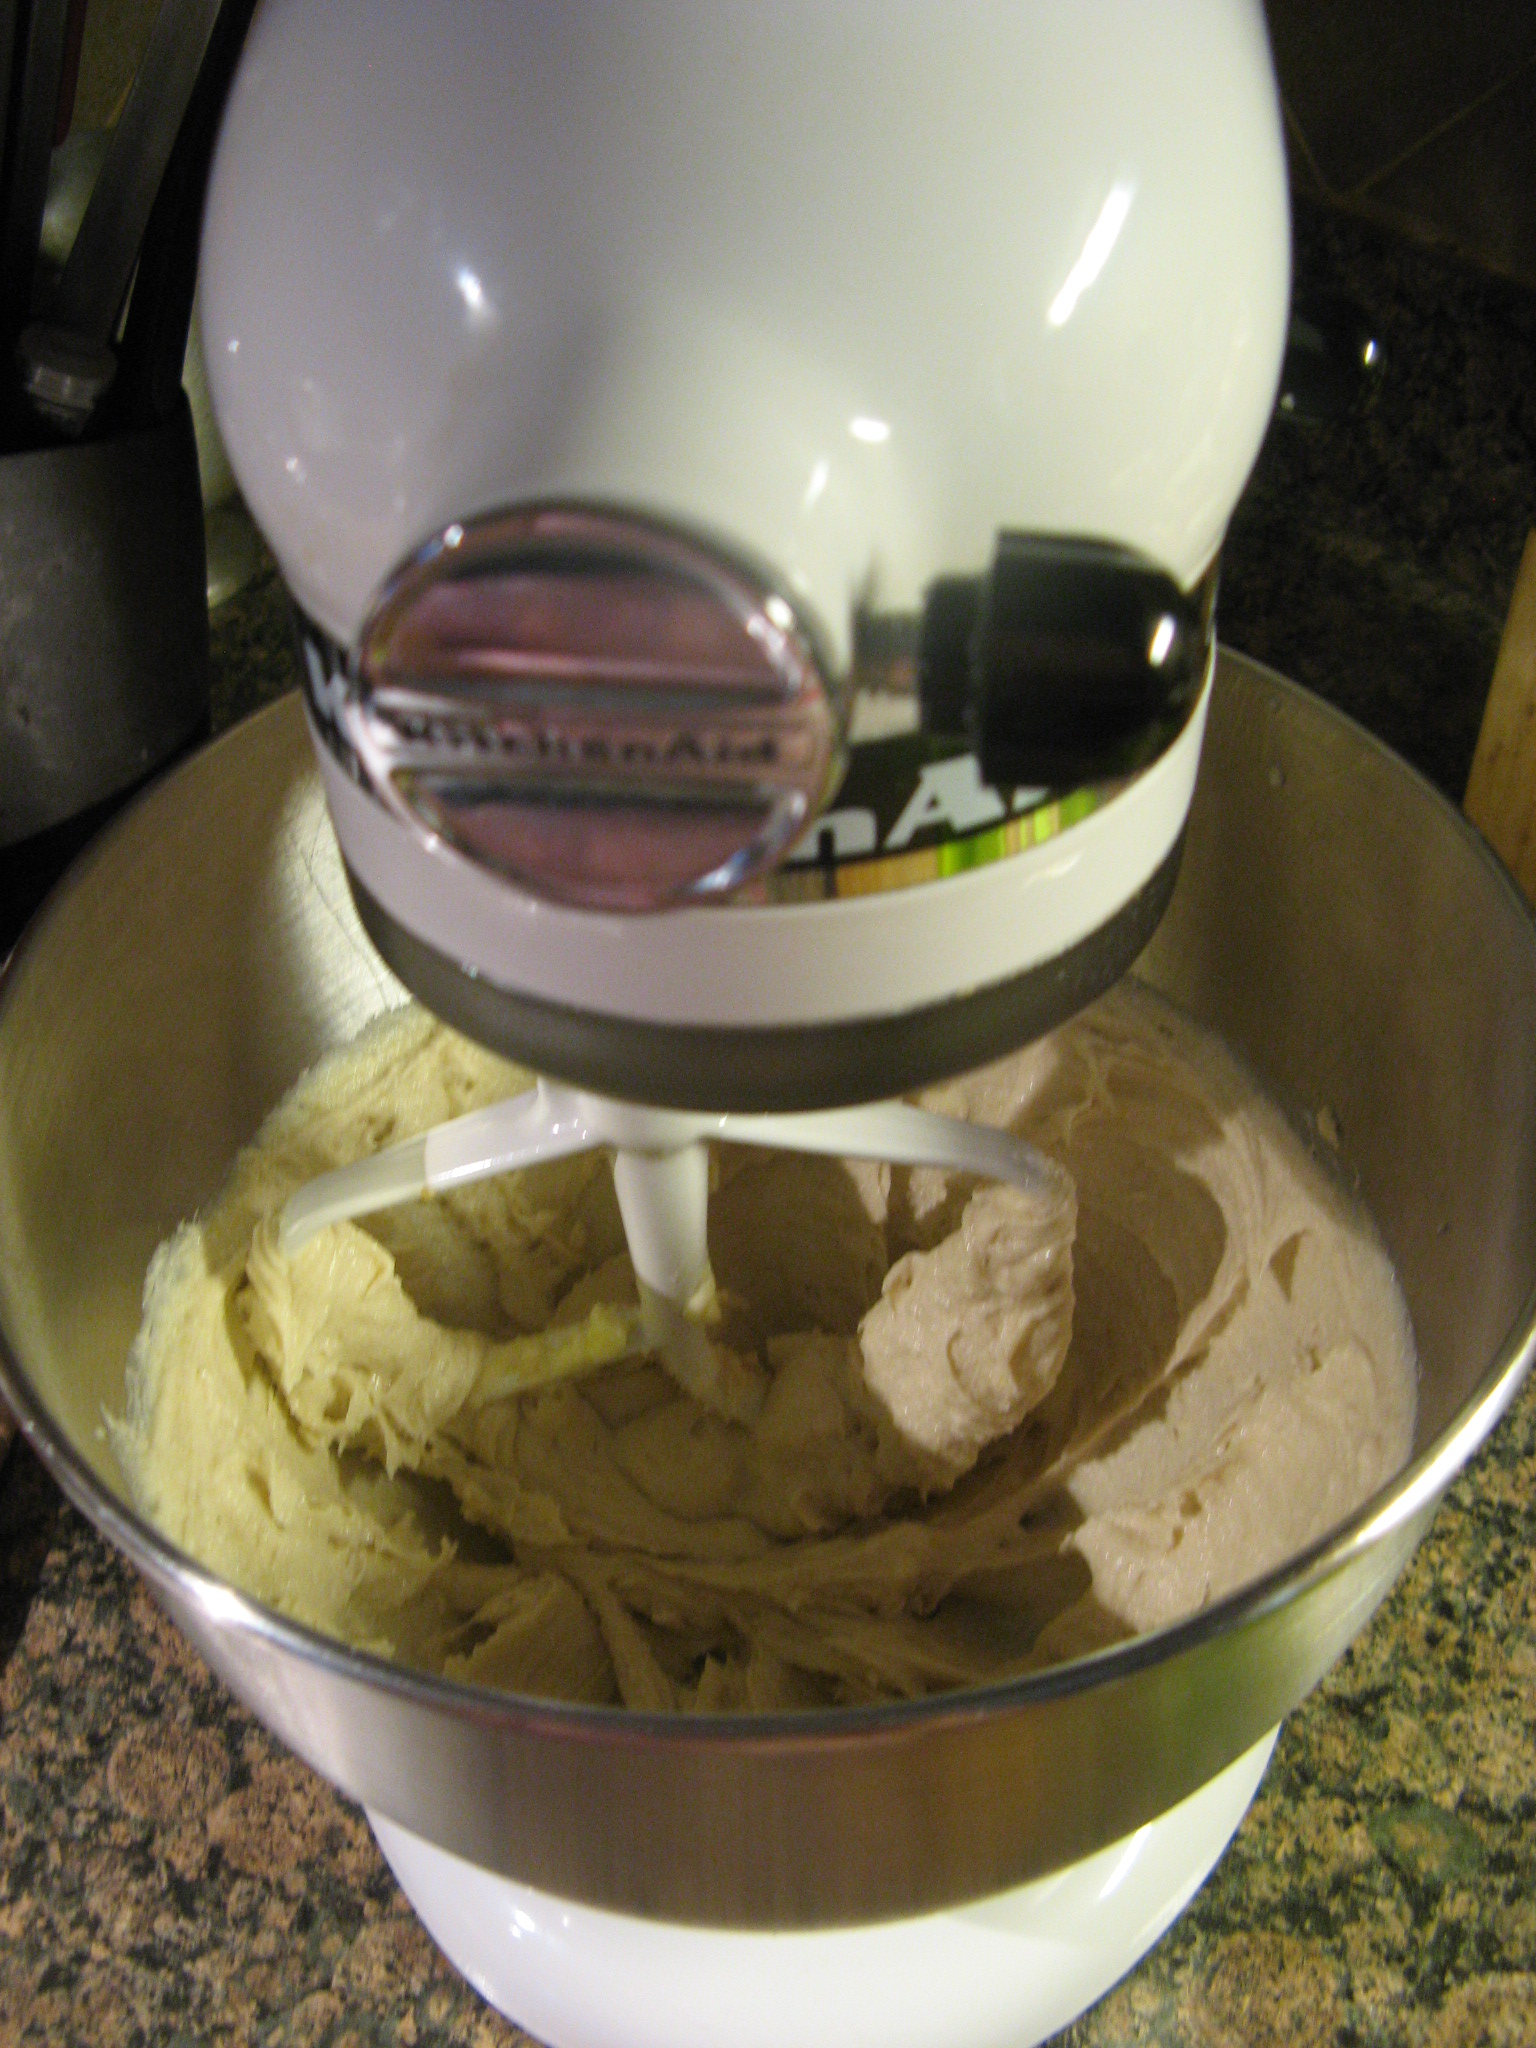
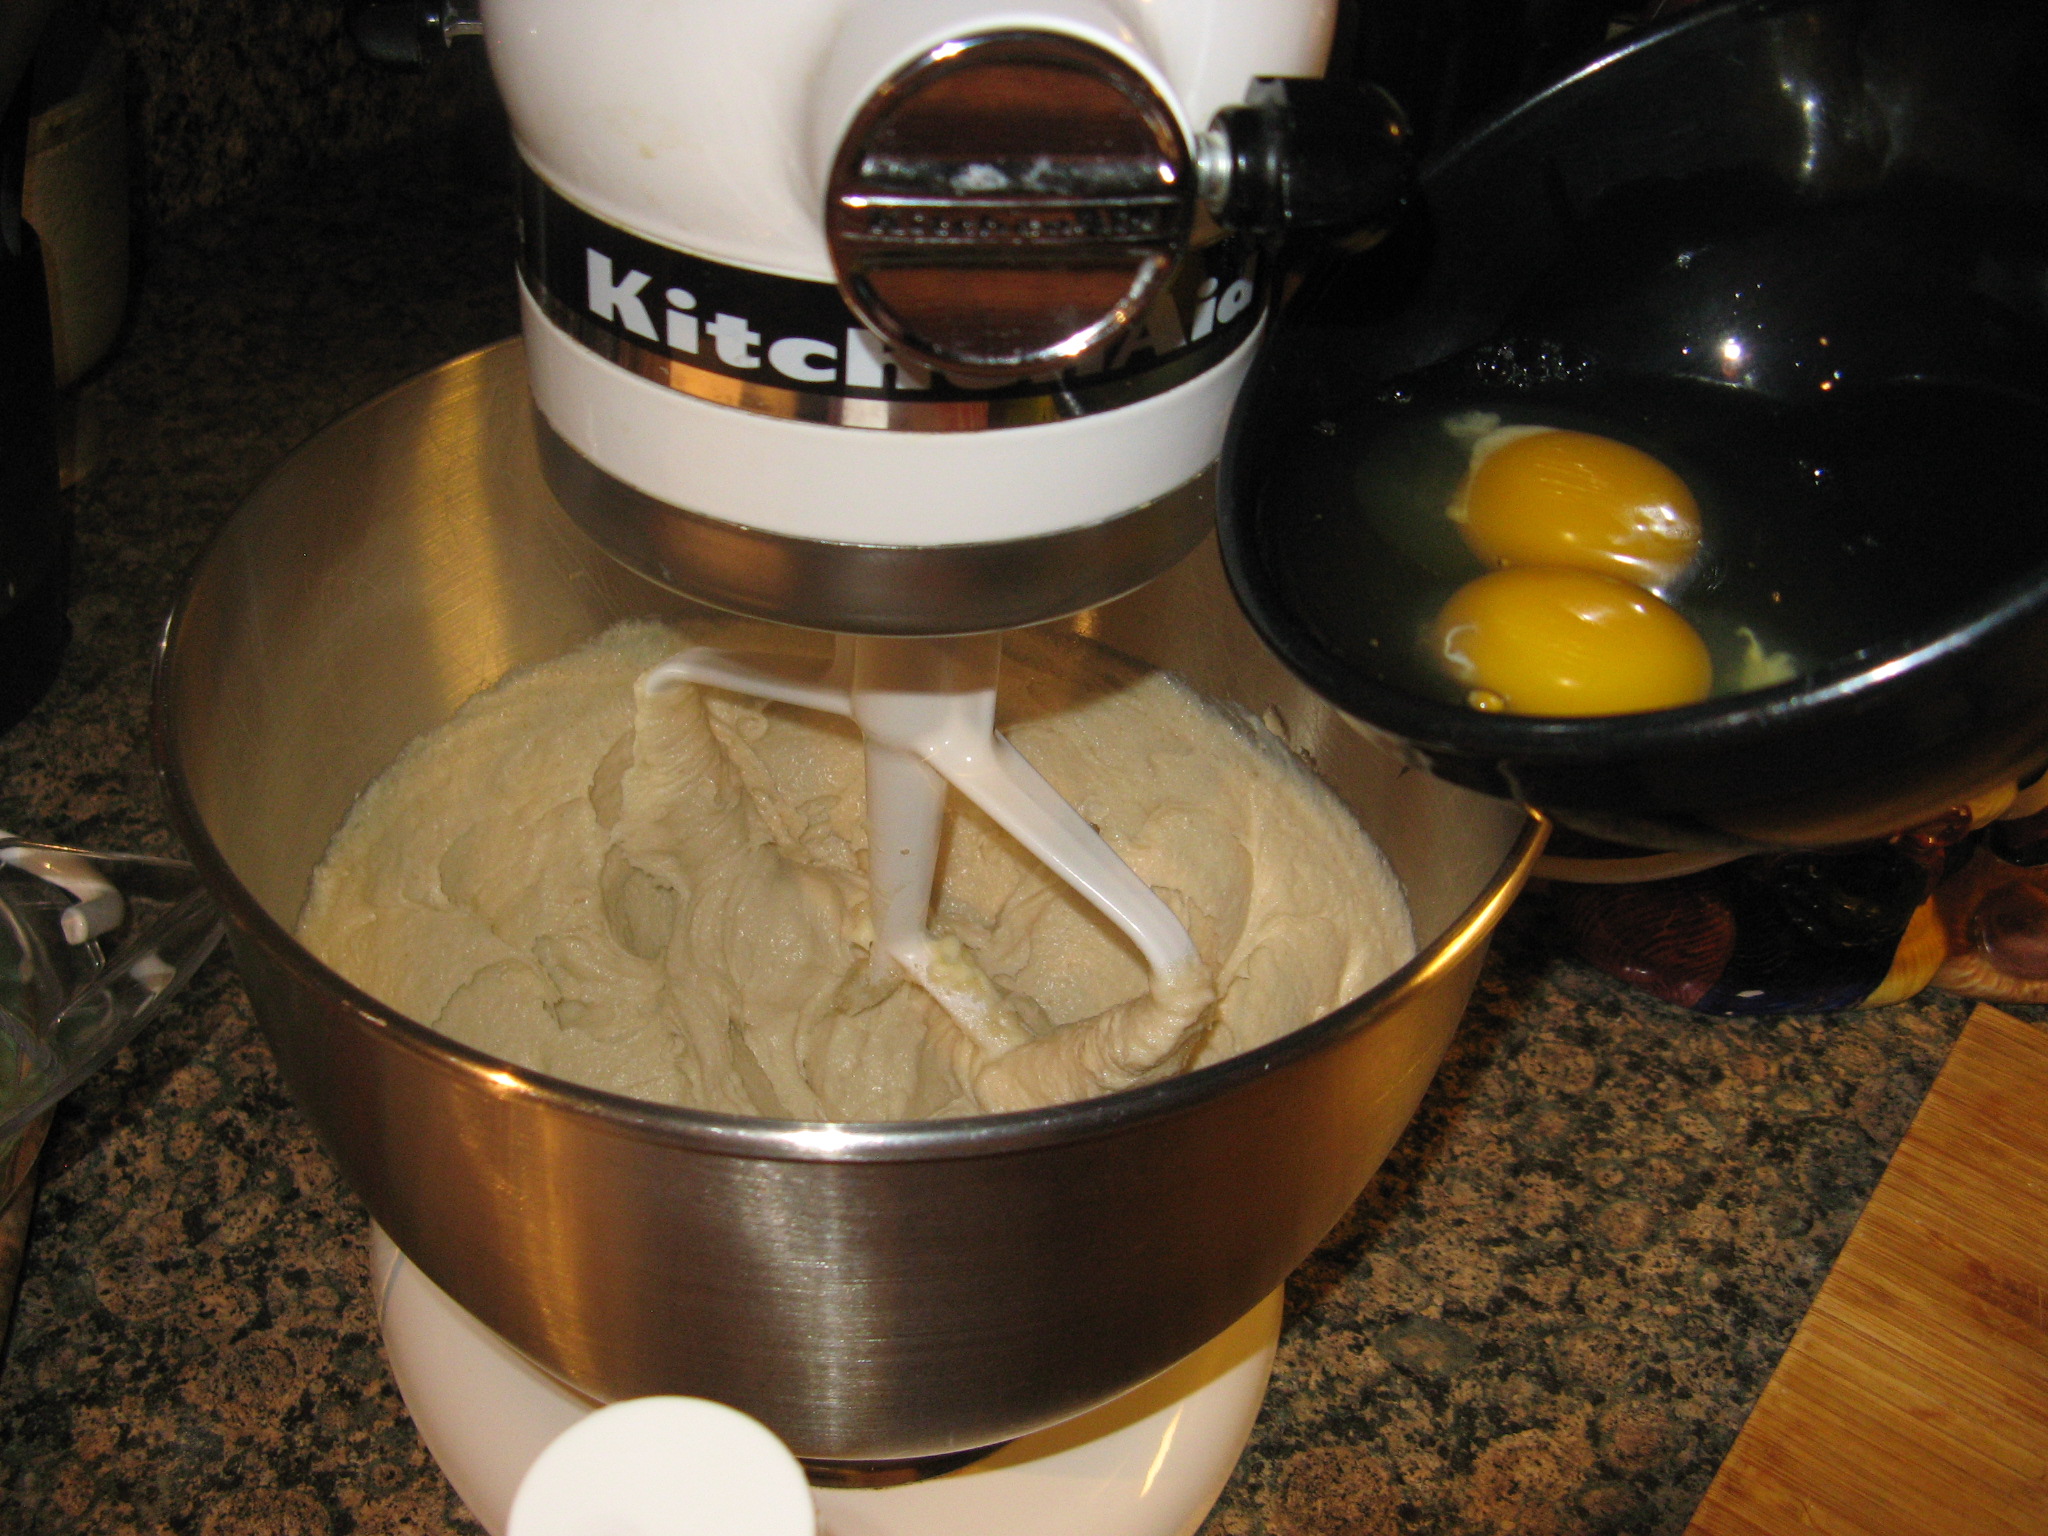
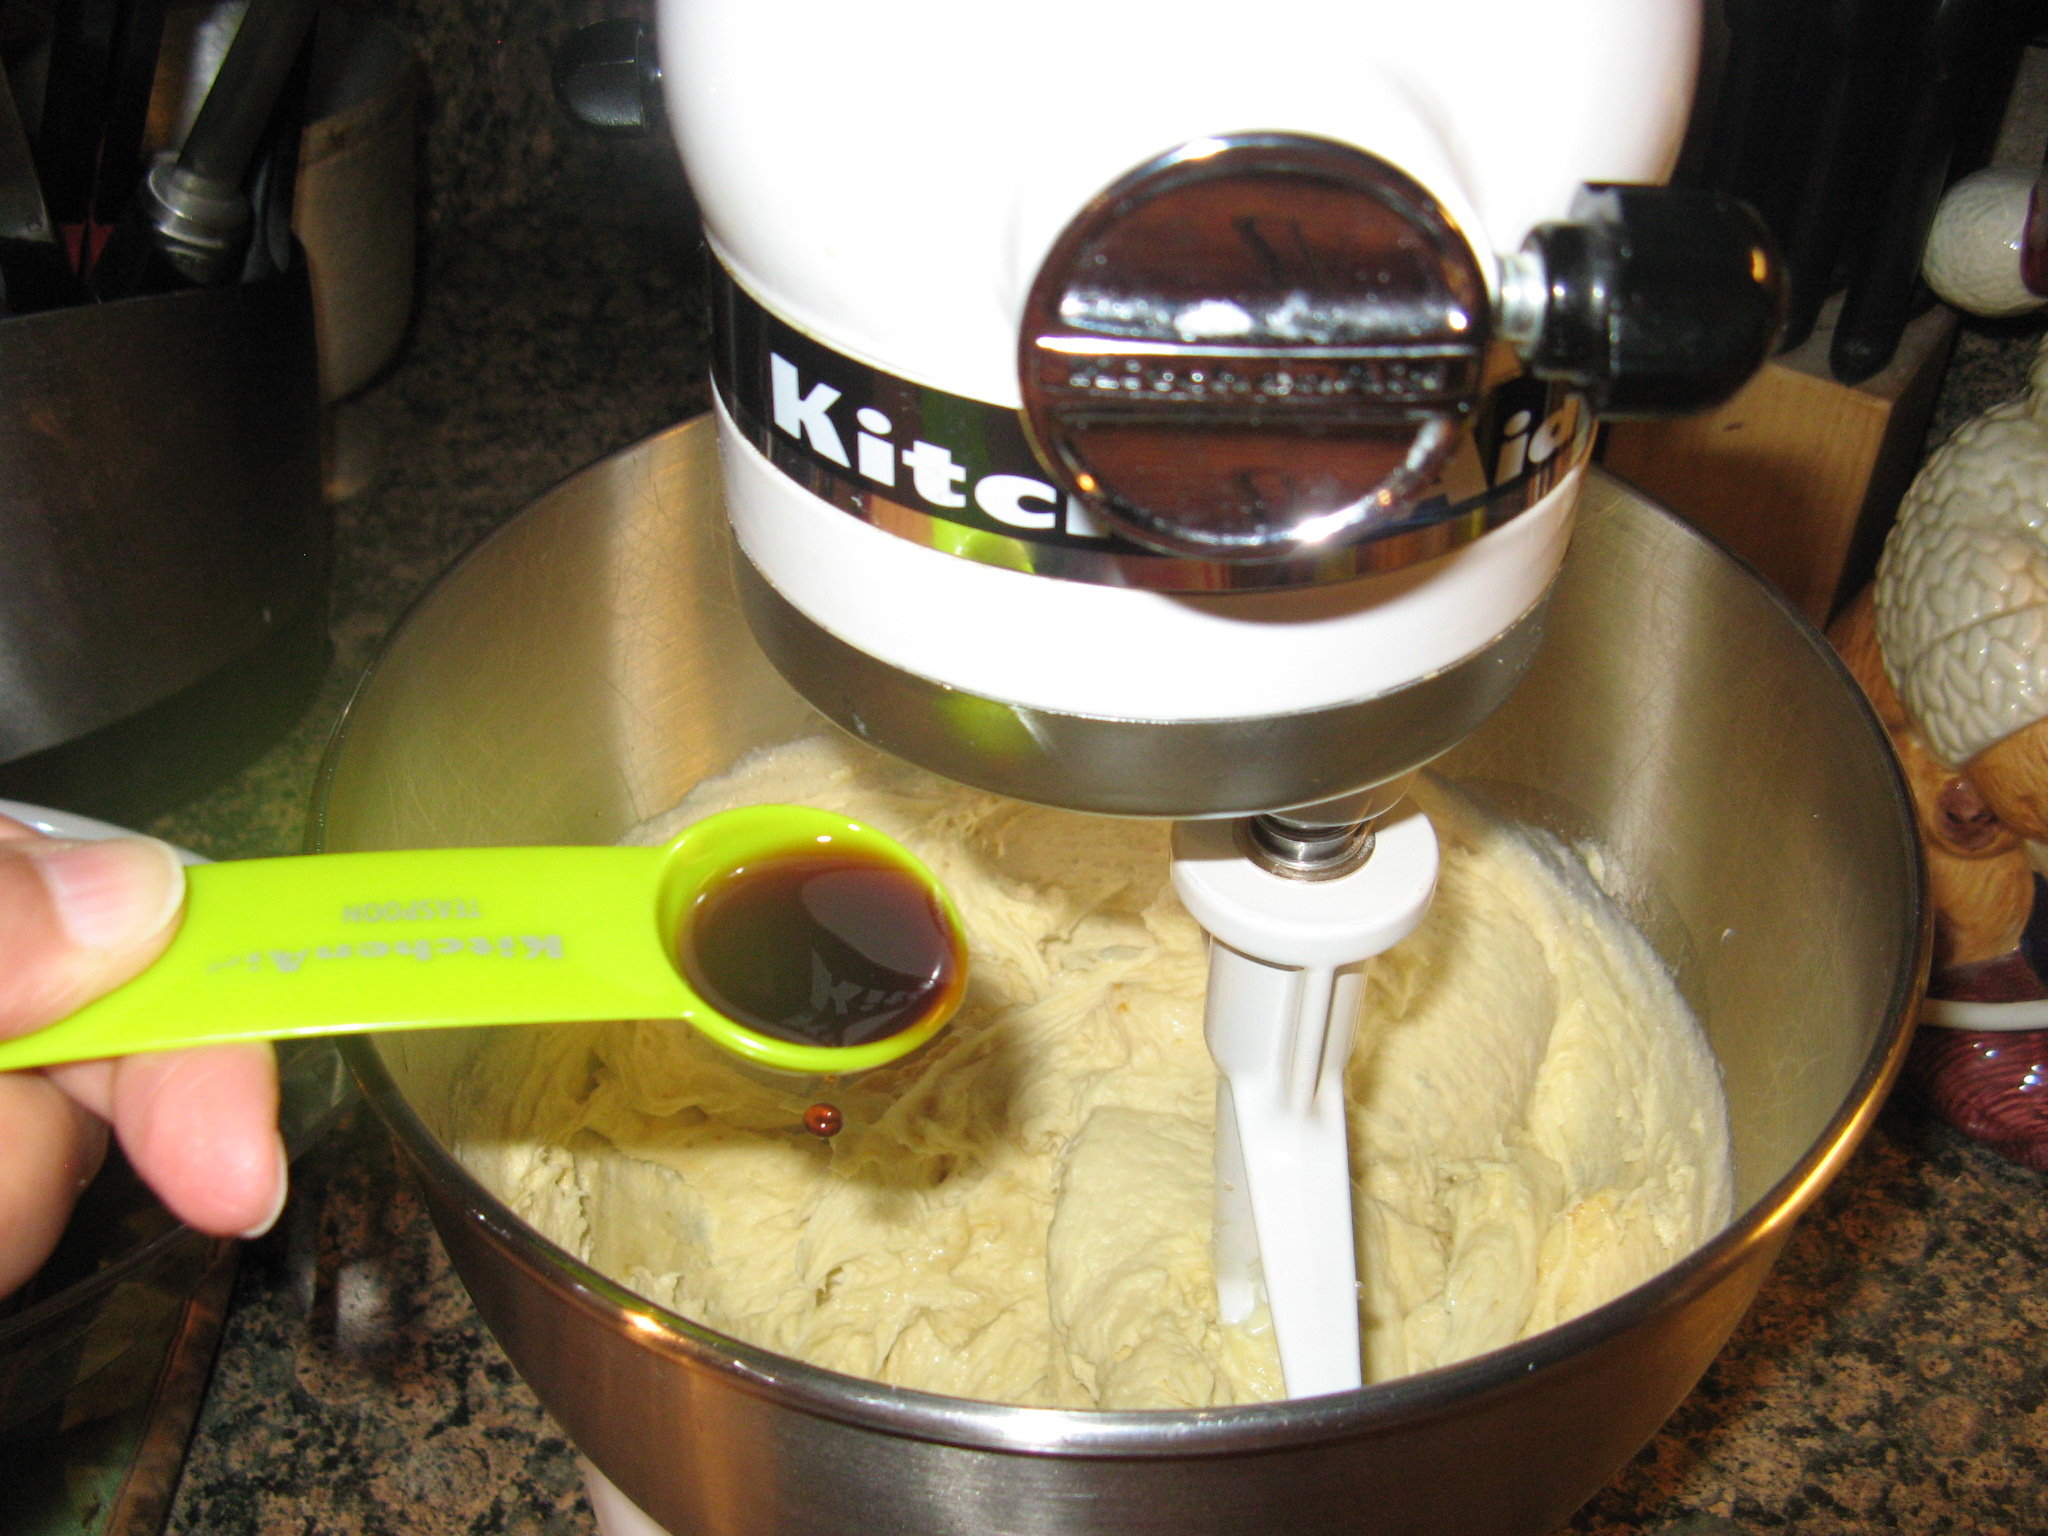
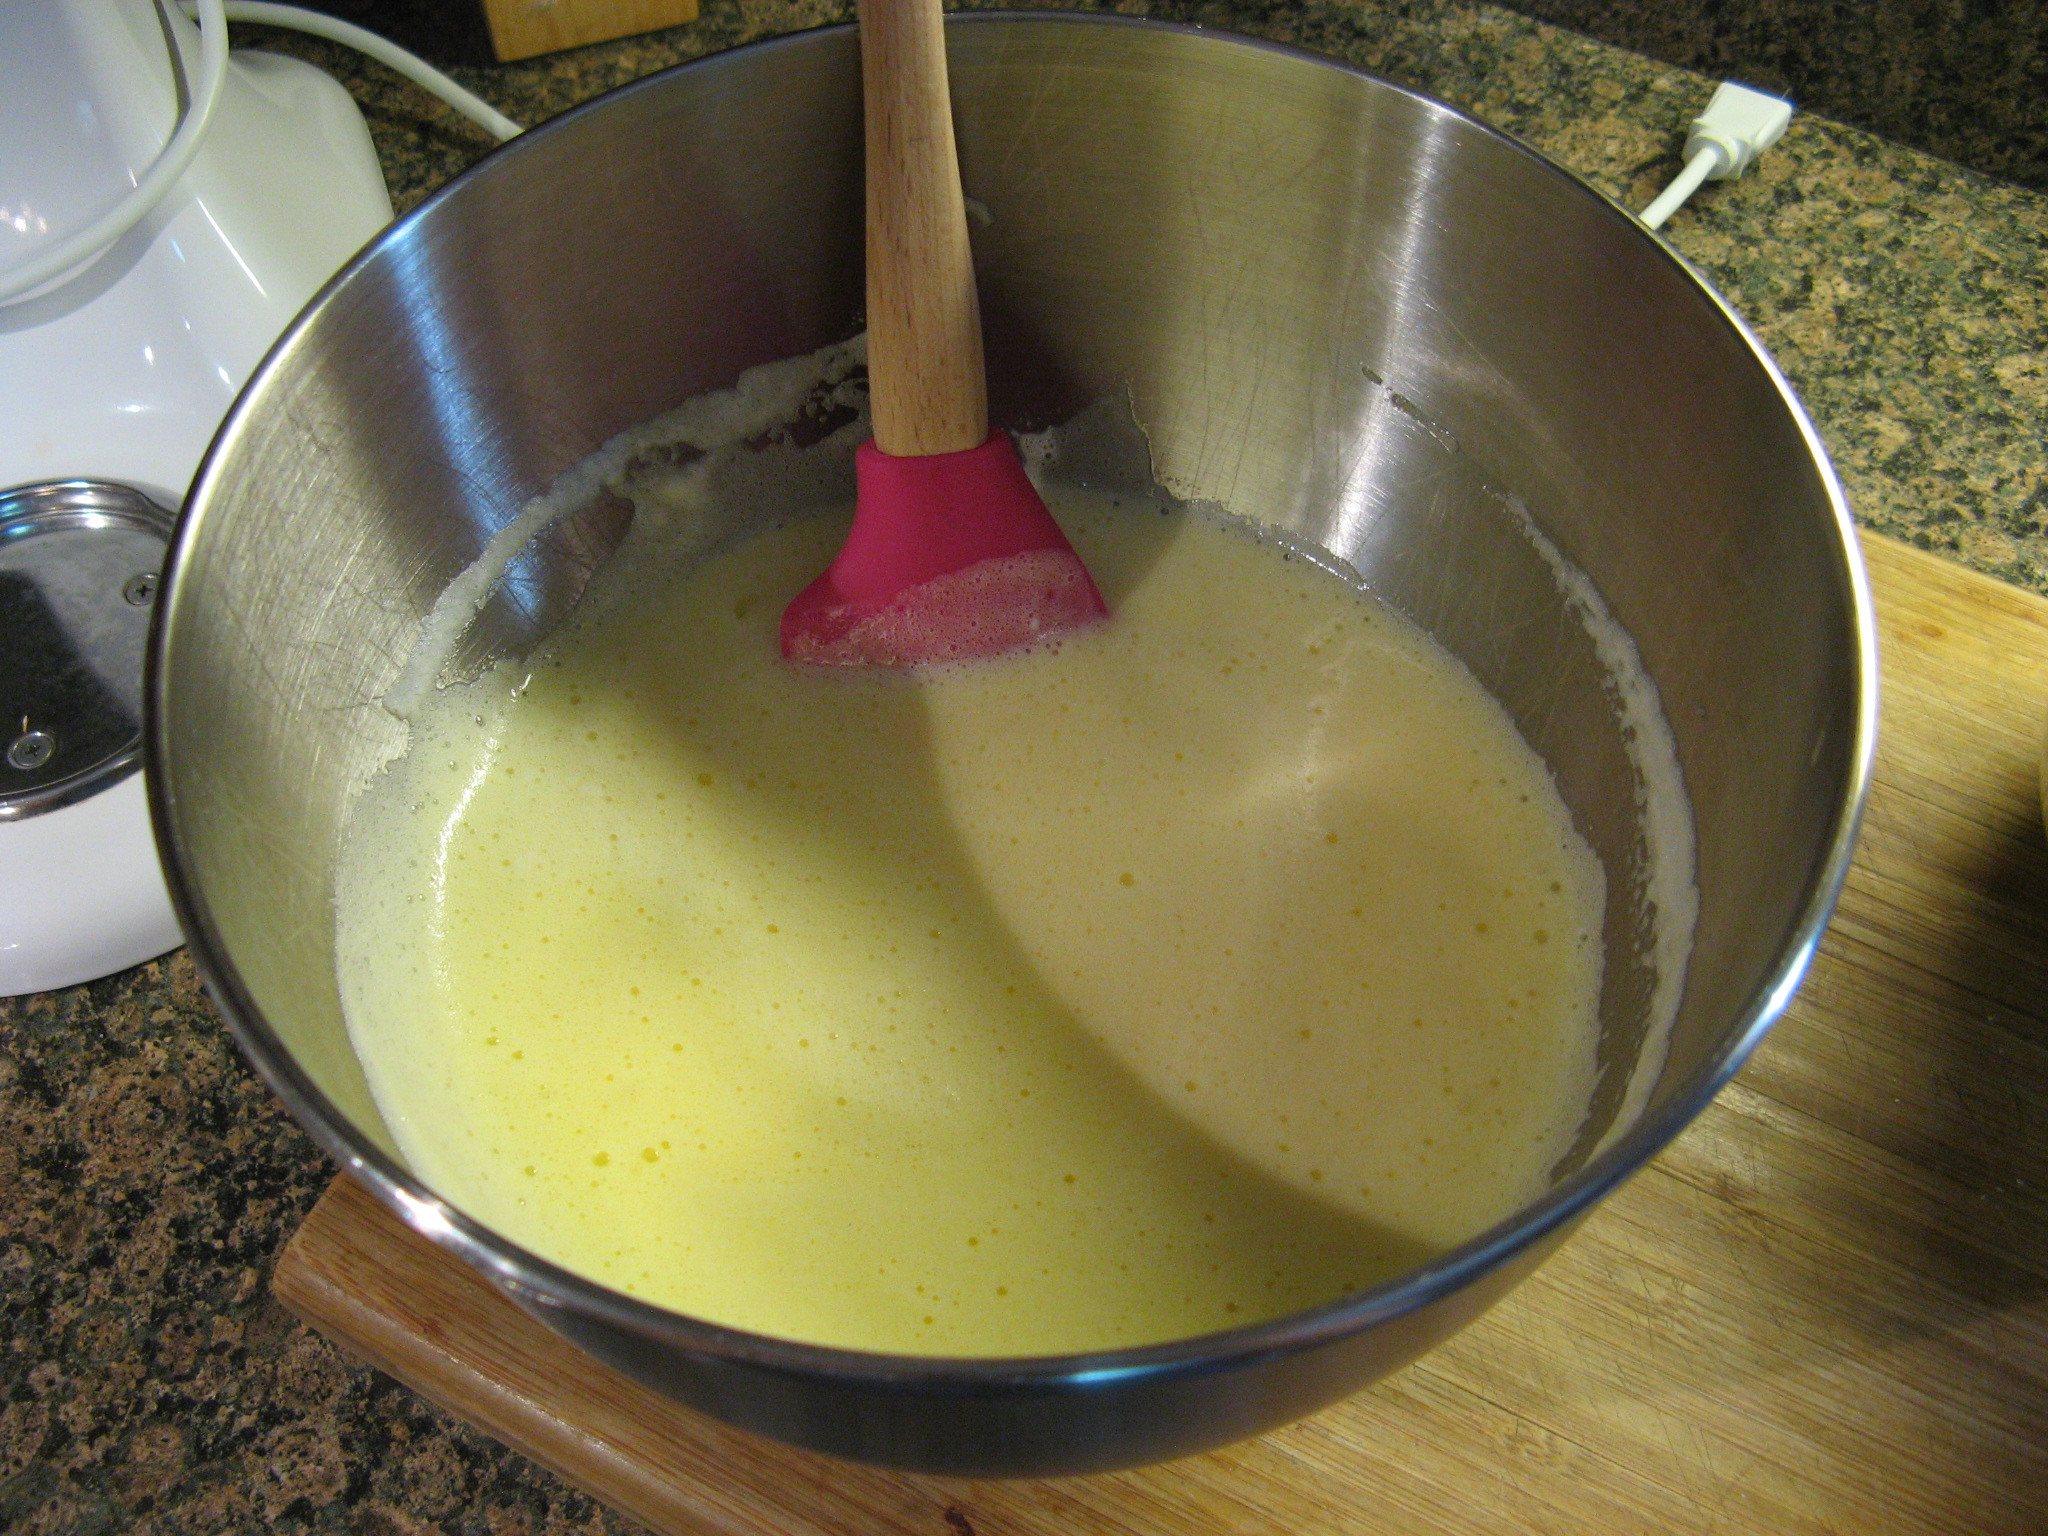
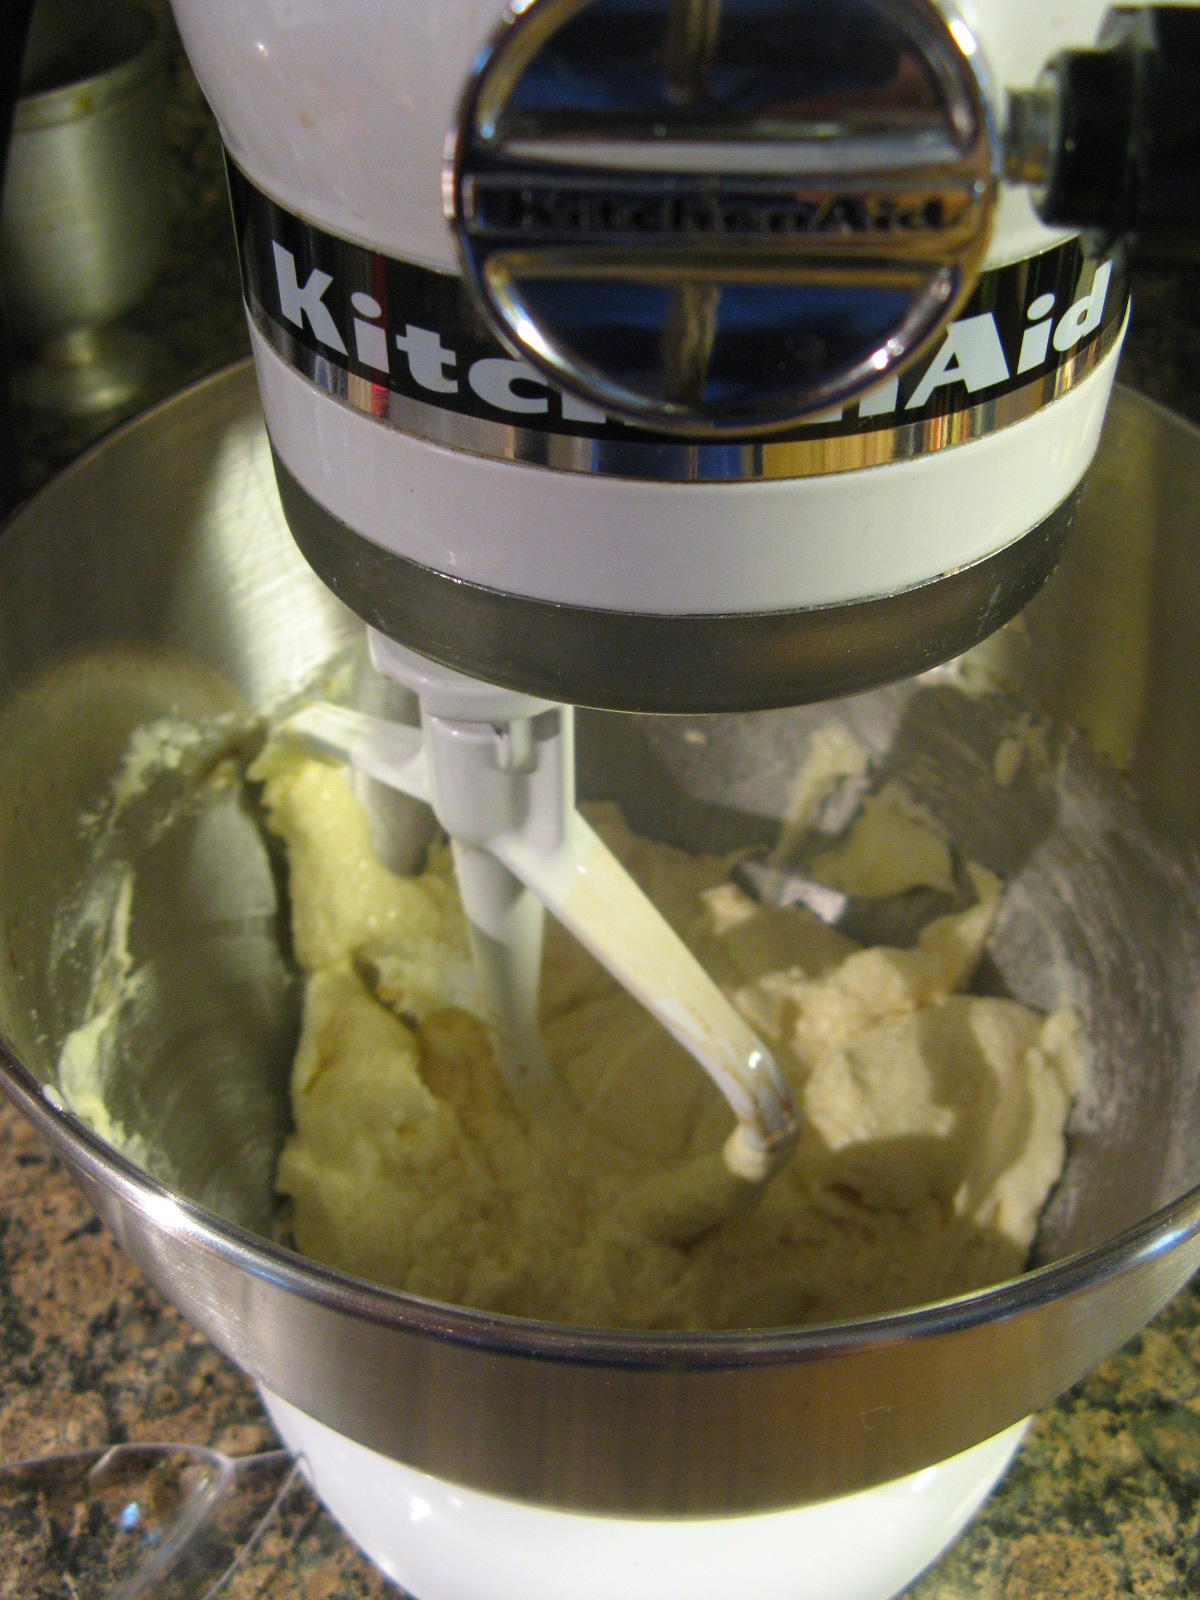
Then, in the bowl of a stand mixer I creamed together one stick of butter and one cup of sugar until it was pale and fluffy. And then added in two eggs one at a time and finally vanilla extract.
IMG_4177

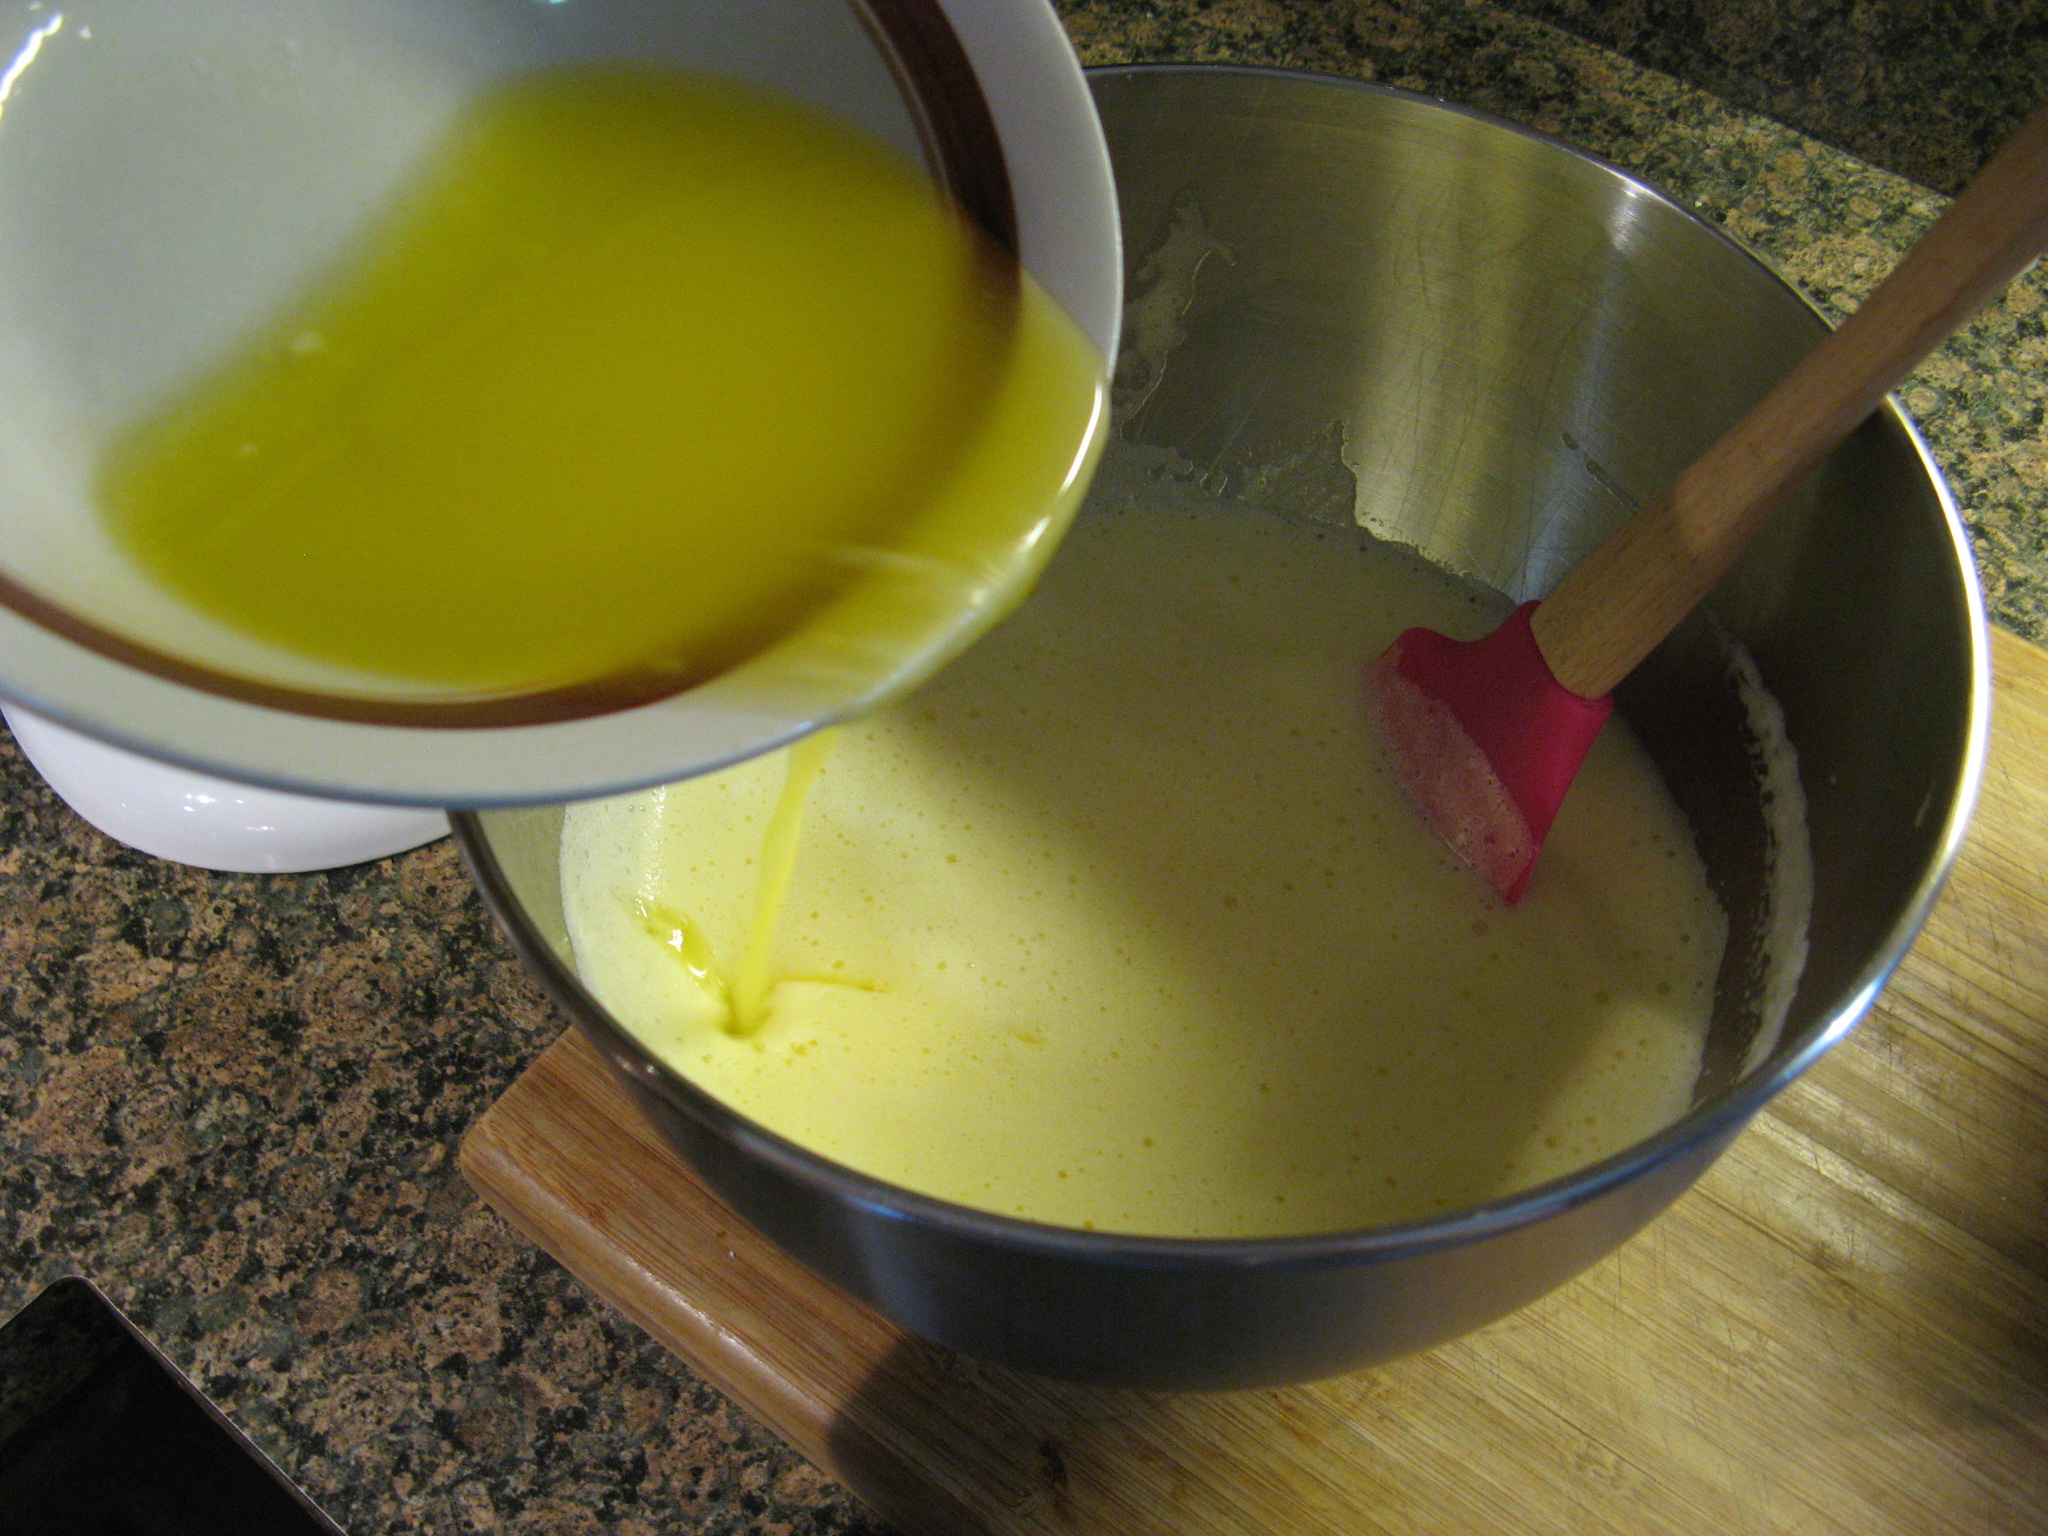
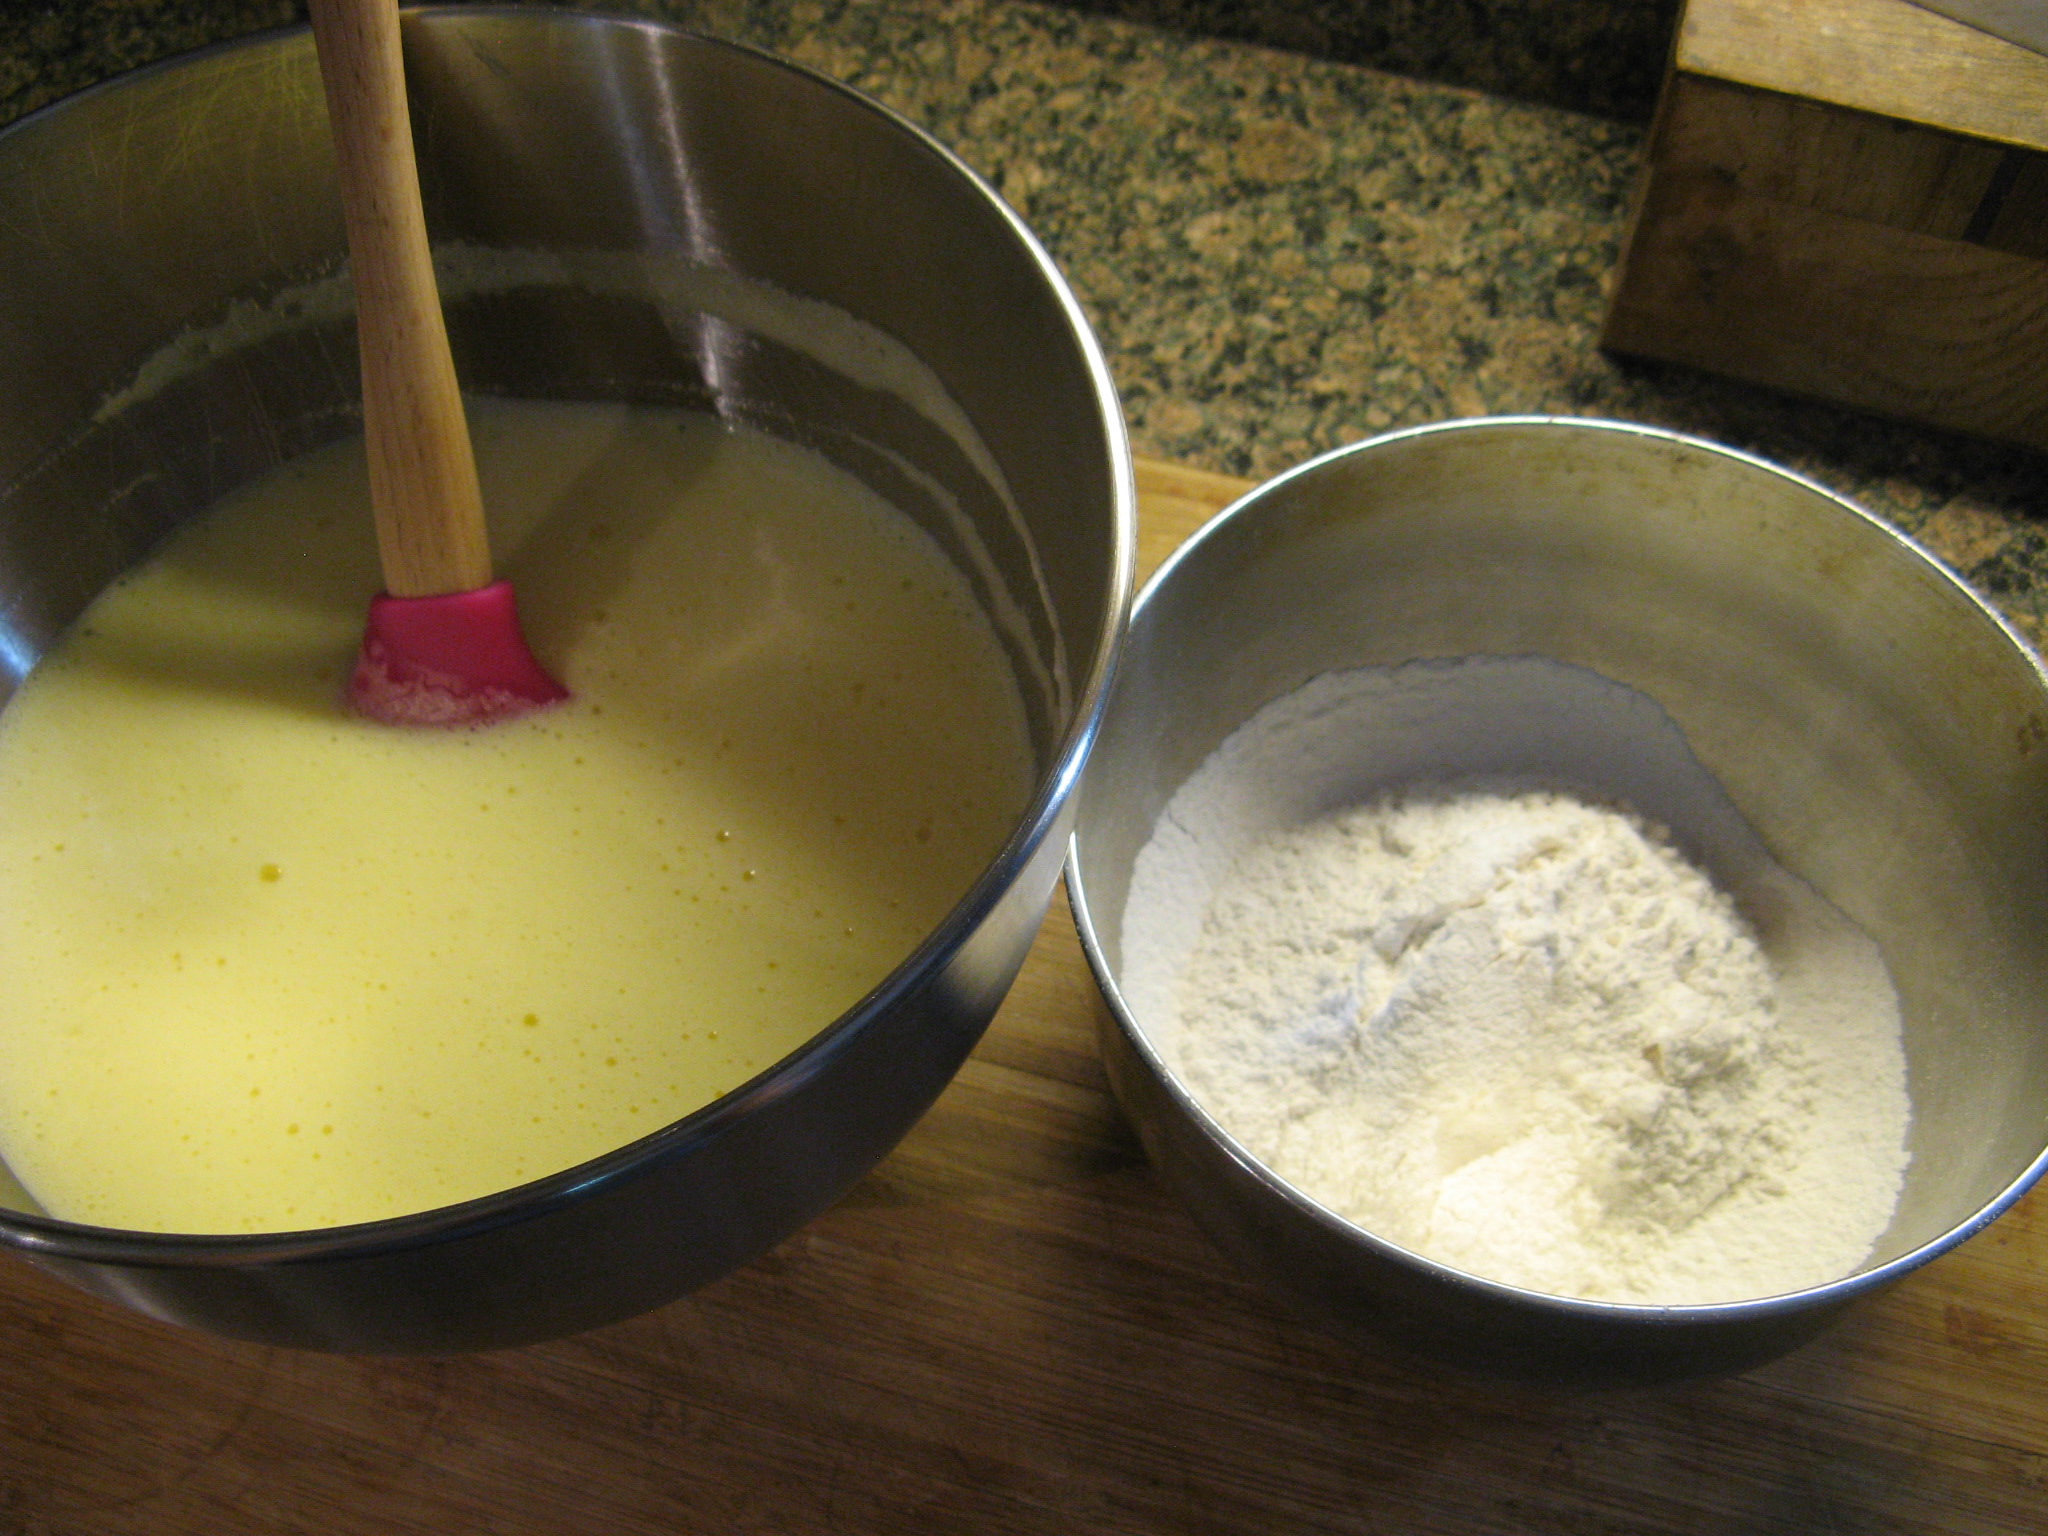
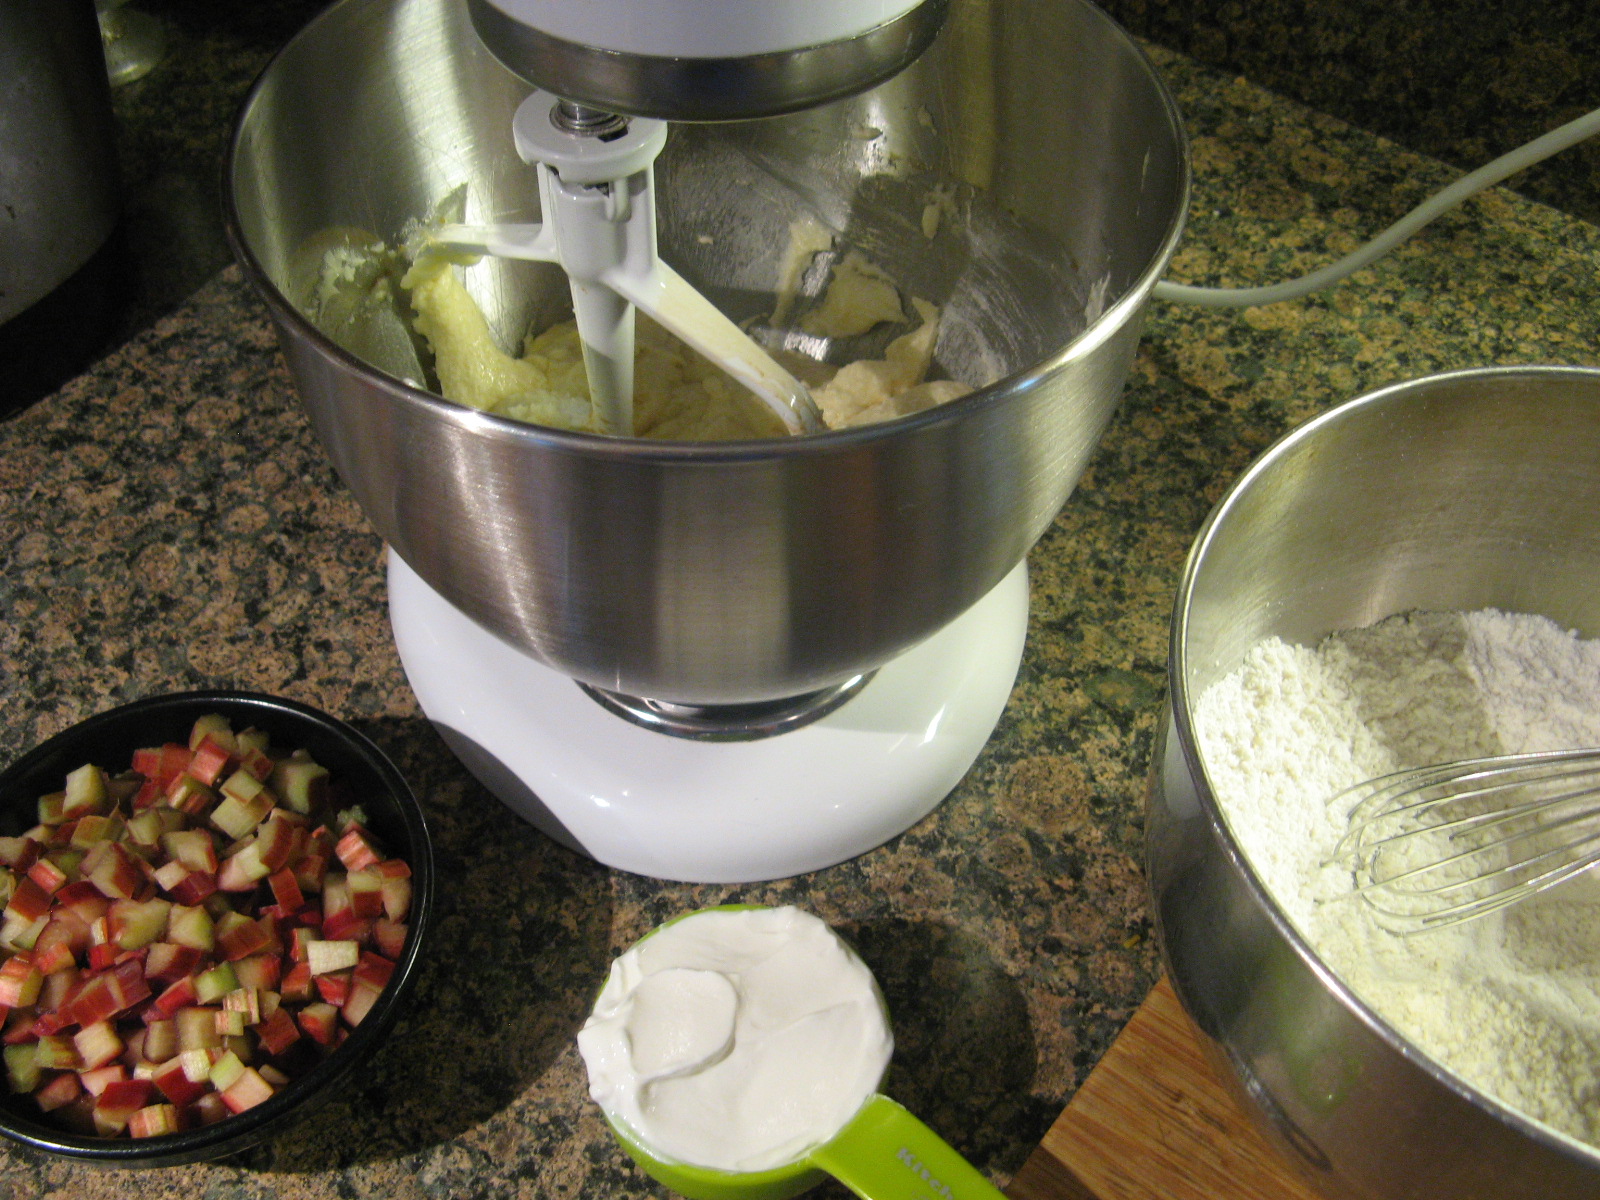
Now it was time to incorporate the flour mixture, rhubarb, and sour cream into the butter mixture.
IMG_4182

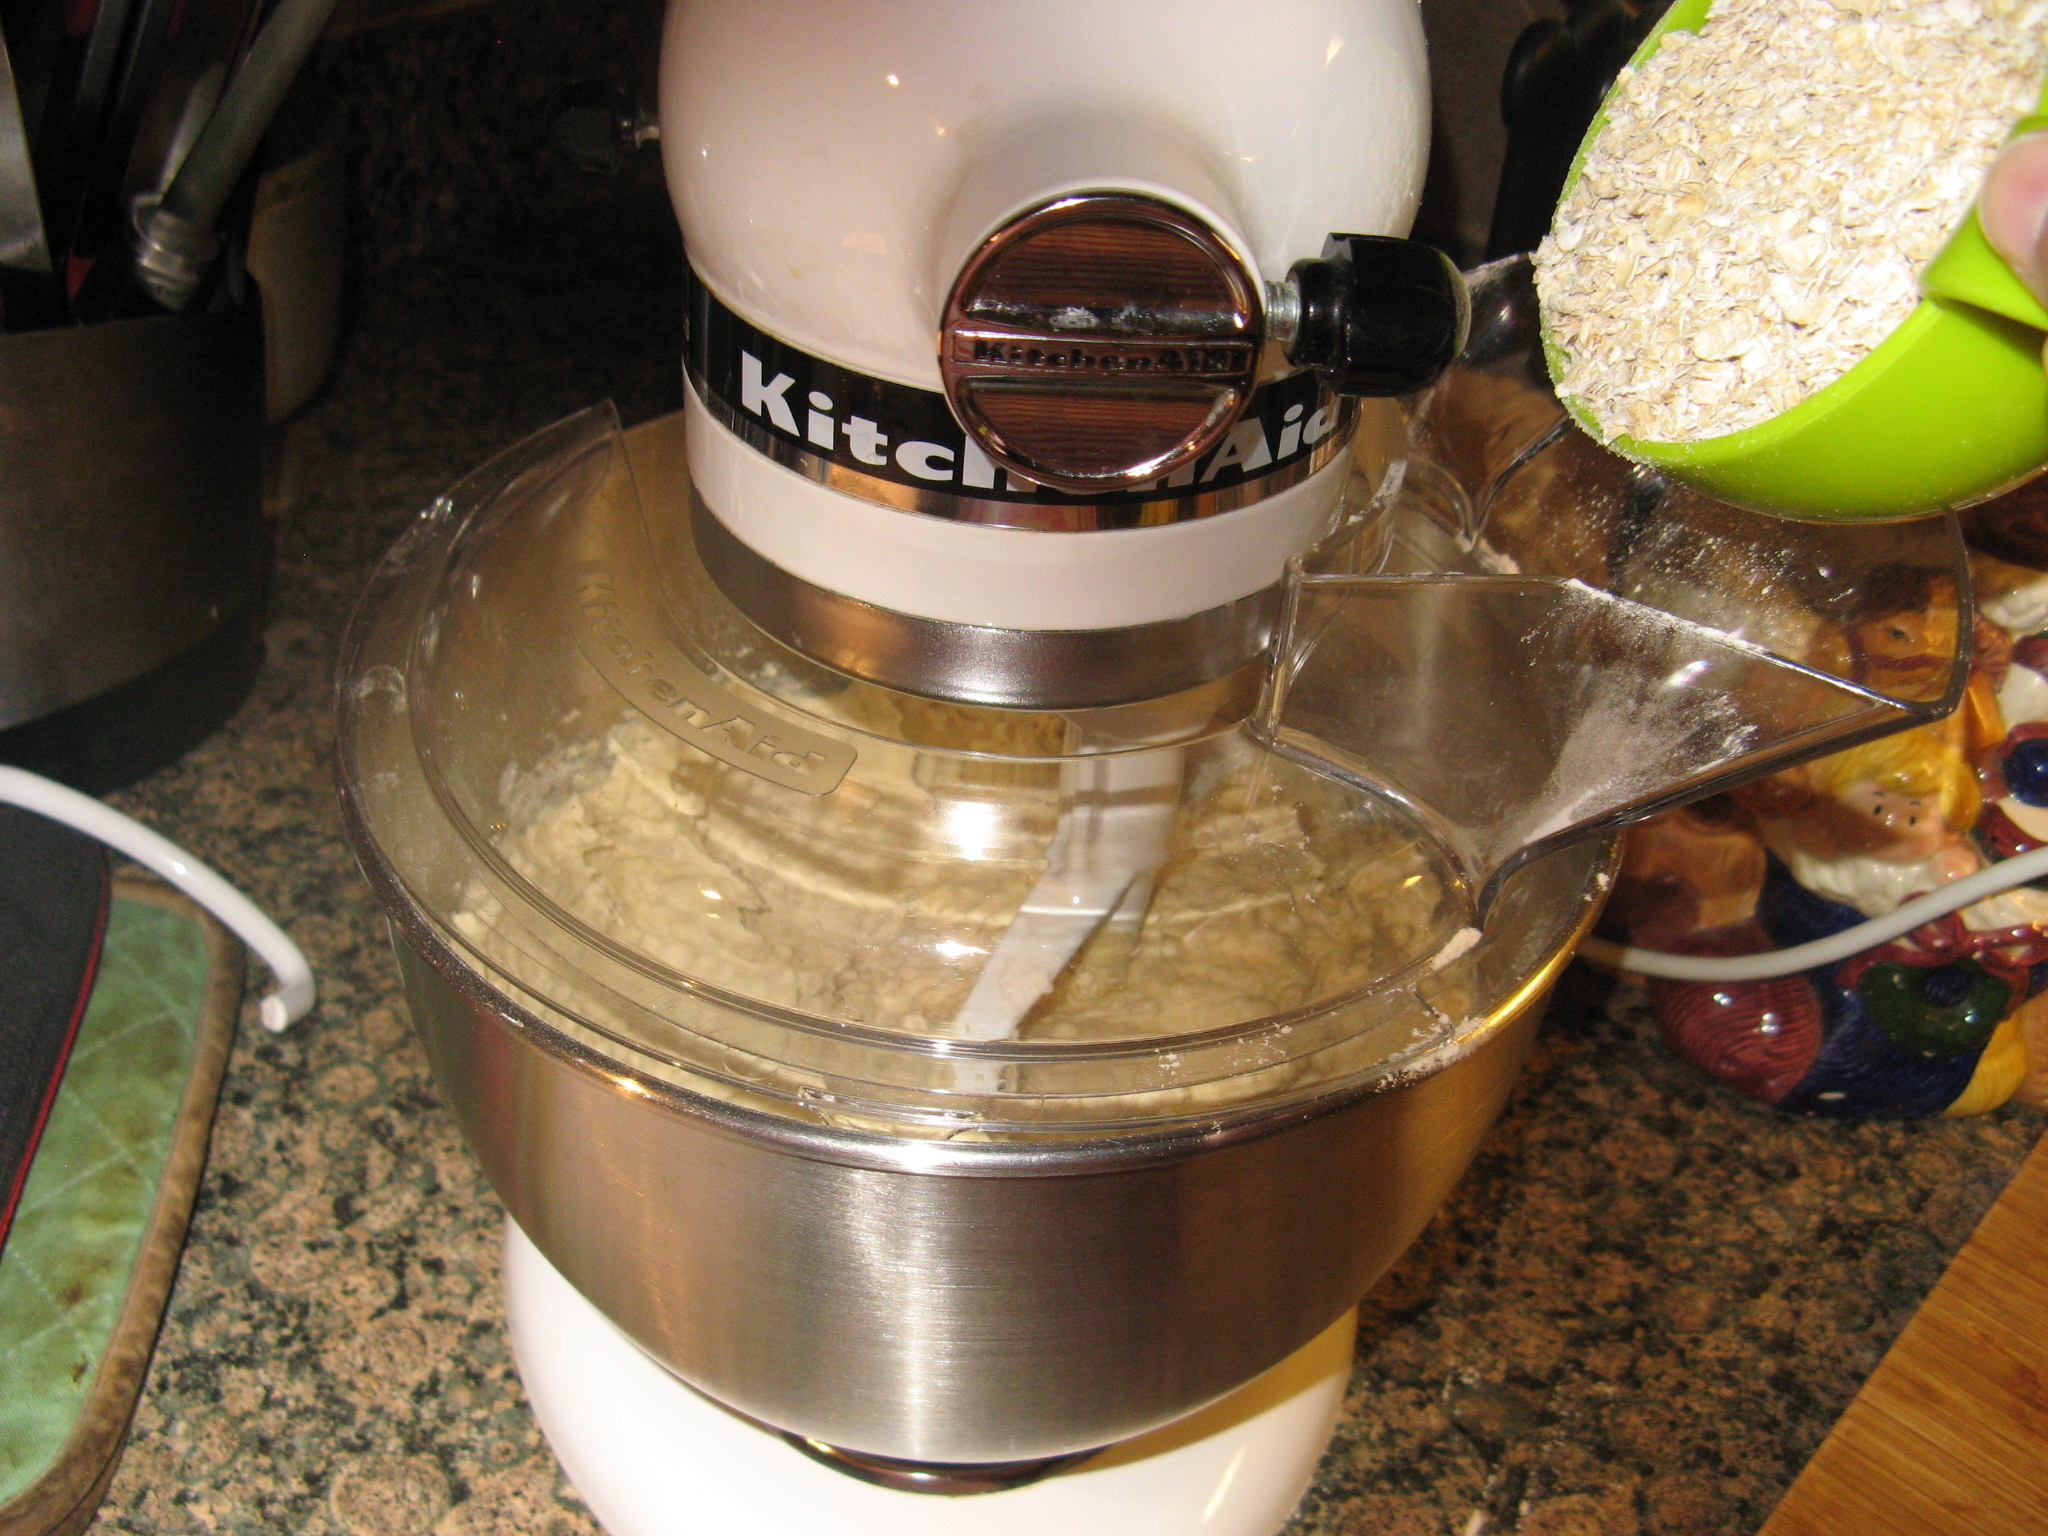
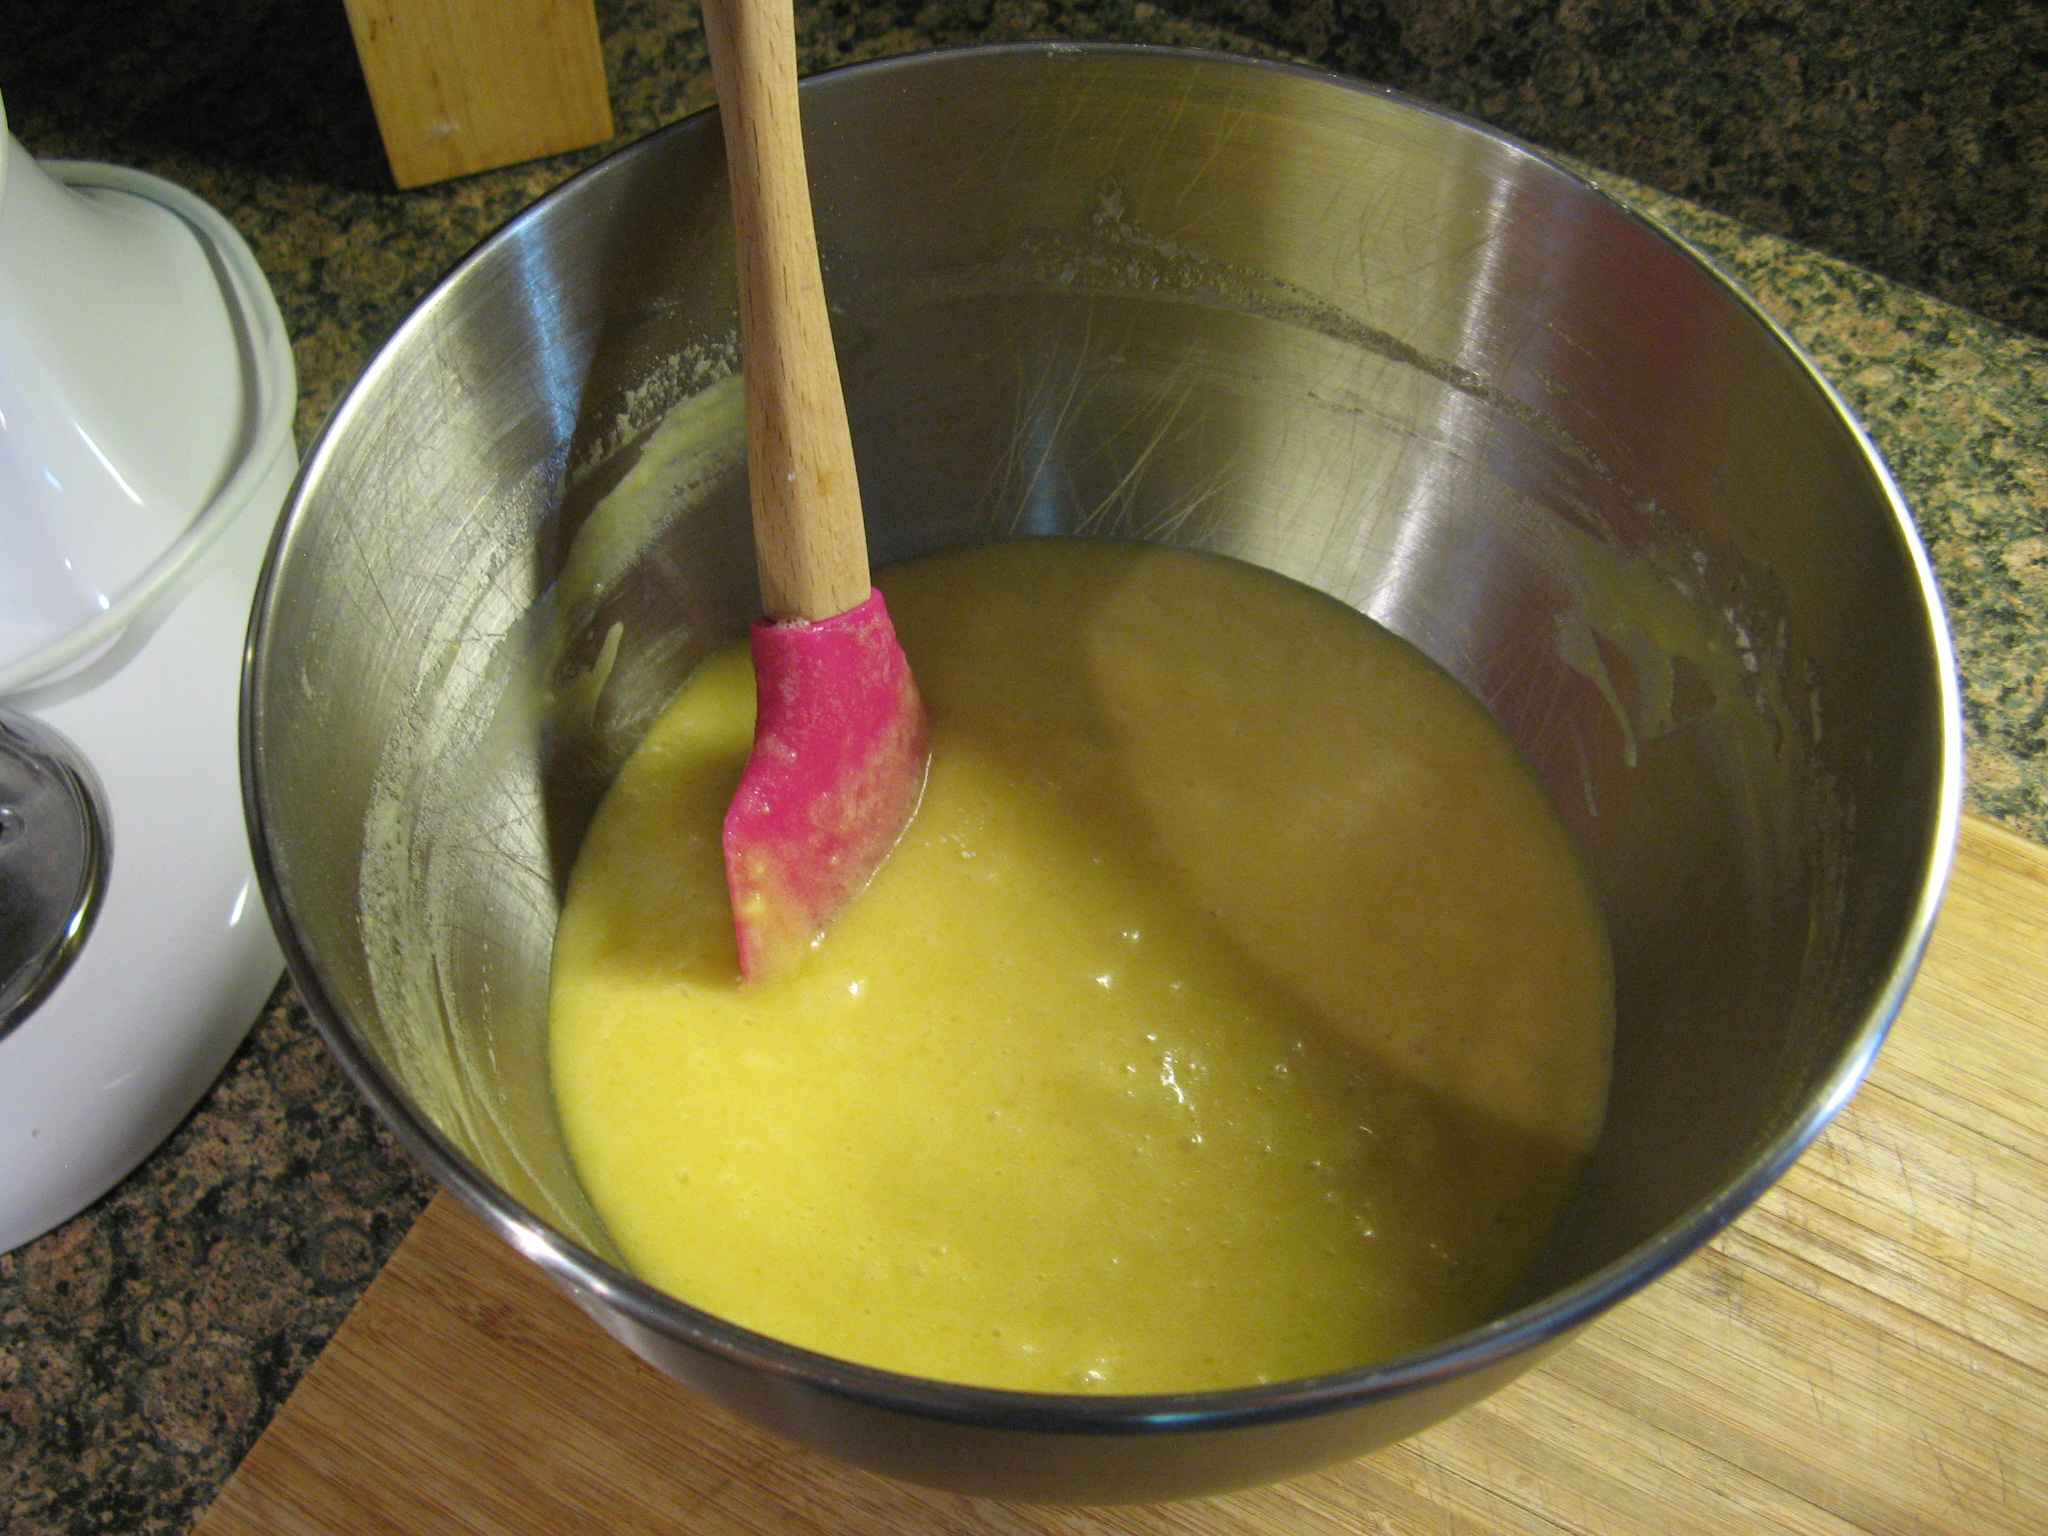
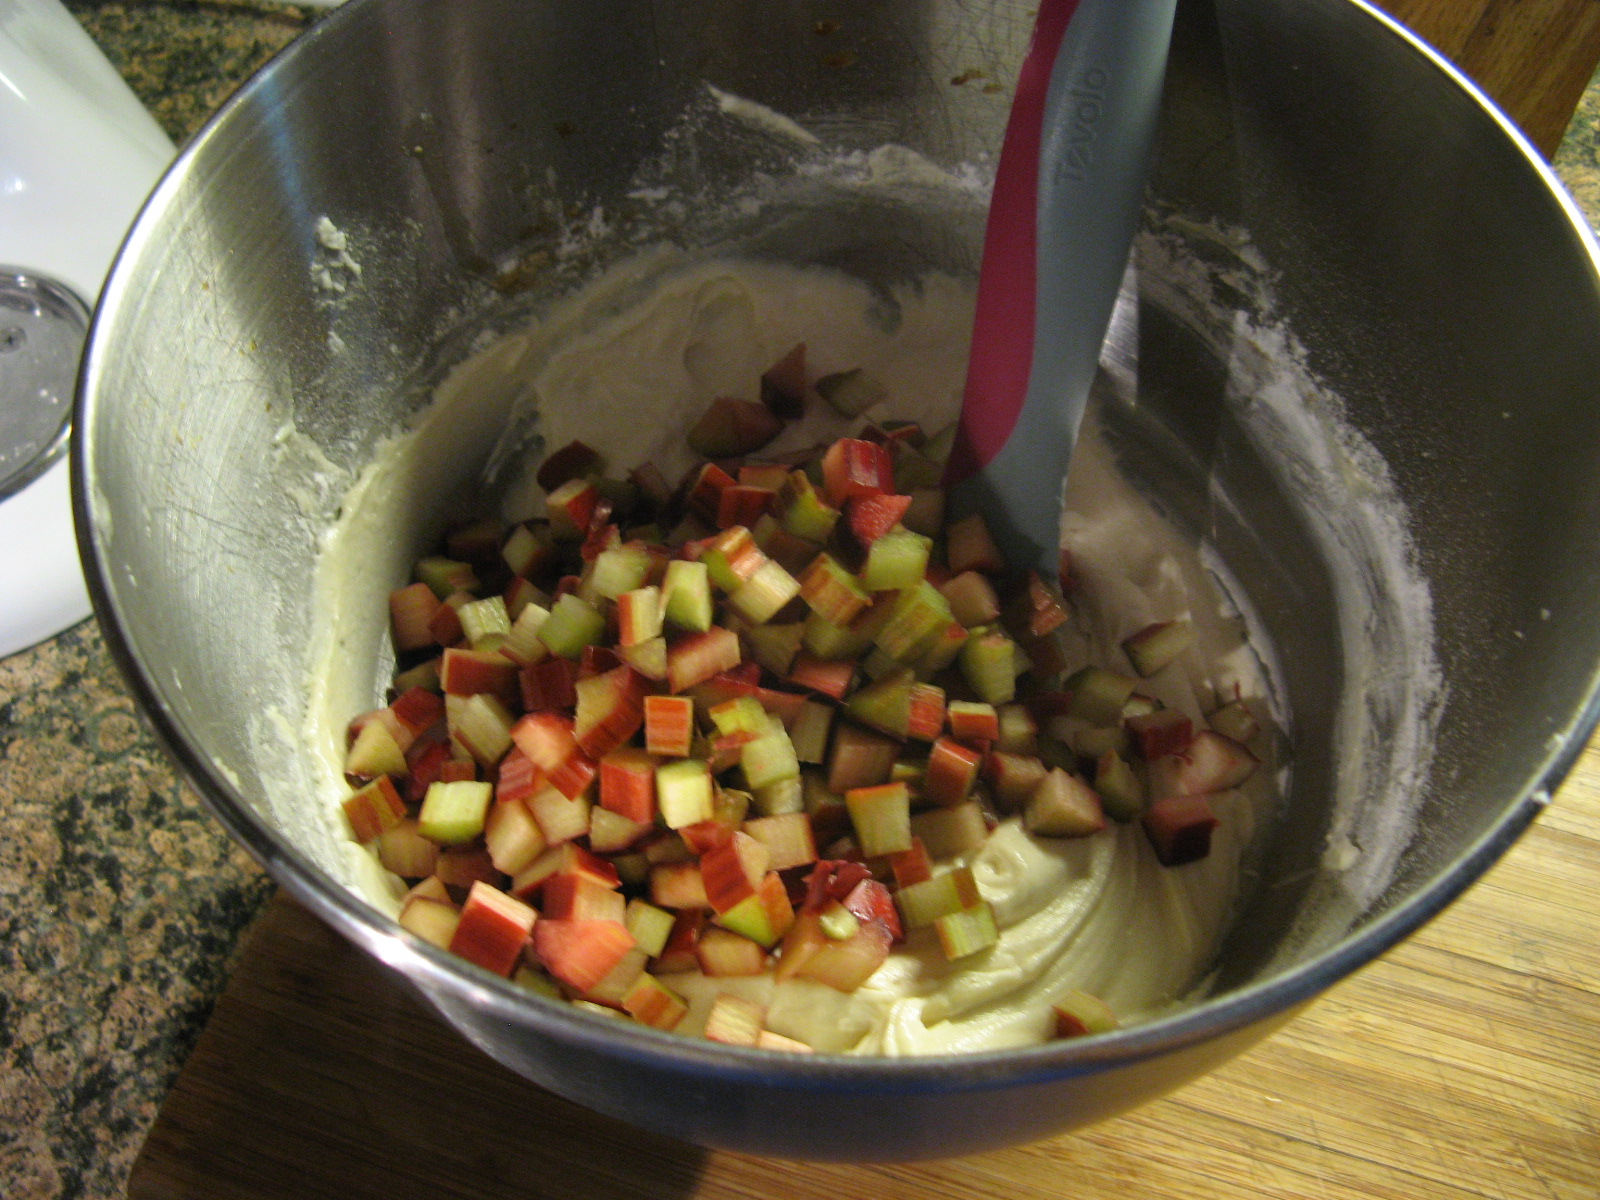
With the mixer on low speed I added in the flour mixture in two batches, alternating with the sour cream and then folded in the diced rhubarb.
IMG_4184

Following that I divided the batter among lined cupcake tins and baked them in a 350 F preheated oven for 25 minutes, rotating halfway through.
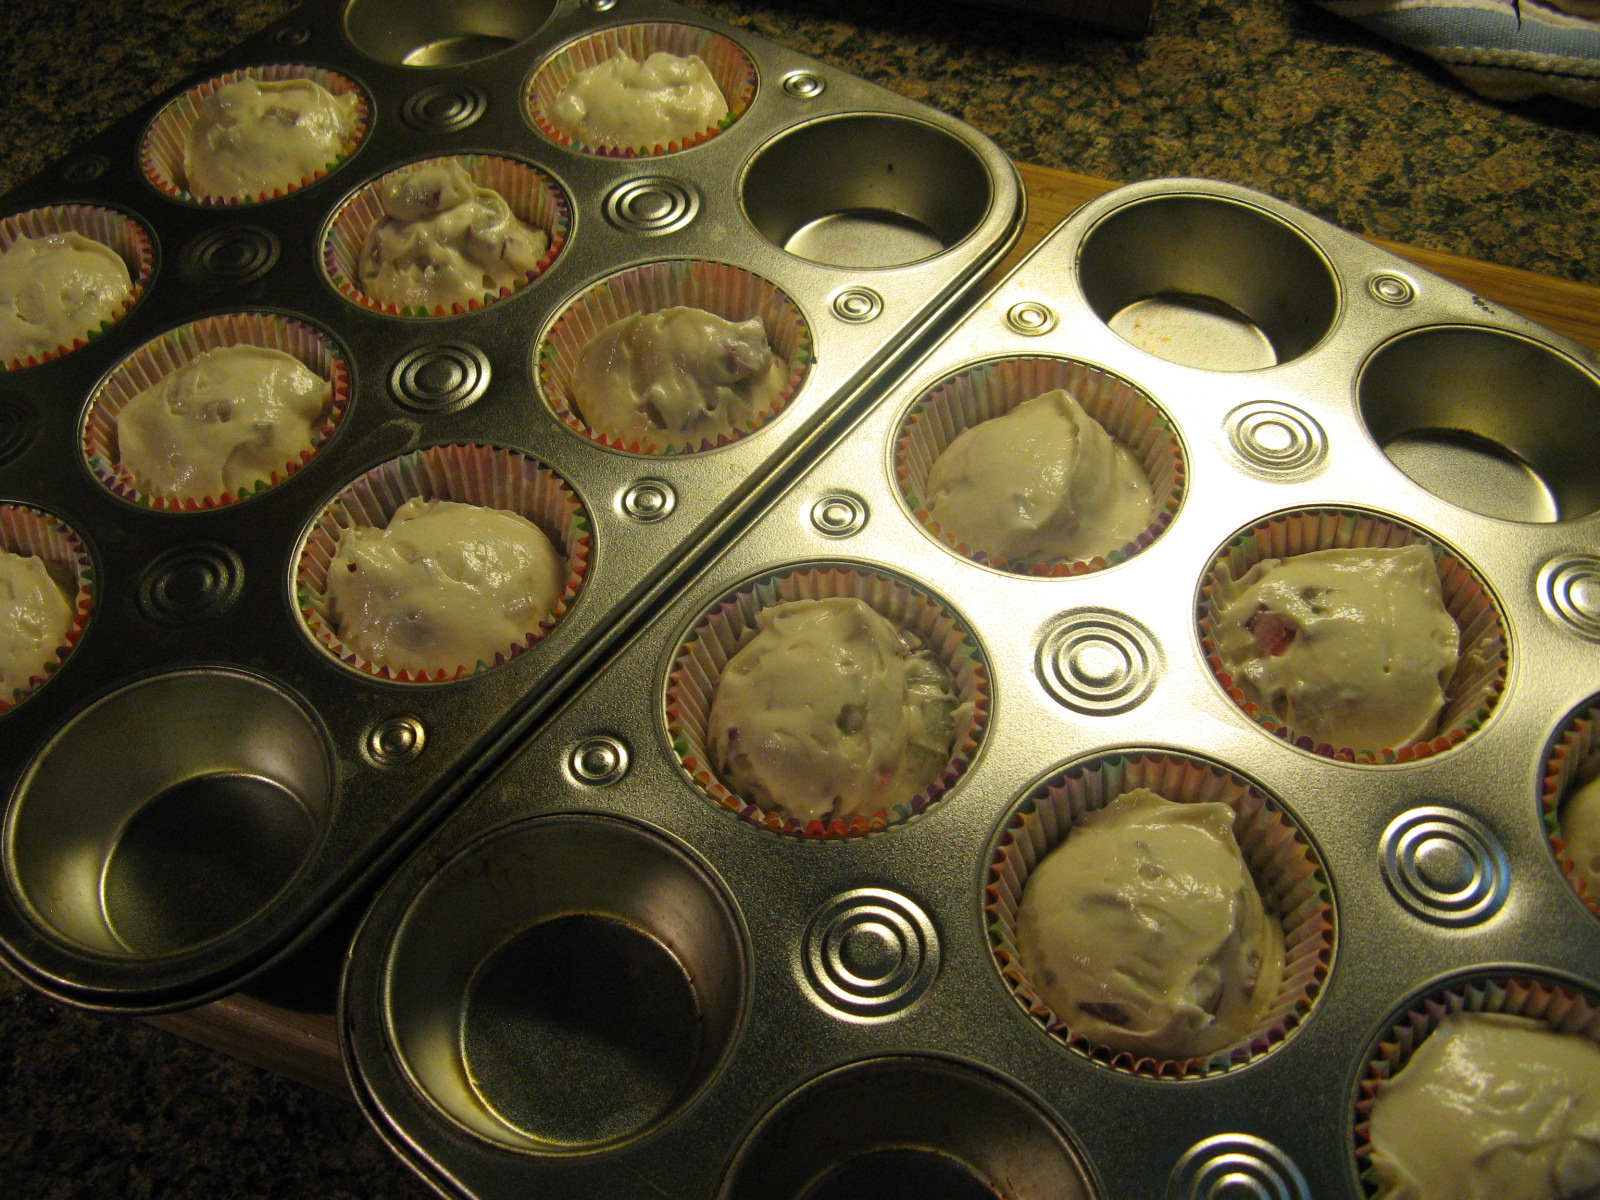
IMG_4186

The cupcakes right out of the oven… I immediately transferred them to wire racks so they could cool completely while still in the pan.
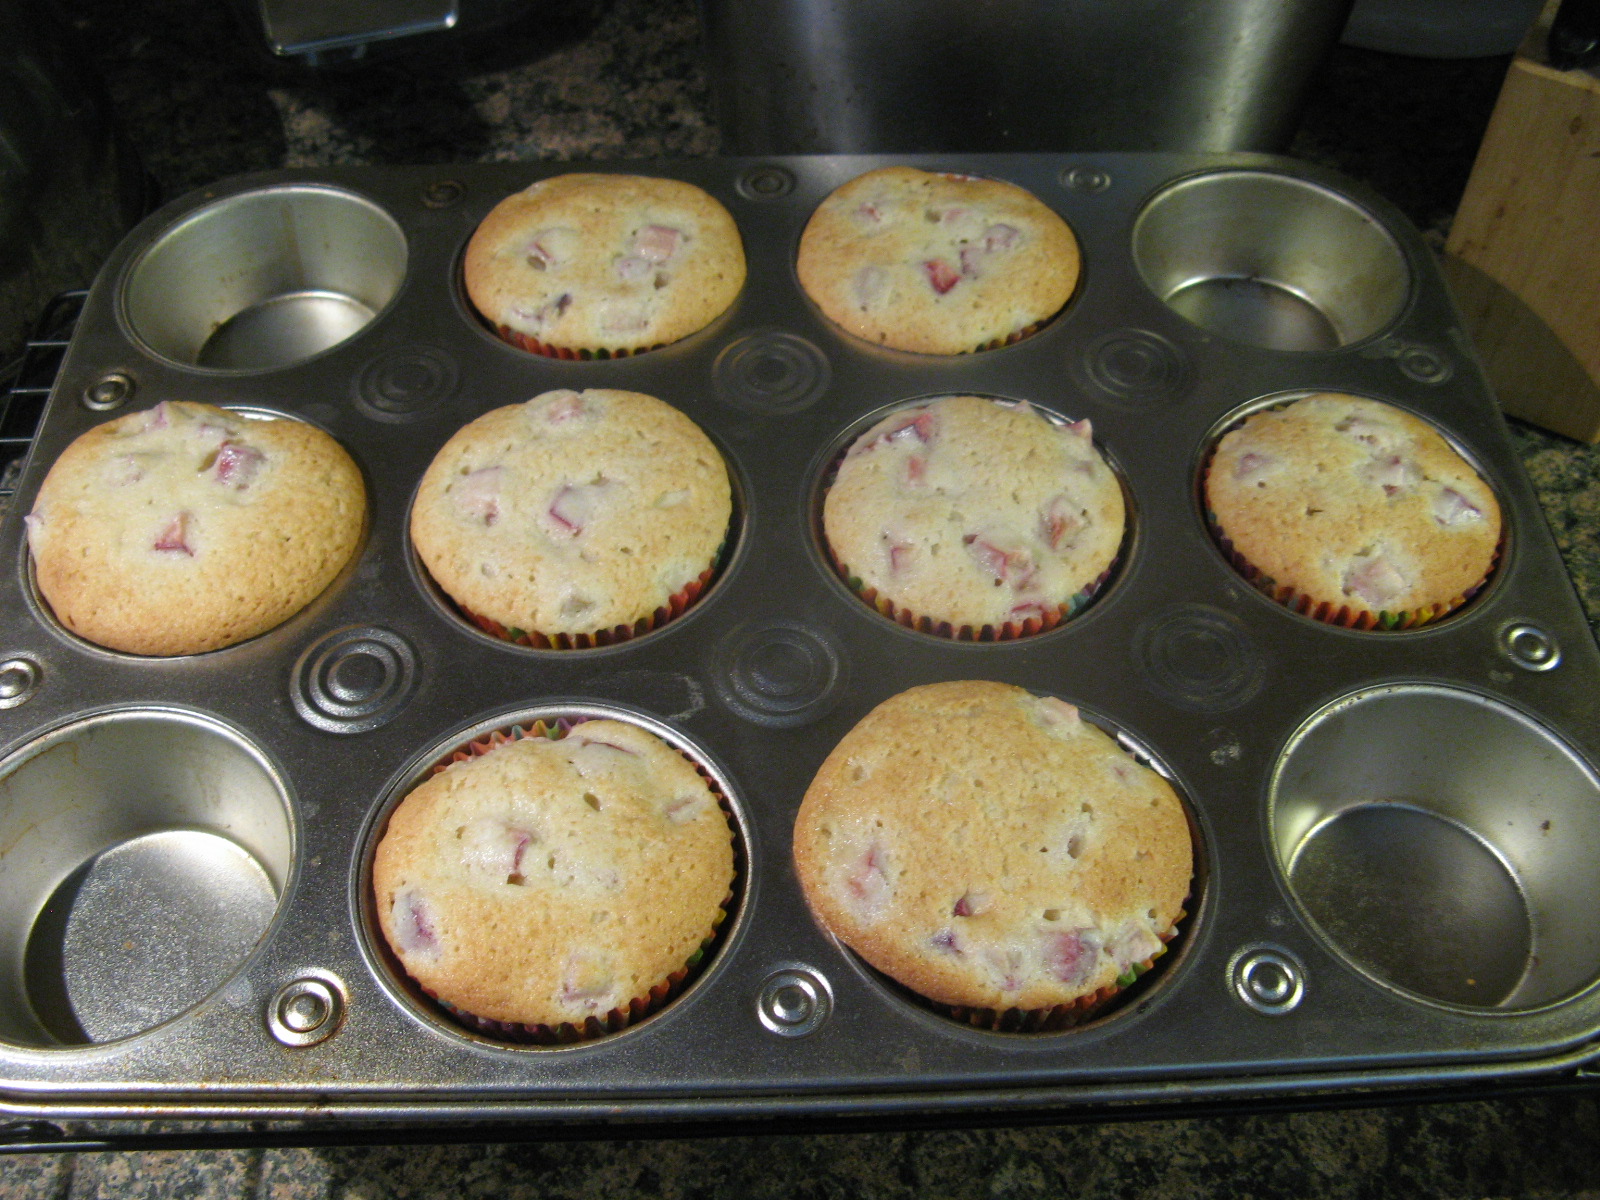
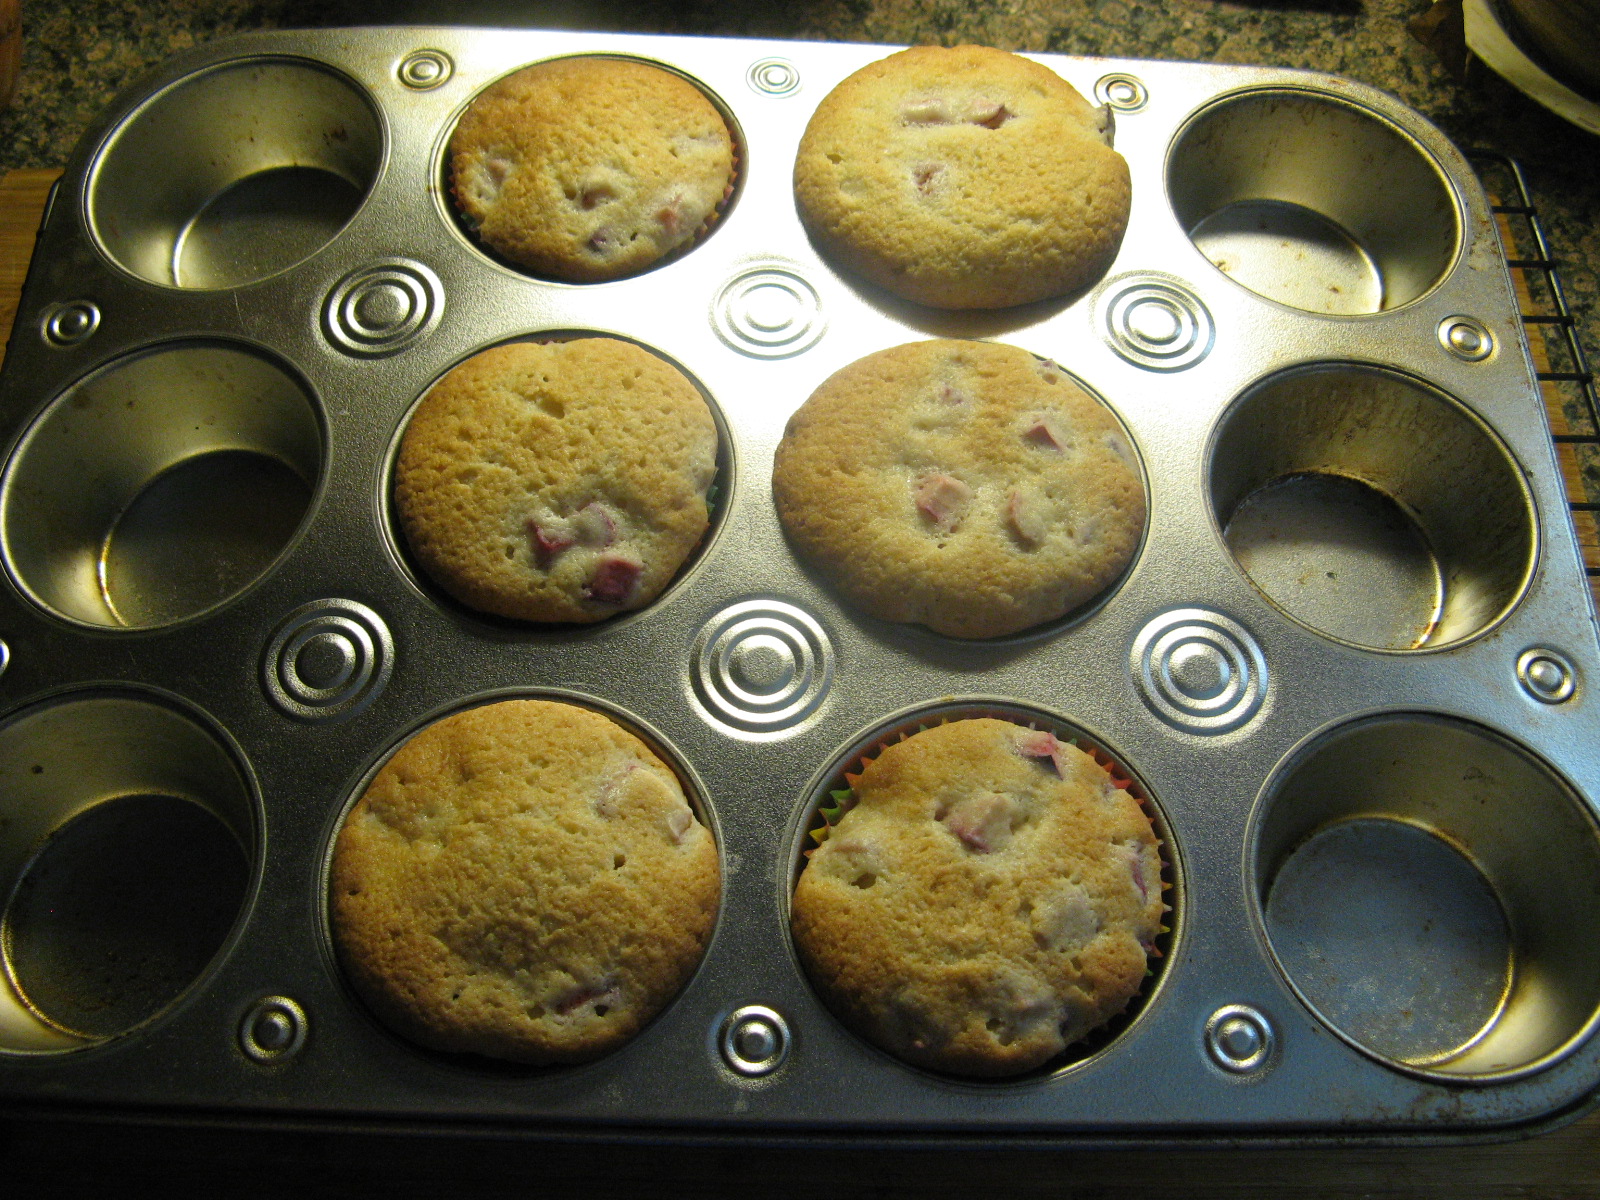
IMG_4187 IMG_4189

While these cupcakes were delicious all on their own, I decided to whip up a batch of whipped cream to top them.
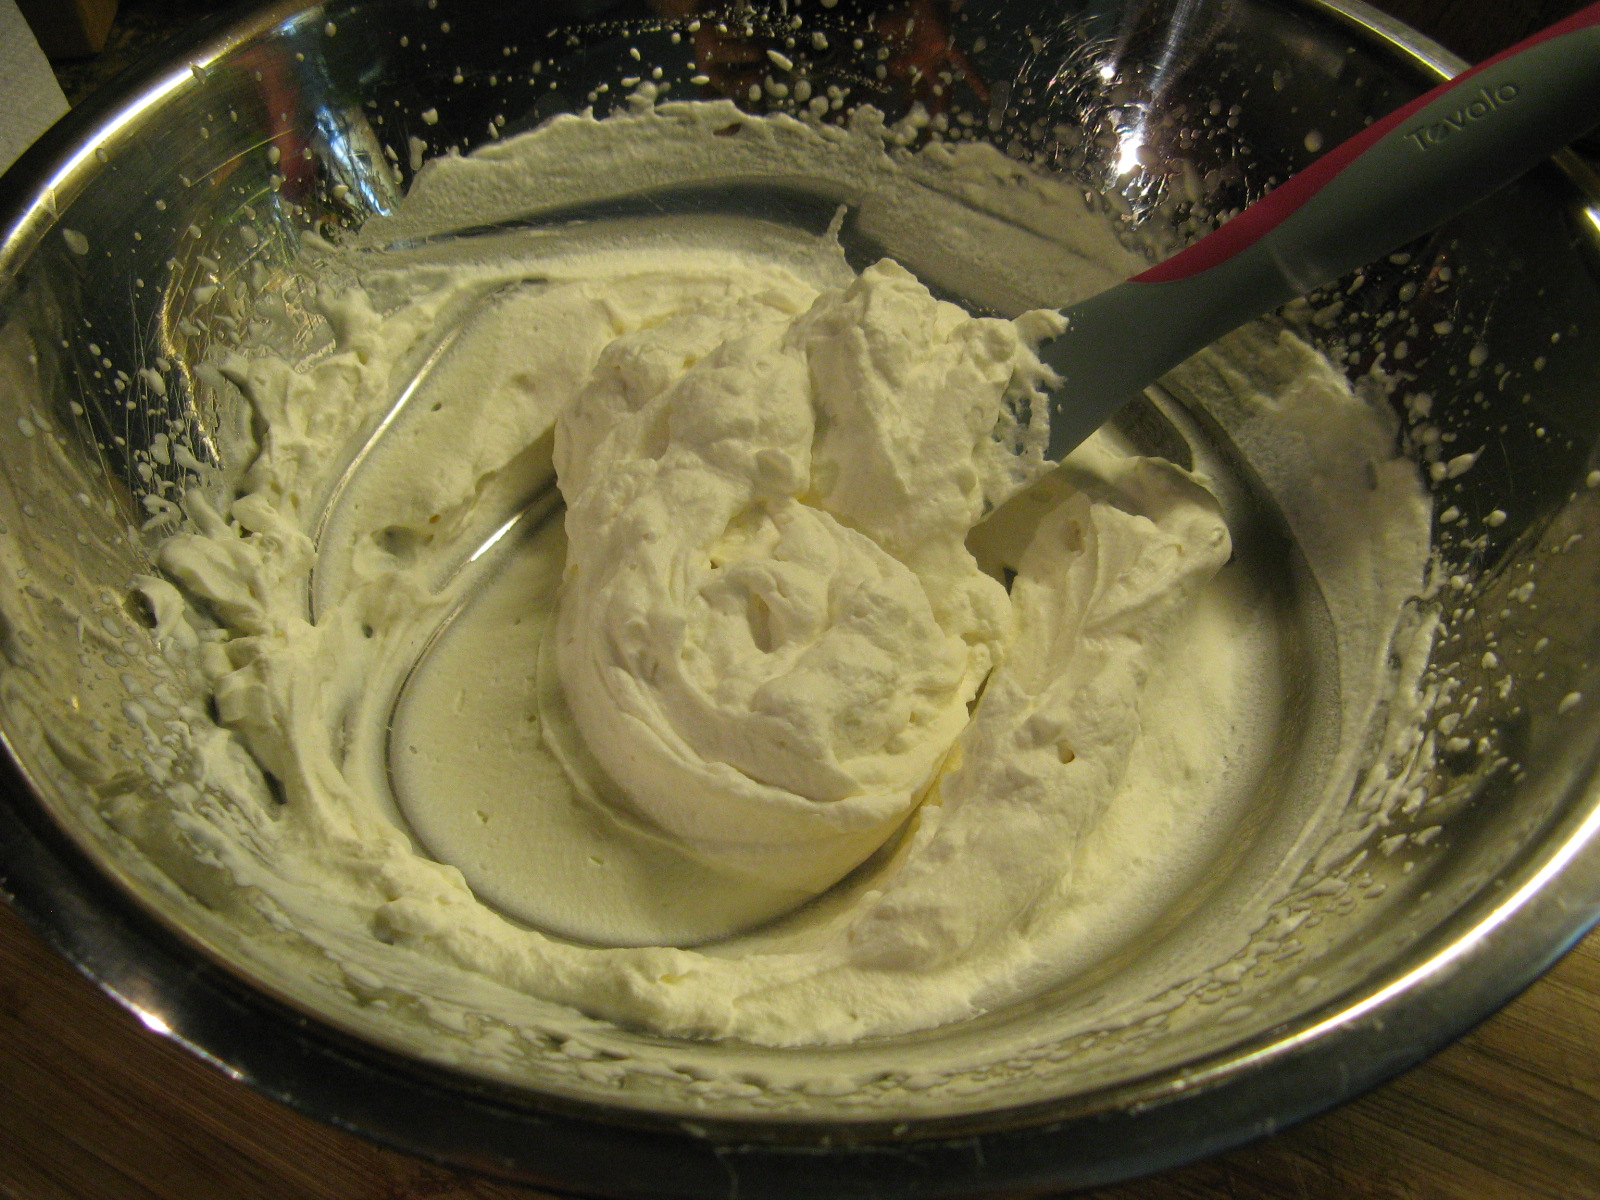
IMG_4192

And dolloped a few of them with some added sweetness…
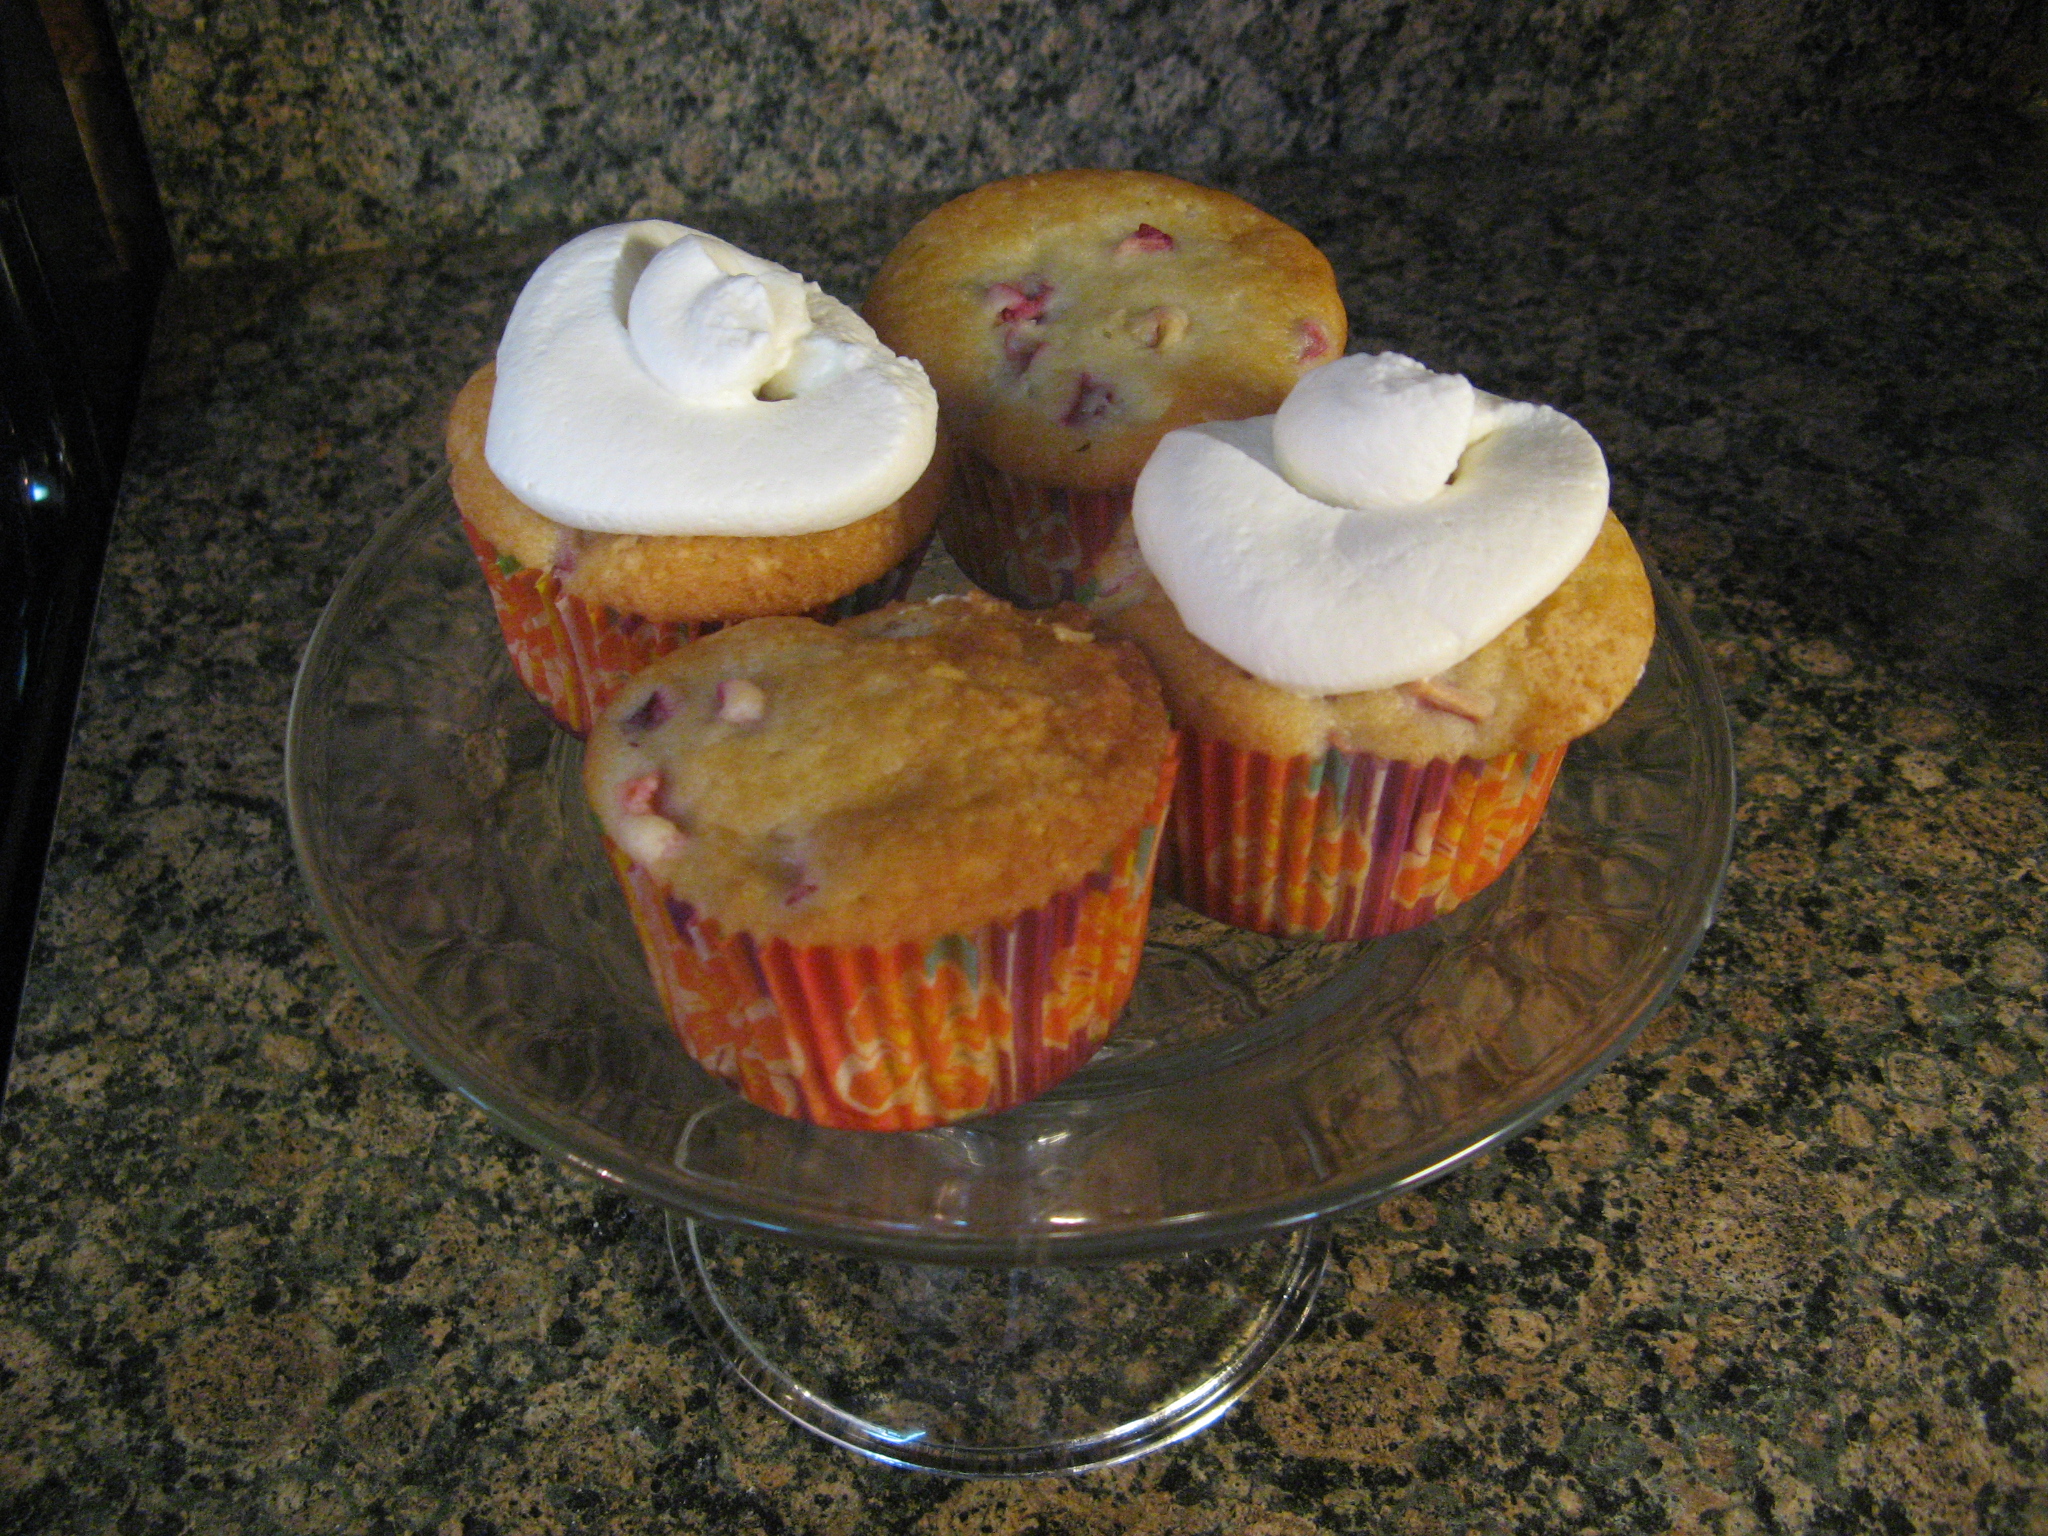
IMG_4224

These cupcakes were incredibly moist and fluffy… The way a perfect cupcake should be! After making these I am in no rush to try rhubarb pie.
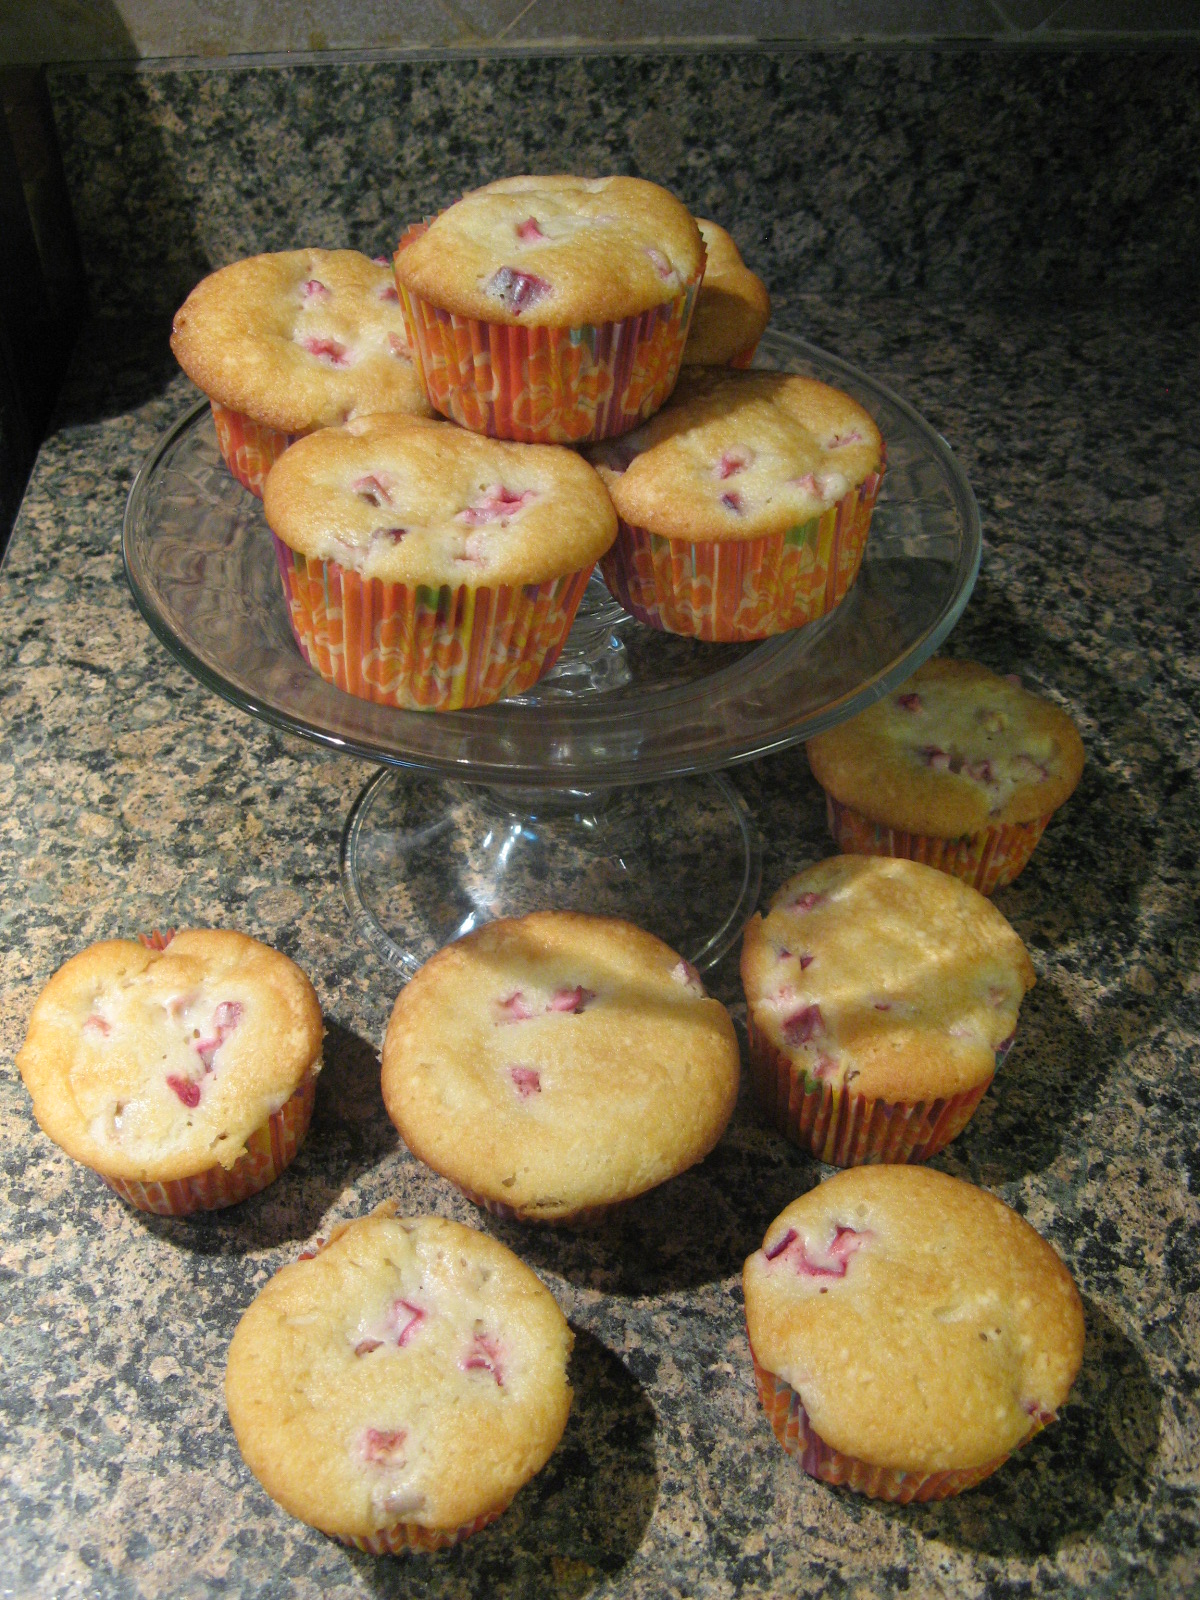
IMG_4200


Rhubarb Cupcakes

Makes 16

1 1/2 cups all-purpose flour

1/4 teaspoon baking soda

1/4 teaspoon baking powder

1/2 teaspoon coarse salt

1/2 cup (1 stick) unsalted butter, room temperature

1 cup sugar

2 large eggs, room temperature

1 teaspoon pure vanilla extract

1/2 cup sour cream, room temperature

2 cups diced rhubarb (about 1/2 pound)

1. Preheat oven to 350 F. Line standard muffin tins with paper liners. Whisk together flour, baking soda, baking powder, and salt.

2. With an electric mixer on medium-high speed, cream butter and sugar until pale and fluffy. Add eggs, one at a time, beating until each is incorporated, scraping down sides of owl as needed. Beat in vanilla extract. Reduce speed to low. Add flour mixture in two batches, alternating with the sour cream, and beating until combined after each, Stir in diced rhubarb.

3. Divide batter evenly among lined cups, filling each three-quarters full. Bake, rotating tins halfway through, until a cake tester in centers comes out clean, about 25 minutes. Transfer tine to wire racks to cool completely before removing cupcakes. Cupcakes can be stored up to 3 days at room temperature in an airtight container.


Whipped Cream

1 cup heavy cream

2 tablespoons confectioners’ sugar

1 teaspoon vanilla extract

Whip cream in a large bowl until soft peaks form. Add in the confectioners’ sugar and vanilla extract and continue whipping until stiff peaks form. I usually place the whisk attachment for the mixer and bowl in the freezer for about 15-30 minutes prior to making the cream.
 

Lemon Buttermilk Cupcakes with Cream Cheese Frosting

Hope you all had a wonderful 4th on Friday and that the rest of your holiday weekend was good. As for me, the 4th was a bit of a washout due to rain but the rest of the weekend was beautiful which meant I was able to do some yard work. The rain wasn’t all that bad though, it gave me the perfect excuse to stay in and bake some patriotic themed cupcakes. I settled on making Lemon Buttermilk Cupcakes with Cream Cheese Frosting. I should note that the recipe for the Lemon Buttermilk was originally for a loaf cake, but, I decided to turn it into cupcakes and add some frosting.  
IMG_4319
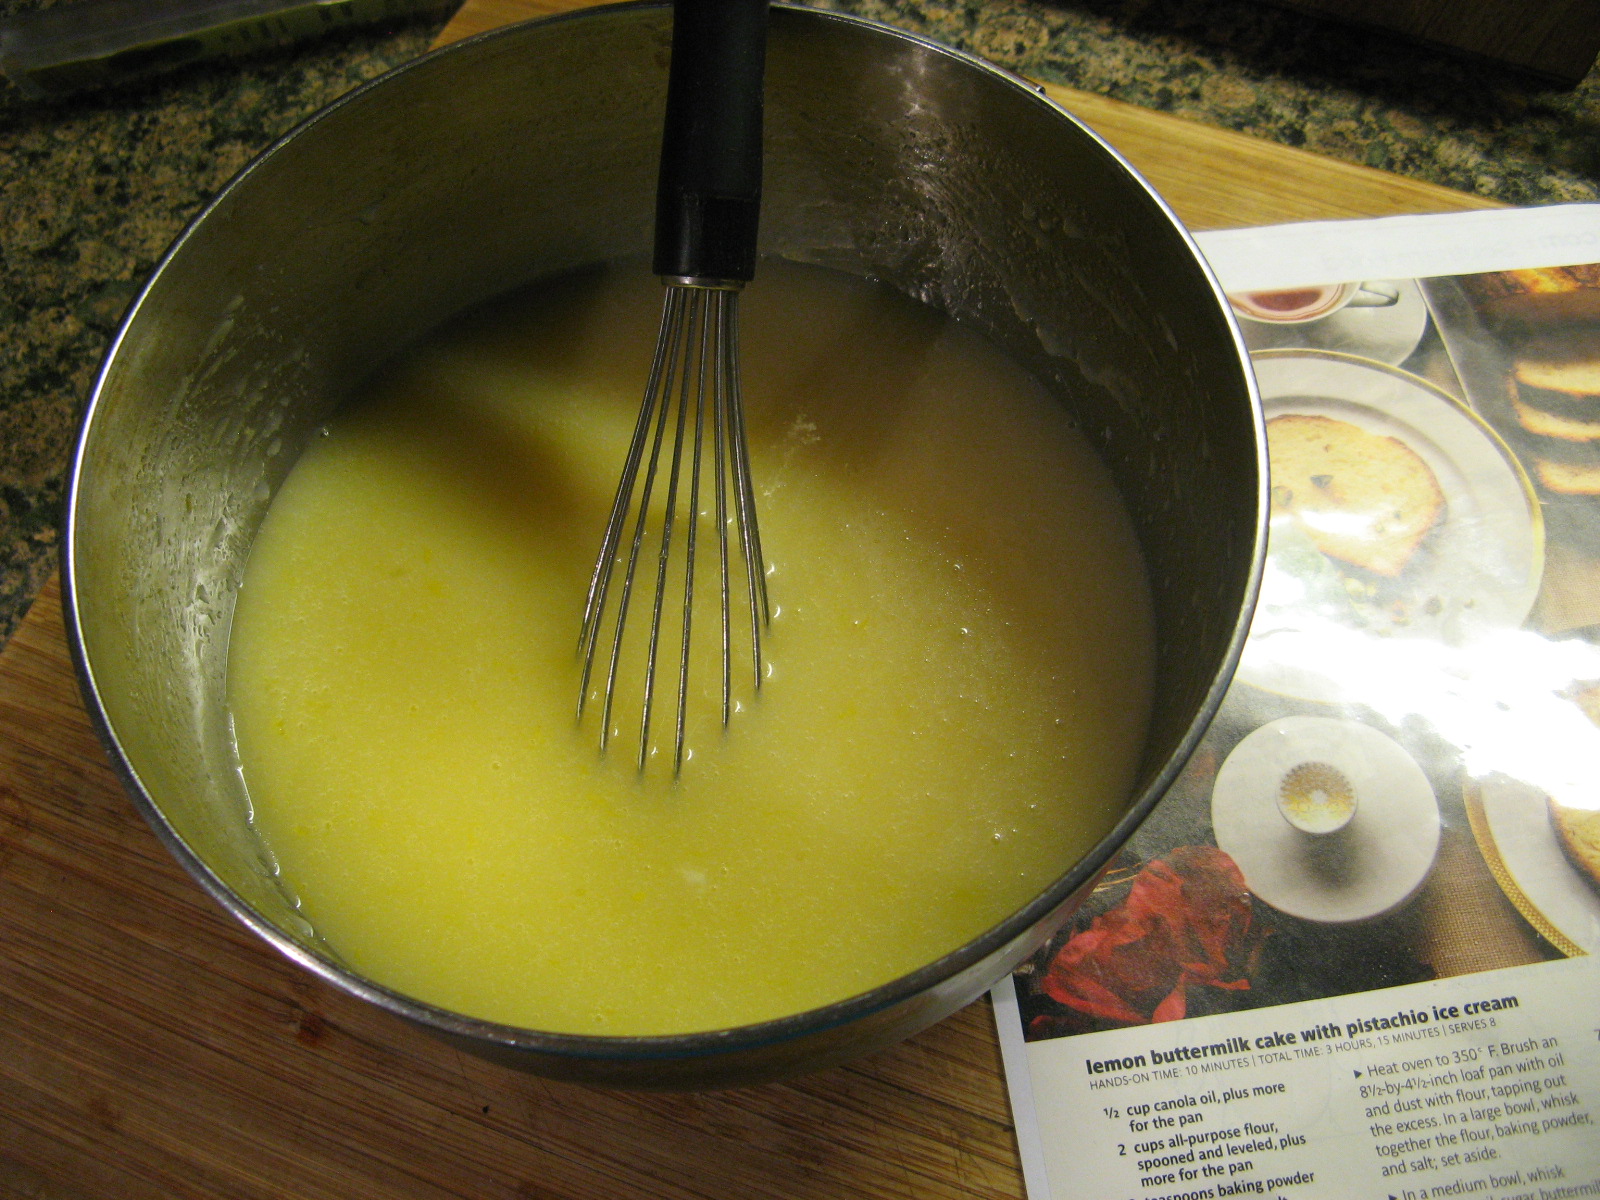
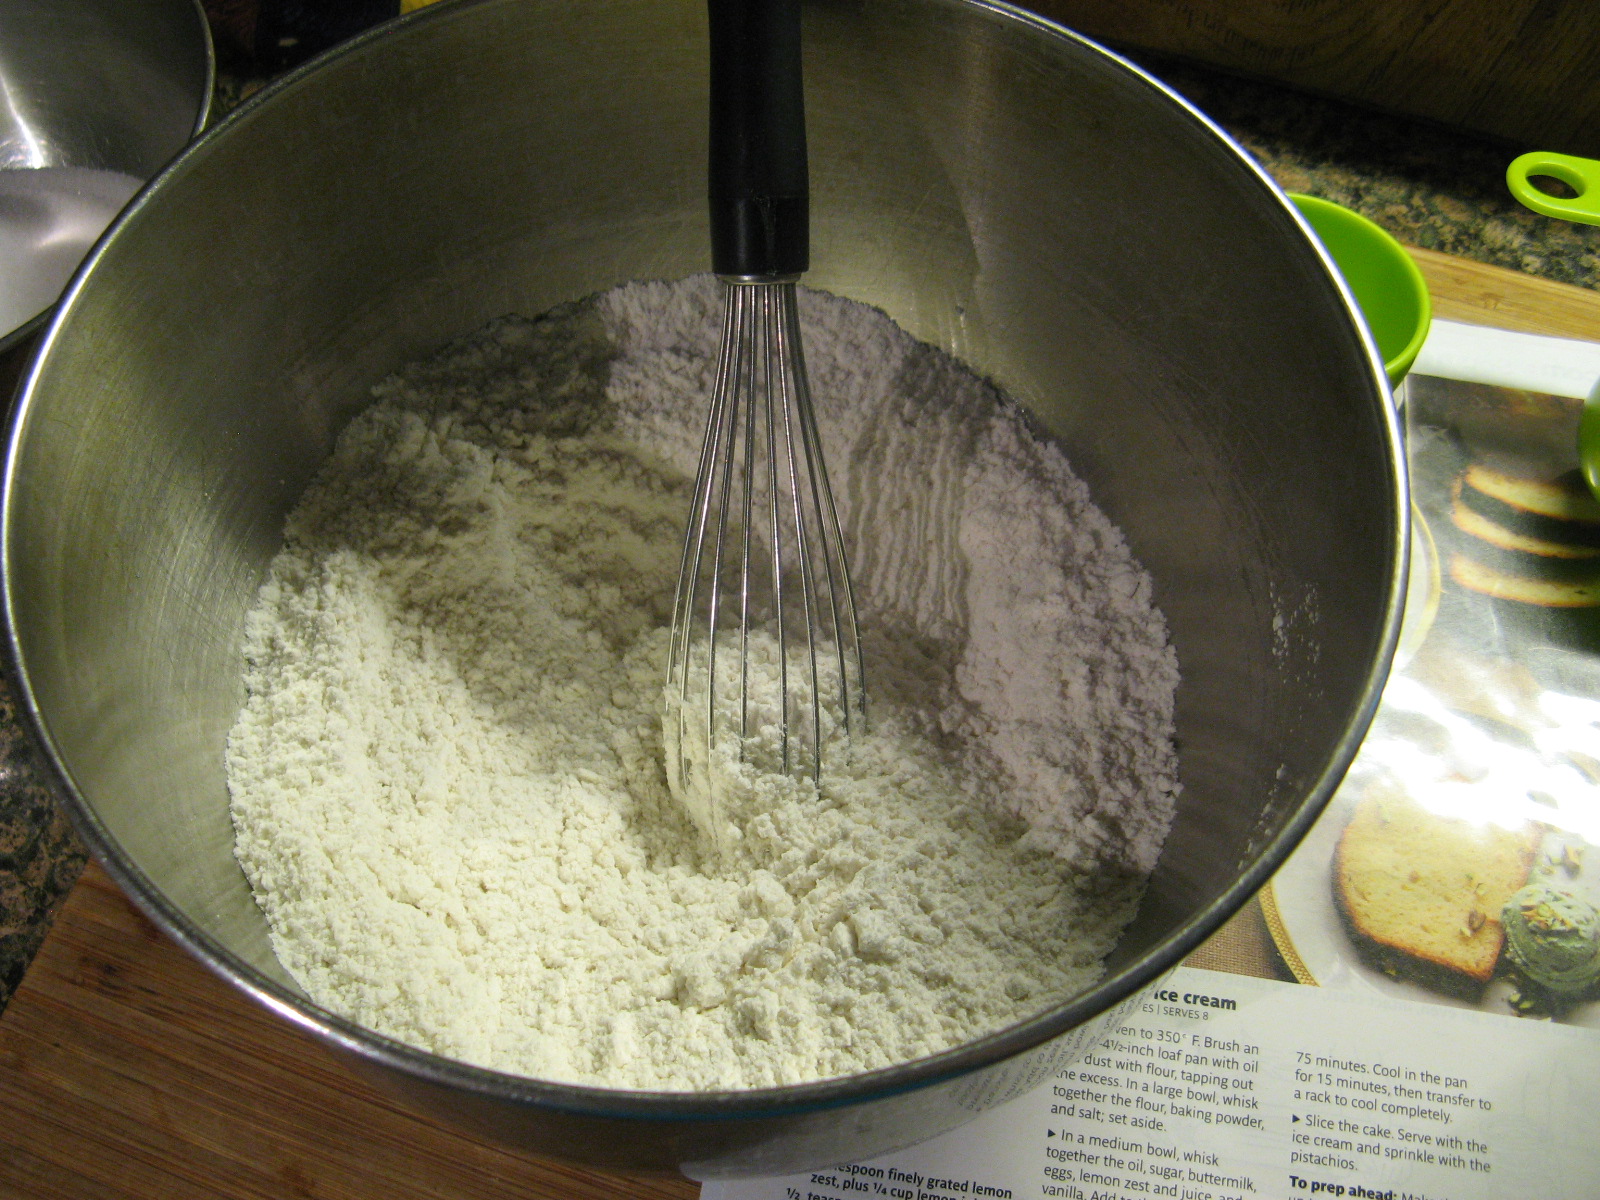
I began by whisking together the dry ingredients -flour, baking powder and salt – in one bowl and the wet ingredients – oil, sugar, buttermilk, eggs, lemon zest and juice – in another.
IMG_4290 IMG_4291
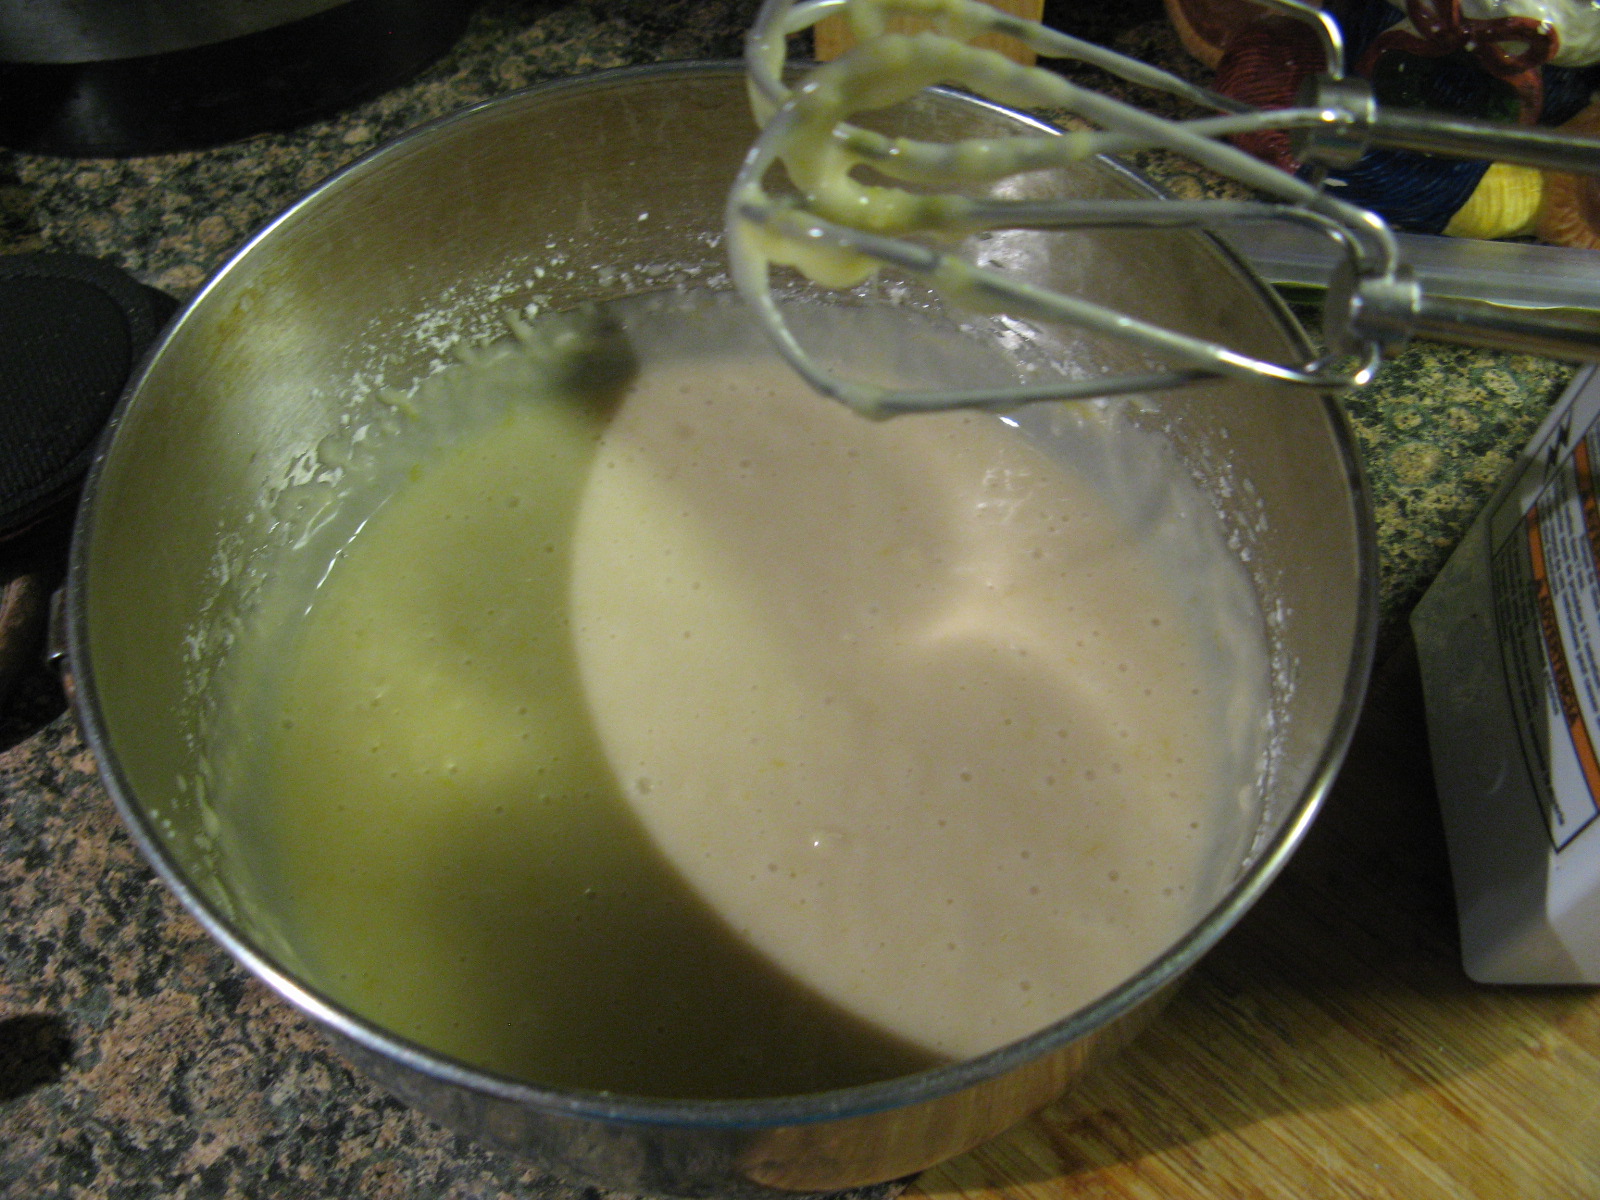
After whisking those ingredients together by hand I opted to use my hand mixer to whisk all of the ingredients together.
IMG_4292
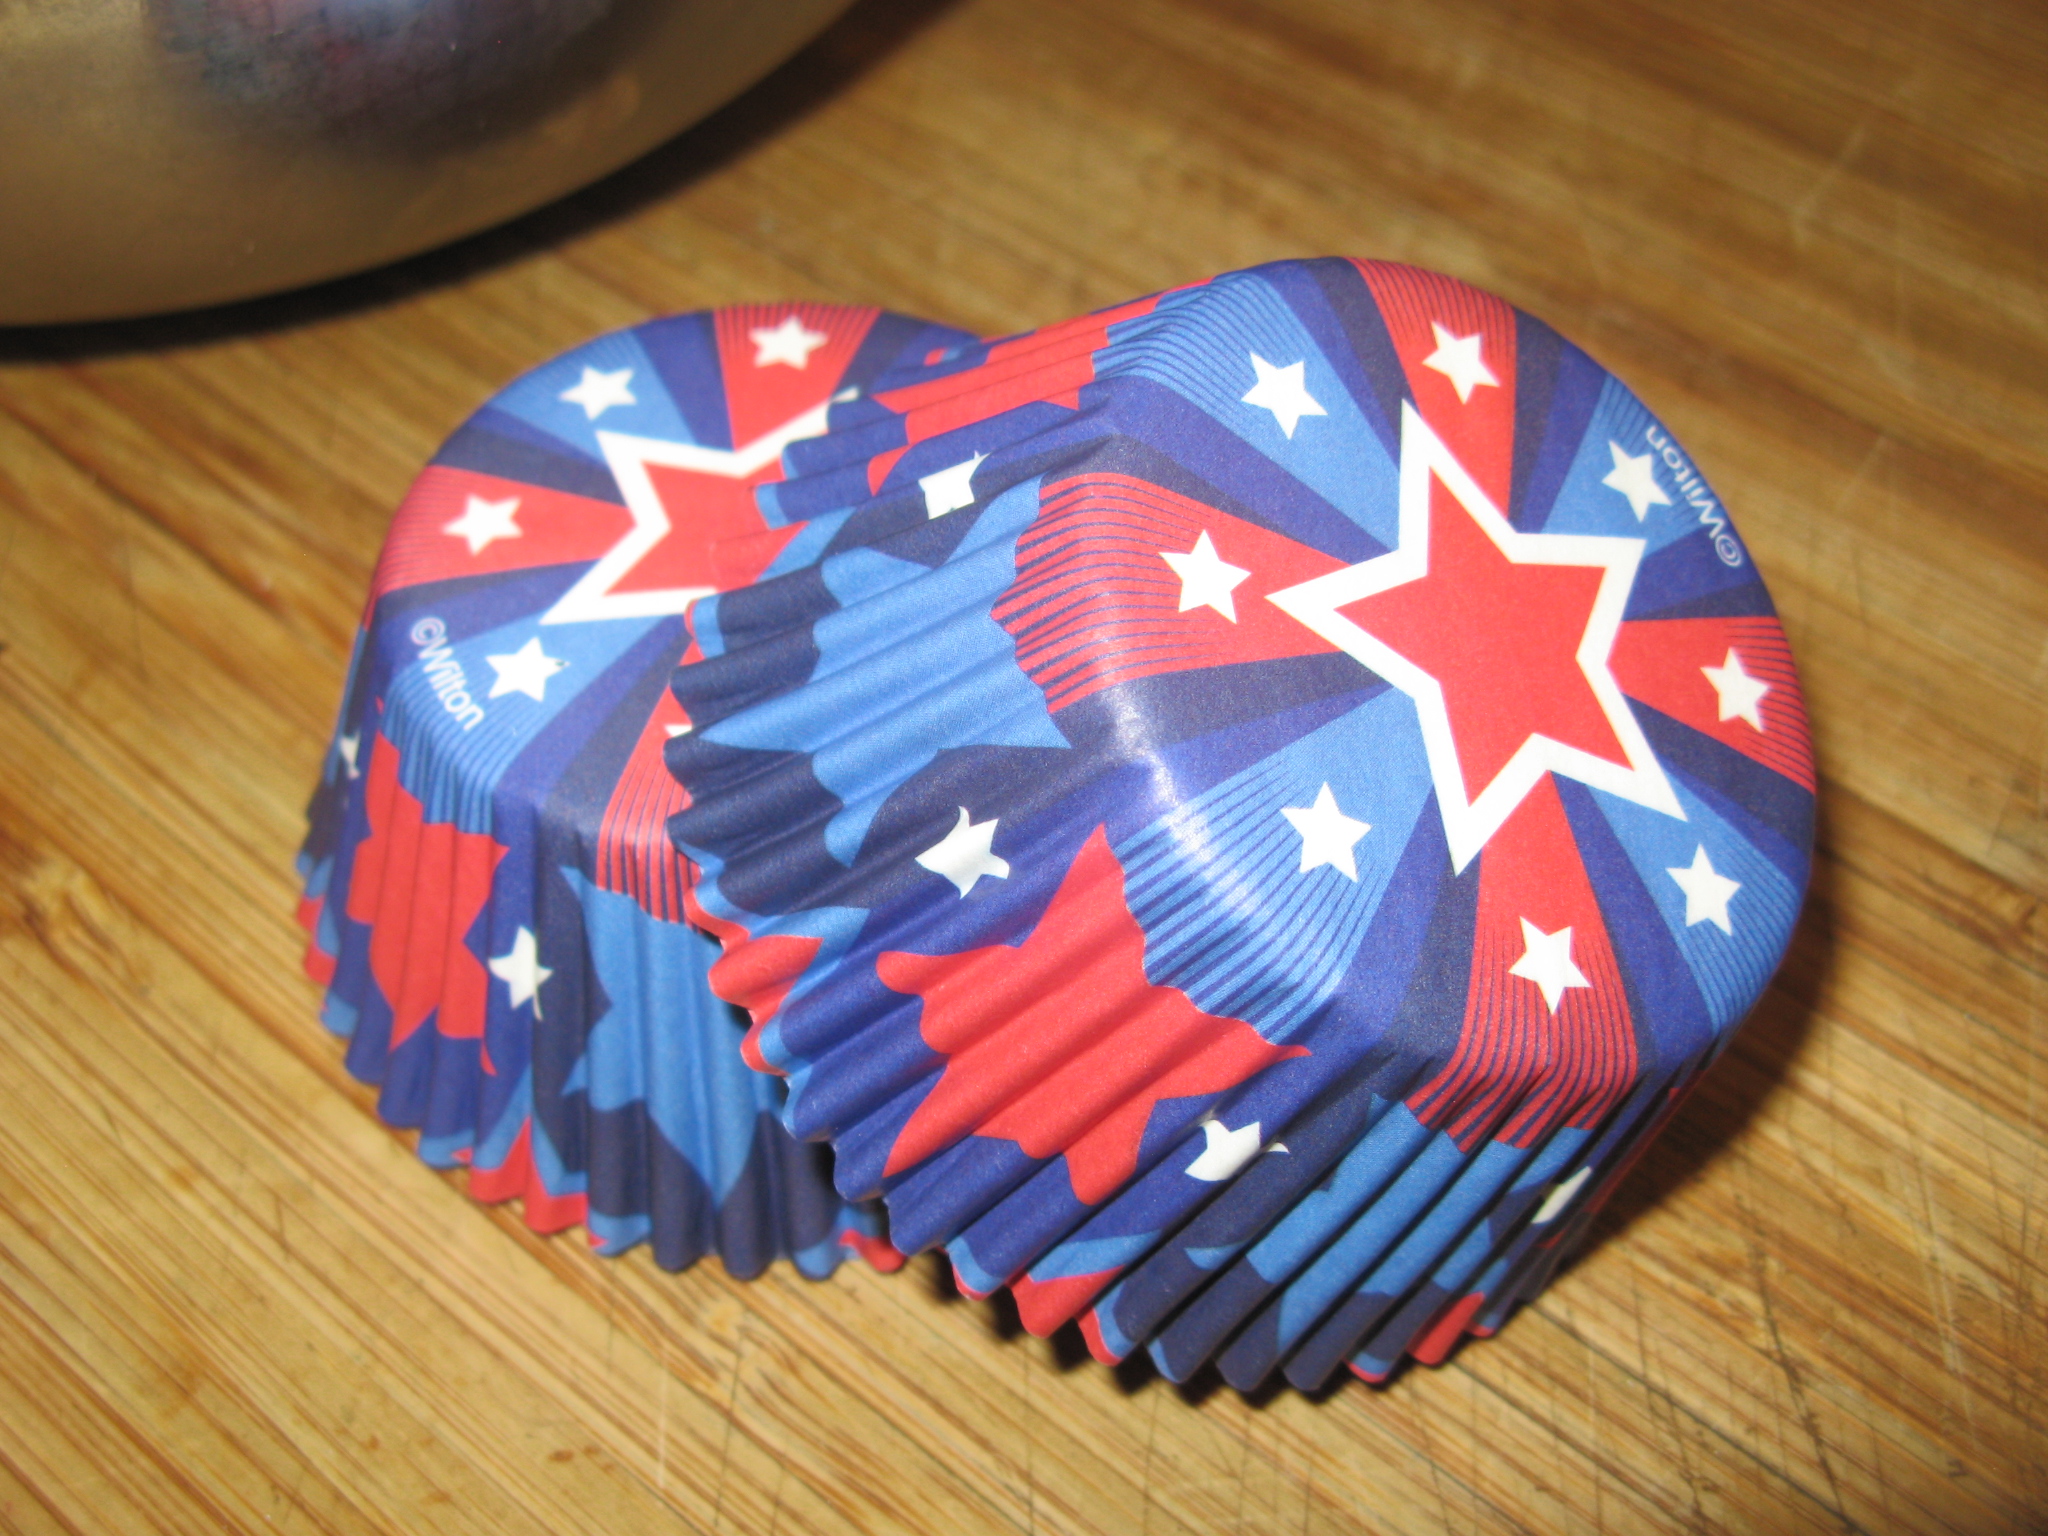
I then used an ice cream scoop – I find it’s always the perfect size for scooping cupcake batter – to fill patriotic themed cupcake liners.
IMG_4297 IMG_4298
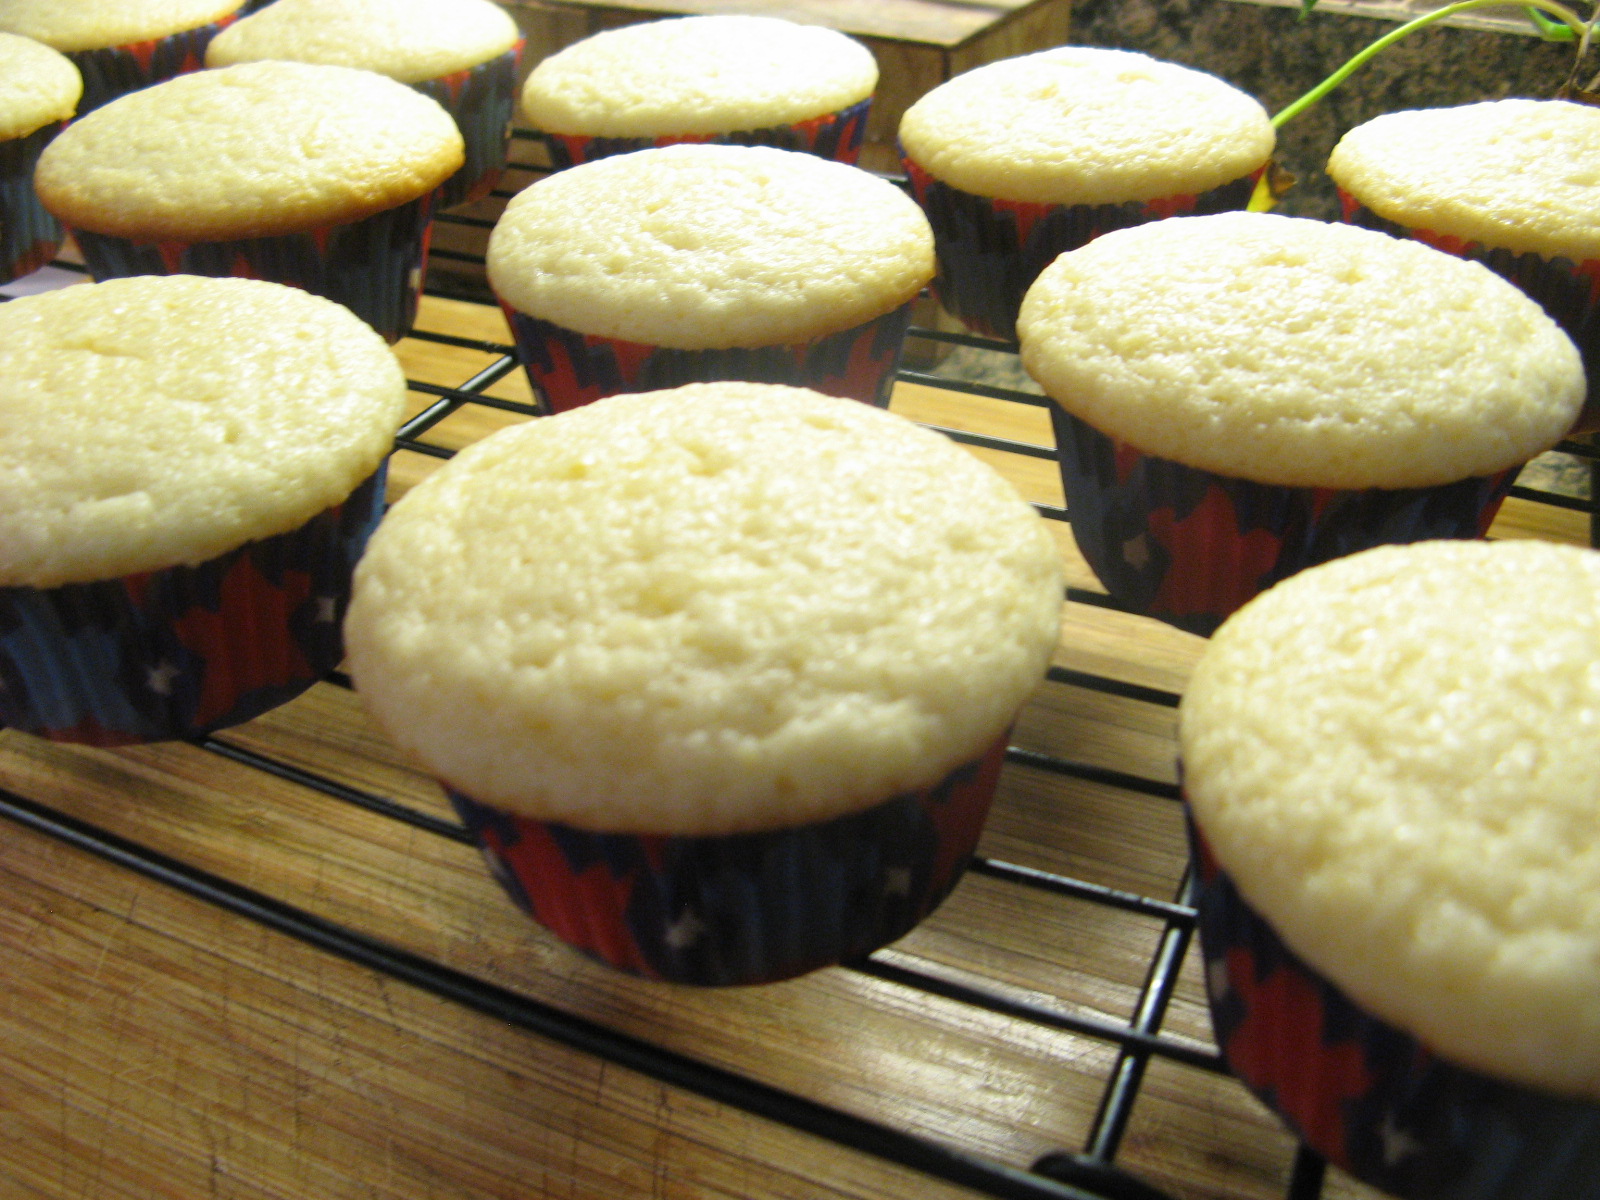
I then baked them in a 350 F preheated oven for 20 minutes – rotating the tins halfway through. After letting the cupcakes cool for a few minutes in the pan I removed them and let them cool completely on a wire rack.
IMG_4307 IMG_4310
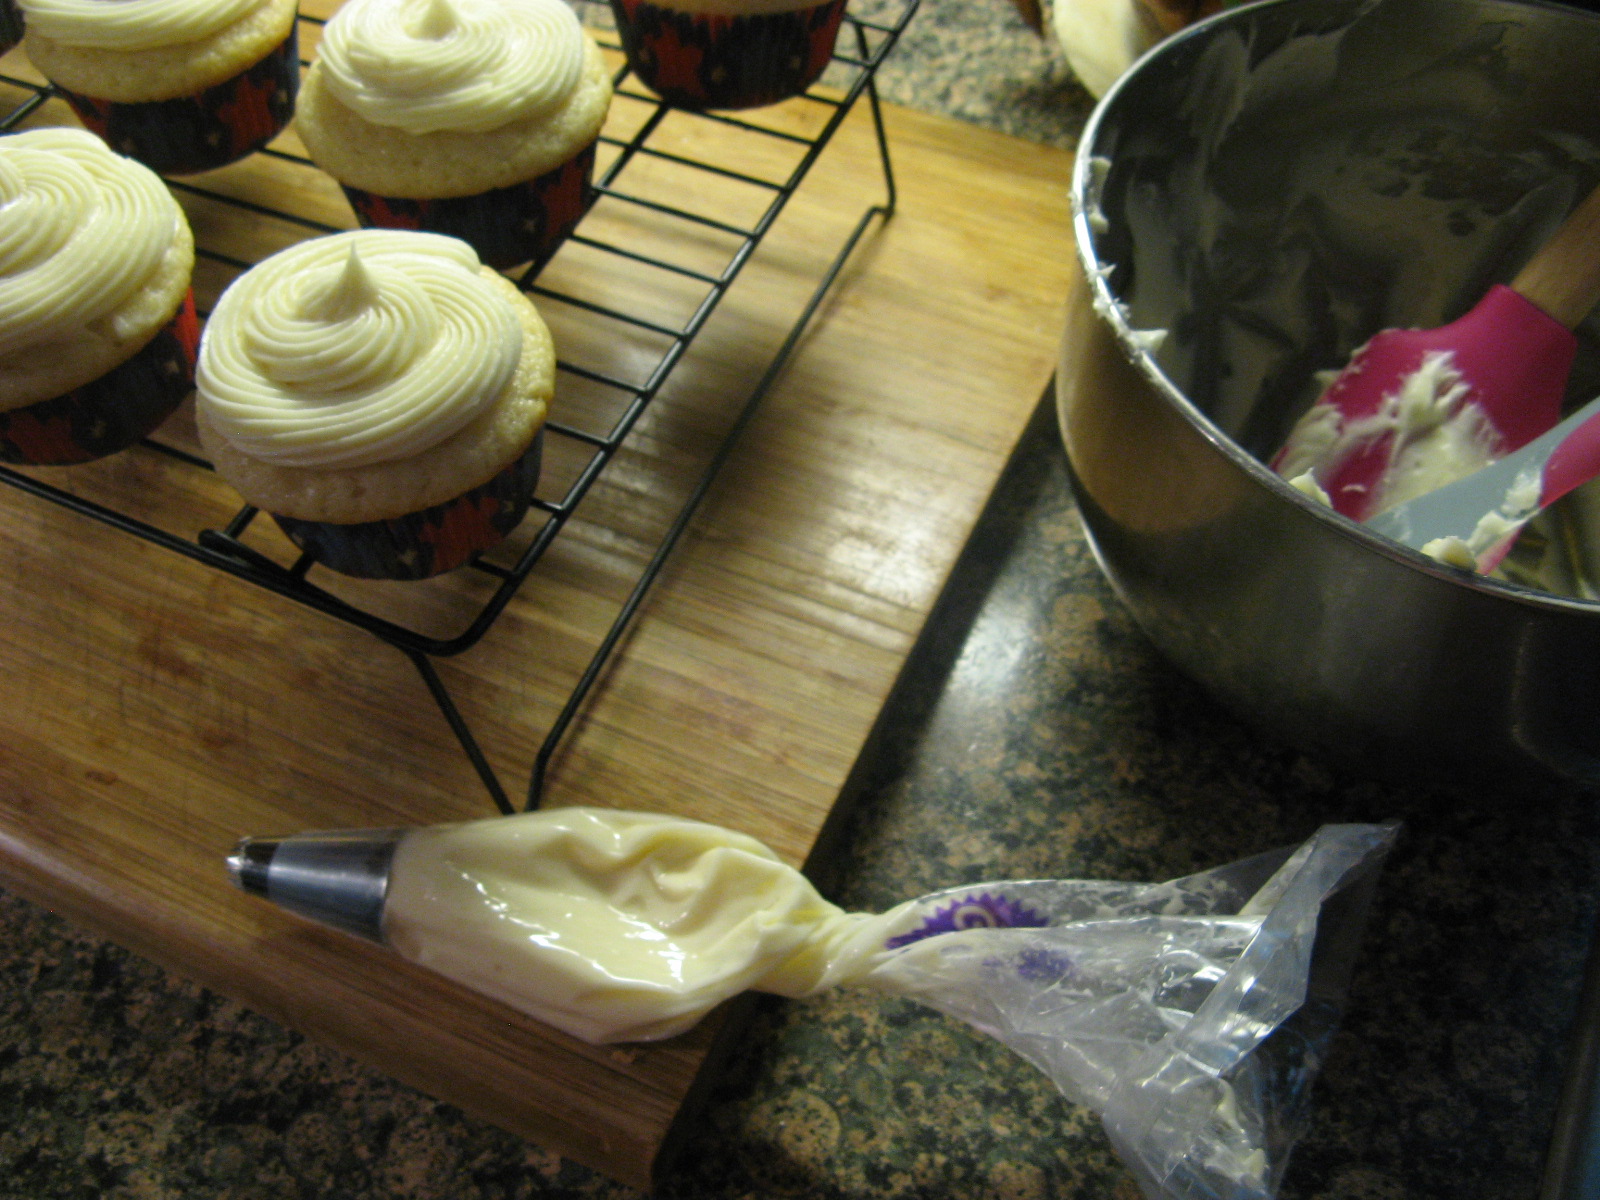
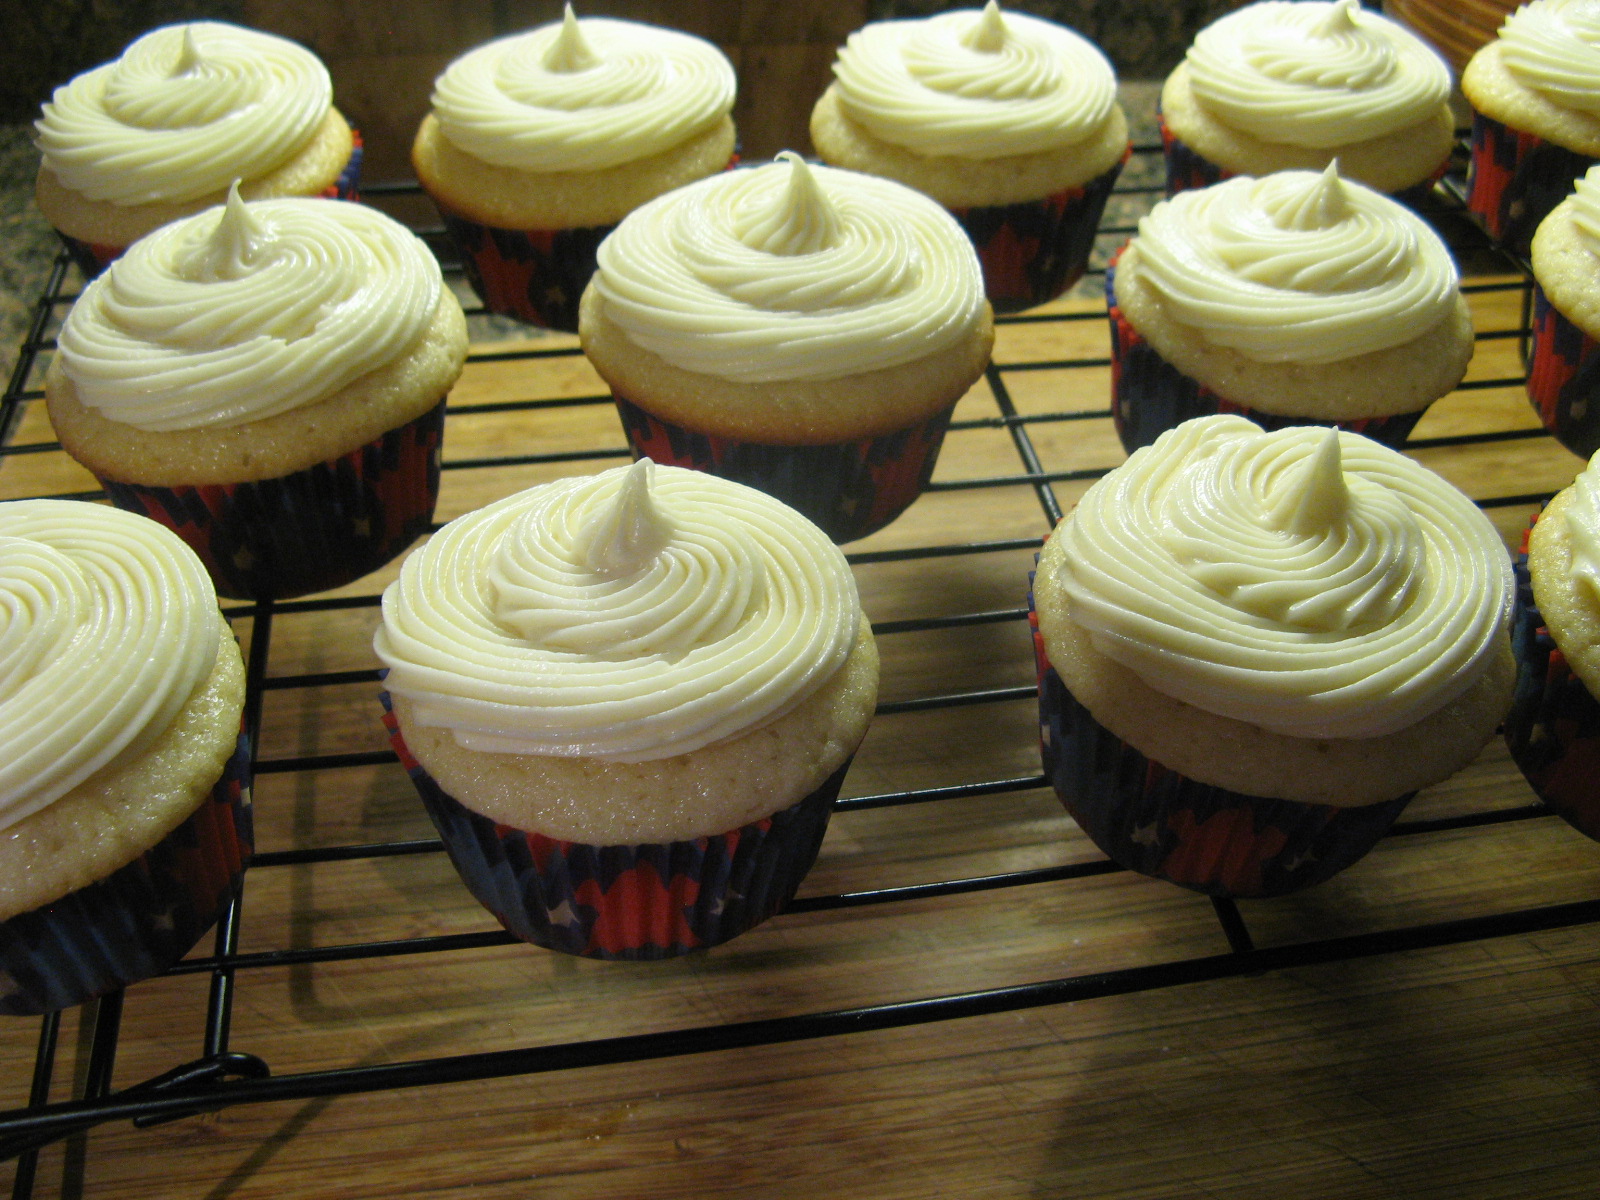
I then whipped up a batch of Cream Cheese Frosting and used a large open star tip to pipe the frosting onto the cupcakes.
IMG_4311
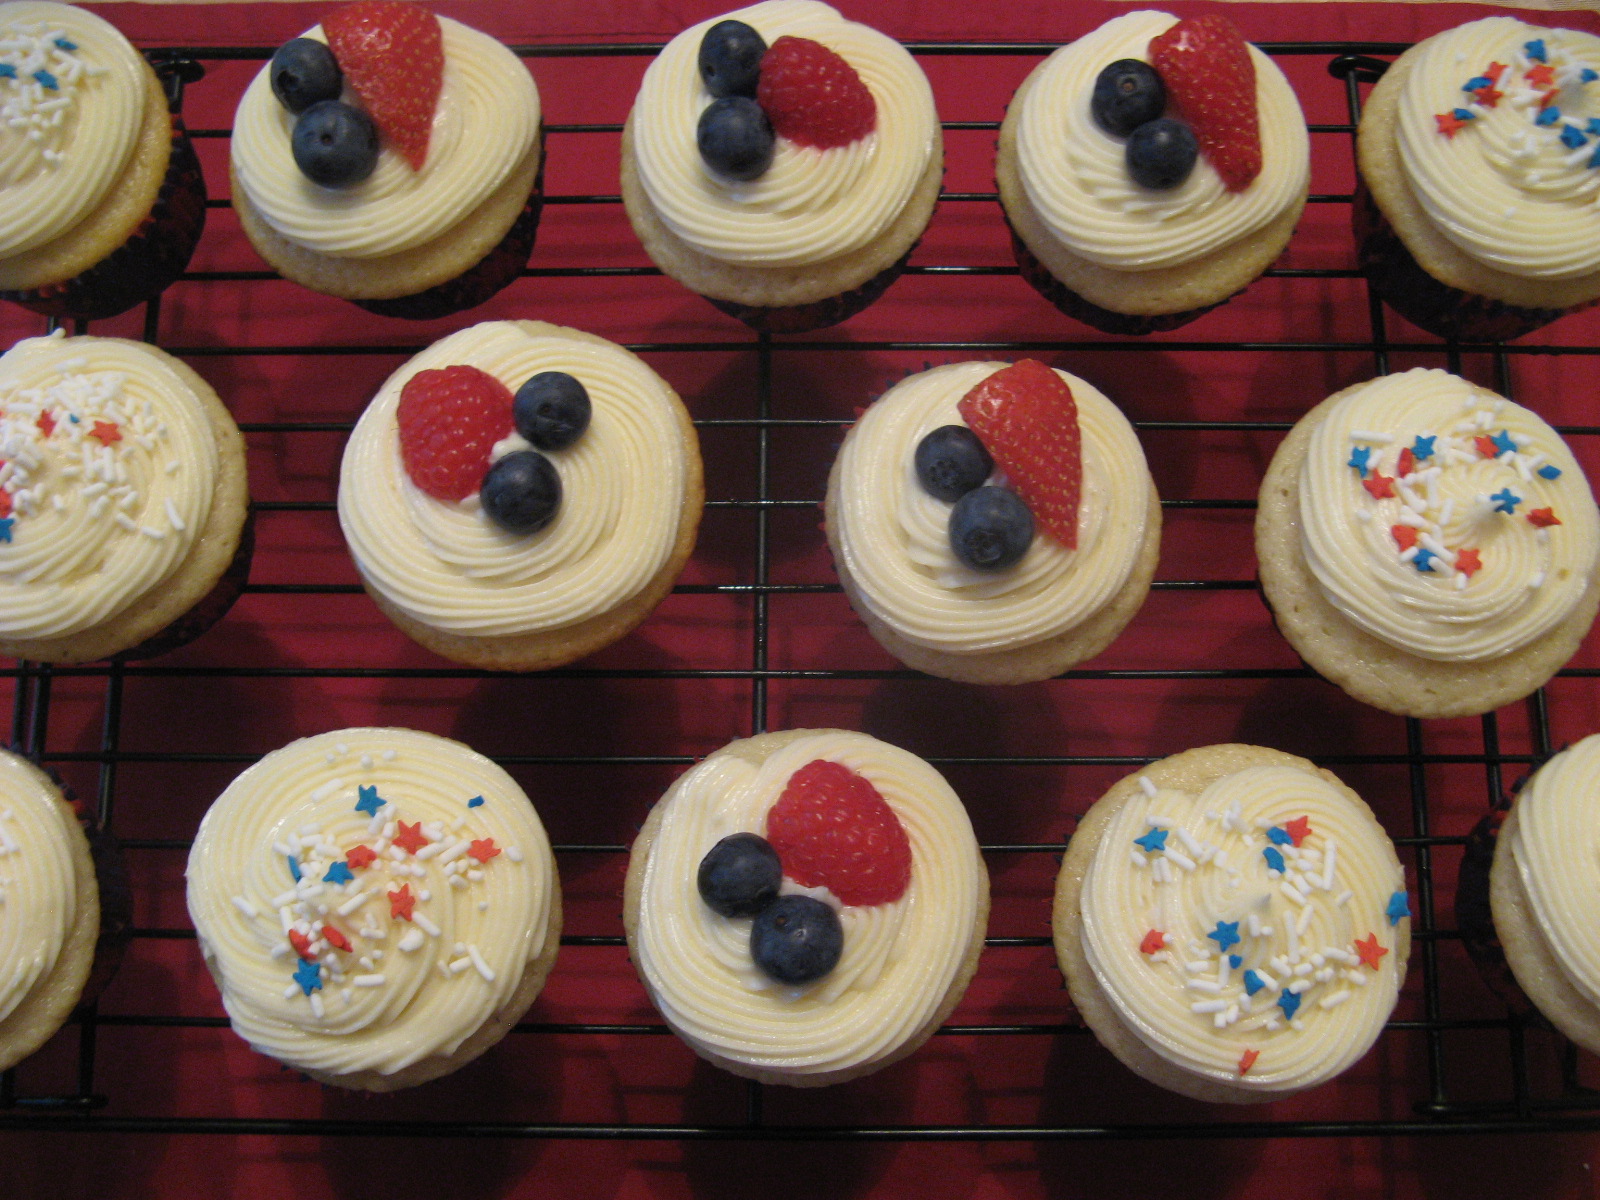
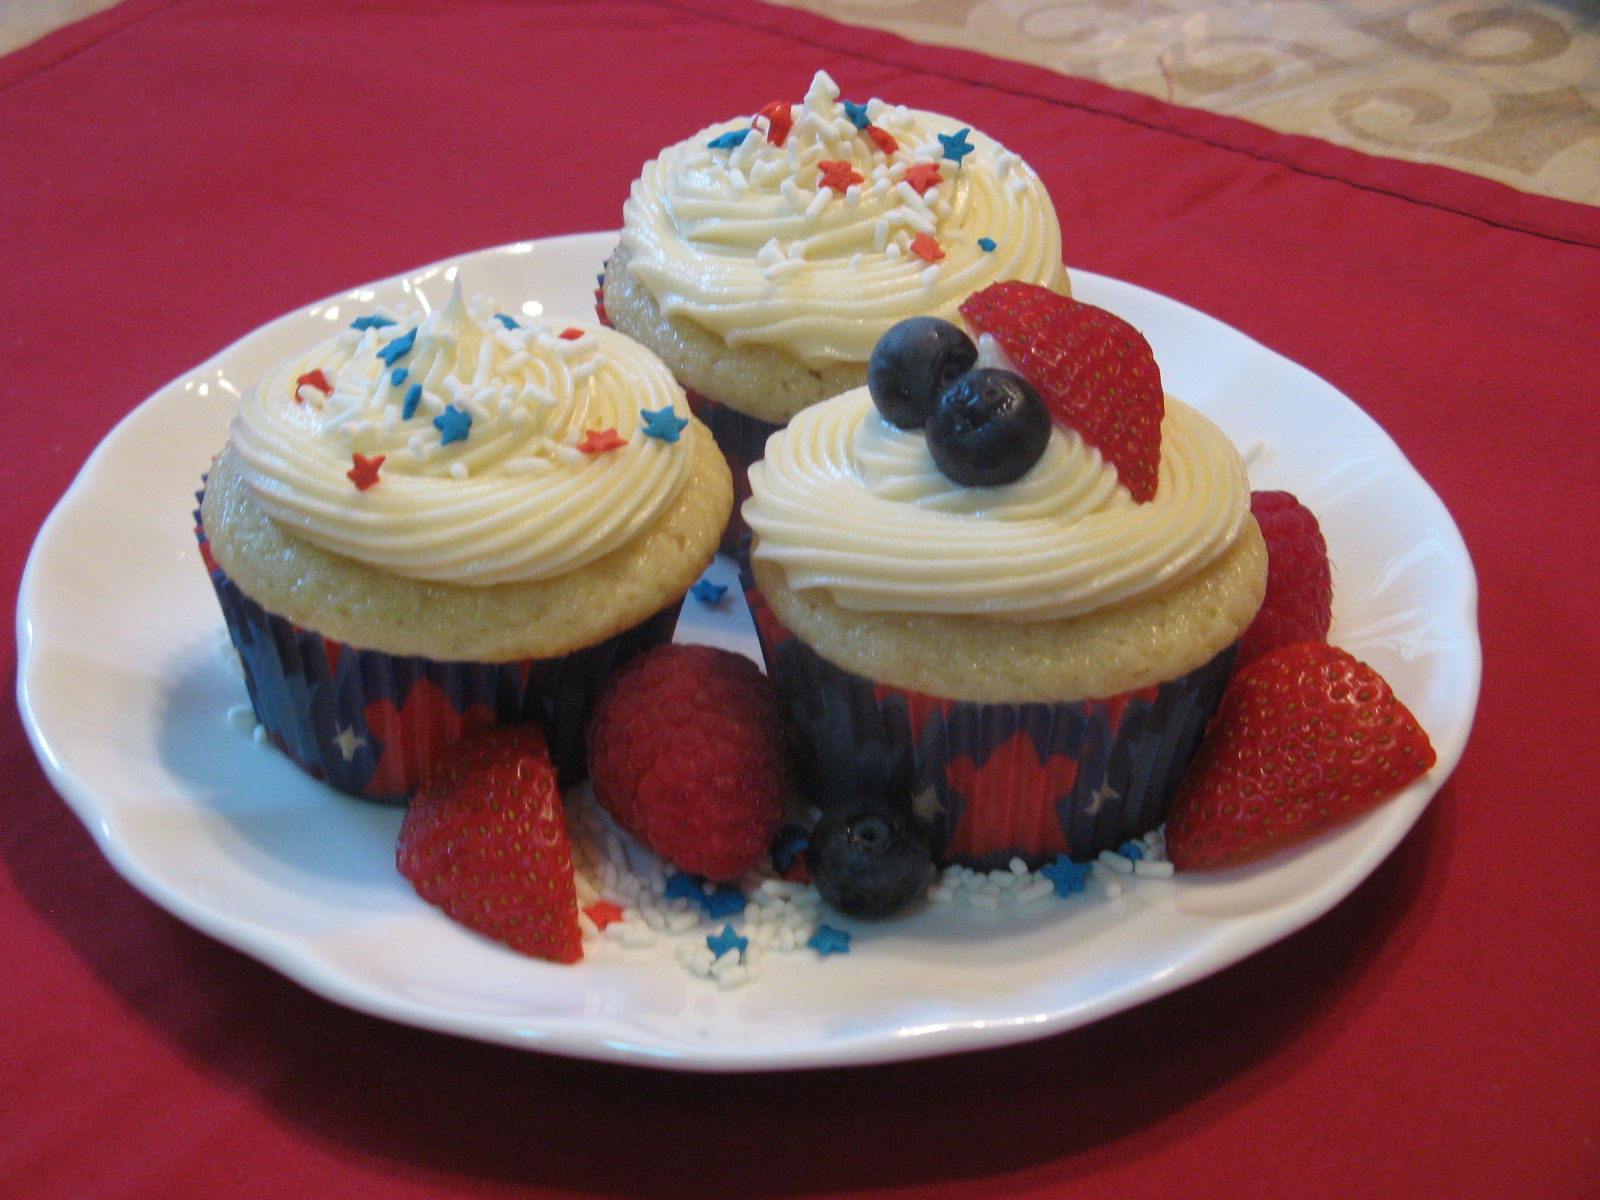
And since these were patriotic themed cupcakes I added some red and blue with stars and stripes sprinkles, blueberries and strawberries and blueberries and raspberries.
IMG_4353
Final verdict… Lemon & Cream Cheese are a winning combination!
IMG_4330

Lemon Buttermilk Cupcakes – adapted from here

Makes 14 Cupcakes

Ingredients:

1/2 cup canola oil

2 cups all-purpose flour, spooned and leveled

2 teaspoons baking powder

1/2 teaspoon kosher salt

1 1/2 cups sugar

3/4 cup buttermilk

2 large eggs

1 tablespoon finely grated lemon

1/4 cup lemon juice

1/2 teaspoon vanilla extract

Directions:

1. Heat oven to 350 F. Line a cupcake tin with paper liners.

2. In a large bowl, whisk together the flour, baking powder and salt; set aside

3. In a medium bowl, whisk together the oil, sugar, buttermilk, eggs, lemon zest and juice. Add to the dry ingredients.

4. Divide the batter evenly among the lined cups and bake until a cake tester comes out clean, about 20 minutes, rotating the tins halfway through.

5. Cool the cupcakes in the tins on a wire rack for a few minutes and then remove them and let them cool completely on the wire rack.

6. Frost and enjoy!


Cream Cheese Frosting

Ingredients:

8oz. cream cheese, room temperature

1/2 cup (1 stick) unsalted butter, room temperature

2 cups Confectioners’ sugar, sifted

1 teaspoon vanilla extract

Directions:

1. Cream together the cream cheese and butter with an electric mixer

2. With the mixer on low speed add the confectioners’ sugar 1 cup at a time until smooth and creamy

3. Beat in the vanilla extract

Bead & Yarn Project Round-Up

Hope you all had a good weekend! So, as of late most of my posts have mainly been focused on the “spatula” part of the title of my blog, but, I definitely haven’t forgotten about the “bead” nor the “yarn” part. Hence the Bead & Yarn Project Round-Up title of this post. I tend to work on these projects without taking the time to take pictures of the process or the progress so today I will be sharing with you pictures of the final product.
 
Up first two yarn projects…
 
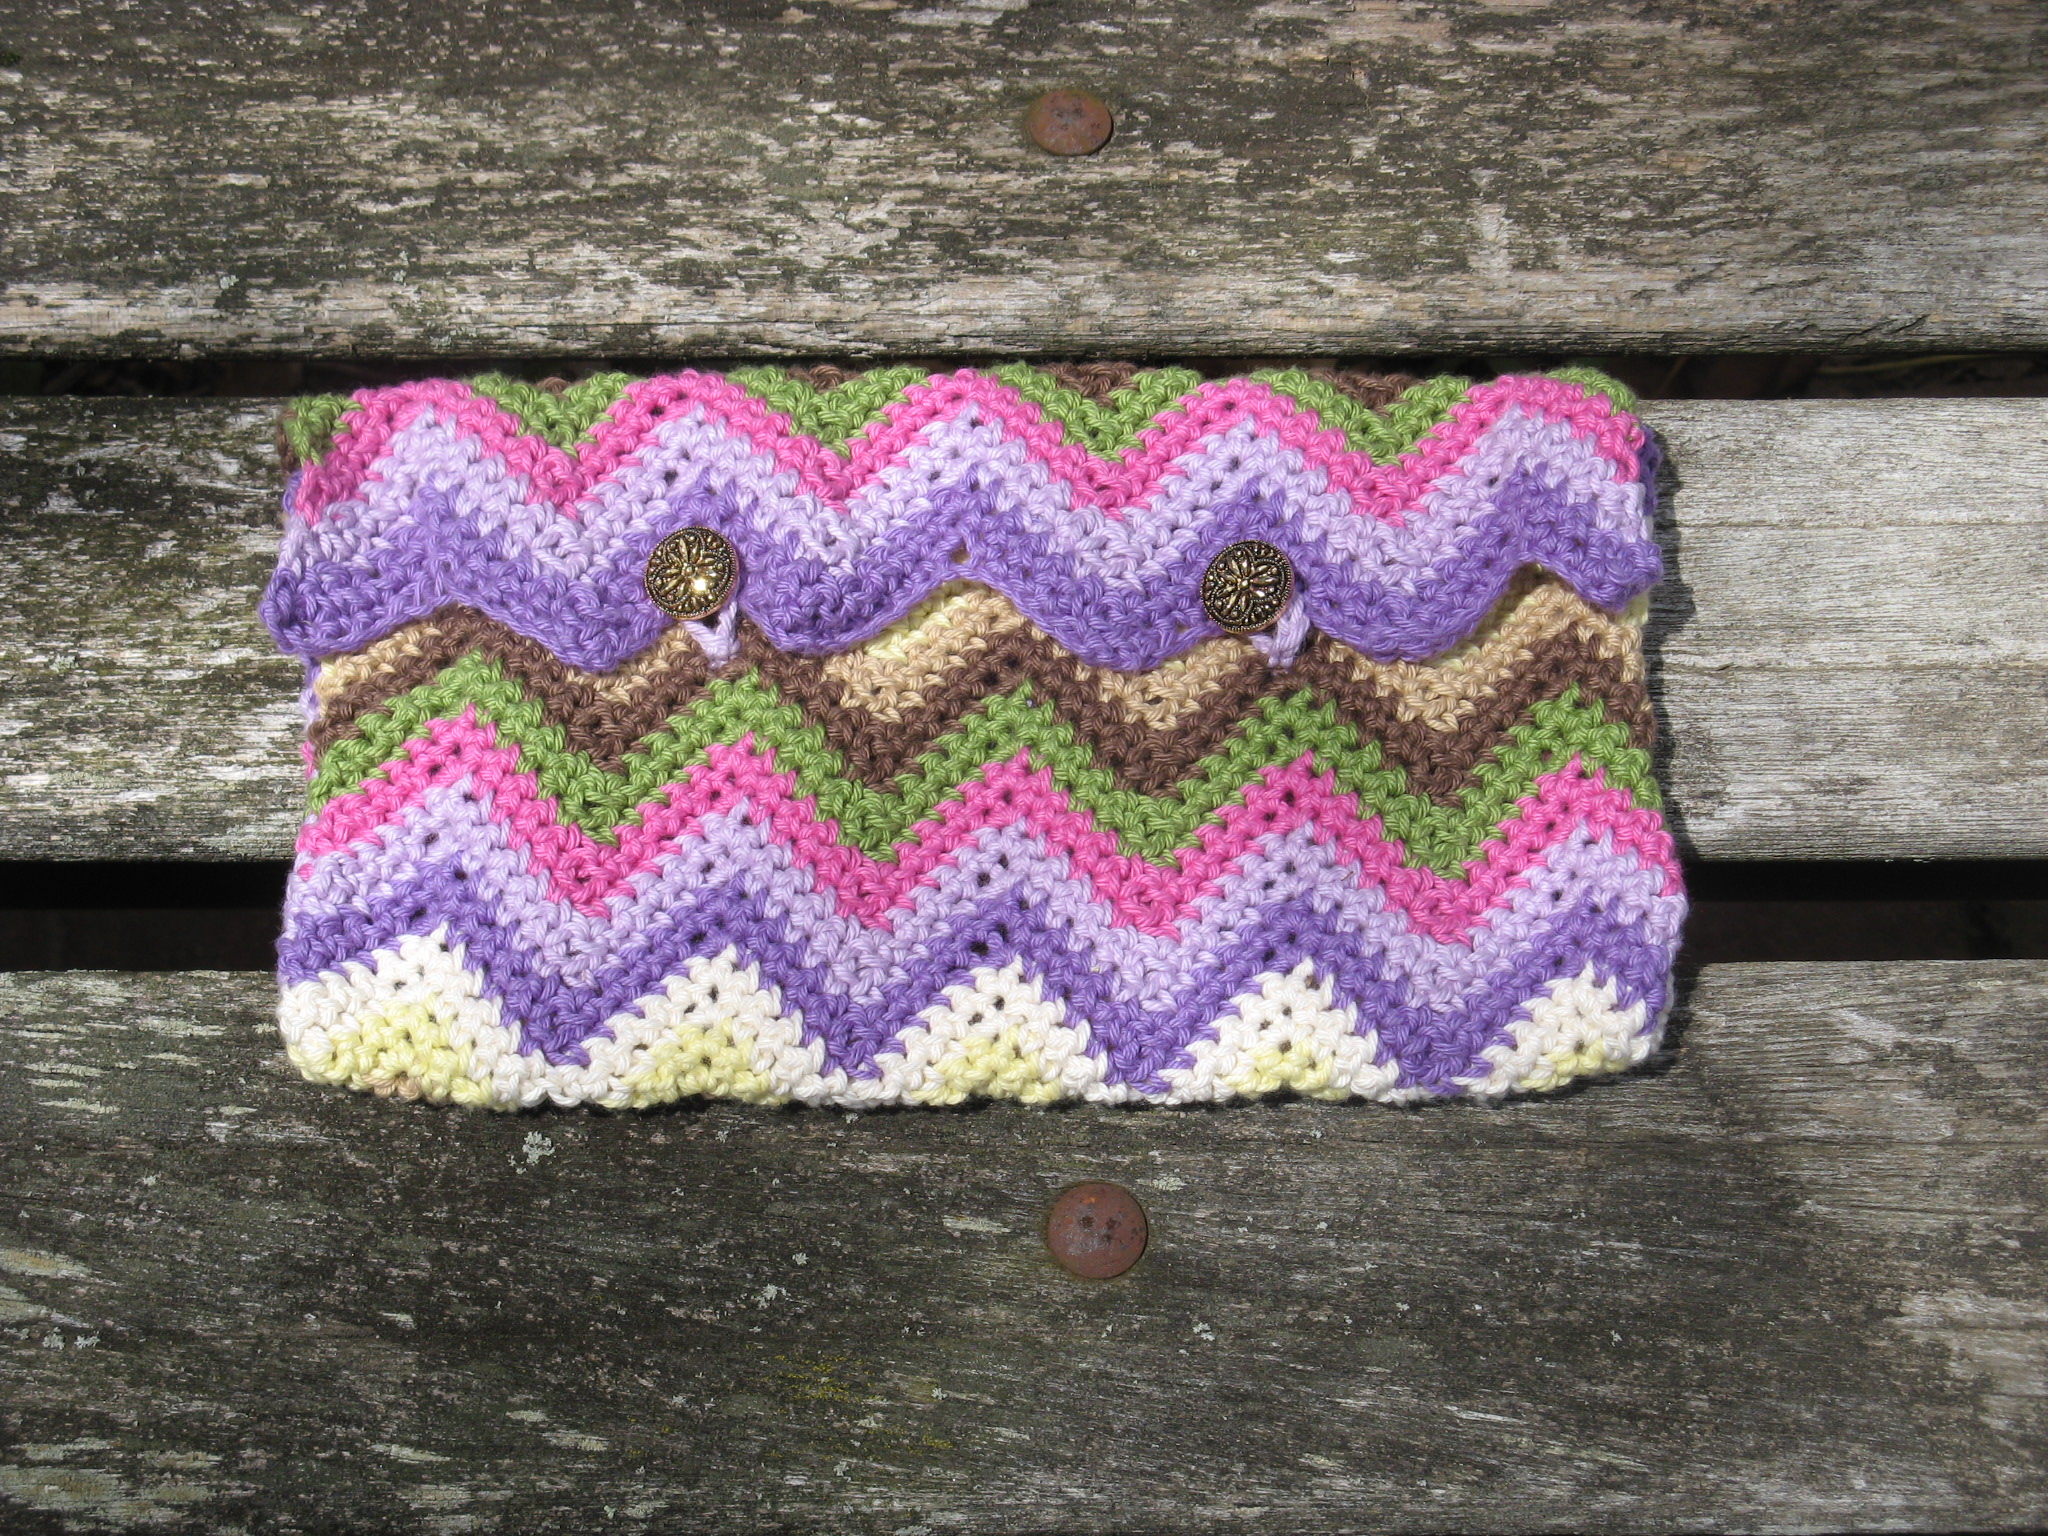
This is a clutch I crocheted following the Candy Color Clutch pattern from Lion Brand Yarn using their Bonbons Yarn in Nature. While the pattern called for using simple buttons that would need a crocheted button cover, I opted to add a little pizazz to the clutch and used gold-toned buttons instead. The pattern was super simple to follow, but, I did find it a little annoying to change the color of the yarn every two rows, but, the final look was worth that extra work.
 IMG_3318
Up next, a baby blanket. The Dreamy Lace Baby Throw – also a Lion Brand Yarn pattern – which I used Pound of Love yarn (also from Lion Brand) in Honey Bee. This pattern was also quick and easy to follow, the one thing that concerned me was adding the shell border, but luckily I was able to add it without incident.
IMG_3907

And now on to the bead pieces…

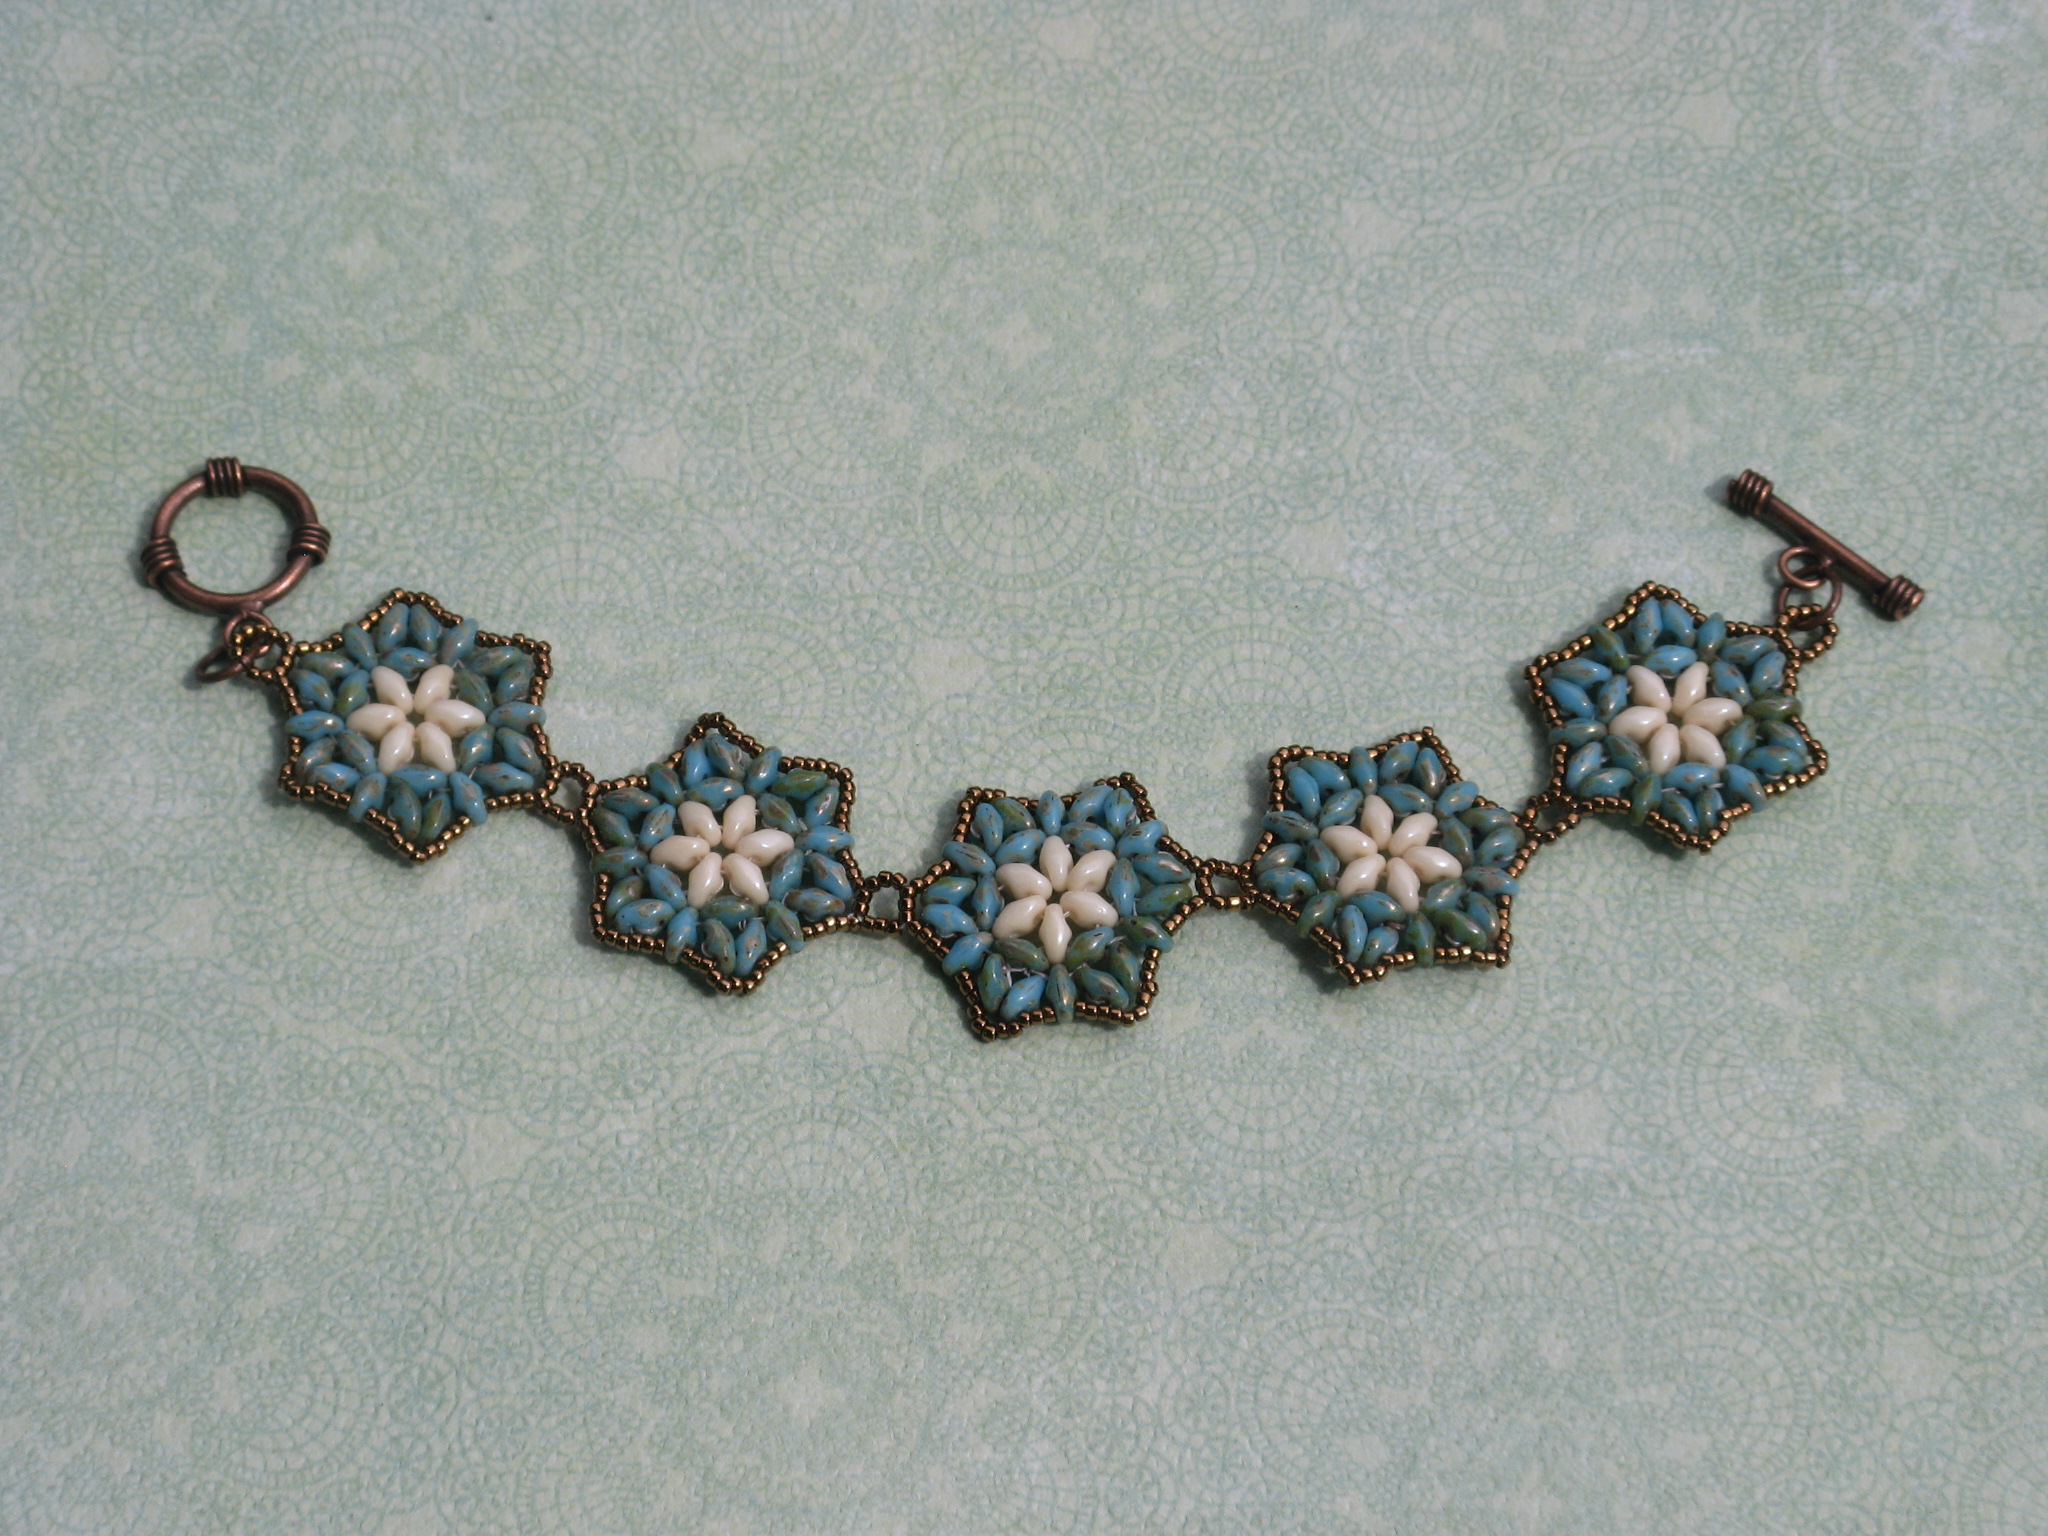
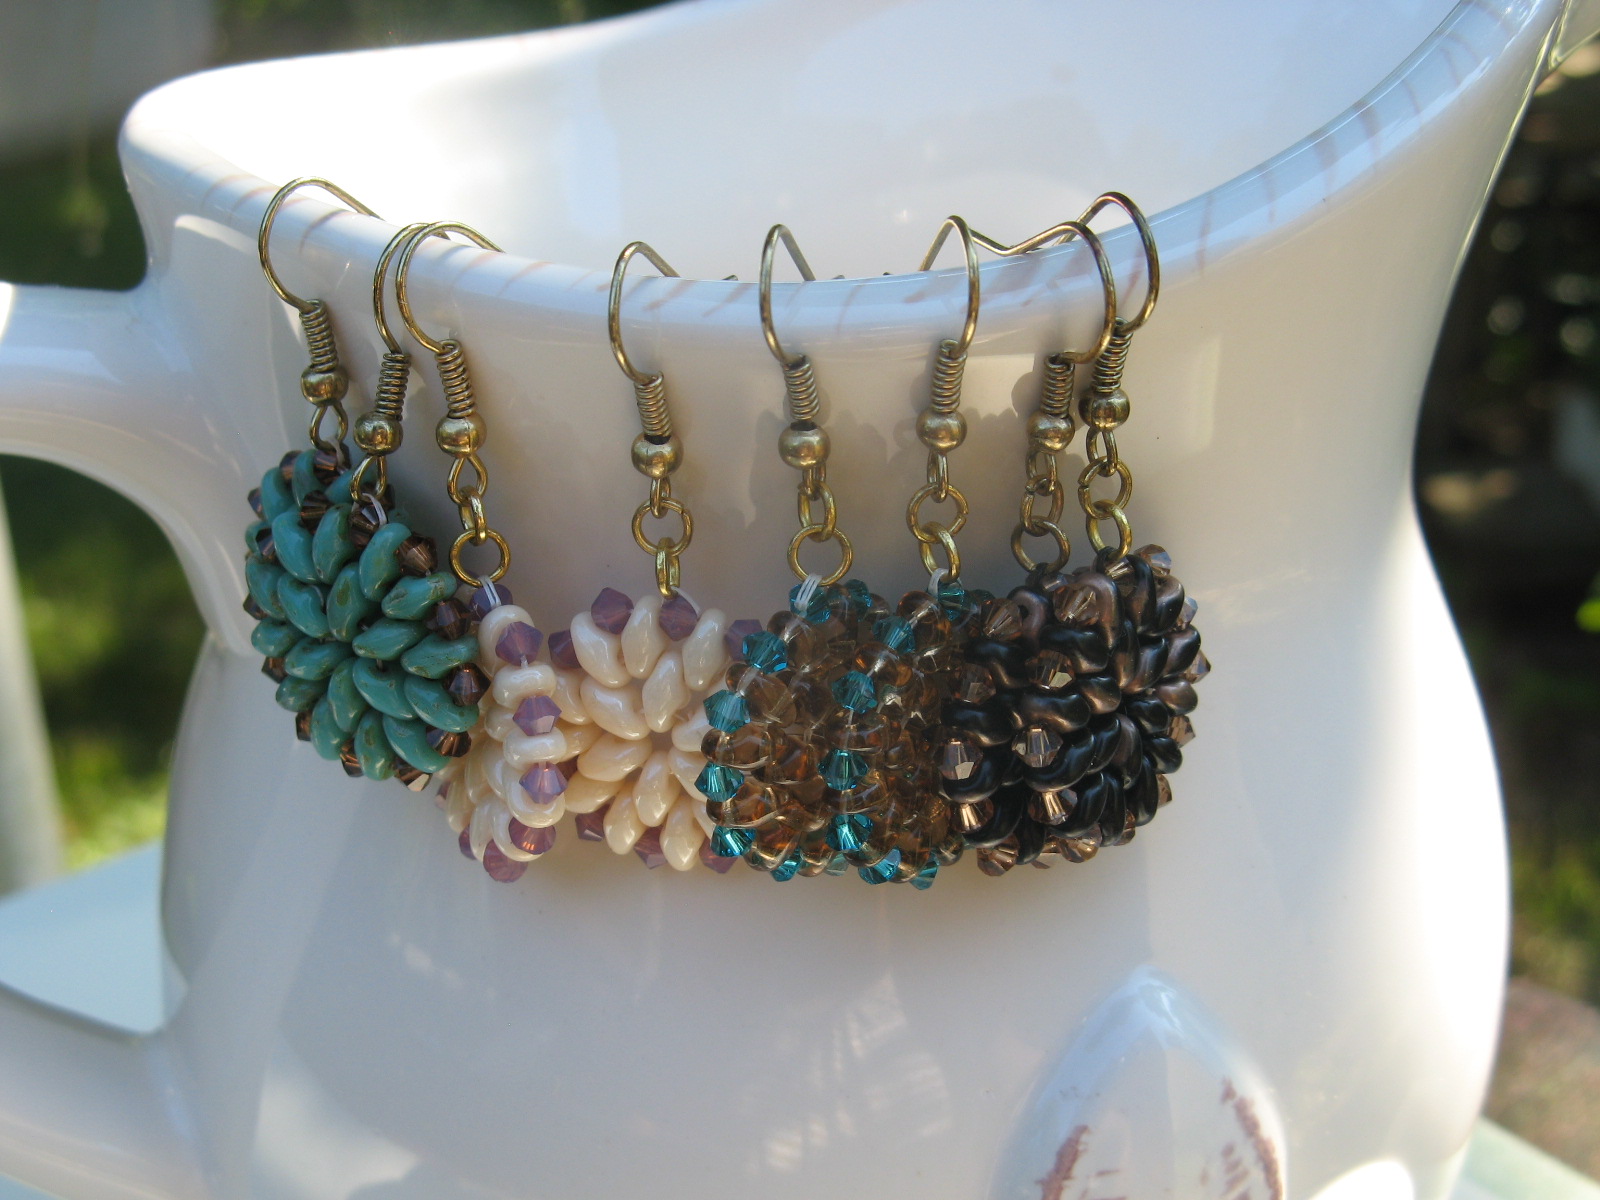
My new favorite beads to work with are SuperDuo beads. The beads have two-holes so you are able to create some pretty cool earring and bracelet designs.

Like this bracelet…

IMG_3662
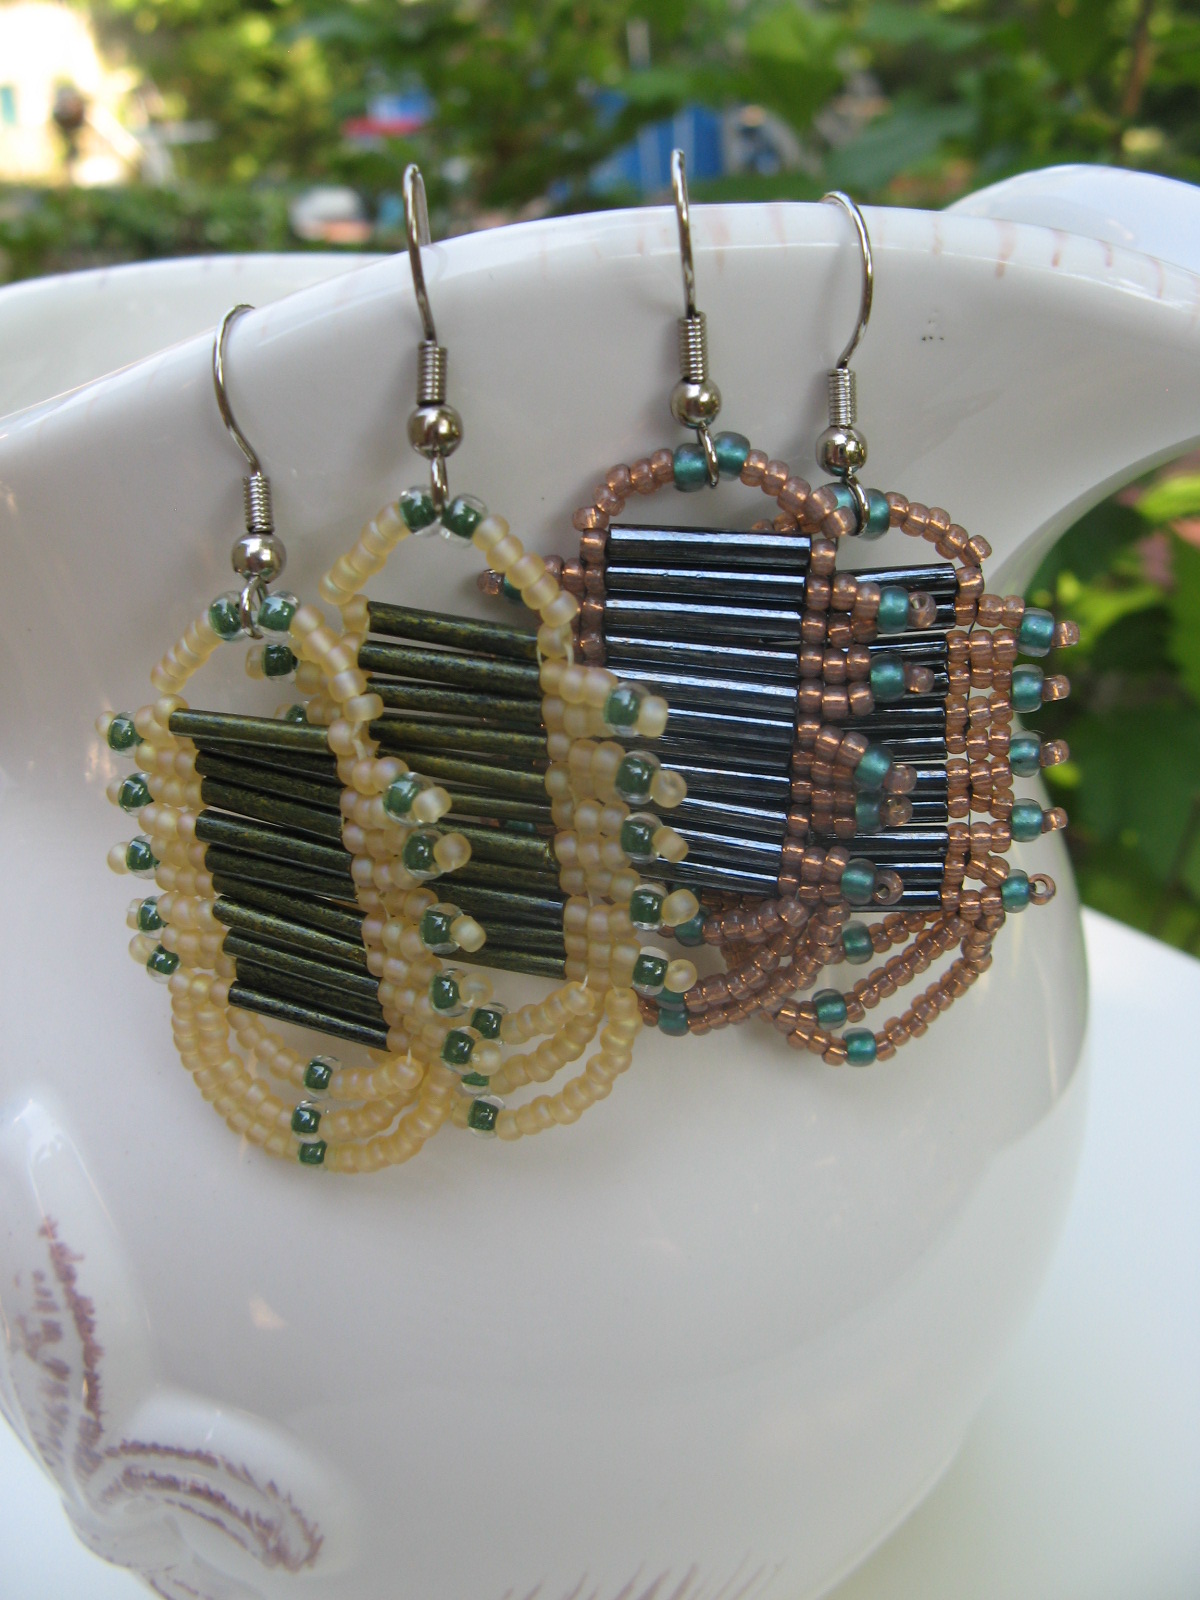
These earrings…
IMG_4113
Or this earring and bracelet set…
IMG_4038
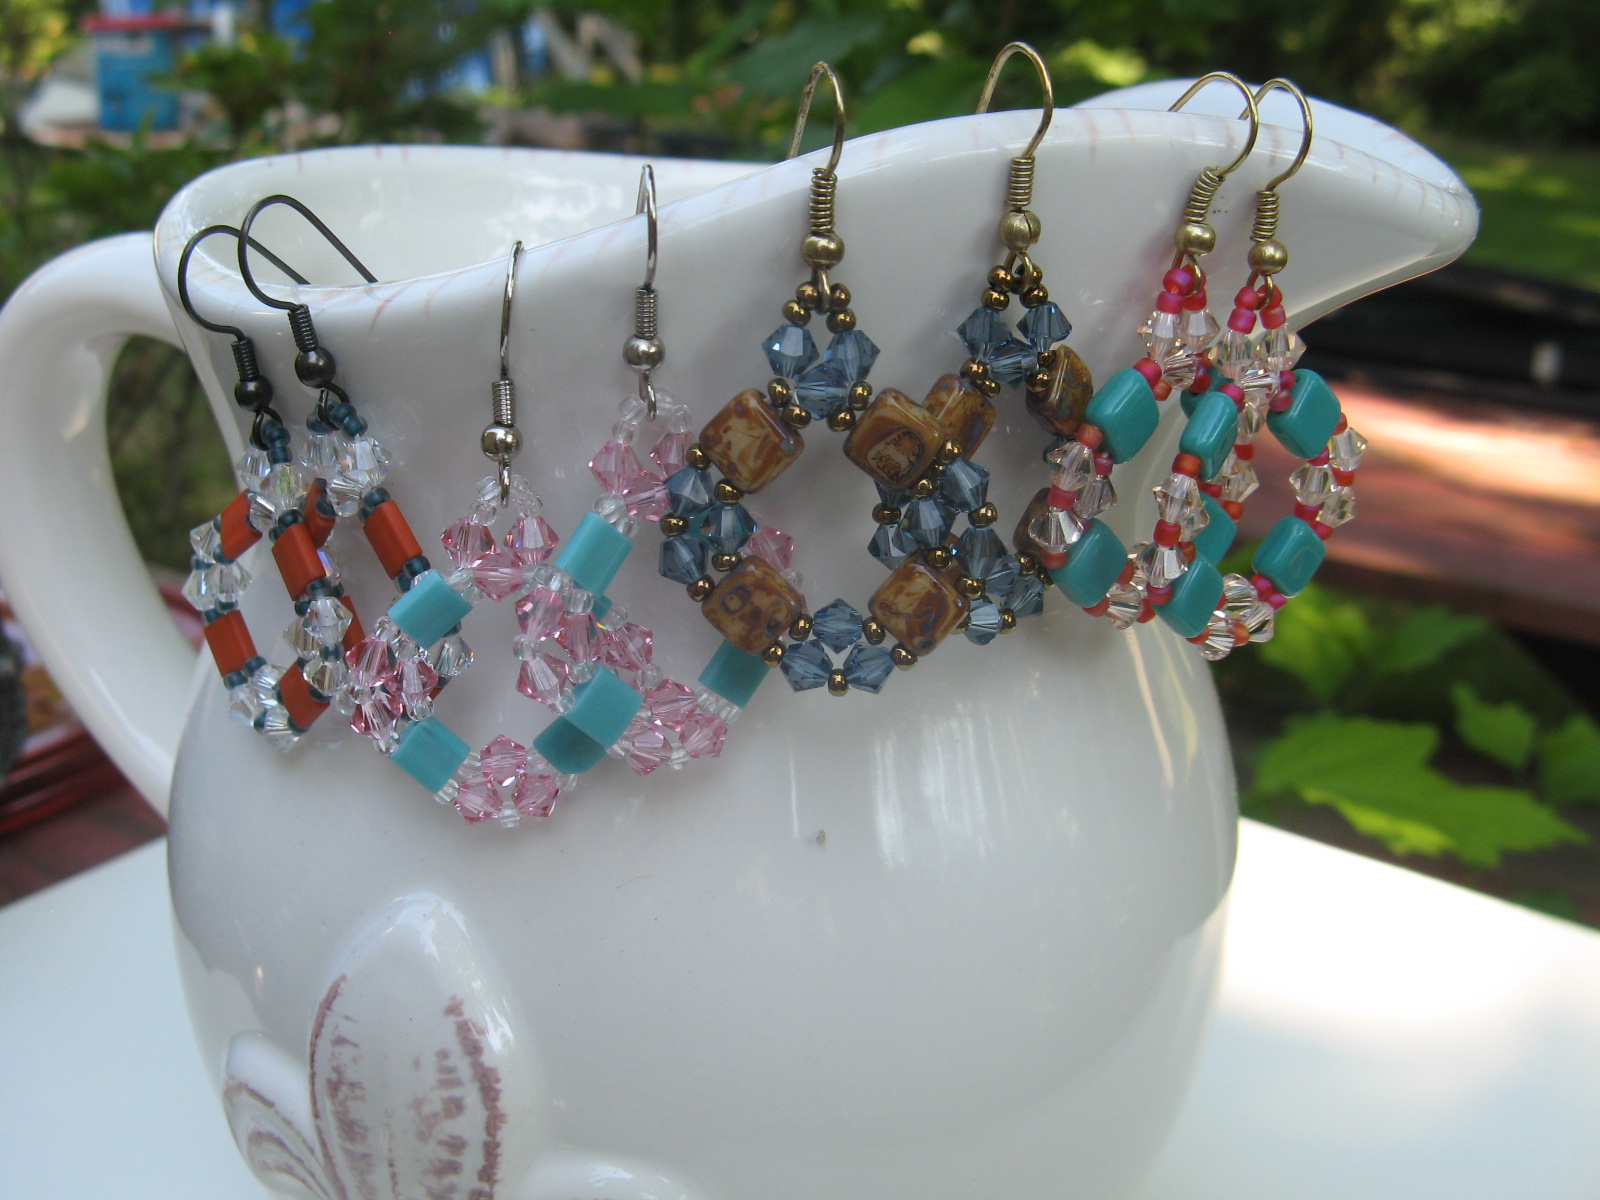
Another two-hole bead that’s been fun to work with are Tila beads and CzechMates Two-Hole Tile beads.
IMG_4059 IMG_3375
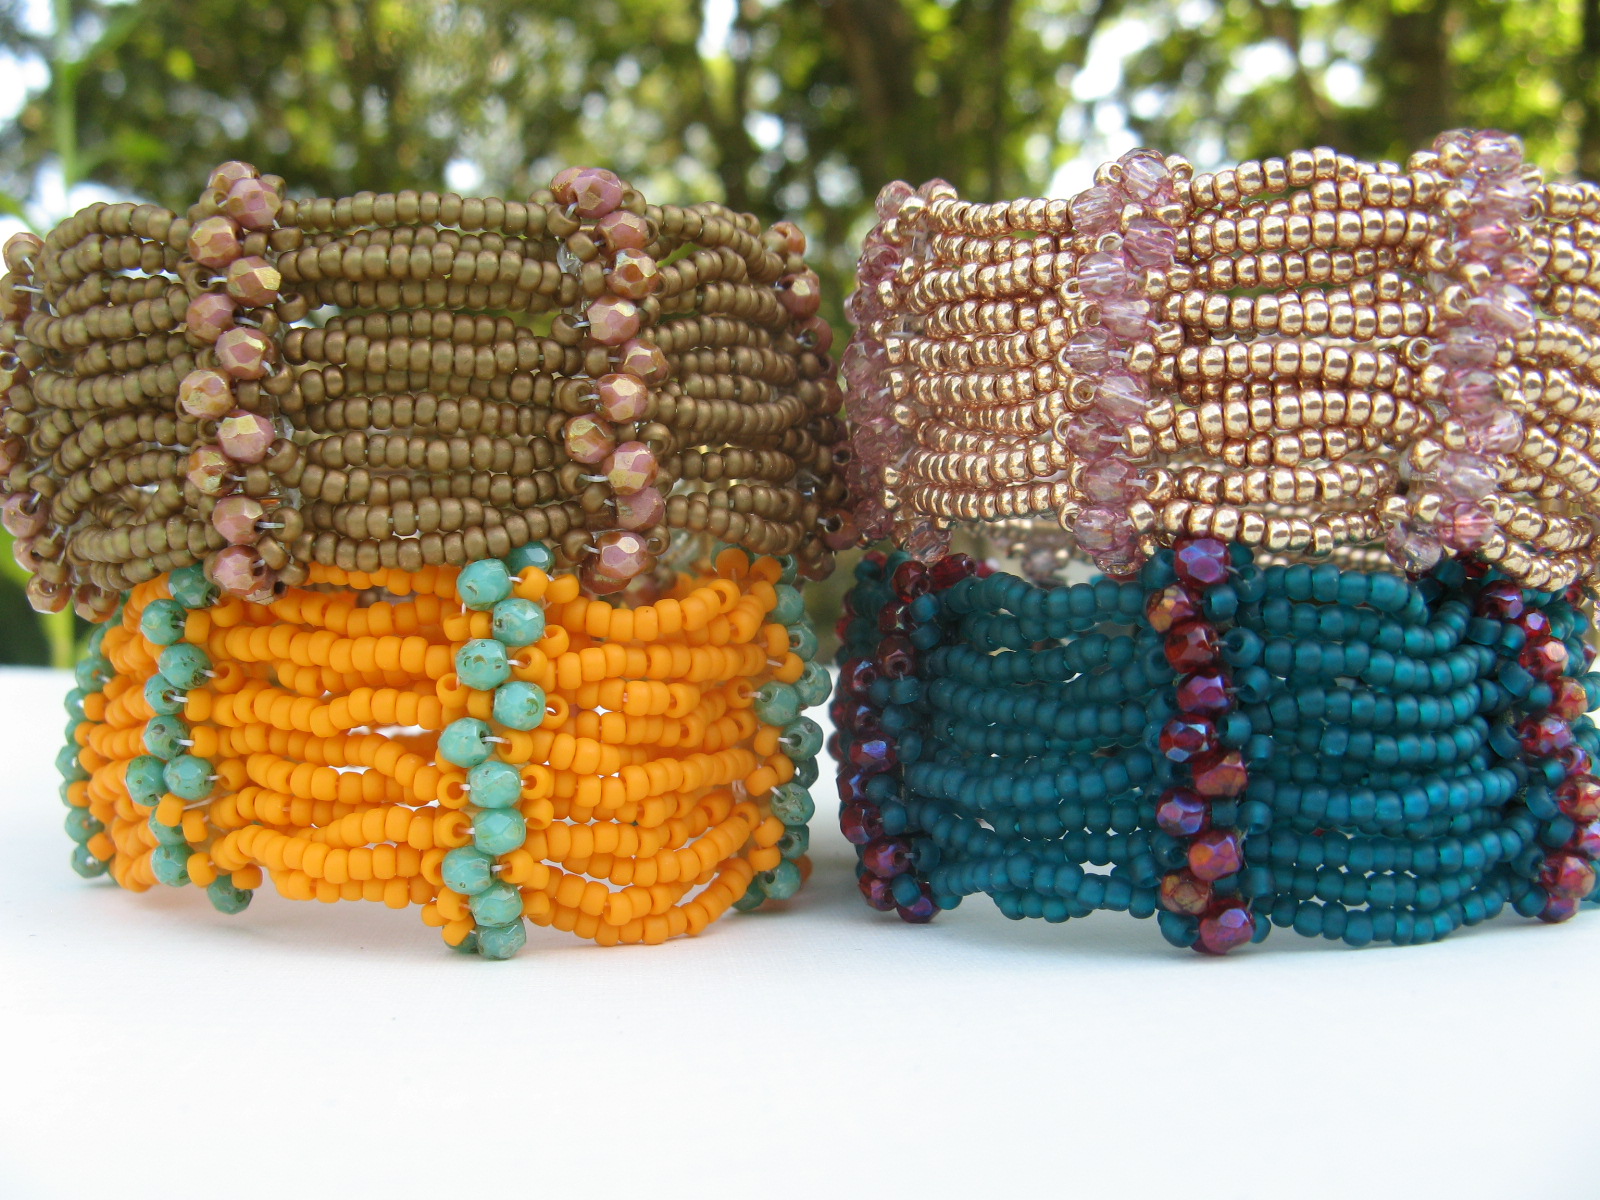
I’ve also finished a few crystal embellished seed bead bracelets. These are probably one of my favorite bracelets to make because even though they do require a bit of work to complete, you can play with all kinds of color combinations to create a very unique and original bracelet.
IMG_3529 IMG_4137
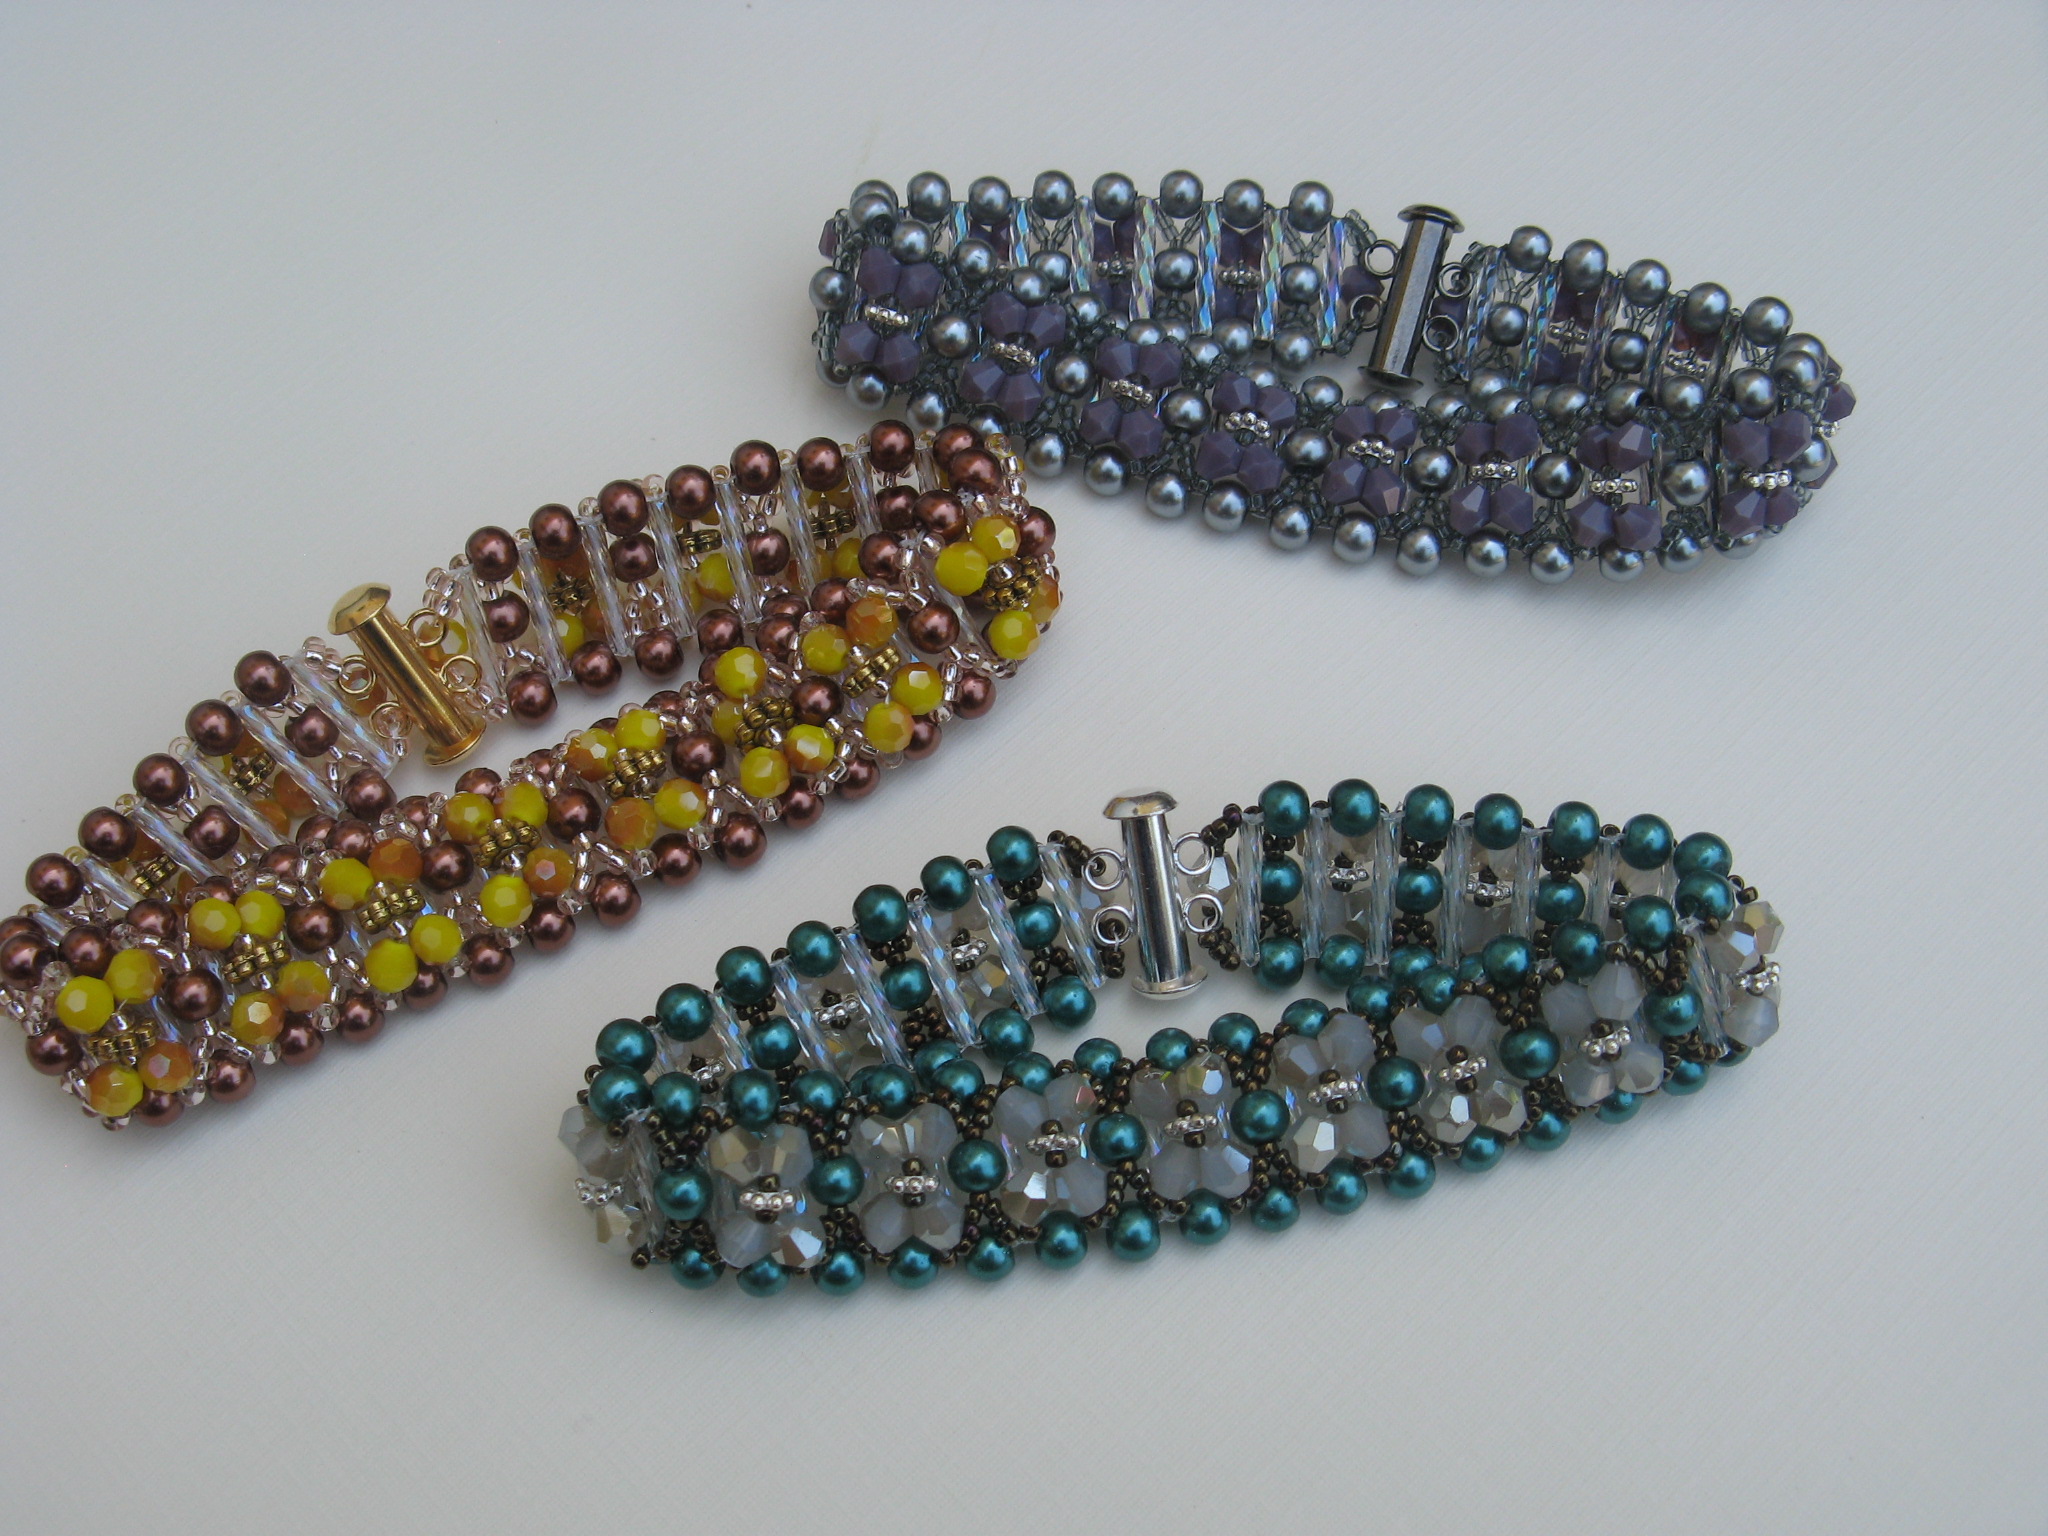
The cross-weave bracelet using bugle beads, pearls, seed beads and crystals.
IMG_3547
The same bracelet but with an embellished edge comprised of seed beads and drop beads.
IMG_3539
Some ladder stich earrings.
IMG_4076
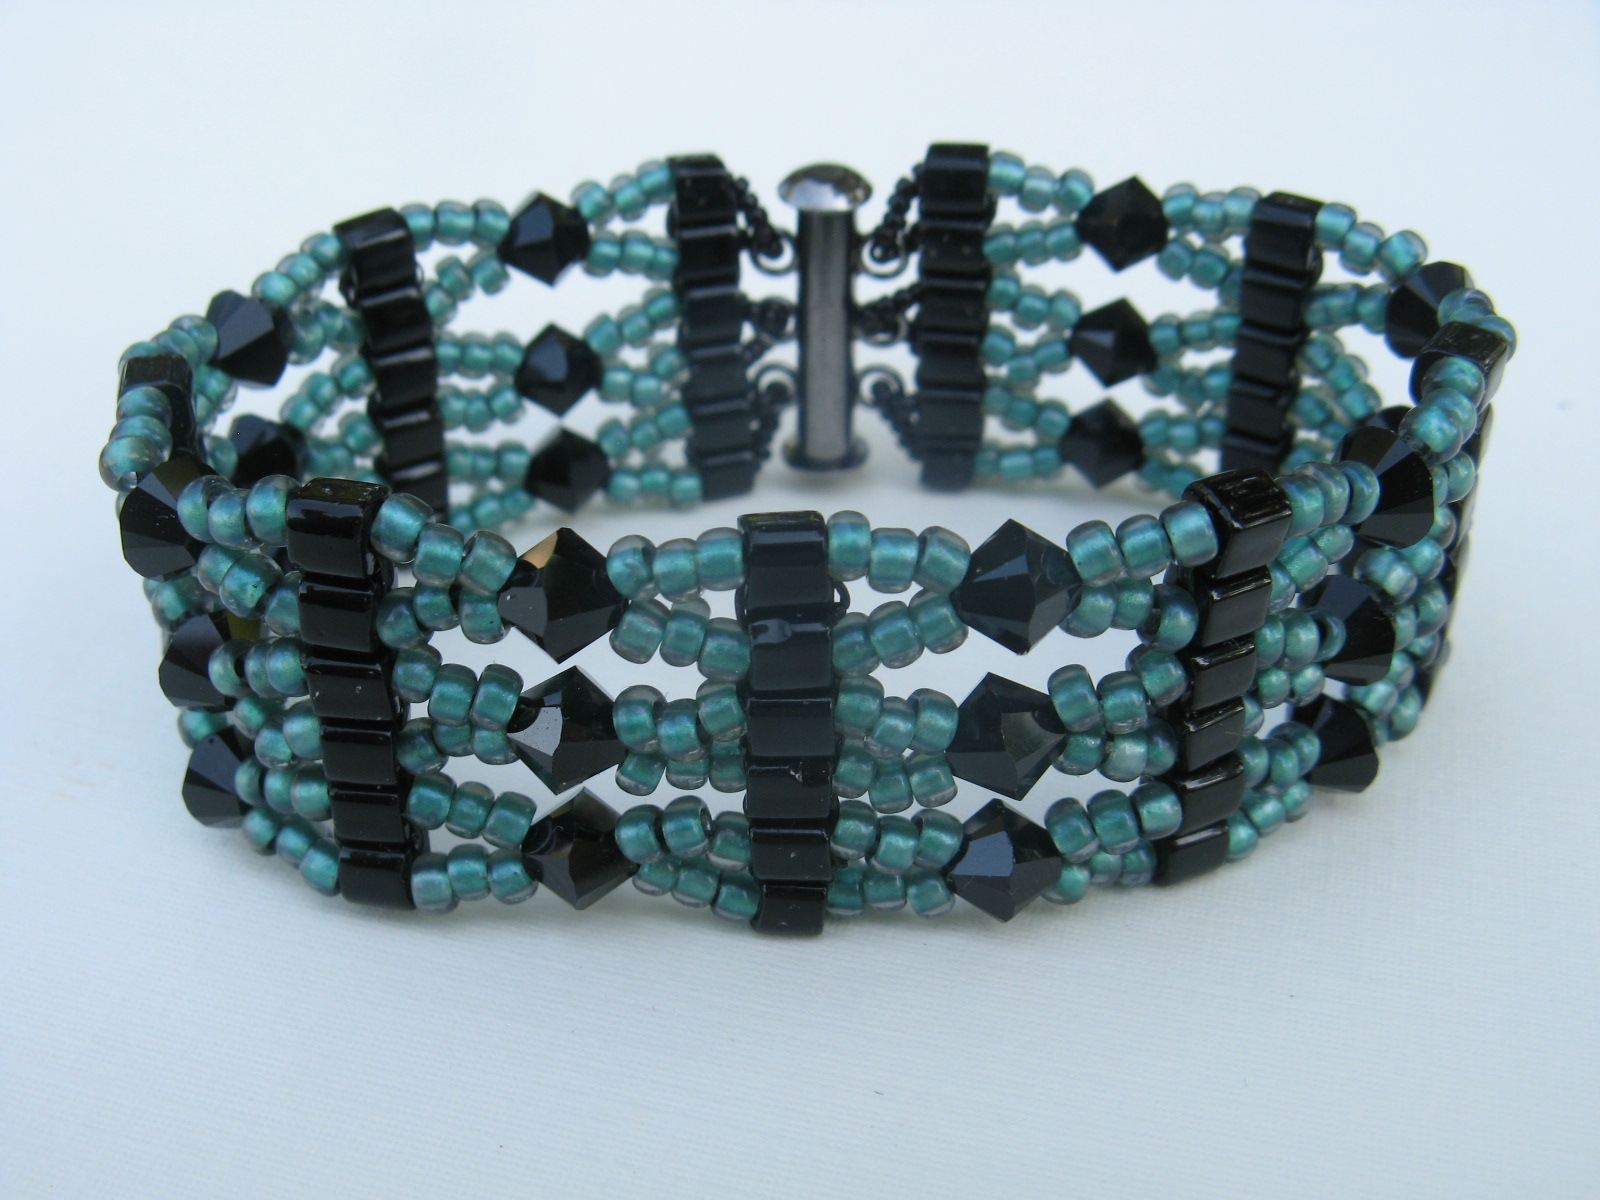
And finally, a cube and crystal bracelet.
IMG_4167
Hope you enjoyed looking at these items as much as I enjoyed making them. Have a great week!

Lavender Vanilla Ice Cream

It’s officially the first day of summer (YAY!) After the epic snow fall from the past winter the warmer days ahead are definitely being welcomed with open arms – although, I could do without the humidity that those days also bring. By far my favorite seasons are spring and fall. But, I digress. I think one treat that most of us can agree on that is a summer staple is ice cream – I particularly can eat it in the dead of winter with no problem though. Hence, me wasting no time in churning out a few batches of ice cream back in January soon after getting my Cuisinart Ice Cream Maker.

A week or so ago while I was doing something on my computer, maybe working on a blog post, I came up with the idea of Lavender Vanilla Ice Cream. I have plenty of dried lavender left over after making Lavender Cupcakes back in April, which is sitting in a container on my counter right in my field of vision while I am cooking so it’s no wonder that it has been on my mind. You always see lavender and vanilla combined in all sorts of home items so I figured that melding the two flavors together in ice cream should be a winner – and fortunately I was right!

To create the ice cream I followed a recipe for Simple Vanilla Ice Cream with one simple modification. I soaked three tablespoons of dried lavender in the one cup of milk the recipe called for for about six hours – this is exactly what I did to get the lavender flavor for the cupcakes. Following that I strained the milk using a fine mesh sieve and then continued with the recipe. Combining the milk with sugar, salt, heavy cream and vanilla paste (I substituted this for vanilla extract to get that authentic vanilla bean flavor along with the black specks of ground vanilla beans.) I refrigerated the mixture overnight and I poured the mixture into the ice cream maker and let it do all the work. And about 20 minutes later it was done!

IMG_4015

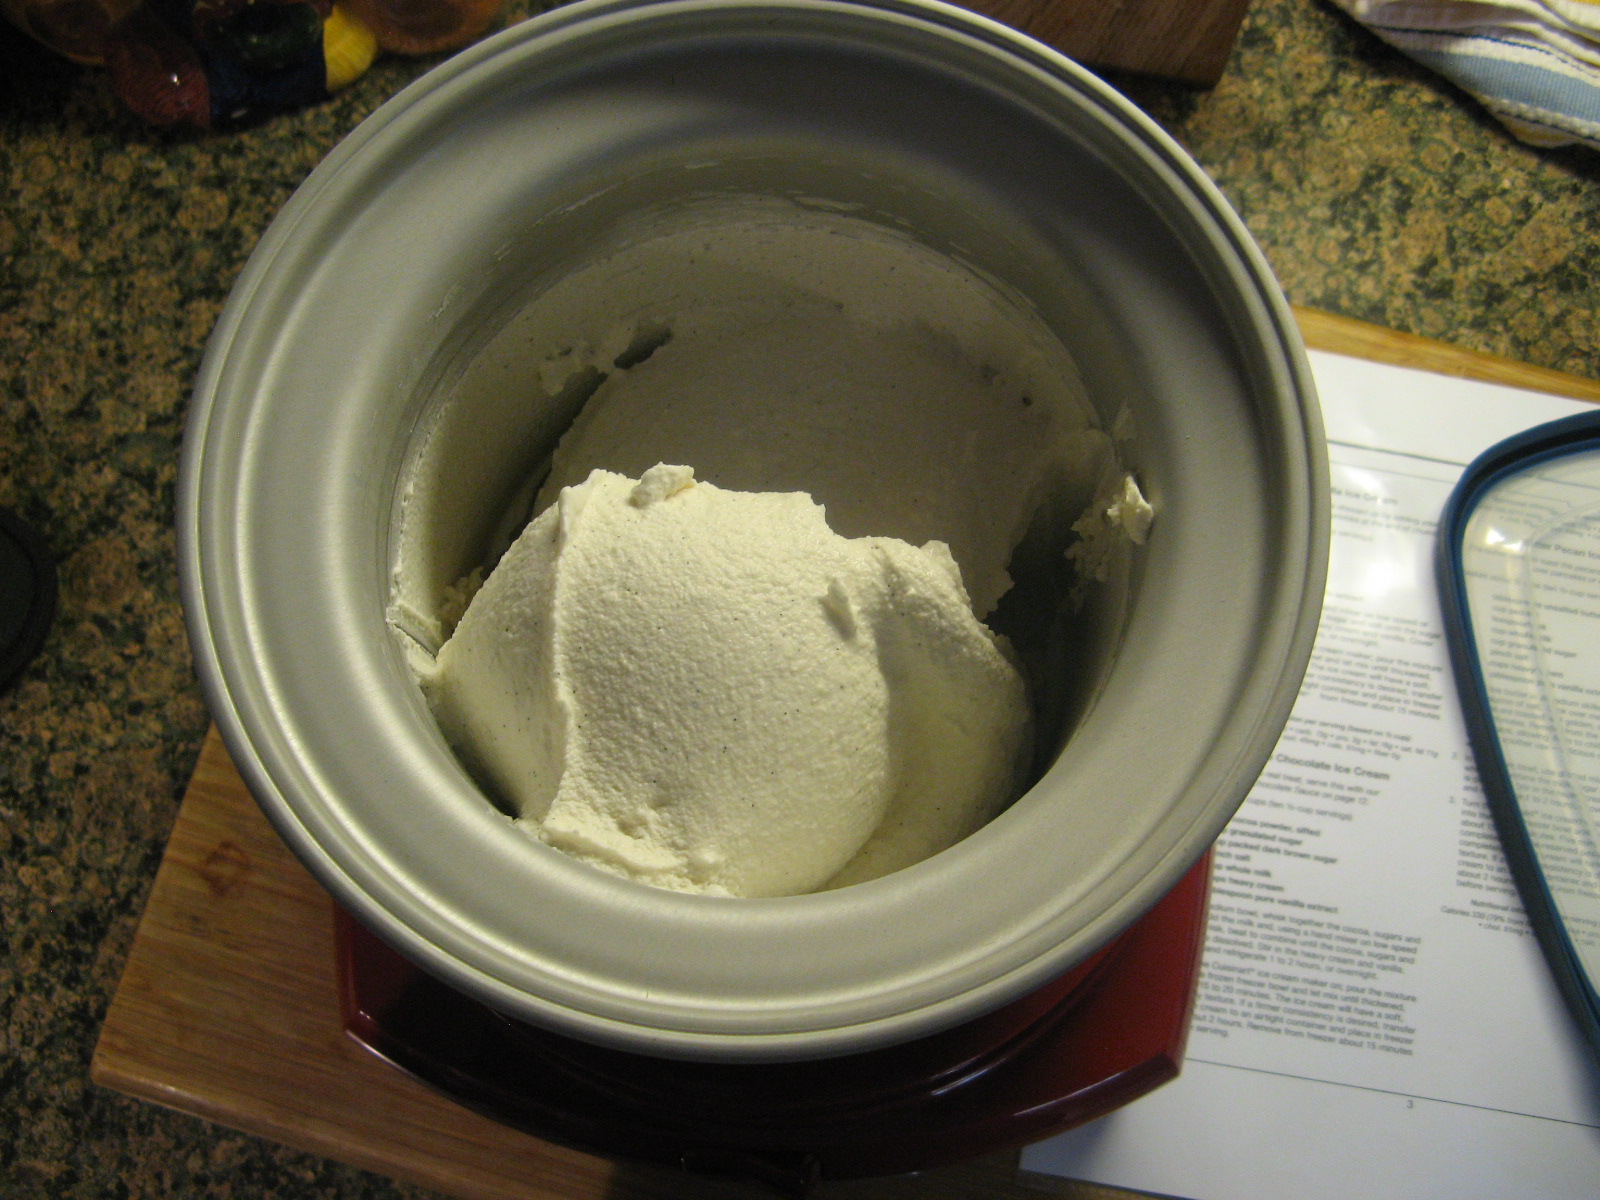
I wanted the ice cream to have a firmer consistency so I transferred it to this nifty ice cream container that I recently picked up at my local Home Goods and placed it in the freezer for about another hour or so. Of course I did a quick taste test before freezing it and was very happy with the results.

IMG_4017

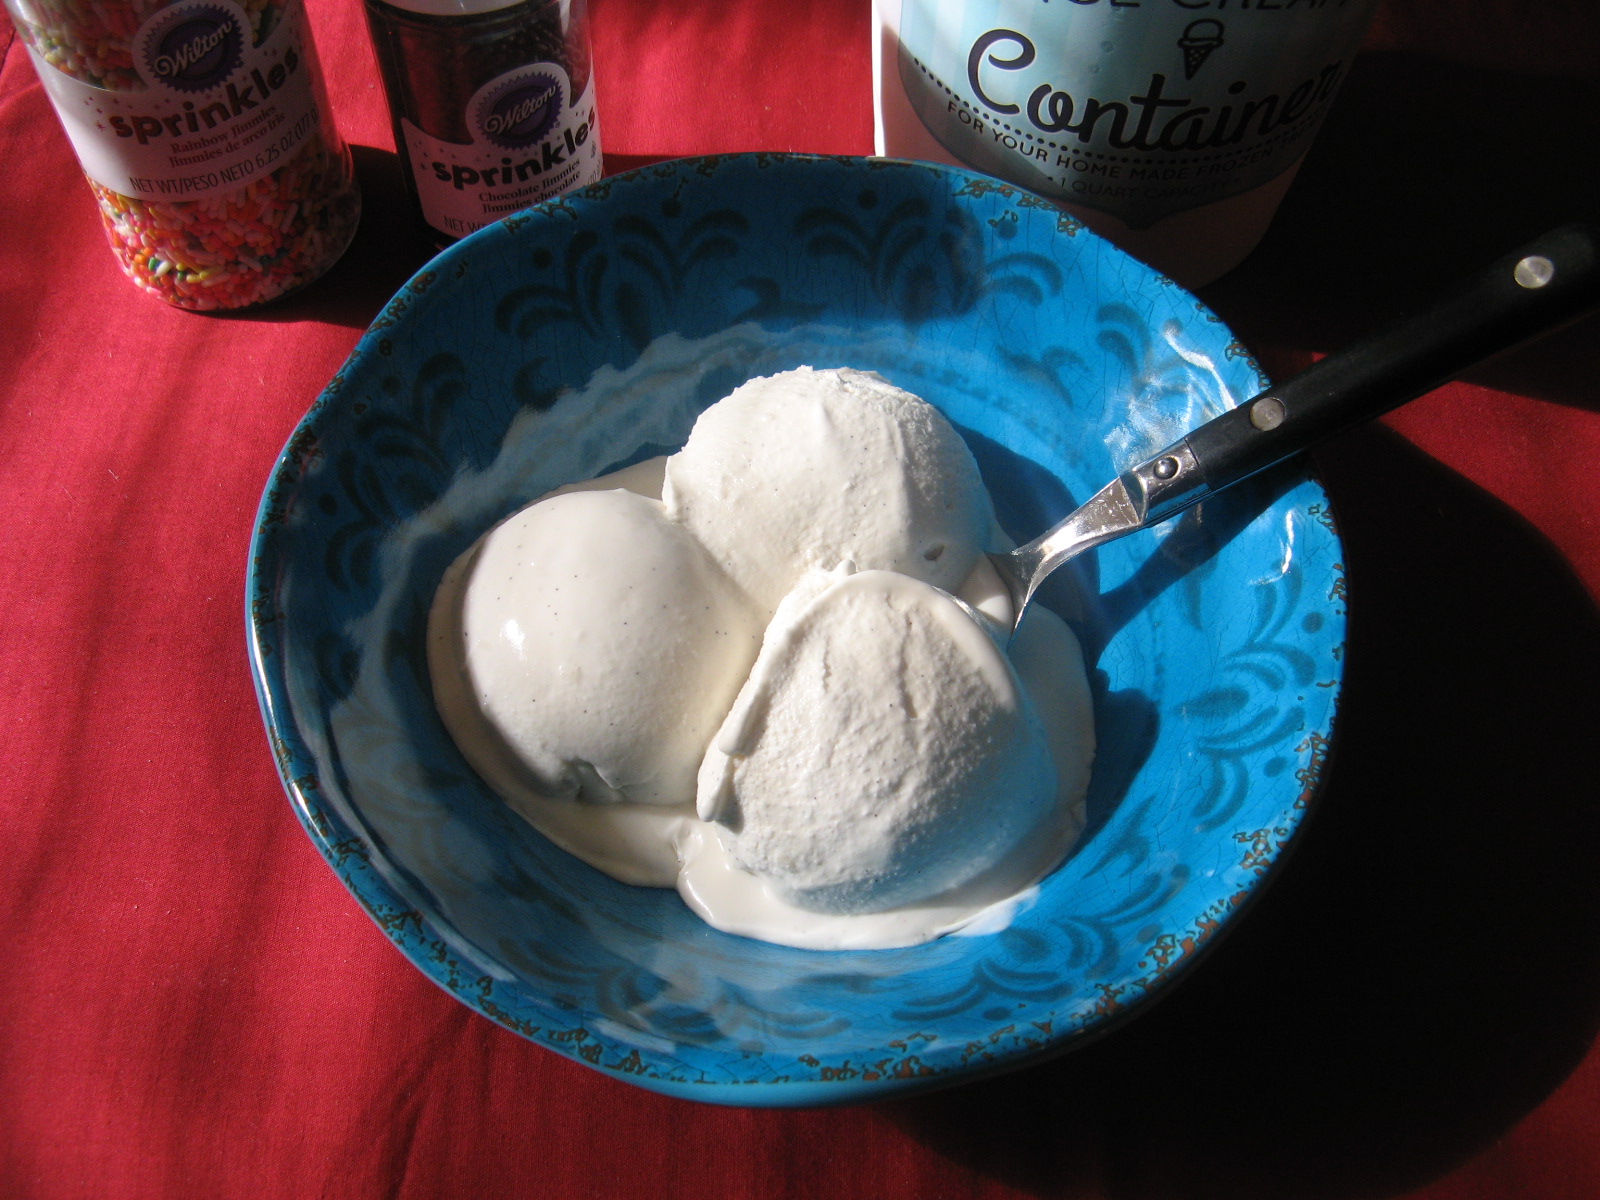
After sitting in the freezer for a bit I was finally able to enjoy a nice bowl of my Lavender Vanilla Ice Cream!

IMG_4023

Below is the original recipe for Simple Vanilla Ice Cream and the modifications I made to create Lavender Vanilla Ice Cream.


Simple Vanilla Ice Cream

Makes about 1 quart

Ingredients:

1 cup whole milk

3/4 cup granulated sugar

A pinch of salt

2 cups heavy cream

1 tbsp. pure vanilla extract

Directions:

1. In a medium bowl, use a hand mixer on low speed or whisk to combine the milk, sugar and salt until the sugar is dissolved. Stir in the heavy cream and vanilla. Cover and refrigerate 1 to 2 hours, or overnight.

2. Turn on the Cuisinart ice cream maker; pour the mixture into the frozen freezer bowl and let mix until thickened, about 15 to 20 minutes. The ice cream will have a soft creamy texture. If a firmer consistency is desired, transfer the ice cream to an airtight container and place in freezer for about 2 hours. Remove from freezer for about 15 minutes before serving.

For Lavender Vanilla Ice Cream:

Soak 3 tablespoons of dried lavender in the milk for 6 to 8 hours in the refrigerator. Following that strain the milk through a fine mesh sieve and continue with the recipe substituting vanilla bean paste for the vanilla extract.


Lemon, Berries & Cream… Oh My!

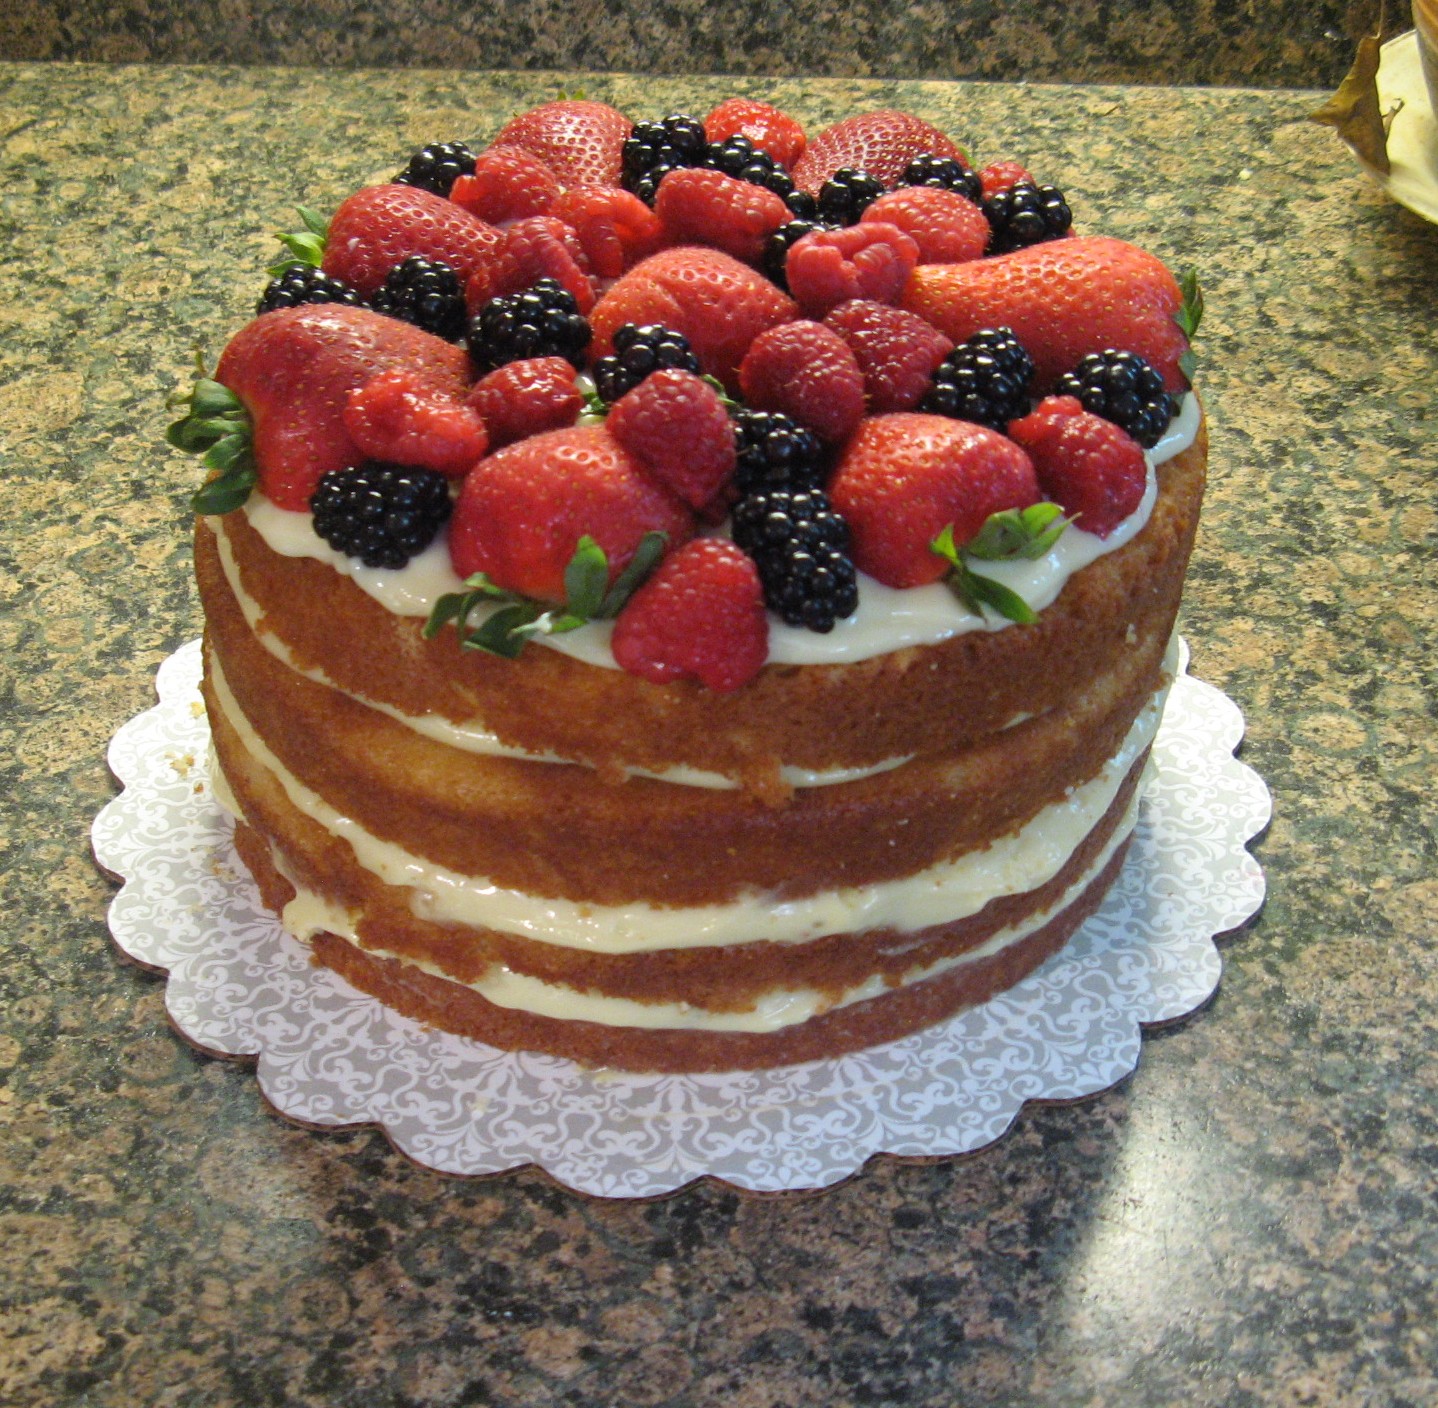
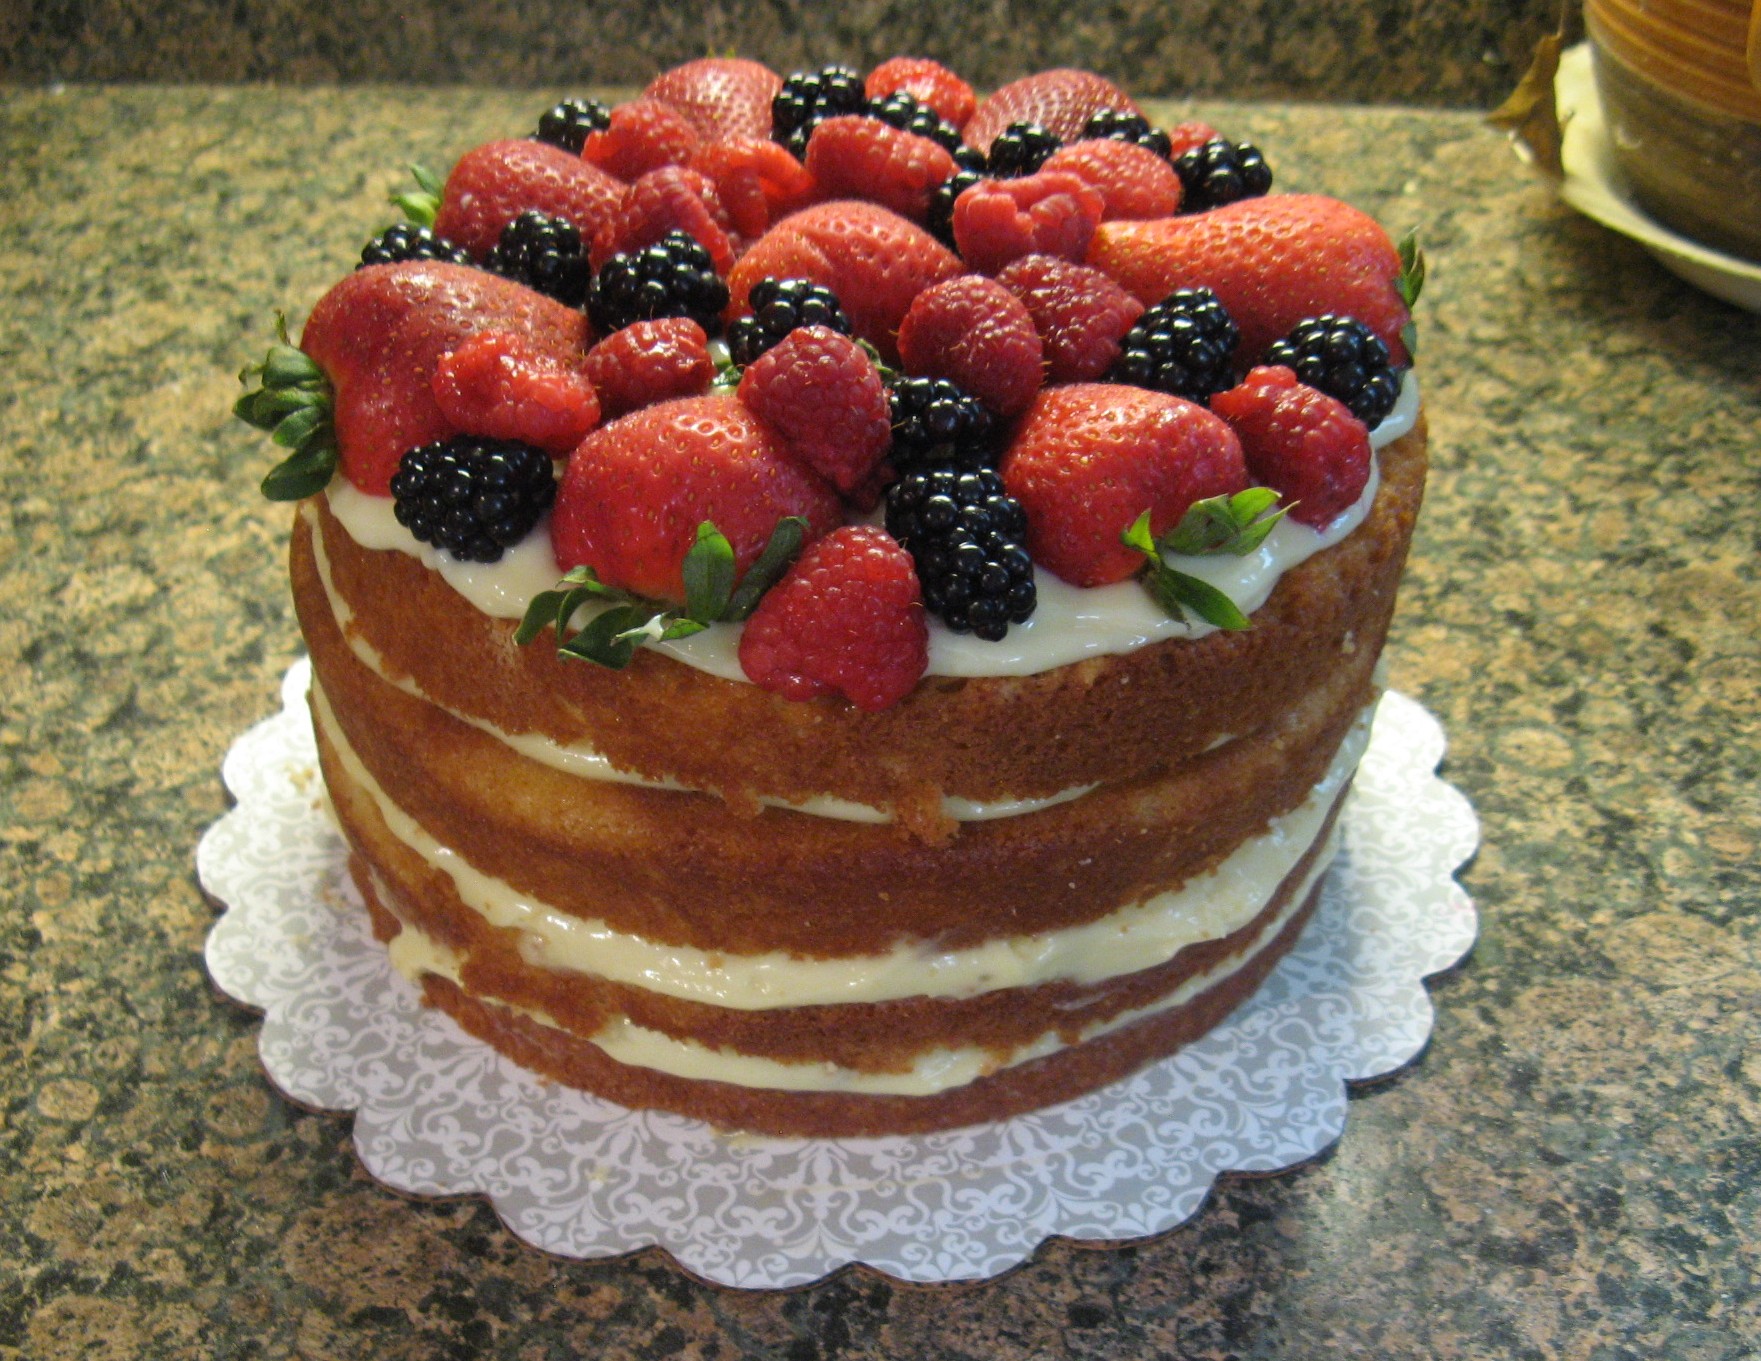
Back in the fall I made a cake that I coined the Quintessential Fall Birthday Cake– an Apple Walnut Cake with Cinnamon Cream Cheese Frosting (YUM!) – and recently I made a cake that could quite possibly be the Quintessential Summer Birthday Cake. A 4-tier lemon cake layered with pastry cream and topped with fresh berries (Delish!)
IMG_3825
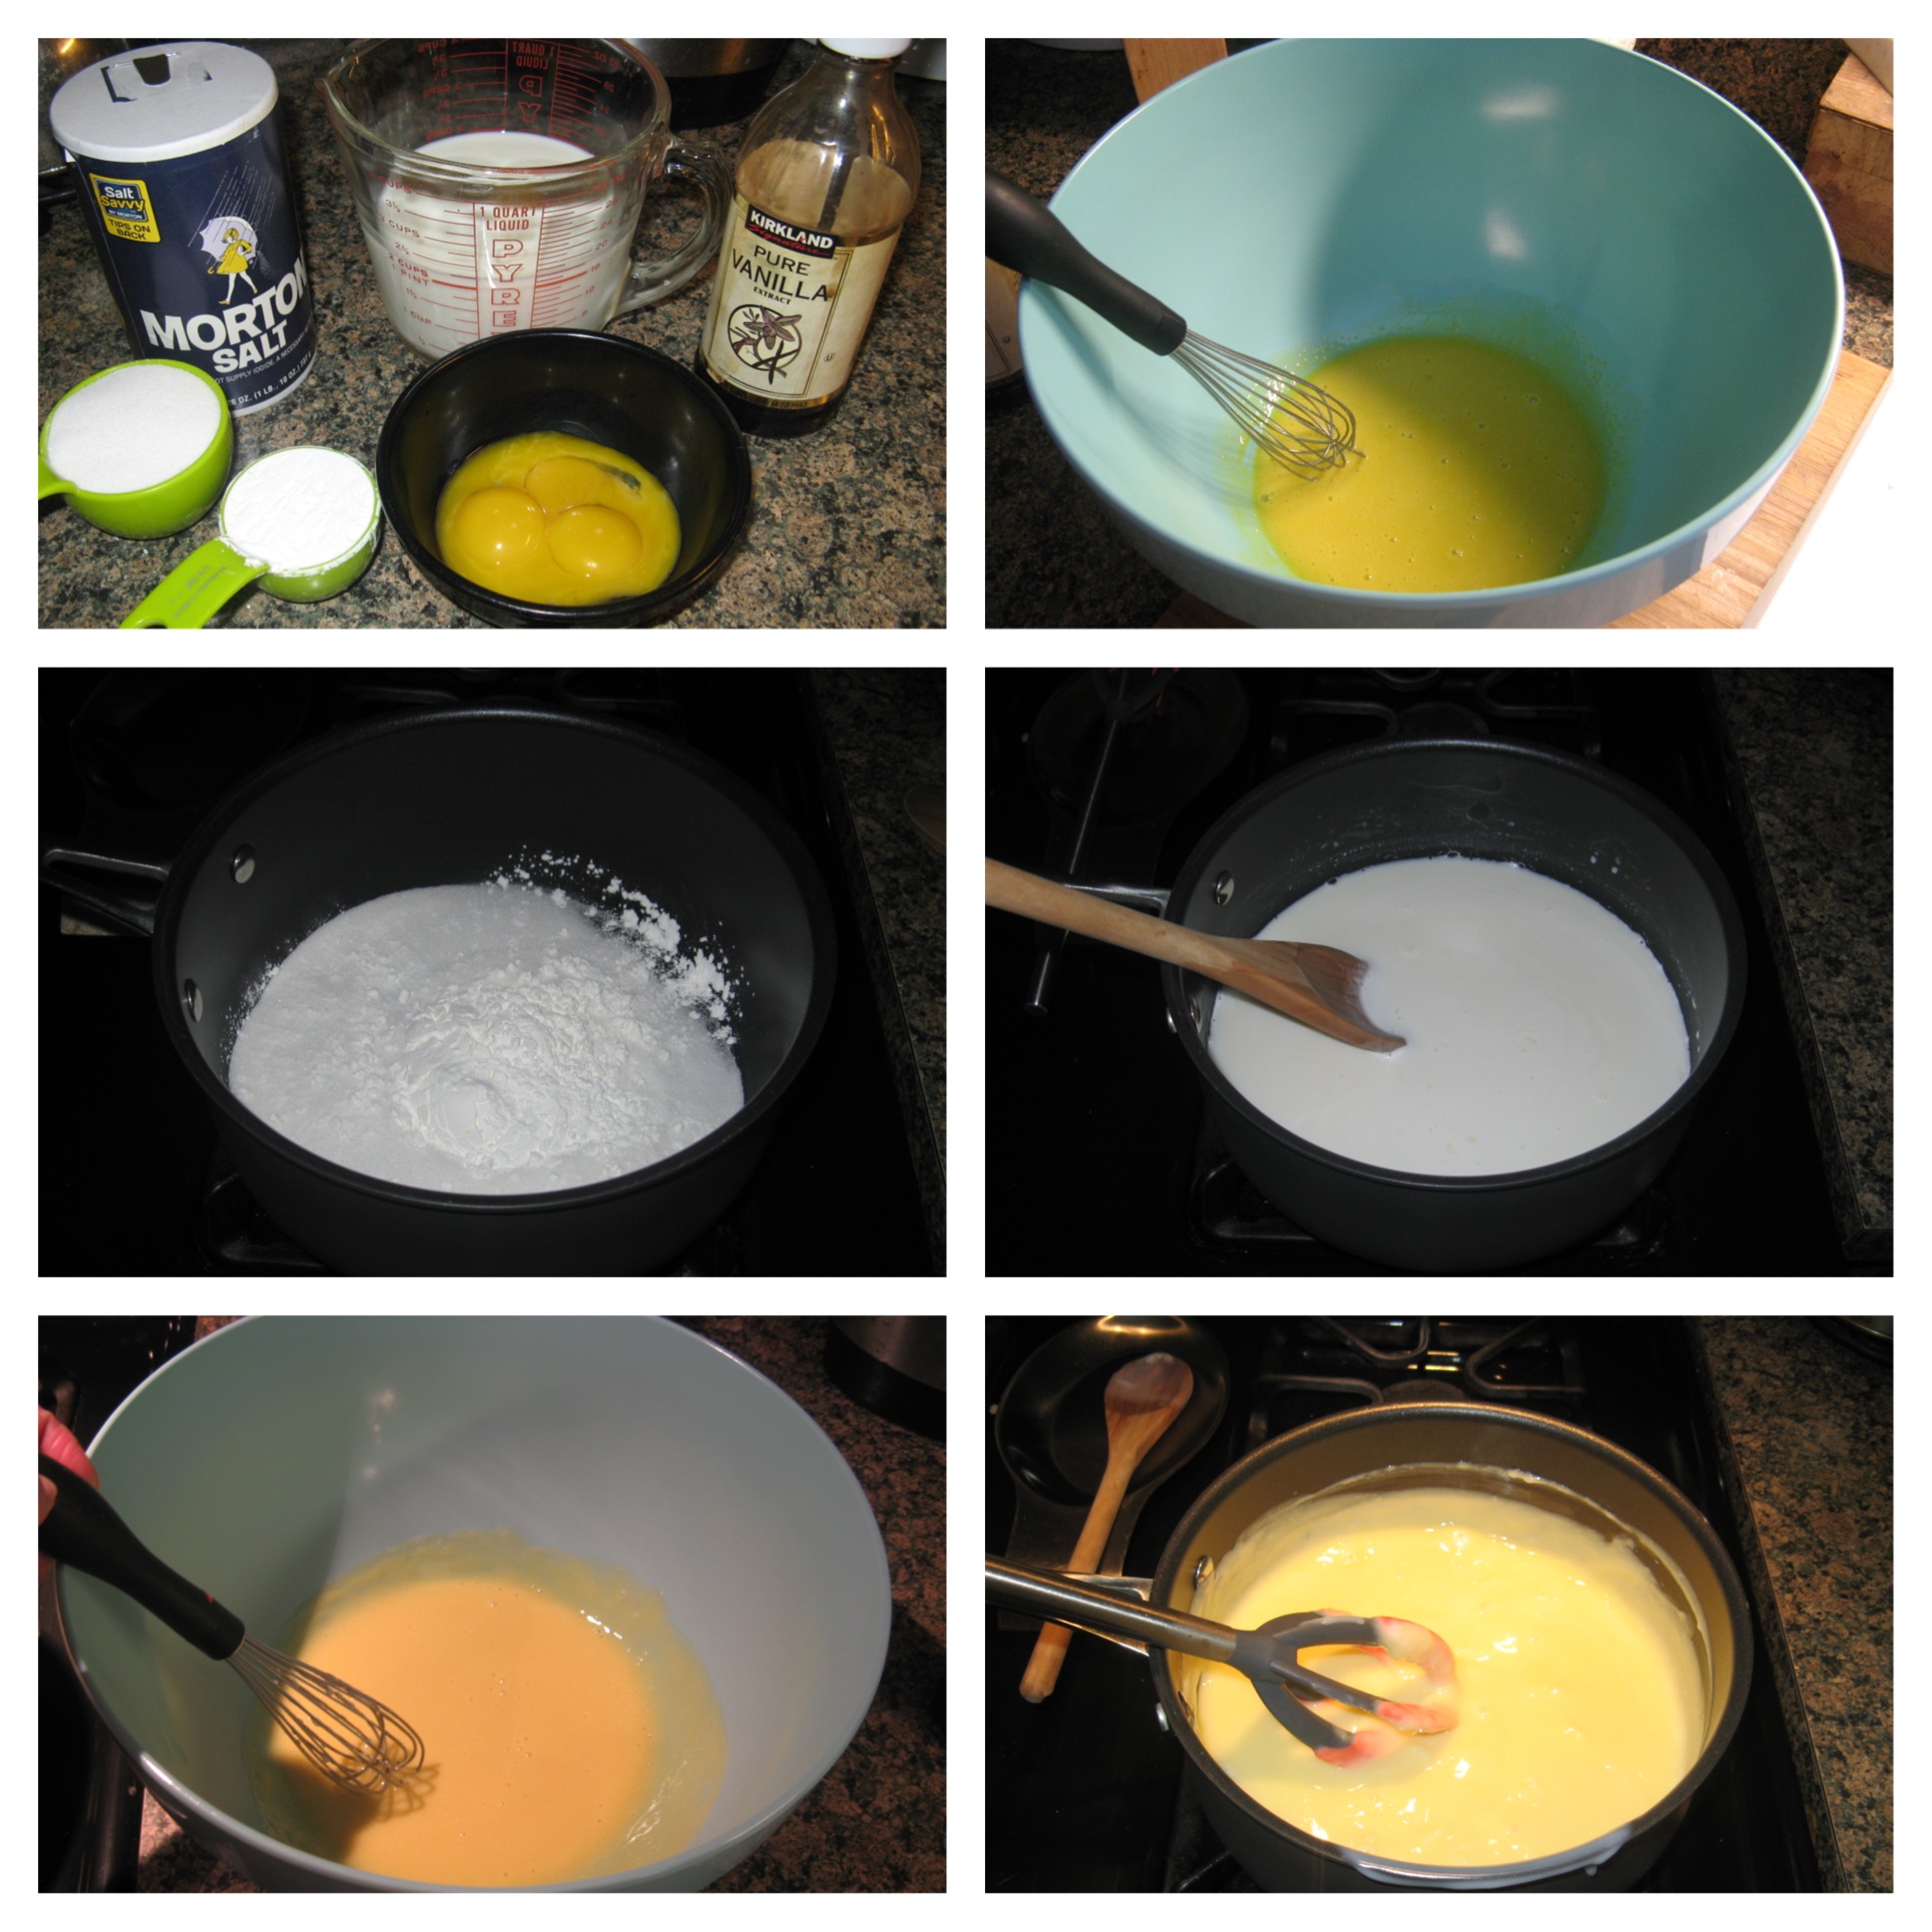
Since the pastry cream needed to be refrigerated for at least 2 hours before using it I began this cake by cooking up 2 batches of it. I gathered up my ingredients (egg yolks, sugar, cornstarch, salt, milk and vanilla extract) and whisked together the eggs yolks in one bowl and in another cooked the sugar, cornstarch, salt and milk until the mixture thickened and was bubbling. I then poured about a third of the milk mixture in with the eggs to temper them. Once the eggs were tempered I pour them back into the remaining milk mixture on the stove and whisked the mixture constantly until the cream came together. I removed the cream from the heat and added in the vanilla extract.
photo_2
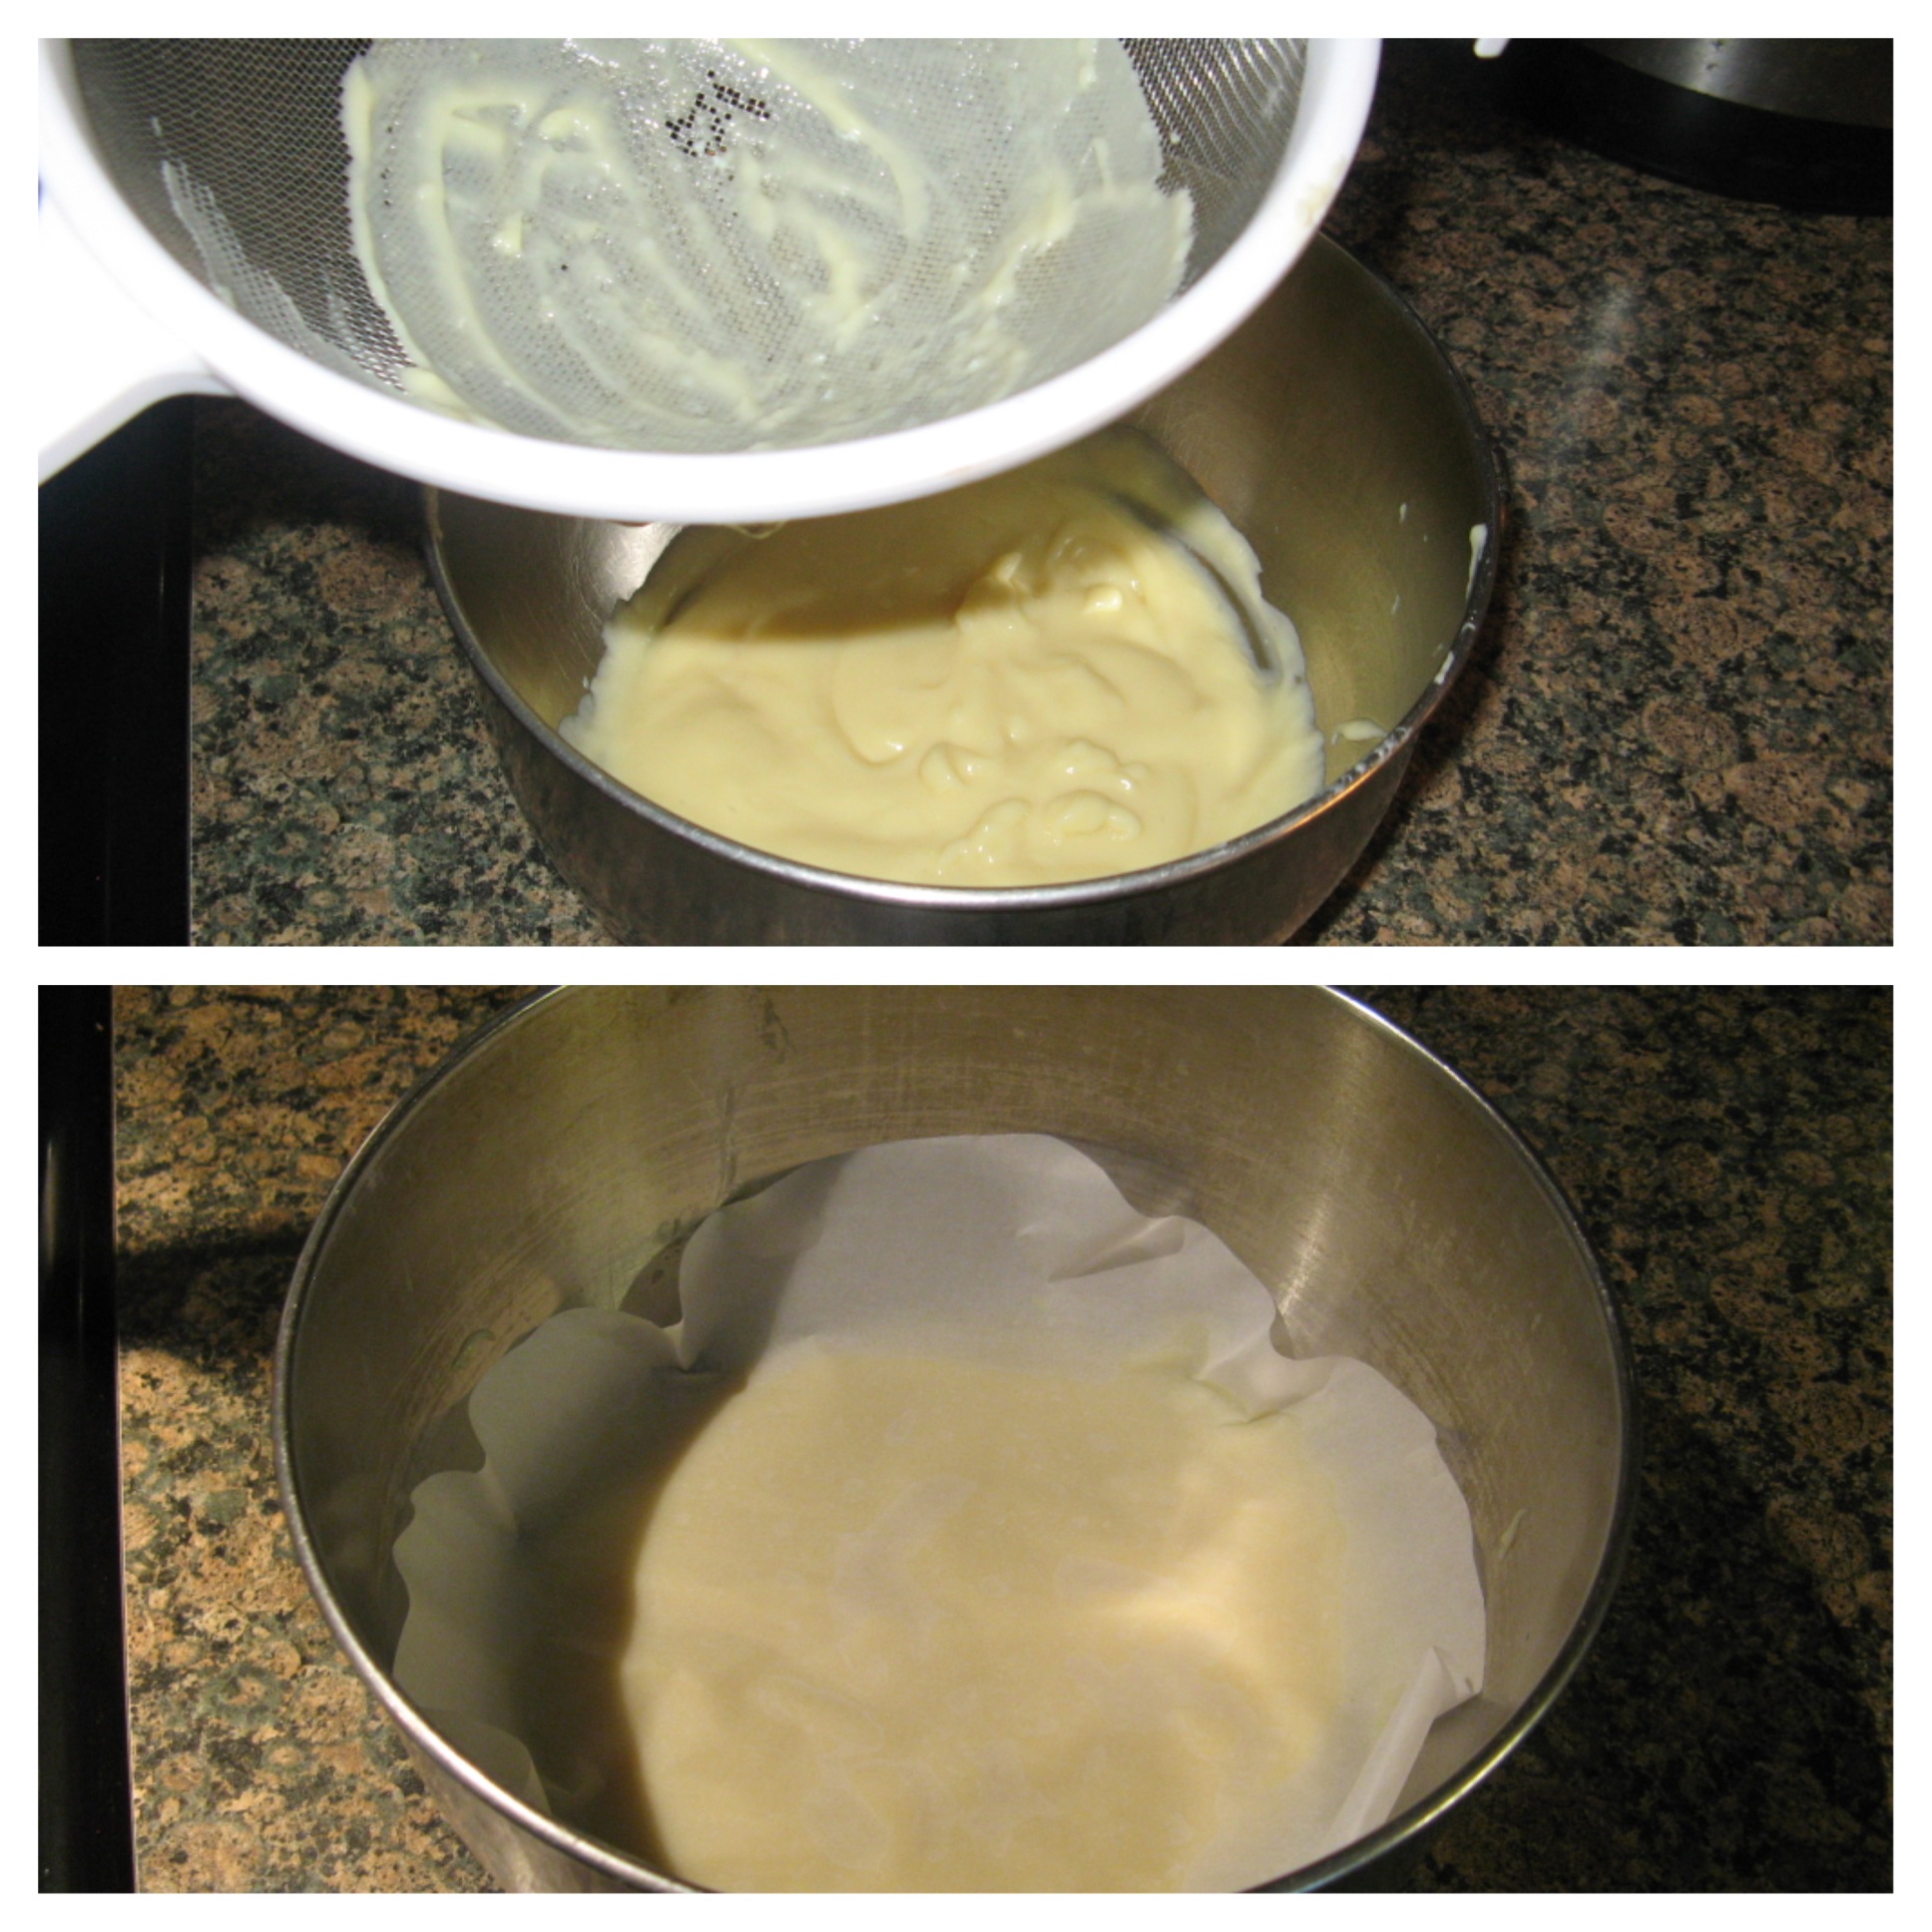
Following that I strained the cream through a sieve and then placed a piece of parchment paper right on top of it prior to refrigerating it. I had never made pastry cream before and was concerned this wouldn’t come out well, especially with tempering the eggs, but, it came out perfectly and I probably could have easily eaten the whole bowl it was so good.
photo_1
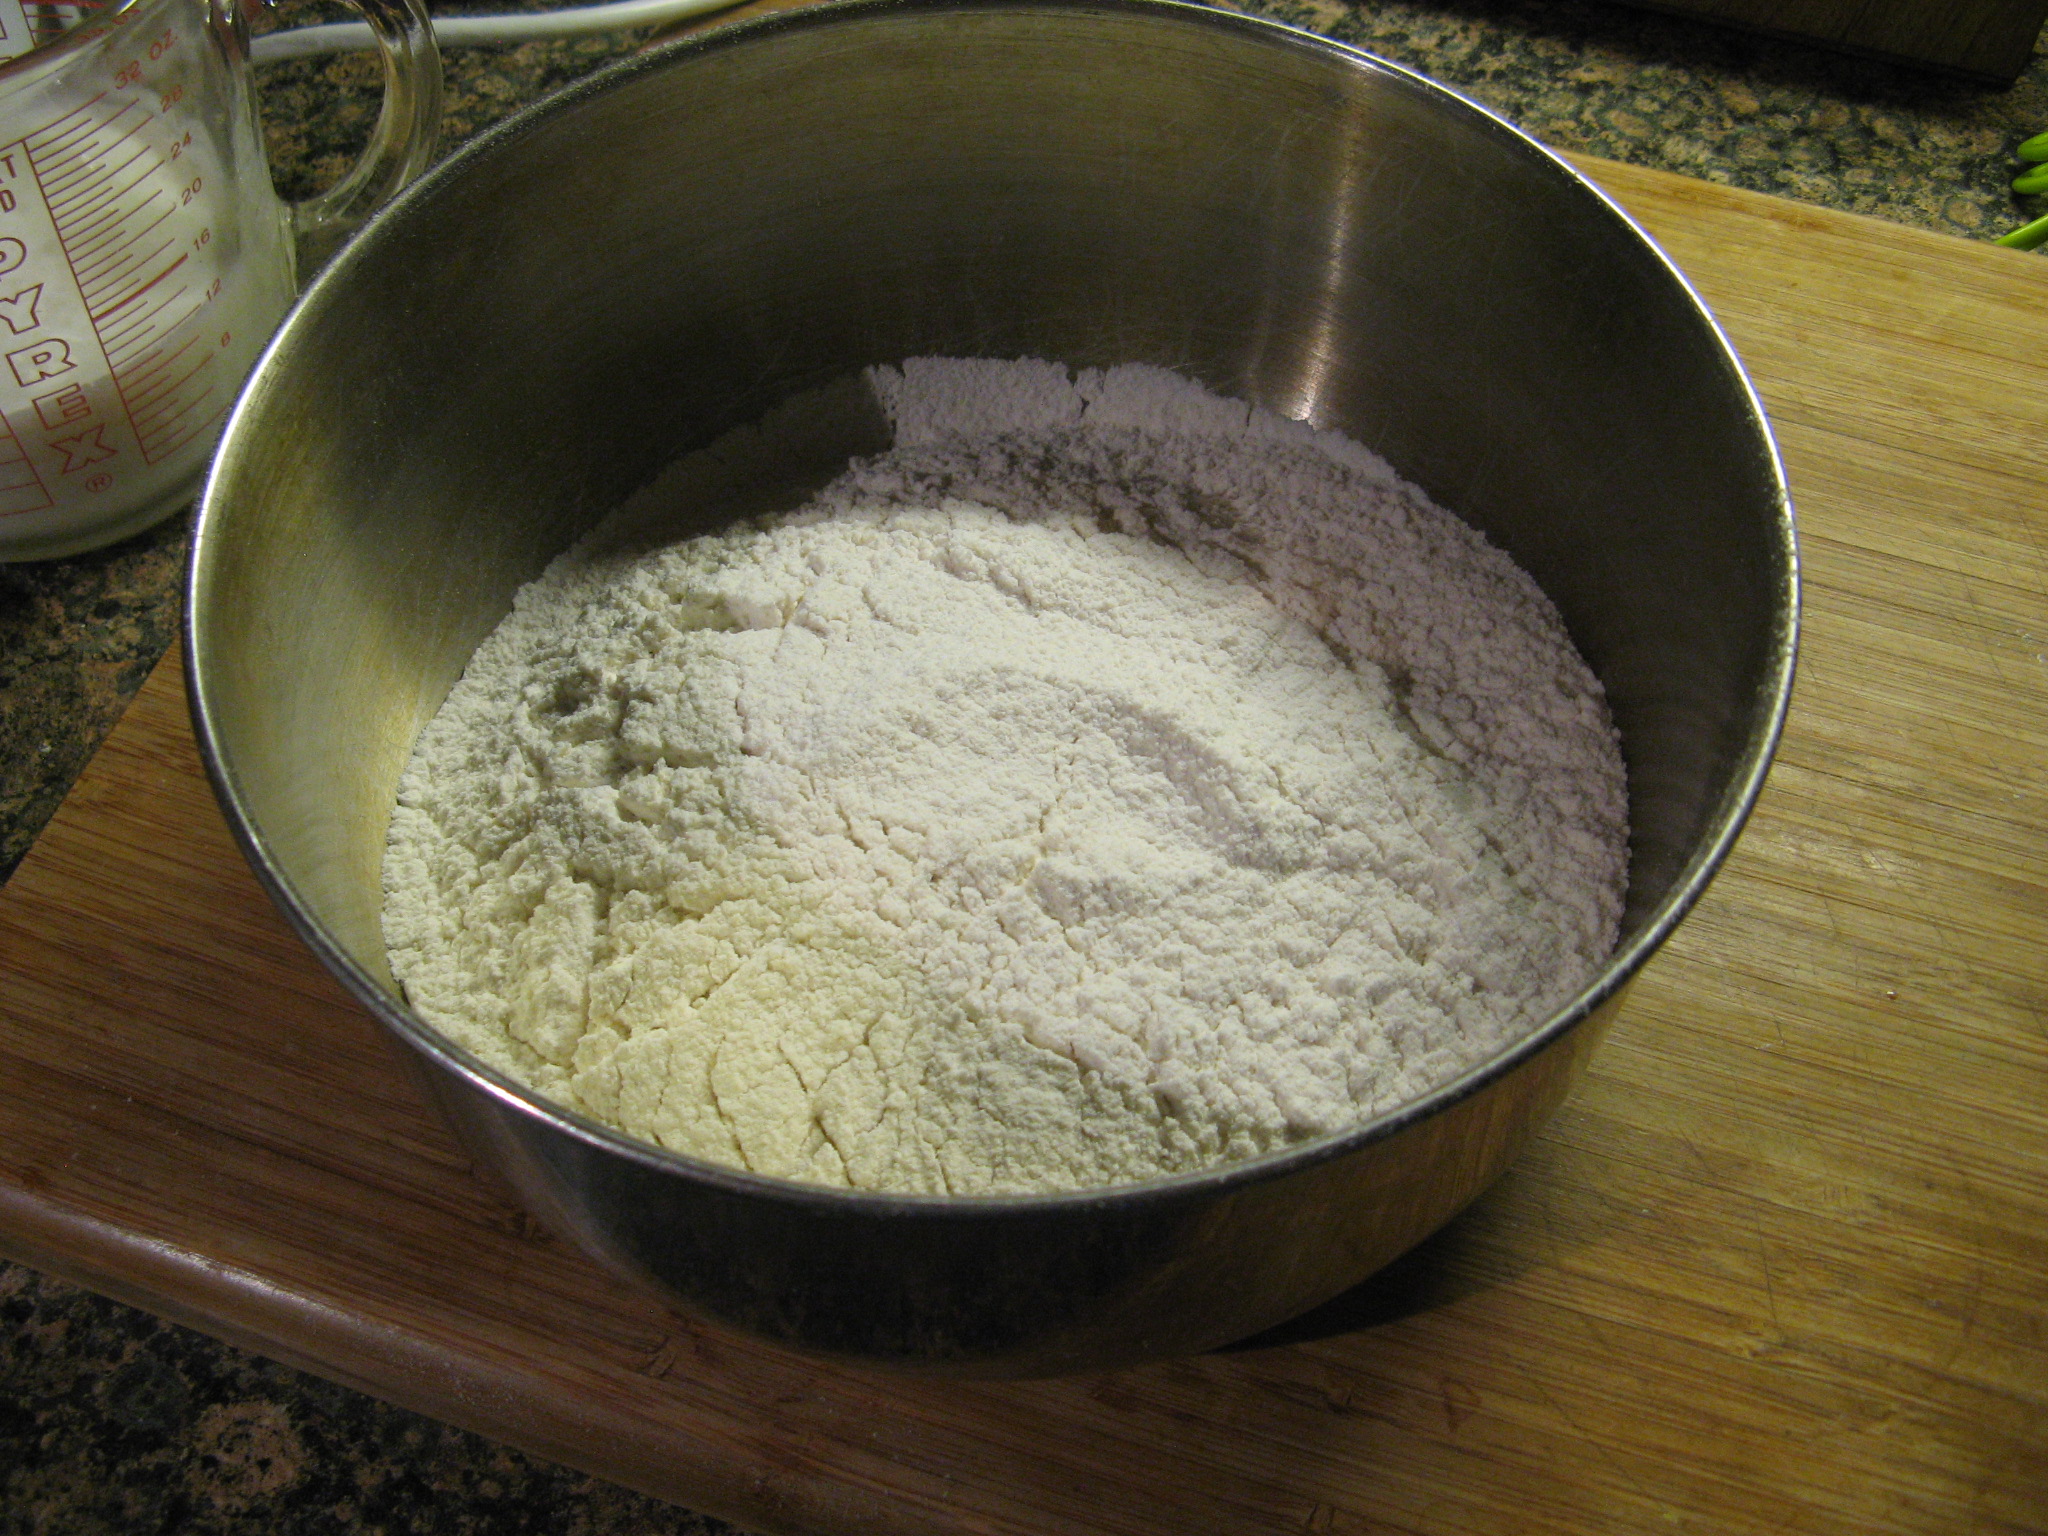
While the pastry cream was chilling I began to work on the Lemon Cake – a 1-2-3-4 Lemon Cake. A 1-2-3-4 Cake is an old-fashioned cake that gets its name from the list of ingredients – one cup butter, two cups sugar, three cups flour and four eggs. First up I sifted together flour, baking powder, baking soda and salt in a bowl. I actually sifted the flour twice as I first sifted it to get the 3 cups I needed and then sifted it again along with the other ingredients.
IMG_3792
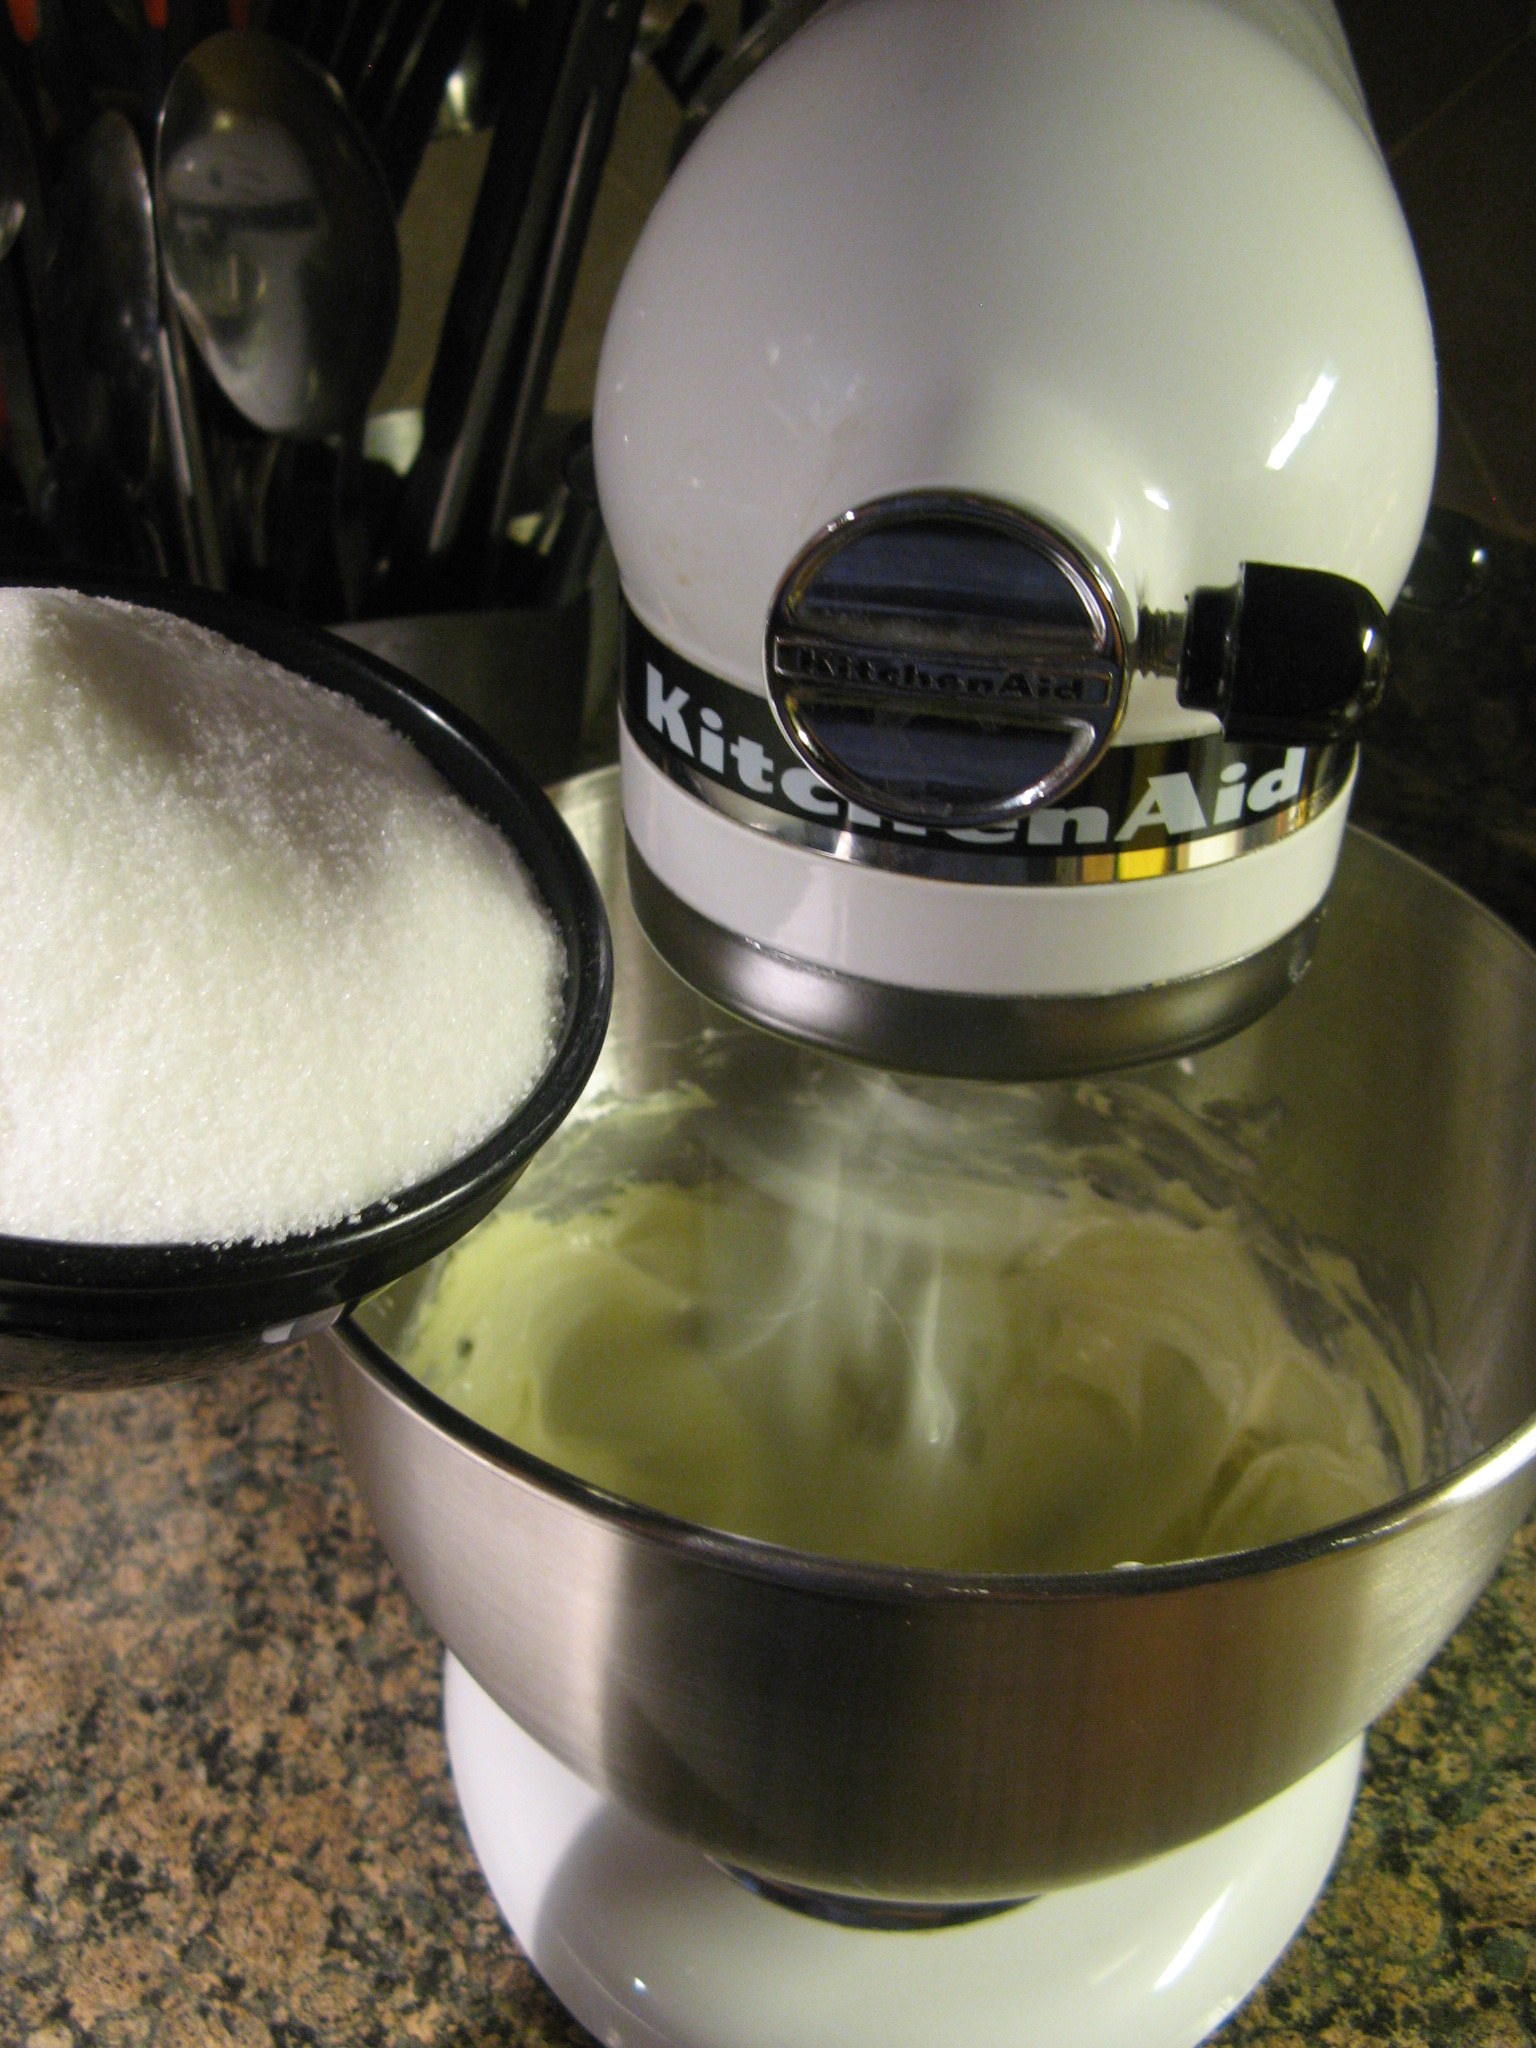
In the bowl of my stand mixer I beat butter until it was softened and then gradually added in sugar until it was pale and fluffy.
IMG_3793
And then the eggs.
IMG_3795
Next up I added in the flour mixture in 3 batches alternating with 2 batches of buttermilk.
IMG_3797
And finally I beat in vanilla extract and lemon zest.
IMG_3798
I divided the batter evenly between two 8-inch pans – which I prepped with baking spray and parchment paper – and baked it for about 45 minutes in a 350 F preheated oven, rotating halfway through.
IMG_3803
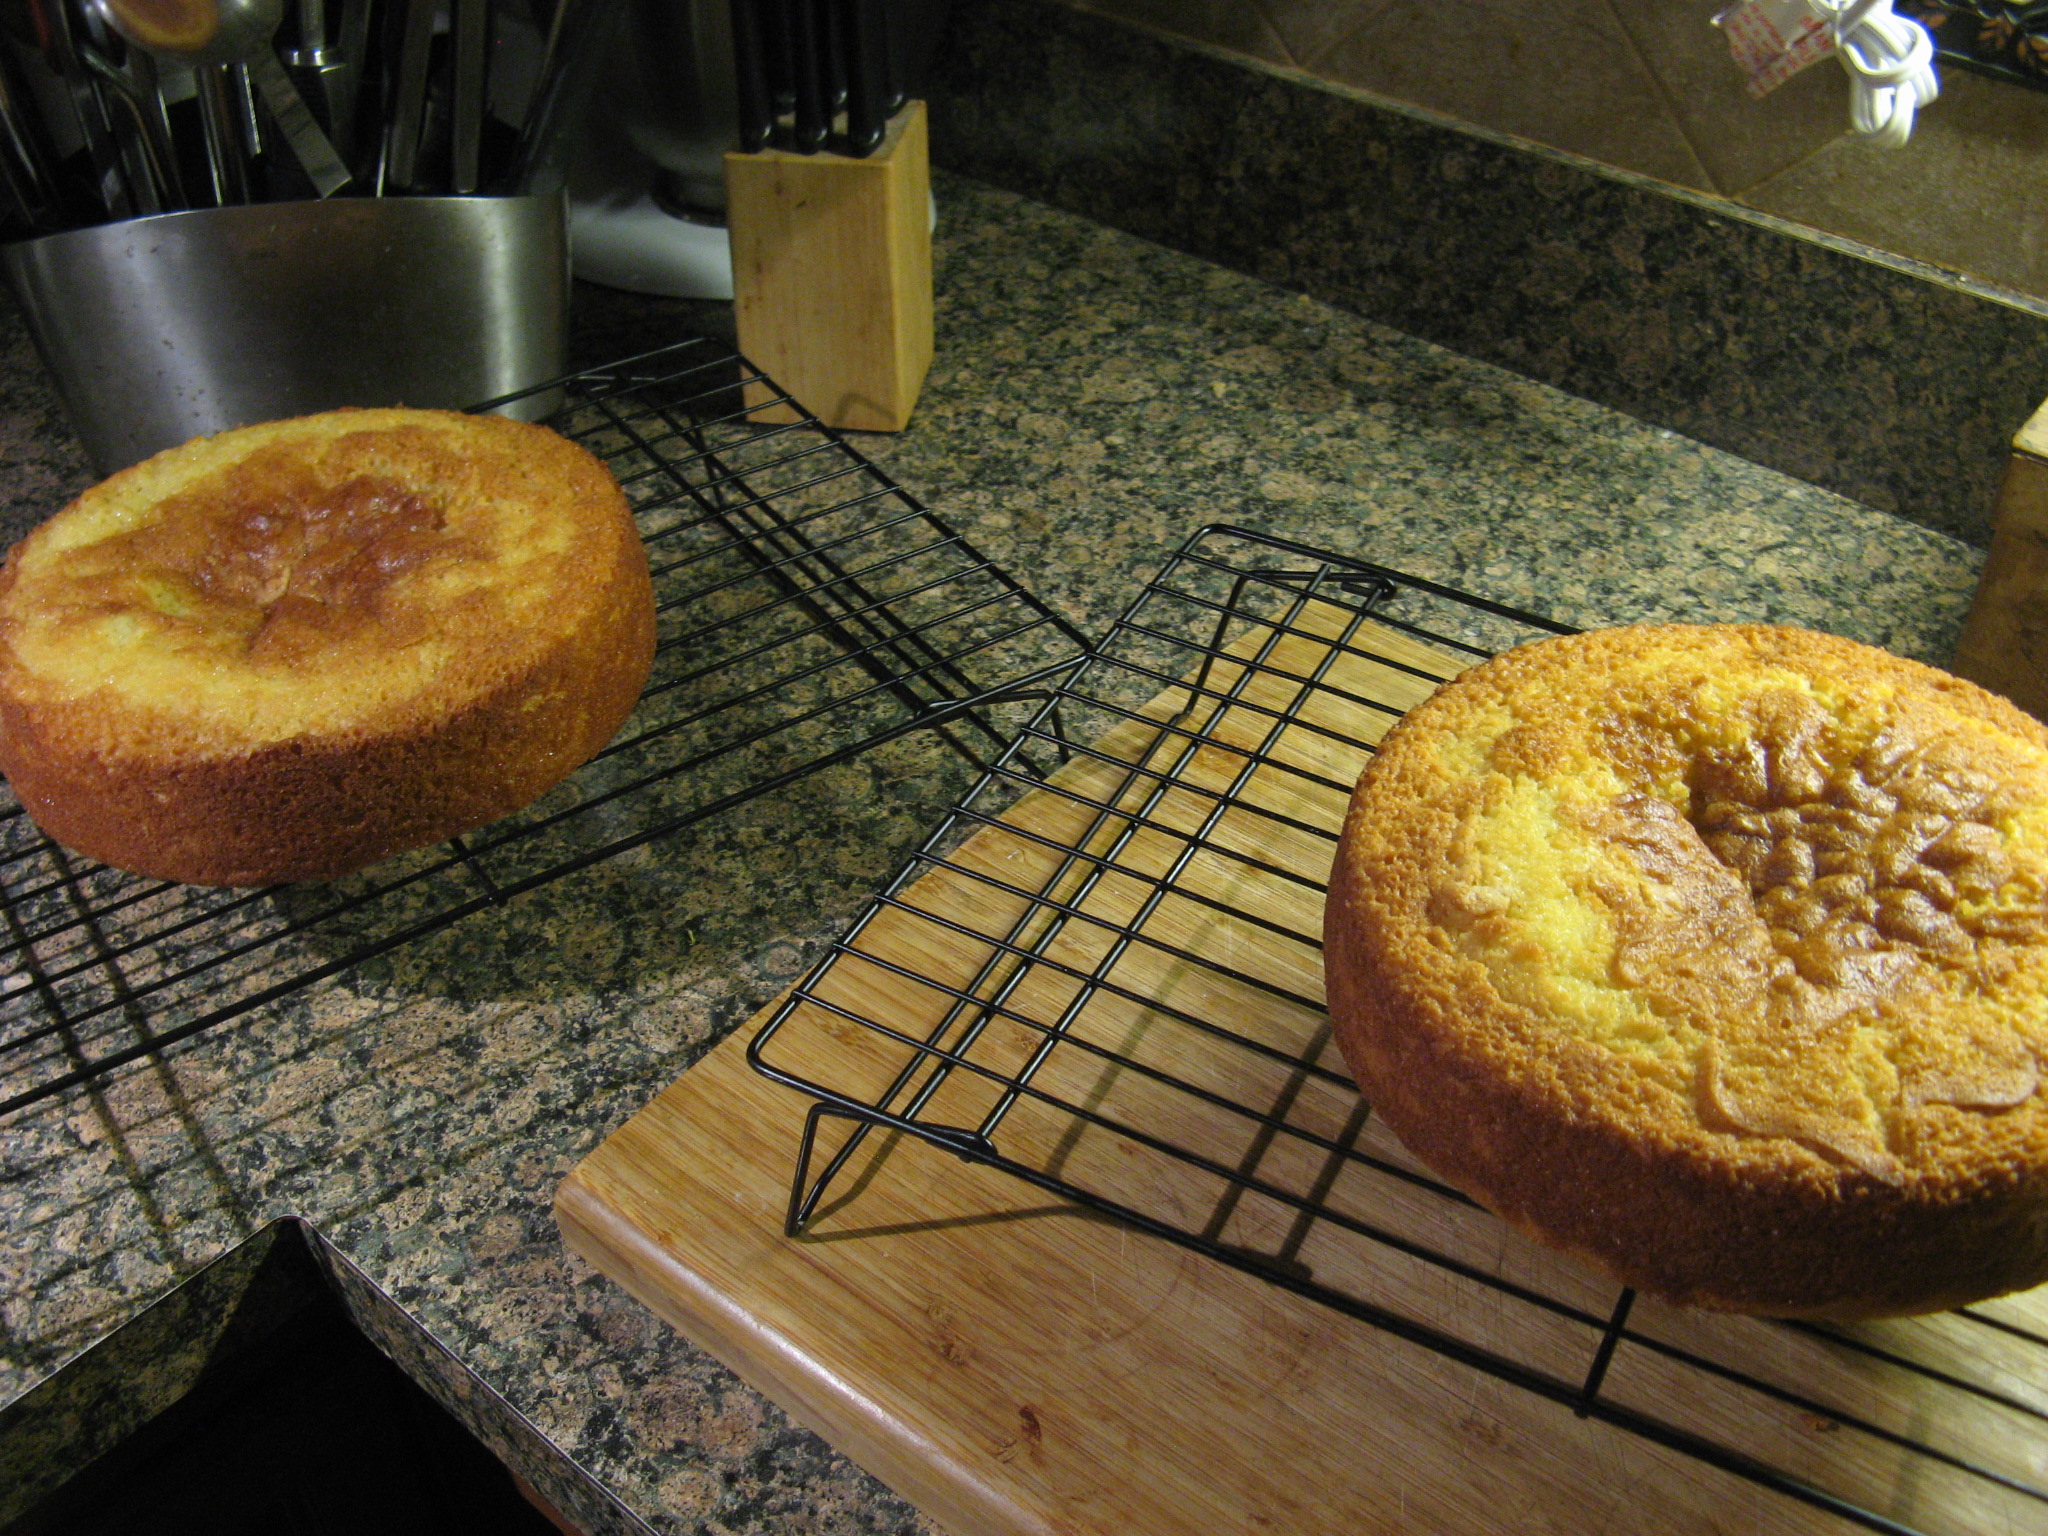
After letting the cakes cool 15 minutes in the pans I then removed them and let them cool completely on wire racks.
IMG_3807
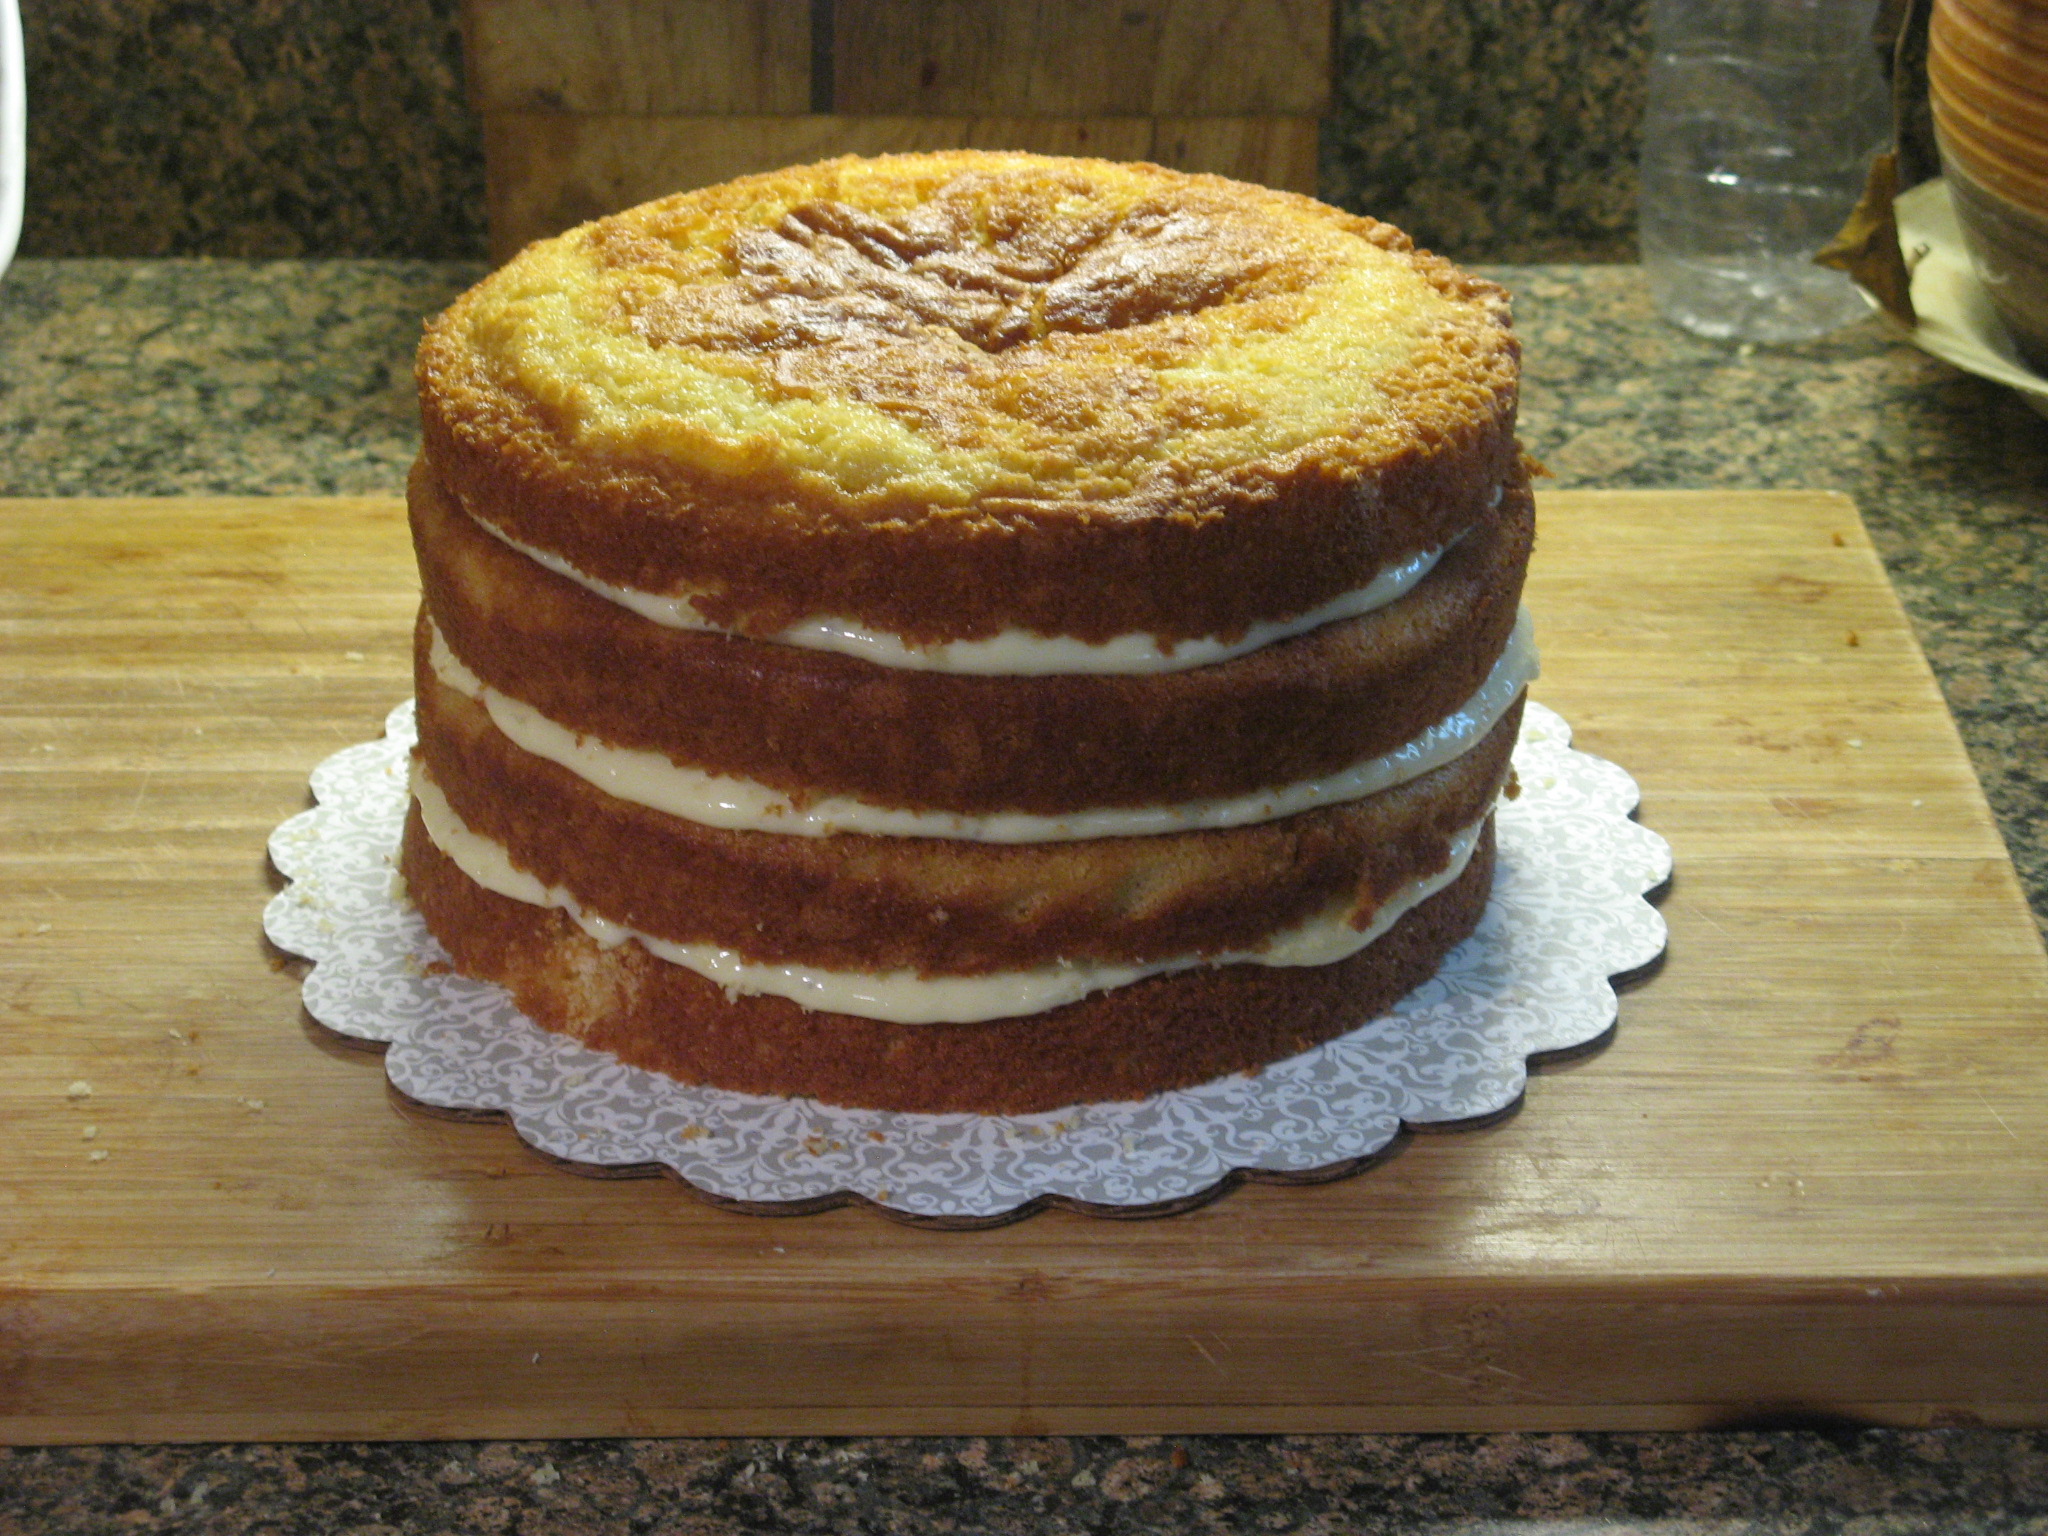
In preparation to assemble the cake I split the two cooled cakes into four with a cake leveler and then whisked together the chilled pastry cream.
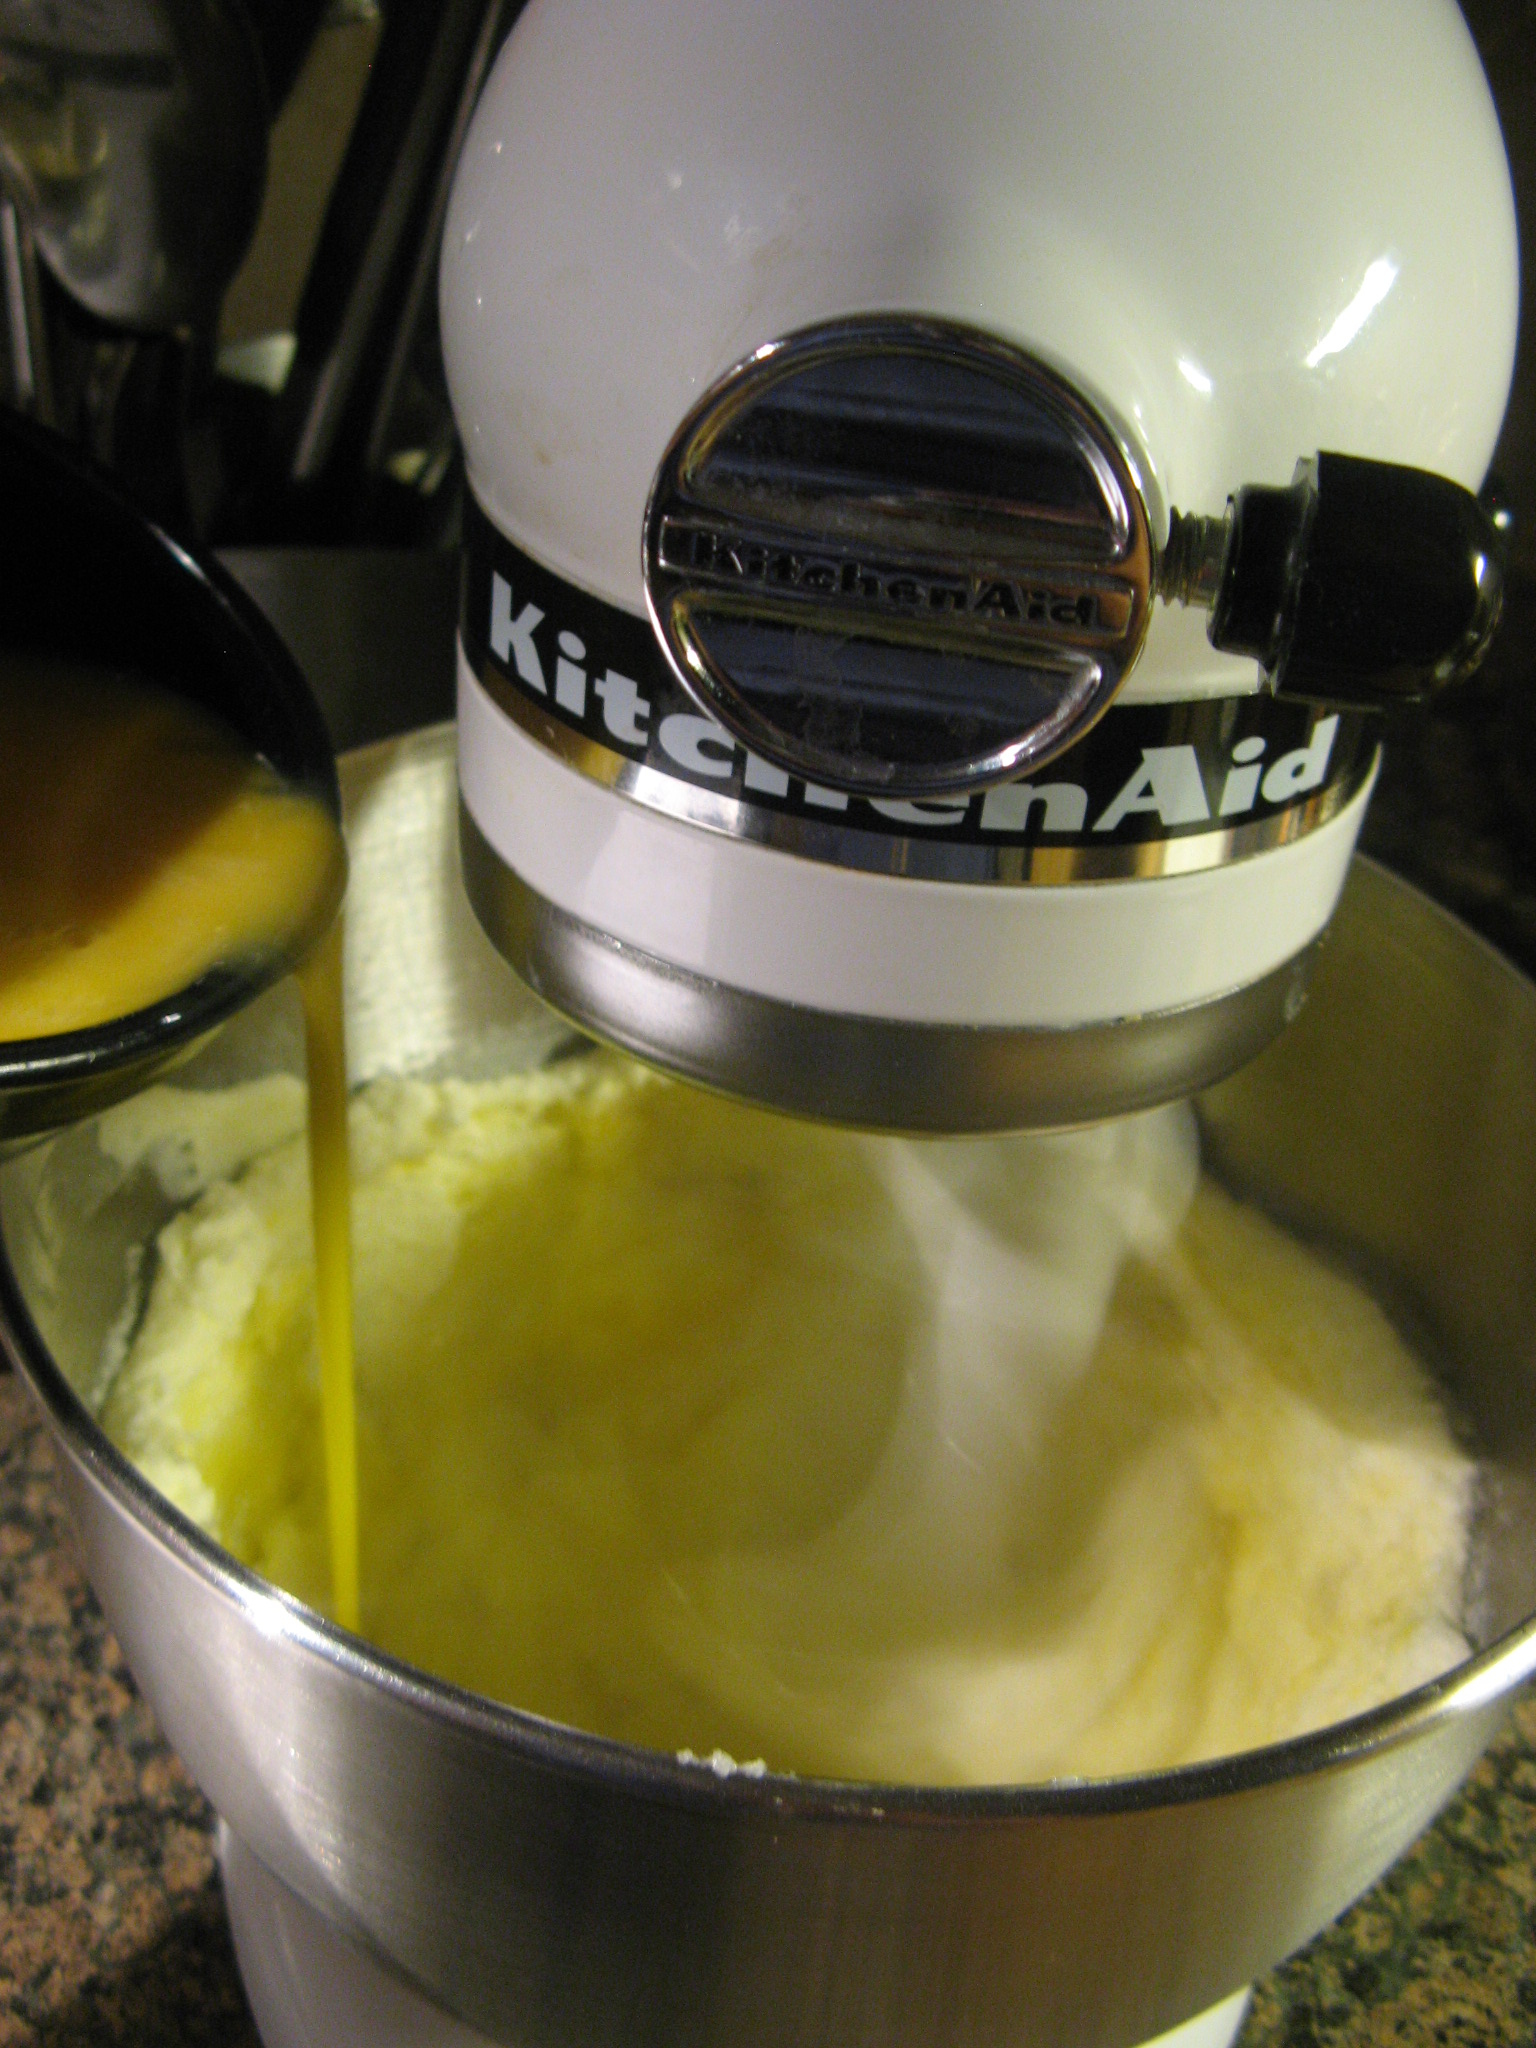
IMG_3808
After assembling the cake – I spread about a cup of pastry cream between each layer – I chilled it in the refrigerator for about an hour so the pastry cream could set and so I wouldn’t end up with a cake that had layers sliding all over the place.
IMG_3814
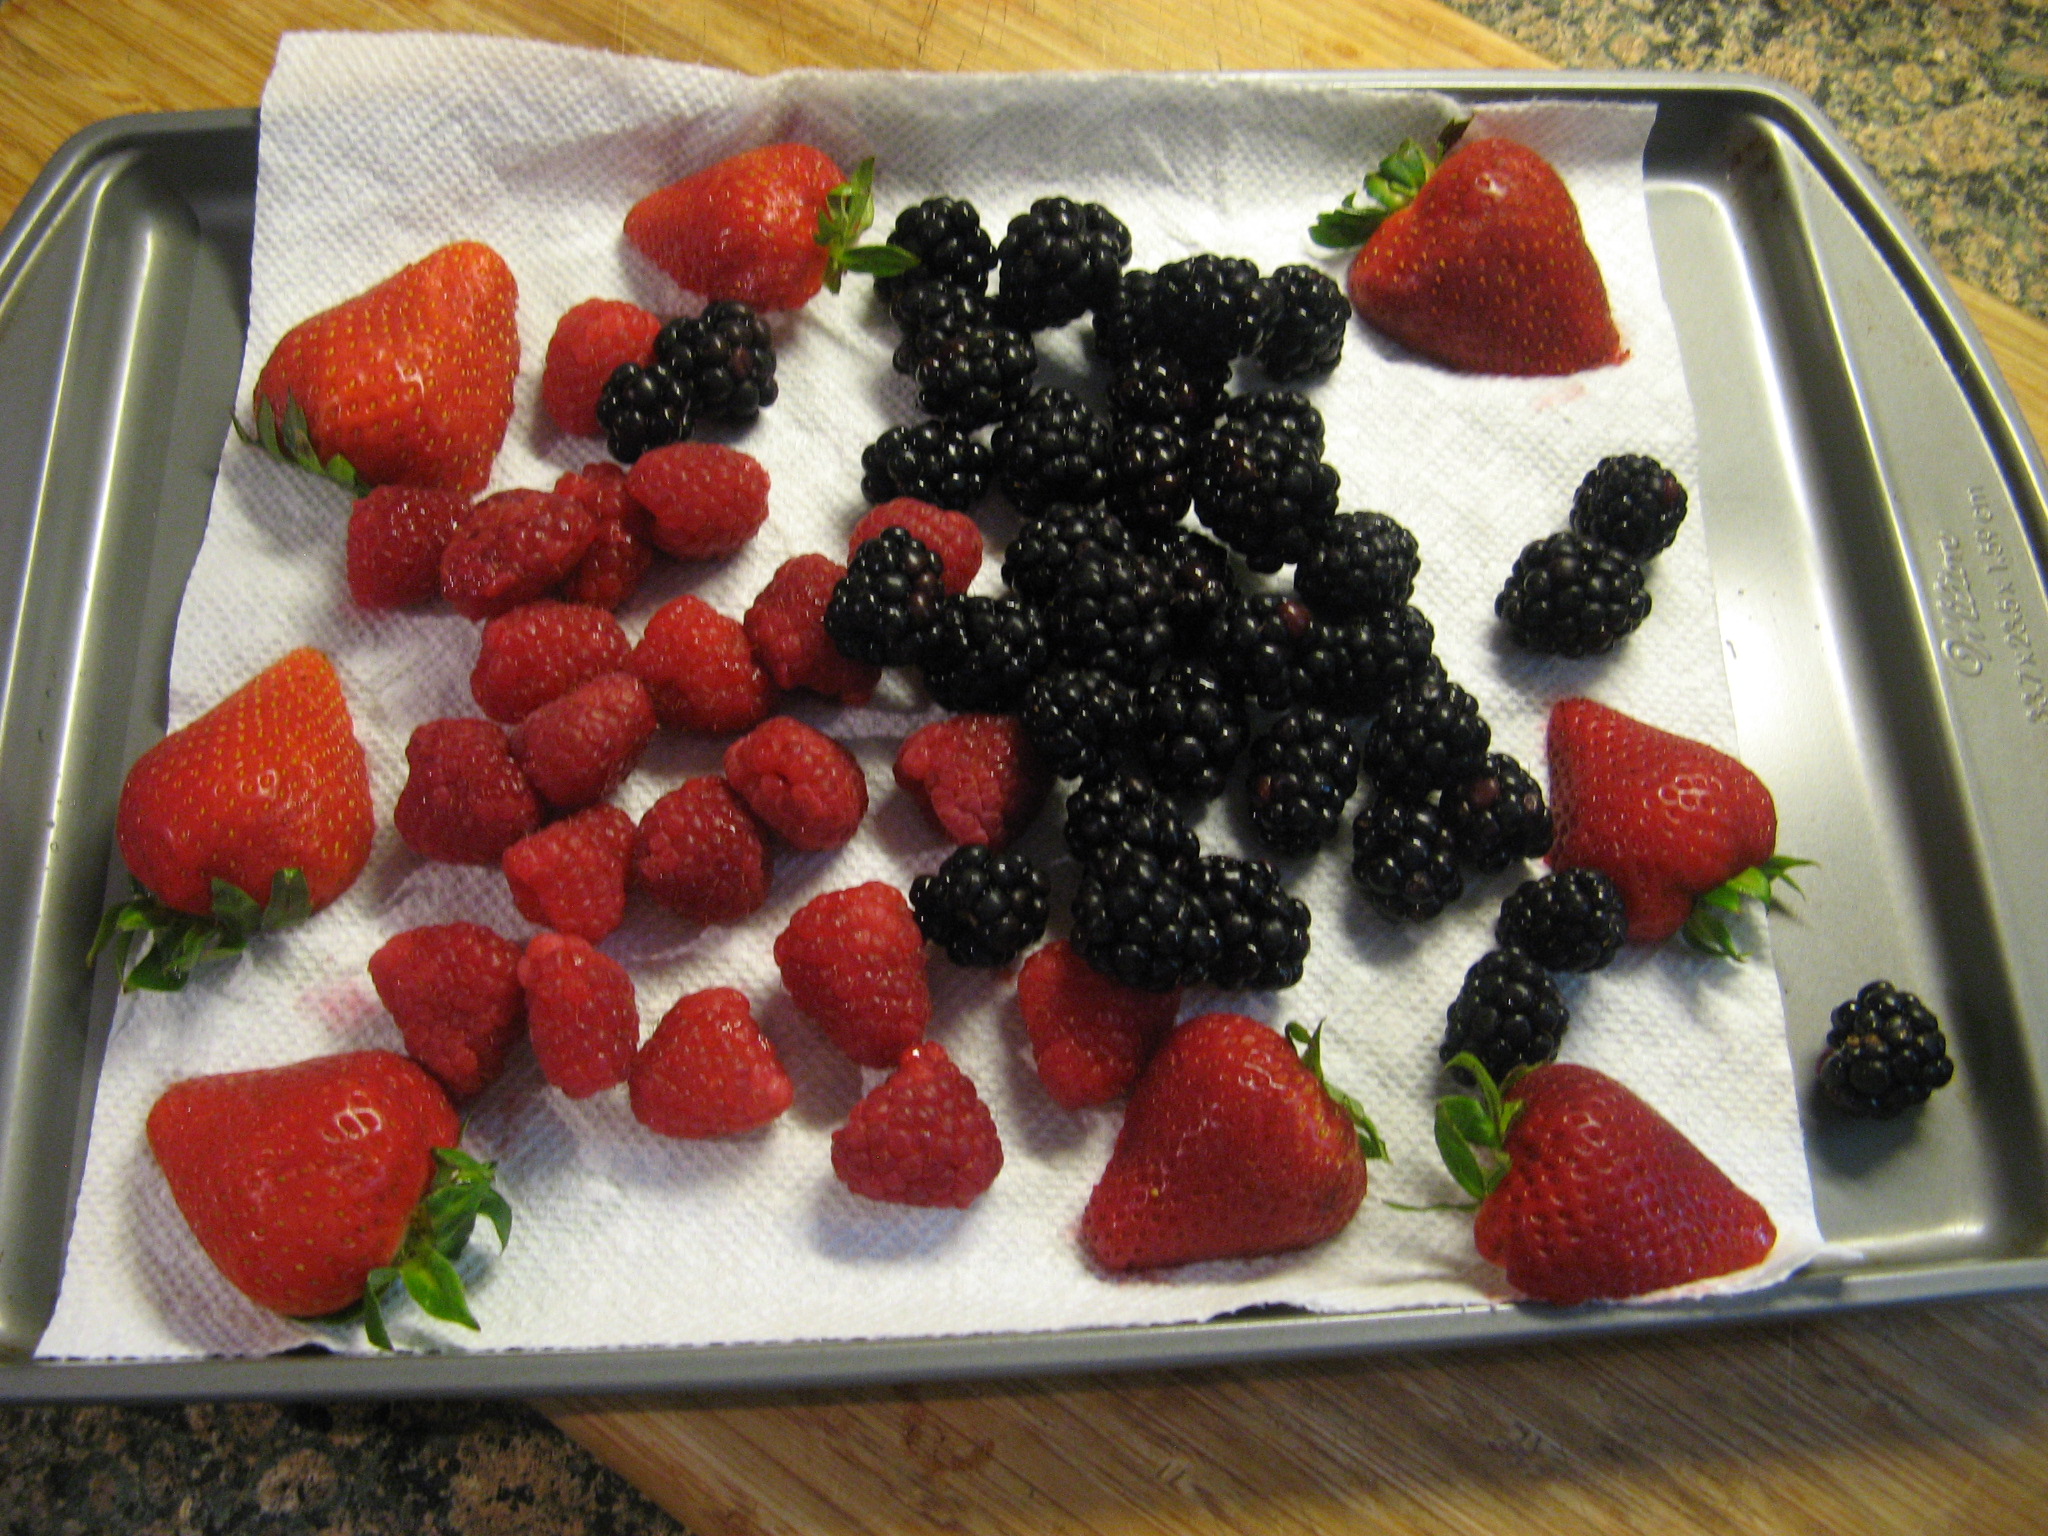
While it chilled I rinsed and dried the berries I would be using – strawberries, raspberries and blackberries.
IMG_3816
To make sure the berries would stay put on top of the cake I spread a layer of pastry cream on the top tier and then placed the berries on top of it.
 IMG_3830
This cake was delicious… The three flavors worked so well together and I can definitely see myself making it again before the cold weather begins to creep in in a few months.
 
Makes about 3 cups
Ingredients:
4 large egg yolks
1/2 cup sugar
1/4 cup cornstarch
Pinch of salt
2 cups milk
1 1/4 teaspoon pure vanilla extract
Directions:
1. Whisk egg yolks until smooth in a large bowl. Combine sugar, cornstarch, and salt in a medium saucepan, and heat over medium. Stirring constantly, gradually ass milk in a slow, steady stream, and cook until mixture thickens and begins to bubble, about 5 minutes.
2. Whisking constantly, slowly pour one third of the milk mixture into egg yolks. Pour mixture into remaining milk mixture in saucepan. Cook over medium heat, whisking constantly, until mixture comes to a full boil and is thick enough to hold its shape when lifted with a spoon, 2 to 4 minutes. Remove from heat; stir in vanilla.
3. Strain mixture through a fine sieve into a heatproof bowl. Cover with parchment paper or plastic wrap, pressing it directly on surface to prevent a skin from forming. Refrigerate until chilled and firm, at least 2 hours (or up to 2 days.)
 
Ingredients:
1 cup (2 sticks) unsalted butter, room temperature
3 cups sifted all-purpose flour
1 tablespoon baking powder
1 teaspoon baking soda
1/2 teaspoon salt
2 cups granulated sugar
4 large egg yolks, lightly beaten
1 1/4 cups buttermilk
1 1/2 teaspoon vanilla extract
Zest of 2 lemons (I used one lemon so the cake wouldn’t be too “lemony”)
Directions:
1. Preheat oven to 350 F. Butter two 8-by-2 inch round cake pans; line with parchment rounds, and butter parchment. Dust with flour, tapping out excess. (I used two 8-by-3 inch pans and used baking spray instead of butter and flour.) Sift together flour, baking powder, baking soda, and salt into a medium bowl.
2. With an electric mixer on medium speed, beat butter until softened, 1 to 2 minutes. Gradually add granulated sugar, and beat until pale and fluffy, 3 to 4 minutes, scraping down the sides of bowl once or twice. Gradually add eggs; beat until incorporated after each addition, scraping down sides of bowl once or twice.
3. Slowly add the flour mixture in 3 batches, alternating with 2 batches of buttermilk; beat until just combined. Beat in vanilla and lemon zest.
4. Divide batter evenly between prepared pans. Bake, rotating halfway though, until a cake tester comes out clean, 35 to 45 minutes. Transfer pans to wire racks to cool 15 minutes. Turn out cakes onto racks to cool completely.

Happy National Doughnut Day!

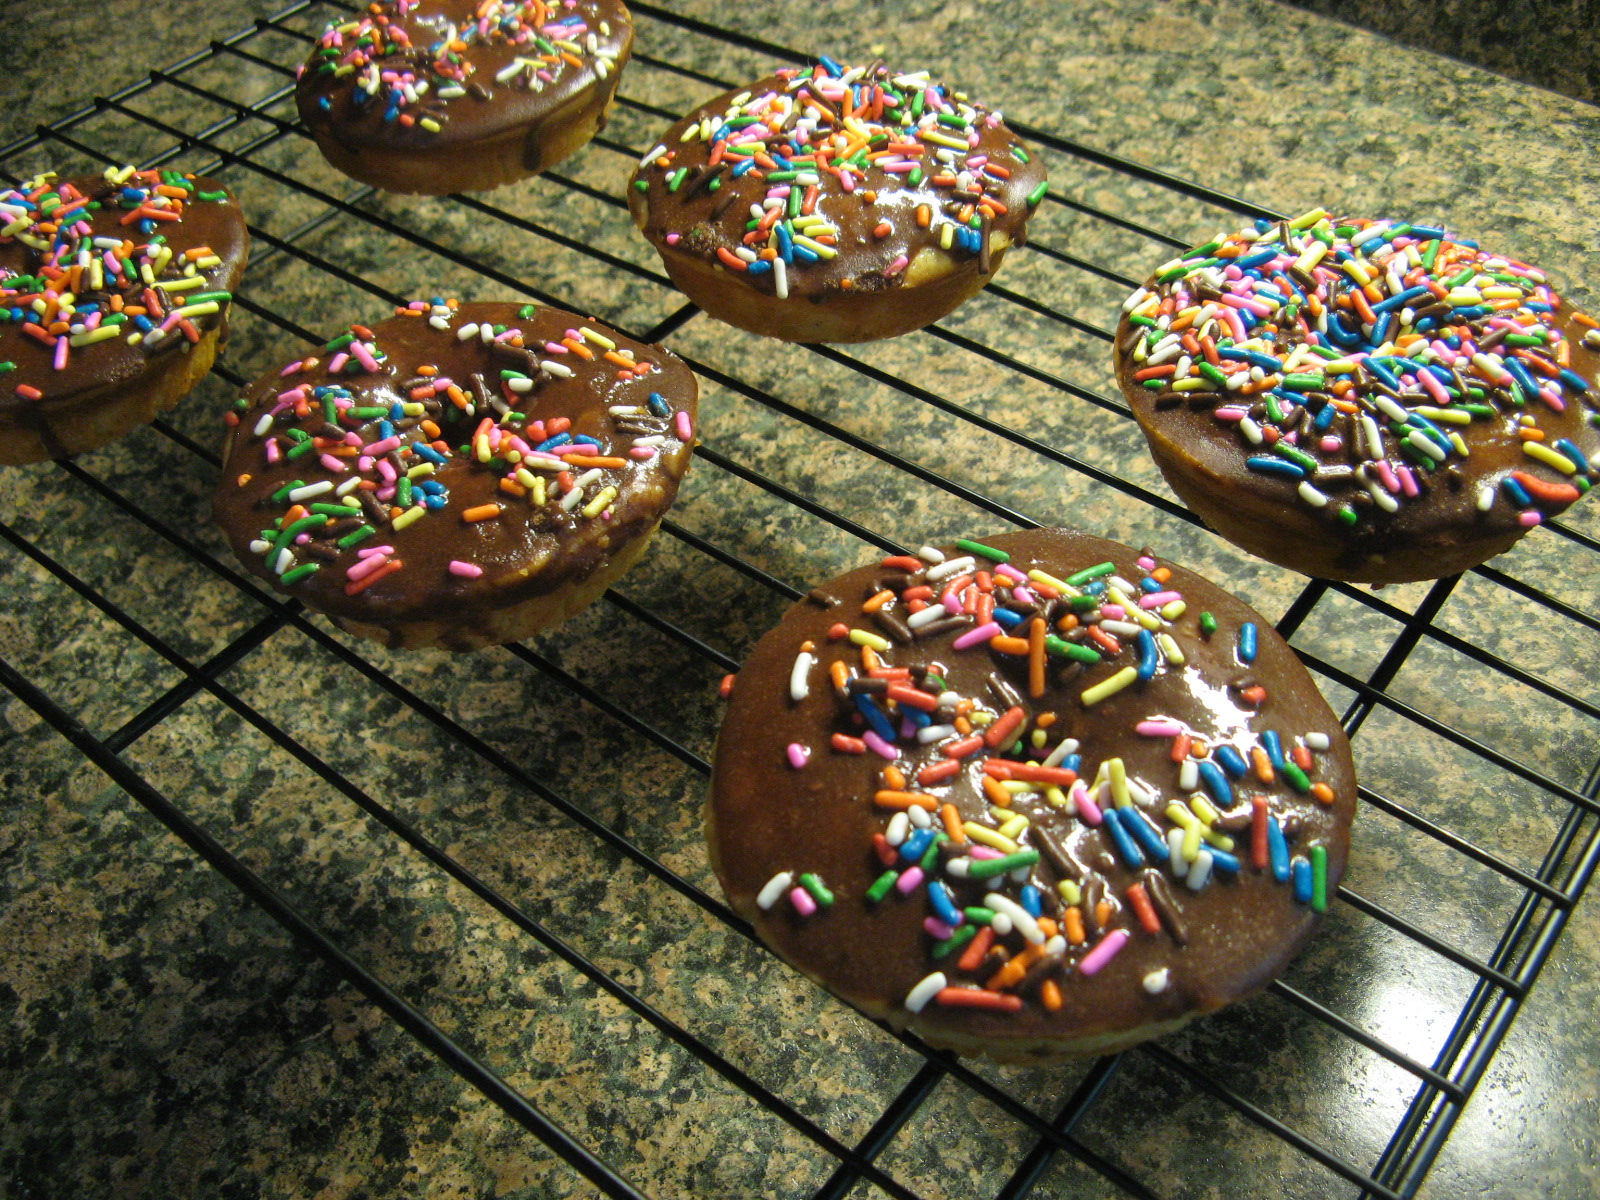
It’s the first Friday of June, also known as National Doughnut Day! It began back in 1938 when The Salvation Army wanted to recognize the men and women who served doughnuts to soldiers in World War I. For a little more history on the day check out the following link. So, if you are in the mood for a free doughnut today head on over to your local Dunkin’ Donuts or Krispy Kreme, as for me, I decided to bake up a batch. While I did enjoy the Pumpkin Doughnuts and Cinnamon Sugar Apple Doughnuts I baked up last year soon after I got my doughnut pan I decided that today I would bake my favorite doughnut… A Chocolate Frosted Doughnut. A basic one, but always a good one! I found a great recipe on the daily web magazine The Kitchn that could easily be halved (6 vs. 12), which was the exact amount I was looking to make.
IMG_3880
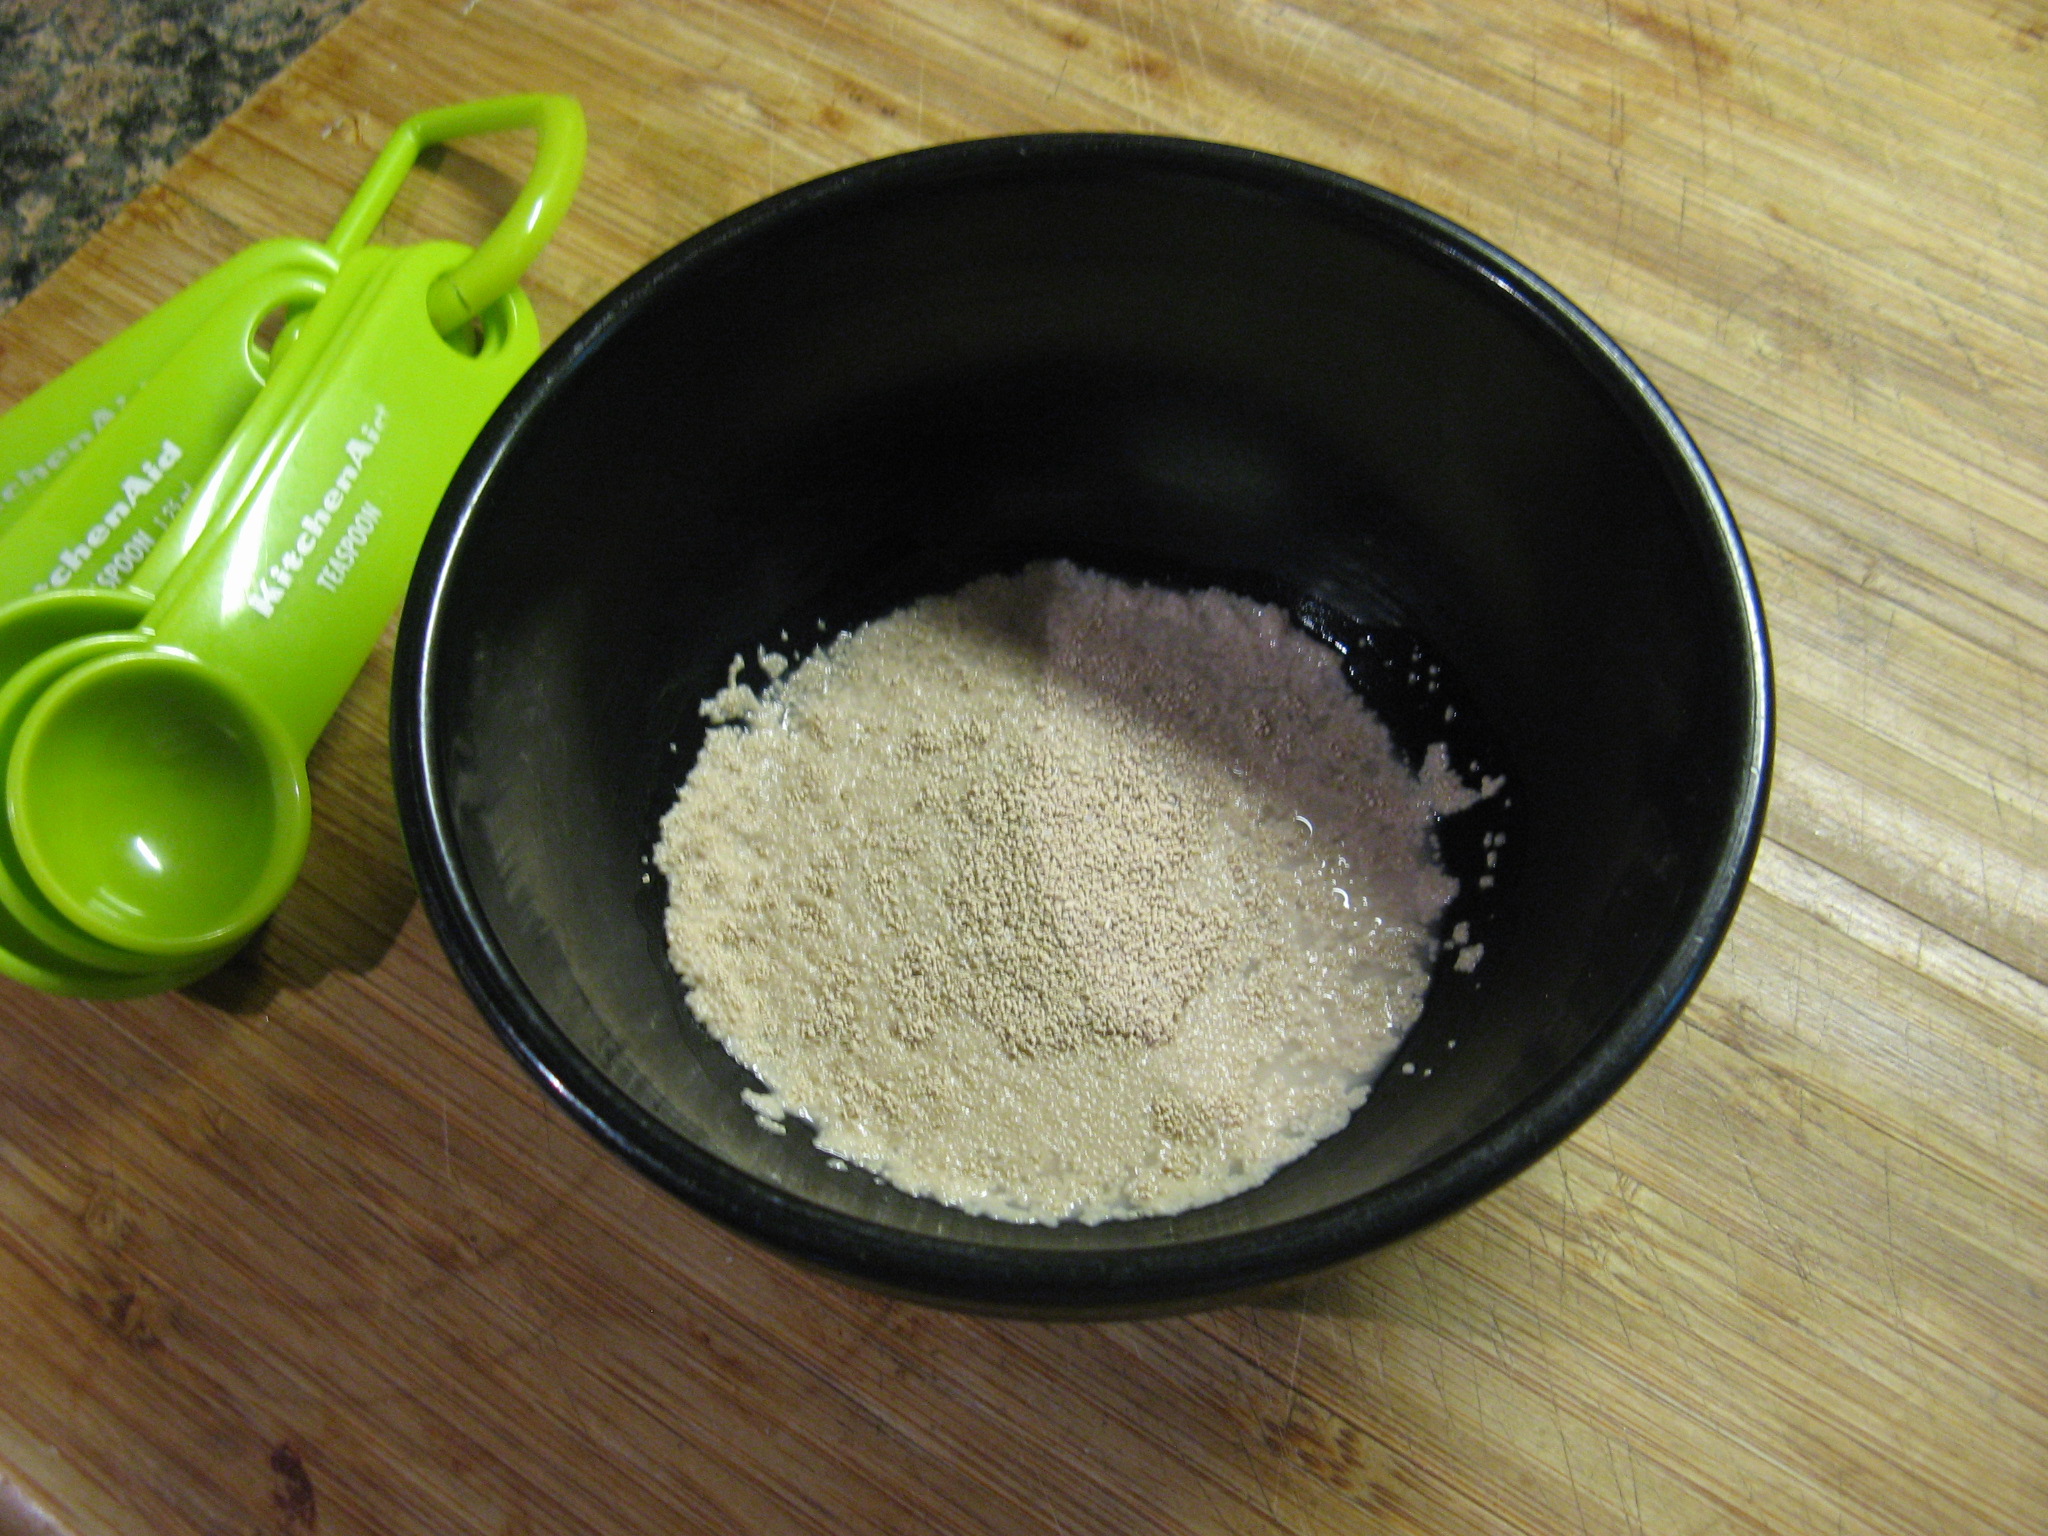
I began by mixing active dry yeast with warm water and setting it aside. While the directions didn’t state it, I also added a little sugar as well, per the directions on the yeast packaging. I made the mistake of not adding sugar the first time I worked with yeast – for cinnamon rolls – and needless to say they didn’t come out as well as I was hoping they would.
IMG_3841
Next I sifted together flour, sugar, baking powder, nutmeg and salt and set that aside as well.
IMG_3844
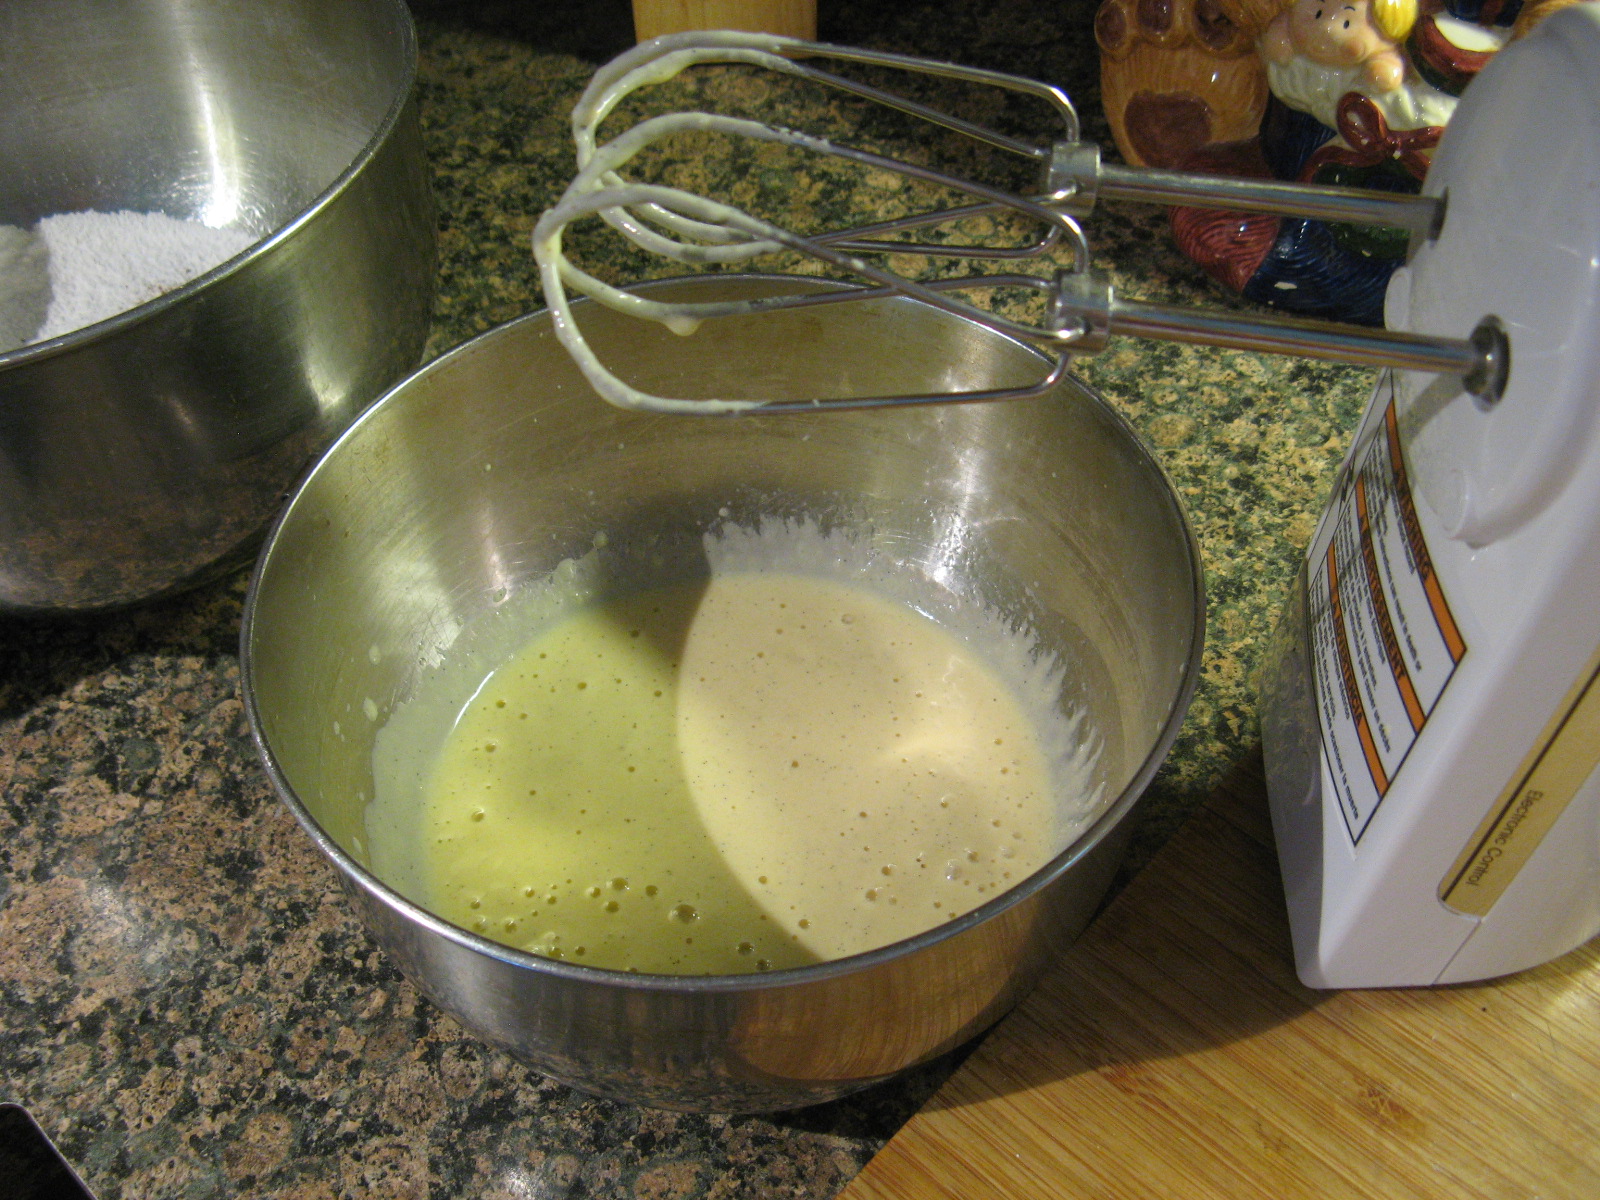
And then I whisked together an egg, vanilla yogurt (I used Greek yogurt), melted butter, vanilla paste (I actually had this in my spice collection after picking up a bottle of it from my local Home Goods. Pure Vanilla Extract is good, but the paste is excellent!), and the yeast mixture.
IMG_3850
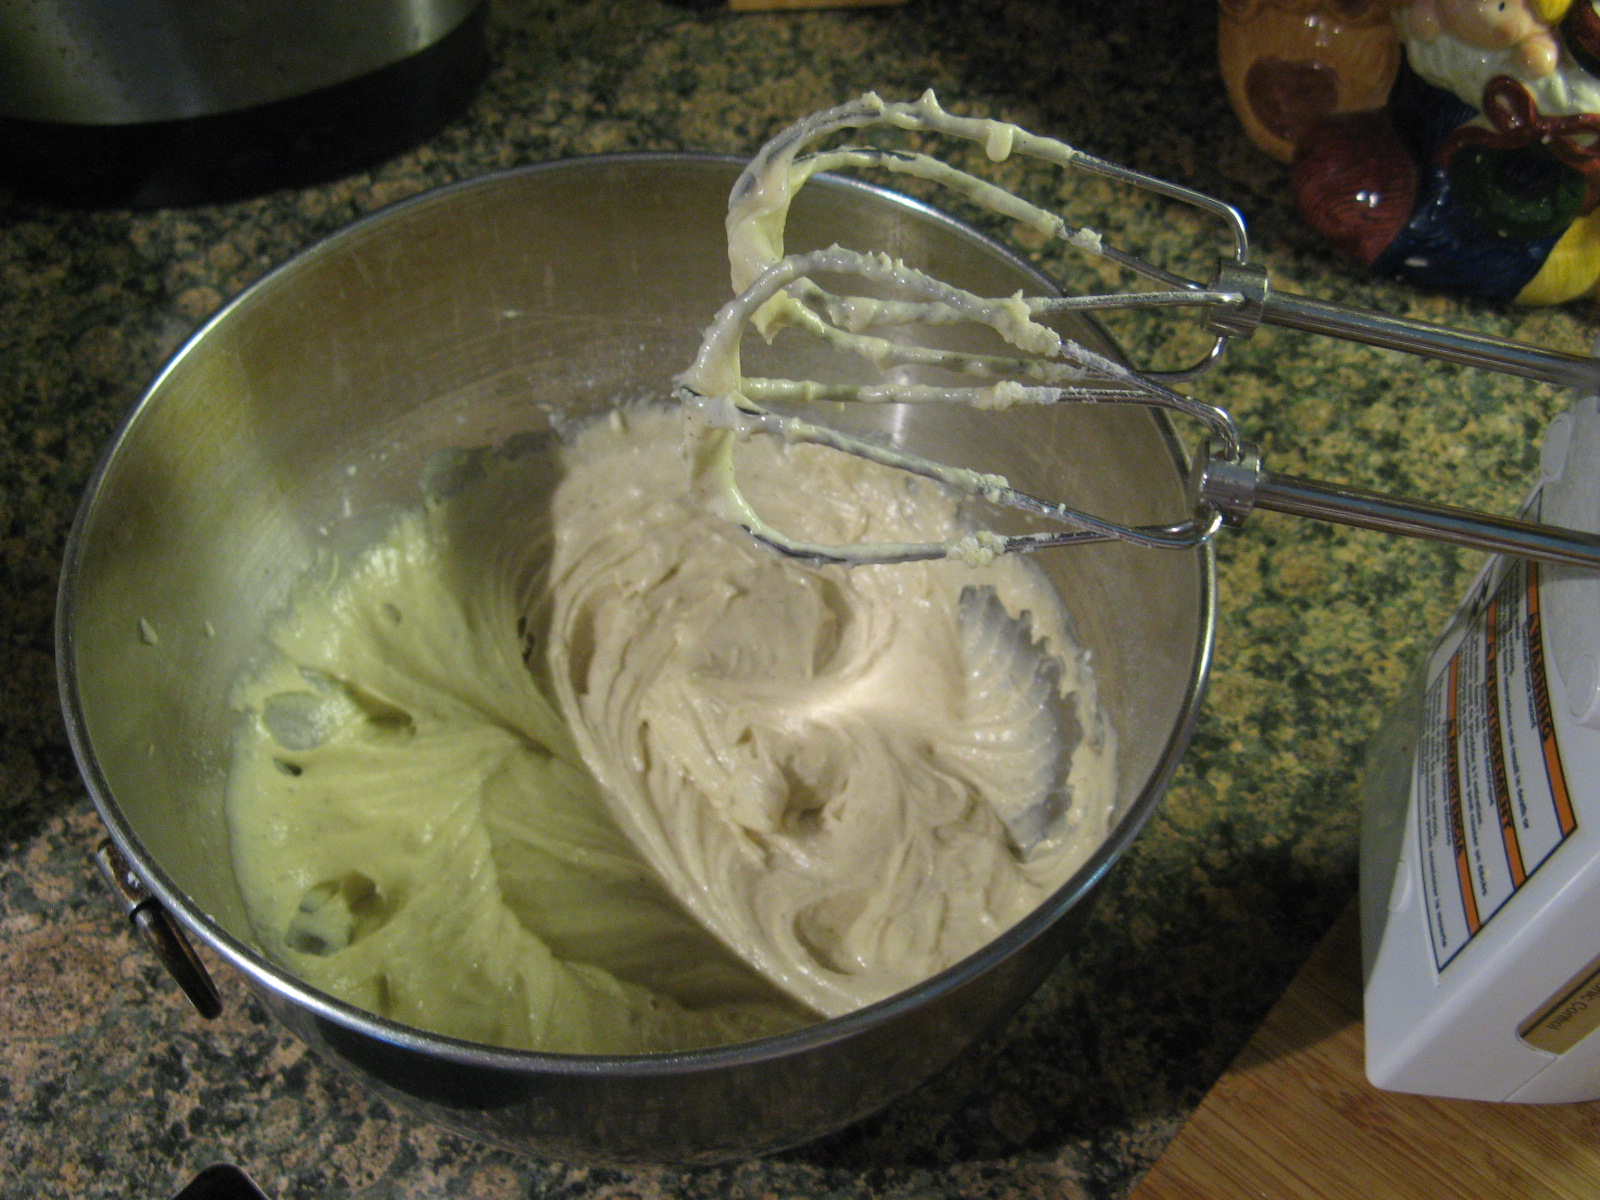
Once that was well combined I whisked in the sifted flour mixture.
IMG_3851
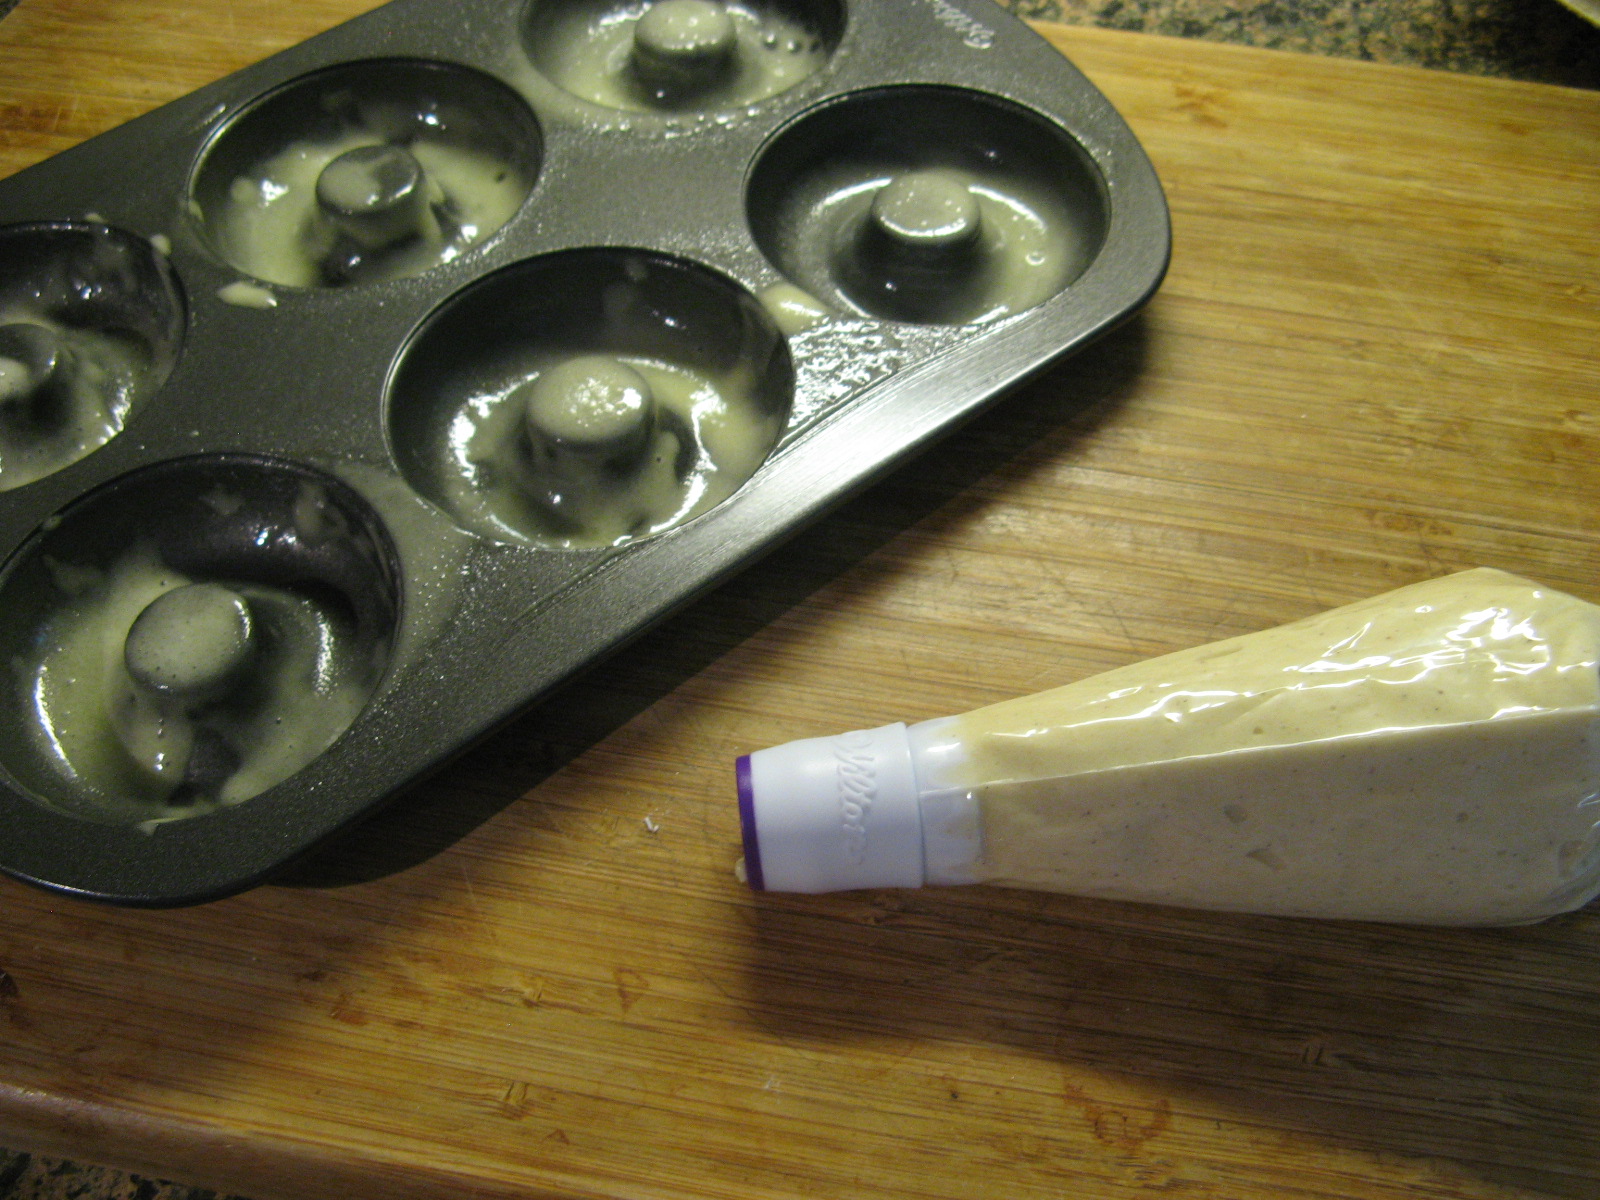
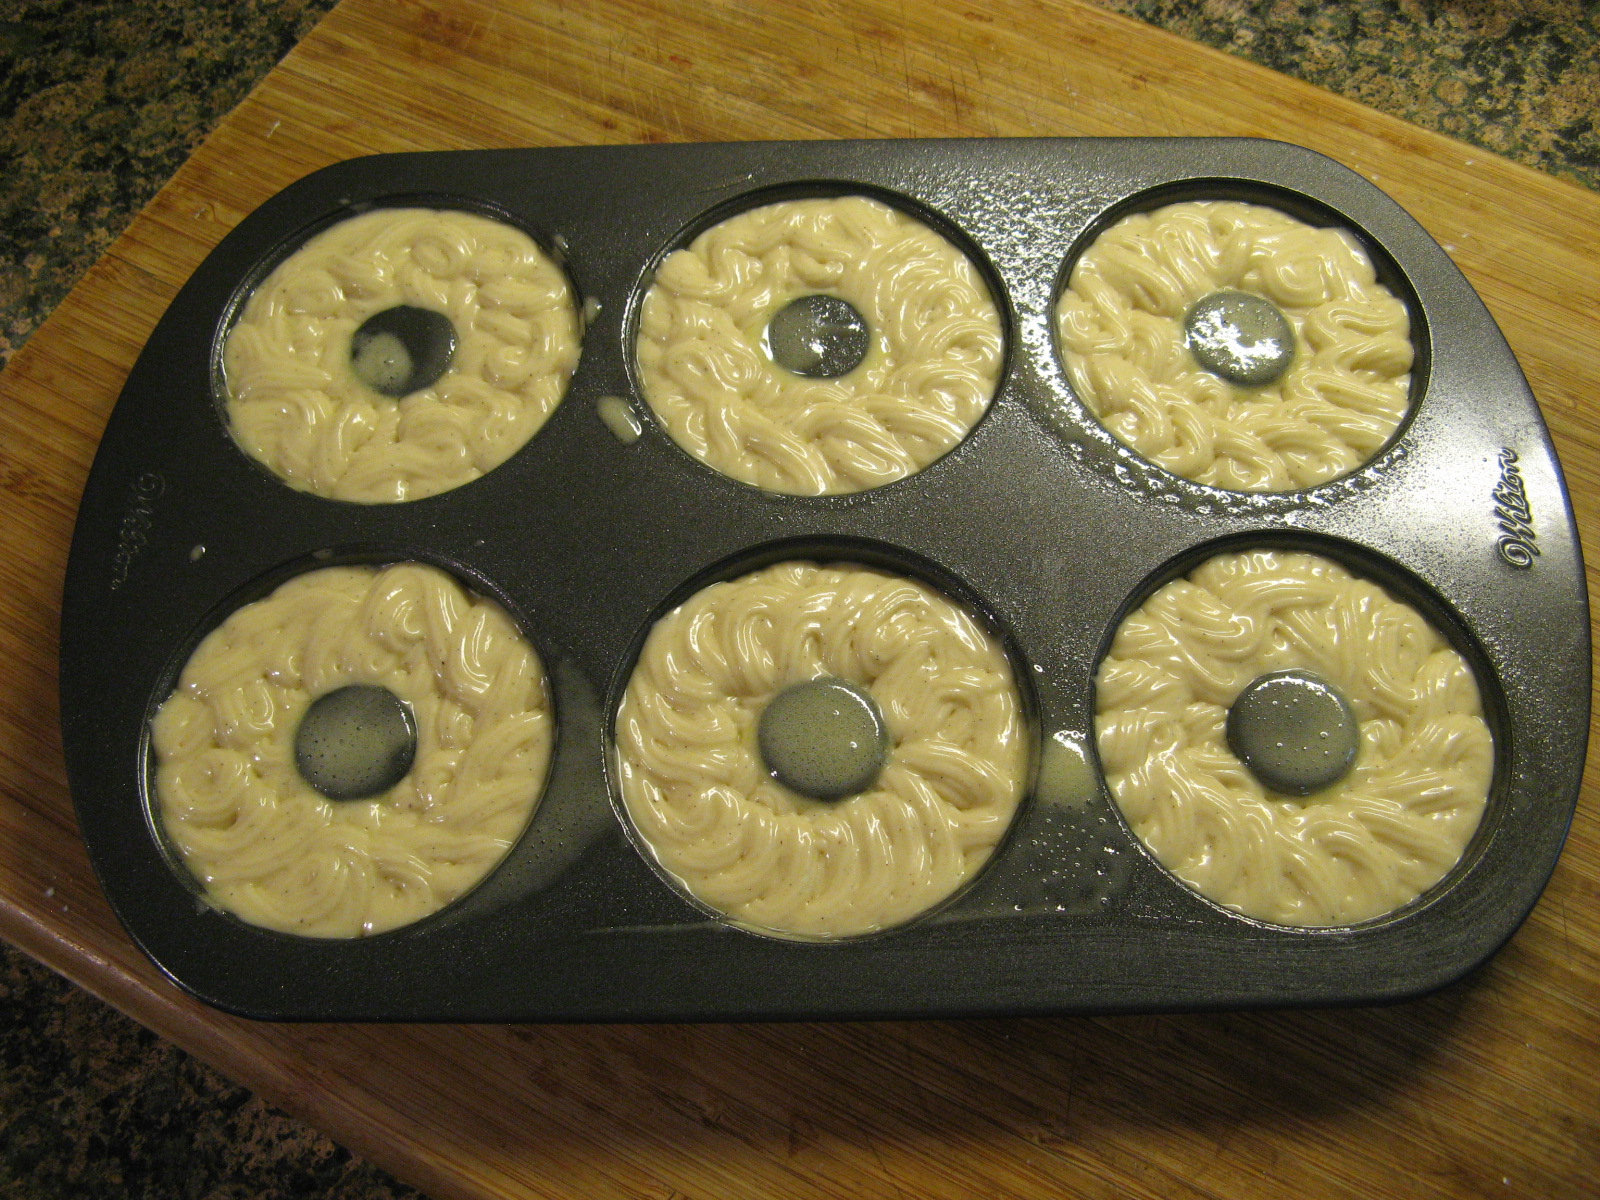
Now it was time to pipe the batter into my greased doughnut pan.
IMG_3853 IMG_3855
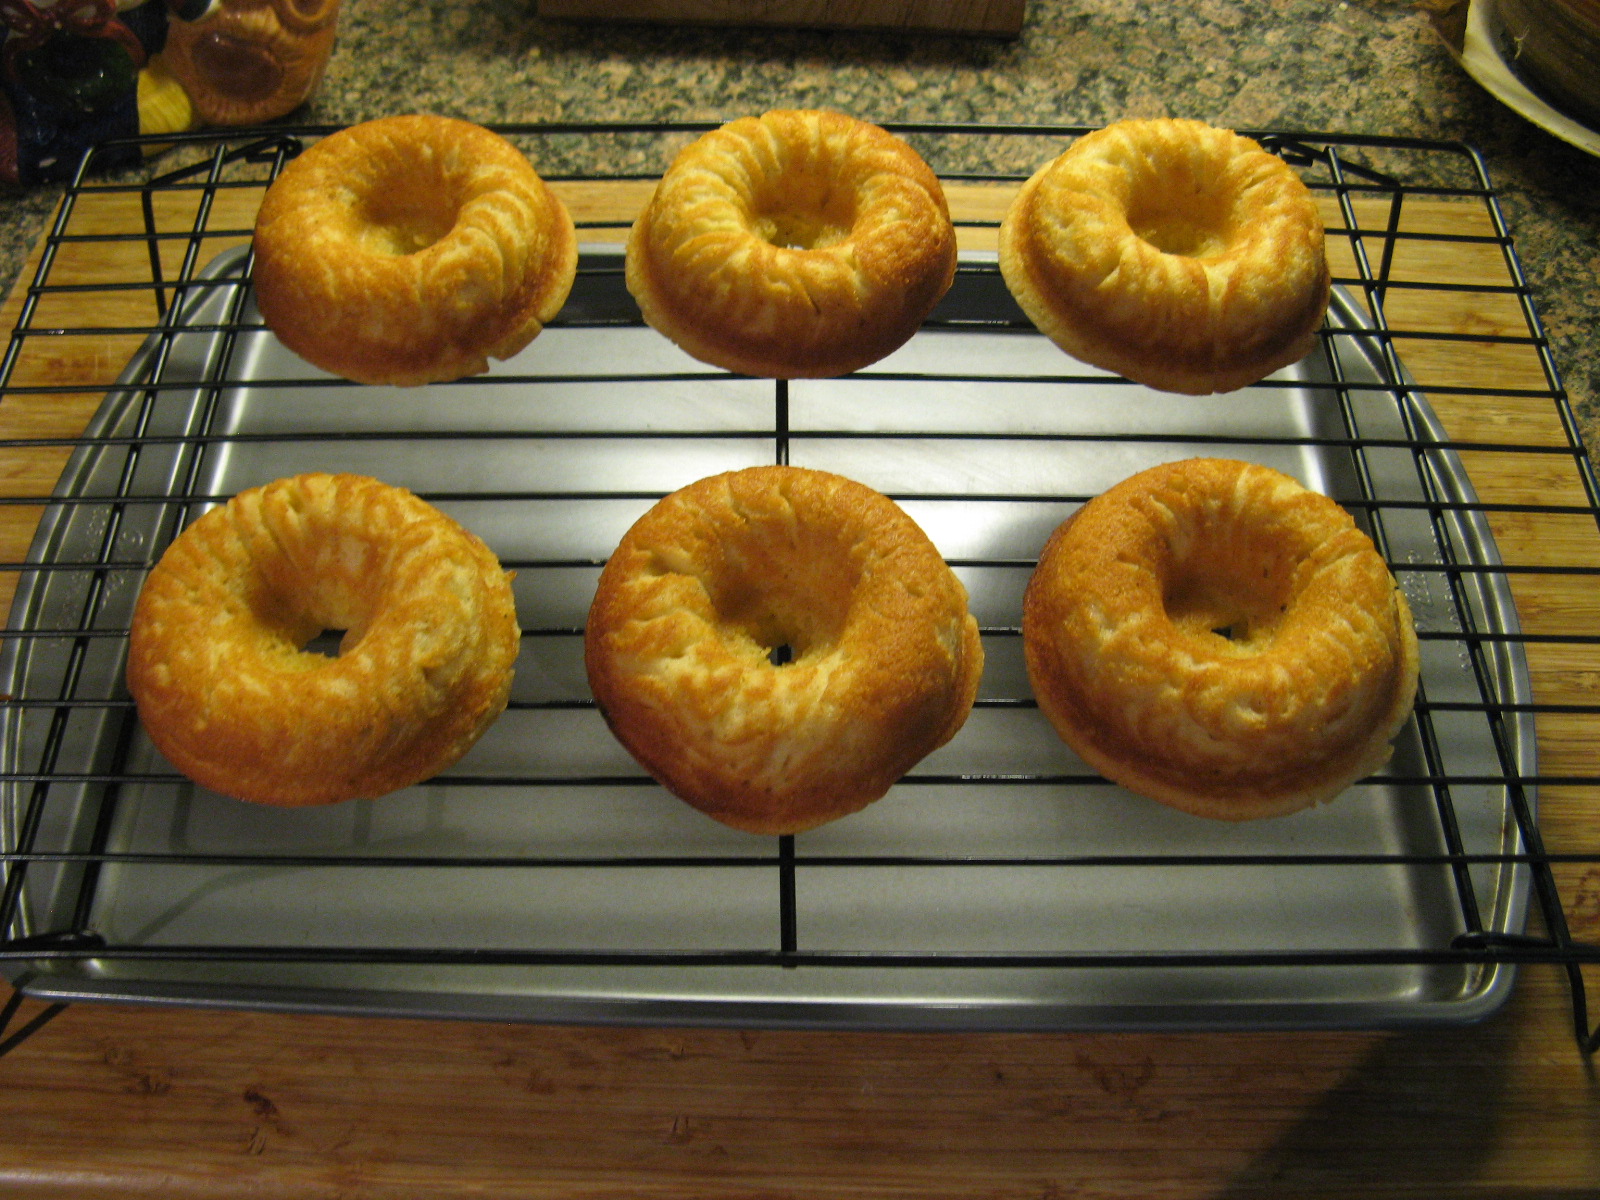
Following that I baked the doughnuts in a preheated 350 F oven for about 15 minutes. After letting them cool in the pan for 5 minutes I transferred them to a wire rack to finish cooling.
IMG_3857
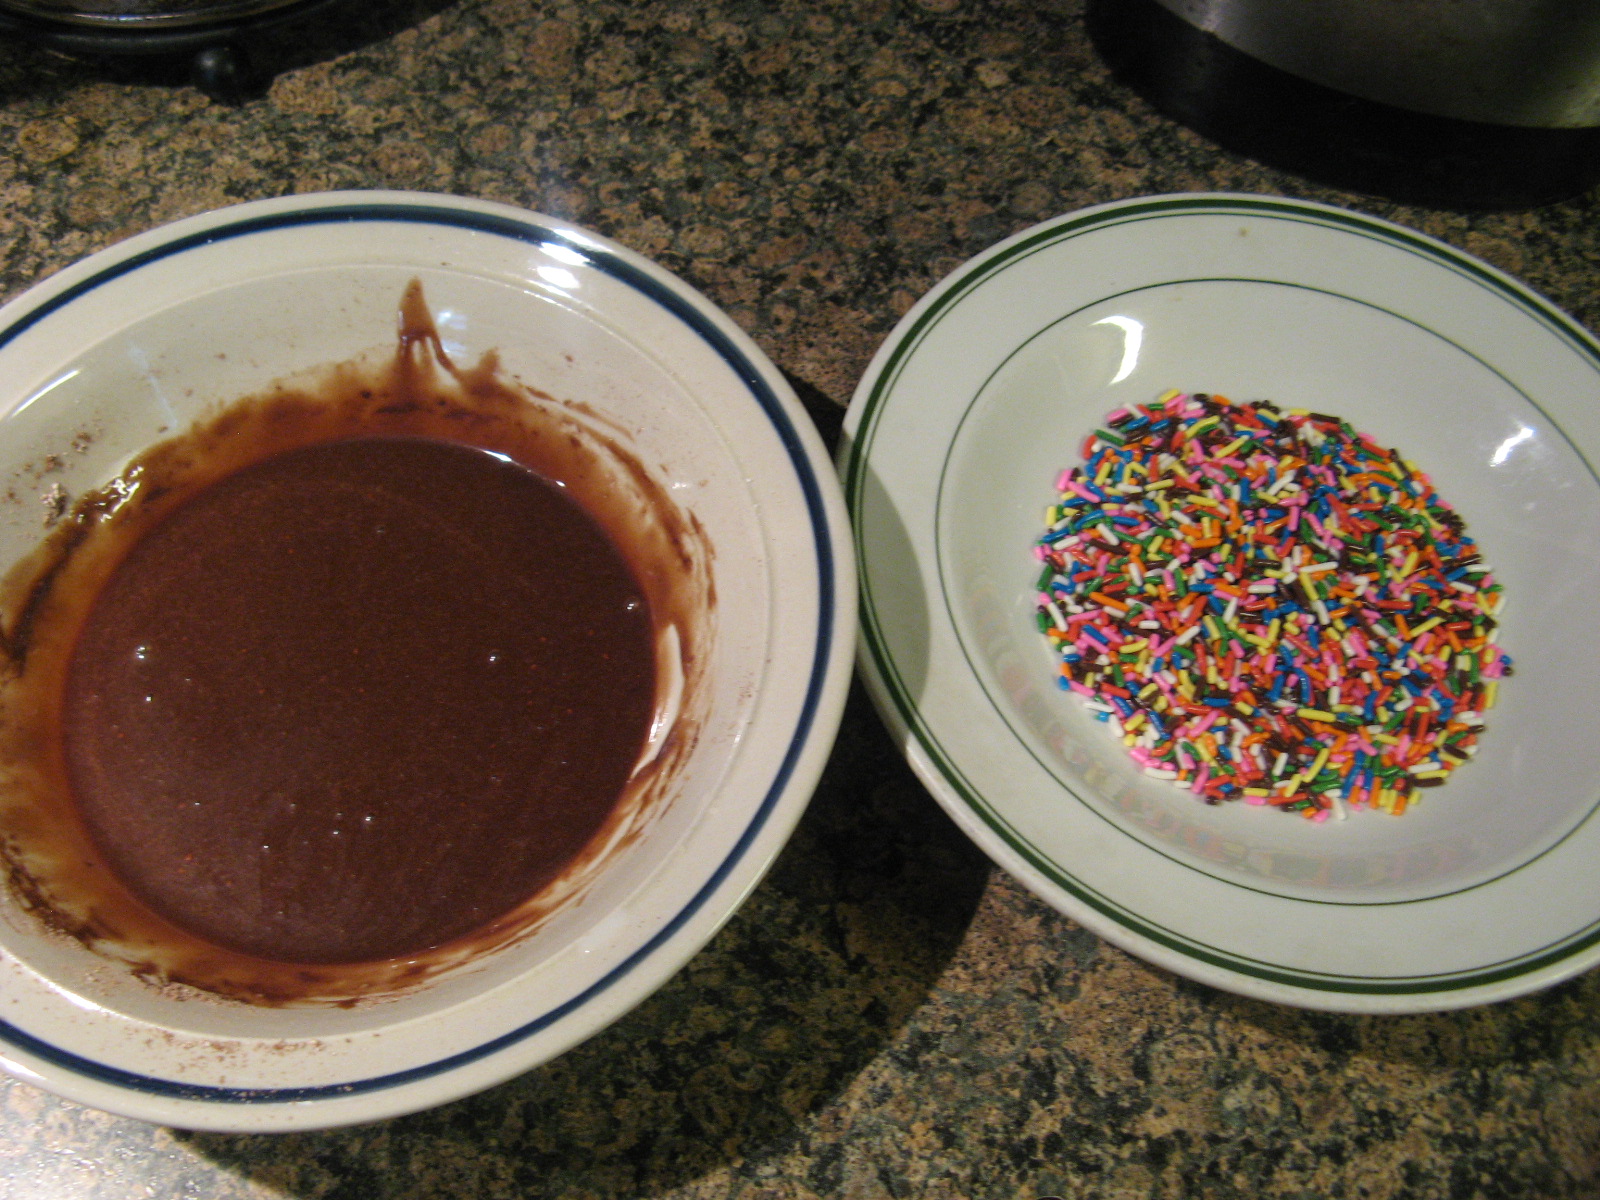
Once they were completely cooled I made the chocolate glaze and got the sprinkles ready.
IMG_3858
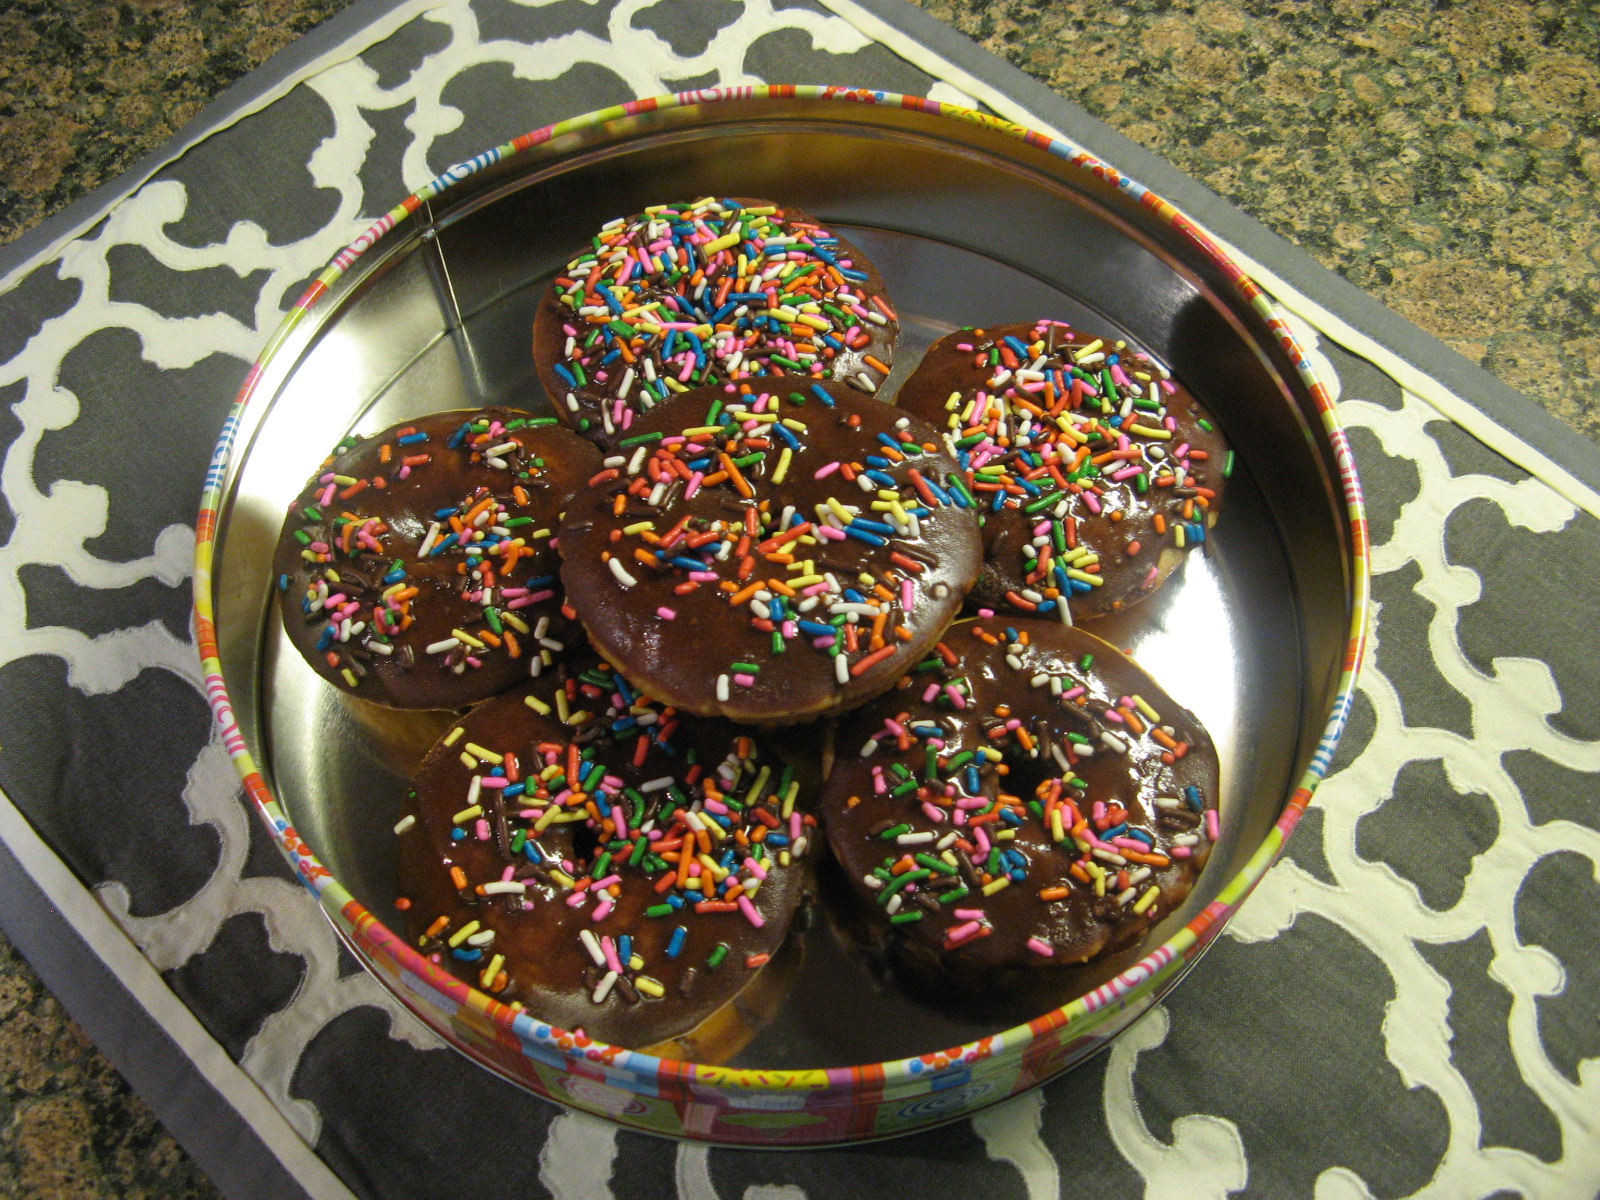
I then dipped the doughnuts in the glaze and sprinkled them with rainbow sprinkles.
IMG_3898
Makes 12 Doughnuts (I halved the recipe and it more than enough for 6 doughnuts)
Ingredients:
2 teaspoons active dry yeast
2 tablespoons warm water
2 cups all-purpose flour
1 1/4 cups sugar
1 1/2 teaspoons baking powder
1/2 teaspoon freshly grated nutmeg
1/2 teaspoon fine sea salt
2 large eggs
1 cup vanilla yogurt, whole or low fat
4 tablespoons (1/2 stick) unsalted butter, melted
2 teaspoons vanilla bean paste or pure vanilla extract
Directions:
For the doughnuts, preheat oven to 350°F. Coat two (6-count) doughnut pans with a flour-based baking spray, such as Baker’s Joy. Arrange a wire cooling rack over a sheet pan lined with parchment paper.
In a small bowl, sprinkle the yeast over the warm water and set aside. In a medium mixing bowl, sift together flour, sugar, baking powder, nutmeg, and salt.
In another bowl, whisk the eggs, yogurt, melted butter, vanilla paste, and yeast mixture until well combined. Pour the liquid ingredients into the dry ingredients and stir until completely incorporated. Transfer the batter to a disposable piping bag (or zip top bag, snipping off one corner for piping) and pipe into the prepared pan, filling each well a little over half full.
Bake the doughnuts until puffed and golden, about 15 minutes. Remove from the oven and cool the doughnuts in the pan for 5 minutes. Transfer the doughnuts from the pan to the wire rack.
 
Ingredients:
1/2 cup powdered sugar
1 tablespoon unsweetened baking cocoa
1 tablespoon butter, melted
3 to 4 teaspoons milk
Directions:
Combine all ingredients in a bowl and beat with a whisk until smooth.

Peanut Butter Cupcakes With Chocolate Frosting

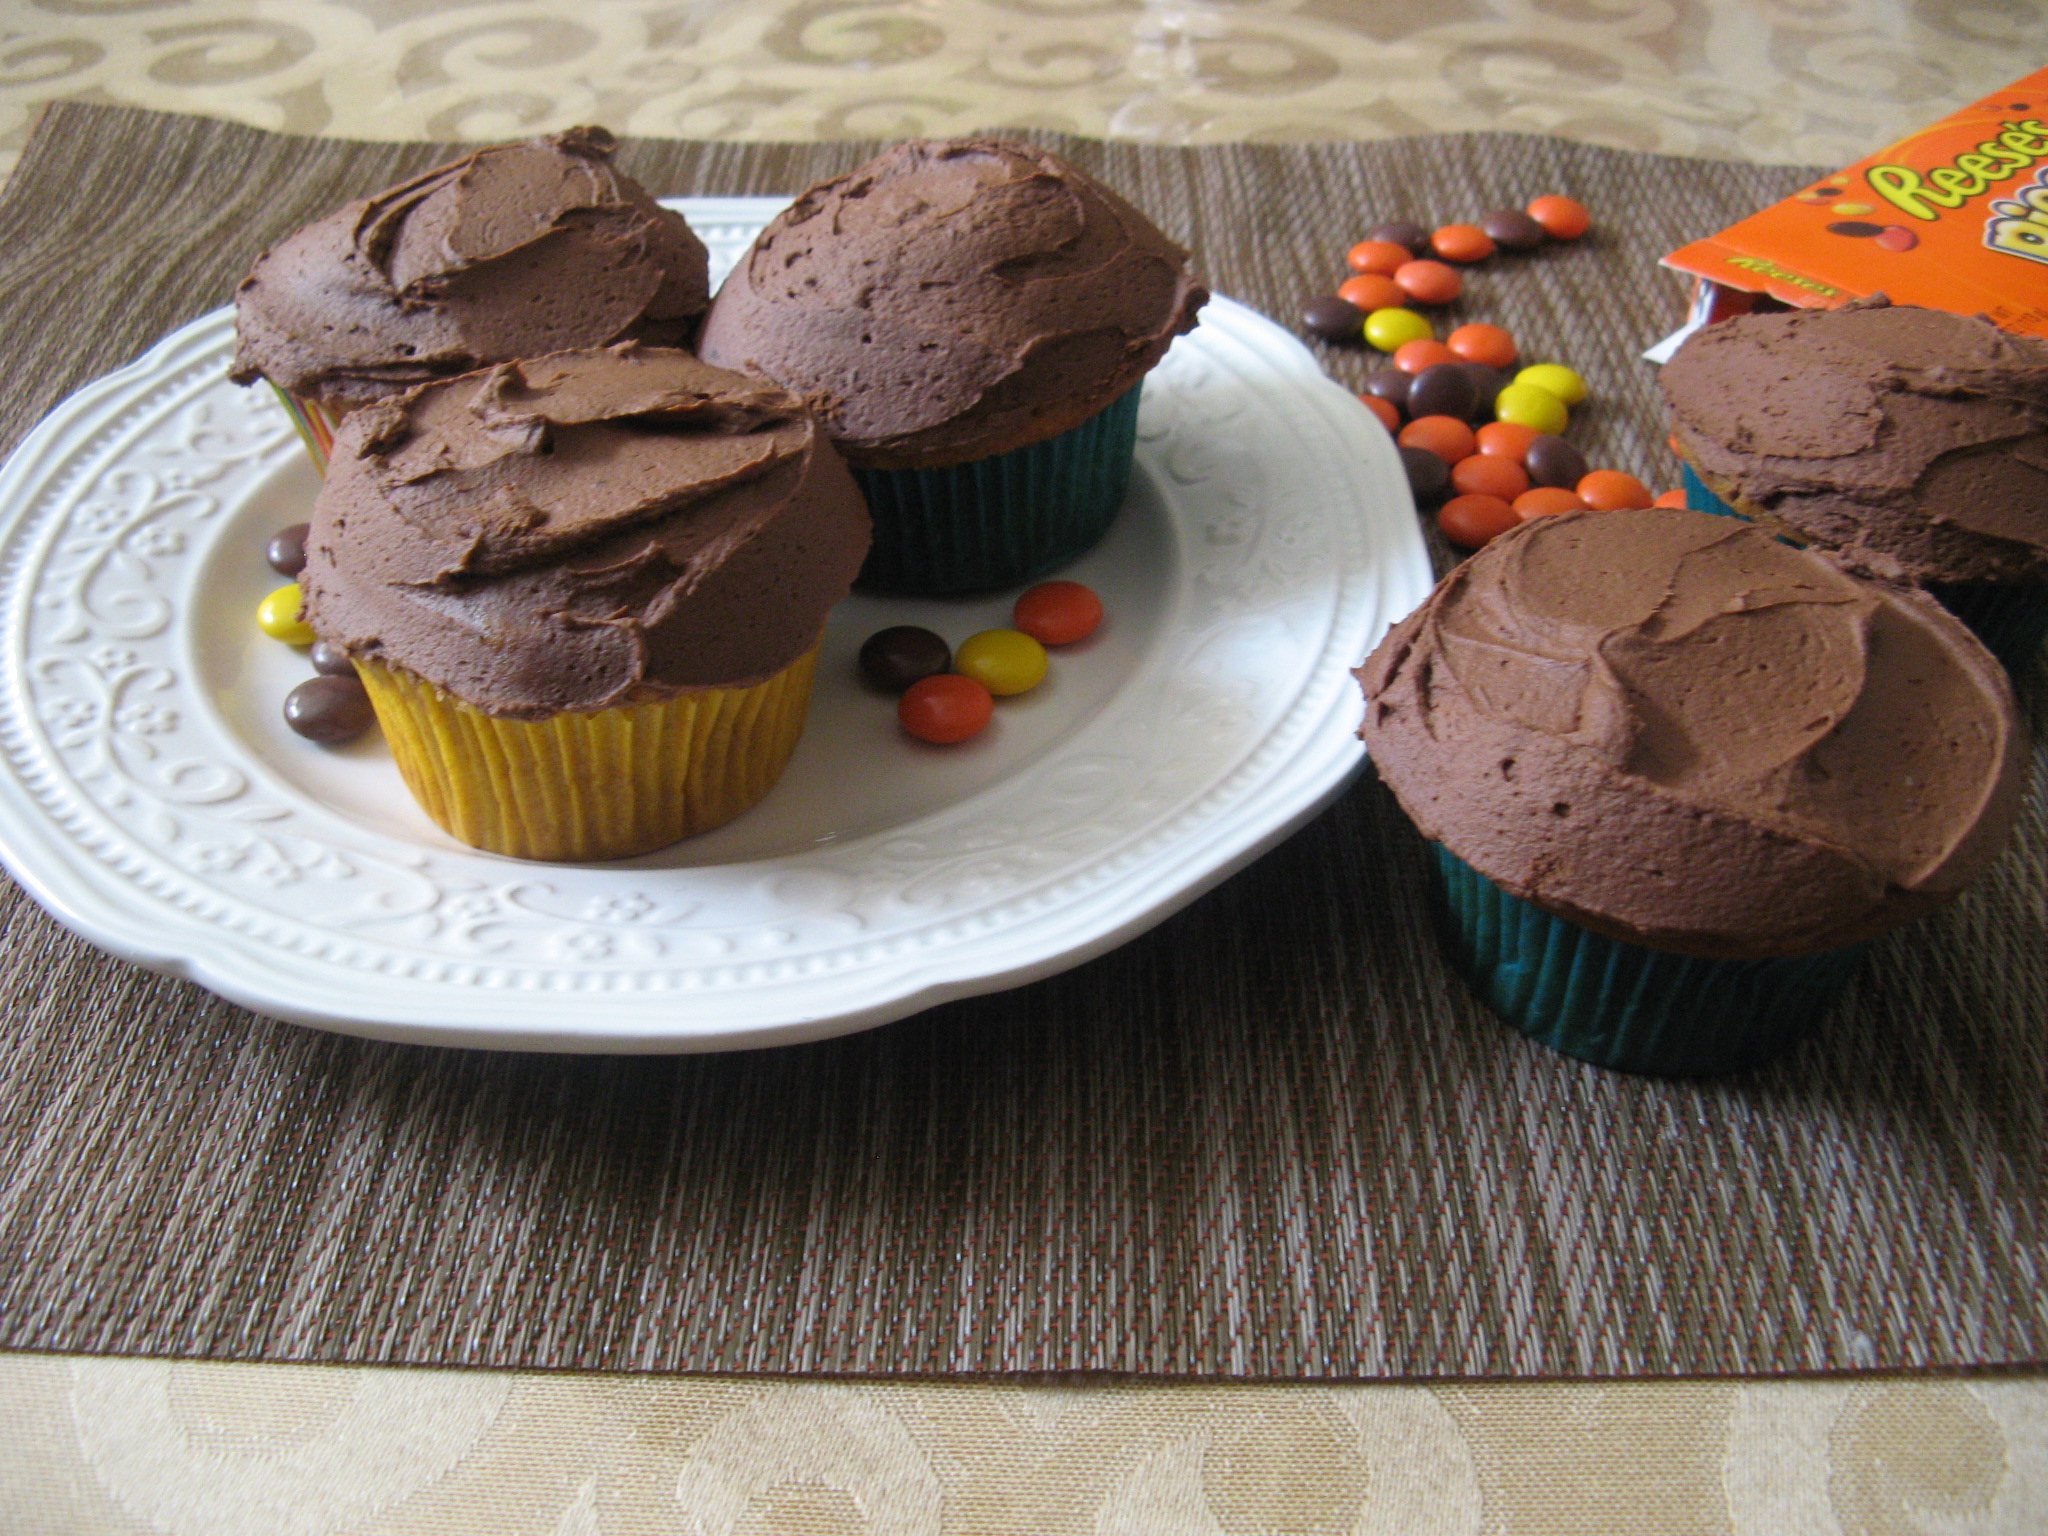
While I do have a sweet tooth for desserts I have never been one to eat much candy. I have this idea that eating a cookie is a better sweet fix than a piece of candy, yes, they are both sweet, but, somehow that cookie is the “healthier” option in my mind – this coming from the girl who has never met a glass, bottle or can of Coca-Cola she didn’t like! Don’t get me wrong though, I do love the occasional truffle from Godiva, but, you definitely won’t find me eating a bag of Skittles. I swear I am not a candy snob or anything though… I just don’t particularly care for candies that can change the color of your tongue all shades of the rainbow. There is one candy though that I do have a sweet spot for – Reese’s. That can be a Reese’s Peanut Butter (any size or shape, but especially the Easter egg one’s) or Reese’s pieces. There is something about peanut butter and chocolate together that is oh so delicious! So how could you go wrong with a peanut butter cupcake with chocolate frosting!

IMG_3744

To begin I sifted the together flour, salt and baking powder and set it aside.

IMG_3692

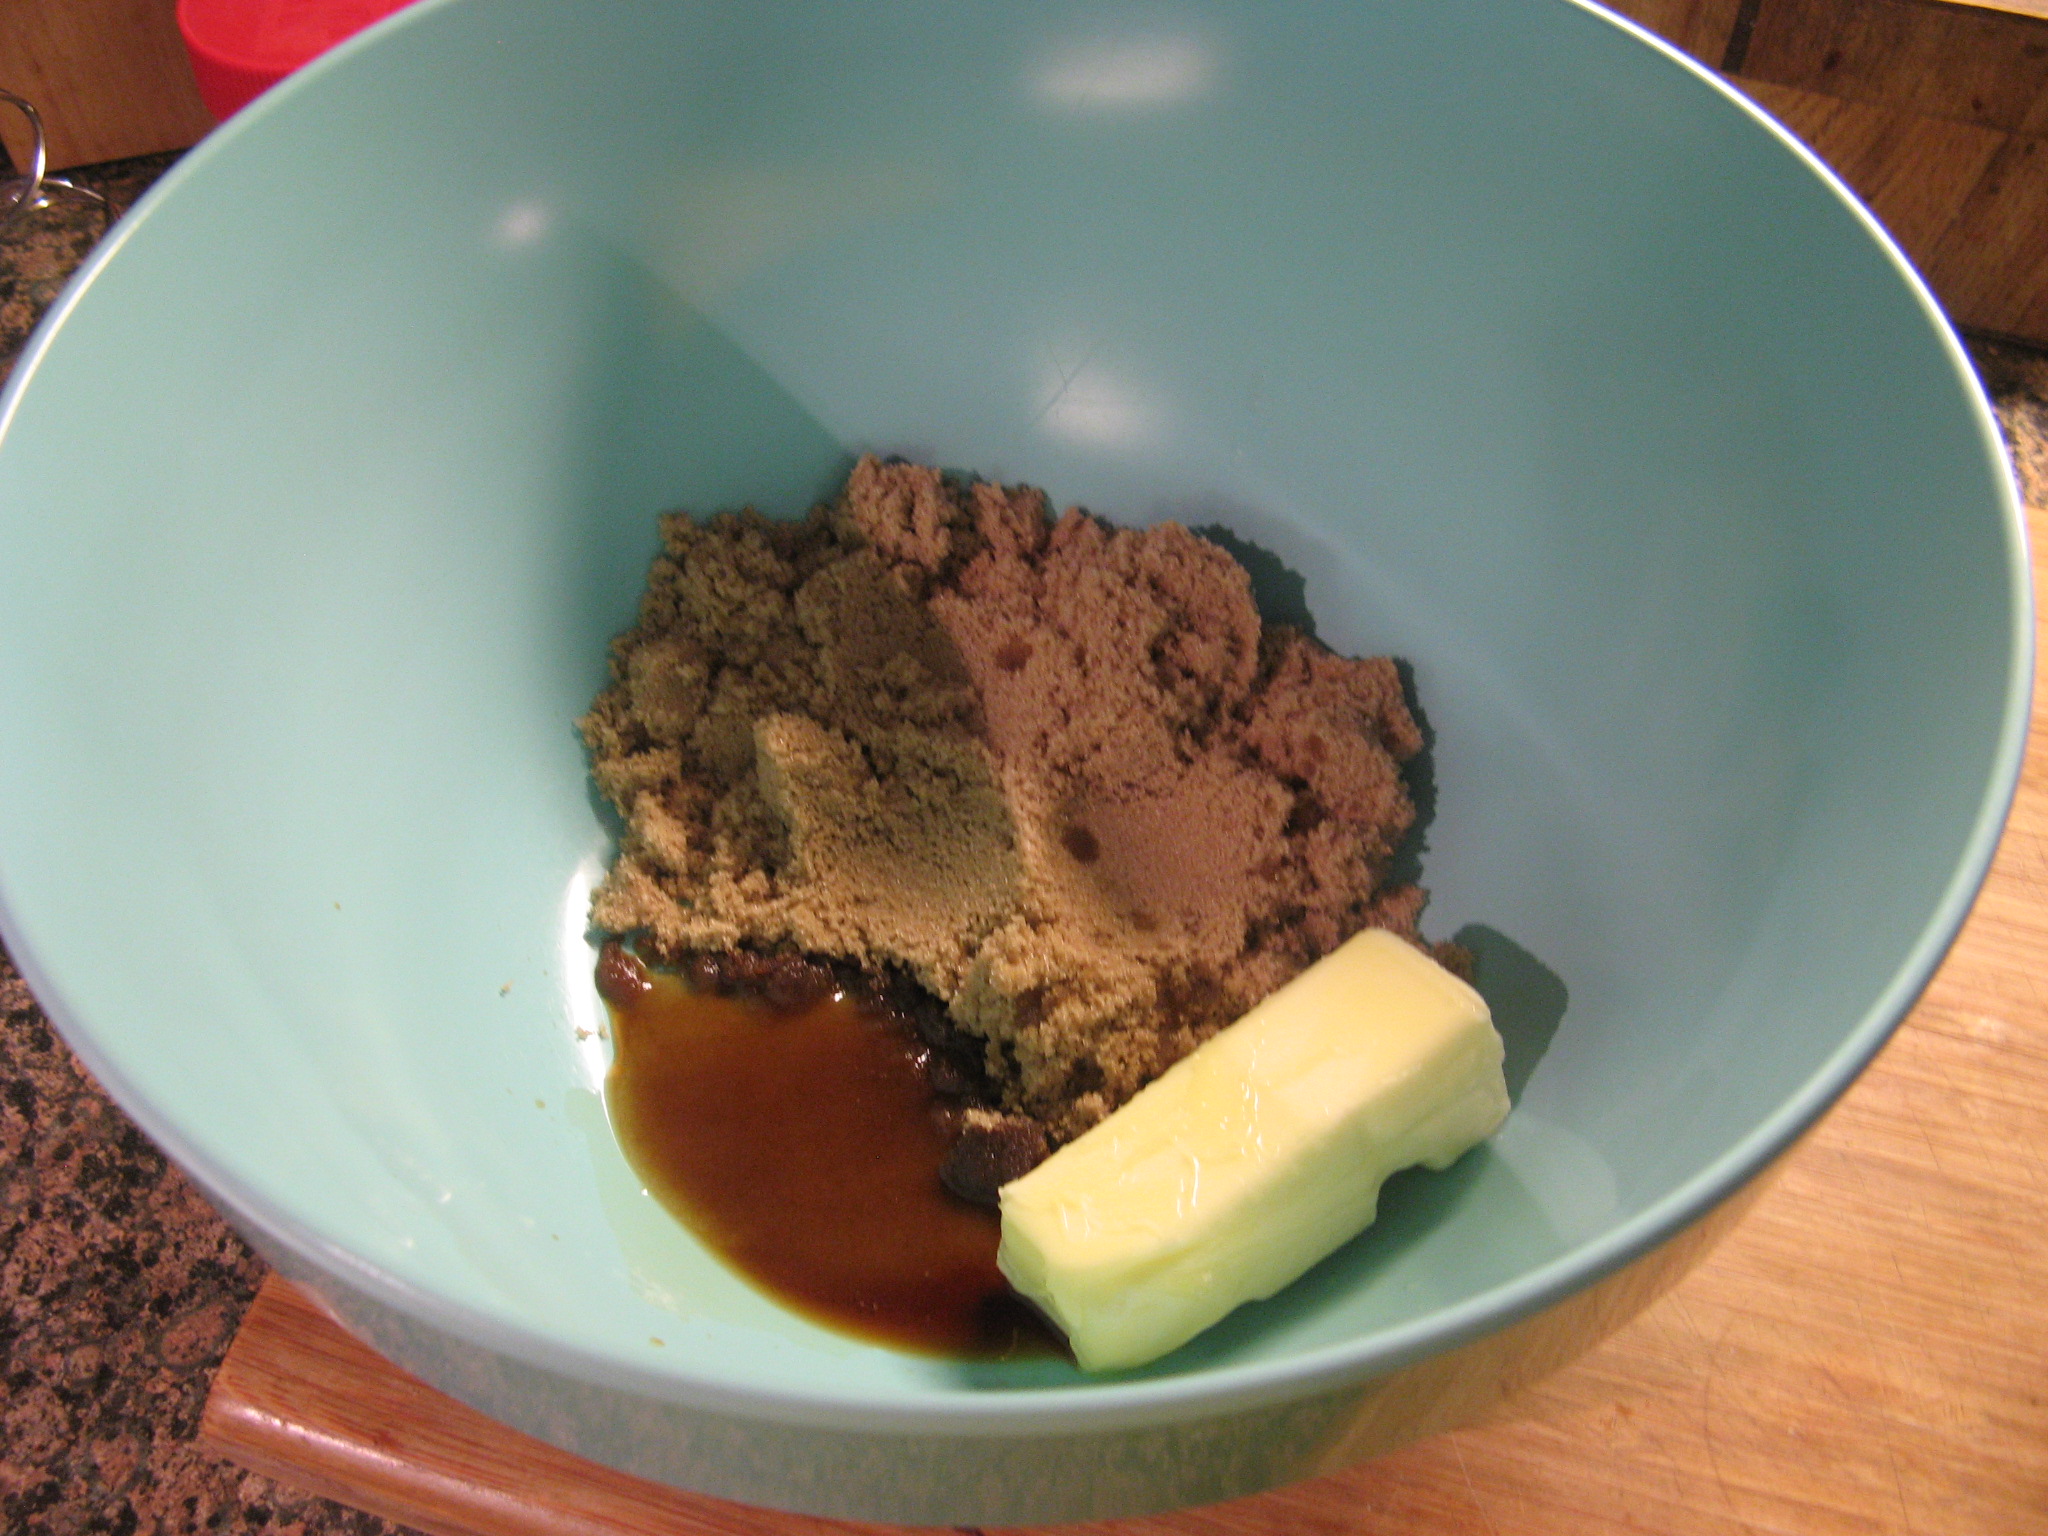
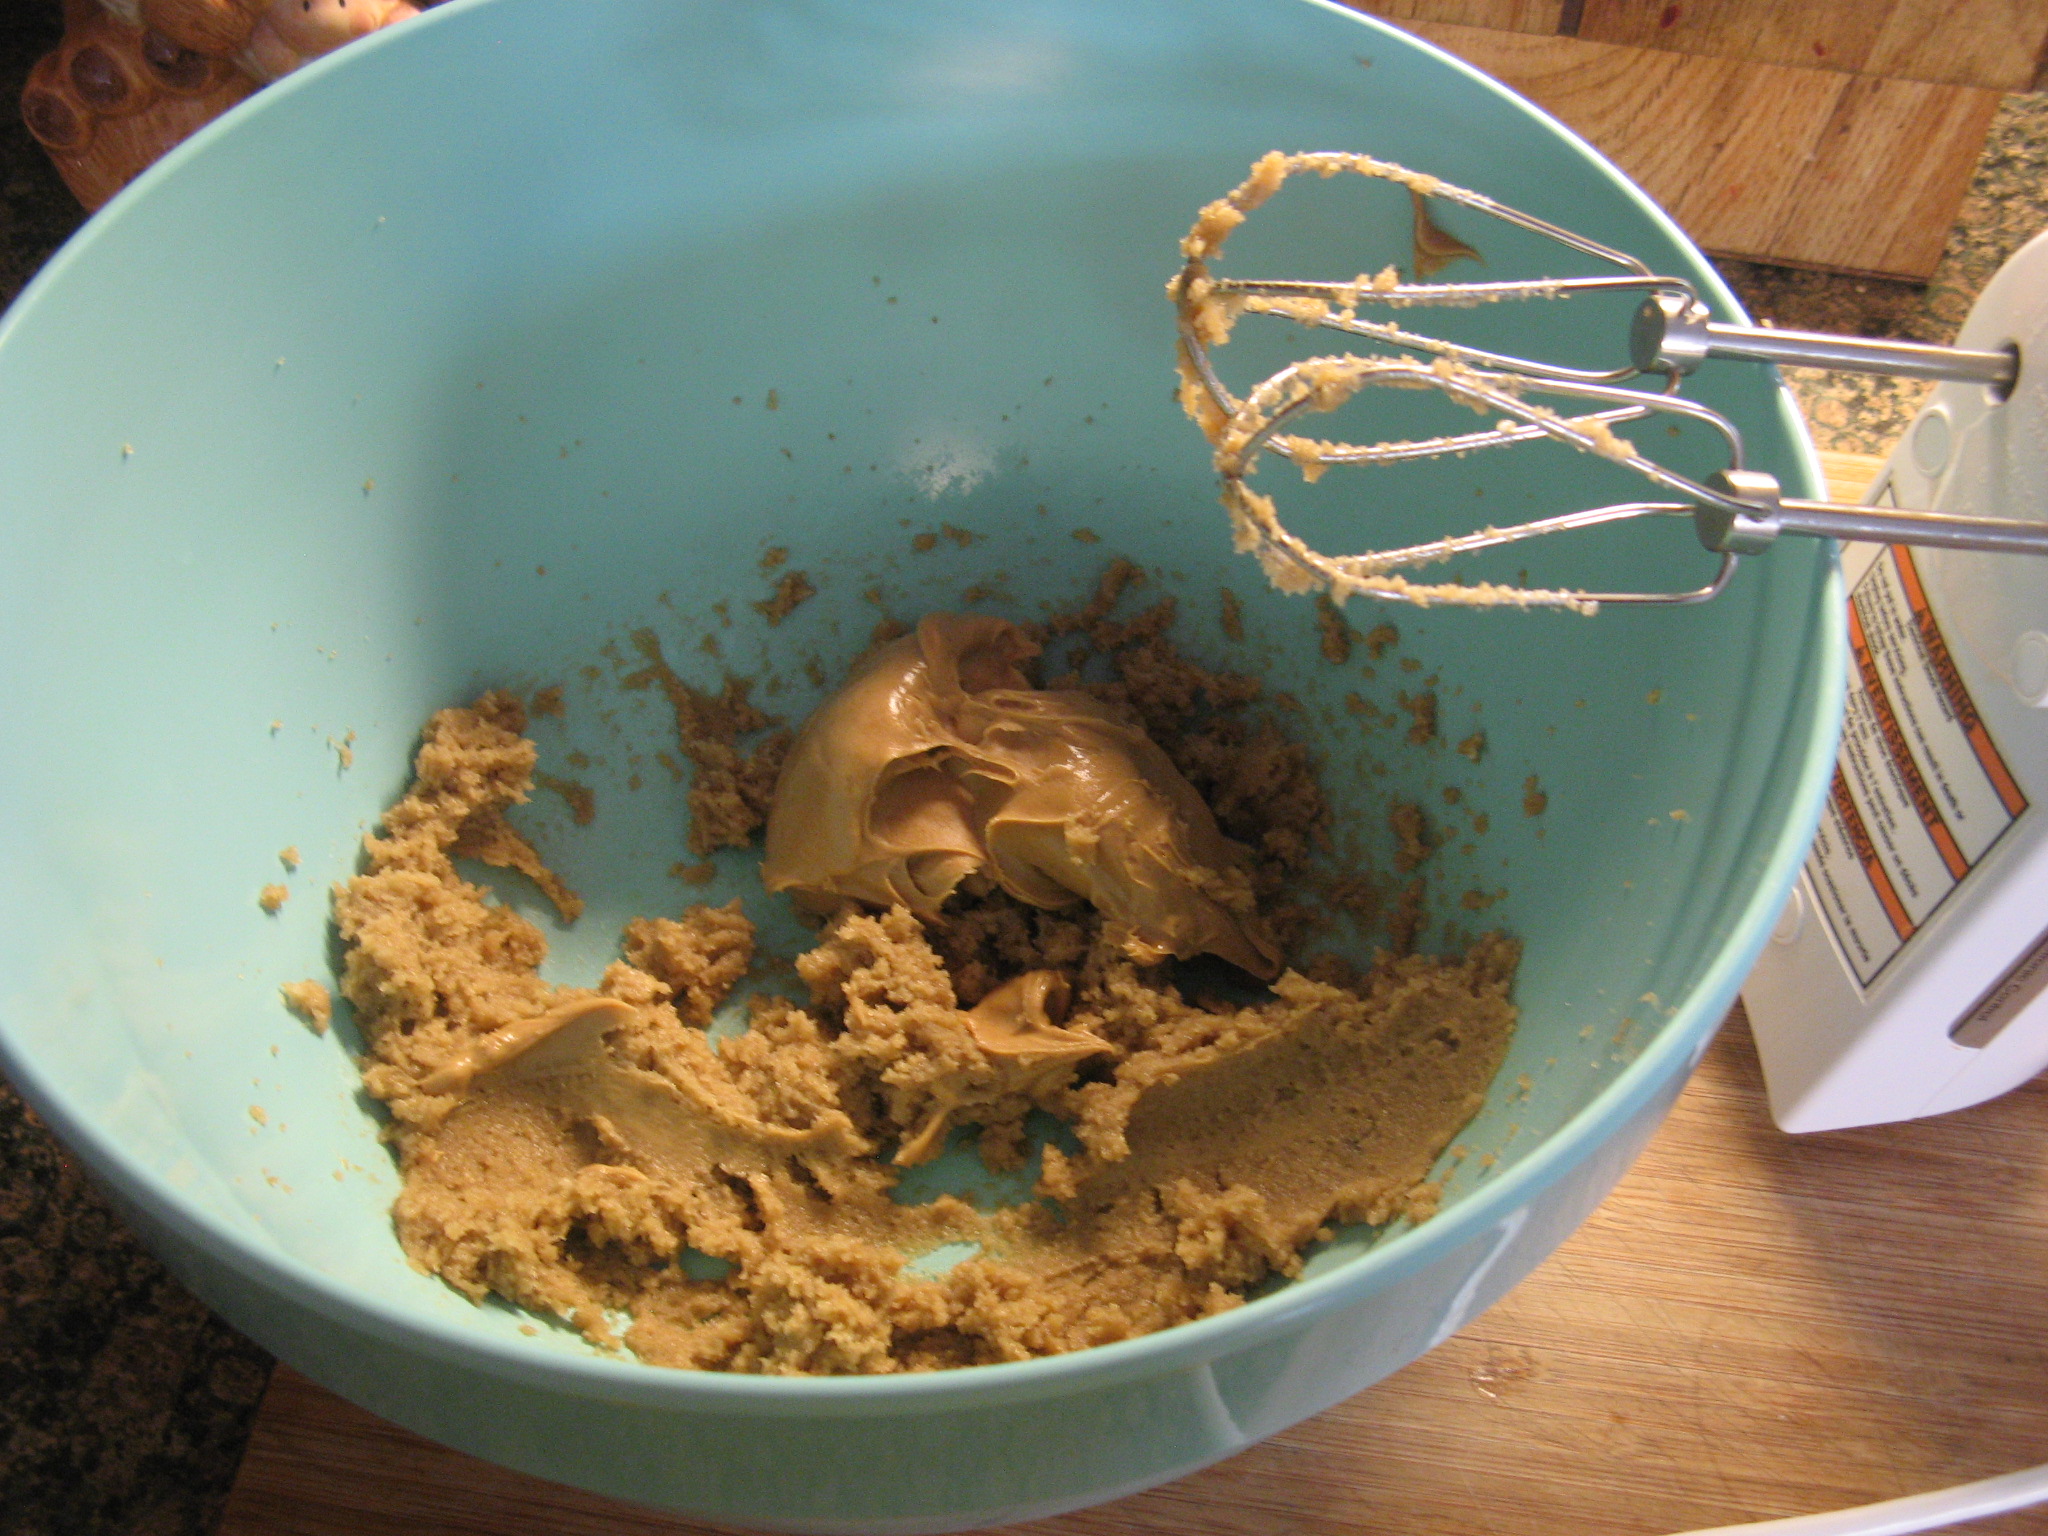
I then creamed together softened butter, light brown sugar and vanilla extract.

IMG_3693

Up next I added in smooth peanut butter to the butter mixture.

IMG_3697

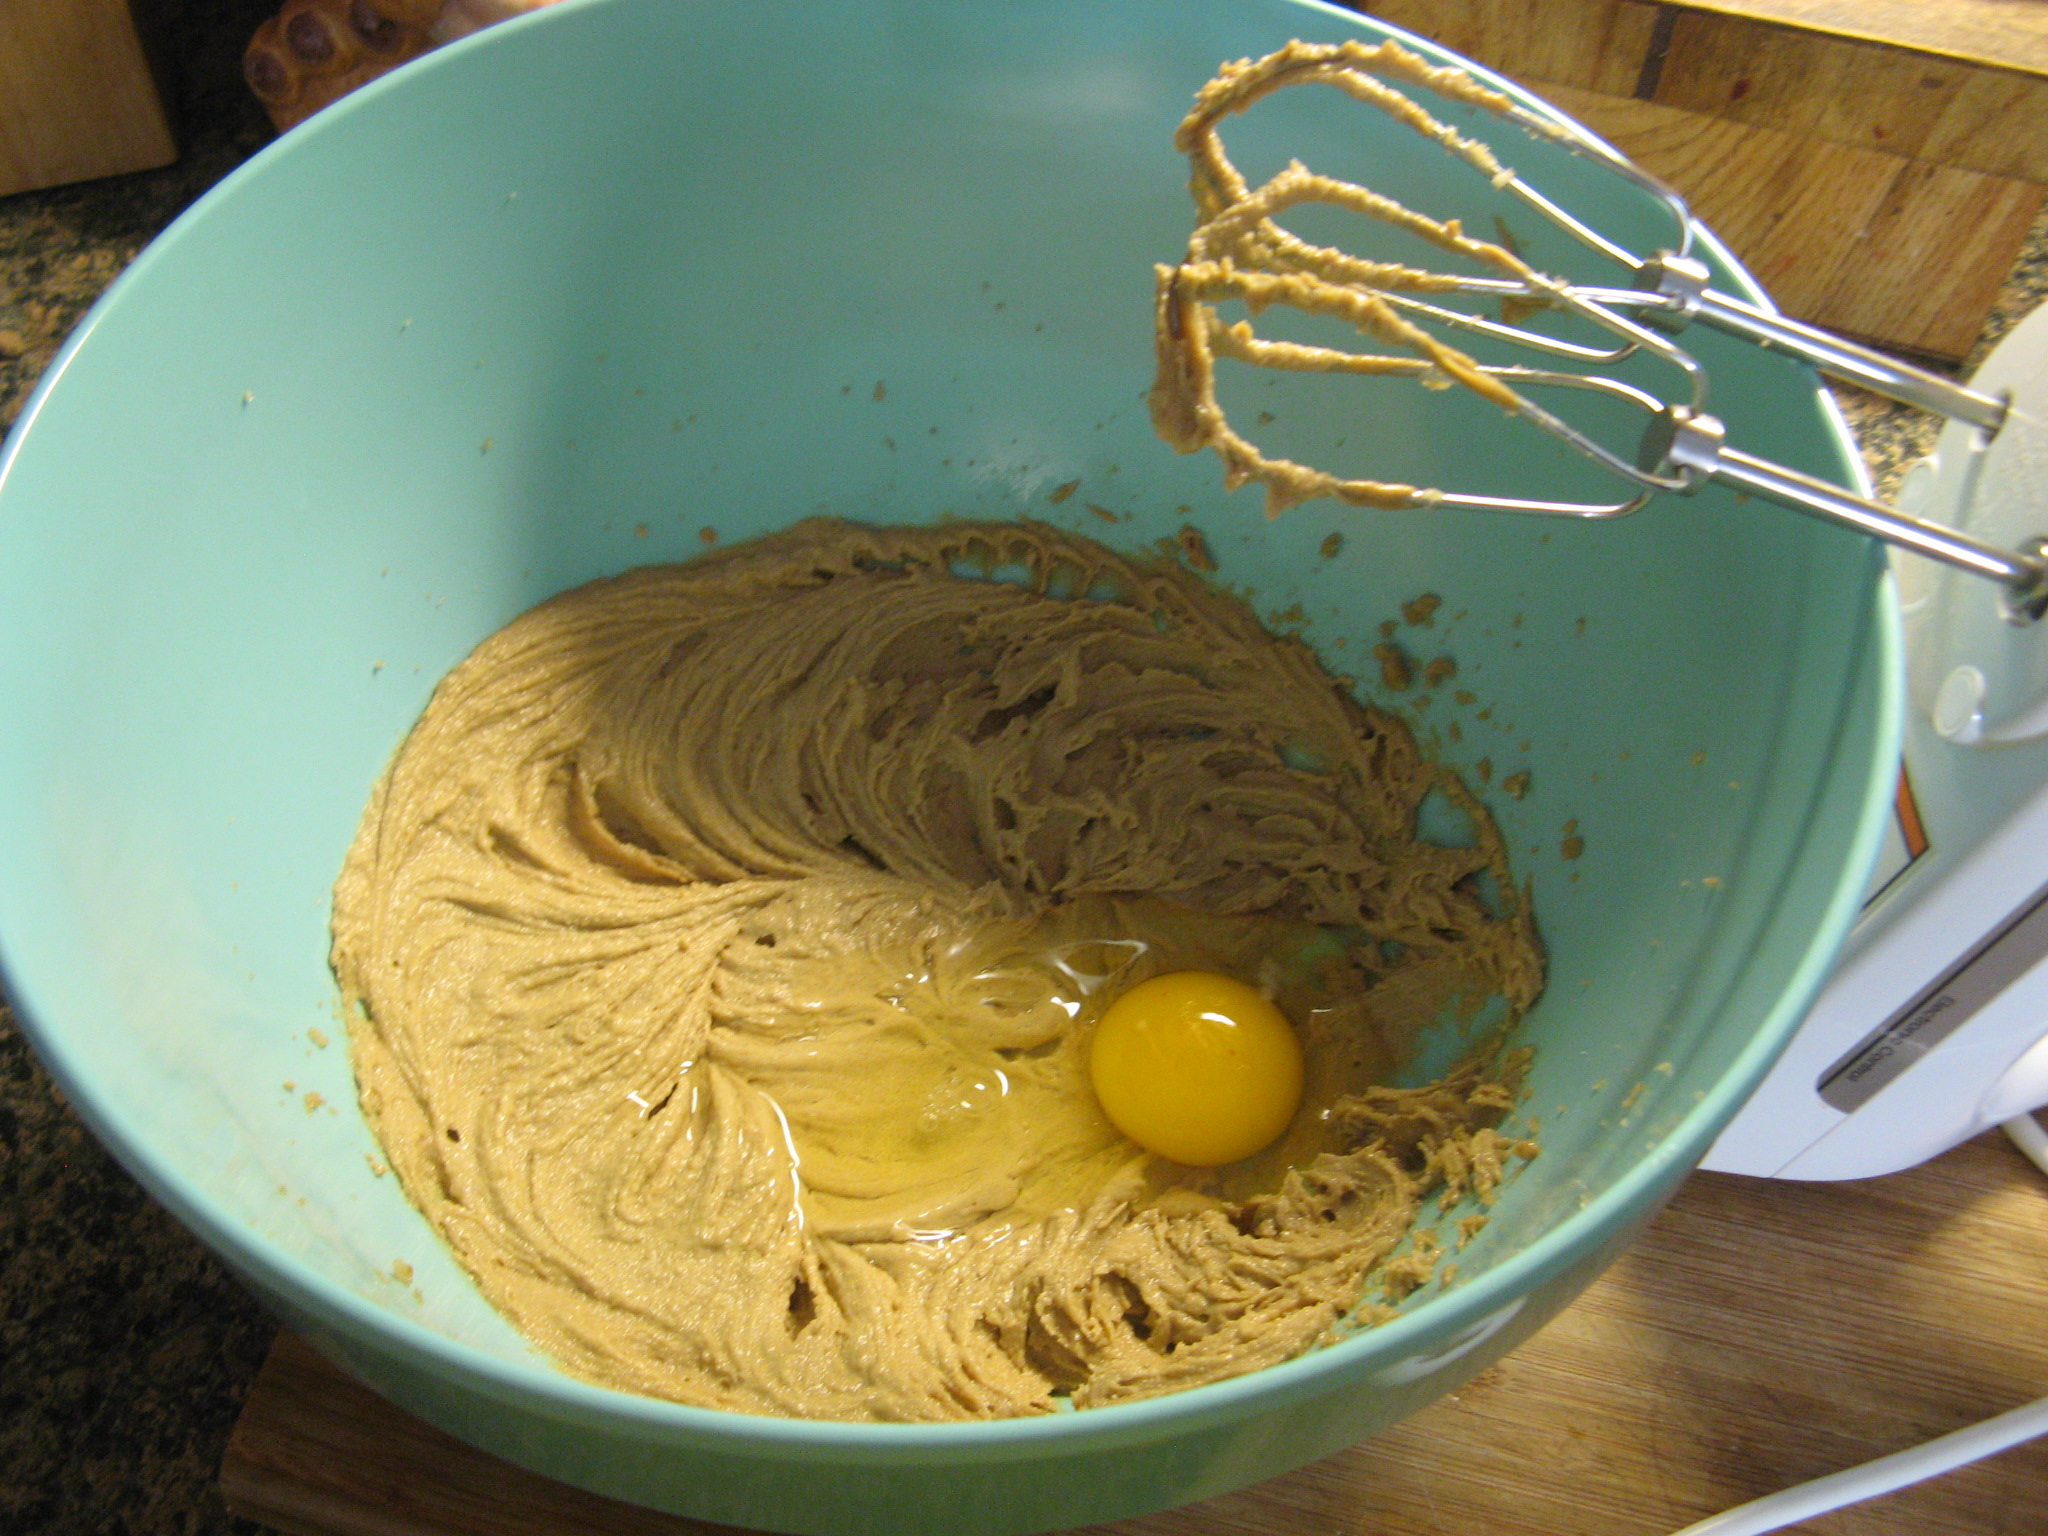
Once the peanut butter was incorporated I added in two eggs, one at a time.

IMG_3698

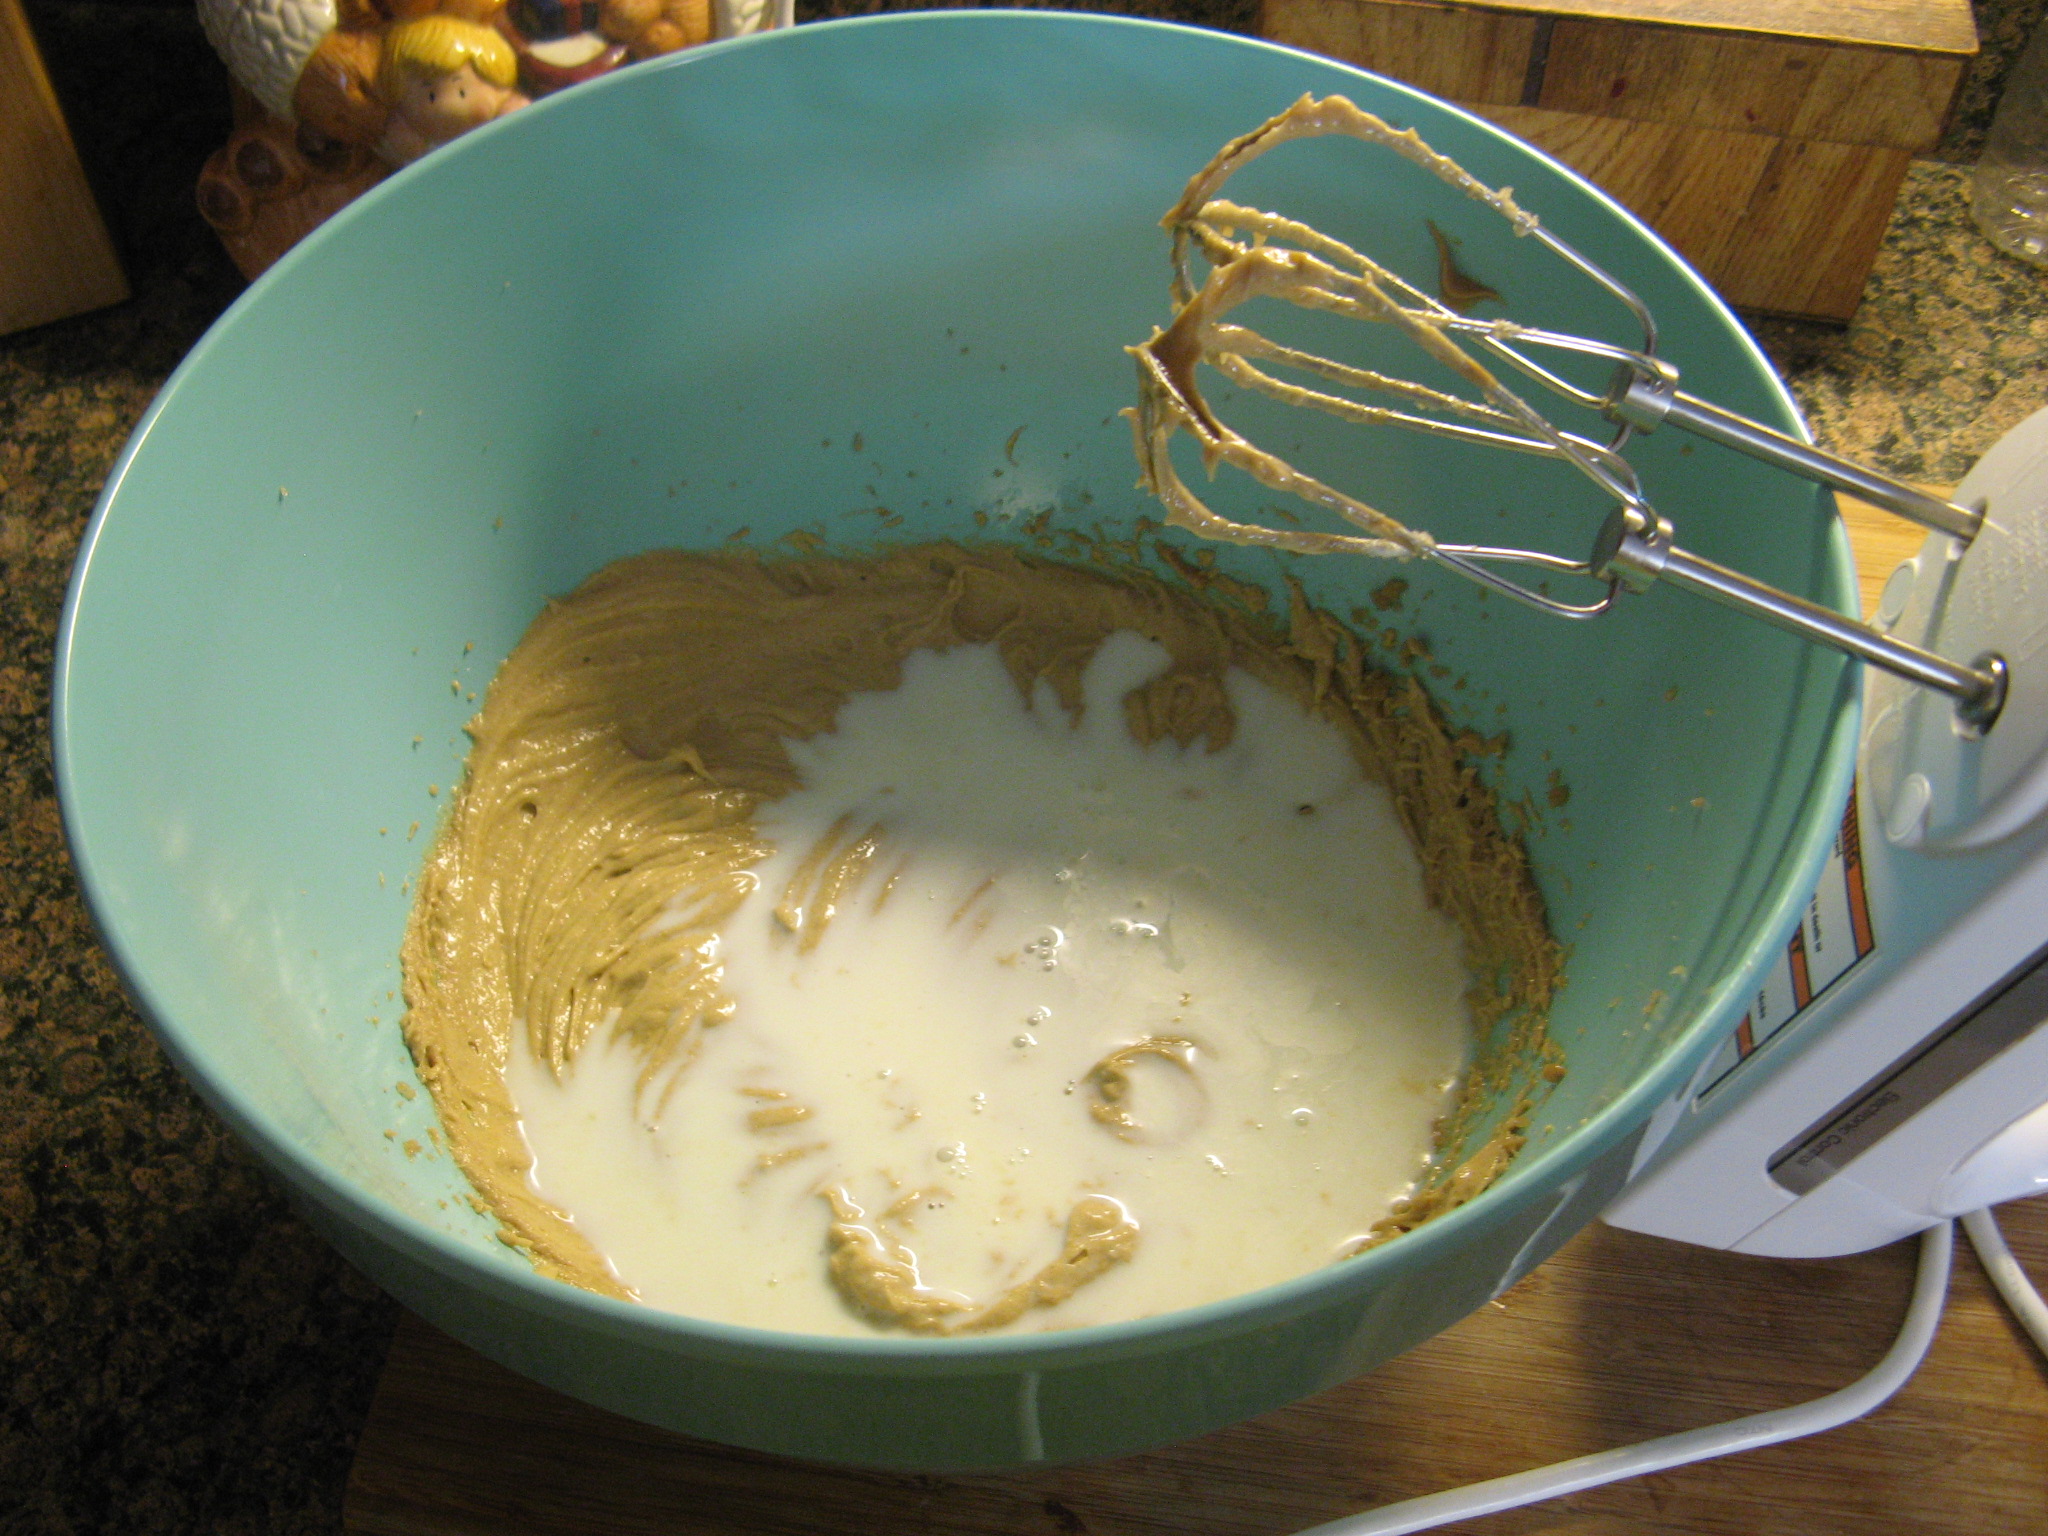
And the final wet ingredient…milk.

IMG_3699

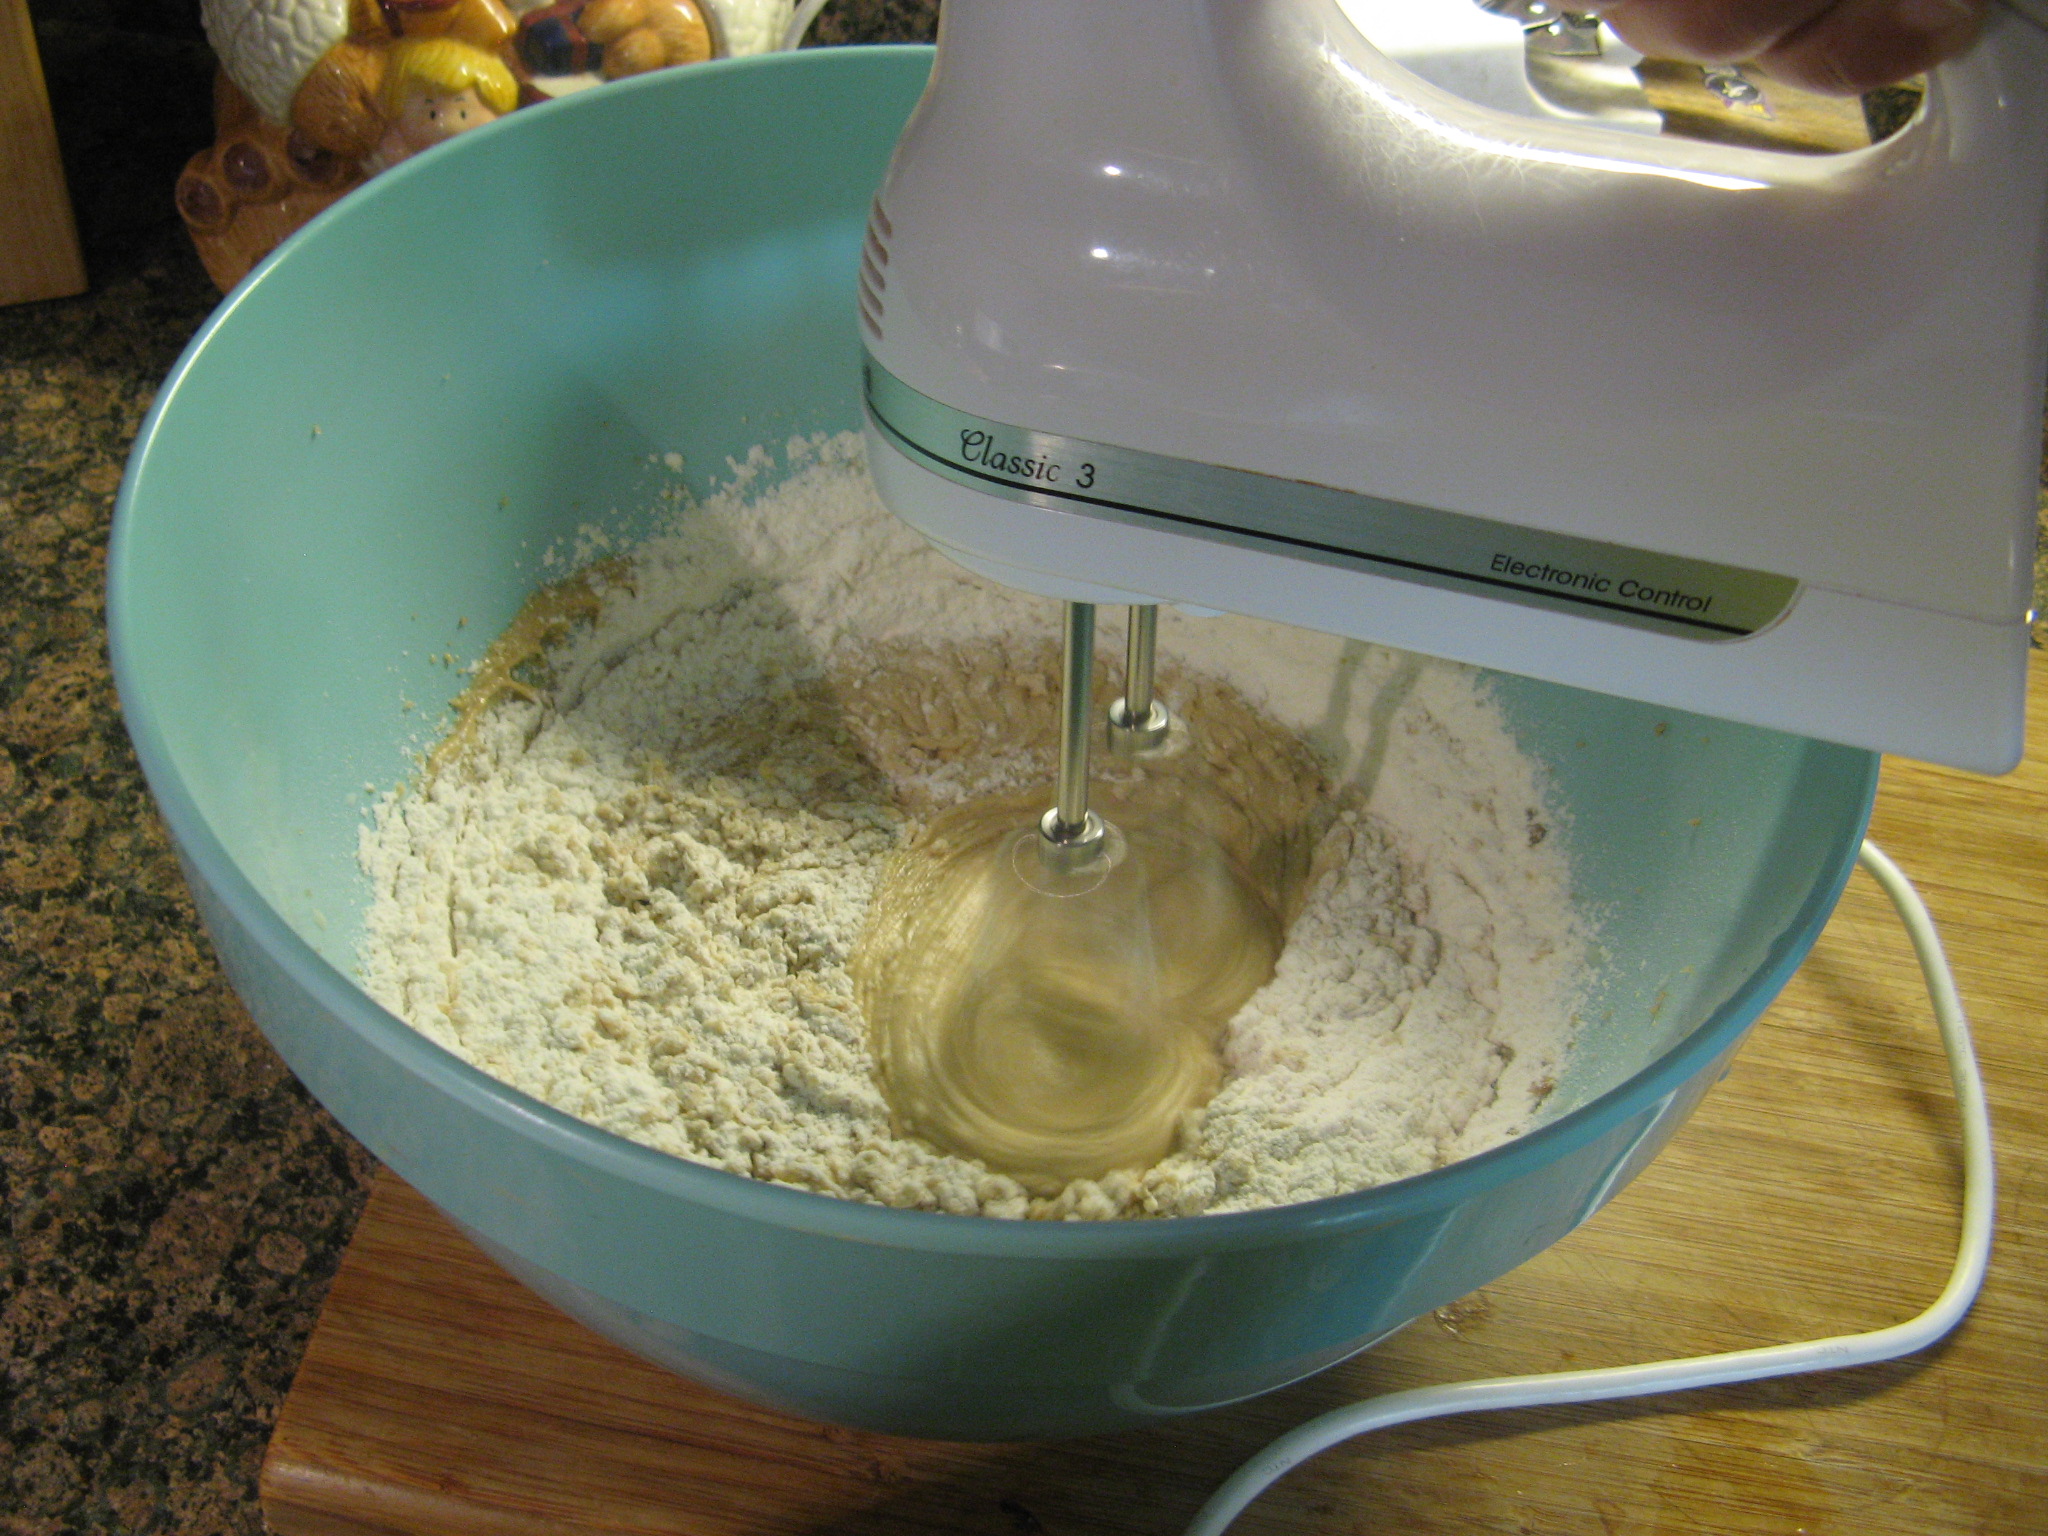
And then I added in the flour mixture.

IMG_3700

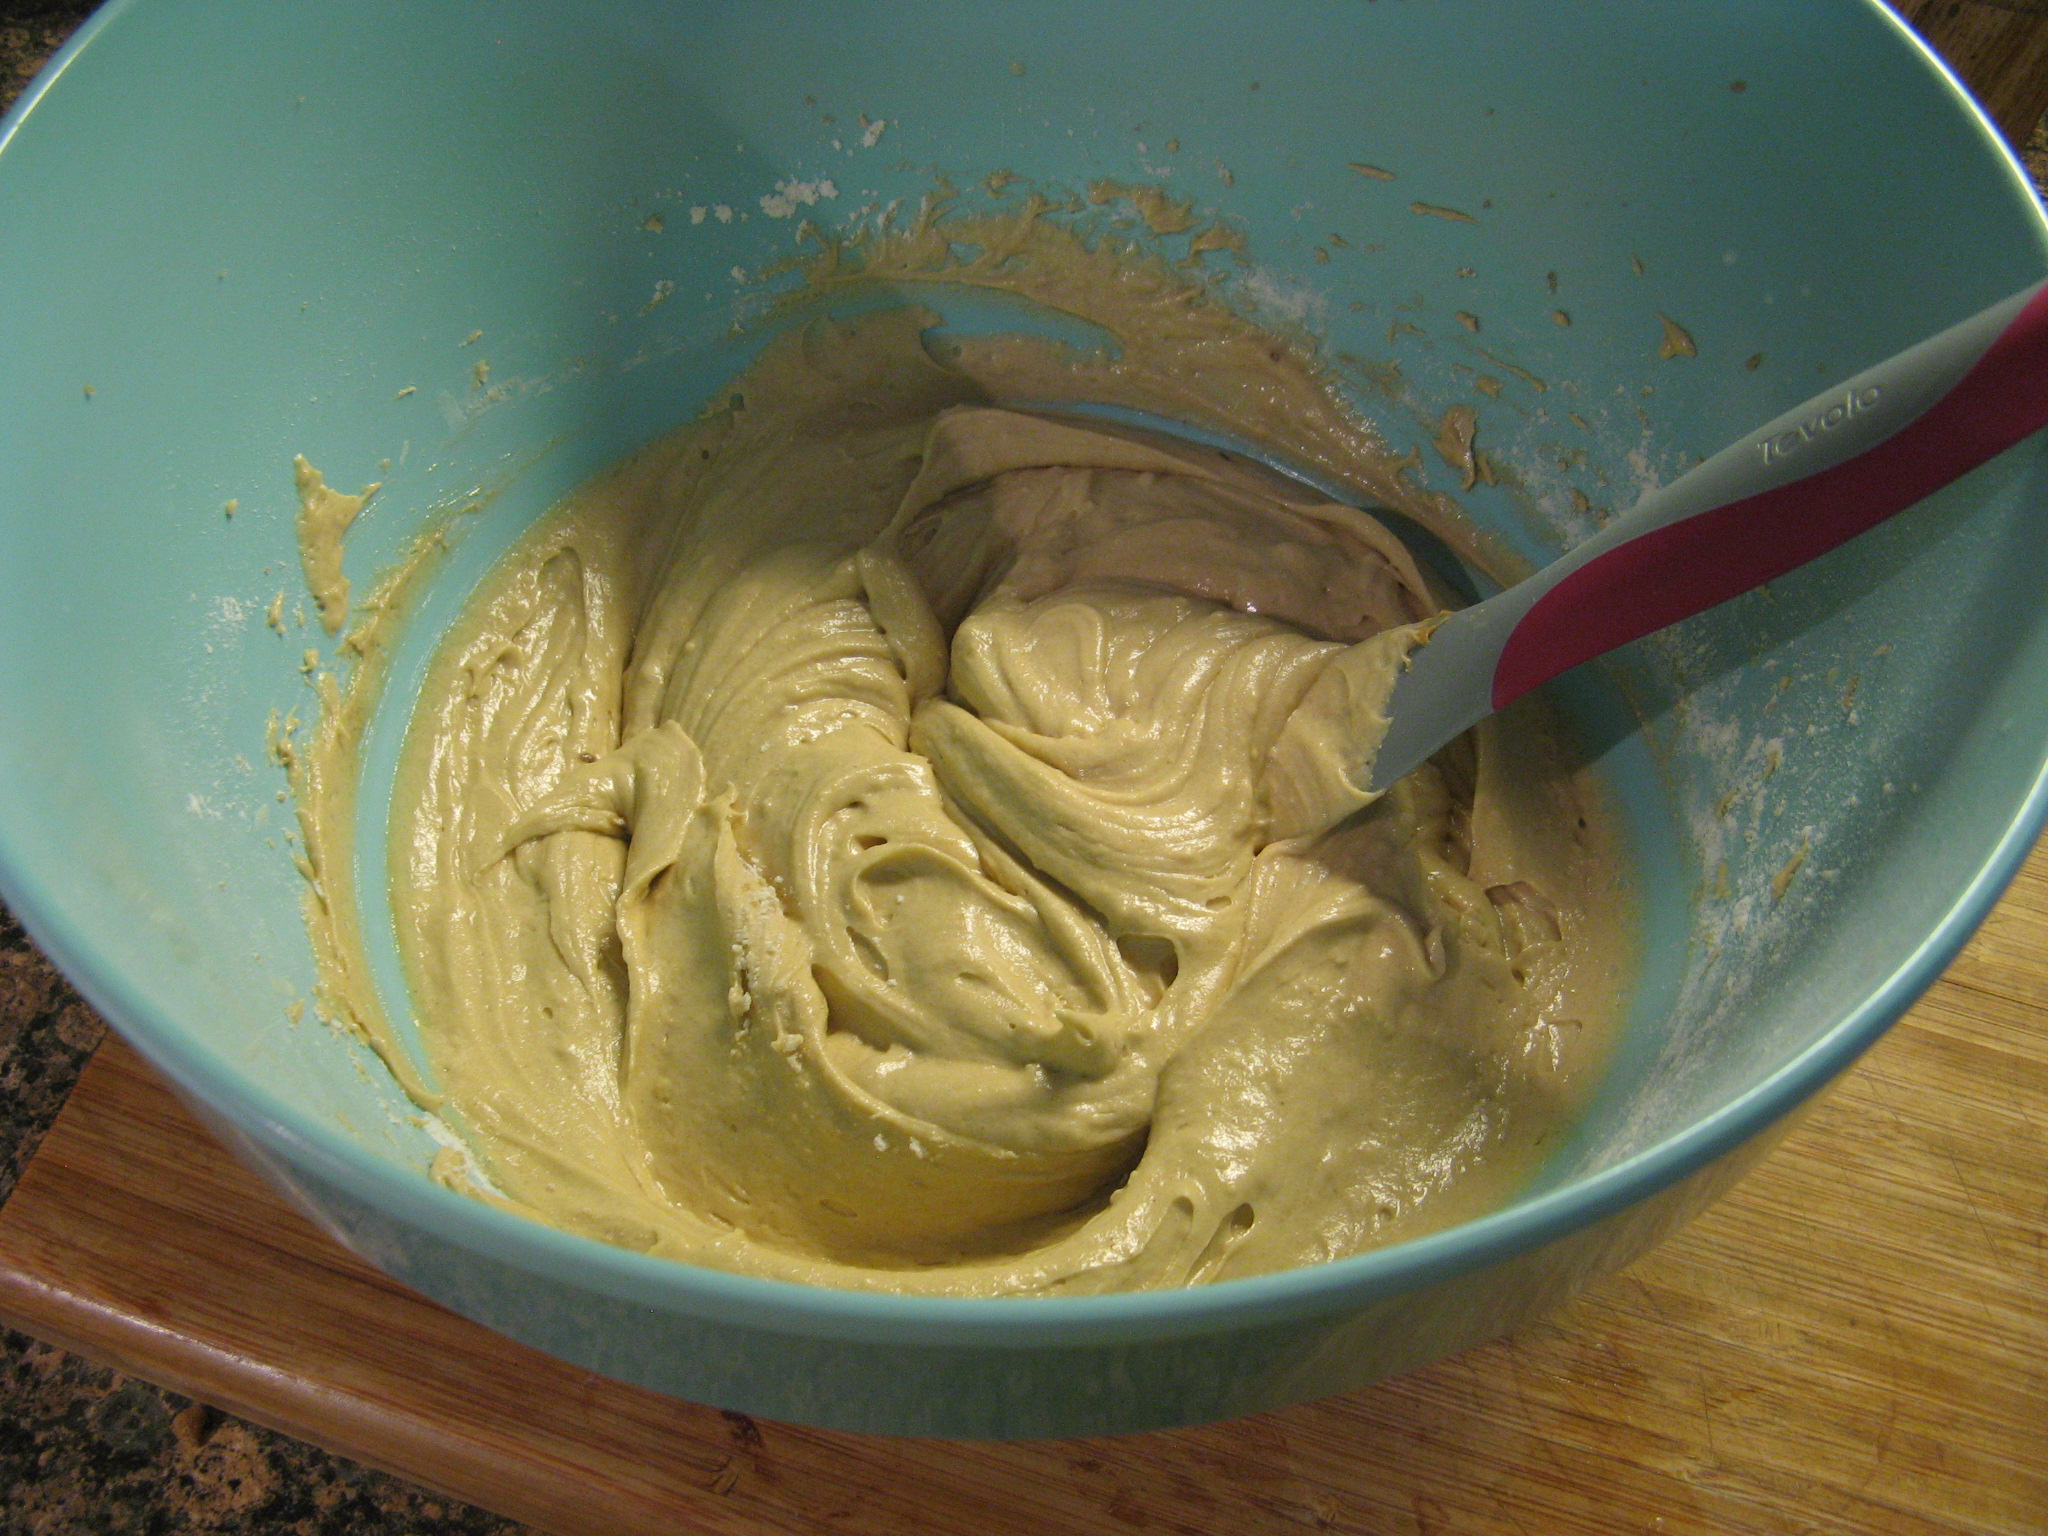
Per the directions I didn’t over-mix the batter and I must say this was one of the smoothest batters I have ever made for any cupcake or cake I have baked. I instantly knew this was going to be a perfectly textured cupcake – light and smooth. And I must admit, I couldn’t help it and I had to try the raw batter and it was the perfect peanut butter flavor.

IMG_3701

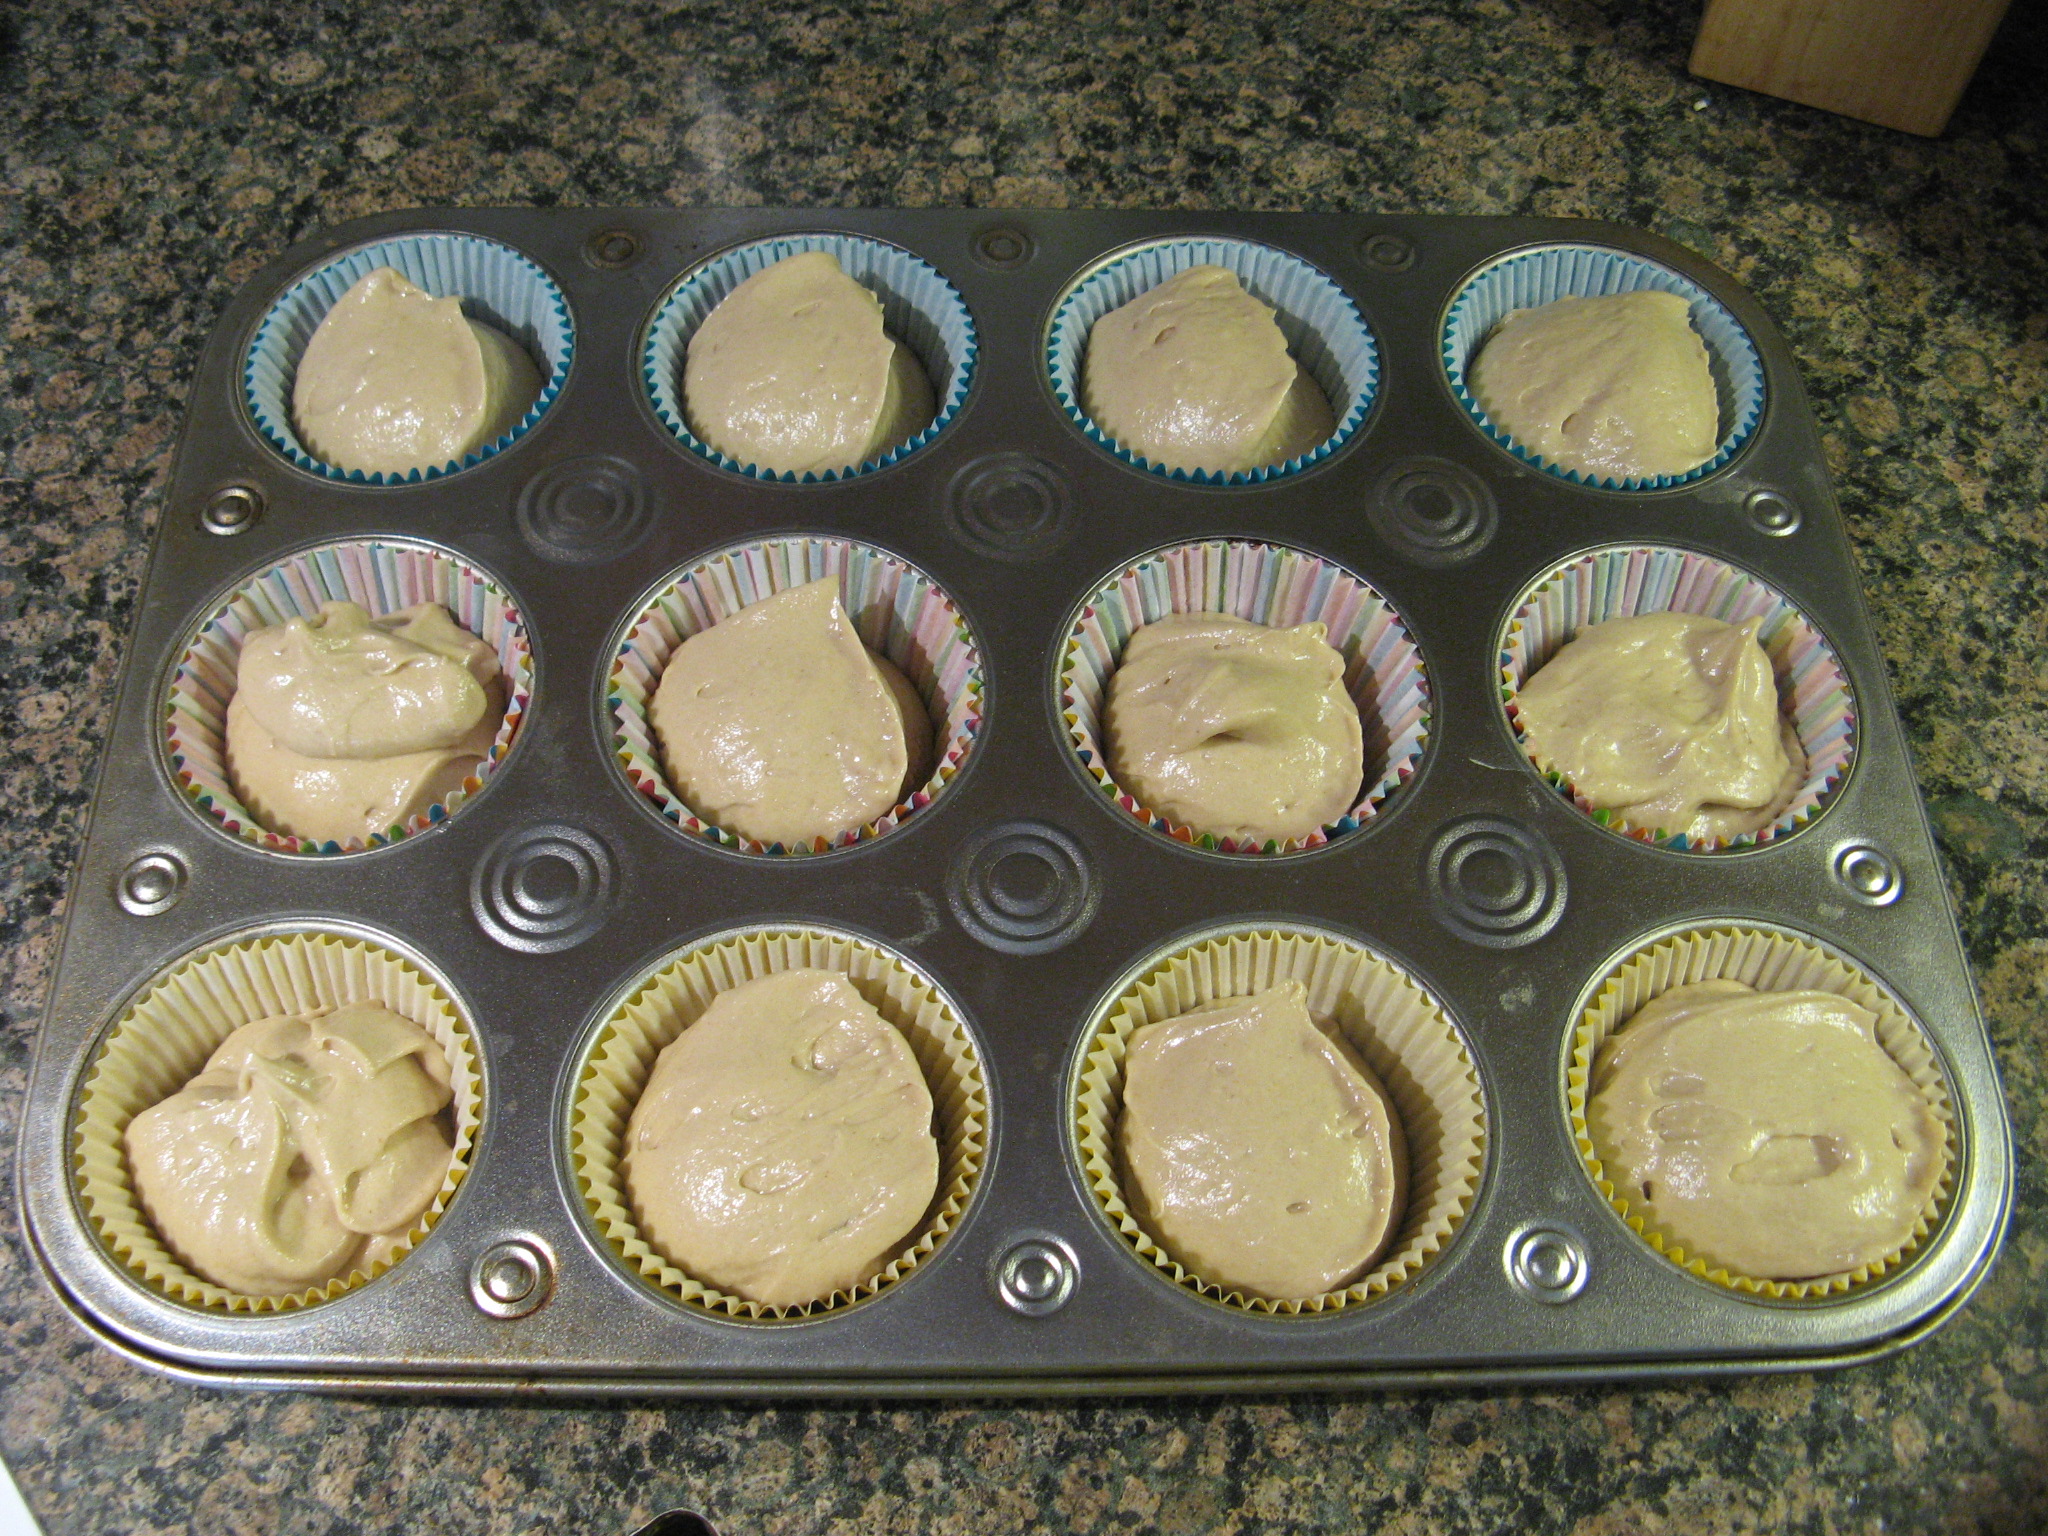
After filling the cupcake liners with about 1/4 cup of batter I baked them in a 350 F preheated oven for 25 minutes.

IMG_3705

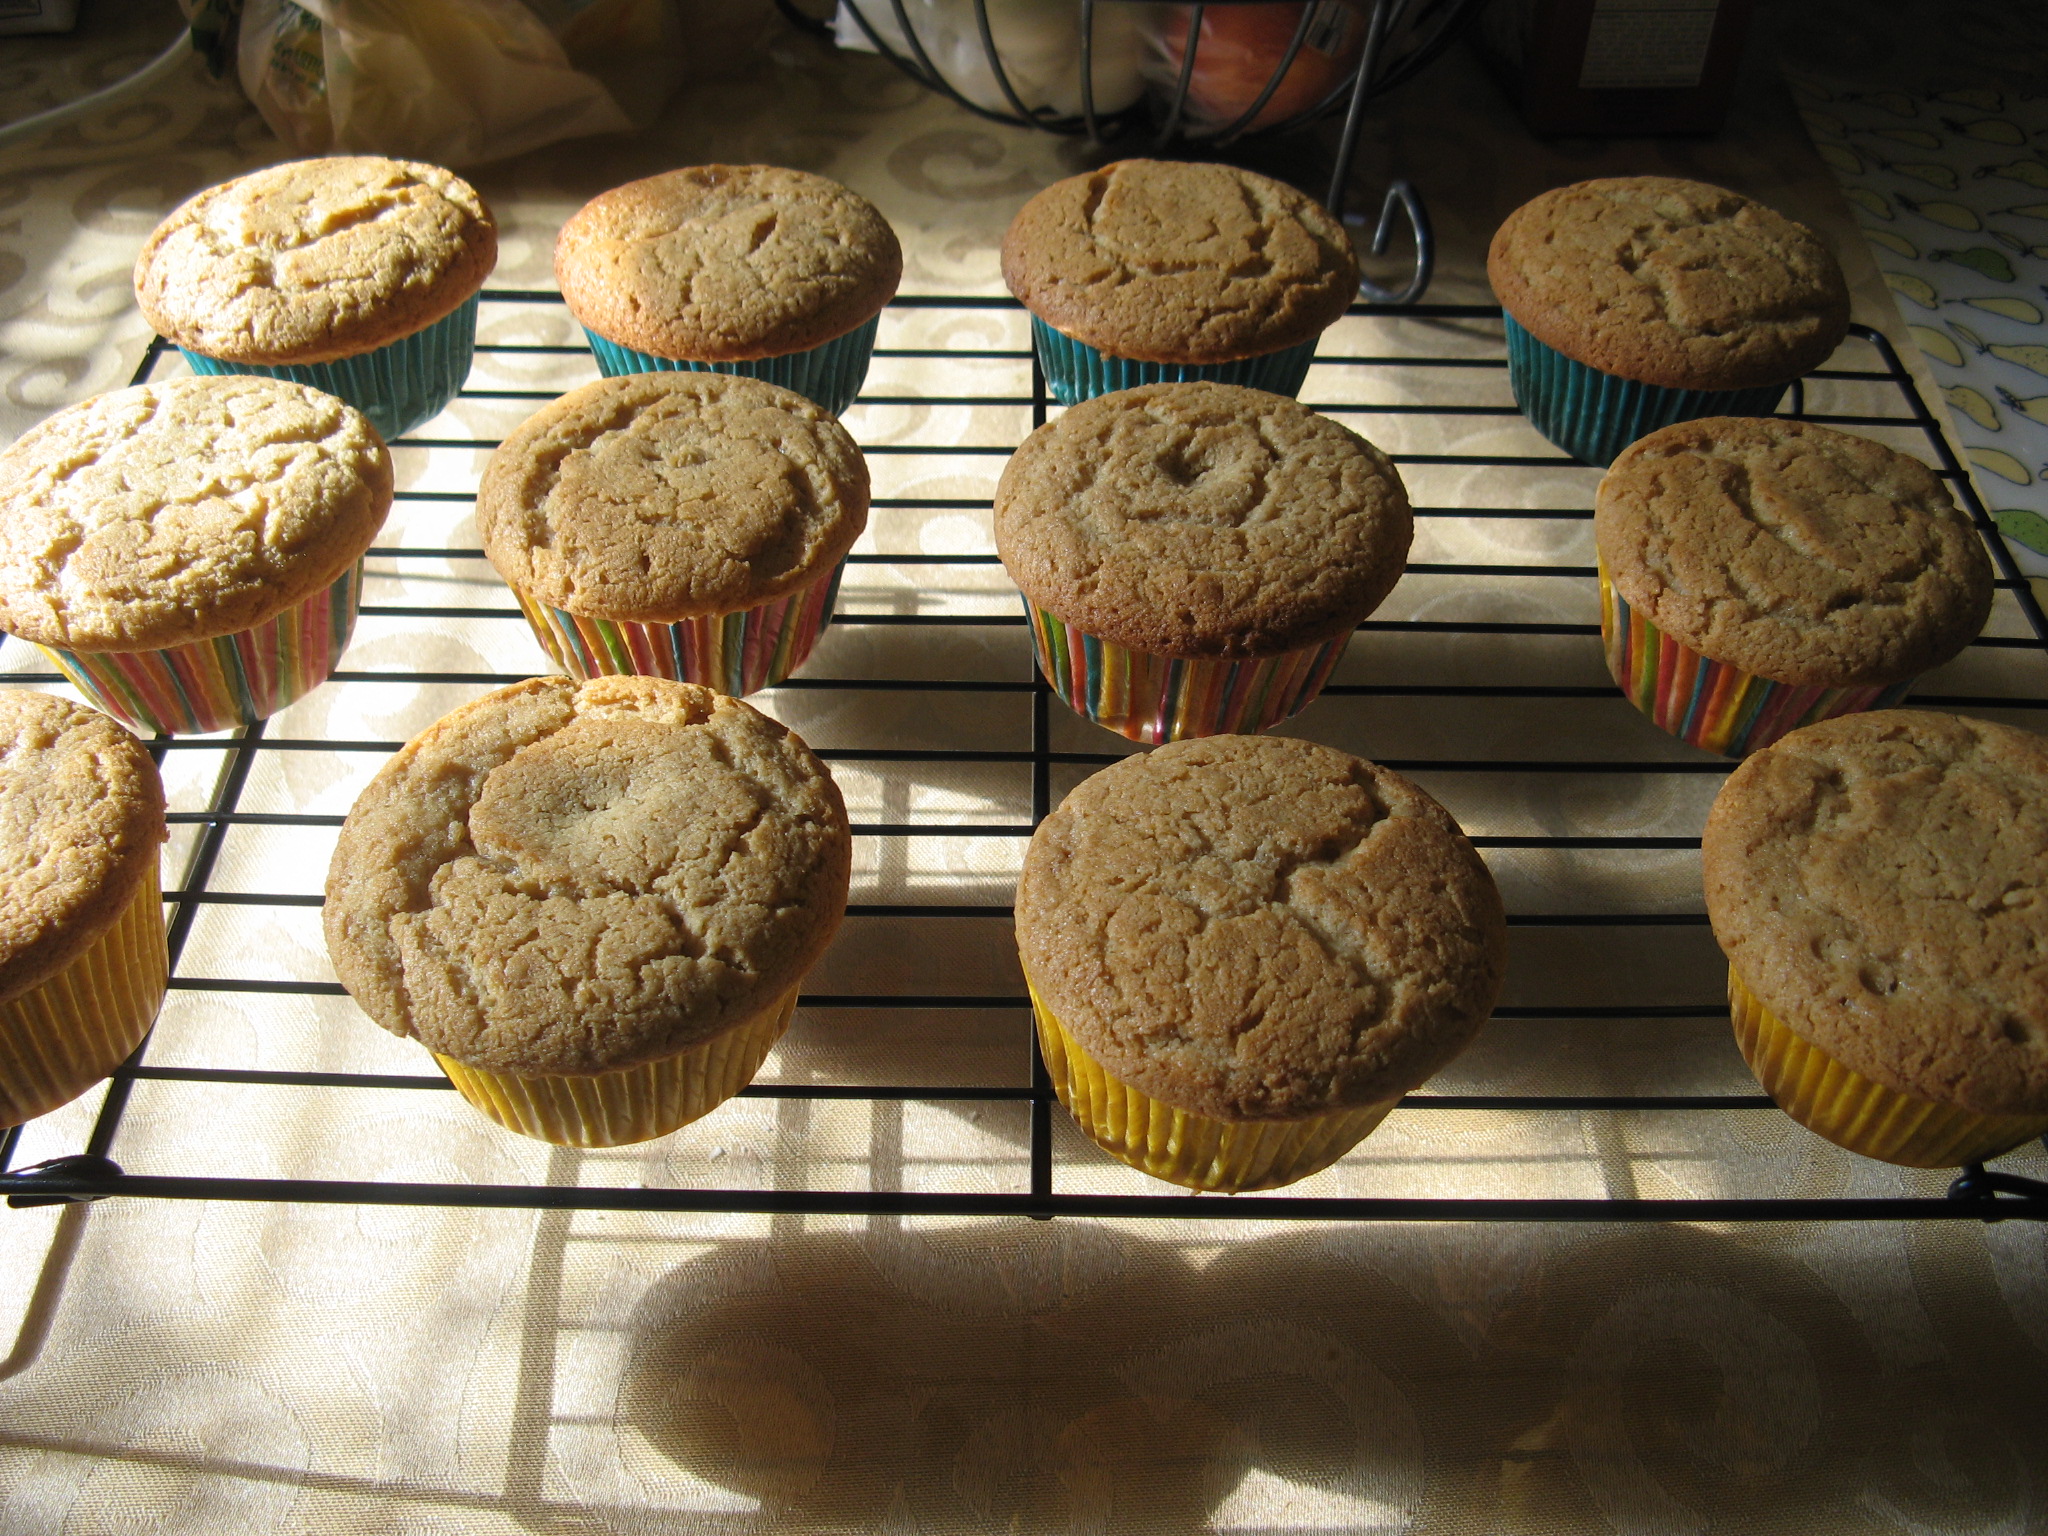
I let them sit in the pan for a few minutes before removing the cupcakes and letting them cool completely on a wire rack.

IMG_3723

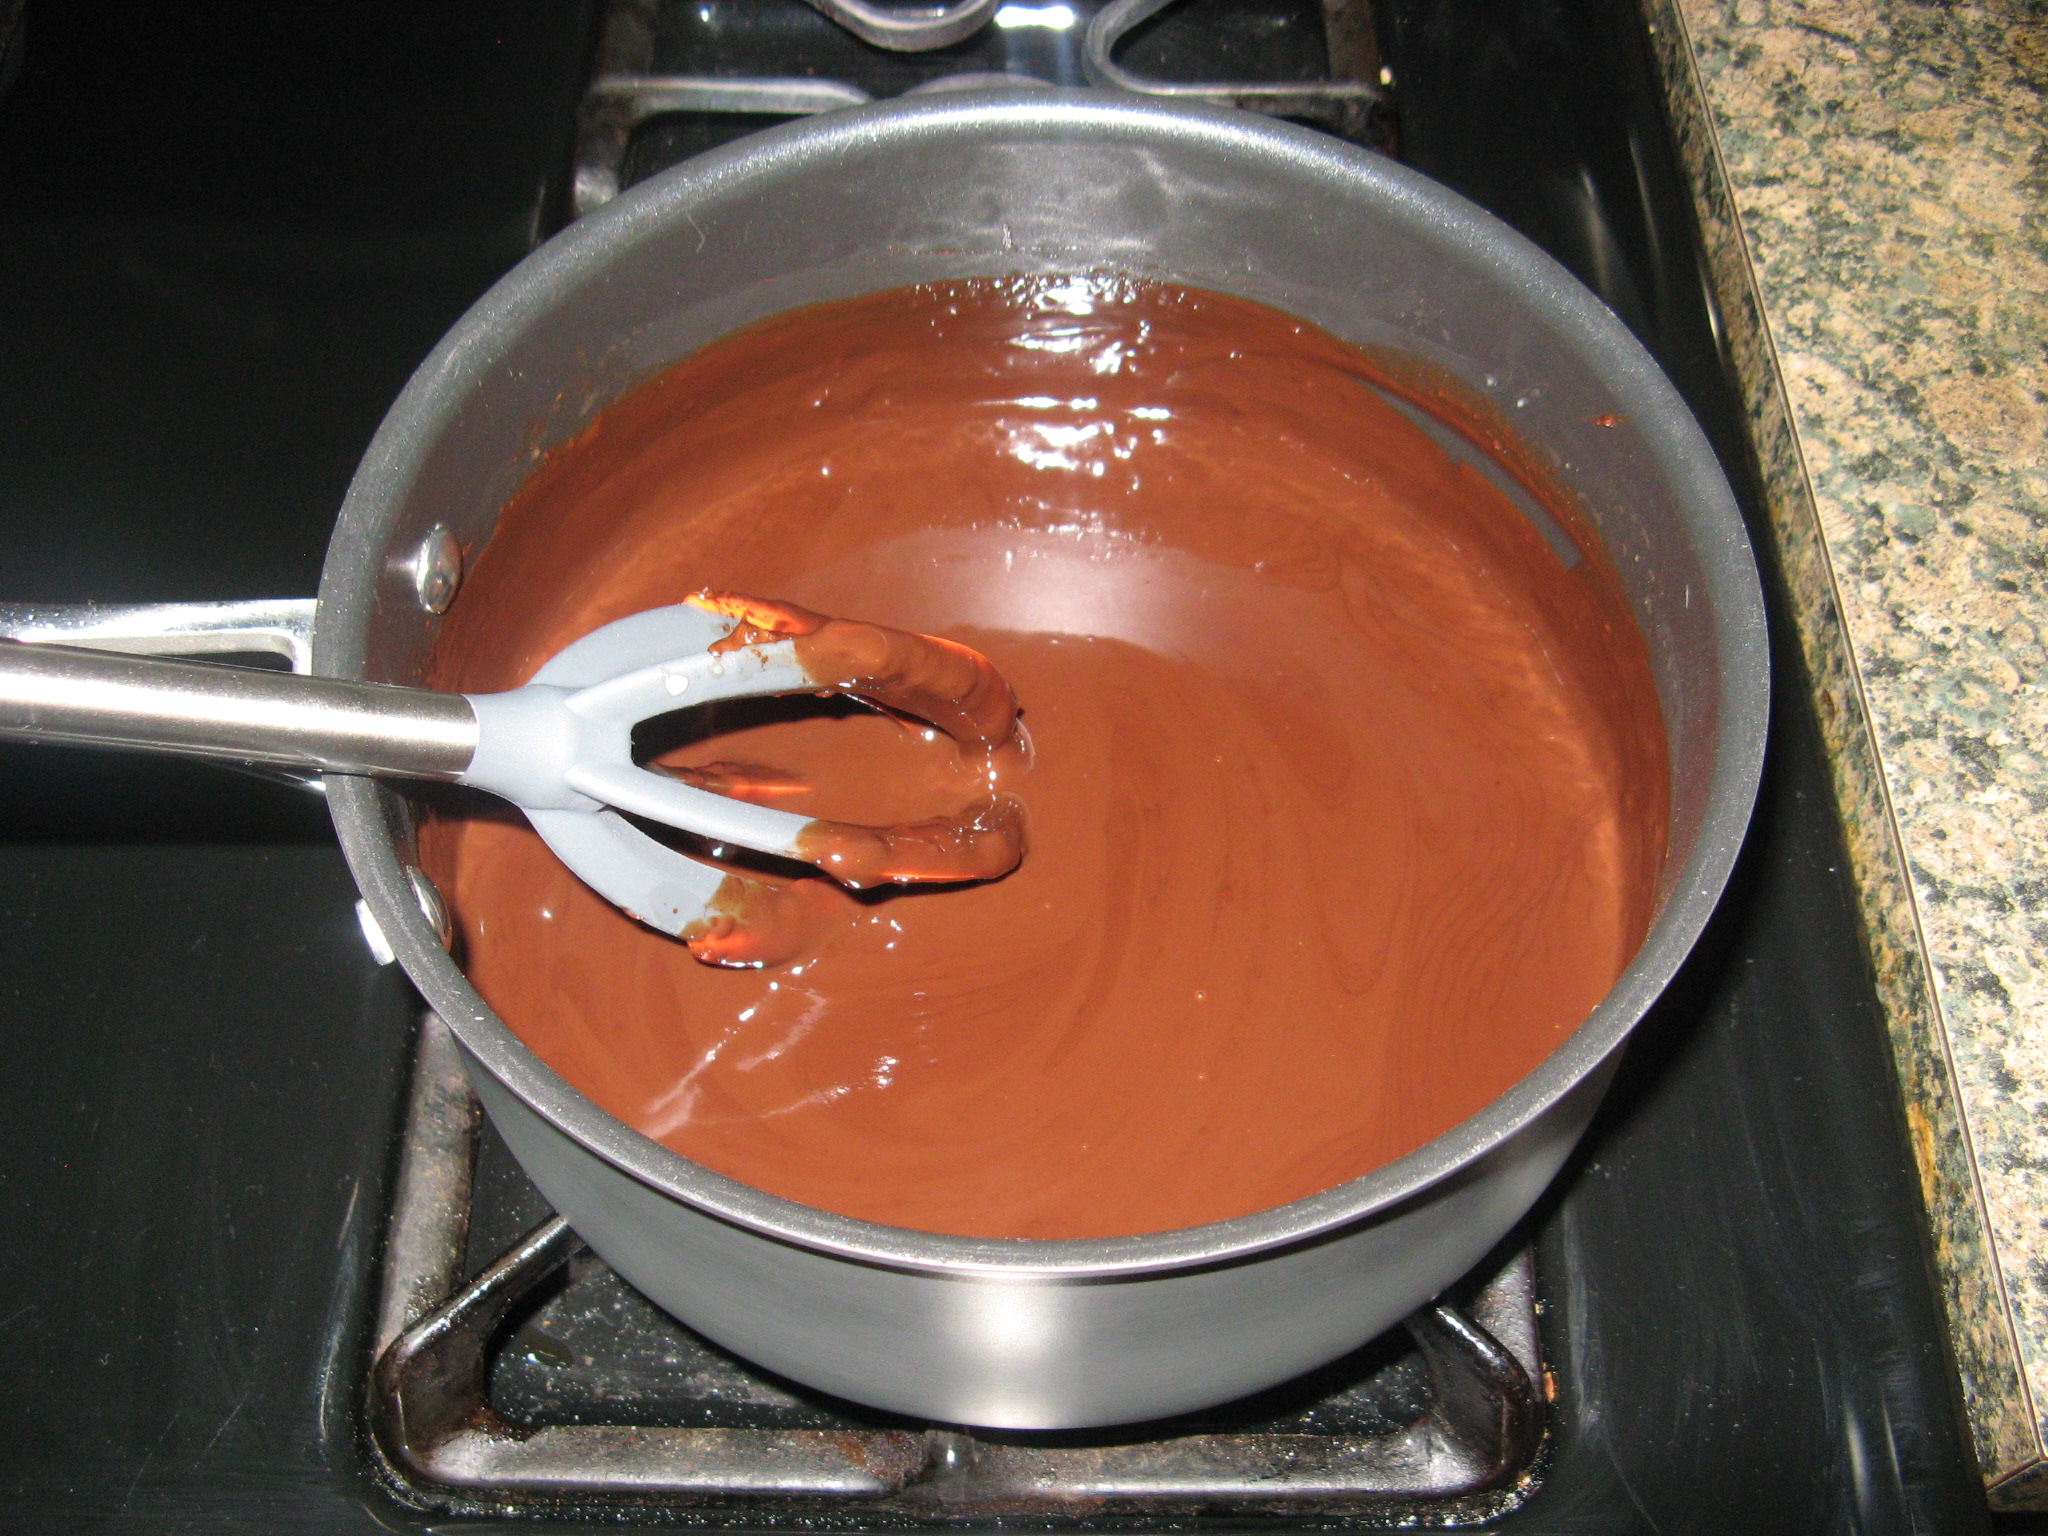
While they cooled I made the frosting, which was super simple. I melted a 12oz. bag of semi-sweet chocolate chips in 1 1/3 cups of heavy cream over low heat.

IMG_3725

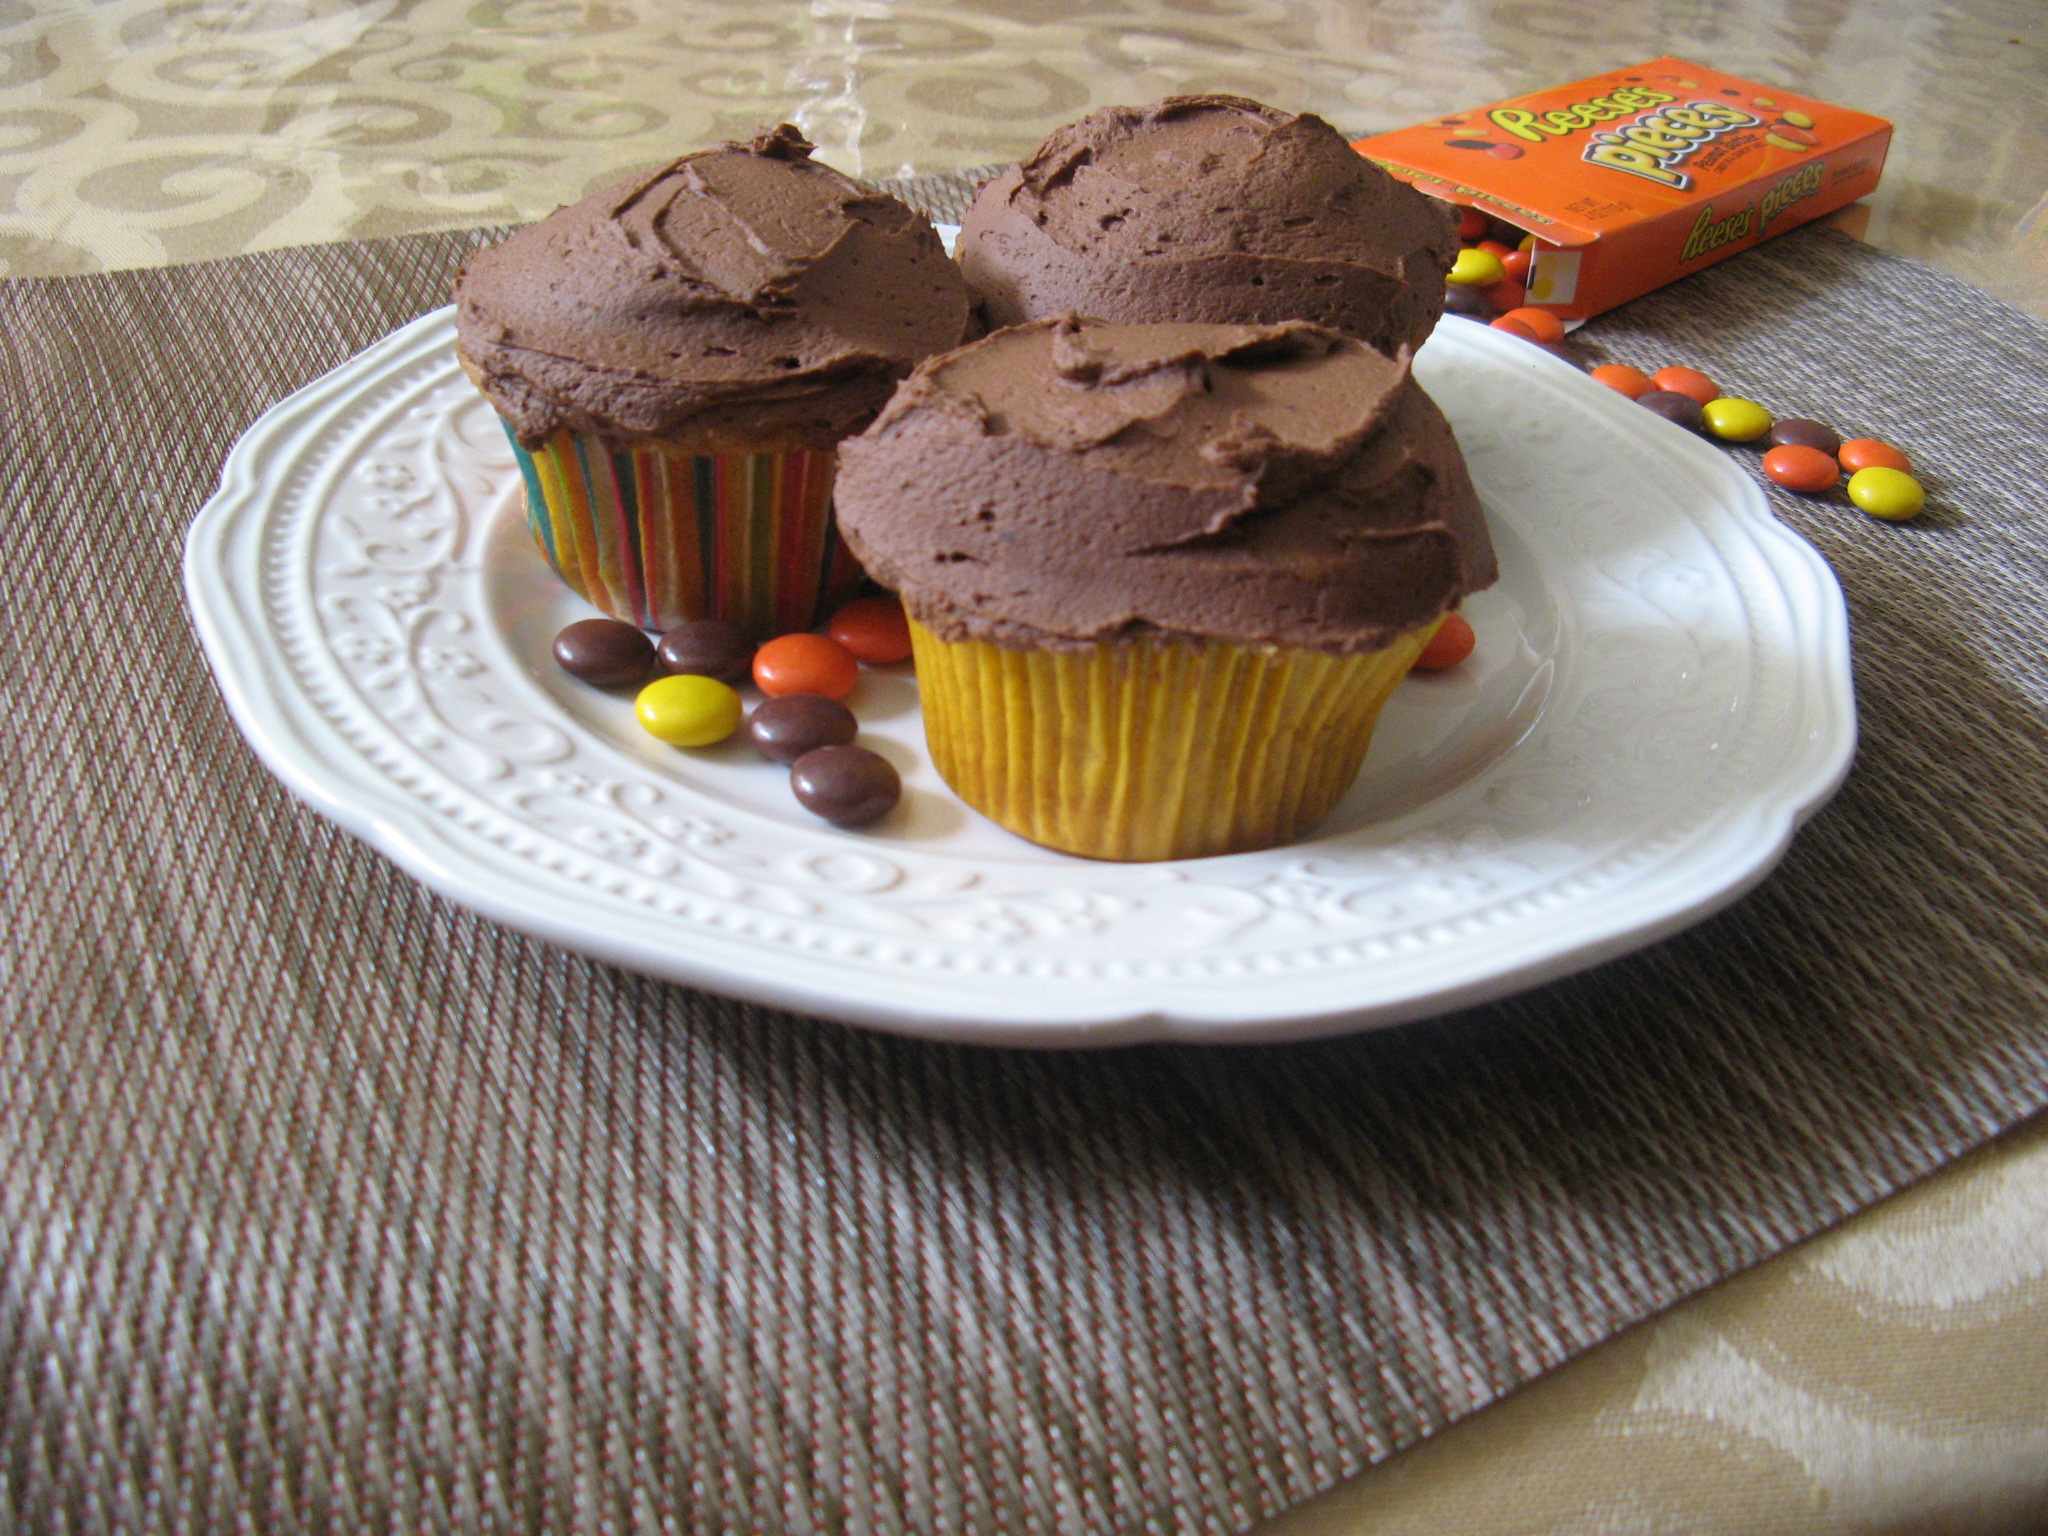
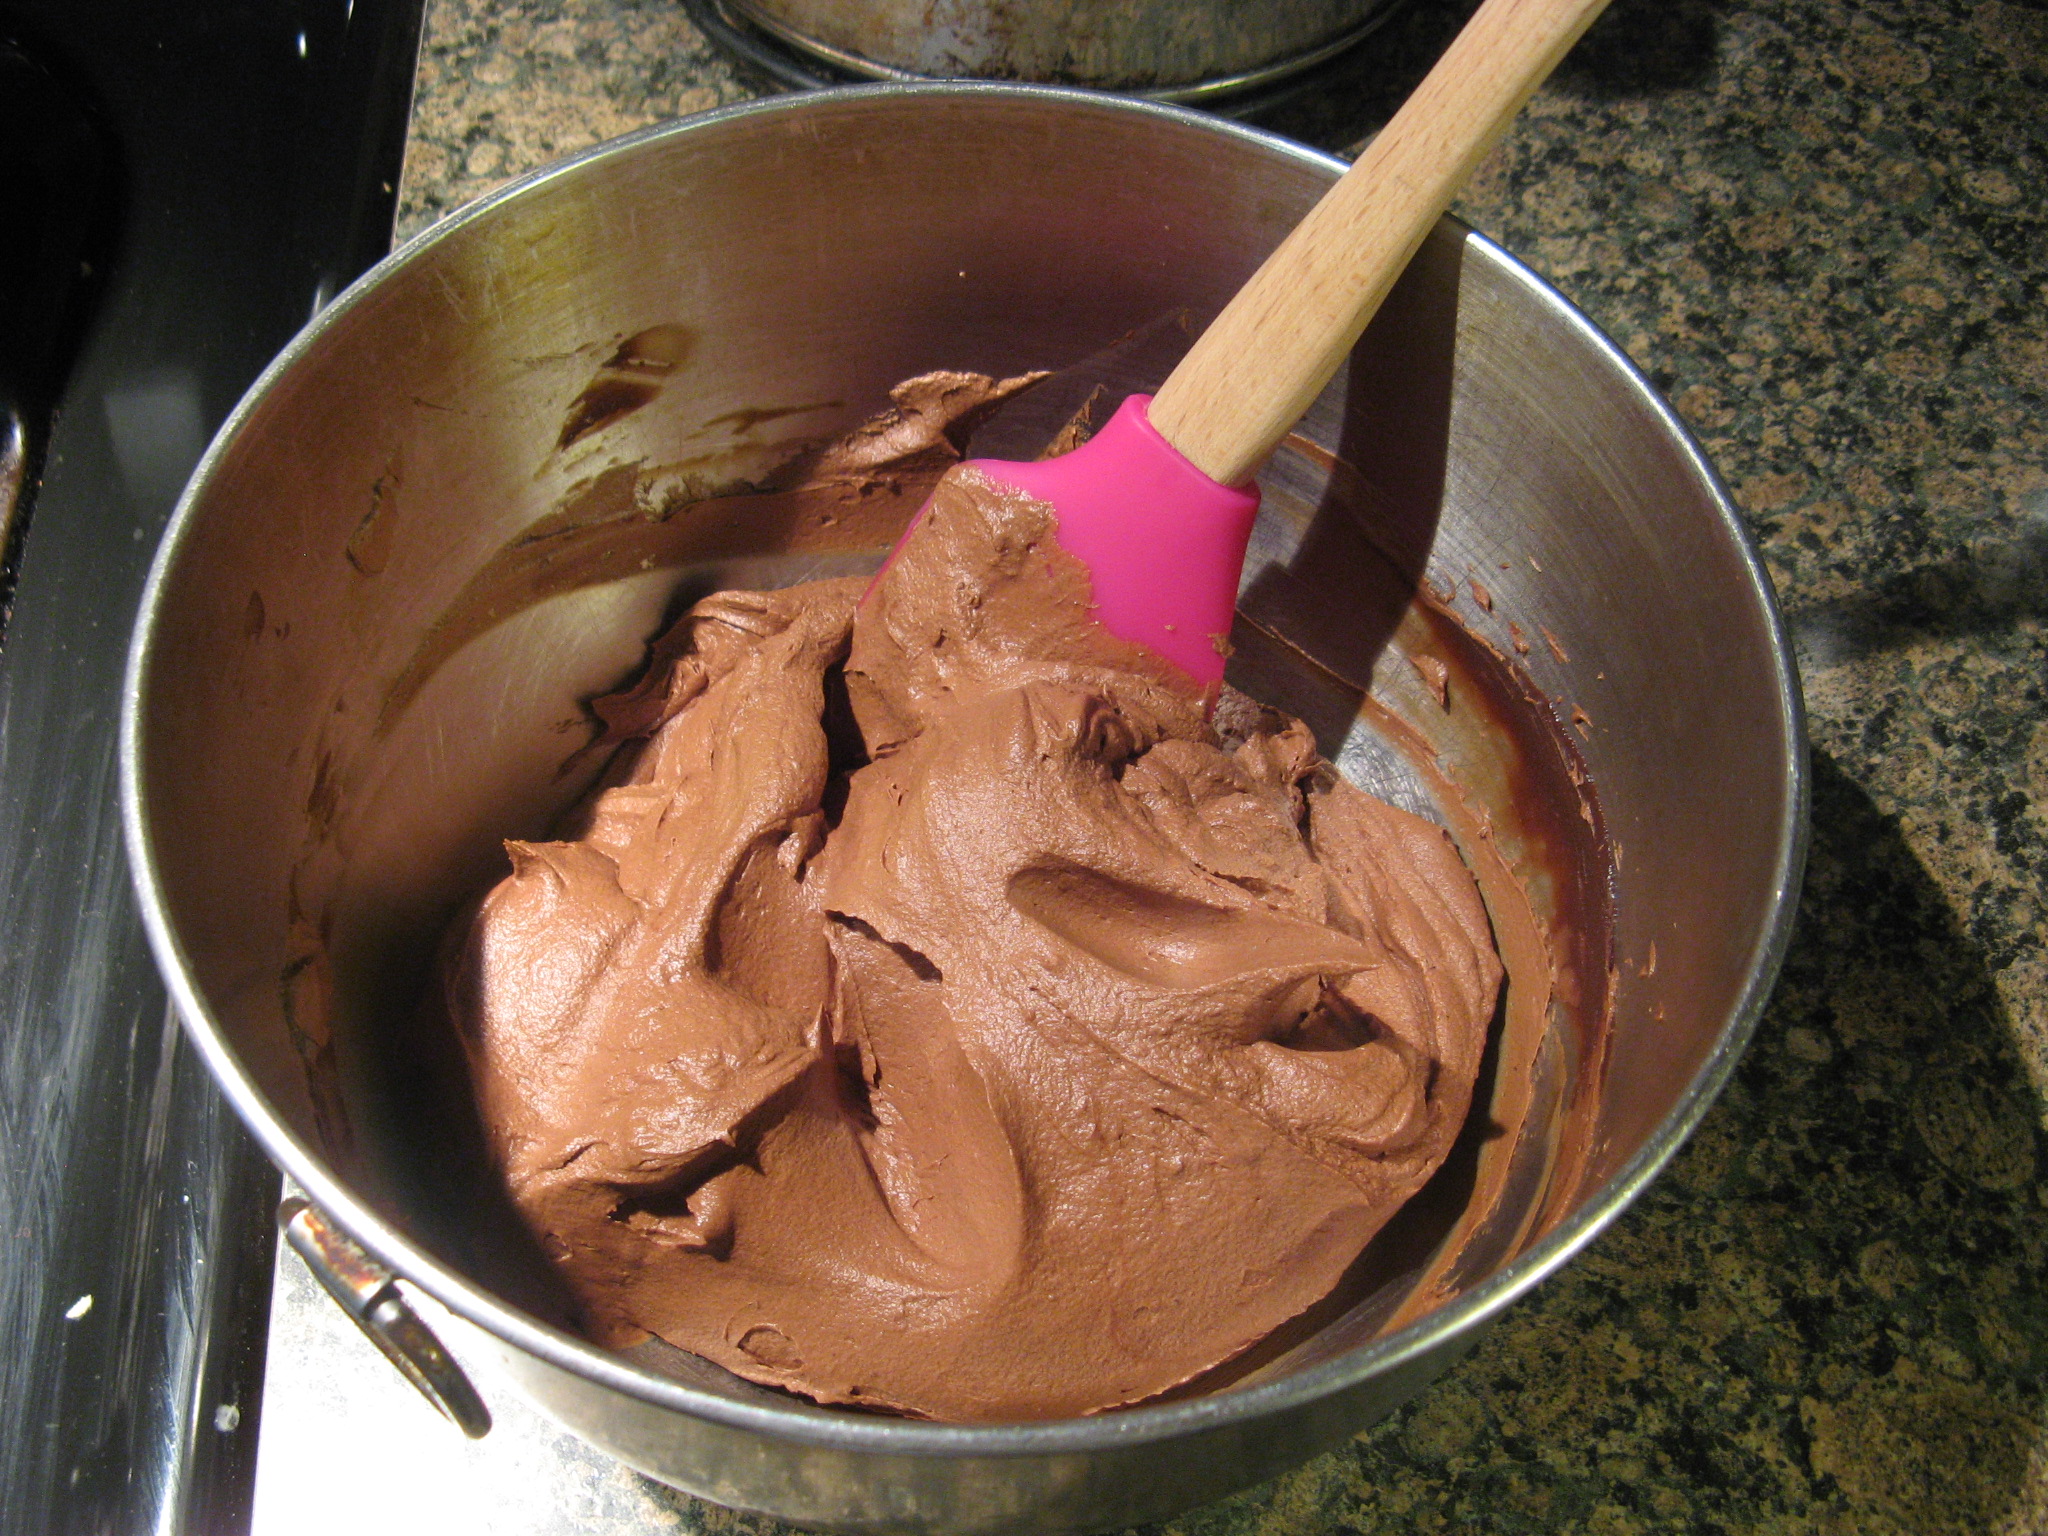
I then cooled the melted chocolate in the refrigerator for about 40 minutes and then 15 minutes in the freezer so it could chill but not become too firm. I then whipped it until it was creamy and then spread it over each of the cupcakes.

IMG_3726

These were absolutely delicious and I assume would go perfectly with a tall glass of cold milk – I am not much of a milk drinker. I prefer my milk with my daily bowl of oatmeal for breakfast.

IMG_3749

I wish I could reference where I got the recipe from, but unfortunately I ripped it out of a magazine some time ago and have no clue which one.


Peanut Butter Cupcakes with Chocolate Frosting

Makes 12 Cupcakes

Ingredients:

For Cupcakes:

1 1/4 cups flour

1 1/2 teaspoon baking powder

1/2 teaspoon salt

1 cup light brown sugar

6 tablespoons unsalted butter, softened

1 teaspoon vanilla extract

1/2 cup smooth peanut butter

1/2 cup whole milk

For Frosting:

1 12oz. bag semi-sweet chocolate chips

1 1/3 cup heavy cream

Directions:

For Cupcakes:

Preheat oven to 350 F. Line 12 muffin cups with paper baking cups. In a large bowl, sift together the flour, baking powder and salt; set aside. In another bowl, beat the light brown sugar, unsalted butter and vanilla extract. Add in the peanut butter and beat until completely blended. Add the eggs, one at a time beating well after each addition. Add the milk. Slowly add the flour mixture and beat until mixture is combined; do not over-mix. Fill each muffin cup with about 1/4 cup of the batter. Bake 20-25 minutes, or until the cupcakes spring back when touched lightly. Let cool for at least 10 minutes before icing.

For Frosting:

In a saucepan over low heat stir the chocolate chips and heavy cream until the chocolate is completely melted and smooth. Transfer the mixture to a mixing bowl; refrigerate 1 hour, or until chilled throughout but now too firm. Beat the mixture until creamy, about 3 minutes. Spread about 1/4 cup of frosting over each cupcake. Garnish with peanut butter chips or peanut butter – filled candies, if desired.

Banana Nut Bread… A Single Loaf

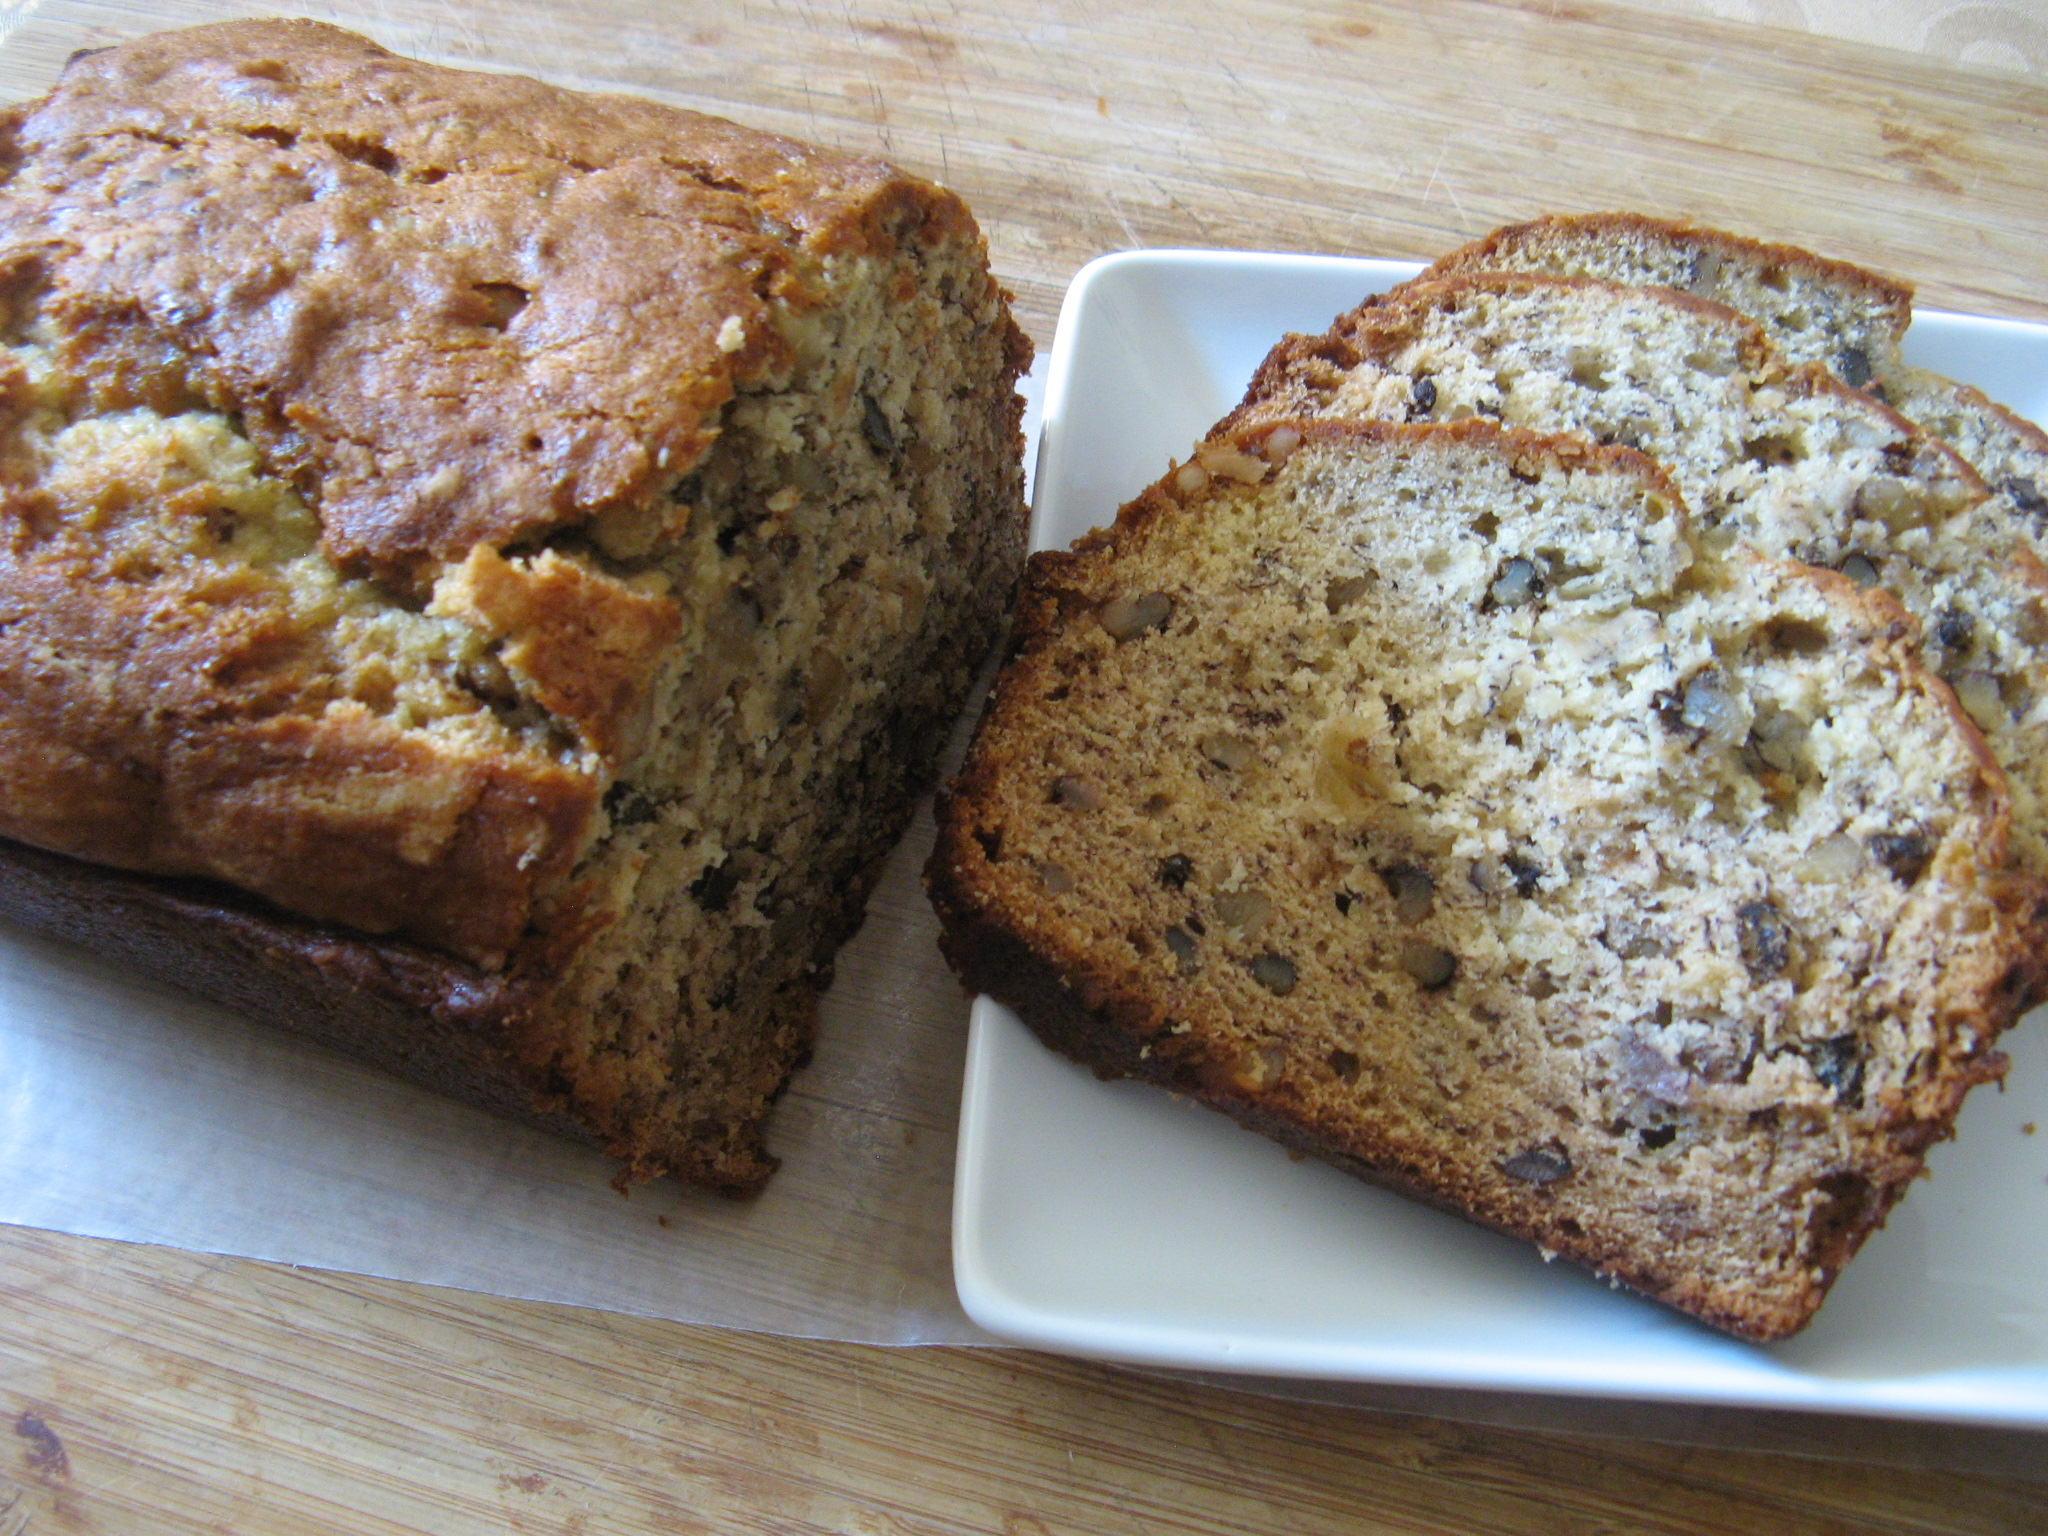
As some of you may know I have a tendency to let bananas sit for a tad bit too long which means I won’t eat them – I prefer my bananas not to have any spots on them – but instead I bake with them. Over the course of my blogging I have made Marbled Nutella Banana Bread, Banana & Chocolate Cupcakes, Banana Chocolate Chip & Nut Muffins, Banana Cream Pie, and the first banana recipe I posted, Banana Nut Bread. Which I just made again, although the first time I made it I followed the recipe exactly and ended up with two loaves, this time though I only had three of the six called for bananas so I decided to halve the recipe and am happy to say it worked out perfectly, so I decided to share that with you today. I must say I never particularly cared for Banana Bread until I made it myself and this recipe was definitely key to me liking it. It’s the perfect amount of banana flavor and sweetness.
IMG_3611
Ingredients:
1/2 cup butter (1 stick)
1 cup sugar
2 eggs
1/8 teaspoon salt
1 teaspoon baking soda
2 cups flour
3 large bananas, very ripe, mashed
1/2 cup finely chopped walnuts*
Directions:
Preheat the oven to 325 F & grease one loaf pan.
Cream together the butter and sugar. Add the eggs, one at a time, beating after each addition.
Sift the dry ingredients together and add to the cream mixture. Stir in the bananas and chopped walnuts.
Pour batter into prepared pan and bake for about an hour and 15 minutes, or until a toothpick inserted in the center comes out clean.
*The original recipe called for pecans

Tropical Oatmeal Cookies

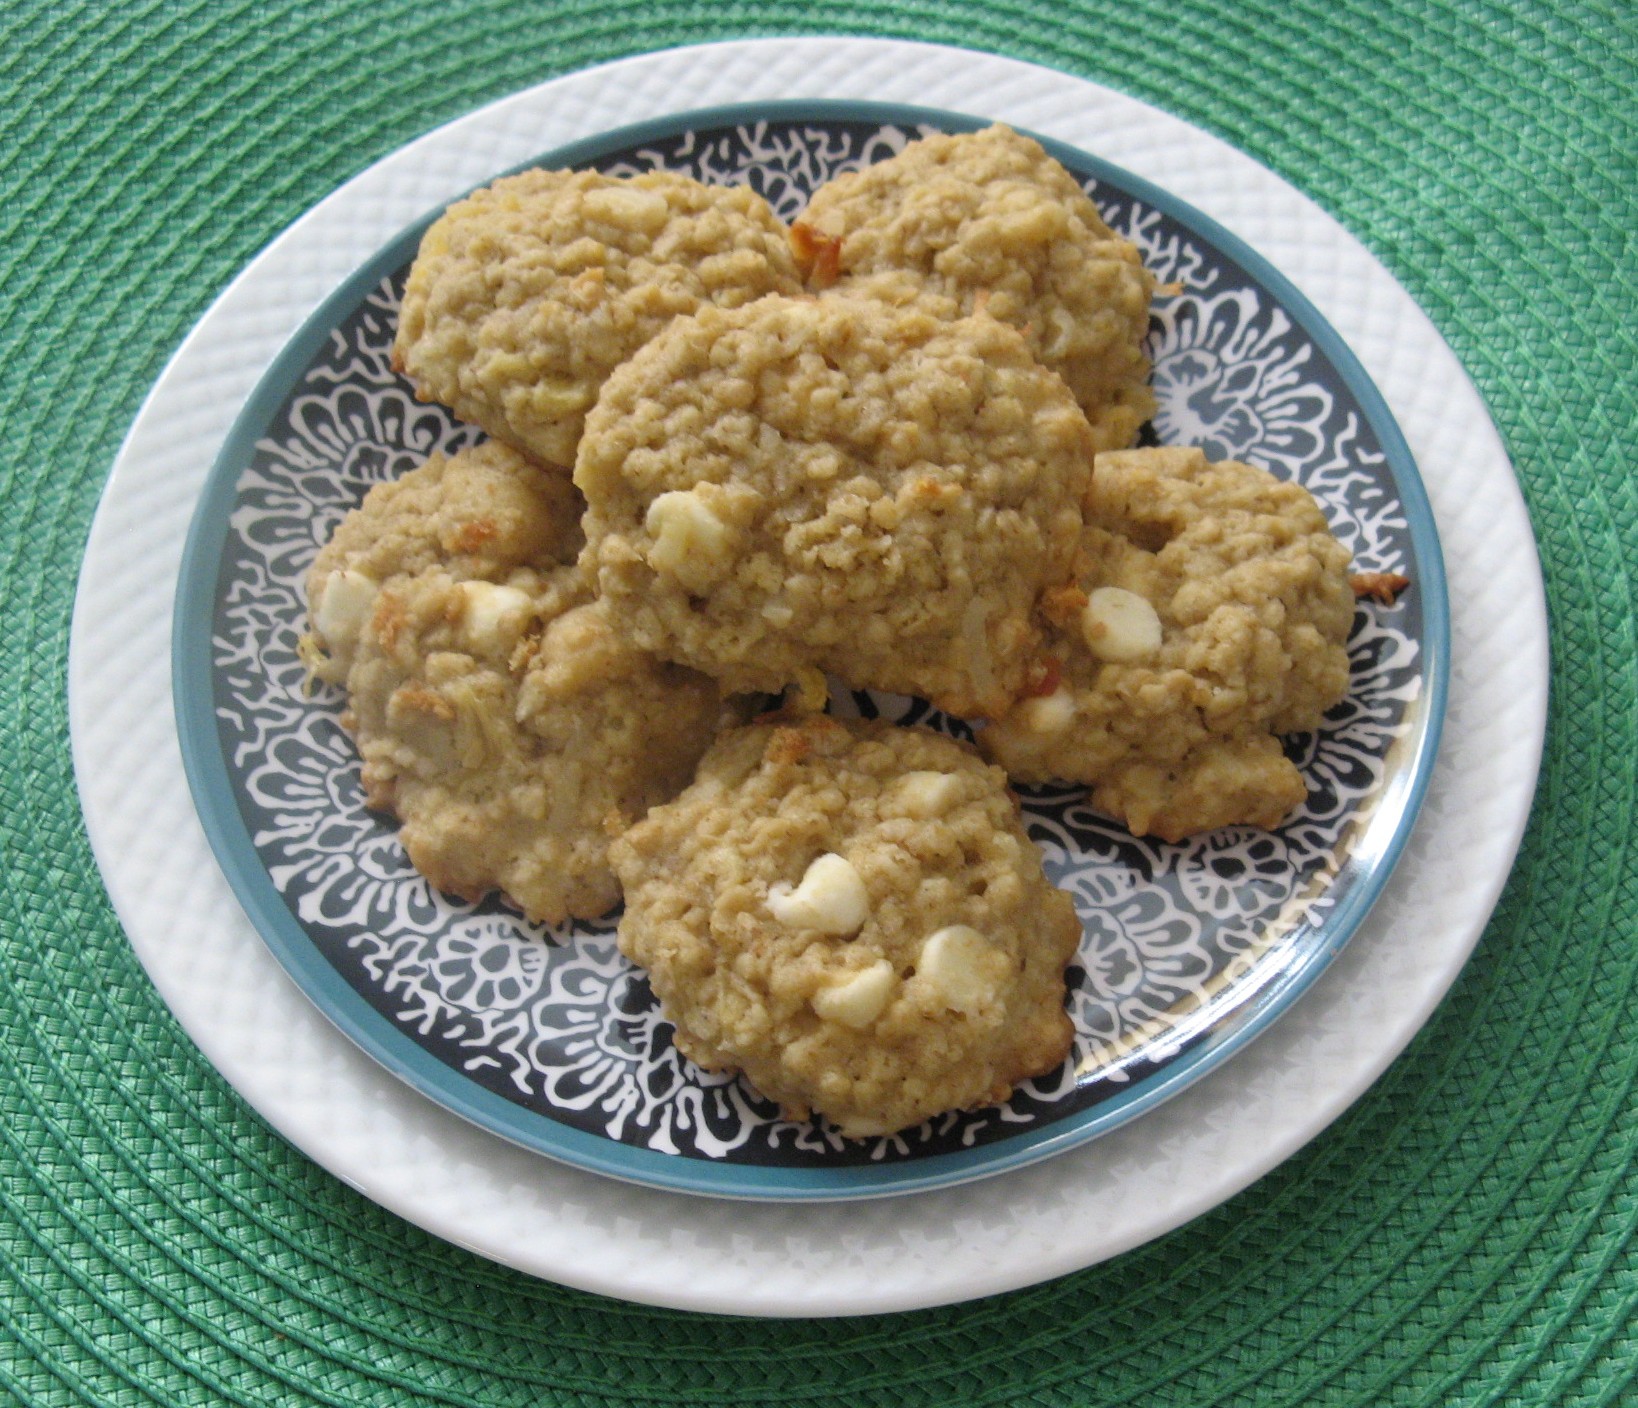
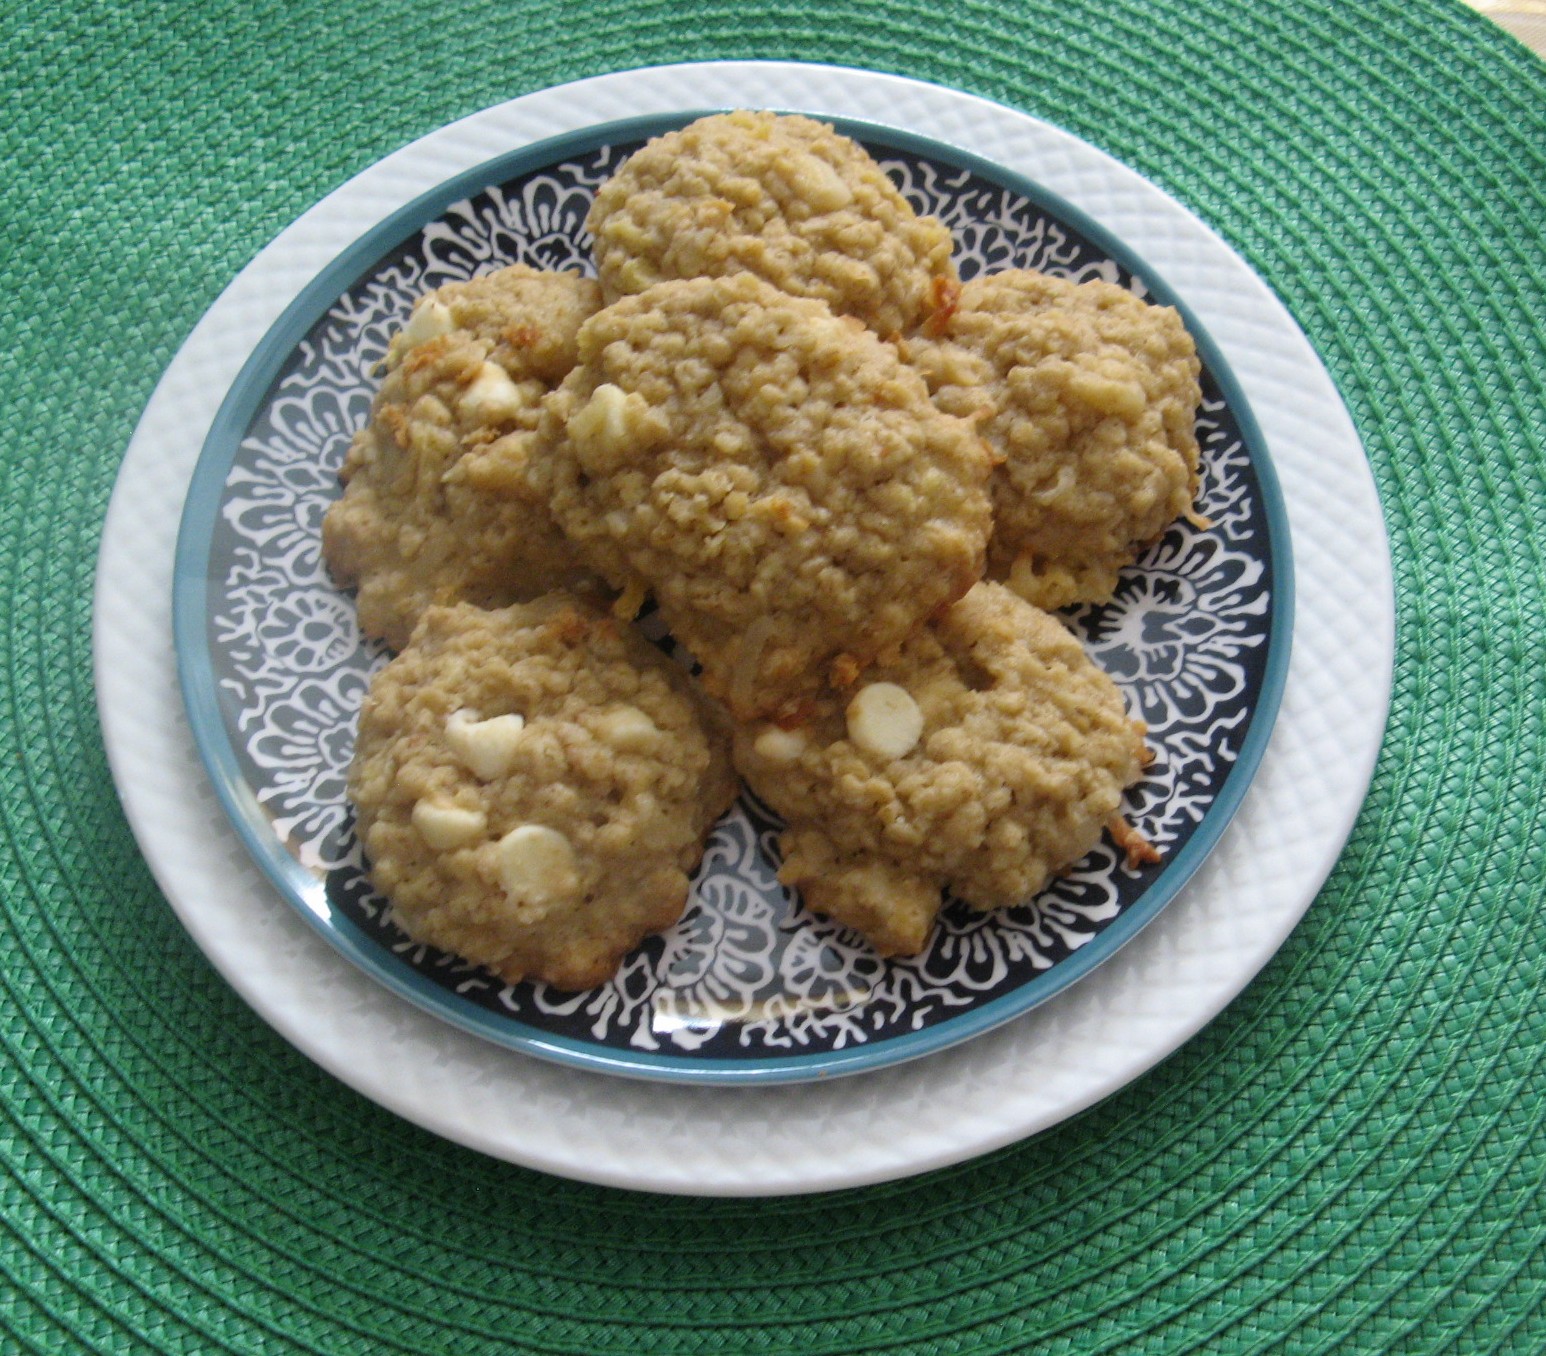
I came up with the idea for these cookies a while back and while I am sure there is a recipe somewhere floating around on the internet for them, I decided to take a chance and create my own recipe, albeit with some assistance from a few of my favorite cookie recipes. I really had no idea how they would come out, but, in the end they were delicious and incredibly soft and the add-ins of the white chocolate chips, shredded coconut, crushed pineapple and macadamia nuts complemented one another wonderfully.
IMG_3470
To begin I mixed together the dry ingredients – flour, salt and baking soda – and set it aside and then moved on to creaming together butter, sugar and light brown sugar.
IMG_3419
I then added in two eggs – one at a time.
IMG_3420
And then the vanilla extract.
IMG_3421
After adding in the flour mixture – I really did use flour for these cookies even though I don’t have a picture of it – I then added in quick oats.
IMG_3422
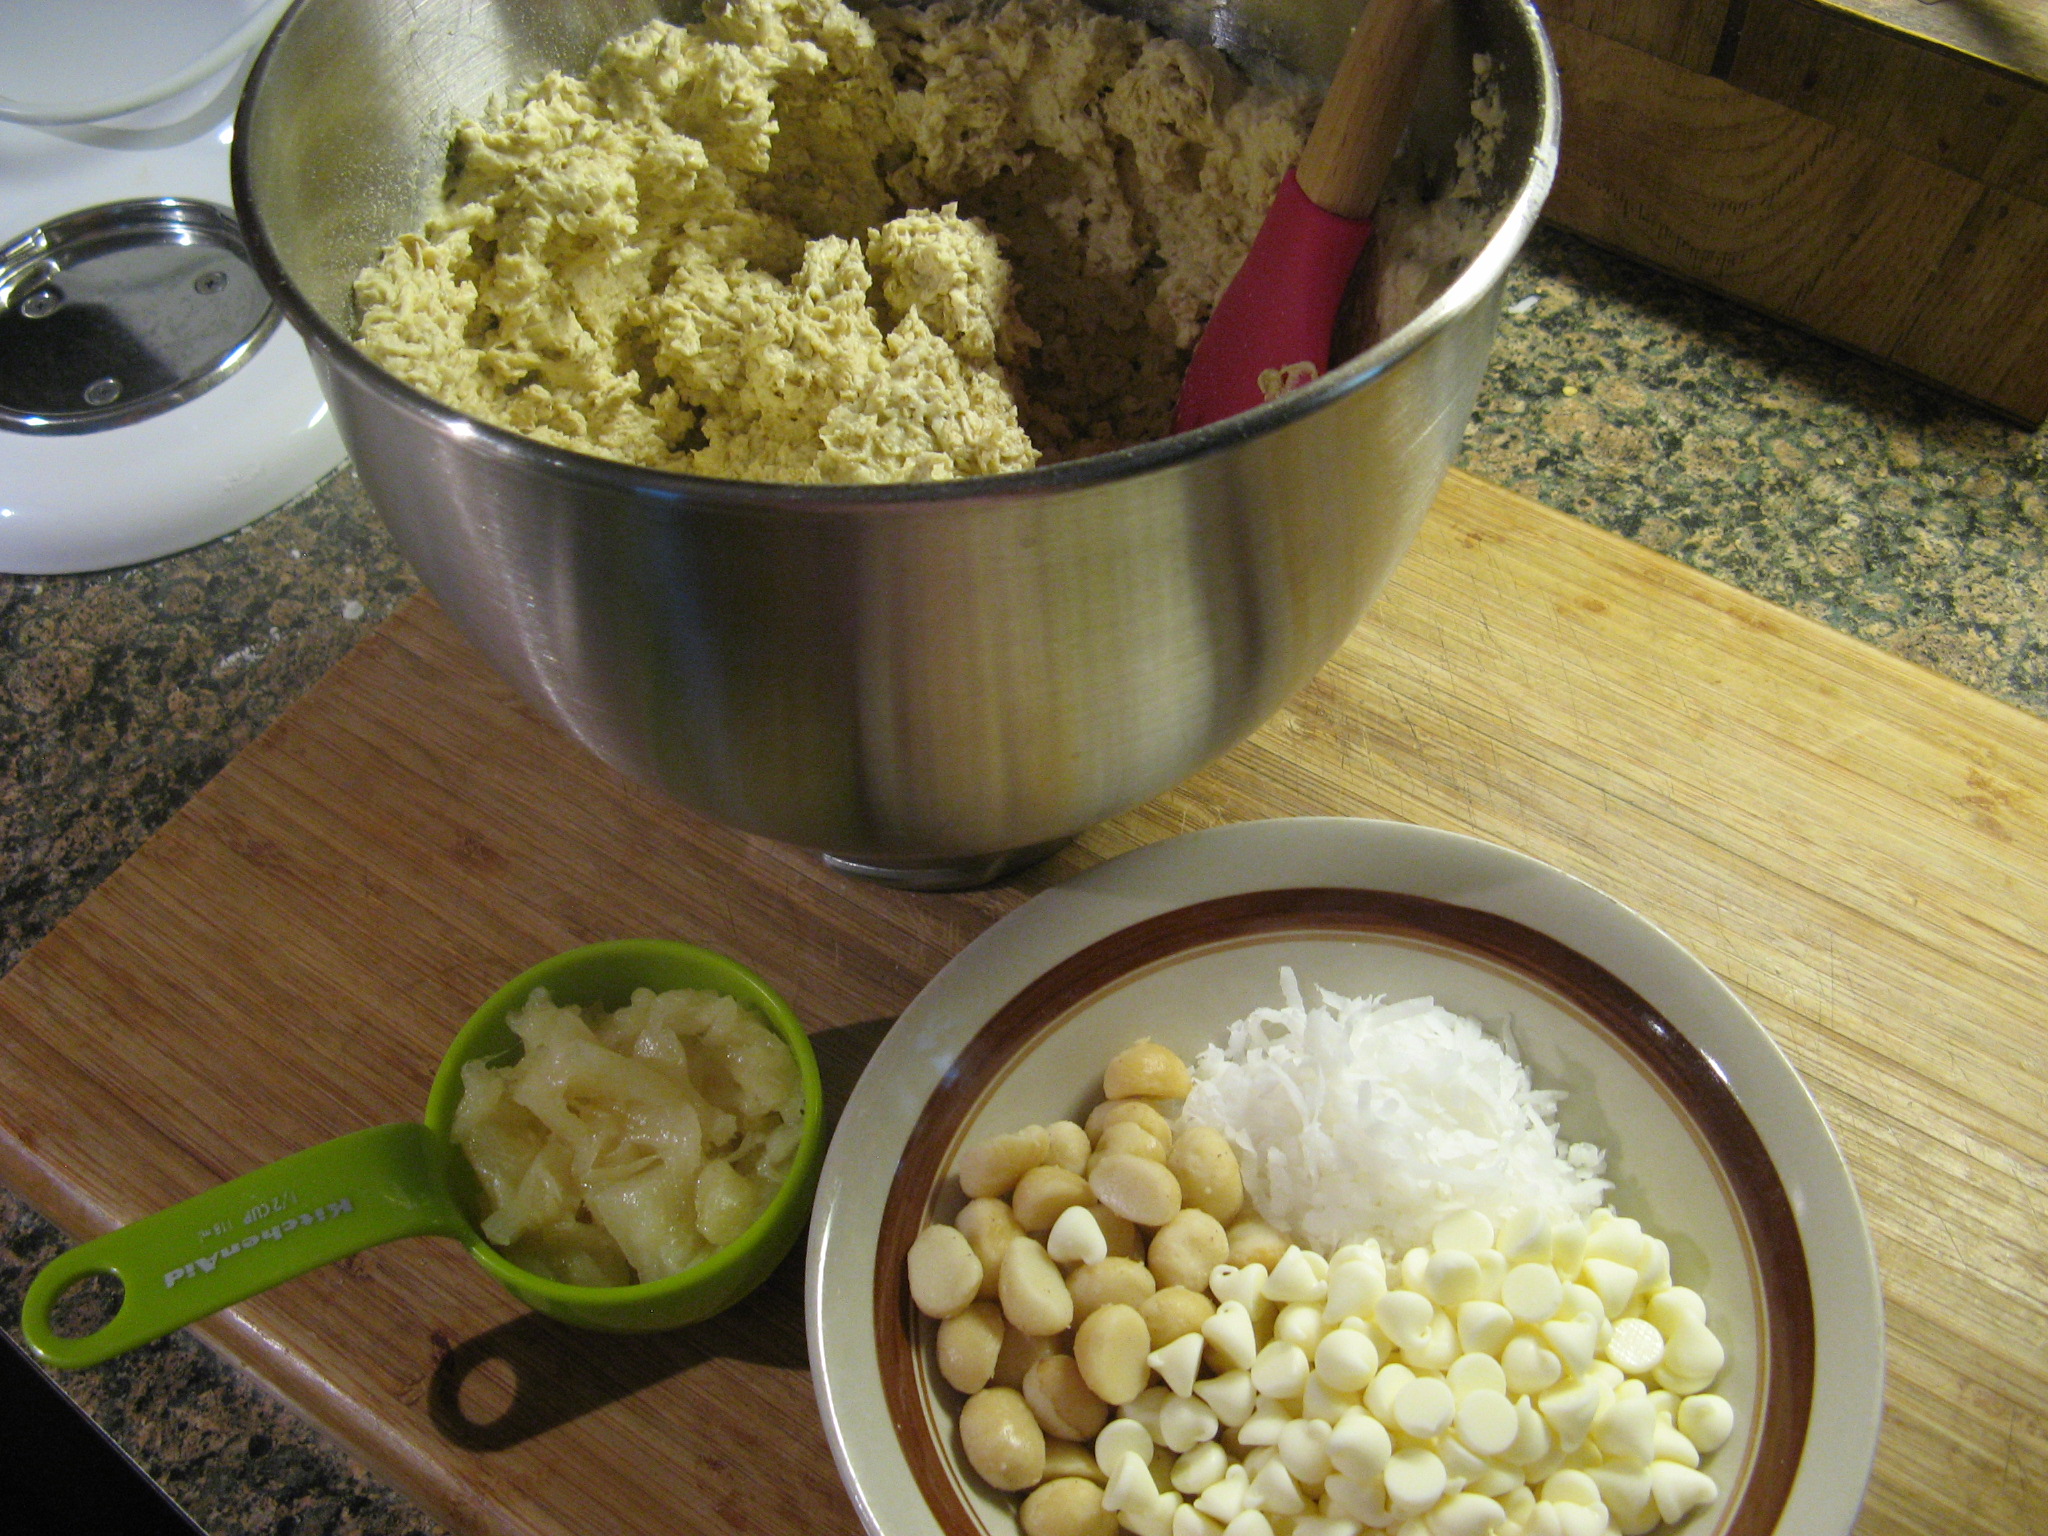
And finally I folded in my “tropical ingredients:” white chocolate chips, sweetened shredded coconut, crushed pineapple and macadamia nuts.
IMG_3424
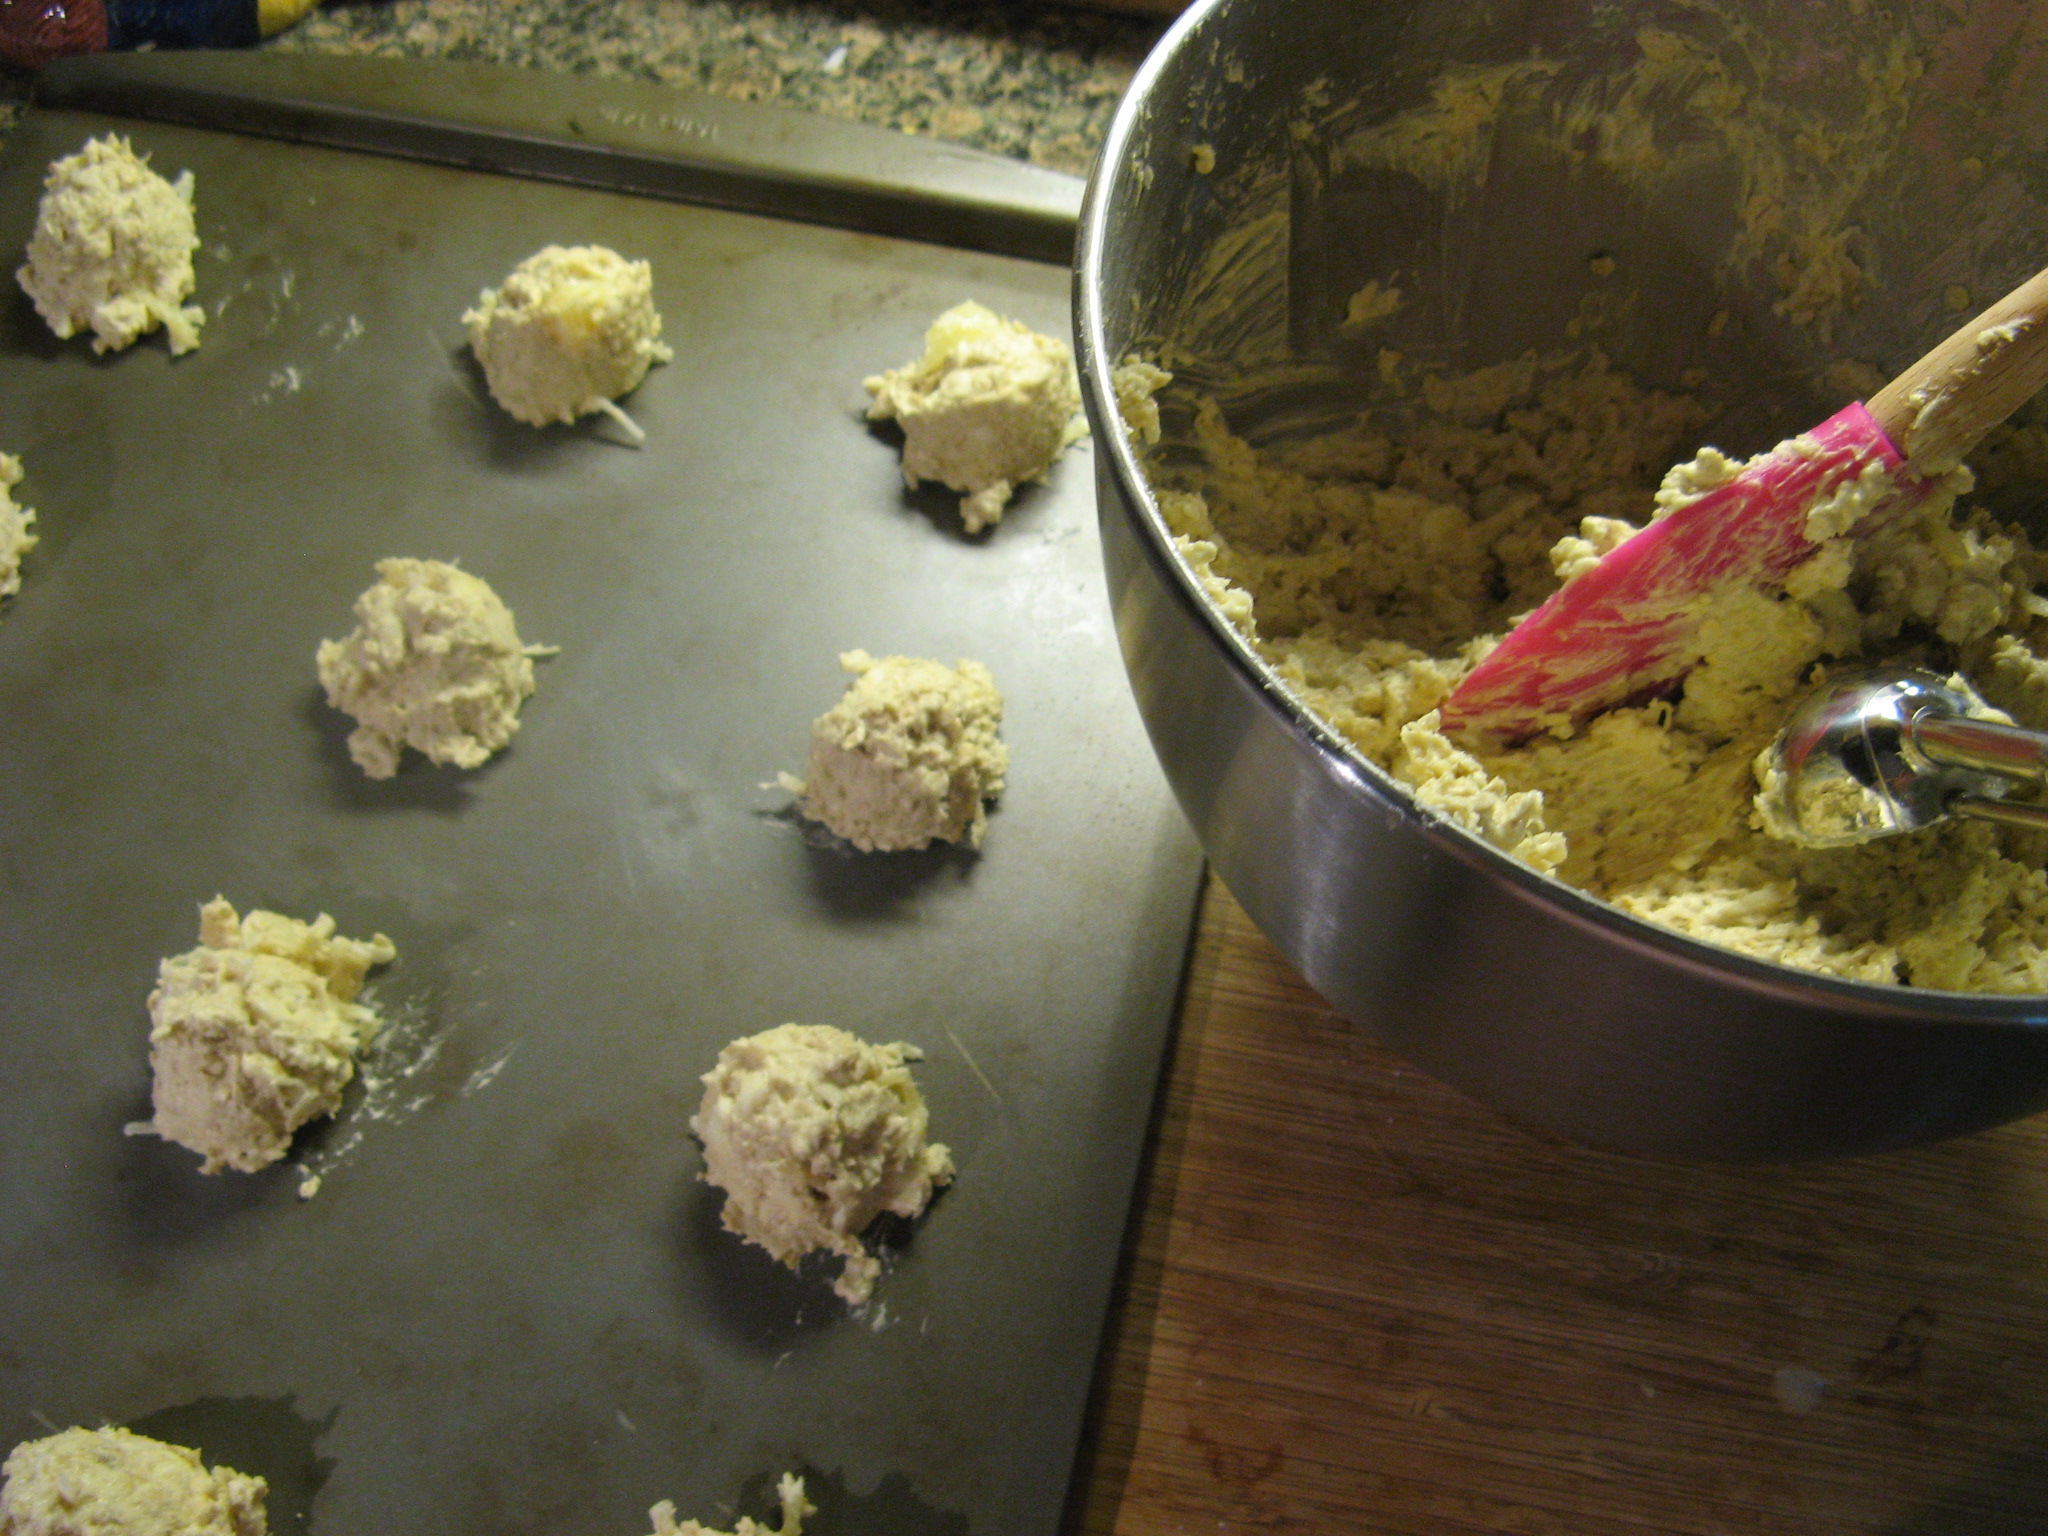
After folding in all of the add-ins I used a cookie scoop to drop mounds of the dough onto an ungreased cookie sheet.
IMG_3426
I baked them in a 325 degrees preheated oven for 11 minutes and then let them cool on the cookie sheet for five minutes before transferring them to a wire rack to cool completely.


And while you may think these cookies would be on the sweeter side with the sugars, sweetened coconut and white chocolate chips, the measurements of each of the ingredients produced a cookie that was just the right amount of sweetness to satisfy your sweet tooth.

 IMG_3473
Tropical Oatmeal Cookies
Makes 36 cookies
Ingredients
1 cup (2 sticks) unsalted butter, softened
1/2 cup light brown sugar
1/2 cup sugar
1 1/4 cup all-purpose flour
1/2 tsp. salt
1/2 tsp. baking soda
2 eggs
1 tsp. vanilla extract
3 cups quick cooking oats
1/2 cup sweetened shredded coconut
1/2 cup crushed pineapple
1/2 cup chopped macadamia nuts
1/2 cup white chocolate chips
Directions
1. Preheat oven to 325 Degrees F.
2. Combine the dry ingredients – flour, baking soda & salt – and set aside
3. Cream together the butter and the sugars on medium speed until creamy. Beat in the eggs one at a time and then add in the vanilla extract.
4. Add the flour mixture to the butter mixture and then the oats.
5. Fold in the white chocolate chips, shredded coconut, pineapple and macadamia nuts.
6. Drop rounded tablespoons (a small cookie scoop) of dough onto an ungreased cookie sheet and bake for 11 minutes.
7. Allow the cookies to cool 5 minutes on the cookie sheet and then transfer to a wire rack to cool completely.
8. Enjoy!

Cinco De Mayo Treats – Cupcakes & Churros

Happy Cinco de Mayo! While many will celebrate this day with tacos, burritos, margaritas and/or maybe some sangria (I had some yesterday,) I opted to bake some sweet treats… Tres Leches Cupcakes and Churros. The cupcakes were a piece of cake to make but the Churros; well I had my concerns prior to making them. I am not big on frying things – not because of the healthy/unhealthy debate, but, because I am fearful of hot oil splattering on me. Thankfully nothing of the sort happened and the Churros were a success.

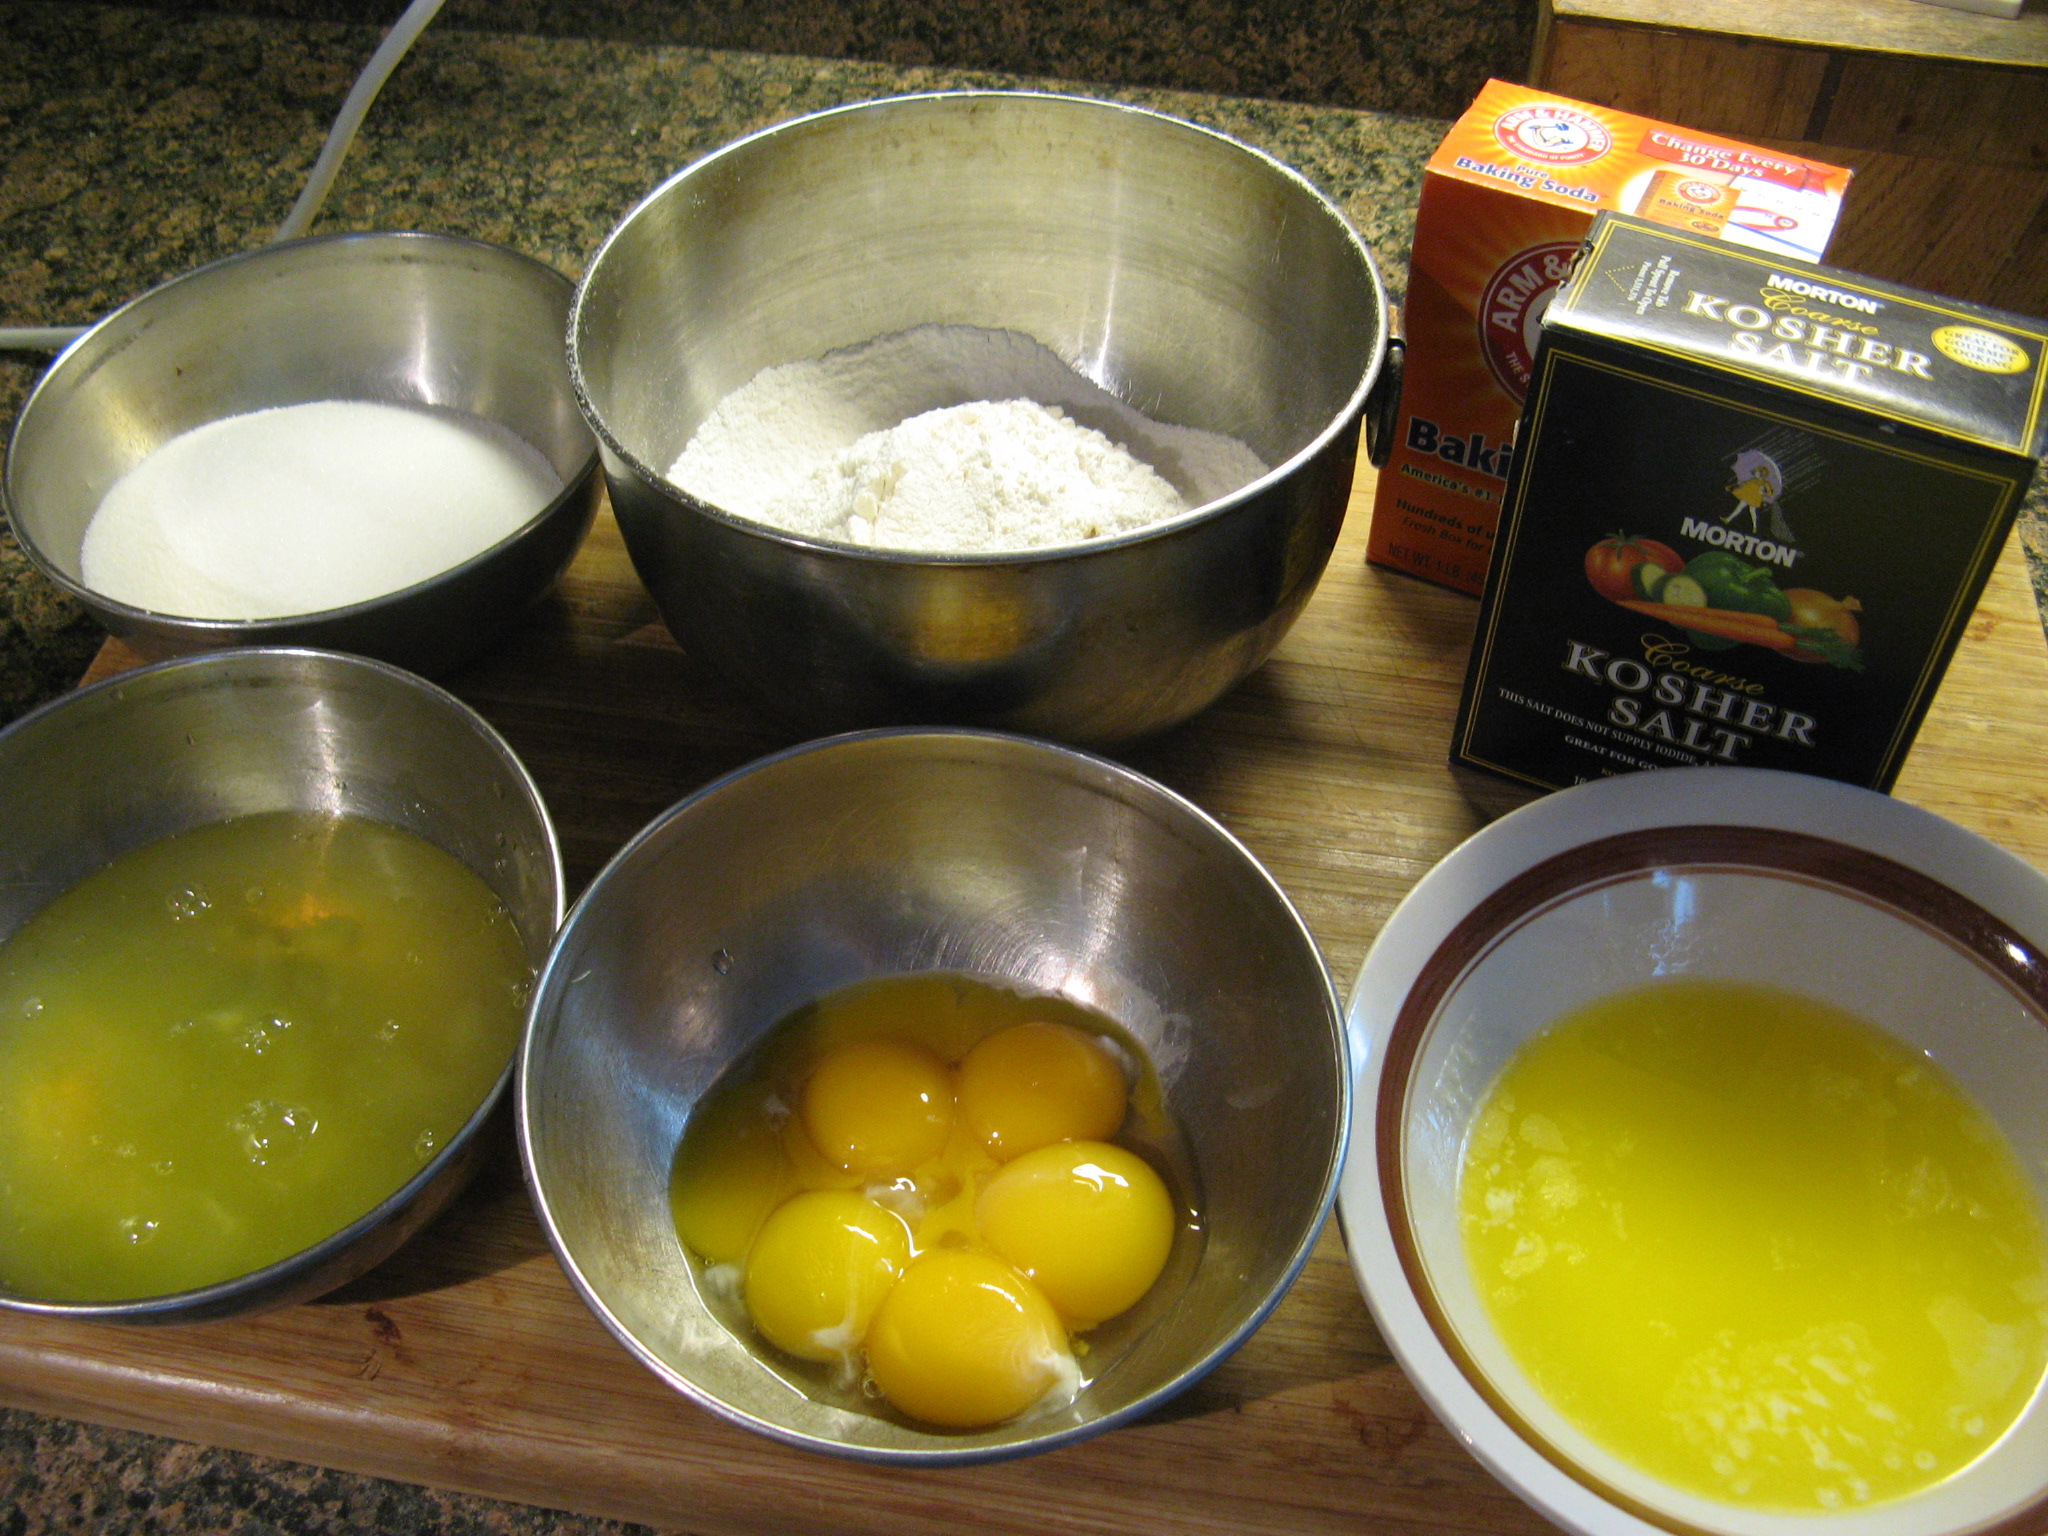
Up first the cupcakes… I started off by assembling and prepping (separating the eggs, sifting the flour and melting the butter) all of my ingredients.

IMG_3248

I began making the batter by whisking together the egg whites with salt and baking soda until soft peaks formed. Following that I added in the eggs yolks and sugar.

IMG_3252

I then folded in the butter…

IMG_3253

And then the flour.

IMG_3254

After a little more folding the batter was ready.

IMG_3255

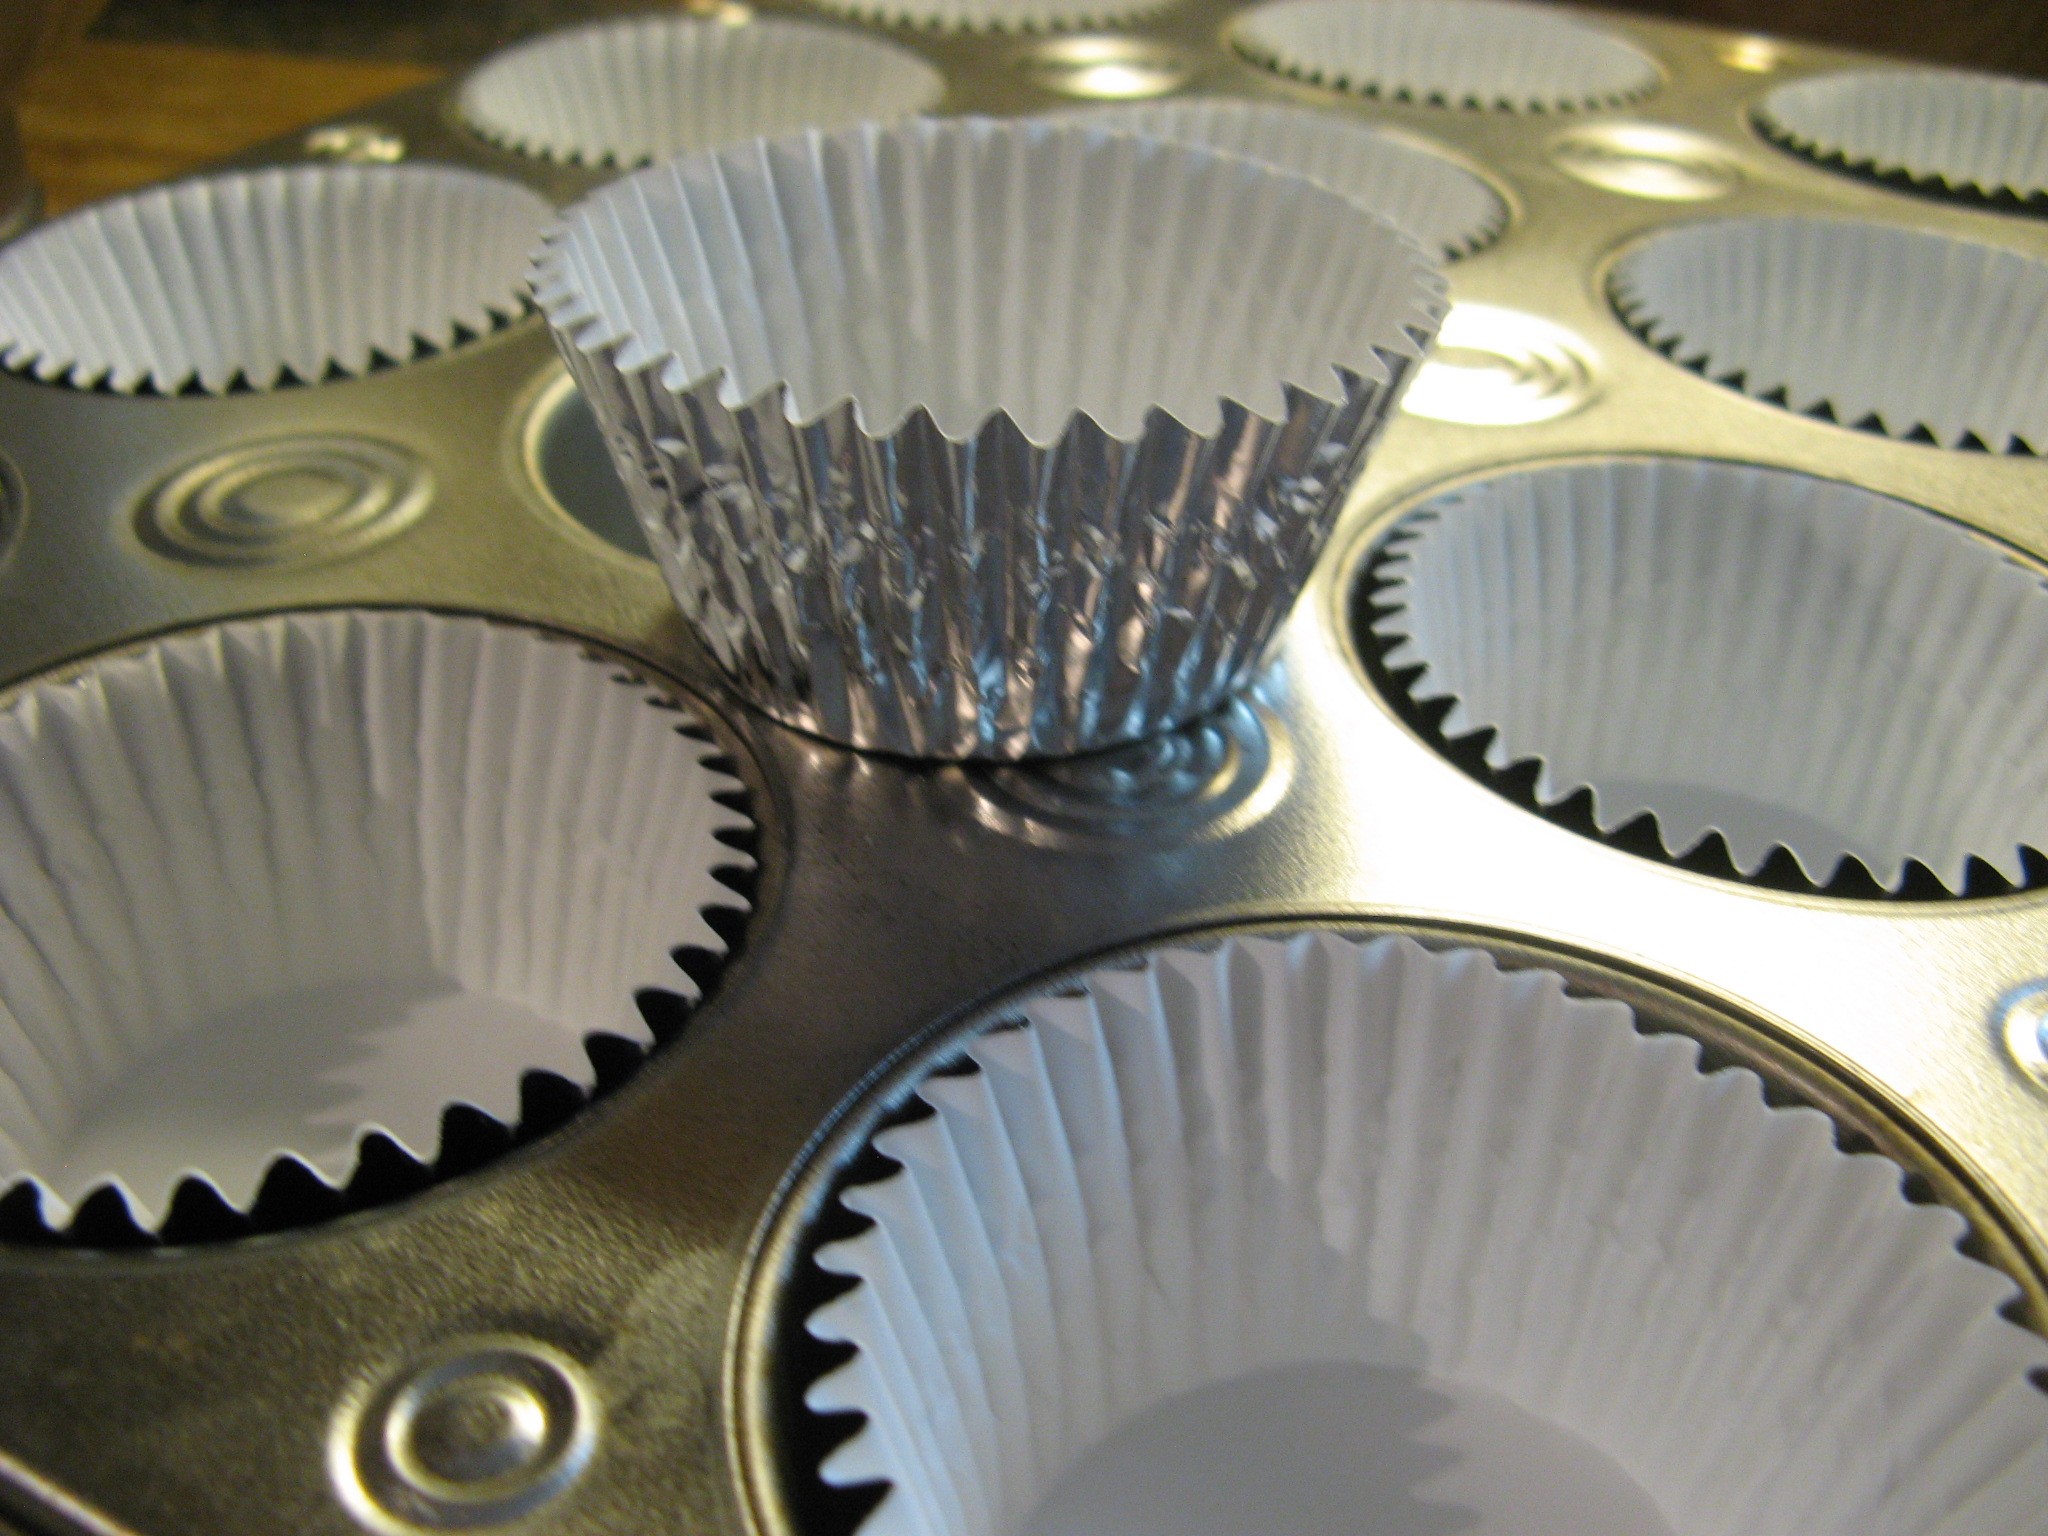
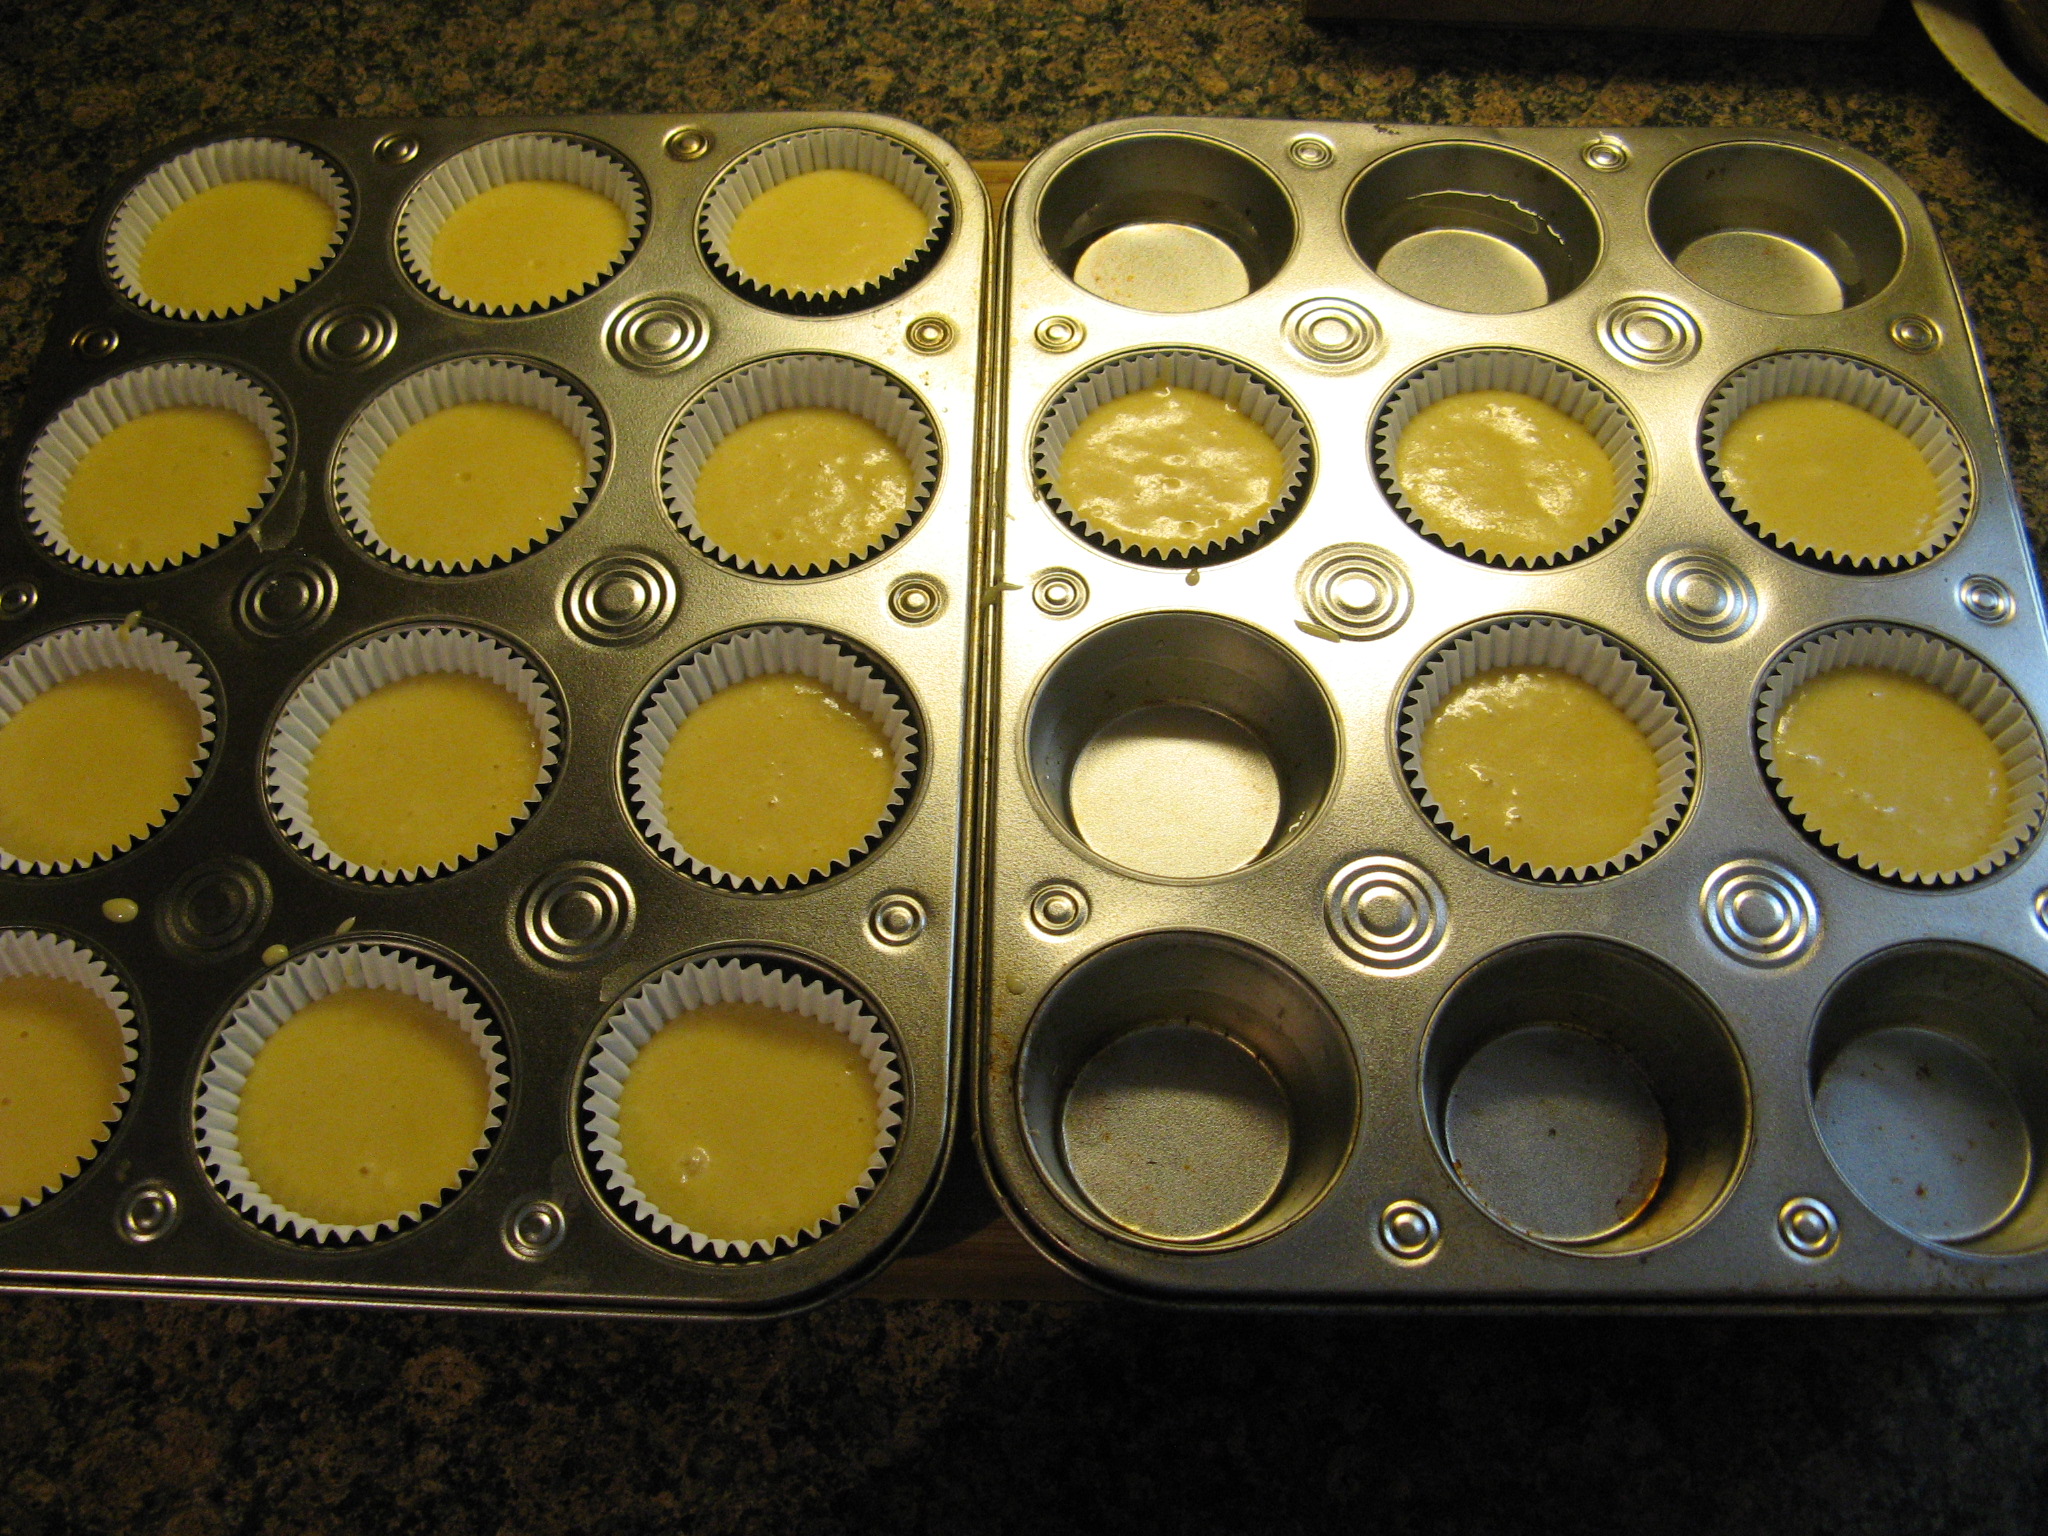
Per the directions, I used paper-lined foil liners which would hold up better while the cupcakes soaked up the Tres Leches.

IMG_3256 IMG_3257

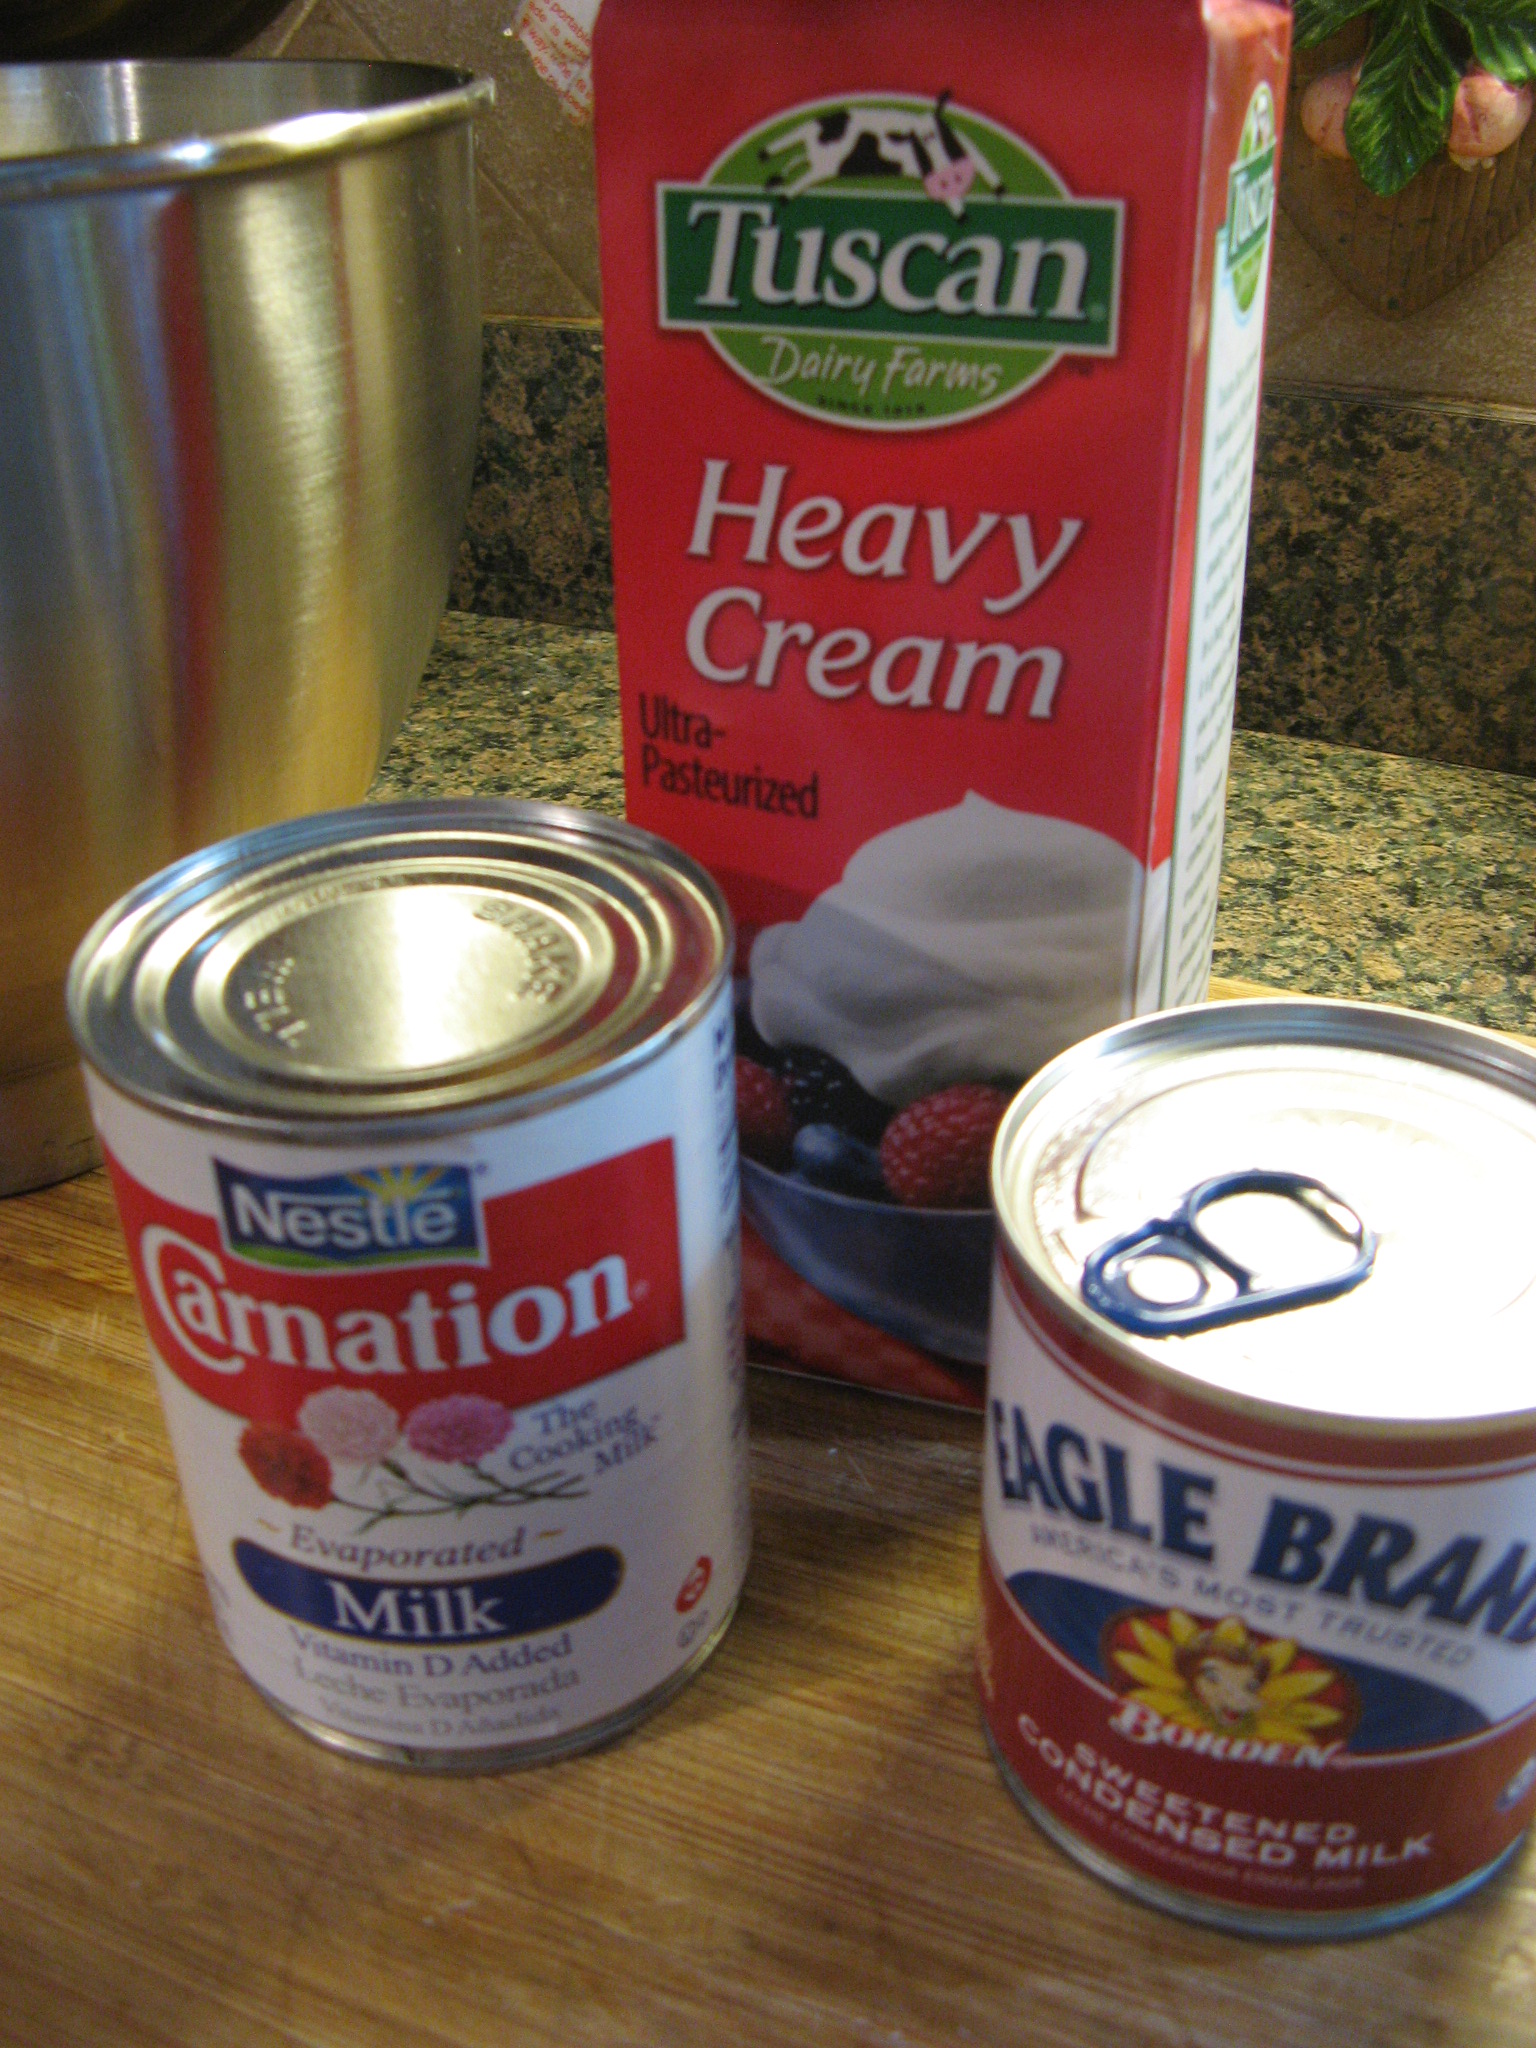
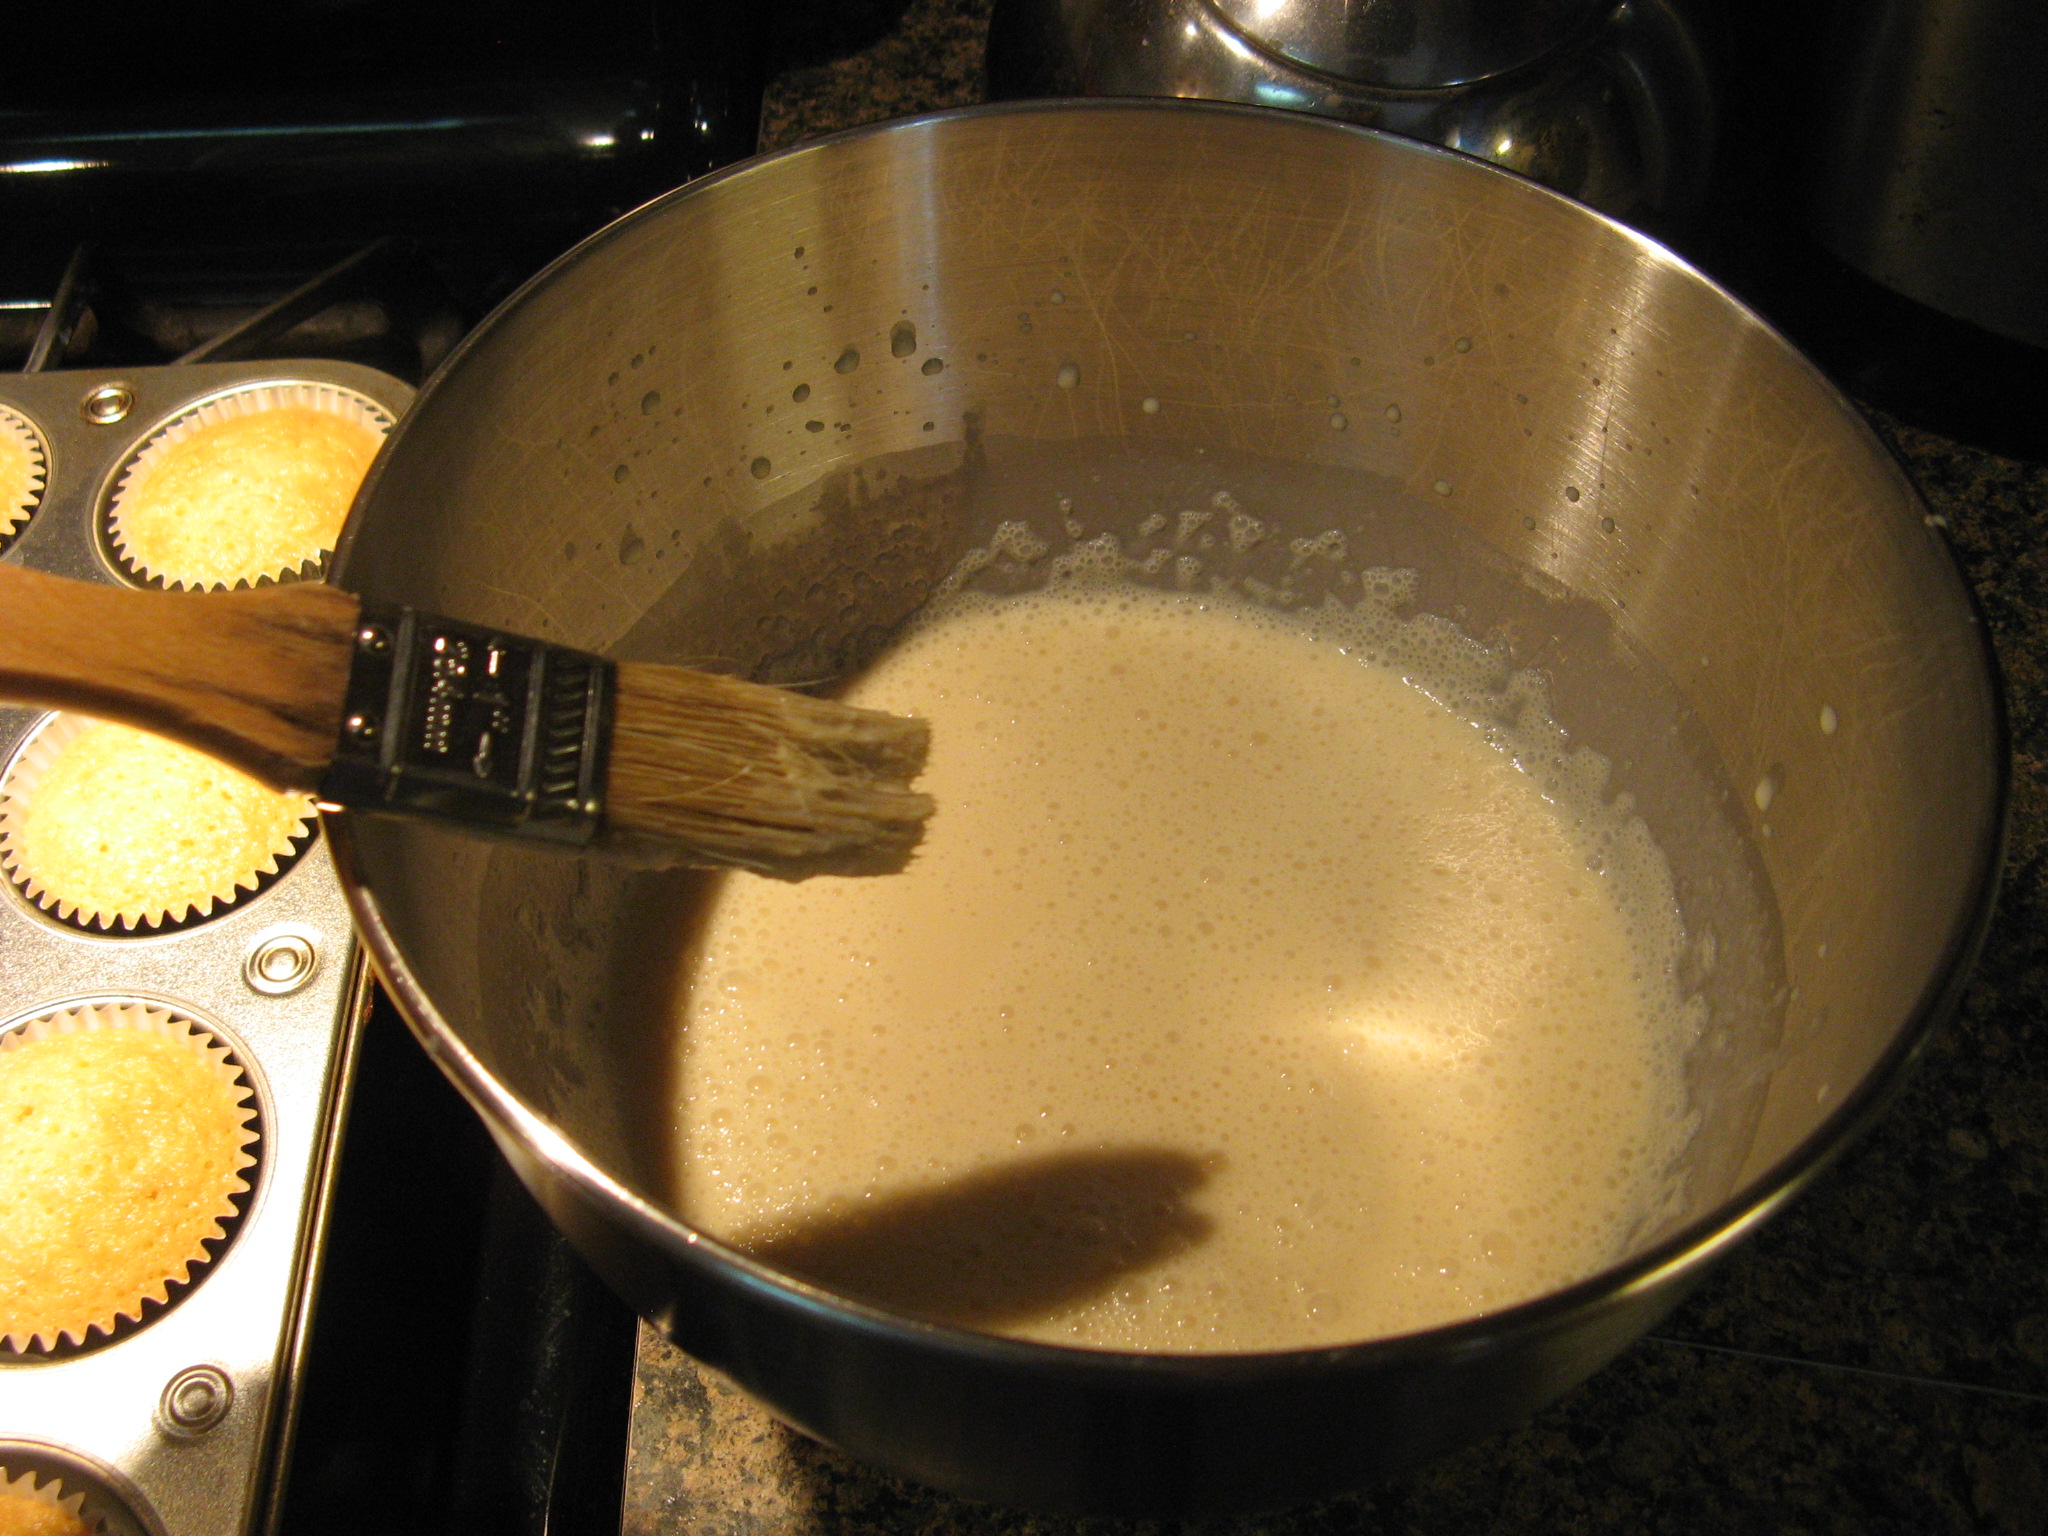
While the cupcakes were baking I made the Tres Leches mixture by whipping together condensed & evaporated milk and heavy cream.
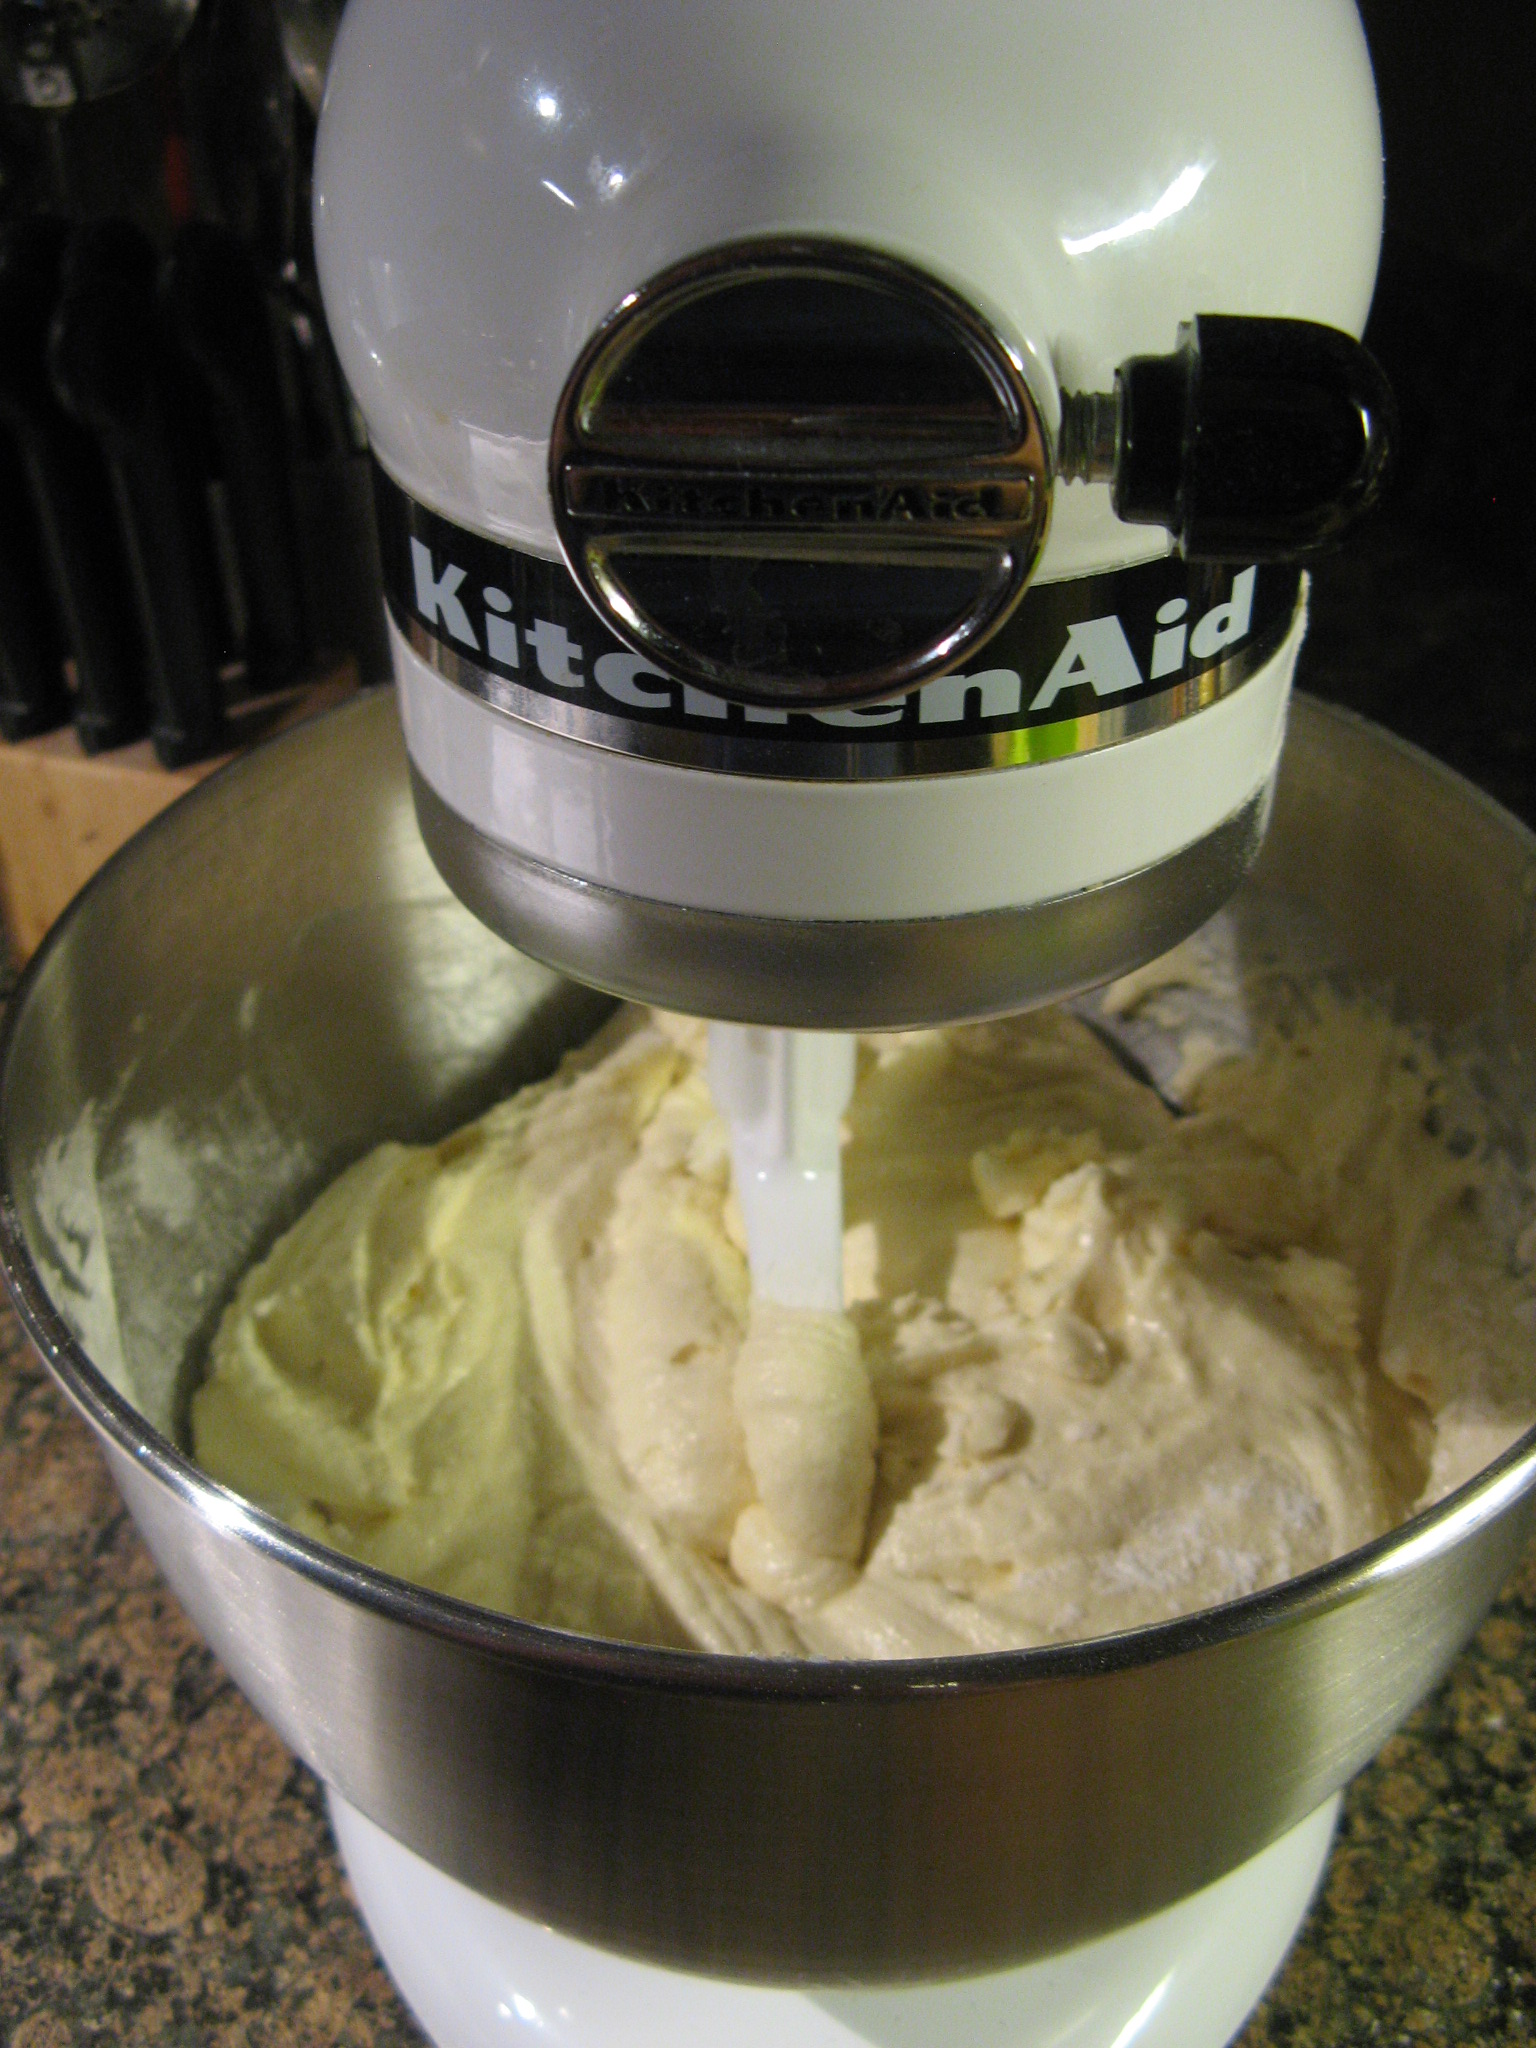
IMG_3259  IMG_3263

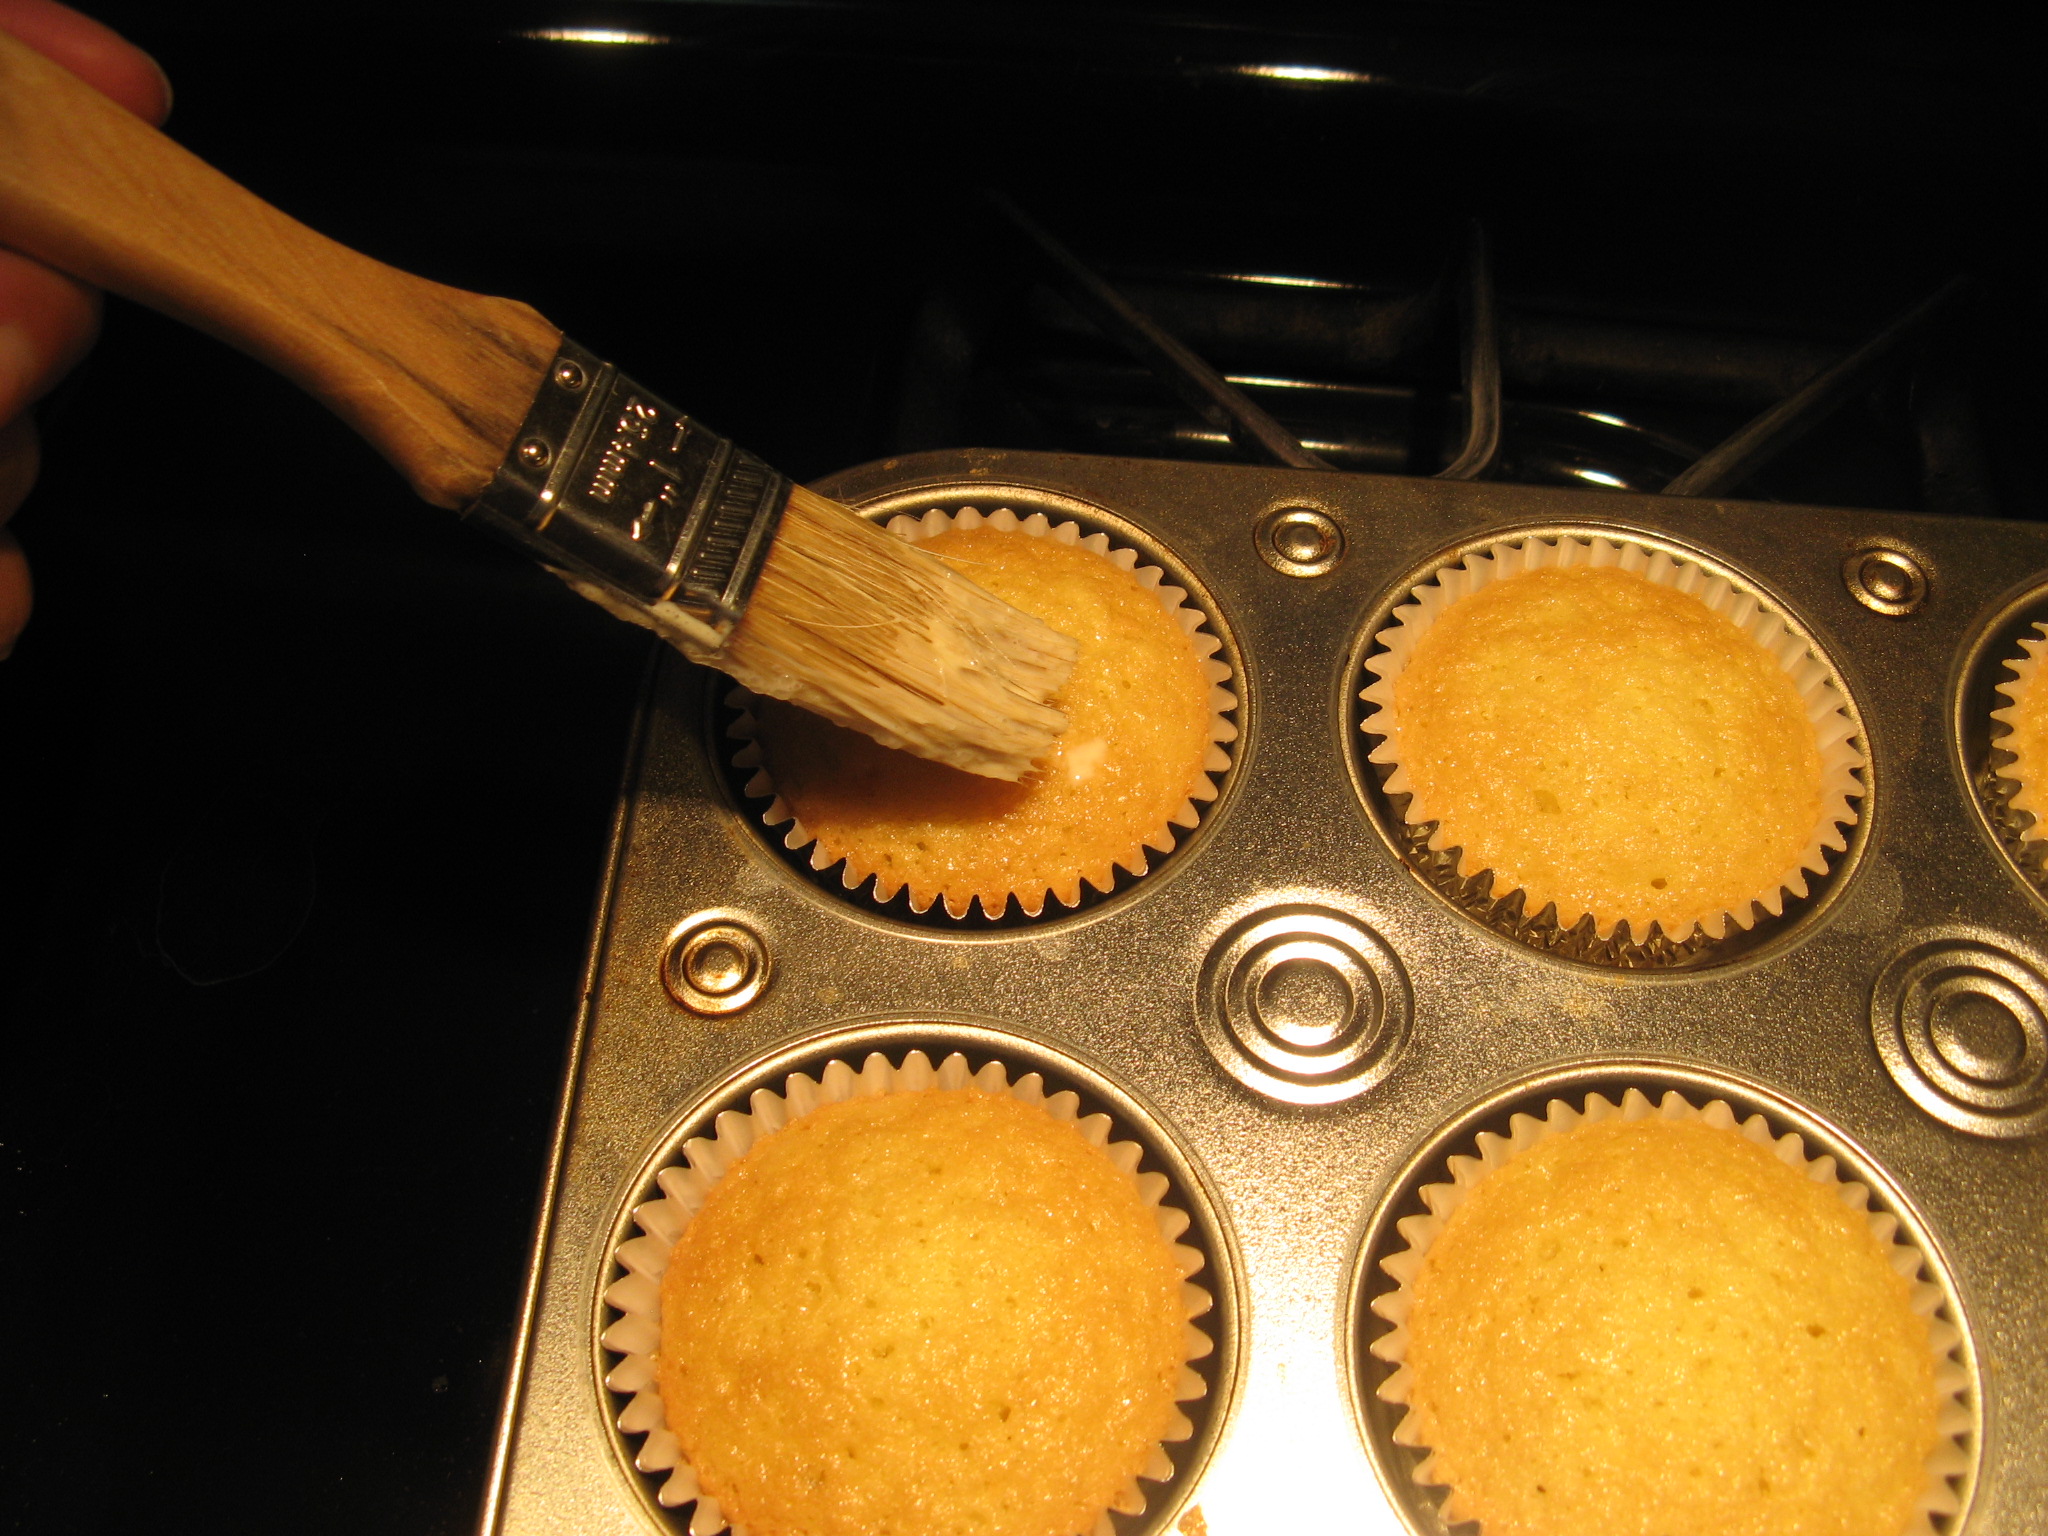
As soon as the cupcakes were done baking, approximately 25 minutes in a preheated 350 degree oven, I poked holes in them with a skewer and brushed the milk mixture over the cupcakes until I was just about out of the mixture.

IMG_3264

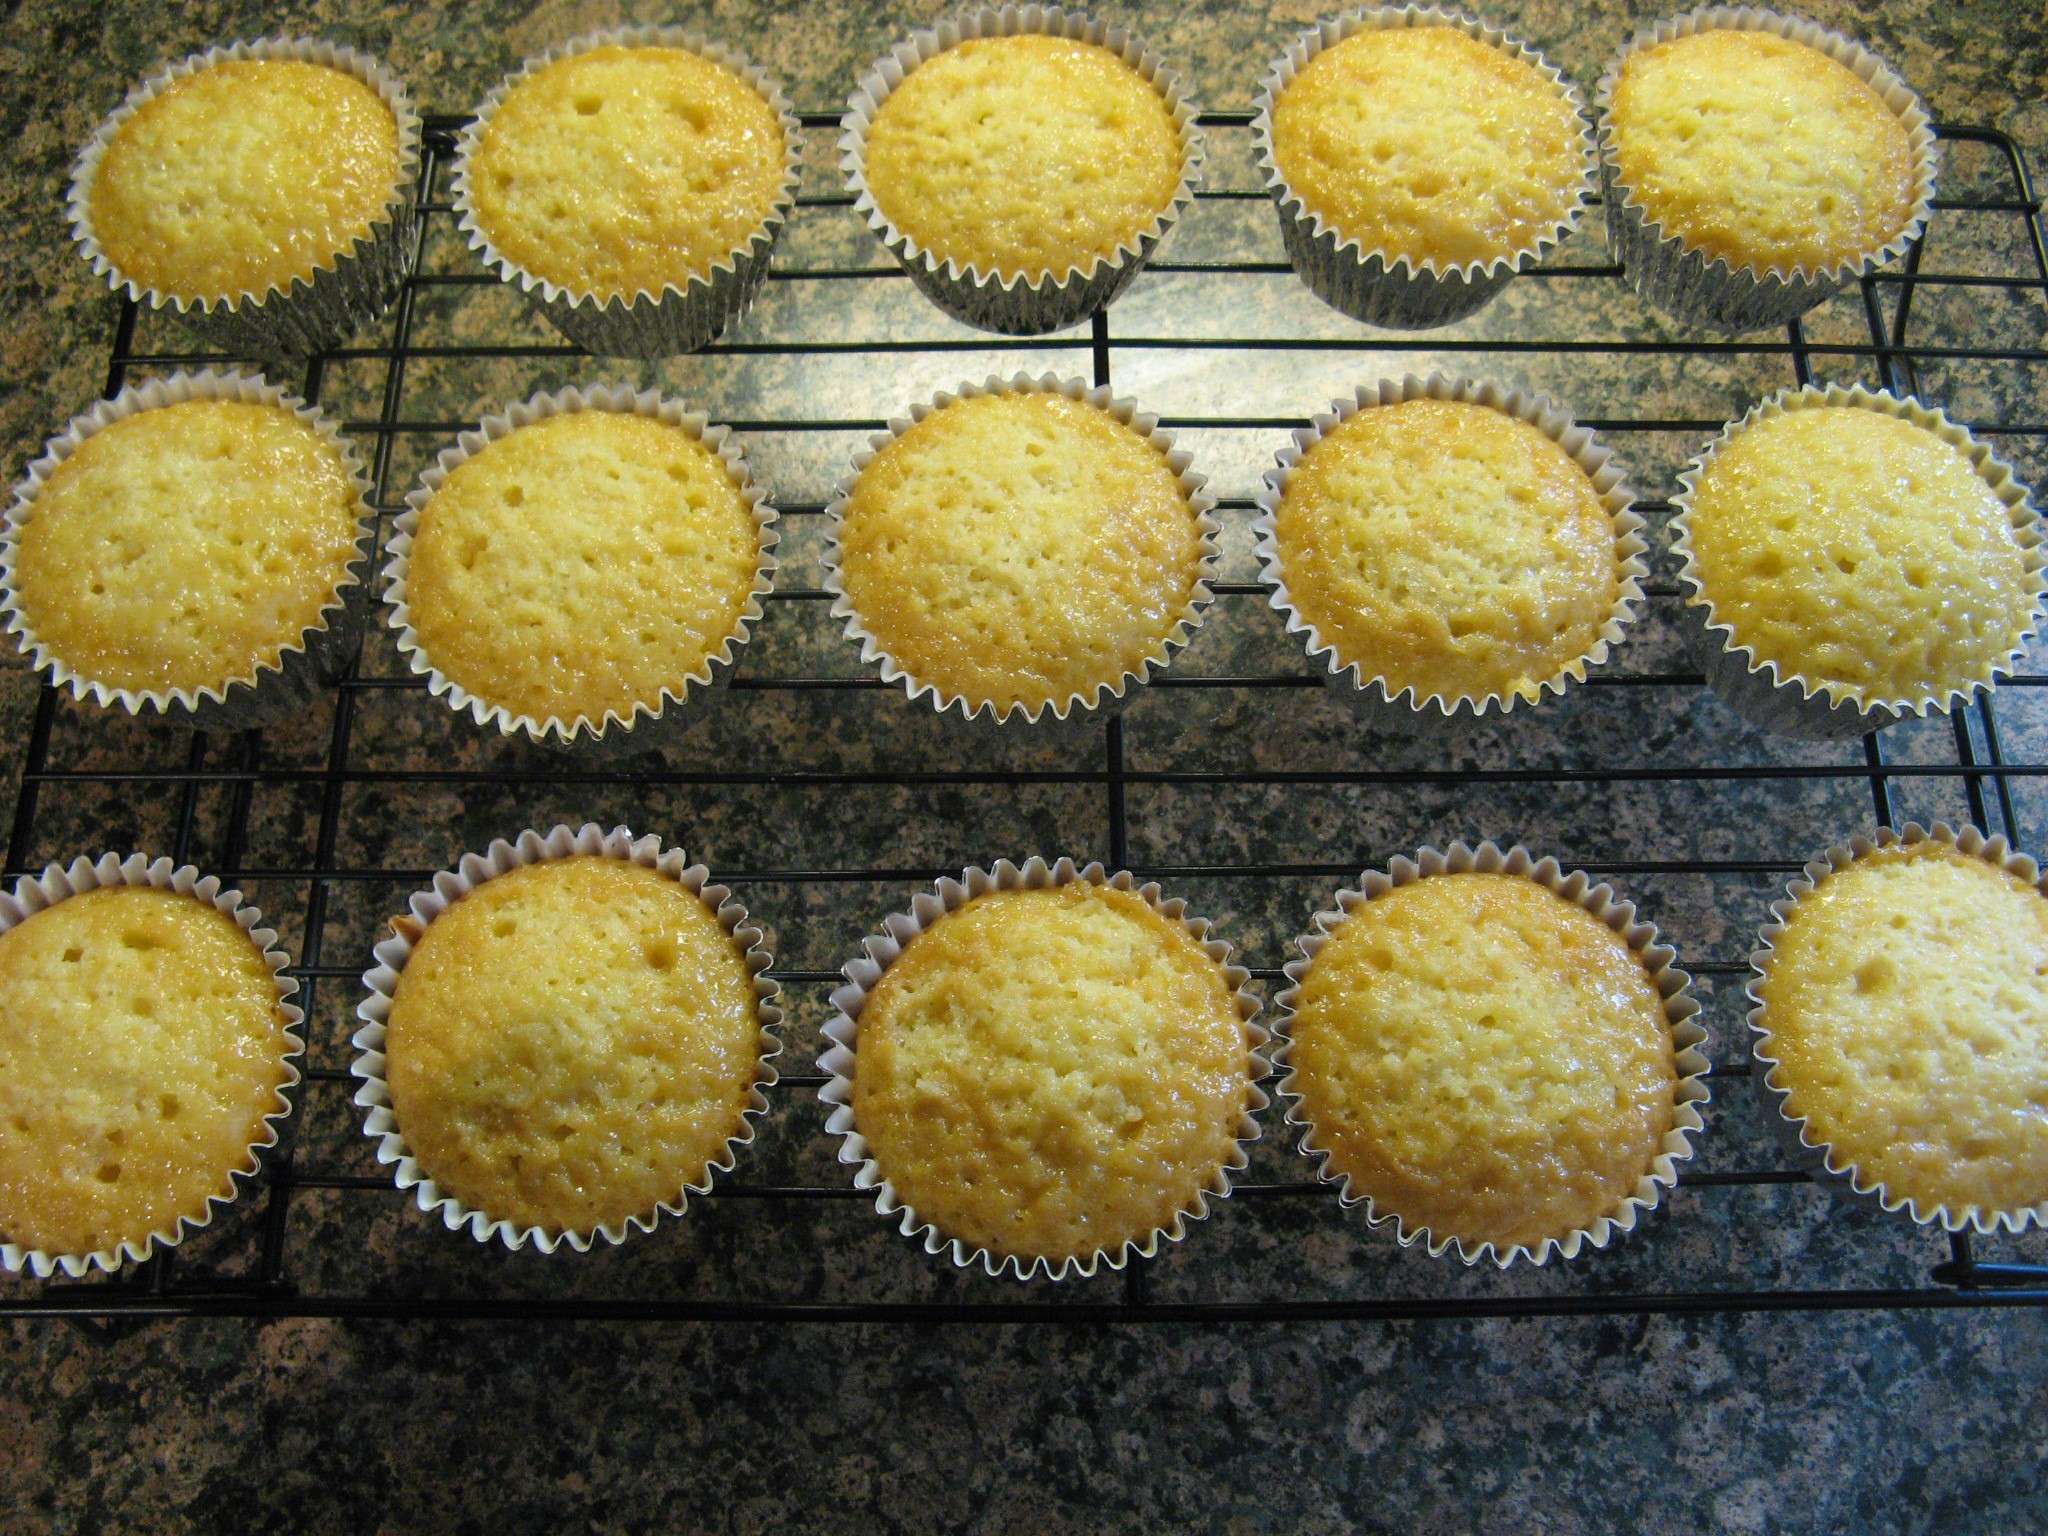
I then let the cupcakes sit for a bit so the milk mixture could be absorbed by the cupcakes and so they could finish cooling.

IMG_3266

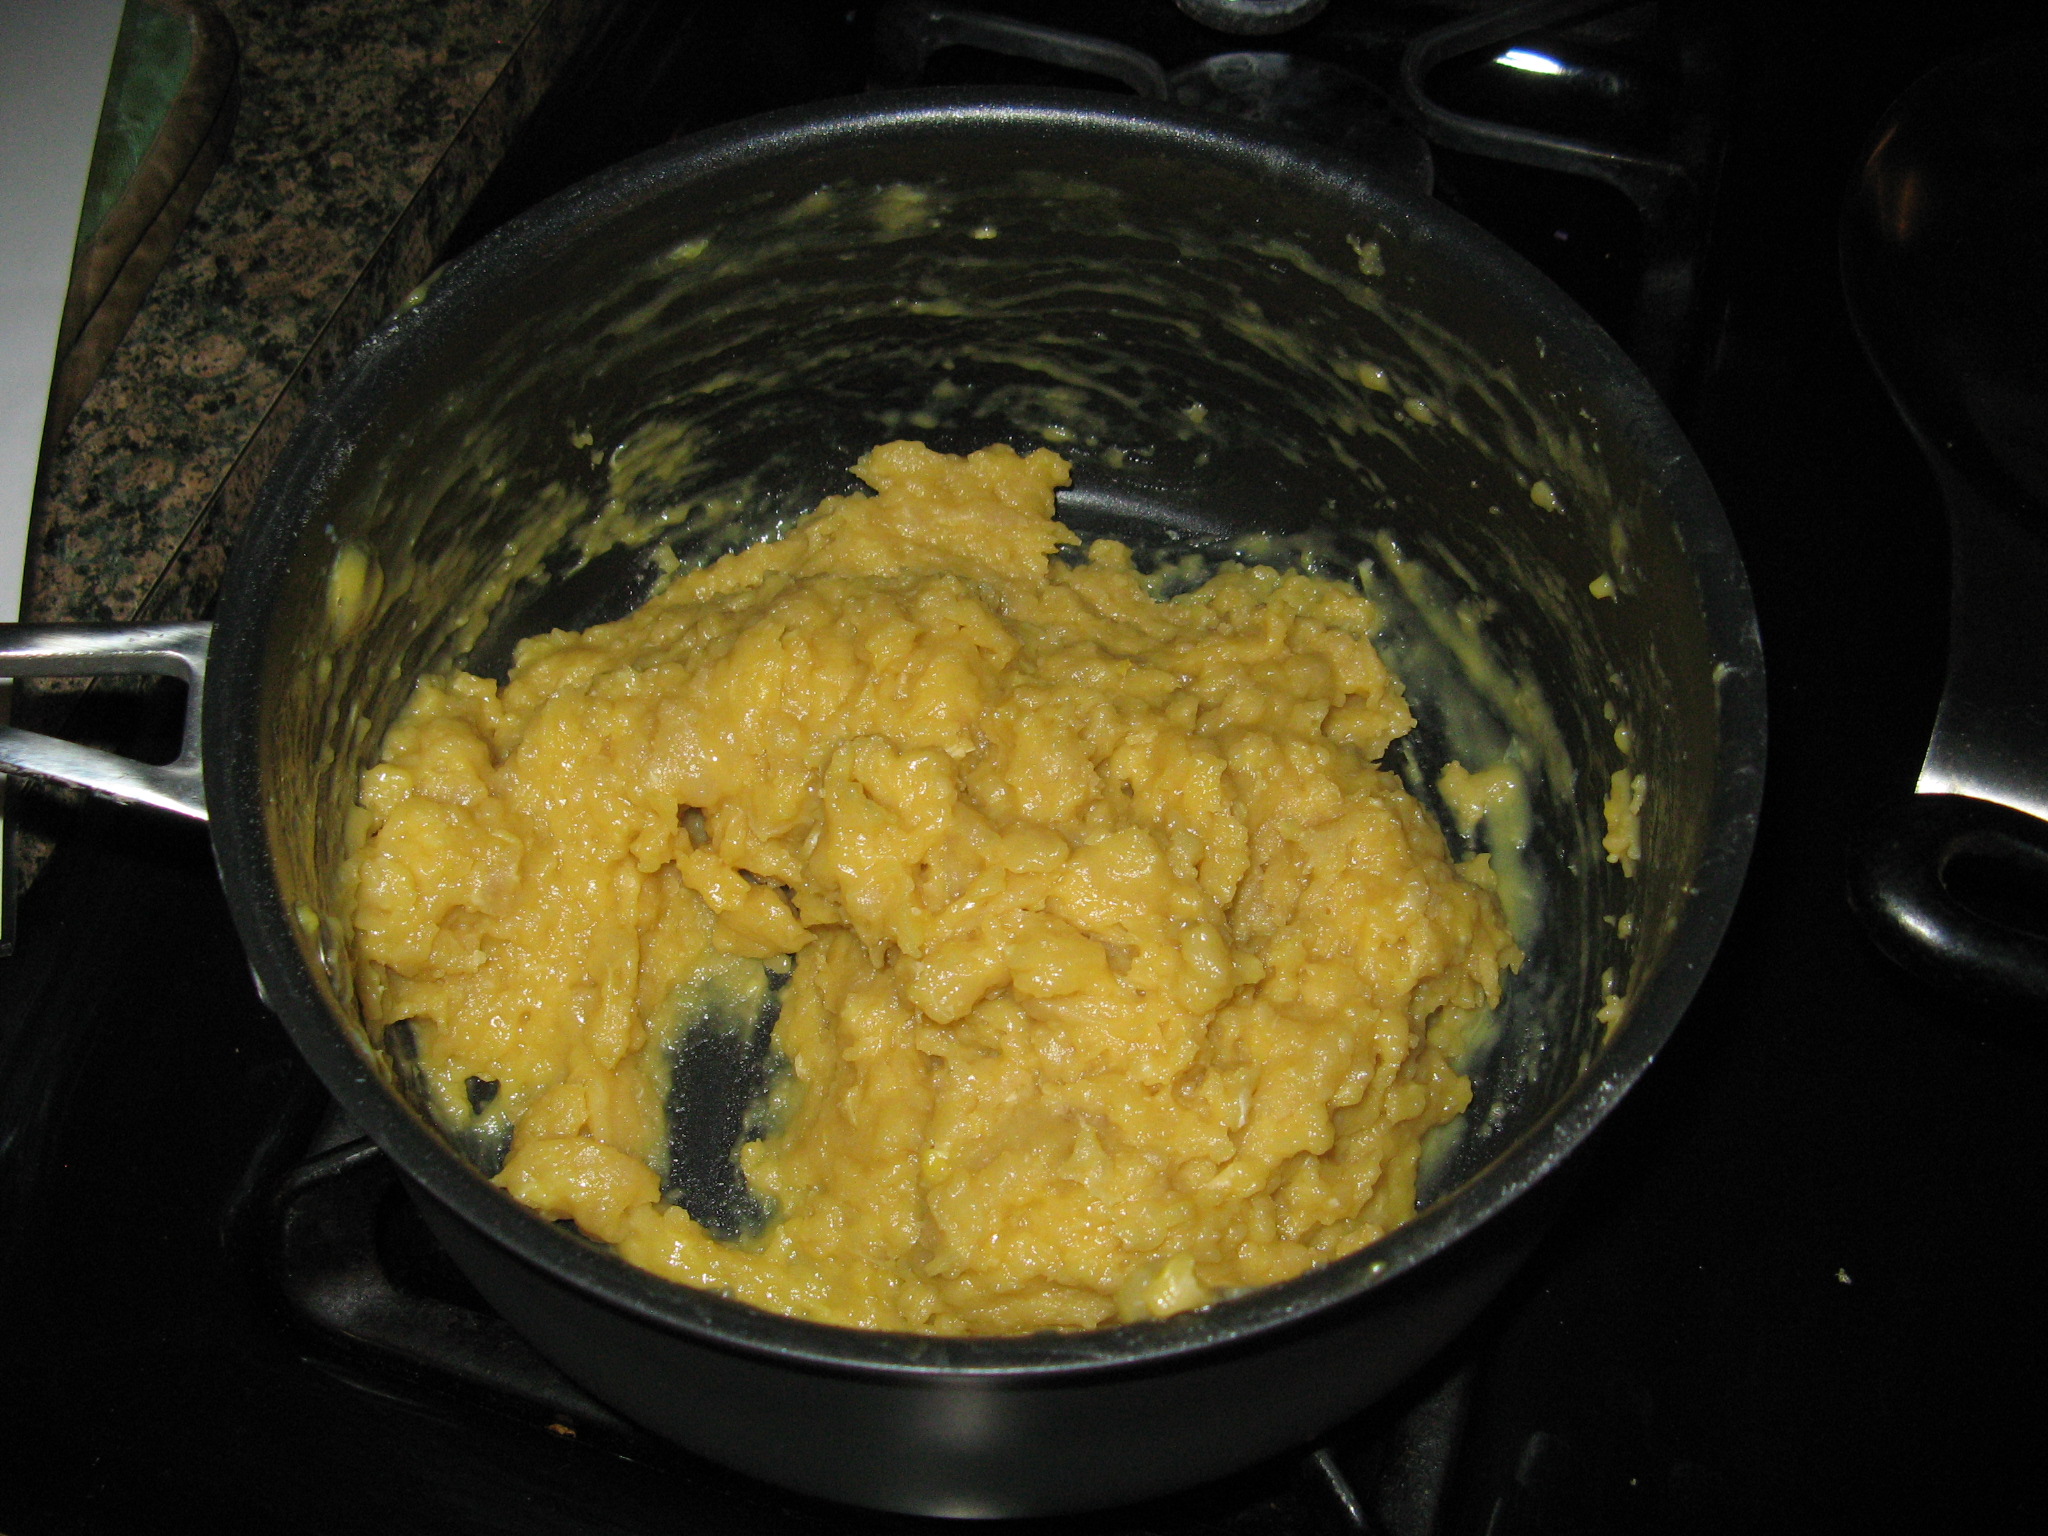
On to the Churros… I began by making the dough for the Churros. I’ll be the first to admit that it didn’t look all that appetizing.

IMG_3267

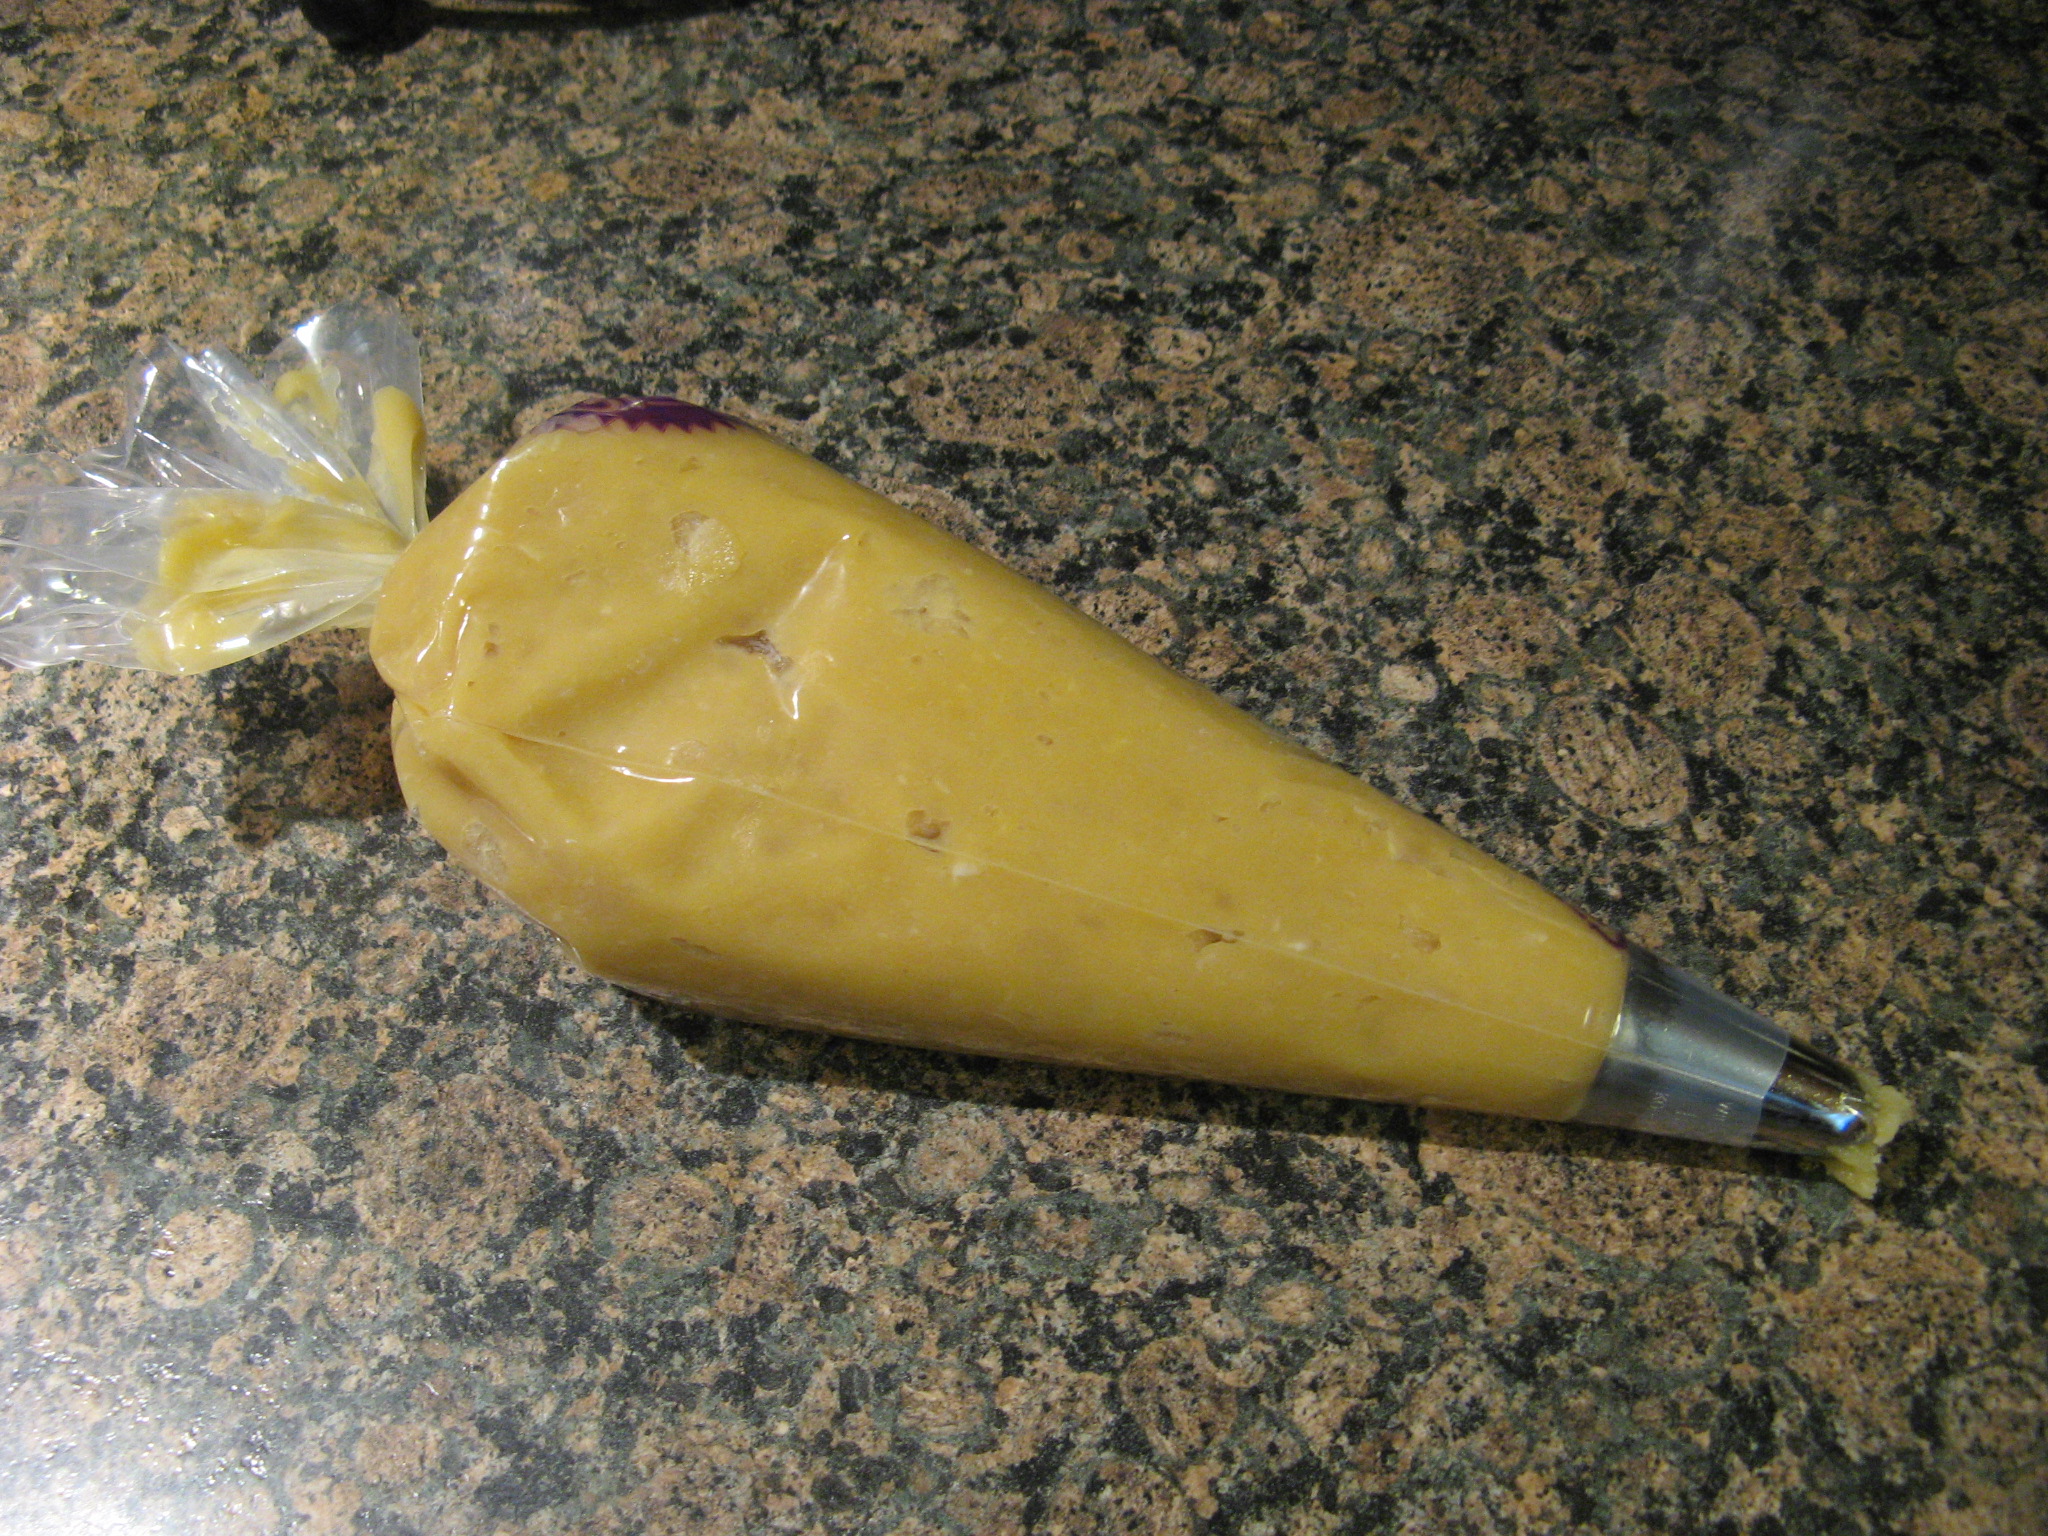
I then filled a pastry bag fitted with a star tip with the dough.

IMG_3269

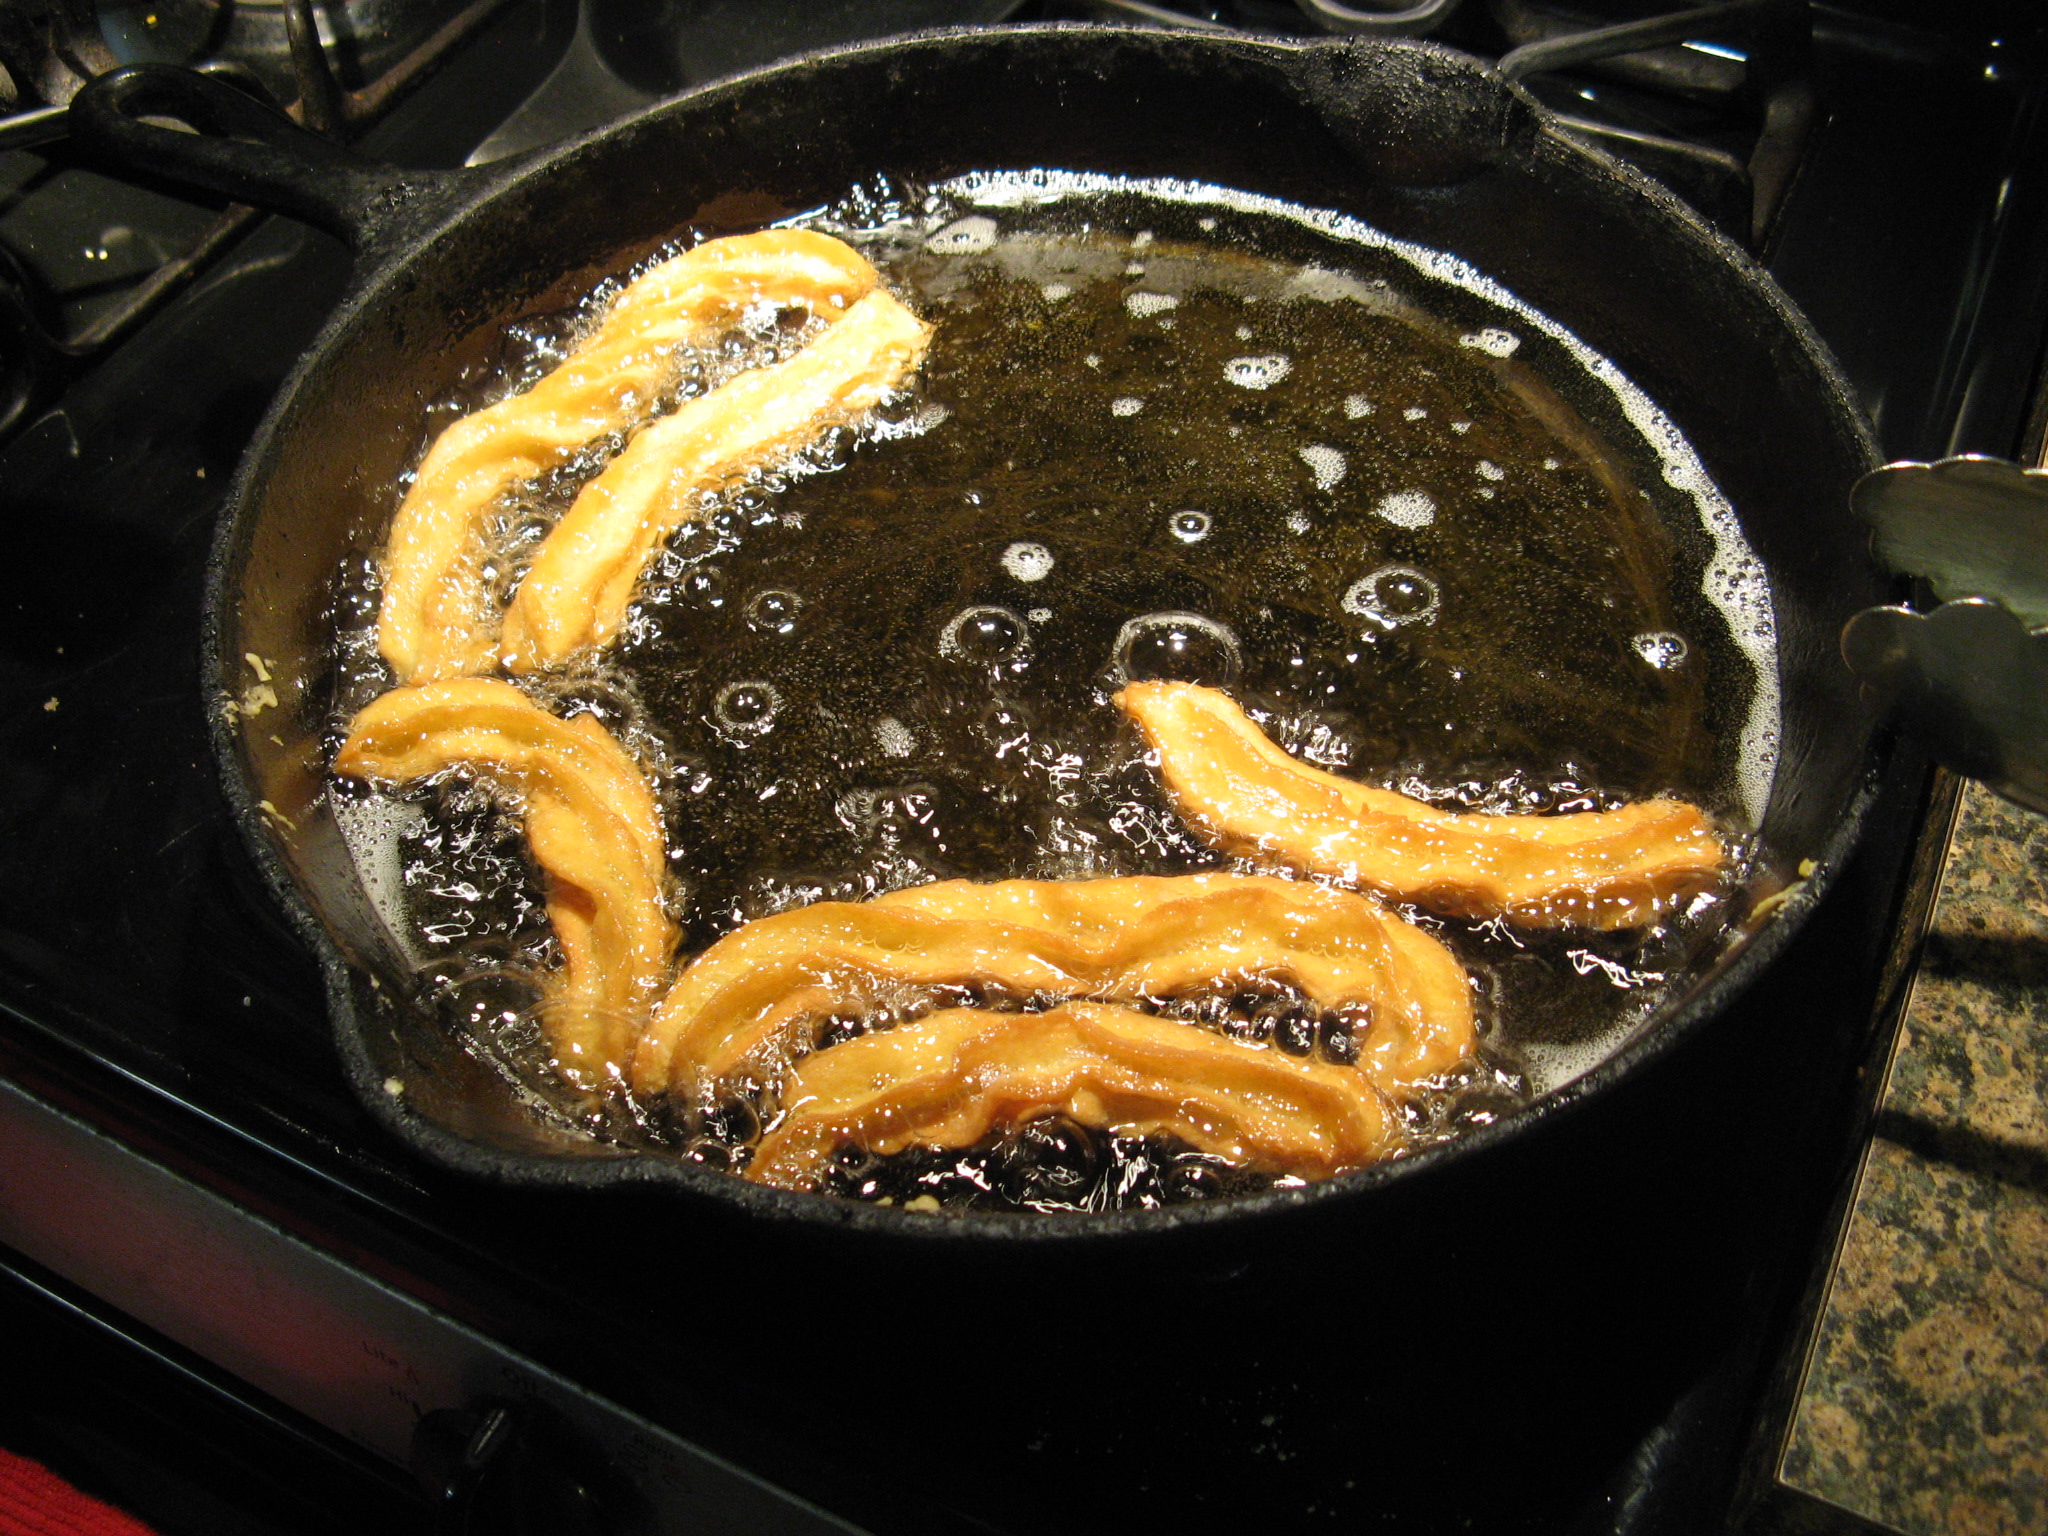
Now the part that concerned me… Piping the dough into hot oil. As I said though, it went off without a hitch.

IMG_3273

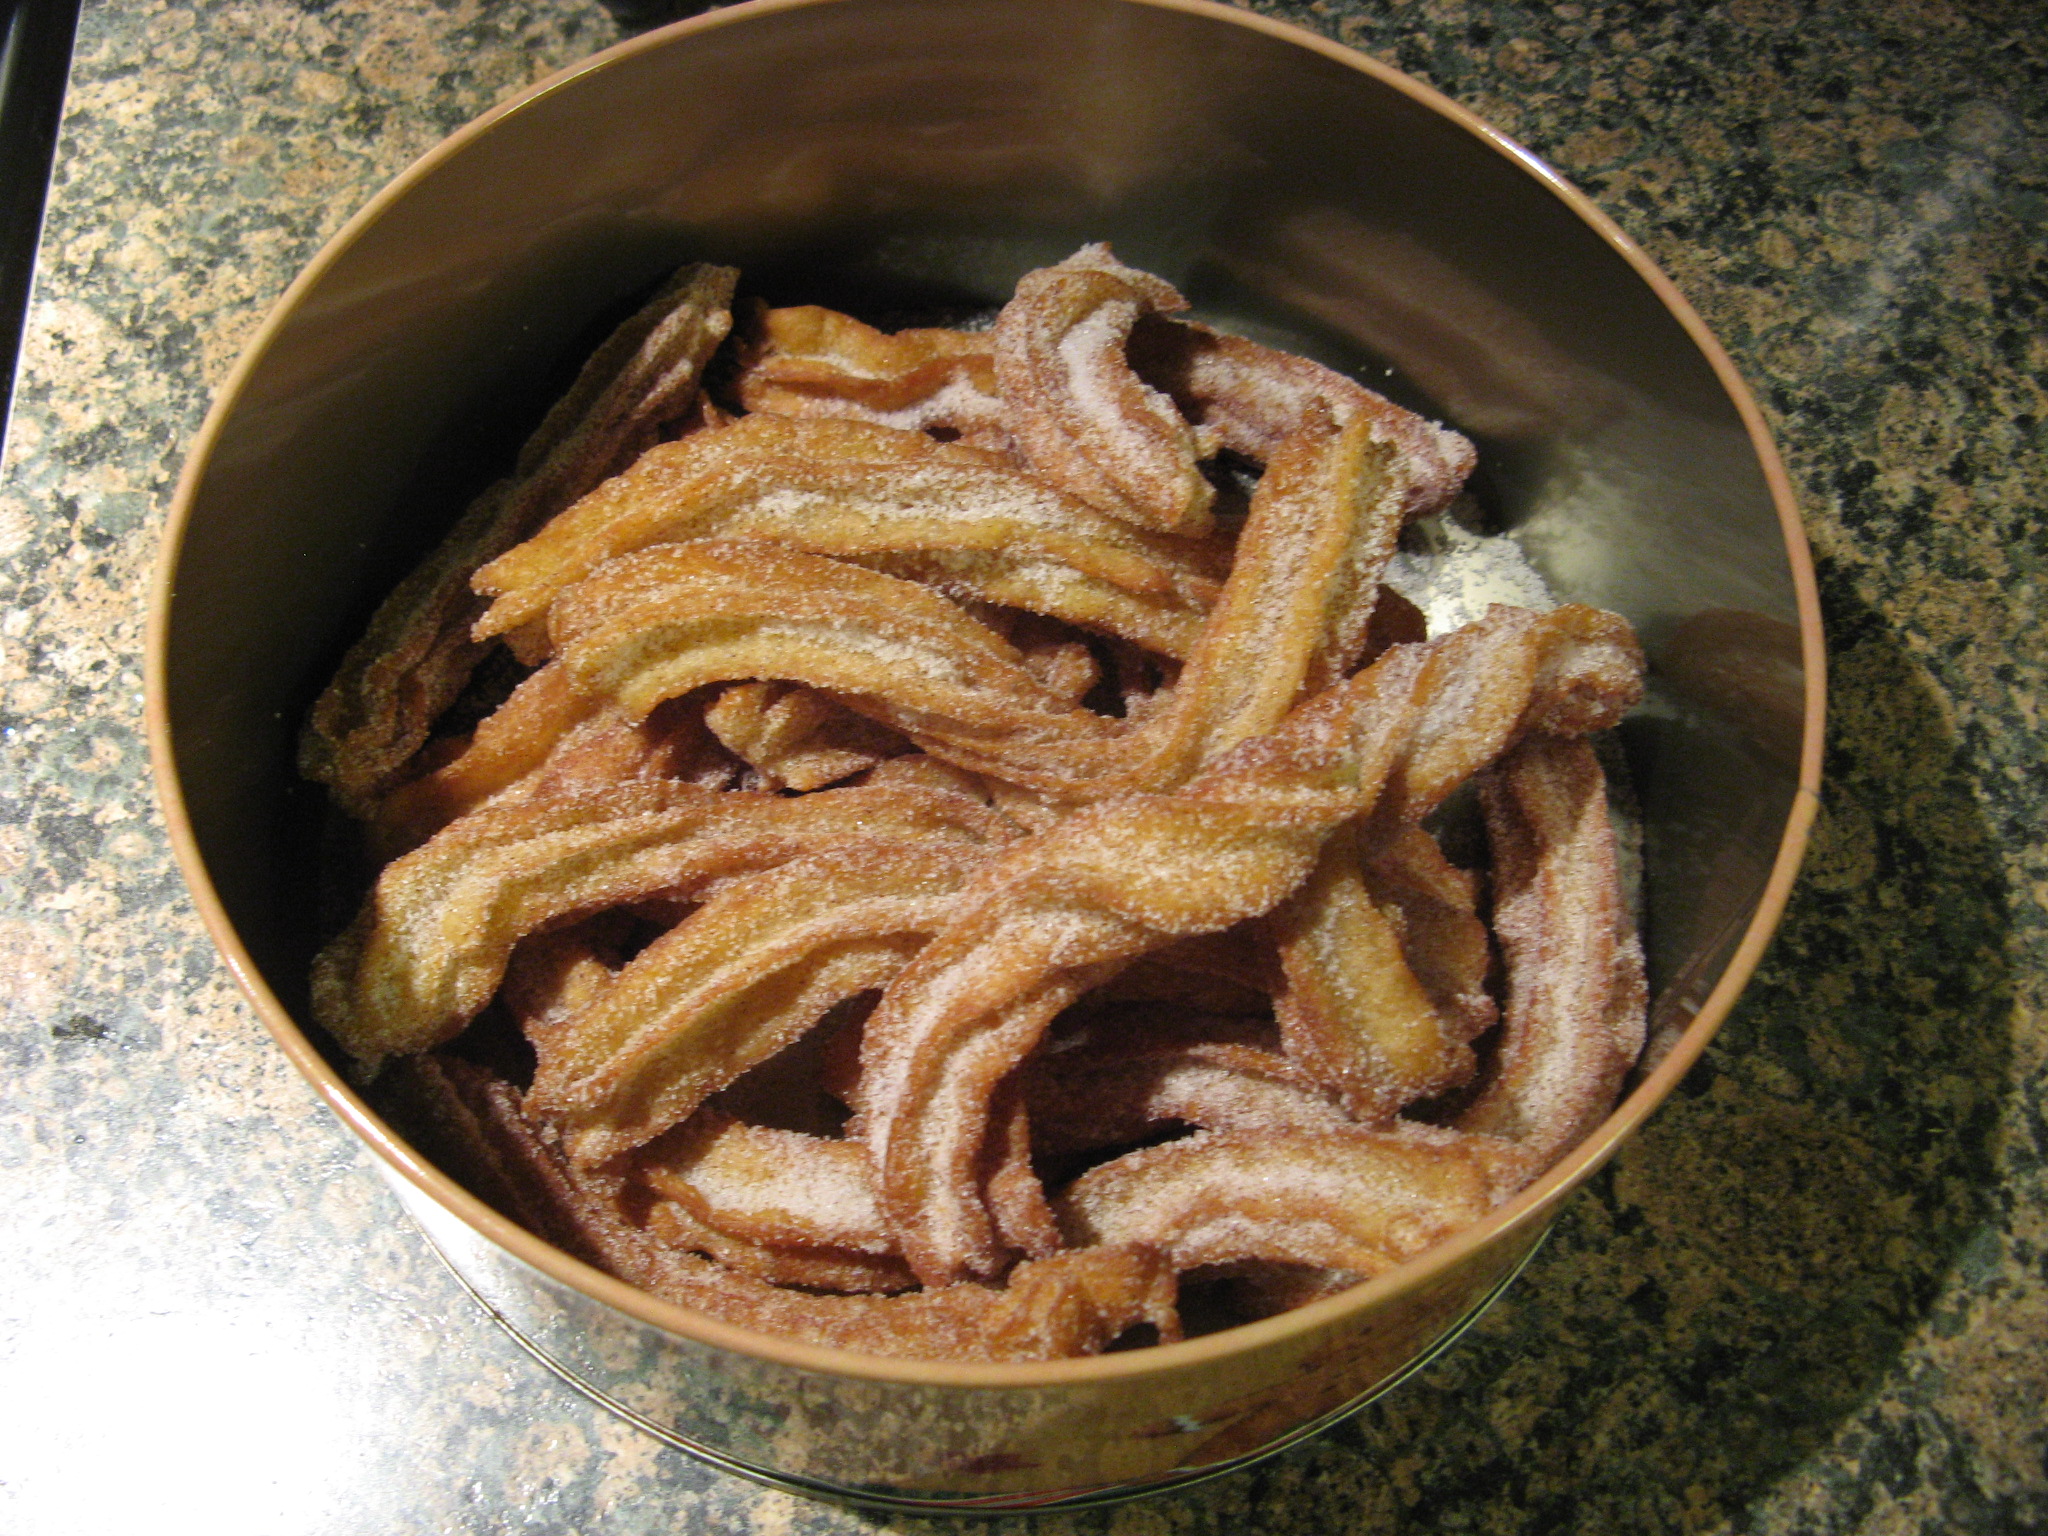
And after a frying up a few batches and letting them drain on paper towels I shook them up with a cinnamon sugar mixture and they were ready for munching.

IMG_3275

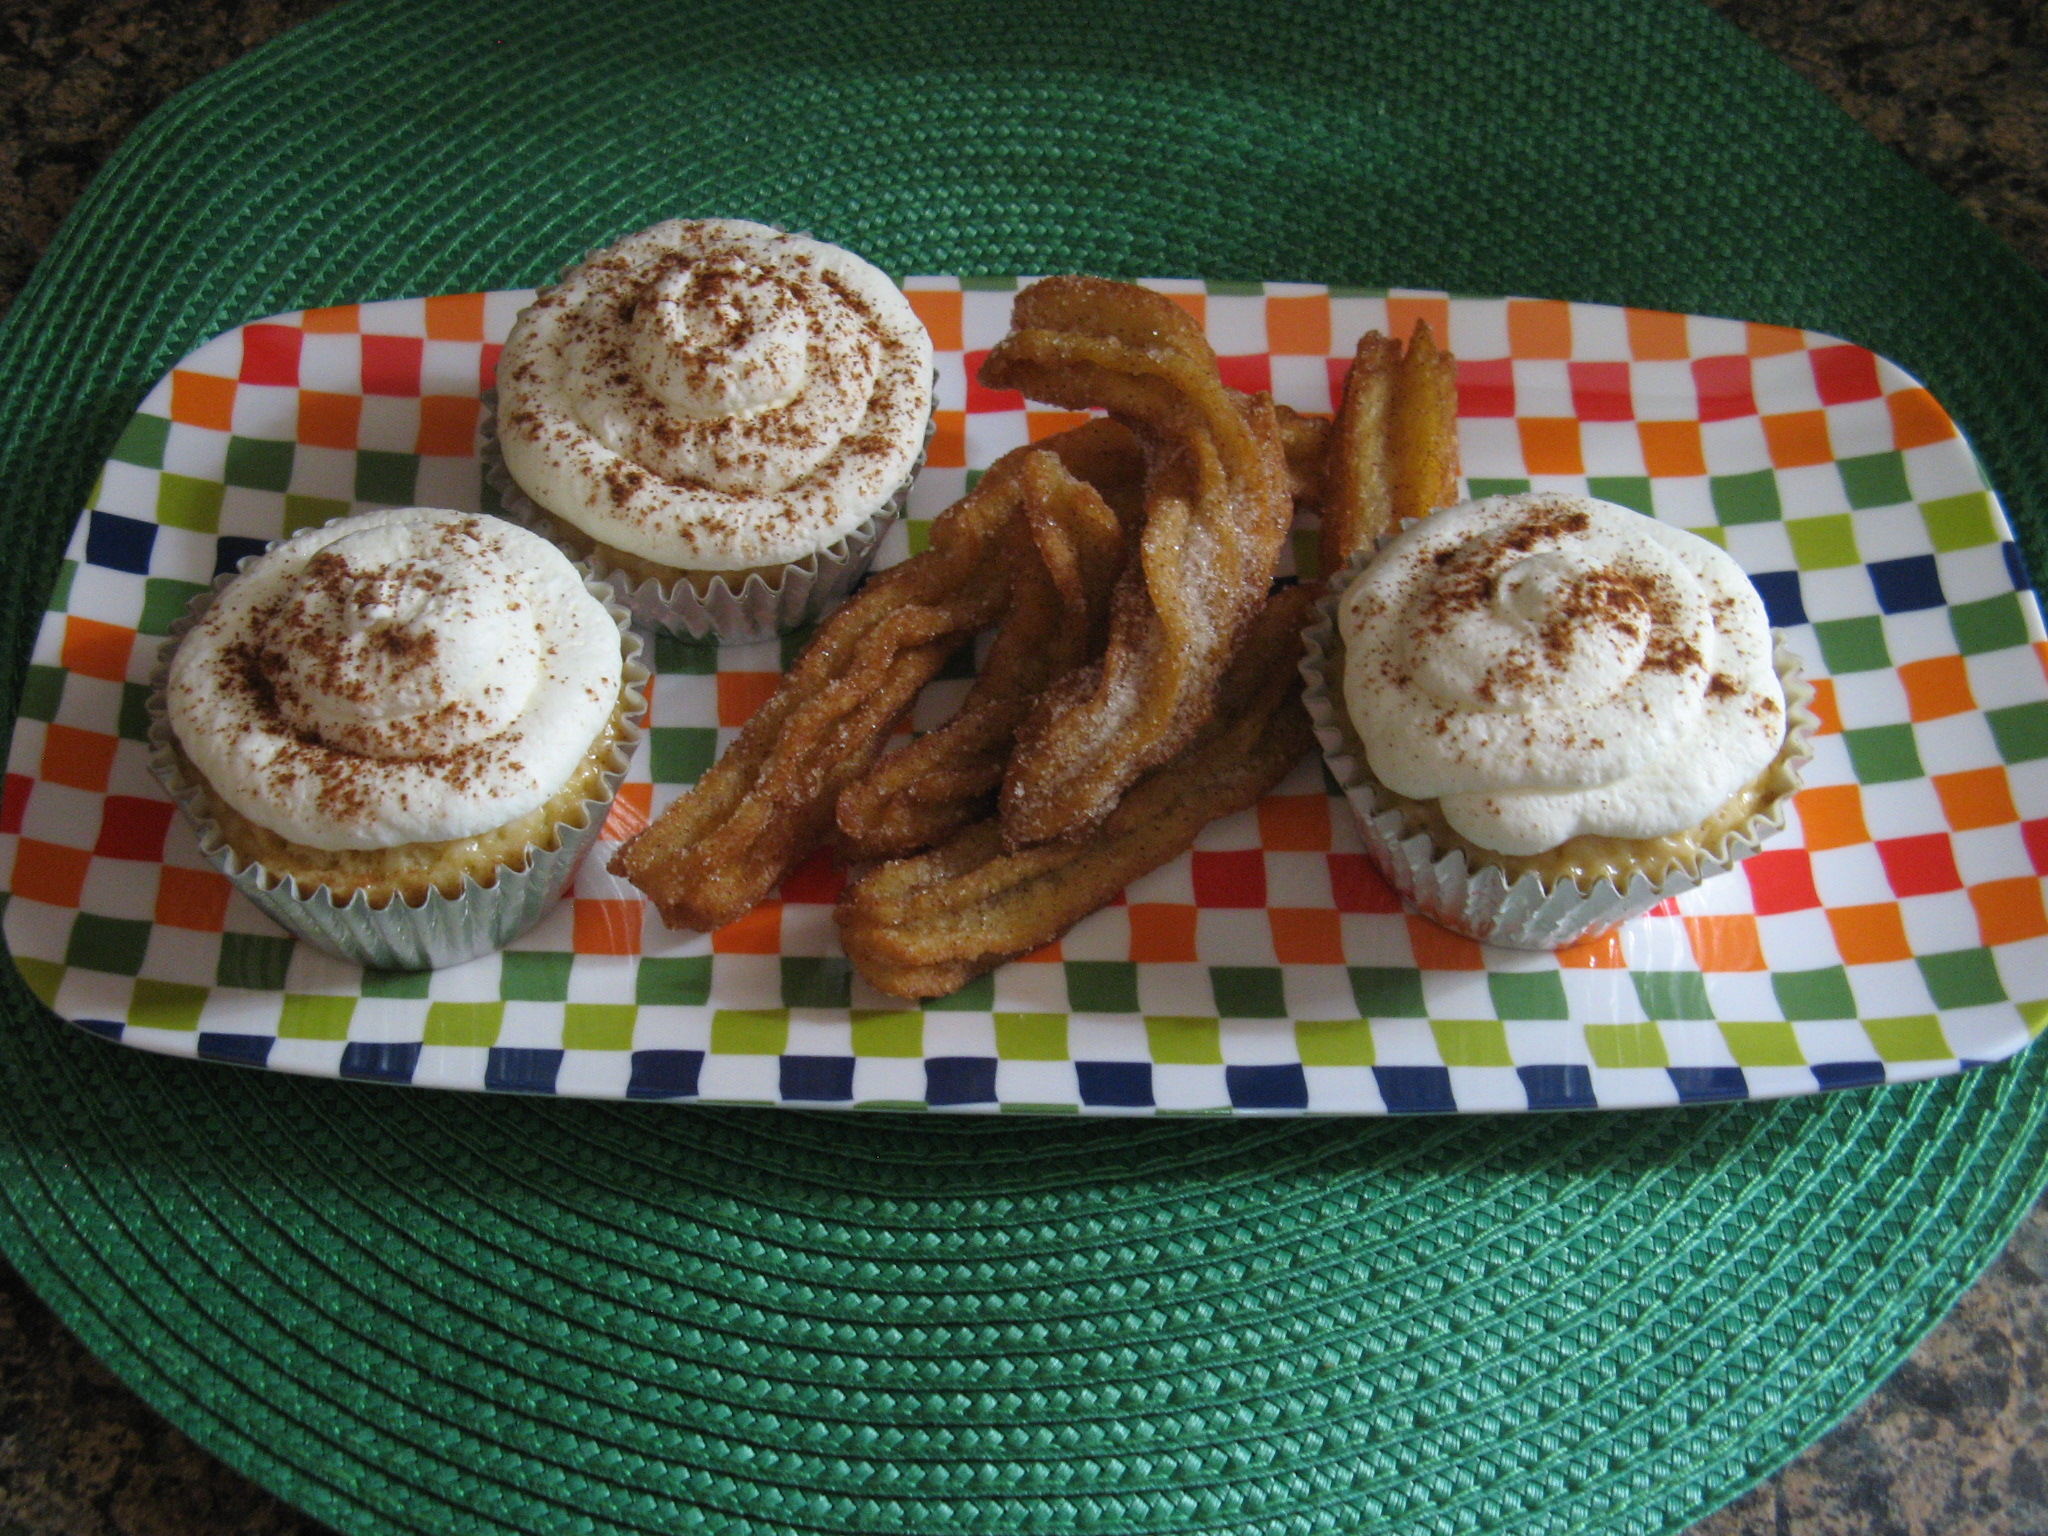
And to finish off the cupcakes… I topped them with a whipped cream frosting and then sprinkled them with some cinnamon. Delicioso!

IMG_3291


Tres Leches Cupcakes

From Martha Stewart’s Cupcakes

For Cupcakes:

6 large eggs, separated, room temperature

1/4 teaspoon baking soda

1/4 teaspoon coarse salt

1 cup sugar

1/2 cup (1 stick) unsalted butter, melted and cooled

1 cup all-purpose flour, sifted

1 can (12 ounces) evaporated milk

1 can (14 ounces) sweetened condensed milk

3/4 cup heavy cream

For Whipped Cream Frosting:

2 cups heavy cream

1/4 cup confectioners’ sugar, sifted

Preheat oven to 325 Degrees F. Line standard muffin tins with paper-lined foil liners. With an electric mixer on medium speed, whisk together egg whites, baking soda, and salt until soft peaks form. Reduce speed to low. Add yolks and sugar; whisk until completely combined. Fold in melted butter with a flexible spatula. Add flour in four batches, folding until just combined after each.

Divide batter evenly among lined cups, filling each half-way. Bake, rotating tins halfway through, until golden brown, about 25 minutes. Remove from oven. Immediately pokes holes in tops of cupcakes with a skewer.

Whisk together evaporated milk, condensed milk, and heavy cream. With cupcakes still in tin, brush milk mixture over cupcakes, repeating until all liquid has been used. Allow cupcakes to absorb mixture, at least 30 minutes (or up to 1 day in the refrigerator, wrapped tightly in plastic once completely cool; bring to room temperature before serving.)
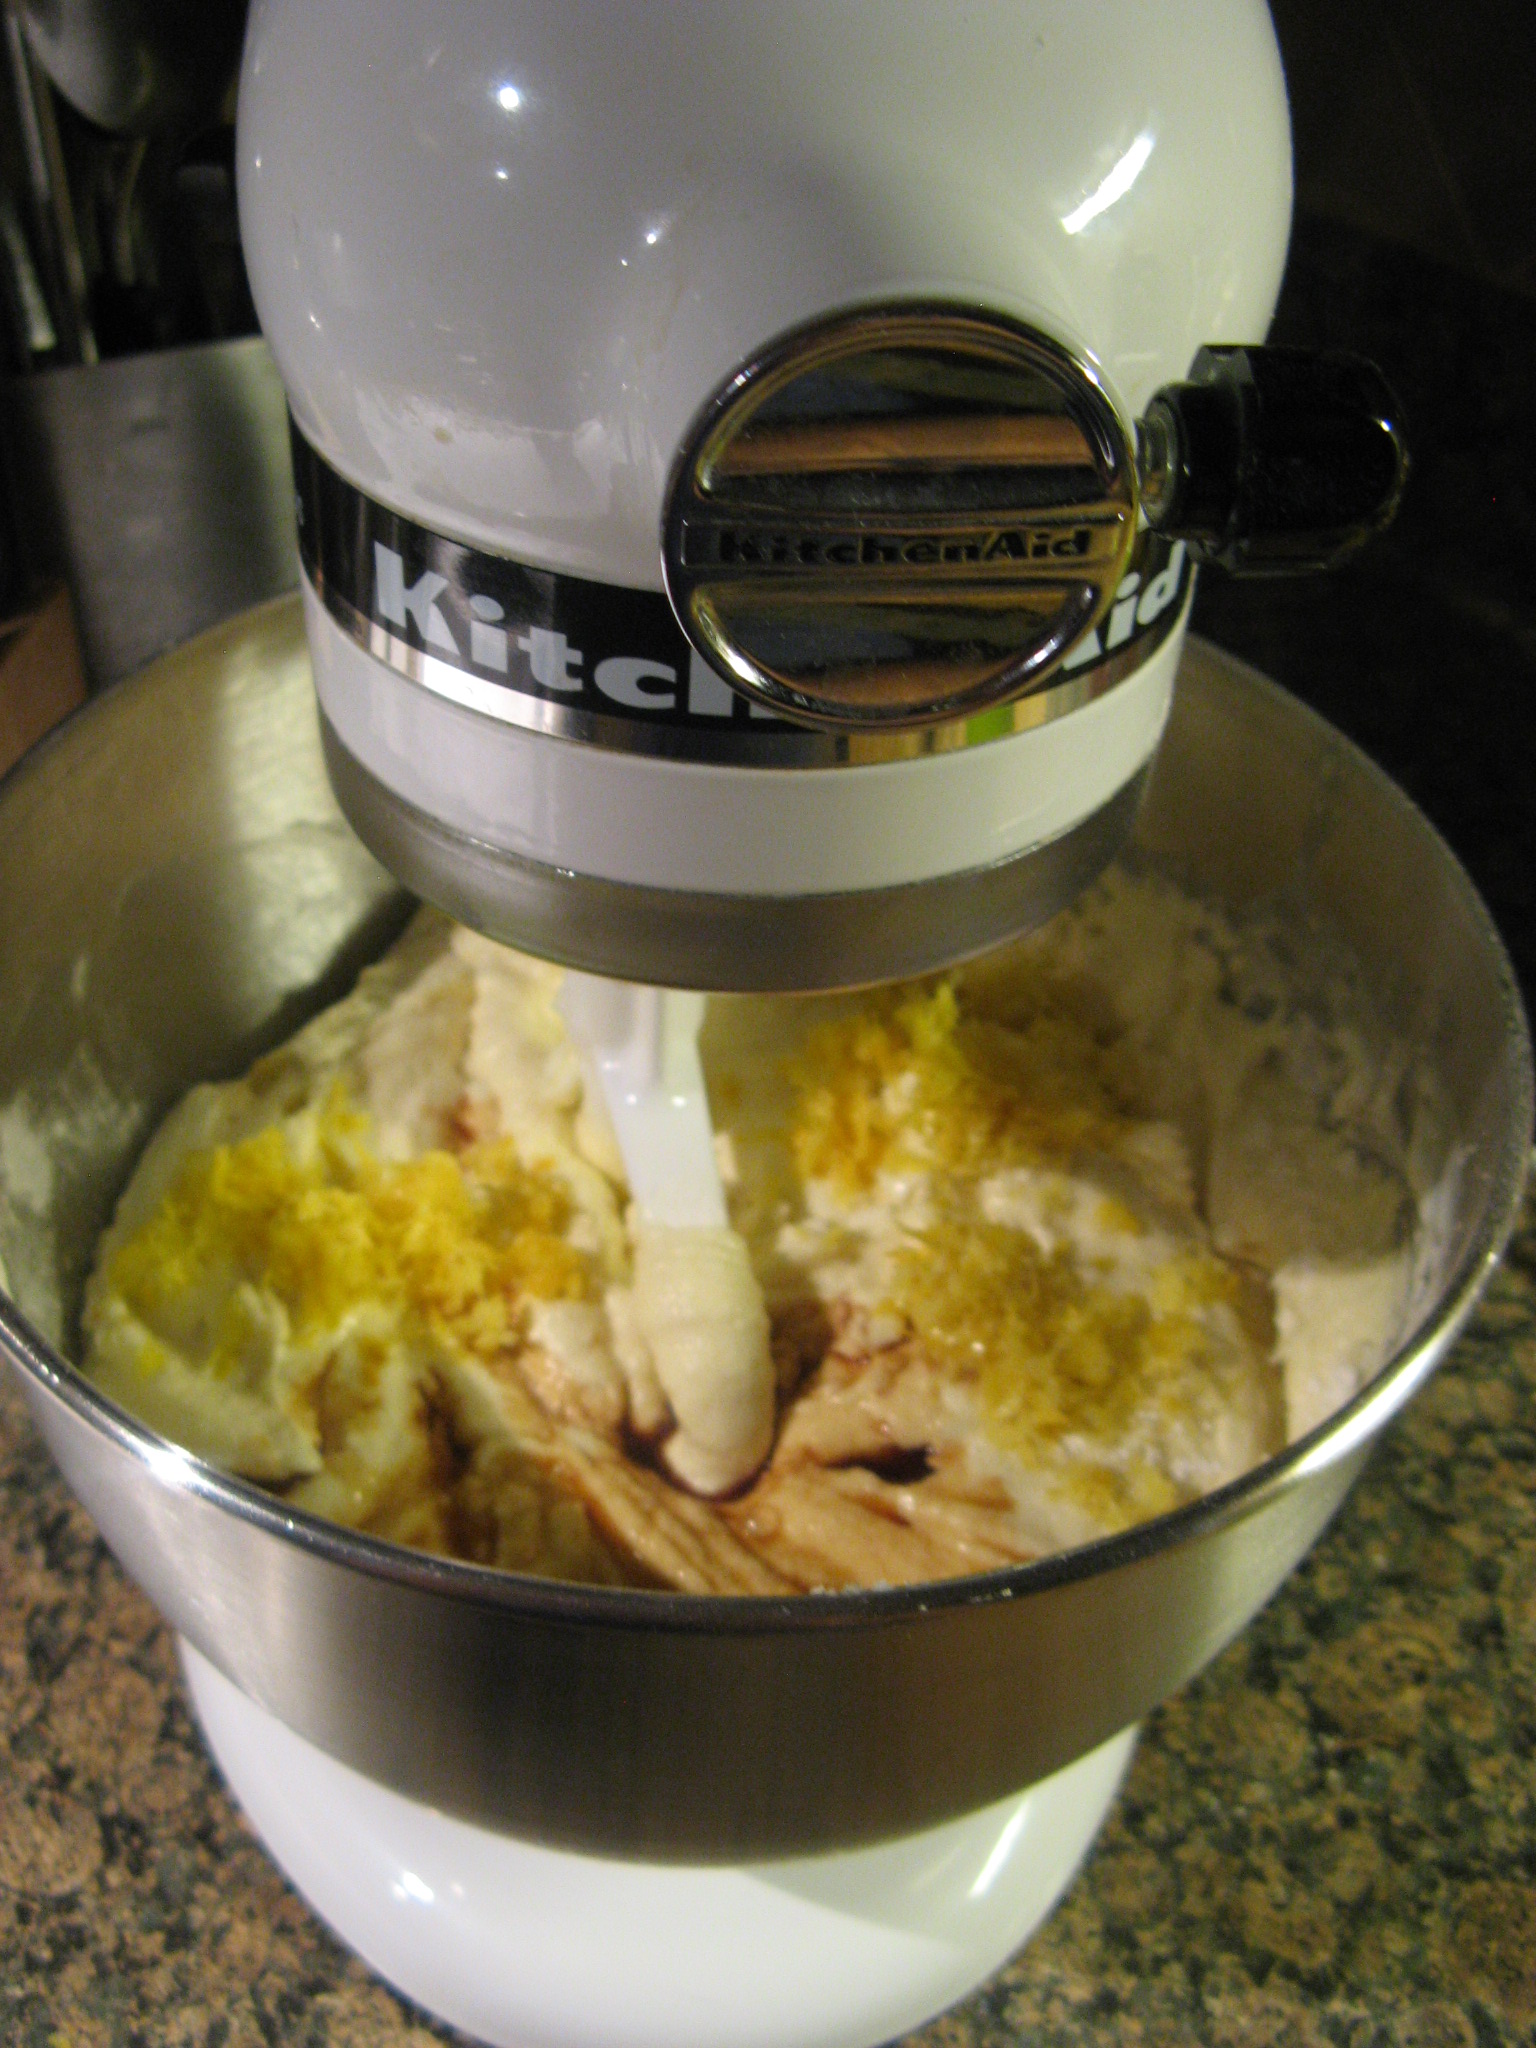
For whipped cream – whisk heavy cream until soft peaks form. Add confectioners’ sugar and whisk until combined.
To finish, dollop whipped cream generously onto cupcakes, and dust with ground cinnamon. Serve immediately.


Mexican Crullers (Churros)

Courtesy: Daisy Martinez

1 cup water

4 tablespoons unsalted butter

2 tablespoons brown sugar

1 teaspoon vanilla extract

1/4 teaspoon salt

1 cup all-purpose flour

4 to 5 eggs

Canola oil, for frying

1/2 cup sugar

1/2 teaspoon ground cinnamon

To make the crullers: In a medium saucepan, heat 1 cup water, the butter, sugar, vanilla, and salt over medium-high heat until the edges of the liquid start to bubble. Add the flour all at once and stir briskly with a wooden spoon until well mixed and no lumps of flour remain.

Remove from the heat. Add 4 of the eggs, 1 at a time, beating well with a wooden spoon after each. The dough should look soft and glossy and keep a “hook” shape when the spoon is pulled from the dough. If not, beat in the last egg.

Scrape the dough into a pastry bag fitted with a star tip. Pour enough canola oil into a deep heavy skillet (cast iron is ideal) to fill 1-inch. Heat over medium heat until the tip of the handle of a wooden spoon gives off a slow steady stream of tiny bubbles. Carefully pipe the dough into the oil, forming 6-inch crullers. Pipe only as many crullers into the oil as fit comfortably. Overcrowding the pan will result in soggy crullers. Fry, turning once, until golden brown on each side. Drain on paper towels. Repeat with the remaining dough.

Put the sugar and the cinnamon in a paper bag. Crimp the top and shake well to mix. Drop a few crullers at a time into the bag and shake until coated. Best served as soon as possible.