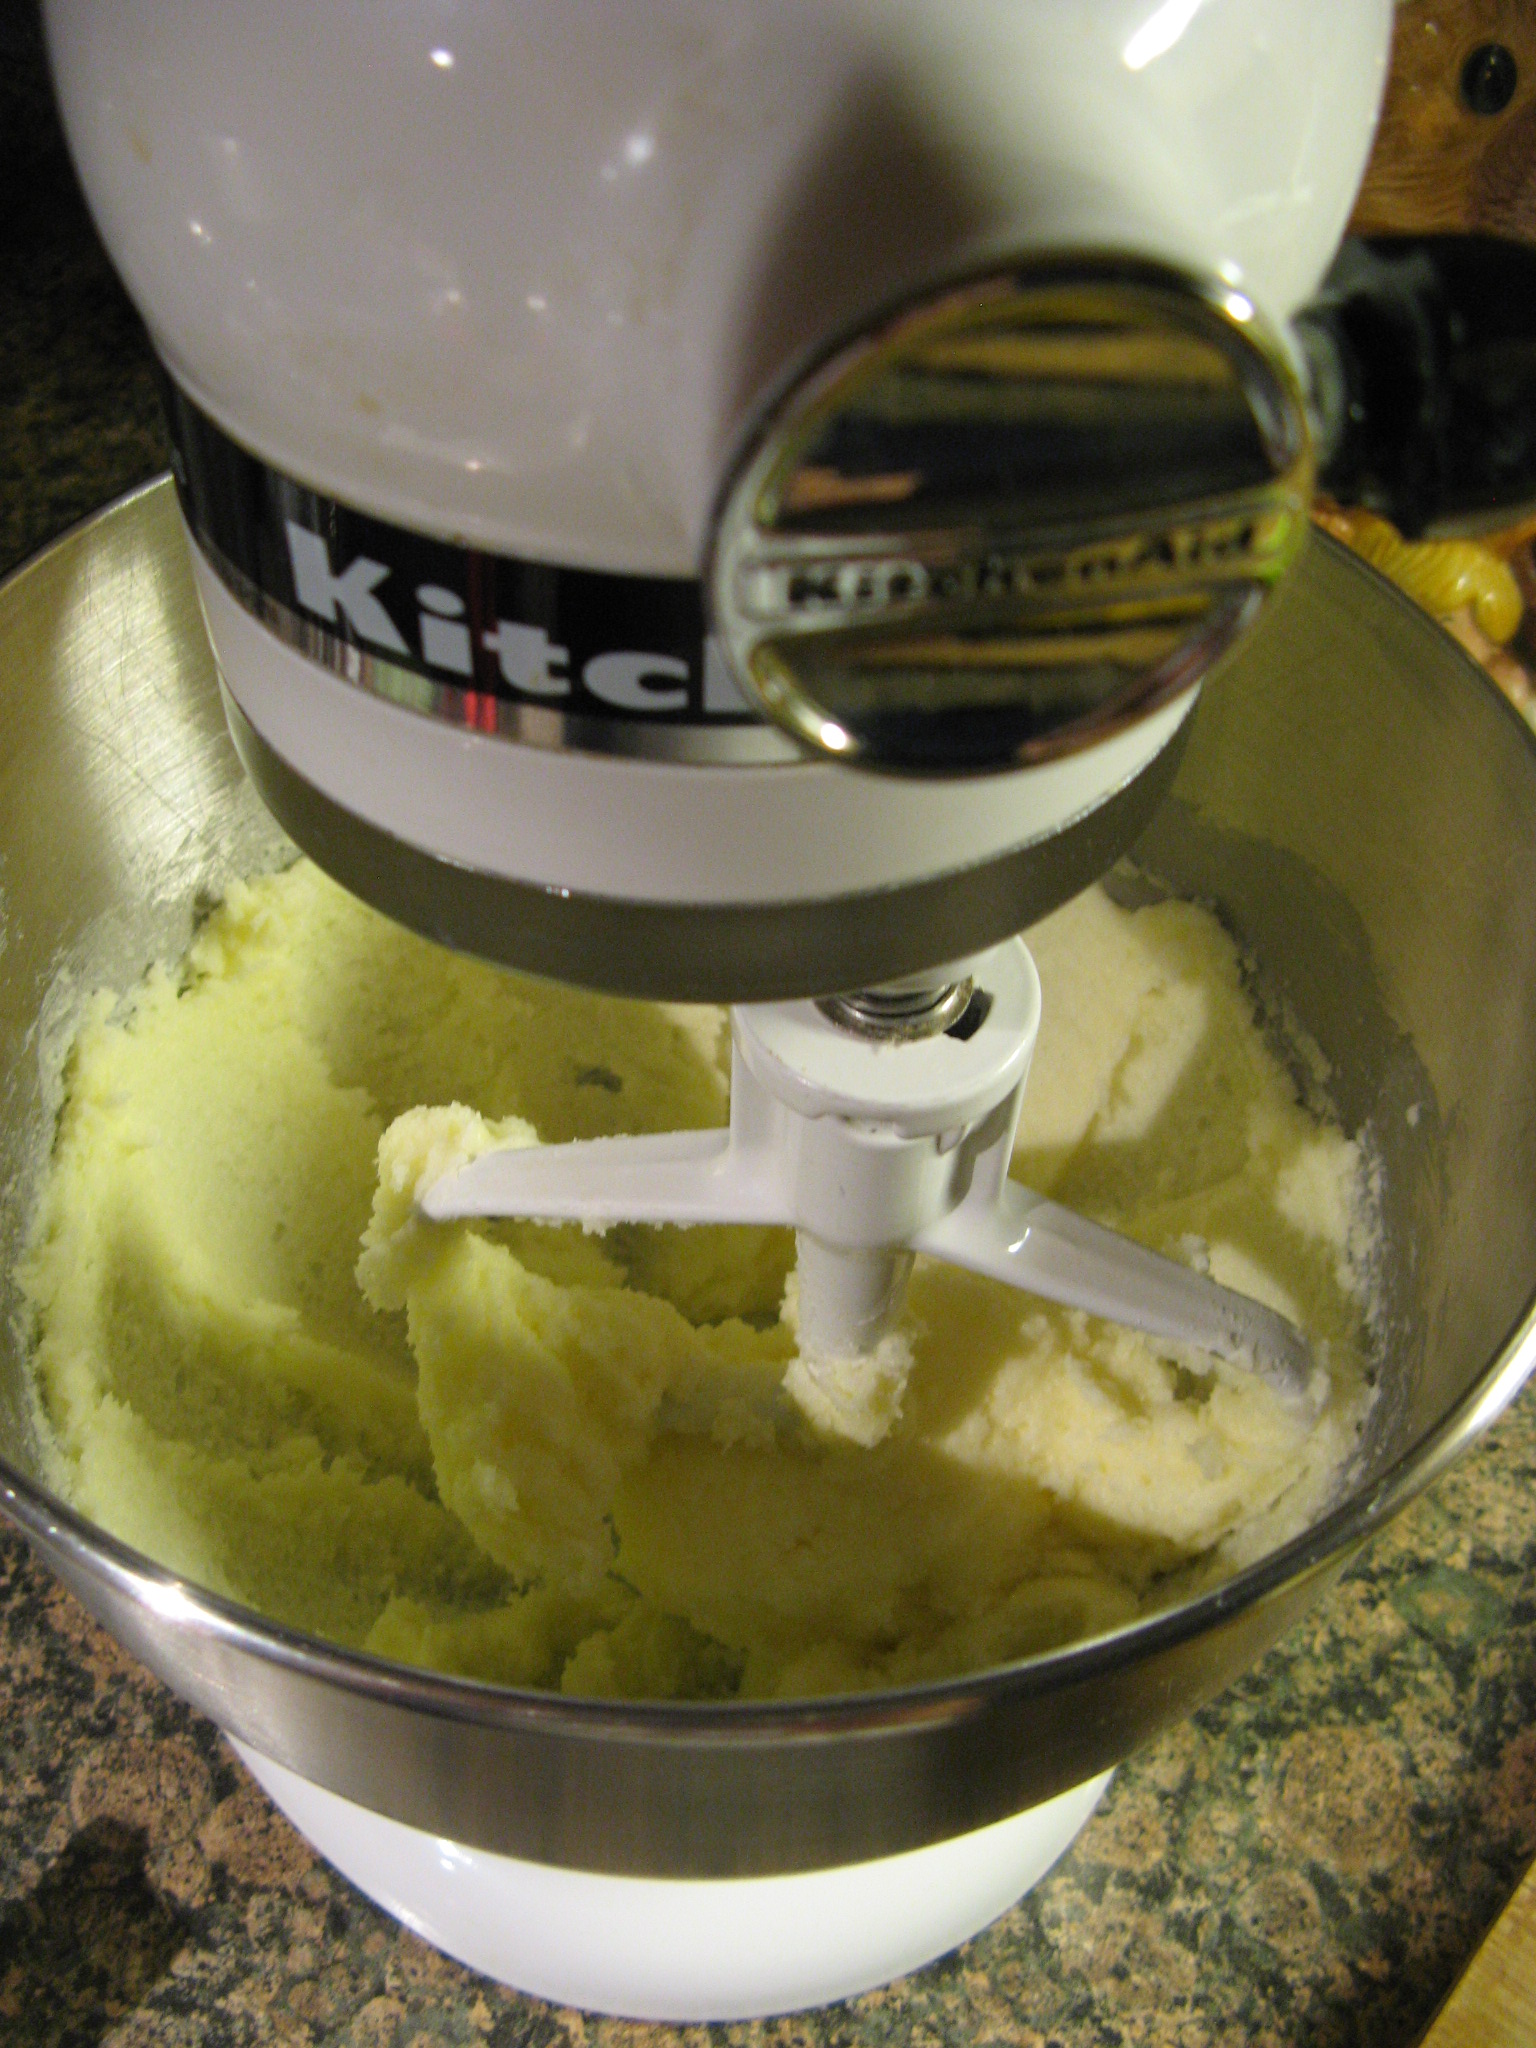
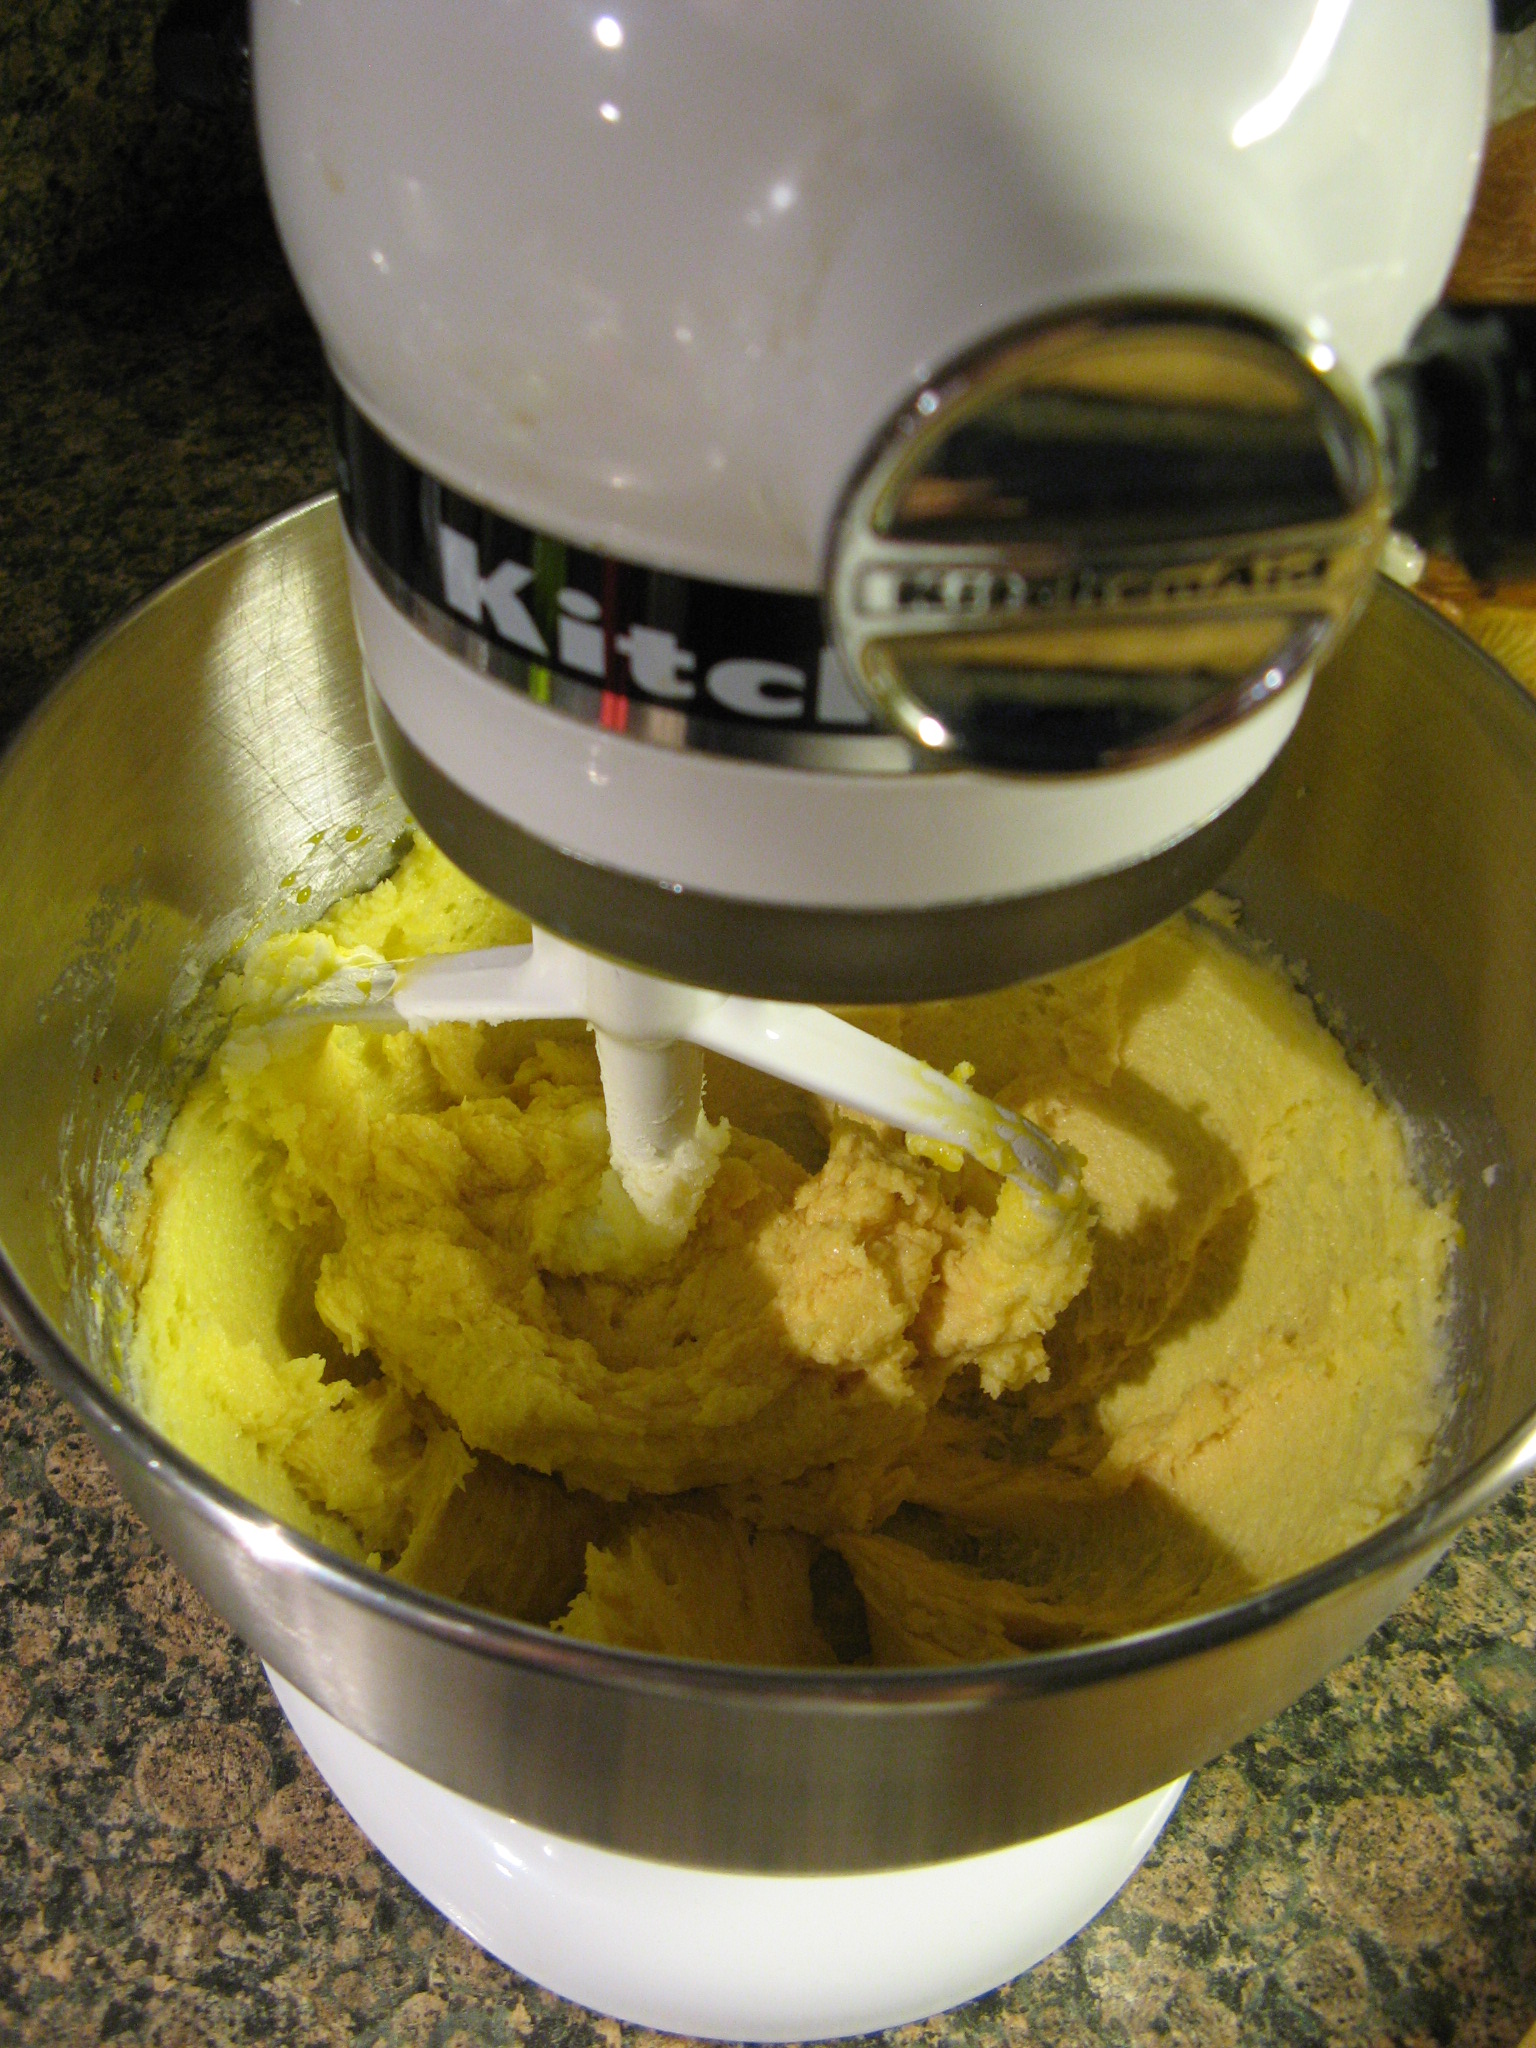
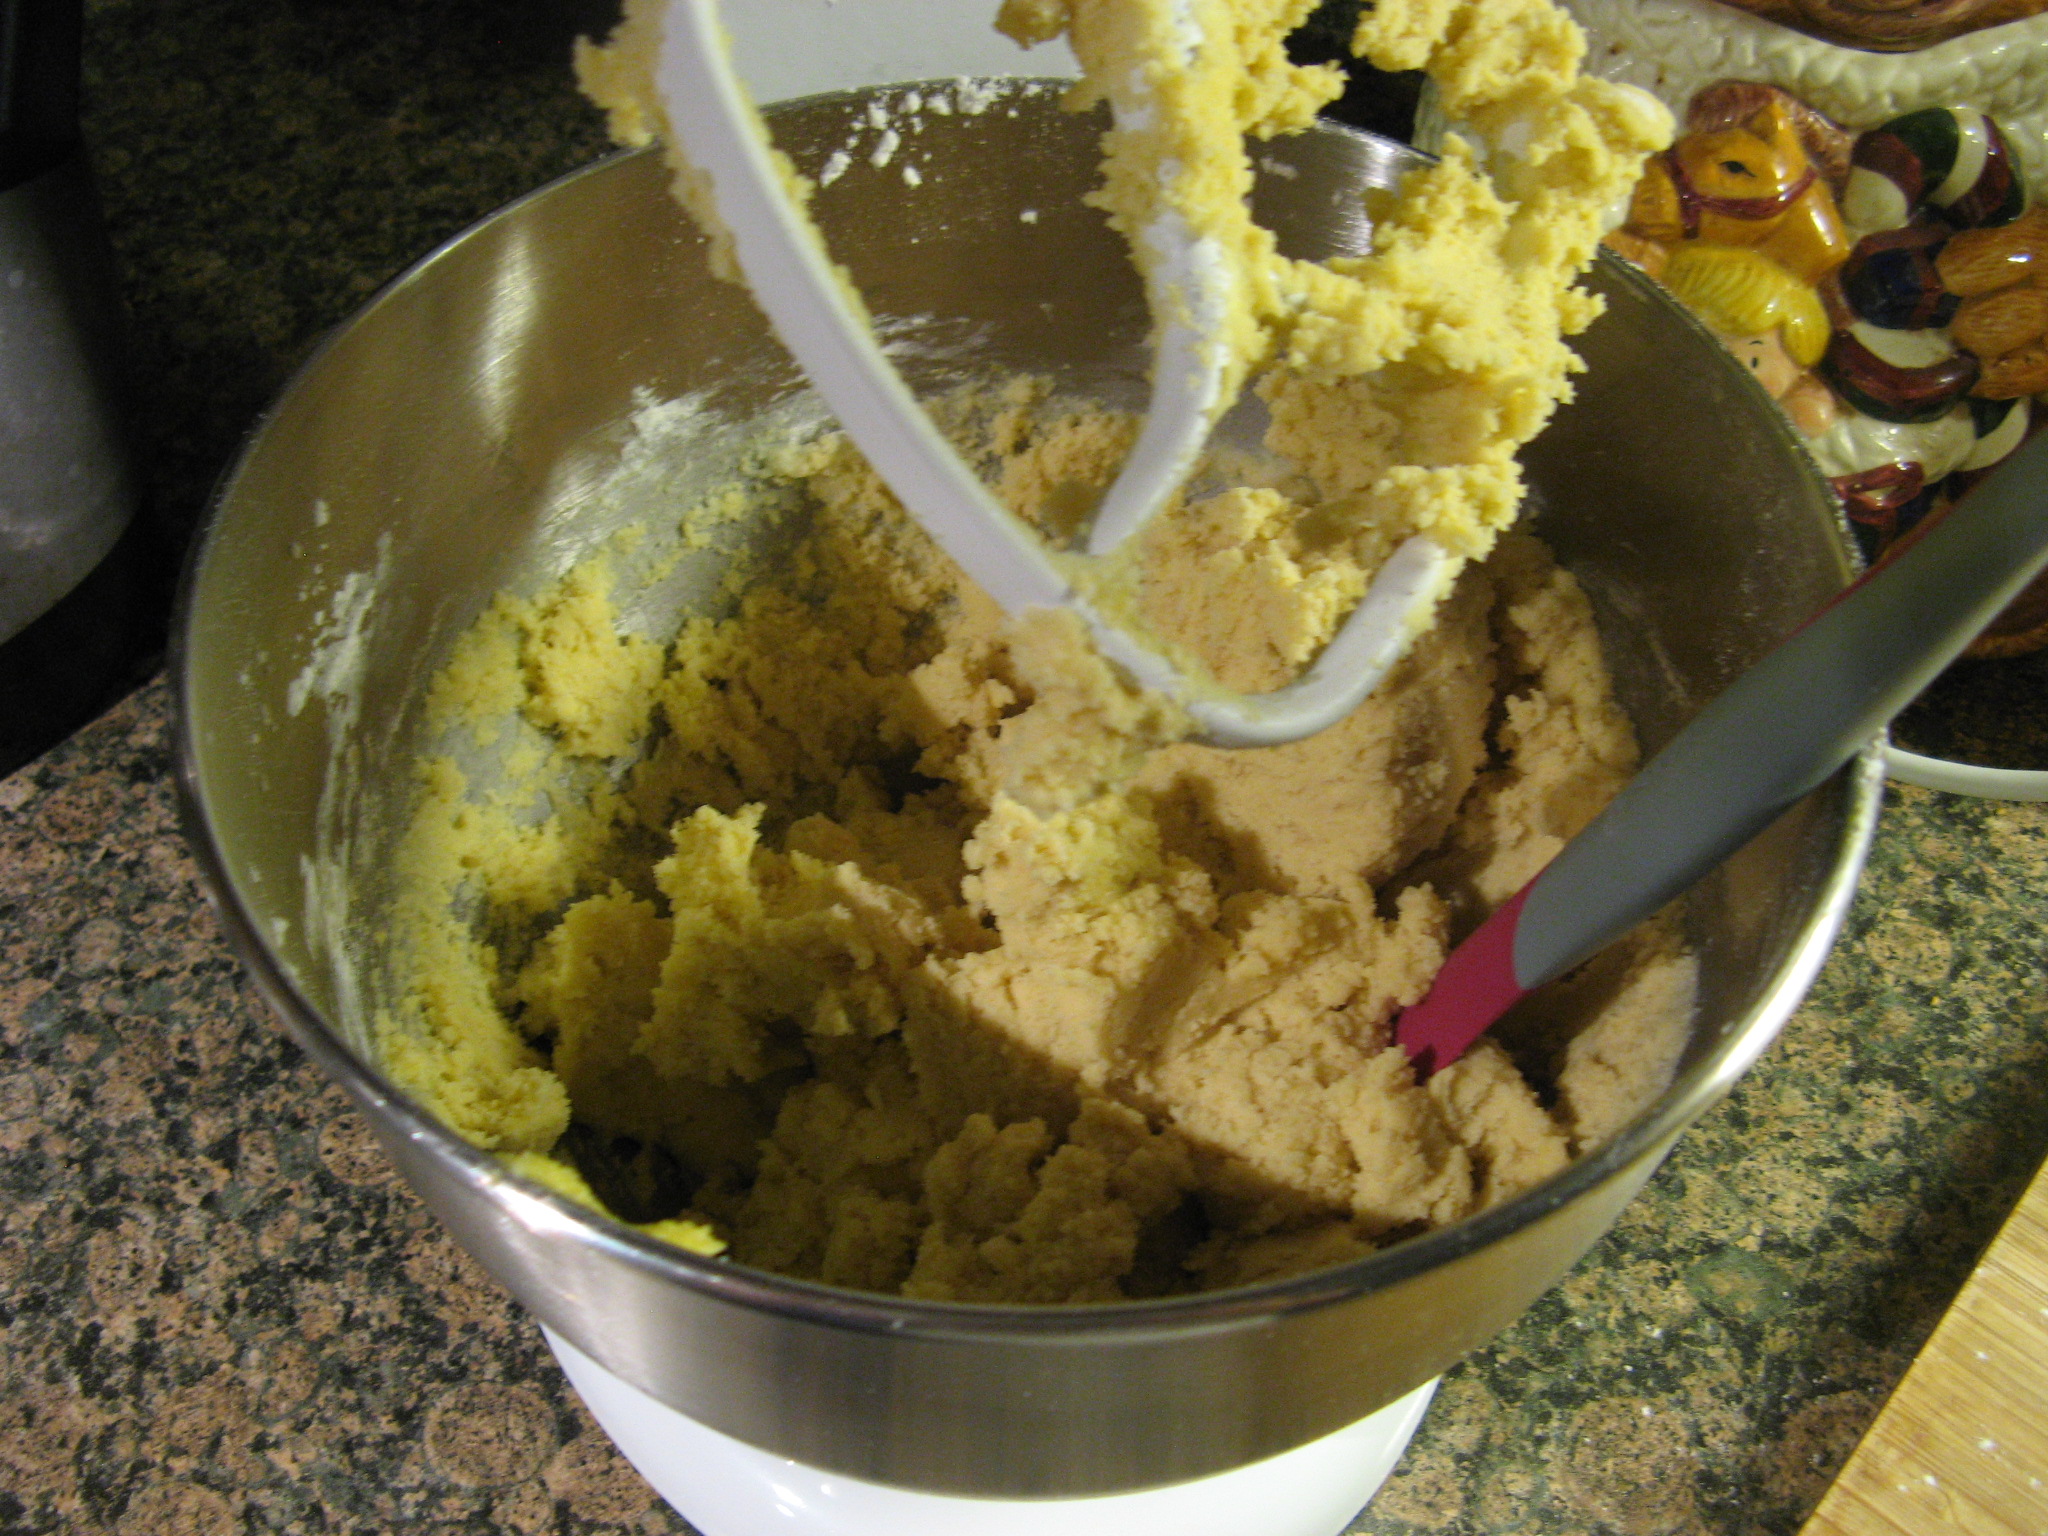
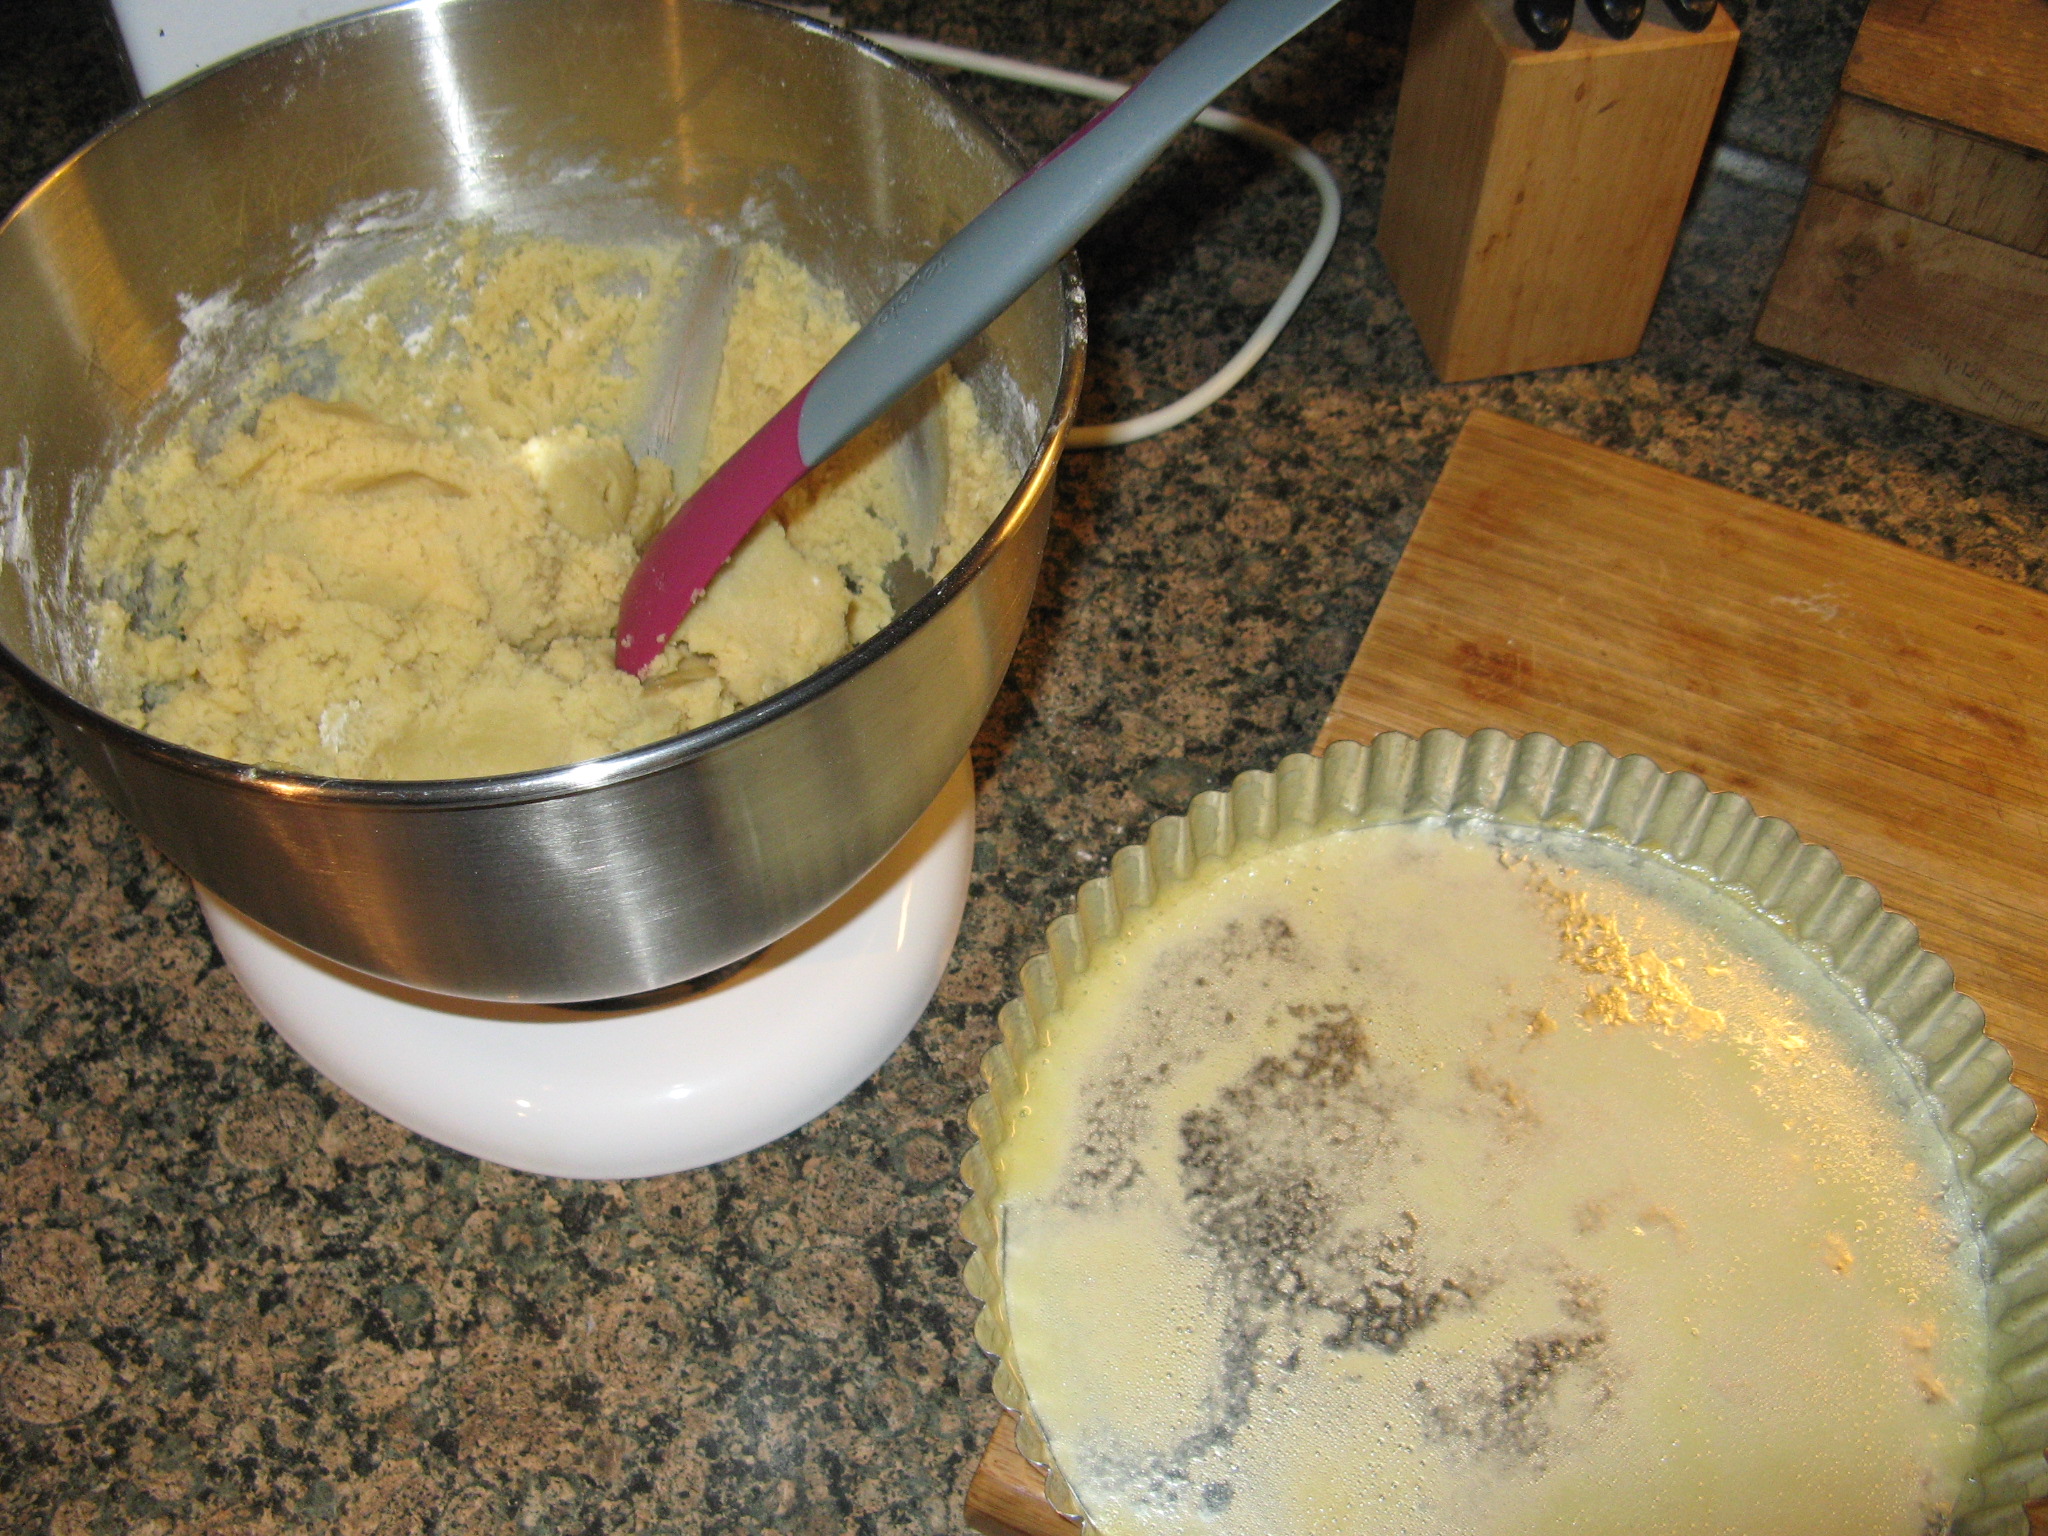
Rosette Covered Cannoli Cake

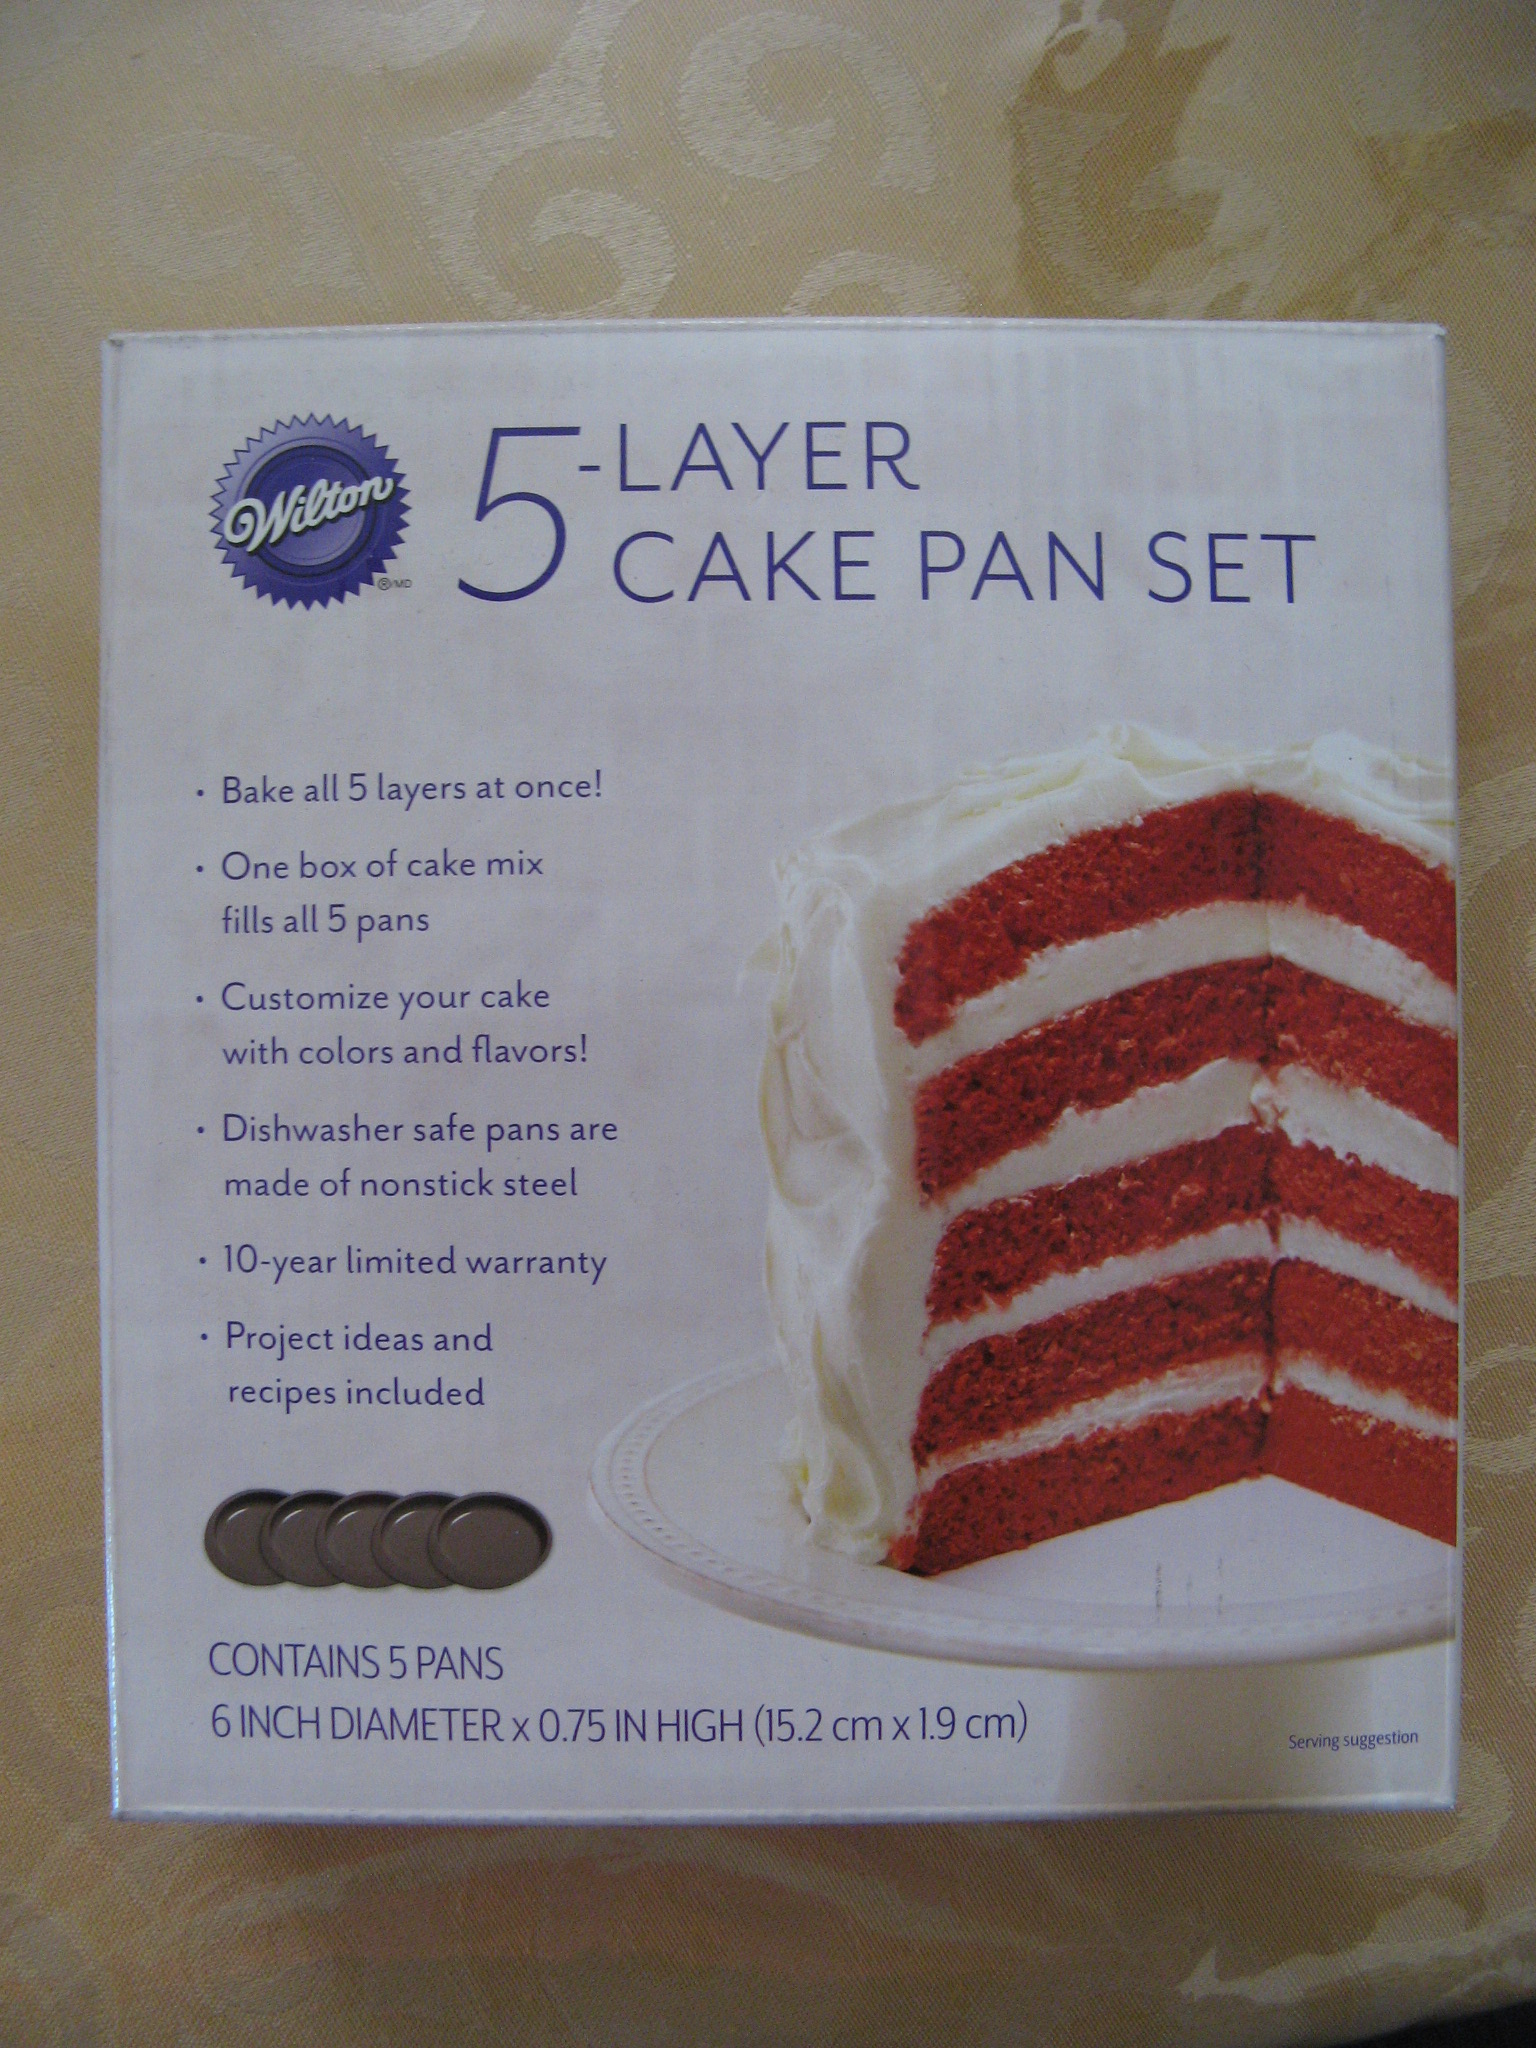
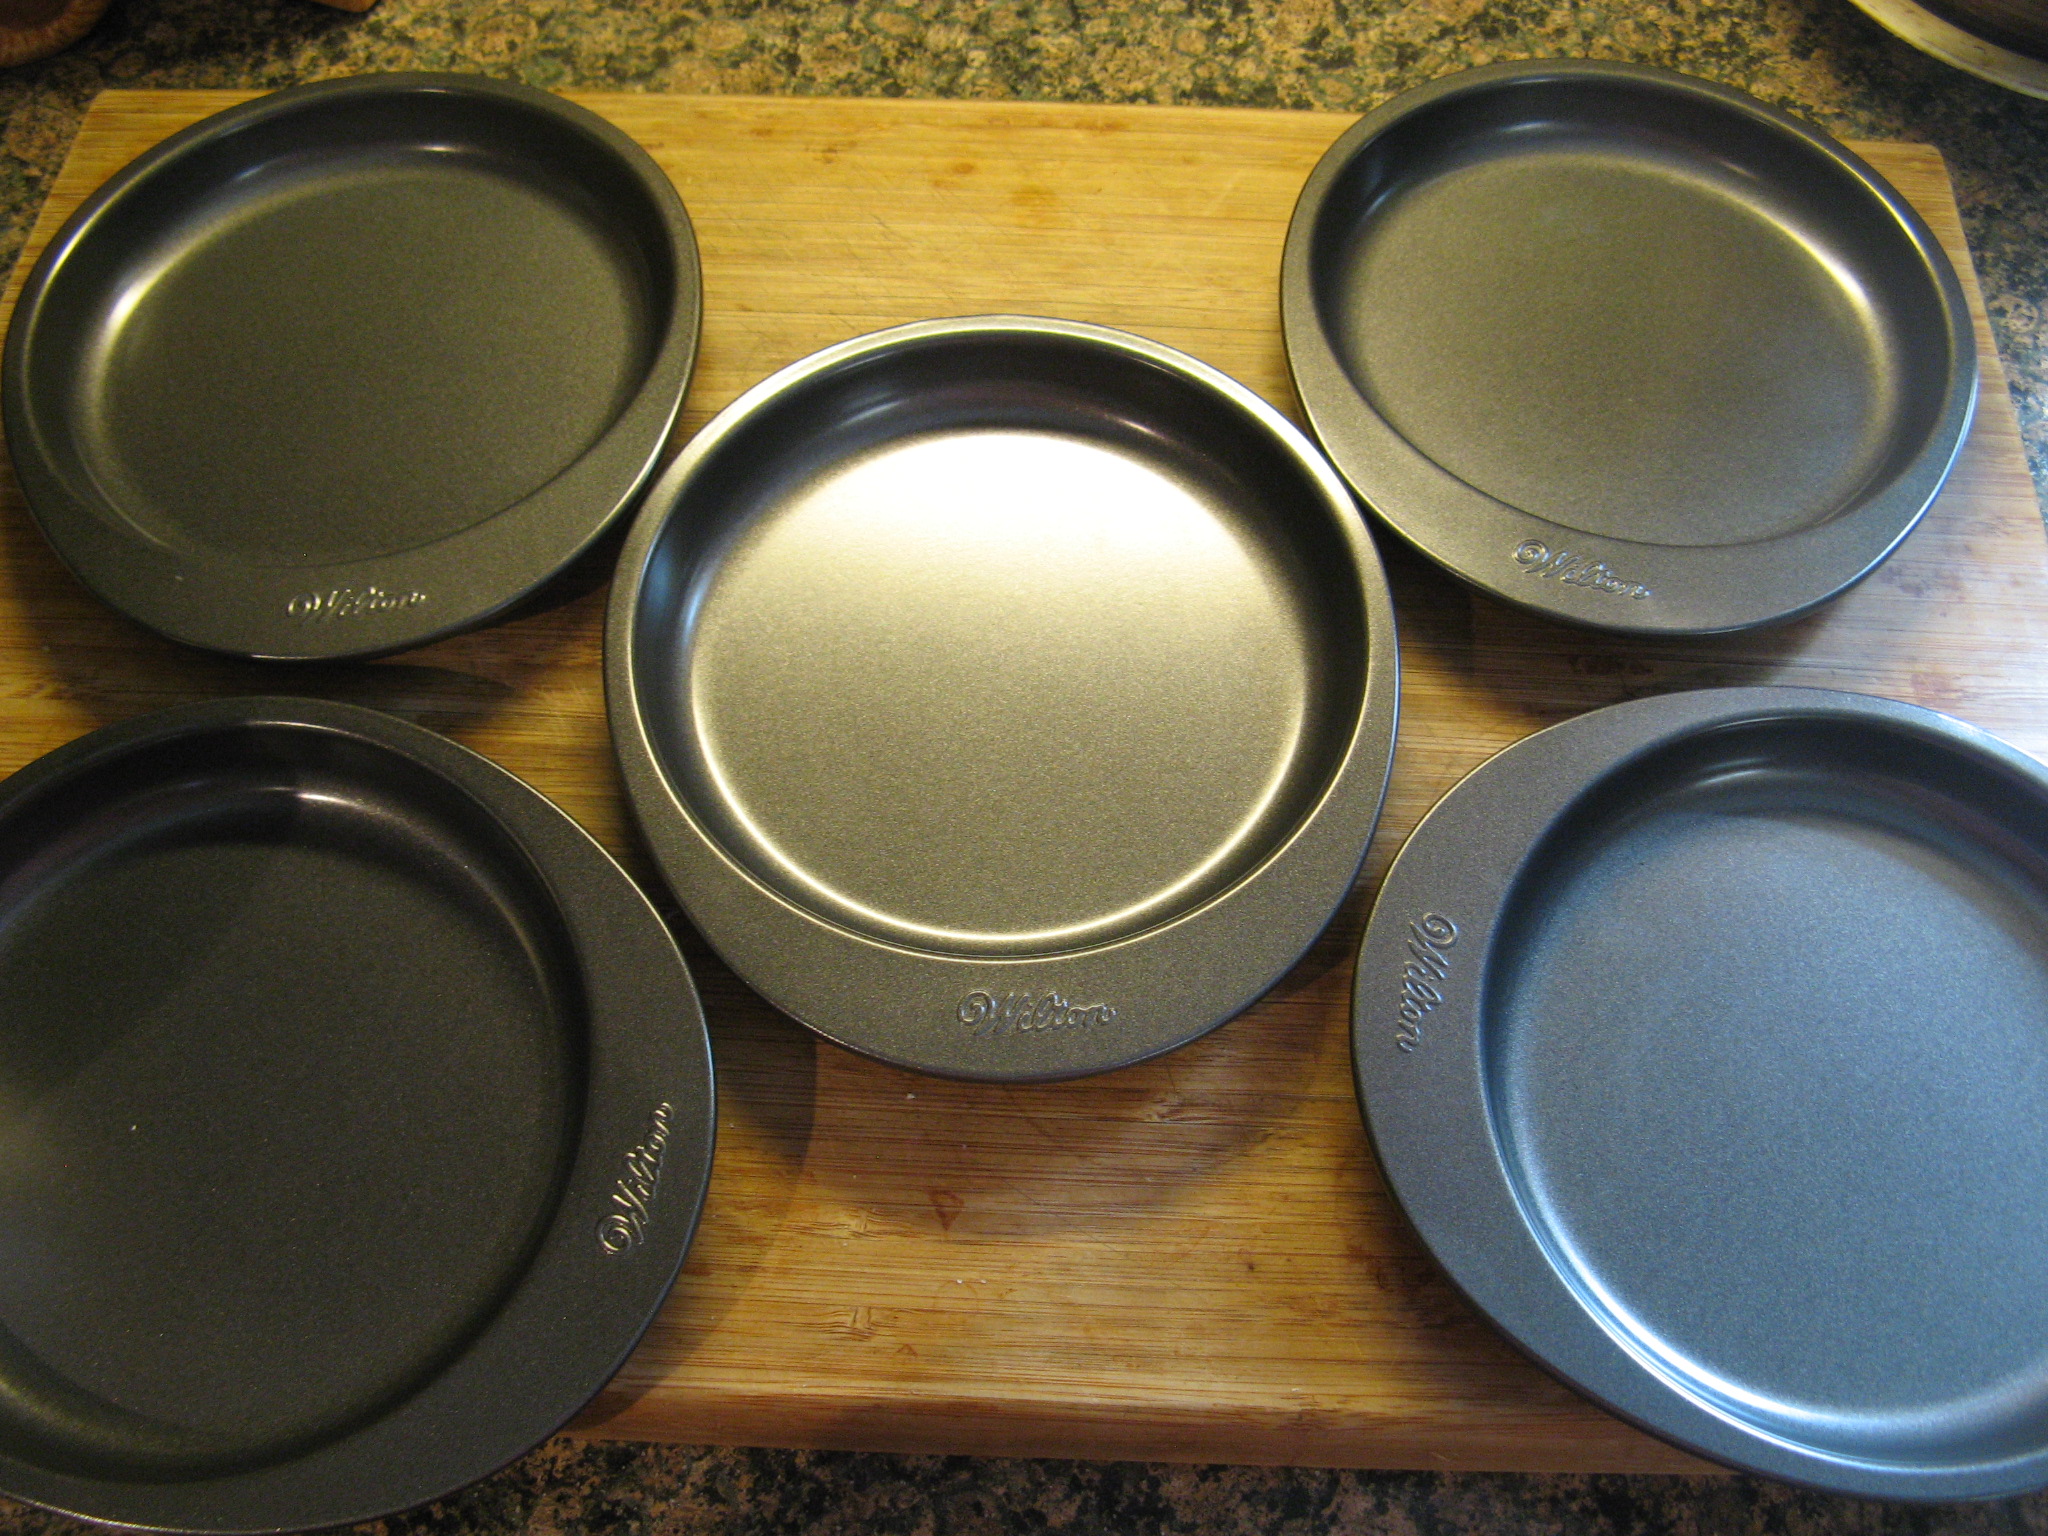
A while back I picked up a five-layer cake pan set at Sur La Table– I saw it one of their catalogs which also included a coupon so it was destined to be. I wasn’t sure what kind of cake I wanted to make to test it out but then all of a sudden I had the idea that I wanted to make one with a cannoli cream filling – something I had never made before. Another thing I hadn’t done before… Decorate a cake entirely with rosettes. I did take the Wilton decorating classes some time ago and while I did learn how to make rosettes I normally just decorate a spot or two with them but lately I have been seeing these beautifully cakes decorated with large rosettes and wanted to try it myself.
IMG_3071 IMG_3075
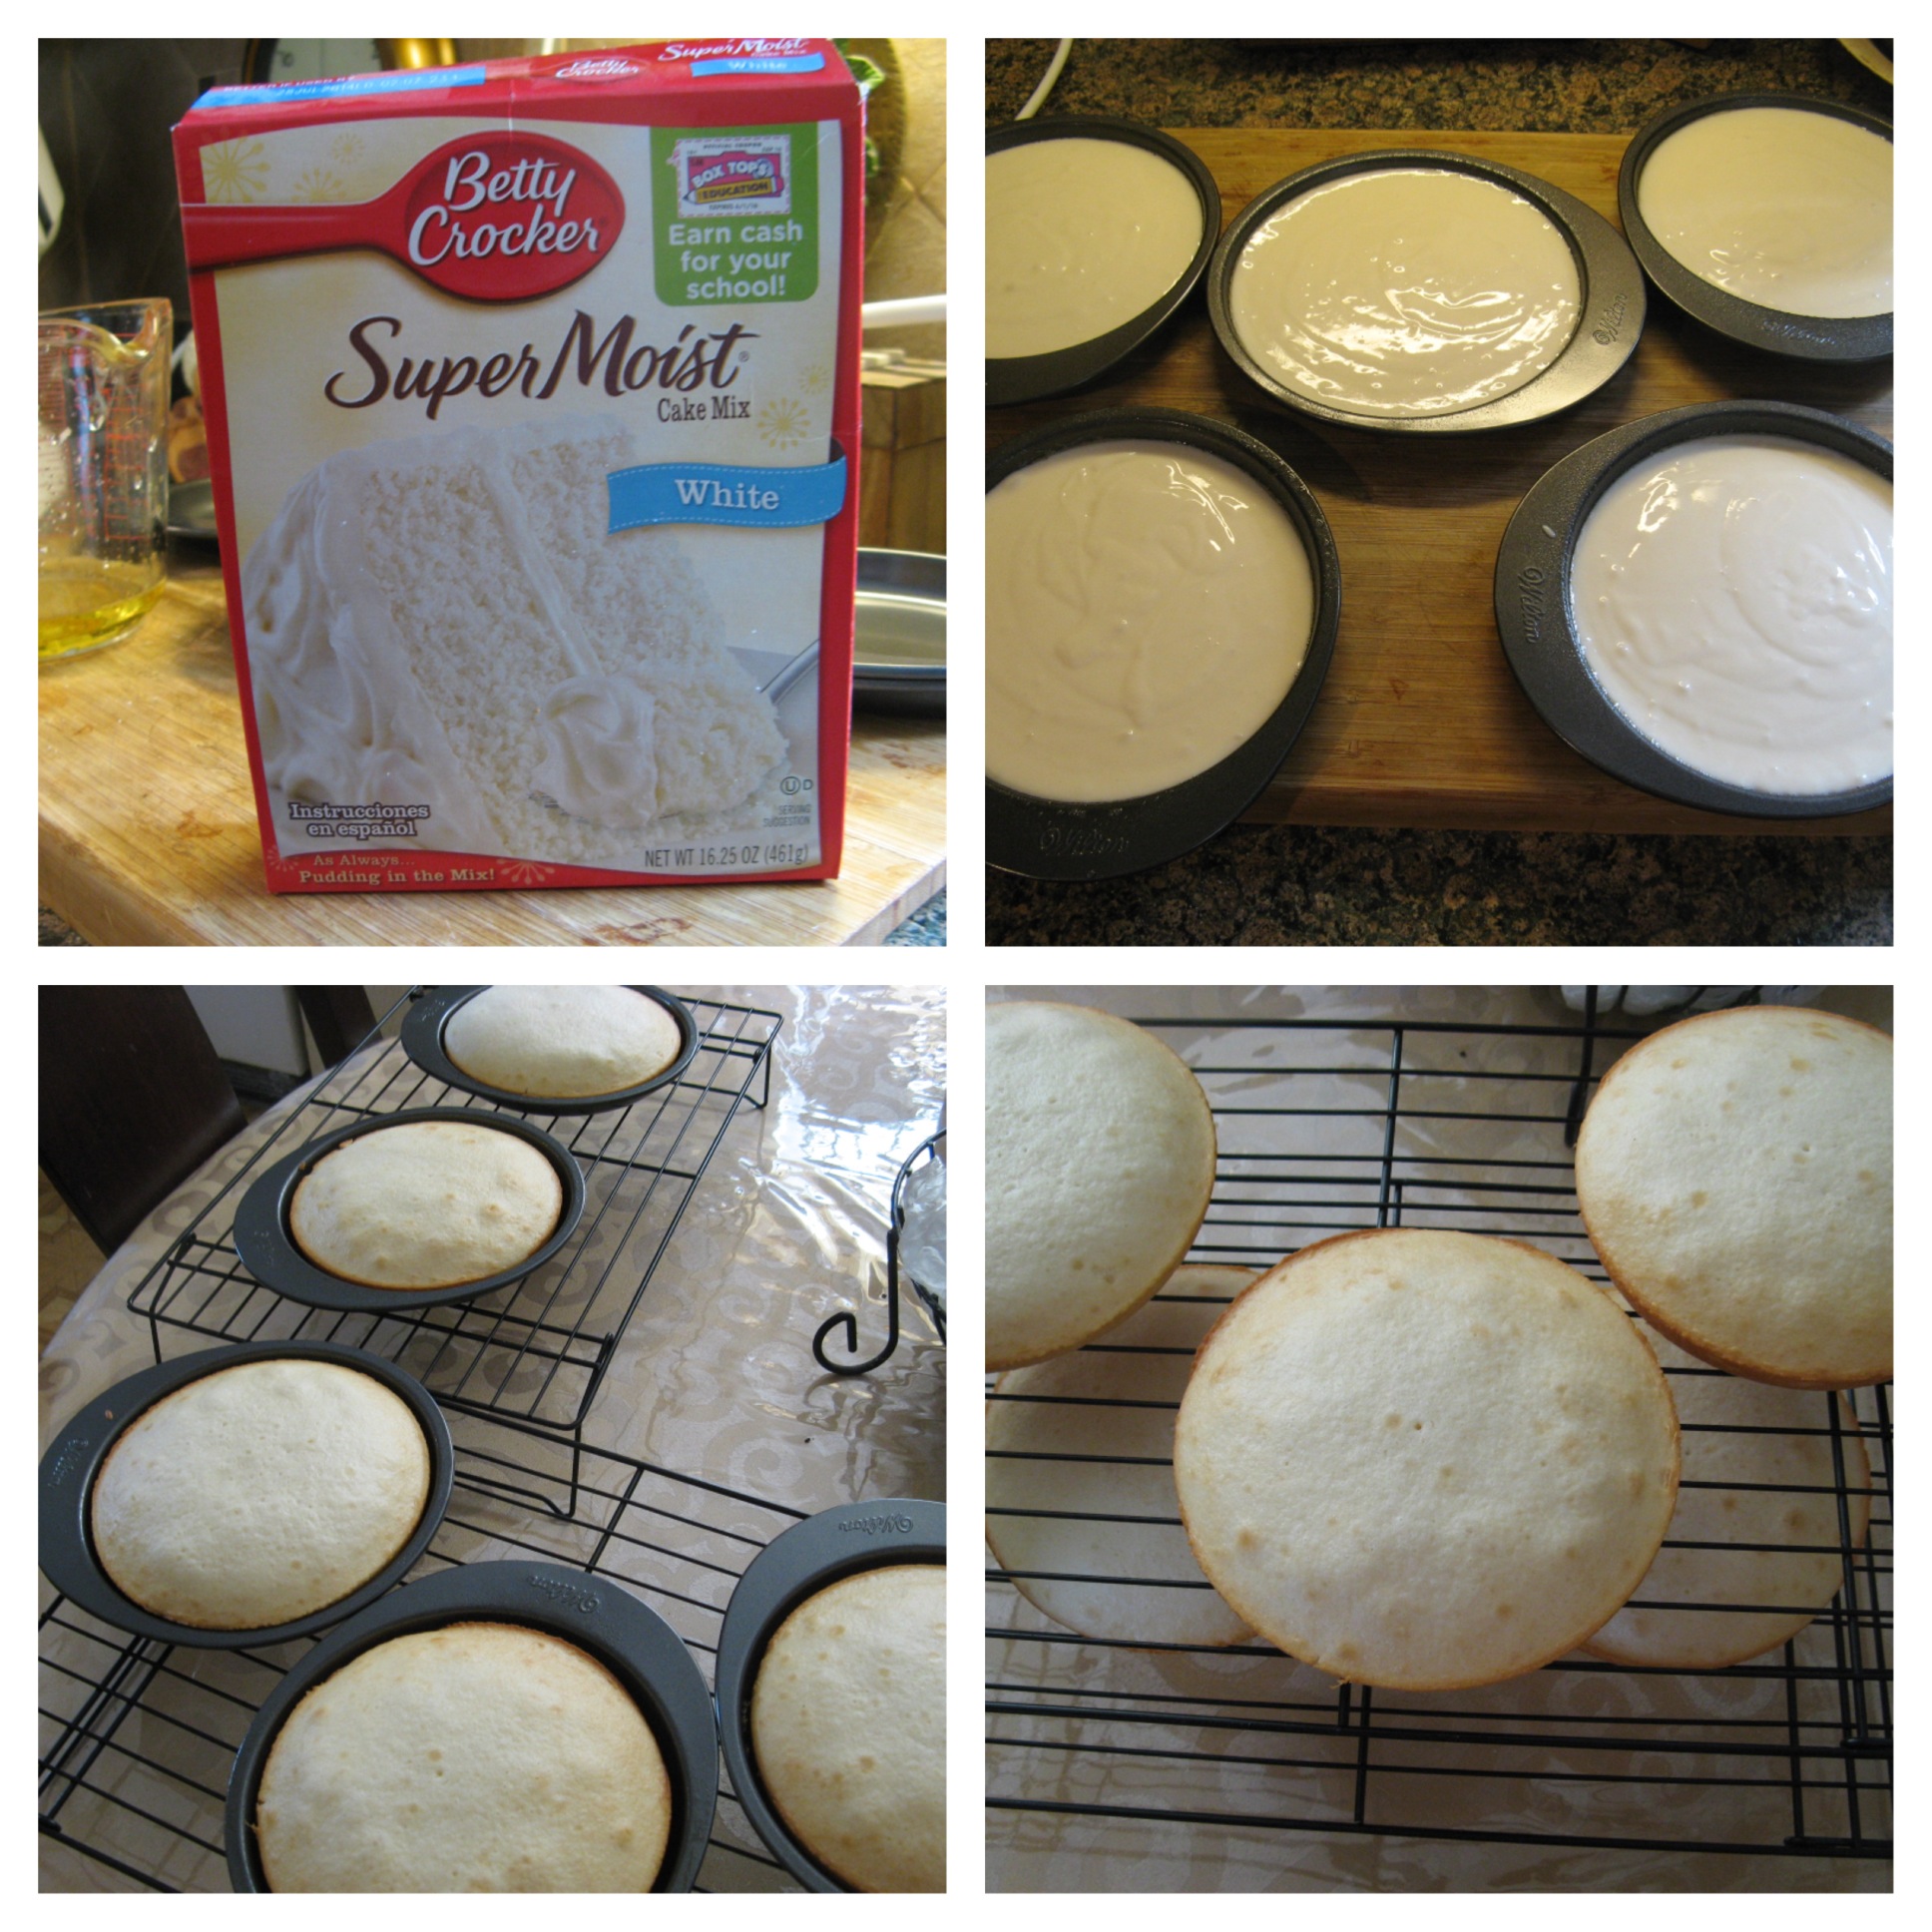
I opted to use a white cake box mix for this cake since I wanted to be sure that I would have enough batter for the five pans and right on the box it said that one box cake would suffice. After mixing the batter according to the directions on the box, I filled the pans evenly with batter (I used an ice cream scoop to be precise,) baked them and then let them cool.
Cannoli Cake 1
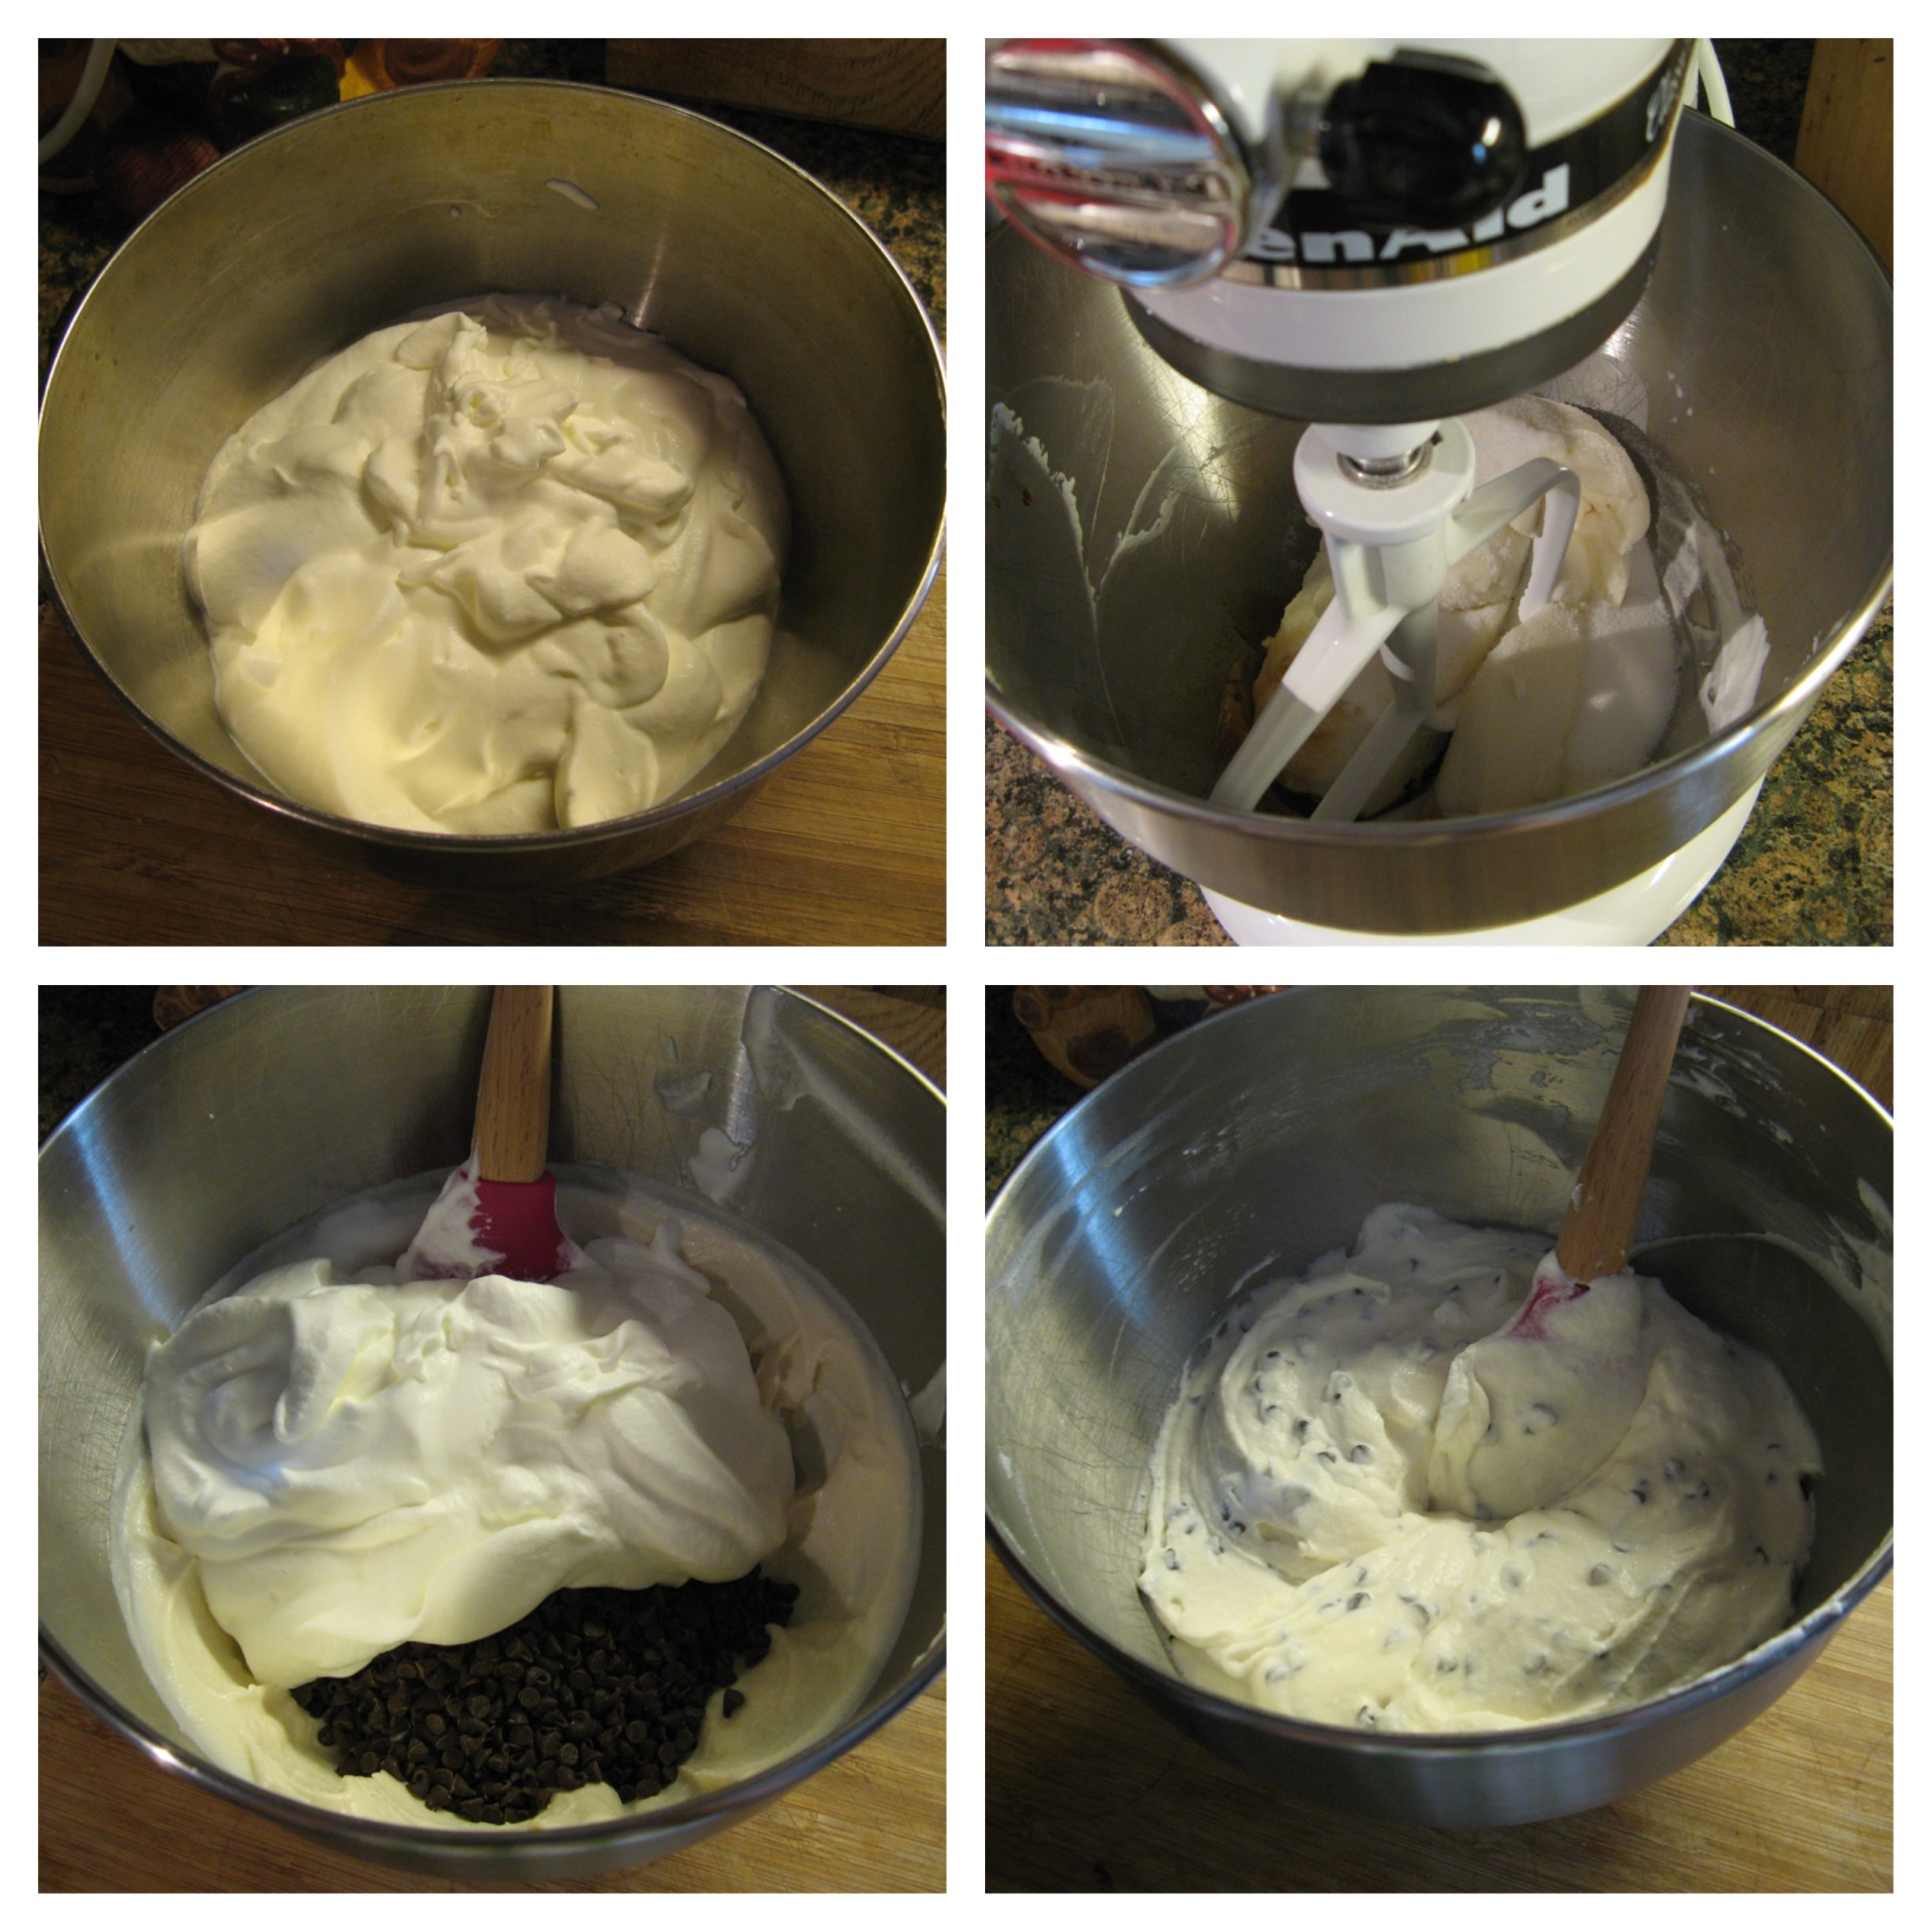
While the cakes cooled I worked on the cannoli filling. I settled on a recipe from Sargento. I figured this recipe would be a good one to follow since Sargento is a producer of cheese products. To begin I whipped heavy cream until soft peaks formed. I then beat together ricotta cheese, sugar and vanilla extract. Following that I folded the whipped cream along with mini chocolate chips into the ricotta mixture.
Cannoli Cake 2
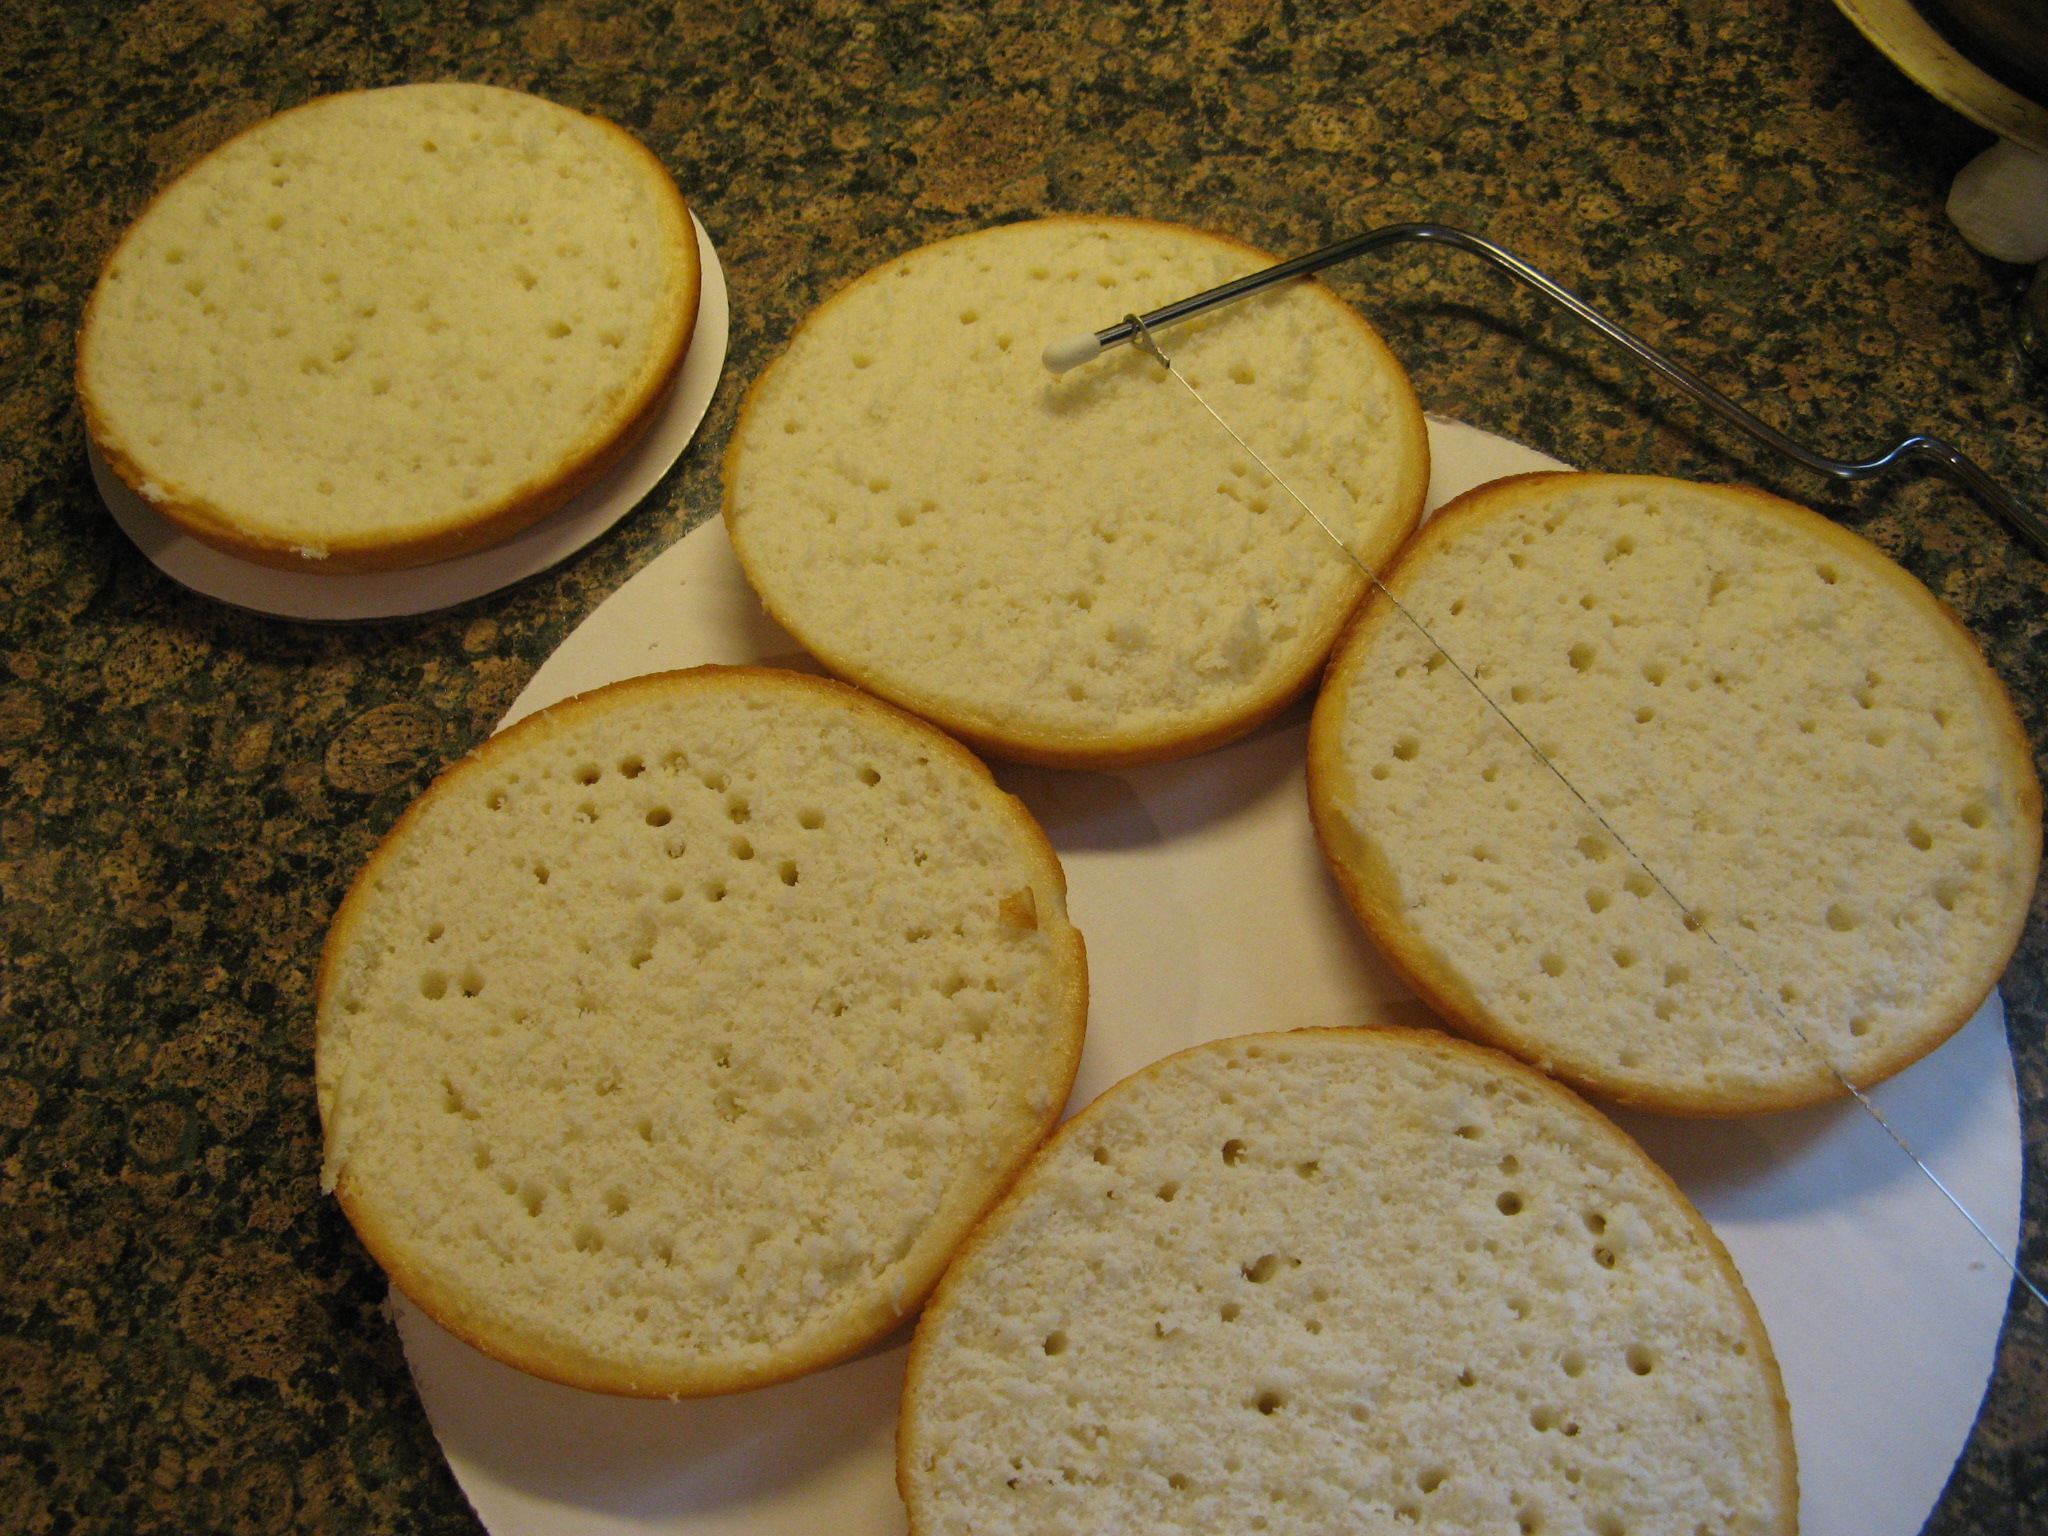
Now it was time to prep my mini cakes for assembly. I used a cake leveler to remove the crowns of the cakes to make them all level.
IMG_3114
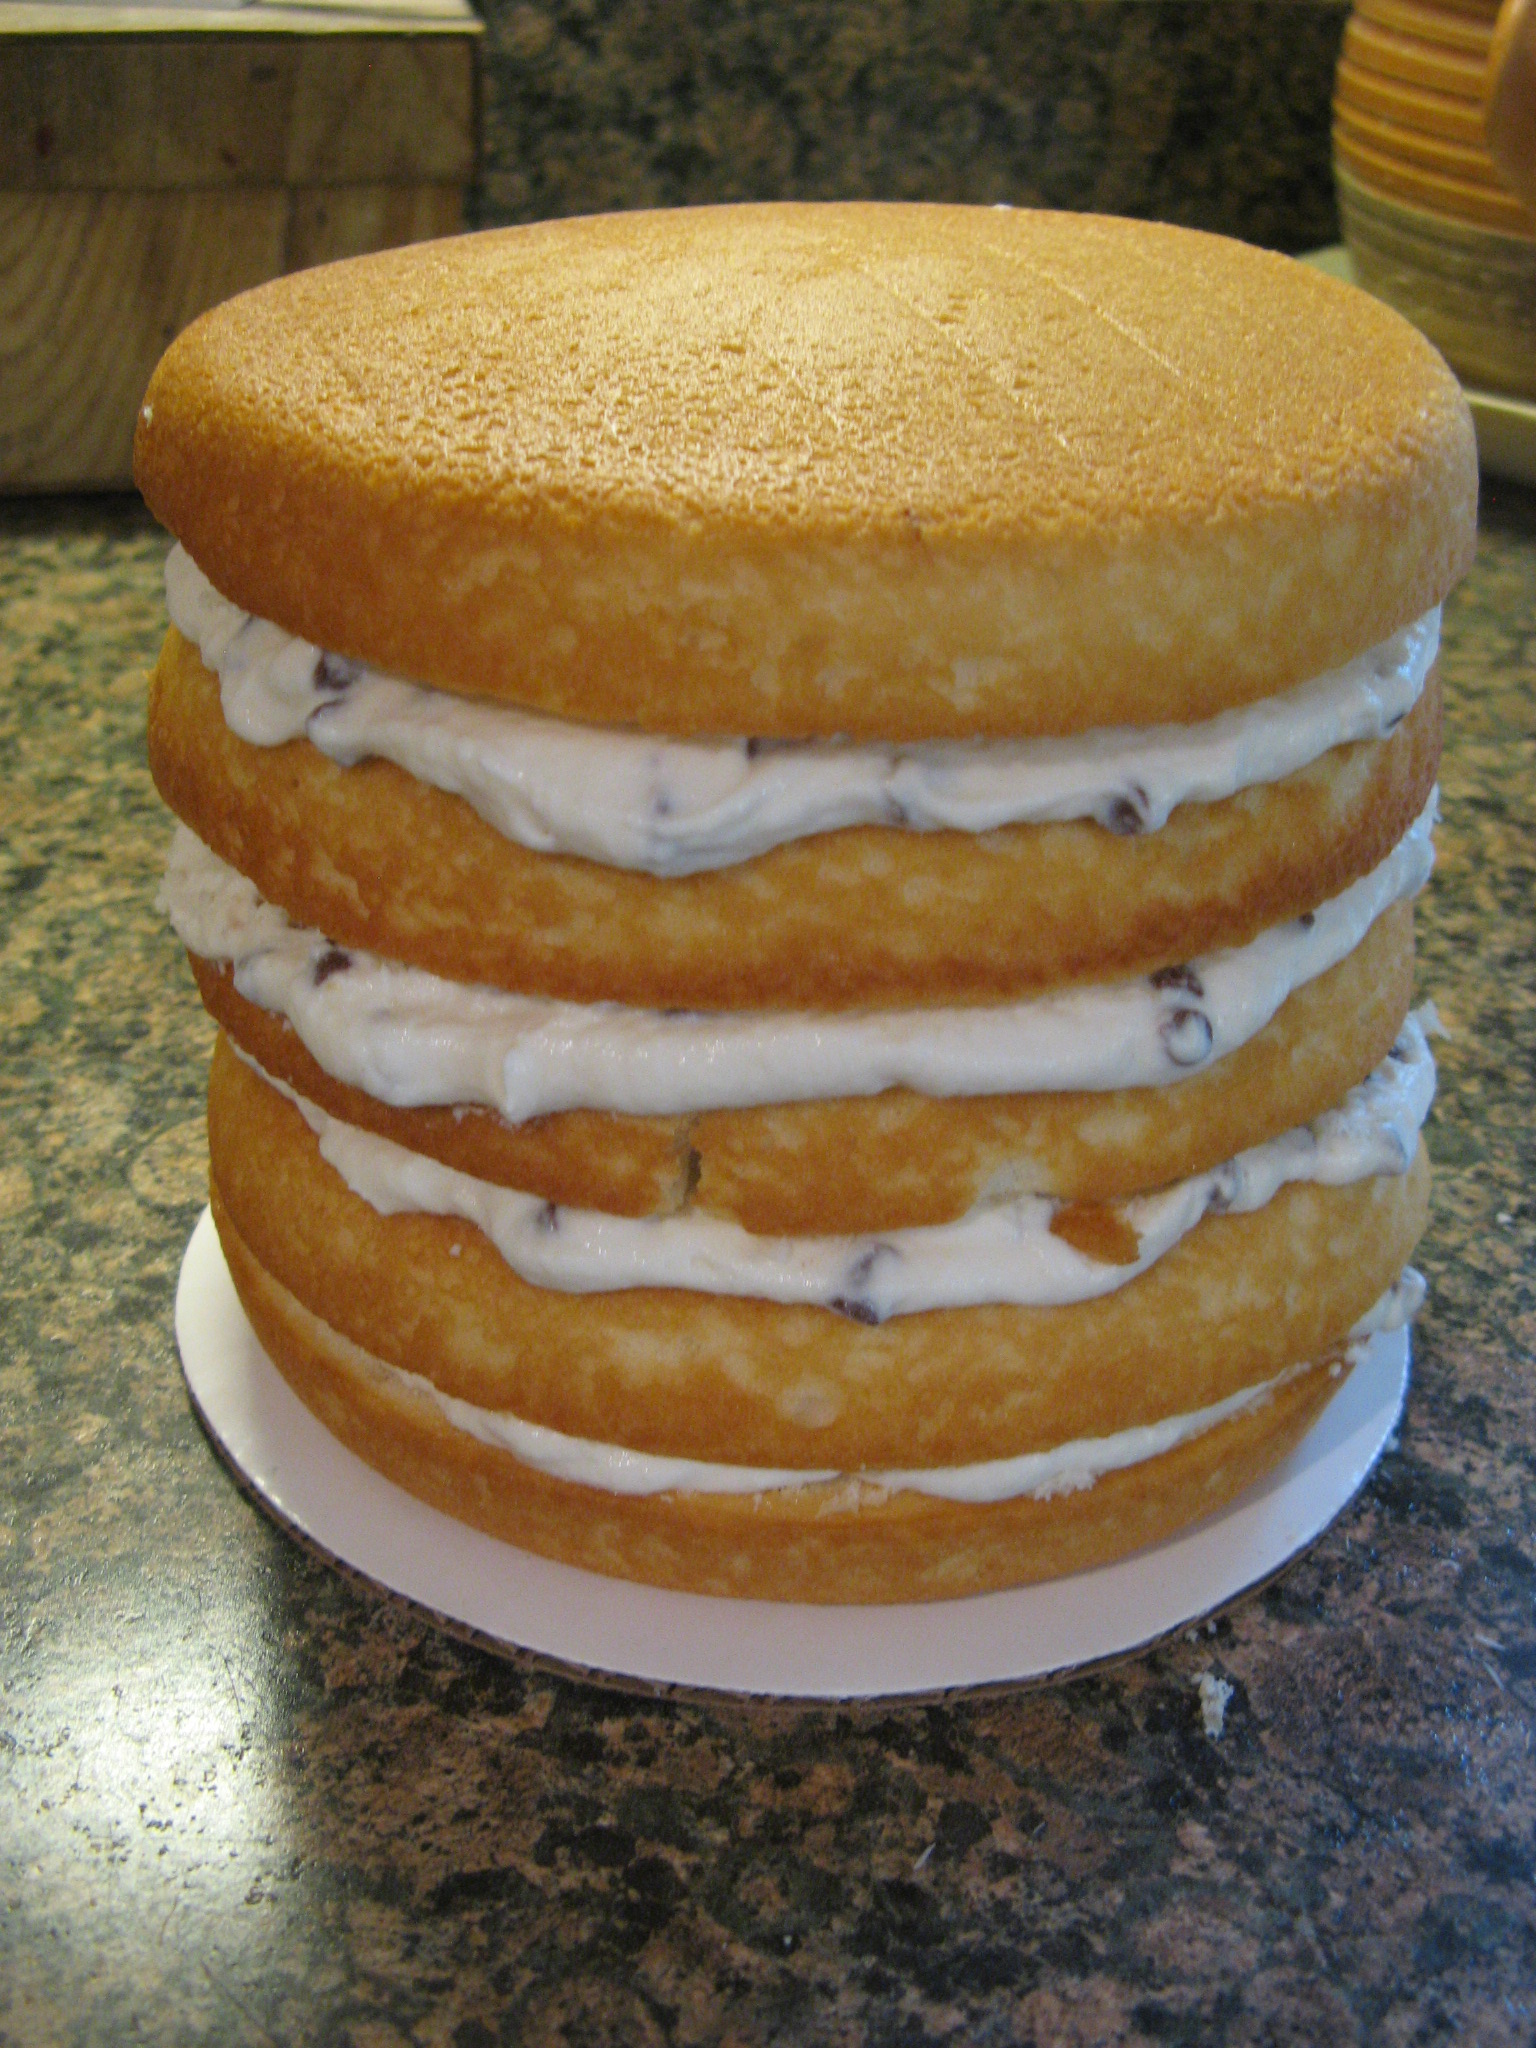
To assemble the cake, I filled each layer with about a cup and a half of cannoli filling.
IMG_3117
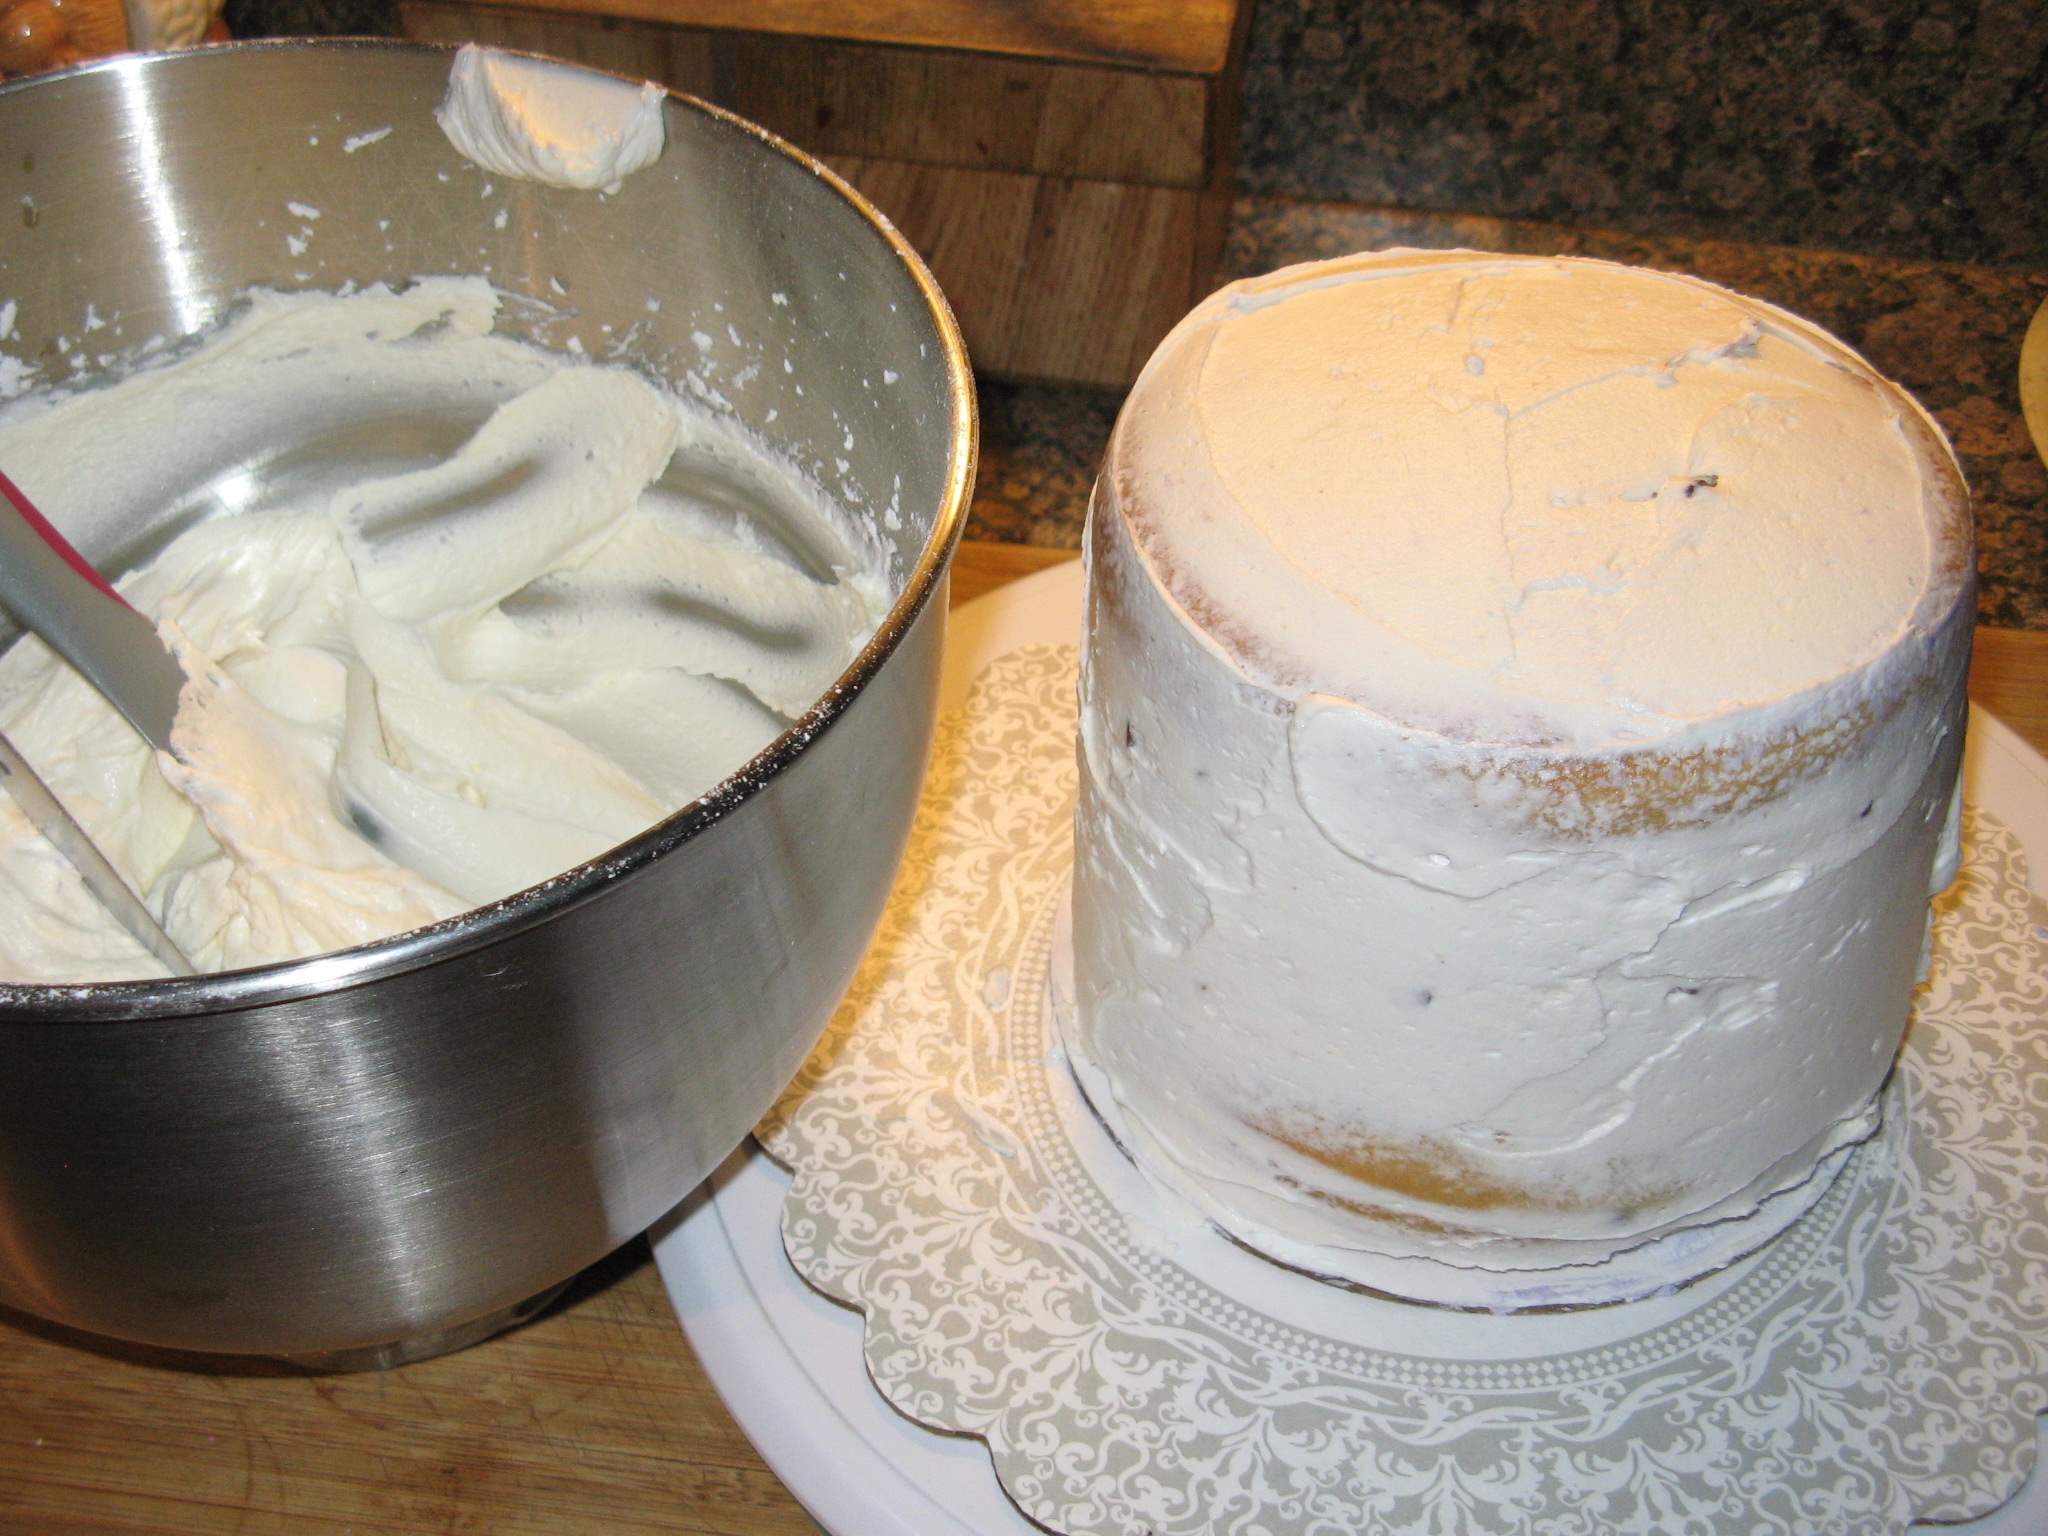
Then it was time to frost it. Initially I wanted to frost it with a whipped cream frosting, but, since I wanted to cover the entire cake with rosettes the whipped cream wasn’t going hold up well on the sides of the cake… On top of the cake it would have looked great though. So I opted to whip up some Fluffy Vanilla Frosting – which I first made when I made Chocolate Malted Cupcakes. I started by crumb coating the cake.
IMG_3127
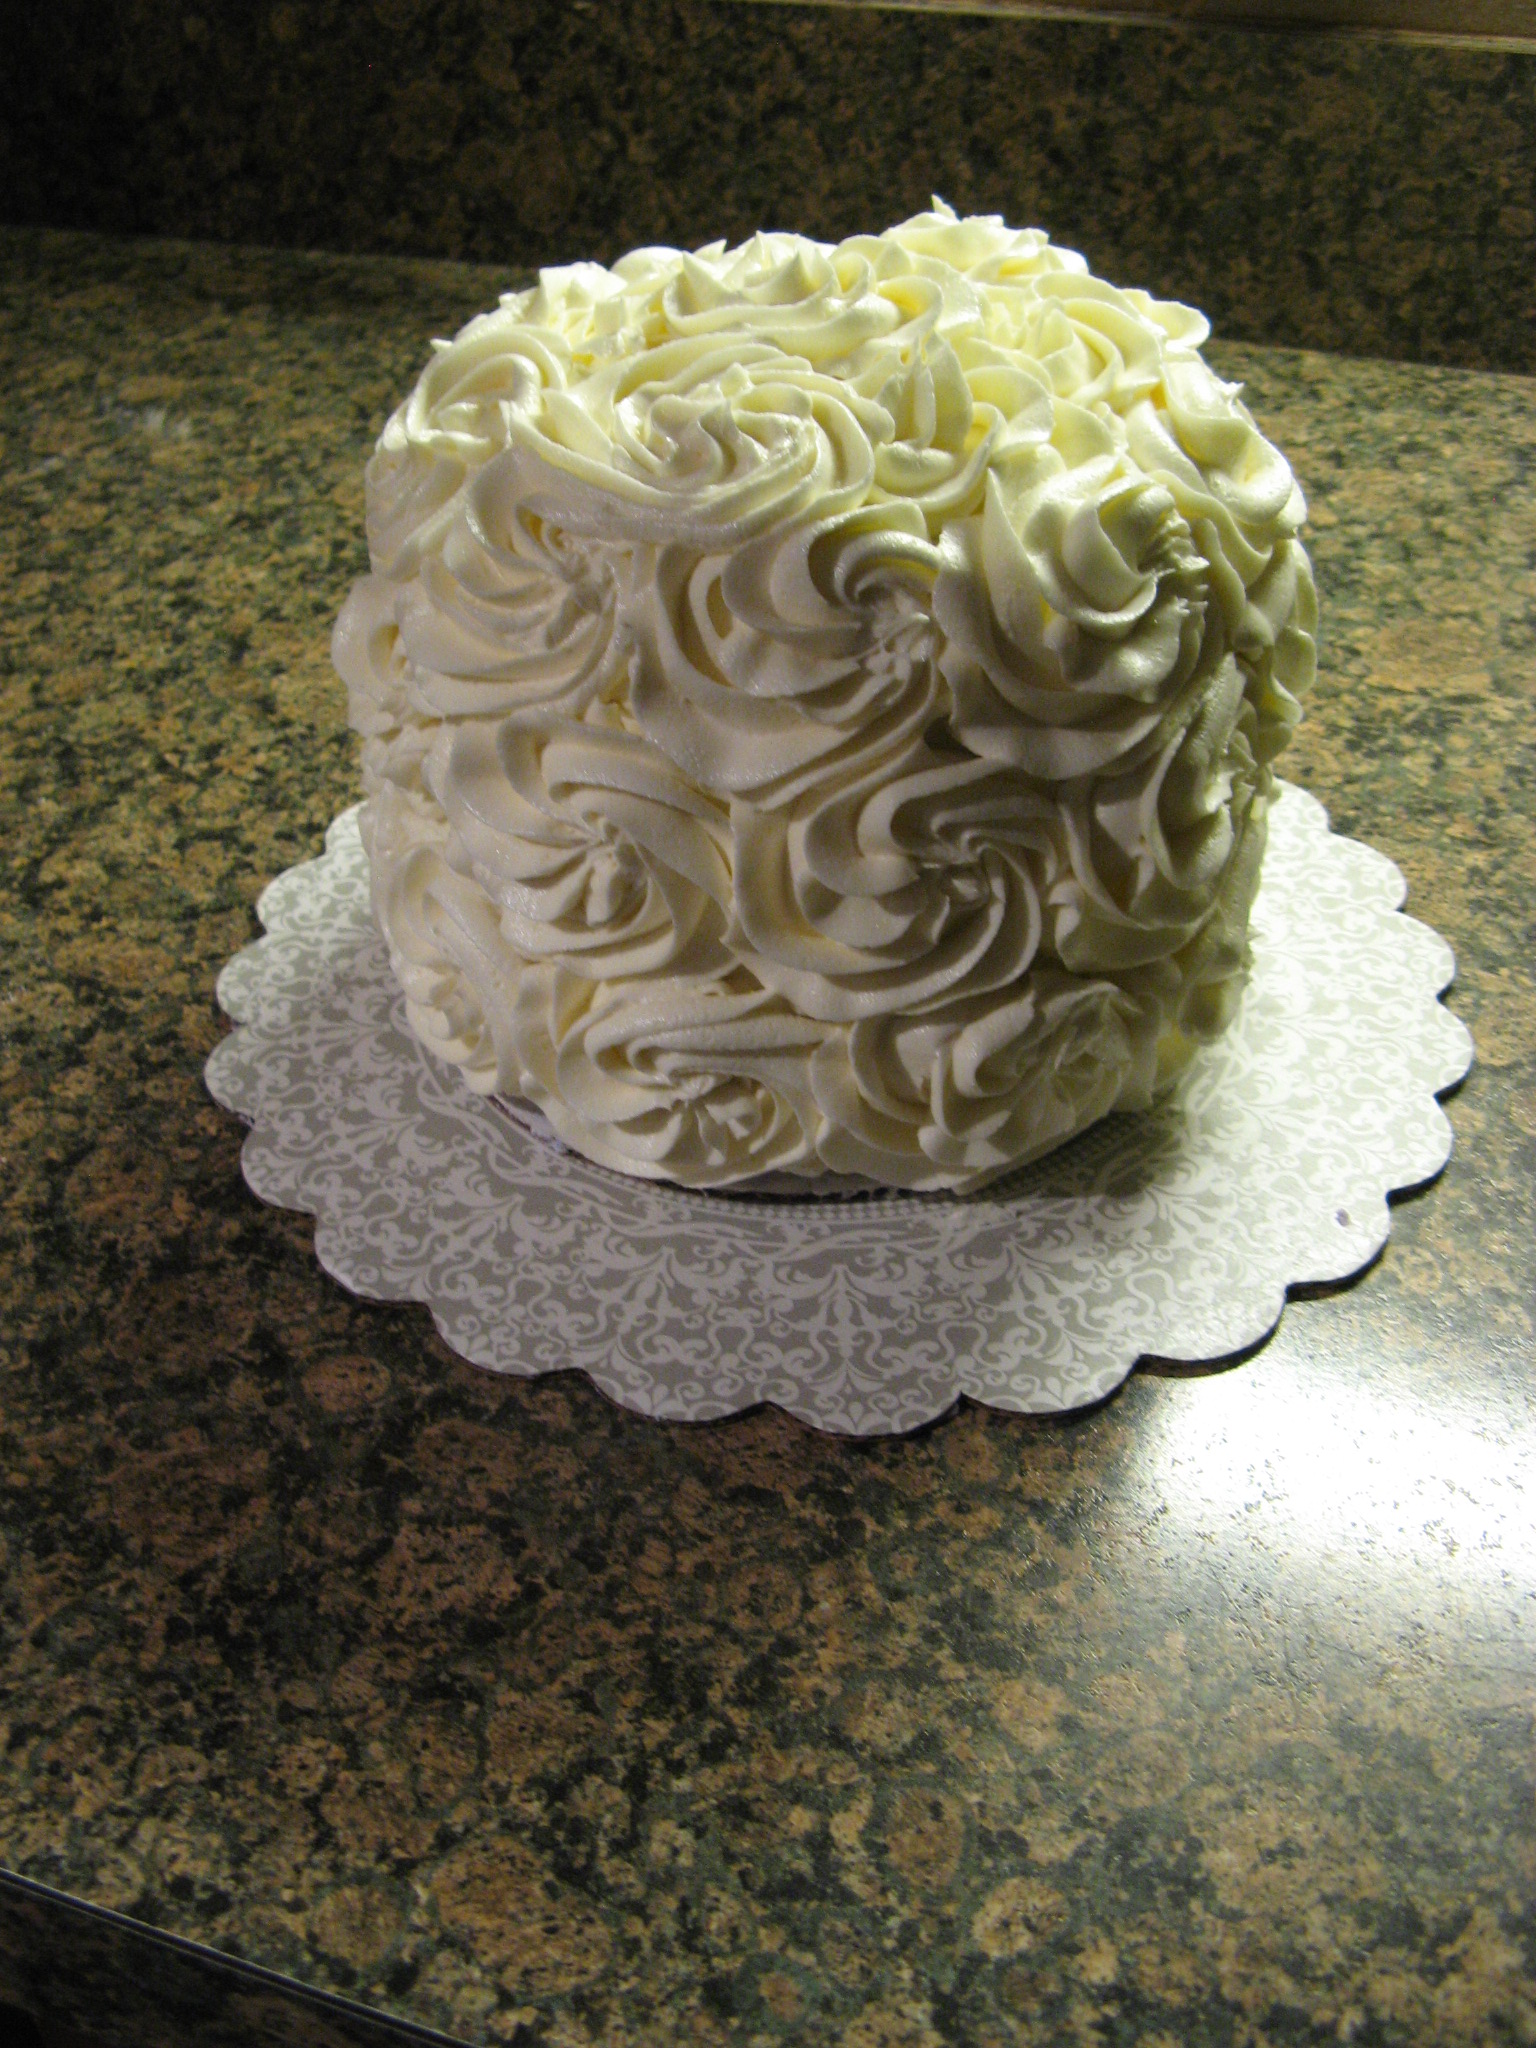
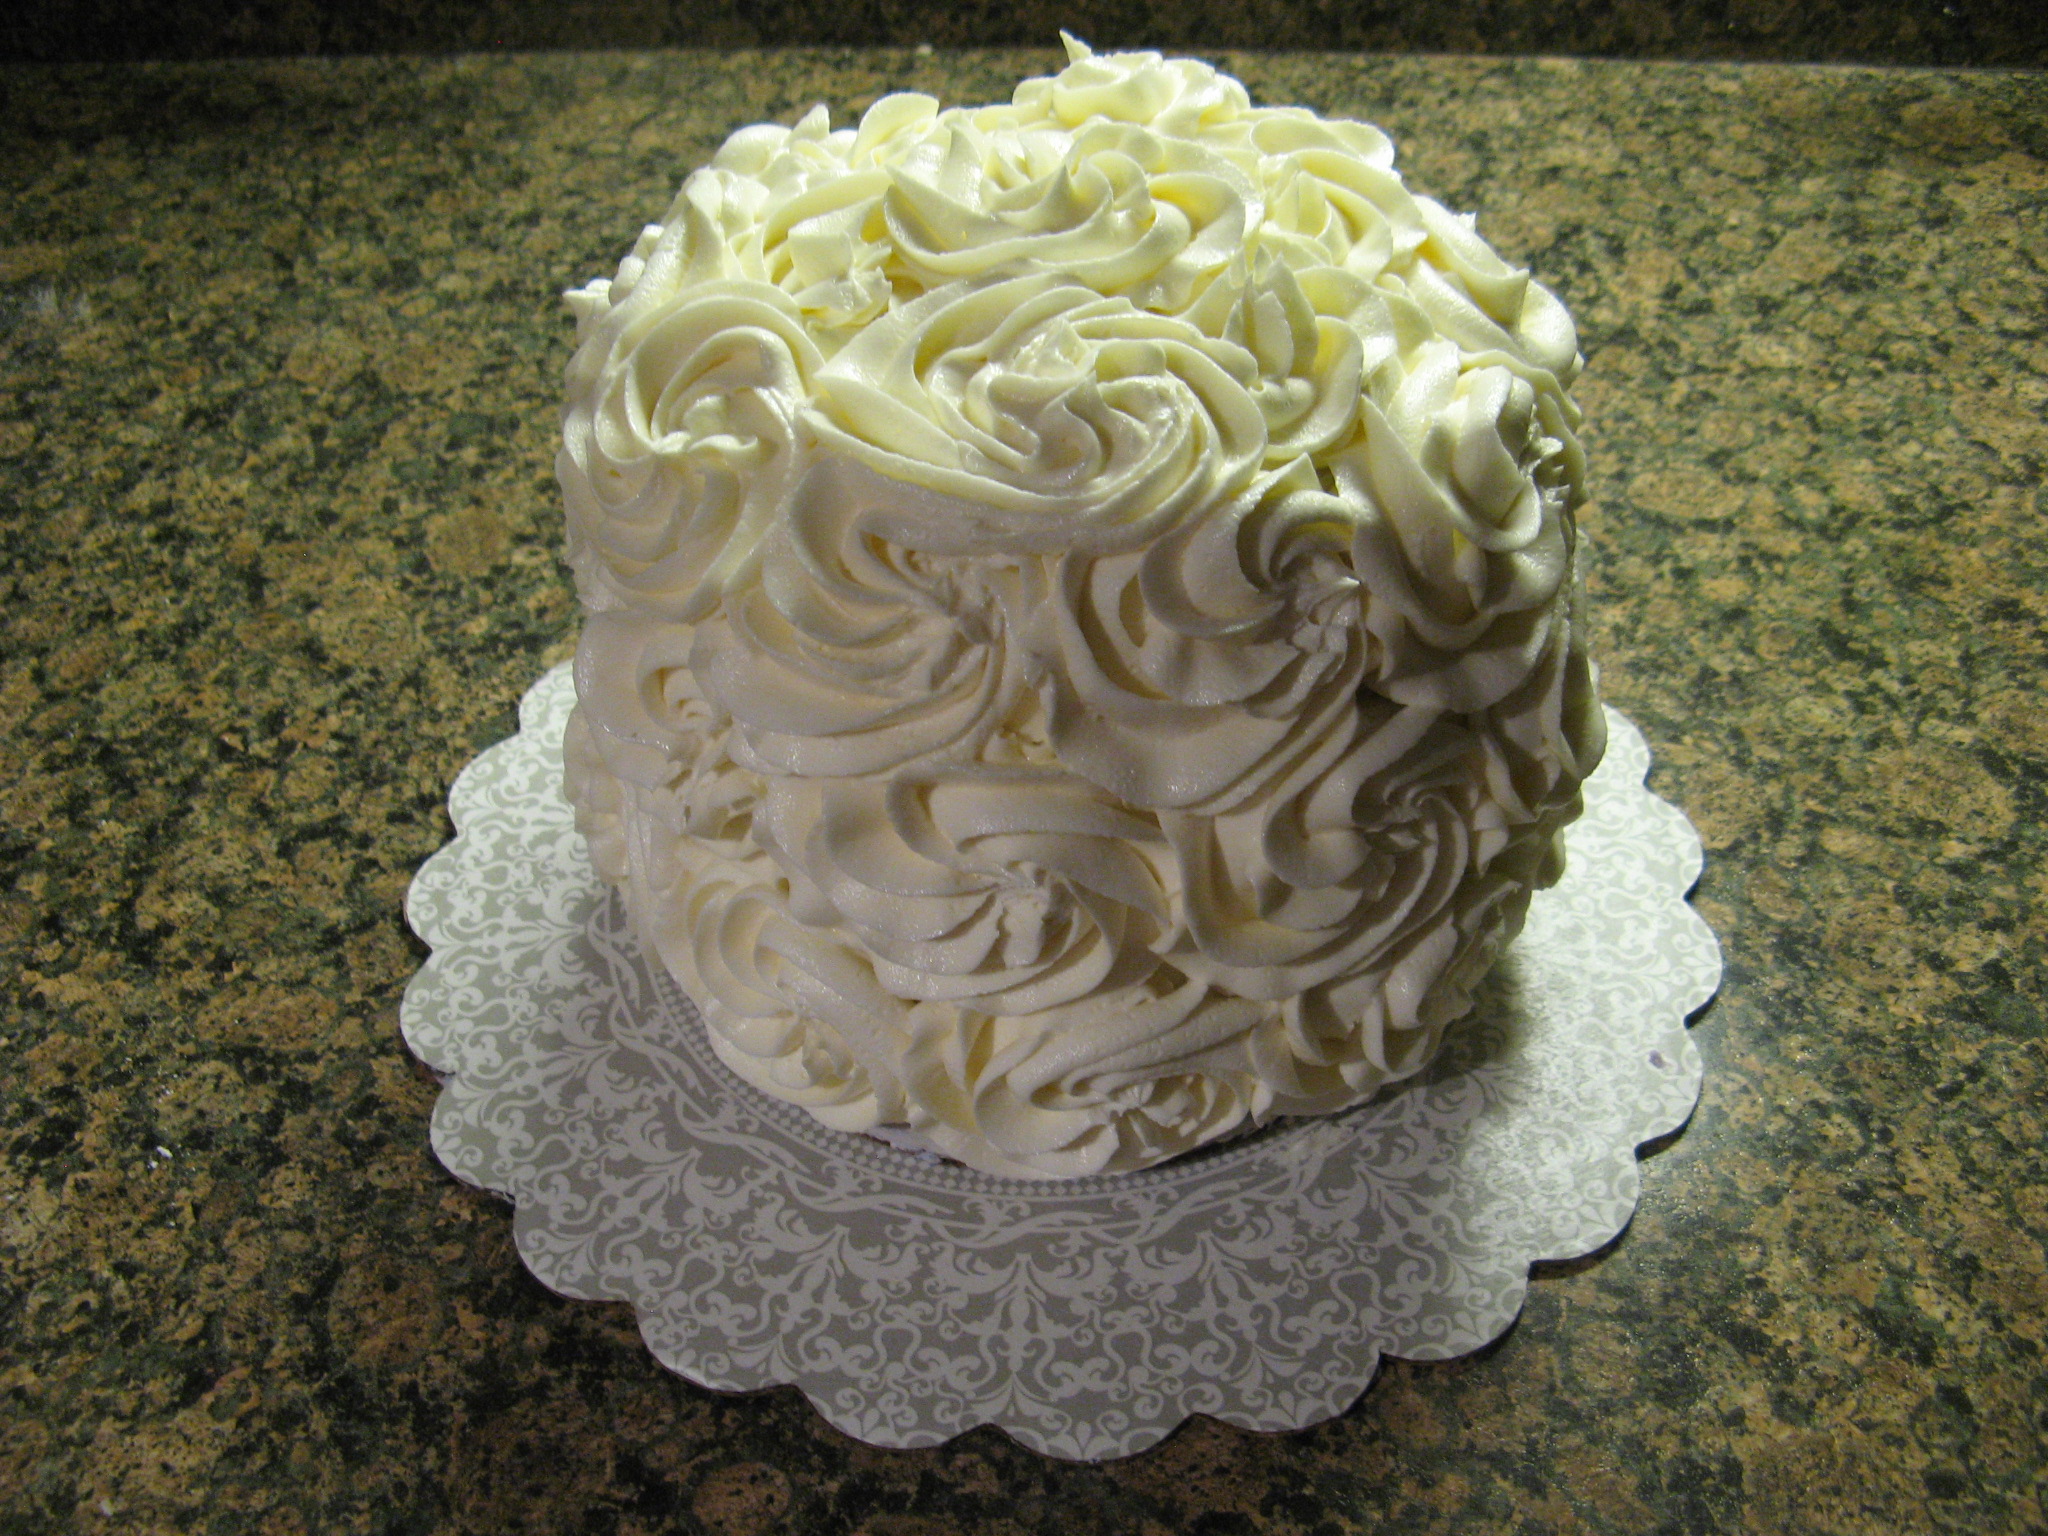
And then using a 2D Wilton Tip I covered the cake with large rosettes and I think I may have found my new way of decorating cakes….
IMG_3132 IMG_3133

Cannoli Filling

2 cups Part-Skim Ricotta Cheese

3 tablespoons sugar

1 1/2 teaspoon vanilla

1 cup whipping cream, whipped

1 cup semi-sweet mini chocolate chips

1. Beat ricotta cheese, sugar and vanilla on medium speed in bowl with electric mixer for 3 minutes.

2. Fold in whipped cream and chocolate chips.


Fluffy Vanilla Frosting

Makes About 4 Cups

1 1/2 cups (3 sticks) unsalted butter, room temperature

1 pound (4 cups) confectioners’ sugar, sifted

1/2 tsp. pure vanilla extract

1. With an electric mixer, beat butter on medium-high speed until pale and creamy, about 2 minutes.

2. Reduce speed to medium. Add the confectioners’ sugar, 1/2 cup at a time, beating well after each addition and scraping down sides of bowl as needed; after every two additions, raise speed to high and beat 10 seconds to aerate frosting, then return to medium. This process should take about 5 minutes. Frosting will be very pale and fluffy.

3. Add vanilla, and beat until frosting is smooth. If not using immediately, frosting can be refrigerated up to 10 days in an airtight container. Before using, bring to room temperature, and beat on low speed until smooth again, about 5 minutes.


Lavender Cupcakes with Mascarpone Frosting

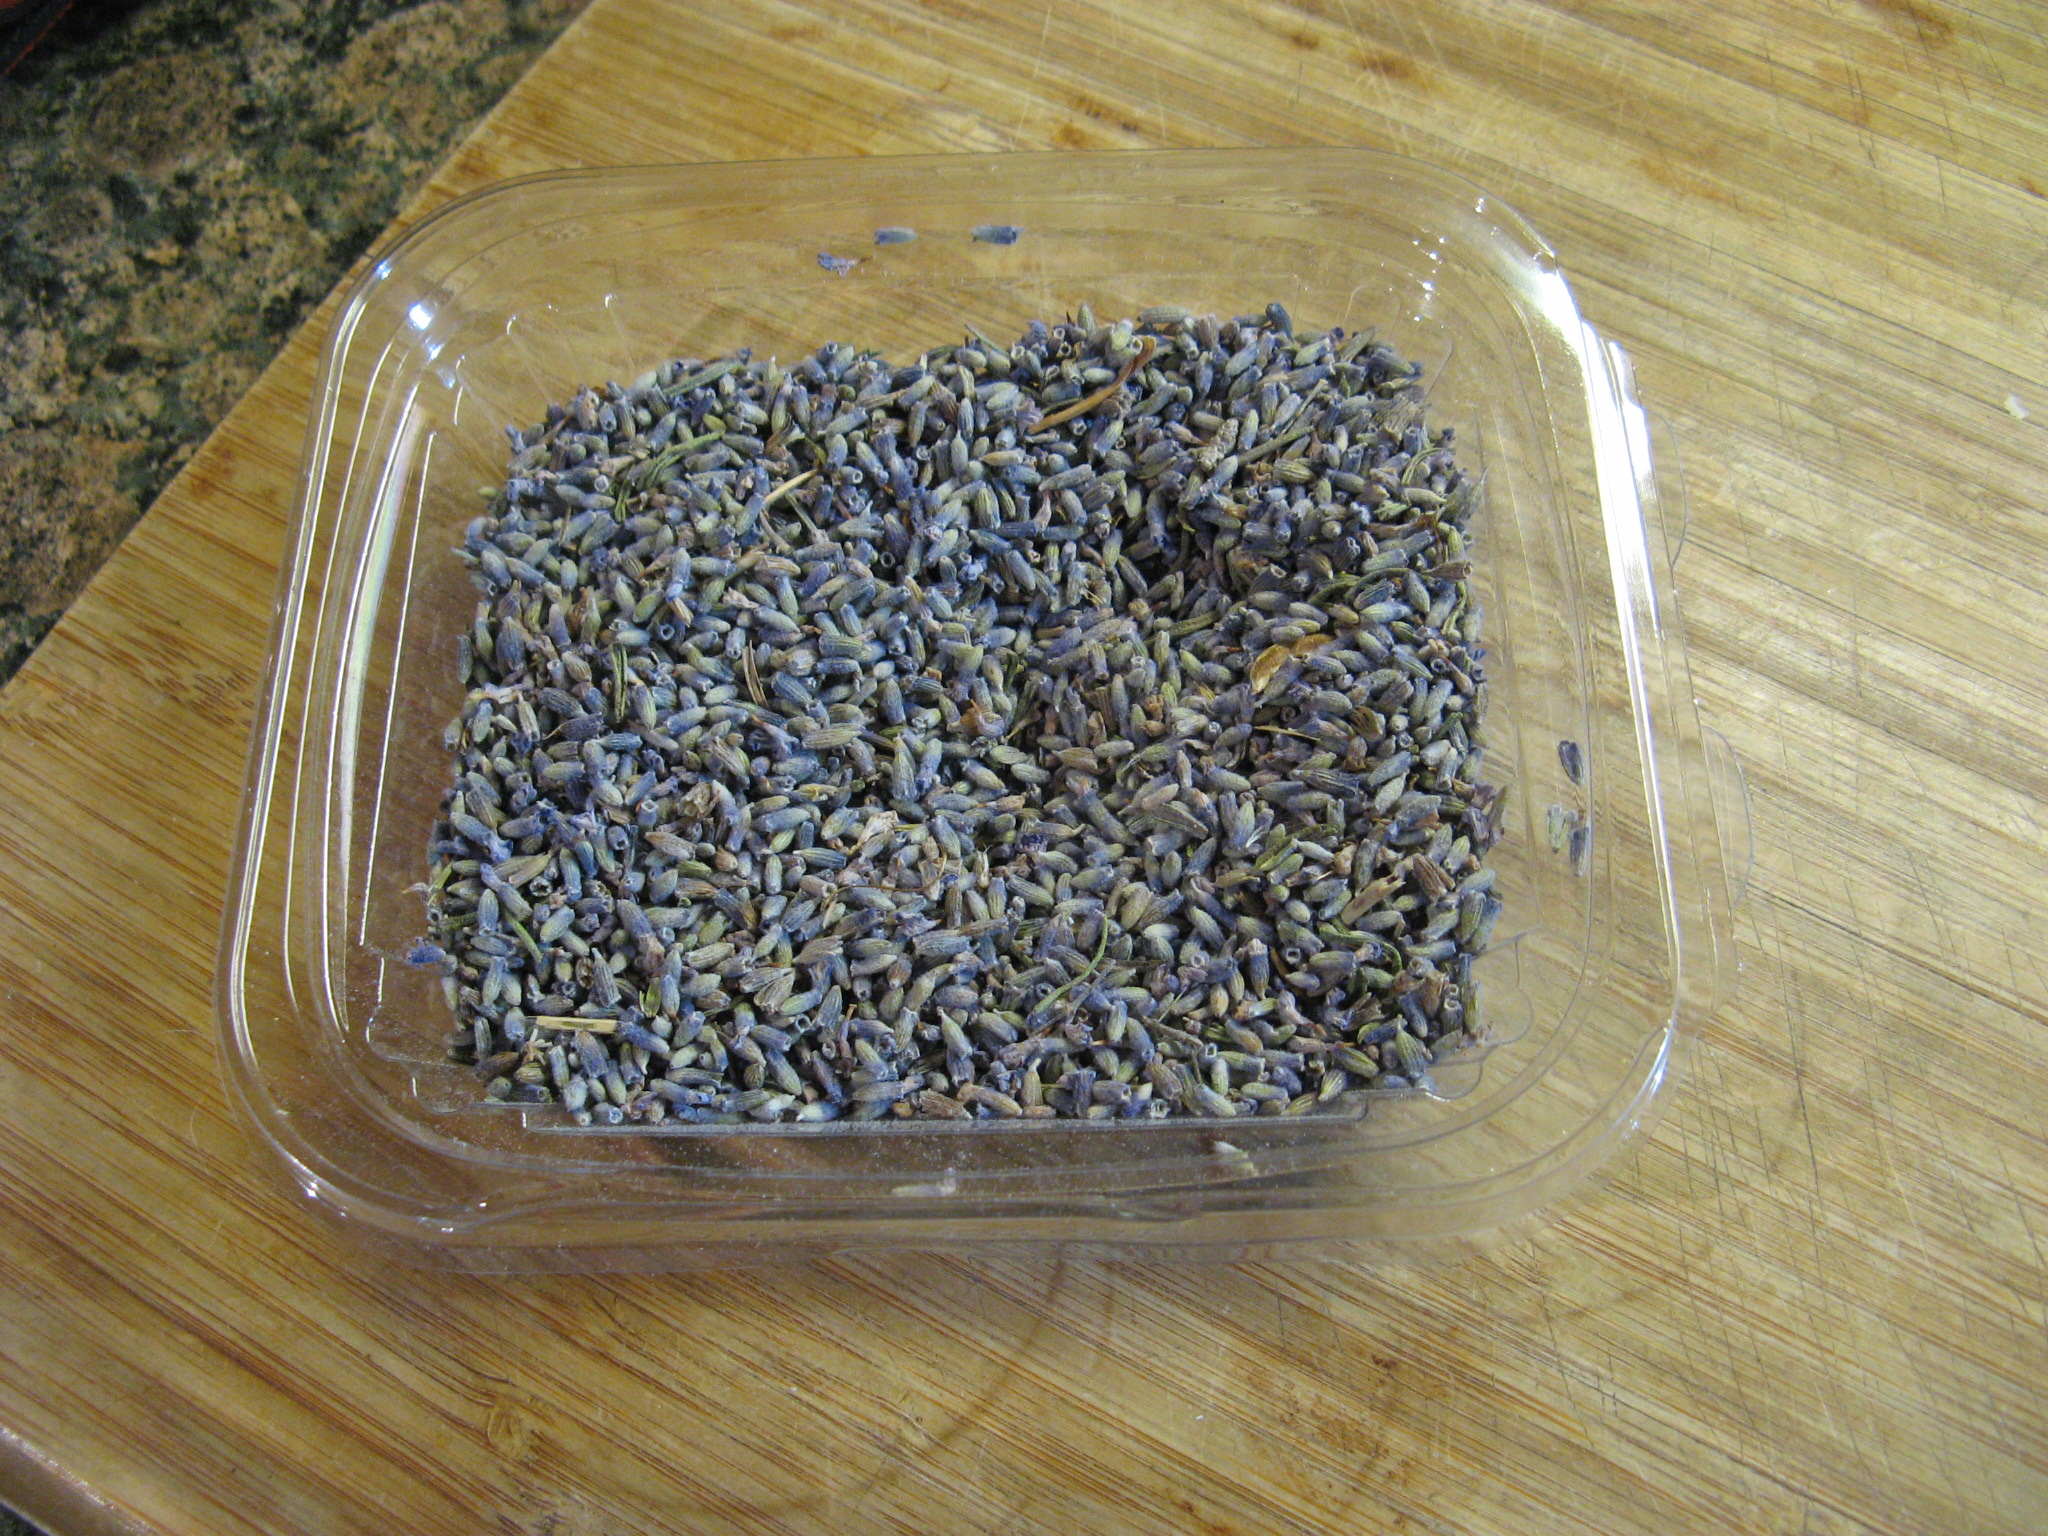
A few weeks ago while I was out and about in Brooklyn, NY I stopped into the Middle Eastern grocery store Sahadi’s and immediately fell in love with the place. My senses were on overload with the abundance of cheeses, pastries, hard to find ingredients and herbs & spices (and that’s just to name a few of the items you can find here.) One of the herbs I couldn’t resist buying was dried lavender.

IMG_3021

A few years ago I took a cooking class where we made Honey-Lavender Fritters and I have always remembered how delicious they were so initially I was thinking of making those, but after some Google searches I settled on cupcakes instead – I can always make the fritters at a later time since I do have plenty of dried lavender left. I settled on a recipe from a fellow blogger – Sweet Society – and got to baking.

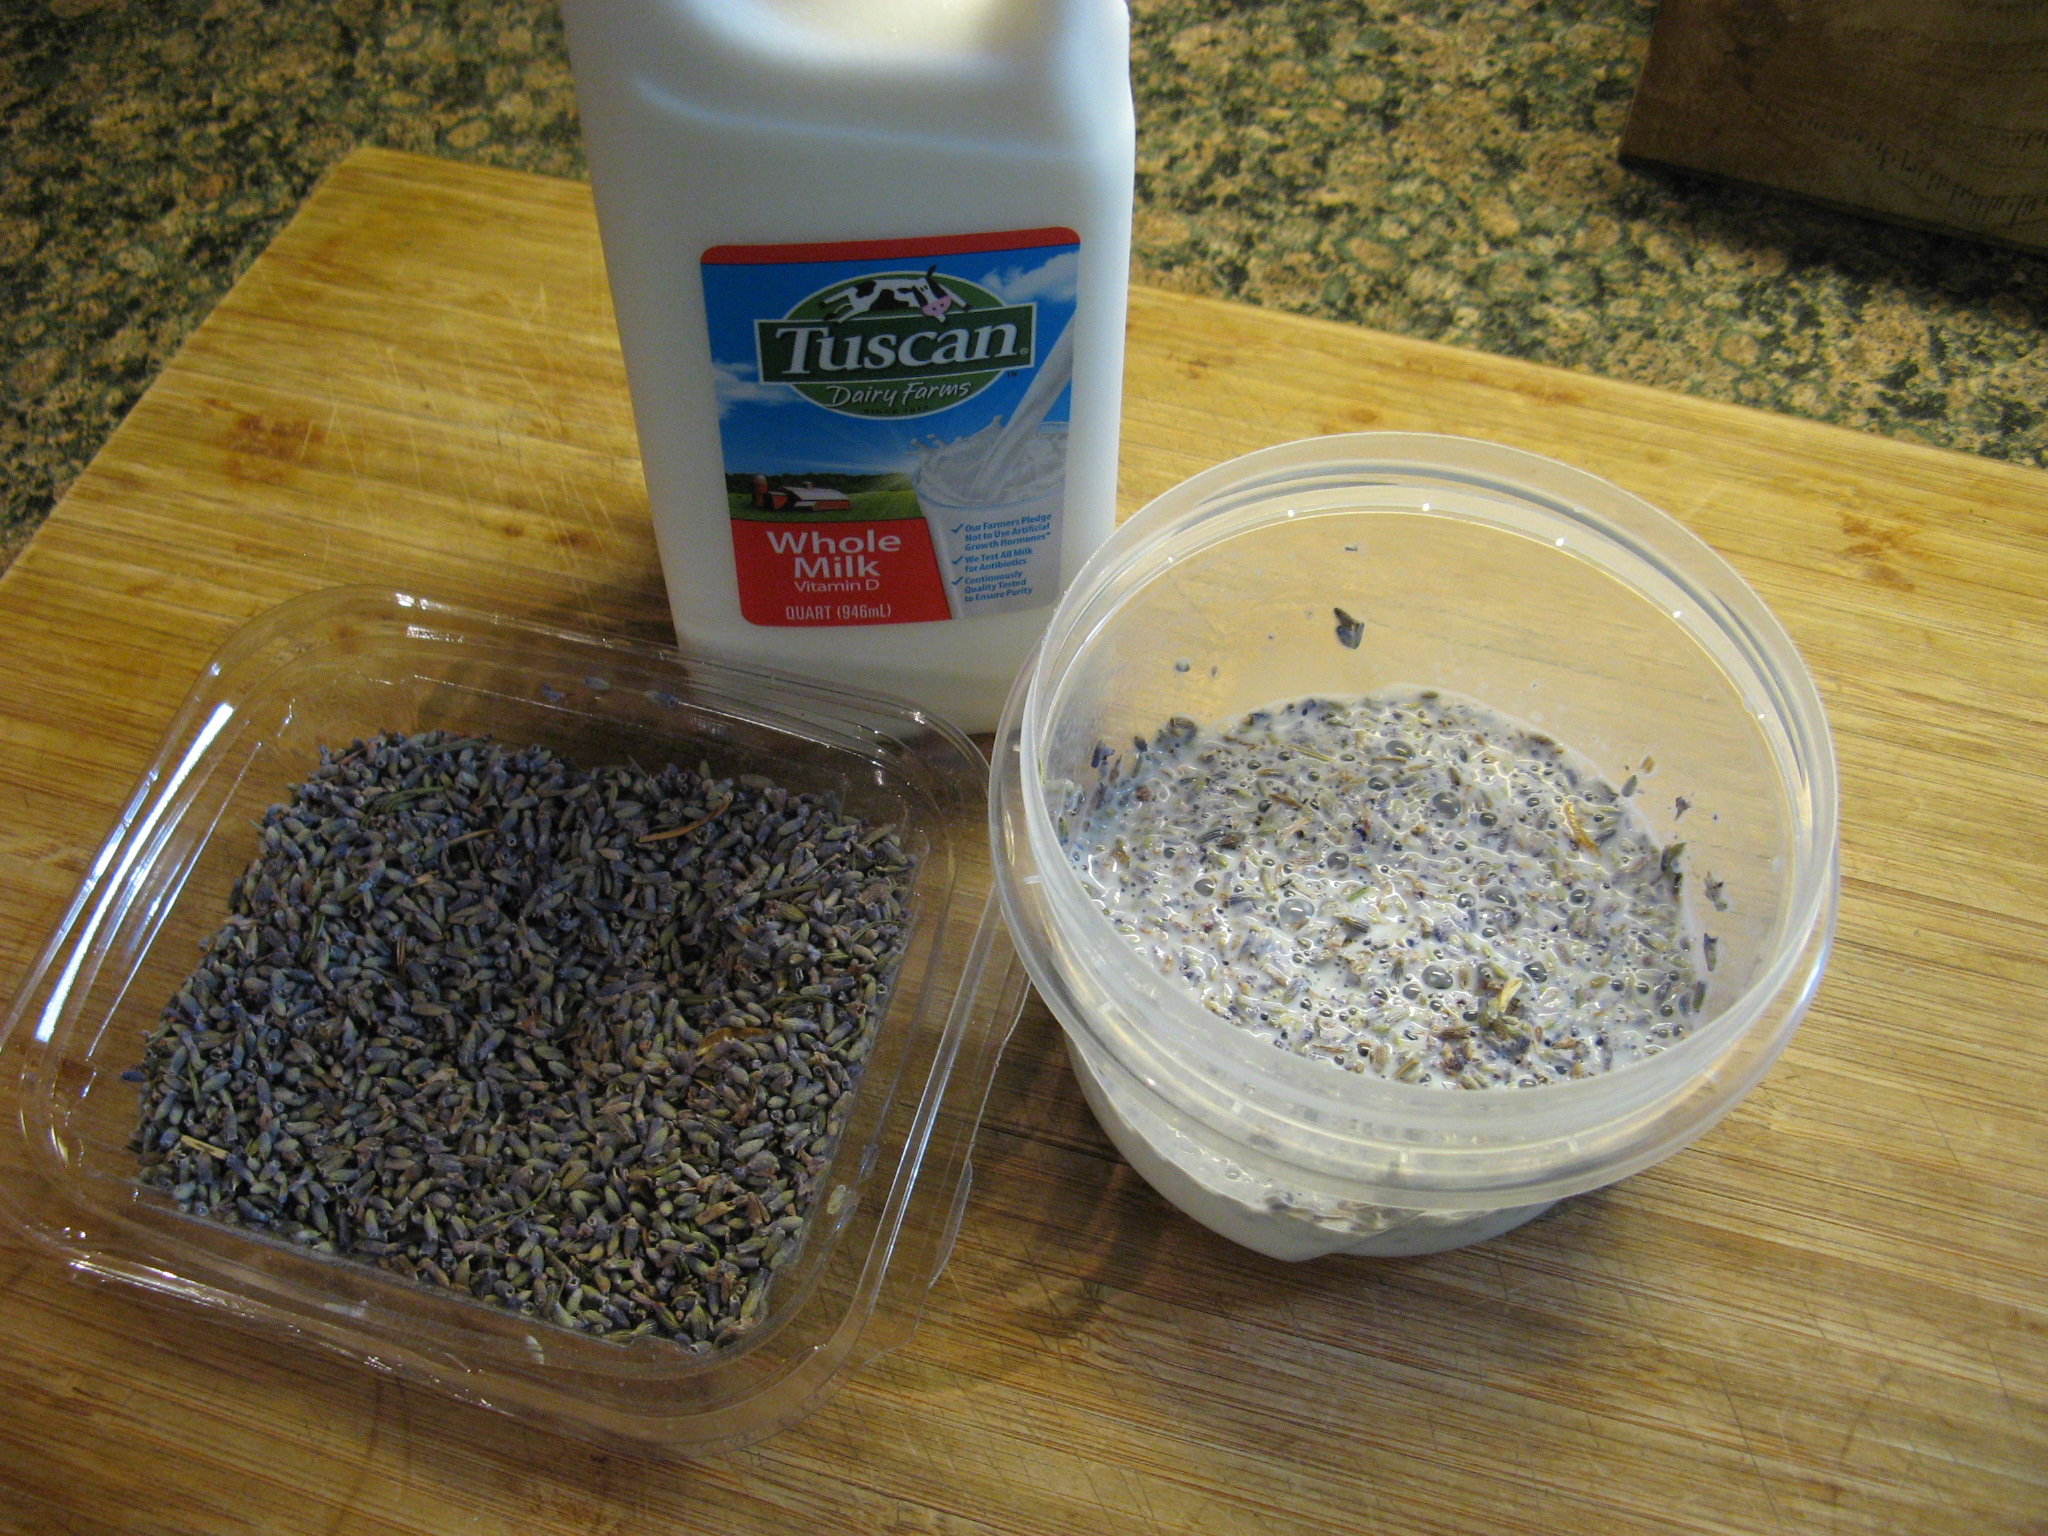
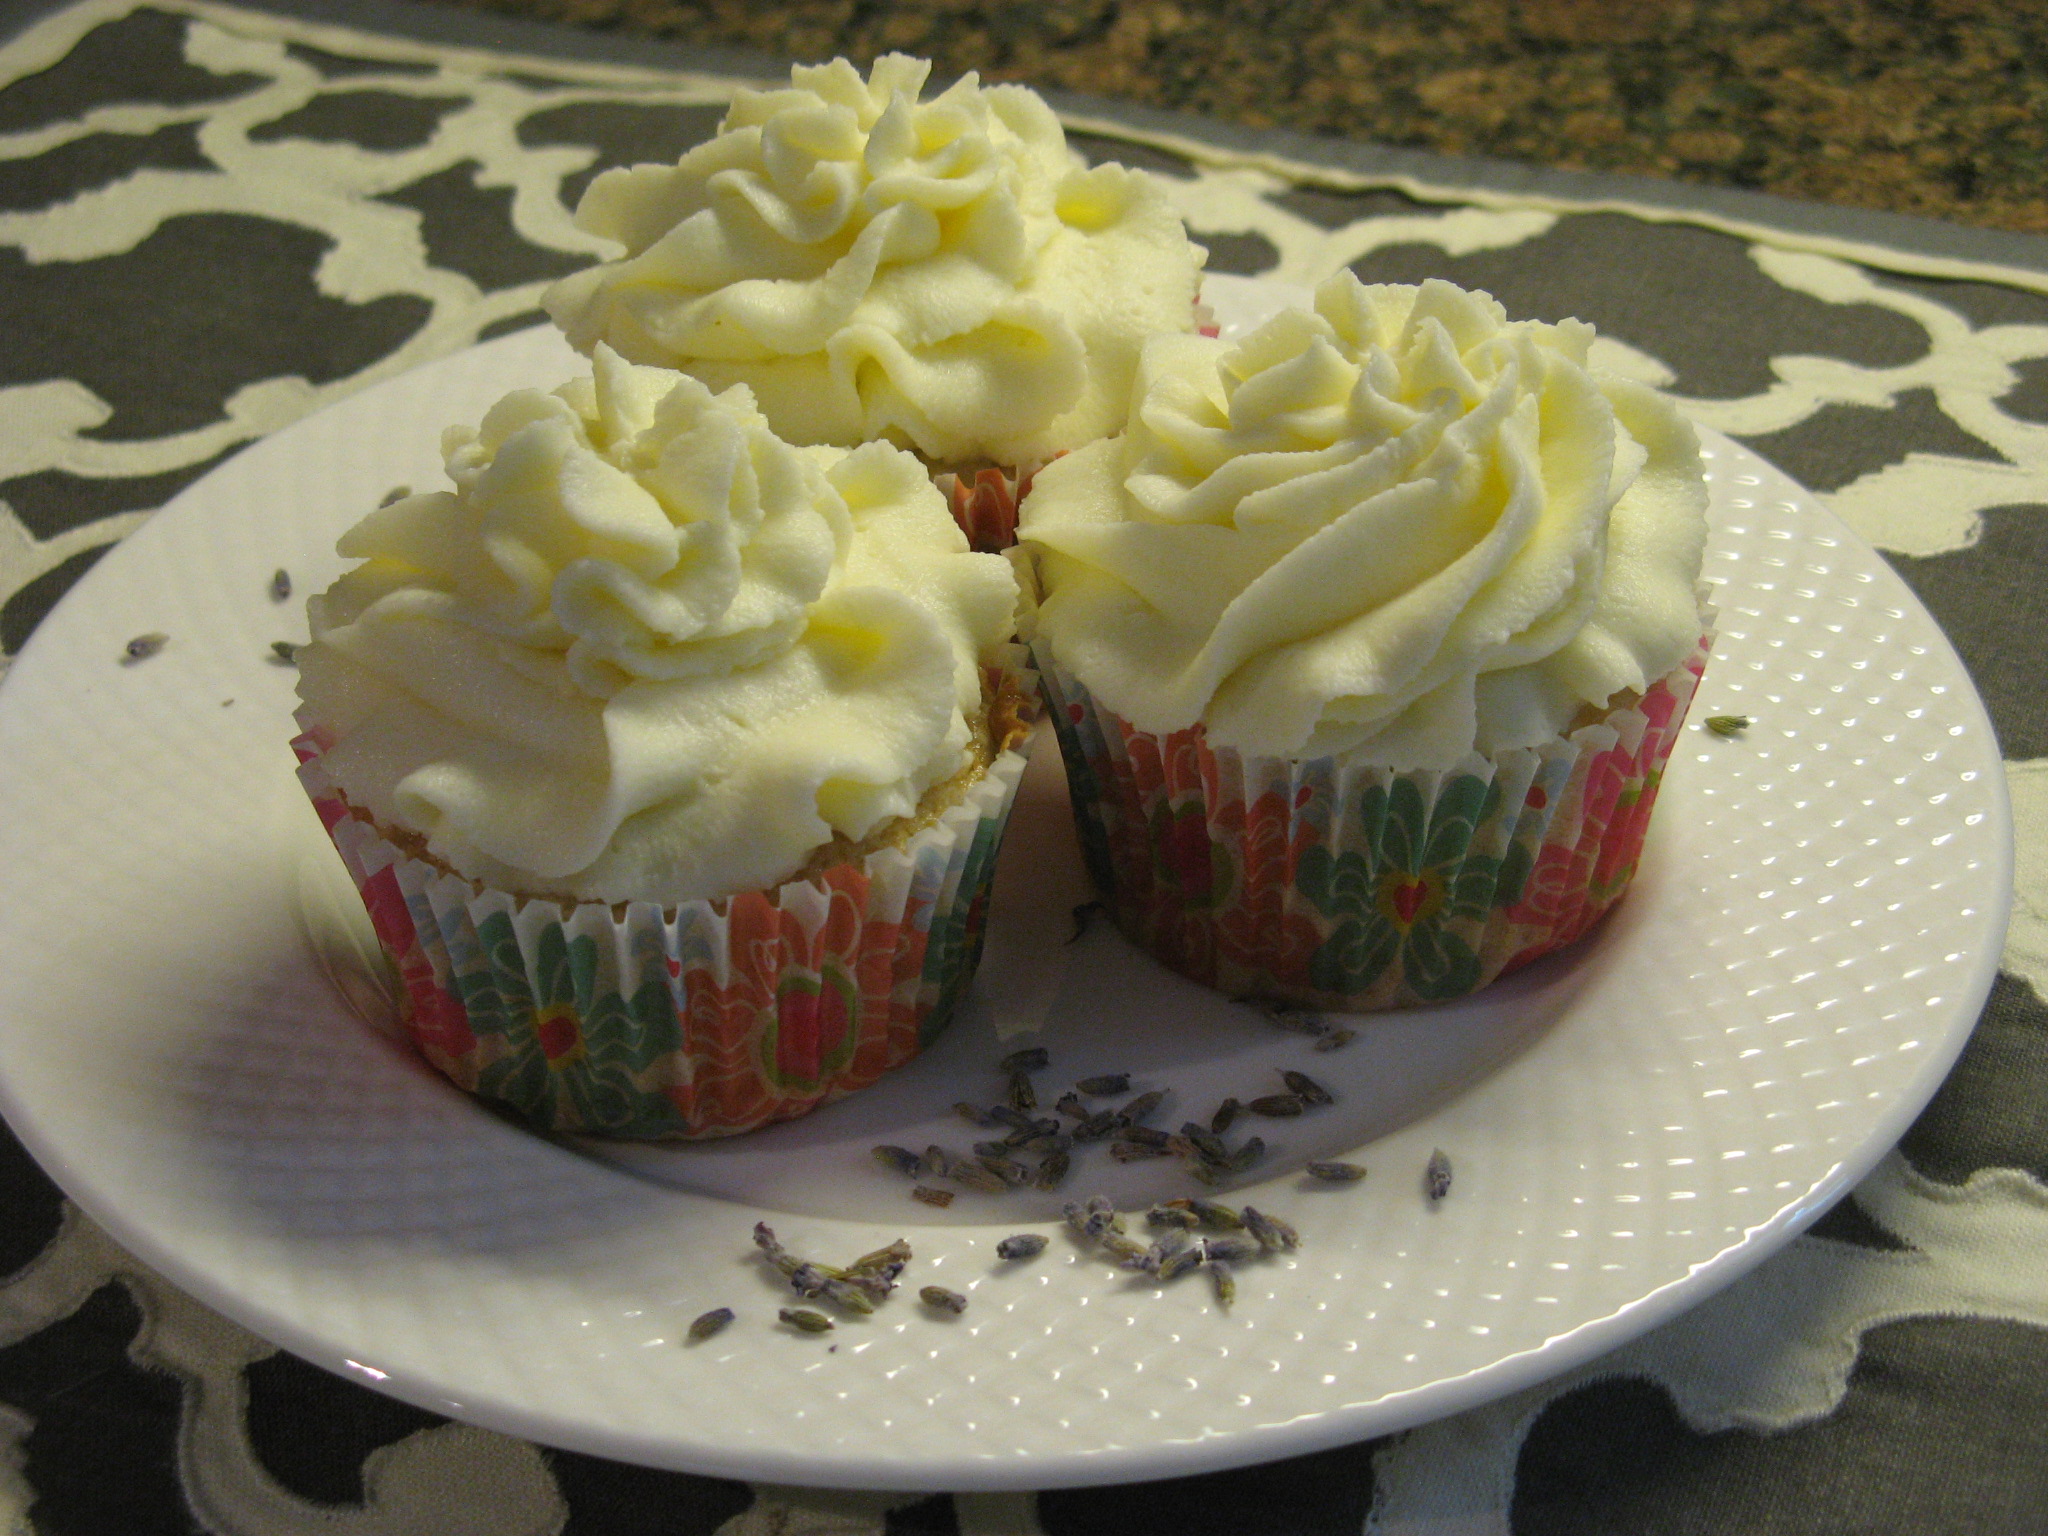
To start I soaked 3 tablespoons of dried lavender in whole milk in the refrigerator for eight hours.

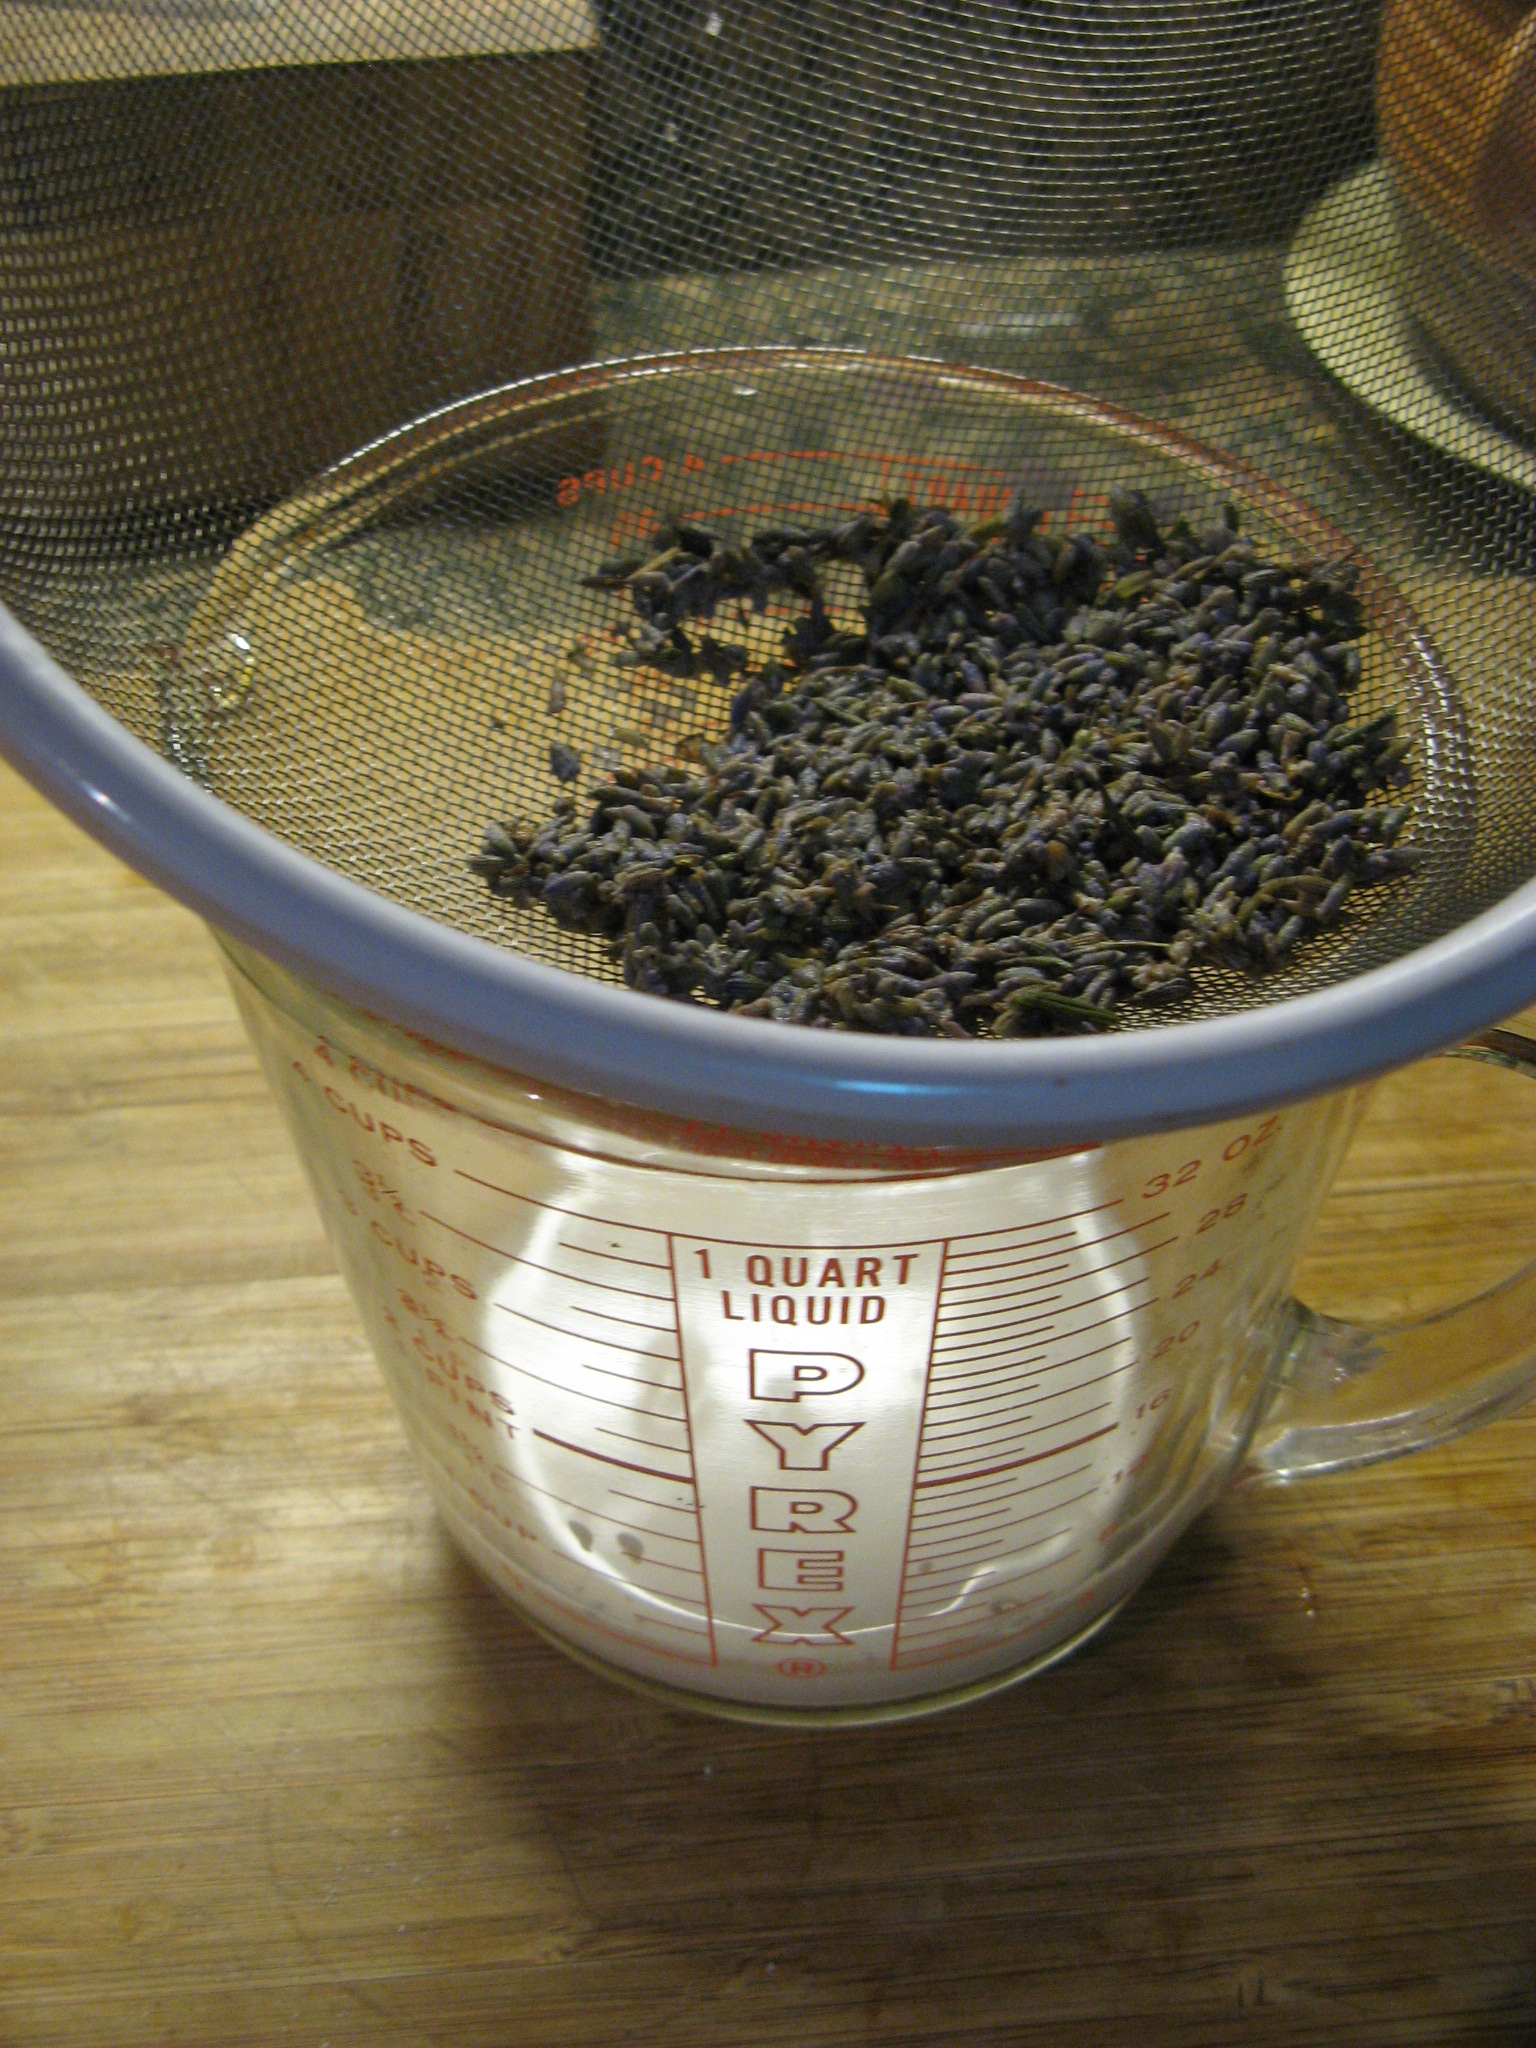
IMG_3022

After straining I set it aside and began making the batter for the cupcakes.

IMG_3035

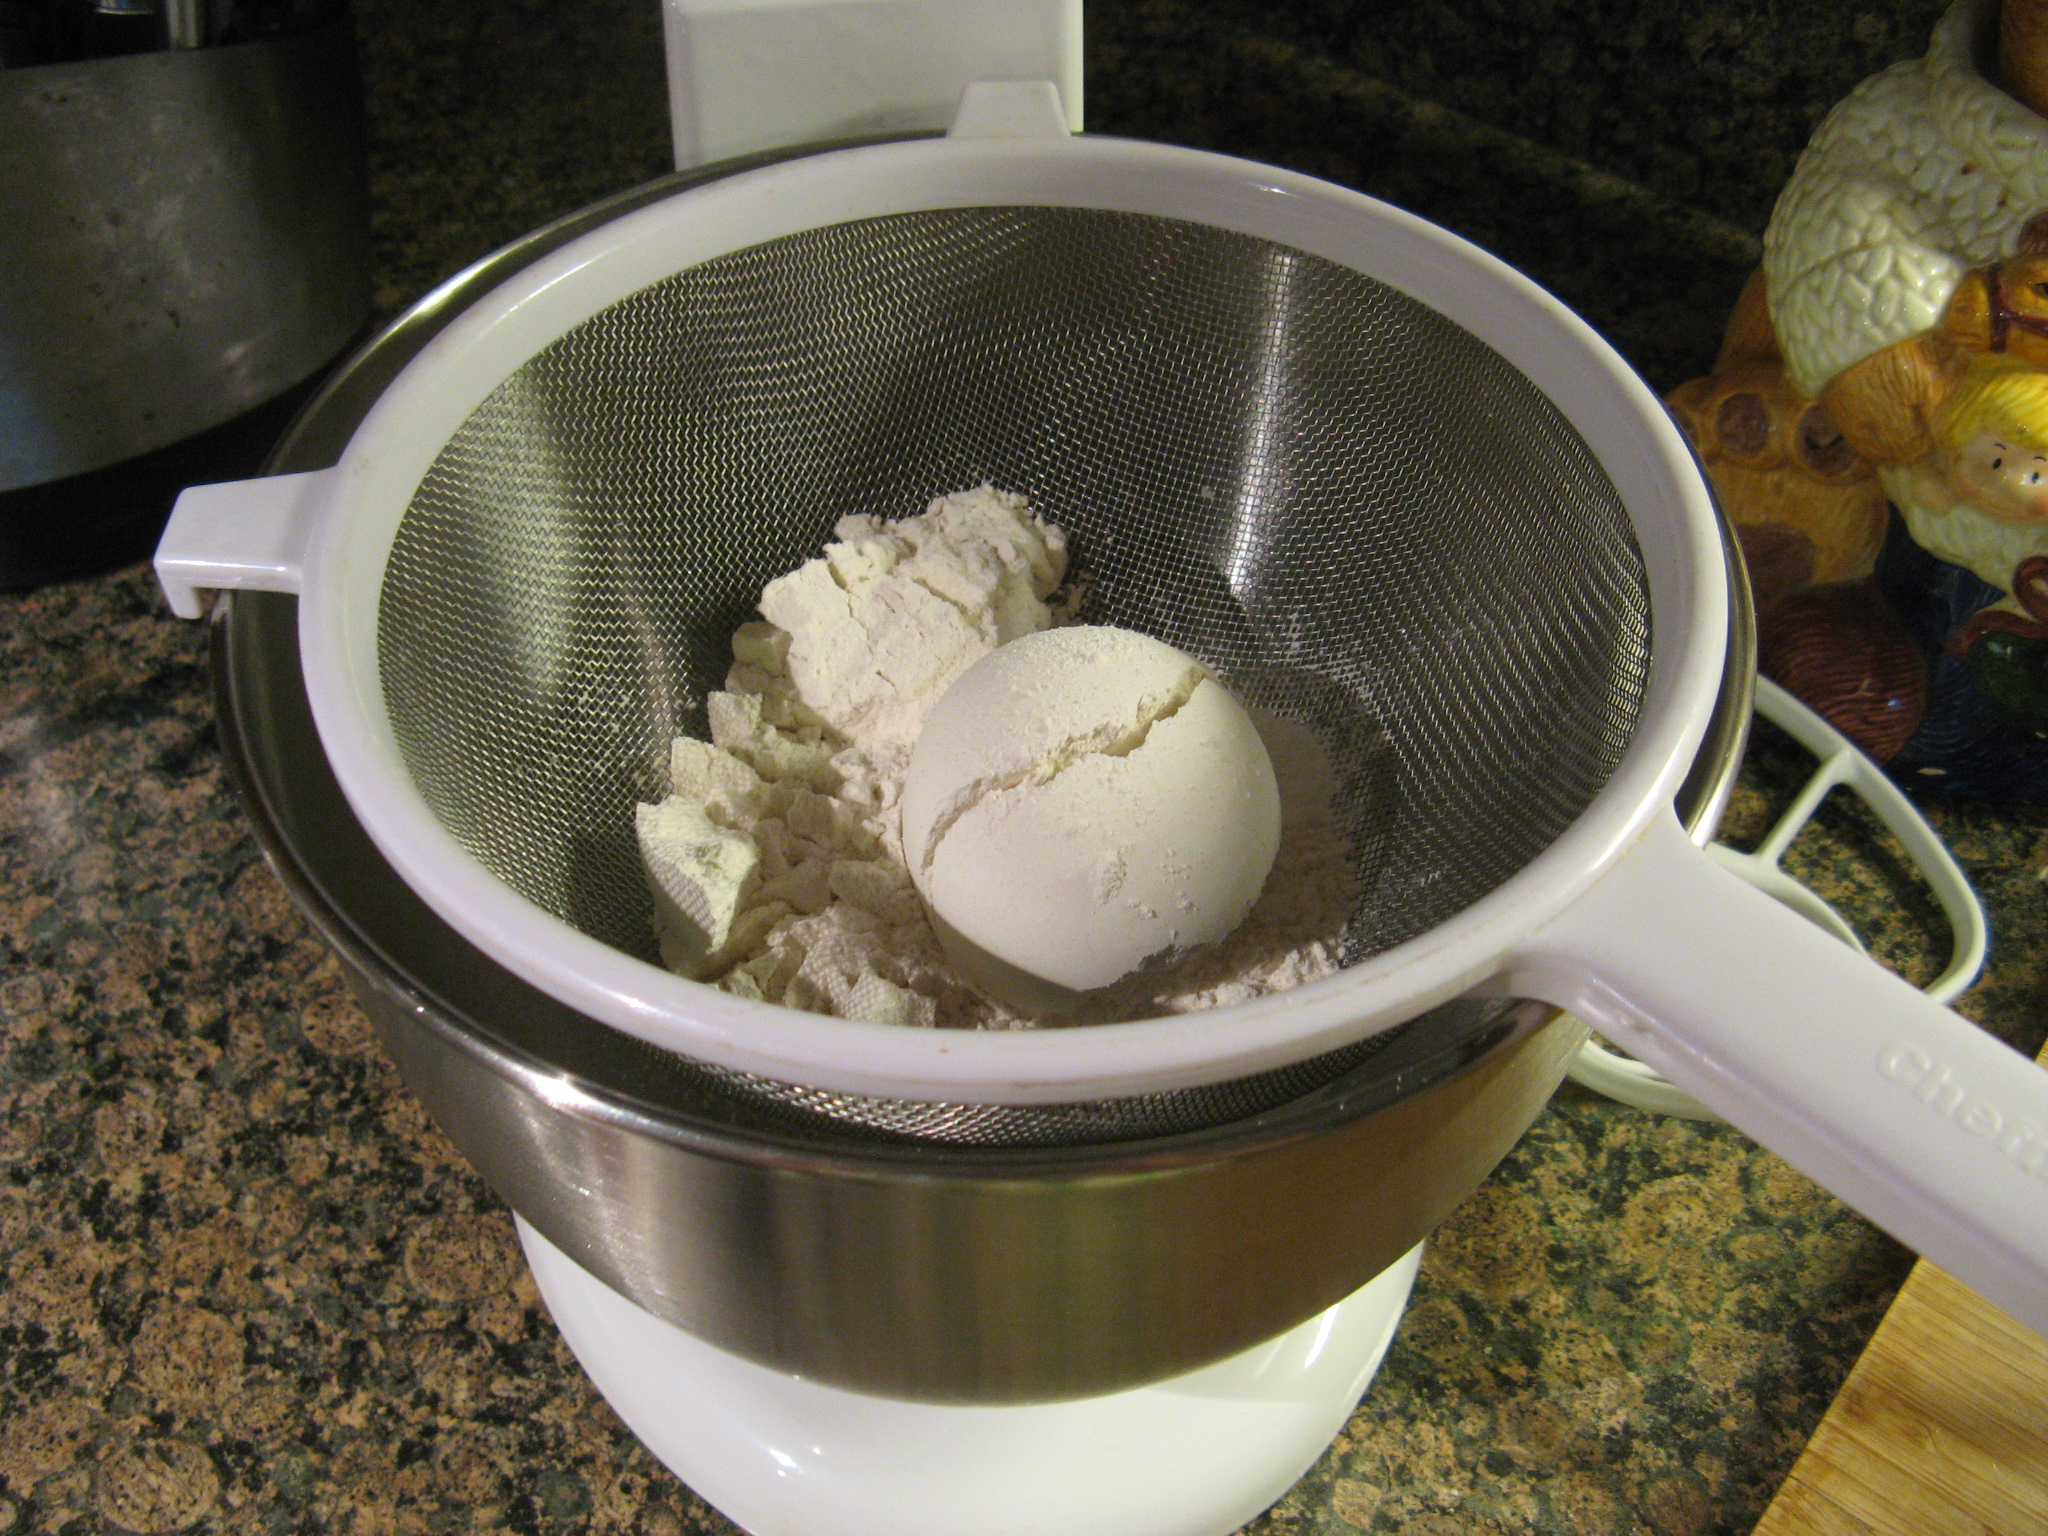
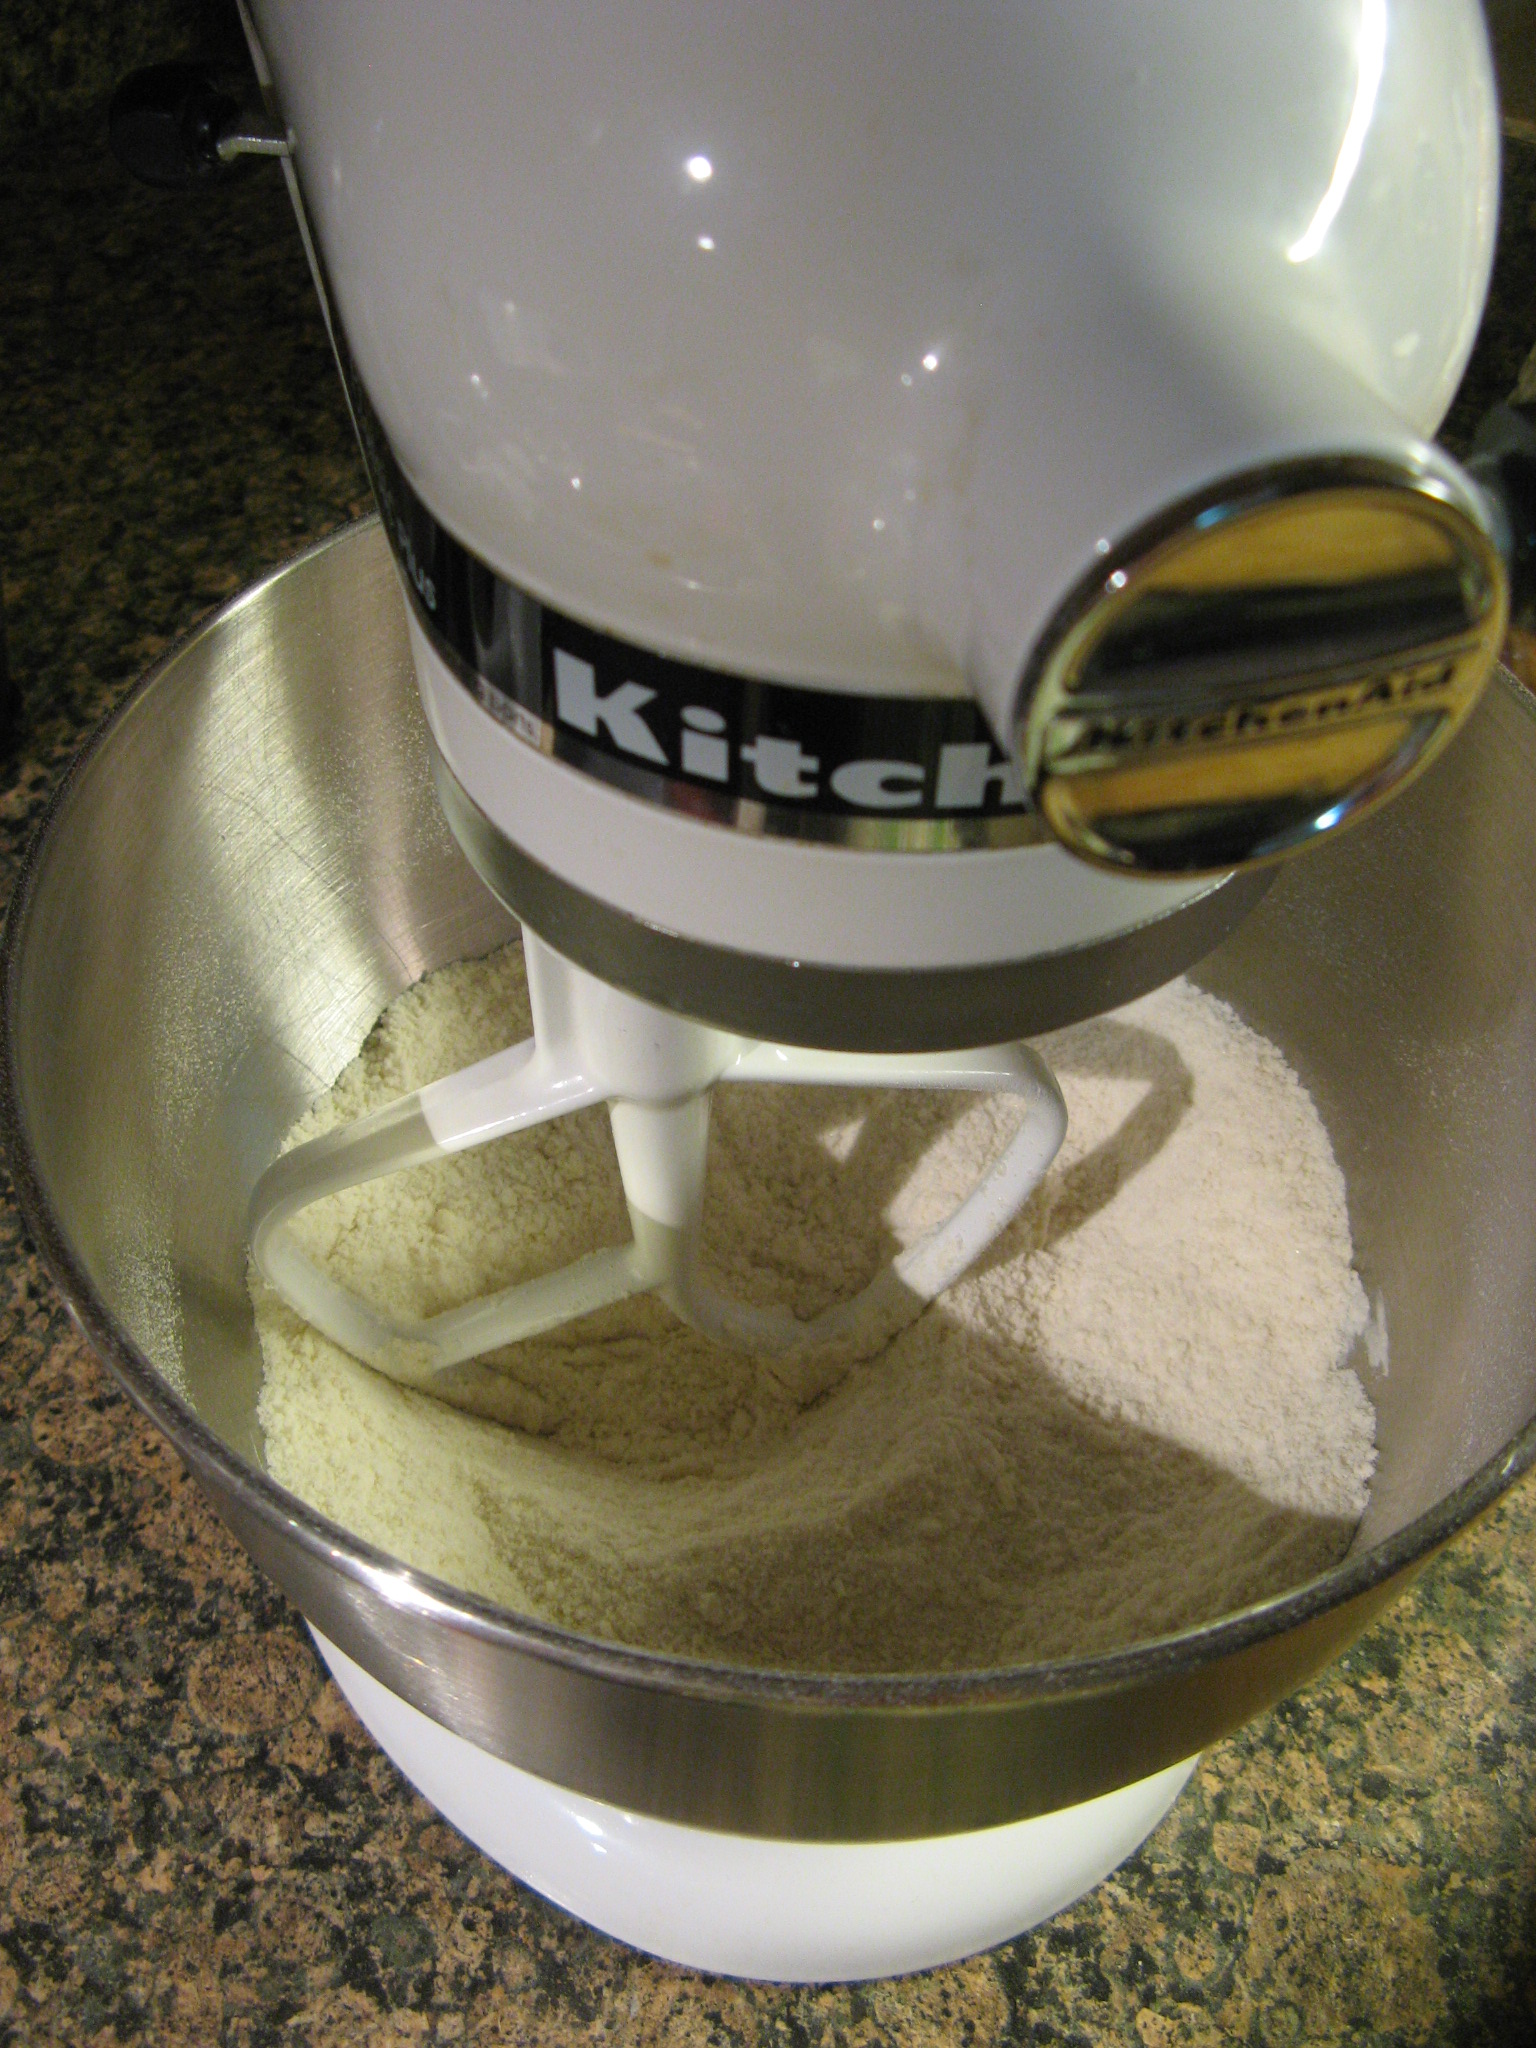
In the bowl of my stand mixer I sifted flour, baking powder and salt together.

IMG_3036

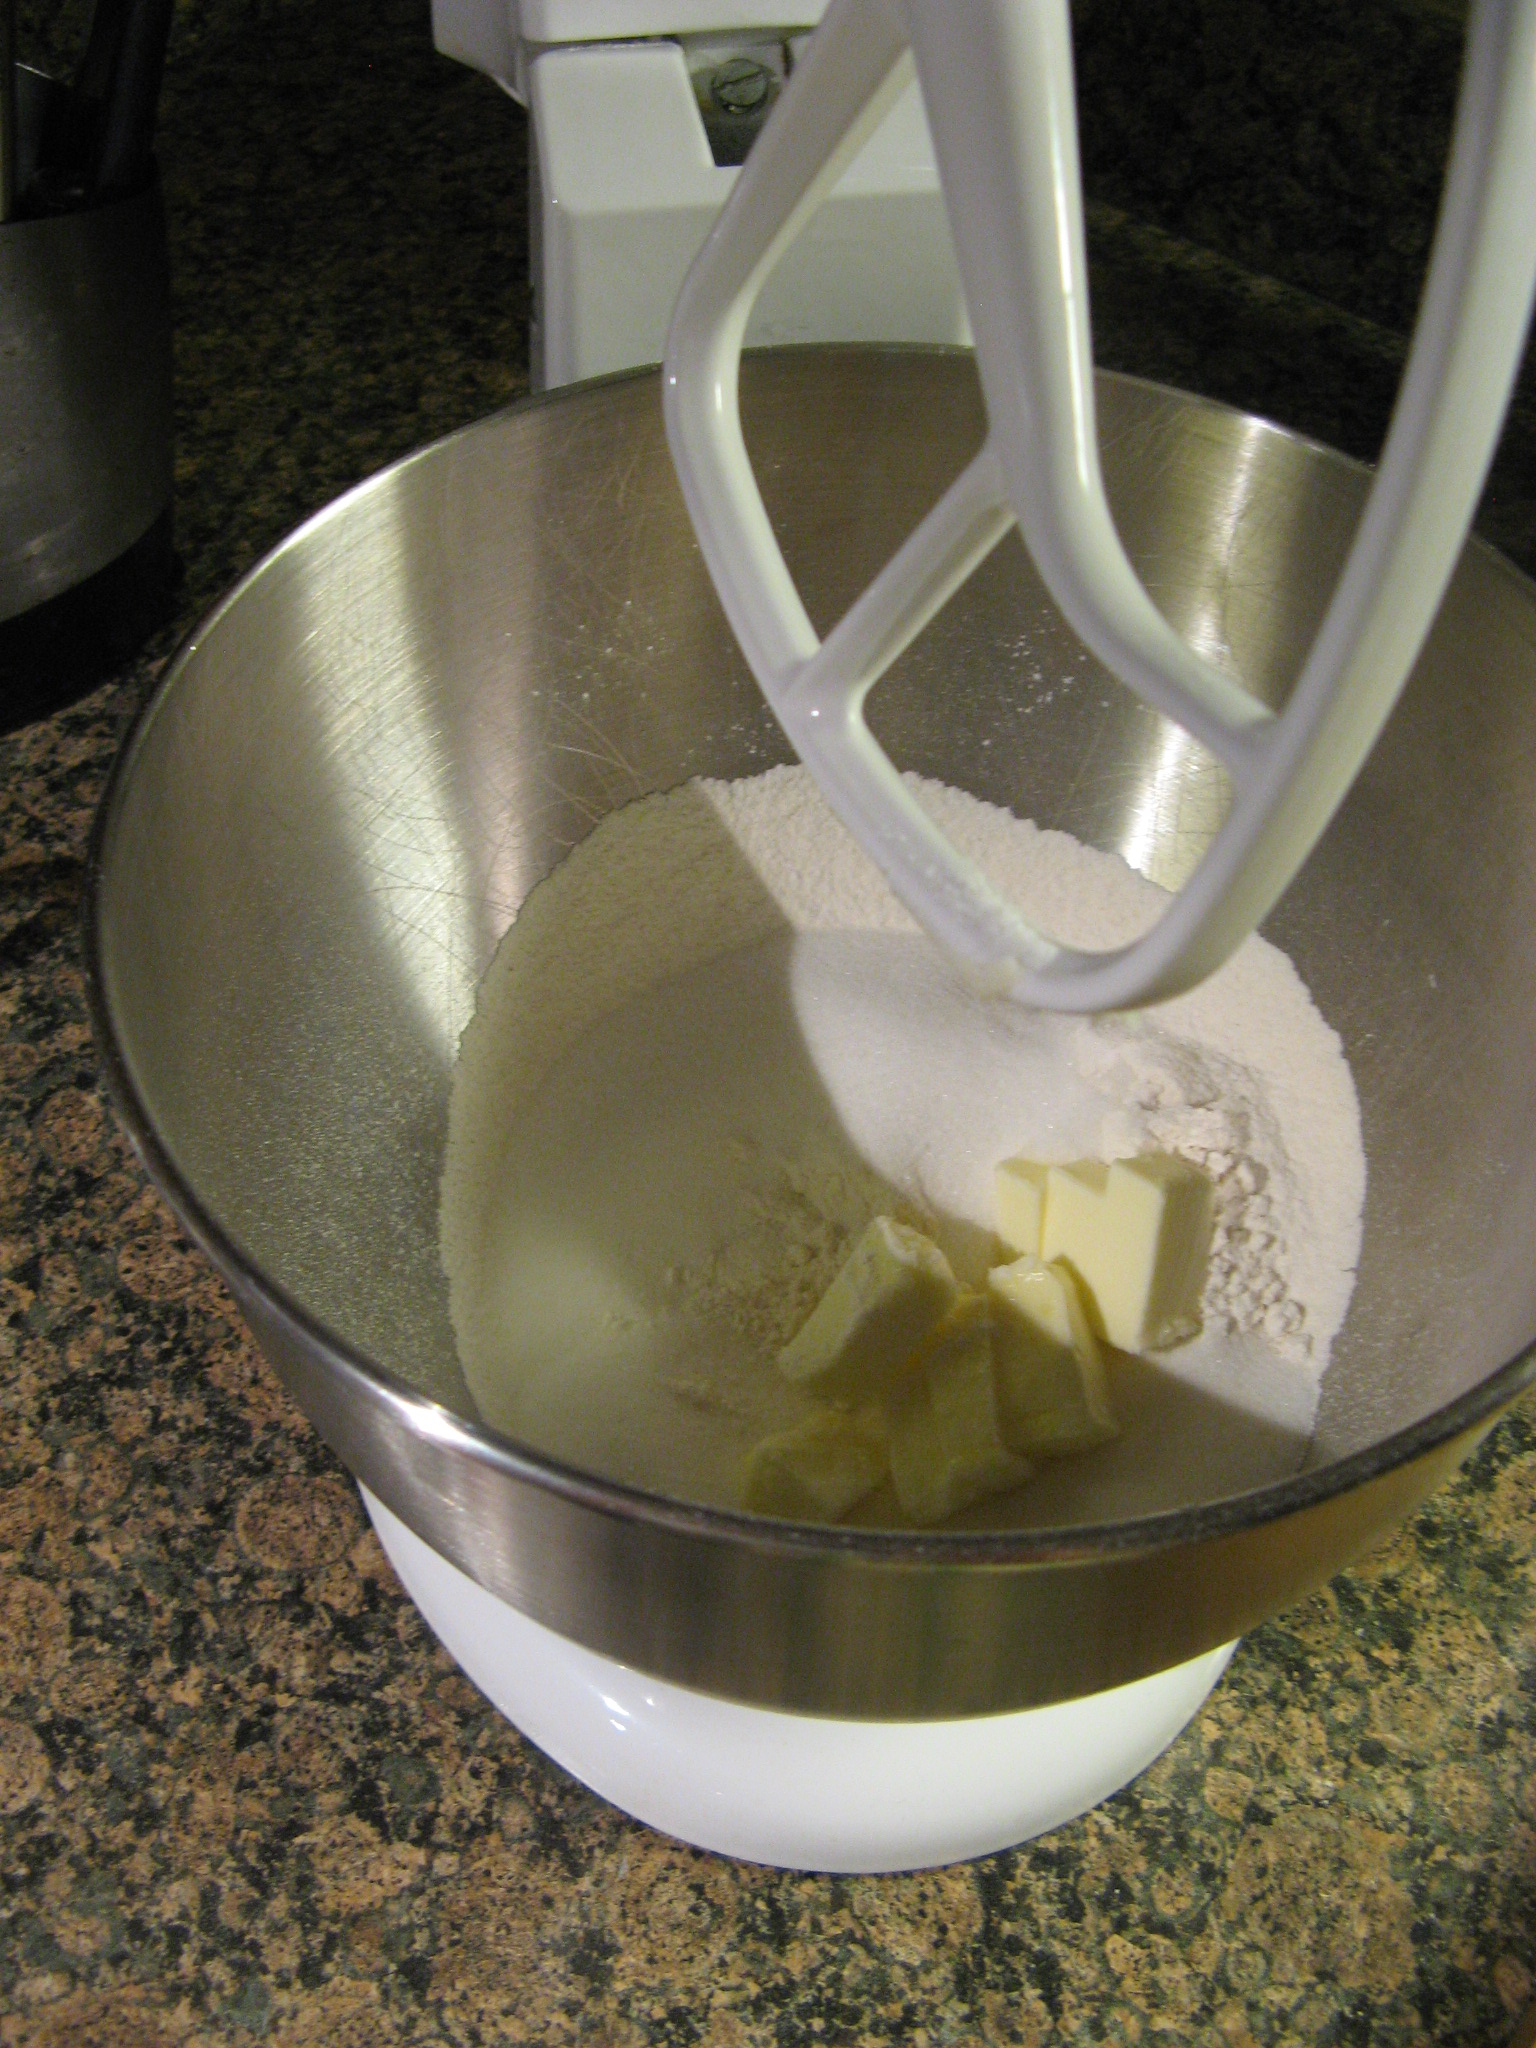
I then added in softened butter and sugar and mixed all the ingredients together until the texture of the mixture was sand-like.

IMG_3038 IMG_3039

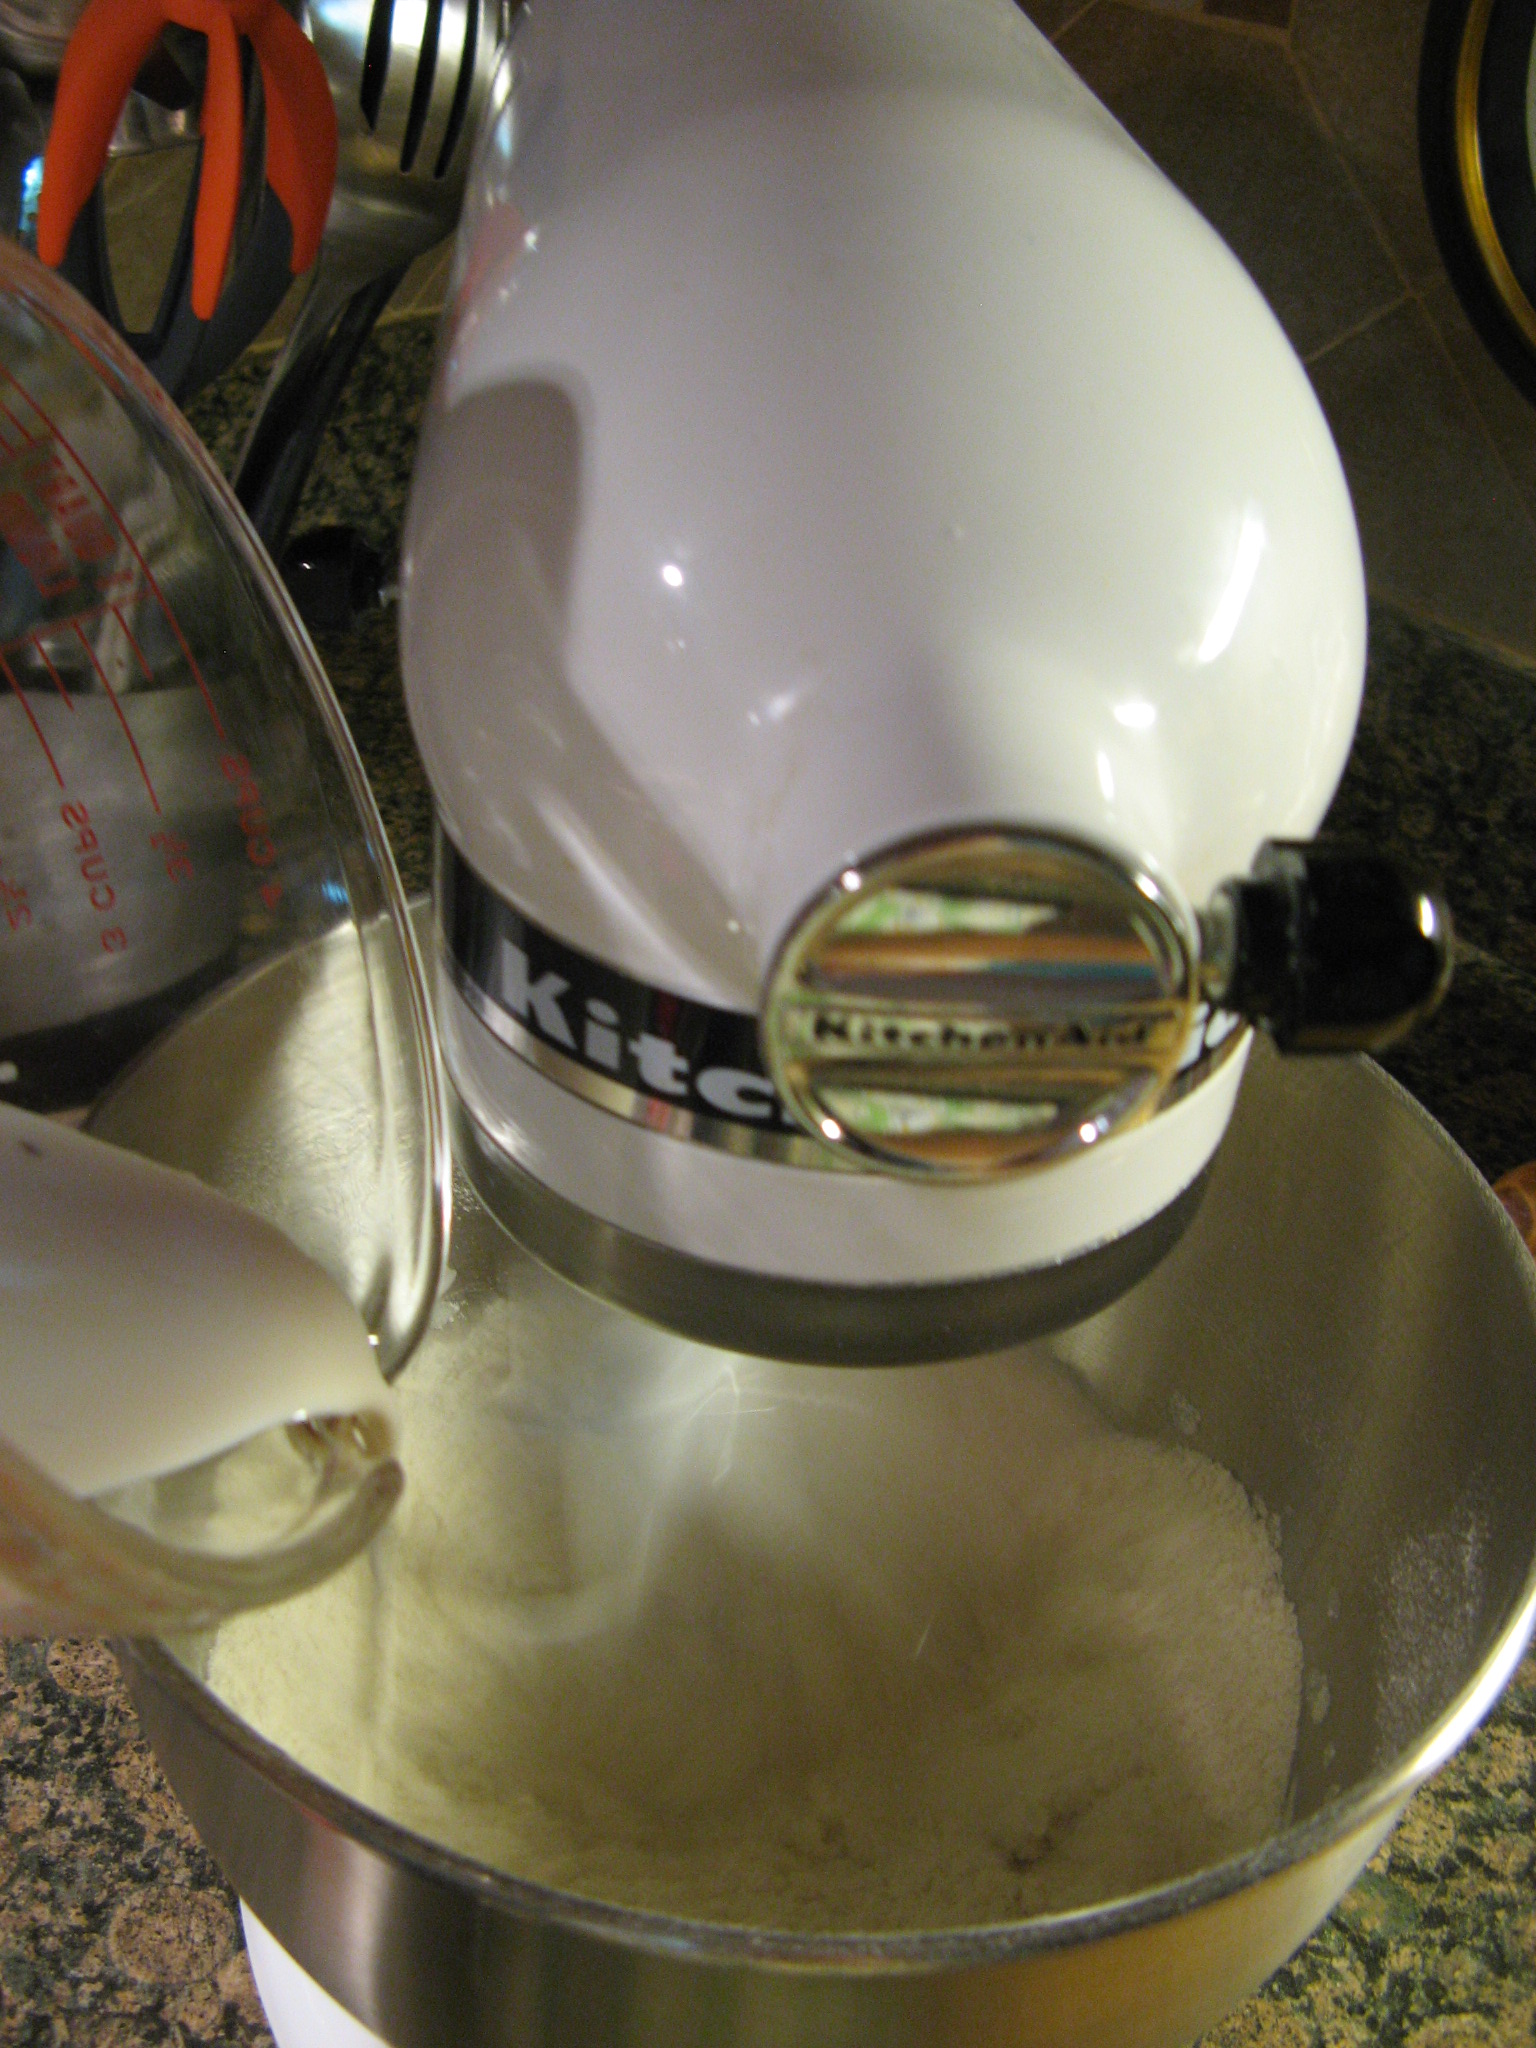
Next up I added in the lavender infused milk and an egg.

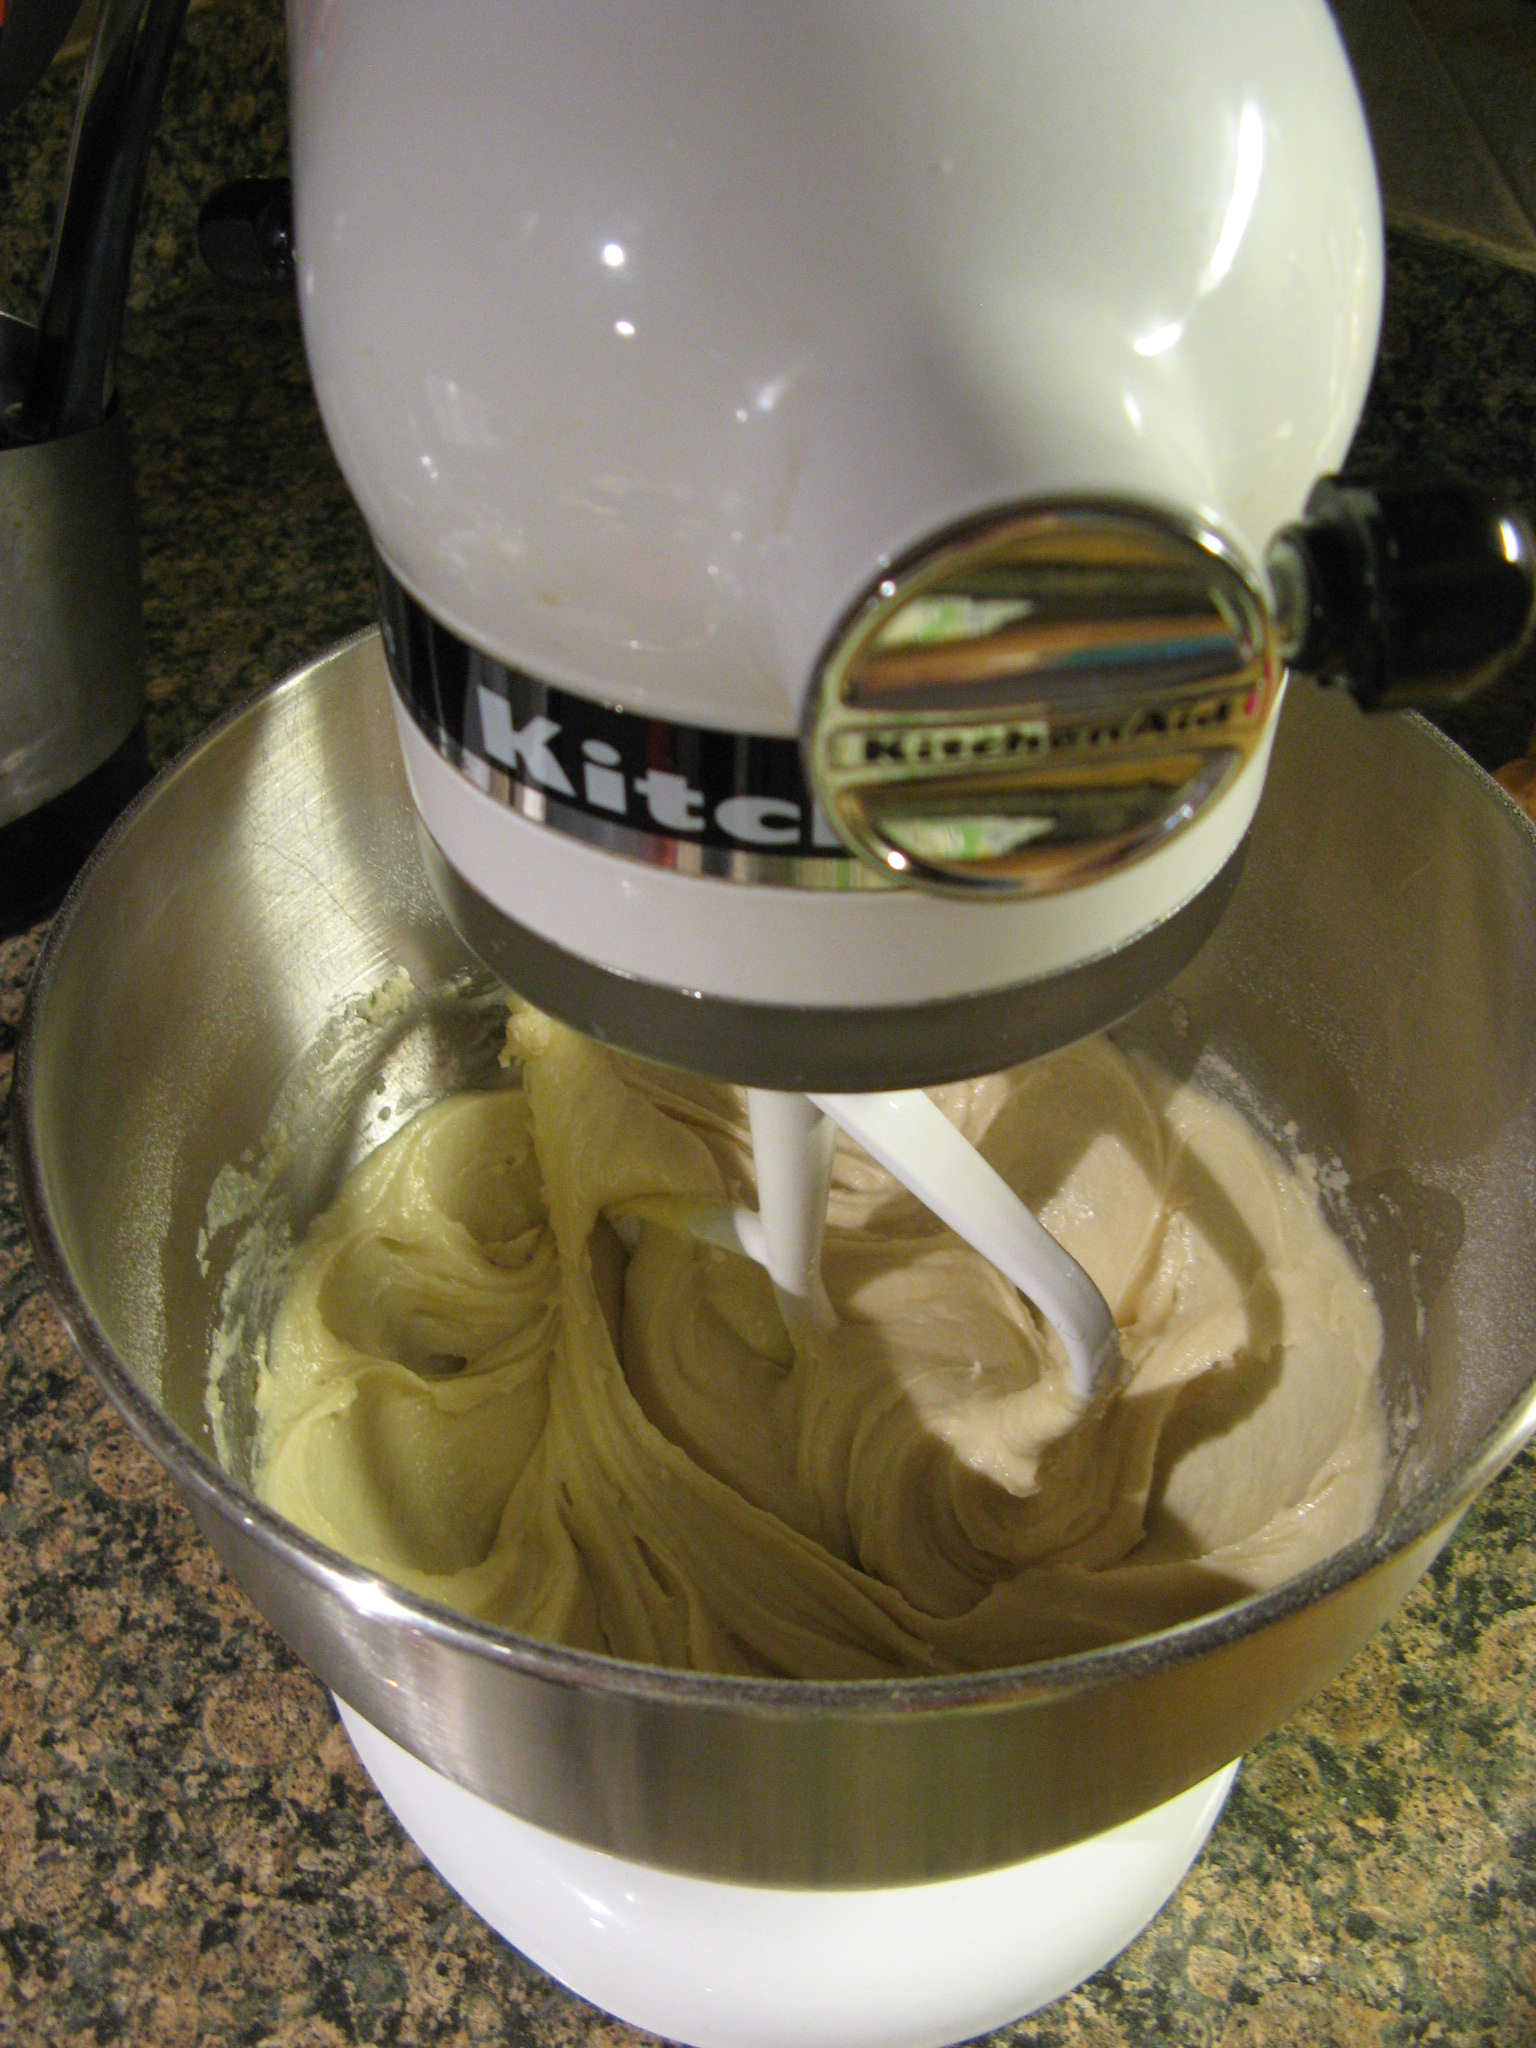
IMG_3040

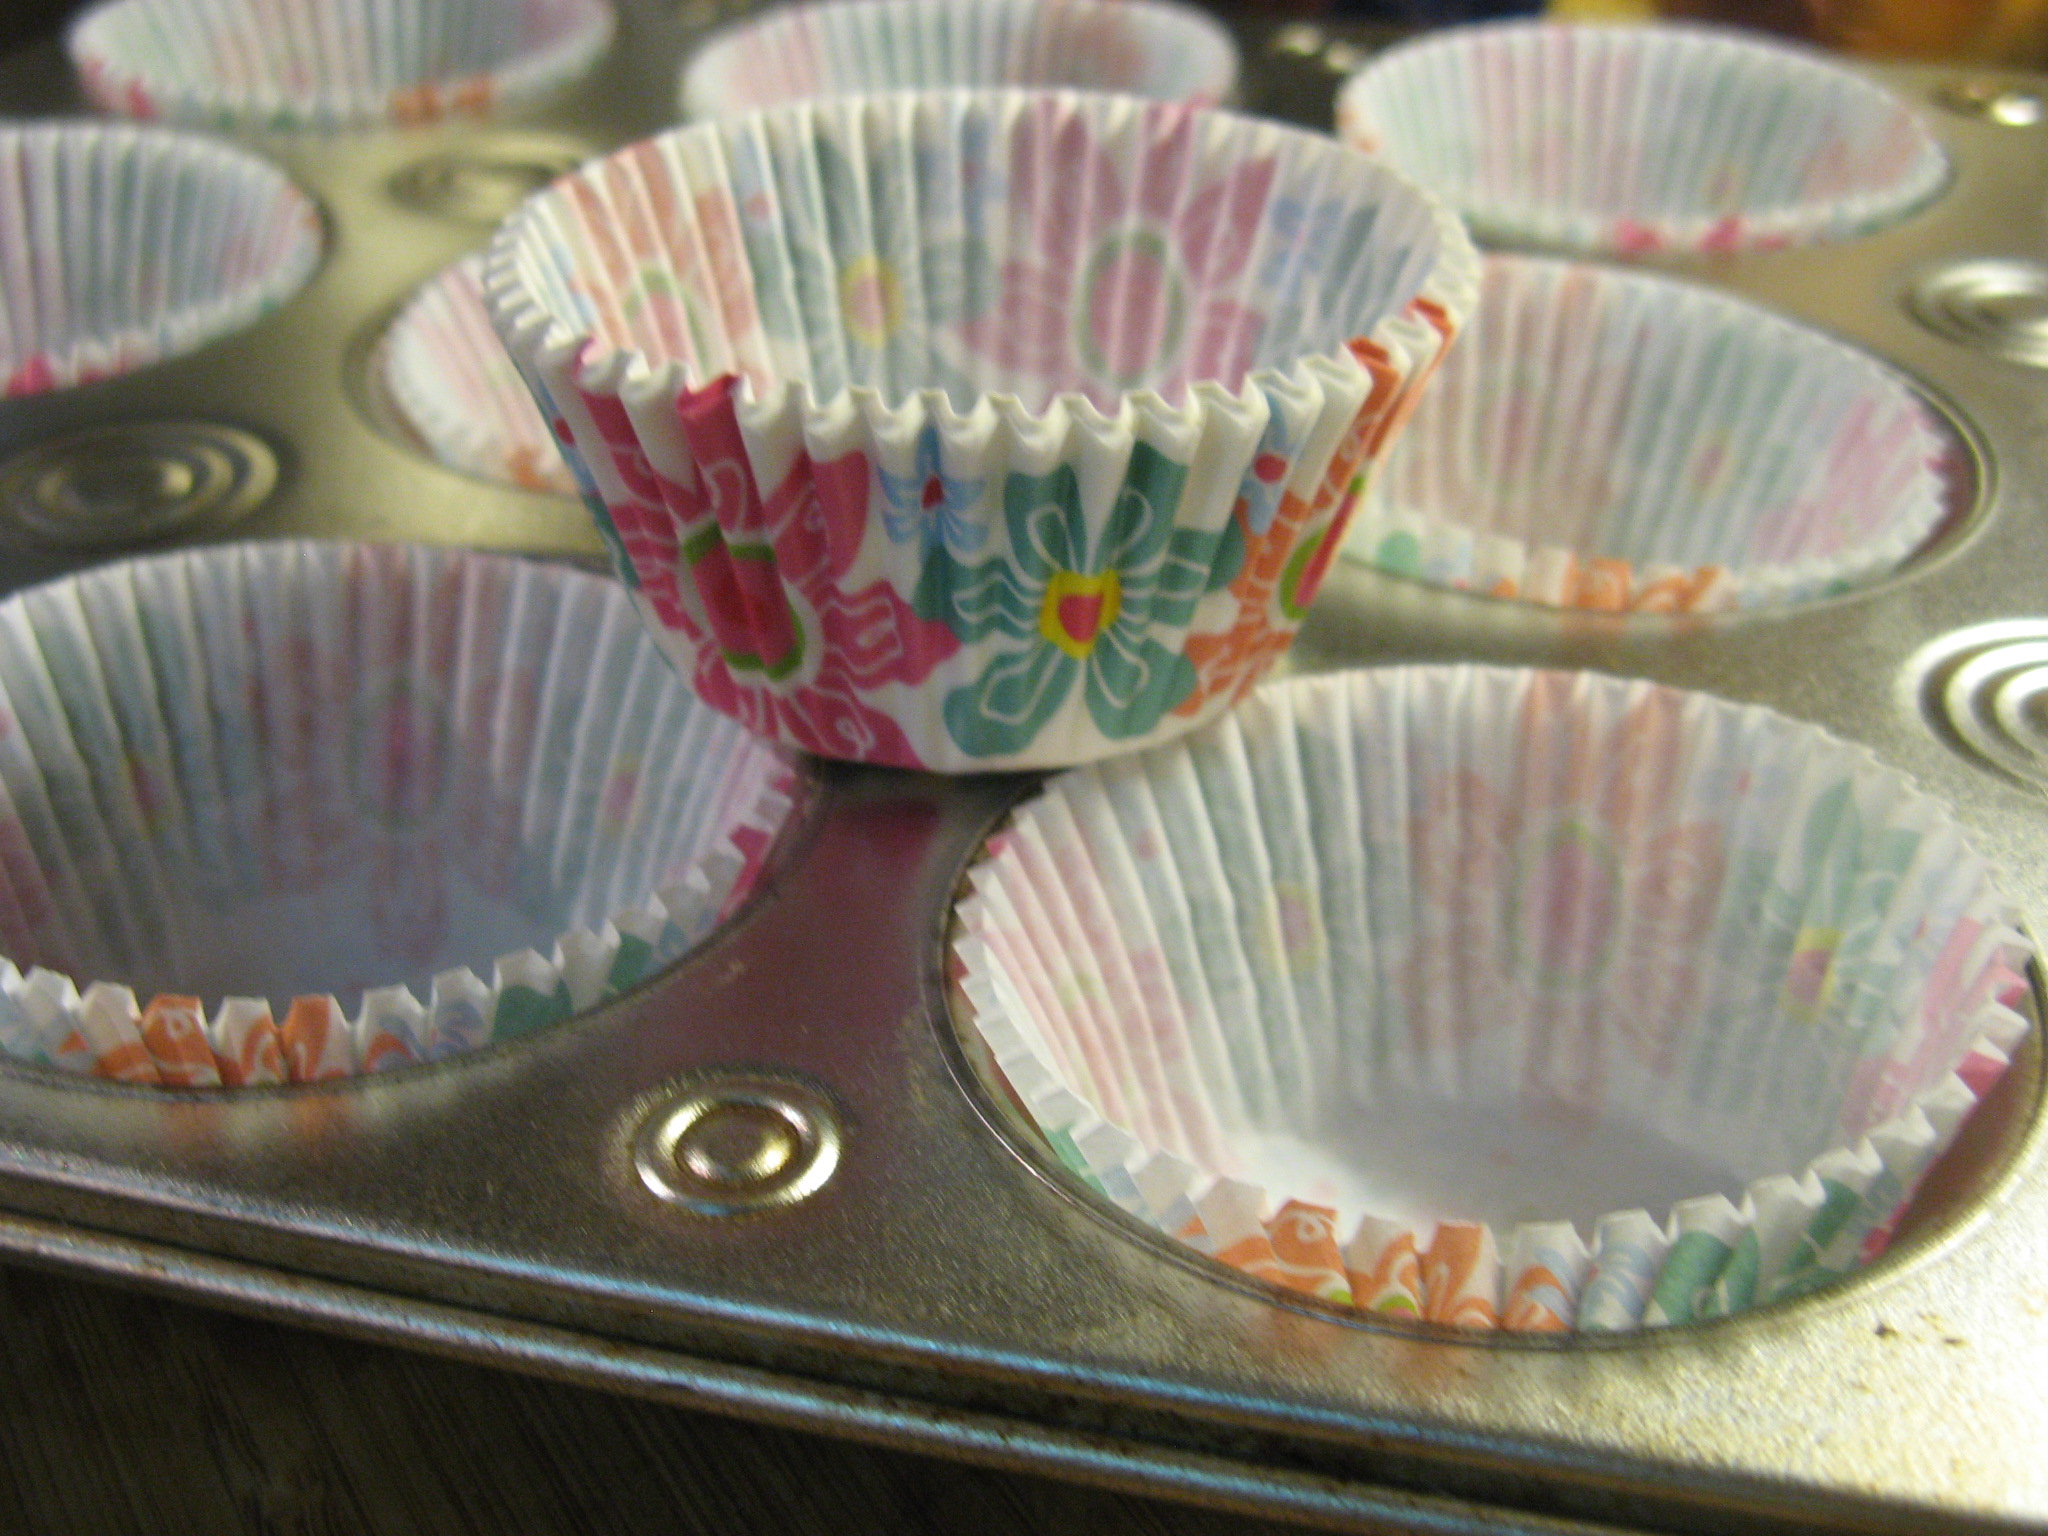
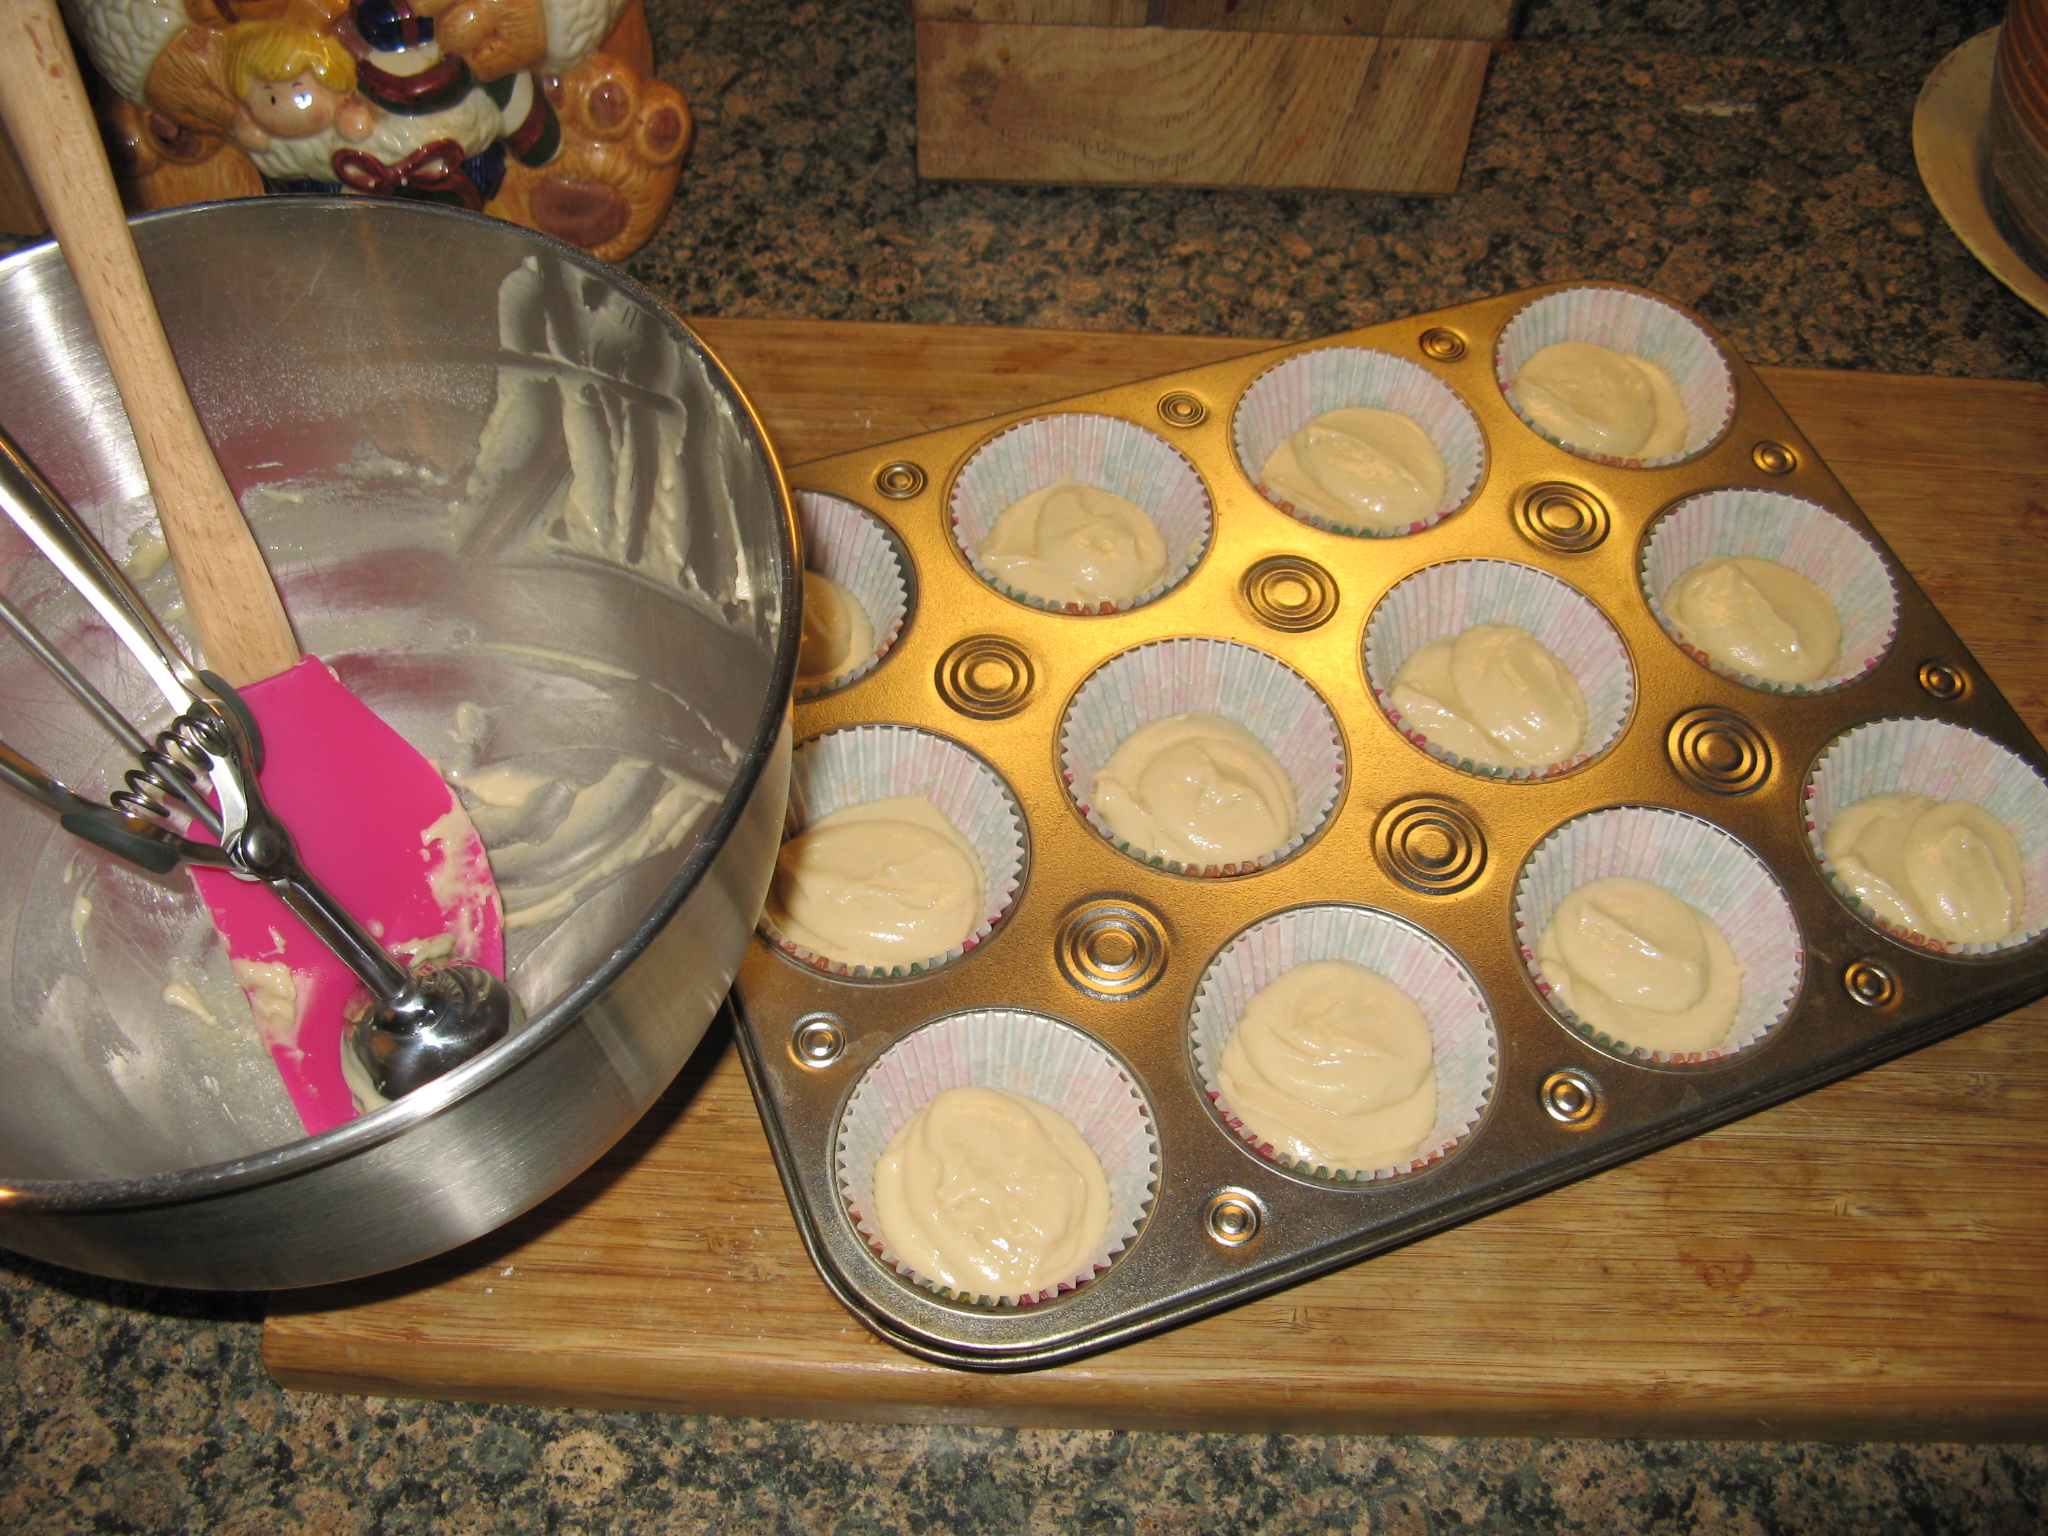
The batter quickly came together and was ready to be filled into my Spring themed cupcake liners.

IMG_3041 IMG_3043

The batter was the perfect amount for twelve cupcakes.

IMG_3047

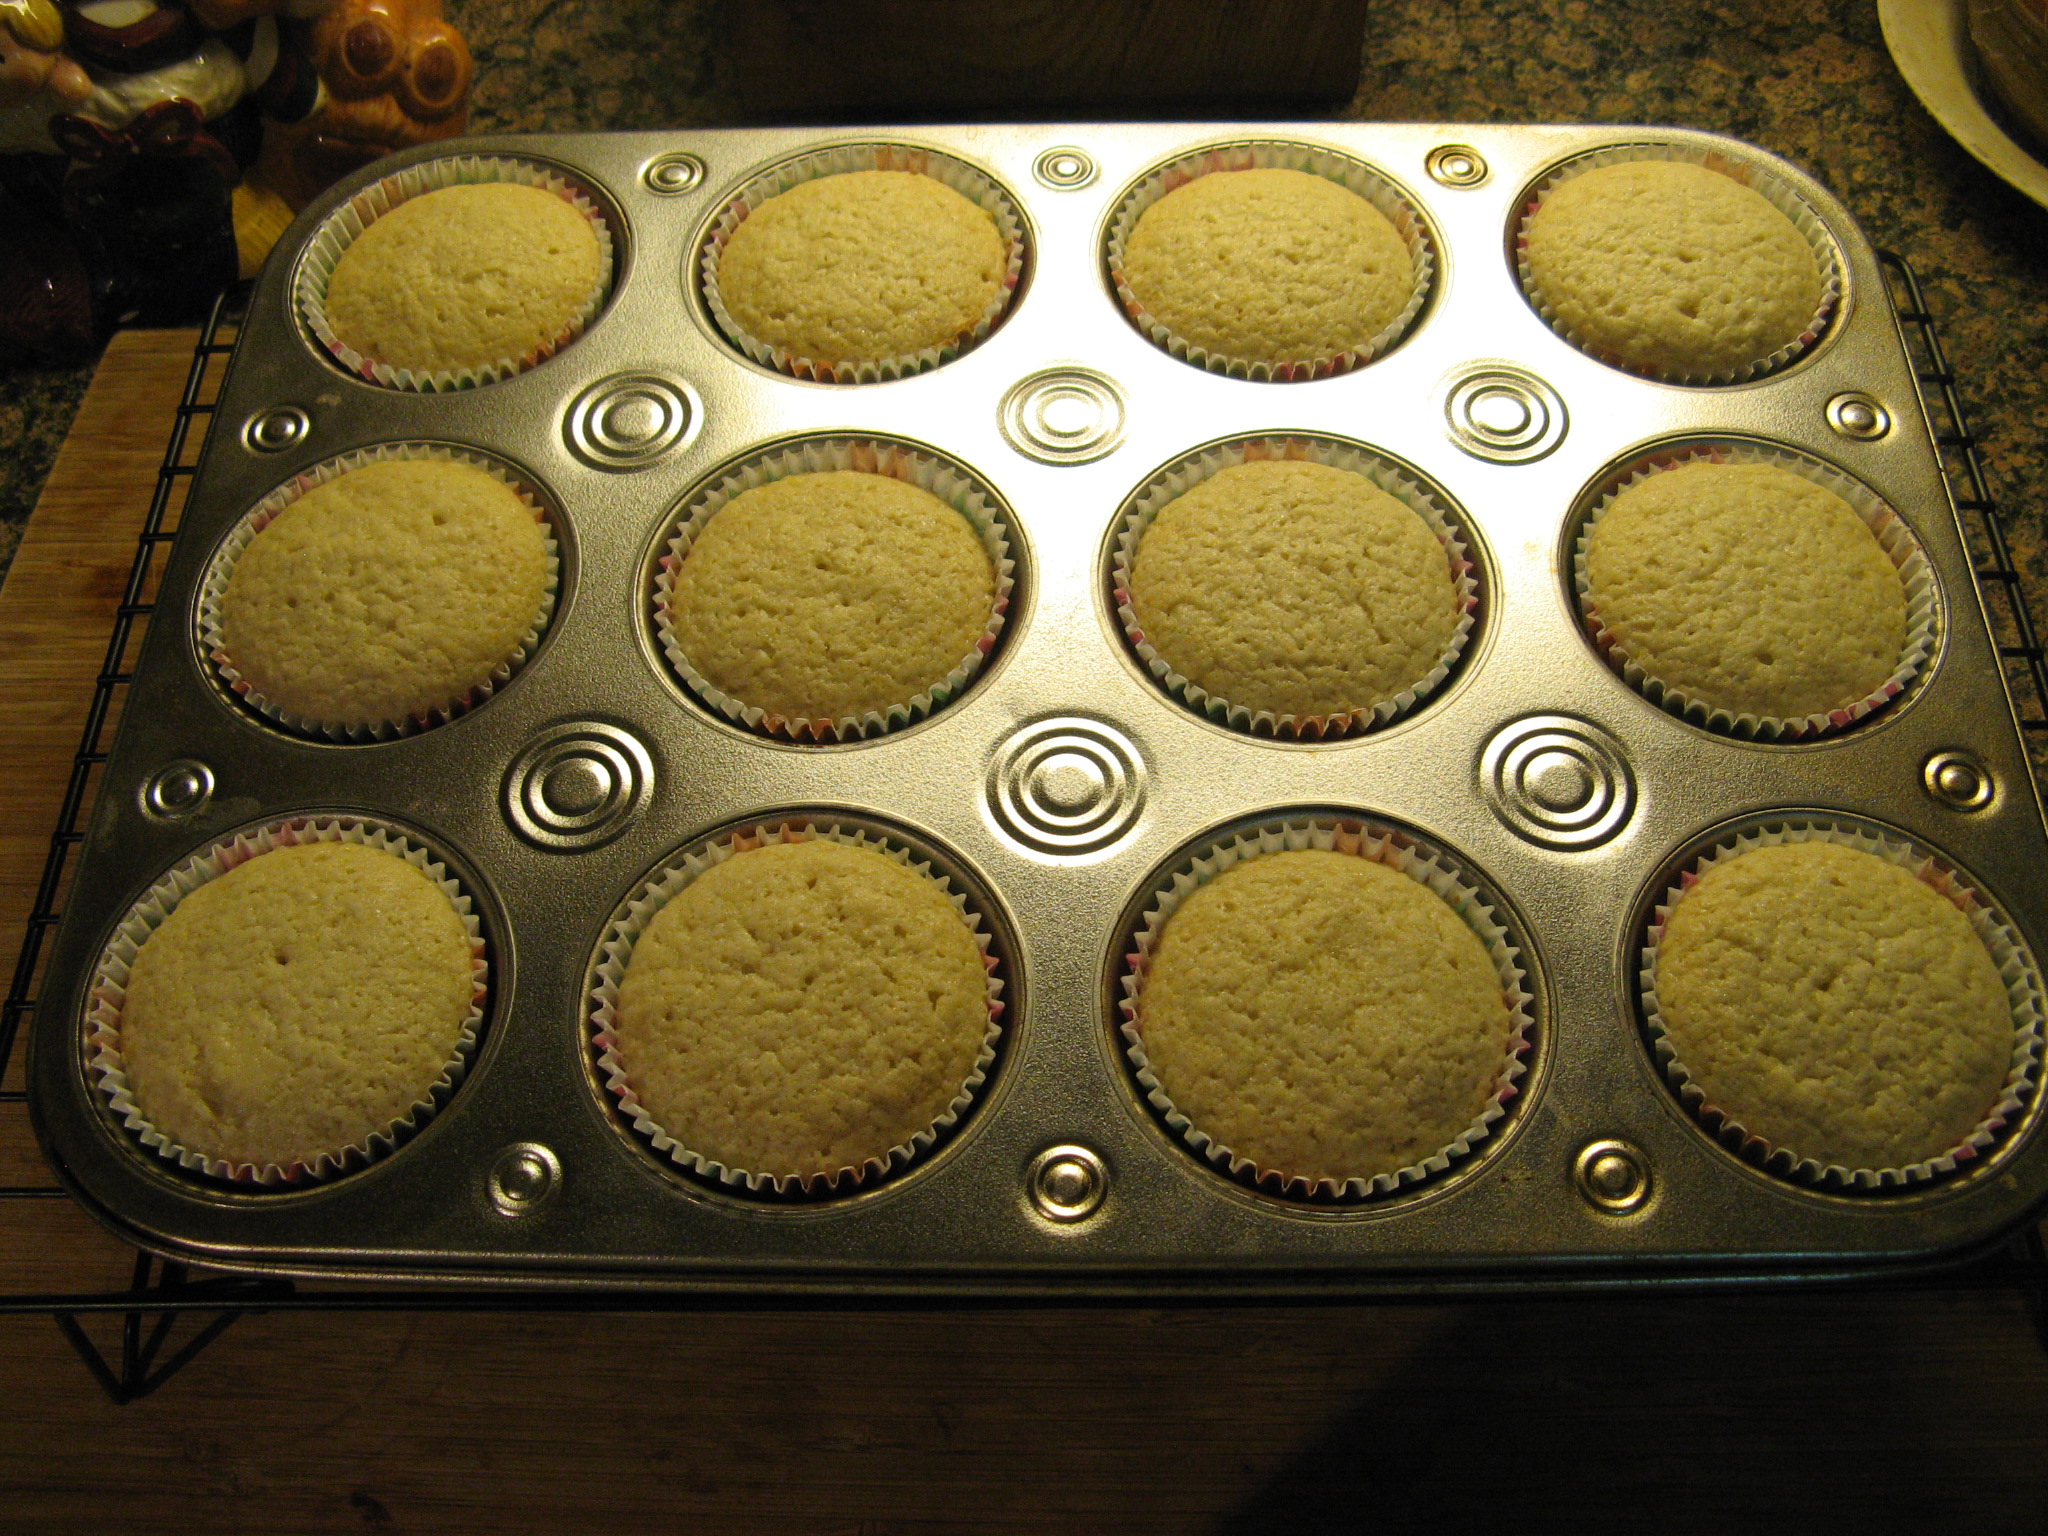
After baking for 20 minutes in a 325 F preheated oven they were done.

IMG_3050

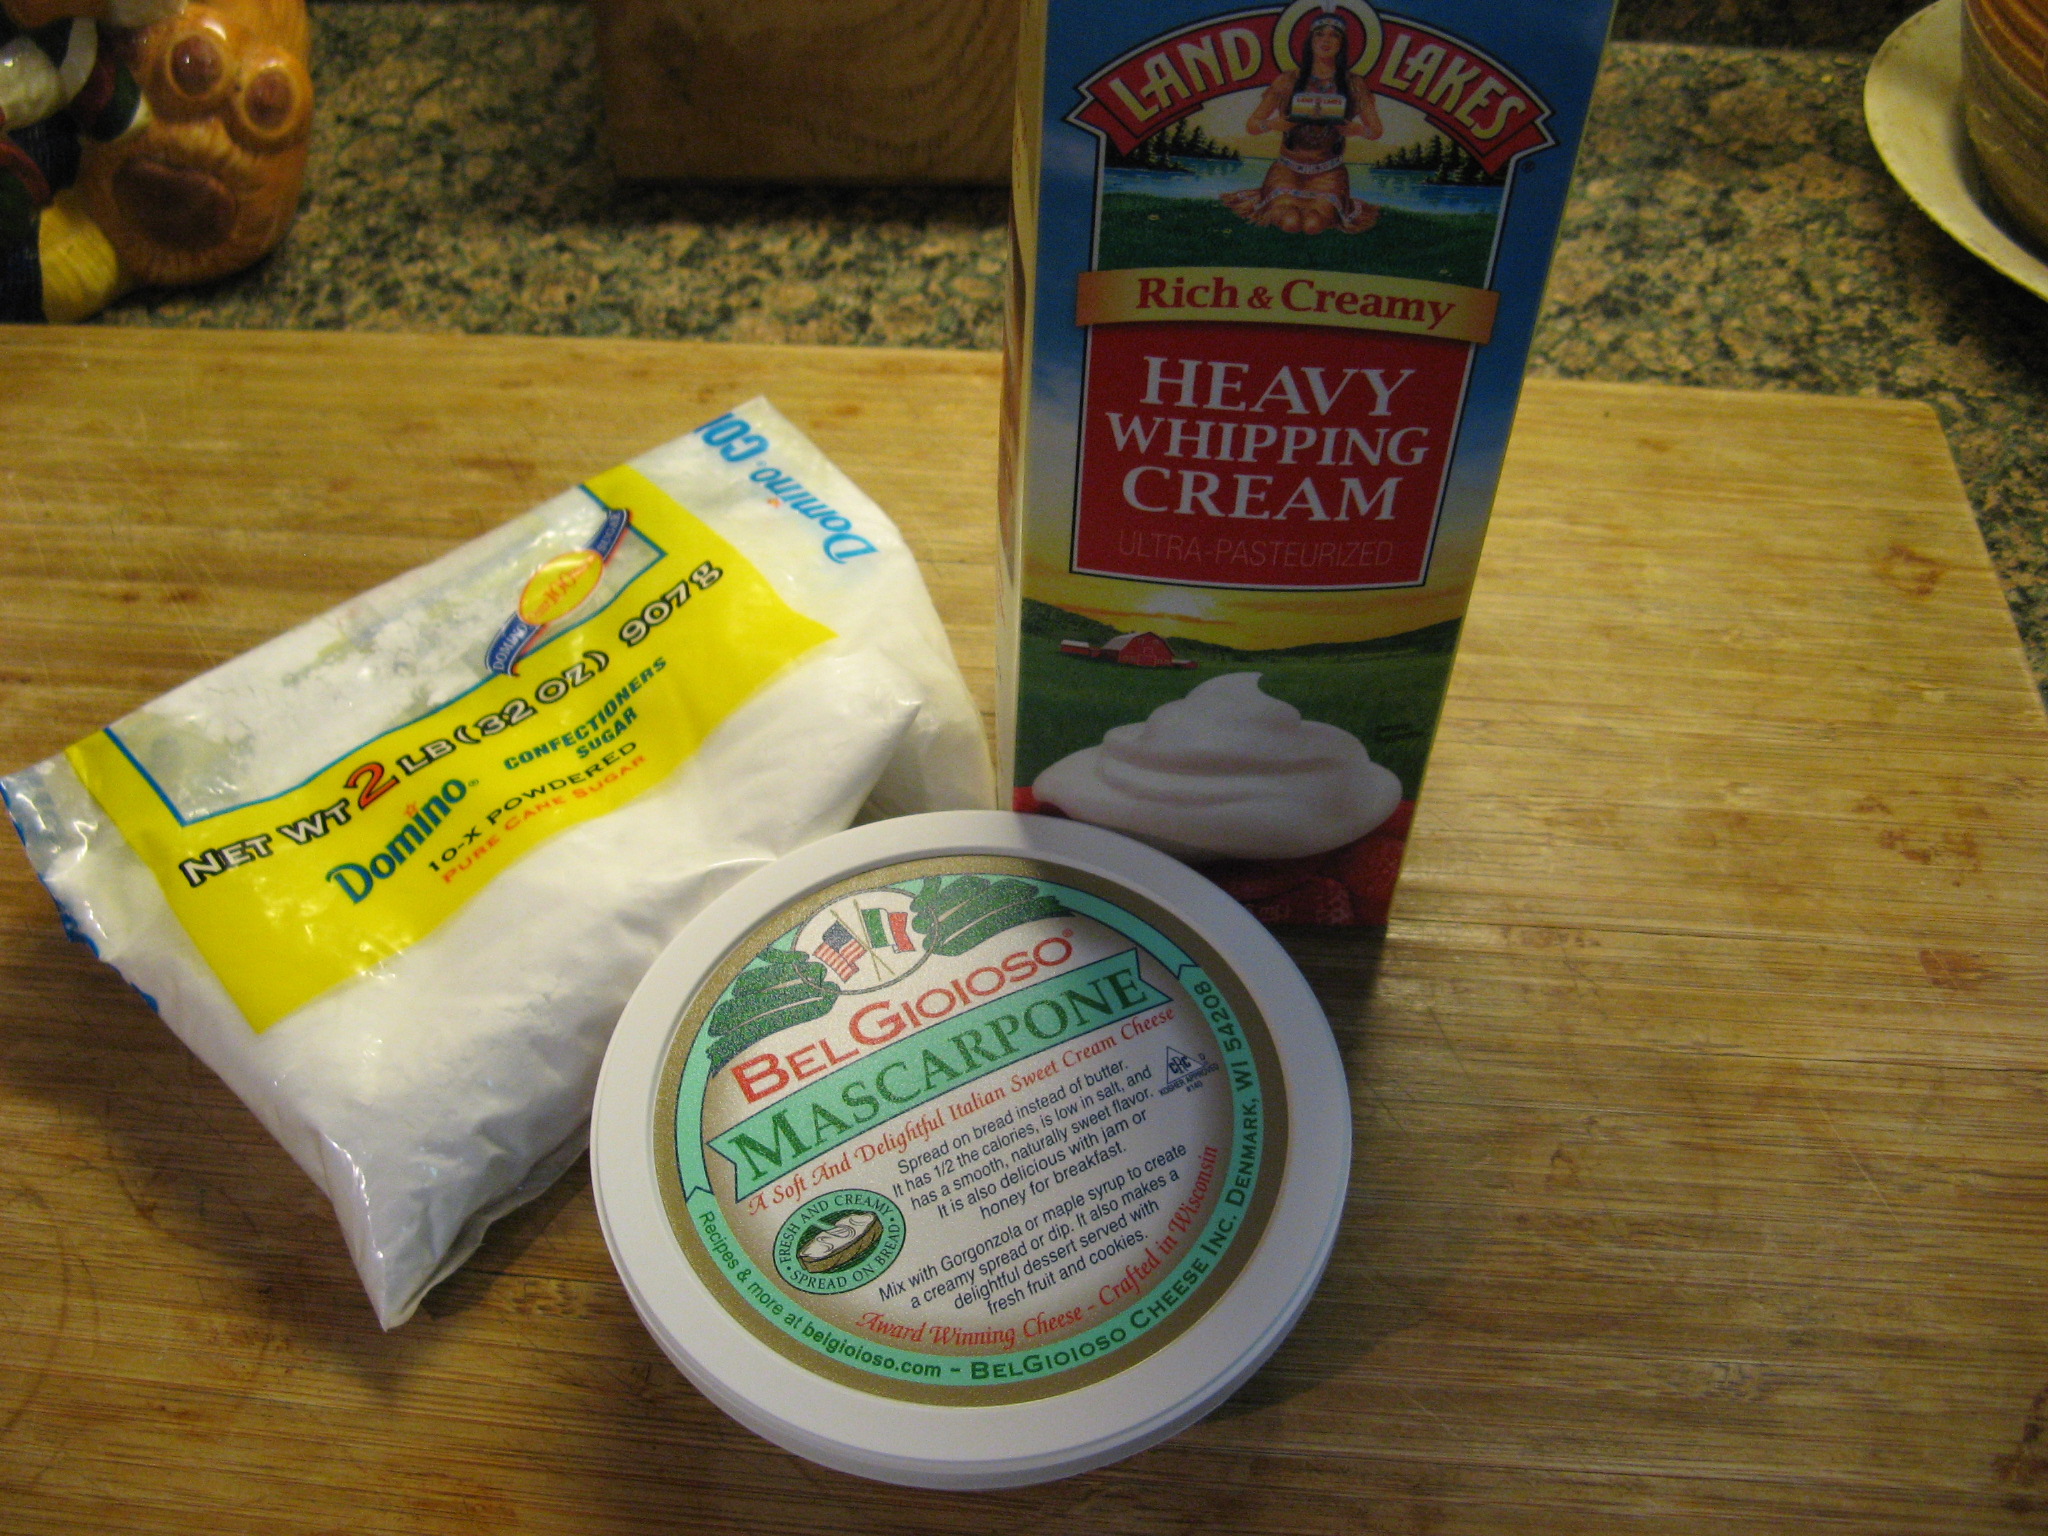
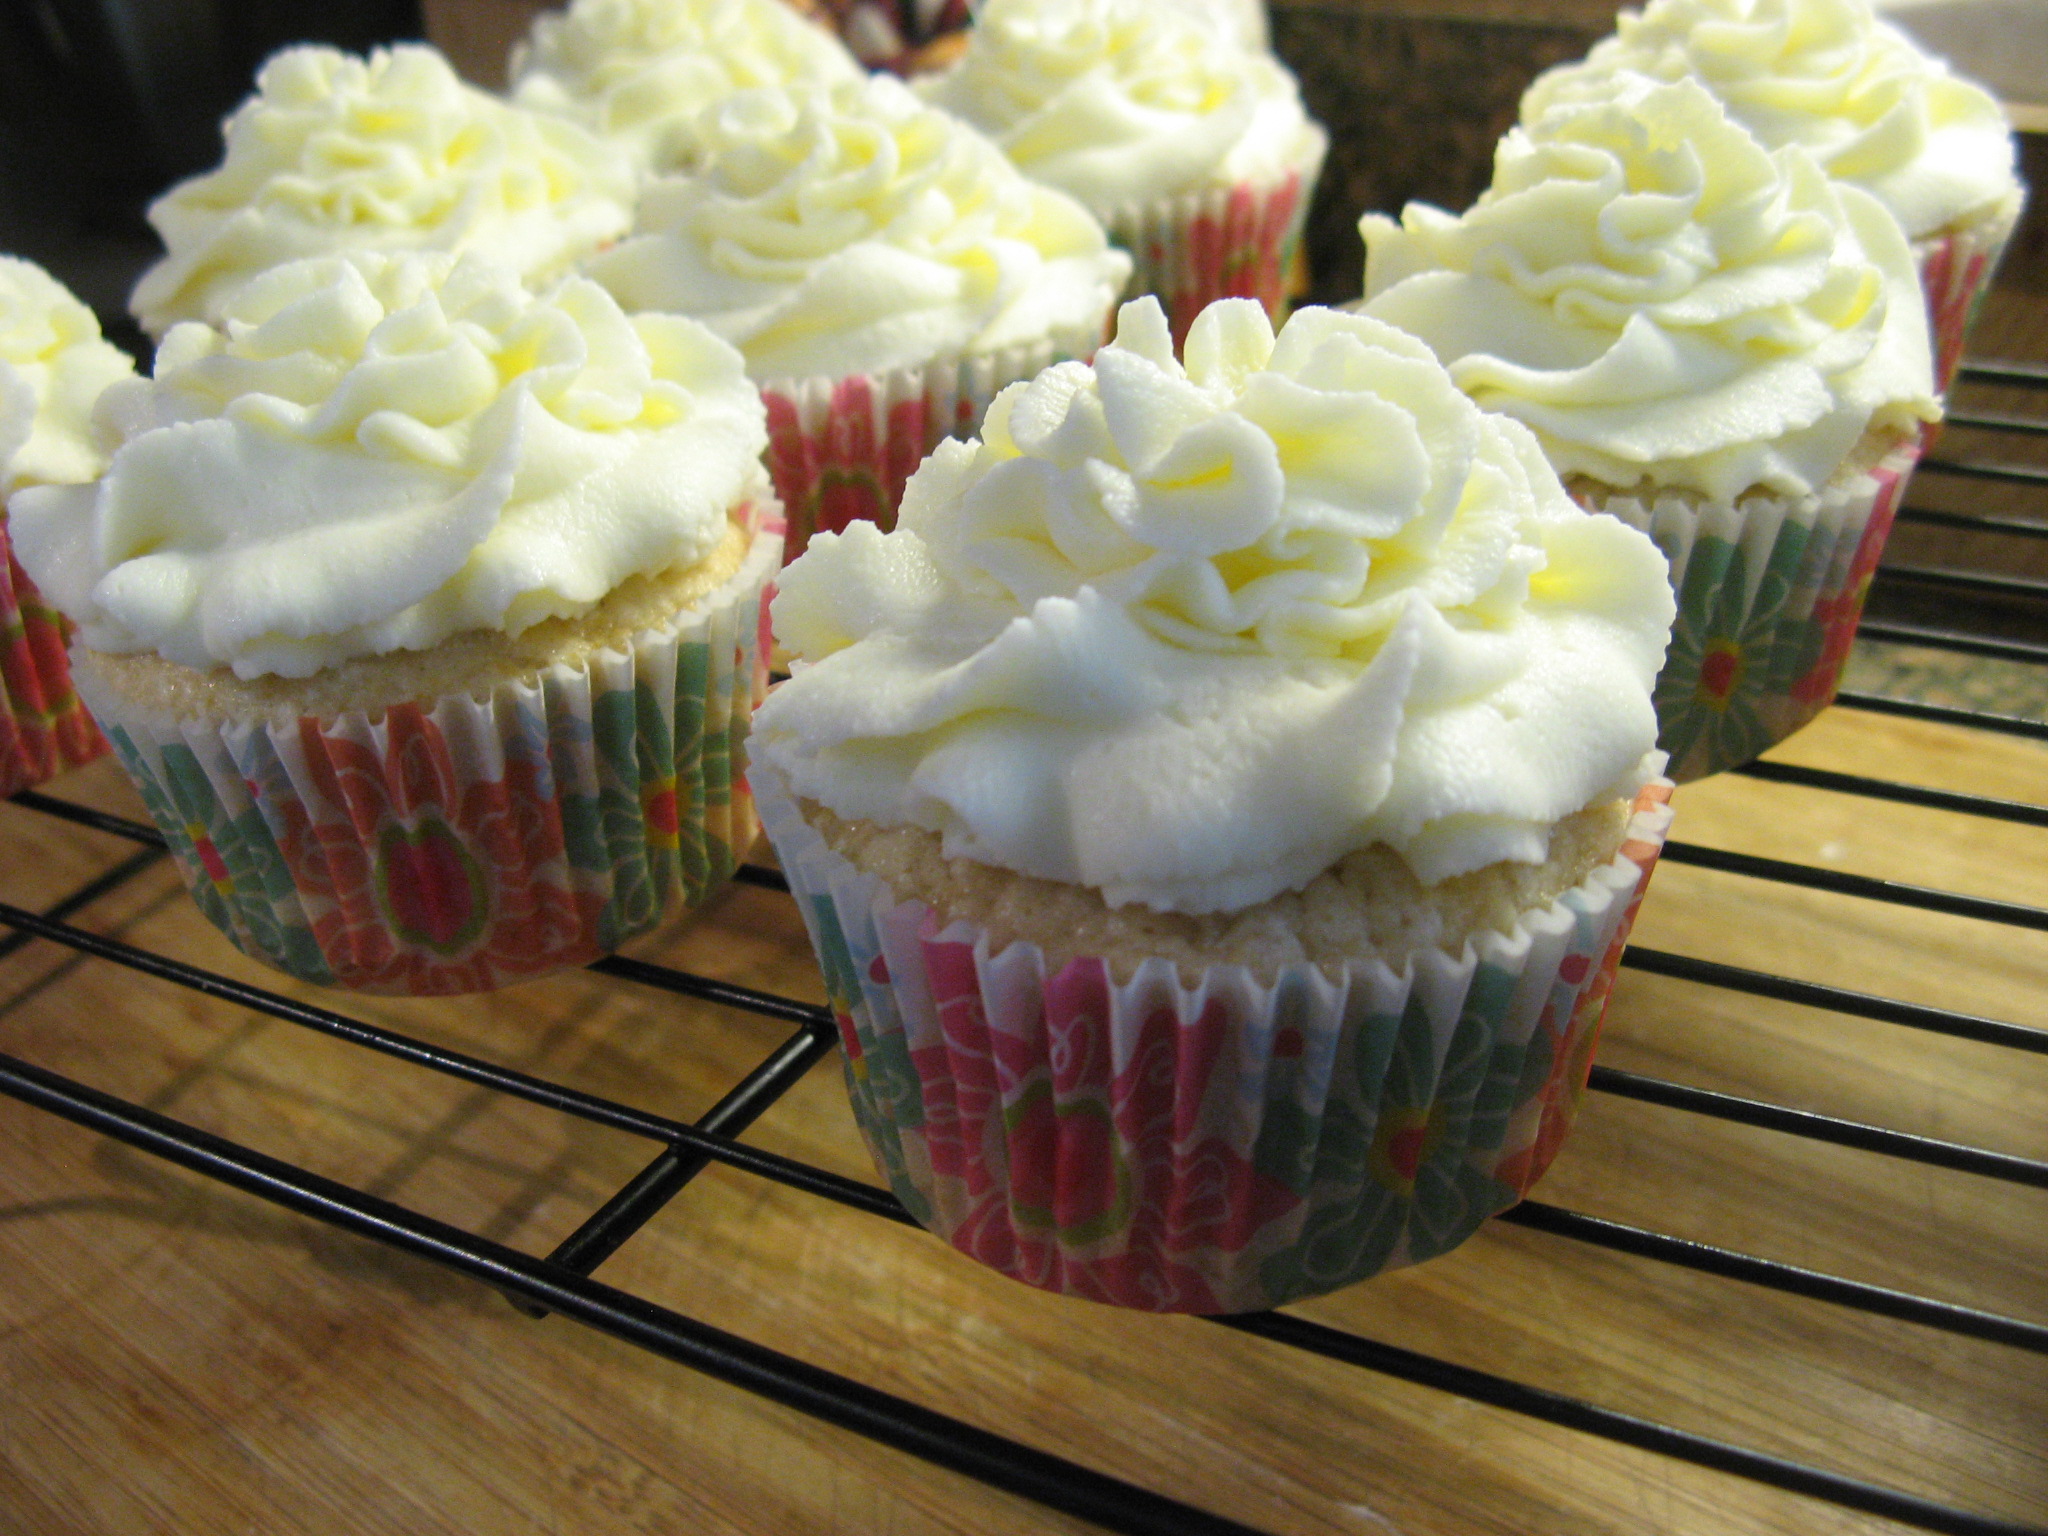
While the cupcakes cooled I made the frosting. I decided to try something completely new and opted for a Mascarpone Frosting which simply consisted of mascarpone cheese, heavy cream and confectioners’ sugar.

IMG_3051

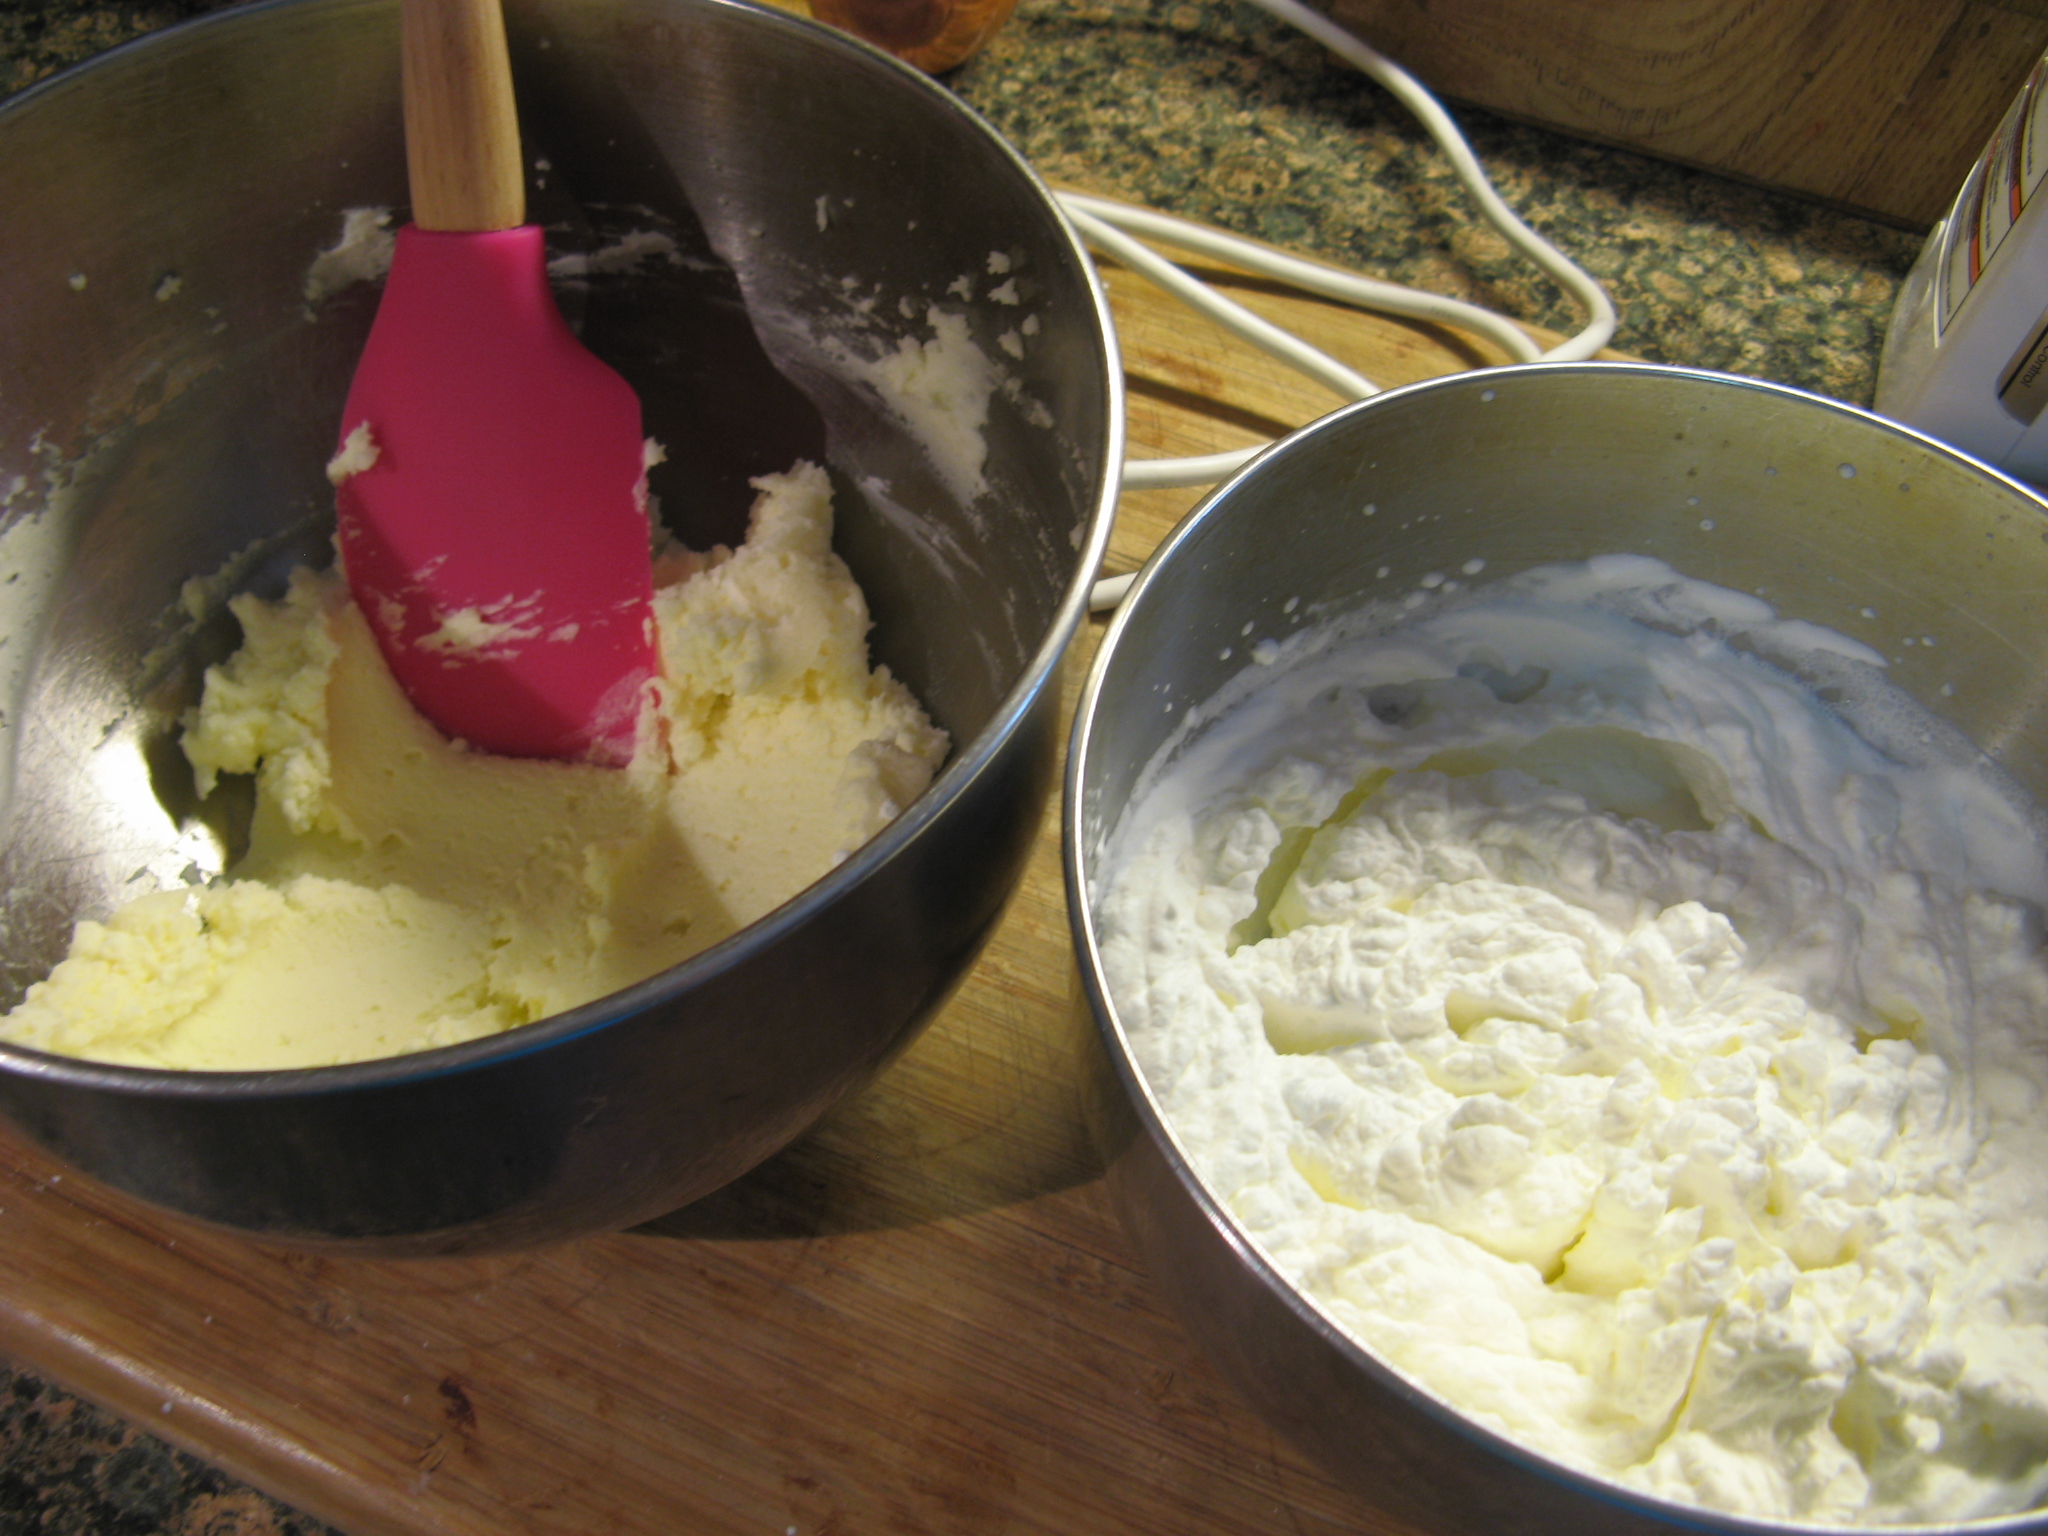
In one bowl I mixed the heavy cream until stiff peaks formed and in the other bowl I mixed together the mascarpone cheese and confectioners’ sugar until it was smooth.

IMG_3053

Once that was I done folded the whipped cream into the mascarpone and sugar mixture until it was completely incorporated. Following that I piped the frosting onto my cupcakes.

IMG_3056

These cupcakes along with the frosting were a winner… Definitely something to make again!

IMG_3061

Lavender Cupcakes

Makes 10-12 cupcakes

Ingredients:

1/2 cup whole milk

3 tablespoons dried culinary lavender – you’re going to combine the milk and dried lavender in a bowl with a lid and set in the refrigerator for 6-8 hours, preferably overnight, to infuse

1 cup all-purpose flour

1 teaspoon baking powder

pinch of salt

3/4 cup granulated sugar

3 tablespoons unsalted butter – softened

1 egg – room temperature

Directions:

1) Infuse the milk and dried lavender as stated above in ingredients.

2) Preheat oven to 325 degrees (F).

3) Using a strainer, strain the infused lavender milk to remove the dried lavender.

4) In the bowl of your stand mixer (or mixing bowl if using a handheld mixer), sift together the flour, baking powder, and salt.

5) Add in sugar and softened butter to your dry ingredients from step 4. Mix with the paddle attachment on low until all is combined and the texture is sandy (the butter mixed with the dry ingredients should feel crumbly/sand-like).

6) With the stand mixer on low, slowly pour the infused milk into the flour mixture and mix just until the last of the milk is combined. Now add in the egg.

7) Mix for 15 seconds on medium speed, and then scrape the sides and the bottom of the bowl to make sure all ingredients are combined. Make sure not to over-mix (over-mixing results in a dry cake).

8) Fill the cupcake liners 2/3rd’s full, bake cupcakes at 325 degrees (F) for 20-23 minutes or when a toothpick or cake tester comes out clean.

9) Remove cupcakes and set on a wire cooling rack until completely cool

Mascarpone Frosting

Yields 2 Cups

Ingredients:

1 cup heavy cream

8 oz. mascarpone cheese, room temperature

1/2 cup confectioners’ sugar, sifted

Directions:

With an electric mixer on medium speed, whisk heavy cream until stiff peaks form (be careful not to overbeat, or cream will be grainy)

In another bowl, whisk together mascarpone cheese and confectioners’ sugar until smooth.

Gently fold whipped cream into mascarpone mixture until completely incorporated. Use immediately.

Easter Eggs

I hope you all had a wonderful Easter weekend. Ideally I would have liked to get this post up yesterday, but time got away from me. Since it is Easter Monday  though, I’m not all that late.

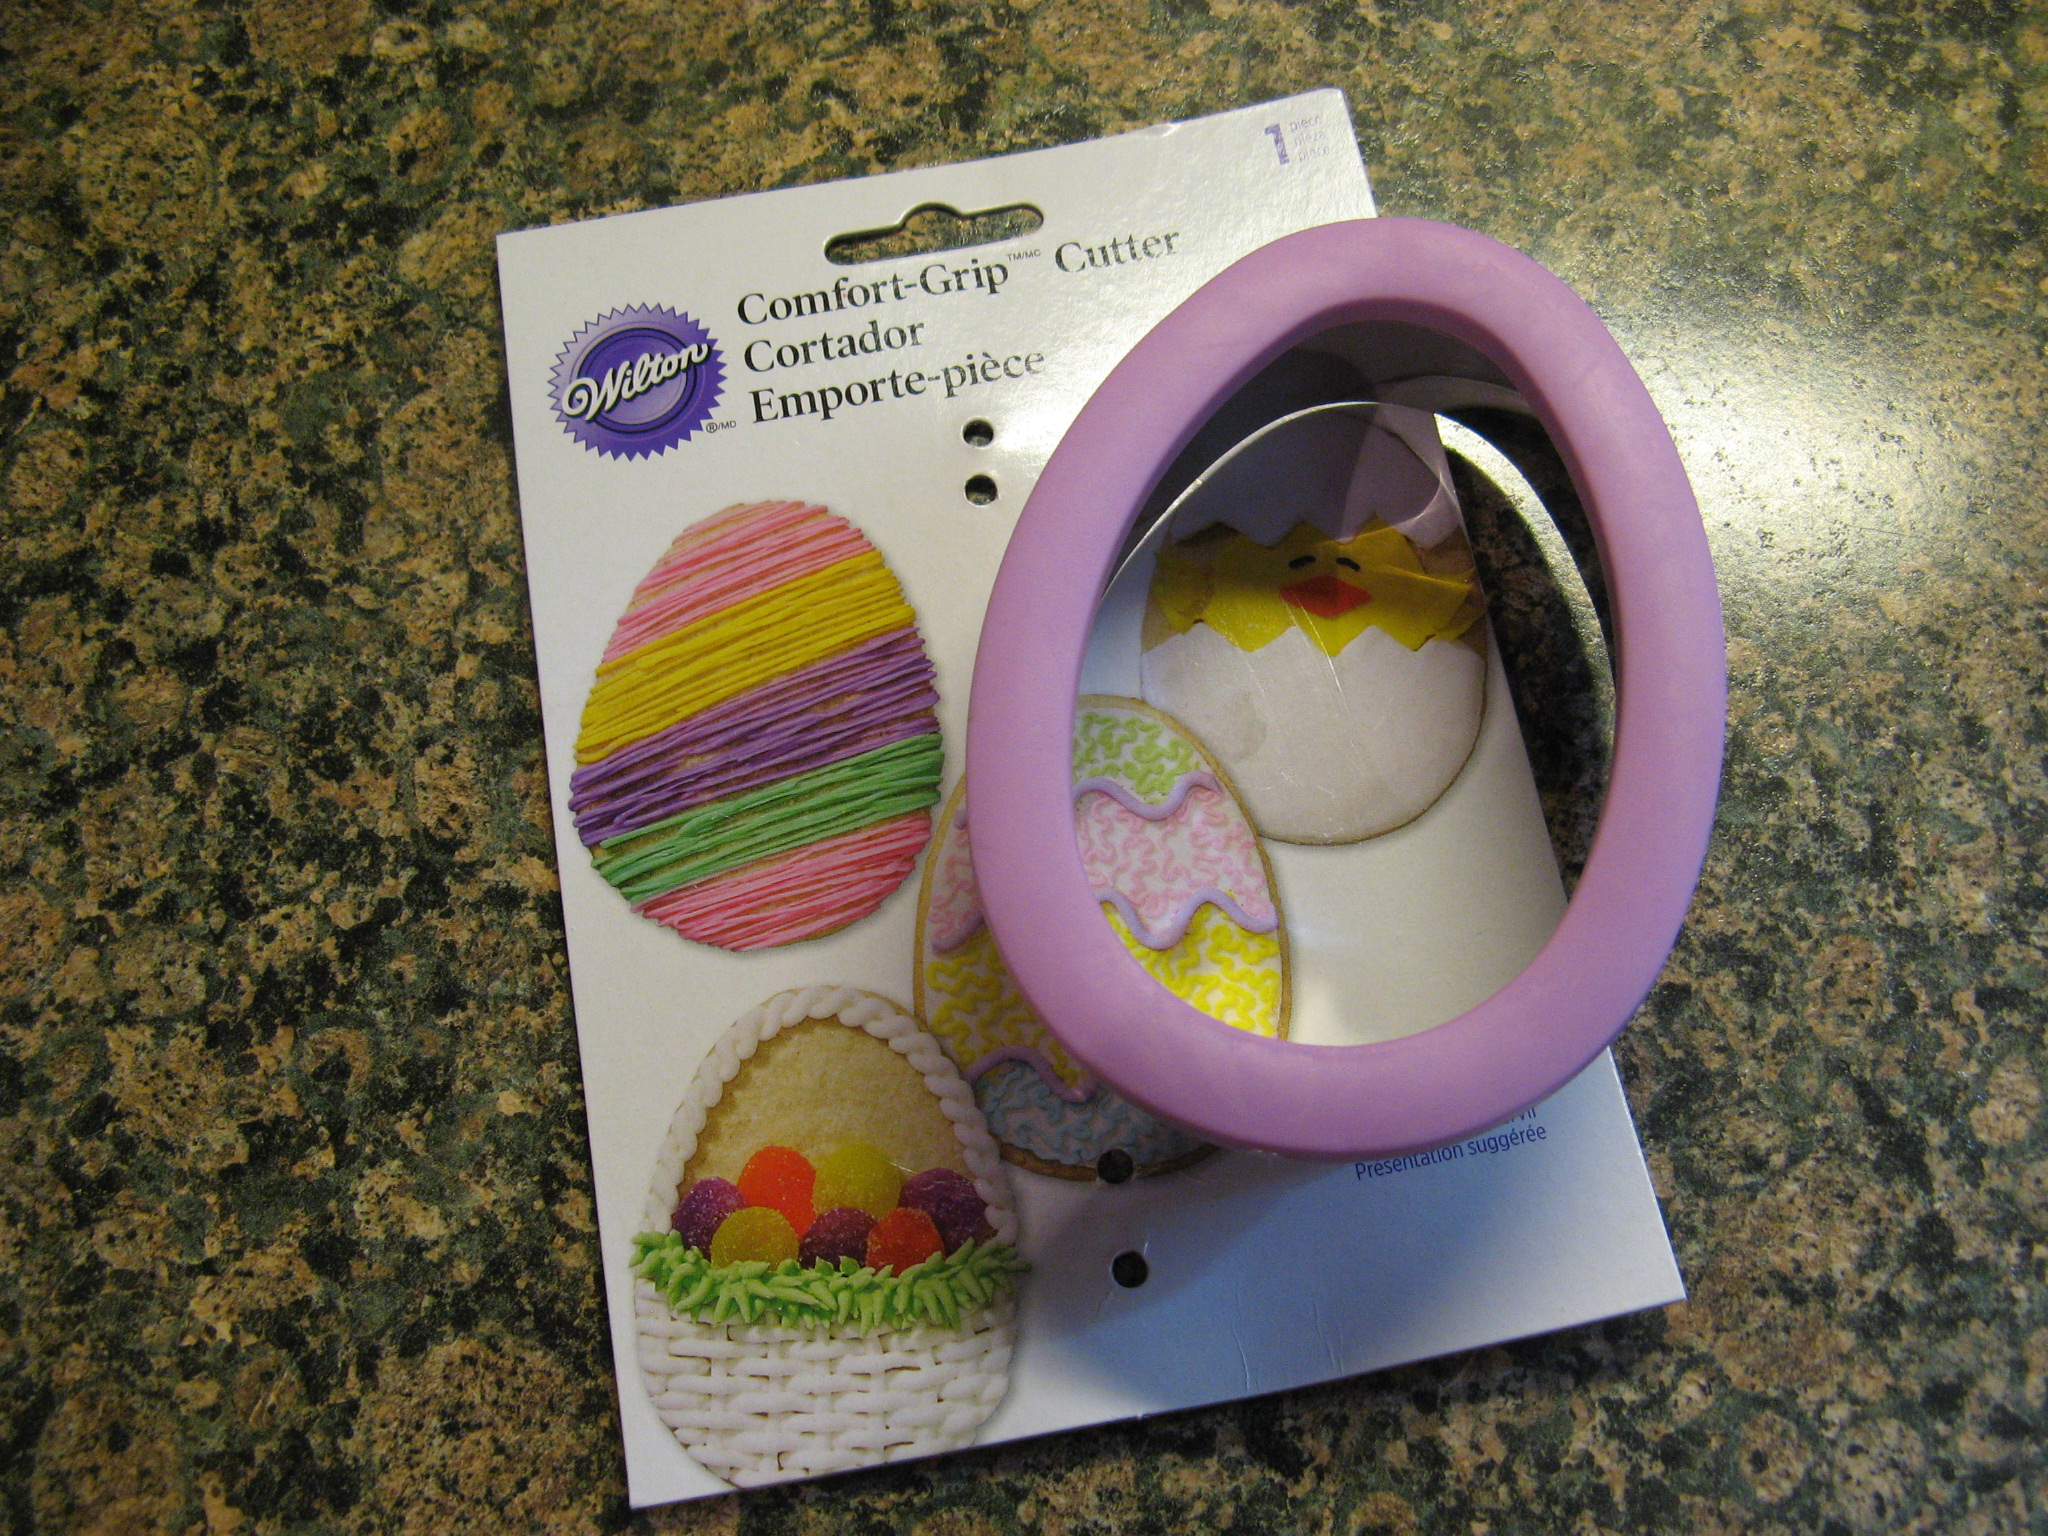
I had decided a while back that I wanted to make decorated Easter cookies for the holiday (the decision was easily made after I got this egg cookie cutter from my local craft store.)

IMG_3083

As opposed to Valentine’s Day when I used a package mix to make my decorated cookies, this time I was determined to make them from scratch. (While I do enjoy making things from scratch, rolled out cookies are among my least favorite things to make since I inevitably roll them out too thin or too thick which can lead to the baking time to be off which can then lead to a cookie that is inedible. Maybe it’s time to invest in some rolling pin rings.)

I opted to use the Roll-Out Cookie recipe on the back of the cookie cutter packaging since it didn’t require the dough to be refrigerated prior to rolling (I’m all about saving time whenever possible.)

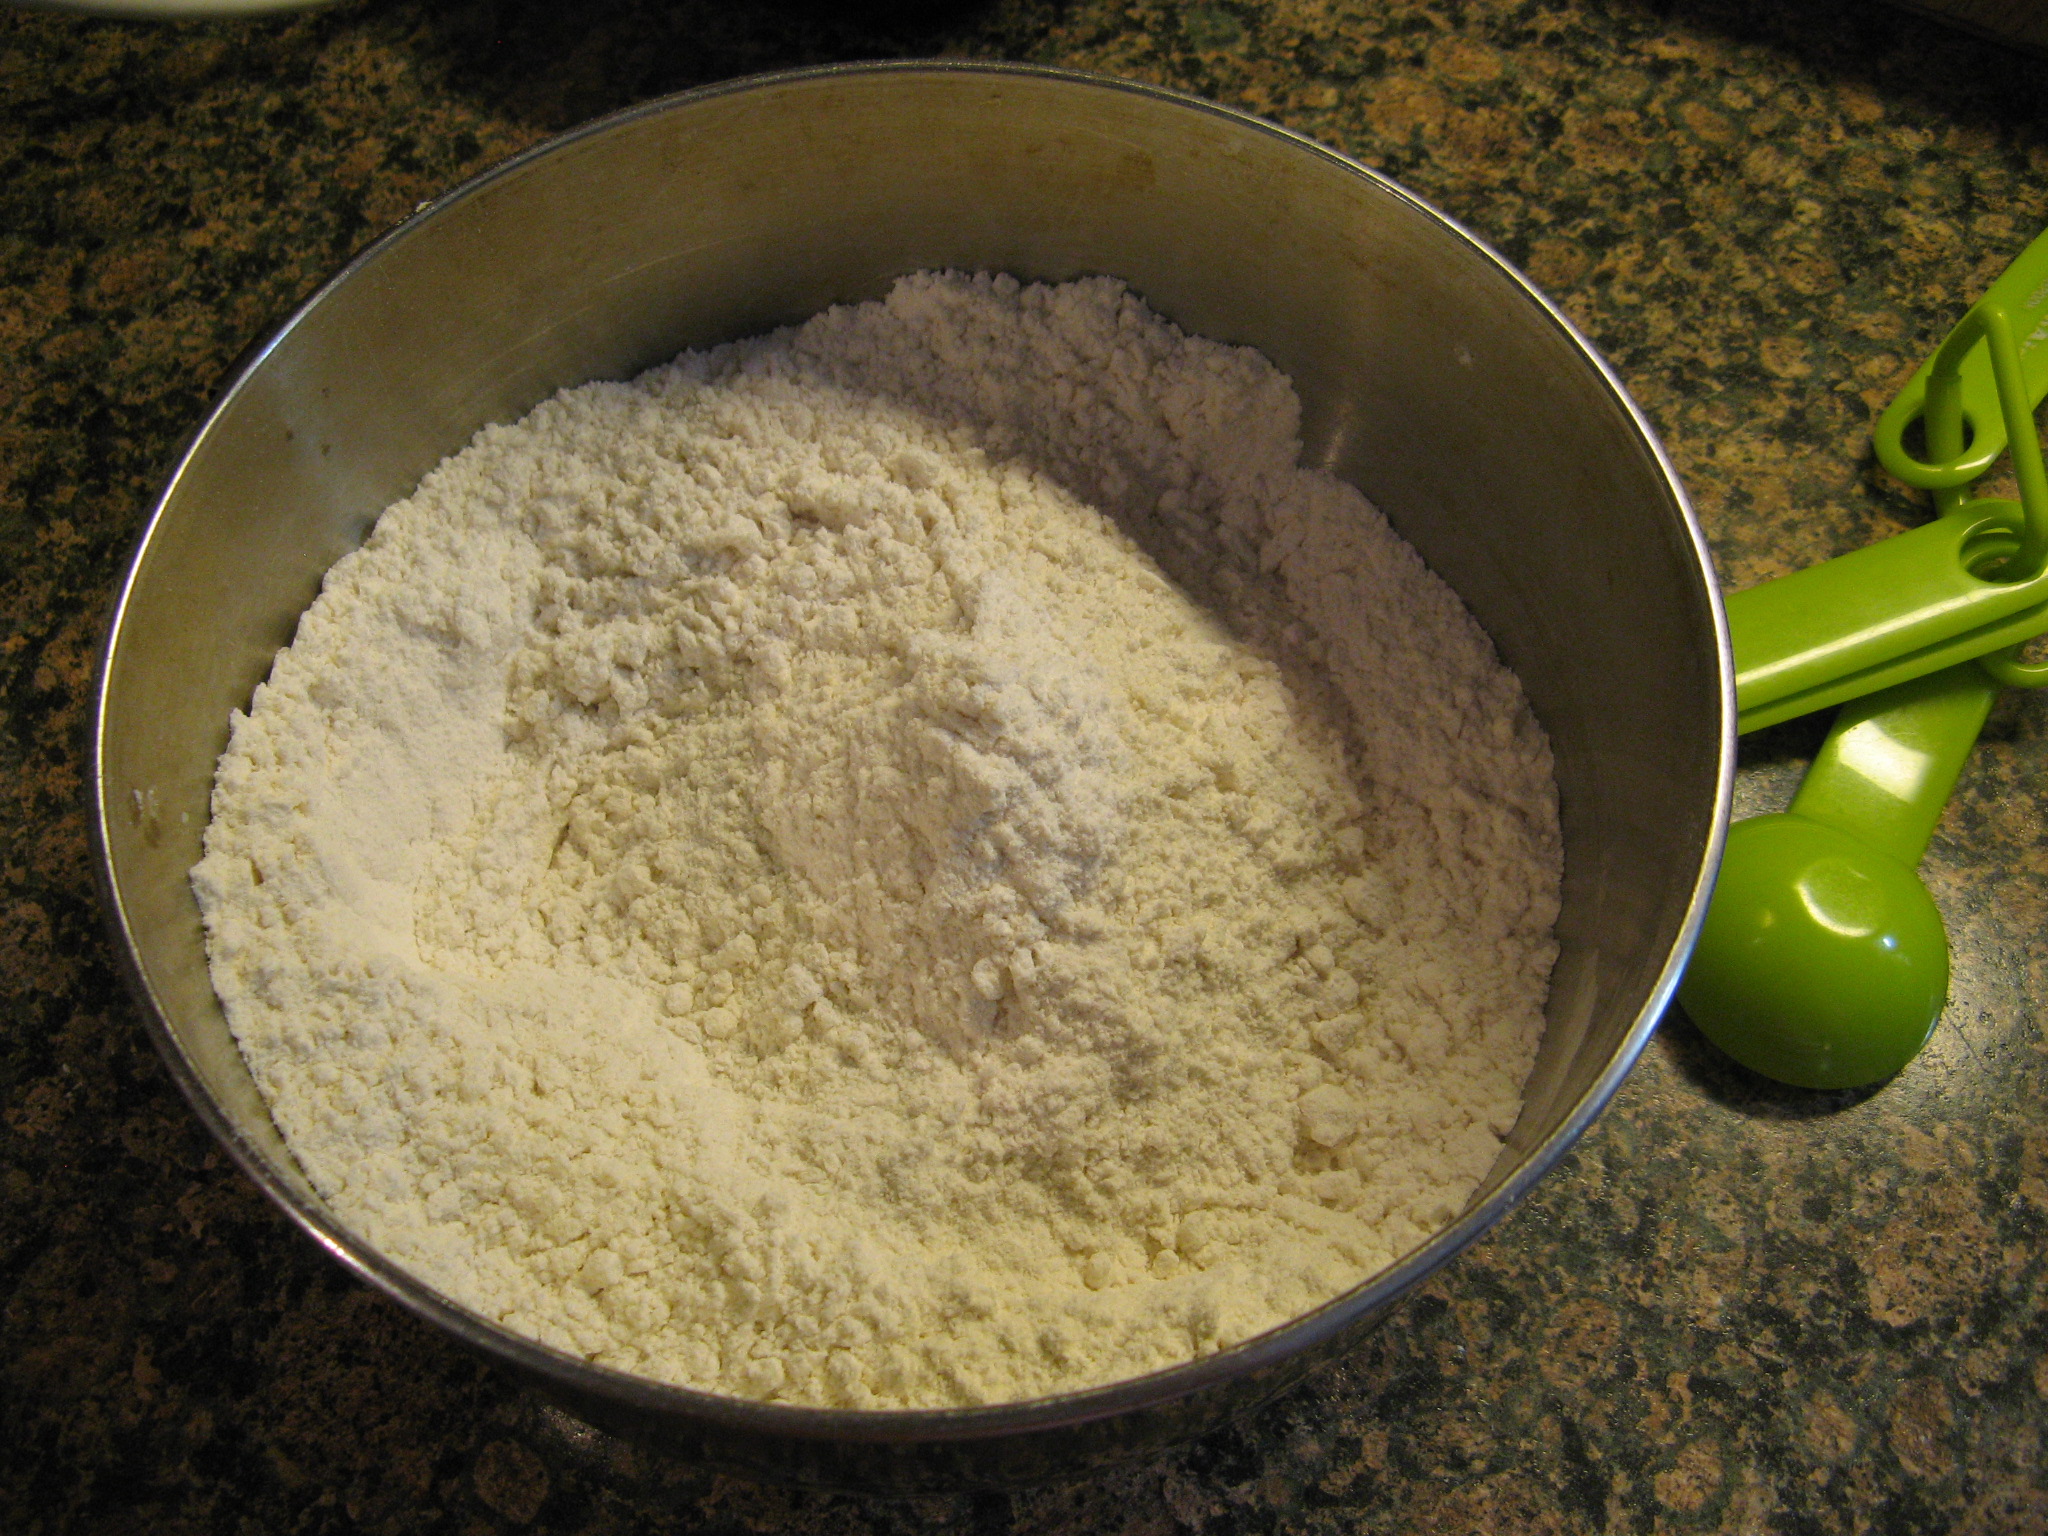
To begin I mixed the flour, baking powder and salt in one bowl.

IMG_3085

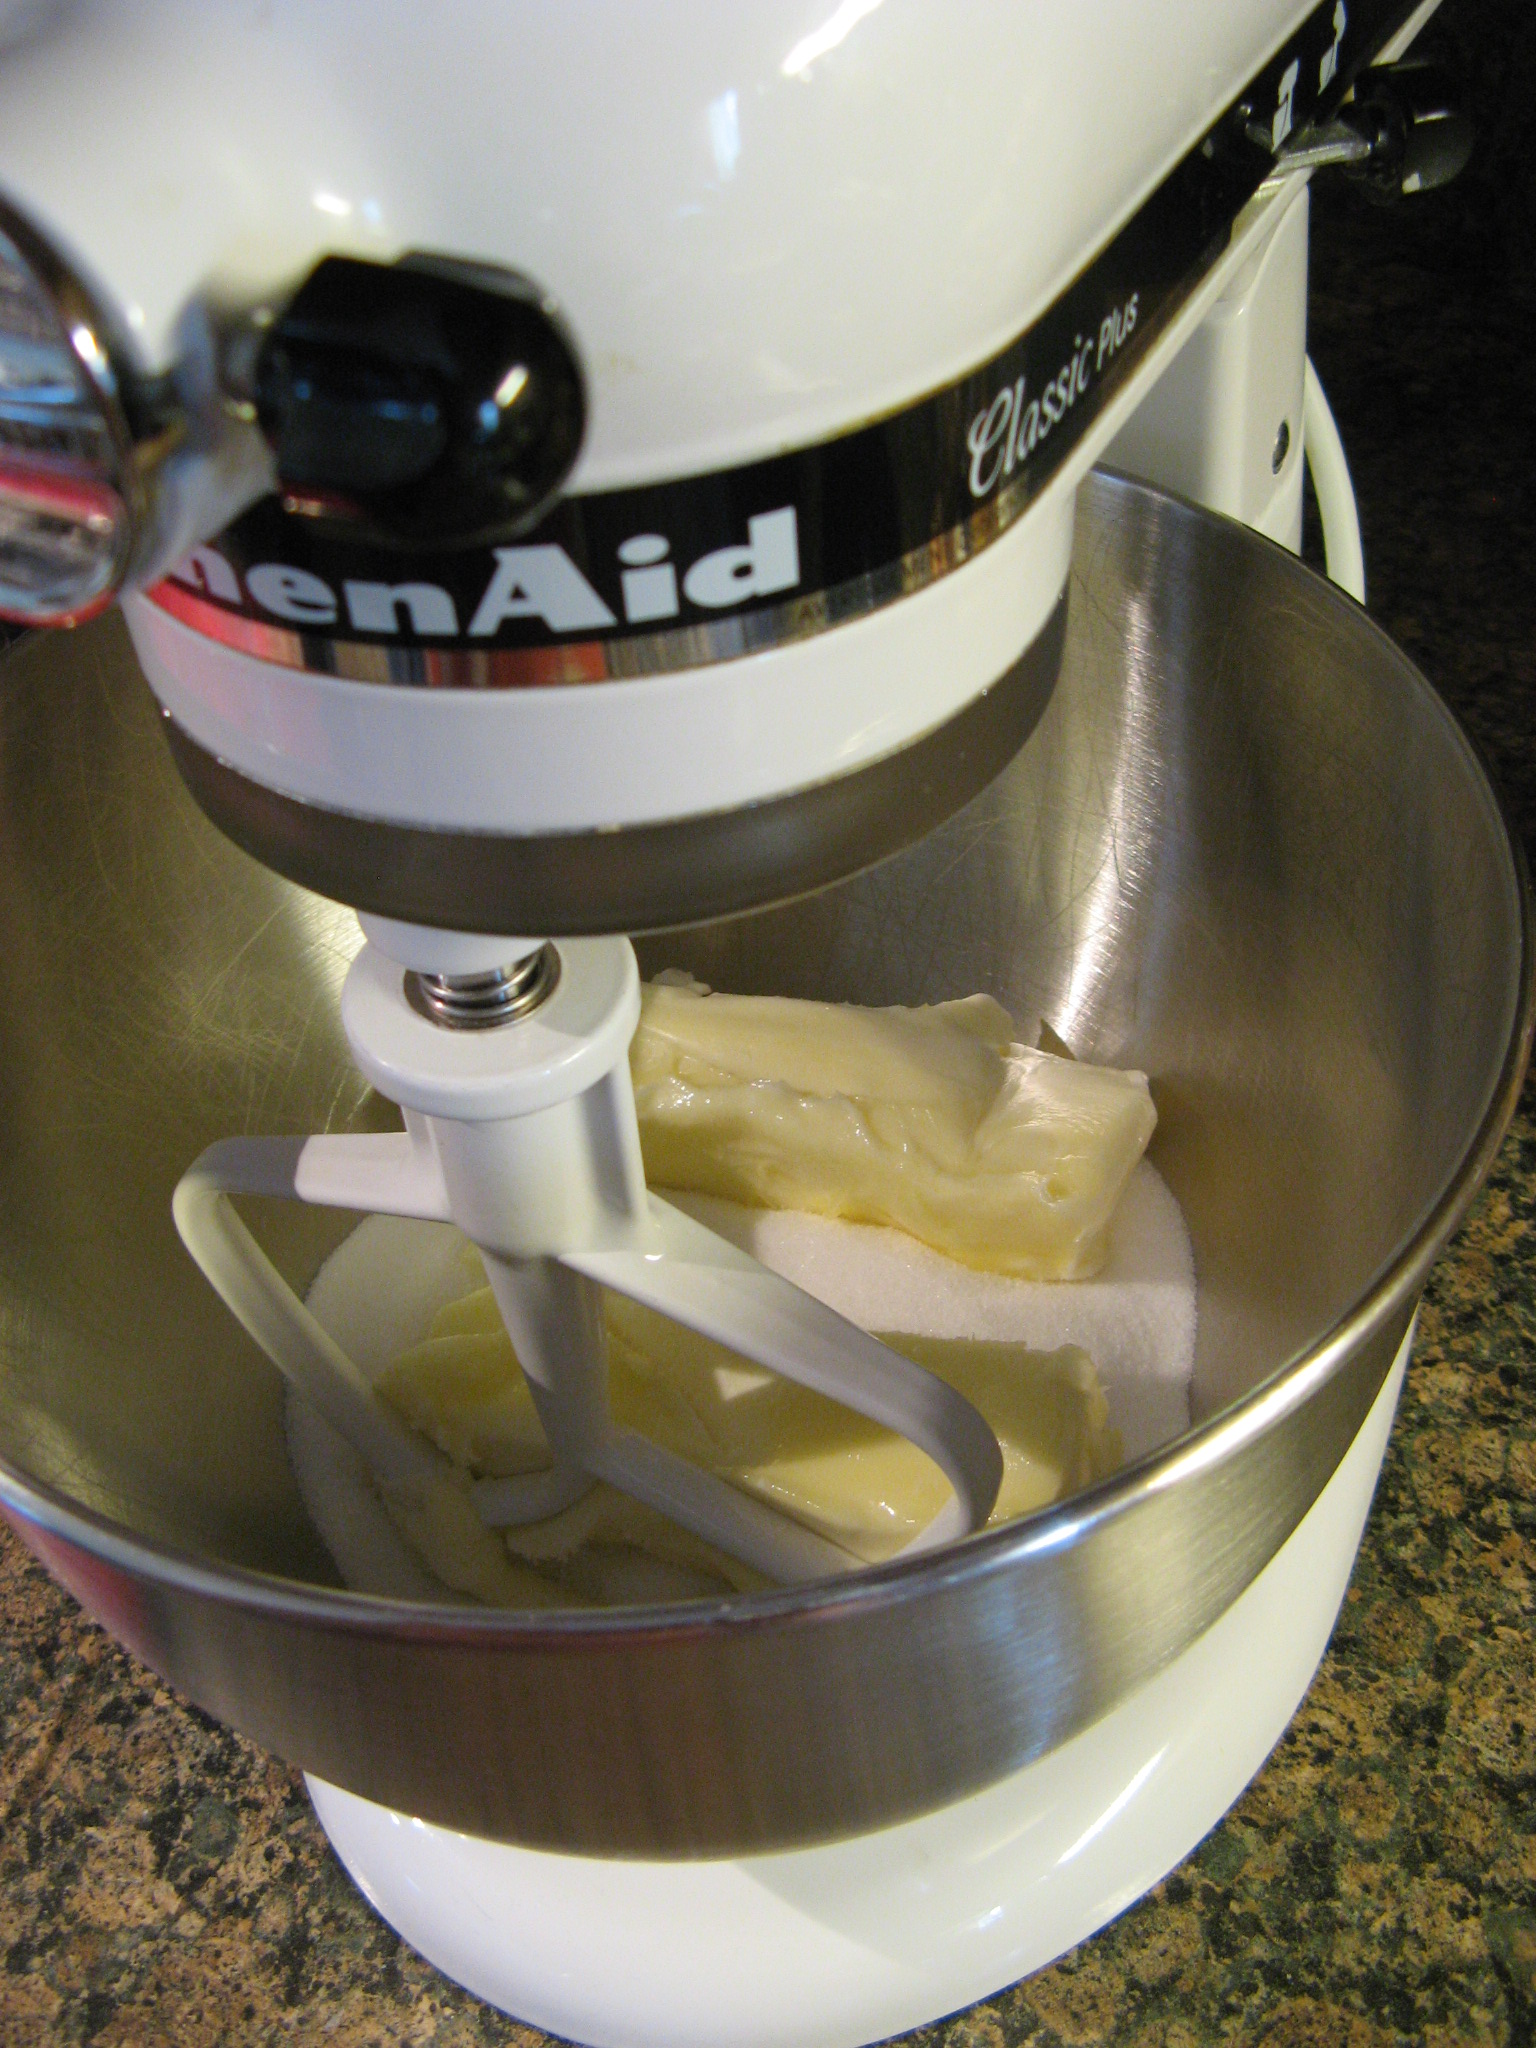
In the bowl of my stand mixer I beat together butter and sugar until it was light and fluffy and then added in vanilla and almond extracts and an egg.

IMG_3086

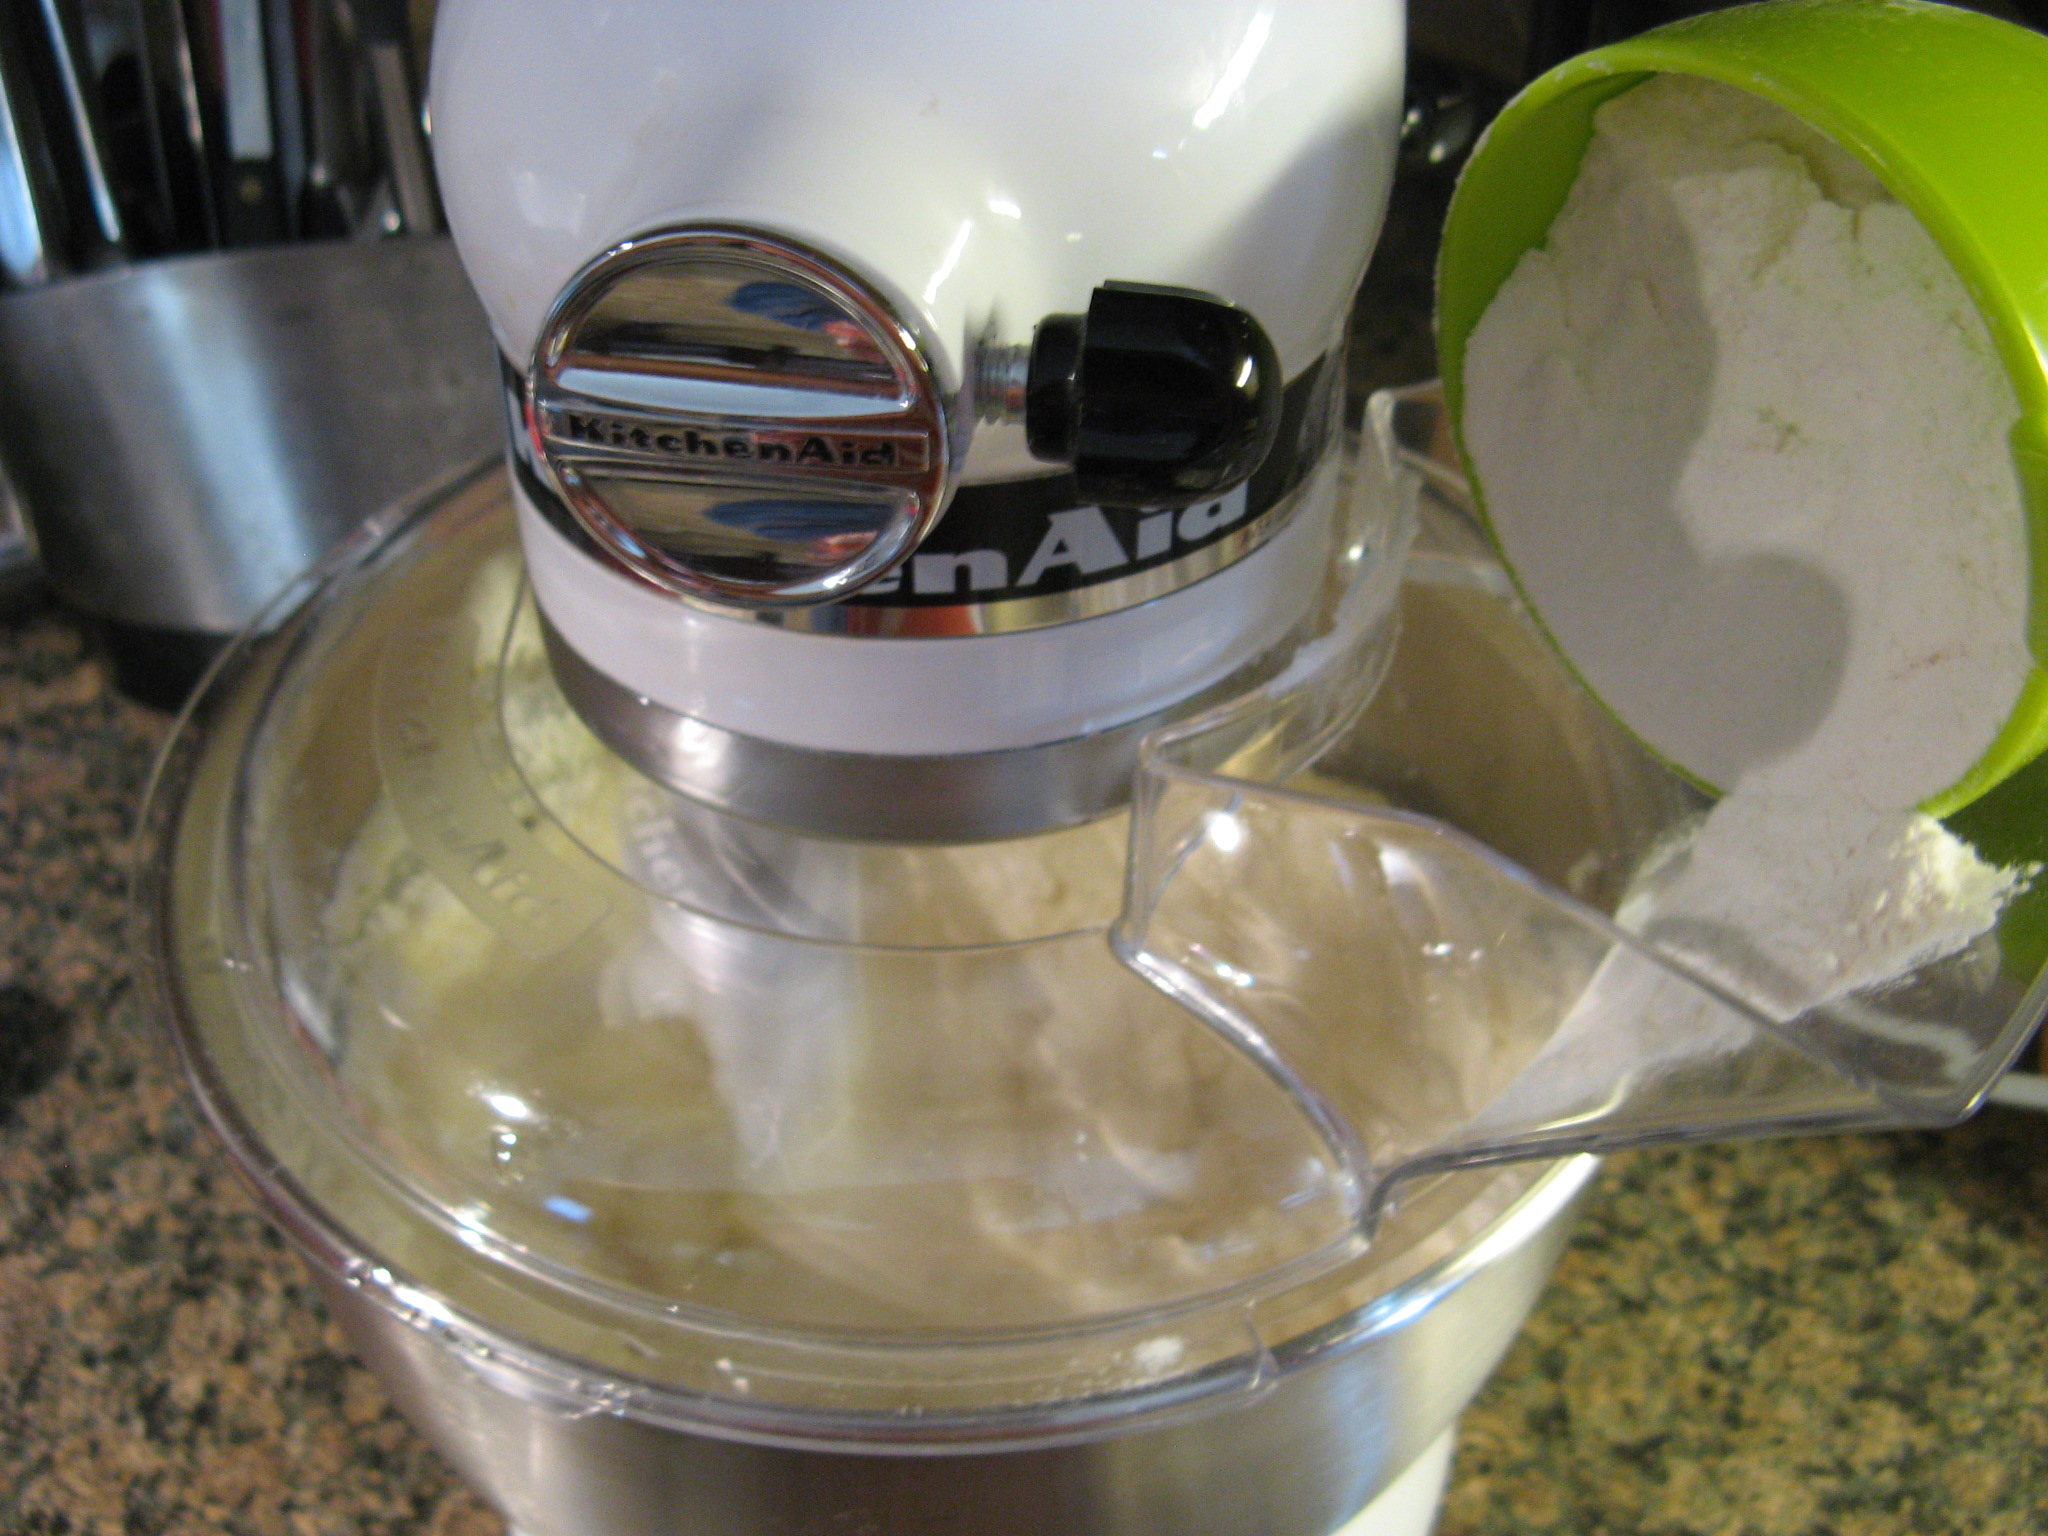
I then incorporated the flour mixture into the butter mixture one cup at a time, mixing well after each addition.

IMG_3090

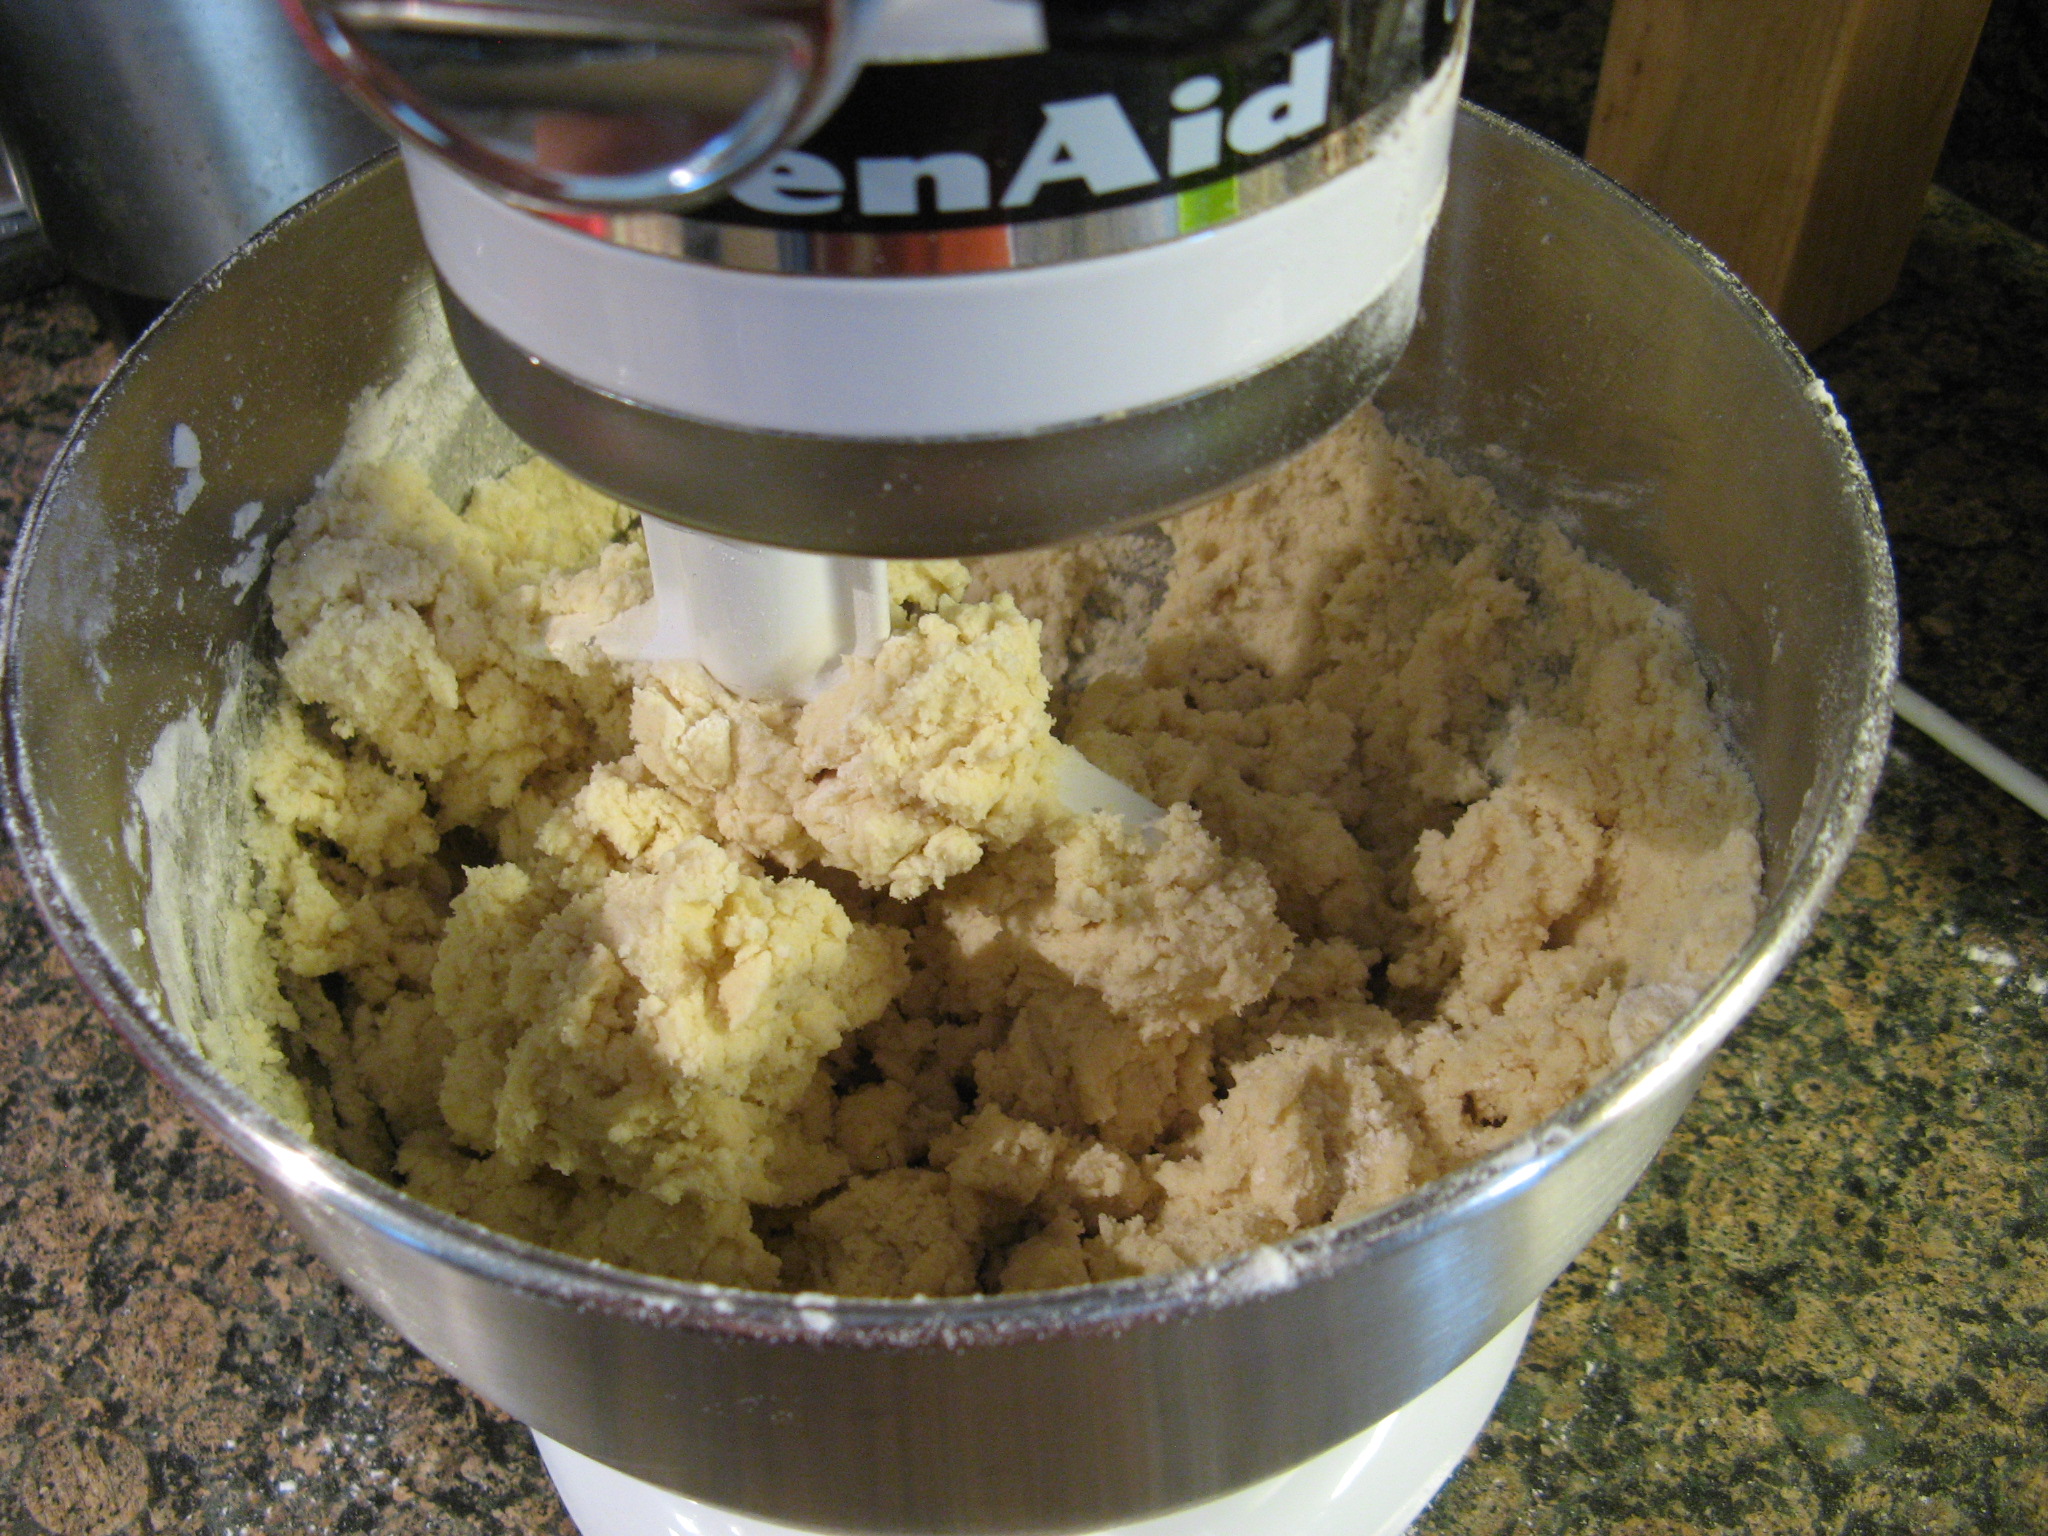
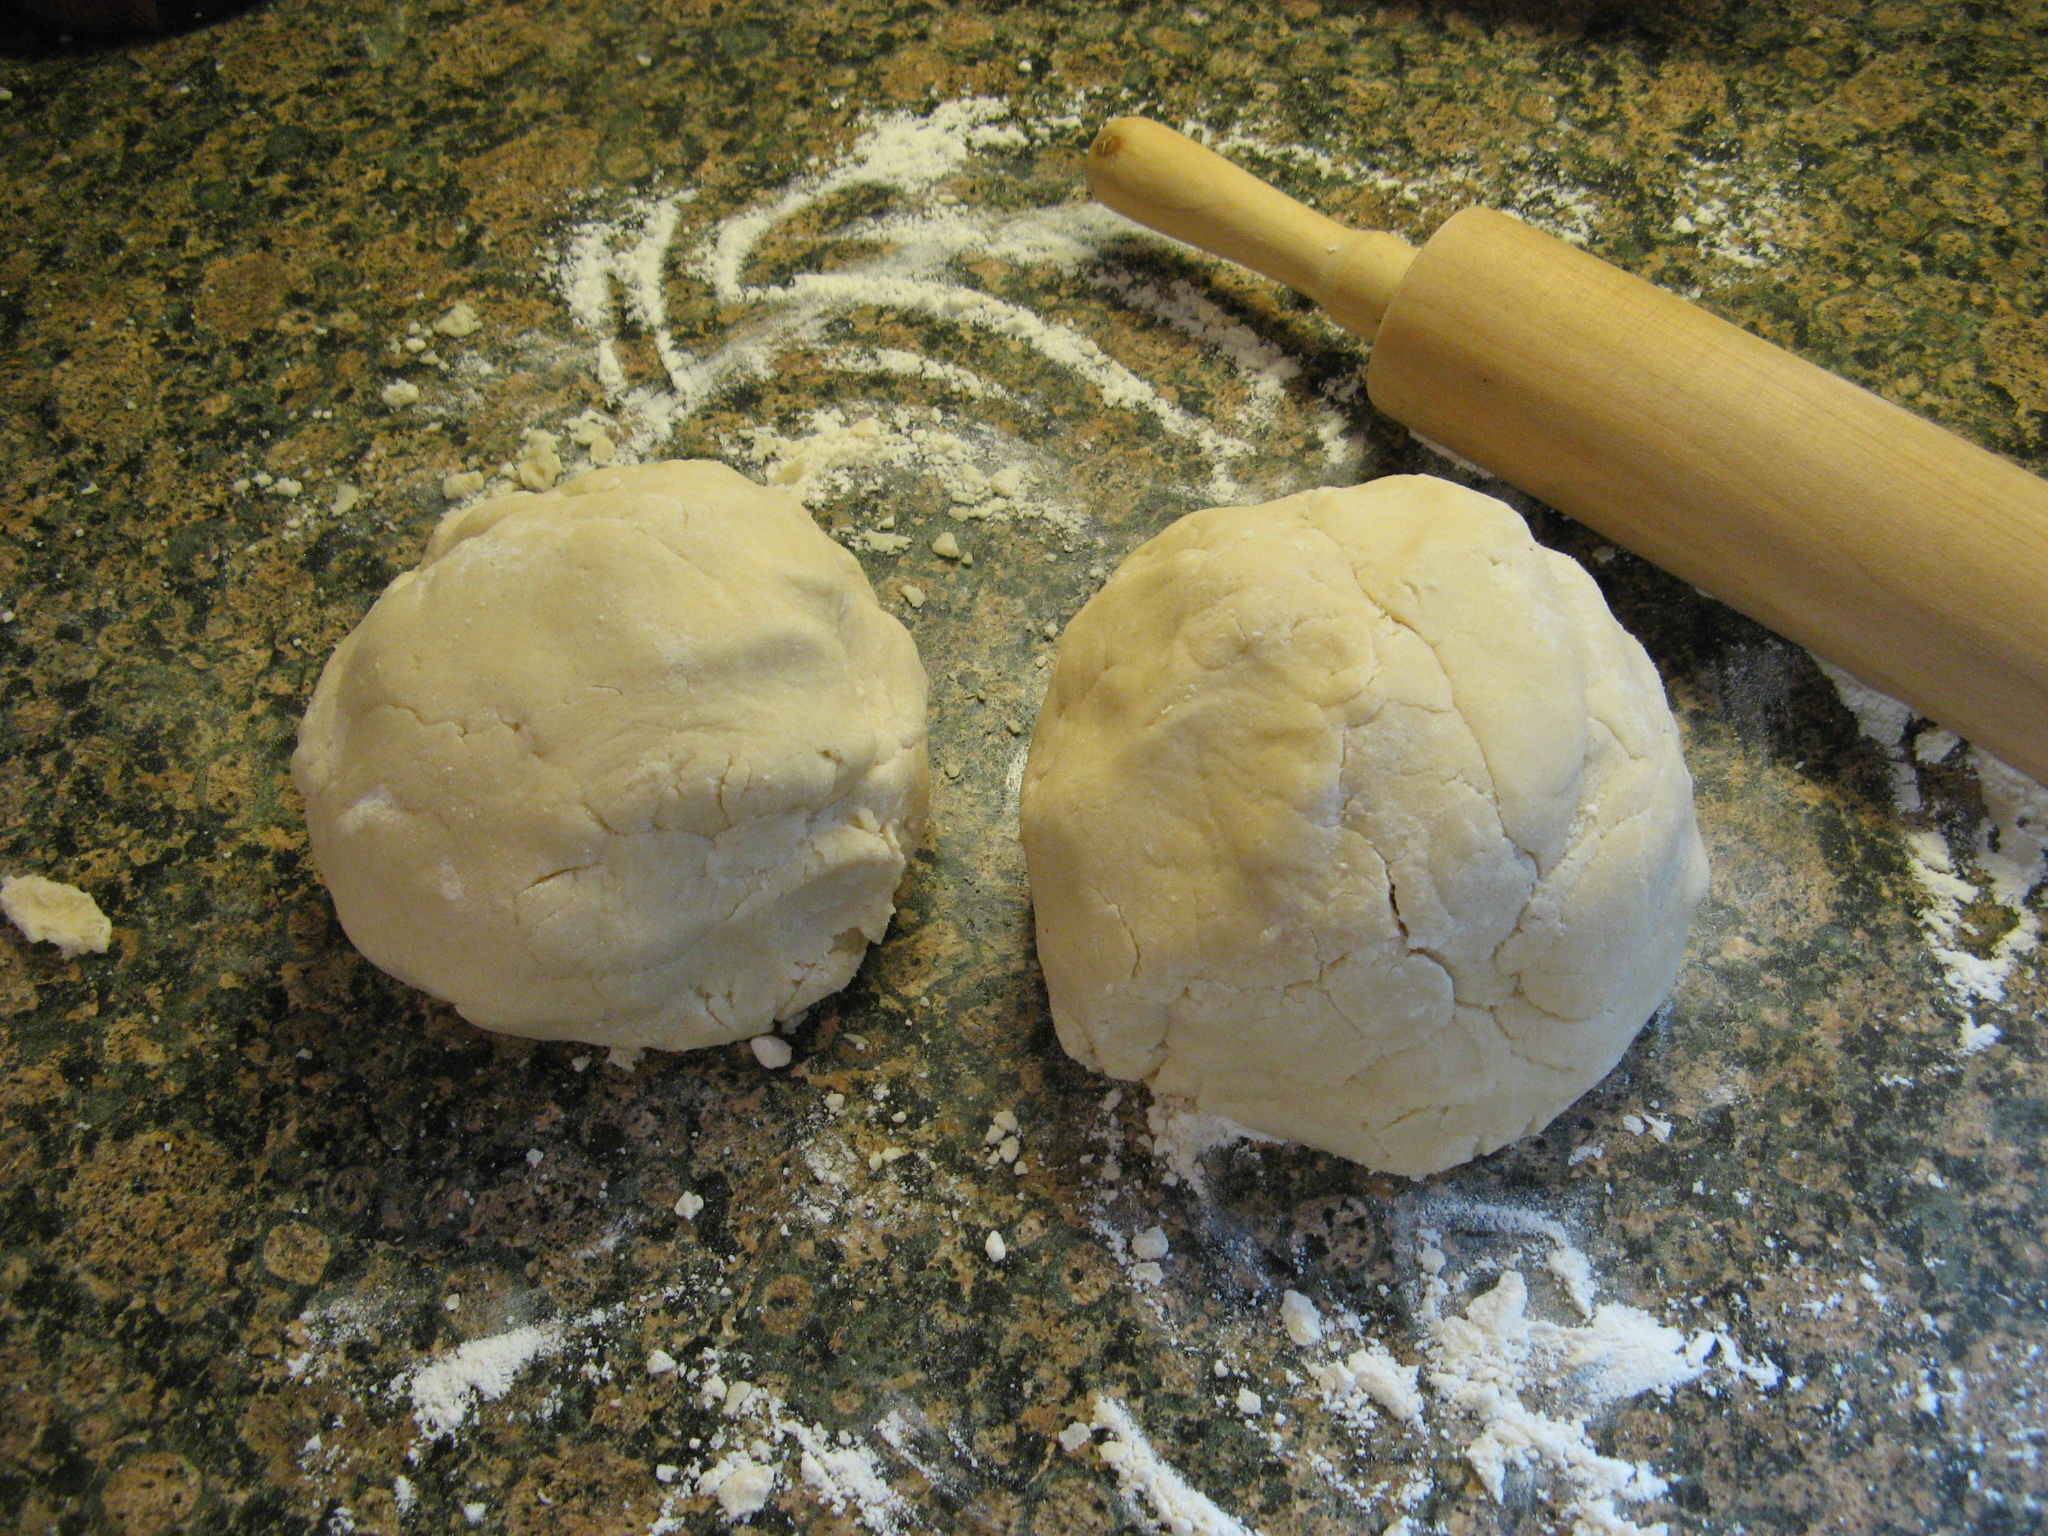
It wasn’t long before the dough came together, which I then divided into two balls in preparation for rolling.

IMG_3091 IMG_3092

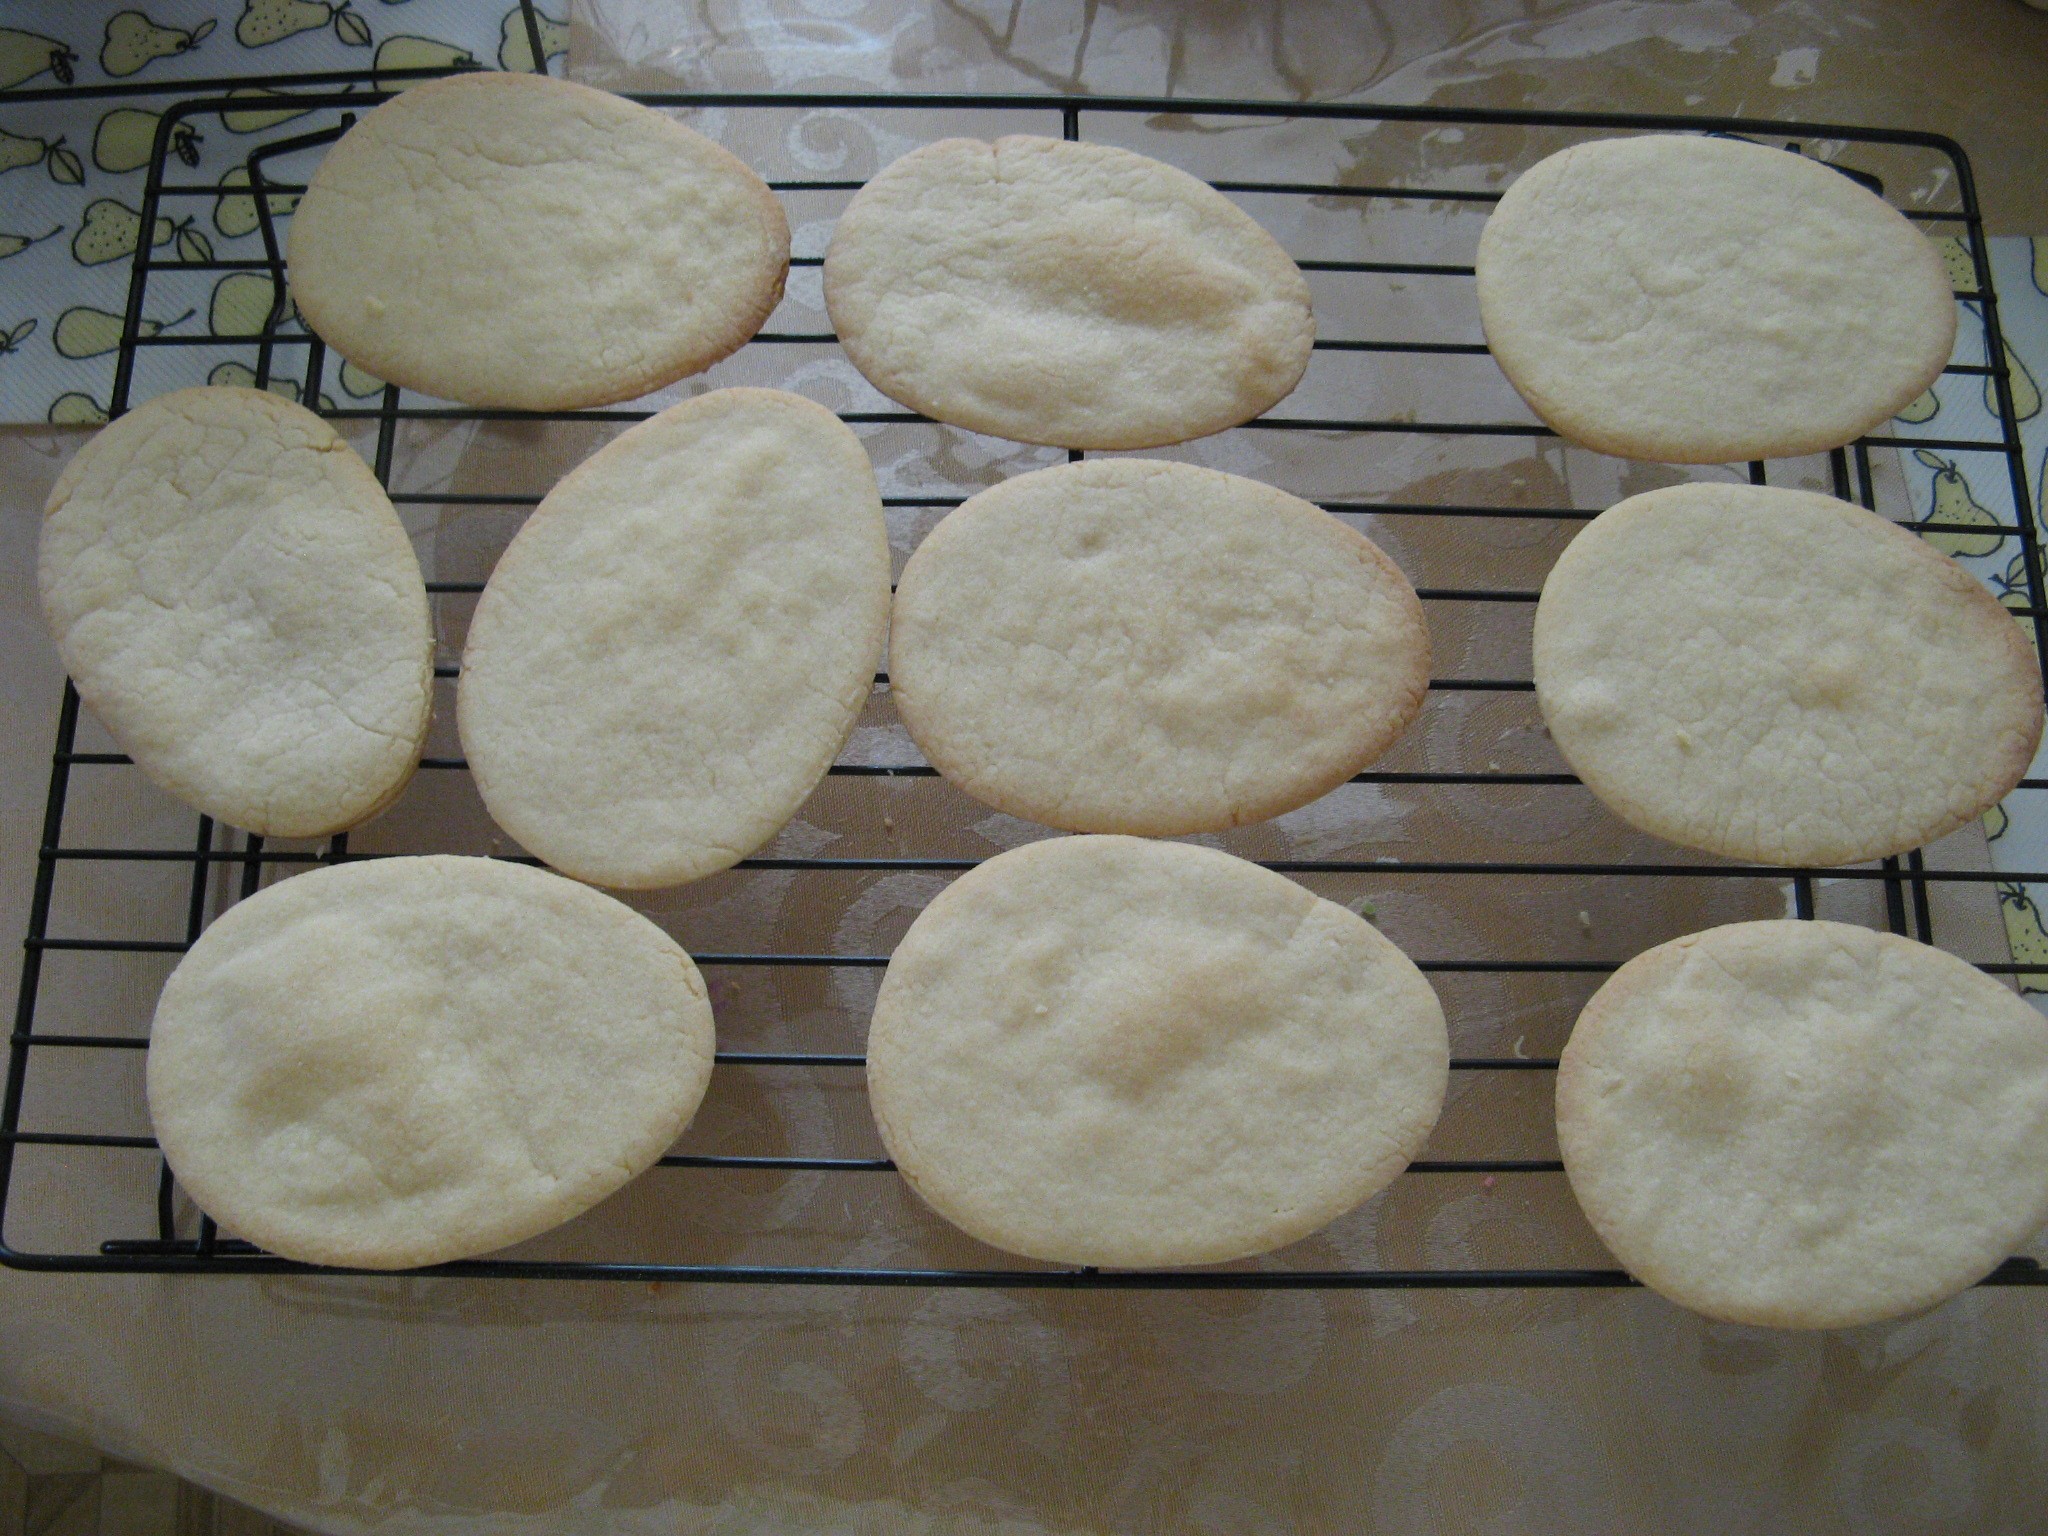
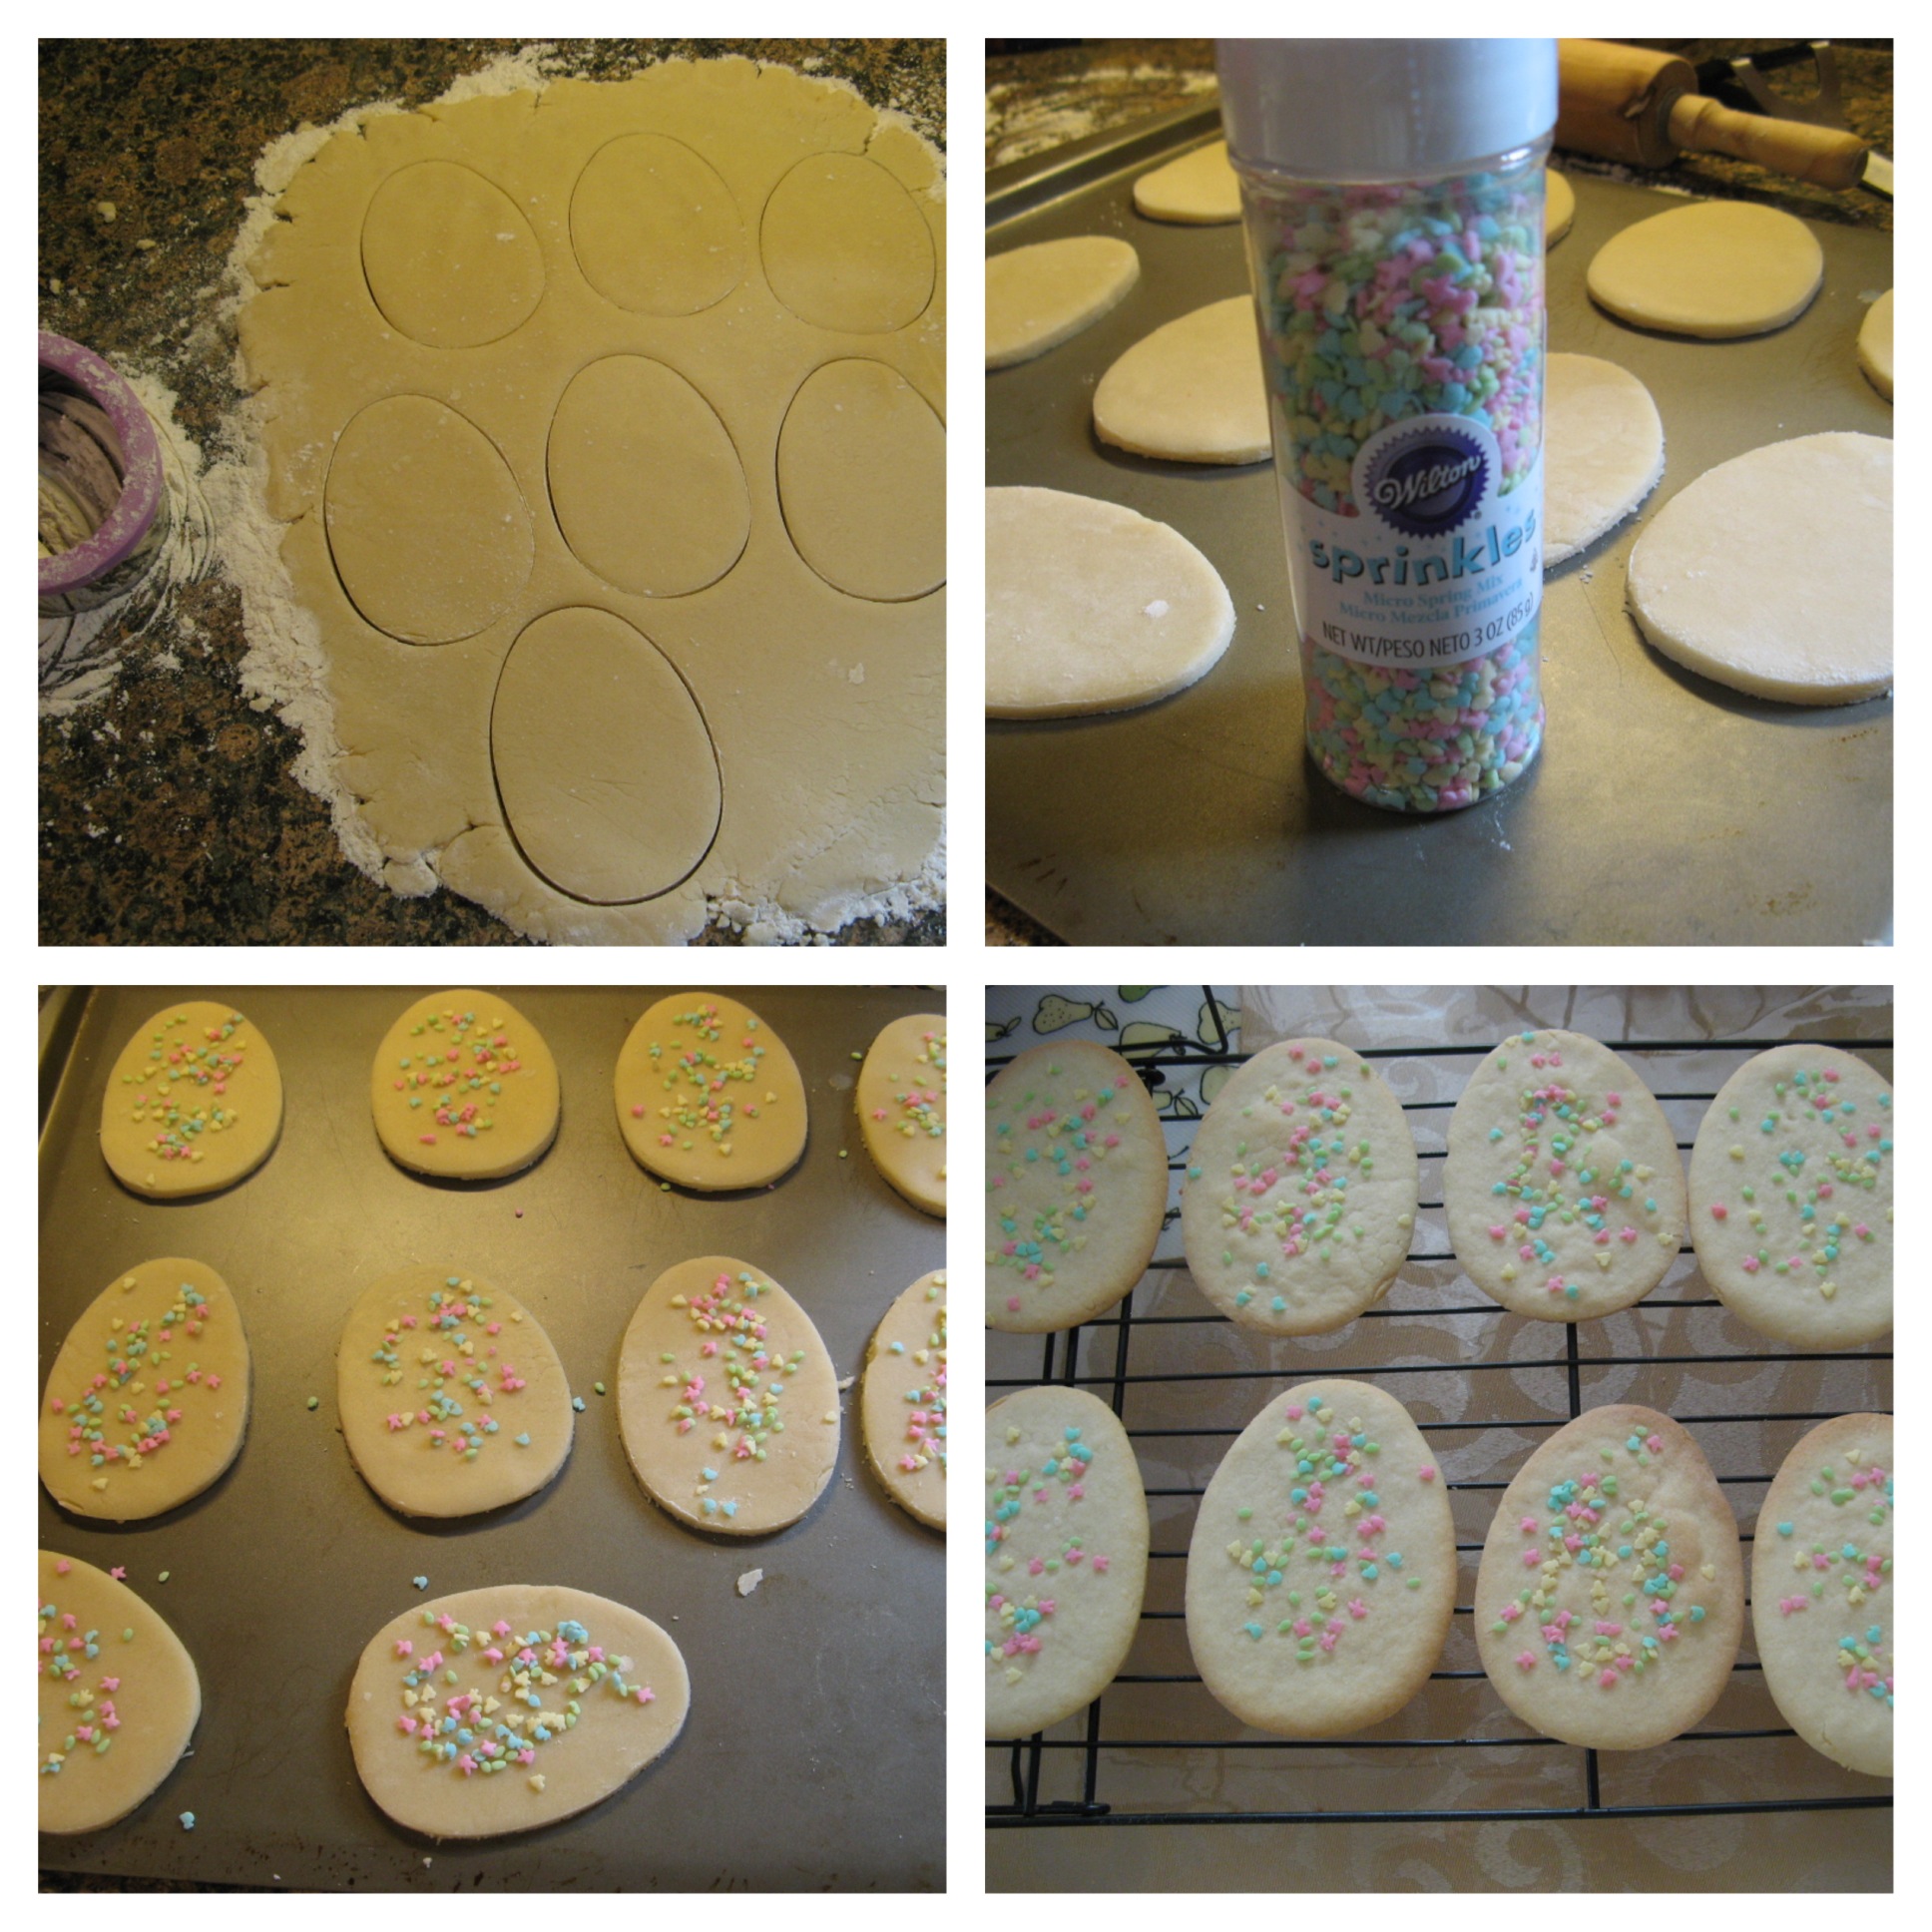
Once I rolled out my first ball and cut out the cookies I placed them on an ungreased cookie sheet and sprinkled them with Easter themed sprinkles. After baking for about ten minutes in a 350 F preheated oven they were done.

Easter Cookies 1

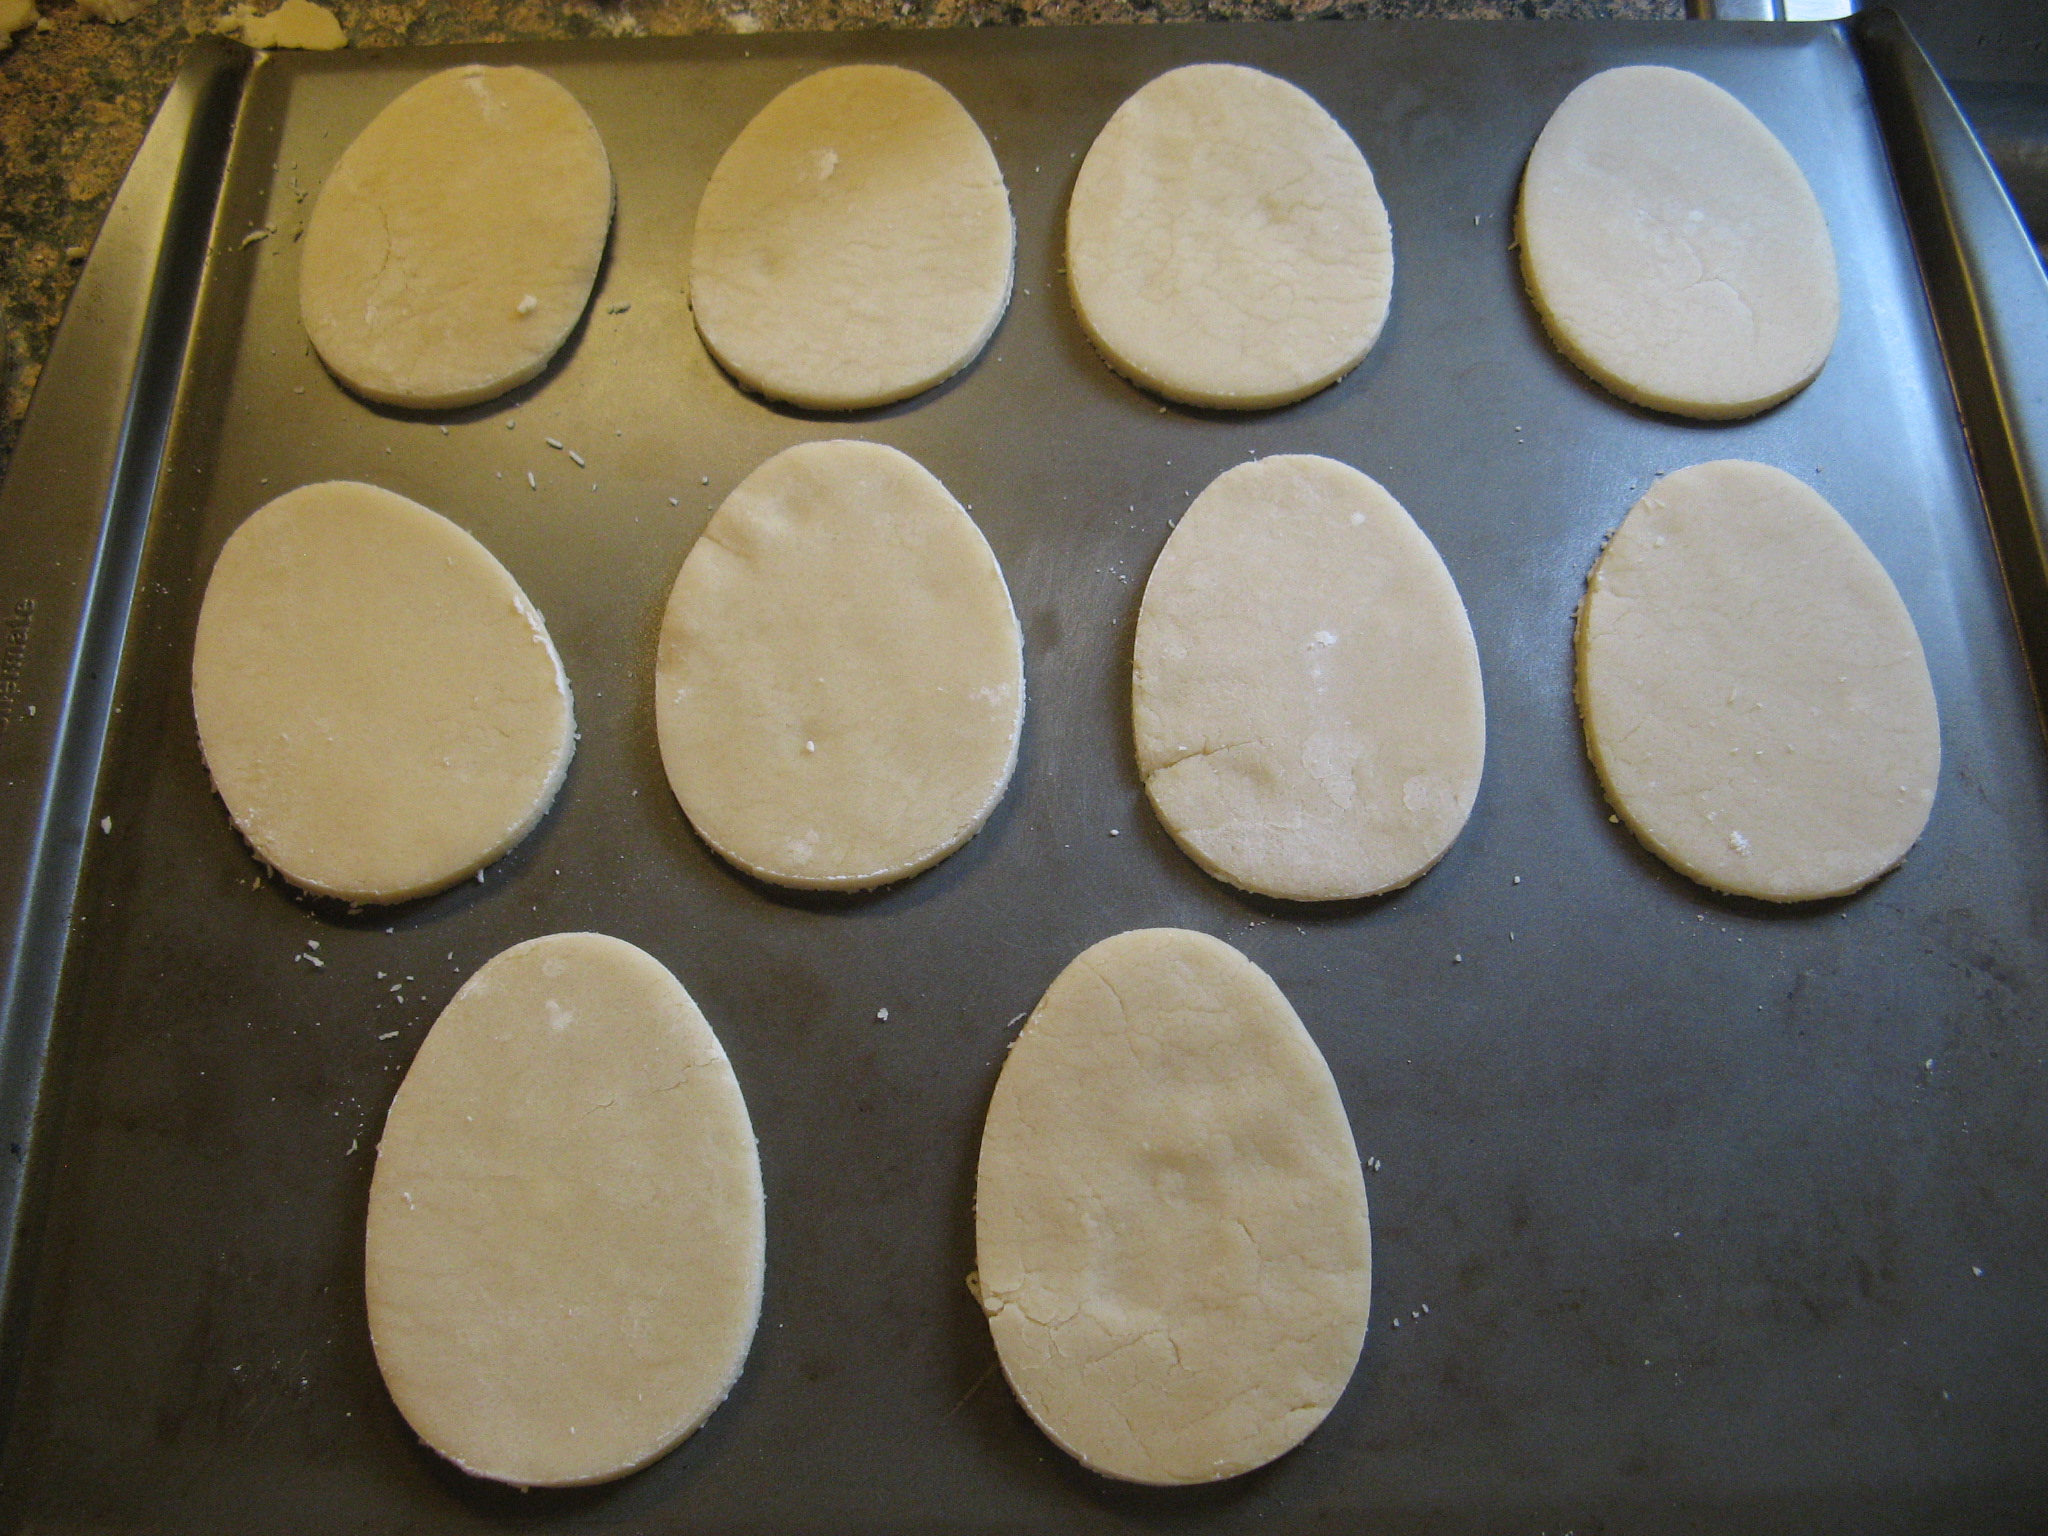
I baked my second batch without sprinkles since I was planning on decorating them with royal icing.

IMG_3103 IMG_3104

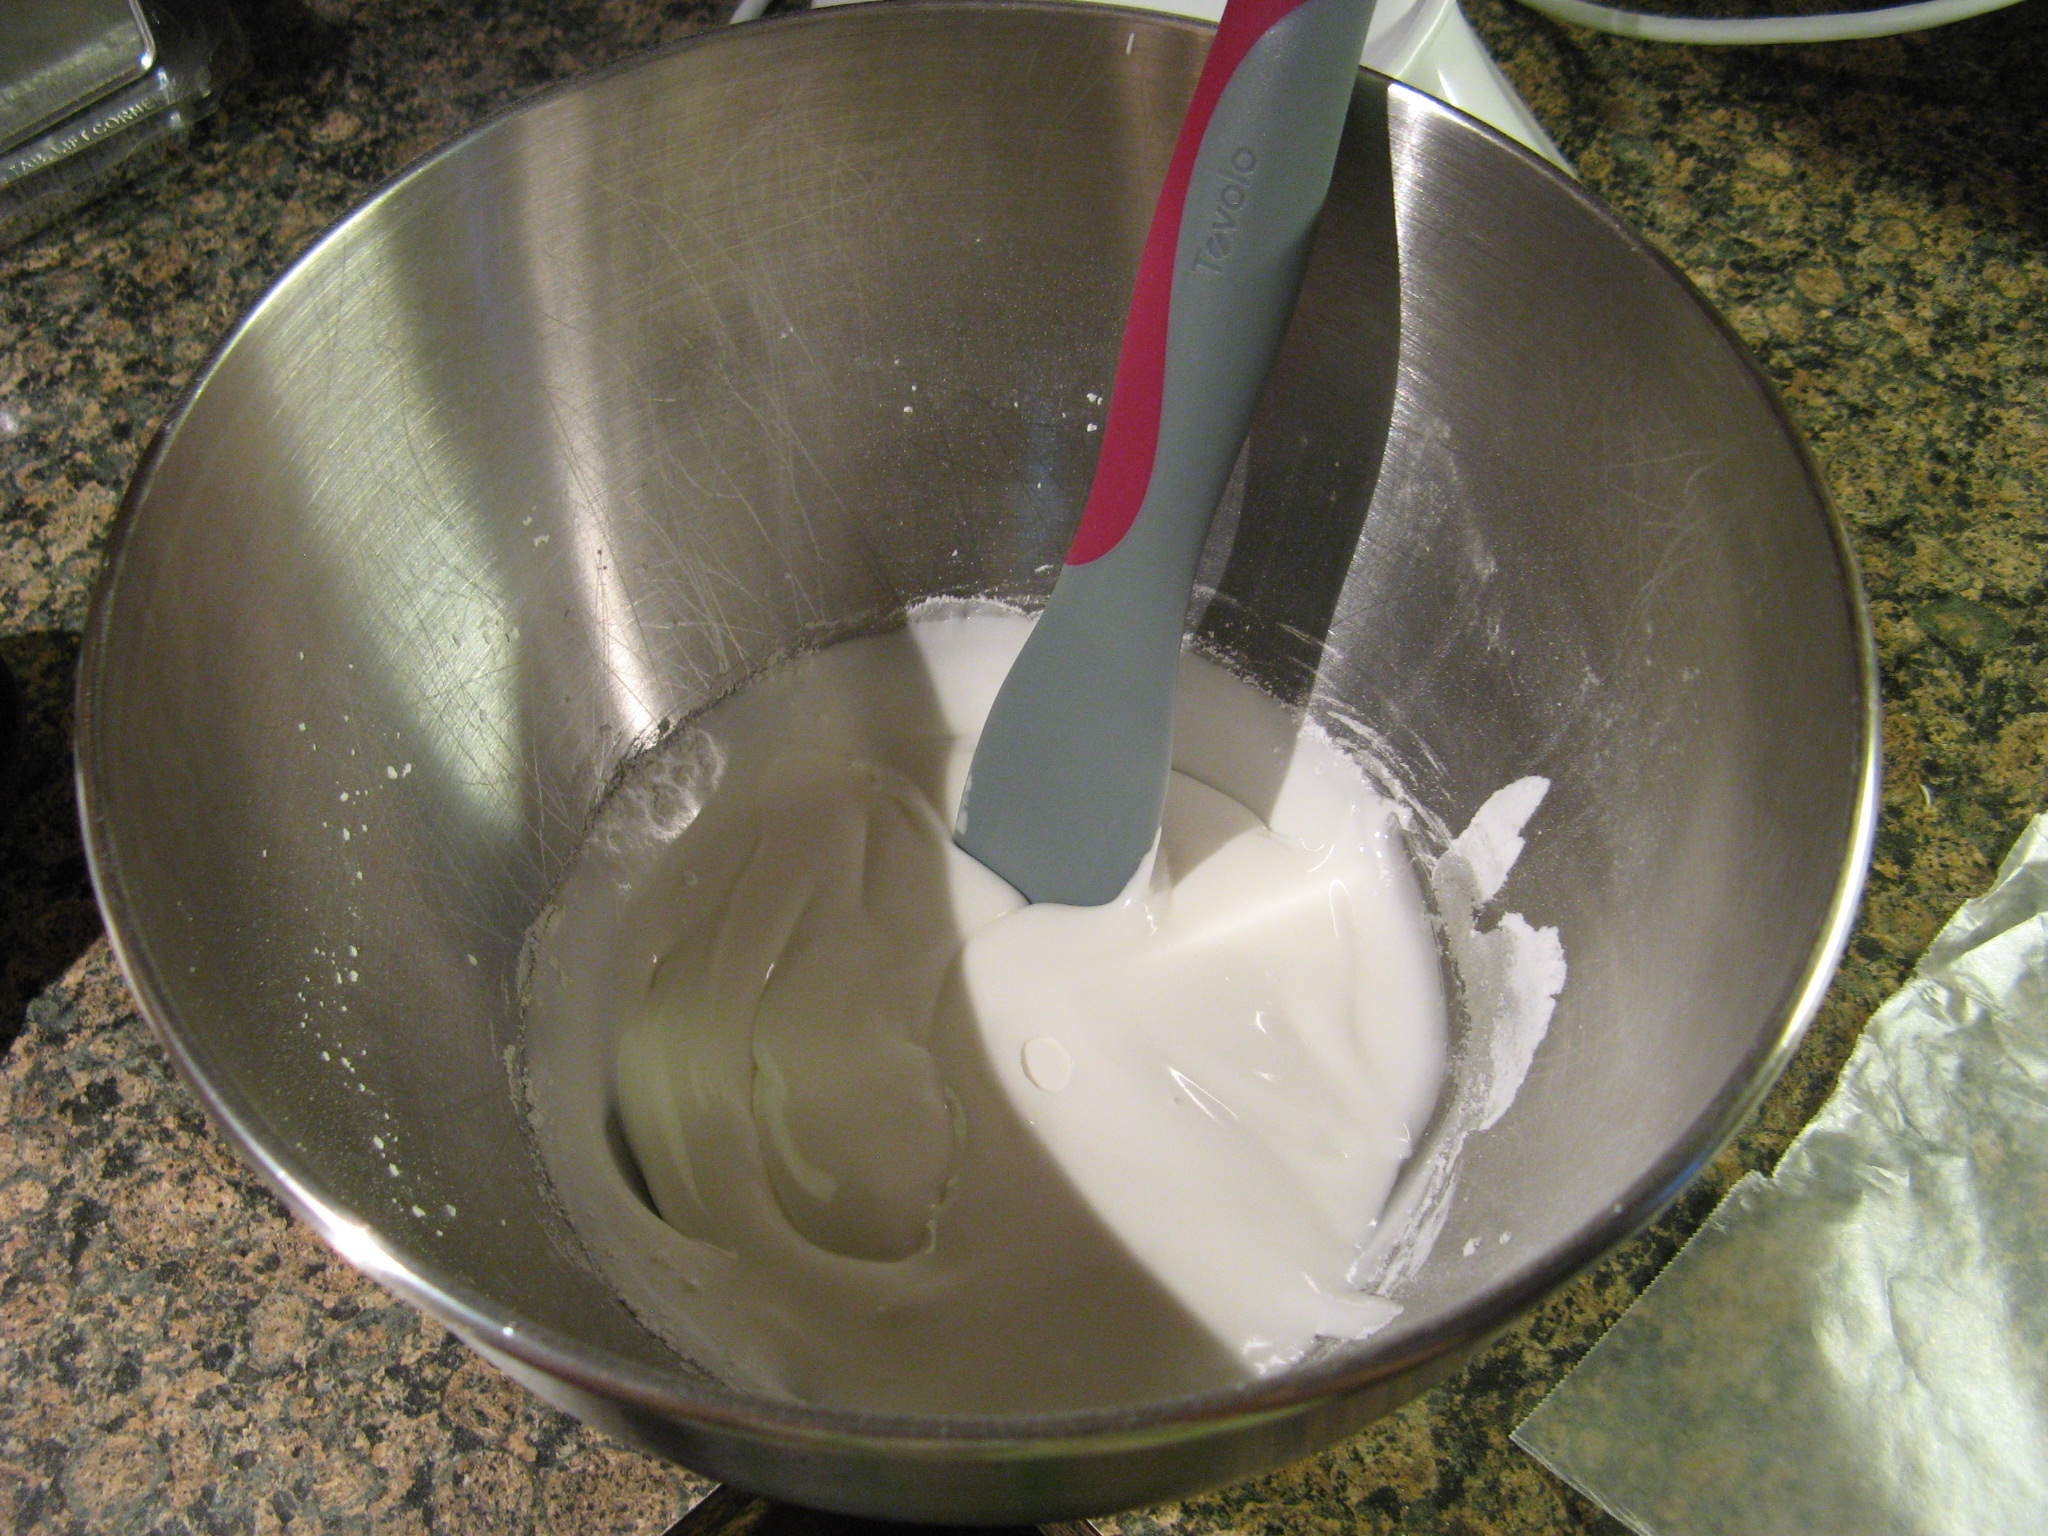
Once the cookies cooled completely I whipped up a small batch of royal icing.

IMG_3122

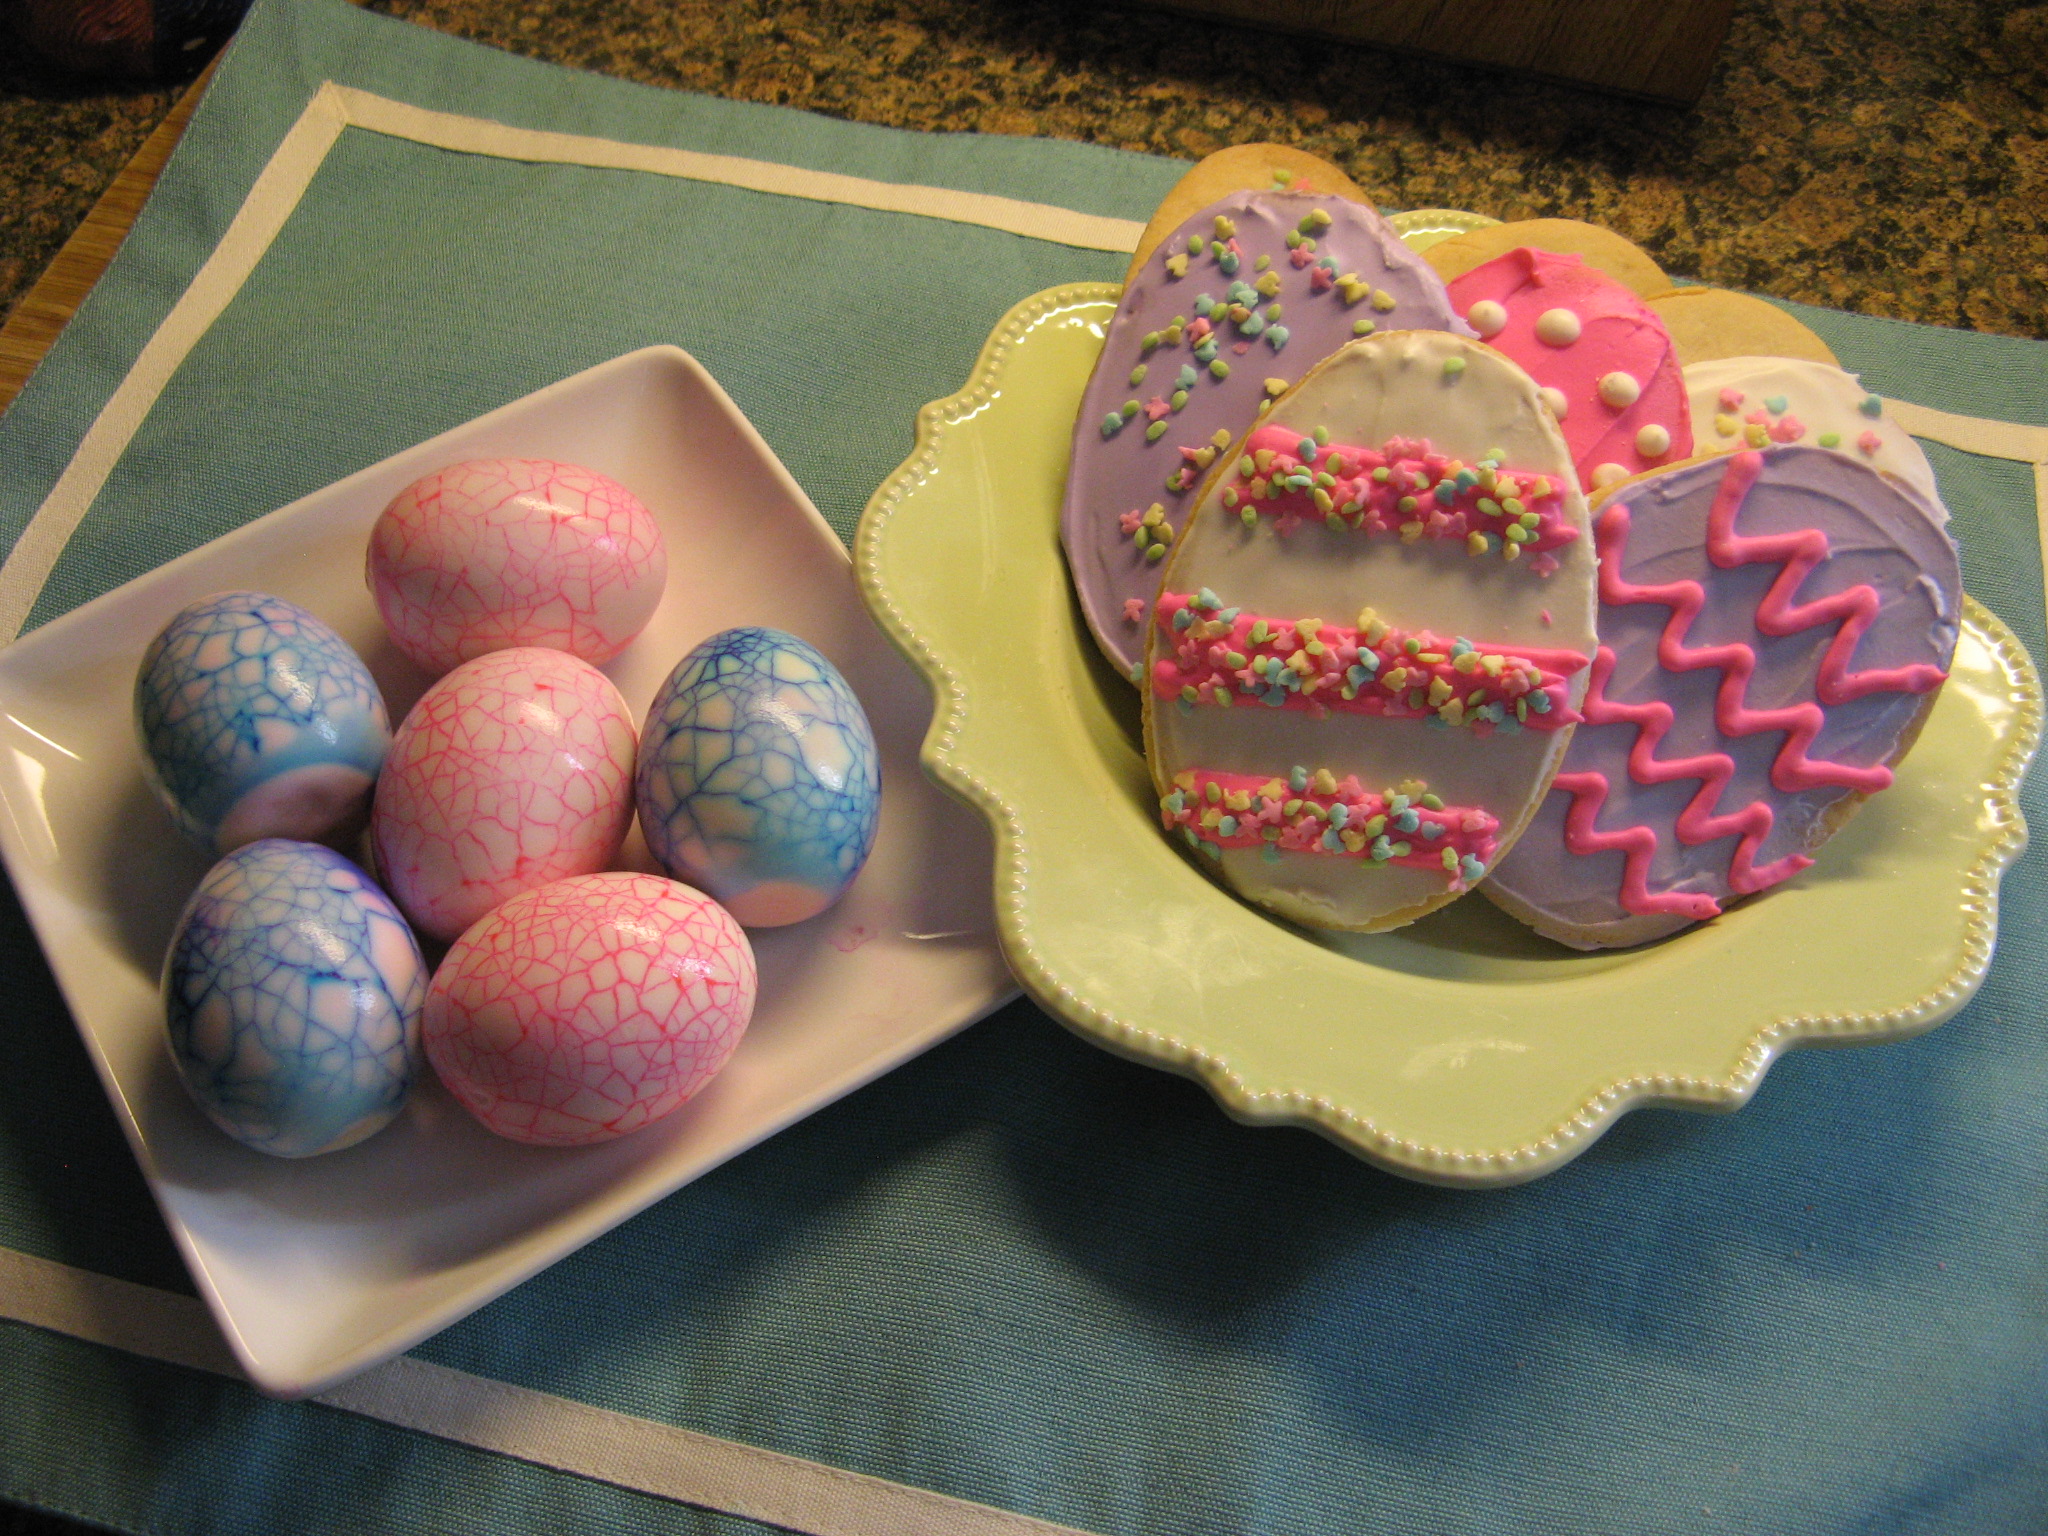
And after some dyeing, dotting and sprinkling my cookies were done.

IMG_3125

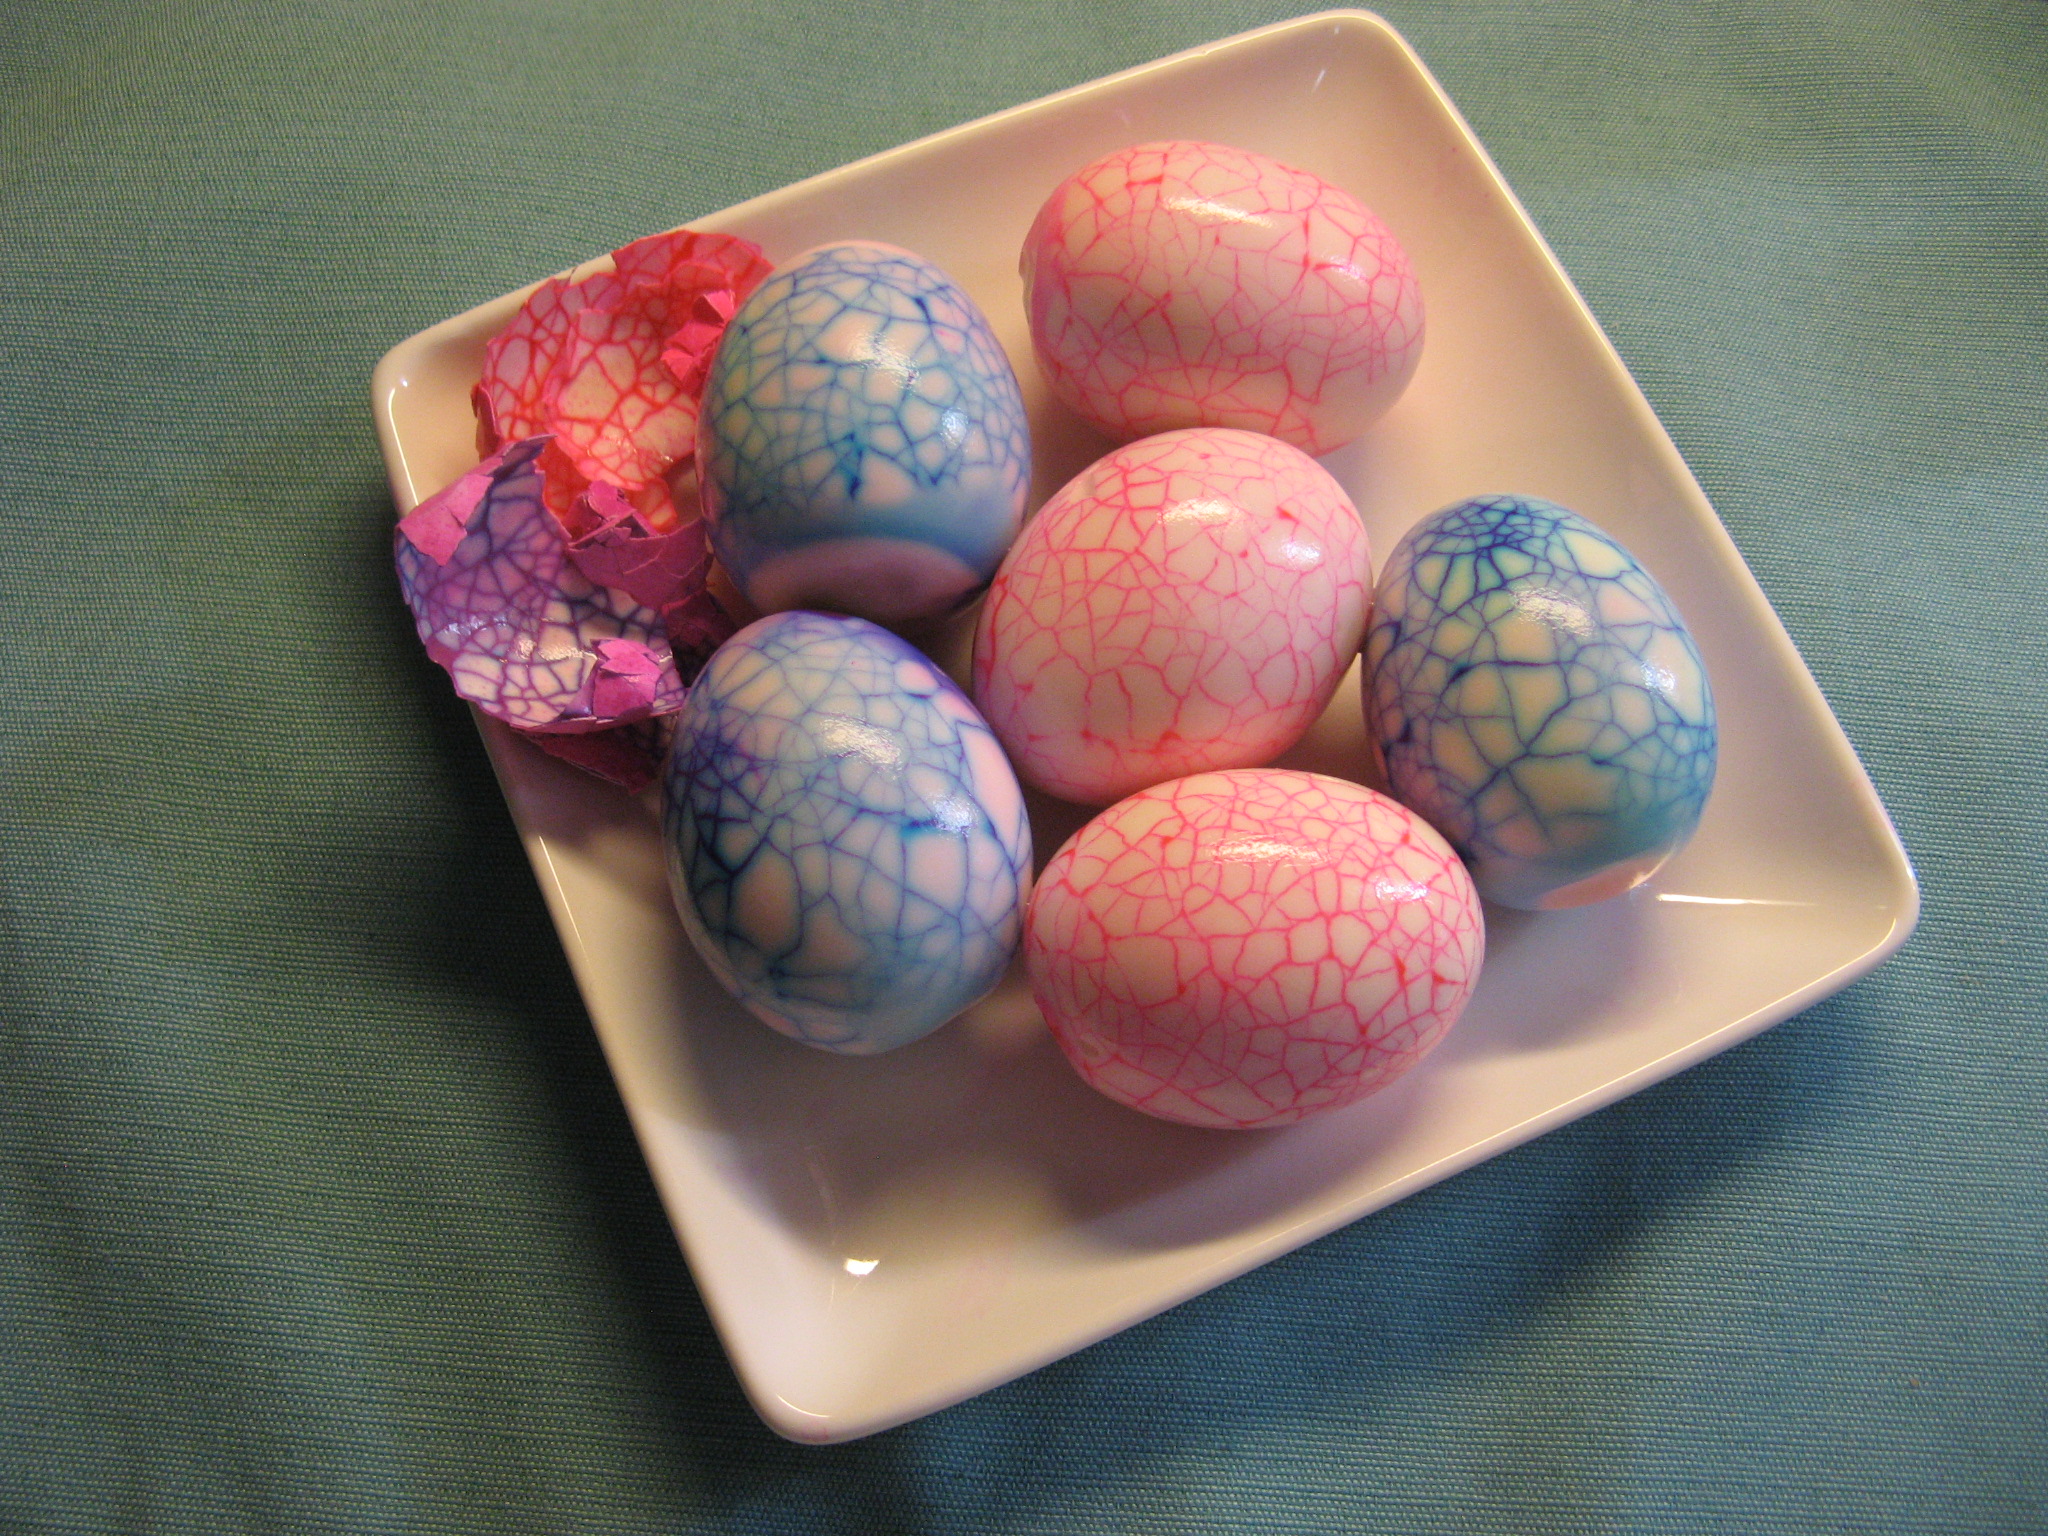
Along with Easter Egg Cookies I decided to make some actual Easter eggs. I haven’t dyed eggs in quite some time, but after seeing the directions for marbled eggs in a few different magazines this past month I decided I had to try it.

And this is what I ended up with. I really liked how the inside of the shell looked more than anything.

IMG_3155

And if you’re curious about Easter Eggs and some fun facts about them check out this article that was in the USA Weekend newspaper magazine this past weekend. Here are a few of my favorites…

-Before those little dissolvable capsules, egg dyes were made from a variety of materials, including onion peels, tree bark, flower petals, and vegetable and fruit juices.

-The PAAS Dye Co. launched its popular product in the 1880s in Newark, N.J. The first packets contained five colors for 5 cents. The company now claims to sell more than 10 million kits annually (no longer just dyes, but also paints, stickers, glitter and more) and says that consumers use them to decorate 180 million eggs.

-Many Easter eggs aren’t actually eggs but are formed from chocolate. In Scotland, a popular treat sold in fish-and-chips shops is deep-fried chocolate eggs.

-“Easter eggs” are found in numerous videogames and movies. That’s a term for an inside joke or hidden message planted by the creator. The term was coined at Atari after a programmer put his name in a hidden room in the game Adventure, released in 1979.

IMG_3160


Roll-Out Cookies

1 cup (2 sticks) unsalted butter, softened

1 1/2 cups granulated sugar

1 egg

1 1/2 teaspoons vanilla extract

1/2 teaspoons almond extract

2 3/4 cups all-purpose flour

1 teaspoon baking powder

1 teaspoon salt

Preheat oven to 350 F.

In mixing bowl, beat butter with sugar until light and fluffy. Beat in egg and extracts. Mix flour, baking powder and salt; add to butter mixture 1 cup at a time, mixing after each addition. Do not chill dough. Divide dough into 2 balls.

On a floured surface, roll each ball into a circle approximately 12 in. wide and 1/8 in. thick. Dip cookie cutter in flour before each use. Bake cookies on an ungreased cookie sheet 8-11 minutes or until cookies are lightly browned.

Easy Lace Shrug… It’s Finally Done!

It’s been over a month since I posted about the Easy Lace Shrug I was working on. I honestly didn’t think it would take me this long to finish it, especially since I didn’t have much left to go, but that’s what procrastination will do to you. (And also a few mistakes.)

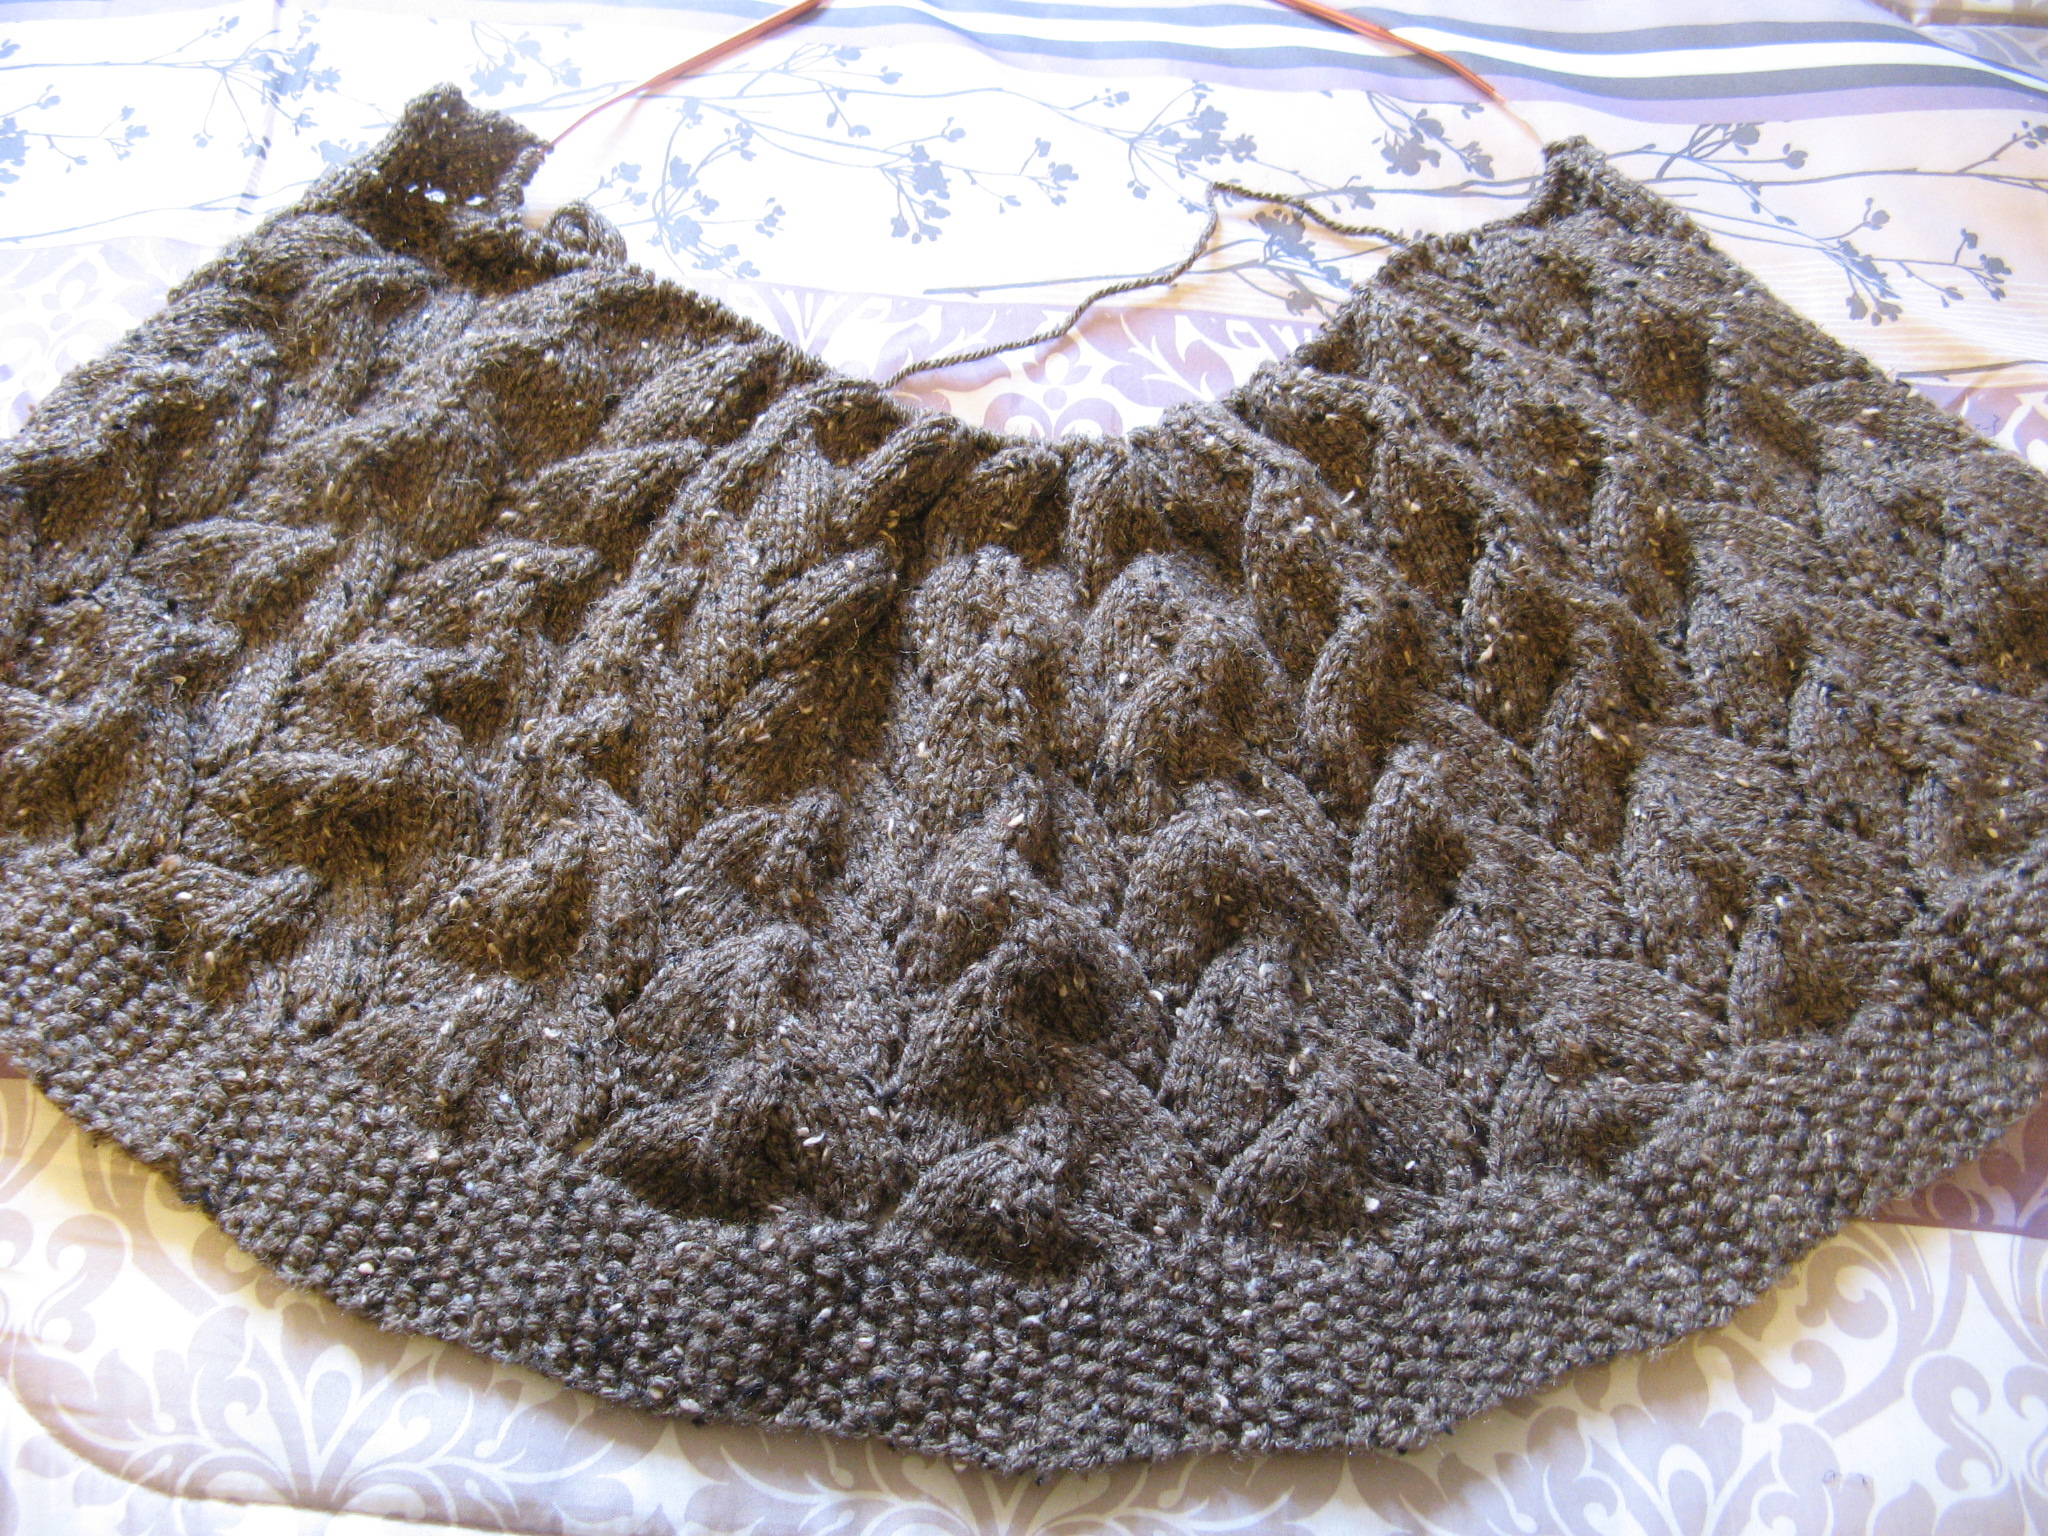
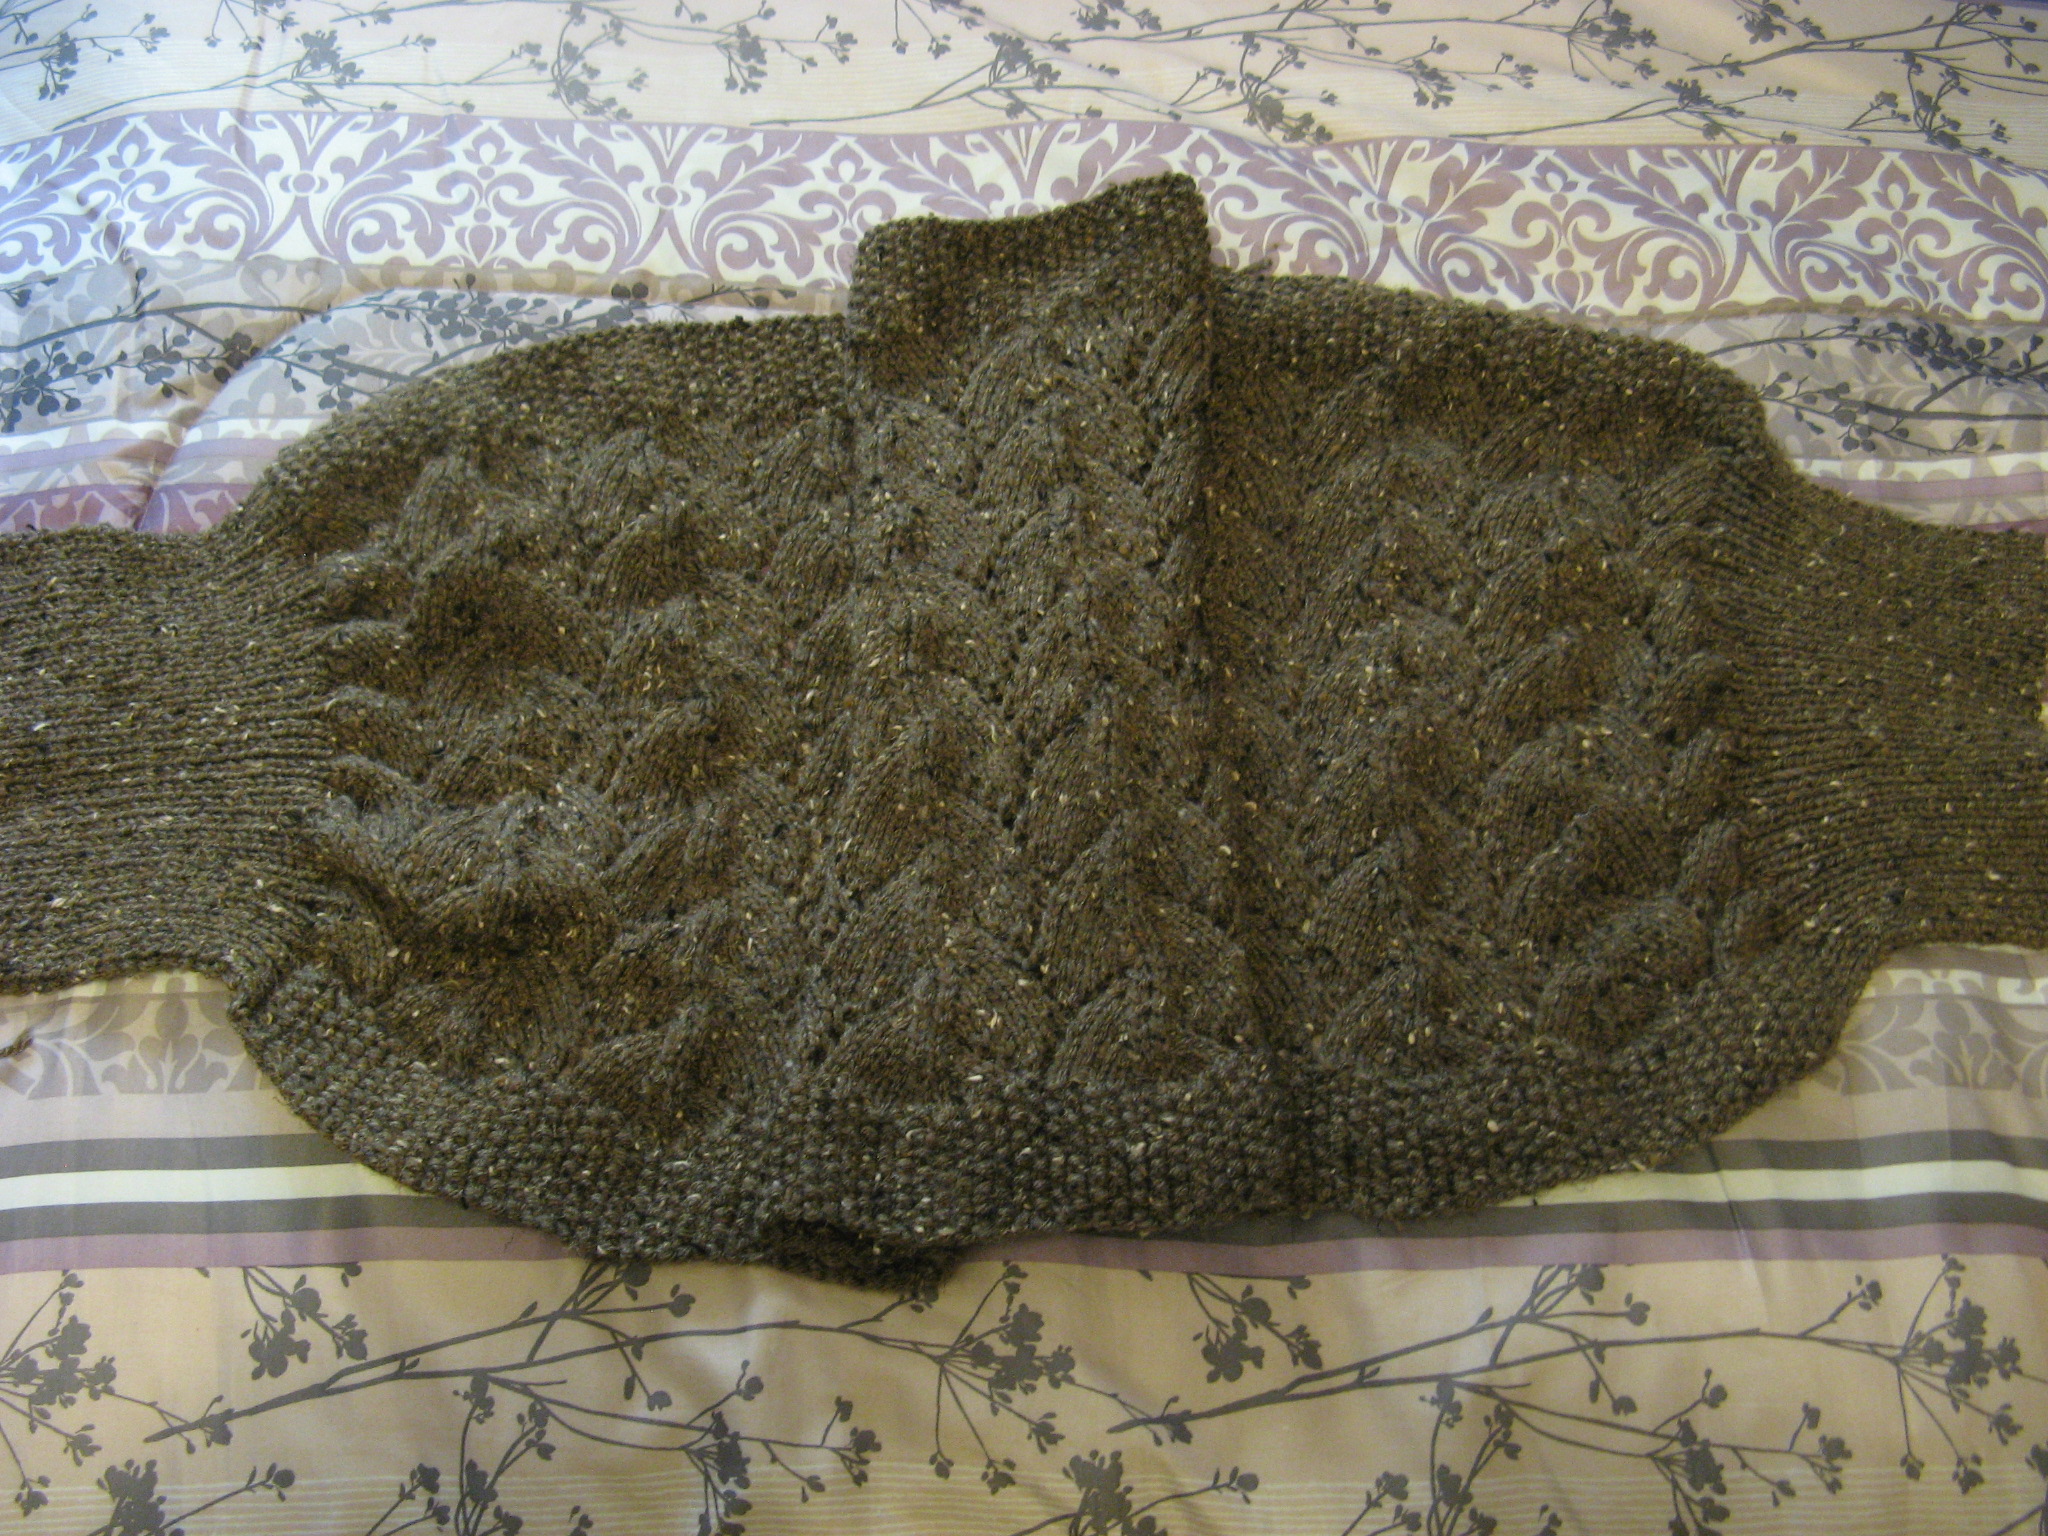
This is where I was when I last posted… I still had to two more sections of the lace pattern to knit up, the seed stich border to complete and I also had to the cuffs to do which I needed to pick up stitches for along the border. Something I had never done before and while it seemed challenging at first I quickly got the hang of it. Although I did have to pull out the first cuff I did because I somehow miscalculated the number of stitches or more likely mistook some space for stitches when they weren’t.

IMG_2729

So, after I corrected my mistake I successfully knitted the cuffs onto each end of the shrug.

IMG_2978

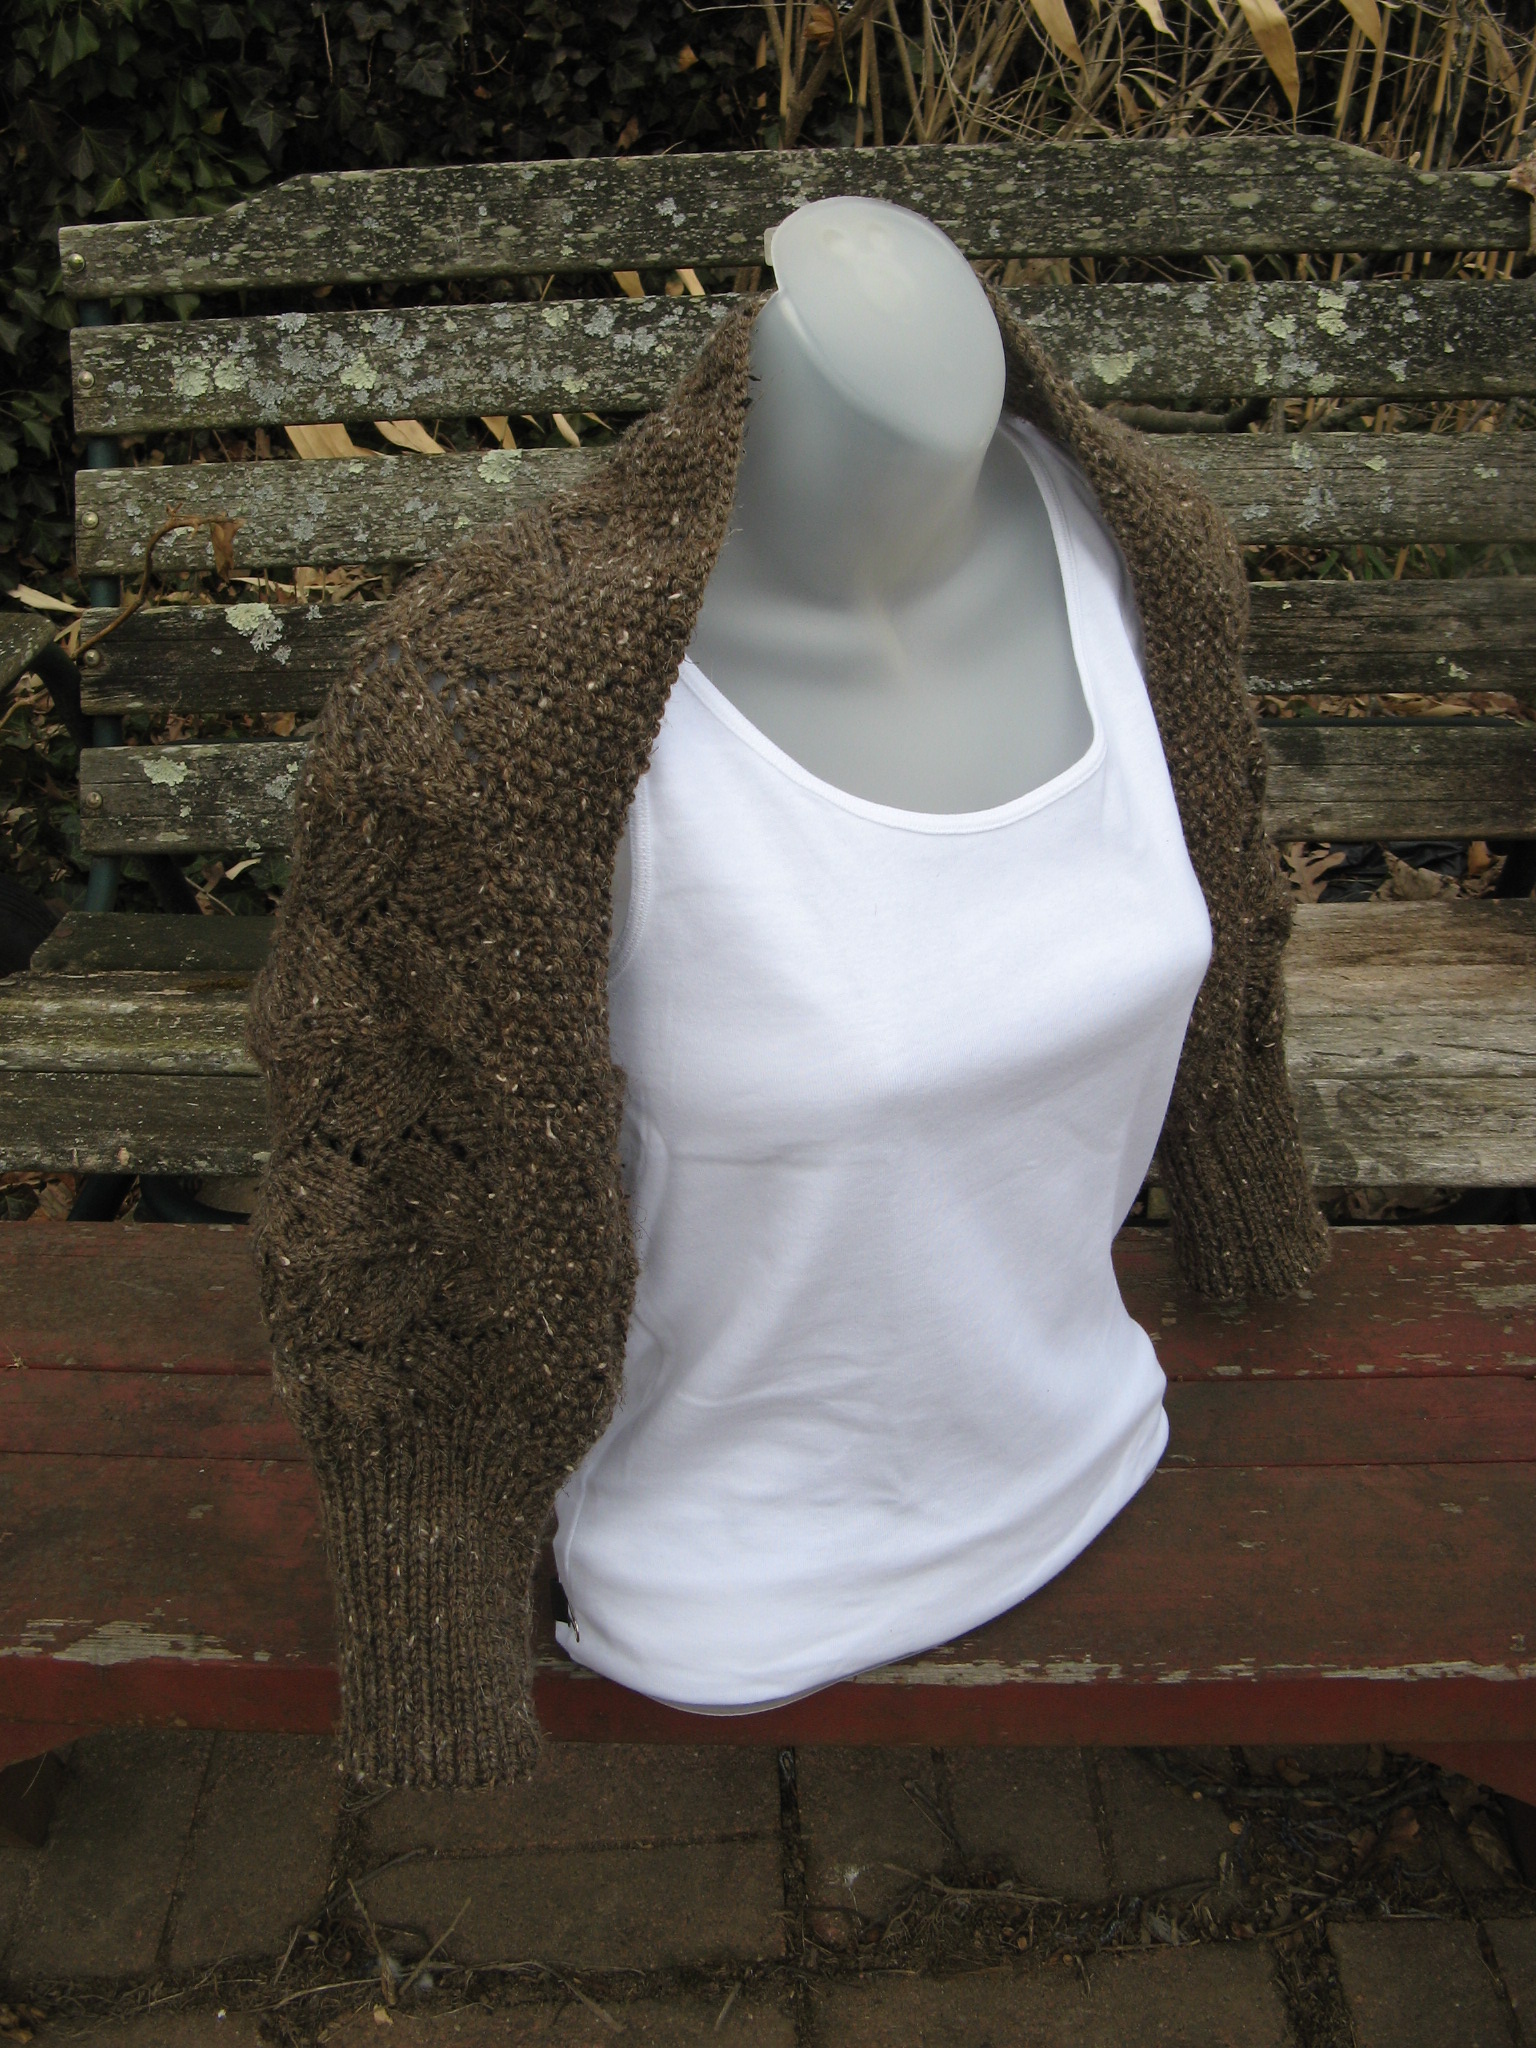
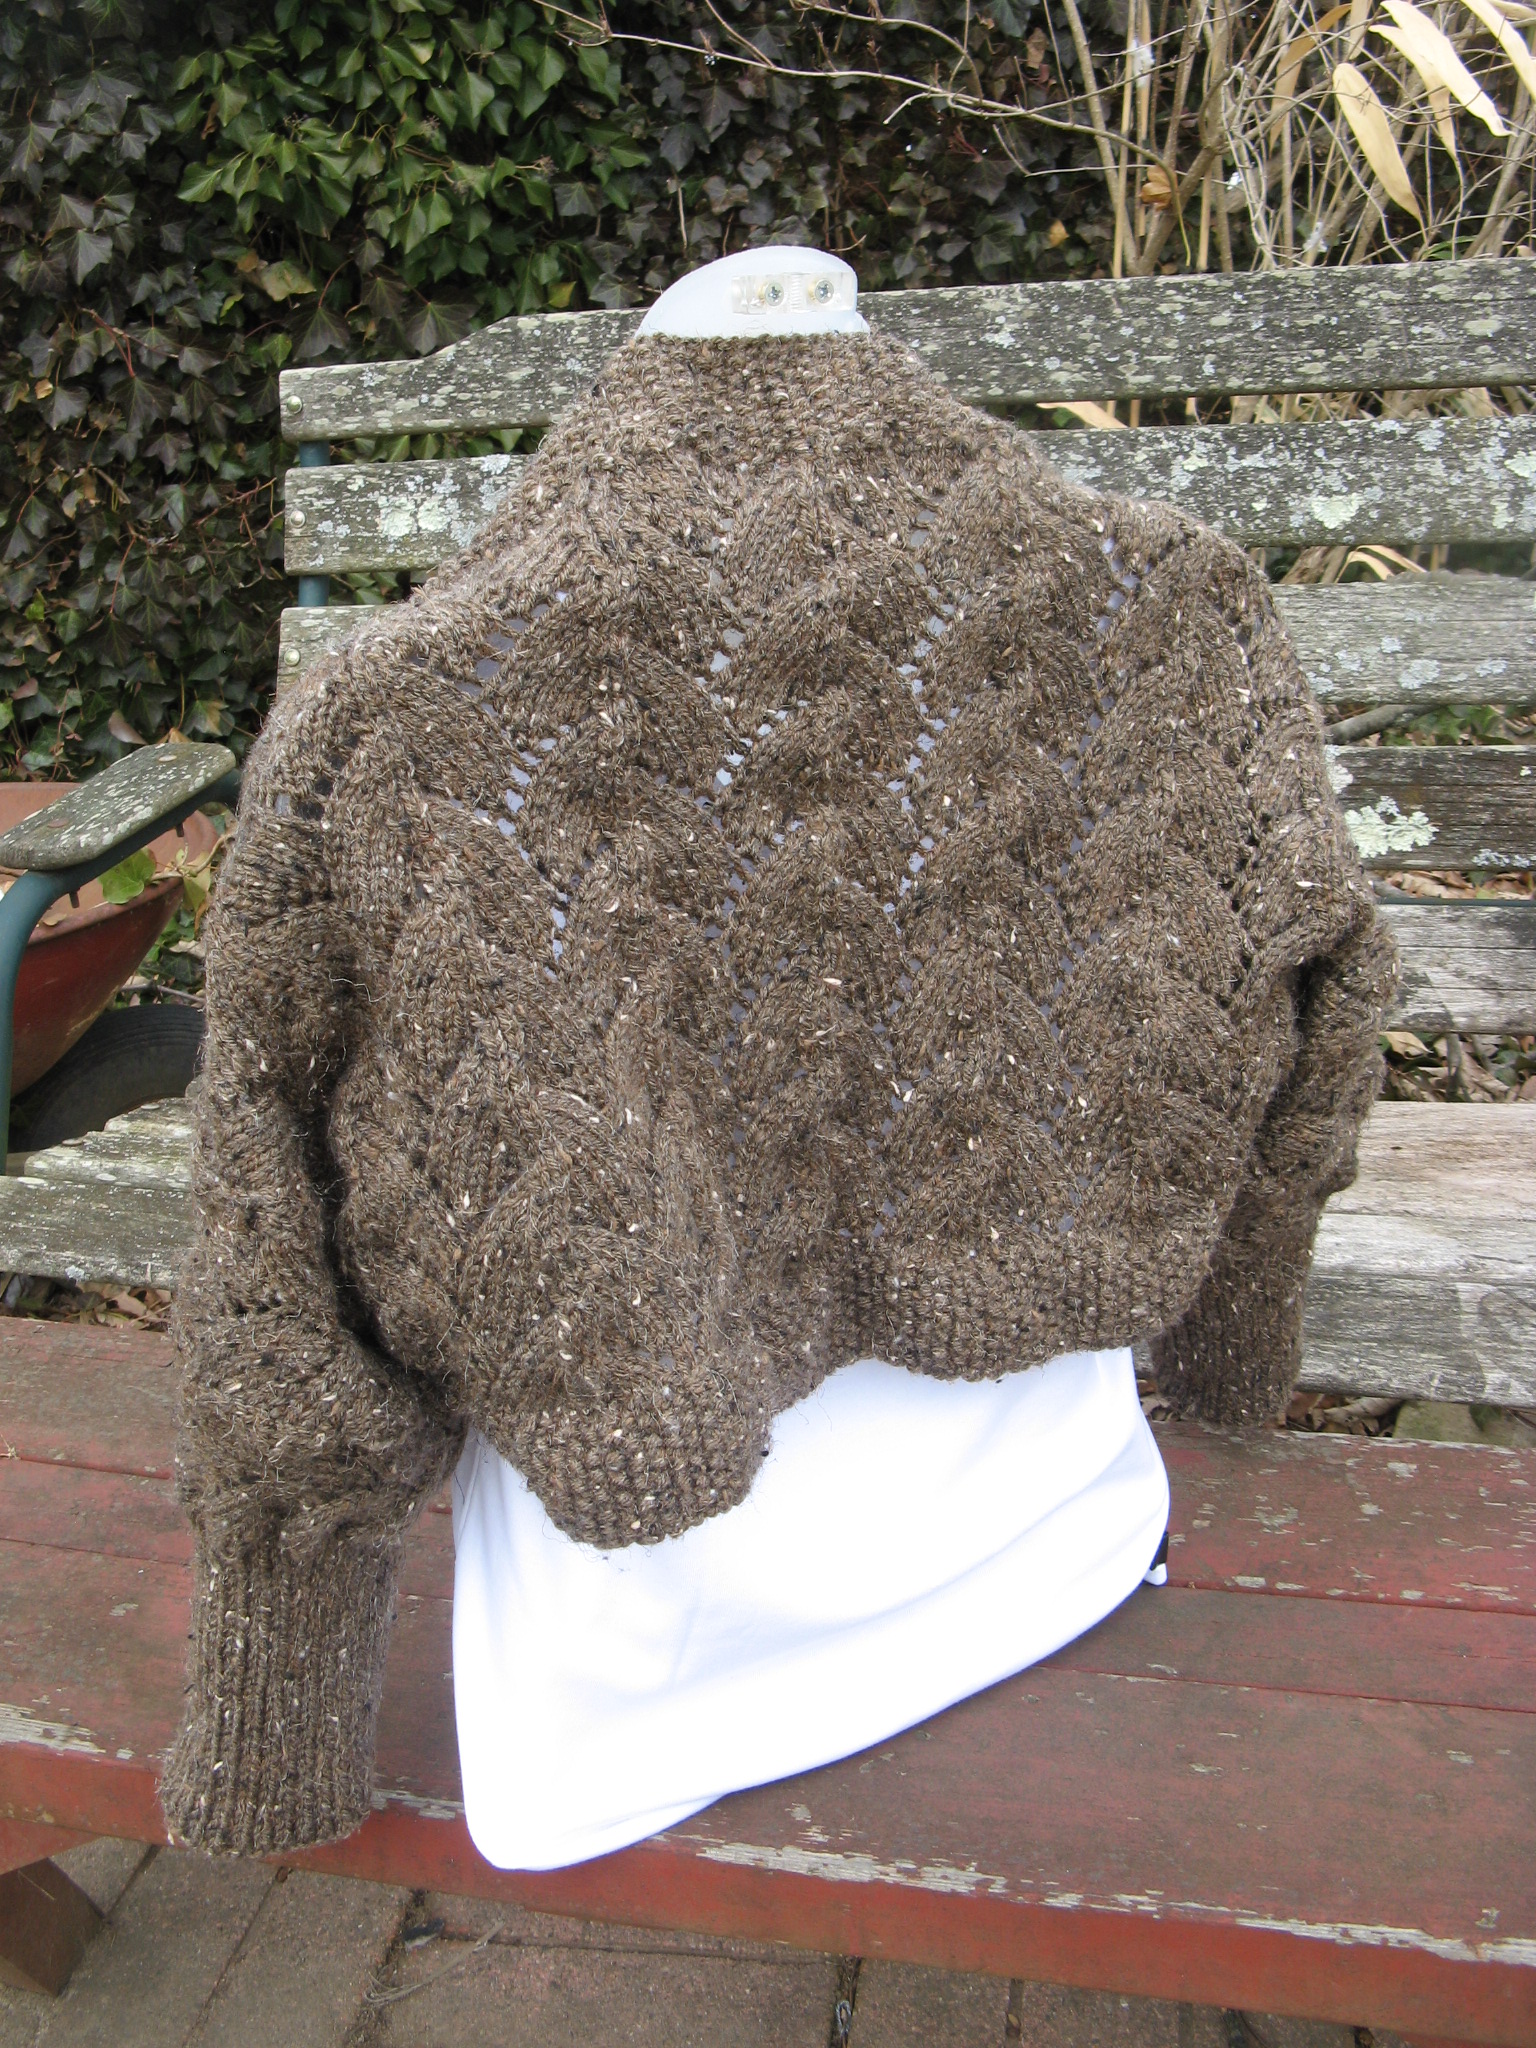
And finally I seamed the cuffs together and it was done (YAY!!!) I’ve been thinking about knitting up a sweater for myself since I got this down. I probably should start soon though so that I can be sure to have it done before next winter.

IMG_2994 IMG_2997

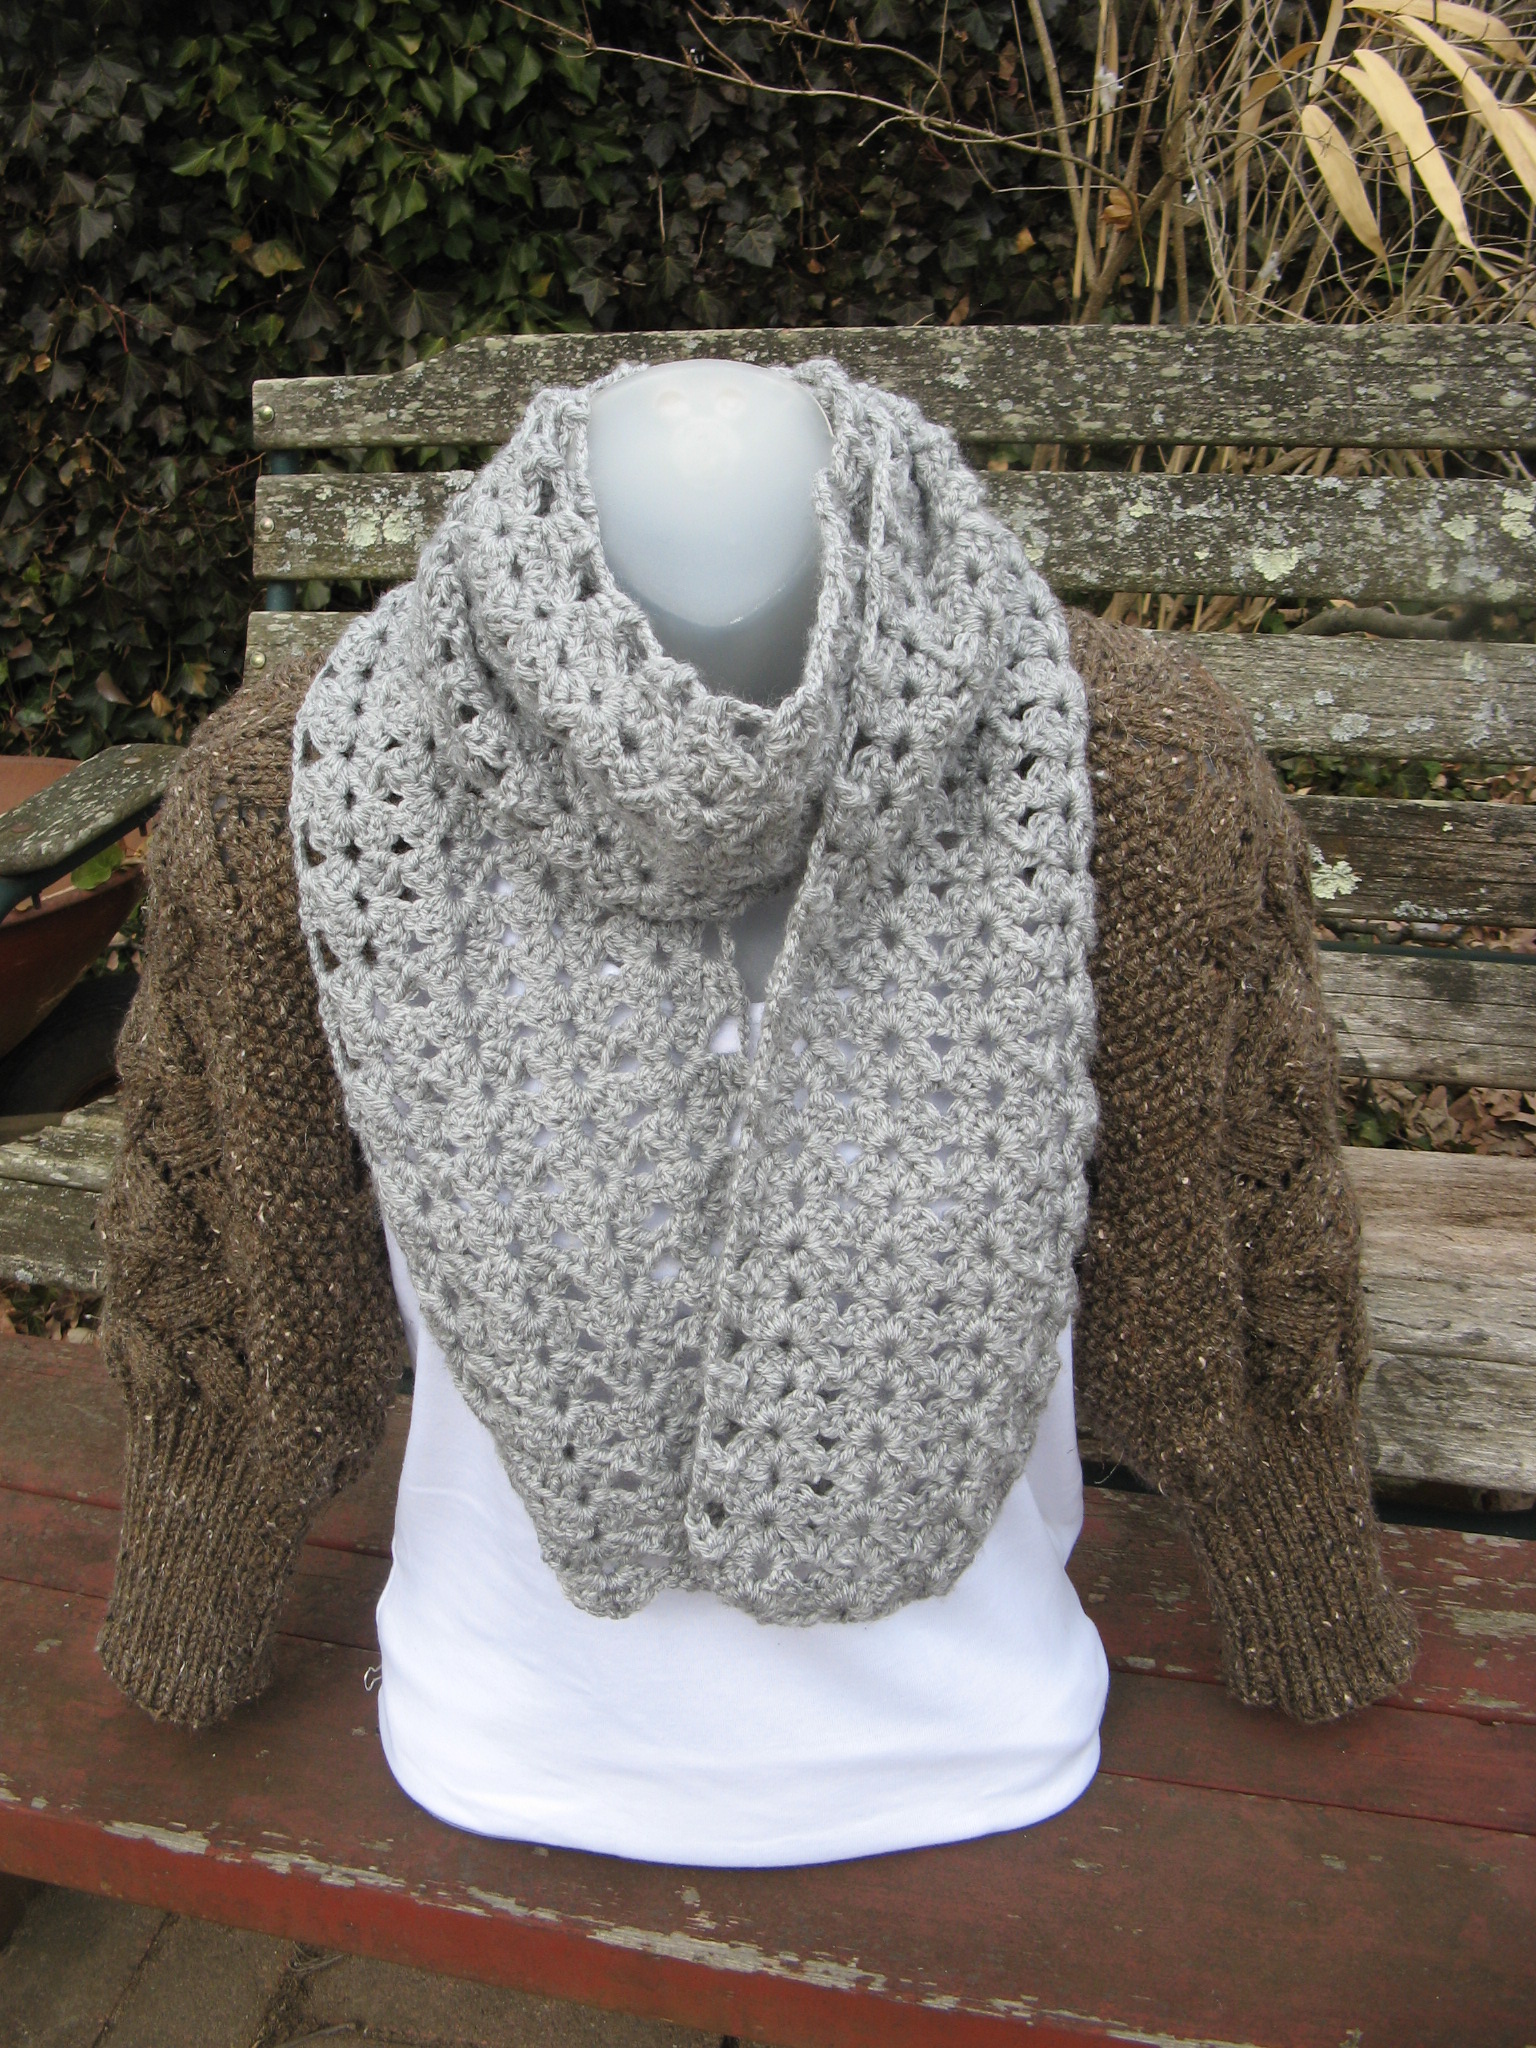
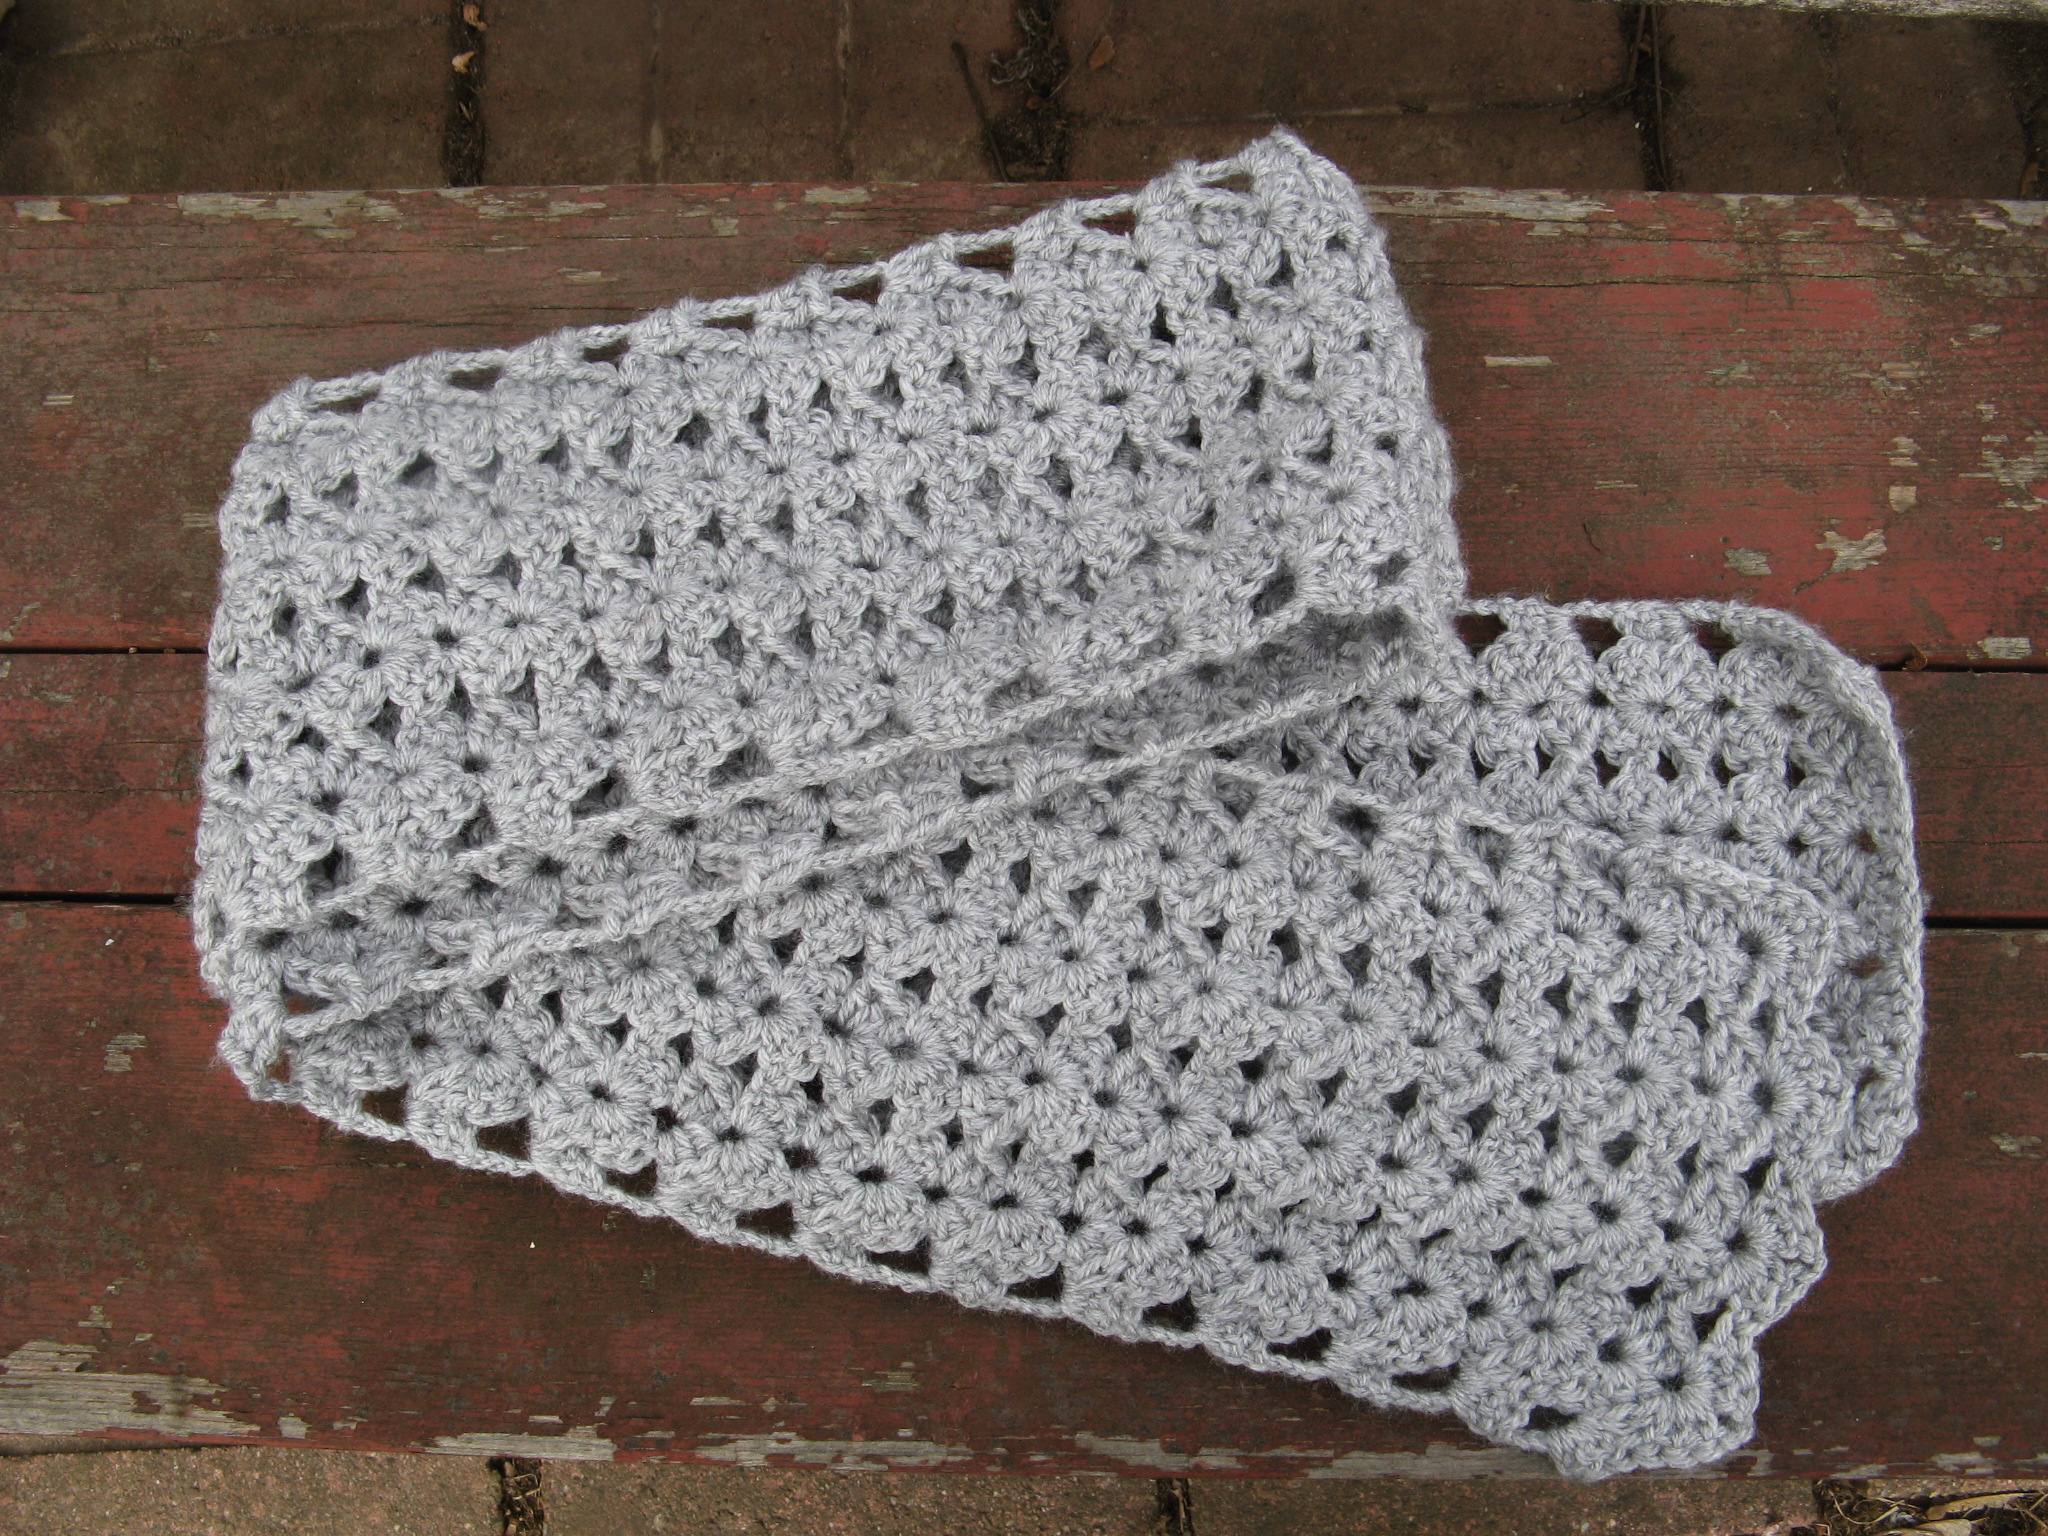
One other thing I got done… The scarf I had mentioned in the post about the shrug. And while it’s officially Spring today the temperatures will be on the colder side early next week so I am thinking I may get to wear this before I have to pack it away for next winter.

IMG_3003 IMG_3007

In Honor of Pi Day… A Banana Cream Pie

Happy Pi Day! What can I say; I am a bit of a math geek. It was my favorite subject throughout school and I was a Mathematics/Economics major in college. I sometimes think that my love of math is what drives some of my hobbies. Take baking; it’s not like cooking where a pinch of this and that can turn out something great. If an ingredient is slightly off when you bake you may end up with something completely inedible. When you are knitting or crocheting (especially knitting) being off with your count can completely mess up whatever you are making and with beading and jewelry making symmetry is key and adding one extra bead, stone or whatever can completely throw off the aesthetics of the final product. But, back to Pi Day… We celebrate it on this day (March 14th) since the first three numbers of Pi are 3.14. Some other things to note about this lovely number… It’s irrational (meaning it cannot be written as a ratio,) it’s never ending (3.14159…) and the decimal never repeats. So, in honor of this day I decided to bake a pie – how original!?!? – not just any pie though a pie I have never actually tried before – a Banana Cream Pie. I thought about making this pie a few weeks ago when I had a few ripe bananas staring at me in my kitchen, but then they got eaten so I decided to save the pie for today.


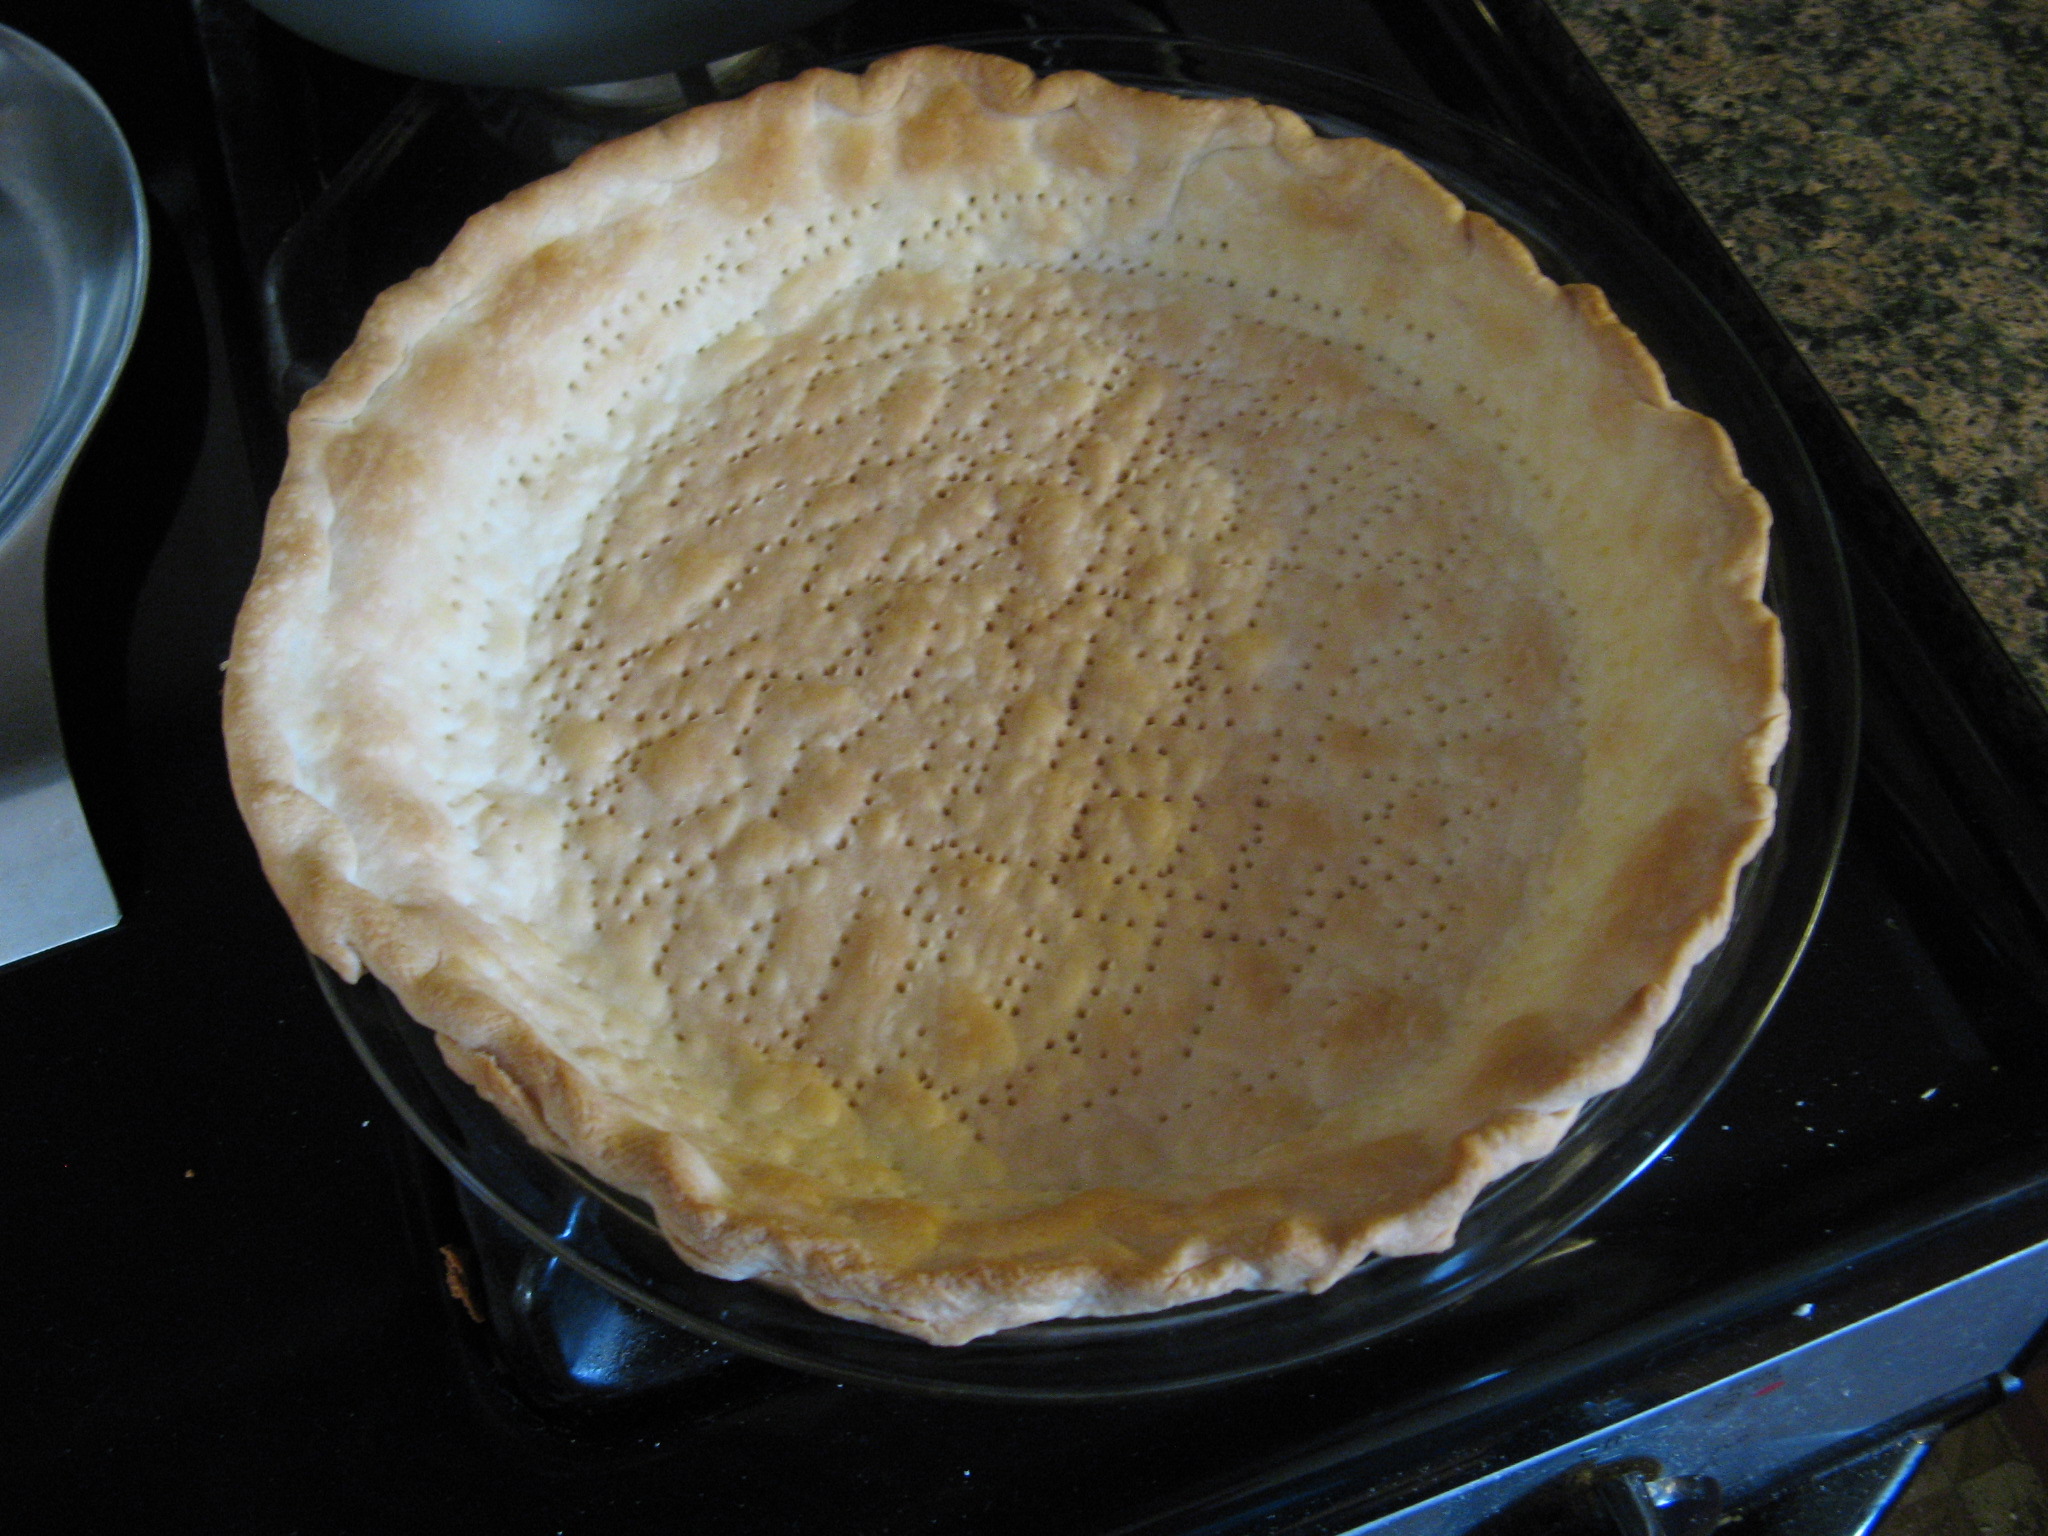
So, I had every intention of making my pie crust from scratch, well, let me clarify, I did make one from scratch and although I followed the directions exactly after baking it for slightly less time that directed it still came out a bit overcooked so I just opted to go with a store bought crust and baked it according to the directions on the package. Unfortunately my edge was a little uneven but I knew that wouldn’t take away from the taste.

IMG_2941
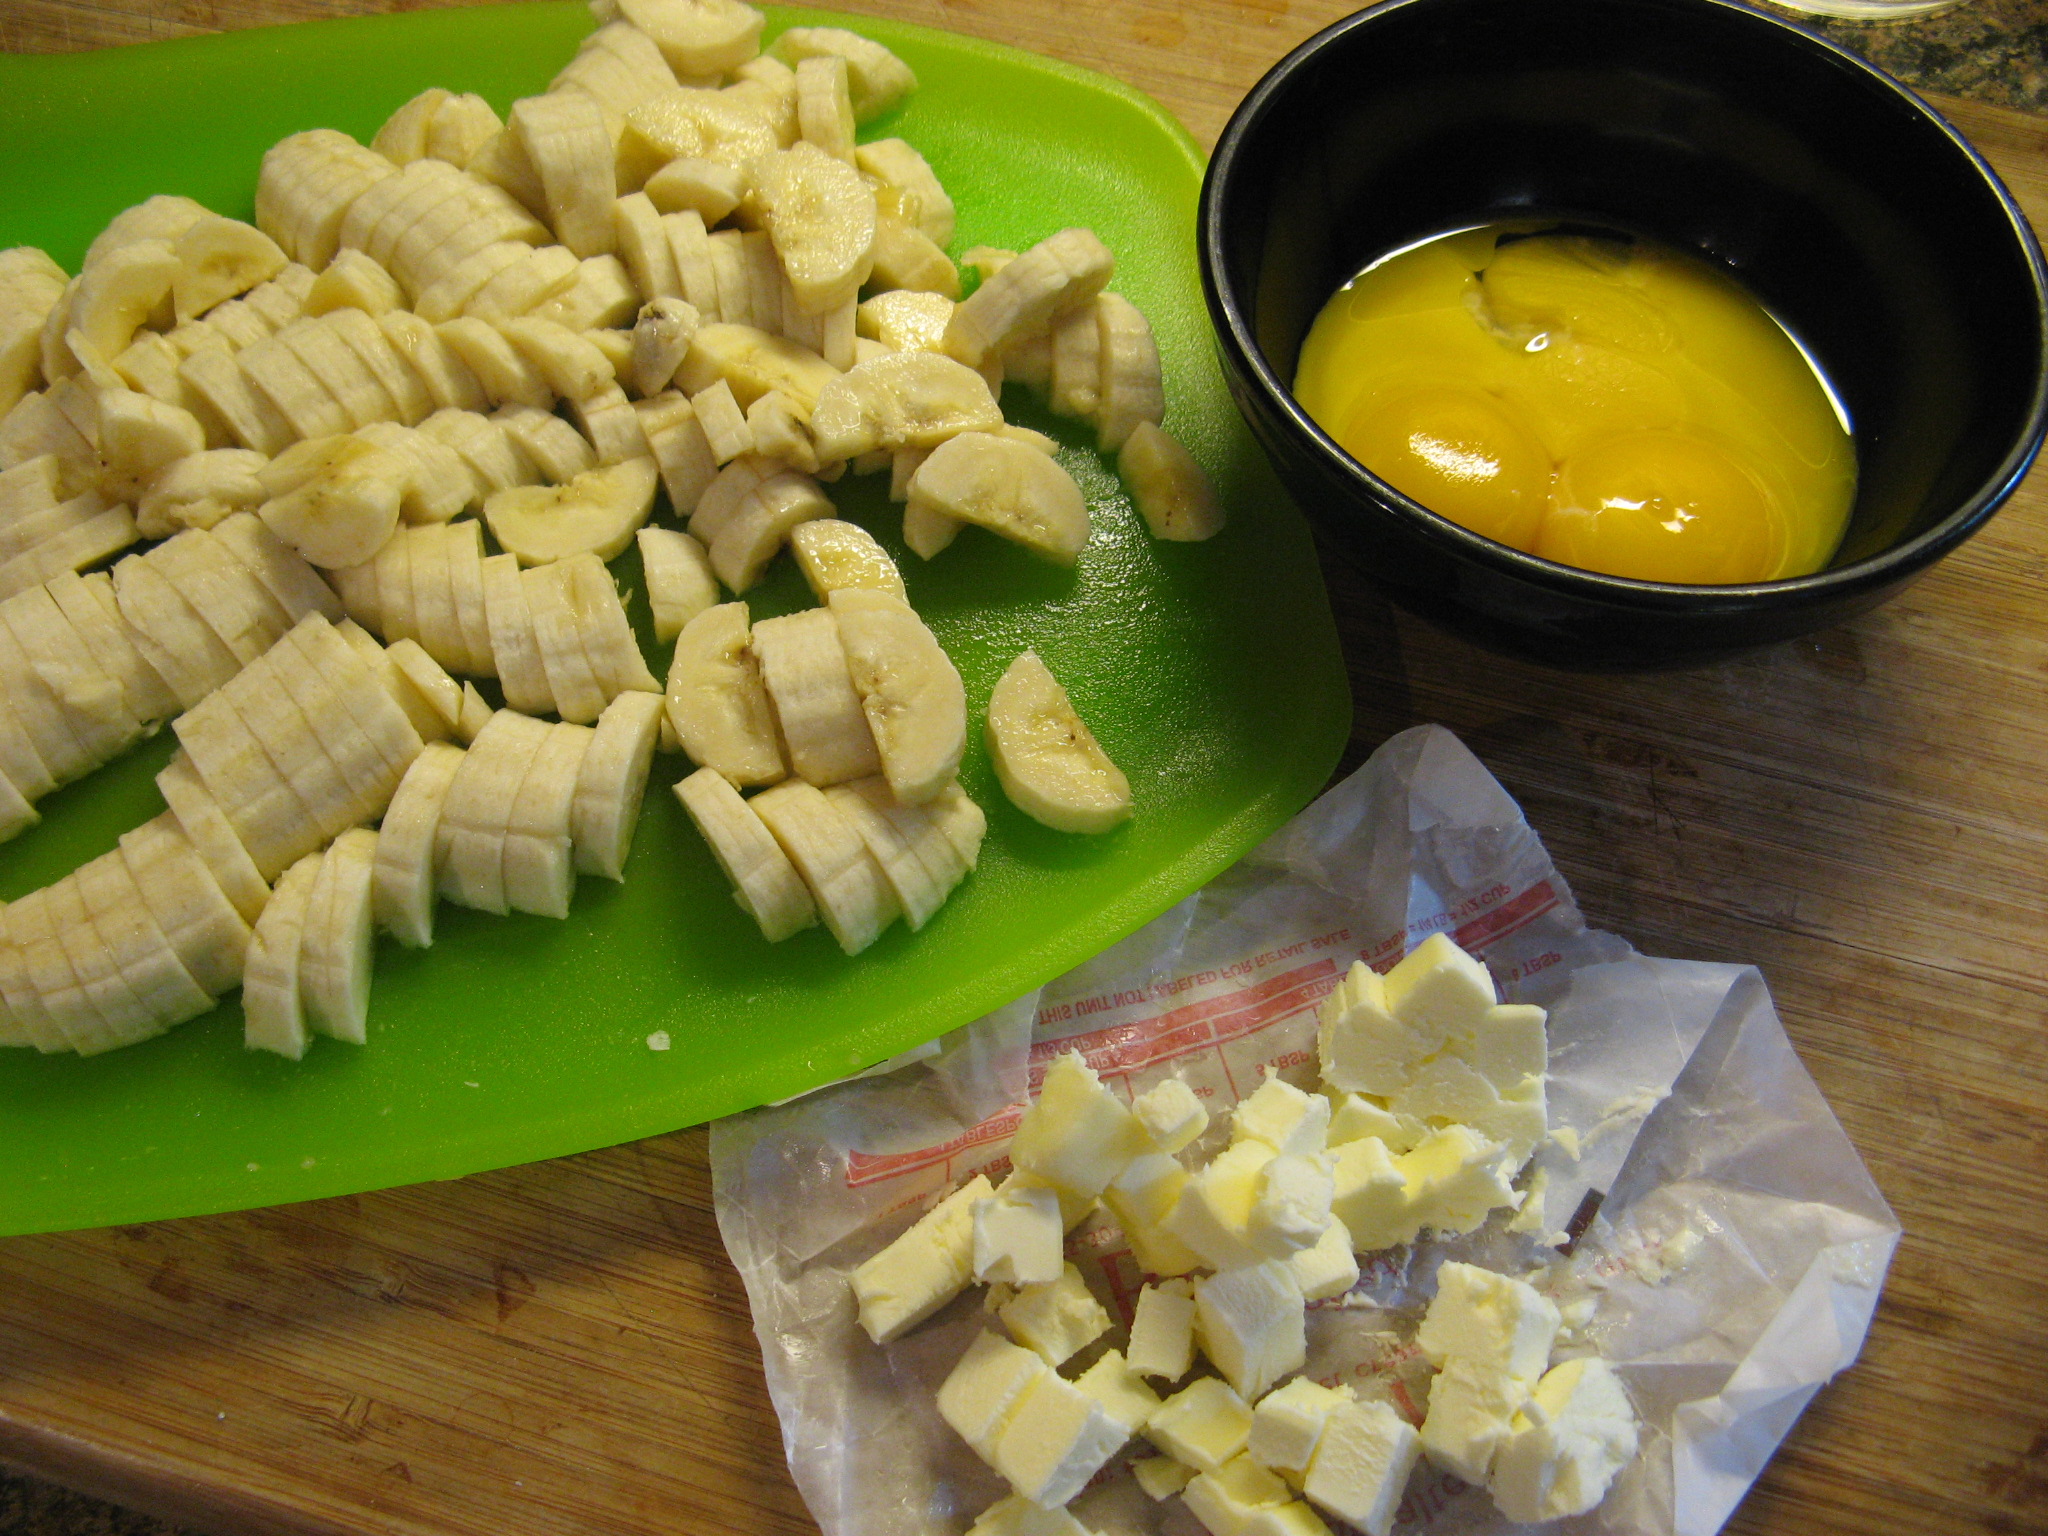
While the crust was cooling I began making the banana cream filling. To begin I prepped those ingredients that needed a bit of prepping: slicing three bananas, separating four eggs for the yolks and cutting up 2 tbsp. of butter.
IMG_2944
In a medium saucepan I combined sugar, cornstarch and salt and then whisked in milk. I cooked this over medium-high heat, stirring constantly, until the mixture was thick and bubbling.
IMG_2949
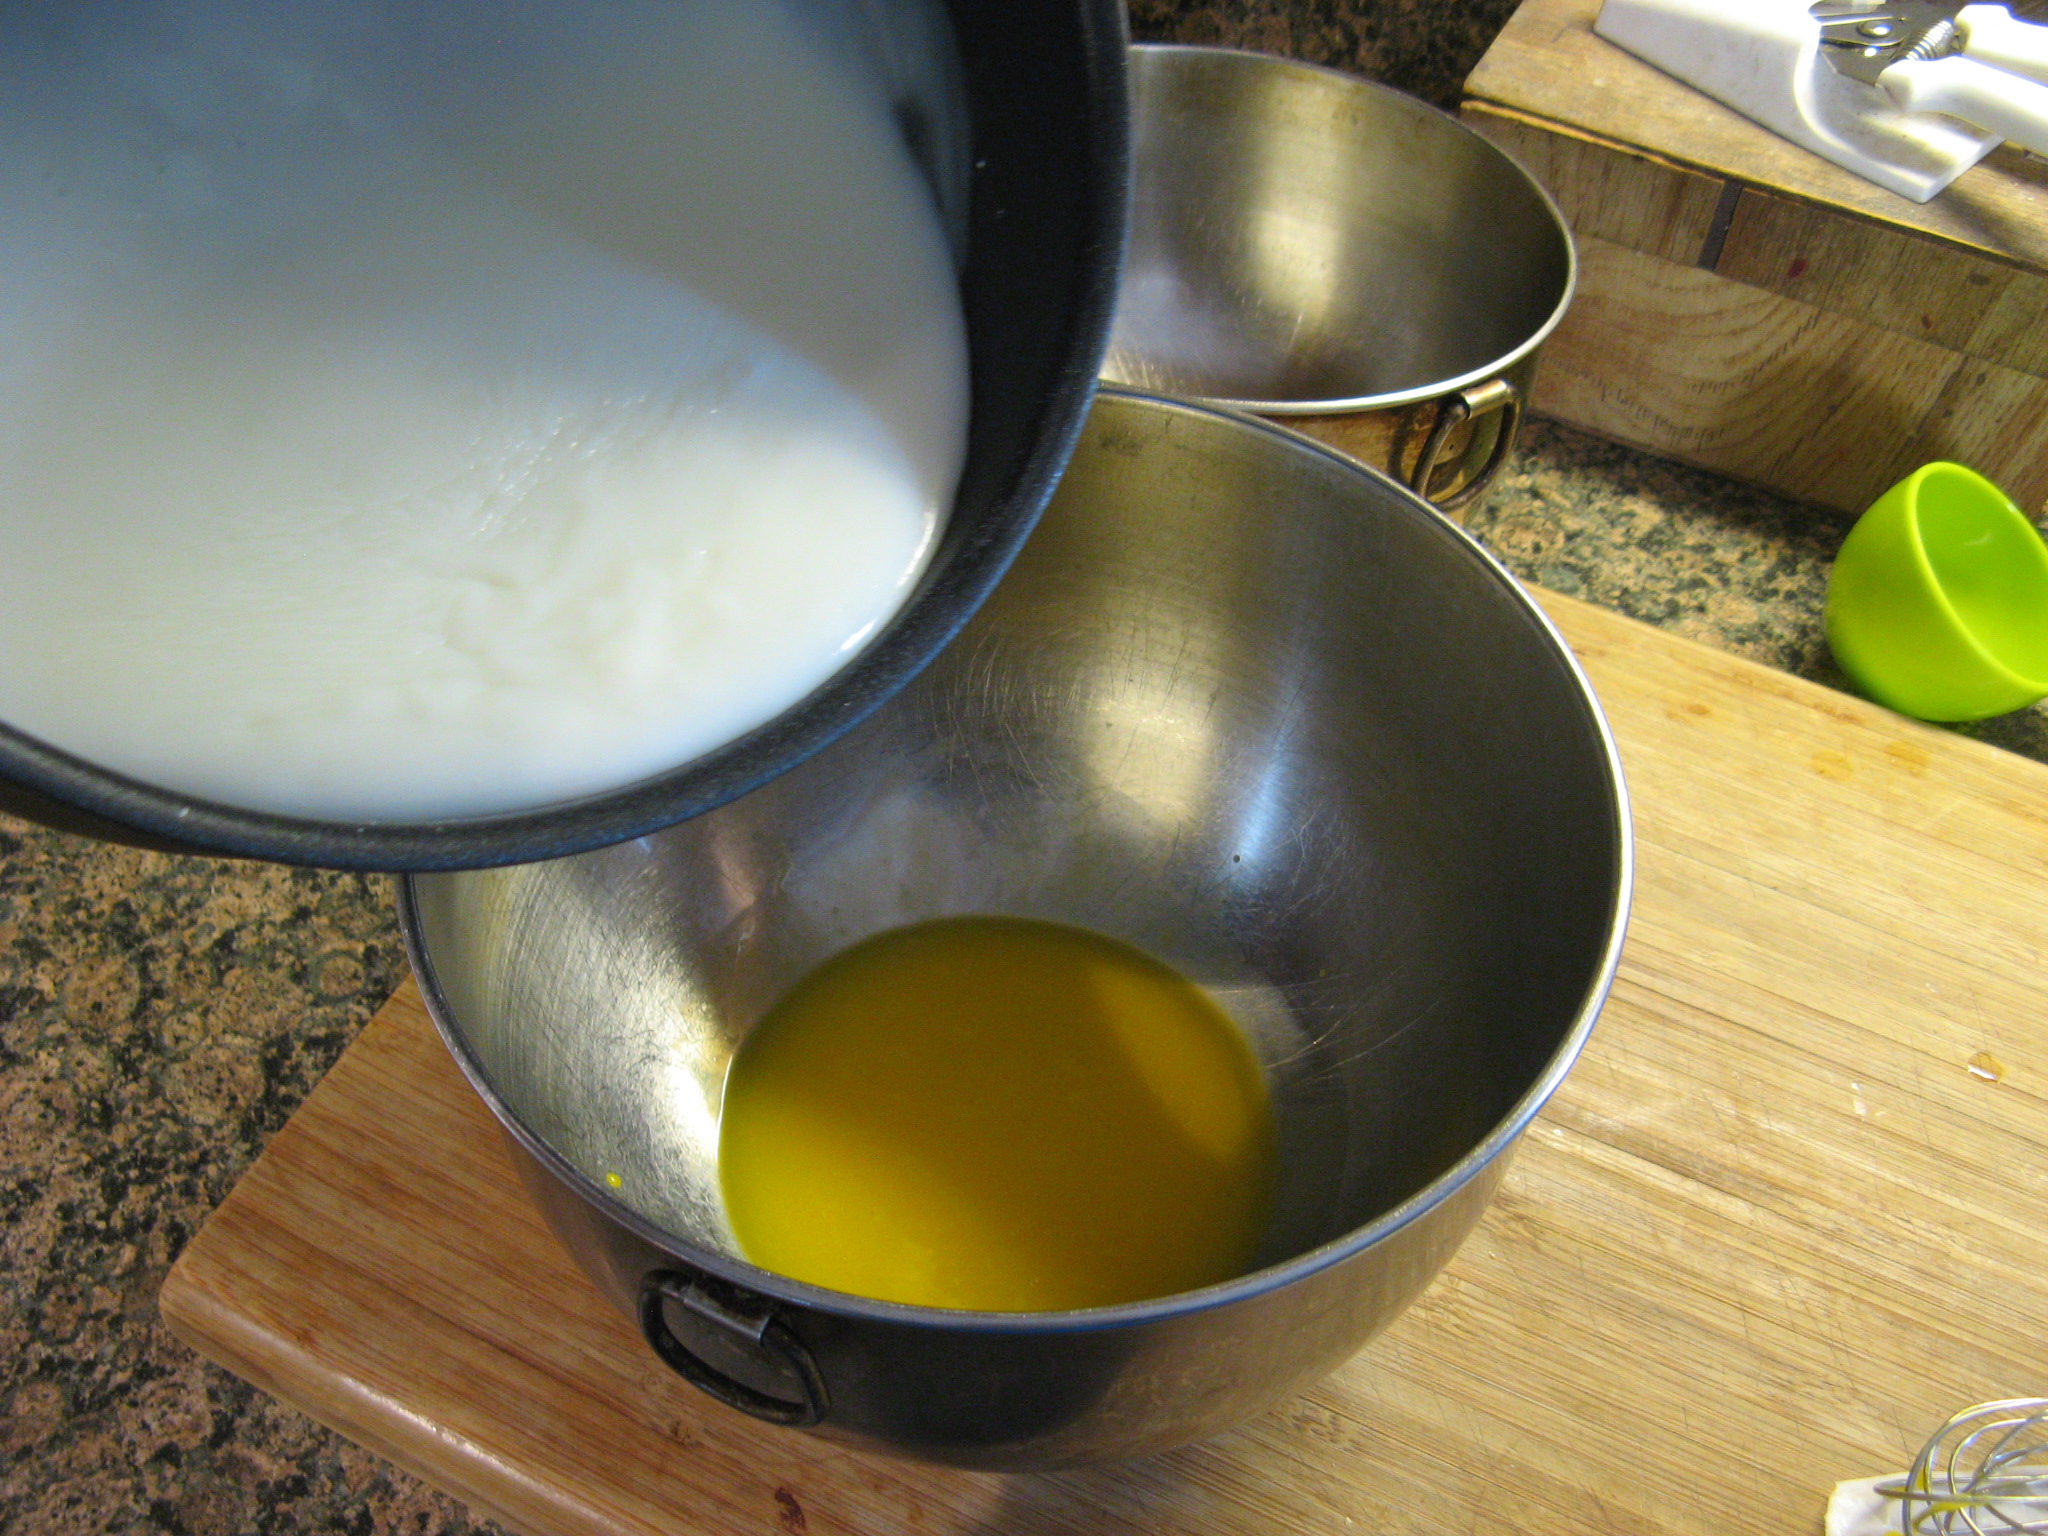
I then whisked the milk mixture in with the eggs yolks. 
IMG_2951
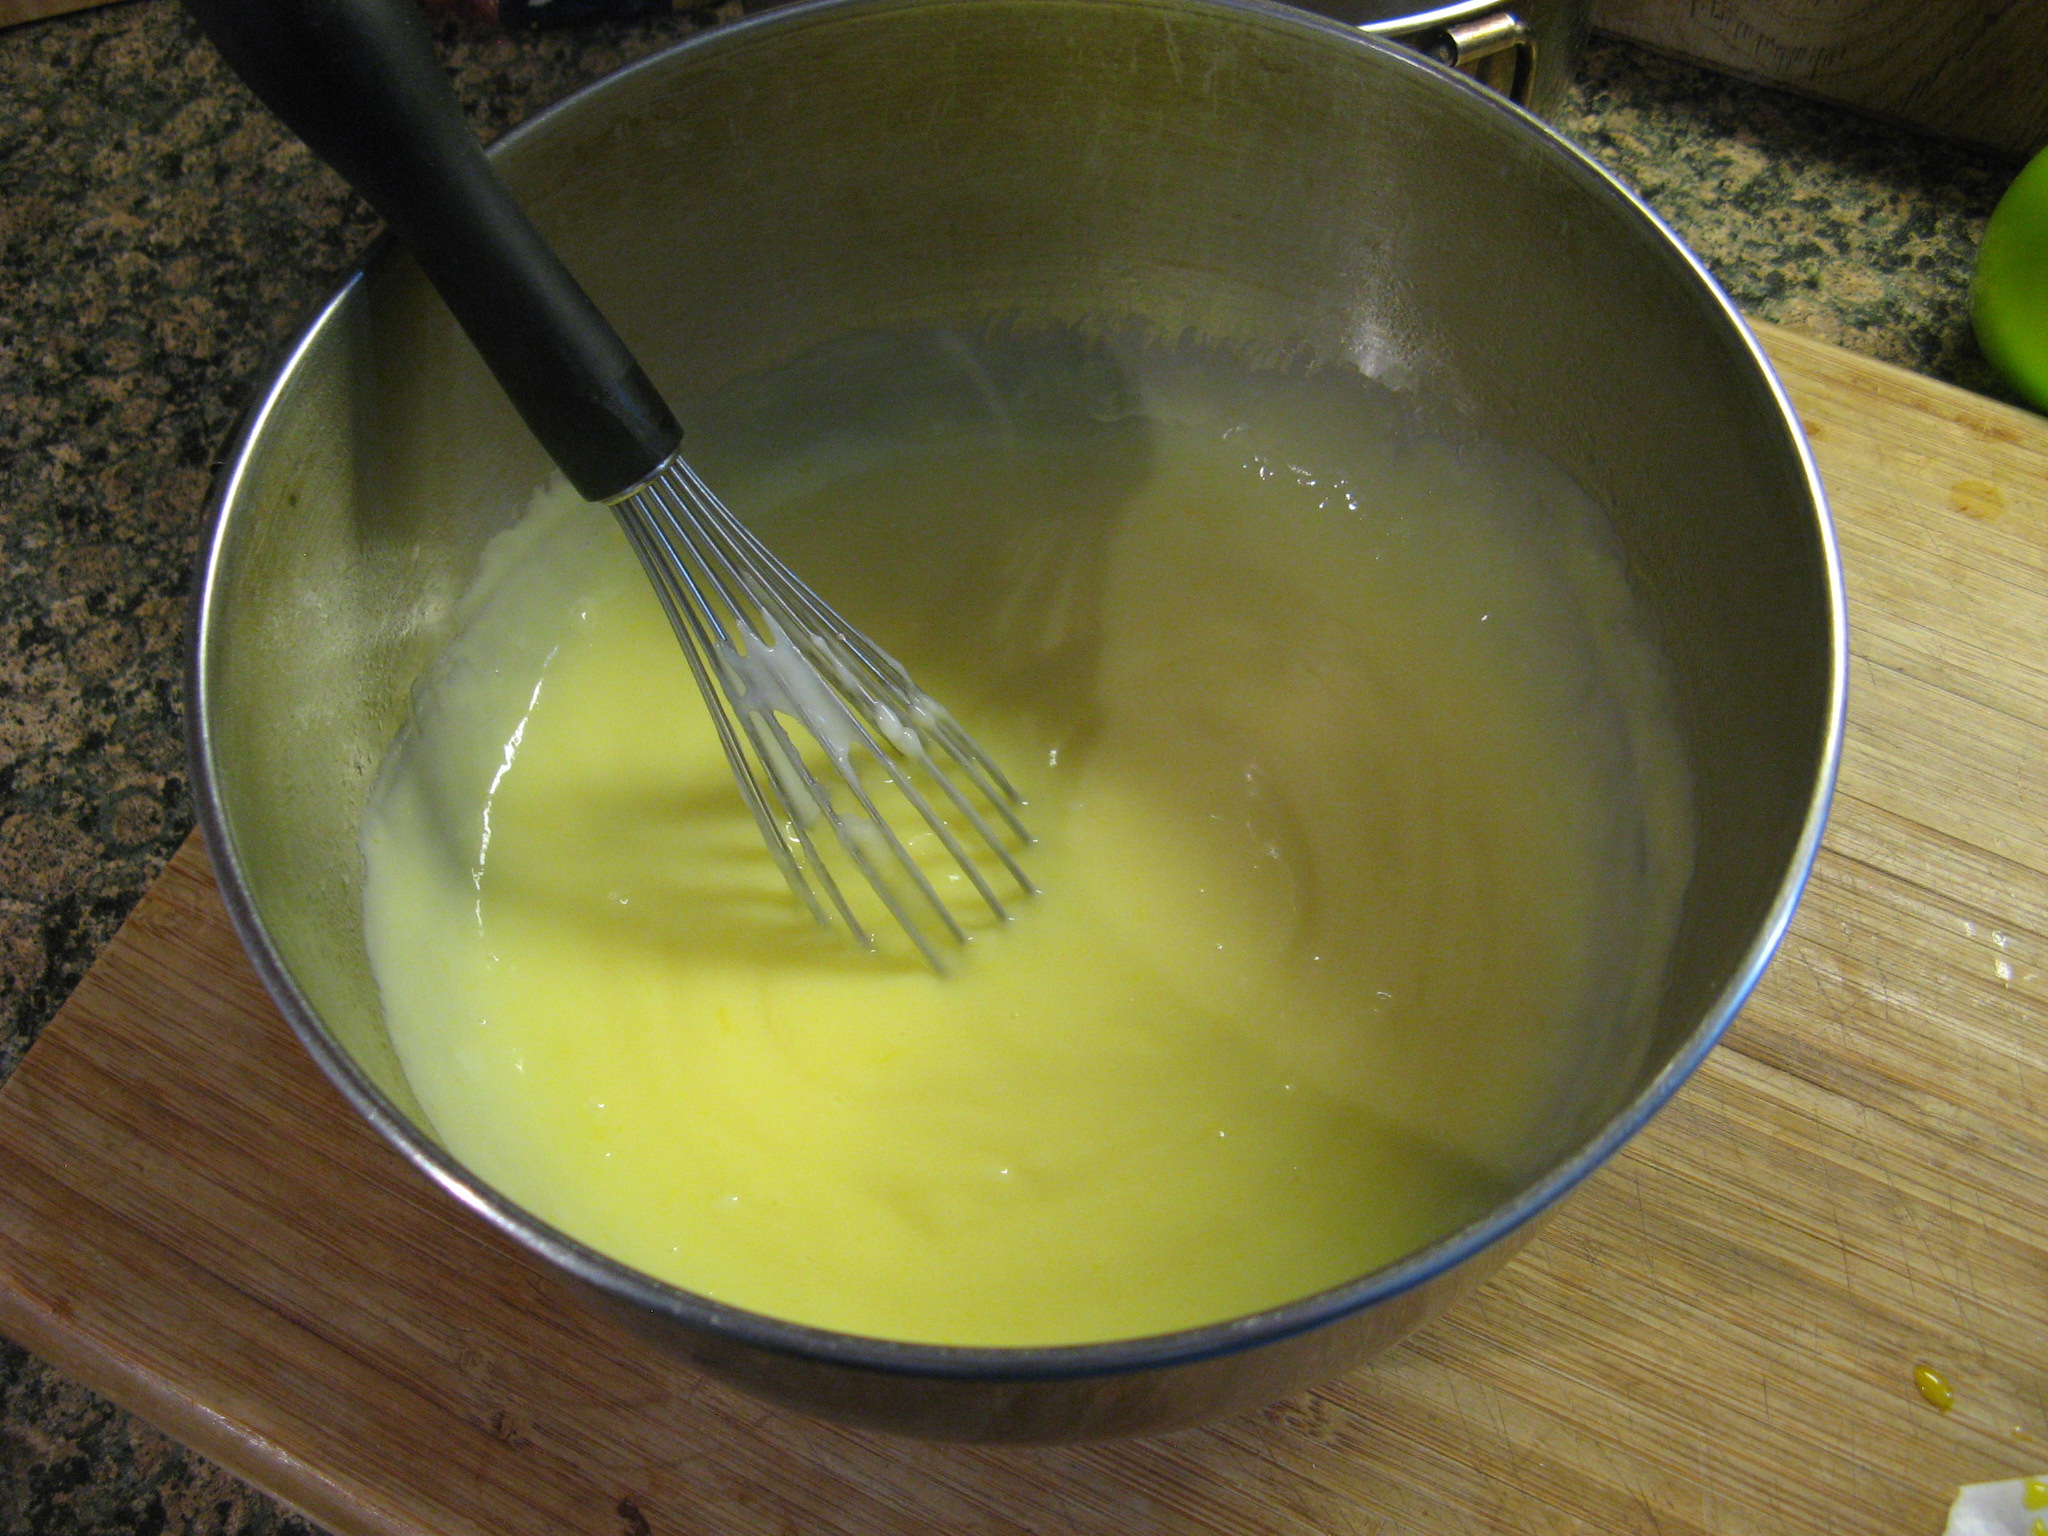
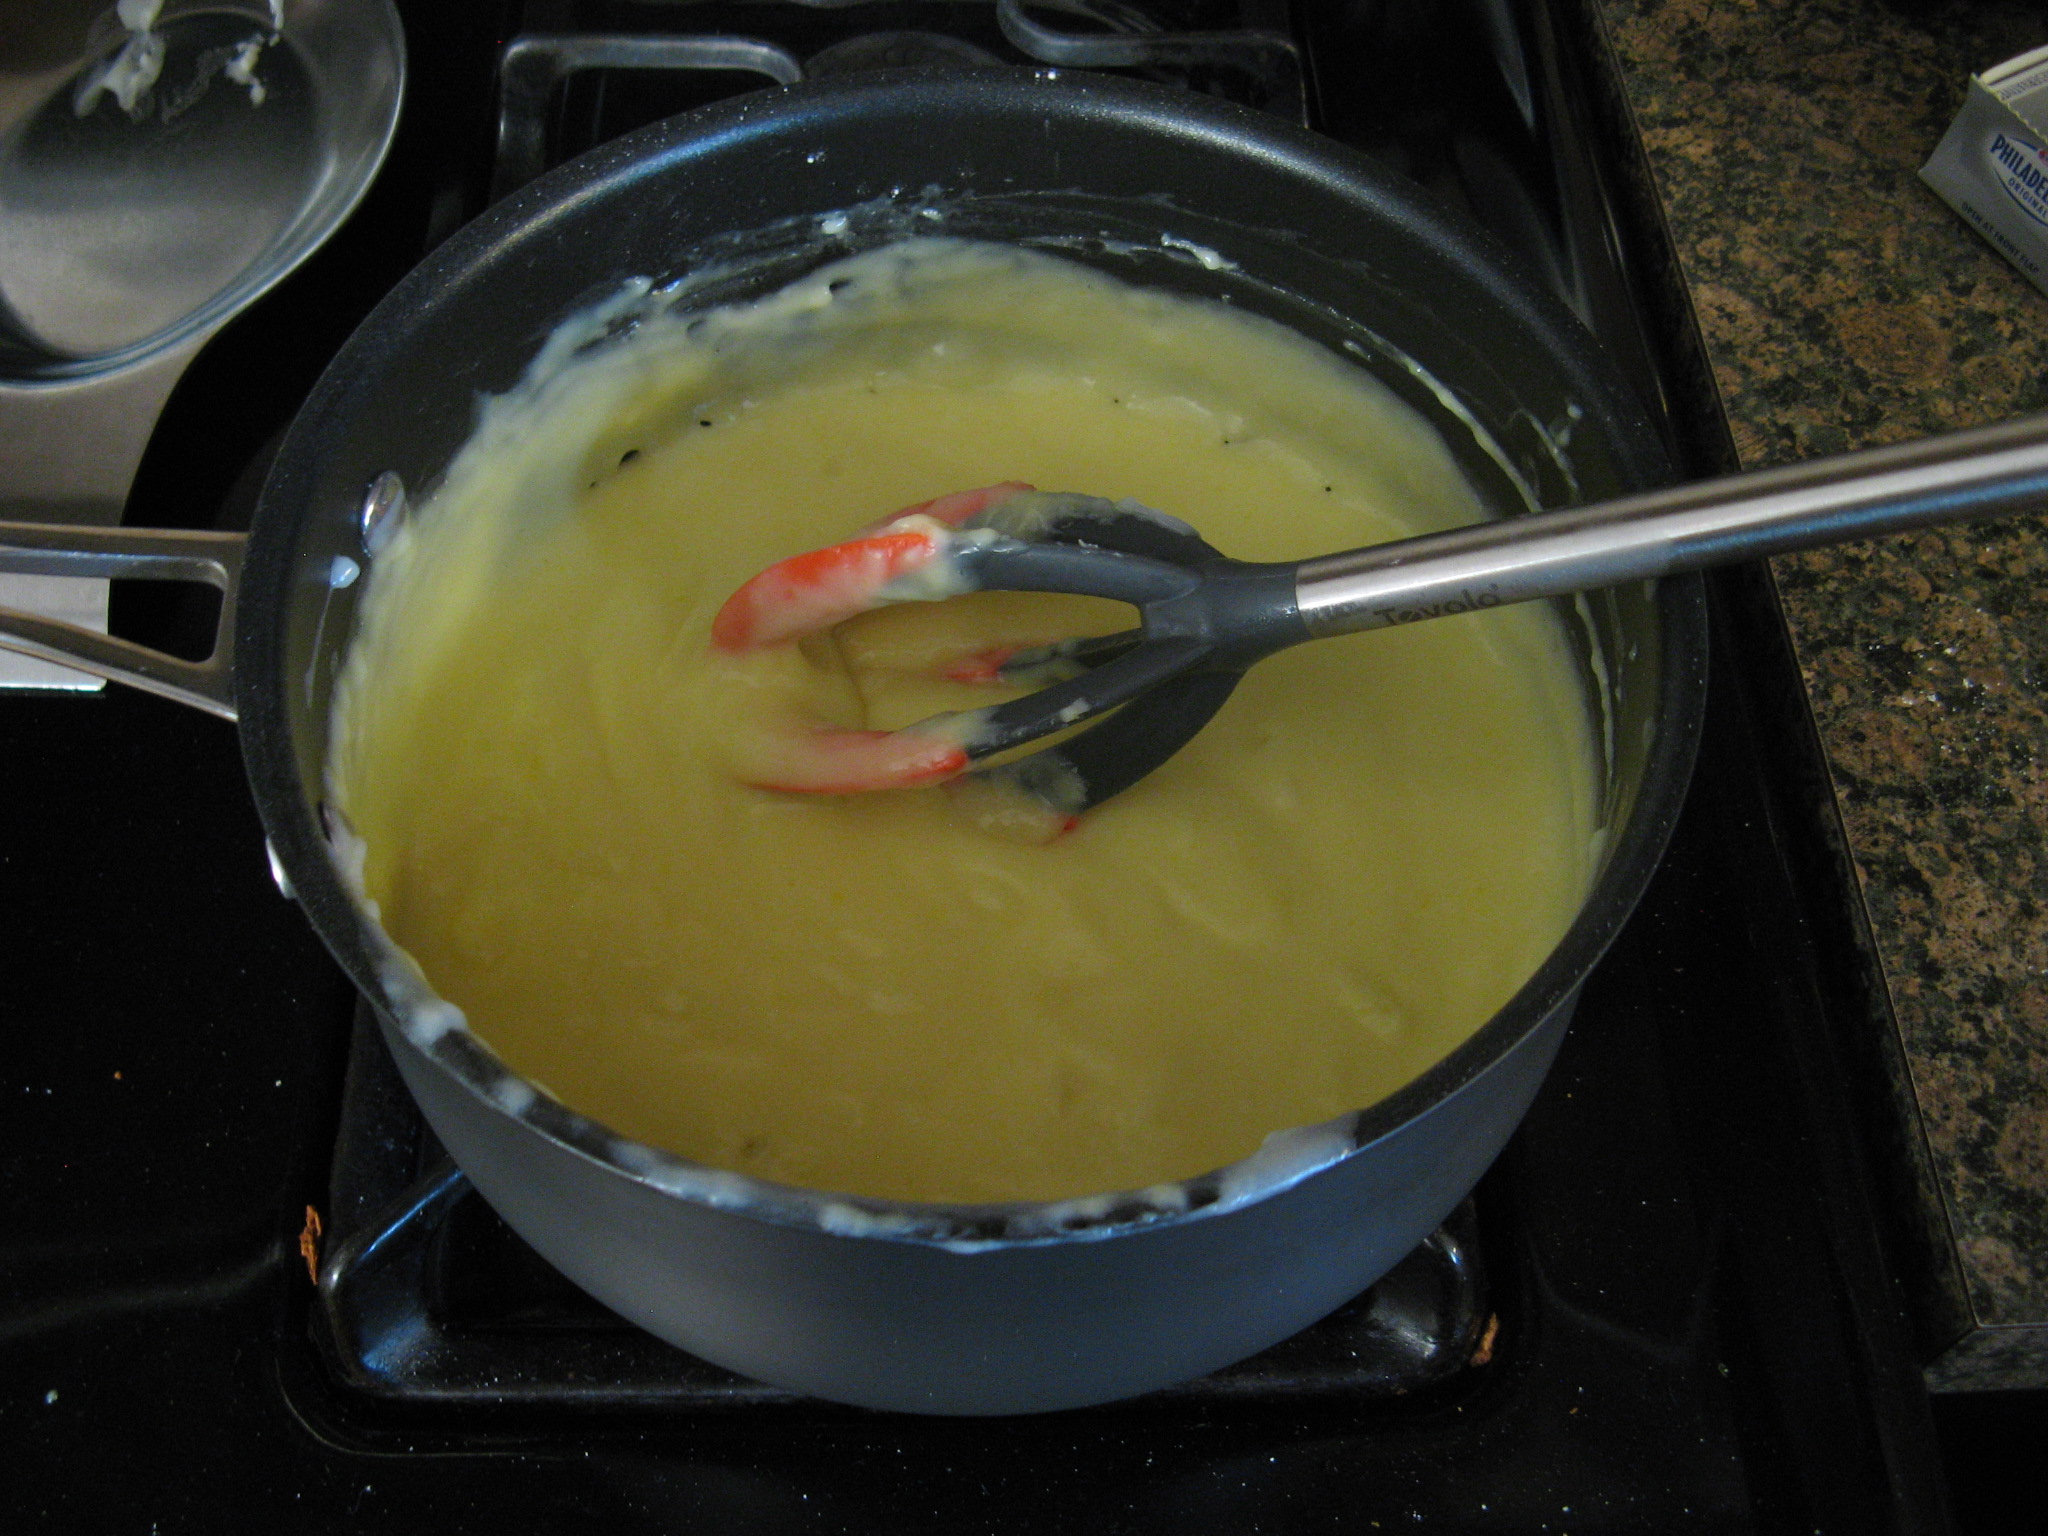
After the milk and eggs were completely incorporated I returned the mixture to the saucepan and cooked it over medium heat once again stirring it constantly until it boiled.
IMG_2952 IMG_2953
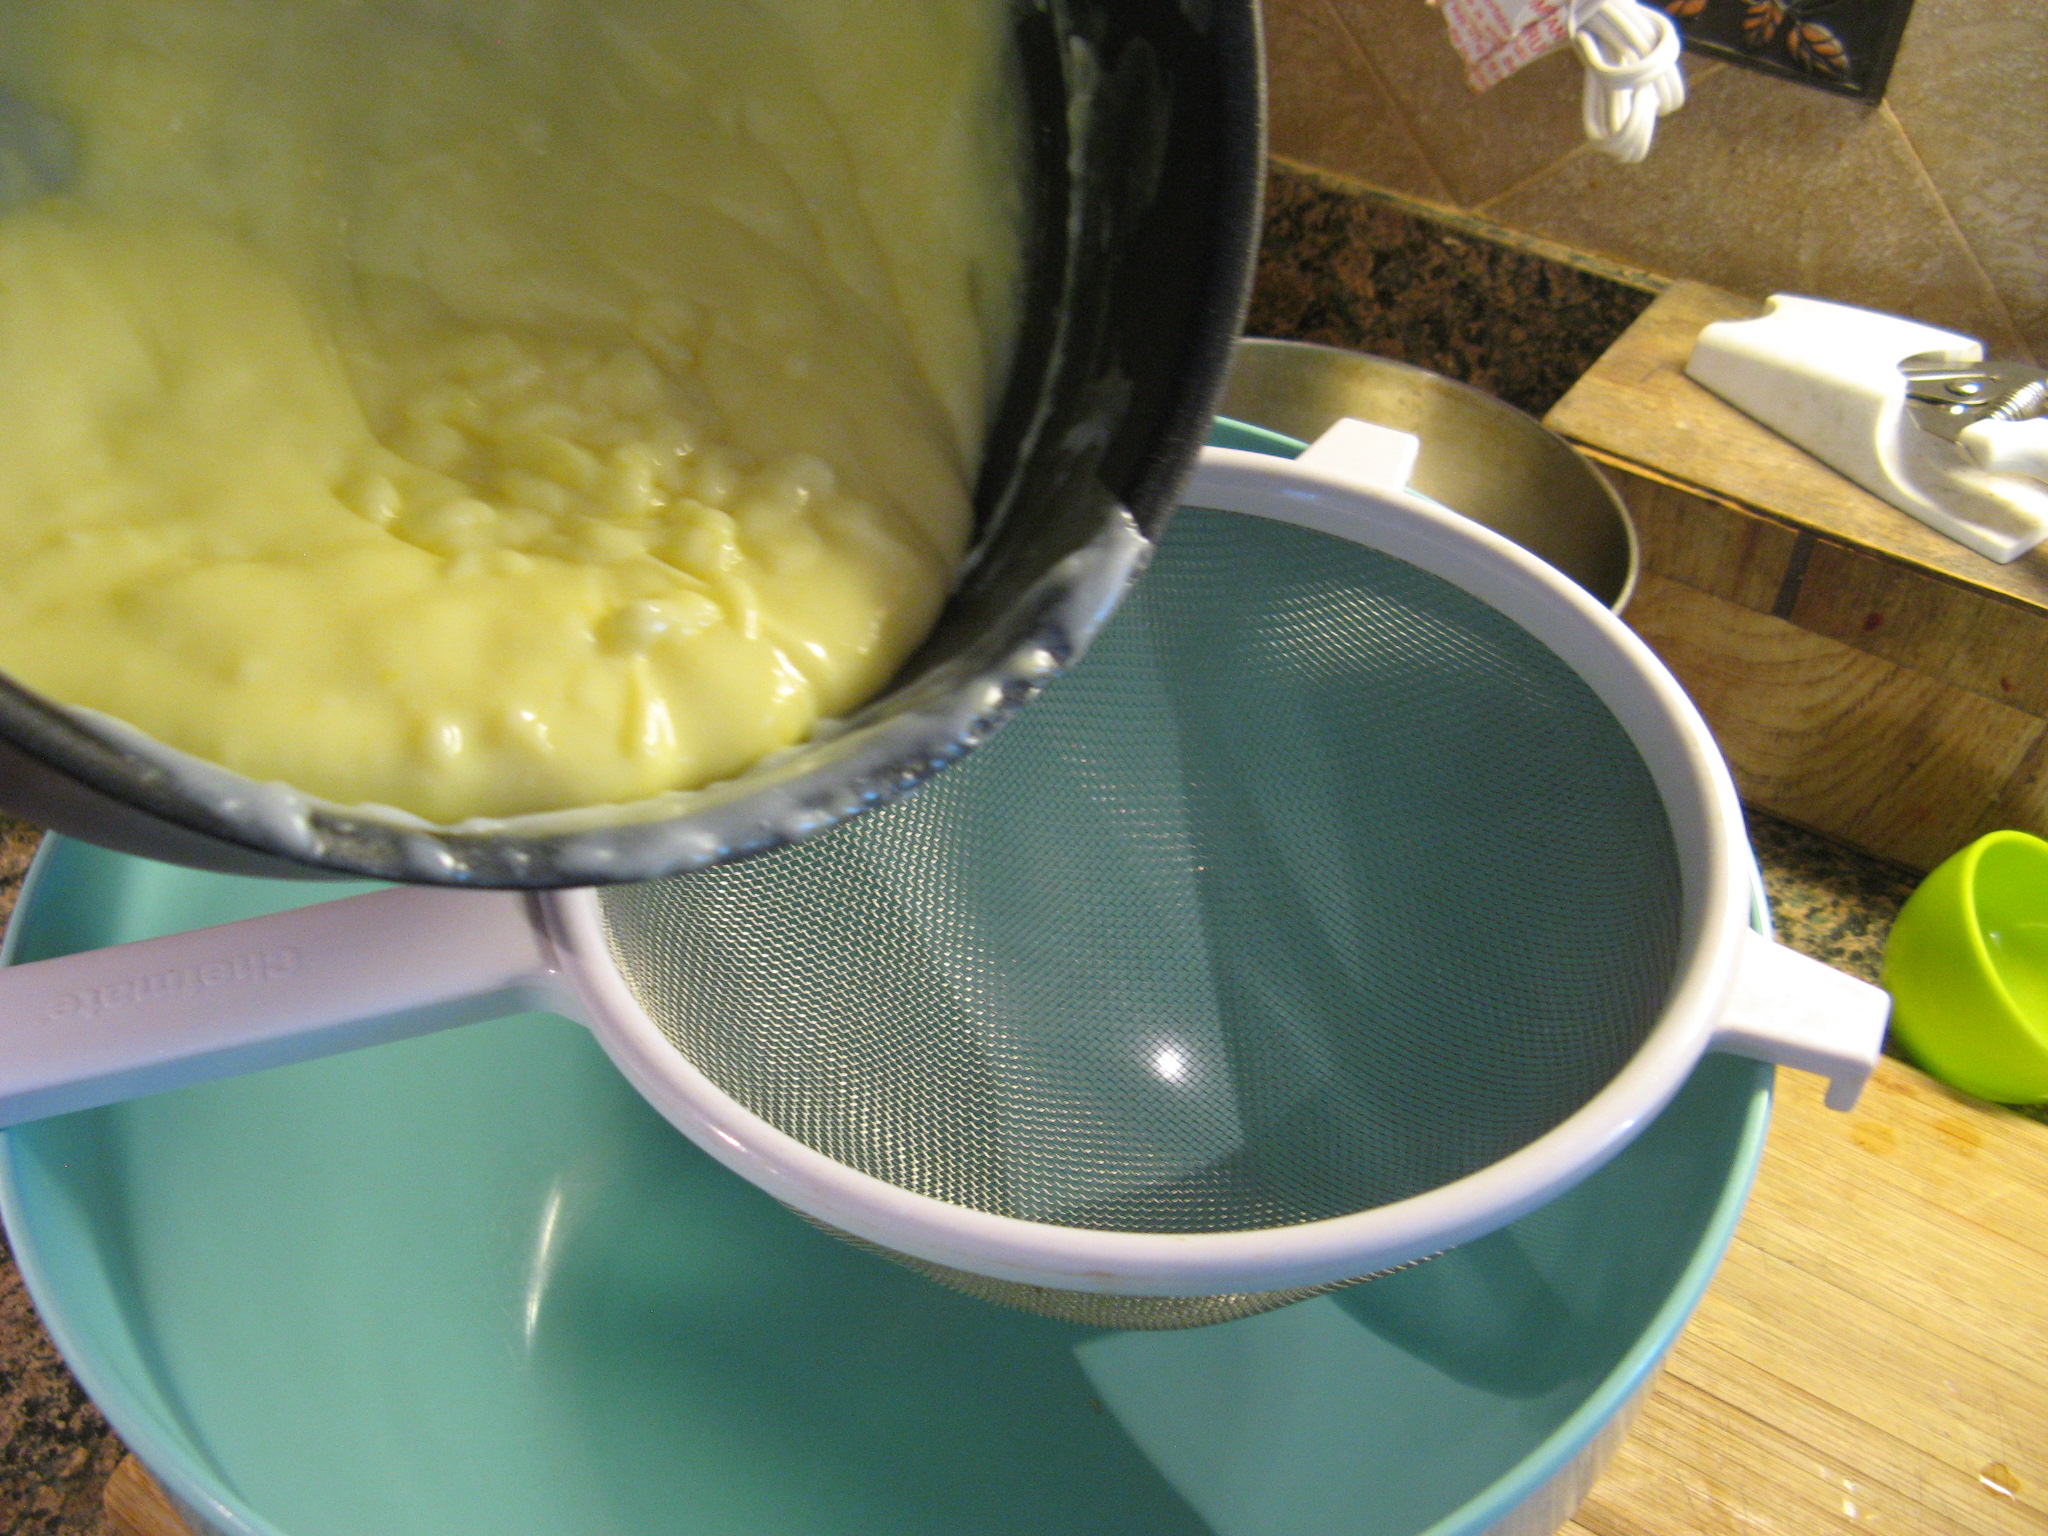
I then strained the mixture through a sieve…
IMG_2954
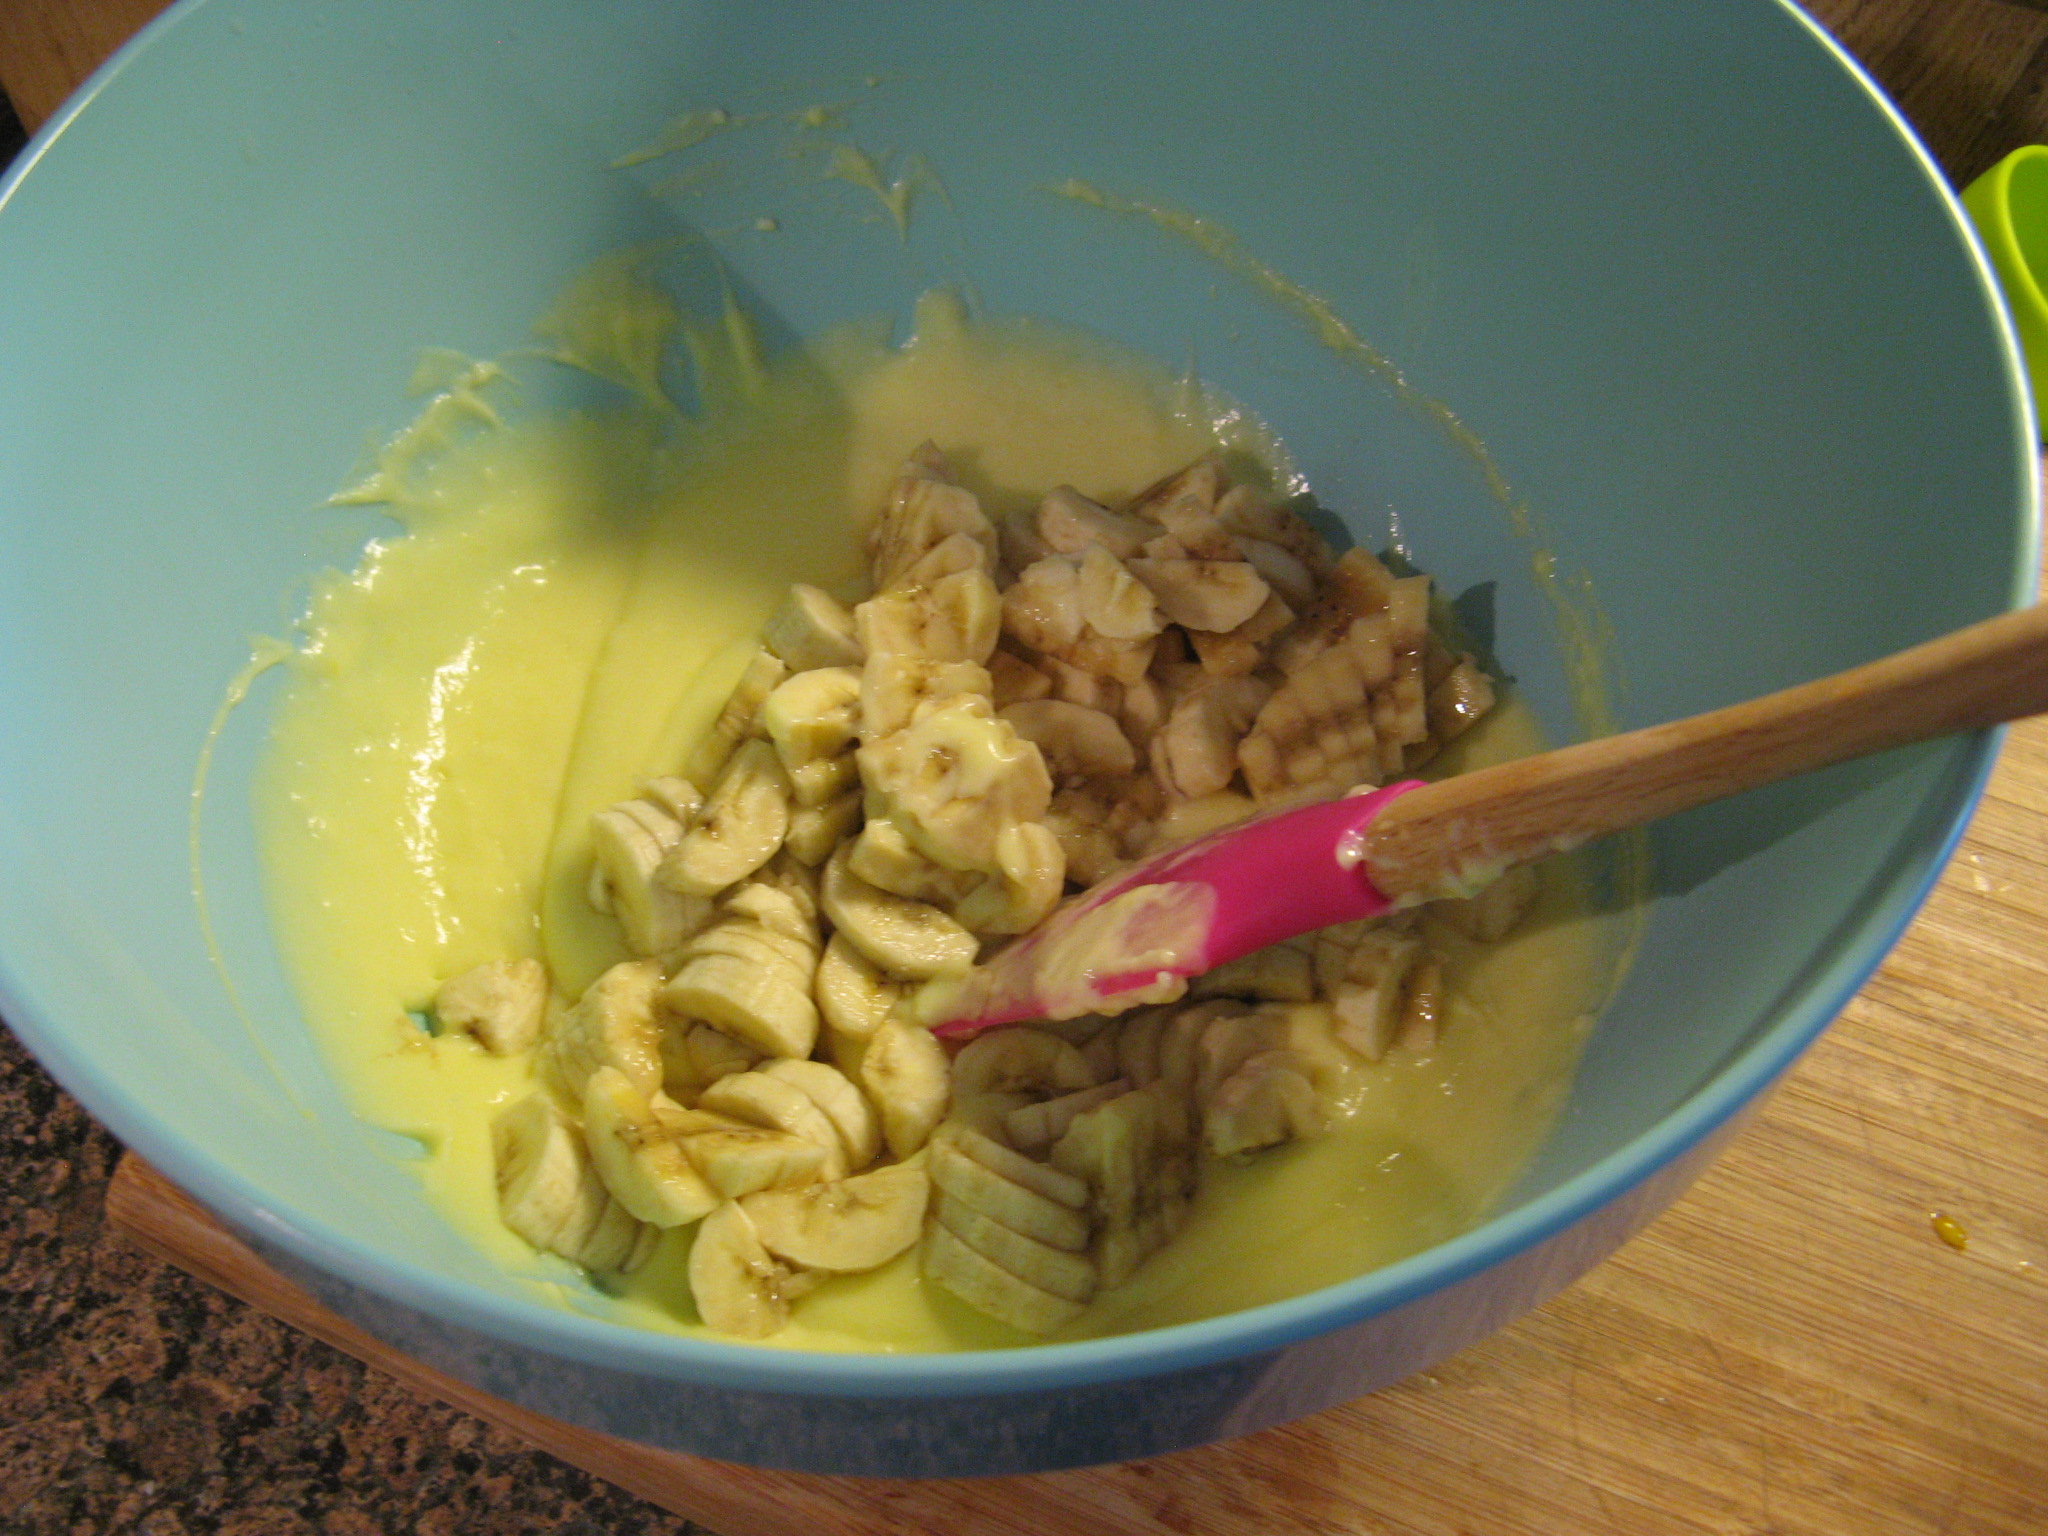
And then mixed in the butter and once it was melted I folded in the bananas.
IMG_2955 IMG_2956
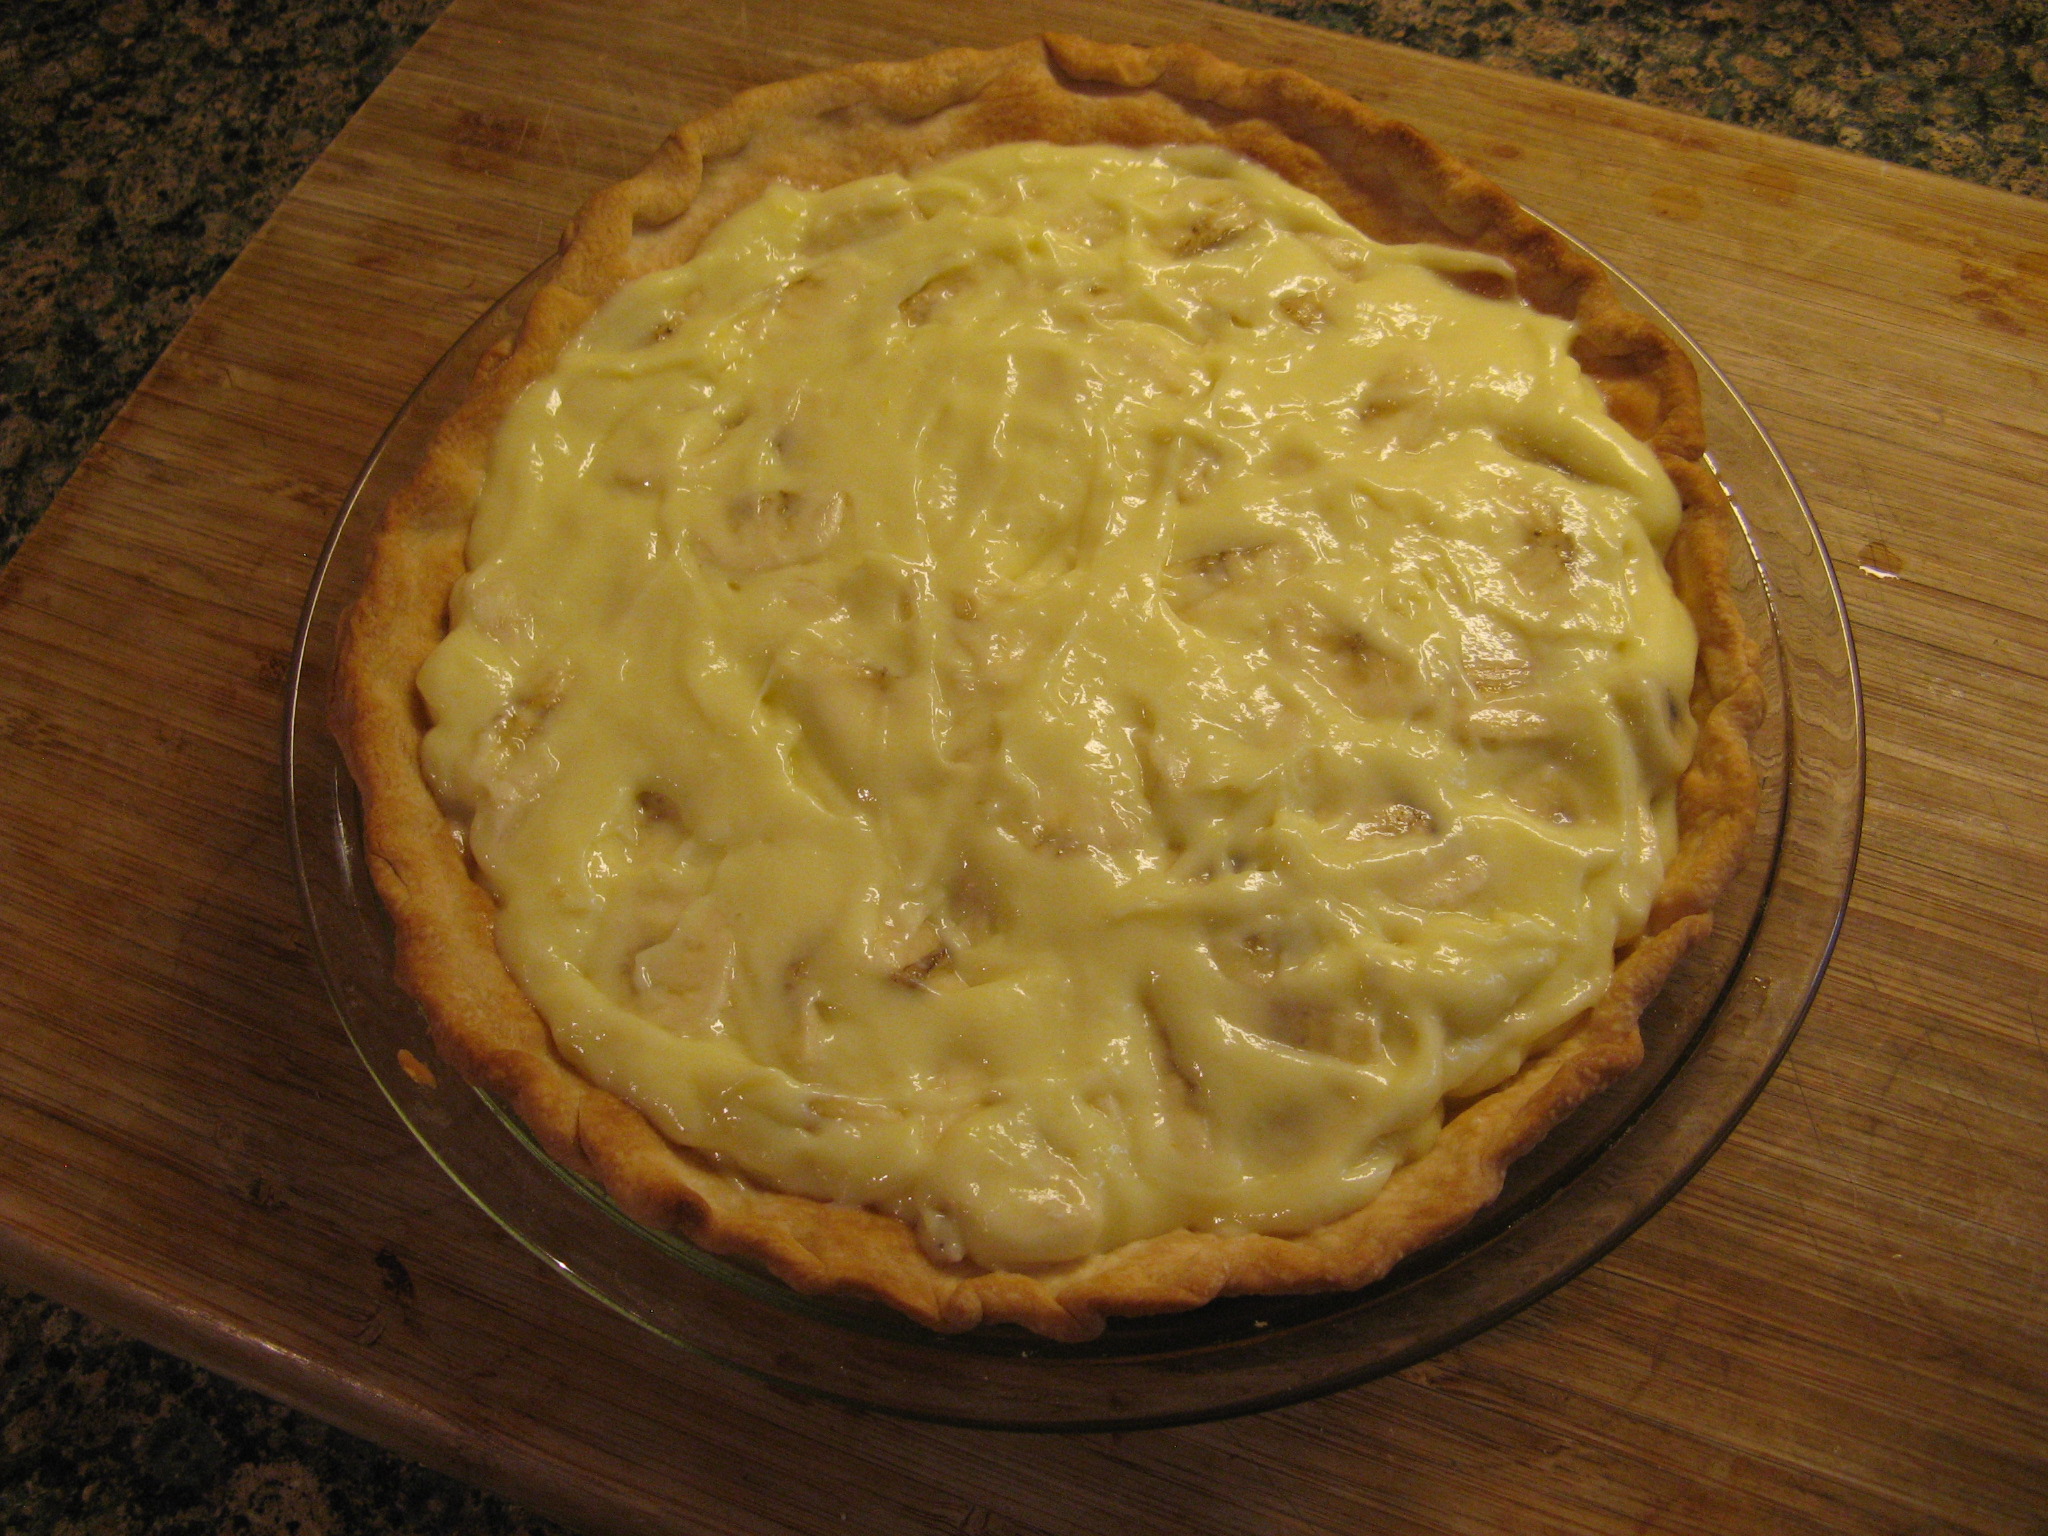
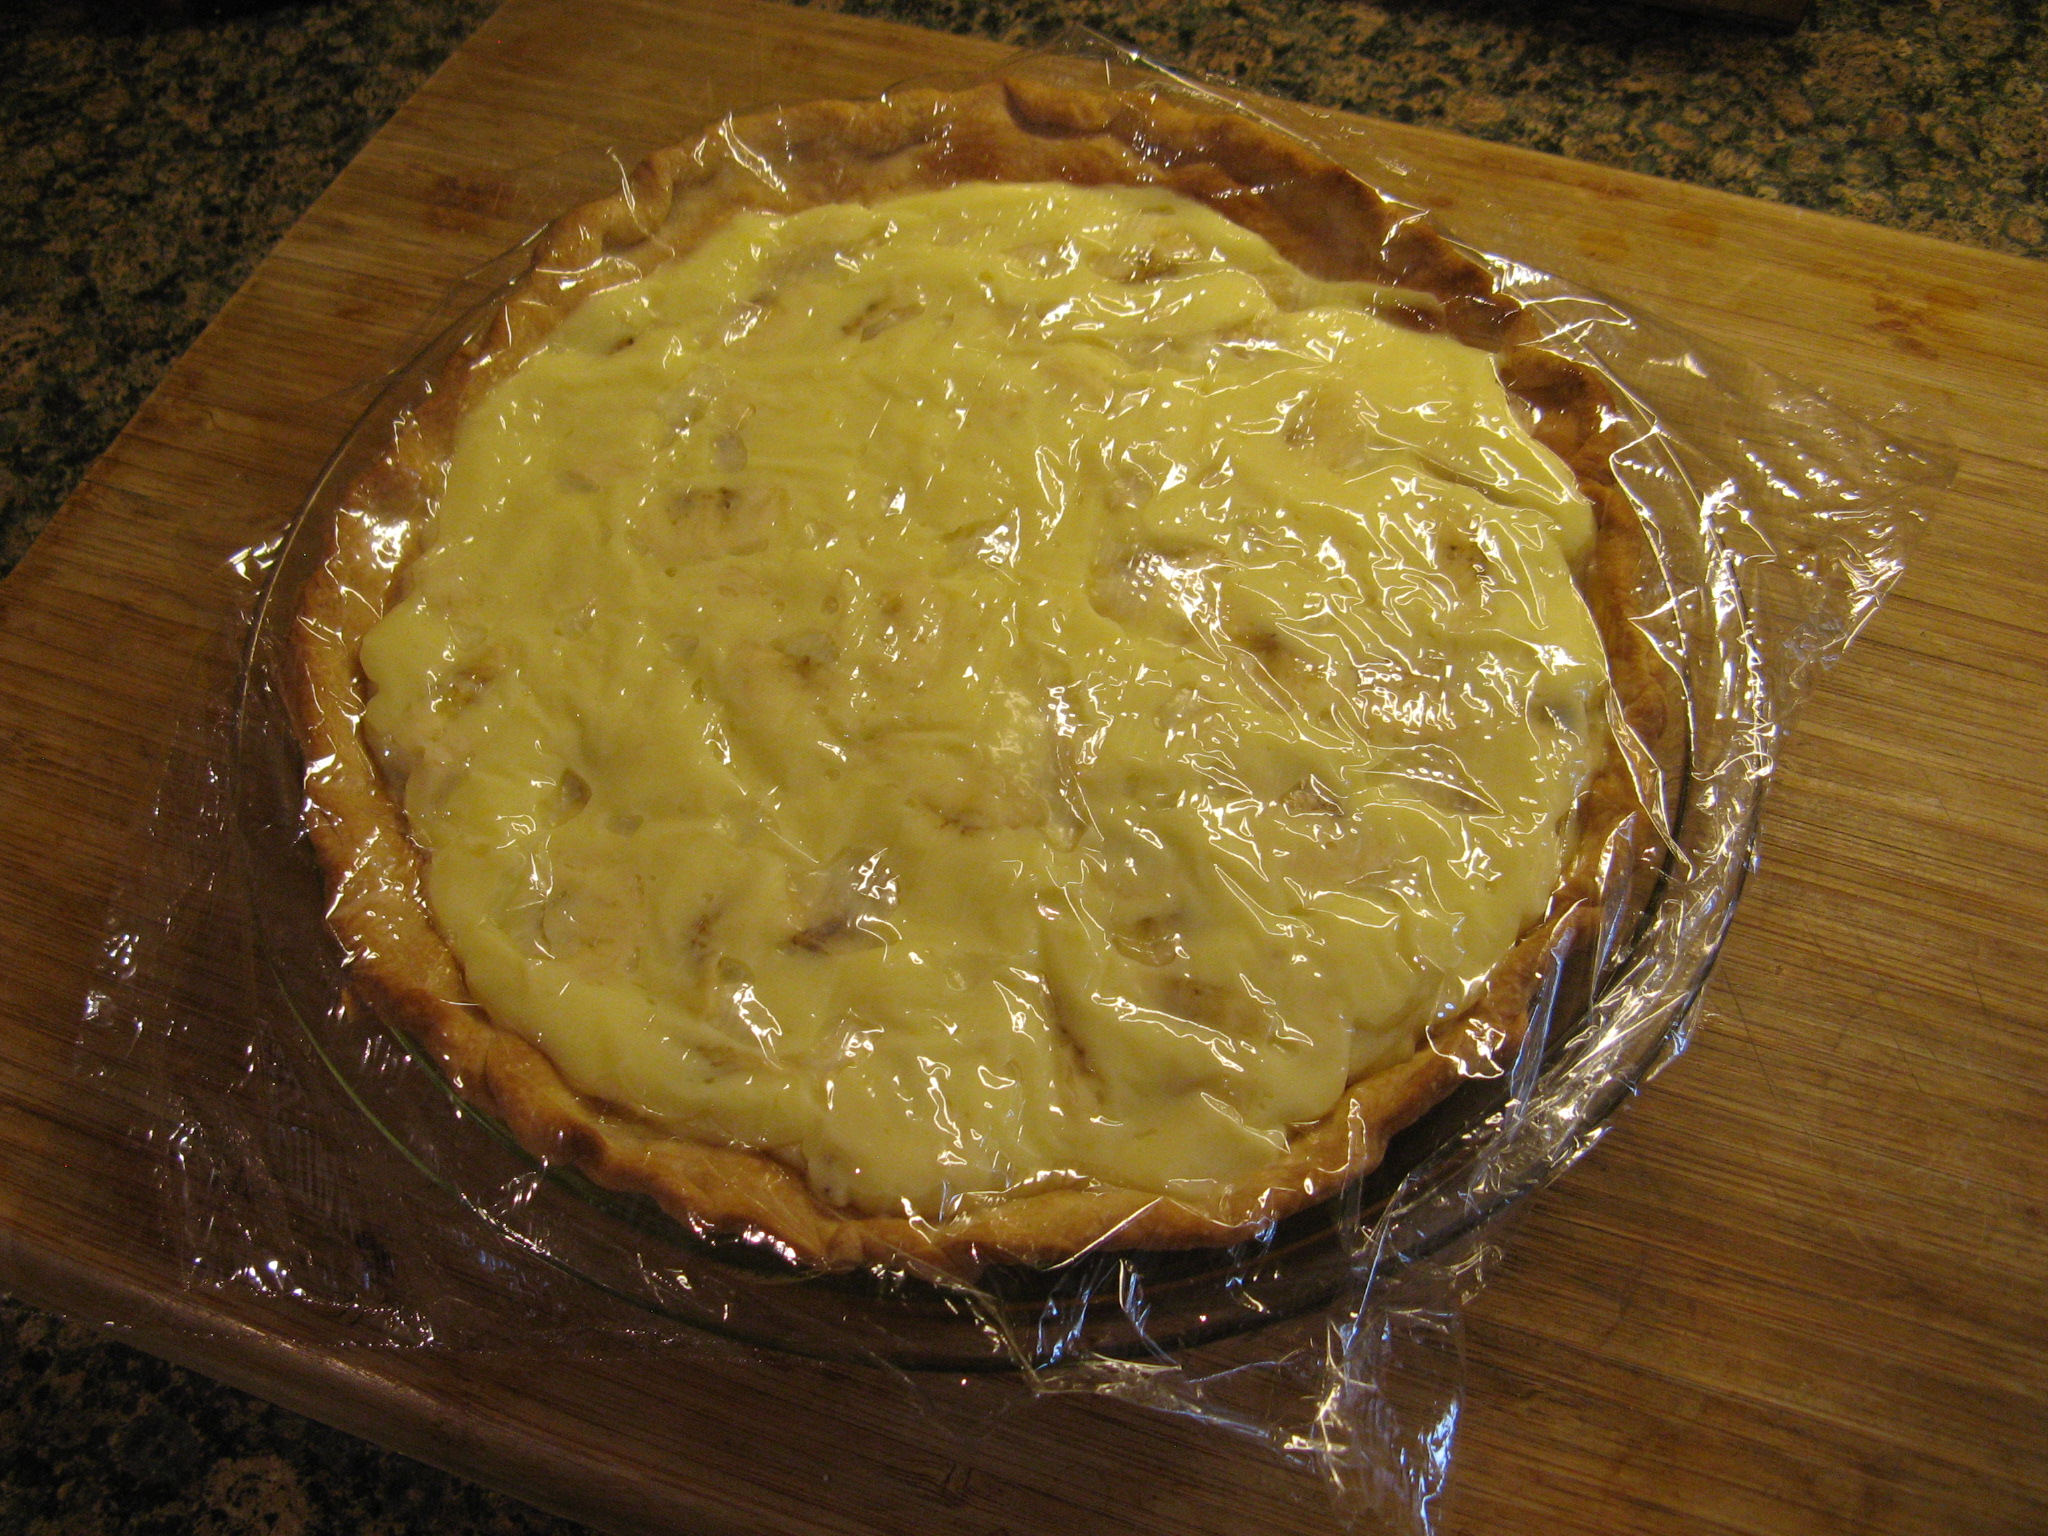
It was then time to pour the banana cream into the cooled pie crust and then cover it with plastic wrap and refrigerate it until the cream was set.
IMG_2957 IMG_2959
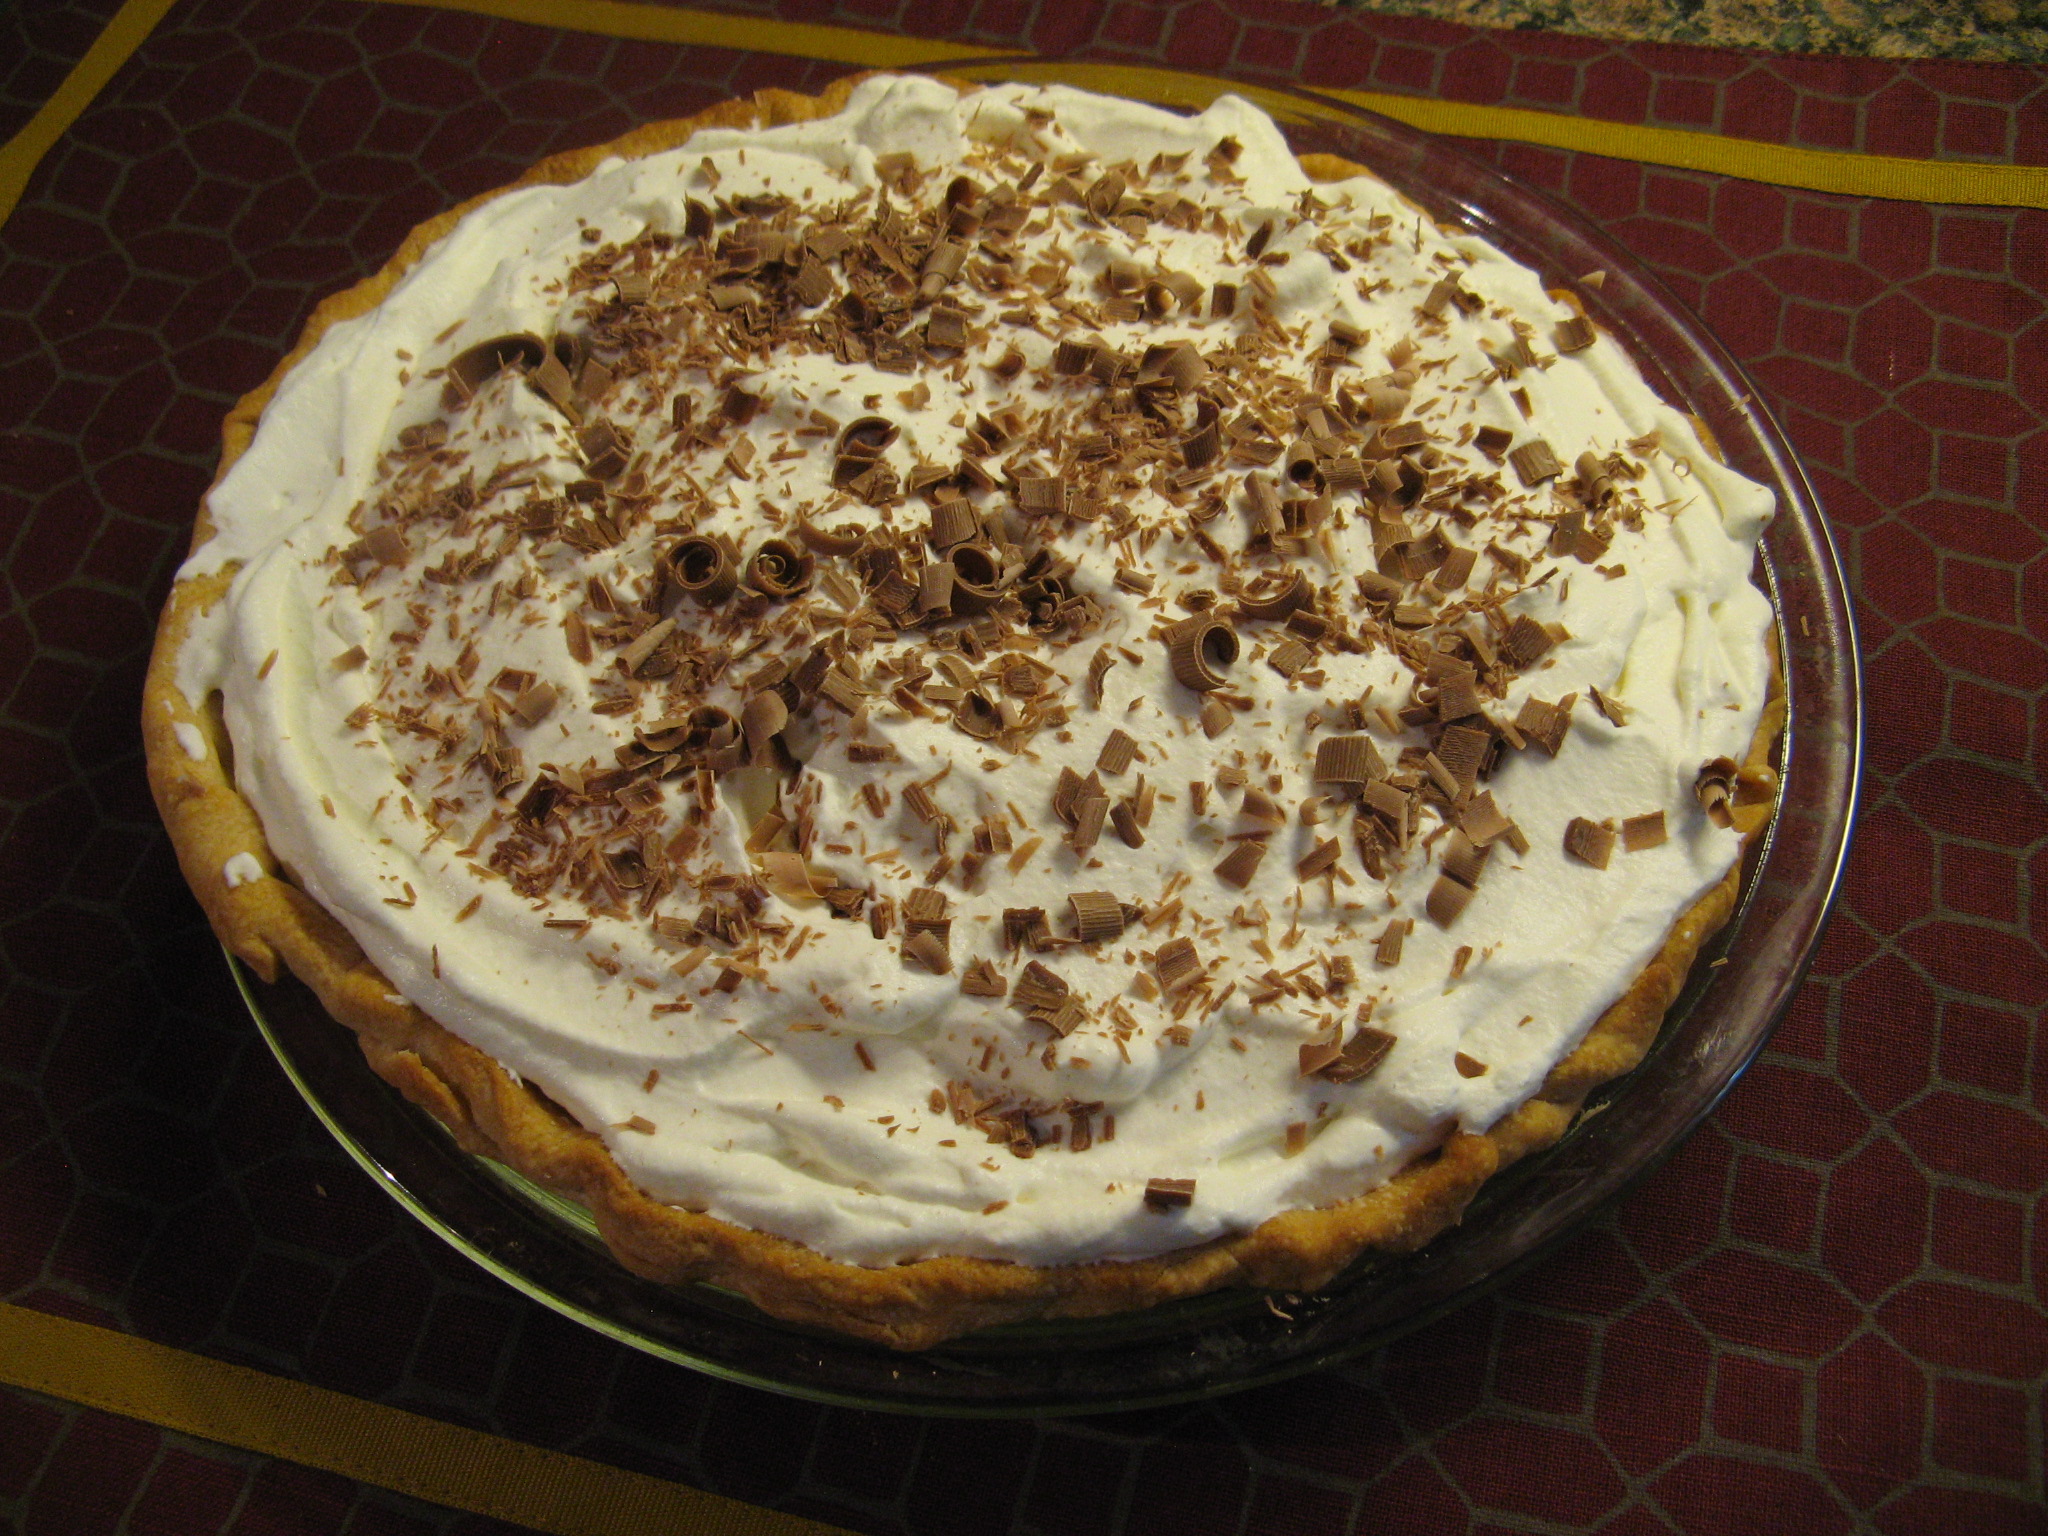
Once the pie was set I made a whipped cream topping for it and sprinkled it with shaved chocolate curls.
IMG_2964
 

Banana Cream Pie

Ingredients:

All-purpose flour, for dusting

1 recipe Pate Brisee to Make Two 9-Inch Single-Crust Pies or One Double-Crust or Lattice-Crust Pie (http://www.marthastewart.com/258439/pate-brisee), use 1 disc and reserve remaining disc for another use*

1/2 cup granulated sugar

1/4 cup cornstarch

1/4 teaspoon coarse salt

4 large egg yolks

2 cups whole milk

2 tablespoons cold unsalted butter, cut into pieces

3 ripe bananas, halved lengthwise, then thinly sliced crosswise

1 1/2 cups heavy cream

2 teaspoons confectioners’ sugar

1/2 teaspoon pure vanilla extract

1 block (about 5 ounces) bittersweet chocolate

*I opted to use a store-bought pie crust

Directions 

1. Make the crust: Preheat oven to 425 degrees. On a lightly floured work surface, roll out dough into a 14-inch round (1/4 inch thick). Fit dough into a 9-inch pie plate. Trim dough to extend above edges by 1 inch, fold under, and crimp. Prick bottom with a fork, and freeze until firm, about 15 minutes. Cut a large round of parchment paper (about 11 inches), and place in pie shell, allowing excess to extend above edges. Fill with pie weights. Freeze until cold, about 10 minutes.

2. Bake crust 15 minutes. Reduce oven temperature to 375 degrees. Remove pie weights and parchment, and bake until golden brown, about 20 minutes more. Let cool on a wire rack.

3. Make the filling: Combine granulated sugar, cornstarch, and salt in a bowl. Add egg yolks, and whisk until smooth. Bring milk to a simmer in a saucepan over medium heat. Add 1/2 cup milk to yolk mixture in a slow, steady stream, whisking constantly. Pour mixture into pan with hot milk, and cook, whisking constantly, until mixture begins to bubble and is very thick, about 6 minutes.

4. Pour milk mixture through a large-mesh sieve into a bowl. Add butter, and stir until melted. Fold in bananas. Pour into crust. Place plastic wrap directly on surface of filling to prevent a skin from forming. Refrigerate for 2 hours.

5. Make the topping: Beat together cream, sugar, and vanilla until soft peaks form. Spread whipped cream over filling. Using a rubber spatula or the back of a spoon, shape topping into peaks.

6. Using a vegetable peeler, shave chocolate at a 45-degree angle, and scatter over pie. (You will only need about 1 ounce of chocolate for the shavings, but it will be easier to shave if you start with a larger piece than you need.) Serve.


Chicken Spaghetti Casserole

You ever have something so delicious at someone else’s house that you can’t wait to make it yourself? That’s what happened to me this week. Over the weekend I had Chicken Spaghetti casserole at a friend’s house and instantly knew I had to make it myself. So, when I had some leftover chicken from dinner the other night I knew exactly what I would be using it for.

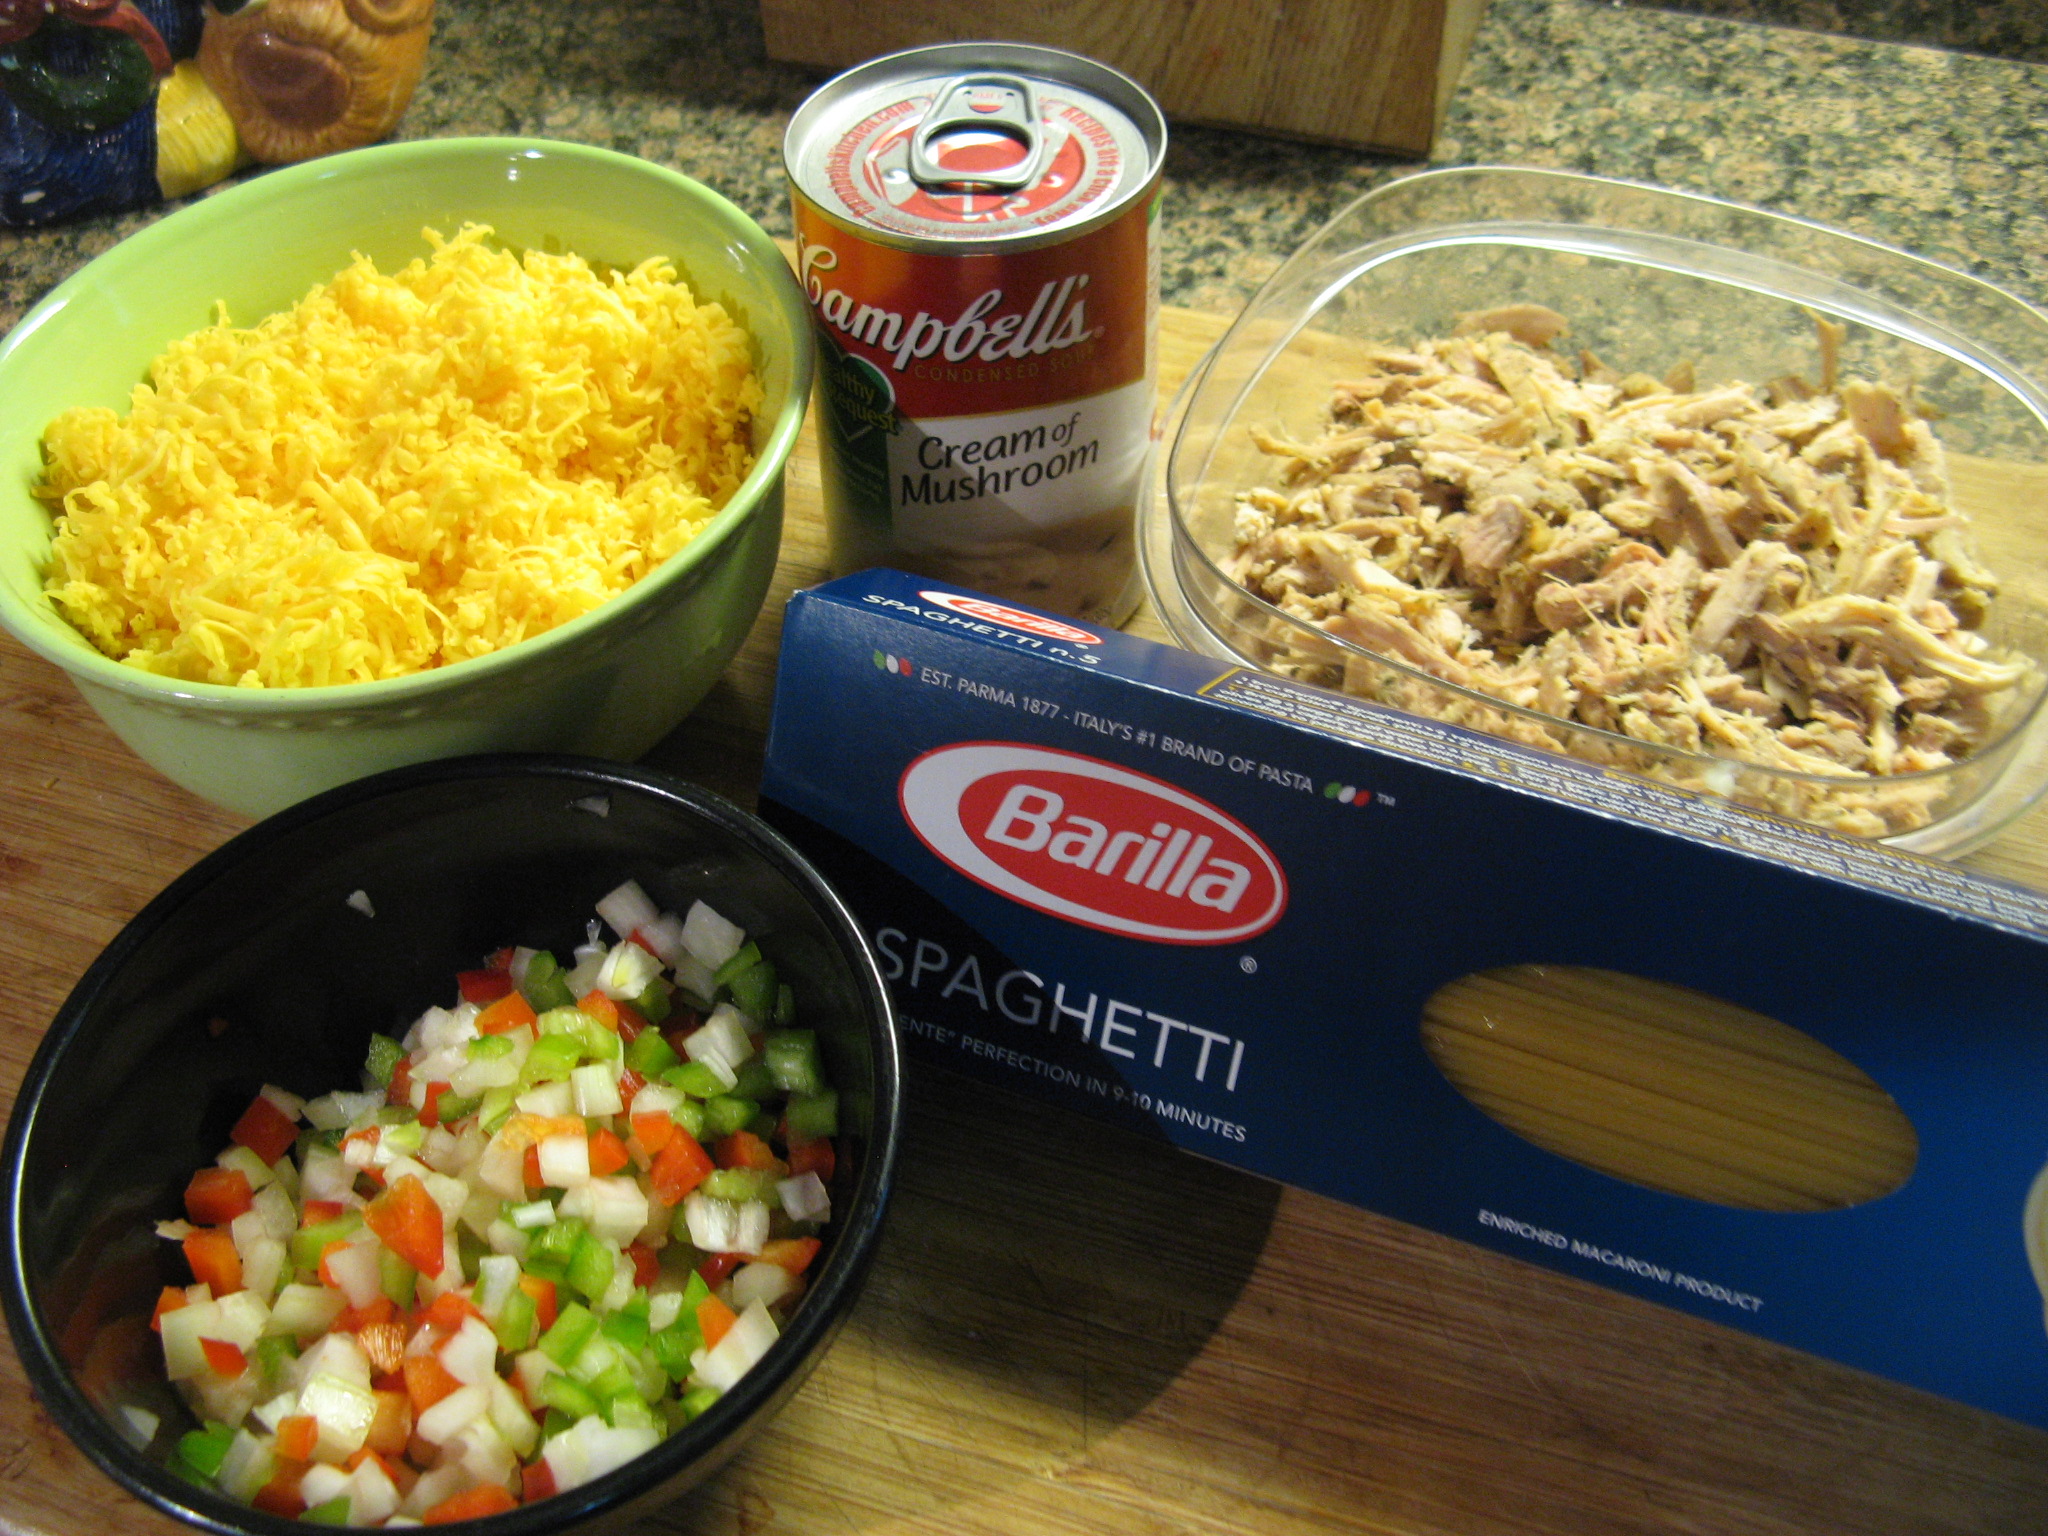
First up I got all of my ingredients prepped and together: 2 cups of shredded cheddar cheese, 1/3 cup of diced green and red bell peppers, two cooked chicken thighs shredded, half an onion diced, a can of cream of mushroom soup and spaghetti (I used only half of this one pound box). I should note that my measurements versus the original recipe are different since I opted to halve my version.

IMG_2914

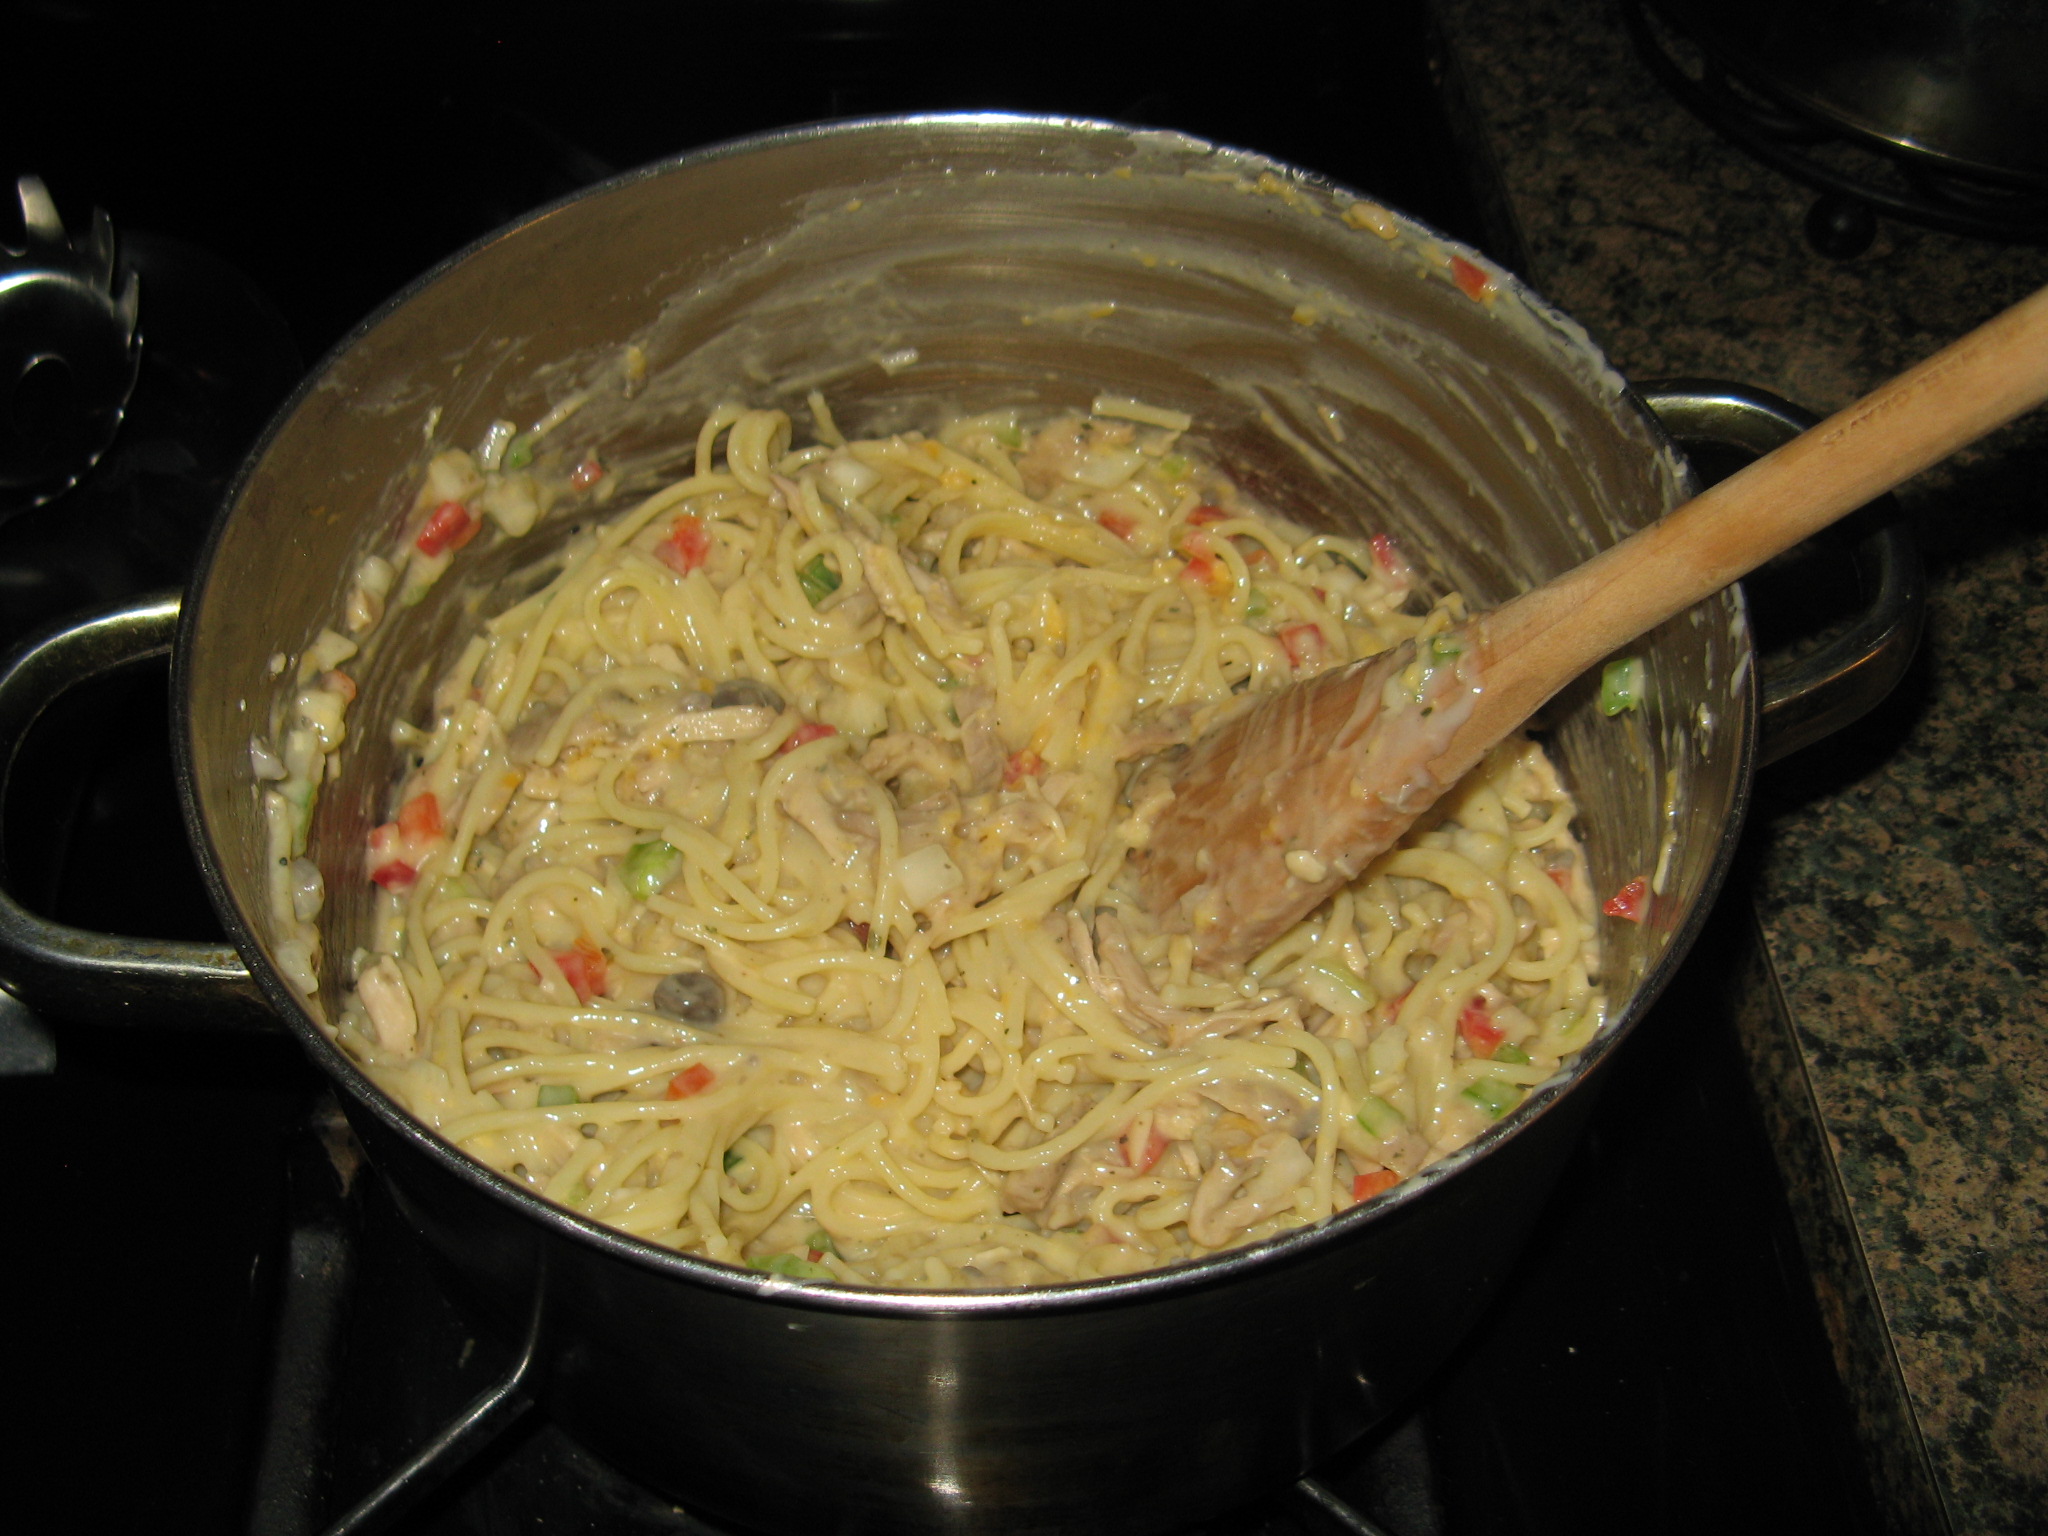
After cooking the spaghetti – I broke it into thirds prior to adding it to the boiling water- I mixed it with all of the ingredients minus 1 cup of the shredded cheese. Prior to draining the spaghetti I reserved about 2 cups of the water from which I added about a cup to the mixture so it wouldn’t be too dry.

IMG_2920

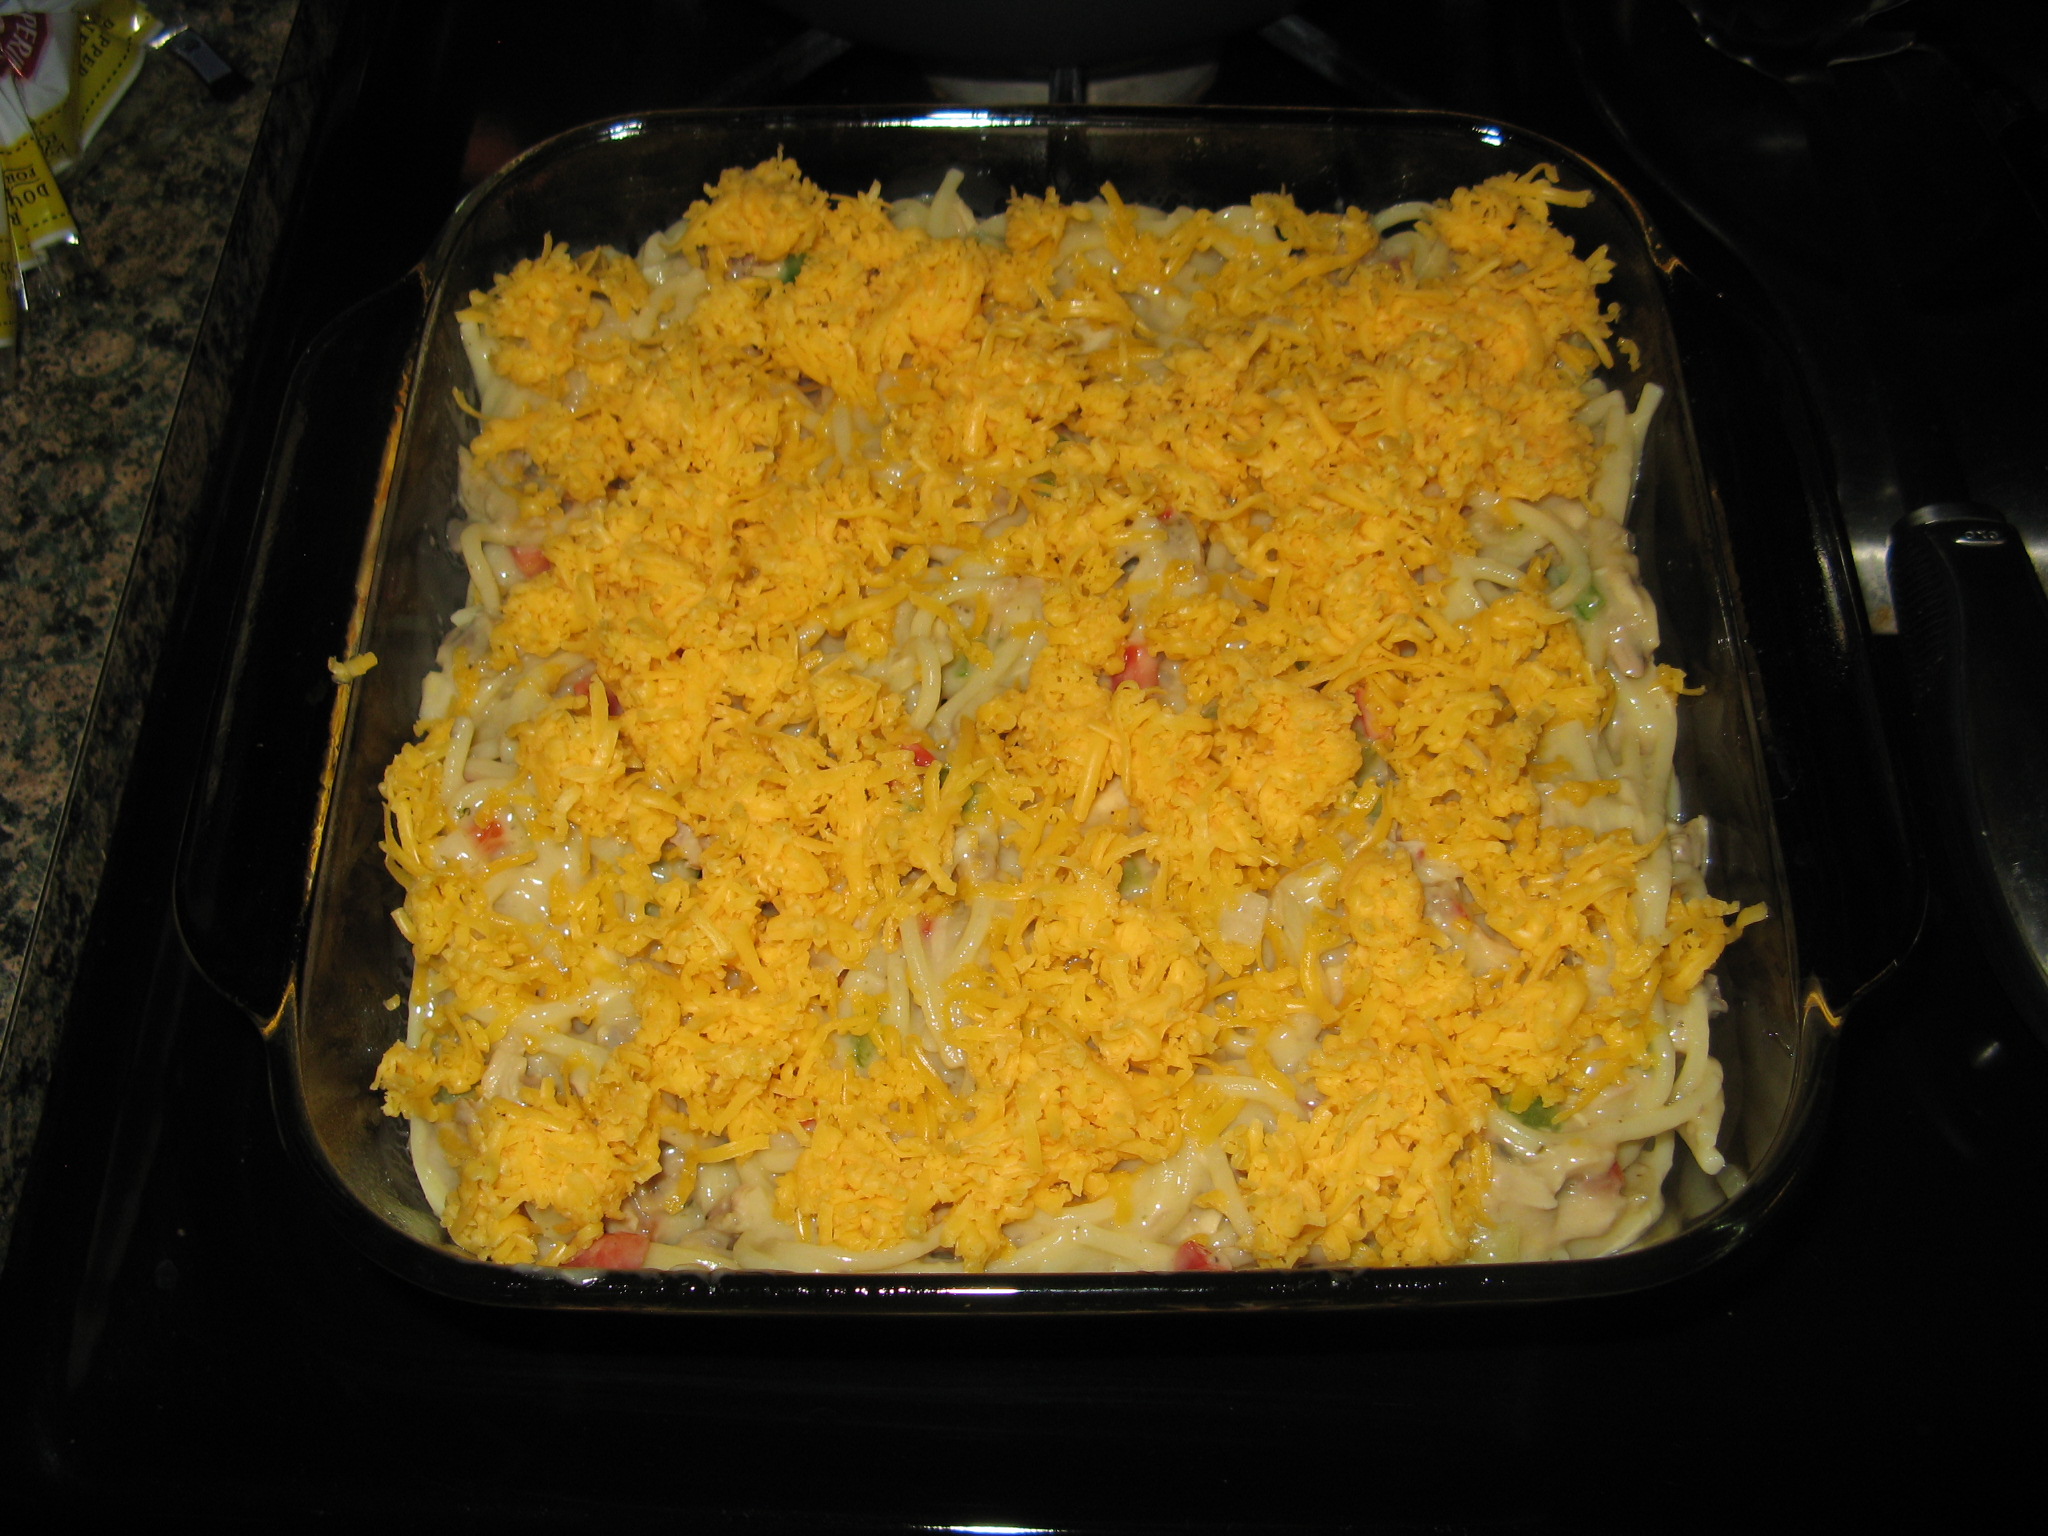
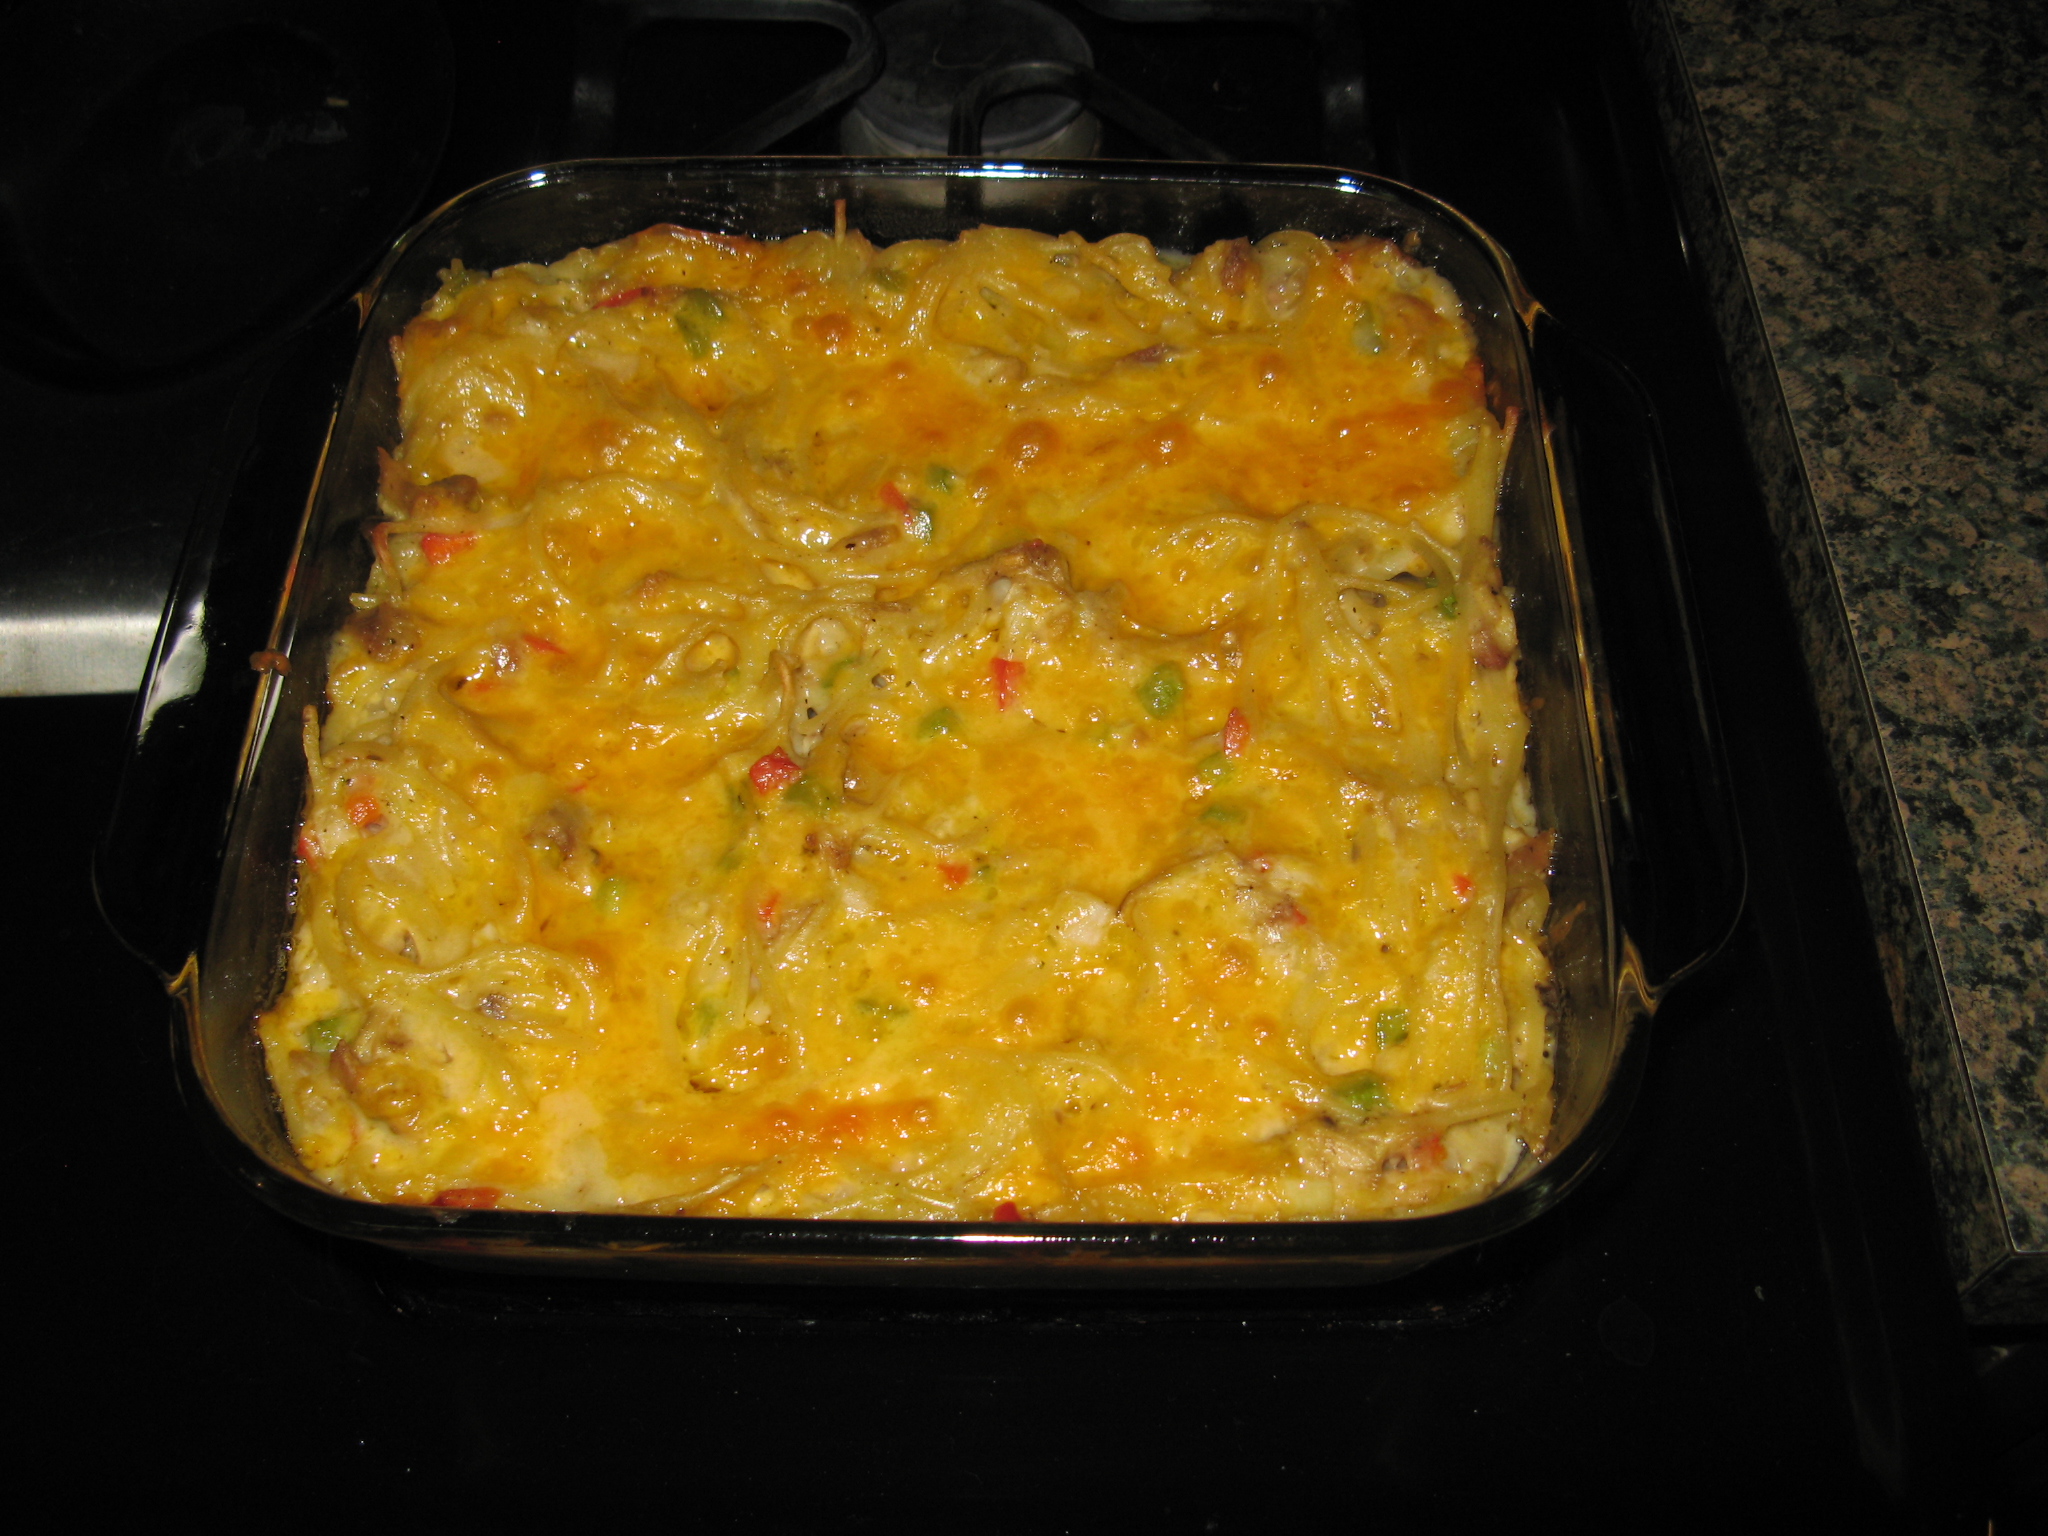
I then poured the mixture into a greased 8 x 8 baking dish and topped it with the remaining shredded cheese

IMG_2921

And finally after baking it for 30 minutes in a 350F pre-heated oven it was ready and just as delicious as the first time I had it!

IMG_2927

The original recipe…

Chicken Spaghetti

Recipe courtesy of Ree Drummond

Total Time: 1 hr. 40 min

Prep: 20 min

Cook: 1 hr. 20 min

Yield: 8 servings

Ingredients

1 whole raw chicken, cut into 8 pieces

1 pound thin spaghetti, broken into 2-inch pieces

2 1/2 cups shredded sharp Cheddar

1/4 cup finely diced green bell pepper

1/4 cup finely diced red bell pepper

1 teaspoon seasoned salt

1/8 to 1/4 teaspoon cayenne pepper

Two 10 3/4-ounce cans cream of mushroom soup

1 medium onion, finely diced

Salt and freshly ground black pepper

Directions

Preheat the oven to 350degrees F.

Bring a large pot of water to a boil. Add the chicken pieces to the boiling water and boil for a few minutes, and then turn the heat to medium-low and simmer, 30 to 45 minutes.

Remove the chicken and 2 cups of the chicken cooking broth from the pot. When the chicken is cool, remove the skin and pick out the meat (a mix of dark and white) to make 2 generous cups. Discard the bones and skin.

Cook the spaghetti in the chicken cooking broth until al dente. Do not overcook. When the spaghetti is cooked, combine with the chicken, 1 1/2 cups of the cheese, the green peppers, red peppers, seasoned salt, cayenne, soup and onions, and sprinkle with salt and pepper. Stir in 1 cup of the reserved chicken cooking broth, adding an additional cup if needed.

Place the mixture in a 9- by 13-inch casserole pan and top with the remaining 1 cup cheese. Bake immediately until bubbly, about 45 minutes. (If the cheese on top starts to get too dark, cover with foil.)

Chocolate Malted Cupcakes with Fluffy Vanilla Frosting

I have baked numerous types of cookies in my baking adventures that I have loved, but, by far one of my favorites is a Malted Milk Chocolate Chip Cookie that is the perfect combination of chewiness and chocolate without being overly sweet thanks to the addition of malted milk powder. So, when I was flipping through some cookbooks for baking inspirations and I came across a recipe for a Chocolate Malted Cupcake I knew I had to try it!

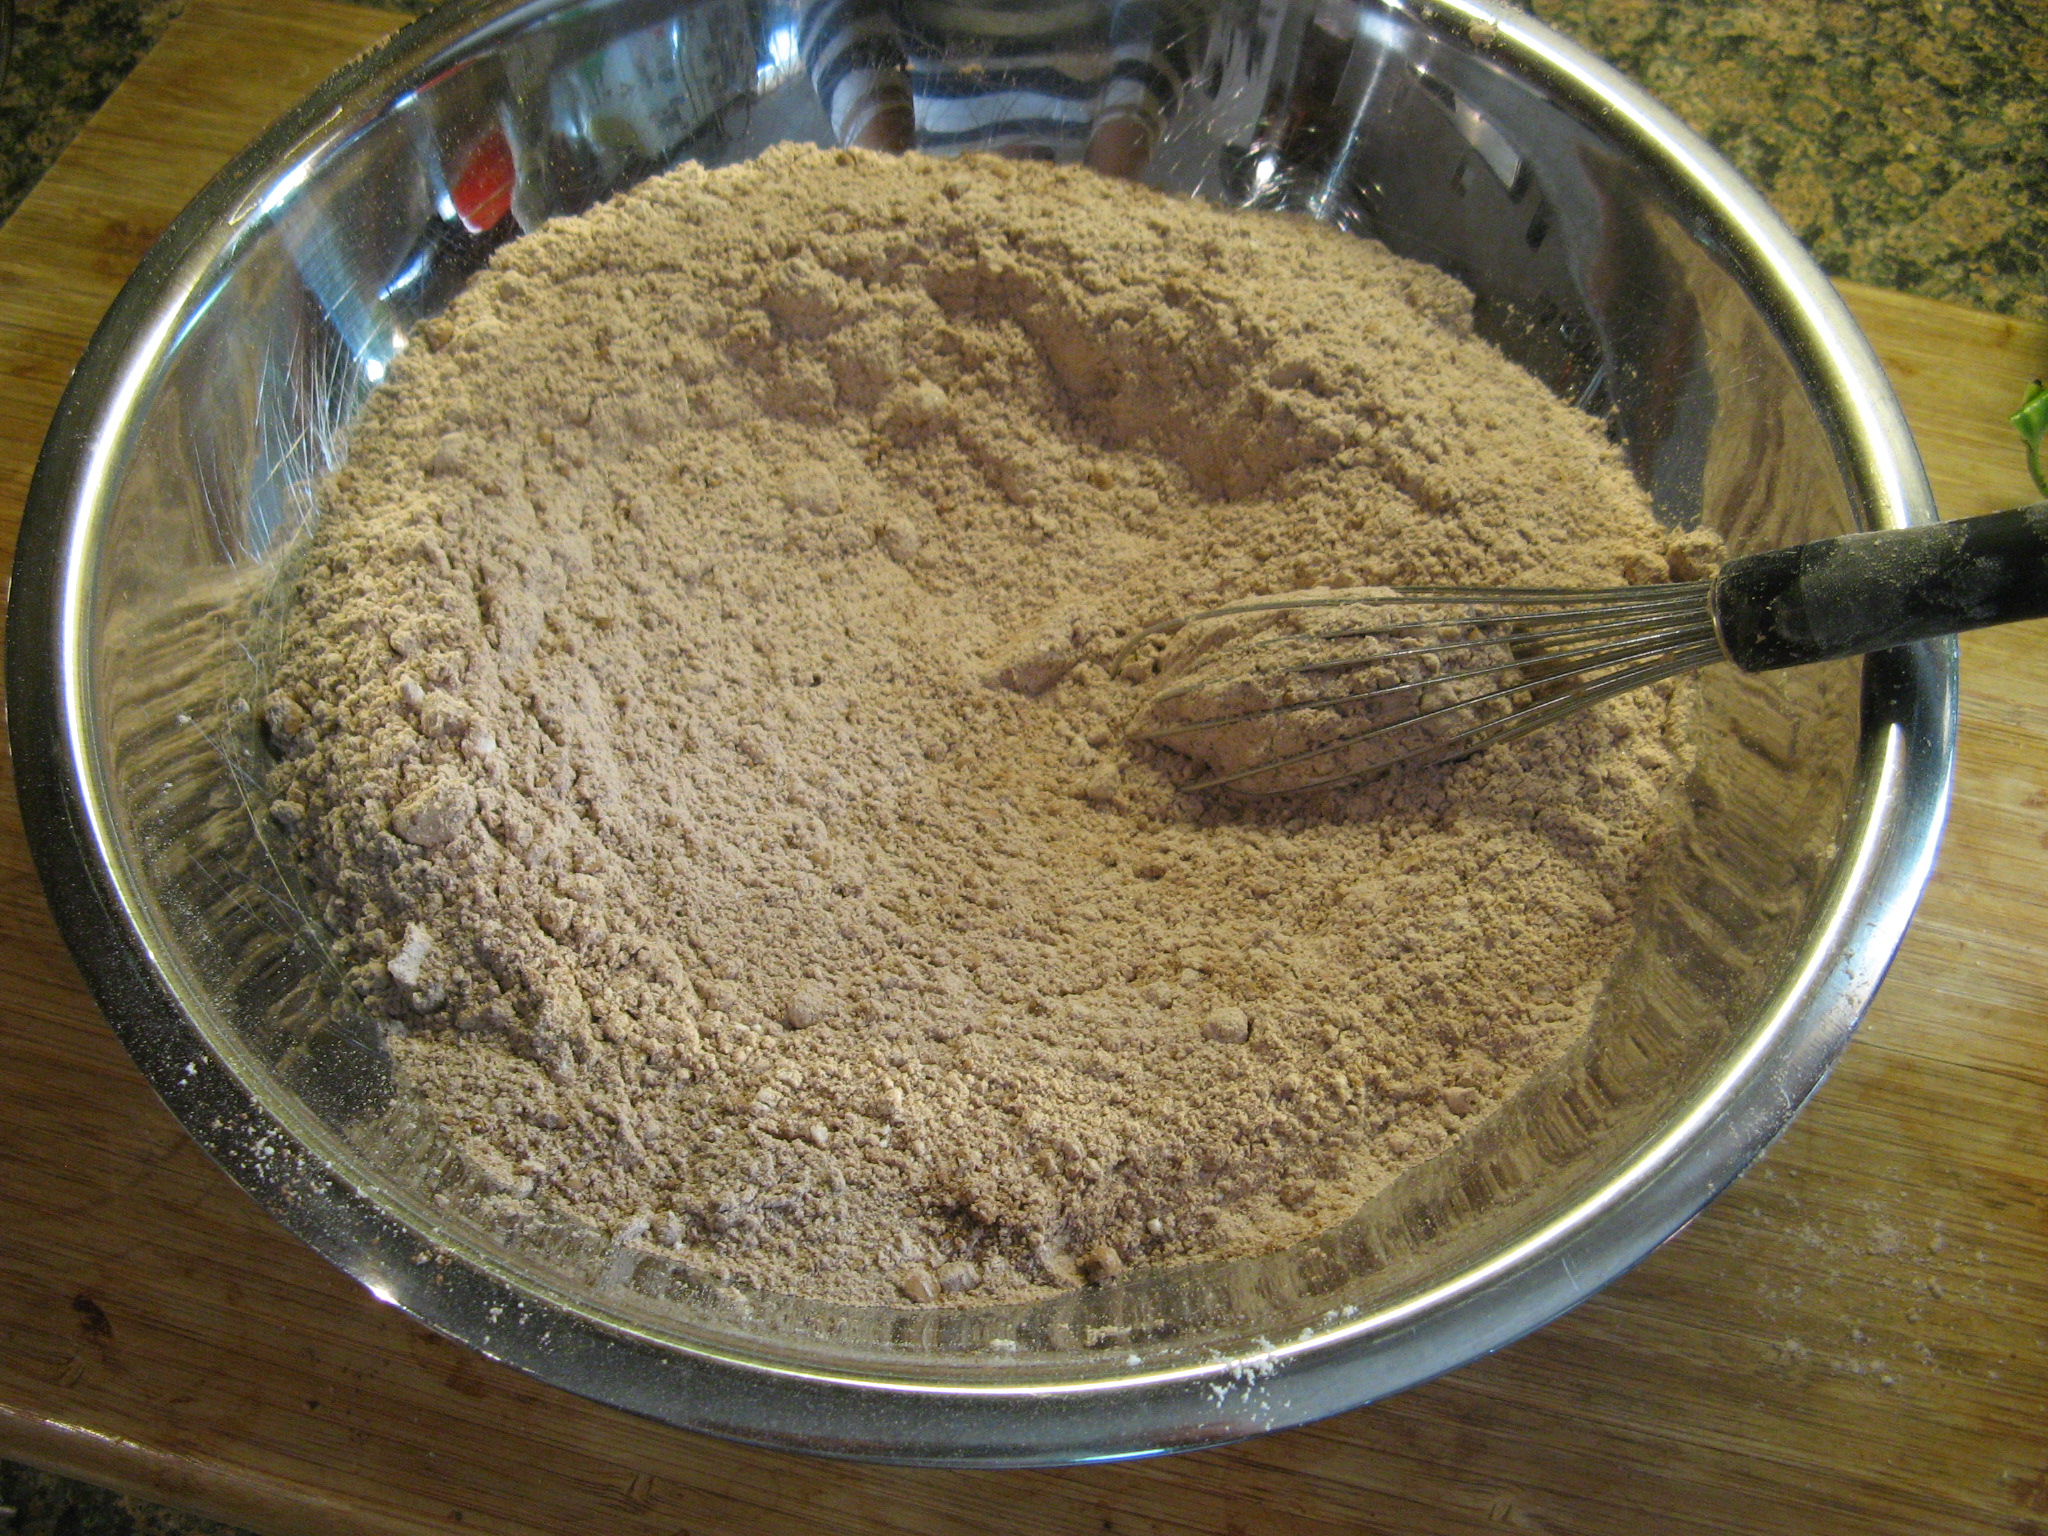
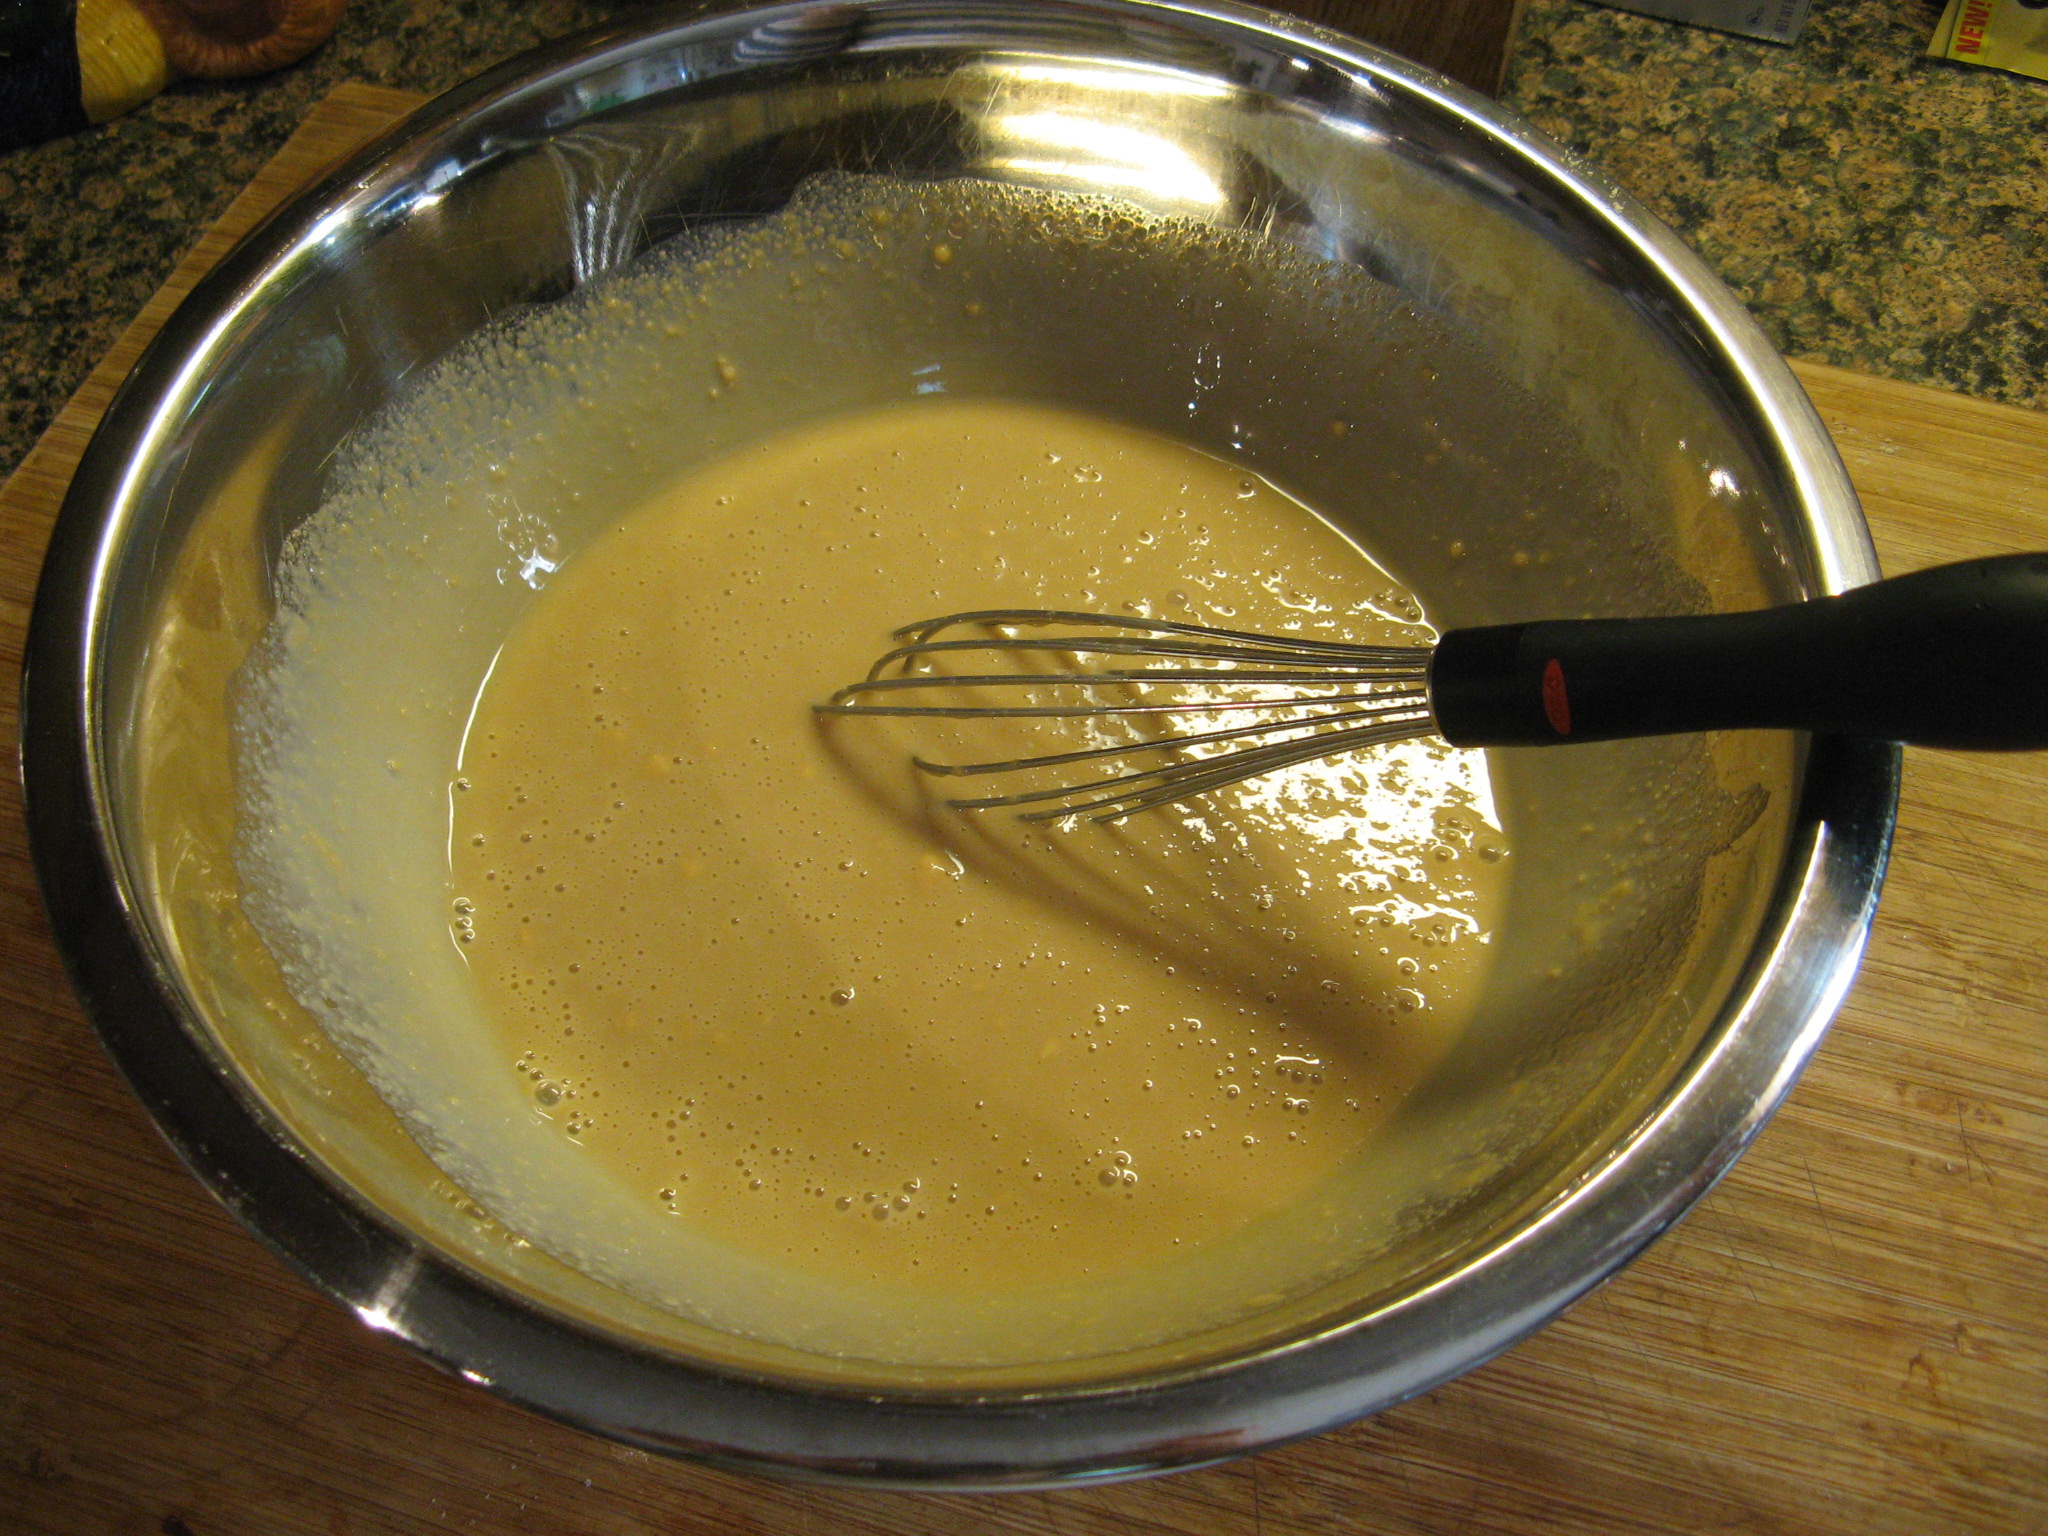
To begin I whisked together my dry ingredients (flour, cocoa powder, sugar, light brown sugar, baking soda and salt) in one bowl and malted milk powder and milk in another bowl.
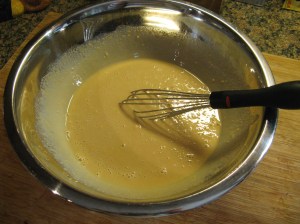
IMG_2867 IMG_2868

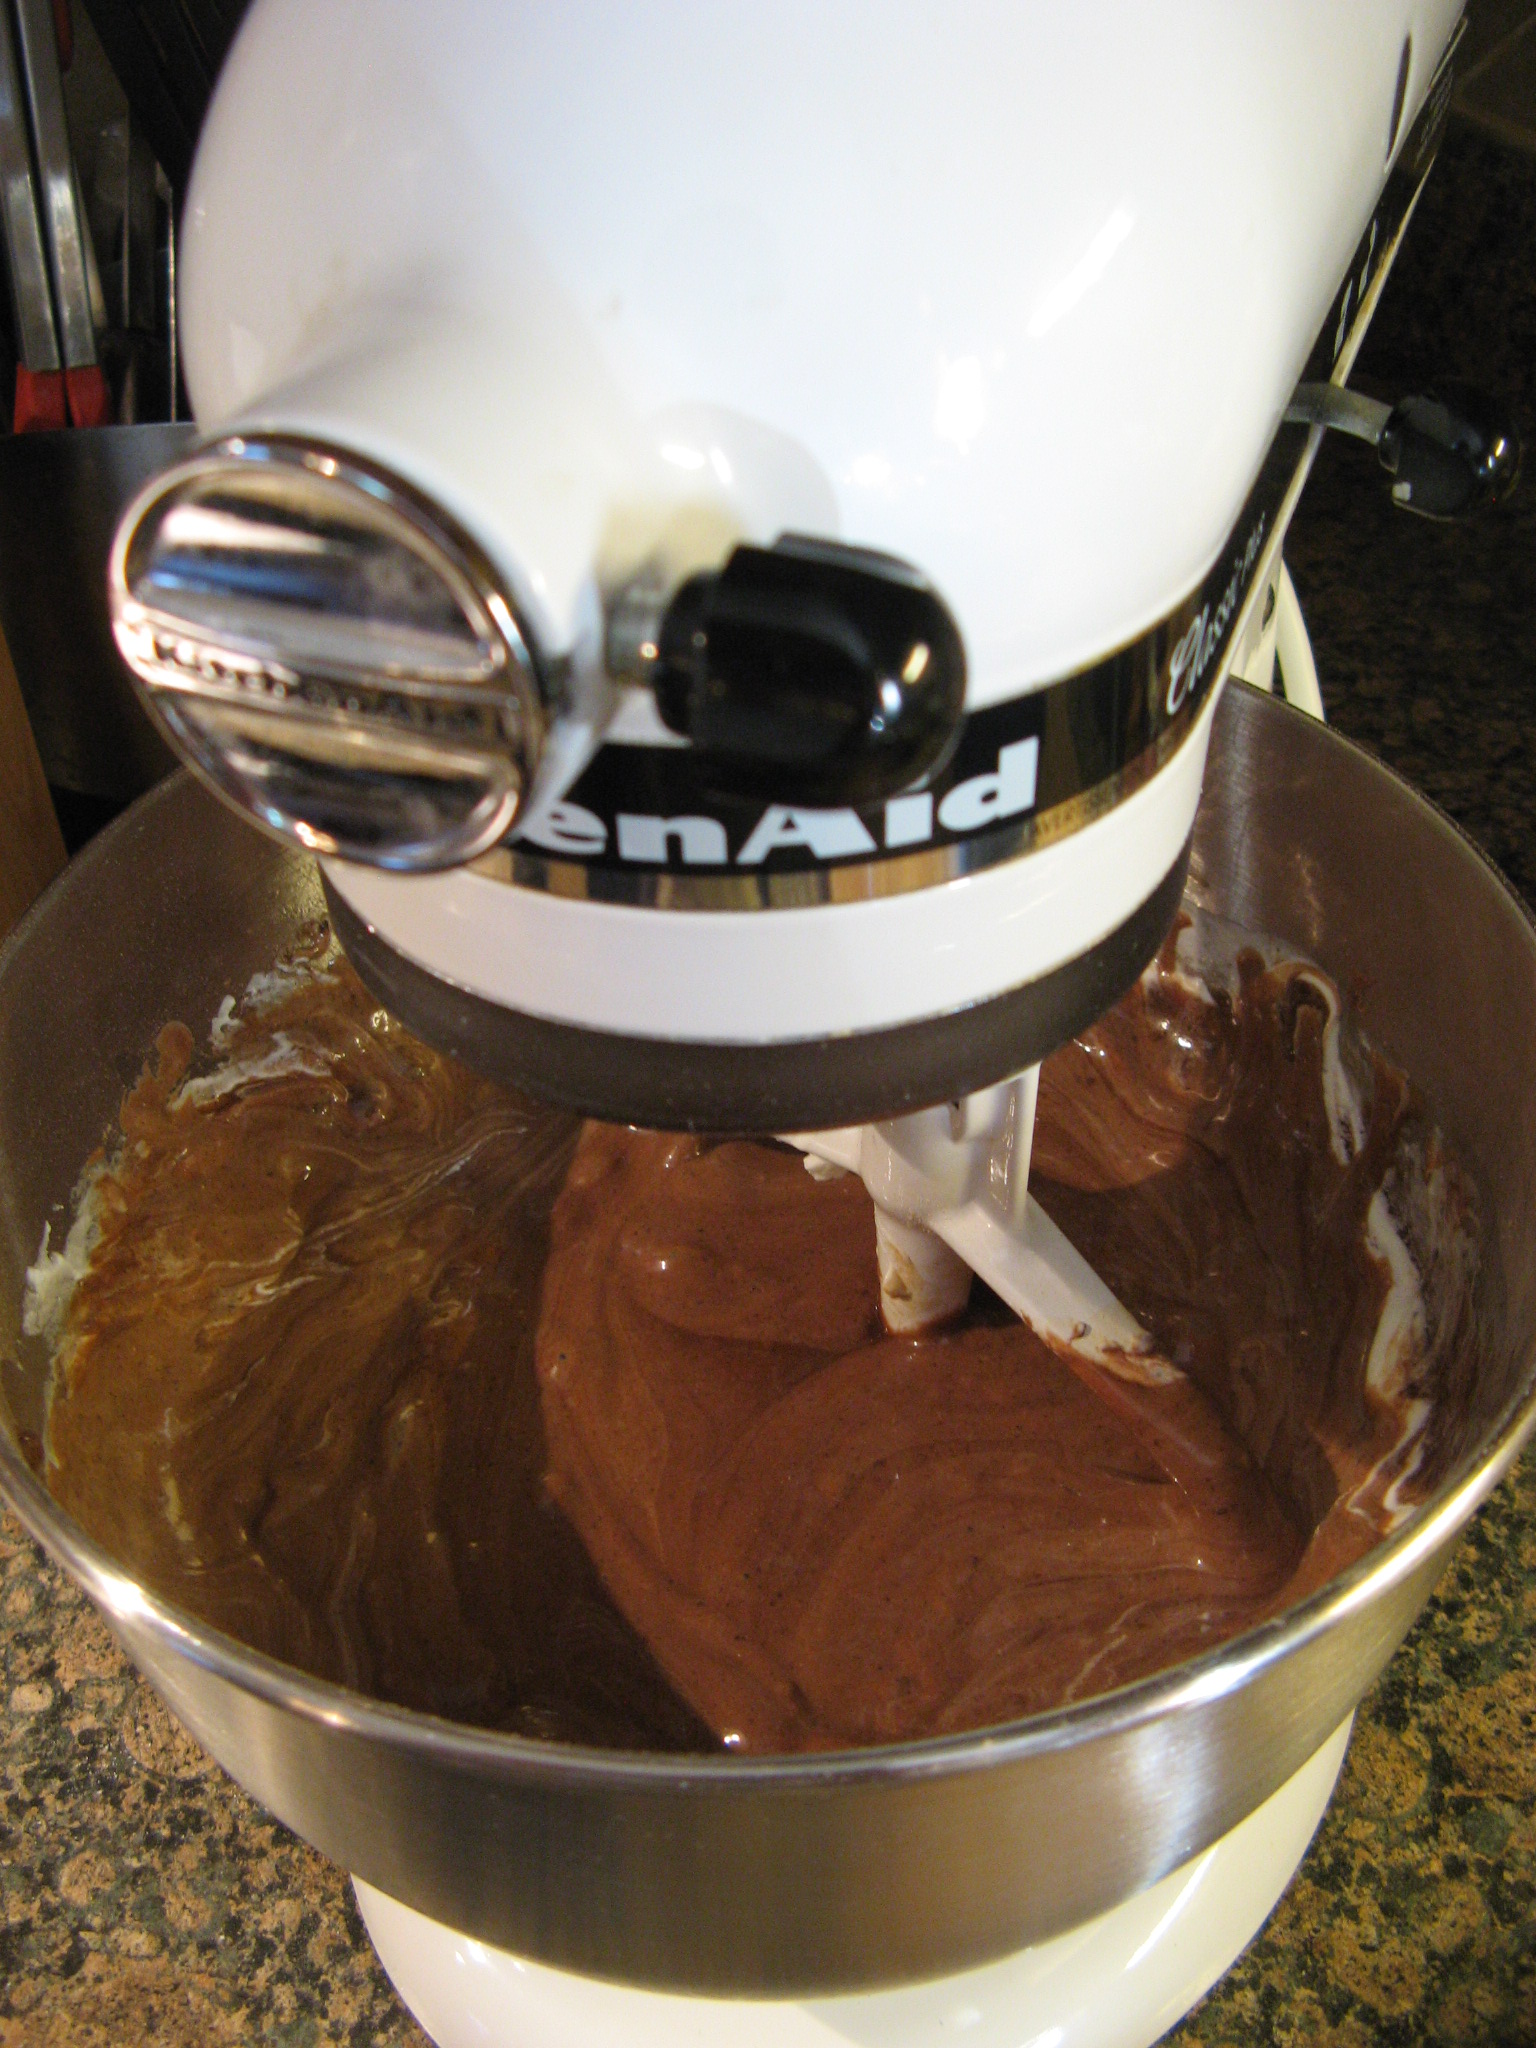
Once that was done I combined both of these mixtures along with vegetable oil in the bowl of my stand mixer and mixed it until it was combined.
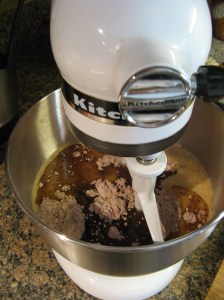
IMG_2869

To finish the batter I beat in three eggs, sour cream and vanilla.
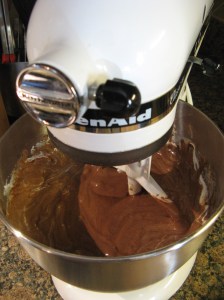
IMG_2870

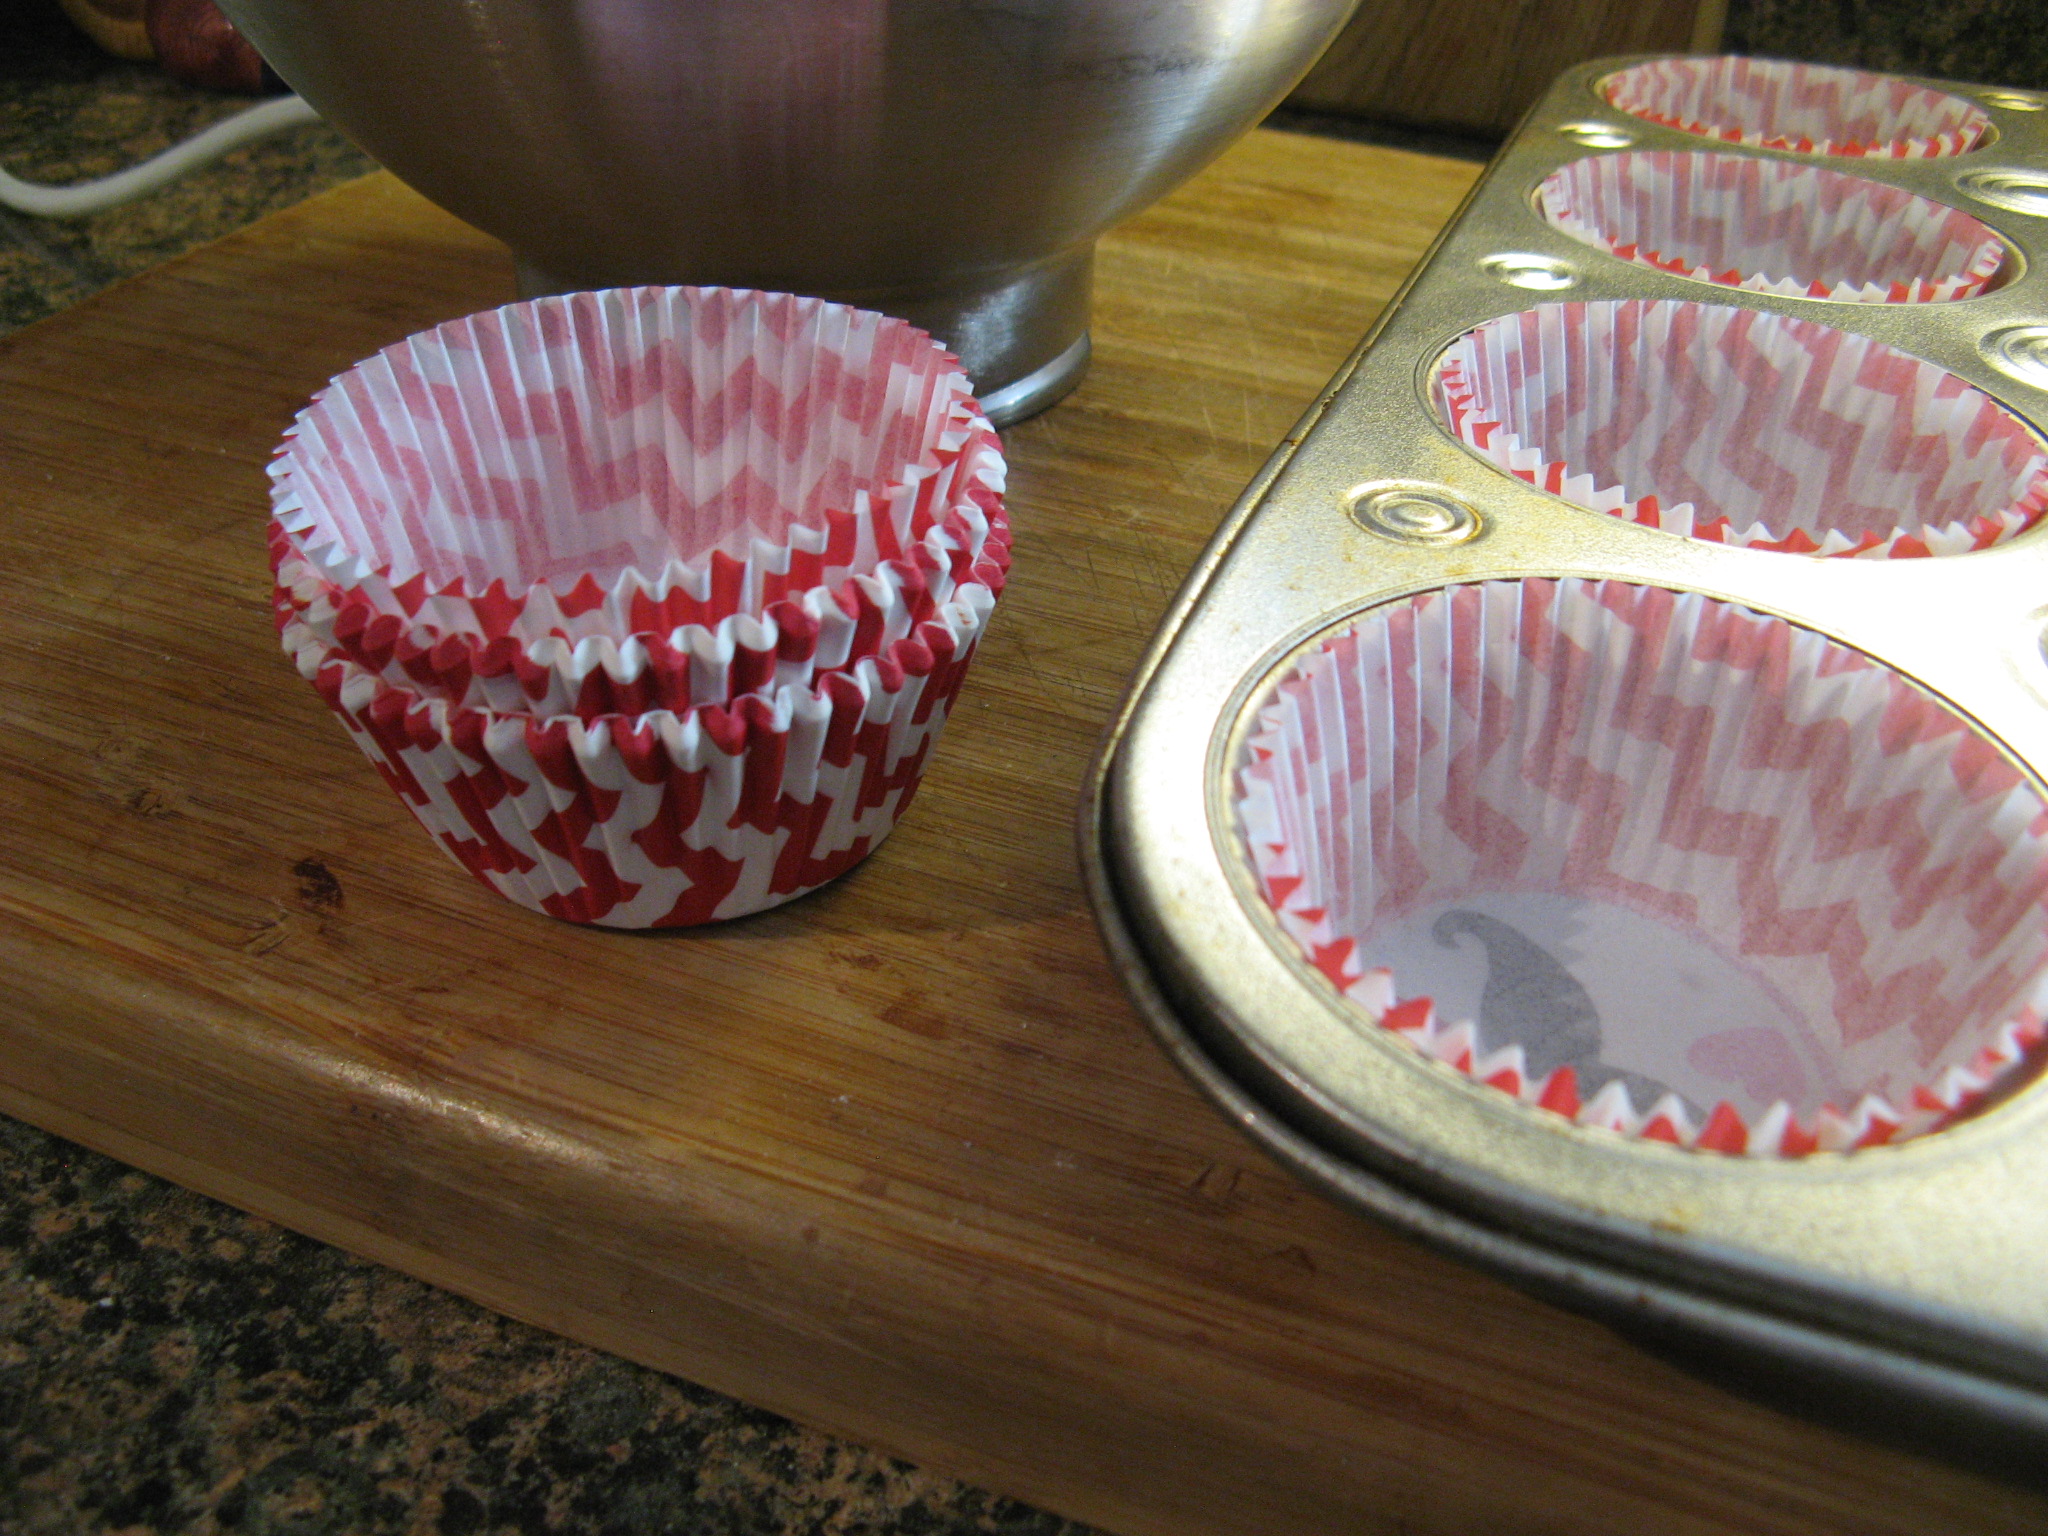
I then divided the batter into my prepared muffin tins which I lined with these cupcake liners that I thought were a perfect for these cupcakes. The red and white is reminiscent of old school soda shops where malted beverages were a staple. I actually got these cupcake liners the day after Valentine’s Day at my local Michael’s for less than a $1. You have to love post-Holiday sales!

IMG_2872

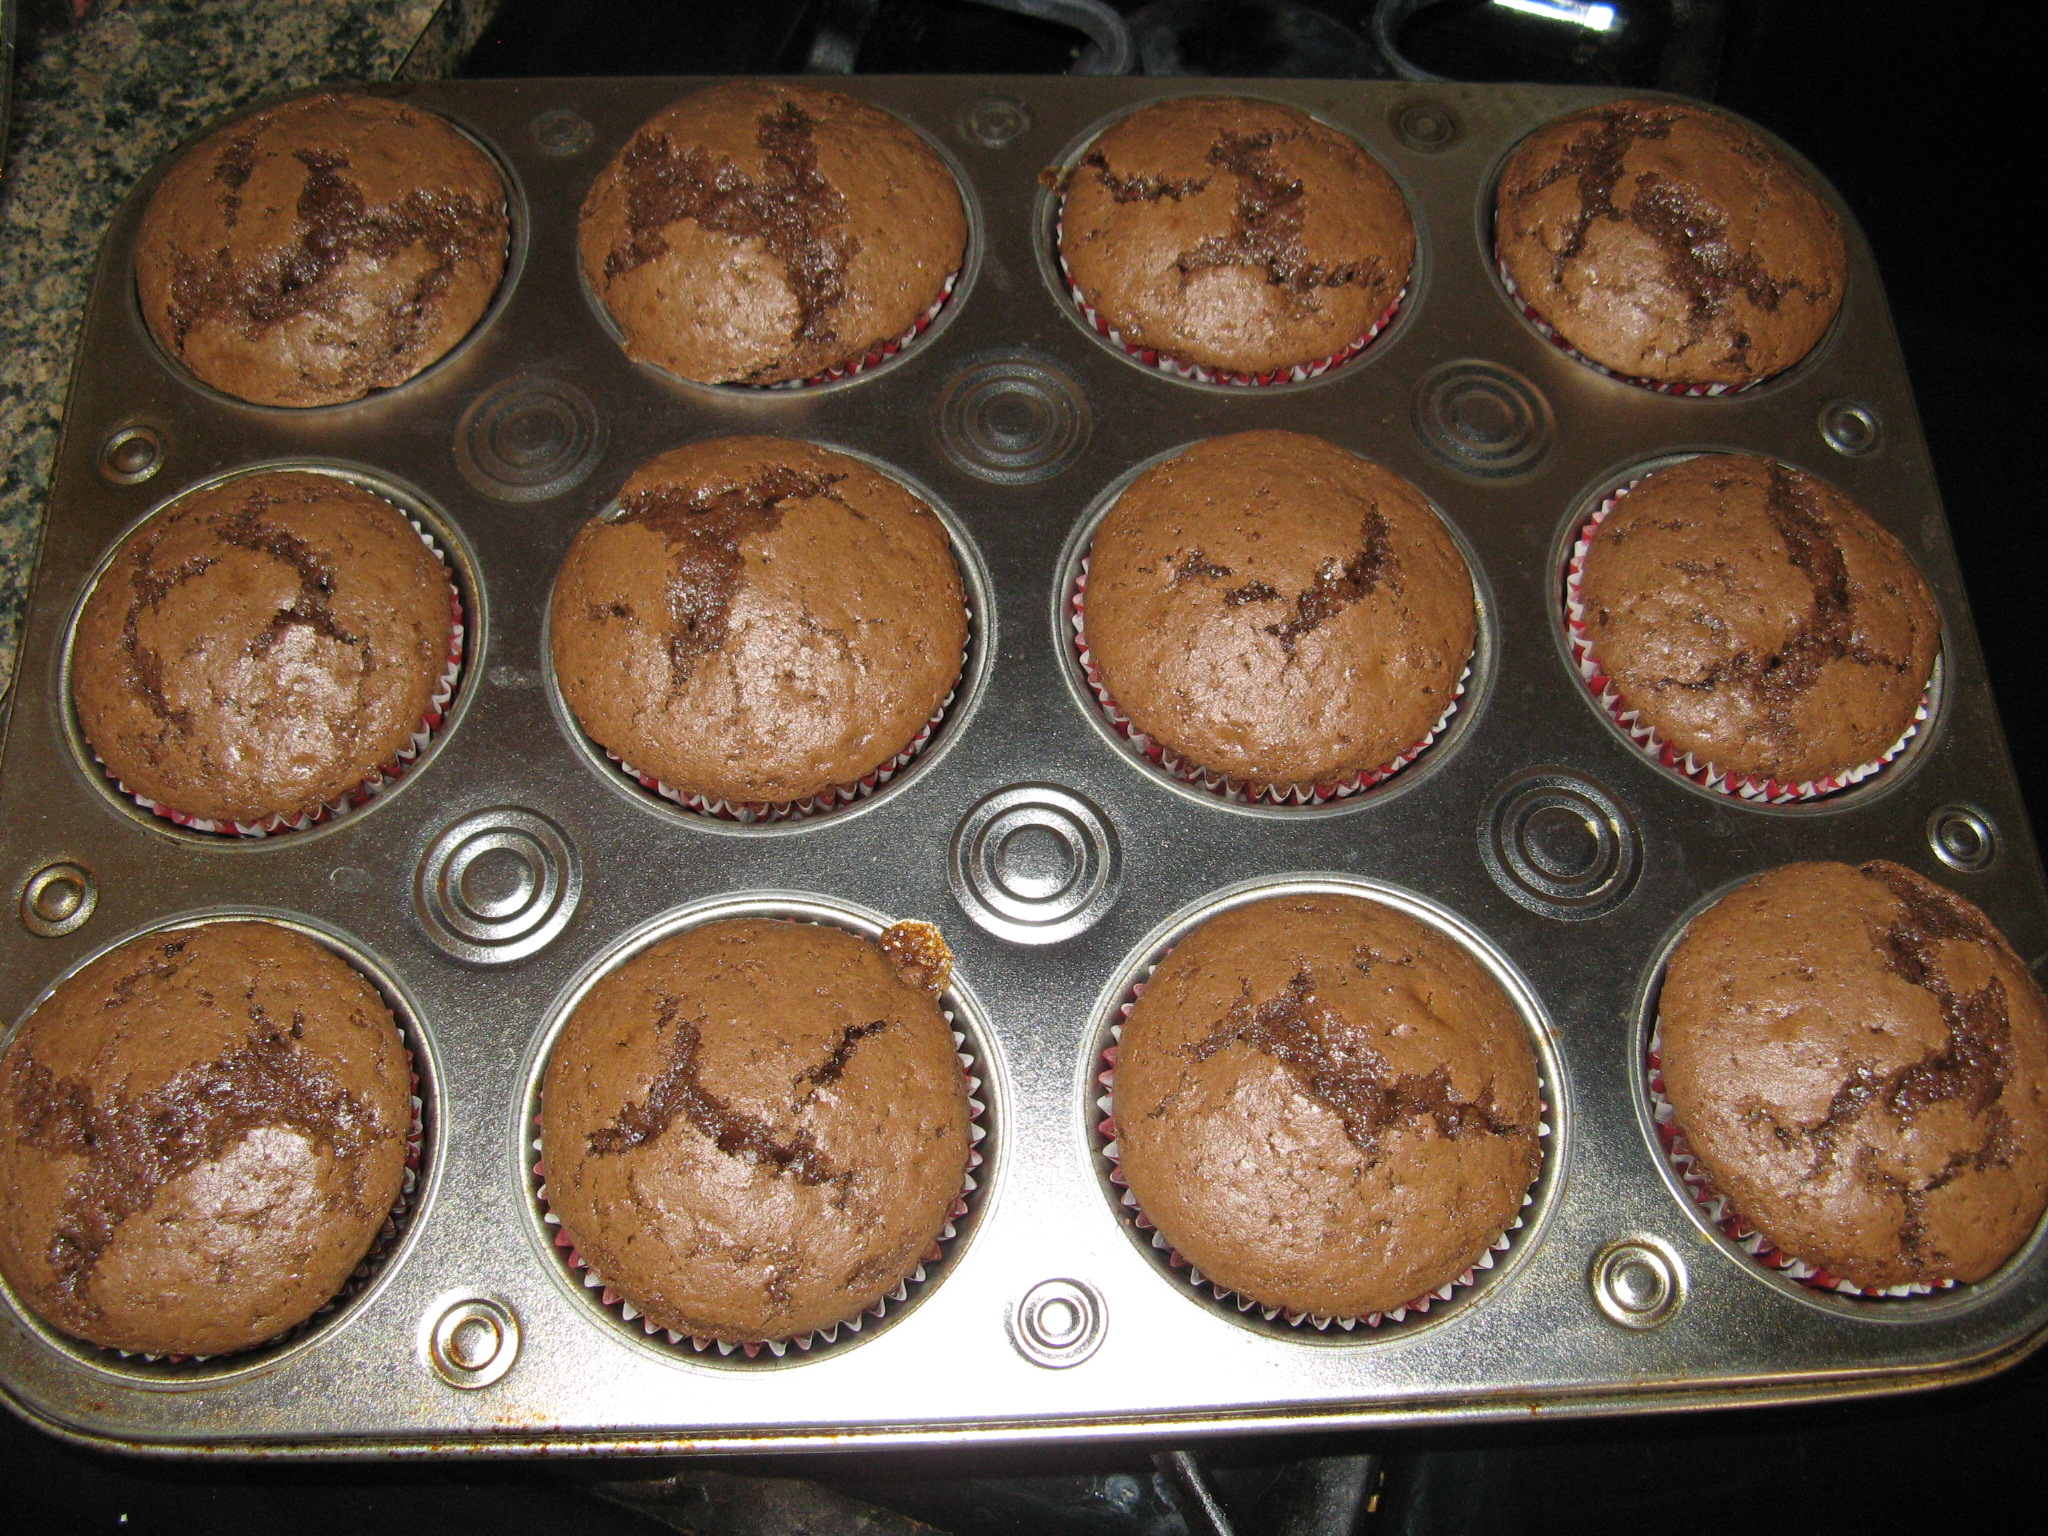
After baking for about twenty minutes in a pre-heated 350 F oven my first batch of Chocolate Malted Cupcakes were done!
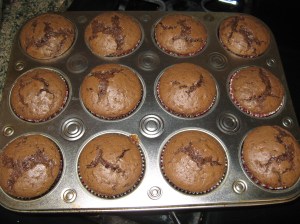
IMG_2873

The recipe was right on point and I ended up with twenty-eight delicious cupcakes!

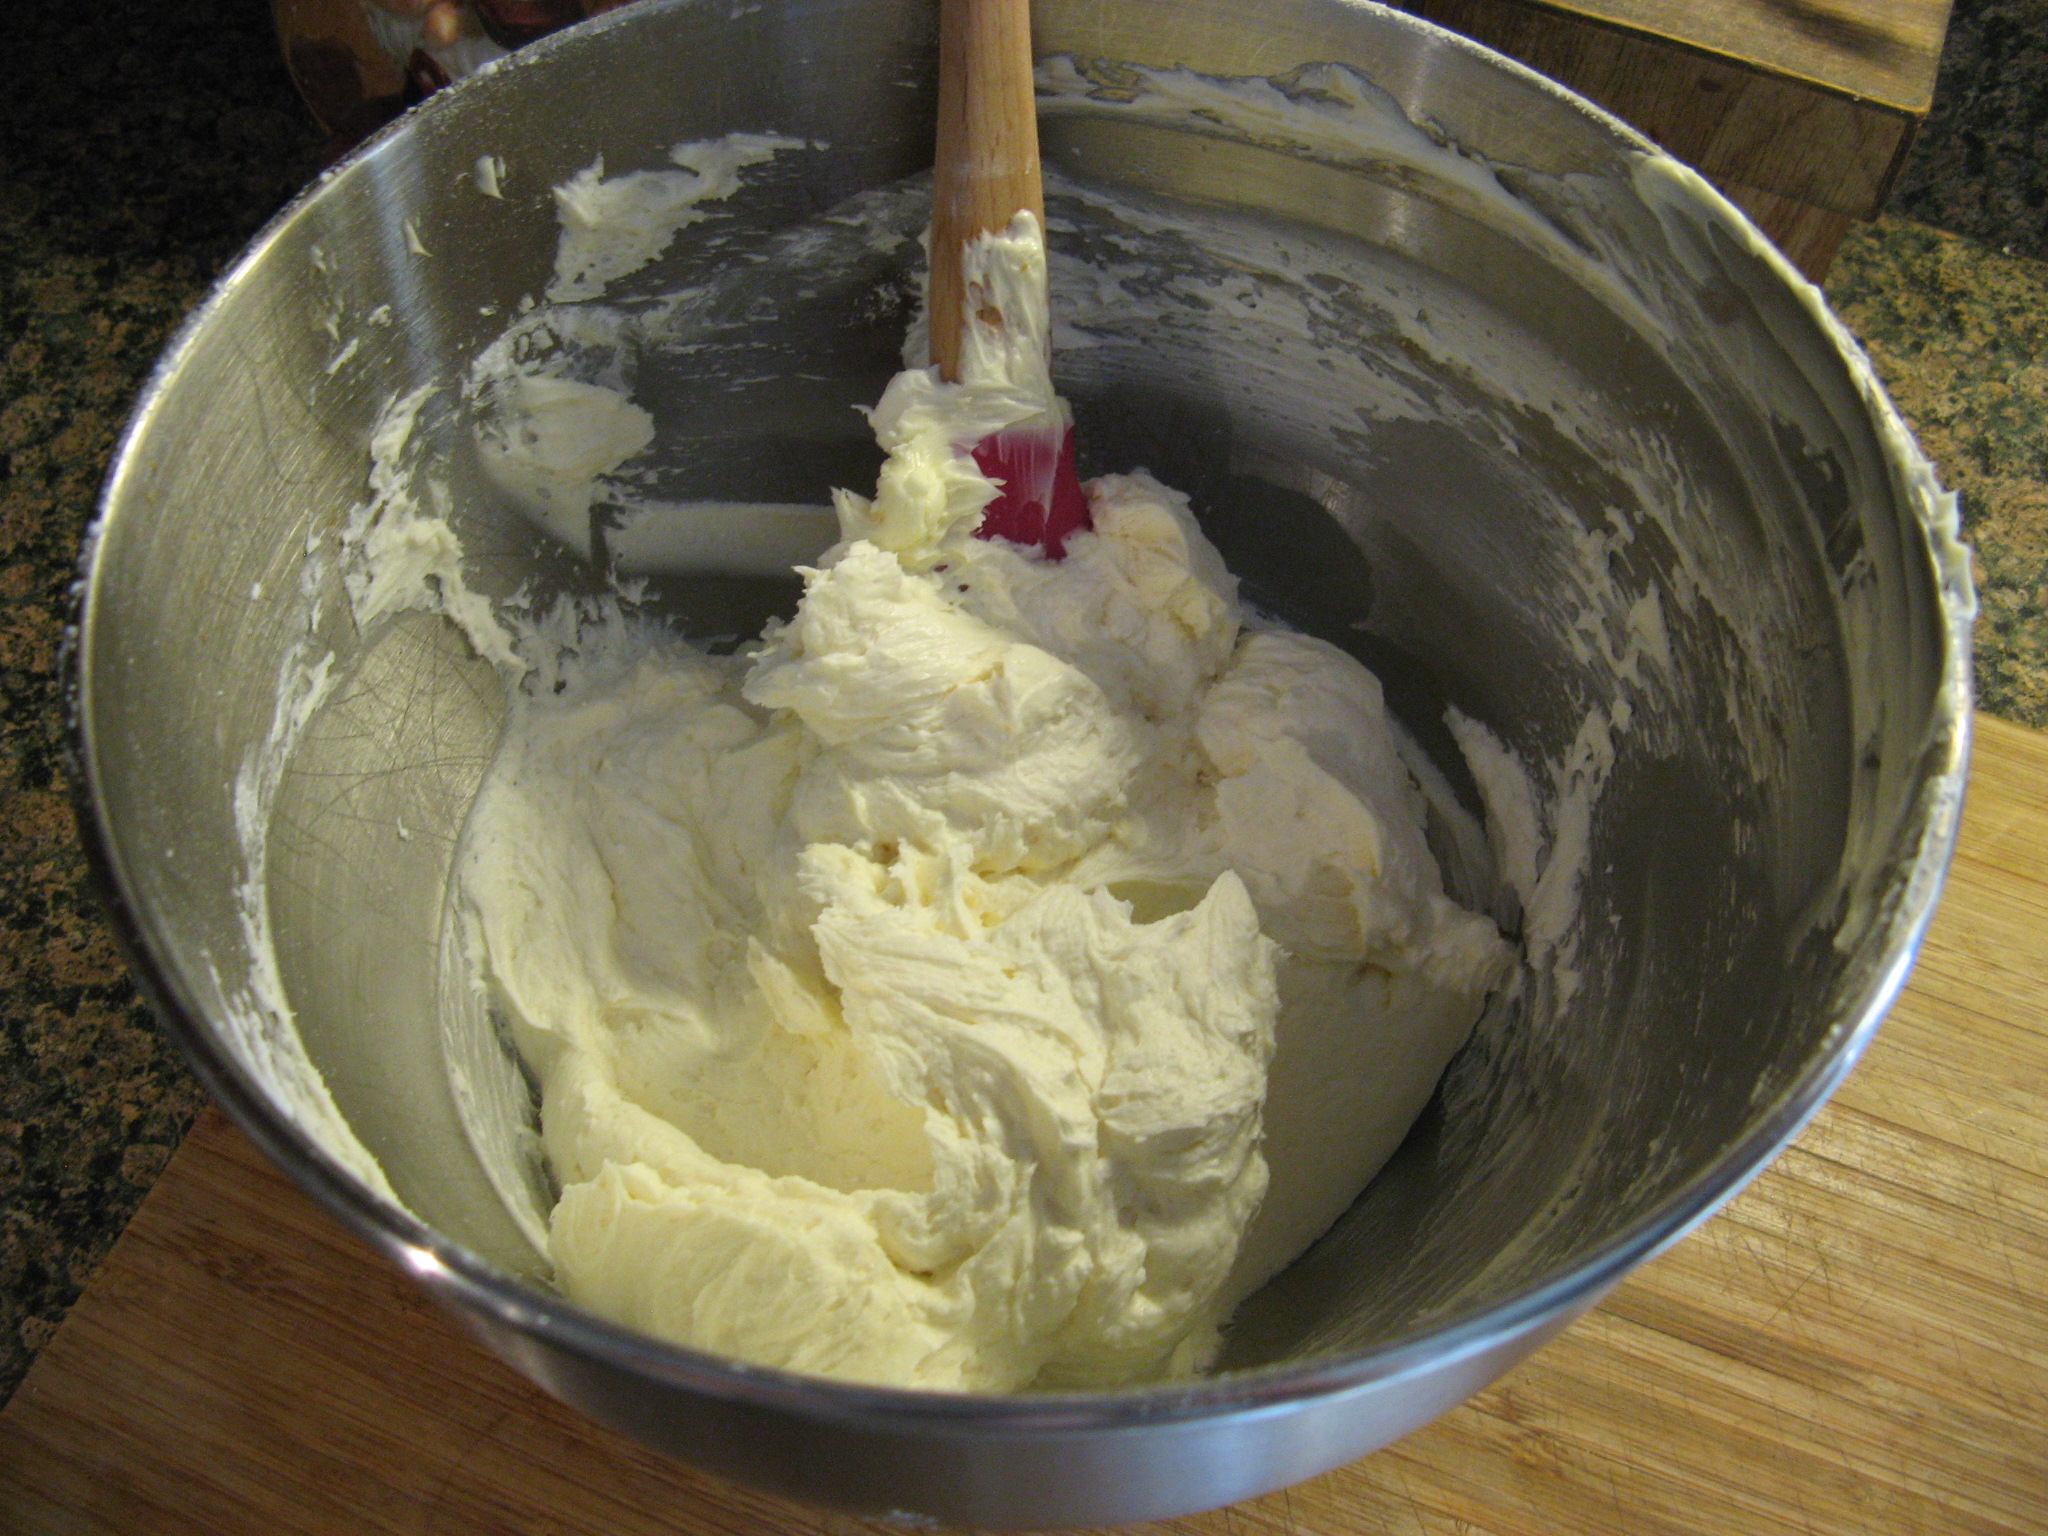
After the cupcakes had cooled I whipped up a batch of Fluffy Vanilla Frosting using three simple ingredients: unsalted butter, confectioners’ sugar and vanilla extract. I think this may become my new go-to vanilla frosting!
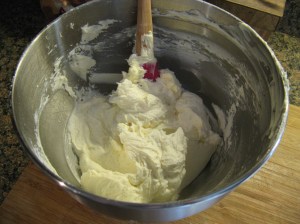
IMG_2878

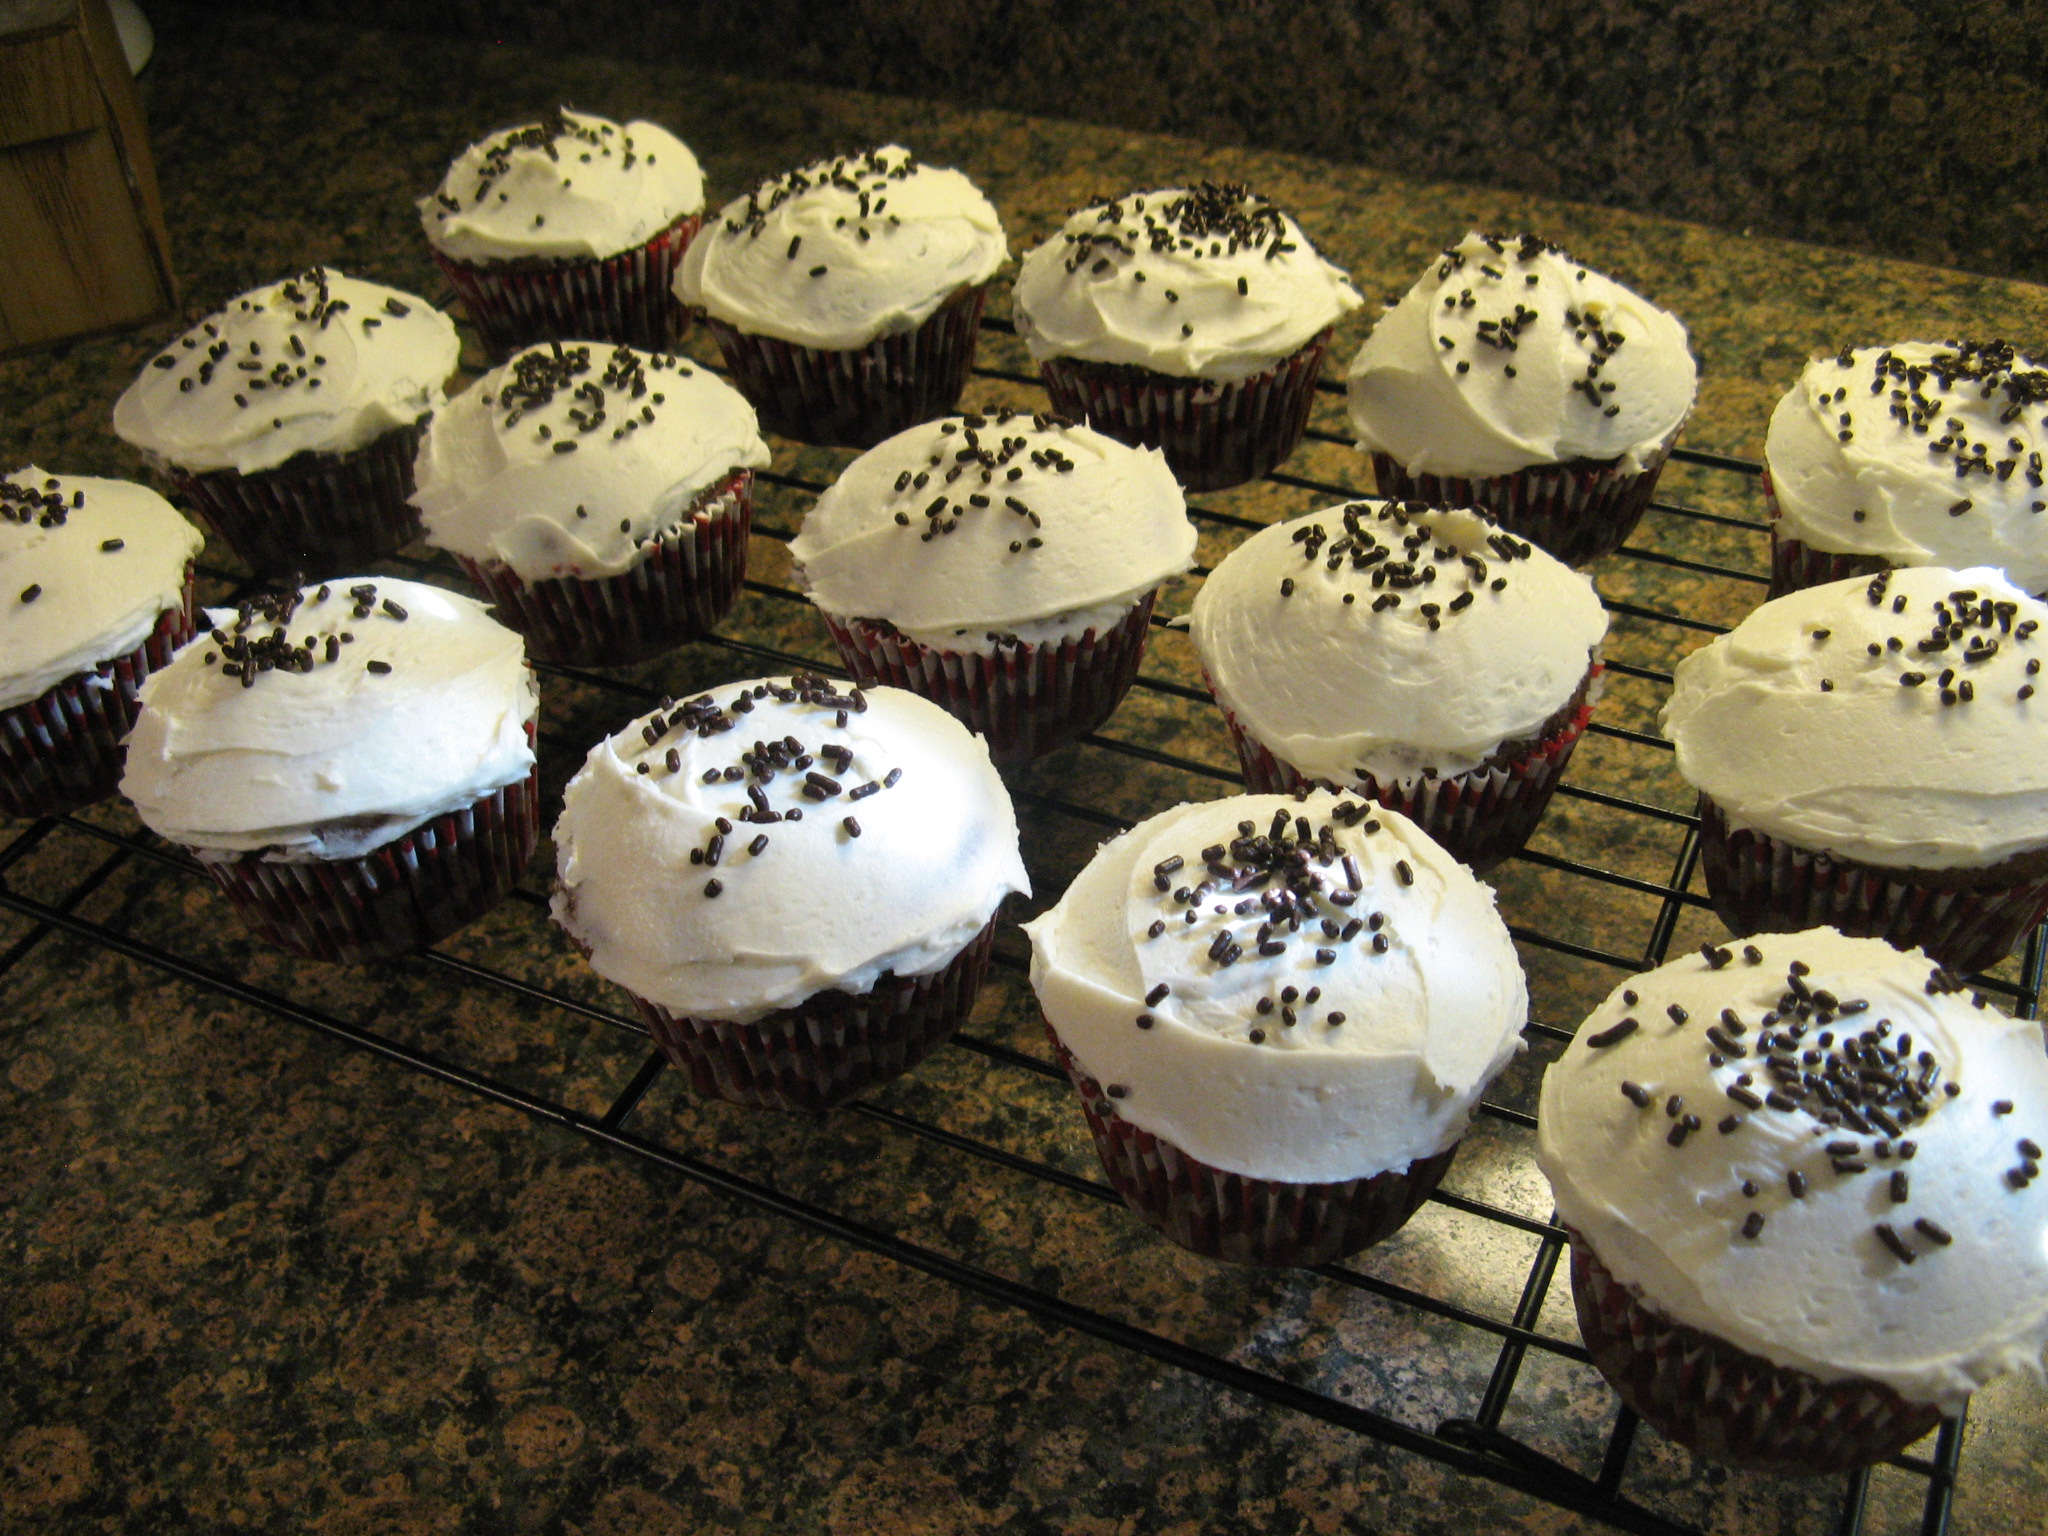
As opposed to piping my favorite 1M Swirl on these cupcakes, I frosted them using an offset spatula and then decorating them with chocolate sprinkles.
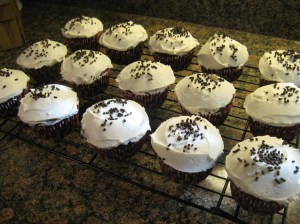
IMG_2903

Overall they were a hit and just the right amount of sweetness!

Chocolate Malted Cupcakes

From Martha Stewart’s Cupcakes

Makes 28 Cupcakes

2 1/4 cups all-purpose flour

3/4 cup unsweetened Dutch-process cocoa powder

1/4 cup granulated sugar

3/4 cup packed light-brown sugar

1 1/2 tsps. baking soda

1/2 tsp. salt

1 cup milk

1 1/4 cups malted milk powder

1 cup vegetable oil

3 large eggs, room temperature

1 cup sour cream, room temperature

1 tsp. pure vanilla extract

1. Preheat oven to 350F. Line standard muffin tins with paper liners. Whisk together flour, cocoa, both sugars, baking soda, and salt. In another bowl, whisk together milk and malted milk powder until powder is dissolved.

2. With an electric mixer on medium-high speed, beat flour mixture, milk mixture, and oil until combined. Add eggs, one at a time, beating until each is incorporated, scraping down sides of bowl as needed. Add sour cream and vanilla, and beat until just combined.

3. Divide batter evenly among lined cups, filling each halfway. Bake, rotating halfway through, until a cake tester inserted in centers comes out clean, about 20 minutes. Cupcakes can be stored up to 3 days at room temperature, or frozen up to 2 months, in airtight containers.

Fluffy Vanilla Frosting

From Martha Stewart’s Cupcakes

Makes About 4 Cups

1 1/2 cups (3 sticks) unsalted butter, room temperature

1 pound (4 cups) confectioners’ sugar, sifted

1/2 tsp. pure vanilla extract (I used 1 tsp.)

1. With an electric mixer, beat butter on medium-high speed until pale and creamy, about 2 minutes.

2. Reduce speed to medium. Add the confectioners’ sugar, 1/2 cup at a time, beating well after each addition and scraping down sides of bowl as needed; after every two additions, raise speed to high and beat 10 seconds to aerate frosting, then return to medium. This process should take about 5 minutes. Frosting will be very pale and fluffy.

3. Add vanilla, and beat until frosting is smooth. If not using immediately, frosting can be refrigerated up to 10 days in an airtight container. Before using, bring to room temperature, and beat on low speed until smooth again, about 5 minutes.
Breton Butter Cake

I came across this recipe in Martha Stewart’s Cakes book and as soon as I saw it I knew I wanted to make it. It sounded simple and more importantly with a few key baking ingredients (butter, eggs, sugar & flour) I knew it would be delicious. If you like shortbread, you’ll love this cake! Just as an FYI, this cake is also known as a Brittany Butter Cake (as in Brittany, France a region located in the northwest part of the country) or a Gateau Breton.

To begin I combined a cup each of sugar and butter in my stand mixer and mixed it together until it was light and fluffy.

IMG_2833

Following that, I added in vanilla extract and six egg yolks one at a time.

IMG_2834

And finally I added in flour and salt and mixed all the ingredients together until they were just combined.

IMG_2835

Now it was time to transfer the batter to my tart pan – most tart pans have a removable bottom (as this one does) which makes removing the tart a cinch. You just push the tart up from the bottom when it’s done cooling and the decorative rim slides right off. I also prepped the pan with baking spray.

IMG_2838

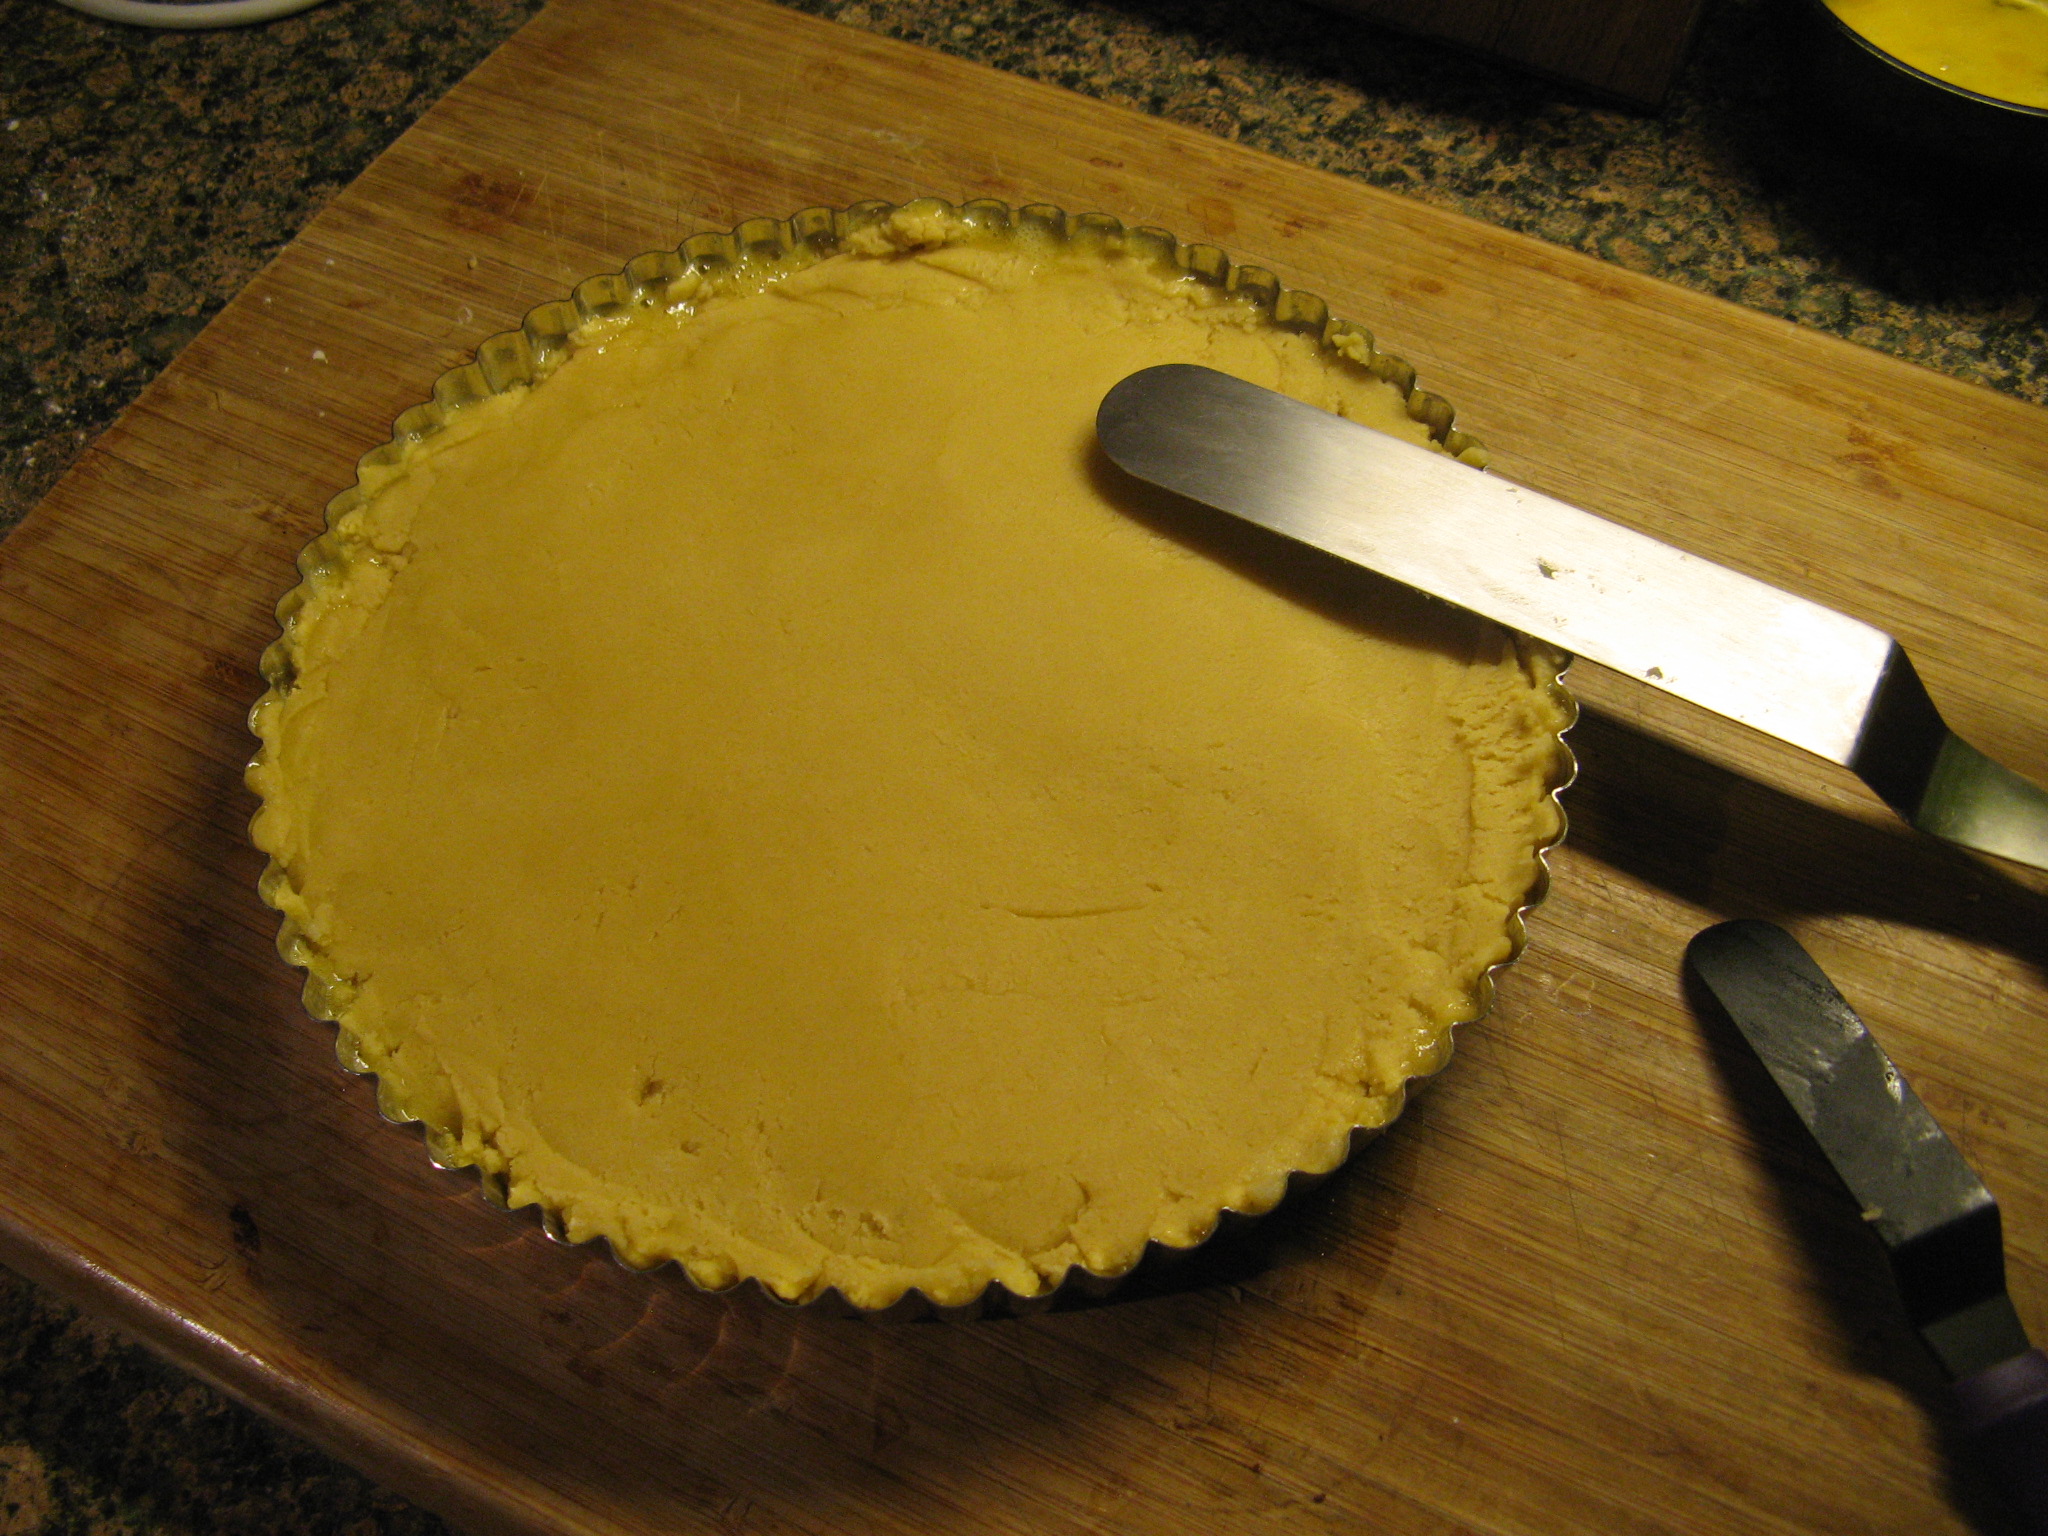
After I had transferred the batter I smoothed the top with an offset spatula and then refrigerated it for fifteen minutes.

IMG_2841

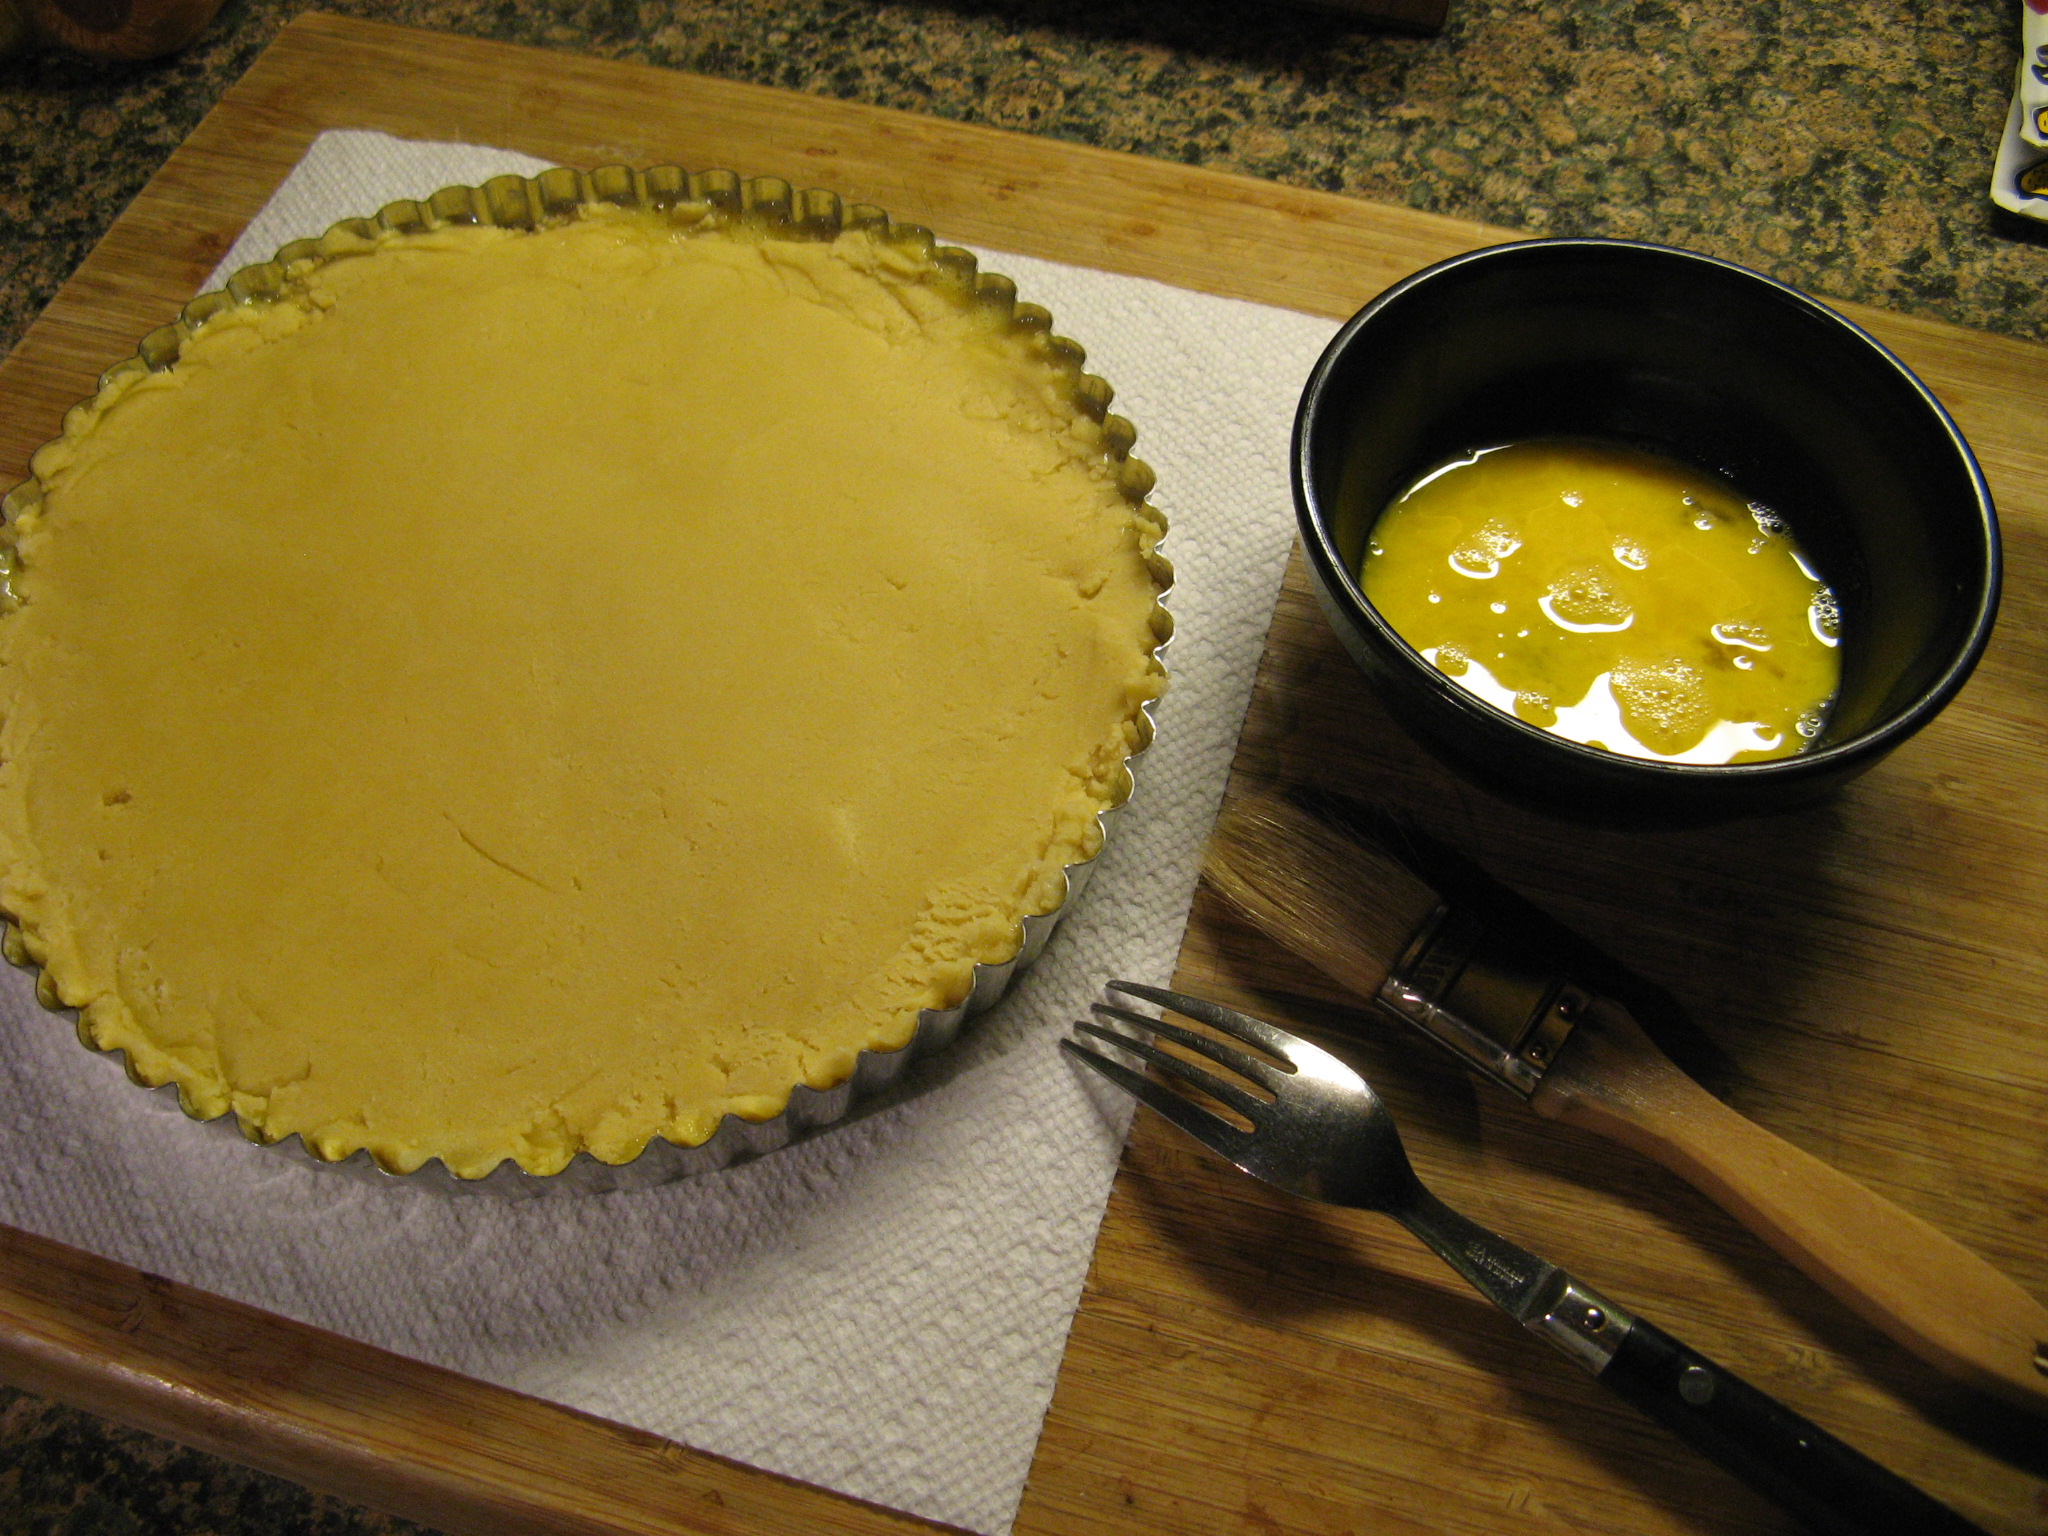
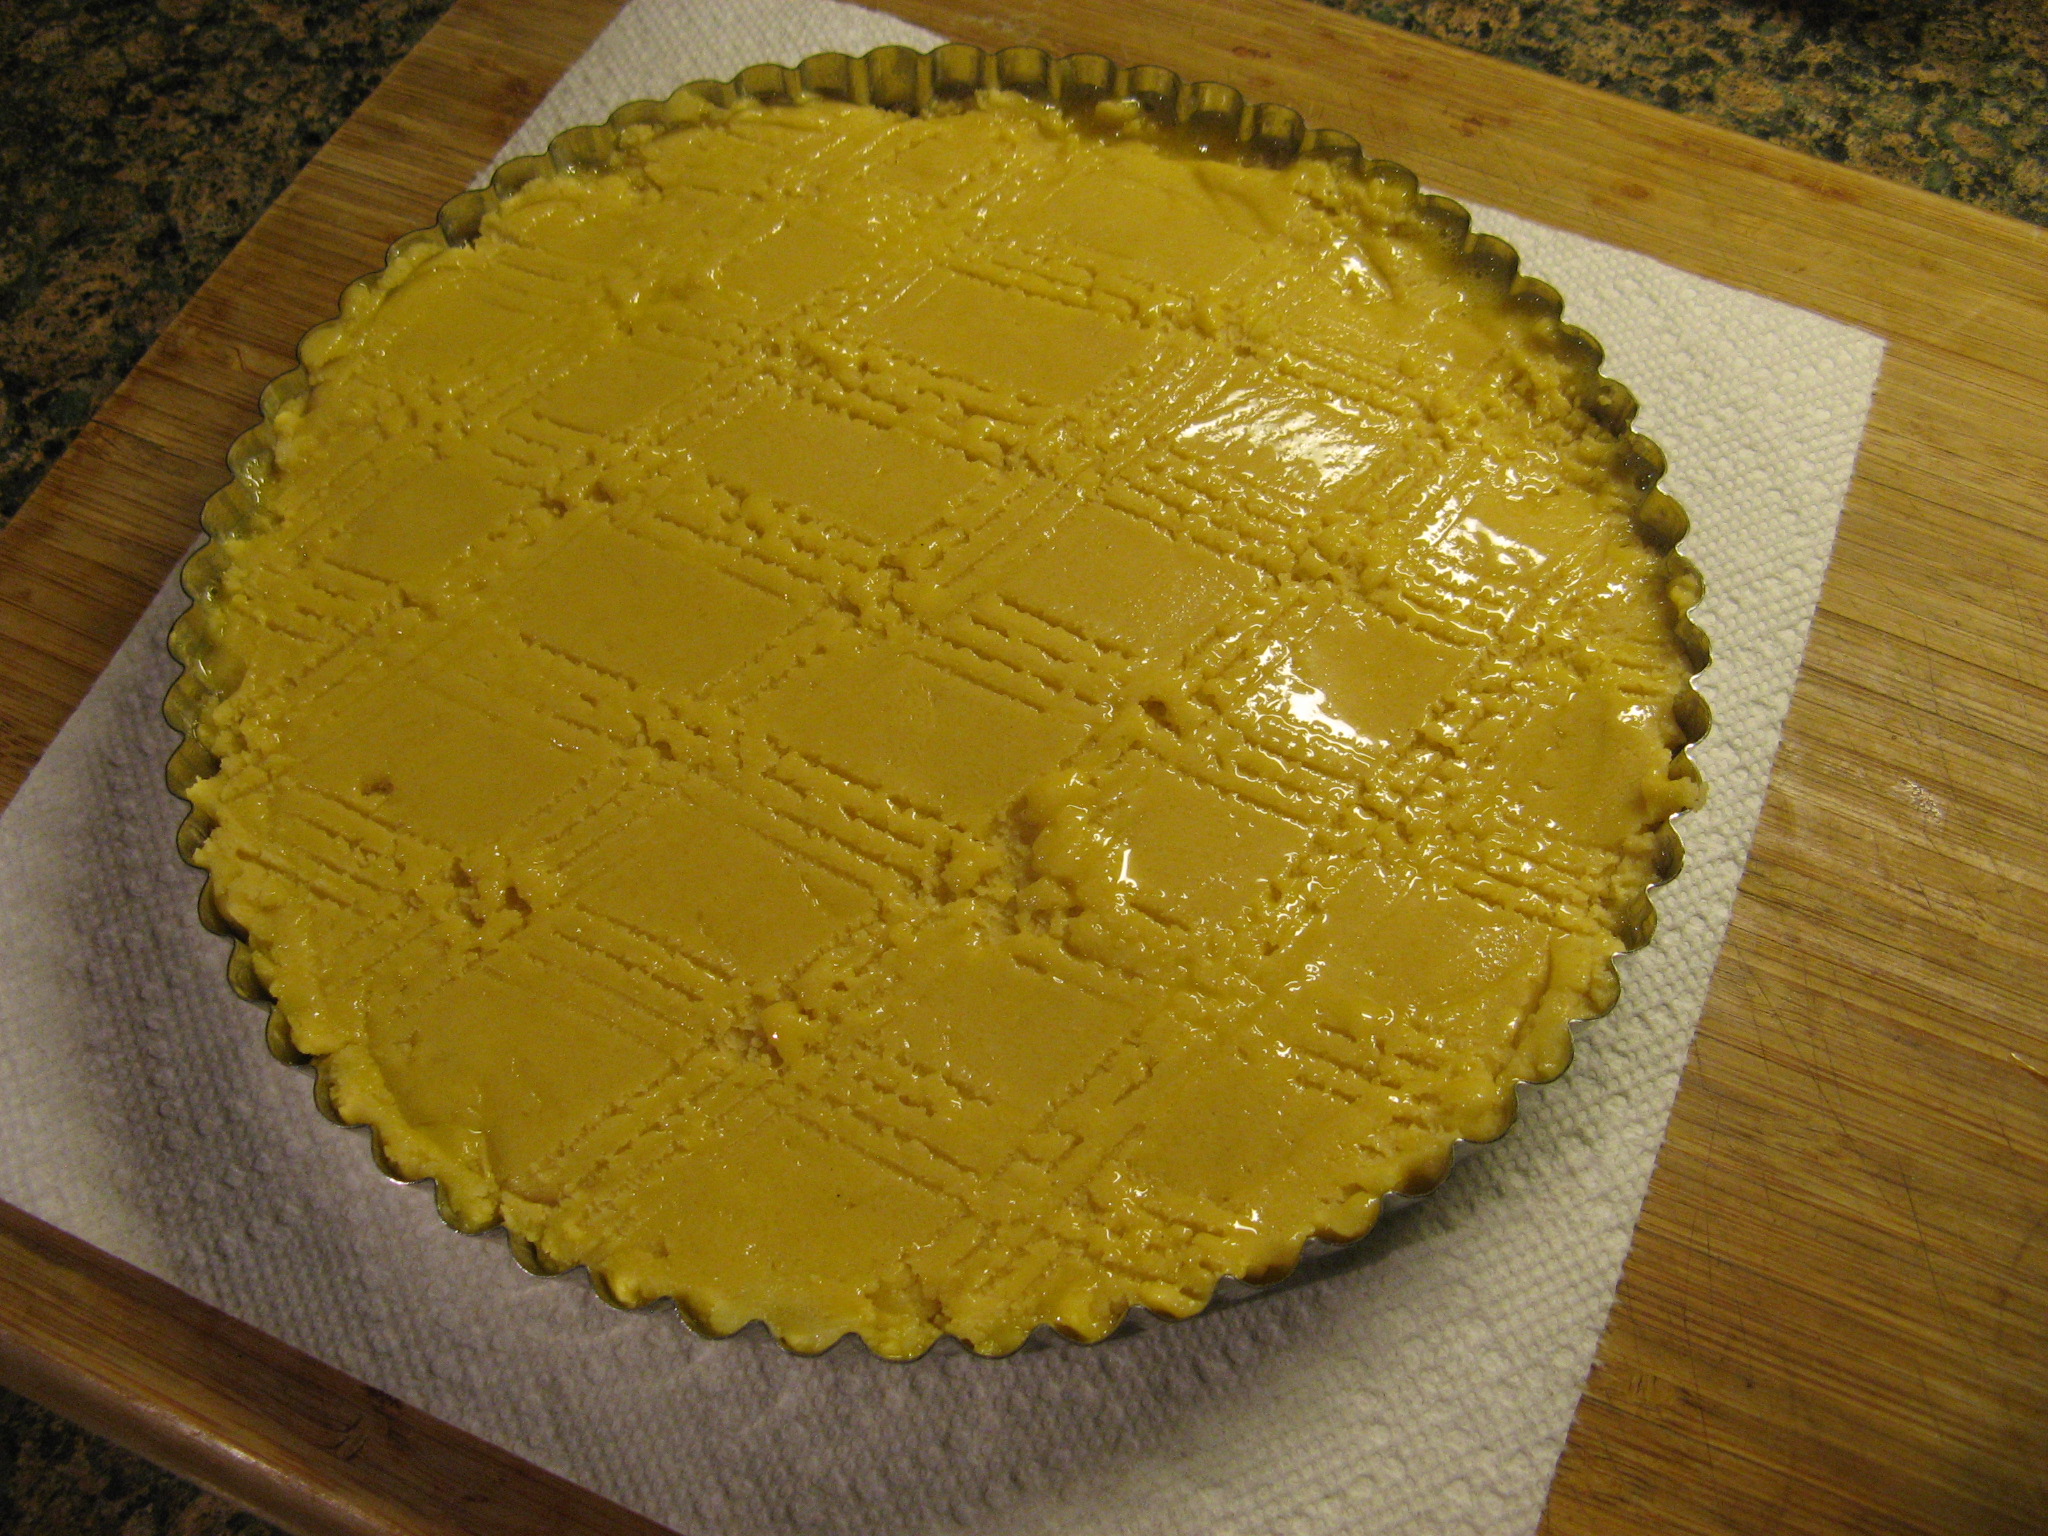
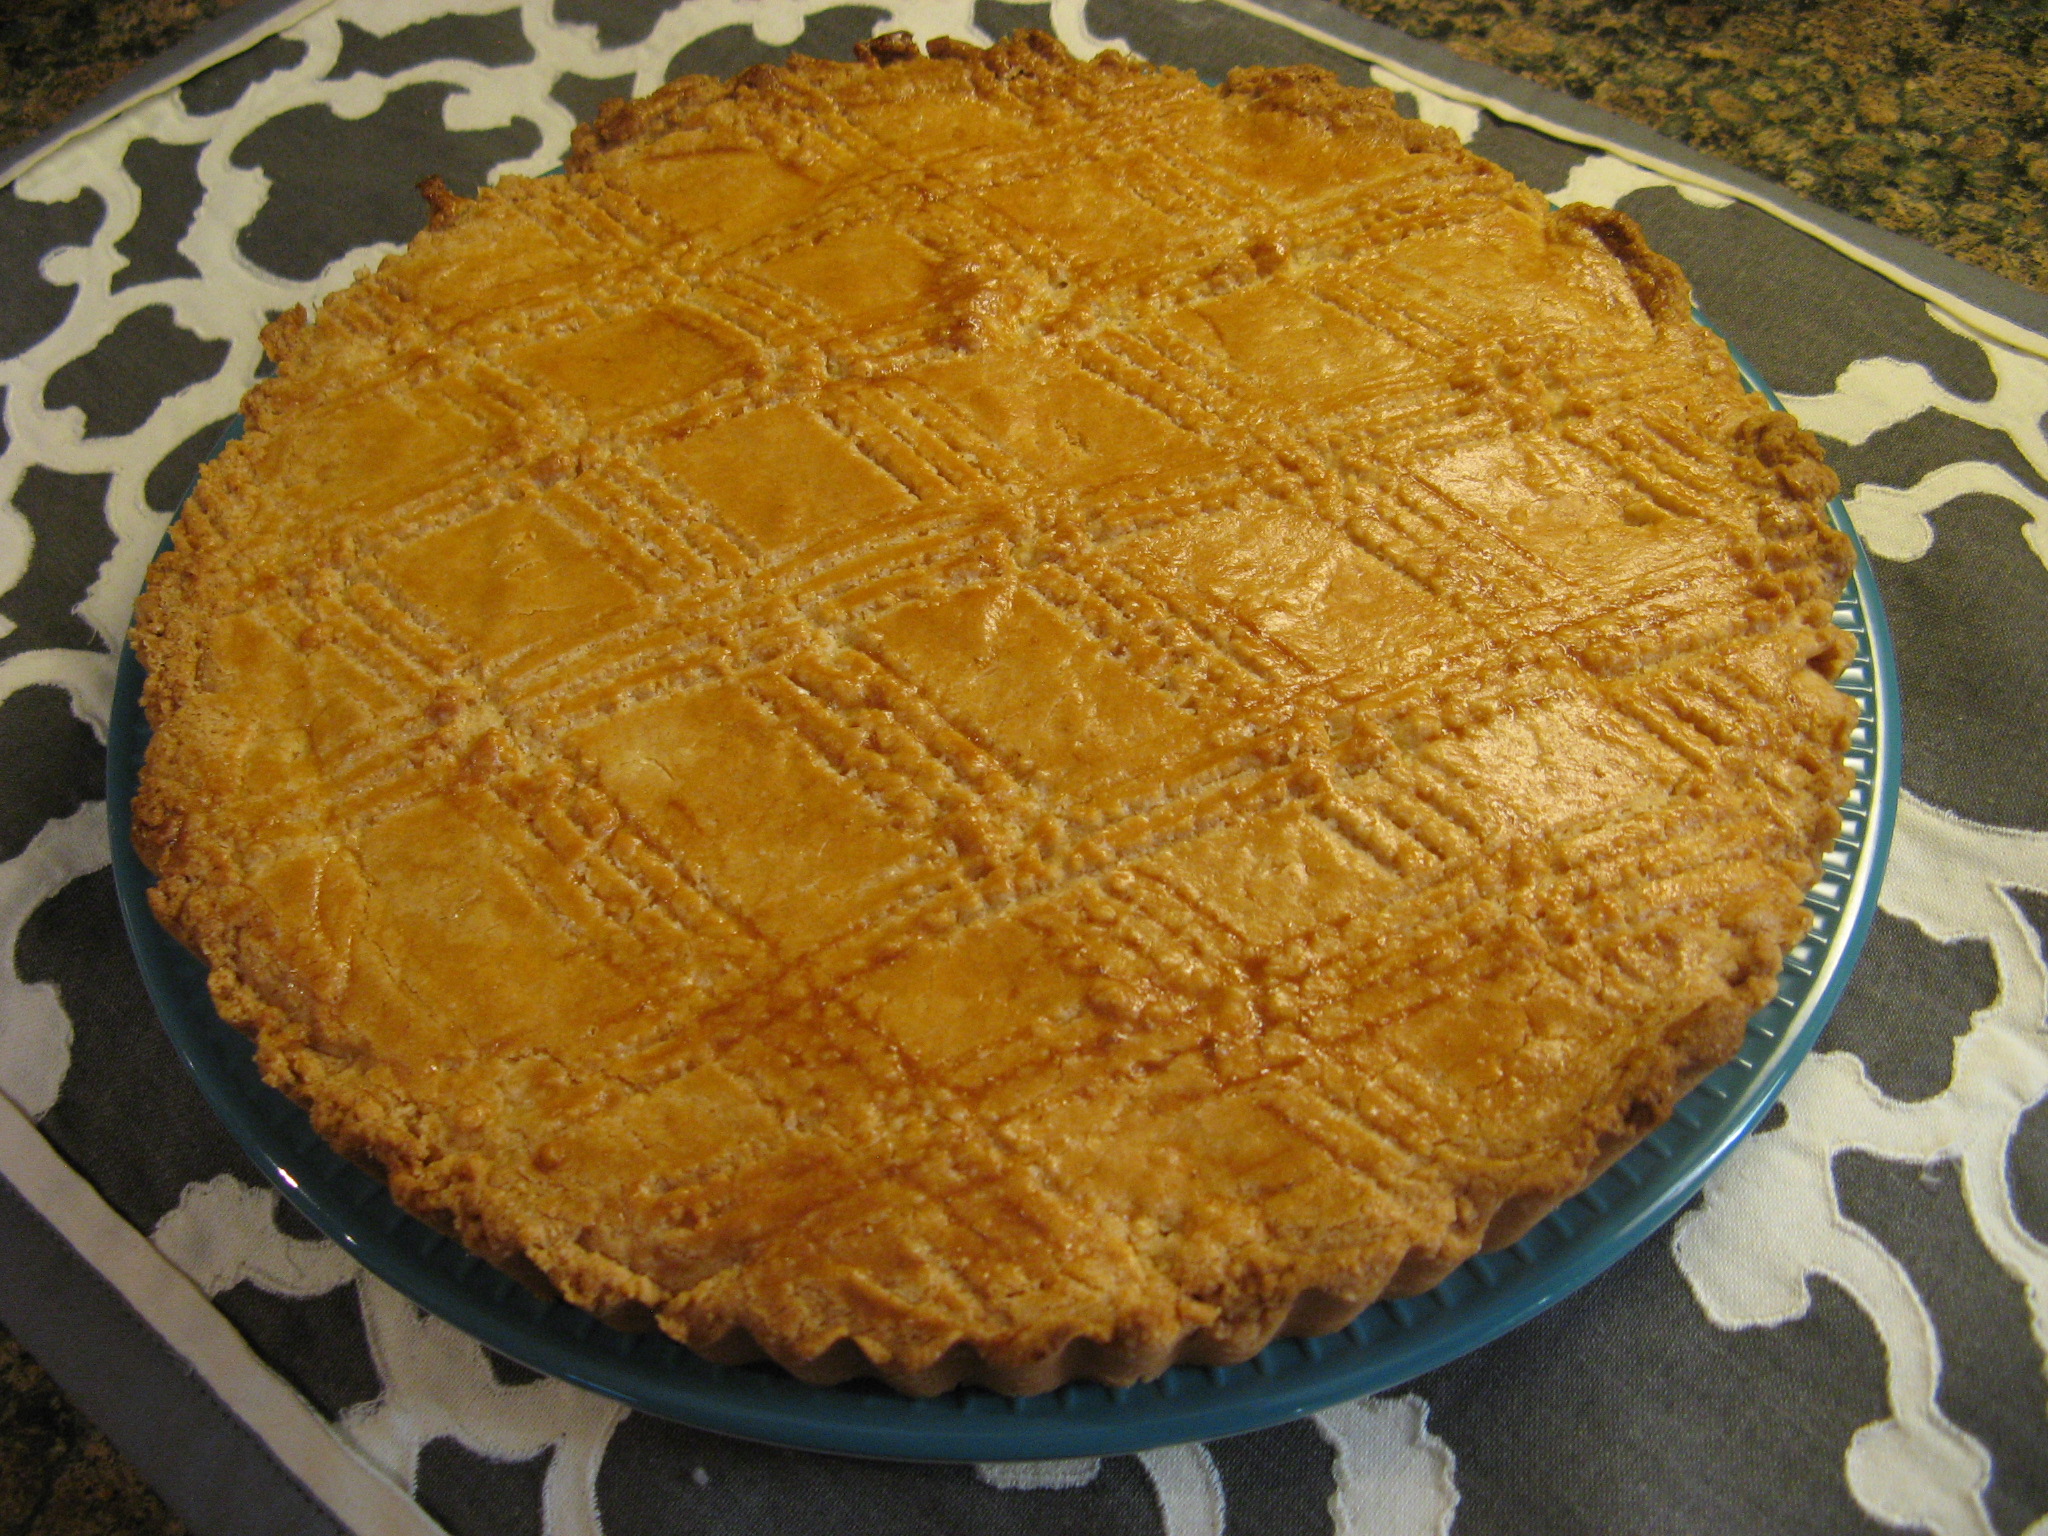
Following refrigeration it was time to prep the top of the tart for baking by brushing it with an egg wash and making a criss-cross pattern.

IMG_2844 IMG_2846

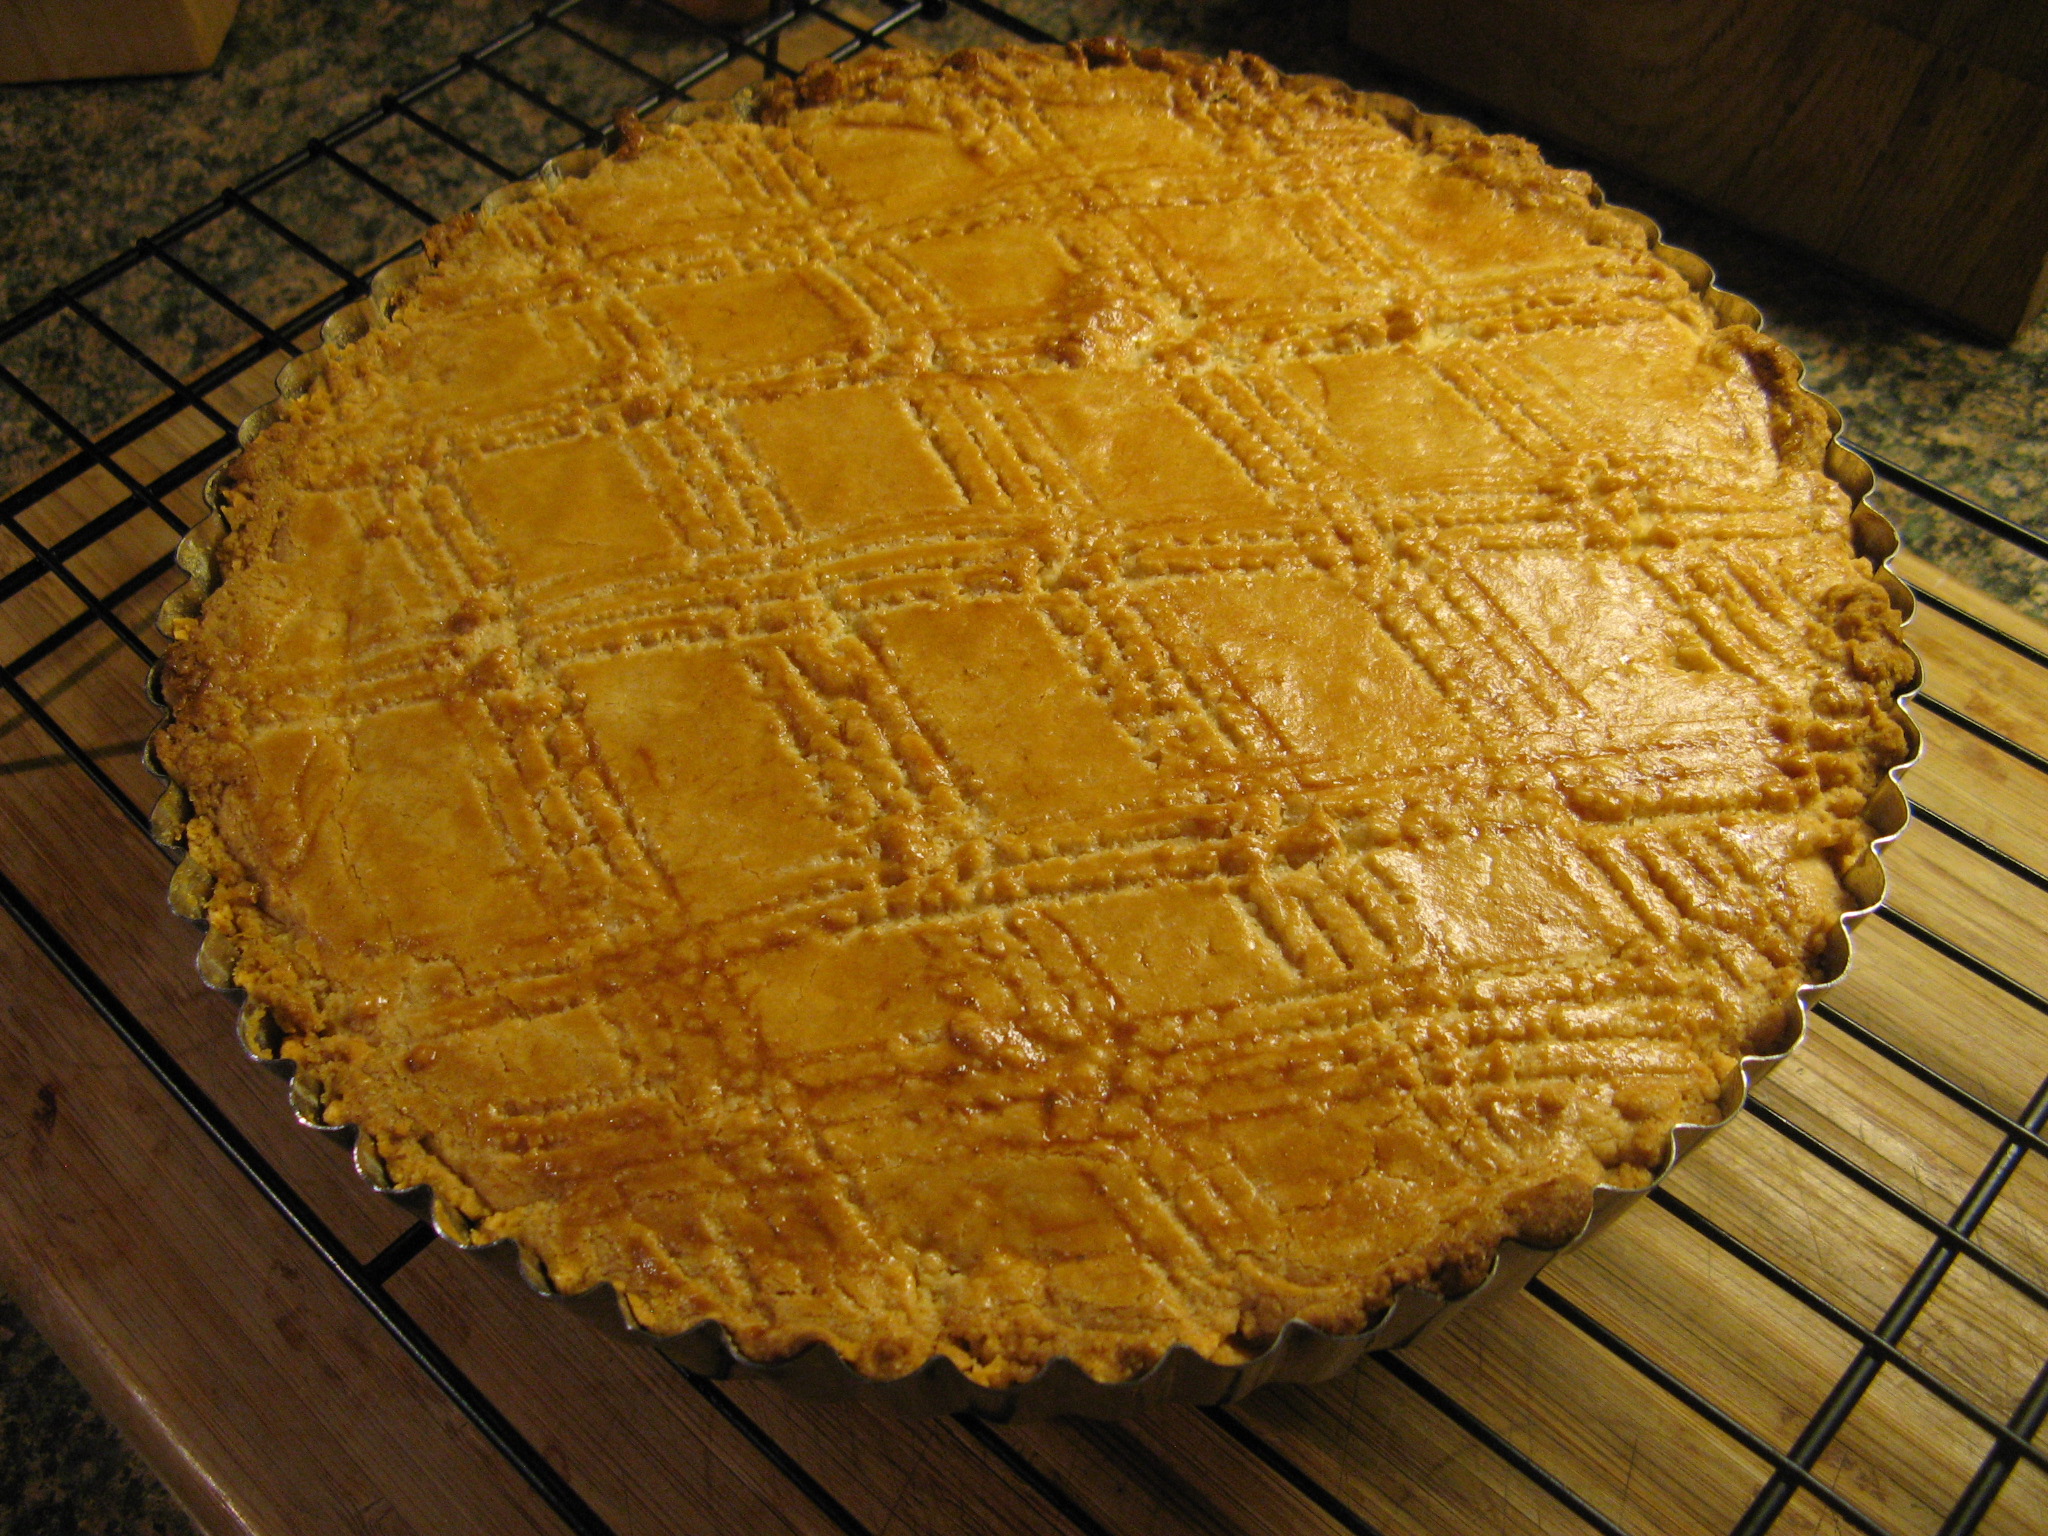
I then baked it in a 350 degrees oven for about forty minutes and voila…

IMG_2854

After it fully cooled I easily removed the decorative ring. It was simple to make and turned out delicious. And the golden color due to the egg wash and the simple criss-cross pattern made it visually appealing which is always a plus when it comes to baked items.

IMG_2859

Breton Butter Cake

Makes one 9-inch cake

Ingredients

1 cup (2 sticks) unsalted butter, room temperature, plus more for pan

1 cup sugar

1 tablespoon pure vanilla extract

6 large egg yolks

2 3/4 cups all-purpose flour

1/4 teaspoon salt

1 large whole egg, lightly beaten

Directions

Preheat oven to 350 degrees. Cream butter and sugar in bowl of electric mixer fitted with paddle attachment until light and fluffy. Beat in vanilla and yolks one at a time, beating well after each addition. Add flour and salt; beat just until combined. Do not overmix.

Transfer batter to 9-inch tart pan with removable bottom; with small offset spatula, spread batter and smooth top. (If necessary, chill batter 10 minutes before smoothing.) Place pan in refrigerator 15 minutes.
Remove from refrigerator. Brush top with beaten egg, and mark a criss-cross pattern with a fork. Brush again with egg. Bake until cake is deep golden brown and edges pull away from sides of pan, about 50 minutes.
Transfer to a wire rack to cool slightly. Remove cake from pan, and slice while still warm.

Valentine’s Day Treats

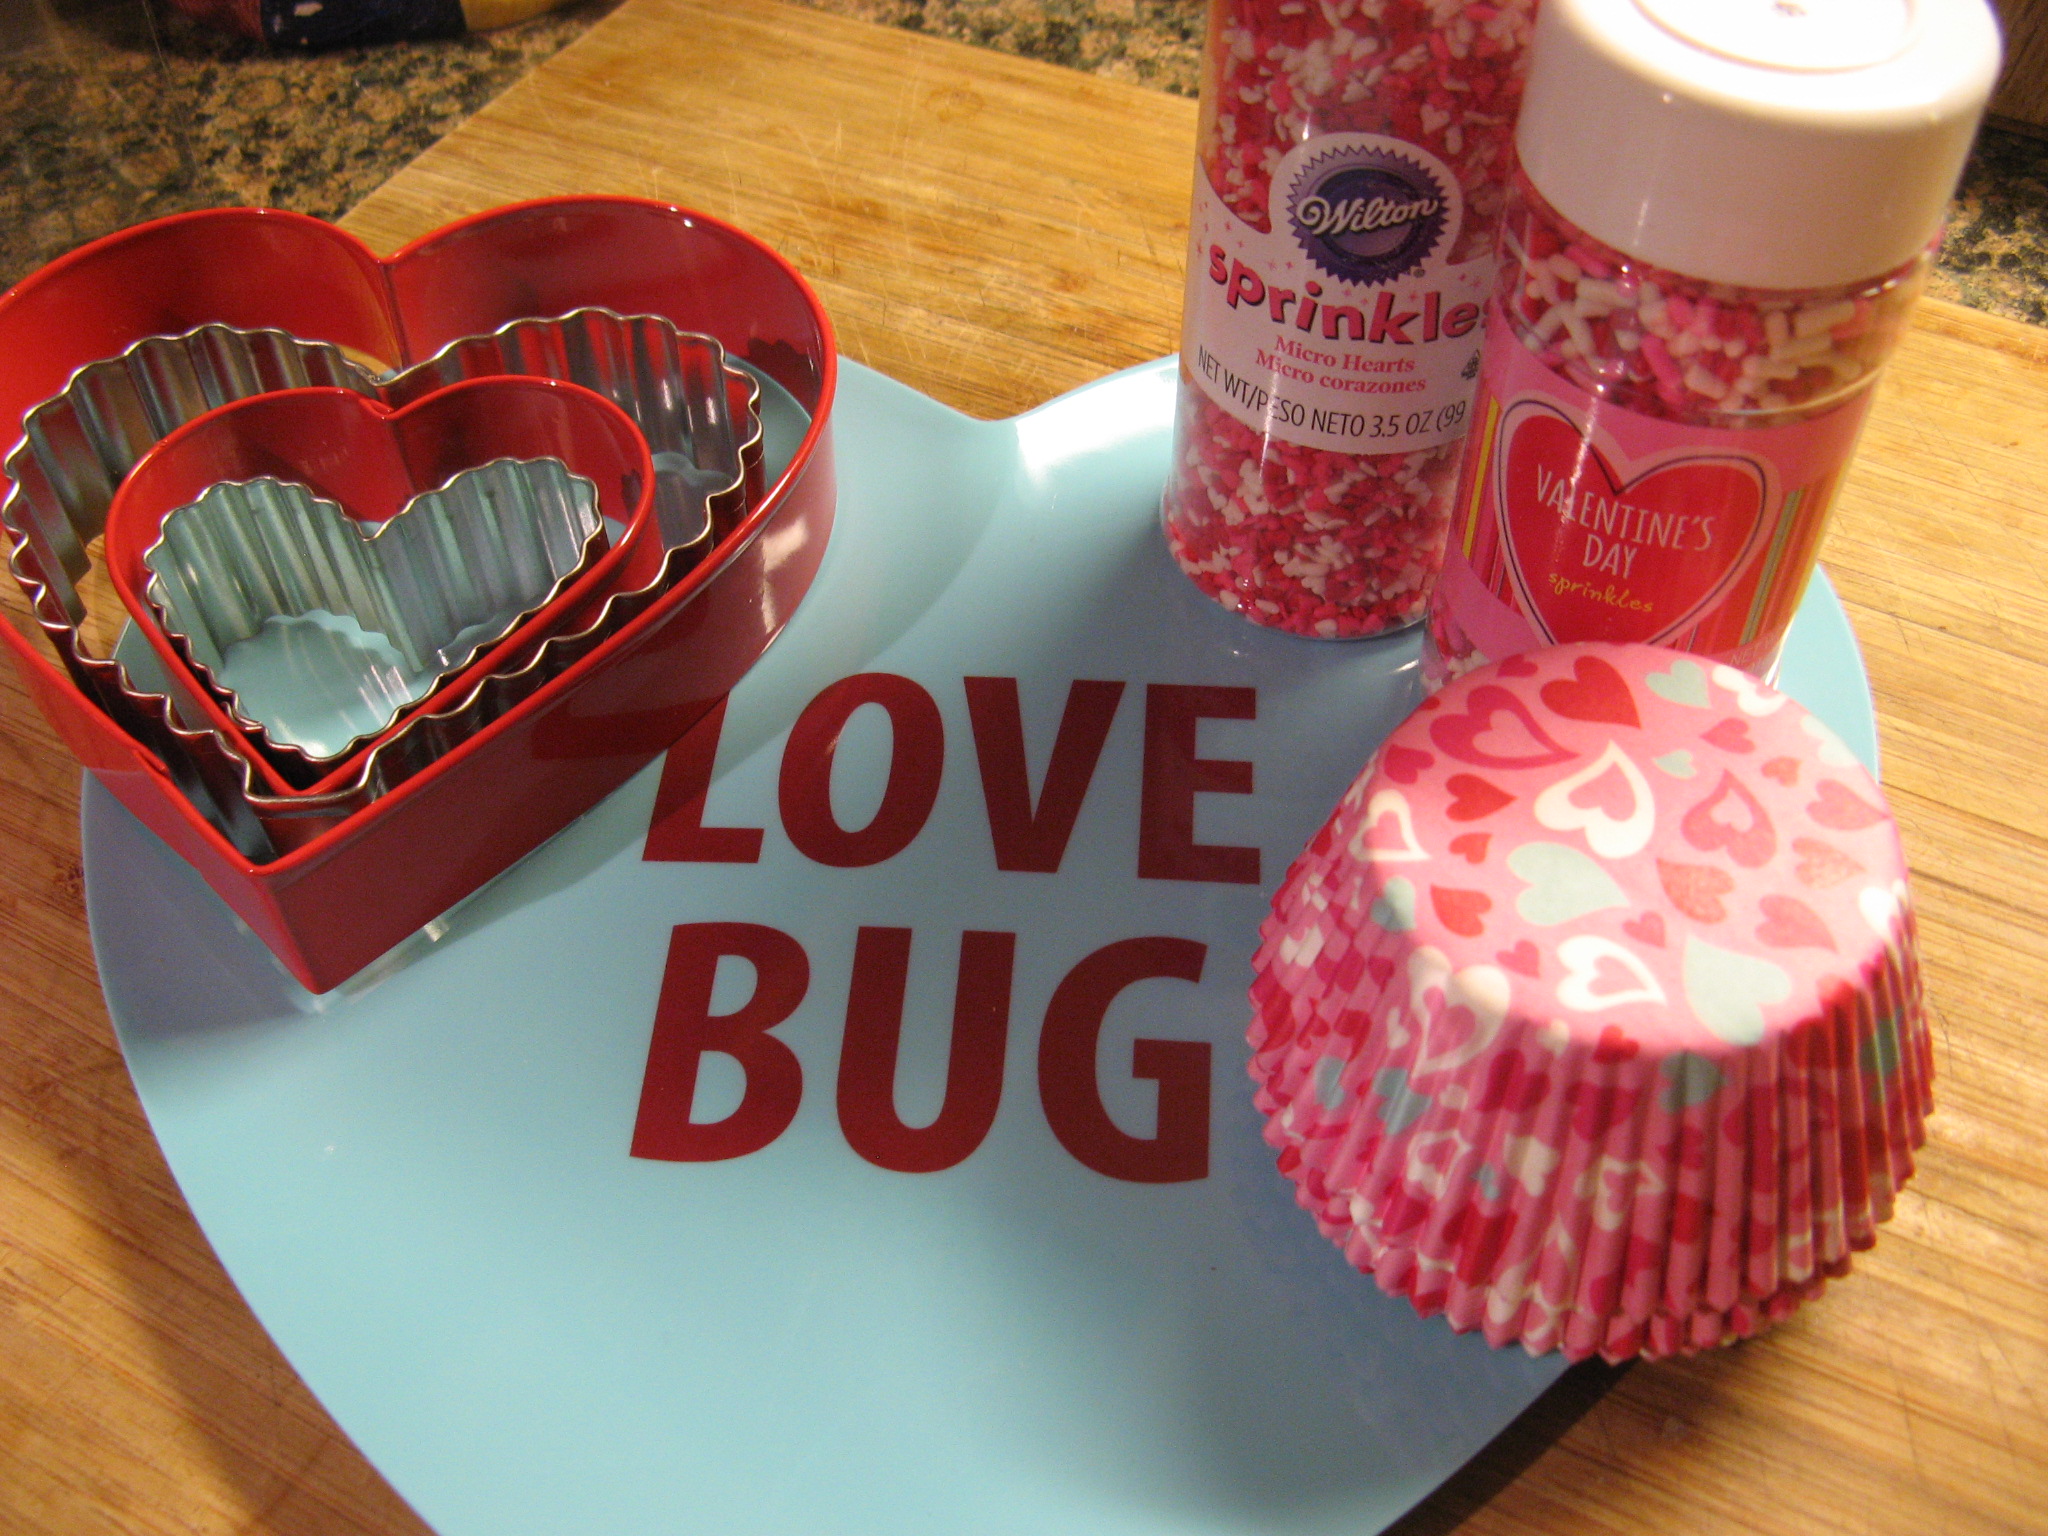
Happy Valentine’s Day! Many have coined this day a Hallmark Holiday, for me, I personally believe that we shouldn’t have to designate a specific calendar day to show the one’s we love how much we love and appreciate them (If you’re curious here’s a little history on the origins of the day.) We should take a lesson from my friend’s four-year old daughter who will ask me to call her mom while I am baby-sitting her just so she can tell her that she loves her. I will say though that Valentine’s Day does bring about some delicious treats available in stores. I highly recommend the Heart Shaped Brownie Batter Donut from Dunkin’ Donuts… It’s delicious! Something else that is available in stores… an array of baking items so you can bake up your own delicious treats. I definitely couldn’t resist quite a few of those…

IMG_2746

While I would have loved to bake up a batch of sugar cookies from scratch I had to settle on using a bag mix since I was short on time and couldn’t afford to wait the hour or so for my dough to be refrigerated.

IMG_2736

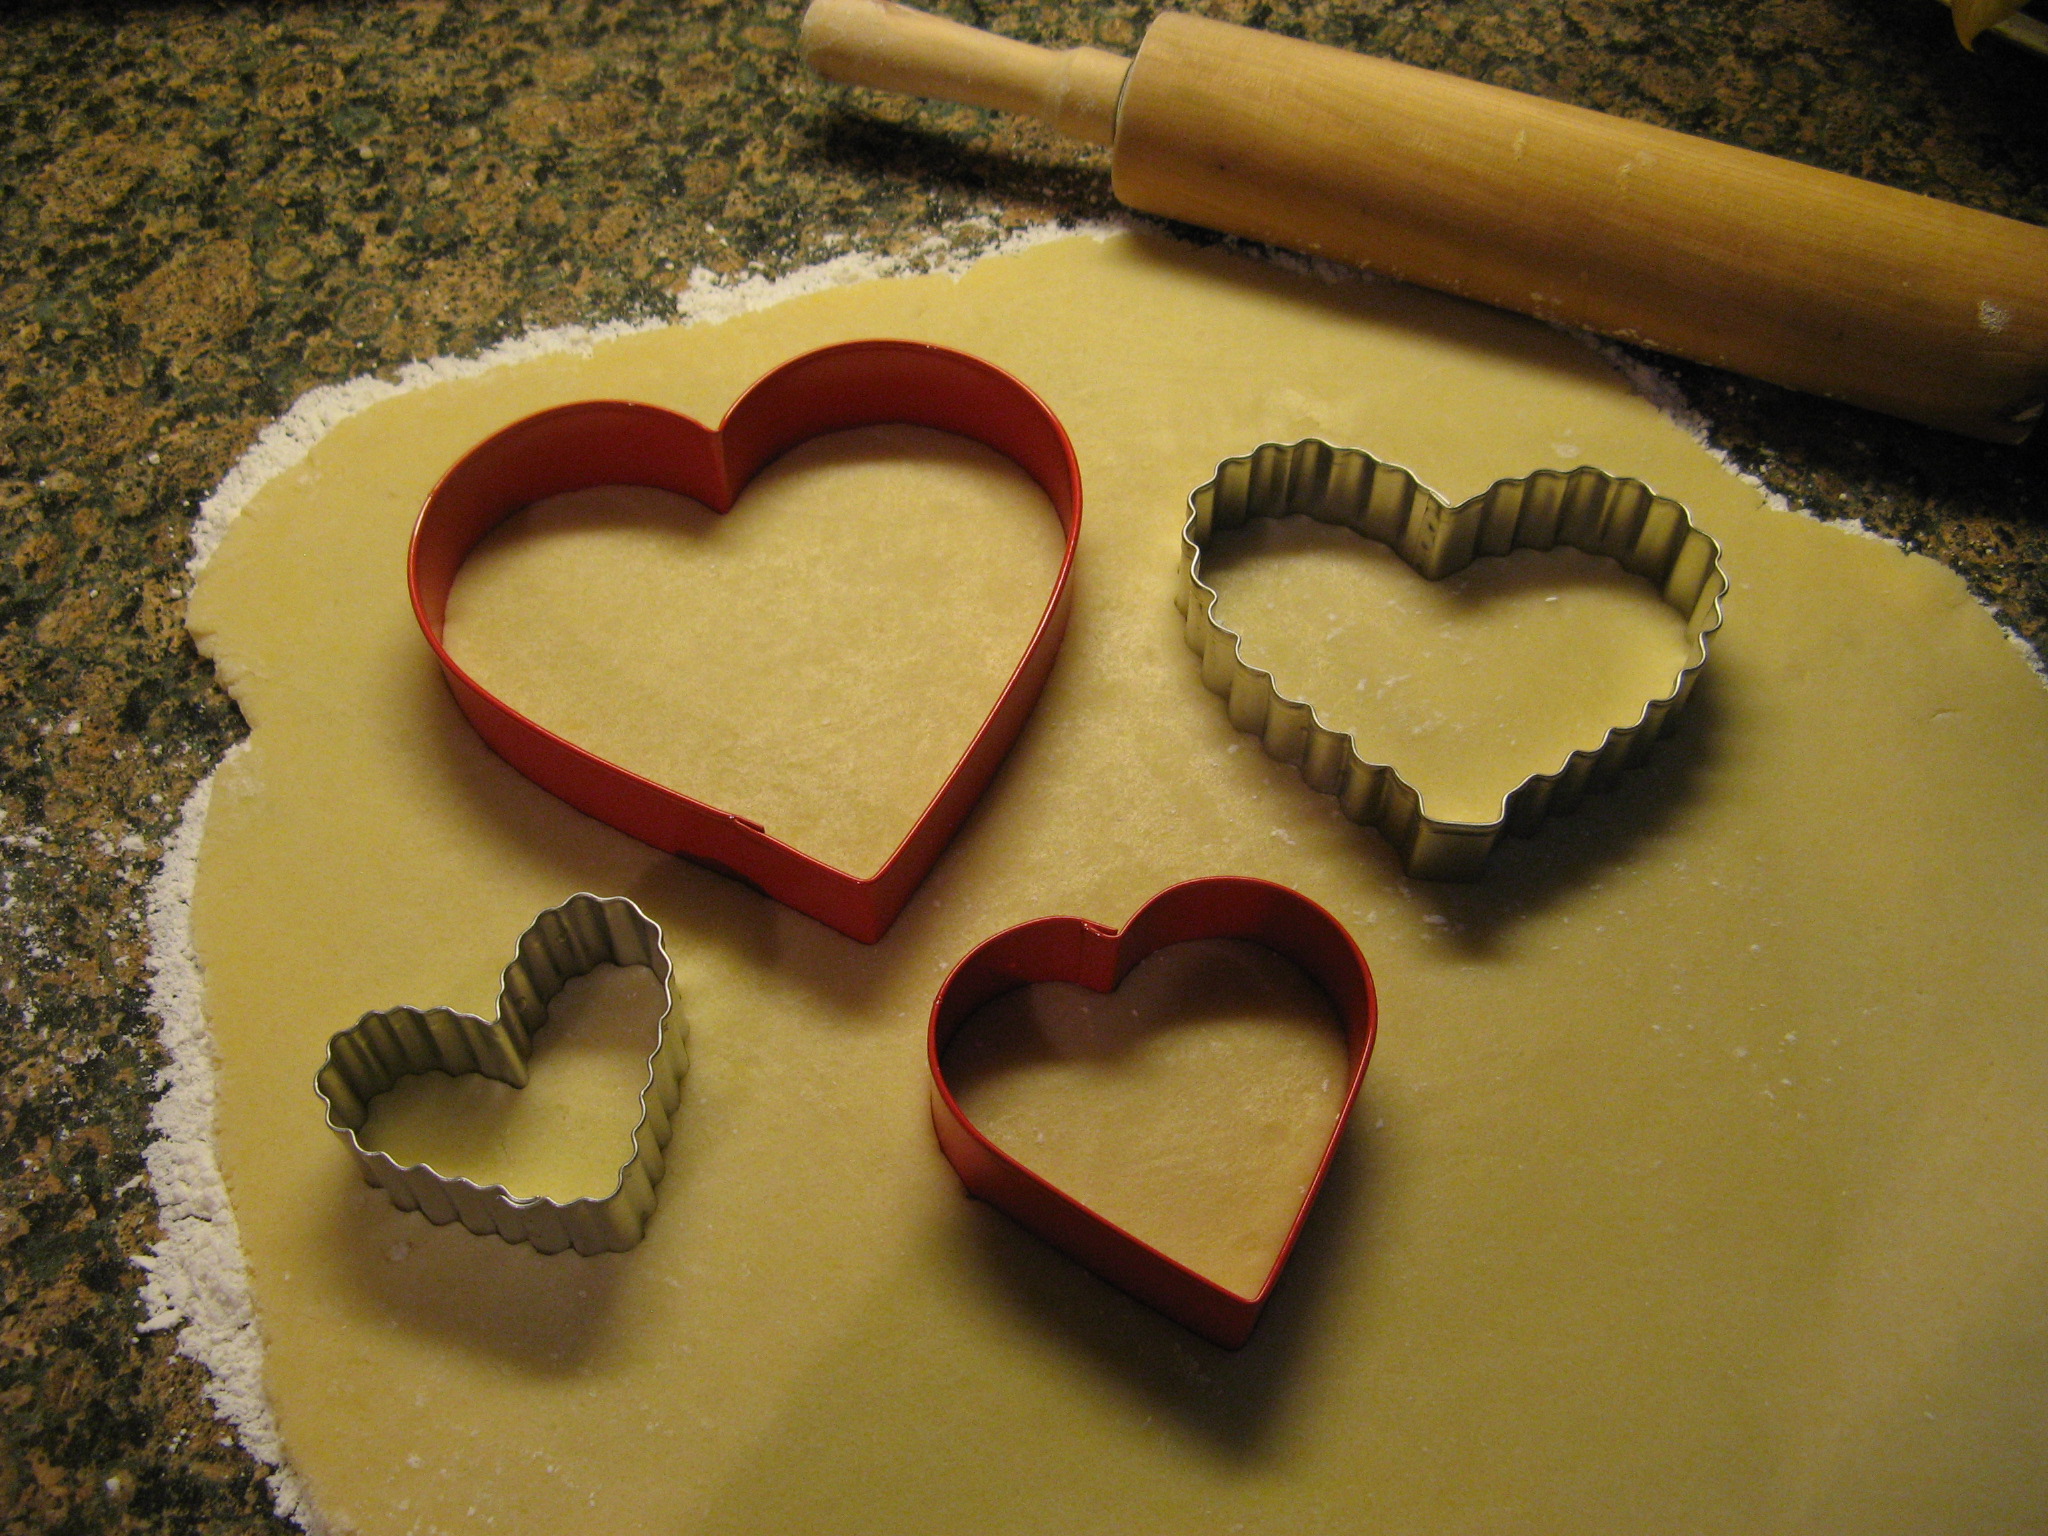
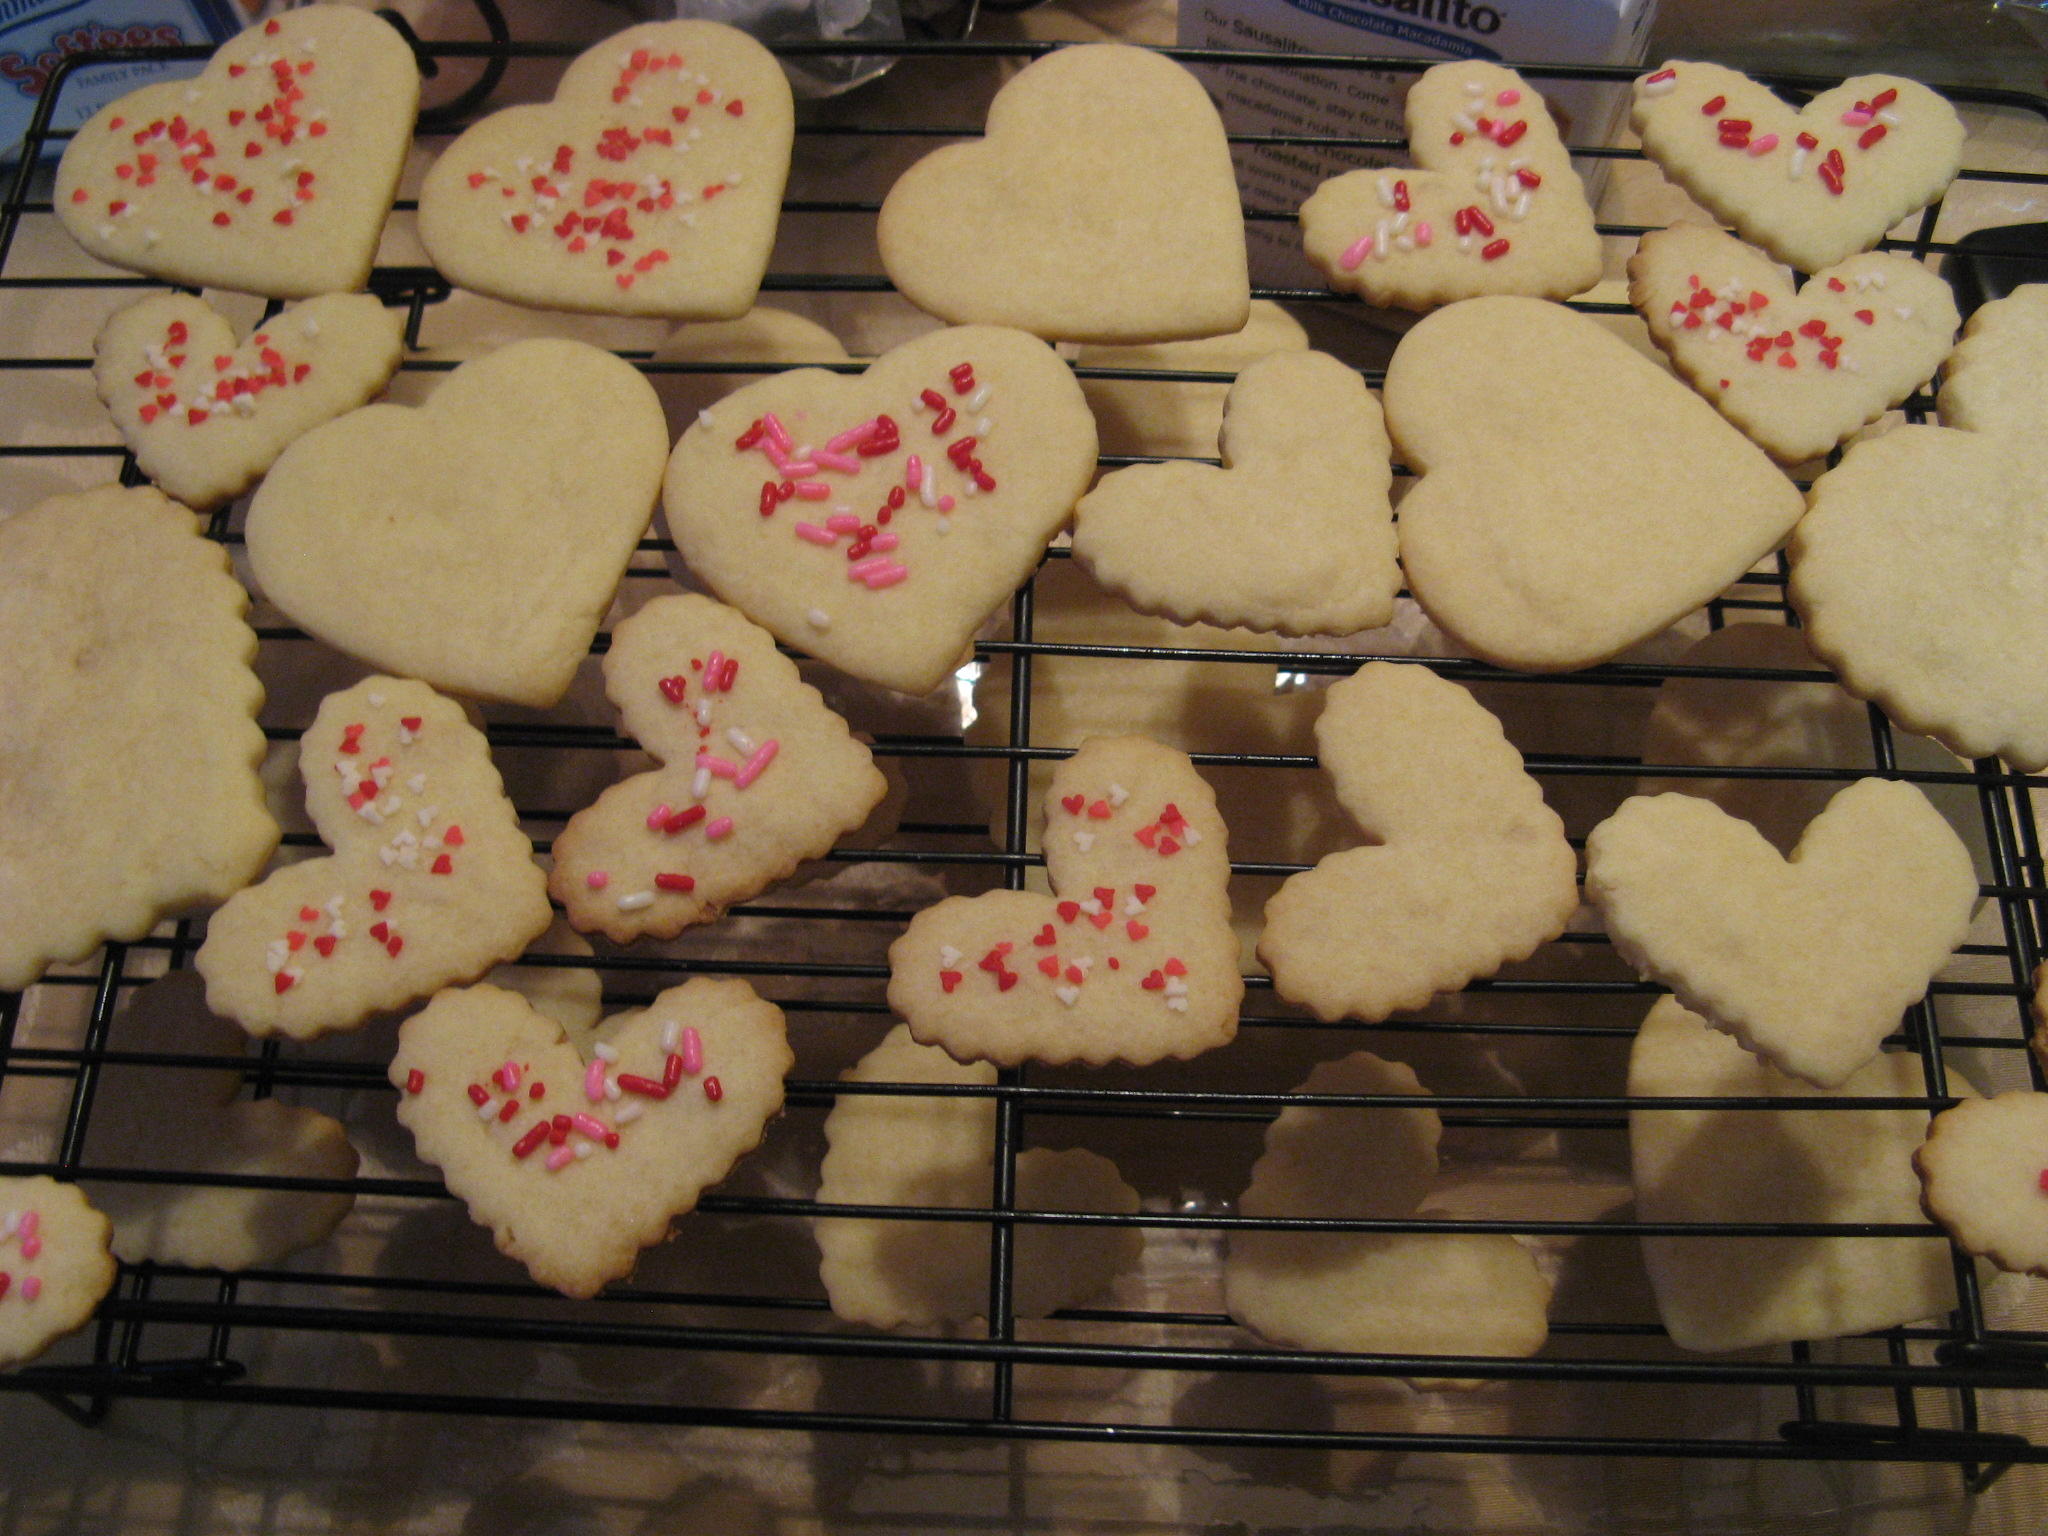
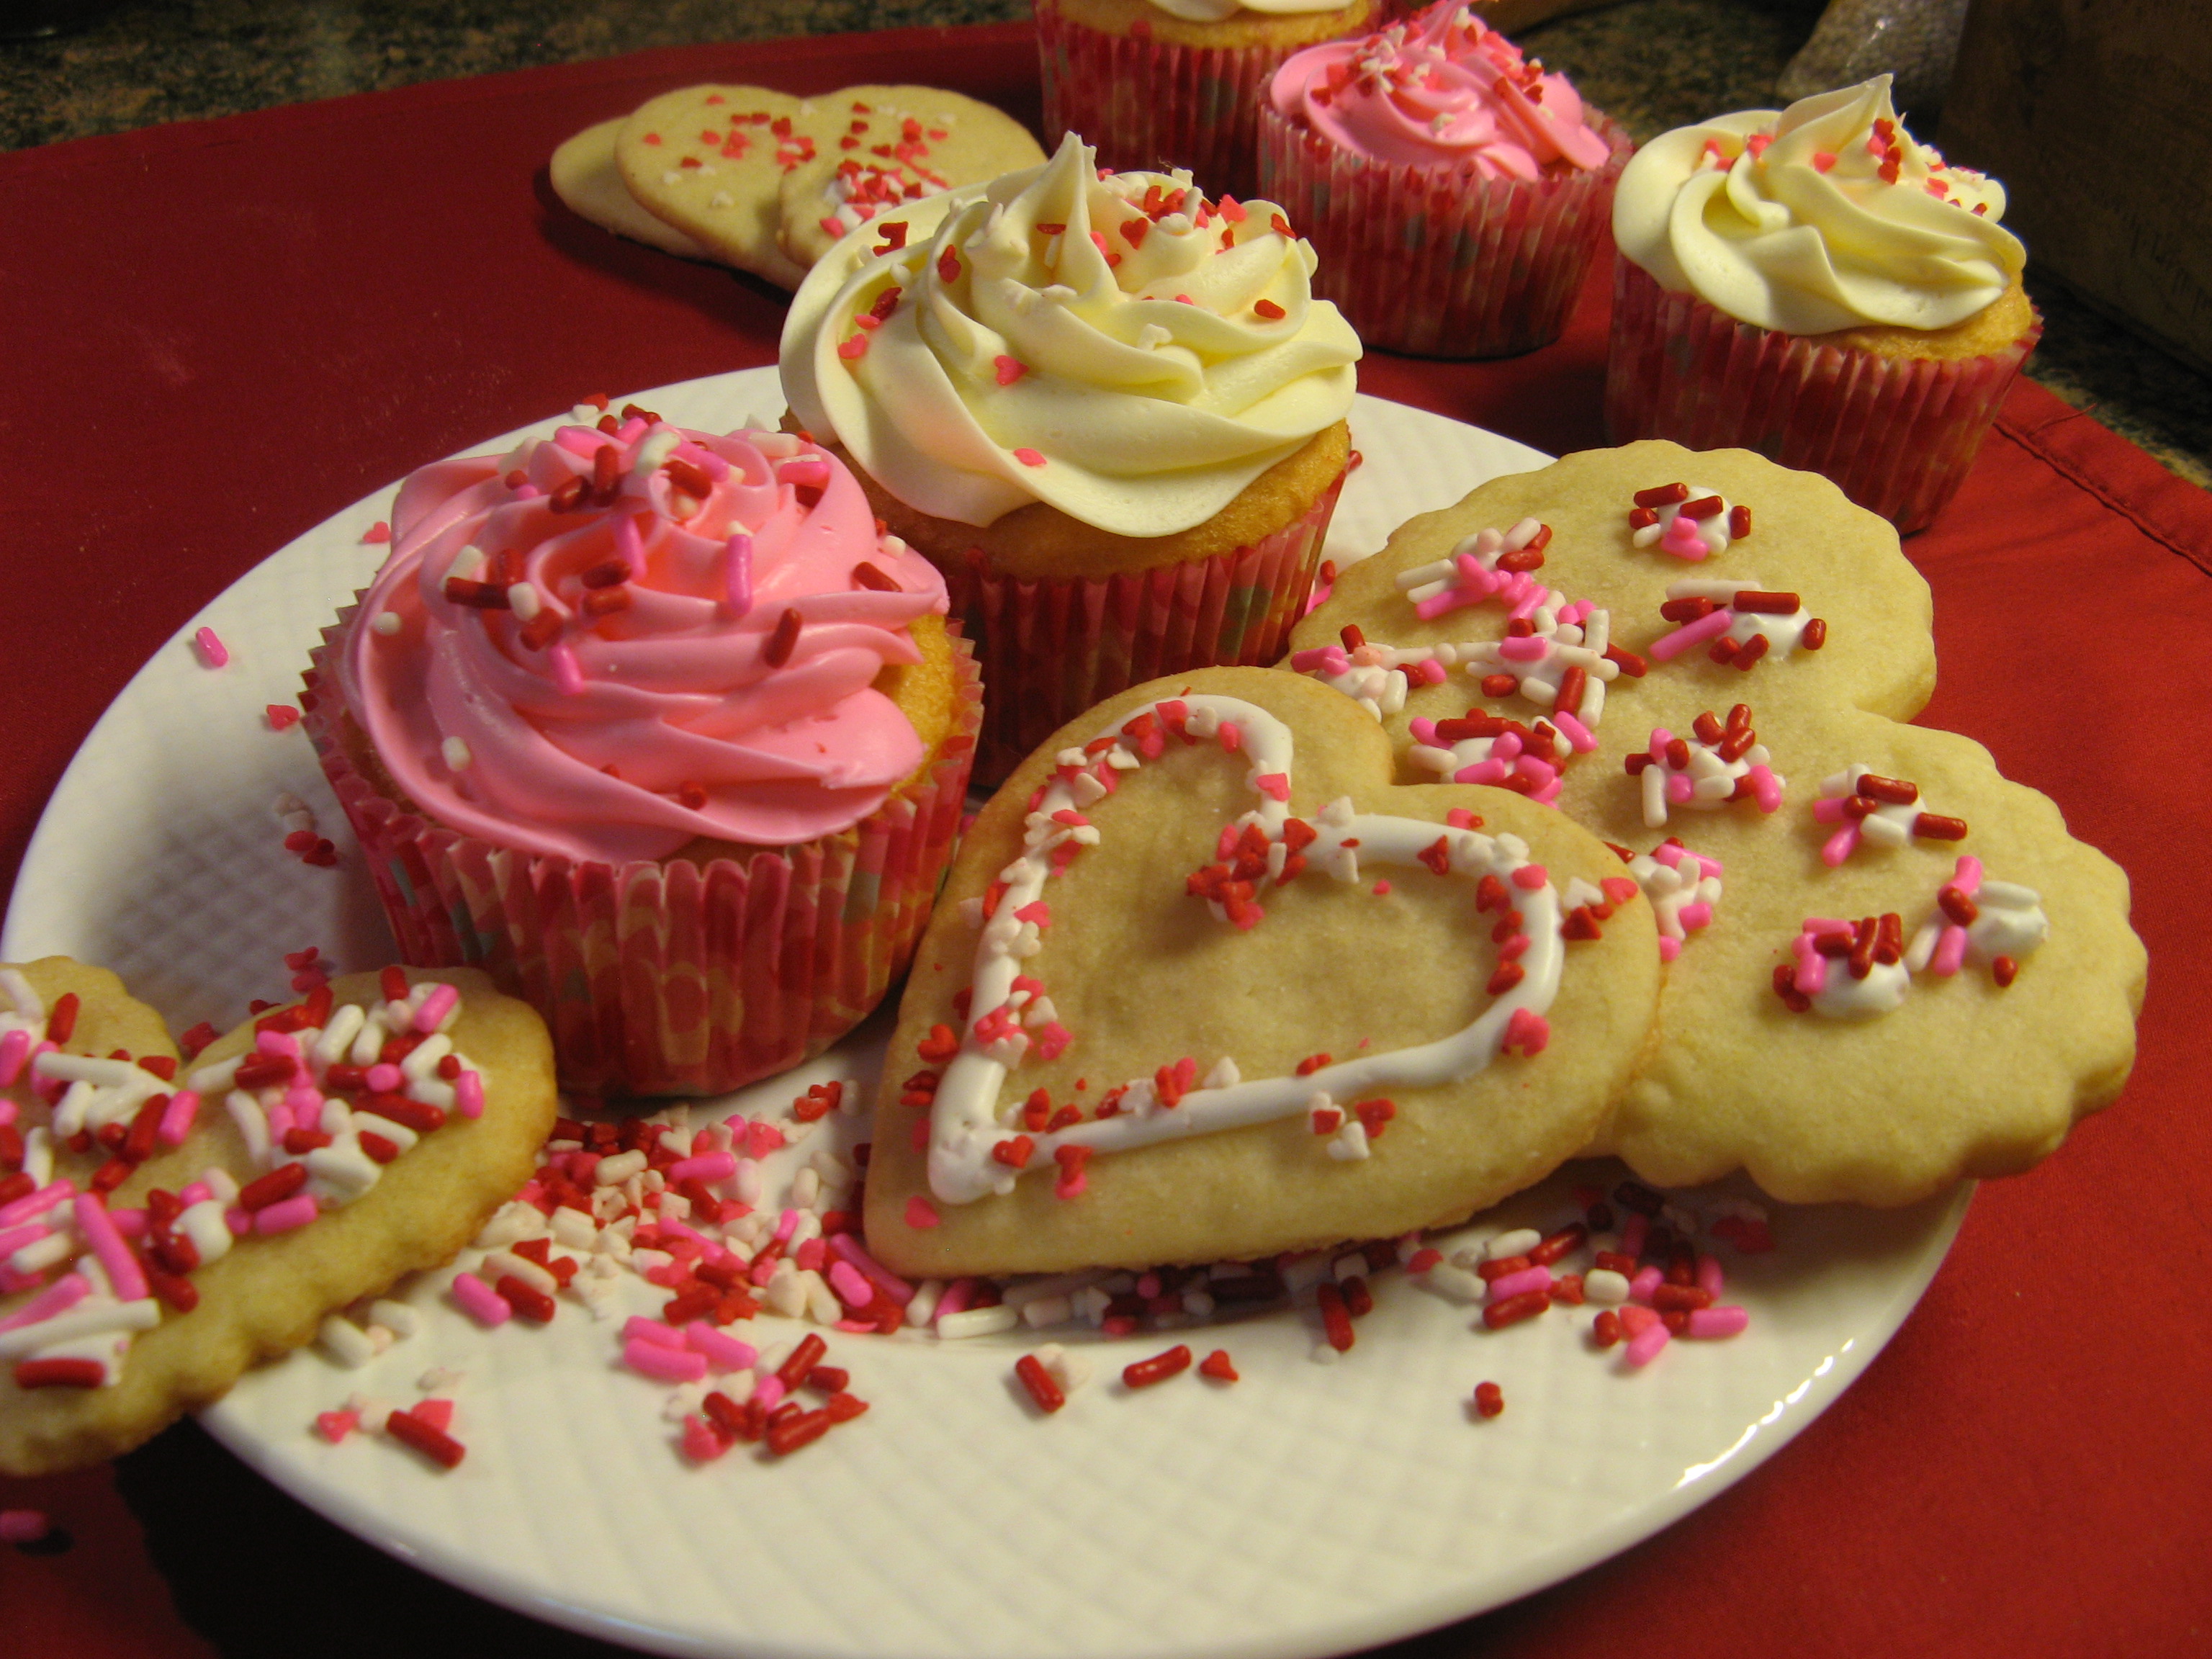
After following the mixing directions on the package for cutout cookies I rolled out the dough and used my heart-shaped cookie cutters to cut out cookies and then popped them in a 350 F preheated oven on an ungreased cookie sheet for six minutes. I got a jump start on decorating a few of them by sprinkling sprinkles on them prior to baking. I then let them cool completely before finishing my decorating.
IMG_2738 IMG_2741

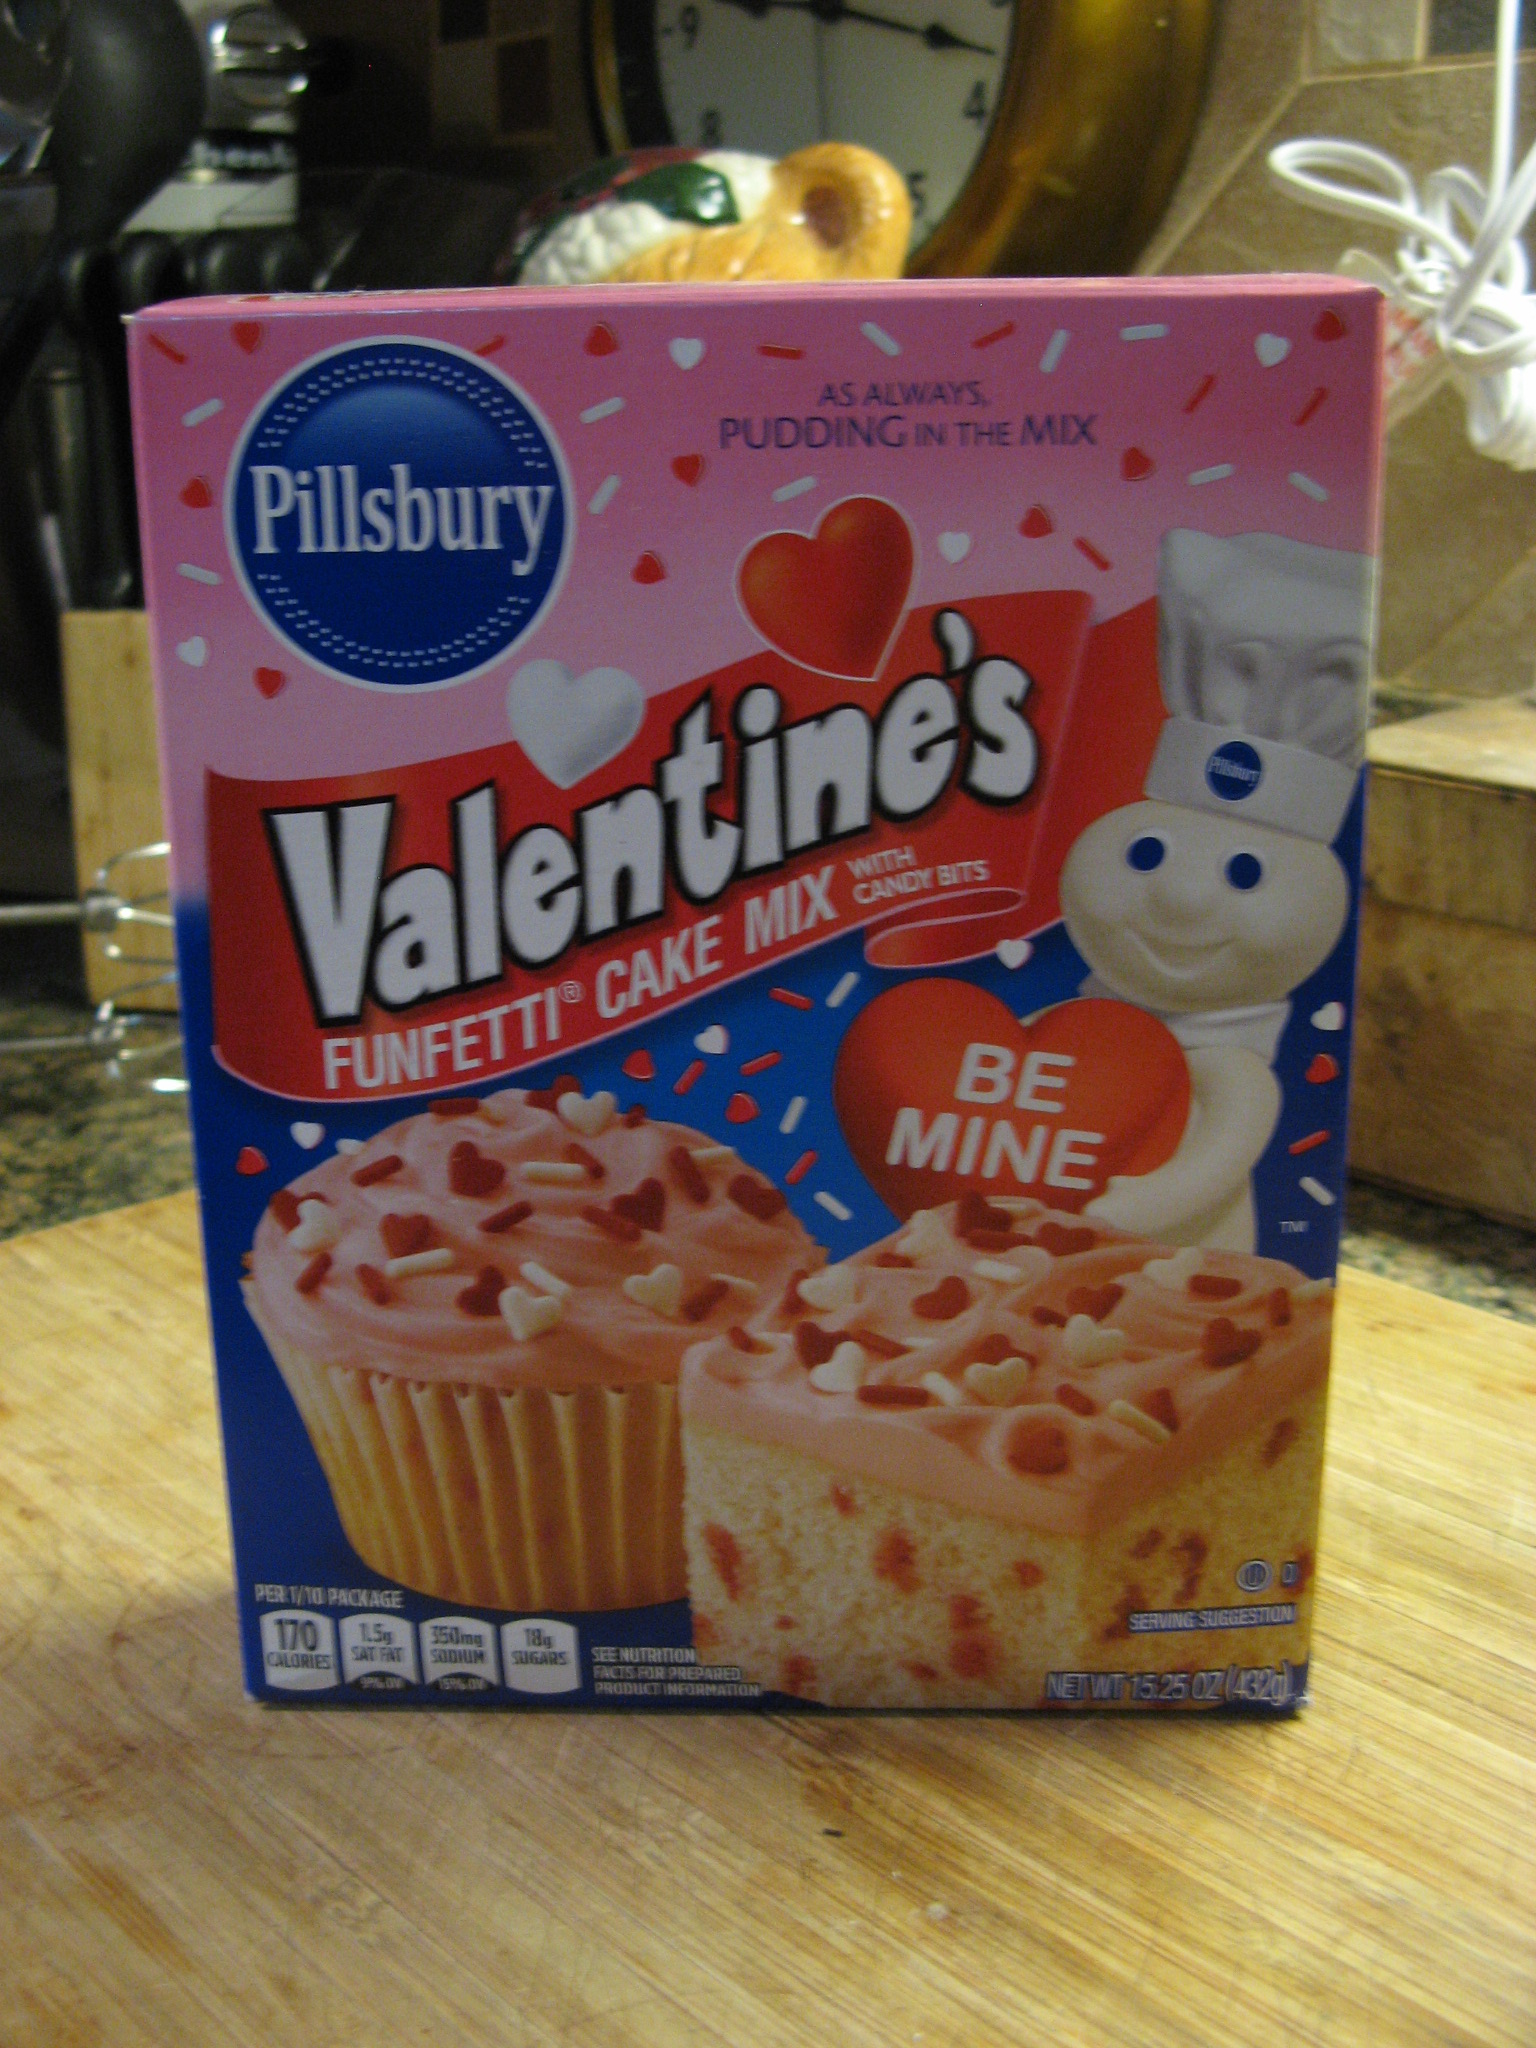
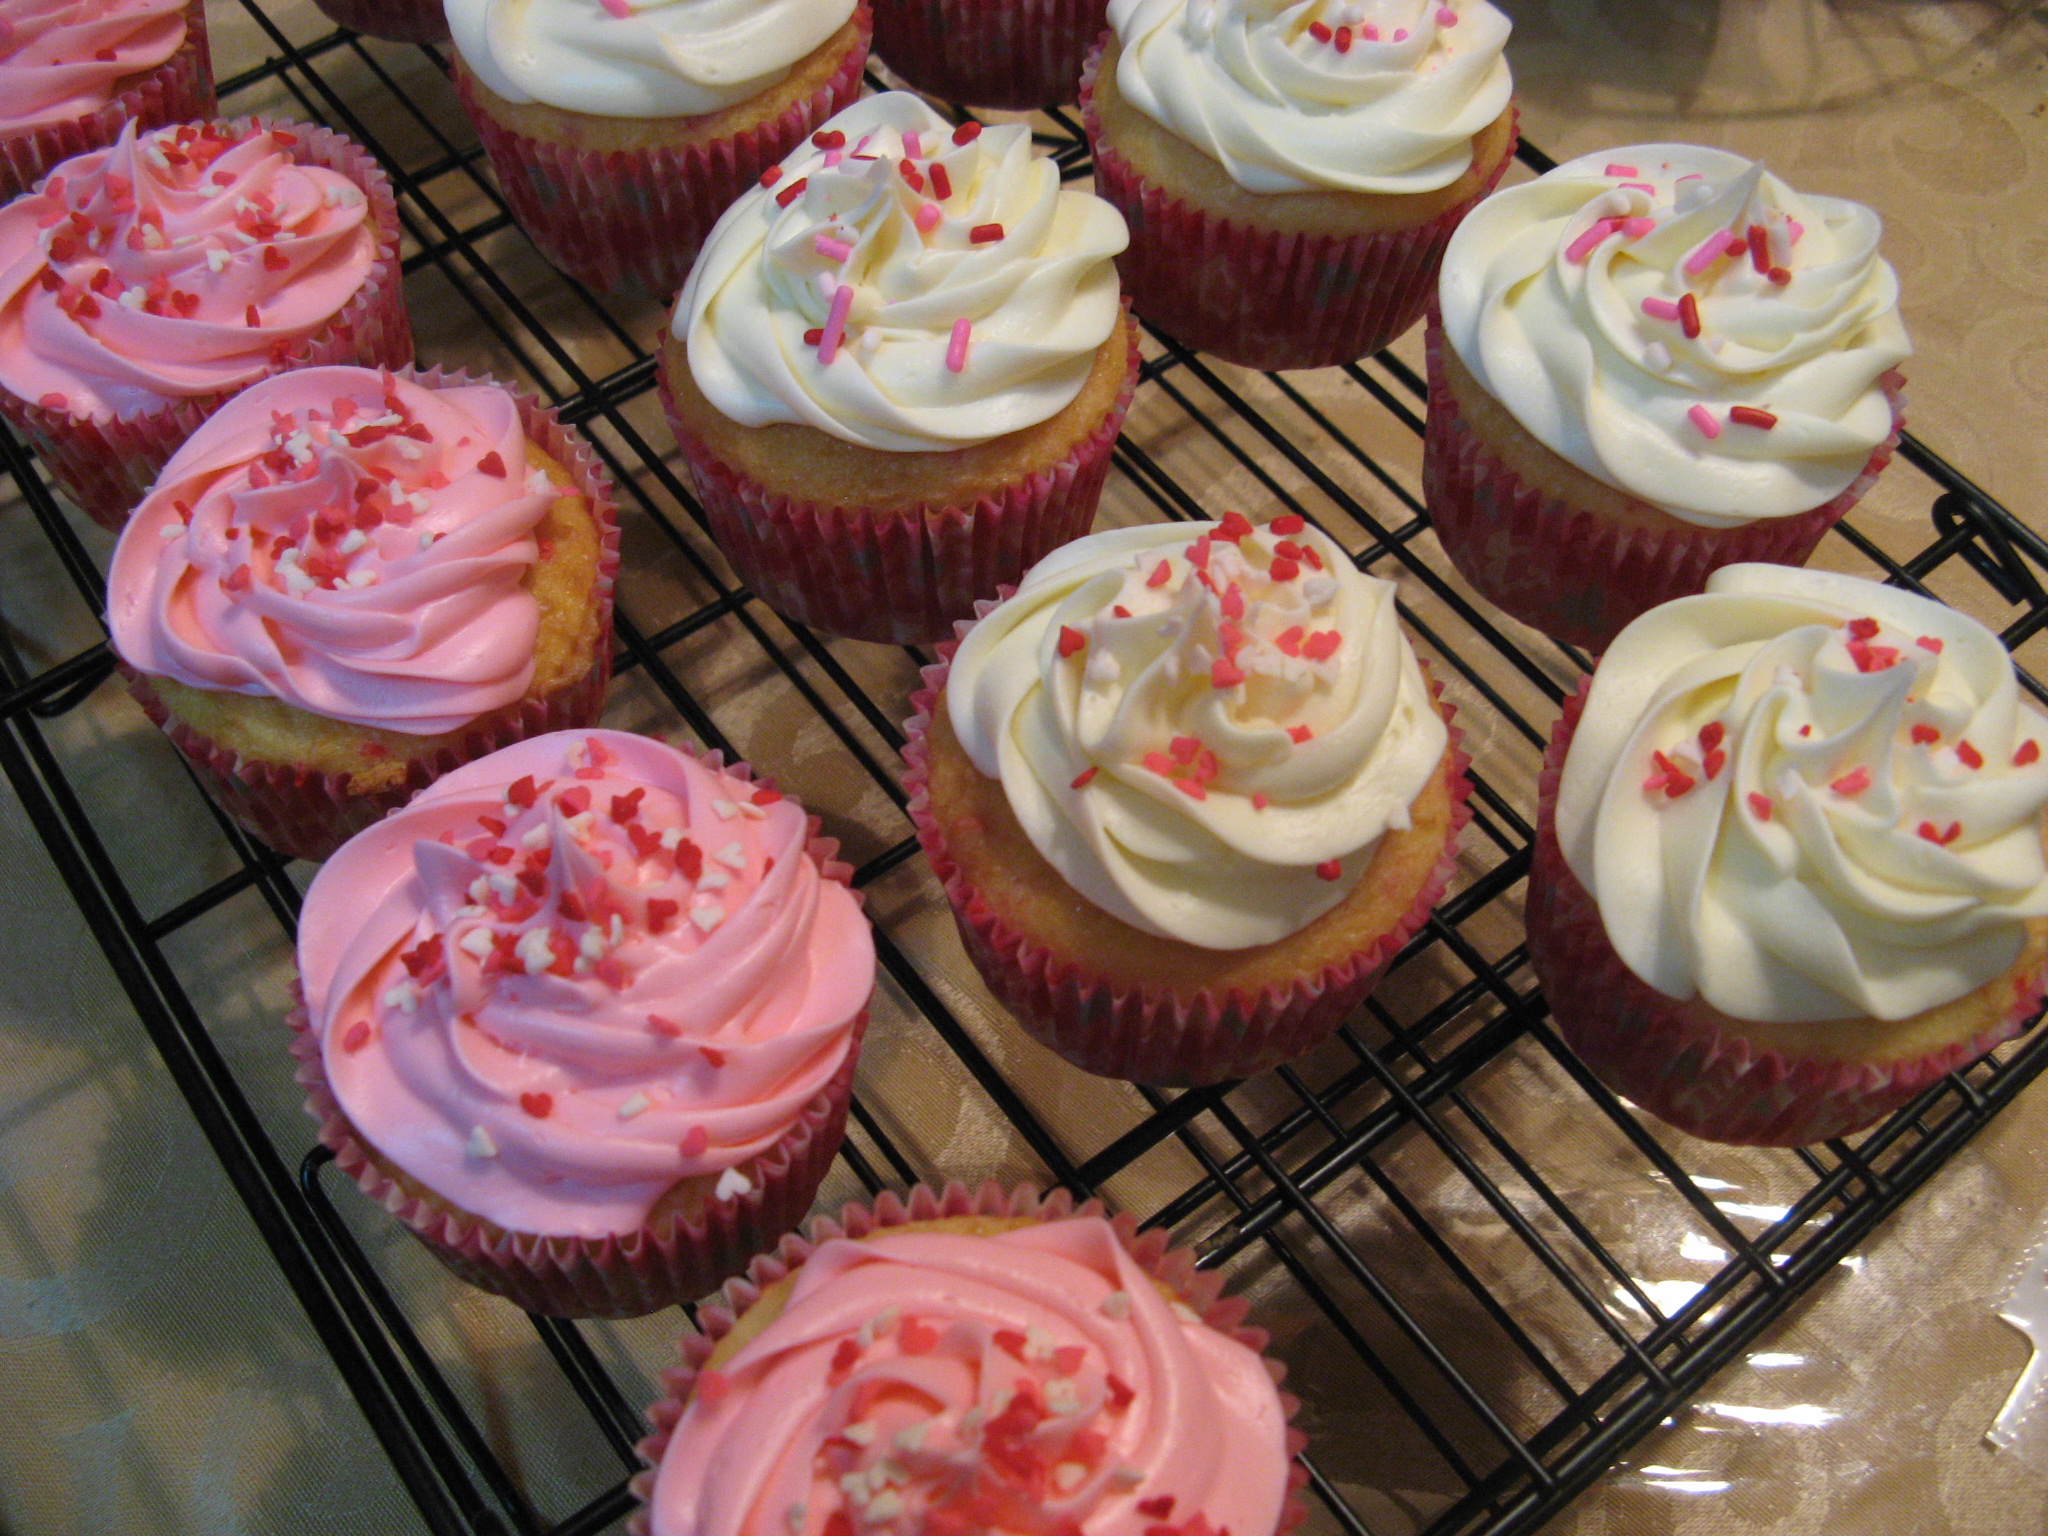
While the cookies cooled I made some cupcakes using Pillsbury’s Valentine’s Day Funfetti Cake Mix. How can you resist the Pillsbury Dough Boy on a Valentine’s Day themed cake mix box!?!? Once they cooled I frosted them using store bought vanilla frosting. I was planning on whipping up a batch of vanilla frosting from scratch, but, after shoveling snow for the umpteenth time this year I just wasn’t in the mood.

IMG_2752 IMG_2756

I tinted half of the frosting pink and then sprinkled some Valentine’s Day sprinkles on them.

IMG_2765

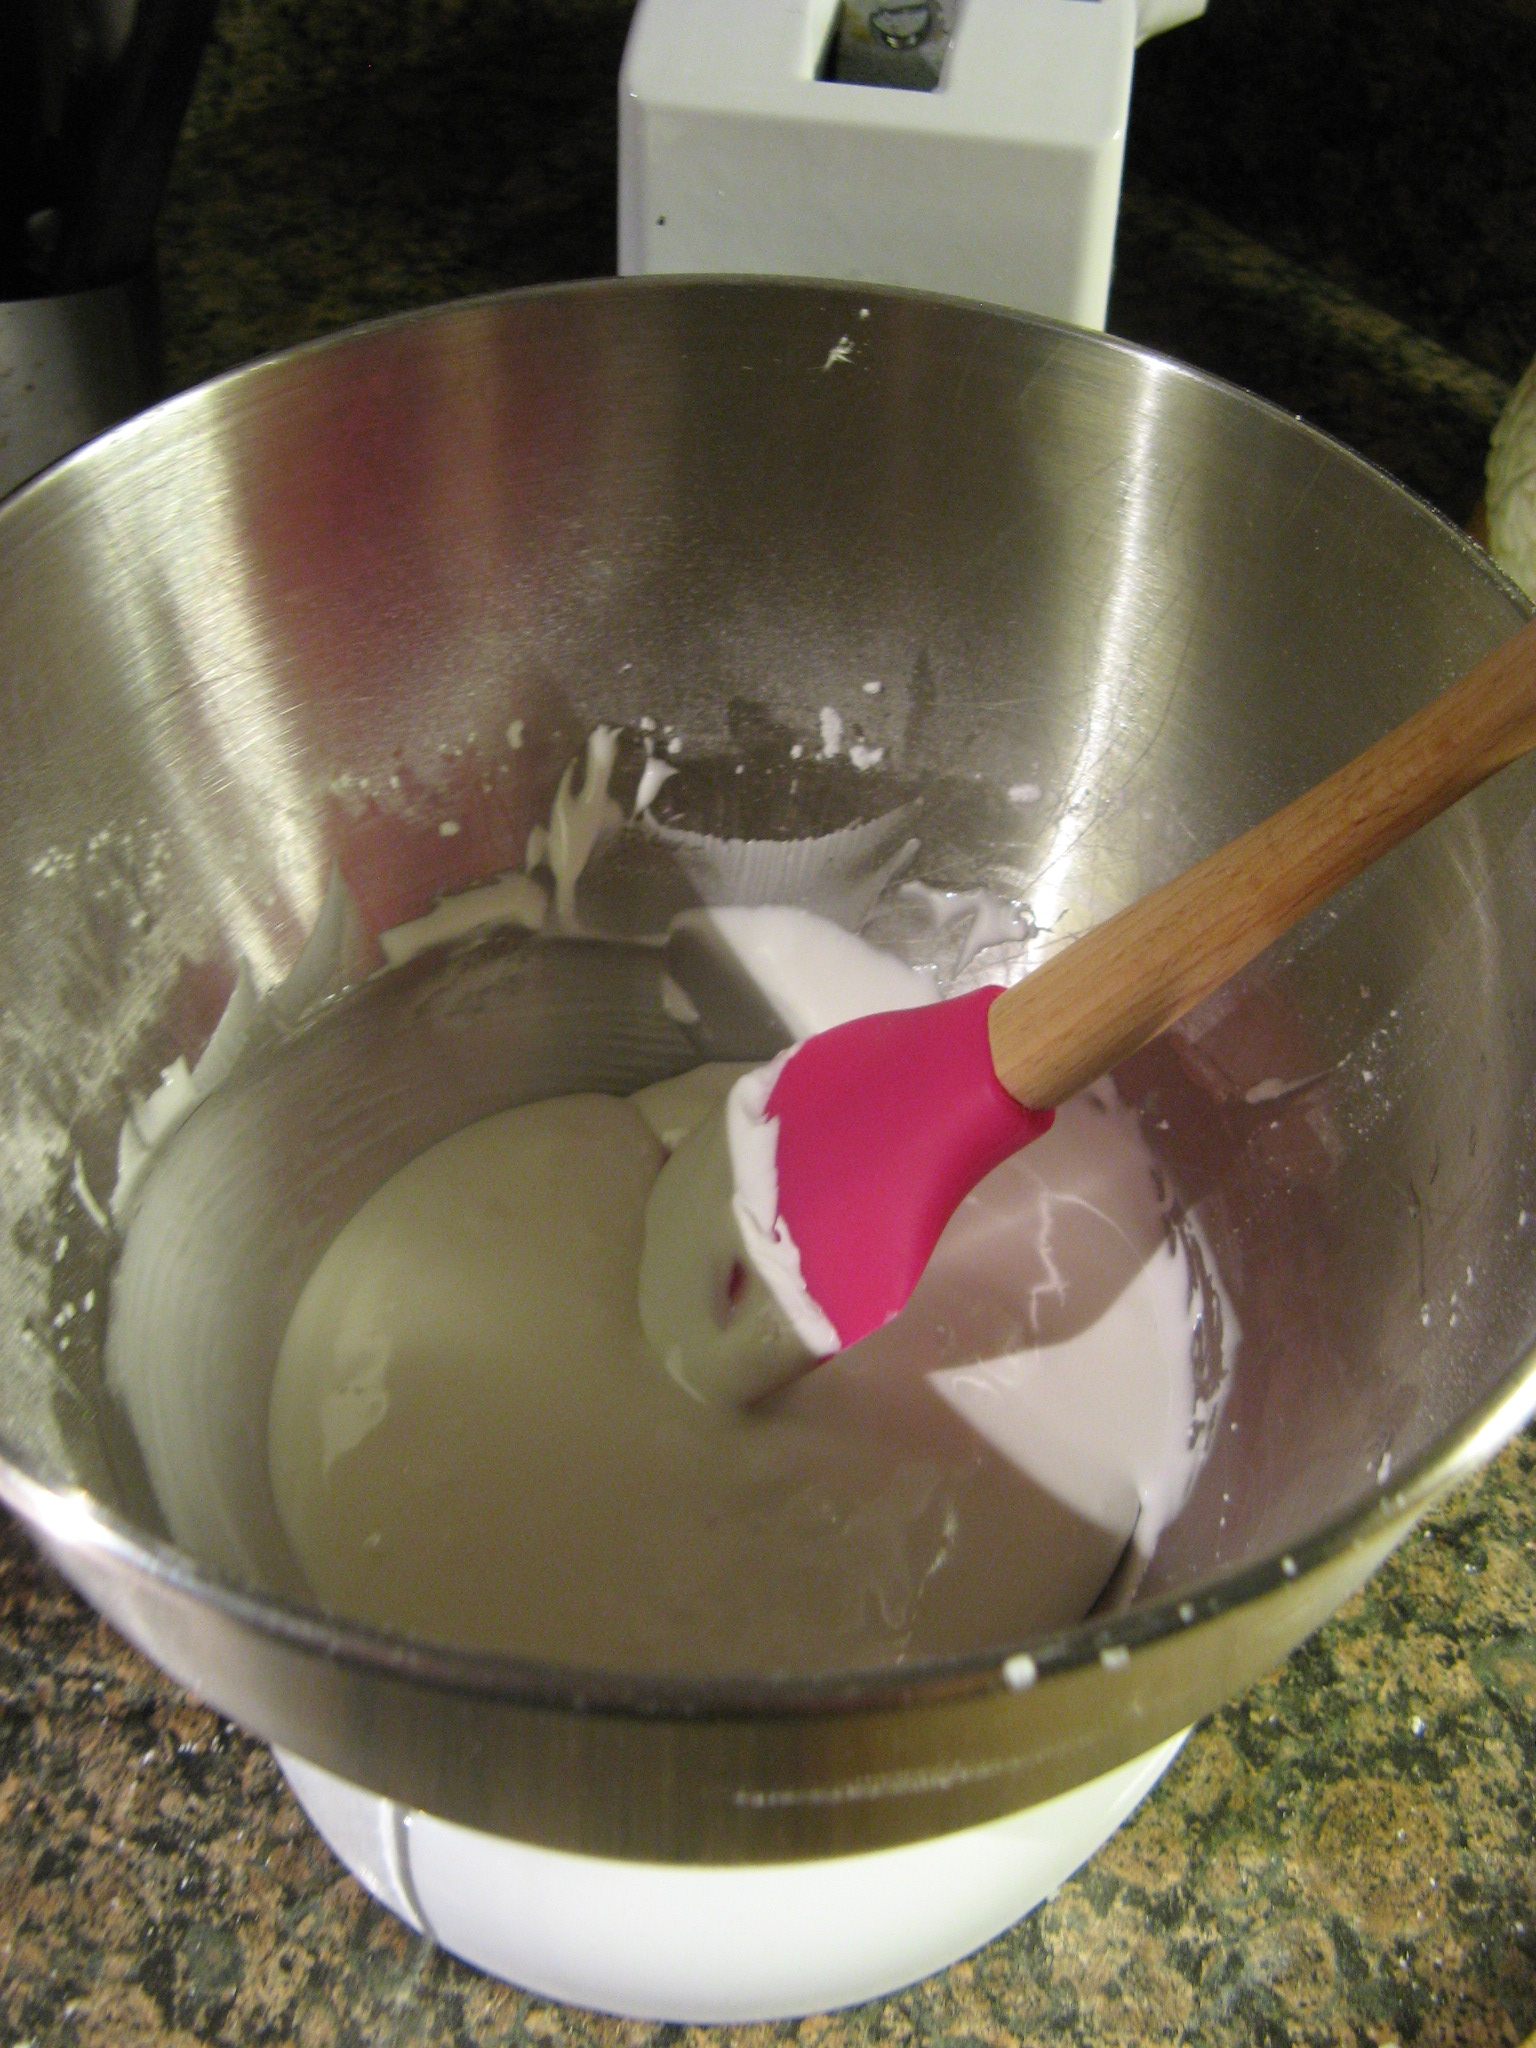
And finally something I did make from scratch… Royal Icing to decorate the cookies.
IMG_2758

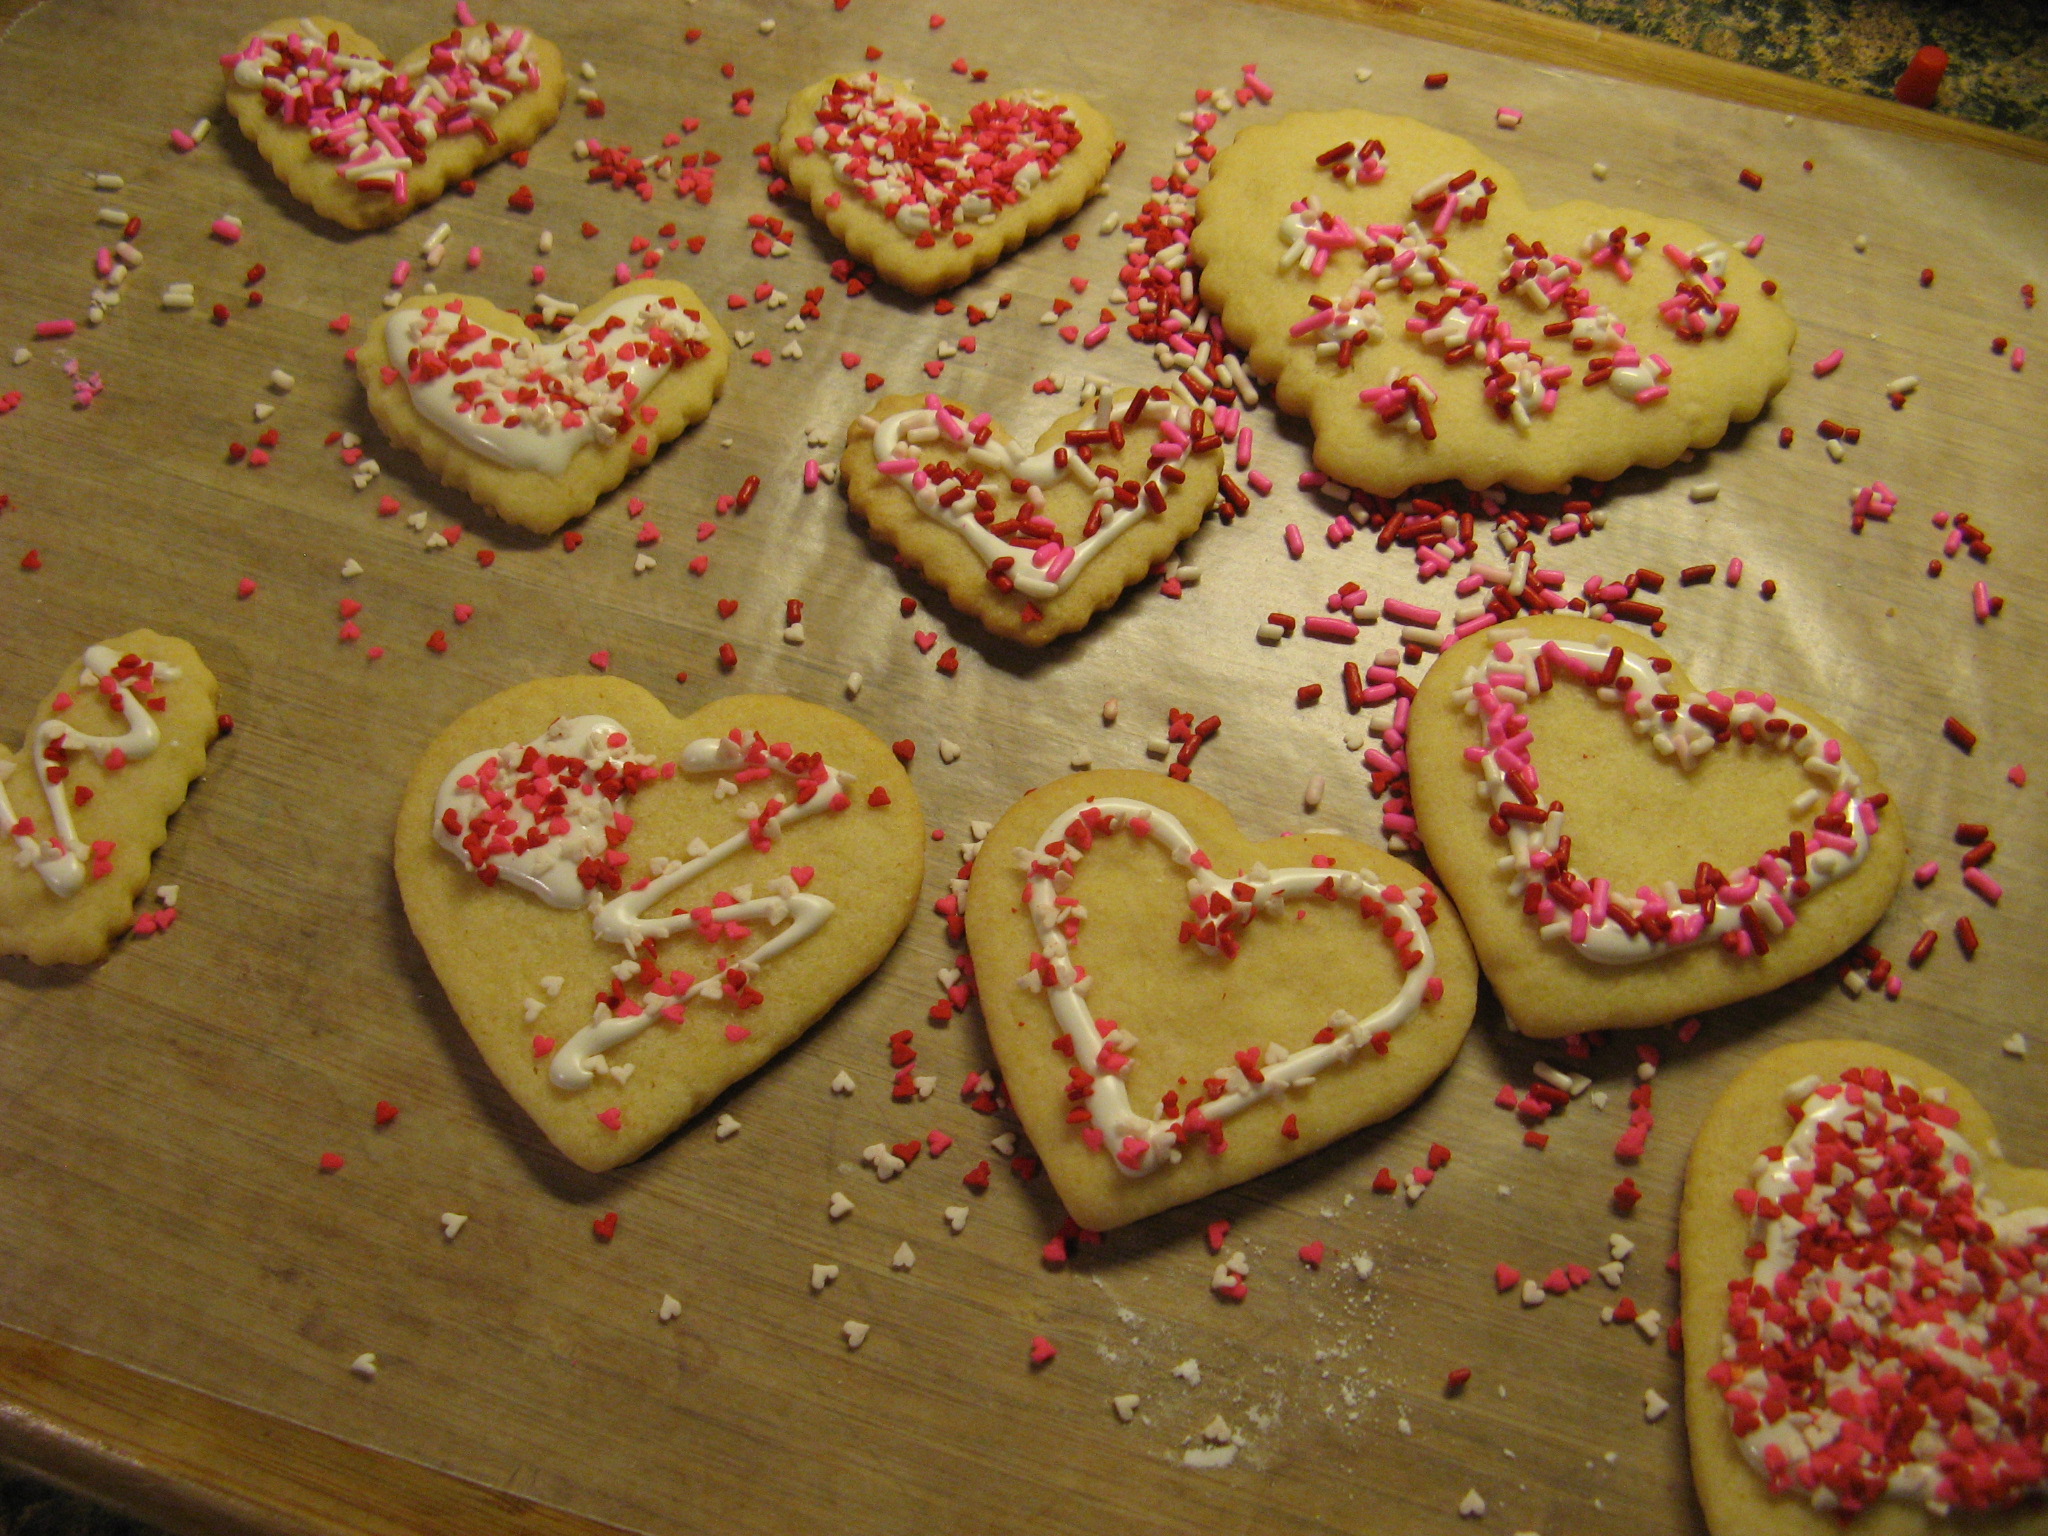
I used a squeeze bottle to decorate the cookies with icing and then once again used sprinkles to finish decorating them.
IMG_2759

And finally my Valentine’s Day treats were done and ready to be shared…

IMG_2800

A Shrug In Progress

As of late most of my posts have been about baking but today I thought I would share with you a quick picture or two of my current knitting project. Initially I started the year trying to make myself a slouchy hat. I had made one once before and in all honesty I never wore it. I didn’t care for the yarn I used for it and my rounds were a little off, so, I attempted to make another one with a different type of yarn. Once again, I didn’t like it. Although this time I decided that before I even finished it. So, I unraveled it and will be using the yarn for a scarf instead – my favorite winter accessory. I actually started it already…

IMG_2732

But, I digress, back to the knitting project. This is probably the “biggest” thing I have made for myself. While I have knitted (and crocheted) baby blankets and afghans for others I usually stick to making scarves for myself. But, after the hat debacle I decided I would make something for myself that has been sitting on my to-do list for over a year – the Easy Lace Shrug from Lion Brand Yarn – or as I have just been telling others when they see me knitting it… a cardigan. Starting this was my biggest obstacle. I couldn’t get the Seed Stitch correct. This is probably one of the easiest knitting stiches out there but for some reason it just wasn’t clicking with me until I watched a video on how to do it. I kept reverting back to a Rib Stitch. After, well, I won’t say how many tries because in all honesty I lost count, I finally got it right and I was on my way.

IMG_2730

After knitting up two inches of the Seed Stitch it was time to start my pattern – a Shell Lace. Luckily this didn’t give me as many issues as that initial stitch. Although, I did have to do a few Google searches to figure out what the pattern meant by “end last repeat SSK.” Once I figured that out that the Shell Lace pattern quickly came together. I am mainly a self-taught knitter and crocheter so a lot of these terminologies escape me, but, there is definitely a satisfaction that comes along with learning things on your own as you go. That “aha moment” is priceless!!! So at this point I have completed the Shell Lace pattern six times and will probably do it two more times before finishing it up with two more inches of Seed Stitch. After that I have to pick up stitches on the side of the shrug to complete the cuffs… YIKES! I will definitely be watching some more videos to get that right…. Stay tuned!

IMG_2729