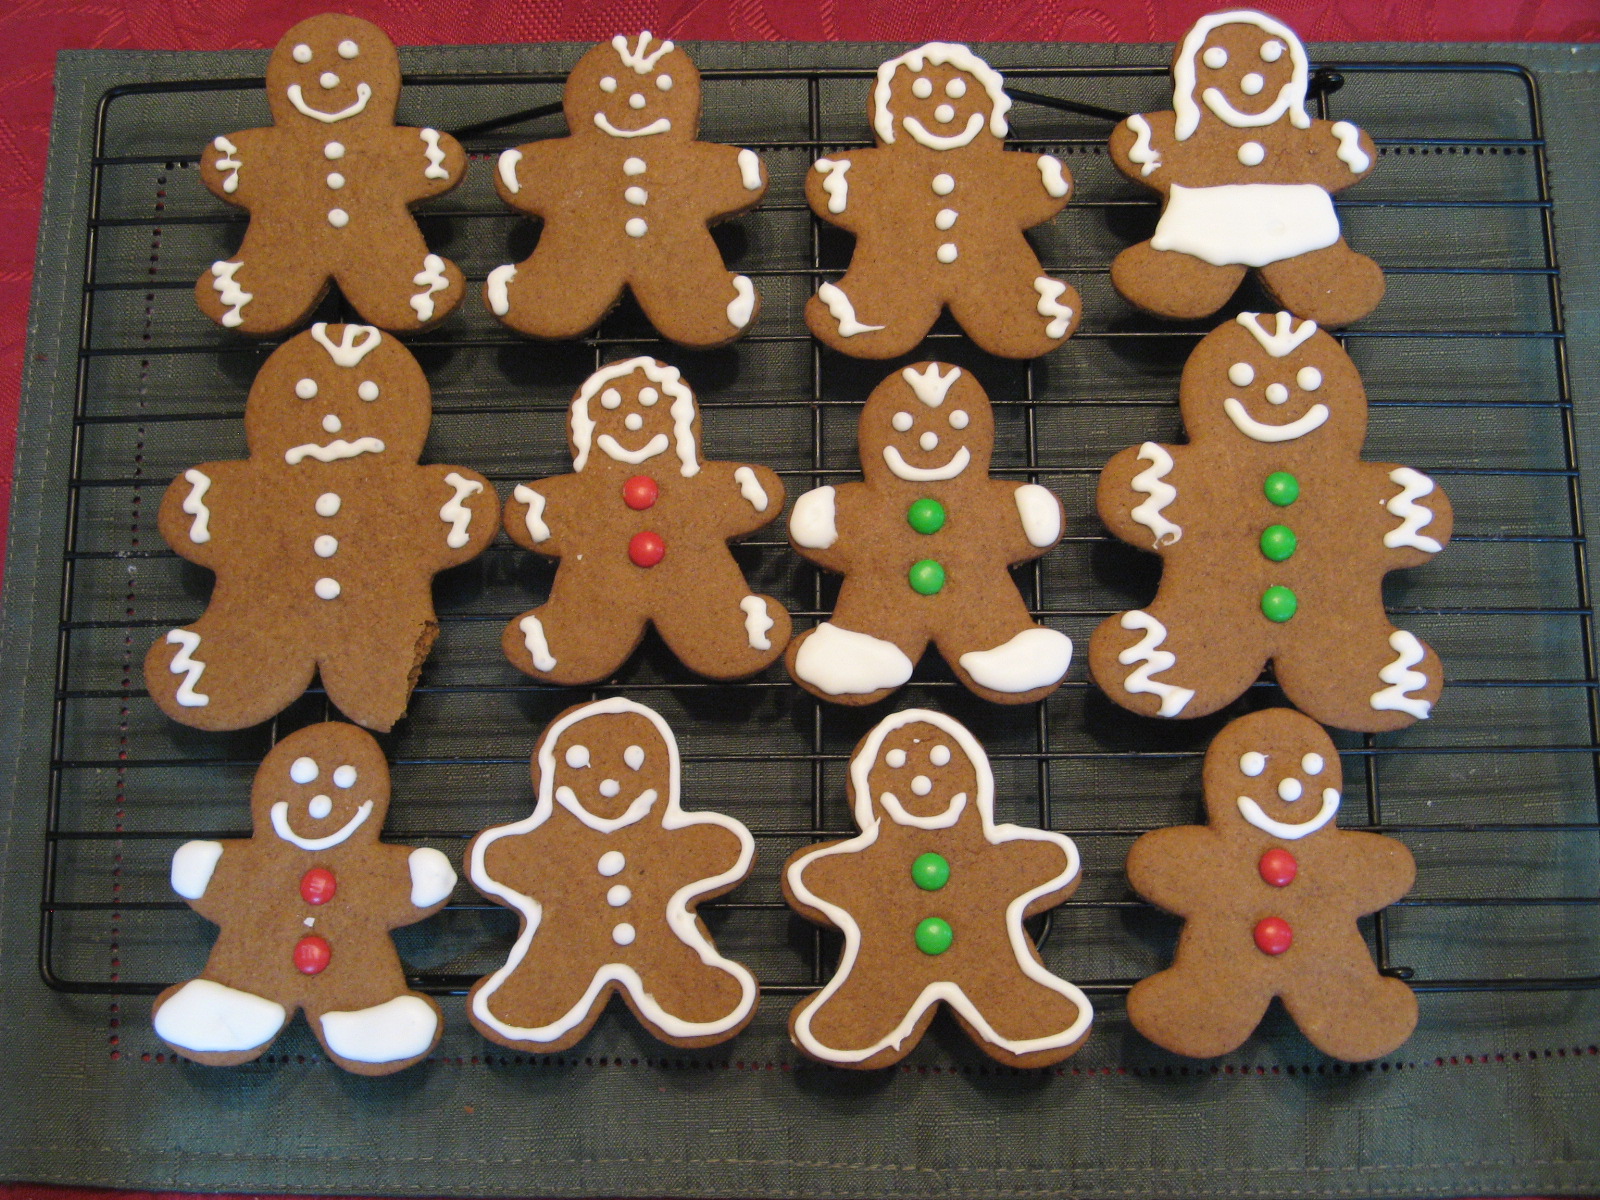
It’s been a while… well, a little over 3 months. I am sure I have taken longer breaks from blogging. I have been baking, but mostly things that I have made before. I recently tried a new pumpkin recipe that was a fail. It was a recipe for Pumpkin Snickerdoodle Brownies that sounded promising but, in the end, had no flavor whatsoever. That led me to a deep dive into whether people post “fake” recipes and I learned that thanks to AI people are now posting recipes that have never been tested and completely computer generated, recipe and pictures, in order to generate clicks, views and likes. Great! No need to worry though, everything I am bringing you today is completely real and created by me. While I haven’t been baking my fingers have been busy crocheting and knitting.
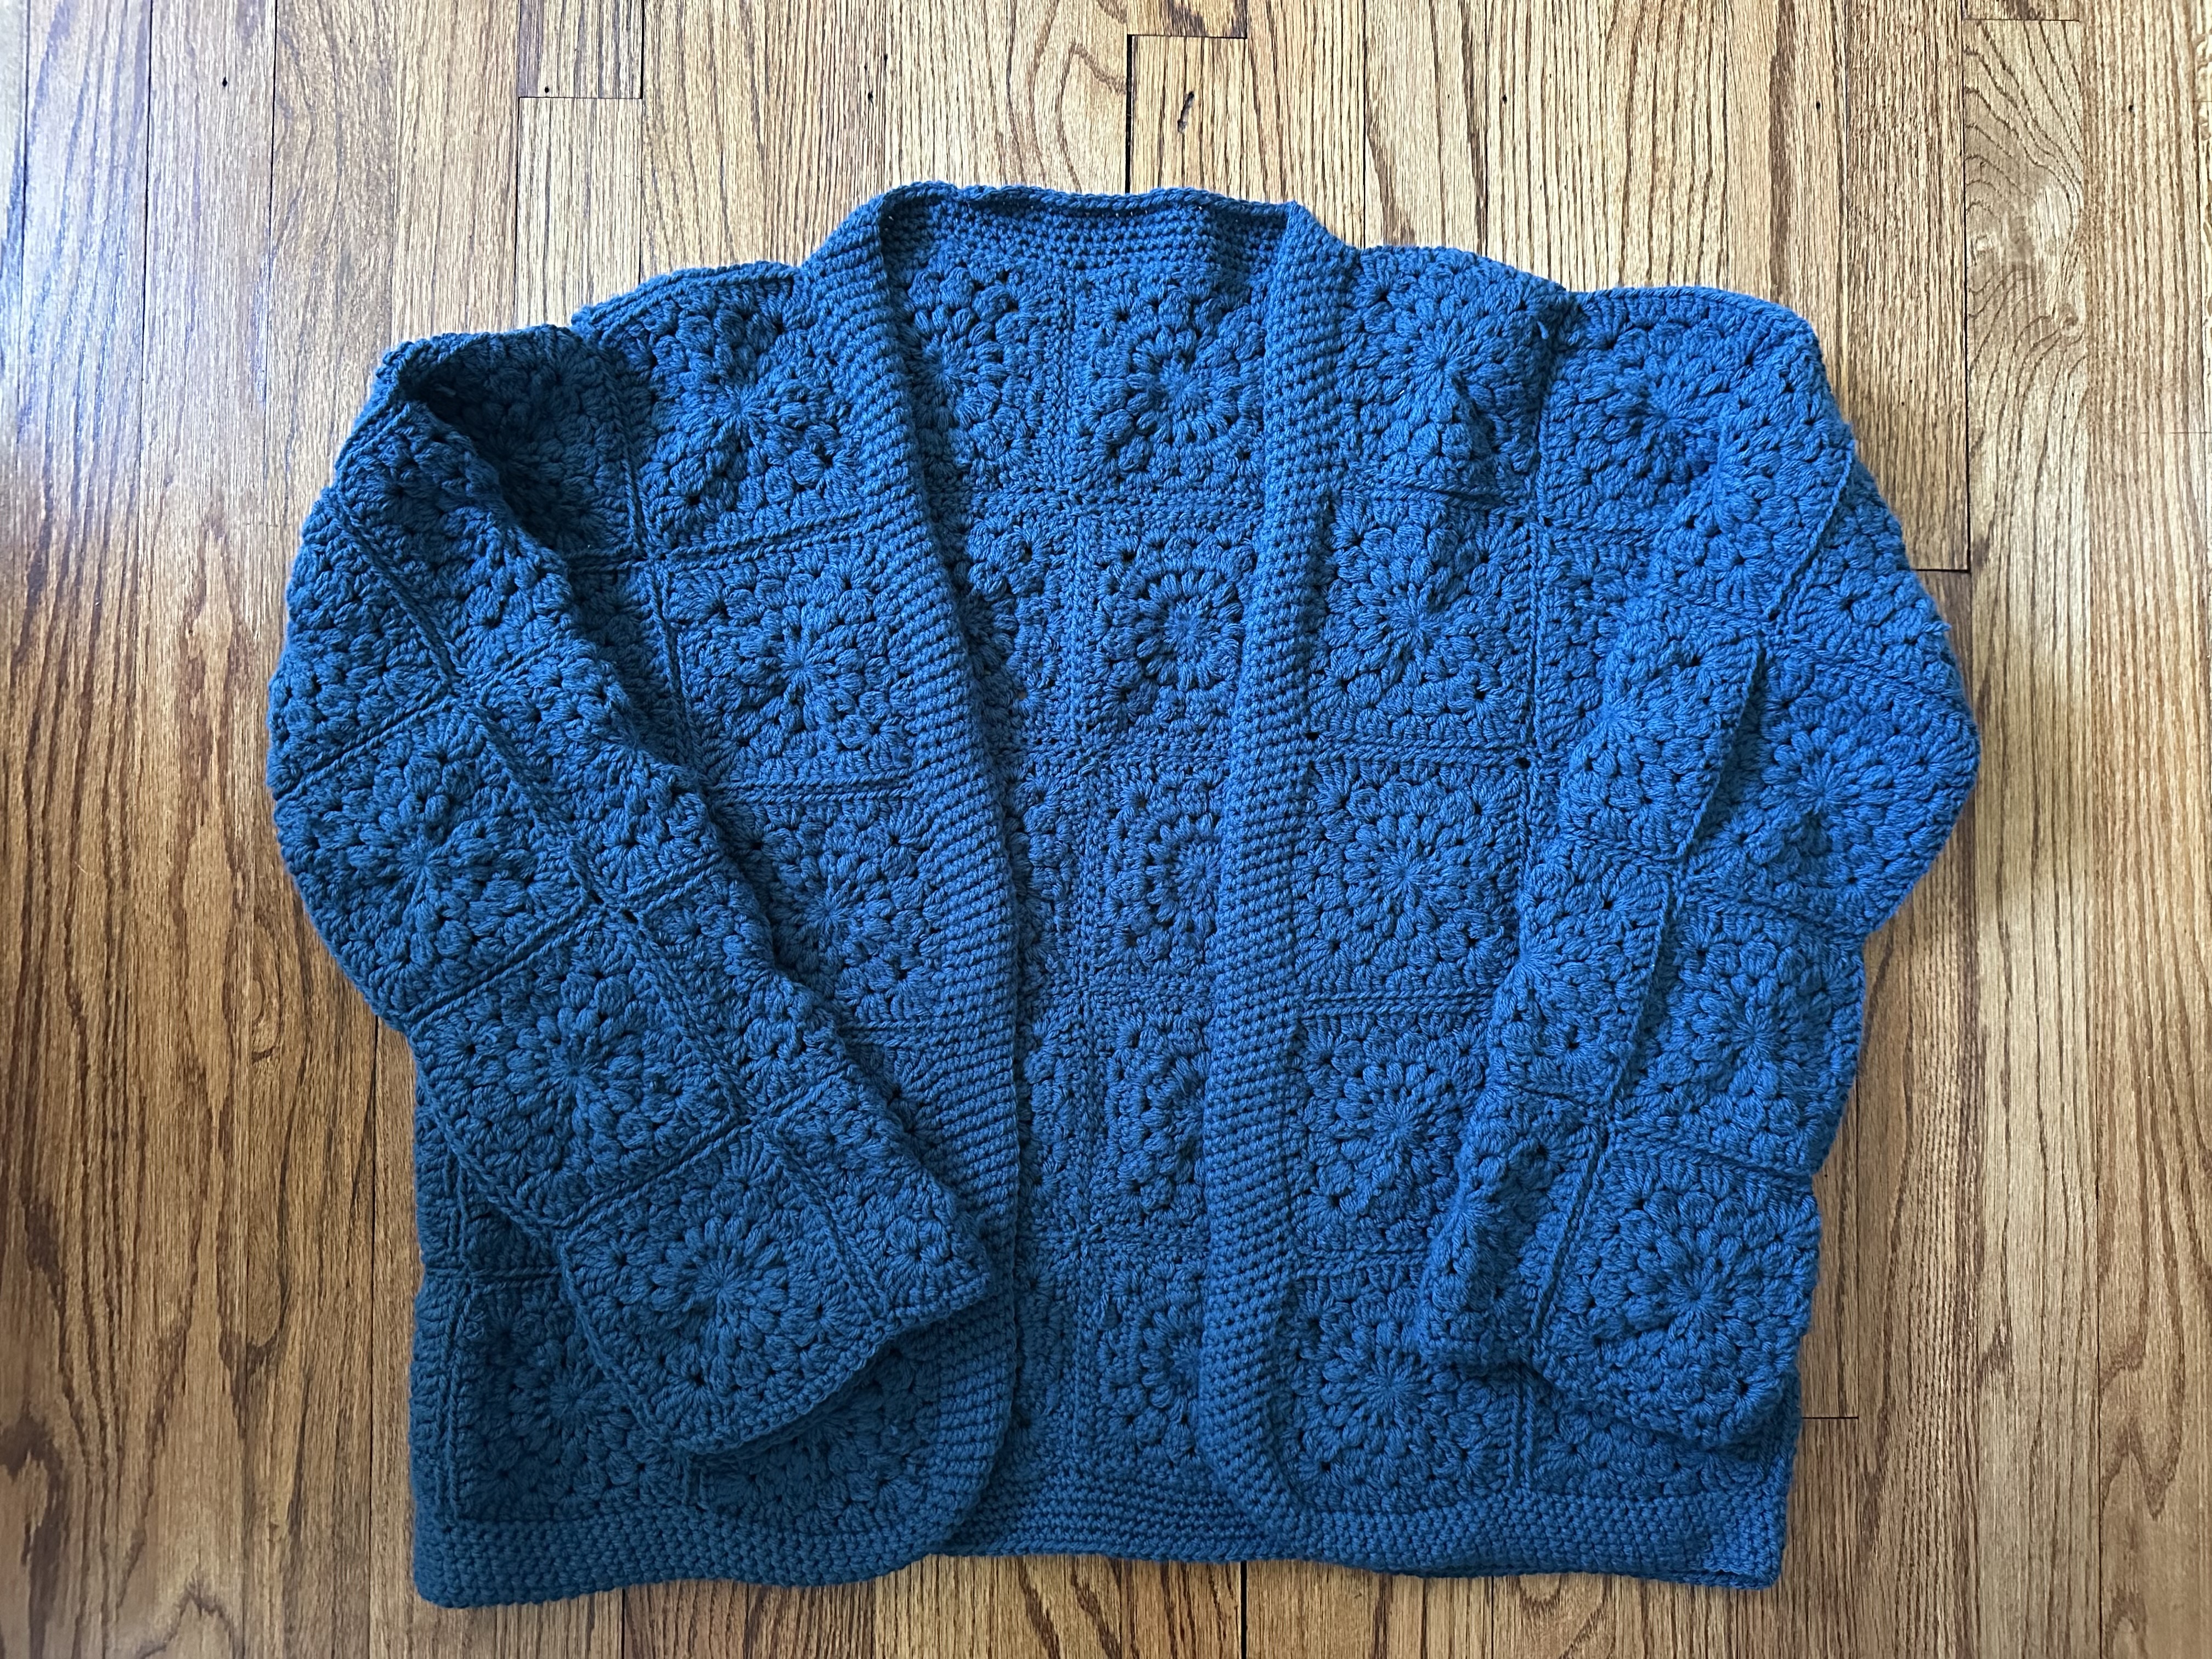
Up first a granny square cardigan that I made for myself. I made my first granny square cardigan a few years ago. It was a request – order – from someone and they were happy with the final product. Since then, I thought about making one for myself, but I didn’t want to make the typical granny square for it. After some research I settled on a sunburst granny square, which was a bit more involved than your typical granny square. I started making the squares last year and then took a break from making them, started up again, took another break and it wasn’t until this summer that I decided it was time to finish. When I laid out the squares to design my cardigan, I realized that I made way too many, so I probably could have finished it a lot sooner. Oh well! I’m really happy with how it came out, and I have quite a few of the squares left-over and a bunch of yarn in this color that I will need to decide what to do with.
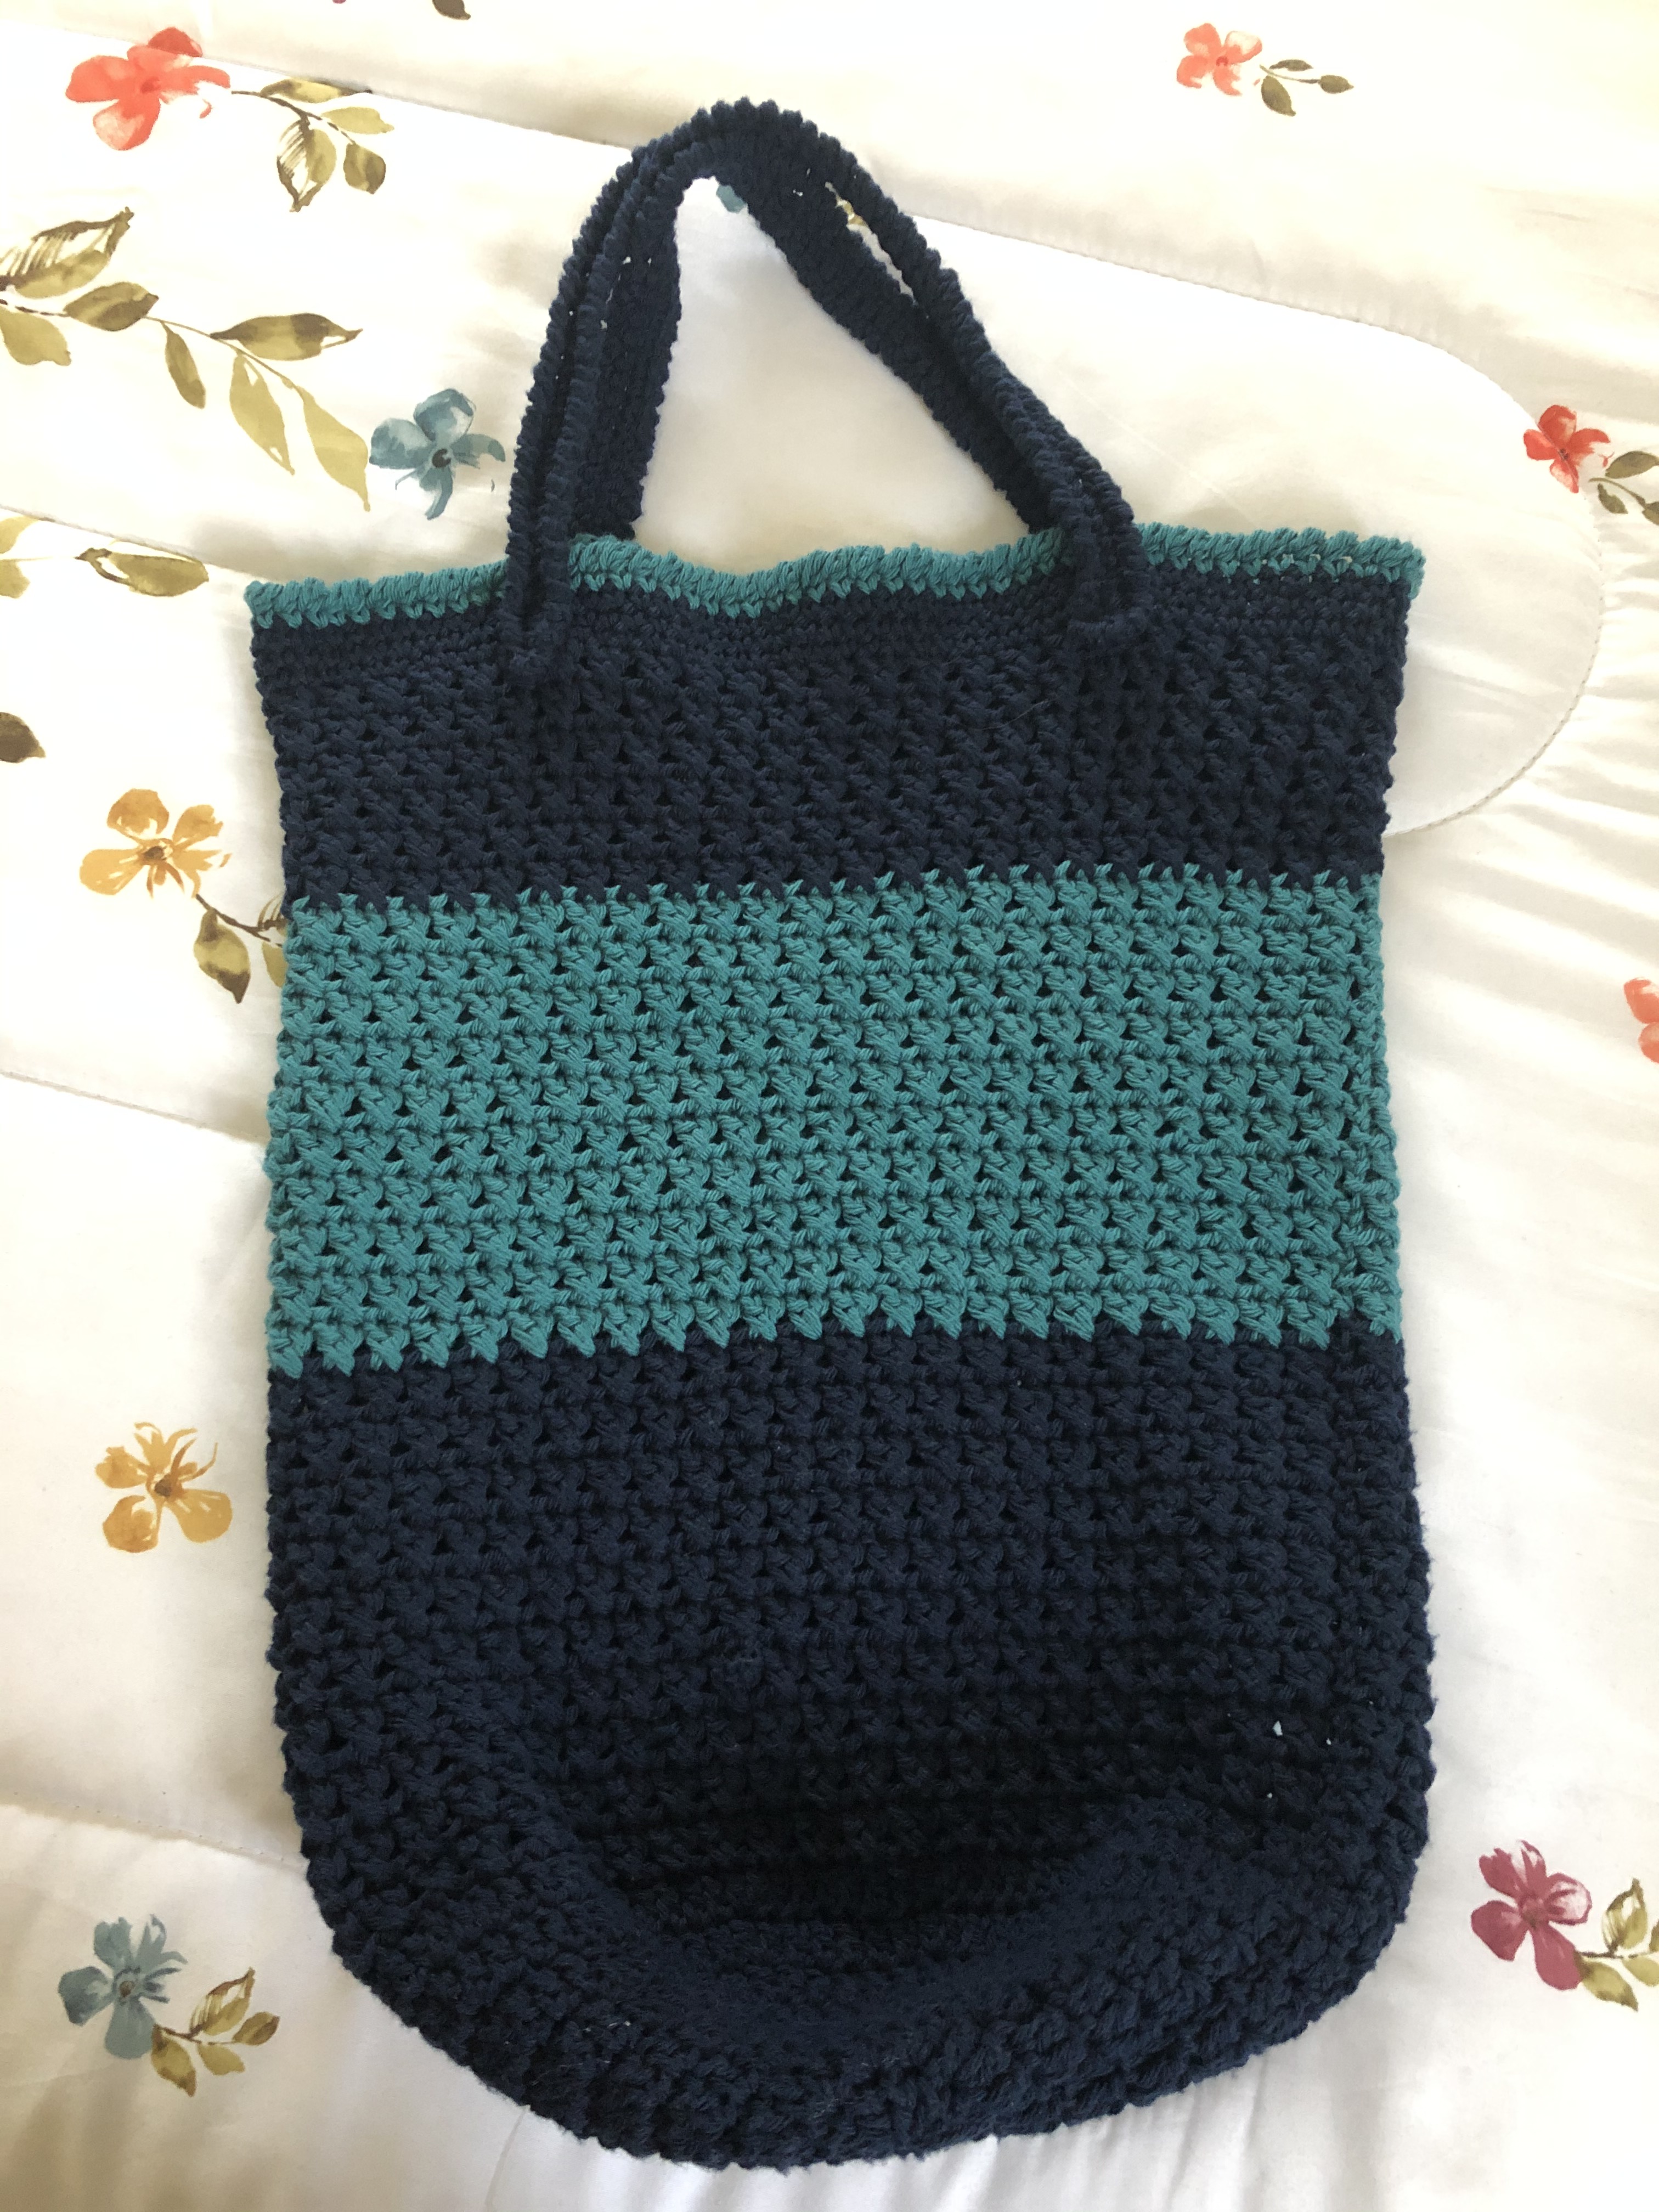
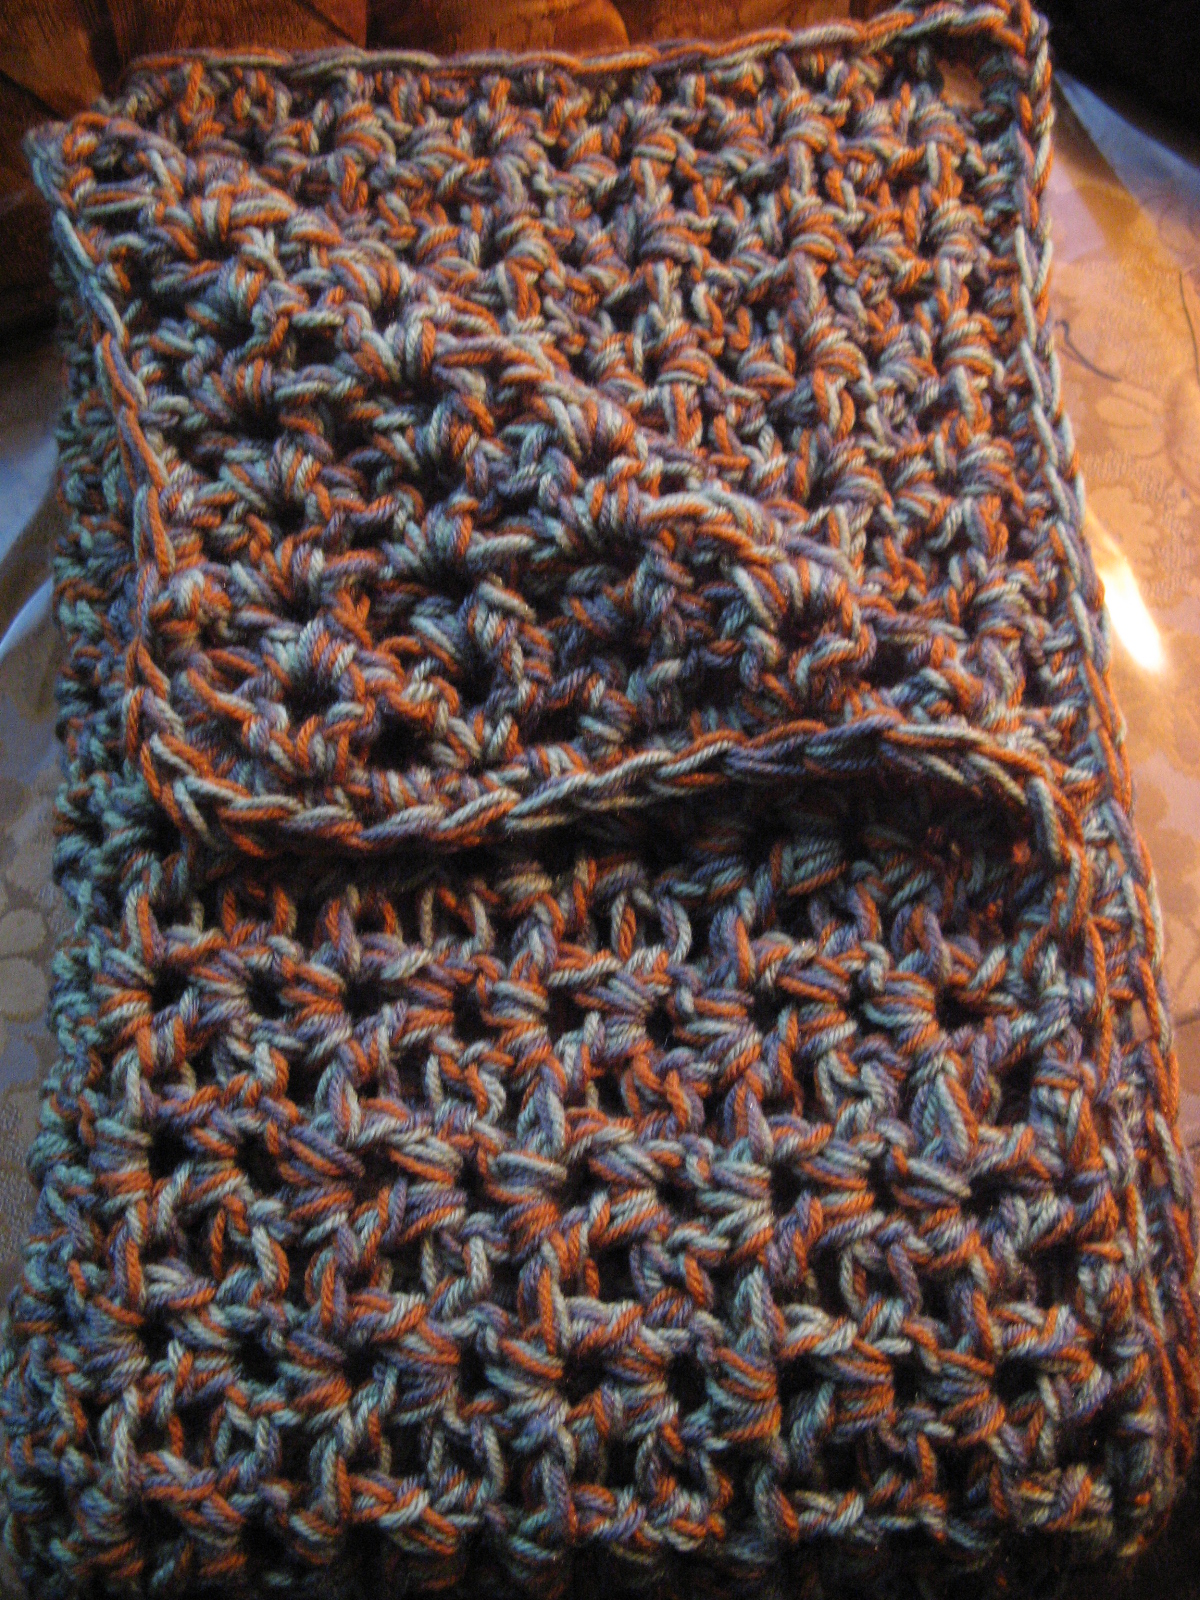
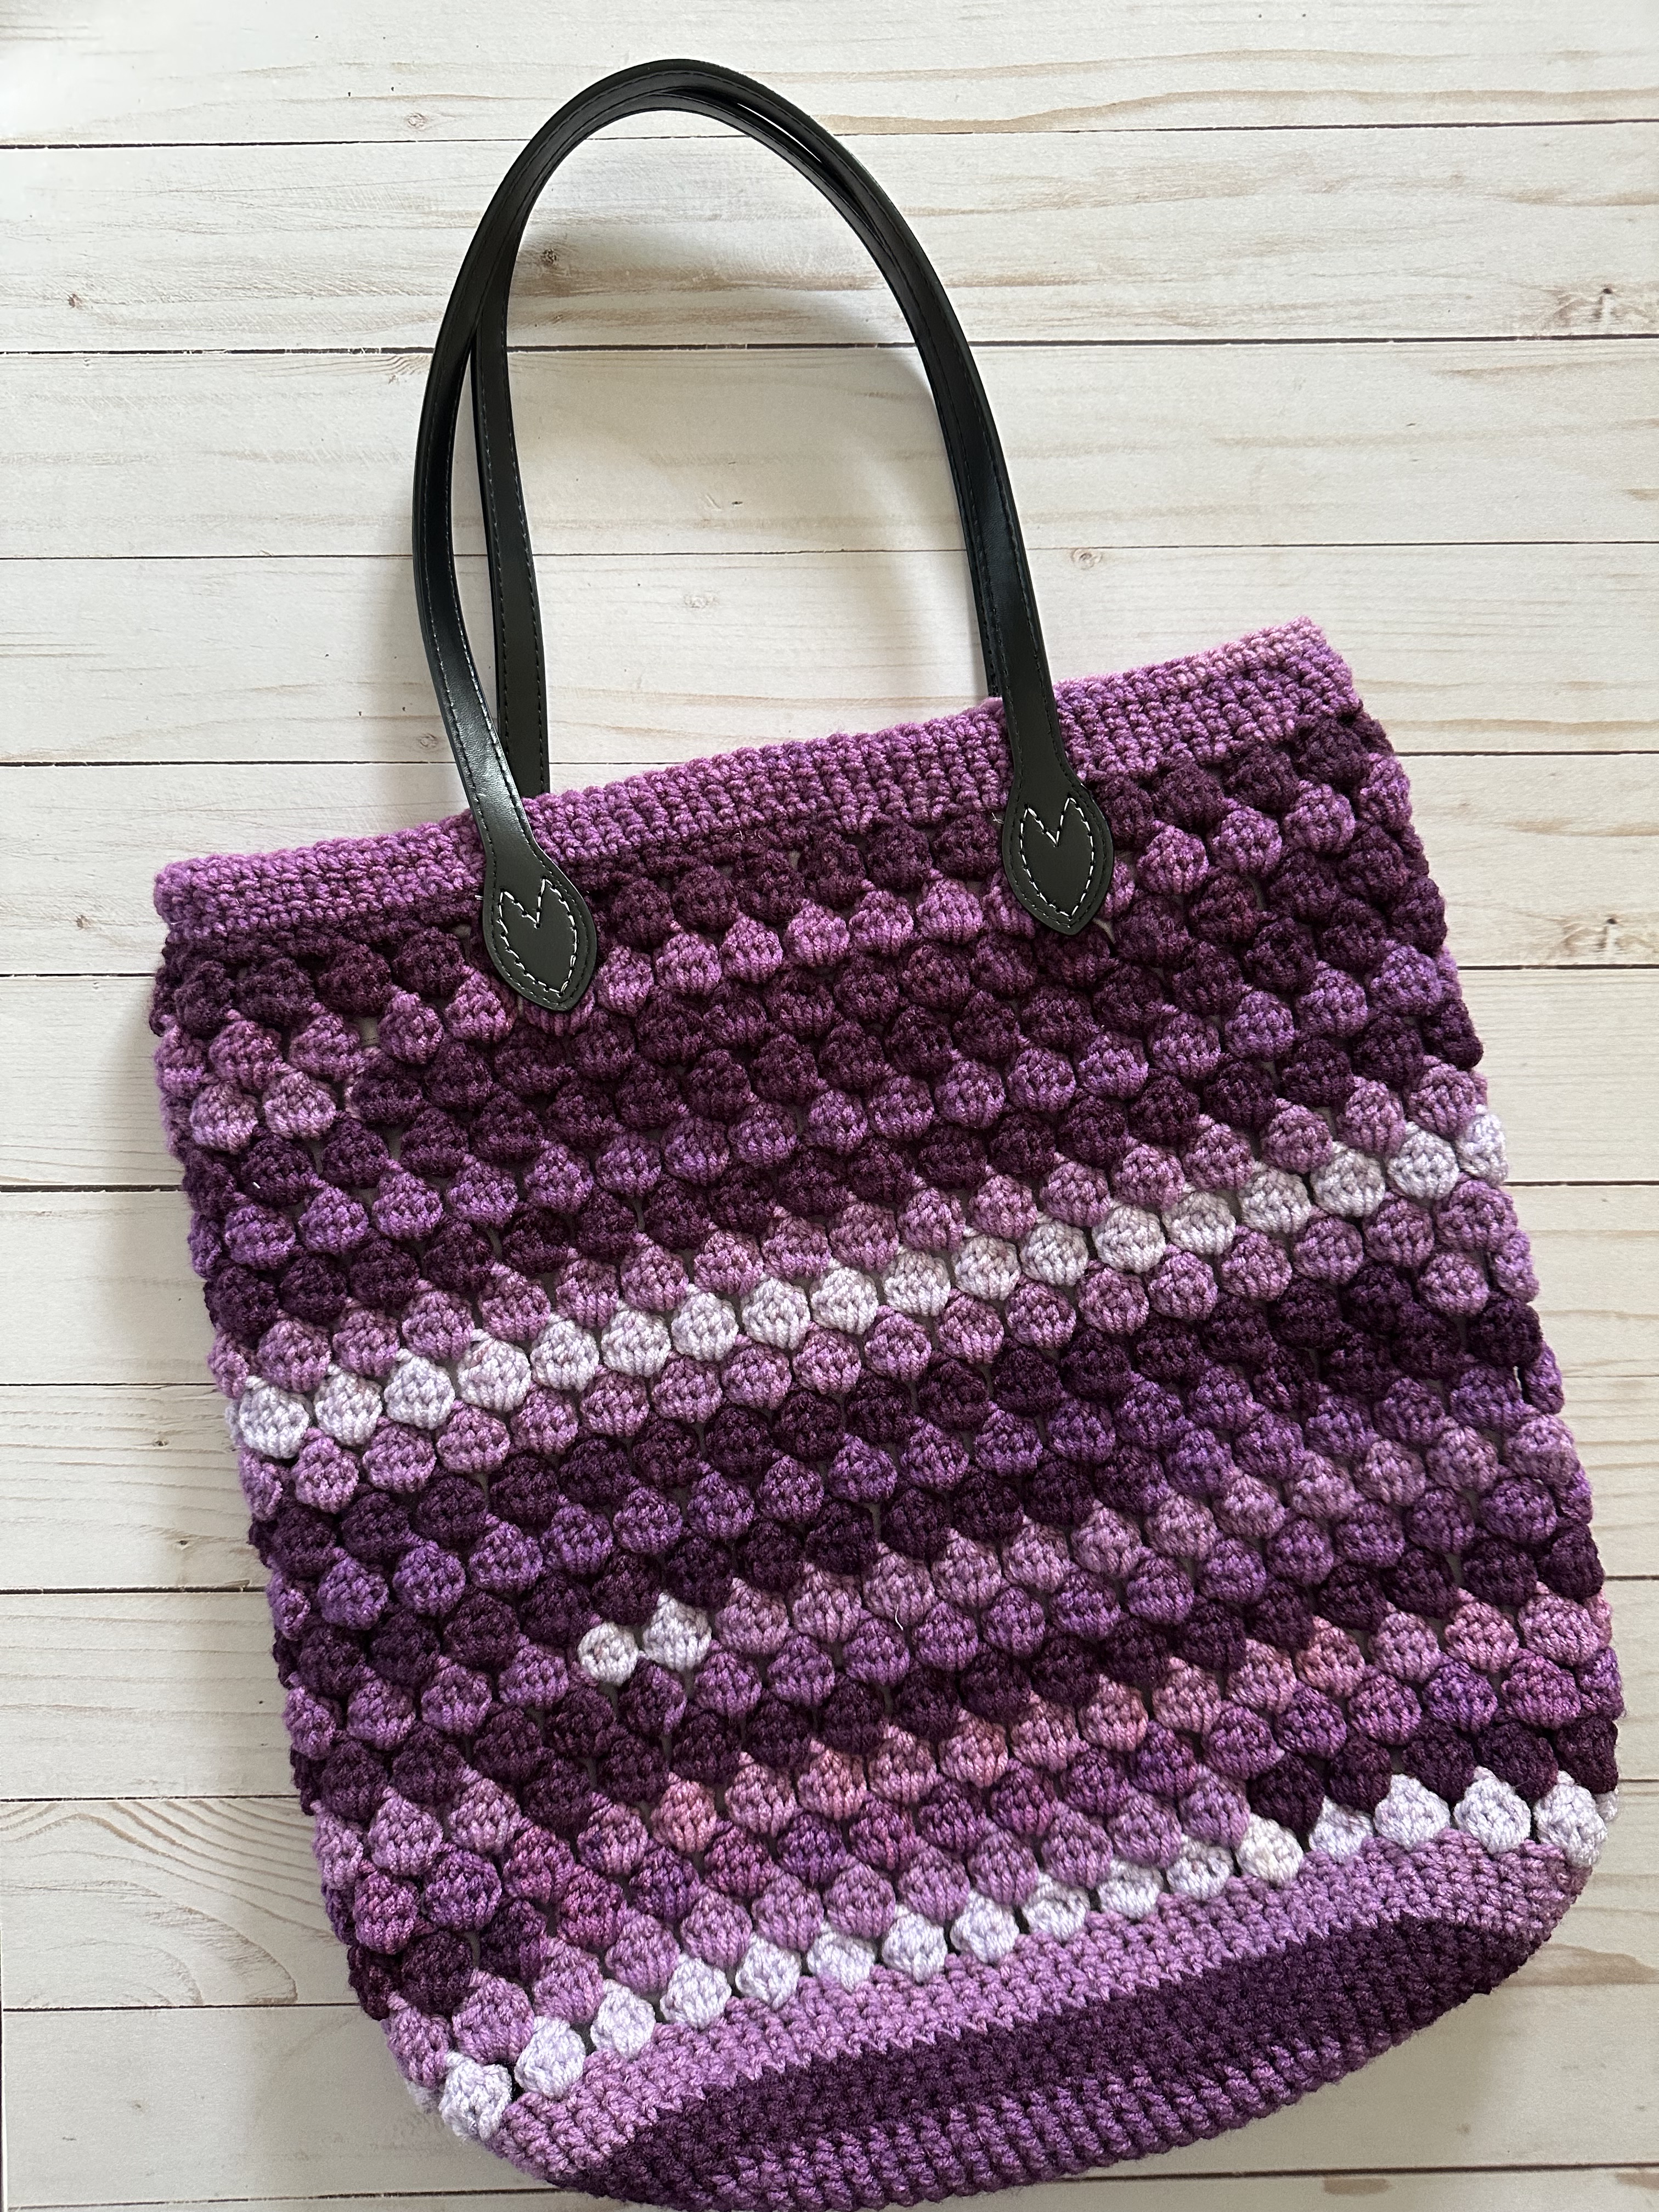
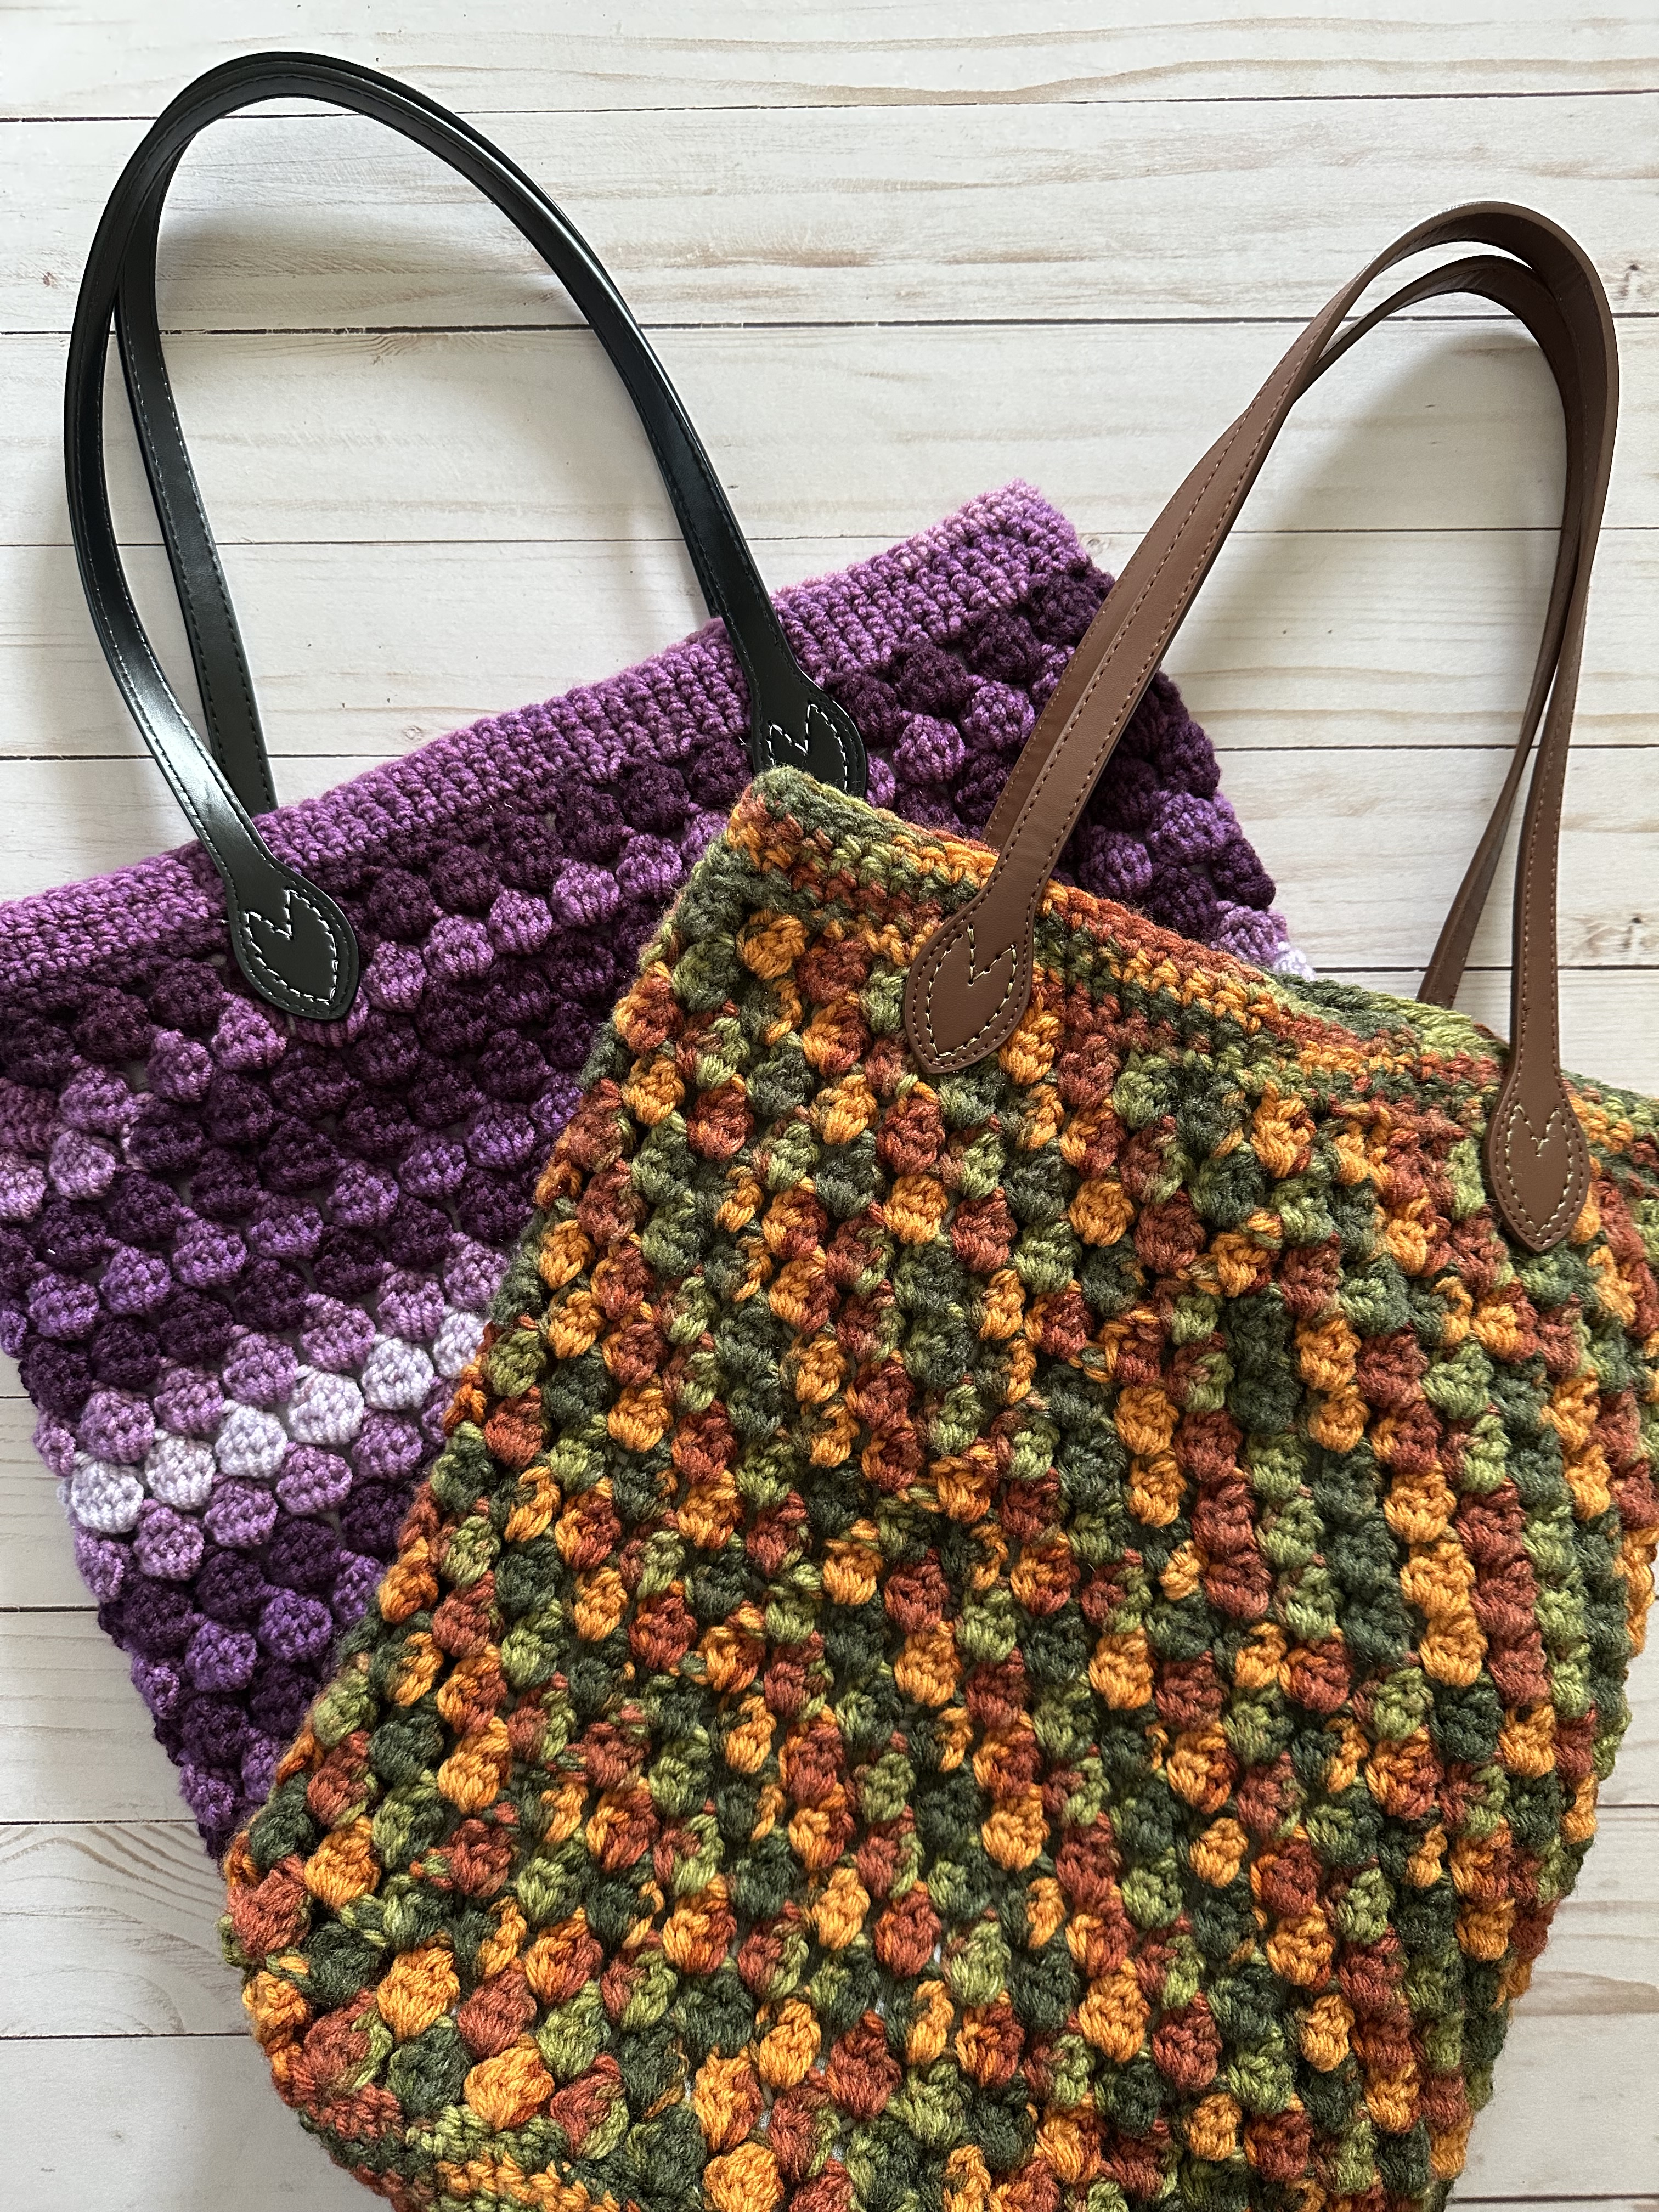
Next, another item – a crocheted tote bag – that sat for a while before I finally finished it. It’s the life of a crocheter though. More WIPs (works in progress) than they can manage. Actually, only one of these sat, the other one I got done fairly quickly. I started the tote bag in the fall colors last year. I worked this up without an actual pattern. I had an idea of what I wanted so I combined components of two different patterns to create it, and I was very happy with how it came out. But then it sat. The hold-up, having to sew a liner into the bag. Since I was hand sewing it and I haven’t had much practice doing so I psyched myself out and just put it aside. This summer though I decided it was time to finish. I think I got into a kick over the summer that it was time to finish the projects that I had started and left astray. Truthfully it weighs on my mind when I do this. I see the project half done and I just feel like something is amiss, that things are unraveling at the seams because I am not finishing things. Talk about a metaphor. So, I sewed the liner in, and I ordered handles that I stitched onto the bag. Truthfully, I was very proud of myself for how this tote came out considering I had no pattern to follow. I was so happy with it that I made another one in shades of purple for a friend. This was the one that I worked up quickly. No lagging whatsoever. Probably because her birthday was coming up and it was fresh in my mind how to finish it. I am thinking of making another one so that I can actually write-up the pattern to have for future reference.

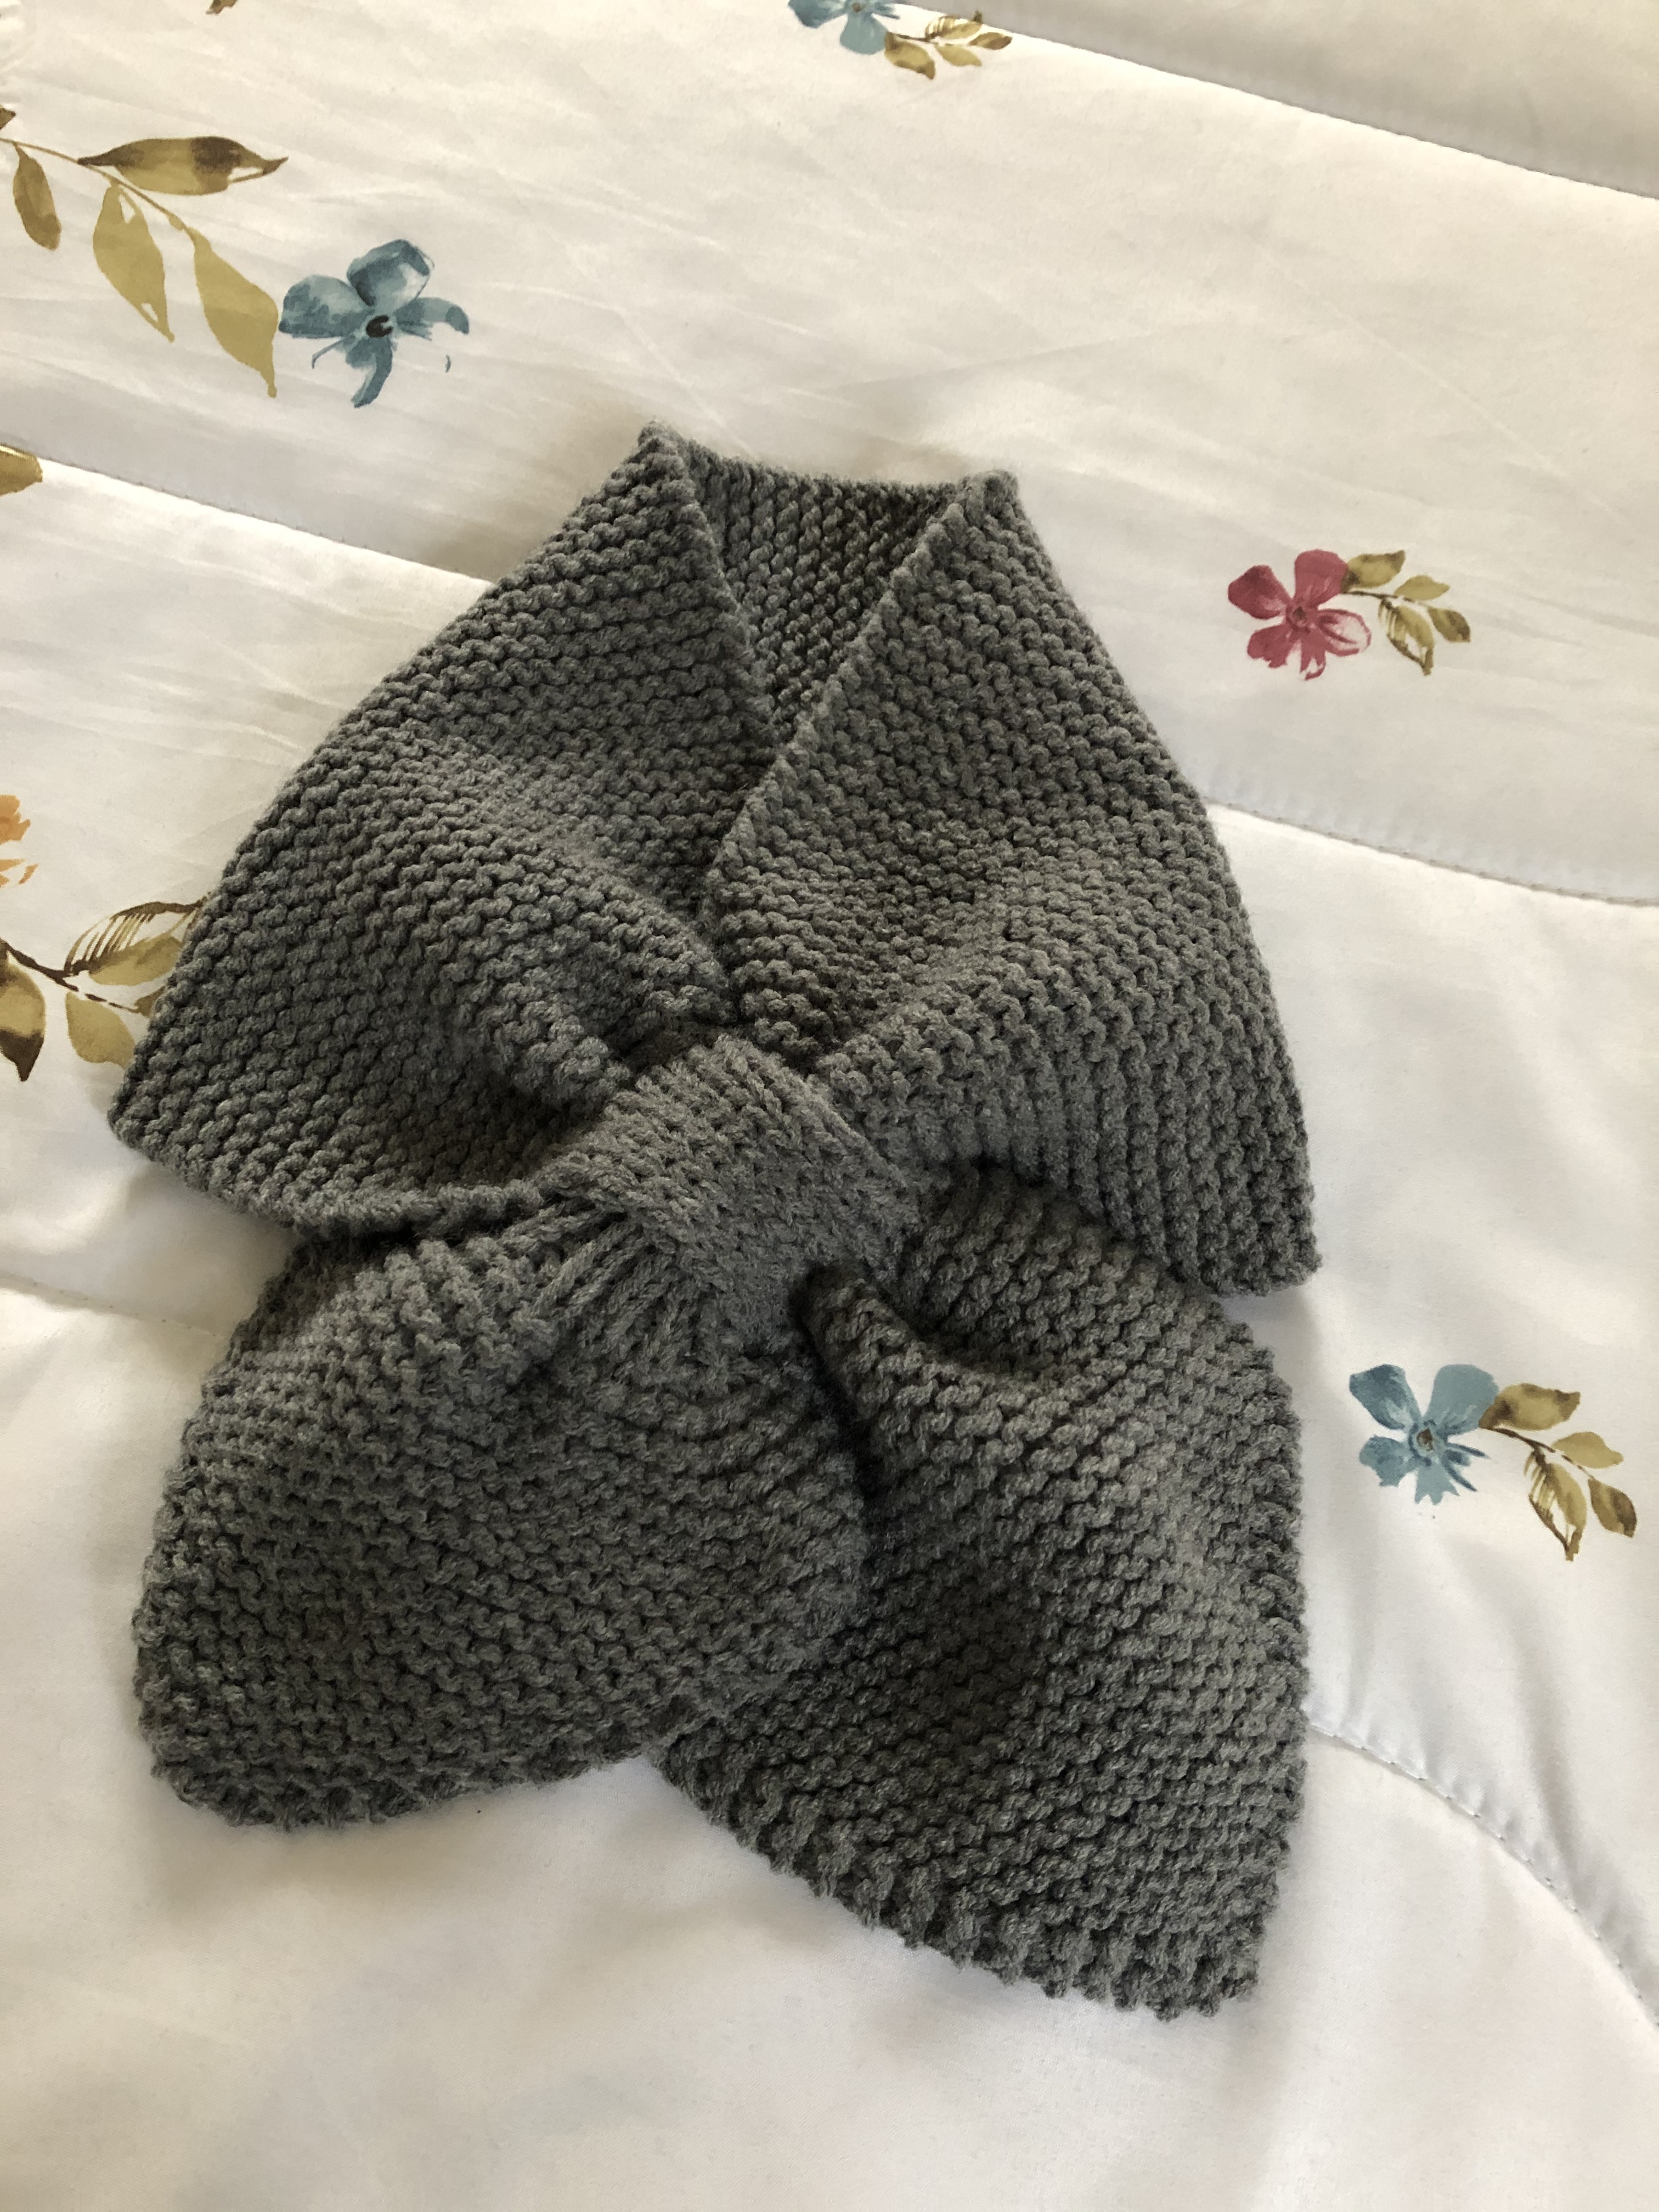
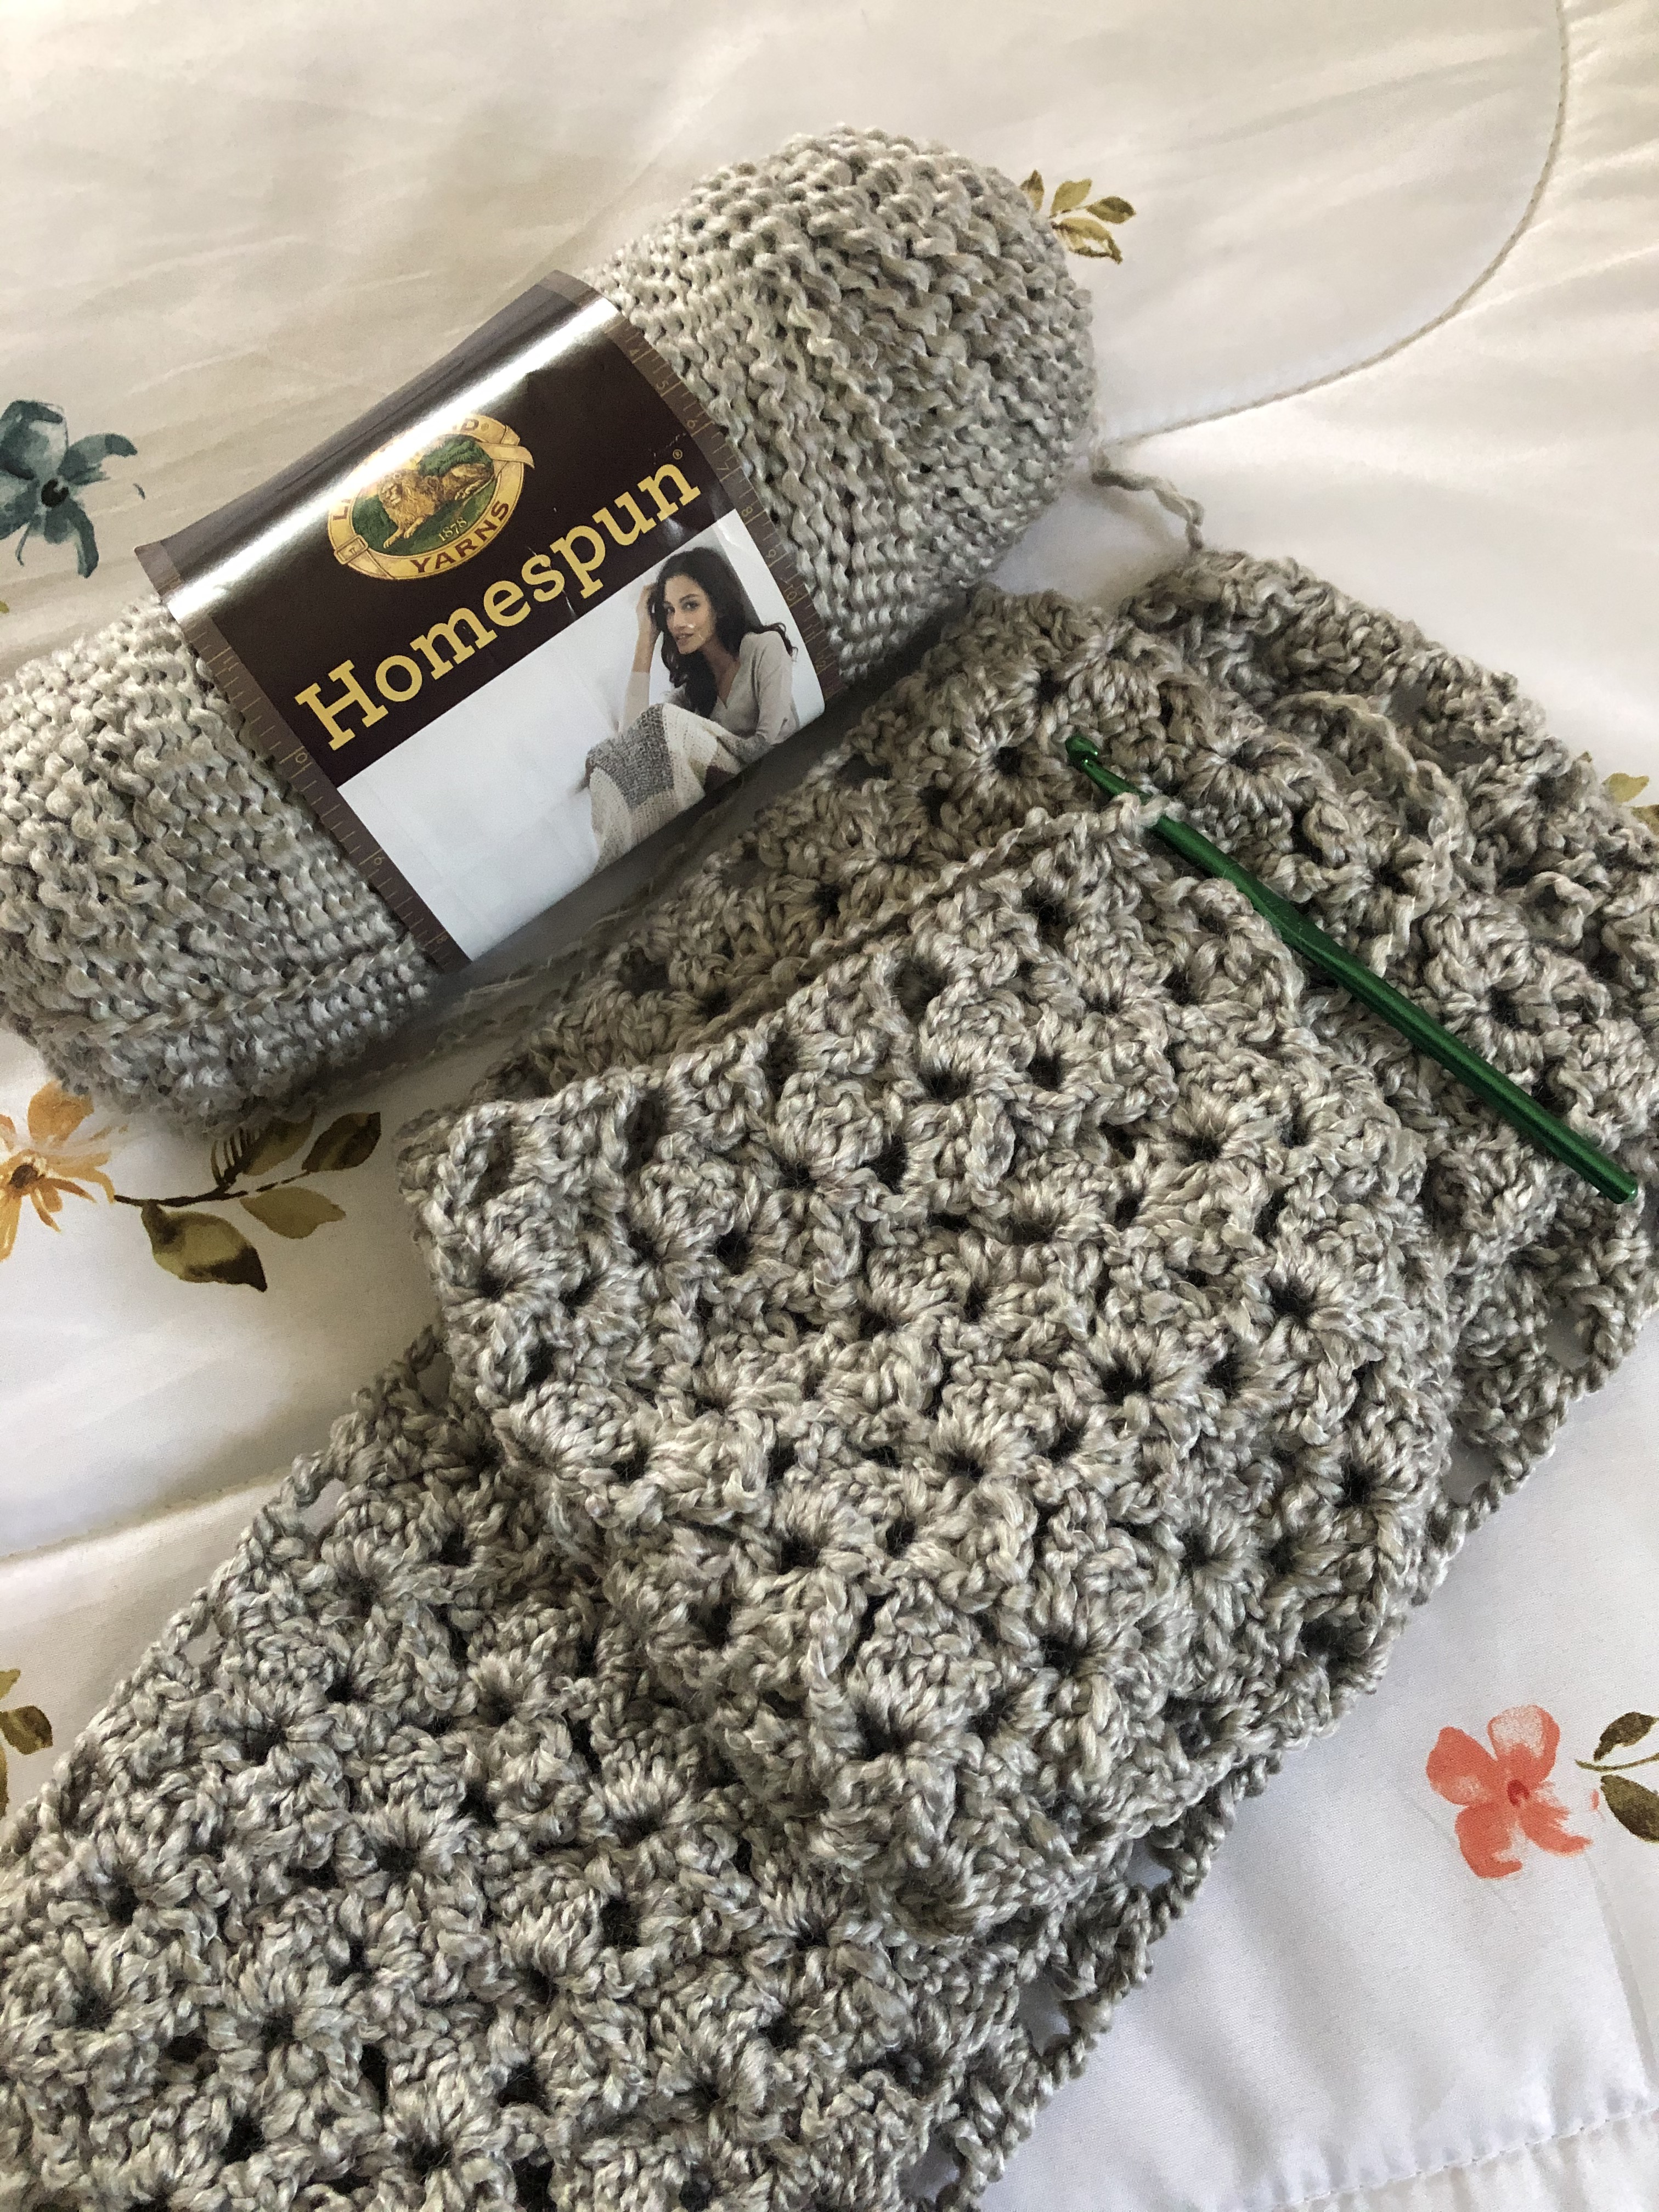
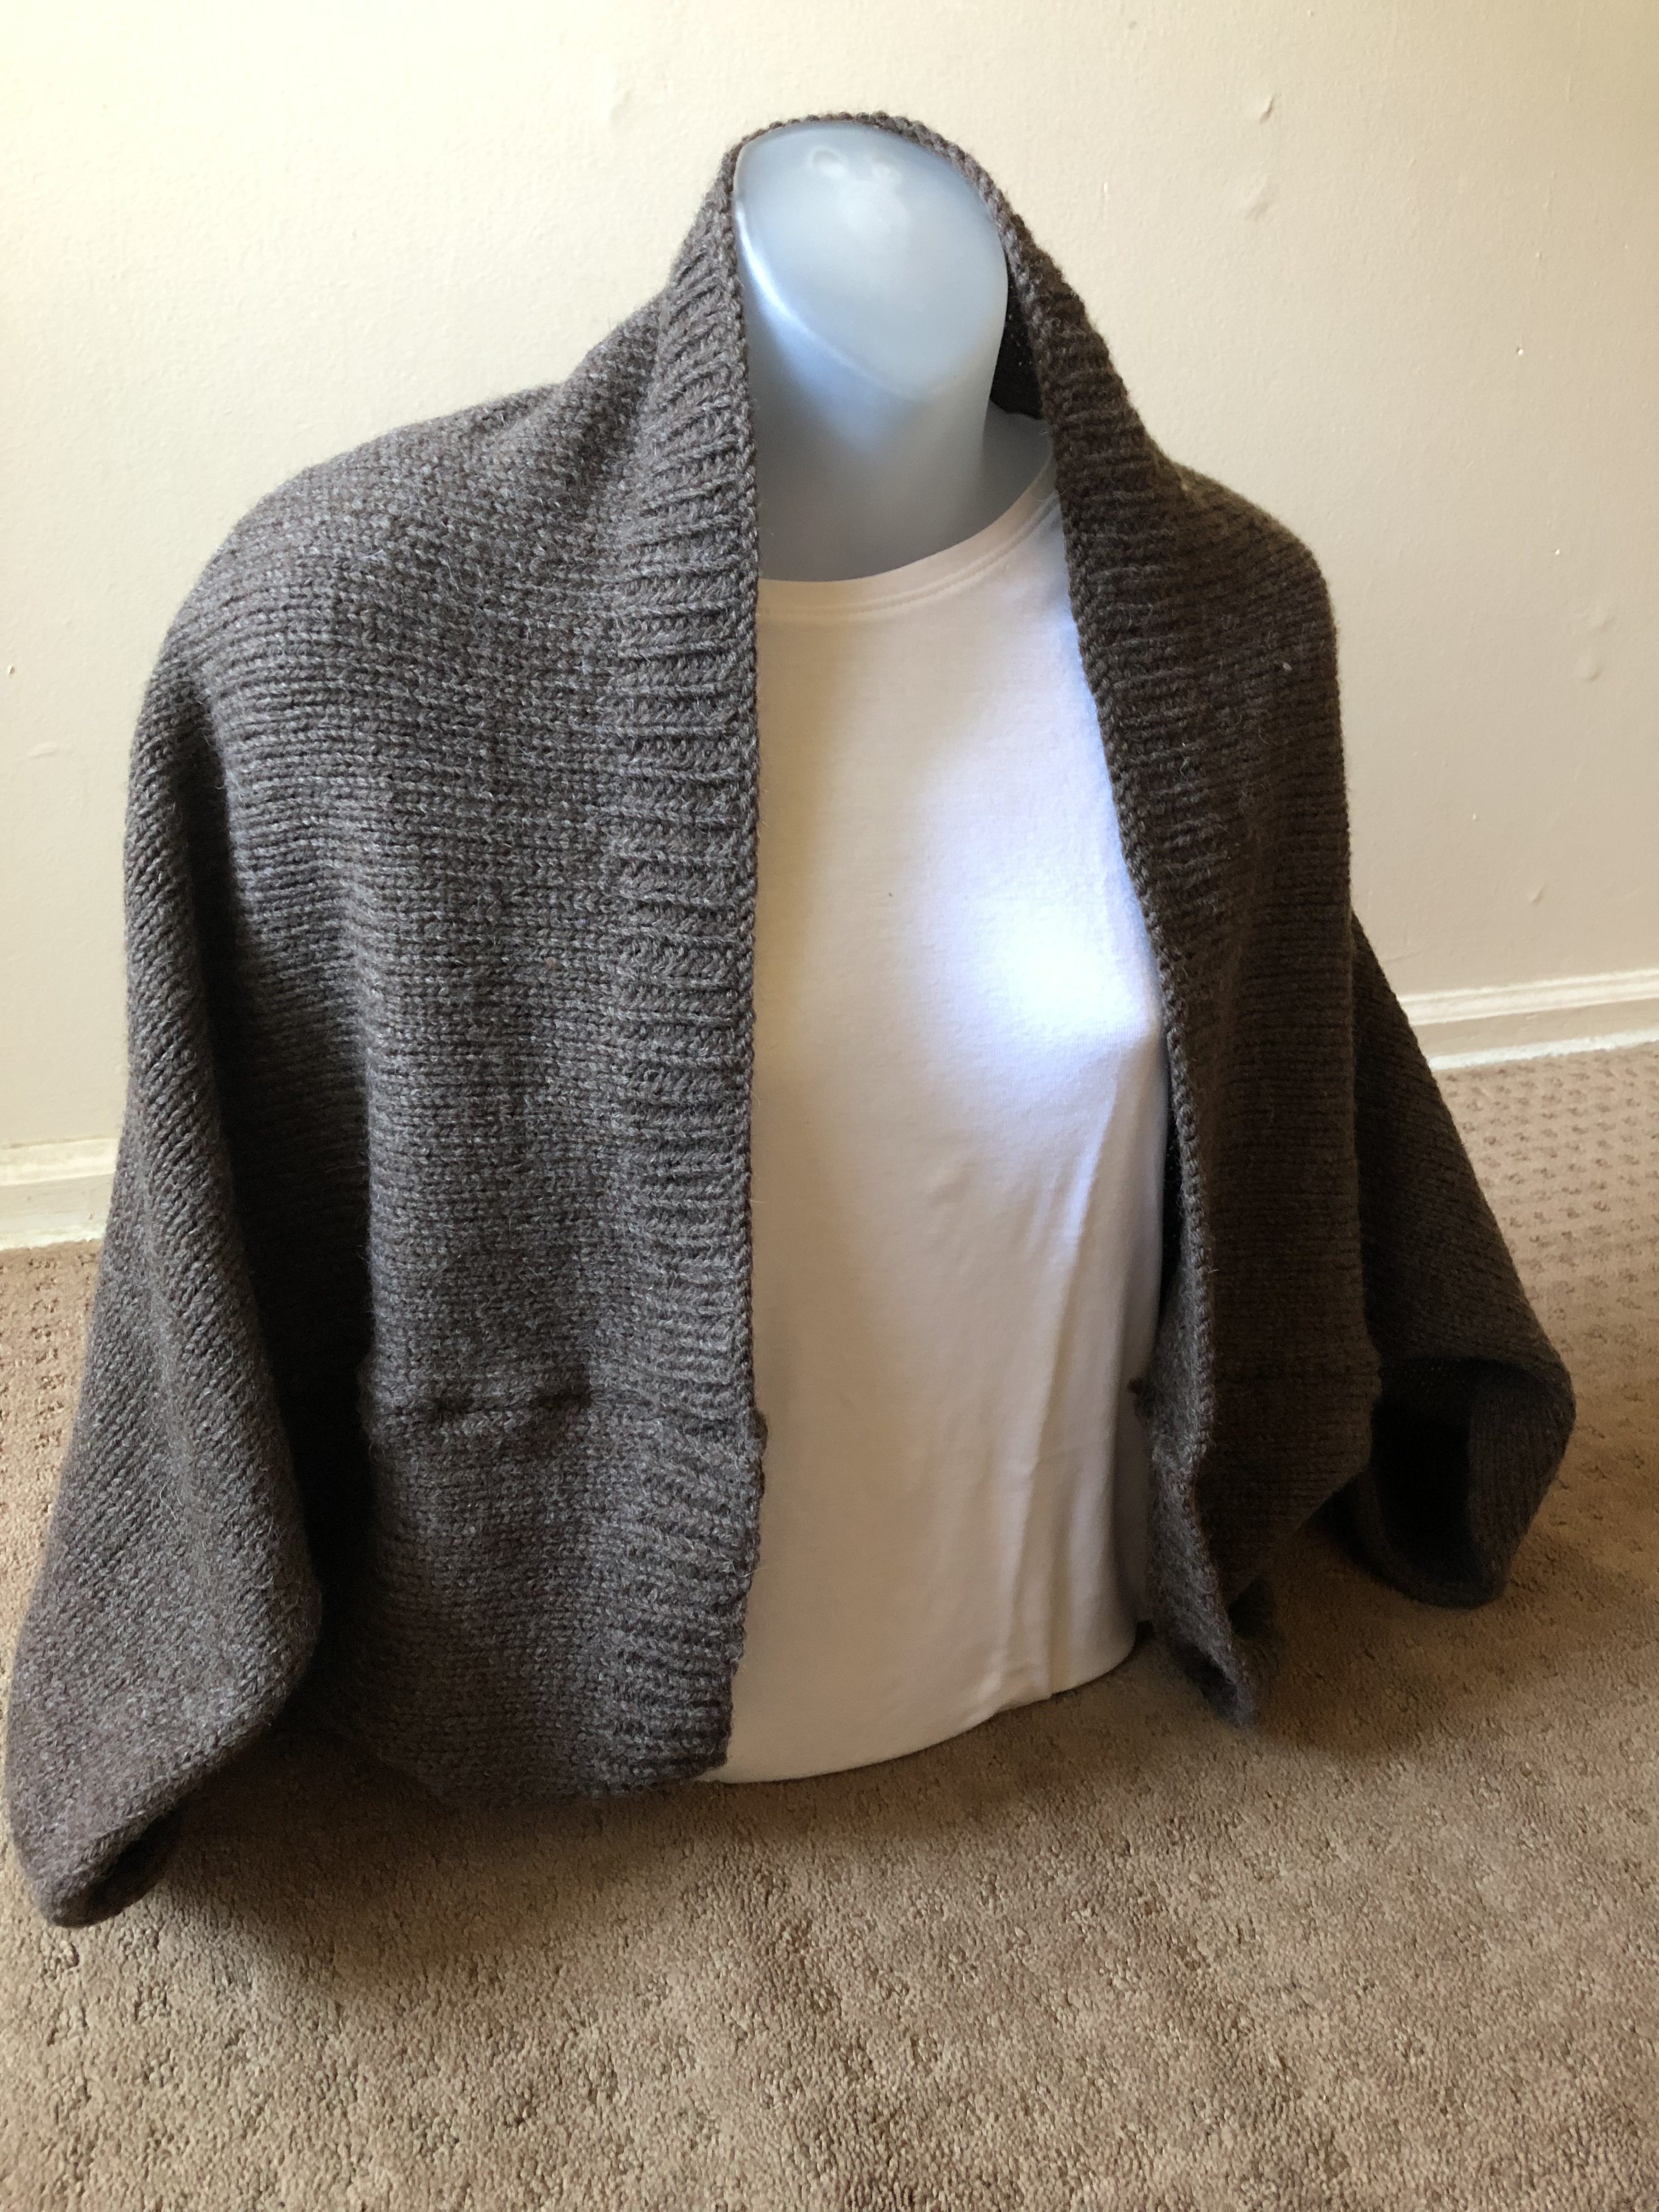
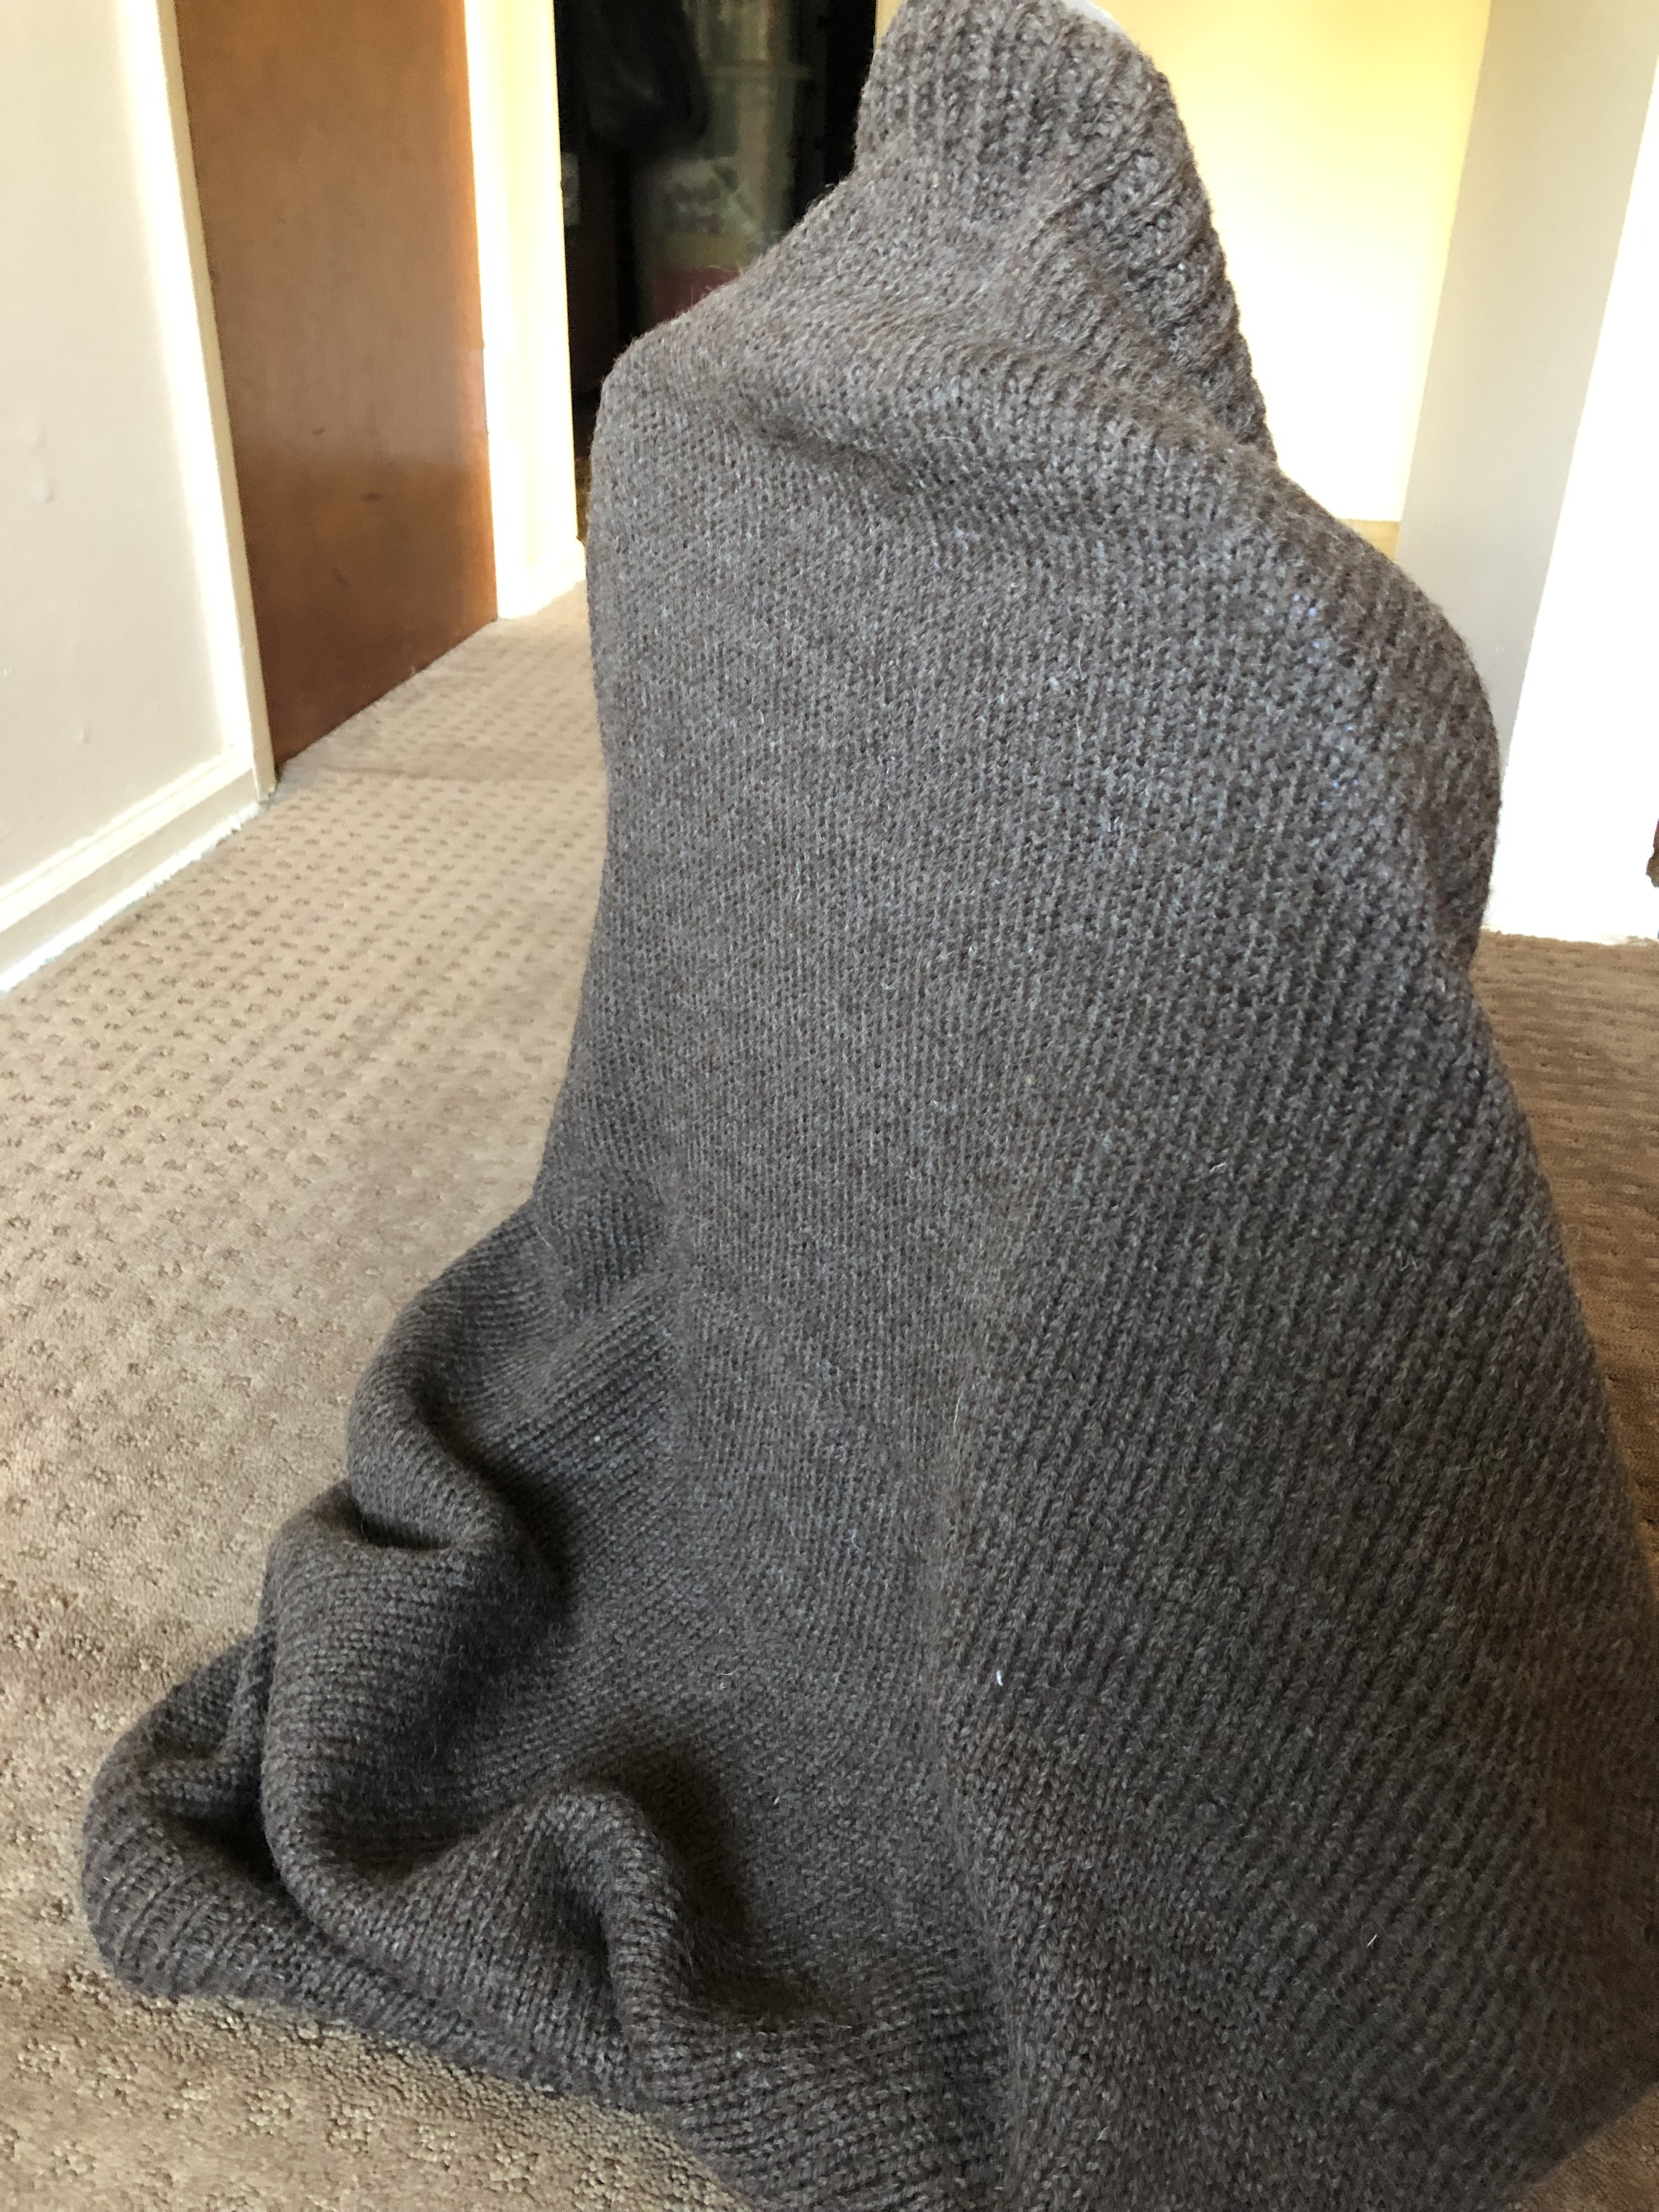
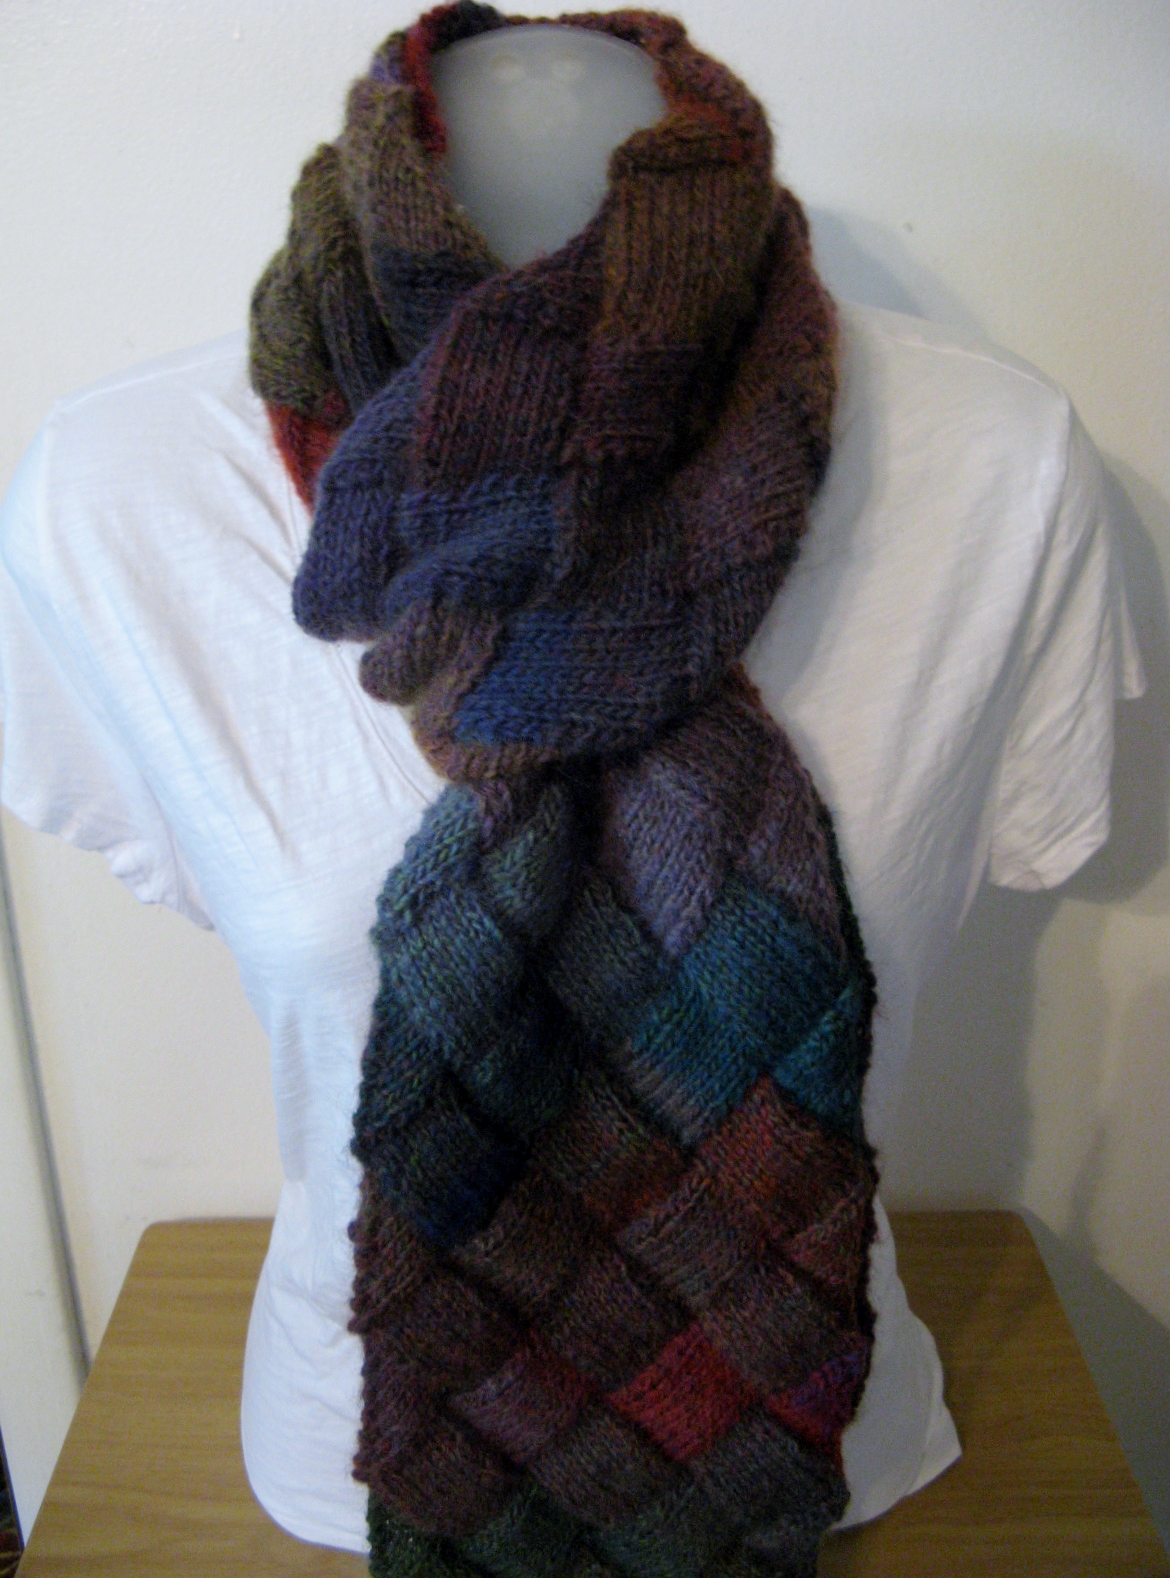
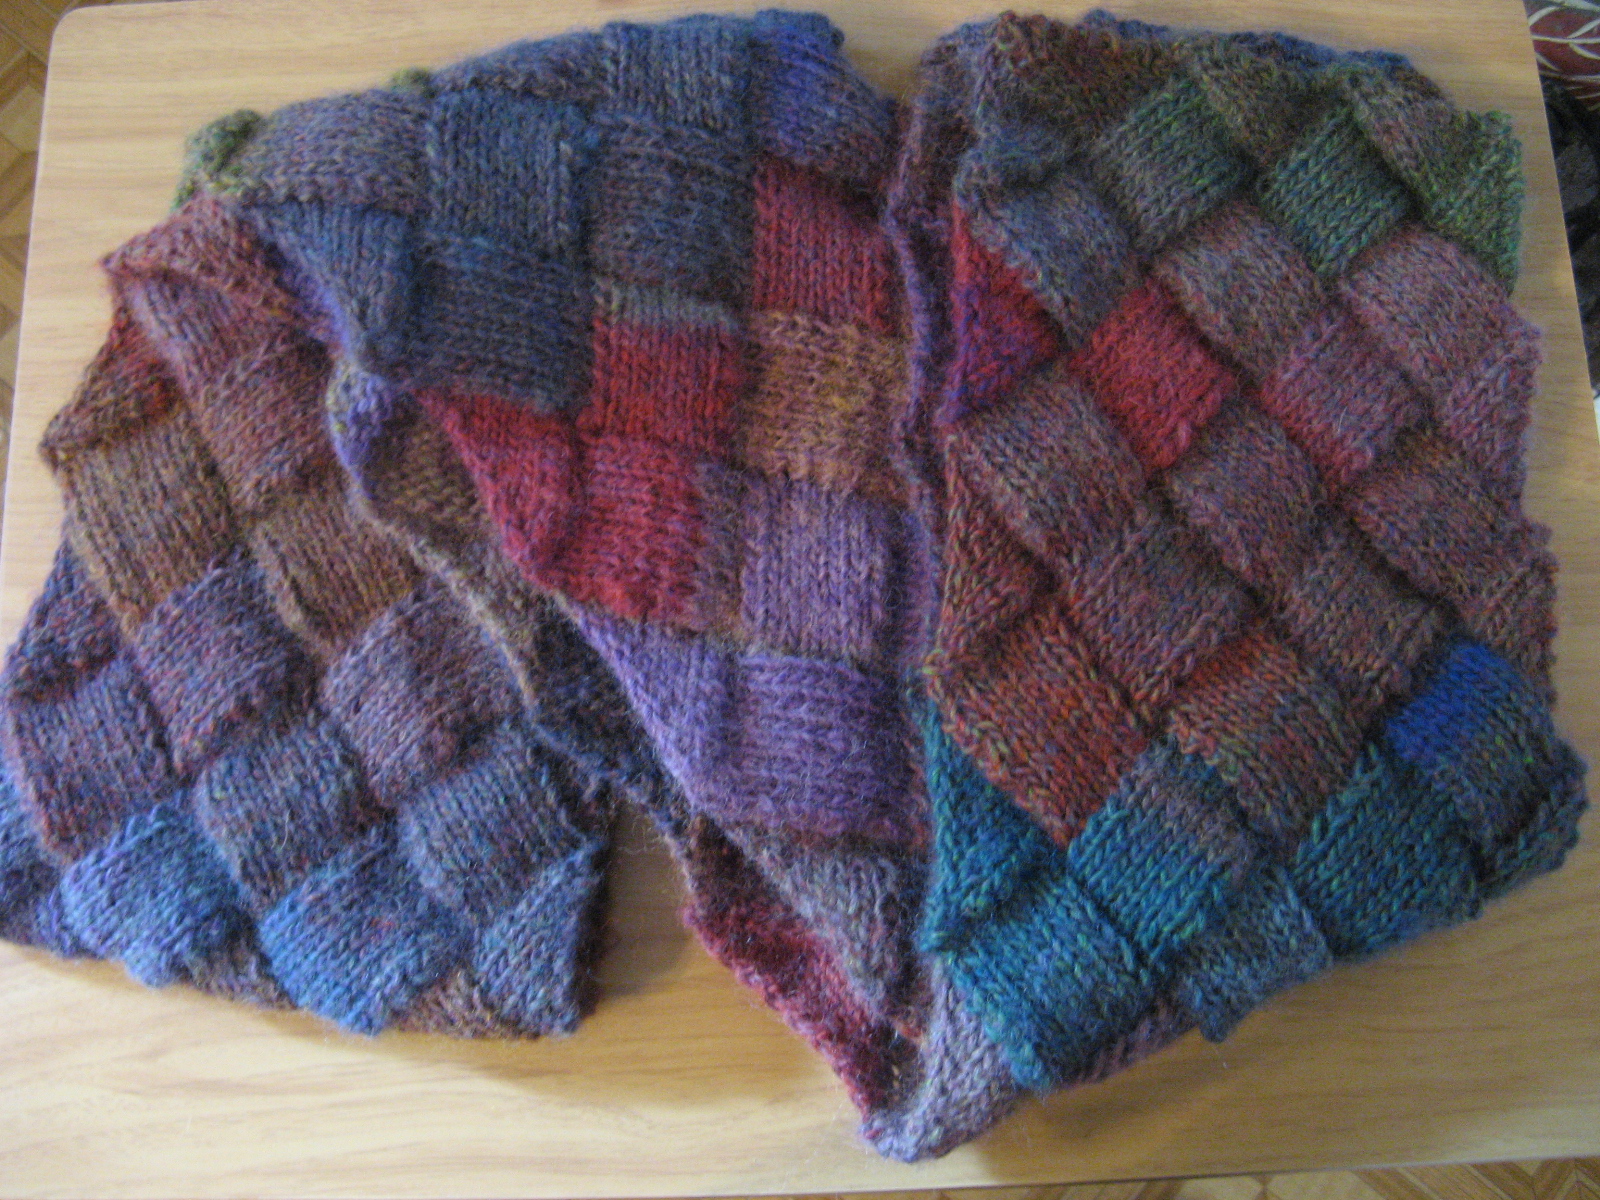
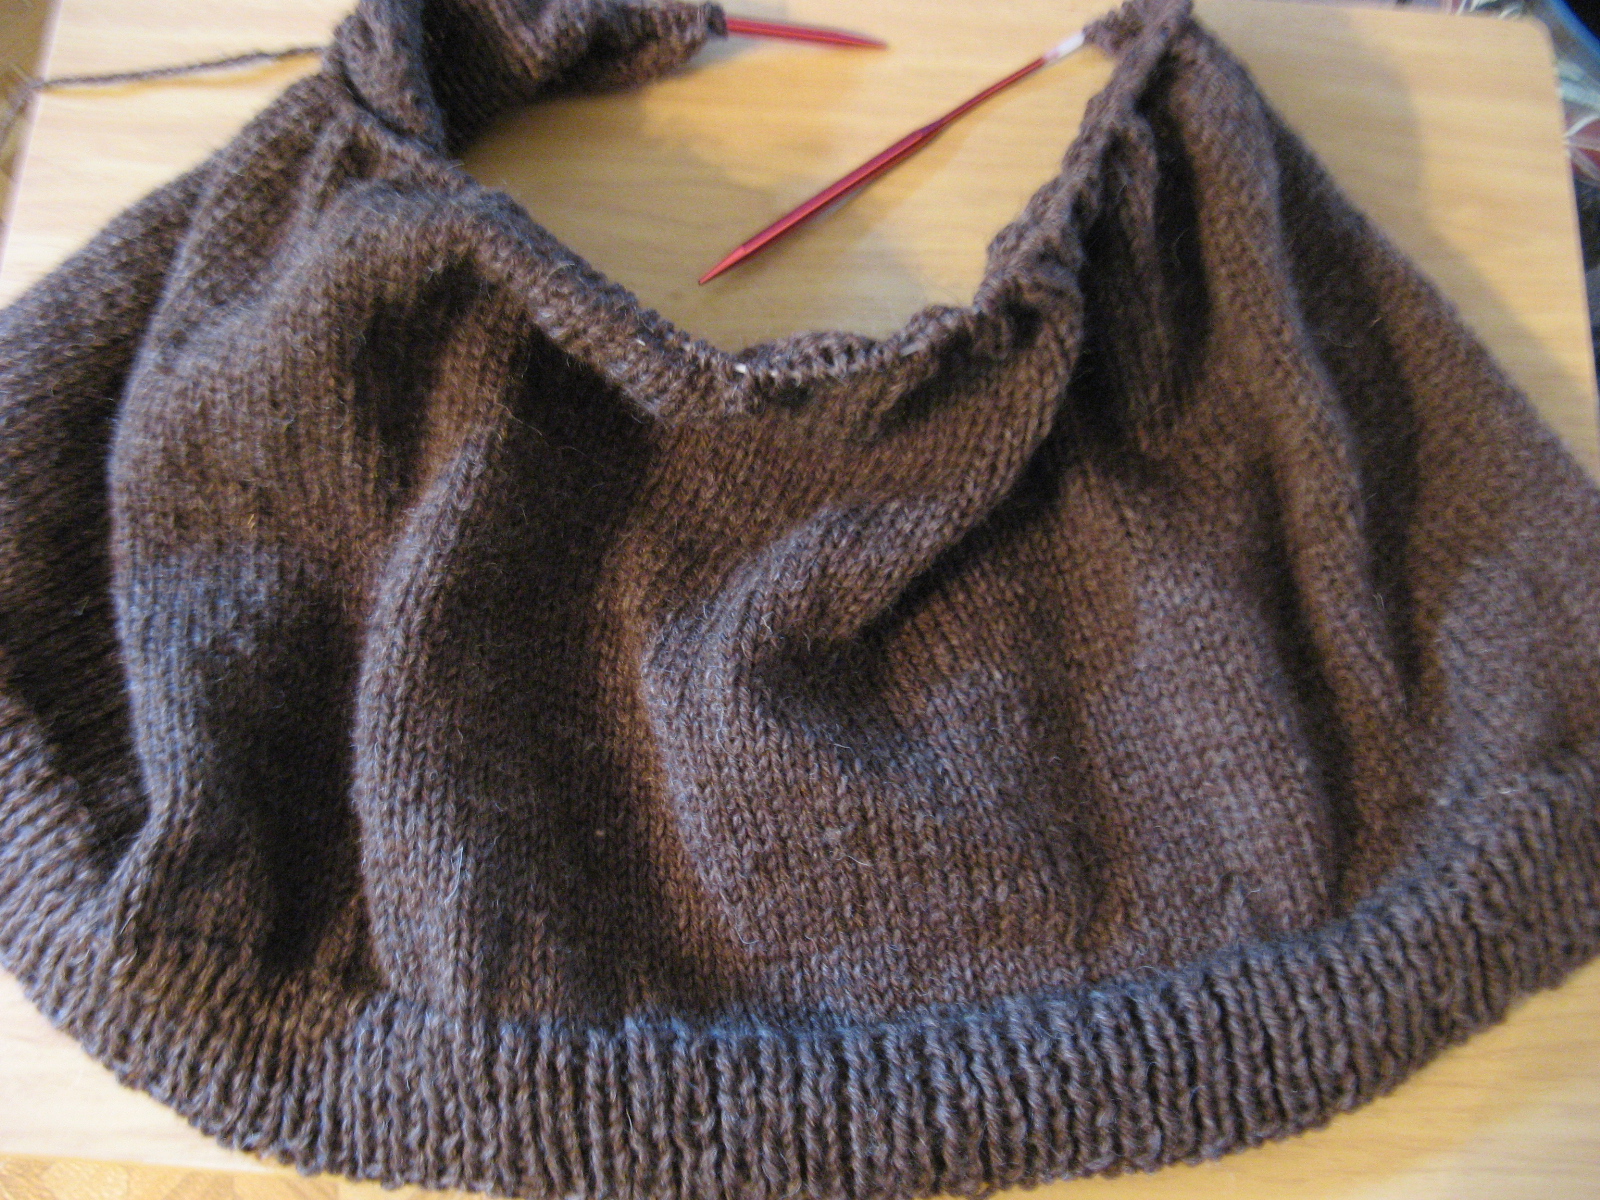
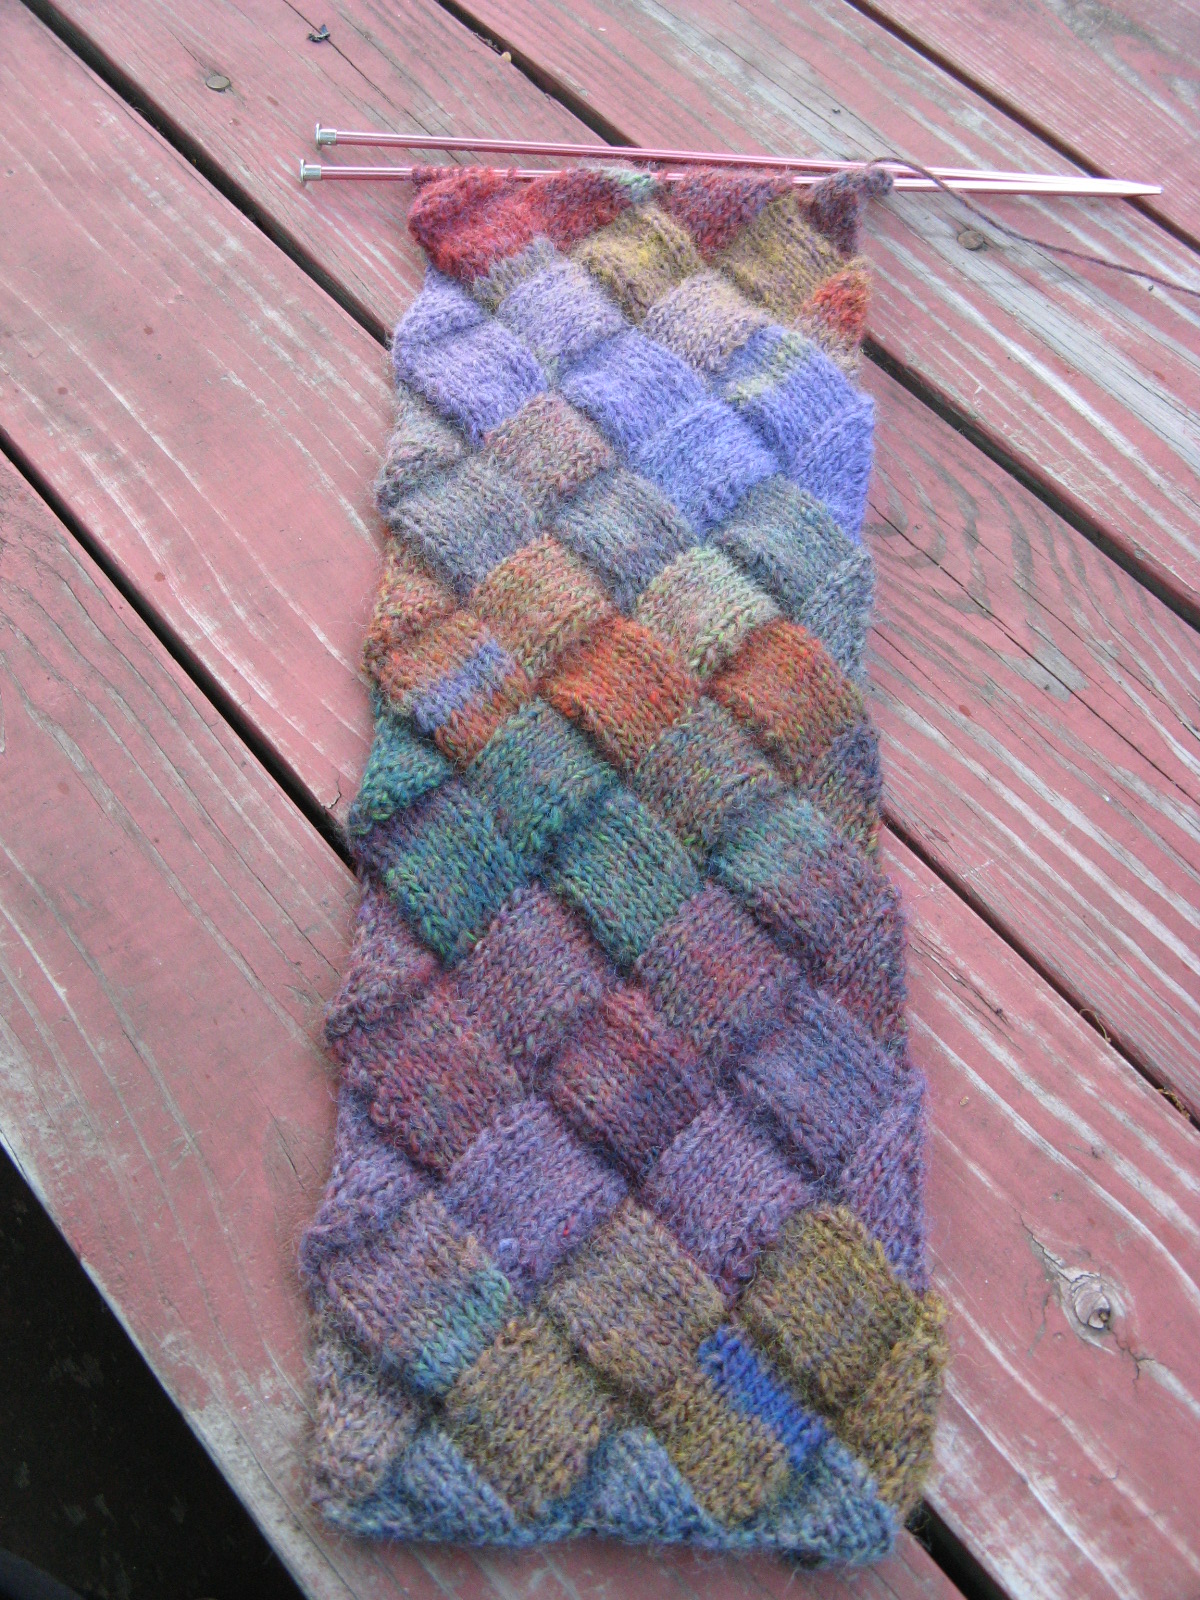
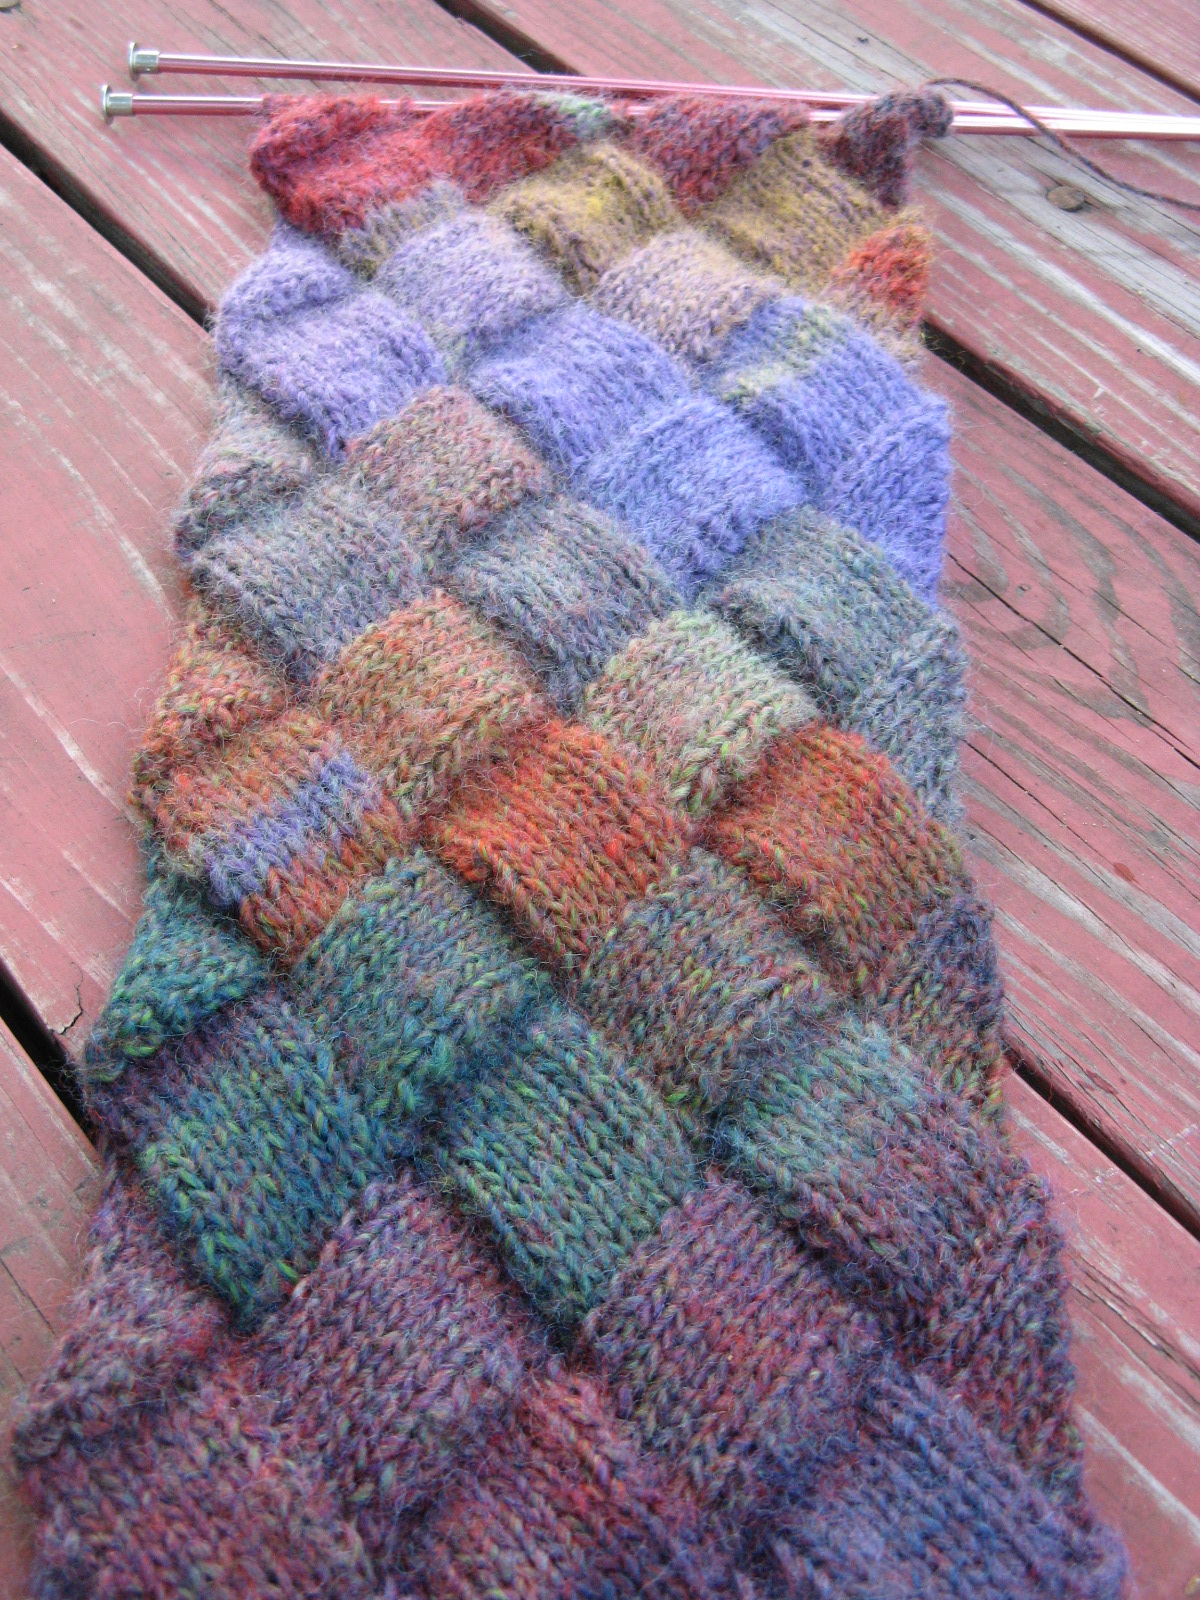
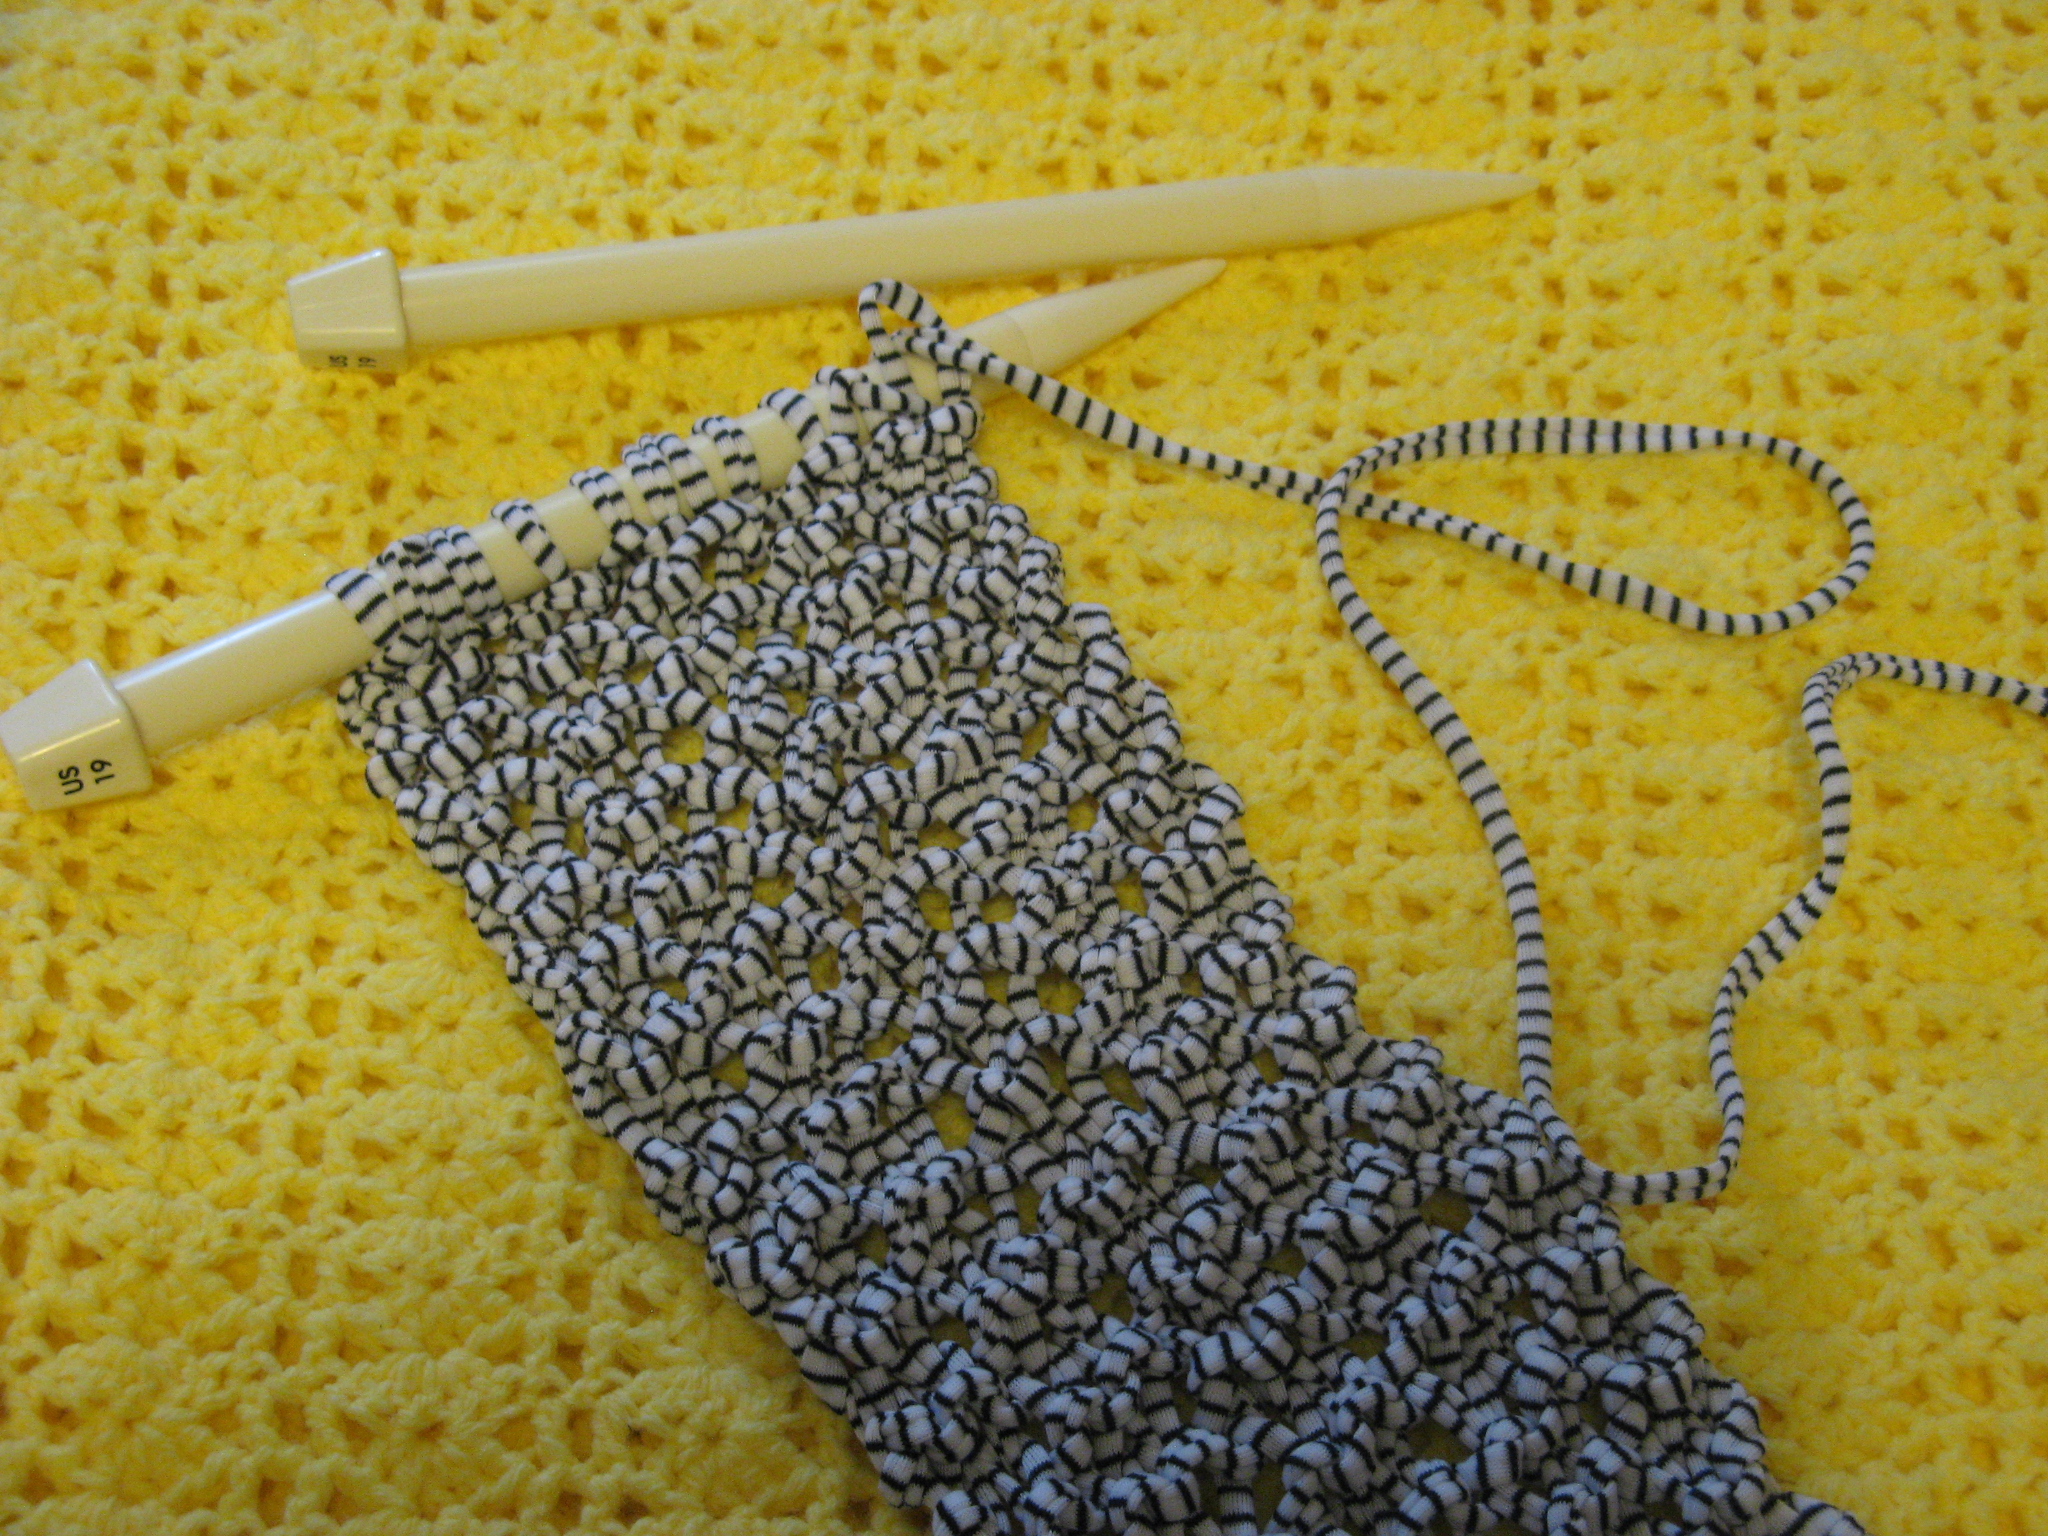
And finally, a knitted cowl. I’ve made a few of these scarves, the pattern is super simple. It’s the seed stitch and it creates a scarf that looks good in basically any weight yarn. This was the first time I made it using a heavier weight yarn and I really like how full and warm it will be for the colder months ahead. Truthfully, I had to make this scarf two times. The first time I casted on too many stitches and the scarf didn’t look good in the end. It was too short and bulky to loop around my neck, so I sadly frogged the entire thing and started over by casting on fewer stitches and it came out exactly how I wanted.

And now, I am looking for my next big yarn project that will hopefully not take me over a year to complete!