Yarn WIPs & Yarn Stashes

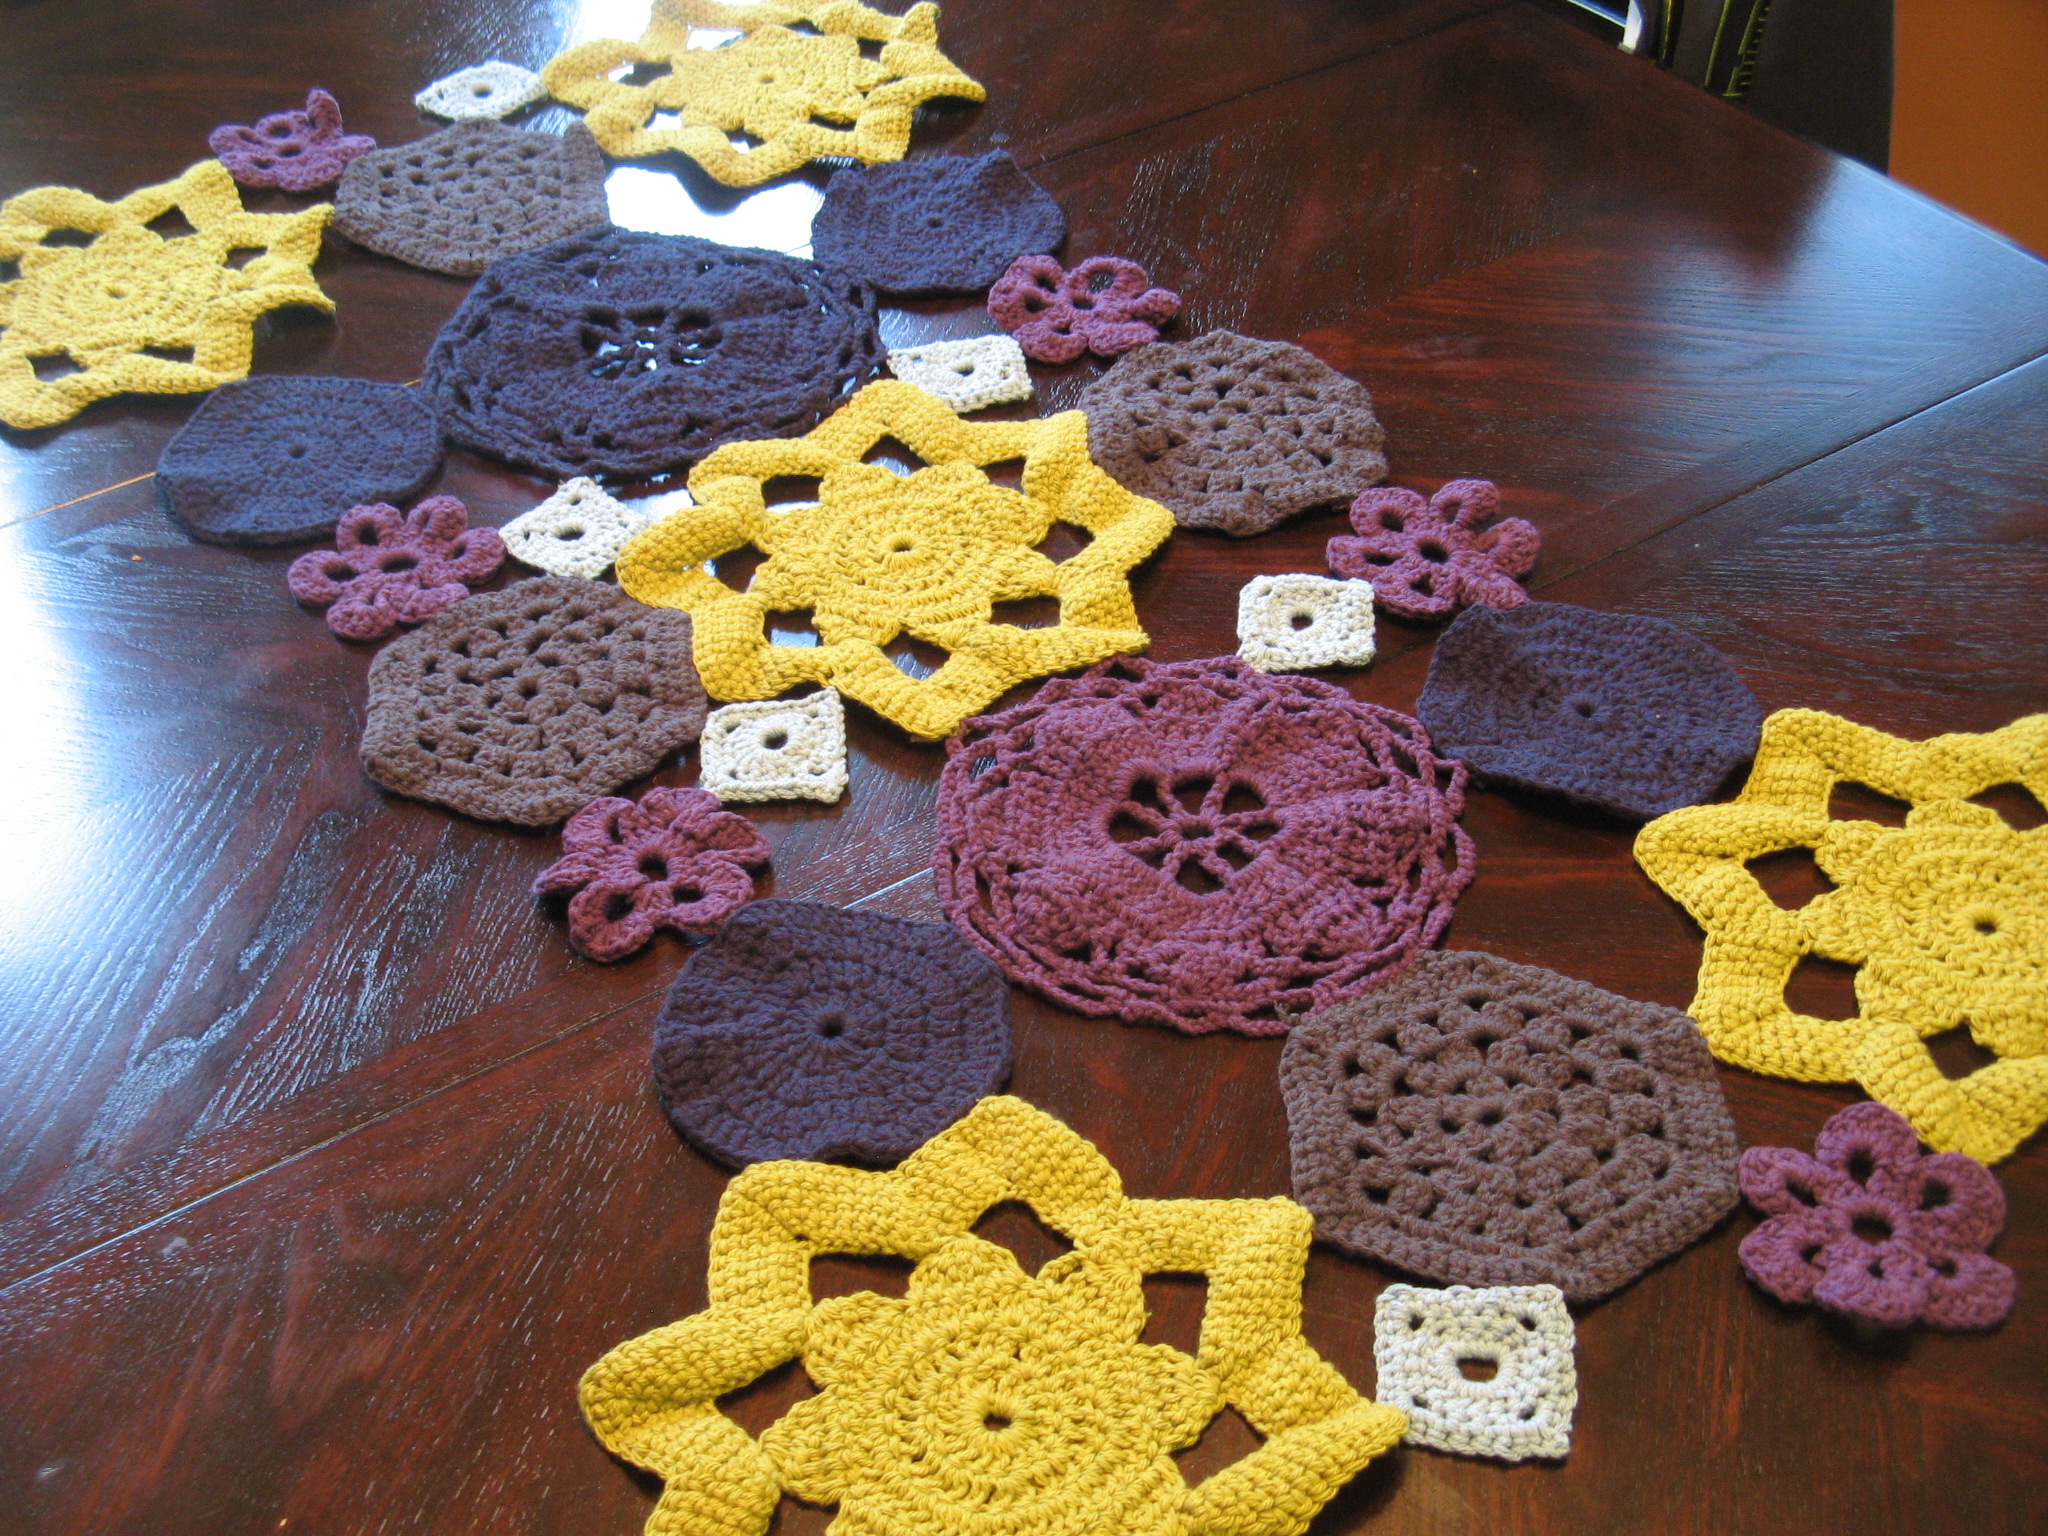
I’ve seen quite a few jokes about crocheters/knitters and their WIPs (works in progress) and yarn stashes.  I used to be guilty of both of those things. As for the latter, I’m sure my stash wasn’t (and isn’t) as big as others, but I did have a lot of scrap balls – yarn that isn’t enough to do anything with but enough to wind into a ball. And then there was yarn that I didn’t like working with or couldn’t for the life of me remember why I ever bought it. I didn’t want to get rid of any of it because I thought the perfect project would come along for it. Ultimately, I got into a purging mood (I get those from time to time when things begin to feel and look too cluttered) and I realized that holding onto these yarns that served no purpose was hindering me from seeing and organizing the yarn I did want to keep. I can now easily close the two extra-large bins I keep my yarn in and have room to buy more yarn that hopefully won’t become a victim of one of my purges.

As for WIPs, I’ve always been pretty good about working on one project at a time (except maybe around the holidays), but there have been quite a few times where I just didn’t like the project I was working on. It could have been because the yarn wasn’t easy to work with (too thin, unraveling, etc.…) or the pattern itself wasn’t one that I liked. I used to muddle through for longer than I should and would finally throw in the towel after being thoroughly frustrated by the project. I used to feel guilty about it but recently when I gave up on a project using a yarn that I had wanted to try for a while but ended up not working up the way I thought it would I realized that there was nothing to feel guilty or bad about. That hobbies aren’t supposed to annoy and frustrate us – challenge us yes, but those things aren’t the same. You should feel happy about the item you’re creating when working on your given hobby, but, if that feeling turns negative it’s time to reevaluate and realize it’s okay to let it go and move on to the next thing. We’re taught that we shouldn’t give up on things but sometimes we must do that in order to learn something new and find joy in what we’re doing. Whether I’m making jewelry, cards, decorating a cake, crocheting or knitting I like to take a few moments while doing so to appreciate what I am making. And if I am feeling frustrated by it that’s not going to happen.

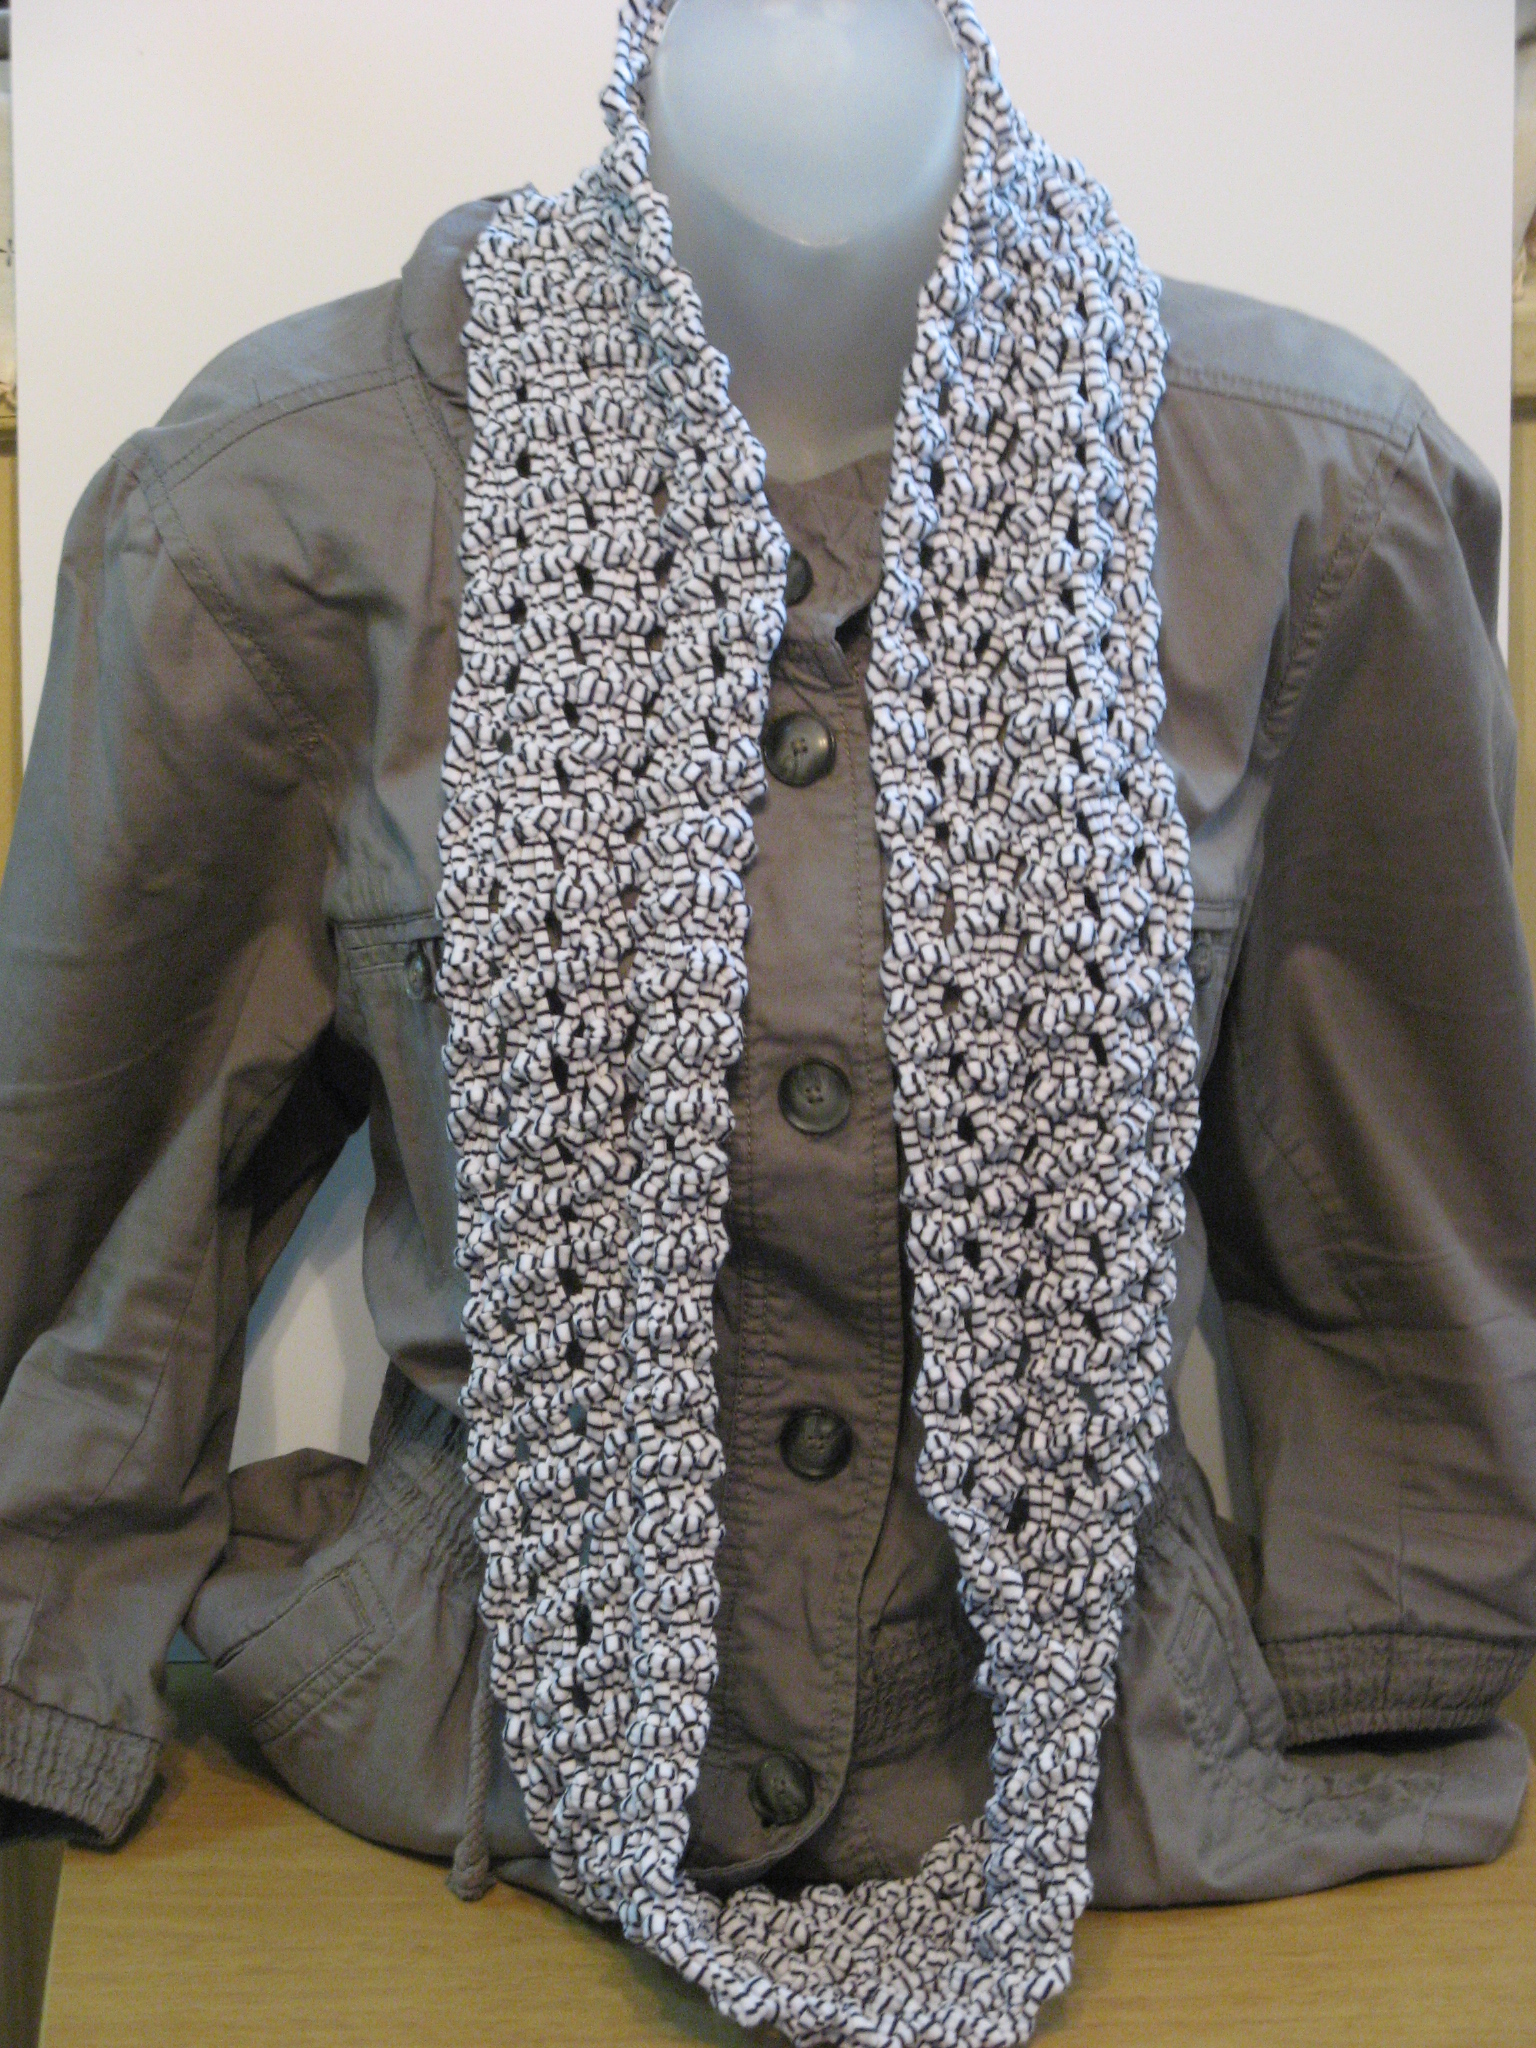
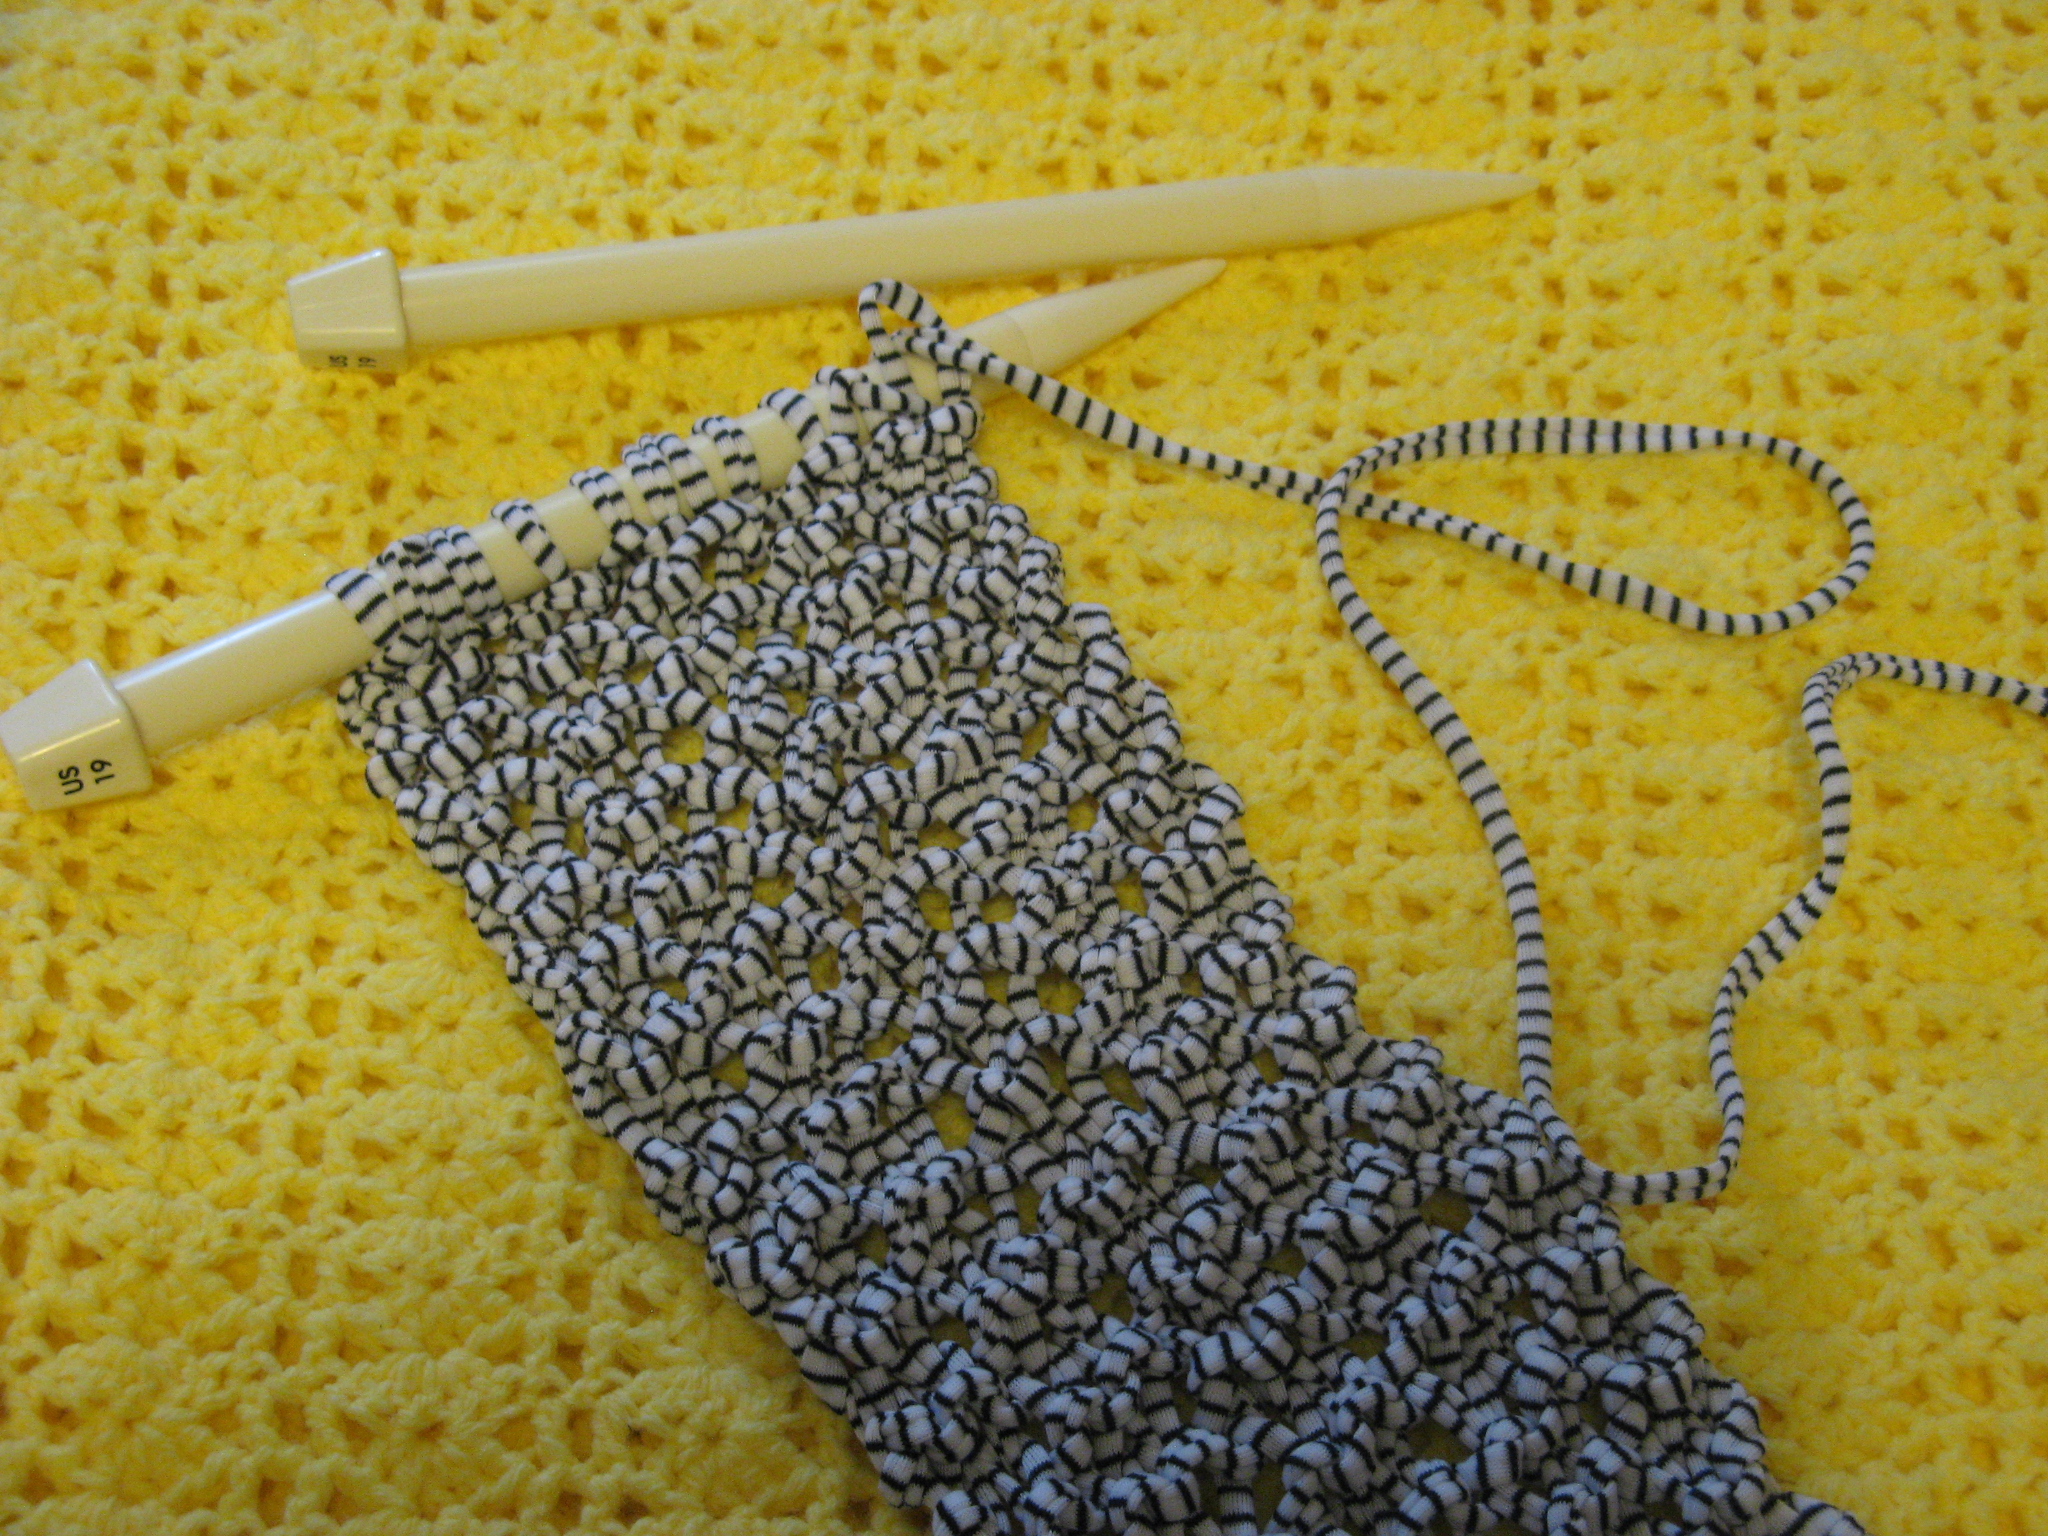
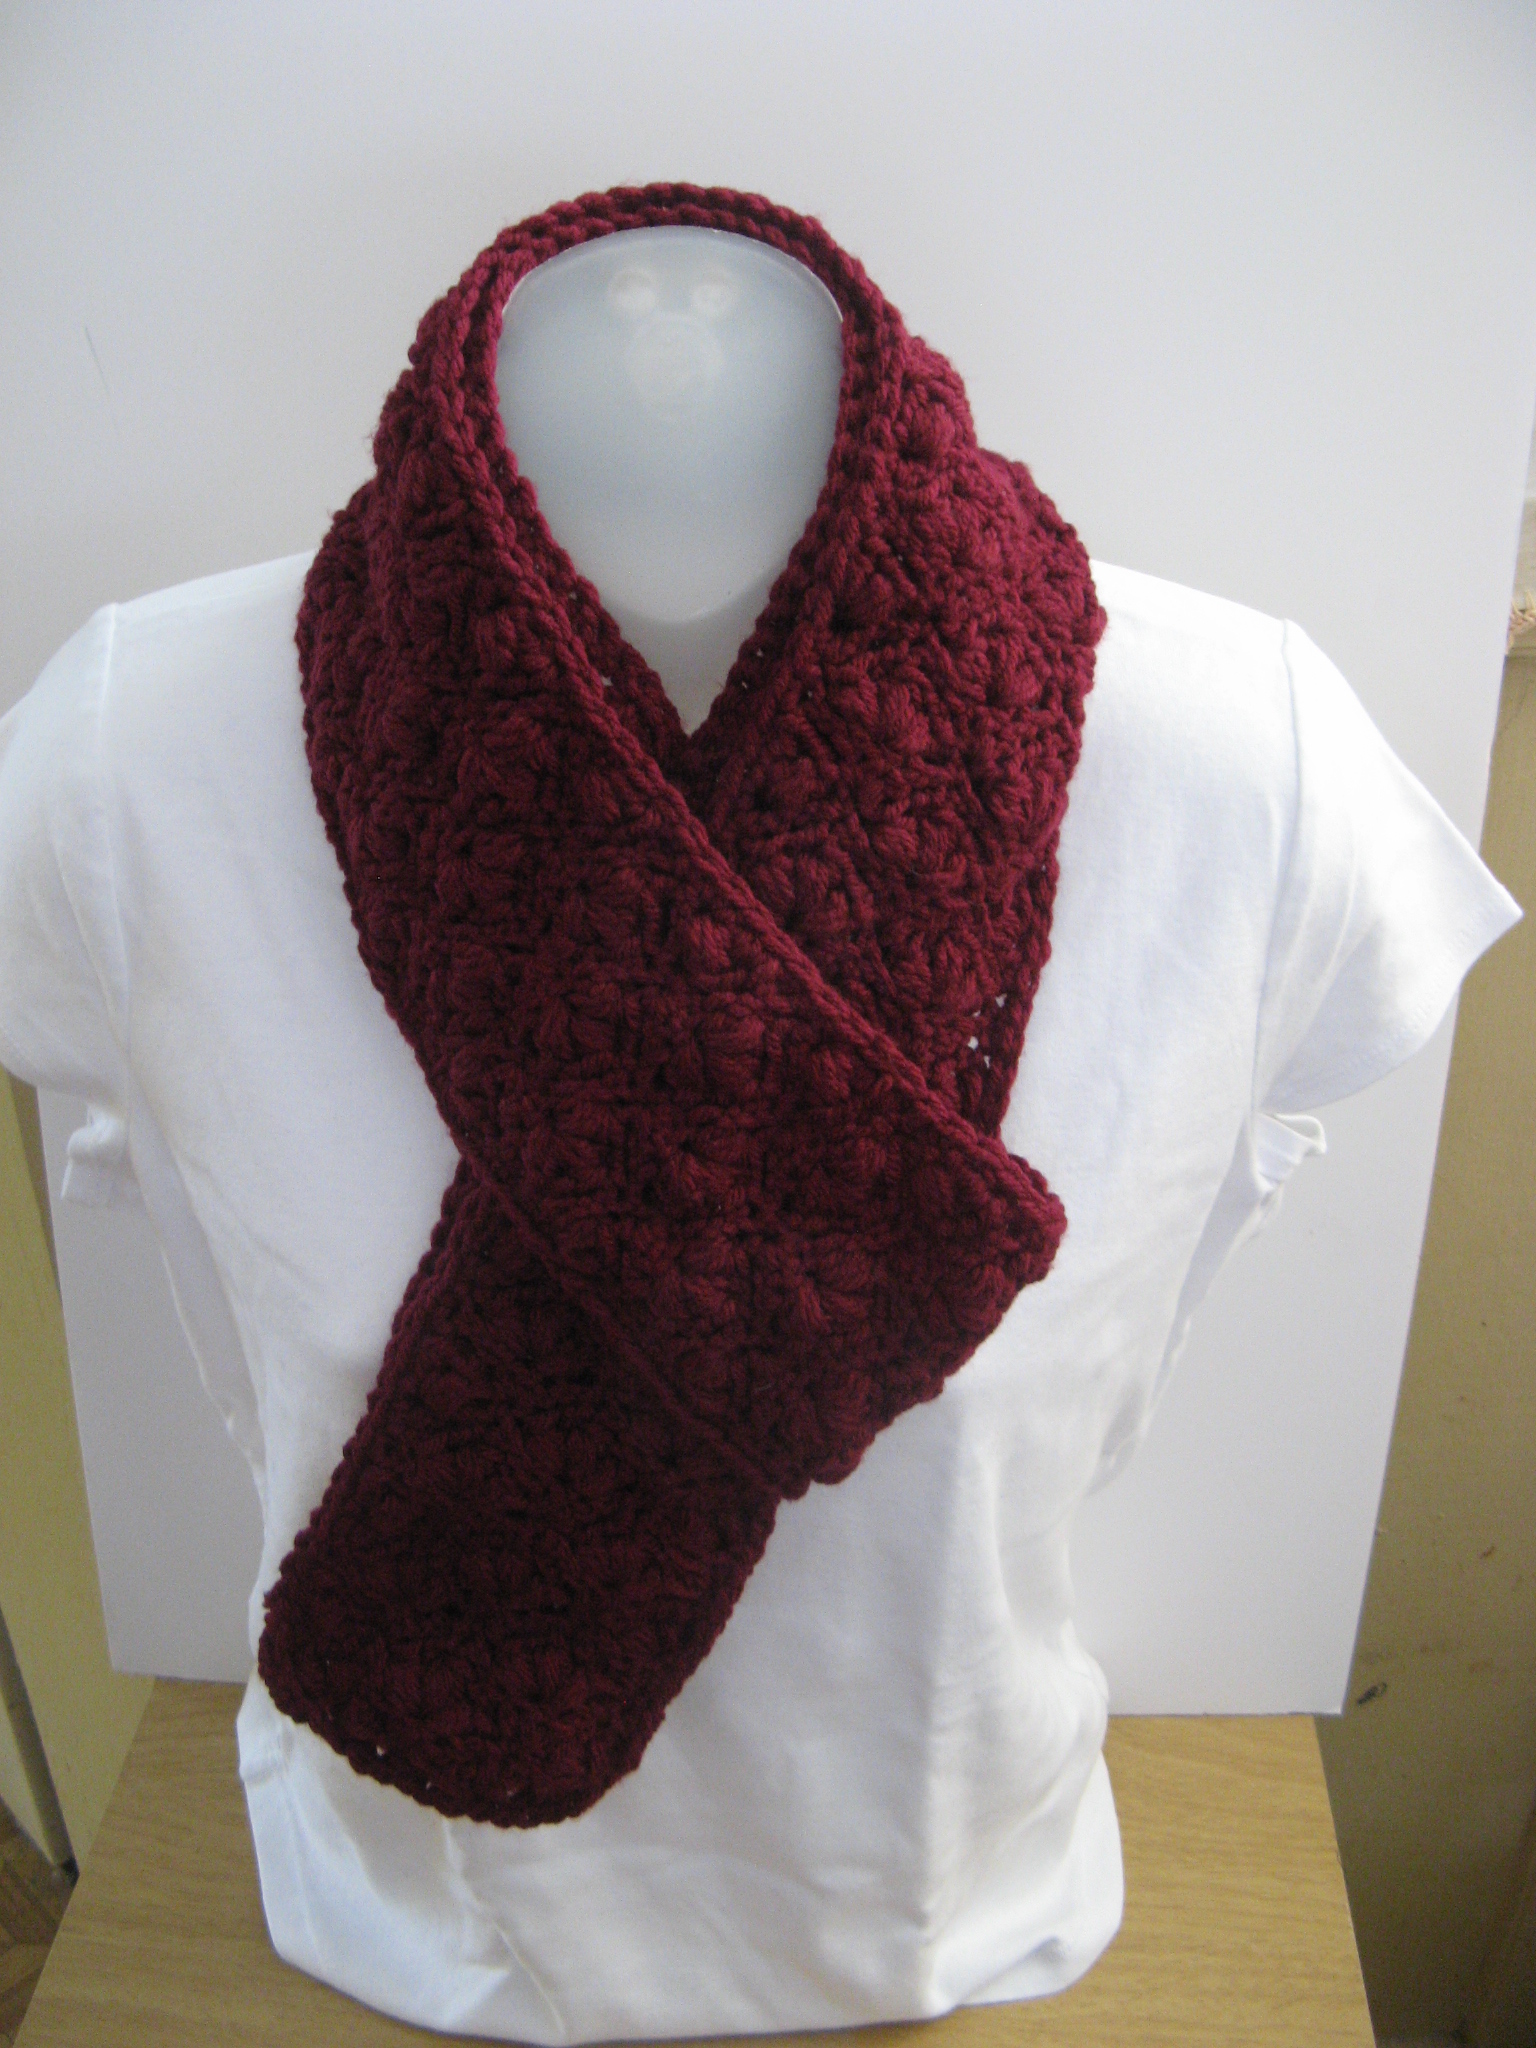
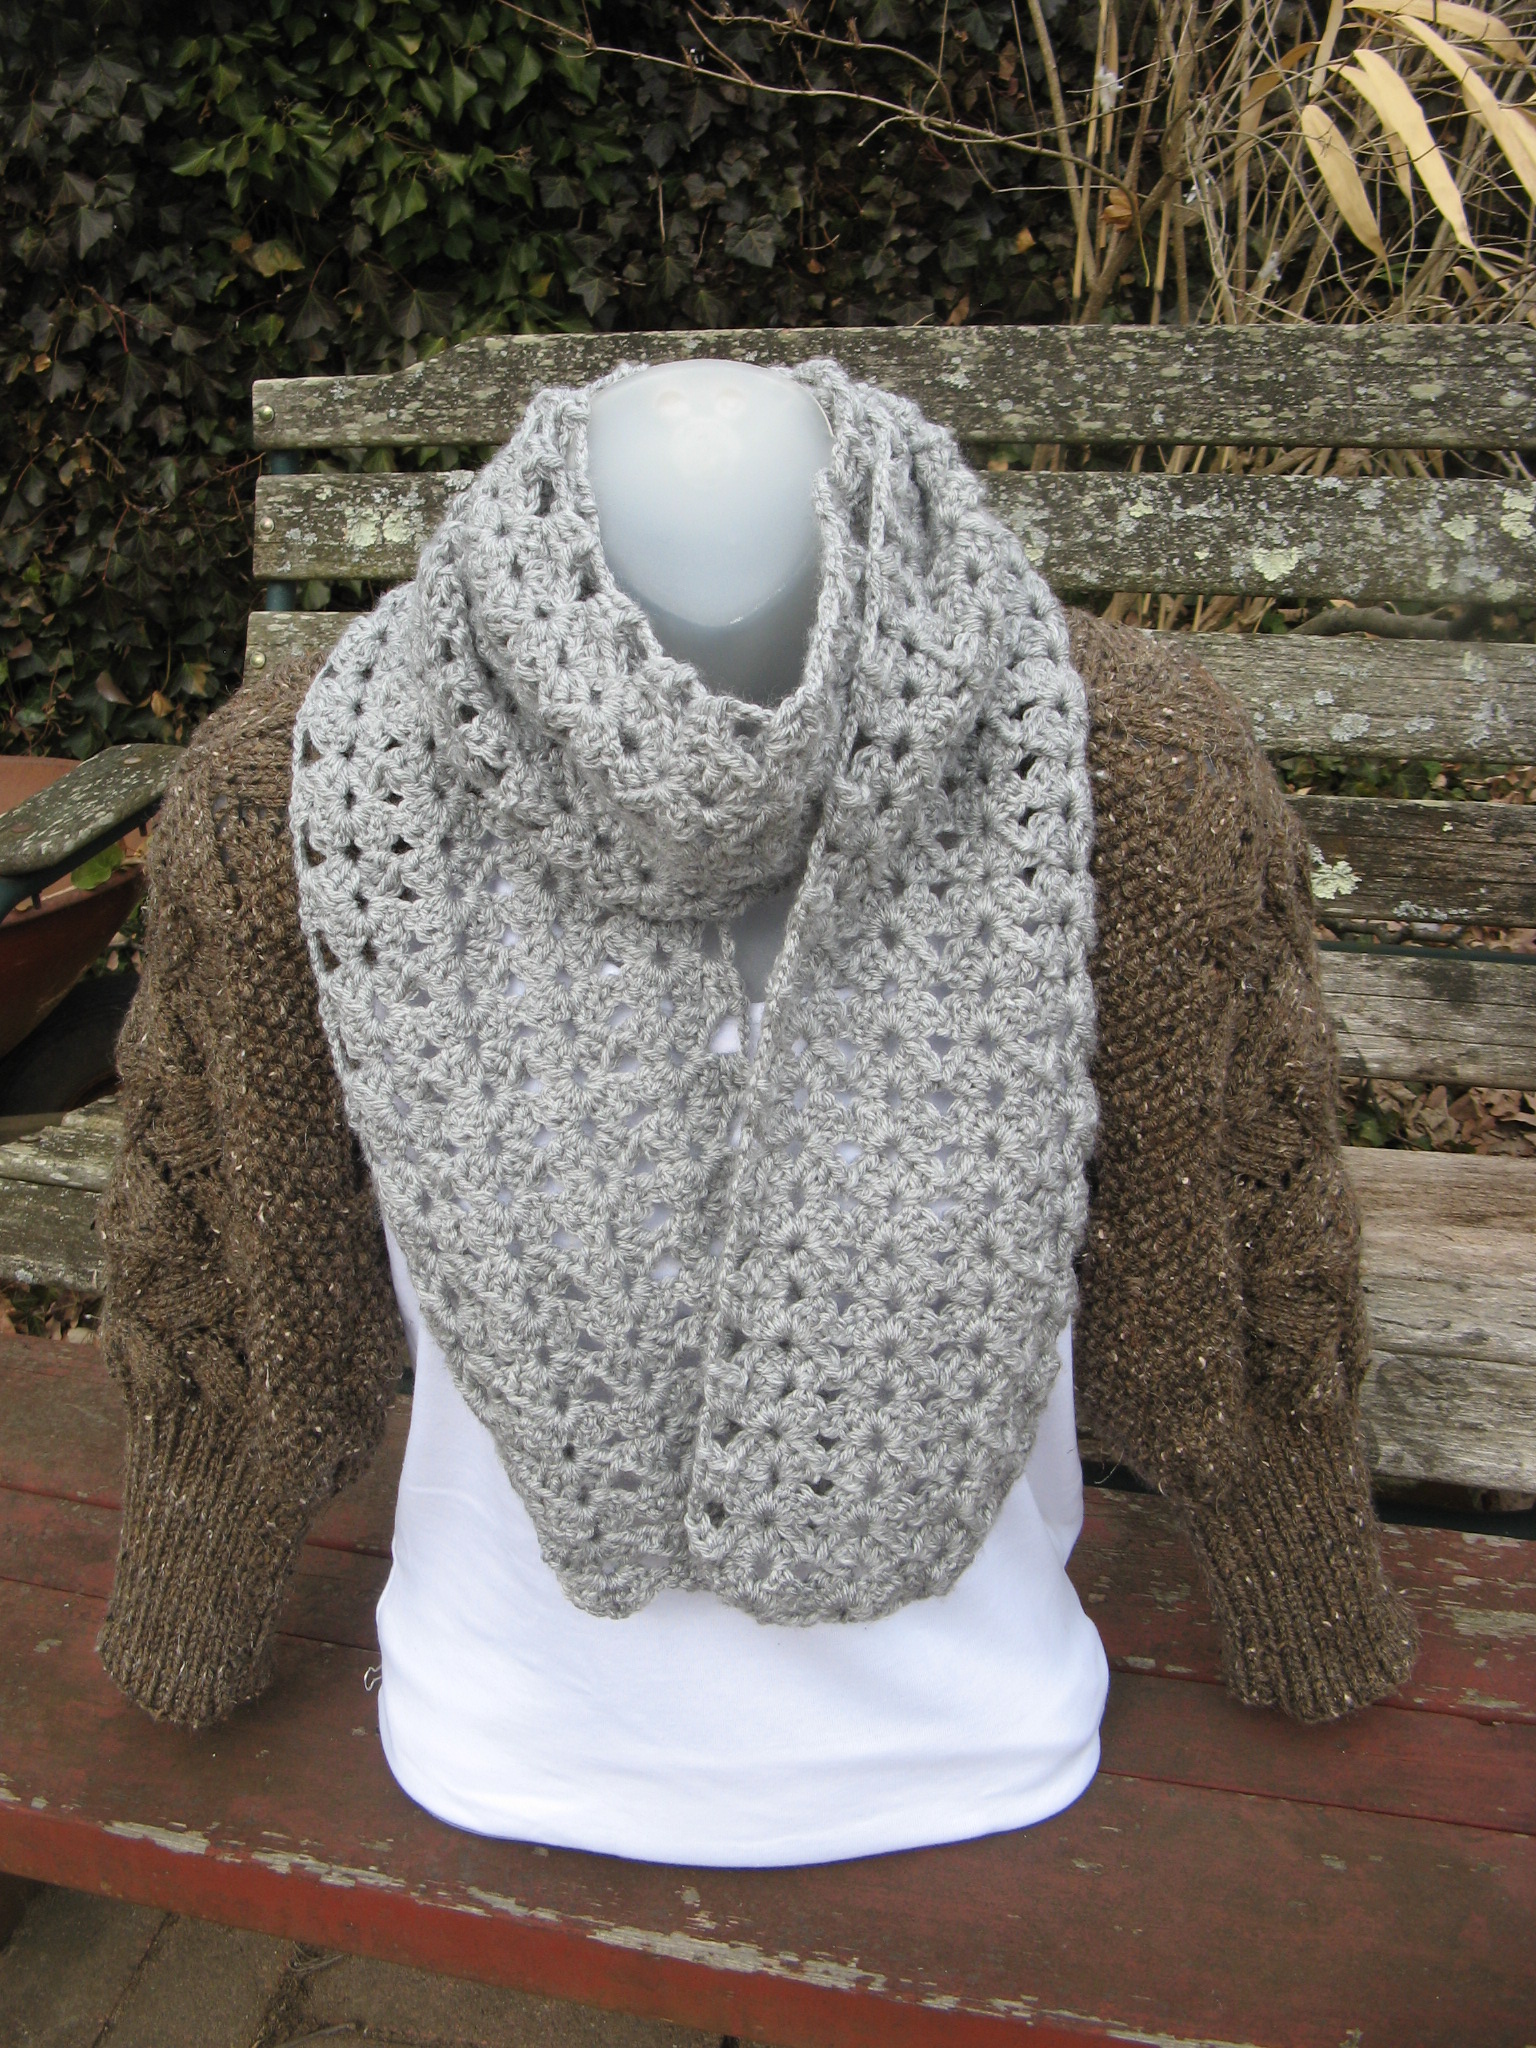
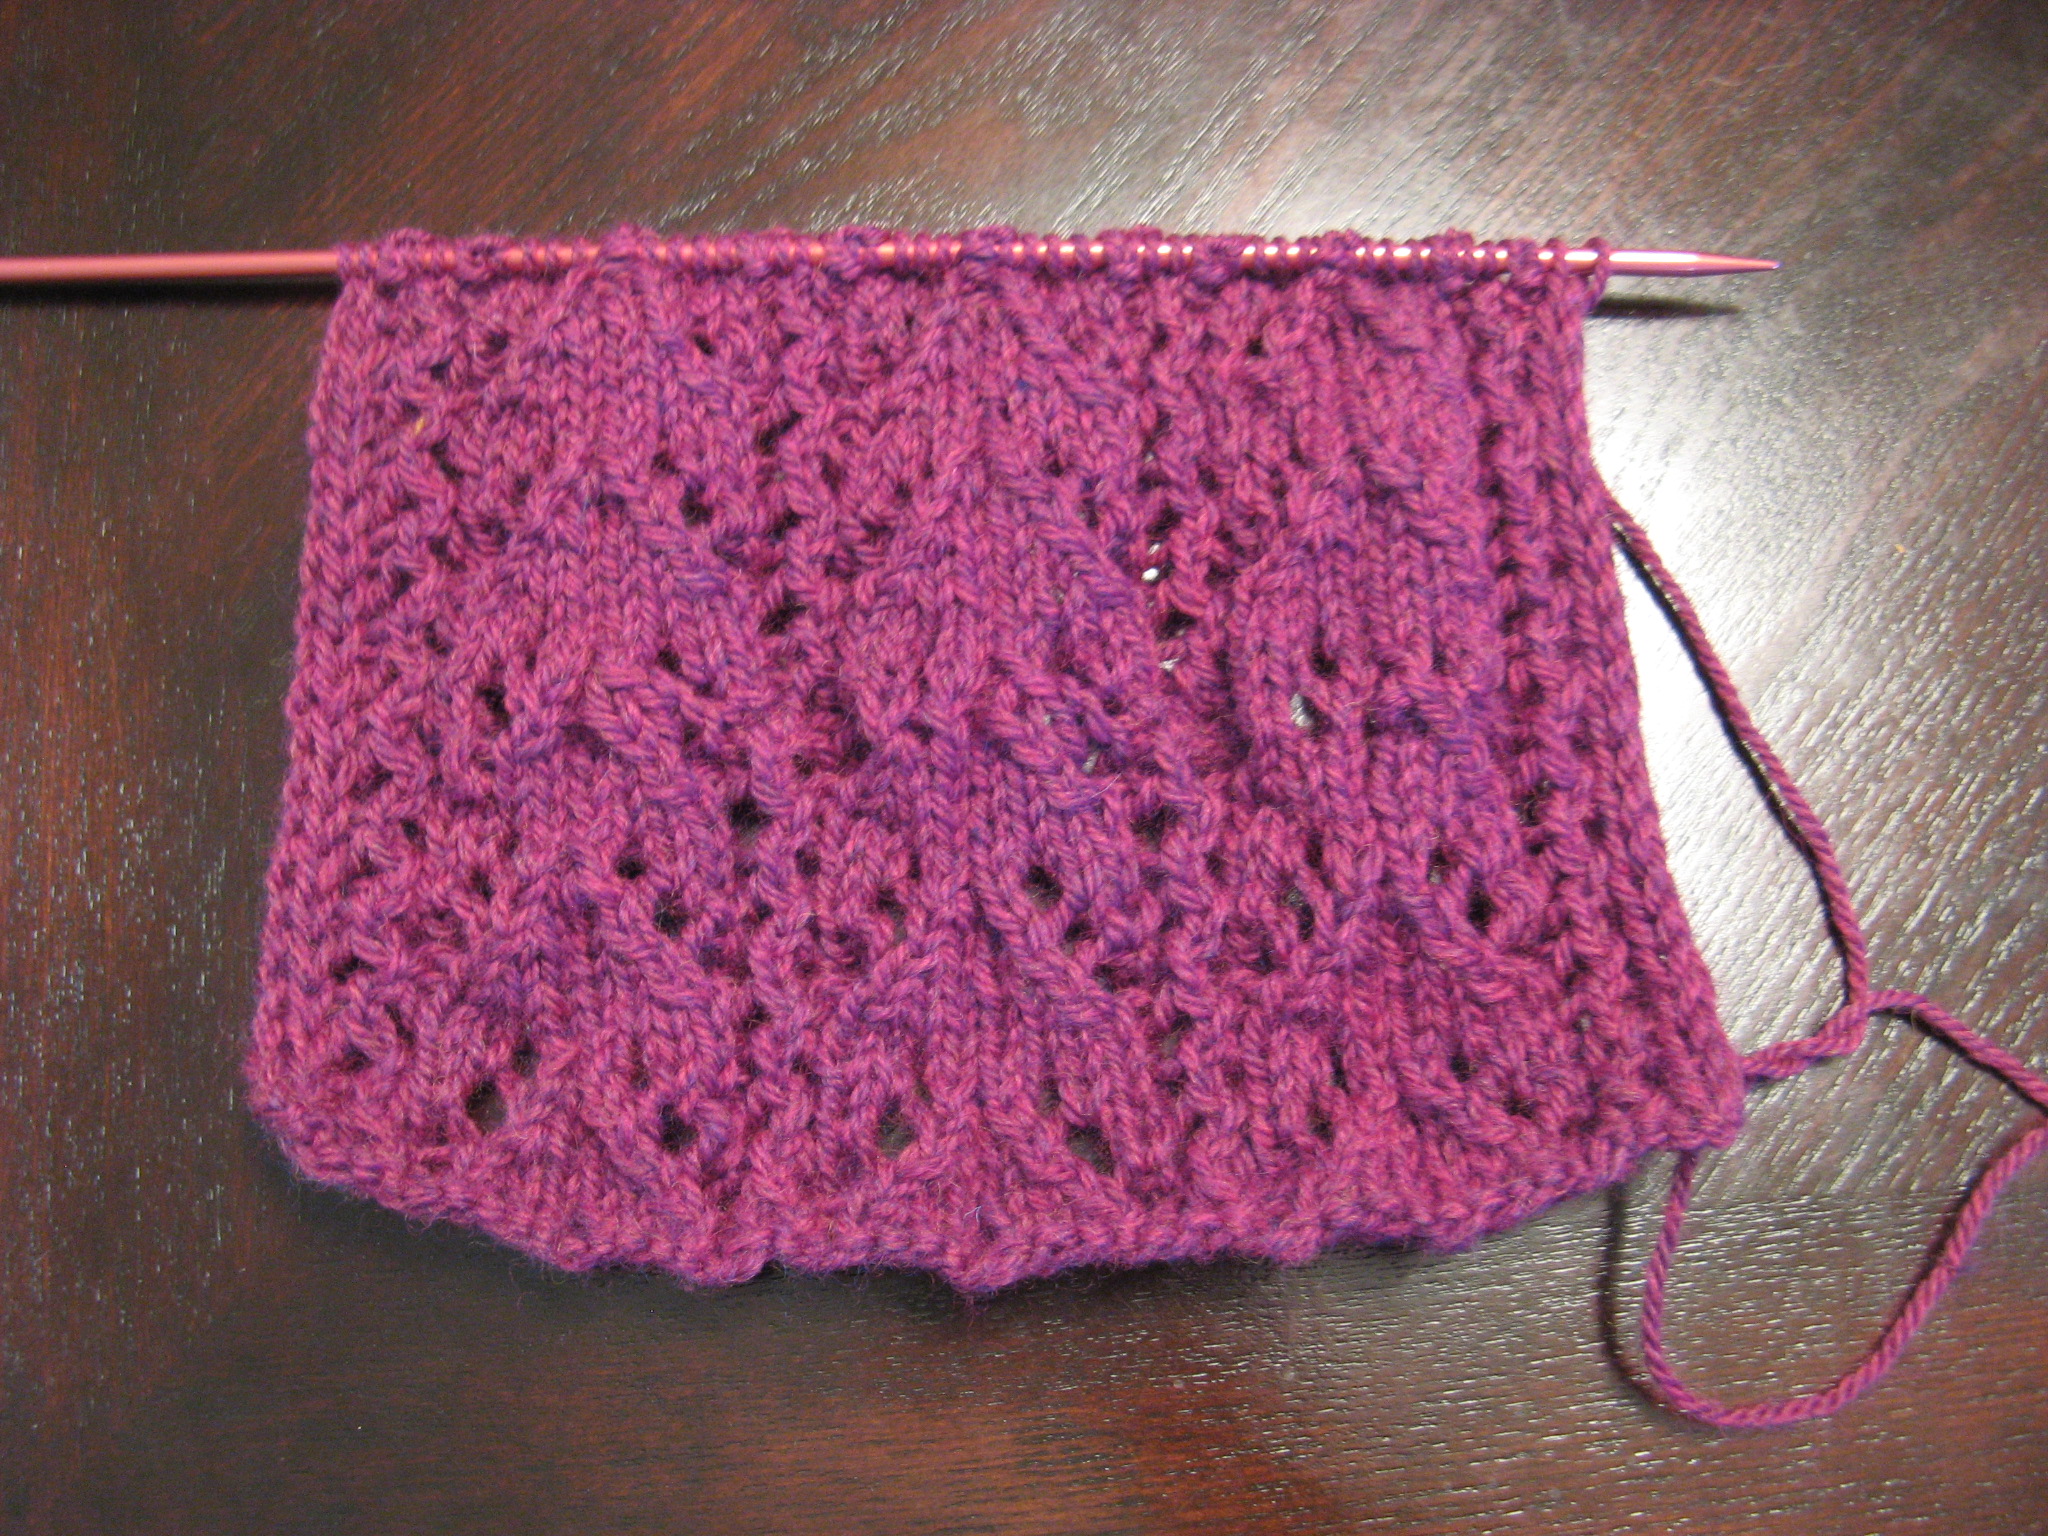
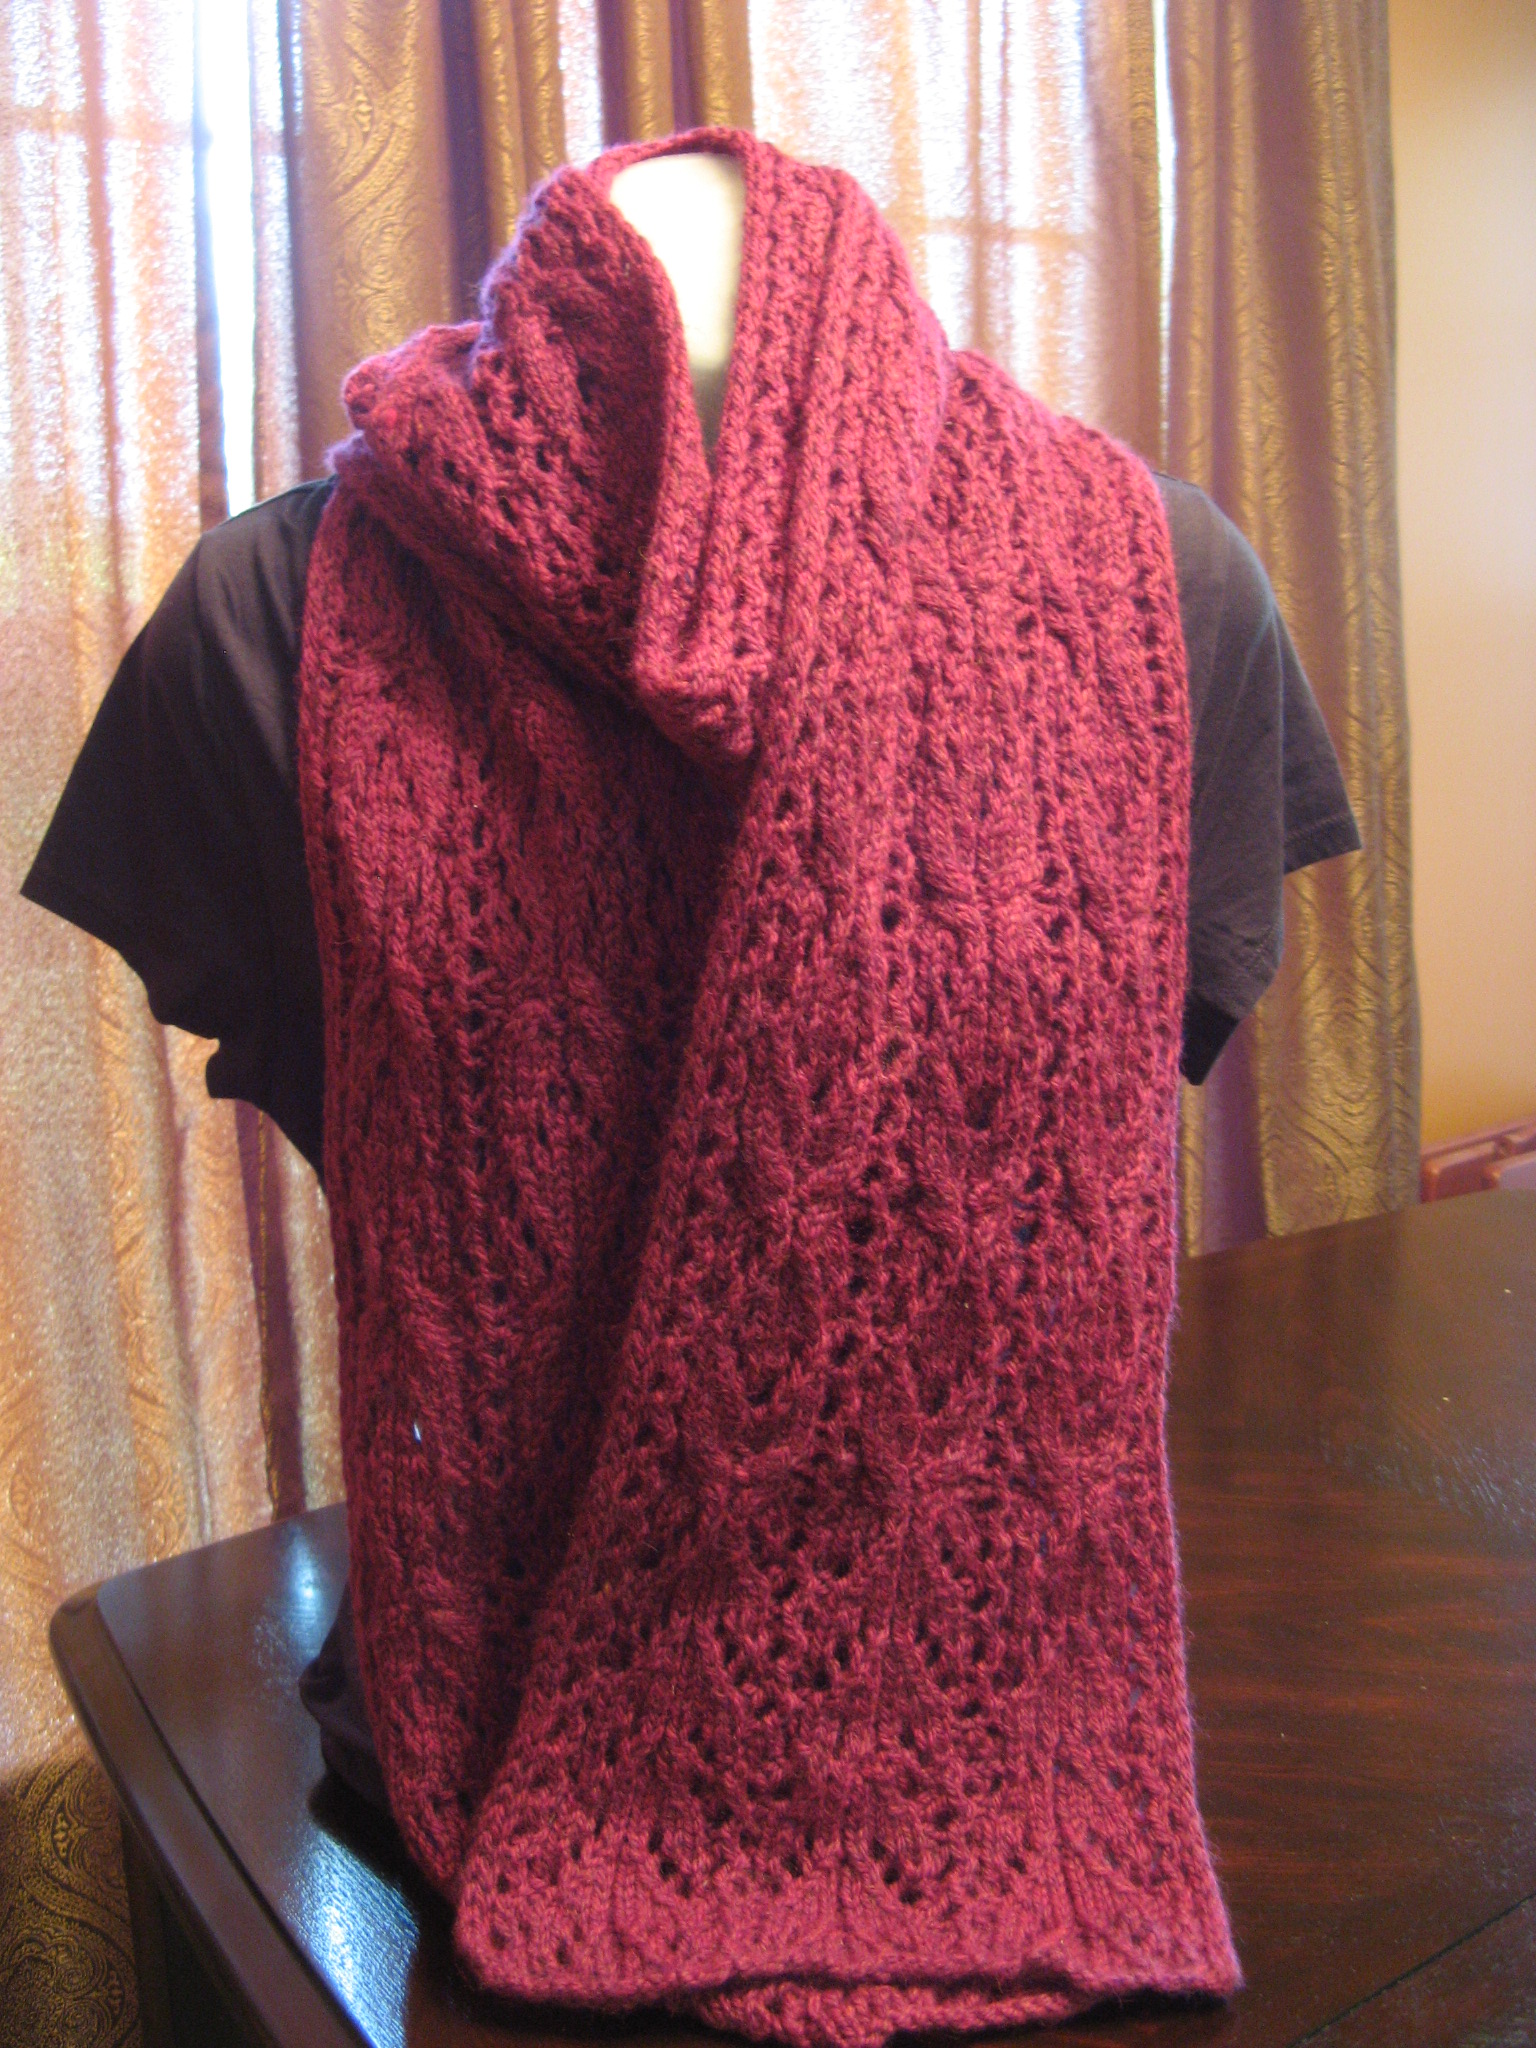
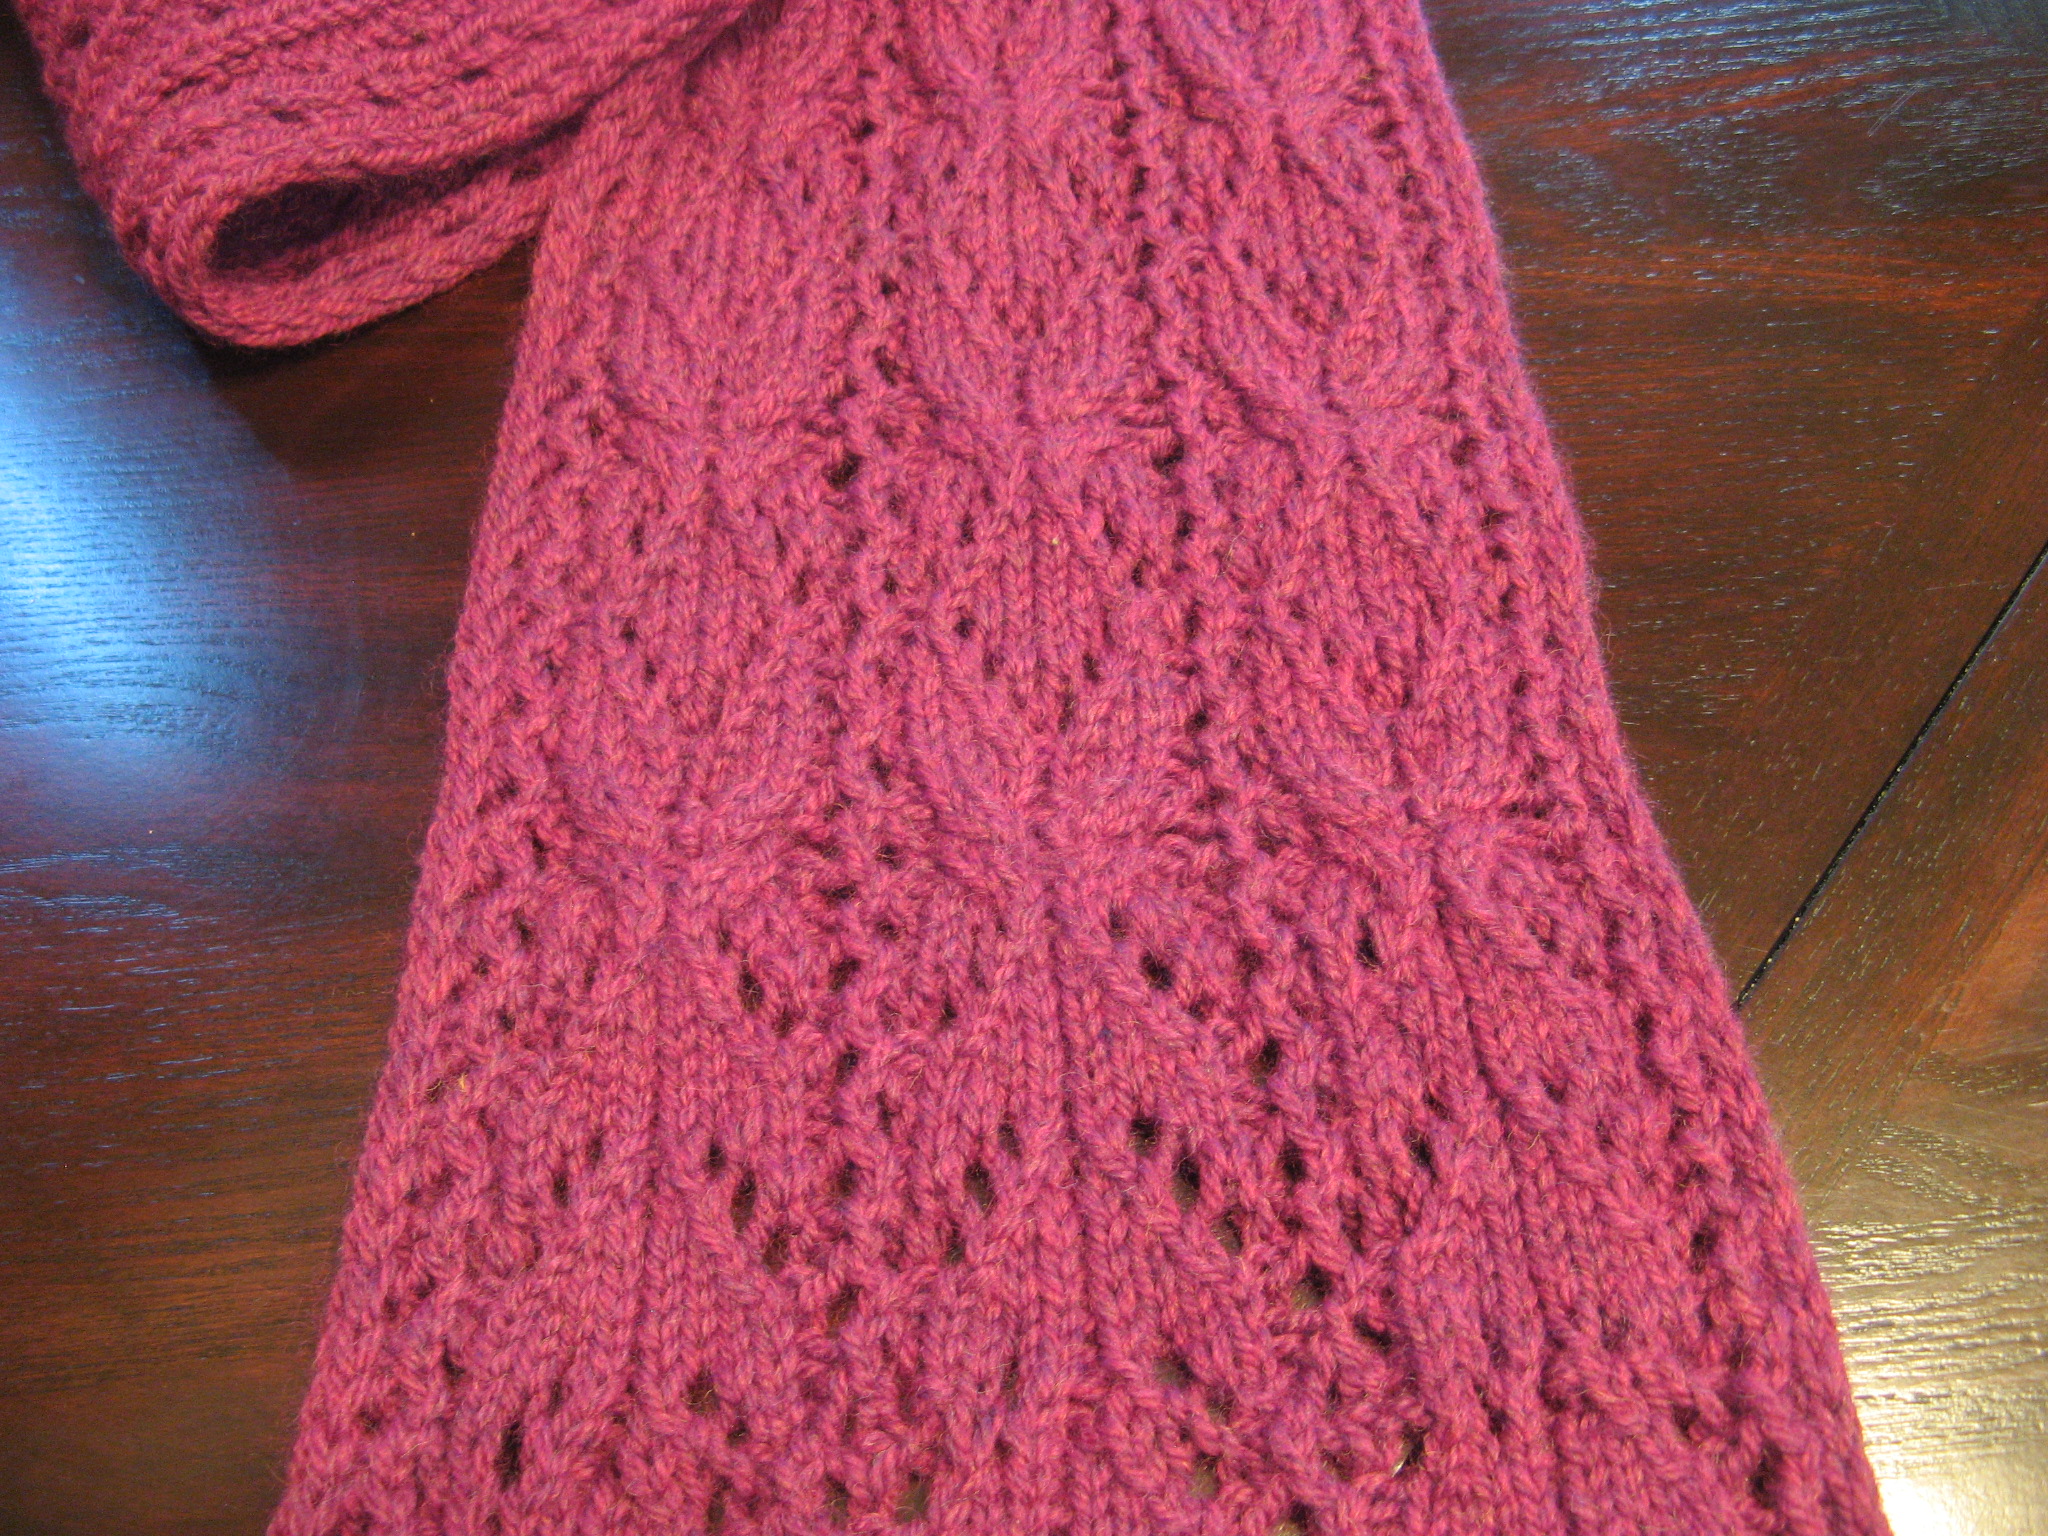
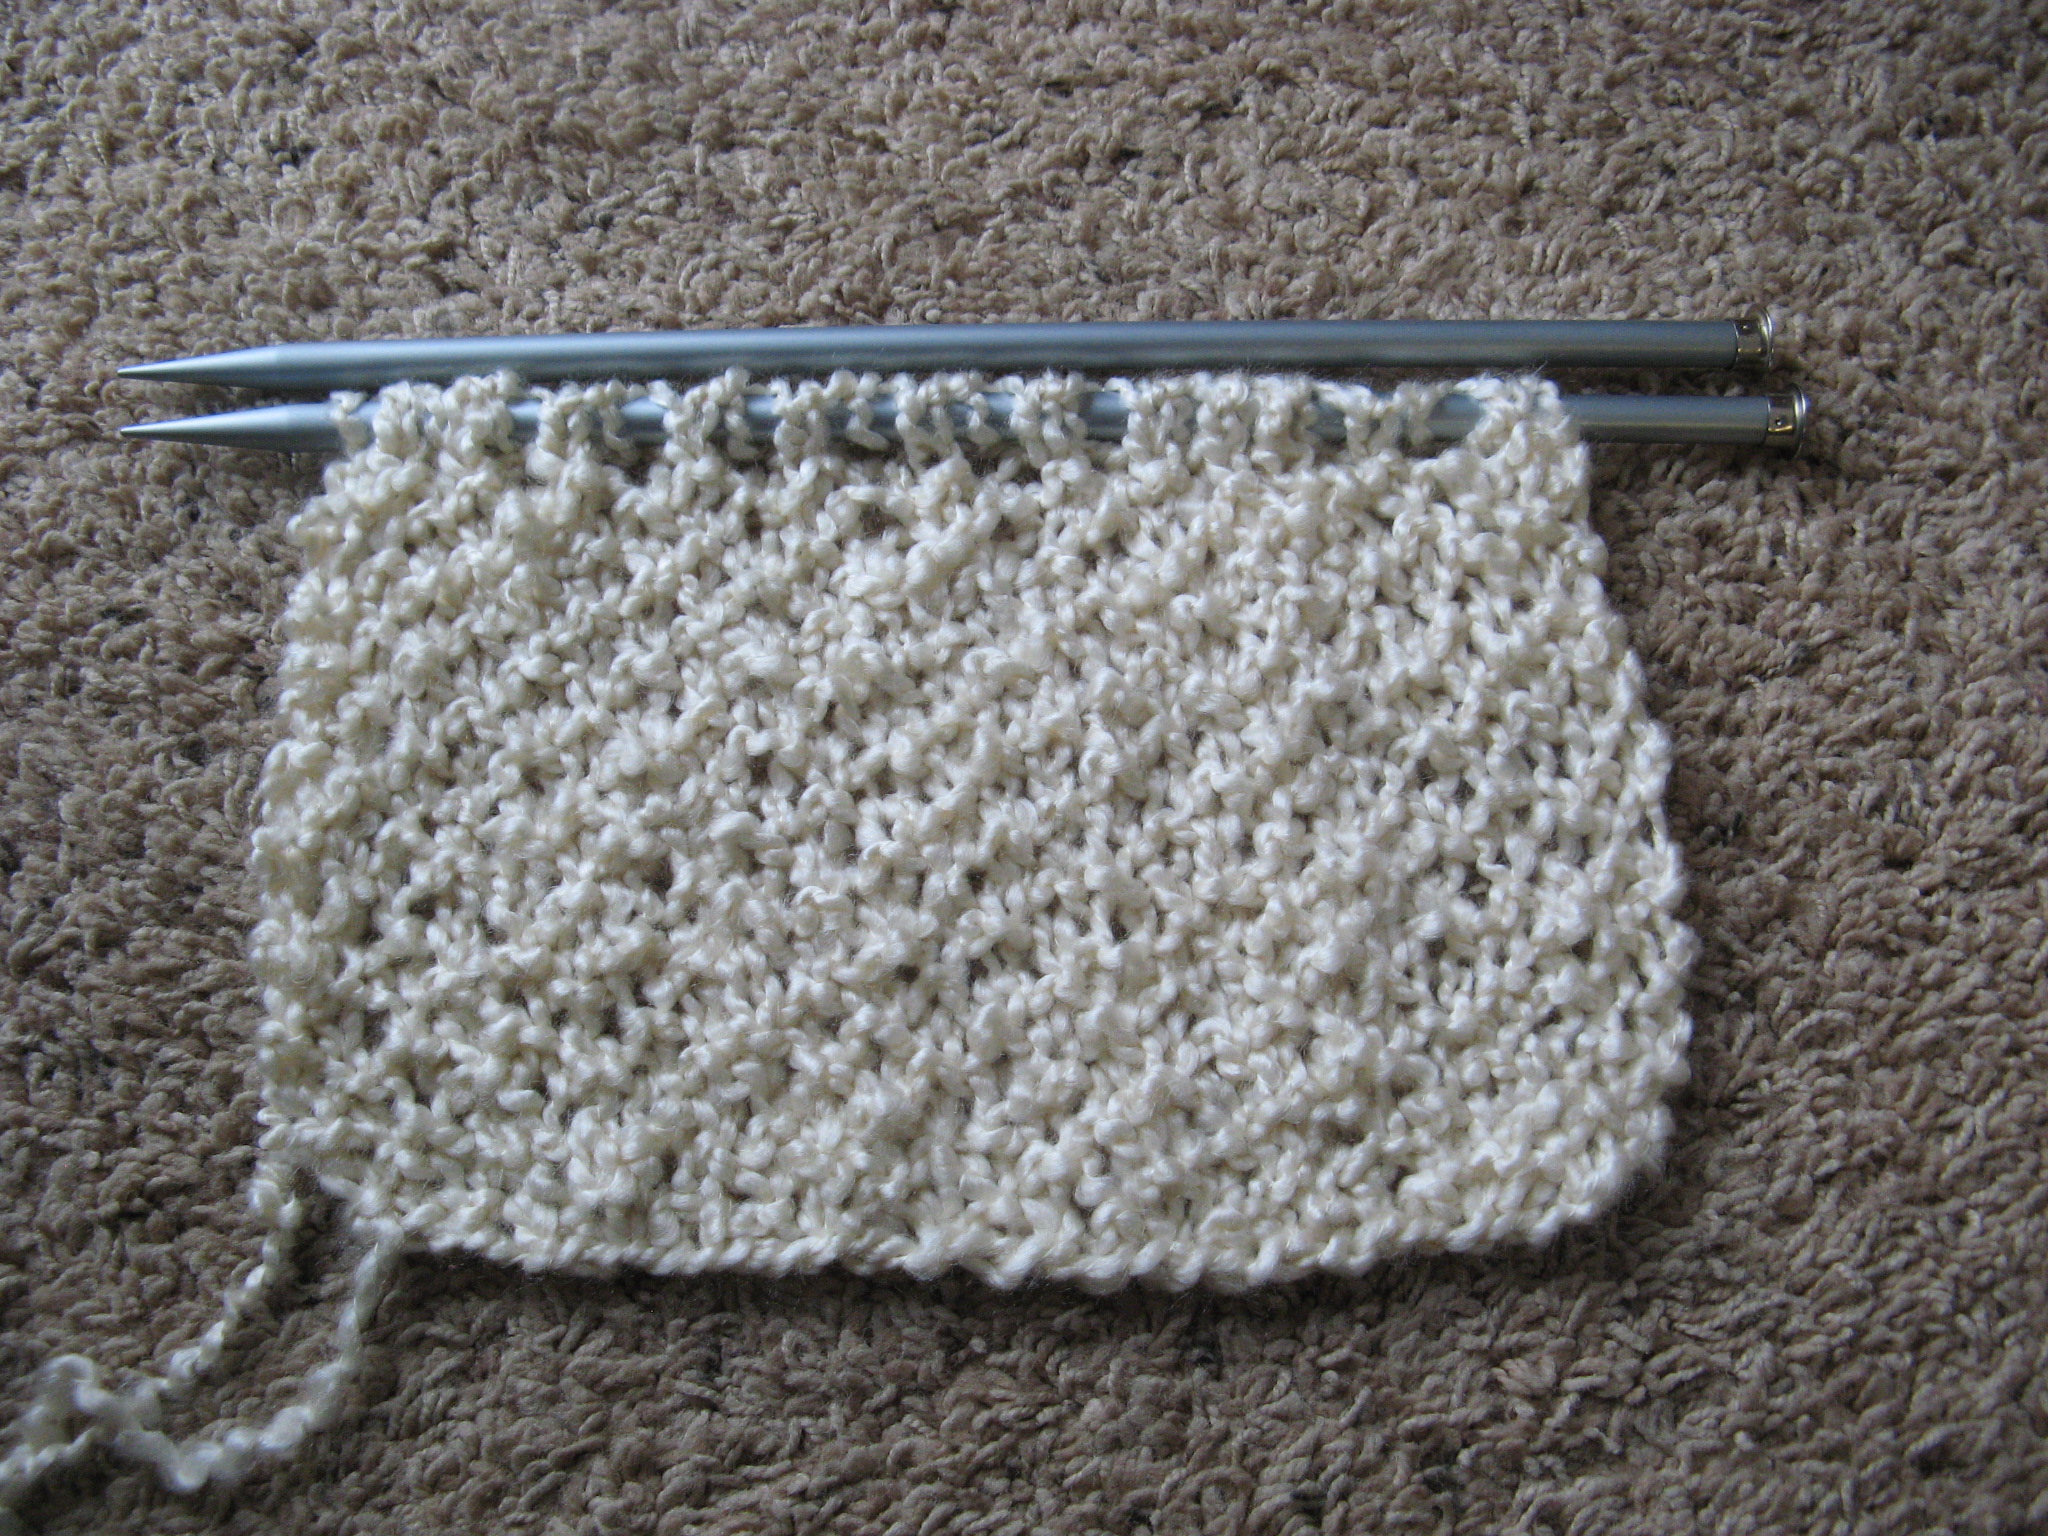
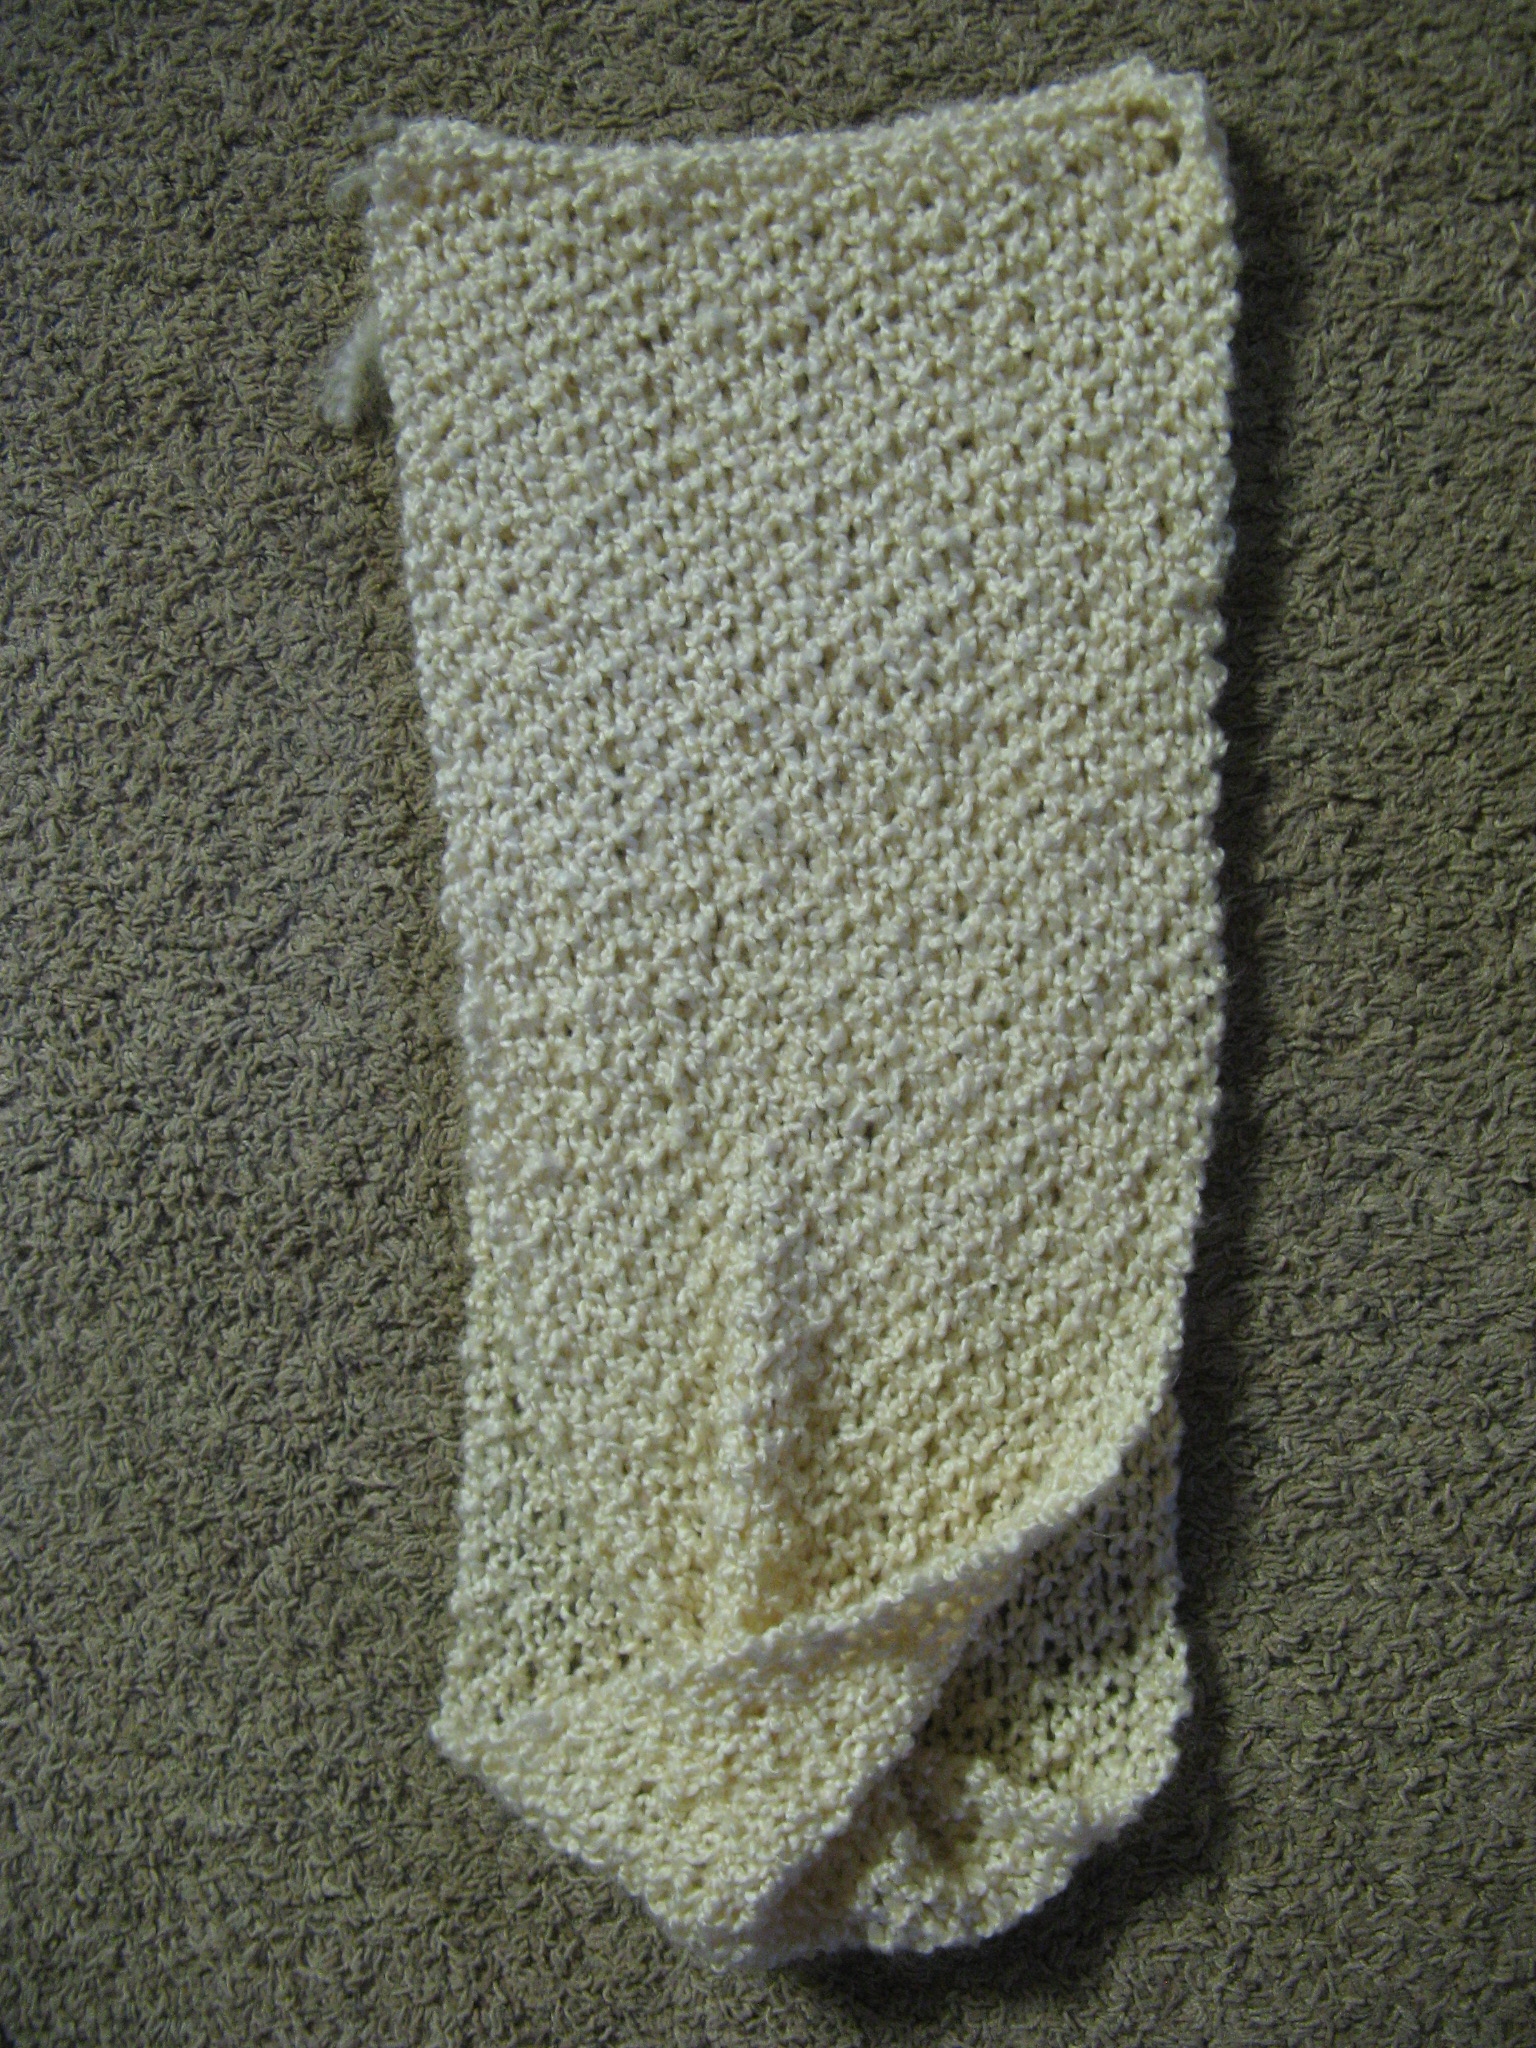
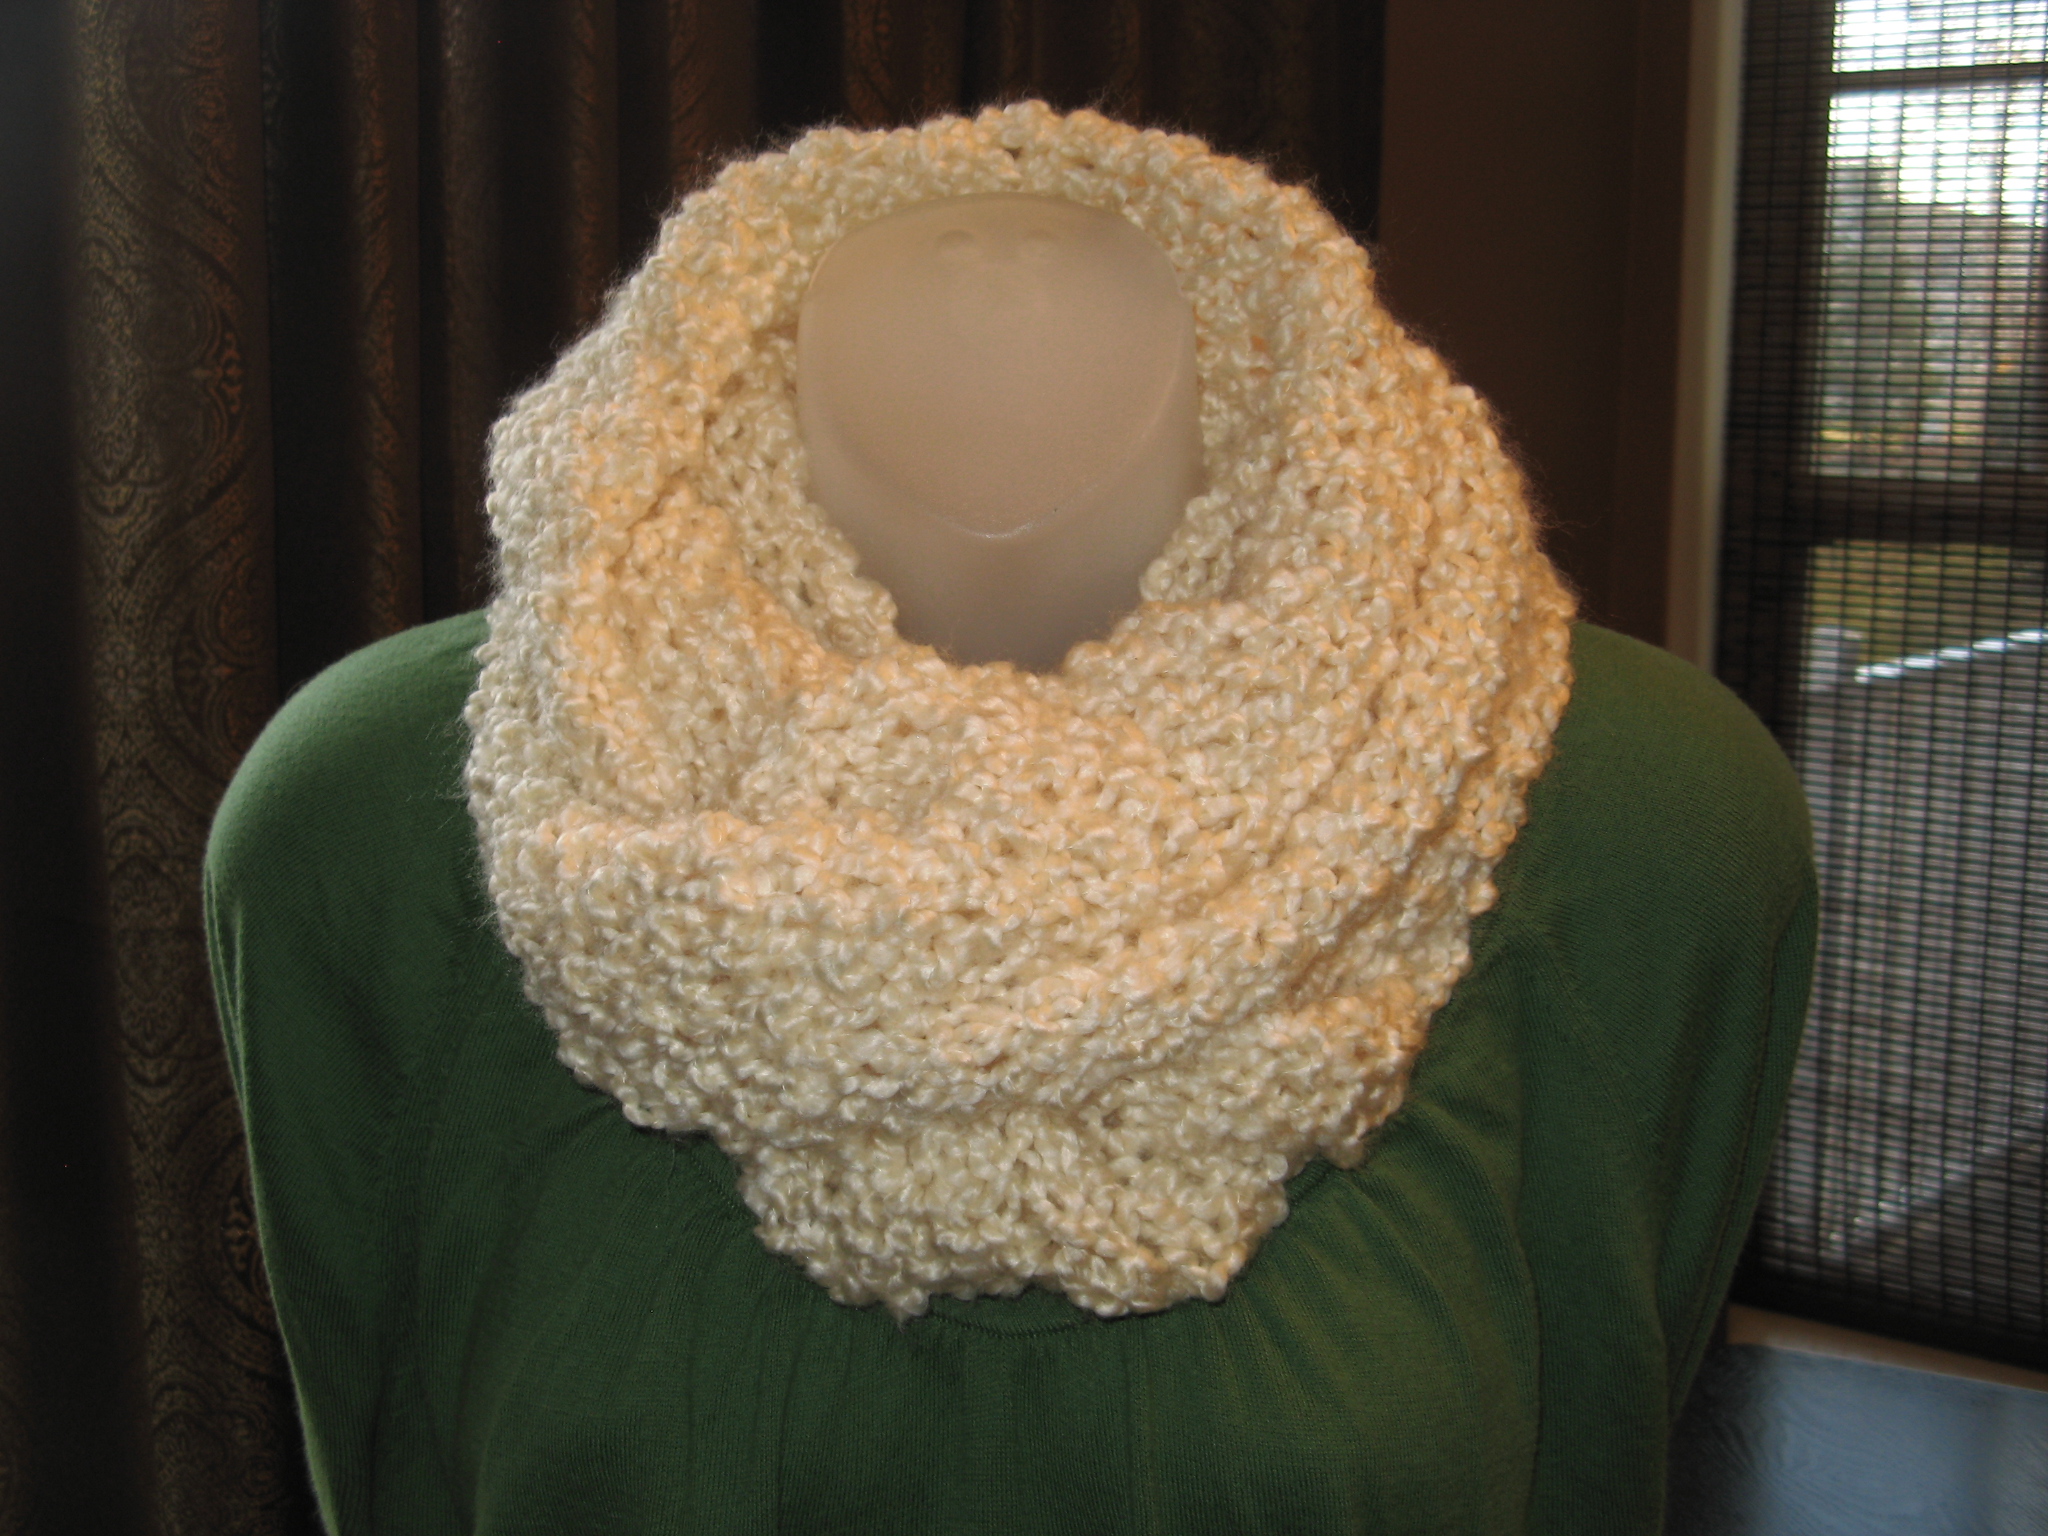
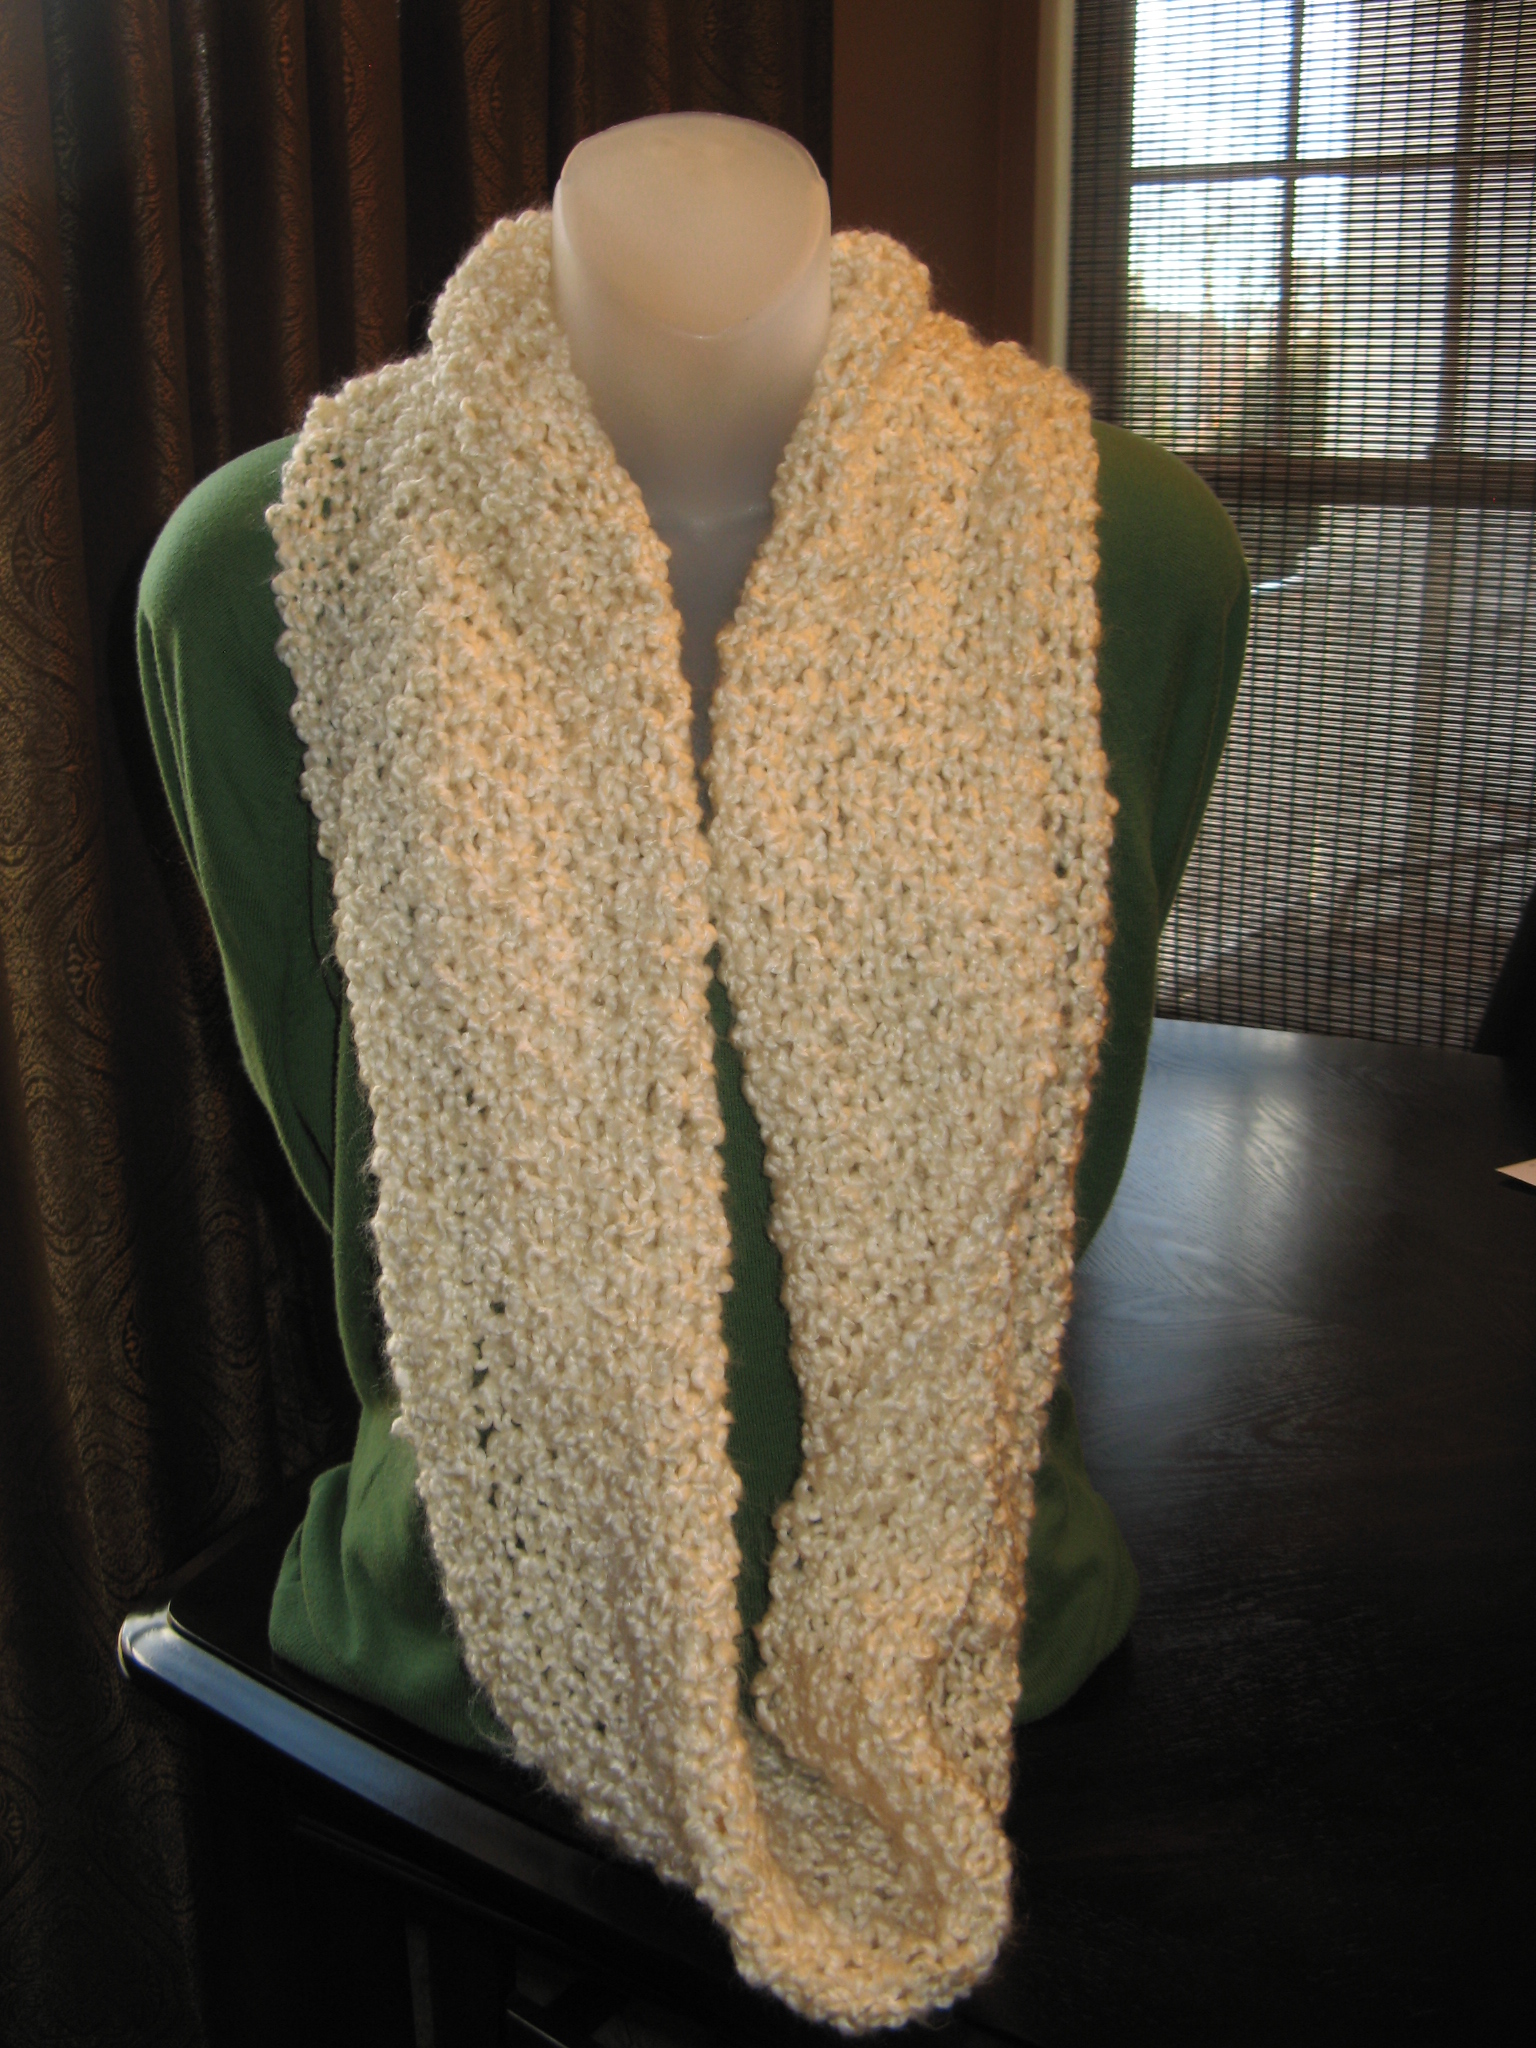
As I mentioned I recently gave up on a project I was working on because the yarn was just not working for me. It was a simple scarf, and I was following a pattern I had used before. I must have started the scarf 3 or 4 times each time casting on a different number of stitches in hopes that the scarf would start to look like what I had envisioned in my head. It never happened. So instead of giving it another go I decided to scrap it. I thought about saving the yarn, but it had annoyed me so much I ended up tossing it. Thankfully it wasn’t expensive. I tend to stick with yarns that I can purchase at my local craft stores so they are all affordable (especially when they are on sale, or I can use a coupon!). Hence me not being that upset about my yarn purge! I still had the itch to knit something, so I headed to a local craft store, and I found a different yarn that I had wanted to try was on sale. O’Go yarn! It’s been around for a few years, but it wasn’t until recently that this particular craft store started carrying more colors and varieties of it. What’s special about this yarn is that instead of it being wound into the typical ball/skein it’s shaped like an “O” and has a plastic string through it. When you open it, you just snip the fastener of the plastic, pull the yarn and start working. It’s a yarn that is tangle-free and provides a quick start. It you have ever had to stop mid project to work out a tangle or knot in your yarn you will greatly appreciate this yarn. It also eliminates the need to wind your yarn into a ball prior to working with it. I ended up picking up a few colors of the O’Go yarn since the sale was too good to pass up. I’ve been wanting to make an infinity scarf in a cream color (thanks to a blue coat I bought back in the Fall) and as luck would have it, I was able to get that color. I am still working on that scarf and probably won’t get to use it until next winter, but I did finish an infinity scarf in different shades of purple for a dear friend. When I am working on something for myself, I tend to drag it on for a bit since I know there’s no real rush in getting it done. Once I am finally done with my scarf, I will probably start working on some Fall projects, specifically Bobble Stitch Pumpkins. I’ve learned (the hard way) that it’s never too early to work on something for the following season.

Knitting Update – Entrelac Scarf is Done!

You may recall that about two months ago I posted about an Entrelac scarf I was working on. Well, I am happy to say that I have finally finished it and am very happy with the final outcome. I really love how the colors change throughout the scarf and the overall diamond pattern that Entrelac produces. While I would love to make something larger using the pattern I think I am cool with a scarf for now. While I finally did get the hang of working Entrelac it did take quite a few tries to get the scarf going and there were a few hiccups along the way that I was fortunately able to correct before I got too far along. Besides, I have a few other projects I want to work on before adding anything else to my knitting/crocheting to-do list. Here’s a link to where you can find the pattern as well as a YouTube Video link that will help you get started: Freckles and Purls
IMG_9405 IMG_9423
Which leads me to what is currently on my knitting needles… A shrug. Granted right now it doesn’t look like much but once I get all 40 plus inches knitted and do some stitching I am completely sure it will look like a shrug. Hopefully!
IMG_9417
I did sneak in a quick project between the scarf and shrug… These cute coffee mug coasters that I was able to crochet in less than two hours with yarn that I already had in my yarn stash. I found the pattern on a fellow blogger’s website, Repeat Crafter Me.
IMG_9305  IMG_9313
Stay tuned to find out if my shrug ends up looking like a shrug!

T-shirt Yarn Infinity Scarf

Thanks to large knitting needles and t-shirt yarn I was able to complete the infinity scarf I recently posted about in less than a week. Working with the t-shirt yarn was a lot easier than working with typical yarn. I didn’t have to worry about it fraying our accidentally splitting the yarn with the needles; it’s not the ideal yarn though for most projects, i.e. a blanket. While I did have two skeins of Loops & Threads T-shirt Yarn (which is unfortunately discontinued now) on hand to complete the scarf I only needed one skein.

I ended up knitting the scarf twenty-seven inches and then sewed the ends together so that it would be long enough to loop…

IMG_7176

Or an ideal length for wearing long.

IMG_7182

As for my next yarn project, I’m undecided. It’ll either be a scarf (surprise surprise as those are my favorite things to knit or crochet) or a shrug.


T-Shirt Yarn Infinity Scarf

Materials:

T-Shirt Yarn (one skein approximately 100 yards)

Knitting Needles: US 19 / 15 MM

Directions:

Cast on 10 stitches

Row 1: Knit 2, *Purl 2, Knit 2; repeat from * across. Repeat Row 1 until piece measures your desired length (either to loop around your neck or wear long.)

Bind off.

To finish, sew the ends together and weave in the ends of the yarn.


A Blanket Down, A Scarf To Go

I recently completed the toddler blanket I was working on and am very happy with how it came out. While I have crocheted/knitted my fair share of blankets, this was the first toddler blanket I completed and was a little unsure about the size I wanted to make it…. I obviously didn’t want it to be on the smaller side which would be more appropriate for a baby, but, I also didn’t want it to be so large that it would be too big for a young child. Ultimately the final size of the blanket ended up being 40 x 50 inches, which I think is a decent size for a young child.

IMG_7110

I’ve already moved on to my next yarn project… An infinity scarf (you can never have too many scarves) made with t-shirt yarn. While there a quite a few tutorials online on how to make your own t-shirt yarn I opted to buy mine. I first came across t-shirt yarn when I saw an Arm-Knitting Project using Lion Brand’s Fettuccini Yarn. After visiting the Lion Brand store in NYC I opted to pass on purchasing the yarn for the project – they didn’t have enough skeins of the yarn in the color I wanted and it just seemed like the scarf would end up being a lot more bulky than I would like. Not long after that while at my local Michael’s I came across t-shirt yarn from their Loops & Threads brand and it was more reasonable priced (about $3 skein on clearance than the $9/skein for the Fettuccini Yarn) and didn’t seem as bulky. I decided to scrap the idea of learning how to arm-knit and decided to make an infinity scarf just by regular knitting. So far so good…

IMG_7121


Lion Brand Pound of Love Delectable Shell Afghan – modified from here

Materials:

2 Balls Lion Brand Pound of Love Yarn

Crochet Hook – Size H-8

Directions:

Afghan

Chain 173

Row 1: Double-crochet in 5th Chain from hook, *Skip next  2 chains, 5 double-crochets in next chain, skip next 2 chains, double-crochet in next chain, chain 1, skip next chain, double-crochet in next chain, repeat from * across.

Rows 2 – 95: Chain 4, turn, *Skip next Chain 1 space, double crochet in next double crochet, skip next 2 double-crochets, 5 double-crochets in next double-crochet, skip next 2 double-crochets, double-crochet in next double-crochet, chain 1; repeat from * across, double-crochet in 3rd chain of turning chain. Do not fasten off.

Border

Round 1: Do not turn; work single-crochet evenly spaced around entire outside edge of Afghan, working 3 single-crochets in each corner; join with slip stitch in first single-crochet.

Round 2: Chain 1, single-crochet in same single-crochet as join, skip next single-crochet, 5 double-crochets in next single-crochet, *skip next single-crochet, single-crochet in next single-crochet, skip next single-crochet, 5 double-crochets in next single-crochet; repeat from * around; join with slip stitch in first single-crochet. Fasten off.

Weave in ends.


T-Shirt Yarn Infinity Scarf

Materials:

T-Shirt Yarn (being that I haven’t finished the scarf I am unsure of how much yarn I will ultimately use, I do have 2 skeins that are 100 yards each)

Knitting Needles: US 19 / 15 MM

Directions:

Cast on 10 stitches

Row 1: Knit 2, *Purl 2, Knit 2; repeat from * across. Repeat Row 1 until piece measures your desired length (either to loop around your neck or the classic way – topping it over a top)

Bind off.

To finish, sew the ends together and weave in the ends of the yarn.


Where are the Beads & Yarn?

While as of late most of posts have been about baking (i.e. the Spatula) I have been working on some yarn and bead projects and today I would like to share with you some of the yarn projects.

I recently completed three scarves…

A button-through cowl I made with Lion Brand Wool-Ease Thick & Quick yarn in Barley. This was a quick cowl to crochet thanks to the nature of the yarn (hence the name of the yarn) and the easy pattern working with double crochets. I believe I was done with this in less than three hours!

IMG_6961

Next I completed another cowl using another Lion Brand yarn, their Landscapes yarn in Desert Spring. It’s a beautiful self-striping roving yarn that’s also great to work with. Well, it was great yarn to work with once I wound it up into a ball as opposed to pulling it out from the skein. I did that during my first go at making this scarf and the yarn began to fray which affected the outcome of the cowl. Thankfully I bought 2 skeins of the yarn – even though the pattern only required one – so I was able to start over with much better results. One other thing, the pattern called for the cowl to be knitted in the round but I opted to add a few extra stitches and just sewed the ends together.

IMG_6967

And finally using Red Heart With Love yarn I crocheted a puff stitch scarf. I had a slight mishap while making this scarf. I knew that it was looking a little funny while working on it but it wasn’t until I finished and needed to add the border around the scarf that I knew for sure what I had done wrong. I didn’t end one of the rows on the right stitch so every few rows the last stitch was sticking out which prevented me from adding the border. So, I had to take the scarf apart and crochet it again. Thankfully it was a quick pattern to stitch up so I was done in no time and done correctly

IMG_6970

And currently on my crochet needle is a toddler blanket for a friend’s daughter – I actually made a smaller version of this blanket last year as a baby gift for another friend. I’m about half-way done and just about to start working with another skein of Lion Brand’s Pound of Love yarn in Honey Bee. As with the button-through cowl, this blanket is just a series of double-crochets.

IMG_7003

Easy Lace Shrug… It’s Finally Done!

It’s been over a month since I posted about the Easy Lace Shrug I was working on. I honestly didn’t think it would take me this long to finish it, especially since I didn’t have much left to go, but that’s what procrastination will do to you. (And also a few mistakes.)

This is where I was when I last posted… I still had to two more sections of the lace pattern to knit up, the seed stich border to complete and I also had to the cuffs to do which I needed to pick up stitches for along the border. Something I had never done before and while it seemed challenging at first I quickly got the hang of it. Although I did have to pull out the first cuff I did because I somehow miscalculated the number of stitches or more likely mistook some space for stitches when they weren’t.

IMG_2729

So, after I corrected my mistake I successfully knitted the cuffs onto each end of the shrug.

IMG_2978

And finally I seamed the cuffs together and it was done (YAY!!!) I’ve been thinking about knitting up a sweater for myself since I got this down. I probably should start soon though so that I can be sure to have it done before next winter.

IMG_2994 IMG_2997

One other thing I got done… The scarf I had mentioned in the post about the shrug. And while it’s officially Spring today the temperatures will be on the colder side early next week so I am thinking I may get to wear this before I have to pack it away for next winter.

IMG_3003 IMG_3007

A Blanket, a Runner and a Scarf

I recently completed a few crocheting/knitting projects – one was sitting on my needles a little longer than I had hoped, one came together rather quickly and another was semi-done but just waiting to be sewn together.

Up first a baby blanket that was a cinch to make. This is actually the third baby blanket I’ve completed this year – I previously made a Violet V-Stitch Baby Blanket and a Baby Blue Basketweave Blanket. Every time I make one I try to find a completely different pattern to follow and for this one I opted to use the Spring Ripple Baby Throw pattern from the Lion Brand Yarn website. At first I wasn’t seeing the ripple pattern come through but midway through it became clearer. I’m really happy with how this blanket came out and I loved the yarn I used – Loops & Threads Snuggly Wuggly in Doodle Dots. It wasn’t too heavy or too light which is perfect since the baby it’s meant for is due in late spring.

IMG_0026 IMG_0108

And next a crochet project that I actually started late last year… the Crochet Shapes Table Runner, once again a pattern from the Lion Brand Yarn website. I liked this pattern even before I knew how to crochet because of the different motifs it consisted of. I had crocheted all the motifs but needed to stitch them together, unfortunately I got sidetracked with other projects before doing so. I ended up putting the motifs away but it was always in the back of my mind that I needed to finish it and I recently found the time to do so.

The table runner consists of six motifs: Octagon Star, Granny Stitch Hexagon, Circle in the Square, Octagon, Six Petal Flower & Flower Center Circular.

Motifs

And when all of these pieces are stitched together you have a unique and customized table runner.

IMG_0392

Finally, a scarf that I began when a fellow blogger, For The Knit Of It, ran a knit-a-long back in March. The pattern chosen was the Bosc Pattern from Robin Ulrich. And yes, Bosc as in pears. If you look closely at the scarf you can actually see the curves of pears in the pattern. I loved the pattern and was excited to work on it, but, getting it started was such a task. Just getting to this point – the first 10 rows of the pattern – took me about 10 tries.

IMG_9769

The reason… the pattern consisted of numerous yarn overs and I kept missing them and would ultimately have to start over. (Knitting is not as forgiving as crocheting.) To combat that I actually typed of the pattern and then marked where the yarn overs would be so I wouldn’t keep missing them. Once I did that working on the pattern was a piece of cake. Unfortunately for myself it wasn’t the type of pattern that I could mindlessly work on while watching television so it took me a lot longer to complete it than I had hoped. I am happy though that I didn’t give up on it and am looking forward to wearing it next winter.

IMG_0355 IMG_0369

The Runaround Knit Cowl

It’s my first project of the New Year and it’s a simple and versatile one! It’s called The Runaround Cowl and I came across it on a Lion Brand Yarn Facebook post. Originally it came from a blog known as Smashed Peas and Carrots and can be found here: Smashed Peas and Carrots: The Runaround Cowl

As for supplies, all you need is one skein of Lion Brand Homespun Yarn and Size 15 knitting needles. While Homespun yarn does come in an array of colors I am not too fond of the heather and striping colors so I chose to stick with something neutral – Cream.

IMG_9209

At first I was a bit unsure of how the end product was going to look. I started and wasn’t too happy with how it was working up and it took some getting used to working with the yarn. Sometimes my tension is a bit too tight and that can make working with this yarn a little frustrating.

IMG_9216

Unfortunately once I got on a roll I somehow ended up with an extra stitch and instead of trying to correct the problem I opted to just start over. This is one of the reasons I prefer crocheting over knitting, it’s much easier to correct any errors. The second time around I was much happier with how it was looking and after a few hours of knitting I reached my desired length of 55 inches – I decided to make mine a few inches longer than the directions said. I will also note that while the directions state to bind off in pattern I decided to bind off by knitting my last row, I just find it easier to do that and I figured it wouldn’t alter the look of the cowl since I was going to stitch the two ends together.

I then weaved in the ends of my yarn, created a twist and stitched the ends together. And voila I had a new cowl! Once the weather gets a little warmer I’m sure this will become one of my go-to scarves.

IMG_9220 IMG_9234 IMG_9236

Runaround Cowl

Courtesy: www.smashedpeasandcarrots.blogspot.com

Cast of 25 stitches

Row 1: *K1 P1, Repeat from * across, K1

Continue with this pattern until cowl measures 50 inches or your desired length.

Bind off loosely in pattern.

Weave in tails.

Sew short ends together with a yarn needle making sure that you have made one twist in the cowl before sewing ends.

%d bloggers like this: