Knitted Cocoon Shrug

Have you ever completed a craft project and felt a bit disappointed with the outcome? I’m sure we have all been there… I know I have quite a few times. You kind of feel like you wasted your time and possibly money on the supplies.

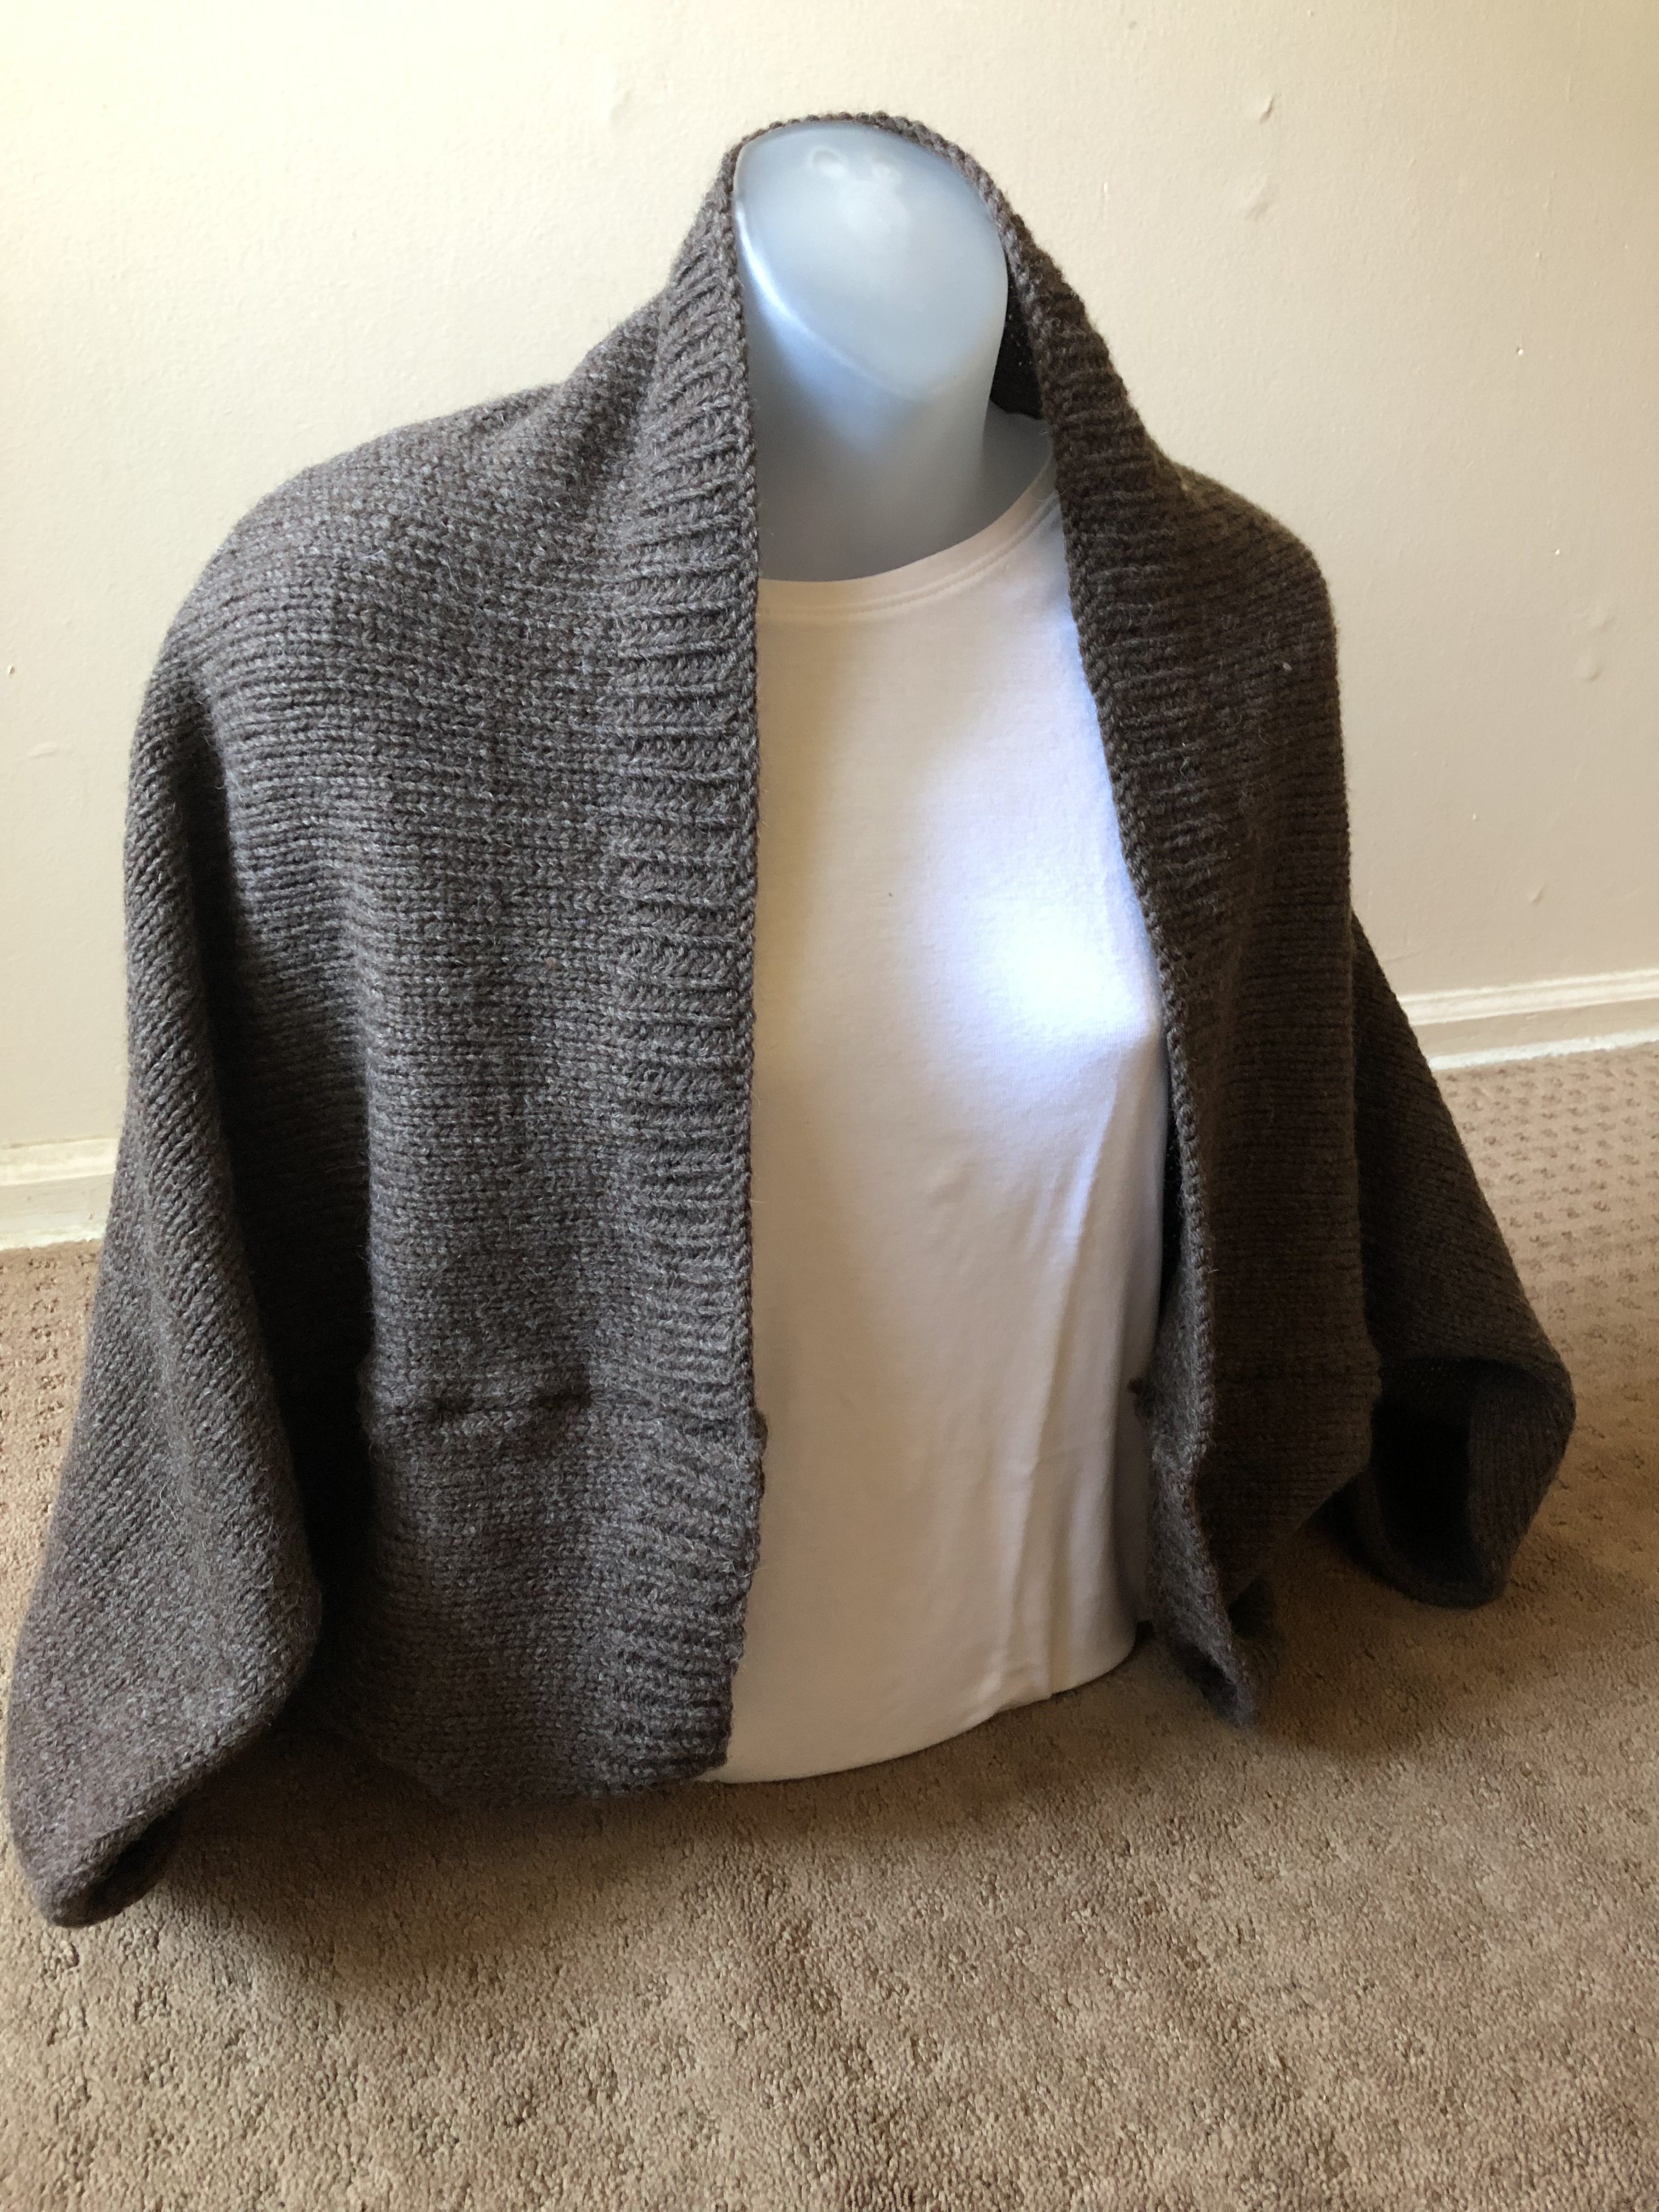
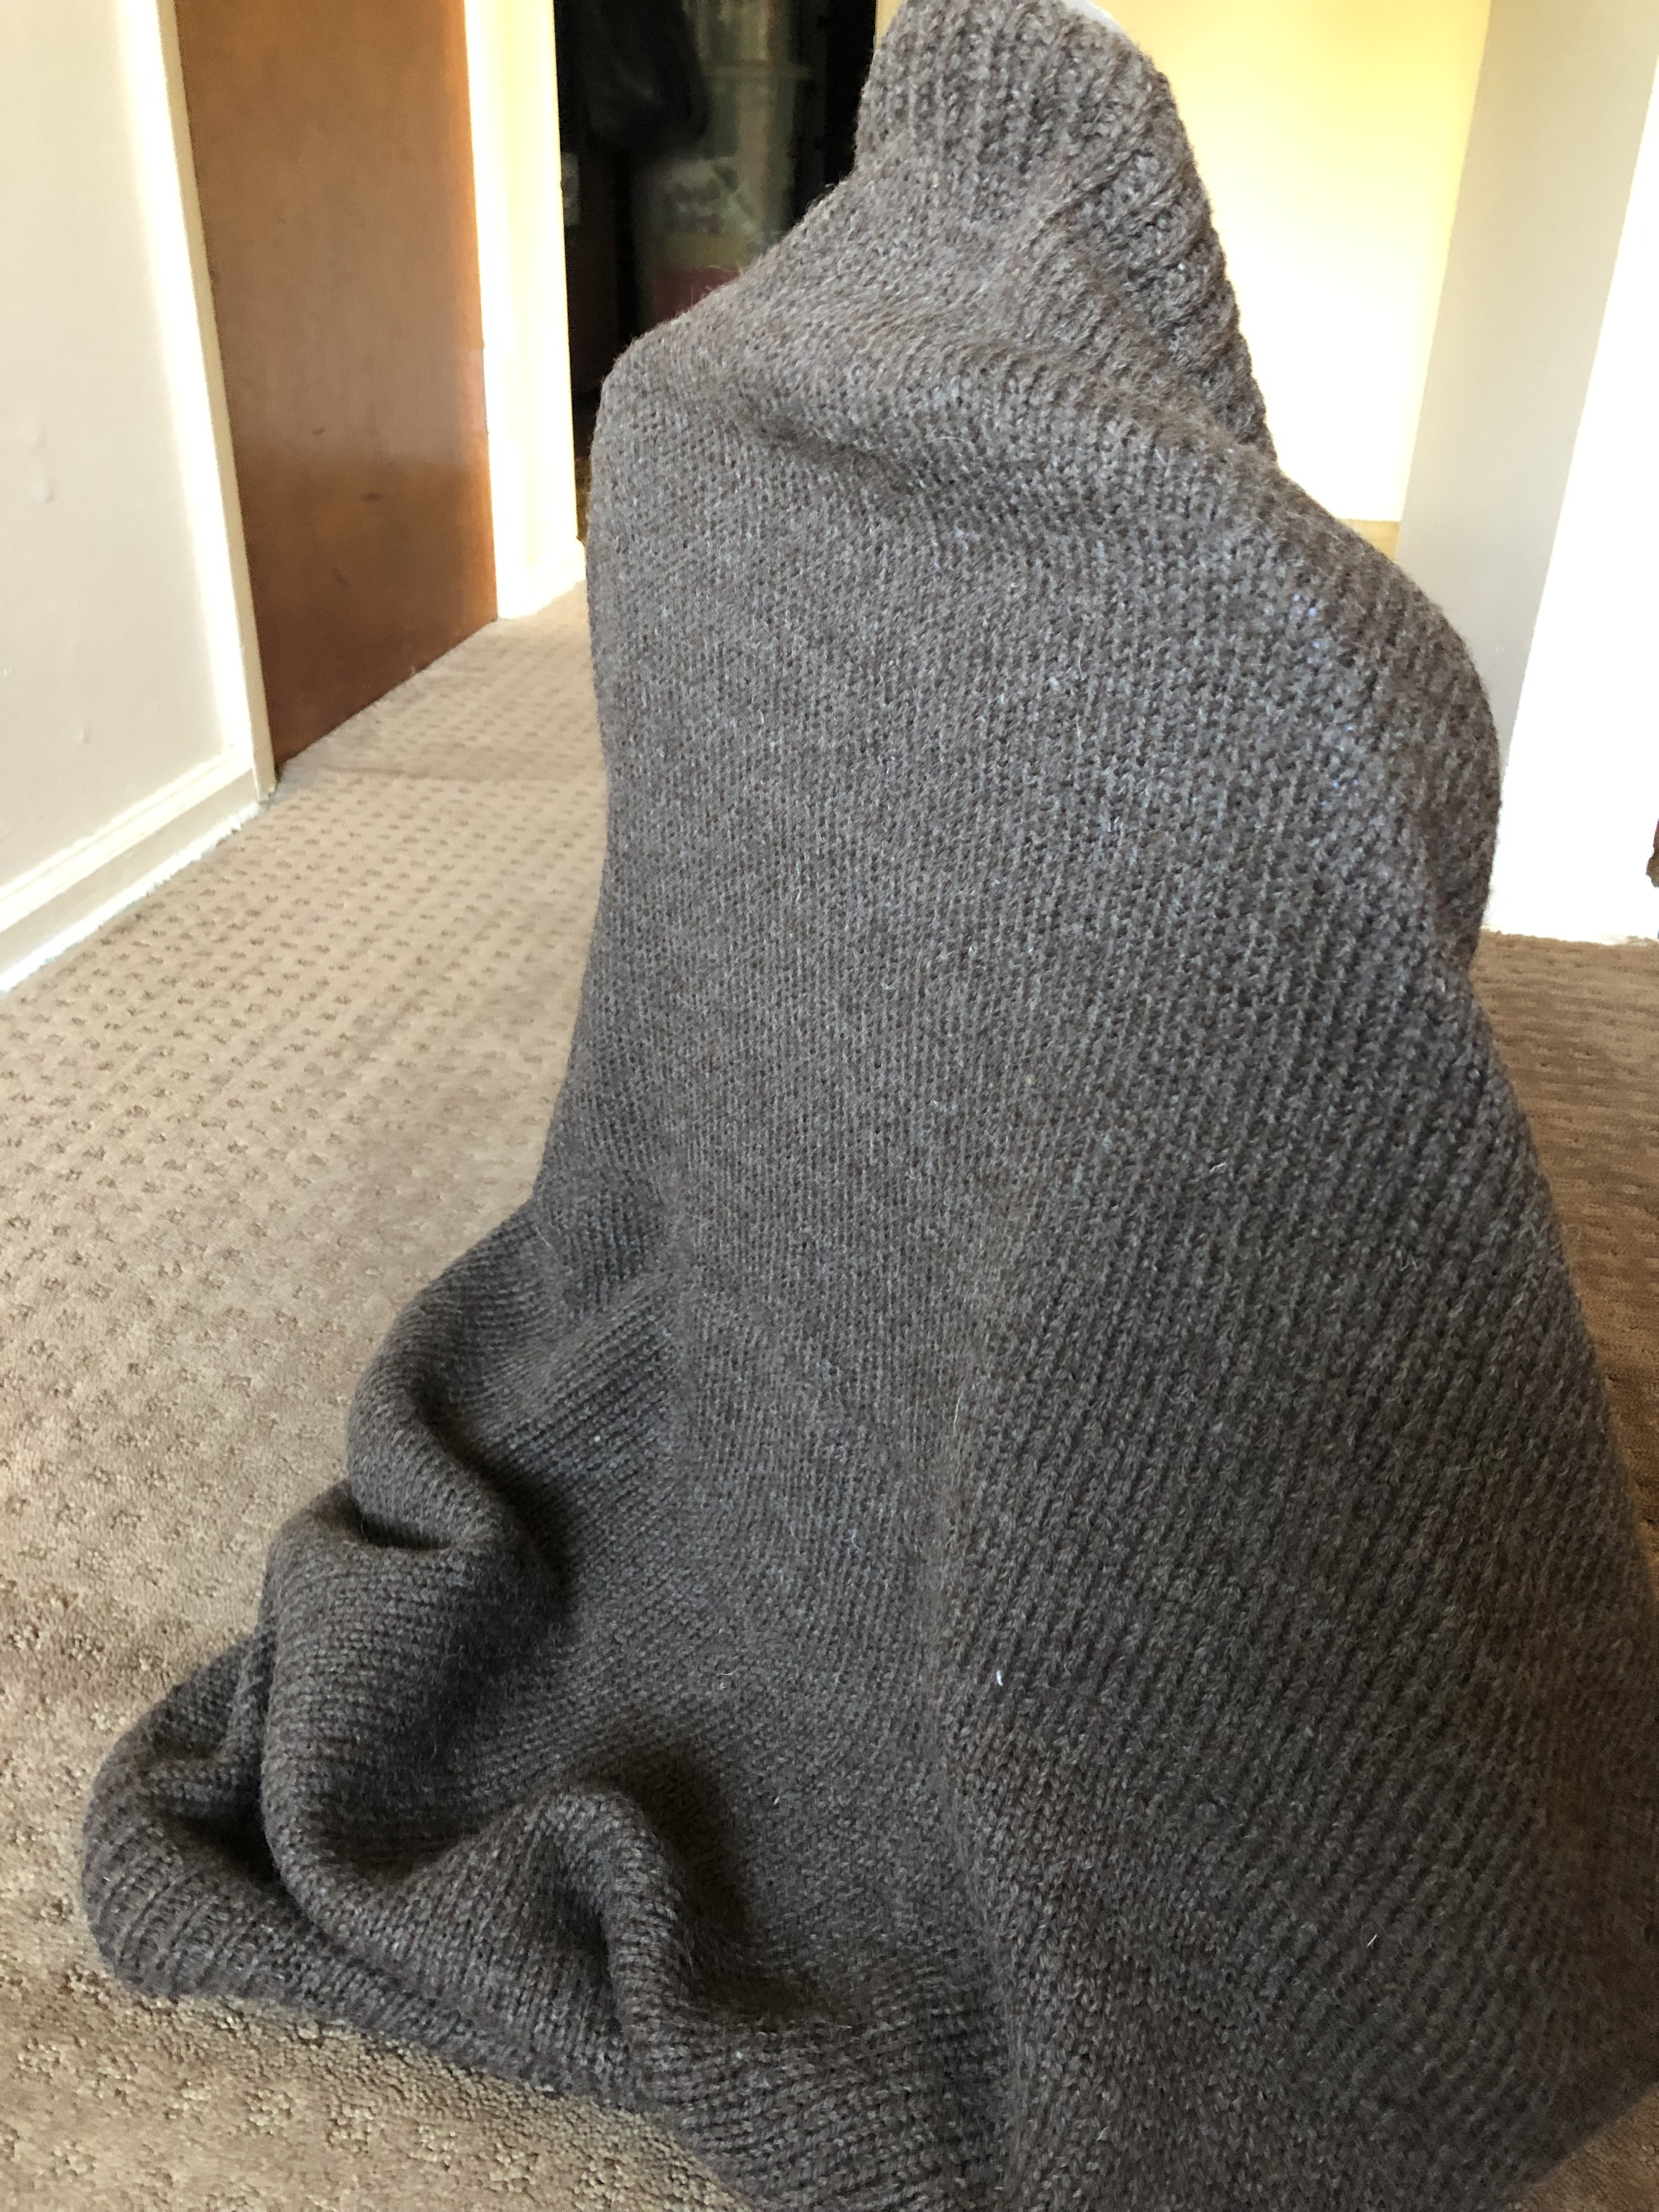
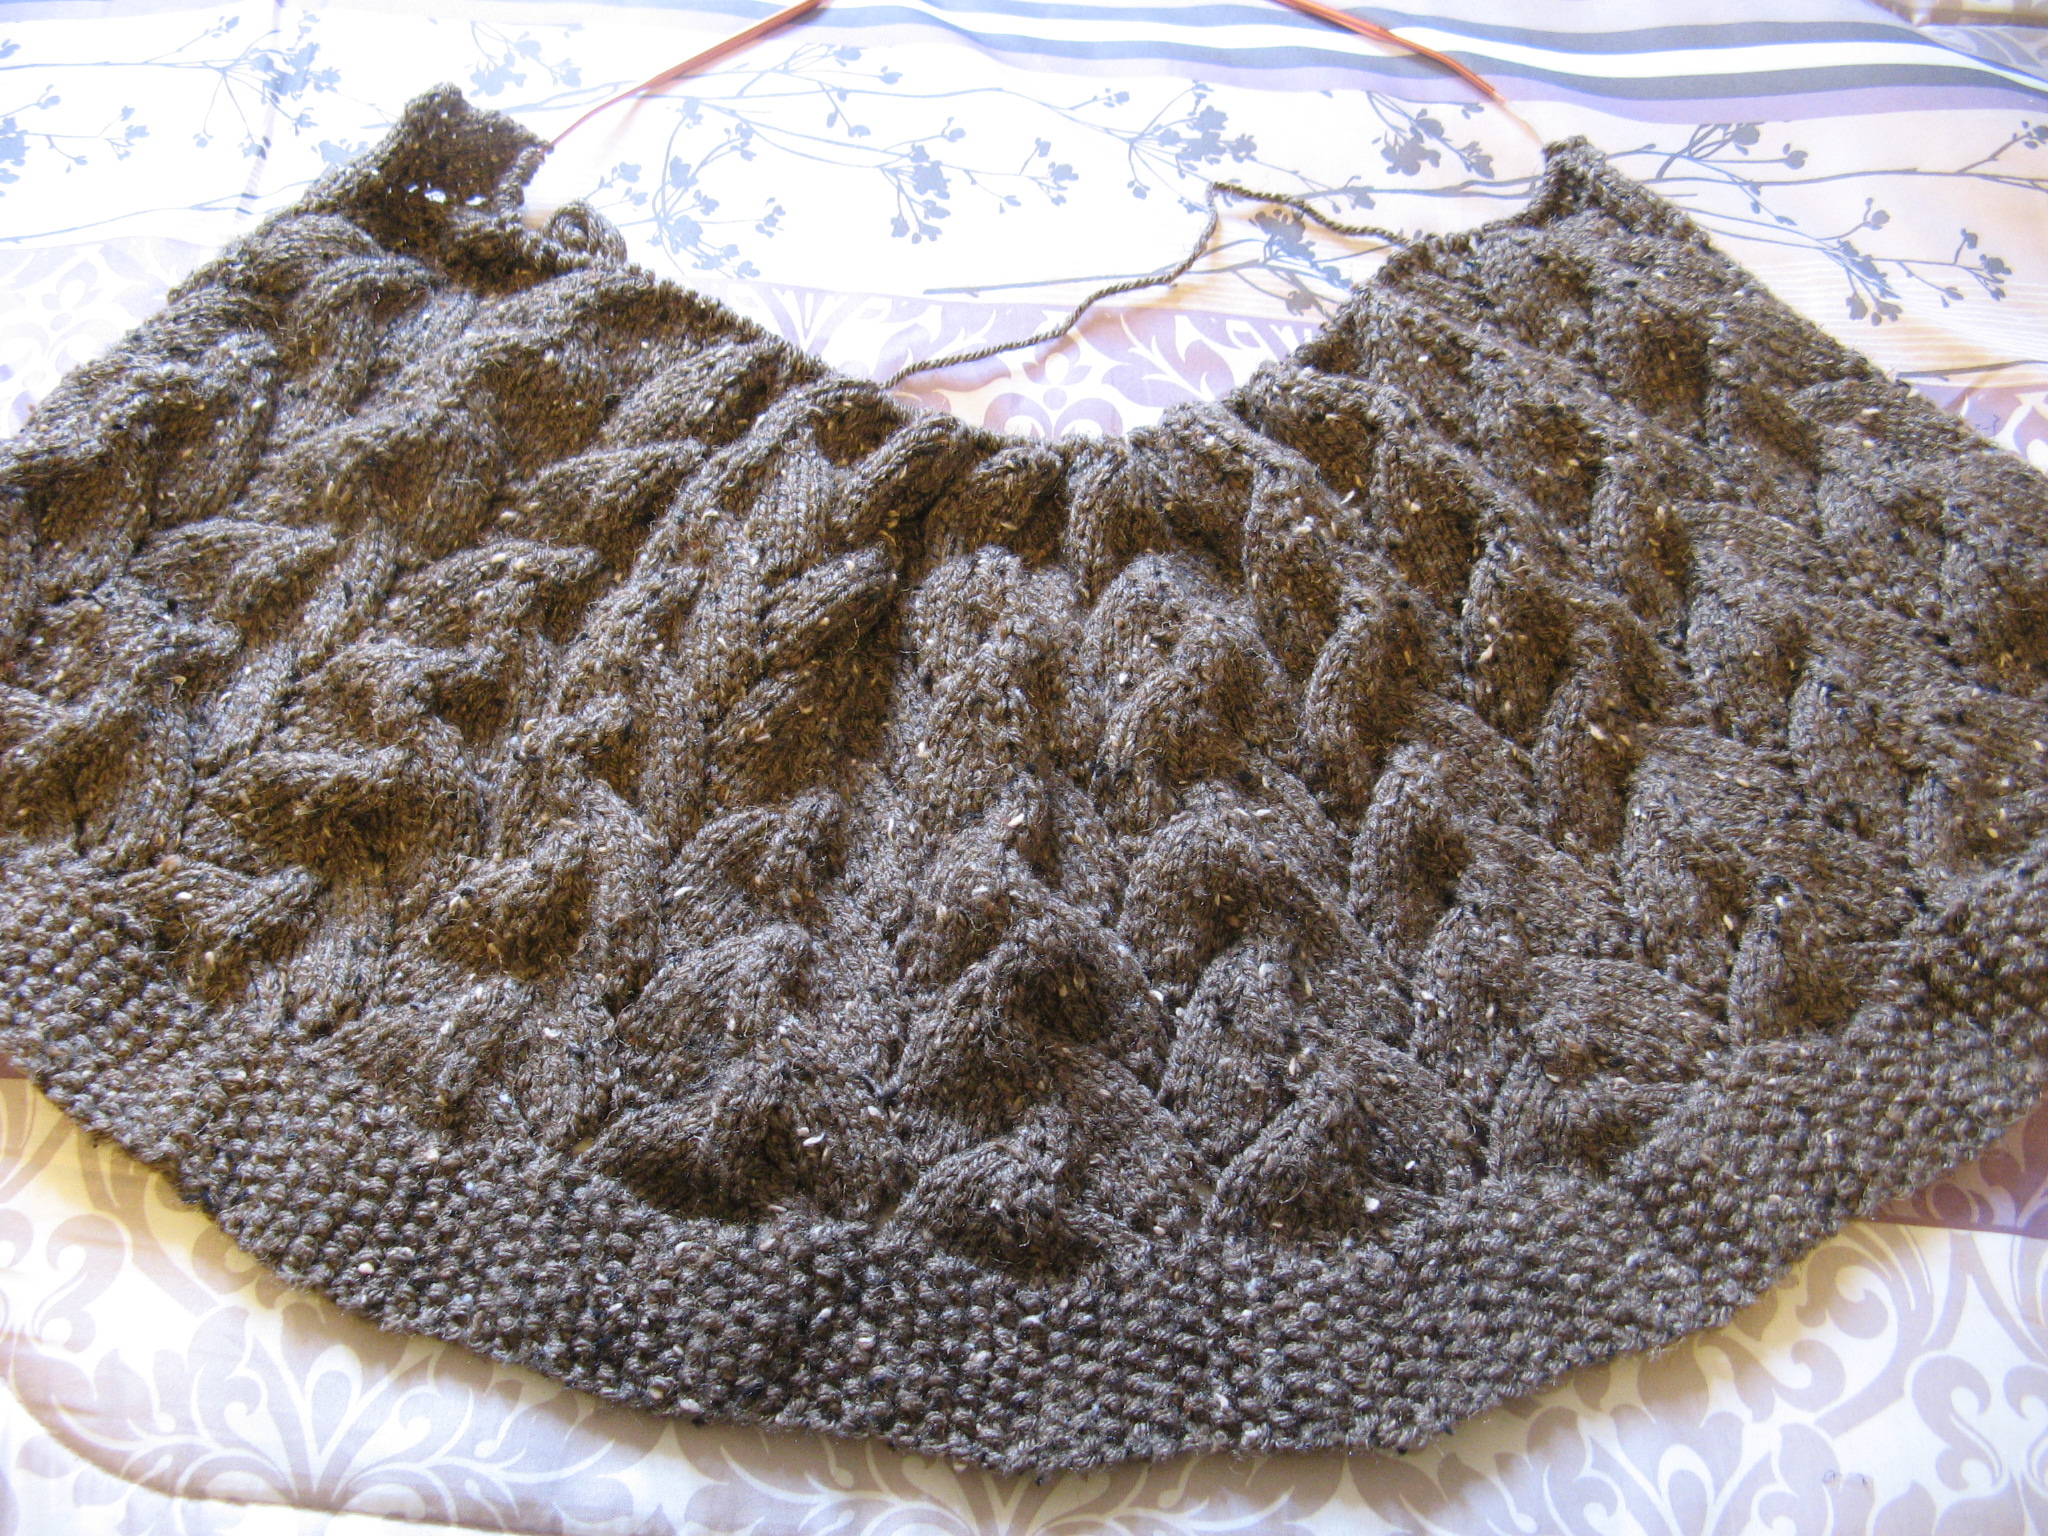
For the longest (a few years to be sort of exact) I finished knitting a rectangle that would ultimately become a shrug – all that was left to do was seam it together. I folded it and placed stitch markers on the sides so I knew exactly where I needed to seam, but then I folded it up and placed it in a corner and kept reminding myself that I had to finish it. I would put it on my desk and in other places so that it would be in my line of vision, but, it just wasn’t working. Not really sure why I was procrastinating. I was possibly thinking that it was going to be more difficult than it really was. Truth be told, I enjoy crocheting and knitting, but I am just not fond of those projects that require seaming at the end to complete them.

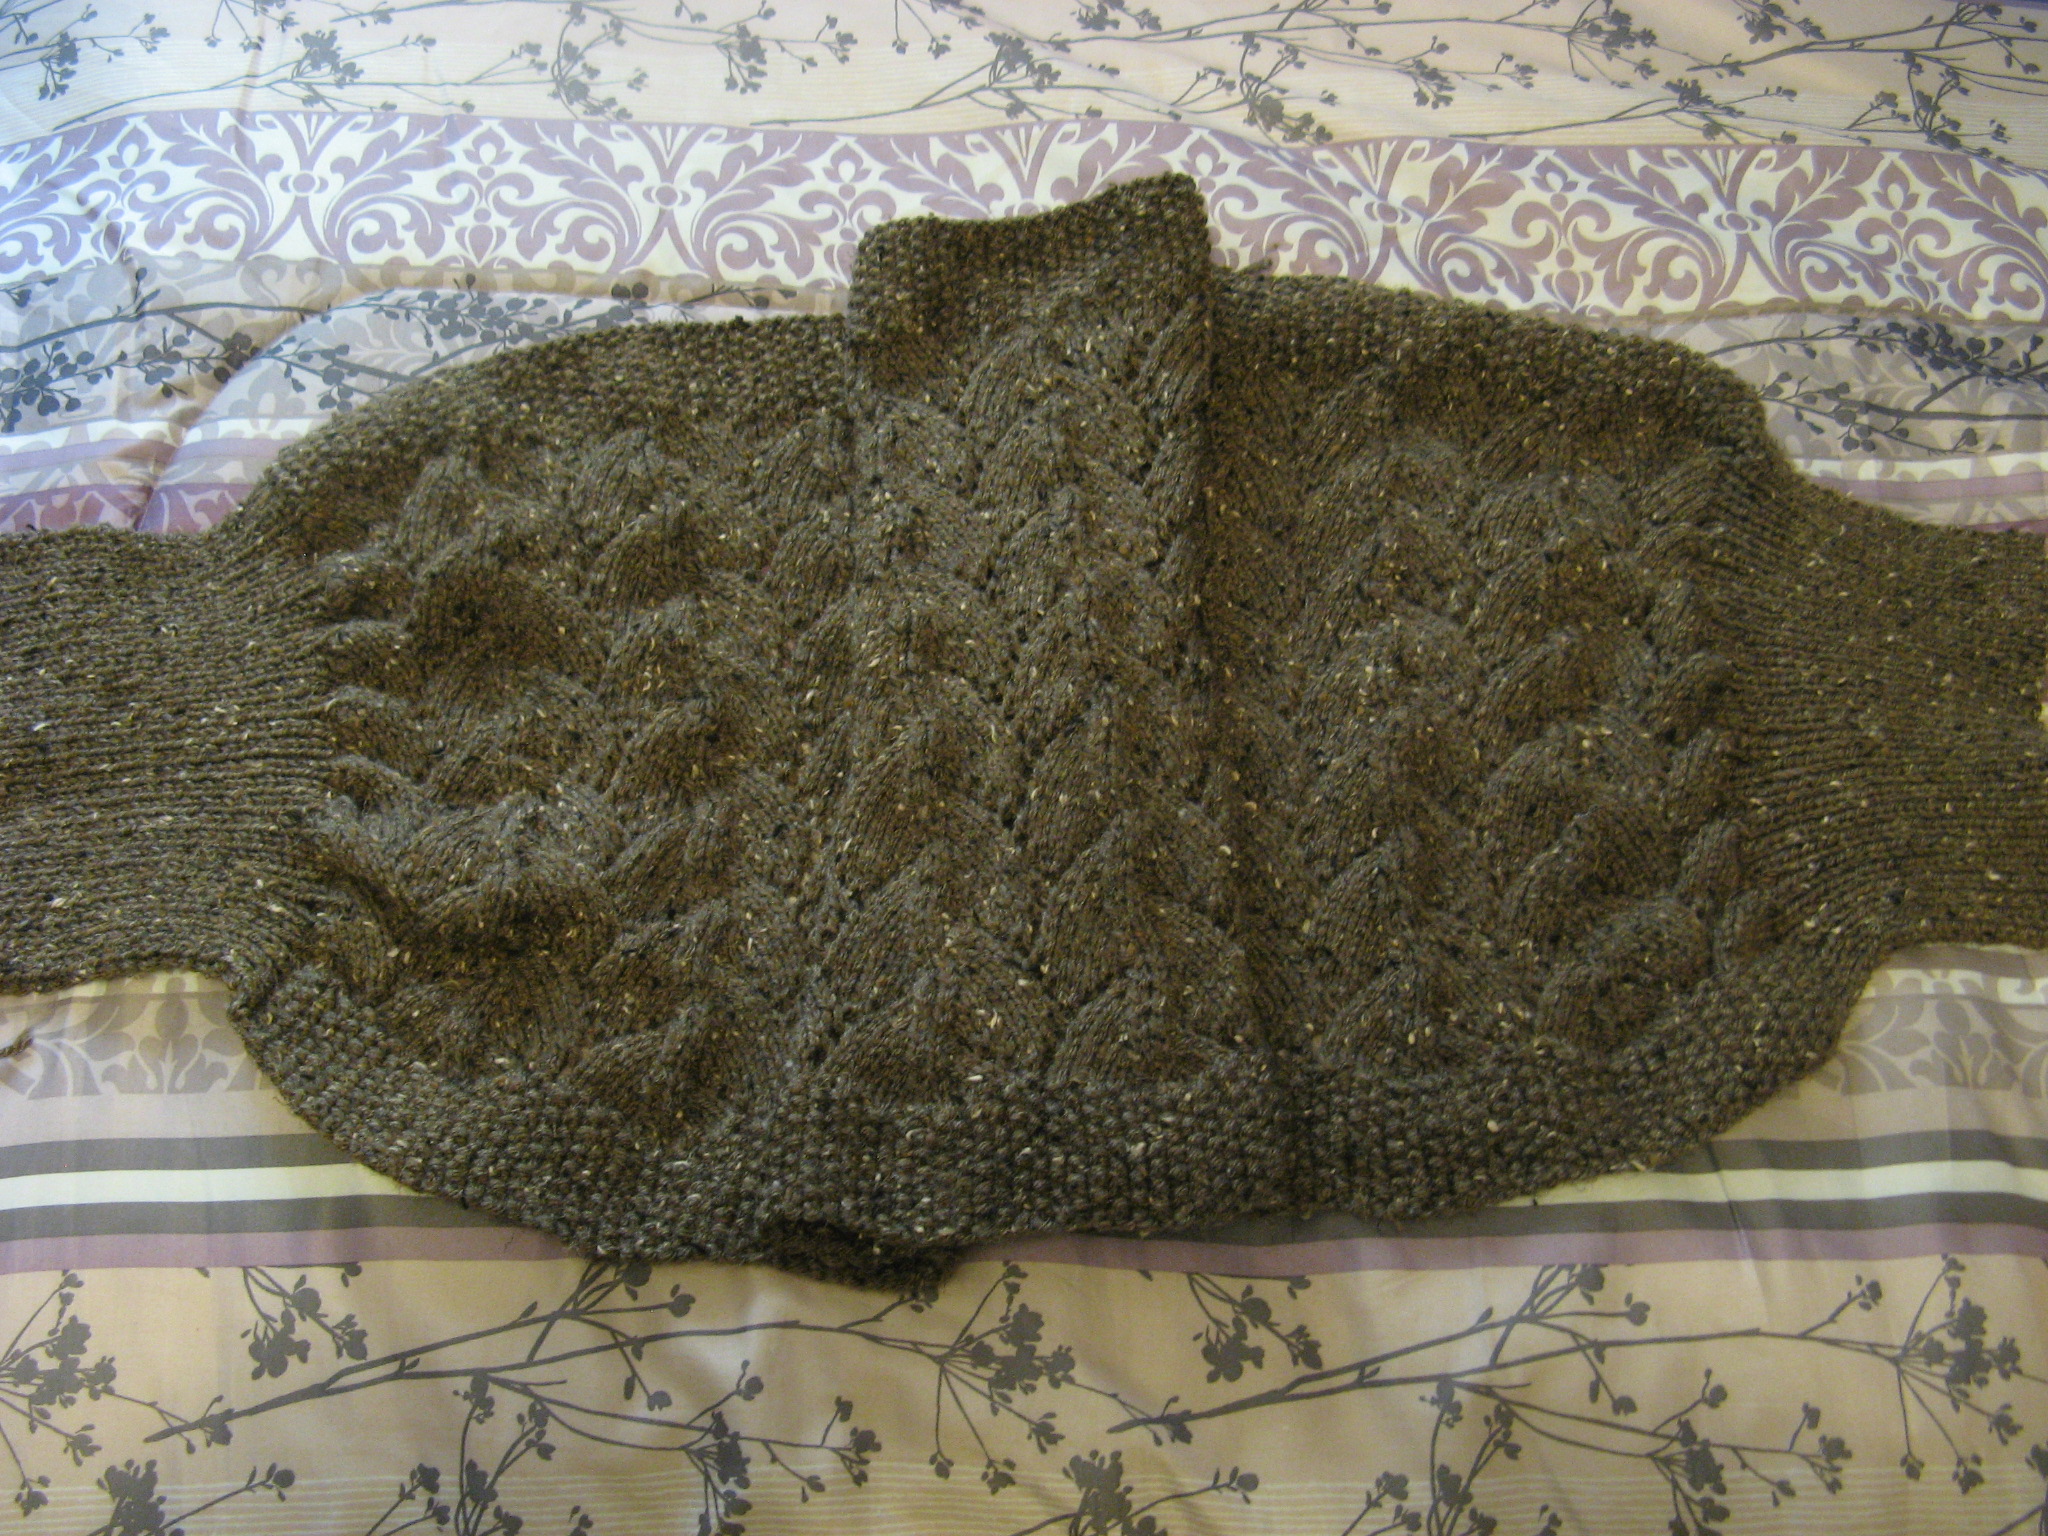
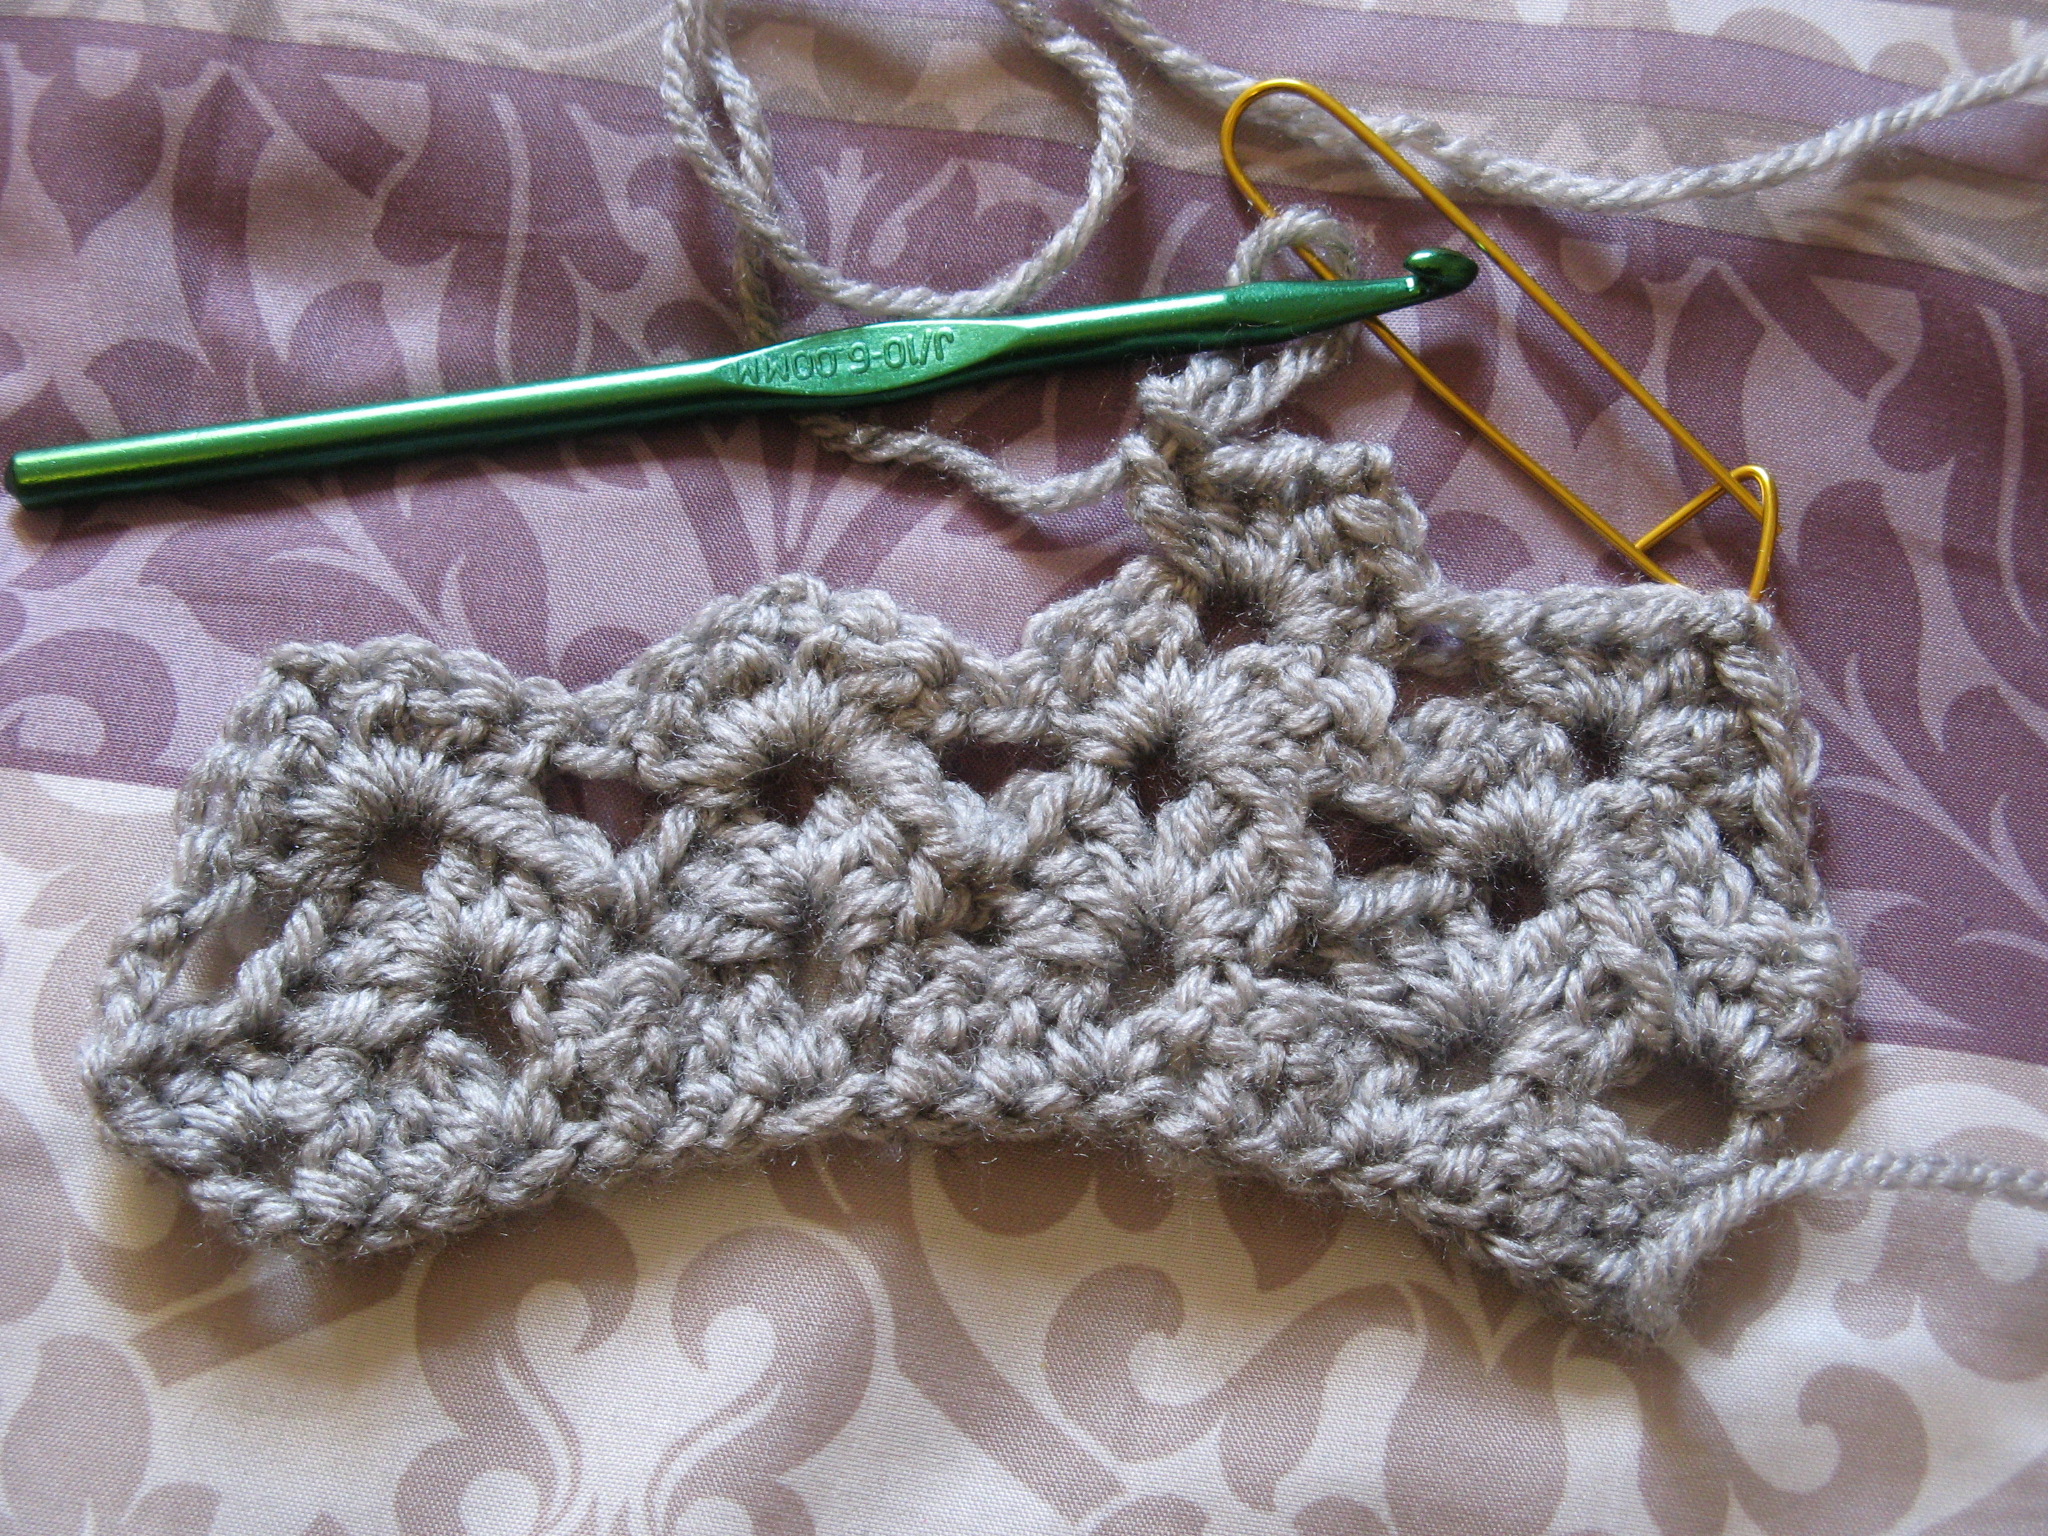
But then I finished up another project that requires seaming (hexagons for a Christmas Tree Skirt) and I thought to myself that there was no way I could start seaming this project if I still hadn’t finished the one from years ago. So, I took the rectangle out of the corner and procrastinated for a few more days and then finally sat down and got to work. And guess what, I realized that all that procrastinating was for nothing. I seamed up the sides of the shrug in about an hour. I did one side while watching television and the other side laying in bed before going to sleep. Finishing it prompted me to get out of bed and try it on and that’s when the feeling of disappointment came over me. I tried it and my first thought was “Eh.” The pattern was one size fits all, but, I think if I was a little taller I would like the way it fit in the back better. And while the picture accompanying the pattern had the sleeves coming down about 3/4 of the way on the model’s arm, on me the sleeves end before my elbows. Maybe trying it on over my pj’s didn’t help give me the best impression of the shrug, but, considering that I was fussing with it so much to get it to look just right I don’t know if my thoughts will change. Ultimately, I ended up folding it back up and placing it in another spot. At least it’s done, so, I can to get to work on seaming the hexagons that I am determined to get done before my Christmas Tree goes up this year. I have some time so fingers crossed I will get it done.


T-shirt Yarn Infinity Scarf

Thanks to large knitting needles and t-shirt yarn I was able to complete the infinity scarf I recently posted about in less than a week. Working with the t-shirt yarn was a lot easier than working with typical yarn. I didn’t have to worry about it fraying our accidentally splitting the yarn with the needles; it’s not the ideal yarn though for most projects, i.e. a blanket. While I did have two skeins of Loops & Threads T-shirt Yarn (which is unfortunately discontinued now) on hand to complete the scarf I only needed one skein.

I ended up knitting the scarf twenty-seven inches and then sewed the ends together so that it would be long enough to loop…

IMG_7176

Or an ideal length for wearing long.

IMG_7182

As for my next yarn project, I’m undecided. It’ll either be a scarf (surprise surprise as those are my favorite things to knit or crochet) or a shrug.


T-Shirt Yarn Infinity Scarf

Materials:

T-Shirt Yarn (one skein approximately 100 yards)

Knitting Needles: US 19 / 15 MM

Directions:

Cast on 10 stitches

Row 1: Knit 2, *Purl 2, Knit 2; repeat from * across. Repeat Row 1 until piece measures your desired length (either to loop around your neck or wear long.)

Bind off.

To finish, sew the ends together and weave in the ends of the yarn.


Where are the Beads & Yarn?

While as of late most of posts have been about baking (i.e. the Spatula) I have been working on some yarn and bead projects and today I would like to share with you some of the yarn projects.

I recently completed three scarves…

A button-through cowl I made with Lion Brand Wool-Ease Thick & Quick yarn in Barley. This was a quick cowl to crochet thanks to the nature of the yarn (hence the name of the yarn) and the easy pattern working with double crochets. I believe I was done with this in less than three hours!

IMG_6961

Next I completed another cowl using another Lion Brand yarn, their Landscapes yarn in Desert Spring. It’s a beautiful self-striping roving yarn that’s also great to work with. Well, it was great yarn to work with once I wound it up into a ball as opposed to pulling it out from the skein. I did that during my first go at making this scarf and the yarn began to fray which affected the outcome of the cowl. Thankfully I bought 2 skeins of the yarn – even though the pattern only required one – so I was able to start over with much better results. One other thing, the pattern called for the cowl to be knitted in the round but I opted to add a few extra stitches and just sewed the ends together.

IMG_6967

And finally using Red Heart With Love yarn I crocheted a puff stitch scarf. I had a slight mishap while making this scarf. I knew that it was looking a little funny while working on it but it wasn’t until I finished and needed to add the border around the scarf that I knew for sure what I had done wrong. I didn’t end one of the rows on the right stitch so every few rows the last stitch was sticking out which prevented me from adding the border. So, I had to take the scarf apart and crochet it again. Thankfully it was a quick pattern to stitch up so I was done in no time and done correctly

IMG_6970

And currently on my crochet needle is a toddler blanket for a friend’s daughter – I actually made a smaller version of this blanket last year as a baby gift for another friend. I’m about half-way done and just about to start working with another skein of Lion Brand’s Pound of Love yarn in Honey Bee. As with the button-through cowl, this blanket is just a series of double-crochets.

IMG_7003

Easy Lace Shrug… It’s Finally Done!

It’s been over a month since I posted about the Easy Lace Shrug I was working on. I honestly didn’t think it would take me this long to finish it, especially since I didn’t have much left to go, but that’s what procrastination will do to you. (And also a few mistakes.)

This is where I was when I last posted… I still had to two more sections of the lace pattern to knit up, the seed stich border to complete and I also had to the cuffs to do which I needed to pick up stitches for along the border. Something I had never done before and while it seemed challenging at first I quickly got the hang of it. Although I did have to pull out the first cuff I did because I somehow miscalculated the number of stitches or more likely mistook some space for stitches when they weren’t.

IMG_2729

So, after I corrected my mistake I successfully knitted the cuffs onto each end of the shrug.

IMG_2978

And finally I seamed the cuffs together and it was done (YAY!!!) I’ve been thinking about knitting up a sweater for myself since I got this down. I probably should start soon though so that I can be sure to have it done before next winter.

IMG_2994 IMG_2997

One other thing I got done… The scarf I had mentioned in the post about the shrug. And while it’s officially Spring today the temperatures will be on the colder side early next week so I am thinking I may get to wear this before I have to pack it away for next winter.

IMG_3003 IMG_3007

A Shrug In Progress

As of late most of my posts have been about baking but today I thought I would share with you a quick picture or two of my current knitting project. Initially I started the year trying to make myself a slouchy hat. I had made one once before and in all honesty I never wore it. I didn’t care for the yarn I used for it and my rounds were a little off, so, I attempted to make another one with a different type of yarn. Once again, I didn’t like it. Although this time I decided that before I even finished it. So, I unraveled it and will be using the yarn for a scarf instead – my favorite winter accessory. I actually started it already…

IMG_2732

But, I digress, back to the knitting project. This is probably the “biggest” thing I have made for myself. While I have knitted (and crocheted) baby blankets and afghans for others I usually stick to making scarves for myself. But, after the hat debacle I decided I would make something for myself that has been sitting on my to-do list for over a year – the Easy Lace Shrug from Lion Brand Yarn – or as I have just been telling others when they see me knitting it… a cardigan. Starting this was my biggest obstacle. I couldn’t get the Seed Stitch correct. This is probably one of the easiest knitting stiches out there but for some reason it just wasn’t clicking with me until I watched a video on how to do it. I kept reverting back to a Rib Stitch. After, well, I won’t say how many tries because in all honesty I lost count, I finally got it right and I was on my way.

IMG_2730

After knitting up two inches of the Seed Stitch it was time to start my pattern – a Shell Lace. Luckily this didn’t give me as many issues as that initial stitch. Although, I did have to do a few Google searches to figure out what the pattern meant by “end last repeat SSK.” Once I figured that out that the Shell Lace pattern quickly came together. I am mainly a self-taught knitter and crocheter so a lot of these terminologies escape me, but, there is definitely a satisfaction that comes along with learning things on your own as you go. That “aha moment” is priceless!!! So at this point I have completed the Shell Lace pattern six times and will probably do it two more times before finishing it up with two more inches of Seed Stitch. After that I have to pick up stitches on the side of the shrug to complete the cuffs… YIKES! I will definitely be watching some more videos to get that right…. Stay tuned!

IMG_2729

The Runaround Knit Cowl

It’s my first project of the New Year and it’s a simple and versatile one! It’s called The Runaround Cowl and I came across it on a Lion Brand Yarn Facebook post. Originally it came from a blog known as Smashed Peas and Carrots and can be found here: Smashed Peas and Carrots: The Runaround Cowl

As for supplies, all you need is one skein of Lion Brand Homespun Yarn and Size 15 knitting needles. While Homespun yarn does come in an array of colors I am not too fond of the heather and striping colors so I chose to stick with something neutral – Cream.

IMG_9209

At first I was a bit unsure of how the end product was going to look. I started and wasn’t too happy with how it was working up and it took some getting used to working with the yarn. Sometimes my tension is a bit too tight and that can make working with this yarn a little frustrating.

IMG_9216

Unfortunately once I got on a roll I somehow ended up with an extra stitch and instead of trying to correct the problem I opted to just start over. This is one of the reasons I prefer crocheting over knitting, it’s much easier to correct any errors. The second time around I was much happier with how it was looking and after a few hours of knitting I reached my desired length of 55 inches – I decided to make mine a few inches longer than the directions said. I will also note that while the directions state to bind off in pattern I decided to bind off by knitting my last row, I just find it easier to do that and I figured it wouldn’t alter the look of the cowl since I was going to stitch the two ends together.

I then weaved in the ends of my yarn, created a twist and stitched the ends together. And voila I had a new cowl! Once the weather gets a little warmer I’m sure this will become one of my go-to scarves.

IMG_9220 IMG_9234 IMG_9236

Runaround Cowl

Courtesy: www.smashedpeasandcarrots.blogspot.com

Cast of 25 stitches

Row 1: *K1 P1, Repeat from * across, K1

Continue with this pattern until cowl measures 50 inches or your desired length.

Bind off loosely in pattern.

Weave in tails.

Sew short ends together with a yarn needle making sure that you have made one twist in the cowl before sewing ends.

Quick and Simple Fingerless Mittens

Not too long ago I came across a pattern to make fingerless mittens in a Martha Stewart magazine. I made myself a pair using Lion Brand Wool-Ease Thick & Quick Yarn and size 13 knitting needles. I was very happy with the result and recently made another pair as a gift.
I decided not to use such a thick yarn the second time around and opted to use Patons Shetland Chunky Yarn and size 10 knitting needles.
I knitted two of these rectangles by casting on 36 stitches and working in garter stitch (knitting every row) for 8 inches (59 rows for this specific yarn).
Once the rectangles were done it was time to sew them up – create a seam – so these blocks of knitted yarn could actually become mittens. I folded them vertically so you would still be able to see the garter stich pattern running horizontally along the mittens and started sewing from the wrist part towards the fingers, making sure that I left a space for the thumb. One thing to note, when you sew make sure you are sewing on the side that would be considered the inside (wrong side), if not, you will end up with a finished product with a visible seam. But, if you do like the look of a visible seam try something different and create the seam using a contrasting yarn color to the one you chose for the mittens for a different look.
And they’re done!
Overall I was happy with how they came out. One thing though, since I did use a thinner yarn they were a tad bit bigger than the ones I originally made for myself. But, since the person I gave them to has a larger hand than me they were perfect fit for them. If I were to make myself a pair using this type of yarn I would definitely cast on less than 36 stitches to start the rectangles. I would probably go with something like 30 stiches to get a more snug fit.
You can find the specific pattern on the Martha Stewart website – while the title does stipulate Child’s Knit Hand Warmer, the description has the modifications for the adult size.
%d bloggers like this: