Sun-Dried Tomato Bread

As I may have mentioned before I have quite a few cookbooks that I normally mark recipes from but more often than not don’t get around to trying out. Recently I started going through some of these cookbooks to refresh my memory on those marked recipes and also to see if I can make room on my bookshelf for other cookbooks that I will get more use out of. In doing so I came across a Sun-Dried Tomato Bread recipe in Marcus Samuelsson’s New American Table cookbook which I immediately decided I wanted to try. This is one cookbook that I didn’t purchase myself but instead received as part of a prize package I got a few years back and probably haven’t looked at it since. This also marks the first time I attempted to make bread, yes, I have made banana bread and such in the past but, I guess I should clarify that it’s the first time I am making a yeast bread. I’ve only baked with yeast once before, just this past holiday actually, and it was disastrous. I tried to make cinnamon rolls from scratch but my yeast never properly dissolved and reacted with the water so the rolls were a mess, but, they did smell good. Luckily this time my results were a complete 180. I can’t even tell you how happy I was when my loaves actually expanded while they rested prior to me putting them in the oven… Sometimes it really is the little things in life.

I began by preparing the sun-dried tomato – kalamata olive – garlic paste that I ultimately kneaded into the dough. I soaked chopped sun-dried tomatoes in water for ten minutes and after patting them dry I combined them with chopped kalamata olives. To prepare the garlic I cooked four unpeeled cloves in olive oil for about twenty minutes until they were softened and then squeezed the pulp from the cloves into the mixture. I then mashed all three items together with a spoon to form the paste.
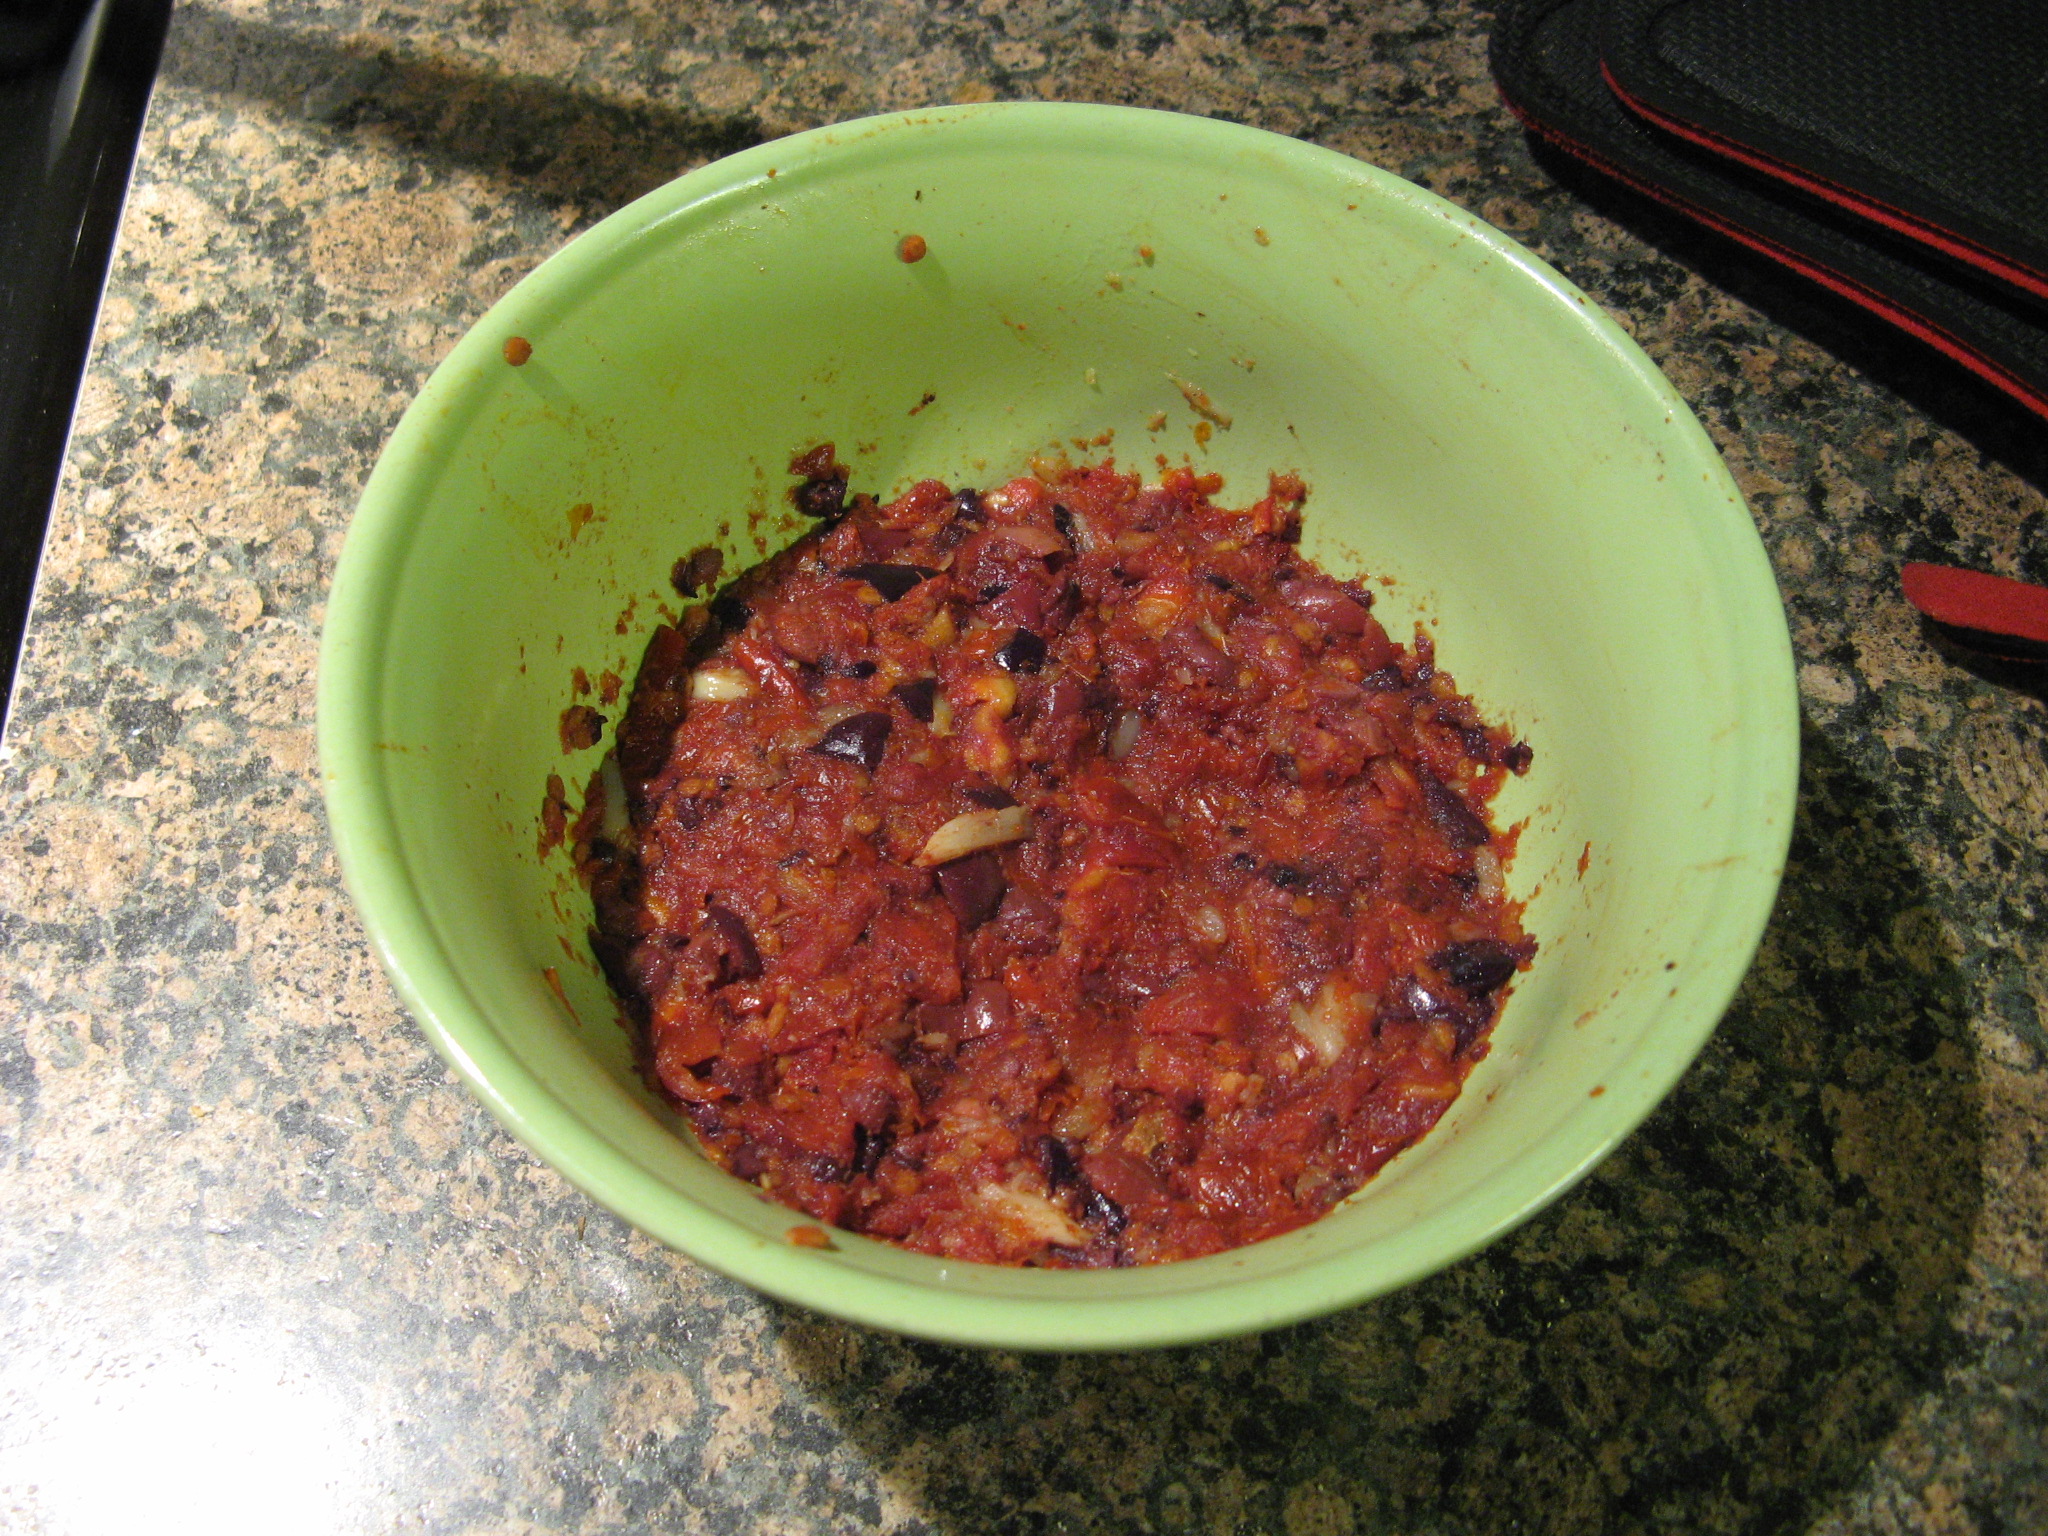
IMG_2659

Next I combined the yeast, salt and water in a bowl and let it sit in a warm area until the yeast activated. While the recipe called for fresh yeast I used dry yeast instead. I was able to find the dry equivalent after doing a quick Google search. At first nothing happened with my water, but, after reading the back of the yeast packet I learned that I needed to add a bit of sugar to get the process going. It wasn’t long after that the yeast was ready.
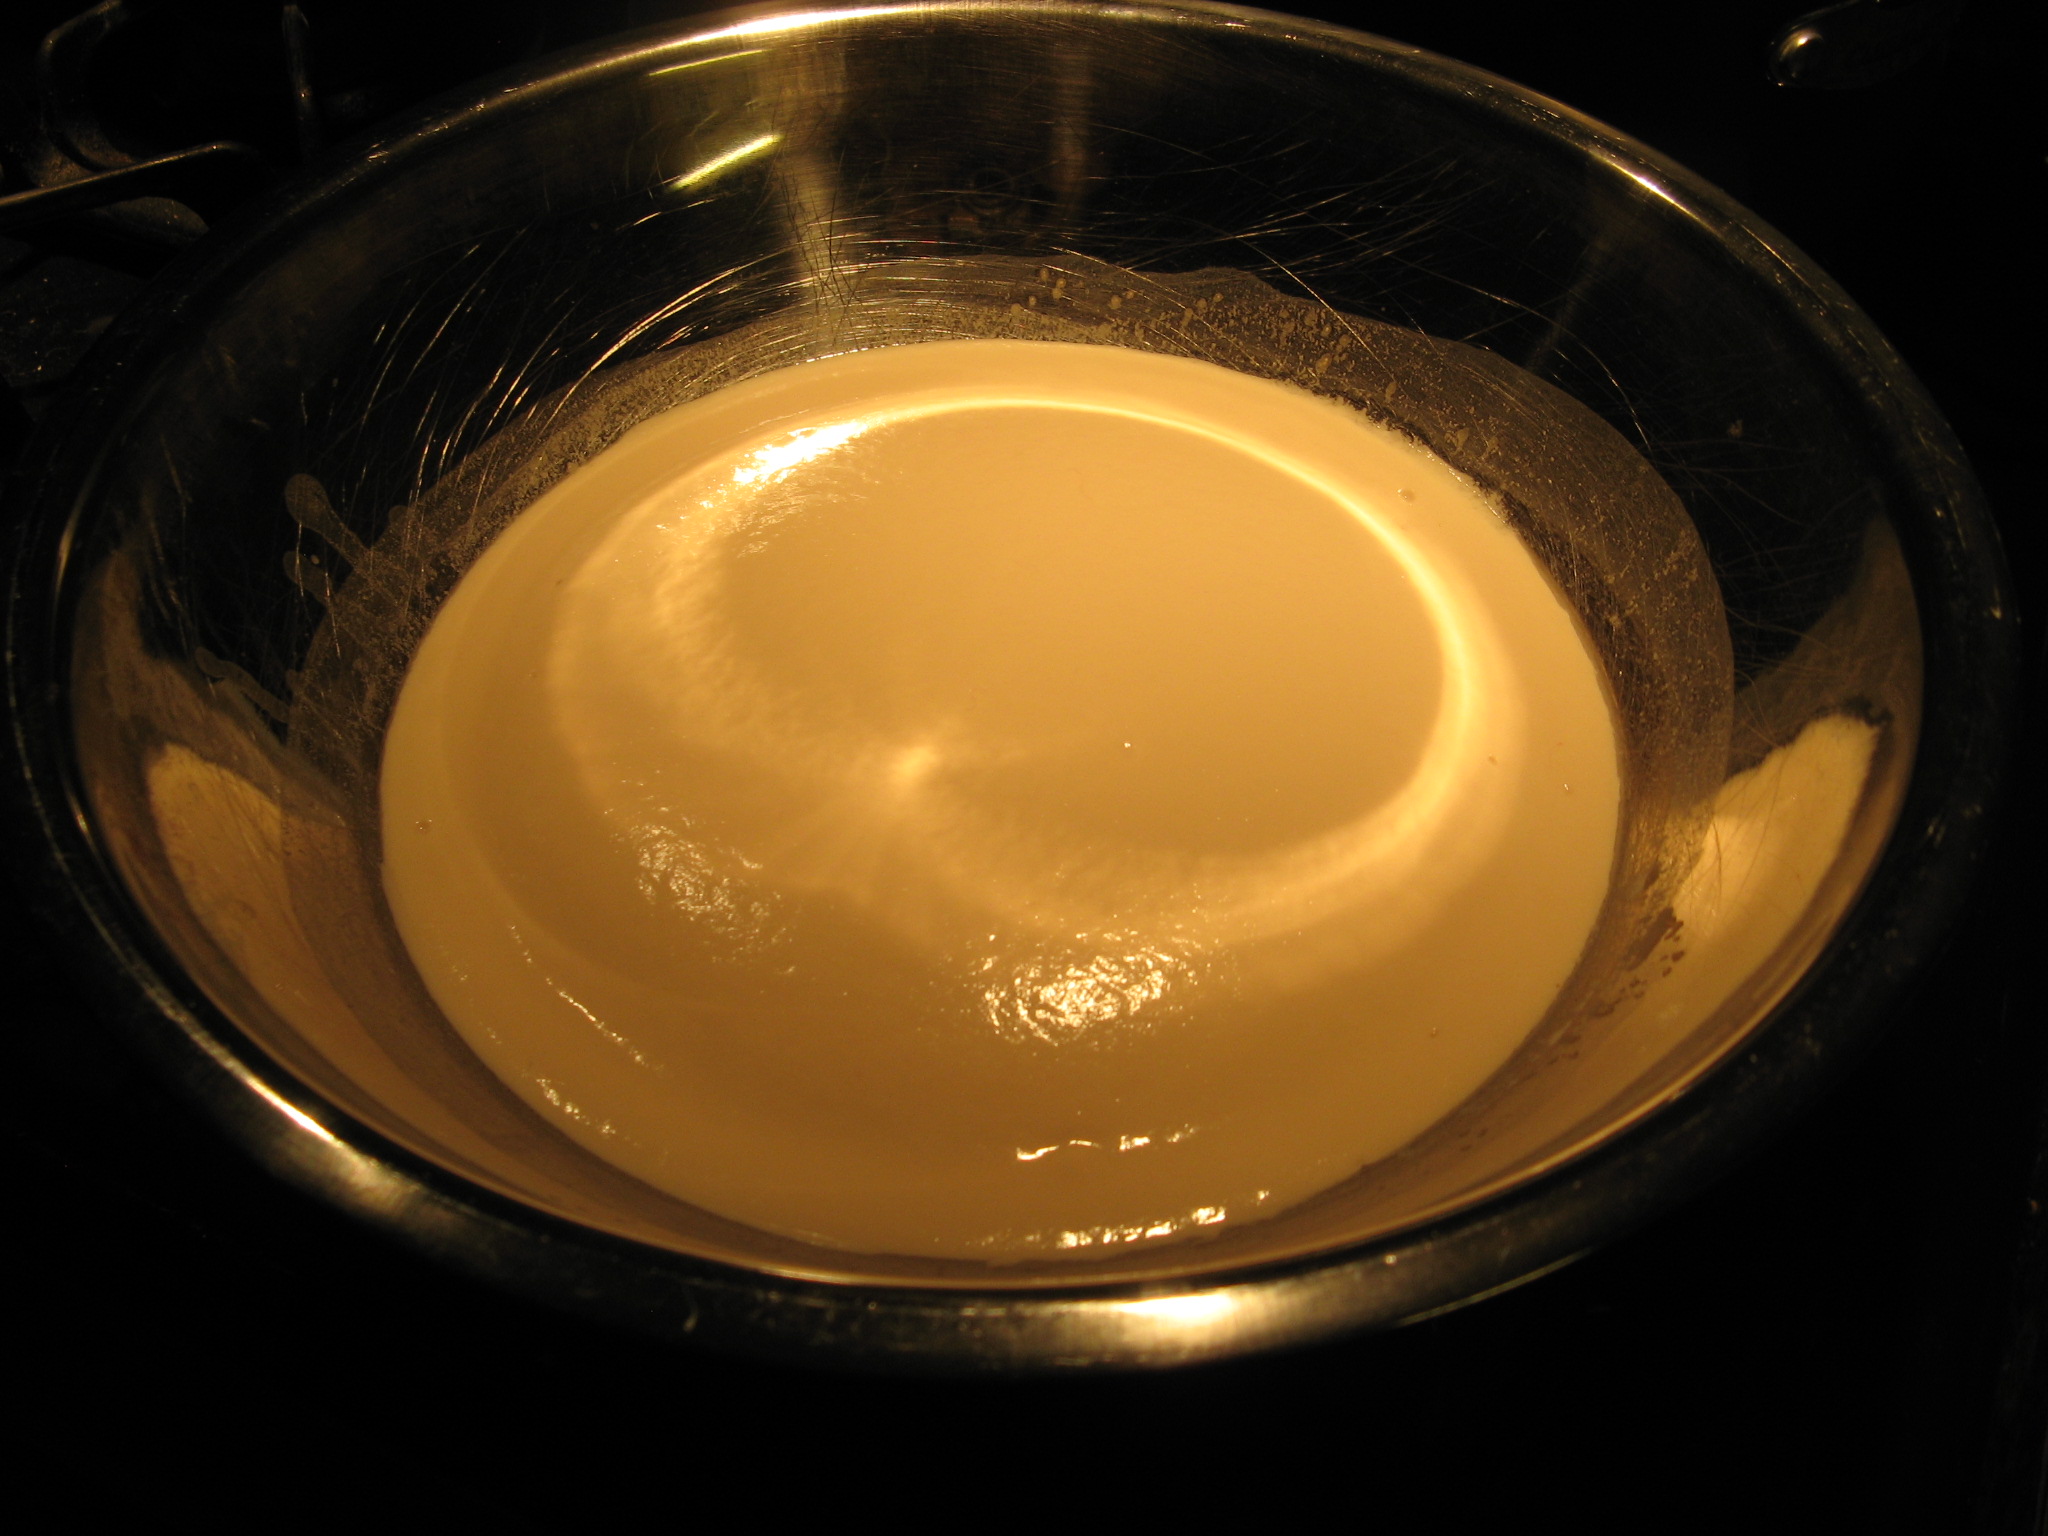
IMG_2660

I poured that into the center of the two flours – unbleached all-purpose and wheat flour – the recipe called for.
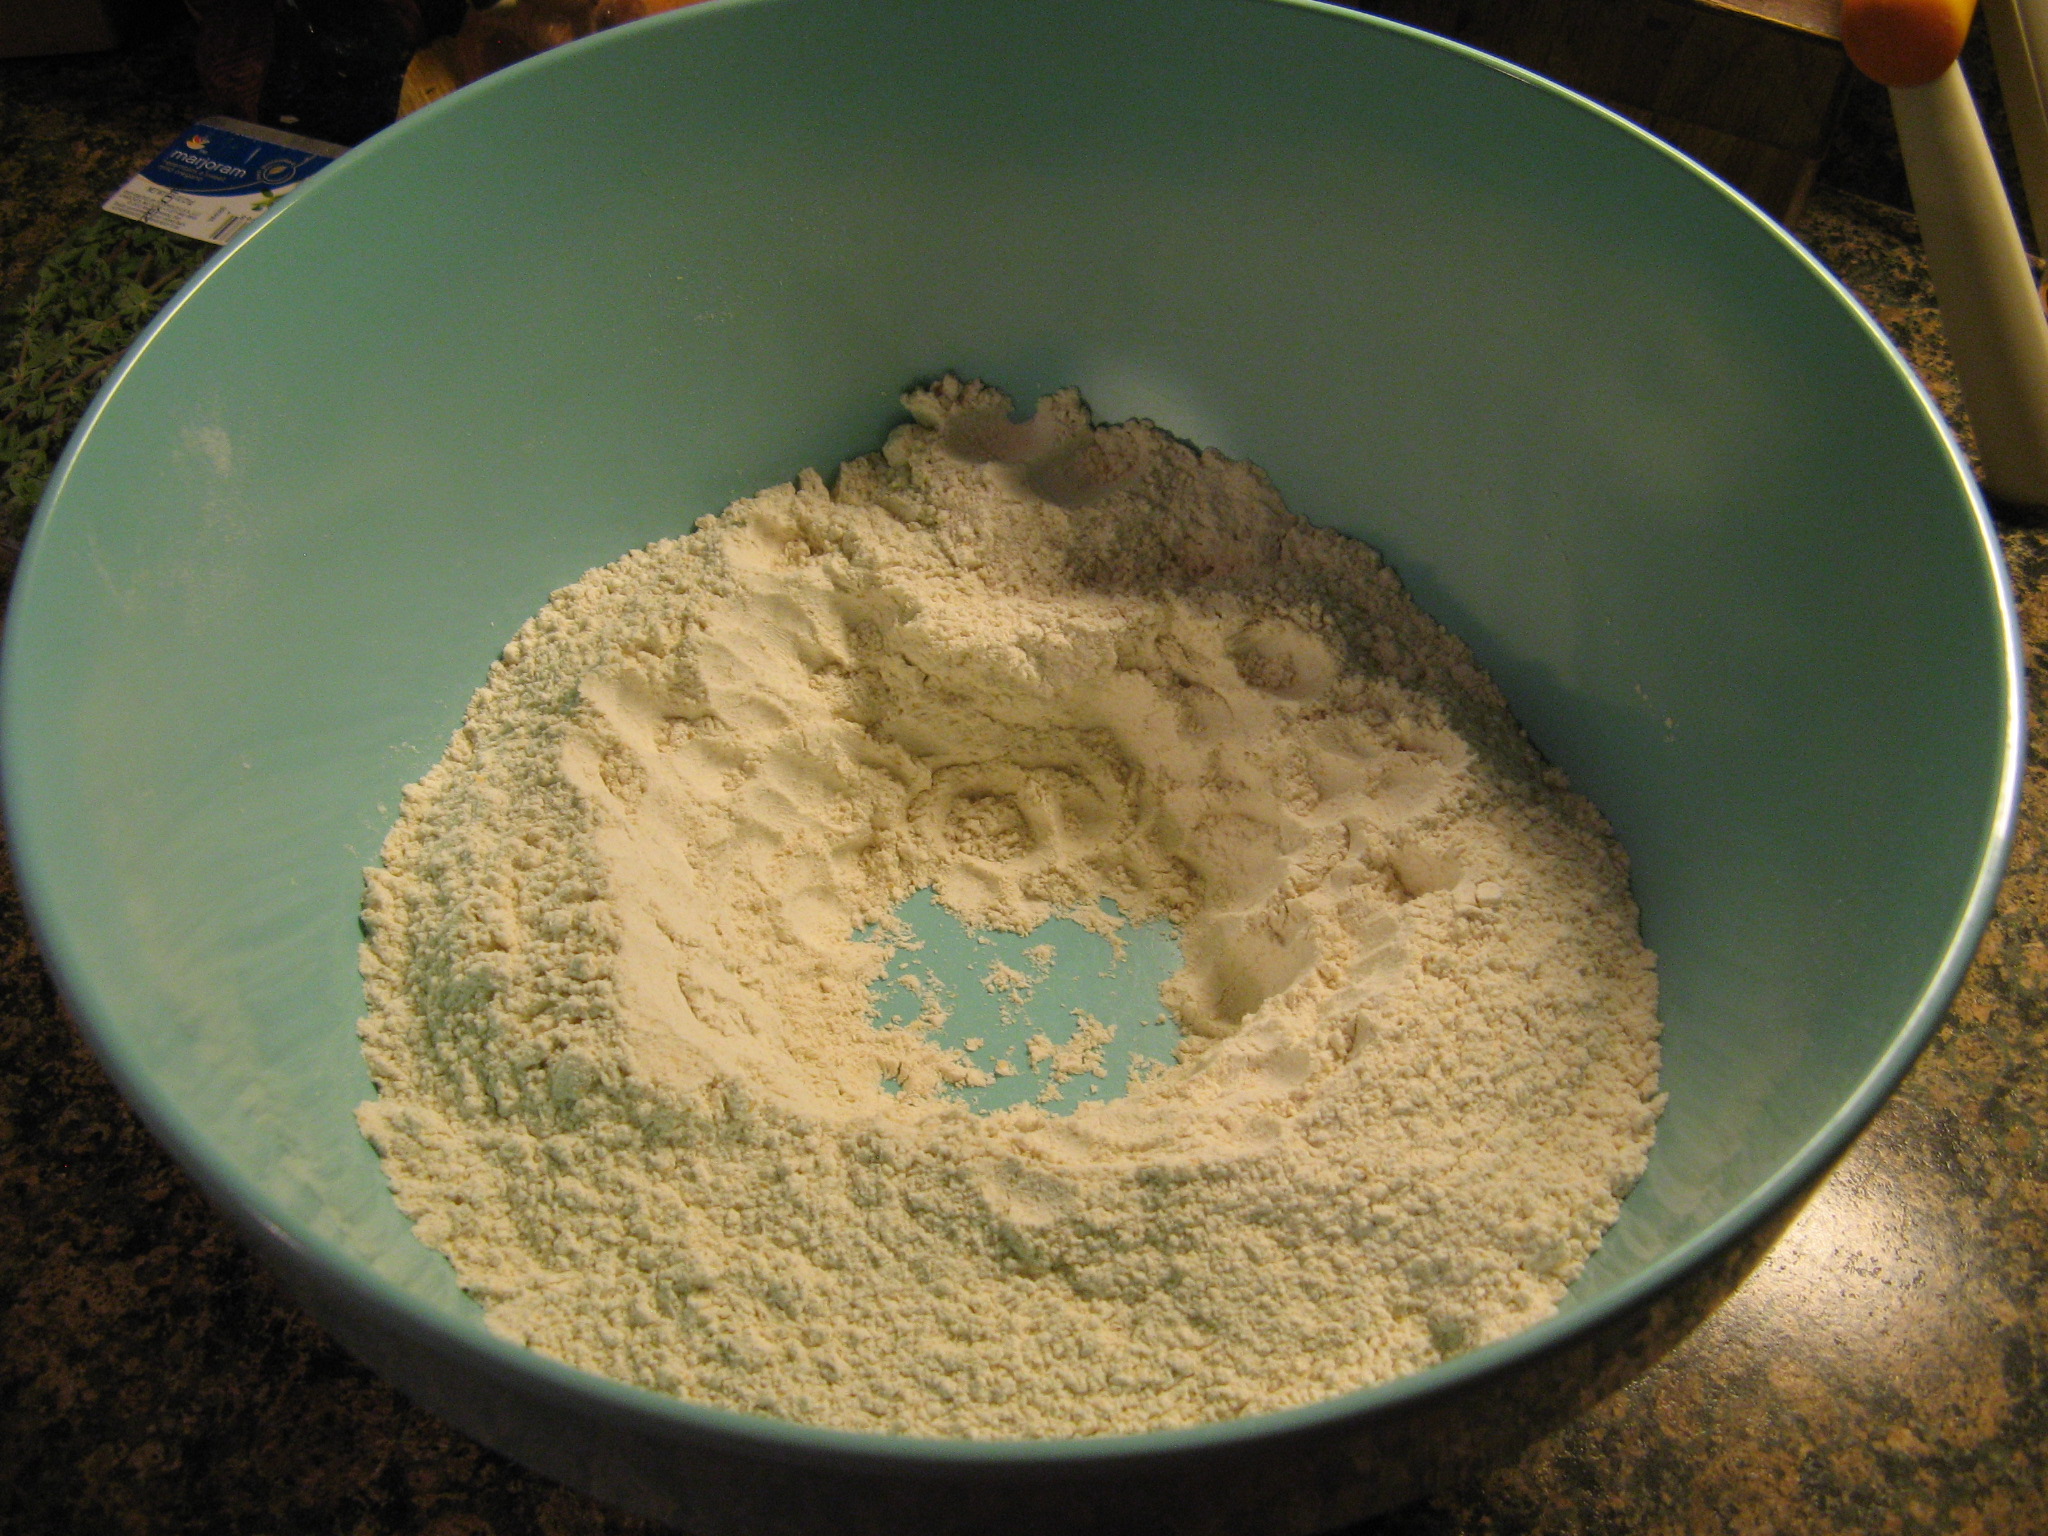
IMG_2661

After some kneading the dough was ready to be incorporated with the tomato-olive-garlic paste.
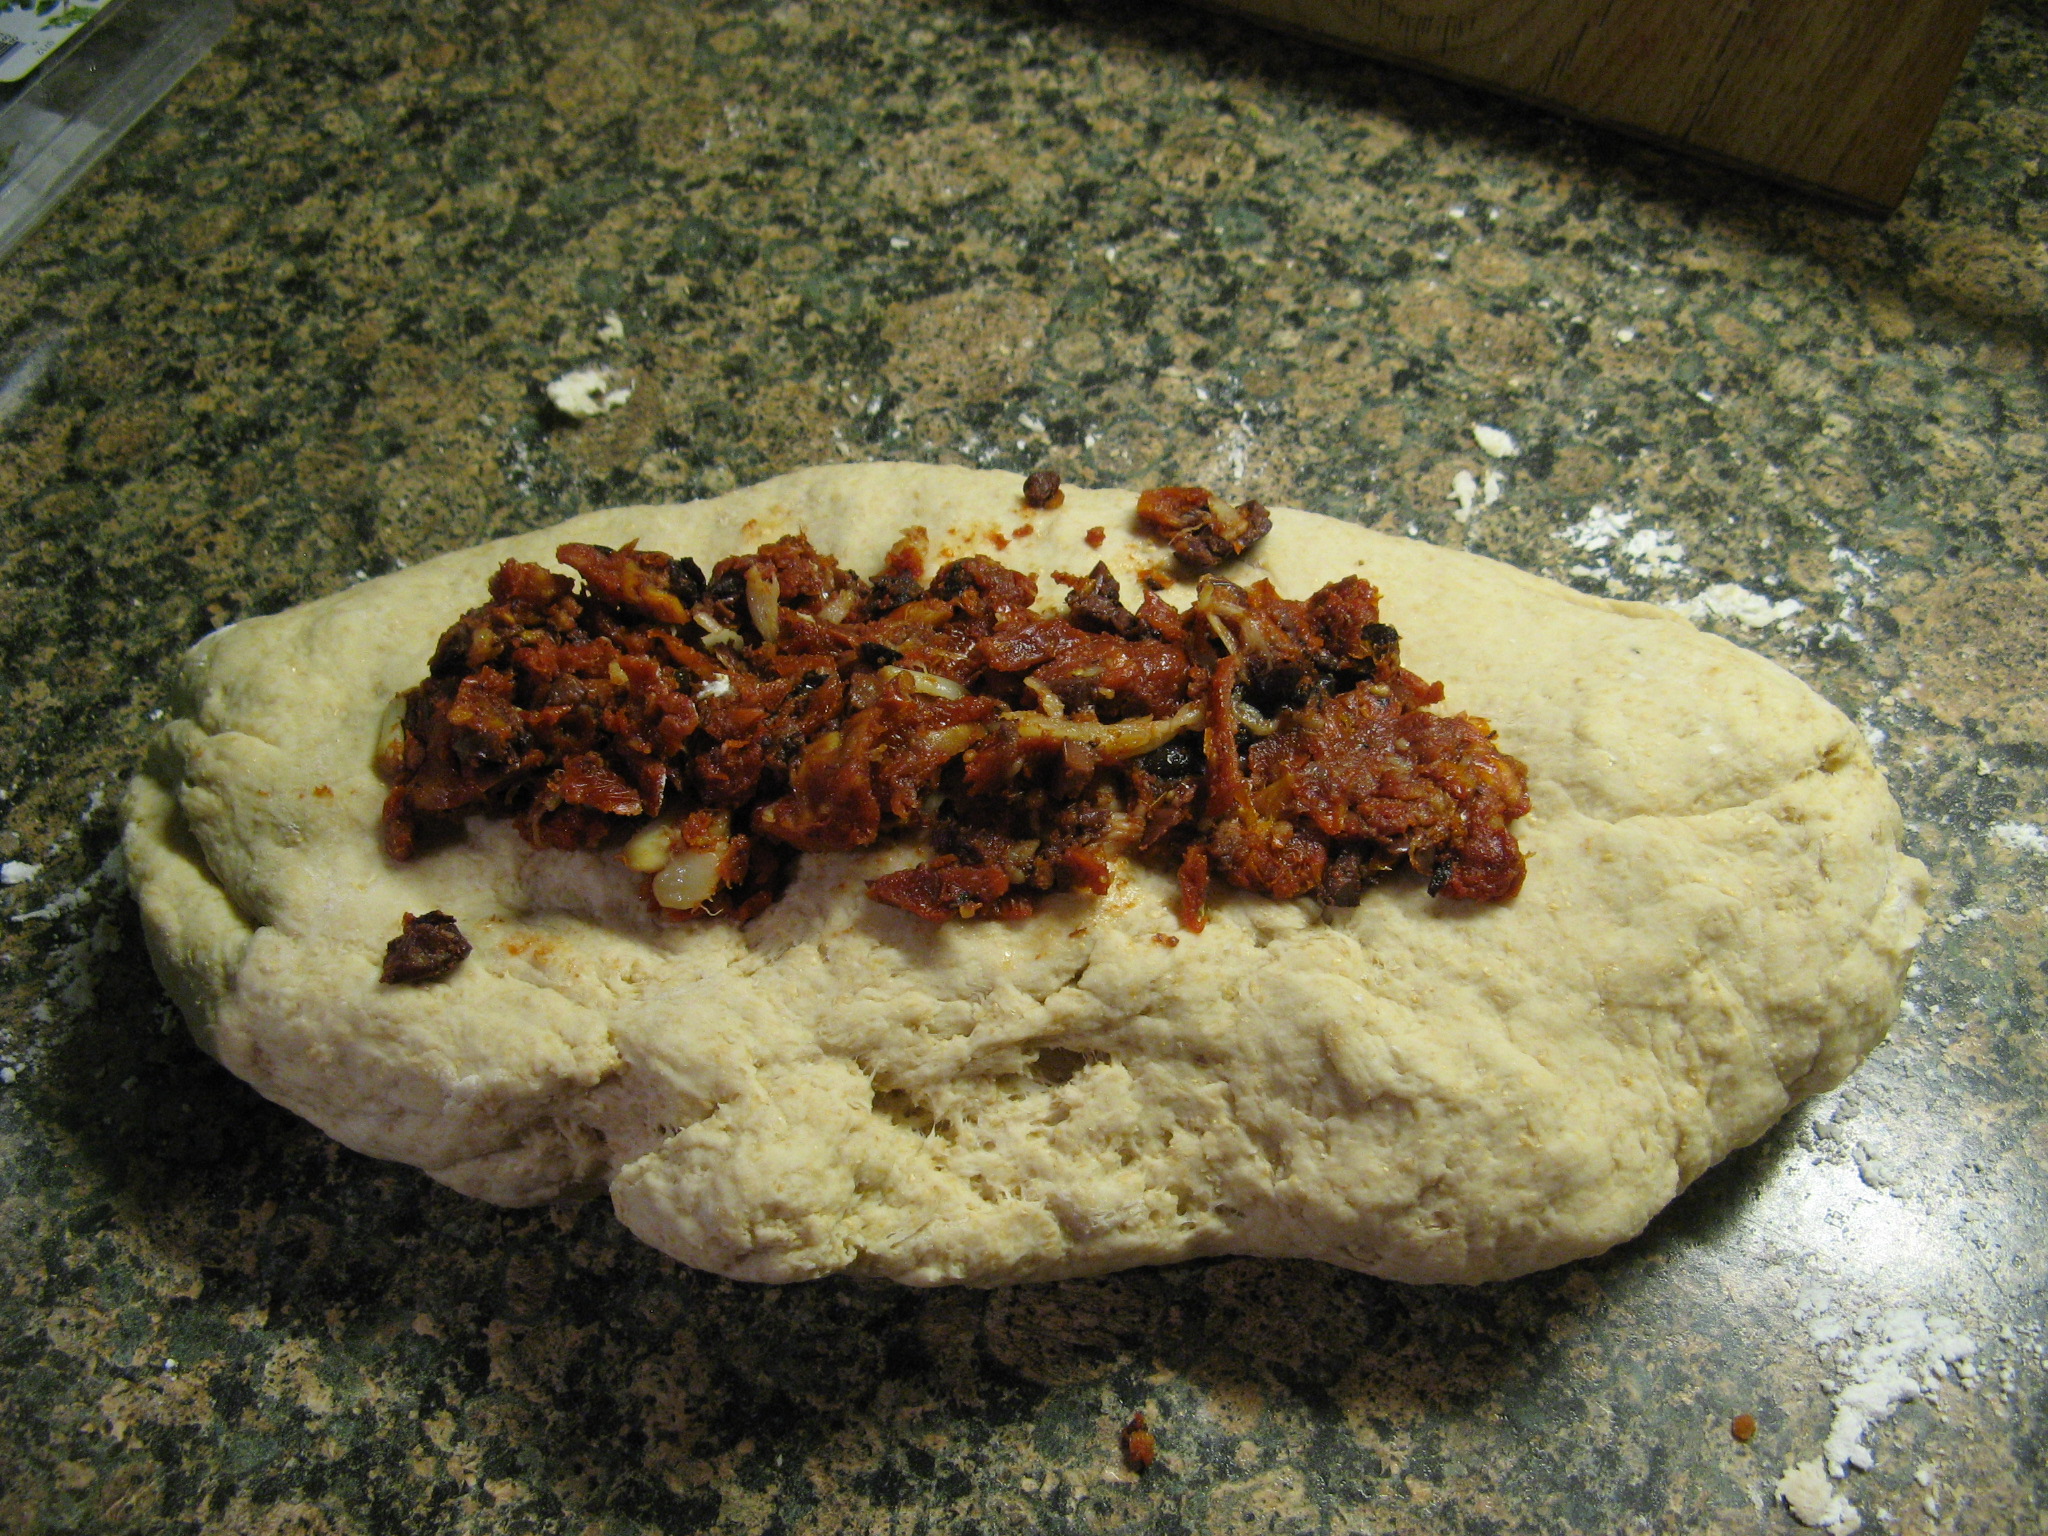
IMG_2663

After some more kneading I formed the dough into two loaves which I placed in prepared (sprayed with non-stick cooking spray) loaf pans.
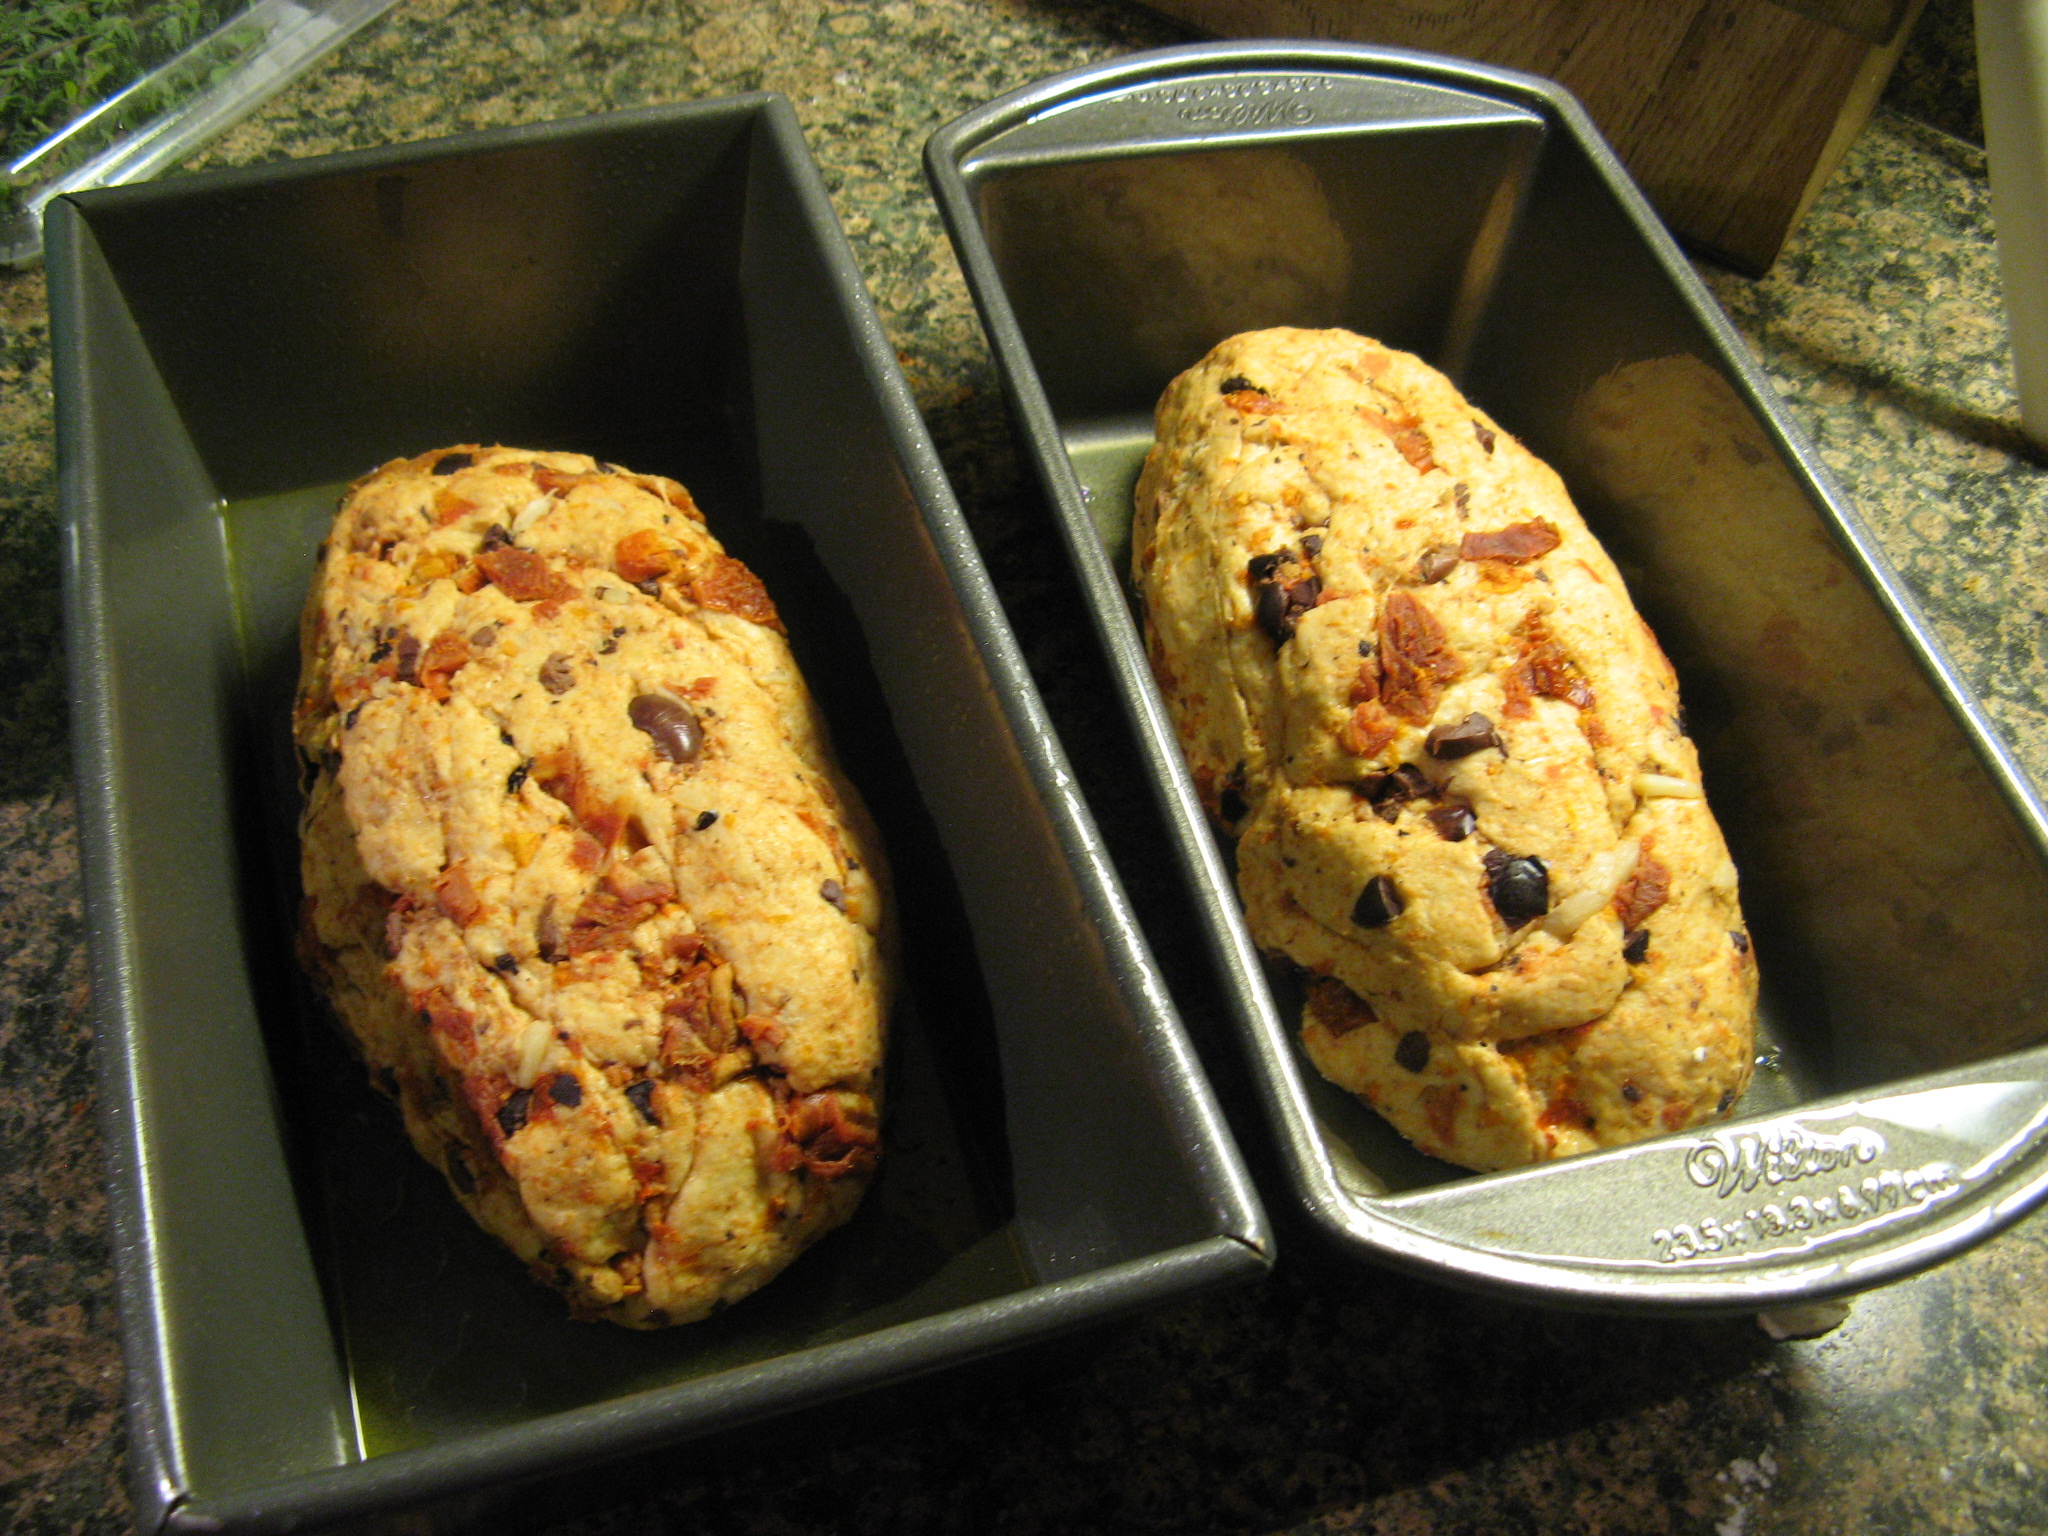
IMG_2667

I covered them and let them rest for one hour in a warm area so they could double in size. My warm area ended up being right on top of my stove while the oven was on. And boy did they double…
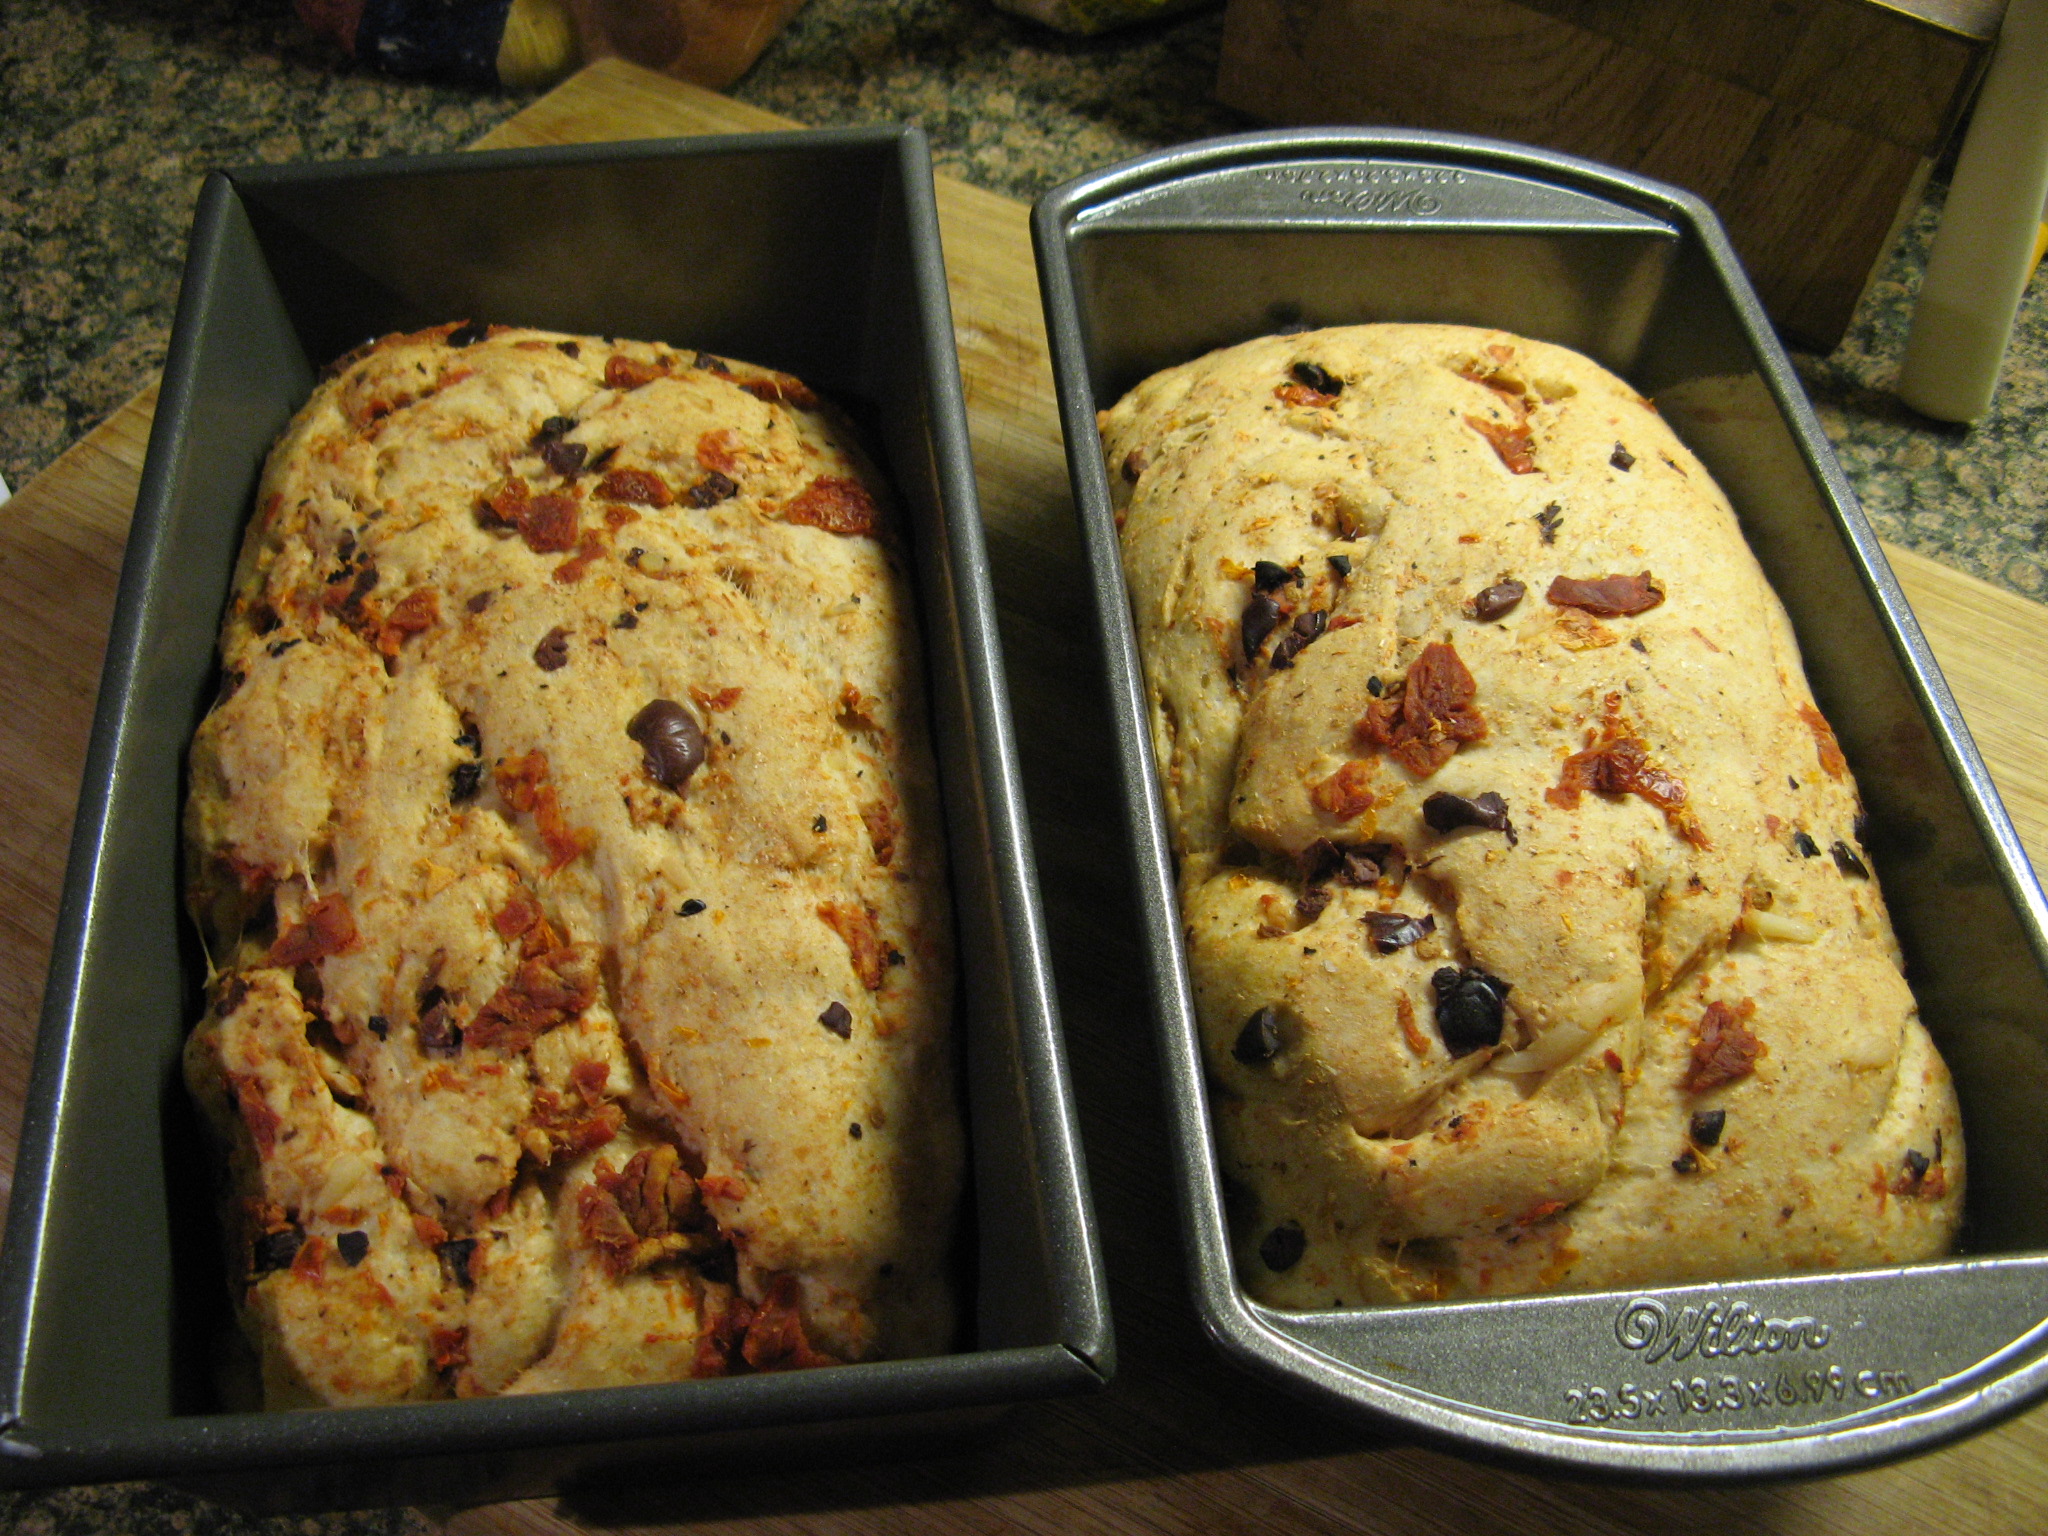
IMG_2670

I then brushed the tops of the loaves with olive oil – I used the same olive oil that I cooked the garlic in to add a little extra flavor – and sprinkled some salt and freshly chopped marjoram on top.
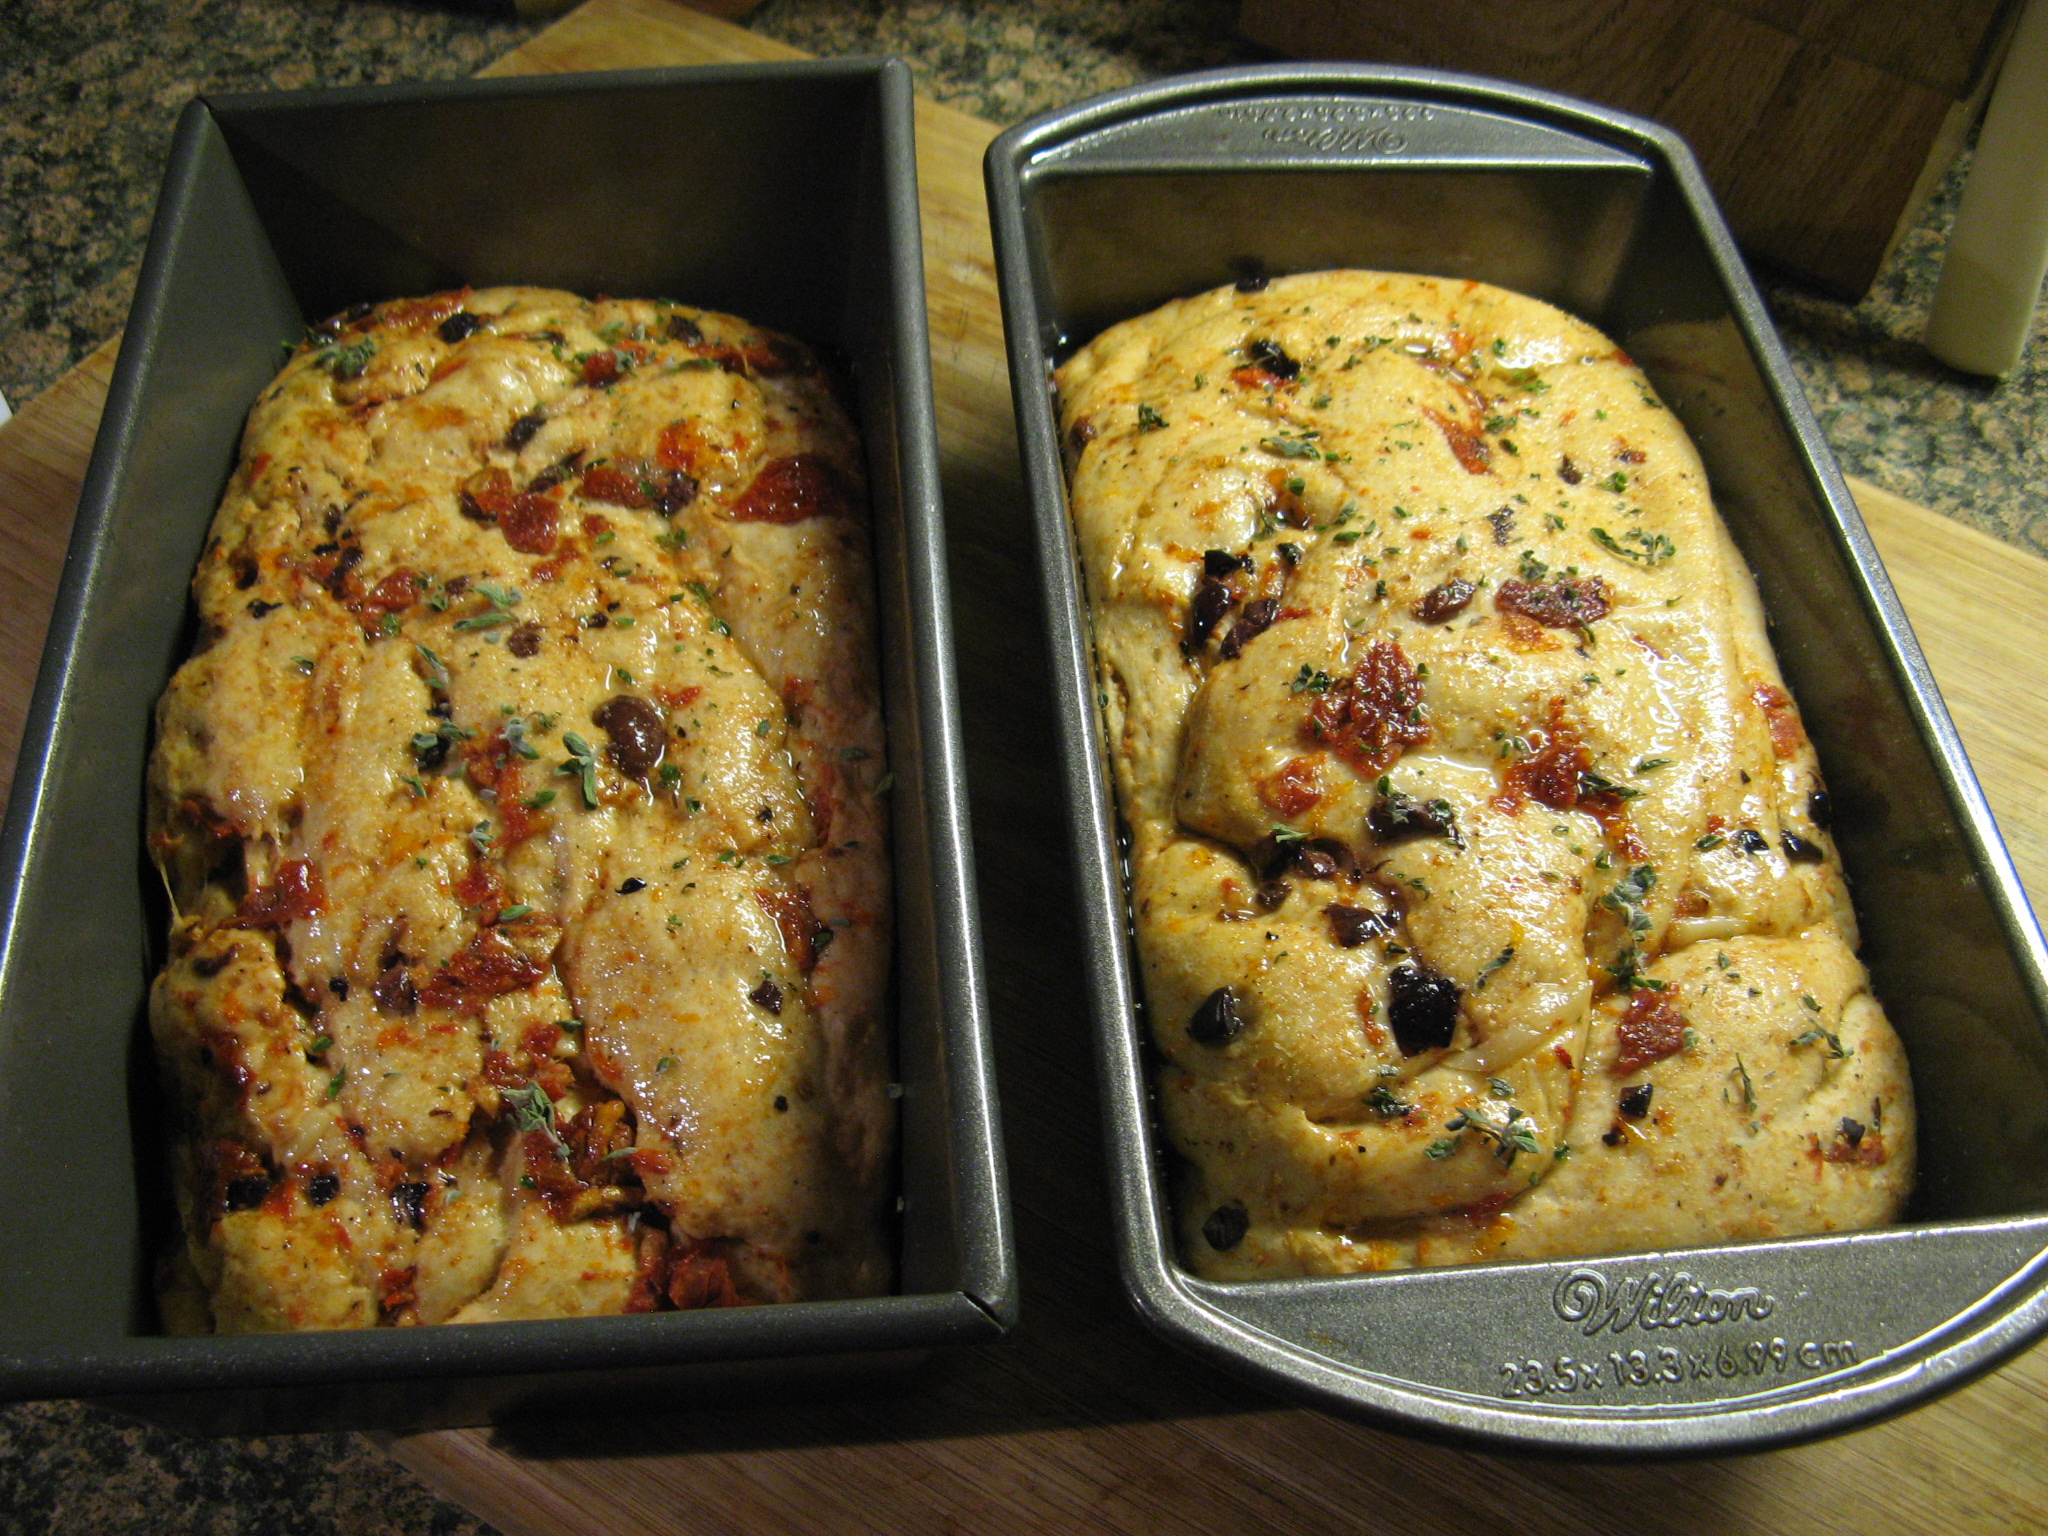
IMG_2672

I baked them in a 375 degree preheated oven for 30 minutes uncovered and then another 25 minutes covered with aluminum foil. After letting the loaves rest in the pan on the wire rack for ten minutes I then removed them so they could cool completely.
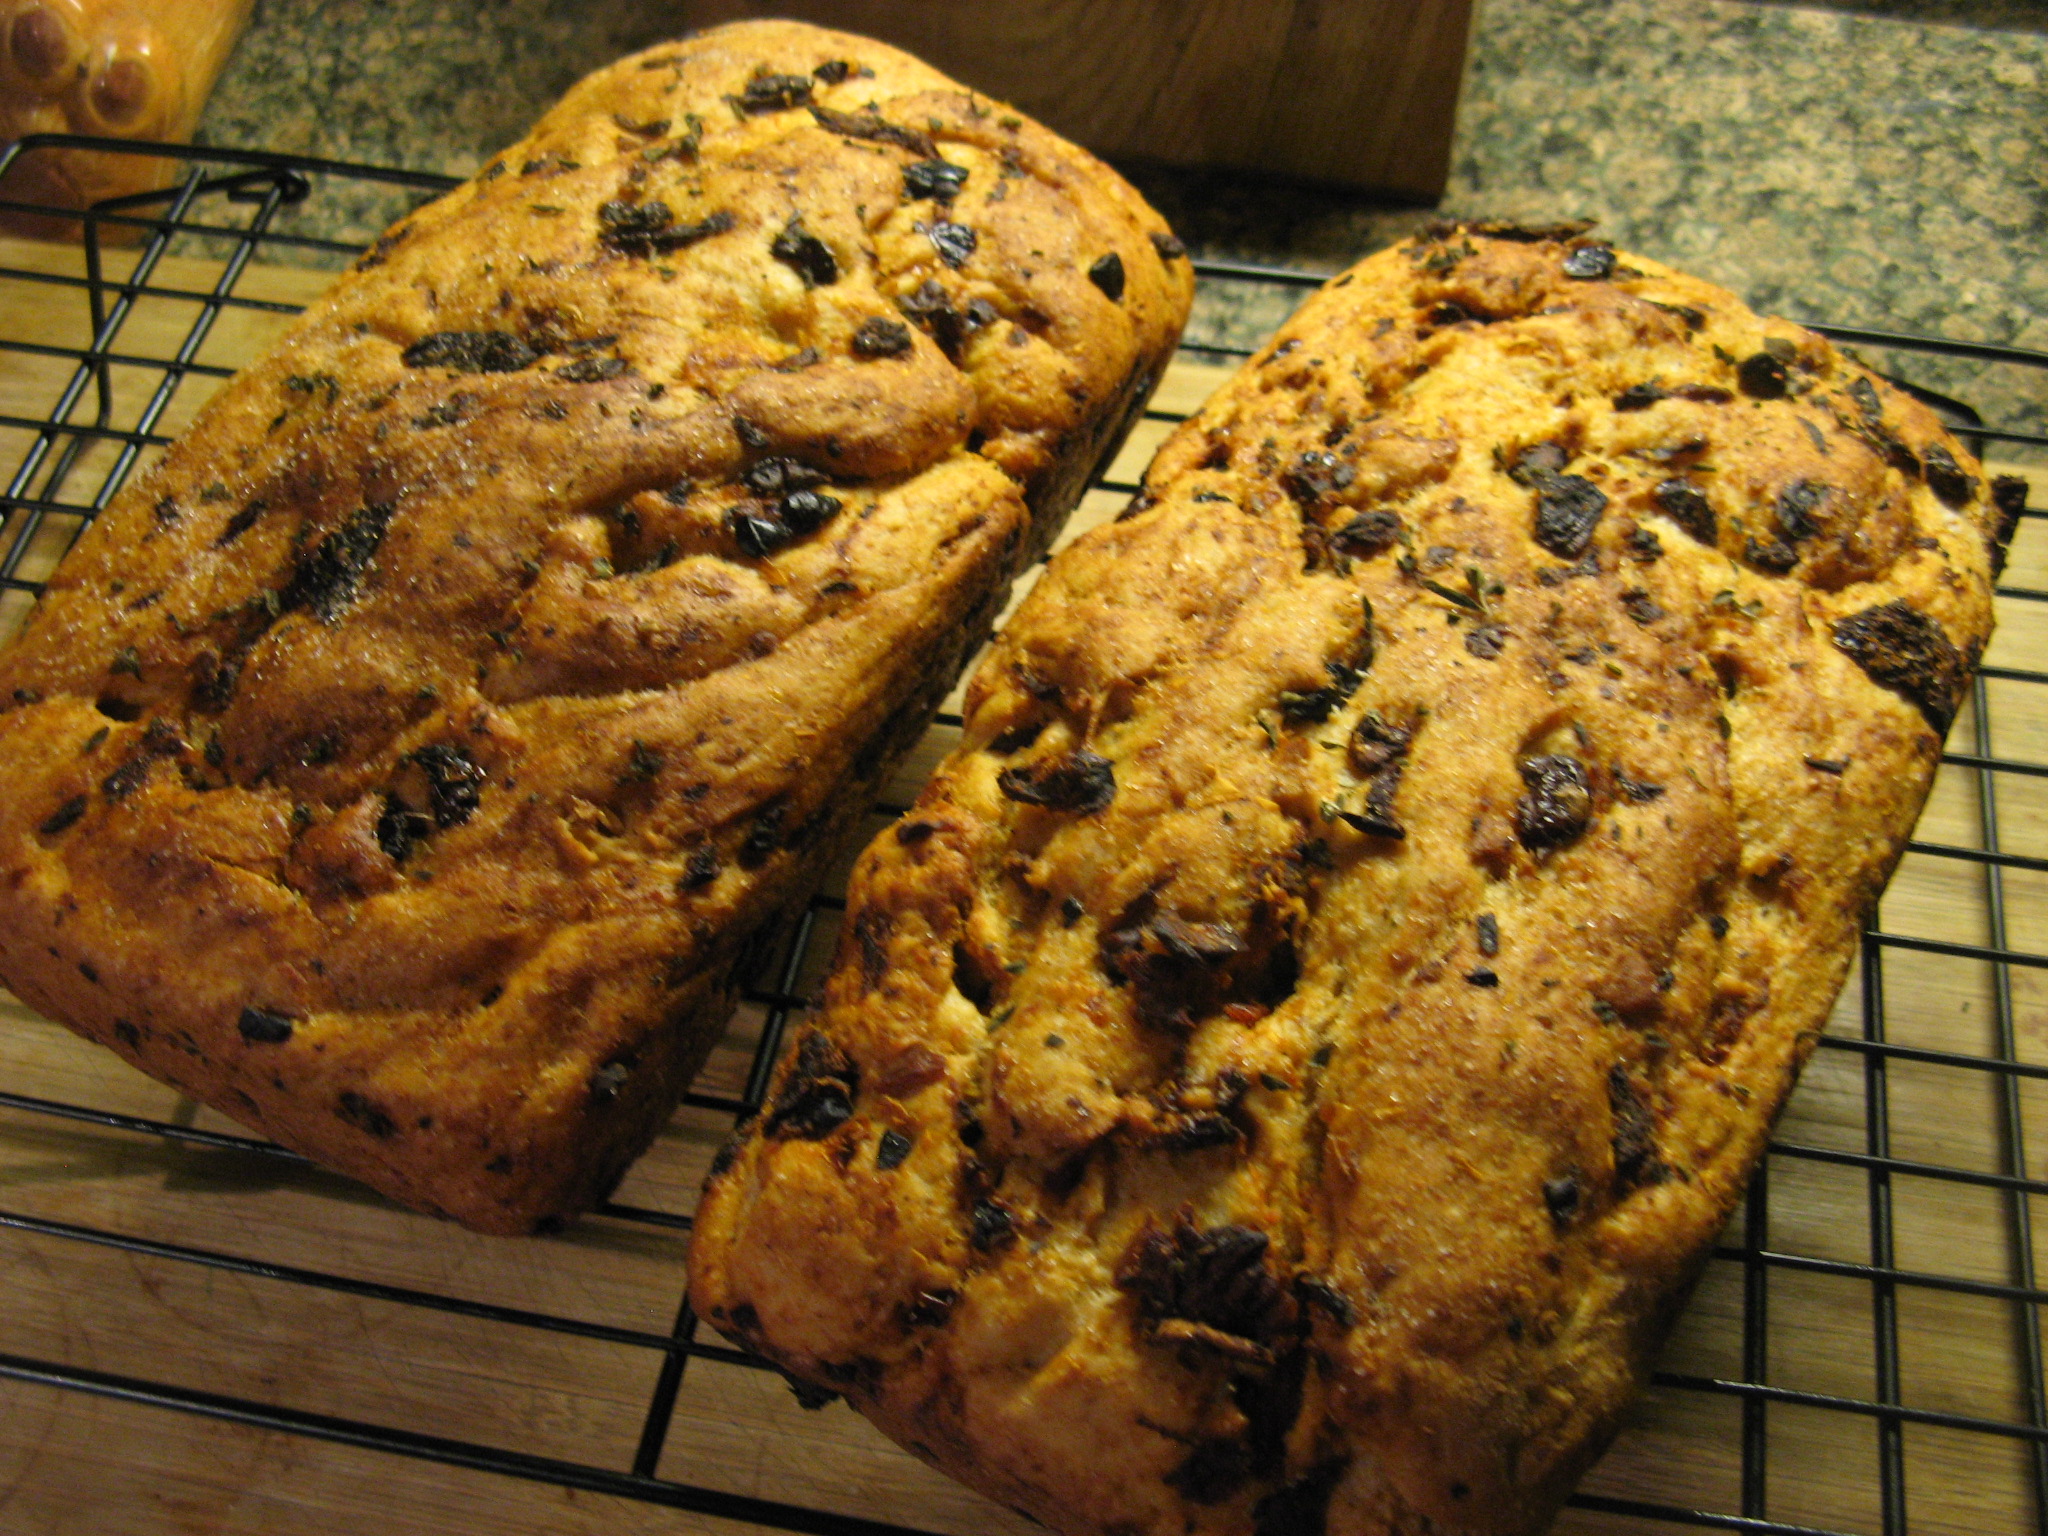
IMG_2682

After cooling overnight I sliced them up and am happy to say that baking with yeast this time was a success for me! This bread is delicious!
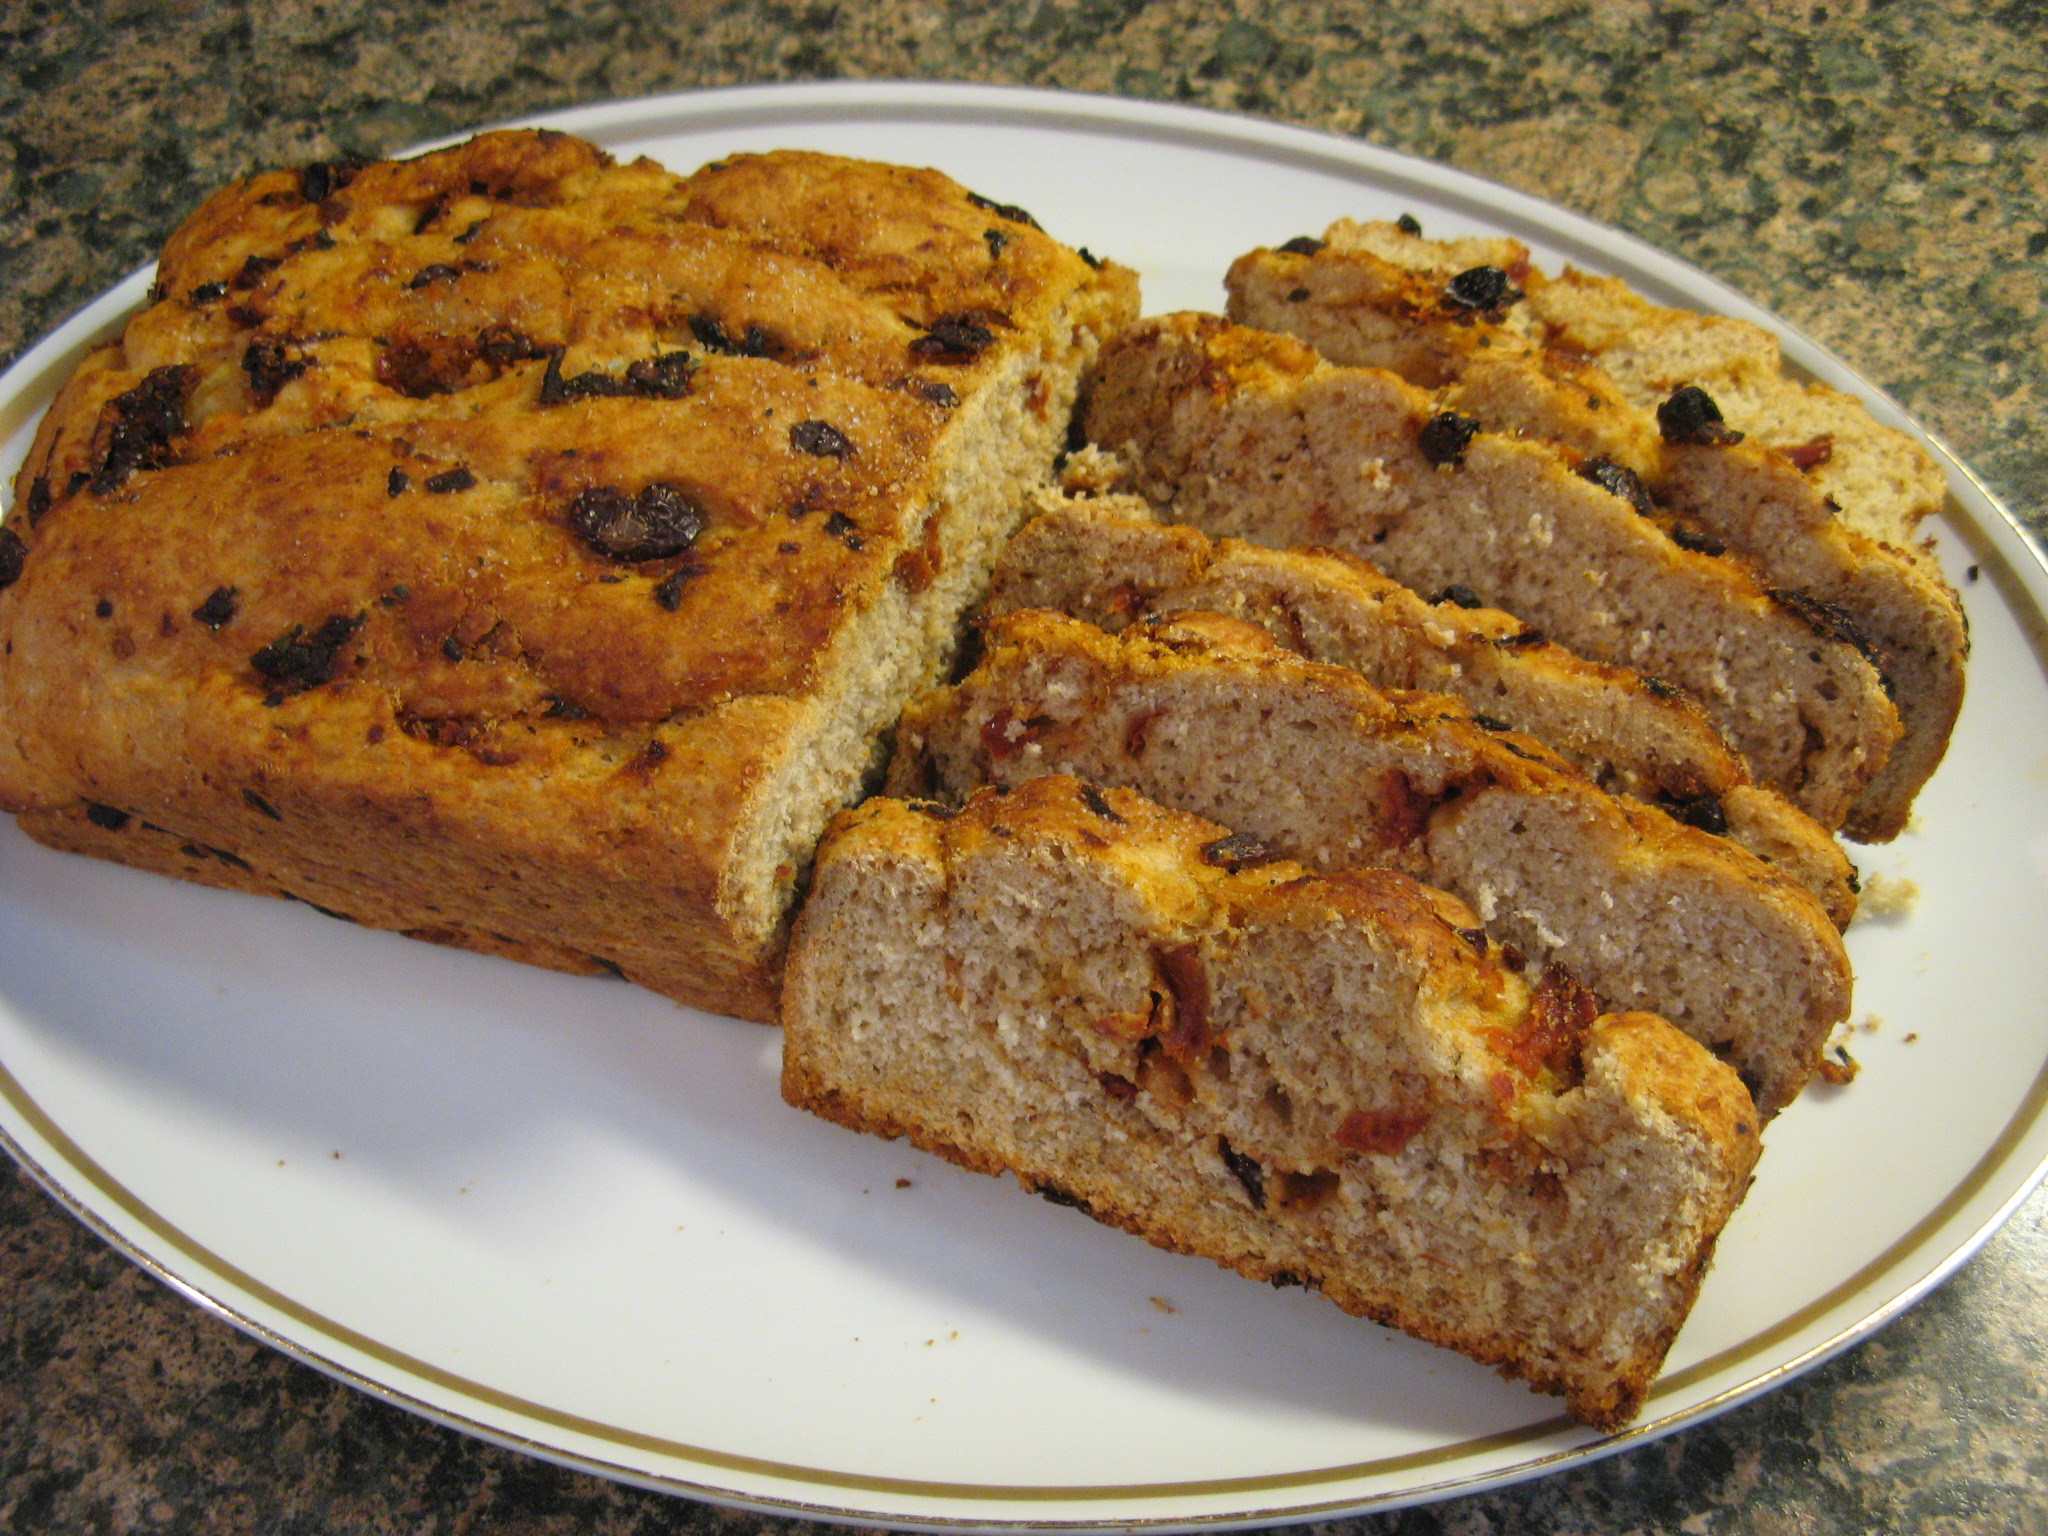
IMG_2697


Sun-Dried Tomato Bread Recipe

Servings: 2 Loaves

Ingredients

1/2 cup roughly chopped sun-dried tomatoes

2 tbsp olive oil

4 garlic cloves, unpeeled

1/4 cup kalamata olives, pitted and roughly chopped

2 oz fresh yeast (approximately 7 tsp. dry yeast)

2 1/2 tsp salt

2 cups unbleached all-purpose flour

2 cups whole-wheat flour

2 marjoram sprigs, chopped

Directions

1. Preheat the oven to 400 degrees F.

2. Soak the sun-dried tomatoes in cold water for 10 minutes. Rinse and pat dry.

3. Heat the olive oil in a small saute pan over low heat. Add the garlic cloves and cook until softened, shaking the pan occasionally, about 20 minutes. Let cool slightly, then squeeze the pulp from the cloves into a bowl and mix with the olives and sun-dried tomatoes to form a paste.

4. Combine the yeast, 2 teaspoons of the salt, and 2 cups lukewarm water in a mixing bowl. Stir to dissolve, then let sit in a warm place until the yeast begins to bubble, 5 to 10 minutes.

5. Place the all-purpose flour and whole wheat flour in a large bowl and make a well in the center. Pour the yeast liquid into the well. Slowly combine the liquid with the flour. Using your hands, work the flour and liquid together to form a dough. On a lightly floured work surface, knead the dough until smooth and elastic, about 5 minutes. Add the tomato-olive mixture and knead until fully incorporated, about 5 minutes.

6. Divide the dough in half and form into 2 loaves. Transfer to two greased 81/2 x 41/2-inch loaf pans. Cover and let rest in a warm spot until doubled in bulk, about 1 hour.

7. Brush the tops of the loaves with olive oil and sprinkle with the remaining 1/2 teaspoon salt and the marjoram. Place the loaf pans in the oven and bake for 30 minutes. Cover the pans with aluminum foil and bake for another 30 minutes.

8. Remove the loaves from the oven and let cool on a wire rack for 10 minutes. Remove the loaves from the pans and let cool completely on the racks.

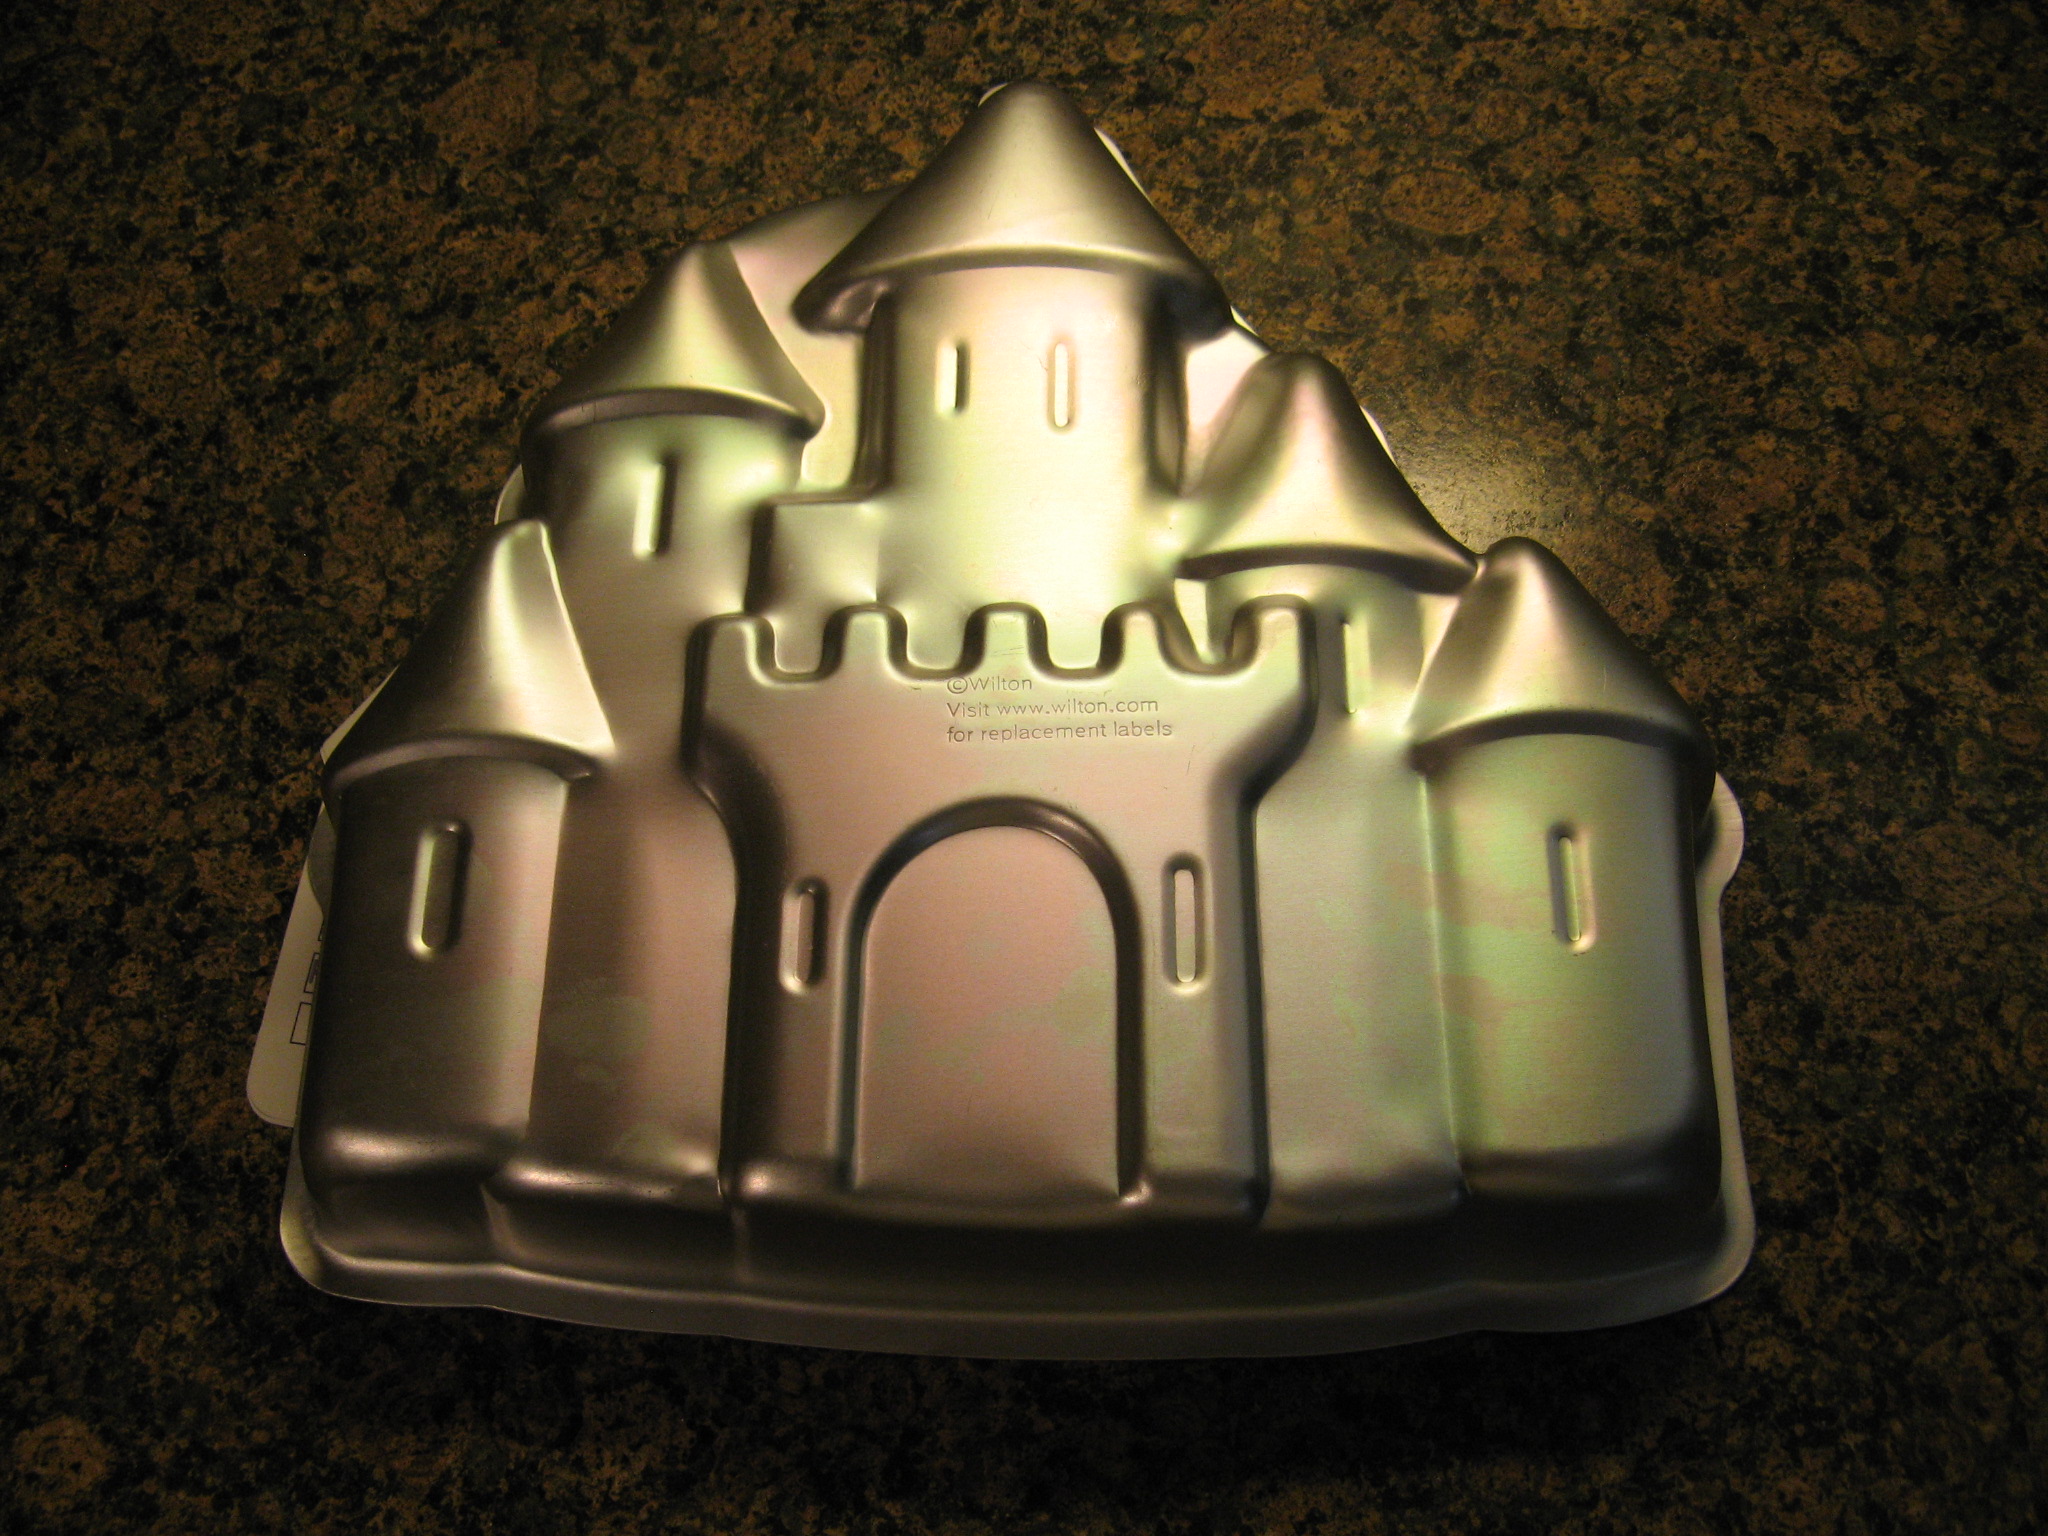
Enchanted Castle Cake

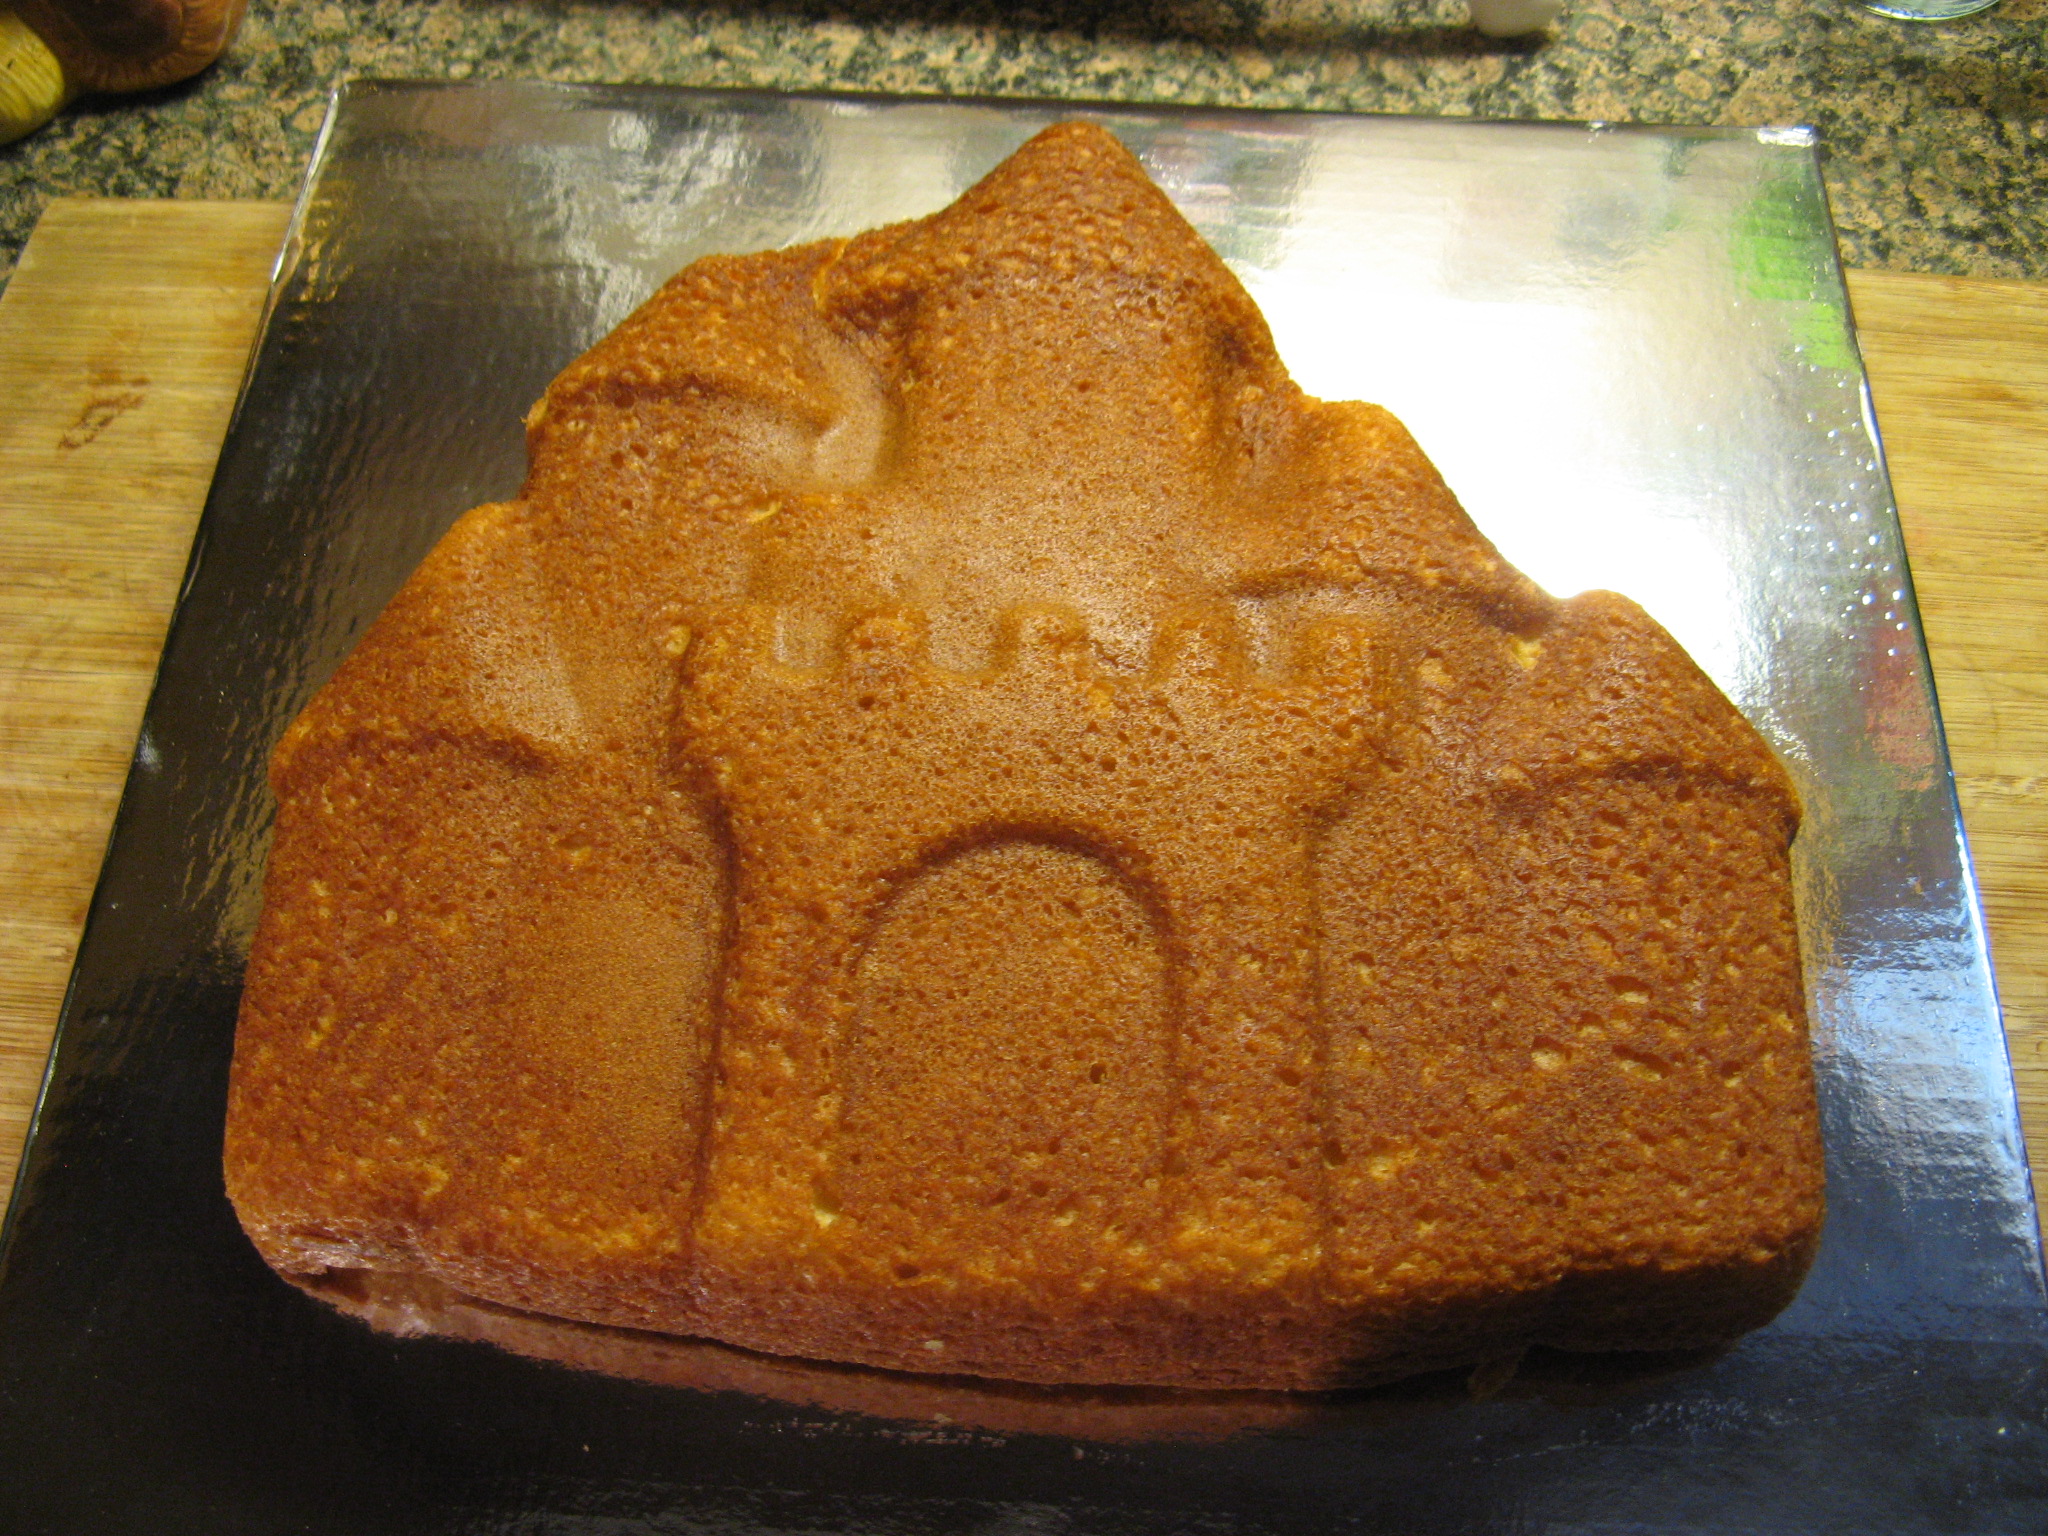
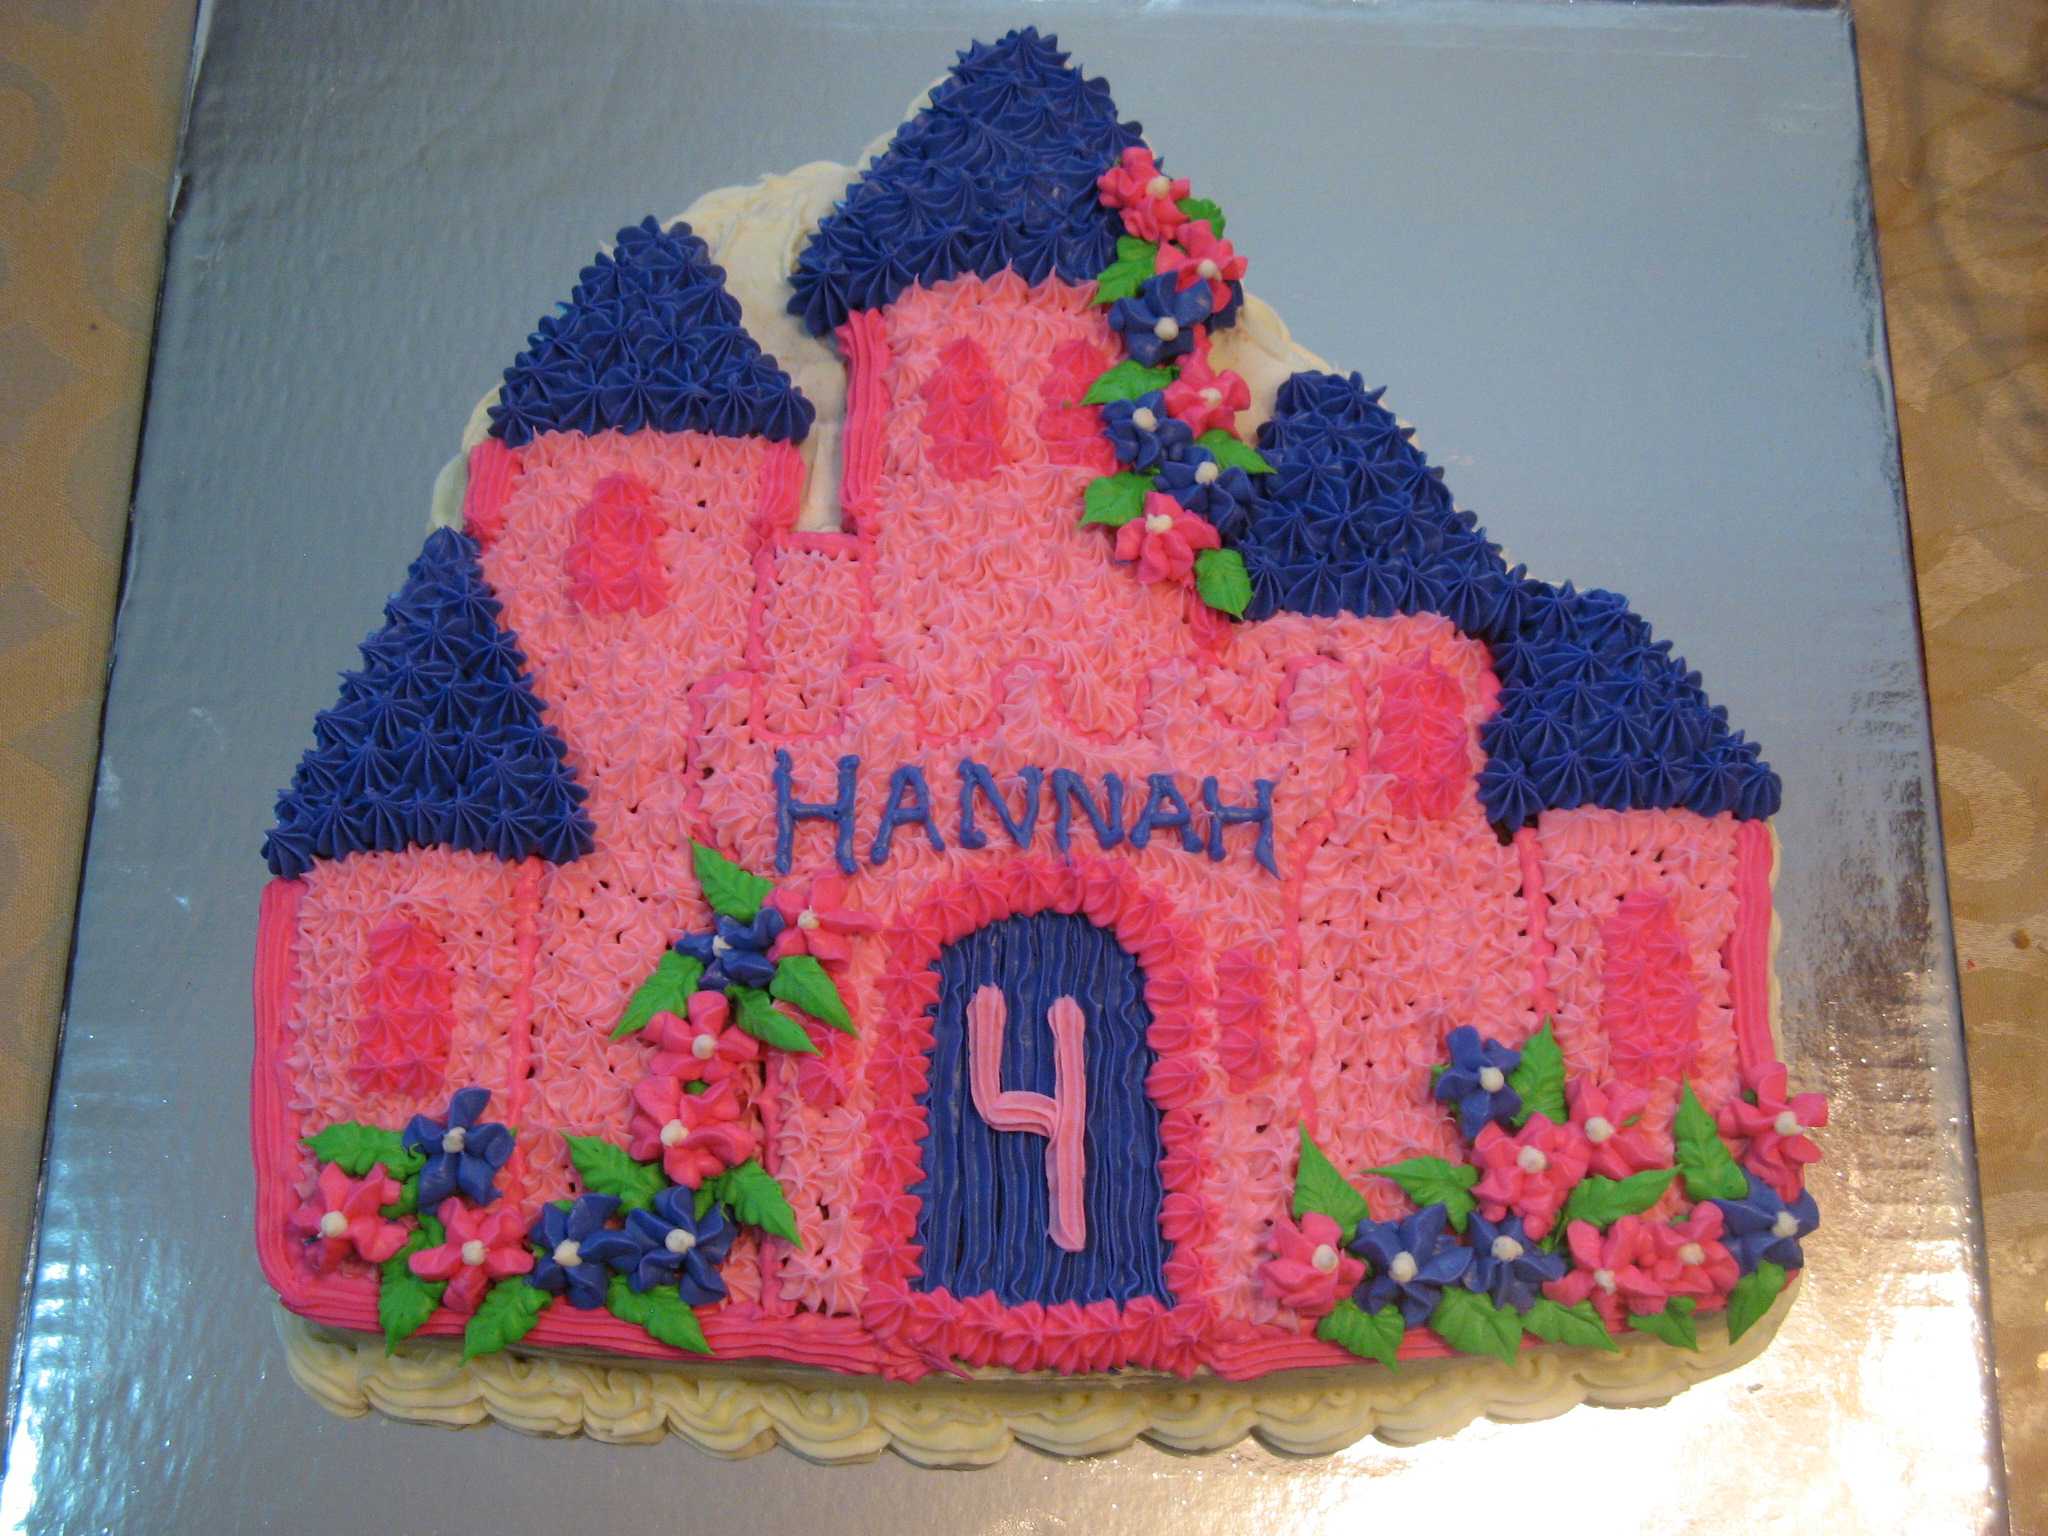
First it was an Elmo Cake, then a Minnie Mouse Cake and this year my friend’s daughter requested a “princess cake.” I stretched that idea a tad and made an Enchanted Castle Cake which I then surrounded with her Disney Princess figurines. My reasoning… Princesses usually live in castles! The most important thing though…. She loved it. And while last year I opted to rent the Minnie Mouse pan this year I just went ahead and purchased the Enchanted Castle Pan from Wilton. Luckily Wilton has numerous different ideas for that pan so I am sure I will get a few more uses out of it. I will say that I did cheat a bit for this cake by using a Betty Crocker Yellow Cake Mix and a few containers of Betty Crocker Vanilla Frosting which I tinted in the appropriate colors.

IMG_2639 IMG_2643

The before picture of the cake. Luckily the important aspects of the cake were visible for me to decorate, but, I did have to freehand the windows.

IMG_2537

Little by little the castle came alive. Of course I had my doubts along the way.

Enchanted Castle Step by Step

But, at this point of the decorating I was very happy with the outcome.

IMG_2547

All that was left was to add flowers to the castle. Since I have never been that good at making flowers, I decided to make them separately and then add them to the cake. I made simple drop flowers on wax paper and then let them set for a while before placing them in the freezer for a few minutes to make transferring them to the cake easier.

IMG_2549

I then “glued” them onto the cake with green tinted icing and then piped in some leaves for the final touch.

IMG_2572

And you can’t have a princess cake without some princesses.

IMG_2617

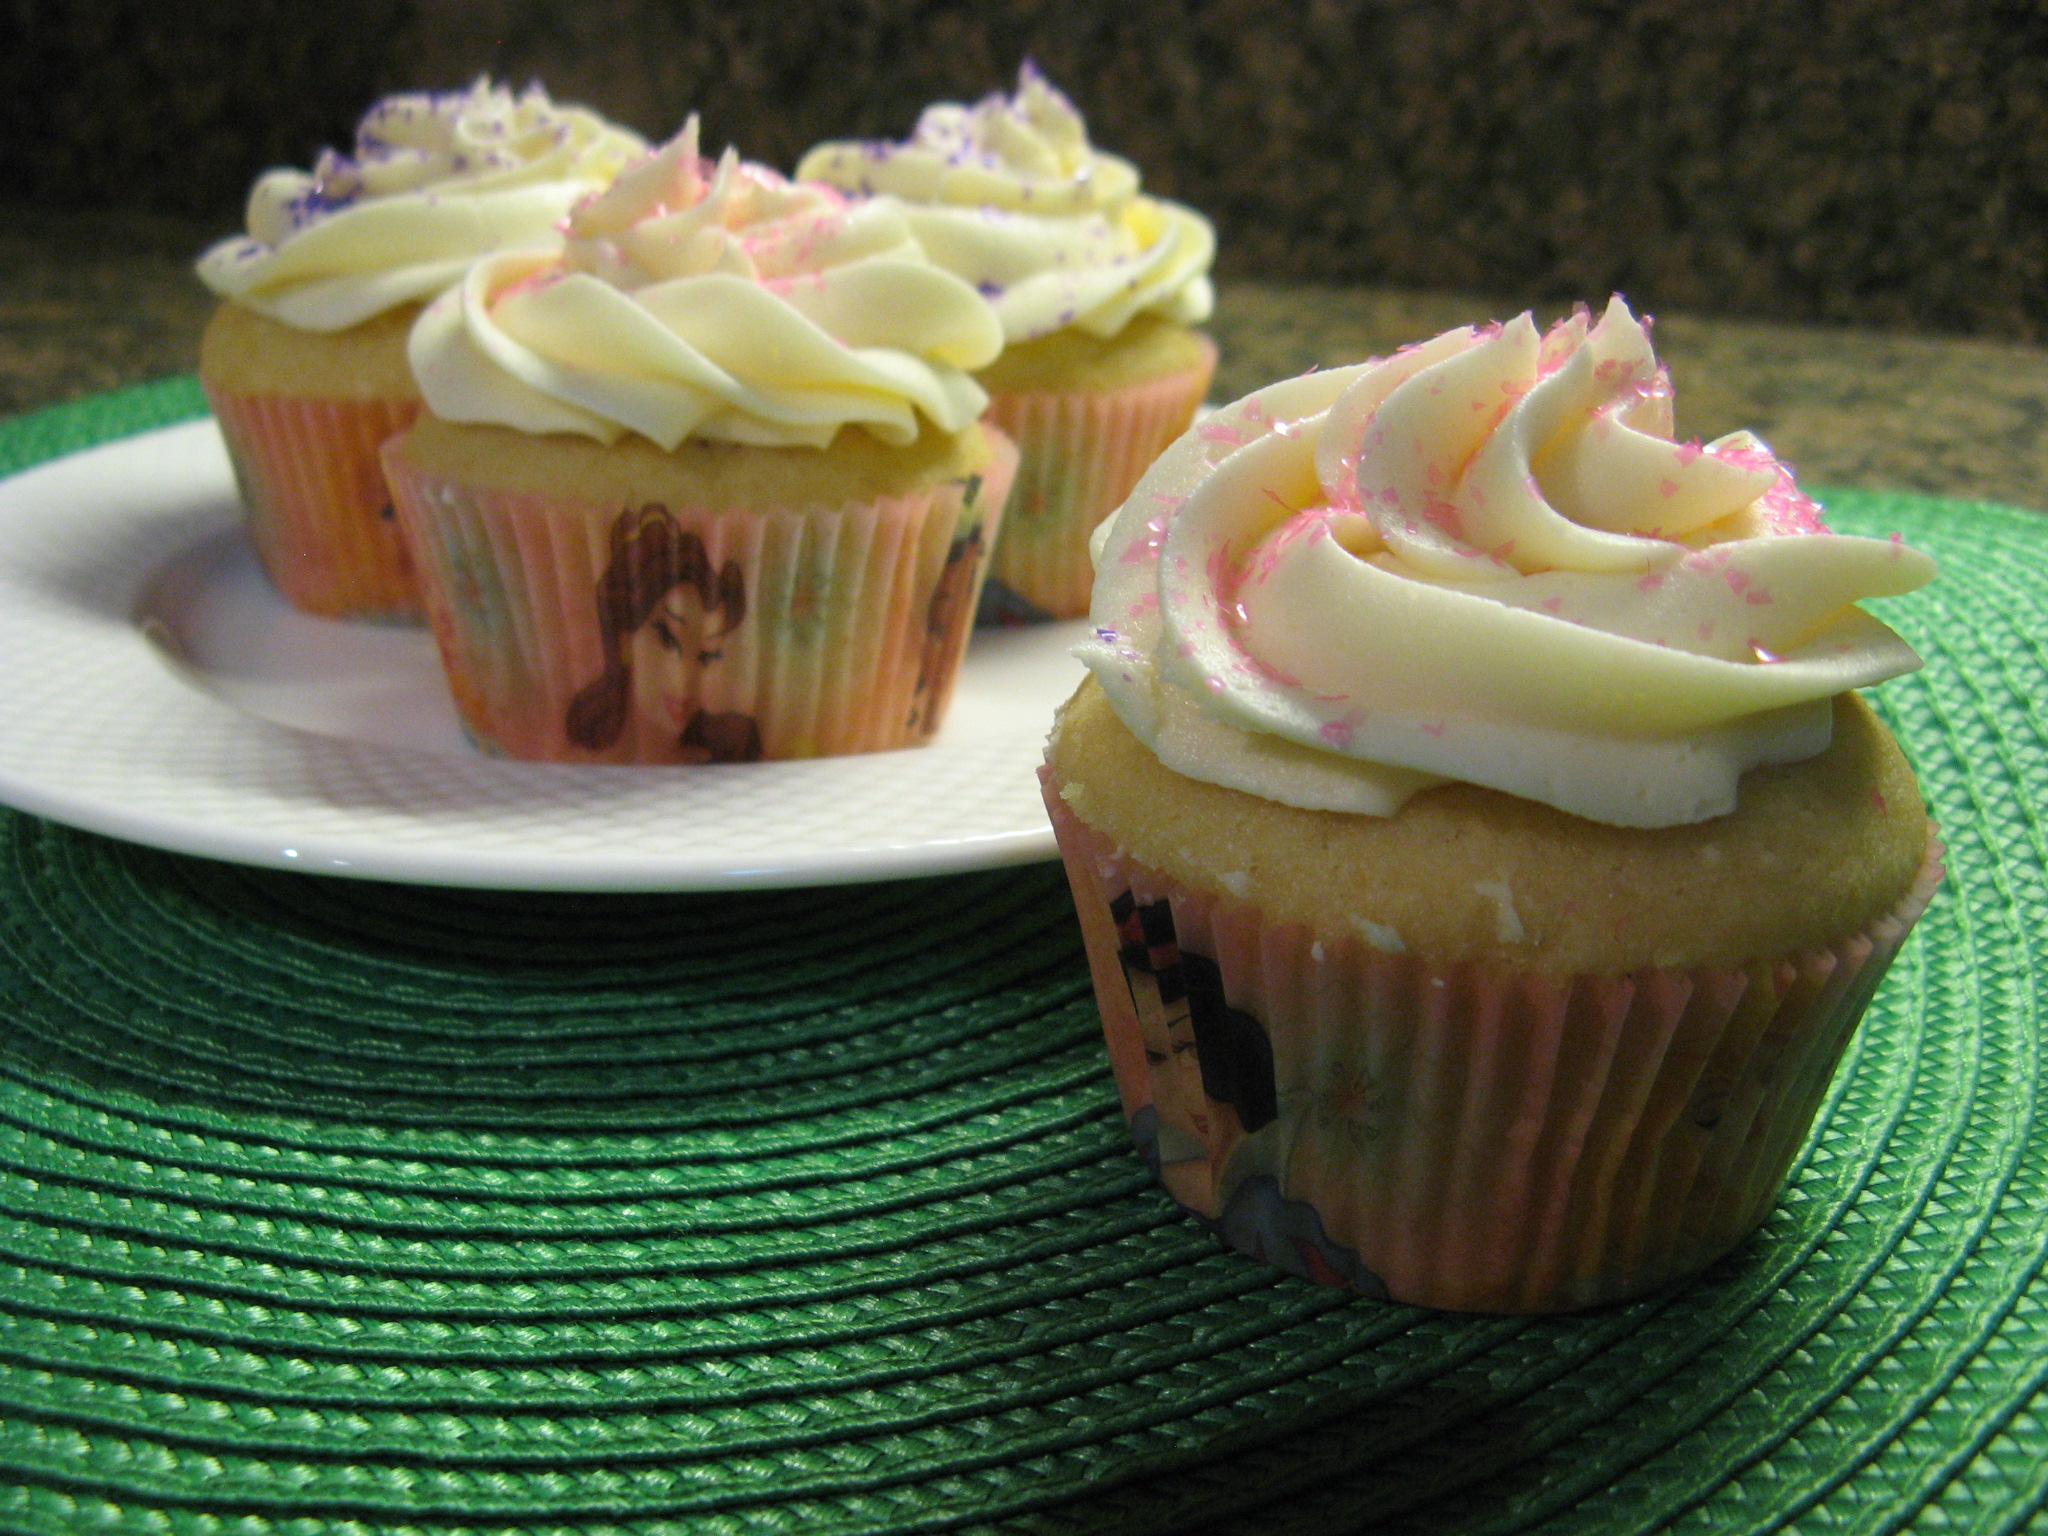
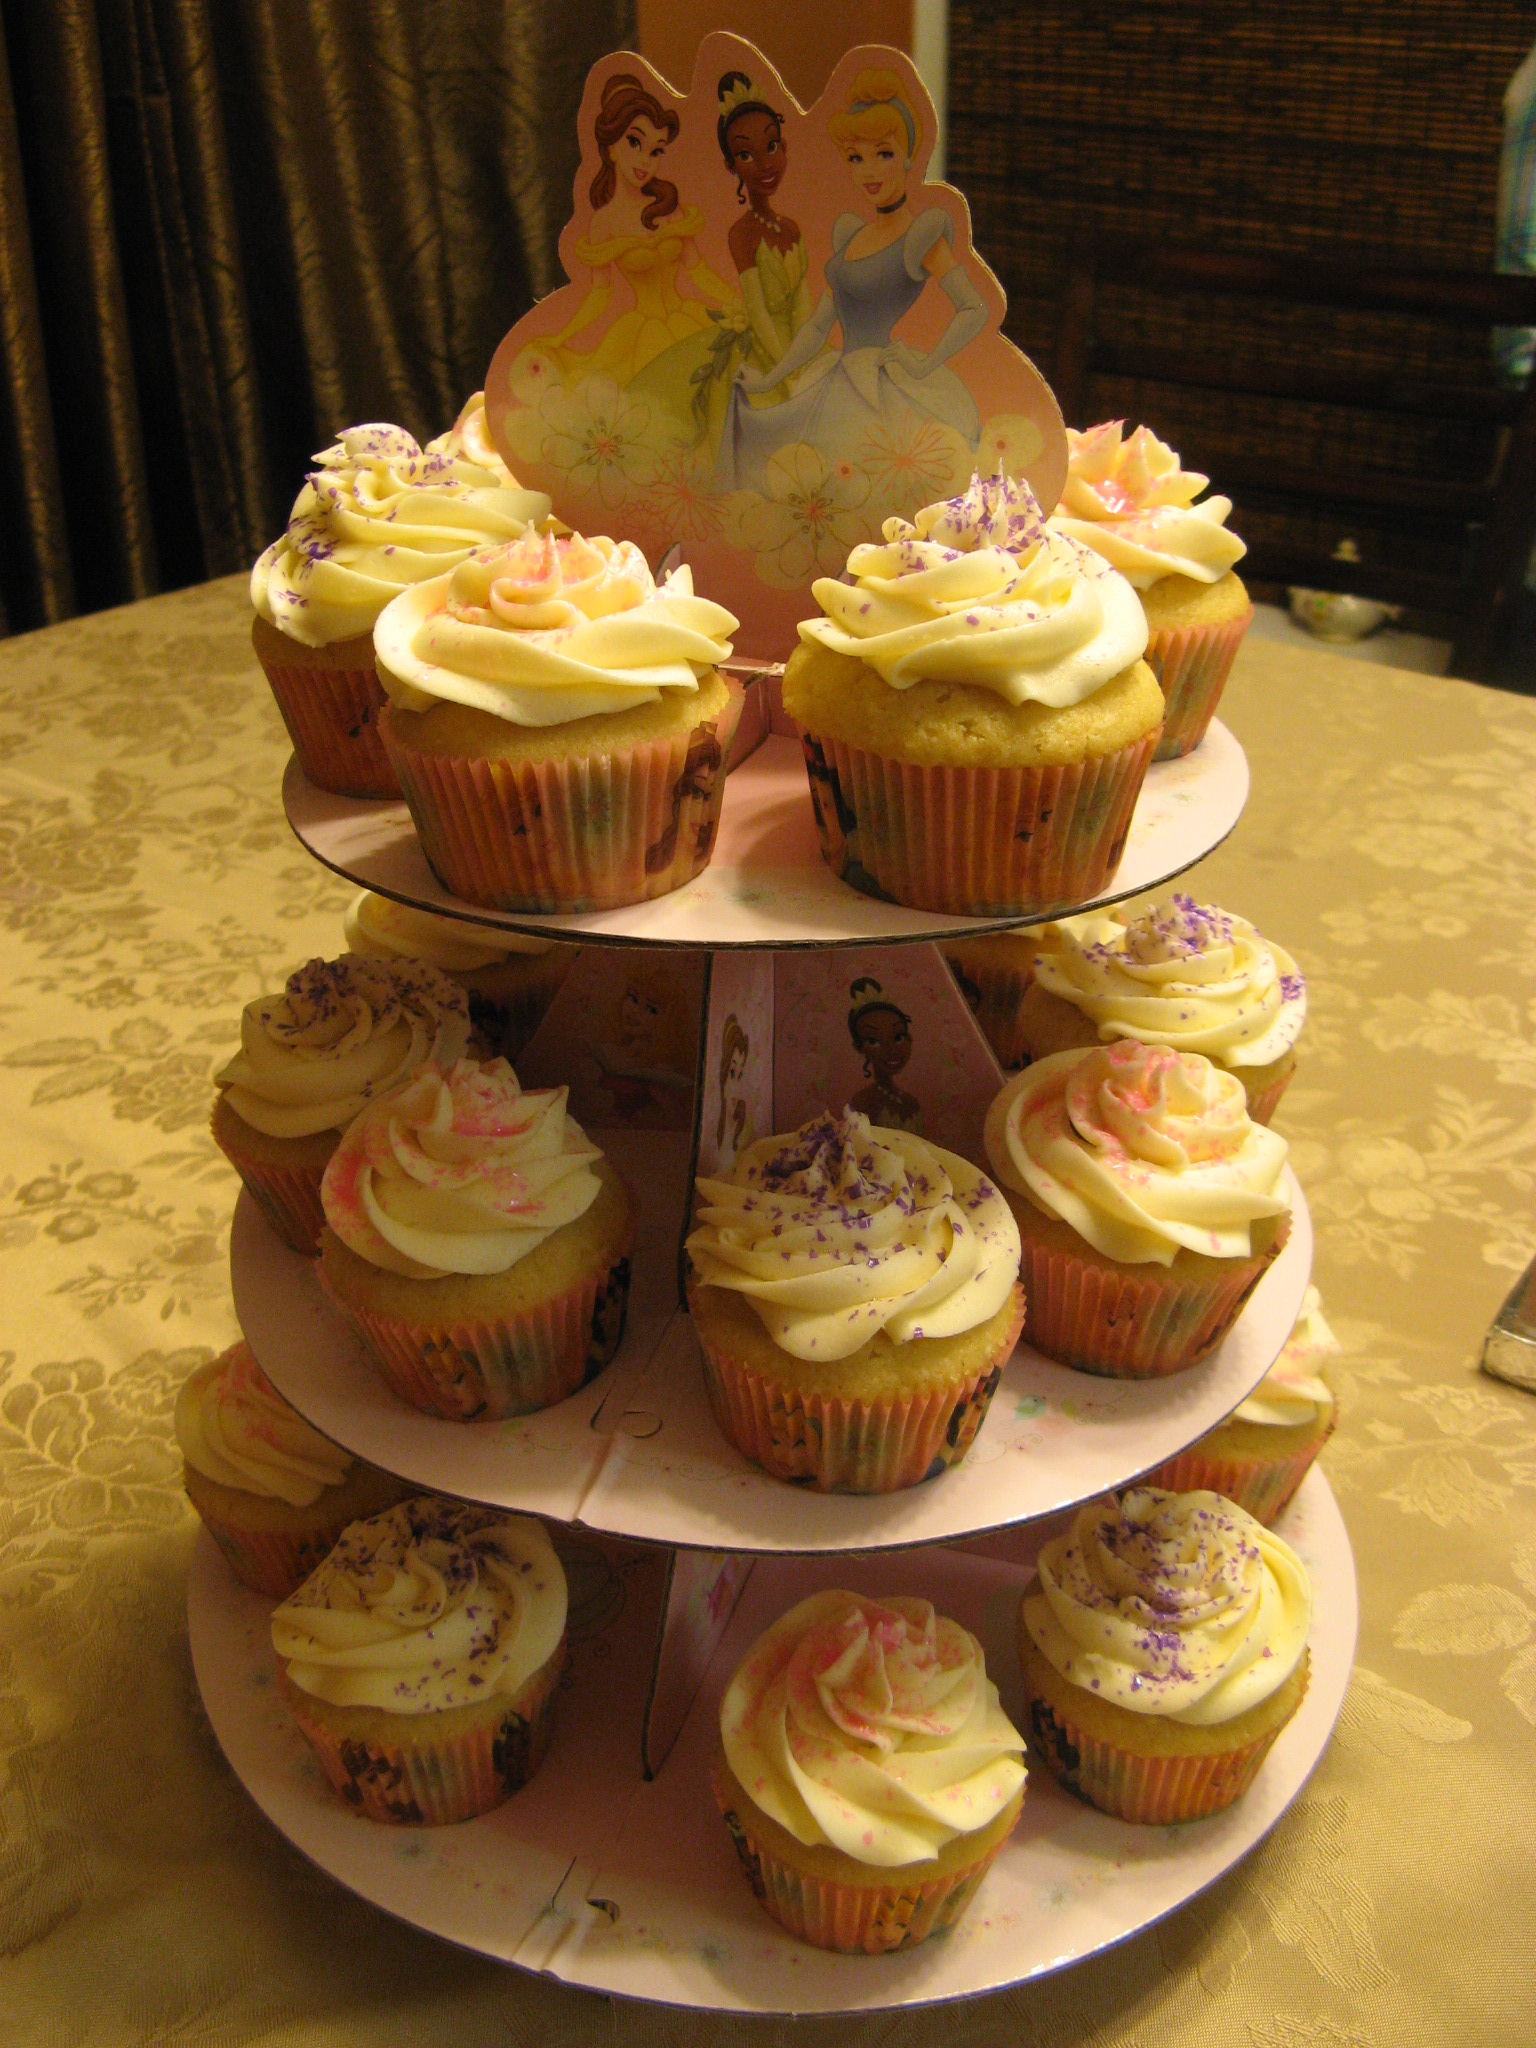
Along with the cake I also make Vanilla Squared (vanilla cake with vanilla frosting) cupcakes which I baked in Disney Princess cupcake liners and sprinkled with pink and purple cake sparkles then displayed on a Disney Princess cupcake stand.

IMG_2590 IMG_2595

I wonder what next year’s theme will be….

Vanilla Cupcakes

Makes 12 Cupcakes

Ingredients

1 1/2 cups all-purpose flour

1 1/4 teaspoons baking powder

1/4 teaspoon salt

1 stick unsalted butter, softened

1 cup sugar

2 large eggs, at room temperature

2 teaspoons vanilla extract

2/3 cup whole milk, at room temperature

Directions

Preheat the oven to 350 degrees F. Line a 12-cup muffin pan with paper liners. Whisk the flour, baking powder and salt in a bowl. Beat the butter and sugar in a stand mixer fitted with the paddle attachment on medium-high speed until fluffy, about 4 minutes. Beat in the eggs, one at a time, scraping down the bowl as needed. Beat in the vanilla. Reduce the mixer speed to medium low; beat in half of the flour mixture, then all of the milk, then the remaining flour mixture until just combined.

Divide the batter among the muffin cups, filling each three-quarters full. Bake until a toothpick inserted into the center of a cupcake comes out clean, 18 to 20 minutes, rotating the pan halfway through. Transfer the pan to a rack and let cool 5 minutes, then remove the cupcakes to the rack to cool completely. Top with frosting

Quick Vanilla Buttercream Frosting

Ingredients

3 cups confectioners’ sugar

1 cup butter

1 teaspoon vanilla extract

1 to 2 tablespoons whipping cream

Directions

In a standing mixer fitted with a whisk, mix together sugar and butter. Mix on low speed until well blended and then increase speed to medium and beat for another 3 minutes.

Add vanilla and cream and continue to beat on medium speed for 1 minute more, adding more cream if needed for spreading consistency.

Blood Orange-Olive Oil Cake

I recently picked up Martha Stewart’s newest cookbook – Martha Stewart’s Cakes  – and after going through it I was eager to try out one of the many delicious recipes in it. I was all set to make a butter cake until I came across some blood oranges in my local supermarket and remembered a Blood Orange – Olive Oil cake recipe from the book.

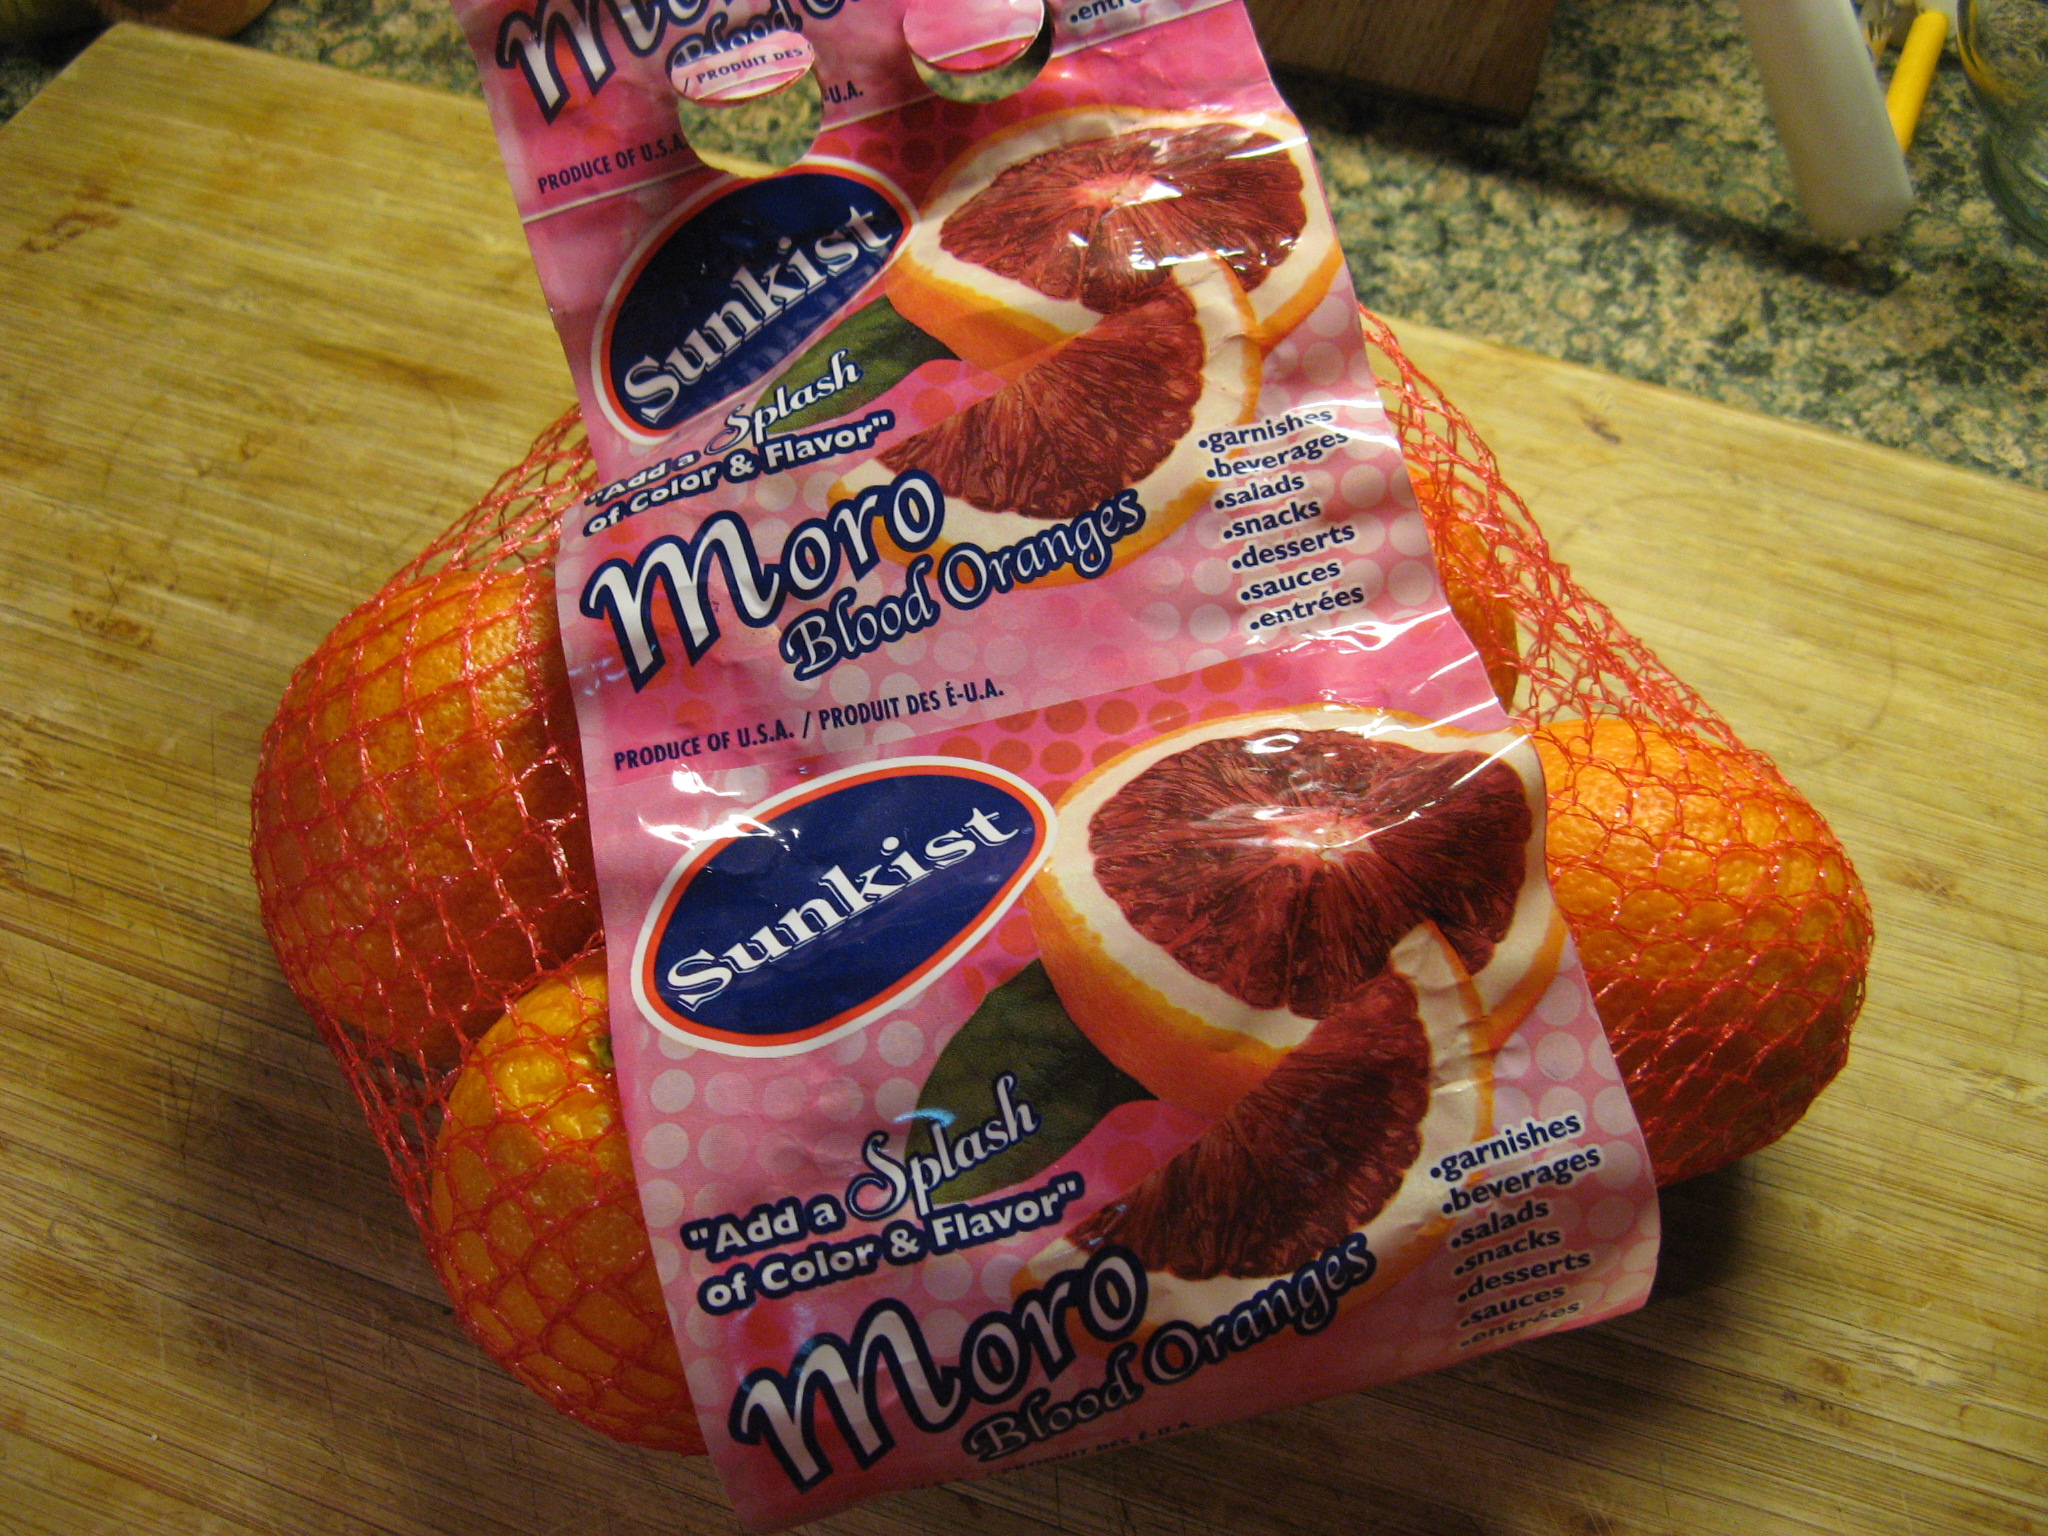
The oranges…

IMG_2486 IMG_2506

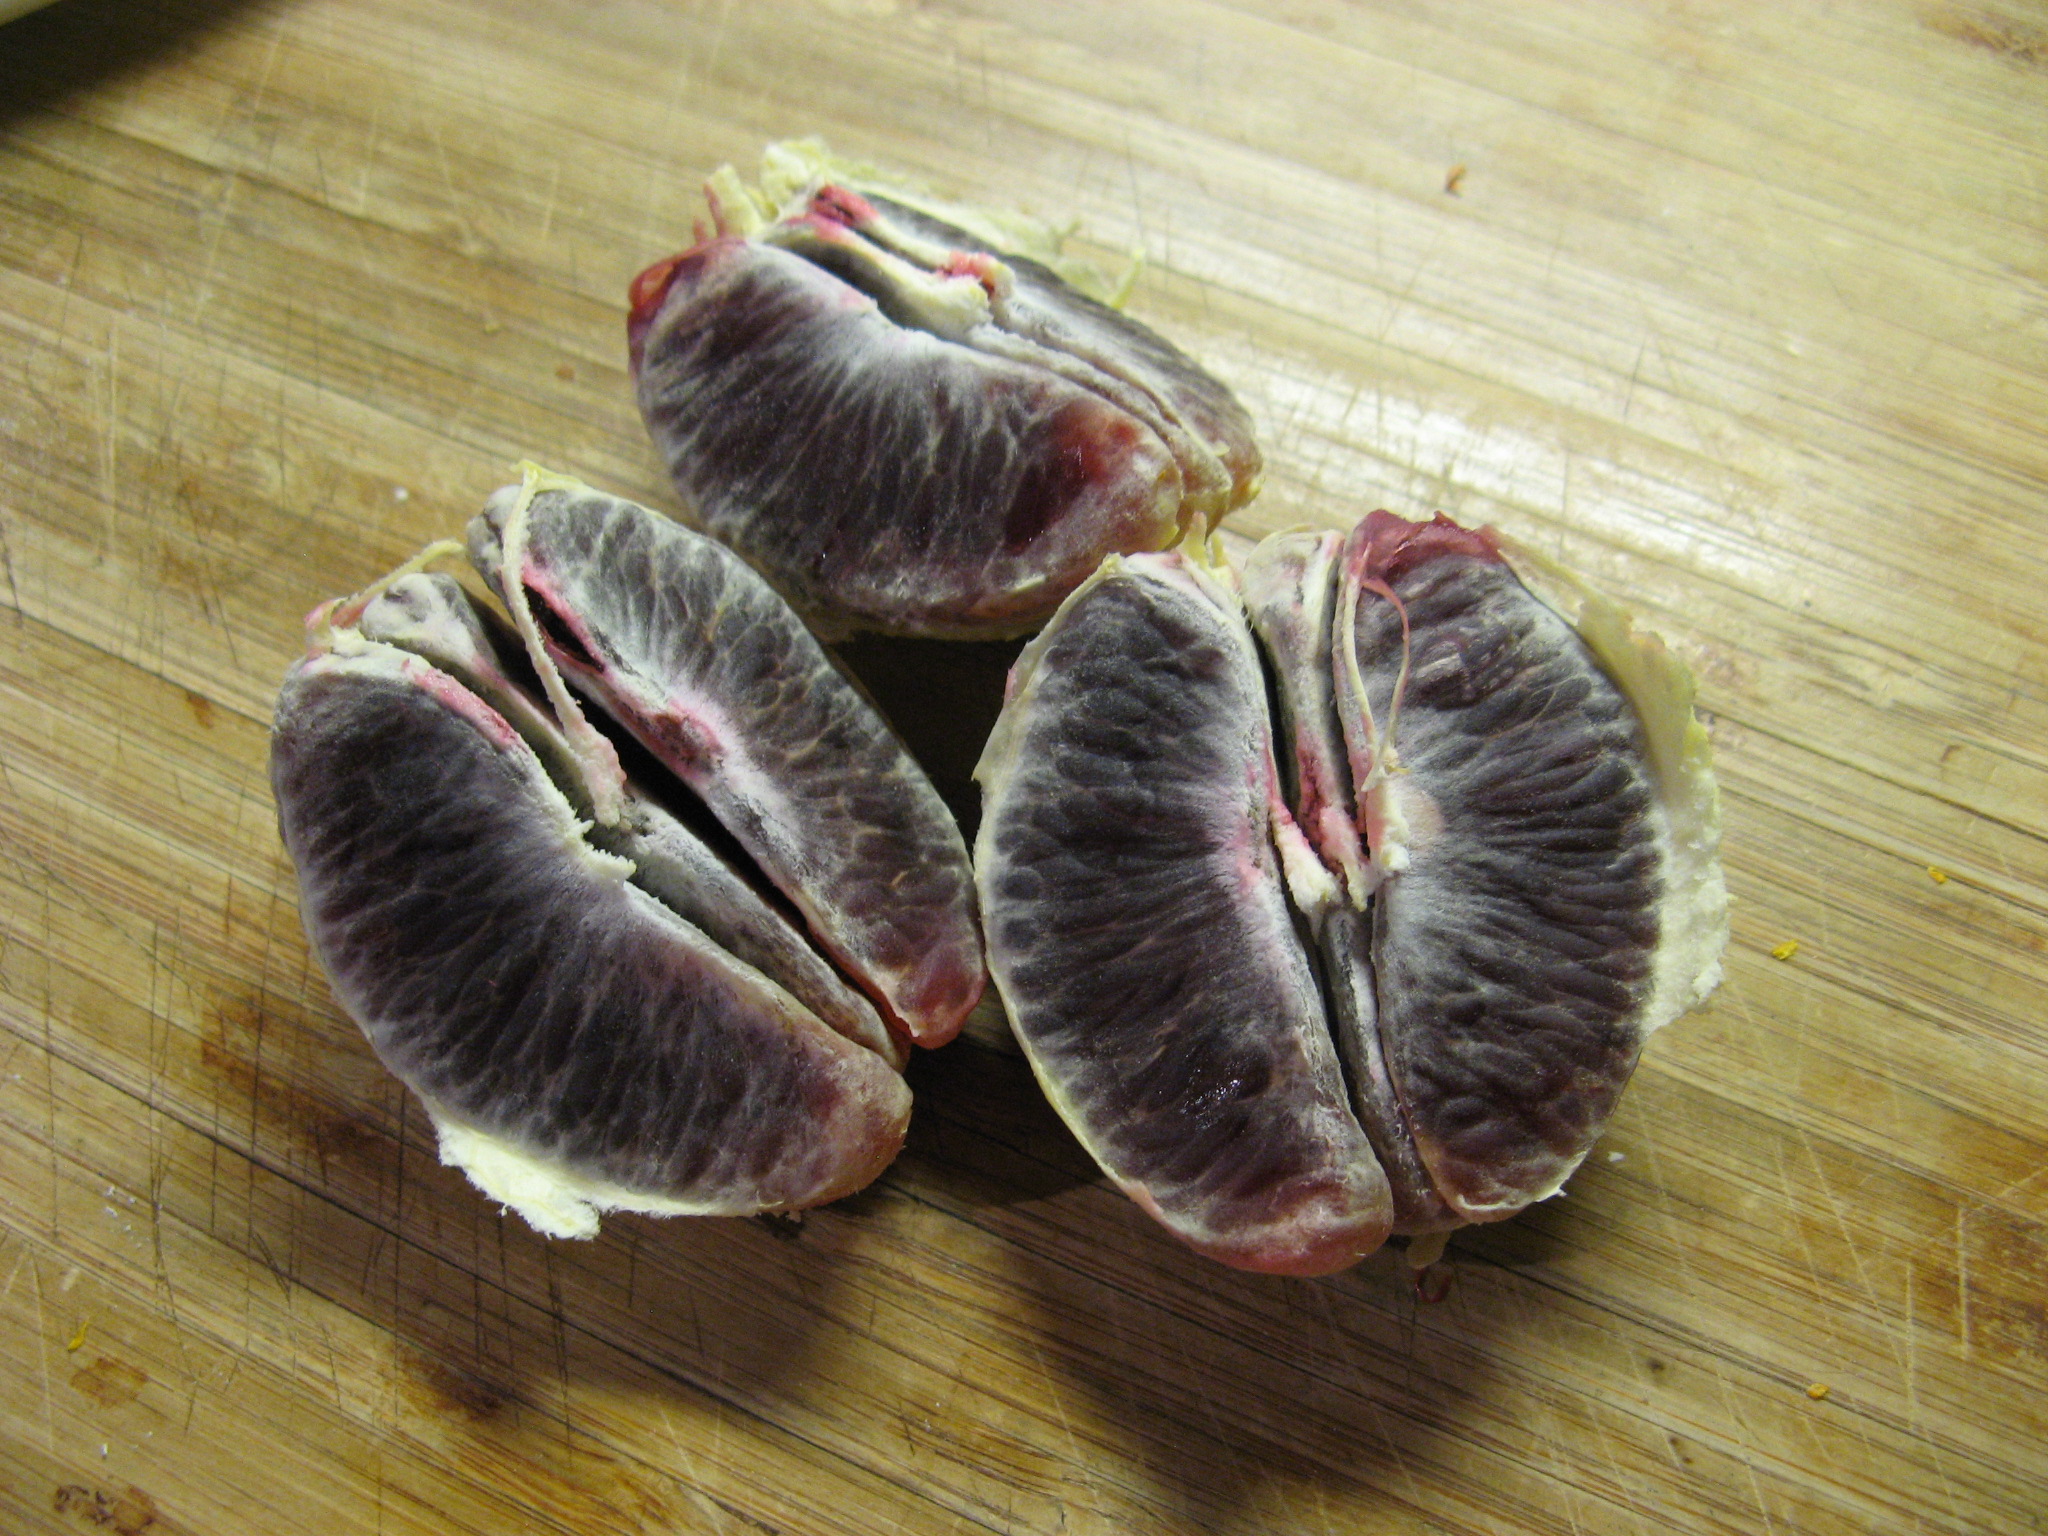
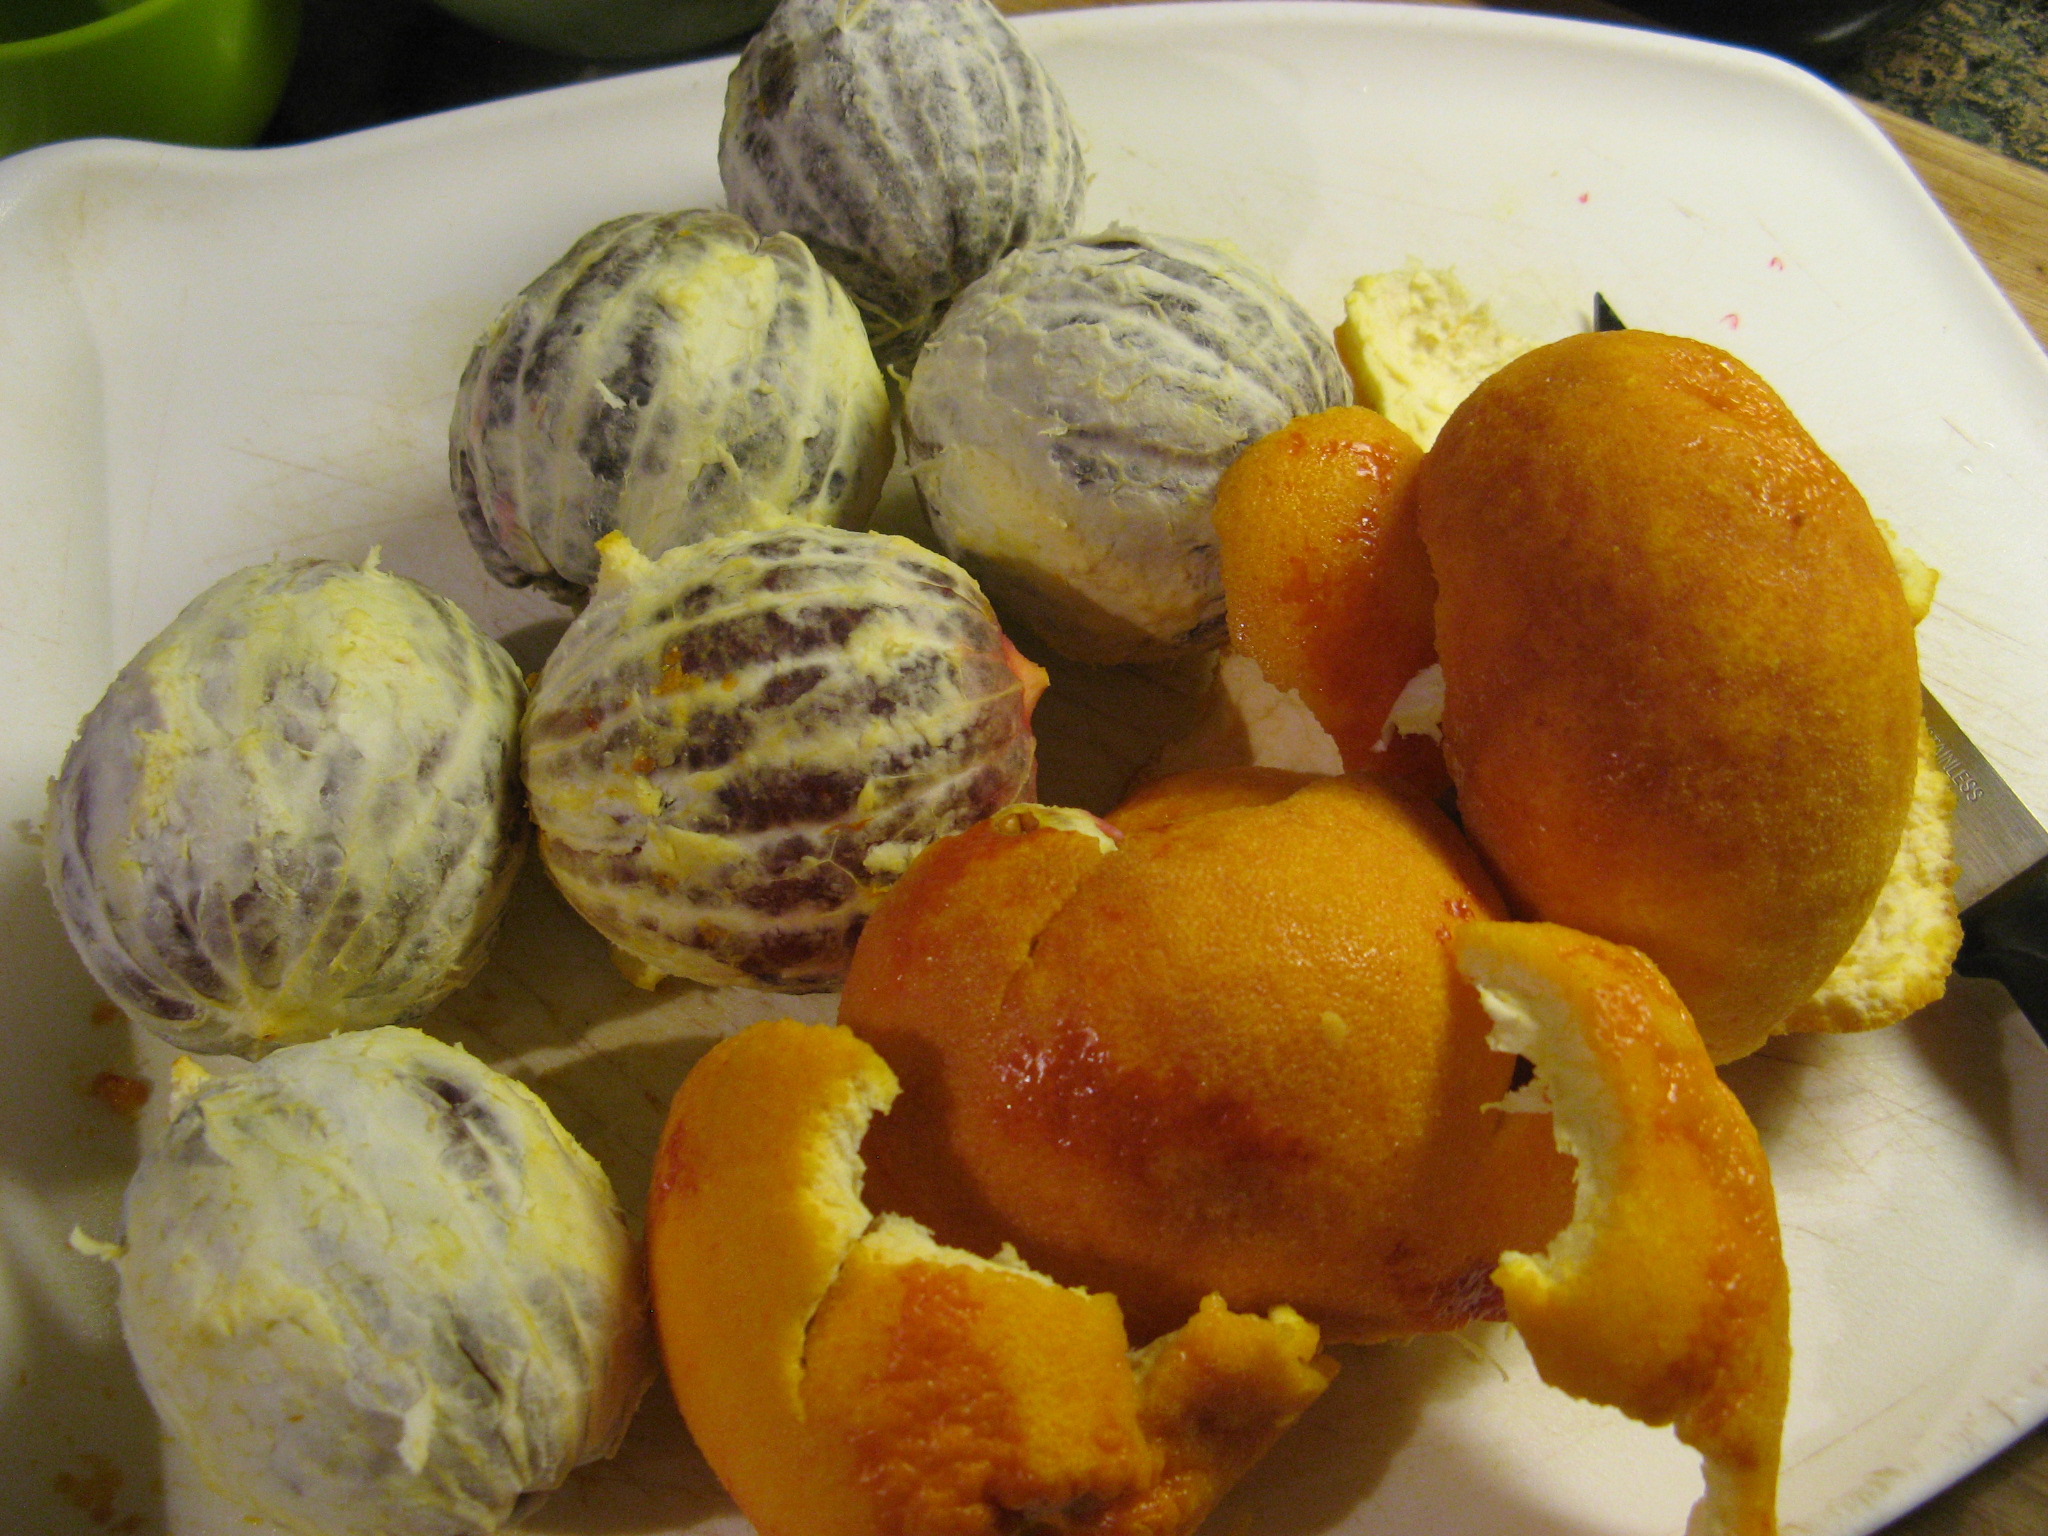
After zesting and peeling the oranges….

IMG_2488

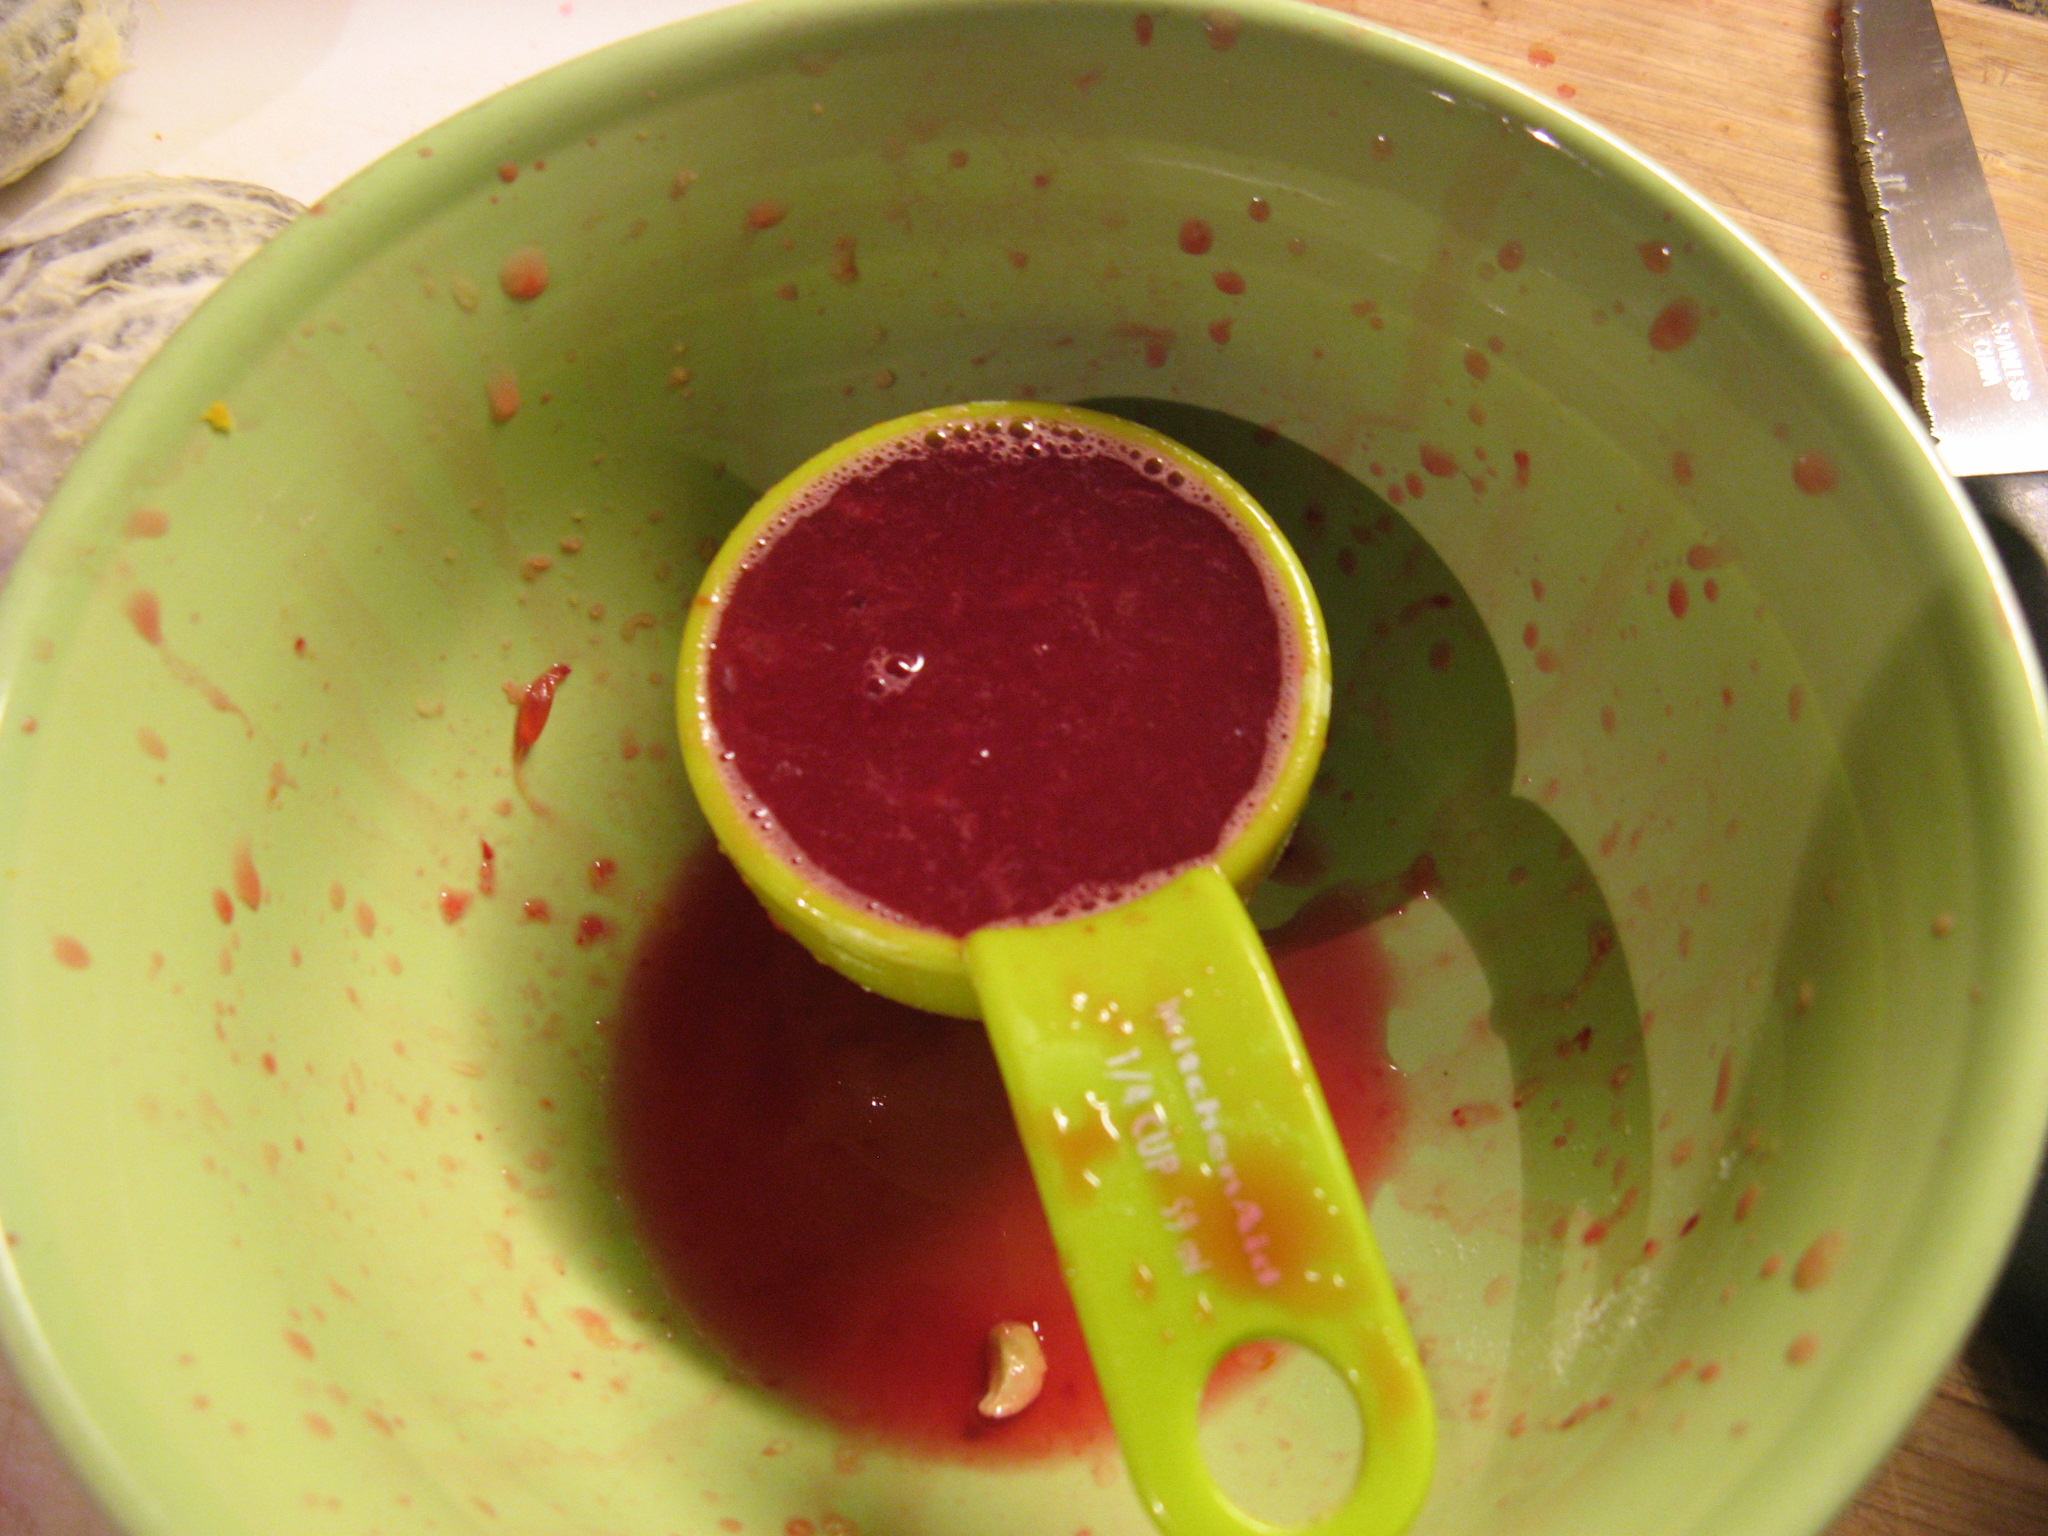
I squeezed a few segments to get 1/4 cup of juice. While it probably would have been easier just to squeeze the juice into a measuring cup this oddball method was what my hands reached for first.

IMG_2492

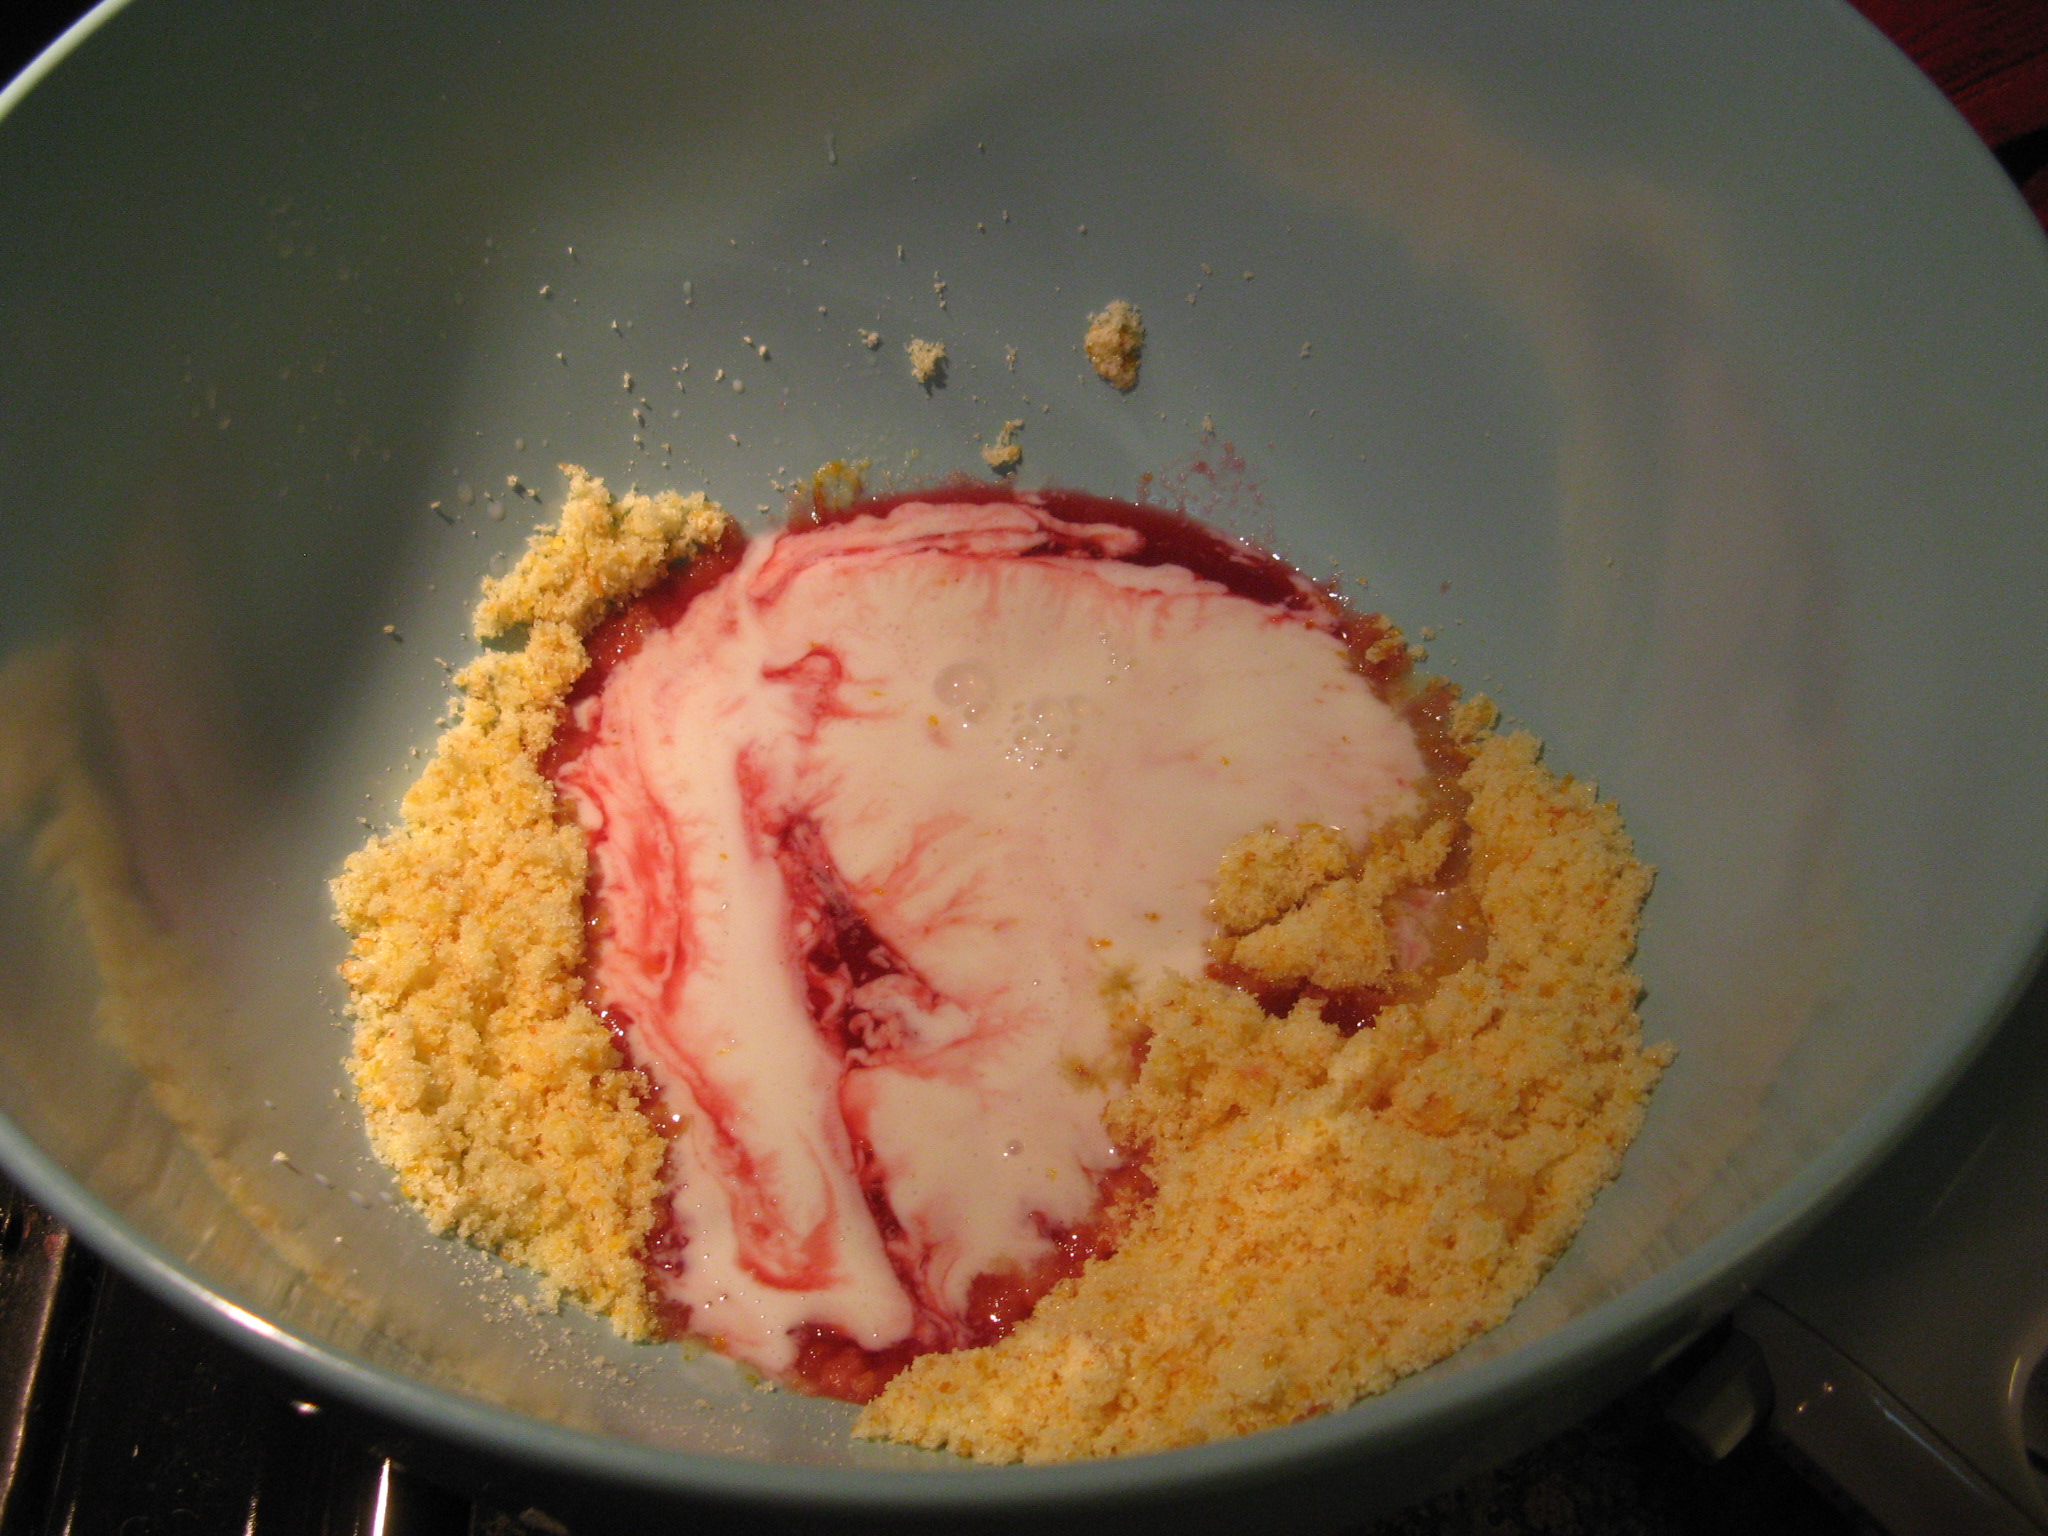
After mixing the orange zest and sugar together with my fingers (per the instructions) I then added in the juice and buttermilk and whisked it together with my hand mixer… not my fingers!

IMG_2495

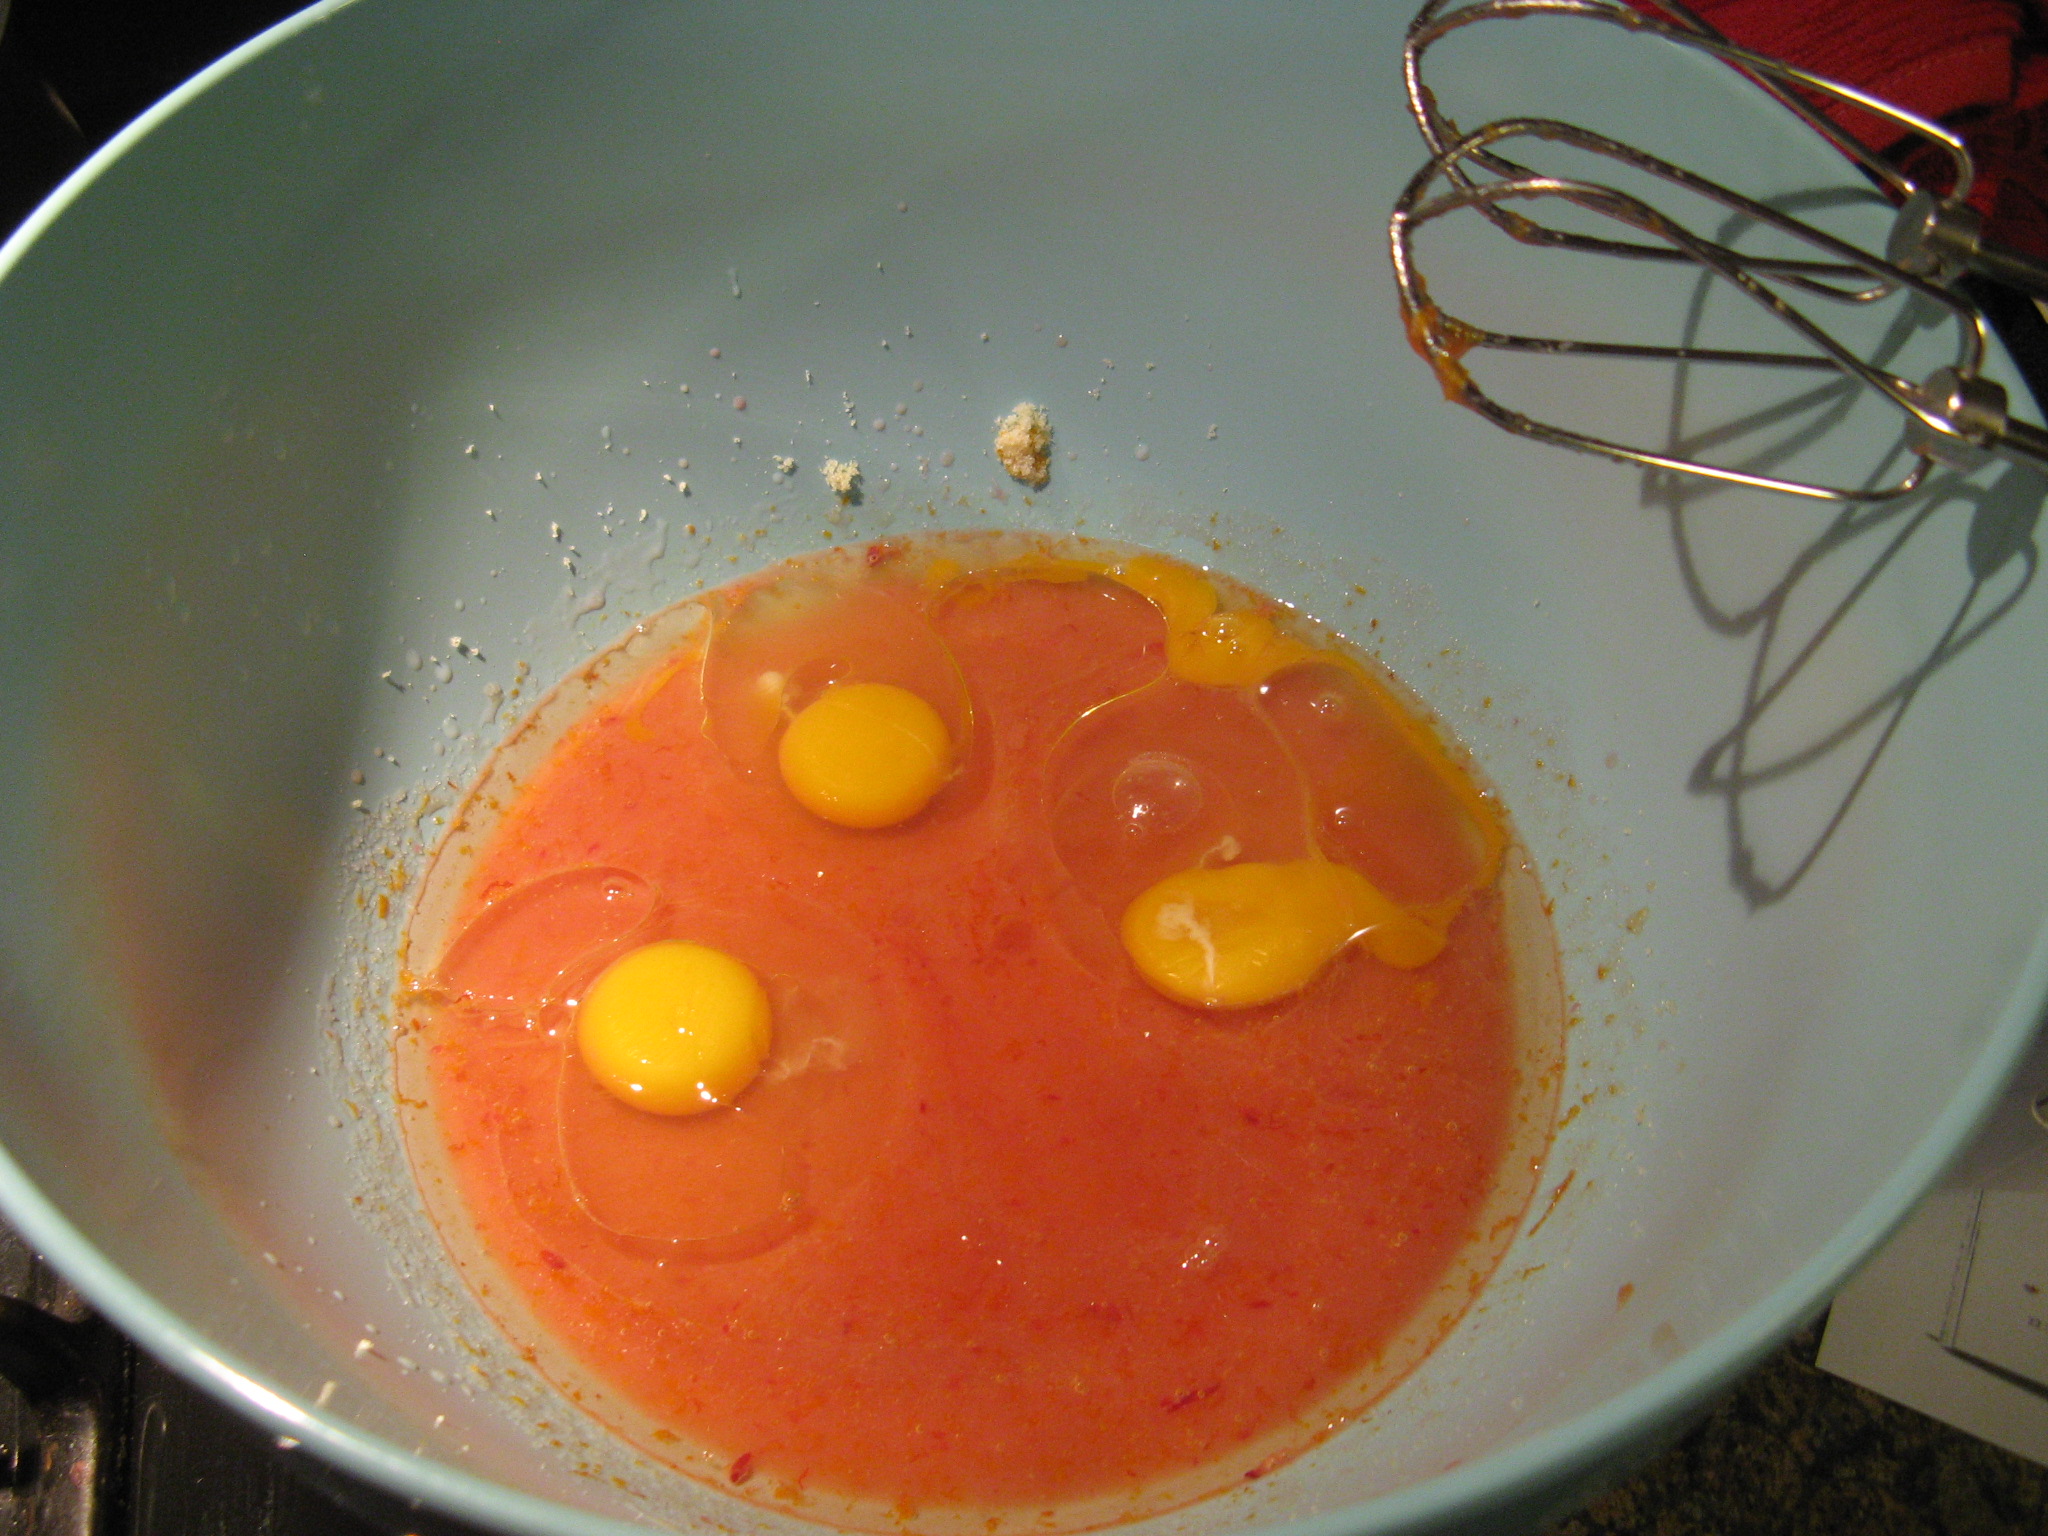
I then added in three eggs and extra-virgin olive oil. No worries… There wasn’t a hint of taste of olive oil in the final outcome and I must say the olive oil produced a very moist cake. If you want some more information on baking with olive oil check out this website.

IMG_2497

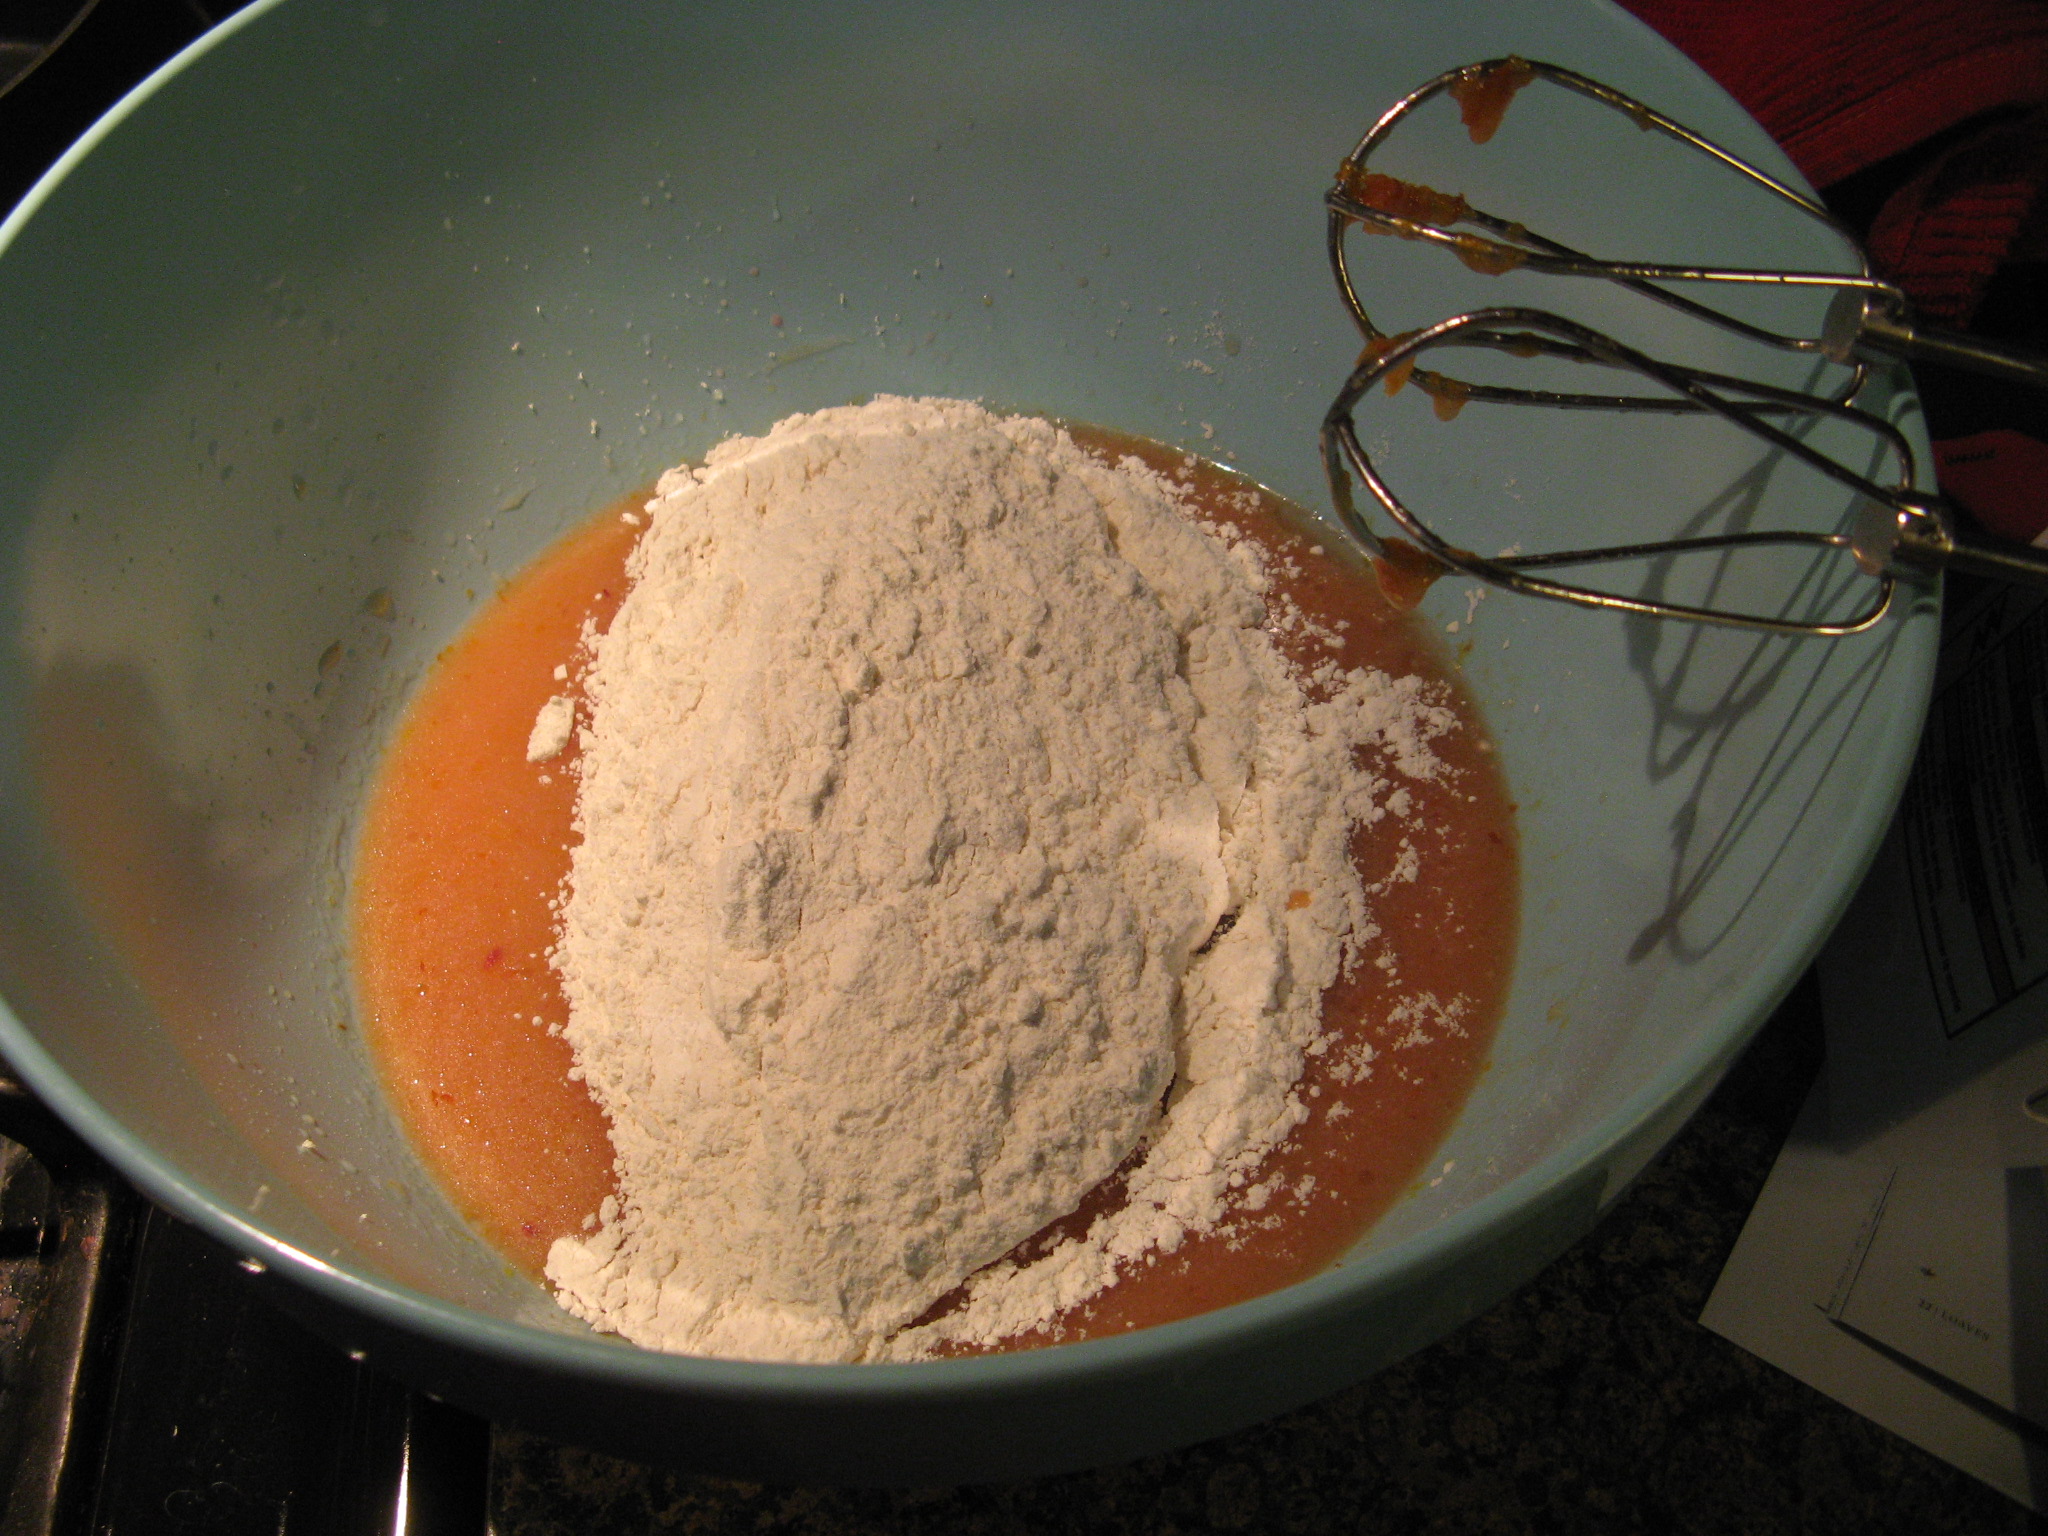
And finally I added in a sifted mixture of flour, baking powder, baking soda and salt.

IMG_2498

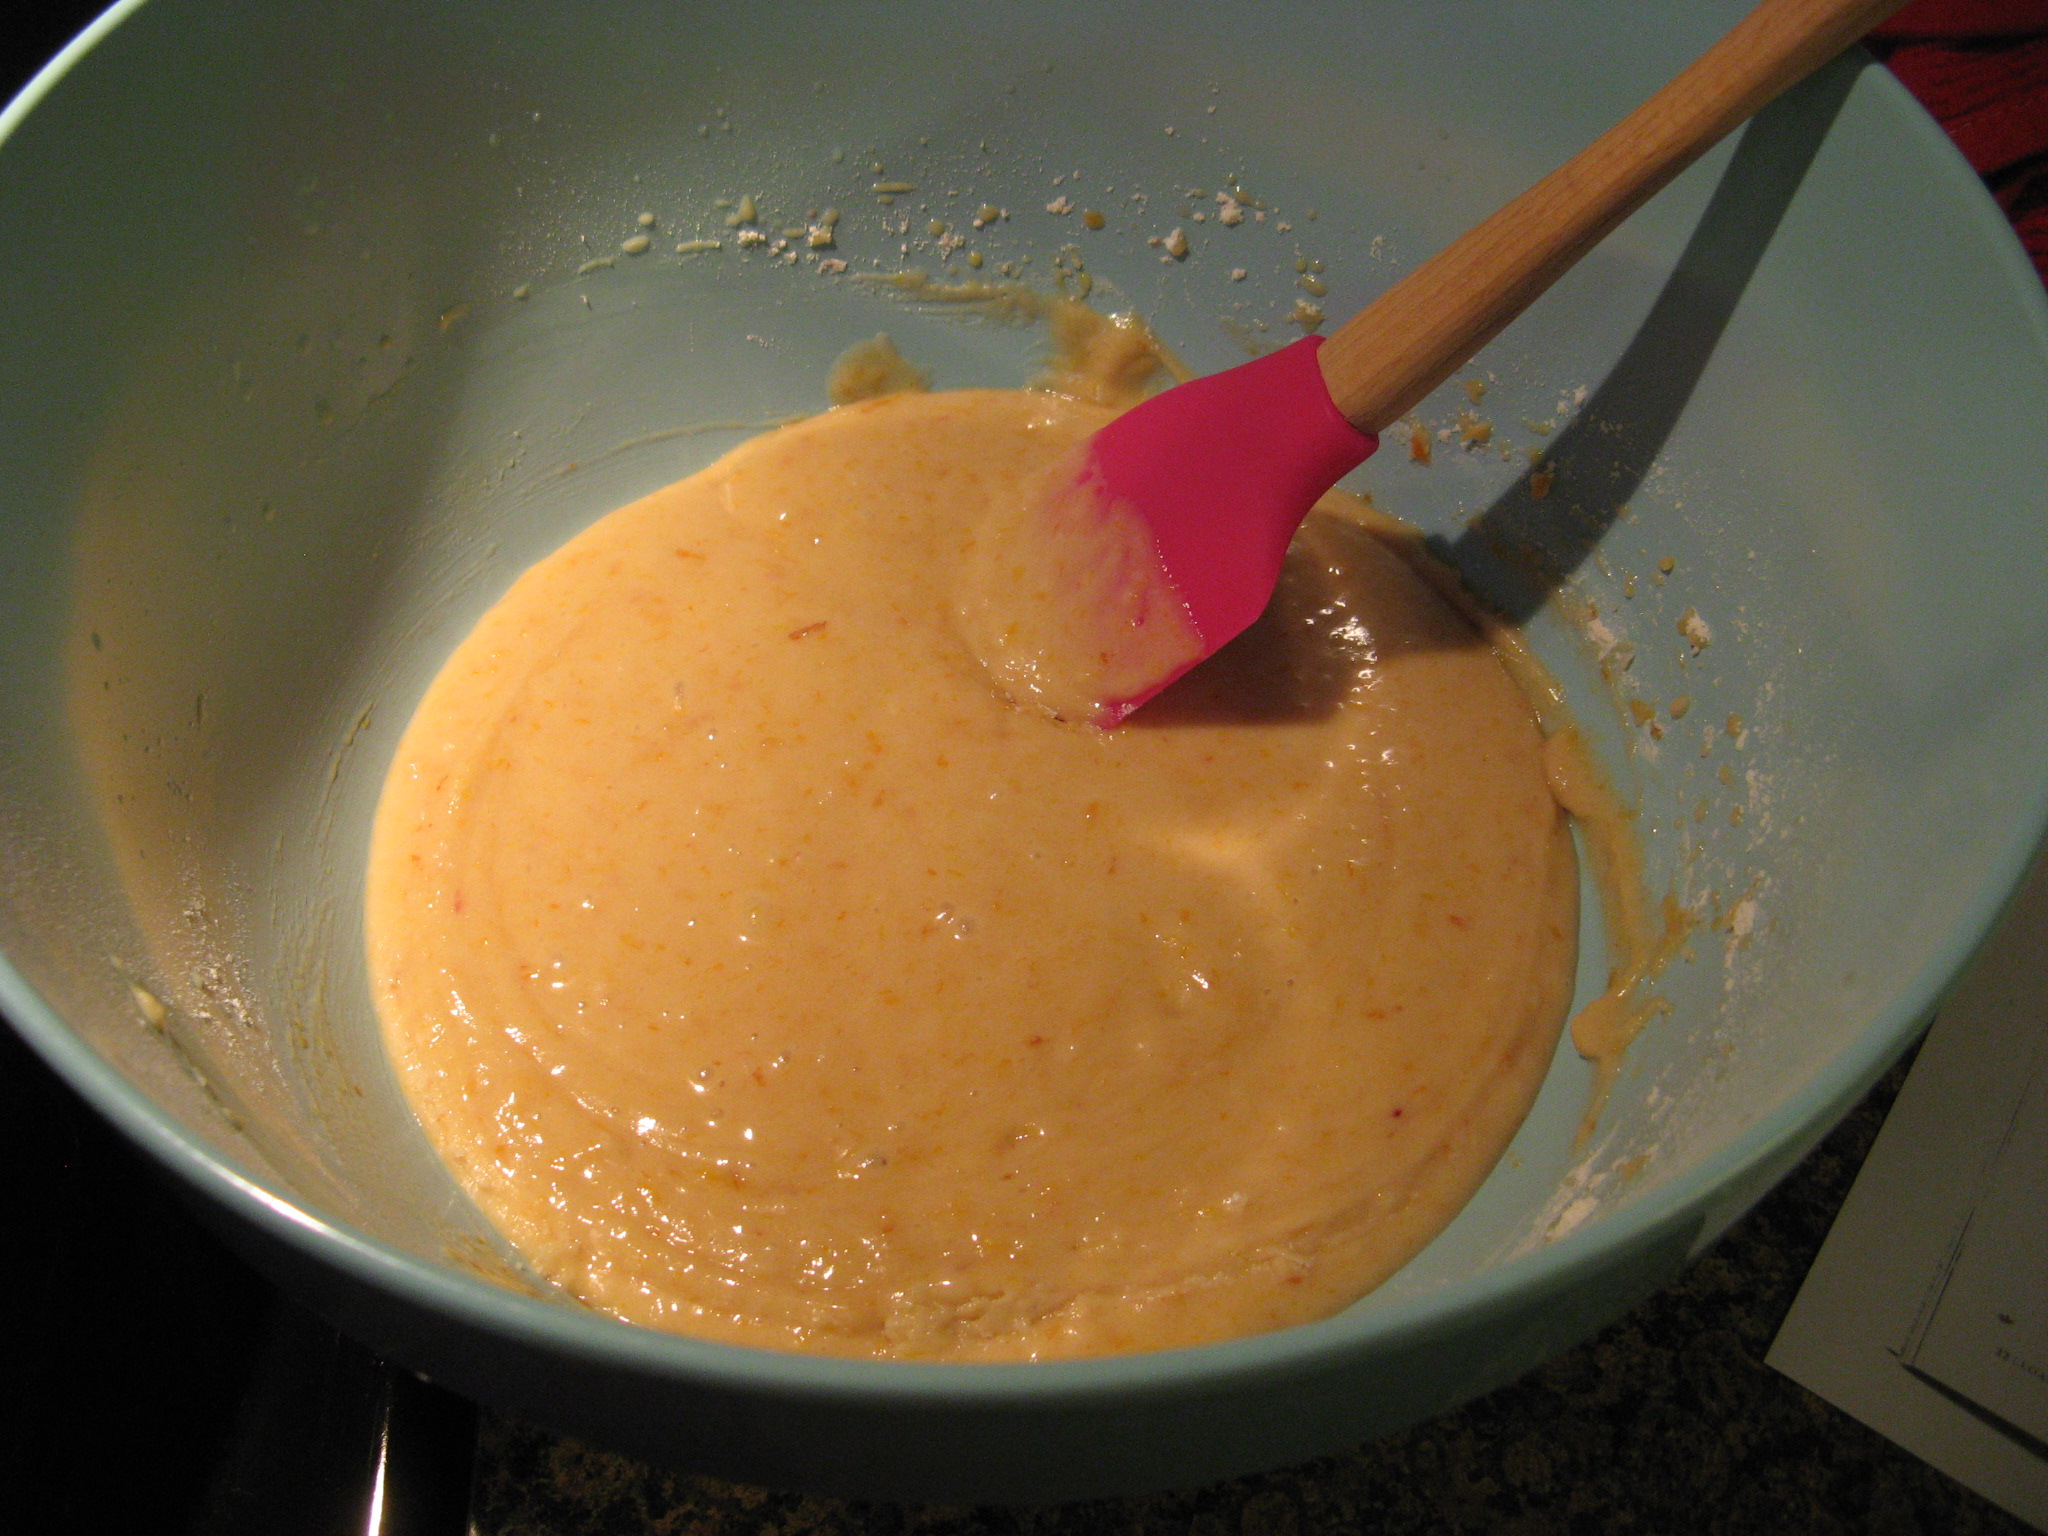
I knew this cake was going to be a winner when the batter itself already had a wonderful aroma and it wasn’t even in the oven yet.

IMG_2499

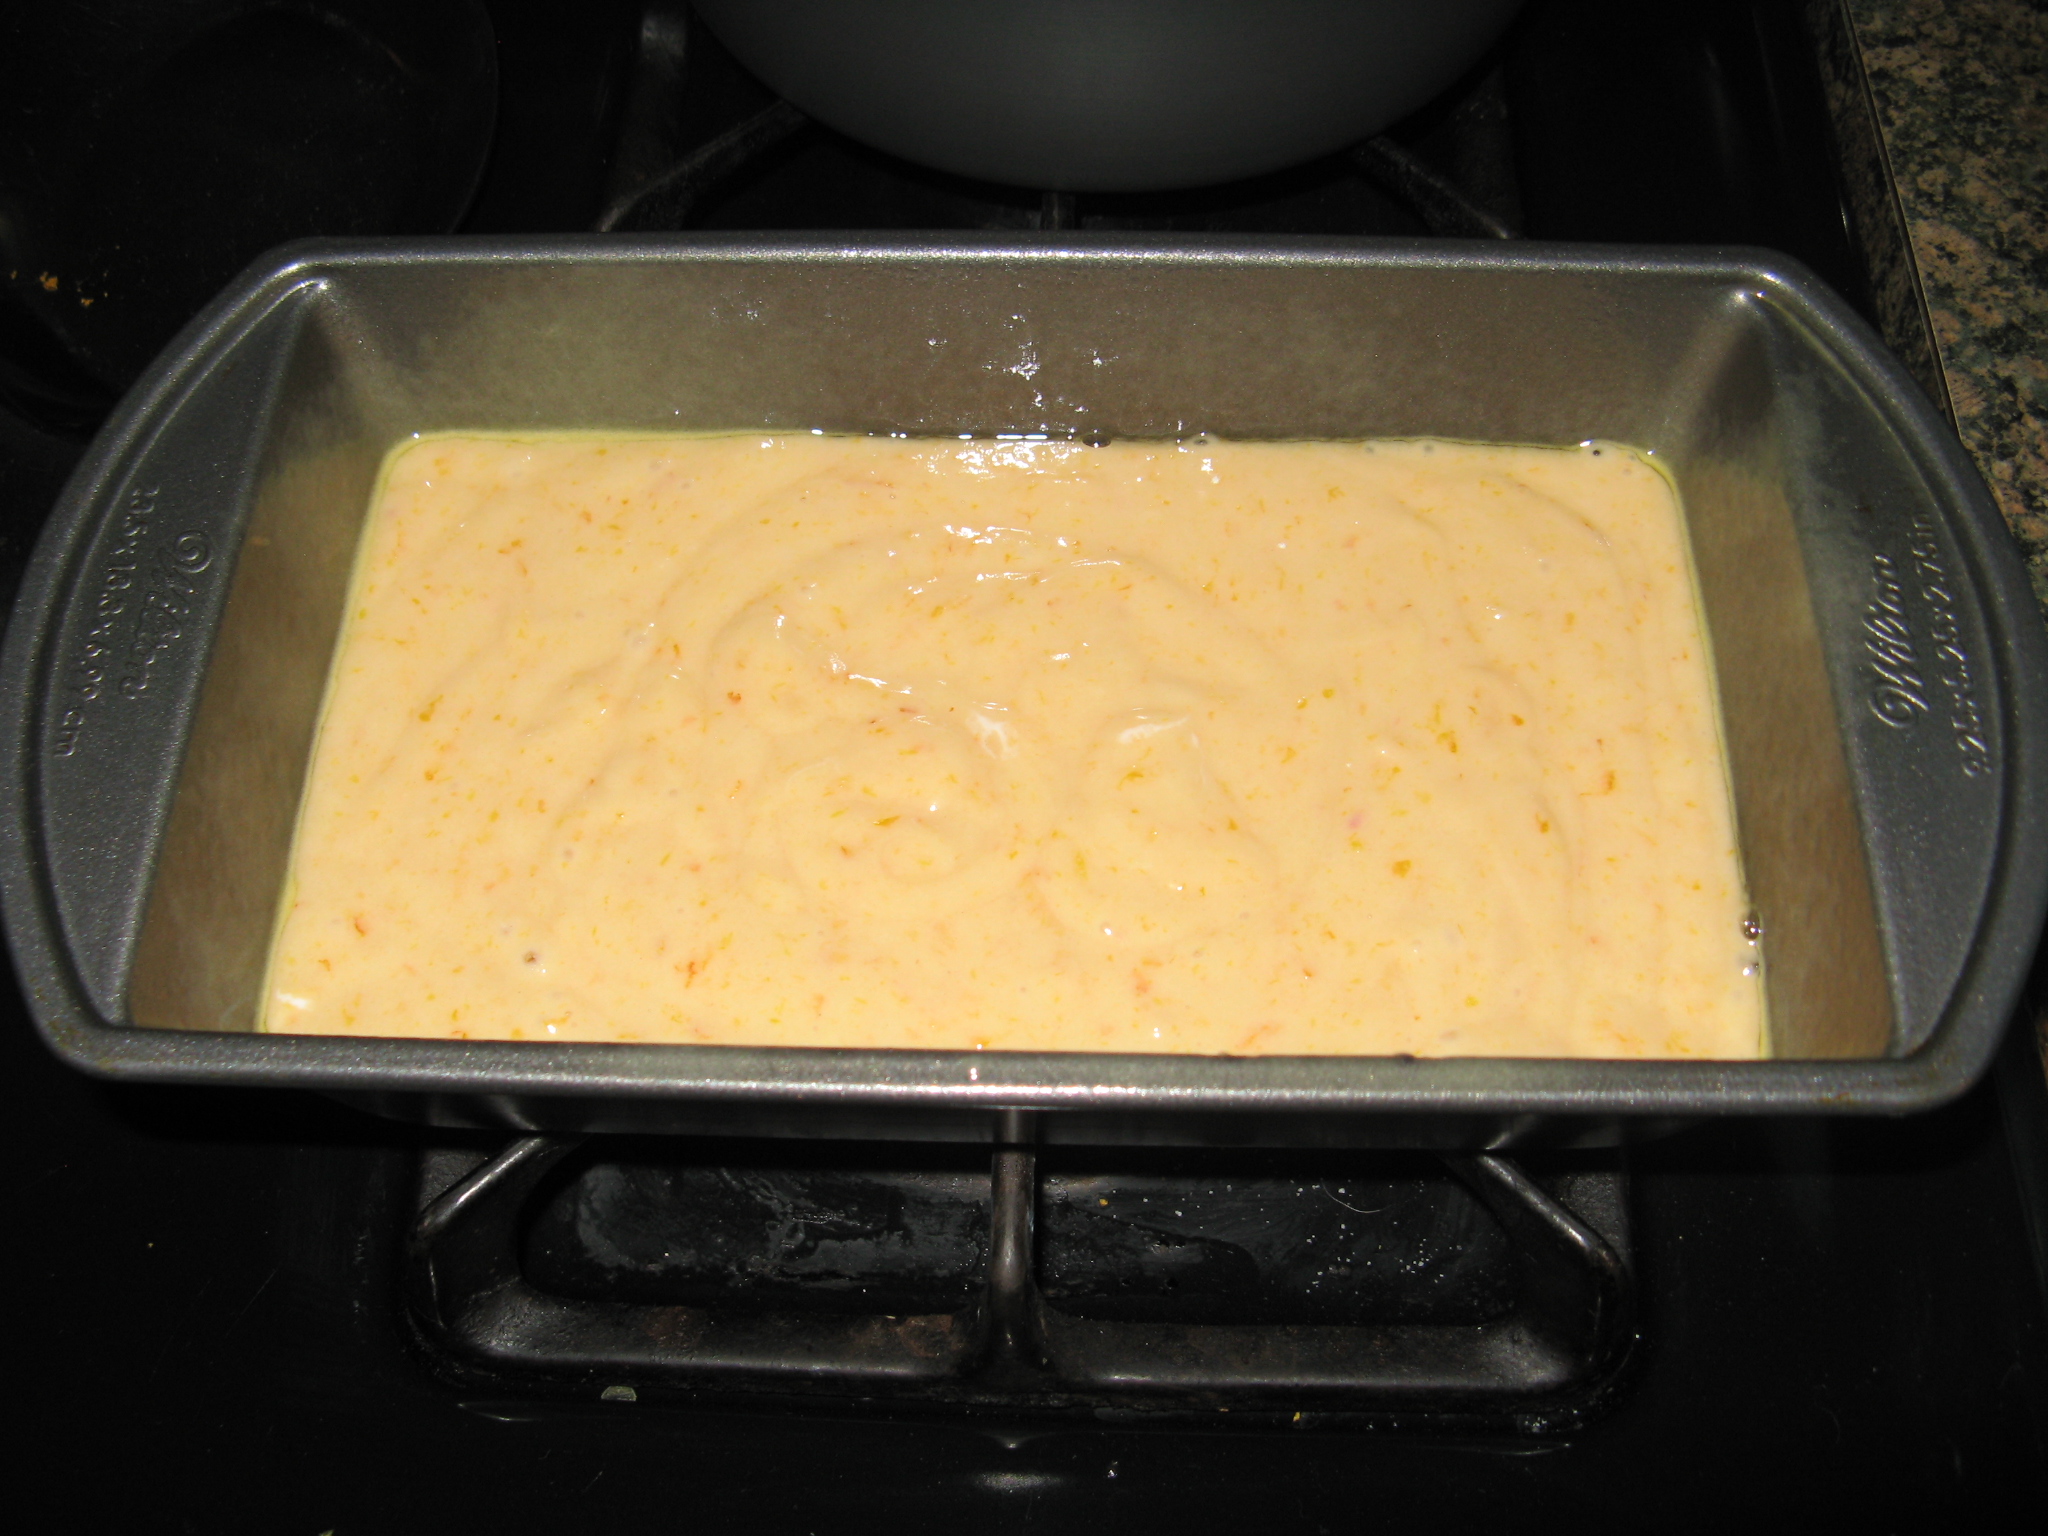
I then poured it into a prepared – I sprayed it with non-stick baking spray – 9 x 5 inch loaf pan and baked it in a 350 degrees preheated oven for about forty-five minutes.

IMG_2502

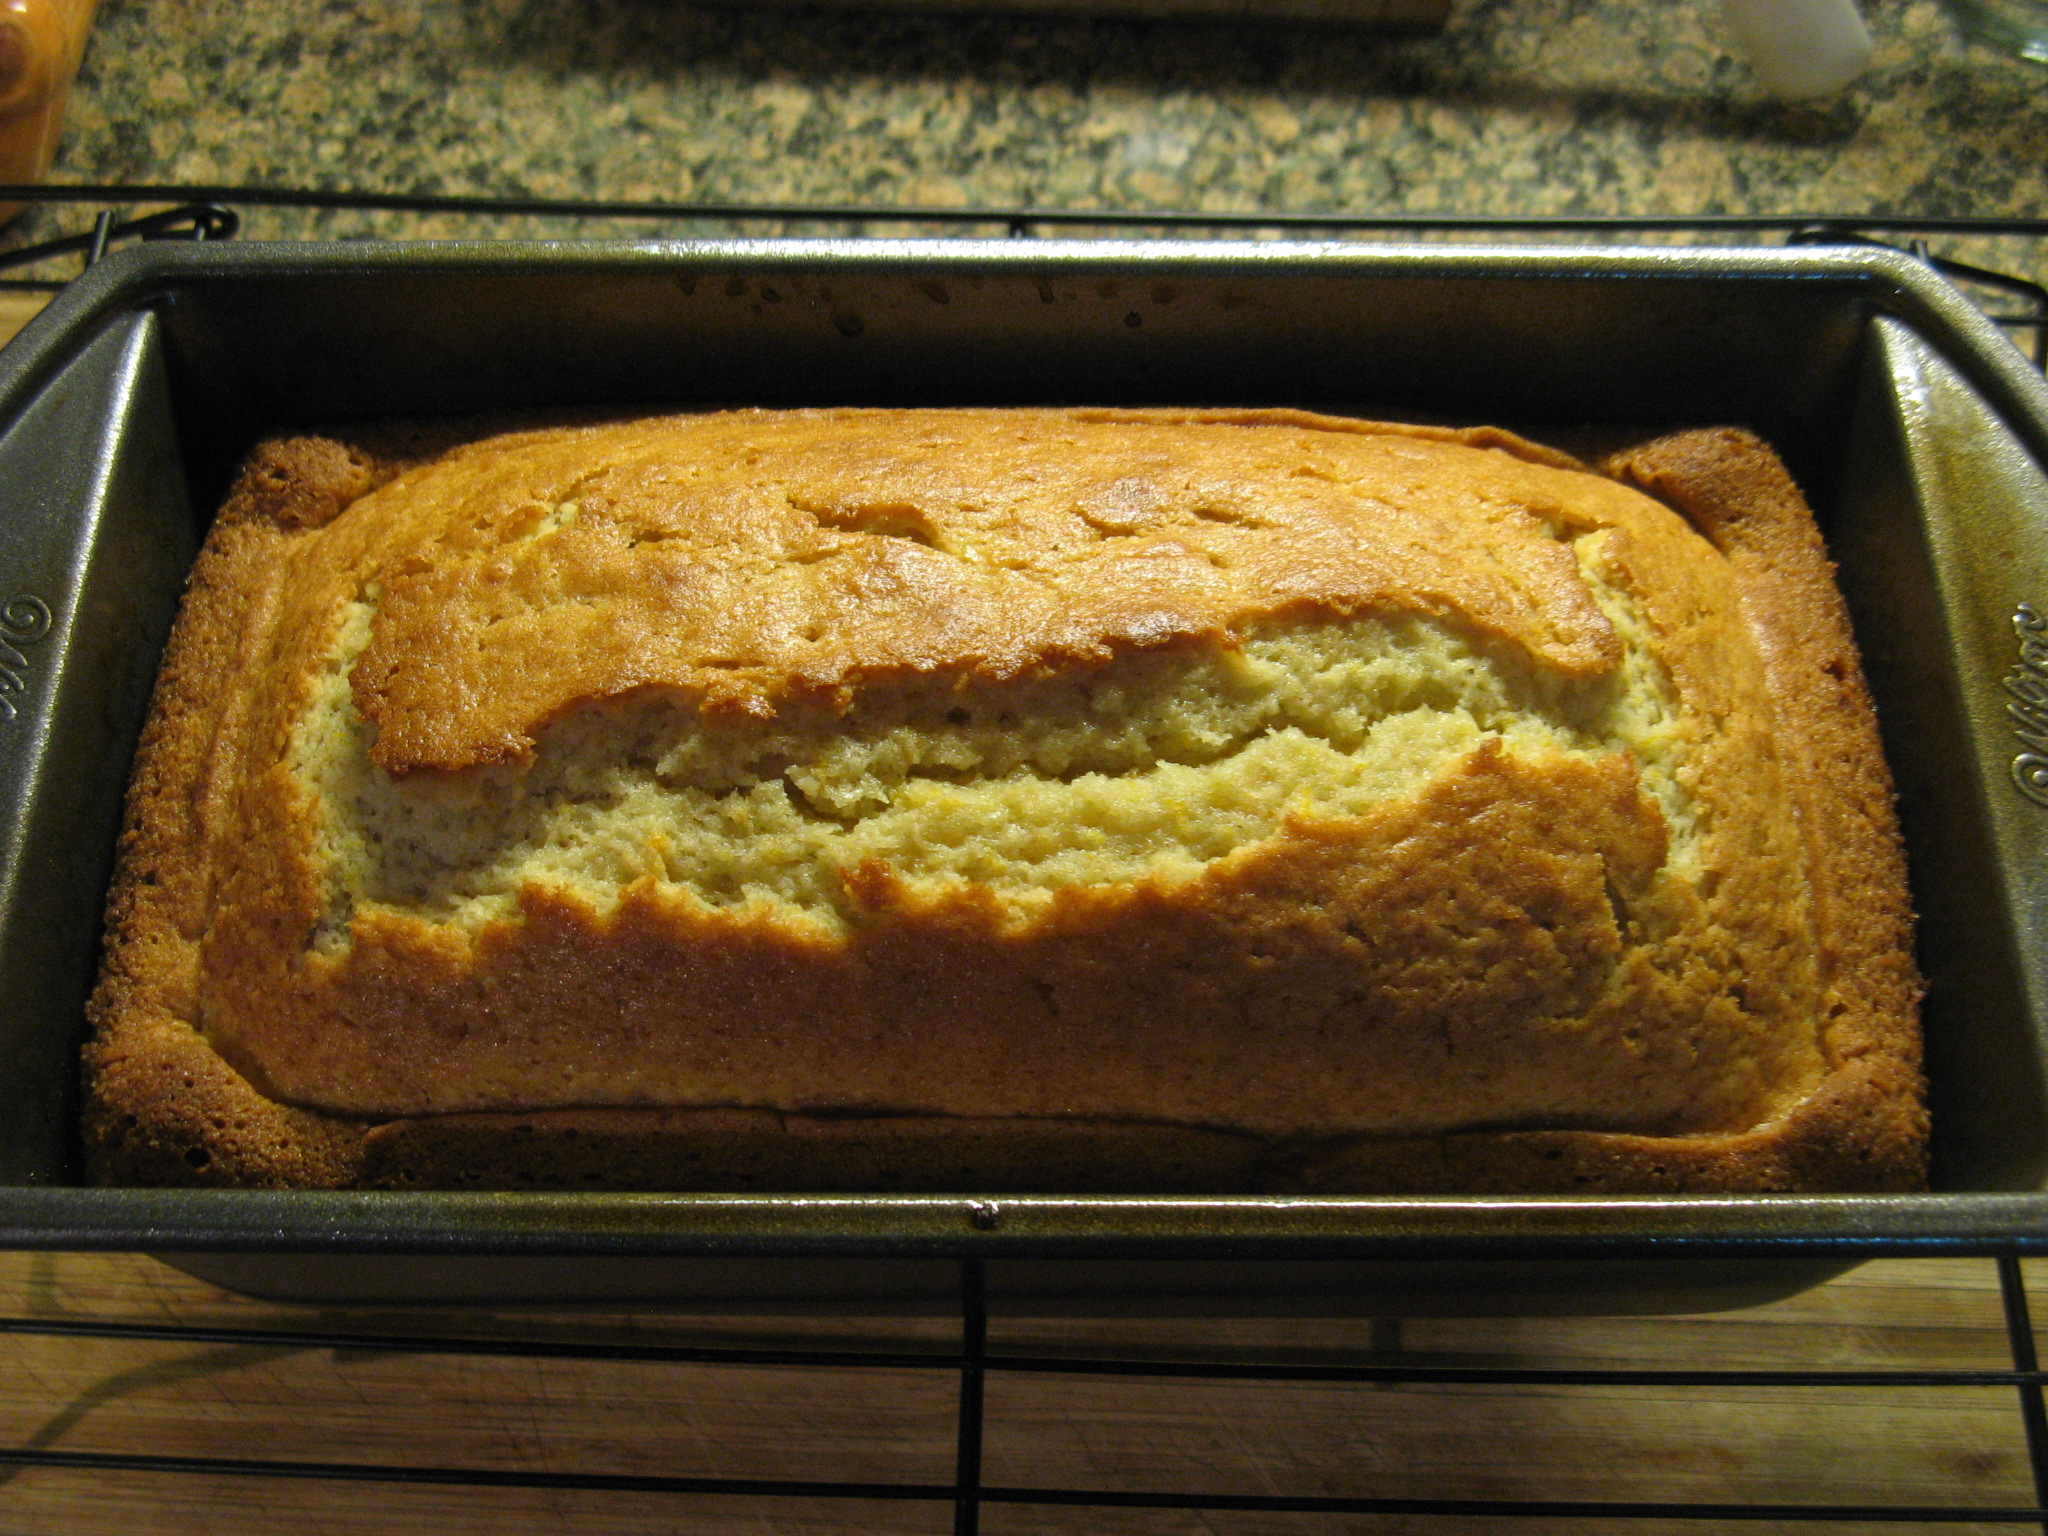
I first let the cake cool in the pan on a wire rack for fifteen minutes and then turned it out on the rack to finish cooling overnight.

IMG_2512

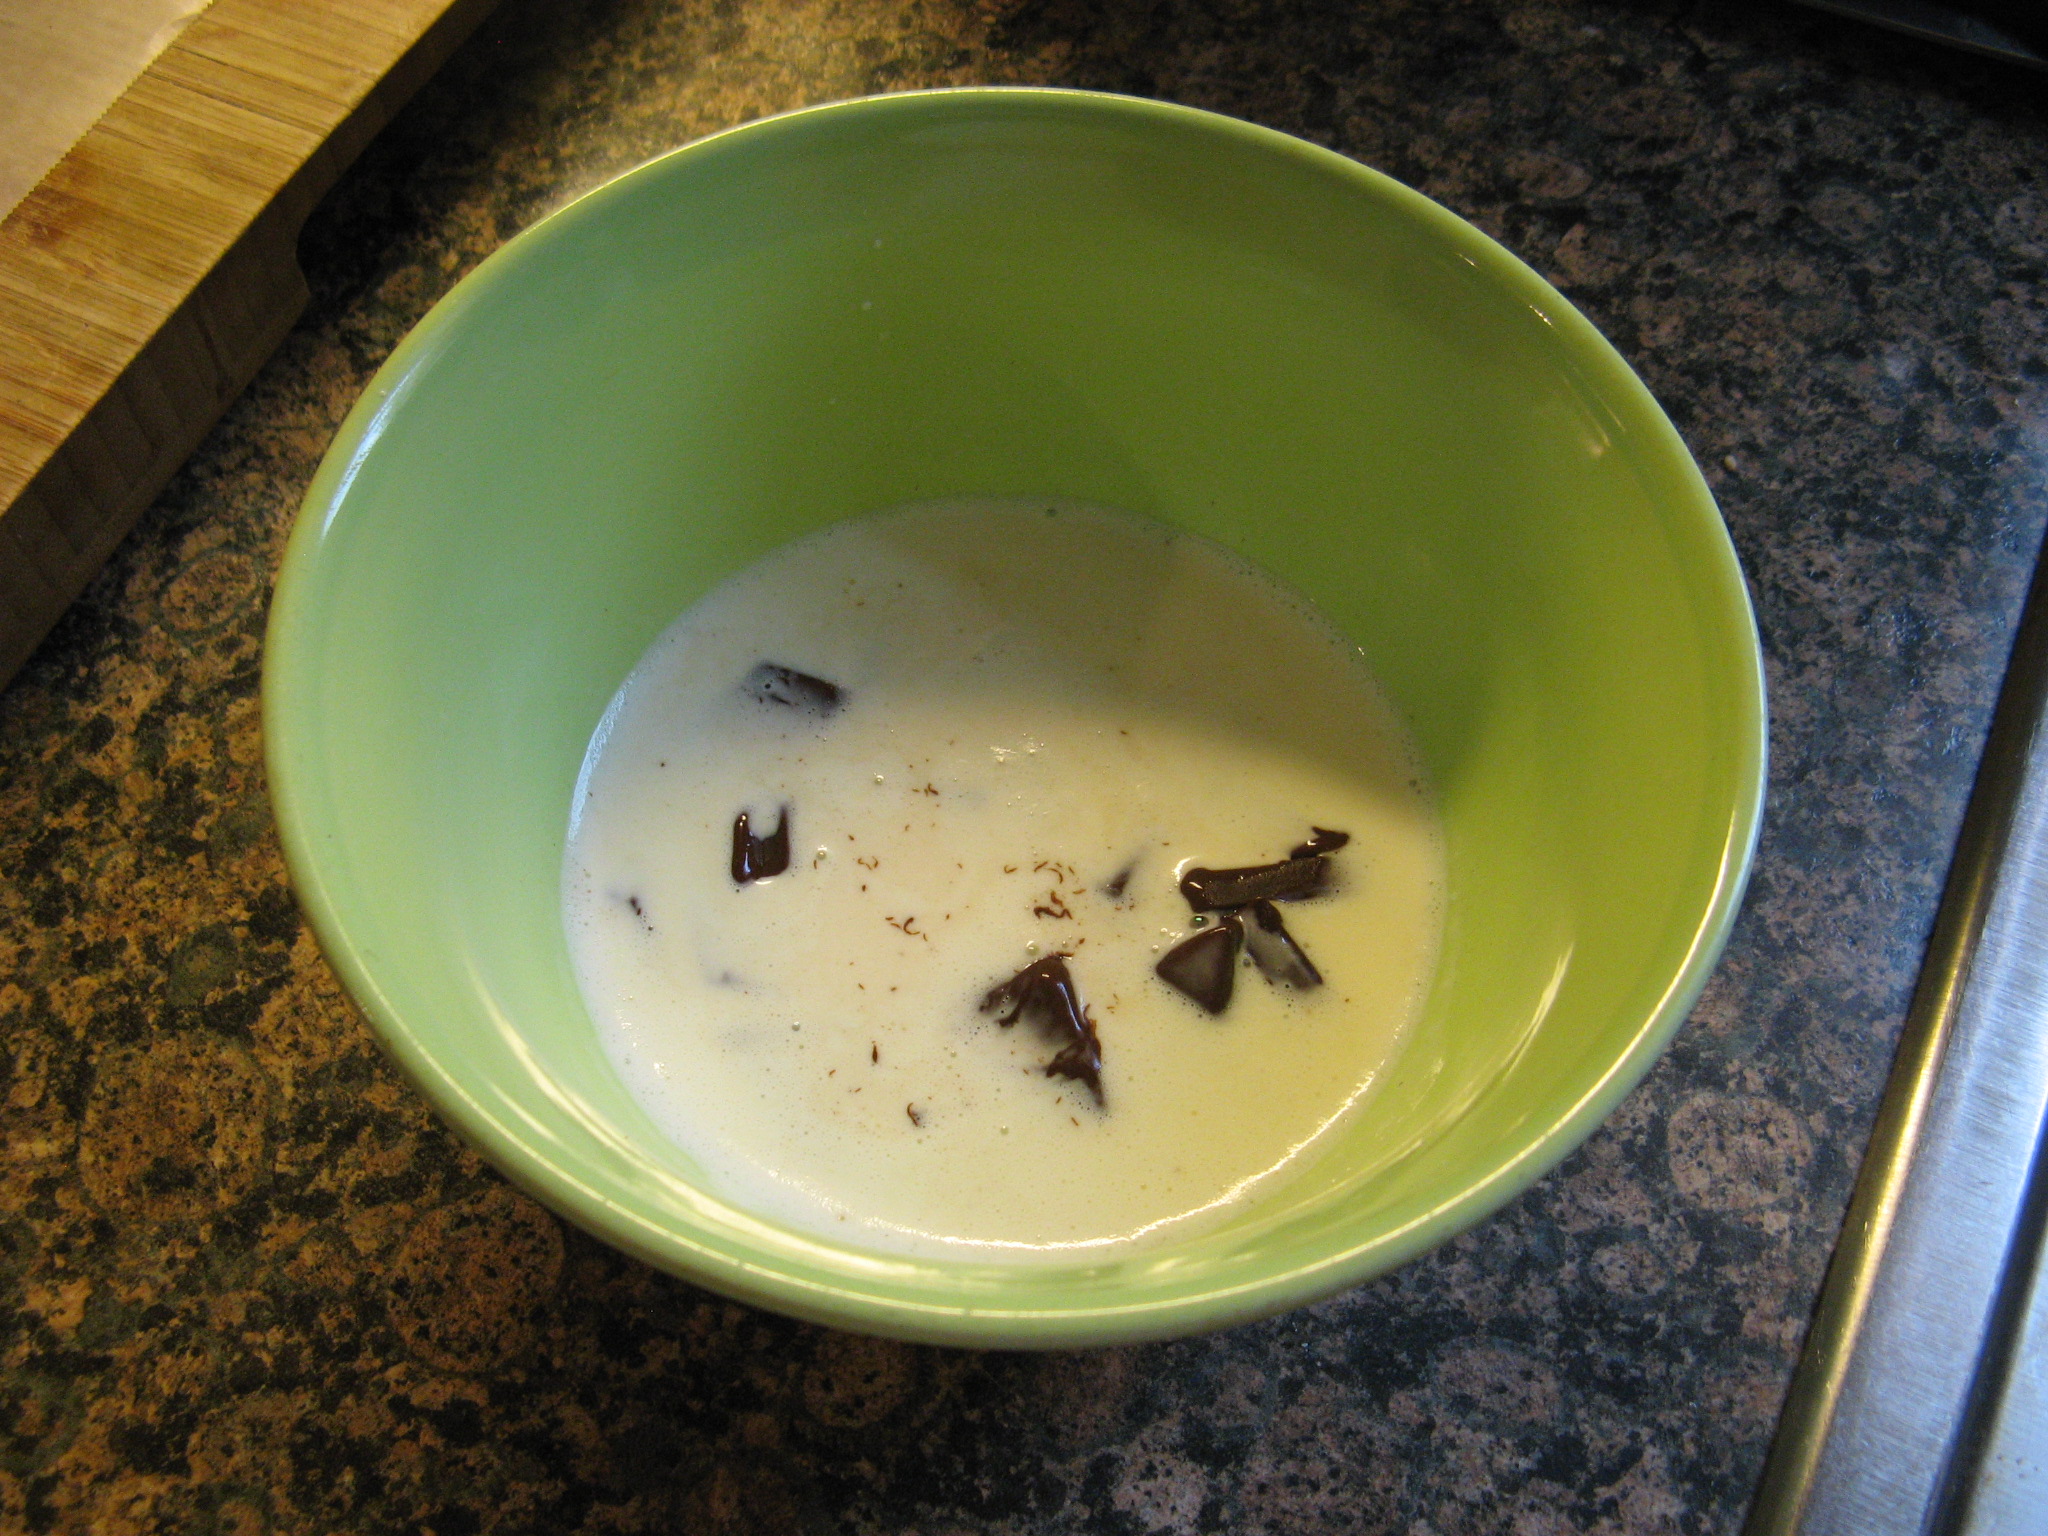
Once the cake cooled I made a dark chocolate glaze to drizzle over it. I did so by chopping up two ounces of bittersweet chocolate and then poured warmed heavy cream over it.

IMG_2514

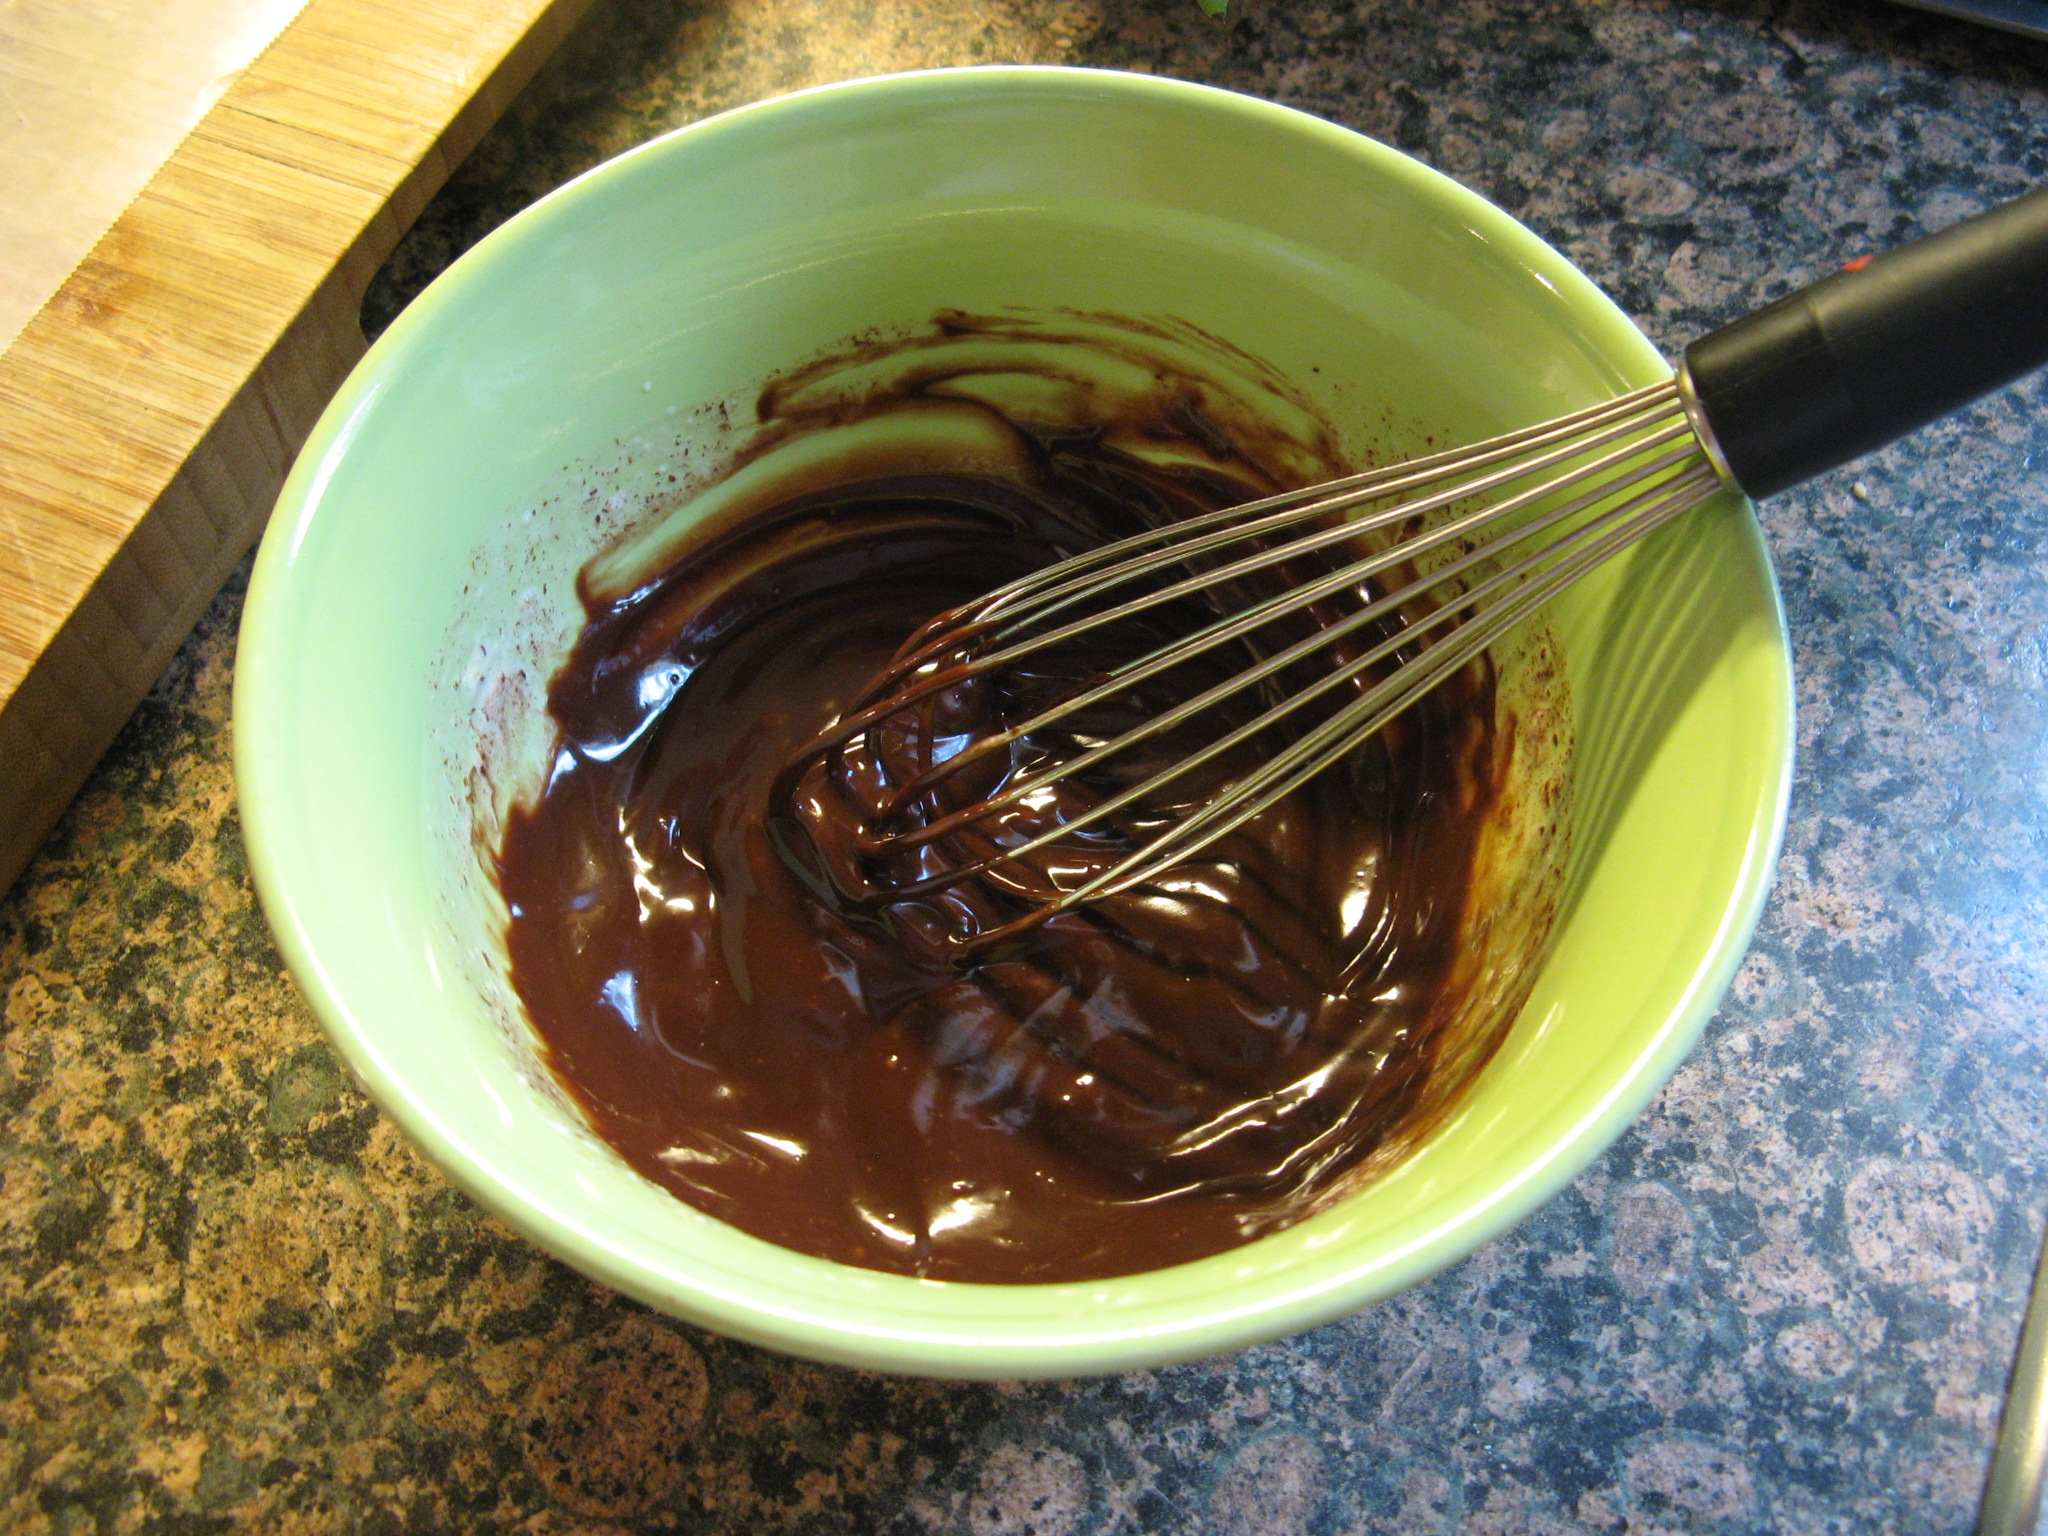
After letting it sit for a few minutes I whisked it together.

IMG_2516

And then drizzled it over the cake.

IMG_2517

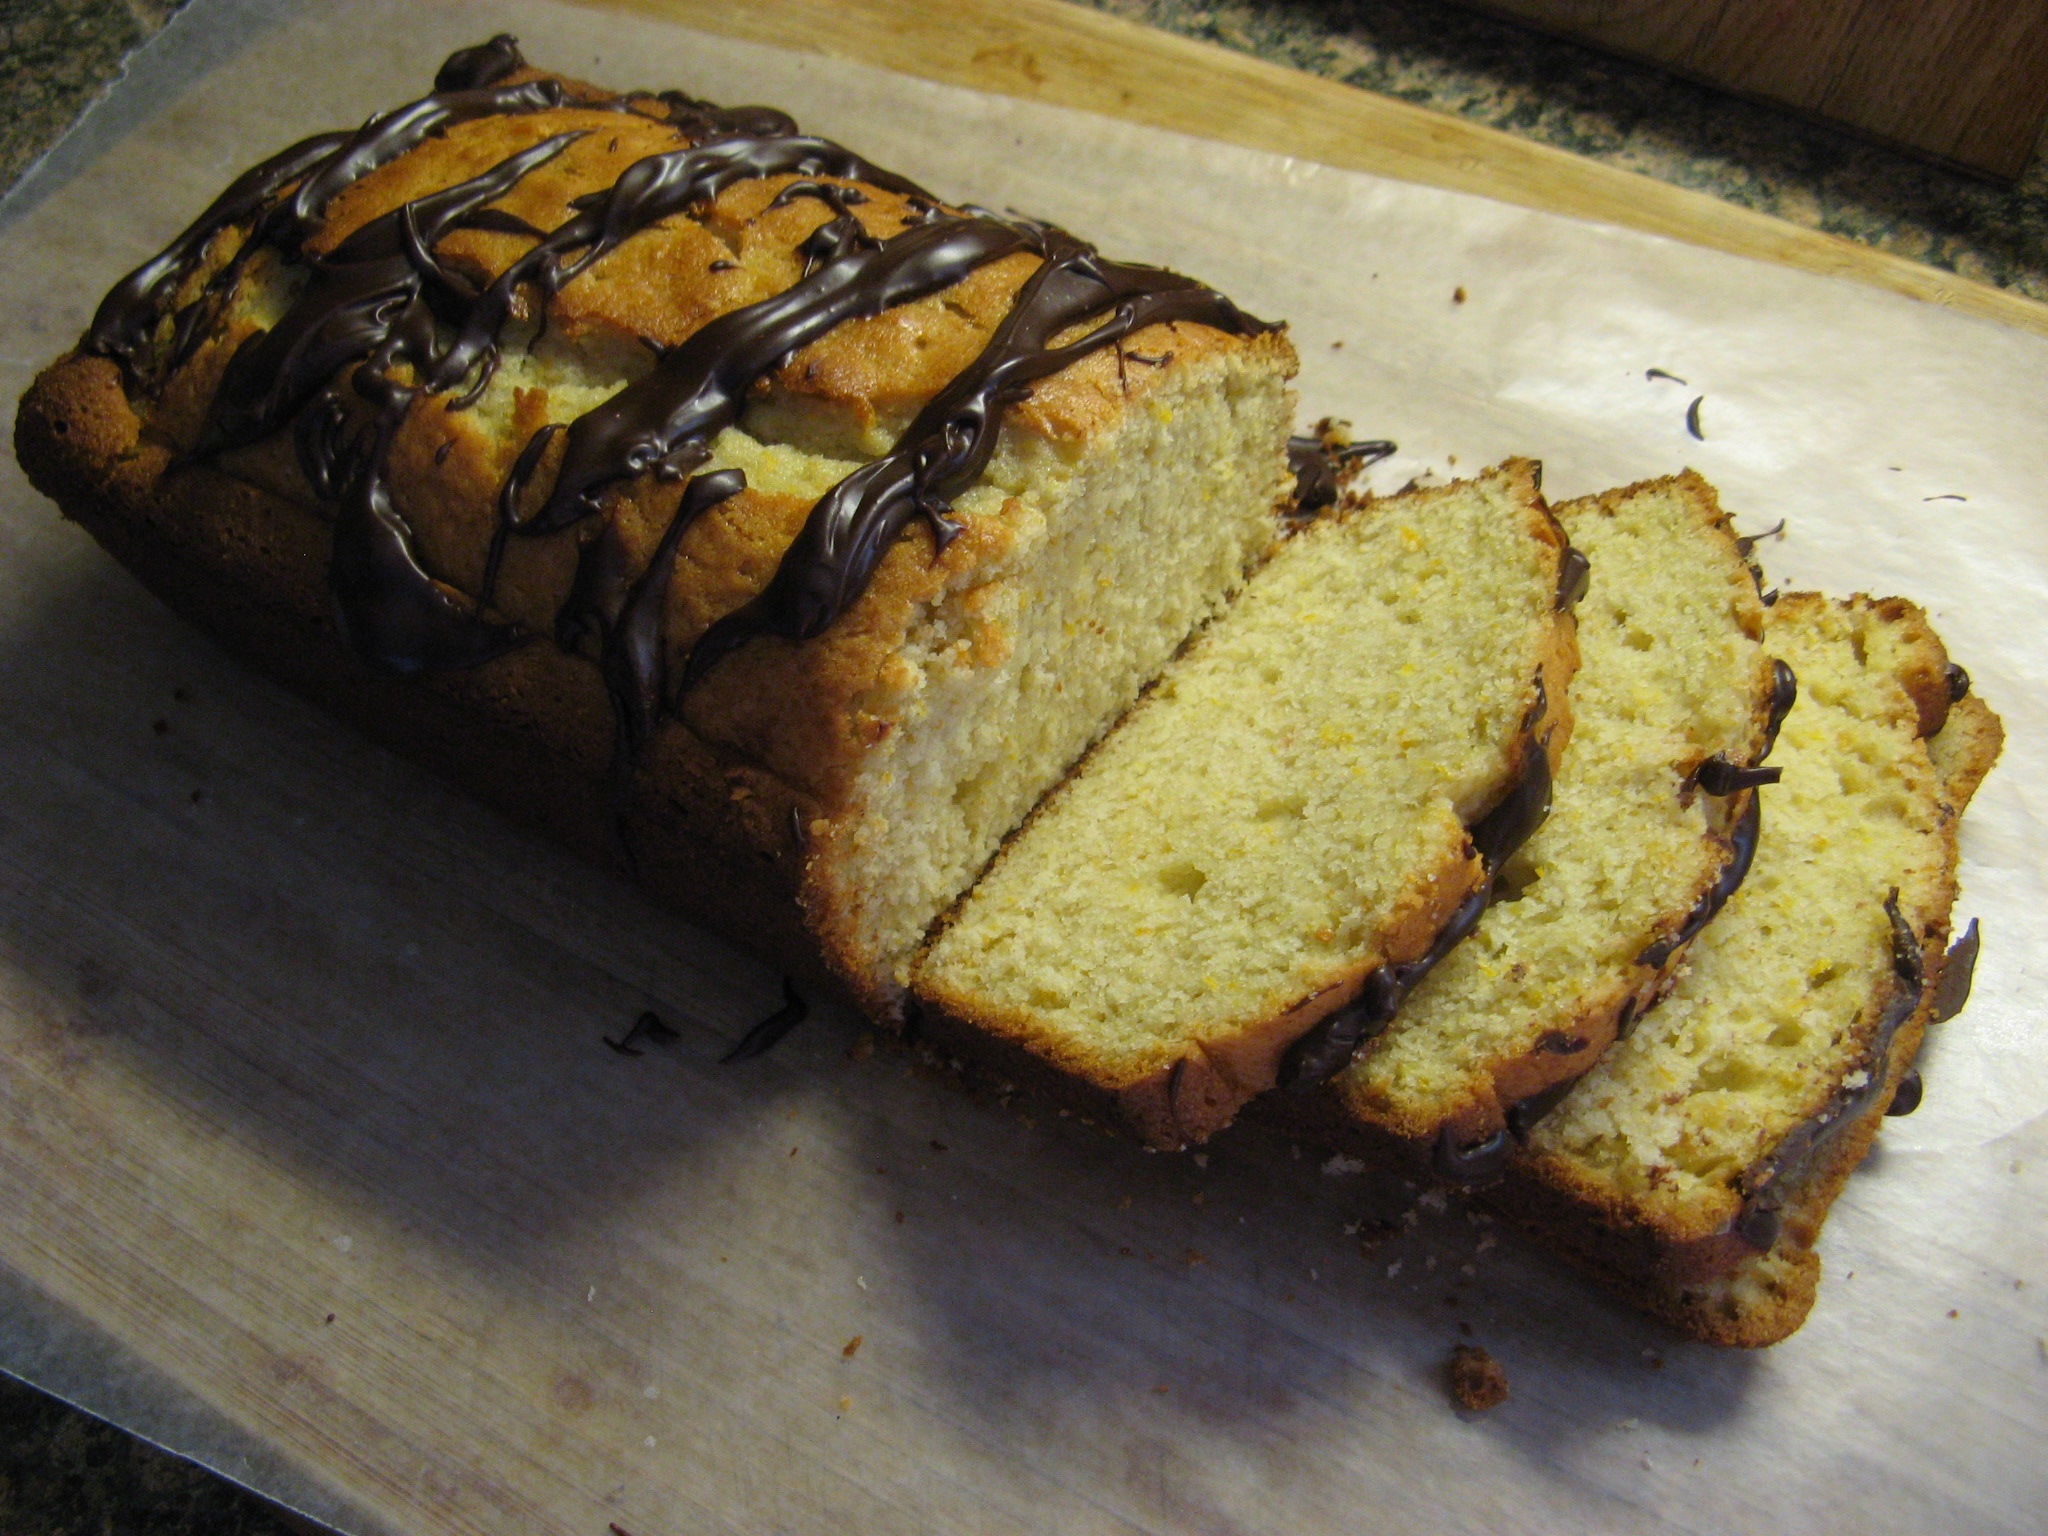
I couldn’t wait to slice it into it and was not disappointed. The cake had a nice orange taste and that little bit of chocolate on top was just perfect! The recipe actually called for a honey-sweetened blood-orange compote to go along with it but I opted not to make it and I definitely didn’t miss it.

IMG_2521


Blood Orange – Olive Oil Cake

1 1/4 cups all-purpose flour

3 blood oranges

1 cup sugar

1/2 cup buttermilk

3 large eggs

2/3 cup extra-virgin olive oil

1 1/2 tsp. baking powder

1/4 tsp. baking soda

1/4 tsp. salt

2 oz. bittersweet chocolate

1/4 cup heavy cream

1. Preheat oven to 350 F. Prepare a 9-by-5 inch with non-stick baking spray. Finely grate enough rind from oranges to yield 1 packed tablespoon zest.

2. Peel the oranges and then working over a bowl squeeze the segments to obtain 1/4 cup juice.

3. Combine sugar and zest in another bowl; using your fingers, rub together well. Add juice and the buttermilk; whisk to combine. Add eggs and oil; whisk to combine. Sift together flour, baking powder, baking soda, and salt into a small bowl; add to buttermilk mixture, whisking until smooth.

4. Transfer batter to prepared pan. Bake until golden and a cake tester comes out clean, 40 to 45 minutes. Transfer pan to a wire rack to cool 15 minutes. Turn out cake onto rack to cool completely.

5. Place chocolate in a heatproof bowl. Bring cream to a gentle simmer in a small saucepan. Pour over chocolate, let stand 5 minutes, and then whisk together until smooth. Drizzle over cooled cake and let set about 1 hour.

A Slow Cooker Hit And Half Miss

The cold days of winter call for warm and hearty soups (or stews) to help keep you feeling warm and toasty to beat the winter chill. In a recent issue of Rachael Ray Magazine I came across one such soup that had the added bonus of being made in a slow cooker. A kitchen item I do enjoy using but don’t use often enough.

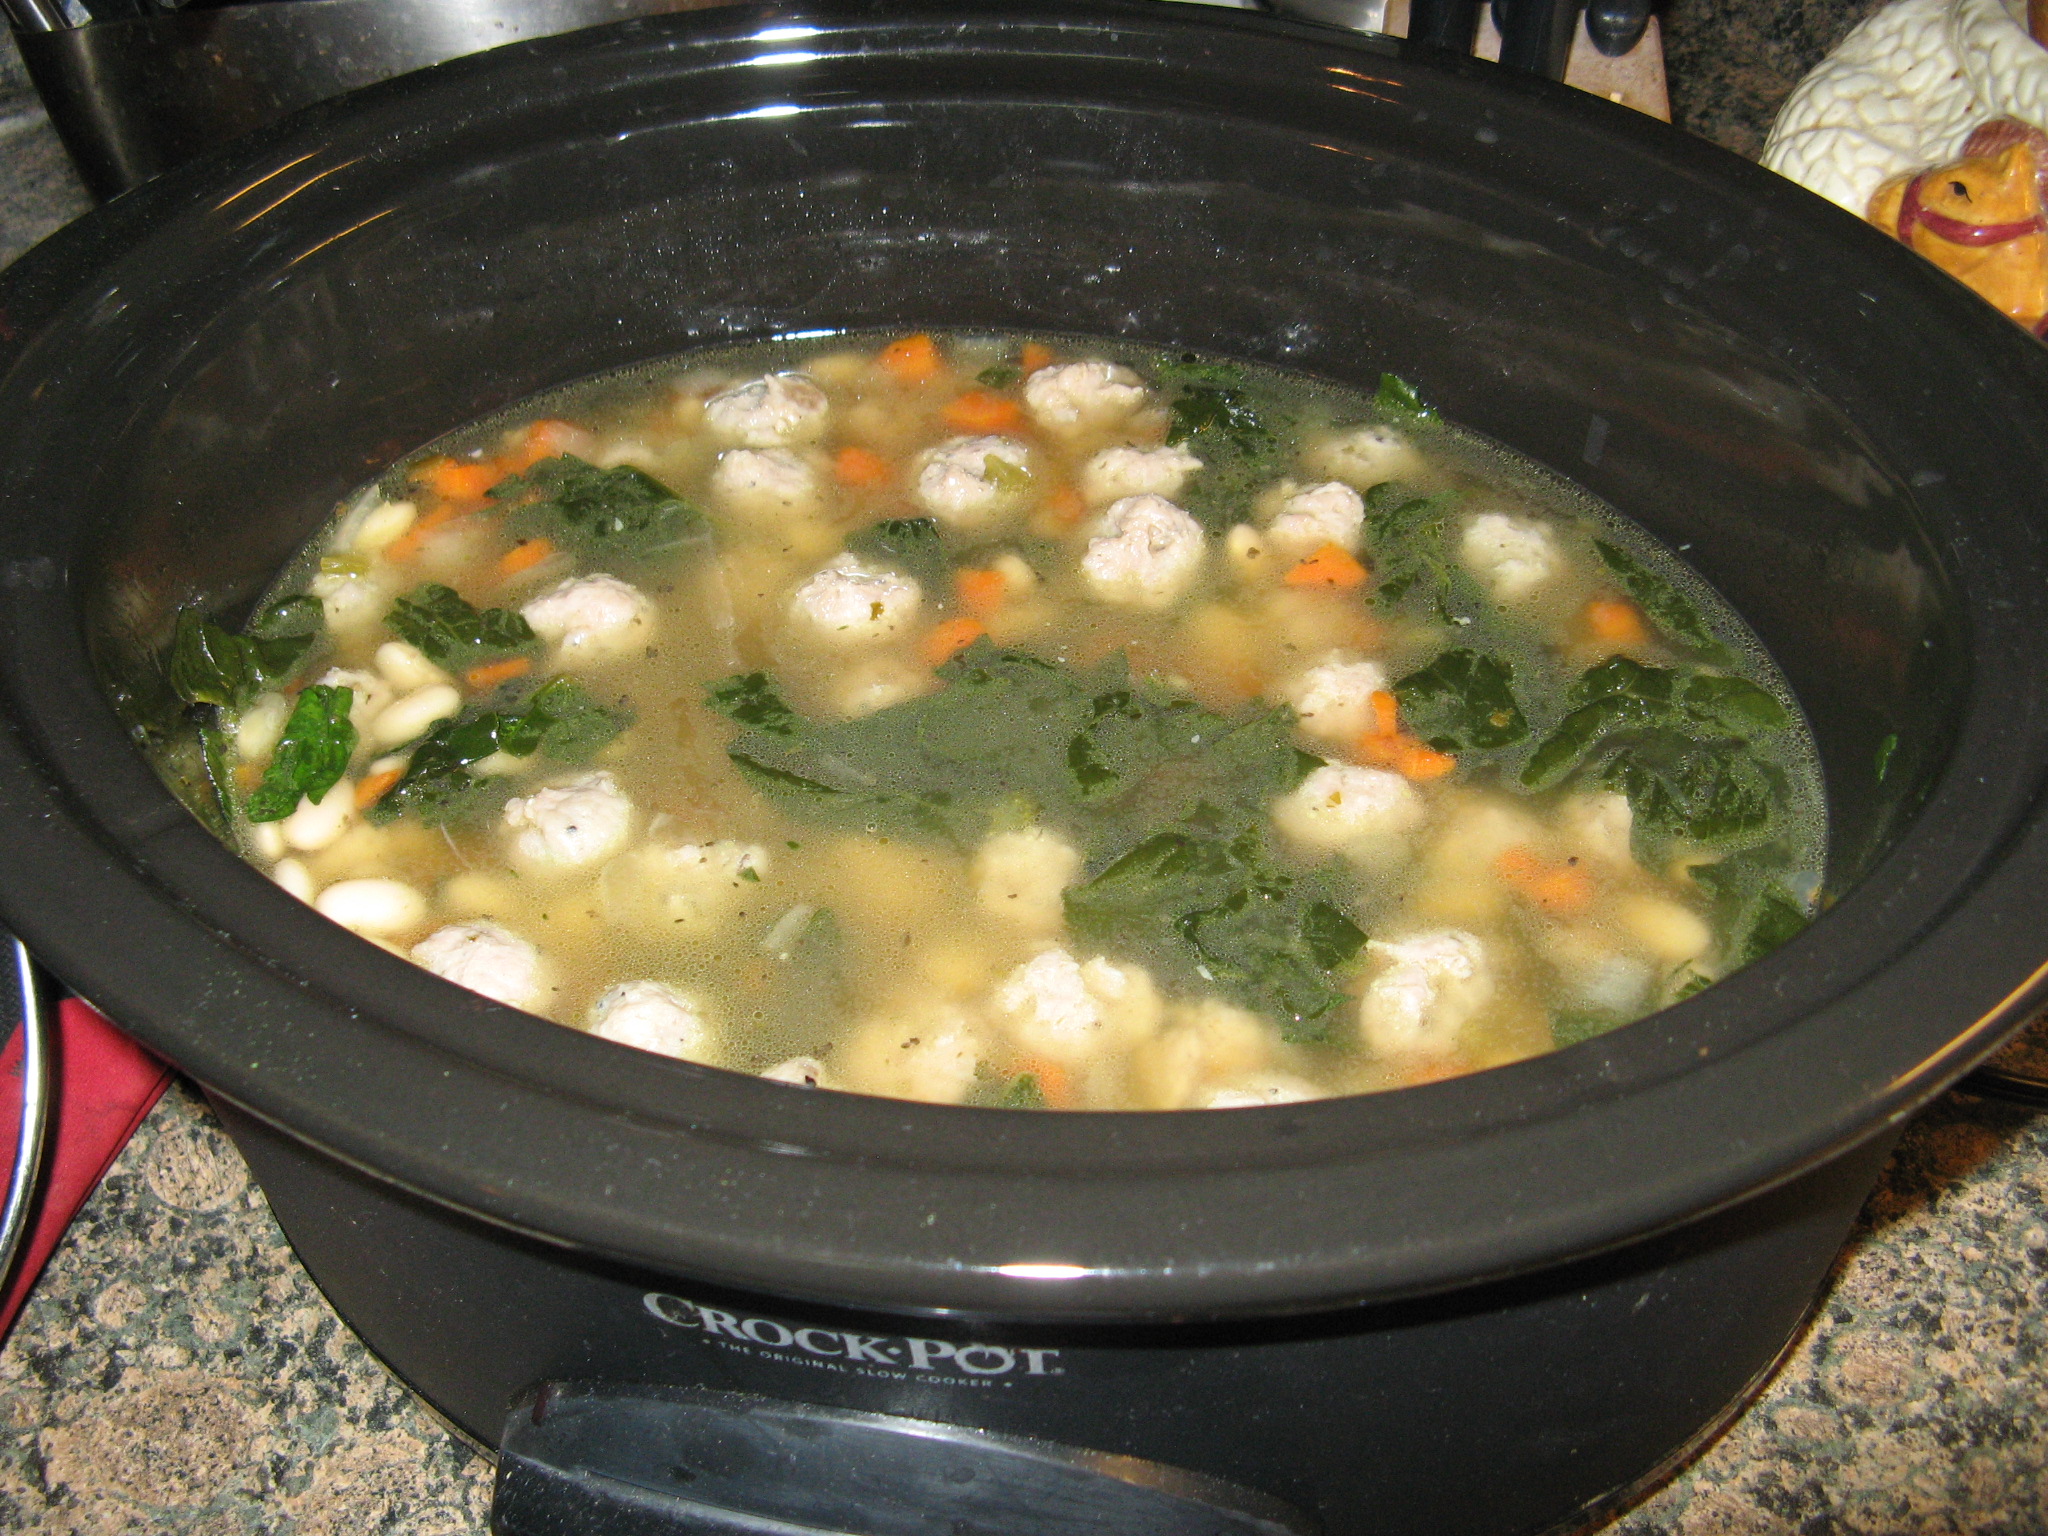
This stew – a Sausage, Bean & Spinach Stew  – was a cinch to make and was ready in about four hours. I began by adding white beans, chopped onions, carrots & celery, garlic, bay leaves and chicken broth to my slow cooker and cooking it on high heat for three and a half hours. I then added sausage meatballs and let them cook in the soup for about twenty-five minutes. Finally, I added in the spinach for the final ten minutes.

IMG_2405

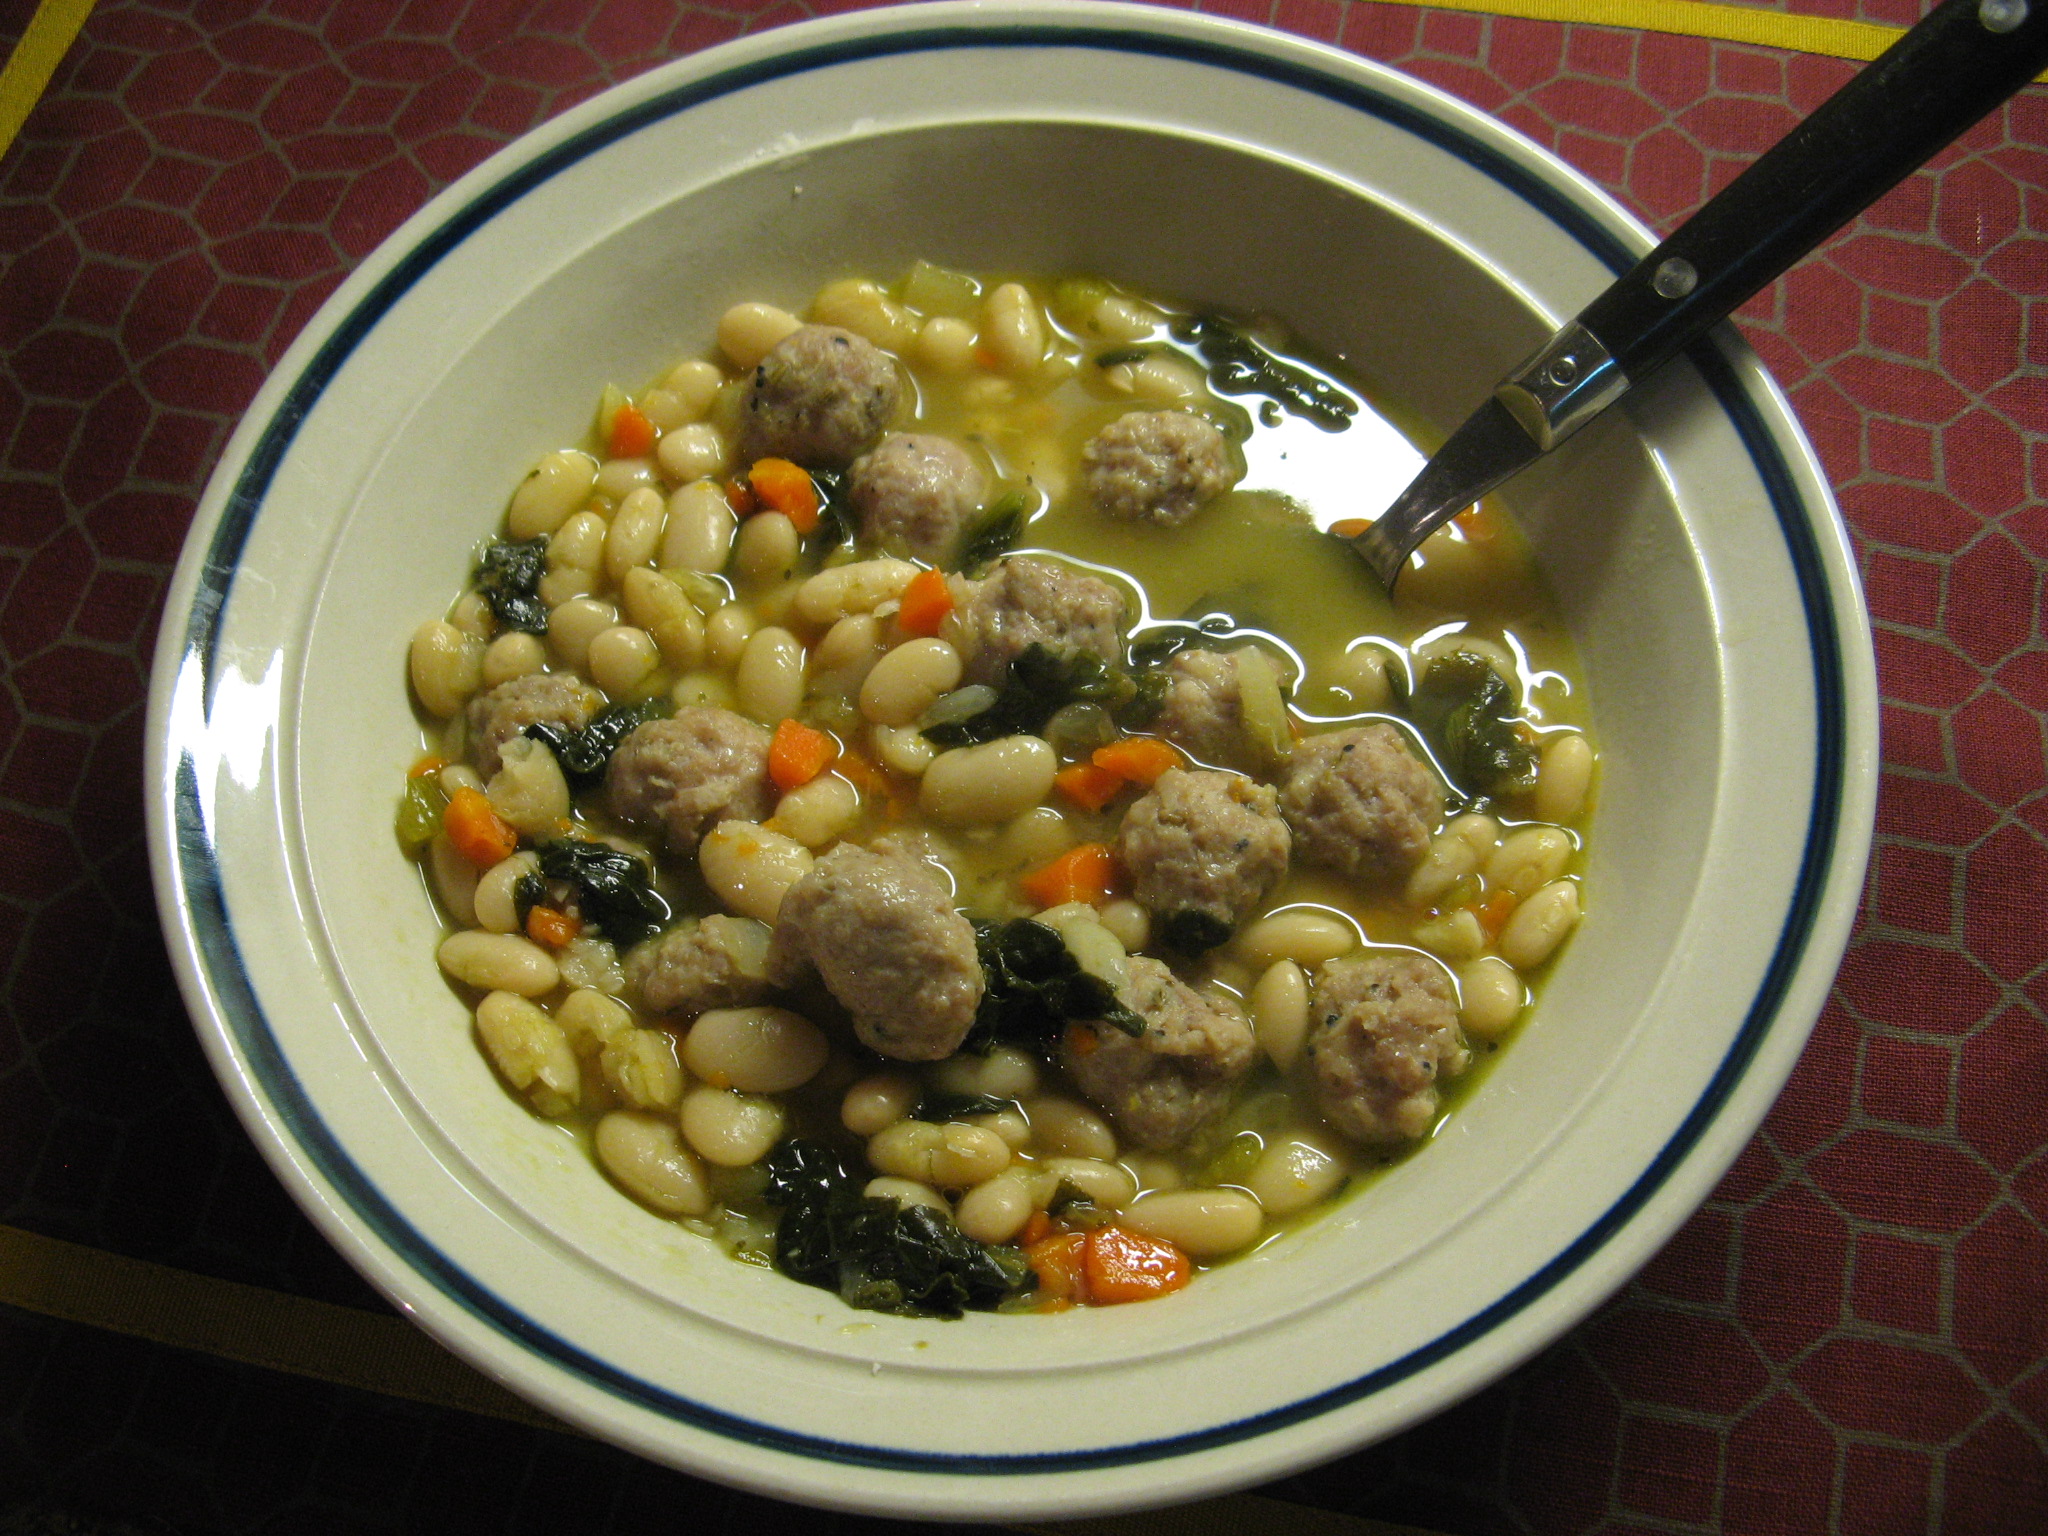
Final verdict… The stew was delicious. I’ll definitely be it making again. But, I think next time I’ll cook the meatballs a little before adding them to the soup.

IMG_2430

Since I had my slow cooker out from obscurity I figured I would finally try making a dessert in it – a Triple Chocolate Brownie recipe I came across from Martha Stewart.

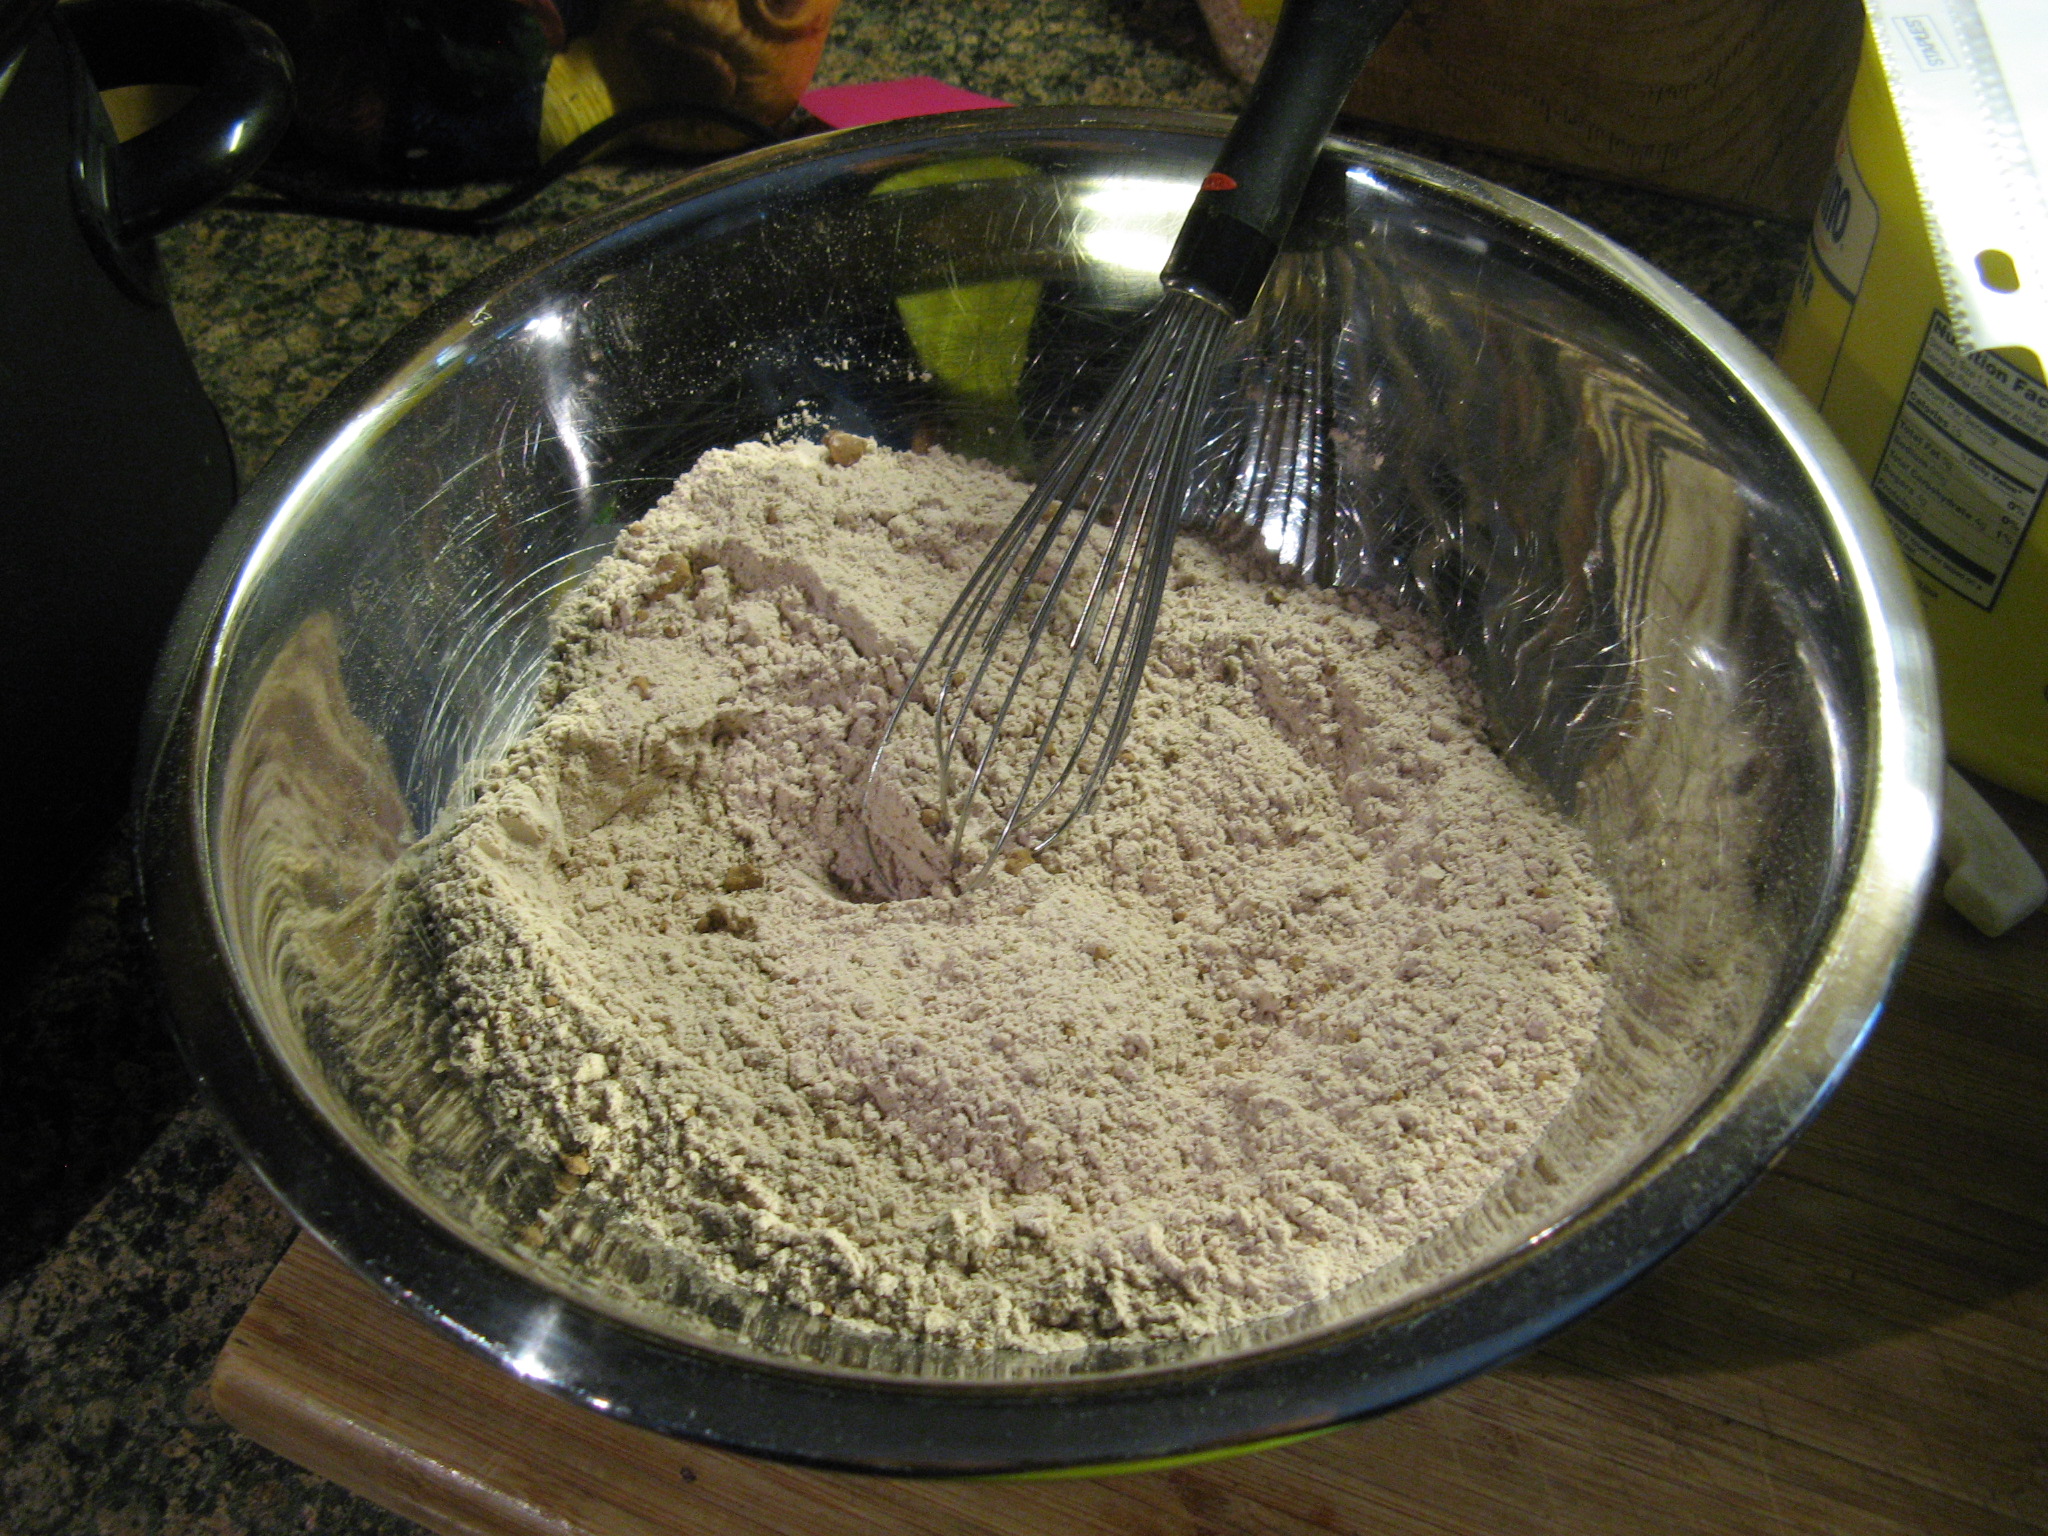
To begin I whisked together my dry ingredients: flour, unsweetened cocoa powder, baking powder and salt.

IMG_2441

To get started on my wet ingredients I melted butter and bittersweet chocolate together.

IMG_2442

After giving it a few good stirs I added in sugar and eggs.

IMG_2443

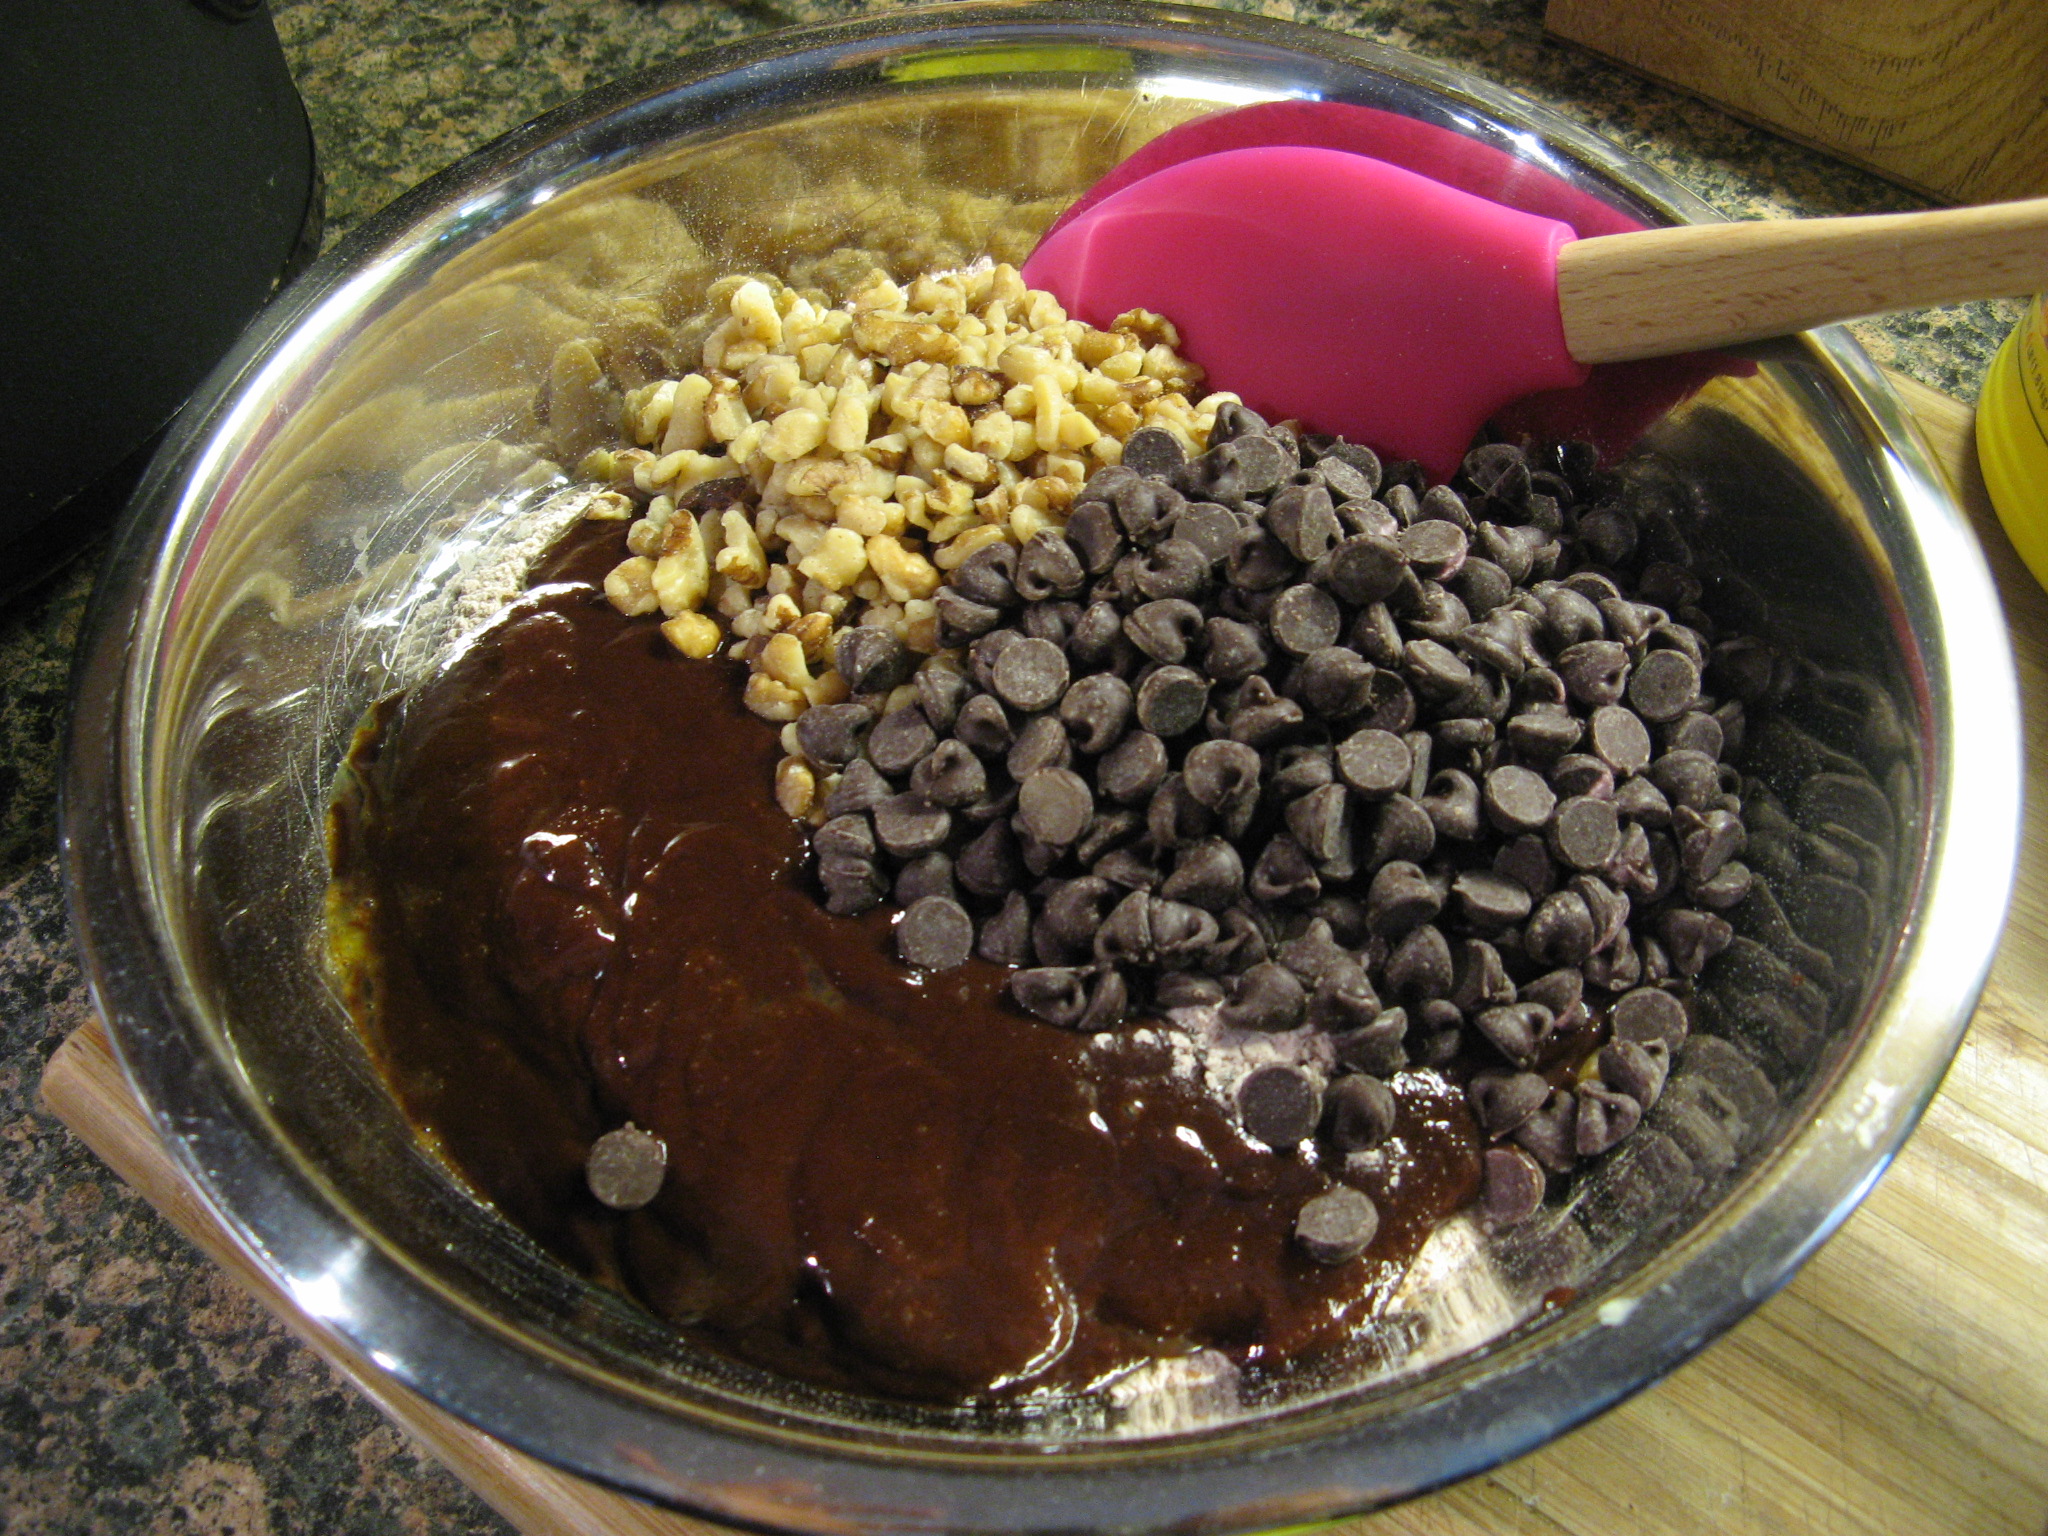
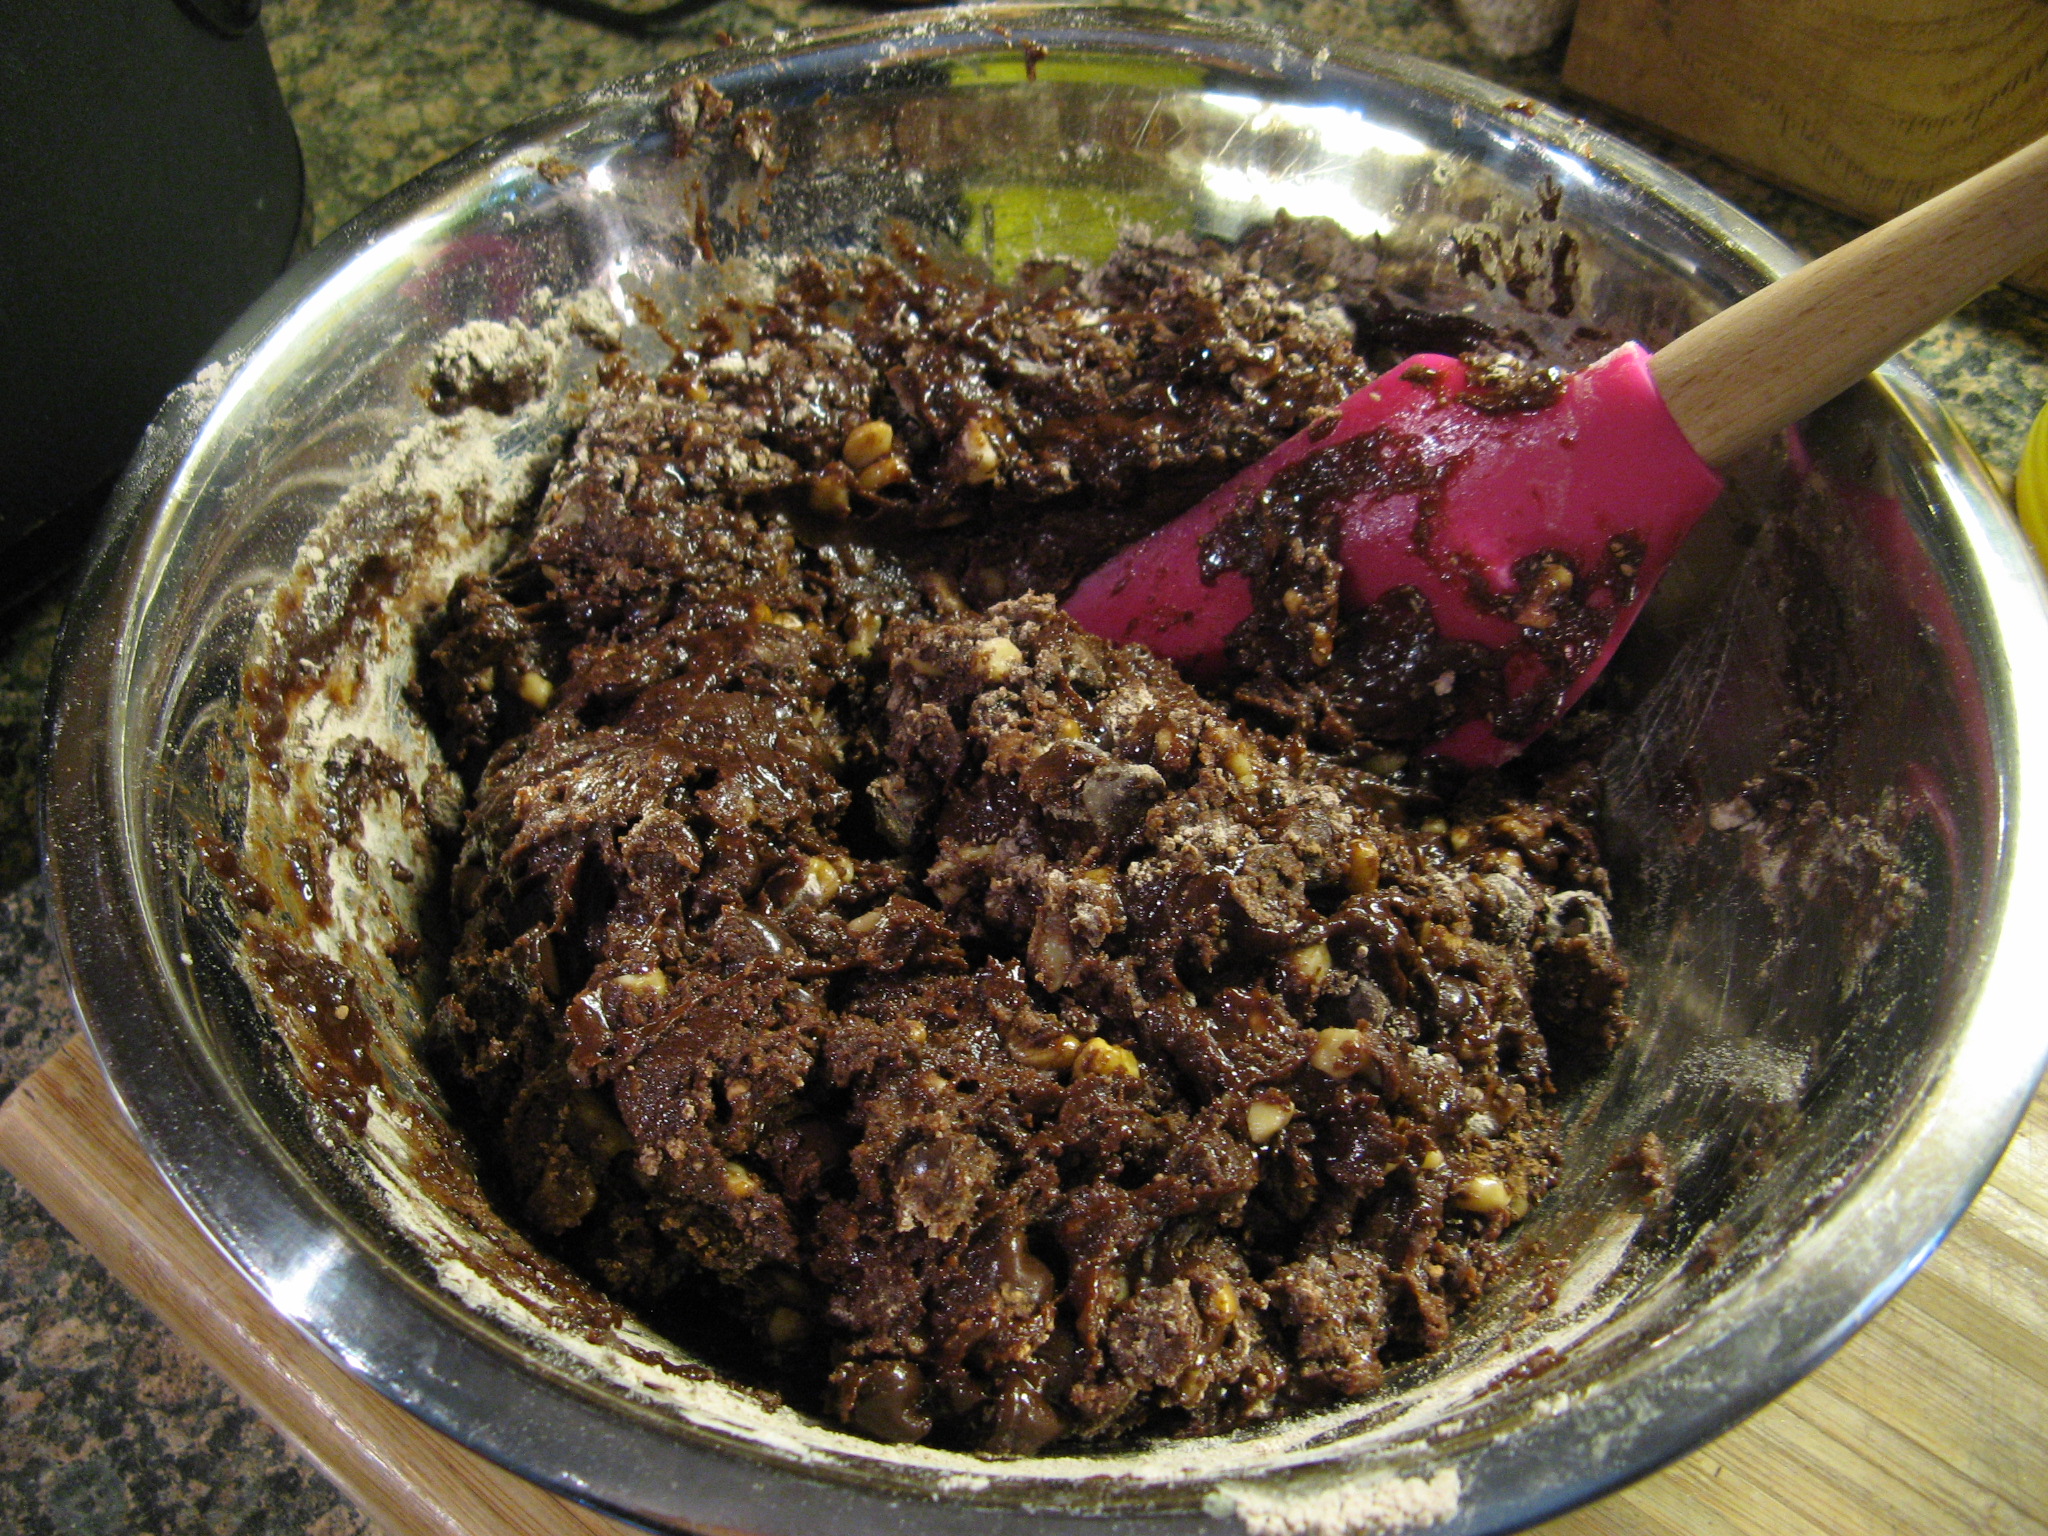
I then folded it into the dry mixture along with walnuts and semi-sweet chocolate chips.

IMG_2444 IMG_2445

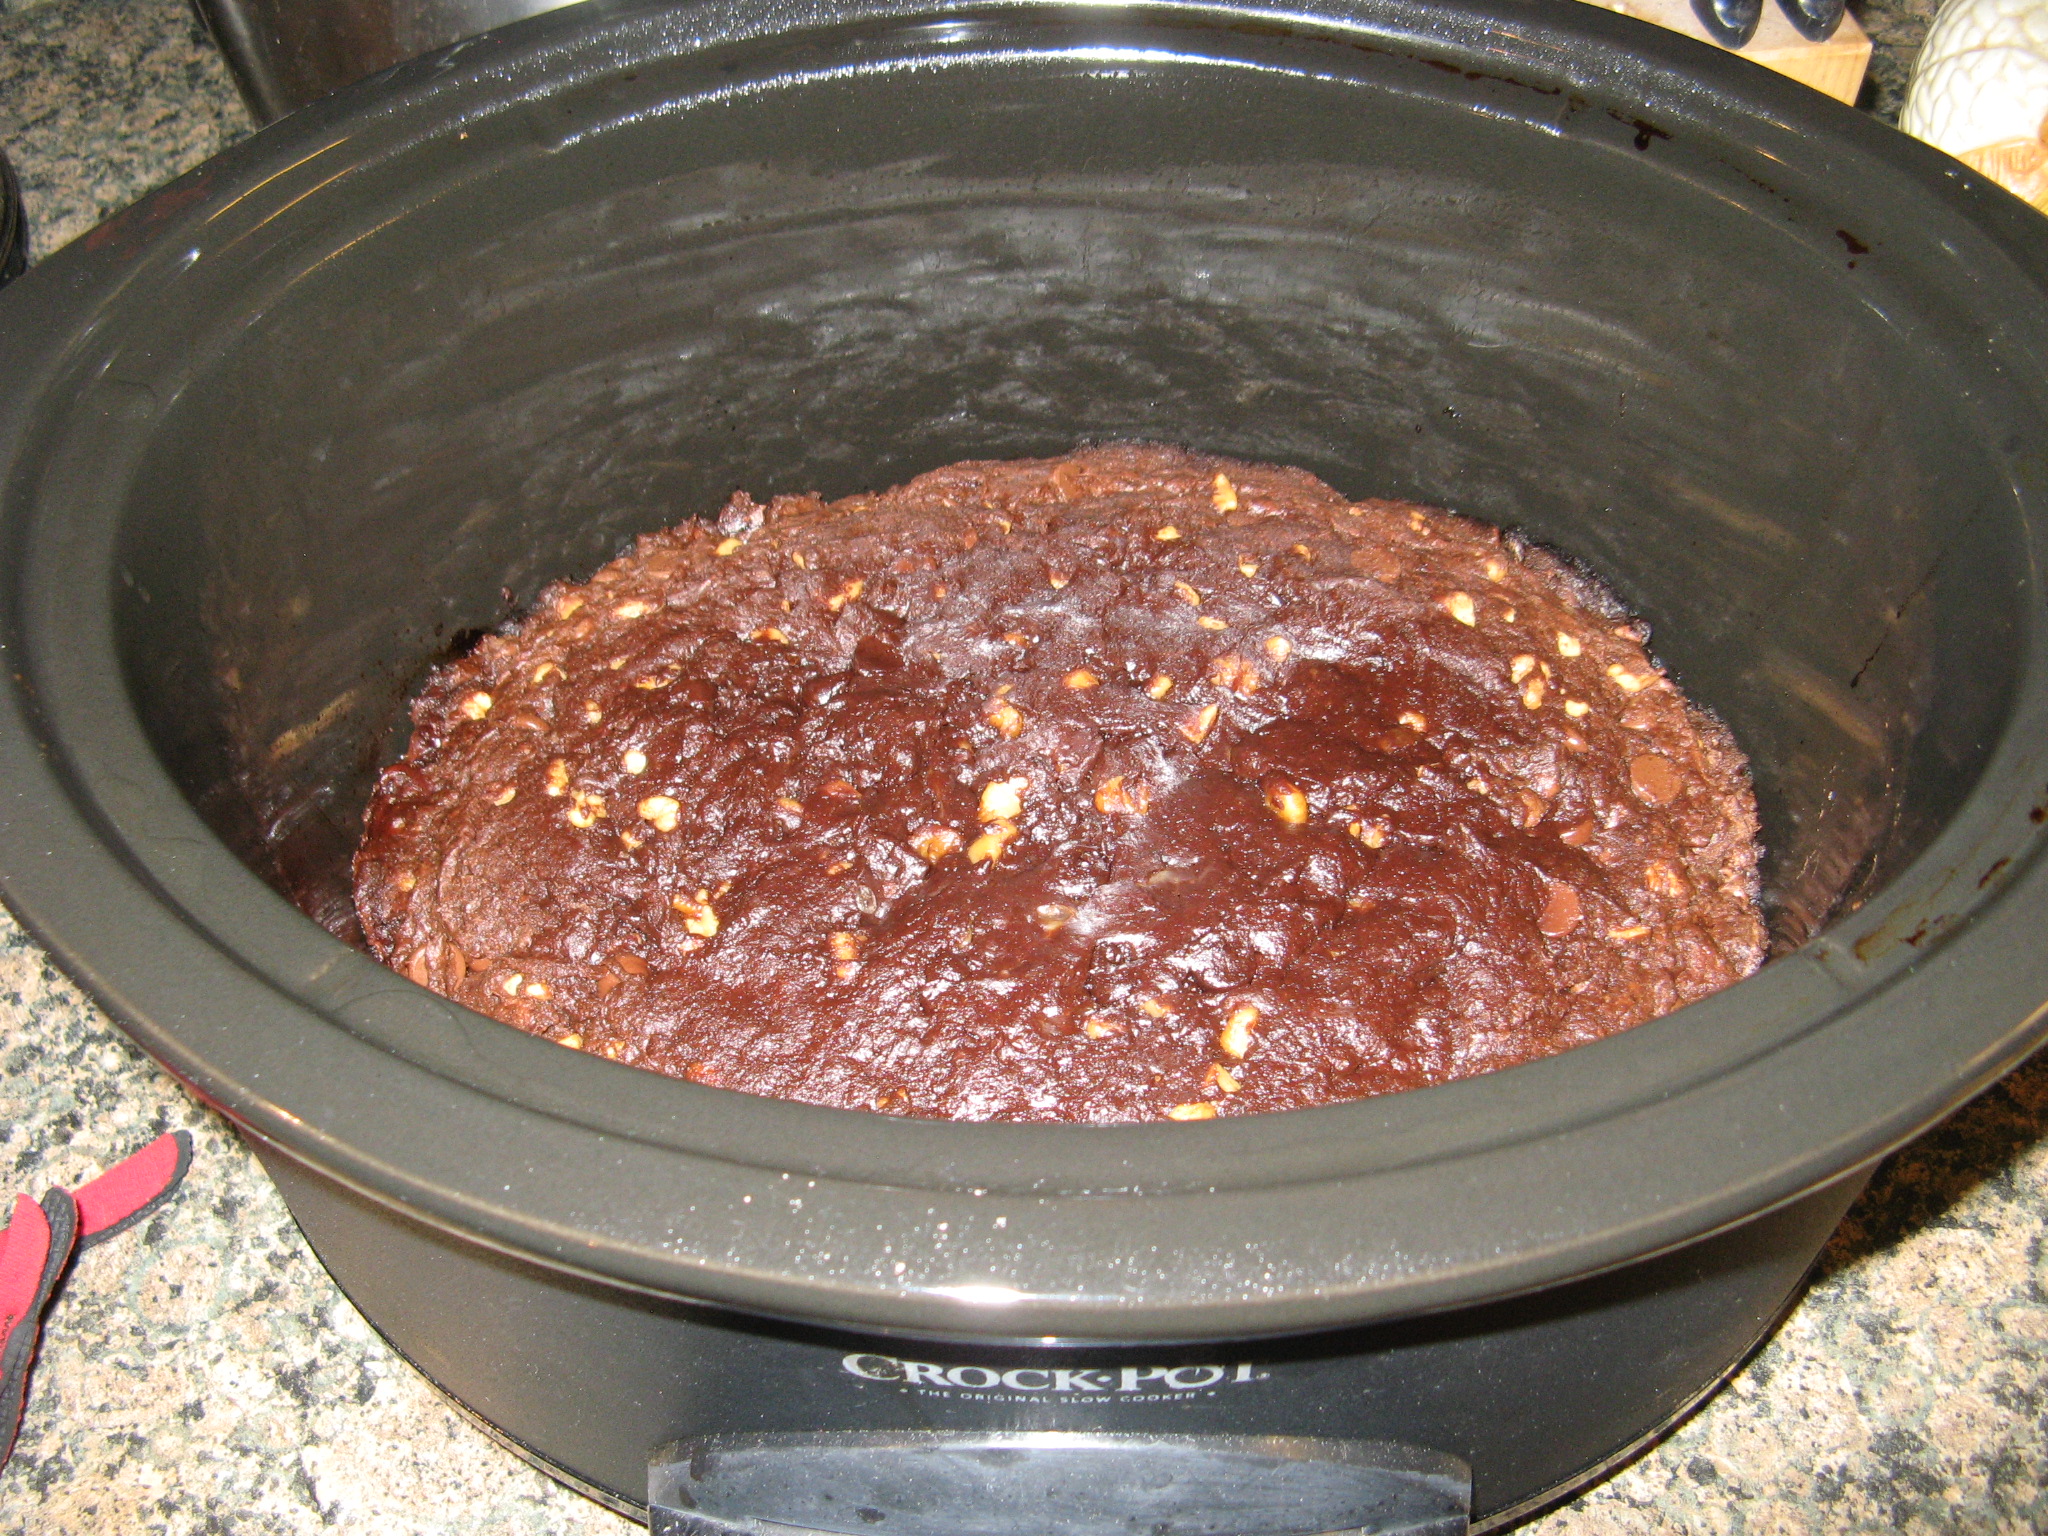
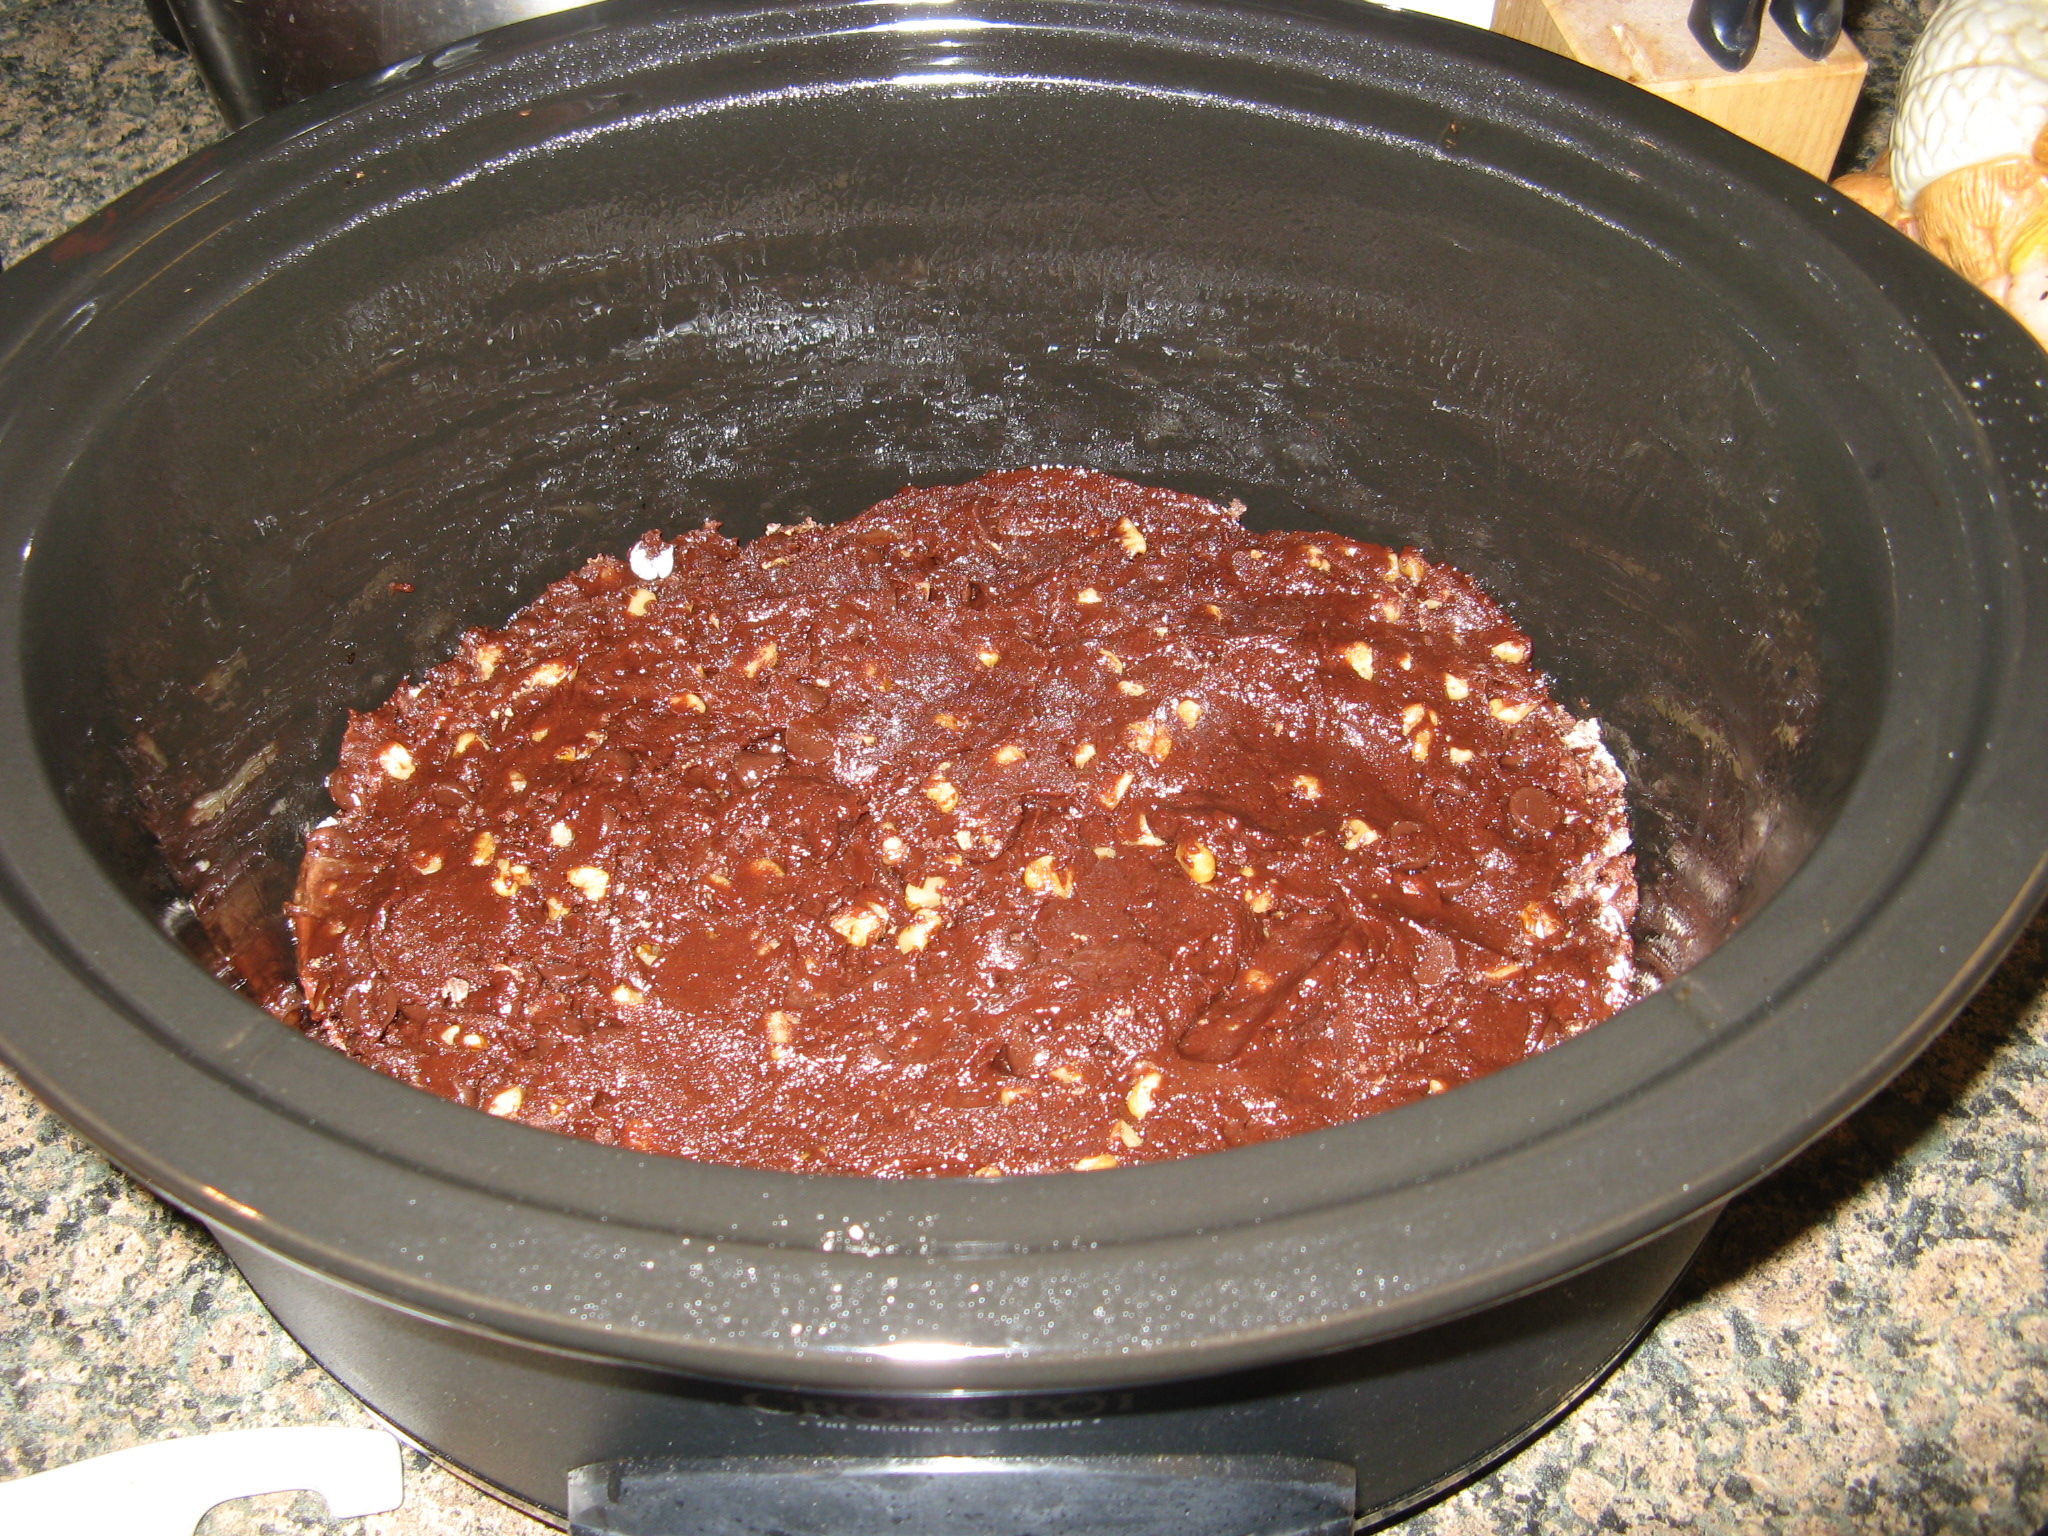
I then poured it into my slow cooker, which I sprayed with cooking spray and lined the bottom of with parchment paper.

IMG_2447


I cooked it on low for four hours, the final half hour uncovered.

IMG_2448

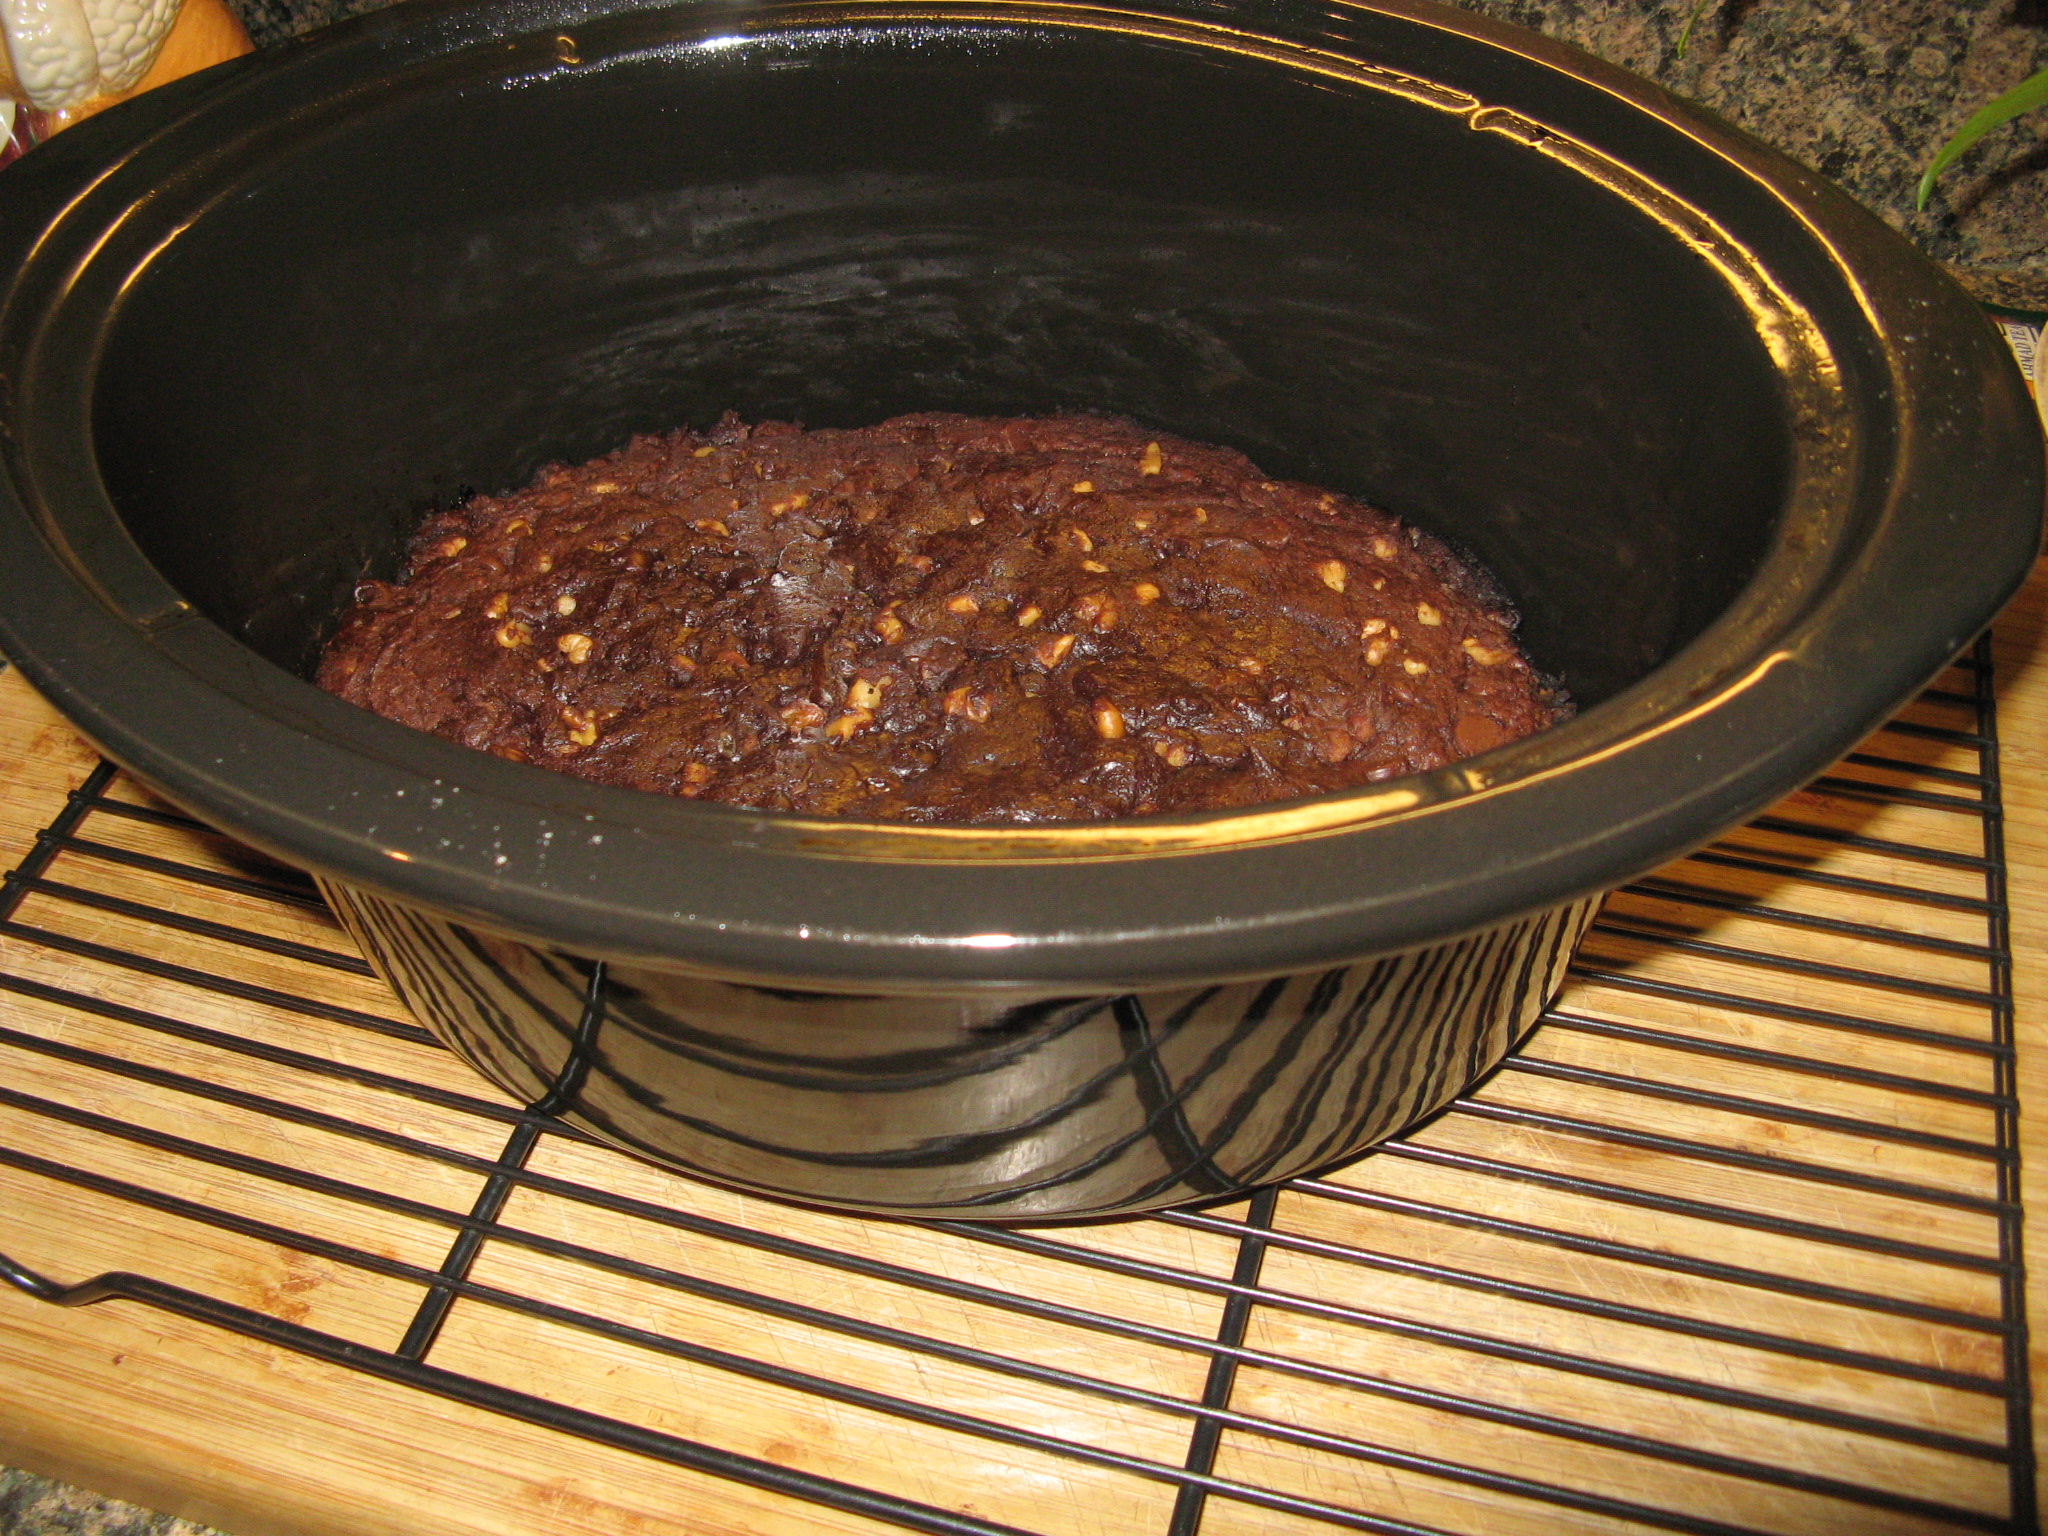
After letting it cool in the insert for two hours I flipped out the brownies to sadly discover that the edges were quite burnt and definitely not edible.

IMG_2449 IMG_2452

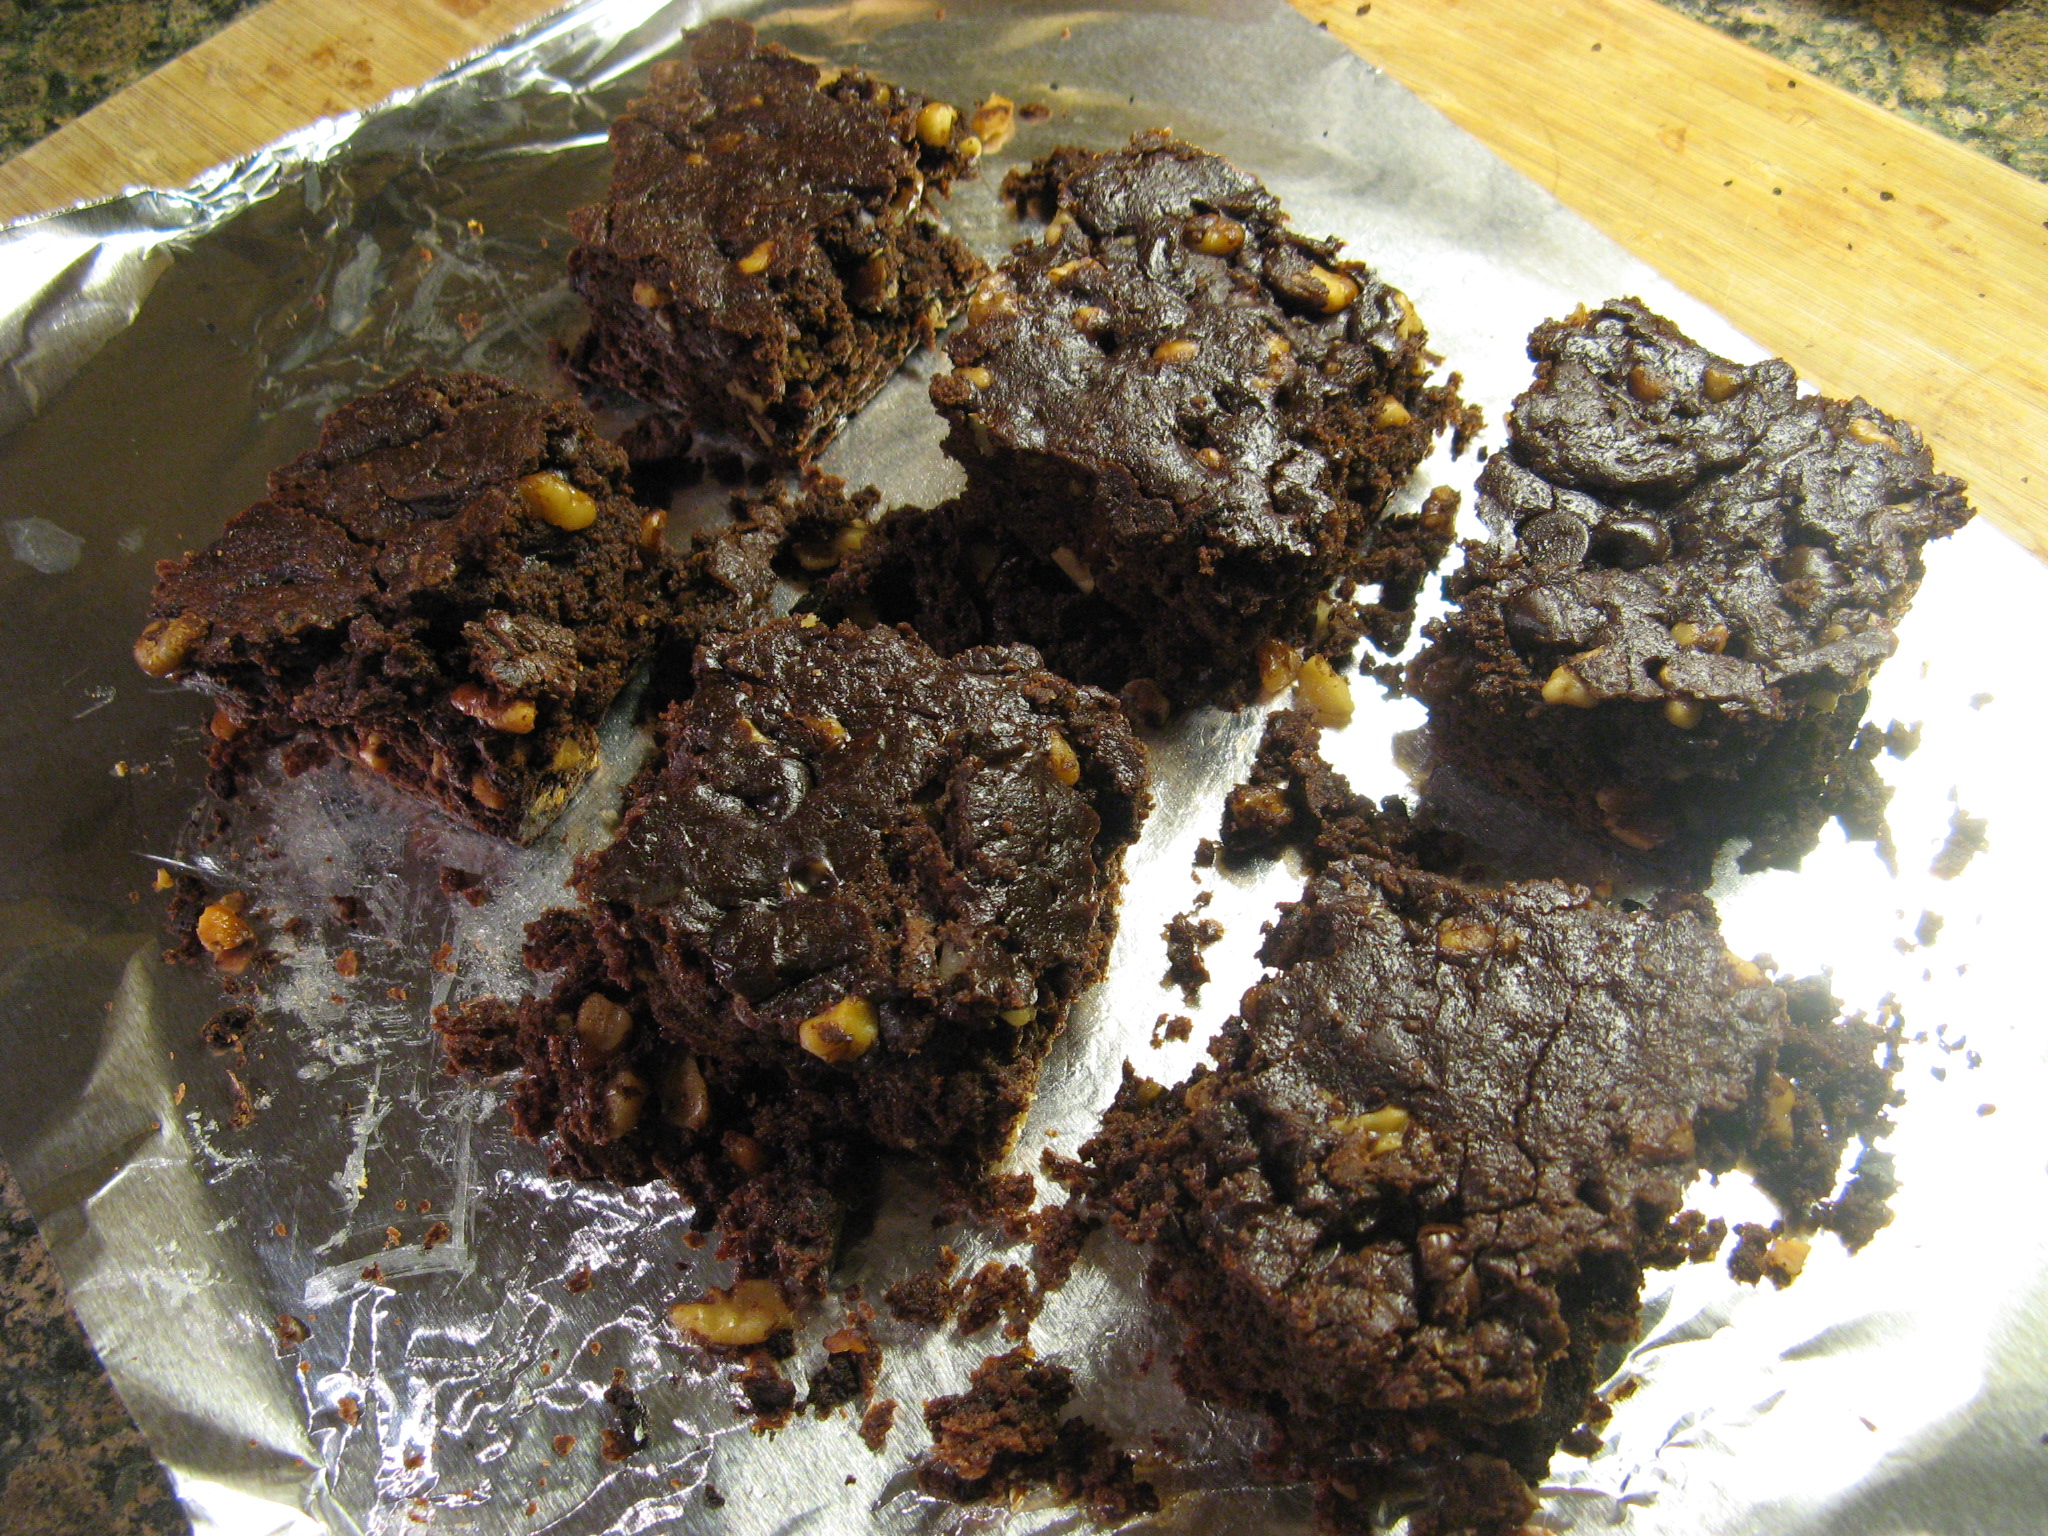
All was not lost though… After some clever cutting I was left with six, albeit irregularly shaped, brownies that were quite tasty and definitely not lacking in chocolate flavor.

IMG_2455

Baking in a slow cooker… definitely not my first choice for delicious desserts, but, I wouldn’t rule out trying it again, just not brownies though!

Sausage, Bean & Spinach Stew

Ingredients

1 pound dried large white beans, such as great northern, rinsed and picked through

8 cups low-sodium chicken broth

1 onion, peeled and finely chopped

2 carrots, peeled and finely chopped

2 ribs celery, finely chopped

6 cloves garlic, finely chopped

8 sprigs fresh thyme*

1 bay leaf**

Parmesan rind (optional)*

1 pound sweet or spicy Italian sausage, casings removed, shaped into 1/2-inch meatballs

1 bunch spinach, trimmed

Juice of 1/2 lemon*

Crusty bread, for serving

Directions

In a large slow cooker, stir together the beans, chicken broth, onion, carrots, celery, garlic, thyme, bay leaf and Parmesan rind, if using. Cover and cook on high heat until the beans are nearly tender, about 3 1/2 hours.

Place the sausage meatballs on top of the beans. Cover; cook until the meatballs are no longer pink in the center, about 25 minutes.

Discard the thyme sprigs, bay leaf and Parmesan rind. Stir in the spinach, then cover and let stand until the spinach wilts, 10 minutes.

Stir in the lemon juice; season. Serve with crusty bread.

*I omitted these ingredients when I made my soup

**I added in two bay leaves as opposed to just one

Slow-Cooker Triple Chocolate Brownies

Ingredients

Nonstick cooking spray

1 1/4 cups all-purpose flour (spooned and leveled)

1/4 cup unsweetened cocoa powder

3/4 teaspoon baking powder

1/2 teaspoon coarse salt

1/2 cup (1 stick) unsalted butter, cut into pieces

8 ounces bittersweet chocolate, chopped

1 cup sugar

3 large eggs, lightly beaten

1 cup walnut halves, coarsely chopped

1 cup semisweet chocolate chips (6 ounces)

Directions

Lightly coat a 5-quart slow-cooker insert with cooking spray. Line bottom with parchment paper and lightly coat with spray. In a small bowl, whisk together flour, cocoa, baking powder, and salt.

Place butter and chocolate in a medium microwave-safe bowl and microwave in 30-second increments, stirring after each, until chocolate is melted. Add sugar; stir to combine. Stir in eggs. Add flour mixture, walnuts, and chocolate chips and stir just until moistened (do not overmix). Transfer to slow cooker and smooth top.

Cover and cook on low, 3 1/2 hours. Uncover and cook 30 minutes. Remove insert from slow cooker and run a knife around edge to loosen brownies. Let cool completely in insert on a wire rack, about 2 hours. Turn out onto a work surface and cut into 14 brownies.

Homemade Ice Cream

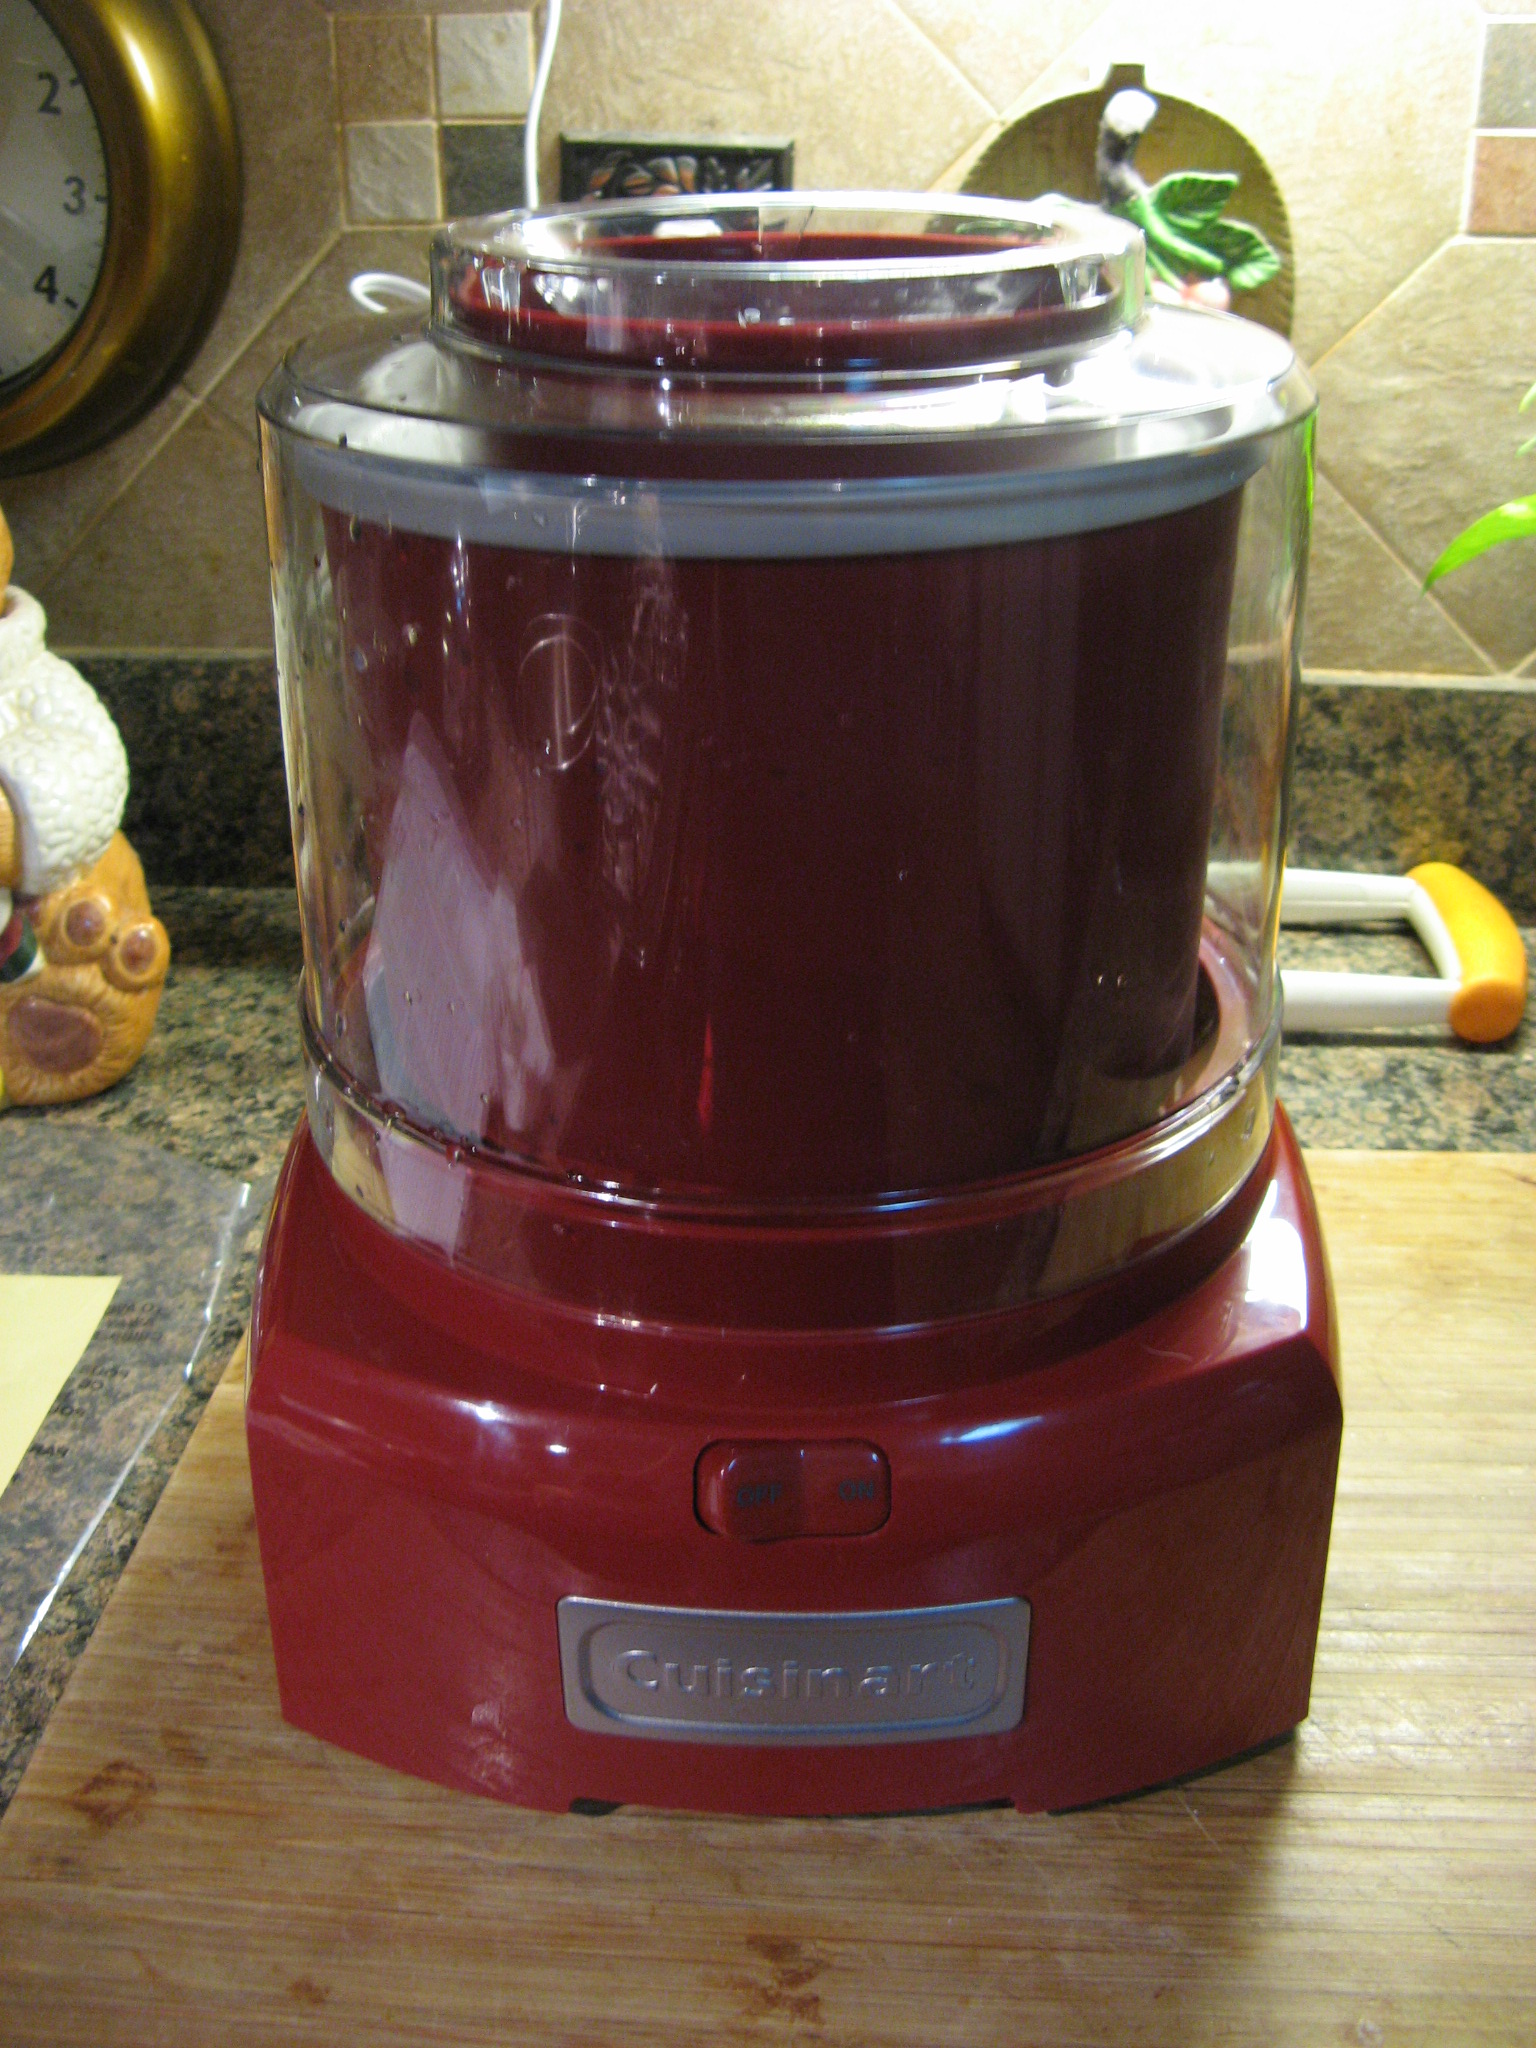
Happy New Year! I figure it’s not too late to say that as we are barely halfway through the month. I hope you all had a wonderful holiday season and that the new year is treating you well thus far. For my first post of 2014 I’d like to share with you some cold and creamy treats I made with my newest kitchen “toy” – an ice cream maker. I absolutely love ice cream and have always wanted an ice cream maker but it never really seemed practical to own one – especially since there are so many delicious flavors on the market thanks to Haagen Dazs and Ben & Jerry’s. But, then I got a daily deal email from Williams-Sonoma featuring a Cuisinart Ice Cream Maker at an unbelievable price that had decent reviews so I figured why not… Merry Christmas to me!

IMG_2336

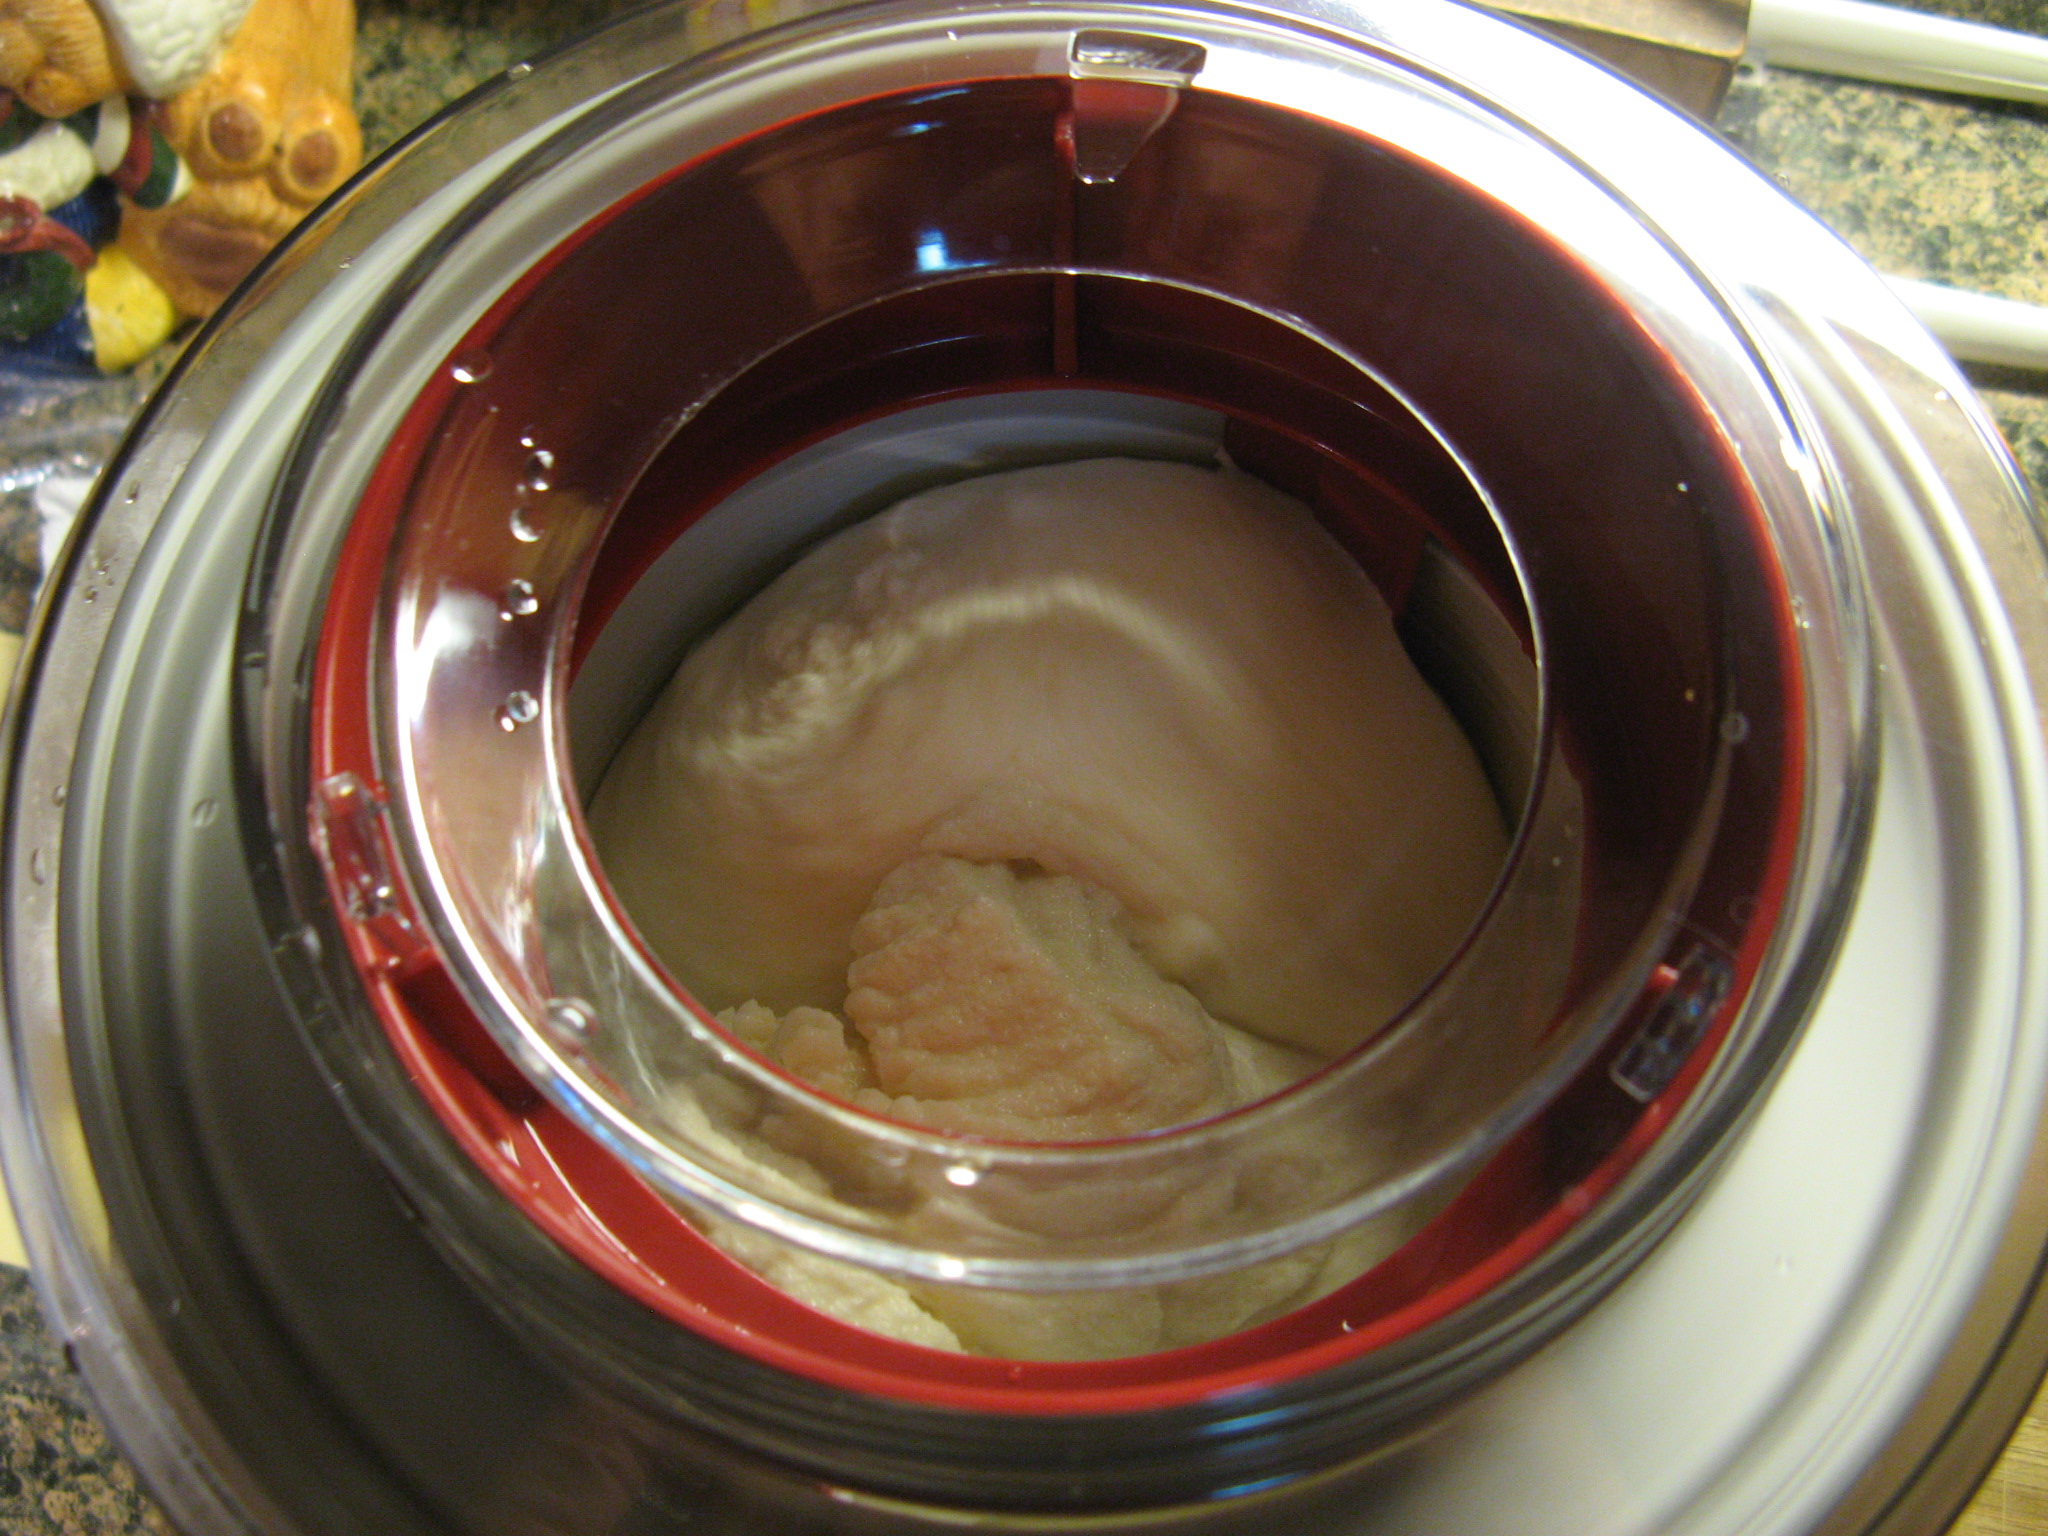
I decided to stick with something basic and simple the first time I used it – Vanilla Ice Cream. After refrigerating a mixture of whole milk, sugar, salt, heavy cream and vanilla extract overnight I poured it into the bowl of the machine and let it do all the work.

IMG_2338

Within minutes the ice cream was coming together.

IMG_2340

After about twenty minutes I had homemade Vanilla Ice Cream which went perfectly with a homemade Apple Pie a friend’s mom made.

IMG_2341

For my second batch of homemade ice cream I decided on Peanut Butter Cup Ice Cream – an ice cream with Reese’s Peanut Butter Cups, how could it not be good?

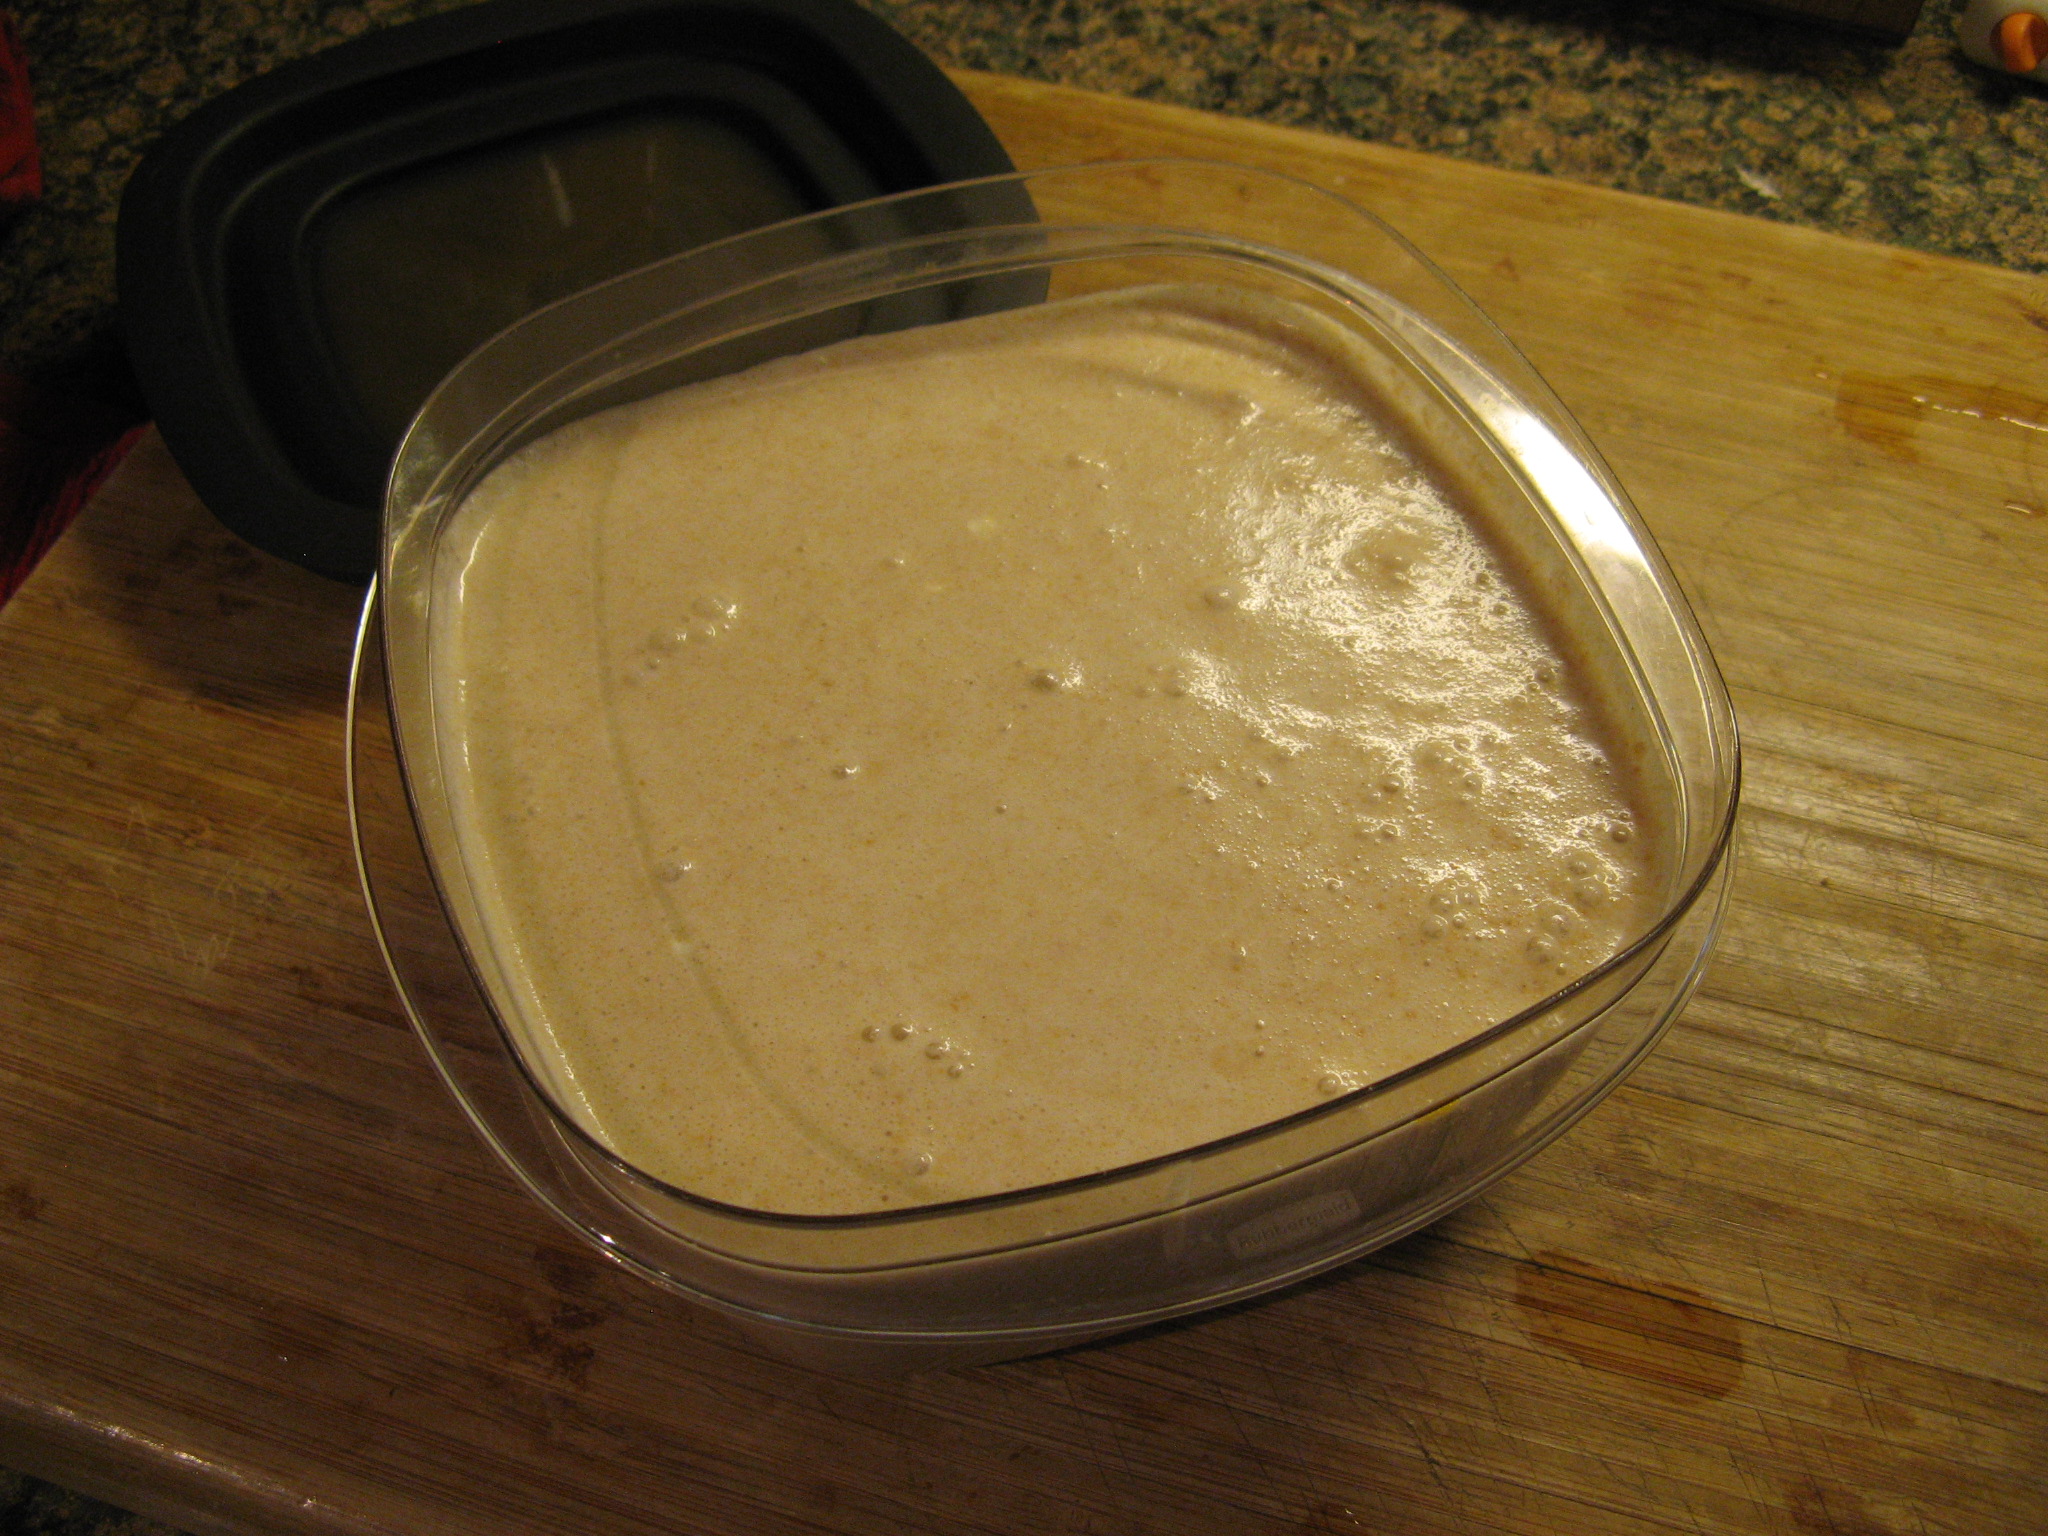
To begin I mixed together peanut butter, sugar, whole milk, heavy cream and vanilla extract and then poured it into a Tupperware container and refrigerated it overnight.

IMG_2397

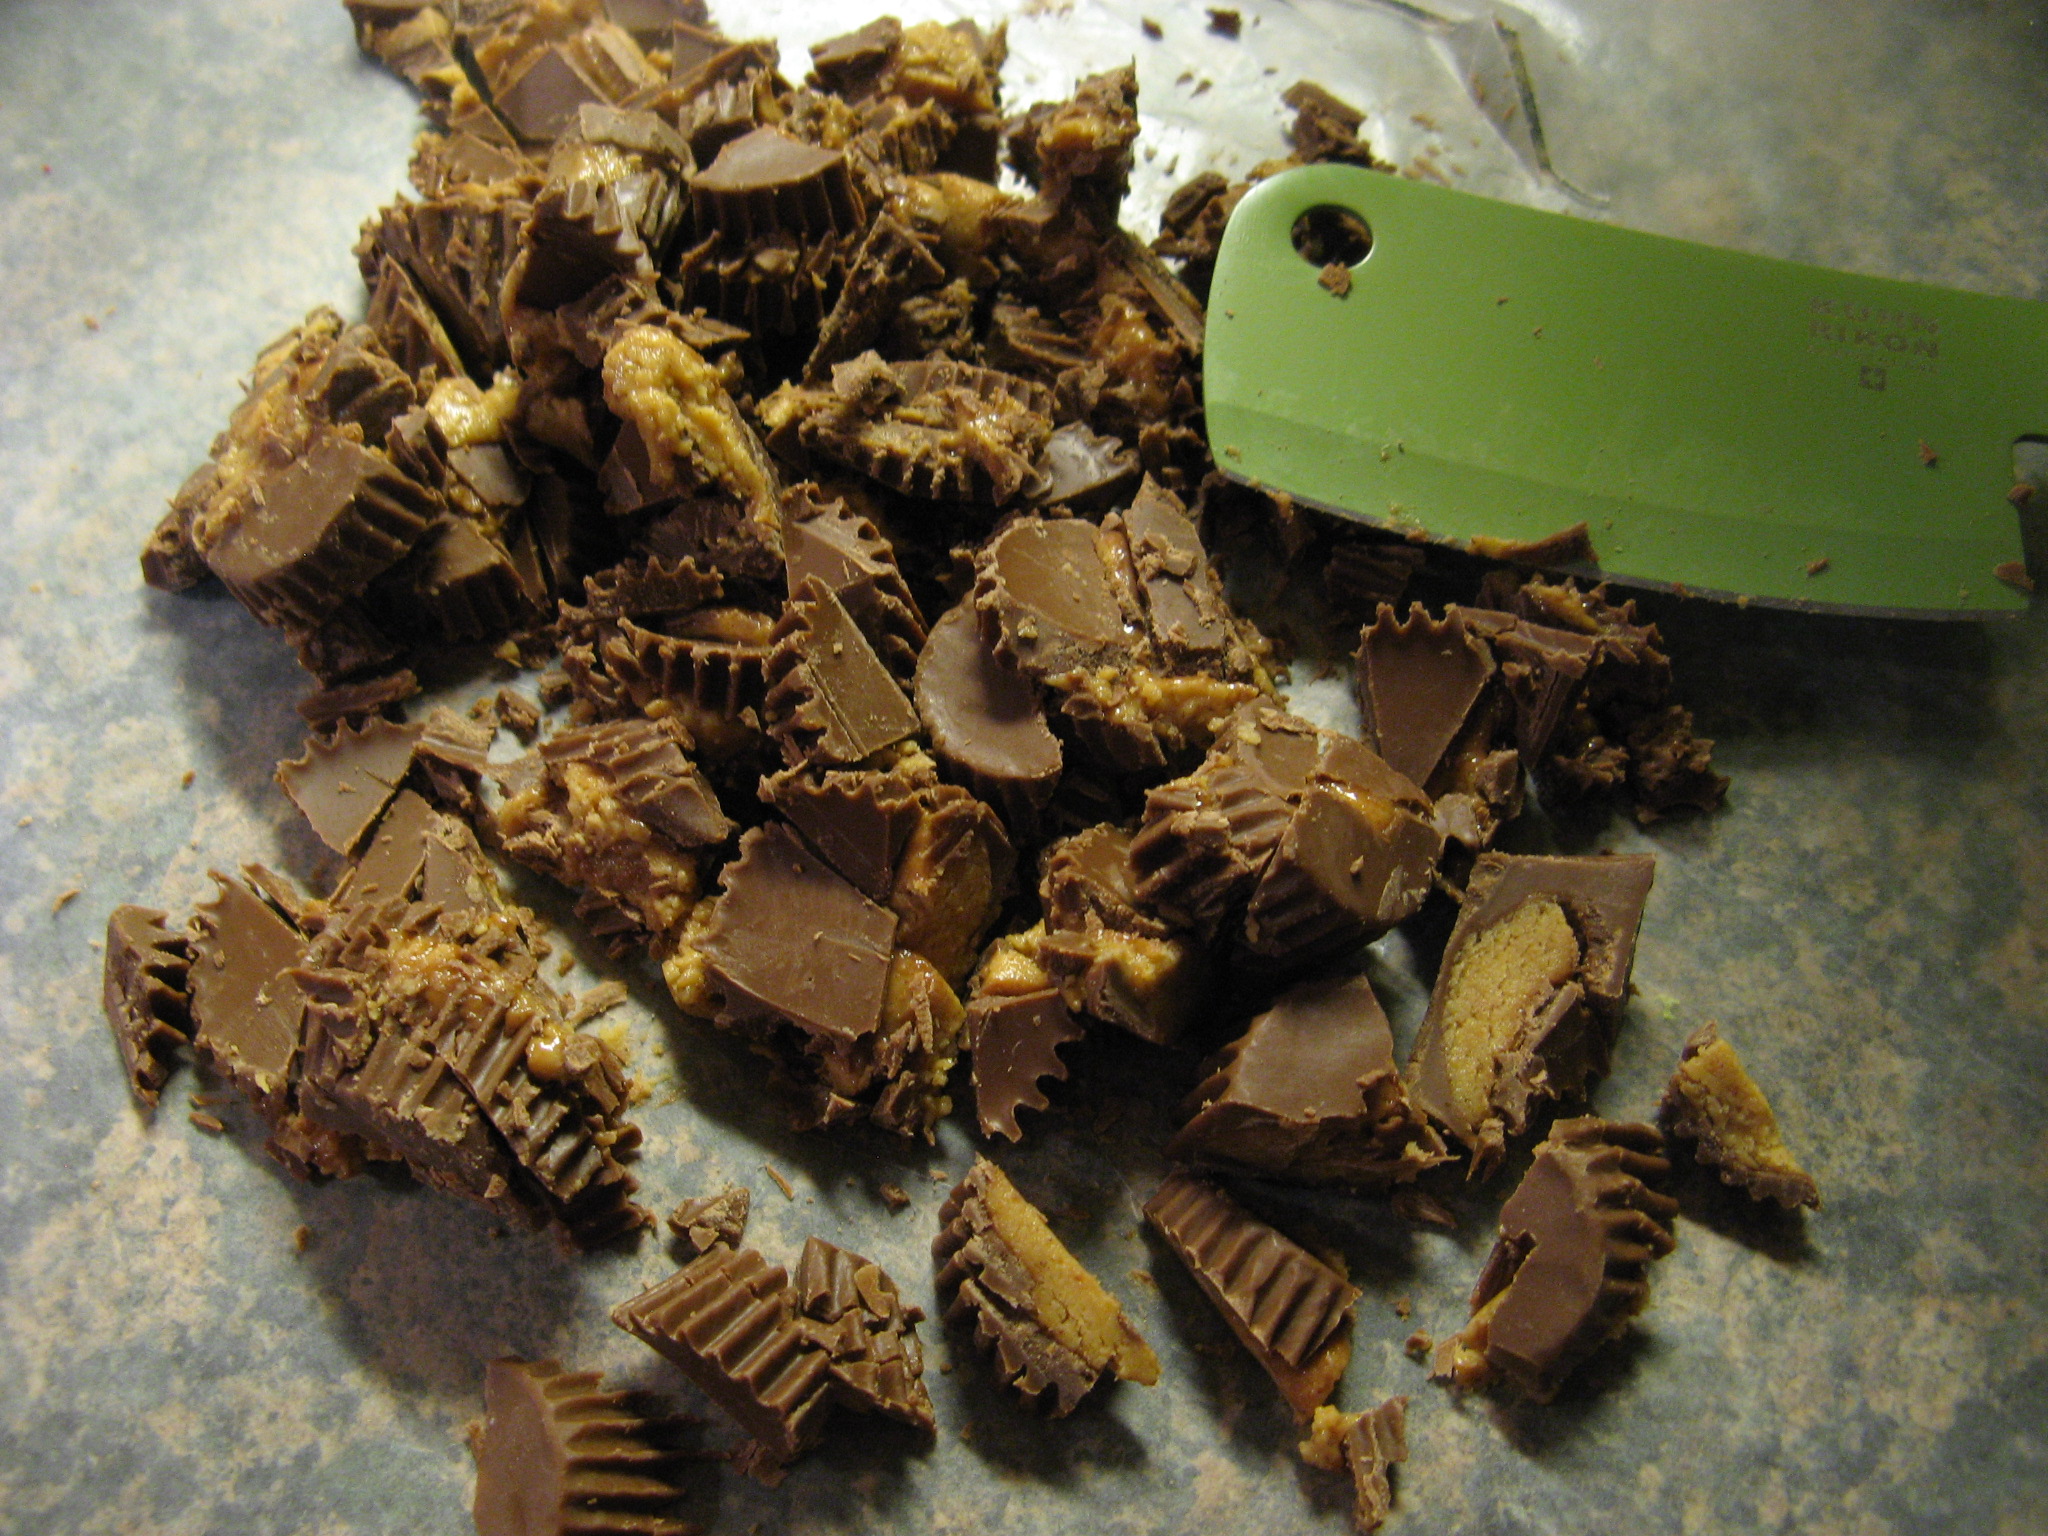
The next day, before starting on the ice cream, I chopped up fifteen miniature Reese’s Peanut Butter Cups to add into it.

IMG_2414

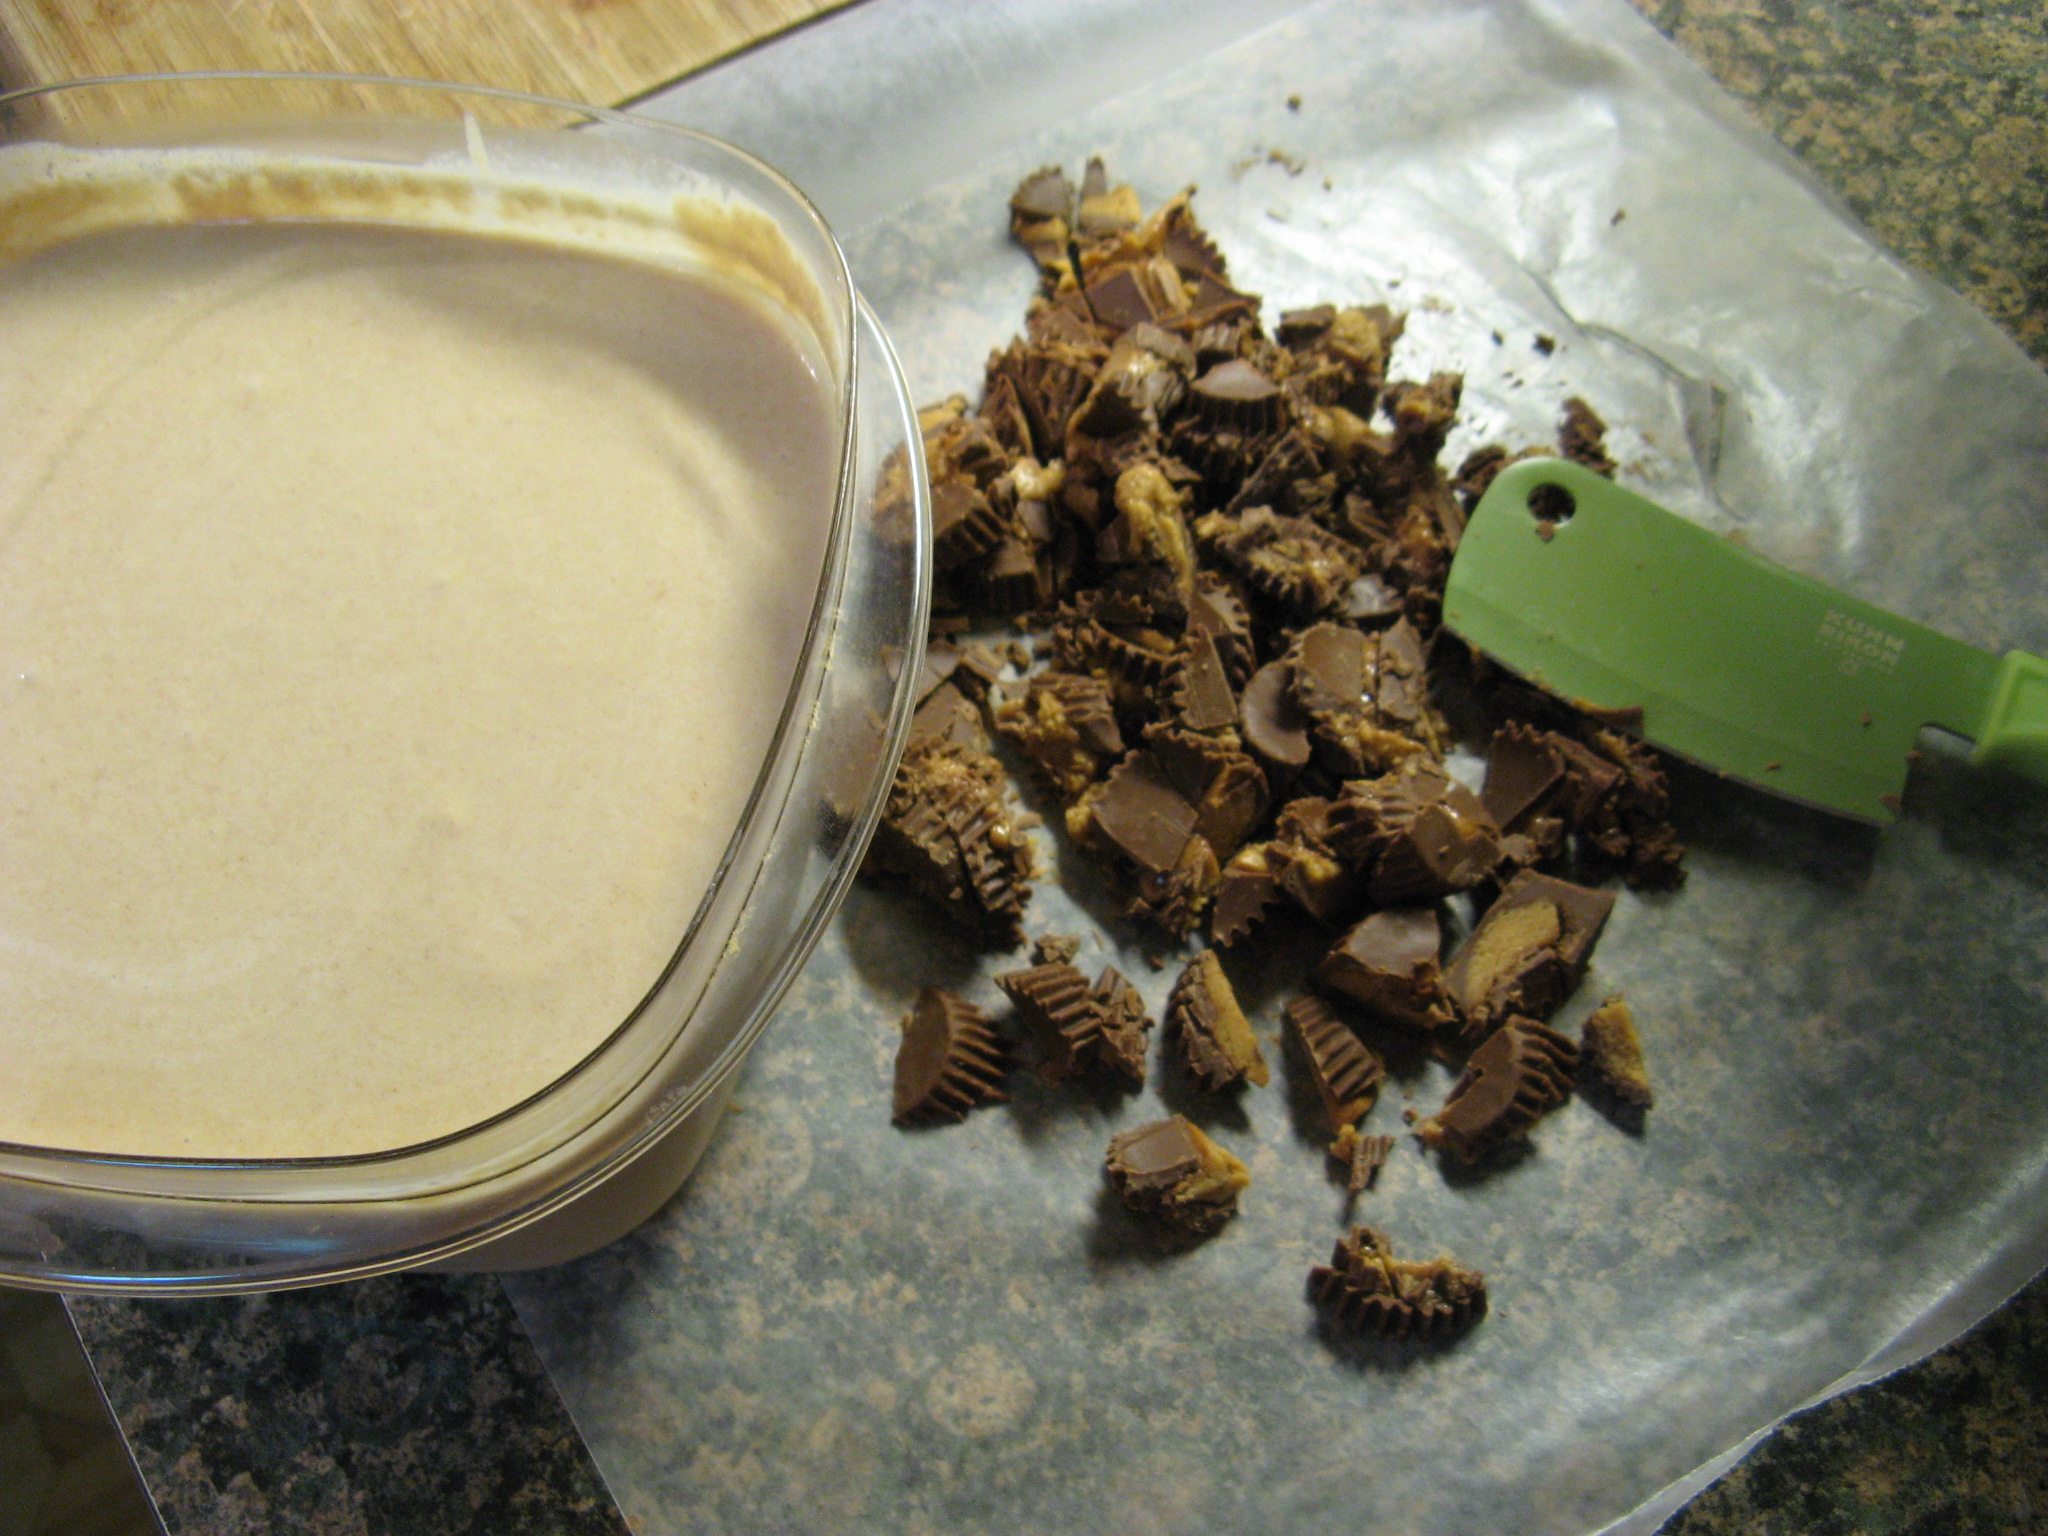
Now I was ready to begin…

IMG_2416

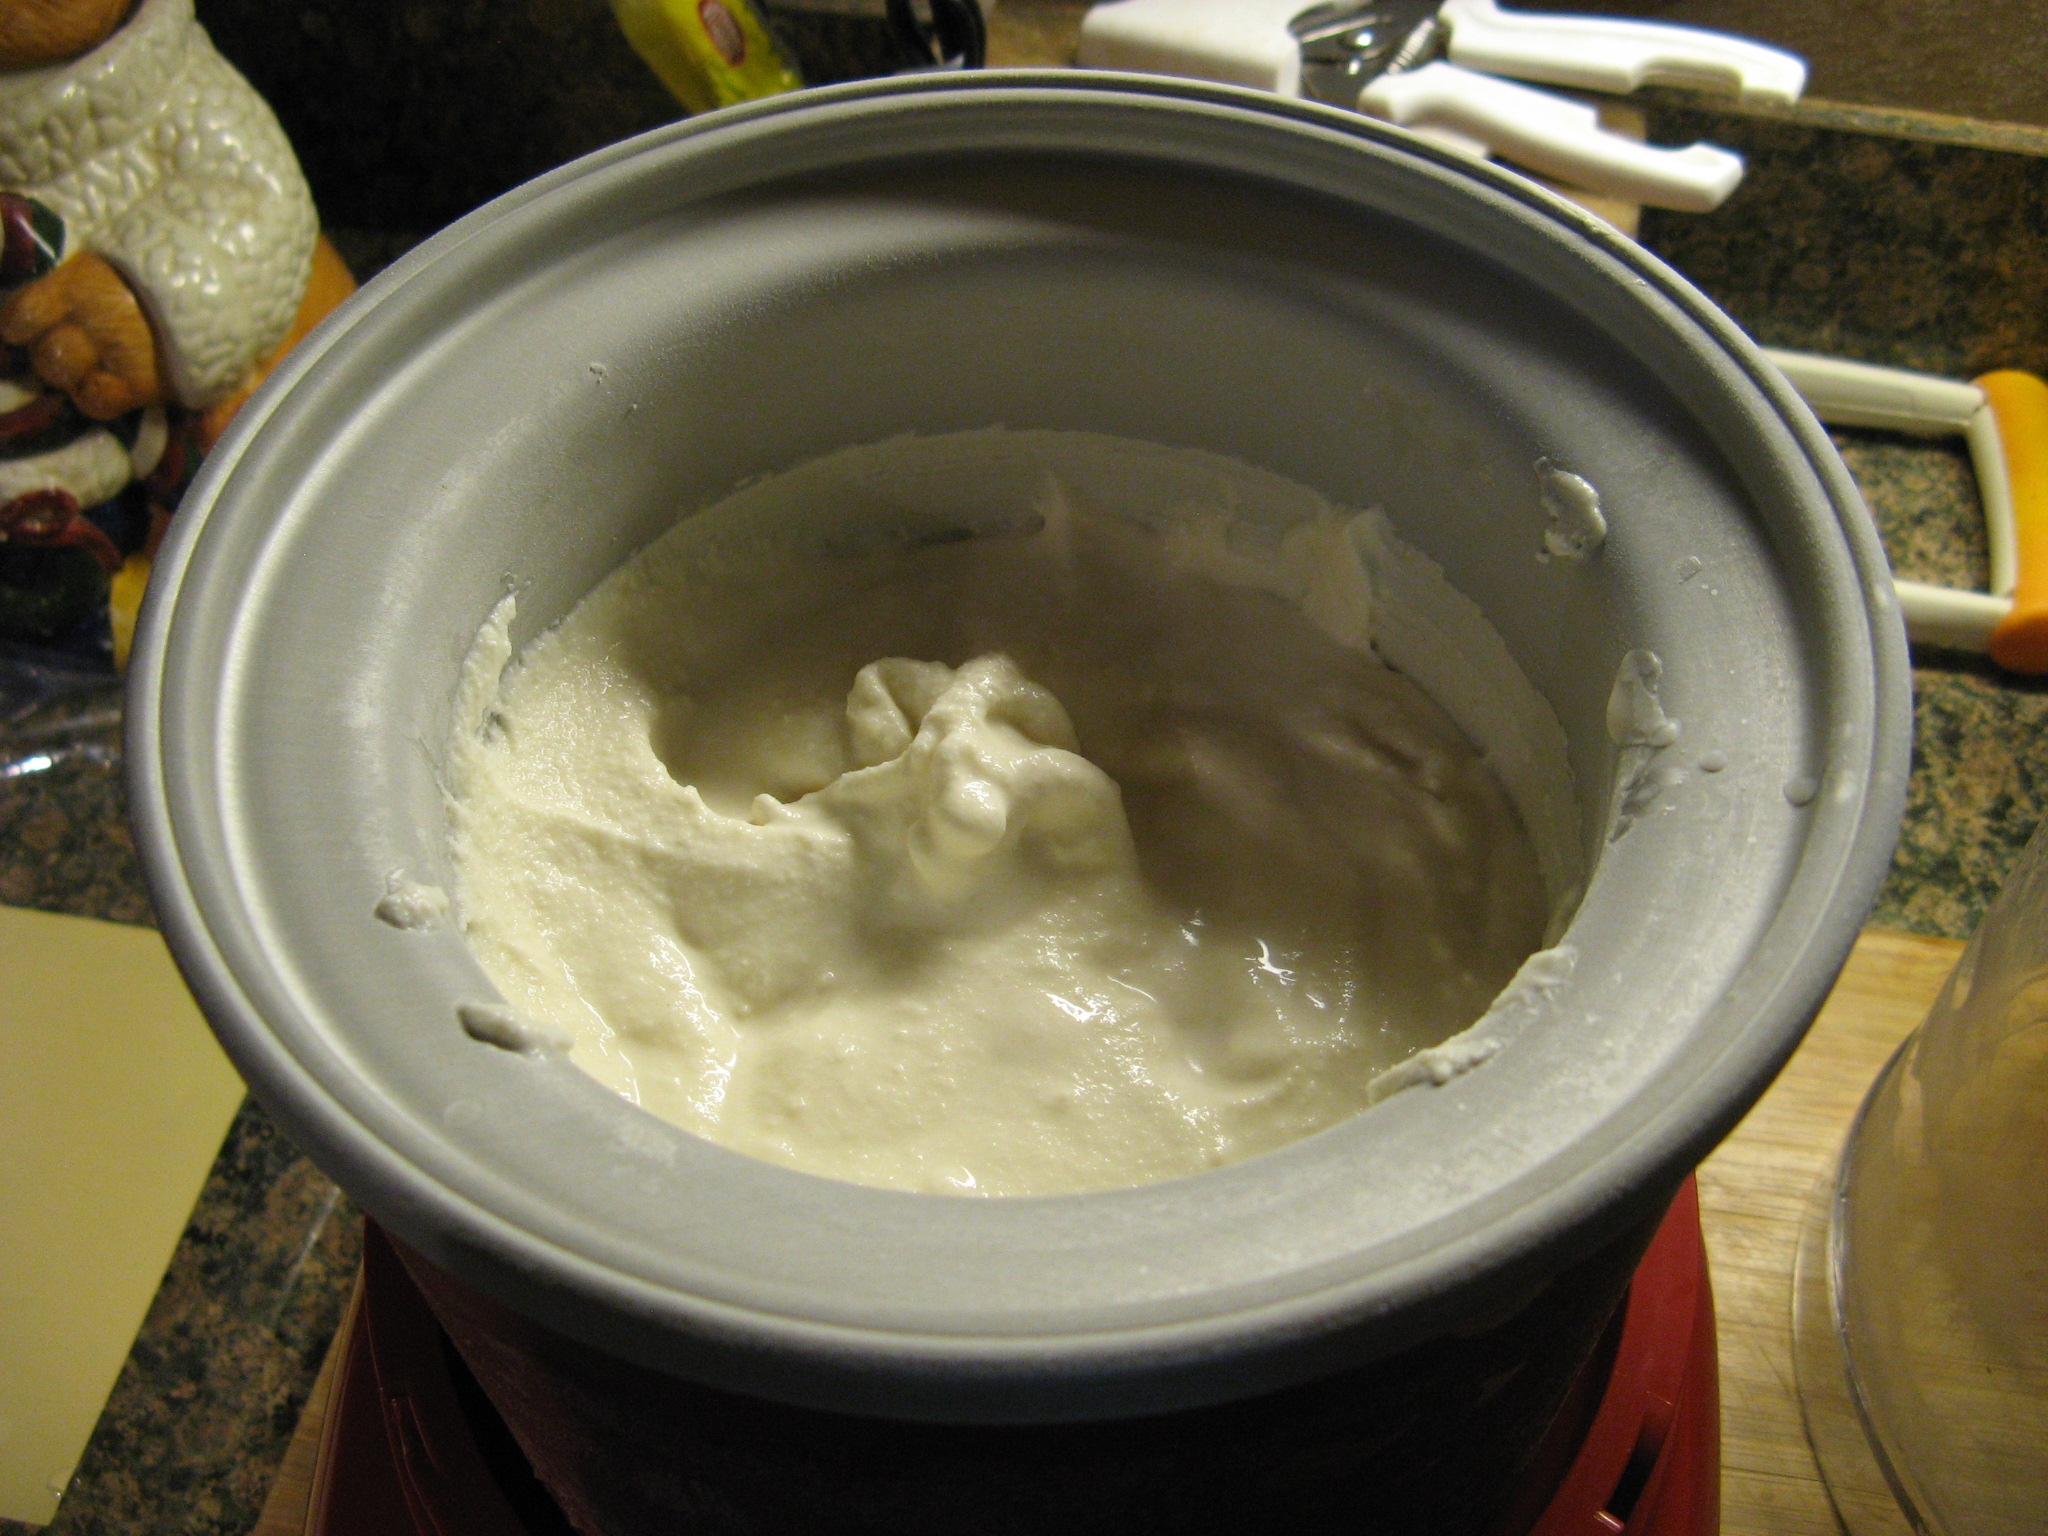
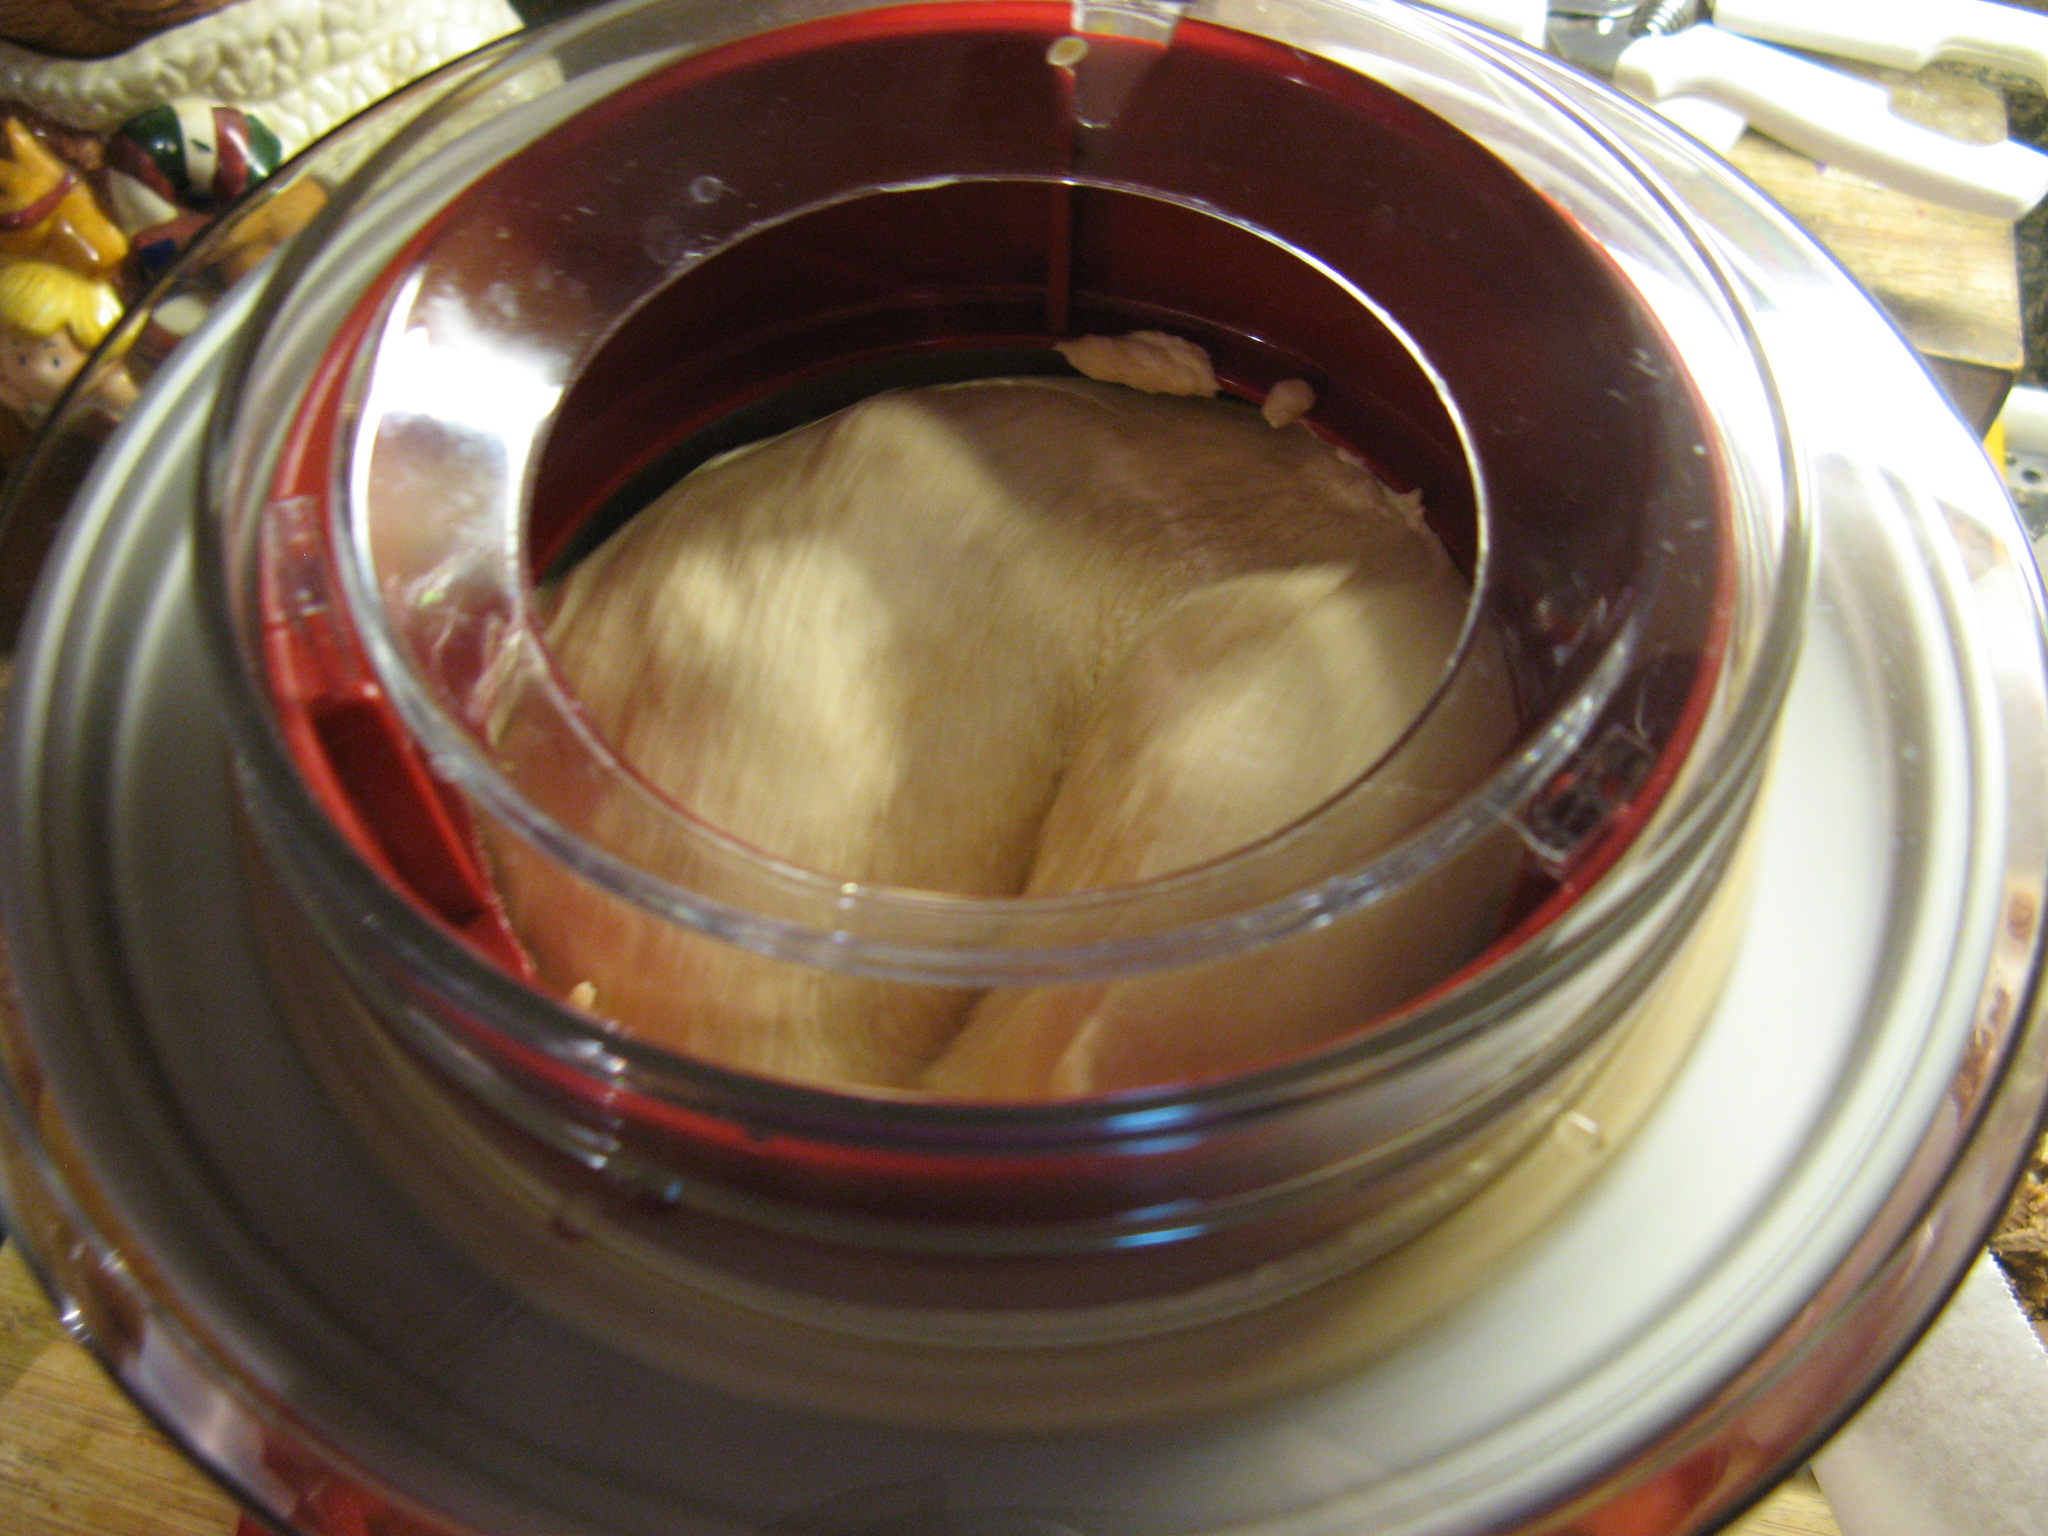
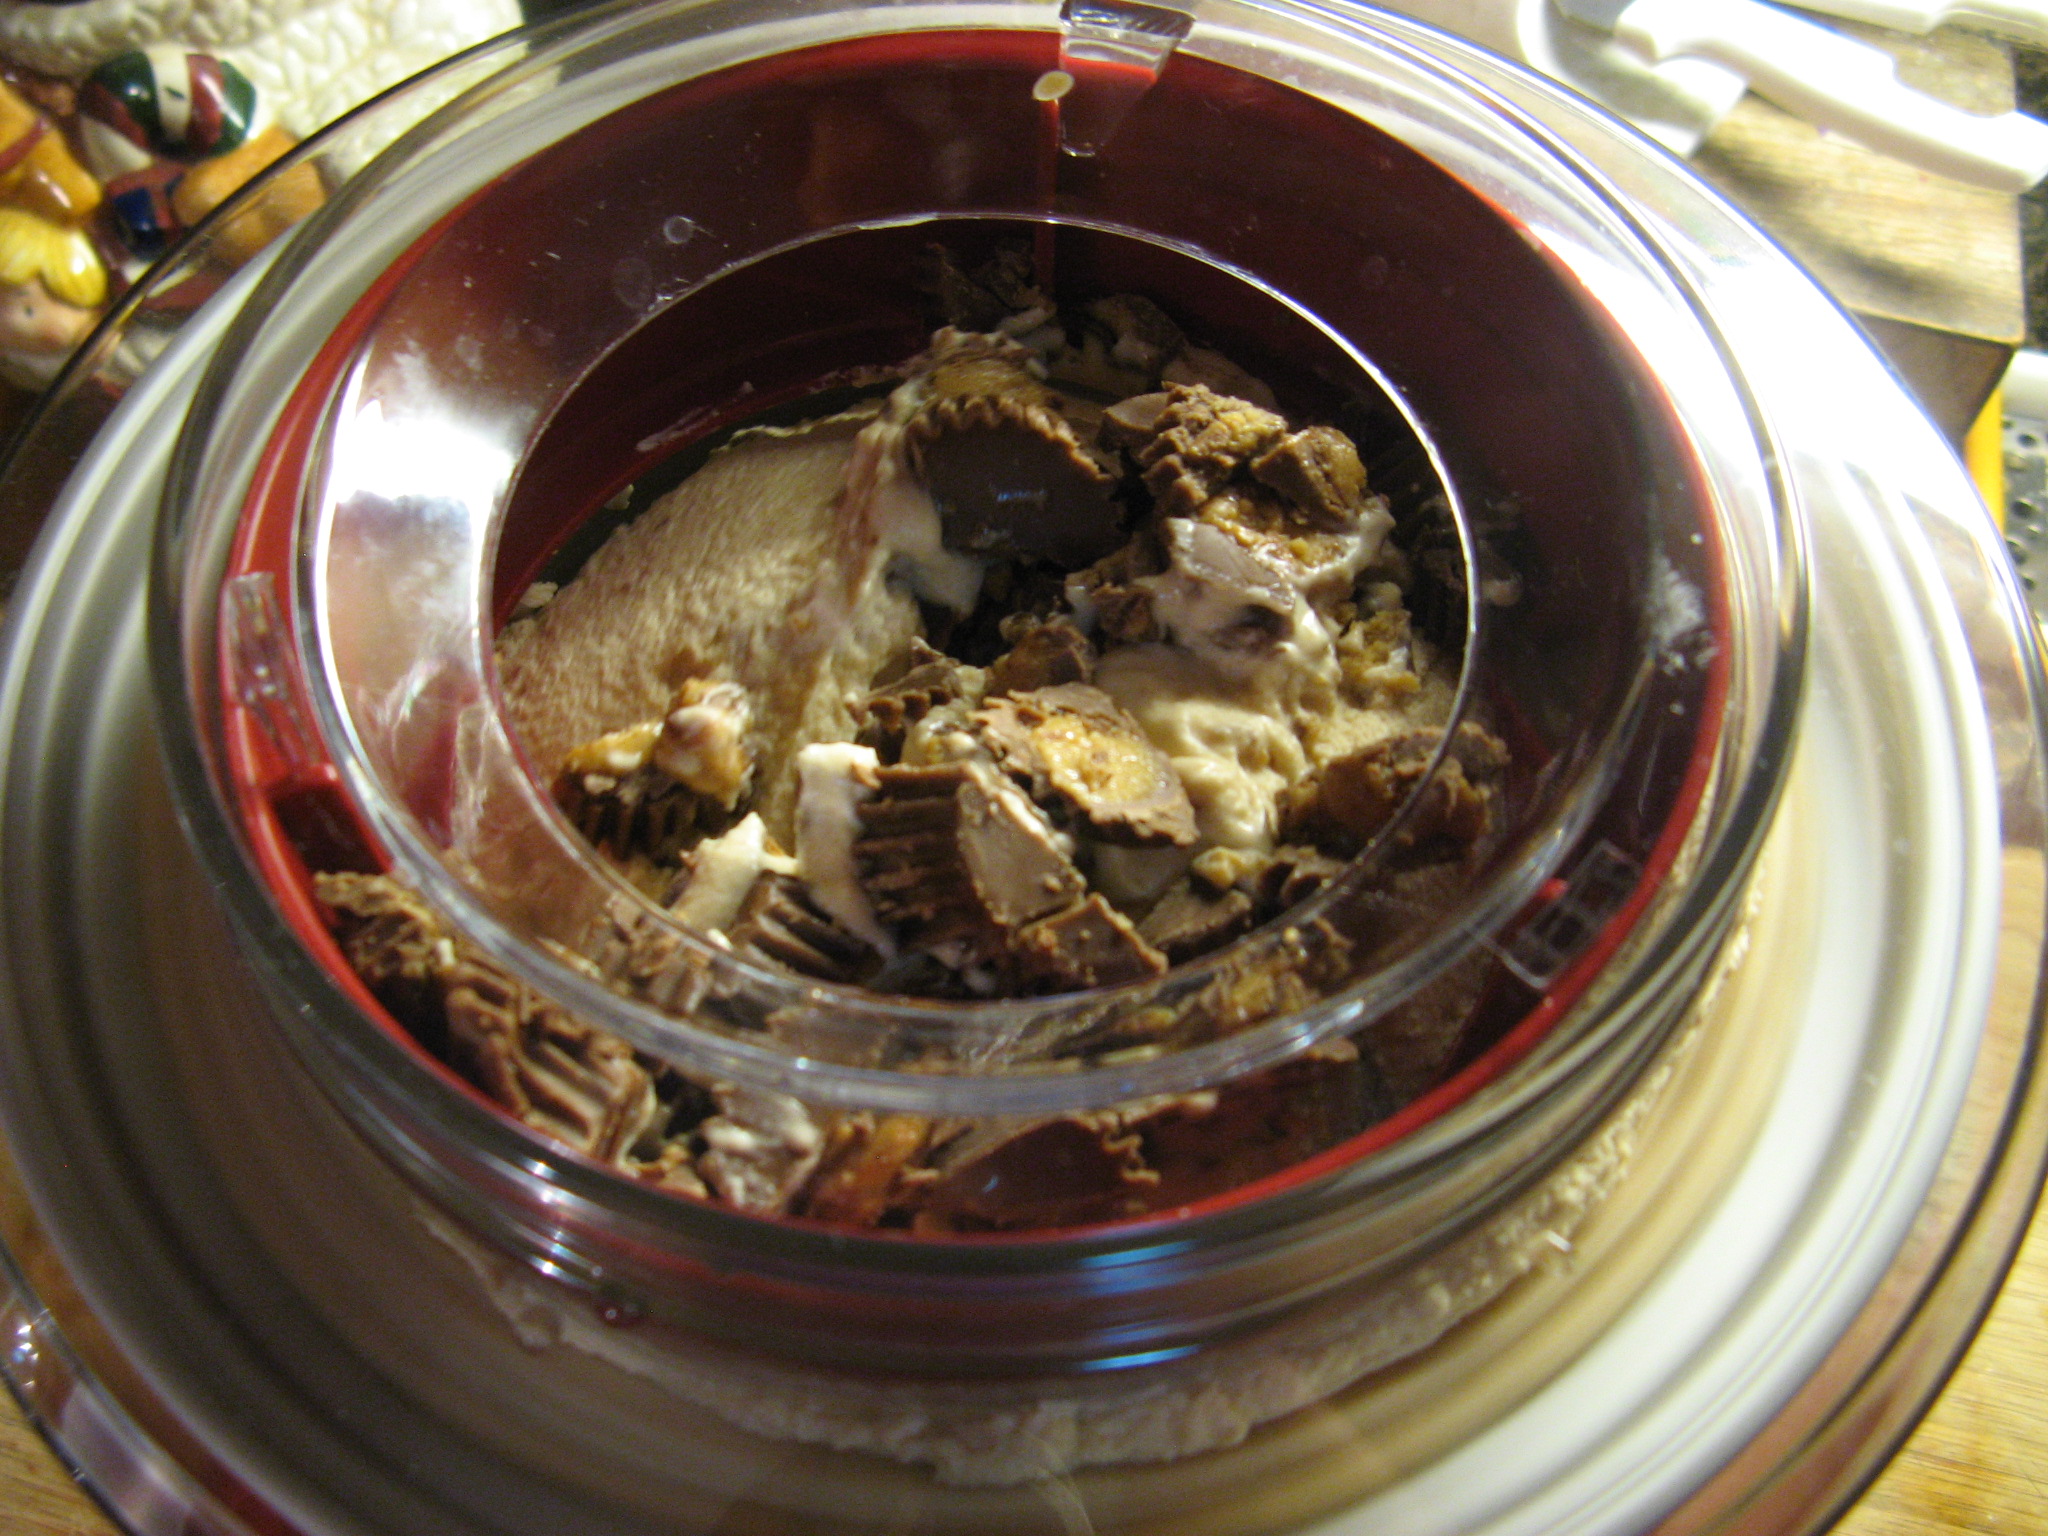
I poured the peanut butter mixture into the machine and let it run for about fifteen minutes before adding in the chopped up peanut butter cups.

IMG_2418 IMG_2419

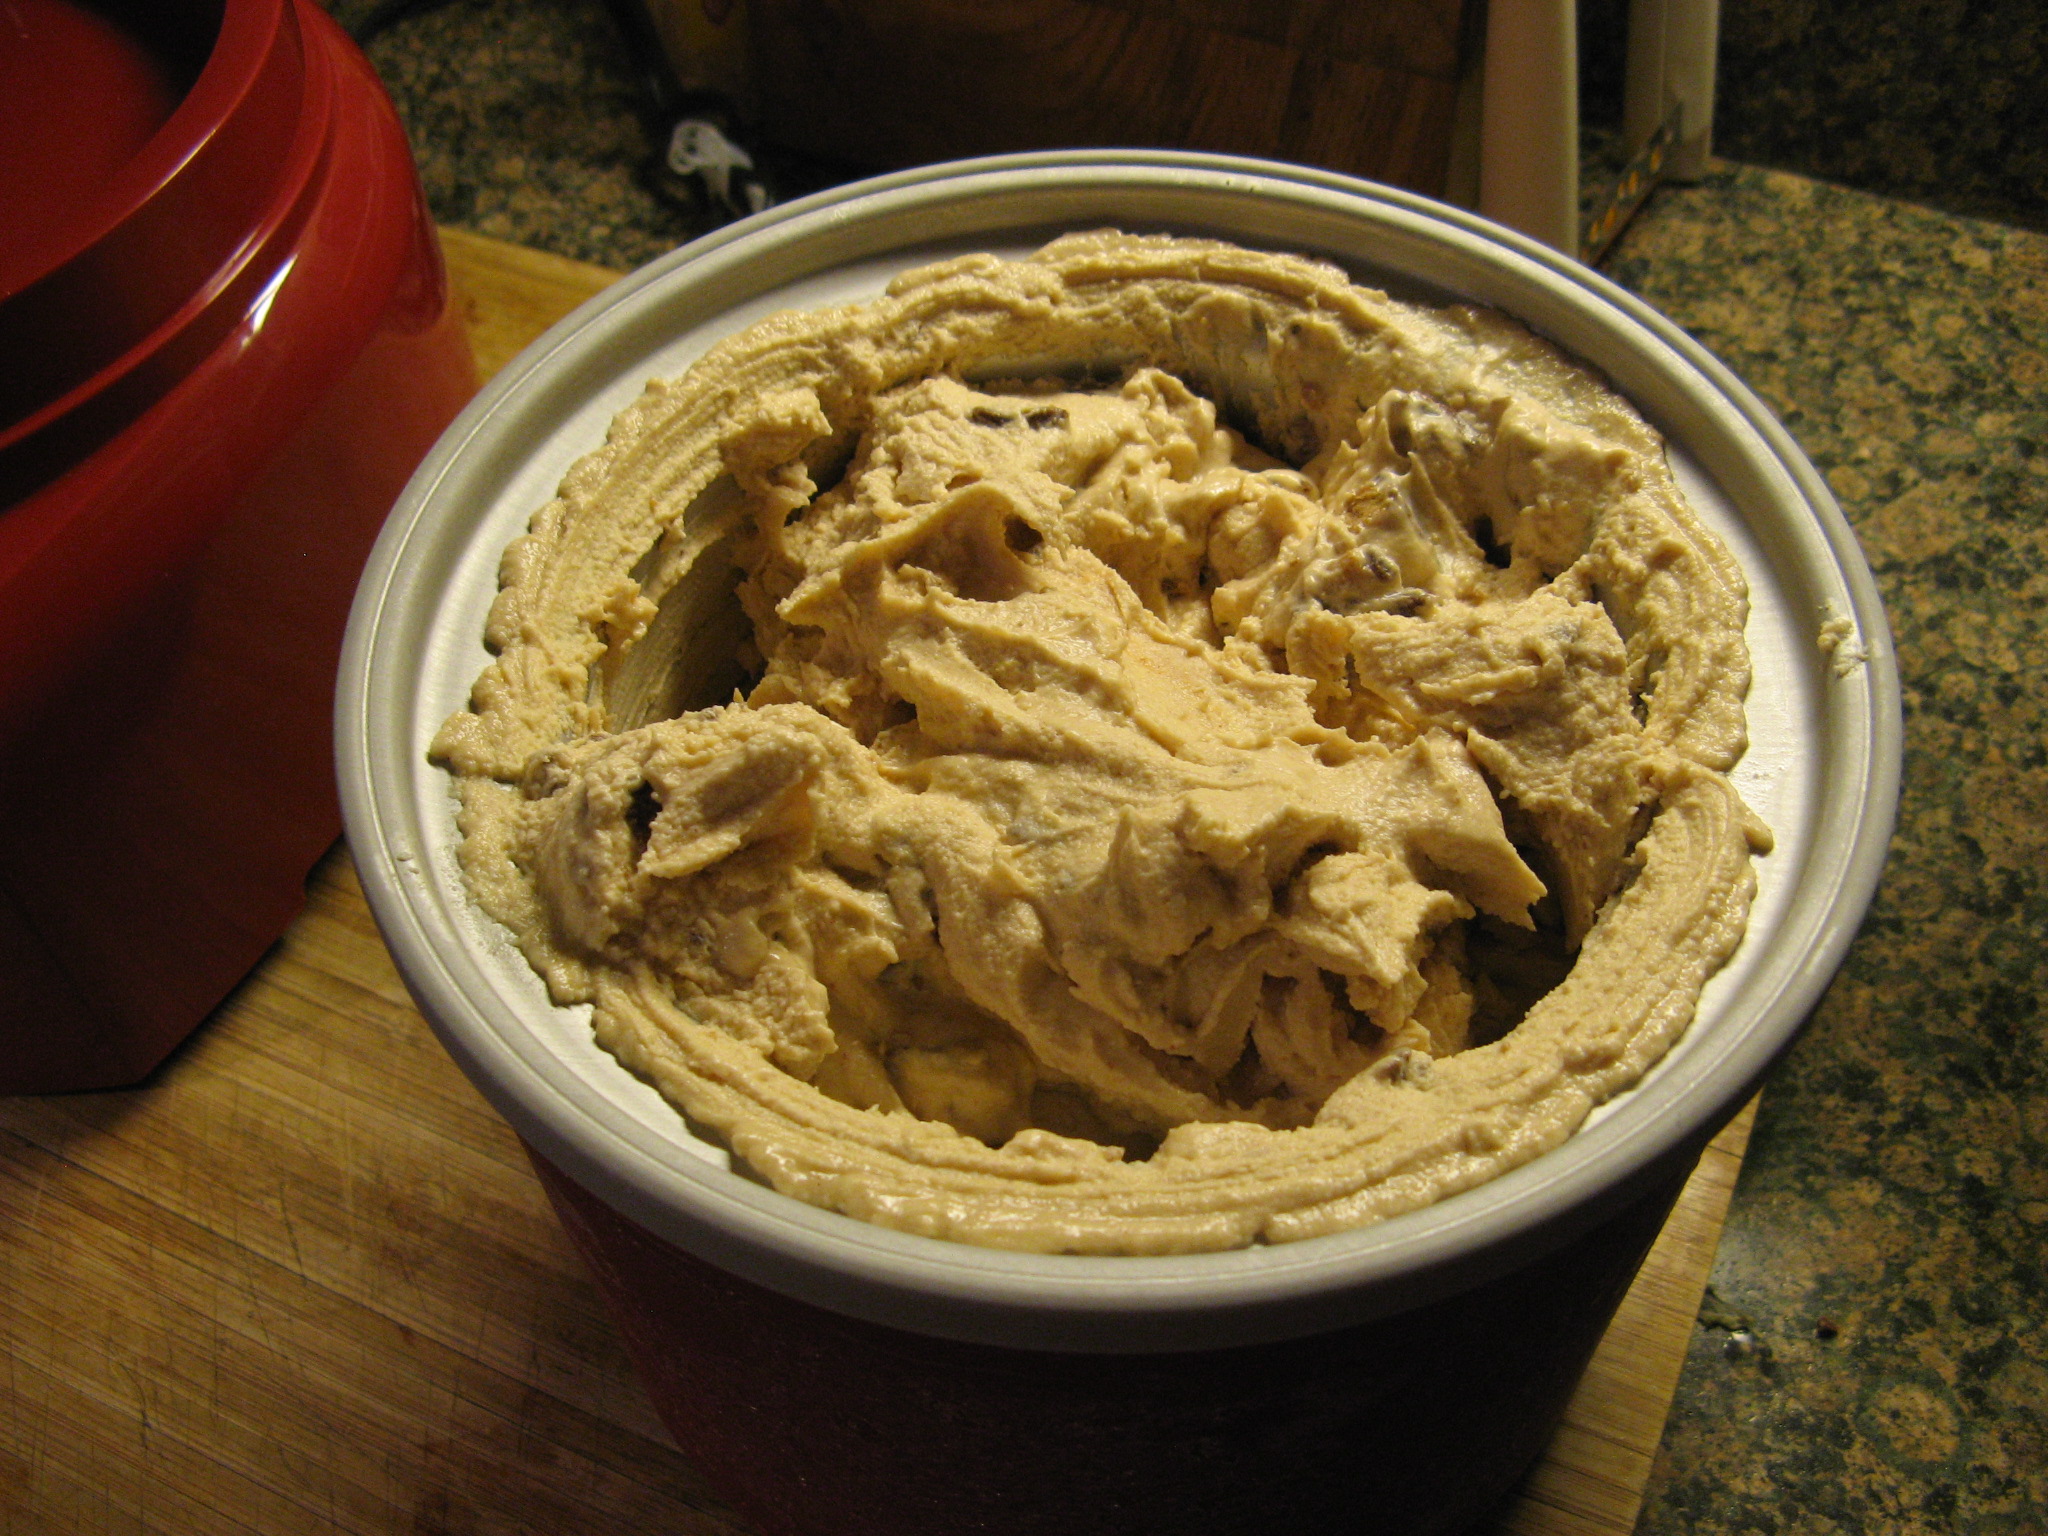
After running for an additional five minutes the ice cream was done and it was even more delicious than the vanilla one!

IMG_2422

Overall I’m loving my new toy… clean-up is a breeze and I always leave the two mixing bowls in the freezer so I never have to worry about them being ready to use. If you’re wondering where I found the recipes for these two ice creams, the machine actually came with a recipe book that I am definitely making good use of. Granted, the machine can be a tad bit noisy, as I did read in some reviews, but, it’s not loud enough to make you not want to use it!

Checkerboard Cake

I’ve attempted to make a Checkerboard Cake two times before and both times I didn’t have much luck. The first time I followed the directions on the pan set  I have for it exactly, even following the recipe for the cake and I didn’t like the taste of the cake and my cake batter ran into each other so it didn’t look all that great when I sliced into it. The second time I opted to use box cake and while the cake tasted better I still had the issue of the cake batter running so once again not all that checkerboard looking when I sliced into it. According to the directions for the pan set you put the ring separator into the pan, pour the batter in, remove the ring and then bake. This wasn’t working for me, so on this (my third) try I opted to bake the cakes first and then use the ring separator to cut the cakes and then assemble it for the checkerboard pattern and I’m happy to say I didn’t strike out! Granted it was a bit messy to assemble but it wasn’t anything that couldn’t be fixed (or hidden) with a little frosting.

IMG_2245

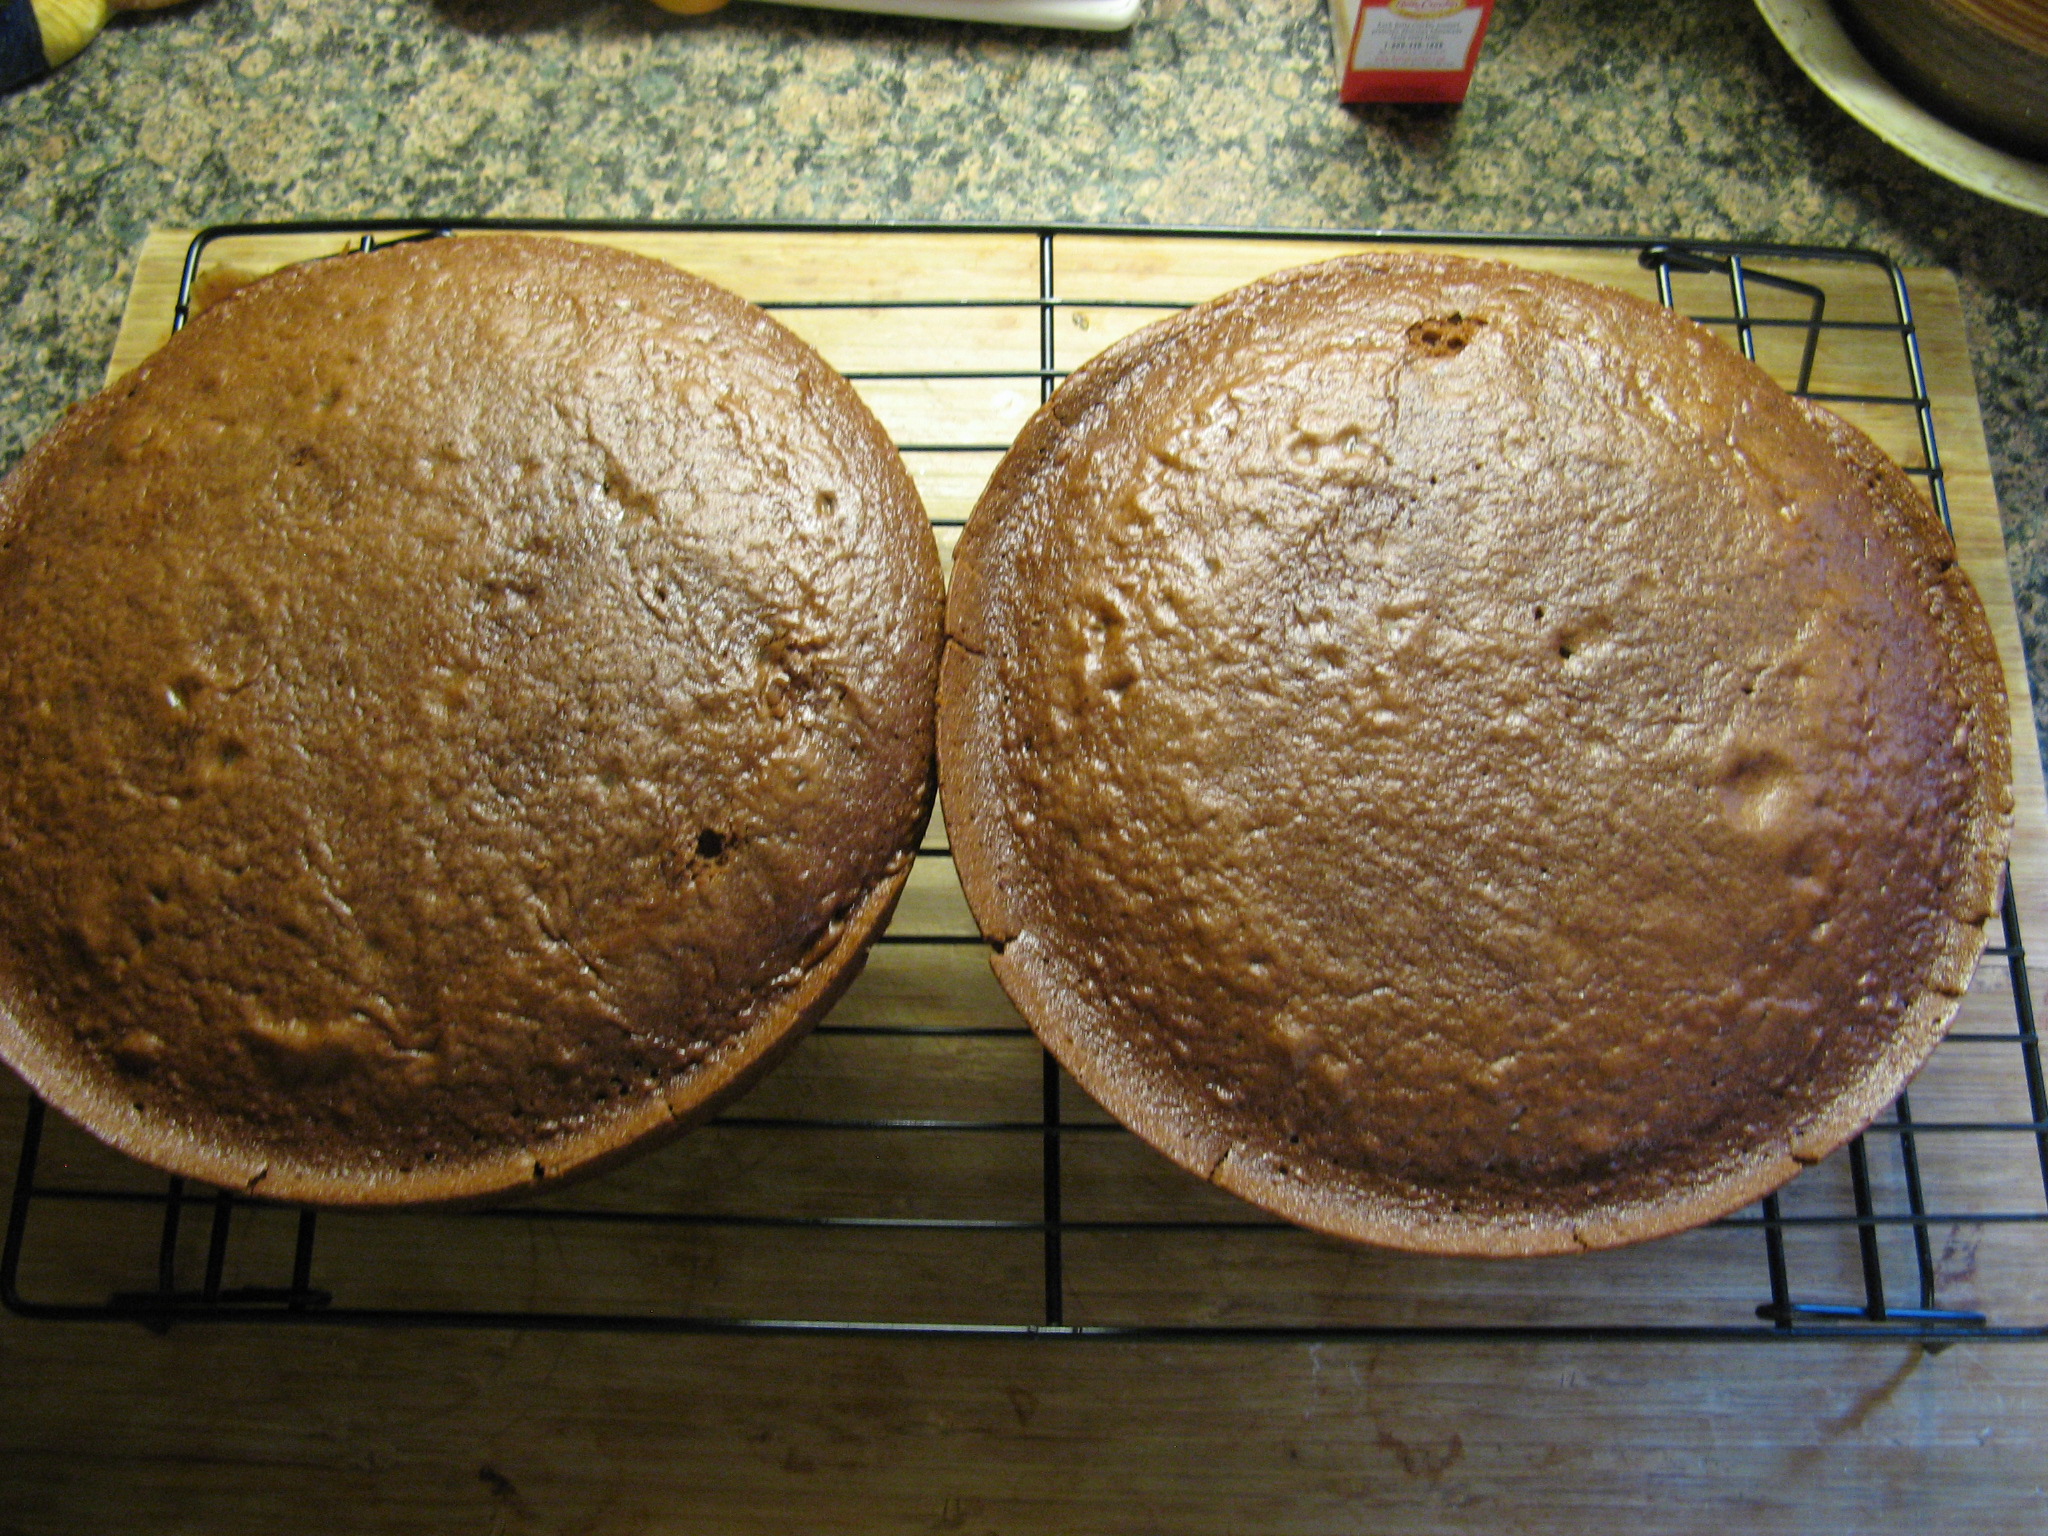
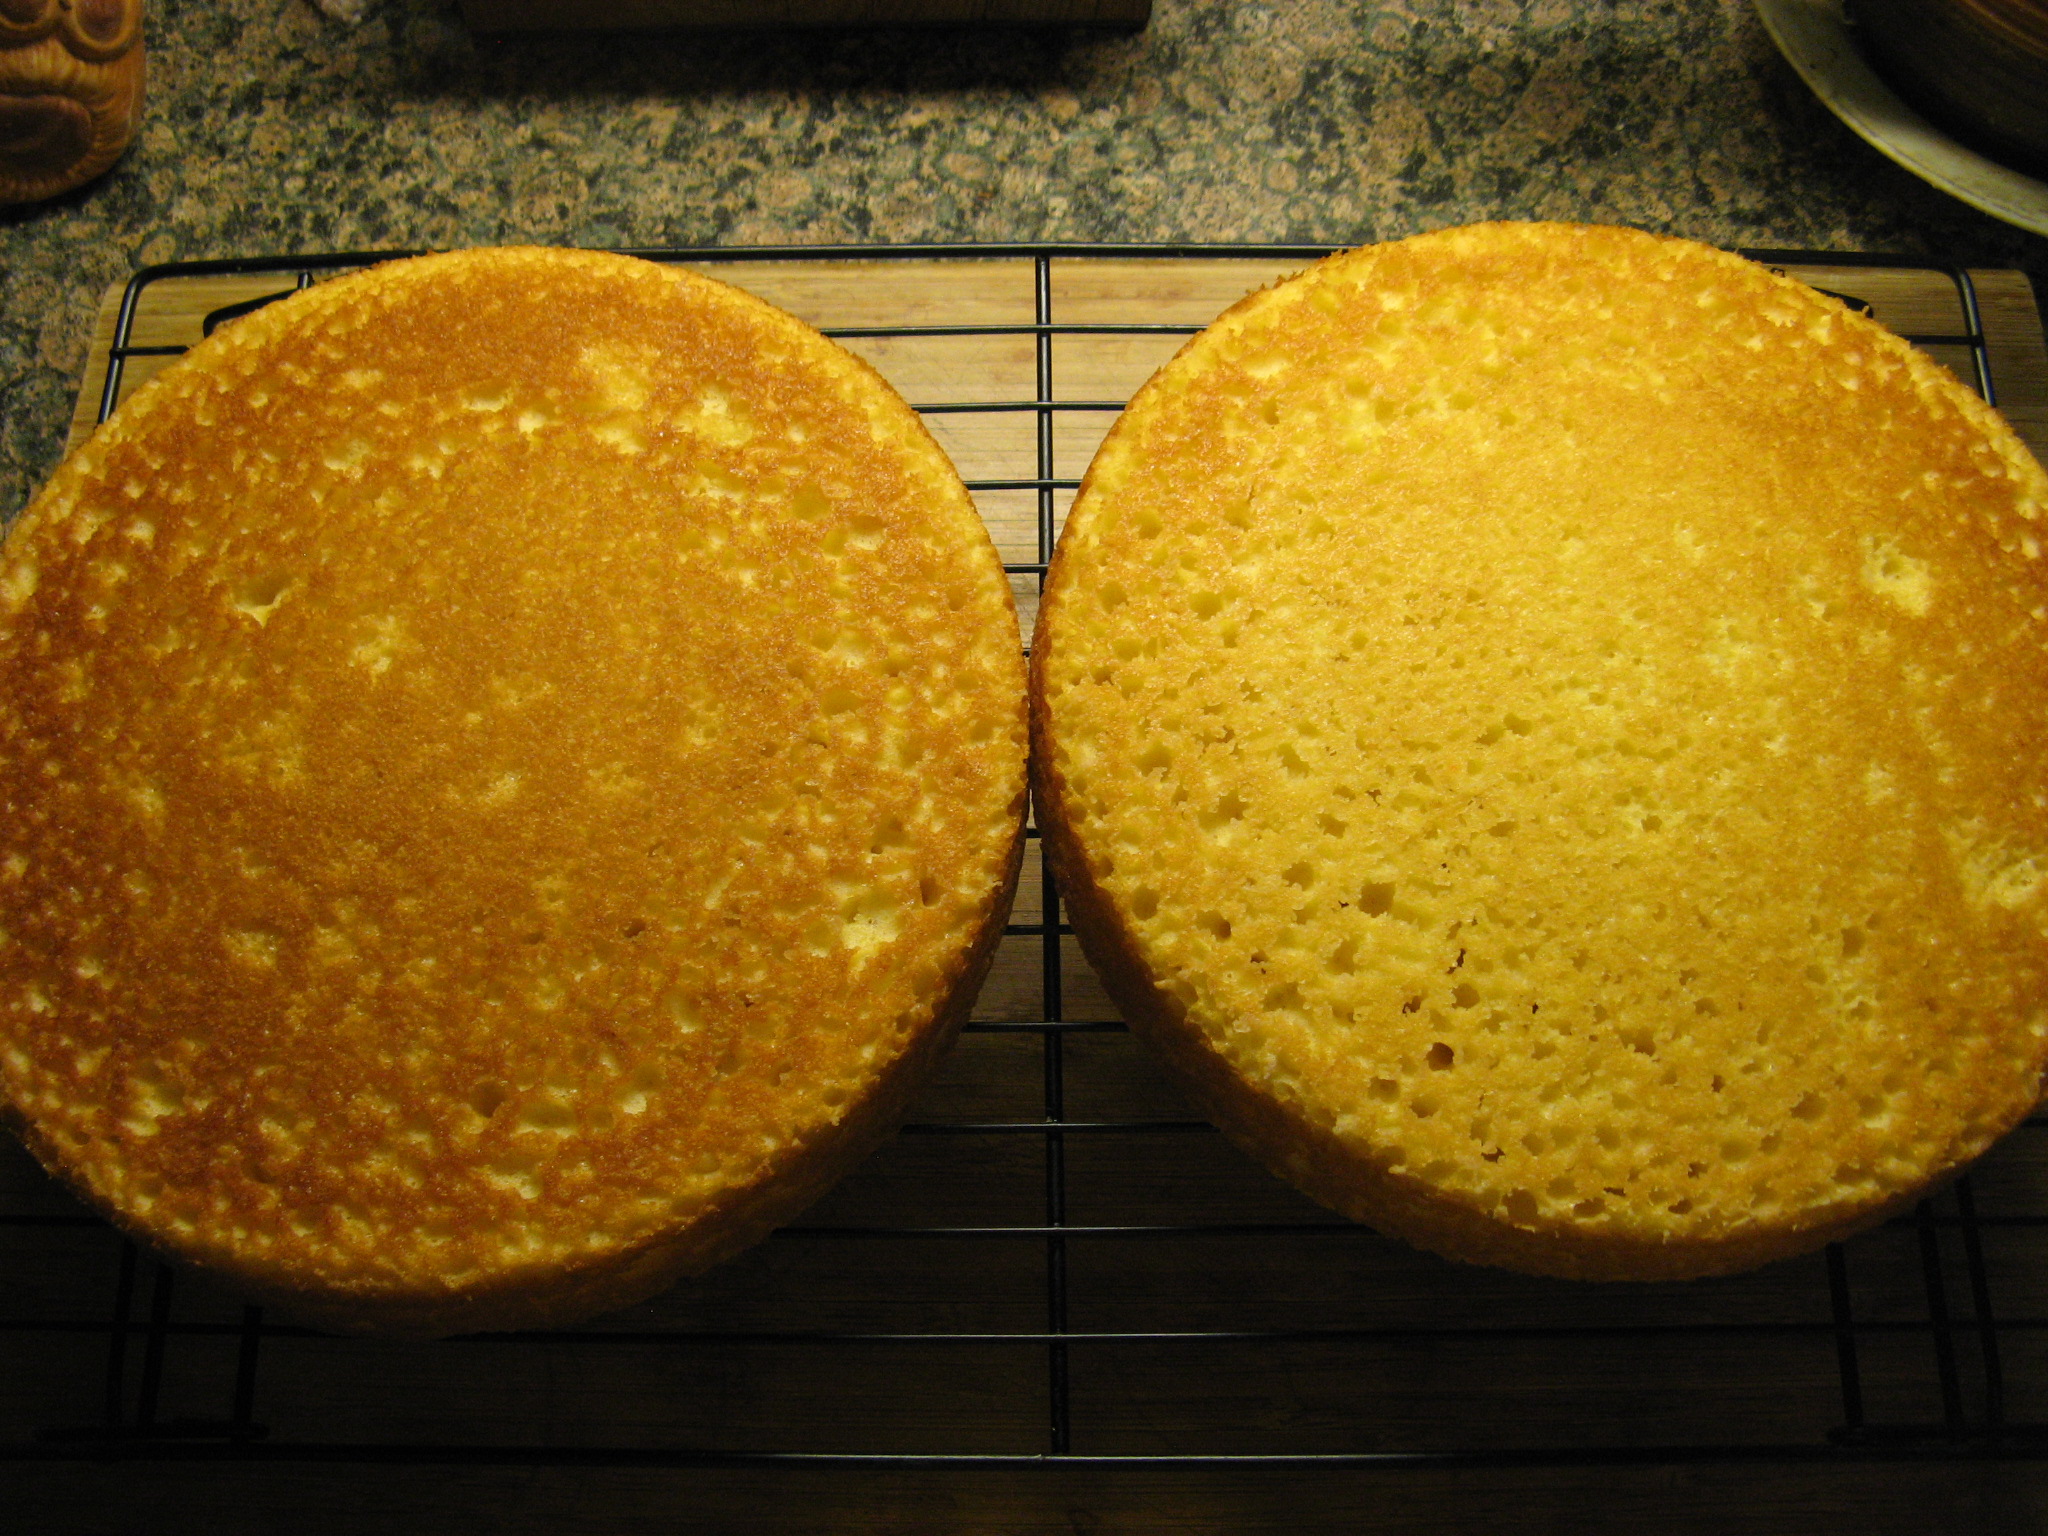
Using Betty Crocker’s Super Moist Milk Chocolate and Yellow cake mix I prepared the cakes according to the directions on the box.

IMG_2215 IMG_2216

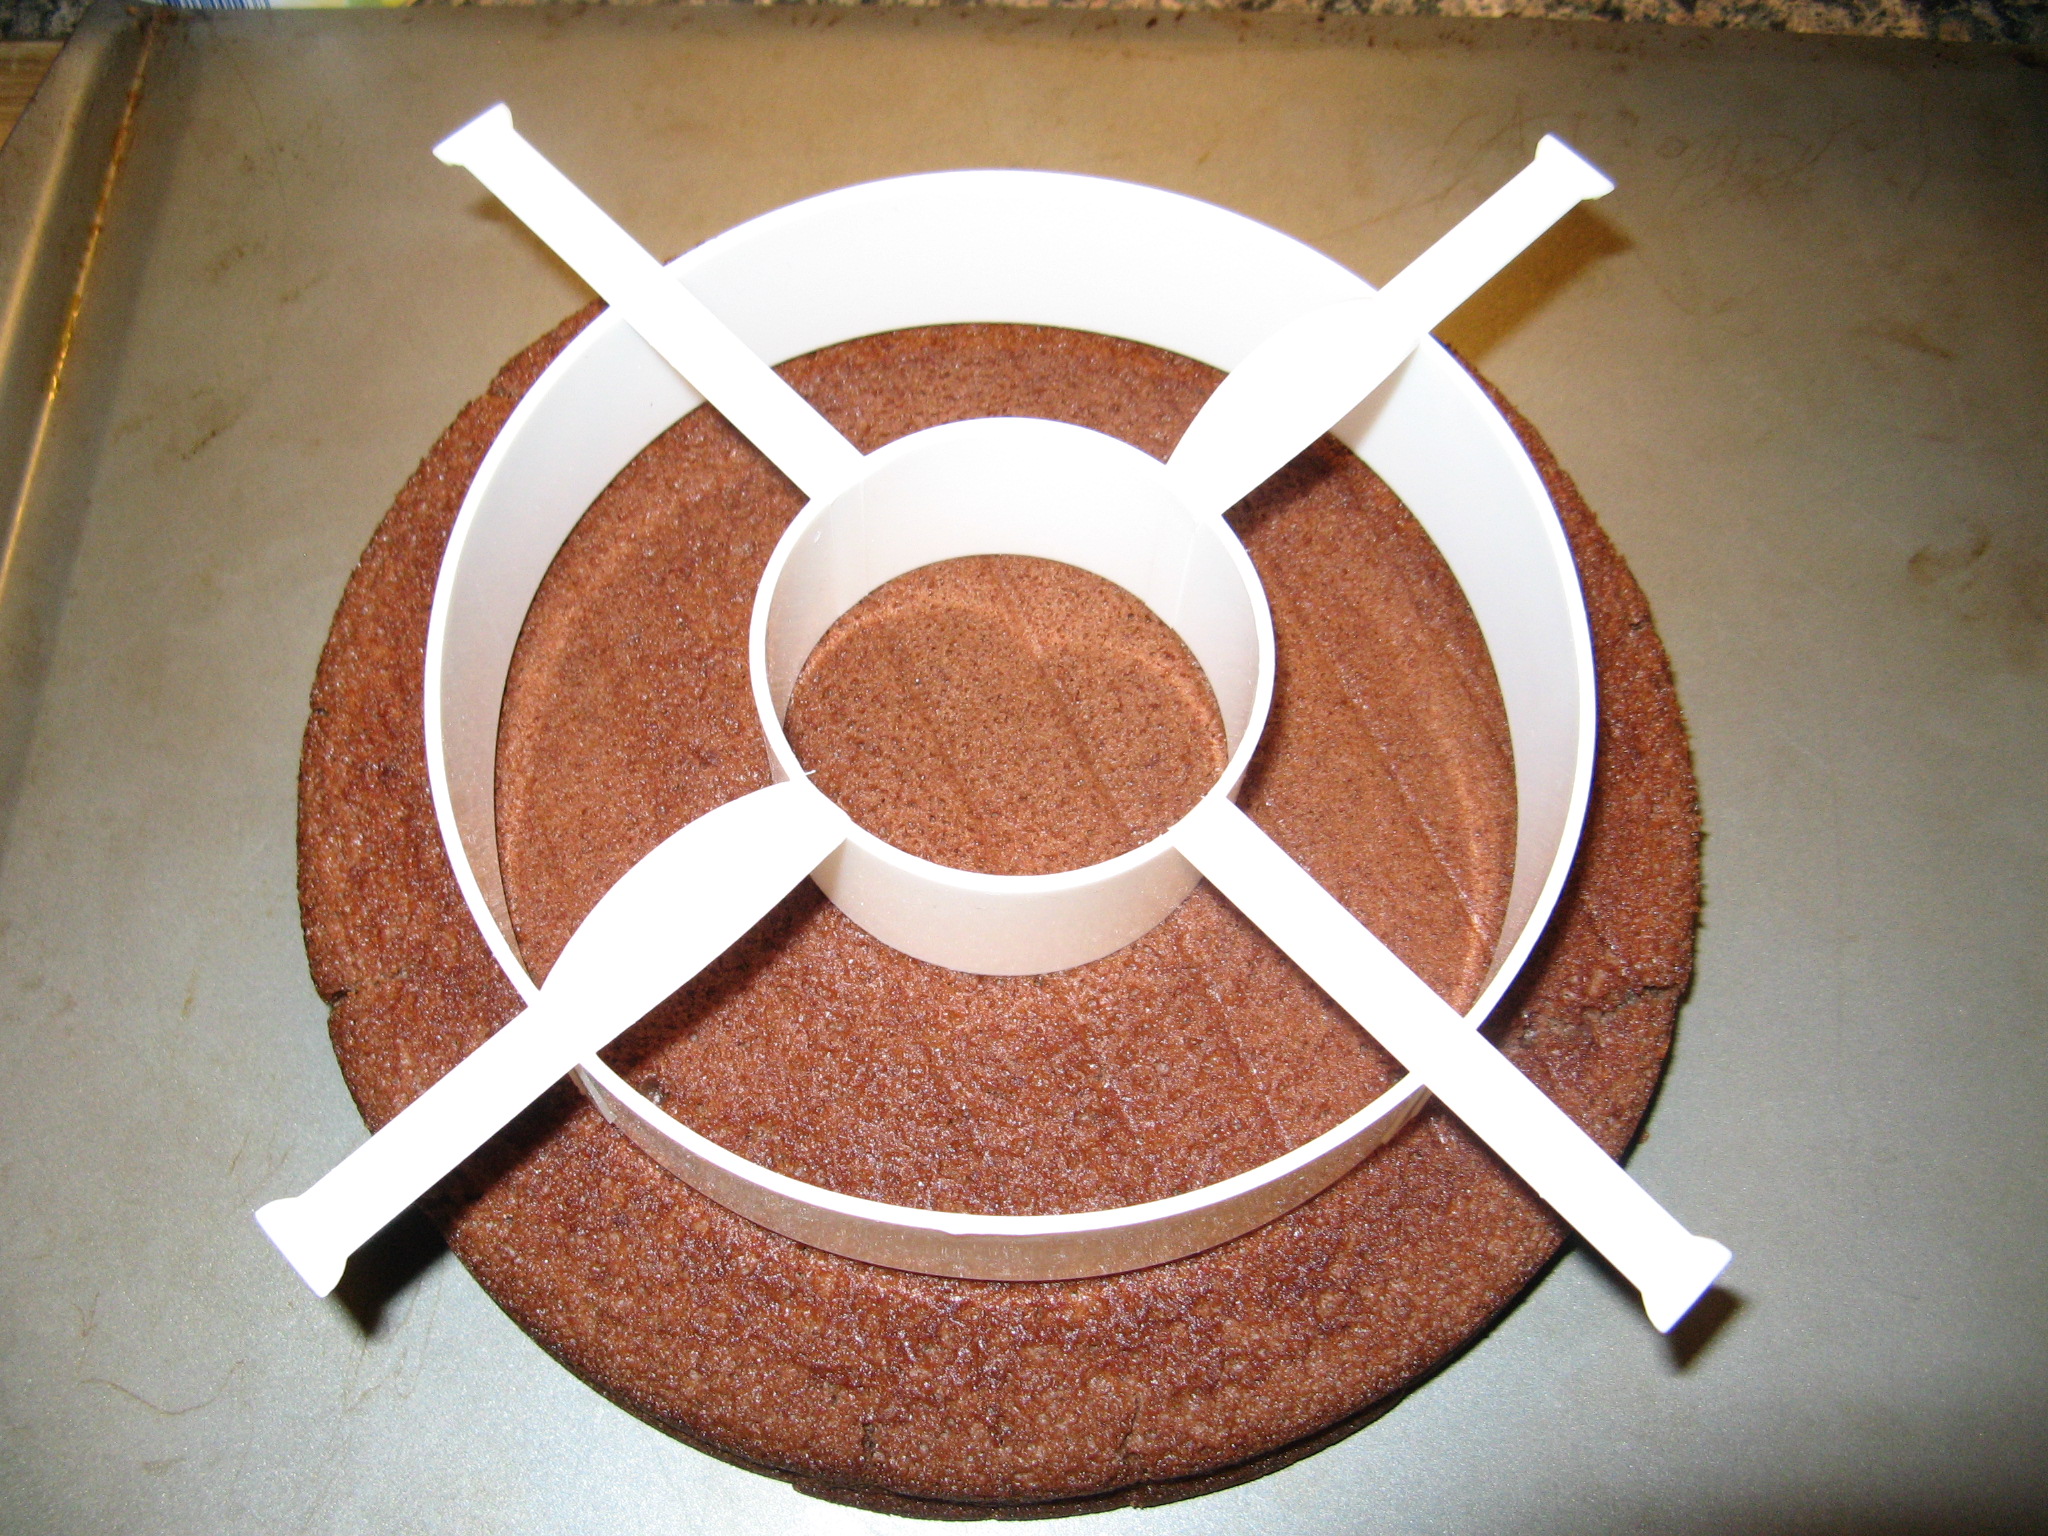
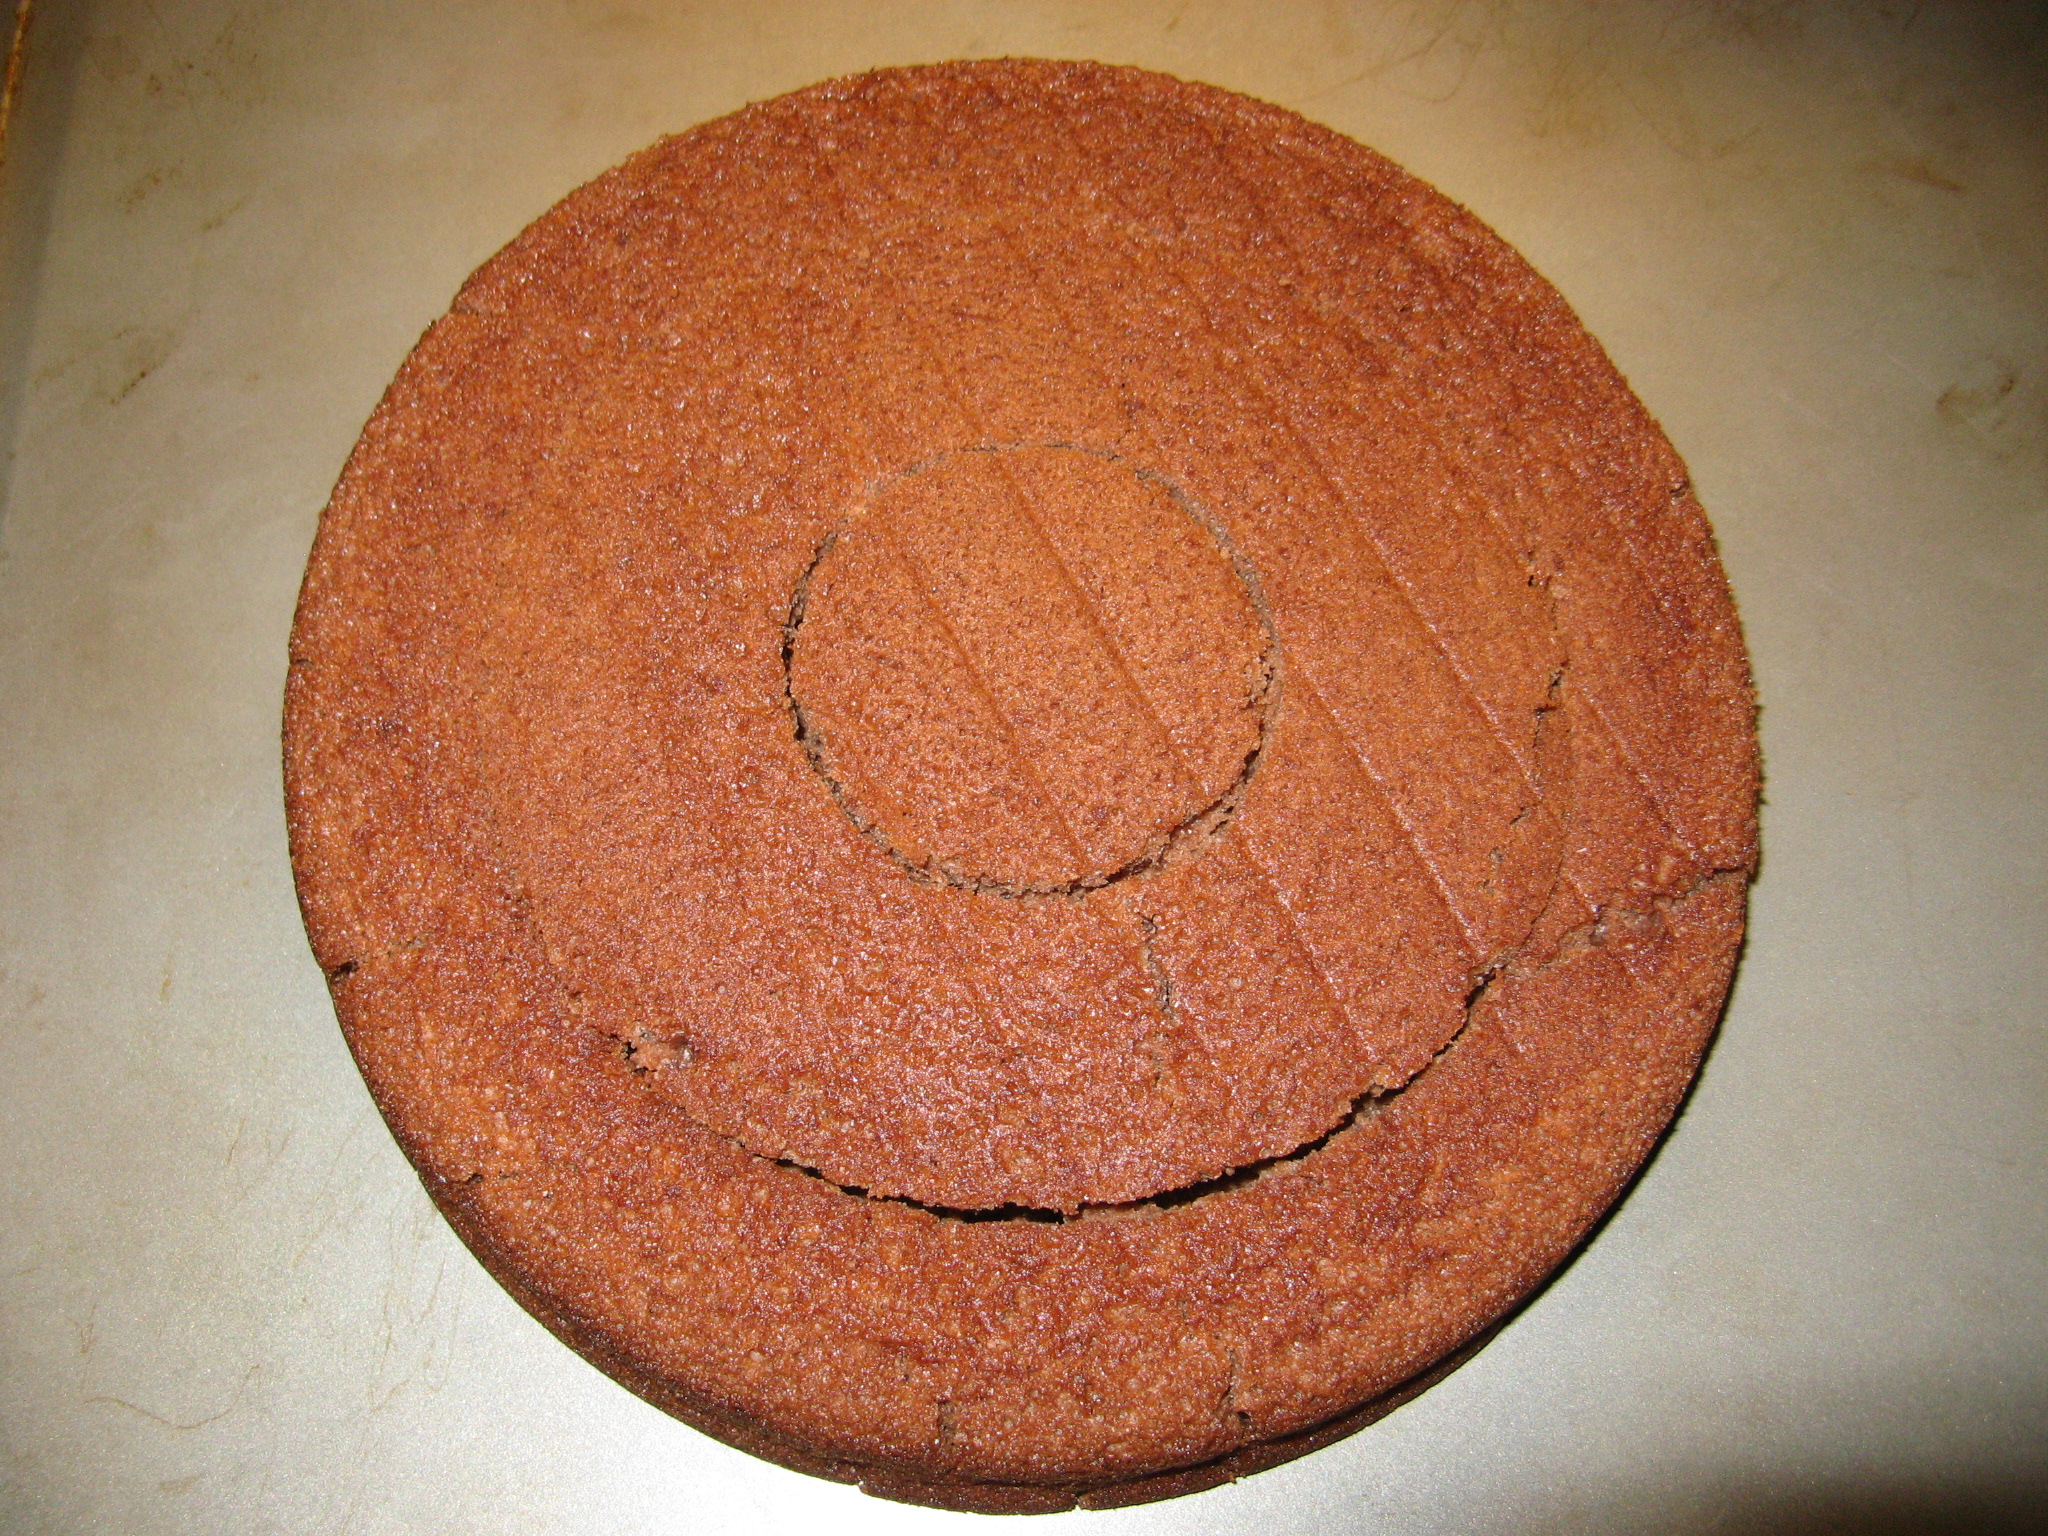
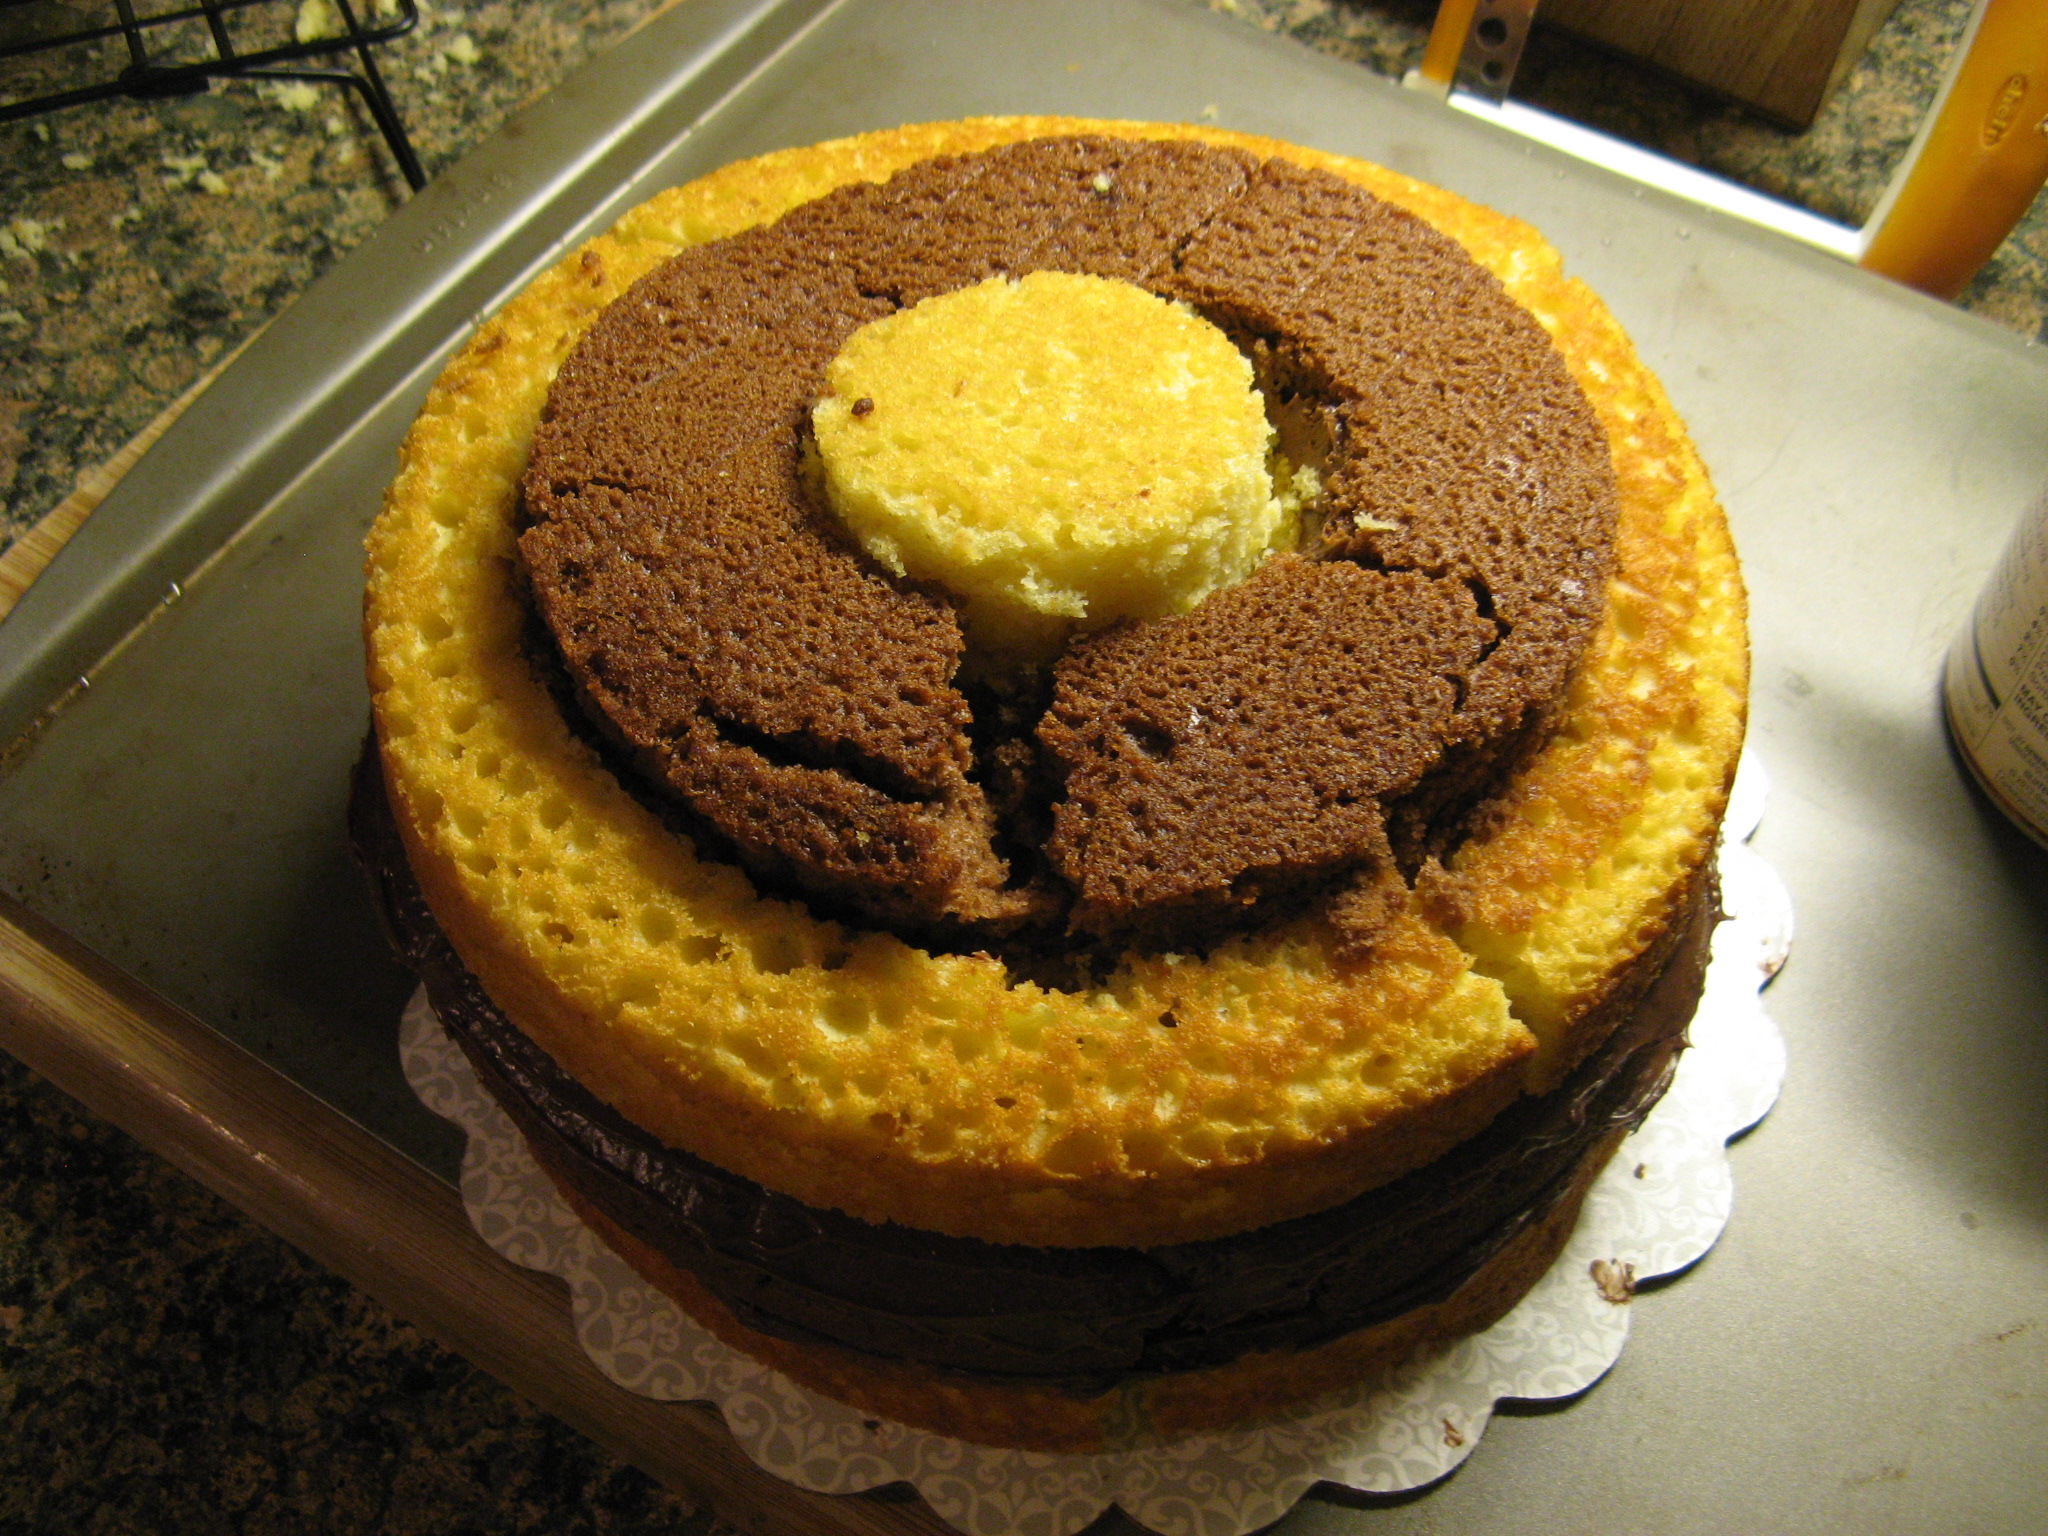
After letting the cakes cool I took the ring separator and sliced each of the cakes into three rings.

IMG_2218 IMG_2219

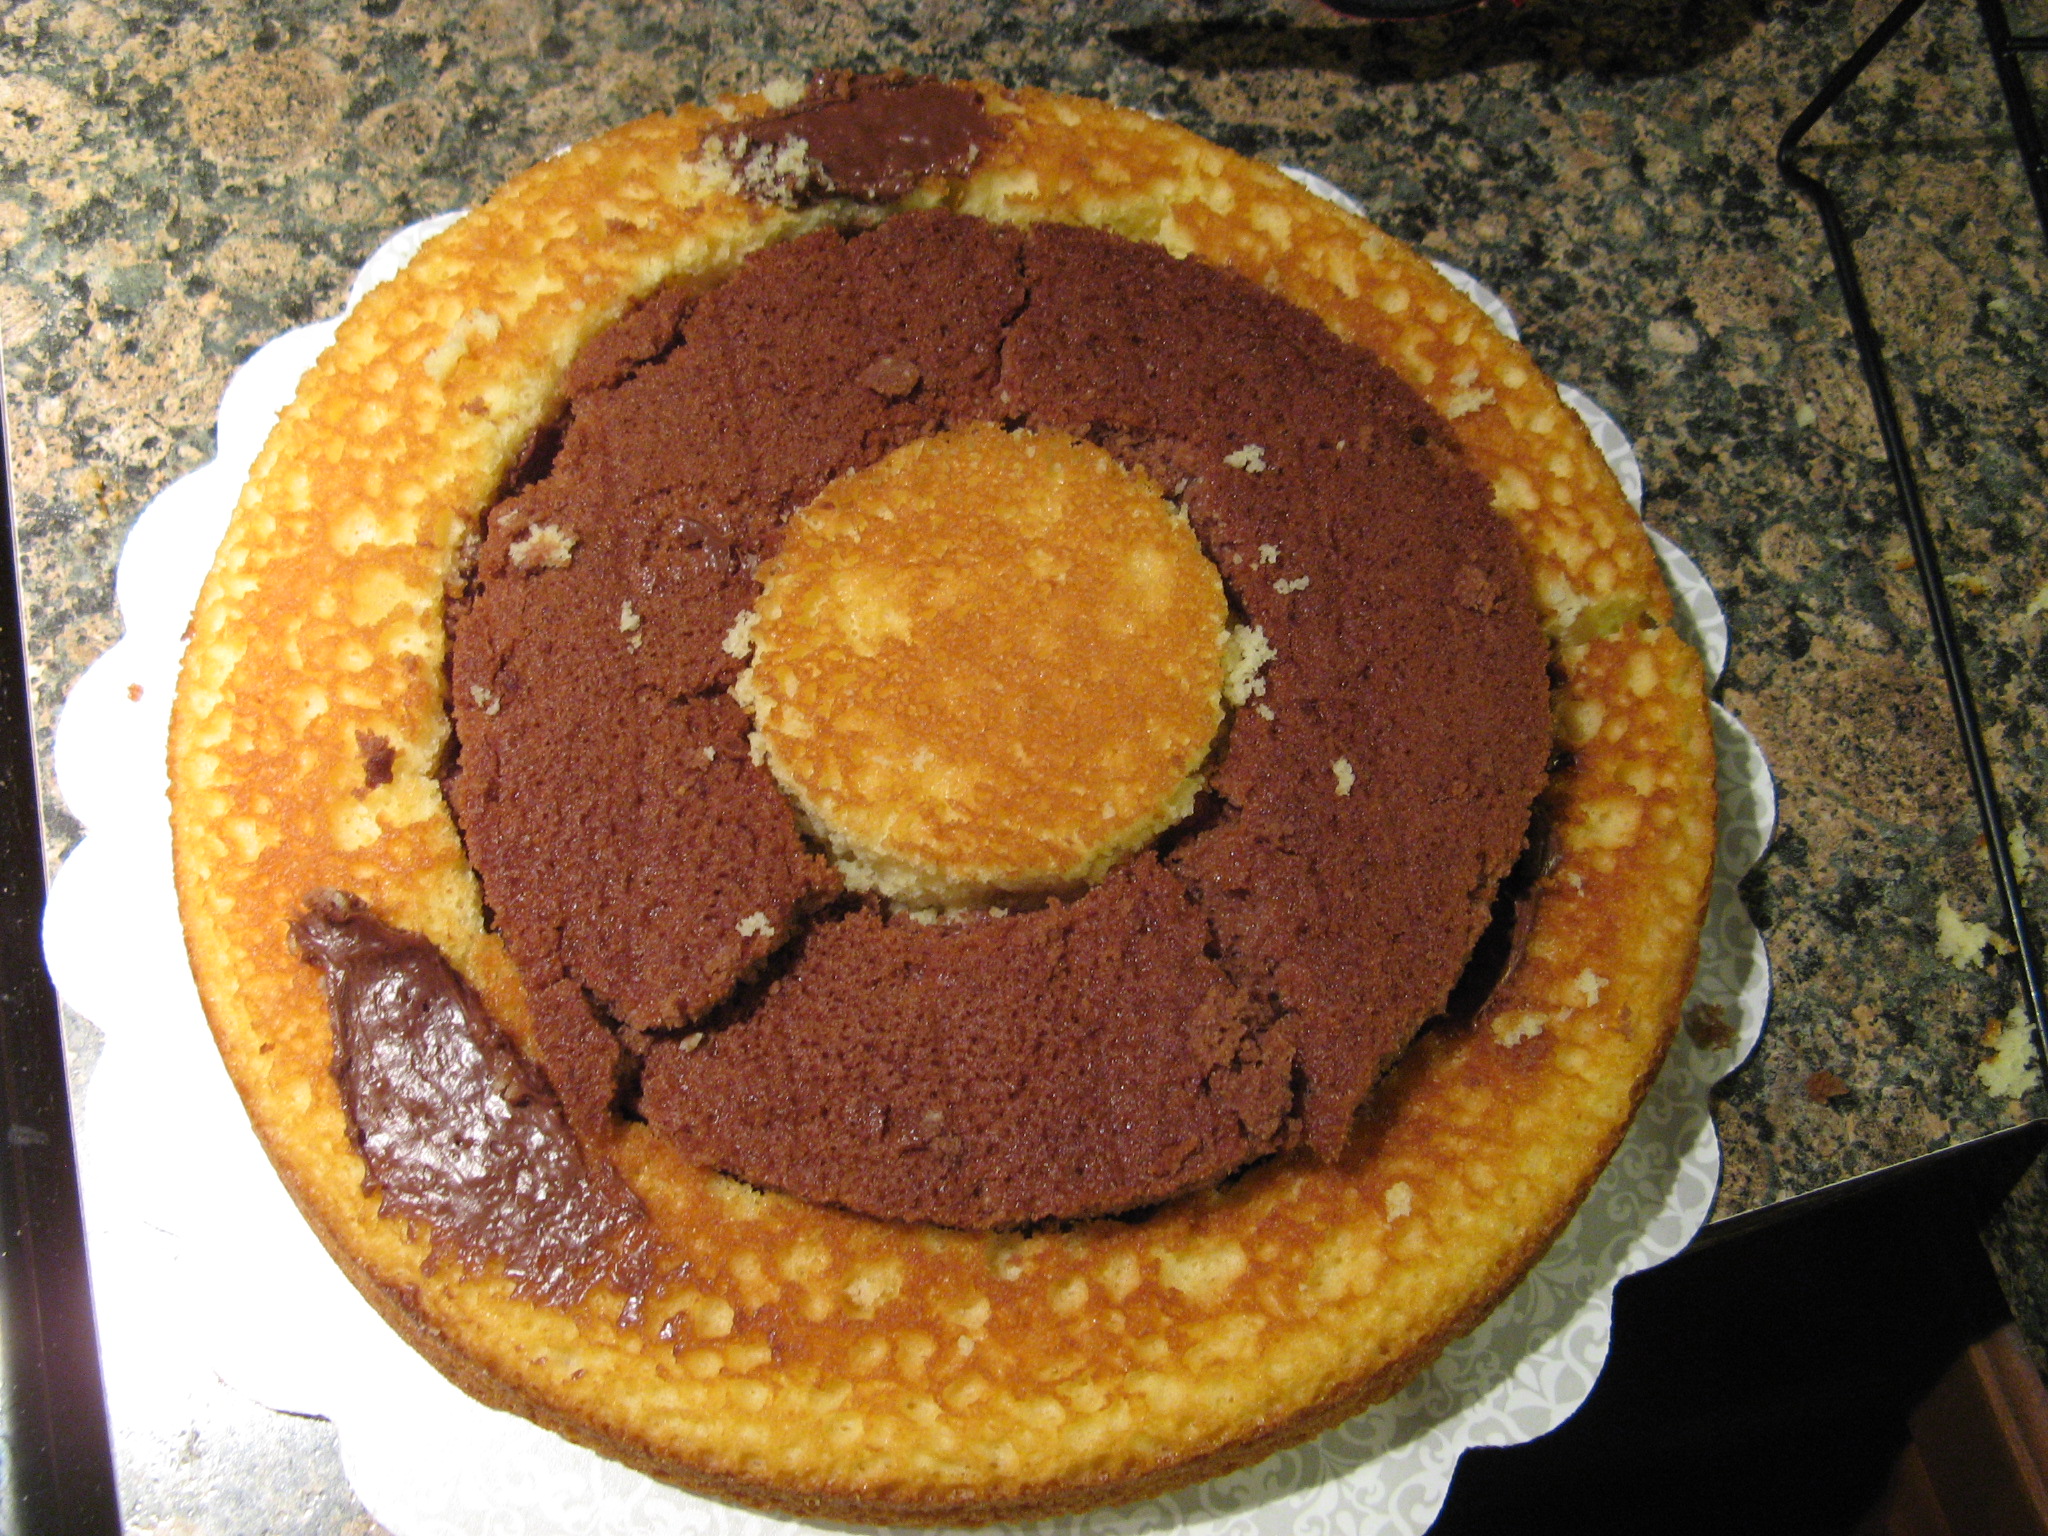
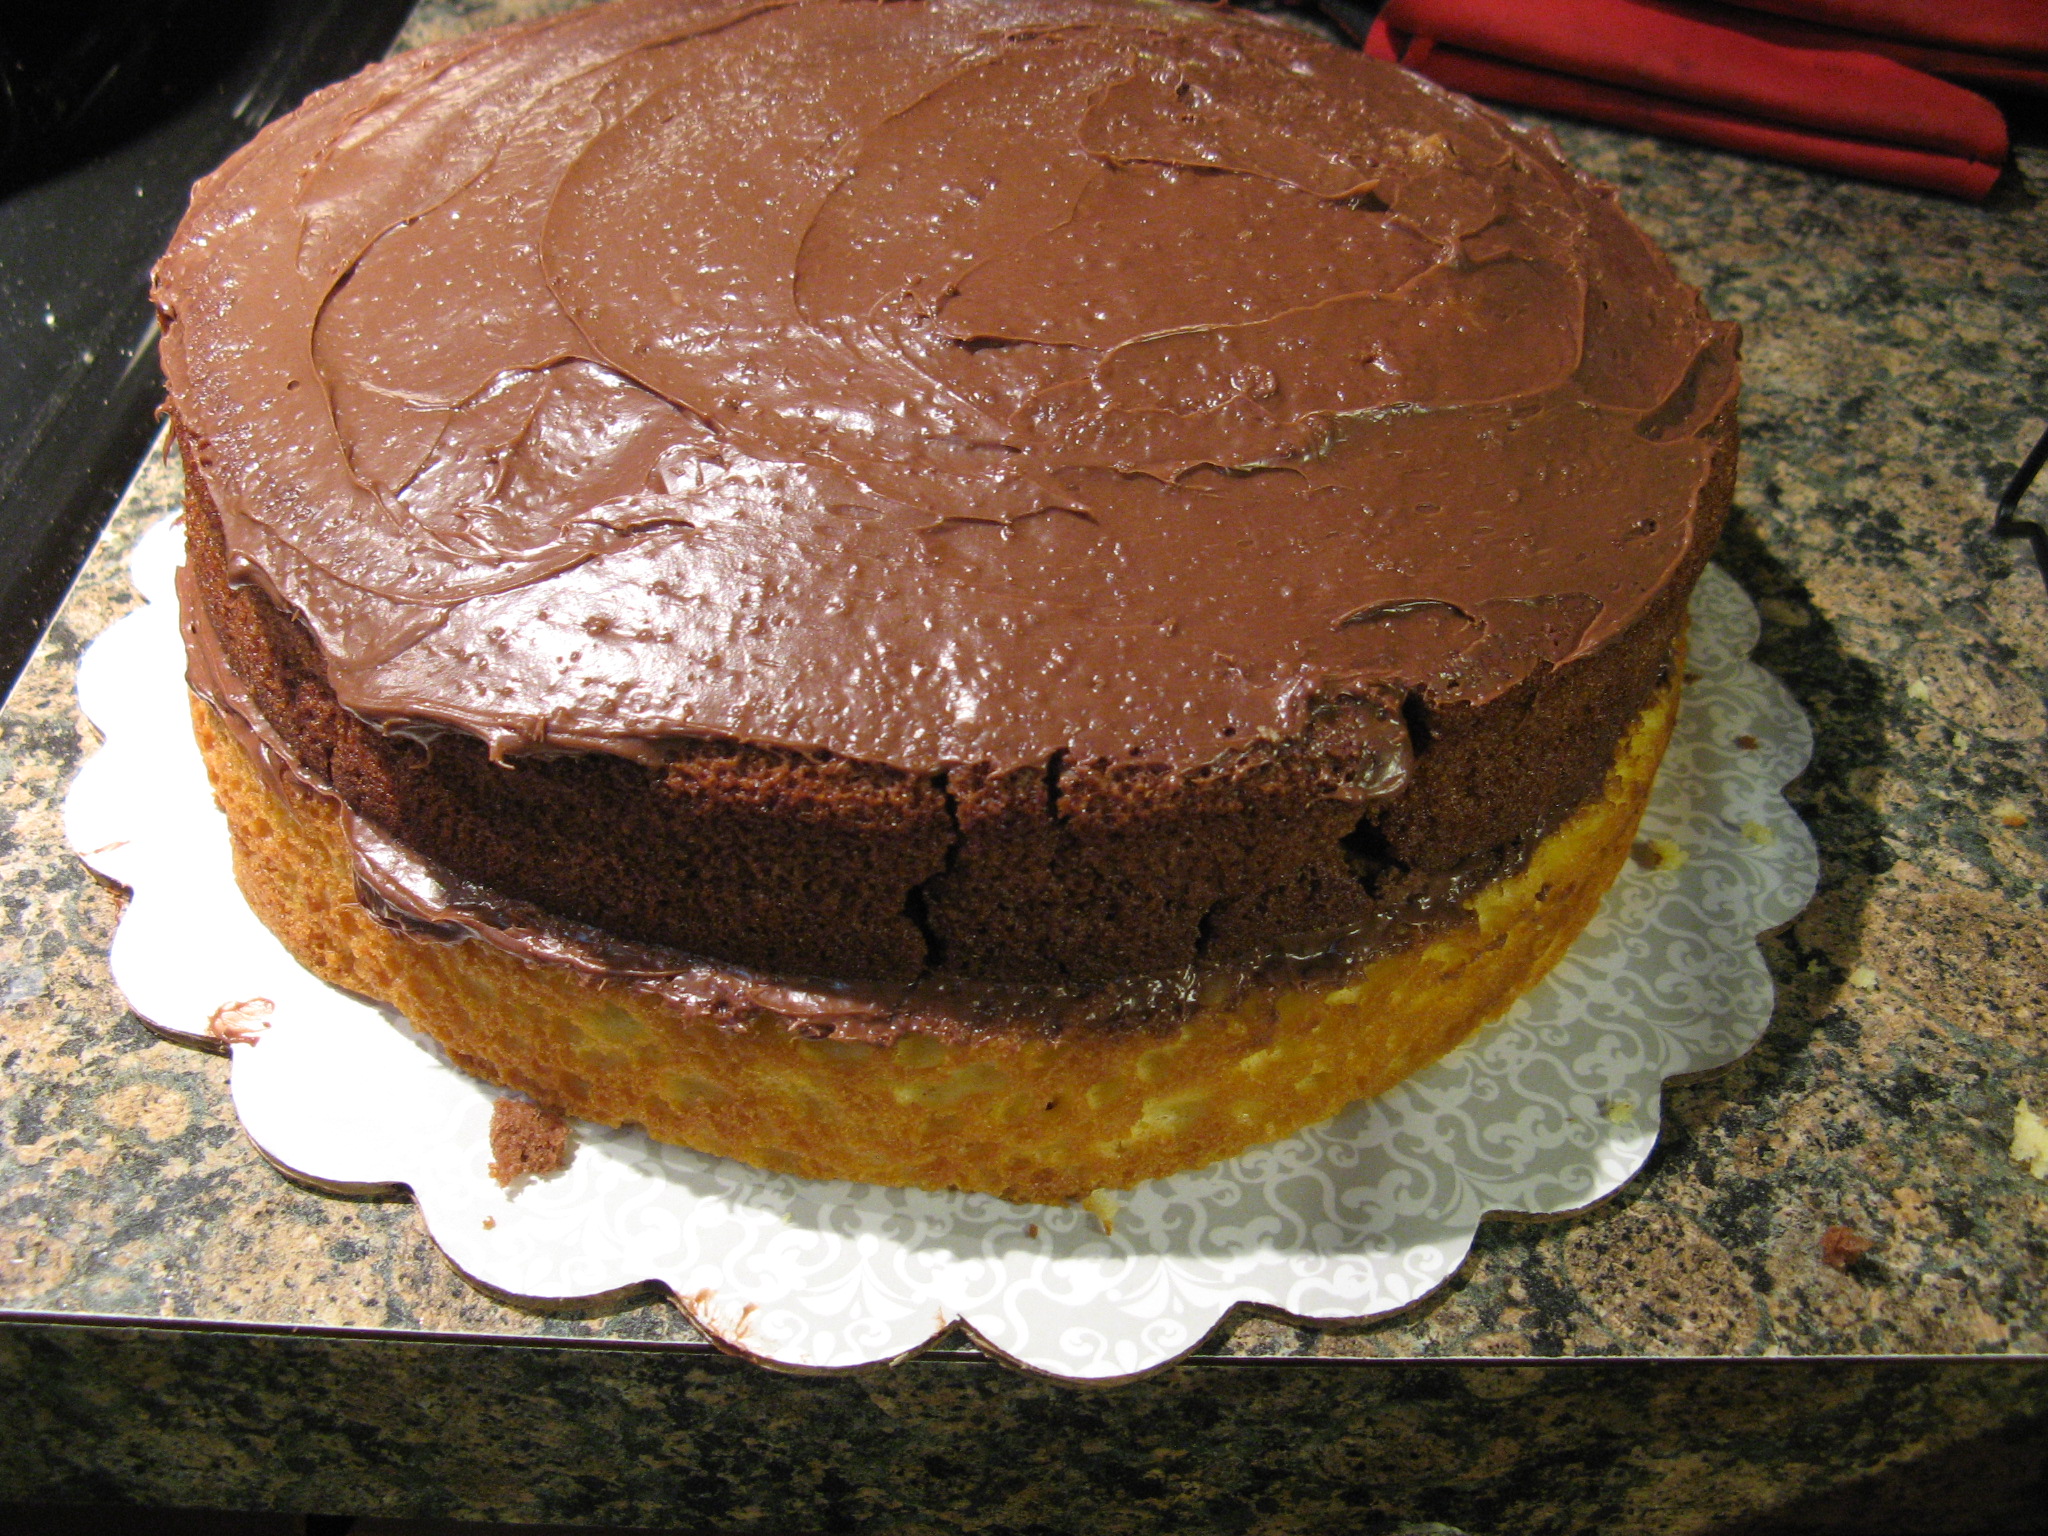
And then the messy part began… Assembling. As you can see some of the rings broke up a little, but like I said frosting covered up all the little imperfections. To make sure the rings of the cake wouldn’t fall apart when slicing I “glued” them together with icing along the inside of each ring.

IMG_2220

After covering the first layer with frosting I added the second layer and then spread frosting on it as well.

IMG_2223

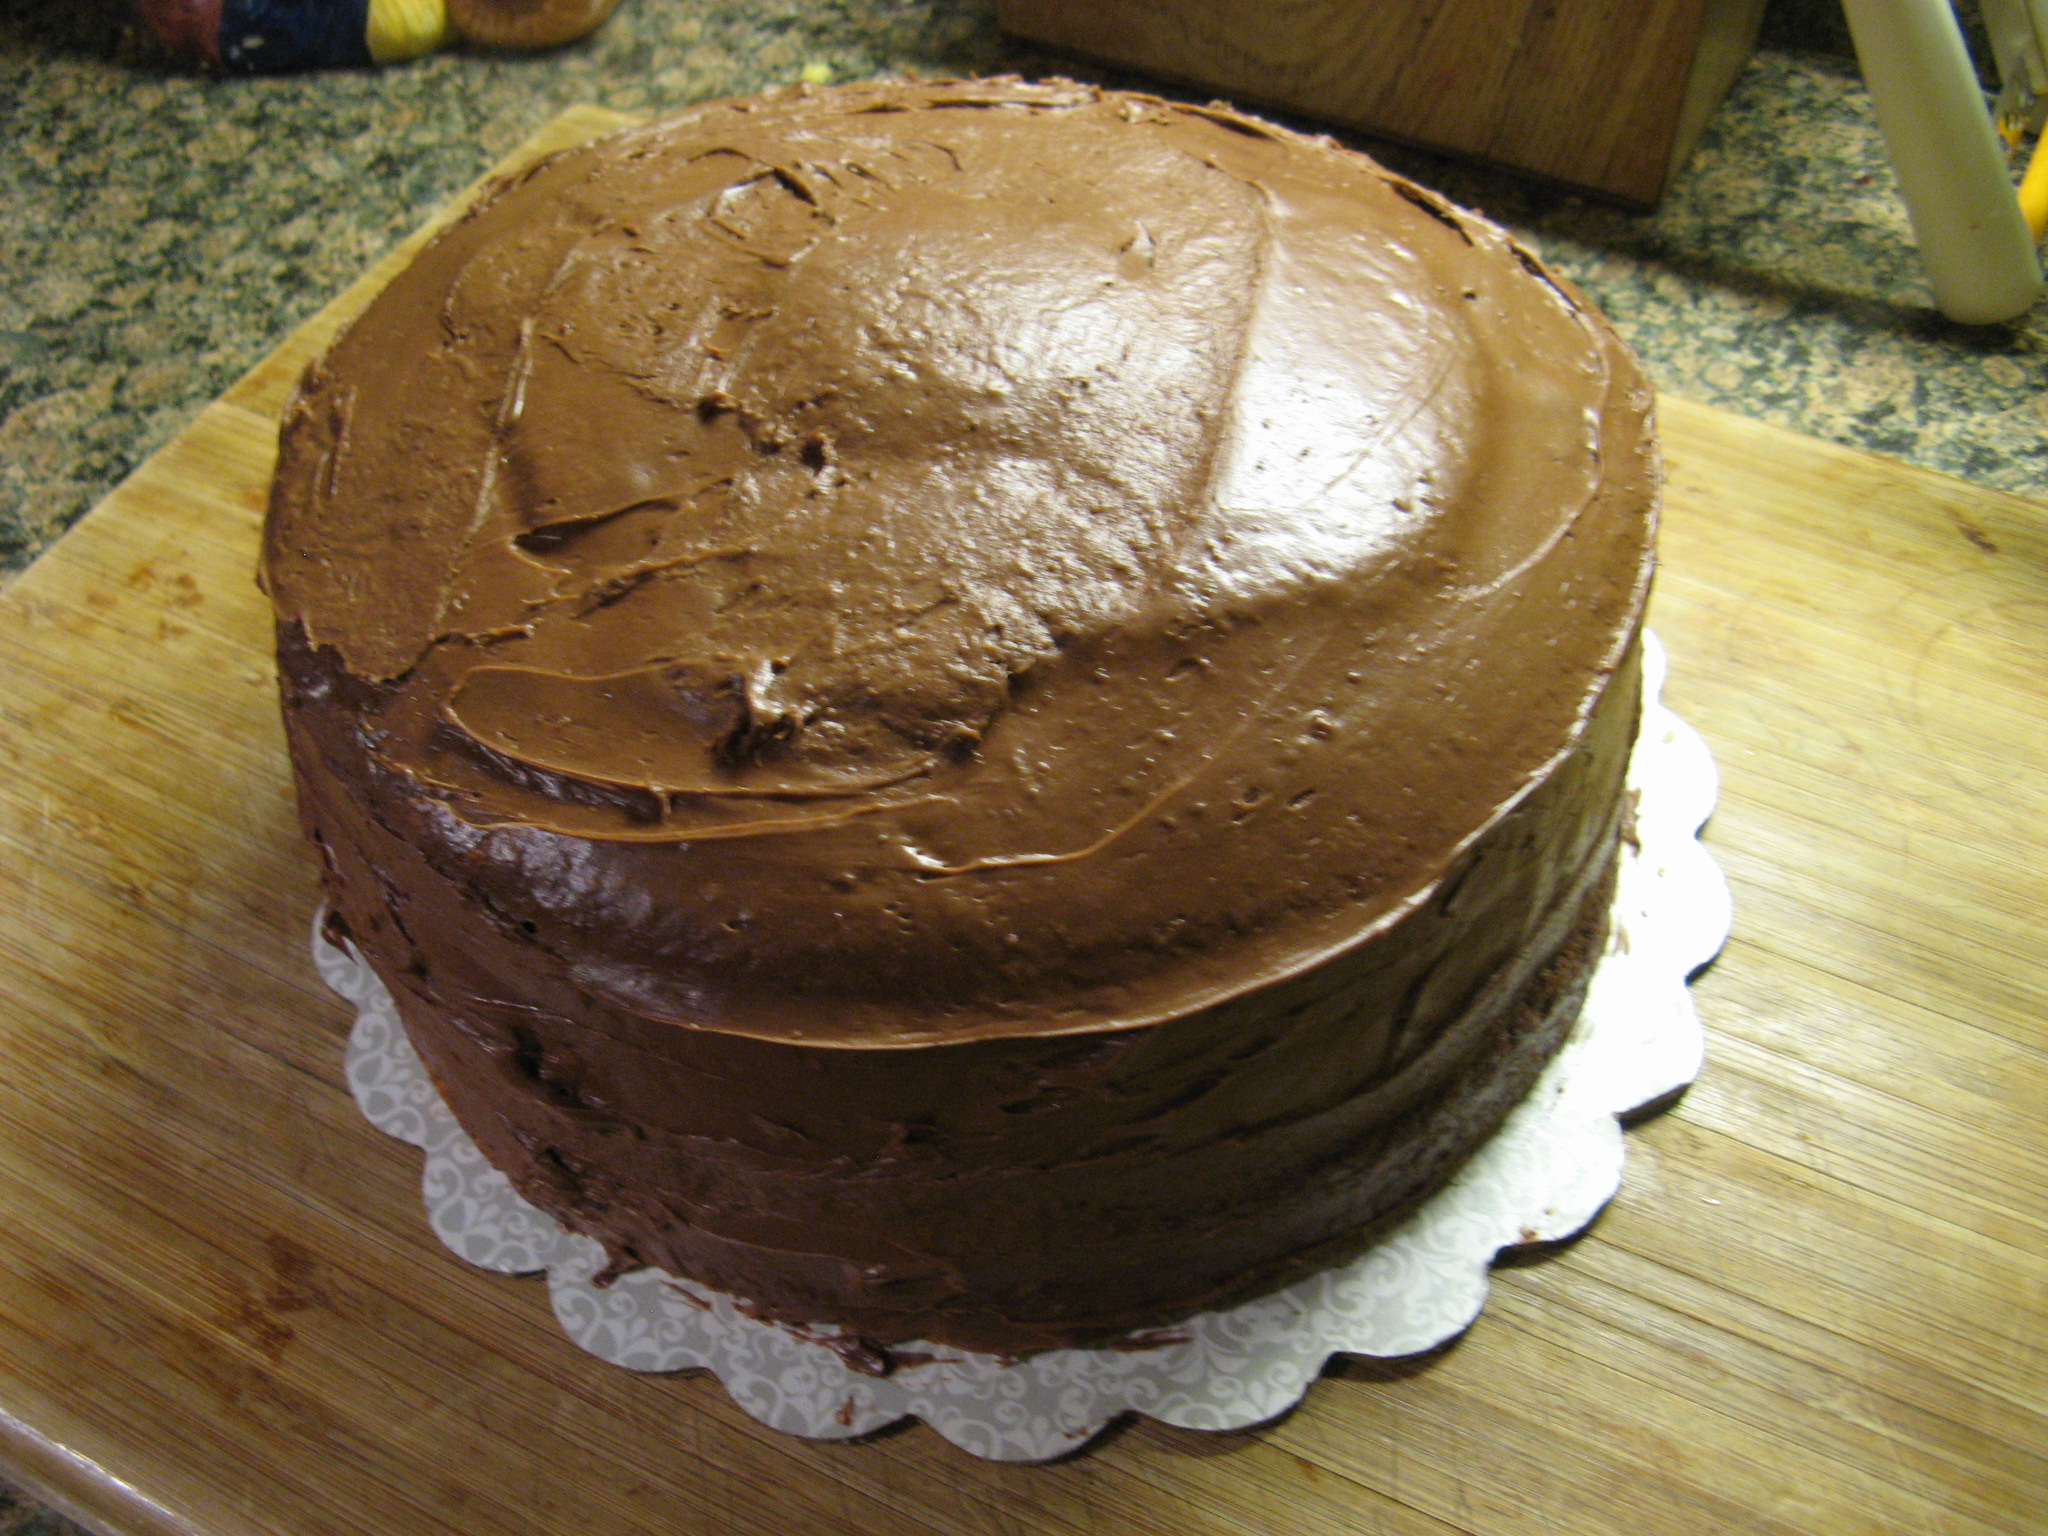
And finally the third layer…

IMG_2224

I’ll admit the final product was a bit lopsided and could have used a little extra frosting (I used two containers of Betty Crocker’s Milk Chocolate Frosting to get to this point) but this was an afternoon whim of baking to see if the technique would work.

IMG_2225

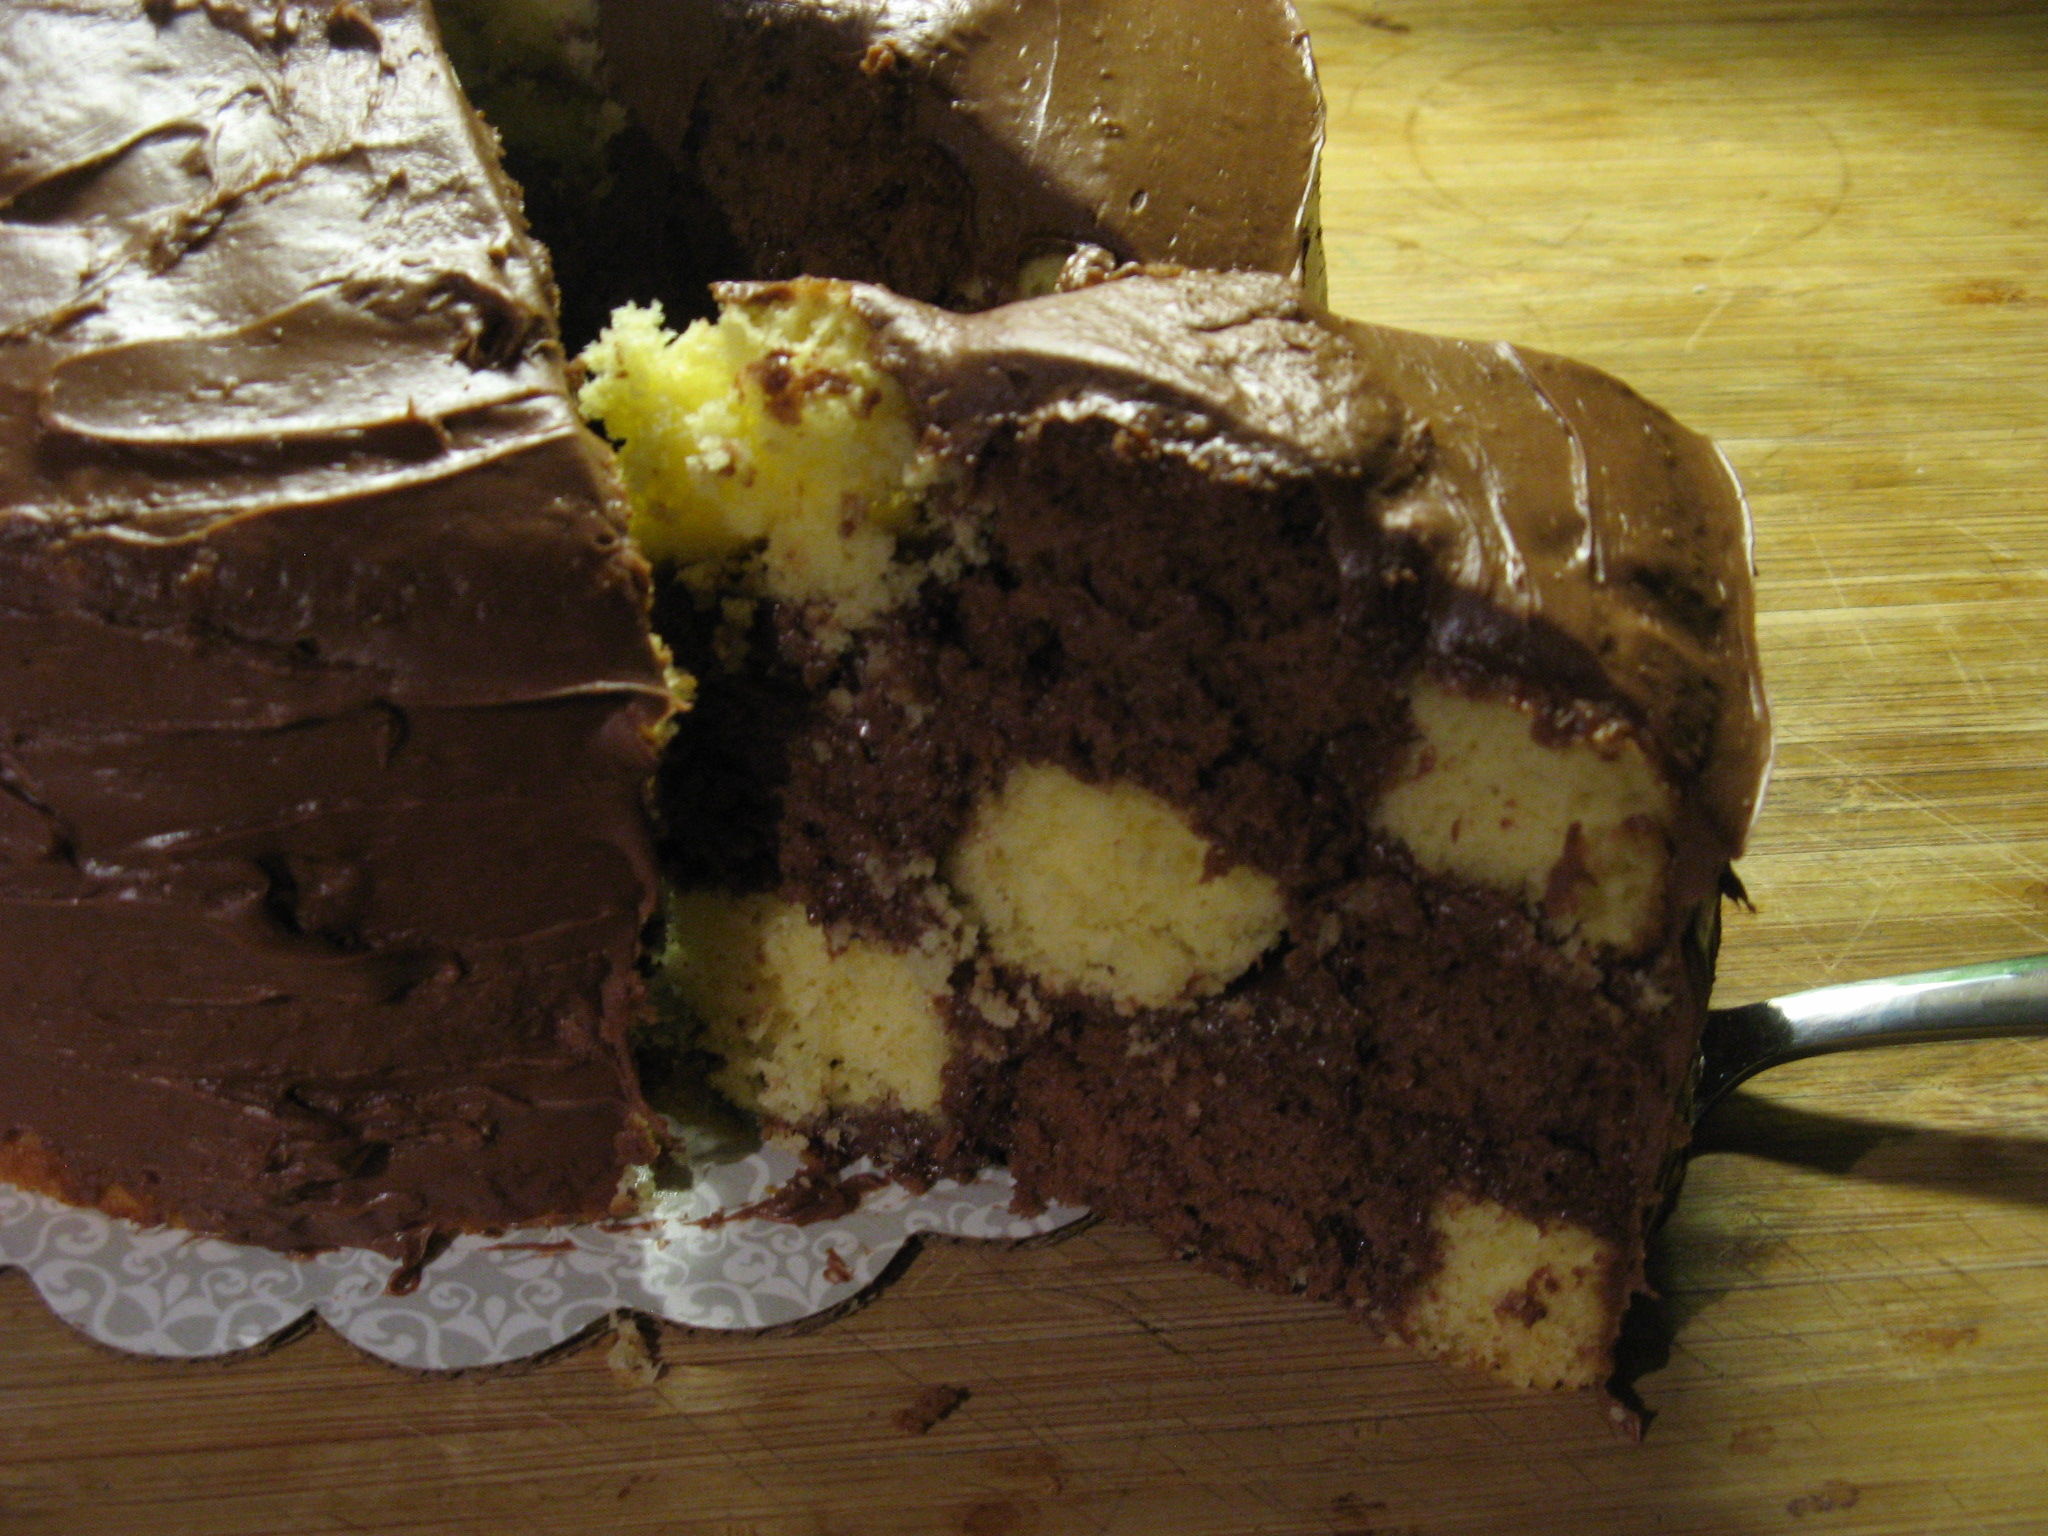
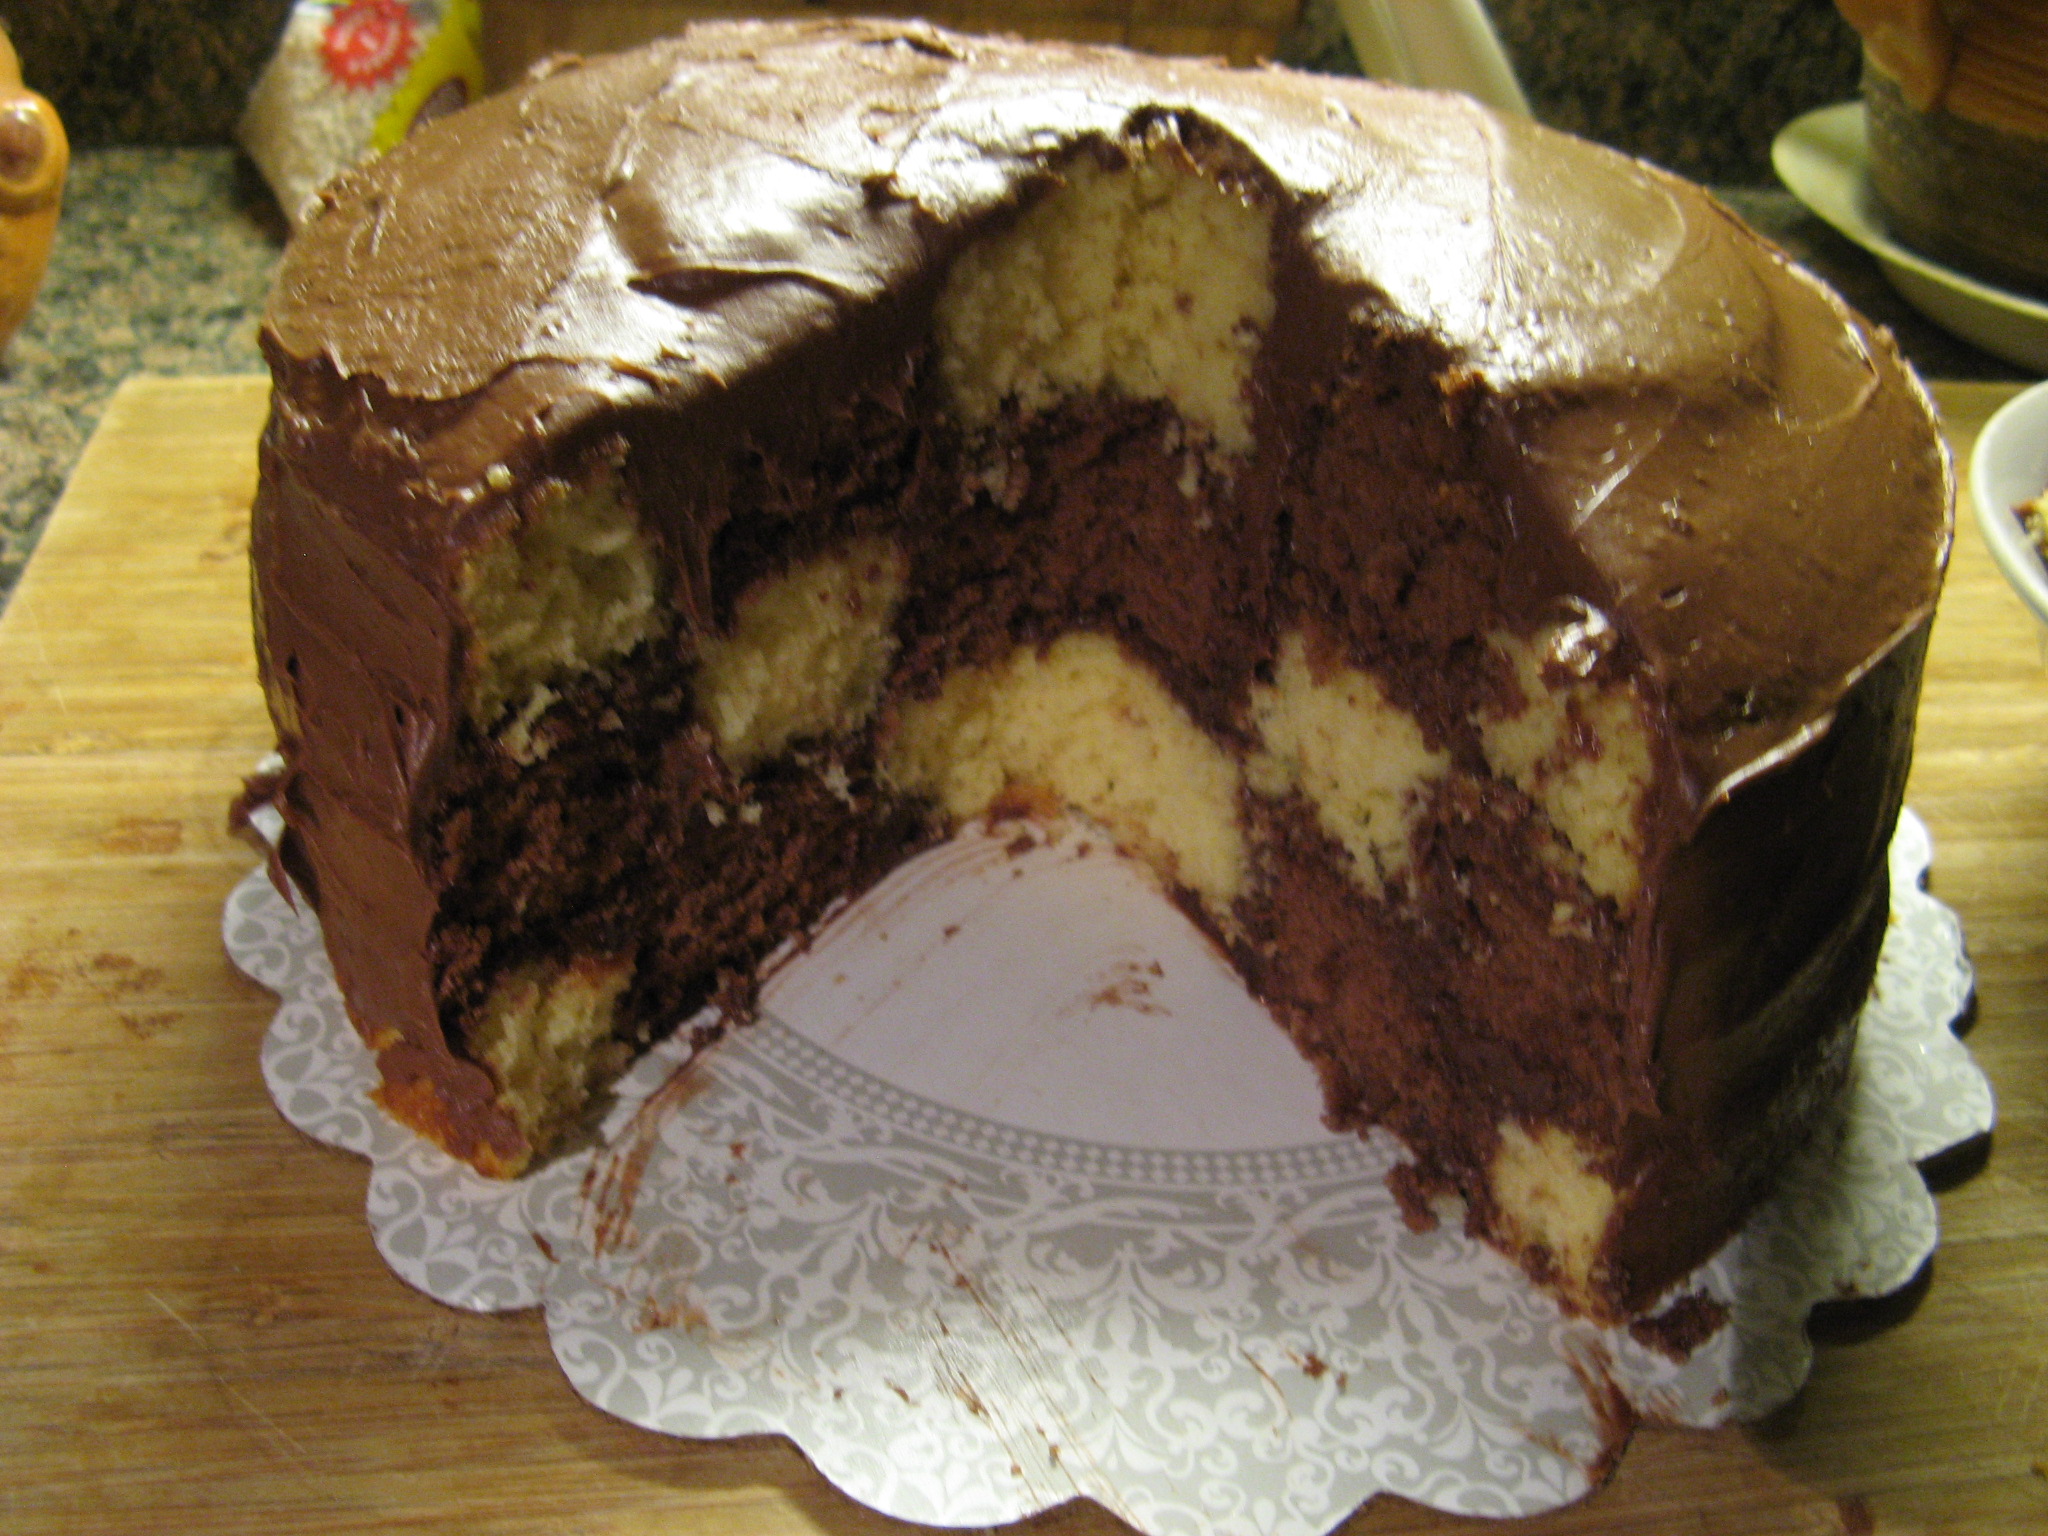
And the moment of truth… I got a pretty decent looking checkerboard!!! The saying is true… If at first you don’t succeed try, try, try again. And I’ll definitely be trying it again with more time and frosting.

IMG_2227 IMG_2234

Christmas Crafting

With Christmas just a few days away I finally got my cards in the mail the other day. I was so gung-ho about making them super early this year – I took out all of my supplies for them back in late October and put it on my crafting table all ready to go, but, got sidetracked with a few other Christmas crafts I wanted to get done first.

So, while I only have one main door to hang a wreath on – as most people – I ended up making three new wreaths this year. I only planned on making a new garland wreath to replace the one I made a few years back but while searching for ideas for that one I came across a yarn ball wreath that I had many of the supplies for – mainly yarn – and then I got an email that described how to make an ornament ball wreath in perfect detail. I tried making one of these a few years ago and didn’t have much success.

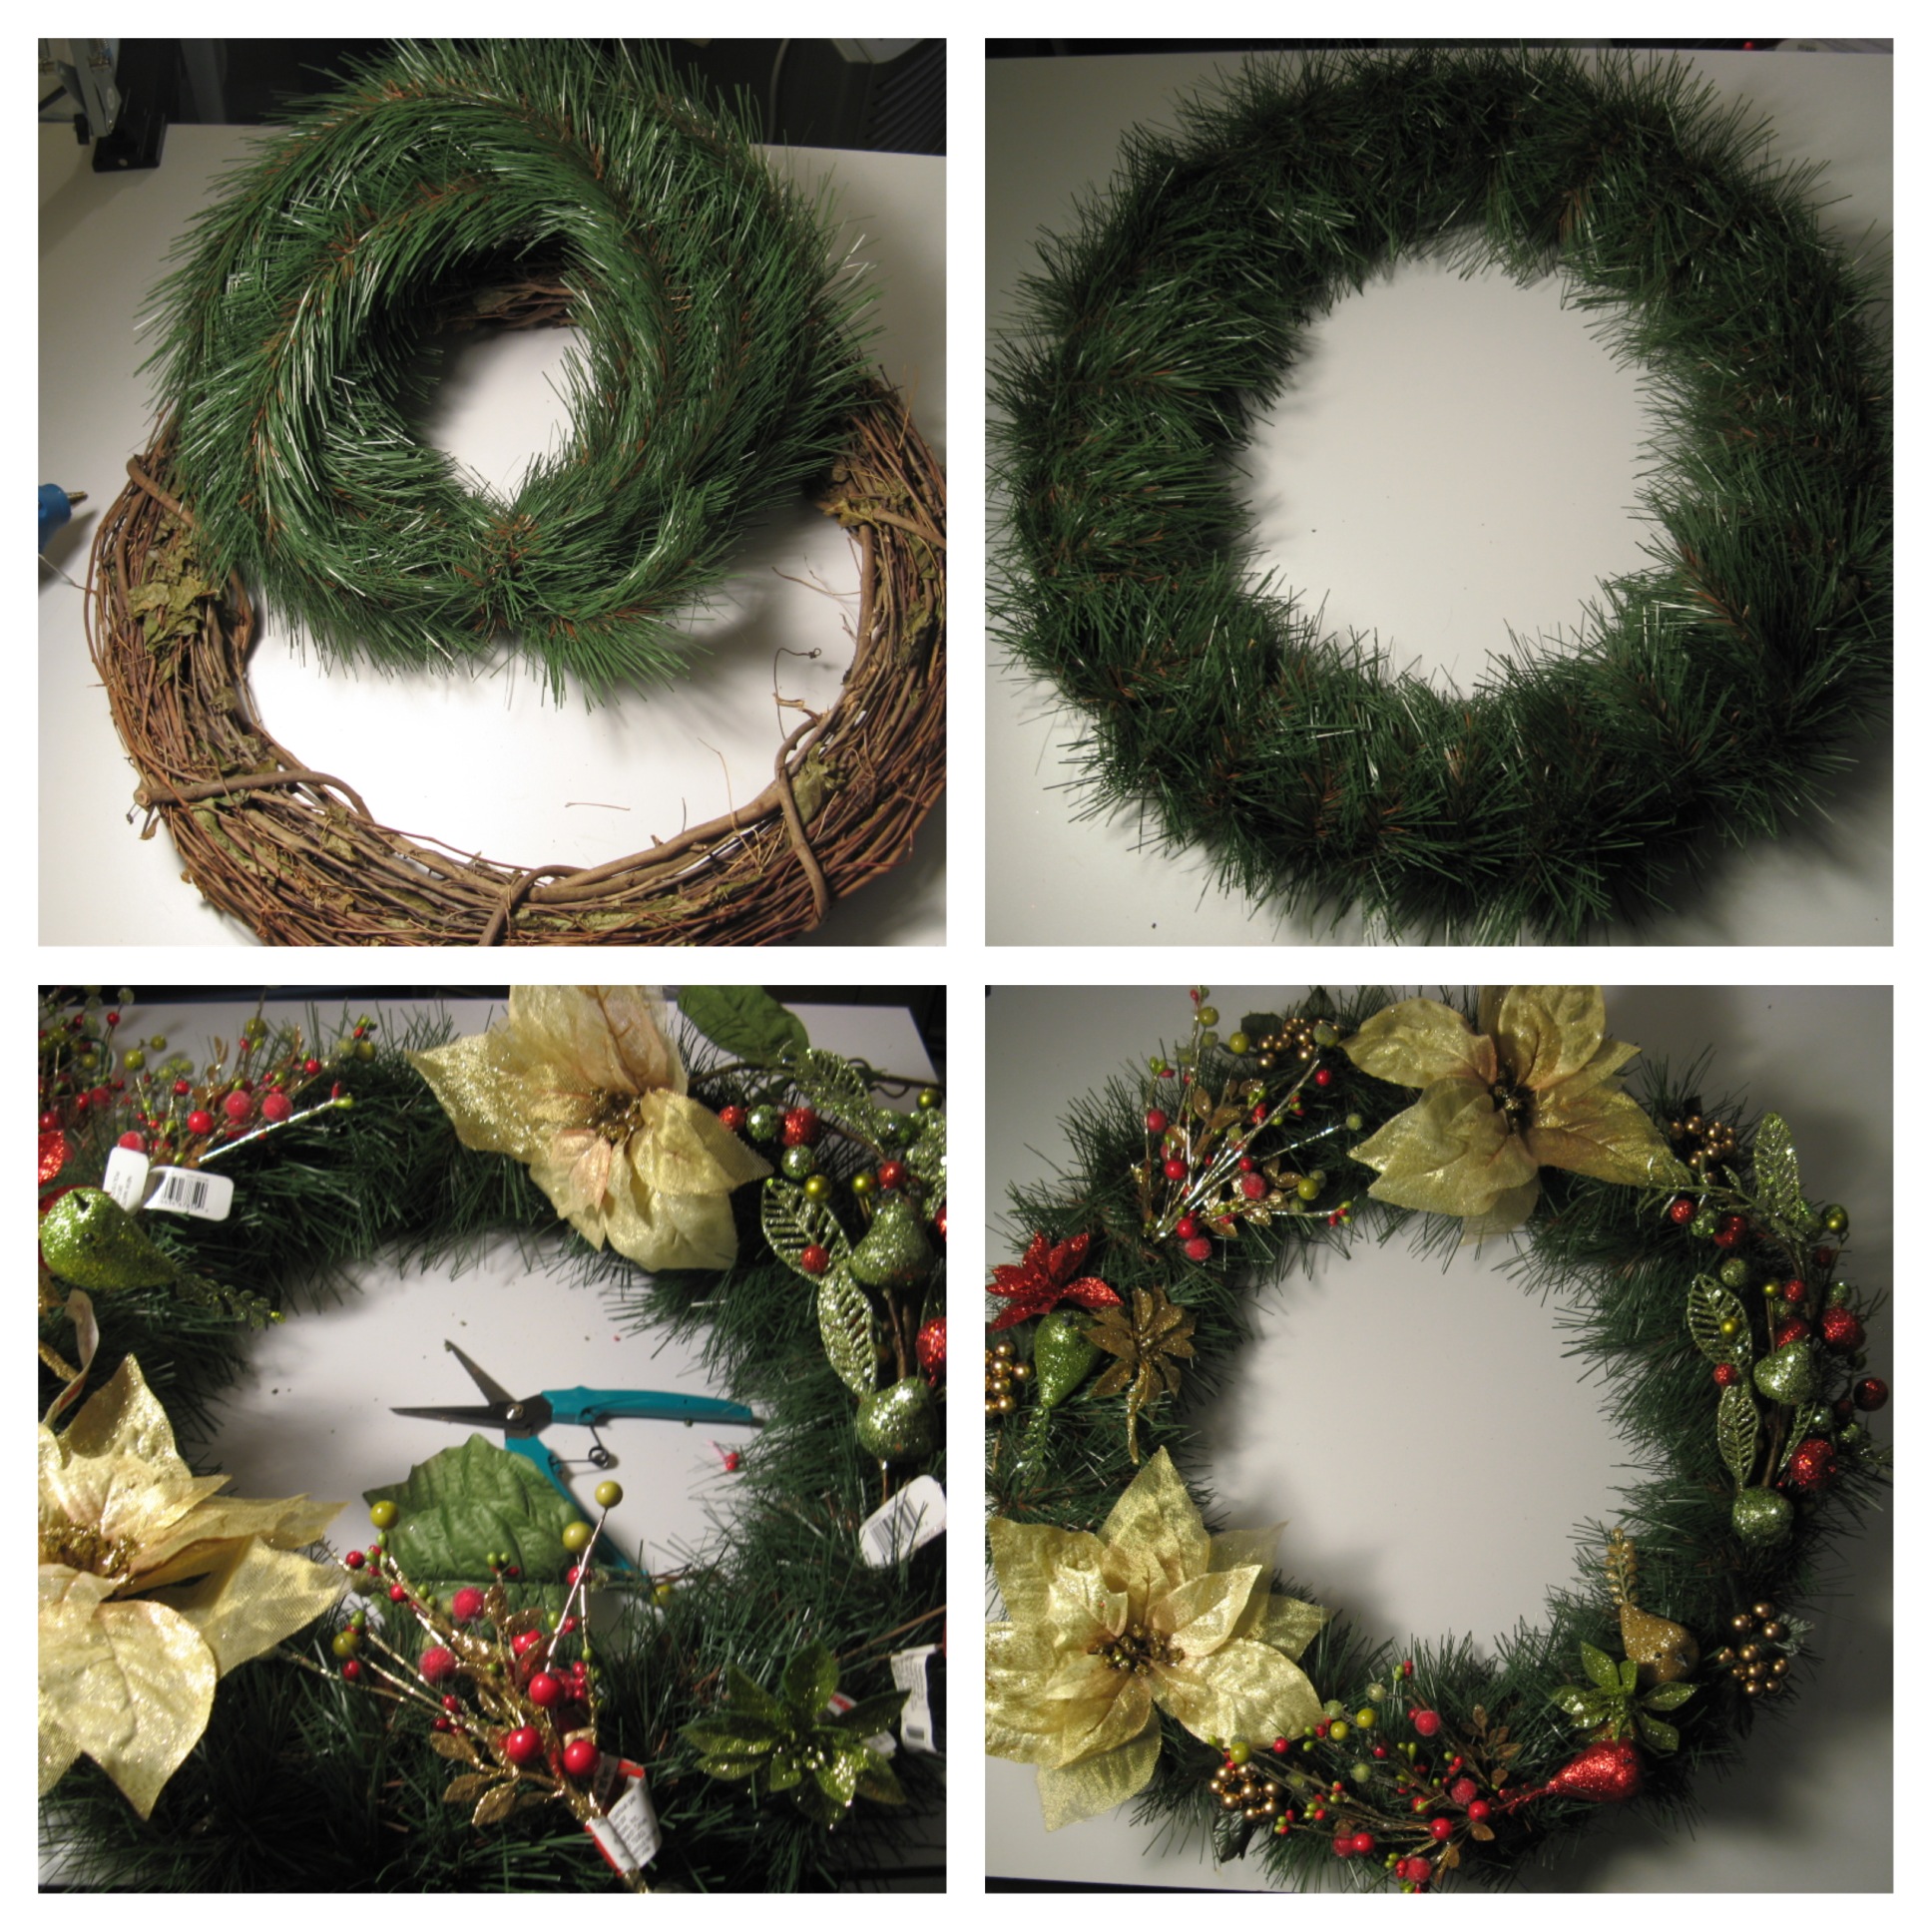
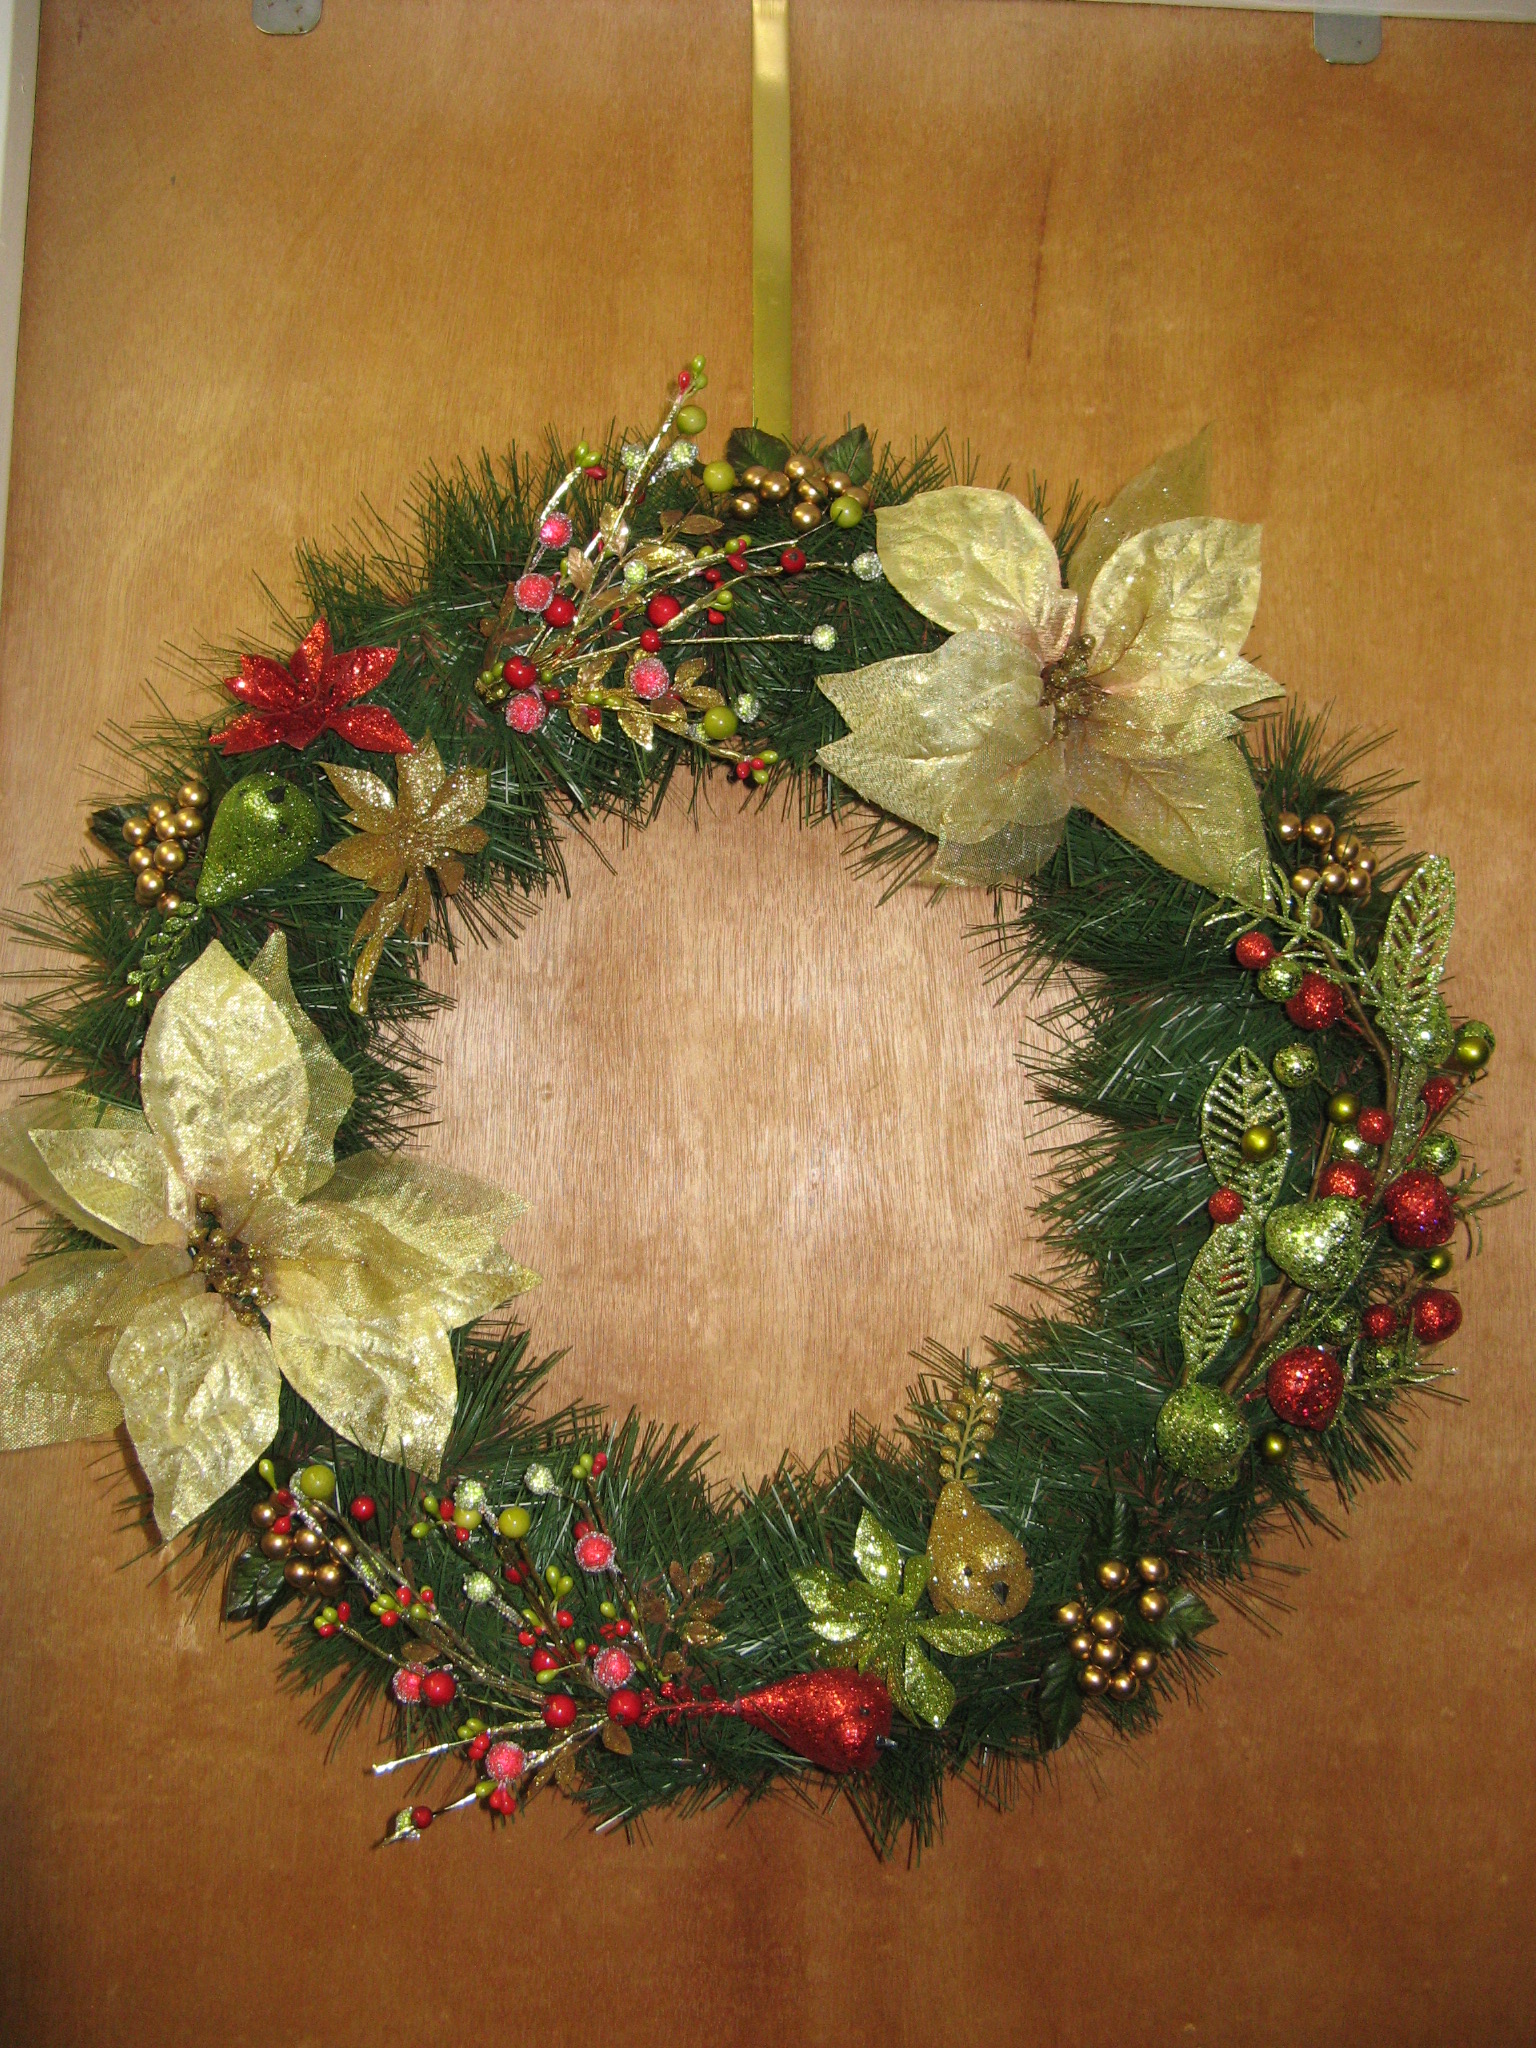
Up first… the Garland Wreath. While my local craft store did have those green wreaths I could have just bought and decorated I wasn’t too fond of the way they looked – that’s actually what my original wreath is made with and I never really liked it because of it – so I opted to wrap an 18″ grapevine wreath with garland. After that was done I then decorated it with various Christmas picks. I bought and returned quite a few of them before I was happy with the layout. This is actually the wreath that made it to my front door.

Garland Wreath 2 IMG_2027

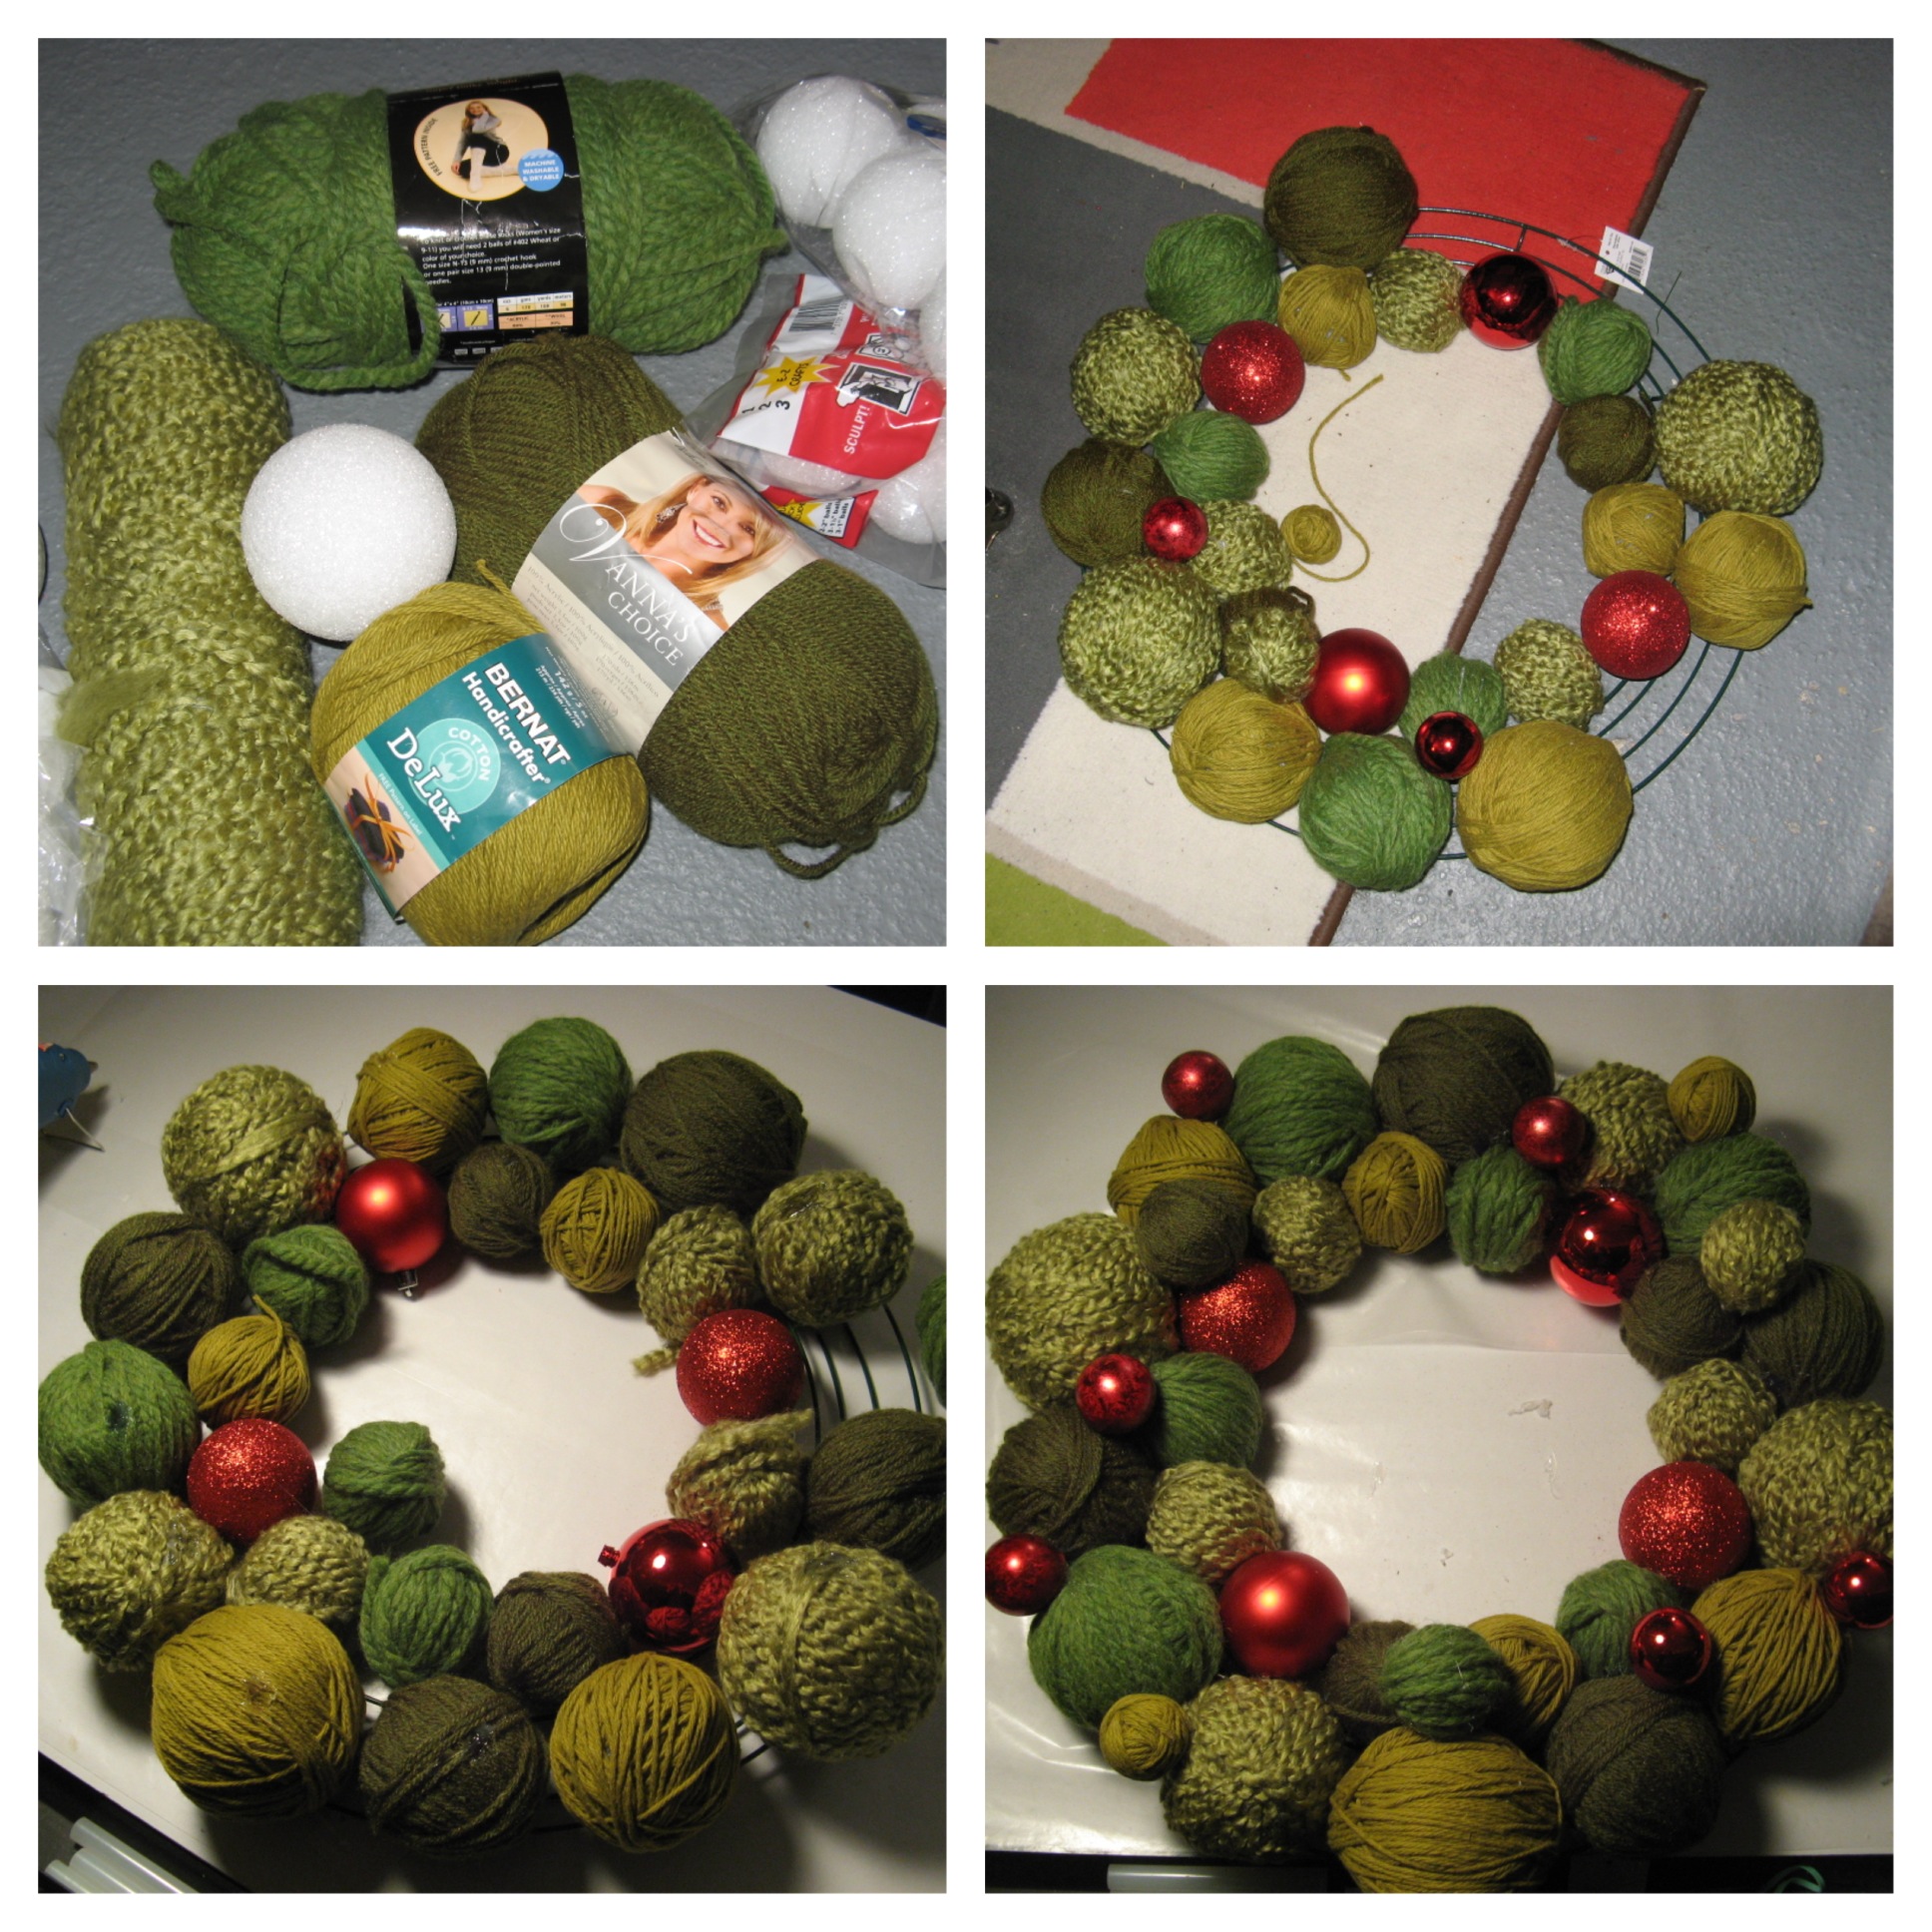
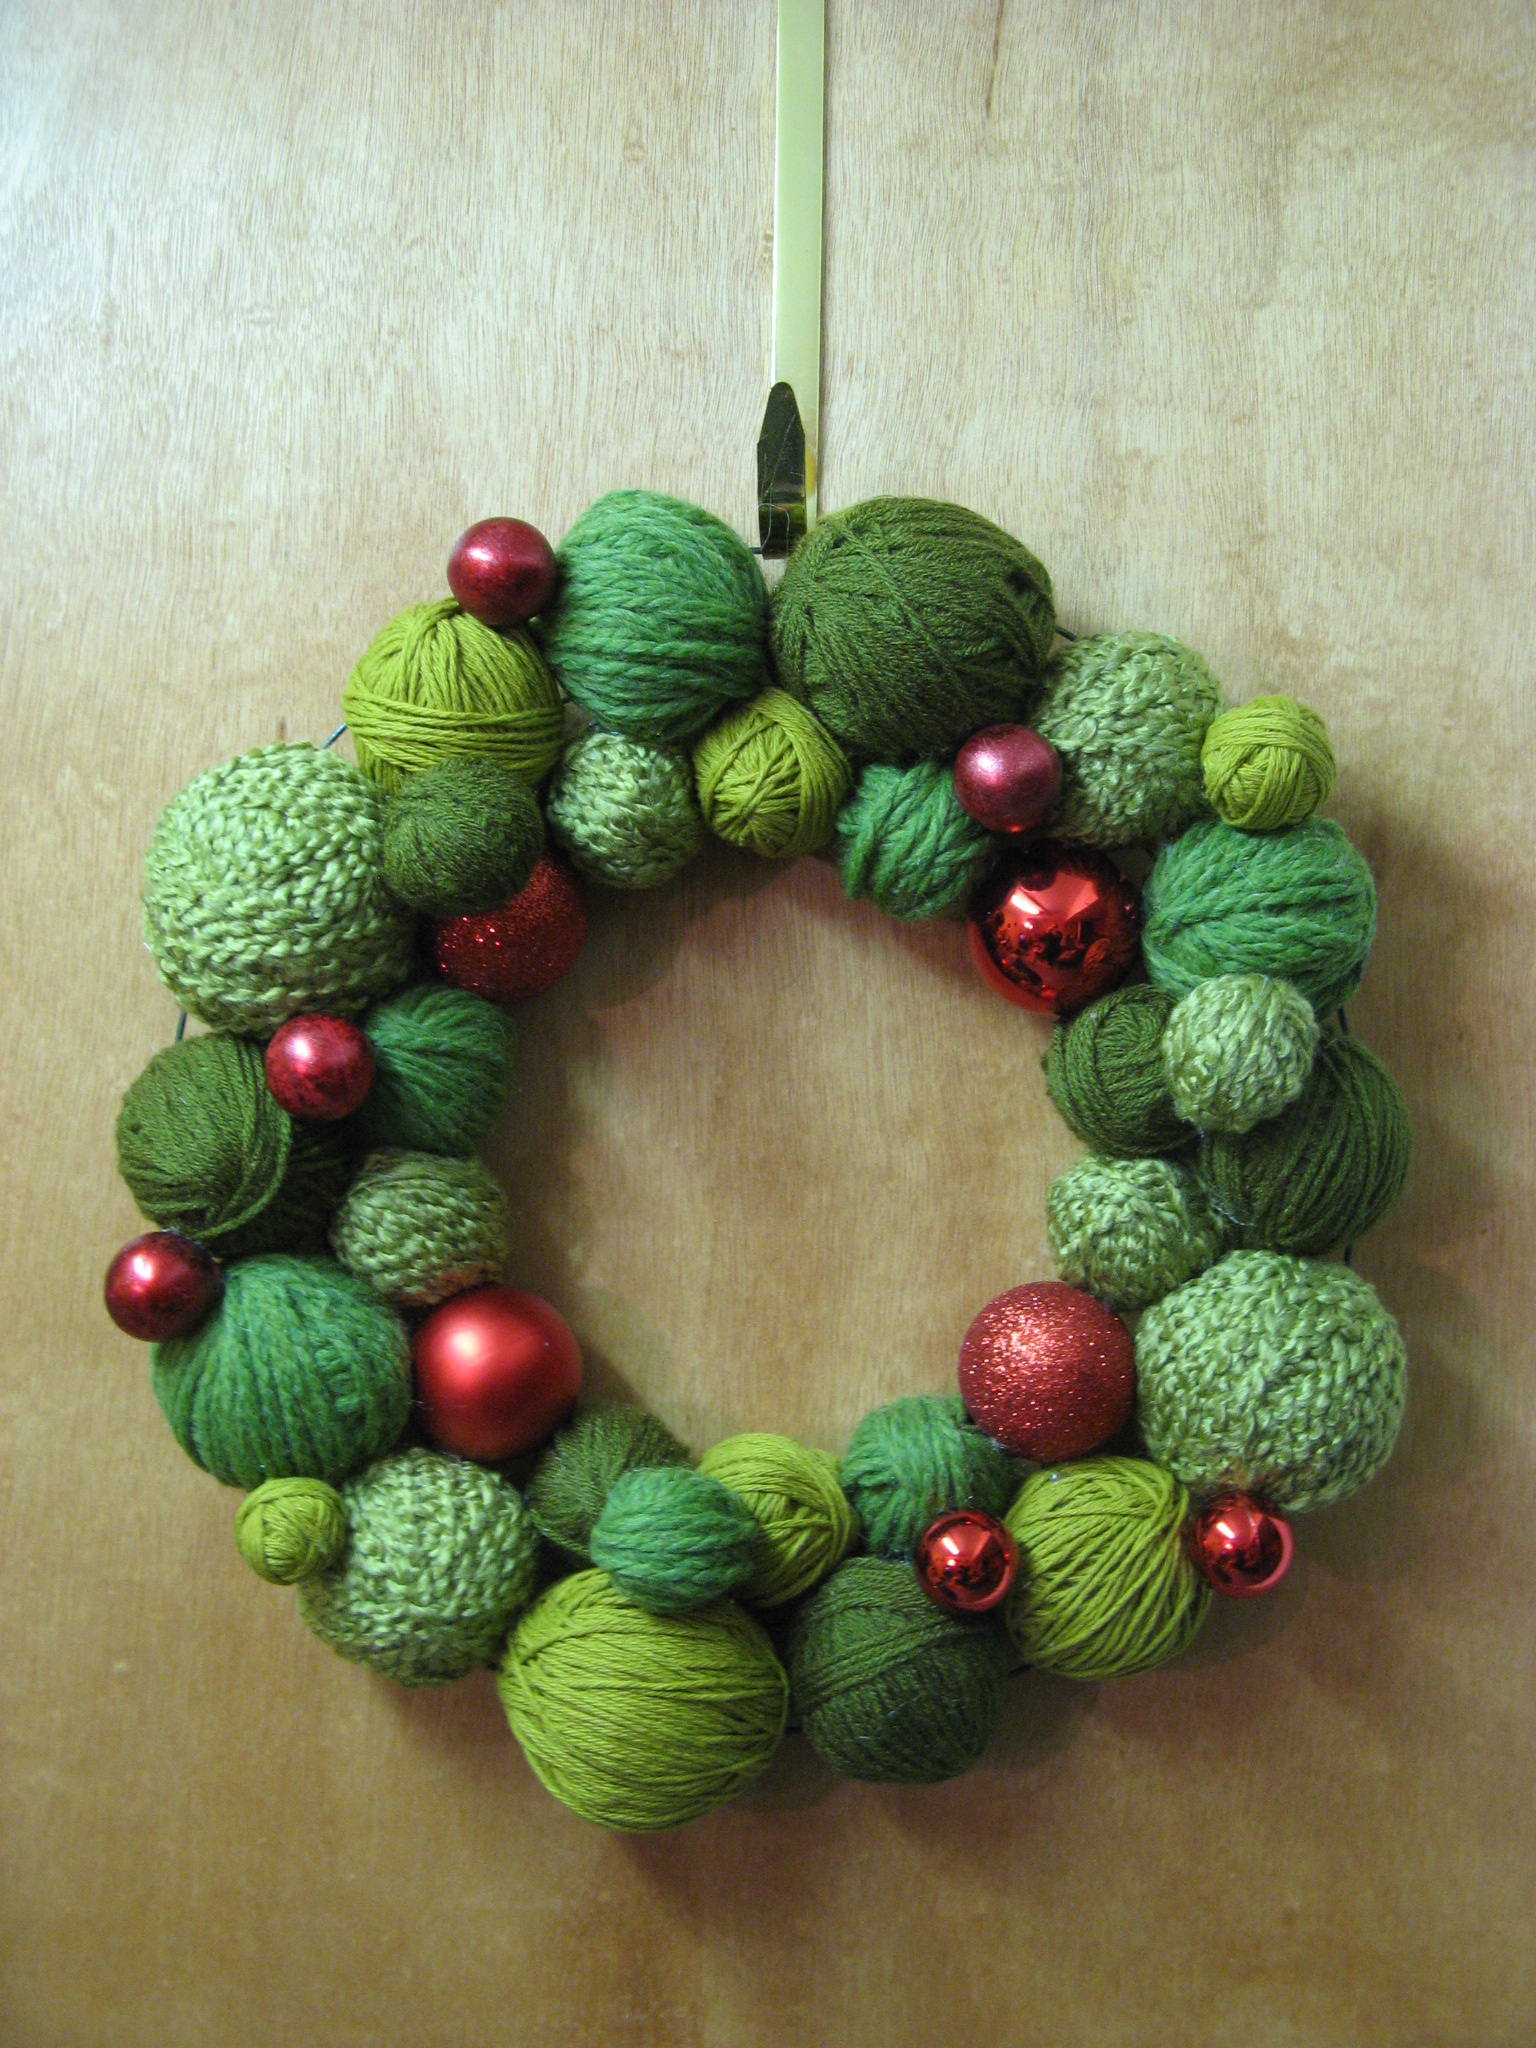
Then there’s the Yarn Ball Wreath. I used different shades of green yarn I had leftover from different crocheting/knitting projects to wrap various sized Styrofoam balls. I then mapped out their placement on a wire wreath form and attached them using a hot glue gun. I then added in some red shatterproof ornaments for a pop of color and to make the wreath a bit more festive.

Yarn Wreath 2 IMG_2031

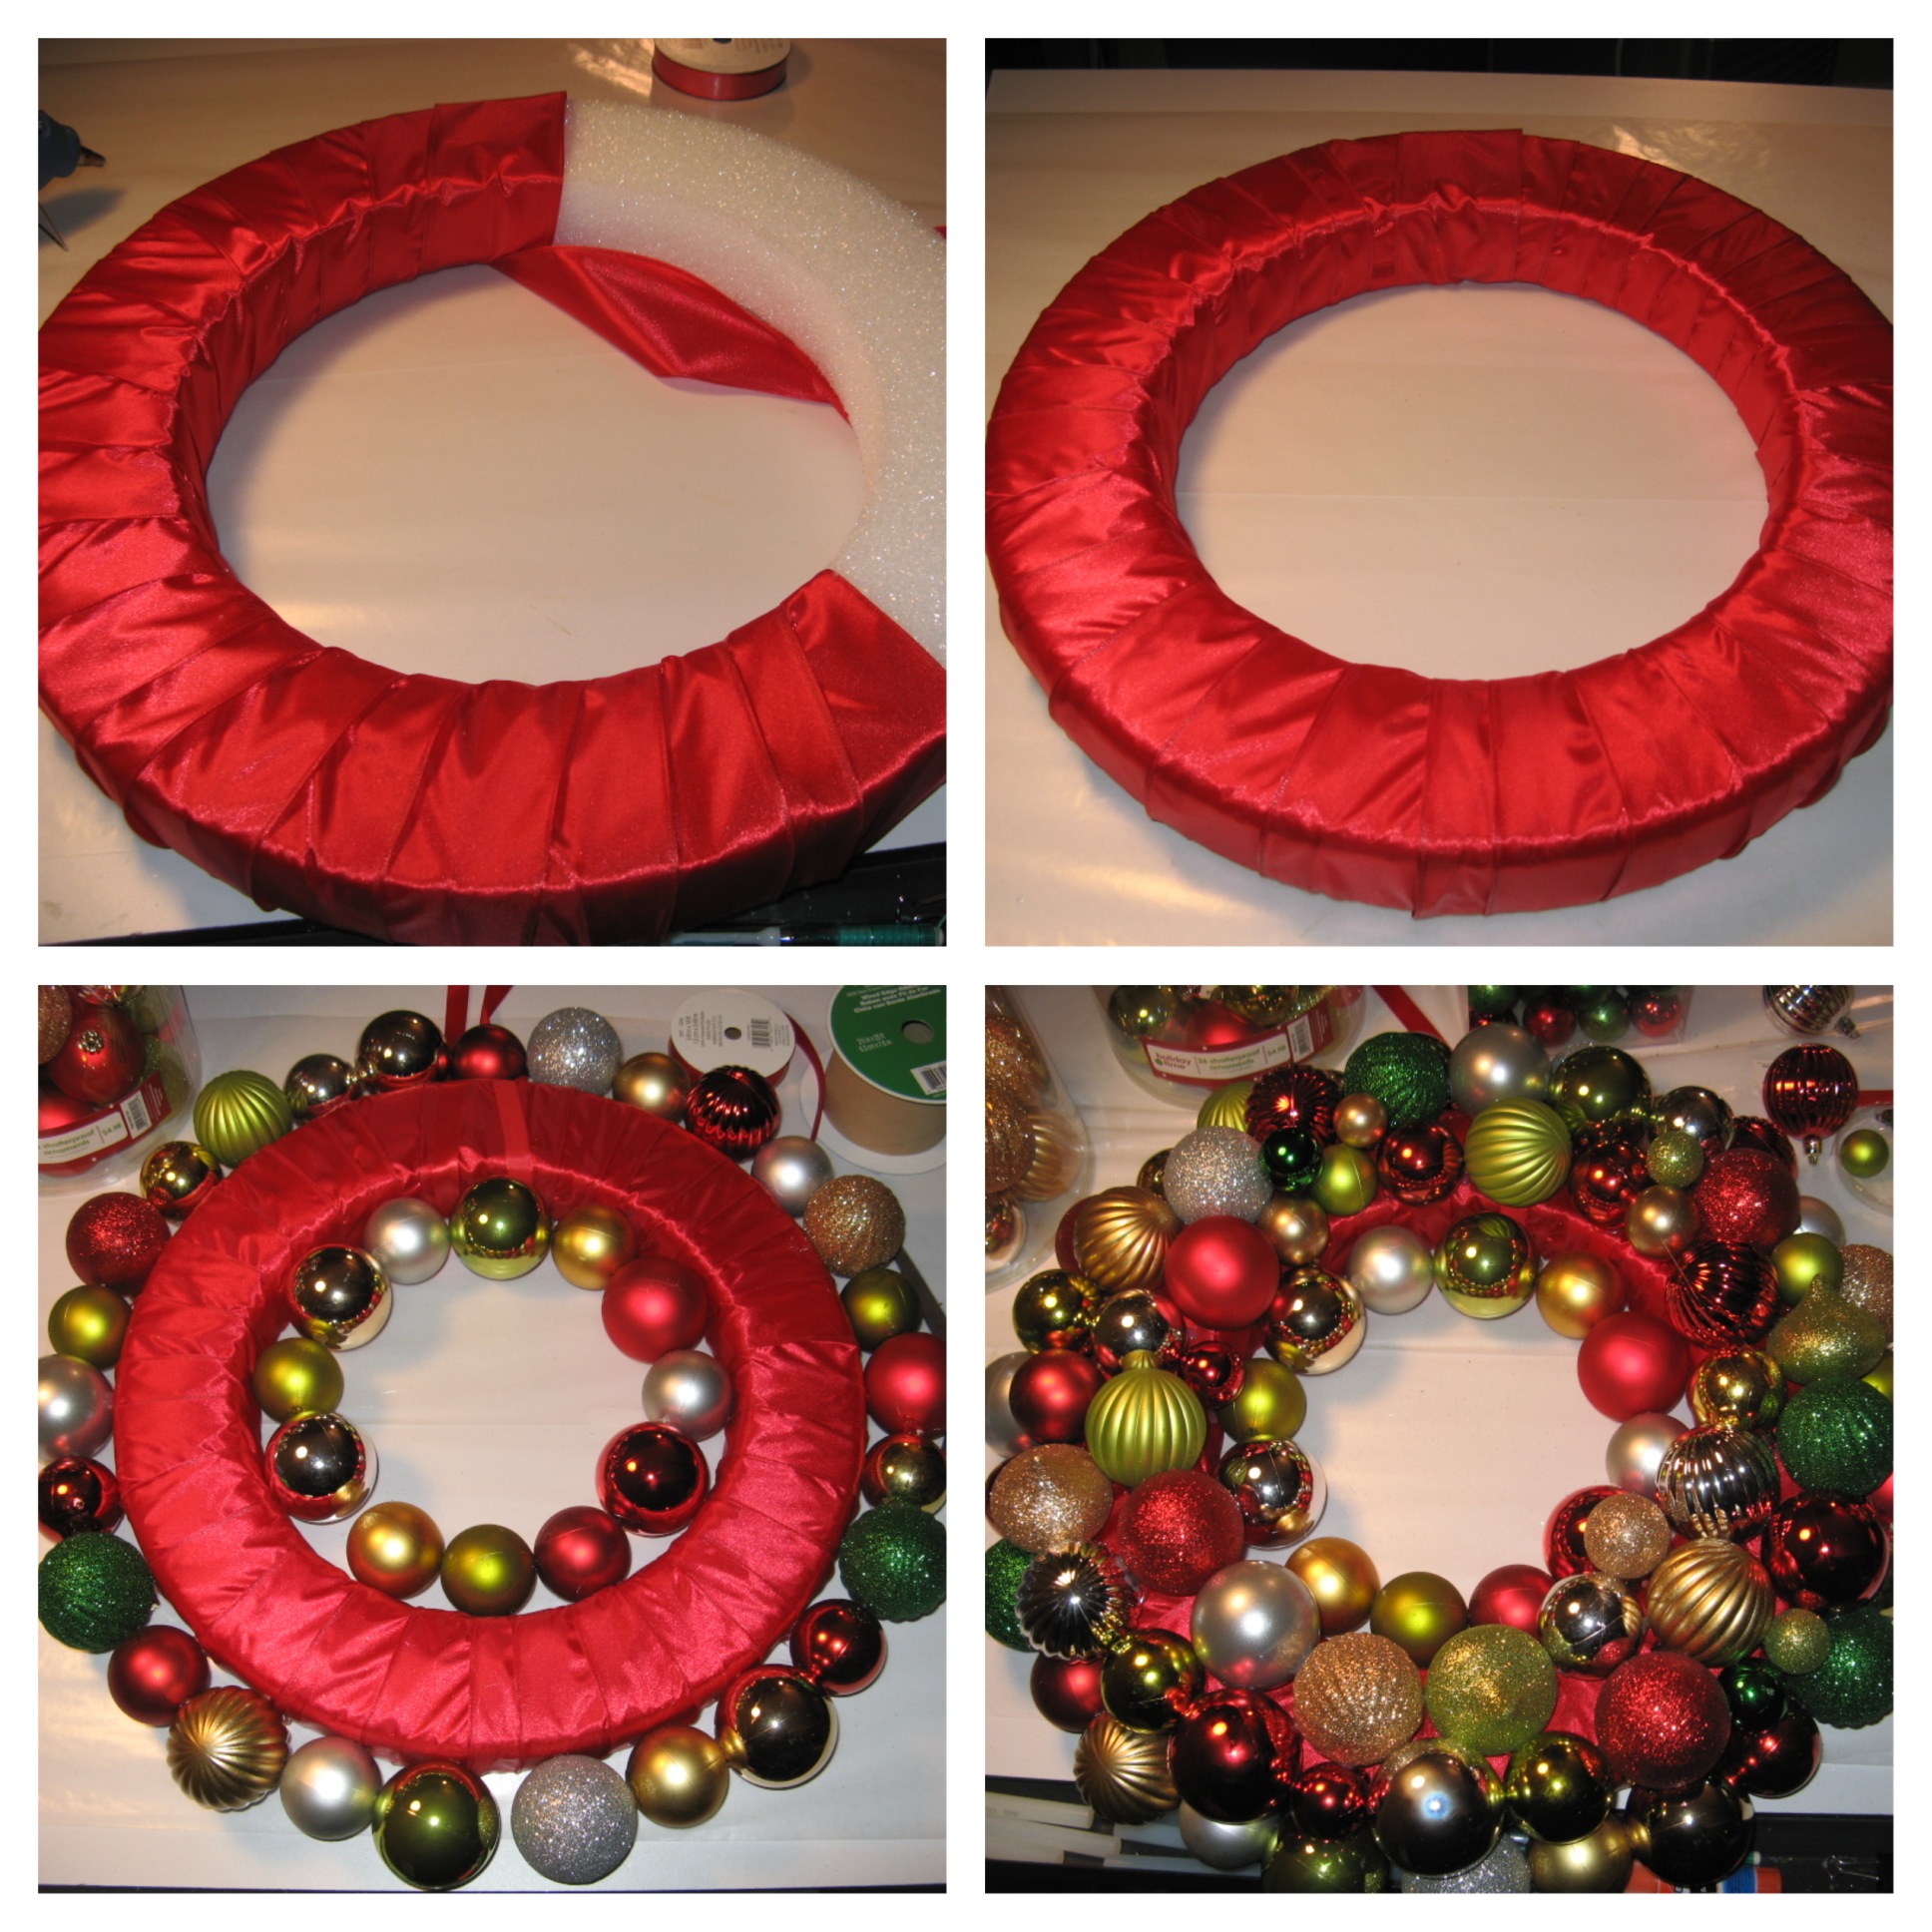
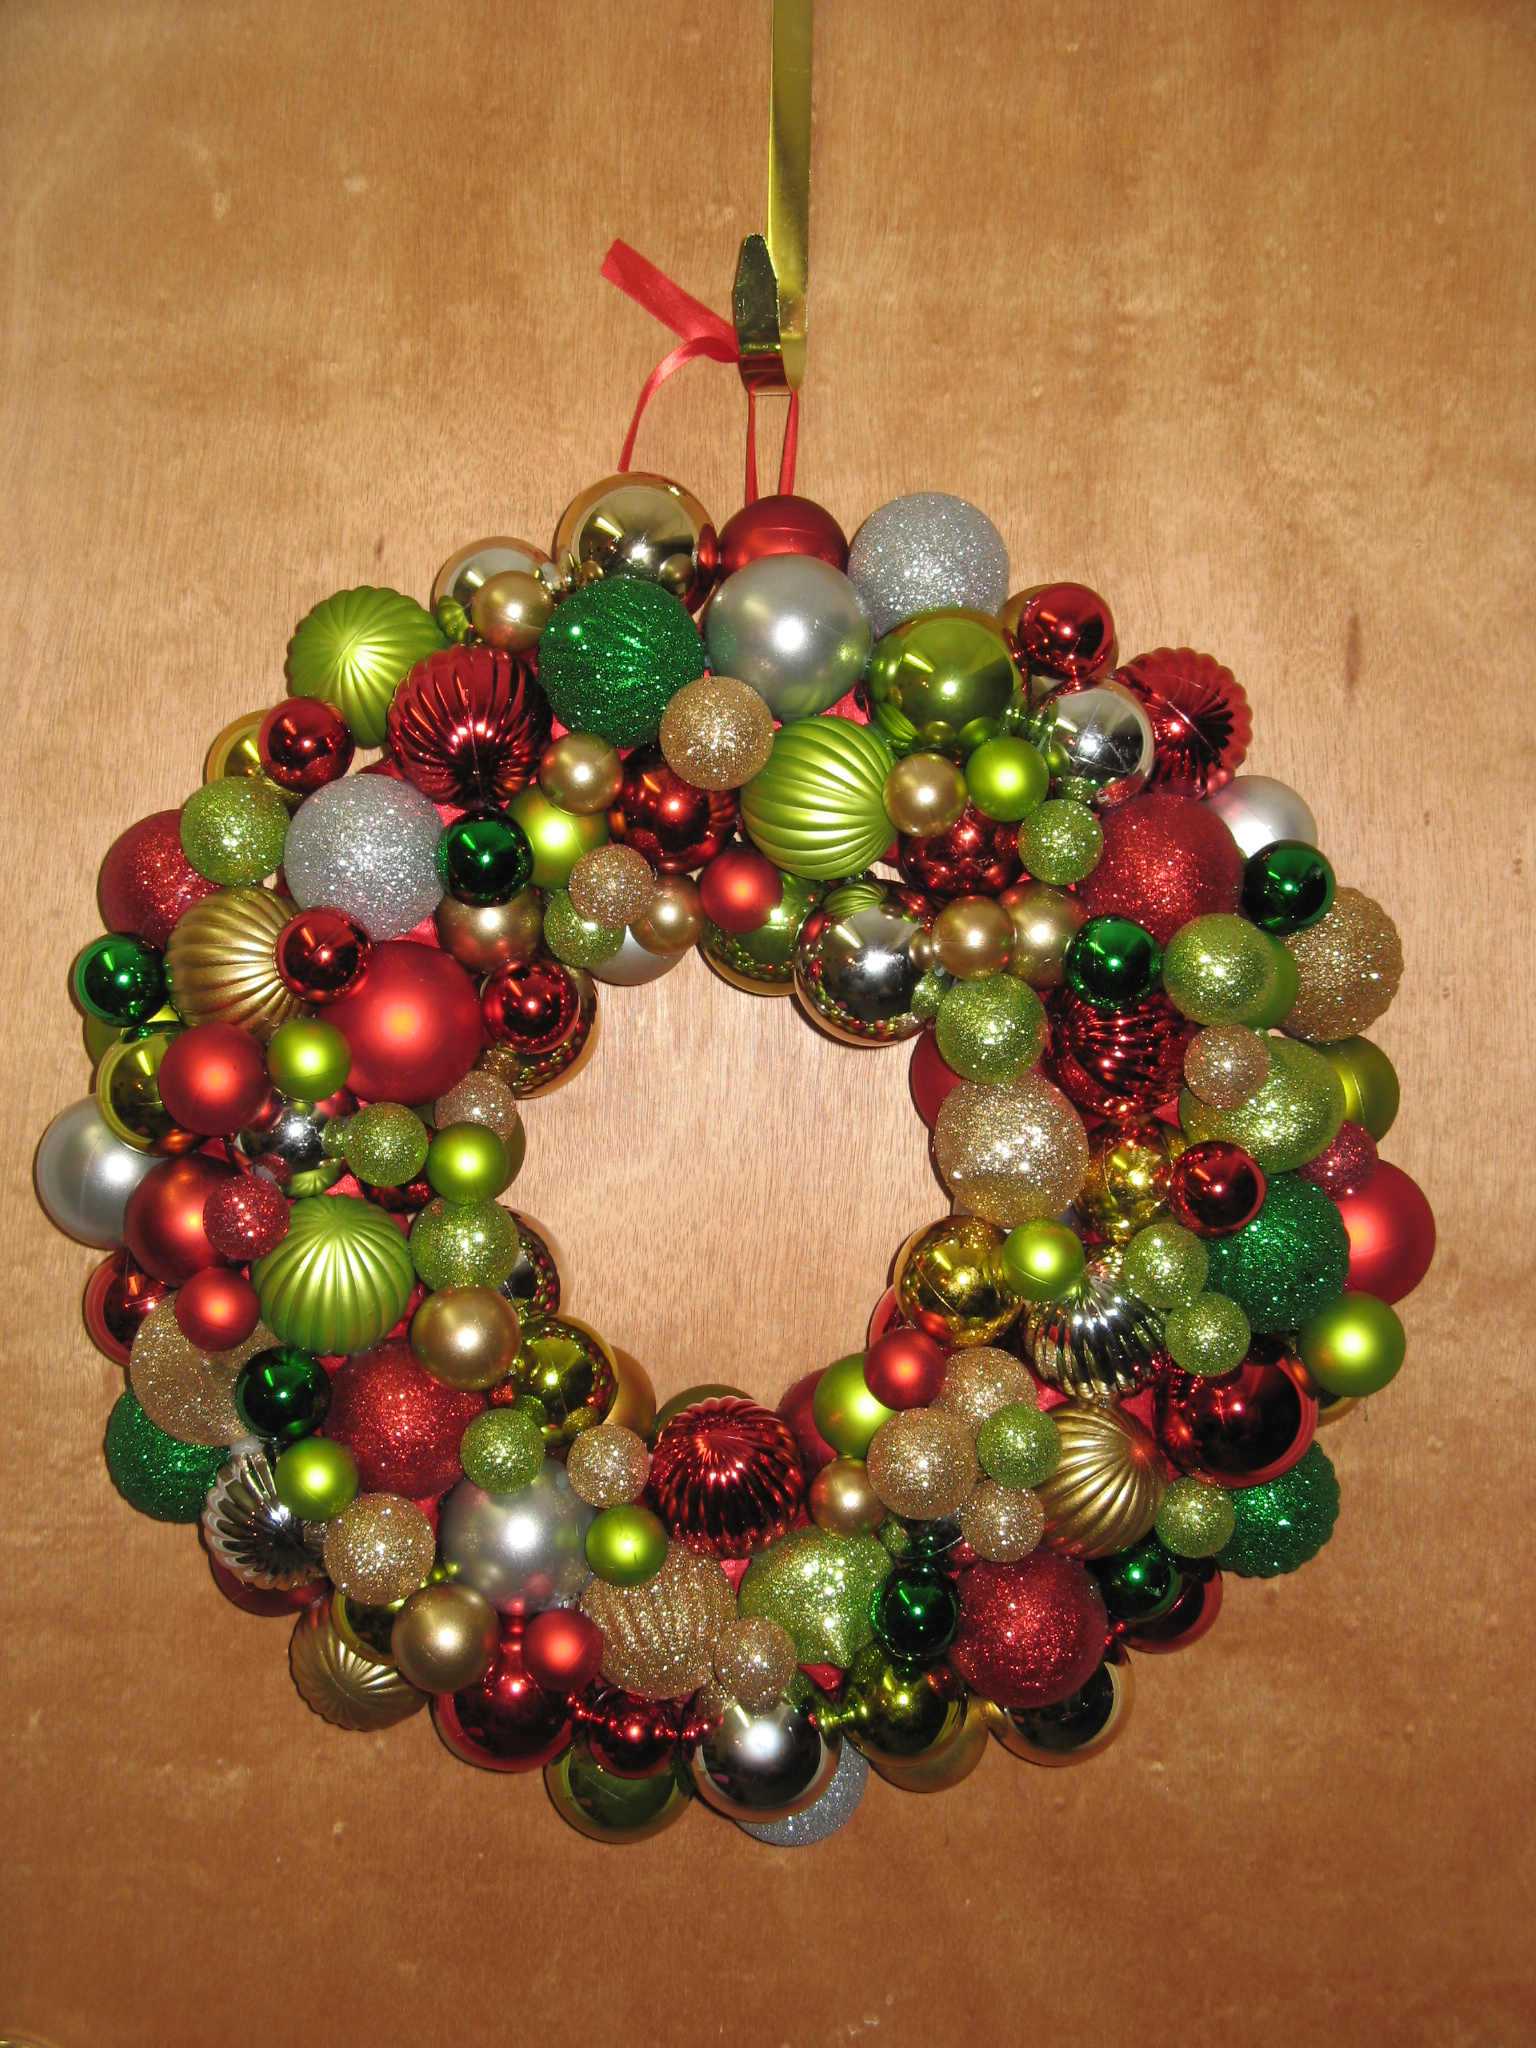
And finally, my favorite, the Ornament Ball Wreath. This was definitely the most time consuming, but, worth every minute. To begin I wrapped a Styrofoam ring with red ribbon tying a loop with the ribbon at one point so the wreath could be hung. I then lined the inside and outside of the ring with alternating sized shatterproof ornaments. I then filled in the flat part of the ring with various sized ornaments and finally – the part I couldn’t get too crazed with – I filled in the gaps with smaller sized ornaments. It’s very easy to go from beautiful to gaudy when adding the ornaments.

Ornament Wreath 2 IMG_2091

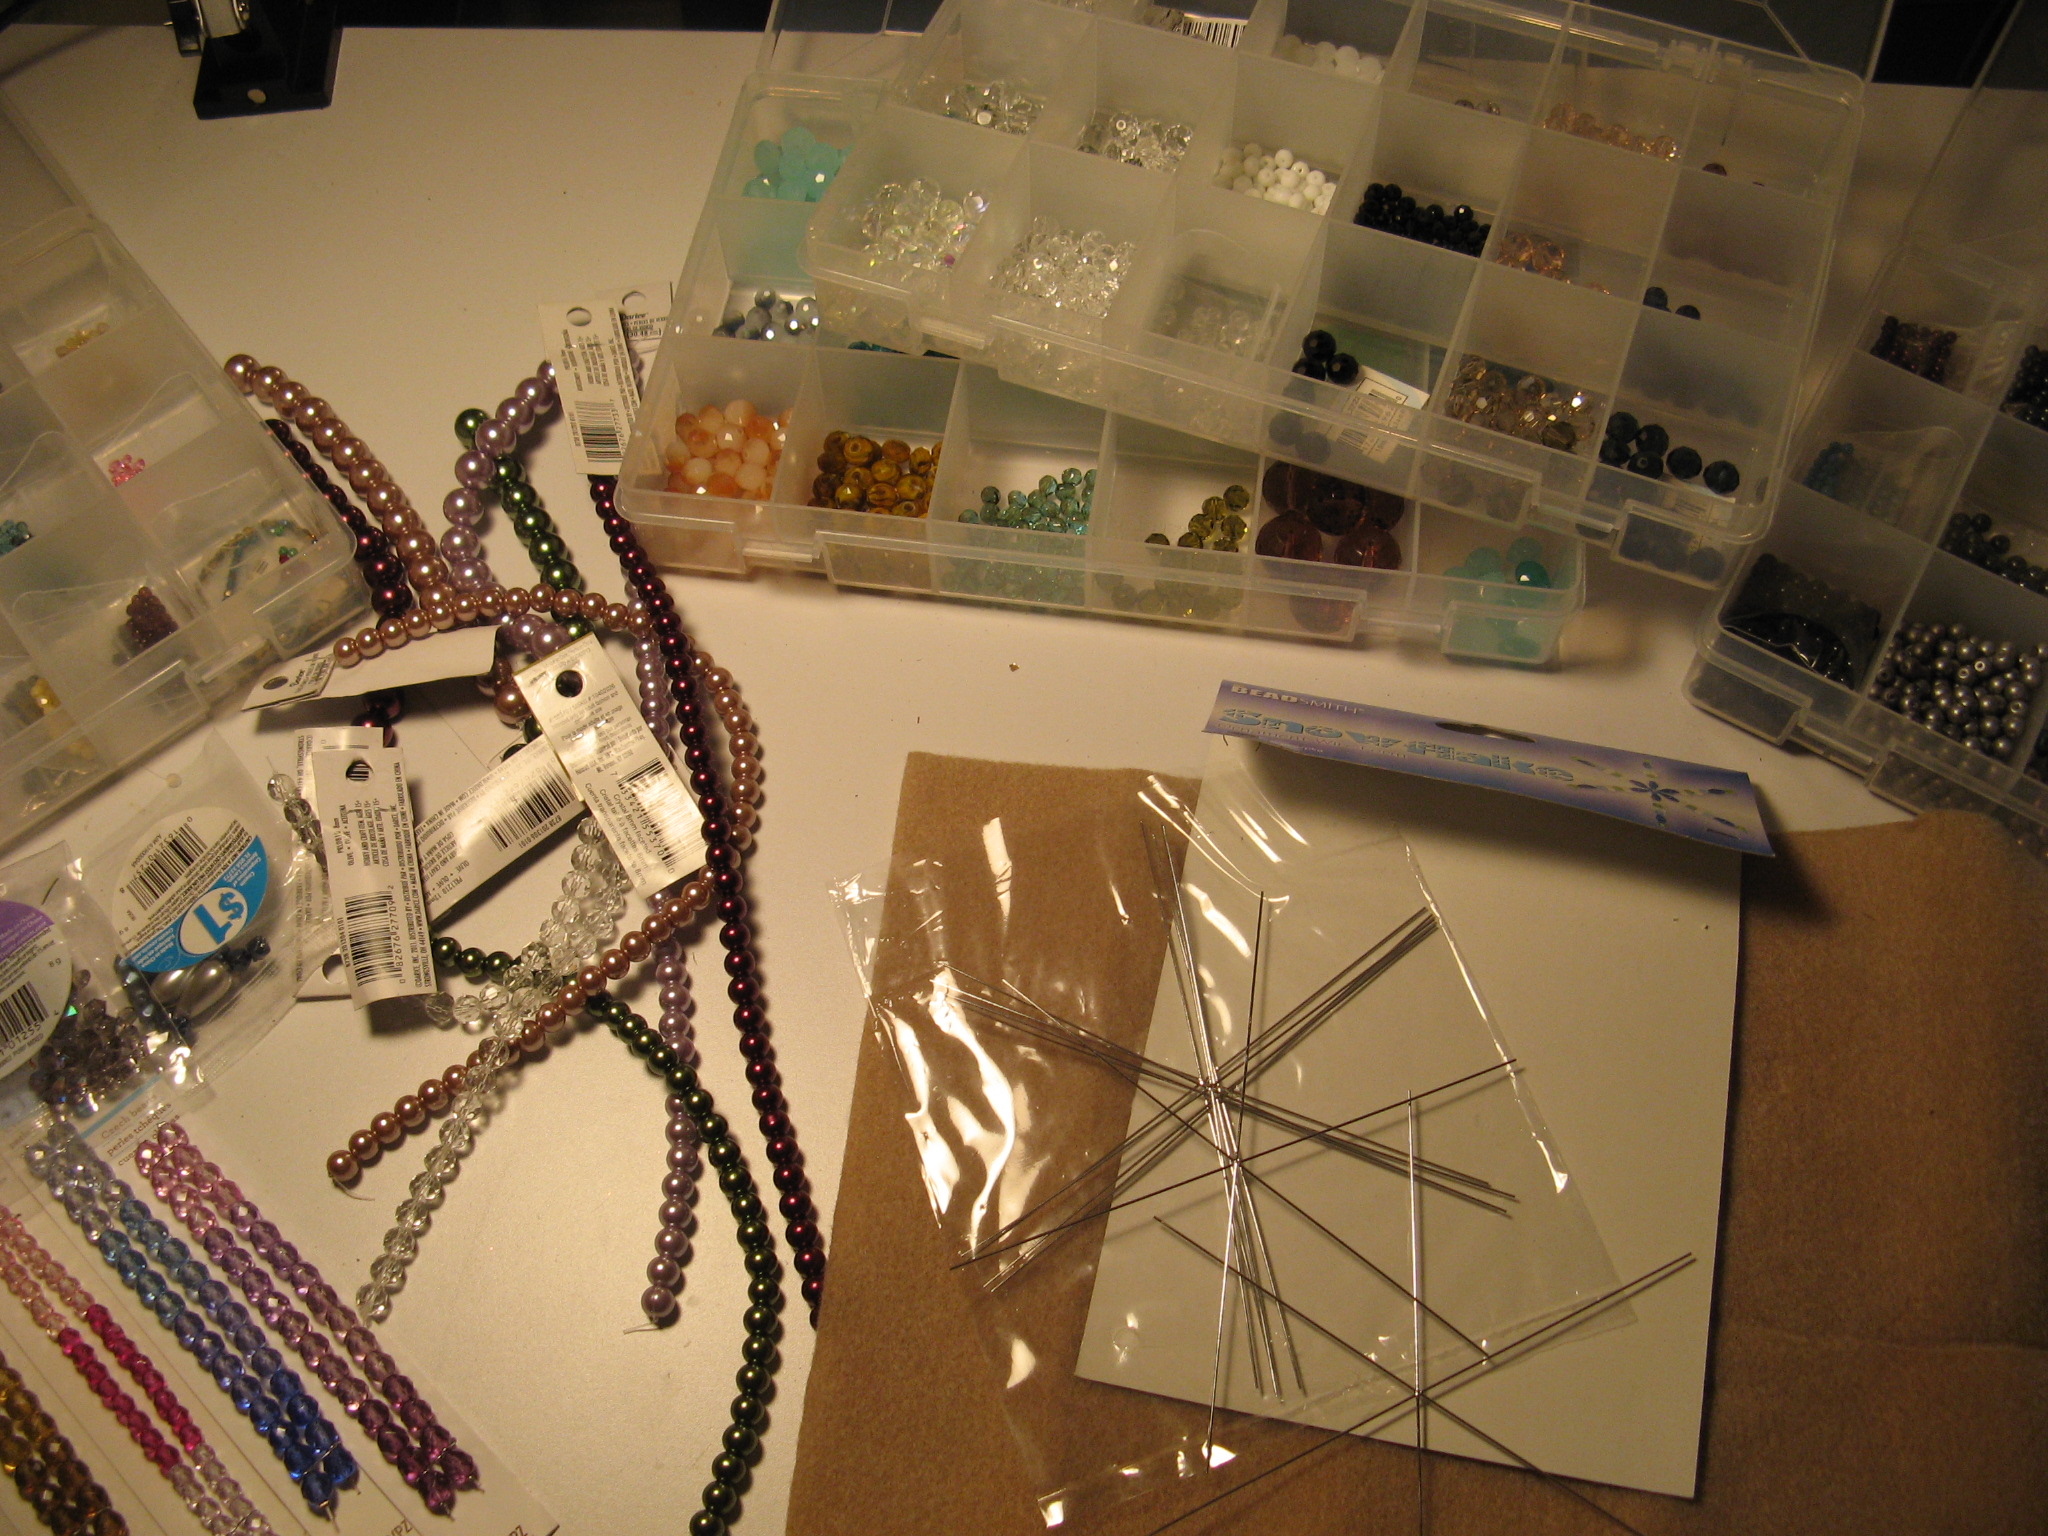
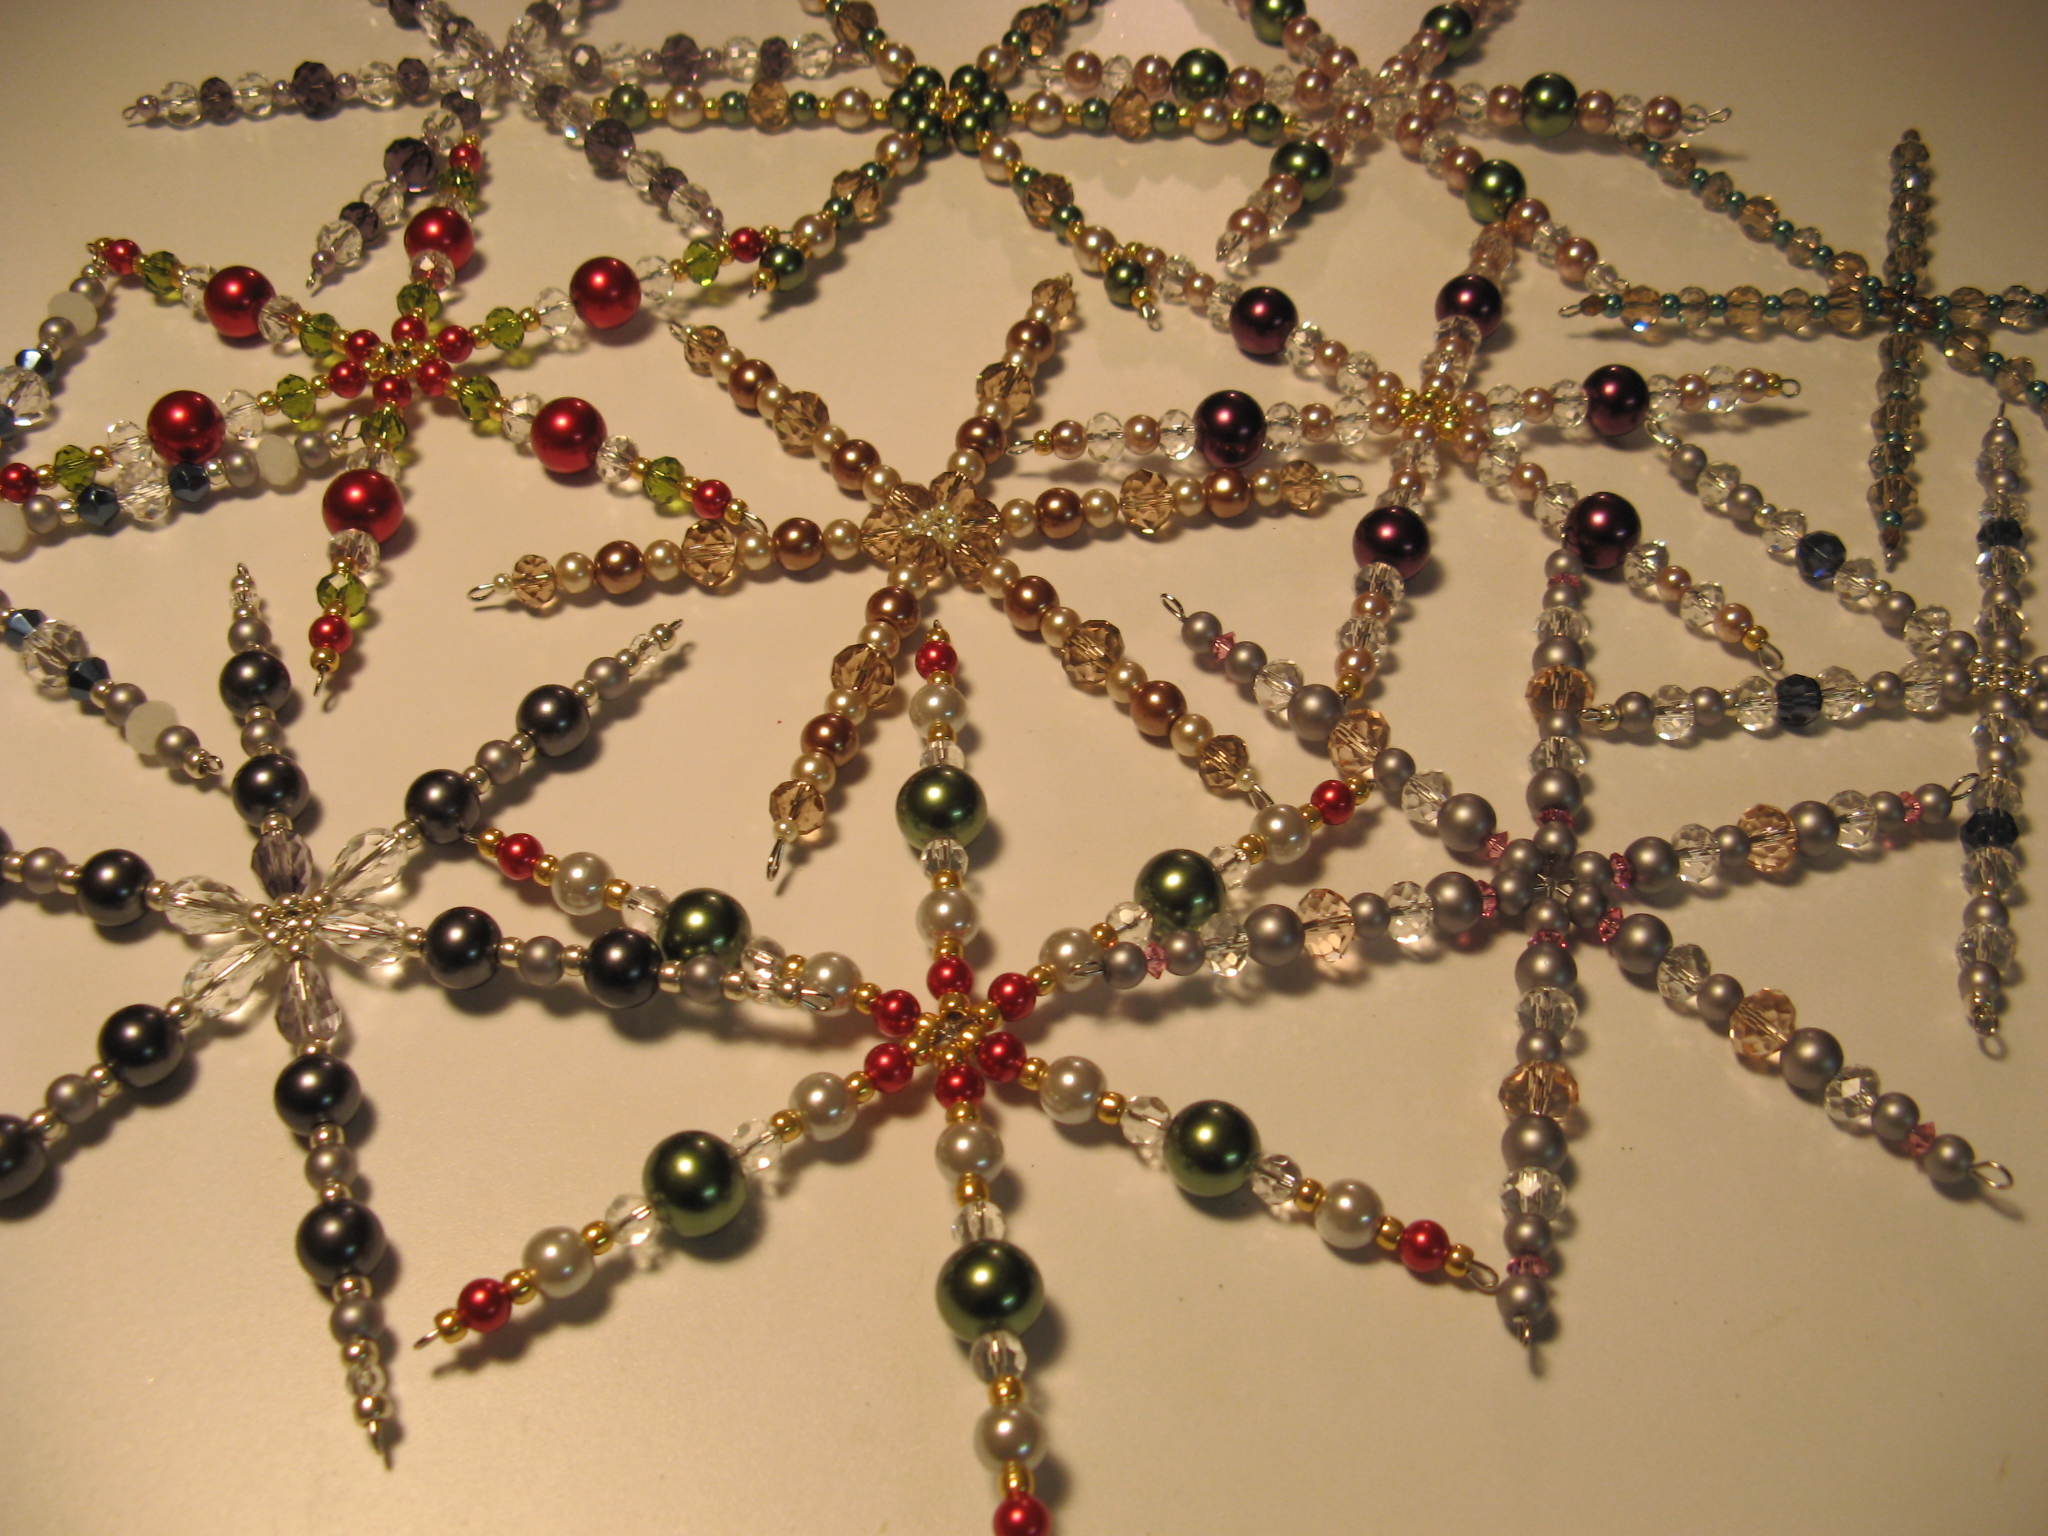
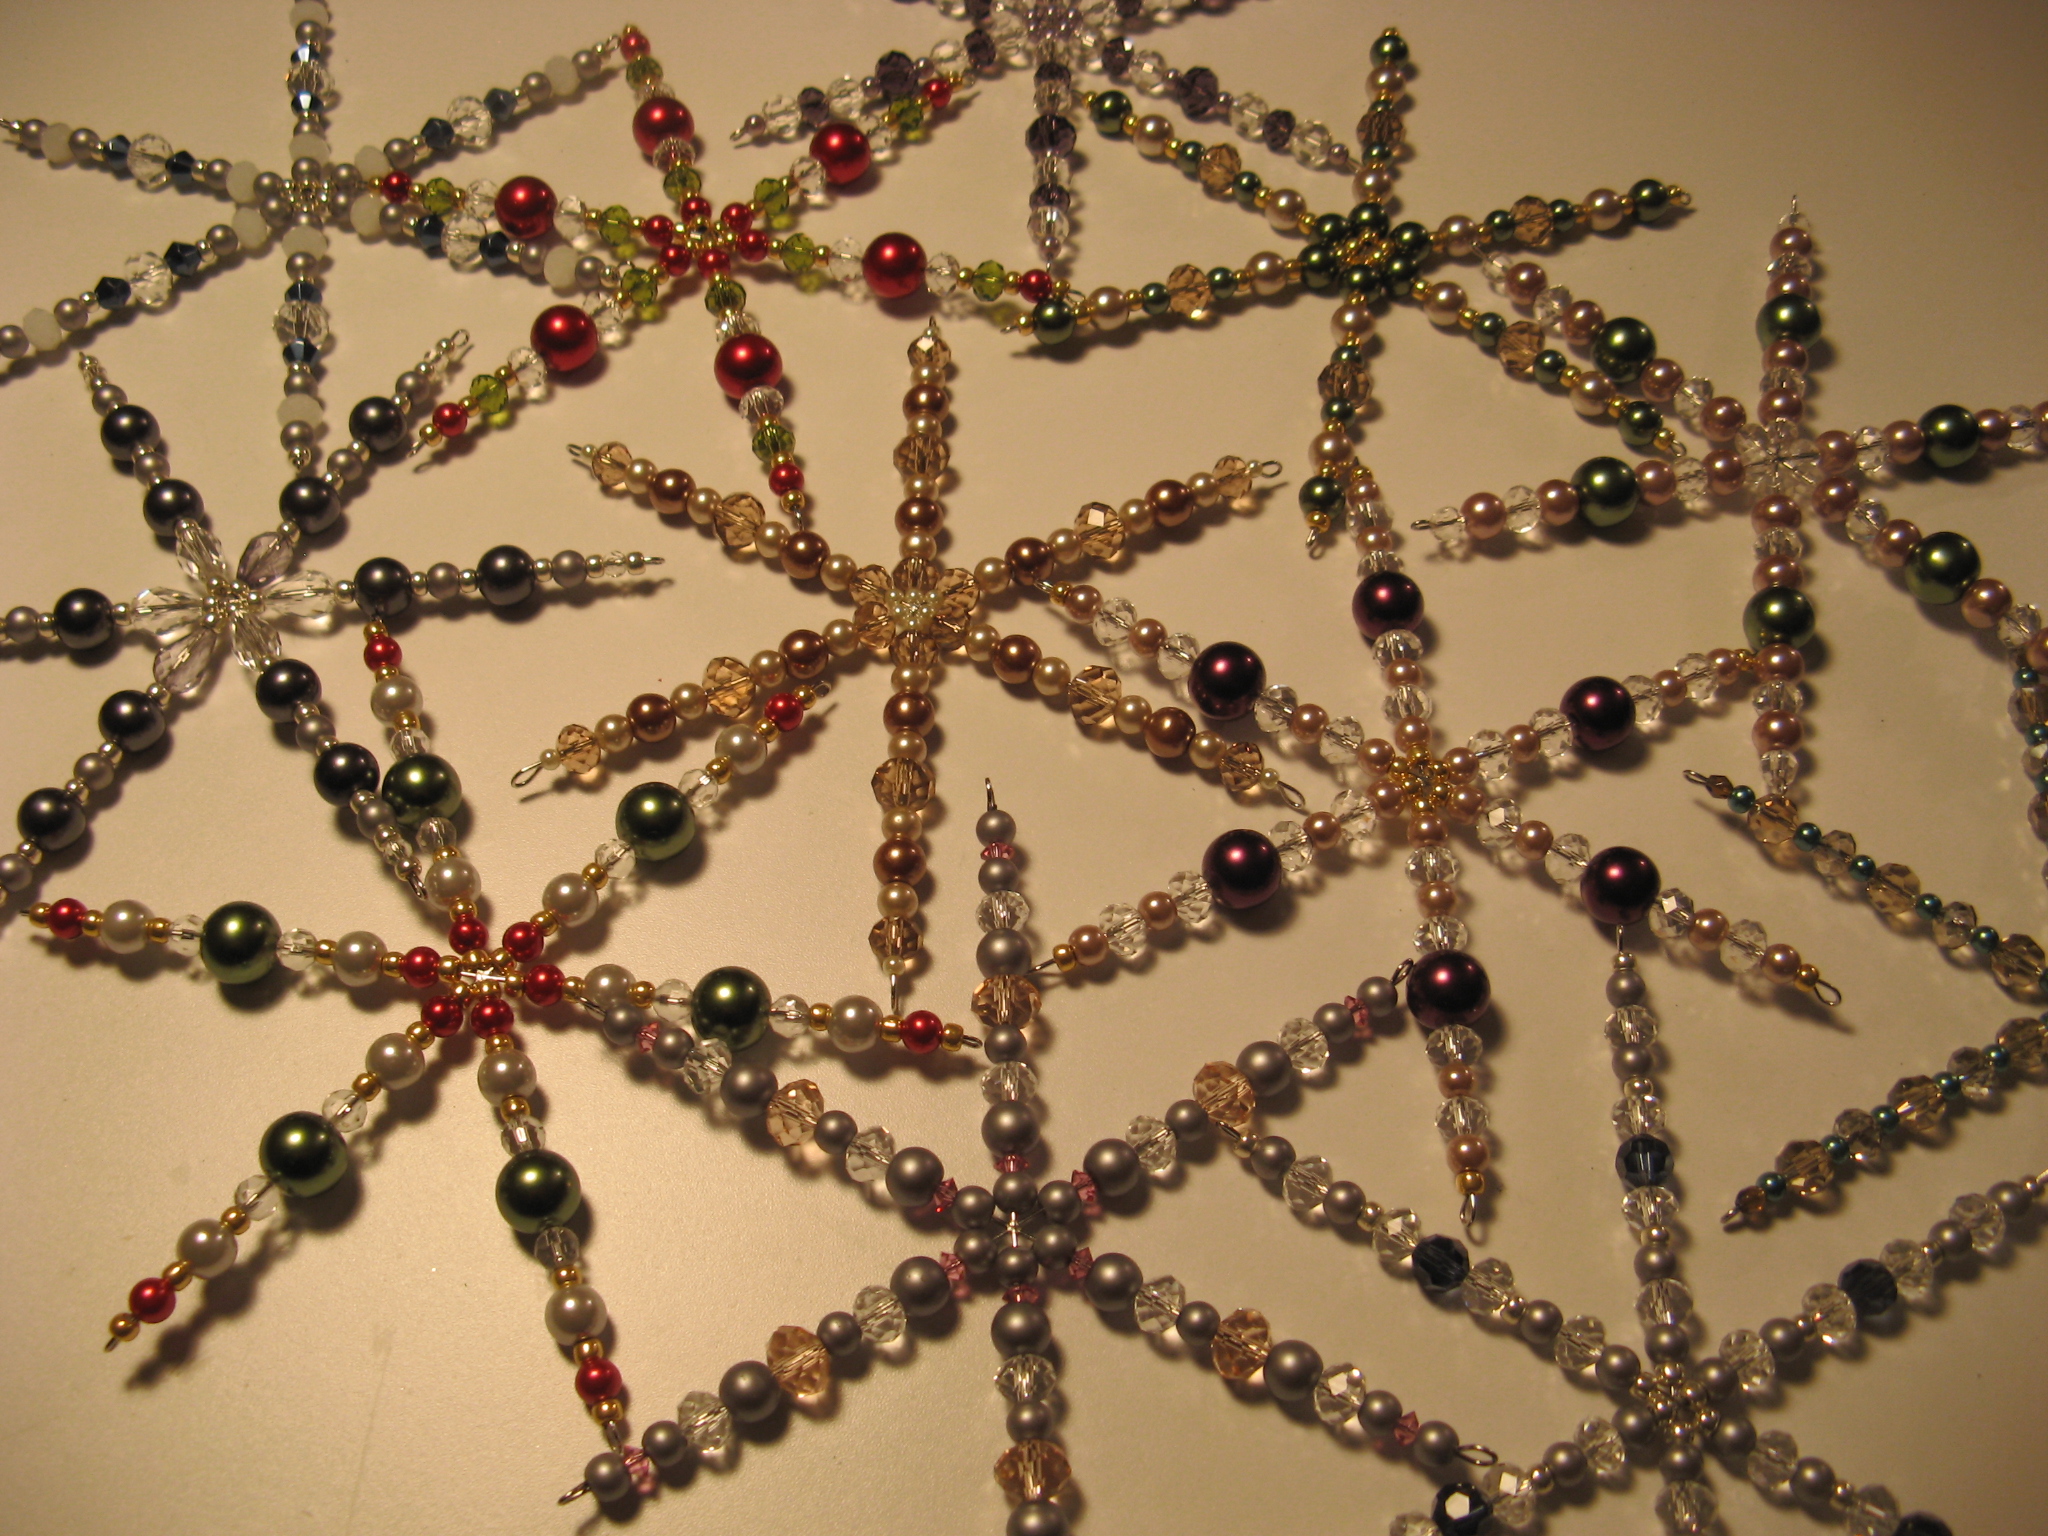
After the wreaths I moved on to making snowflake ornaments. I got the wire forms (6-inch) from Fusion Beads and then it was just a matter of decorating them with pearls, crystals and seed beads in colors that reflected the holiday season or the intended recipient’s favorite color. This was made all the more easier since I recently organized all of my jewelry supplies into storage containers.

IMG_1989

After a few wire mishaps (thankfully I bought extra wire forms) and a couple of wire gashes all of my snowflakes were done. After taking this picture I threaded all of them with coordinating ribbon so they could be hung from a Christmas tree, in a window, or wherever.

IMG_2107 IMG_2103

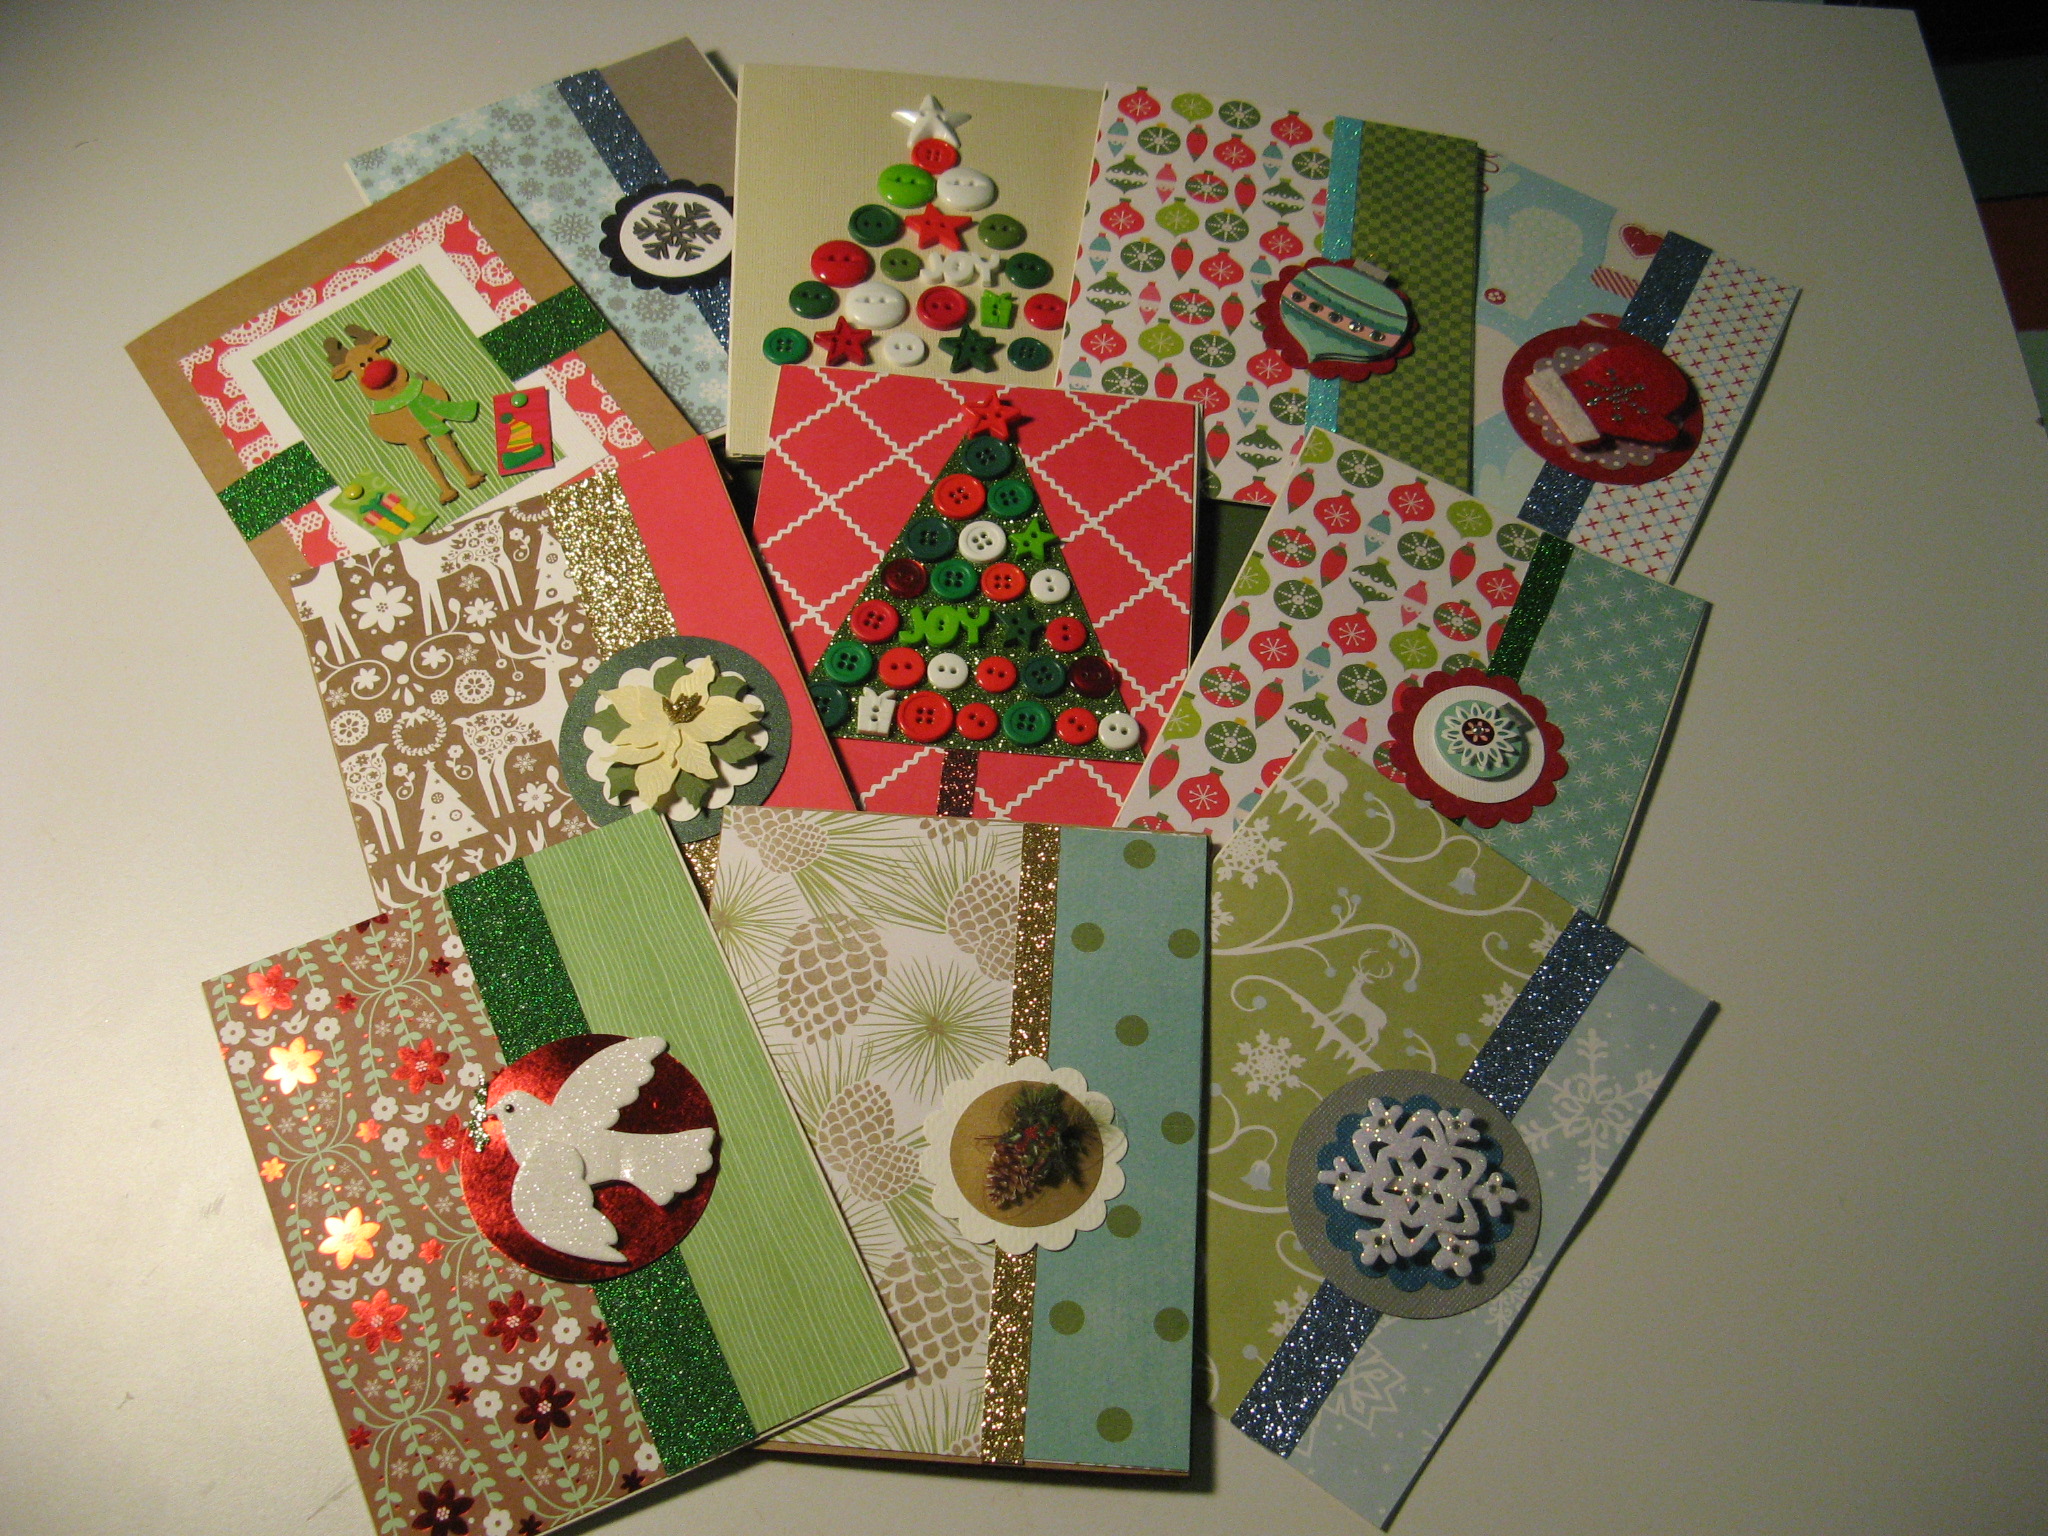
And finally… My handmade Christmas cards. While getting started is always a daunting task, by the third card I am full speed ahead. I even got a jump on next year’s cards by making a few extra this year. We’ll see if I still like them in a year’s time or I may just have other ideas of what I want to make by then.

IMG_2204

Happy Holidays!!!

IMG_1986

(And yes, I did make this as well.)

Cranberry Cupcakes

While everyone is so focused on pumpkin being the “it” flavor of the Fall, another fruit quietly makes its way into the fold – albeit mainly to be a nice accompaniment to your Thanksgiving turkey… the cranberry. Granted most of us don’t (or won’t) eat raw cranberries due to their bitterness, but they are quite tasty when dried, blended into wonderful juice combinations (thanks Ocean Spray!) or made into a sauce (my personal favorite.) So when I came across a recipe for Cranberry Cupcakes  in a recent issue of Food Network Magazine I knew I had to try it.

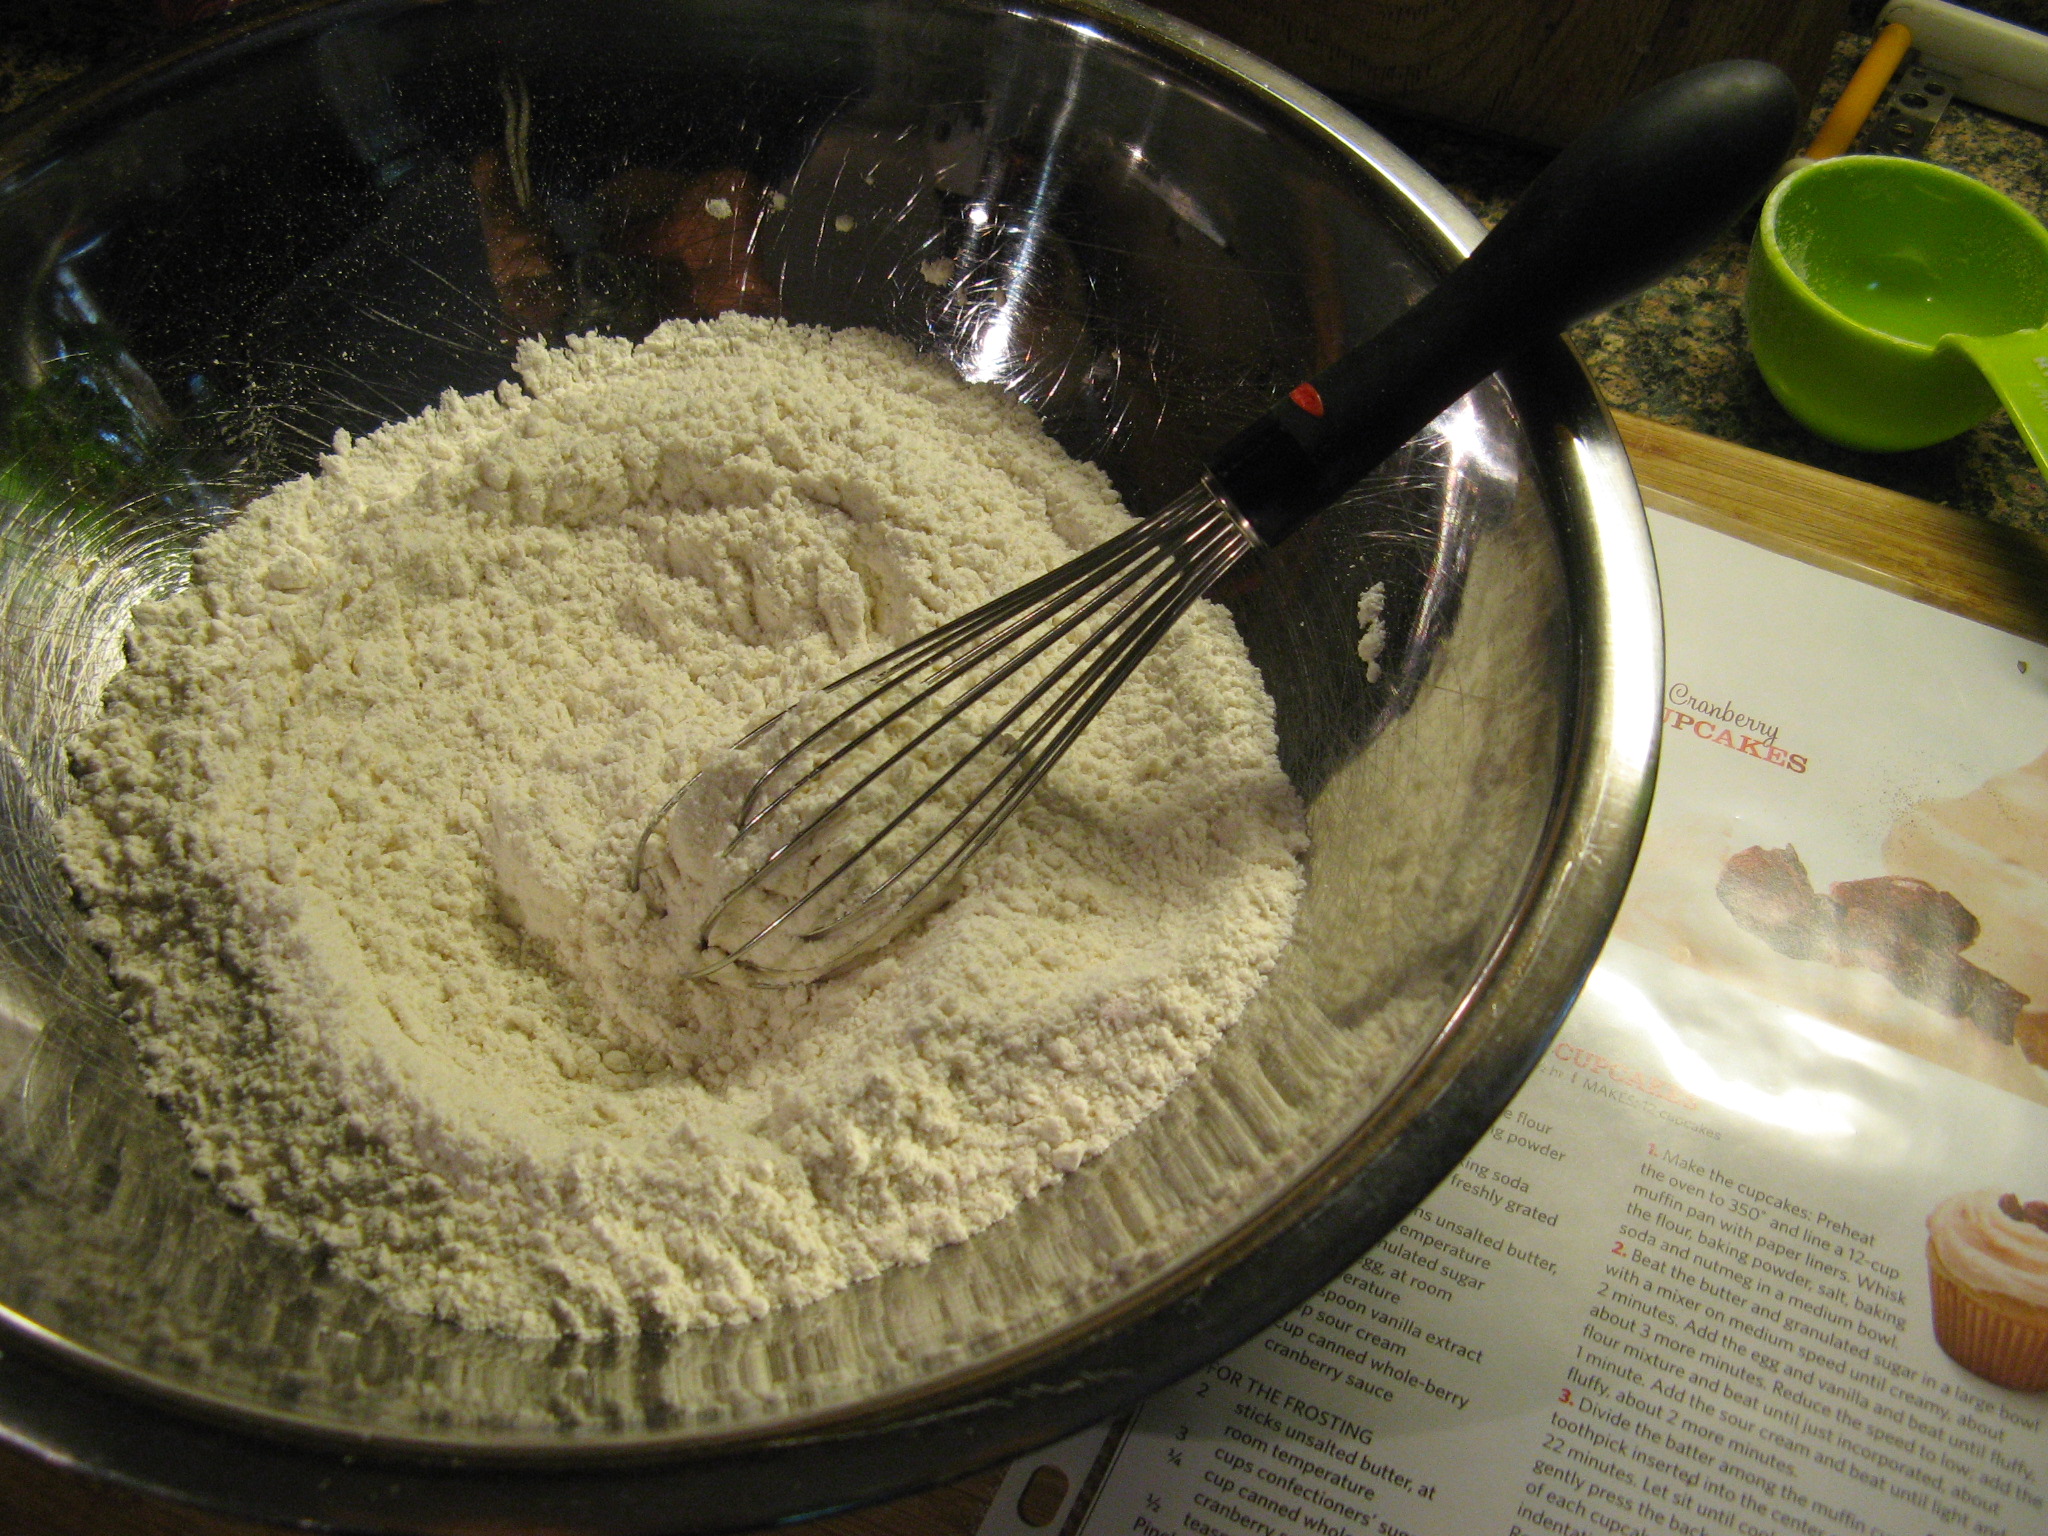
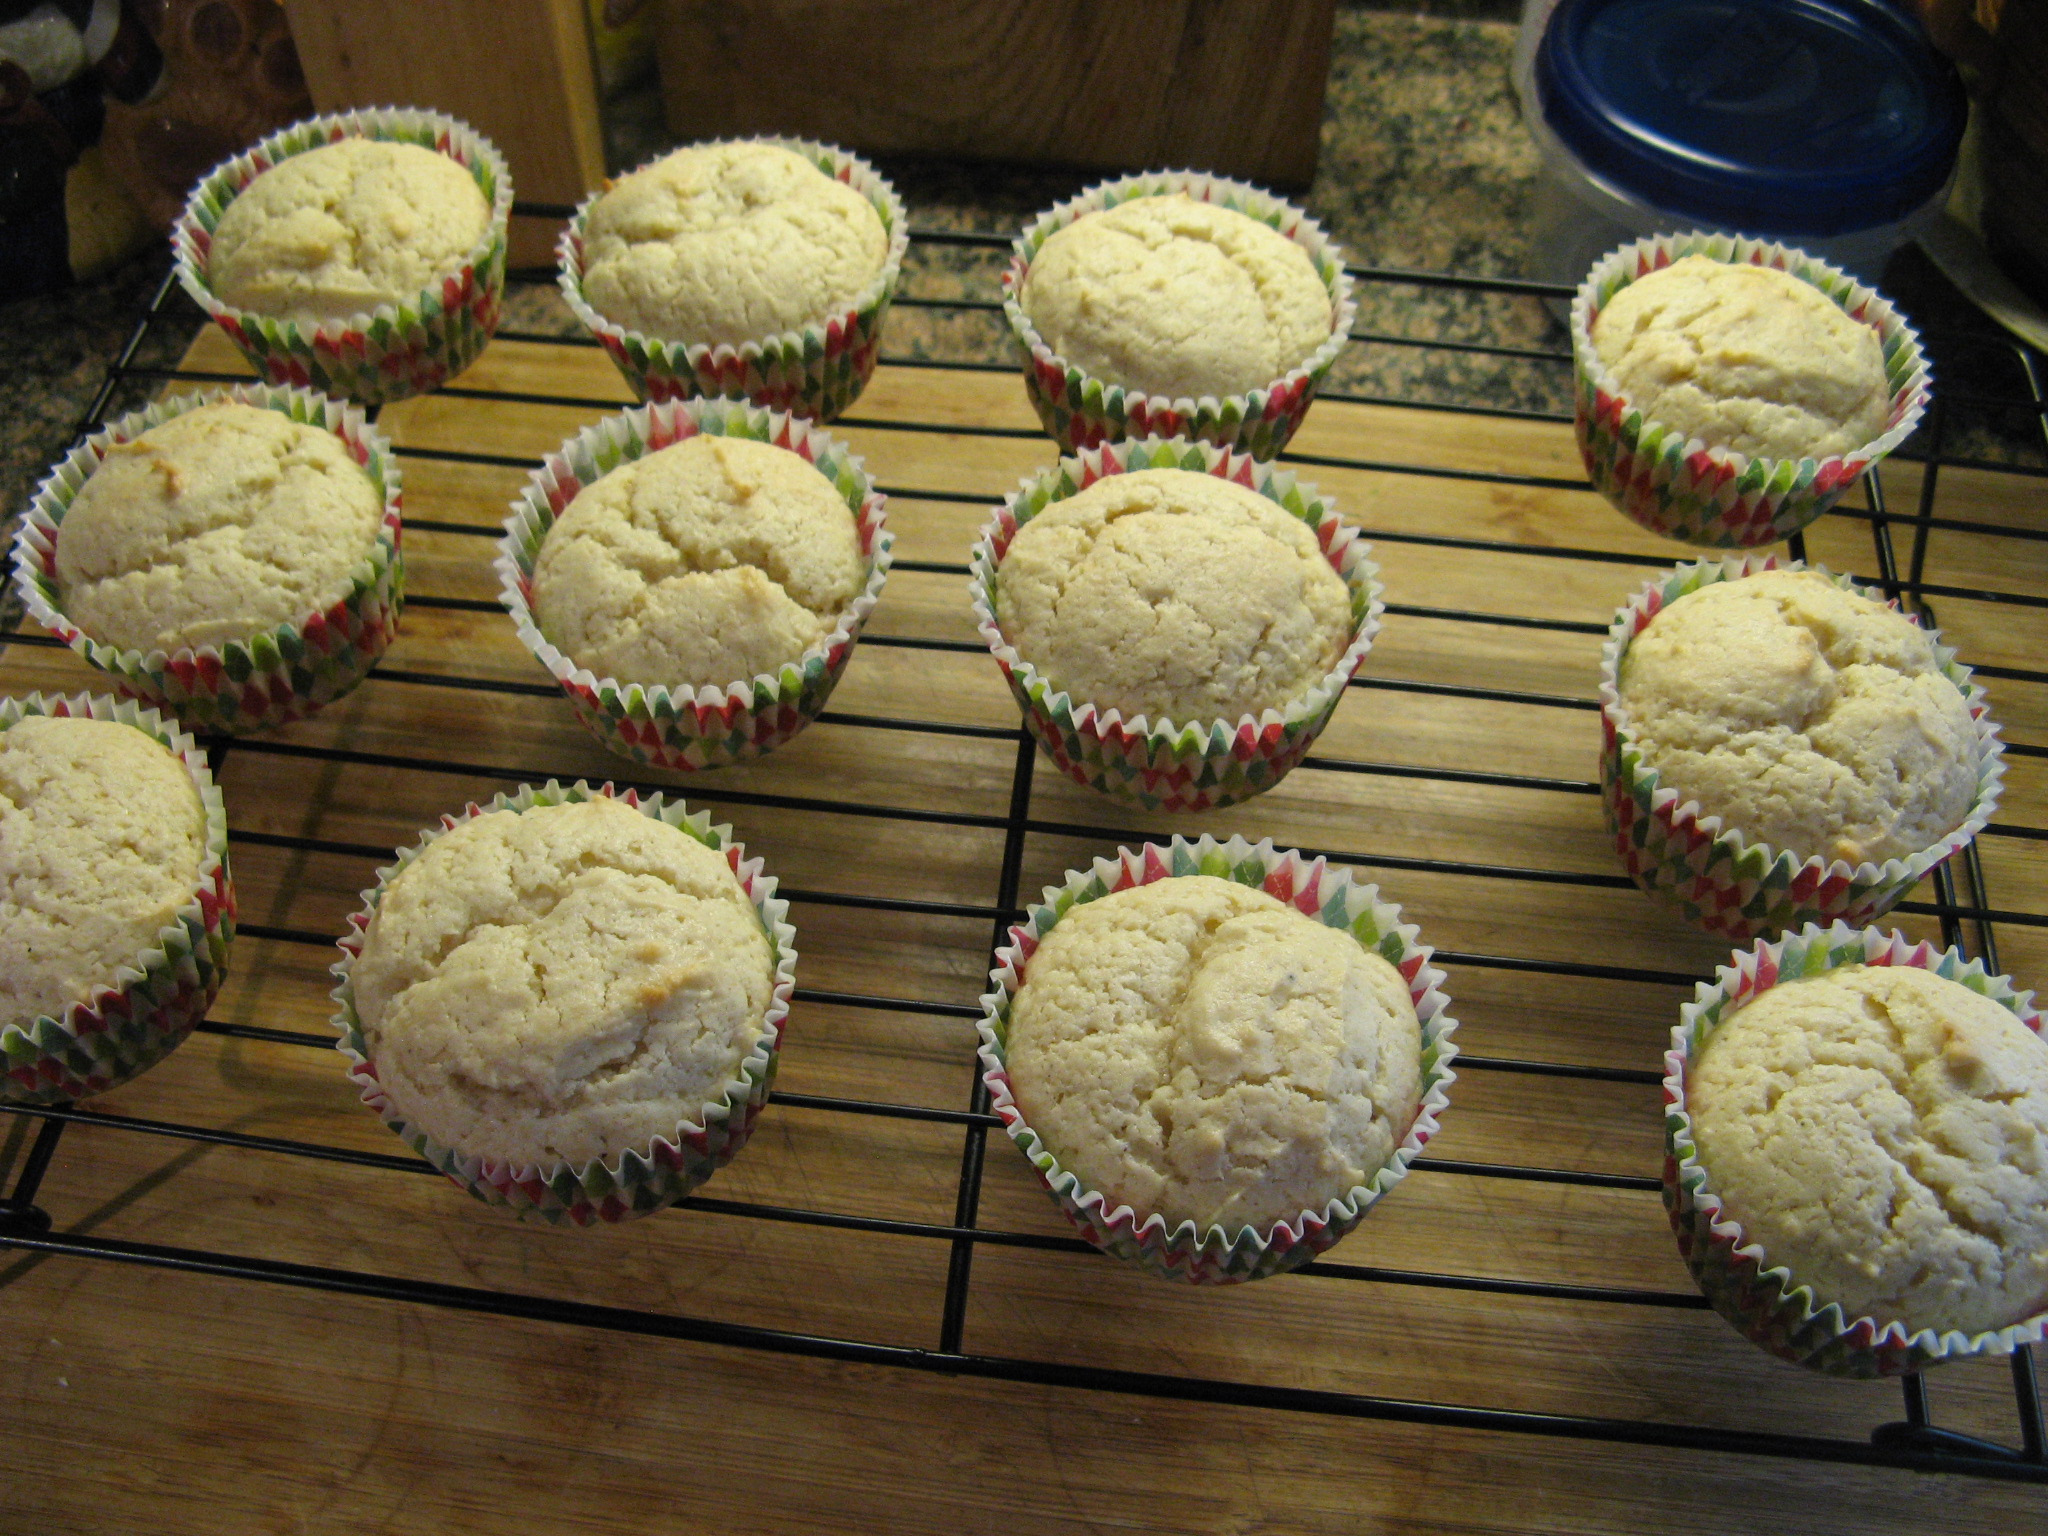
To begin, I whisked together flour, baking powder, salt, baking soda and nutmeg in a bowl and set it aside.

IMG_2135

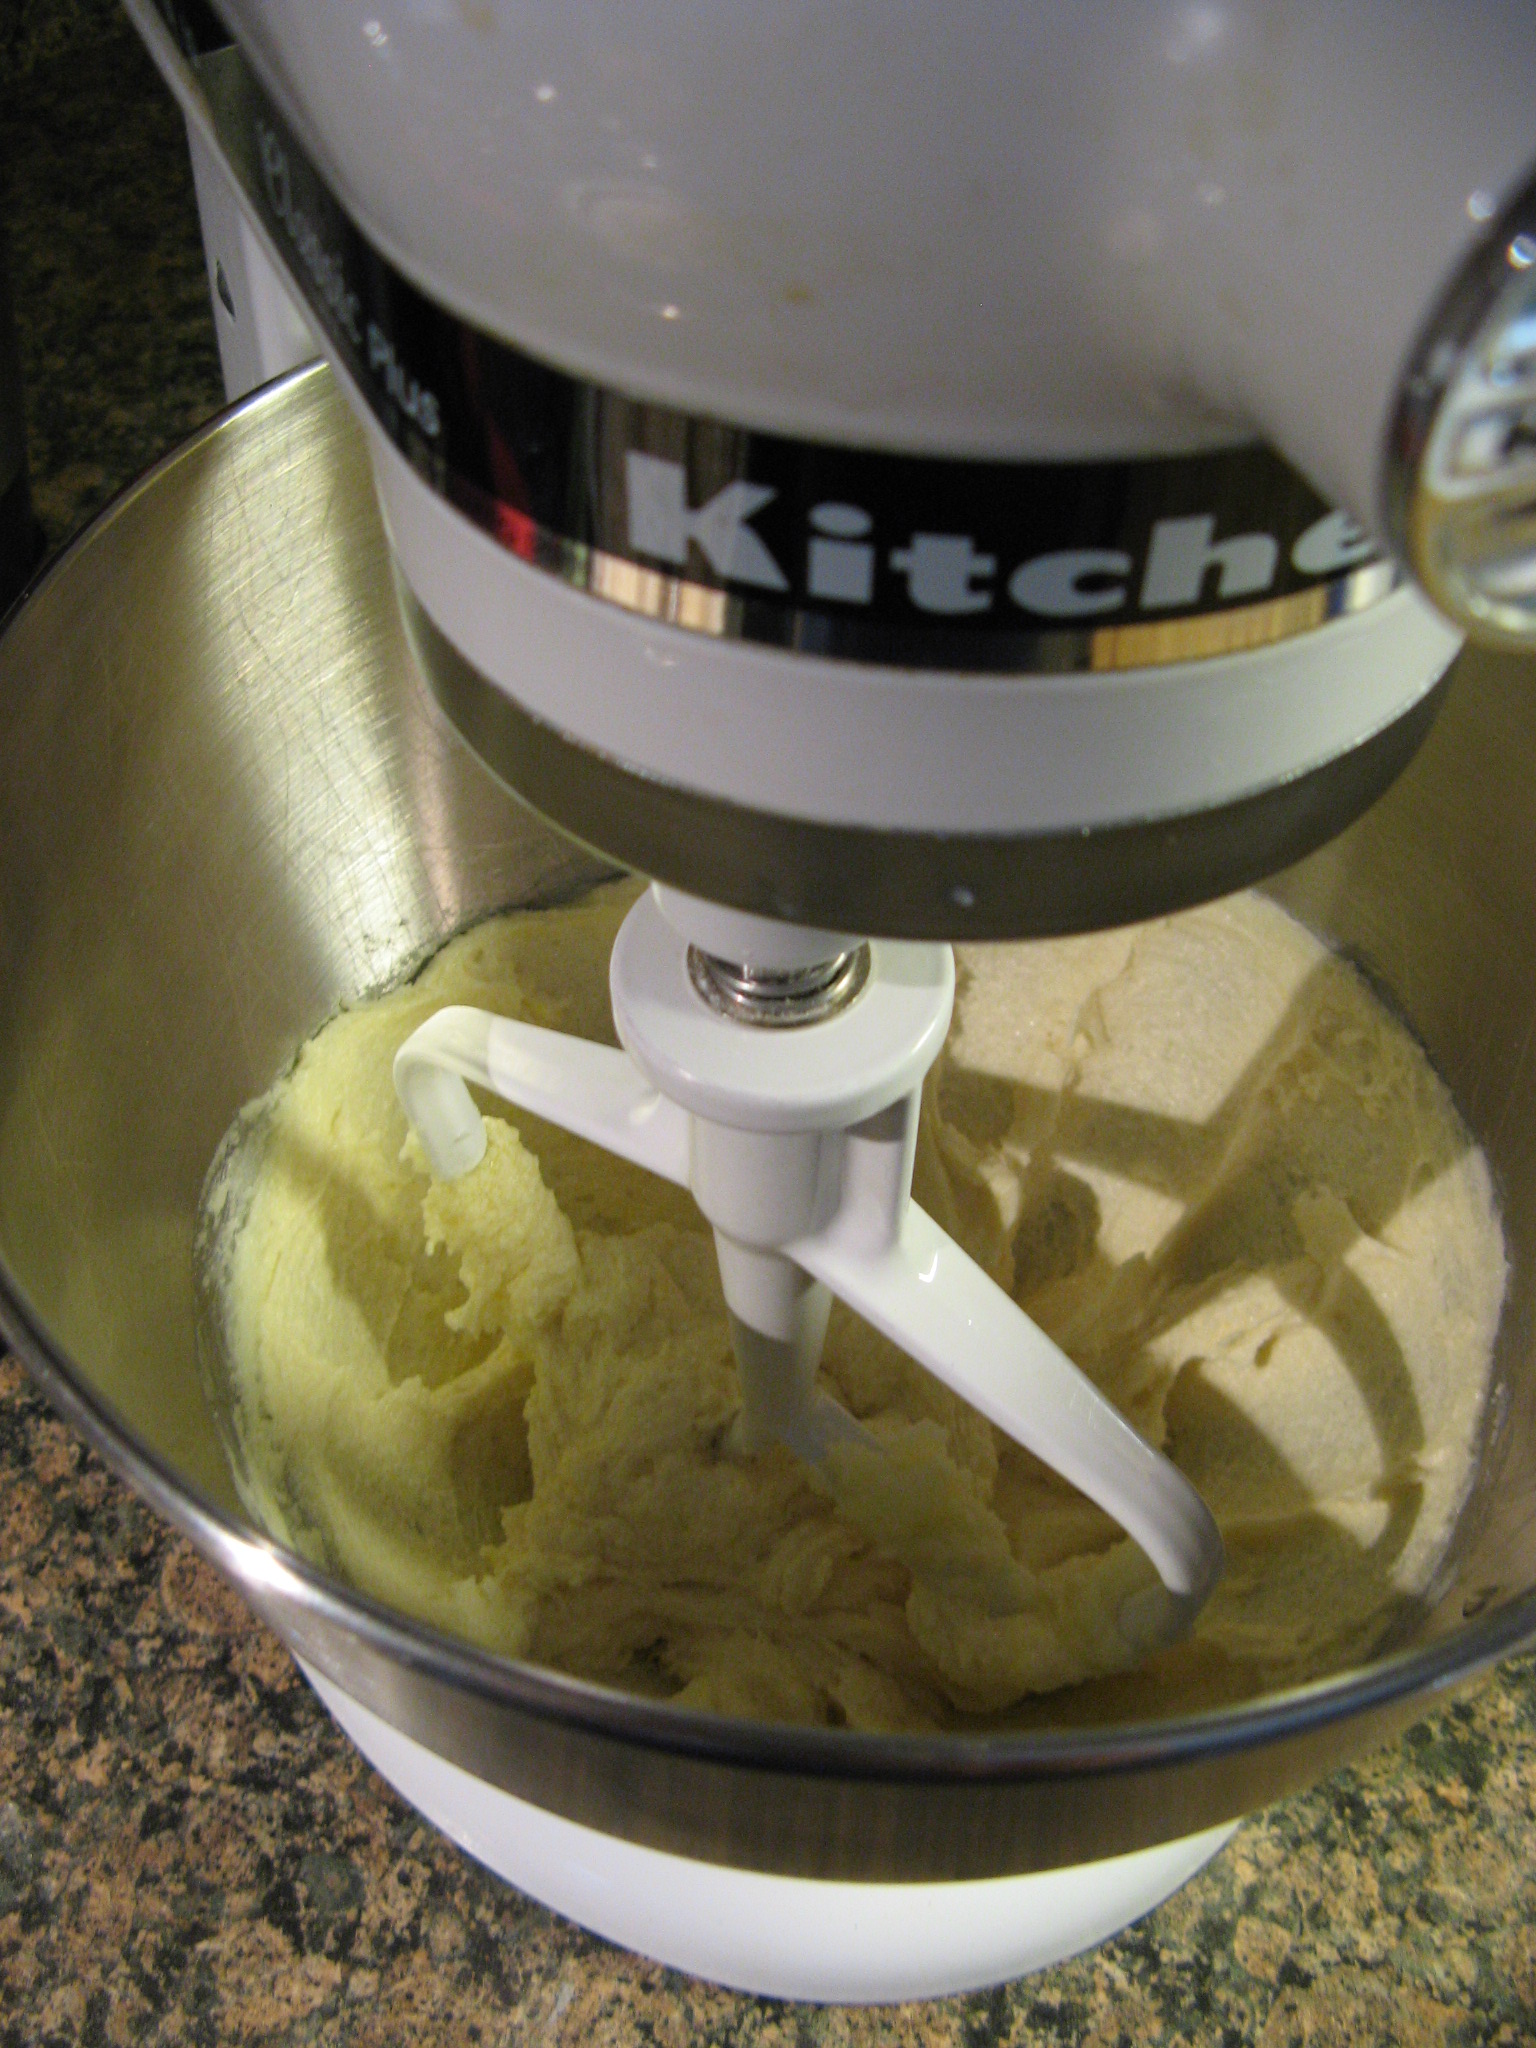
I then mixed together my wet ingredients. Starting with the sugar and butter, then adding in an egg and vanilla extract.

IMG_2141

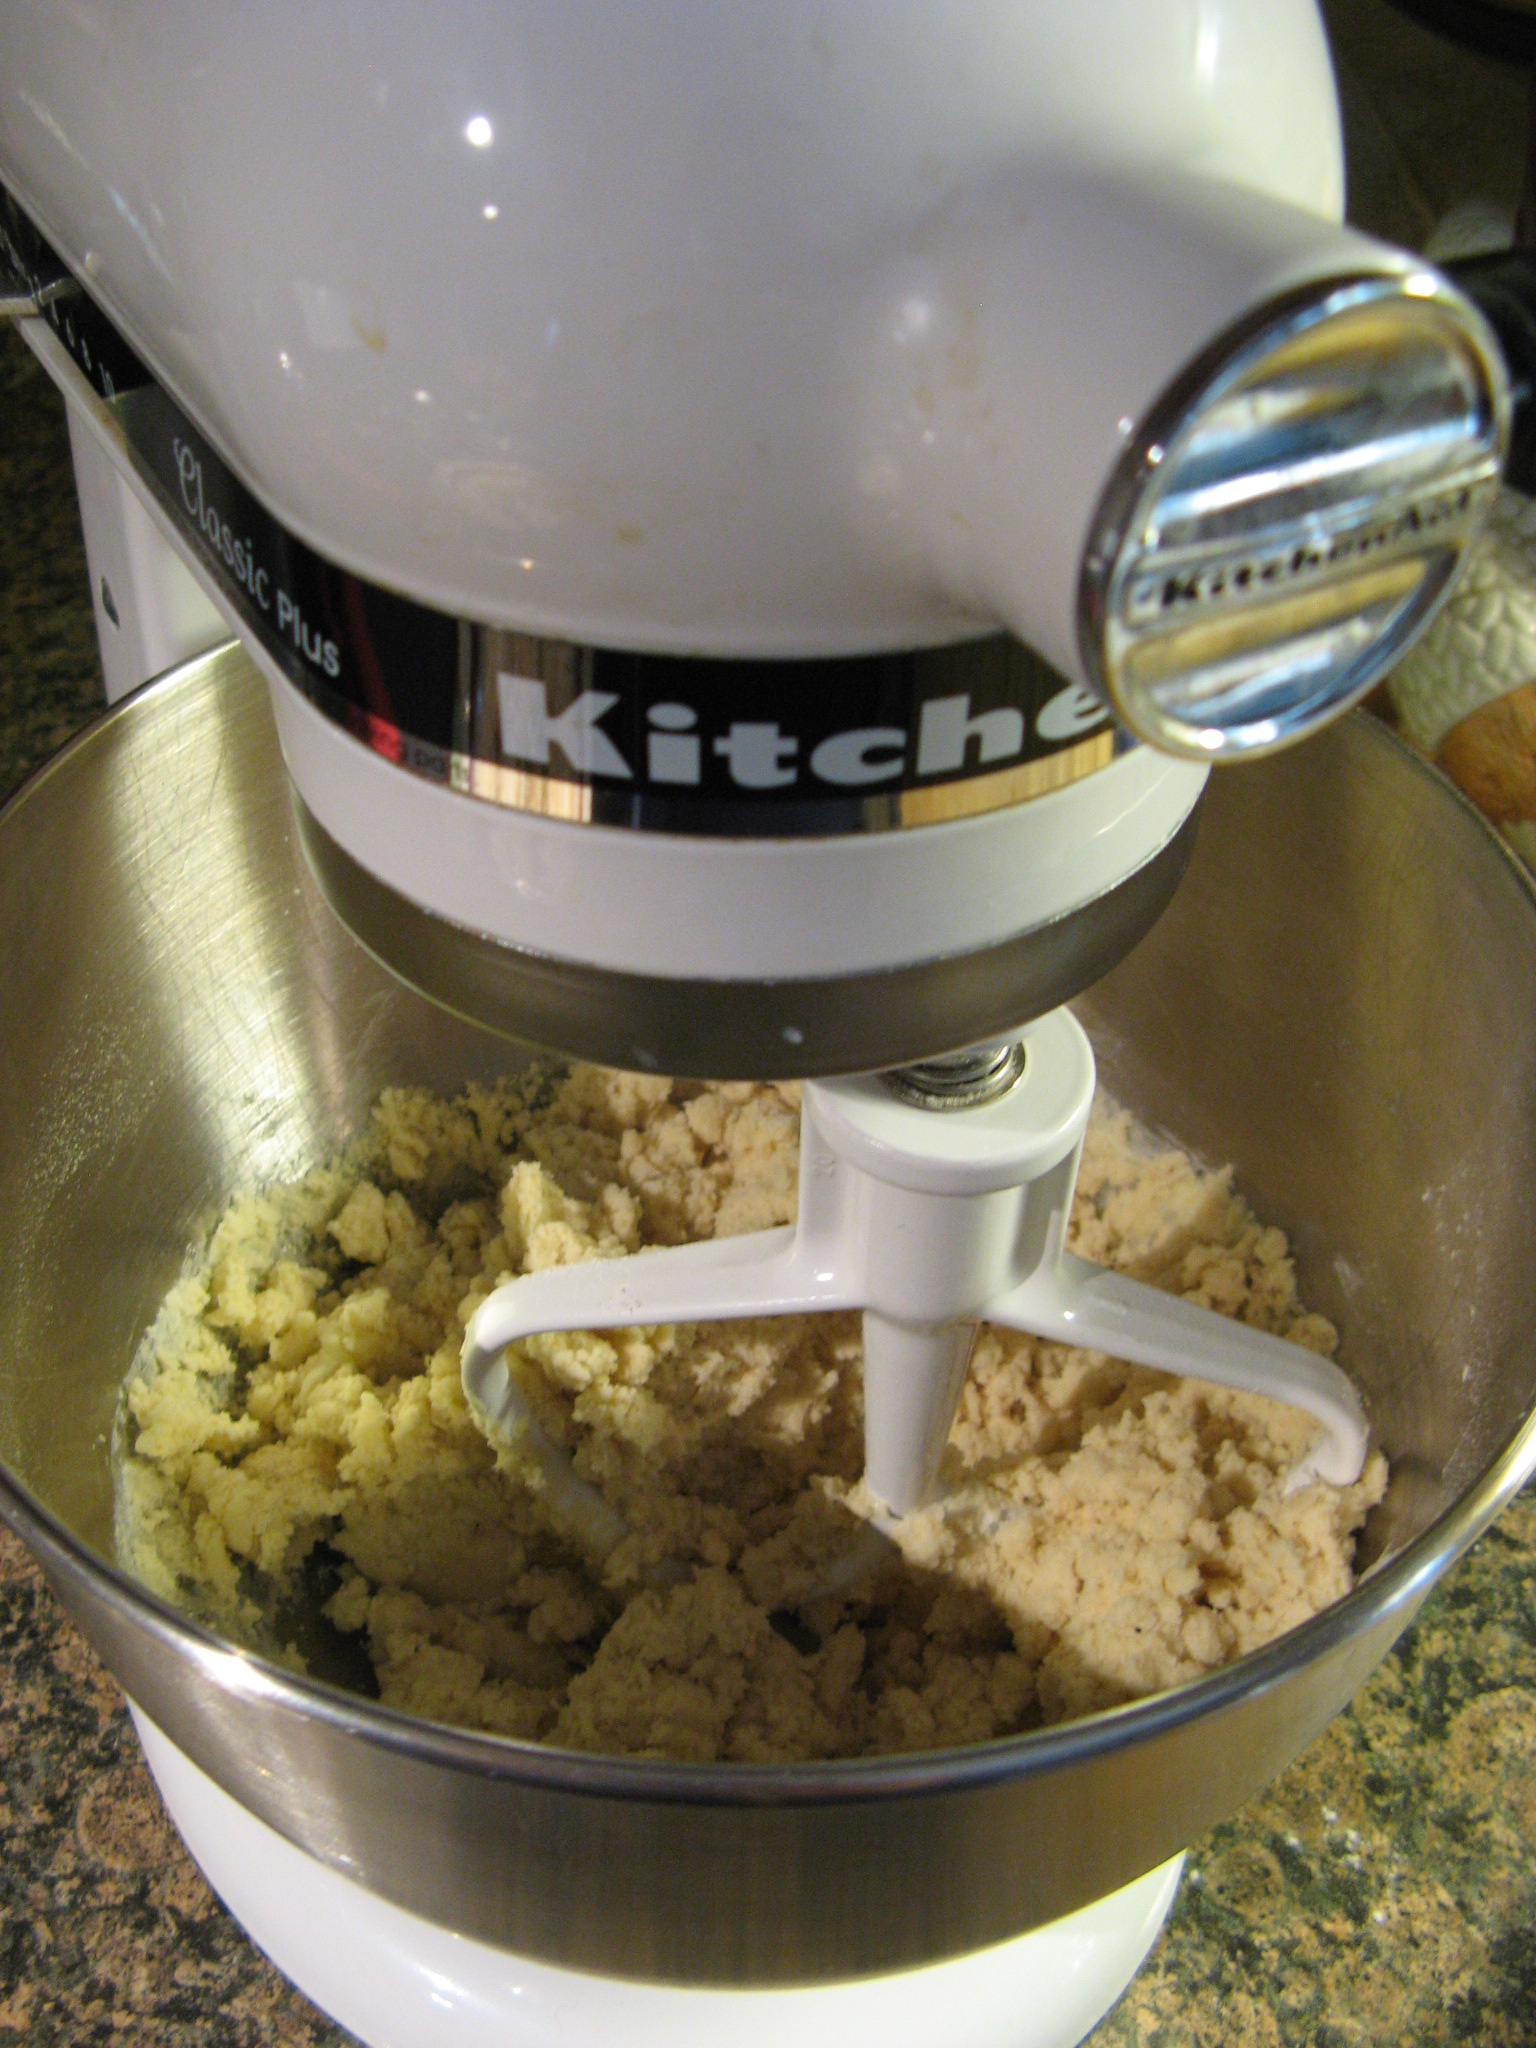
Next I added in the flour mixture and mixed it until the two mixtures were just incorporated.

IMG_2143

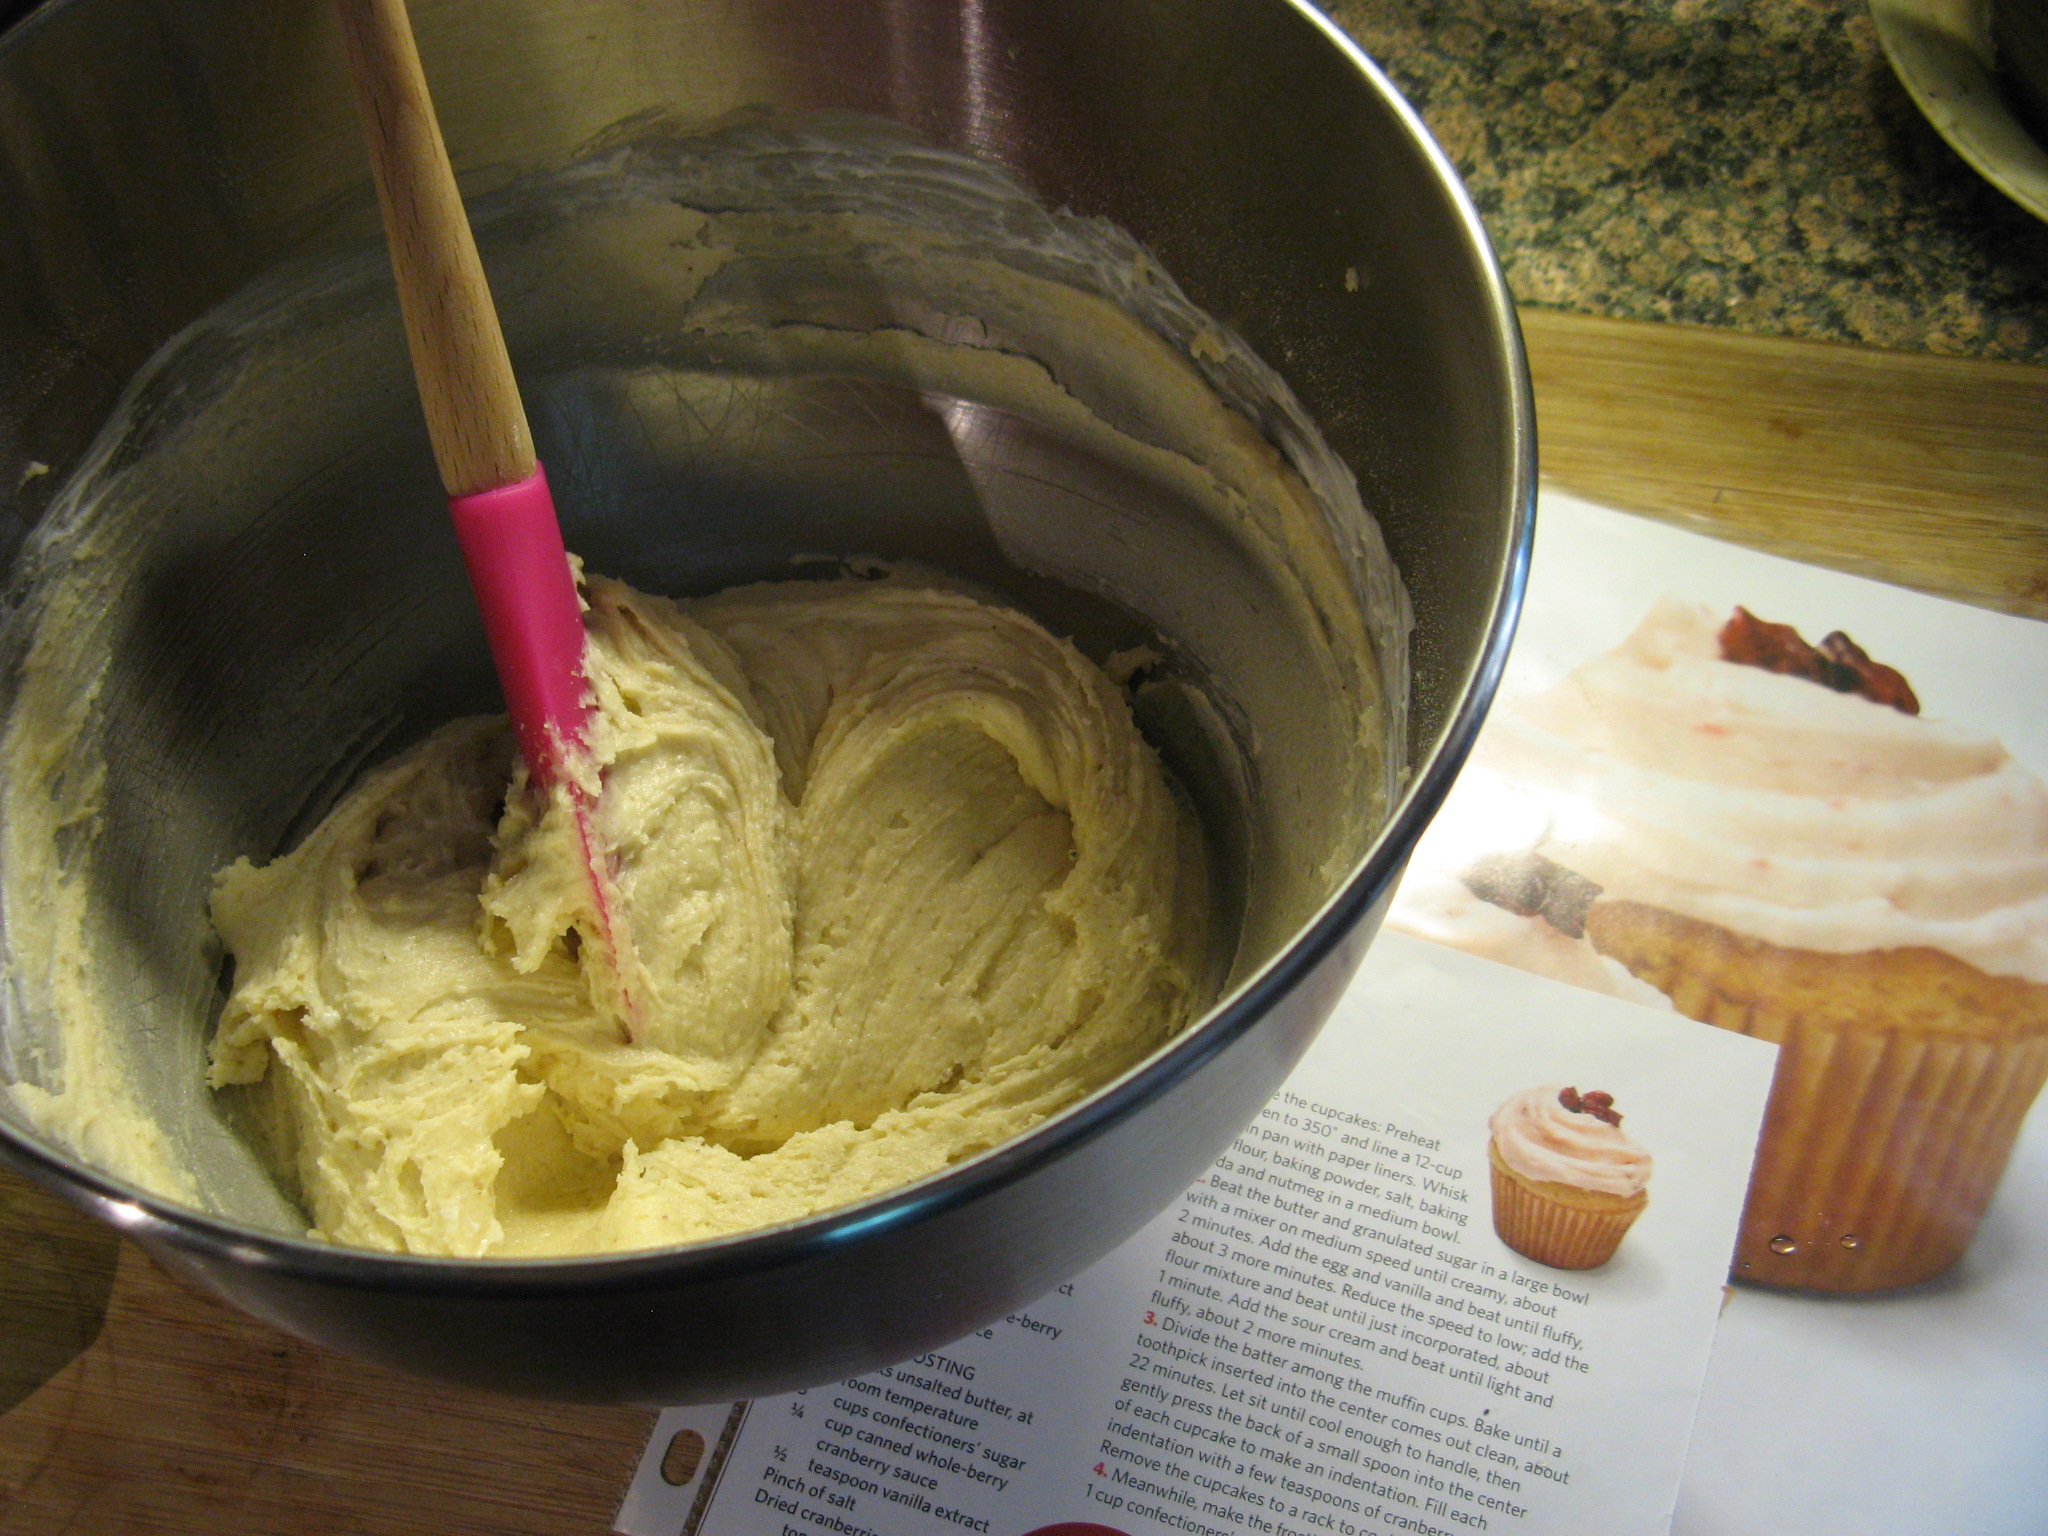
And finally I added in sour cream, which allows for a denser cupcake. After mixing it with the mixer I gave it a couple of extra stirs with a spatula.

IMG_2145

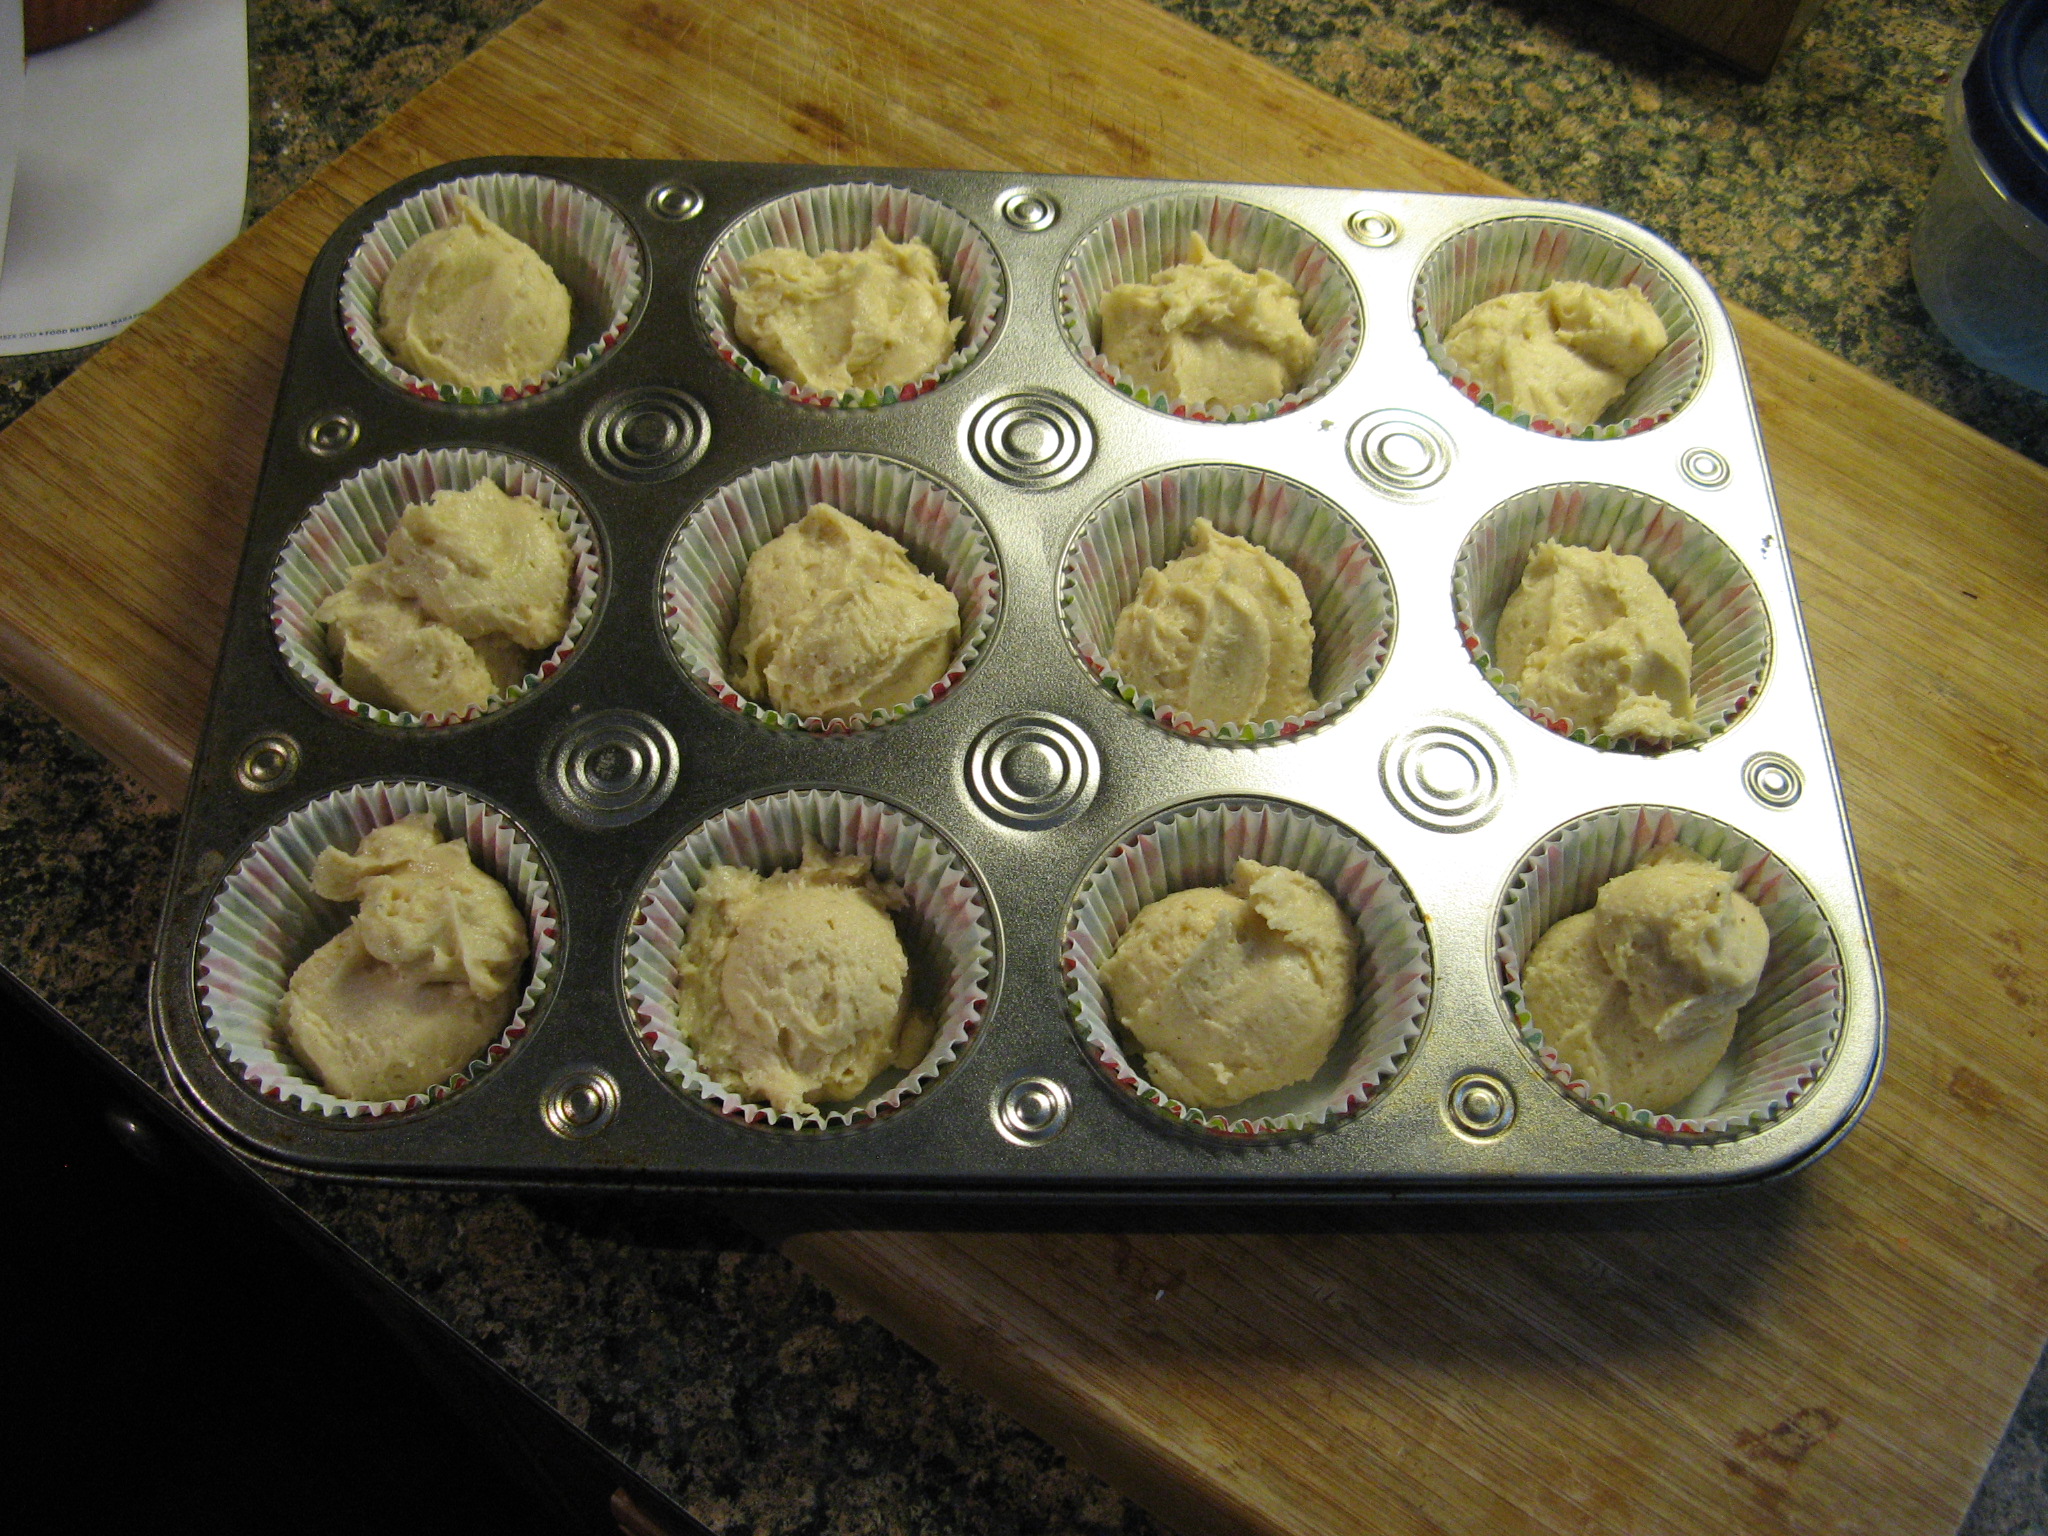
The batter was the perfect amount for 12 cupcakes.

IMG_2147

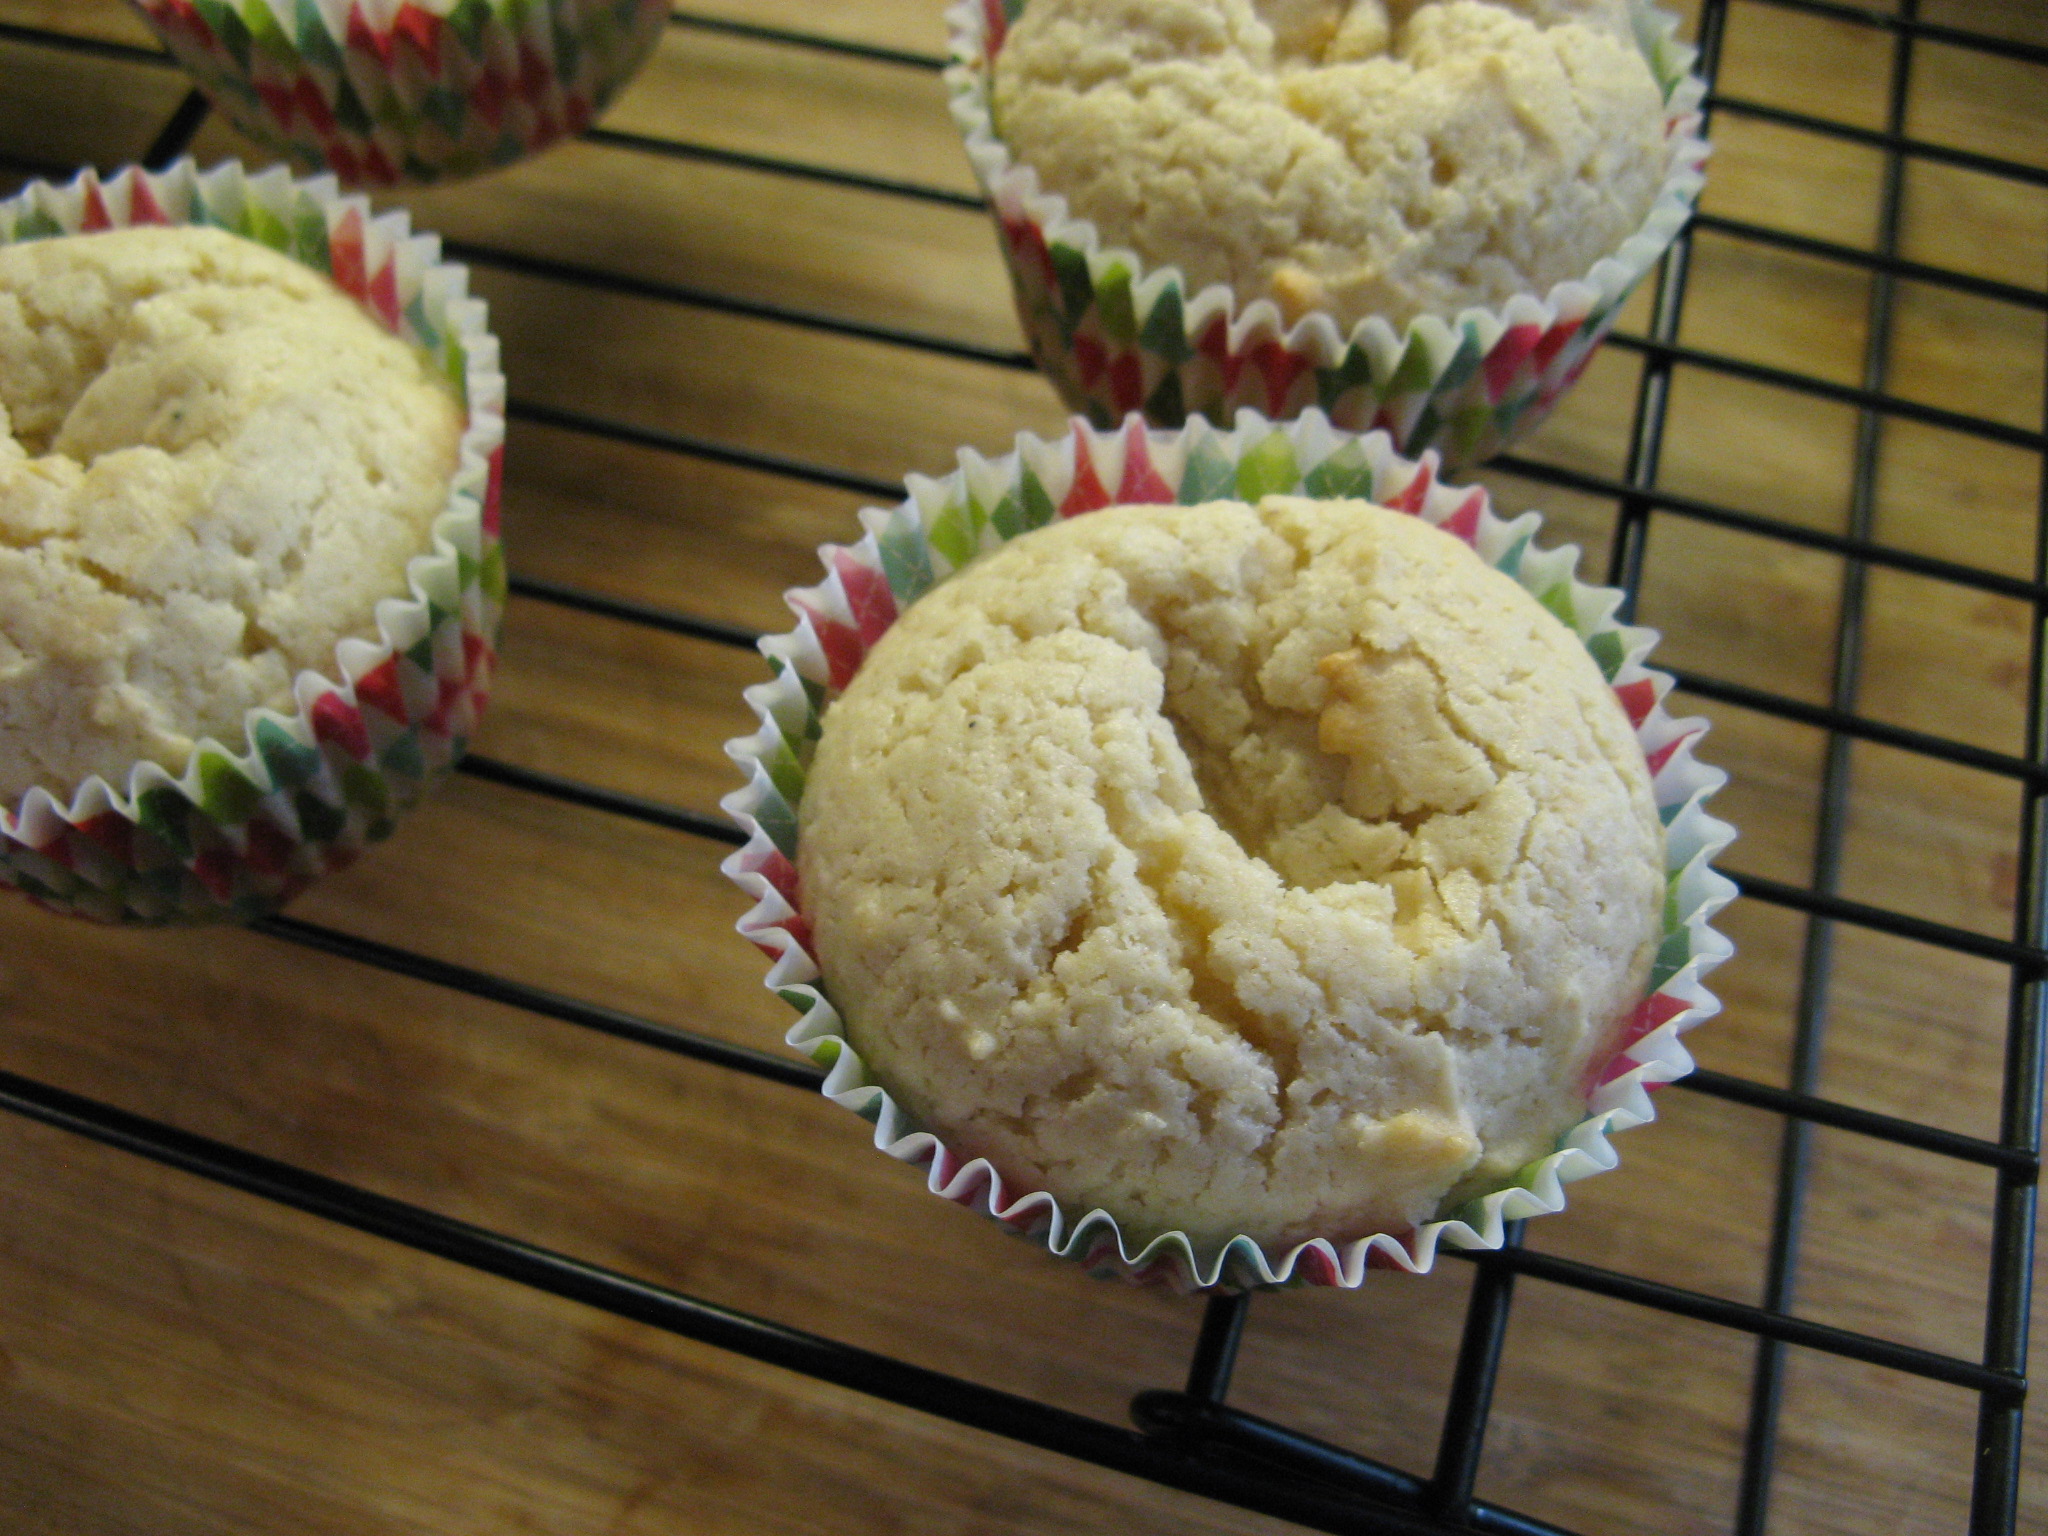
I baked them for 20 minutes in a 350F preheated oven and voila…

IMG_2150

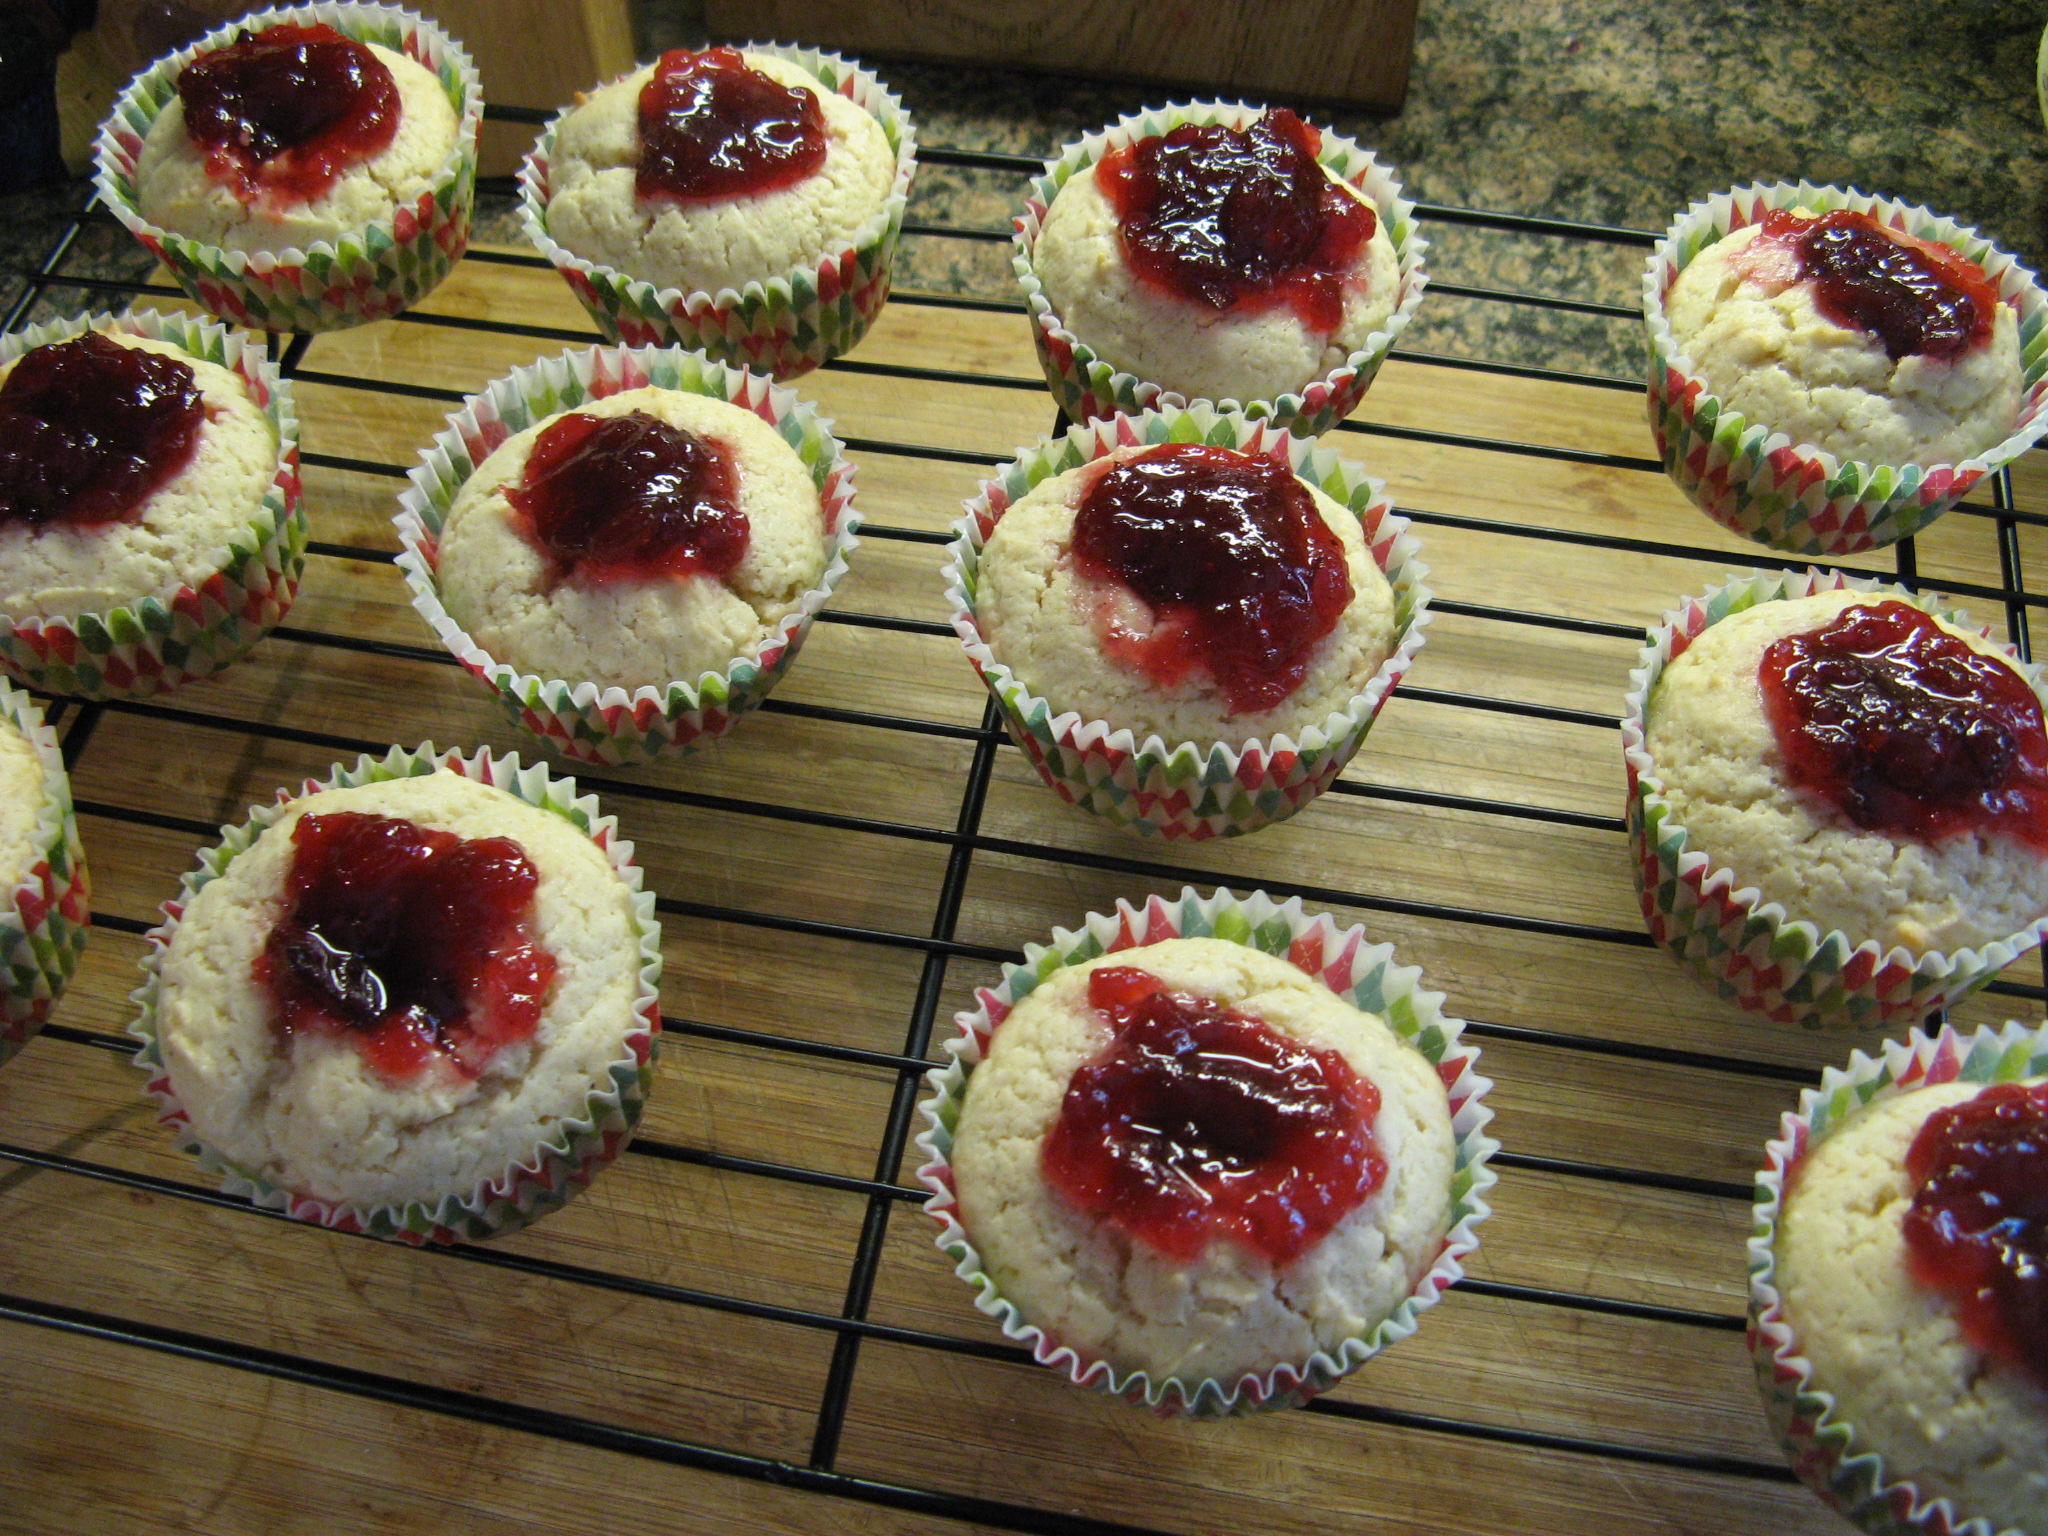
Next, I made a small indentation in each of the cupcakes…

IMG_2151

And then added in a few teaspoons of canned cranberry sauce into the indentation. Since the cupcakes are denser there are no concerns about them falling apart due to the liquid of the sauce.

IMG_2152

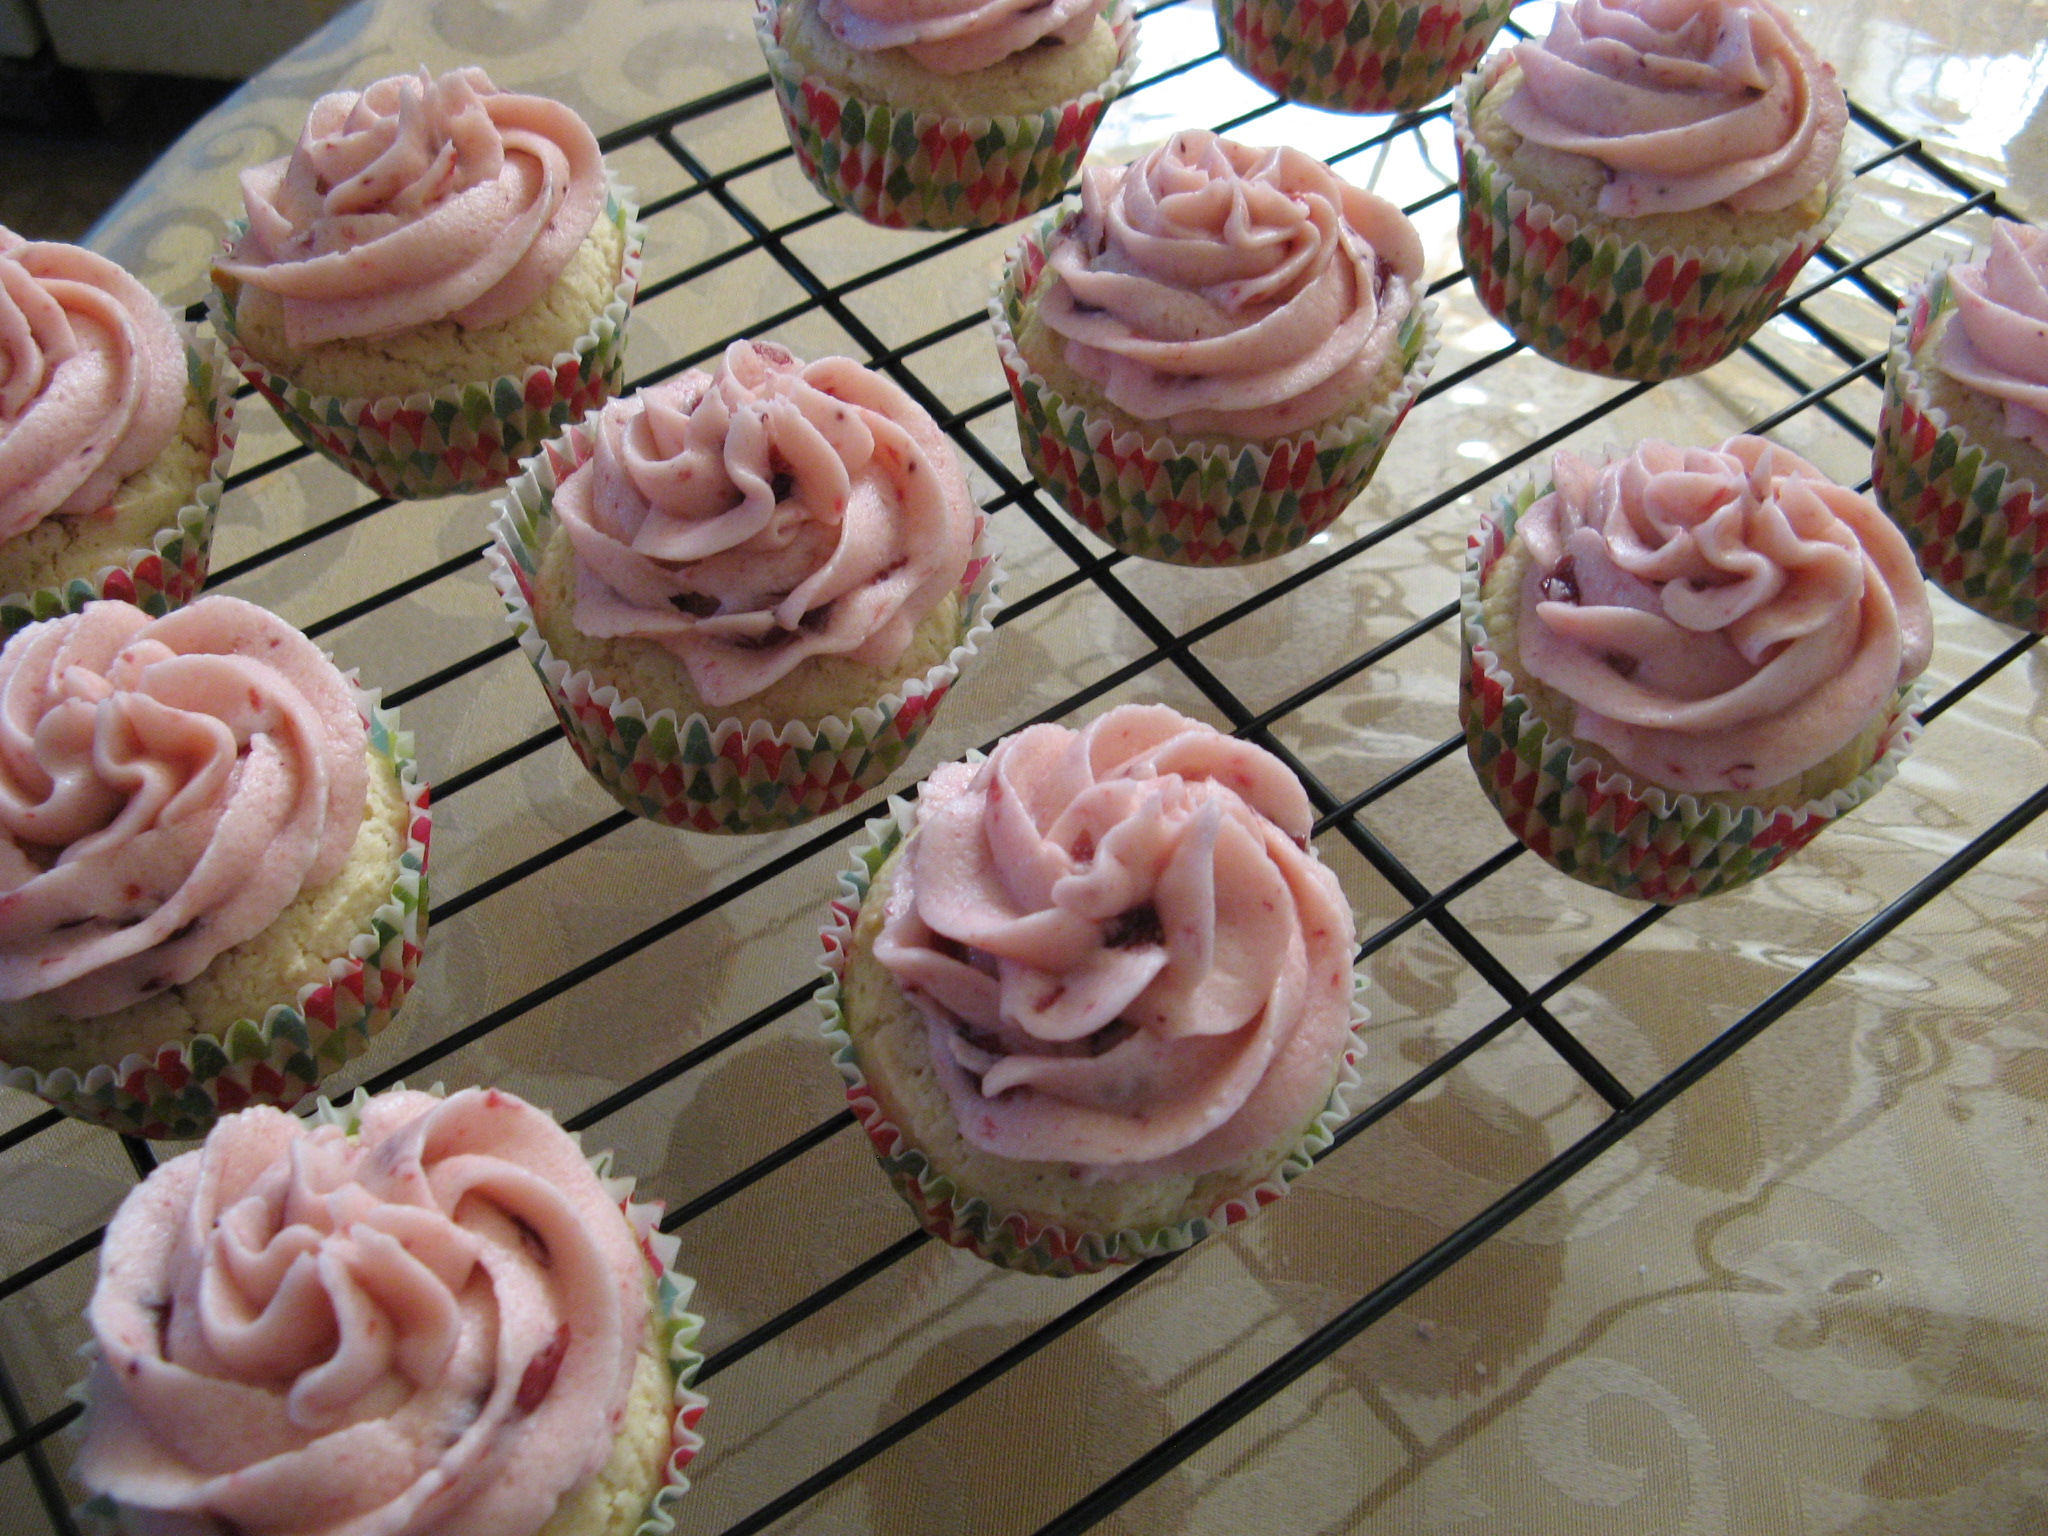
While they cooled I made a Cranberry Buttercream Frosting.

IMG_2154

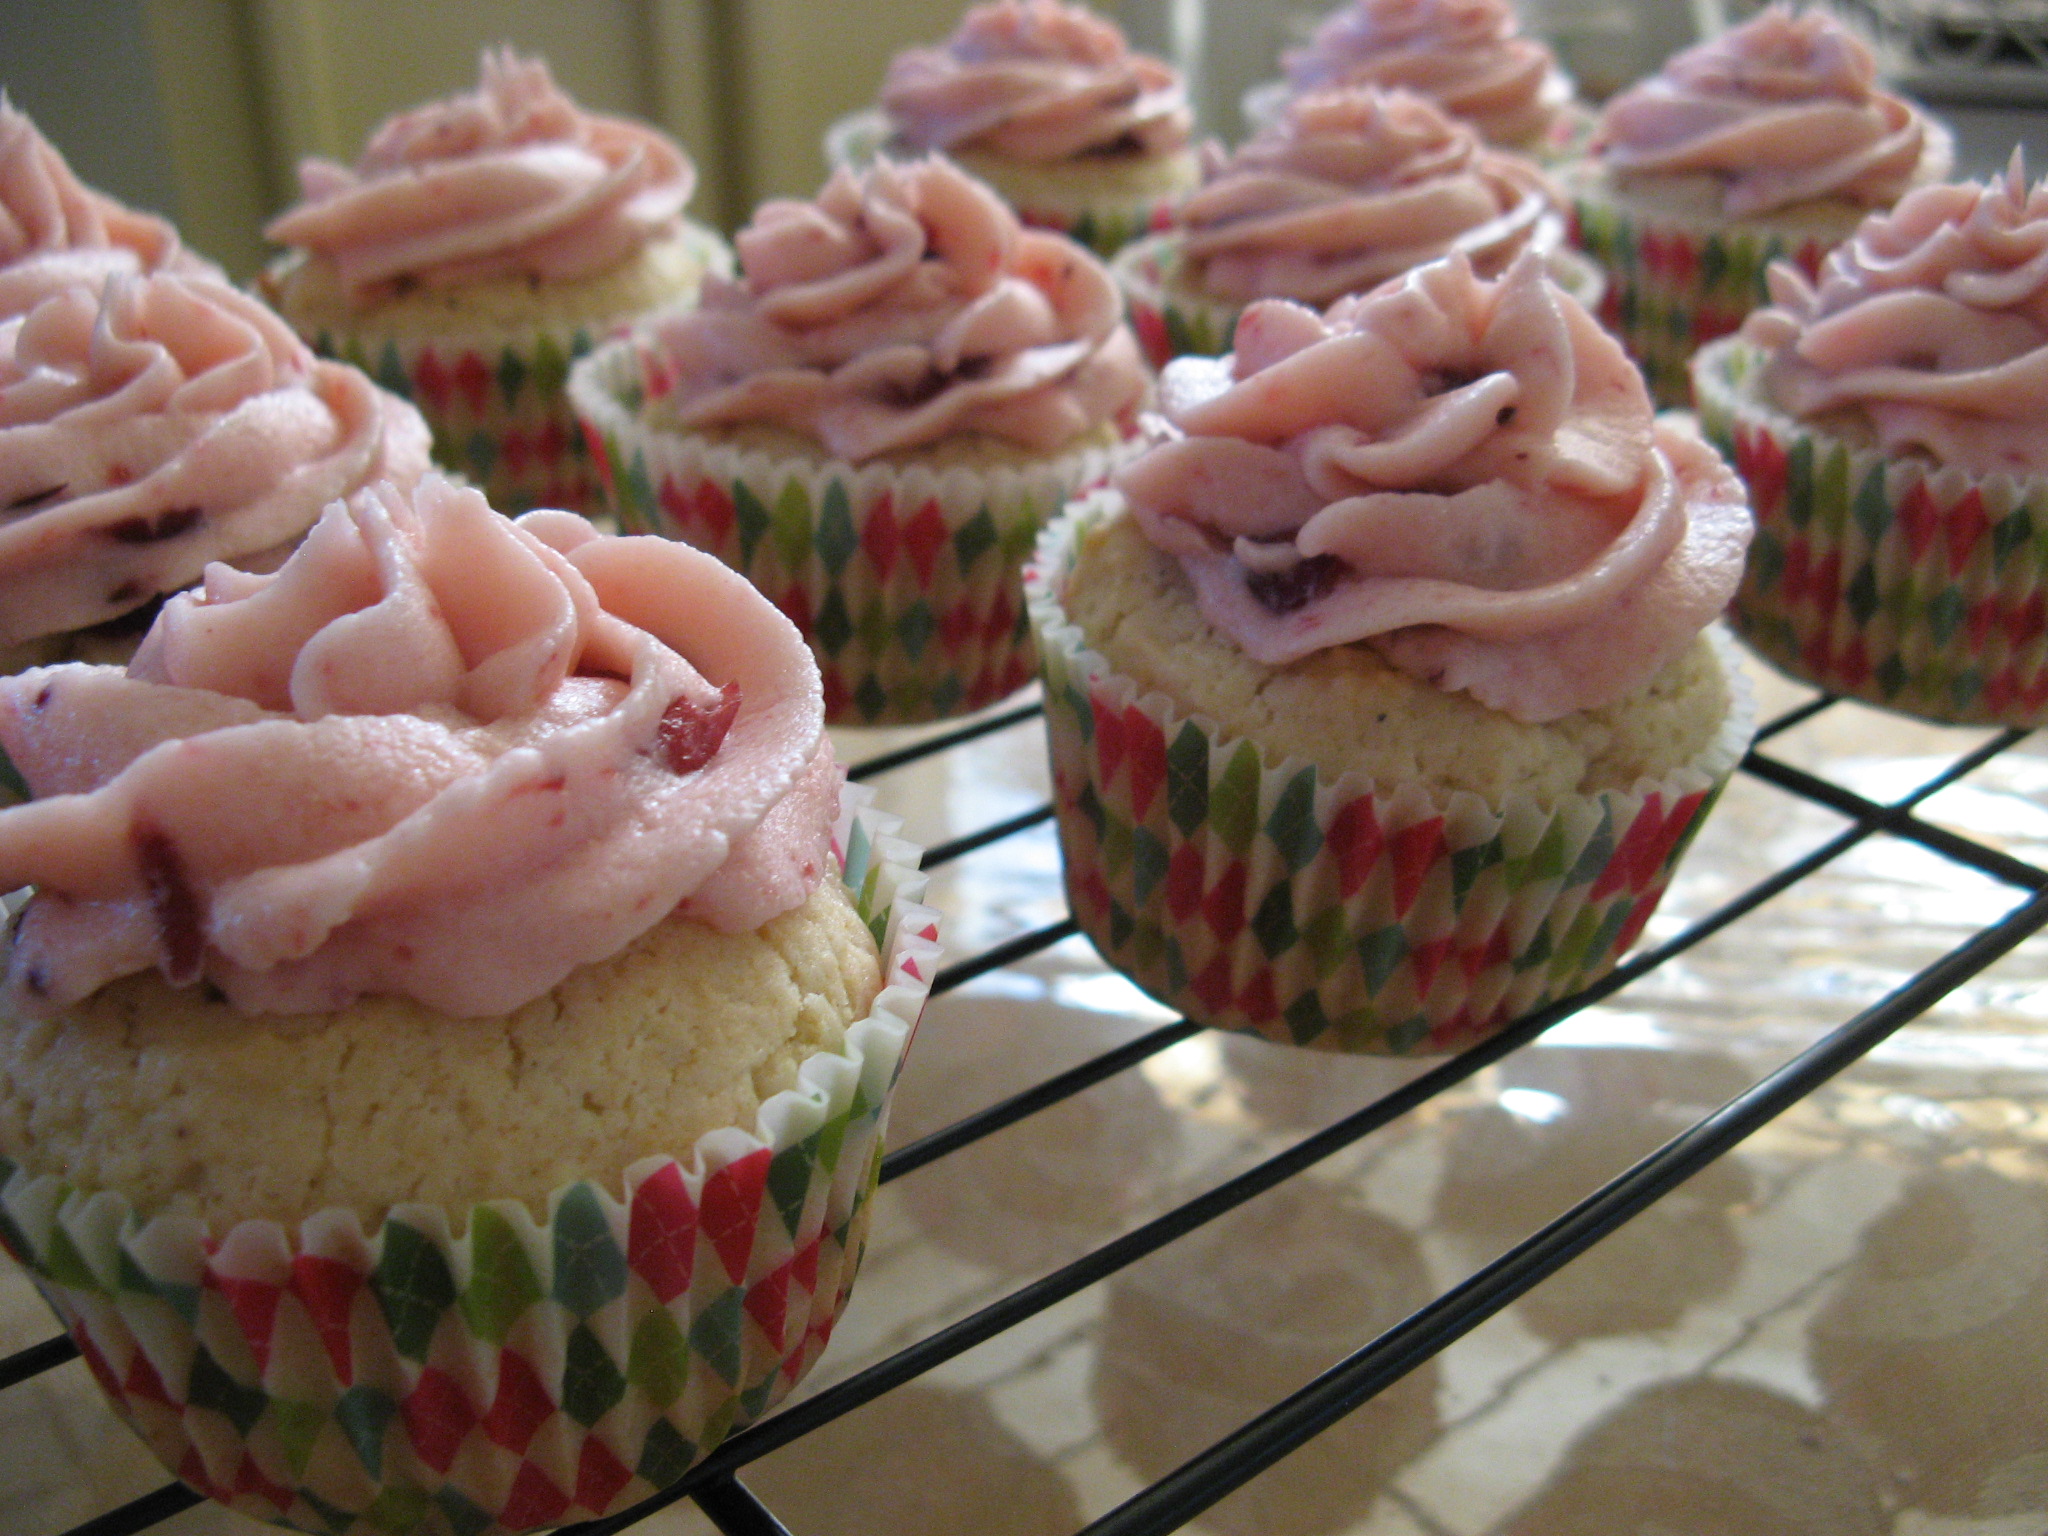
Once they cooled completely I piped a 1M Swirl of frosting on each of the cupcakes.

IMG_2162

Final verdict… They’re a keeper! Although next time I’m thinking of trying them with a different fruit, maybe blueberries.

IMG_2160

Cranberry Cupcakes

Makes 12 Cupcakes

For The Cupcakes

1 1/2 cups all-purpose flour

1/2 tsp. baking powder

1/2 tsp. salt

1/4 tsp. baking soda

1/8 to 1/4 tsp. freshly grated nutmeg

6 tbsp. unsalted butter, at room temperature

3/4 cup granulated sugar

1 large egg, at room temperature

1 tsp. vanilla extract

1/2 cup sour cream

1/2 cup canned whole-berry cranberry sauce

For The Frosting

2 sticks unsalted butter, at room temperature

3 cups confectioners’ sugar

1/4 cup canned whole-berry cranberry sauce

1/2 tsp. vanilla extract

Pinch of salt

Dried cranberries, for topping

1. Make the cupcakes: Preheat the oven to 350F and line a 12-cup muffin pan with paper liners. Whisk the flour, baking powder, salt, baking soda and nutmeg in a medium bowl.

2. Beat the butter and granulated sugar in a large bowl with a mixer on medium speed until creamy, about 2 minutes. Add the egg and vanilla extract and beat until fluffy, about 3 more minutes. Reduce the speed to low; add the flour mixture and beat until just incorporated, about 1 minute. Add the sour cream and beat until light and fluffy, about 2 more minutes.

3. Divide the batter among the muffin cups. Bake until a toothpick inserted into the center comes out clean, about 22 minutes. Let sit until cool enough to handle, then gently press the back of a small spoon into the center of each cupcake to make an indentation. Fill each indentation with a few teaspoons of cranberry sauce. Remove the cupcakes to a rack to cool completely.

4. Meanwhile, make the frosting. Beat the butter and 1 cup confectioners’ sugar in a large bowl with a mixer on medium speed until combined, about 2 minutes. Reduce the mixer speed to medium low; gradually add the remaining 2 cups confectioners’ sugar and beat until fluffy, about 2 minutes. Increase the speed to medium high; beat in the cranberry sauce, vanilla and salt until combined. Spread the frosting on the cupcakes and top with dried cranberries.

Snickerdoodles

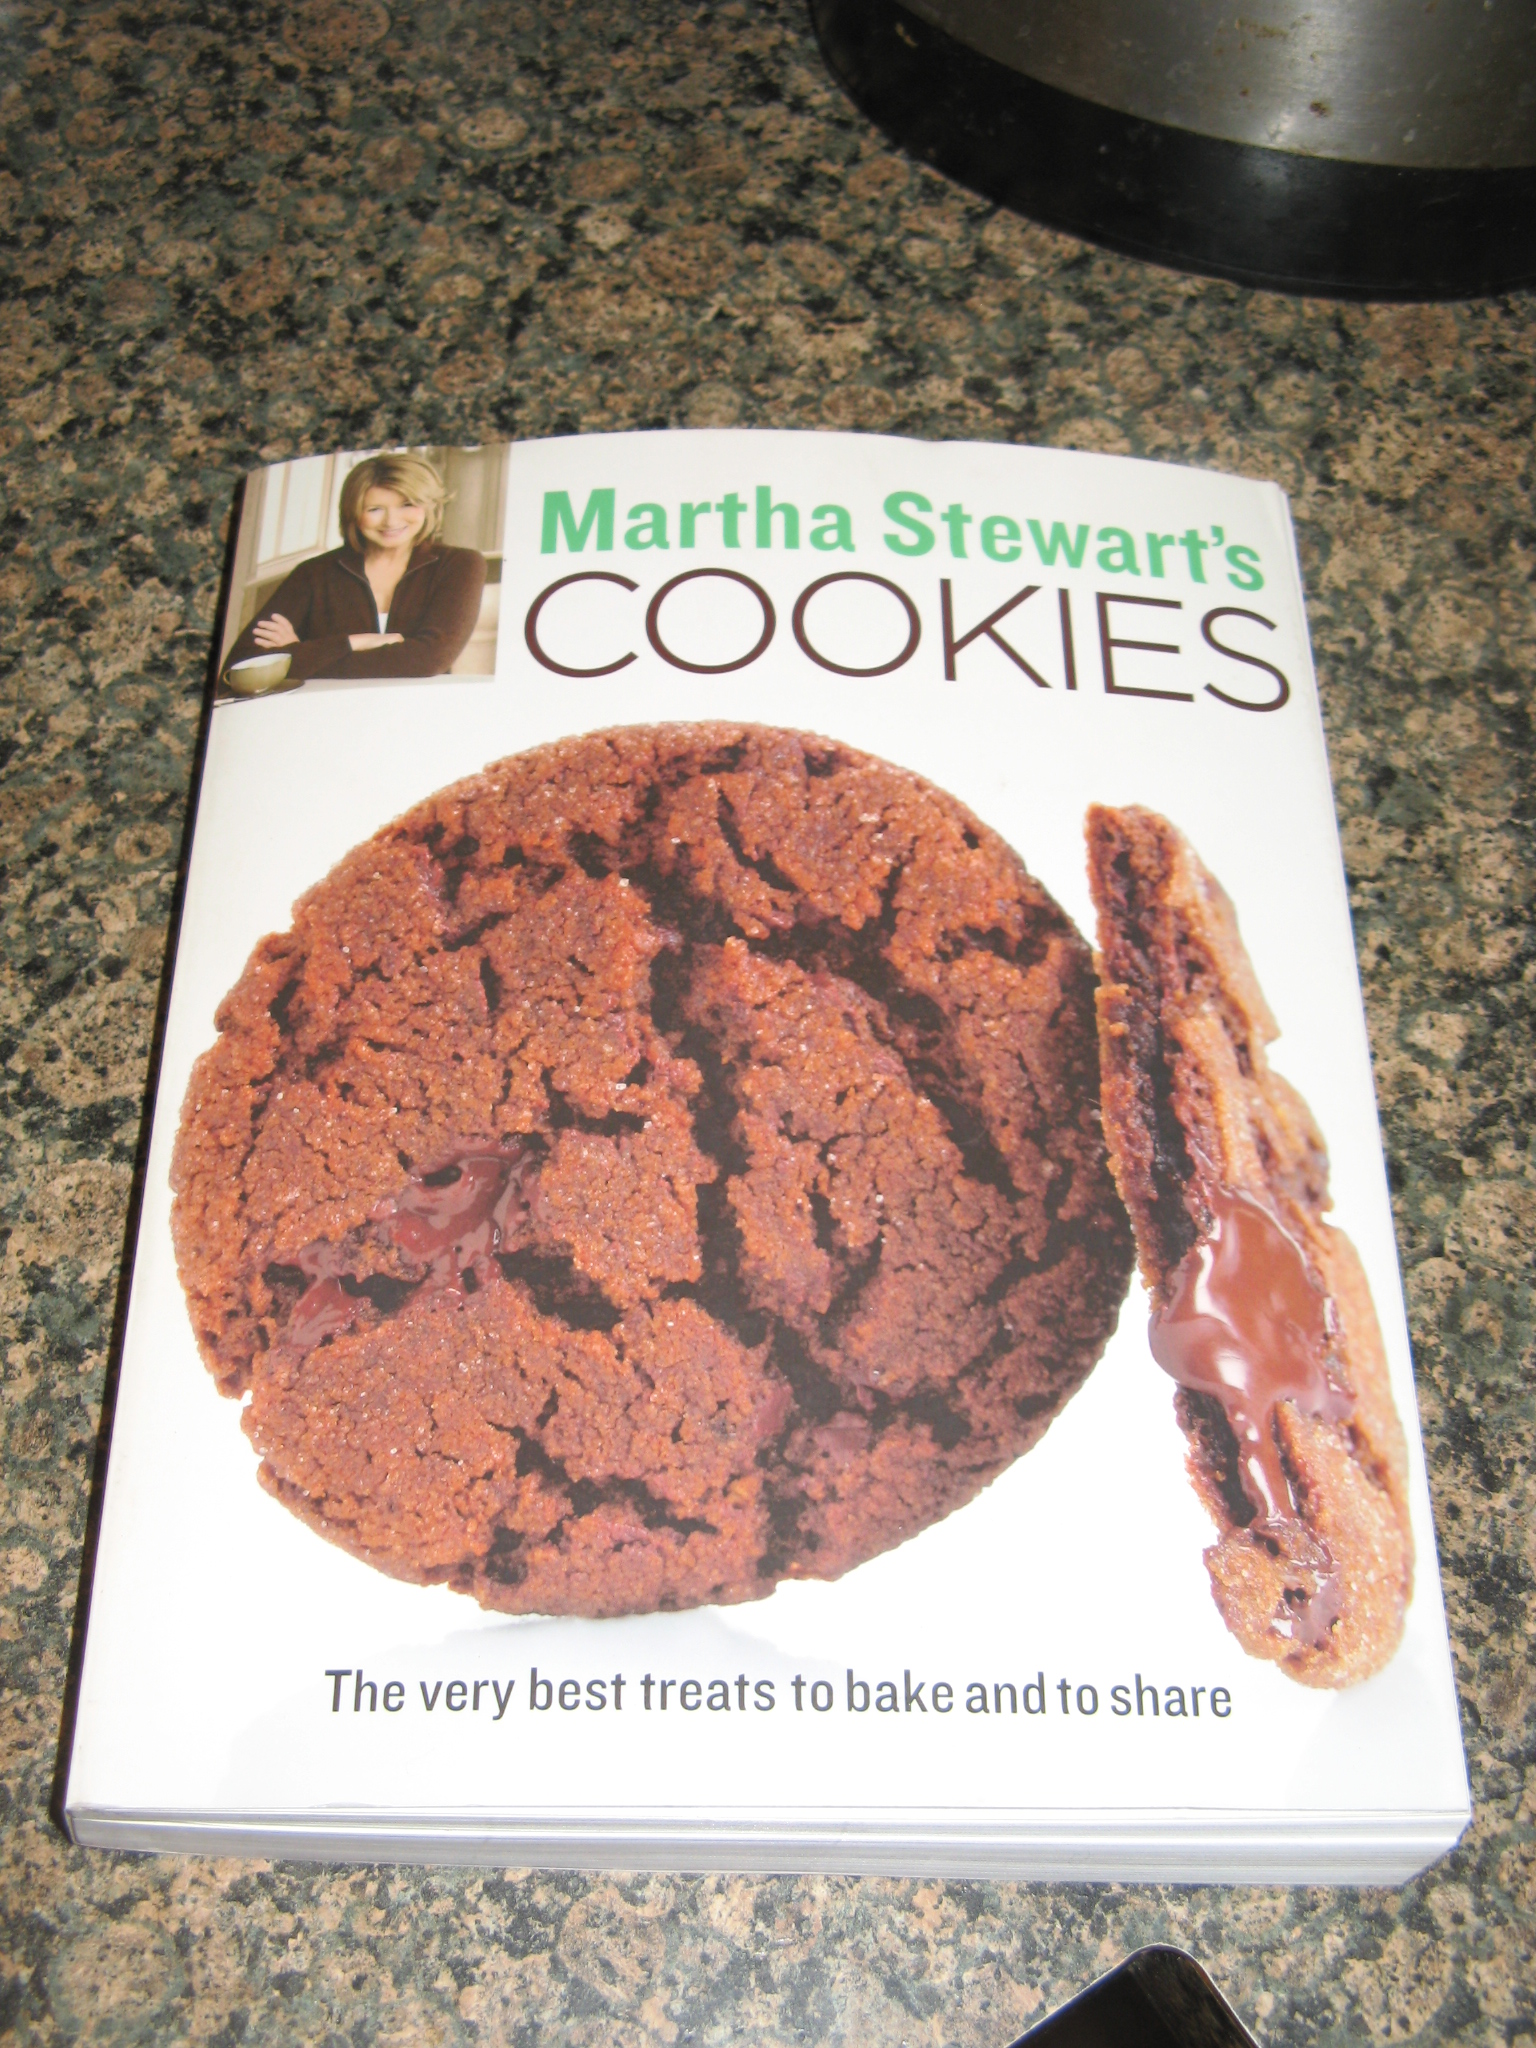
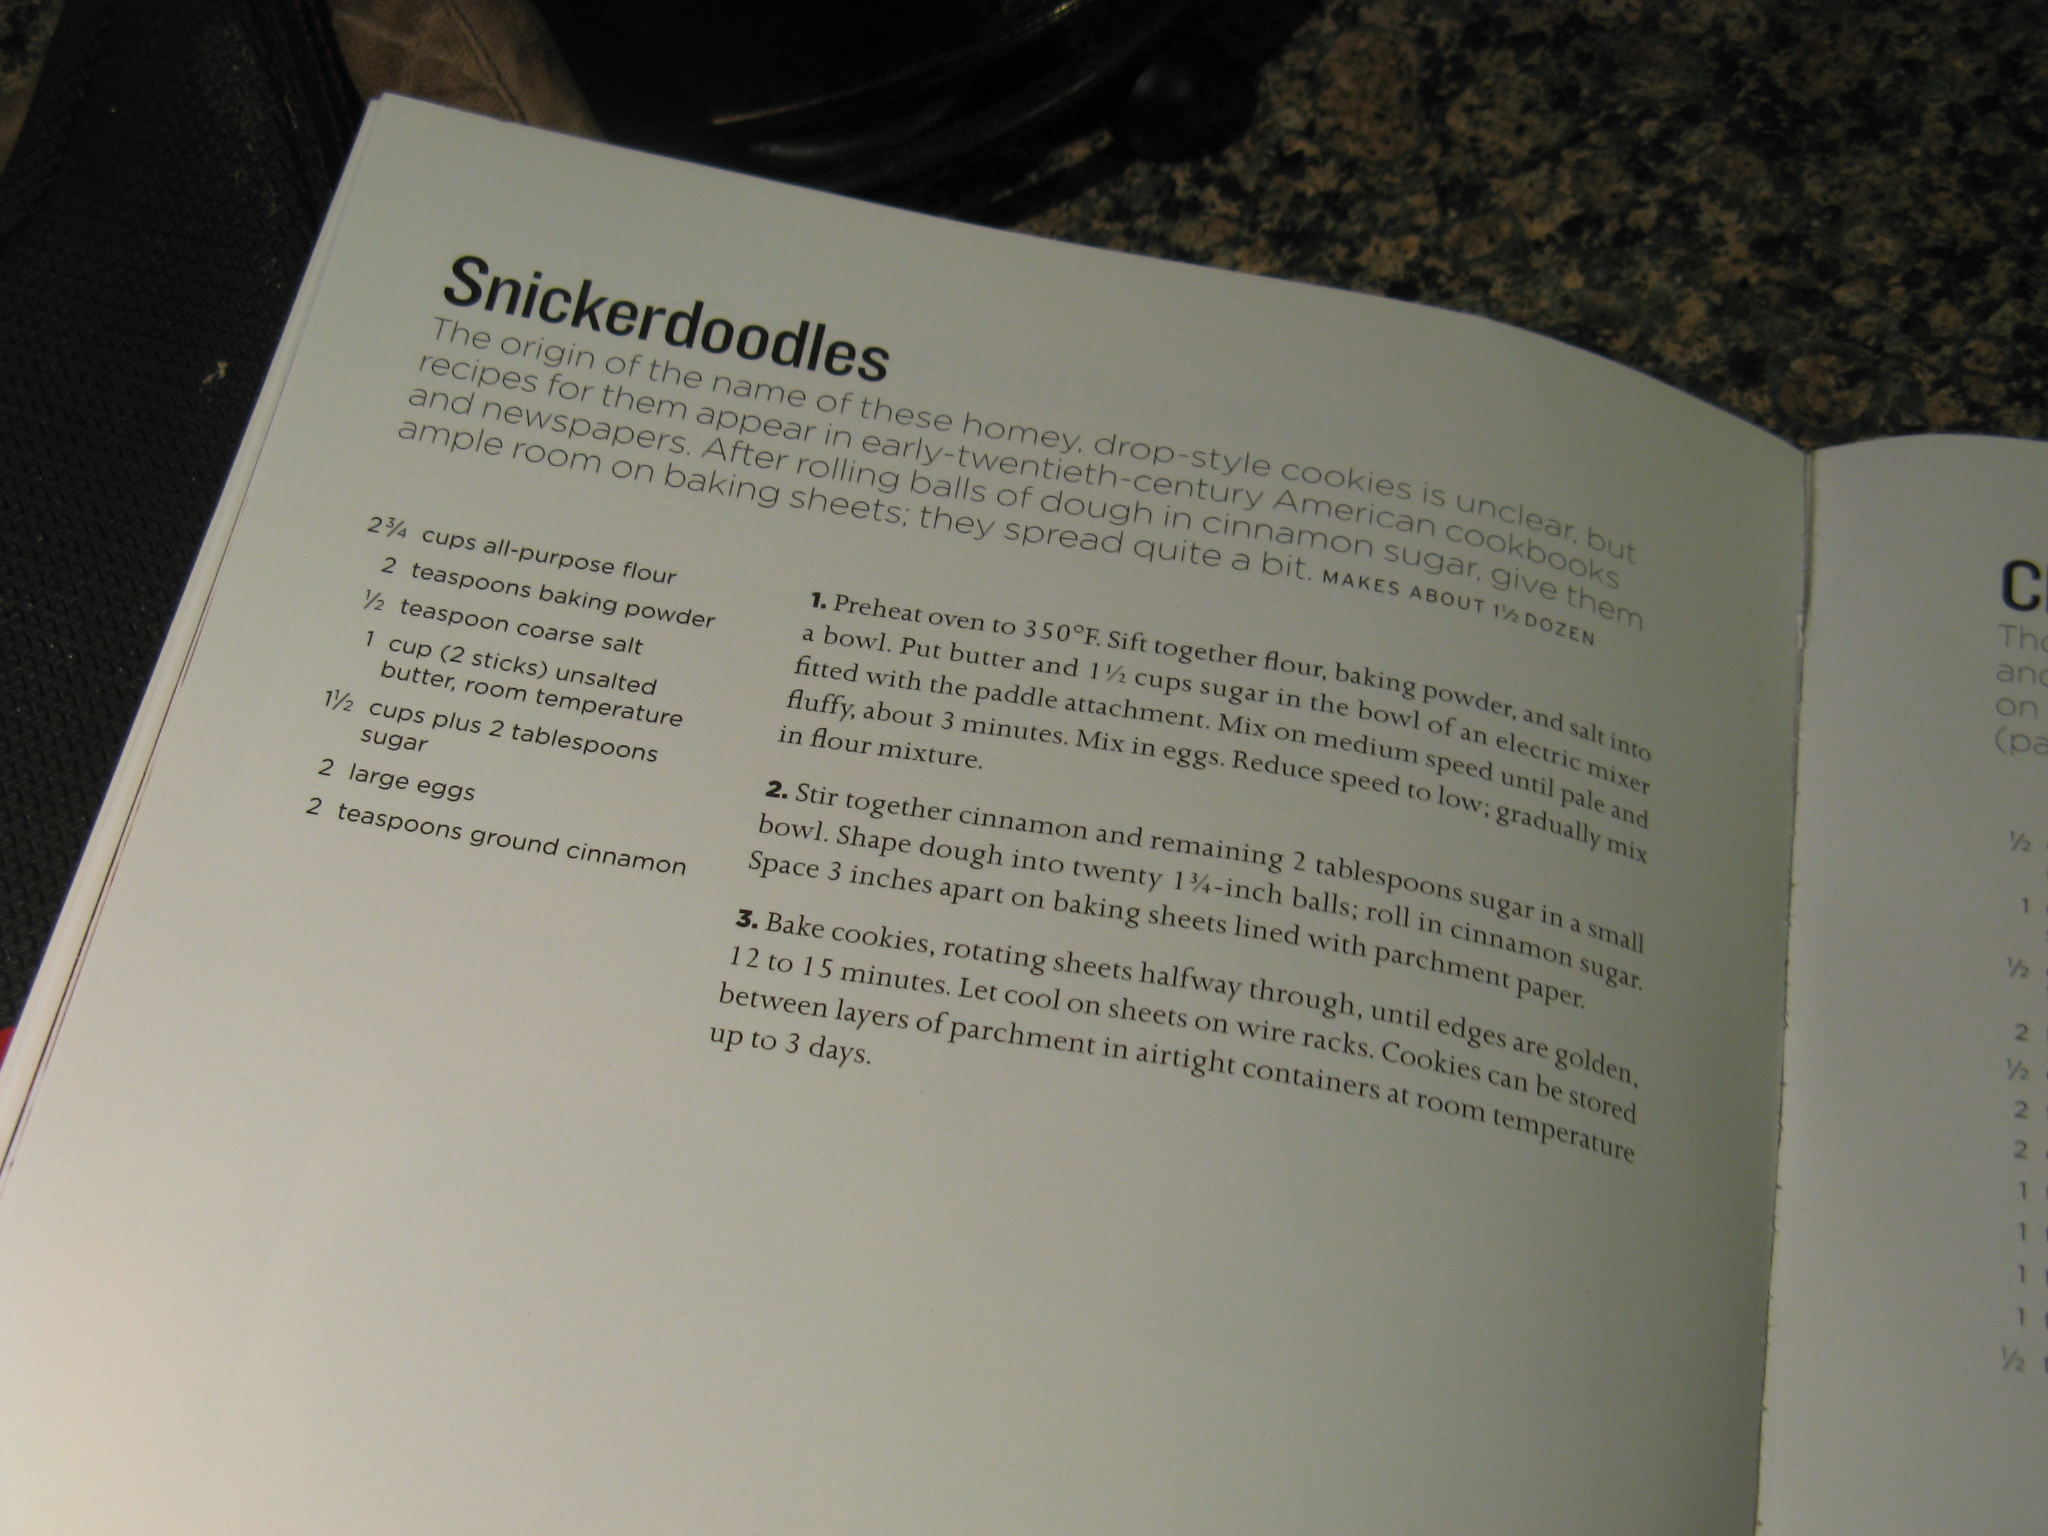
I always thought that Snickerdoodles were a cookie with toffee or something of the sort. I remember having a cookie like that back when I was in college and for some reason I thought that was it. But, not too long ago I had the real thing and was instantly hooked. For those of who are in the dark like I was, Snickerdoodles are essentially sugar cookies that are rolled in cinnamon sugar prior to baking. Recently I picked up Martha Stewart’s Cookies cookbook and one of the first recipes I came across was for Snickerdoodles so of course I had to try it out.

IMG_2077 IMG_2080

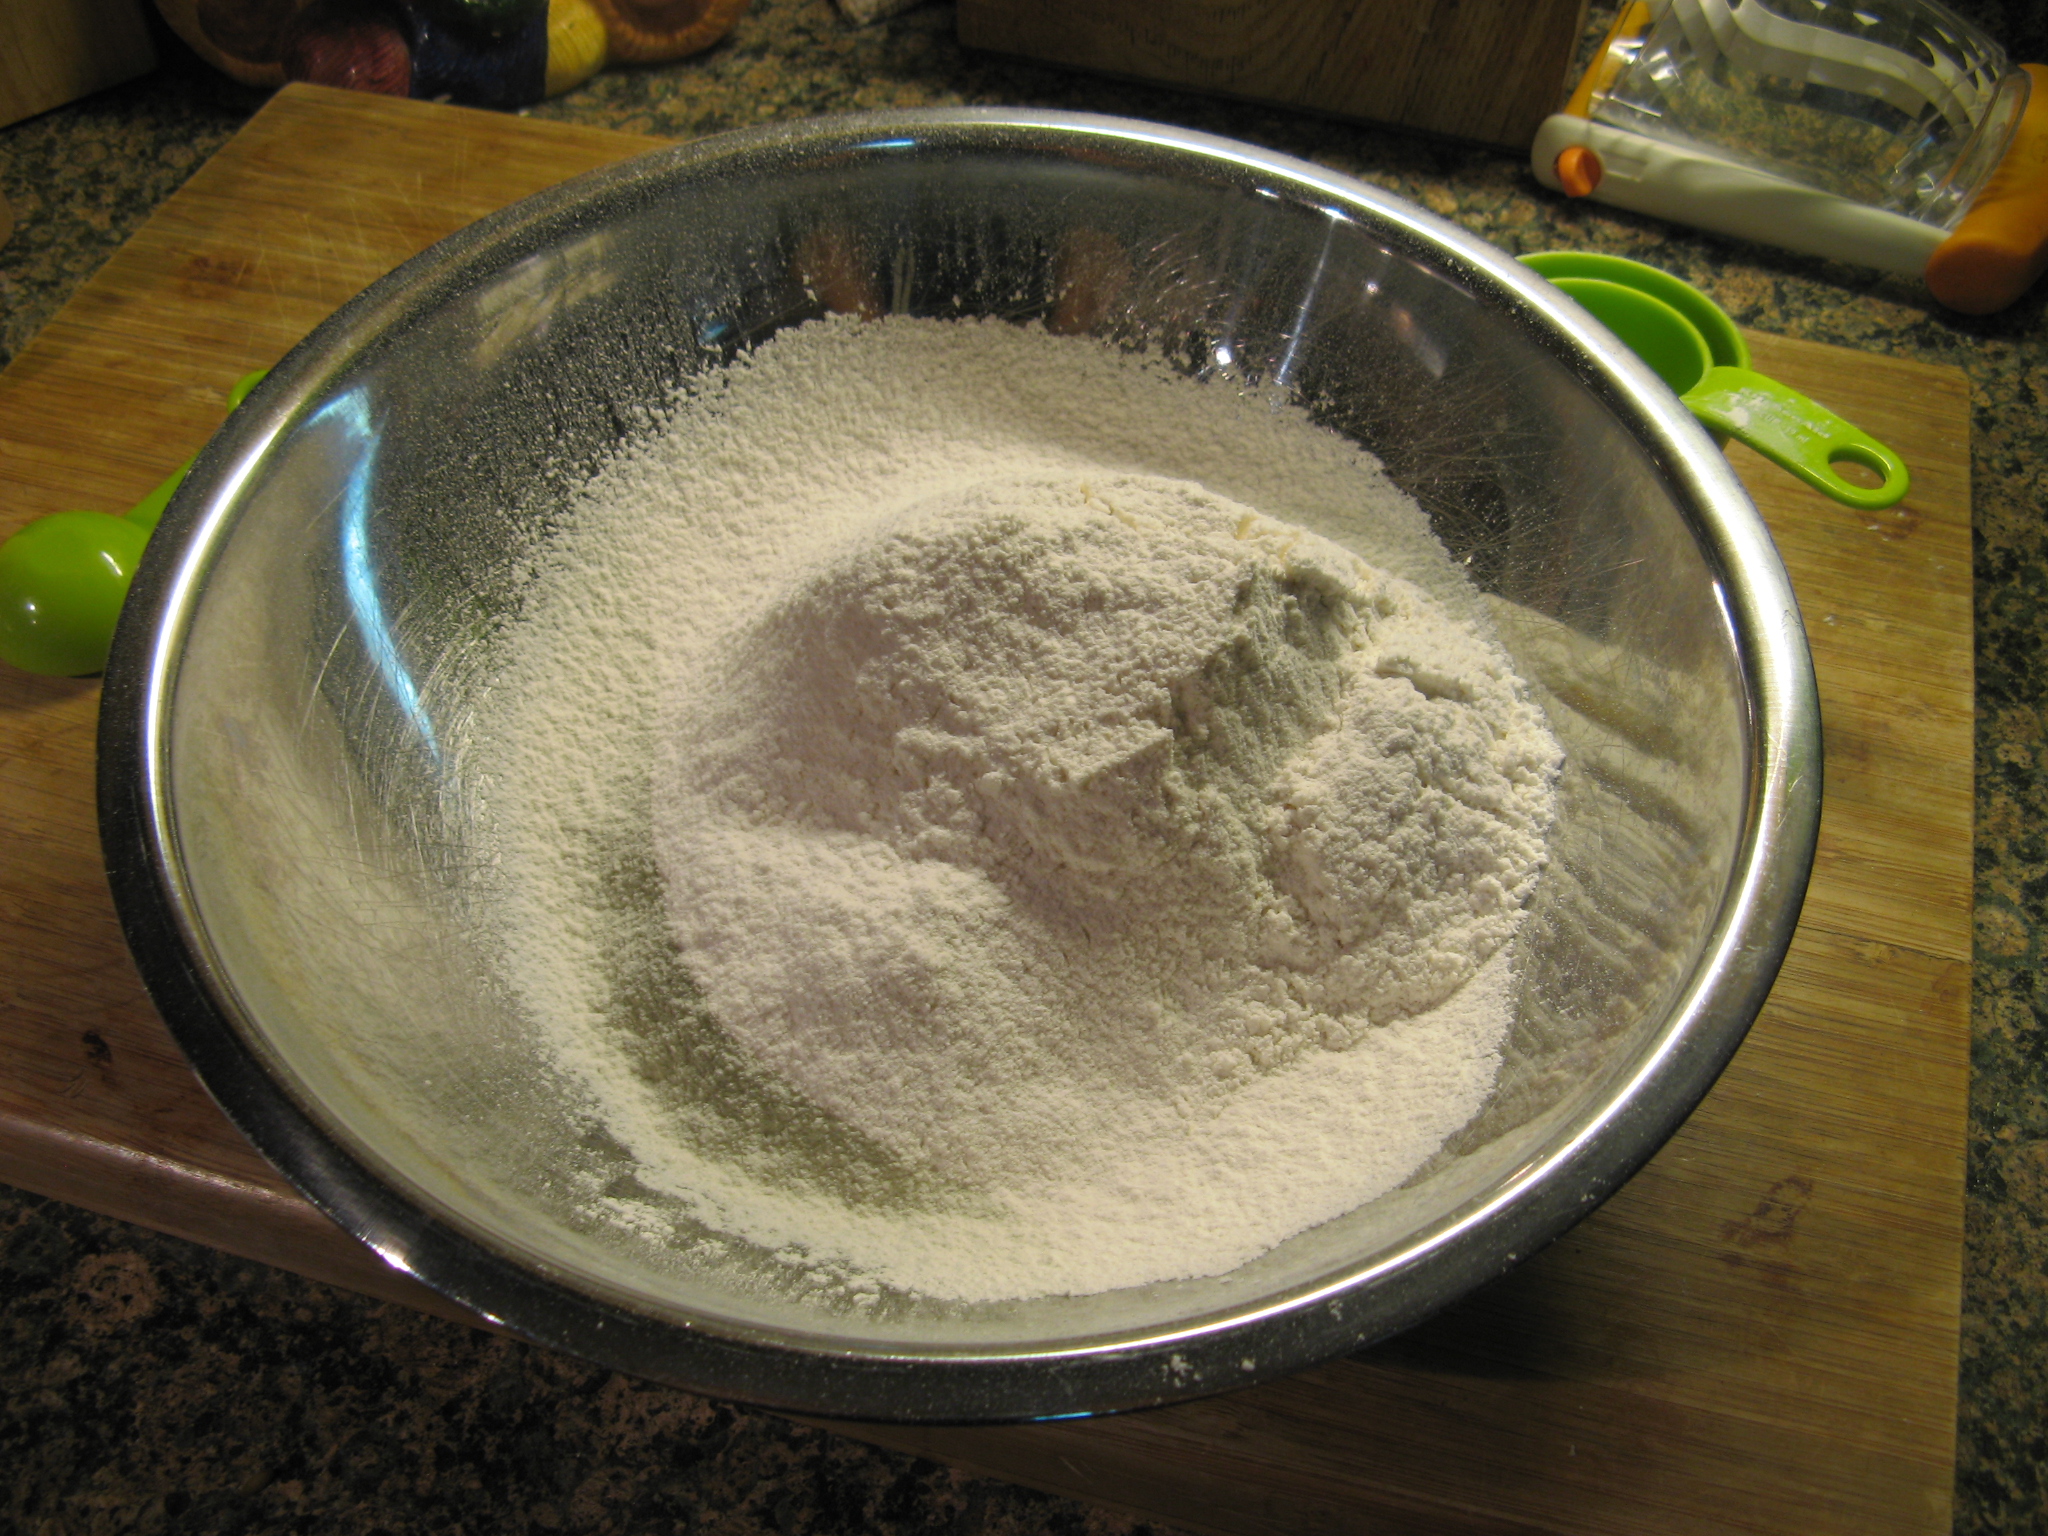
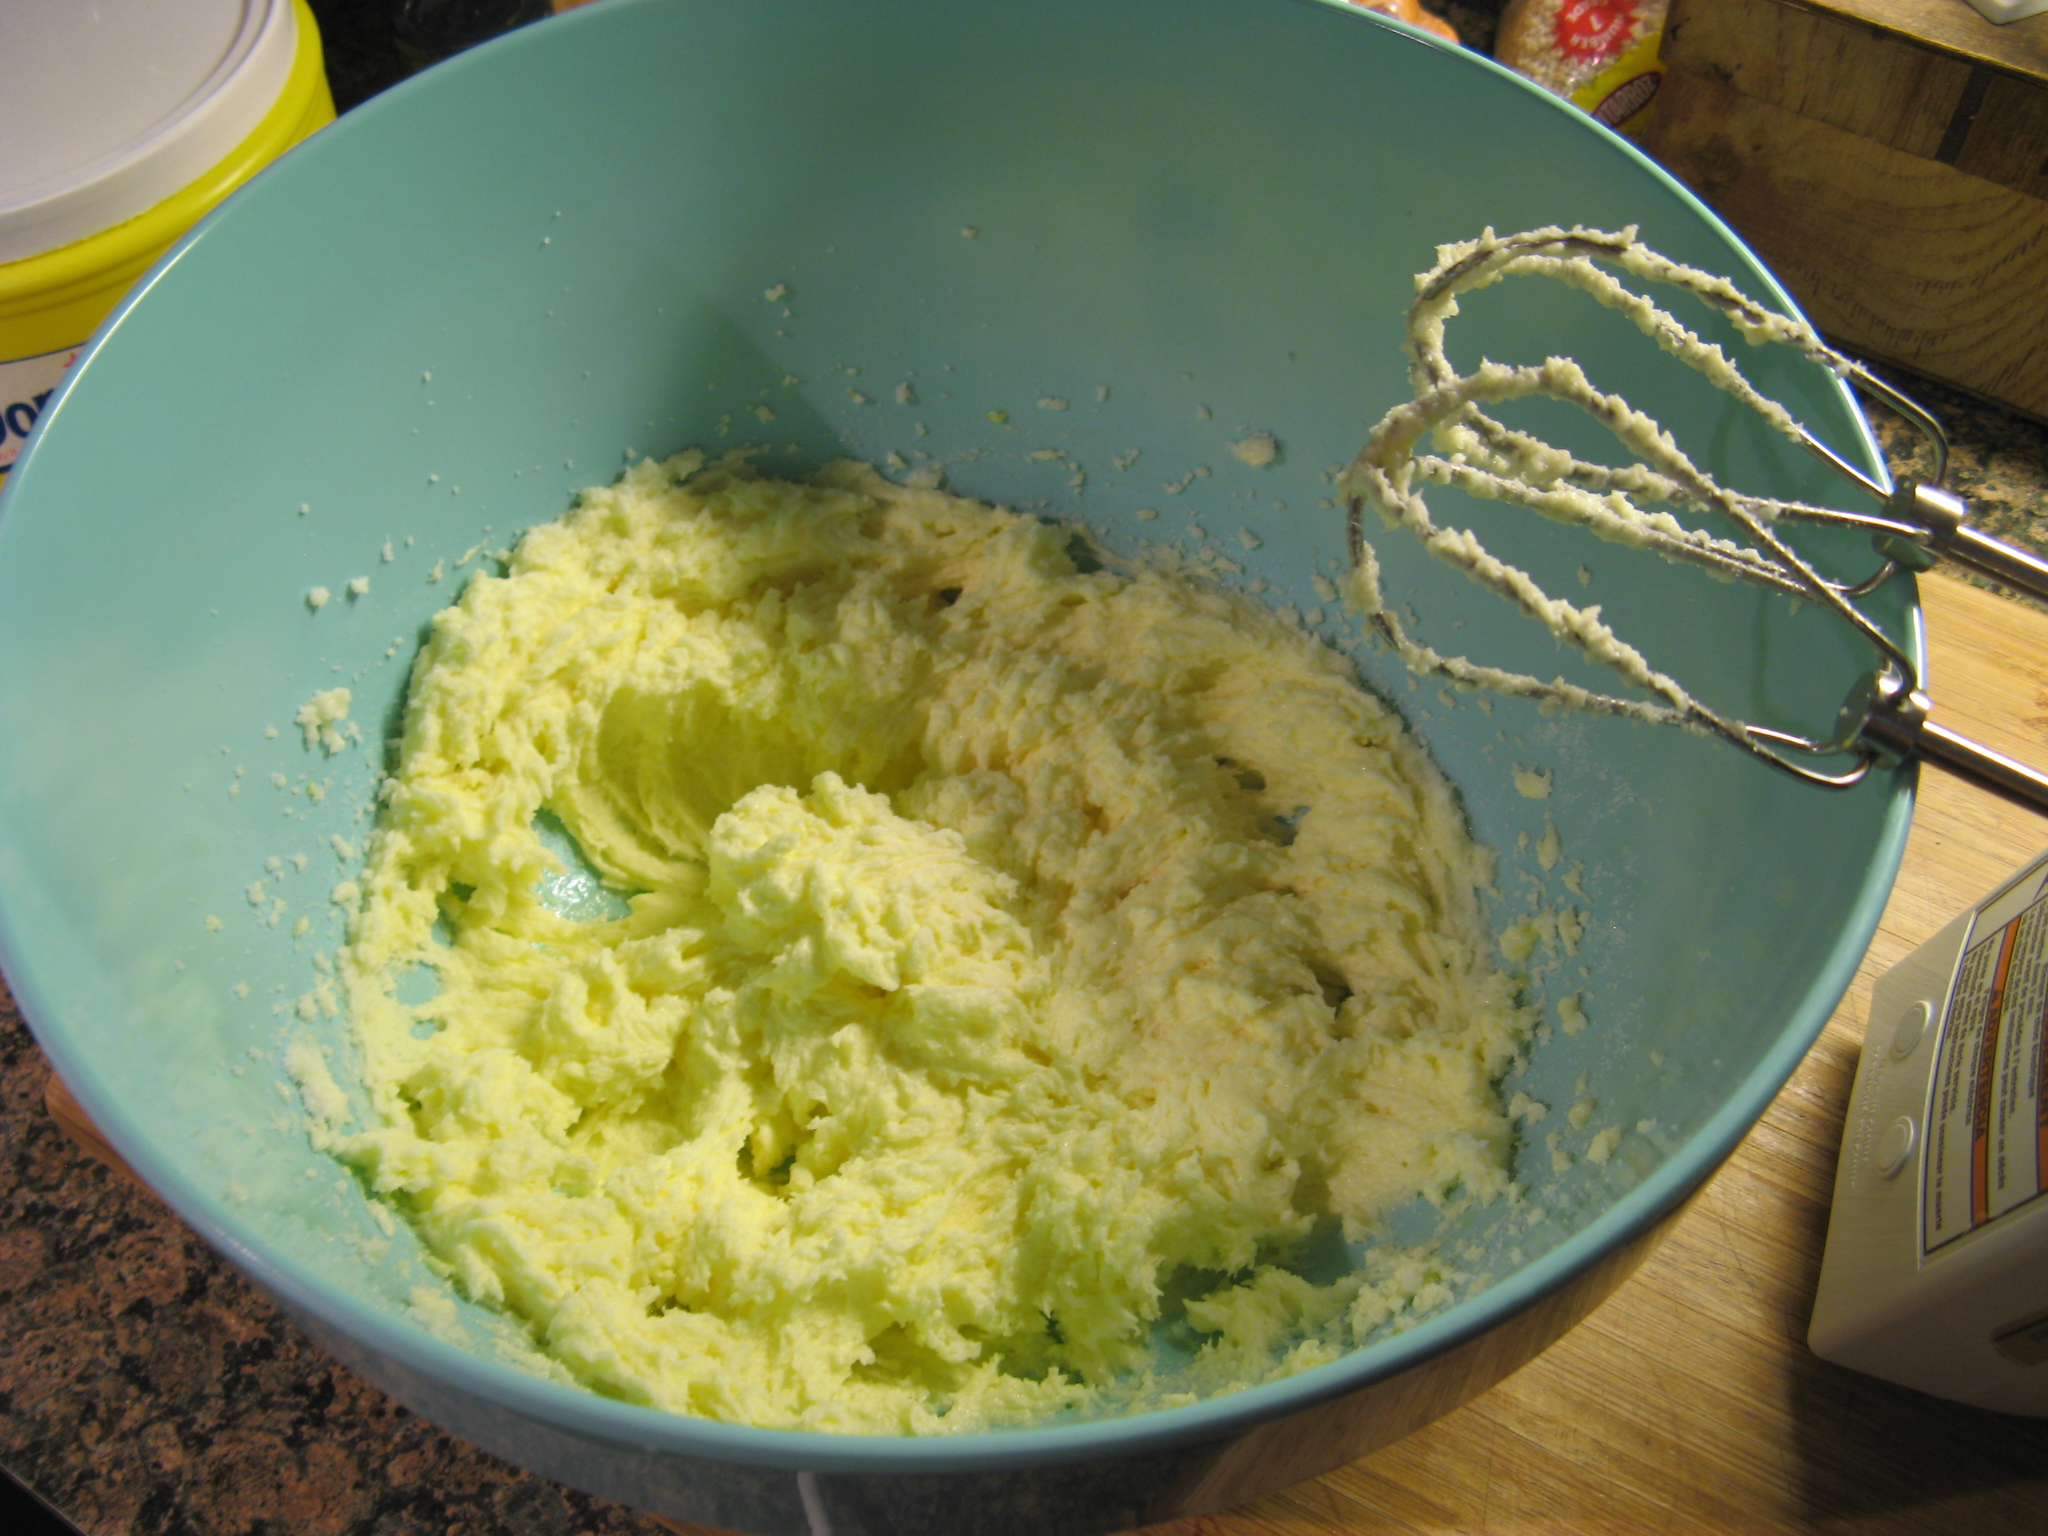
To begin I sifted the dry ingredients (flour, baking powder and salt) into one bowl and mixed together my wet ingredients (sugar, butter and eggs) in another bowl.

IMG_2070 IMG_2072

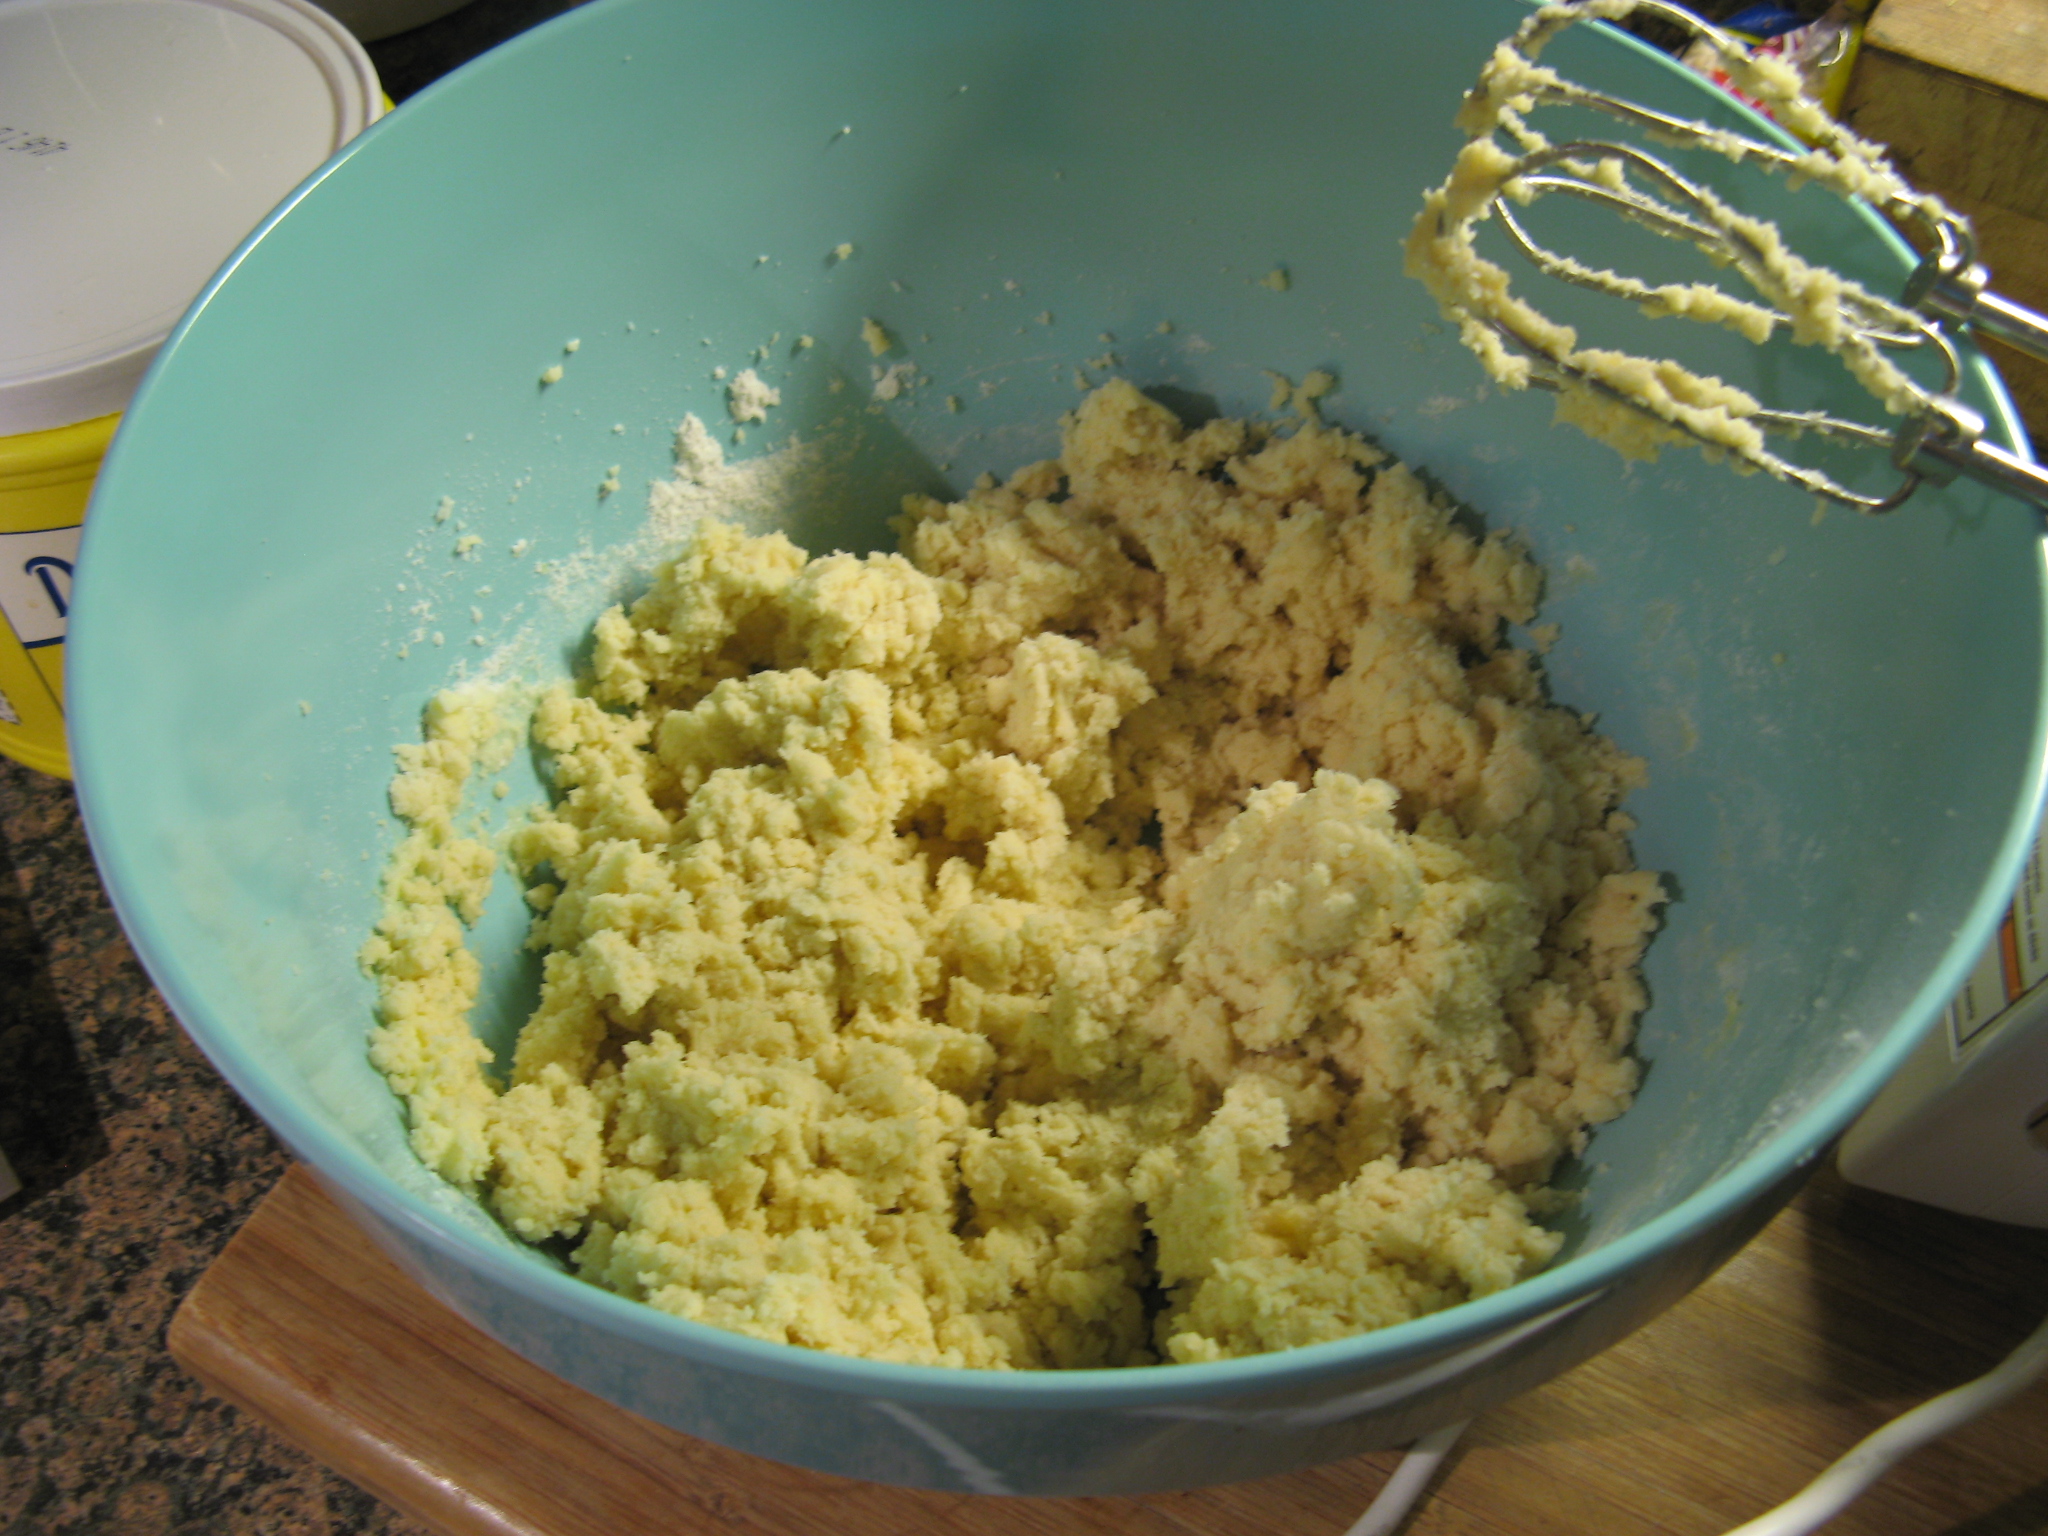
I then gradually mixed the flour mixture into the sugar mixture and as simple as that the dough came together.

IMG_2073

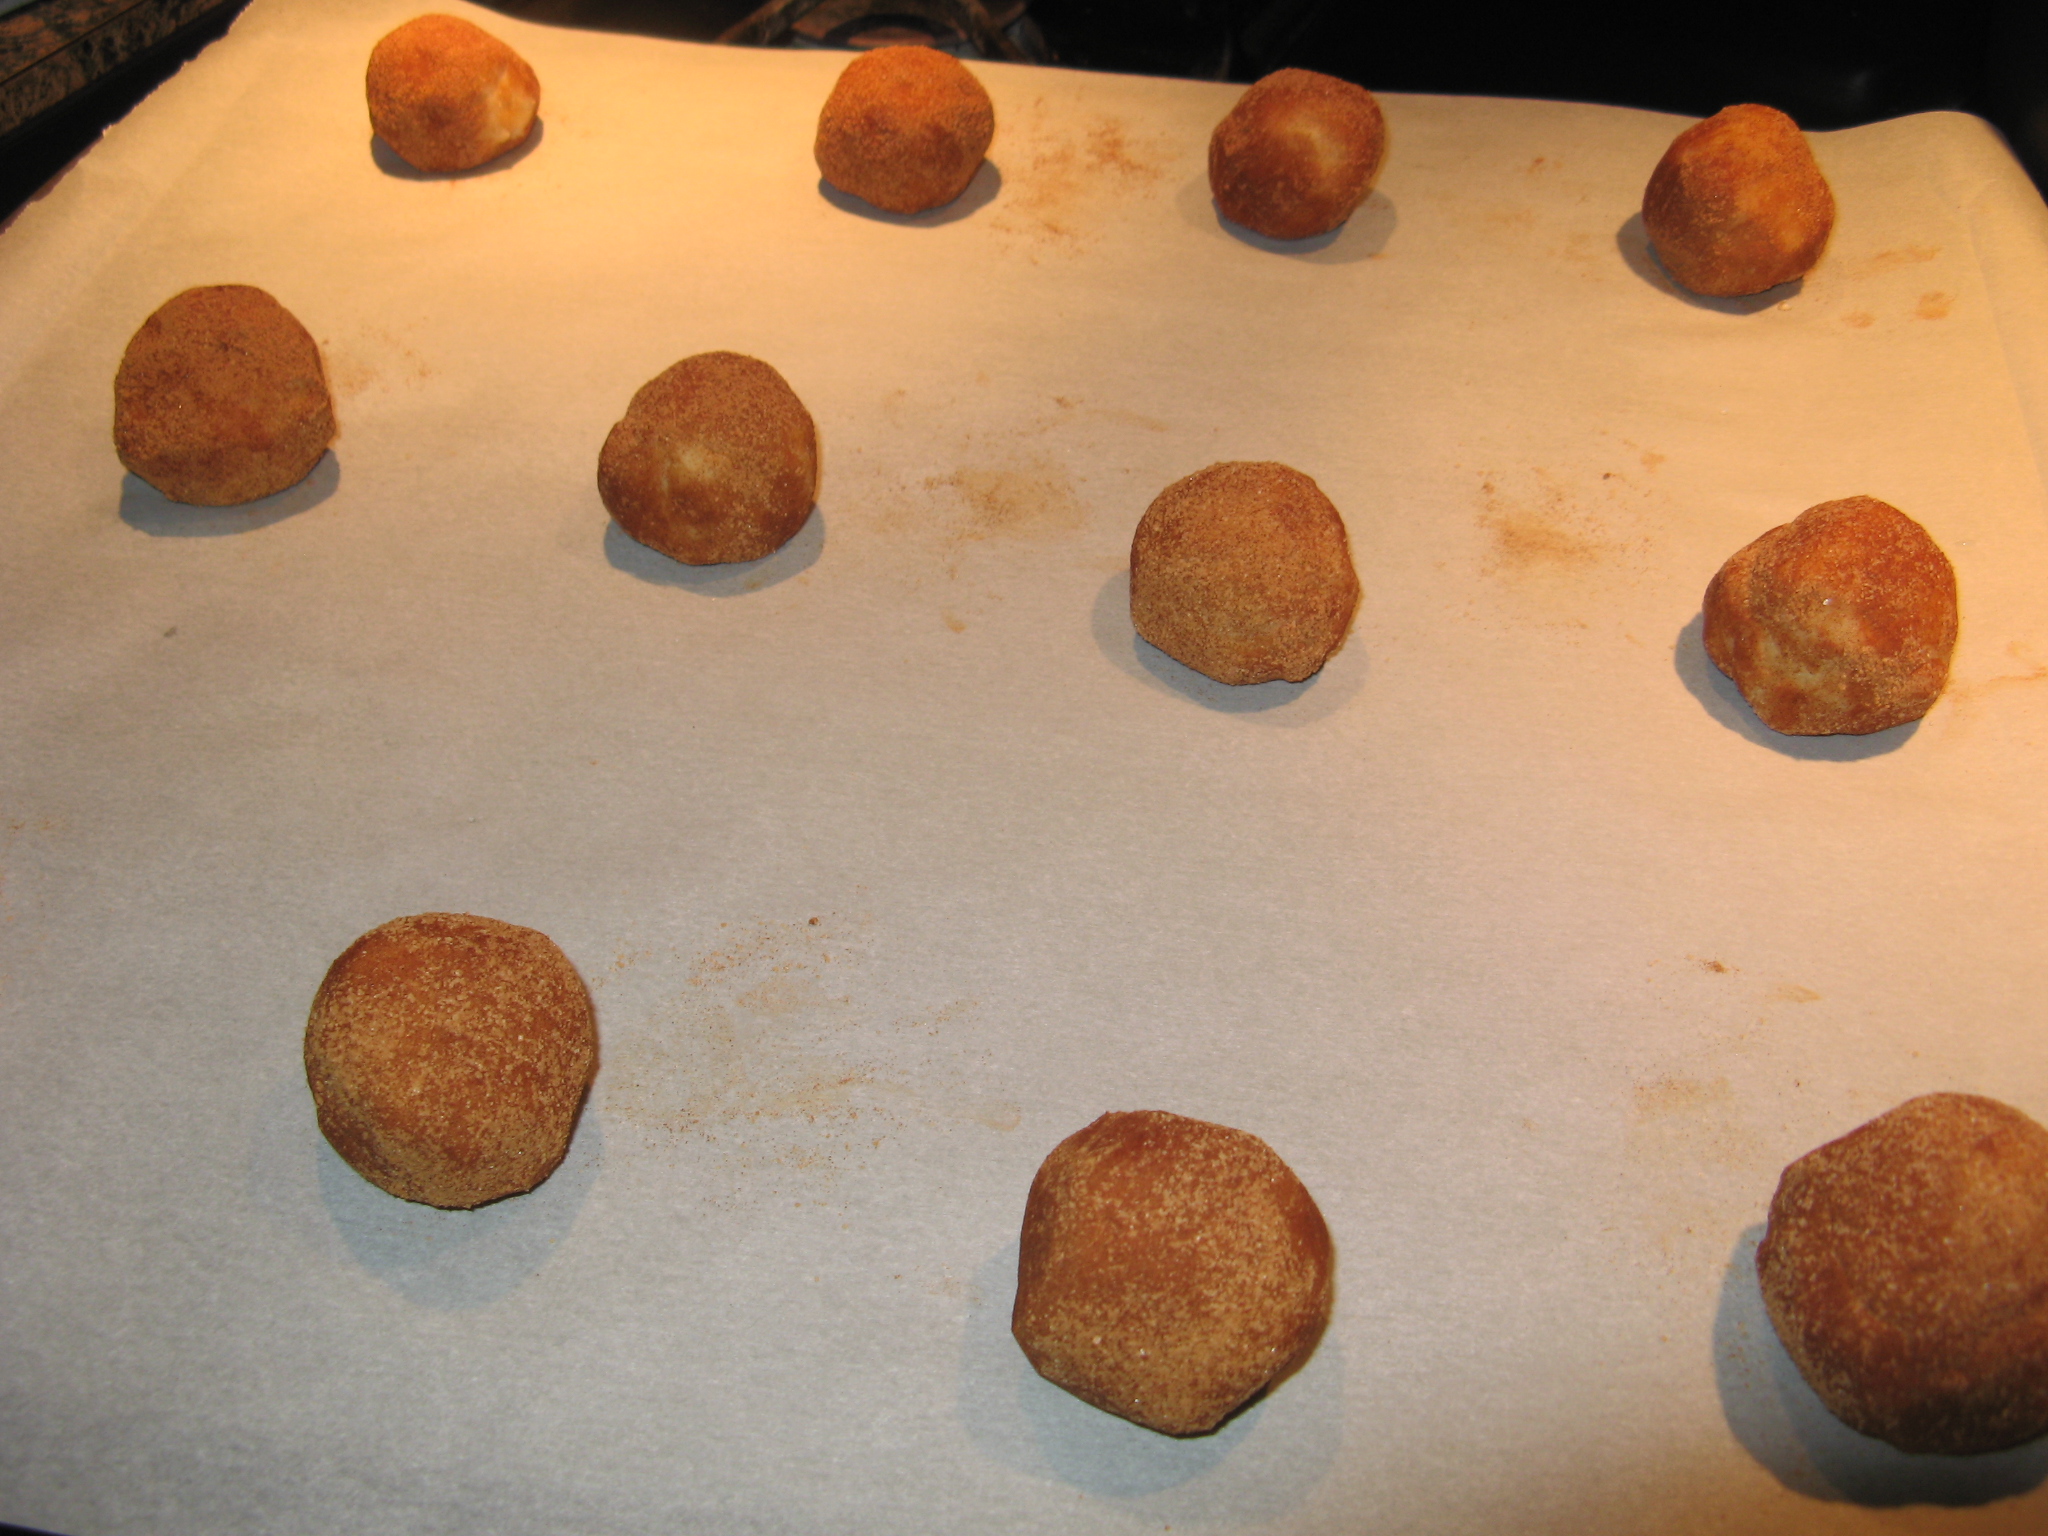
Using a small cookie scoop I shaped the dough into balls and then rolled them in cinnamon sugar and placed them on parchment paper lined cookie sheets.

IMG_2074

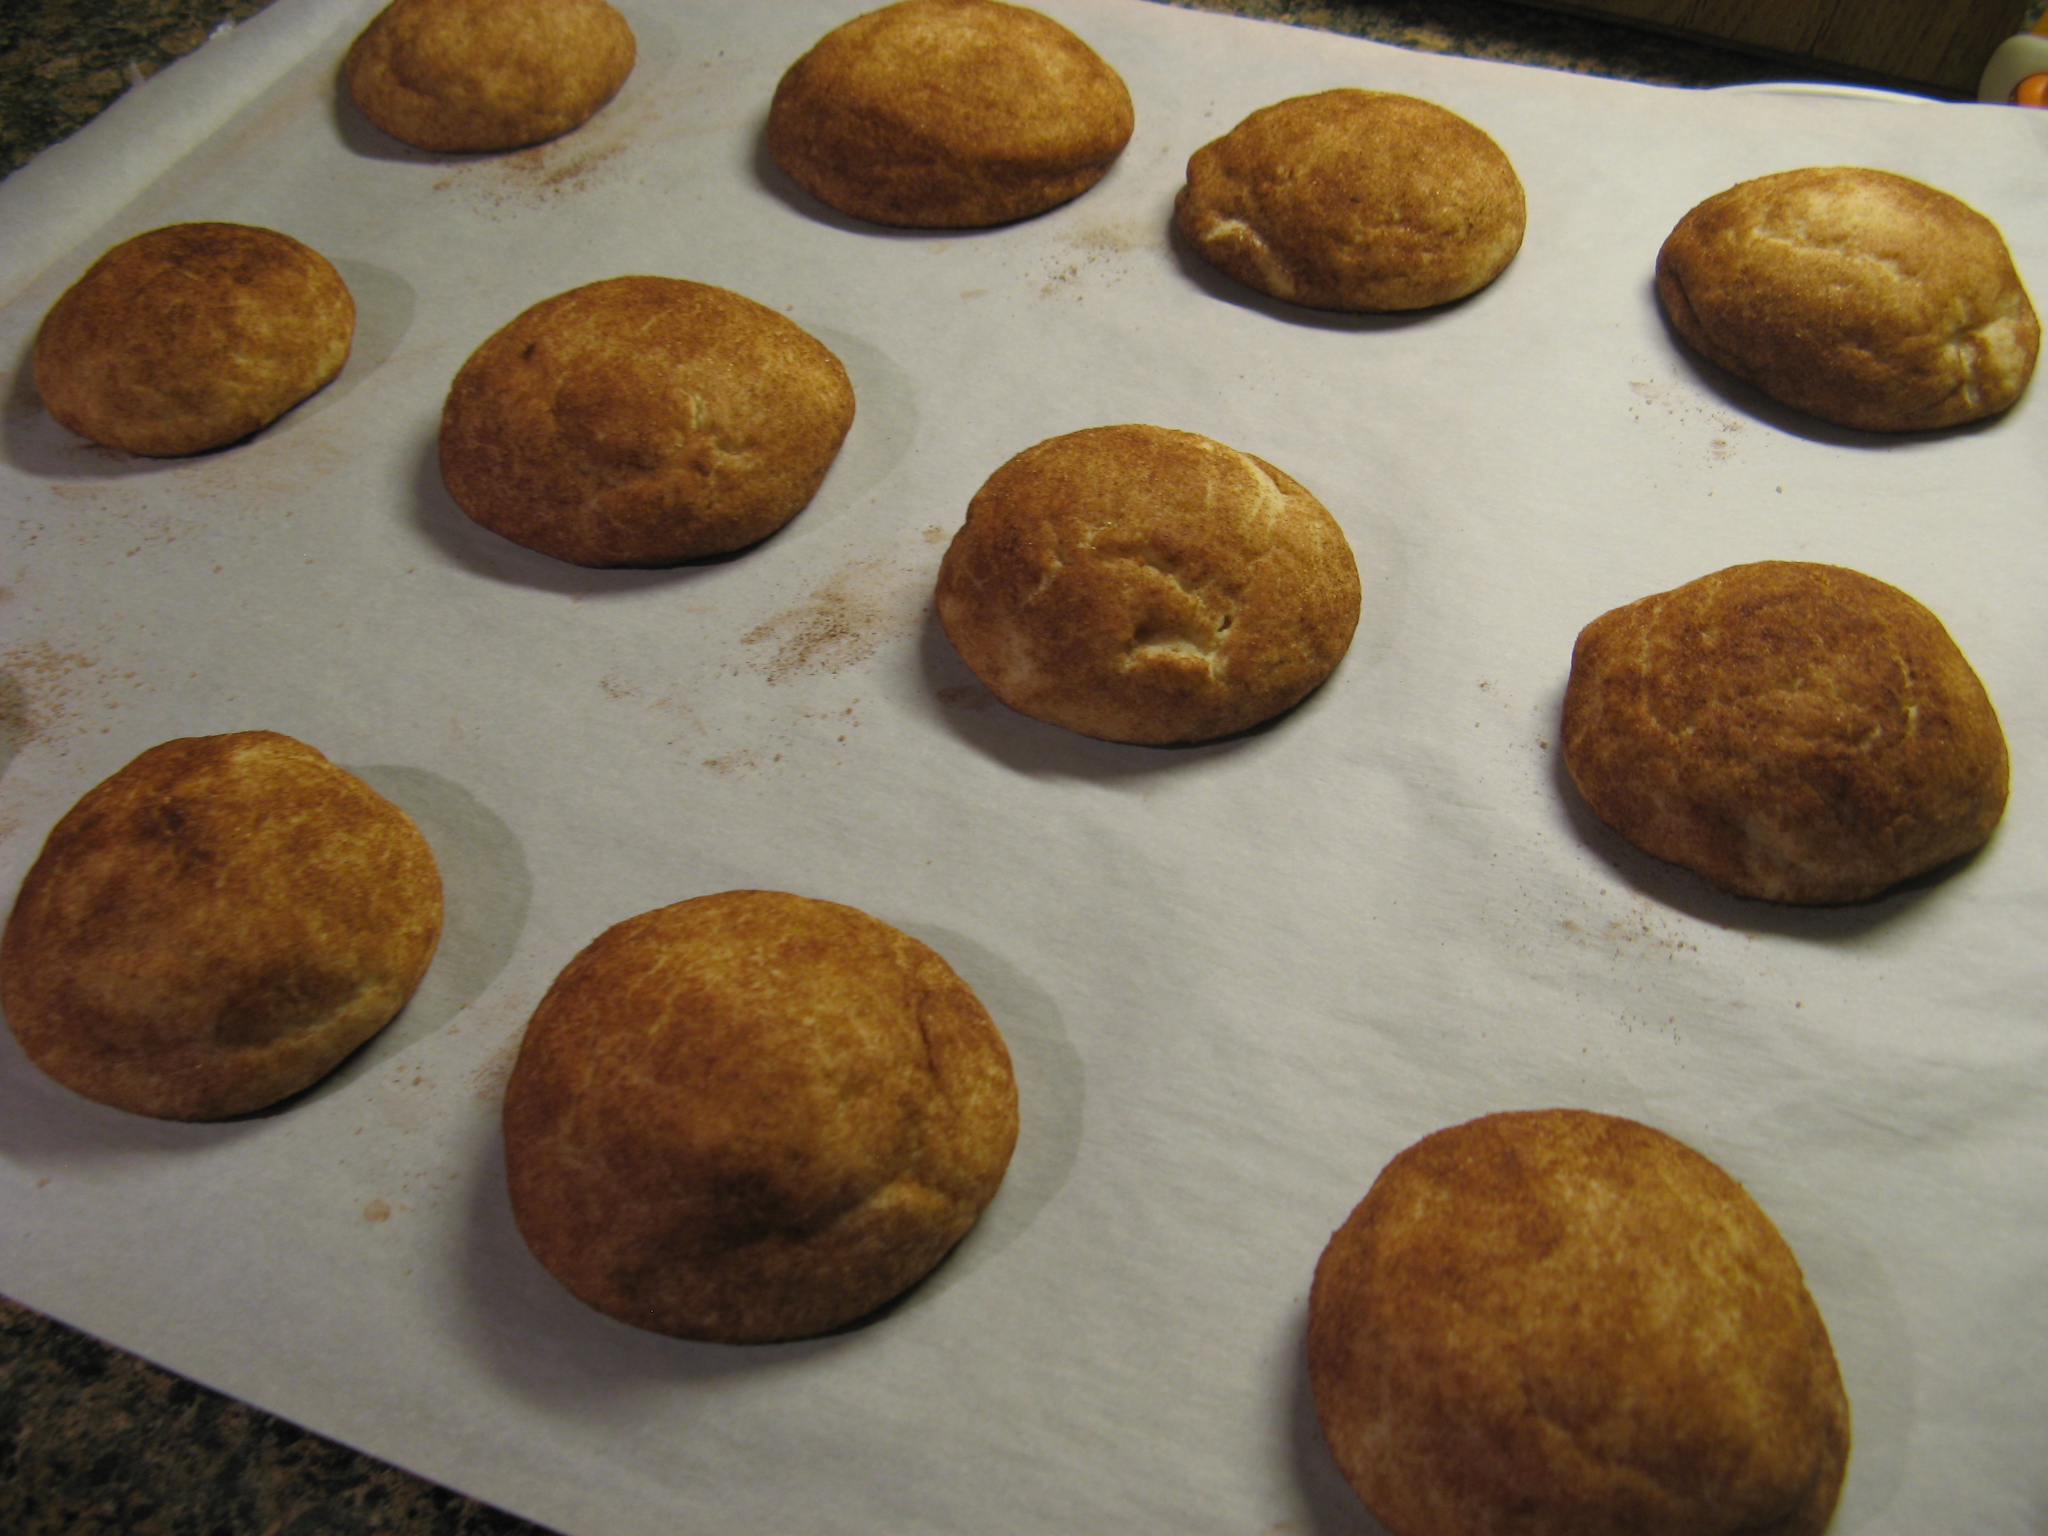
After baking for 13 minutes (I rotated the sheet at 6 minutes) in a 350 degrees preheated oven my Snickerdoodles were done.

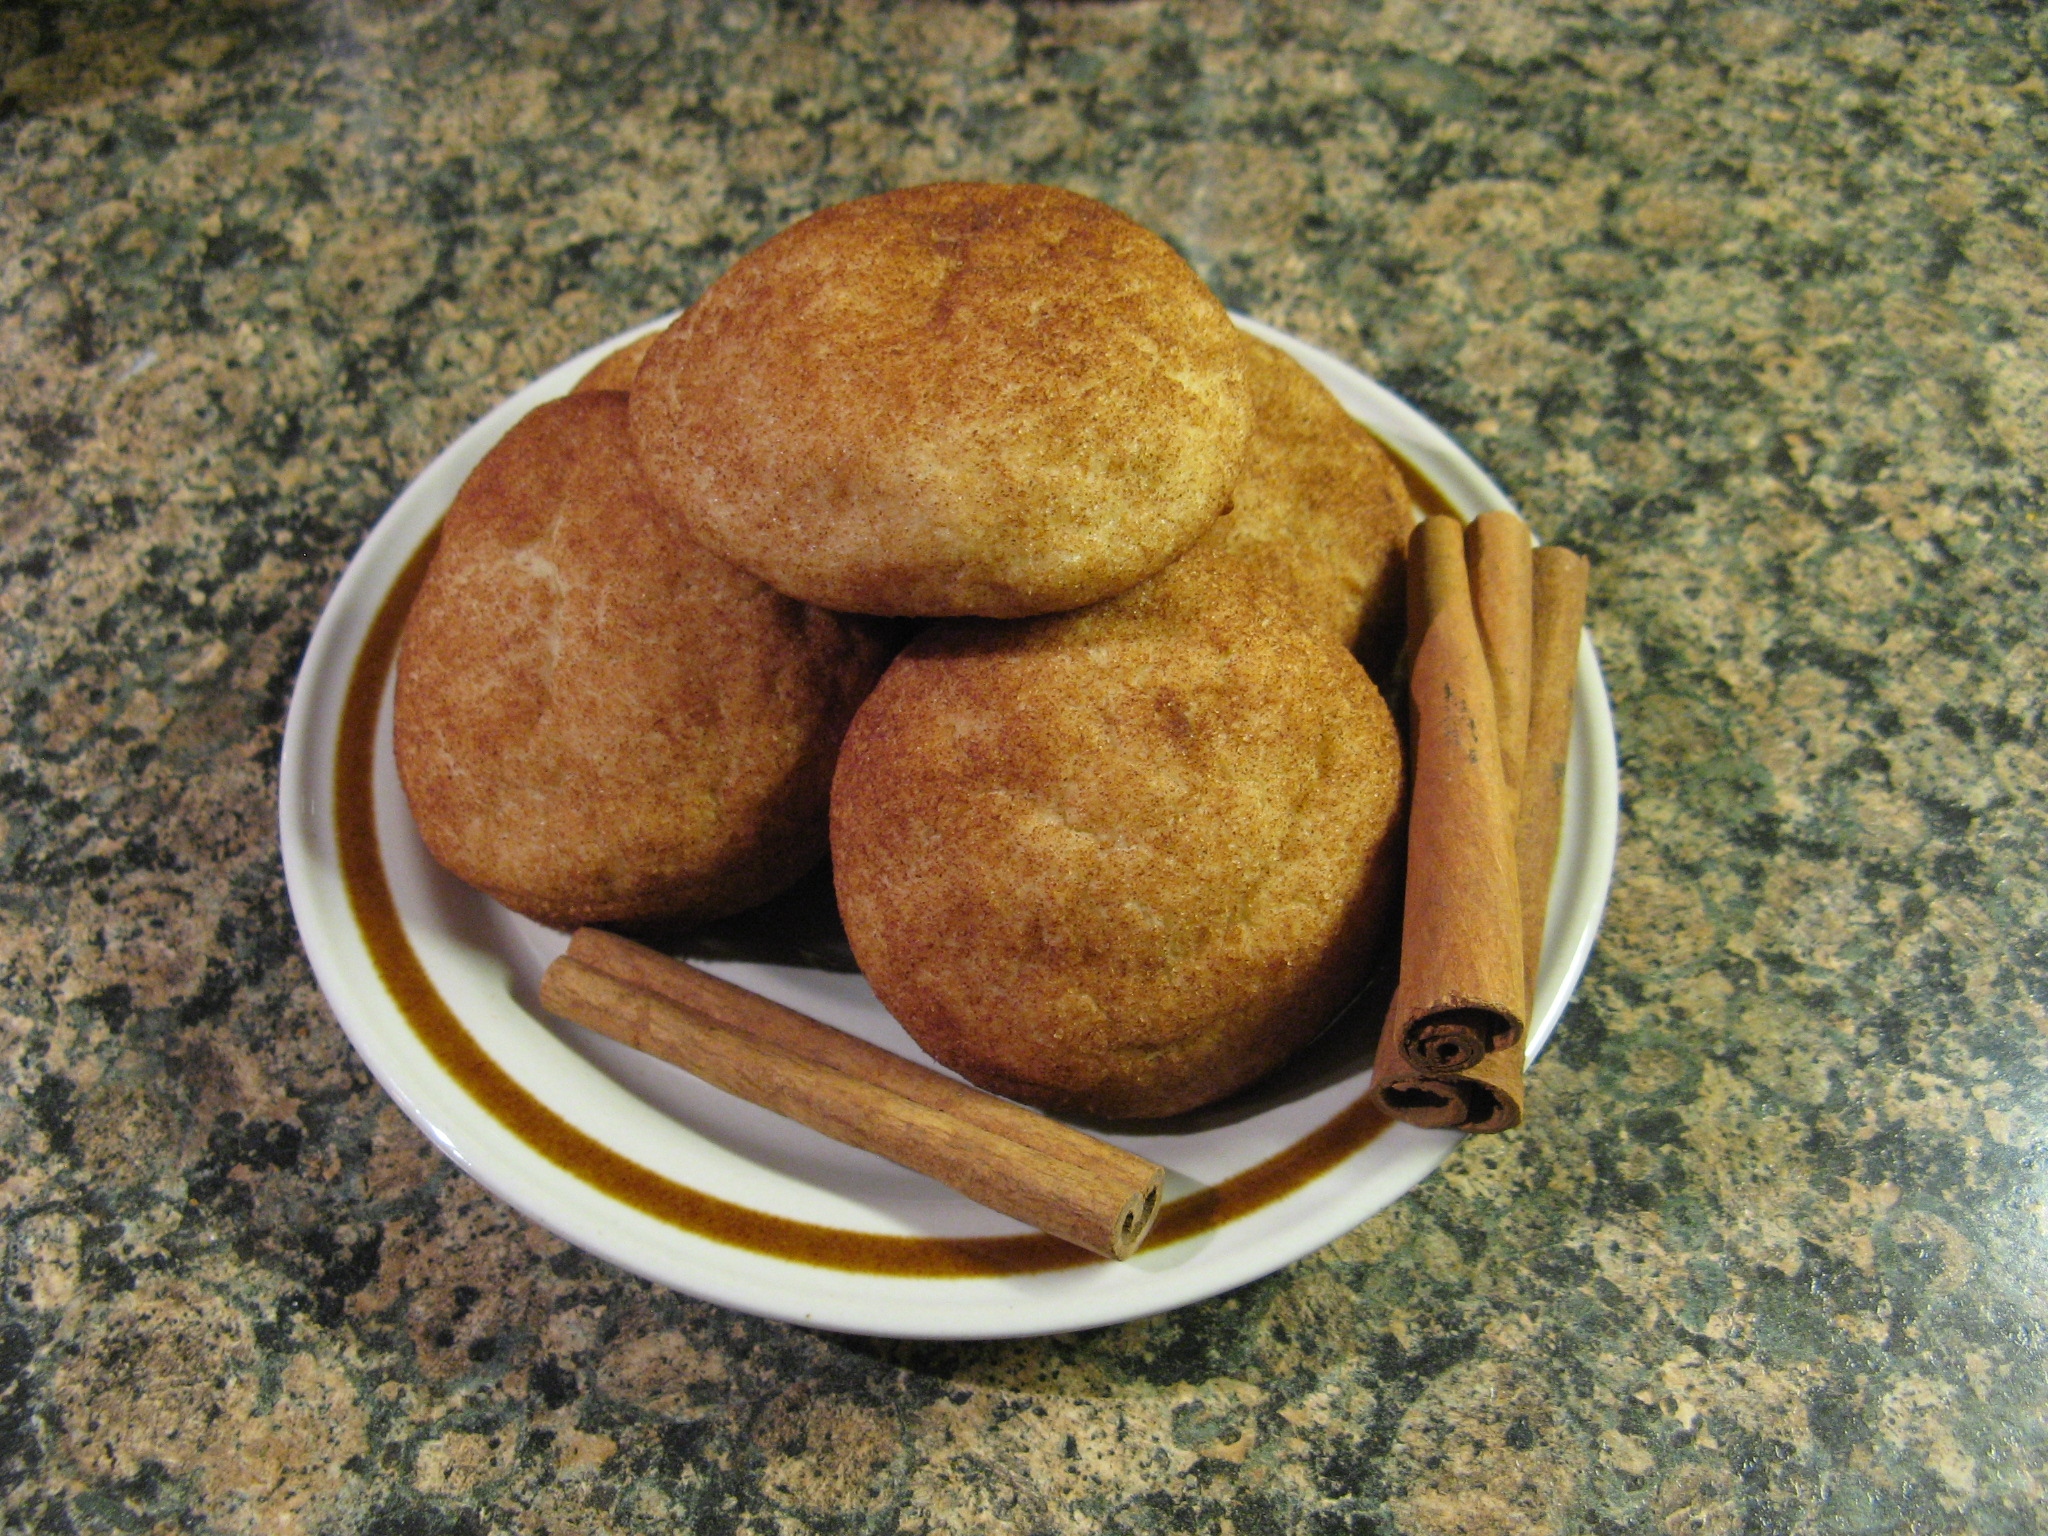
IMG_2082

I let them cool on the cookie sheets on wire racks and once they were cool enough I tried one and they were great! A favorite to be baked over and over again!

IMG_2121

Snickerdoodles

Makes about 1 1/2 dozen

2 1/2 cups all-purpose flour

2 tsp. baking powder

1/2 tsp. coarse salt

1 cup (2 sticks) unsalted butter, room temperature

1 1/2 cups plus 2 tbsp. sugar

2 large eggs

3 tsp. ground cinnamon

1. Preheat oven to 350F. Sift together flour, baking powder, and salt into a bowl. Put butter and 1 1/2 cups sugar in the bowl of an electric mixer fitted with a paddle attachment. Mix on medium speed until pale and fluffy, about 3 minutes. Mix in eggs. Reduce speed to low; gradually mix in the flour mixture.

2. Stir together cinnamon and remaining 2 tablespoons sugar in a small bowl. Shape dough into twenty 1 3/4- inch balls; roll in cinnamon sugar. Space 3 inches apart on baking sheets lined with parchment paper.

3. Bake cookies, rotating sheets halfway through, until edges are golden, 12 to 15 minutes. Let cool on sheets on wire racks. Cookies can be stored between layers of parchment paper in airtight containers at room temperature up to 3 days.
Thanksgiving Wrap-Up

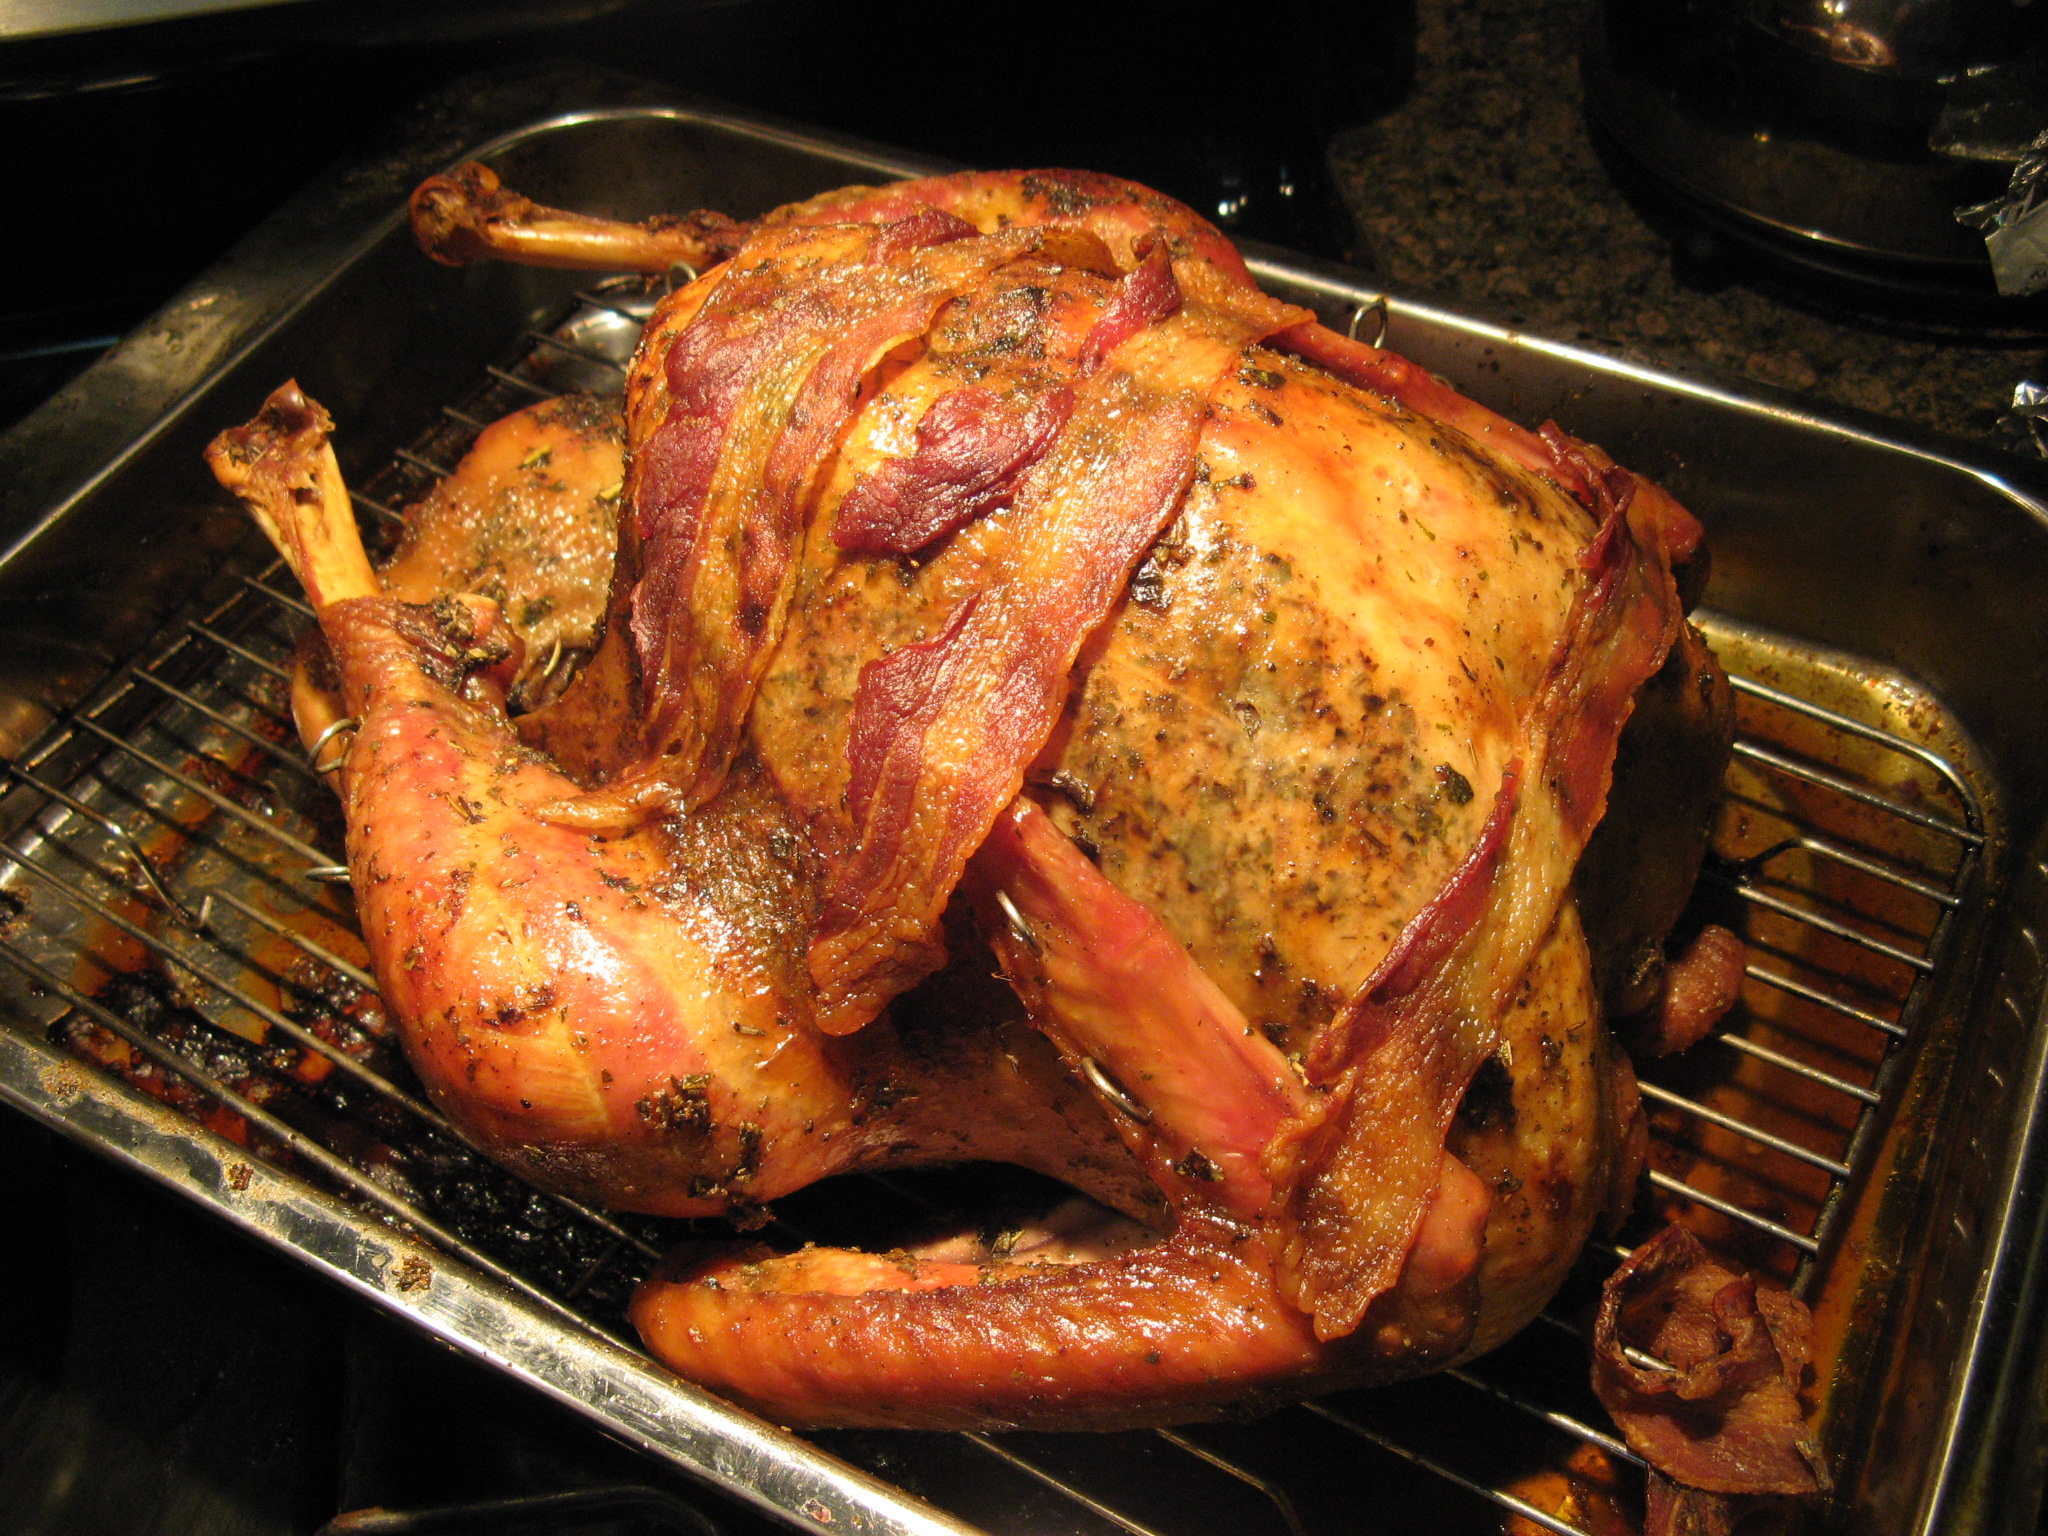
So I ate the last of my Thanksgiving leftovers yesterday and they were definitely good while they lasted. Ironically cooking a turkey on Thanksgiving has never intimidated me like cooking on an everyday basis used to. Go figure! I would like to say that I turned those turkey leftovers into something creative, but, that just never happened (although I did have a thought or two about it.)
Along with my turkey (which I must say came out really juicy and tasty thanks to brining and an herbed butter rub)…

IMG_2038

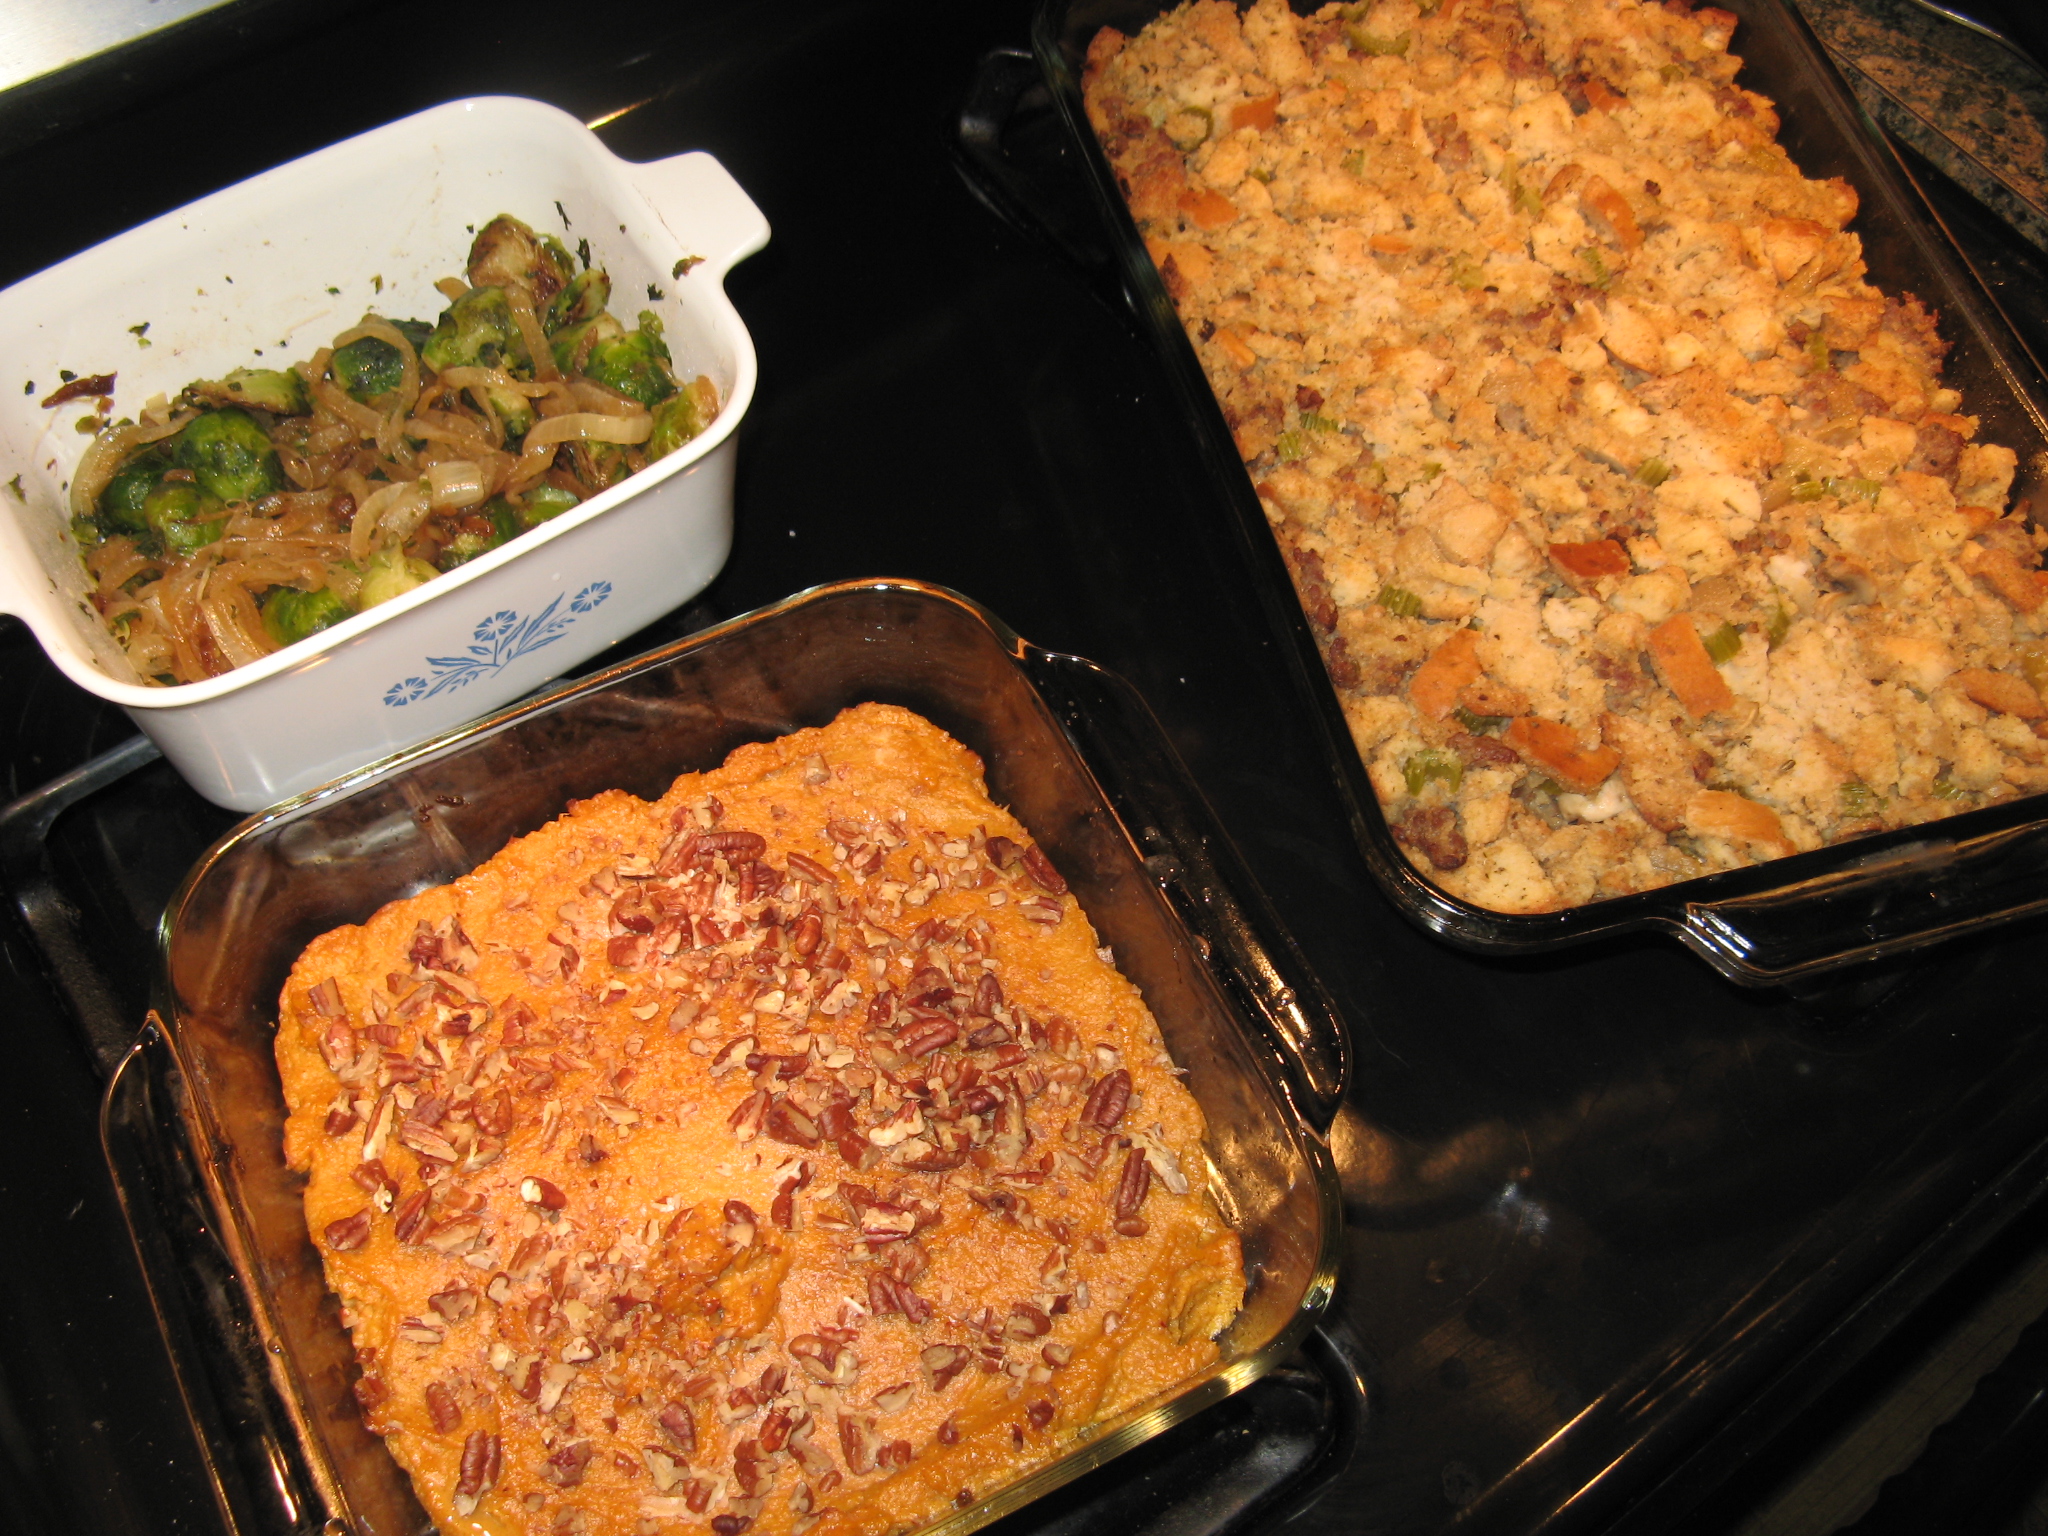
I also made a Sweet Potato Casserole (it was the first time I ever made one and it will definitely become a staple of mine), Williams-Sonoma’s Focaccia Stuffing and Brussels Sprouts with Caramelized Onions…

IMG_2043

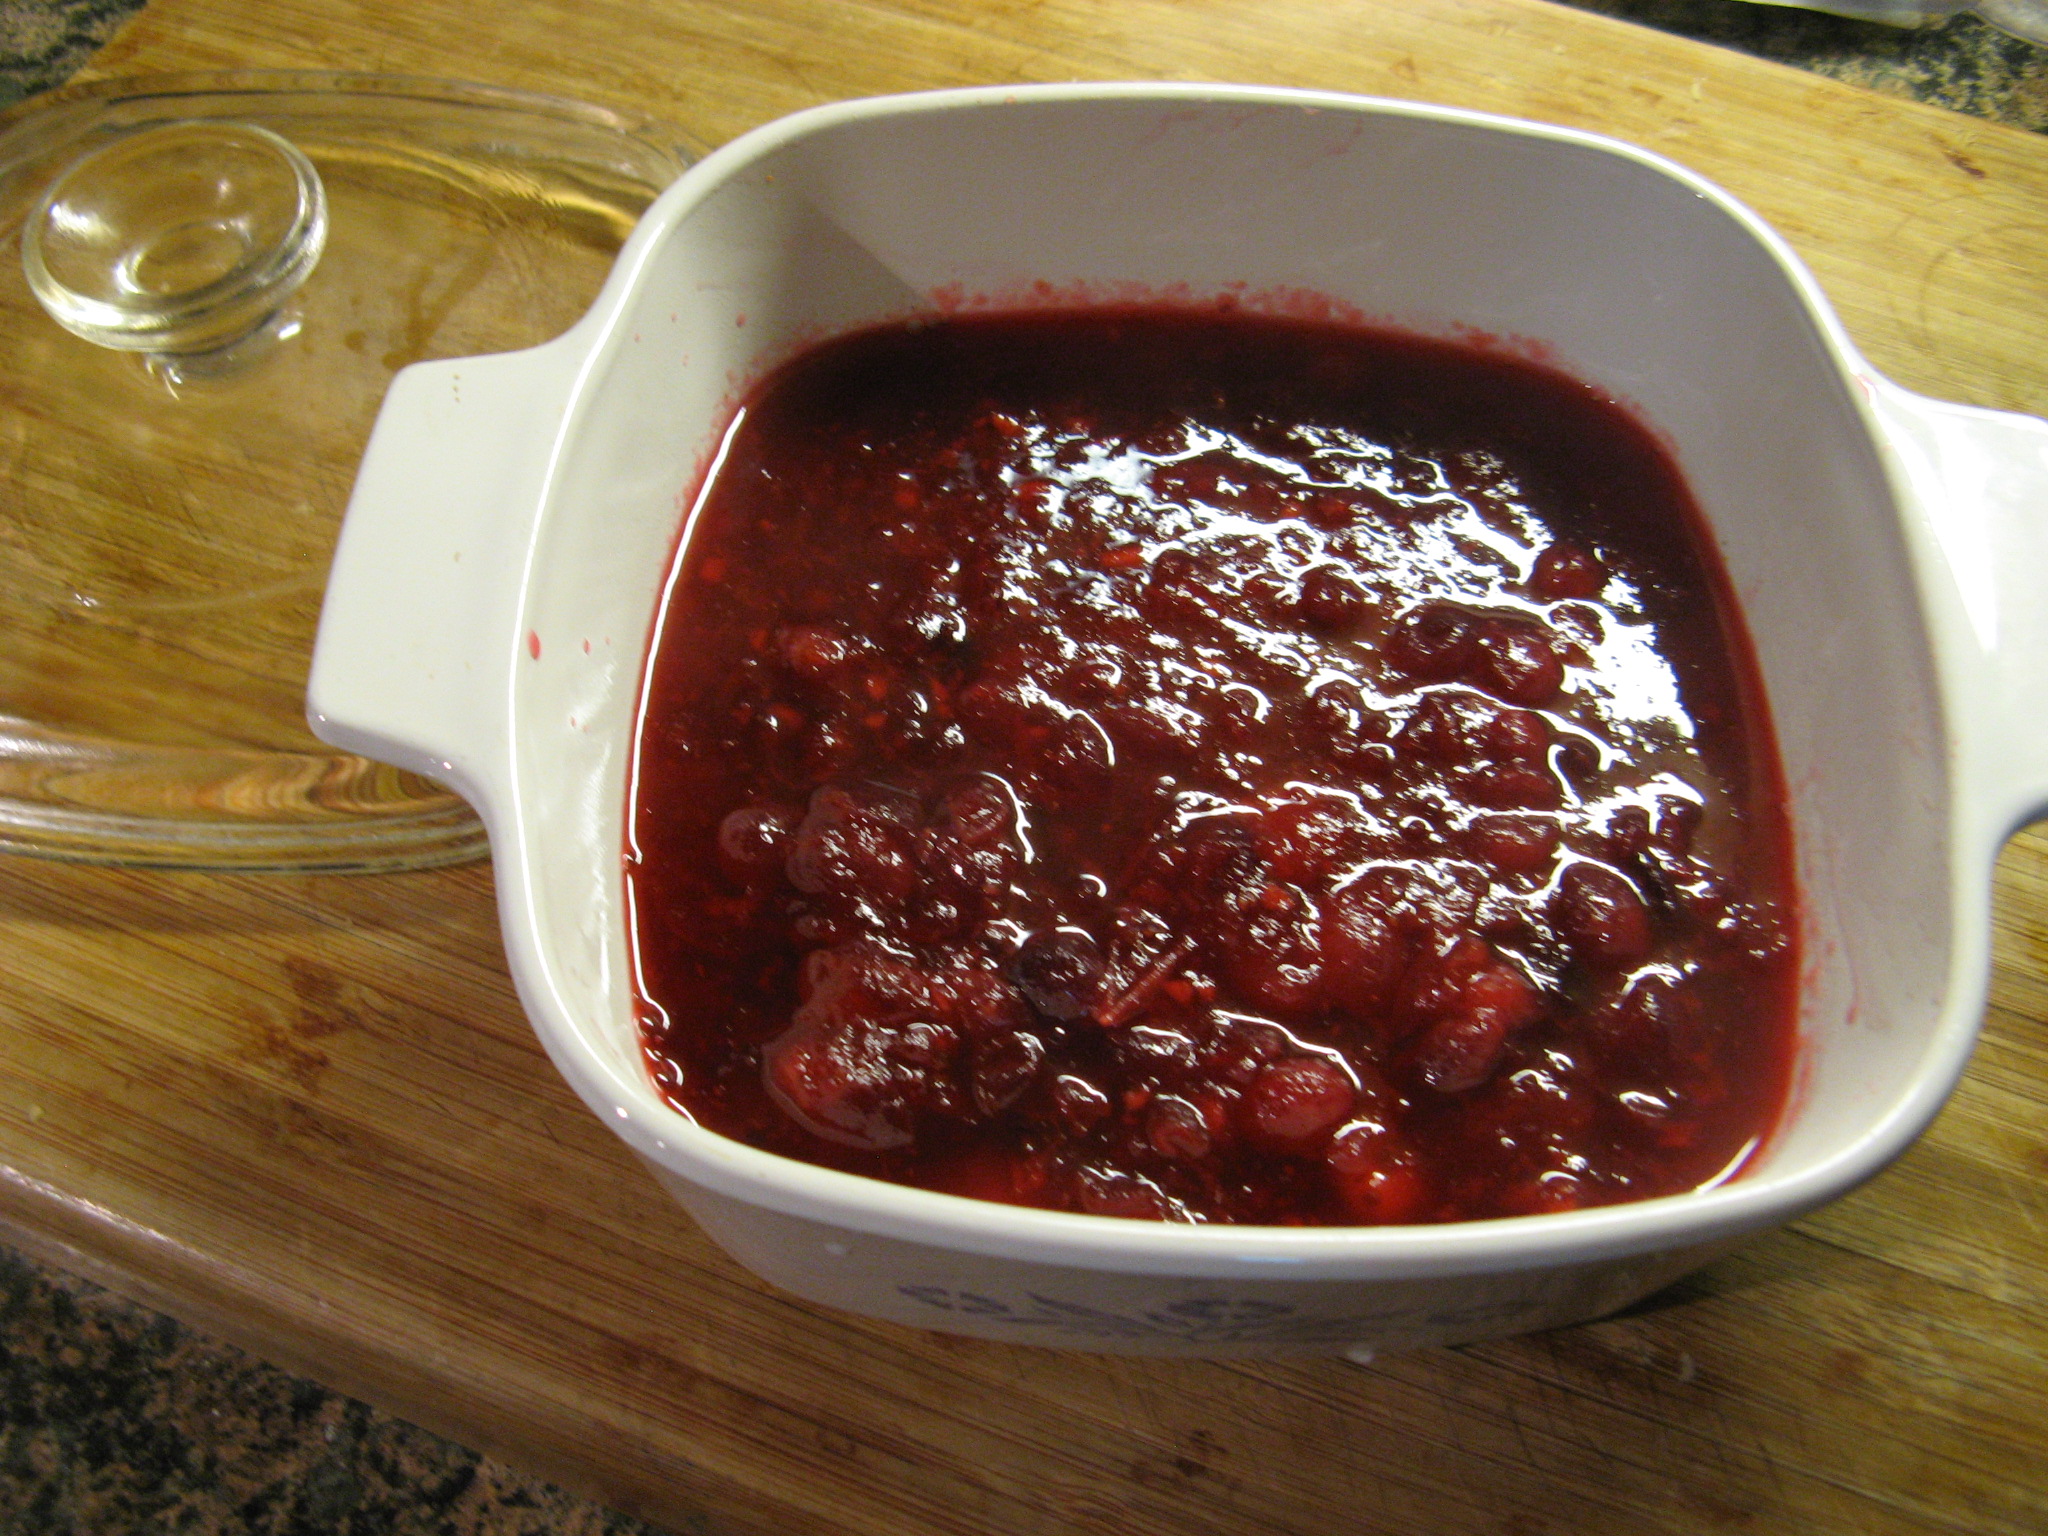
And in my opinion Thanksgiving is just not complete without some Cranberry Sauce.

IMG_2018

For dessert I decided to make a Pumpkin Pecan Pie. I usually just make a plain old Pumpkin Pie but after seeing a recipe that included pecans I was intrigued to try it. In all honesty I didn’t particularly care for that recipe so originally I decided to add pecans to the usual recipe I follow for Pumpkin Pie, but, I decided this year to try out Libby’s Famous Pumpkin Pie recipe. They are known for their packed pumpkin in cans so I figured they should know a thing or two about turning that into a delicious pie.

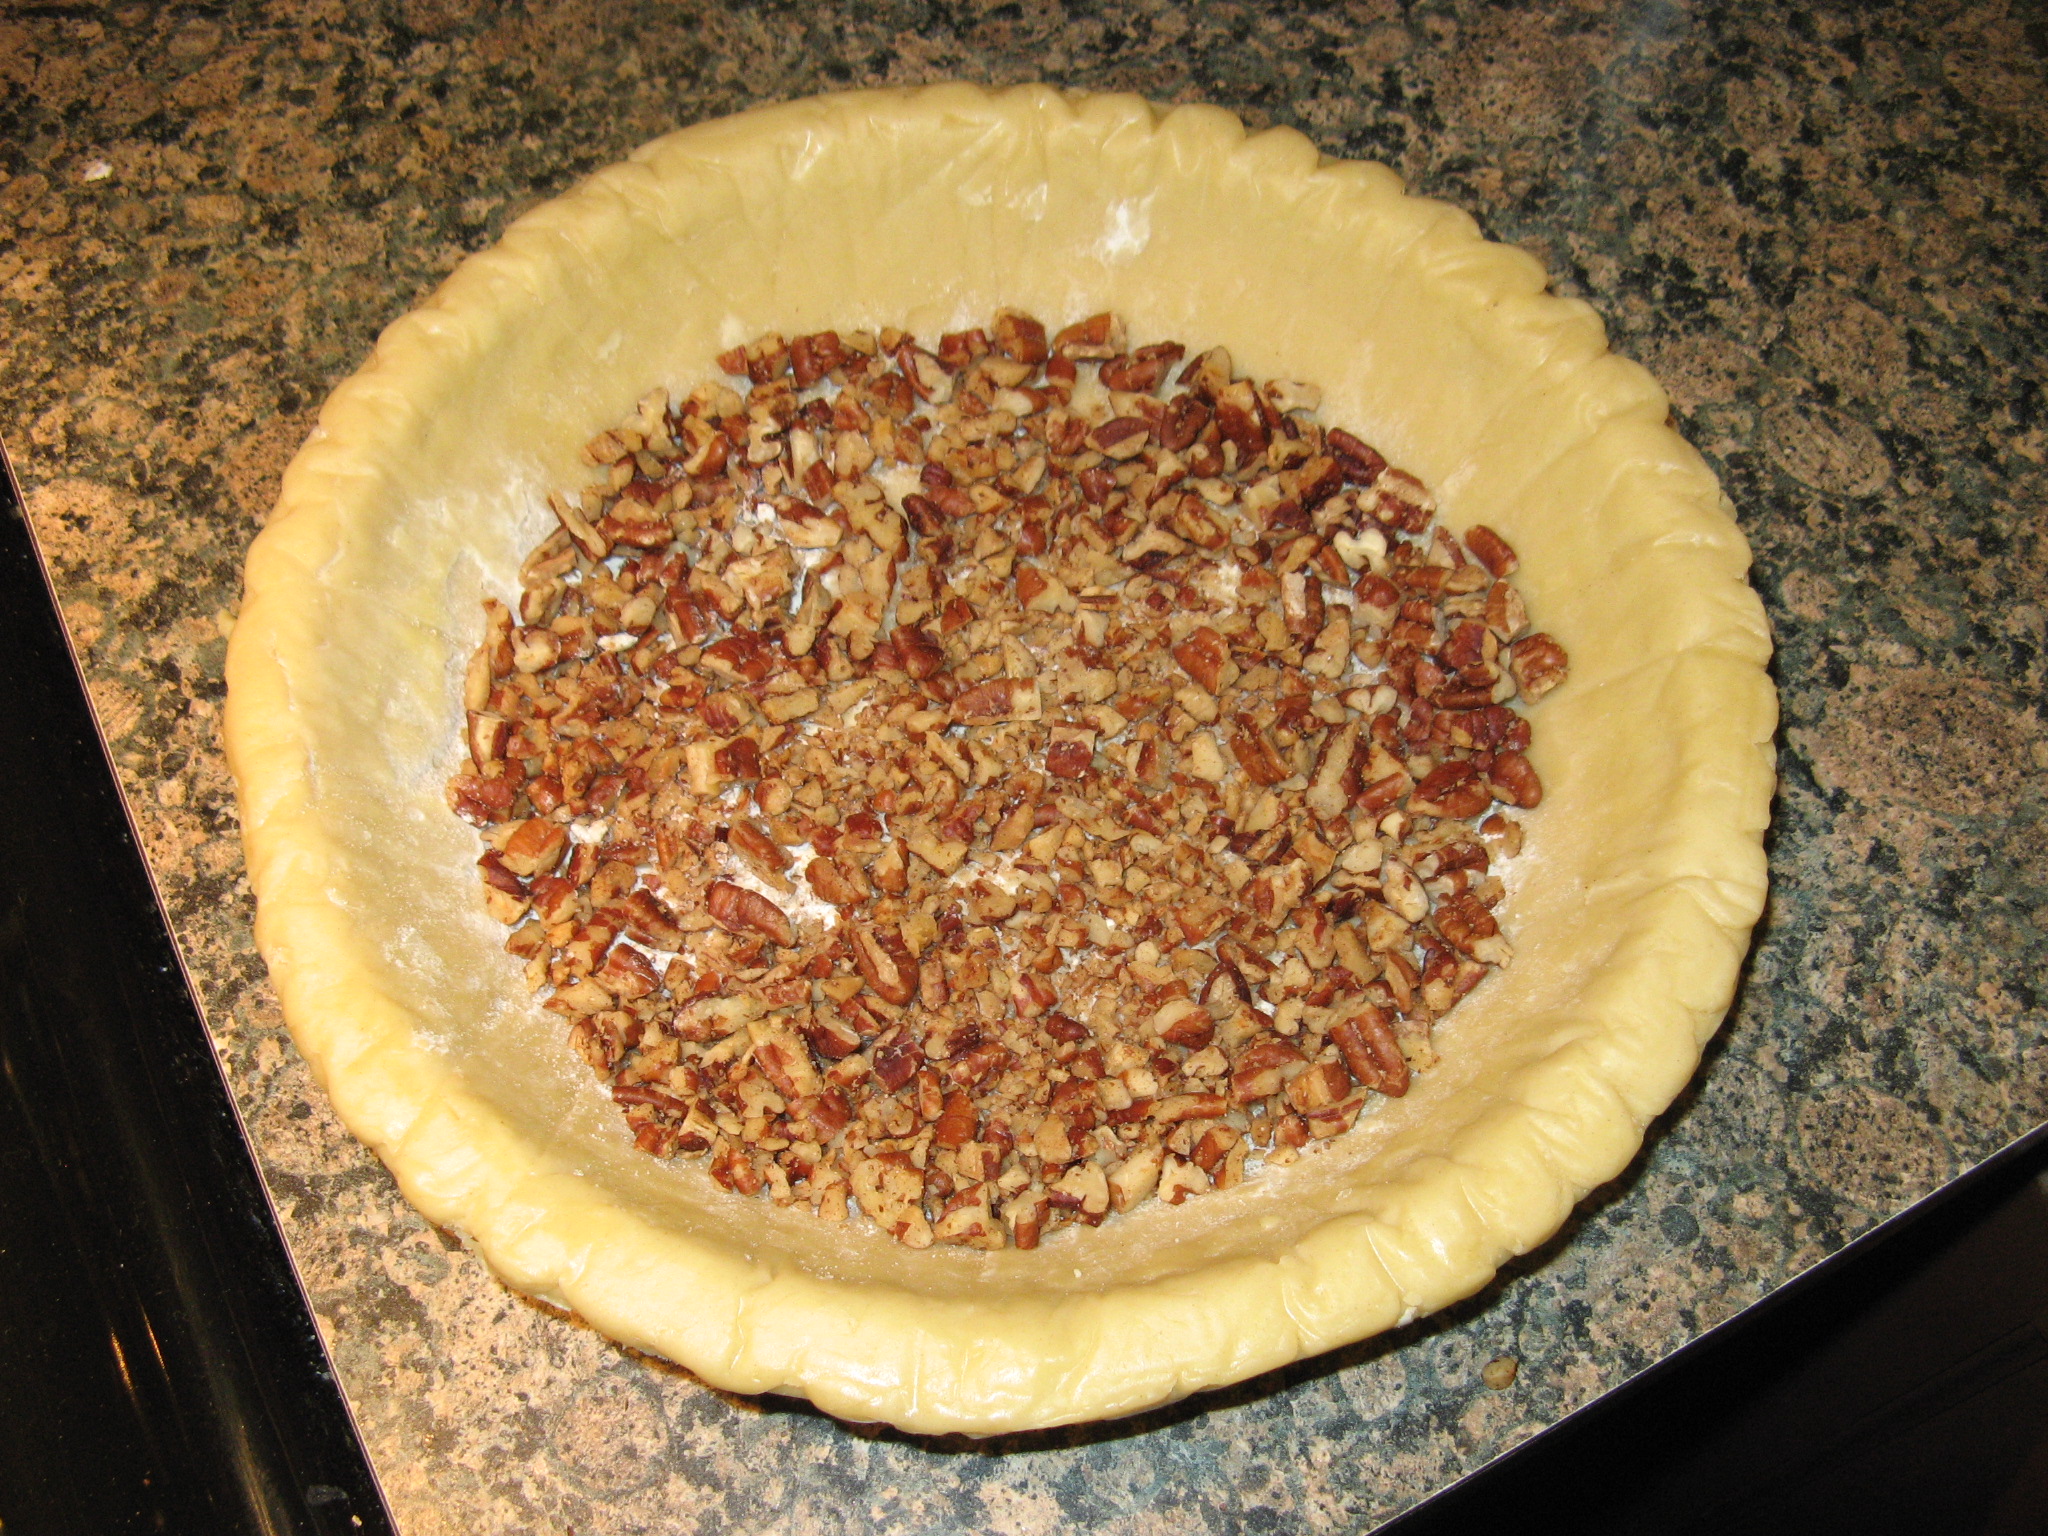
To start I toasted about 1/2 cup of chopped pecans on a lightly greased baking sheet in a 350 degrees preheated oven for five minutes. After they cooled I scattered them on the bottom of a deep-dish pie shell. I took a major short-cut and opted to buy a frozen pie crust.

IMG_2003

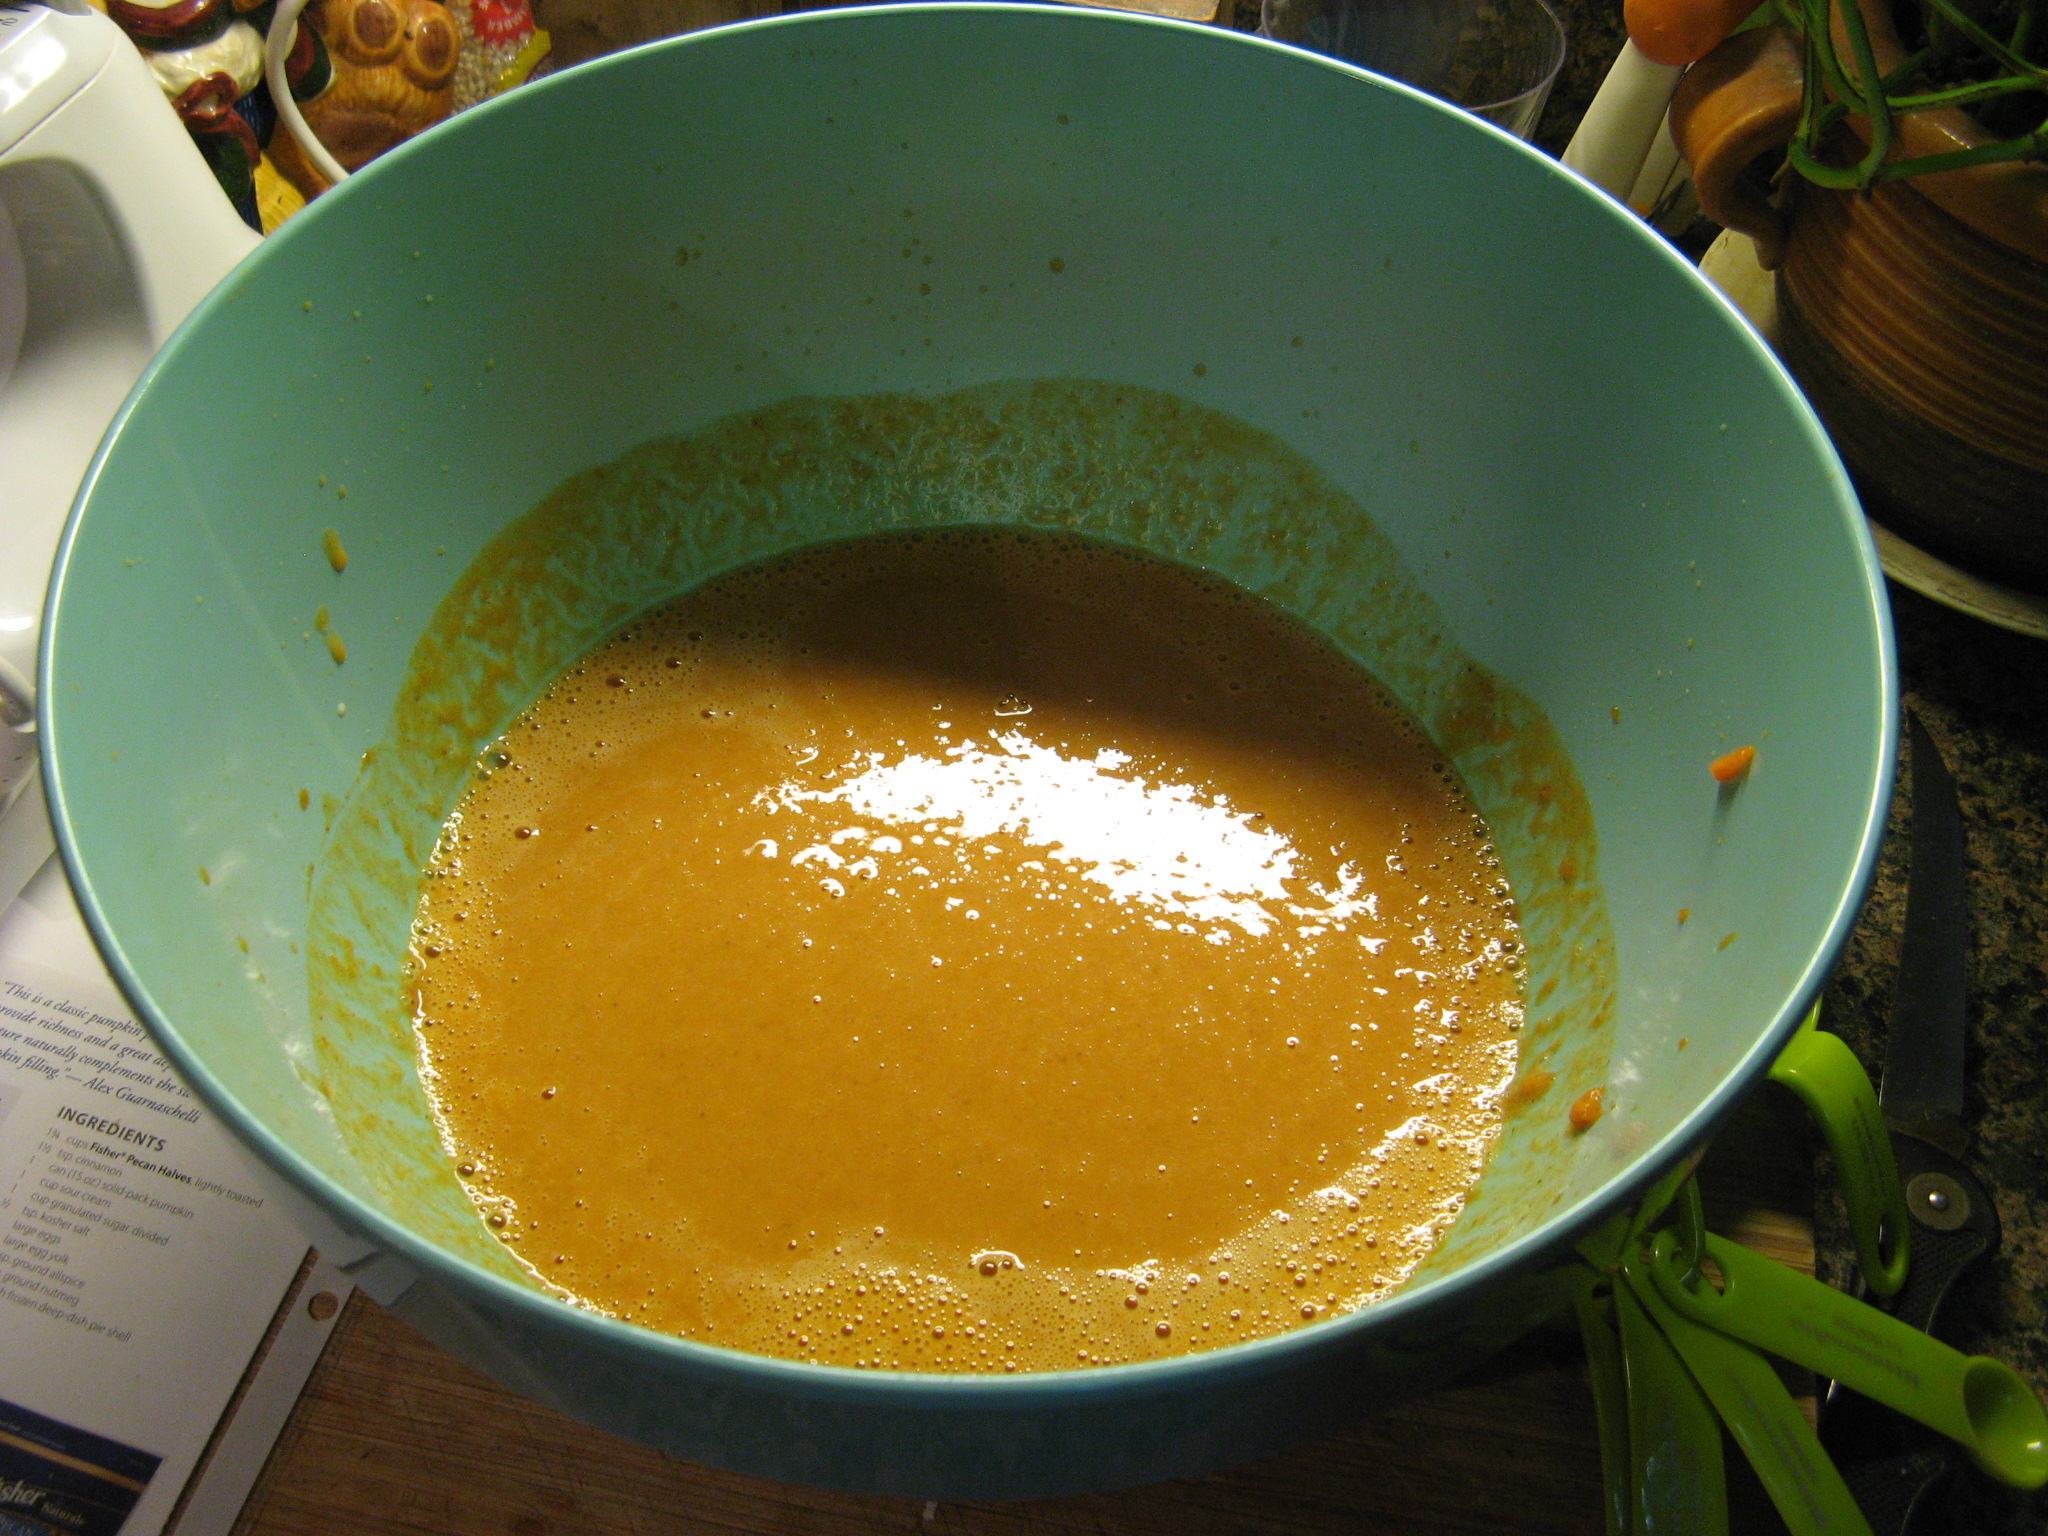
Next, I made the pumpkin filling by beating 2 large eggs in a bowl and then adding in the pumpkin and a mixture of sugar, cinnamon, salt, ginger and cloves. And then I gradually stirred in a can of evaporated milk.

IMG_2002

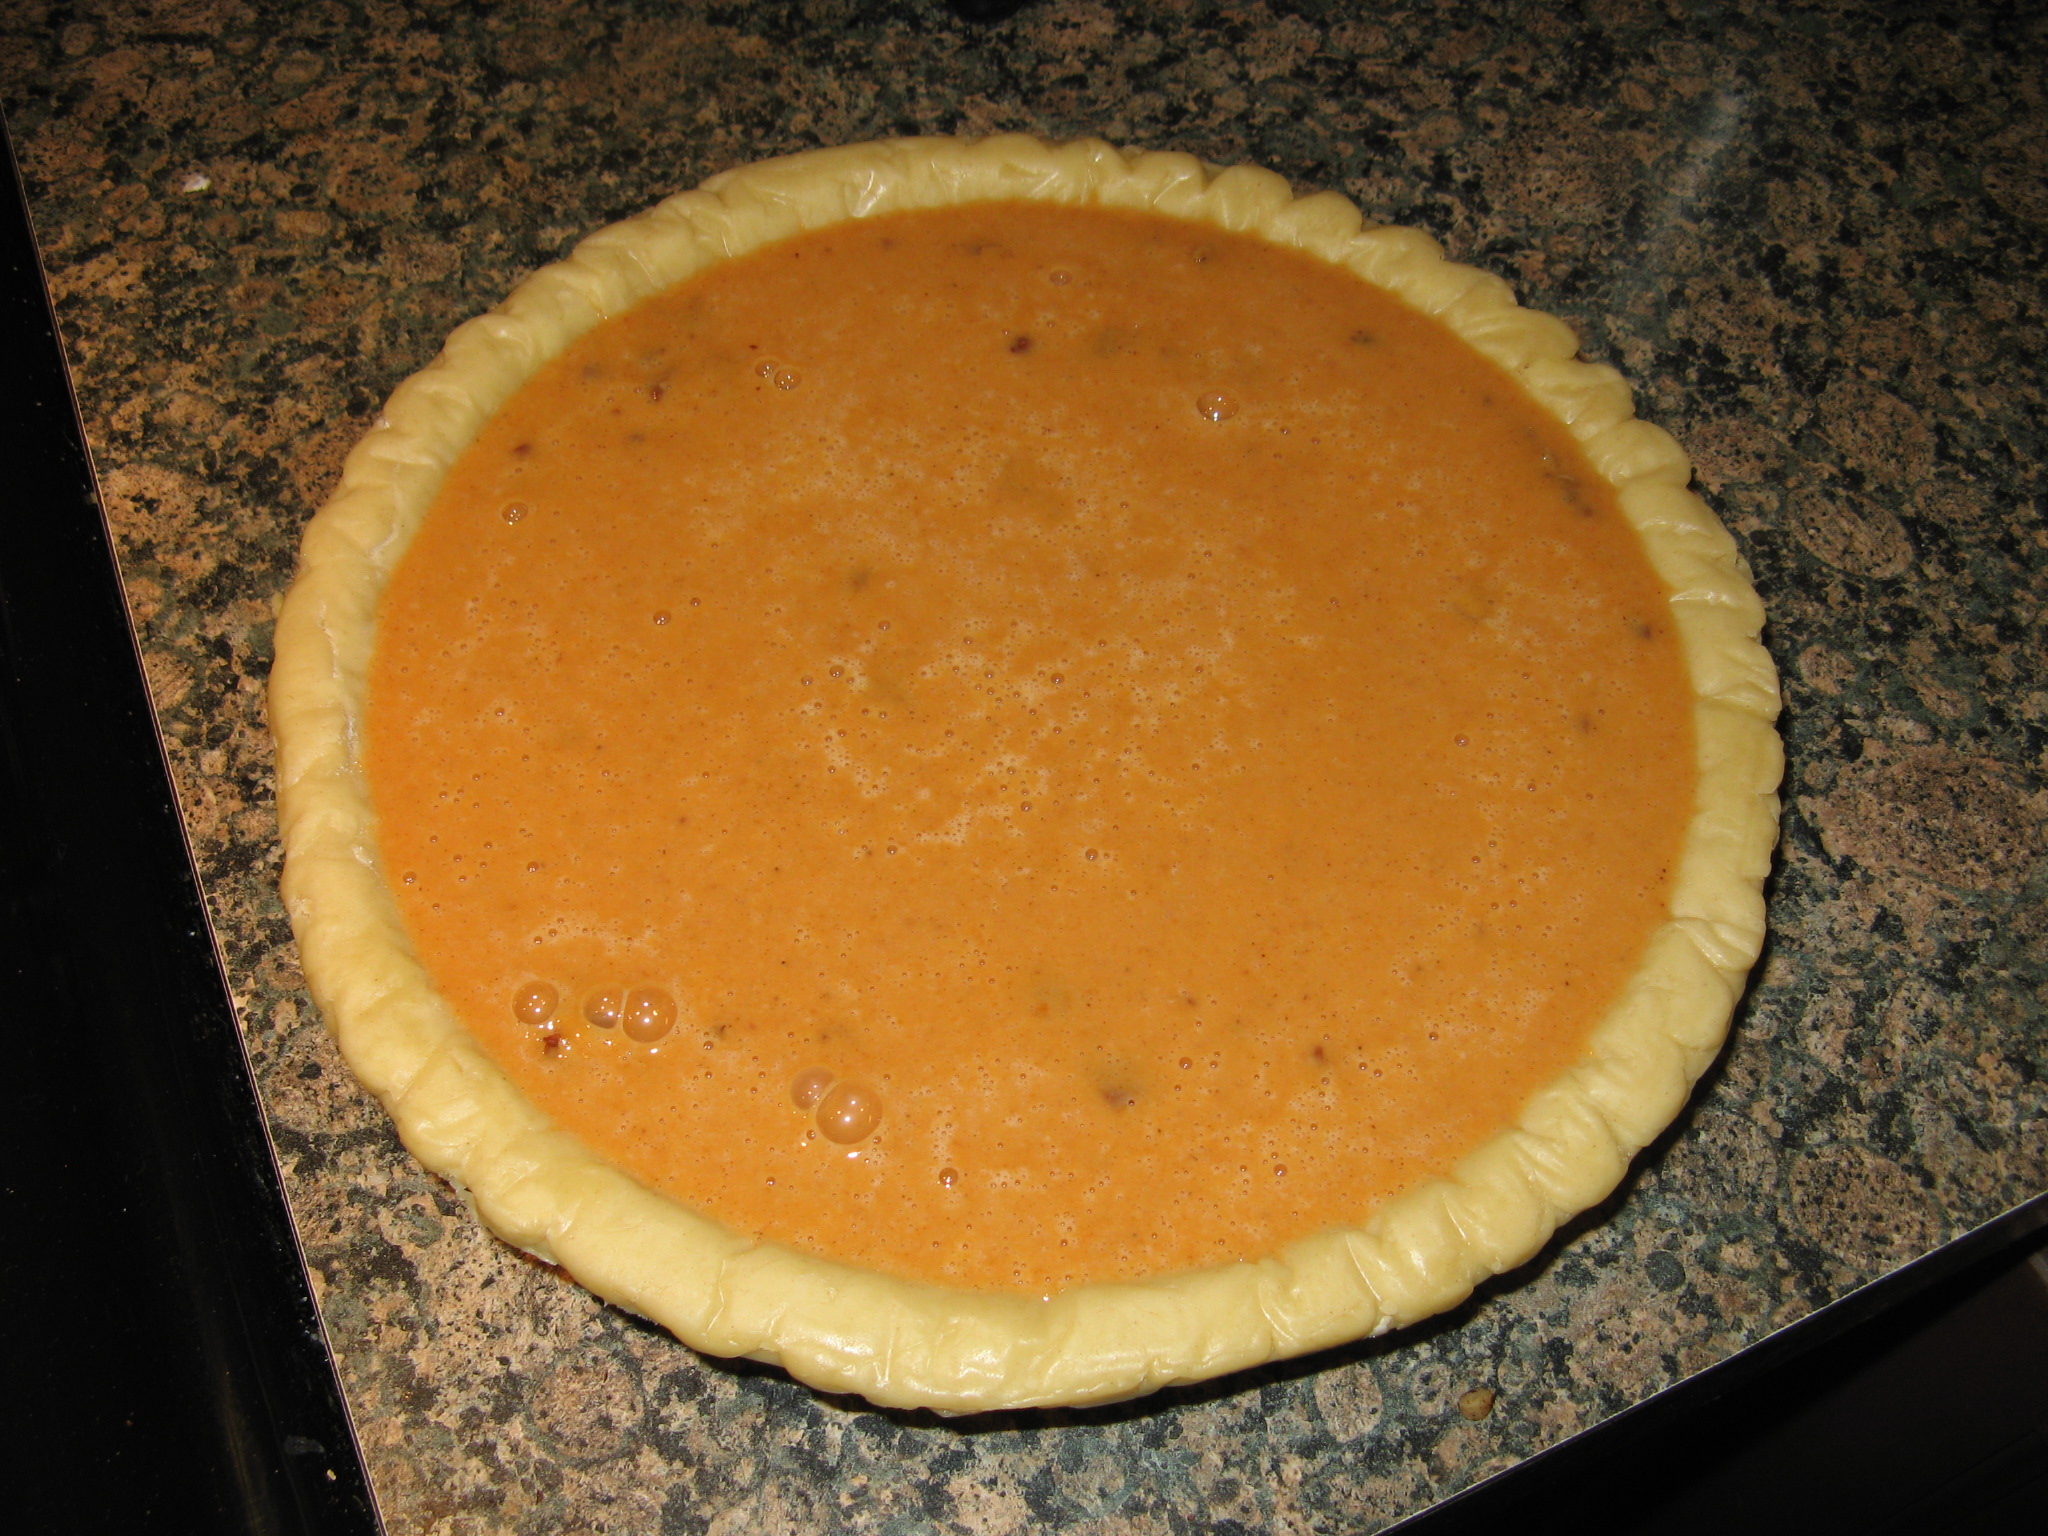
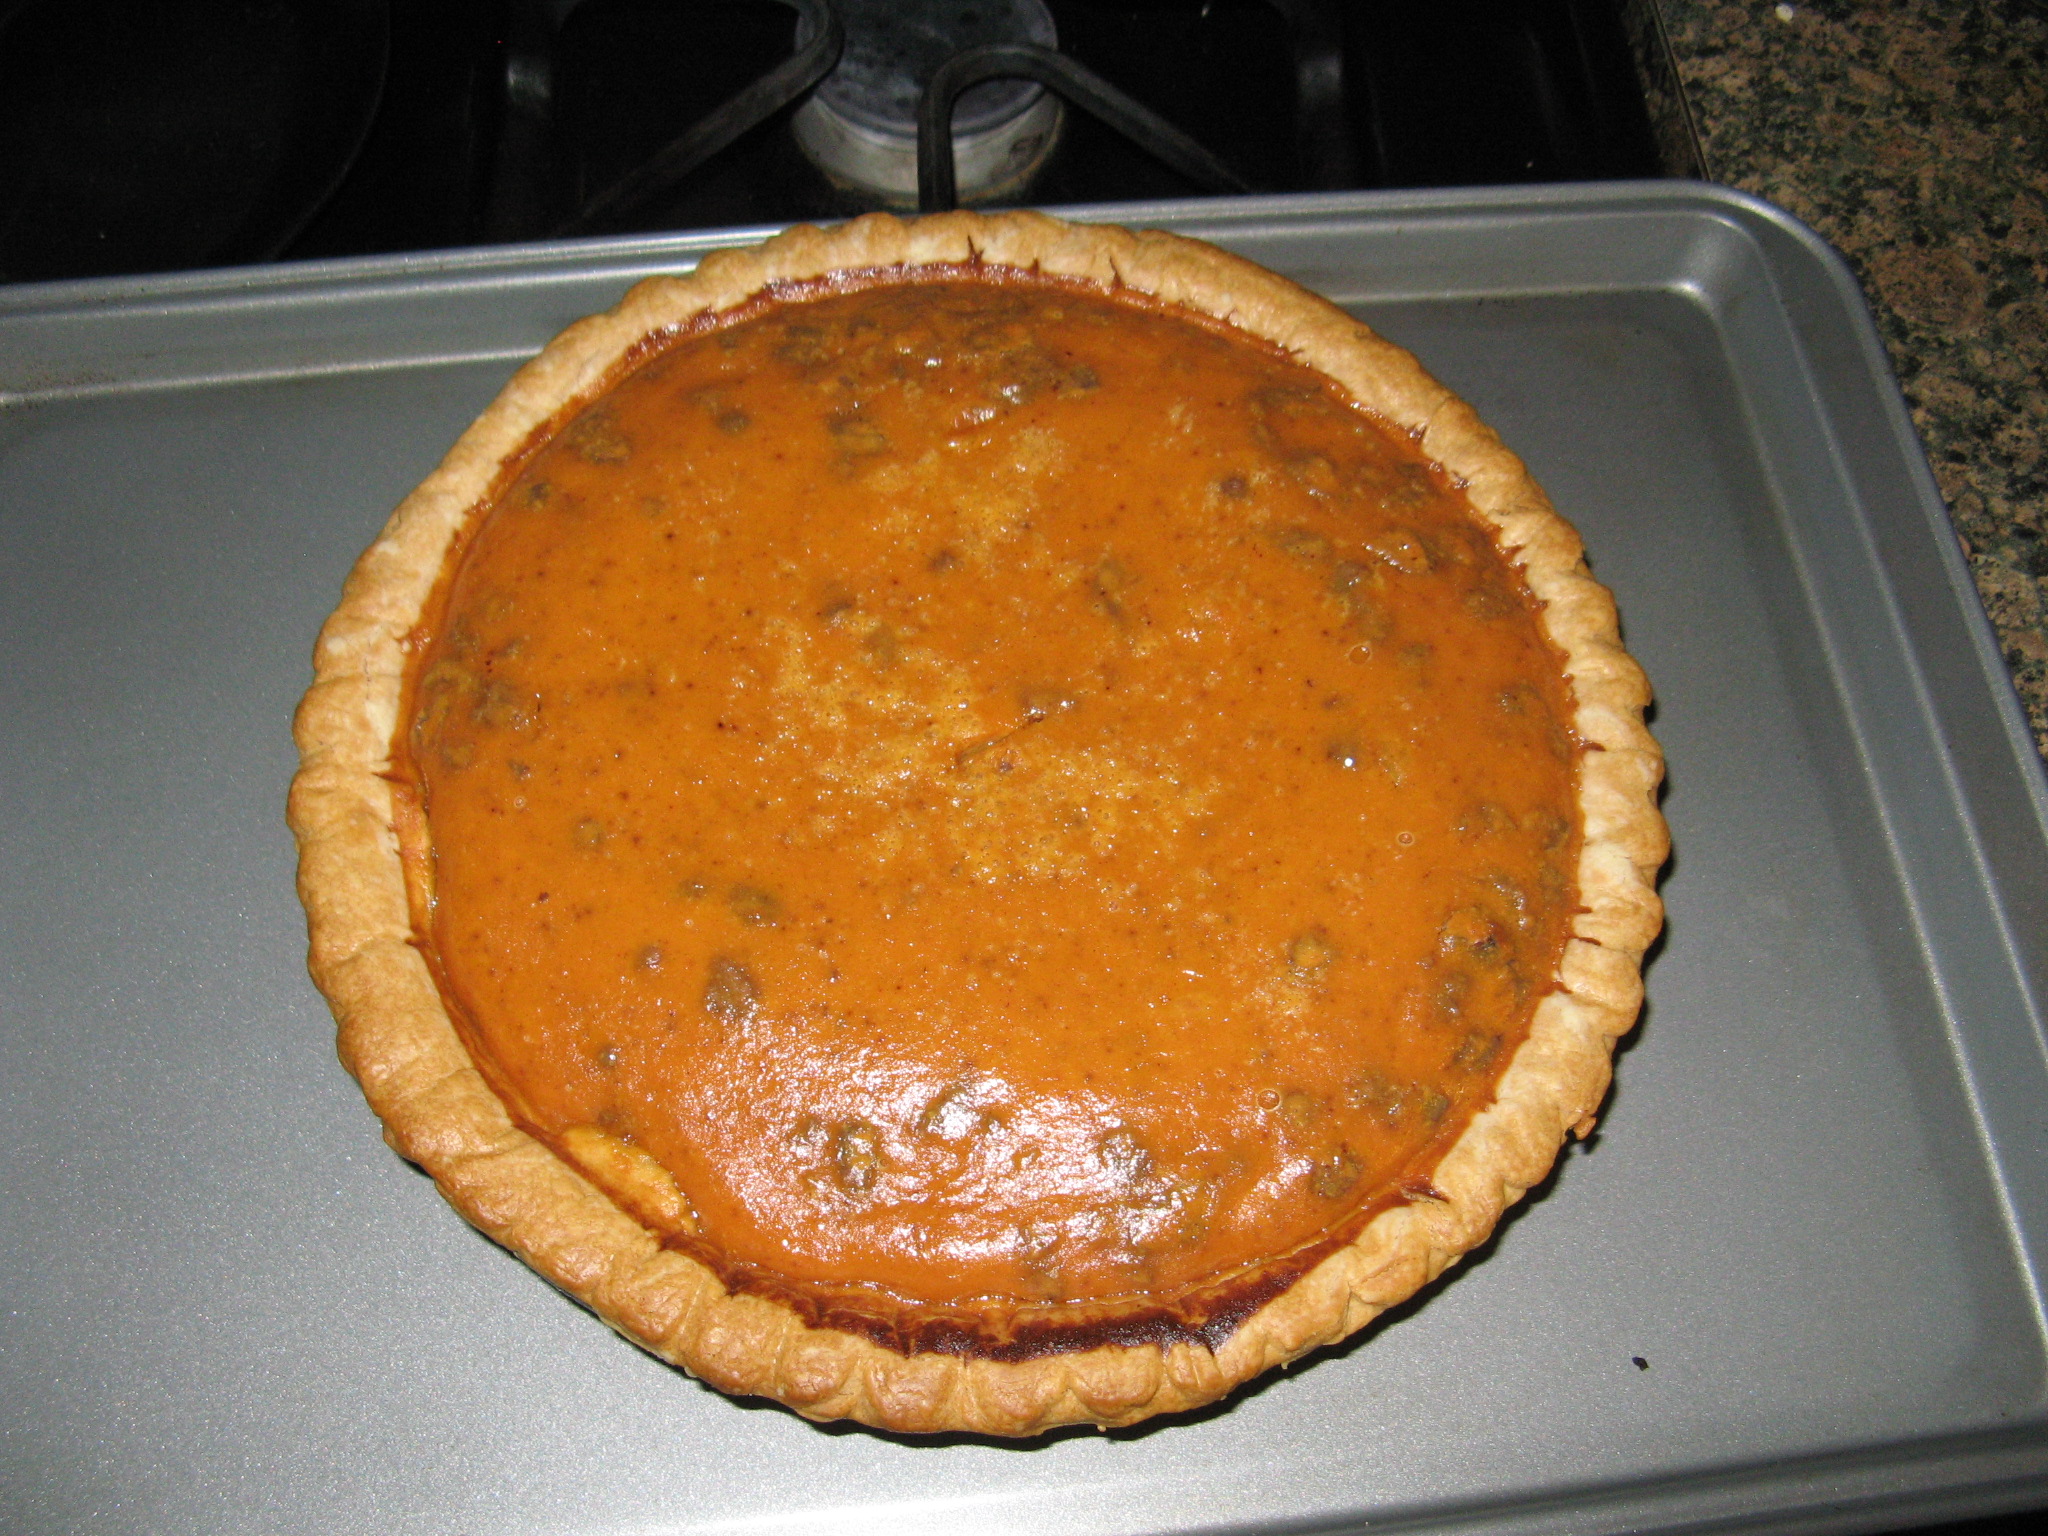
And finally I poured that into the pecan covered pie crust and baked it for fifteen minutes in a 425 degrees preheated oven and then dropped the temperature to 350 degrees and baked it for another forty-five minutes.

IMG_2006

I loved the texture the pecans added to the pie as well as the nutty flavor.

IMG_2010

And while many were out scoring Black Friday deals I opted to stay in and work on some Christmas crafts… Stay tuned!