Oh, where to go begin! So, unless you have been completely unplugged from the world for the past year or so you most definitely have heard of Disney’s Frozen and the two heroine sisters of the movie, Elsa & Anna. At some point you must have also heard the song “Let It Go,” or the more playful “Do You Want To Build A Snowman?” Hence it came as no surprise that when the time came to make a birthday cake for a friend’s daughter the theme would be Frozen. This cake and post is a special one as well since it marks my blog’s third blogiversary! It all started with a 2nd birthday cake for the same little girl this cake was intended for in the shape of Elmo’s head and ever since I have been blogging about other delicious treats I have made and some lovely knitted/crocheted items and handmade jewelry. But, I digress, back to Frozen. By far this was the most ambitious cake I have ever made and required numerous steps over the course of a few days.

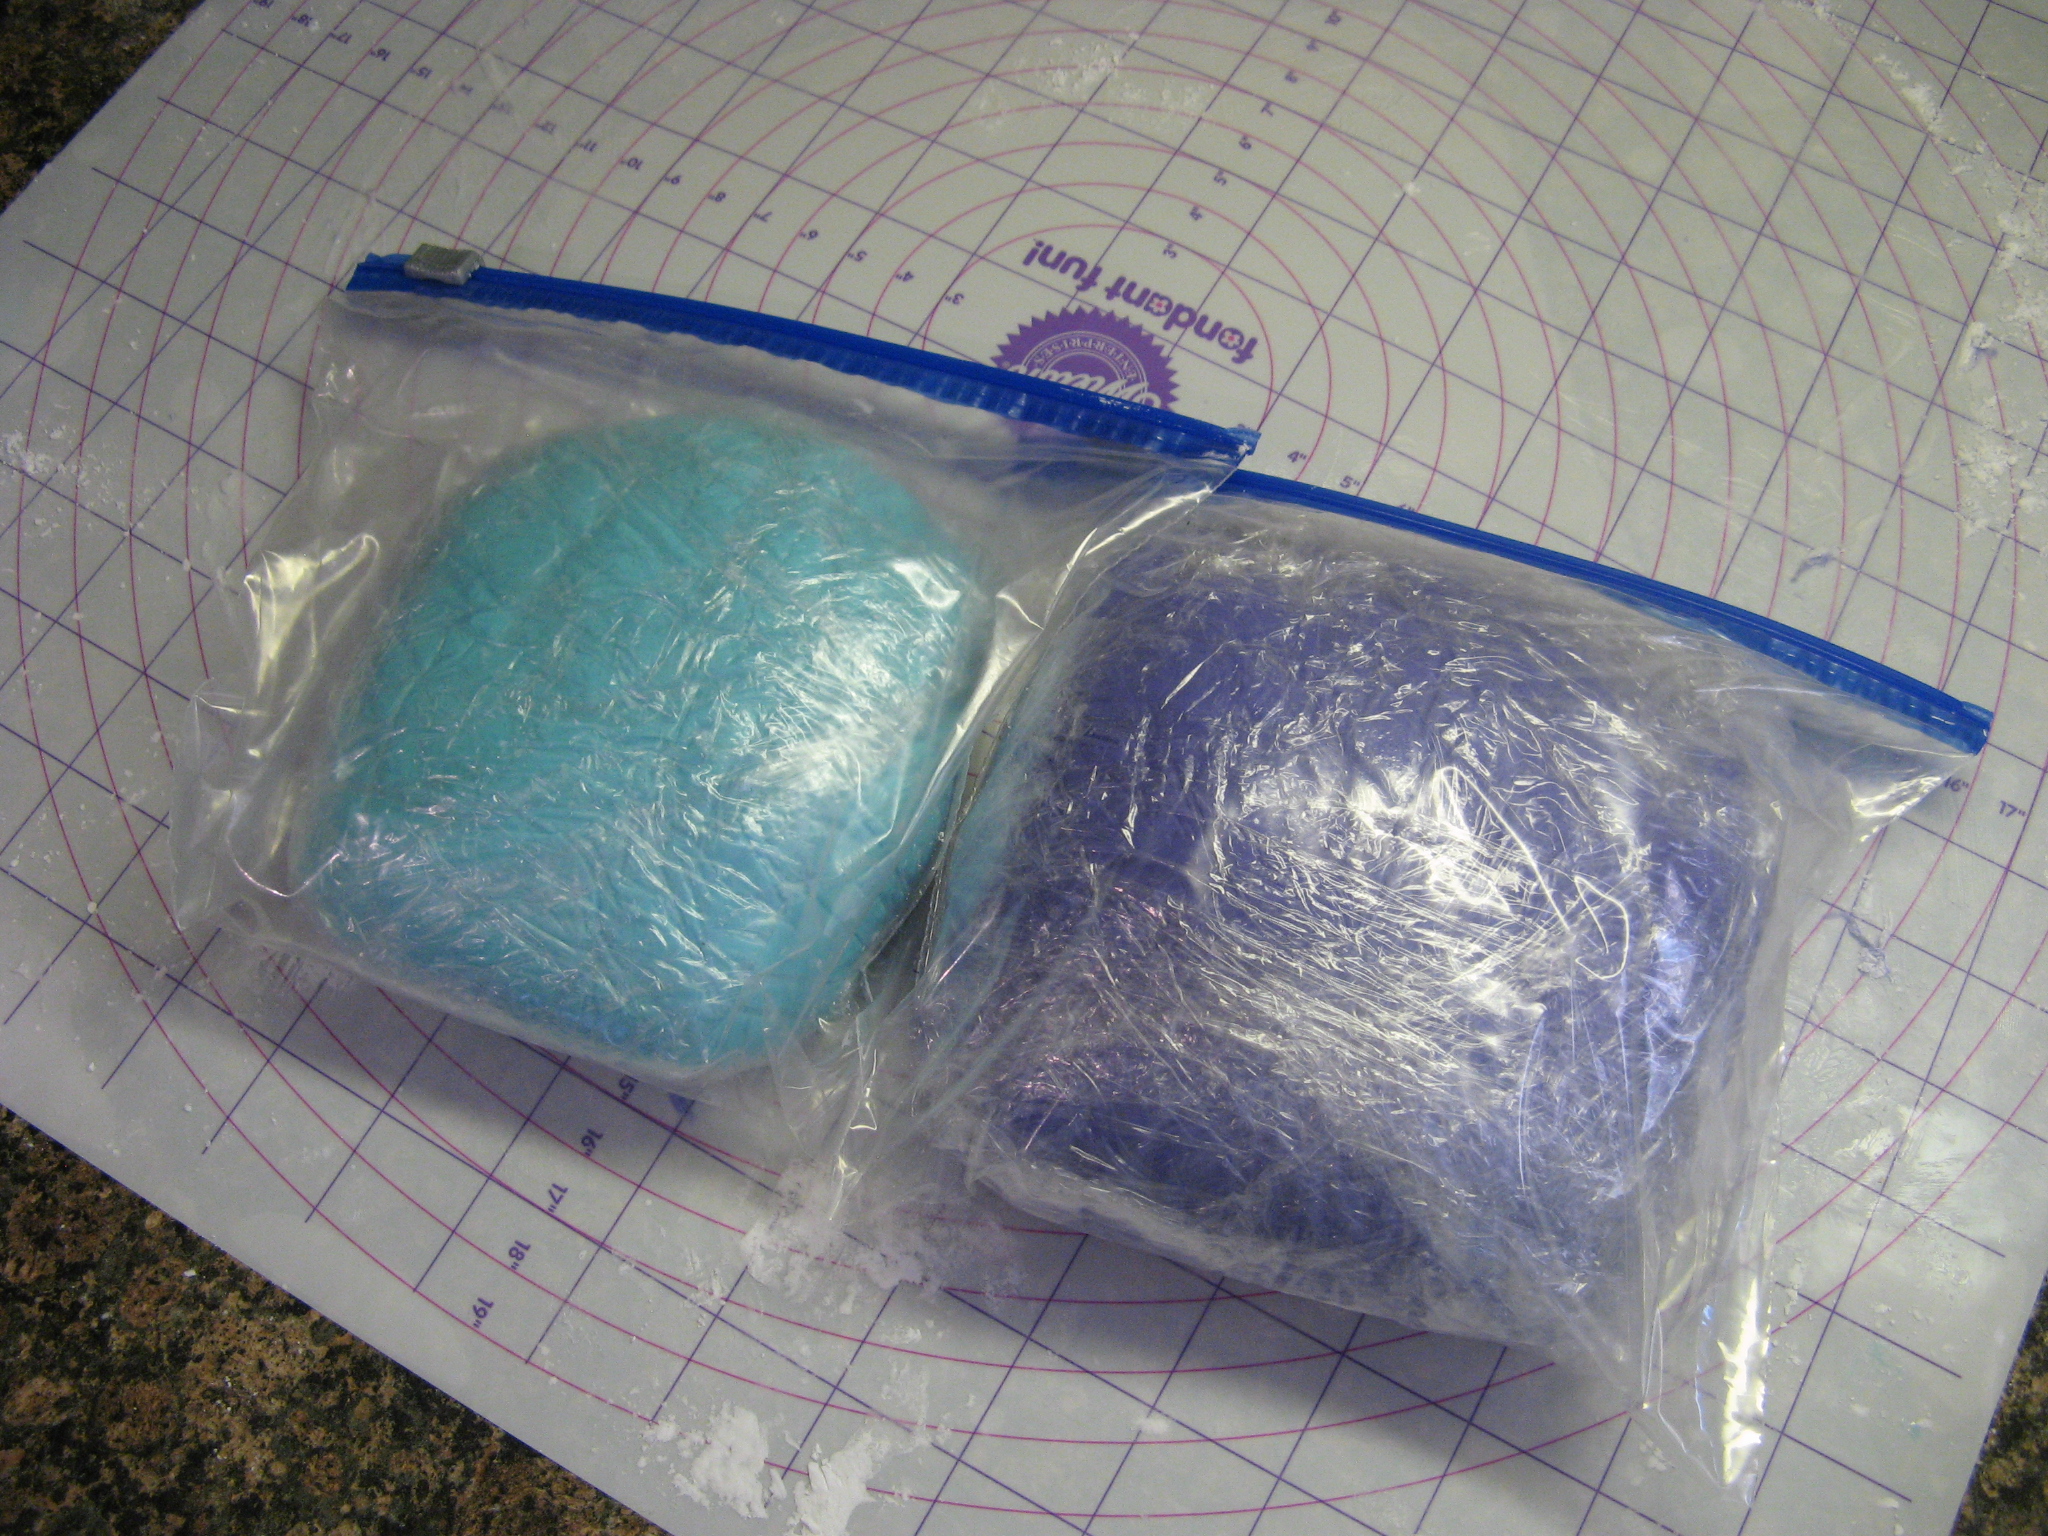
On the first day I made sky blue and violet marshmallow fondant. Thankfully I had done a test run of the process a few weeks prior so I pretty much knew what to do and what consistency the fondant needed to be. I lightly coated the fondant with shortening and wrapped it tightly in clear wrap and then placed it in a Ziploc bag to ensure it wouldn’t dry out. I then put it in the refrigerator so it could “rest.”

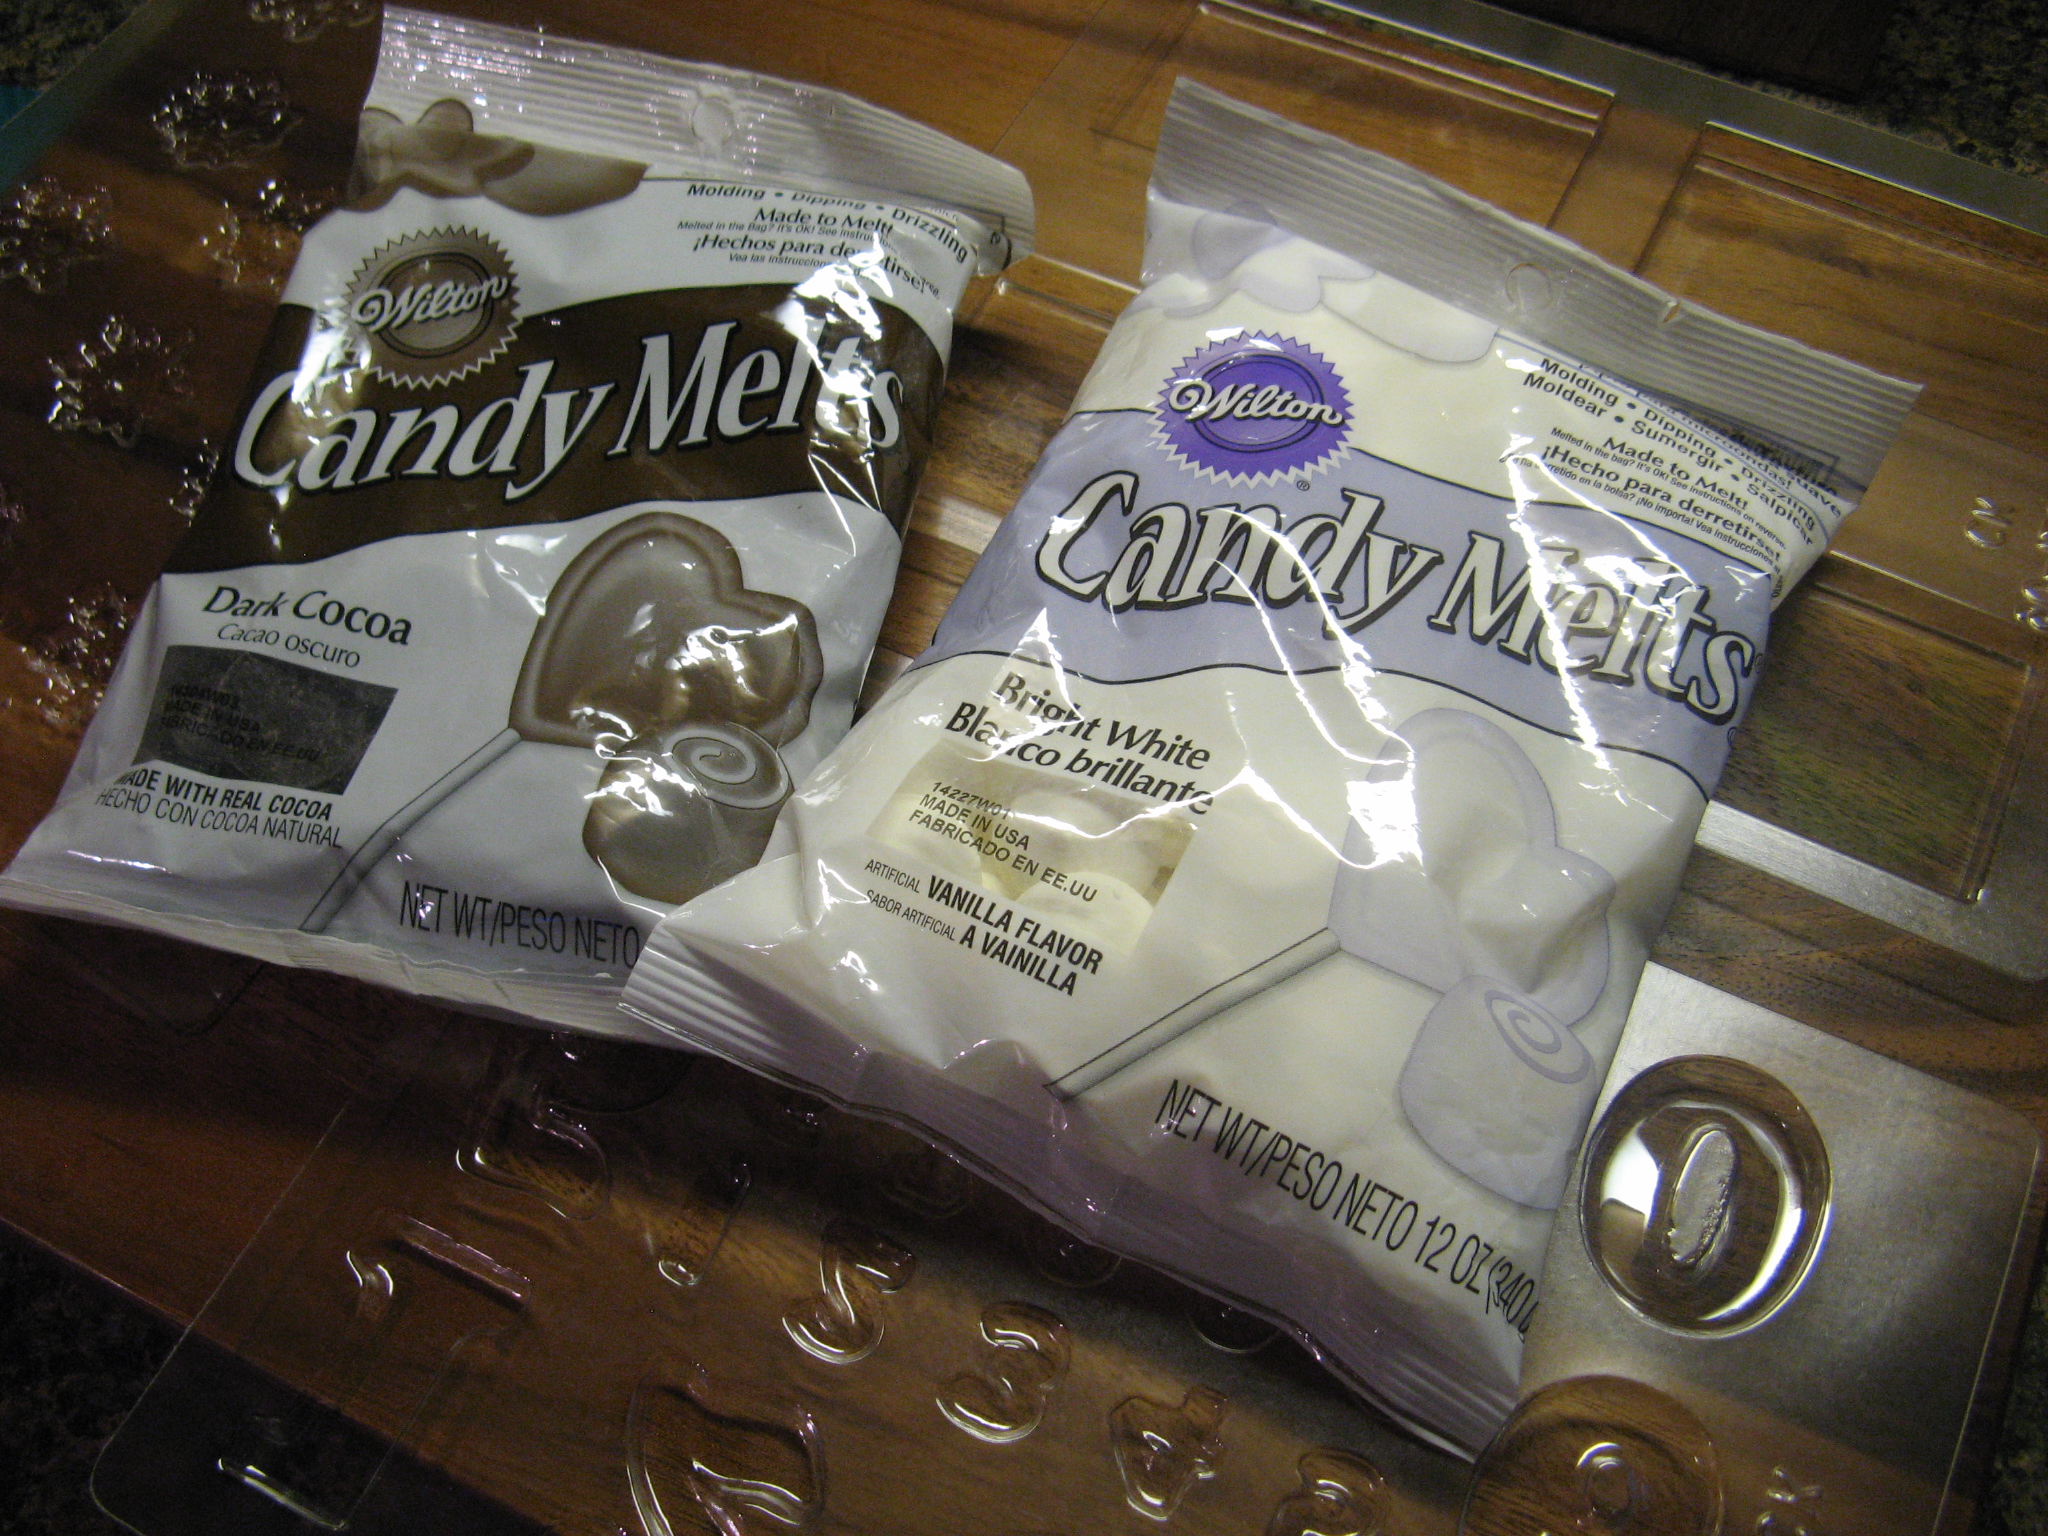
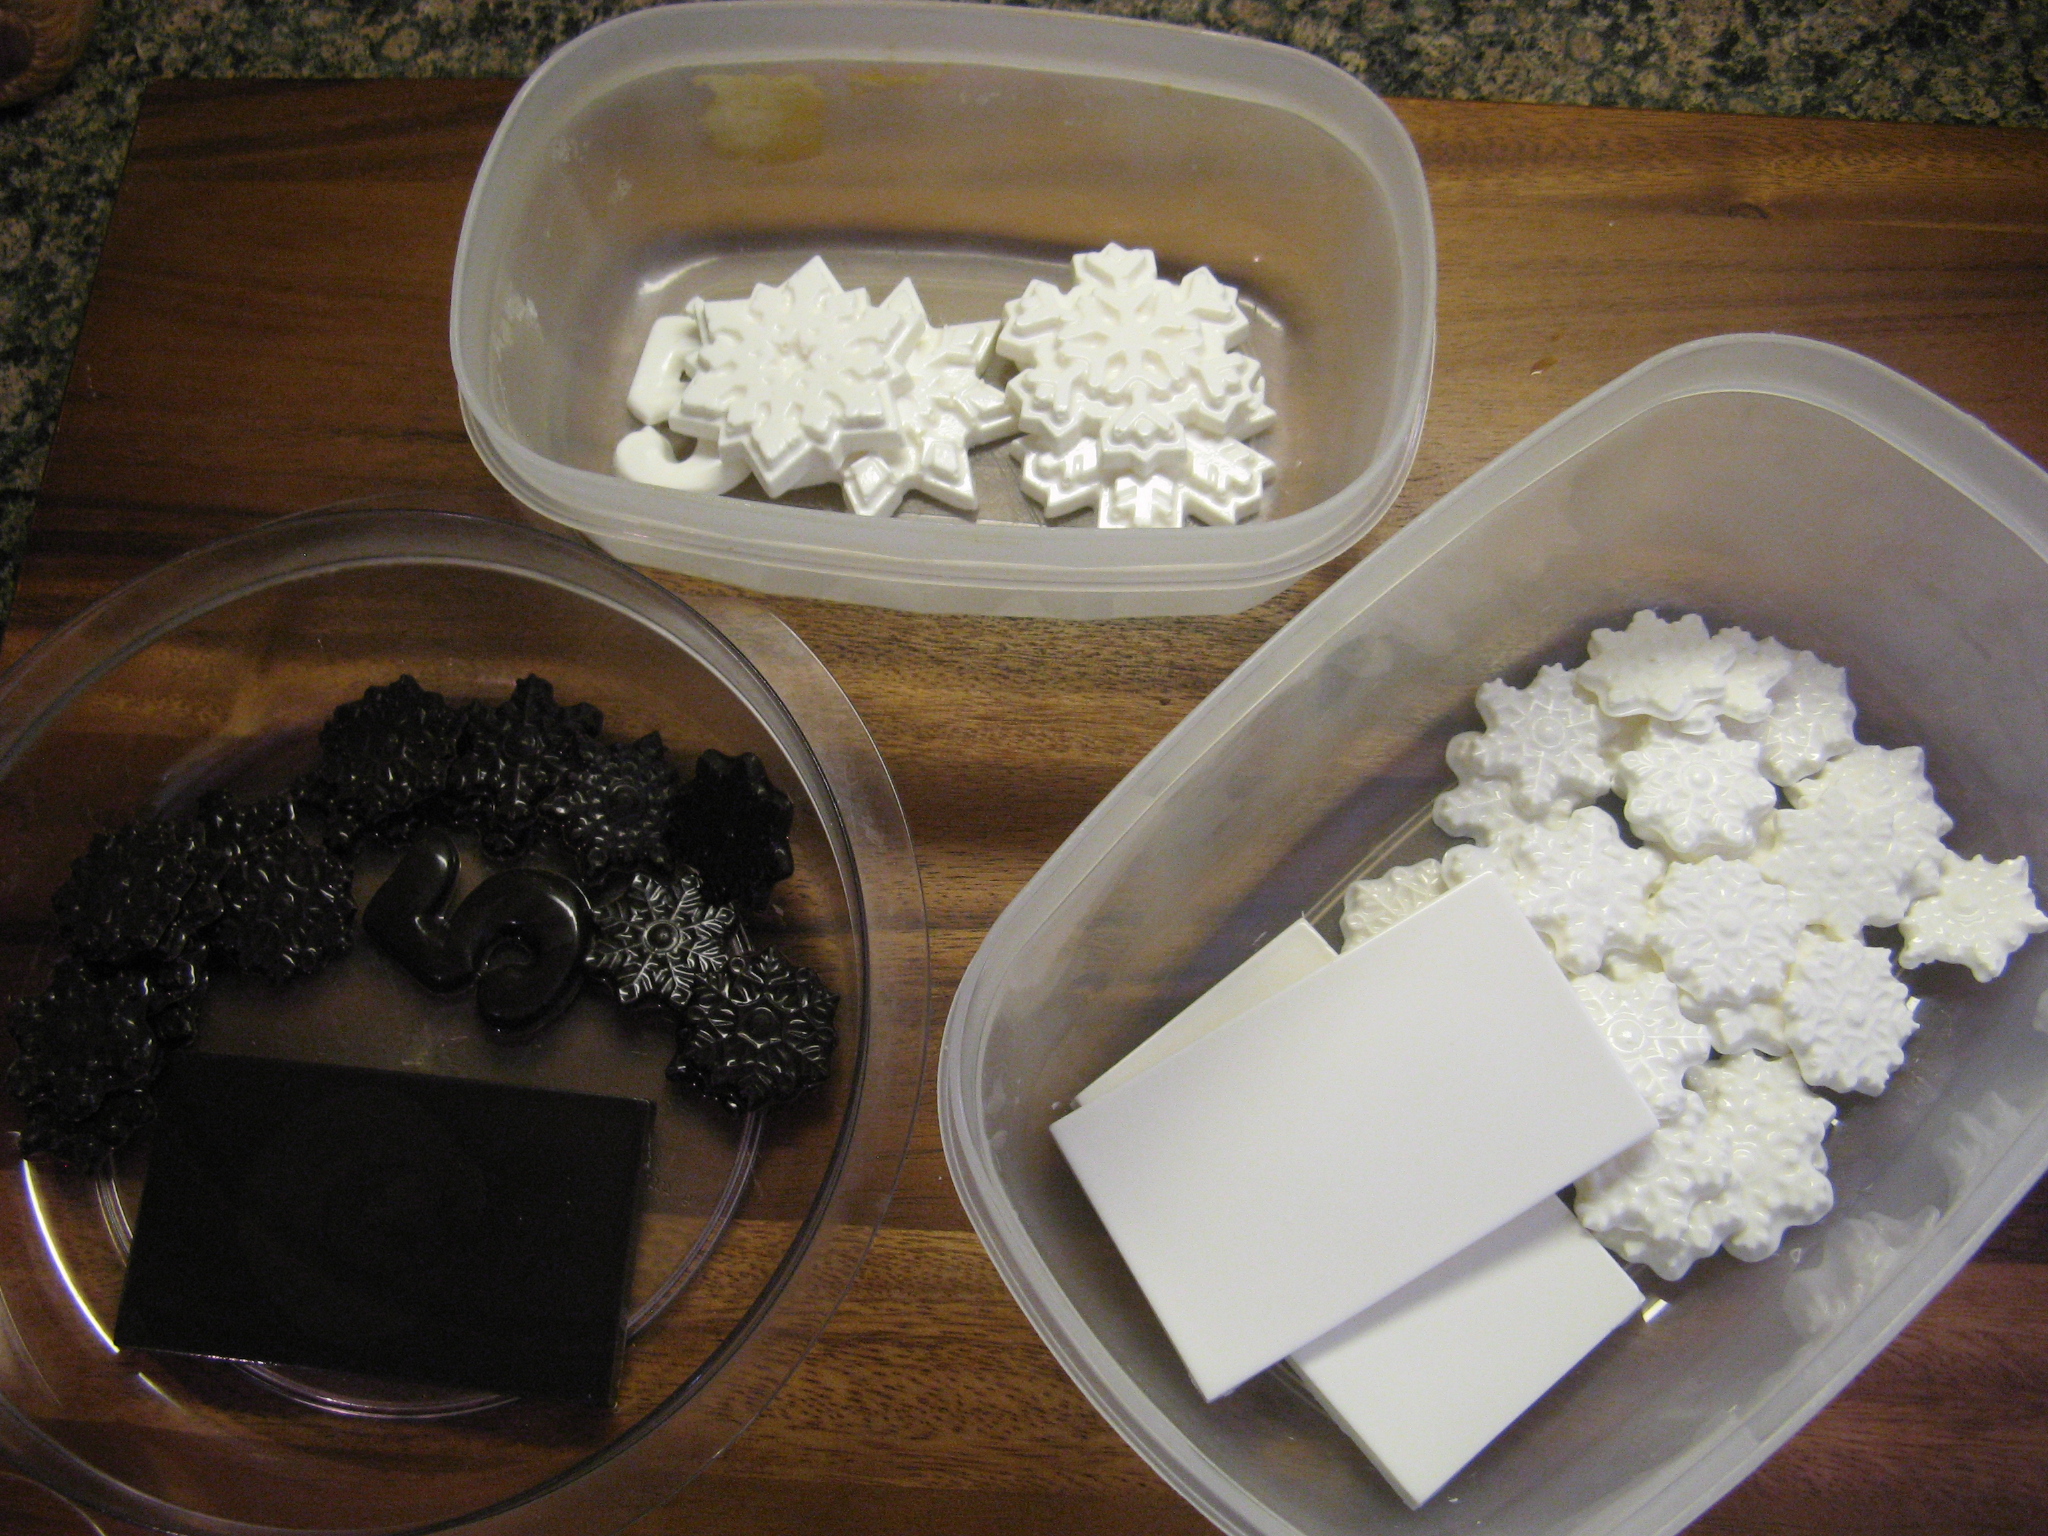
I also made some white chocolate and dark chocolate molds of snowflakes, the number 5 and plaques by melting Wilton candy melts and pouring the melted chocolate into the molds and refrigerating them for at least 15 minutes and then tapping them out on my counter.


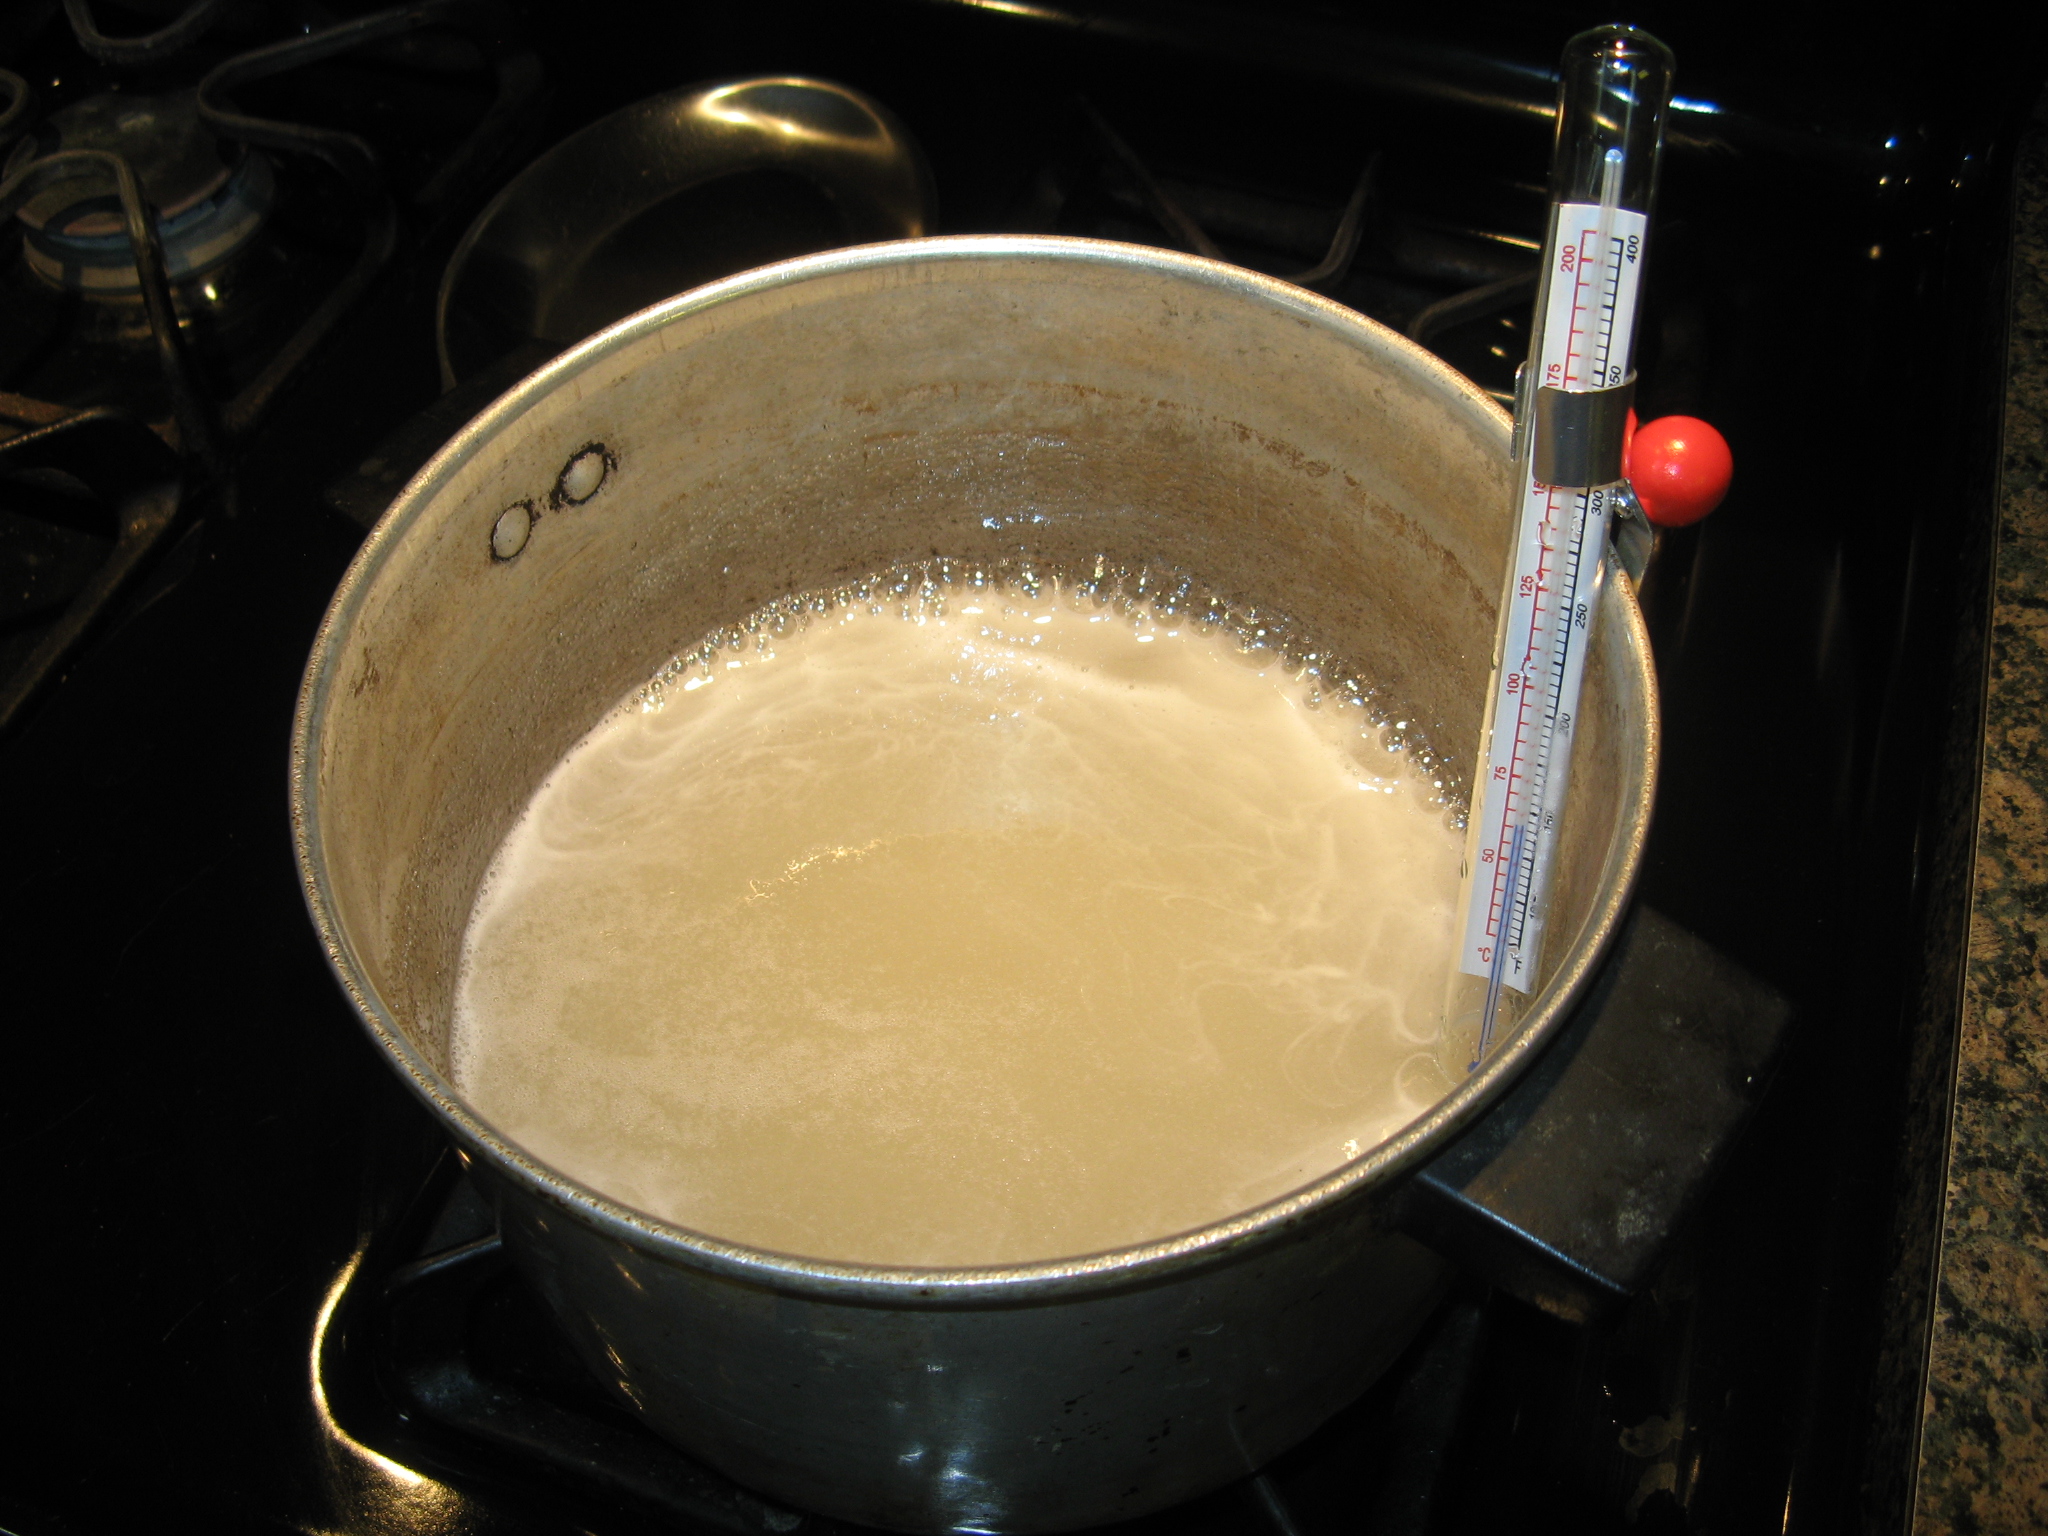
The following day I made hard candy by dissolving sugar in water and light corn syrup by stirring it over medium heat. Once the sugar was dissolved I raised the heat to high and brought the mixture to a boil without stirring it to a temperature of 300 F.

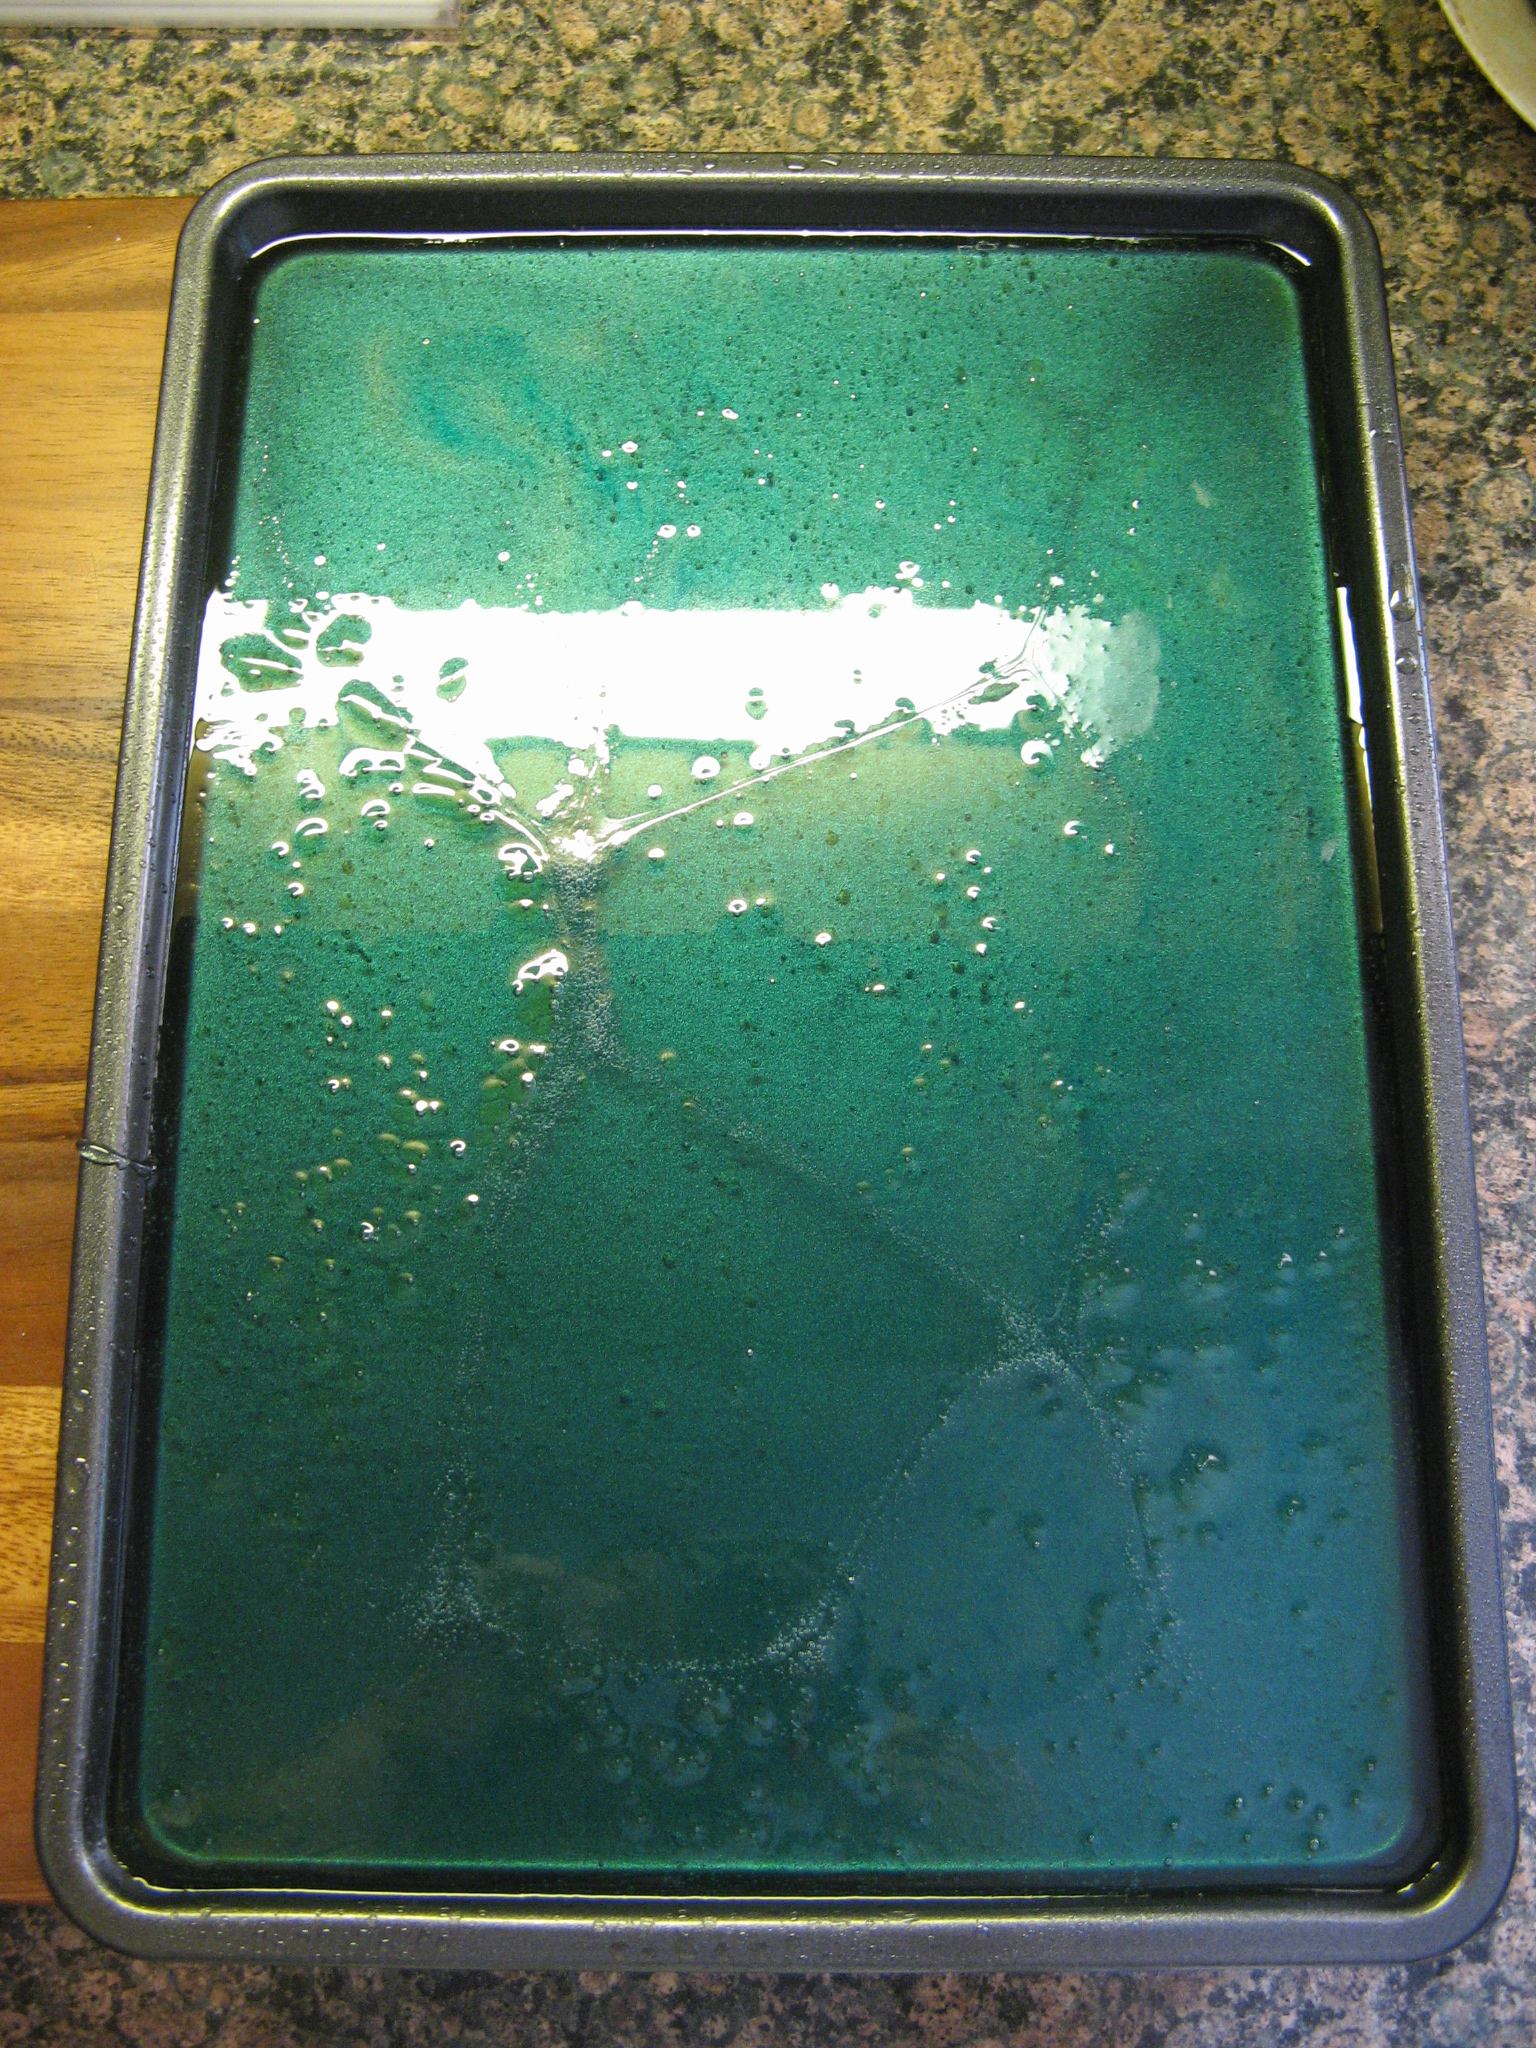
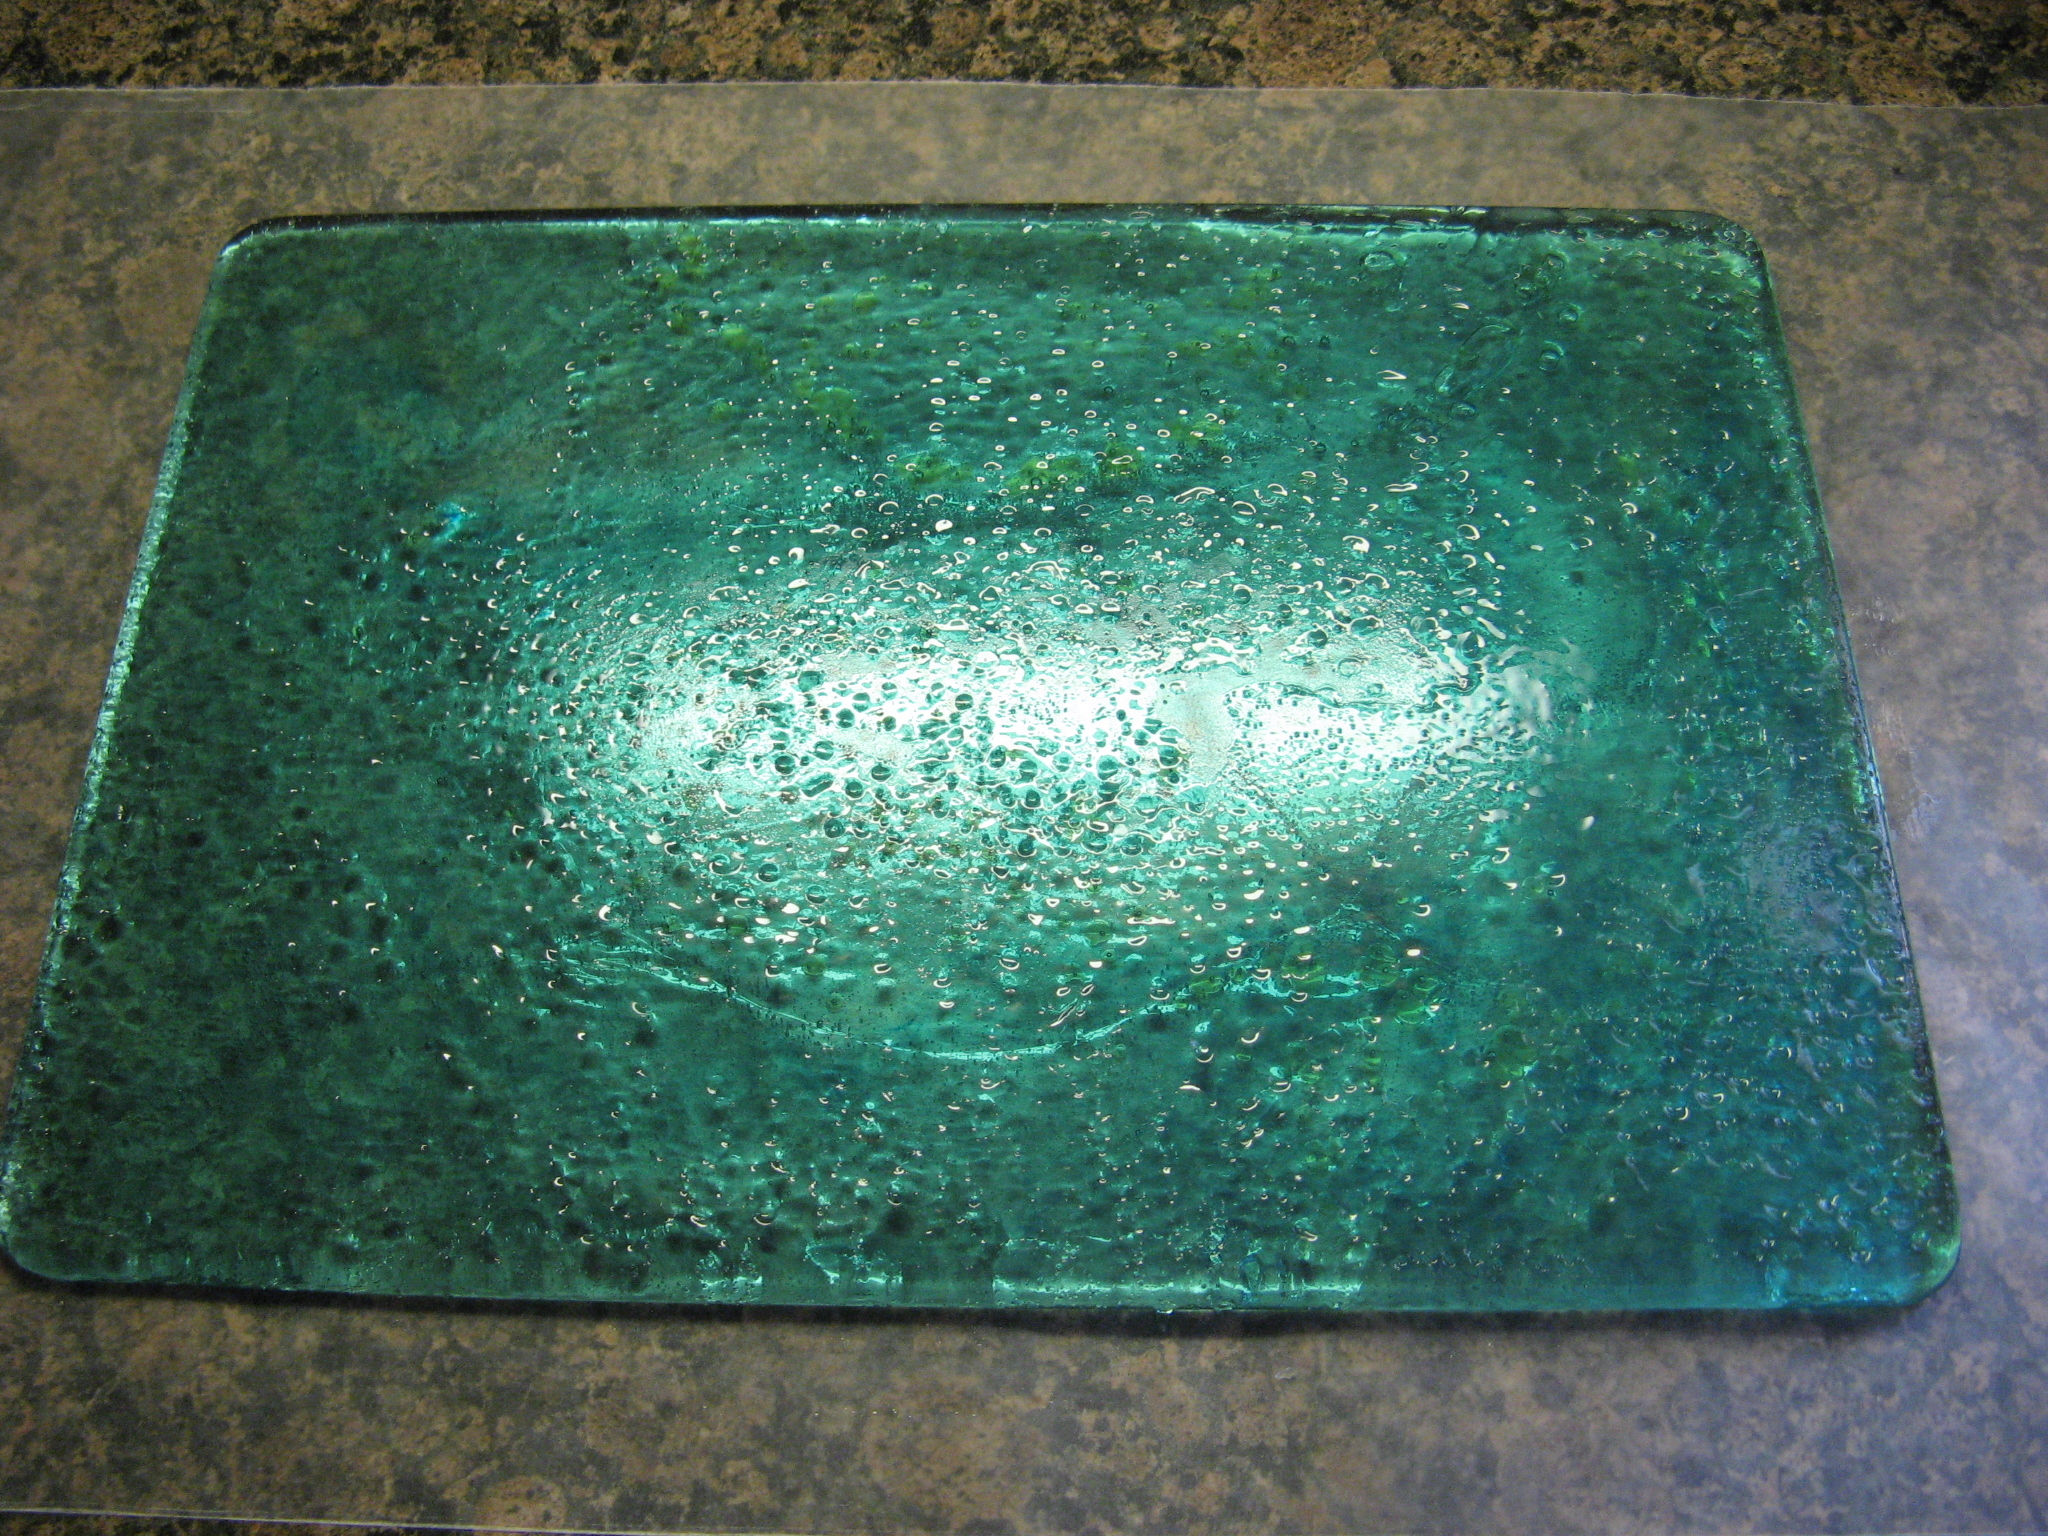
Once it reached 300 F I added a few drops of blue dye to the mixture and poured it into a greased rimmed cookie sheet and placed it in the refrigerator until it hardened – about an hour.

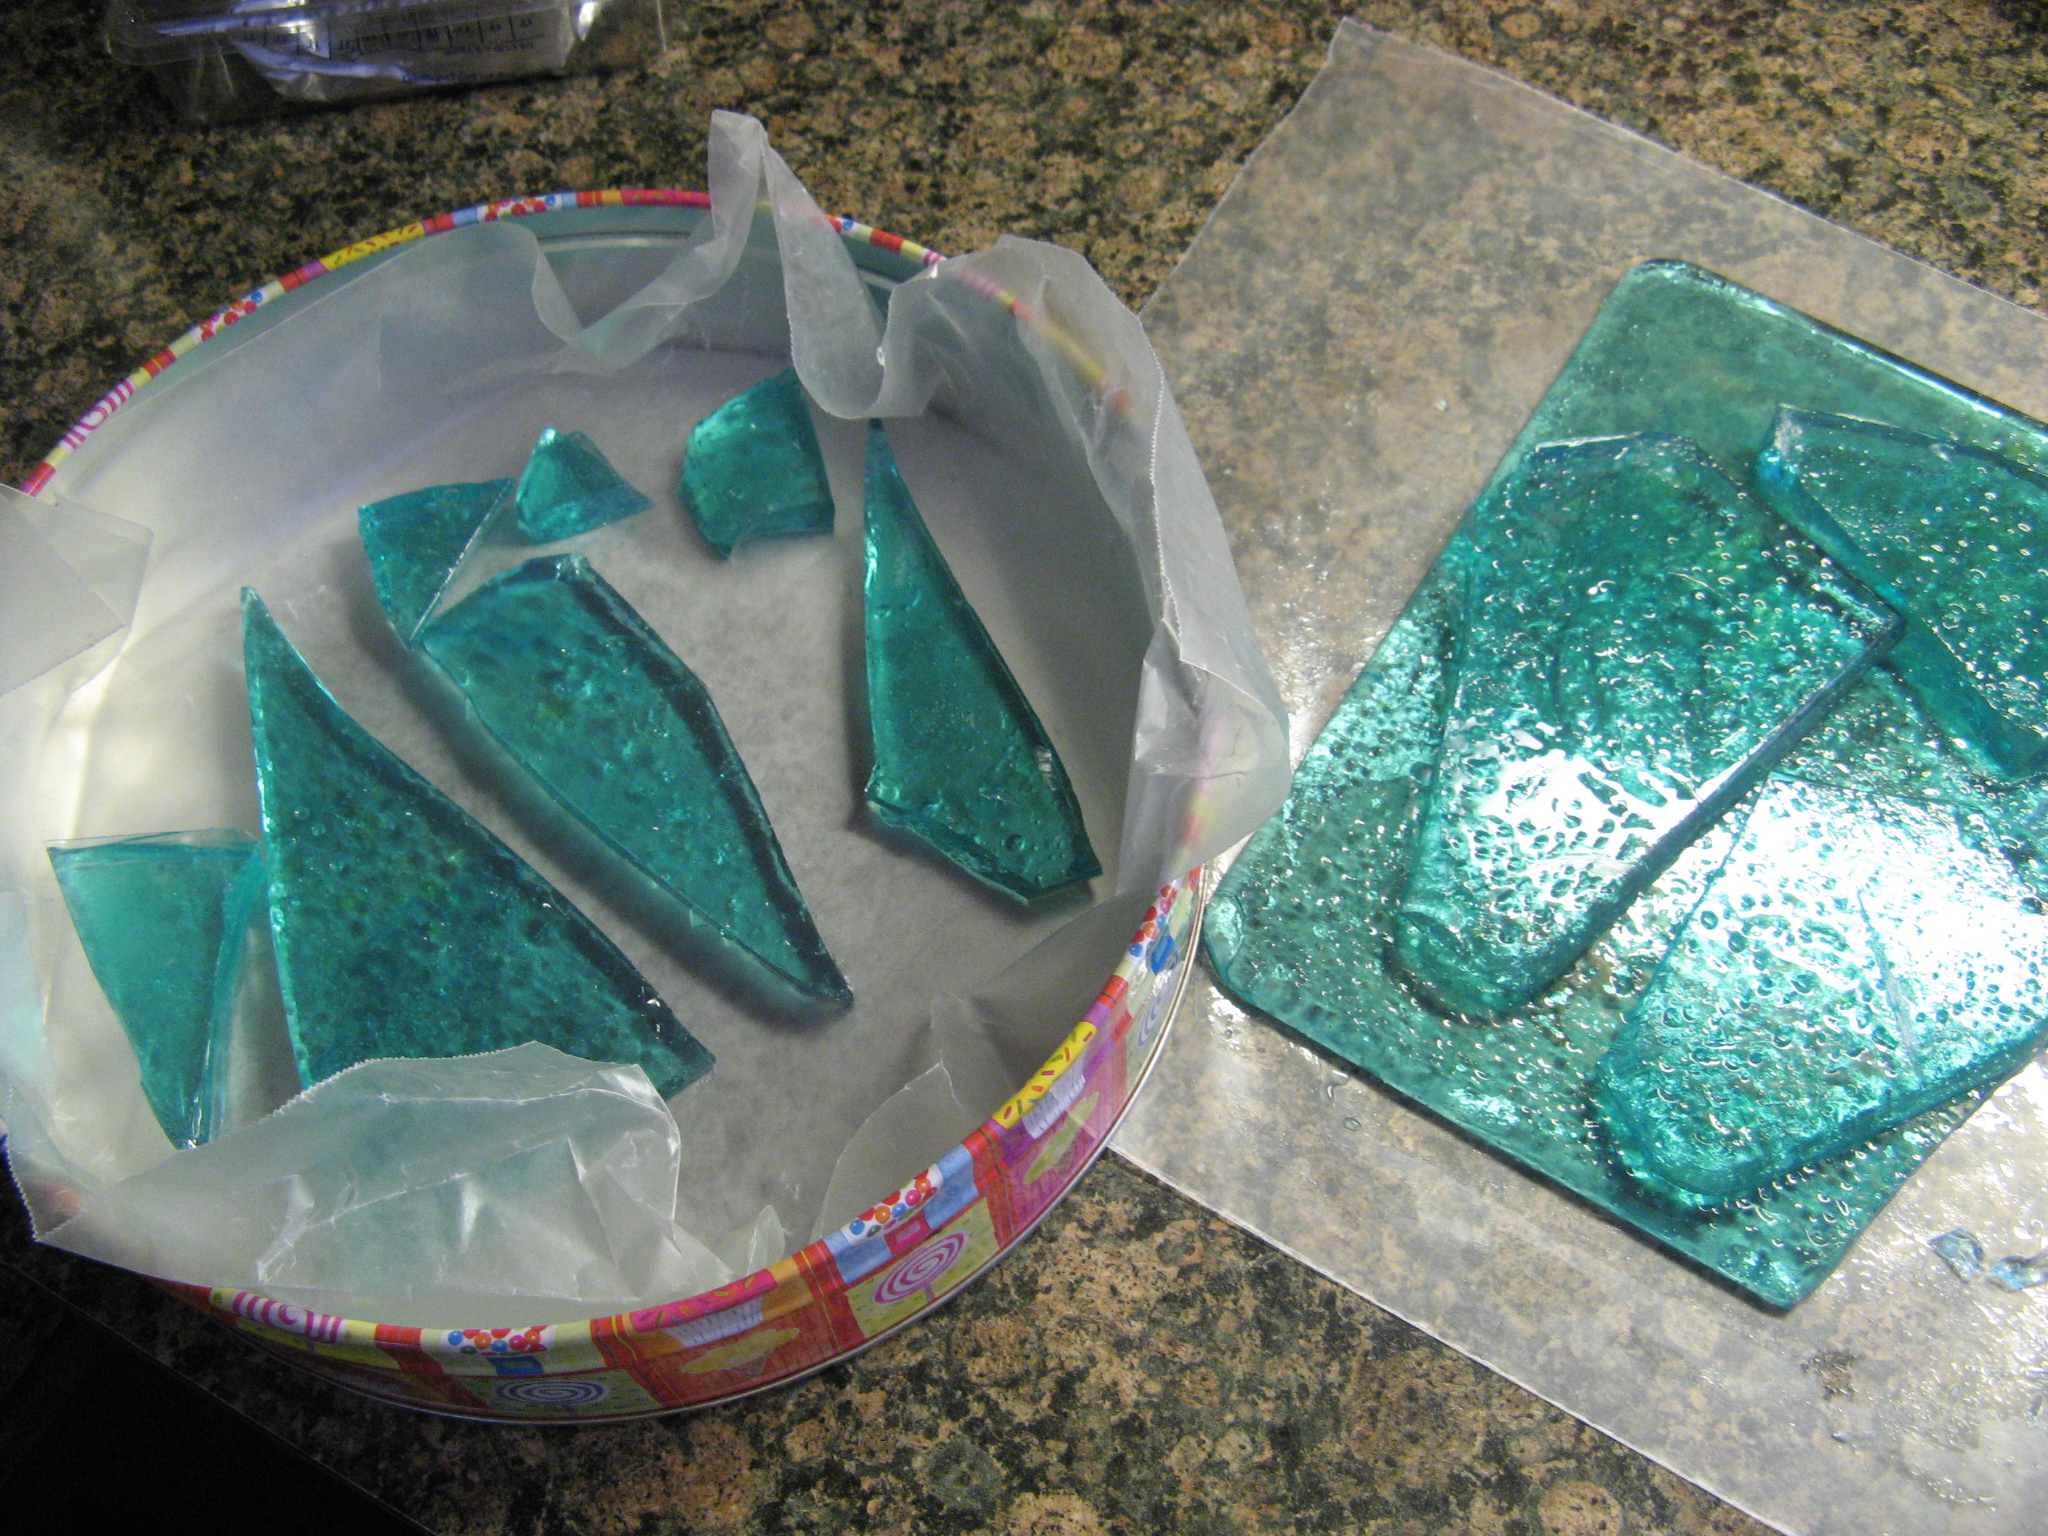
I then unmolded the hard candy onto a sheet of wax paper and broke it into pieces so I could use it as a cake topper for Elsa’s ice castle.


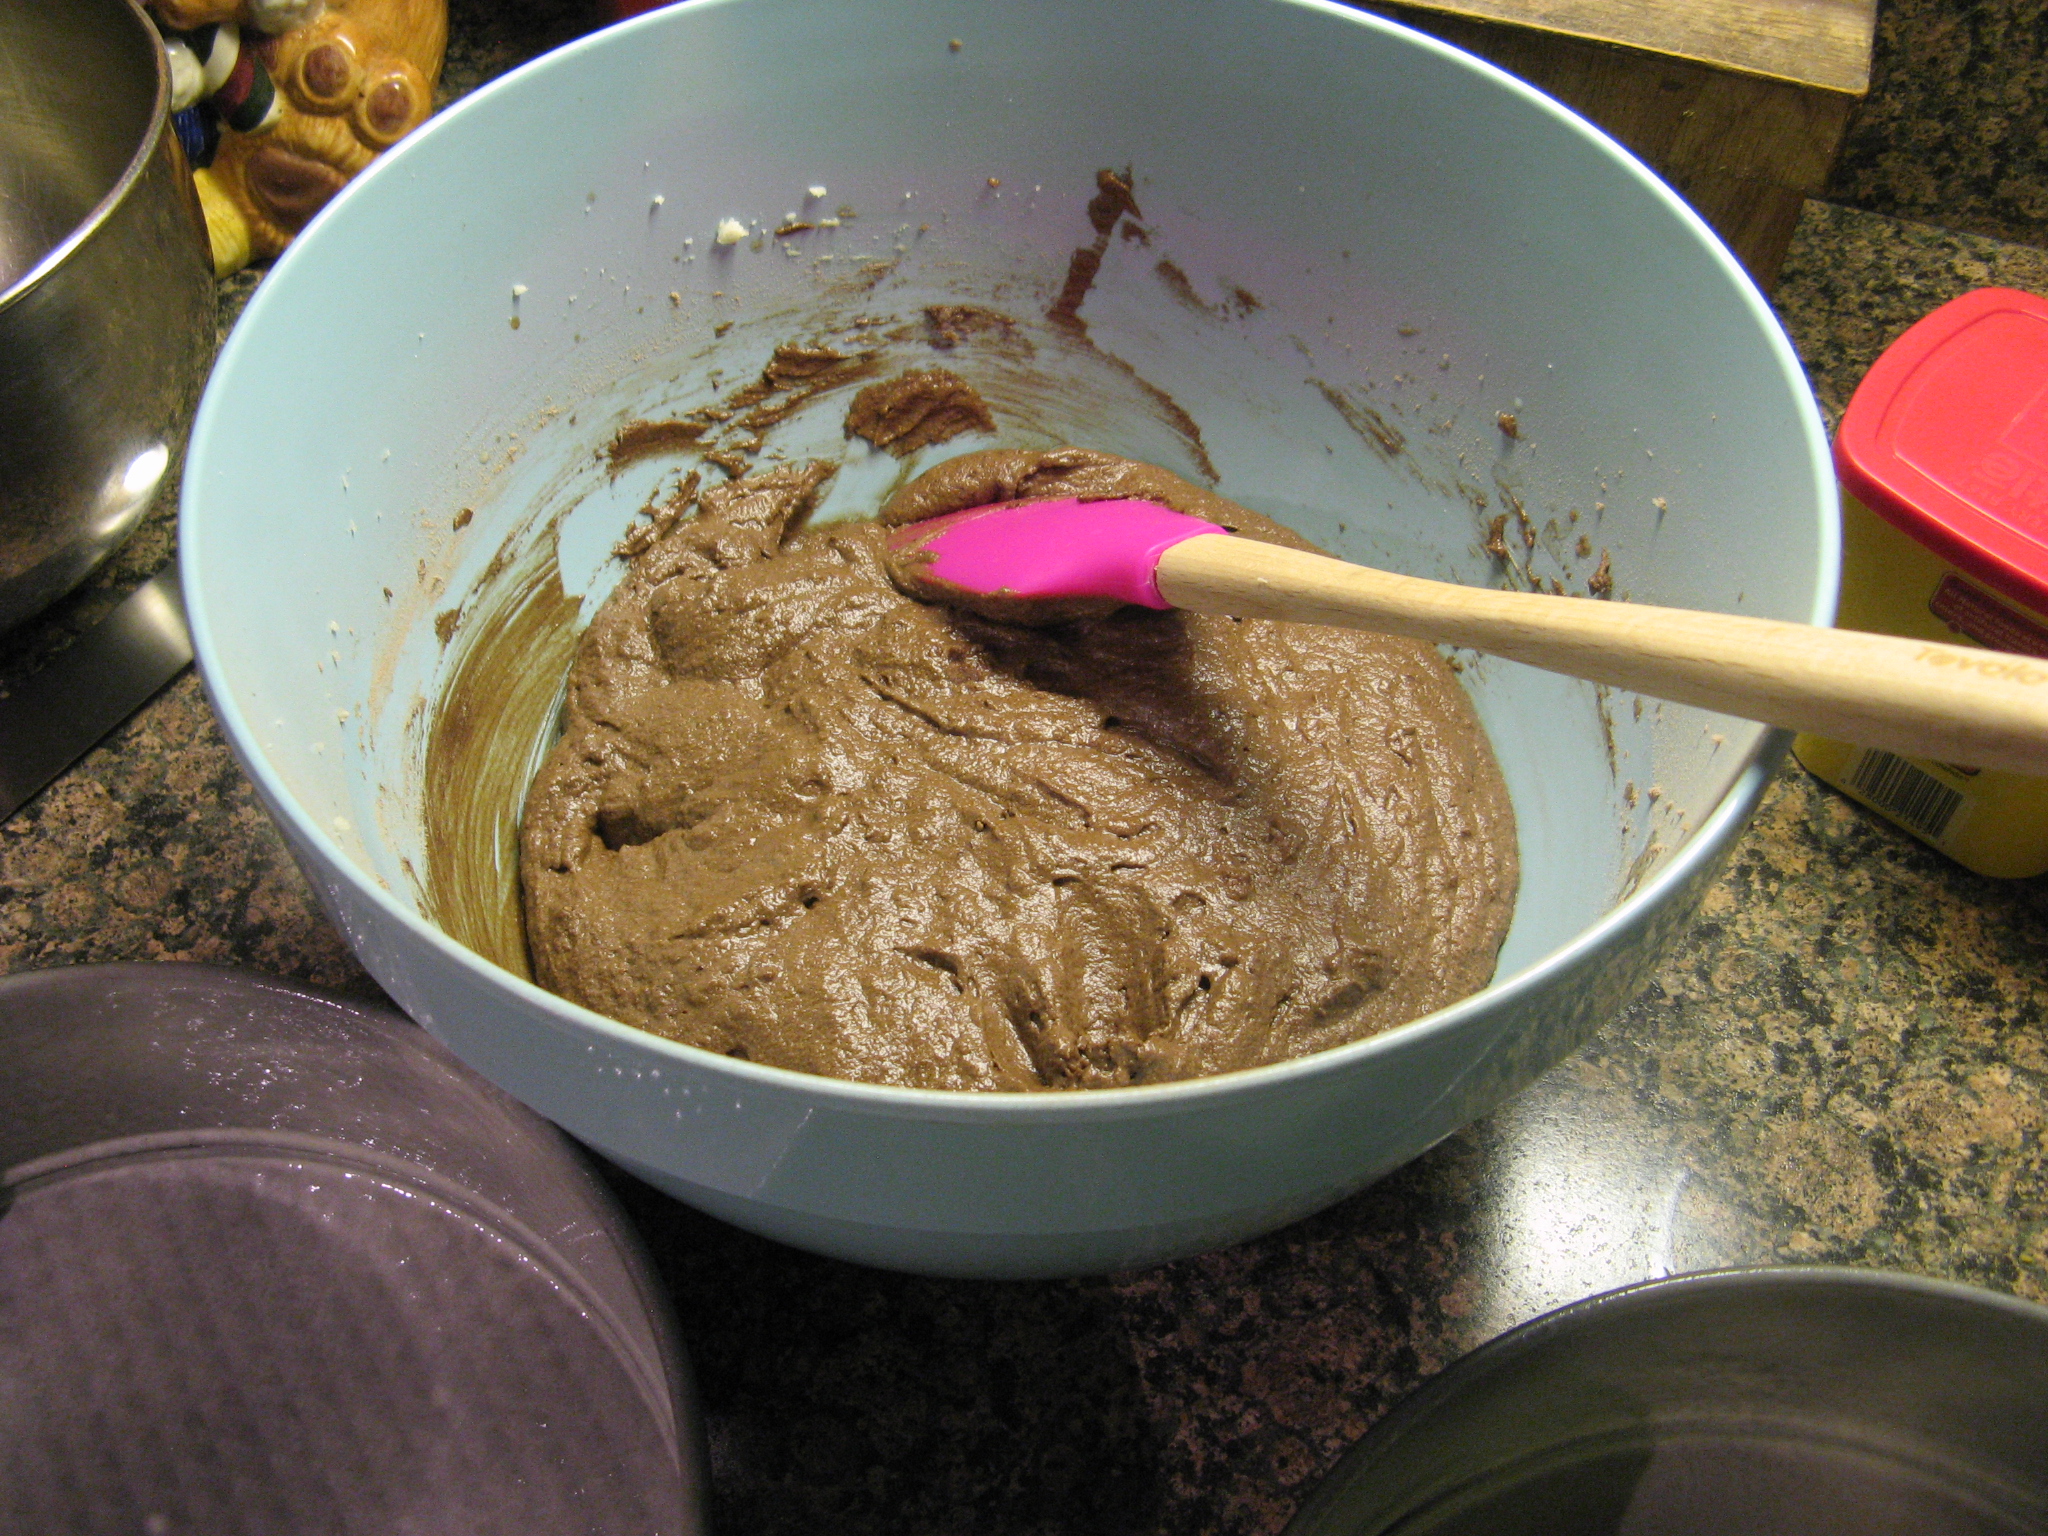
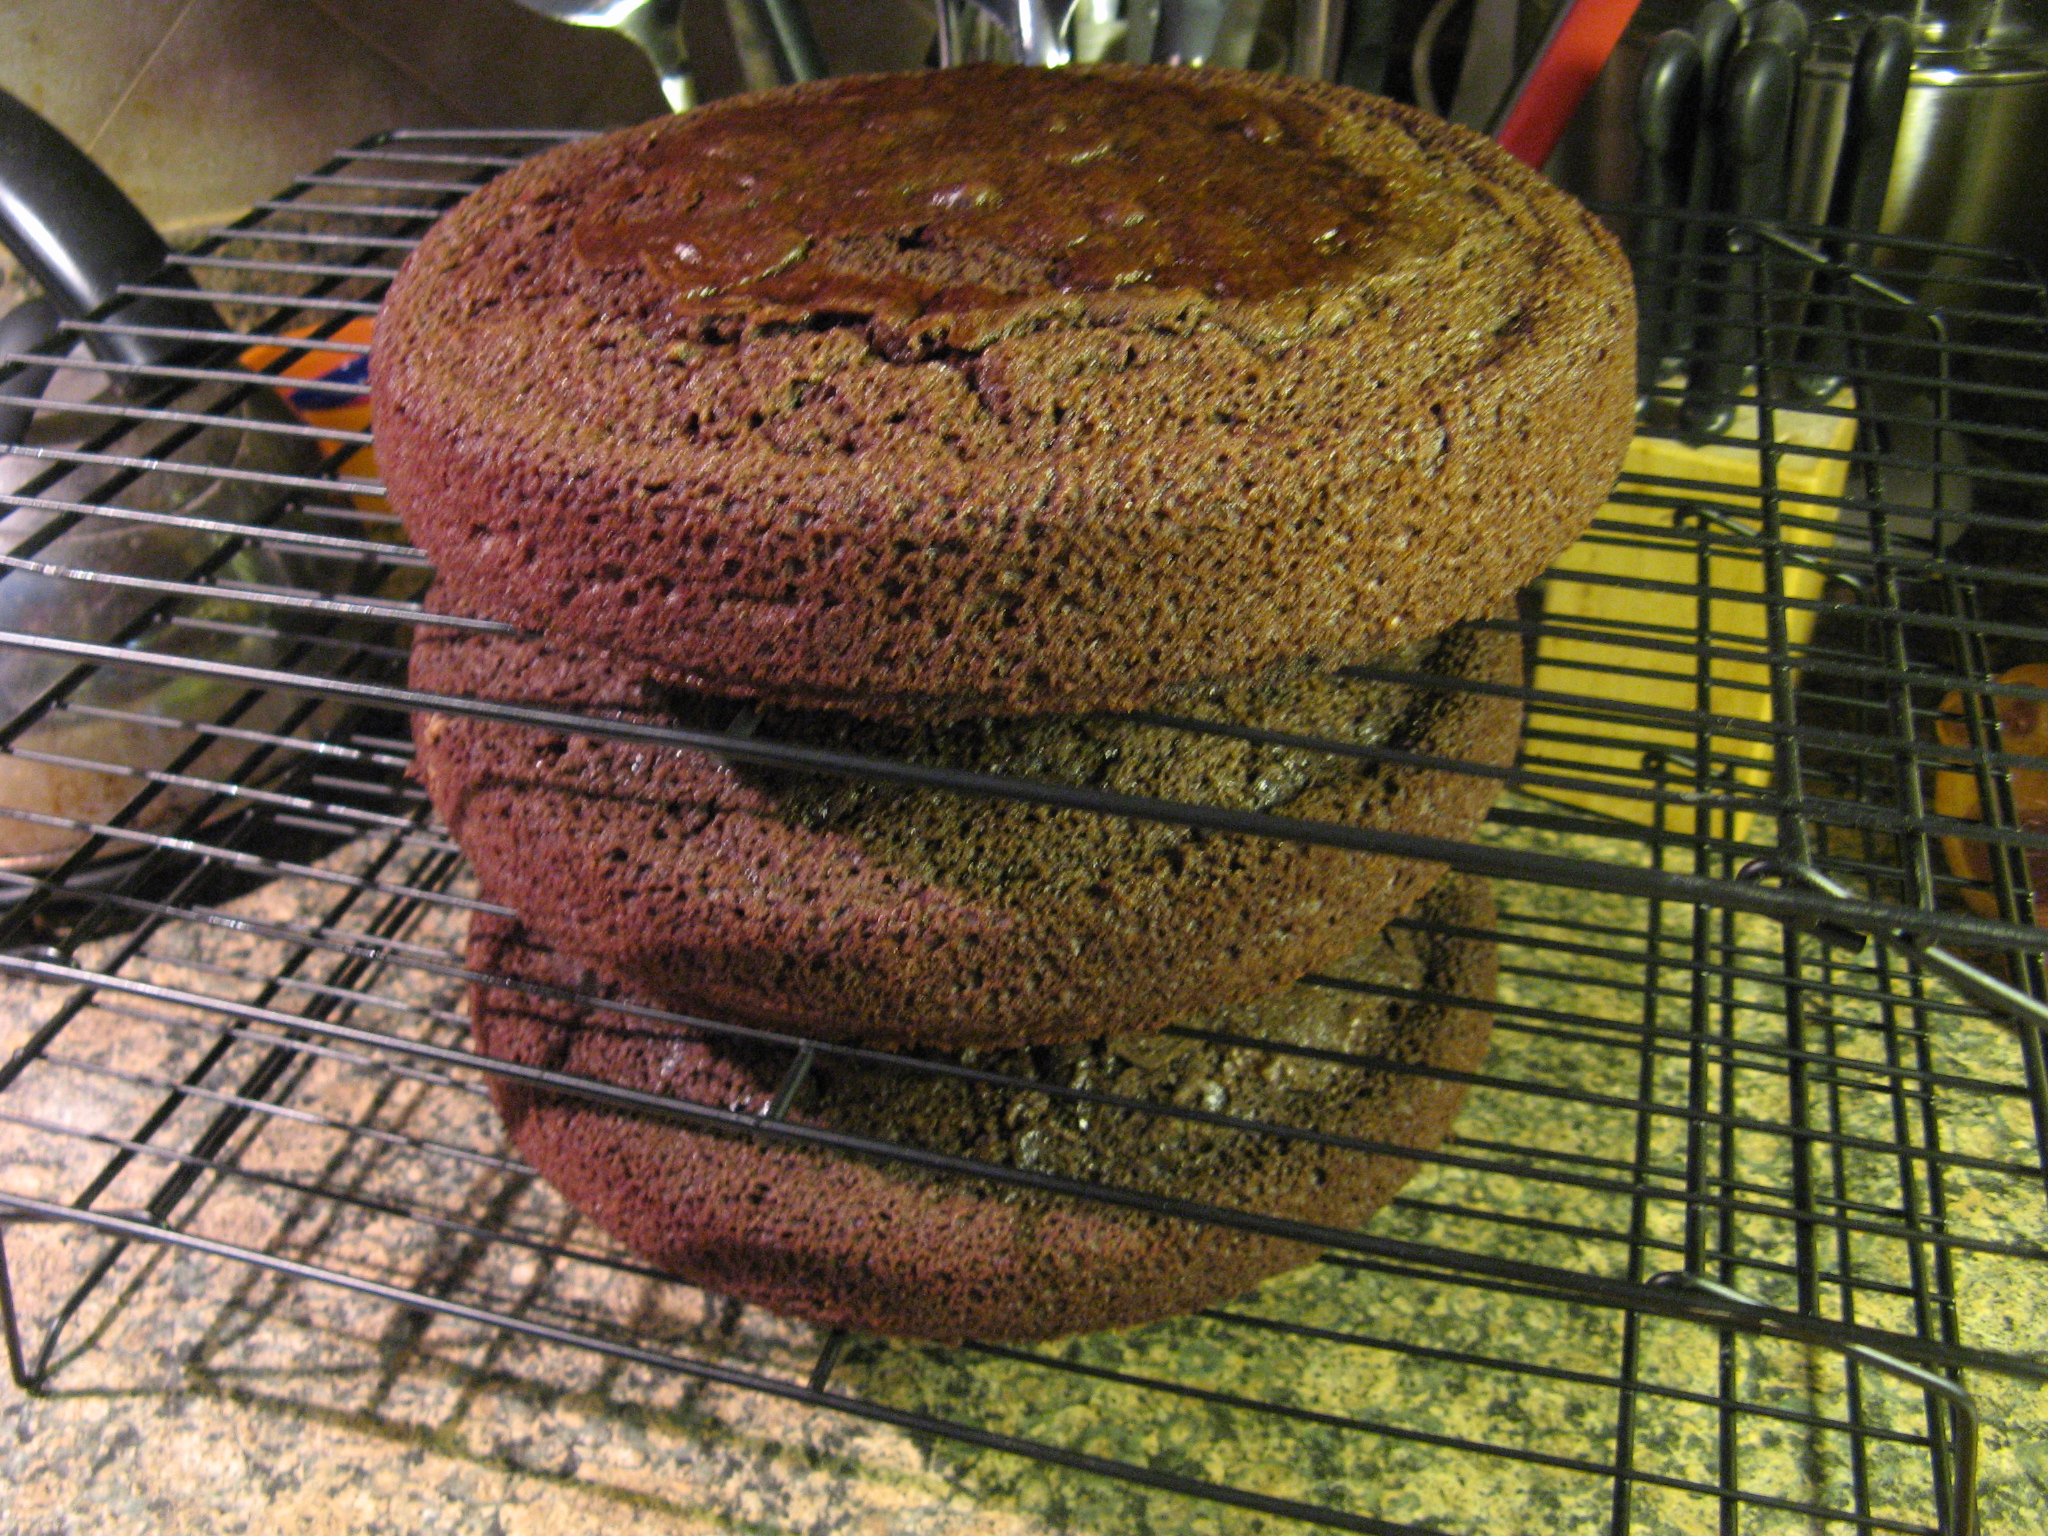
With all of the decorative pieces done it was finally time to bake the cakes. I started with baking the larger of the two cakes – a three-layer 9 inch chocolate cake. The recipe I was following was for a two-layer cake so I whipped up the batter twice and for the second batch I baked one layer and 12 cupcakes.


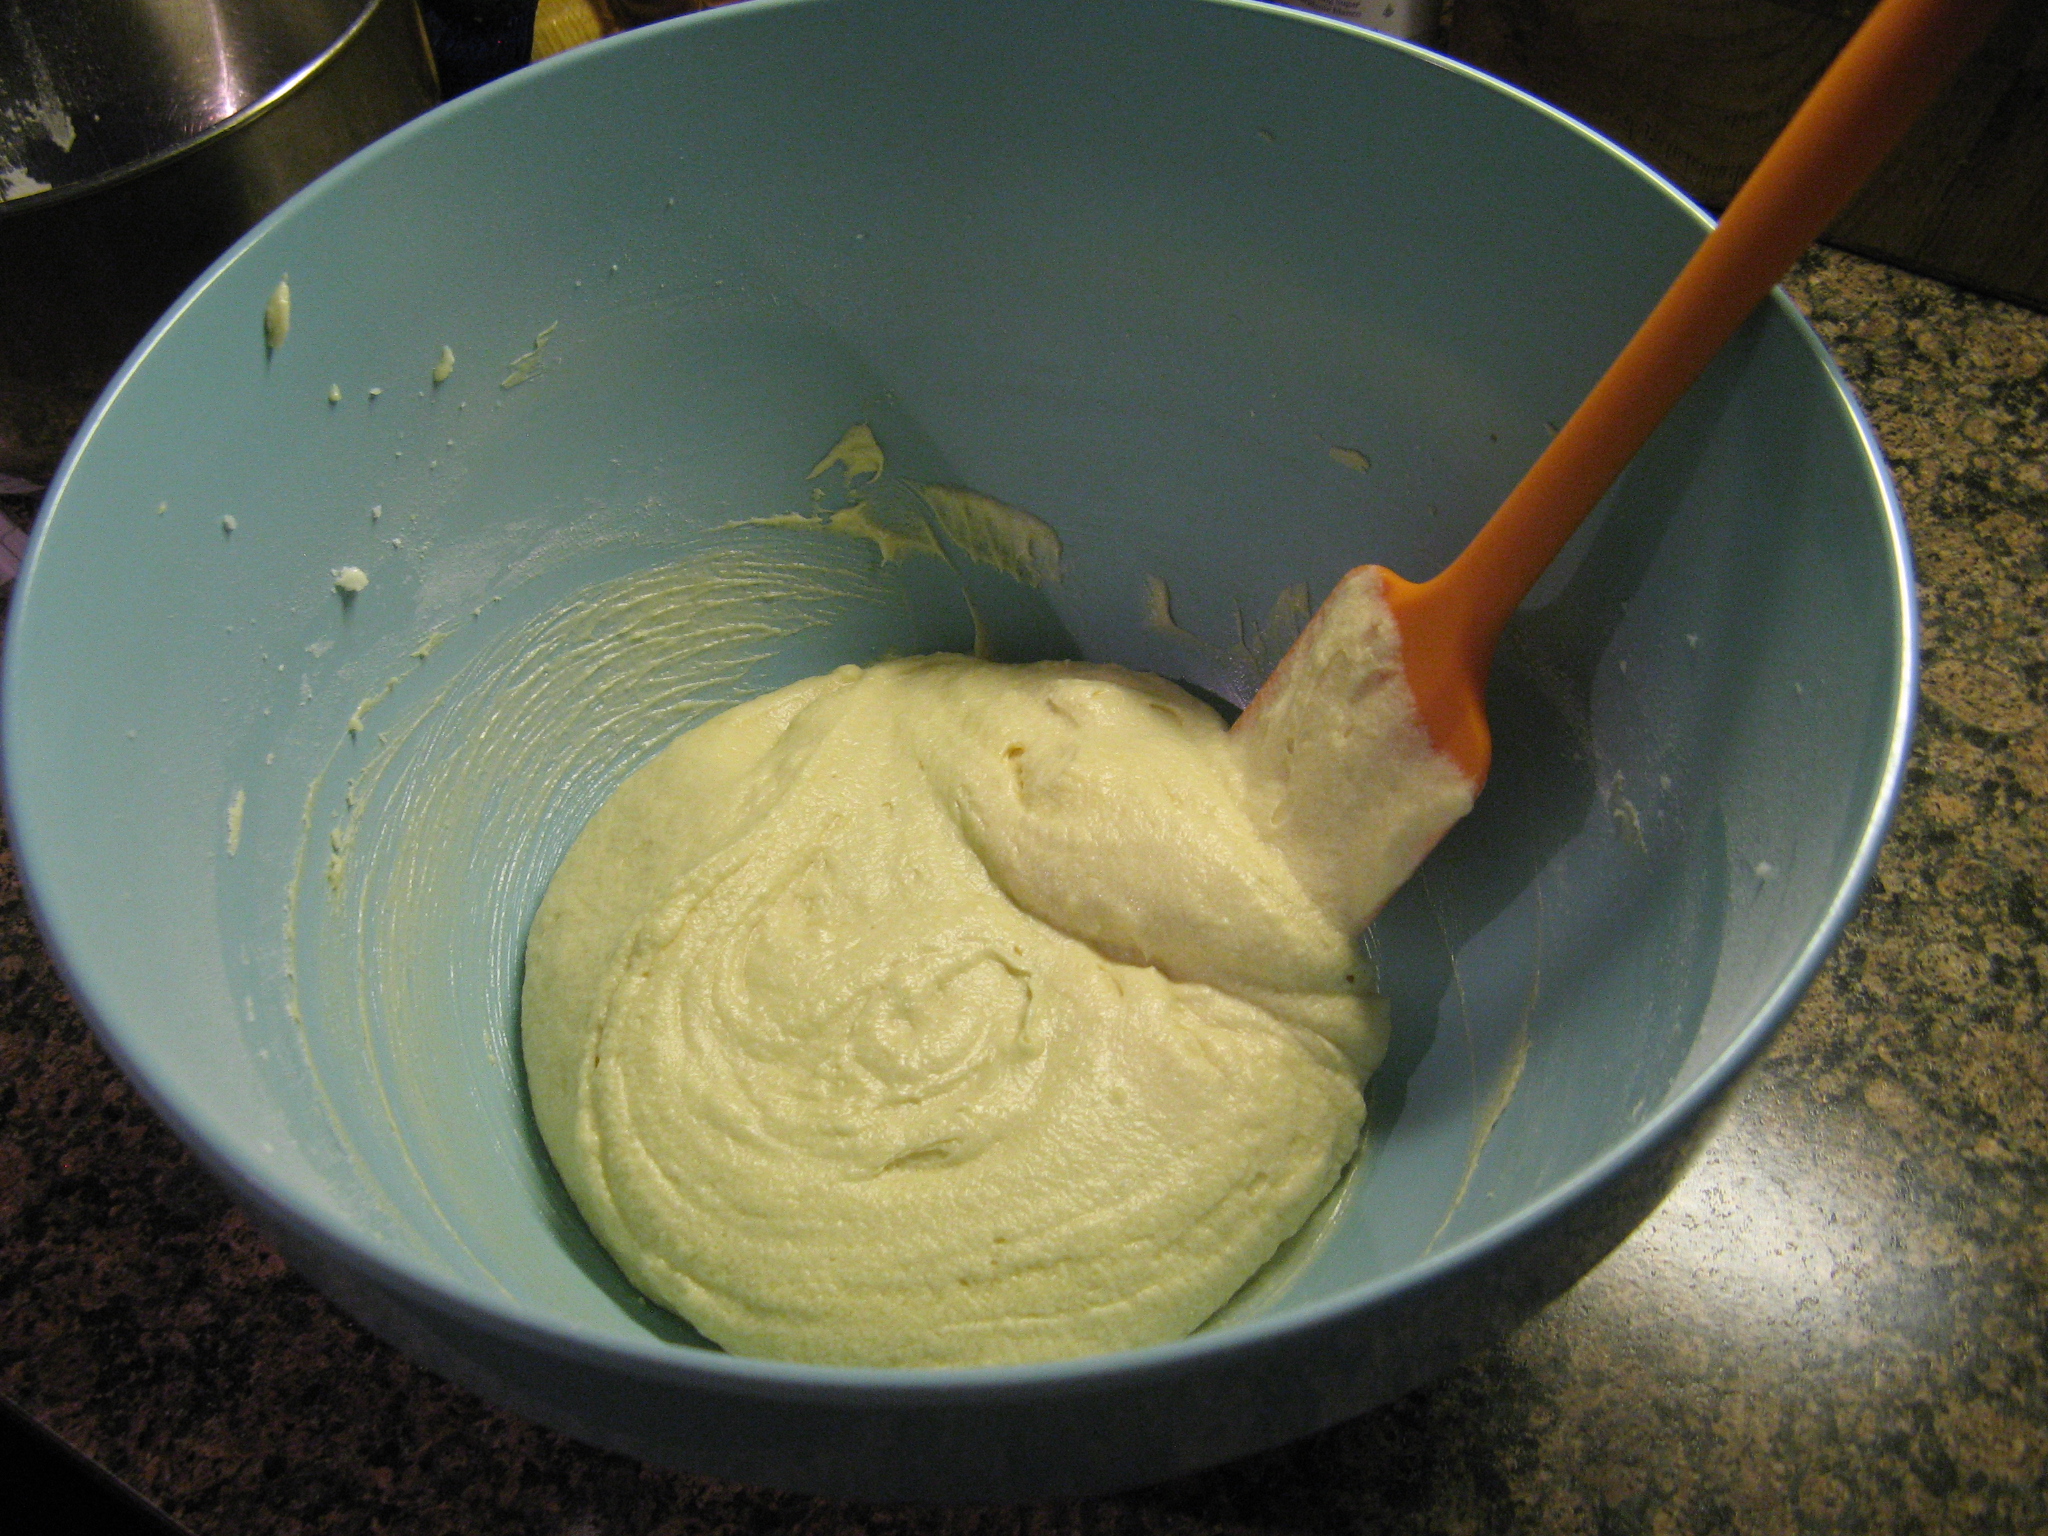
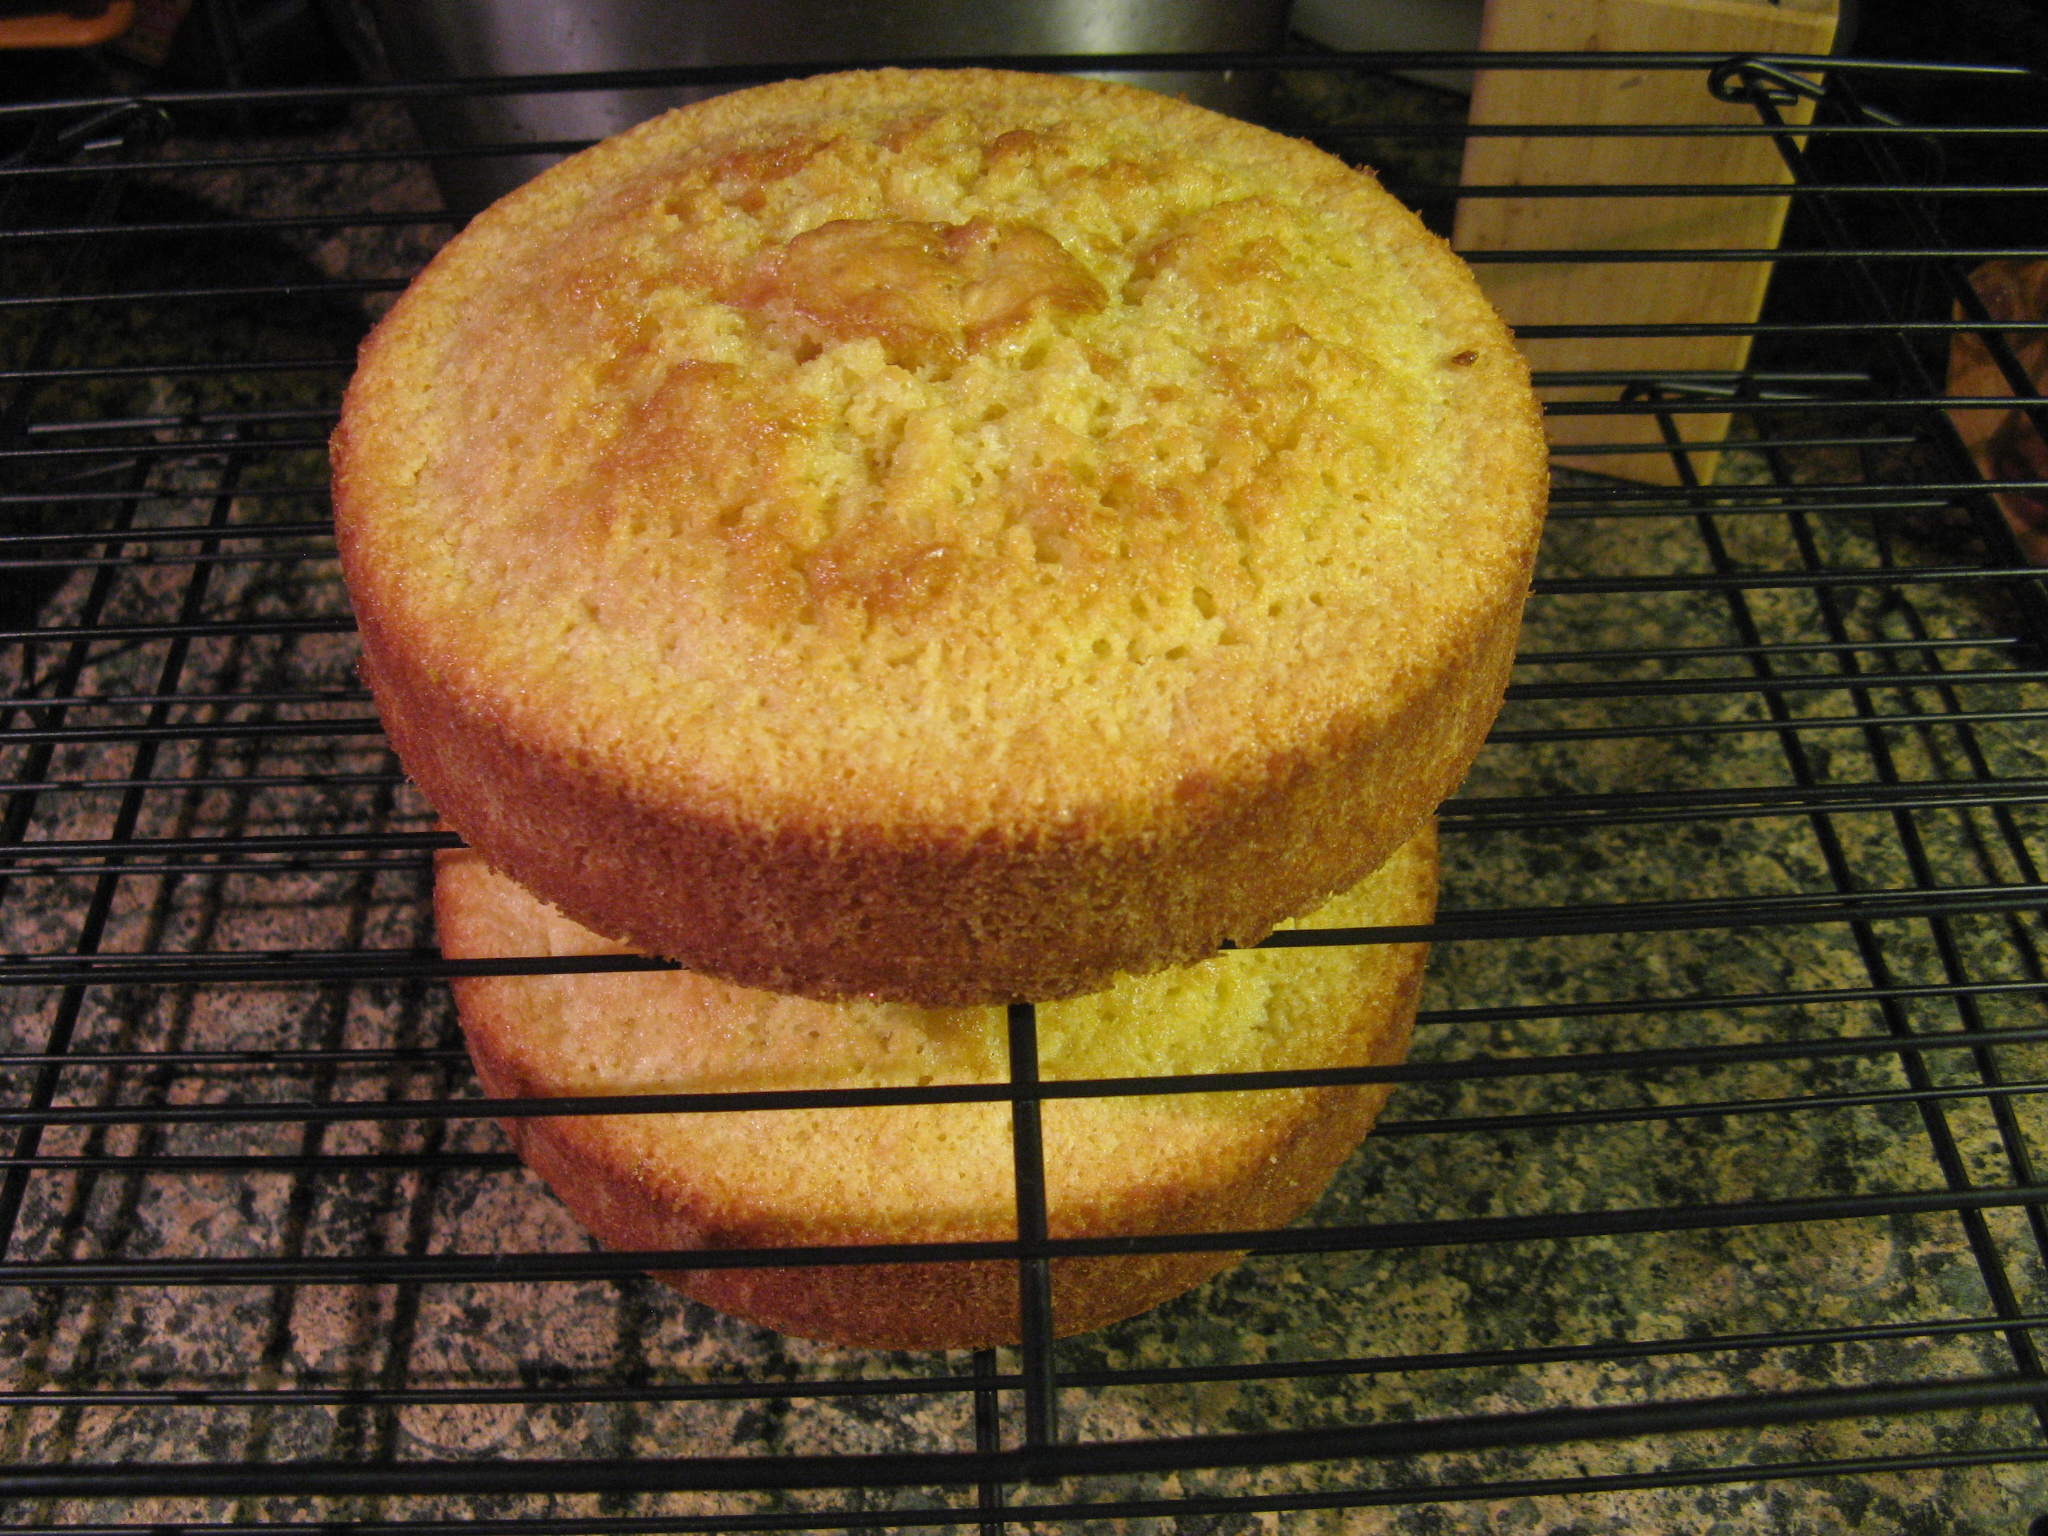
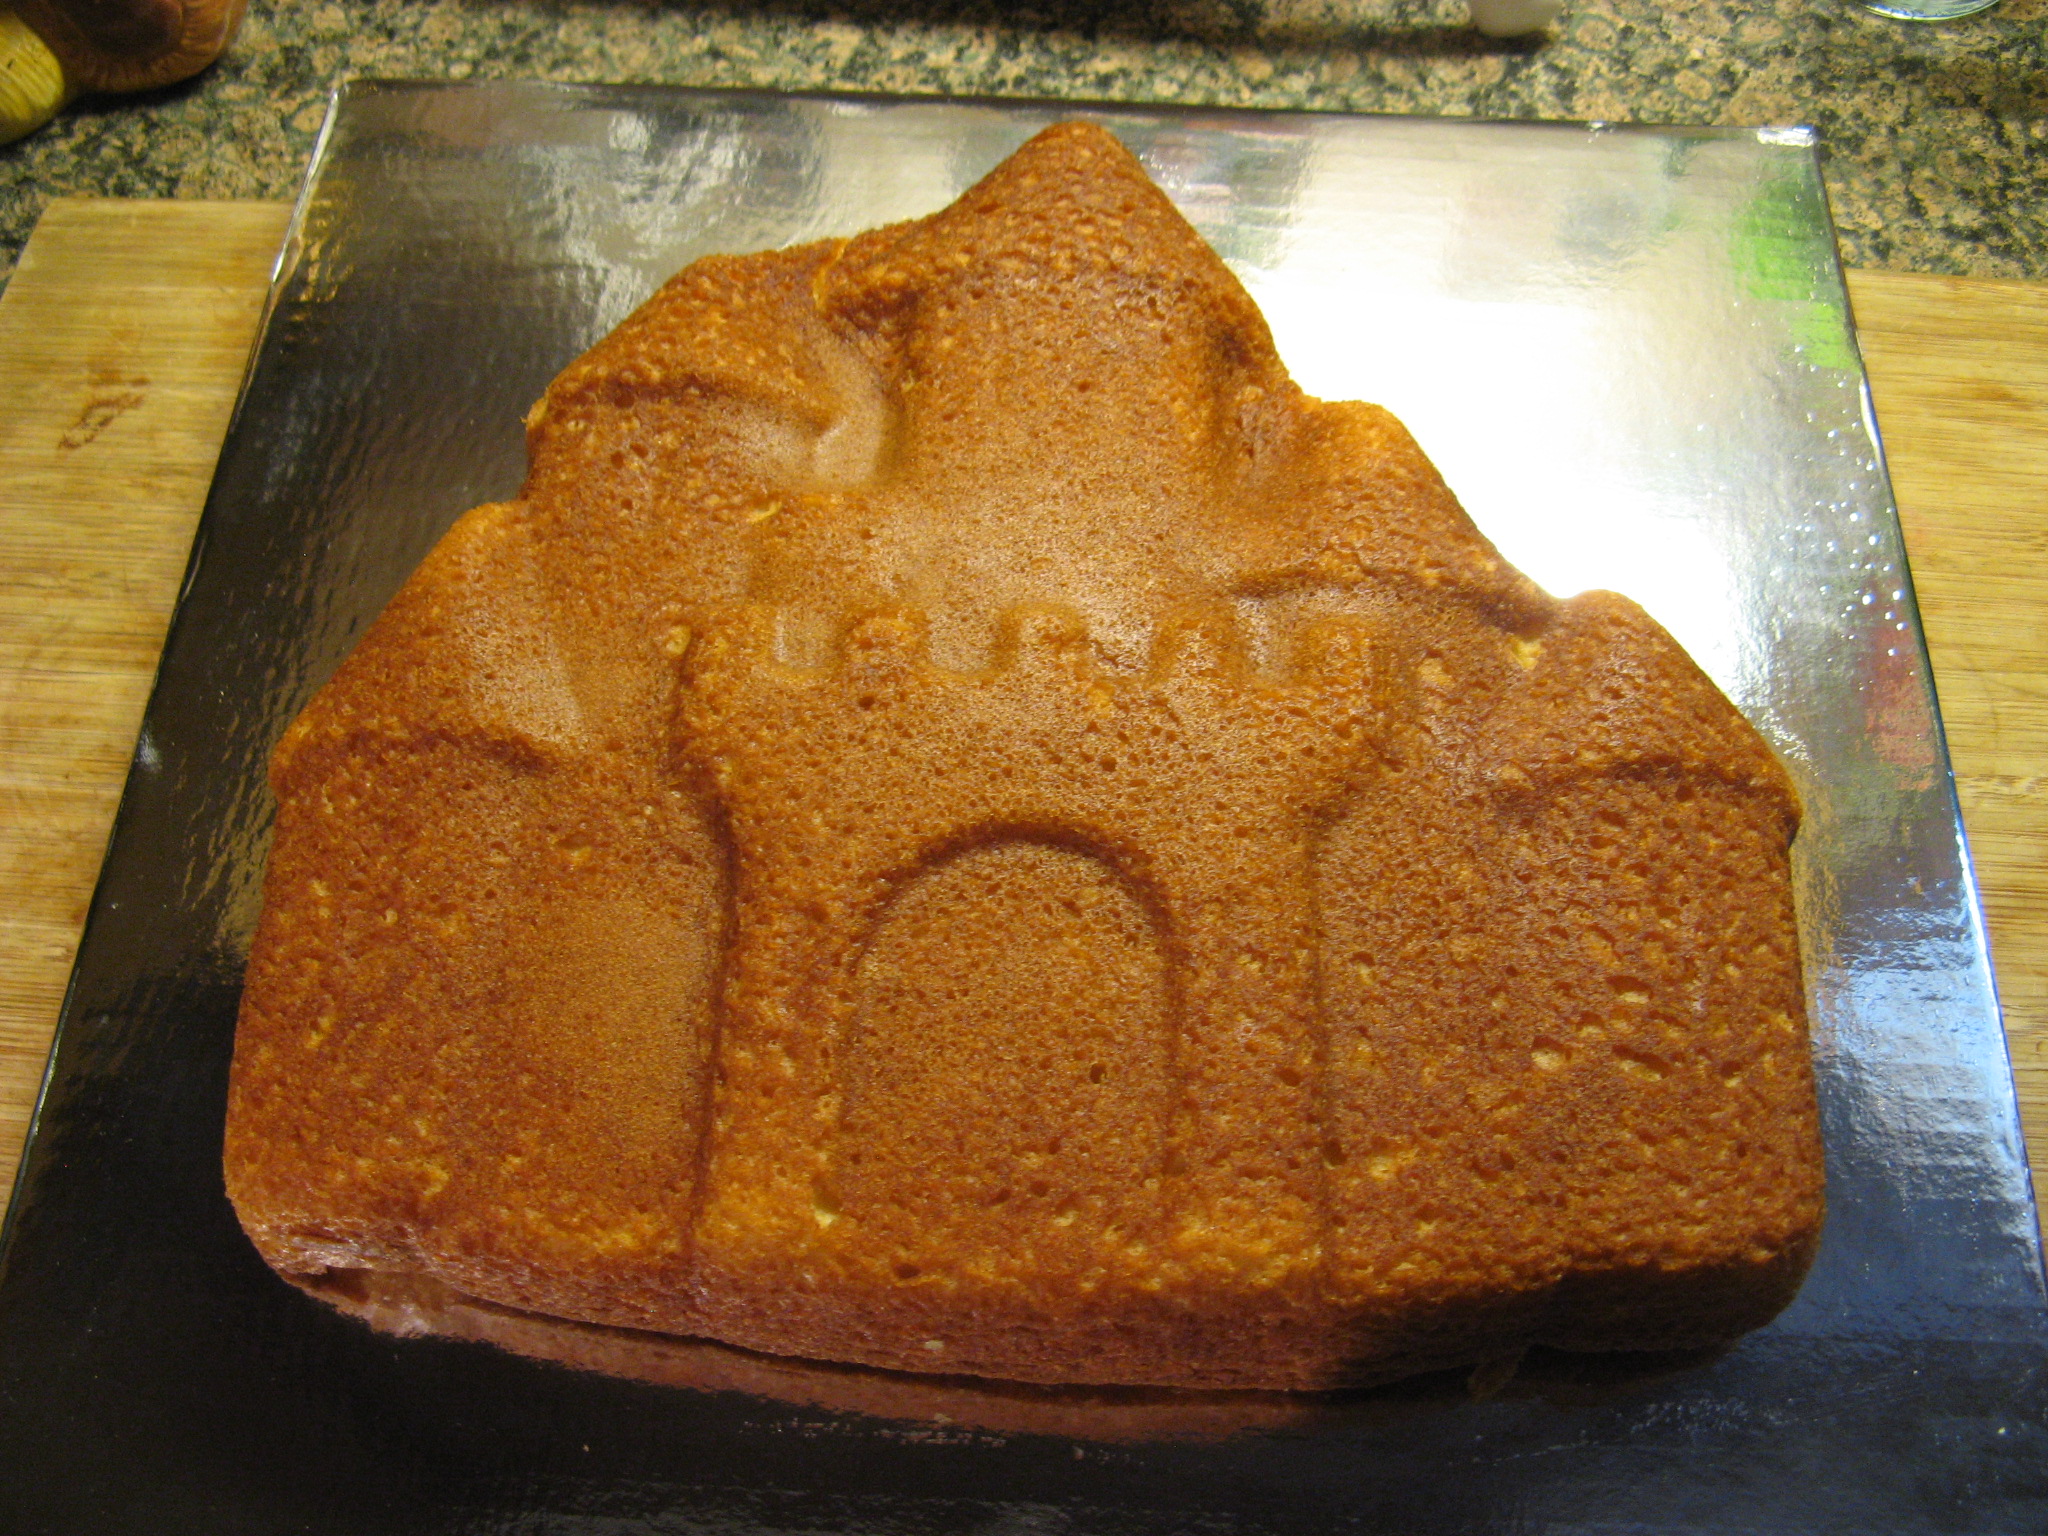
For the smaller of the two cakes I baked a two-layer 6 inch yellow cake.


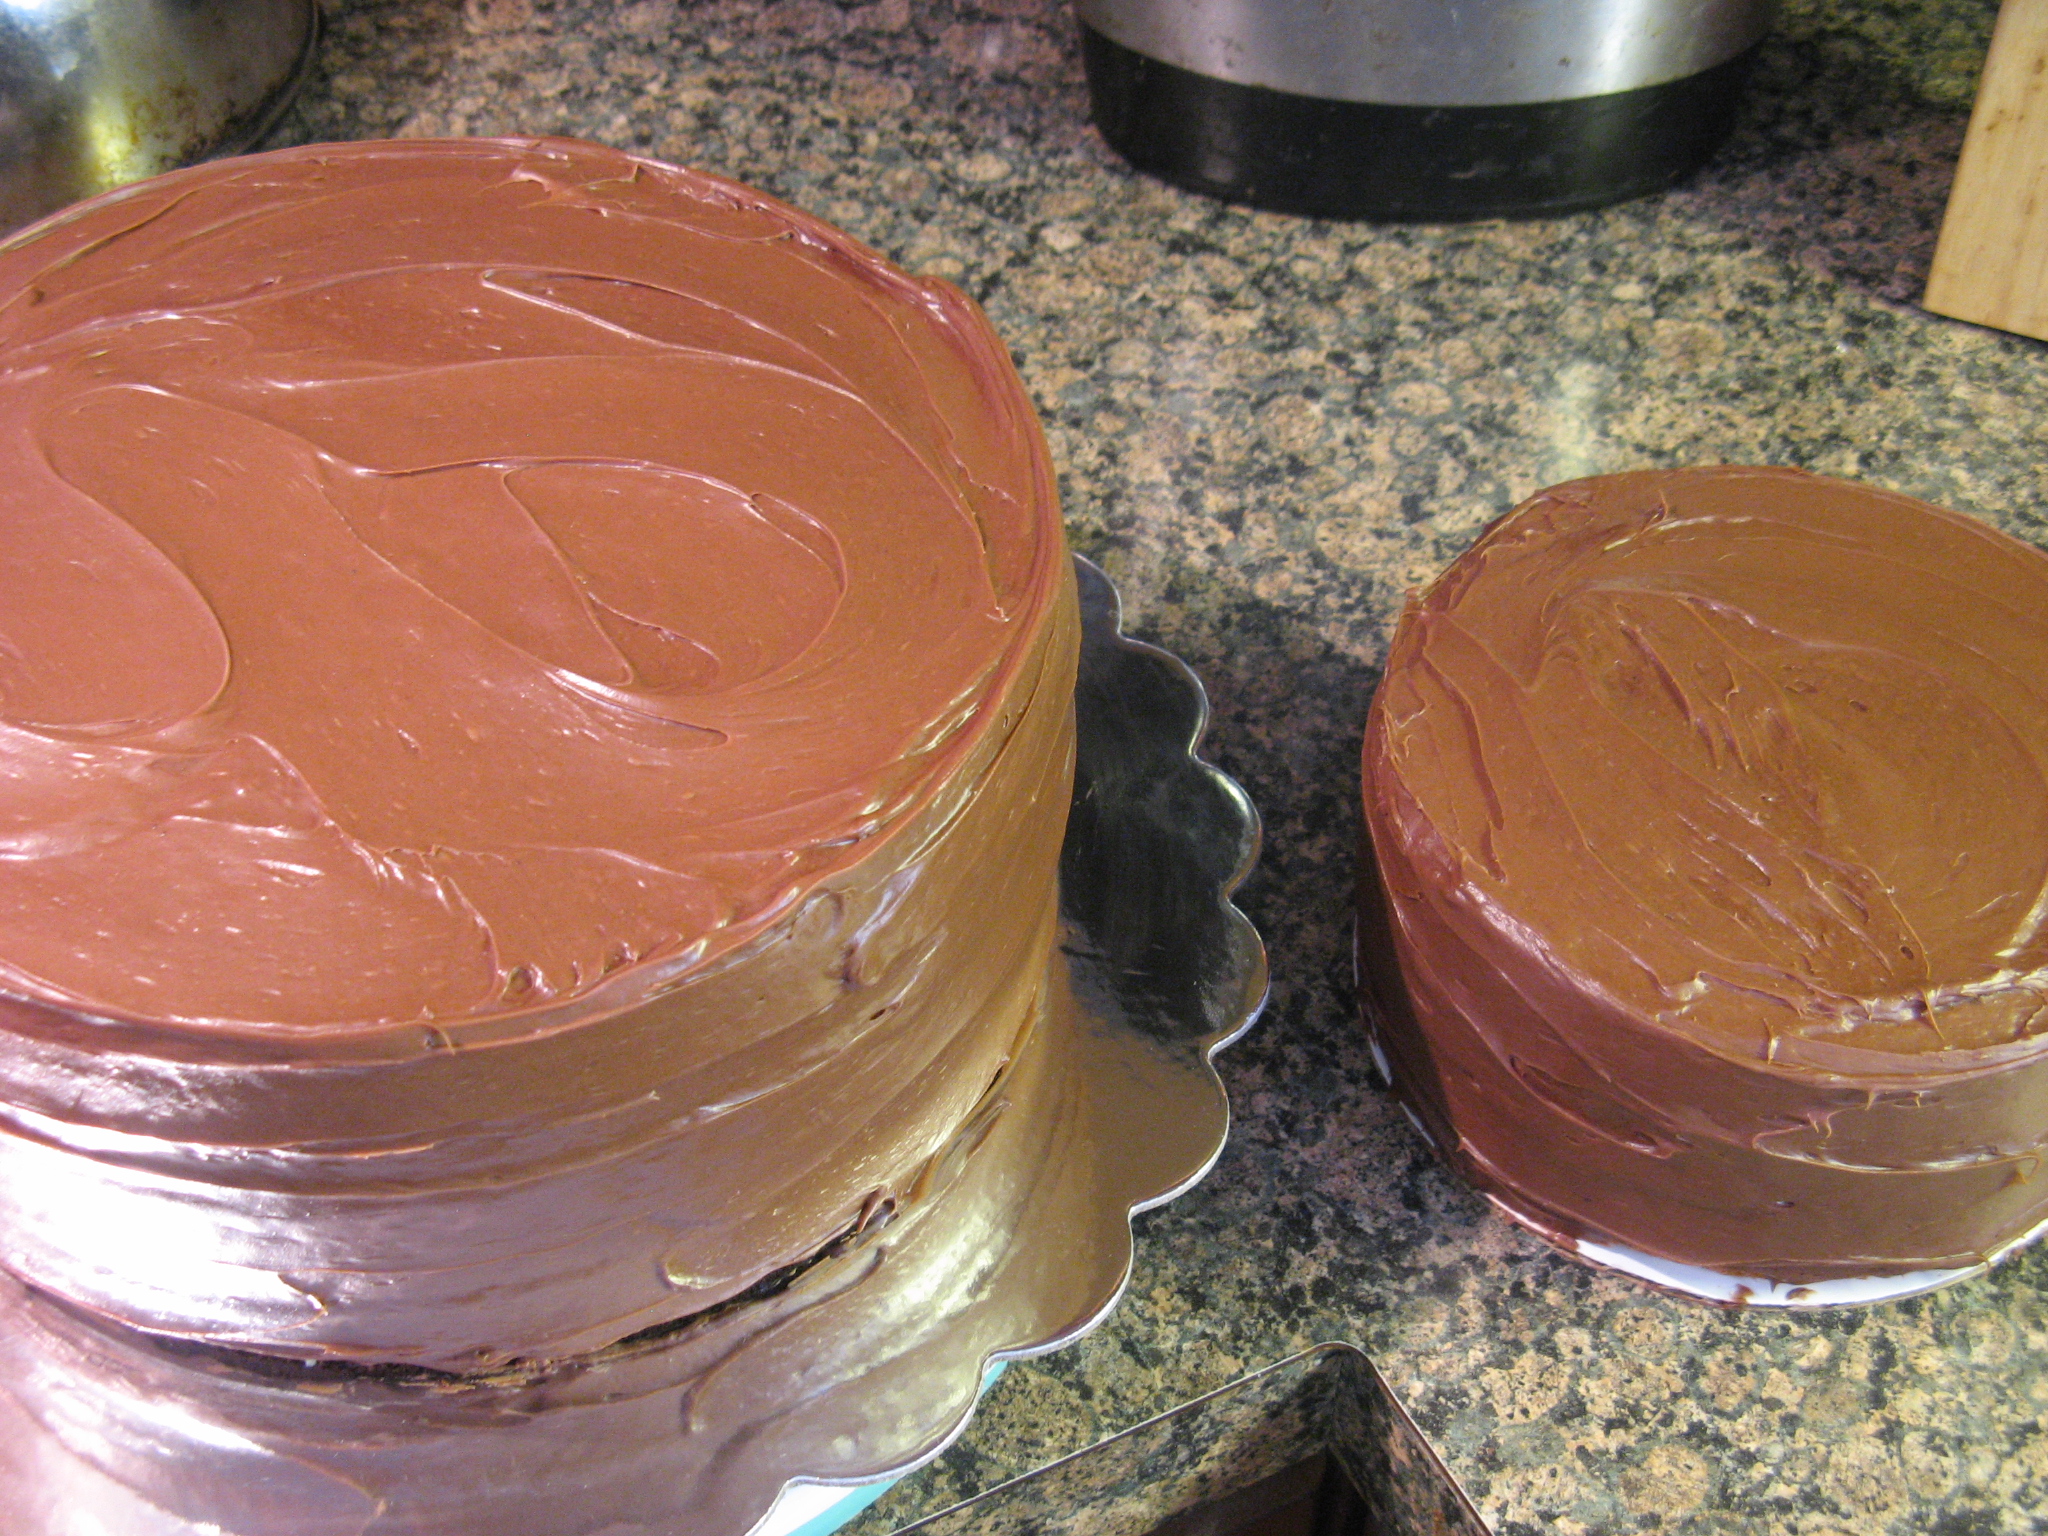
Once I leveled the cakes I frosted the layers and the sides and tops of both cakes with chocolate frosting. I placed both cakes in the refrigerator overnight so the frosting could harden.

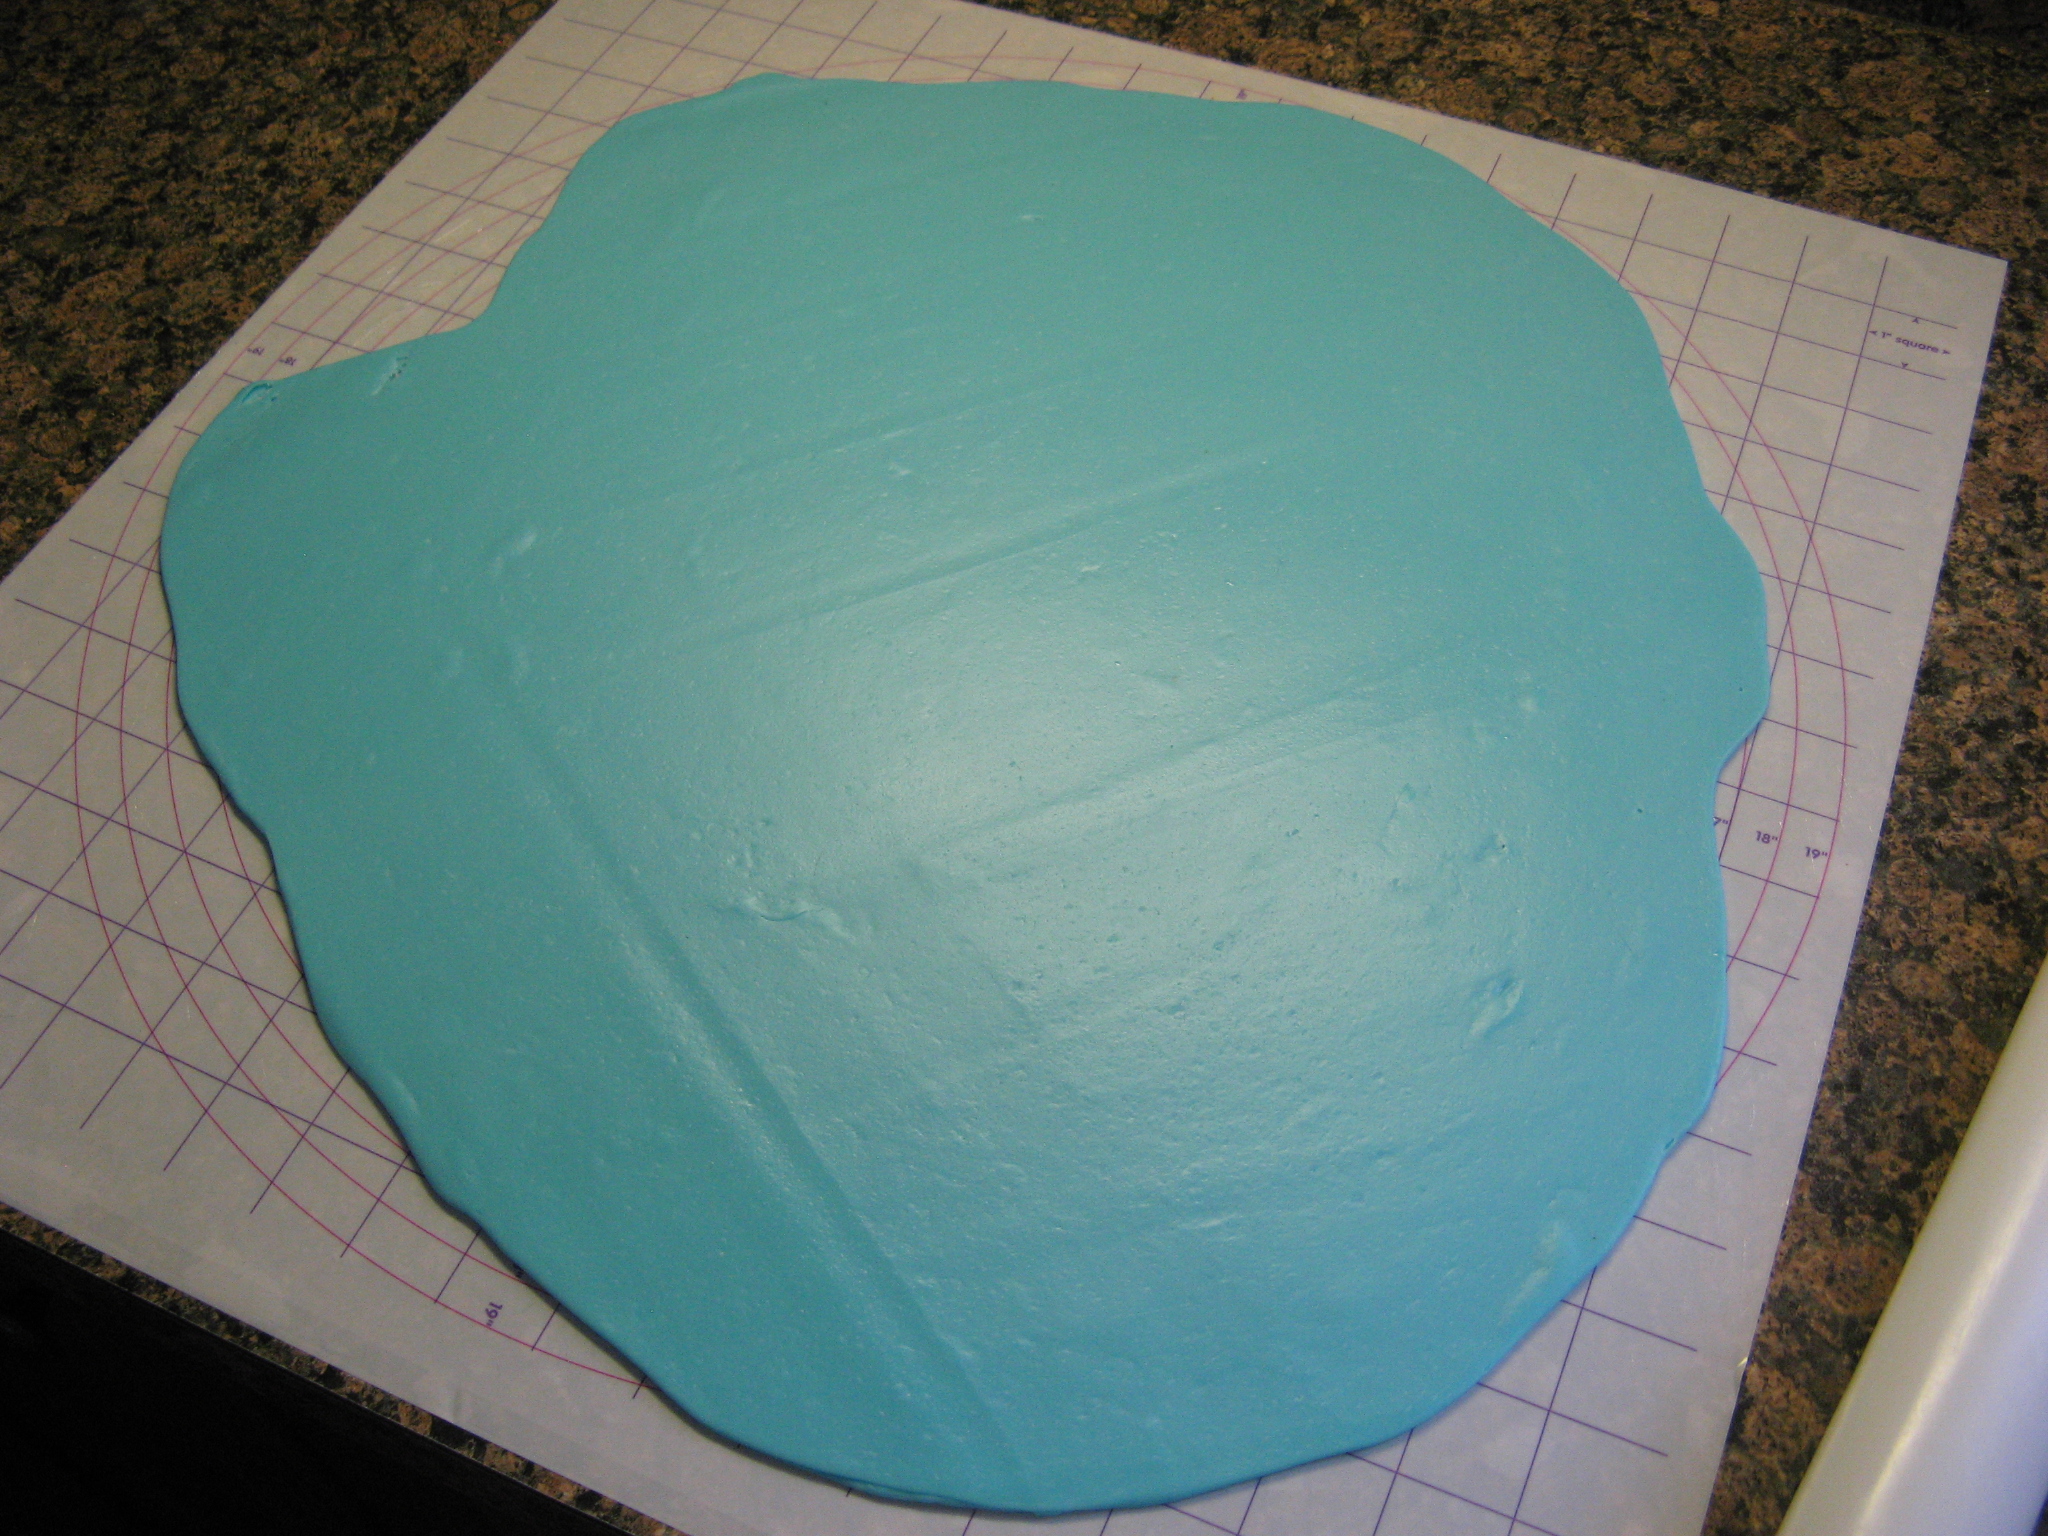
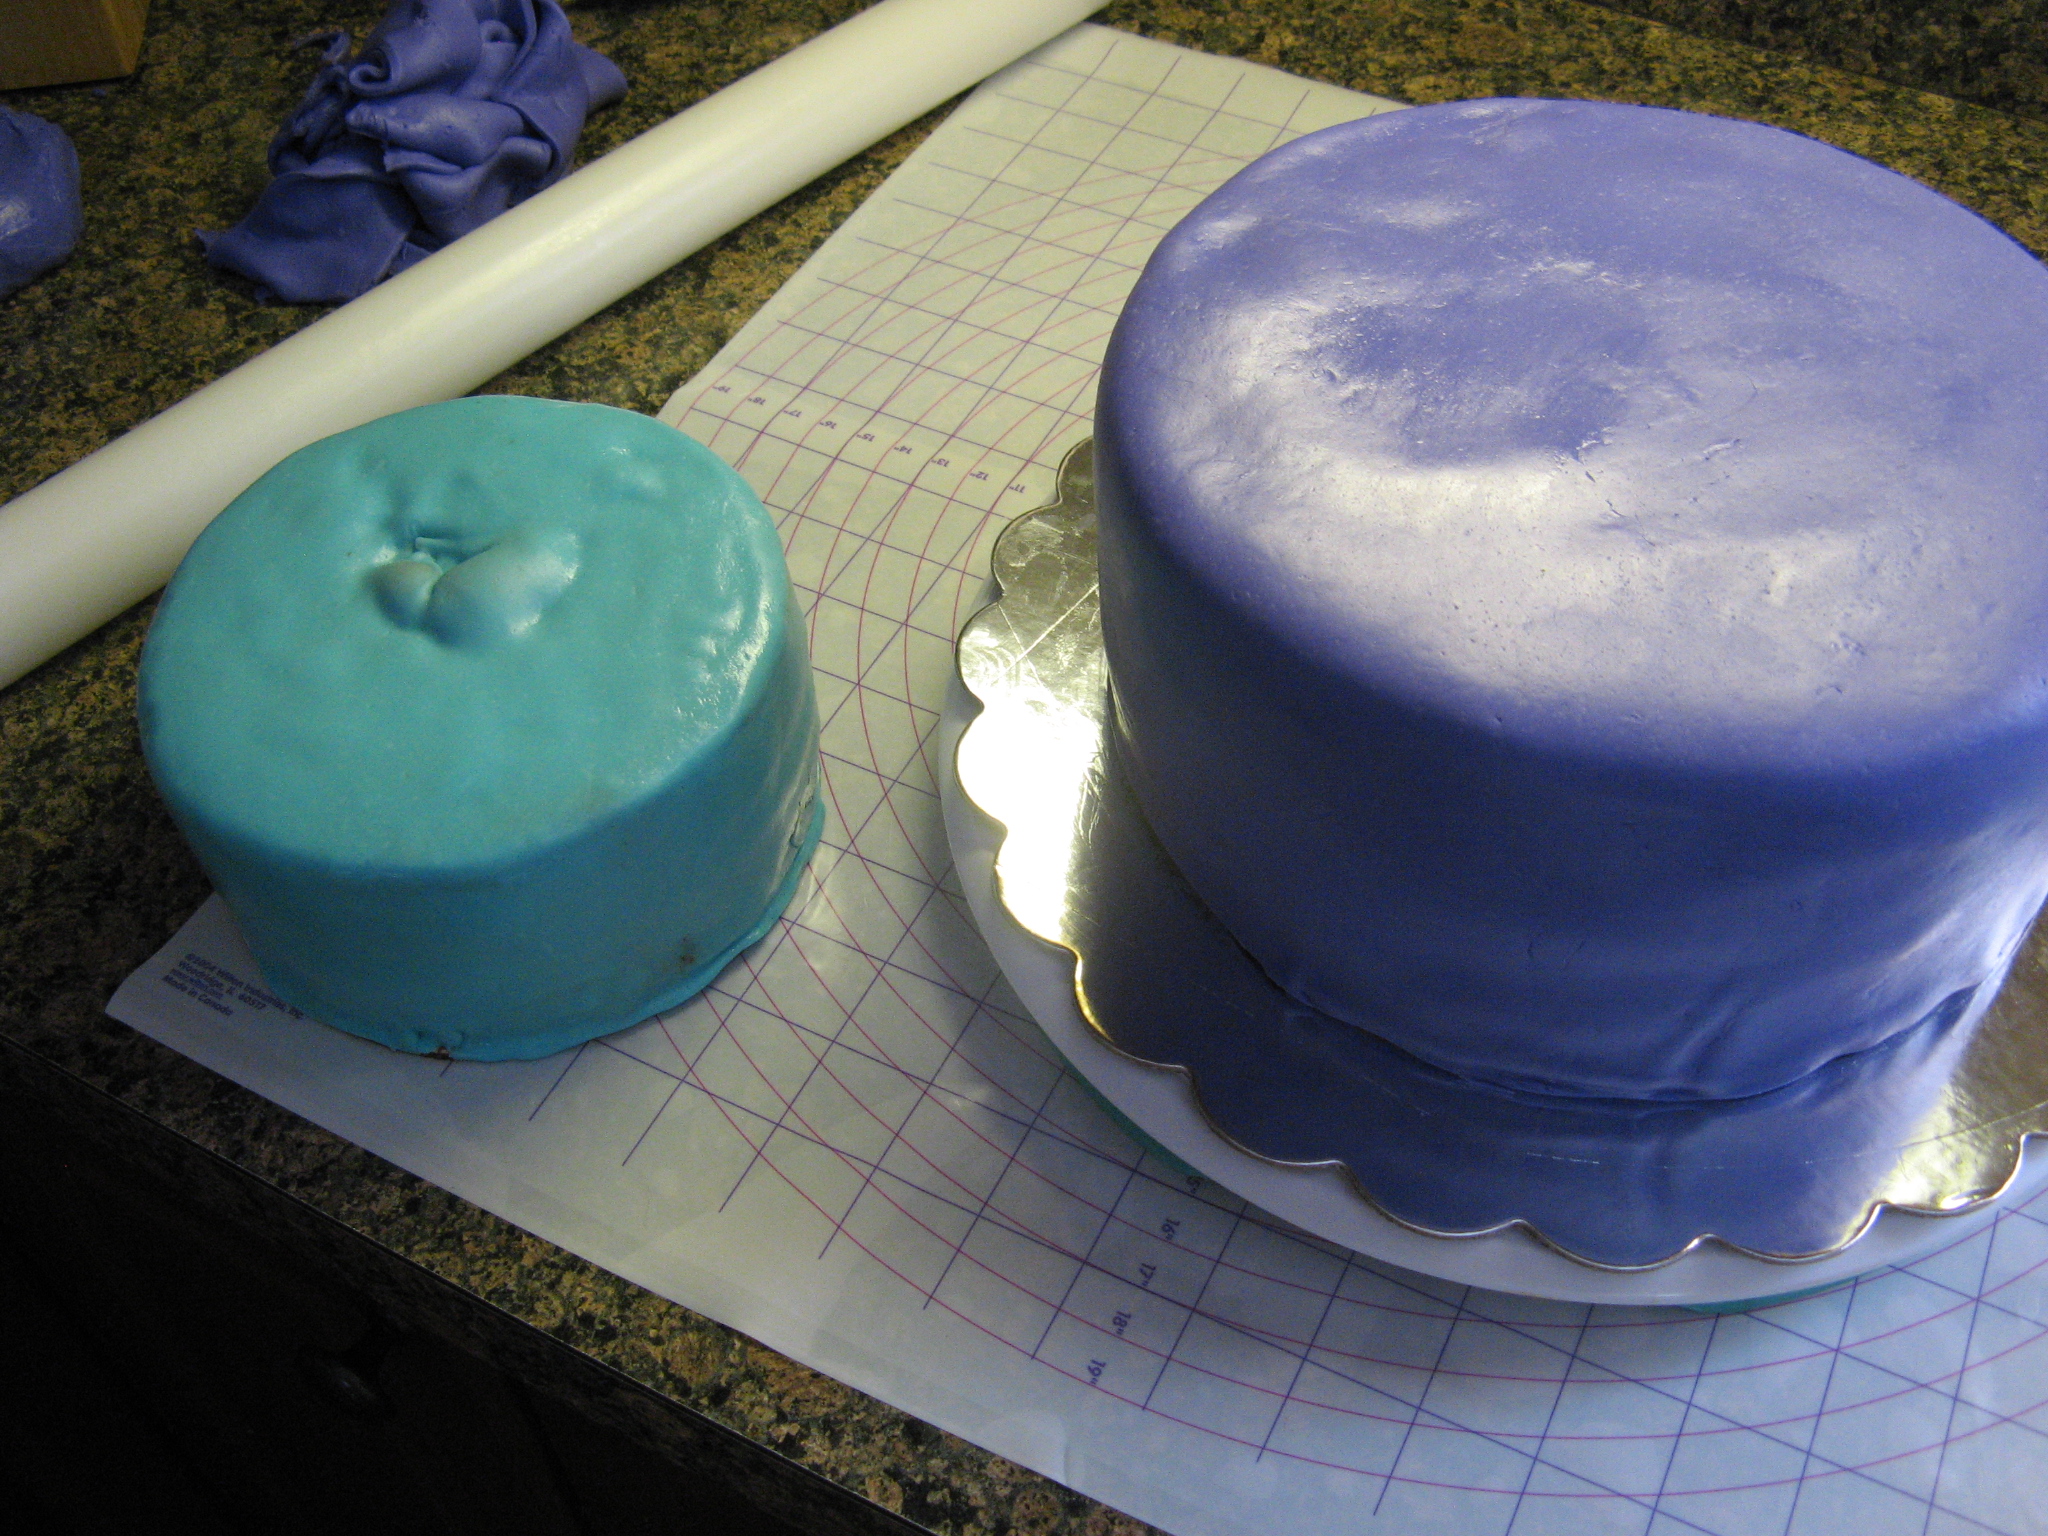
The next day it was finally time to put the entire cake together! I began by rolling out the sky blue fondant…

Which I used to cover the 6 inch yellow cake. After rolling out the violet fondant I covered the larger chocolate cake. I did end up with an air bubble on the blue cake and while at first I was upset and frustrated with it I soon realized it wouldn’t be a big a deal as I was going to mask it with the candy pieces and figurines.

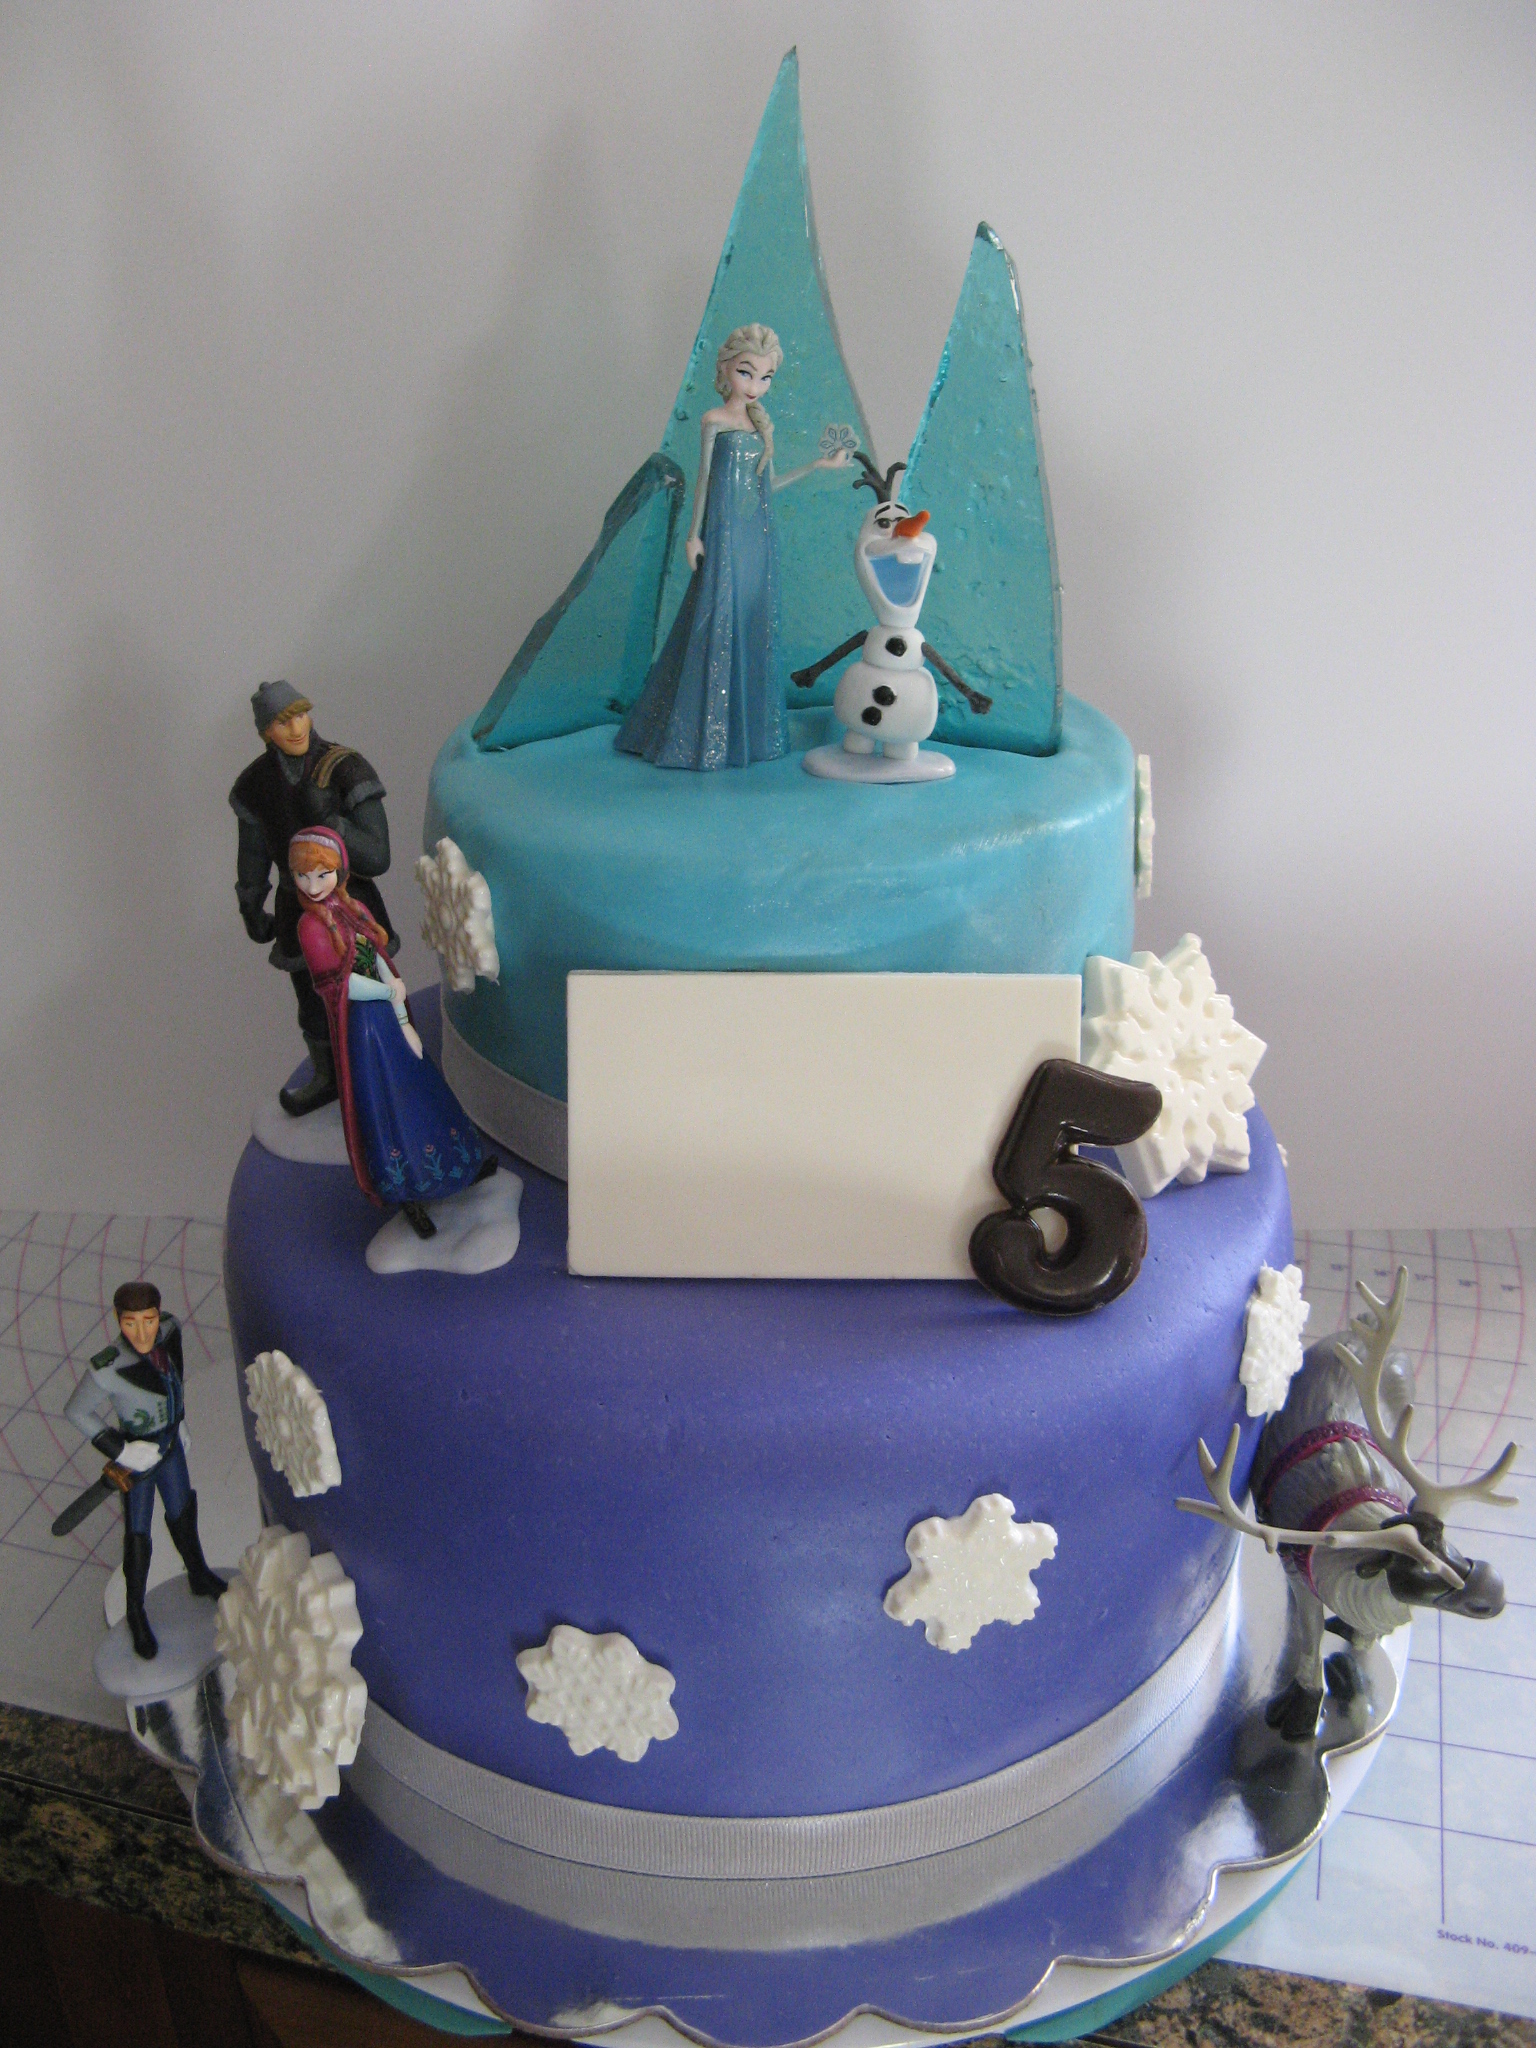
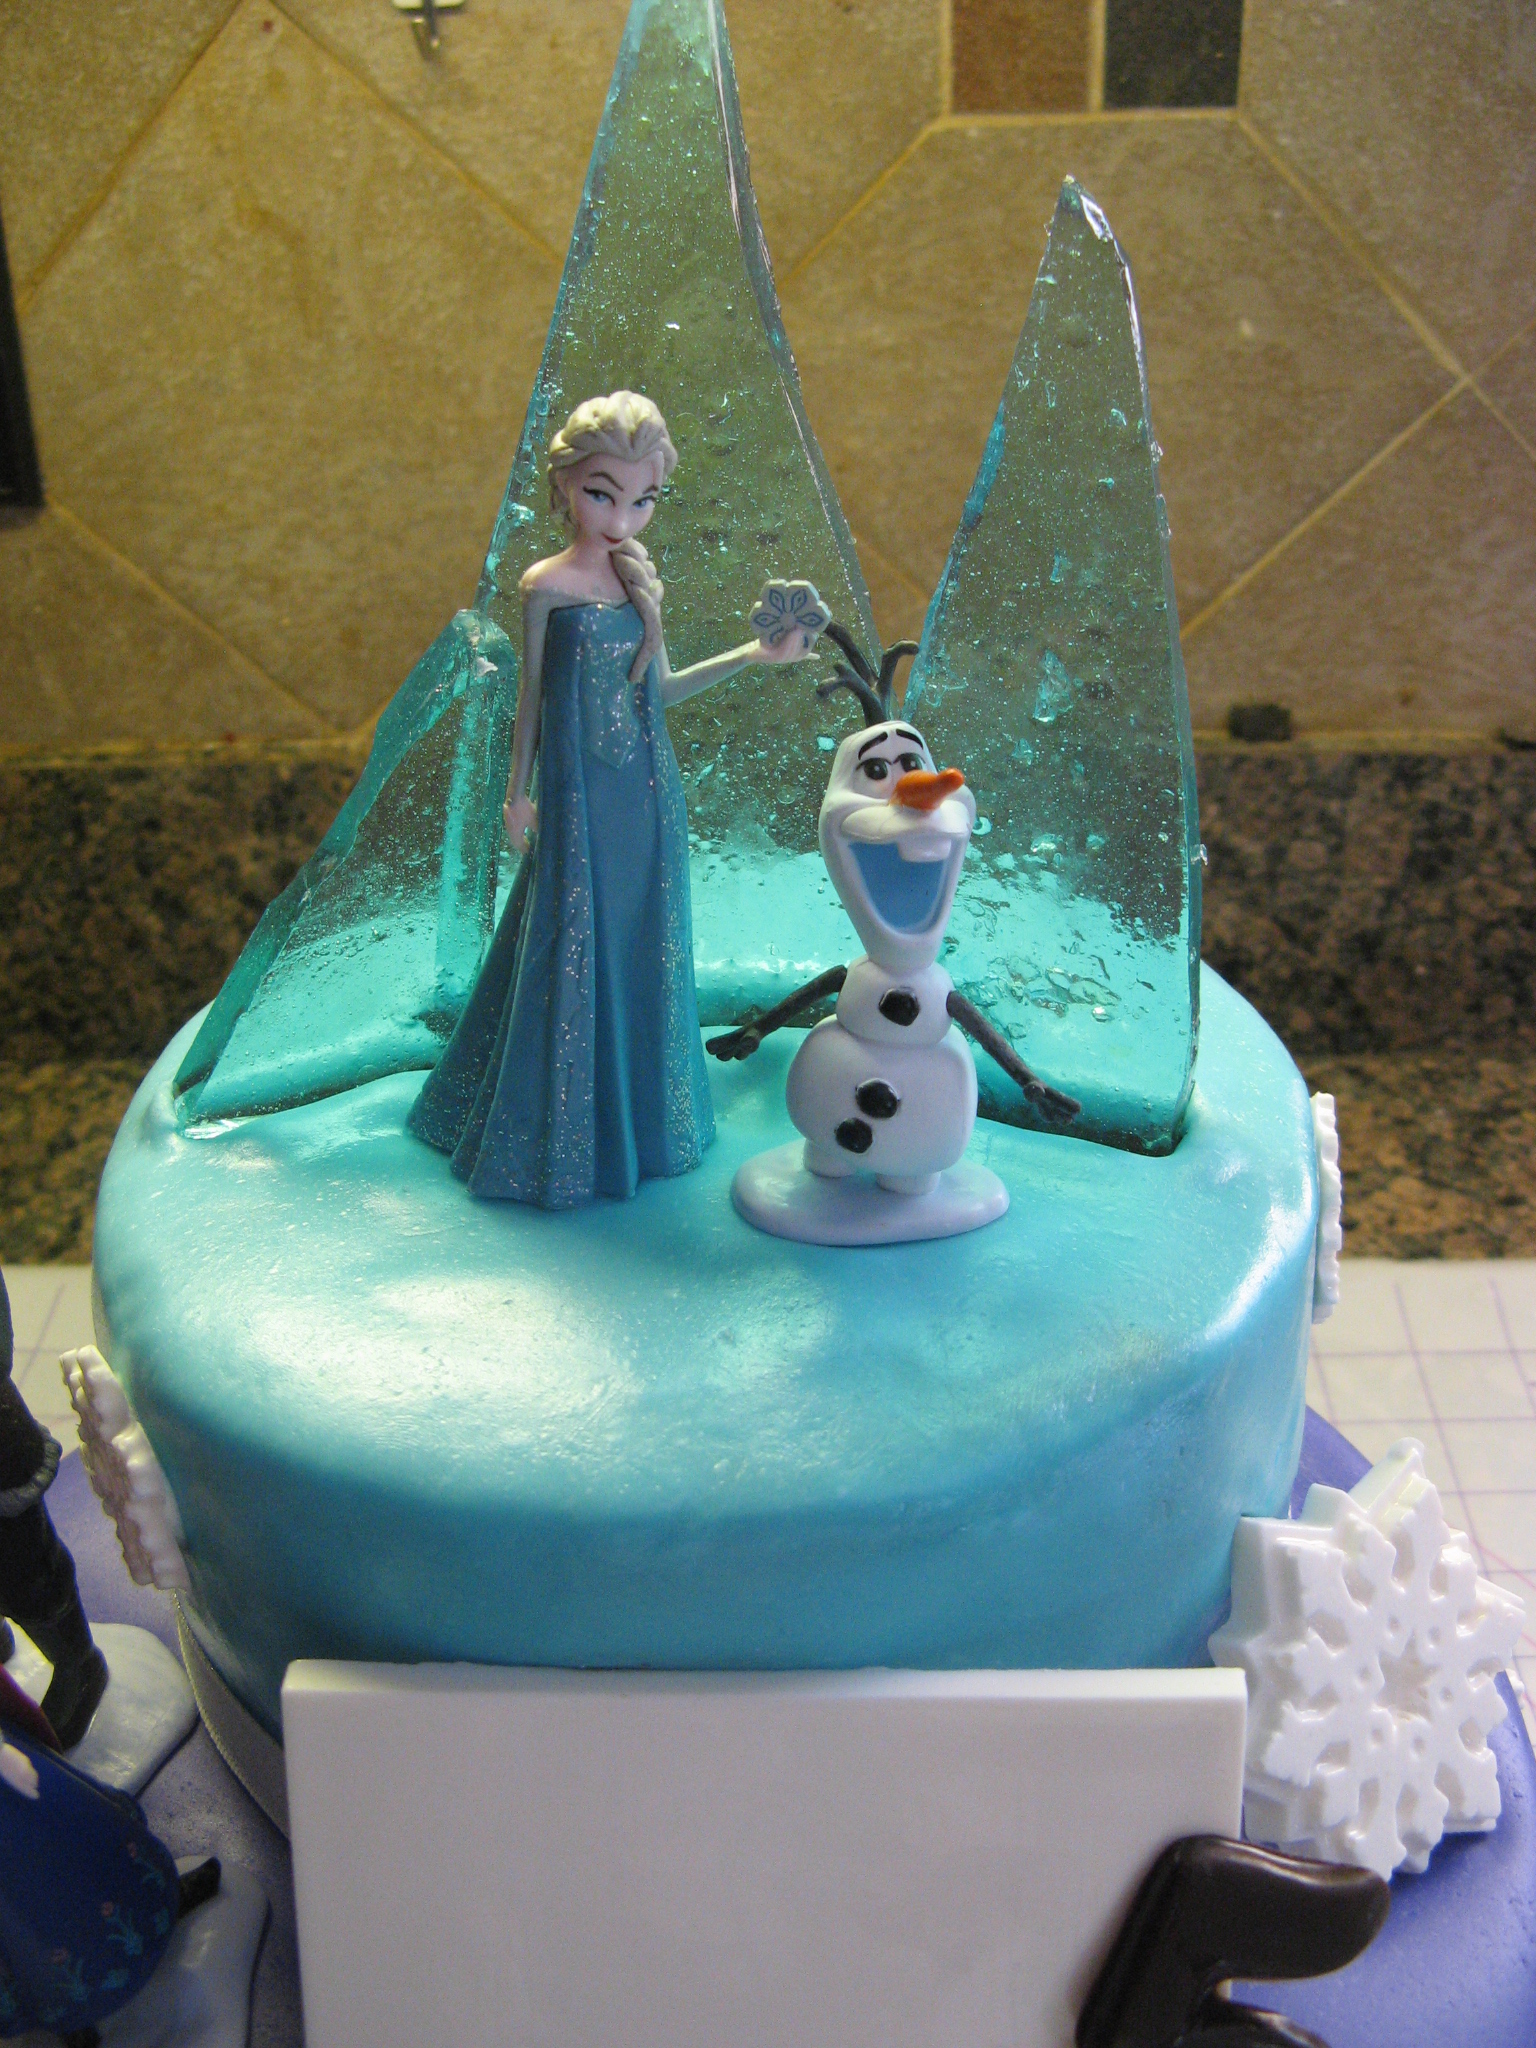
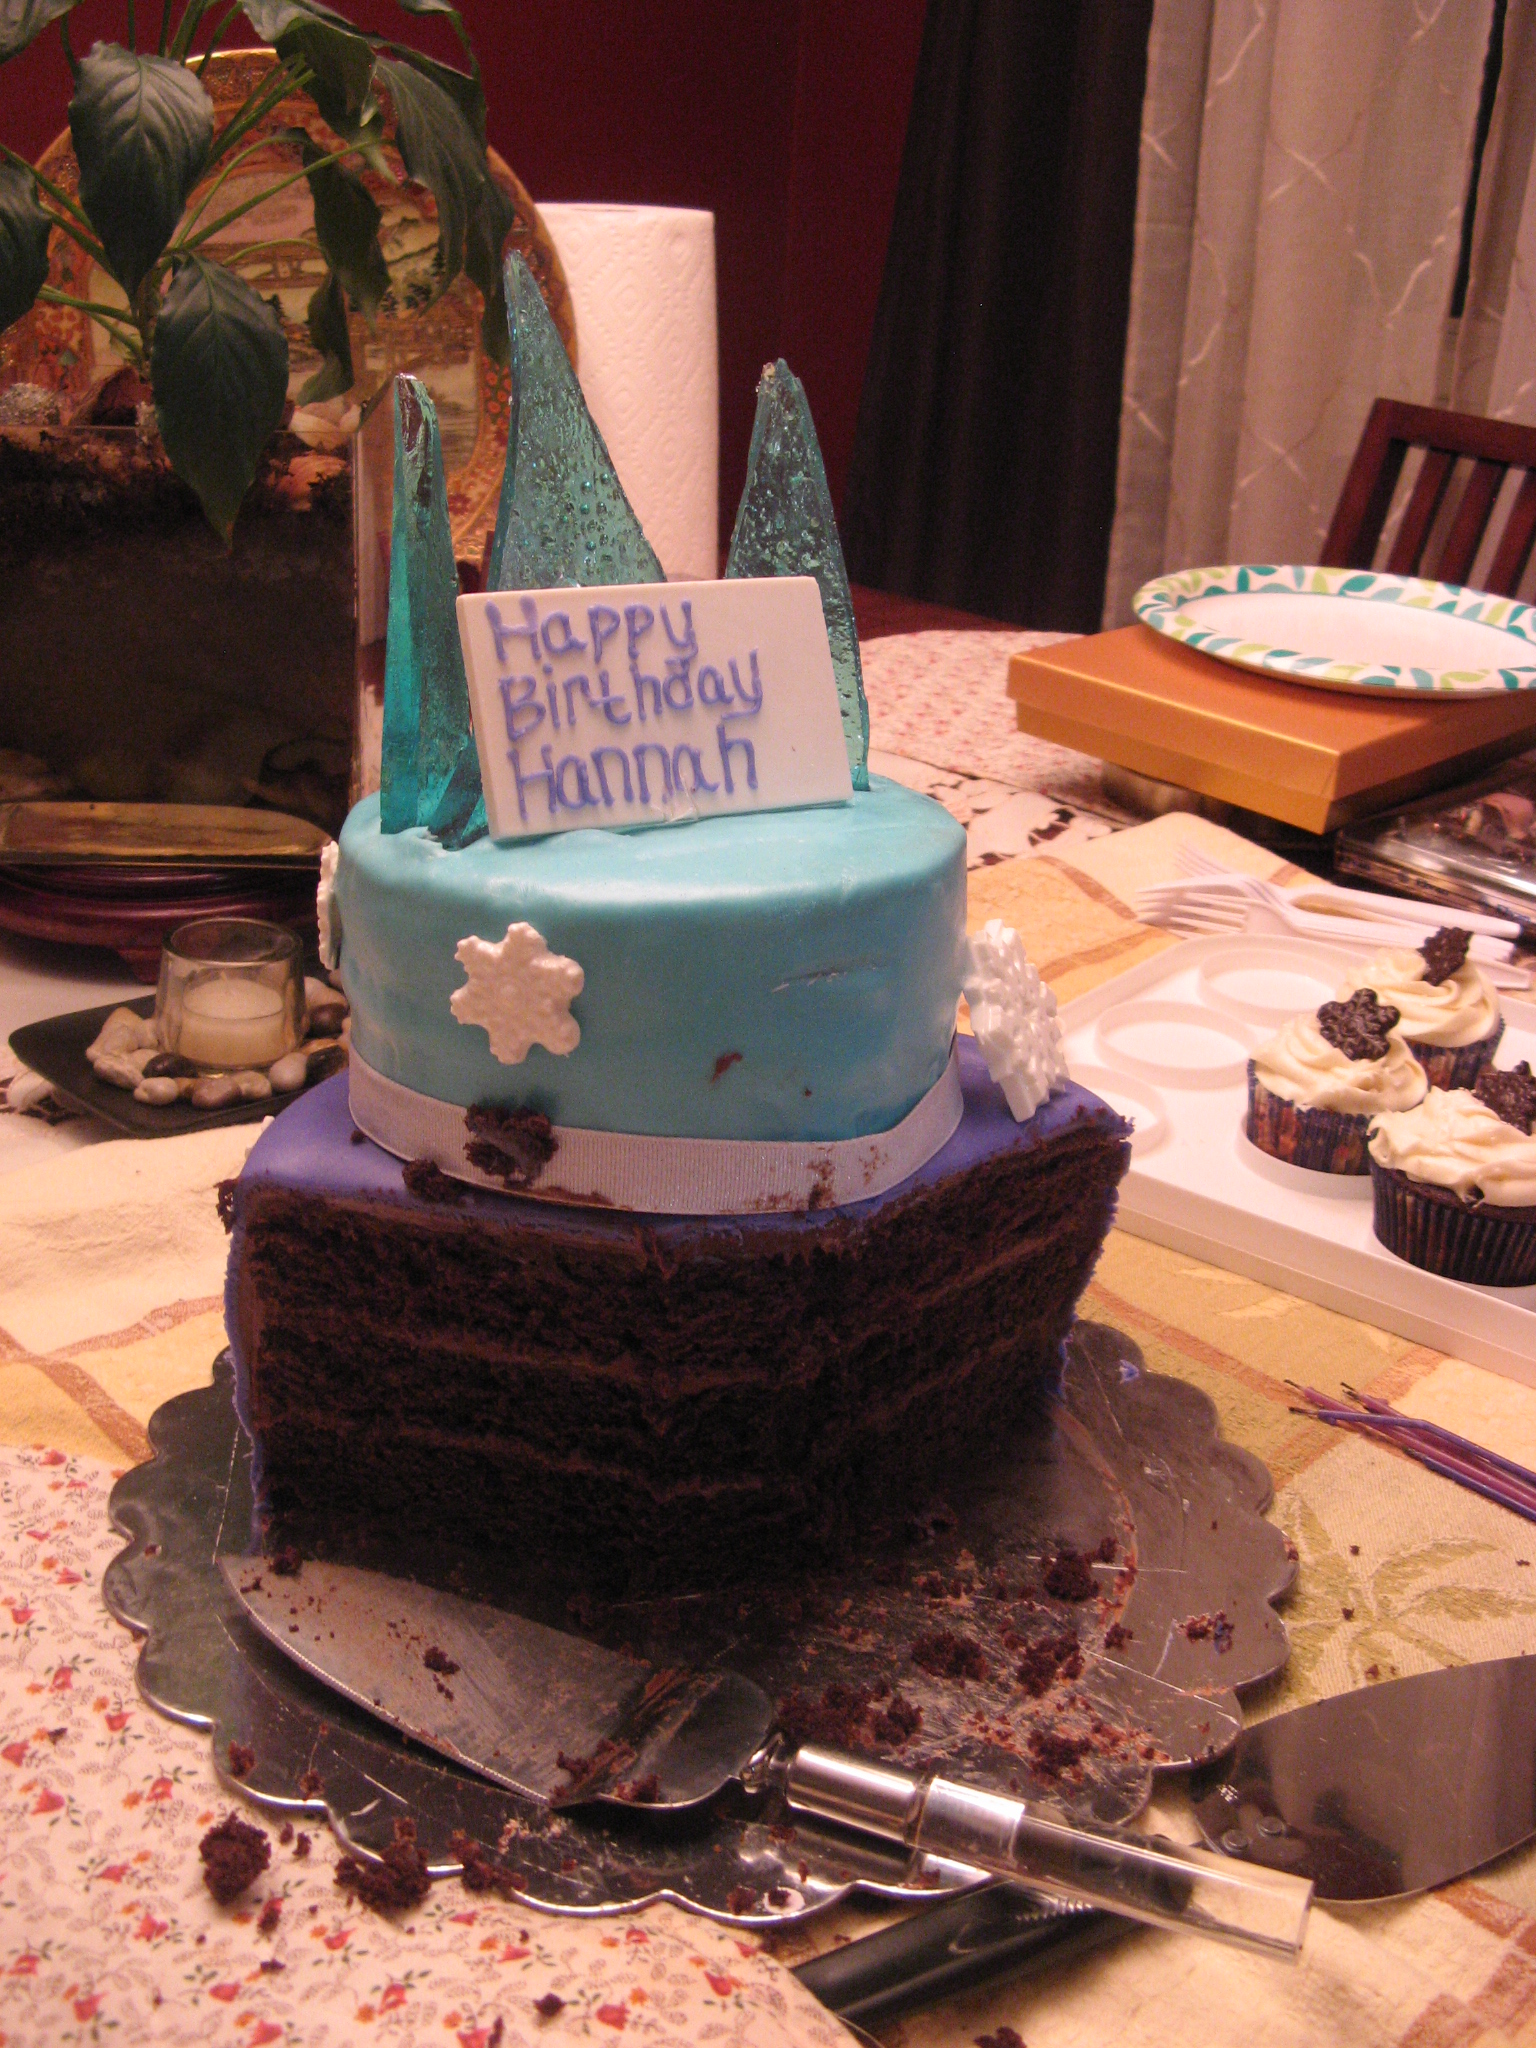
Then it was on to decorating… I wrapped the bottom of both cakes with silver speckled ribbon which I attached to the cake with double-sided tape. Next I attached the smaller chocolate snowflakes to the cake with small dabs of vanilla frosting – I rested the larger snowflakes against the cake. To create the ice castle I pushed down a few pieces of the hard candy onto the top of the smaller cake. And finally I placed the Frozen figurines – which I was lucky enough to find on the Disney Store’s website as they were sold out in all stores – on the cake.

Here’s a close-up of the top tier of the cake…

And after carefully transporting the cake – thankfully I wasn’t driving too far – without any of the decorations on it but the small snowflakes I “glued” on I reassembled the entire cake to perfection once again!

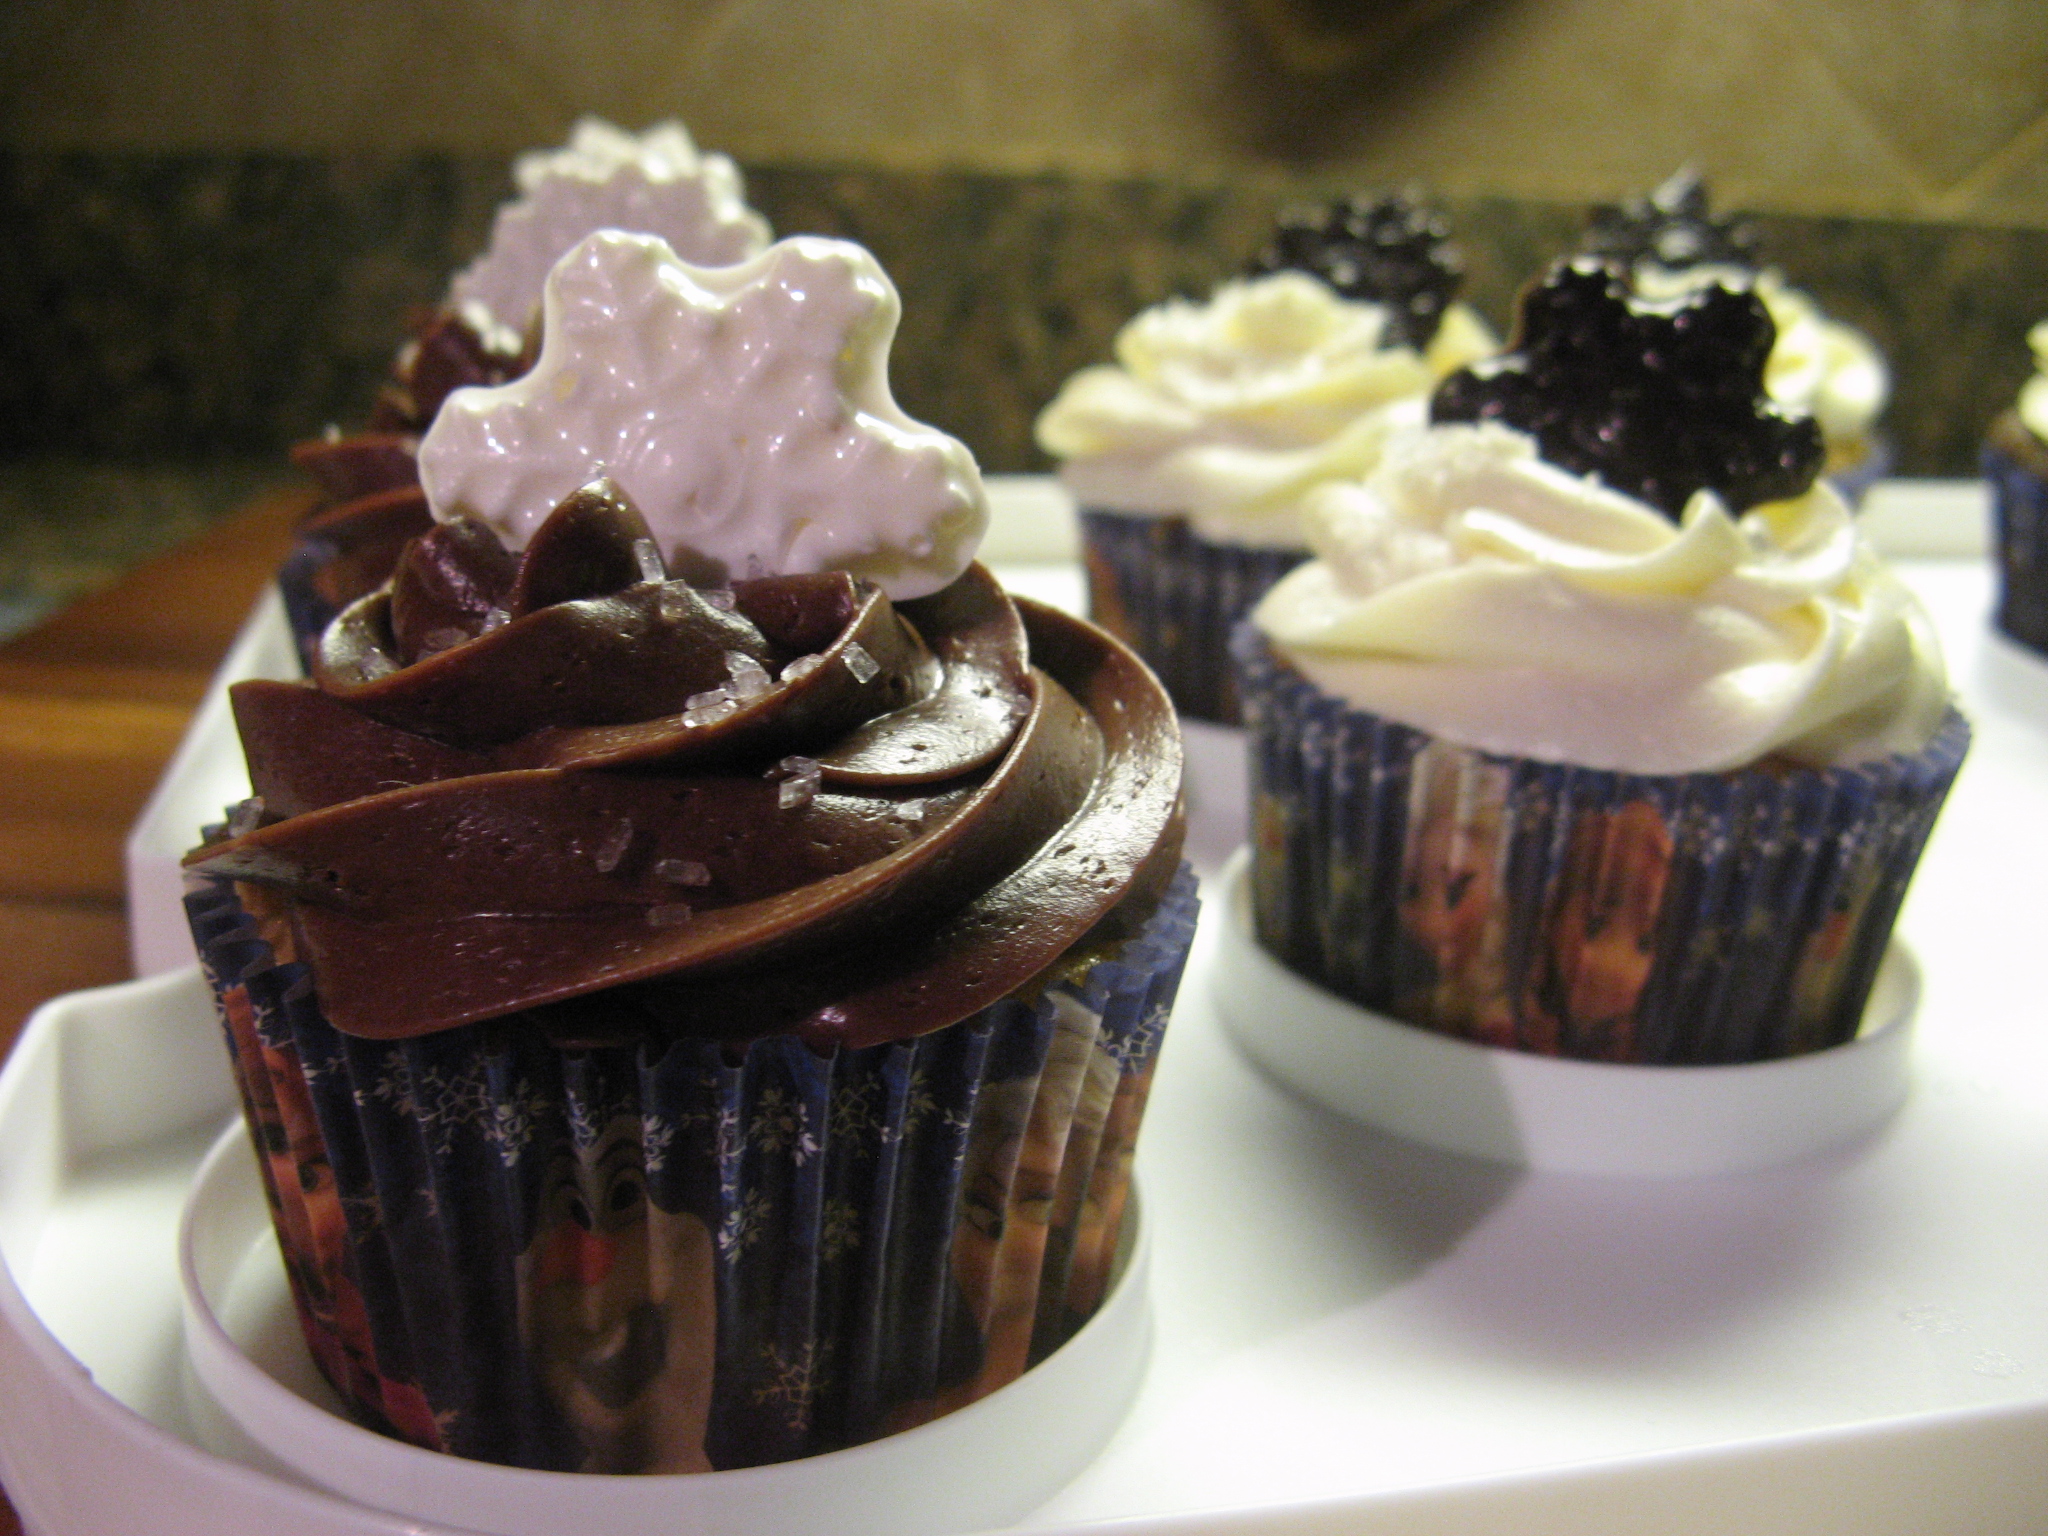
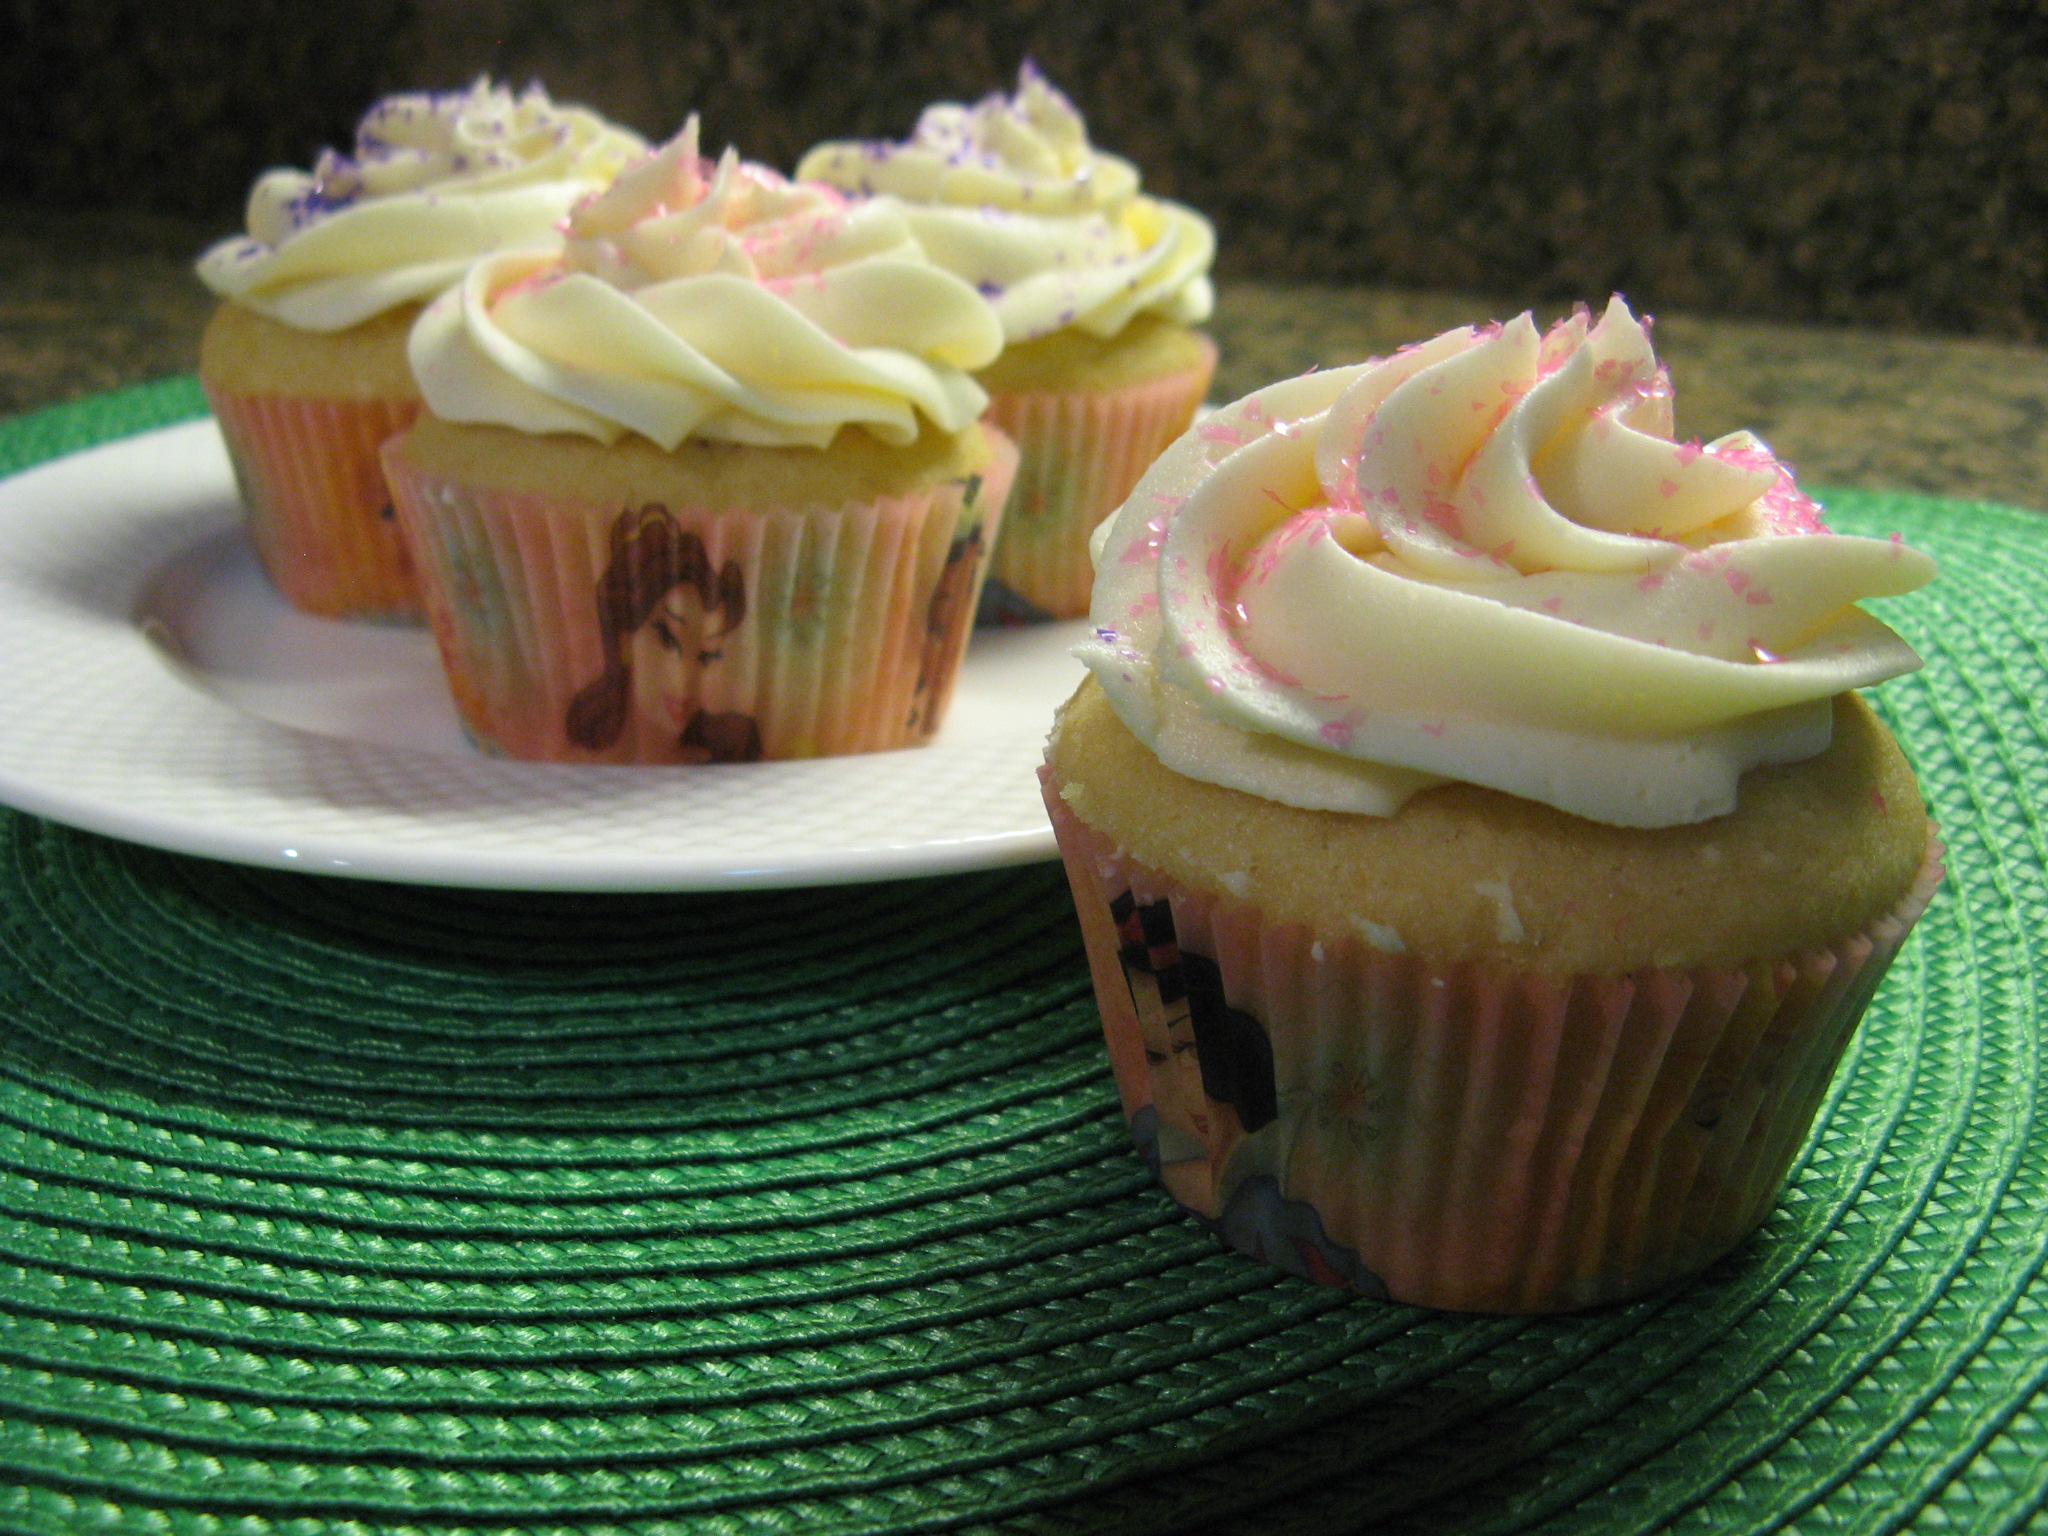
And of course there were Frozen themed cupcakes that I baked in Frozen themed cupcake liners and then topped them with white decorative sugar and a chocolate snowflake!

This cake was a hit in appearance and as this picture suggests (and I can attest to as well) in taste!

And if you are wondering, yes, all of this work was worth it! The Birthday Girl was absolutely thrilled with her cake and she enjoyed a nice slice of the chocolate cake!
Marshmallow Fondant
Ingredients:
1 package (16 ounces) white mini marshmallows
2-5 tablespoons water
2 pounds (about 8 cups) sifted confectioners’ sugar
1/2 cup solid vegetable shortening
Directions:
1. To make marshmallow fondant, place marshmallows and 2 tablespoons of water in a microwave-safe bowl. Microwave 30 seconds on high; stir until mixed well. Continue microwaving 30 seconds more; stir again. Continue until melted (about 2 1/2 minutes).
2. Place 3/4 of the confectioners’ sugar on top of the melted marshmallow mixture. Fold sugar into marshmallow mixture. Flavoring can be added at this point if desired. Place solid vegetable shortening in easily accessed bowl so you can reach into it with fingers as you are working. Grease hands and counter GENEROUSLY; turn marshmallow mixture onto counter. Start kneading like you would dough. Continue kneading, adding additional confectioners’ sugar and re-greasing hands and counter so the fondant doesn’t stick. If the marshmallow fondant is tearing easily, it is too dry; add water (about 1/2 tablespoon at a time) kneading until fondant forms a firm, smooth elastic ball that will stretch without tearing, about 8 minutes.
3. It’s best to allow Marshmallow Fondant to sit, double-wrapped, overnight. Prepare the fondant for storing by coating with a thin layer of solid vegetable shortening, wrap in plastic wrap and then place in resealable bag. Squeeze out as much air as possible. Marshmallow Fondant will keep well in refrigerator for several weeks.
4. When not working with fondant, make sure to keep it covered with plastic wrap or in a bag to prevent it from drying out. When ready to use, knead fondant until smooth. Roll out fondant 1/8 in. thick.
5. To color fondant: If you need to tint the entire batch of fondant, add a little icing color to the melted marshmallow mixture before adding confectioners’ sugar. For smaller amounts of tinted fondant, add icing color to portions of fondant as needed.
Chocolate Cake
Ingredients:
1 cup (2 sticks) unsalted butter, at room temperature, plus more for the pan(s)
3/4 cup unsweetened cocoa powder, spooned and leveled, plus more for the pan(s)
2 cups all-purpose flour, spooned and leveled
1 teaspoon baking powder
1 teaspoon baking soda
1 teaspoon kosher salt
1 1/2 cups sugar
2 teaspoons pure vanilla extract
3 large eggs, at room temperature
1 1/2 cups whole milk
Directions:
1. Heat oven to 350°F. Butter the pans, line the bottoms with parchment, butter again, and dust with cocoa, tapping out the excess. In a medium bowl, whisk together the flour, cocoa, baking powder, baking soda, and salt; set aside.
2. Using an electric mixer, beat the butter and sugar on medium-high until fluffy, 2 to 3 minutes. Beat in the vanilla, then the eggs one at a time, scraping down the sides of the bowl as necessary.
3. Reduce mixer speed to low. Add the flour mixture in 3 additions and the milk in 2 additions, beginning and ending with the flour mixture. Mix just until combined (do not overmix).
4. Transfer the batter to the prepared pans and bake until a toothpick inserted in the center comes out clean – approximately 25 to 30 minutes for two 9-inch rounds. Cool the cakes in the pans for 15 minutes, then turn out onto racks to cool completely.
Yellow Cake
Ingredients:
1 cup cake flour
1/2 teaspoon baking powder
1/8 teaspoon salt
3/4 cups (1 1/2 sticks) unsalted butter
1 cup sugar
3 large eggs
1 teaspoon vanilla extract
Directions:
1. Preheat the oven to 350° F. Butter and flour two 6-inch round cake pans and knock out the excess flour.
2. Sift together the flour, baking powder, and salt. In a large bowl, using an electric mixer on medium speed, beat the butter until soft and creamy. Add the sugar and continue beating until the mixture is light and fluffy, 2-3 minutes. (If you’re using the organic sugar, the texture of your mixture will be quite gritty.) Beat in the eggs, one at a time. Add the vanilla. On low speed, gradually add the dry ingredients until thoroughly blended.
3. Spoon equal amounts of batter into each pan and smooth the tops evenly. Bake for about 30 minutes, or until light golden and a cake tester comes out clean. Let the layers cool in the pans for 10 minutes, then unmold onto wire racks to cool completely.