Sweet & Sour Chicken

The past few days I have been on a roll with cooking dinner. It probably helped that I went through my recipe binder and planned out a few meals for the week. Today I am going to share with you a quick and simple recipe for Sweet & Sour Chicken that I got from an issue of Rachael Ray Magazine a while back.

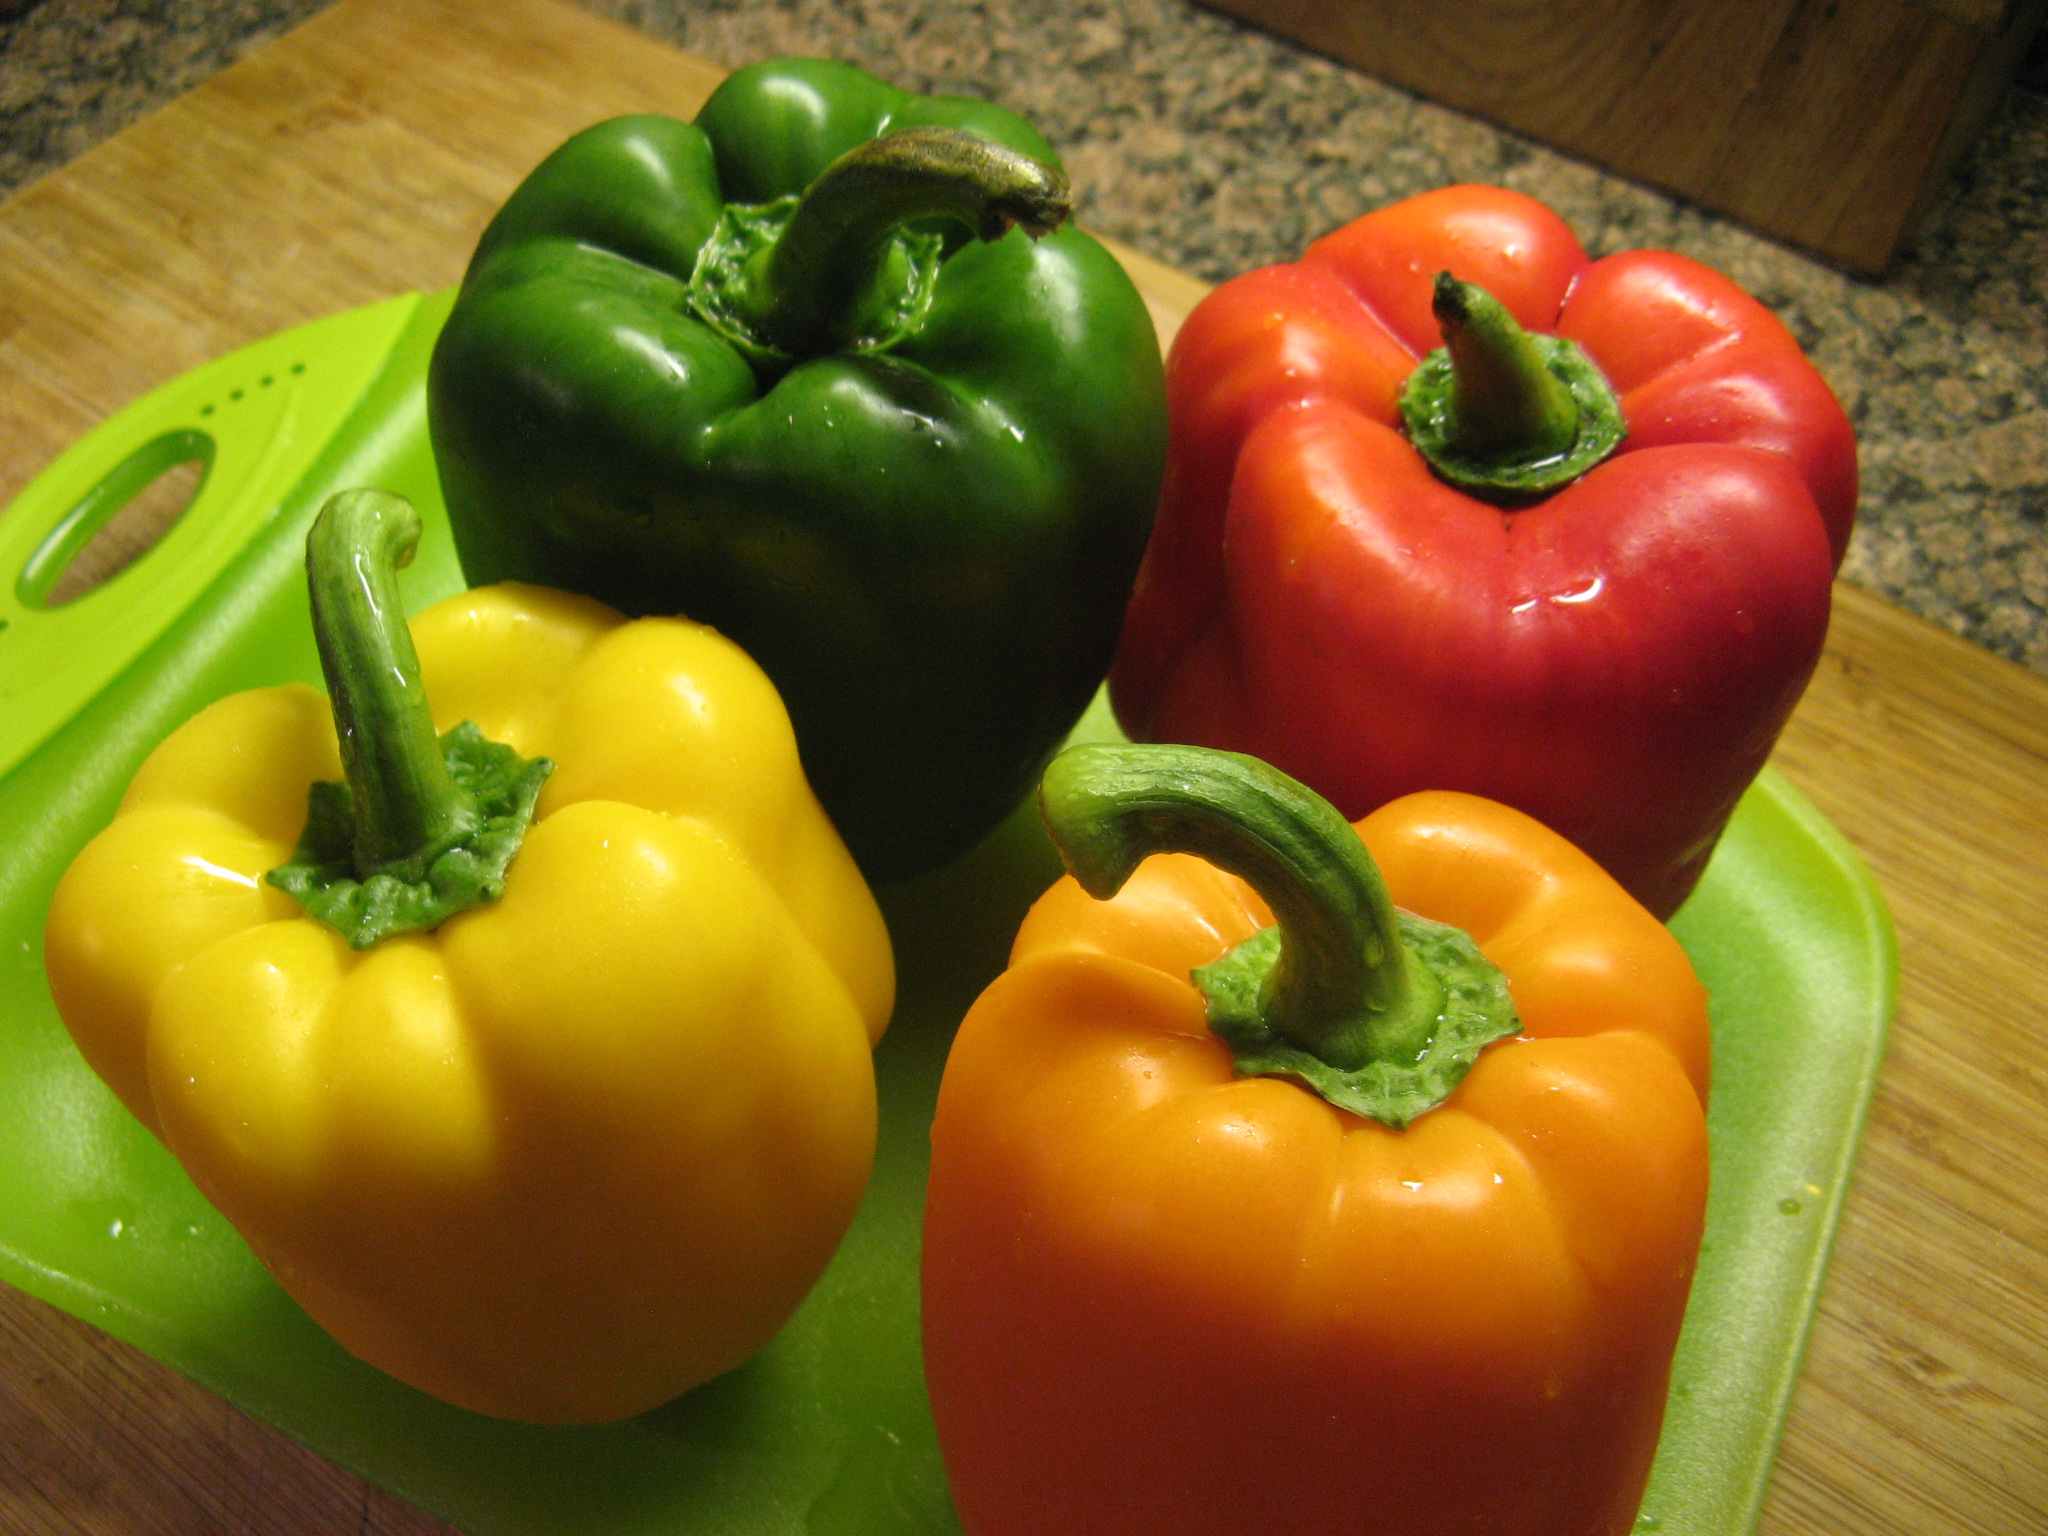
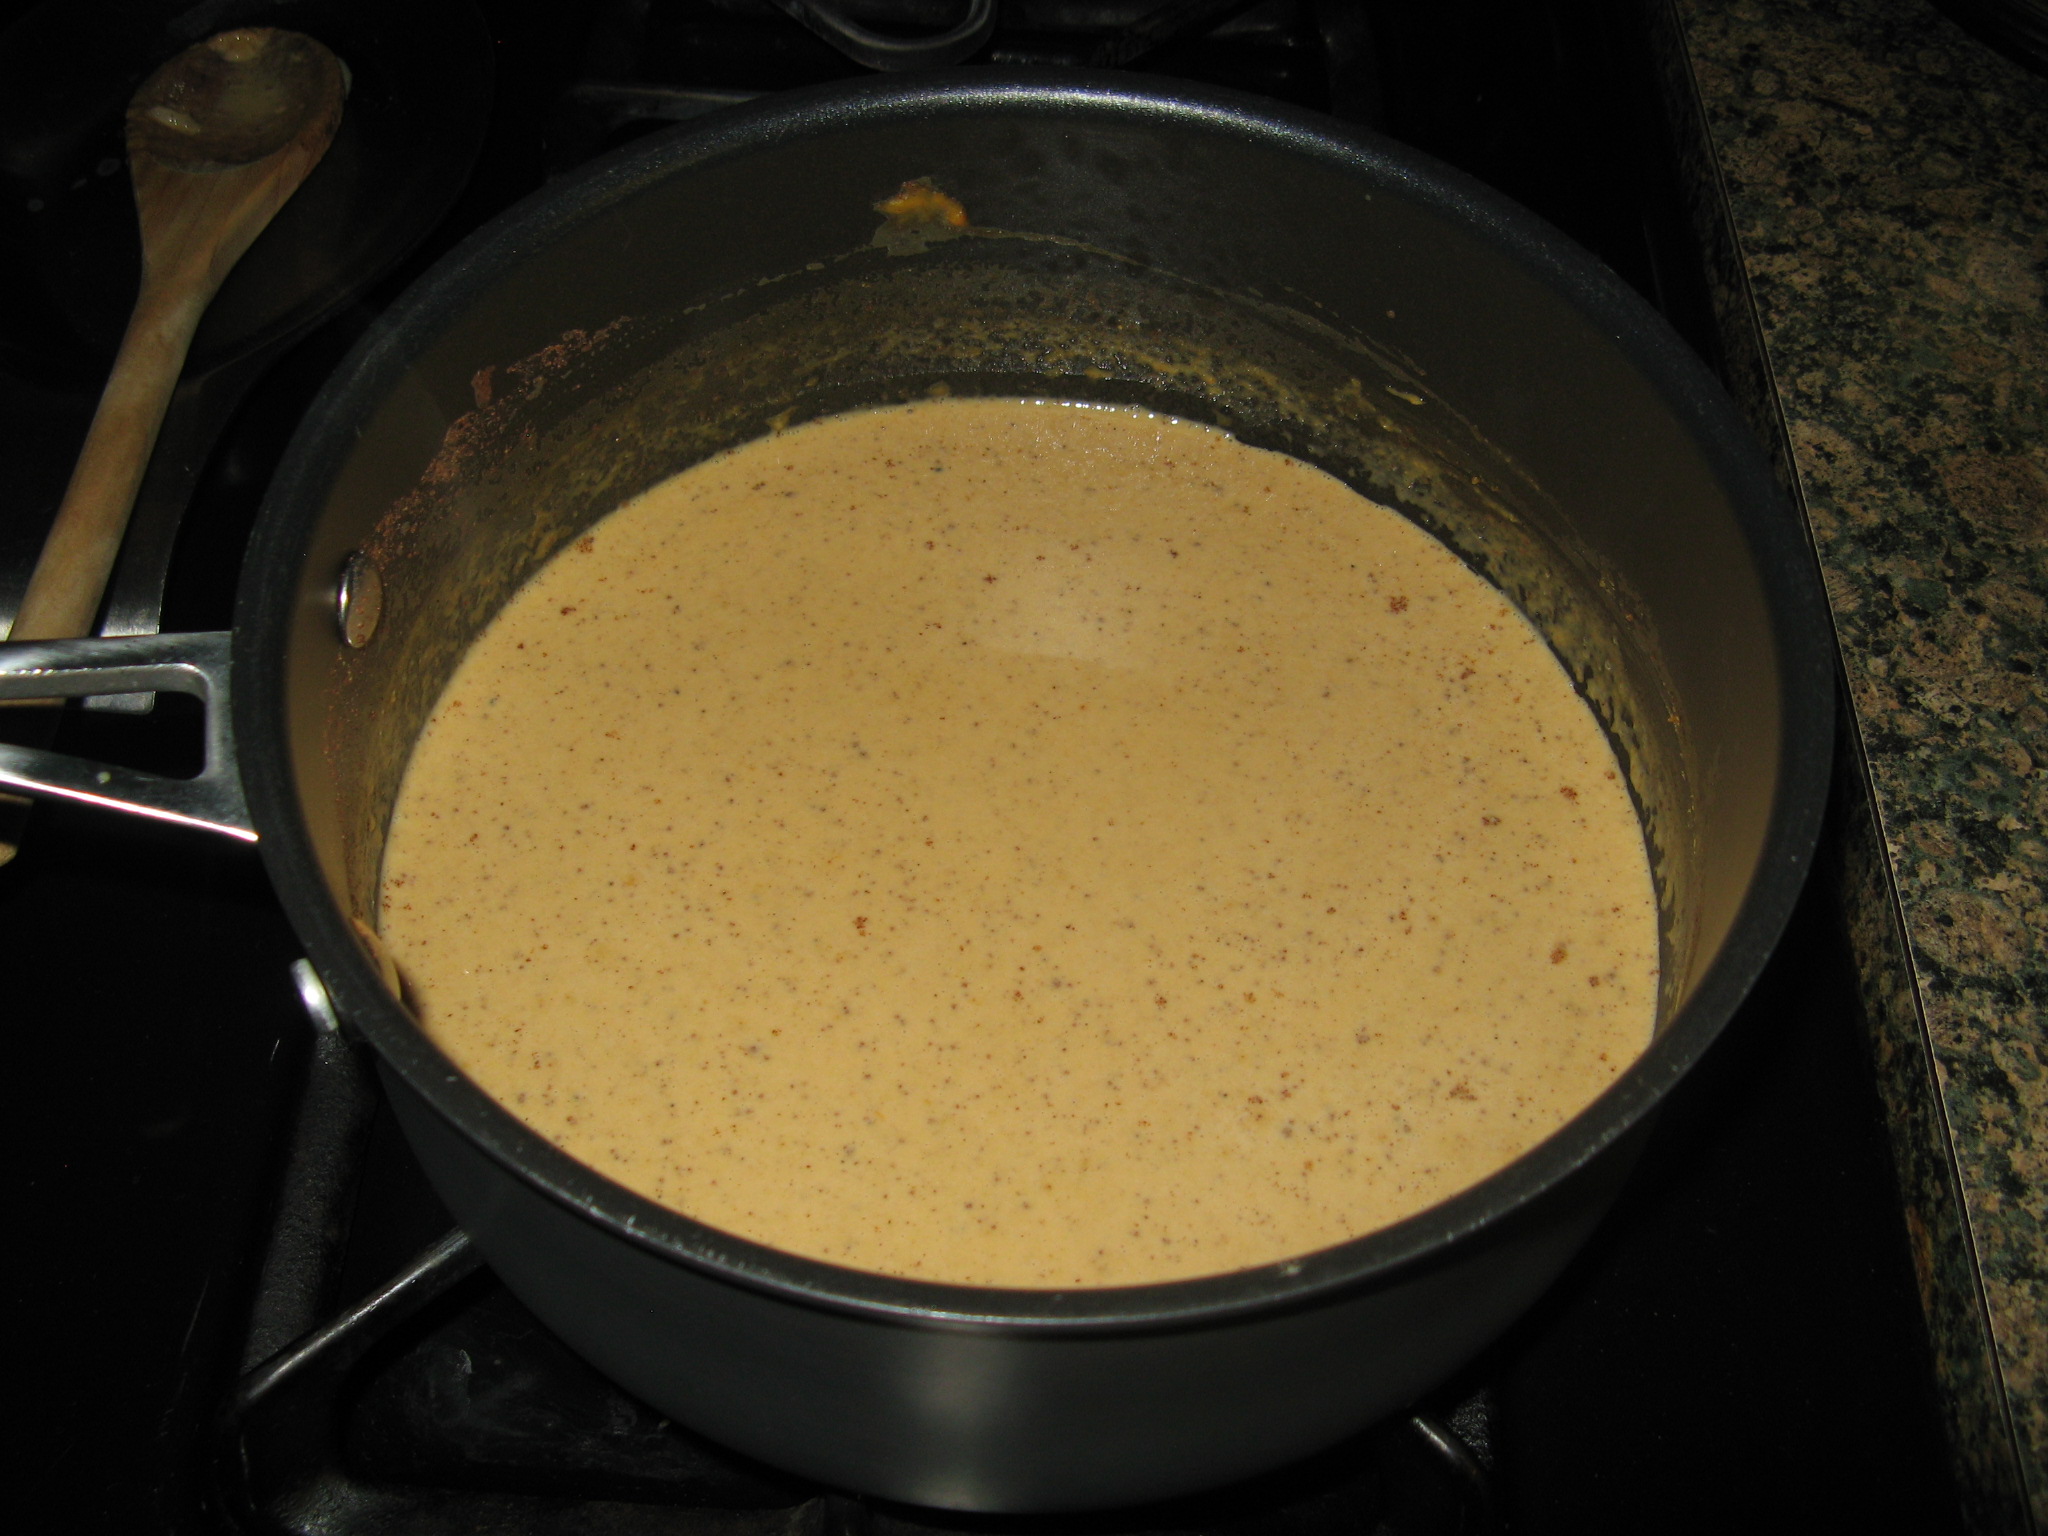
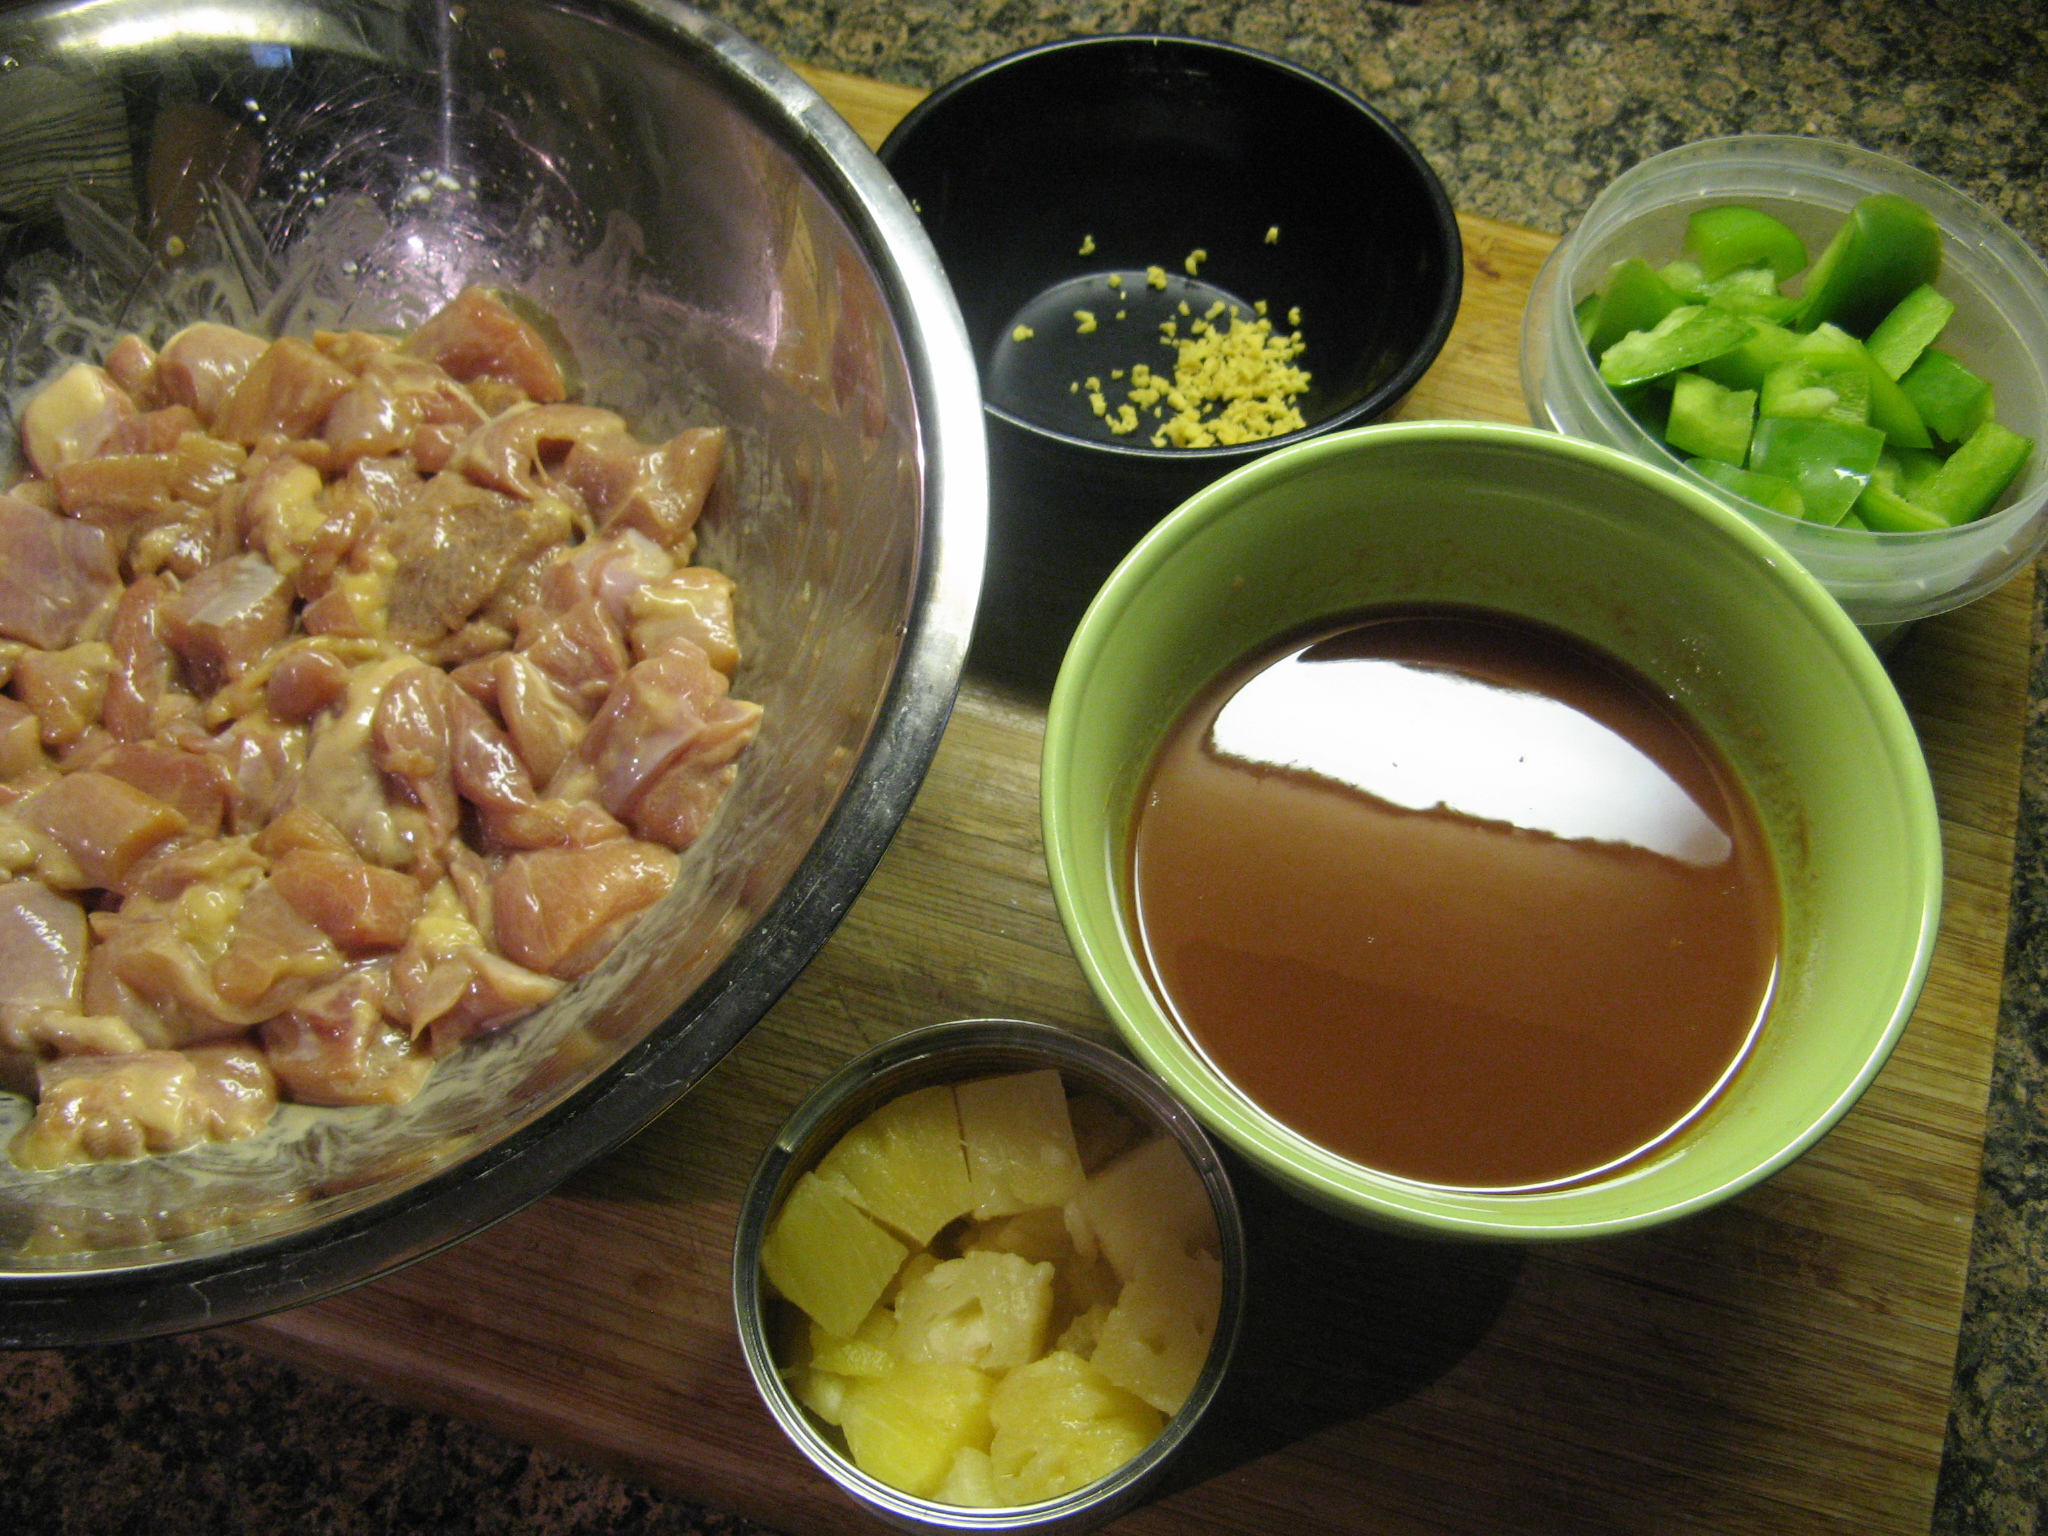
I usually try to do all of my prep-work for whatever I am cooking or baking before getting started, this way I don’t miss anything and I can work smoothly through the recipe. For this Sweet & Sour Chicken recipe I prepped my ingredients by doing the following: cut a pound of boneless skinless chicken thighs into 3/4 inch pieces which I then coated with cornstarch and soy sauce, chopped up a green bell pepper into 3/4 inch pieces, minced up a tablespoon worth of fresh ginger, and finally, drained the pineapple juice of an 8-ounce can of pineapple chunks and set the chunks aside while whisking the juice along with cornstarch, soy sauce, ketchup, sugar, cider vinegar and sugar.

IMG_5231

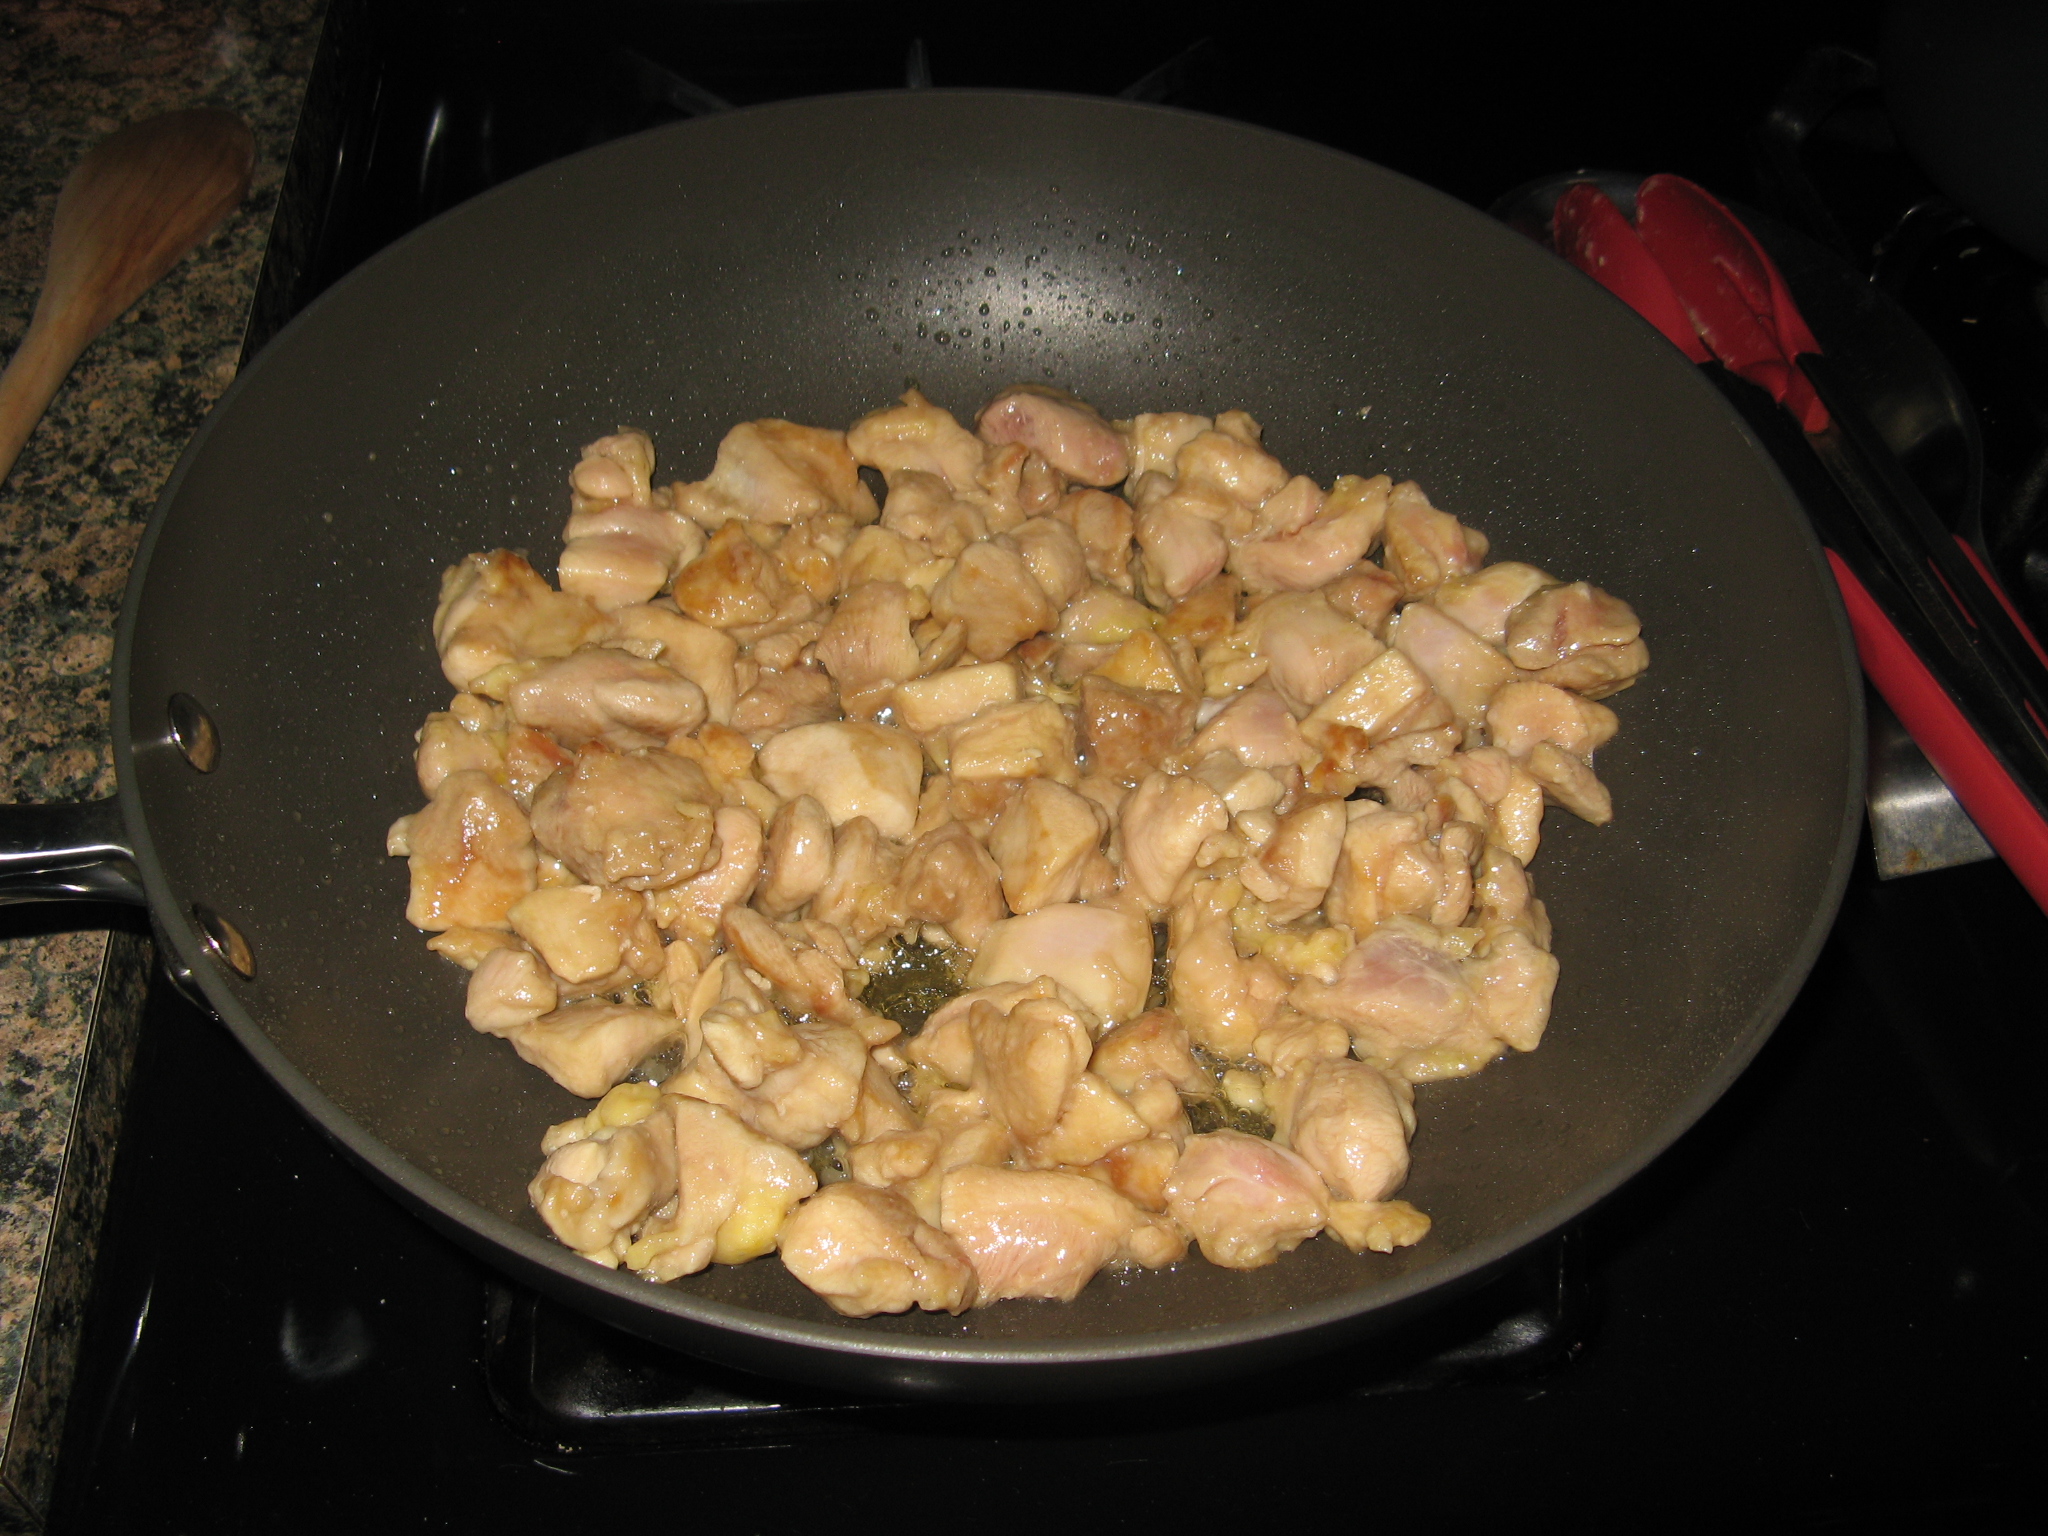
It was then time to start cooking. I began by cooking the chicken in a large skillet over medium-high heat that I coated with canola oil. Once the chicken was browned I added in the minced ginger.

IMG_5234

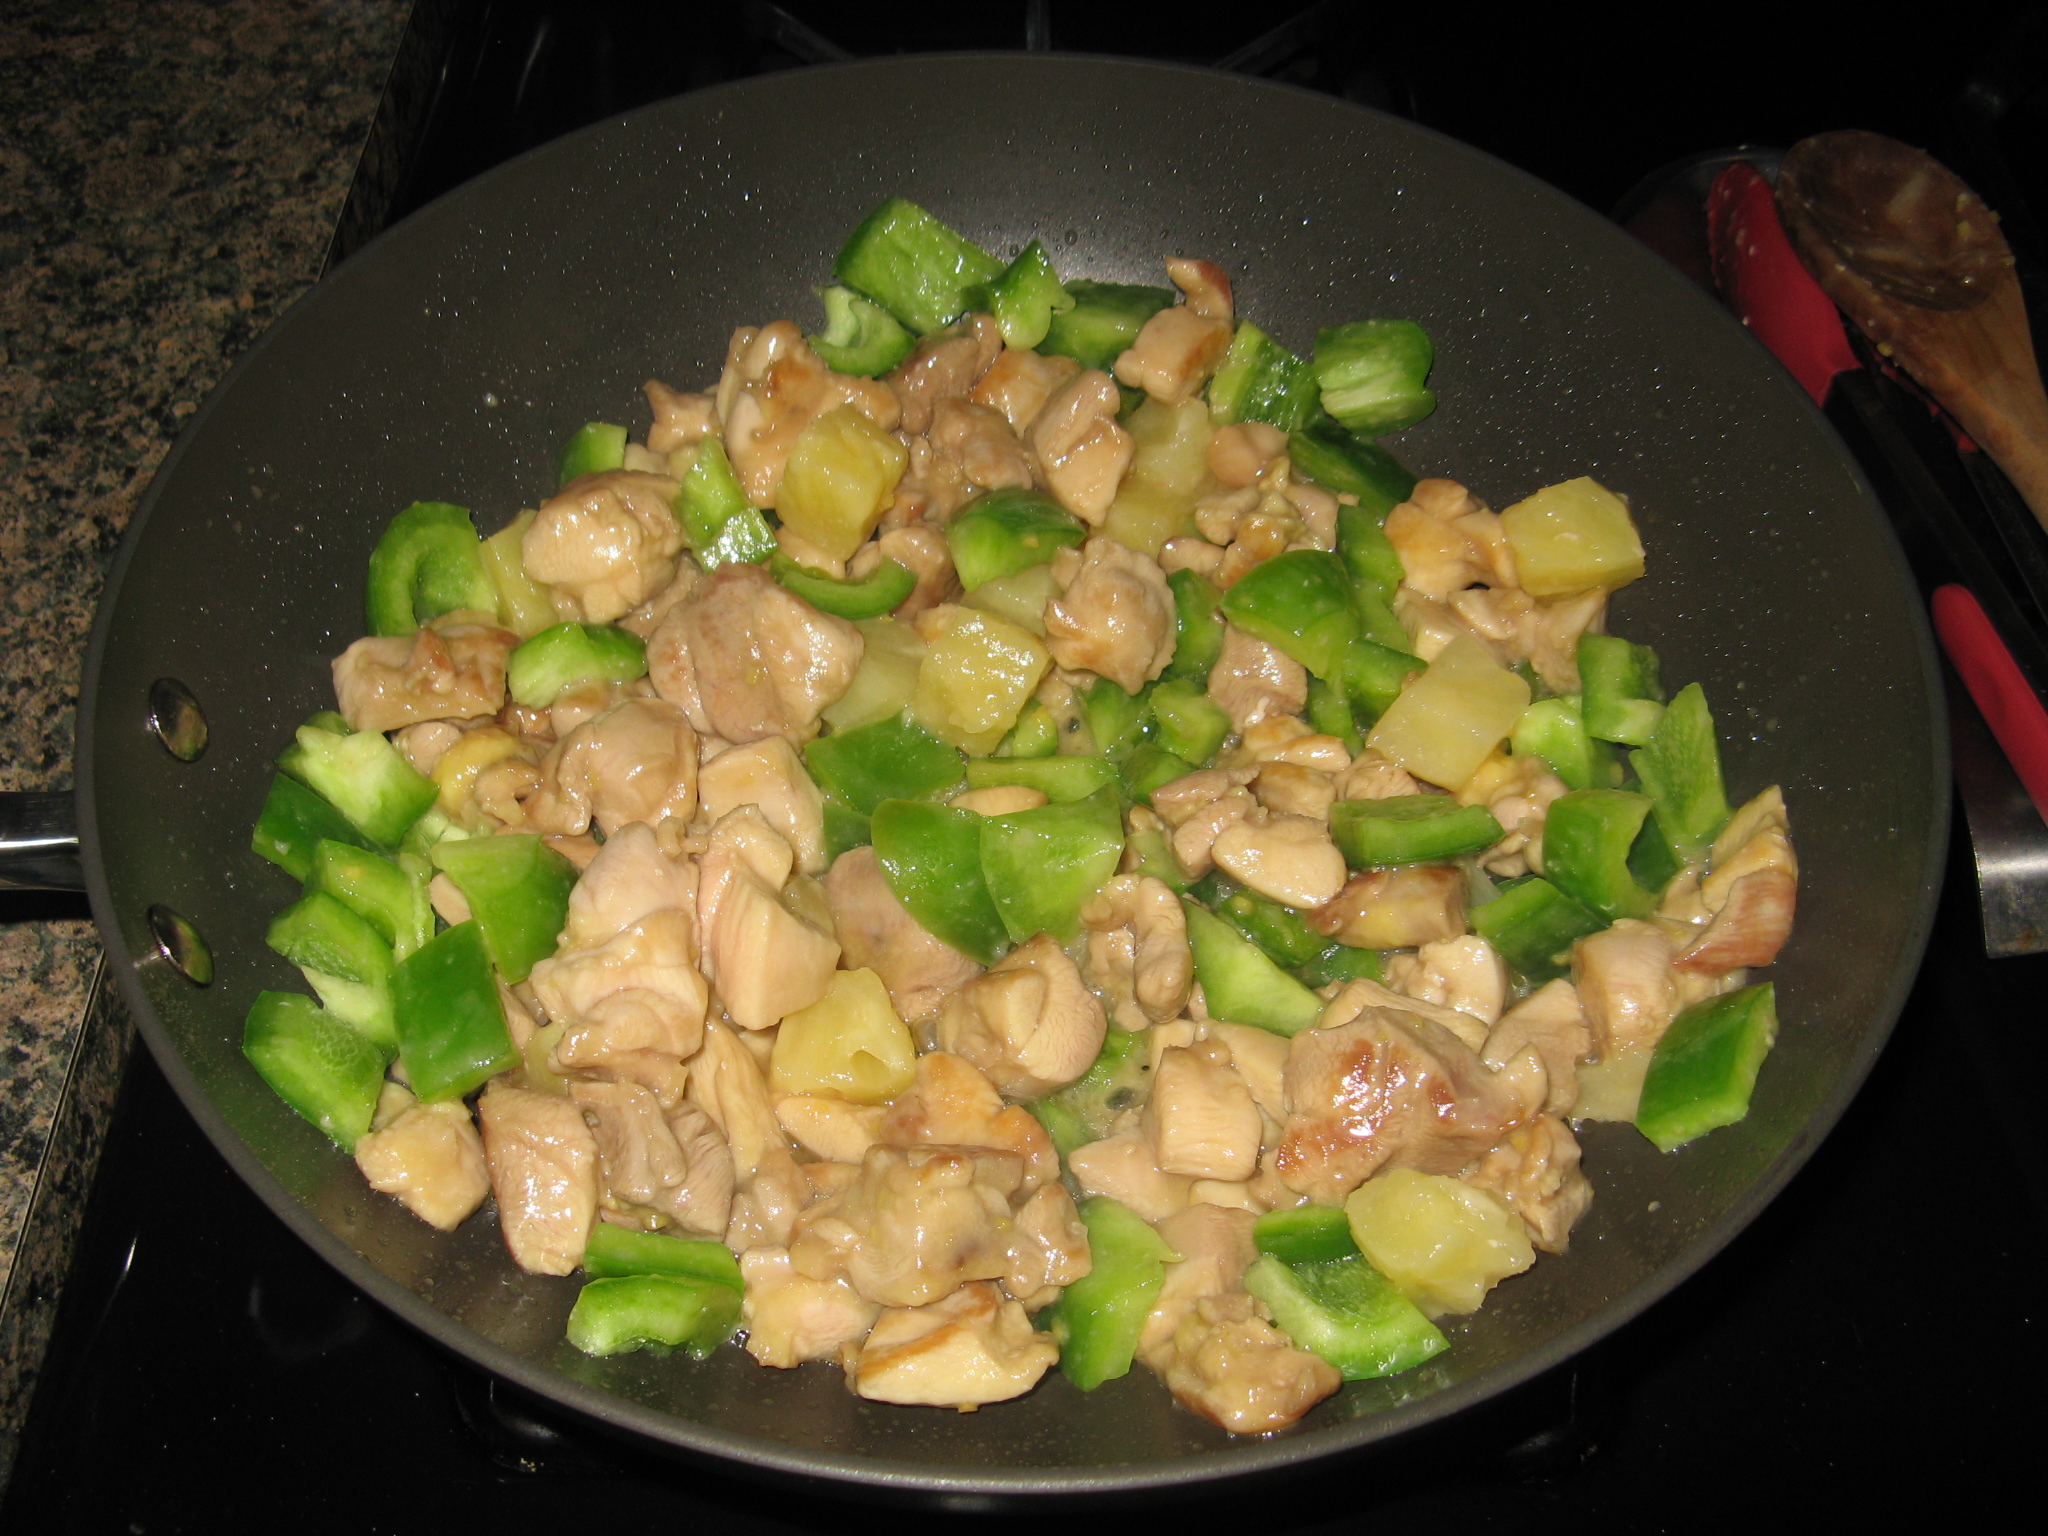
Next up I added in the pineapple chunks and the bell pepper and continued cooking the mixture until the peppers were just beginning to get tender.

IMG_5235

And lastly I added in the ketchup mixture and brought it to a boil and cooked it until the sauce thickened. I then lowered the heat to low and continued cooking it for about another 15 minutes to be sure that the chicken was cooked through.

IMG_5238

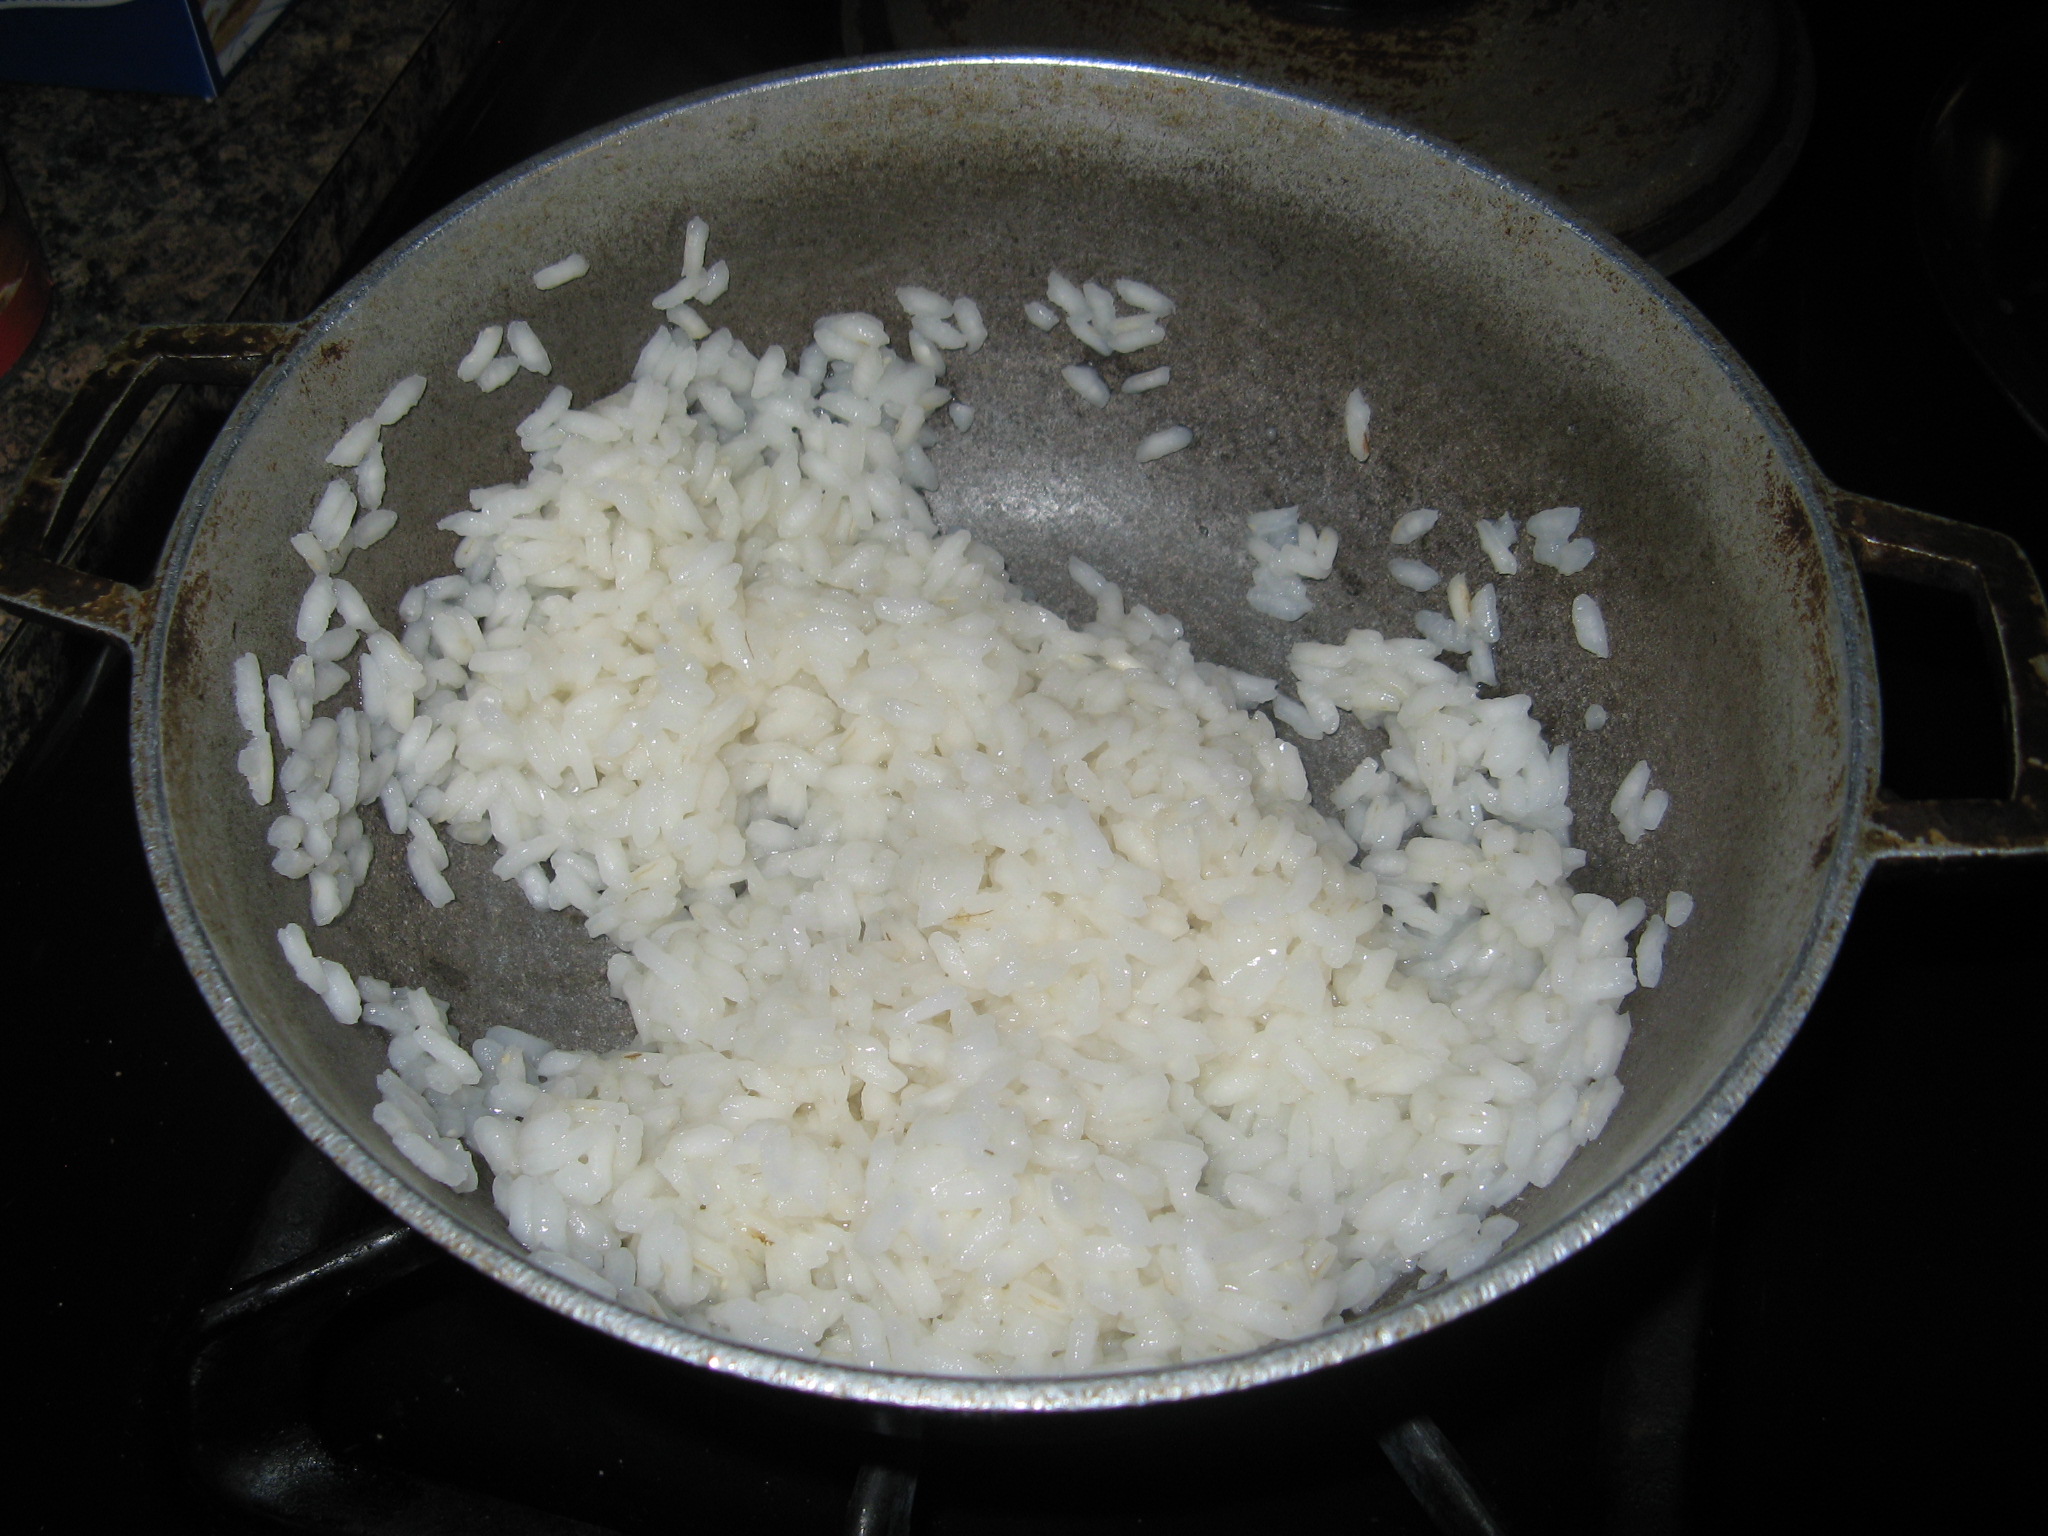
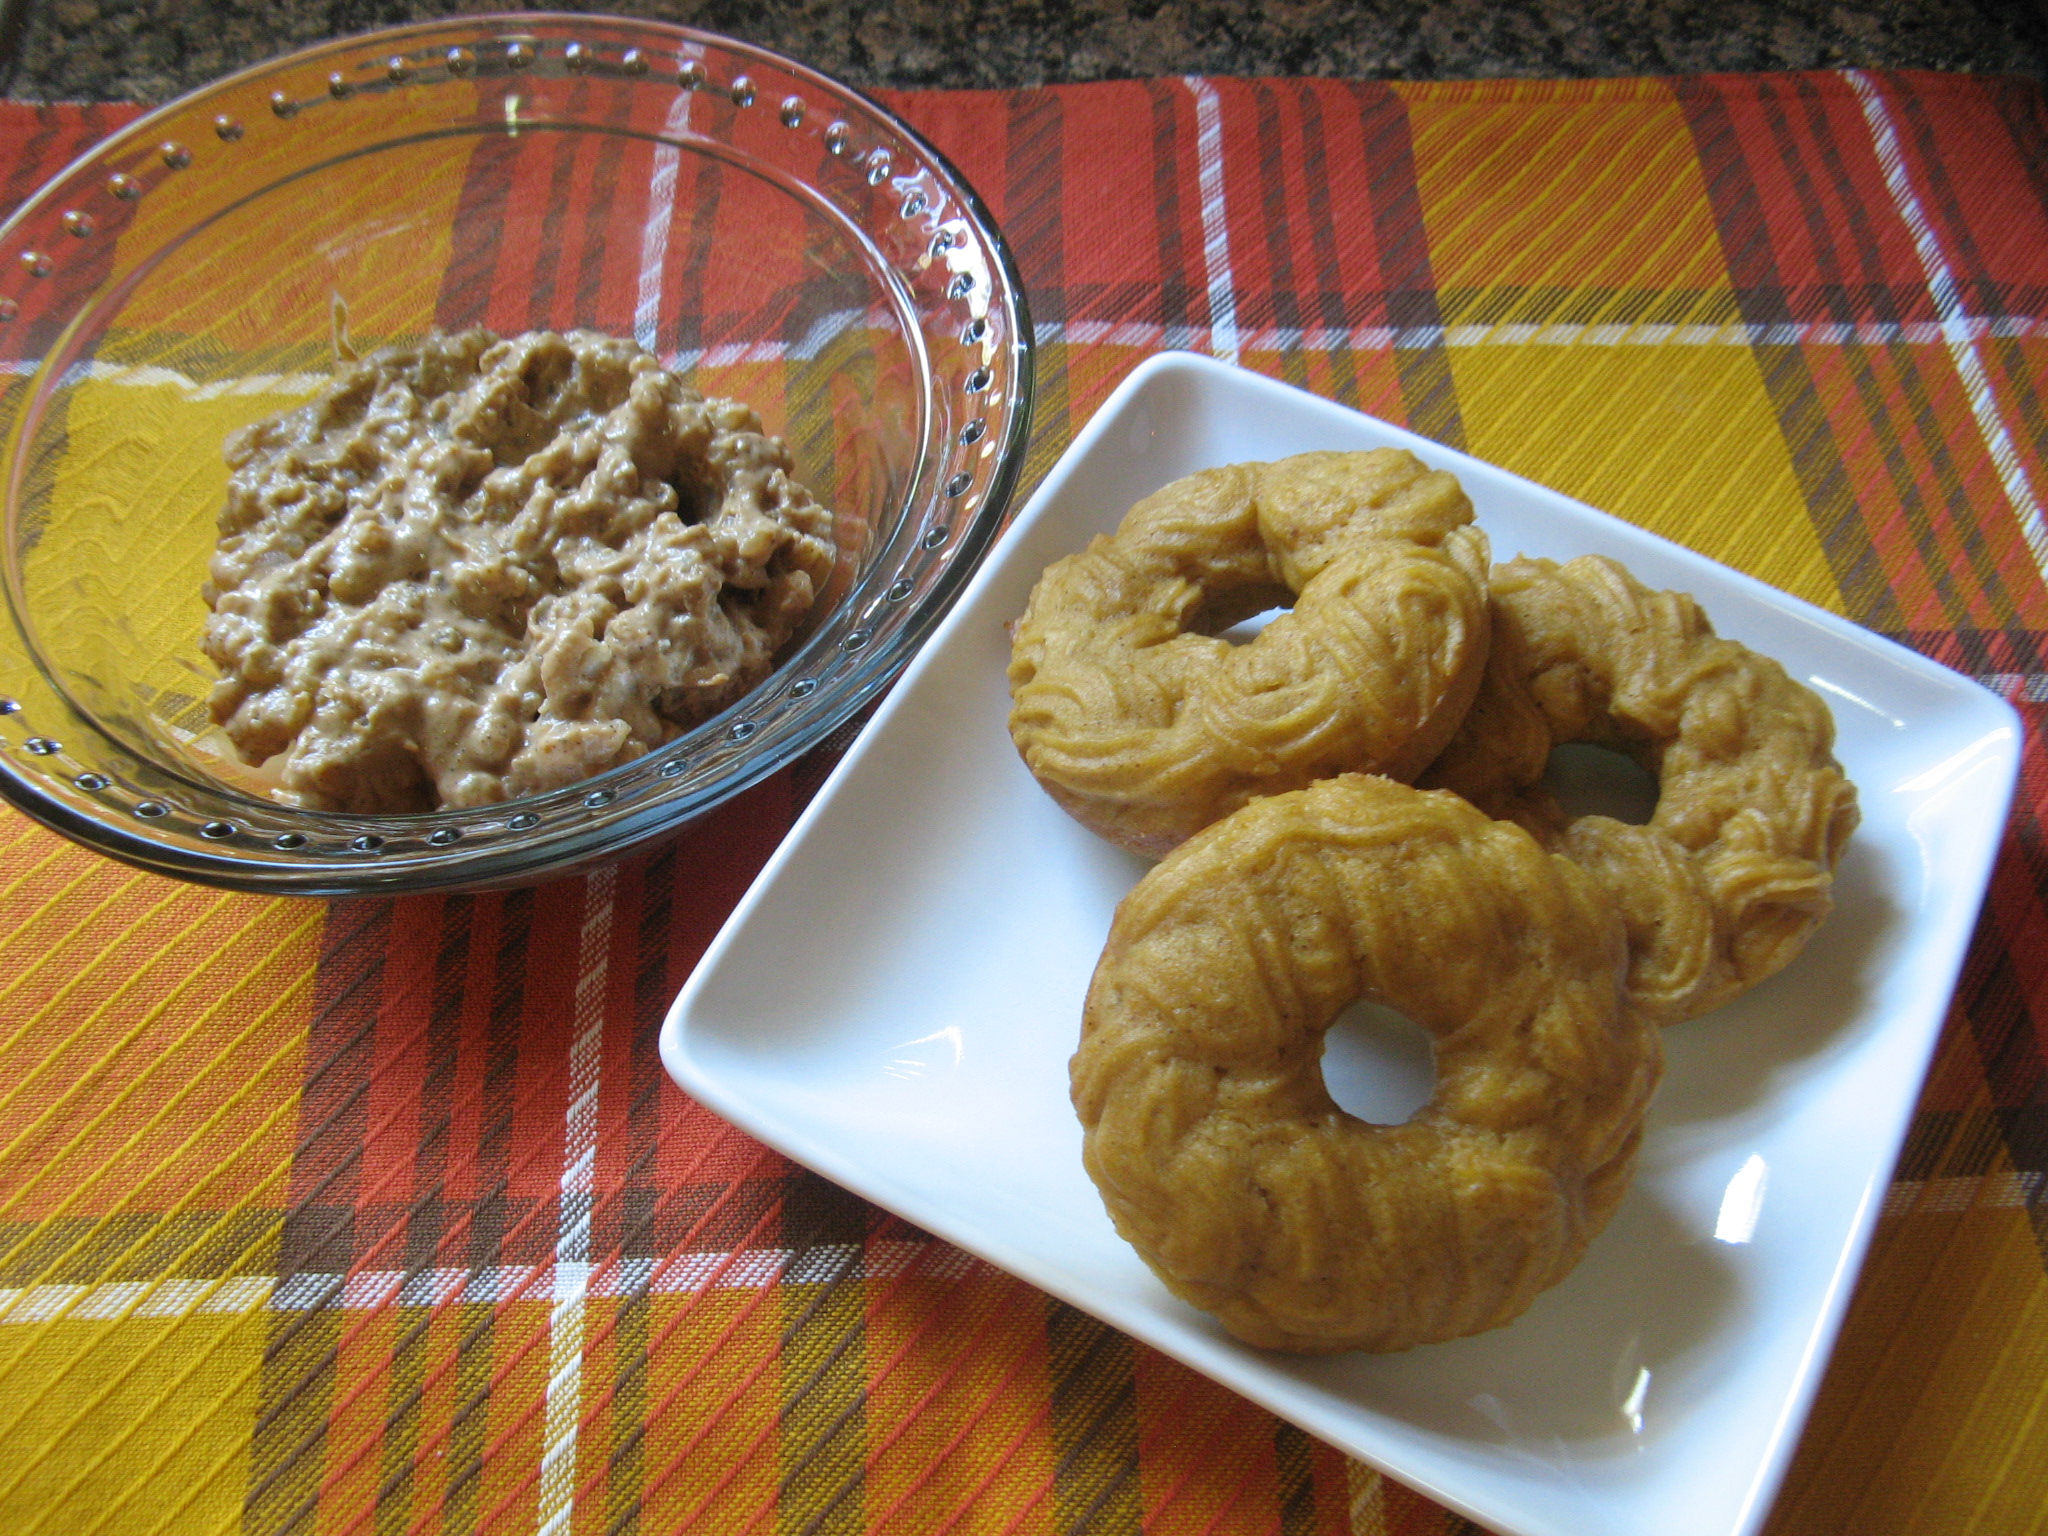
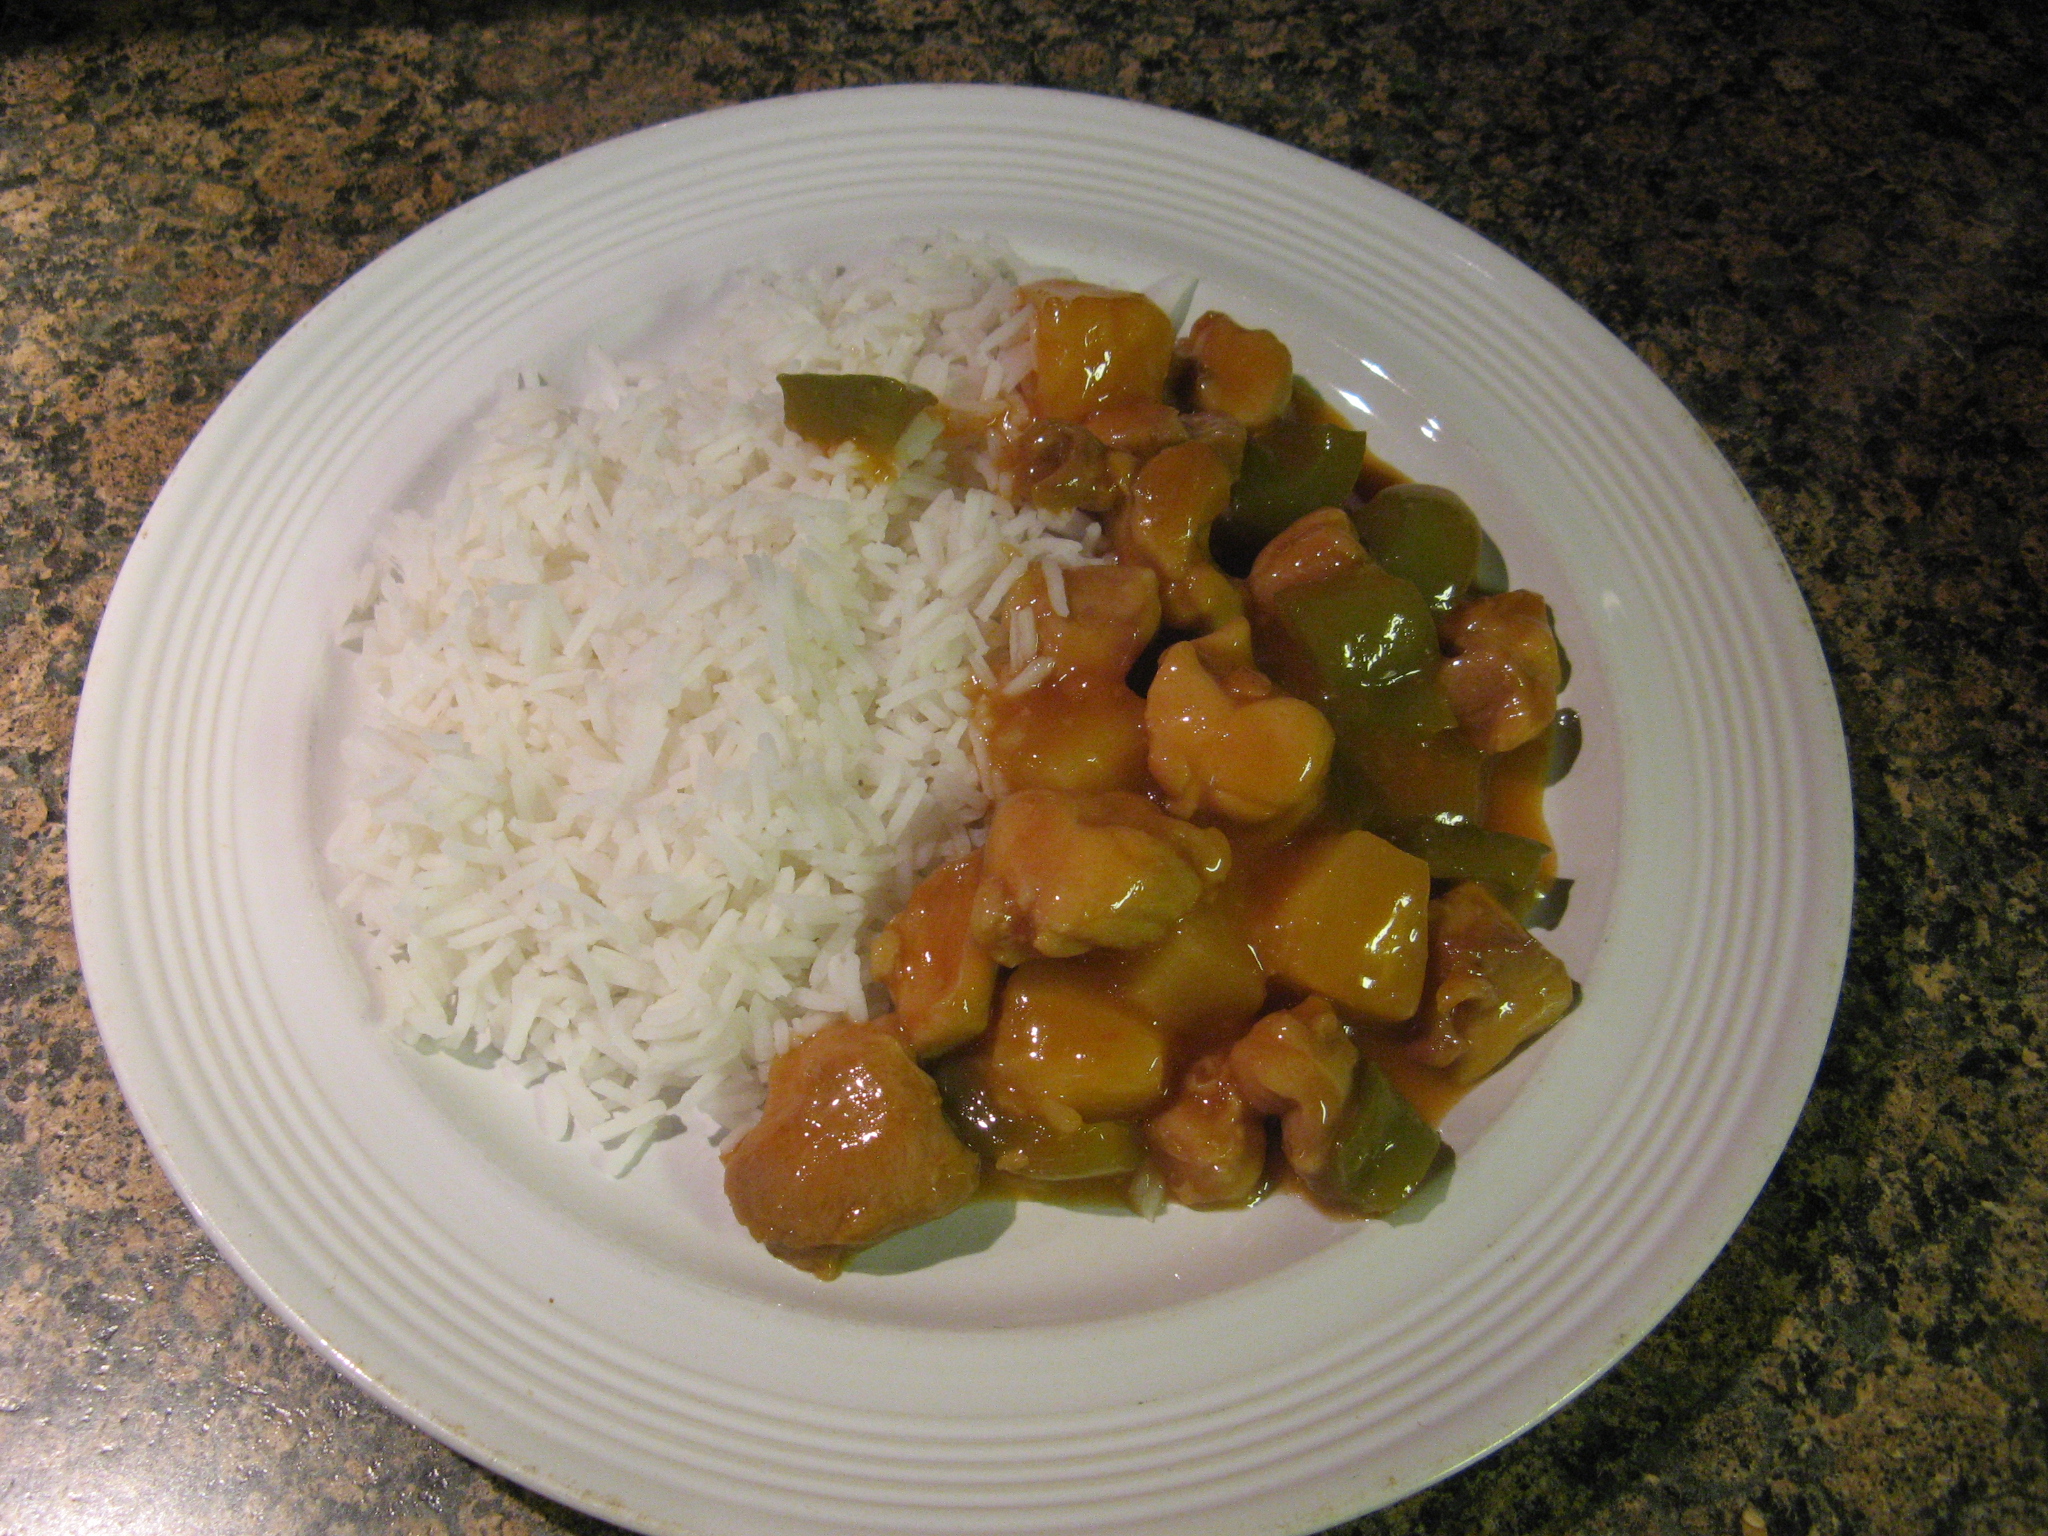
Then it was time to enjoy my homemade take-out cuisine. I served the chicken with basmati rice and it was the perfect complement. While you do get some hints of the sour components – the soy sauce and cider vinegar – of the chicken the sweet part is definitely the stronger flavor of the two. I am definitely not complaining though… This is one dish I can see myself making quite a few more times.

IMG_5240


Sweet & Sour Chicken

Ingredients:

1 lb. boneless skinless chicken thighs, fat trimmed, then cut into 3/4-inch pieces

6 teaspoons cornstarch

2 tablespoons lower-sodium soy sauce

1/3 cup ketchup

1/4 cup sugar

1/4 cup cider vinegar

1 can (8-oz.) pineapple chinks in juice, drained, juice reserved

2 tablespoons canola oil

1 tablespoon minced ginger

1 green bell pepper, cut into 3/4-inch pieces


Directions:

1. In a medium bowl, combine the chicken, 4 teaspoons cornstarch and 1 tablespoon soy sauce. In a small bowl, whisk the remaining cornstarch and soy sauce, with the ketchup, sugar, cider vinegar, and pineapple juice.

2. In a large skillet, heat the oil over medium-high heat until it shimmers. Add the chicken and cook, turning once, until browned, about 4 minutes. Add the ginger and cook, stirring often, until fragrant, 30 seconds. Add the pineapple chunks and bell peppers. Cook, stirring occasionally, until the pepper is crisp-tender, about 3 minutes. Stir in the ketchup mixture, bring to a boil and cook until sauce thickens, about 1 minute.

Chicken Parm Pizzas

Aaaahhh pizza. What is there not to like about it? I have been a pizza lover since a very young age. I can remember quite a few times when I was younger (I am talking under the age of 10) when I didn’t want to eat whatever my mom cooked for dinner so then dinner for me would be a slice of pizza. When I got to college, pizza was one of the tastiest (and safest) things to eat in the cafeteria. Thankfully they switched it up every day with Hawaiian pizza, pepperoni pizza, white pizza, focaccia pizza and so forth. So, what if you combined pizza – one Italian classic – with another classic, Chicken Parmesan? Well, you would get Chicken Parm Pizzas. And no, it’s not just a breaded chicken cutlet shaped into a circle. The key to this classic combo mash-up is using ground chicken to get that perfectly round pie.

IMG_5201

To begin I mixed a pound of ground chicken with Italian herb blend, salt, garlic and onion powders. I divided the mixture in half and then pressed it into two 8-inch cake plans that I lined with plastic wrap. Following that I covered the two pans with plastic wrap and placed them in the freezer for 4 hours.

IMG_5181

Before removing the ground chicken from the freezer I preheated the oven to 400 F and assembled the three separate coatings I would need for the chicken: Wondra Flour, 3 eggs lightly beaten and a breadcrumb – cheese mixture.

IMG_5186 IMG_5189 IMG_5188

The frozen chicken…

IMG_5190

Which I then coated in the flour, then in the eggs and finally in the breadcrumb – cheese mixture and then placed on a baking sheet.

IMG_5191

I then heated olive oil in a large skillet over medium-high heat and cooked the chicken rounds until they were golden. After draining them on paper towels I transferred them to a wire rack set inside a rimmed baking sheet.

IMG_5193

And then it was time for them to become “pizza.” I topped them with marinara sauce and sprinkled them with mozzarella and Parmesan cheese.

IMG_5195

I cooked them on the wire rack set inside the baking sheet for about 15 minutes, until the cheese was melted and the chicken was fully cooked through.

IMG_5202

While Chicken Parmesan is customarily served with pasta I opted to serve these pizza versions with steamed broccoli.

IMG_5216

Overall, these were quite tasty, but, I didn’t find them to be better than your typical Chicken Parmesan that definitely doesn’t require as much time or work. It’s definitely a nice twist on two classics though. One thing though, if I do make them again I will reduce the salt content in the seasoning for the ground chicken from a teaspoon to 1/2 teaspoon (or even a 1/4) since I did find them to be a bit salty.


Chicken Parm Pizzas

Ingredients:

1 1/4 lbs. ground chicken

1 1/2 teaspoon Italian herb blend

3/4 teaspoon garlic powder

3/4 teaspoon onion powder

3 eggs

1/4 cup Wondra flour

1 cup seasoned Italian breadcrumbs

1/2 cup panko

4 tablespoons grated Parmesan*

4 tablespoons grated pecorino*

1 cup extra virgin olive oil

1 cup shredded mozzarella

1/2 cup marinara sauce

*I didn’t have pecorino so I opted to use 8 tablespoons of Parmesan

 Directions:

1. Line 2 eight-inch cake pans with plastic wrap. In a medium bowl, mix the chicken, 1 tsp. herb blend, 1 tsp. salt, and 1/2 tsp. each garlic and onion powders. Divide chicken mixture and press into the prepared pans. Cover with plastic wrap. Freeze 4 hours.

2. Preheat the oven to 400 F. In a shallow bowl, beat the eggs. Place the flour on a large plate. On another plate, combine the breadcrumbs, panko, 2 tbsp. Parmesan, 2 tbsp. pecorino, and the remaining Italian herb blend and garlic and onion powders. Unwrap the chicken; remove from the pans. Coat the chicken in the flour, then the egg, then the breadcrumb mixture. Transfer to a baking sheet.

3. Set a rack inside a rimmed baking sheet. In a skillet, heat the olive oil over medium high. Cook 1 chicken round, turning once, until golden, about 4 minutes. Transfer the patty to paper towels. Repeat with the second chicken round. Transfer both to the rack.

4. Combine the remaining cheeses. Spread the marinara on the chicken, leaving a 1-inch border; sprinkle with the cheese mixture. Bake until the chicken is cooked through, about 15 minutes.

Last Minute Stuffed Peppers

Baking has always come naturally to me, cooking on the other hand is a whole other ballgame. I’m always apprehensive that I will under season or worse over season things, but lately I have become a bit more confident (or maybe I should say comfortable) with my cooking abilities. There is one thing that still frustrates me though… Figuring out what to cook, especially for dinner. As such was the case one day last week. I really was at a lost as to what to make, then while picking up some produce the light bulb in my head turned on and I thought stuffed peppers…. Hence Last Minute Stuffed Peppers. Customarily for a dish like this I would turn to a recipe, but I decided to wing it and create something on my own and a bit from memory from the last time I made them.

IMG_5113

I began making the filling for the peppers by sautéing sliced mushrooms in olive oil. Once they cooled I chopped them up and placed them in a large bowl.

IMG_5108

In the same pan I used to sauté the mushrooms I then cooked a pound of ground beef which I seasoned with salt, pepper, garlic and onion powder and half a red onion chopped. I then added this to the bowl with the mushrooms.

IMG_5109

I then added in a cup and a half of cooked brown rice to the mushroom meat mixture. To cook the brown rice I opted to use the 30 Minute Cooking Method; you bring a large pot of water to boil, stir in at most 2 cups of brown rice, bring the water to a boil once again and allow the rice to cook uncovered for 30 minutes.

IMG_5111

And finally I added in about 1/3 cup of jarred spaghetti sauce and a 1/2 cup of shredded mozzarella cheese to the rice mixture. I mixed it together well and set it aside.

IMG_5115

Next I prepped the peppers. I sliced the tops off the peppers and cleaned out their insides while I brought a large pot of water to boil. I boiled each of the peppers for about 4-5 minutes. I wanted the peppers to be tender but still a bit rigid so they wouldn’t tear when I stuffed them. I placed them in an 8 x 8 baking dish that I coated with about half of the sauce I had left in the jar.

IMG_5117

I then filled each of the peppers with the rice-beef mixture and topped them with the rest of the sauce and sprinkled each of them with the remaining shredded mozzarella cheese. And for the final touch I topped each of the peppers with their respective sliced tops.

IMG_5123

I placed the dish in a 350 F preheated oven for about 20 minutes, until the cheese was melted and I was sure that the filling had enough time to heat through.

IMG_5124

Prior to enjoying one I sliced it in half and added some of the spaghetti sauce that was in the bottom of the dish. Oh yes, and I added some extra vegetables to this dish by serving it with fresh okra on the side.

IMG_5125

My Last Minute Stuffed Peppers were delish! Definitely something that I will be making again. And best of all, it gave me a small boost in my cooking confidence.


Last Minute Stuffed Peppers

Ingredients:

4 large bell peppers, any color

3 cups (8 oz. package) sliced mushrooms

2 tablespoons Olive Oil

1 lb. lean ground beef (I used 80%)

1/2 red onion, chopped

1/2 teaspoon salt

1/2 teaspoon black pepper

1/2 teaspoon garlic powder

1/2 teaspoon onion powder

1 1/2 cups cooked brown rice

1 jar of spaghetti sauce

1 1/2 cup shredded mozzarella cheese


Directions:

1. Preheat the oven to 350 F.

2. Heat the olive oil in a large skillet over medium-high heat and add the mushrooms. Cook the mushrooms until they are tender and lightly browned, stirring occasionally. Remove them from the skillet and once they cool chop them up and place them in a large bowl.

3. In the same skillet, cook the ground beef along with onion and season with the salt, pepper, onion and garlic powder. Once the beef is cooked add it to the bowl with the mushrooms.

4. Add the brown rice to the bowl with the beef and mushrooms along with 1/3 cup of the spaghetti sauce and 1/2 cup of the shredded mozzarella. Mix the contents together and set aside.

5. Bring a large pot of water to boil. Meanwhile prep the peppers by slicing off their tops (set them aside) and cleaning out their seeds. Once the water is boiling add the peppers and leave them in the water for about 5 minutes; until the peppers are softened but not to the point where they are going to tear when stuffed.

6. Pour about 1/2 of the remaining spaghetti sauce into an 8 x 8 baking dish and then place the peppers in it. Fill each of the peppers with the rice – beef mixture, filling each of the peppers to the top. Pour the remaining spaghetti sauce over the peppers and top each of the peppers with the remaining mozzarella cheese. Cover the peppers with their reserved tops and bake them in the oven for 20 minutes, or until the cheese has melted.

Hold The Chips Add A Kiss Chocolate Chip Cookies

Customarily this cookie is made with a peanut butter cookie base and then topped with a Hershey Kiss pressed into its center, what is commonly known as a Peanut Butter Blossom. But, I decided to switch it up a bit and use a chocolate chip cookie without the chips as the base and then top it with a Hershey Kiss.

IMG_5057

To begin I made the dough to one of my favorite chocolate chip cookies. I particularly like these because the ingredients are things I always have on hand and they are simple to make. Sometimes a basic recipe produces the best flavor. To make the dough I whisked the dry ingredients – flour, salt and baking soda – in one bowl and in another I combined butter, dark brown and granulated sugars, vanilla extract and an egg. I then incorporated all of the ingredients until they were combined.

IMG_5052

Following that I used a cookie scoop to scoop the dough onto a parchment paper lined baking sheet and baked them in a 375 F preheated oven for 12 minutes.

IMG_5055

While the cookies were in the oven, I unwrapped the Hershey Kisses and refrigerated them so they wouldn’t be too soft when I placed them on the fresh out of the oven cookies.

IMG_5059

Immediately after removing the cookies from the oven I placed a Hershey Kiss in the center of each of them.

IMG_5060

I then transferred the cookies to a wire rack so they could cool completely.

IMG_5071

These cookies were delicious. You will especially like them if you like the part of a chocolate chip cookie without the chips! It’s definitely the best of both worlds… A delicious cookie with an even better delicious chocolate center!

IMG_5070

Hold The Chips Add A Kiss Chocolate Chip Cookies (Adapted from here)

Makes 32 Cookies

Ingredients:

2 sticks unsalted butter, at room temperature

1 cup packed dark brown sugar

1/2 cup granulated sugar

1 teaspoon vanilla extract

1 large egg

2 3/4 cups all-purpose flour

1/2 teaspoon Kosher salt

1 1/2 teaspoons baking soda

32 unwrapped Hershey Kisses

Directions:

1. Preheat oven to 375 F. Line 2 baking sheets with parchment paper.

2. In a medium bowl whisk together the flour, salt and the baking soda and set aside.

3. In a large bowl beat the butter, sugars and vanilla extract with an electric mixer on medium-high speed for 3 minutes. Add the egg and beat until combined.

4. Reduce the mixer speed to low and slowly add the flour mixture to the egg mixture until combined.

5. Using a cookie scoop (about tablespoon-size mounds) scoop the dough and place on the prepared sheets, 1-2 inches apart. Bake until lightly browned at the edges, approximately 12 minutes.

6. While the cookies are still on the baking sheets press an unwrapped Hershey Kiss into the center of each of them, then transfer the cookies to a wire rack to cool completely.

Fall Equinox = Pumpkin Treats

My favorite season has arrived…Fall! There are many reasons why I love this time of the year. There’s the foliage, the apple picking, the concord grapes, all the different types of squashes available at the supermarket, the great hair days (the crisp cool air of the Fall is perfect for curly hair), the return of scarves (they are my third favorite accessory behind shoes and handbags) and one of my favorite flavors – Pumpkin – becomes available in just about anything and everything! So, I decided to welcome Fall this year with two pumpkin treats – a new recipe, Pumpkin Rice Pudding and an oldie (but goodie) from last year, Pumpkin Doughnuts.

IMG_5105

I don’t think I know anyone who likes rice pudding as much as I do, or for that matter I am not sure I know anyone who likes it period. I guess it’s like bread pudding, you either like it or you don’t. I actually did try my hand at a Pumpkin Bread Pudding a few years ago but wasn’t all that thrilled with the minimal pumpkin flavor it had. Maybe I’ll have to revisit that recipe one day soon, but, back to the rice pudding. I came across this recipe while flipping through the circulars of my Sunday newspaper. The recipe was specific for Minute Rice, but, since I didn’t have any and honestly didn’t want to buy any I decided to revamp the recipe using Arborio rice which I already had on hand from make rice pudding not too long ago.

I began by cooking the rice until it was al dente, about 15 minutes.

IMG_5084

In another saucepan I combined evaporated milk, pumpkin, dark brown sugar, pumpkin pie spice and vanilla extract and brought it to a simmer.

IMG_5085

I then added the rice to pumpkin mixture and cooked it over low heat until the mixture started to thicken. I then transferred the rice pudding to a large bowl and cooled it to room temperature before refrigerating it.

Since I had about 2 cups of pumpkin left I decided to whip up a batch of pumpkin doughnuts so it wouldn’t go to waste. Hopefully I won’t suffer from pumpkin over-load too early in the season!

IMG_5101

So, what’s the most out-of-the-box pumpkin flavor item you have seen on your store shelves?

Pumpkin Arborio Rice Pudding (Adapted from here and here)

Ingredients:

1 cup water

1/4 teaspoon salt

1/2 cup Arborio rice

1 12oz. can evaporated milk

1 cup pure pumpkin

1/2 cup packed dark brown sugar

2 teaspoons pumpkin pie spice

1 teaspoon vanilla extract

Directions:

1. Bring water and salt to a boil in a saucepan. Add the rice, return to a boil, then reduce the heat to low. Stir the rice occasionally and cook until the rice has absorbed the water but is still al dente, about 15 minutes.

2. In another saucepan, bring the evaporated milk, pumpkin, sugar, pumpkin pie spice and vanilla extract to a simmer. Add the cooked rice and cook at a simmer over medium-low heat until the rice absorbs most of the milk mixture and it starts to get thick and silky, about 10 to 15 minutes.

3. Transfer the pudding to a large bowl and cool to room temperature. Place in refrigerator until cool and set.

Pumpkin Doughnuts

Makes 12

Ingredients:

1/2 cup canola oil, plus more for the pans

1 3/4 cups all-purpose flour, spooned and leveled

1 teaspoon baking powder

1/2 teaspoon pumpkin pie spice

1/2 teaspoon fine salt

1/4 teaspoon baking soda

1 cup pure pumpkin puree

3/4 cup granulated sugar

1/4 cup packed light brown sugar

1 large egg

1 teaspoon pure vanilla extract

Directions:

1. Heat oven to 350° F. Lightly oil two 6-compartment doughnut pans (or use 1 pan and bake in batches). Whisk together the flour, baking powder, pumpkin pie spice, salt, and baking soda in a medium bowl; set aside.

2. In a separate bowl, whisk together the pumpkin puree, granulated sugar, brown sugar, oil, egg, and vanilla. Add the dry ingredients and mix until just combined (do not overmix).

3. Spoon 1/4 cup batter into each compartment of the prepared pans. Bake until the doughnuts are golden brown and spring back lightly when touched, 12 to 14 minutes. Let cool in the pans for 15 minutes, then transfer to a wire rack to cool completely.

Tomato-Fontina Torte with Rosemary Crust

There is nothing like home-grown fruits and vegetables! When I was younger we used to always grow cucumbers, eggplant, lettuce, string beans, strawberries (the only fruit with its seeds on the outside) and my favorite, tomatoes. I remember picking the tomatoes, rinsing them and biting into them like they were an apple. Unfortunately store bought tomatoes don’t invoke that same zeal in me. I strictly use those for sandwiches and salads. But, there is one store-bought tomato that does come close to that memory of my childhood… Heirloom Tomatoes. You may or may not have seen them at your local supermarket. They are usually not the perfect round tomatoes that many of us have come accustomed to seeing and they come in an array of colors – red, orange, yellow, green and purple. Recently I came across a torte recipe – Tomato-Fontina Torte with Rosemary Crust – incorporating these tomatoes and I knew I had to try it. It took visiting a few different supermarkets, but, I finally found decent heirloom tomatoes to use.

IMG_4991

I started the torte by making the crust… I combined flour, sugar, fresh rosemary, salt and pepper in the bowl of my food processor.

IMG_4980

After I pulsed it until it was just combined I added in 12 tablespoons of cold butter cut into small pieces and pulsed the mixture until it looked like coarse meal.

IMG_4984

I then added in eggs while the food processor was running so the dough could come together.

IMG_4986

After kneading the dough on a lightly floured surface I pressed it into the bottom and halfway up the sides of a 9-inch springform pan. I then covered it and refrigerated it overnight.

IMG_4988

The following day, while the crust was still in the refrigerator, I prepped the heirloom tomatoes by slicing them, spreading them on baking sheets and sprinkling them with kosher salt so they could release some of their juices.

IMG_4998

I also got my other ingredients together… shredded fontina and parmesan cheeses and capocollo.

IMG_5000

I combined the 3 cups of shredded fontina with 7 tablespoons (1/2 cup minus 1 tablespoon) of shredded parmesan along with a teaspoon of fresh chopped rosemary.

IMG_5003

As you can see my tomatoes did a great job of releasing their juices. I should note that I did let them sit for about an hour as opposed to the recipe recommended 30 minutes.

IMG_5004

After patting them dry it was time to start assembling the torte. I finally took the very cold crust of out the refrigerator and sprinkled it with a tablespoon of panko breadcrumbs.

IMG_5006

Next I topped the breadcrumbs with about 1/3 of the tomatoes and then topped the tomatoes with the capocollo.

IMG_5007

On top of the capocollo I scattered half of the cheese mixture.

IMG_5008

I repeated the layering once again.

IMG_5009

And finally I used up the rest of my tomatoes for the very top layer and then sprinkled it with a tablespoon of shredded parmesan cheese.

IMG_5010

I placed the torte on a baking sheet and baked it in a 375 F preheated oven for 40 minutes. I wanted to be sure that the crust was completely cooked through so I dropped the temperature of the oven to 350 F and baked the torte for another 7 minutes. While the recipe did call for 35 minutes in a 400 F preheated oven I didn’t want to run the risk of over-cooking the torte at such a high temperature. And I am happy to say that my temperature and time adjustment was just perfect…

IMG_5012

I let the torte cool for about an hour before removing the ring from the springform pan.

IMG_5028

This was absolutely delicious and I can’t wait to make it again! There’s isn’t one flavor that overpowers the torte… In every bite you get a hint of the rosemary, the tomatoes, capocollo and best of all the cheese.

IMG_5032n


Tomato-Fontina Torte with Rosemary Crust

Ingredients:

2 cups all-purpose flour, plus more for dusting

2 tablespoons sugar

2 teaspoons chopped fresh rosemary

Kosher salt and freshly ground pepper

1 1/2 sticks (12 tablespoons) cold unsalted butter, cut into small pieces

2 large eggs, plus 1 egg yolk

2 1/2 to 3 pounds assorted heirloom tomatoes

3 cups shredded fontina cheese (about 12 ounces)

1/2 cup grated pecorino cheese or parmesan cheese (1 ounce)

1/4 cup panko breadcrumbs

1/3 pound thinly sliced capicola (capocollo) ham, cut into strips

2 teaspoons extra-virgin olive oil


Directions:

1. Combine the flour, sugar, 1 teaspoon rosemary, 1/4 teaspoon salt and 1/2 teaspoon pepper in a food processor and pulse until just combined. Add the butter and pulse until the mixture looks like coarse meal.

2. Whisk the eggs and egg yolk in a small bowl. With the motor running, add the eggs to the food processor and process until the dough just gathers into a ball. Turn out onto a lightly floured surface and gently knead until soft and pliable. Press the dough into the bottom and about halfway up the side of a 9-inch springform pan. Cover and refrigerate the crust until very cold, at least 1 hour or overnight.

3. Slice the tomatoes and spread them out on 2 baking sheets in a single layer. Sprinkle lightly with salt and set aside until they release some of their juices, about 30 minutes. Meanwhile, combine the fontina and all but 1 tablespoon of the pecorino (parmesan) in a bowl; add the remaining 1 teaspoon rosemary.

4. Preheat the oven to 400 F. Pat the tomatoes gently with paper towels to absorb the excess moisture. Sprinkle 1 tablespoon panko in the crust, then top with one-third of the tomatoes. Scatter half of the ham over the tomatoes, then half of the cheese mixture. Repeat with the remaining 3 tablespoons panko, another one-third of the tomatoes and the remaining ham and cheese. Top with a final layer of tomatoes and sprinkle with the reserved 1 tablespoons pecorino (parmesan); drizzle with olive oil.

5. Transfer the pan to a baking sheet and bake until the crust is golden and the cheese is melted, about 35 minutes. Transfer to a rack and let cool about 1 hour, then remove the springform ring.


S’Mores Stuffed Chocolate Chip Cookies

Not that long ago I finally joined Pinterest and while I am no nowhere near being an expert on it, I am getting the gist of it. Maybe with the holiday season just around the corner I’ll utilize it a bit more. Luckily I have friends who are on it who find cool things to share with me and politely hint at me to try, like S’mores Stuffed Chocolate Chip Cookies . I’ve actually never had a s’more; mainly because I am not particularly fond of marshmallows. I recall eating them as a child but chances are I ate one too many of them and got my fill. I figured since these marshmallows would melt into the cookie while baking I wouldn’t be bothered by them. And boy was I right!

IMG_4864

I began by making the chocolate chip cookie dough.

IMG_4847

I then gathered my three ingredients to make s’mores – graham crackers, chocolate and marshmallows.

IMG_4848

And a assembled a s’more. I should note that I opted to use mini-marshmallows as opposed to the larger ones which probably explains the lack of marshmallow gooeyness in my cookie. I’m not complaining though!

IMG_4850

This is where the messy part began and I’ll spare you those pictures – mainly because I didn’t take any since my hands were covered with cookie dough. Using an ice cream scoop I scooped the dough into the palm of my hand and flattened it. I then placed the s’more on the flattened cookie dough and then placed another ice cream sized scoop of cookie dough on top of the s’more and smoothed the dough to form a decent sized mound. One more thing about those pesky marshmallows, if I had used the larger sized ones it probably would have been easier to shape the cookies since the smaller ones allowed the graham cracker and chocolate to move around a lot while forming the cookie.

IMG_4855

I baked the cookies (4 at a time) in a 350 F preheated oven for 15 minutes – they were just beginning to brown and the tops were cracking a bit. I let them cook on the pan for 10 minutes before transferring them to a wire rack to cool completely.

IMG_4852

Overall these cookies are amazing! The cookie itself was delicious and I will probably use the recipe the next time I make basic chocolate chip cookies.

IMG_4858

But the best part is when you split the cookie in half and you have all that chocolate in the middle… YUM!!!

IMG_4863


S’Mores Stuffed Chocolate Chip Cookies 

Makes 12 Large Cookies

Ingredients:

2 sticks softened butter

1 Cup granulated sugar

3/4 Cup packed light brown sugar

2 eggs

1 Tablespoon vanilla

3 1/2 Cup all-purpose flour

1 teaspoon kosher salt

1 teaspoon baking soda

2 Cups semi-sweet chocolate chips

24 graham cracker quarters or 12 full sheets separated at perforations

3 Hershey Bars, broken into rows of 3 bars

12 large marshmallows cut in half lengthwise**

Directions:

1.  Preheat oven to 350 degrees F. and line a large baking sheet with parchment or a silpat liner.

2.  In a stand or electric mixer, beat the butter and sugars until light and fluffy.  Add eggs and vanilla, continue to beat until well combined.

3.  Place flour, salt and baking soda into a bowl; mix to combine then add slowly to wet ingredients along with the chocolate chips.

4.  Layer a graham cracker quarter with 3 Hershey chocolate squares and 2 marshmallow halves.  Close with another graham cracker.  Top s’more with a large scoop of cookie dough.  Place in hands and place another large scoop on bottom then front and back sides as needed.  Form dough around s’mores.  Will get messy, but stick with it, it does not have to be perfect.  S’mores will move around but it’s no big deal.  Place large cookies onto prepared baking sheet and bake for 15-17 minutes or until edges are golden and centers are cooked through.  Let cool for 10 minutes before transferring to cooling rack or serving plate.


Sweet Corn Panna Cotta with Blueberry Compote

I recently signed up for Food & Wine Magazine’s Daily email where I get one sensational (their words not mine) recipe emailed to me every day. I usually glance at the recipe and then delete the email, not because the dish sounds bad, but because I know I will never make it. A week or two ago I got one recipe that I knew I wanted to try… A Sweet Corn Panna Cotta with Fresh Blueberry Compote. I had panna cotta for dessert at a restaurant a few years ago and instantly loved it; granted that one was a Mango Panna Cotta with a Passion Fruit Sauce. I never attempted to make it myself because I thought that it would be difficult – the one recipe I came across was a bit intimidating but once I saw this one I knew I could handle it.

IMG_4879

I began my shucking two ears of corn and then used a corn zipper to remove the kernels and boiled them for about 15 minutes until they were tender.

IMG_4830

Following that I rinsed the kernels in cold water and then transferred them into the bowl of my food processor.

IMG_4834

Meanwhile I sprinkled 1 1/2 teaspoons of unflavored gelatin powder over 1/4 cup of whole milk, which I let stand for 5 minutes.

IMG_4831

In a small saucepan I combined whole milk, heavy cream, salt, granulated sugar, and dark brown sugar and brought it to a simmer over medium heat whisking it to dissolve the sugars.

IMG_4833

I then poured the hot milk mixture into the bowl with the gelatin mixture and stirred it until the gelatin dissolved.

IMG_4835

I then poured the mixture over the corn in the food processor.

IMG_4837

I pureed the corn and milk mixture until it was smooth and then strained it through a sieve pressing on the solids to get all of the liquid out and then discarded the solids.

IMG_4839

I strained the mixture once again through the sieve and then placed the bowl in an ice bath until it was cool, stirring it occasionally.

IMG_4841

And finally I divided the mixture into four 8-ounce ramekins, covered them and placed them in the refrigerator overnight so they could set. In all honesty, I had my doubts that I made the panna cotta correctly because it was so watery when I poured it into the ramekins. I checked one of them an hour or so after refrigerating it to make sure it was solidifying and I am happy to say I had made them correctly!

IMG_4843

While the panna cotta was “baking” in the fridge I made the Blueberry Compote which couldn’t have been simpler. I combined blueberries with sugar, lemon zest, lemon juice and kosher salt and mixed it until the sugar was dissolved and then let it stand for a bit (at least 30 minutes), stirring it occasionally.

IMG_4846

The set panna cotta…

IMG_4875

And topped with the Blueberry Compote.

IMG_4876

This was absolutely delicious! The panna cotta was the perfect texture, silky and smooth, and the corn flavor was just perfect without being too sweet or having too much of a “vegetable” taste, for those of you who aren’t keen on eating your veggies.

IMG_4882

Sweet Corn Panna Cotta with Fresh Blueberry Compote

Servings: 4

Ingredients:

Panna Cotta

2 ears of corn, husked

1 1/2 teaspoons unflavored powdered gelatin

3/4 cup plus 1 tablespoon whole milk

1 cup plus 2 1/2 tablespoons heavy cream

1/4 teaspoon plus 1/8 teaspoon kosher salt

1/4 cup plus 2 tablespoons granulated sugar

3 tablespoons dark brown sugar

Blueberry Compote

1 tablespoon sugar

1/2 teaspoon finely grated lemon zest

1 1/2 teaspoons fresh lemon juice

Pinch of kosher salt

1 1/2 cups blueberries

Directions: 

1. Make the Panna Cotta: In a medium pot fitted with a steamer basket, steam the corn until tender, 15 minutes. Let cool, then cut the kernels from the cobs (you should have 1 1/2 cups); discard the cobs. Transfer the kernels to a blender.*

2. Meanwhile, in a heatproof medium bowl, sprinkle the gelatin over 1/4 cup of the milk. Let stand for 5 minutes.

3. In a small skillet, combine the remaining 1/2 cup plus 1 tablespoon of milk with the cream, salt and both sugars and bring to a bare simmer, whisking to dissolve the sugars. Scrape the hot milk into the gelatin and stir until the gelatin dissolves. Pour the mixture into the blender over the corn and puree until smooth.

4. Strain the puree through a sieve into a large bowl, pressing on the solids; discard the solids. Strain again without pressing; discard any solids in the sieve. Set the panna cotta in an ice bath until cool, stirring occasionally. Scrape the panna cotta into four 8-ounce ramekins. Cover and refrigerate overnight until firm.

5. Make the Blueberry Compote: In a large bowl, combine all of the ingredients and mix until the sugar is dissolved. Let stand for at least 30 minutes, stirring occasionally. Serve the panna cotta in the ramekins with the compote.

*I opted to remove the kernels from the cobs beforehand and boiled the corn for about 15 minutes and then drained it while running them under cold water to cool them. And instead of using a blender, I used a food processor.

Pesto Chicken Packets

As I mentioned in a previous post I was rained-in last week and went on a bit of a cooking binge making a Chicken Corn Chowder, a Meyer Lemon Yogurt Cake and a Pesto Sauce; the latter of which I finally put to good use and made Pesto Chicken Packets – a recipe I came across in an issue of Rachael Ray Magazine a few years back. Let me take a few steps back though and go over how I made the Pesto Sauce.

To make the sauce I combined 3 cups of basil, 1/4 cup of pine nuts, a garlic clove, 1/2 teaspoon kosher salt, and 1/4 teaspoon of black pepper in the bowl of a food processor.

IMG_4727

I pulsed the ingredients until they were combined.

IMG_4728

And then let the machine run while I drizzled 2/3 cup of olive oil into the mixture.

IMG_4729

After transferring the mixture to a bowl I stirred in a 1/4 cup of freshly grated of Parmesan cheese.

IMG_4730

Since I wasn’t using the Pesto Sauce immediately I stored it in an airtight container in my refrigerator. After being in the fridge for a few days I added a little more olive oil to the top of it to make sure it would stay fresh. And when I was ready to use it was perfect.

IMG_4732

On to the Pesto Chicken Packets…

Along with the chicken and pesto, I also needed zucchini, plum tomatoes and scallions for the recipe.

IMG_4793

I prepped the vegetables by slicing the zucchini, chopping the tomatoes and trimming the scallions.

Pesto 1

Then it was time to prep the chicken packets for the oven. I drizzled about a teaspoon of olive oil in the center of a 12-inch long sheet of aluminum foil and placed a thin-sliced chicken breast seasoned with salt and pepper on top of it. I then spread about a tablespoon of the pesto over the chicken.

IMG_4799

Next it was time to cover the chicken with about a handful of the sliced zucchini and chopped tomatoes and a few of the scallions. Prior to closing the packets I also dolloped about two tablespoons of the pesto on top.

IMG_4800

I placed all of the packets on a baking sheet and baked them in a 355 F preheated oven for 40 minutes.

IMG_4801

And voila, they were perfectly cooked in that time. This is definitely a great recipe for chicken as the juices of the zucchini, tomatoes and of course the pesto produces a chicken breast that is perfectly juicy and flavorful. I served them with brown rice and no worries I did take the chicken along with all of its components out the aluminum packet prior to eating it. How else was I going to be able to mix all the wonderful juices in with my rice?

IMG_4803


Pesto Sauce

Ingredients:

3 cups loosely packed fresh basil leaves, washed

1/4 cup pine nuts

1 garlic clove

1/2 teaspoon kosher salt

1/4 teaspoon black pepper

2/3 cup extra virgin olive oil

1/4 cup freshly grated Parmesan cheese


Directions:

1. Place the basil, pine nuts, basil, salt and pepper in the bowl of a food processor and pulse to combine.

2. While the machine is running drizzle the olive oil through the feed tube, stopping occasionally to scrape down the sides.

3. Transfer to a bowl and stir in the Parmesan cheese.


Pesto Chicken Packets

Ingredients:

Extra-Virgin olive oil, for drizzling

5 Thinly sliced skinless and boneless chicken breasts

Salt and Pepper

1 cup Pesto

2 zucchini, thinly sliced

4 plum tomatoes, chopped

10 scallions, trimmed


Directions:

1. Preheat the oven to 355 F. Cut five 12-inch long sheets of heavy-duty foil. Drizzle 1 teaspoon olive oil in the center of each sheet.

2. Season the chicken with salt and pepper. Lay 1 piece of chicken in the center of each sheet and spread 1 tablespoon pesto on top.

3. Mound a handful of the zucchini and tomatoes over each chicken breast along with two pieces of scallion. Dollop a few tablespoons pesto over each mound. Fold the foil over the chicken and vegetables; pinch the edges to seal.

4. Place the packets on a baking sheet and bake for 40 minutes.

Meyer Lemon Yogurt Cake

Key limes weren’t the only citrus fruits I picked up on a recent grocery trip; I also came across some Meyer lemons. I’m always on the lookout for fruits or vegetables that are not your typical everyday kind. So, what exactly is a Meyer Lemon? Well, it’s a cross between your basic lemon and either a mandarin or a common orange. They also have a sweeter and less acidic taste than your typical lemon. One other characteristic that sets them apart is their thin skin. I wasn’t all that sure what I was going to make with them. I began by searching for specific Meyer lemon recipes but I wasn’t all that thrilled with what I came up. I also searched through some of my cookbooks but to no avail of something that really stood out. So, I made my search simpler and just went with a basic lemon search and came across Ina Garten’s (aka The Barefoot Contessa) Lemon Yogurt Cake. The reviews for the cake were good so I just went ahead and swapped out the regular lemons for the Meyer lemons.

IMG_4783

As you can see from the picture below the Meyer lemons are also a bit rounder and the yellow-orange coloring of their skin lets you know they are perfectly ripe

IMG_4733

I began by zesting two of the lemons…

IMG_4737

And then squeezing the juice of three of the lemons to get a little more than a 1/3 of cup of juice. Their skins are so thin that a few of the halves ripped a bit while I was squeezing.

IMG_4739

In one bowl I sifted together flour, baking powder and salt.

IMG_4741

In the bowl of my stand mixer I whisked together whole milk yogurt, sugar, eggs, the lemon zest, and vanilla extract.

IMG_4742

I then slowly whisked in the dry ingredients.

IMG_4743

And finally I used a rubber spatula to fold in vegetable oil.

IMG_4744

Then it was time to pour the batter into my prepared loaf pan. I sprayed it with baking spray and then lined the bottom with parchment paper which I then sprayed with some more baking spray.

IMG_4745

I then placed the cake in a 350 F preheated oven for about 50 minutes. While the cake was in the oven I cooked an equal part of lemon juice and sugar (1/3 cup each) until the sugar dissolved and the mixture was clear and set it aside.

IMG_4756

After the letting the cake cool in the pan for 10 minutes I inverted it onto a wire rack which I had placed over a baking sheet. After poking the cake a few times I poured the lemon-sugar mixture over the cake and allowed it to soak in while the cake cooled.

IMG_4757

Once the cake was completely cooled I moved it to a platter in preparation to drizzle it with a lemon glaze, which I made by mixing confectioners’ sugar and a few tablespoons of lemon juice.

IMG_4774

The final product. I should note that the recipe called for an 8.5 x 4.25 x 2.5 inch pan, which I don’t have, so I used my 9.25 x 5.25 x 2.75 inch pan which resulted in a cake that was a bit wider and shorter but not lacking in deliciousness.

IMG_4786

This cake was absolutely divine. I thought it was going to be on the sweeter side because of the glaze and lemon and sugar juice poured over it but it only enhanced the flavor. I was extremely happy with it and can’t wait to make it again.

IMG_4785


Meyer Lemon Yogurt Cake – adapted from here

Ingredients:

1 1/2 cups all-purpose flour

2 teaspoons baking powder

1/2 teaspoon kosher salt

1 cup plain whole-milk yogurt

1 1/3 cups sugar, divided

3 large eggs

2 teaspoons grated Meyer lemon zest (2 lemons)

1/2 teaspoon pure vanilla extract

1/2 cup vegetable oil

1/3 cup freshly squeezed Meyer lemon juice

1 cup confectioners’ sugar

2 tablespoons freshly squeezed Meyer lemon juice

Directions:

1. Preheat the oven to 350 degrees F. Grease a loaf pan. Line the bottom with parchment paper and then grease the pan again.

2. Sift together the flour, baking powder, and salt in one bowl. In another bowl, whisk together the yogurt, 1 cup of sugar, the eggs, lemon zest and vanilla extract. Slowly whisk in the flour mixture. With a rubber spatula, fold the vegetable oil in the batter, making sure it’s all incorporated. Pour the batter into the prepared loaf pan and bake for about 50 minutes, or until a cake tester in the center of the loaf comes out clean.

3. Meanwhile, cook the 1/3 cup lemon juice and remaining 1/3 cup sugar in a small pan until the sugar dissolved and the mixture is clean. Set aside.

4. When the cake is done, allow it cool in the pain for 10 minutes. Carefully place on a baking rack over a sheet pan. While the cake is still warm, pour the lemon-sugar mixture over the cake and allow it to soak in. Cool.

5. For the glaze, combine the confectioners’ sugar and lemon juice and drizzle over the cake.