Recently while doing a little cleaning and organizing I came across something I purchased years ago and never used… A Betty Crocker Bake ‘n Fill Cake Pan. The pans were still in their plastic wrapping. Not really sure why I never used it, but having come across it I figured there was no time like the present to try it out. And obviously from the title of this blog post I wasn’t that successful! The cake part was fine, the fail was the filling… So, we’ll say it was a Bake ‘n Fail!
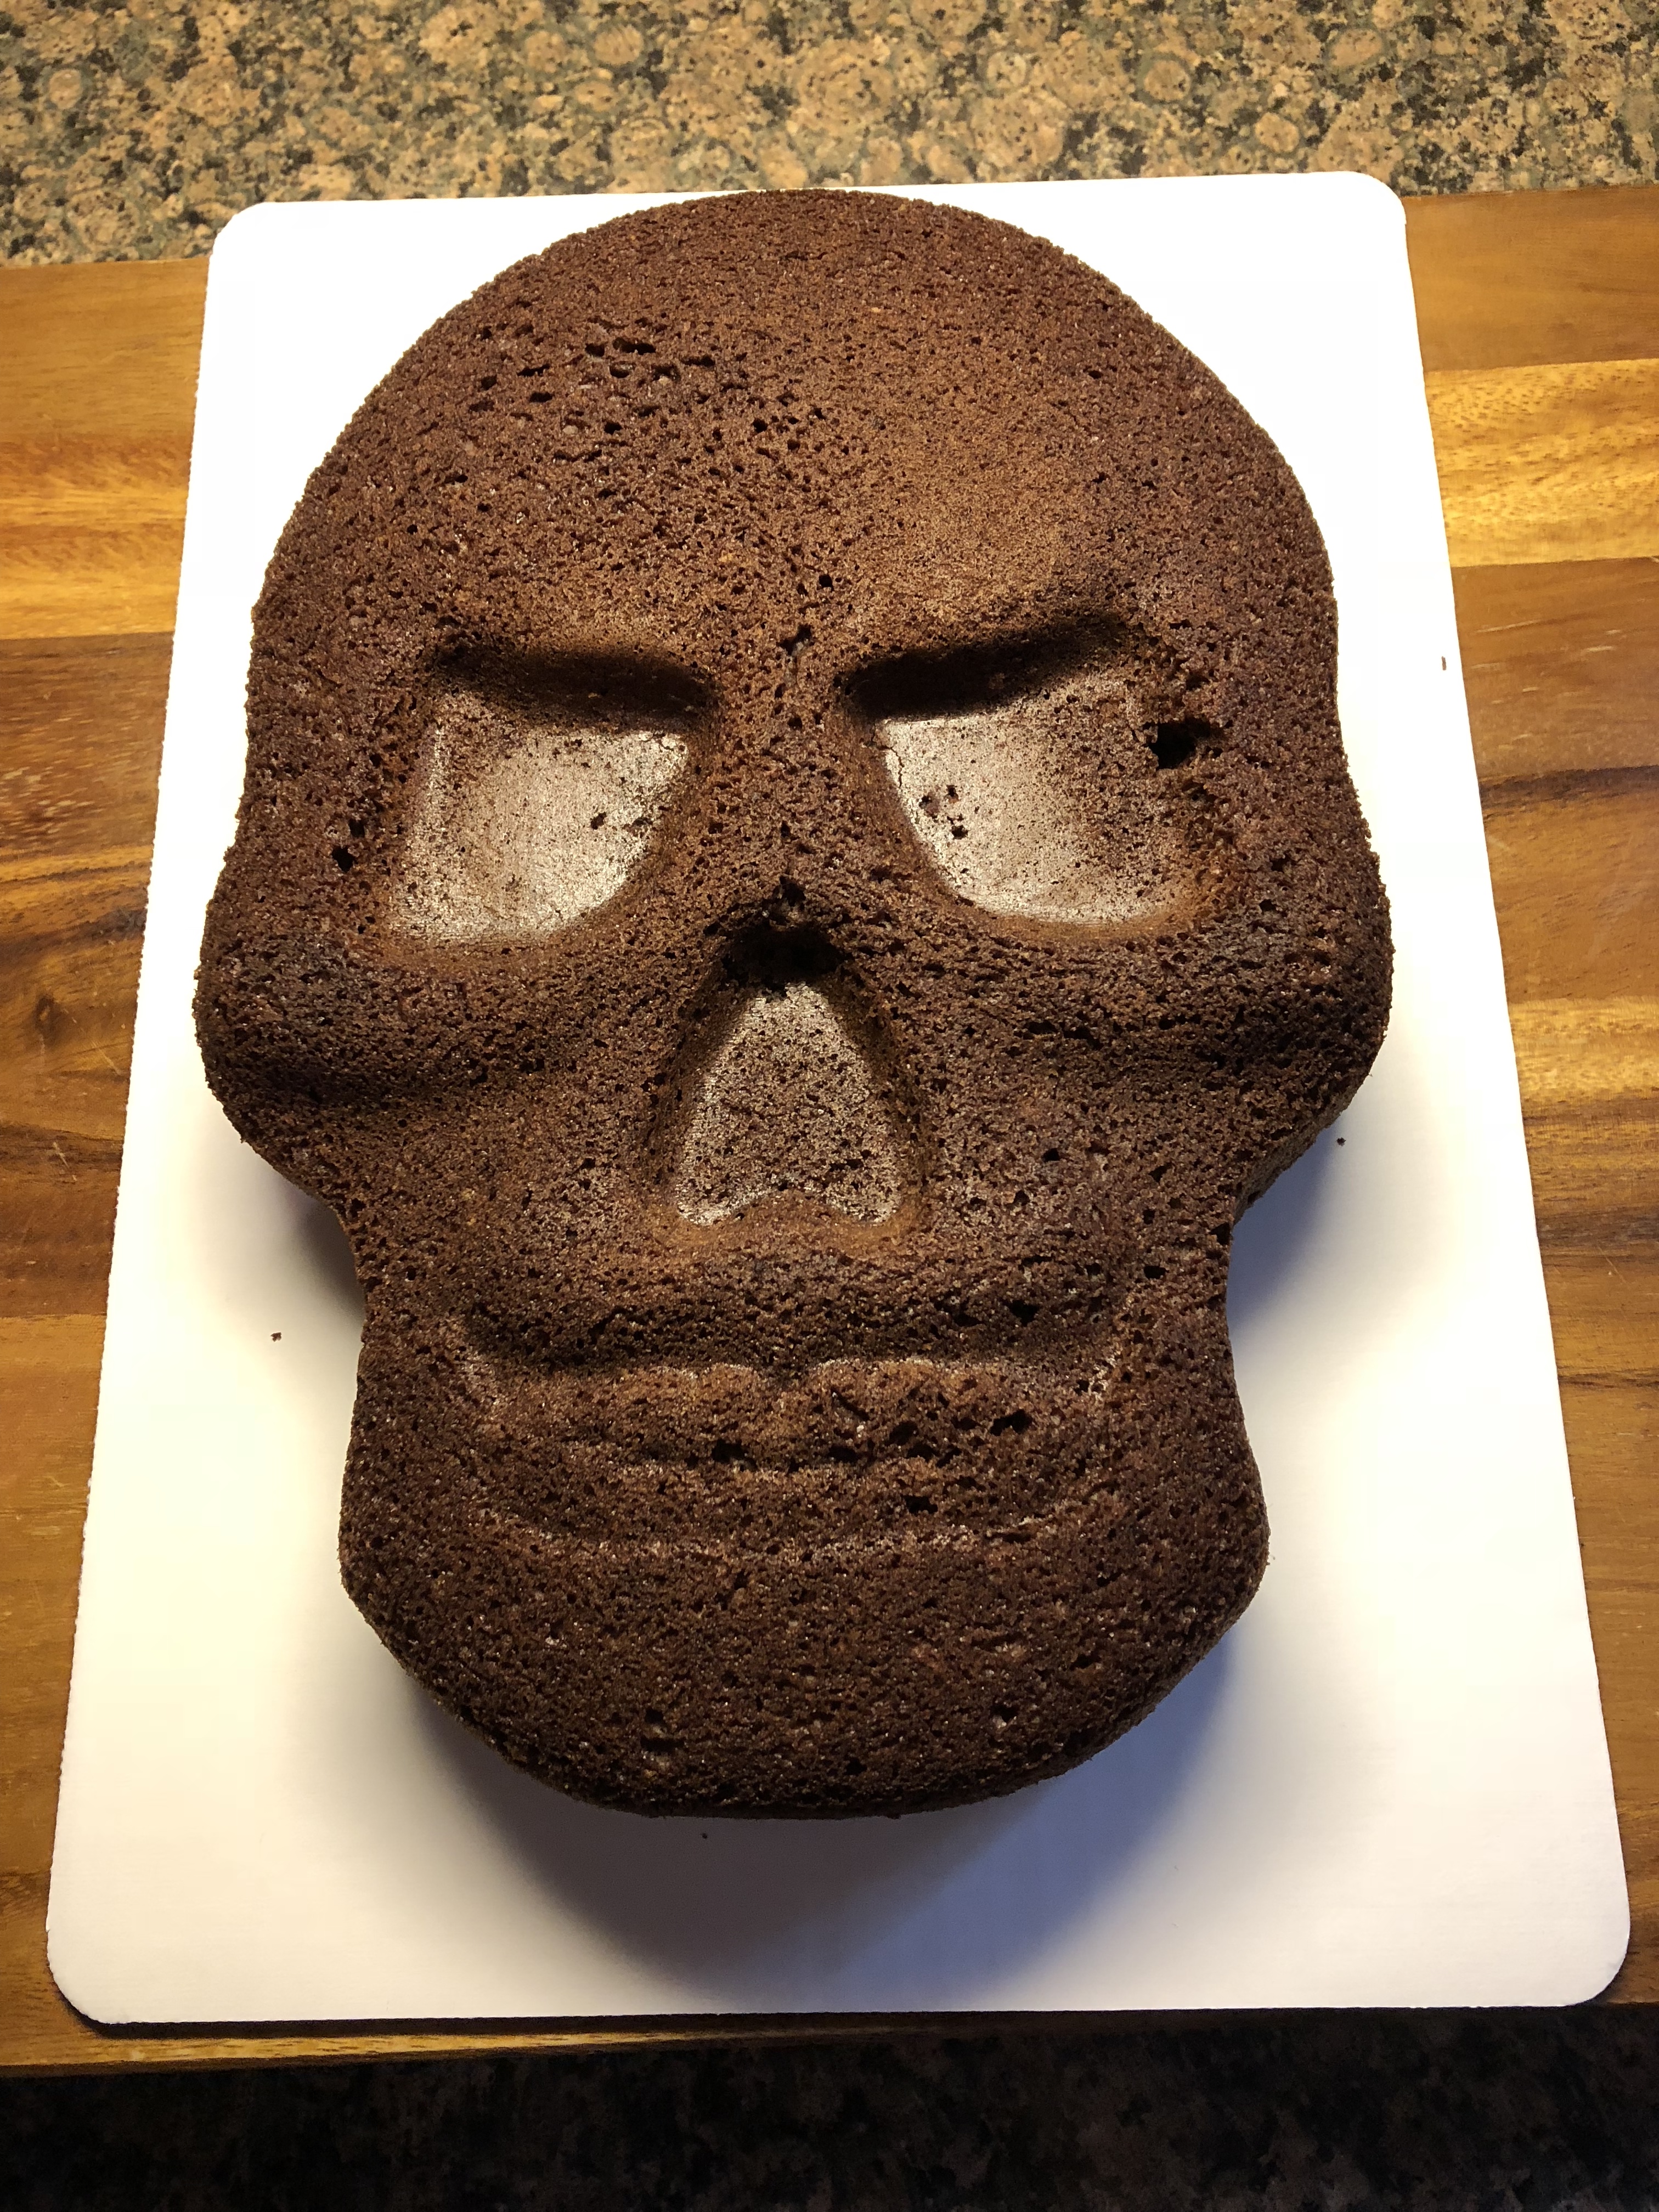
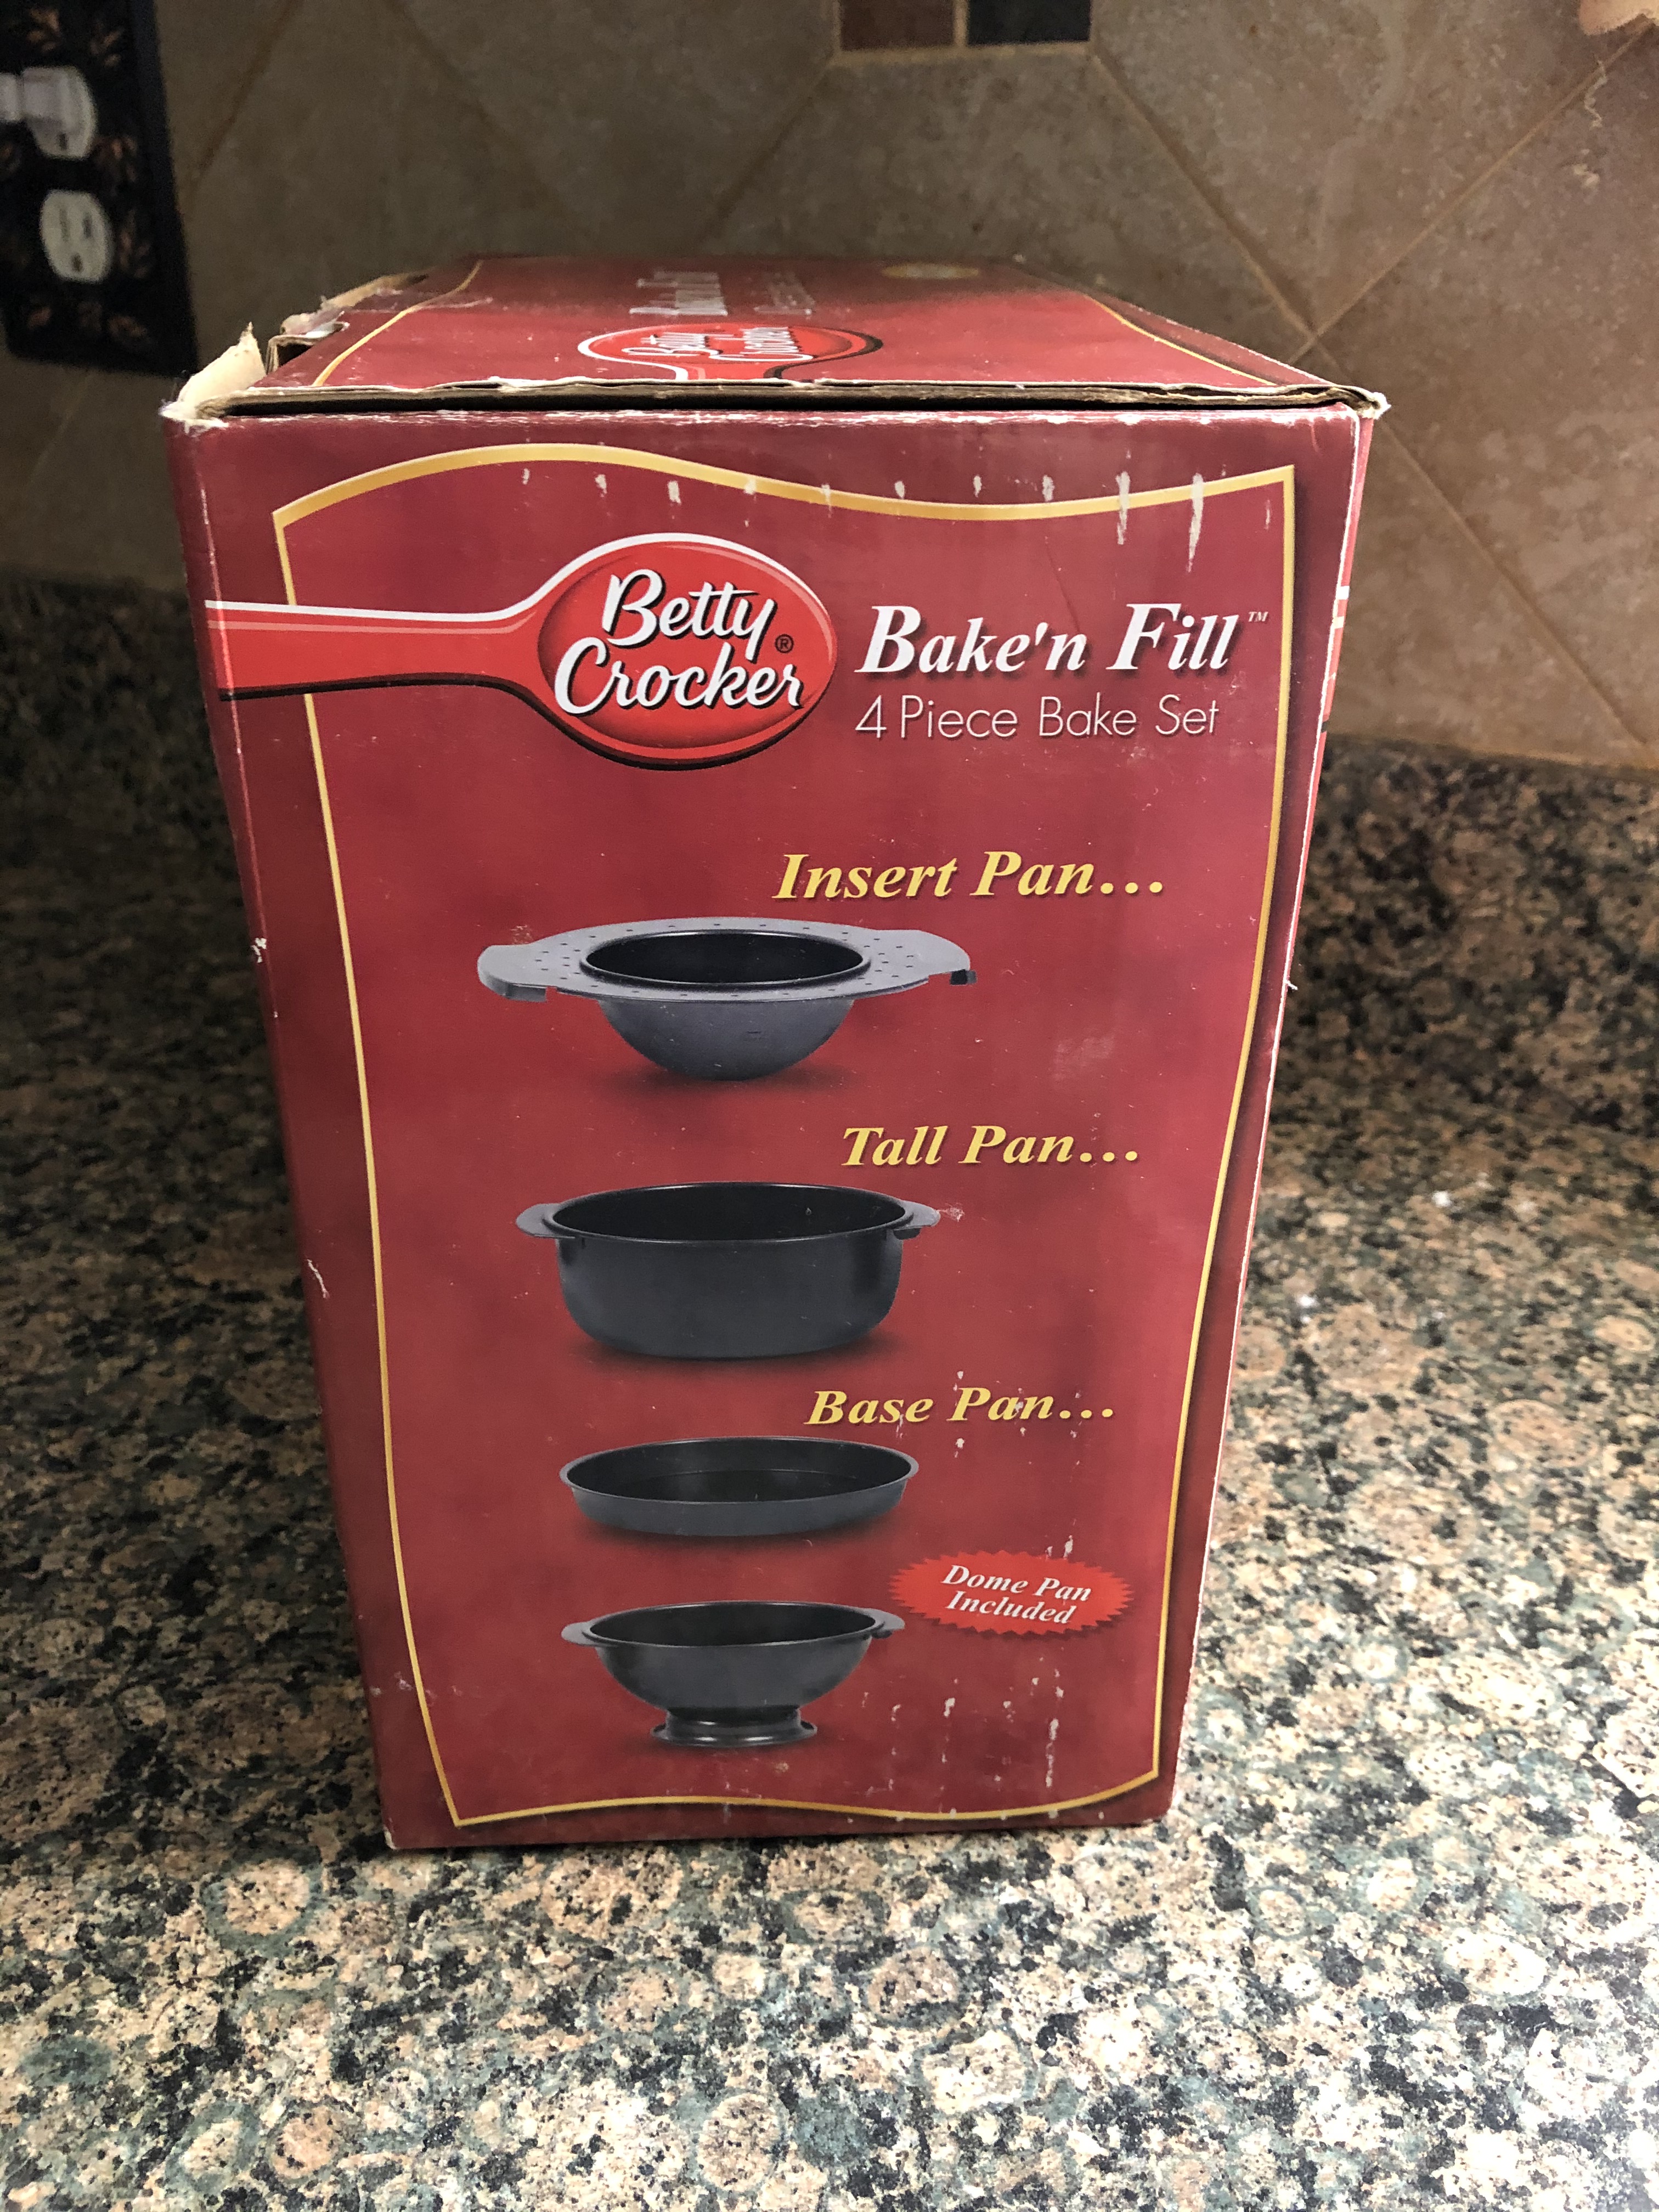
In case you have no clue what I am talking about. These pans were sold in a set by Better Crocker years ago. They first came out in the early 2000’s. Below is a link to the infomercial if you are curious. The whole idea was that you are able to create cakes with fillings (ice cream, fruit, another cake, etc.) or make a cool design like a baseball or a lady bug.
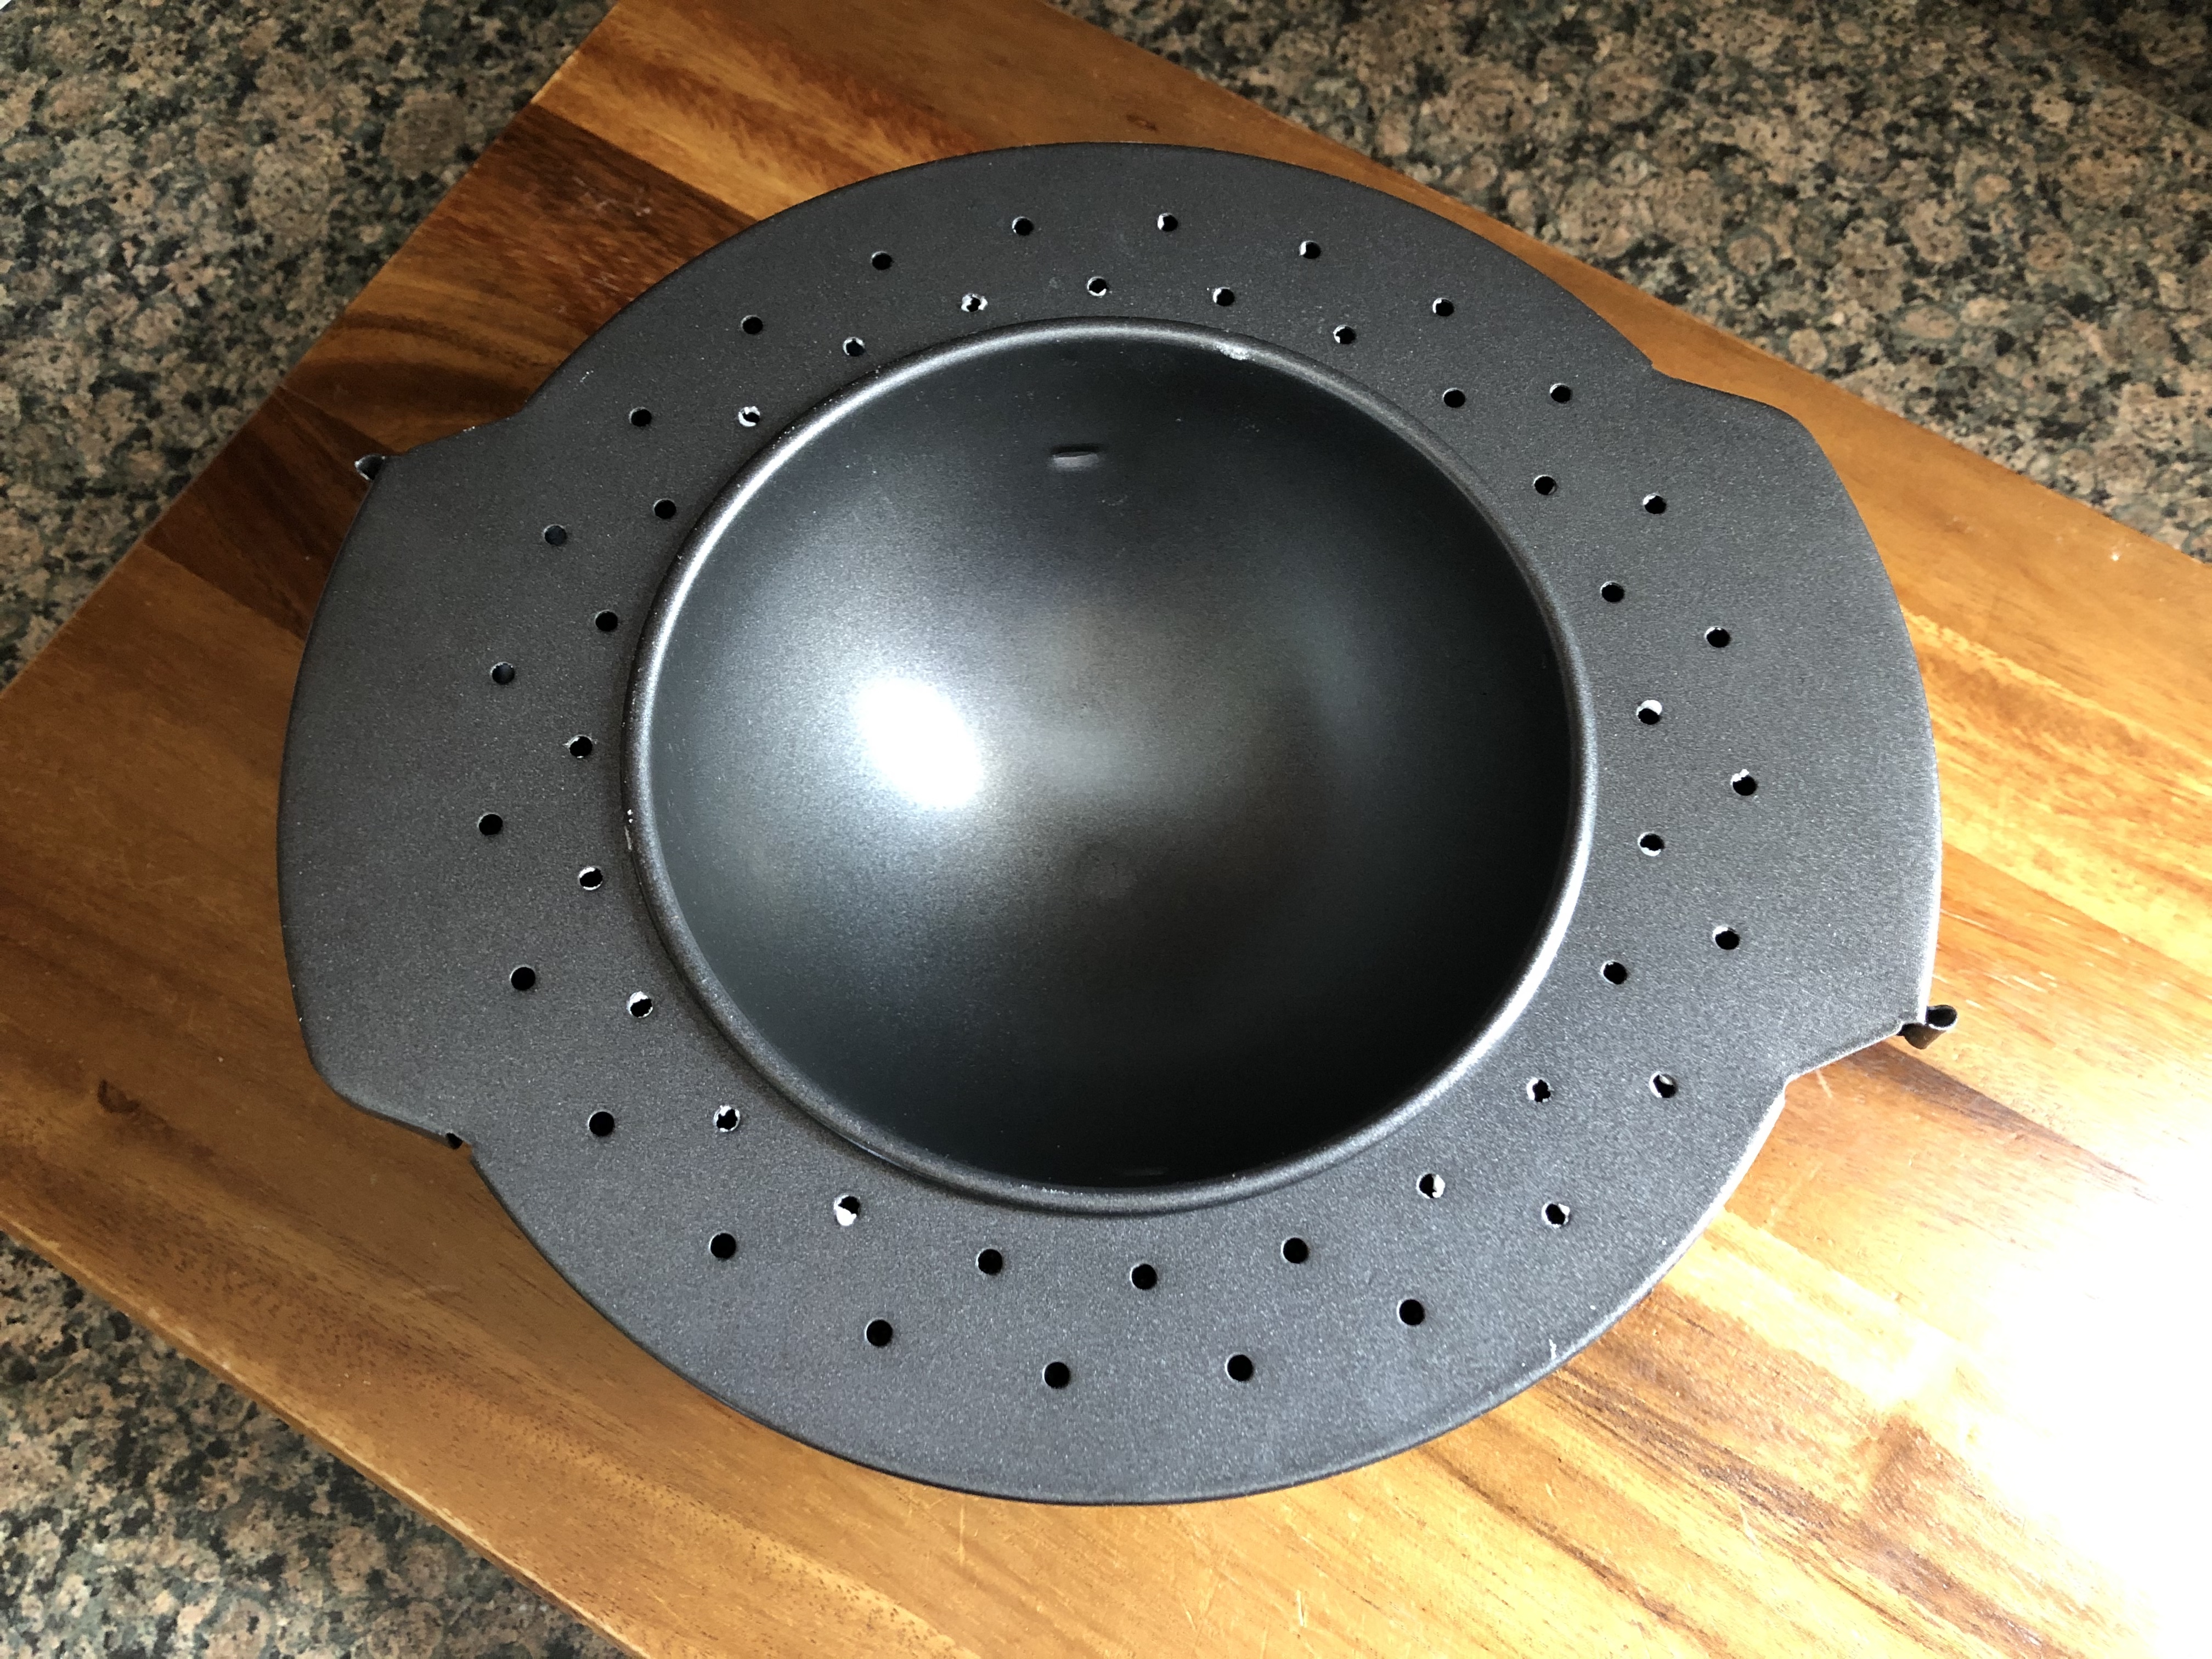
Betty Crocker Bake ‘n Fill Pan


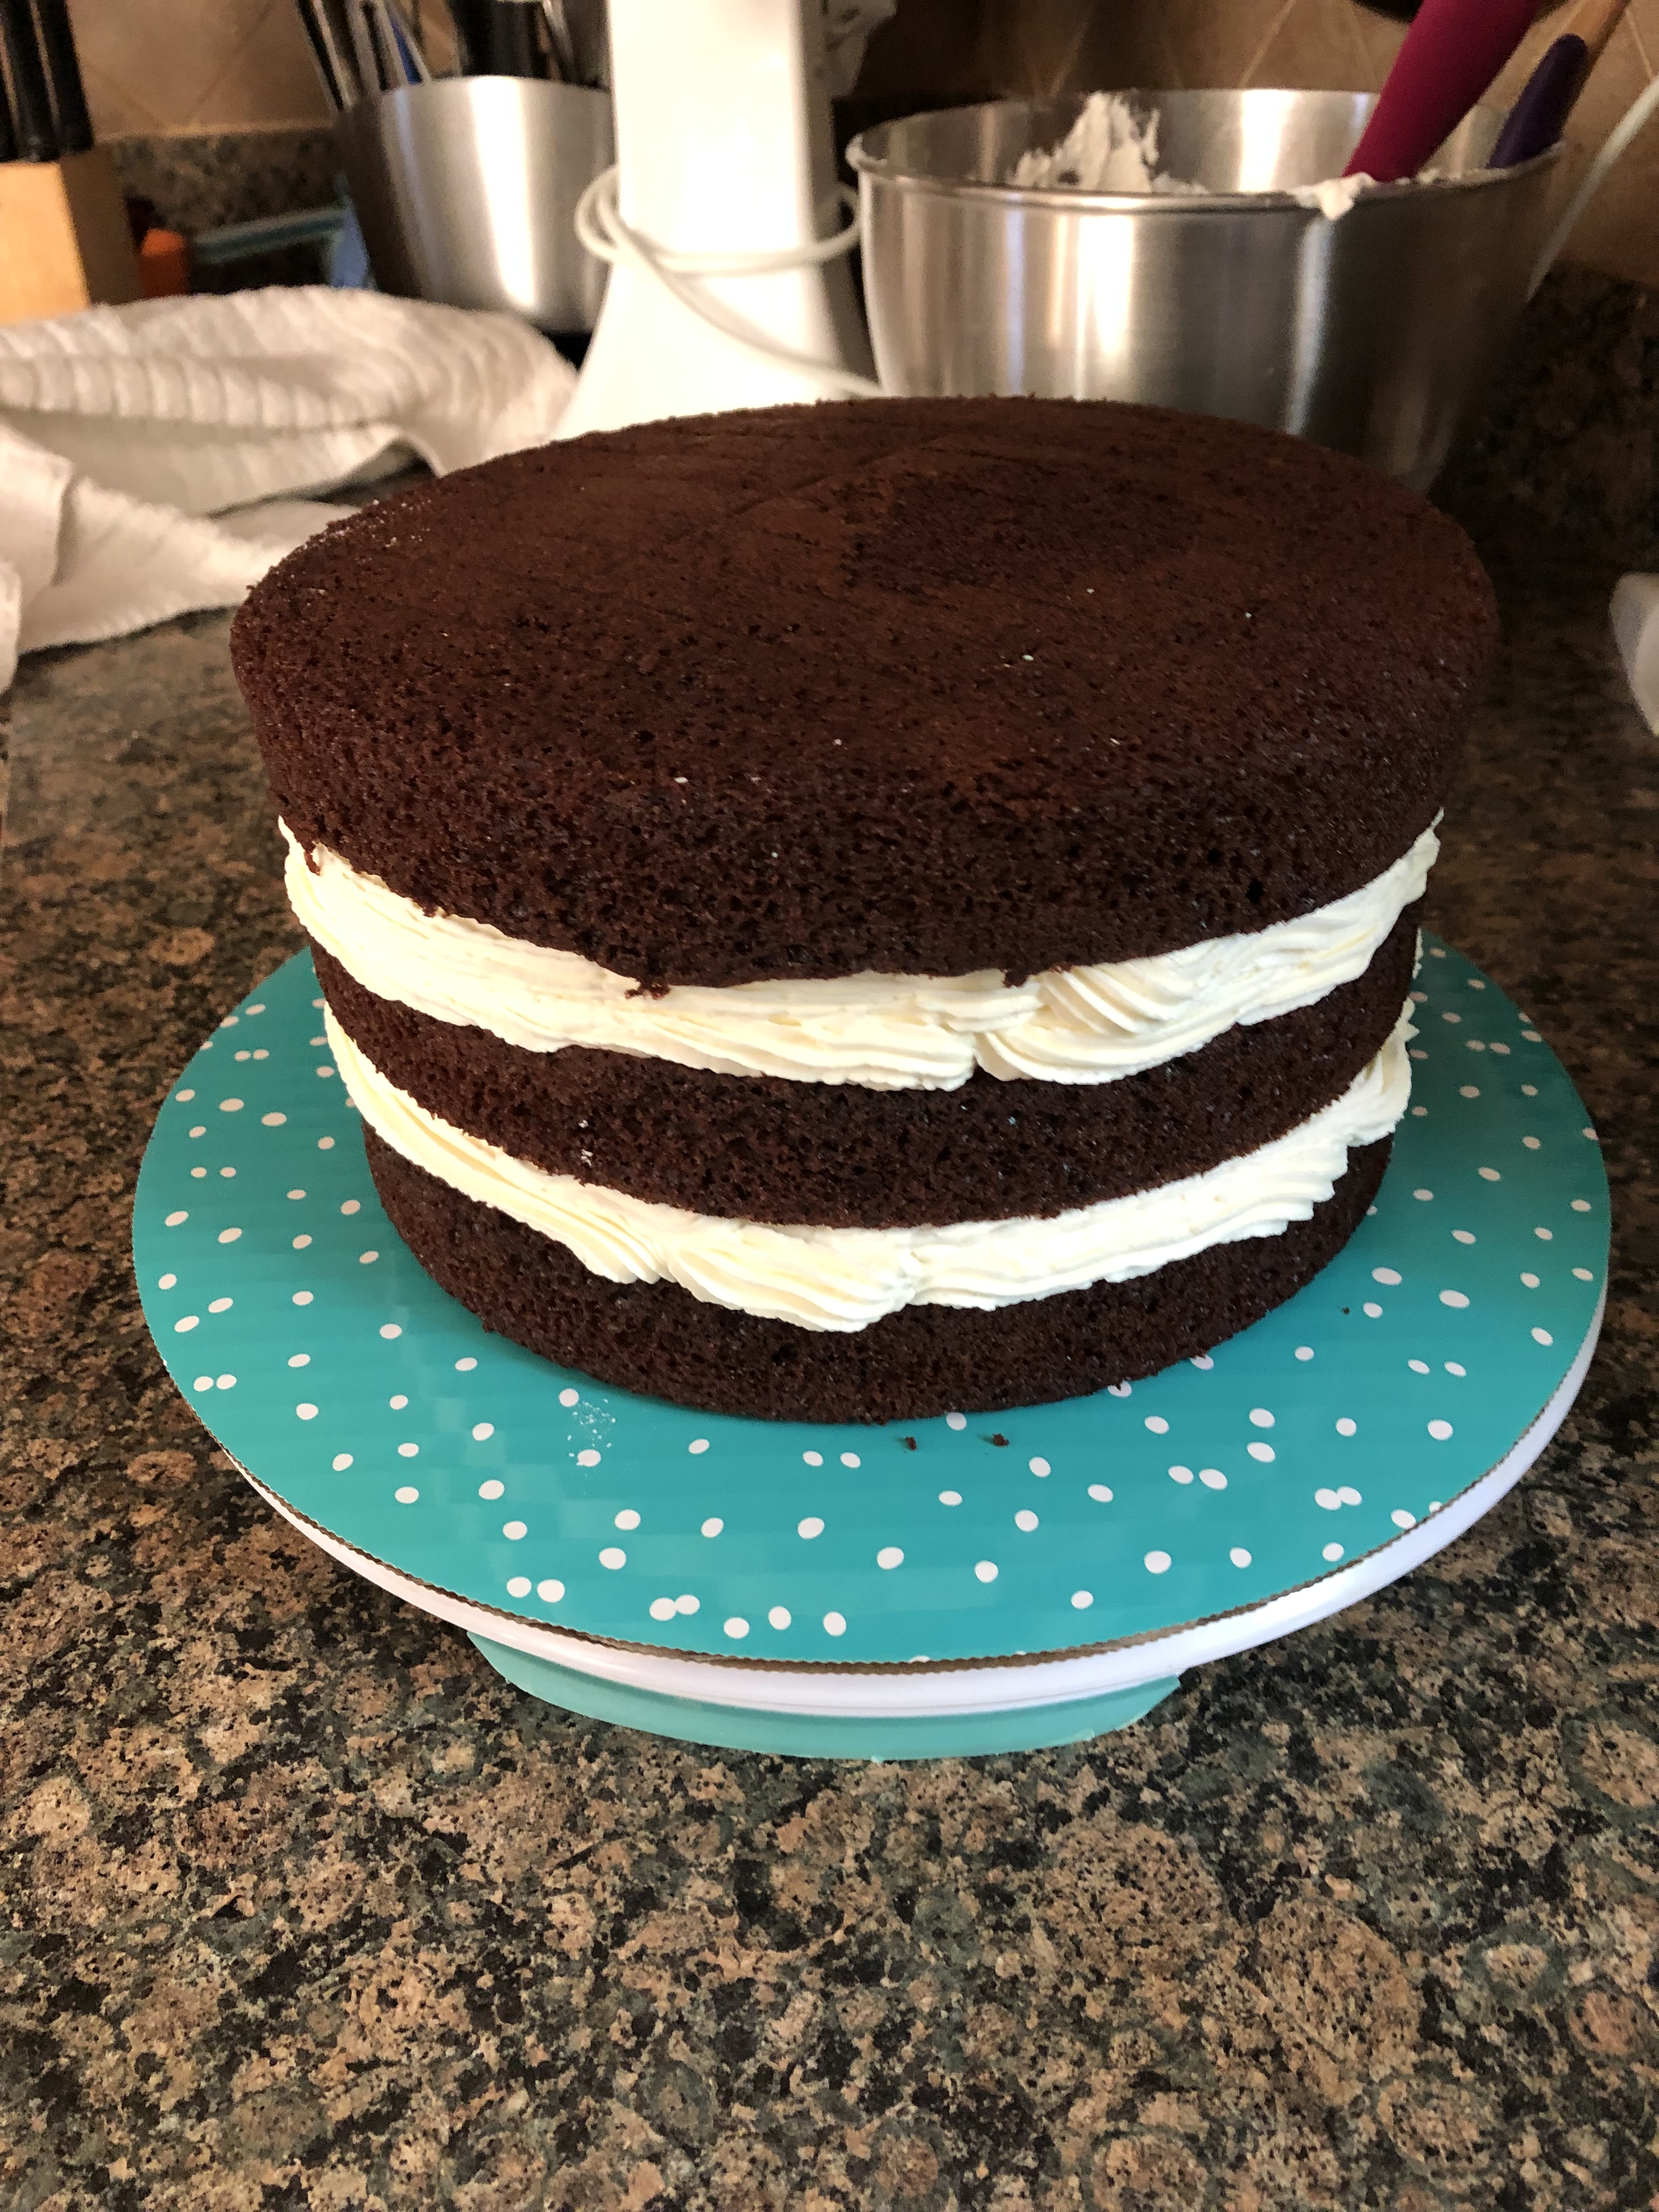
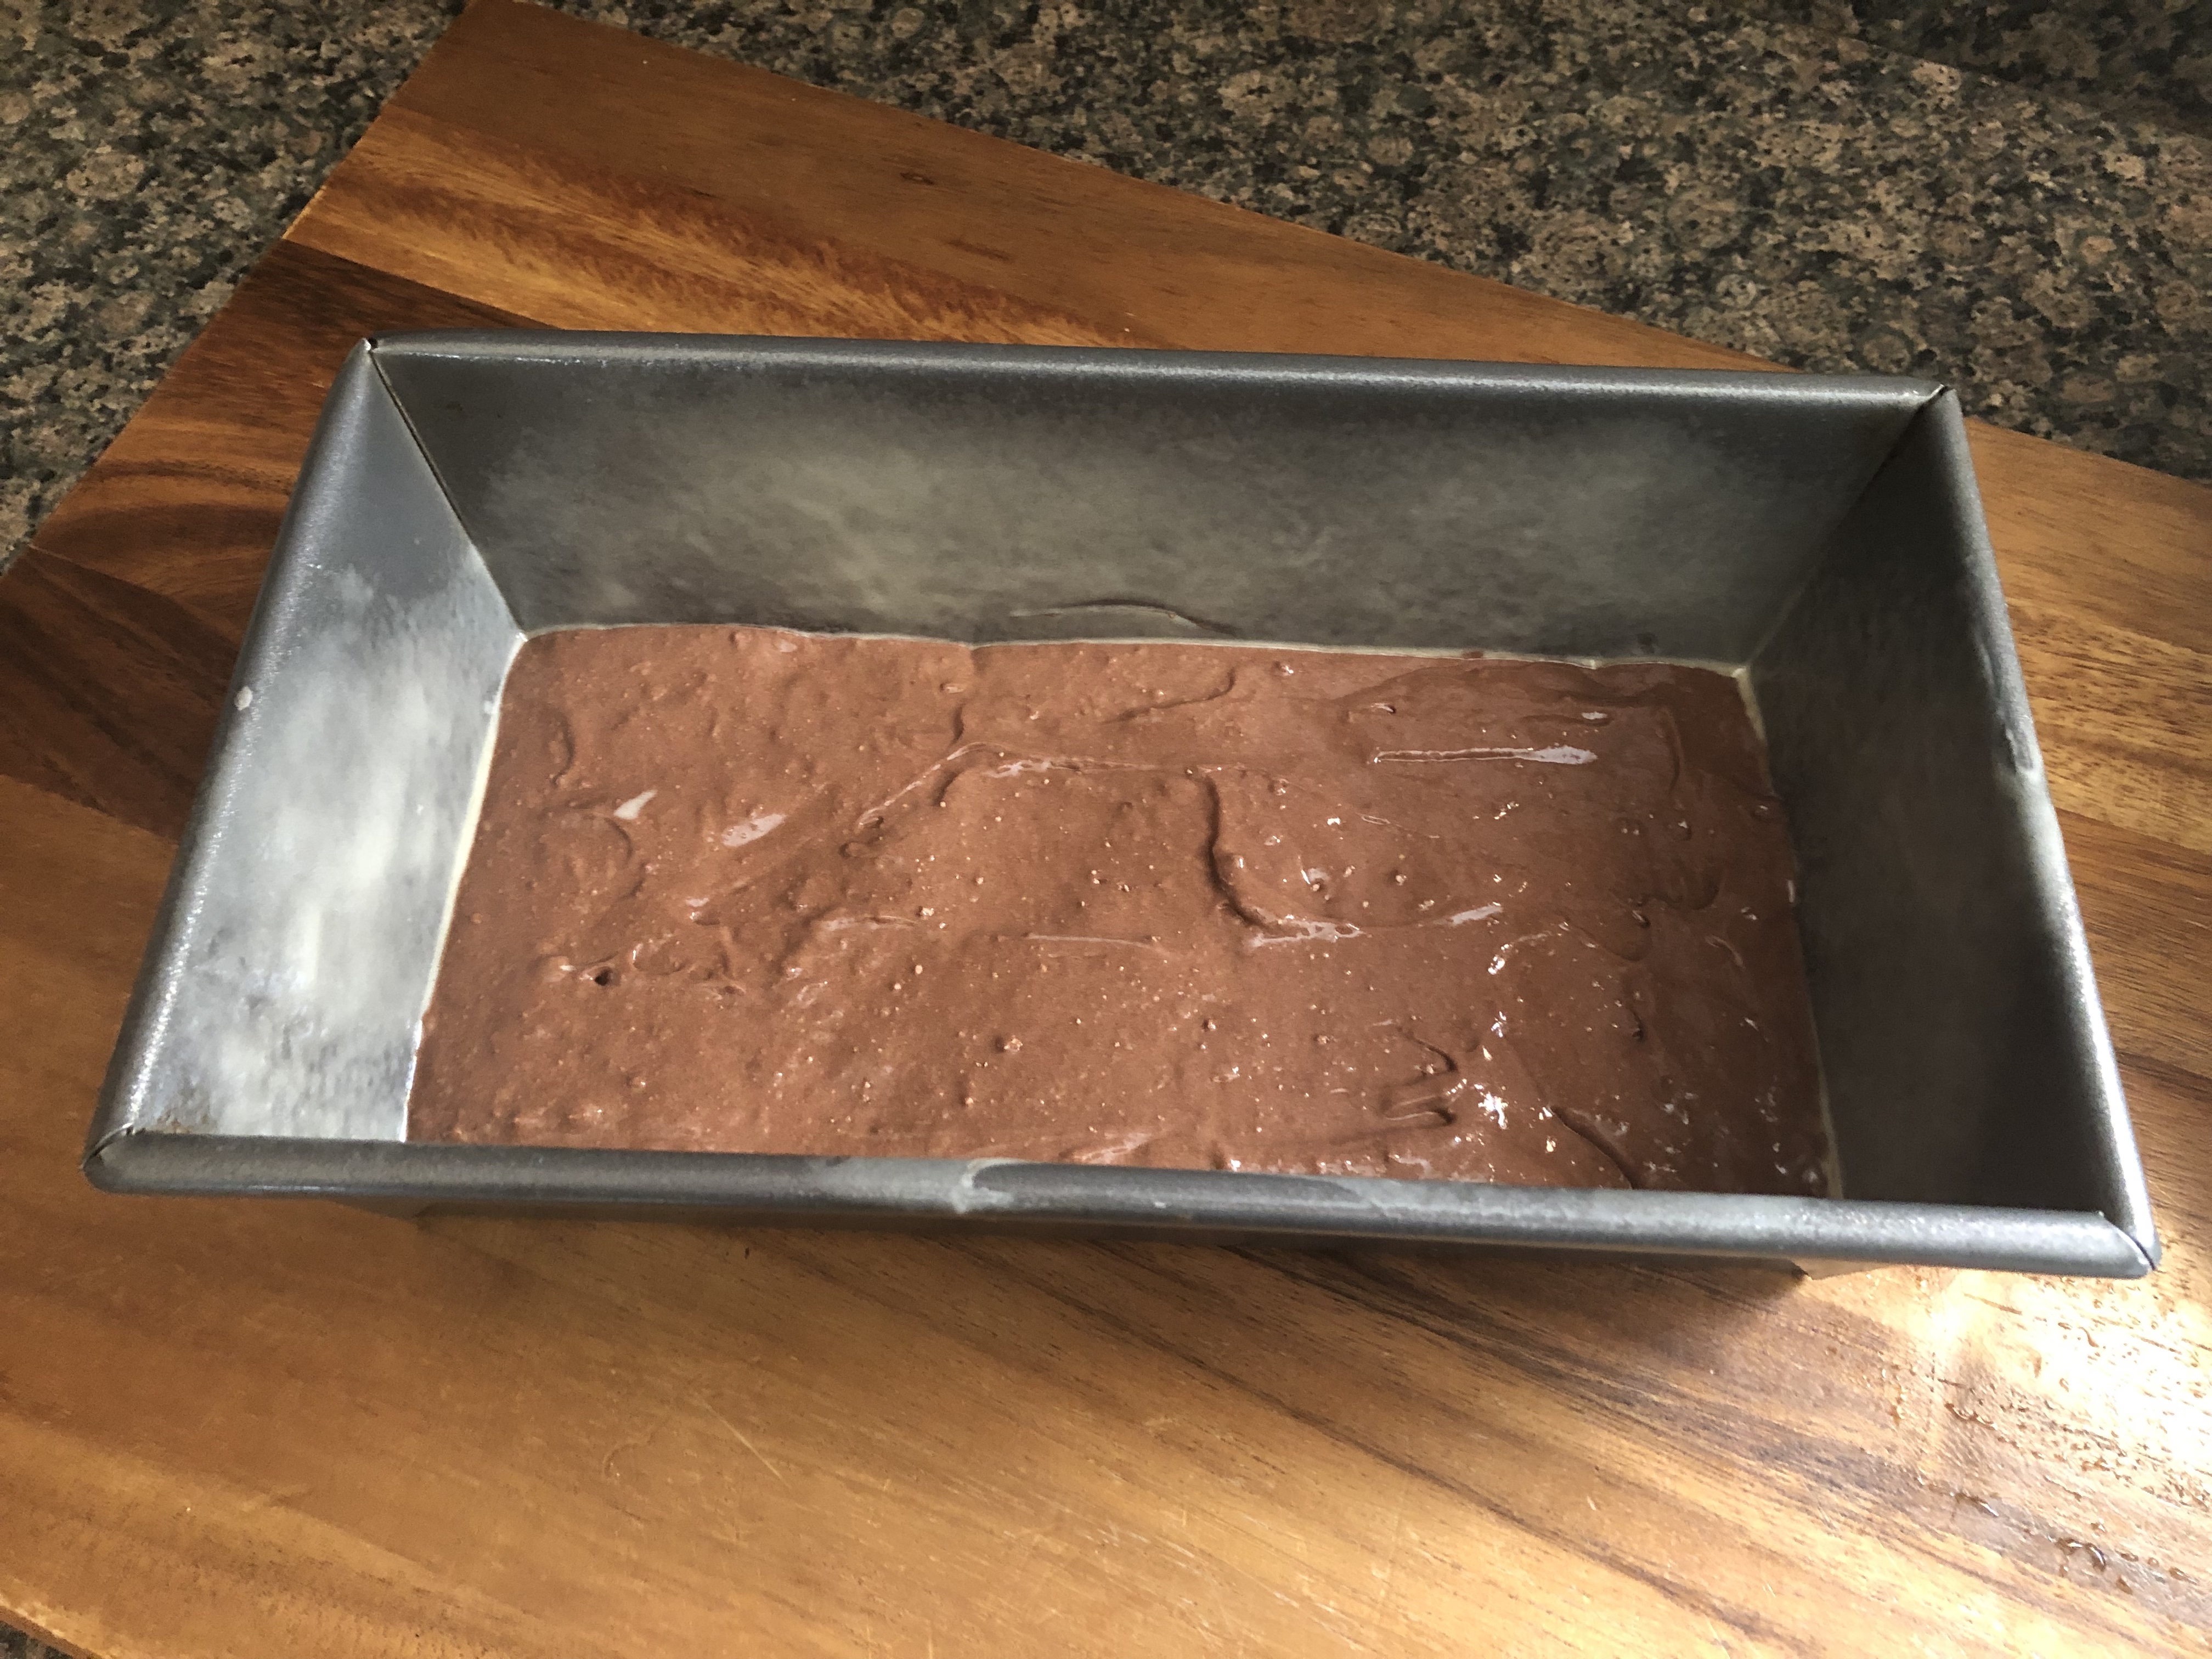
I decided to follow a recipe for a Chocolate Mocha Cake with Chocolate Mousse Filling that was in the recipe book that came with the pans. I began by prepping two of the pans – the inside of the tall pan and bottom of the insert pan (this is the pan that makes the cavity in the cake so it can be filled). Normally I spray my pan with baking spray, but, I decided to follow the directions and greased them with shortening and then coated them with flour. Next, I prepped the batter. I added all of the ingredients for it into a large bowl and beat them with a hand mixer until they were blended together. I then poured it into the tall pan.

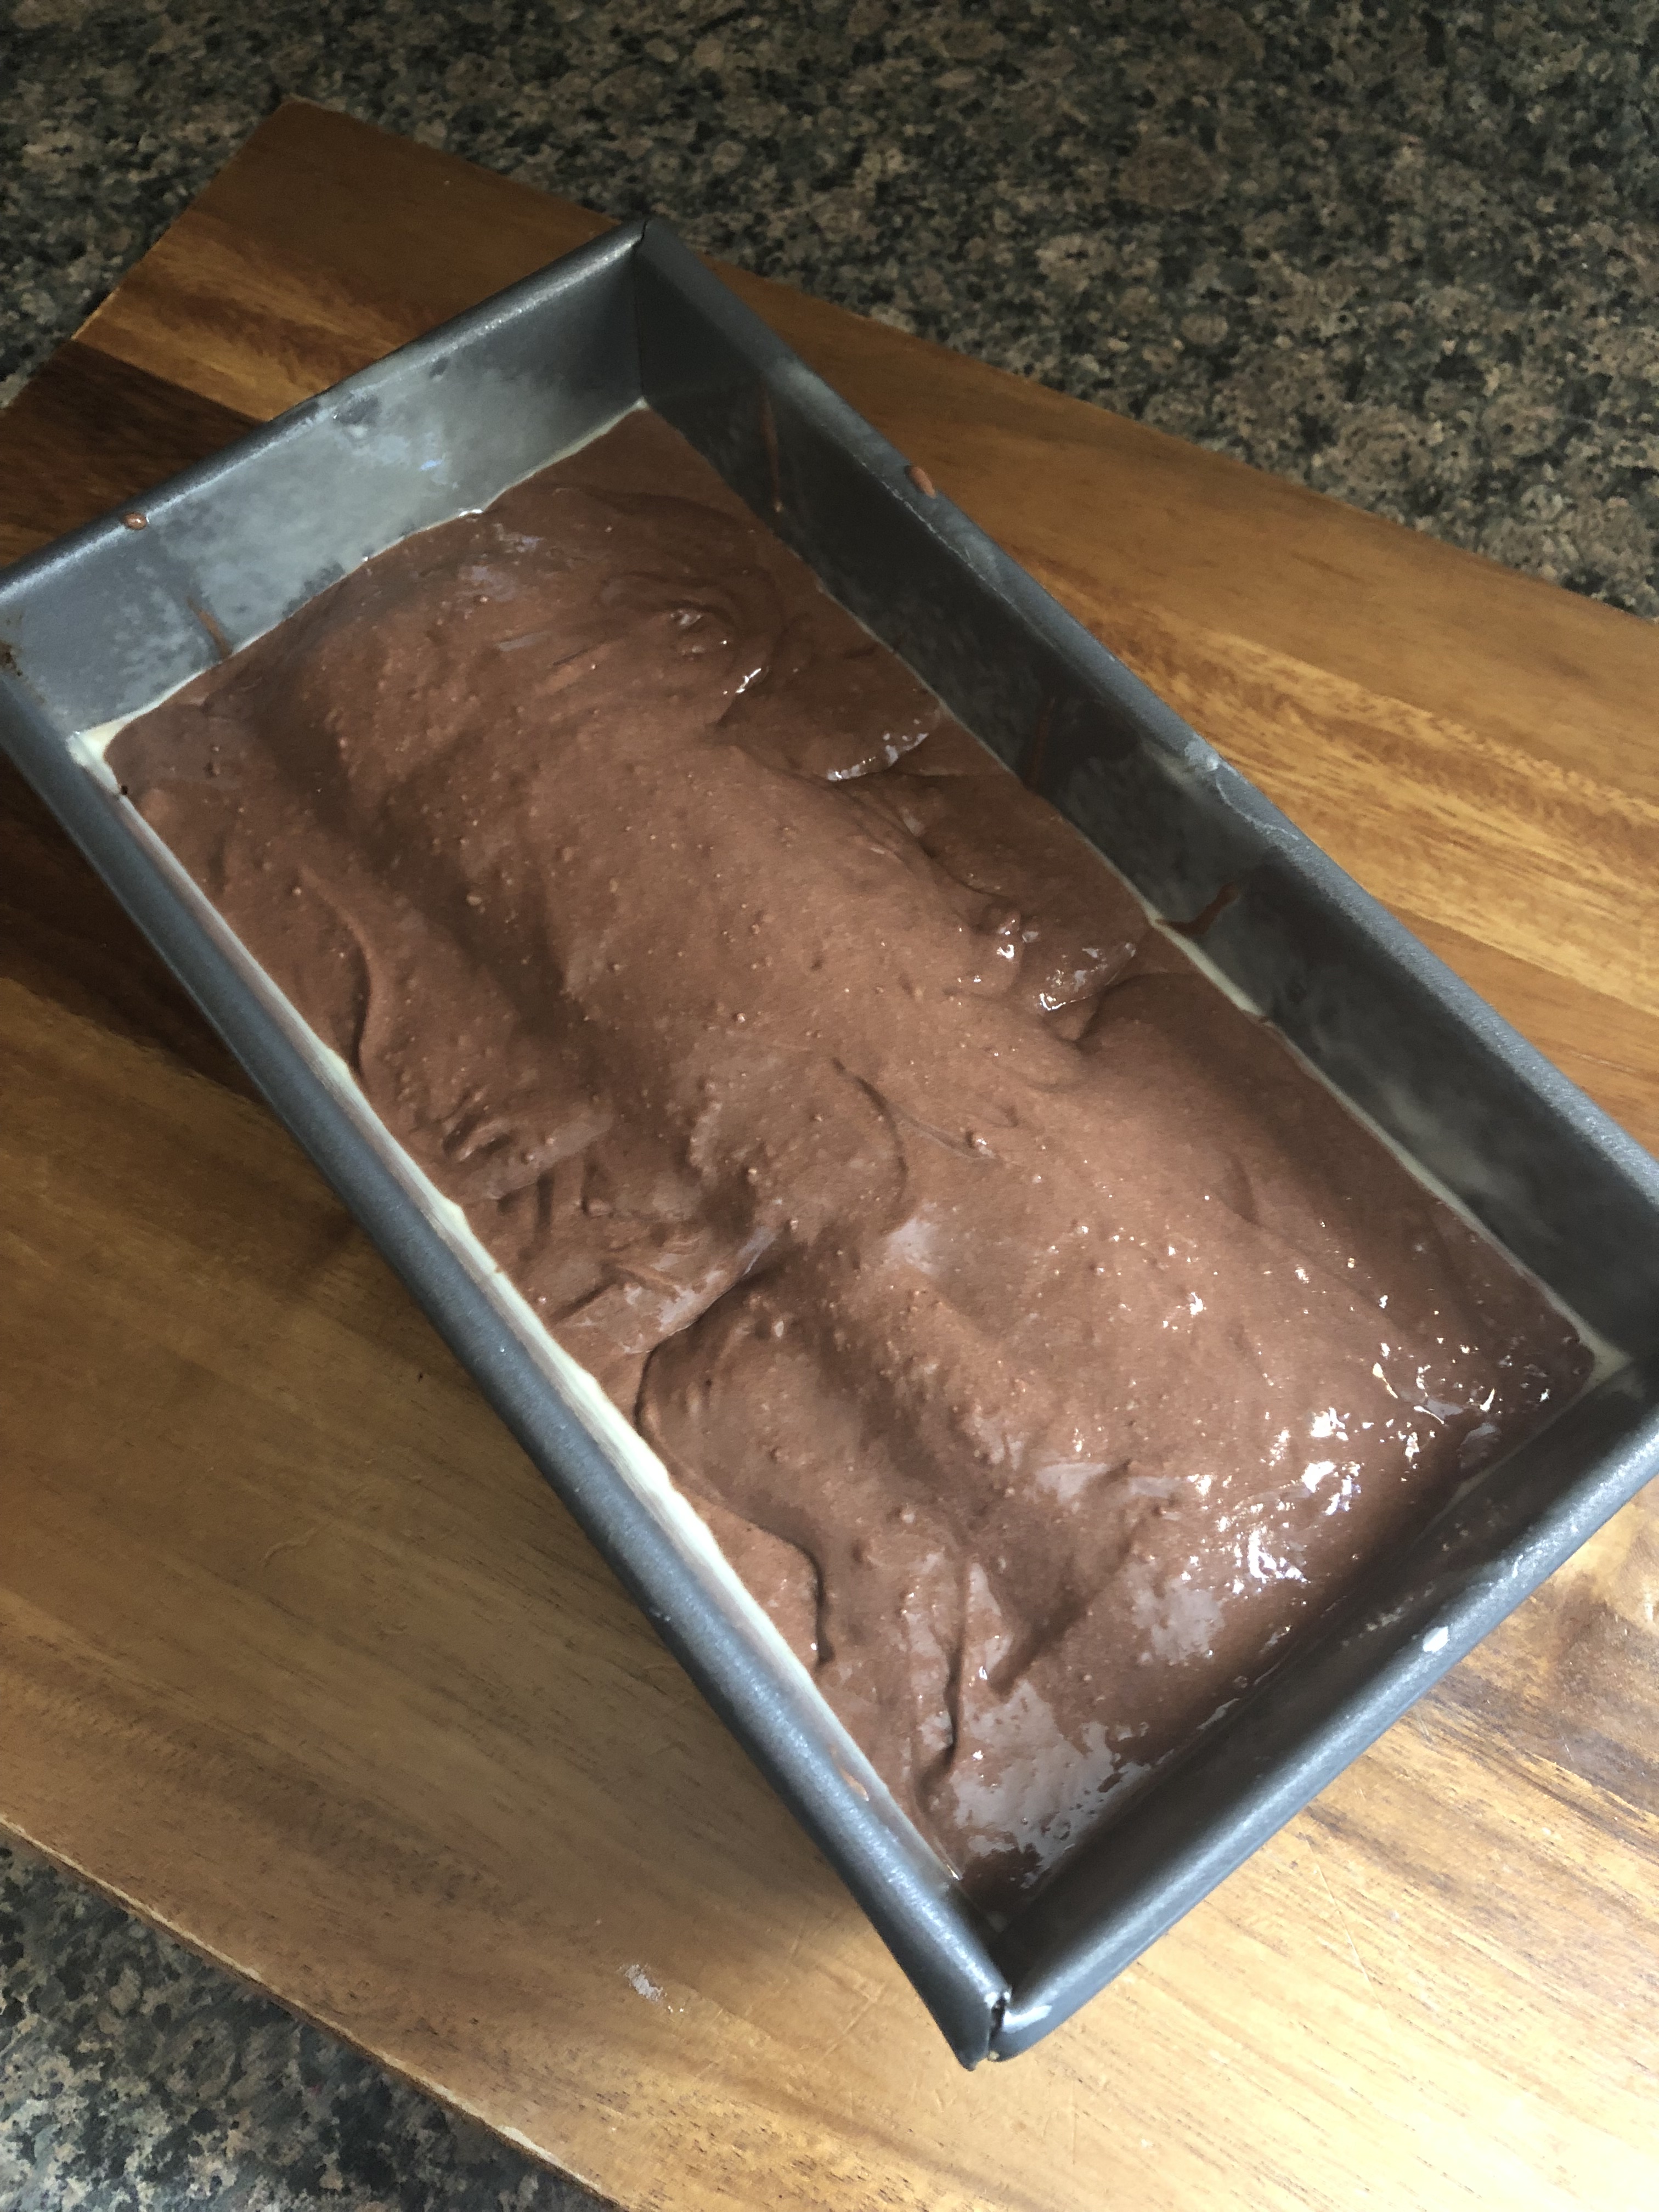
Next, I placed the insert pan over the tall pan and locked it into place and then baked it in a 350 F preheated oven for about 45 minutes. Thankfully the insert pan has small holes in it, which I am assuming is to allow the cake to “breathe” while baking, but, I used them to insert a cake tester to see when the cake was done.
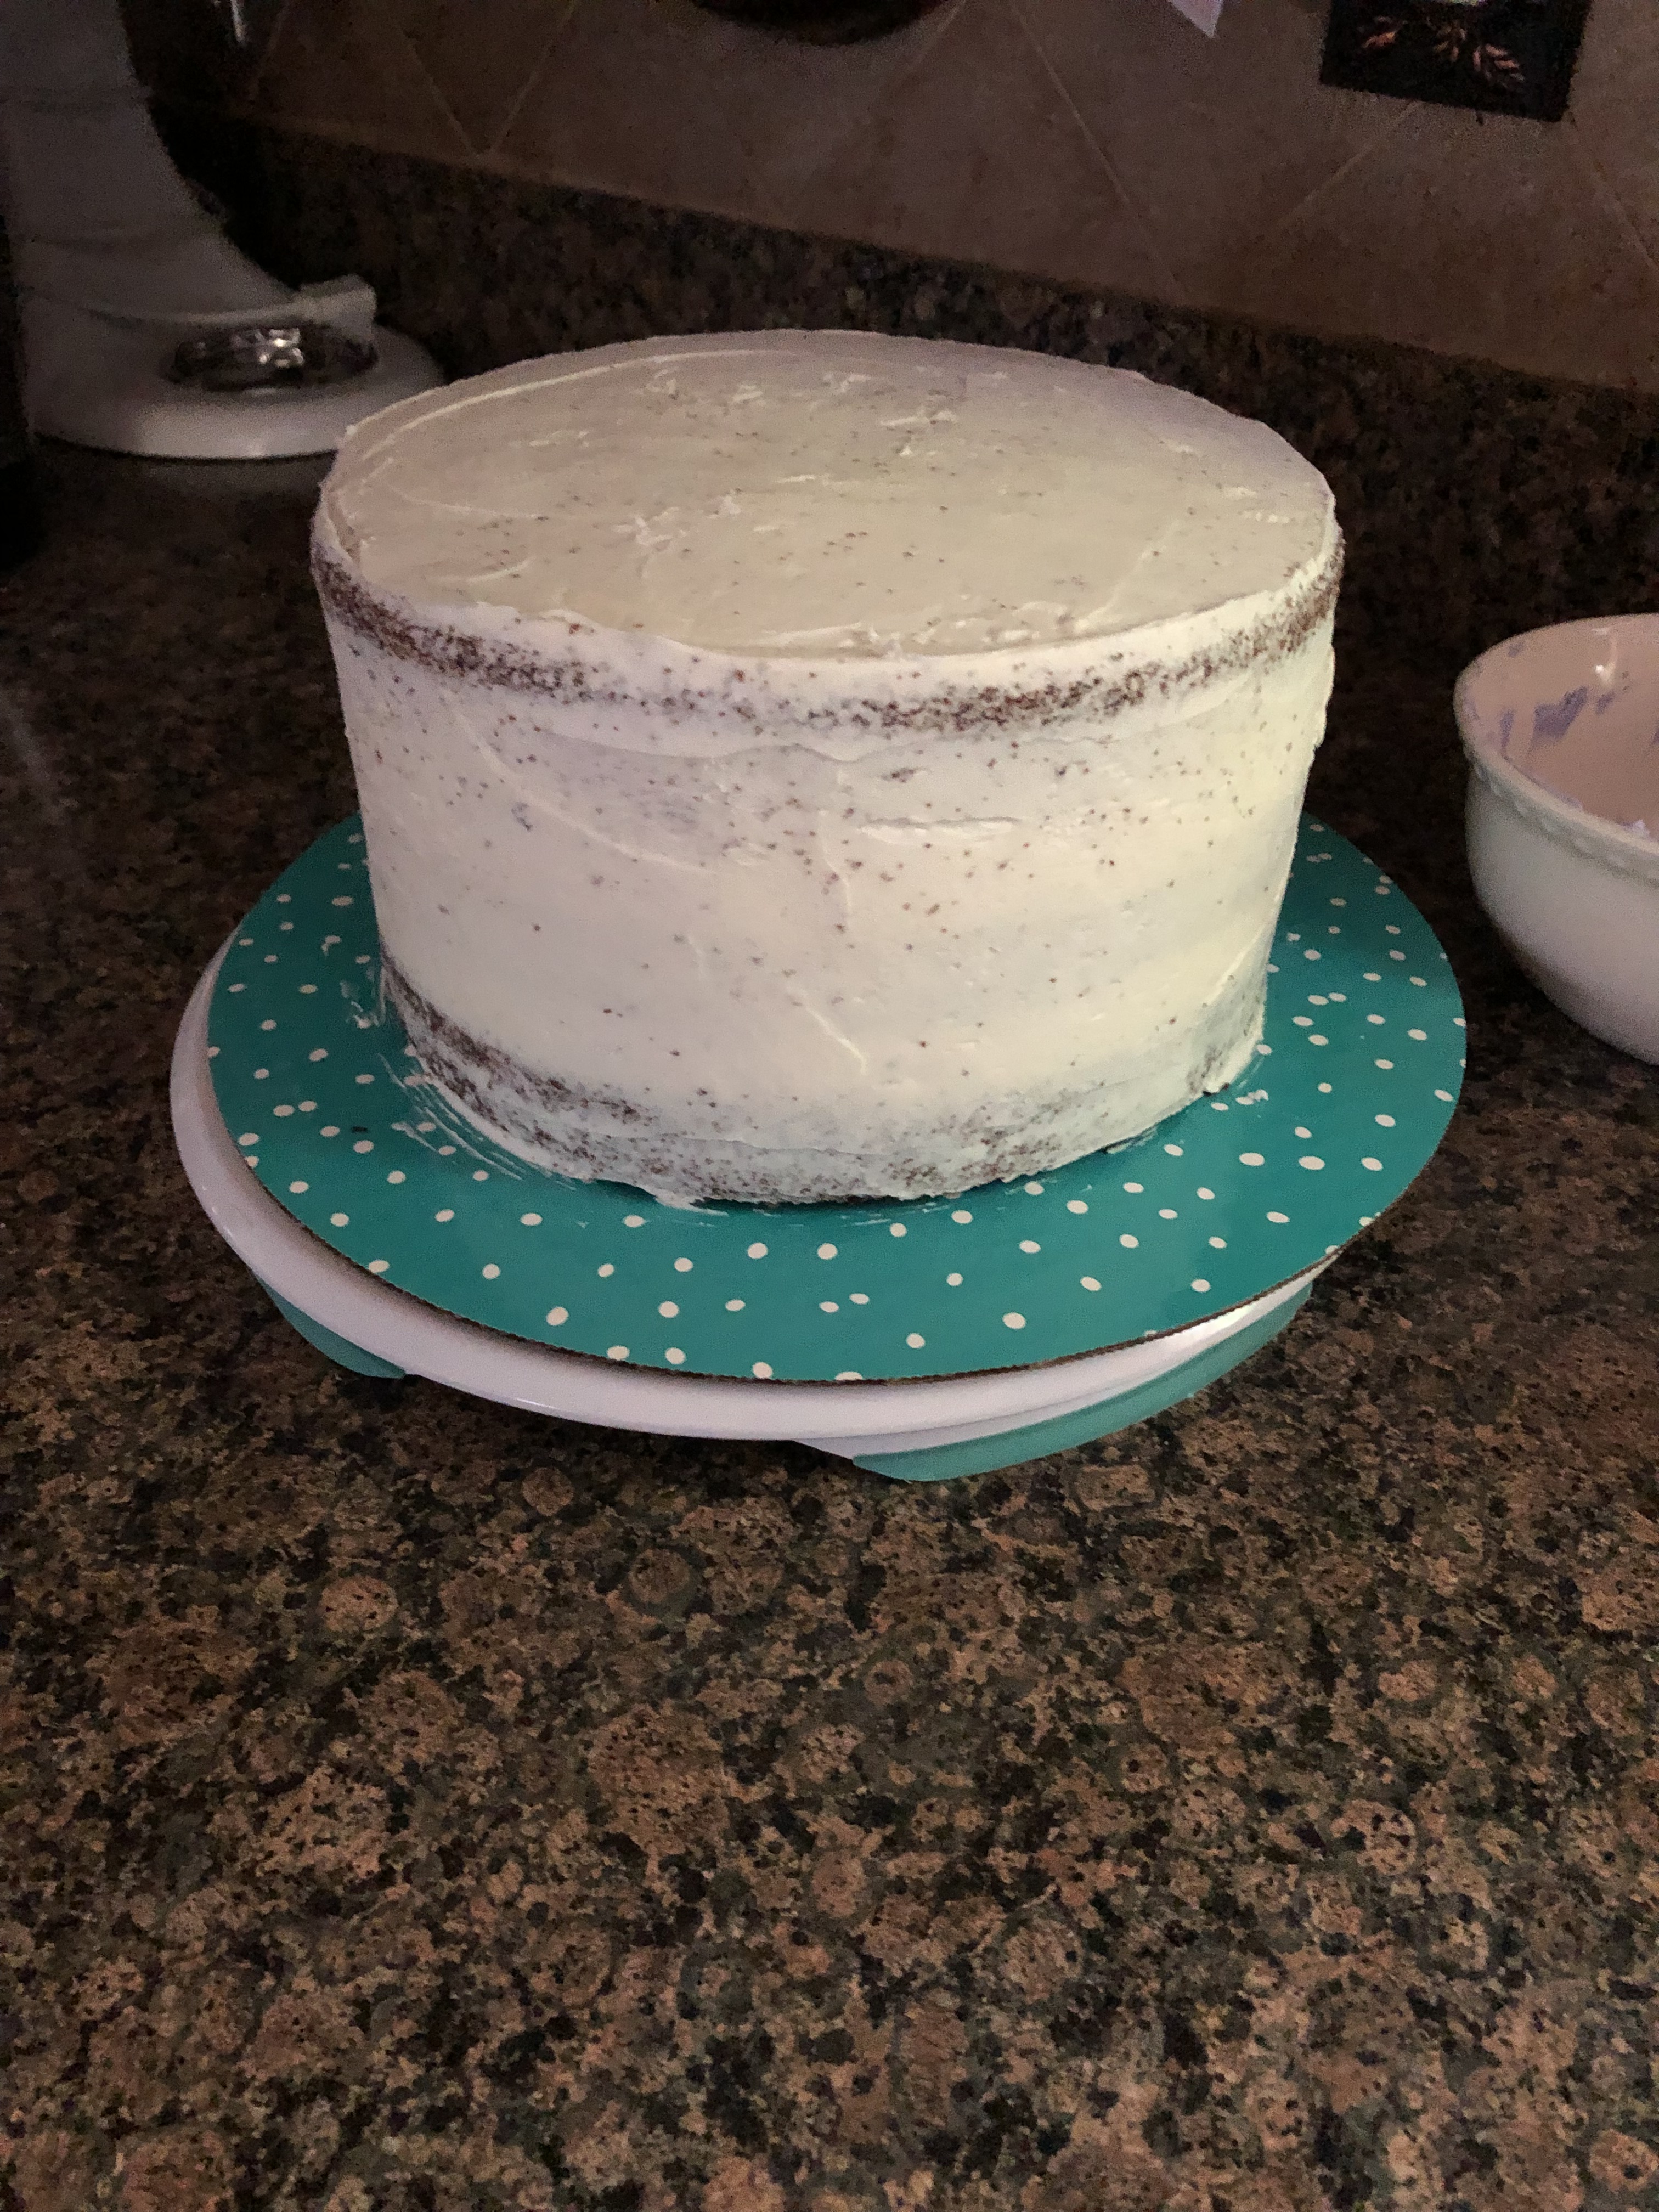
After removing the pan from the oven I let it cool on a wire rack for 20 minutes…
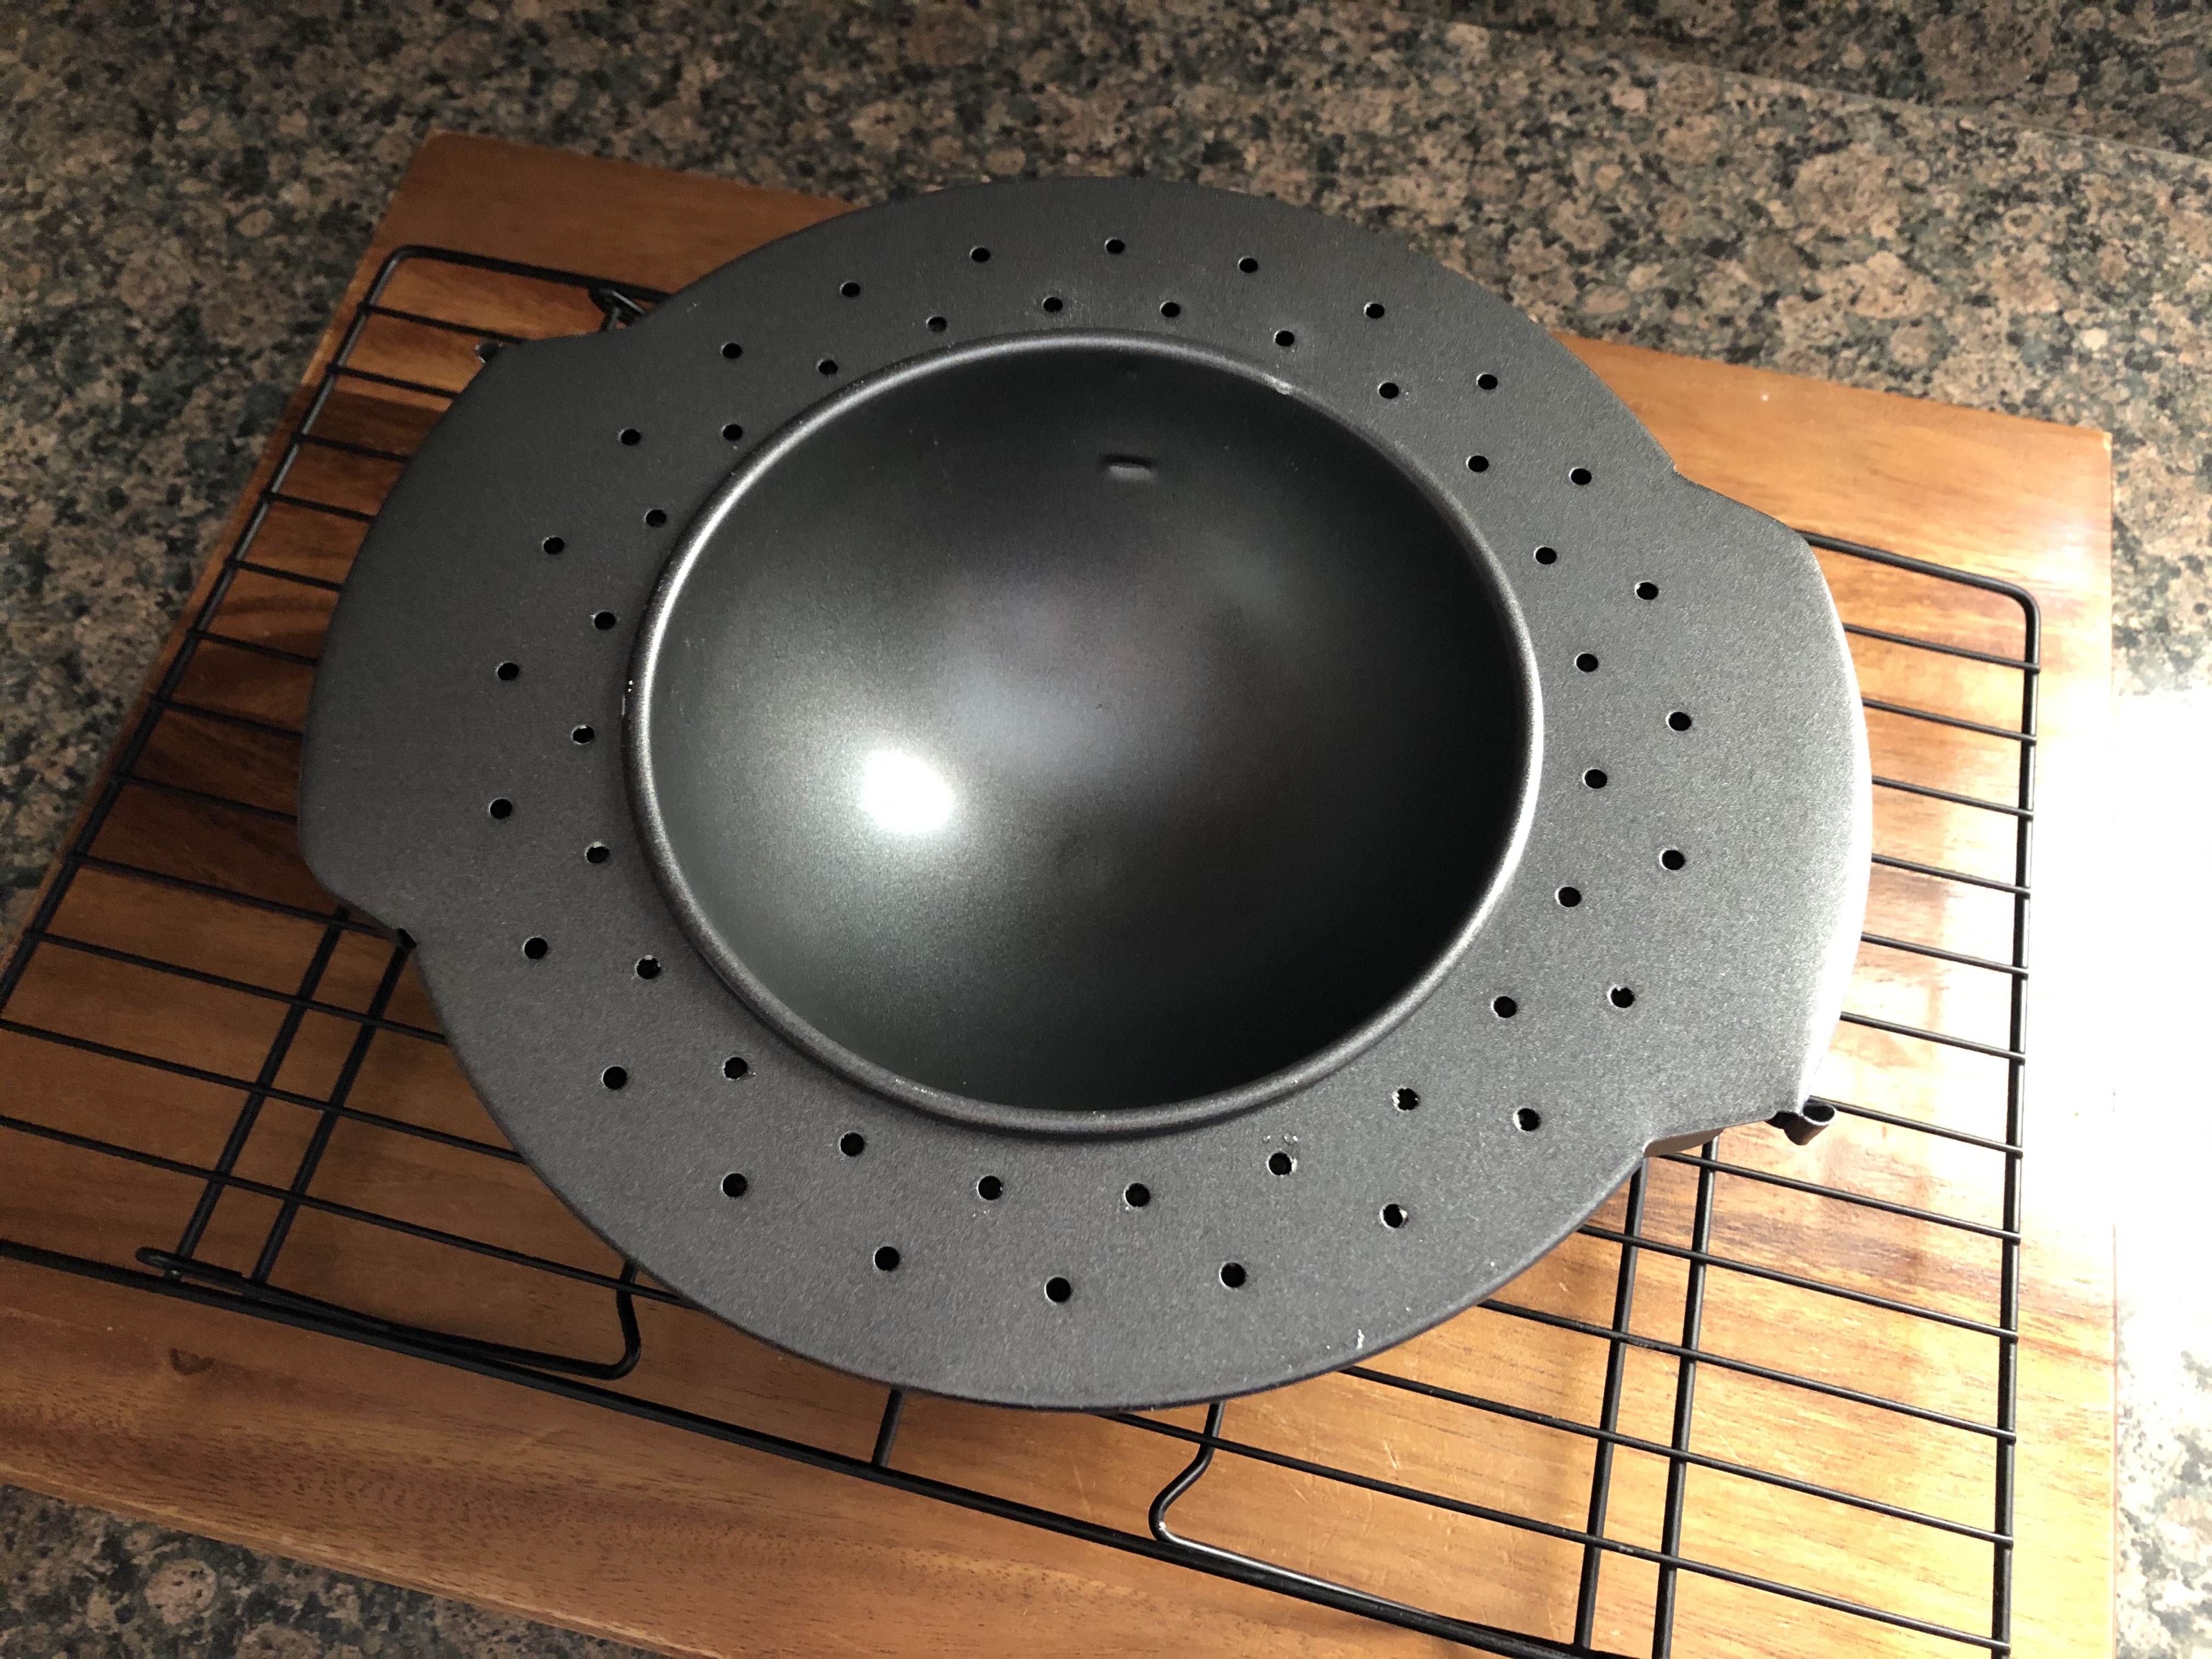
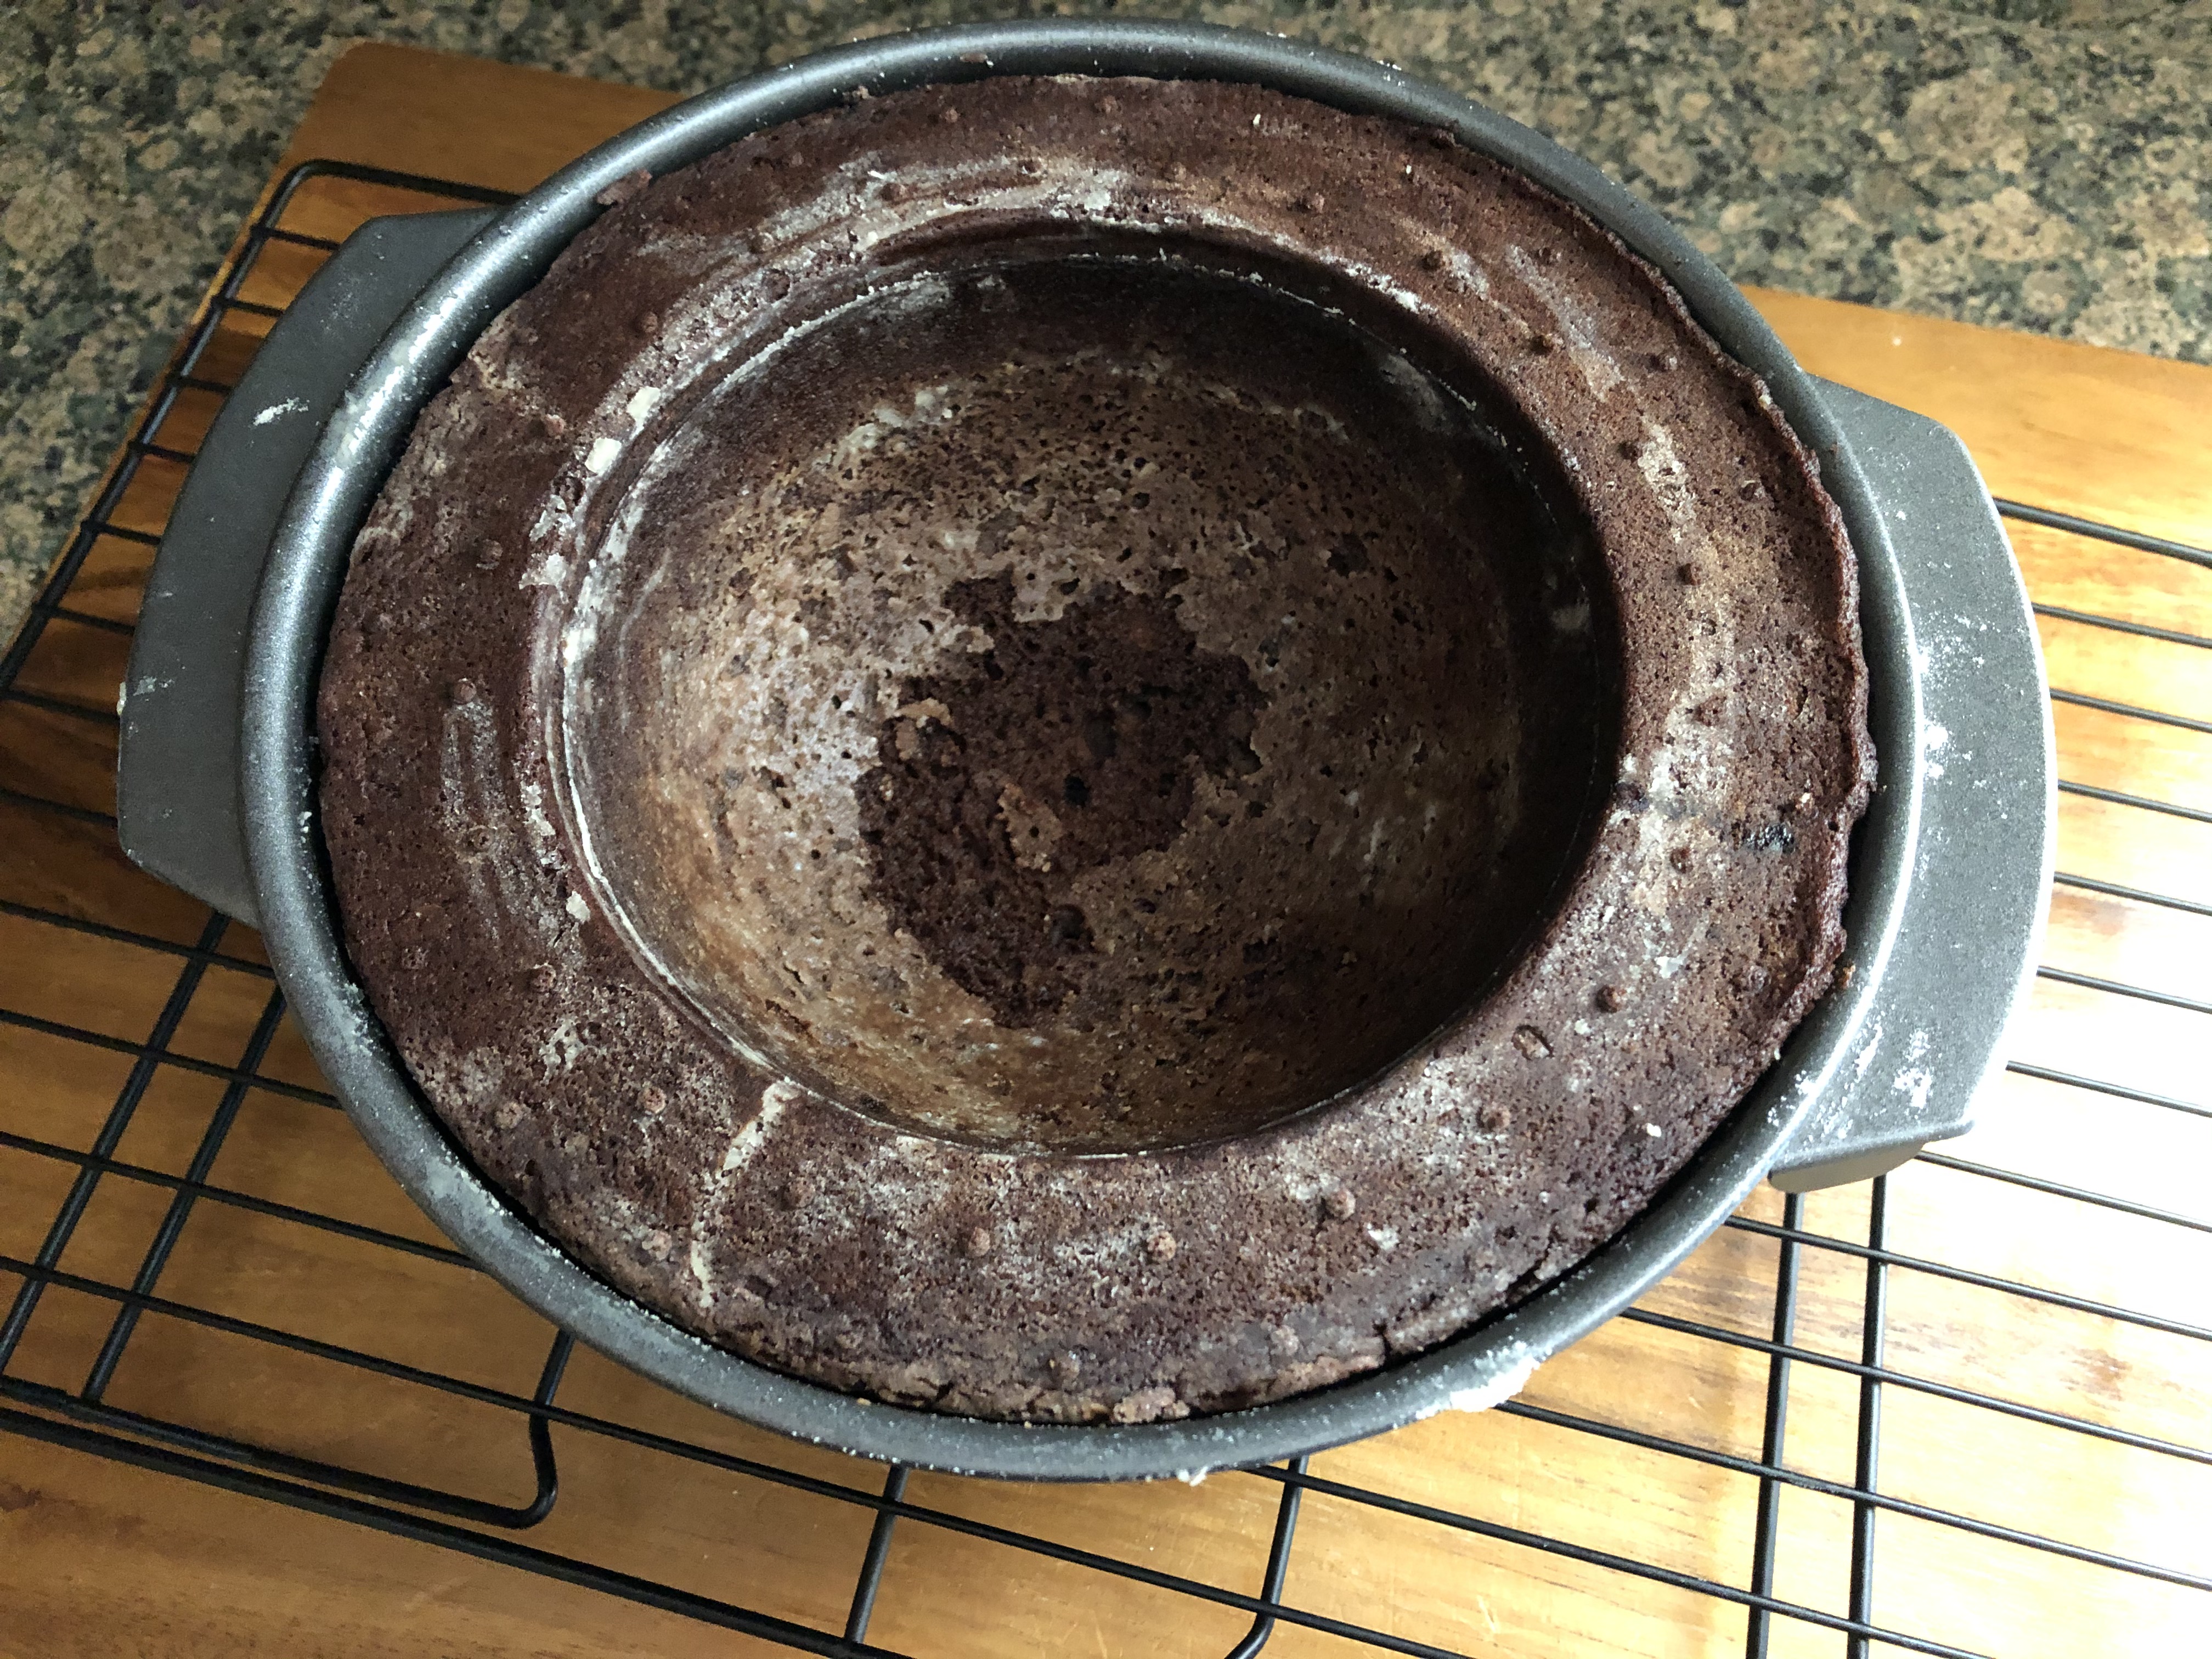
And then I removed the insert pan and let the cake cool completely in the pan for about an hour.
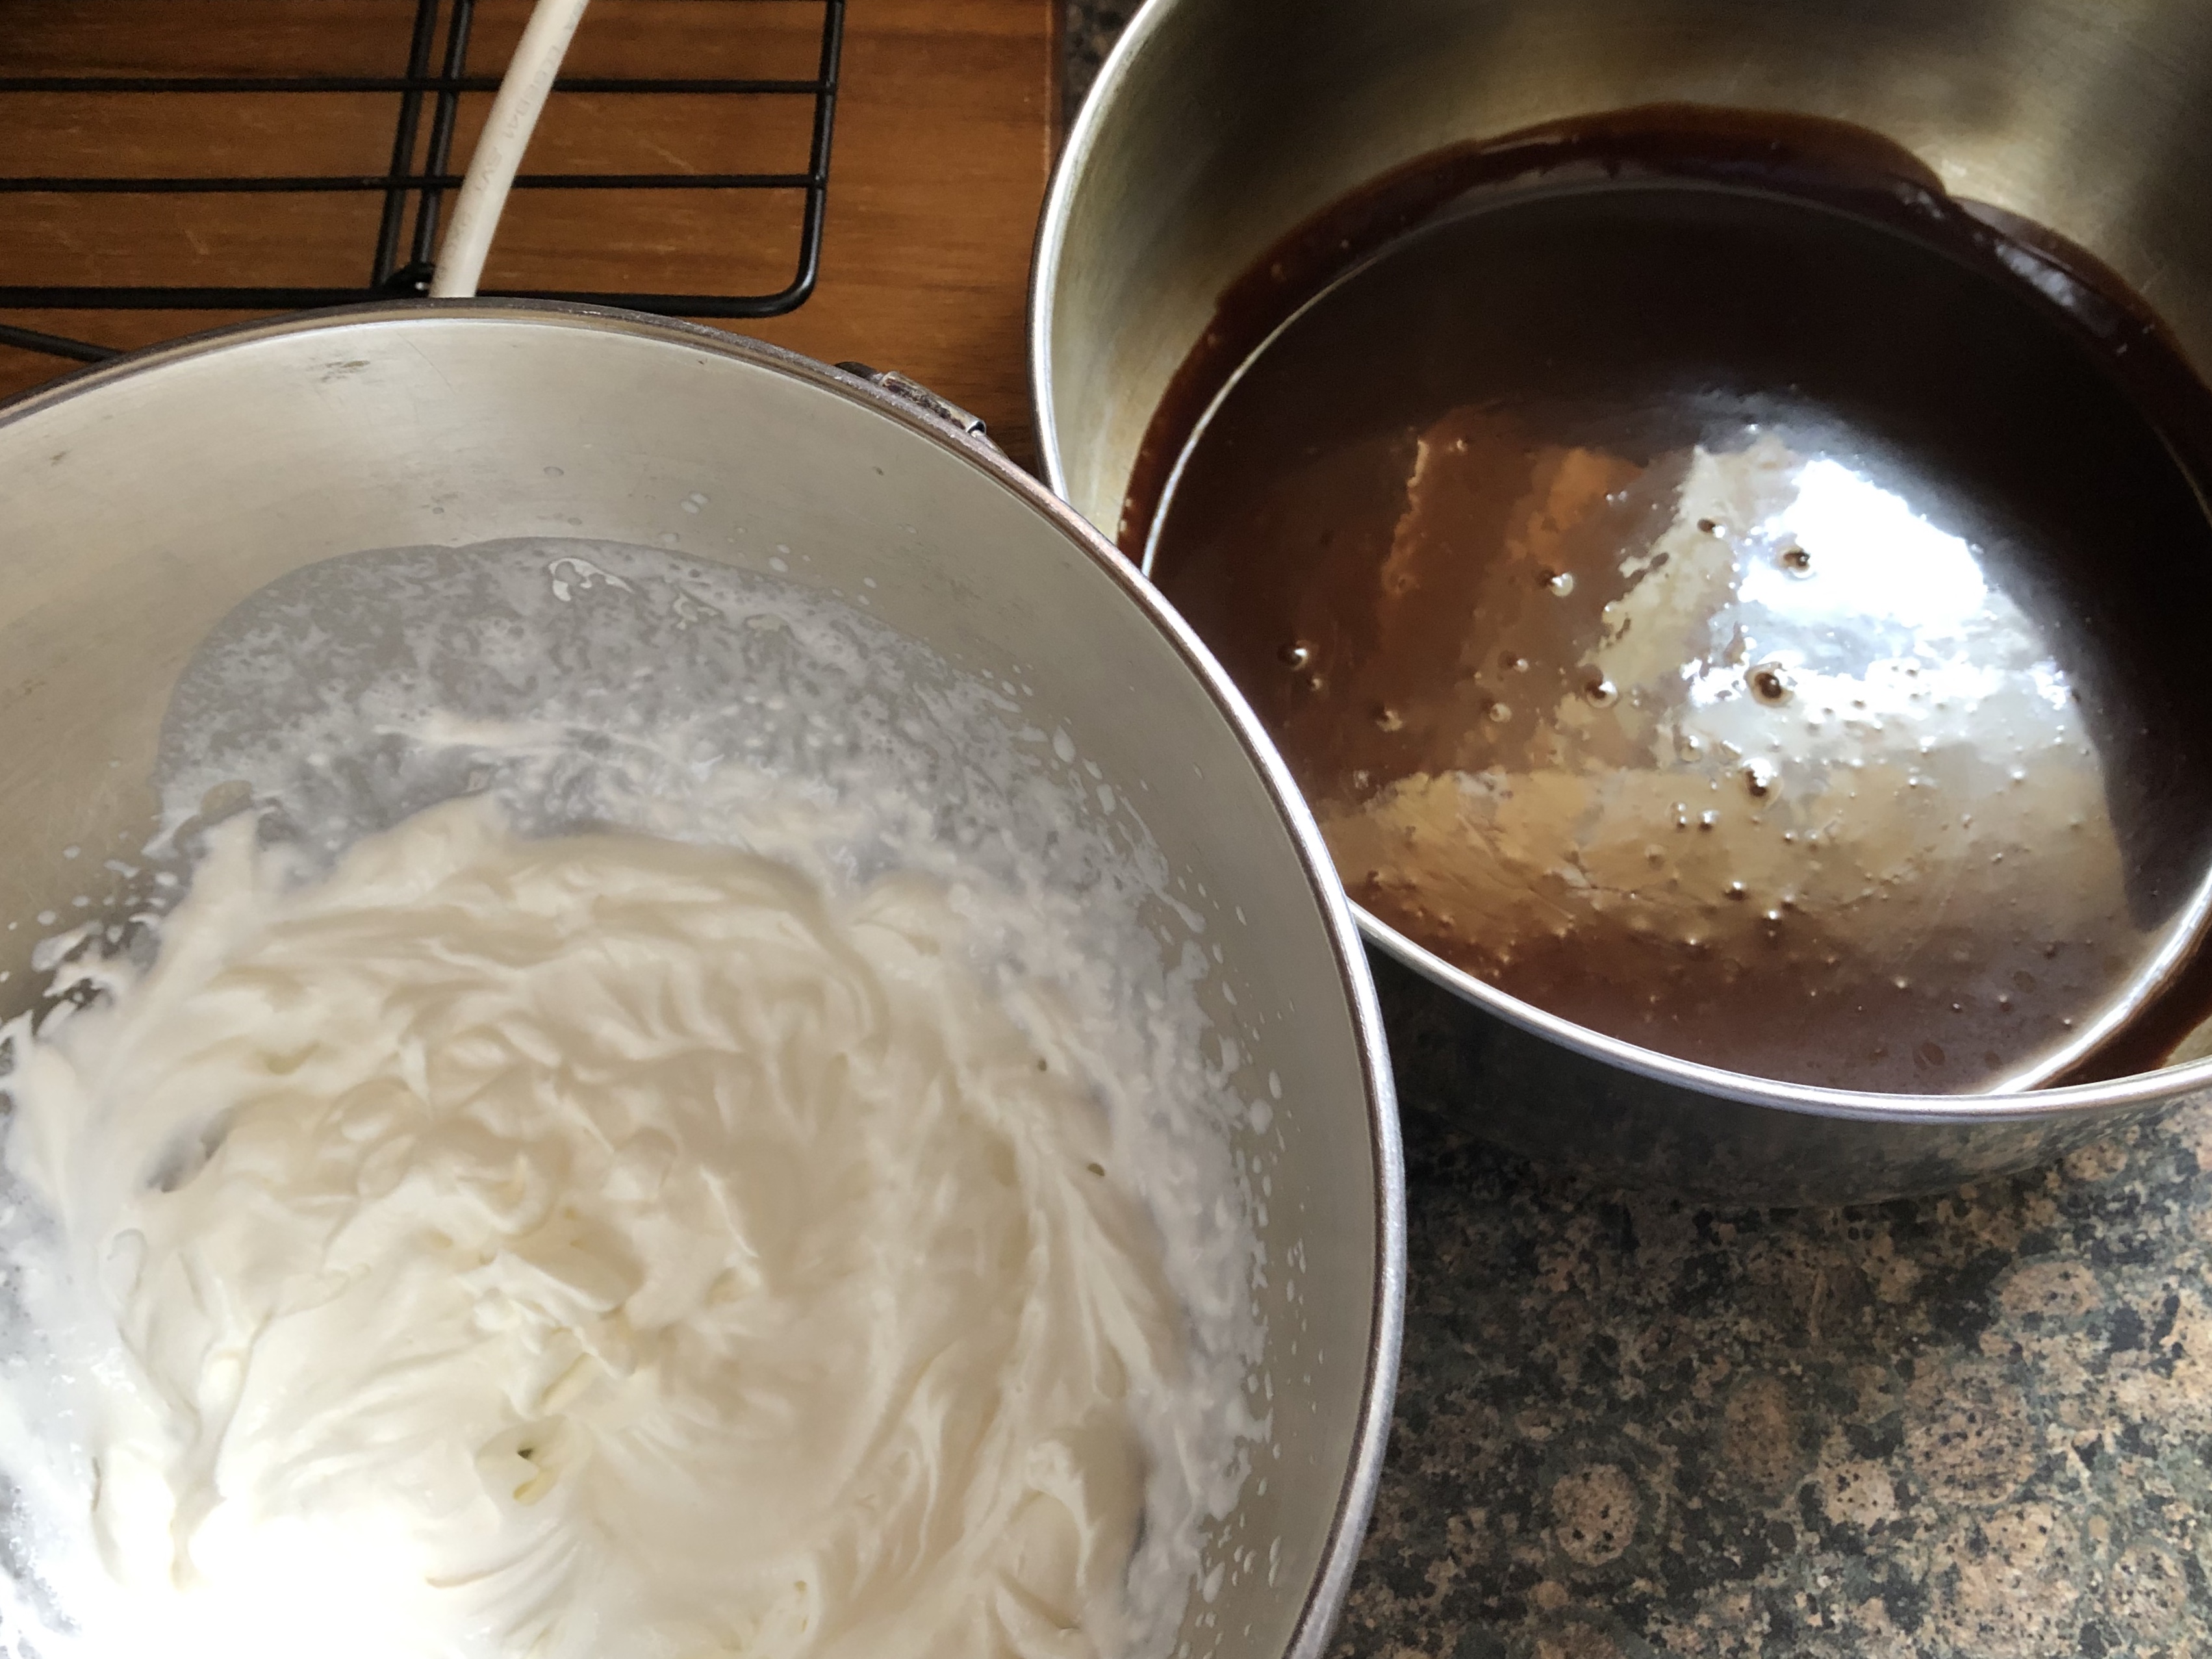
Next I made the filling. In a saucepan I combined heavy whipping cream, sugar and coffee liqueur. I cooked it over medium heat until the sugar dissolved. After removing it from the heat I stirred in semi-sweet chocolate chips with a wire whisk until they were melted. And finally I stirred in vanilla extract before transferring the mixture to a large bowl to cool for 10 minutes. Meanwhile, in a chilled medium bowl I beat additional heavy whipping cream with a hand mixer until stiff peaks formed. I then folded the heavy whipping cream into the cooled chocolate mixture.
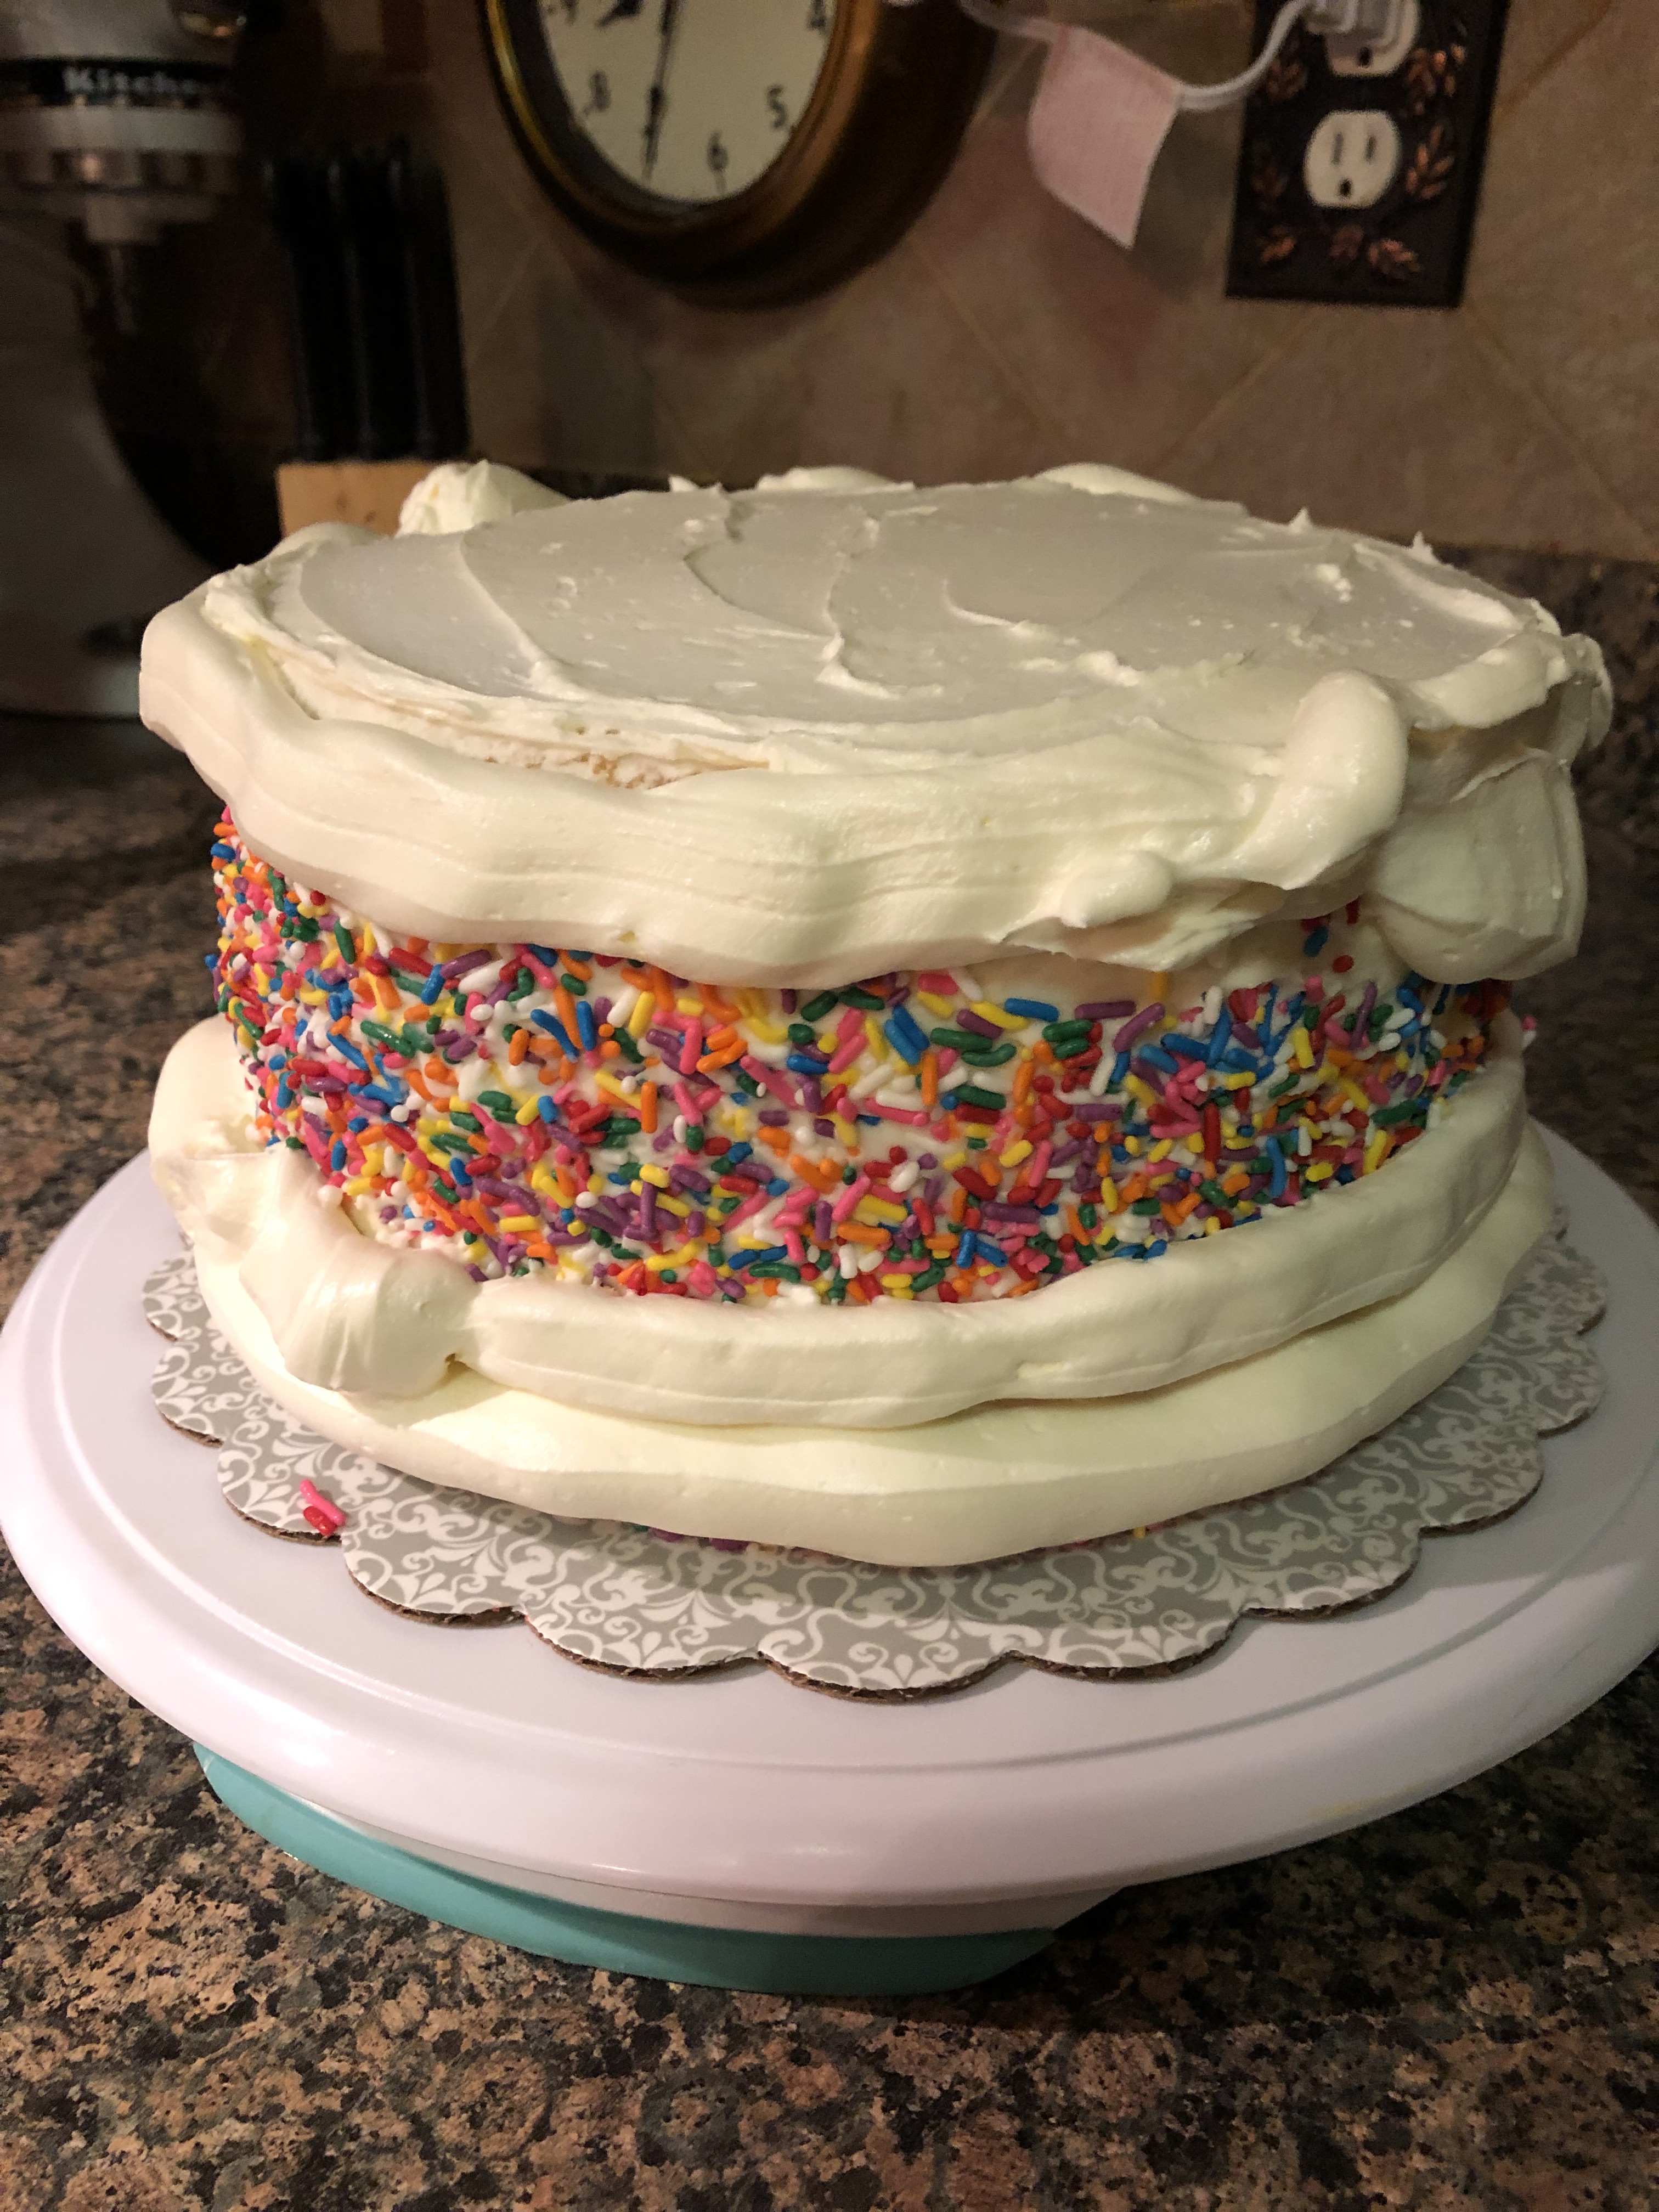
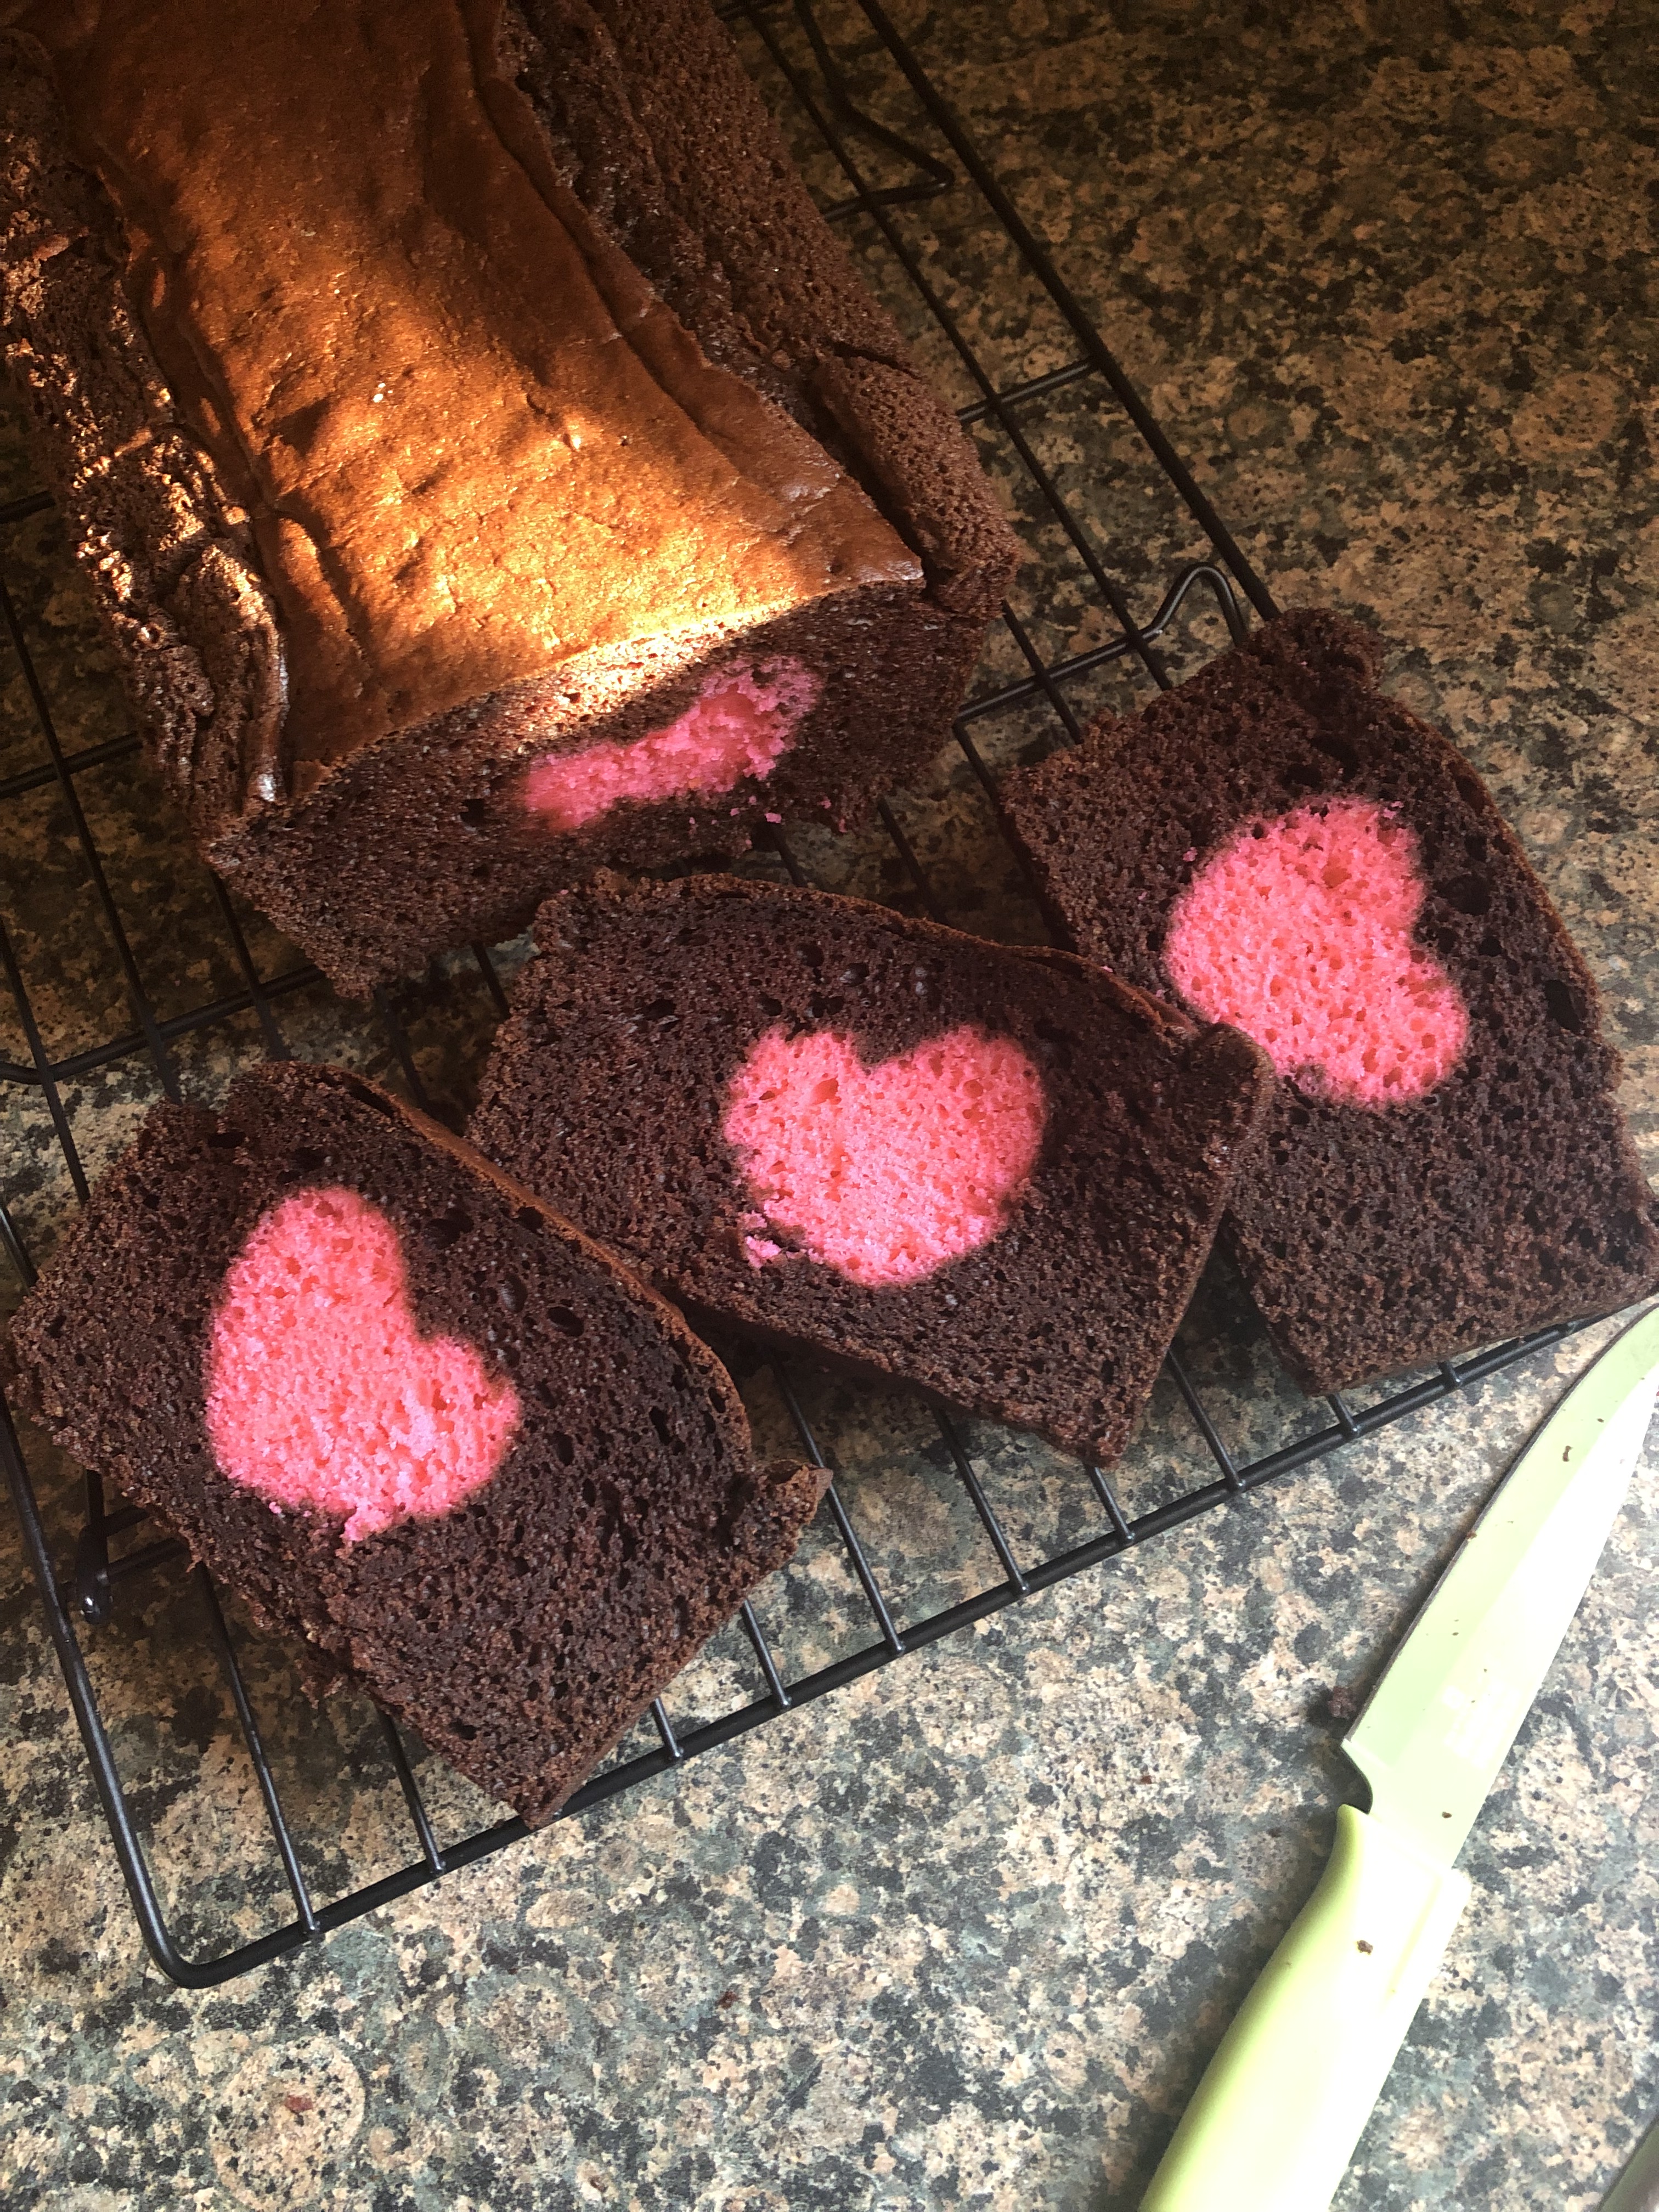
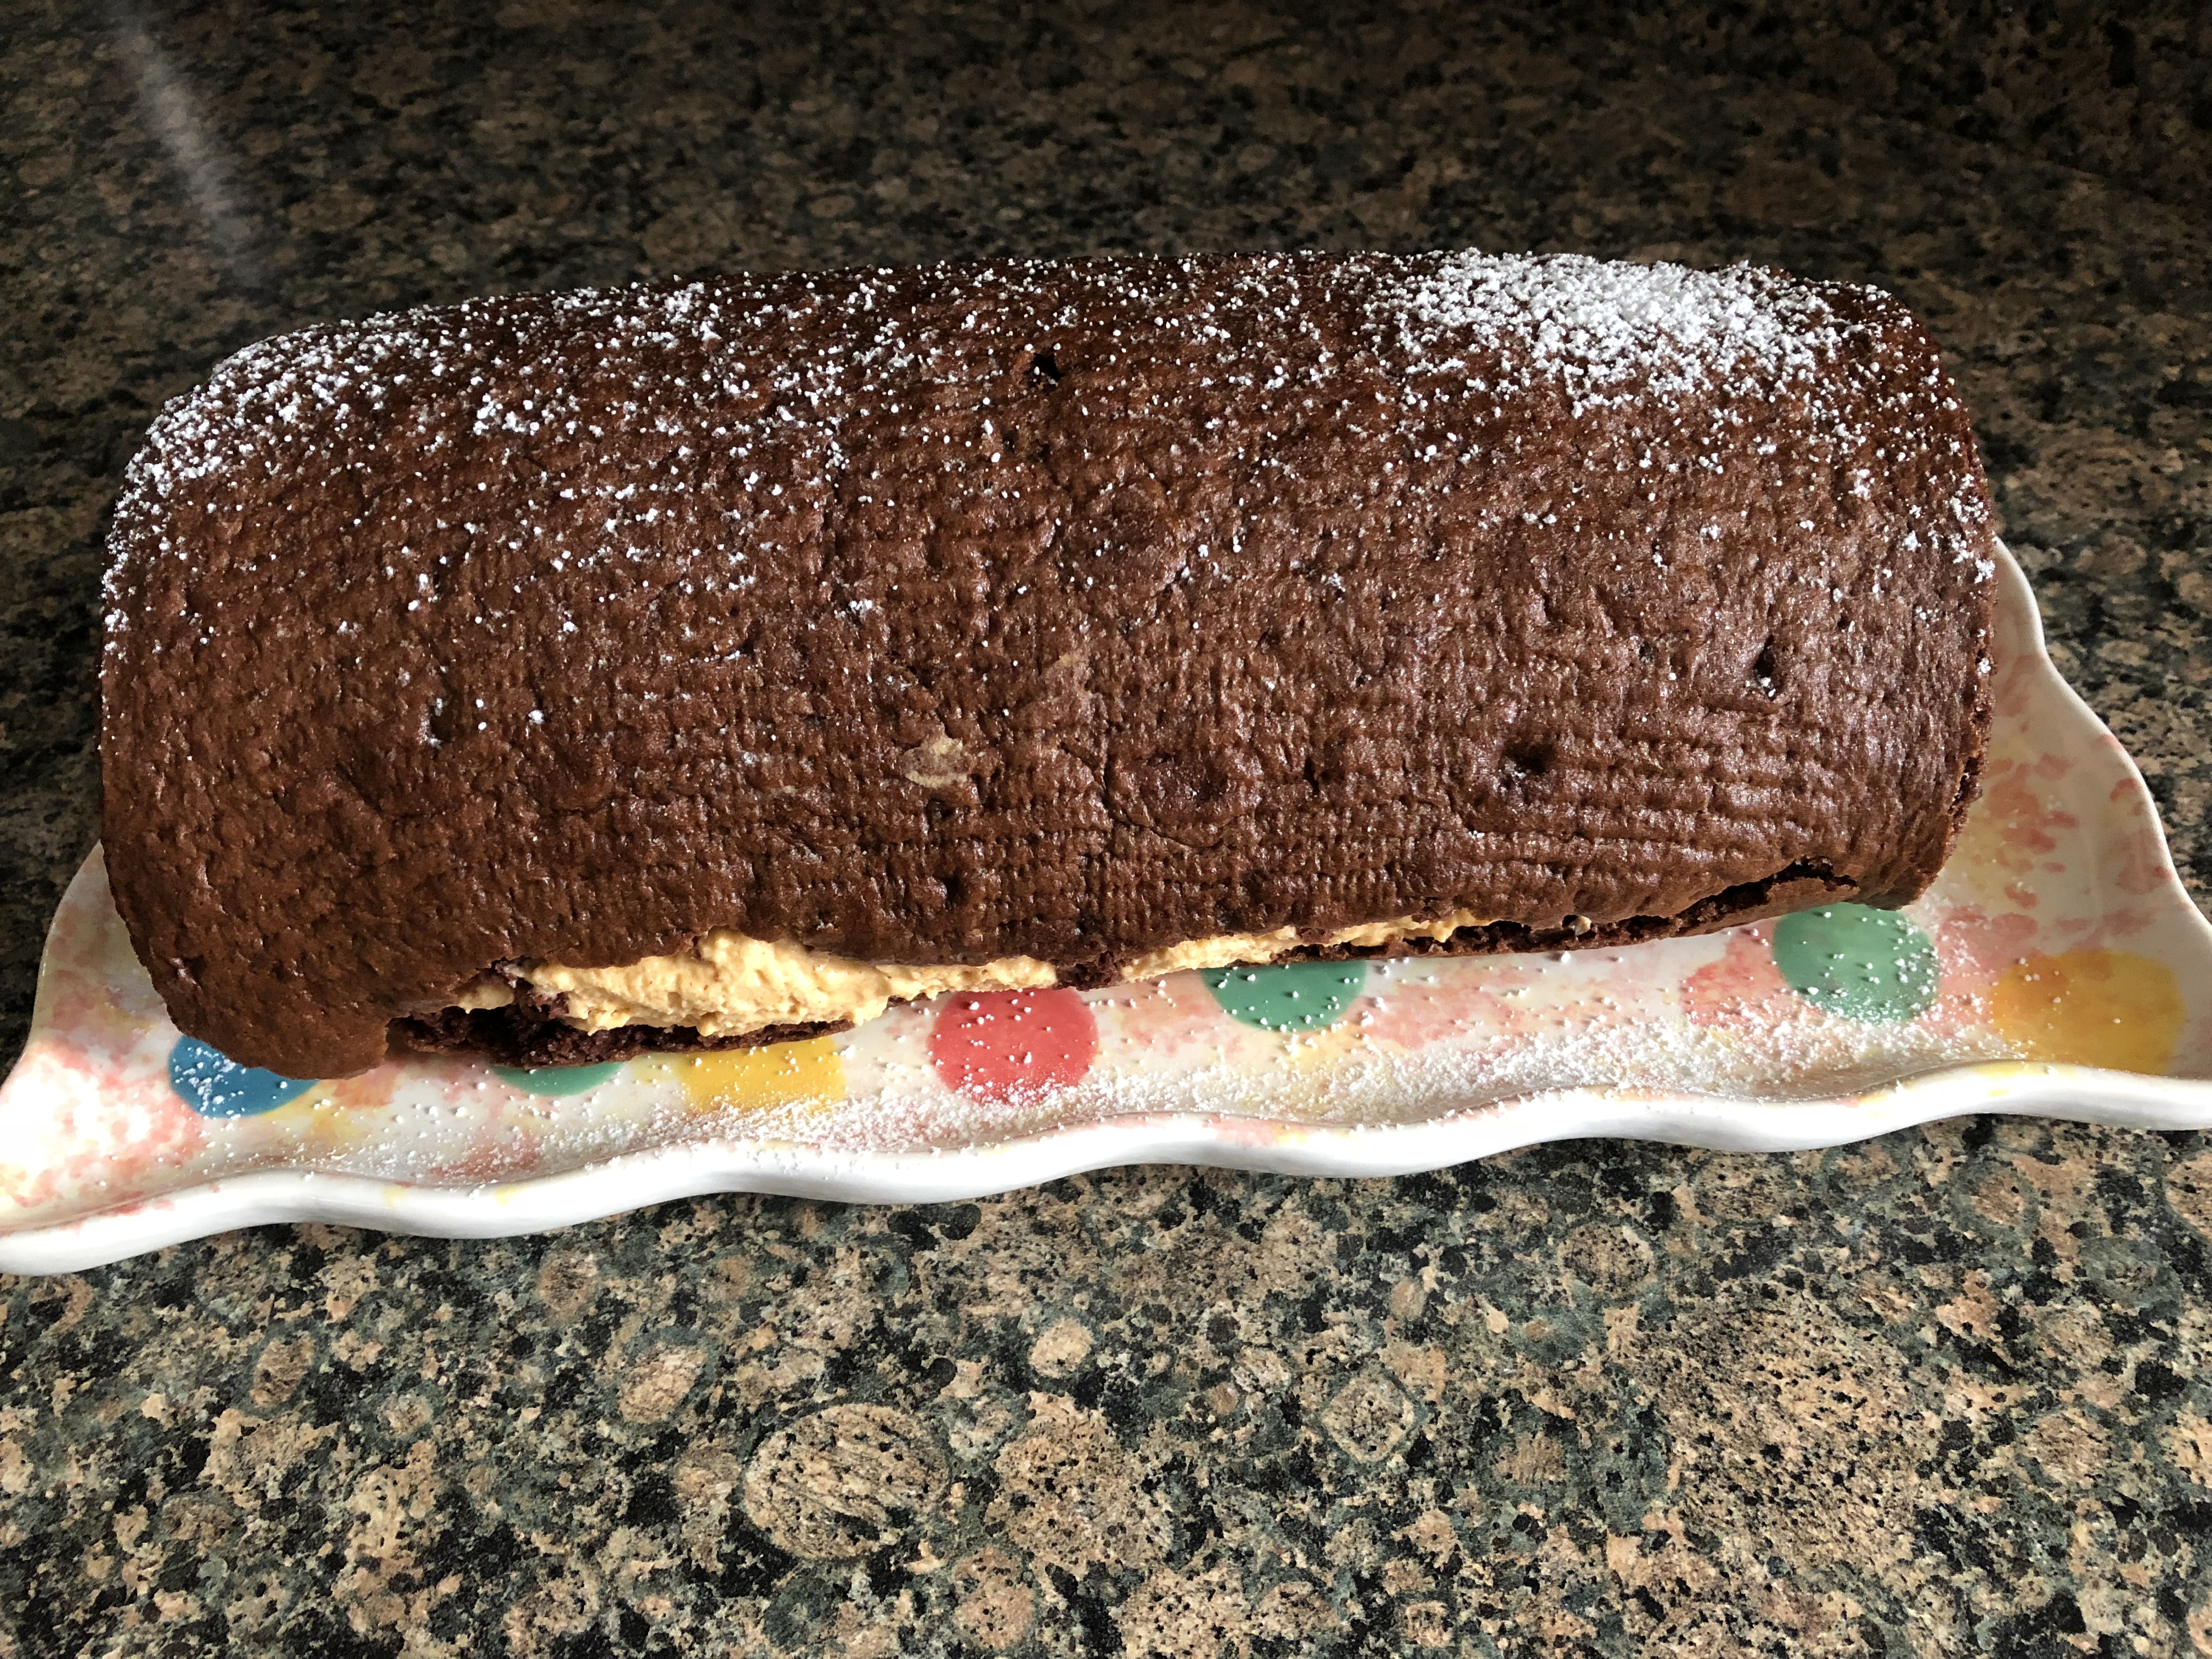
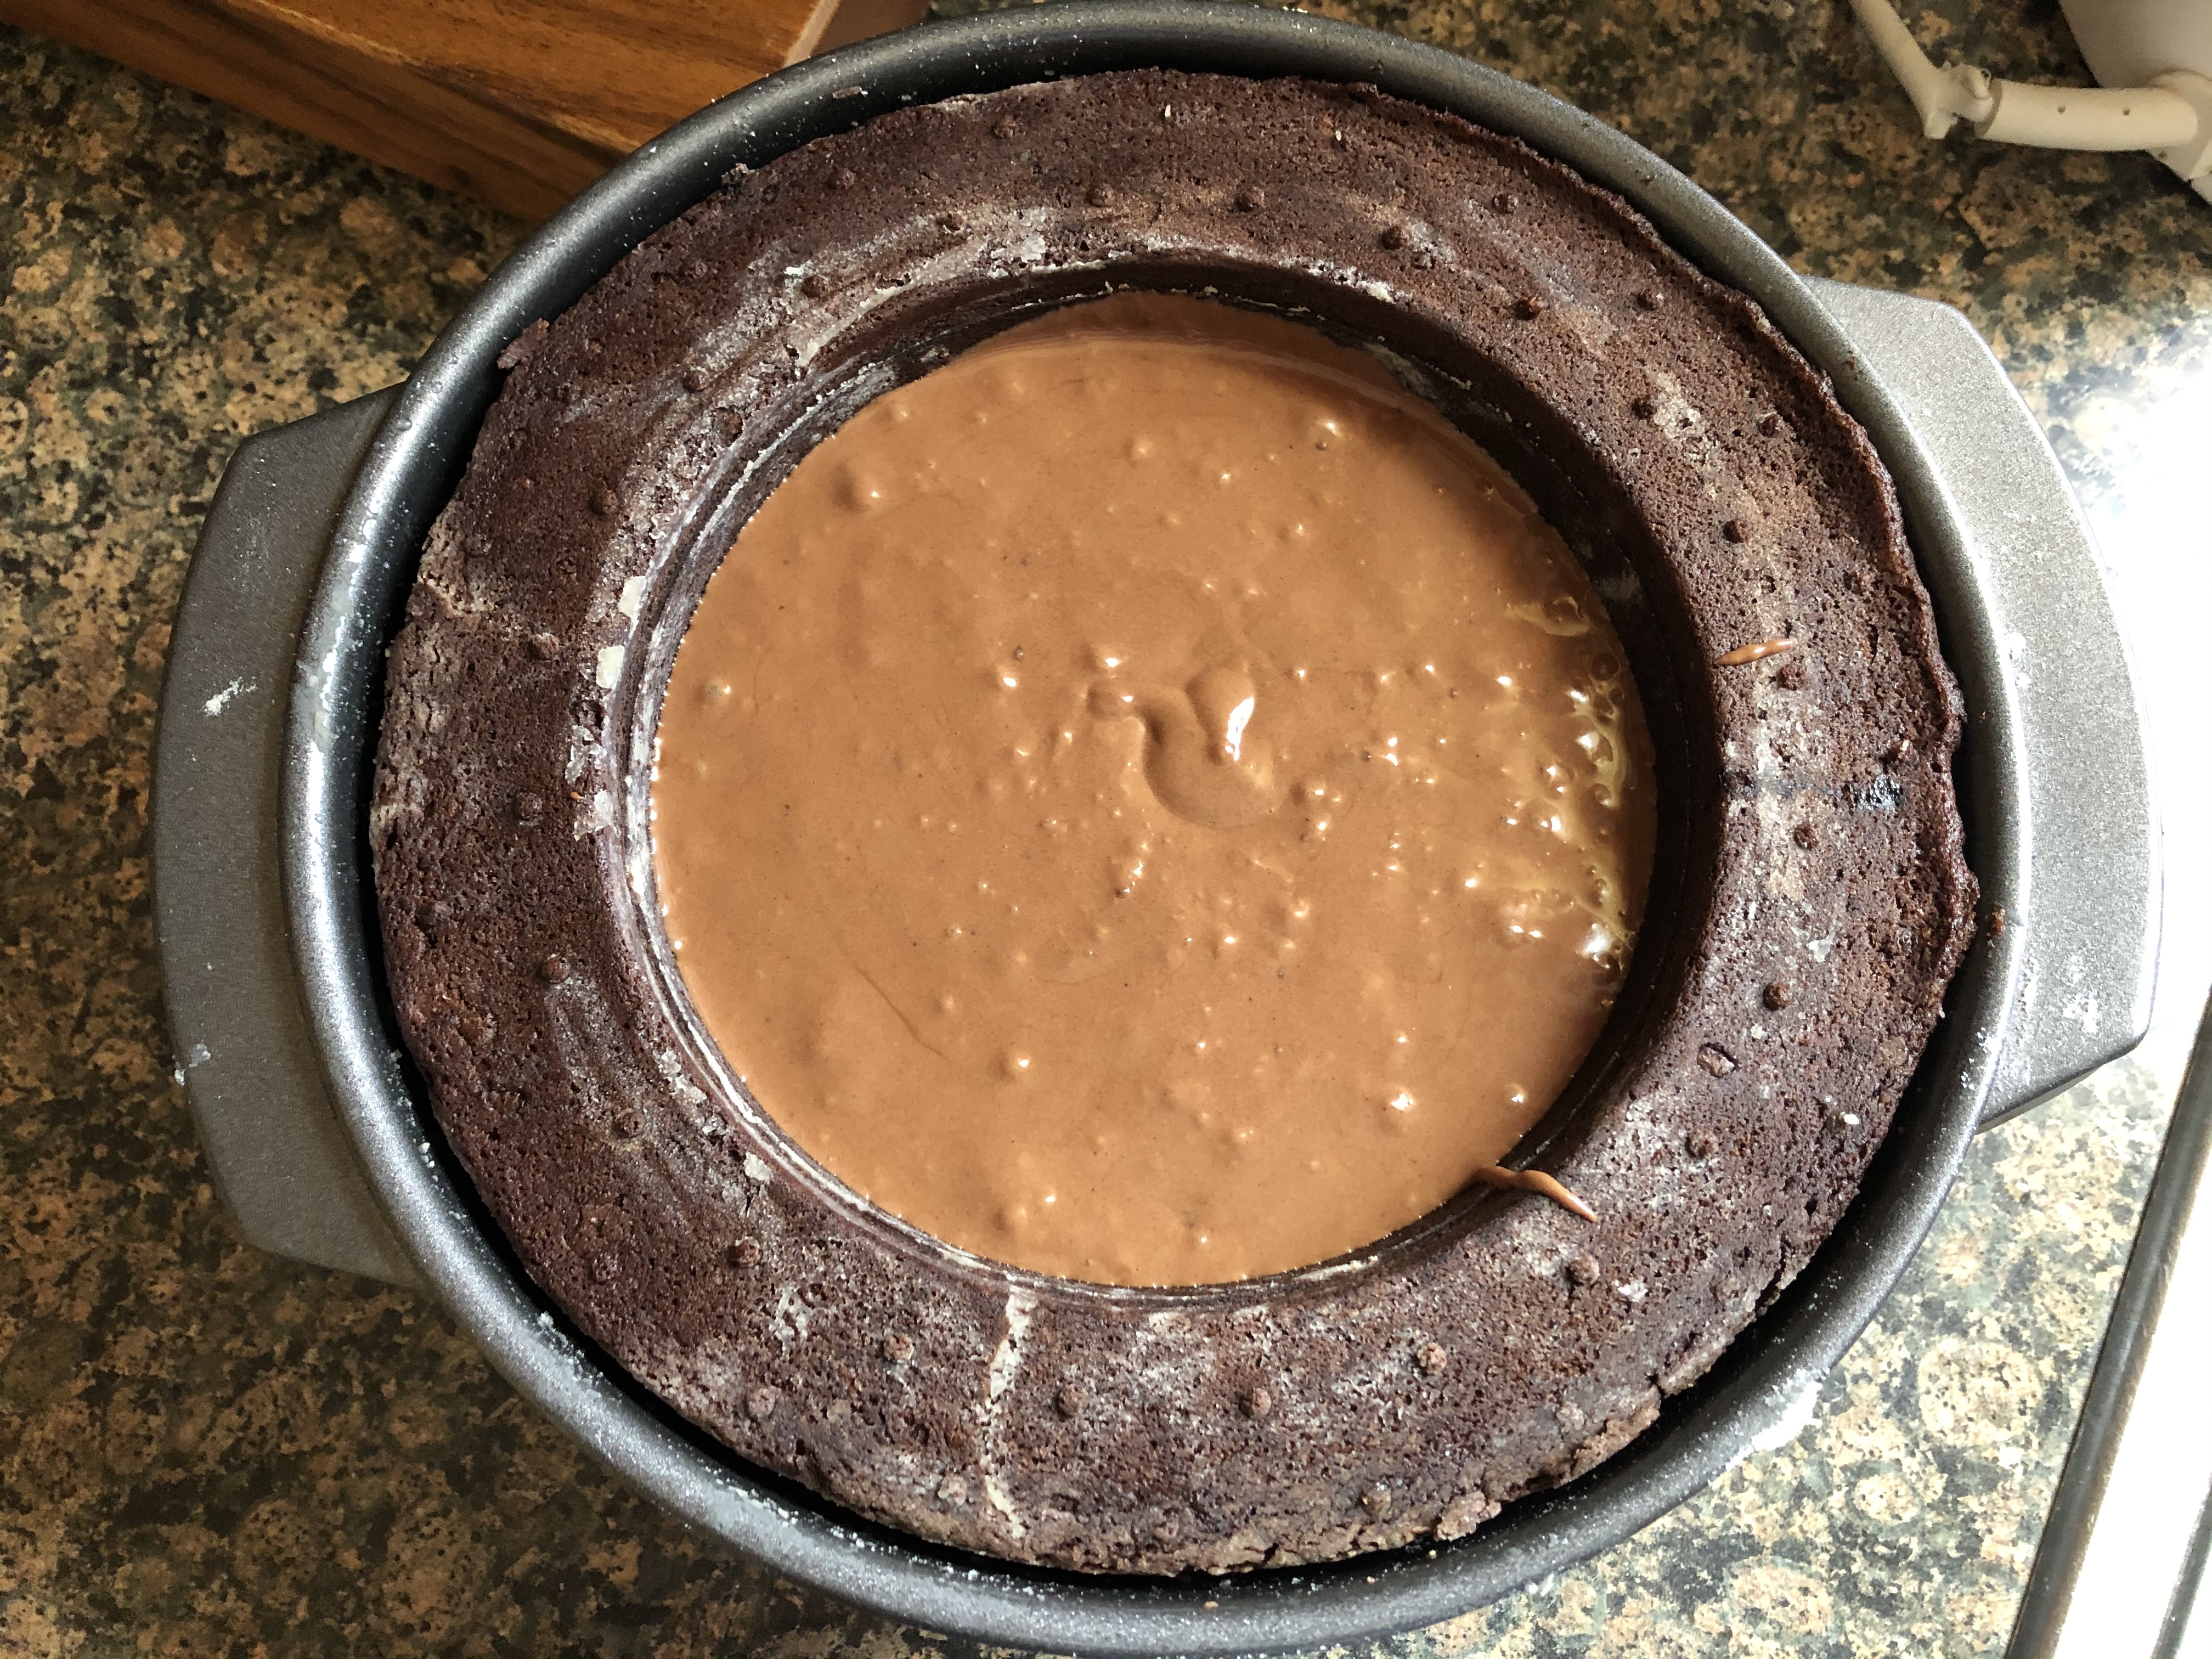
And finally I spooned the whipped chocolate mixture into the cavity of the cake and then refrigerated the cake thinking that the filling would firm up. It never did! I even put it in the freezer for about 30 minutes and that did nothing to it as well. So, I gave up and decided to invert the cake out of the pan and do my best not to make a mess. Well, taking the cake out of the pan was no easy feat. I had to pry a flexible spatula between the cake and the pan to loosen the cake. I was FINALLY able to invert the cake out and surprisingly didn’t make a complete mess with the mousse filling that was definitely not mousse-consistency.
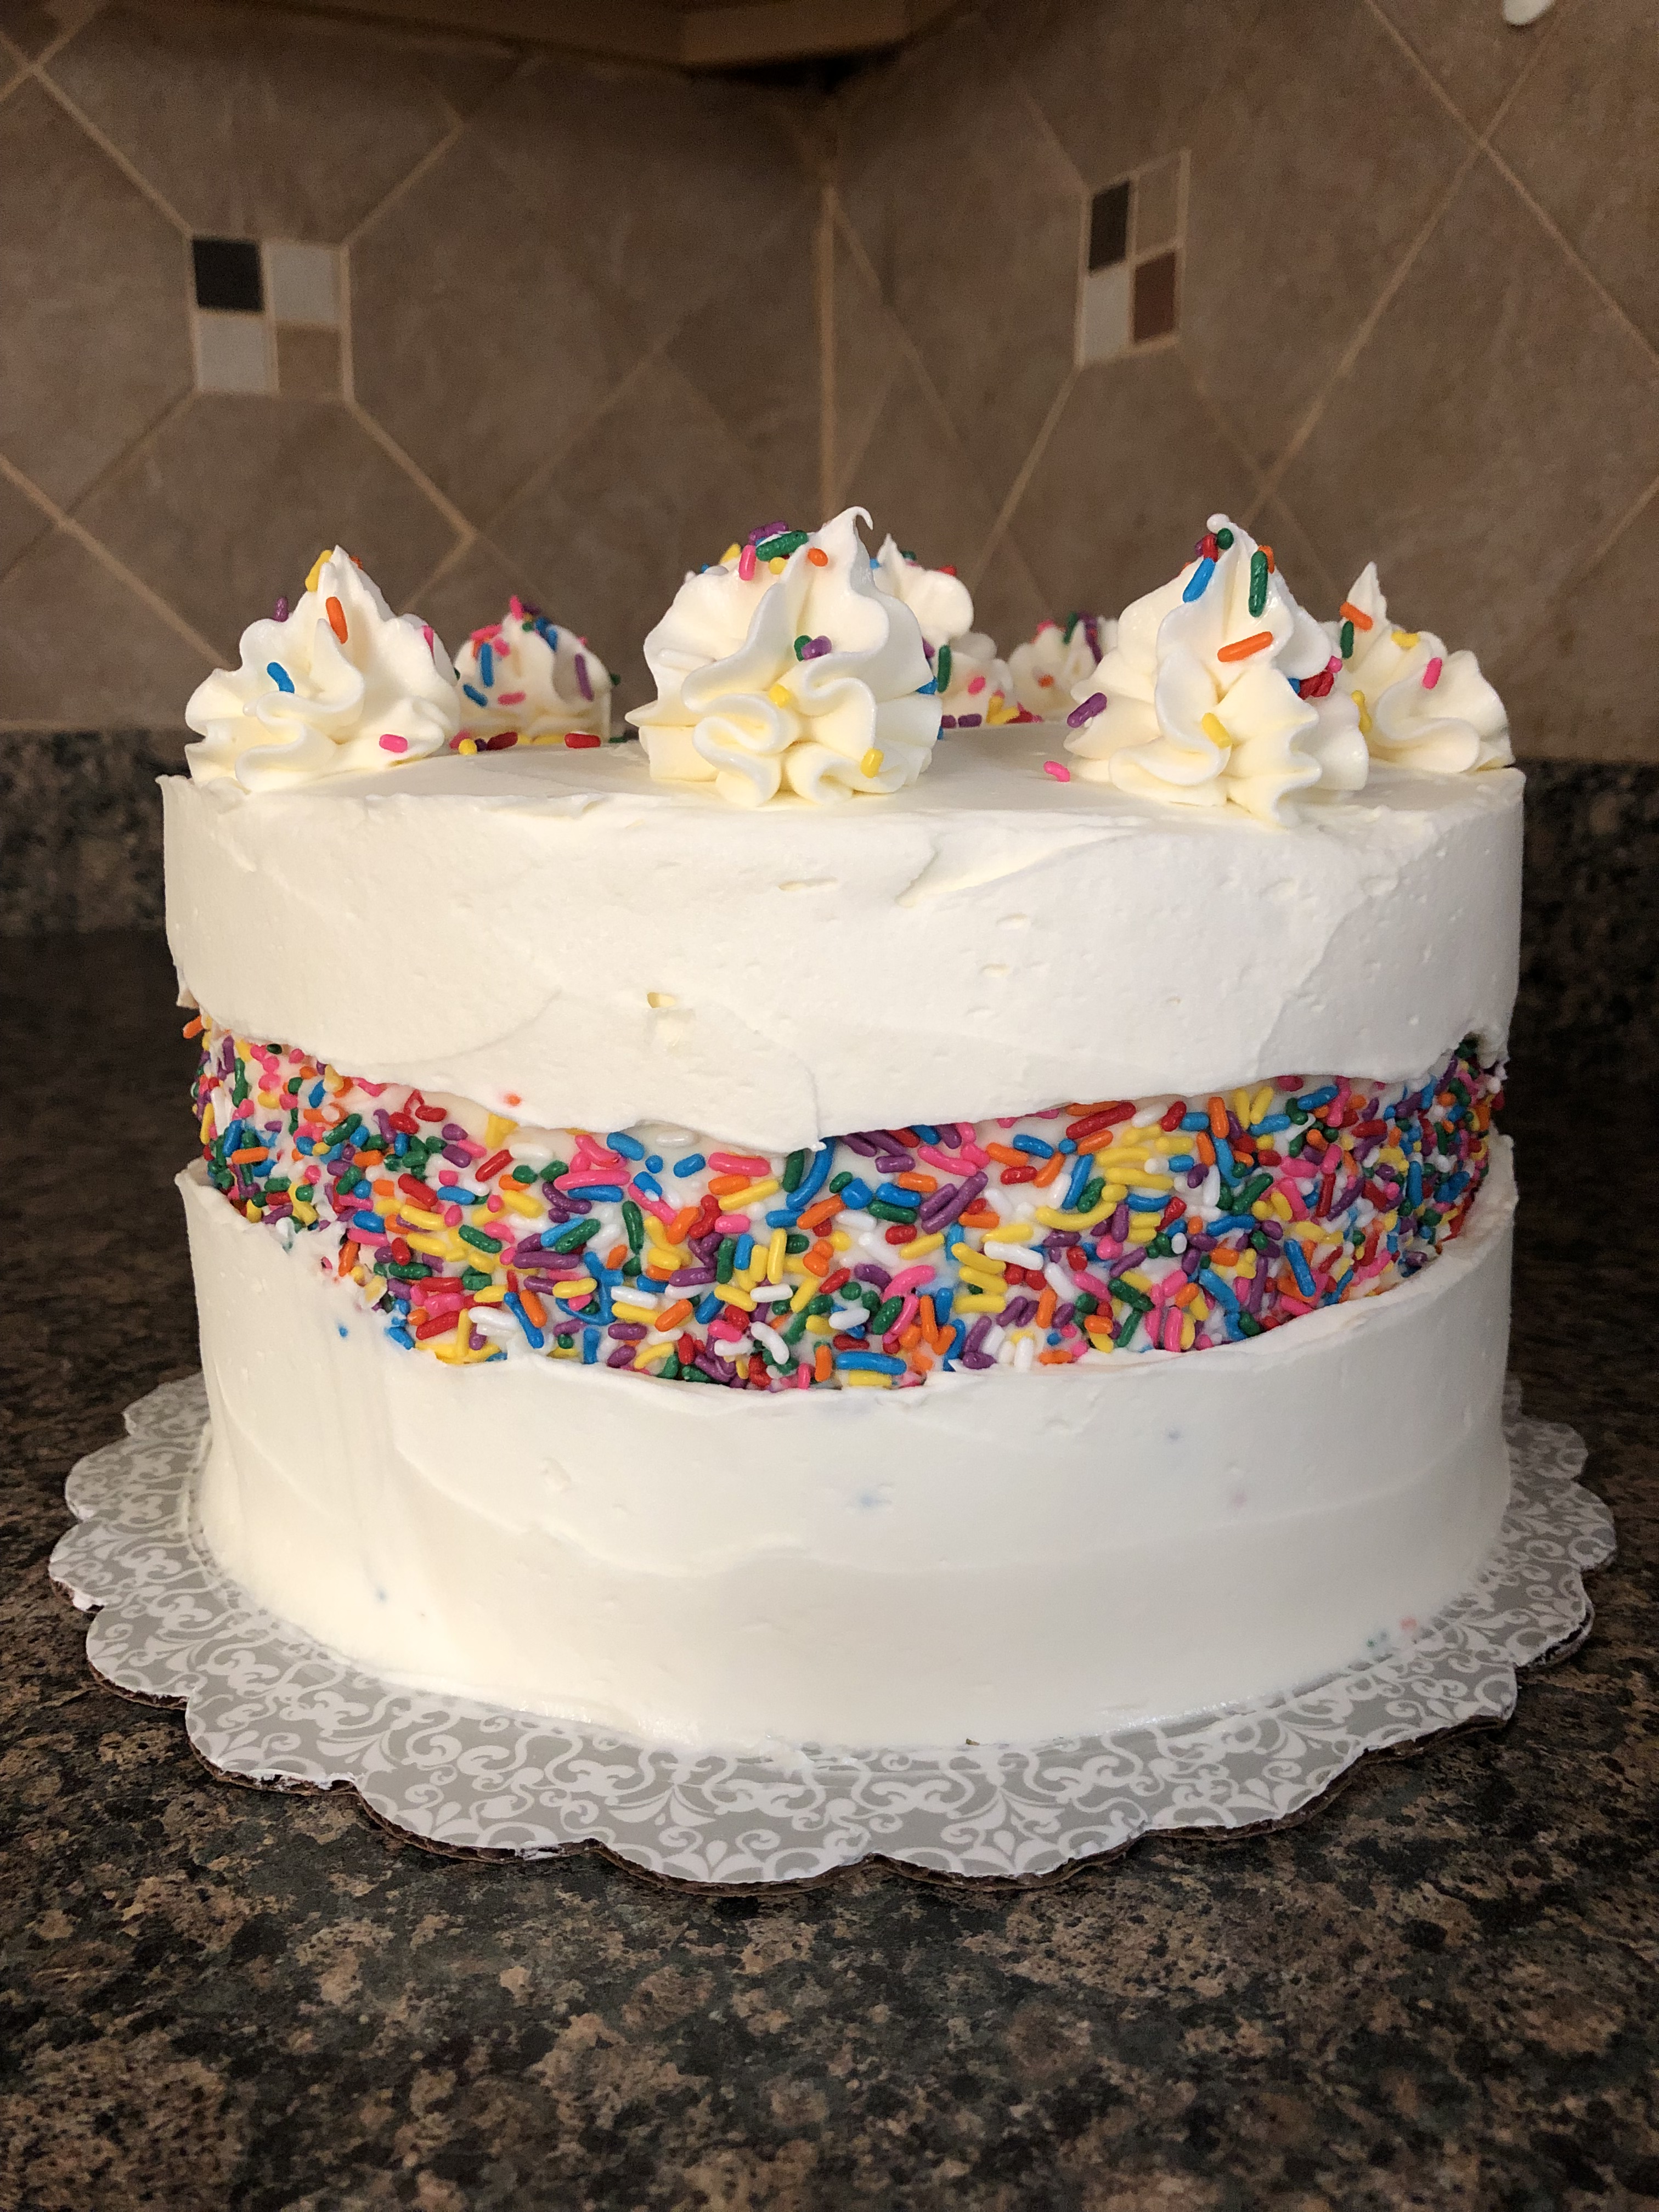
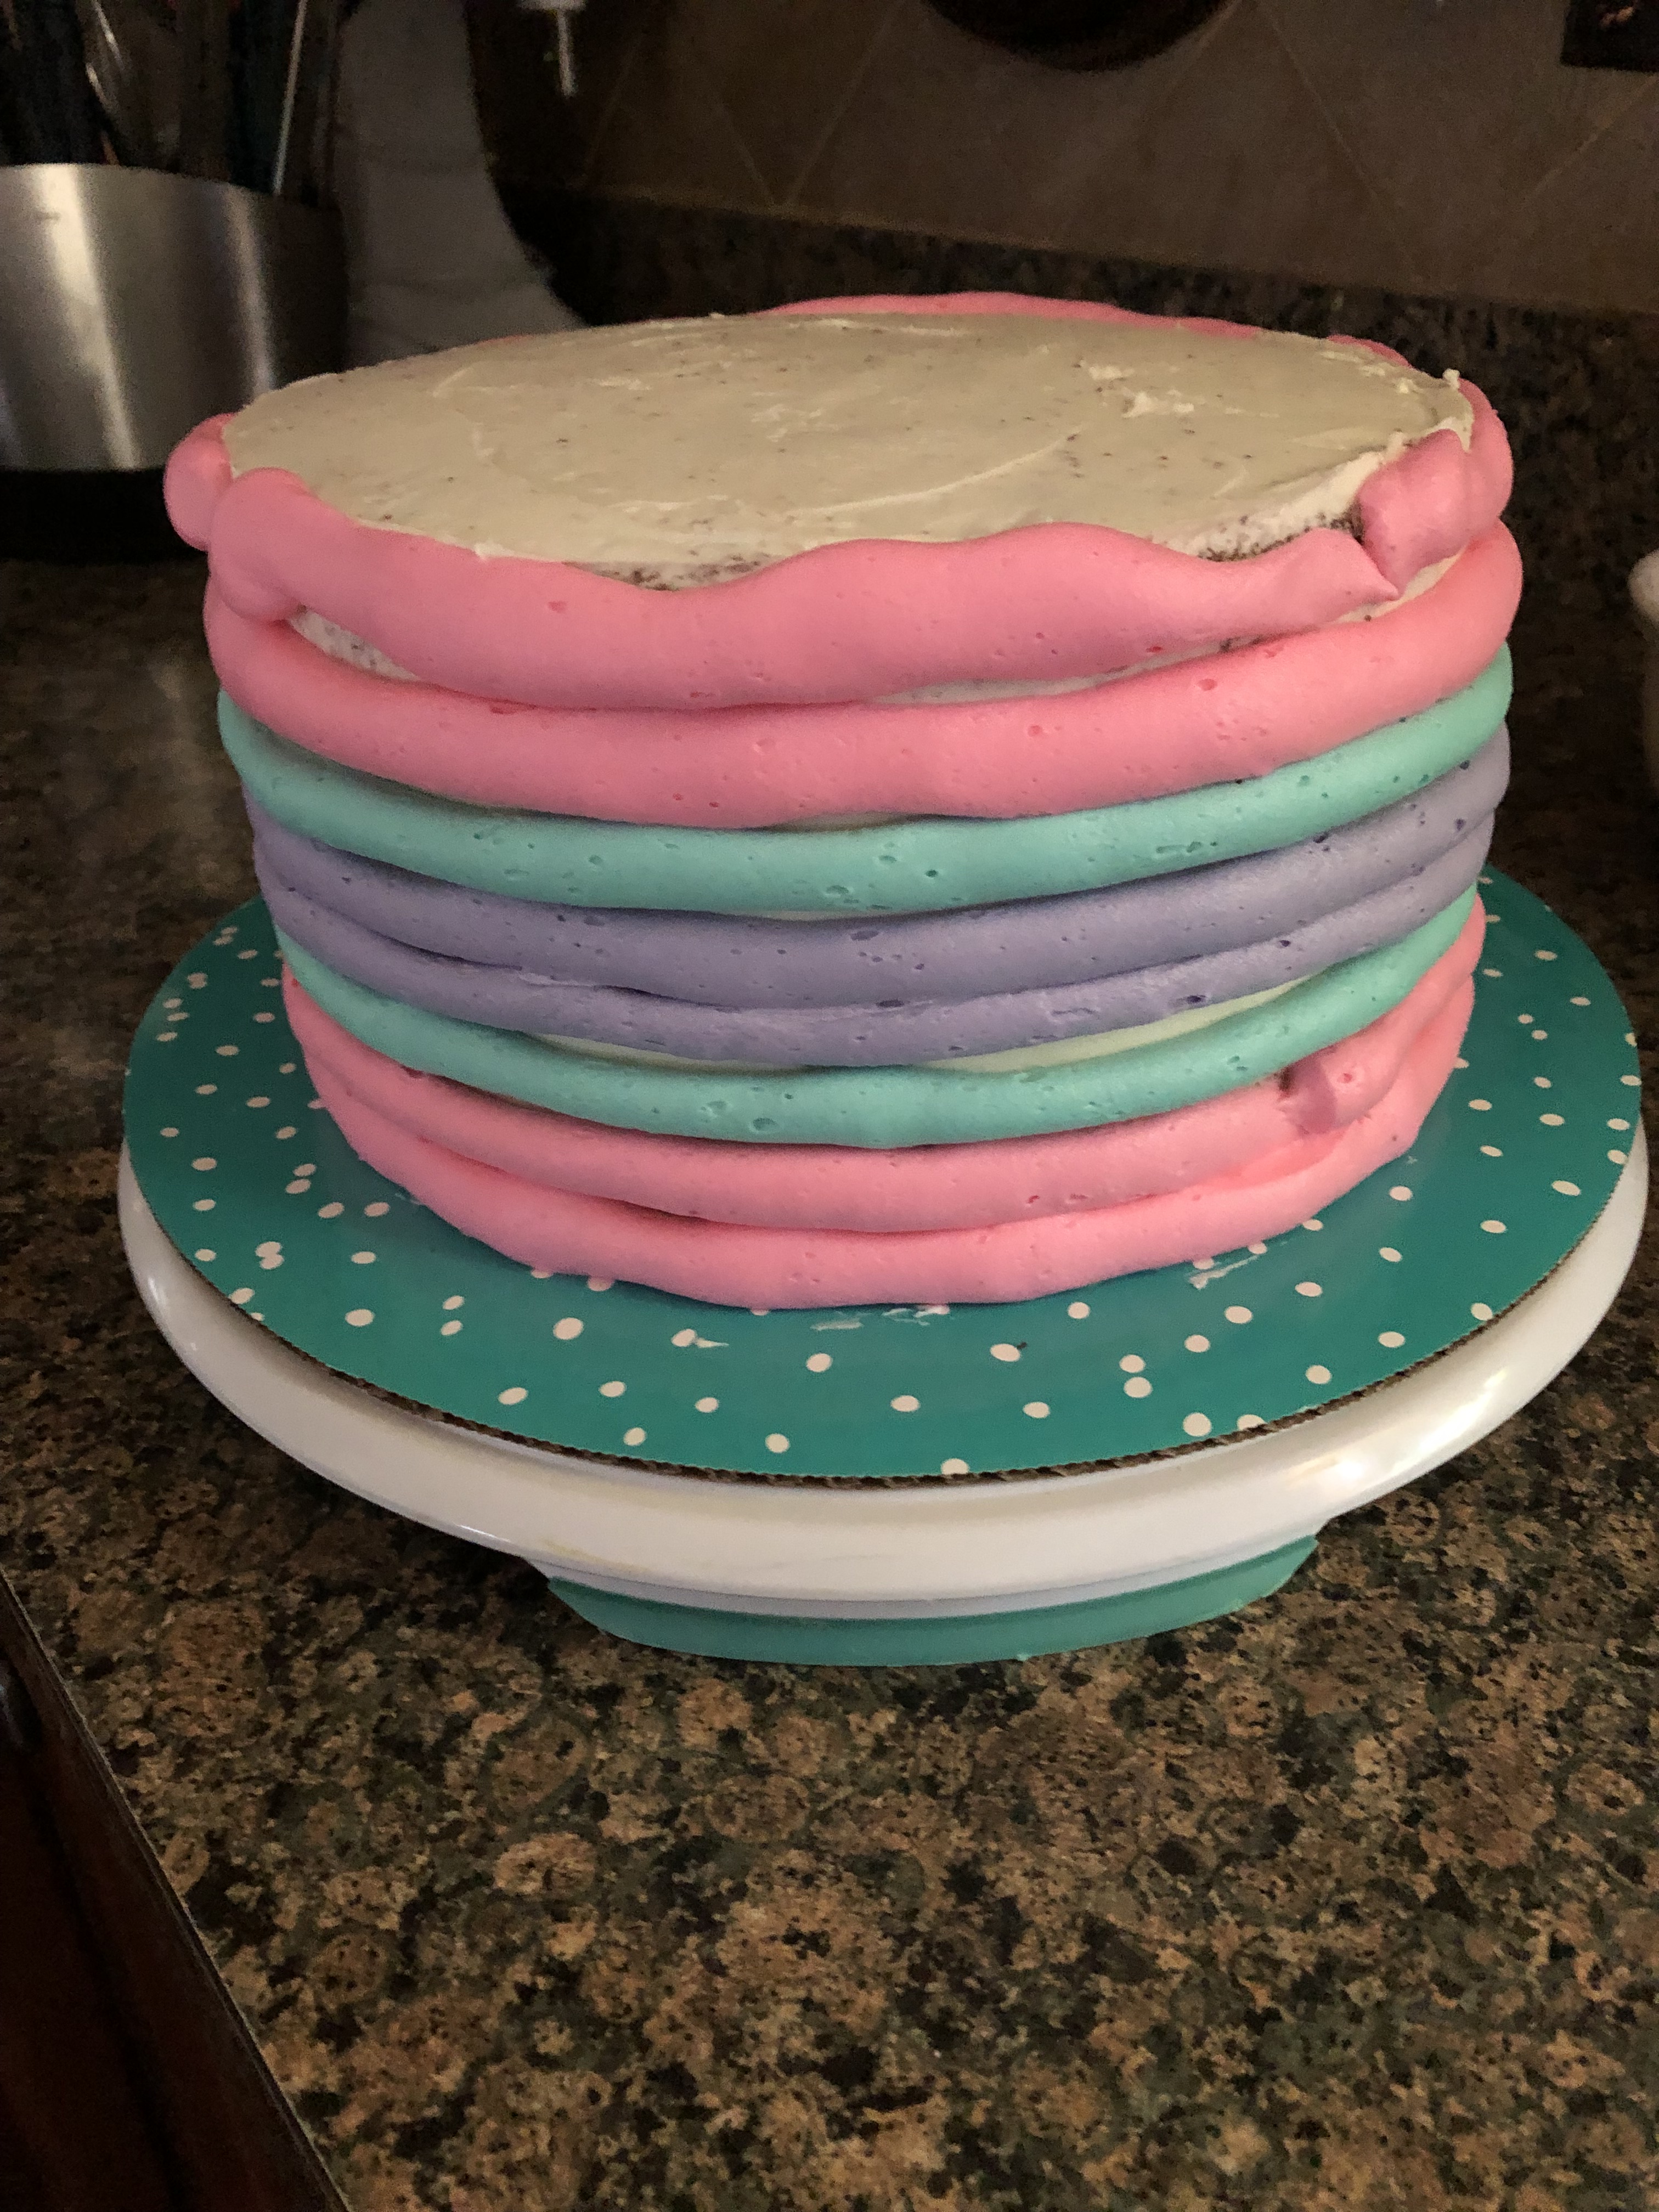
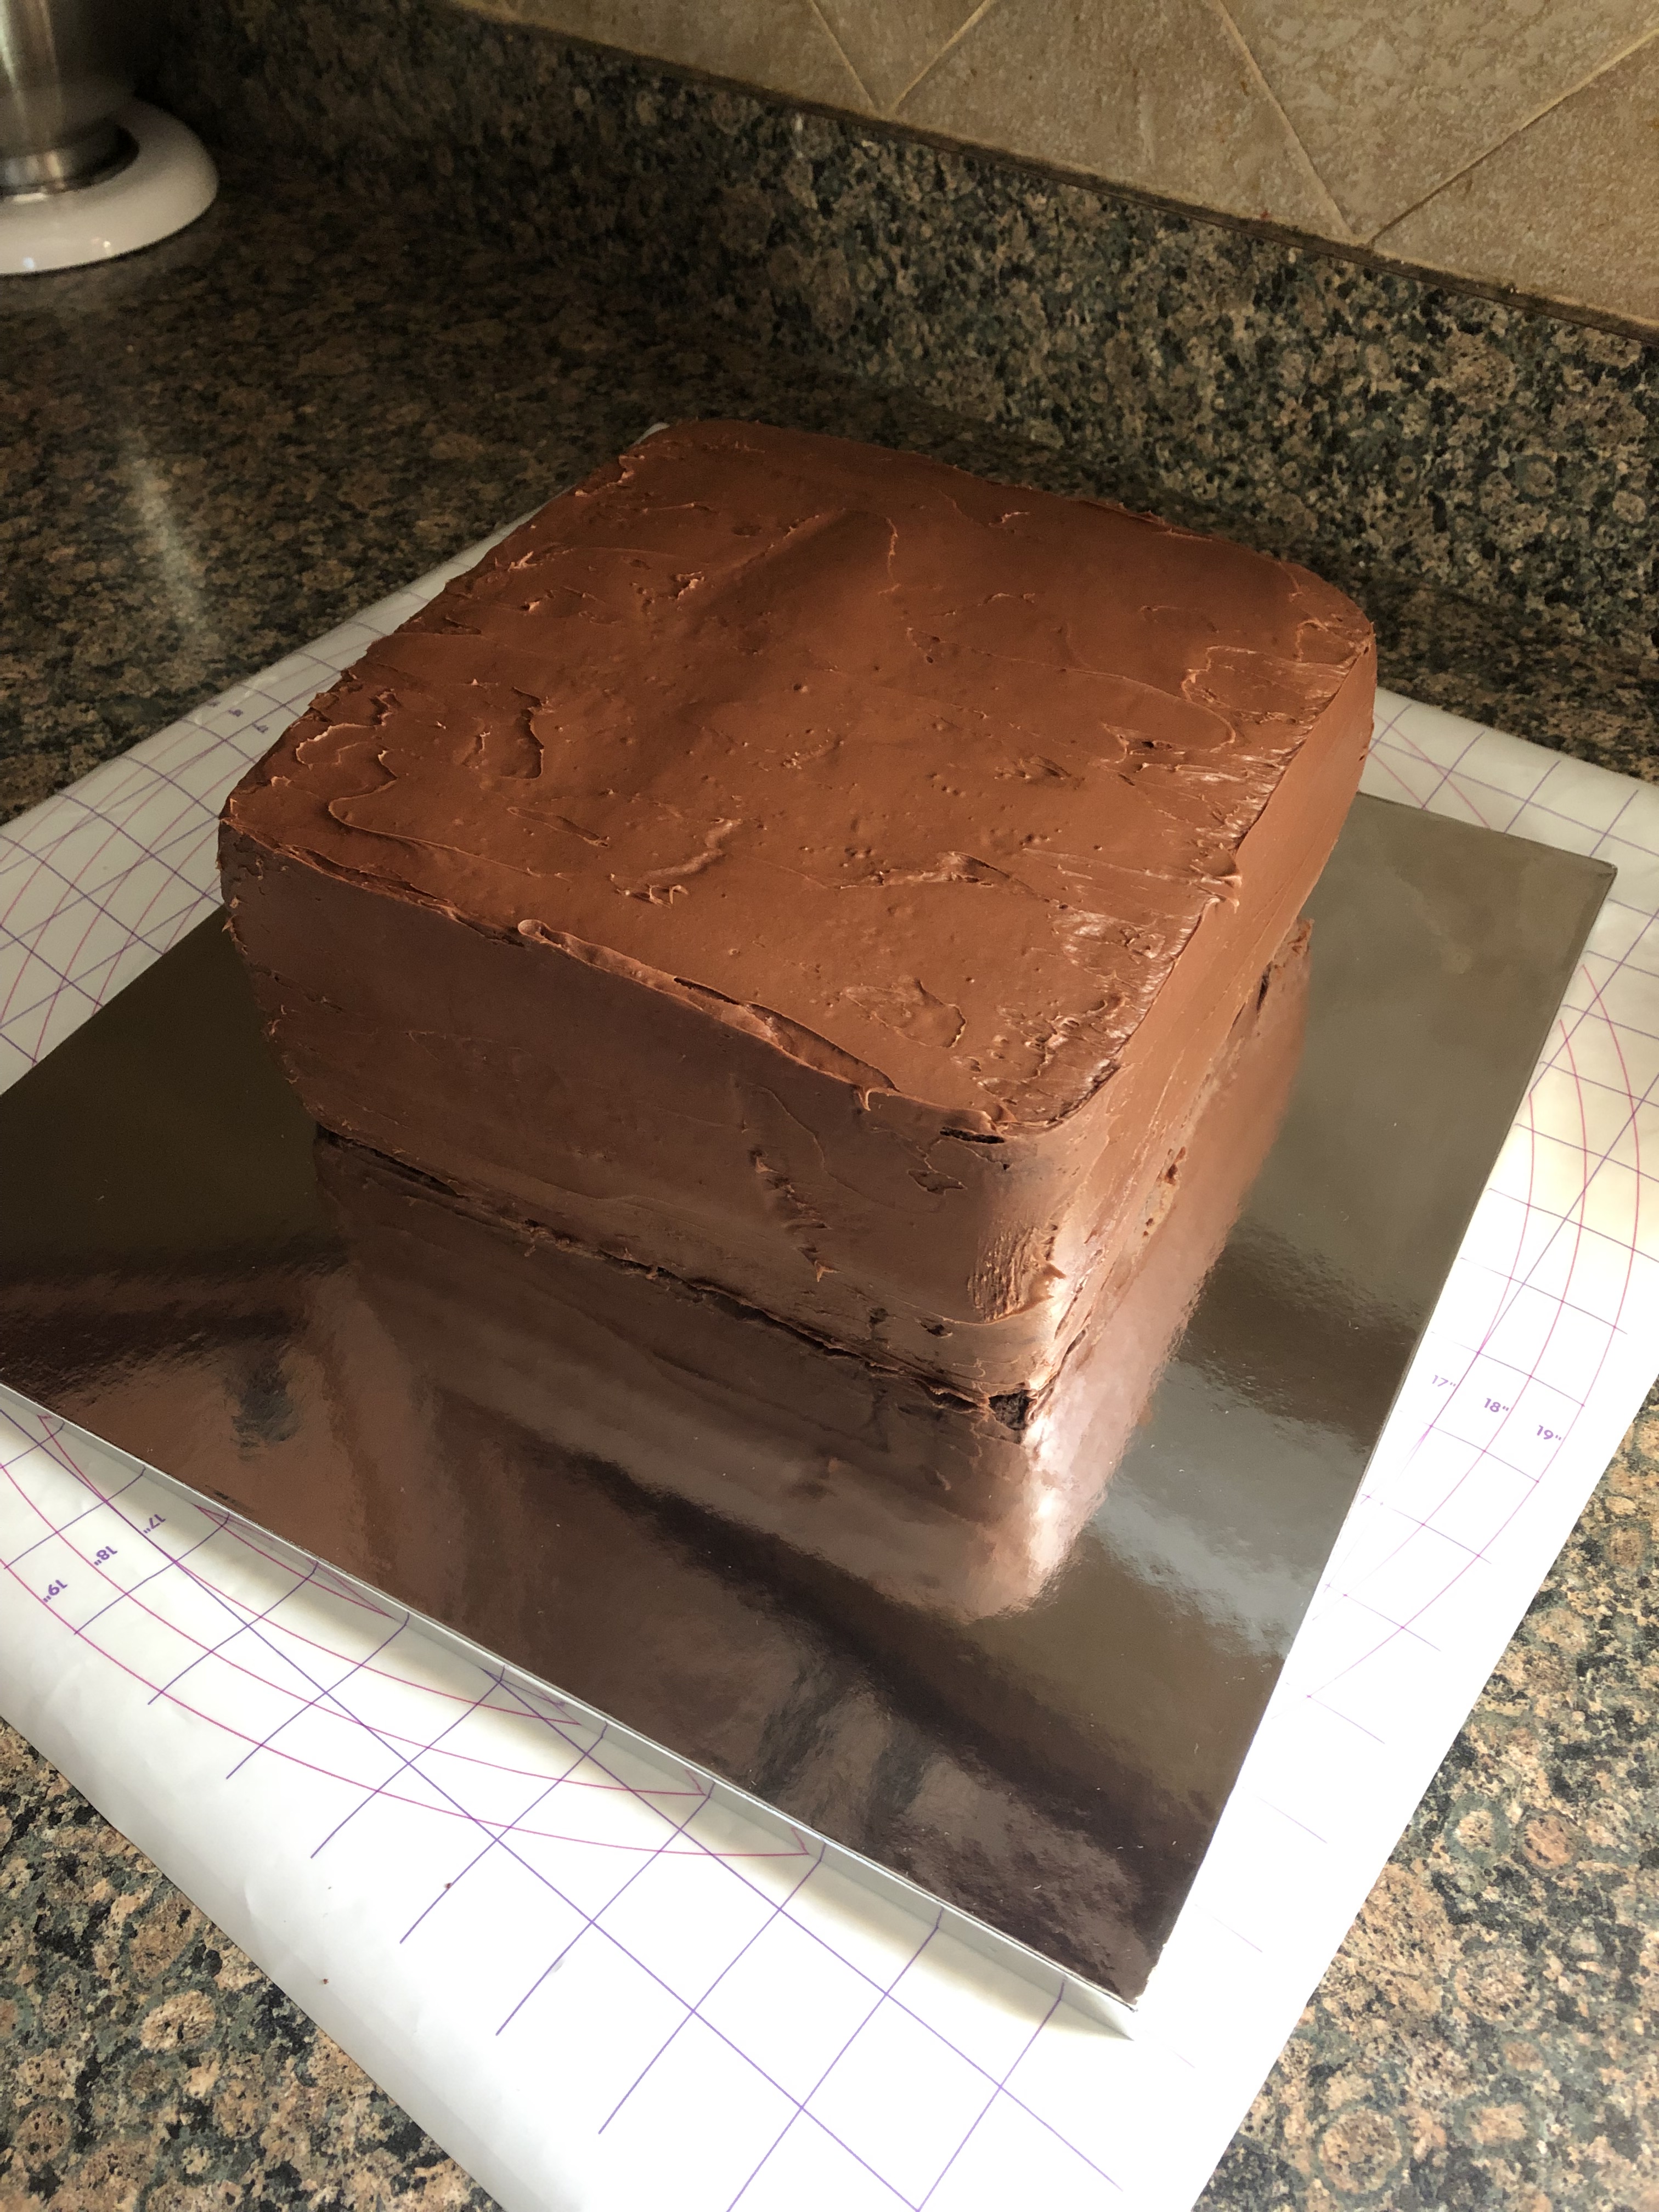
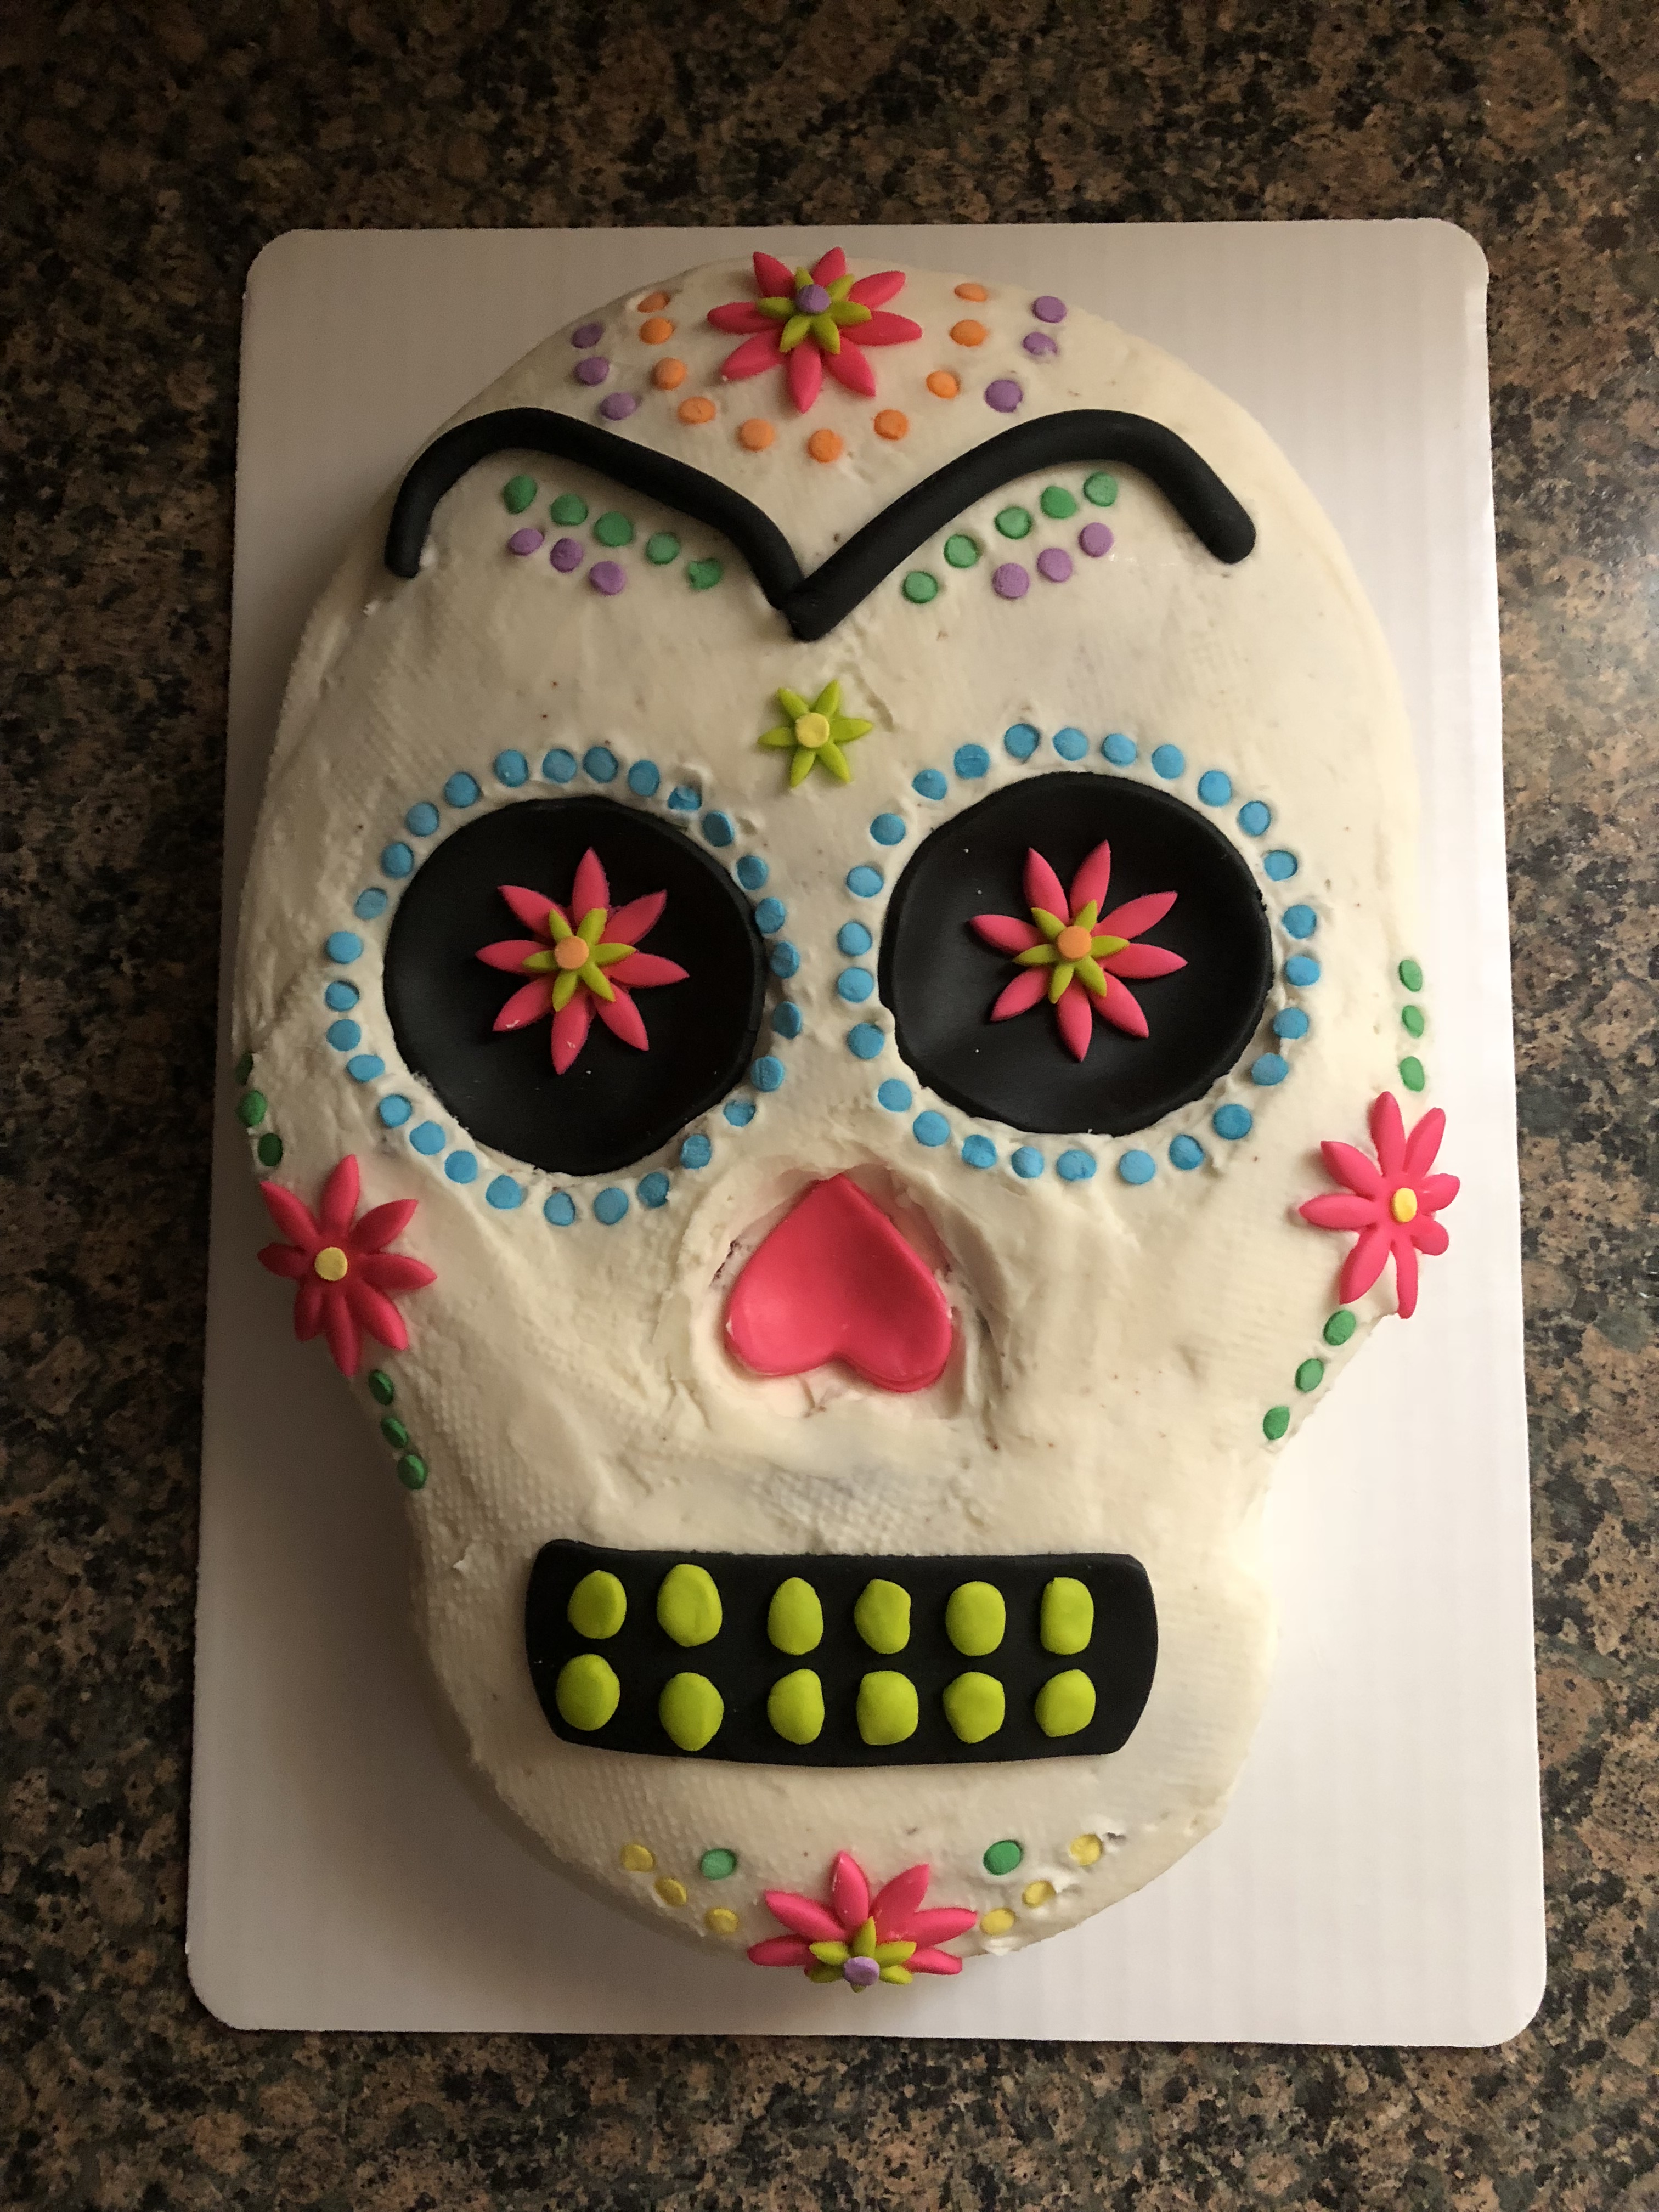
While I thought about throwing in the towel at this point I decided to go ahead and make the frosting for the cake. I added additional heavy whipping cream to a small saucepan and heated until it was hot. I then stirred in semi-sweet chocolate chips and stirred the mixture until the chocolate was melted. After letting the mixture cool for a few minutes it was the perfect consistency to frost the cake.
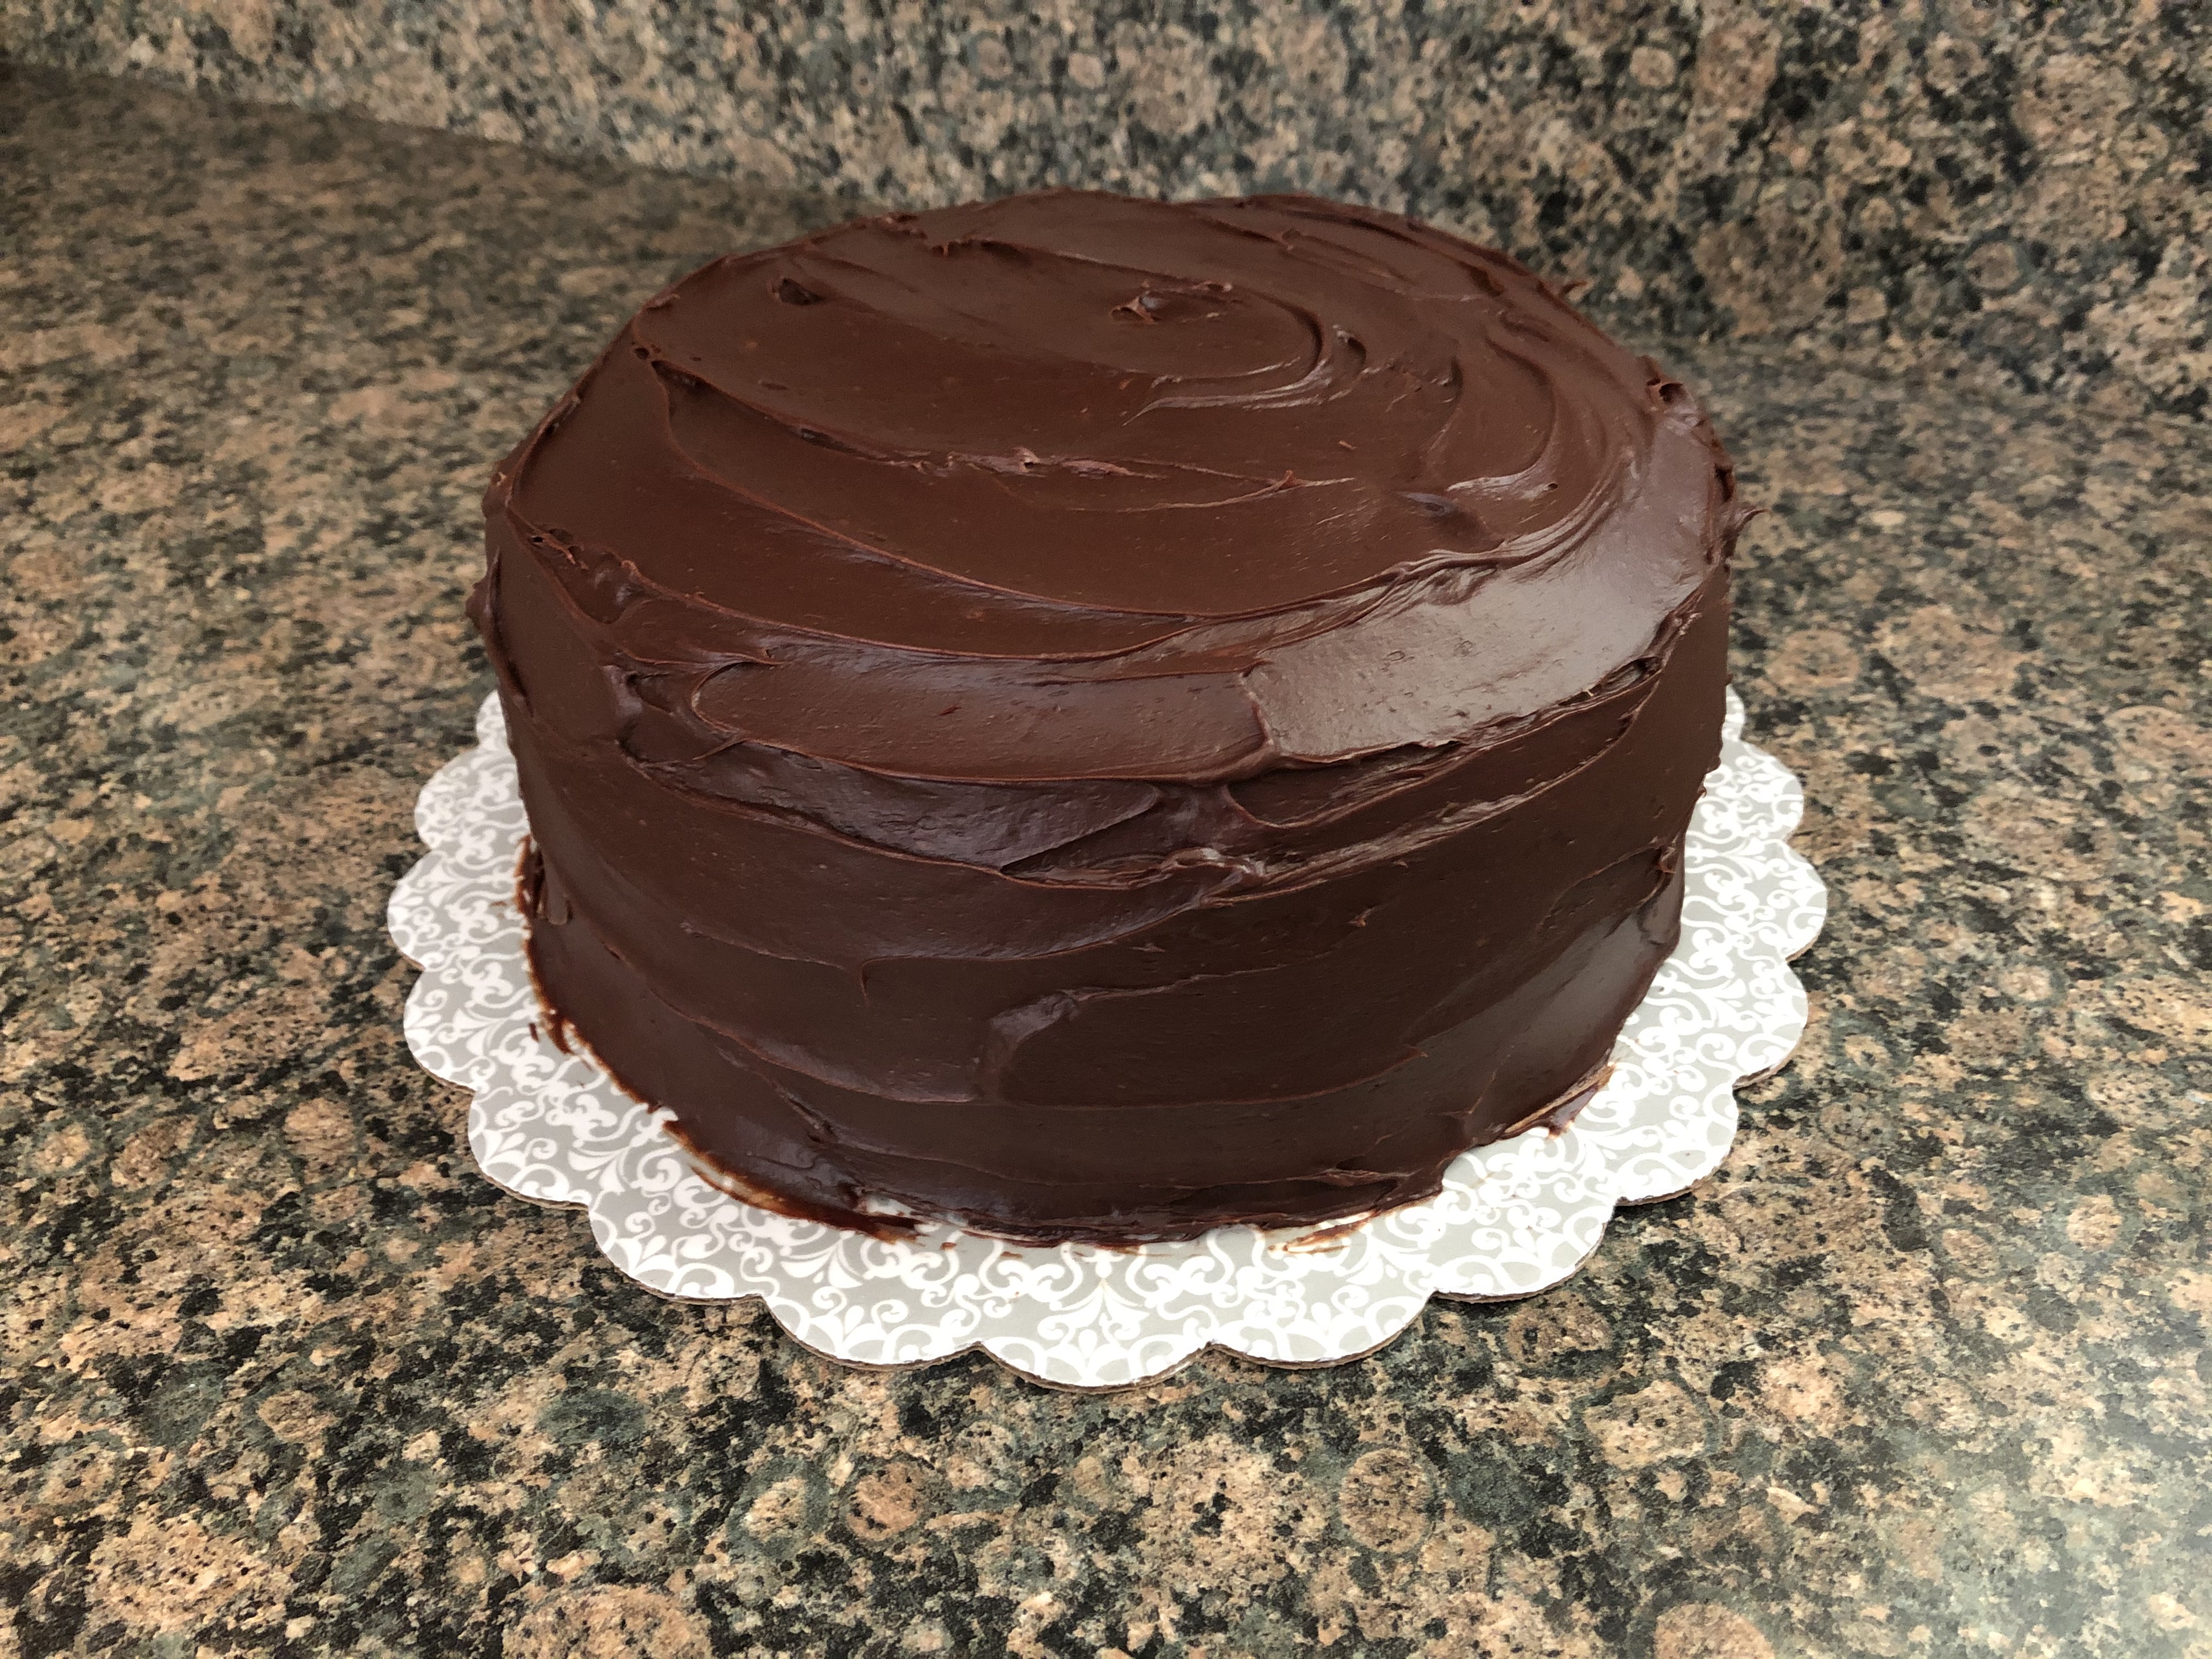
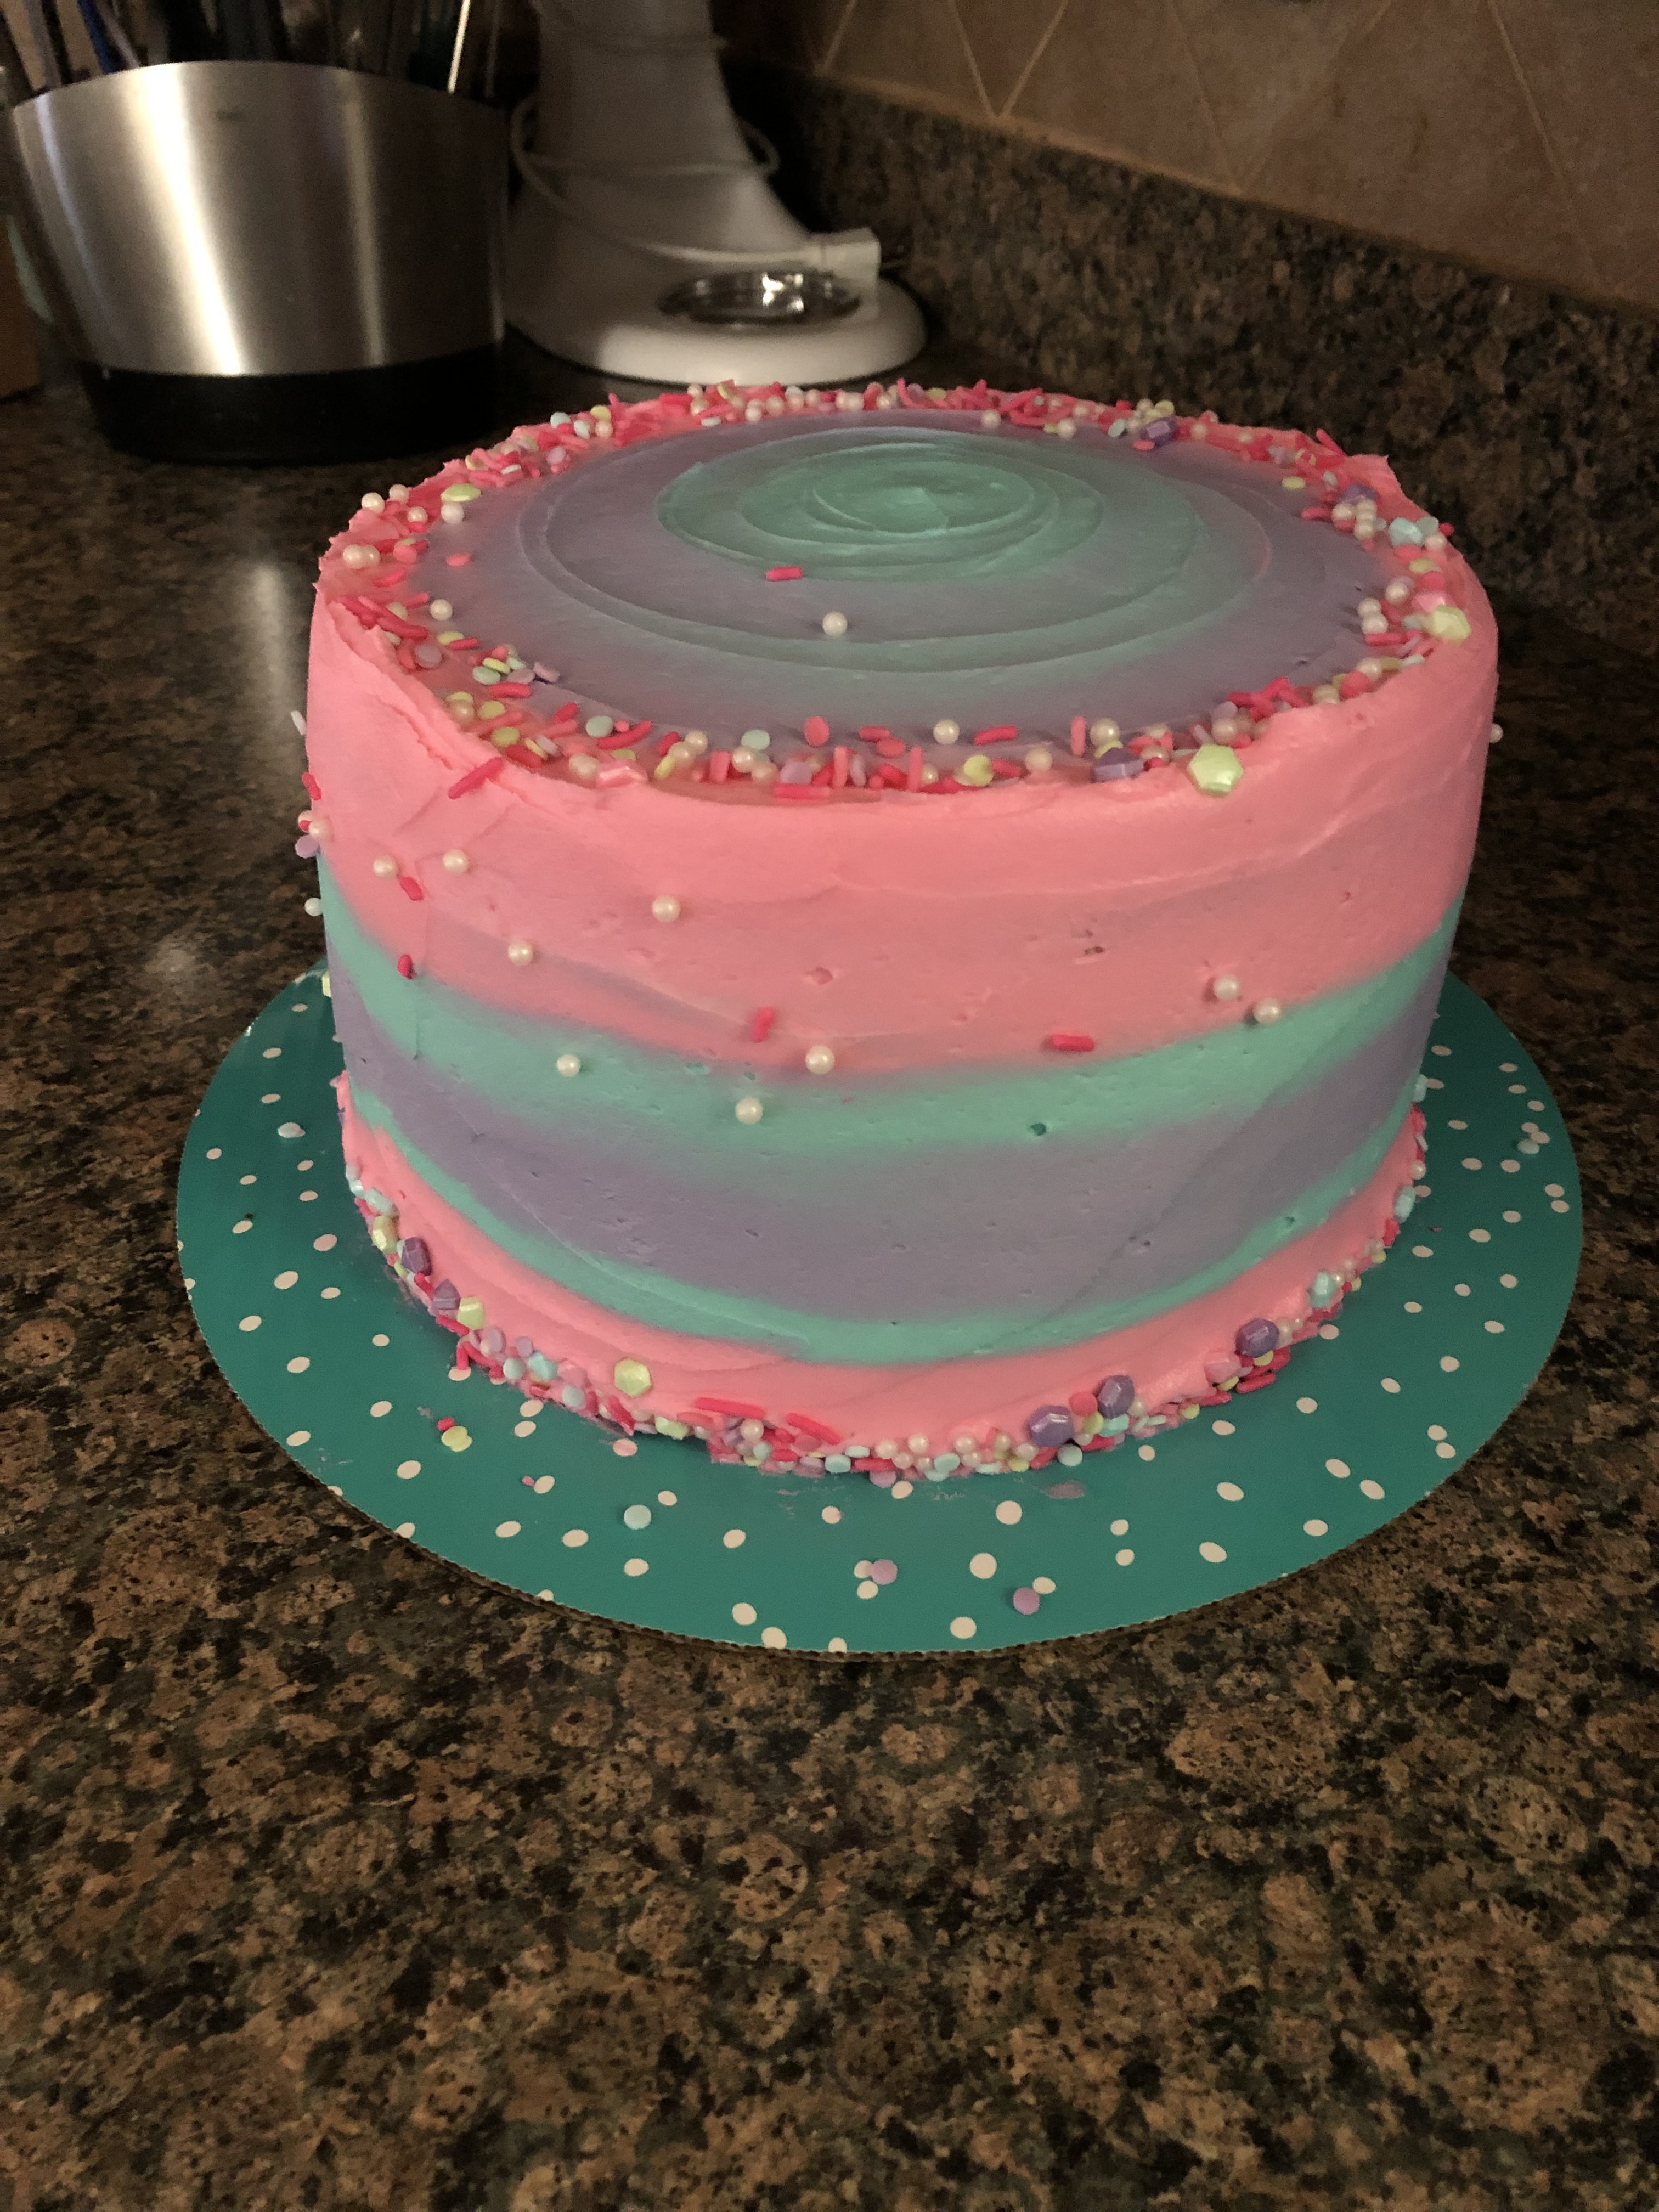
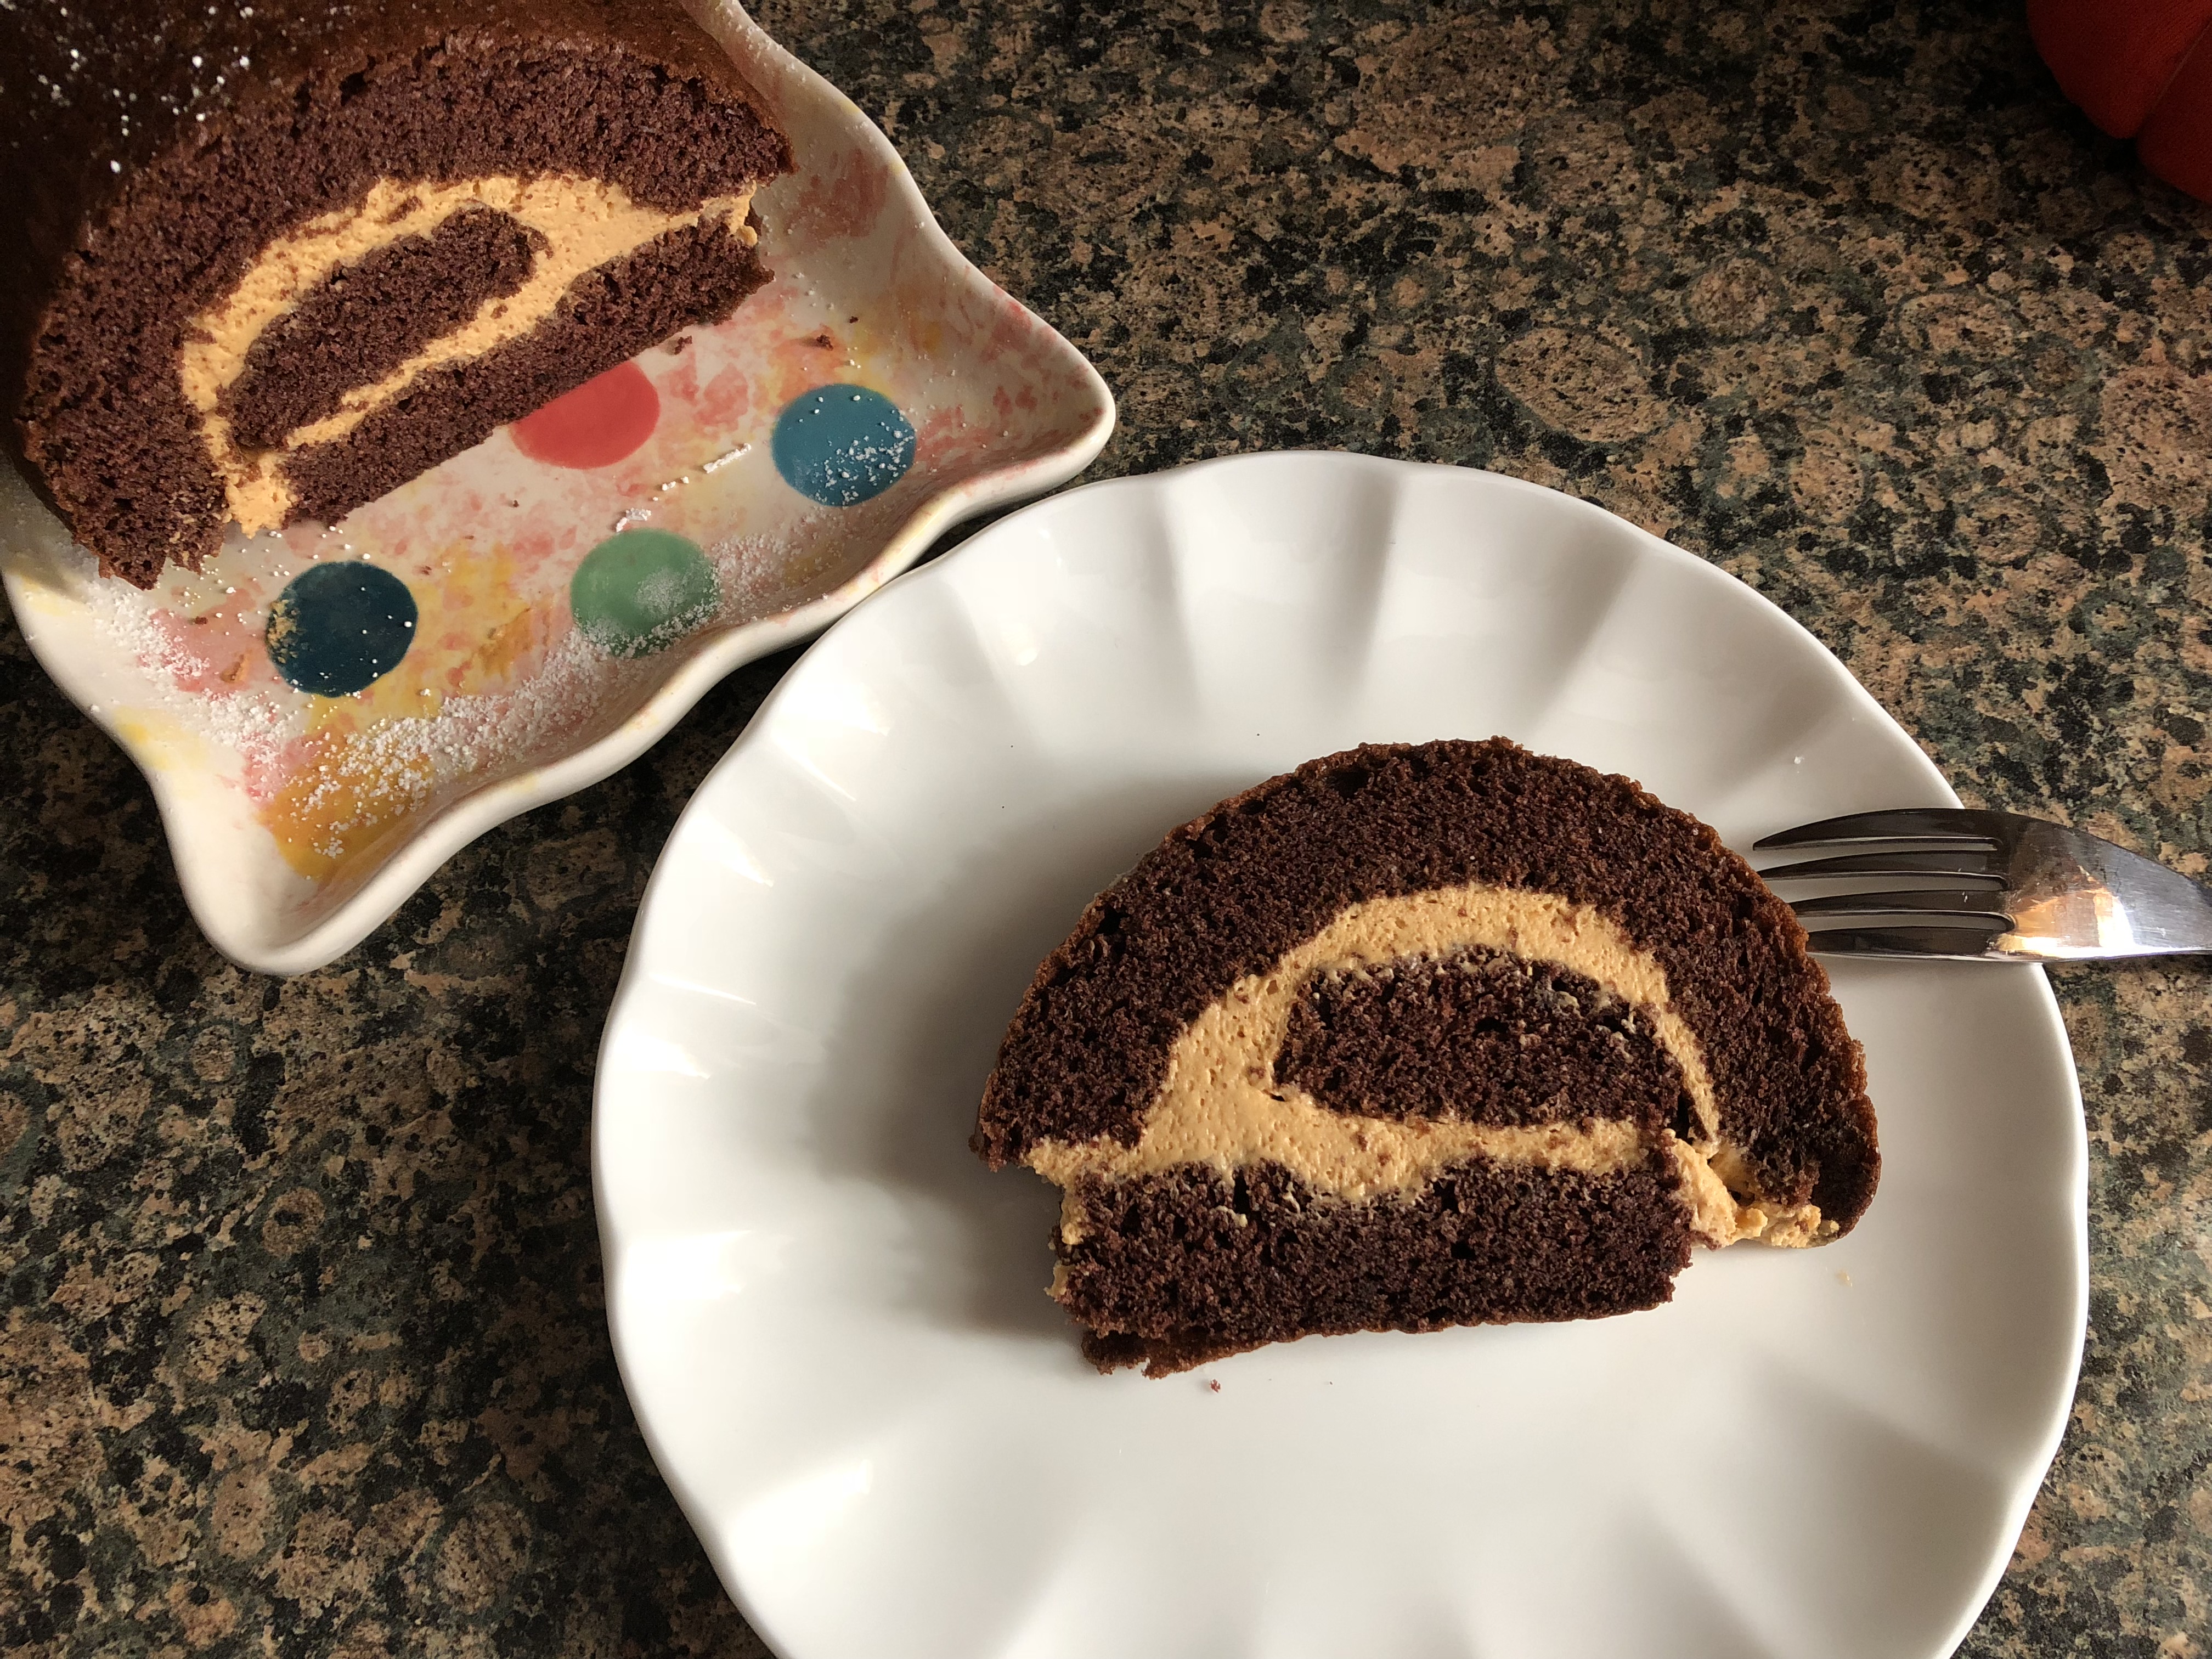
I won’t show you what happened when I sliced into the cake. As you can imagine the filling just, I hate to use the word ooze, but, that’s pretty much what it did. It did taste good though! And I was able to spoon it over the cake after slicing myself a piece so it wasn’t a total loss. So, will I attempt to use the pan again? Absolutely, but, I think the next filling will be something like whipped cream folded with some fresh berries, or, I will use the filling I normally make for my other cakes. Oh, and yeah, I will be using baking spray next time. It hasn’t left a cake stuck in a pan for me yet!