Happy Holidays!

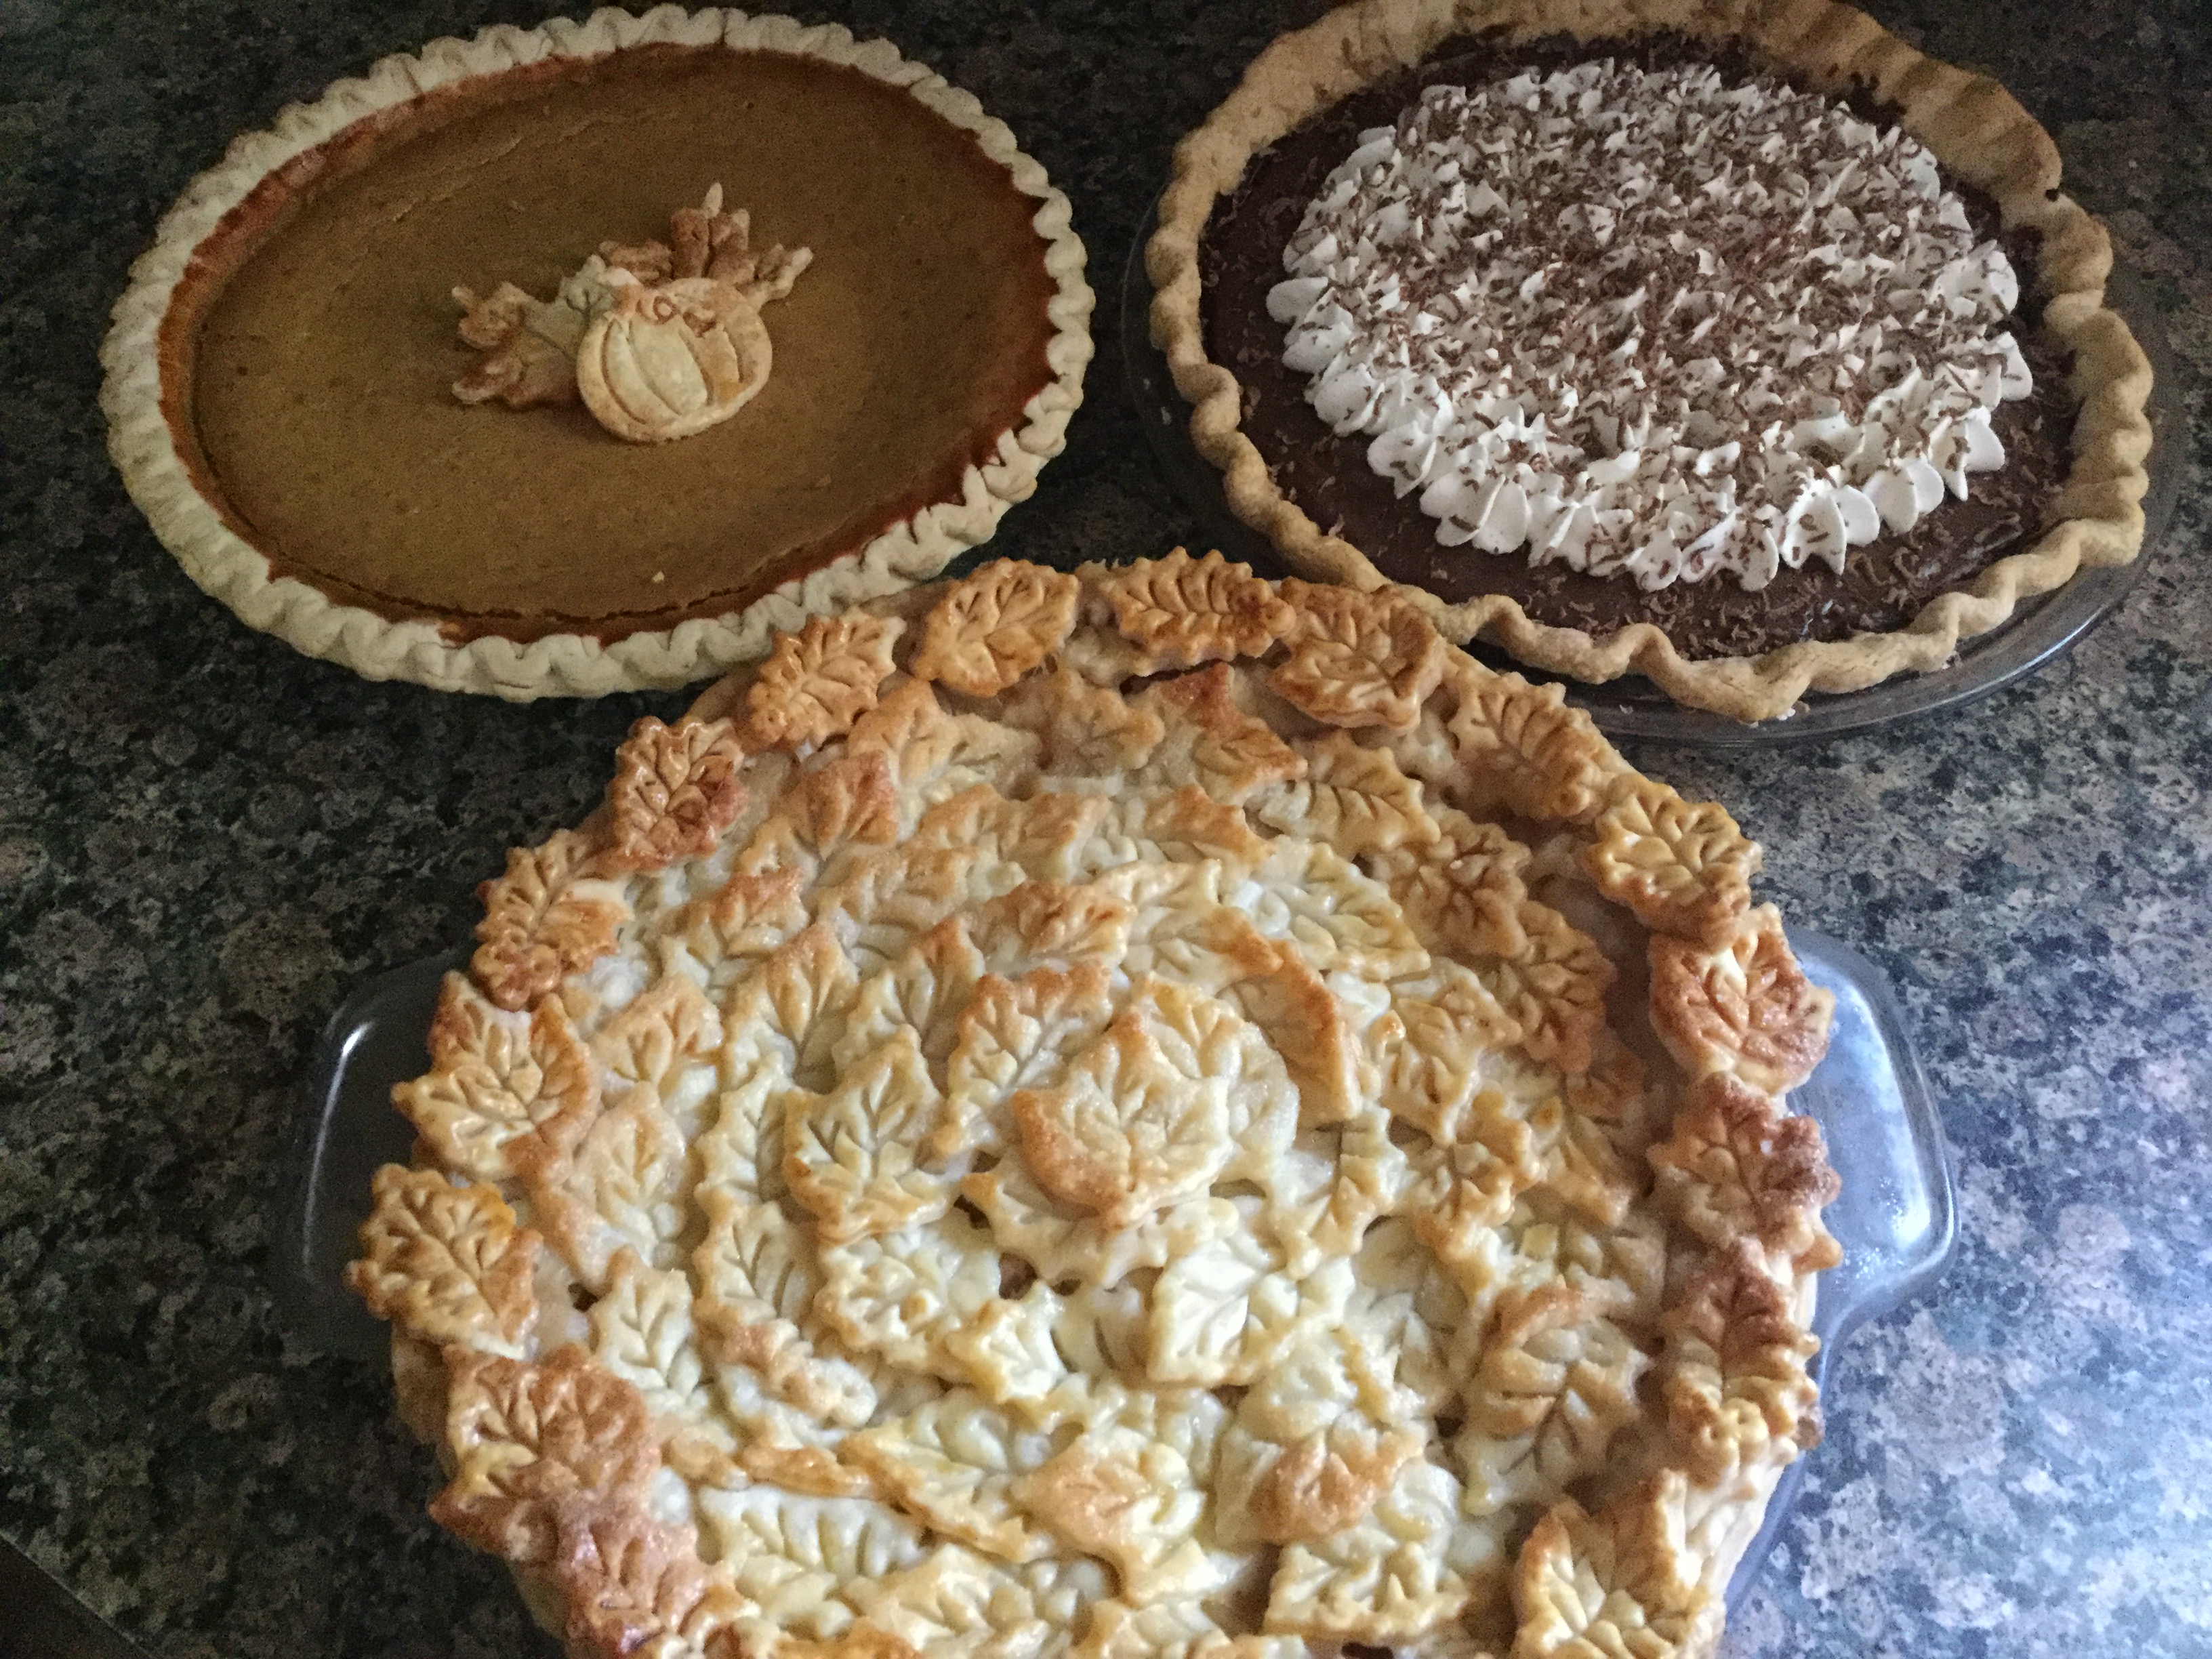
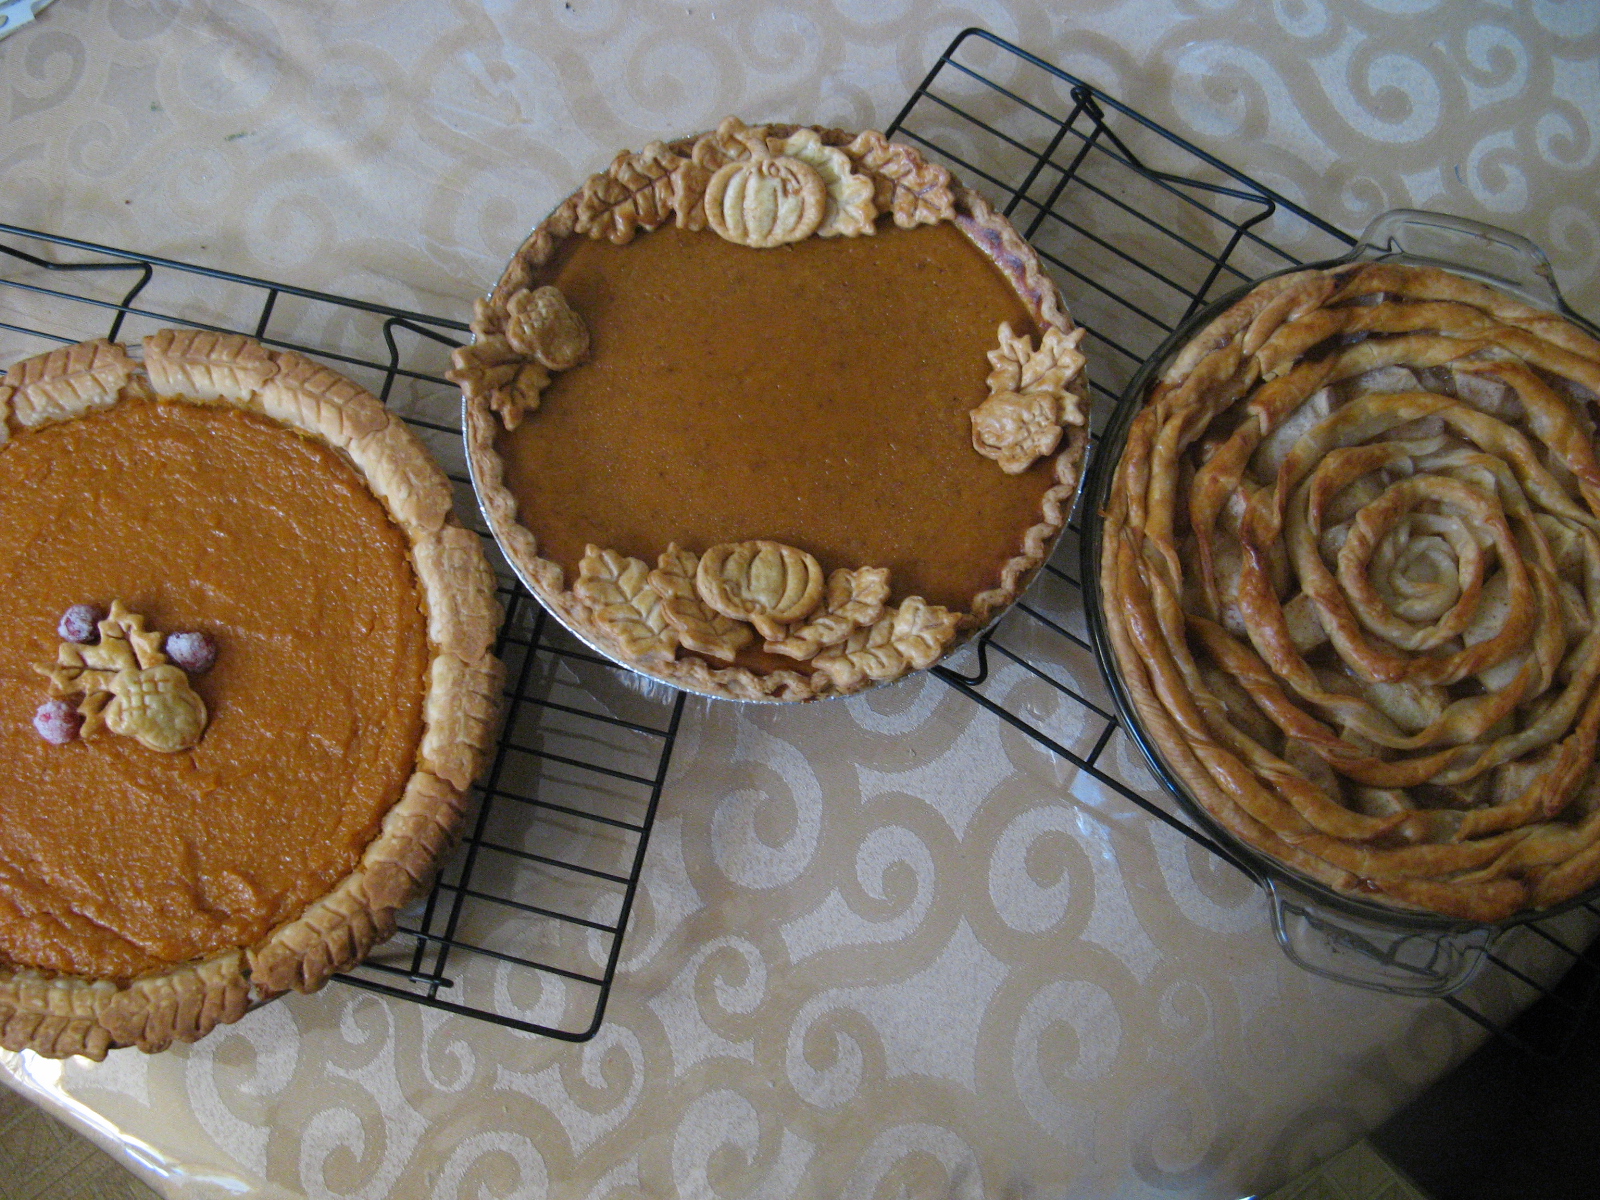
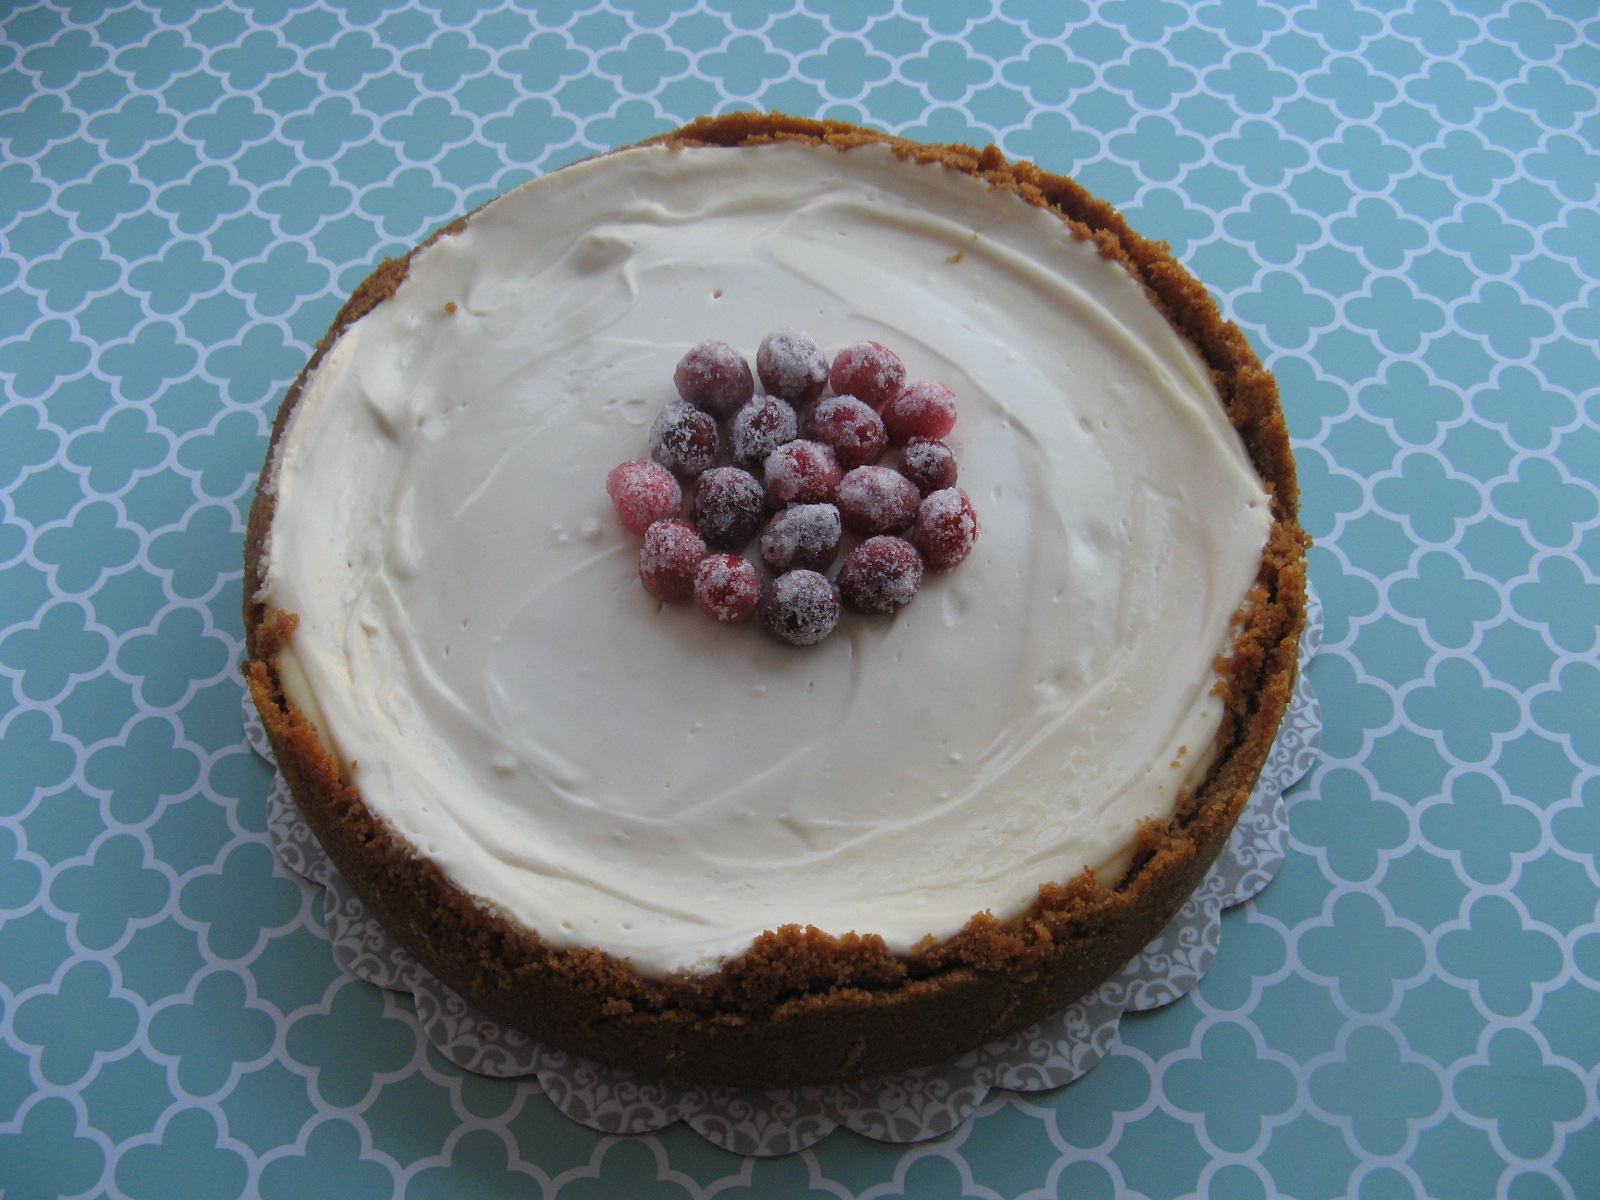
How was your Thanksgiving? Mine was good… Surrounded by loved ones, delicious food and sweet-tooth satisfying desserts. Of course, I did my fair share of baking… Key Lime Pie, Pumpkin-Brownie Swirl Pie, Pumpkin Pie, a Pumpkin Tiramisu Cake and the below Pear Cranberry Pie, just to name a few things.


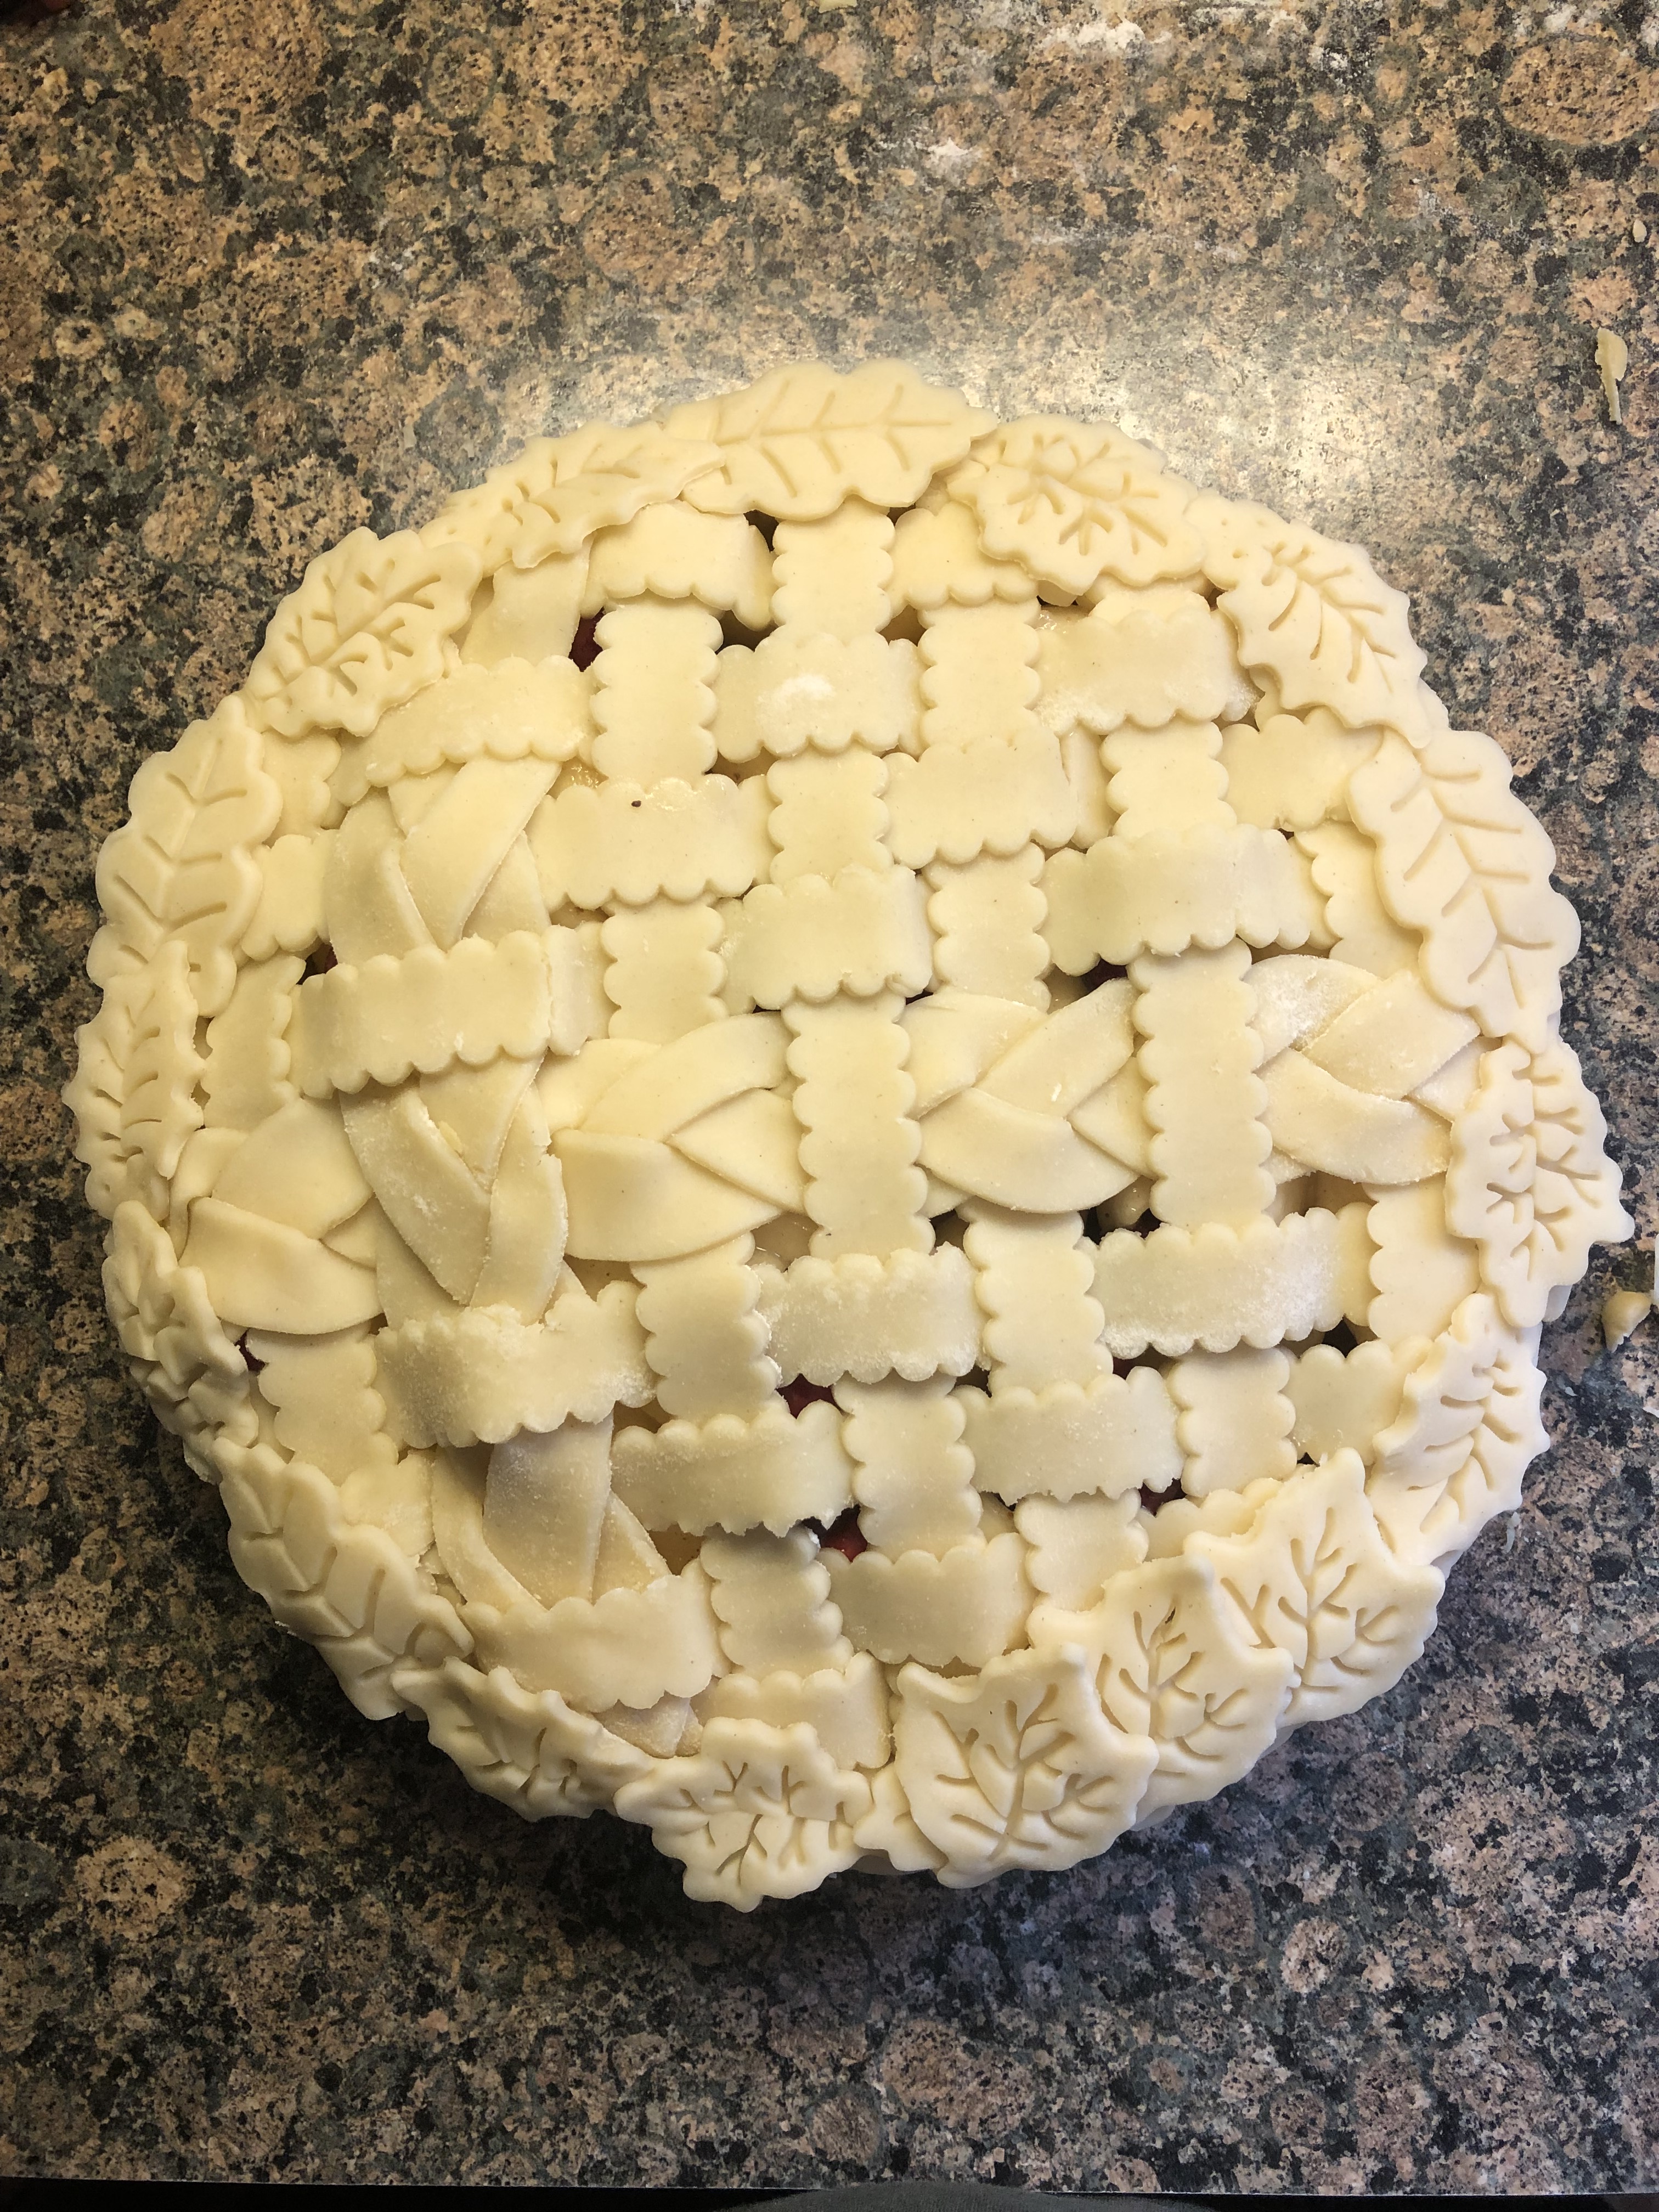
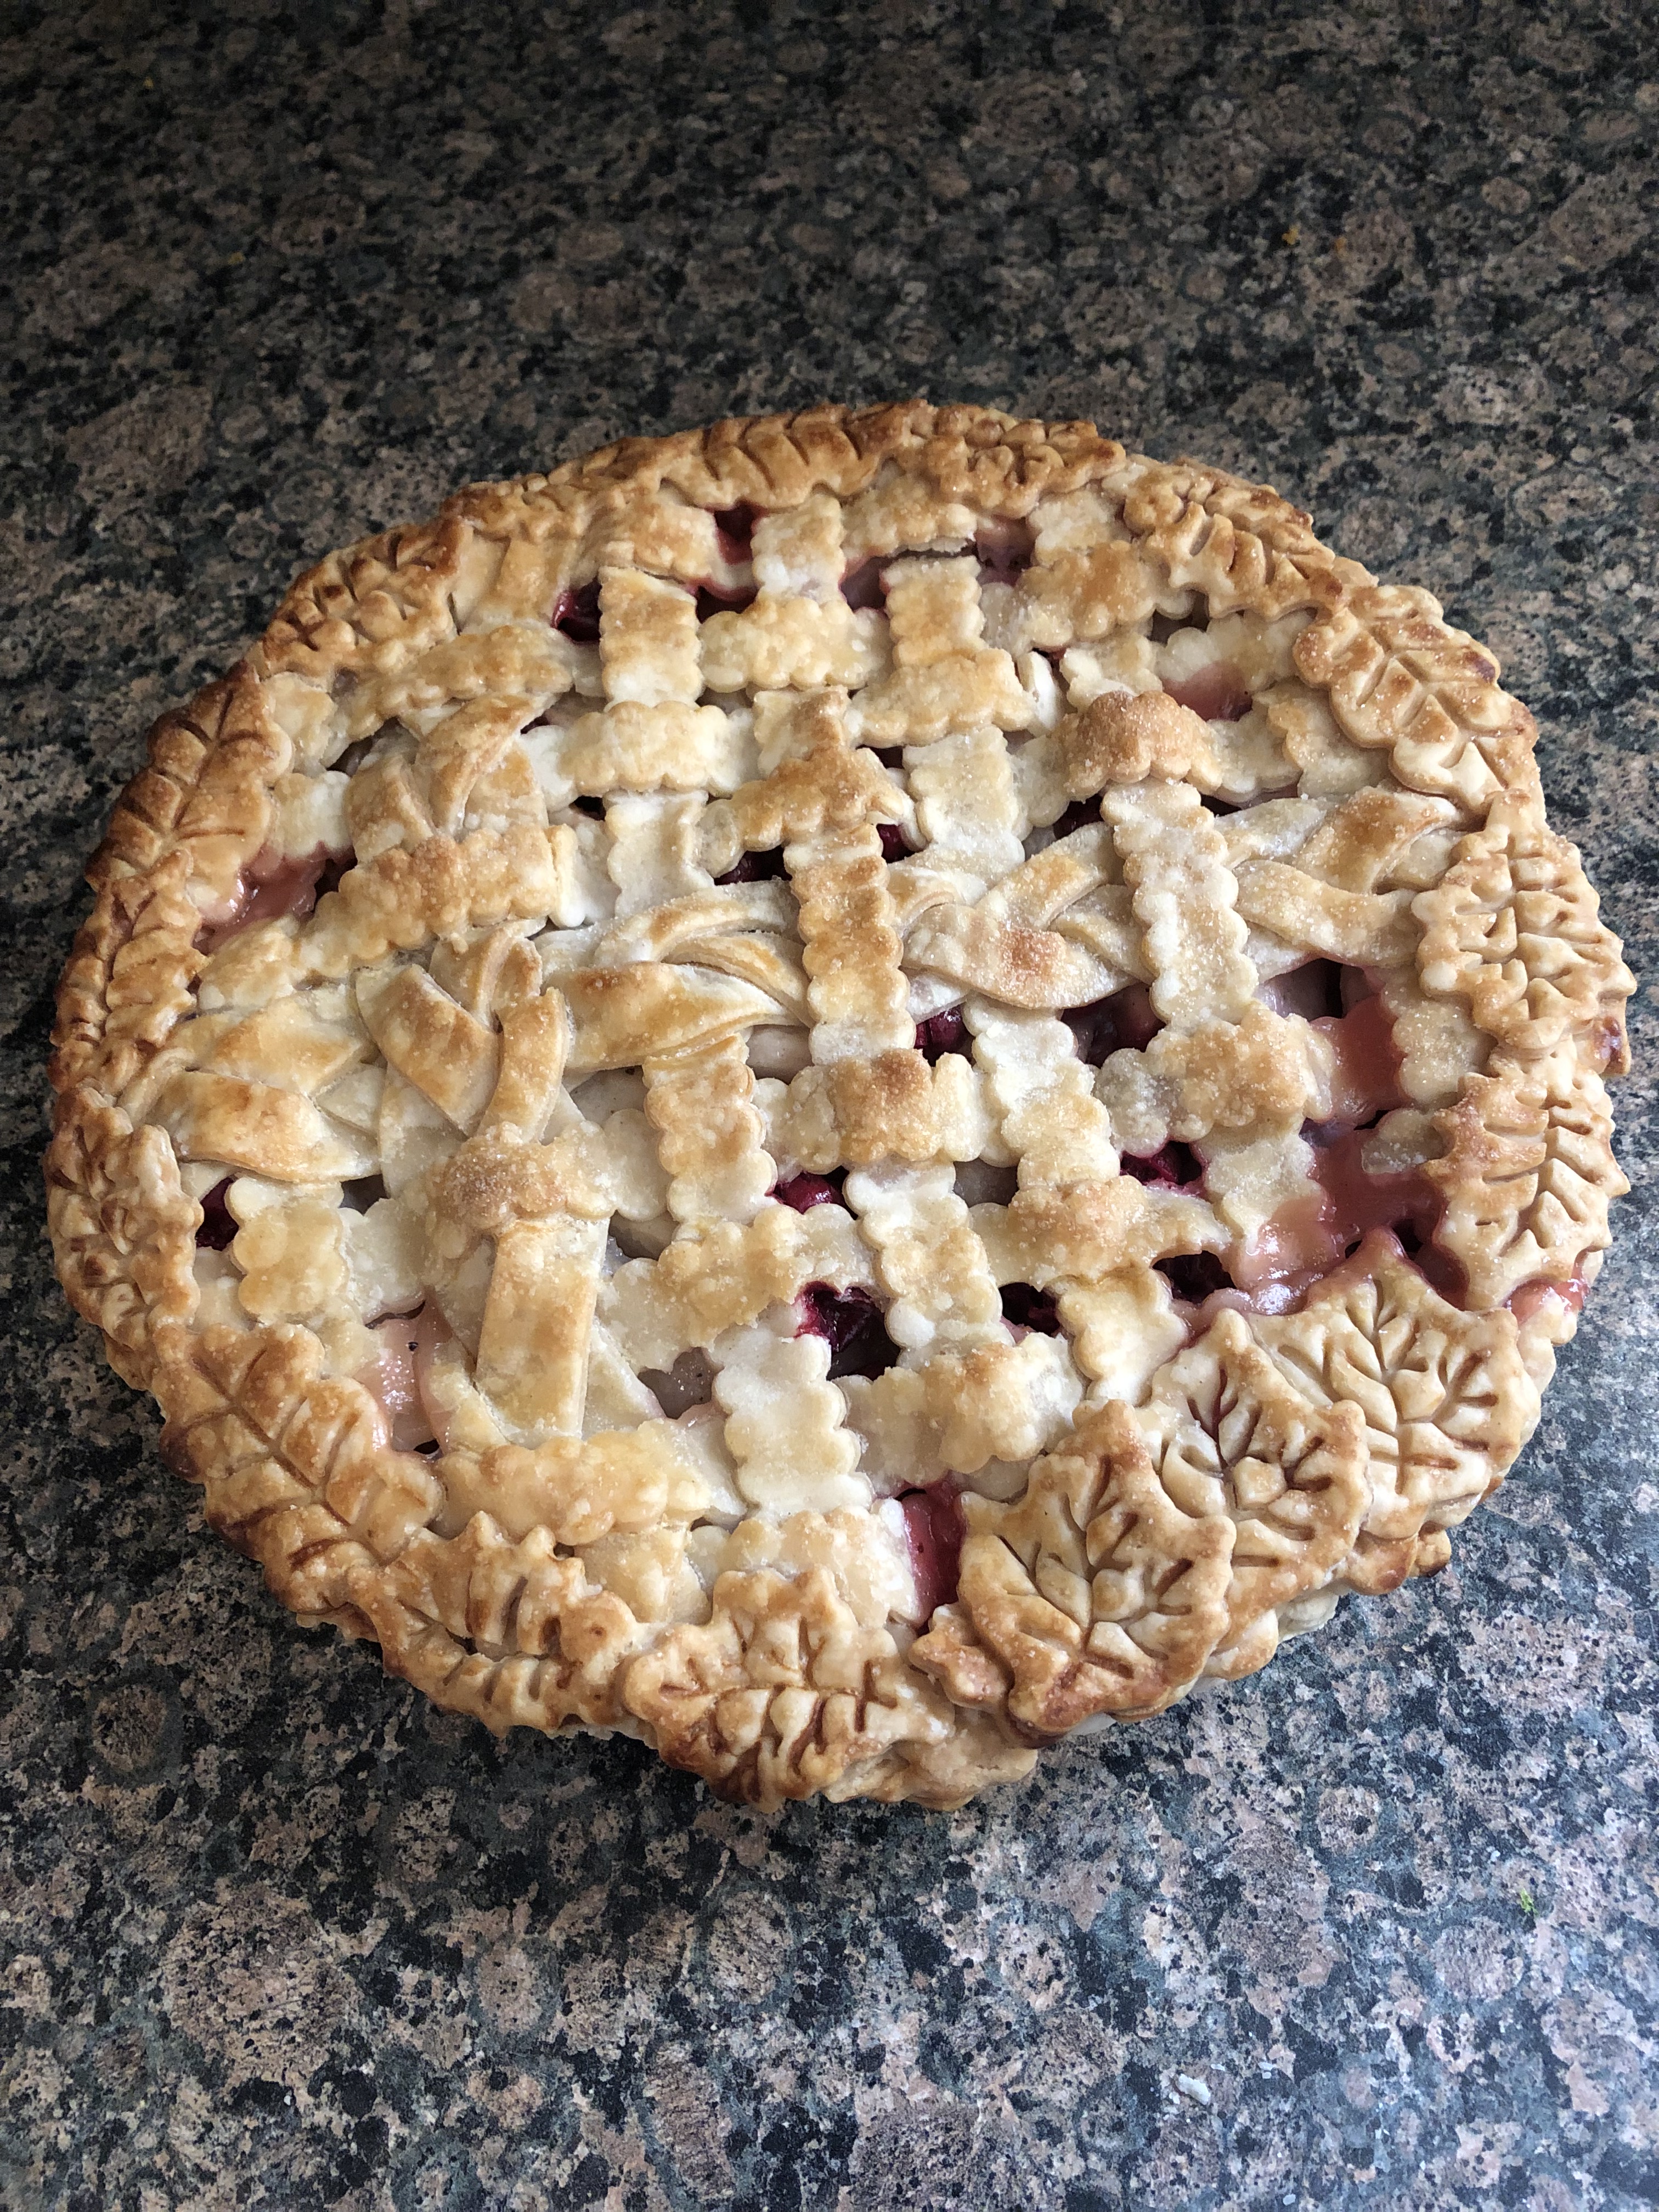
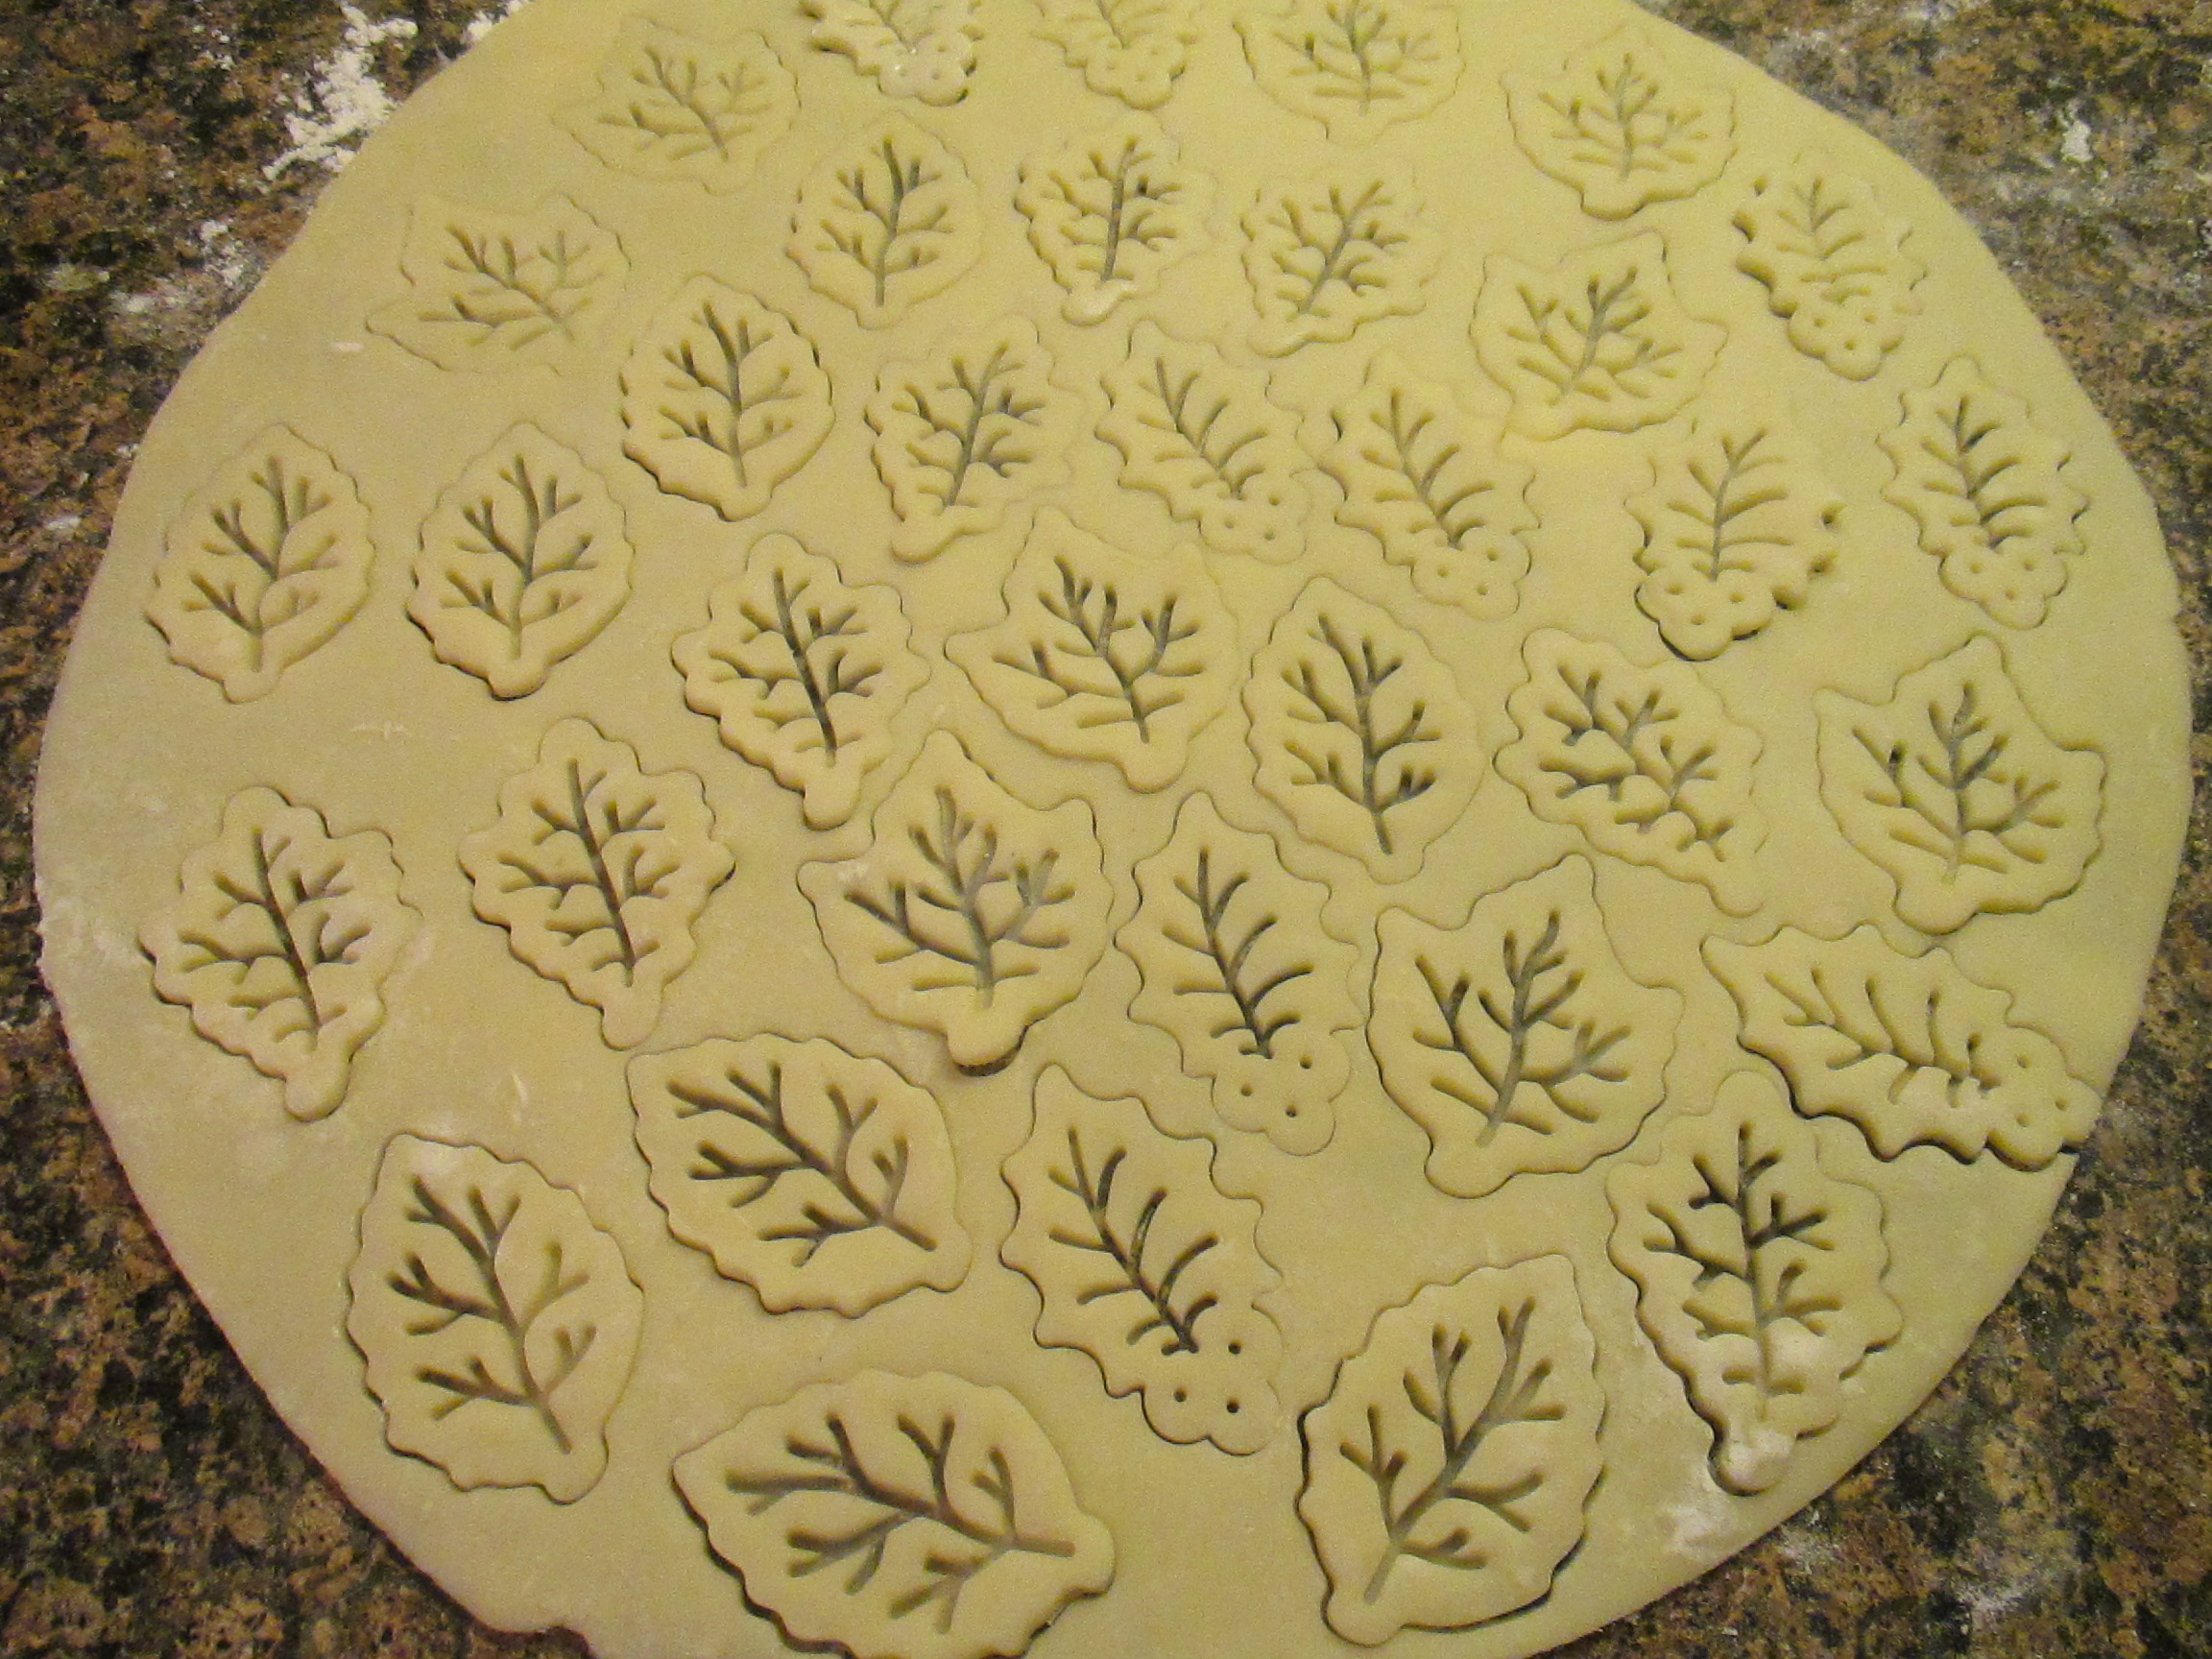
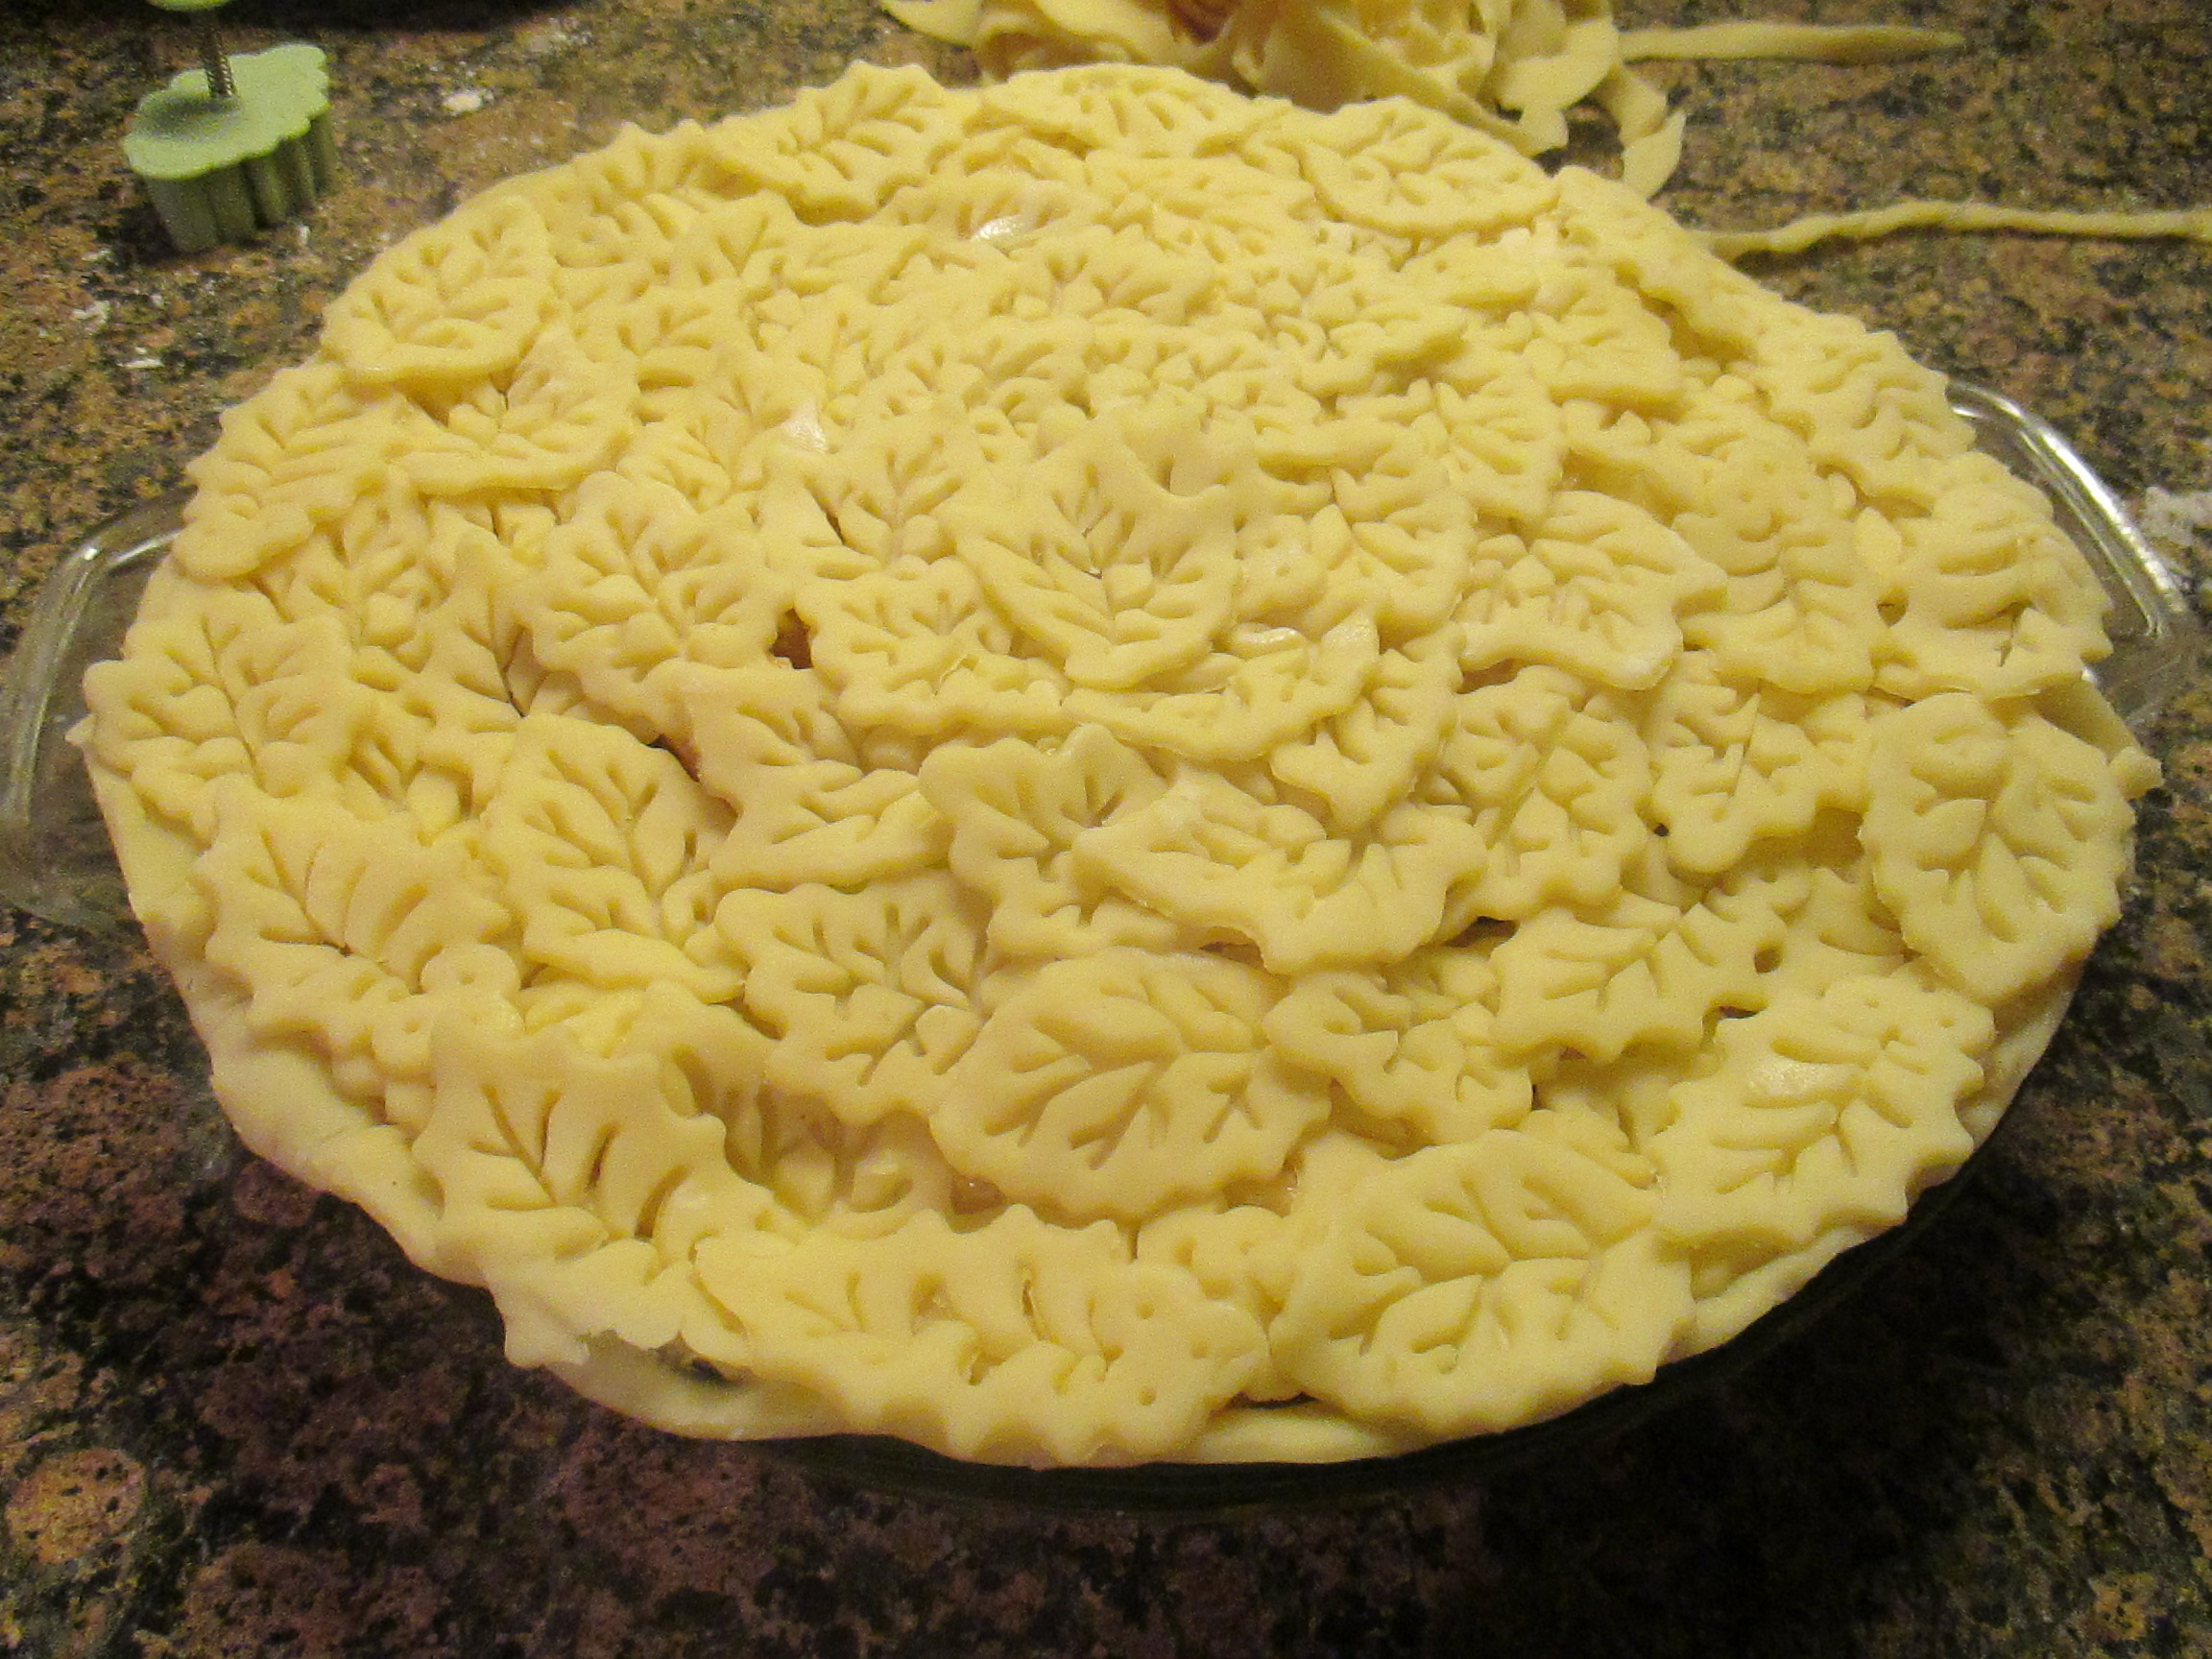
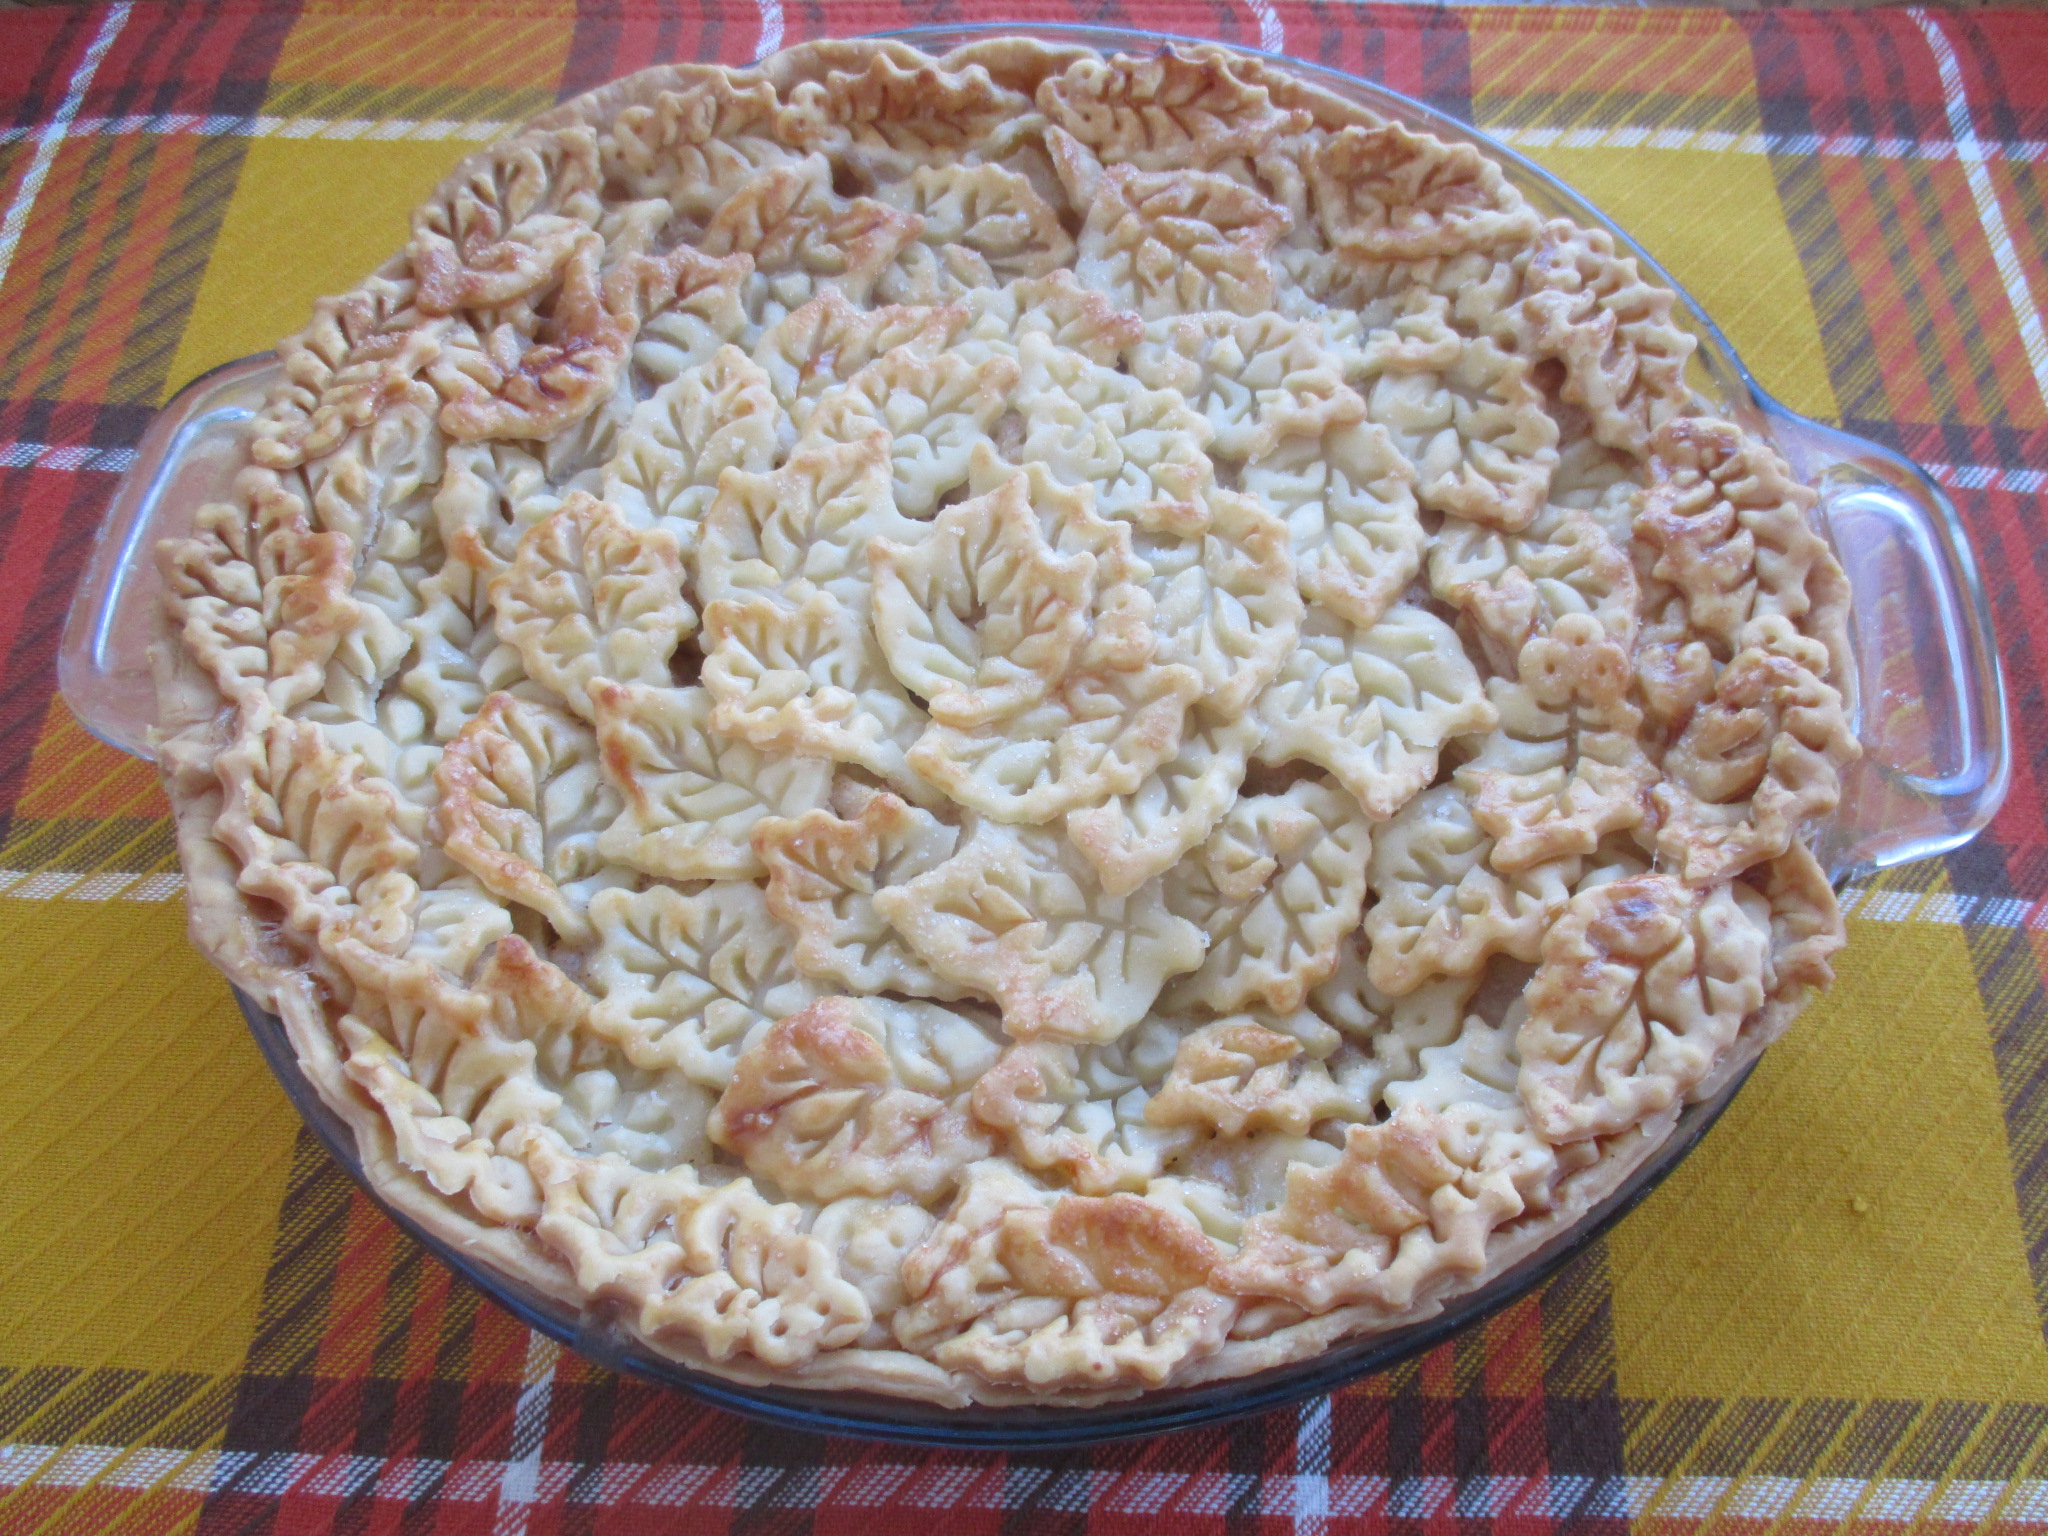
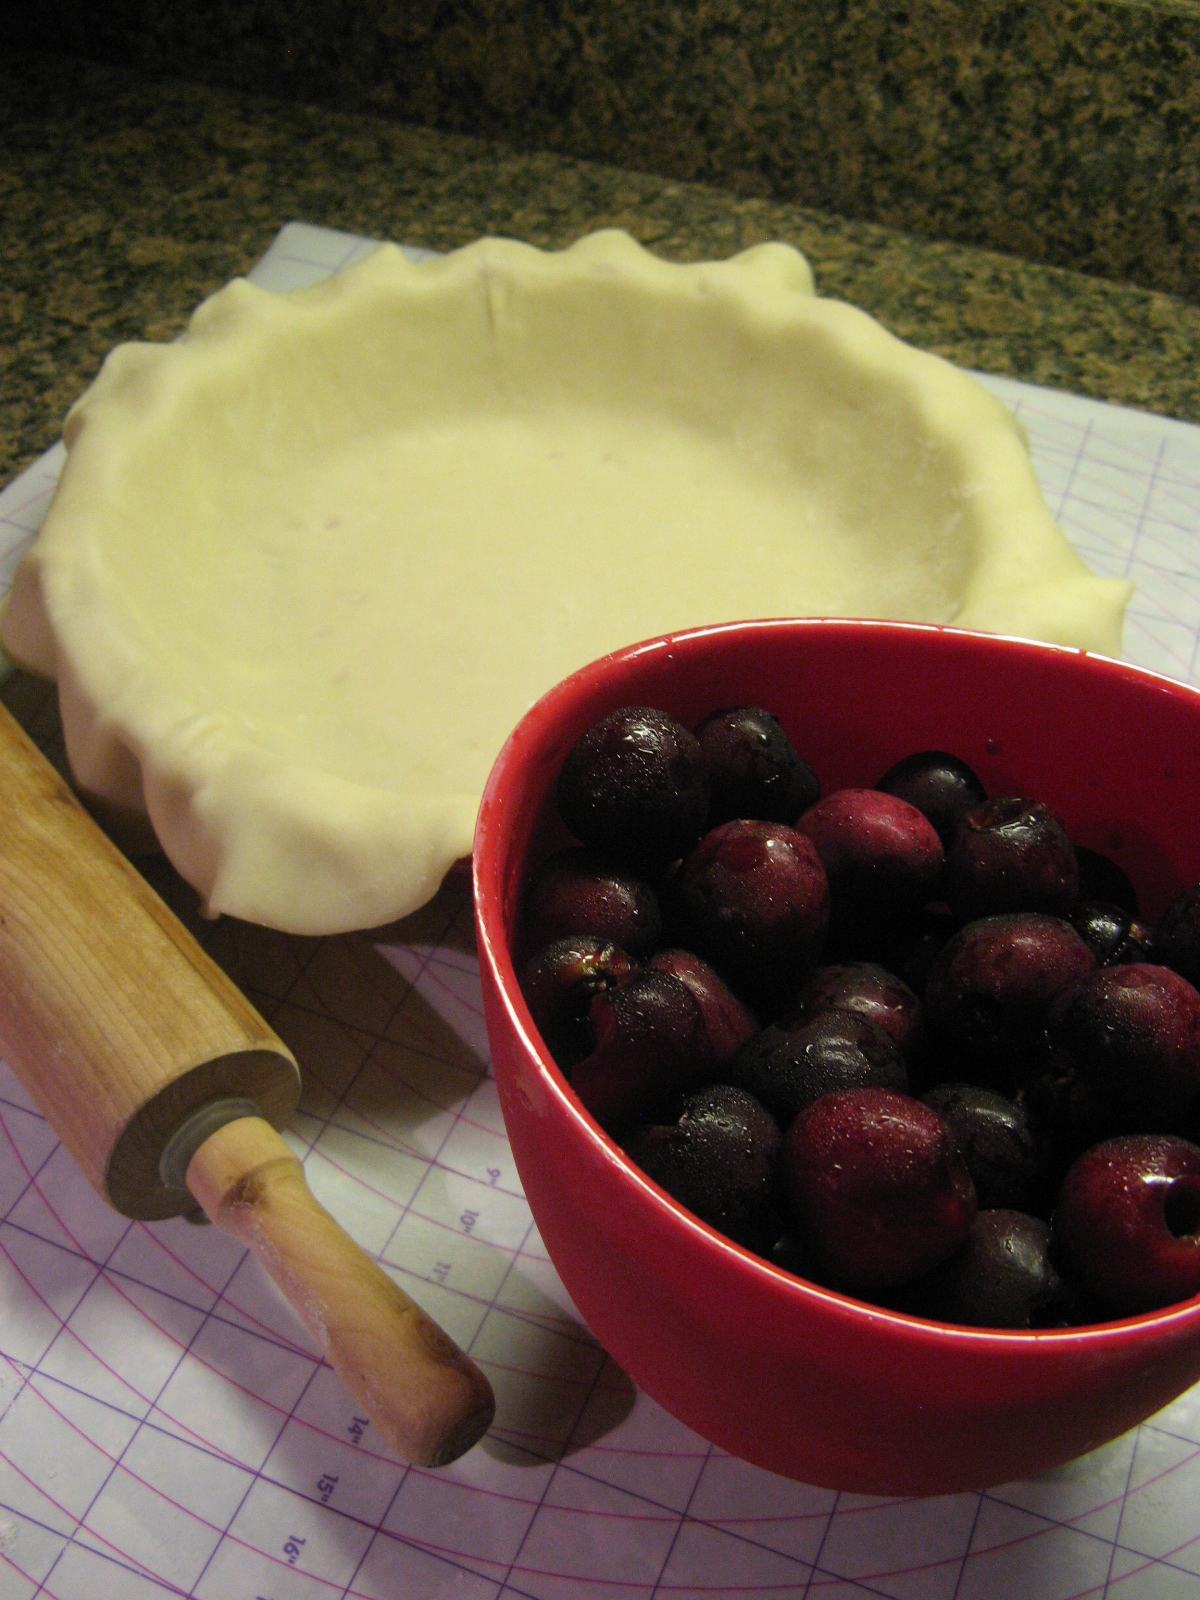
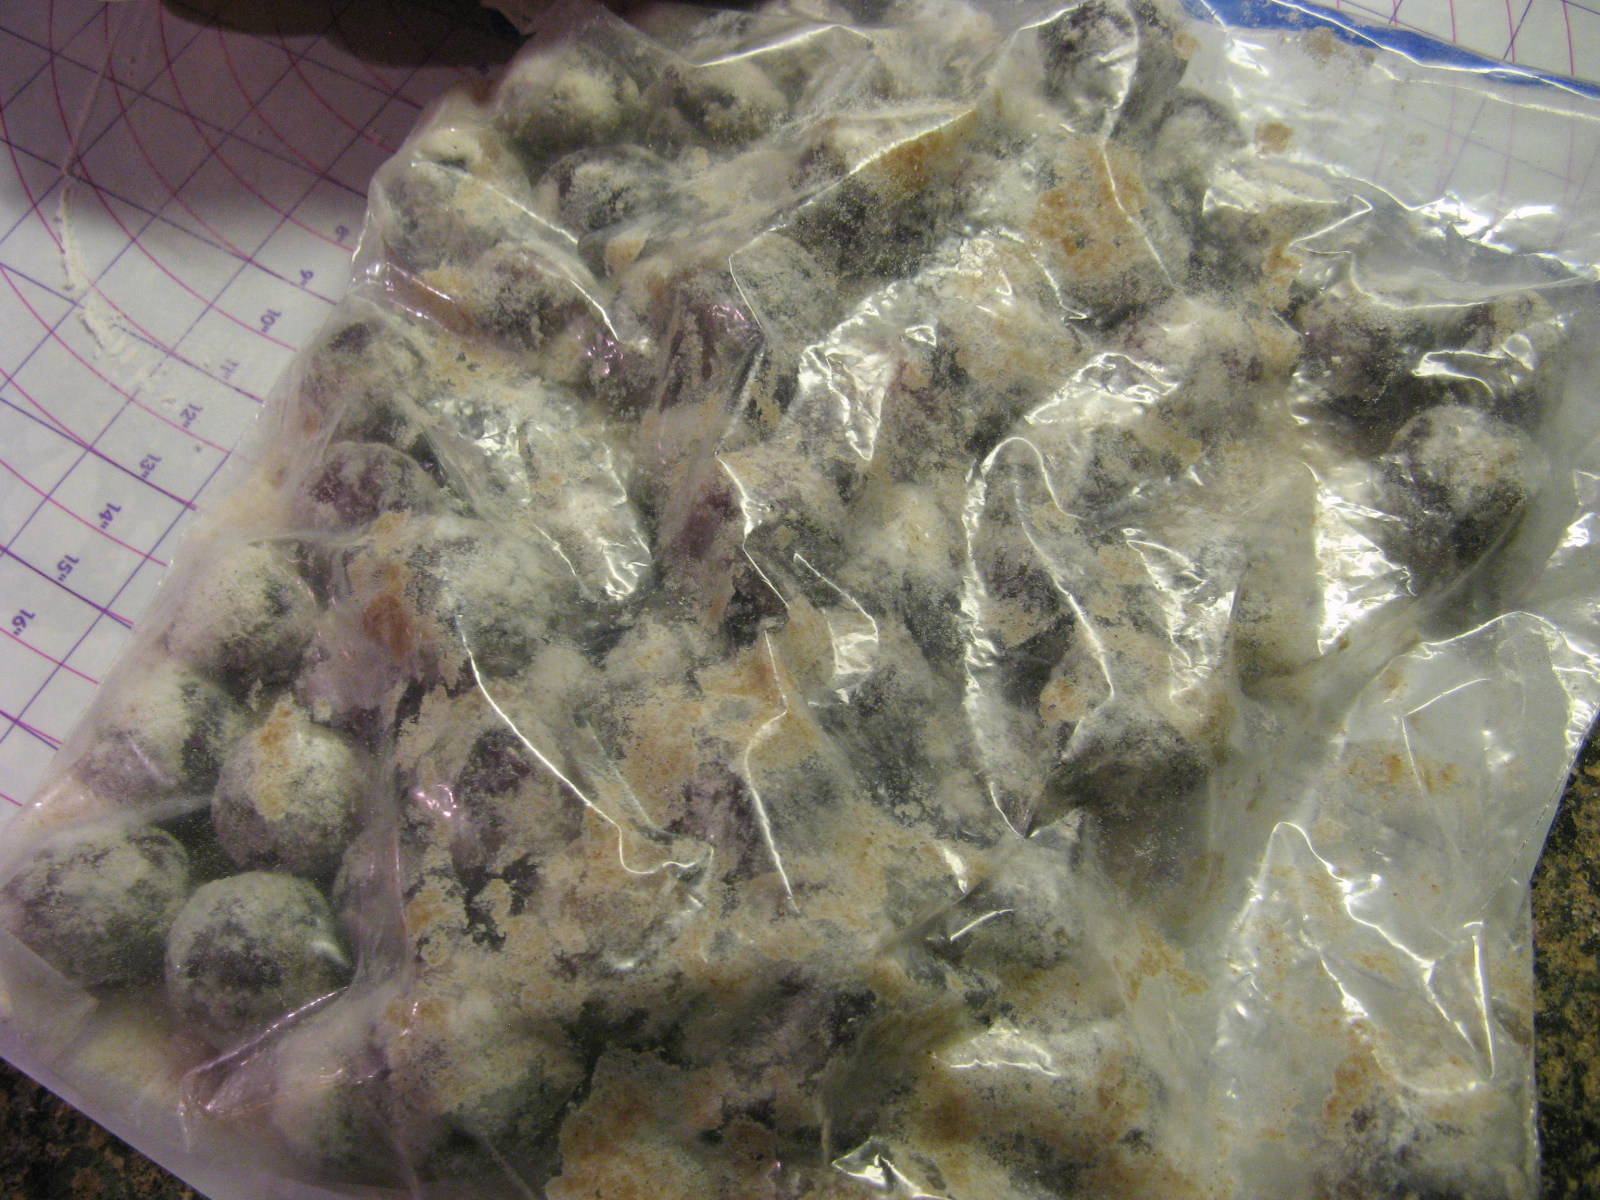
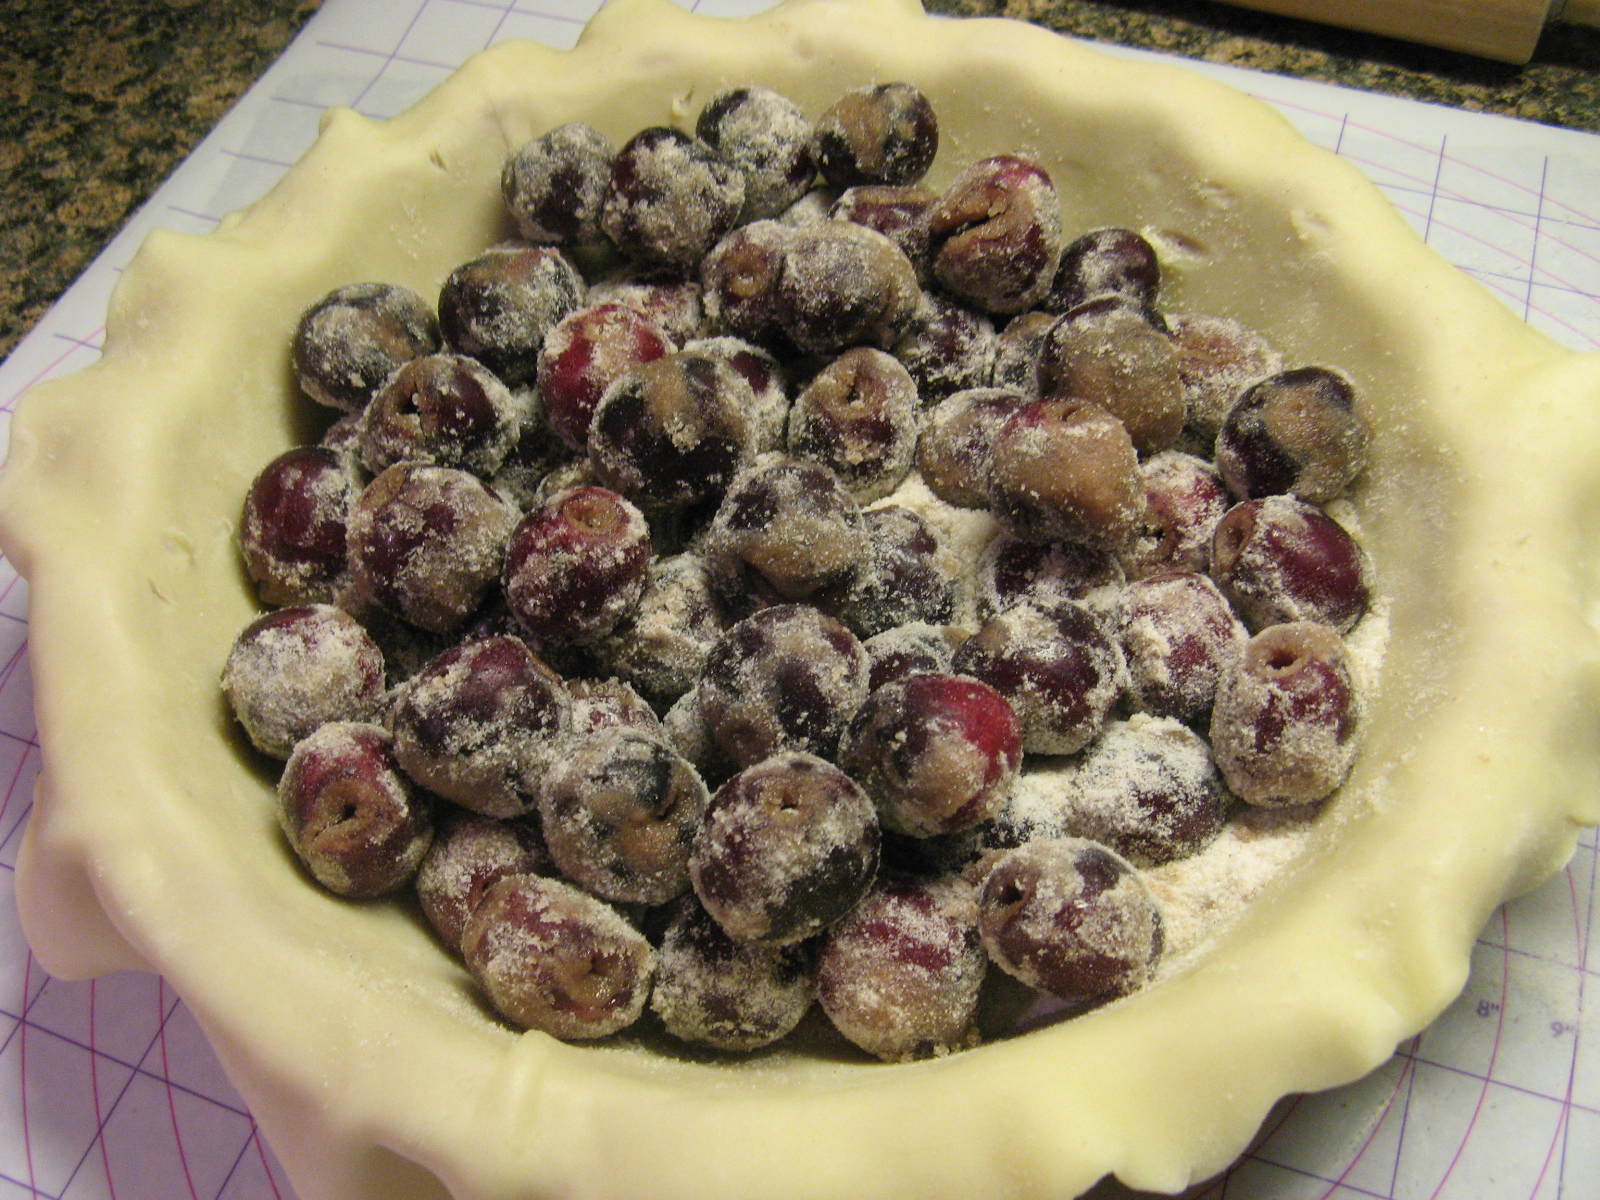
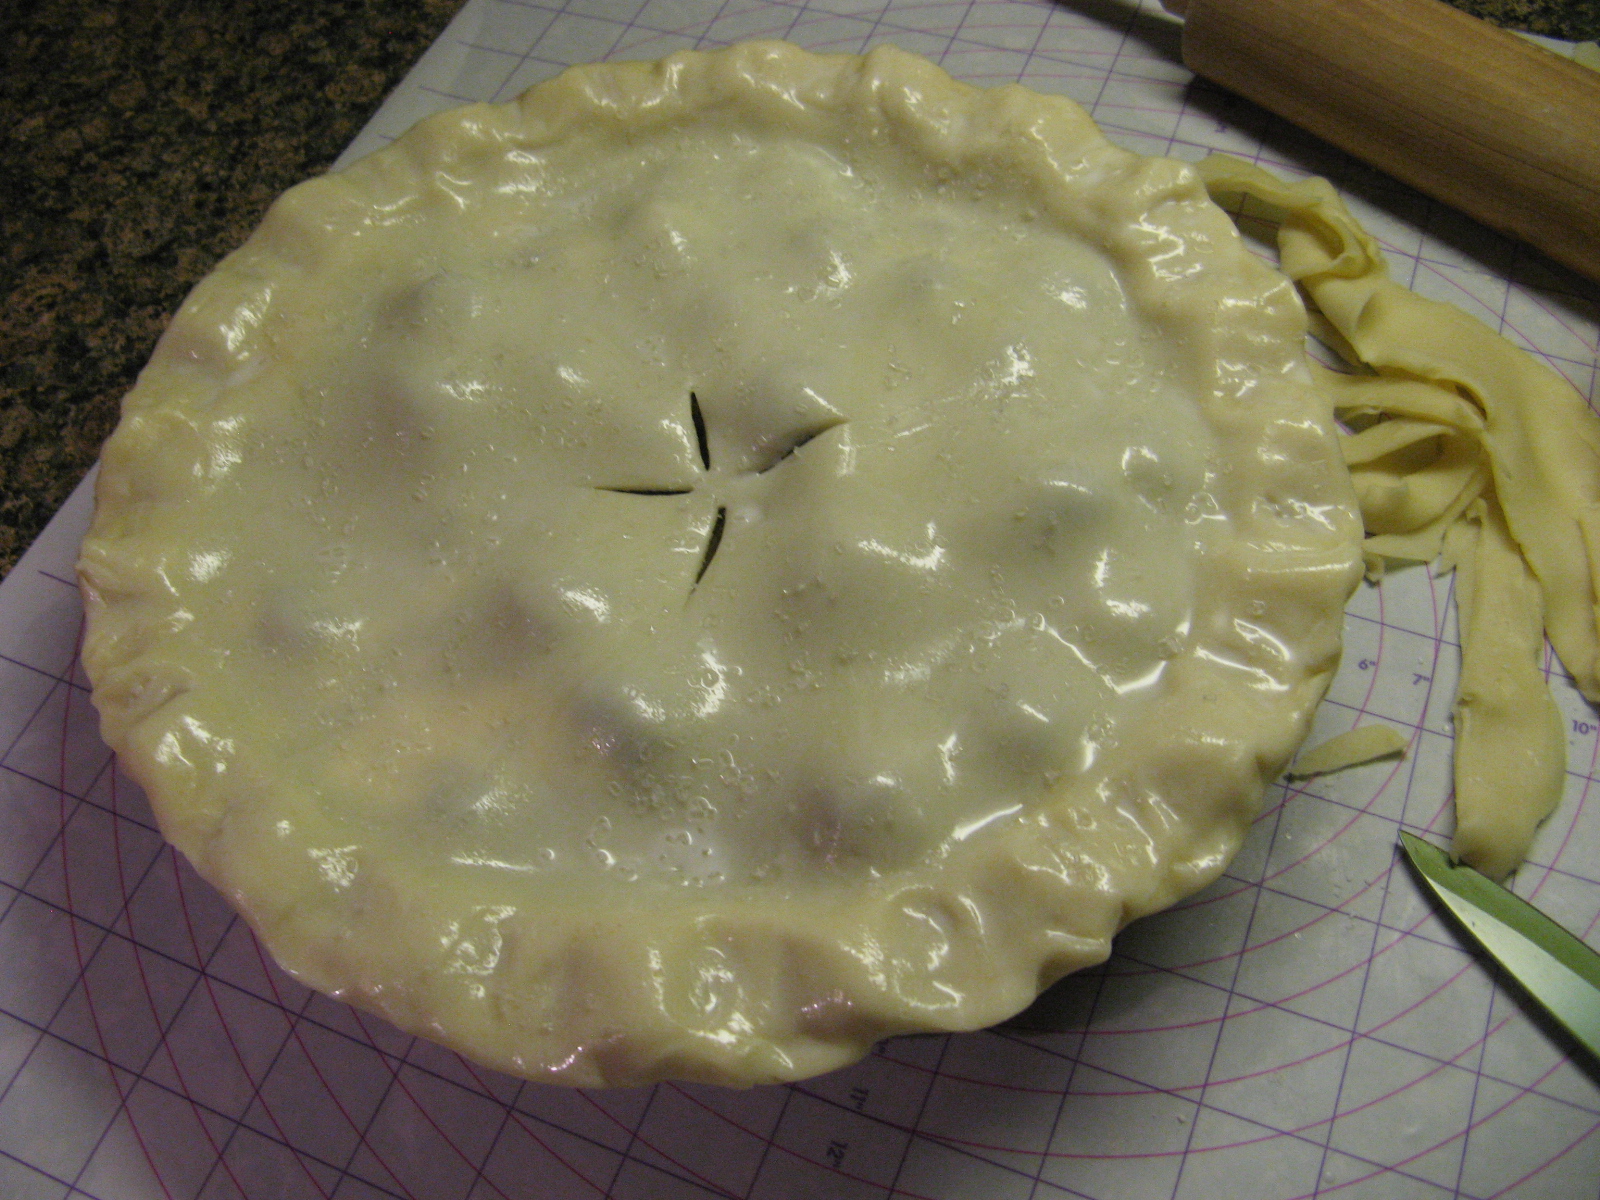
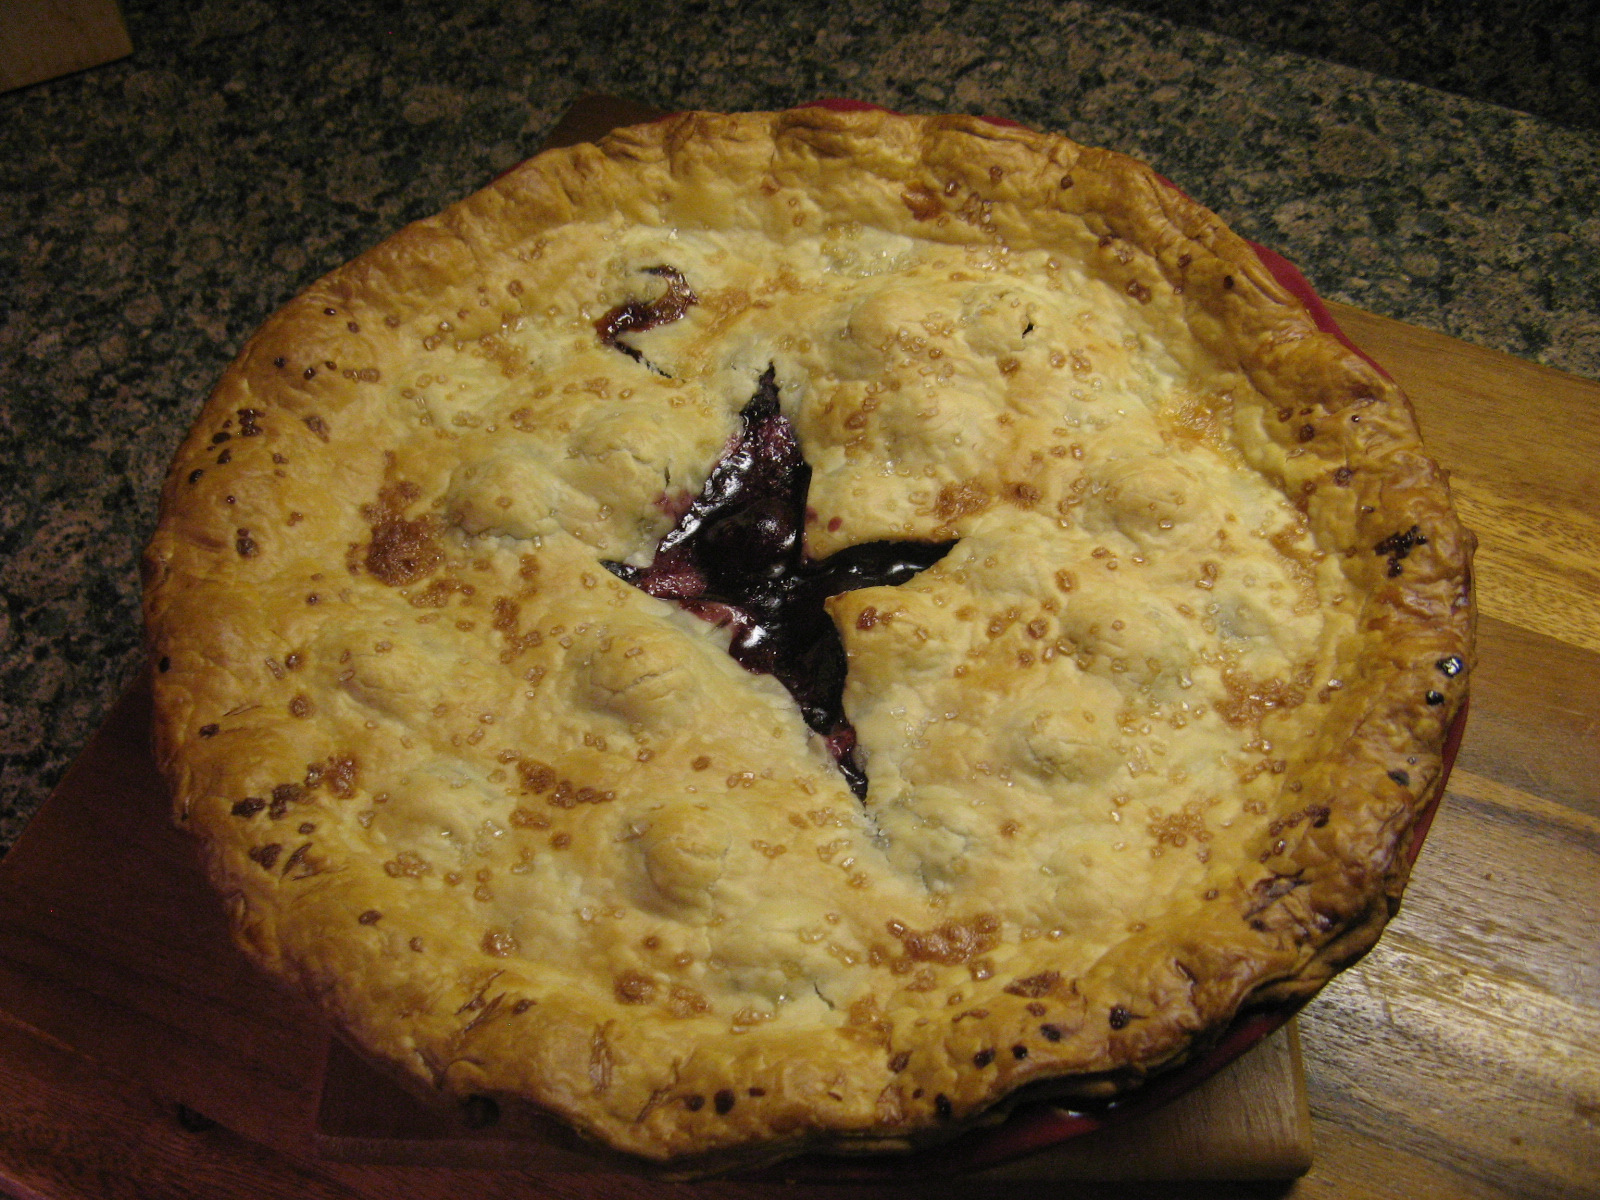
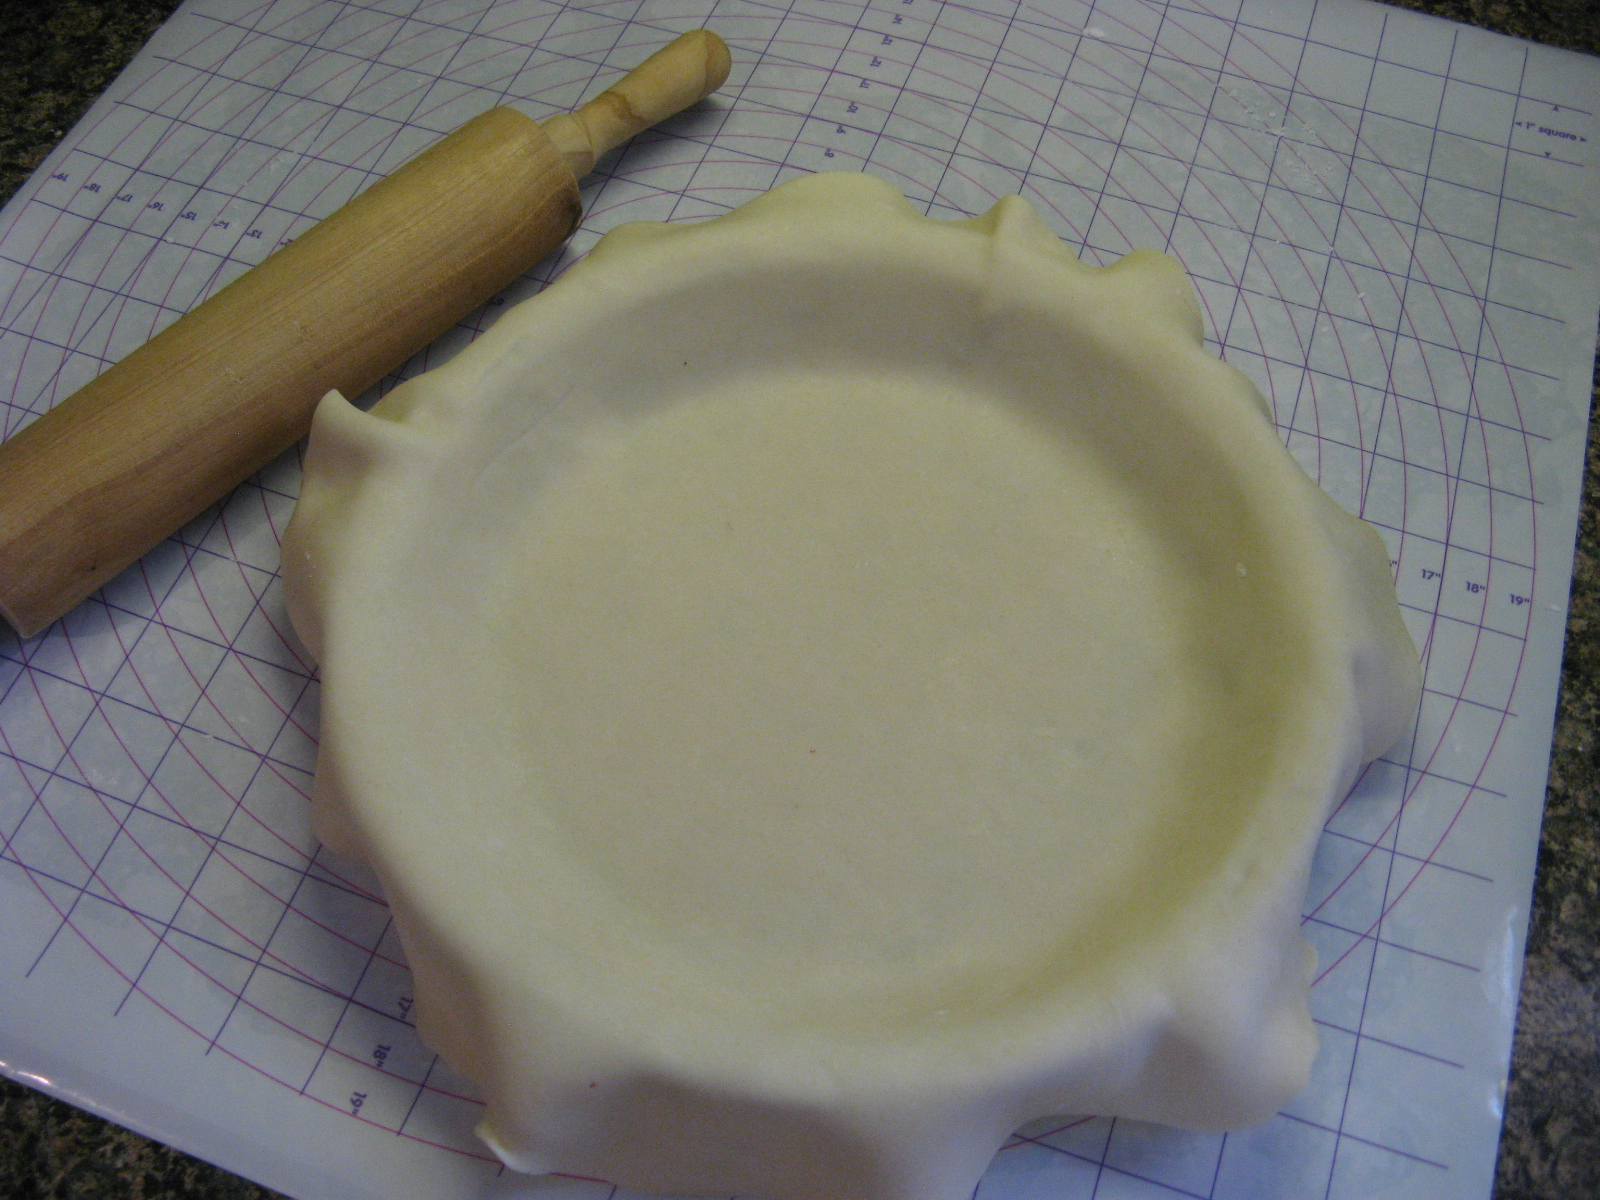
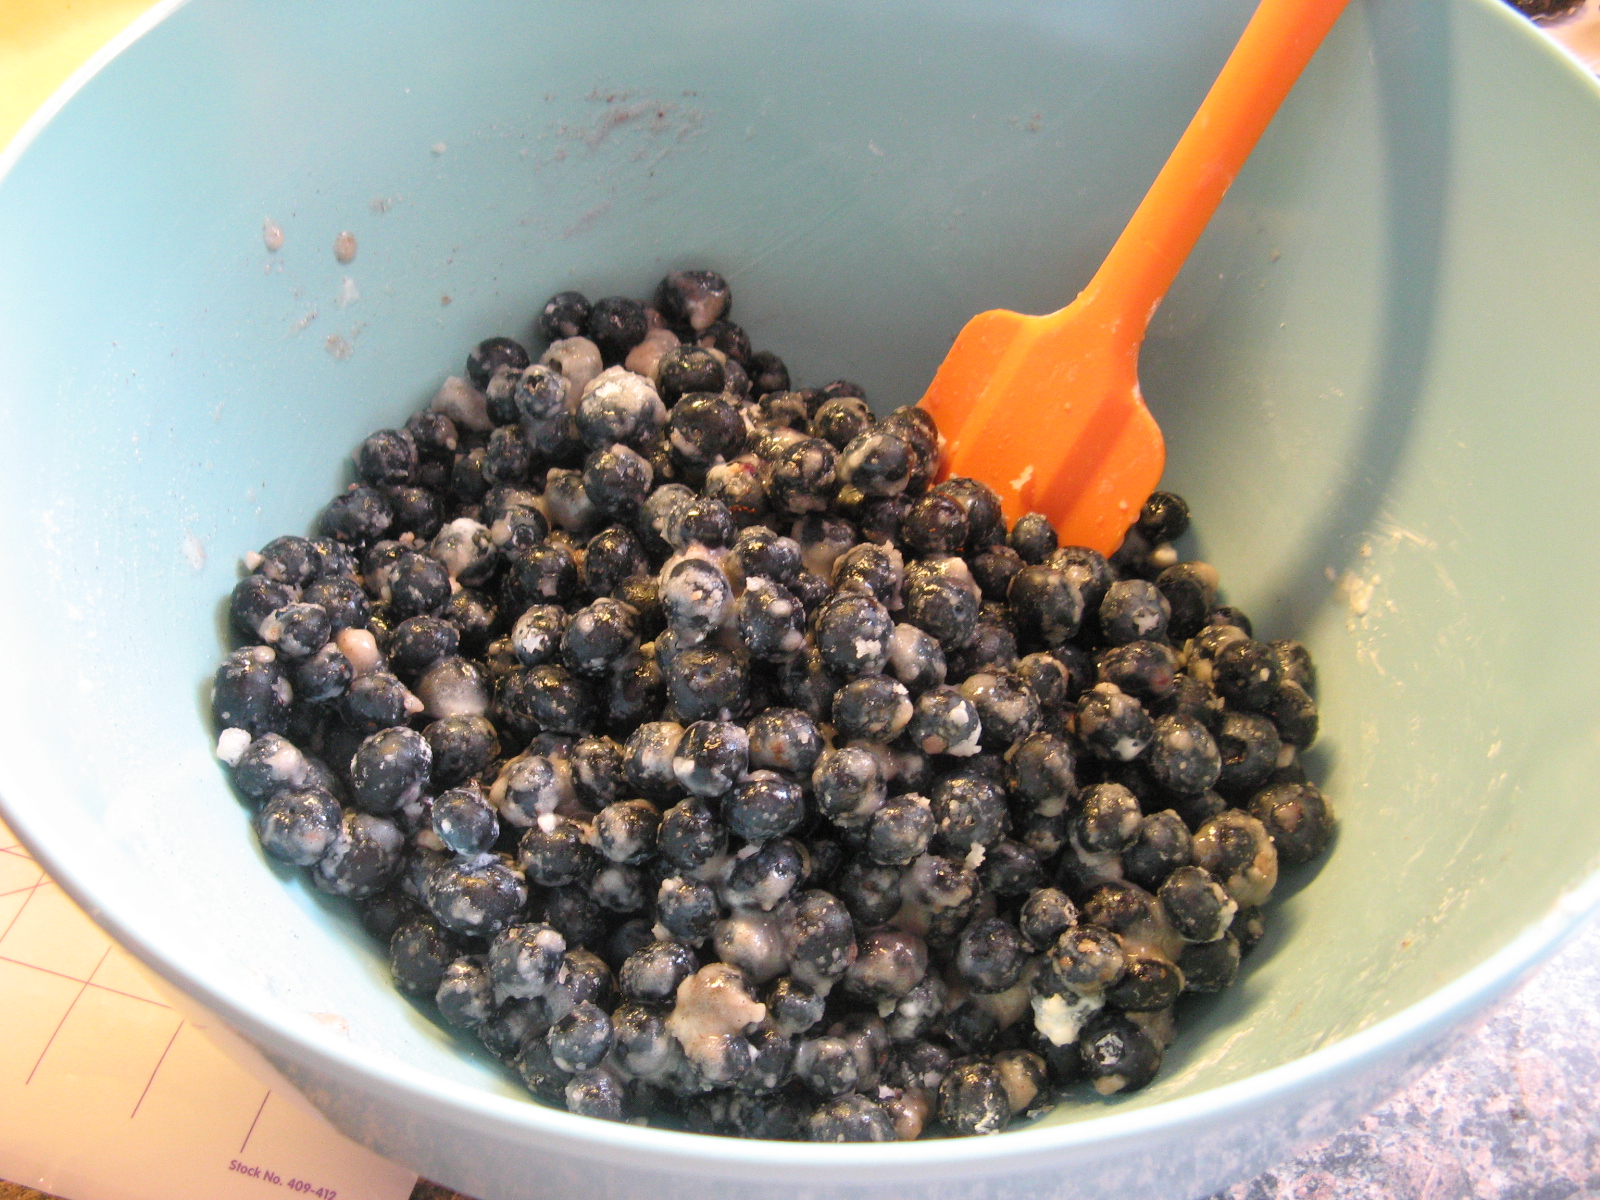
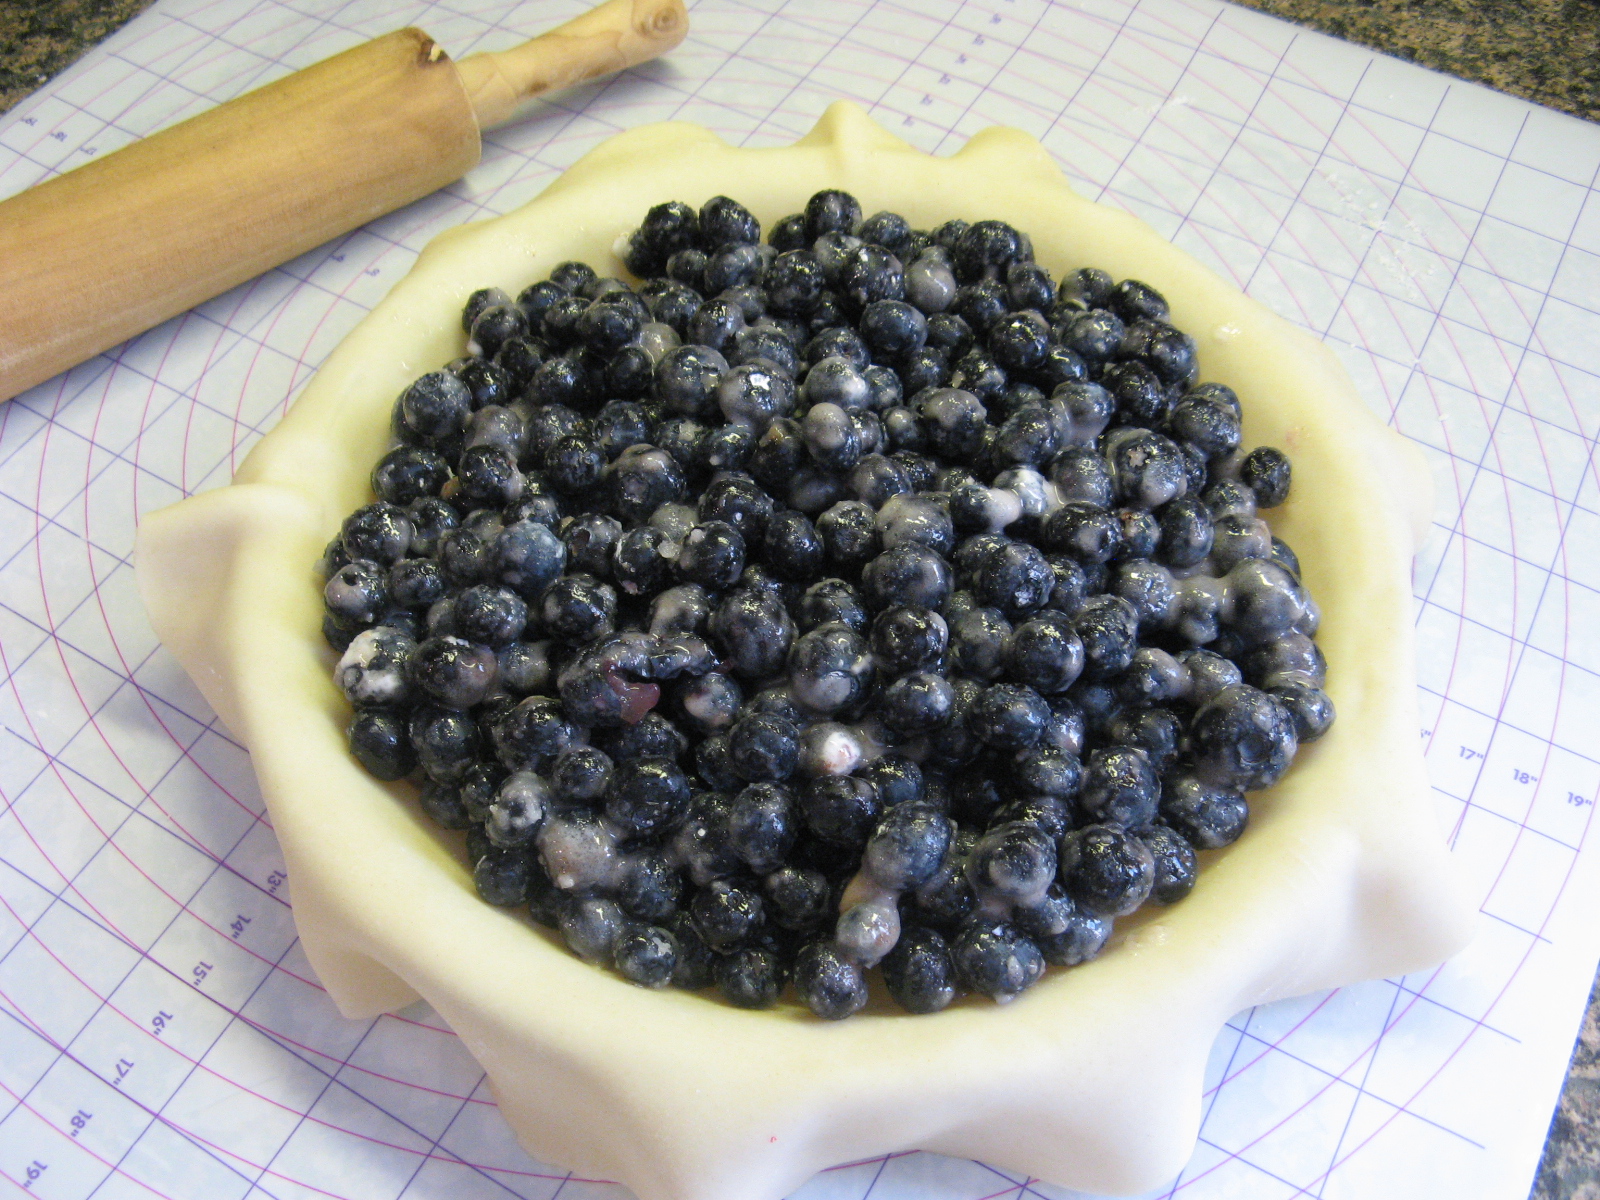
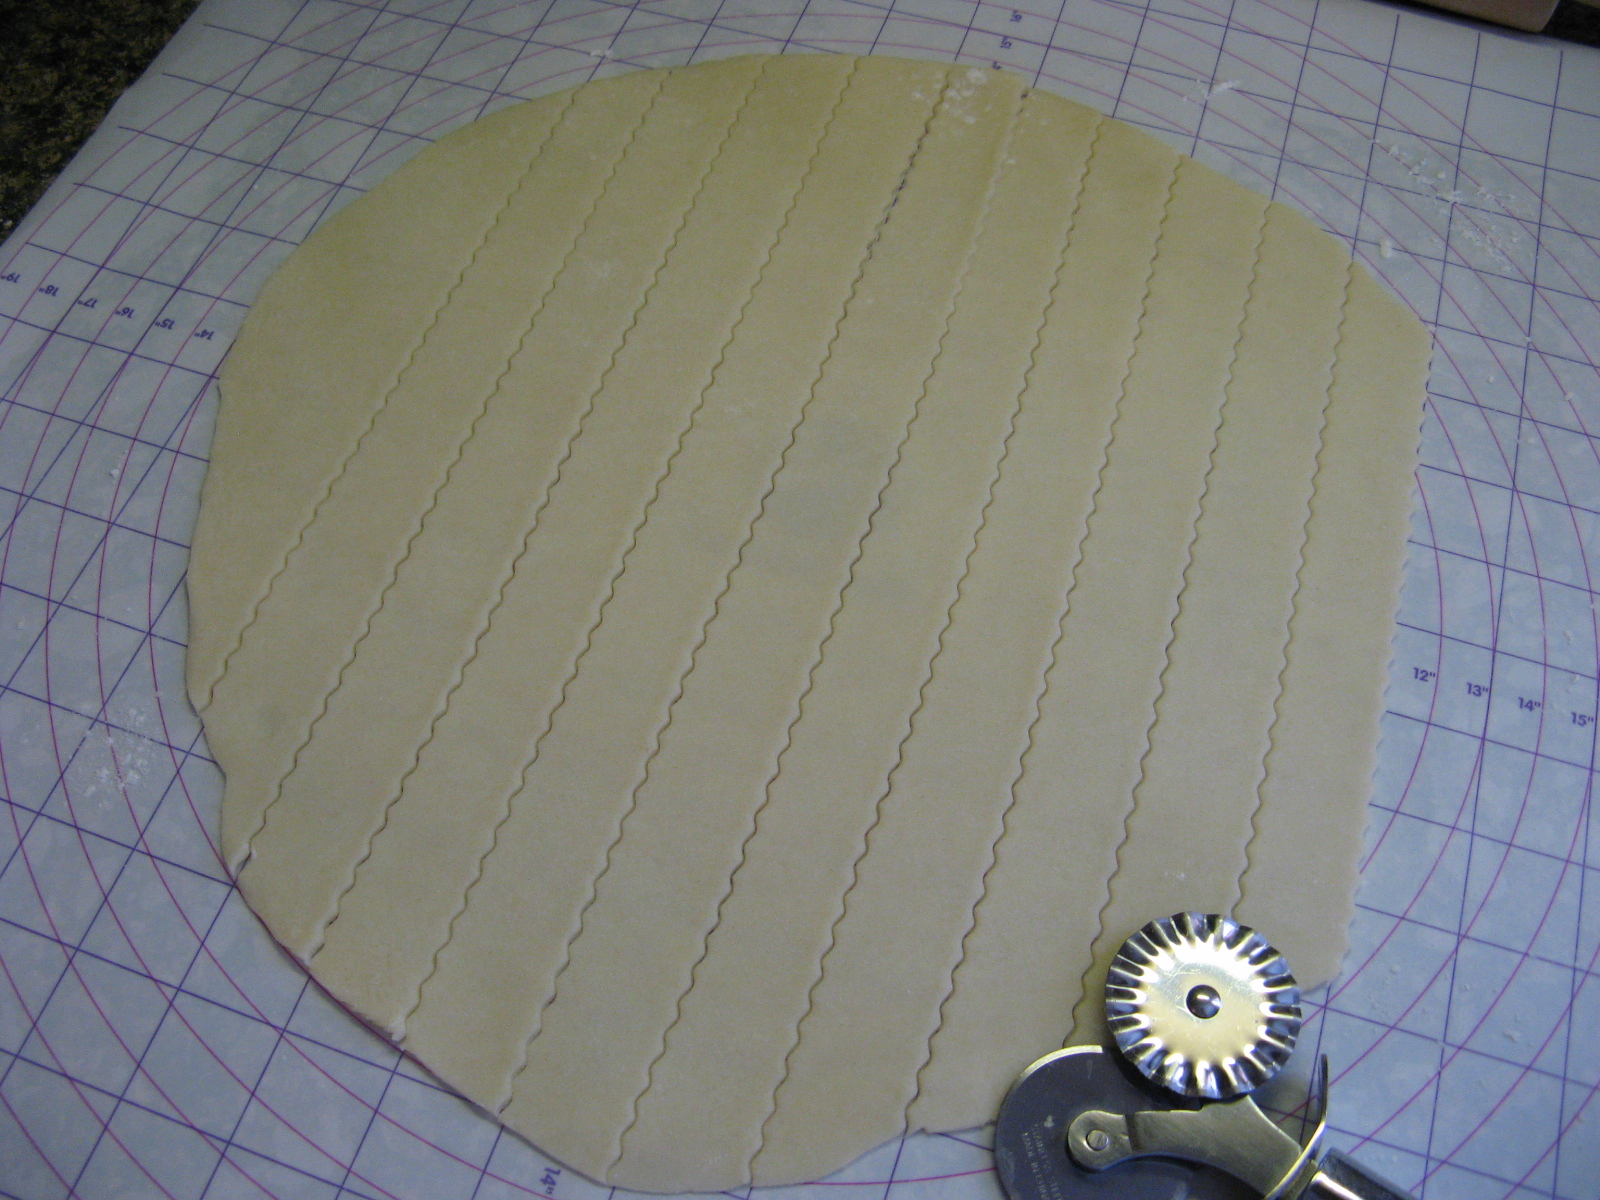
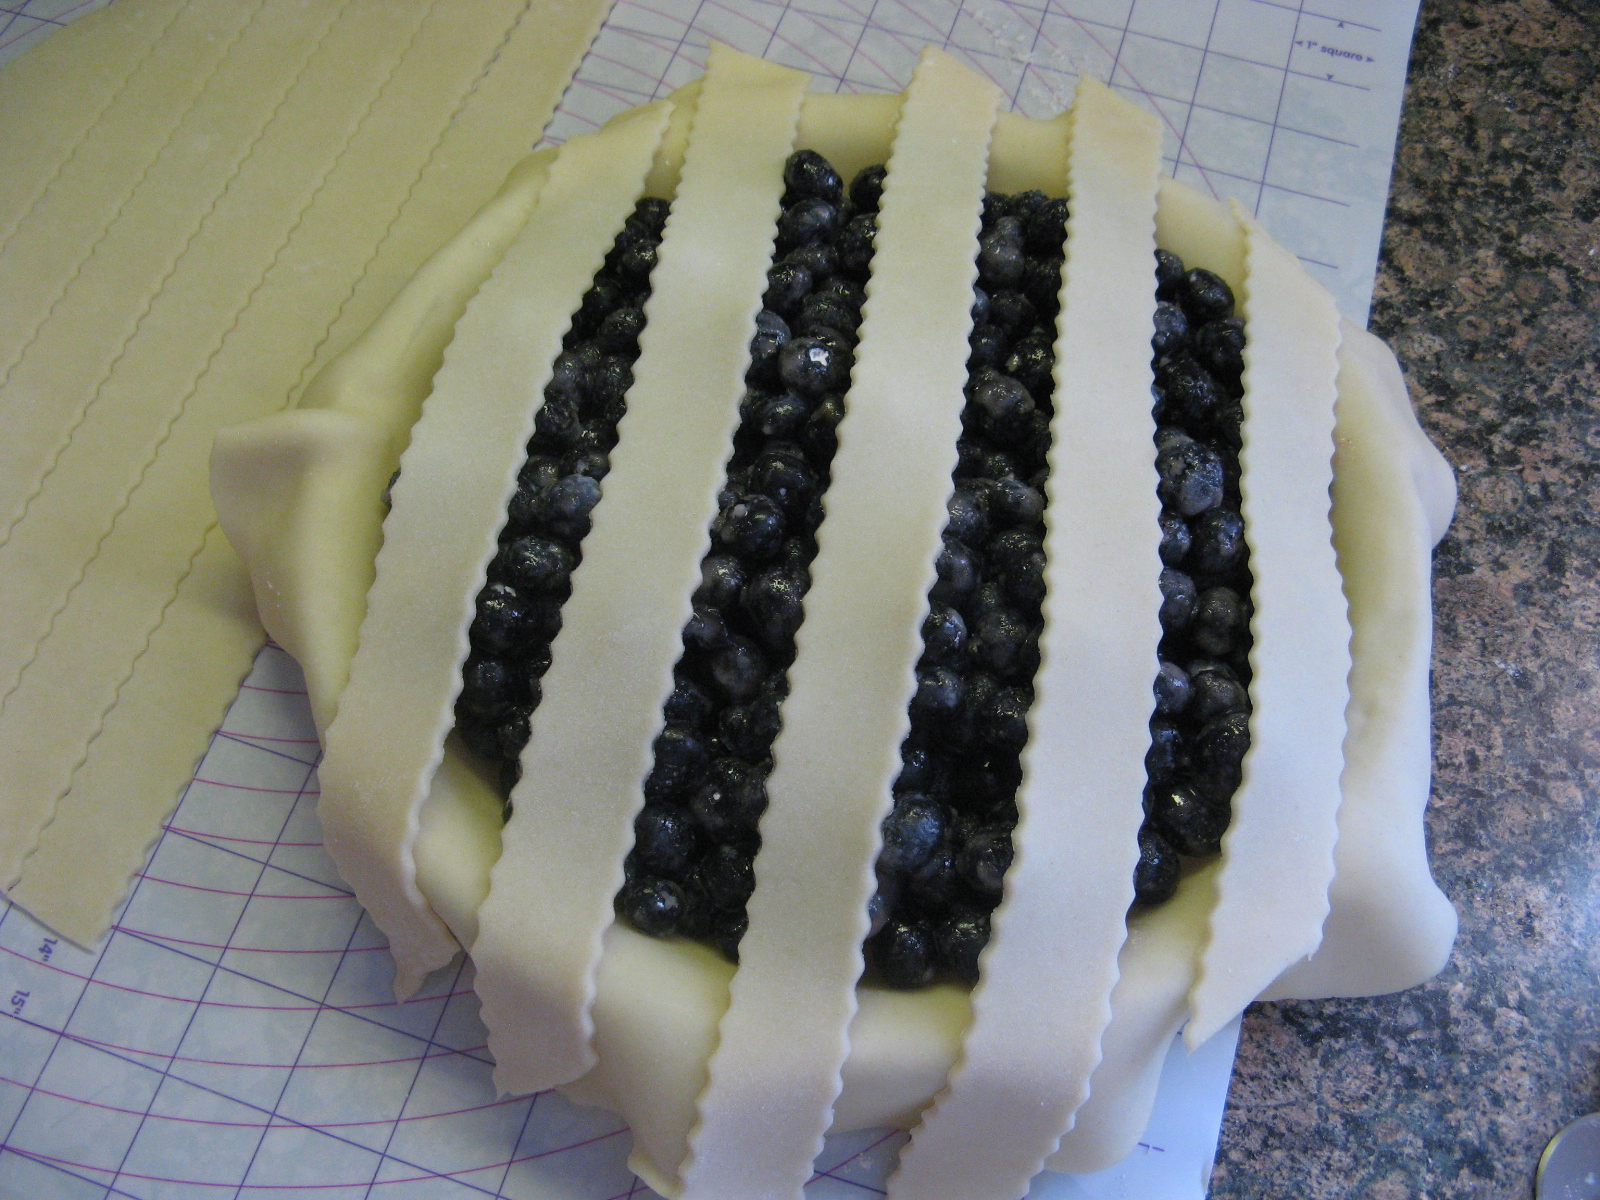
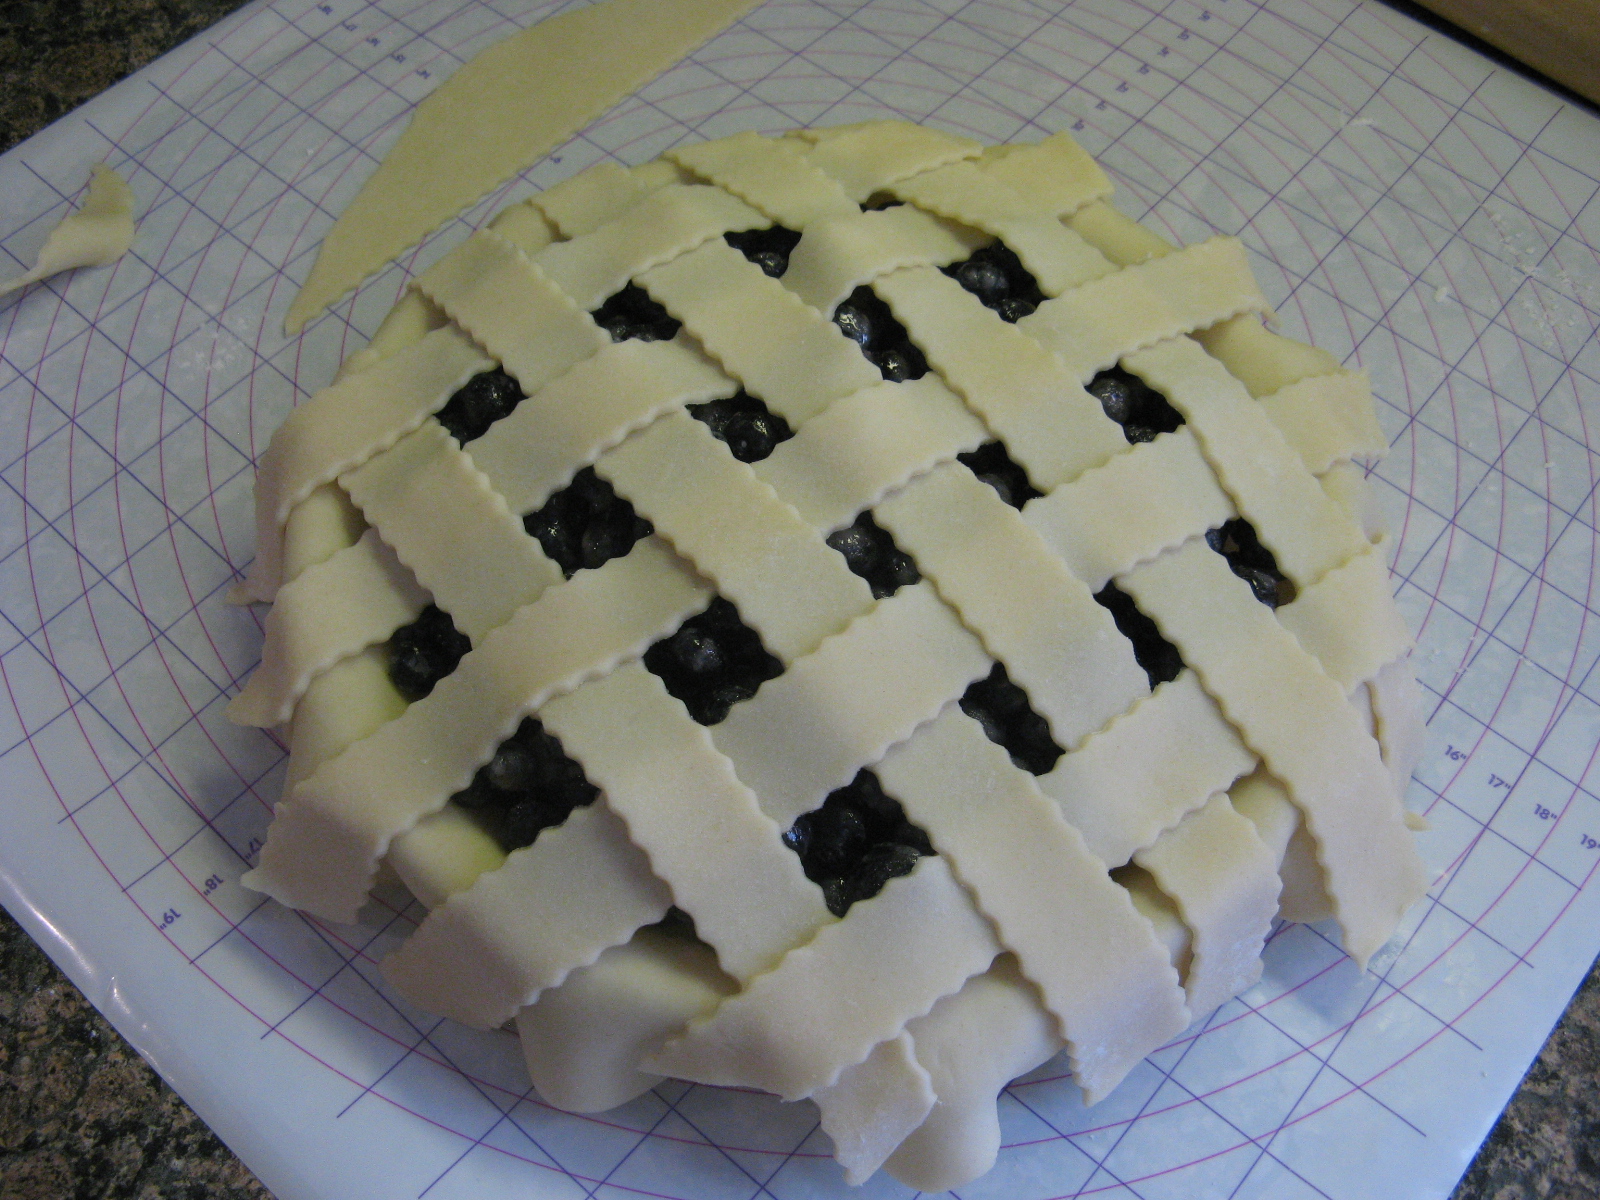
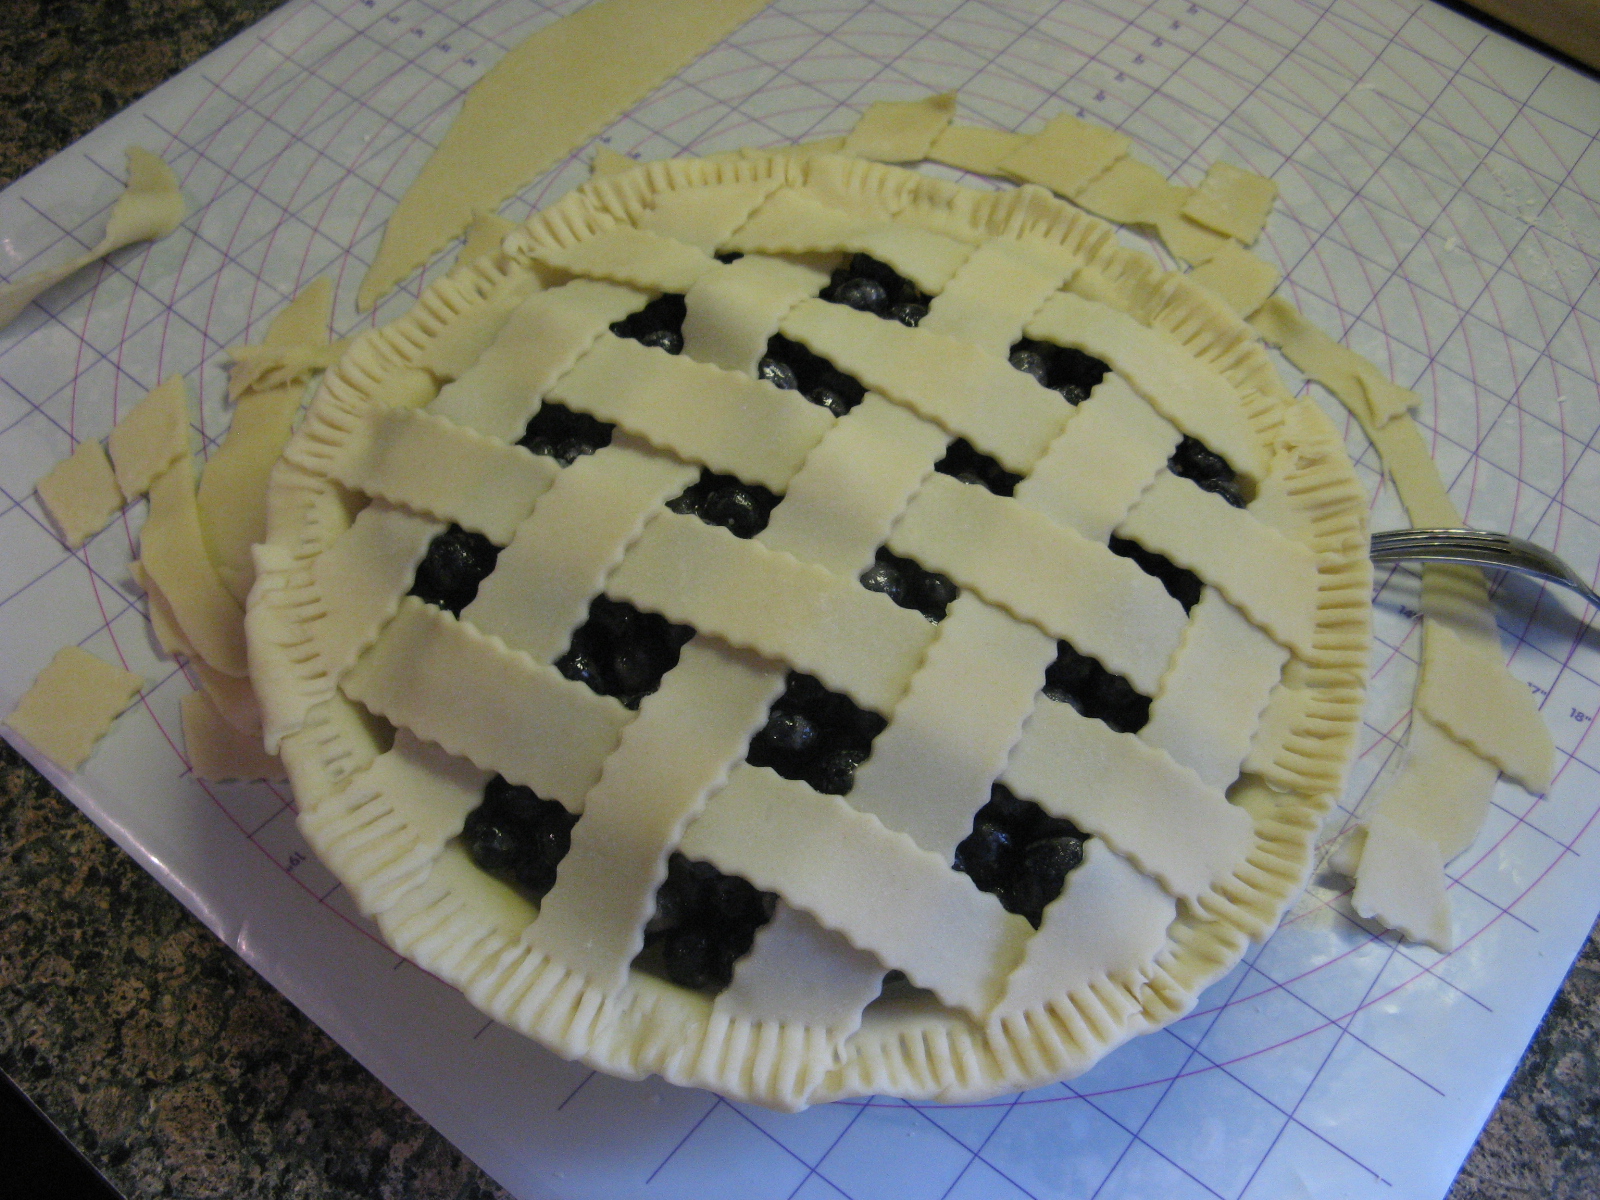
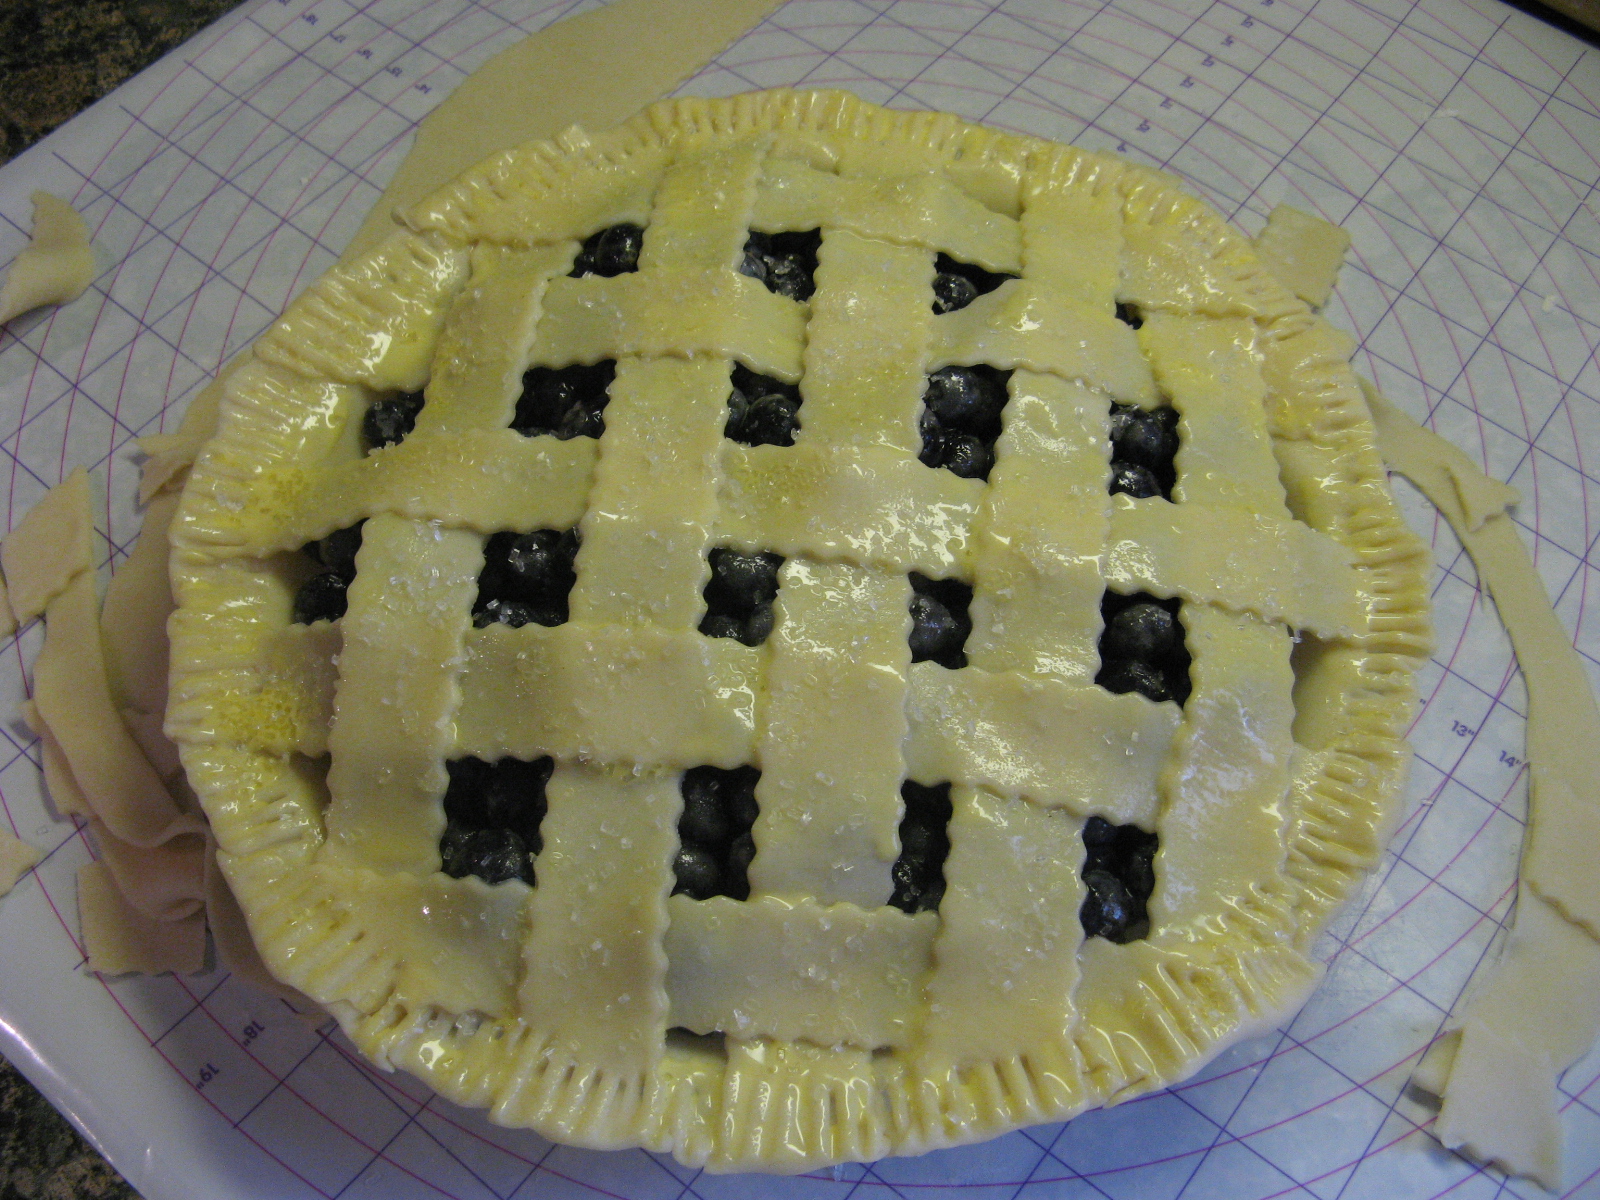
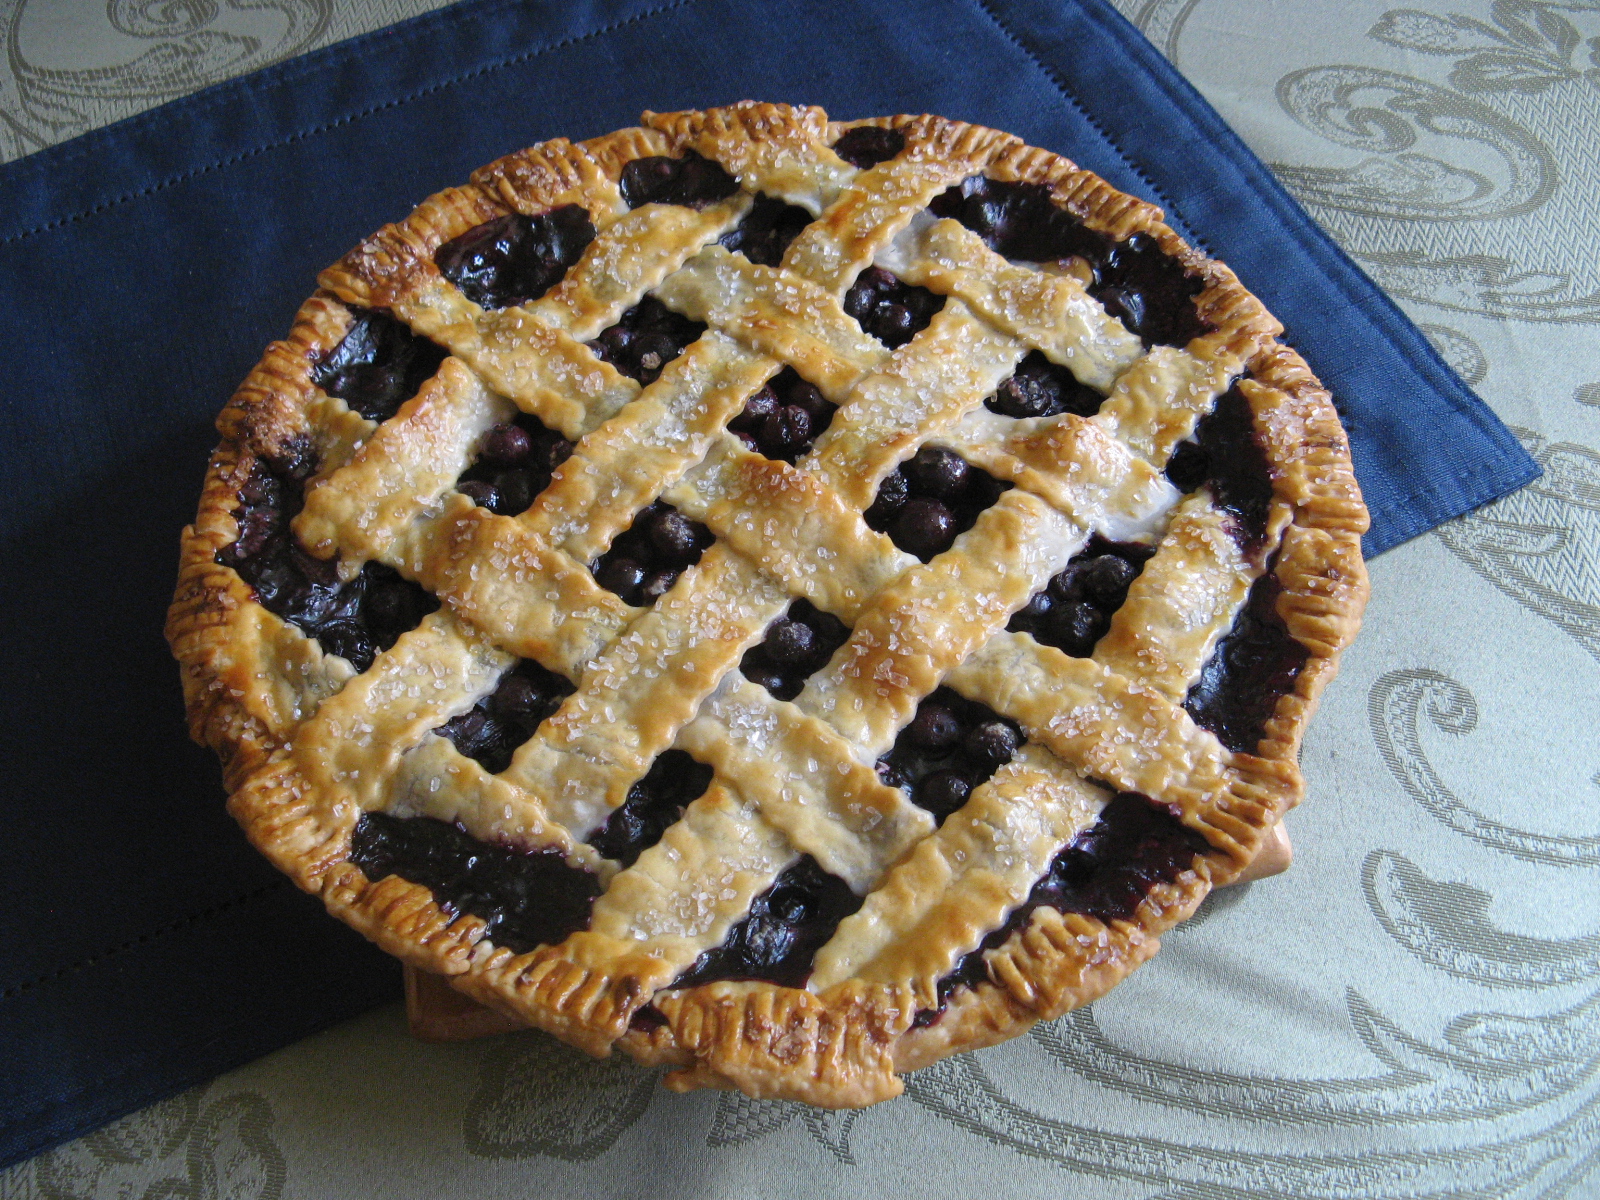
I’ll admit that I took some major shortcuts when it came to making the crust for this pie. First off, I used a frozen deep dish pie crust as the base and for the lattice pattern I used refrigerated pie crust that I cut into strips to weave and braid and then added a decorative border with leaf cut-outs. I decided to brush the pie with milk prior to baking – I usually use an egg, but, after all of the baking I did I was feeling lazy and didn’t feel like cracking and whisking an egg – so I made sure to dab a little milk under the leaf border so to that the leaves and the lattice and braided strips would adhere to the crust. One other thing to note, I let the frozen crust sit out at room temperature for a few minutes after filling it so that it would be easier for my top crust stick to it. As for the filling, if you’ve never had pear pie you should definitely try one. For me, pear pie isn’t as sweet as apple pie and while I do bake a lot I actually don’t like things that are overly sweet. If you want the best of both worlds, try this Brown Butter & Vanilla Pear Pie I made last year for Thanksgiving. While the filling consists mainly of pears, there is 1 apple in the mix. As for the recipe for this or, I got it from the premiere issues of Magnolia Journal last year. You can find the recipe here.

Now that Thanksgiving is over I am looking forward to Christmas and New Year’s. I can’t believe how quickly the year has flown by. Fourth of July honestly feels like it was just a few short weeks ago, but, it was more like 5 long months ago. Today marks my three-month anniversary at my new job, oh yeah, I never mentioned that, I got a new job. I was working part-time before but I am now working full-time, which has given me some challenges when it comes to writing blog posts and sometimes baking, but, not really. I can always squeeze in some time for baking.

Next week I will be bringing you my 3rd annual Cookie Palooza… Hopefully you’ll try at least one of the recipes and just maybe it will become one of your staples. One of the cookies is actually one I am planning on making and gifting later this month, oops, later next month – we are still in November. I kind of like that Thanksgiving was early this year. I feel like it cuts down on the panic of realizing that the next set of holidays are just around the corner. Although, I was at Walmart a few weeks ago and seeing people shopping for what seemed like Christmas gifts already had me panicking a bit. Like I was short on time to get things done. Yikes! I have to-do lists everywhere I look.

The second week in December I am bringing you something new… A Holiday Cake Week. The idea came about last year when I never seemed to get the time to post about a Yule Log Cake I made and then some Snickerdoodle Cupcakes I made. So, I figured I would save the write-up for both and create a special week for them this year. Rounding out the five is a Pull-Apart Cupcake Christmas Wreath, a Rum Cake and a Rainbow Cookie Cake. Yum!

So, sit back, enjoy this last month of the year and don’t forget to indulge in some delicious treats. ‘Tis the season!

Strawberry Rhubarb Crumble

Crumbles are great for the warmer months. They can be made with pretty much any fruit, are super simple and pair well with a scoop of vanilla ice cream on top. Summer is an ideal time for cherry pie, blueberry pie and strawberry rhubarb pie… How about making one of those into a crumble? Today, I am bringing you just that… A Strawberry Rhubarb Crumble.

A little backstory on Rhubarb… You may think that rhubarb is related to celery because it pretty much just looks like red celery and that it is a fruit because it’s primarily used in dessert, but, both accounts are wrong. Rhubarb and celery while they may look alike are not part of the same family, and based on the theory that fruits have seeds, rhubarb is not a fruit. Rhubarb is used in baking because its tart flavor will not become overly sweet when added with sugar and other sweeteners. To me rhubarb tastes like an unripen apple. If you’re keen on tart flavors then raw rhubarb may be perfect for you, but, avoid eating its leaves as they contain high levels of oxalic acid which can cause kidney damage, granted, you would have to eat a pretty hefty amount, but even a small amount can make you sick so why take the chance. Anyhoo, back to the crumble.

I began by making the topping… I mixed flour, baking powder, granulated sugar, light brown sugar and lemon zest in a bowl. I then added in melted butter and stirred all of the ingredients together until it formed into clumps and then refrigerated it for 10 minutes.

In another bowl I made the filling by tossing together chopped rhubarb, quartered strawberries, lemon juice, granulated sugar, salt and to thicken the filling, cornstarch. I transferred this to a 9-inch deep dish pie plate and let it sit for 10 minutes.

Once everything had sat for its designated time I covered the fruit with the crumb topping…

And baked it in a 375 preheated oven for about 45 minutes. Until the filling was bubbly.

I let the crumble rest for a bit and then enjoyed some with what else, a scoop of vanilla ice cream.

If you’re looking for some more easy summer cakes to make check out the Dump Cakes I posted about a few years ago or the Apple Streusel Dump Cake I made for Thanksgiving last year.

And, if you happen to buy too much rhubarb and need another recipe to try out, check out these Rhubarb Cupcakes.

Strawberry Rhubarb Crumble

Ingredients:

For the Topping:

1 1/3 cups flour

1 teaspoon baking powder

3 tablespoons granulated sugar

3 tablespoons light brown sugar

Grated zest of 1 lemon

10 tablespoons unsalted butter, melted

For the Filling:

1 1/2 cups 1-inch pieced chopped rhubarb (about 3 stalks)

1 quart strawberries hulled and quartered (about 4 cups)

Juice of lemon

1/2 cup granulated sugar

3 tablespoons cornstarch

Pinch of salt

Vanilla ice cream for serving

Directions:

Preheat the oven to 375 F.

Make the topping: In a medium bowl combine the flour, baking powder, both sugars and the lemon zest. Add the melted butter and stir the mixture until it forms small and large clumps. Refrigerate for 10 minutes.

Make the filling: In a large bowl combine the rhubarb, strawberries, lemon juice, sugar, salt and cornstarch. Let rest for 10 minutes and then transfer to a 9-inch deep dish pie plate or a 9-inch square baking dish.

Top the filling evenly with the topping mixture and place the dish on a foil lined baking sheet. Bake until the topping is golden brown and the filling is bubbling, about 40 to 50 minutes.

Let the crumble rest for at least 15 minutes before enjoying.

Serve warm and store leftovers in the refrigerator.

Recipe from Food Network

It’s Pi Day!

It’s March 14th, otherwise known as Pi Day! So named, because of the irrational number 3.14 that goes on infinitely. So, enjoy some pie today in honor of the day. Not a fan of pie, have a slice of pizza from a pizza pie or try your hand at a savory pie, like a quiche. Or, you could out on a limb and have some cheesecake. I actually baked a cheesecake a few years ago in honor of the day. I’ve also made a Banana Cream Pie and a Blueberry Pie as well to honor the day.

I was in search of a new pie to make for today and was stumped. I flipped through an entire book dedicated to pies and nothing popped at me and then I remembered I had a bag of shredded coconut in my cabinet that I had purchased to make crispy coconut cookies – which I haven’t gotten around to – so, I decided on a Coconut Custard Pie. This is actually one of my favorite pies from my youth. I remember my Dad bringing home the Entenmann’s version from the supermarket when I was a kid. Unfortunately, Entenmann’s has discontinued it, so the flavor is a distant memory now. I actually tried making Coconut Custard Pie once before and it came out horrible because I didn’t use whole milk and I think the missing fat from the milk was the leading culprit of my failing. The custard never formed.

Thankfully I had no issues with this pie… The custard formed, the shredded coconut rose to the top during baking and it was the perfect balance of the coconut flavor and sweetness.


Coconut Custard Pie

Ingredients:

1 homemade or store bough 9-inch pie crust*

4 tablespoons unsalted butter, melted

3 eggs, at room temperature, beaten

2 tablespoons flour

1/2 cup sugar

1 cup shredded sweetened coconut

1 1/2 cup whole milk, at room temperature

3/4 teaspoons vanilla extract**

nutmeg


*I used a frozen deep-dish one

**For a more of coconut flavor used coconut extract


Directions:

Preheat oven to 350 degrees.

Arrange pie crust into a 9-inch pie plate.

In a large bowl combine the butter, eggs, flour, sugar, coconut, milk and vanilla extract. Use a hand mixer to blend all of the ingredients together. Make sure the sugar is dissolved.

Pour the mixture into the prepared pie crust and sprinkle with nutmeg. Bake in the preheated oven for 45-60 minutes, covering the edges of the pie with aluminum foil for the first 25 minutes and then remove. Pie will be ready when the custard has puffed up – sides and center.

Remove from the over and place on a wire rack to cool completely.

Recipe from Bunny’s Warm Oven

Chocolate Cream Pie

How was your Thanksgiving? Have you eaten the last of your leftovers? At some point were you suffering from a food coma? Mine was good. I was in charge of dessert, and along with a traditional pumpkin pie and the Brown Butter Vanilla Pear PieI posted a few weeks ago I also made an Apple Streusel Dump Cake (come back tomorrow for that recipe) and today’s Chocolate Cream Pie. This pie was a HIT! Not too sweet… The perfect amount of chocolate! The recipe yields more mascarpone whipped cream than needed, don’t toss it, enjoy it with some berries. Use it to top off some hot chocolate. Or, spread it in a thin layer, freeze it and then use small cookie cutters to cut it into shapes to use in lieu of marshmallows in your hot chocolate.

And here’s my trio of pies from Thanksgiving…


Chocolate Cream Pie

For the crust:

1 disk homemade or store-bought pie crust

4 ounces bittersweet chocolate, chopped

Flour, for dusting


For the Filling:

2 1/2 cups whole milk

4 ounces unsweetened chocolate, chopped

1 cup sugar

3 tablespoons cornstarch

2 tablespoons flour

3/4 teaspoon kosher salt

4 large egg yolks, lightly beaten

2 tablespoons unsalted butter

2 teaspoons vanilla extract


For the Whipped Cream

1/2 cup mascarpone cheese

5 tablespoons confectioners’ sugar

1 tablespoon vanilla extract

1 1/2 cups cold heavy cream

Shaved chocolate for decorating


Directions:

Make the crust: Preheat the oven to 375 F. Roll out the pie dough into a 12-inch round on a lightly floured surface then fit into a 9-inch pie plate. Fold the overhang dough under itself and crimp the edges. Place a piece of parchment paper inside the pie crust and fill with dried beans or pie weights and bake until the crust is starting to set and brown, about 20 minutes. Remove the parchment paper and the beans/weights and bake for another 5 minutes, until the crust is golden and crisp looking. Let it cool completely.

Melt the bittersweet chocolate in heatproof bowl over a saucepan of simmering water. Using a pastry brush, brush the inside of the pie crust with the melted chocolate in a thin layer, place in the refrigerator to harden.

Make the filling: Pour 2 cups of the milk into a heatproof bowl and set over the pan of simmering water. Heat the milk until it’s almost boiling. Add the unsweetened chocolate and stir until melted. Remove from the heat.

In a large bowl whisk the sugar, cornstarch, flour and salt. Whisk in the remaining 1/2 cup milk and then add this mixture to the hot chocolate milk mixture. Raise the heat of the simmering water to medium-high and return the chocolate mixture over the water. Whisk in the egg yolks and cook, whisking constantly until the mixture is very thick. Remove from the heat and stir in the butter and vanilla until smooth. Let the filling cool slightly and then pour into the pie shell. Place a piece of plastic wrap directly on top of the surface of the filling and refrigerate until cold, at least three hours,

Before serving make the mascarpone whipped cream: Beat the mascarpone, sugar and vanilla extract in a large bowl with a mixer until creamy. Add the heavy cream and continue beating until it holds stiff peaks. Add the cream to a pastry bag fitted with a large star and pipe it on top of the pie. Sprinkle with shaved chocolate.

Recipe from Food Network

Brown Butter & Vanilla Pear Pie with a Leaf Cut-Out Crust

With Thanksgiving next week you may be on the lookout for a new or different pie to make. Today I am bringing you a Brown Butter & Vanilla Pear Pie that I saw in a recent issue of Real Simple magazine that would be a wonderful addition to your dessert table.

I began by browning the butter. To do so, I simply melted a stick of butter in a saucepan stirring it until it was golden and nutty smelling – trust me, it will get a nutty scent. Don’t leave it on the stove too long or your brown butter will turn to burnt butter.

I poured the butter in to a large bowl and added in 5 peeled and chopped Bartlett pears, 2 peeled and chopped Granny Smith apples, flour, vanilla extract, salt and sugar. After giving this a few good stirs to mix it all together I transferred the mixture to a prepared pie dish – I had placed an unbaked piecrust in the dish.

Now it was time to work on the top crust. I’ve been wanting to try a different type of decorative pie crust… A leaf cut-out pie crust. I have made cut-outs before for a pie crust, but, they have been just accent pieces. I had never completely covered the pie with cutouts. What’s nice about this… its fool-proof and looks a lot more difficult than what it is. One thing you do need though is patience! Using leaf design pie crust cutters I cut out a bunch of leaves – I had around 60.

I then arranged them on the top of my pie. I brushed the pie with a beaten egg and sprinkled sugar on it and placed it in the freezer for 15 minutes.

A side note, as I have mentioned before I normally use store bought pie crust – always the Pillsbury refrigerated pie crust. So, for this pie I needed 3 pie crusts; 1 for the bottom and I needed two in order to cut out enough leaves to cover my pie. I decided that next time I make a pie with cut-outs for the crust I am going to cut them out the day before and refrigerate them to save time the day of.

I was concerned that the leaf design wouldn’t hold-up during baking – that it would possibly burn or some of the leave would crack. Thankfully baking the pie on the lowest rack of the oven and at a lower temperature (350 F) prevented that from happening.

This pie is delicious… Not overly sweet and the combination of pears and apples is just perfect!

Brown Butter & Vanilla Pear Pie

Ingredients:

1 stick (1/2 cup) unsalted butter

2 1/2 lbs. (5) pears, peeled, cored and chopped

1 Granny Smith apples, peeled, cored and chopped

3 tablespoons flour

1 tablespoon vanilla extract

1/4 teaspoon kosher salt

1/4 cup sugar, plus more for sprinkling

Preferred pie crust

1 large egg, lightly beaten

Directions:

Lower a rack in the oven to the lowest position and preheat the oven to 350 F.

In a medium bowl / skillet, melt the butter over medium heat stirring until golden and nutty smelling. Pour into a large bowl and let cool for a few minutes.

Add the apples, pears, flour, vanilla, salt 1/4 cup sugar to the brown butter and toss.

Roll out your pie crust to 14 inches and line a 9-inch pie plate with it and trim the dough to a 1-inch overhang. Fill the pie crust with the pear apple filling and top the pie with your decided pie crust design. If you plan on just covering the pie with no design, roll the dough out to 12 inches and lay over the filling. Fold the top edge over and tuck under bottom edge; crimp edge as desired. Cut a few vents. Brush the crust with the beaten egg and sprinkle with sugar and freeze for 15 minutes

Bake on the bottom rack until the juices start bubbling, about 60 to 75 minutes. If you notice that the edges of the pie are browning too quickly cover them with aluminum foil for the remaining baking time.

Let the pie cool for at least 4 hours before slicing.

Recipe from Real Simple Magazine

Boston Cream Pie

I remember when I was younger I was not a fan of filled donuts. Jelly, cream, chocolate, whatever the filling, it was not my thing. Fast forward a few years and I can eat them now, but, and I apologize if this sounds a little gross, I squeeze out the excess filling first and then eat the donut. I just don’t like the filling to overpower the donut and that seems to happen a lot with filled donuts. And that, in a very roundabout way brings me to today’s post… A Boston Cream Pie. A yellow cake filled with custard and glazed with chocolate. I’ve have it in a donut form, but, the pie version is a 100x better.

I began by making the cake. To do so I started off by sifting cake flour, baking powder and salt in medium bowl. In my stand mixer I whisked eggs and sugar on high speed for 15 minutes. This part is integral as it ensure that the cake will be light and airy. Once the egg and sugar mixture was ready – it will be pale and tripled in volume – I gently folded in the flour mixture in two addition with a rubber spatula. And finally, I added in whole milk, vegetable oil and vanilla and returned the bowl to my stand mixer and beat it until everything was combined. I poured the batter in a 9-inch round cake pan that I sprayed with baking spray and baked it in a 350 F oven for about a half hour.

While the cake was in the oven I made the pudding. In a large bowl I whisked whole eggs, egg yolks and sugar until it was light and fluffy, and then whisked in cornstarch and salt. In a medium saucepan I heated whole milk and vanilla extract until it was hot, but not yet boiling. I then whisked in a 1/4 cup of the milk mixture into the egg mixture in order to temper the eggs and then gradually whisked in the remaining milk mixture. I then returned the entire mixture to the medium saucepan and constantly whisked it on low heat until it was thick and pudding like. Once it was the right consistency, I strained the pudding through a fine mesh sieve by pushing the pudding through the sieve with a rubber spatula. After letting the pudding cool for a few minutes I pressed plastic wrap directly on the surface of the pudding and refrigerated it for at least 2 hours.

Once the cake was done and the pudding cooled it was time to assemble. I cut the cake in half and spread the pudding on the bottom half.

After topping the cake I made the chocolate glaze by melting semi-sweet chocolate with heavy cream, vanilla extract and a pinch of salt. I then spread the glaze on the cake…

And then refrigerated it until the glaze was set.

Final verdict… YUM!!!


Boston Cream Pie

Ingredients:

For The Cake:

1 1/4 cups cake flour

1 teaspoon baking powder

1/4 teaspoon salt

4 large eggs, at room temperature

1 cup sugar

1/2 cup whole milk

1/3 cup vegetable oil

1 1/2 teaspoons vanilla extract


For The Pudding:

1 1/2 cups whole milk

2 teaspoons vanilla extract

2 large eggs plus 4 egg yolks

1/2 cup sugar

1/4 cup cornstarch

Pinch of salt


For The Glaze:

4 ounces semi-sweet chocolate, finely chopped

1/2 cup heavy cream

1 teaspoon vanilla extract

Pinch of salt


Directions:

Preheat the oven to 350 F. Spray a 9-inch-round cake pan with baking spray or butter and flour.

Make the cake: Sift the flour, baking powder and salt into a medium bowl. Beat the eggs and sugar in a stand mixer fitted with the whisk attachment on high speed until pale and tripled in volume, about 15 minutes. Gently fold the flour mixture into the eggs mixture in two additions using a rubber spatula.

Add the milk, vegetable oil and vanilla and beat with the mixer until combined. Pour the batter into the prepared pan and bake for 25-30 minutes until a cake tested inserted in the center comes out clean. Transfer the pan to a rack to cool and then invert onto to the rack to cool and invert once again and let the cake cool completely.

Make the pudding: Heat the milk and vanilla extract in a medium saucepan over medium heat, but, do not boil. Whisk the whole eggs, egg yolks and sugar in a large bowl until light and fluffy. Add the cornstarch and salt and continue whisking until no lumps remain. Whisk 1/4 cup of the milk mixture into the egg mixture and then gradually whisk in the remaining milk mixture.

Pour the egg-milk mixture into the saucepan and cook over low heat, whisking constantly, until thick and pudding like, 10 to 15 minutes. It could take longer as well. Strain through a fine-mesh sieve by pushing the pudding through the sieve using a rubber spatula. Let the pudding cool for a few minutes and then place a piece of plastic wrap on the surface of the pudding and refrigerate for at least 2 hours.

Slice the cake in half and spread the pudding over the bottom half of the cake. Top the cake with the top half.

Make the glaze: Heat the chocolate, heavy cream, vanilla extract and salt in a saucepan over medium-low heat, stirring until the chocolate is melted and all of the ingredients are well combined and the mixture is smooth. Remove from heat and let cool for 5 minutes, you want it to be slightly thickened, then pour over the entire cake using an off-set spatula to smooth it. Refrigerate for at least 30 minutes so the glaze can set.

Recipe from Food Network

Cherry Pie

Happy First Day of Summer! You may recall back in March I posted a Blueberry Pie in honor of Pi Day and that it was the first time I ever had Blueberry Pie, well, another confession. I’ve never had Cherry Pie. So, what better way to celebrate the start of the summer and cherry season than with a Cherry Pie!

First things first… Since I was using fresh cherries I had to pit them. I don’t own a cherry pitter so I pitted the cherries by using a reusable plastic straw. I literally just pushed the straw through the cherry to remove the pit. Check out this link for a few more ideas on how to pit cherries without a cherry pitter.

You may recall I’m not a fan of making pie crust from scratch – one of these days I will attempt to make it again – so I used my usual Pillsbury Pie crust. I rolled out one of the crusts an extra inch or two and then placed it in the bottom of my pie dish.

To prep the filling, I mixed flour, sugar and cinnamon in a Ziploc bag and then added in the cherries and tossed them around in the mixture to make sure they were completely covered.

I then poured the mixture, along with the excess flour mixture, into the pie plate.

Next, I used the second pie crust to top the pie and brushed it with milk and sprinkled sugar on it.

I then baked it in a 425 F preheated oven for 25 minutes and then lowered the oven temperature to 350 F and baked it for an additional 30 minutes. Until the filling was bubbling.

While my crust did come out a little wonky looking, it didn’t take away from how delicious the pie was. There’s something to be said about using fresh fruit… YUM!


Cherry Pie

Ingredients:

4 cups sweet cherries, pitted

1 cup sugar

1/4 cup flour

1/2 teaspoon cinnamon

pastry for double-crust 9-inch pie


Directions:

Preheat the oven to 425 F

Line the bottom of a 9-inch pie dish with one of the pie crusts

In a Ziploc bag combine the sugar, flour and cinnamon. Add the cherries and toss to coat. Add to the pie crust lined-dish

Place the second crust on top and trim the ends. Cut vent slits in the middle of the pie and crimp the edges.

Bake for 25 minutes and then lower the oven temperature to 350 F and bake for another 25 to 30 minutes. If the edges of the pie begin to brown too quickly, tent the pie.

Recipe from Food.com

Lattice-Top Blueberry Pie

It’s Pi day! And no, I didn’t spell that wrong. Today is 3/14, the first 3 numbers for Pi. The Greek letter that is a symbol in mathematics to represent a constant – the ratio of the circumference of a circle to its diameter. It’s an irrational and transcendental number, i.e. it will go on infinitely without repetition or a pattern. Have I bored you yet? Sorry… On to the Pie. In honor of Pi Day, I decided to bake a pie I had never had before, a blueberry pie. A Lattice-Top Blueberry Pie to be exact. Yes, I never had Blueberry Pie until I made this one. I must say, I am not a big pie eater, especially fruit pie. I always feel like they are going to be super sweet. What made this pie a hit amongst those who tried it was the fact that it wasn’t super sweet. Something I was quite happy about as well.

I’m not a fan of making pie crust from scratch so I buy Pillsbury refrigerated crust. I find it works just as well as homemade crust – I am sure there are plenty of you shaking your heads at that comment right now – and its super easy to use to make a decorative crust. And another plus, clean-up is a cinch! So after letting my two crusts (one for the top and one for the bottom) come to room temperature I rolled out what would be the bottom into a 13 inch round; the crust was already a 9-inch round so I had no problem rolling it out the extra few inches. I then fitted it into my 9-inch pie plate.

Next, I made the filling. I combined 7 cups of fresh blueberries with sugar, cinnamon, cornstarch & lemon juice.

I then poured the mixture into the pie plate.

To make the lattice top, I started by rolling out the other half of the pie crust into another 13-inch round.  Then using a fluted pastry wheel I cut the dough into ten 1-inch strips. Thankfully my work mat has 1-inch grid lines on it so cutting out the strips was a breeze. I just had to be sure to cut in a straight steady line.

I placed five of the strips vertically on the pie, evenly spaced.

And then proceeded to fold and unfold the strips to create a lattice pattern.

I then trimmed and tucked in the edges of the crust and crimped it with a fork.

Next, I brushed the pie with an egg yolk-heavy cream egg wash and sprinkled sanding sugar on top.

And after refrigerating the pie for about a half hour in the fridge I placed it on a parchment lined baking sheet and baked it in a 400 F preheated oven for about 20 minutes, until the crust began to brown, and then lowered the oven to 350 F and continued baking the pie for about another hour, until the crust was a deep golden brown and the juices began to bubble. I kept the pie tented with aluminum foil for most of the baking time, removing it for the last 30 minutes of baking so the crust wouldn’t brown too quickly.

Lattice-Top Blueberry Pie

Ingredients:

Pie Crust – Bake your own or store bought

2 pounds (about 7 cups) fresh blueberries

1/2 cup sugar

1/4 cup cornstarch

1/4 teaspoon ground cinnamon

1 tablespoon fresh lemon juice

1 large egg yolk, for egg wash

1 tablespoon heavy cream, for egg wash

Sanding sugar, for sprinkling

Directions:

Preheat the oven to 400 F.

On a lightly floured surface roll out half of your pie crust into a 13-inch round about 1/8-inch thick. Fit dough into a 9-inch pie plate.

In a large bowl combine the blueberries, sugar, cornstarch, cinnamon and lemon juice. Pour the mixture into the pie plate, piling in the center.

On a lightly floured surface roll out the other half of your pie crust. Once again into a 13-inch round about 1/8 inch thick. To make the lattice, cut the dough into 10 1-inch strips using a fluted pastry wheel or a pizza cutter. Carefully place the strips on the pie weaving into a lattice pattern. Trim the dough to a 1-inch overhang and fold the edges under, then crimp with a fork.

In a small bowl whisk together the egg yolk and heavy cream for the egg wash. Brush on top of the dough strips and then sprinkle with the sanding sugar.

Refrigerate or freeze the pie until firm, about 30 minutes.

Place the pie on a parchment lined rimmed baking sheet and bake until the pie begins to brown, about 20 minutes. Reduce the heat to 350 F and continue baking until the crust is a deep golden brown and the juices begin to bubble, about an hour. If the crust begins to brown too quickly tent the pie with aluminum foil.

Transfer to a wire rack to cool completely before slicing in.

Recipe from Martha Stewart Pies and Tarts Book


Thanksgiving Desserts

Hope you all had a wonderful Thanksgiving filled with delicious food and joyous times with loved ones. This year I spent the day at a friend’s house enjoying said delicious food and joyous times – although I did cook a turkey the following day. At this point though I am kind of turkeyed out! I didn’t go empty handed to the Thanksgiving celebration though; I brought the dessert… three pies, a cheesecake and a chocolate cake. What can I say, I love to bake!

Among the pies was a Pumpkin Pie that I decorated using Fall themed pie cutters. Then there was a Sweet Potato Pie 

that I decorated with a leaf border. I made this pie because I had never tried Sweet Potatoe Pie and was curious as to what all the fuss was about. It was good, but, I am partial to pumpking. And finally an Apple Pie that I gave a nice twisted pie crust design to.

IMG_9940

For the Cheesecake I stuck to a recipe that was a hit and topped it with sugared cranberred. The cranberries were so good that I ended up eating the leftovers like they were candy.

IMG_9938

And finally, the Chocolate Cake. The cake had a pumpkin spice mousse filling – it was super simple to make and delish thanks to a box of Jell-O Pumpkin Spice Pudding mix – and frosted it with chocolate frosting. And to give it a Fall theme I topped it with white chocolate leaves in seasonal colors.

IMG_9928

Mixed Berry Galette

The unofficial end of summer is upon us… Labor Day. While the day temps feel like summer the drop in the evening temps definitely signal the arrival of Fall is imminent, kids are heading back to school and everywhere you look there is something flavored pumpkin. I am not complaining though… Fall is by far my favorite of the four seasons. I love the crispness in the air, apple picking, the leaves changing colors and the return of scarf season. If you didn’t know, I love scarves!!! But before all that fun begins I have one last summer themed dessert… A Mixed Berry Galette. While you can get berries – blueberries, blackberries, strawberries, etc. – anytime of the year, summer is when they are at their peak.

Just look at how vibrant and delicious these berries look…

IMG_9105

While you could make your dough from scratch, I opted to go the easier and quicker route by using a puff pastry sheet. After thawing the sheet out I rolled it on a lightly floured surface into a 12-inch square. I then transferred it to a parchment lined cookie sheet and placed it the refrigerator for about 20 minutes.

IMG_9107

Following that I put my berries – which I tossed with corn starch, sugar and salt – in a small mound in the center of the sheet and folded the edges around it. I brushed the edges with an egg wash – an egg beaten with a teaspoon of water – and sprinkled granulated sugar on it.

IMG_9110

After refrigerating it for 15 minutes I the baked it in a 400 F preheated oven for 30 minutes – until the puff pastry was golden brown and the berries were bubbling. Unfortunately my galette opened up a bit while baking.

IMG_9115

That didn’t affect the taste though; once it cooled I cut myself a piece and was quite pleased with how something so quick and simple could turn into something so delicious!

Mixed Berry Galette

Ingredients:

1 frozen puff pastry sheet, thawed

All-purpose flour, for dusting

1 large egg, for brushing the pastry

3 cups mixed berries – strawberries, blueberries, blackberries

1/4 cup cornstarch

1/2 cup granulated sugar*, plus more for sprinkling the puff pastry

1/4 teaspoon salt

*If you would like your galette on the sweeter side add a tablespoon or two more sugar.

Directions:

Preheat the oven to 400 F. Line a rimmed baking sheet with parchment paper. Roll out the puff pastry into a 12-inch square on a lightly floured surface. Transfer the sheet to the prepared baking sheet and refrigerate for 15 minutes.

Make the filling by tossing the berries with the cornstarch, sugar and salt.

Place the fruit in the center of the puff pastry in a small mound and fold the edges of the sheet over the fruit, overlapping the sheet as you fold.

Brush the pastry with an egg wash – the egg lightly beaten with a teaspoon of water – and then sprinkle with granulated sugar. Refrigerate for about 20 minutes, until firm.

Bake until the edges are golden brown and the fruit is bubbling, about 30 – 35 minutes.

%d bloggers like this: