Peanut Butter Cupcakes With Chocolate Frosting

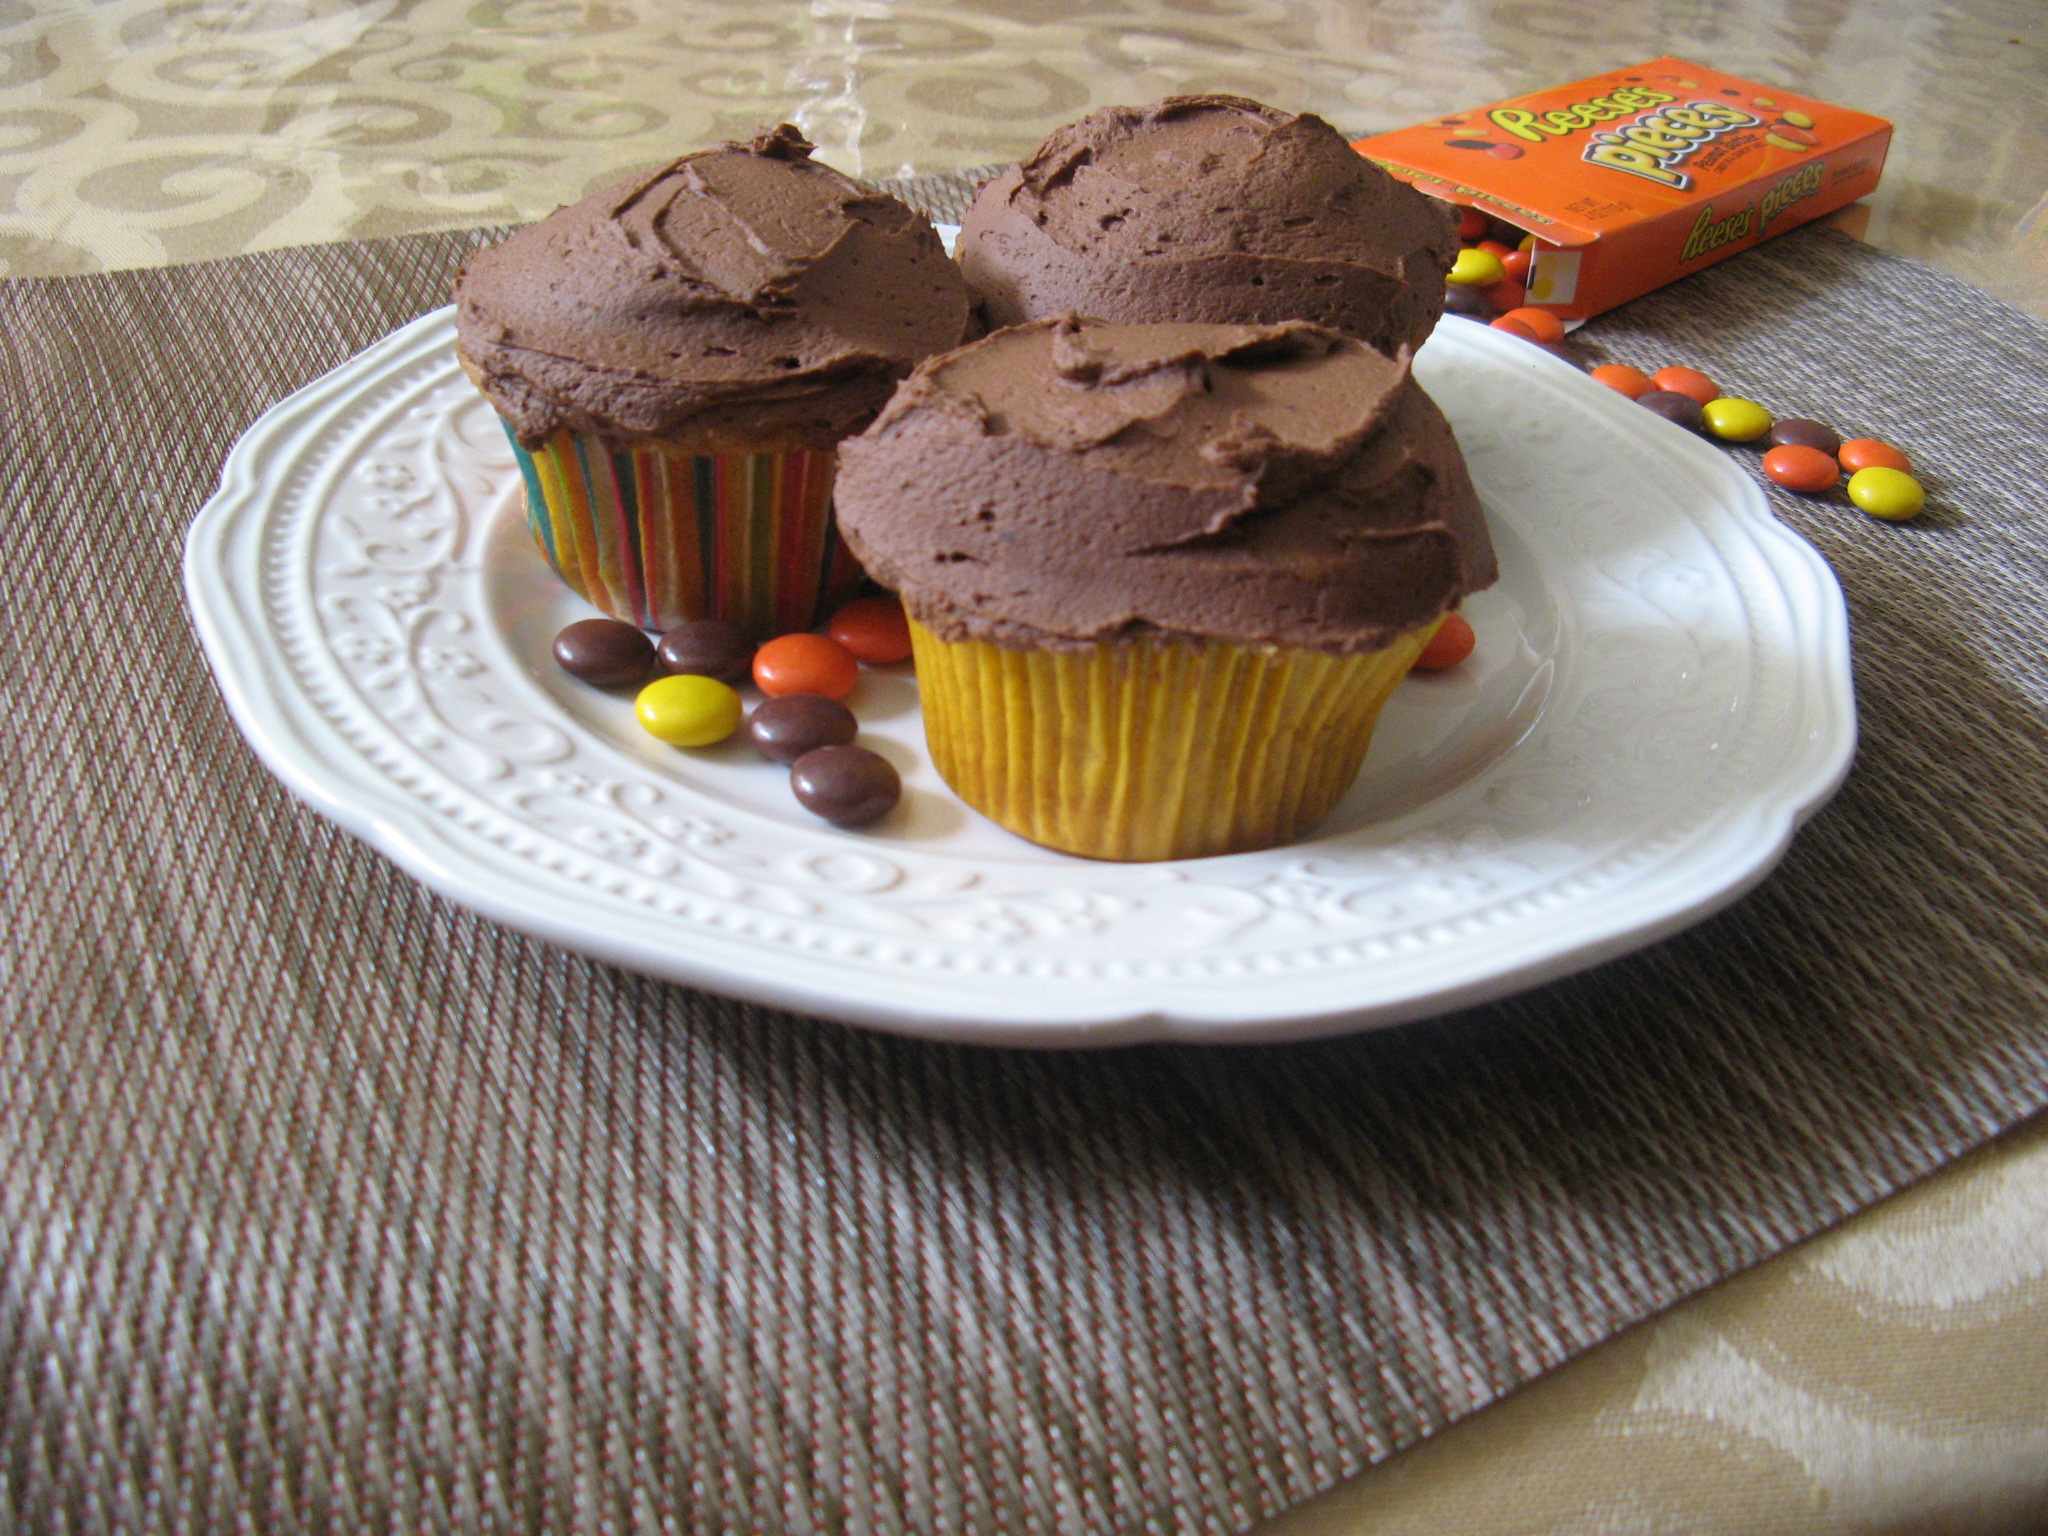
While I do have a sweet tooth for desserts I have never been one to eat much candy. I have this idea that eating a cookie is a better sweet fix than a piece of candy, yes, they are both sweet, but, somehow that cookie is the “healthier” option in my mind – this coming from the girl who has never met a glass, bottle or can of Coca-Cola she didn’t like! Don’t get me wrong though, I do love the occasional truffle from Godiva, but, you definitely won’t find me eating a bag of Skittles. I swear I am not a candy snob or anything though… I just don’t particularly care for candies that can change the color of your tongue all shades of the rainbow. There is one candy though that I do have a sweet spot for – Reese’s. That can be a Reese’s Peanut Butter (any size or shape, but especially the Easter egg one’s) or Reese’s pieces. There is something about peanut butter and chocolate together that is oh so delicious! So how could you go wrong with a peanut butter cupcake with chocolate frosting!

IMG_3744

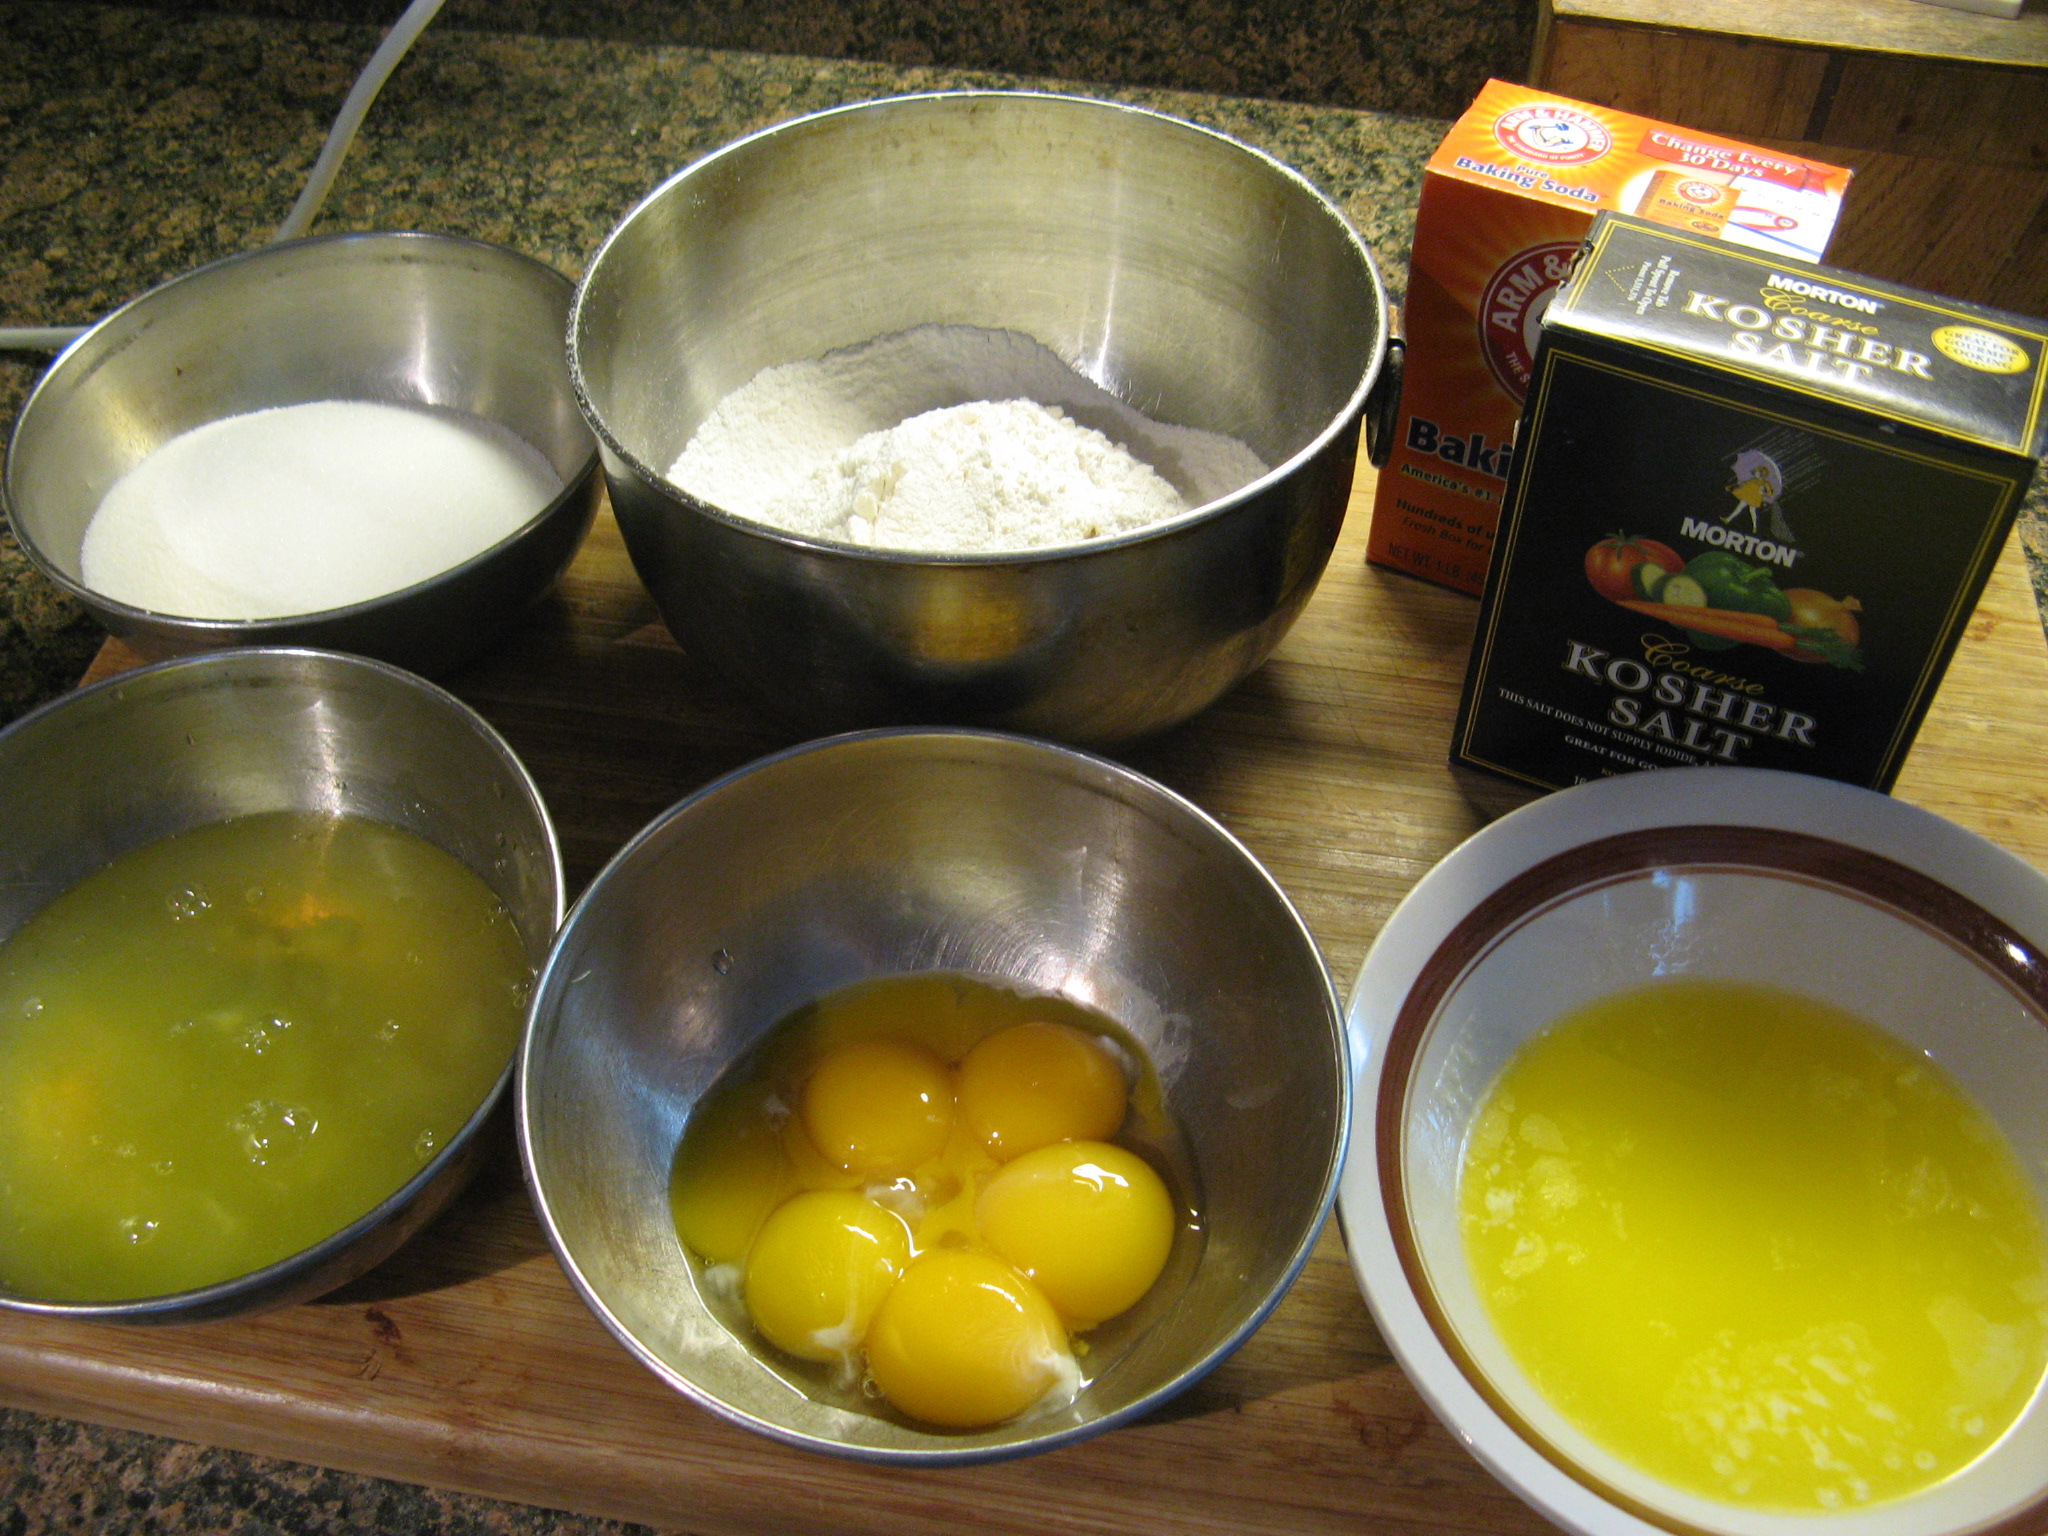
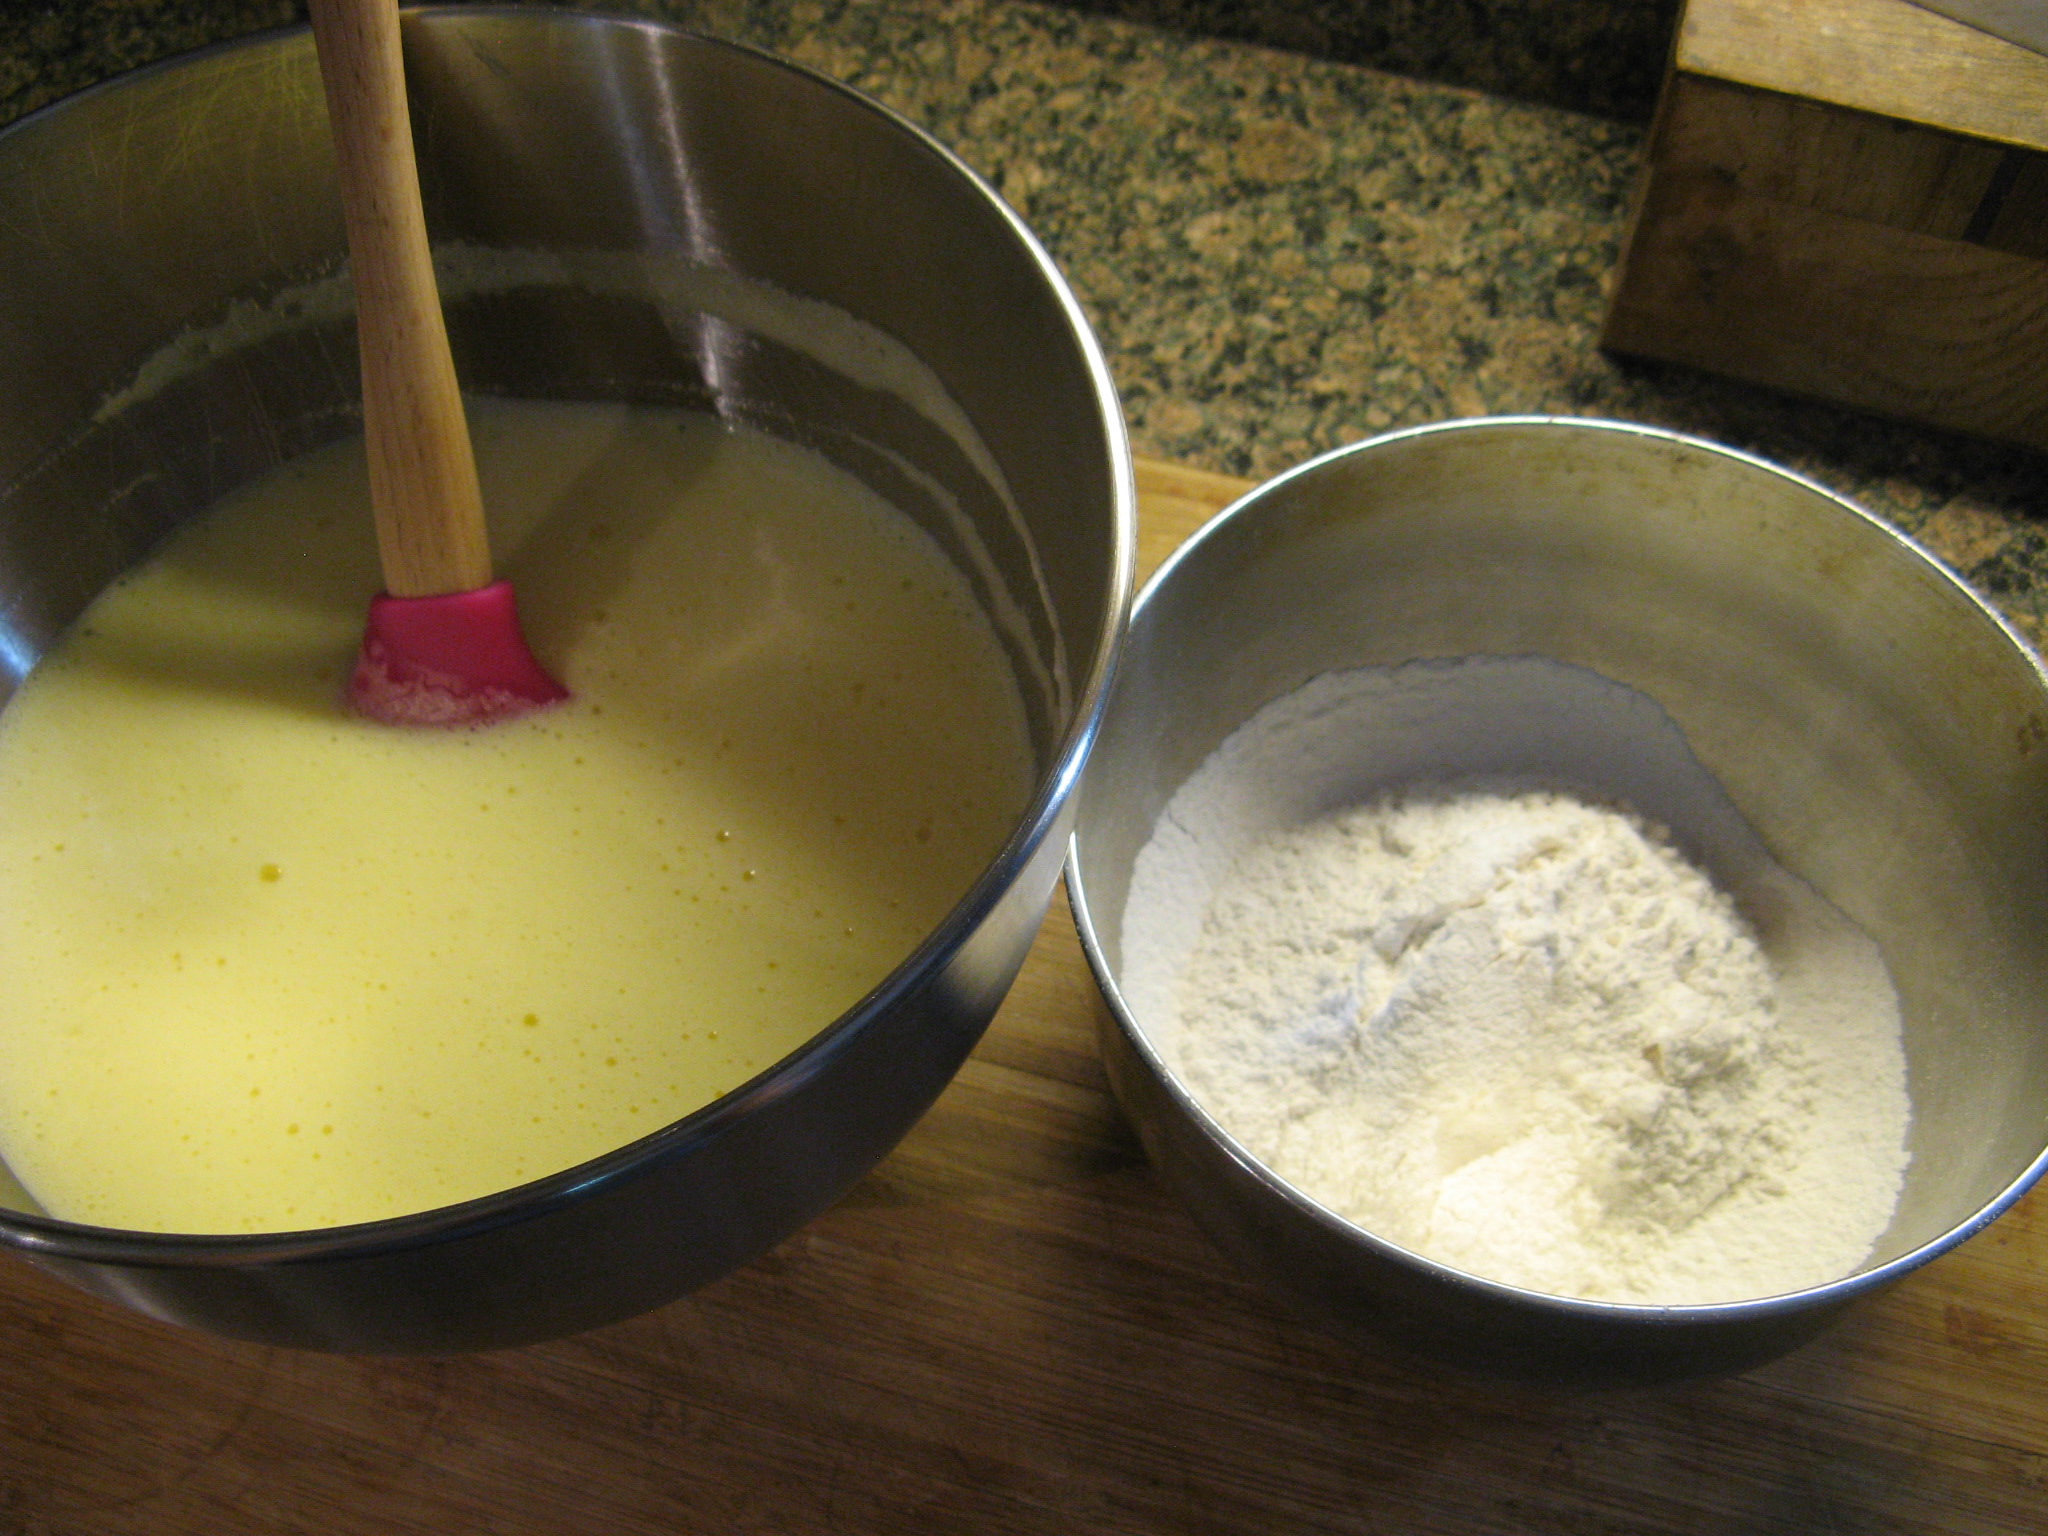
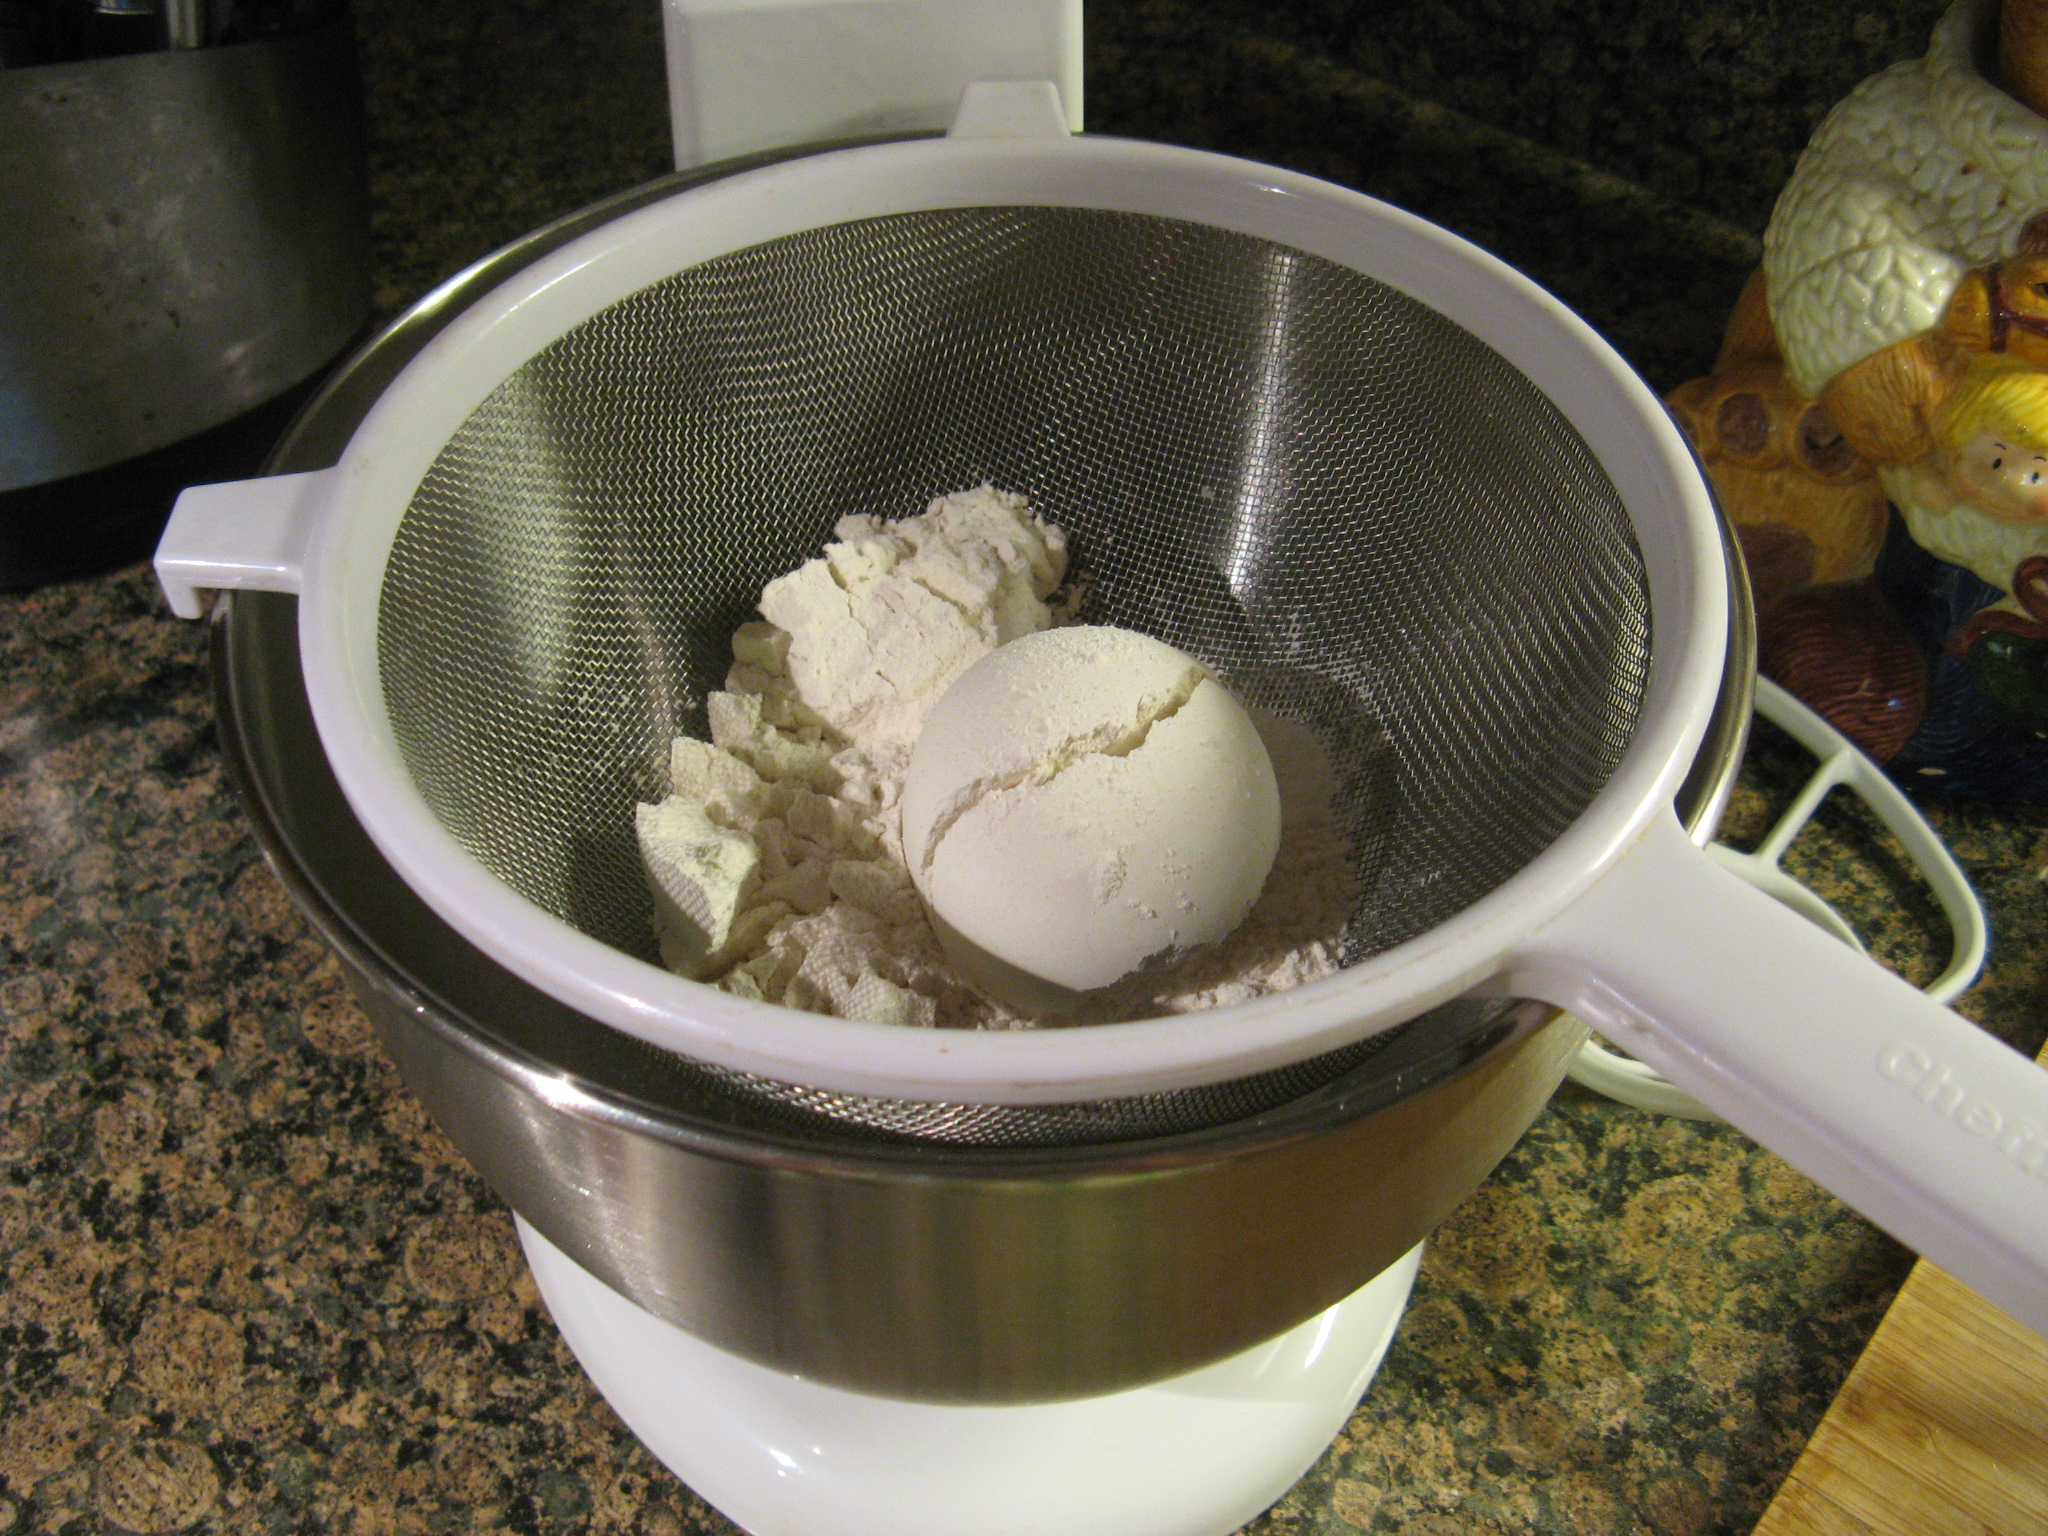
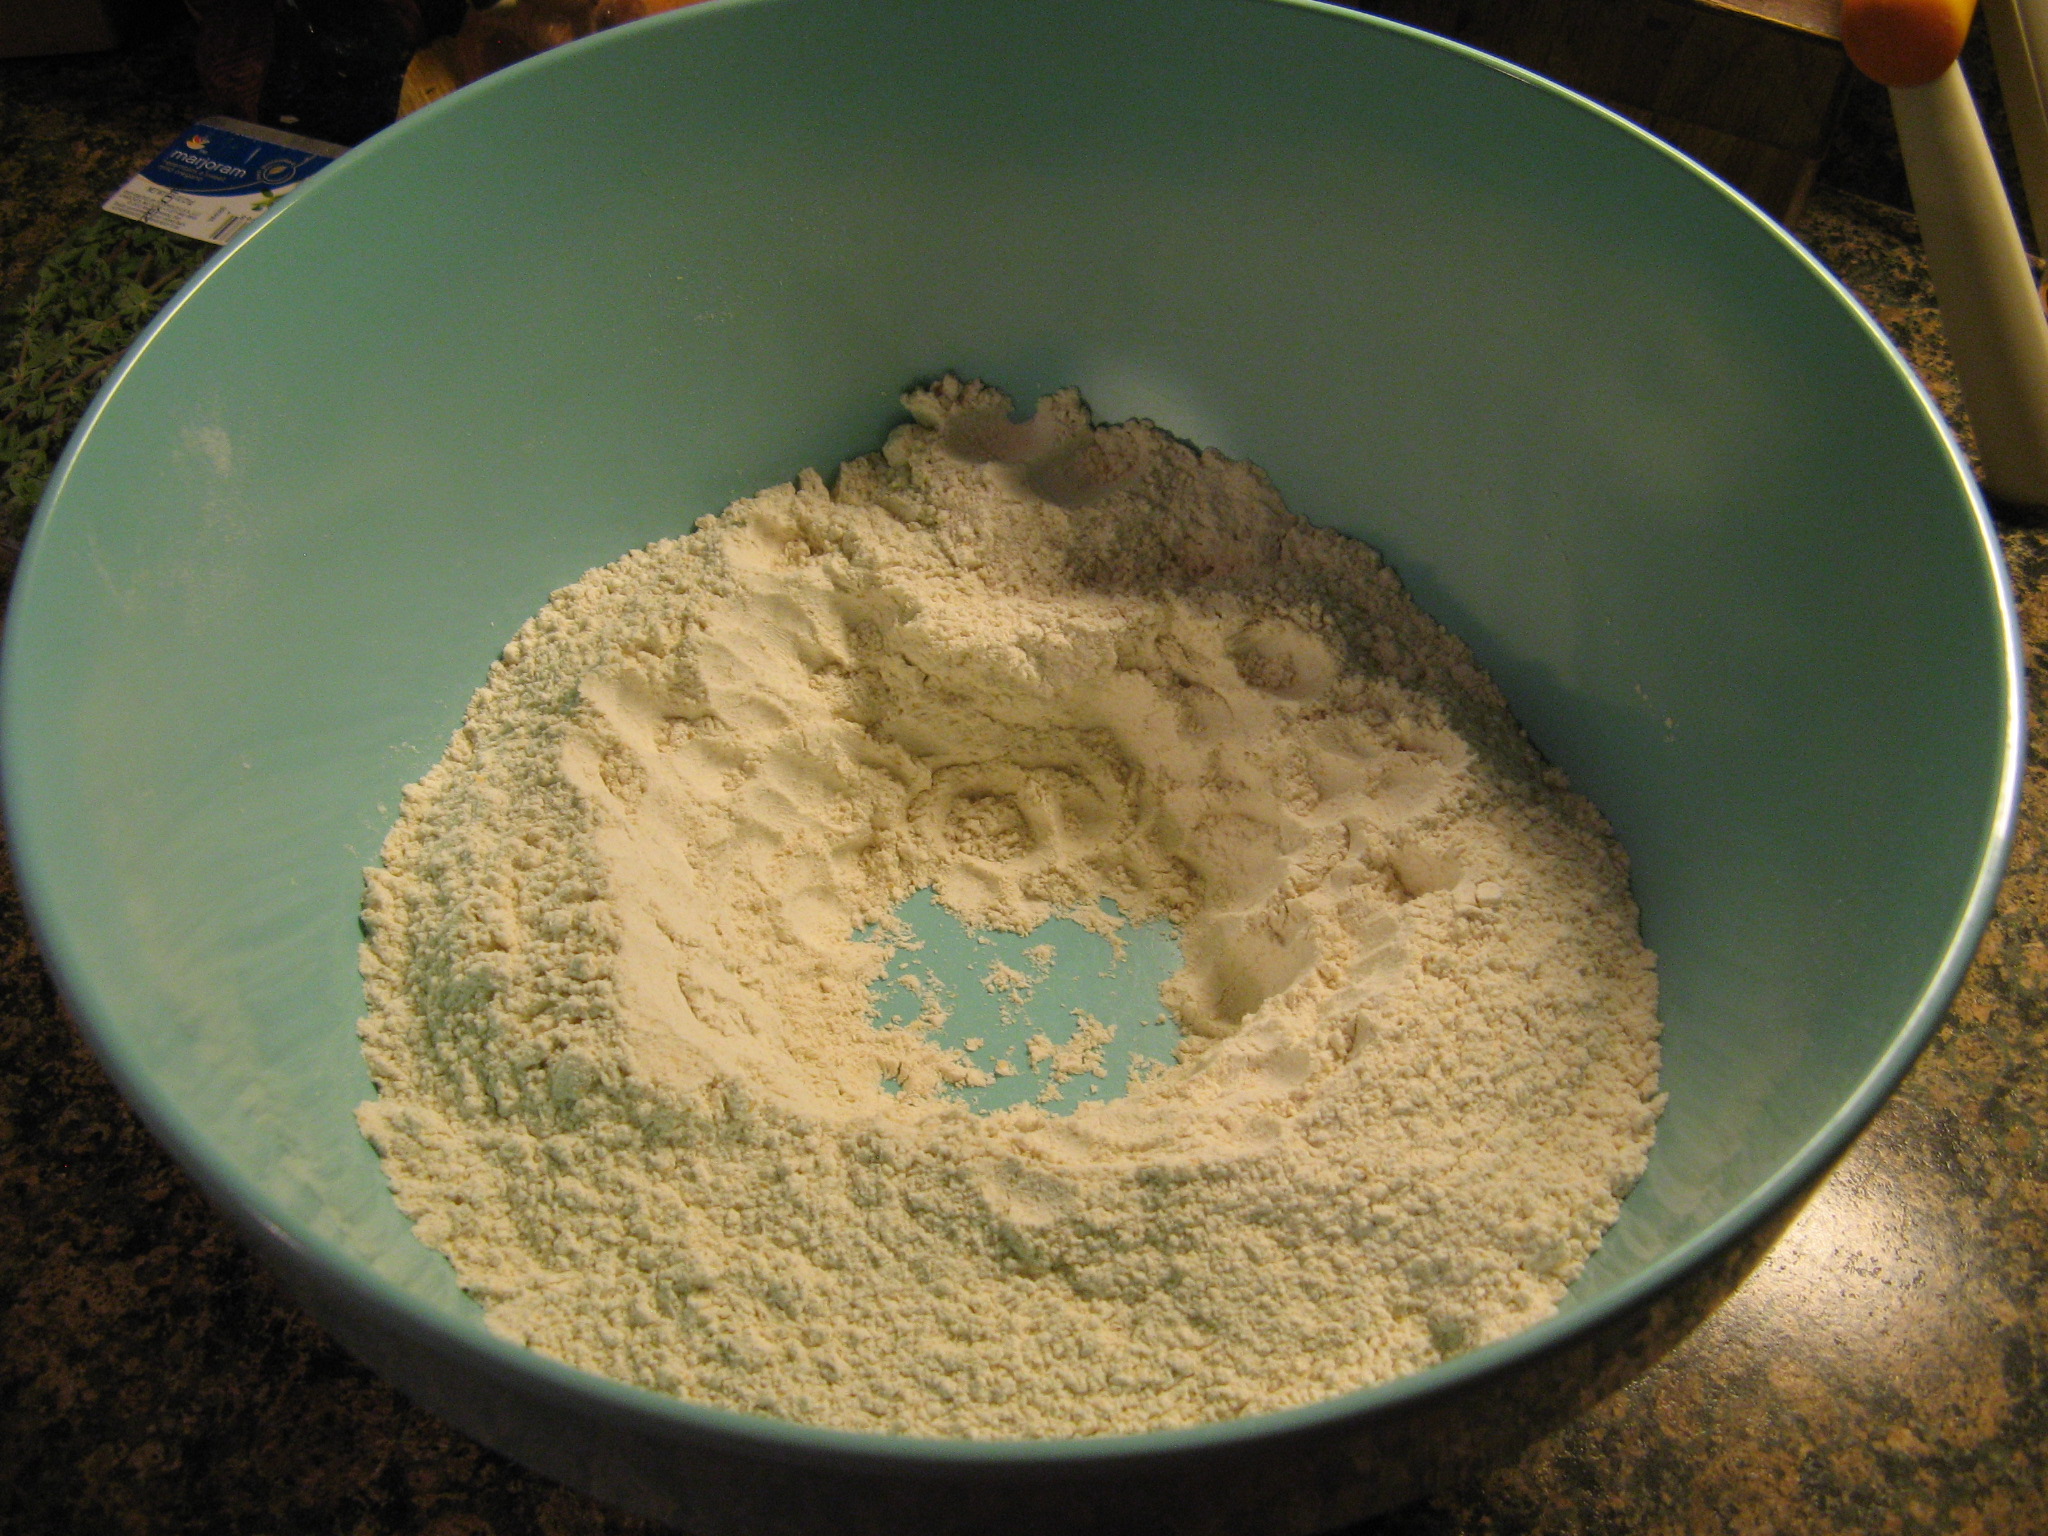
To begin I sifted the together flour, salt and baking powder and set it aside.

IMG_3692

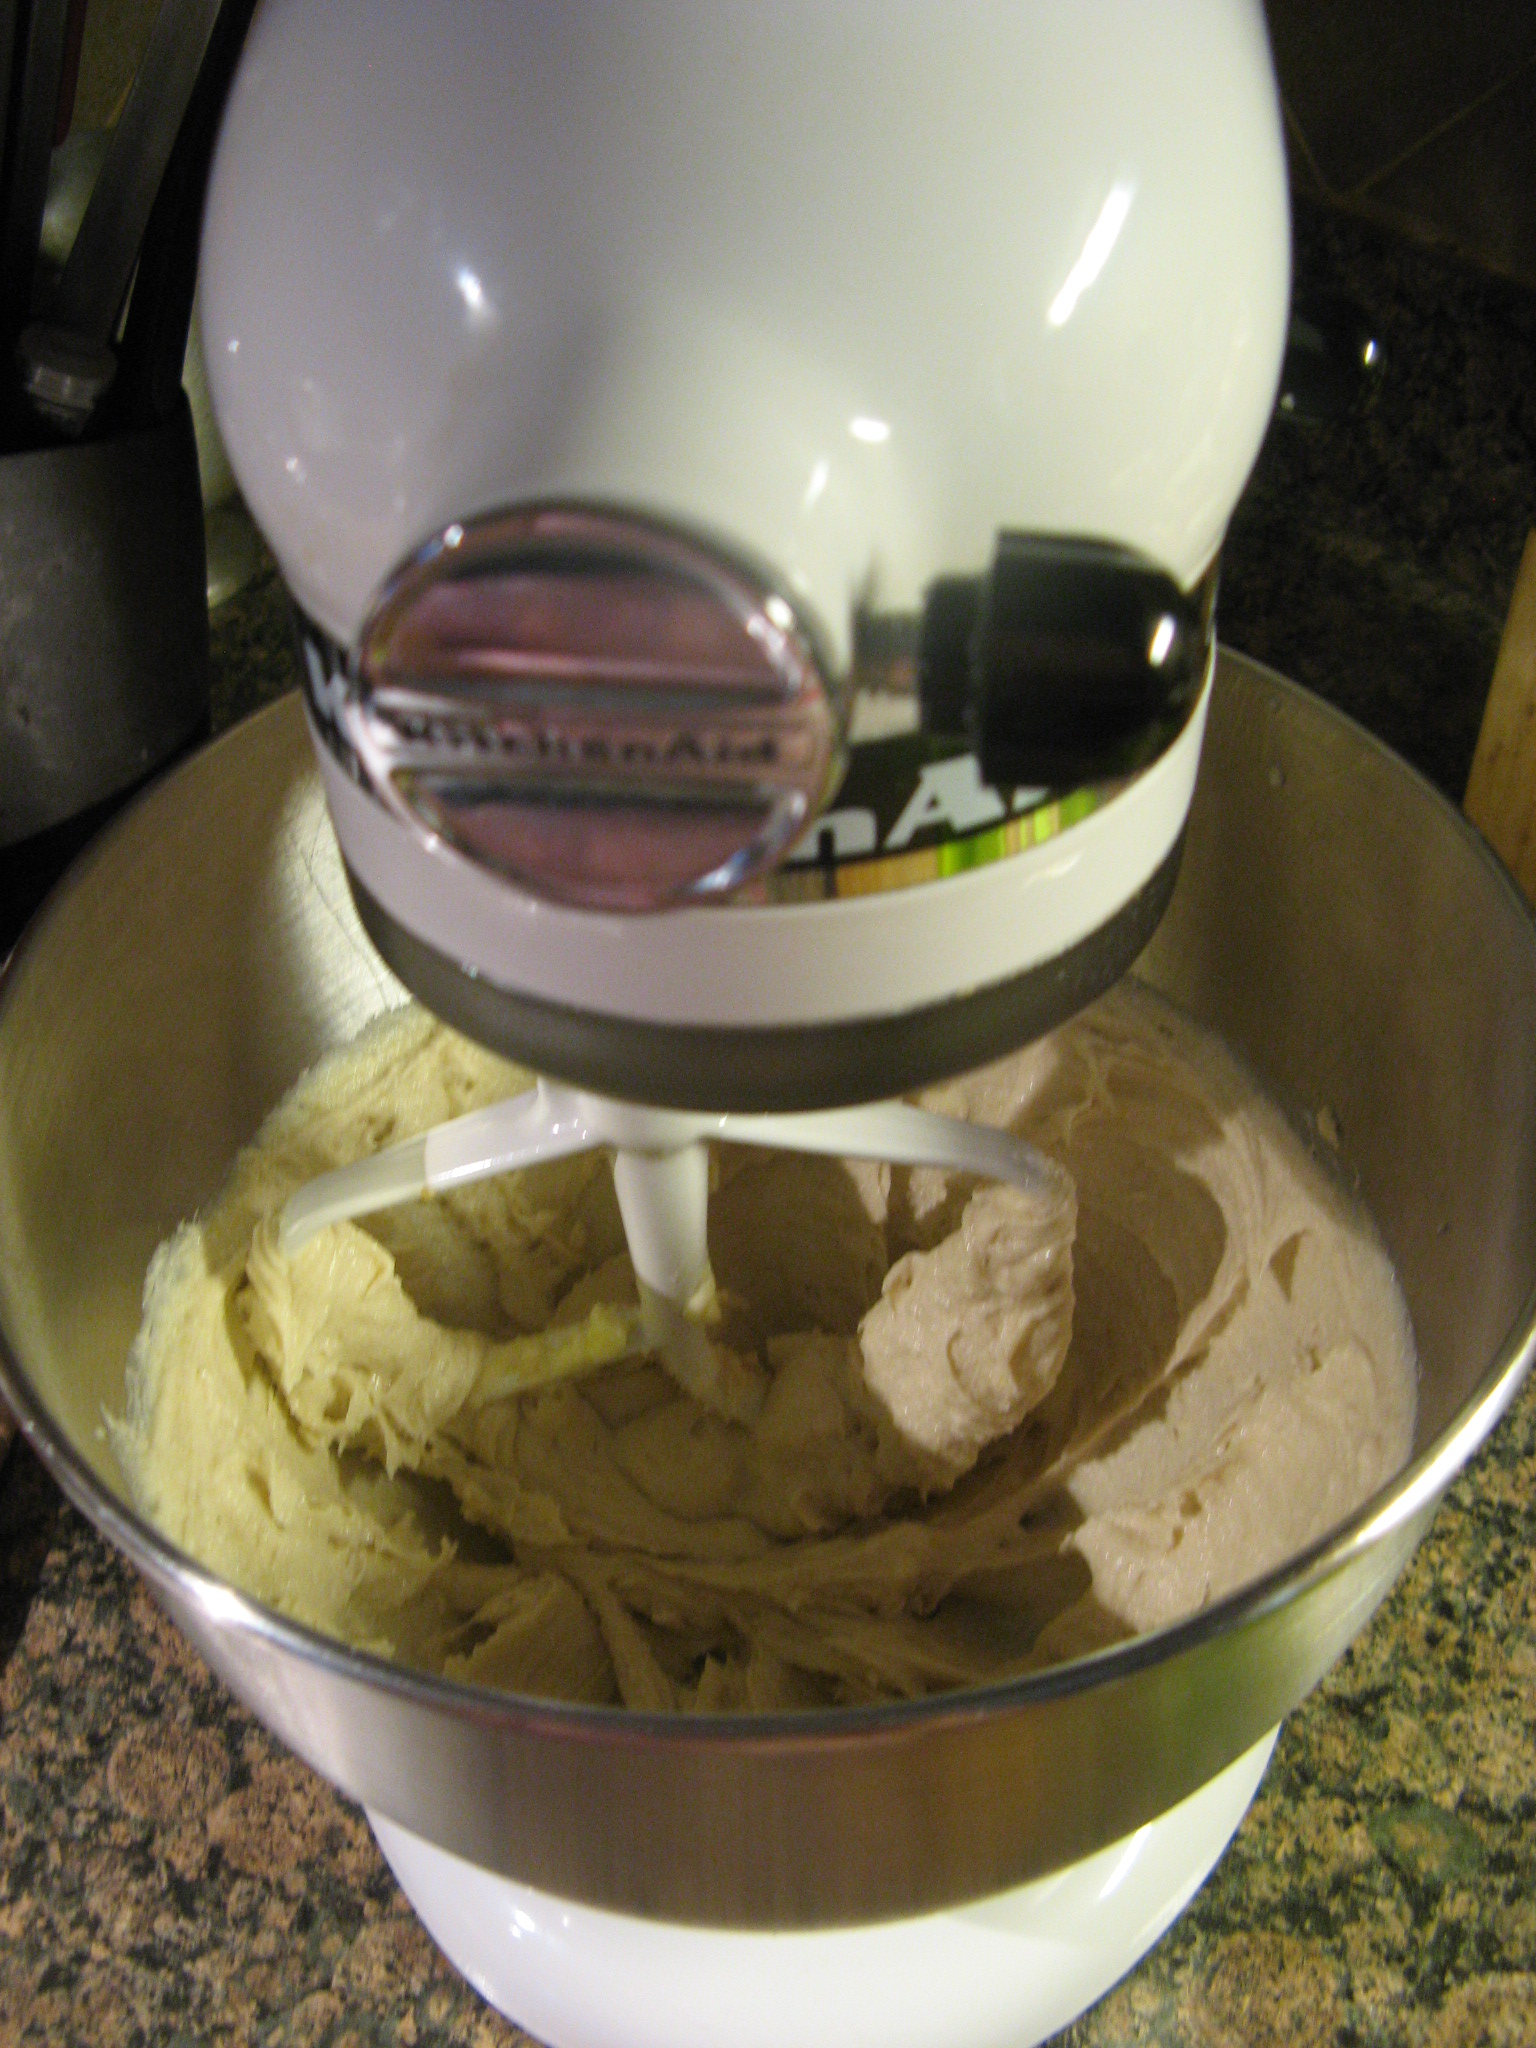
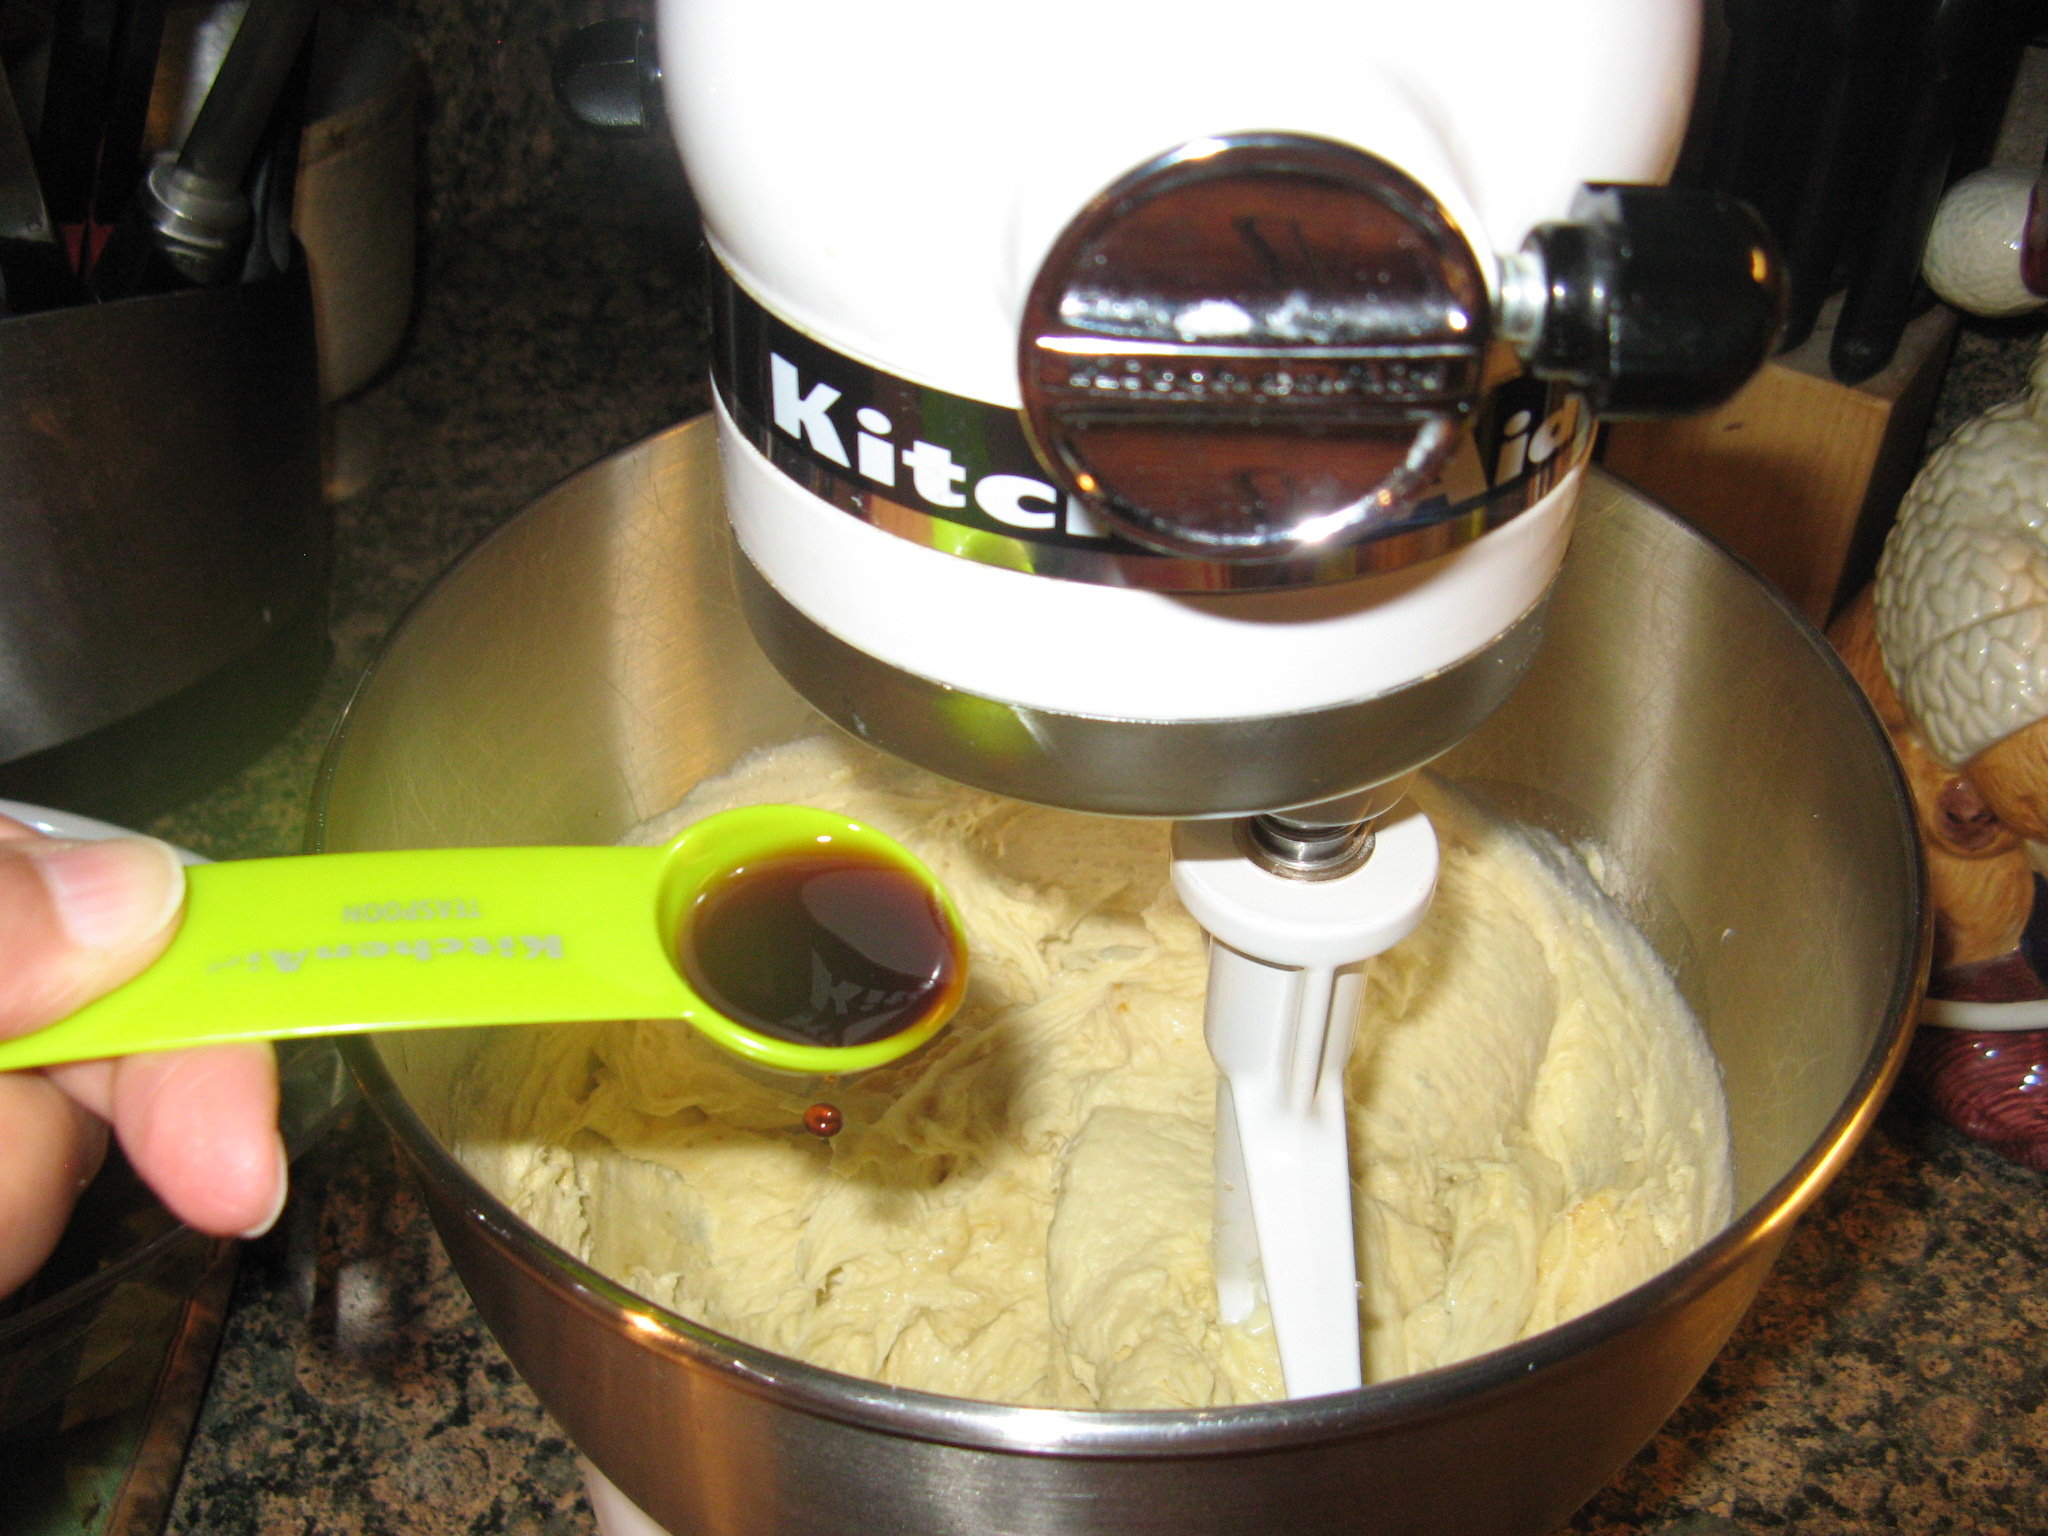
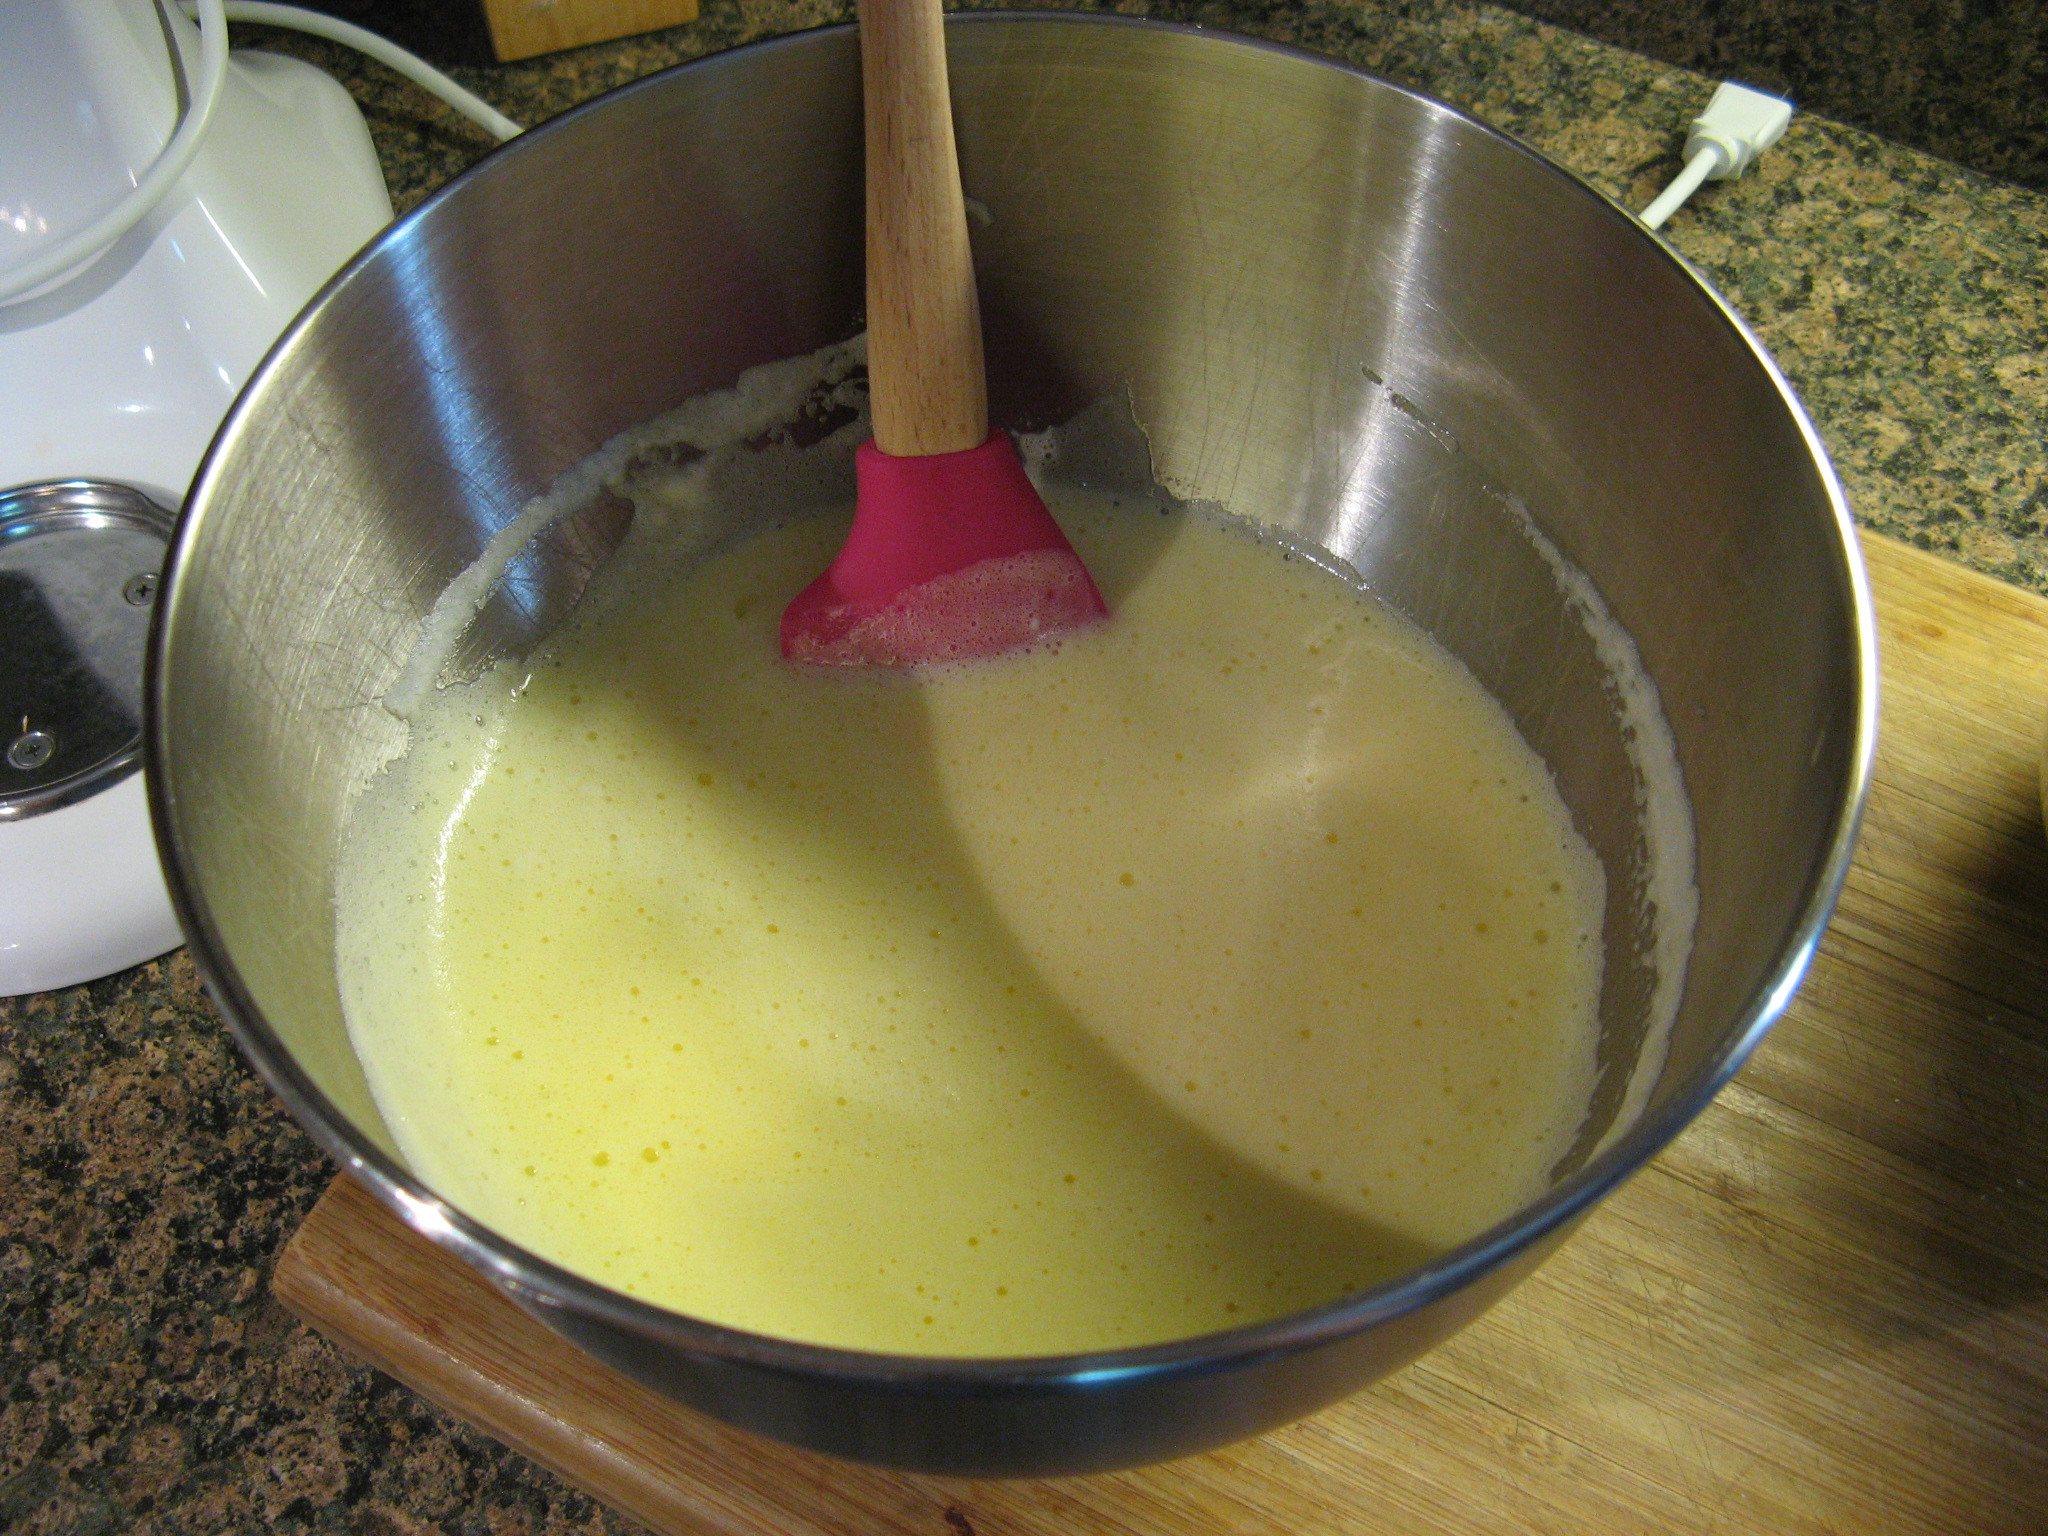
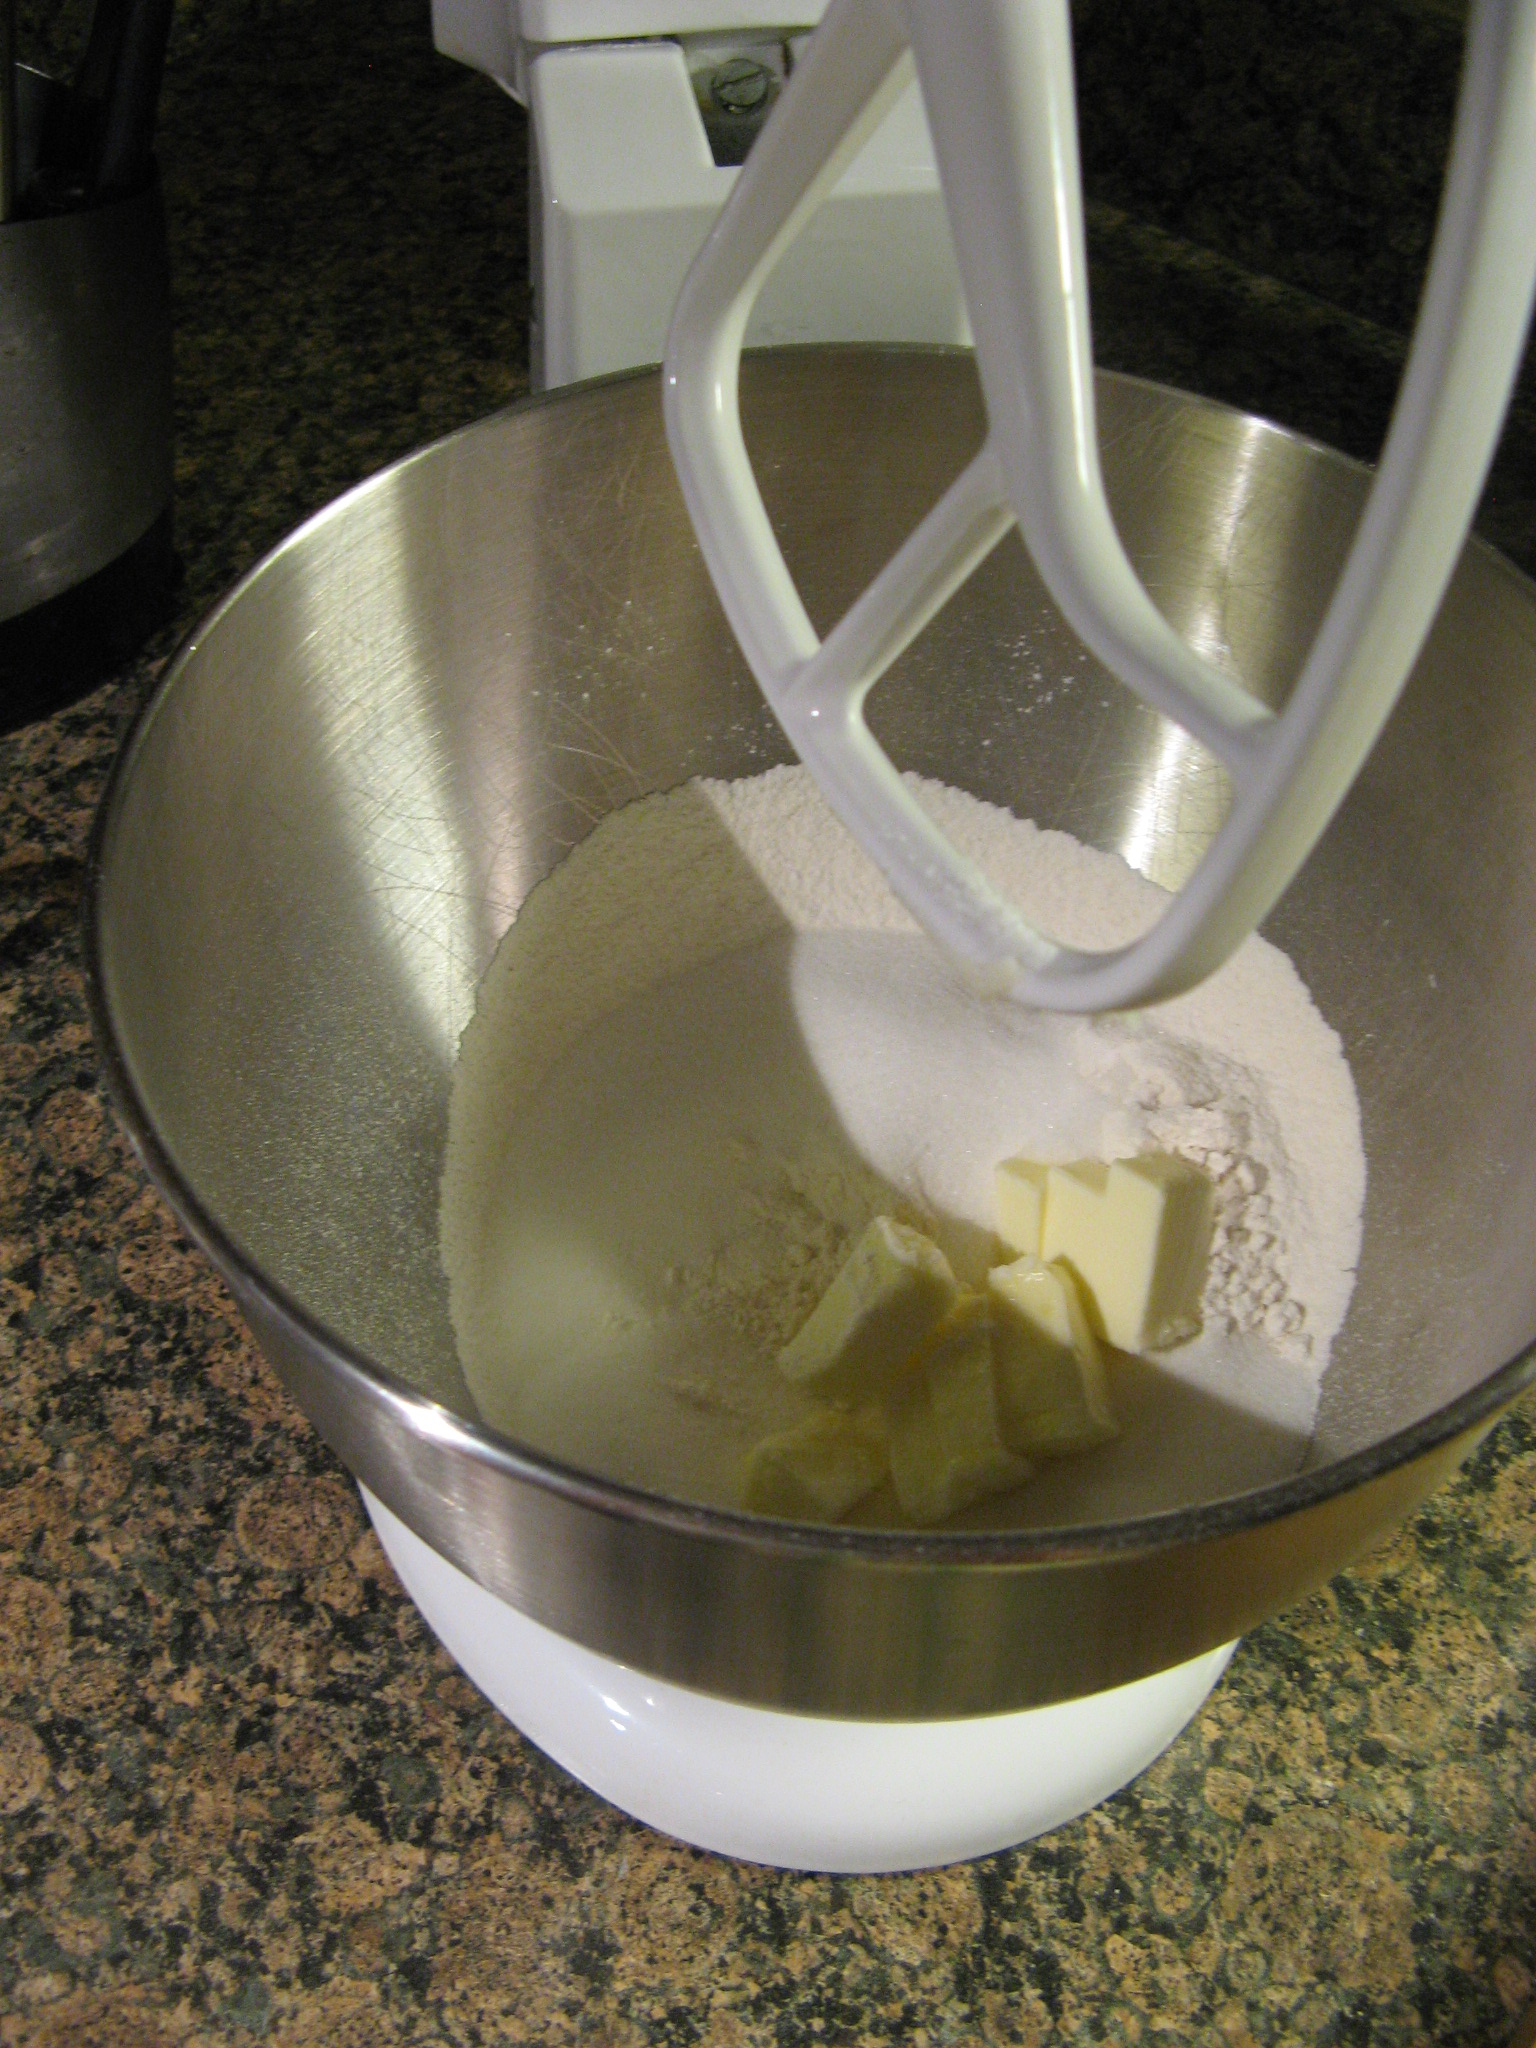
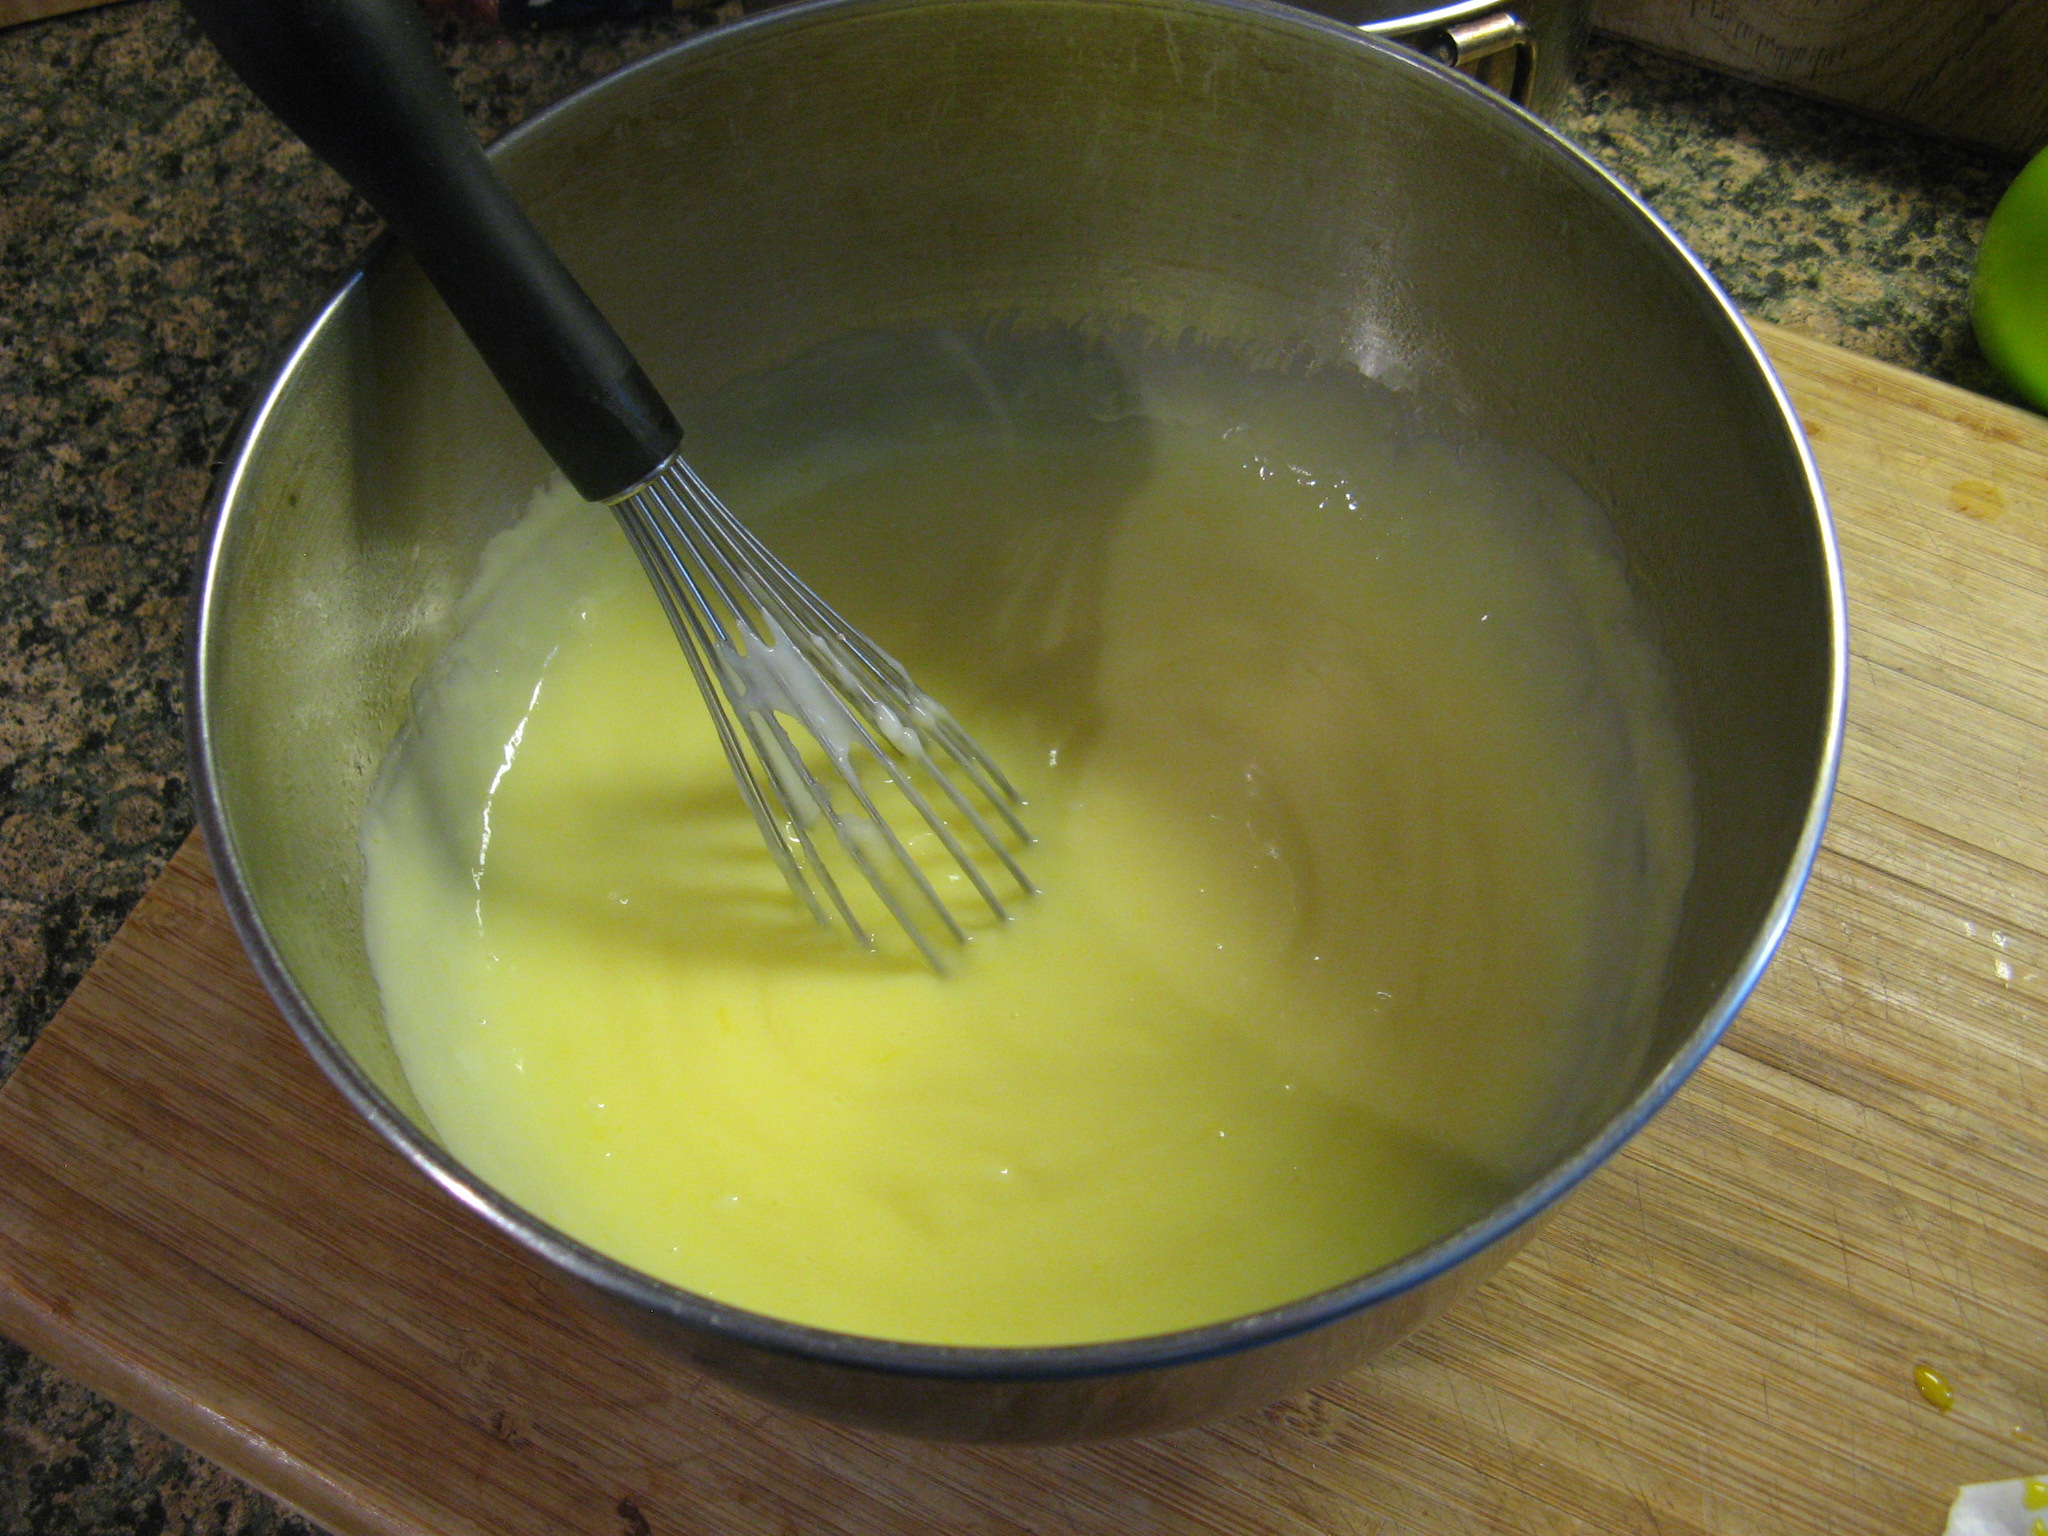
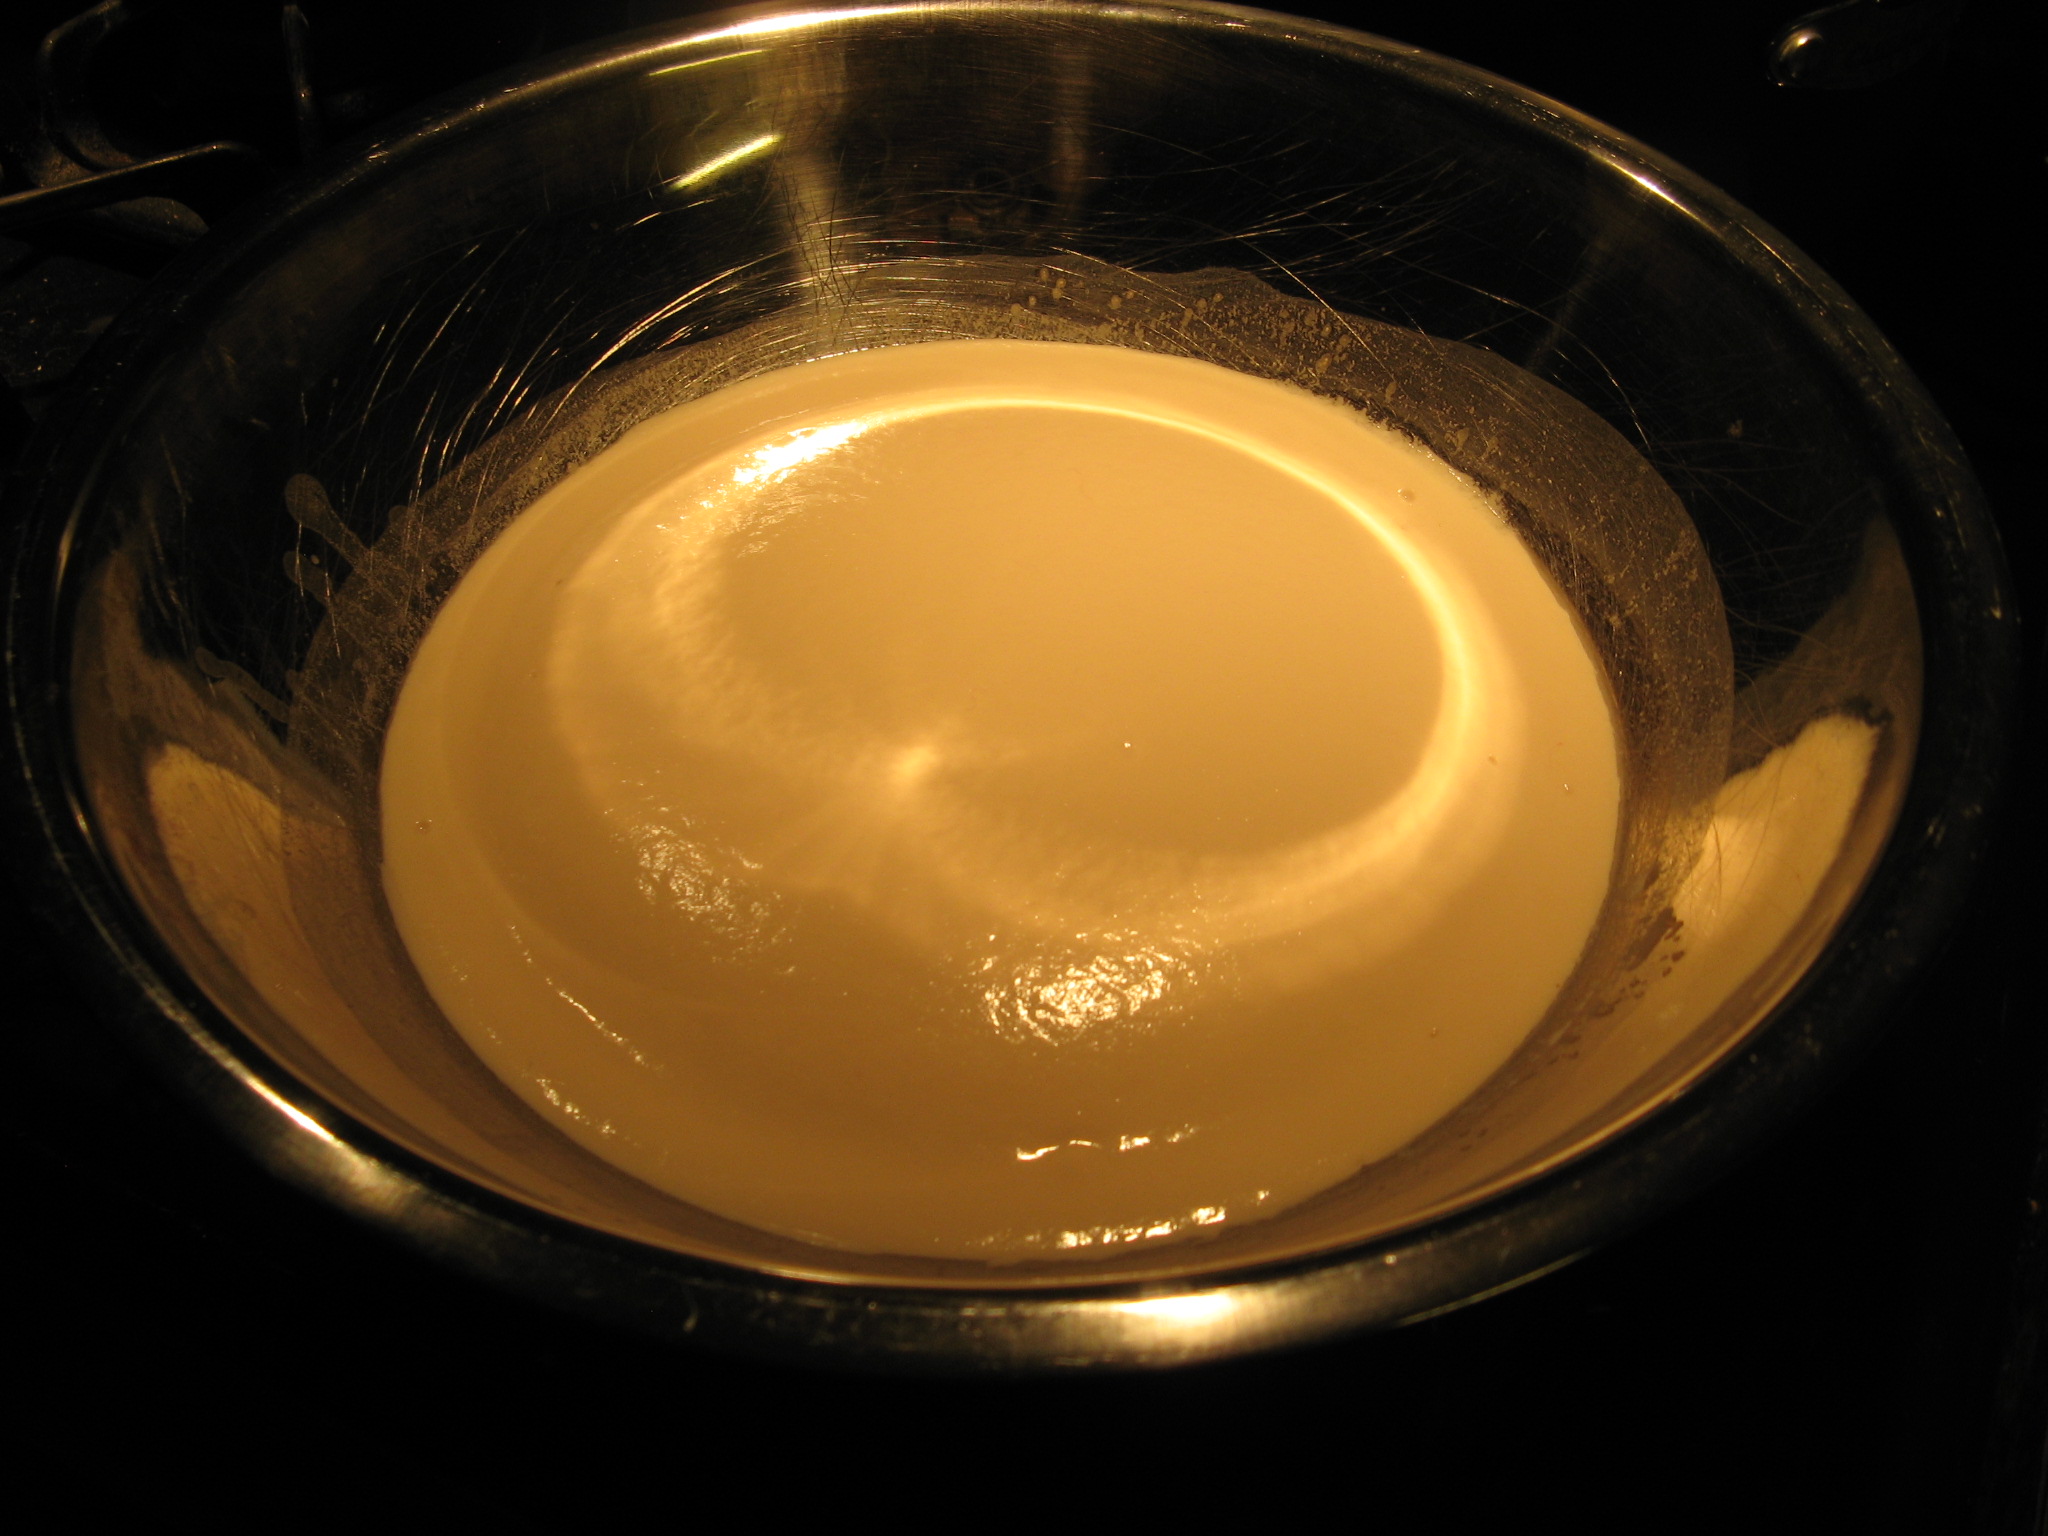
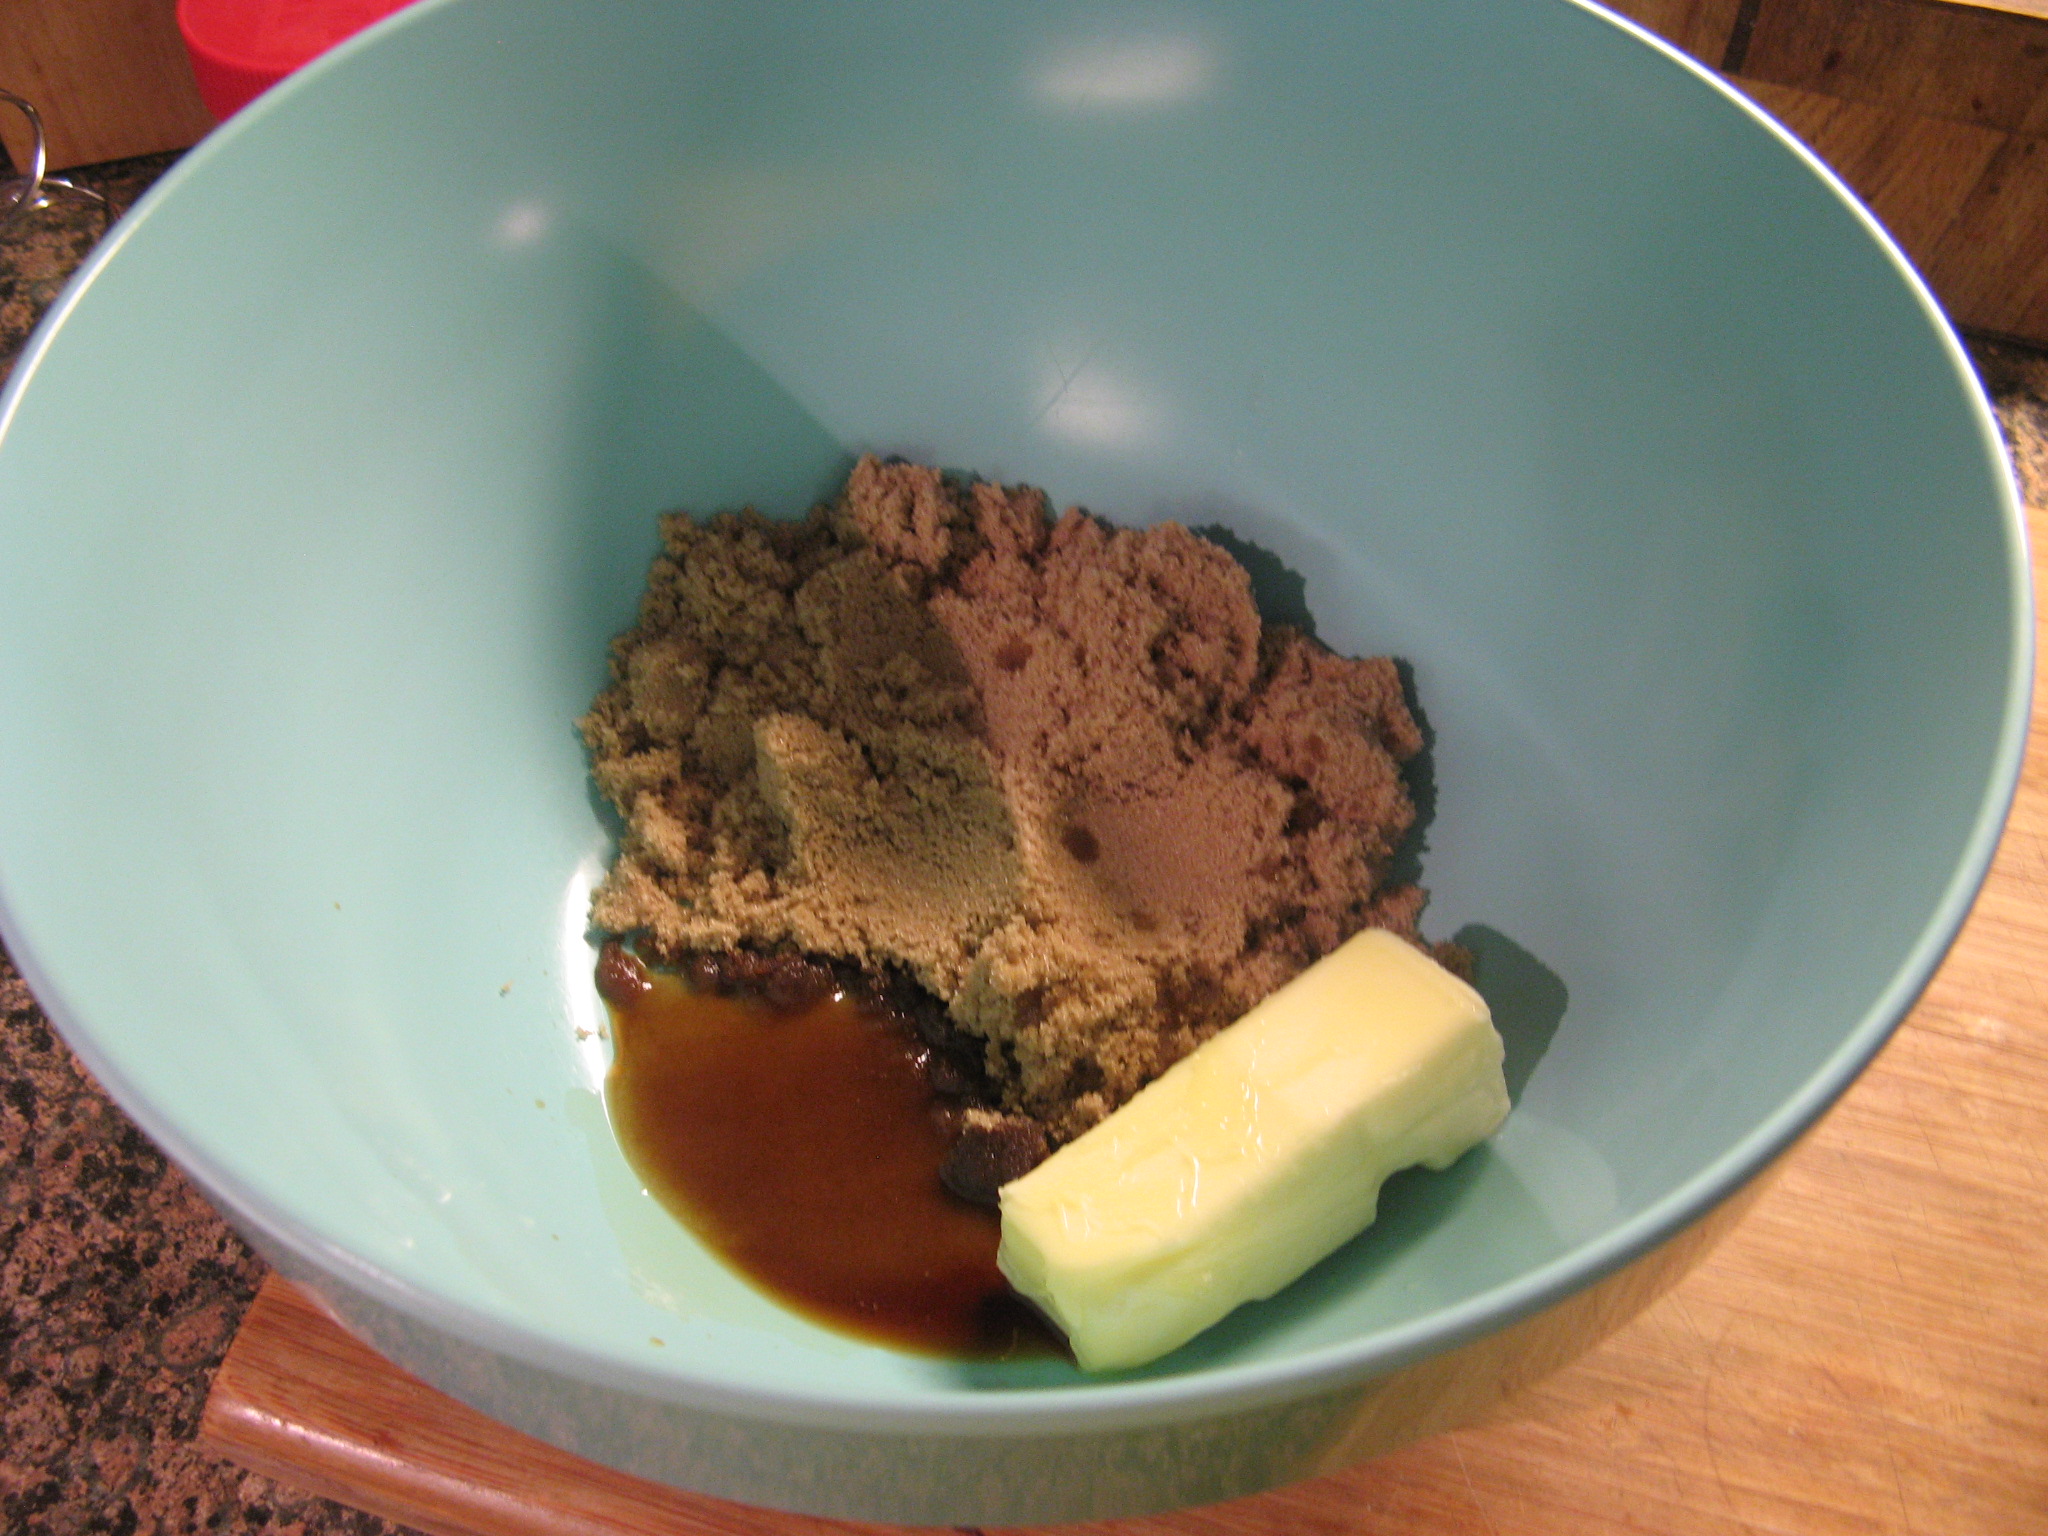
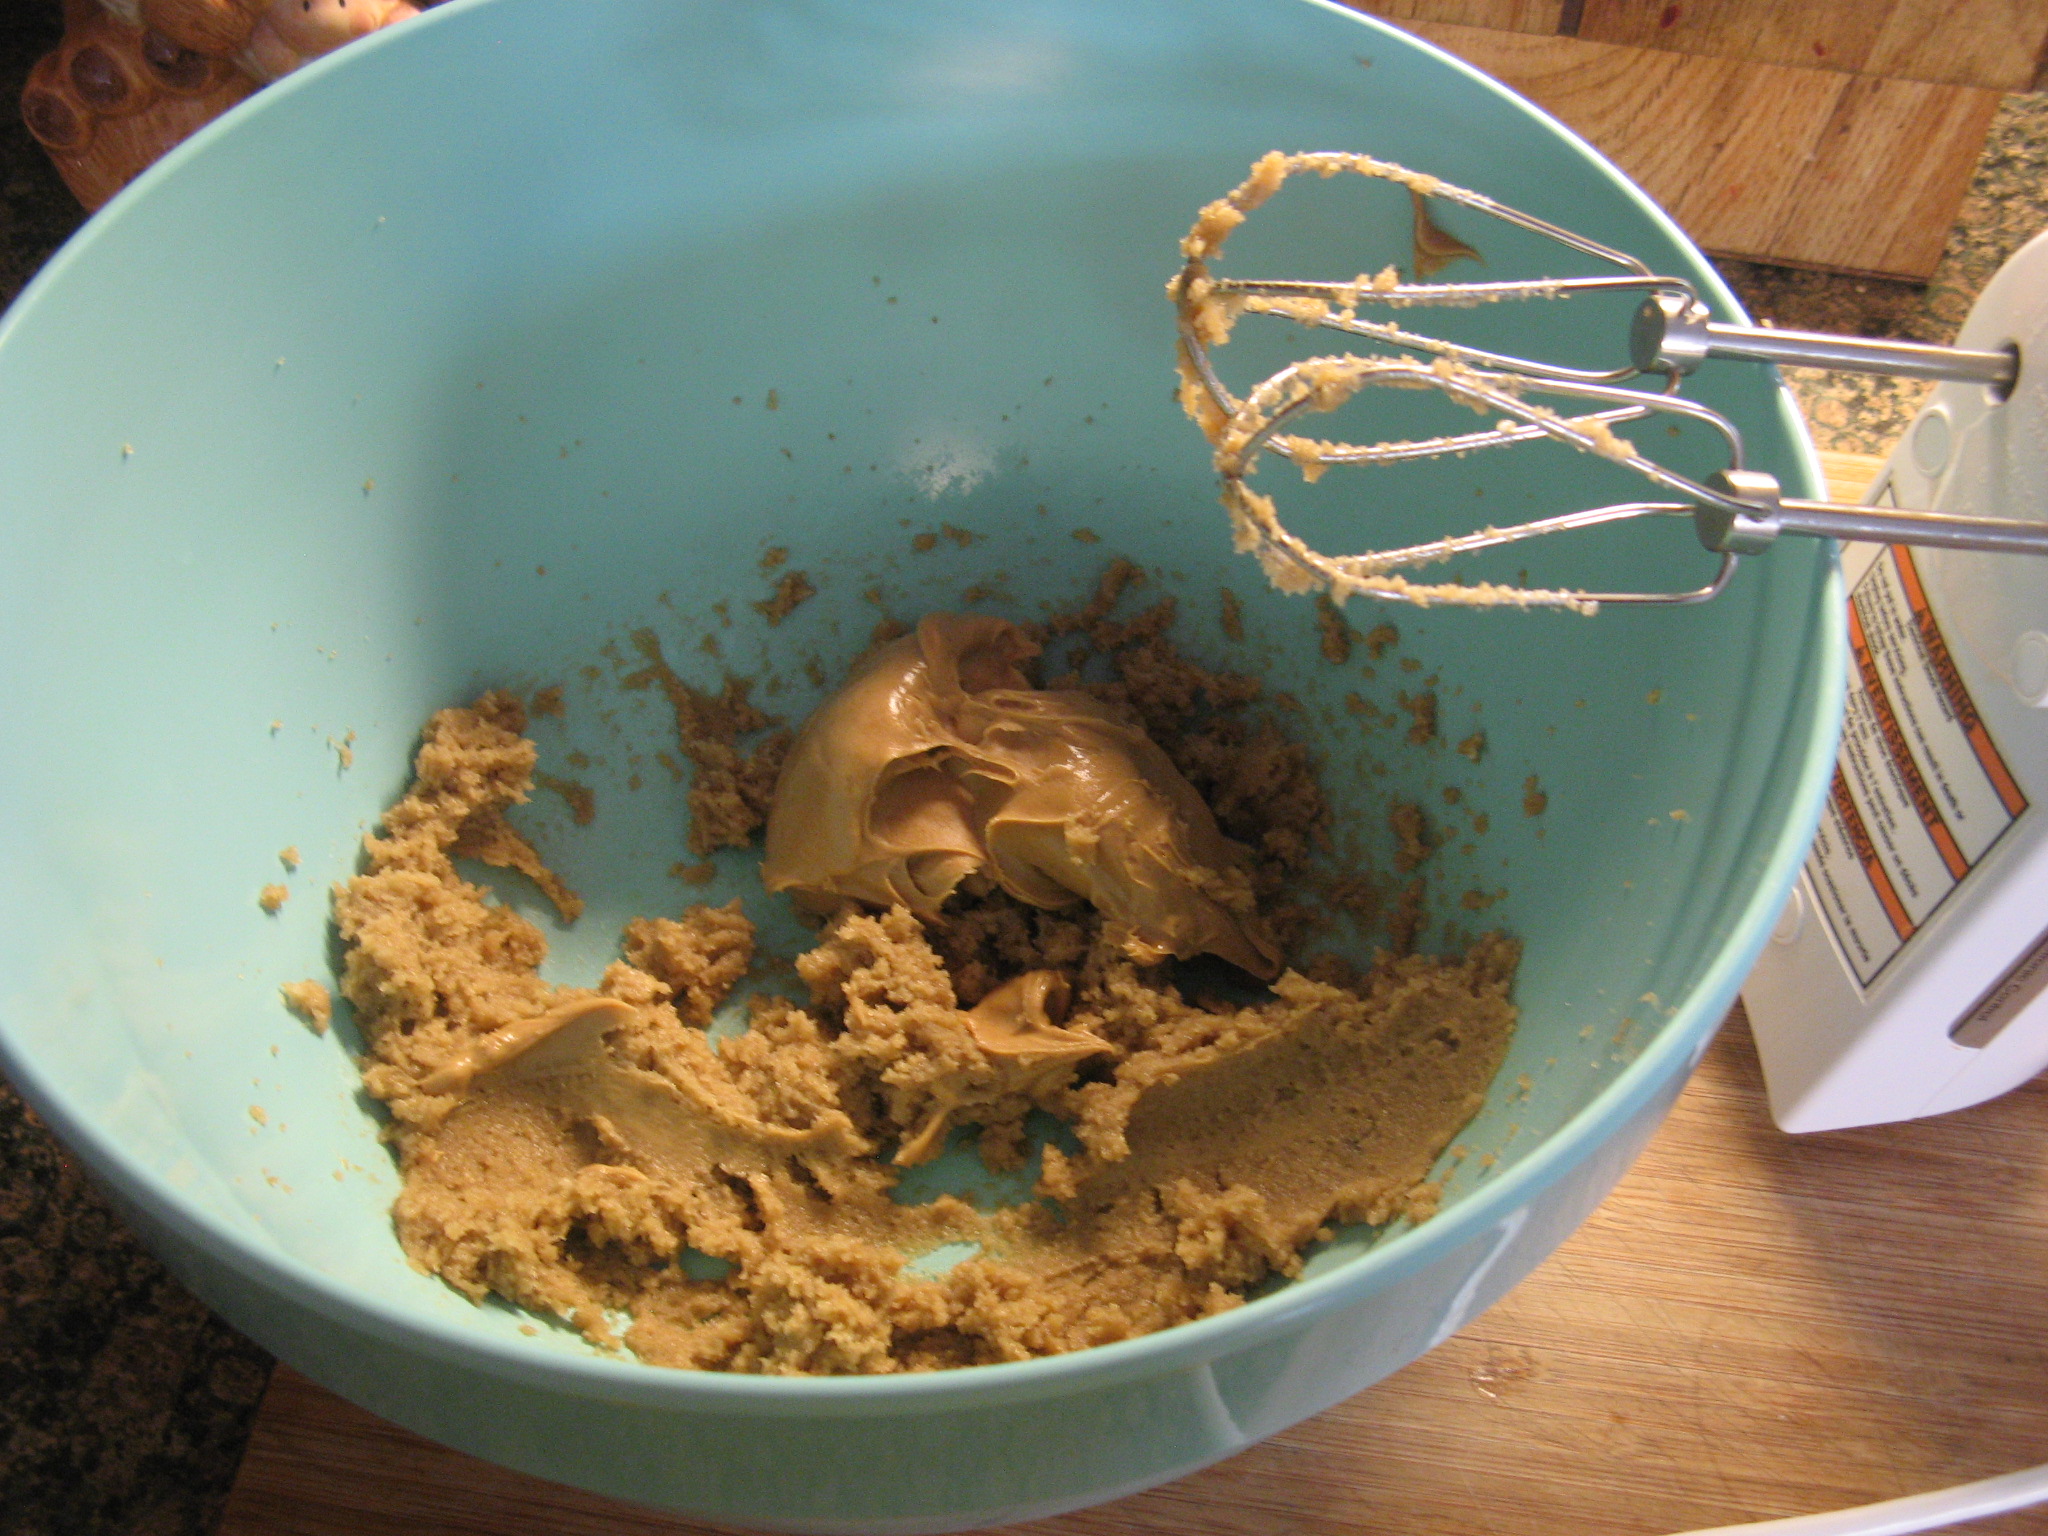
I then creamed together softened butter, light brown sugar and vanilla extract.

IMG_3693

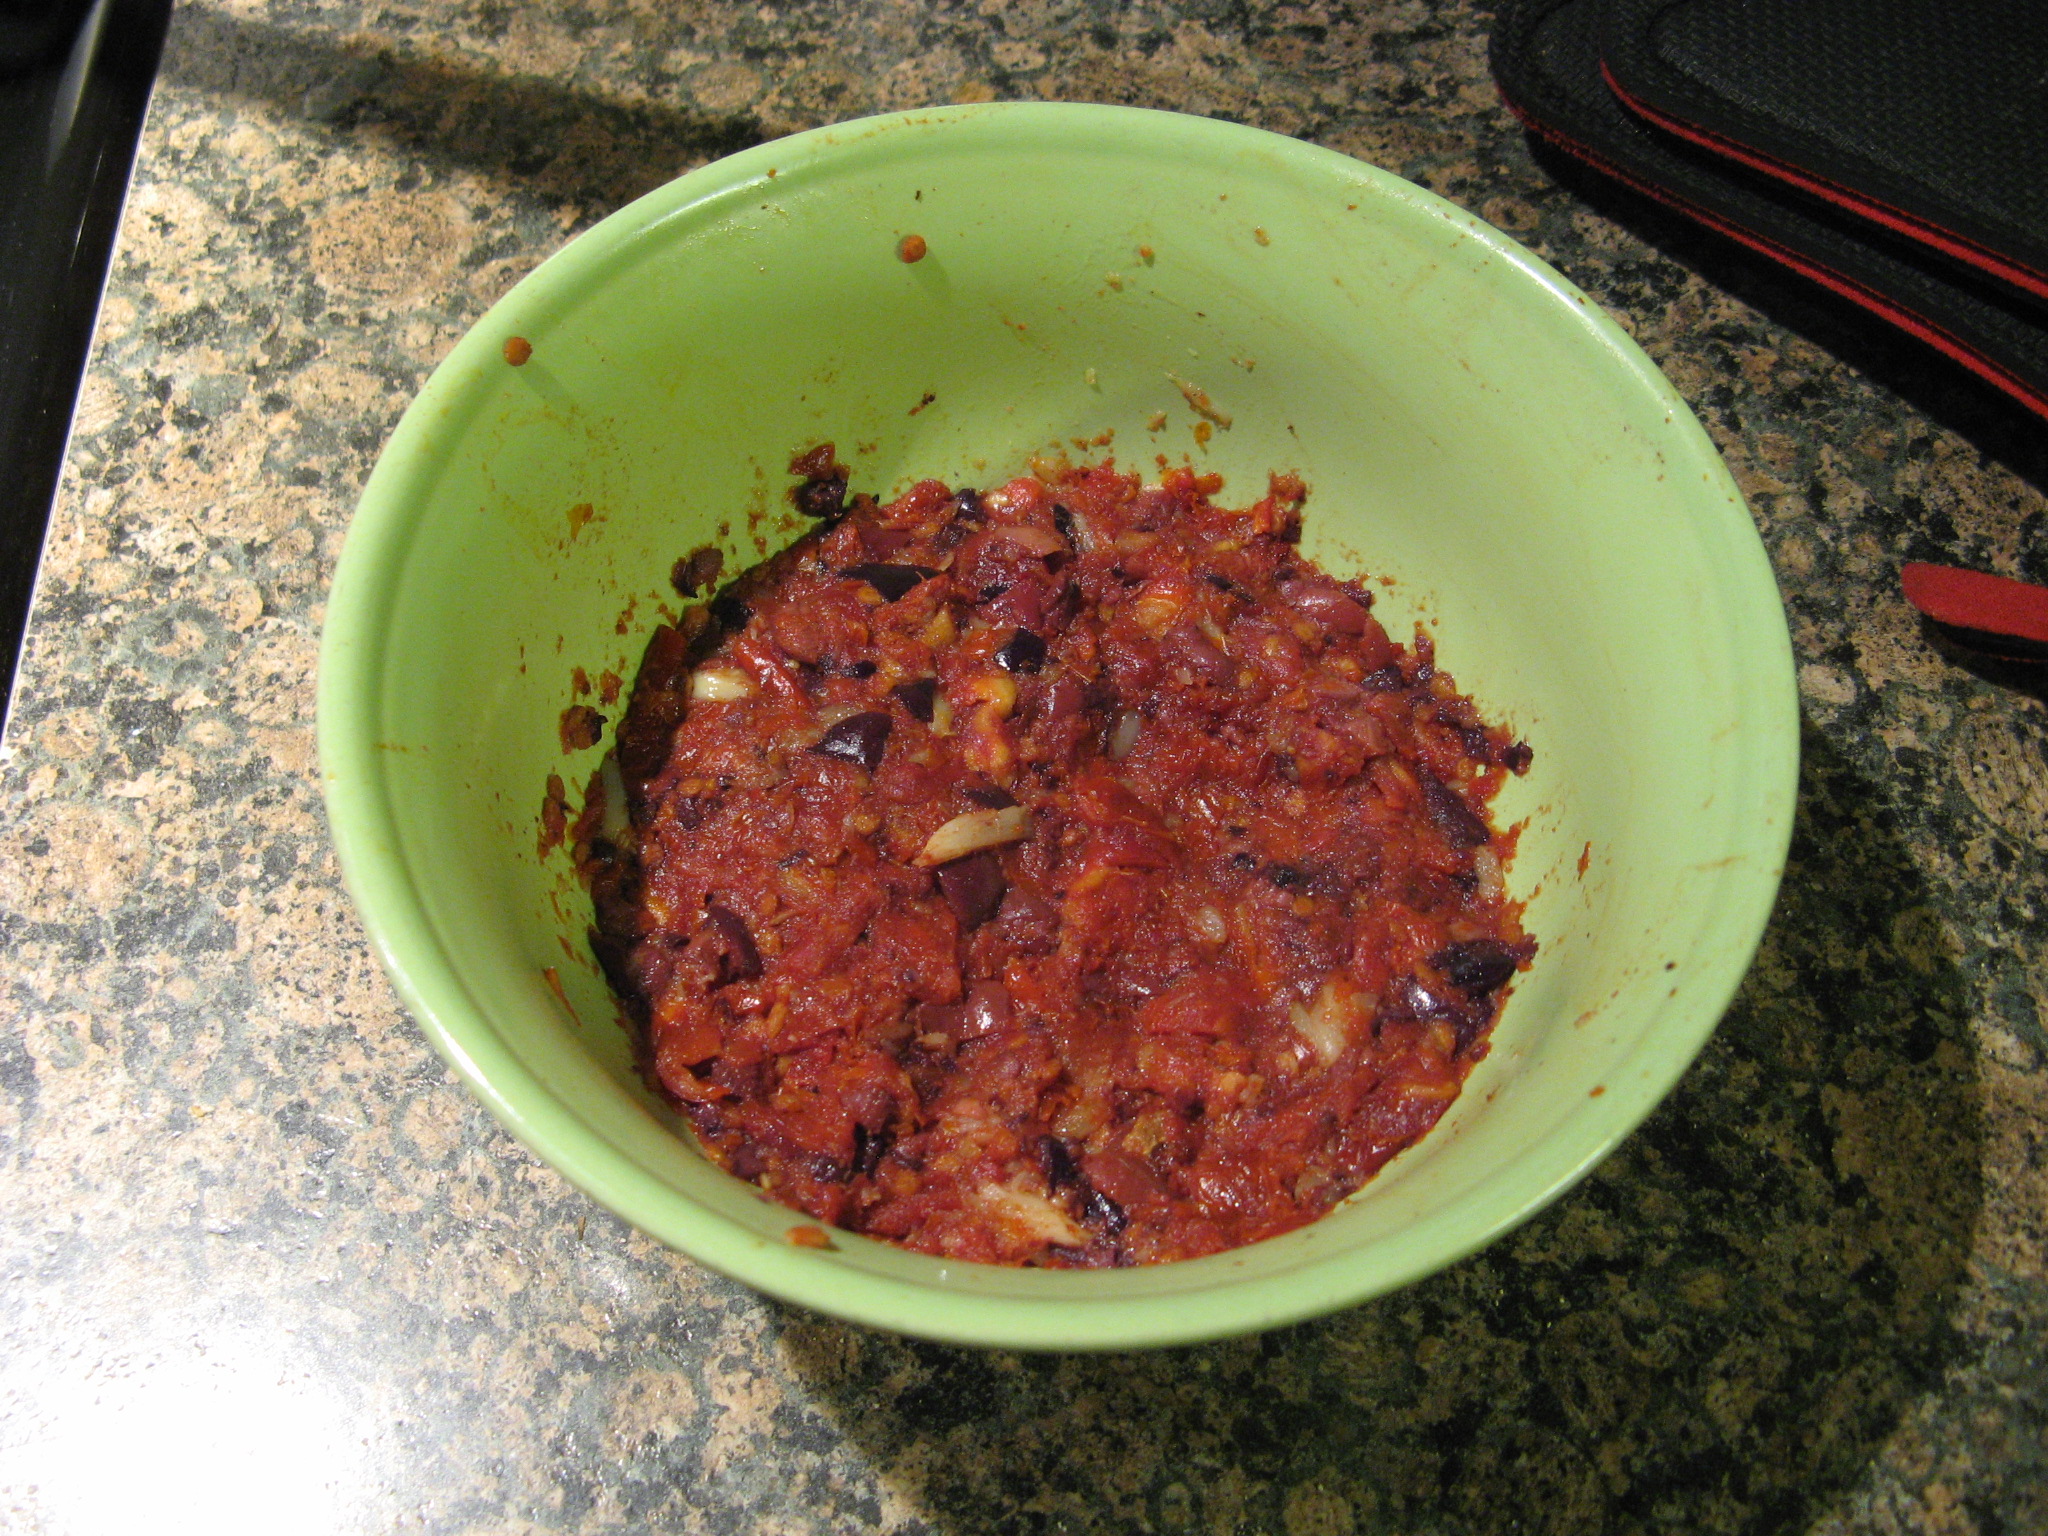
Up next I added in smooth peanut butter to the butter mixture.

IMG_3697

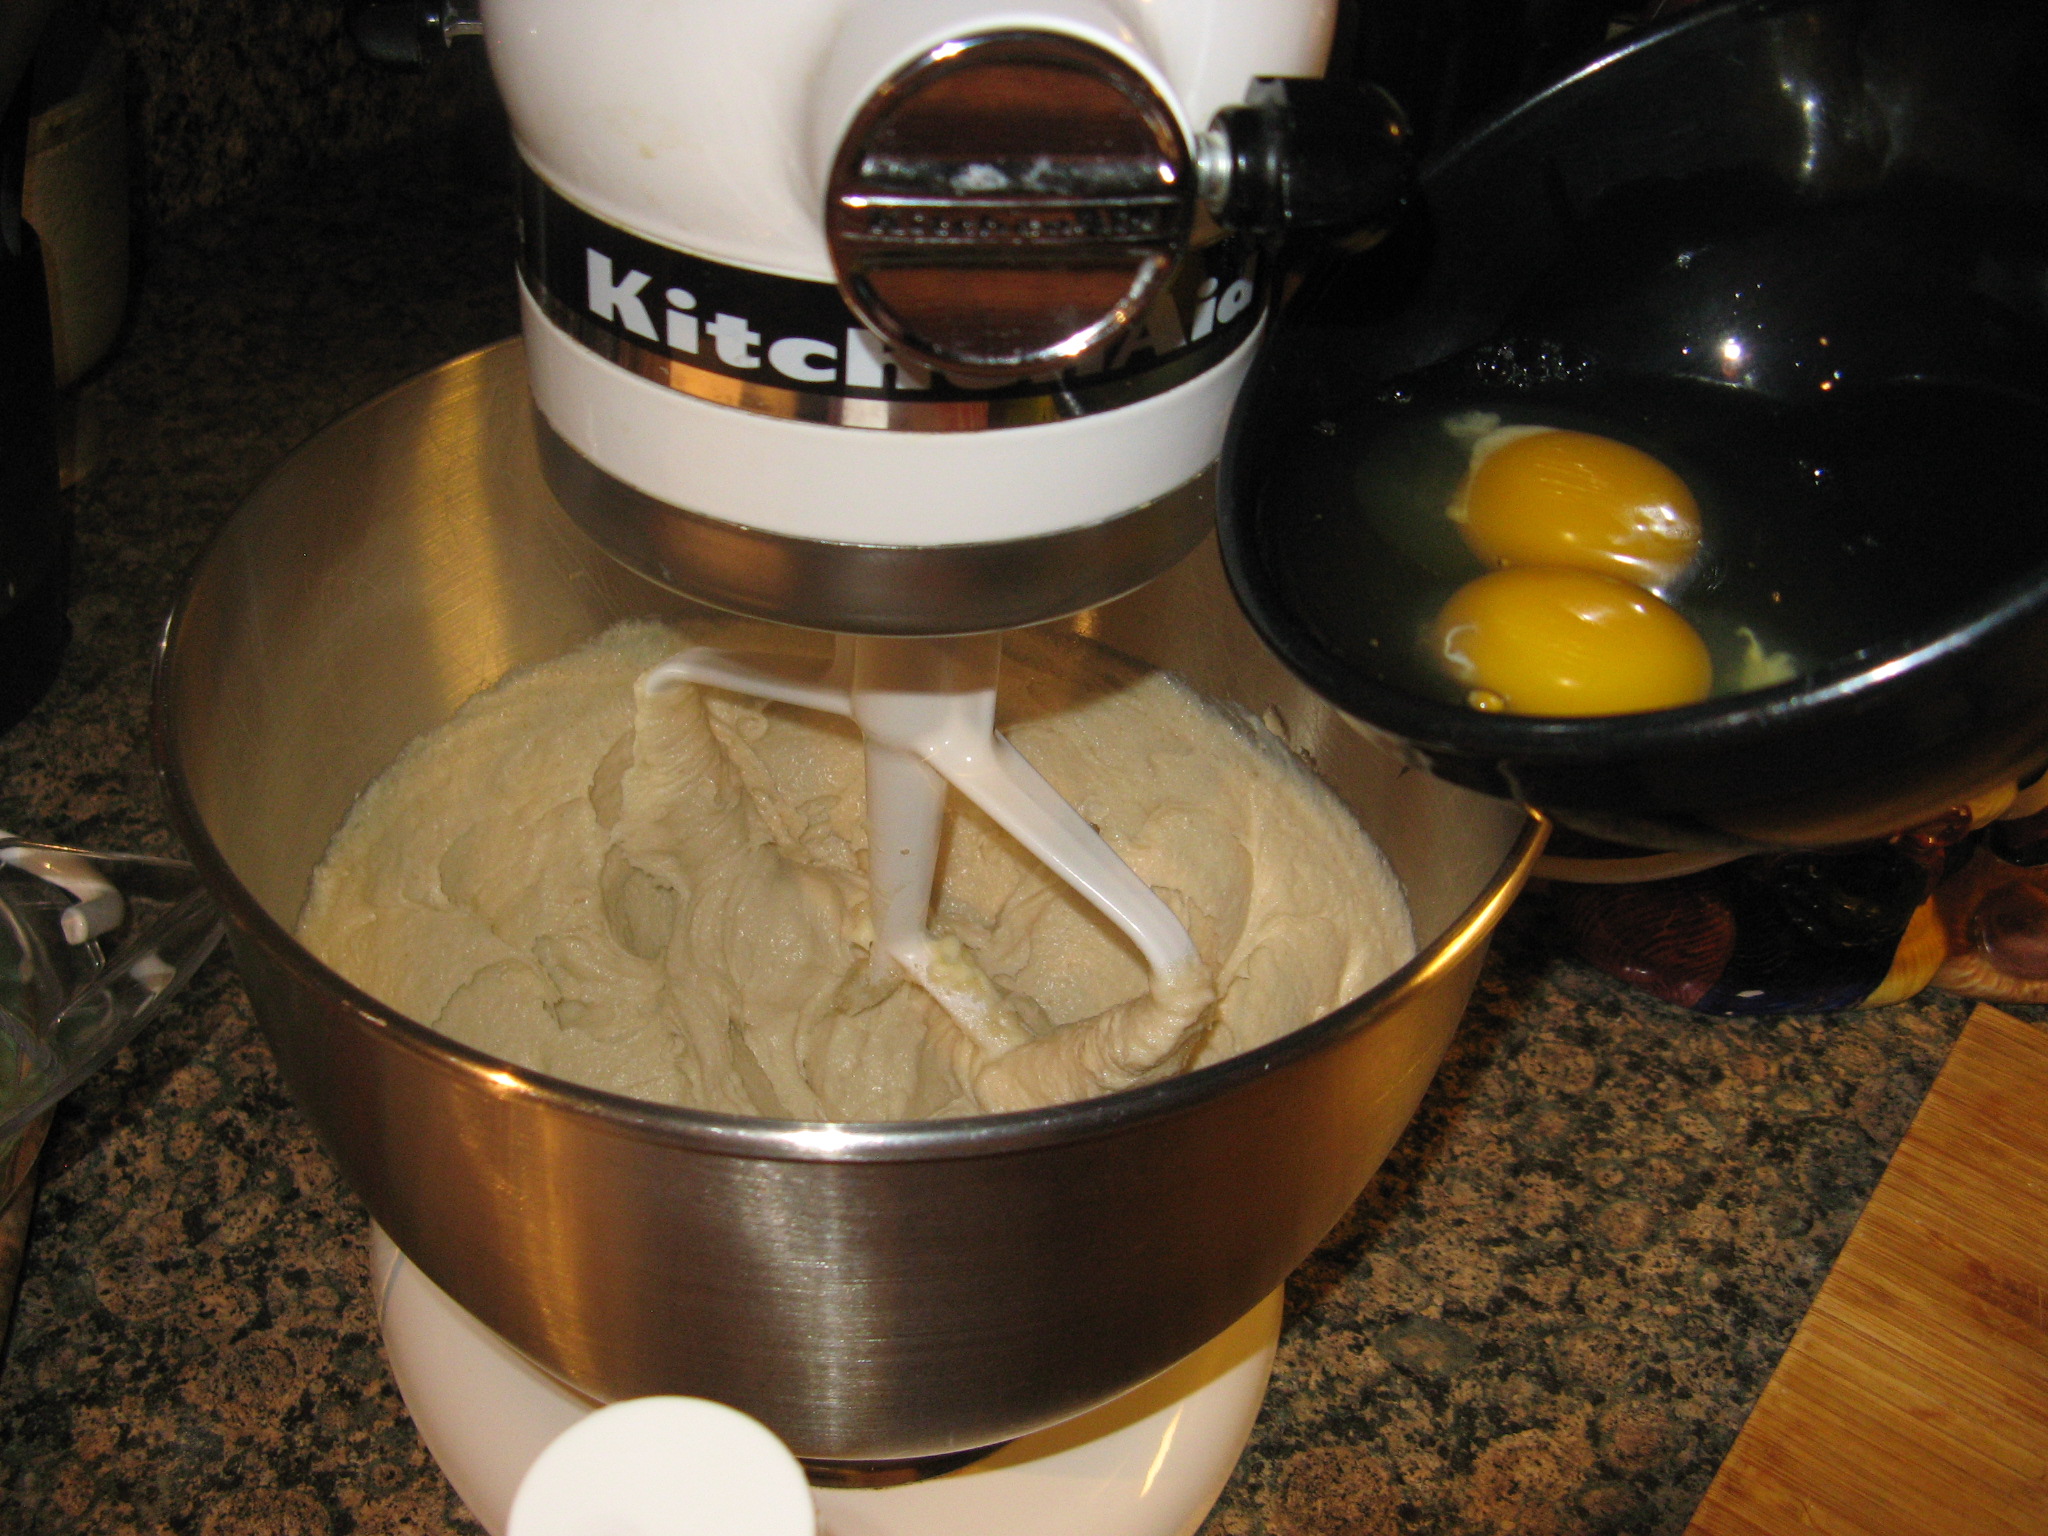
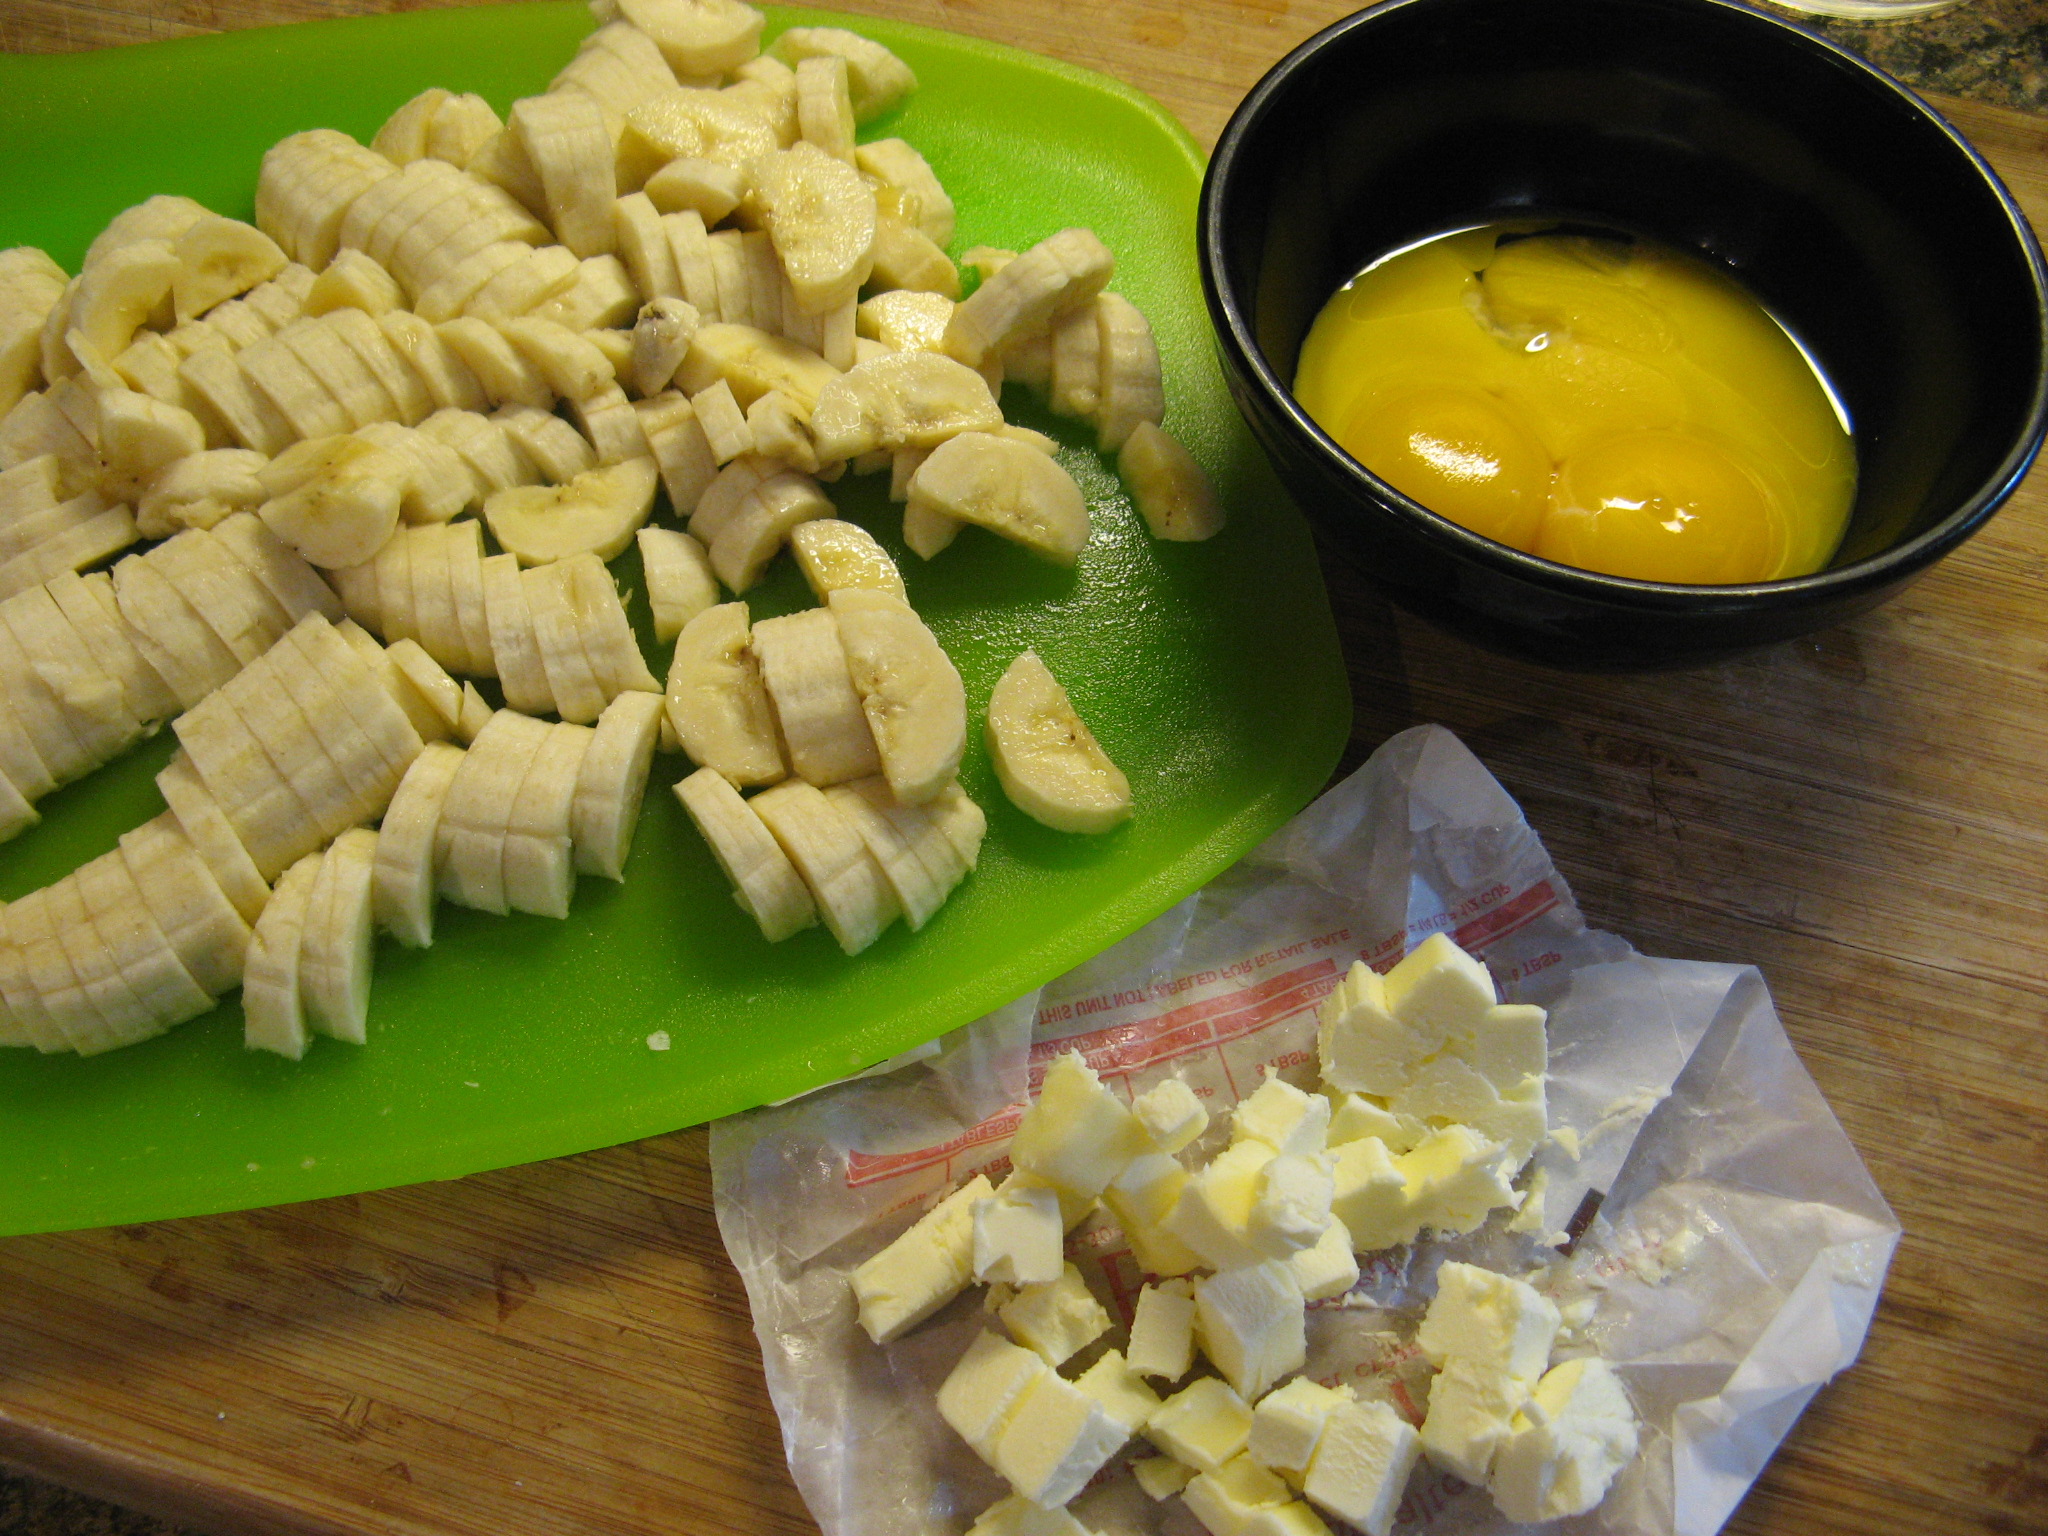
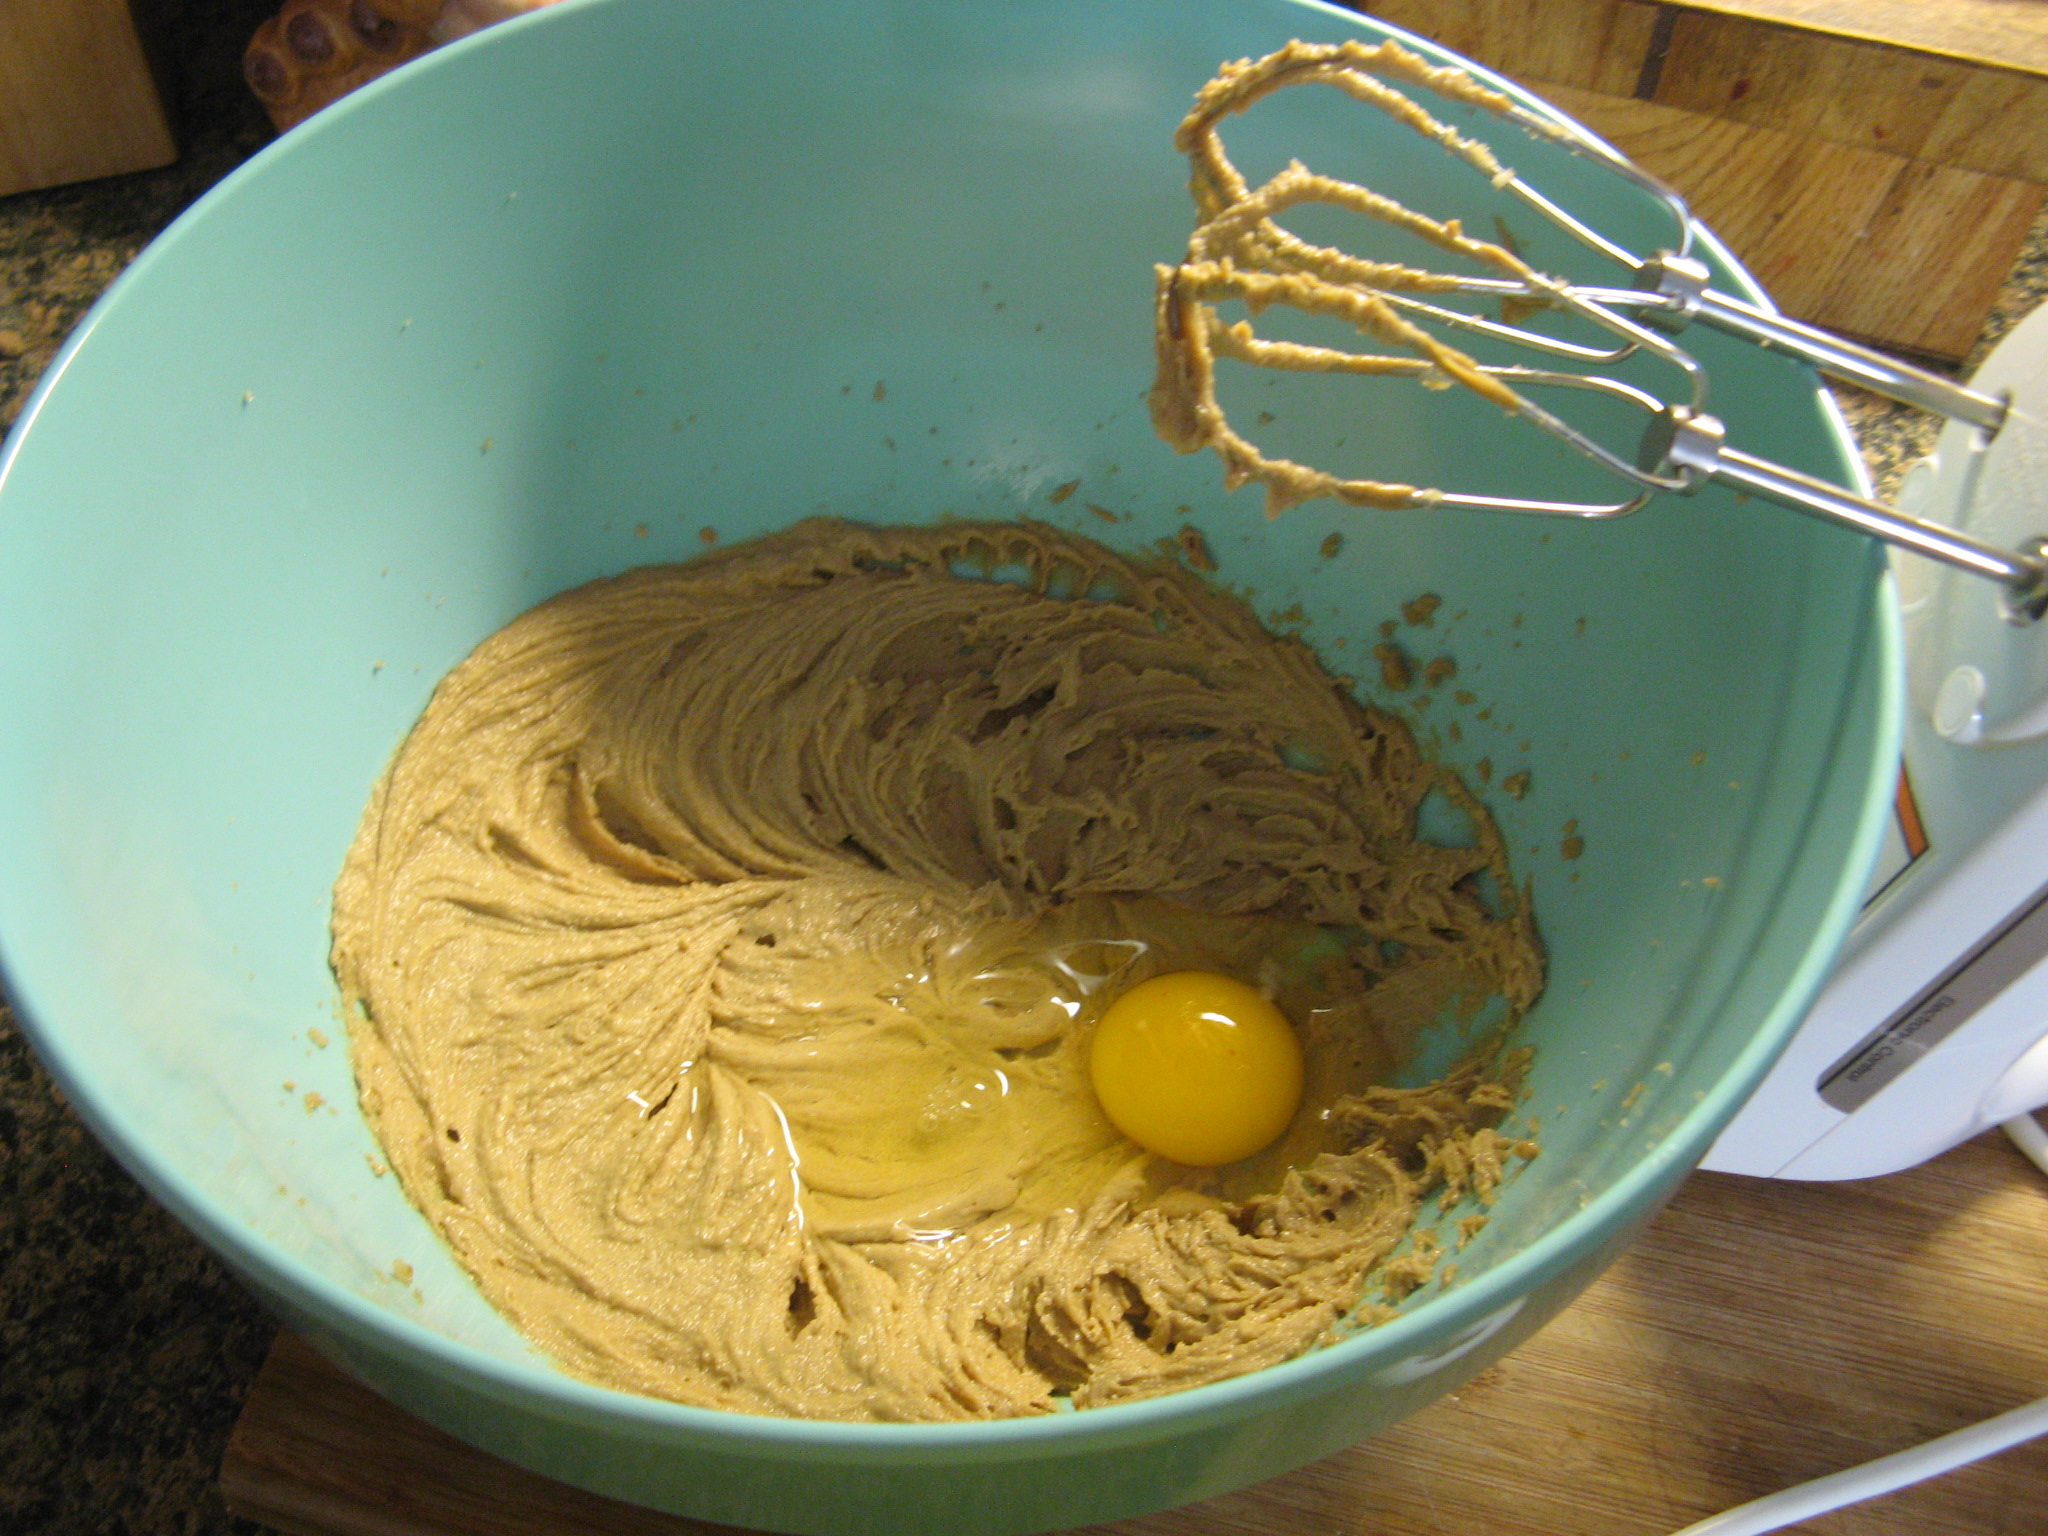
Once the peanut butter was incorporated I added in two eggs, one at a time.

IMG_3698

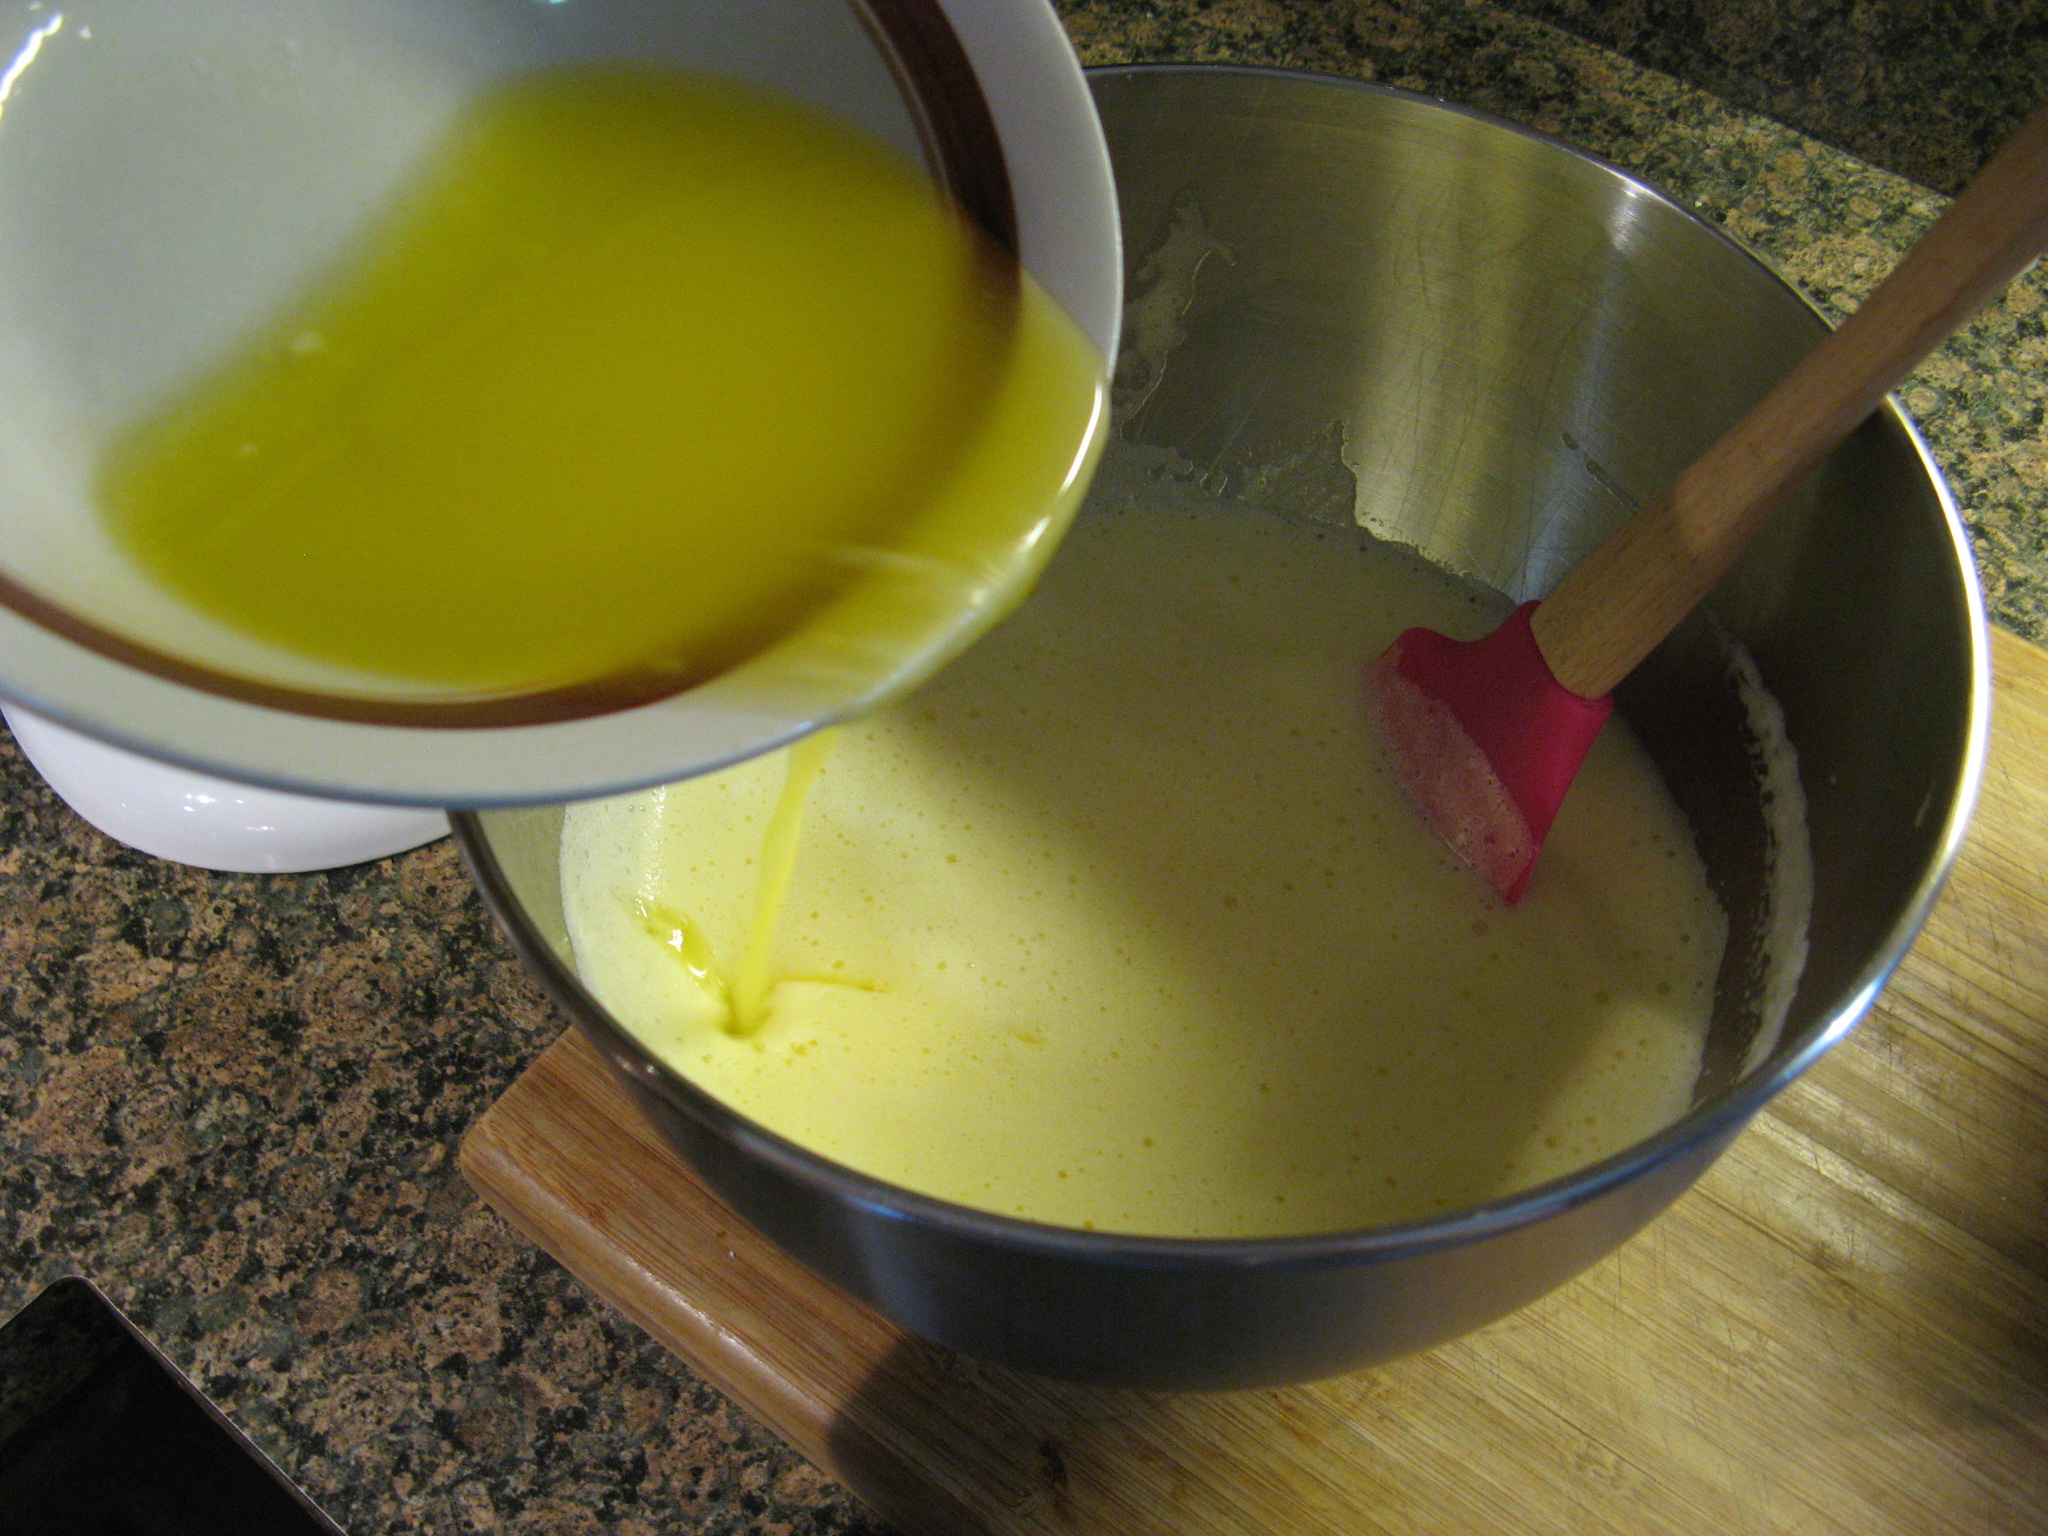
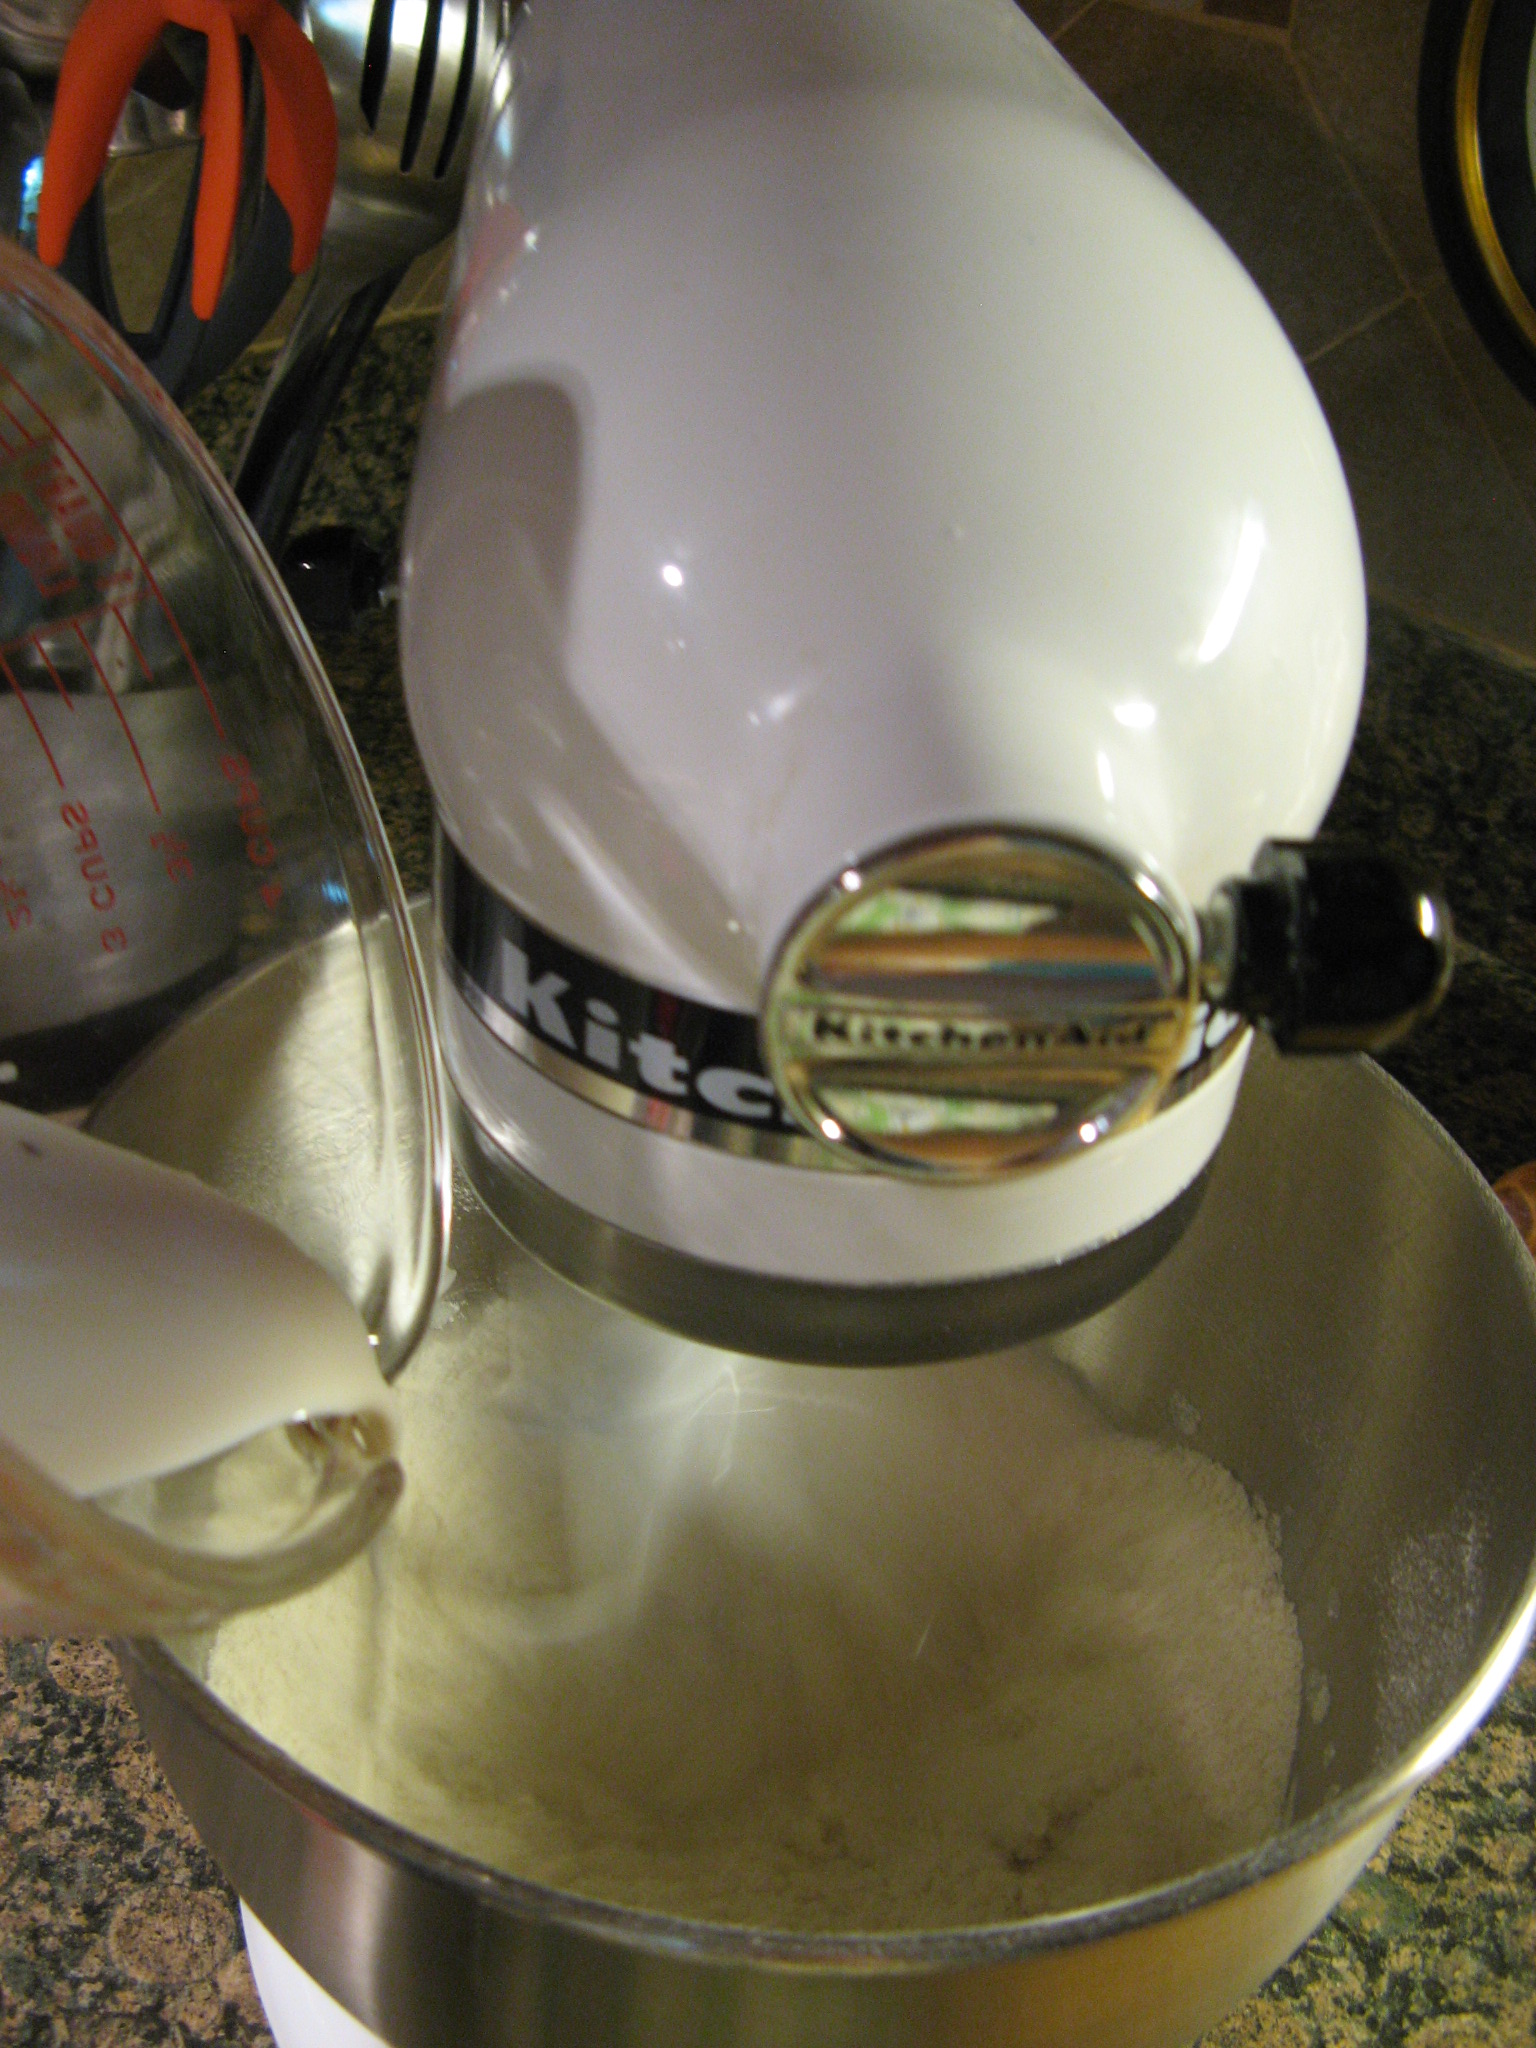
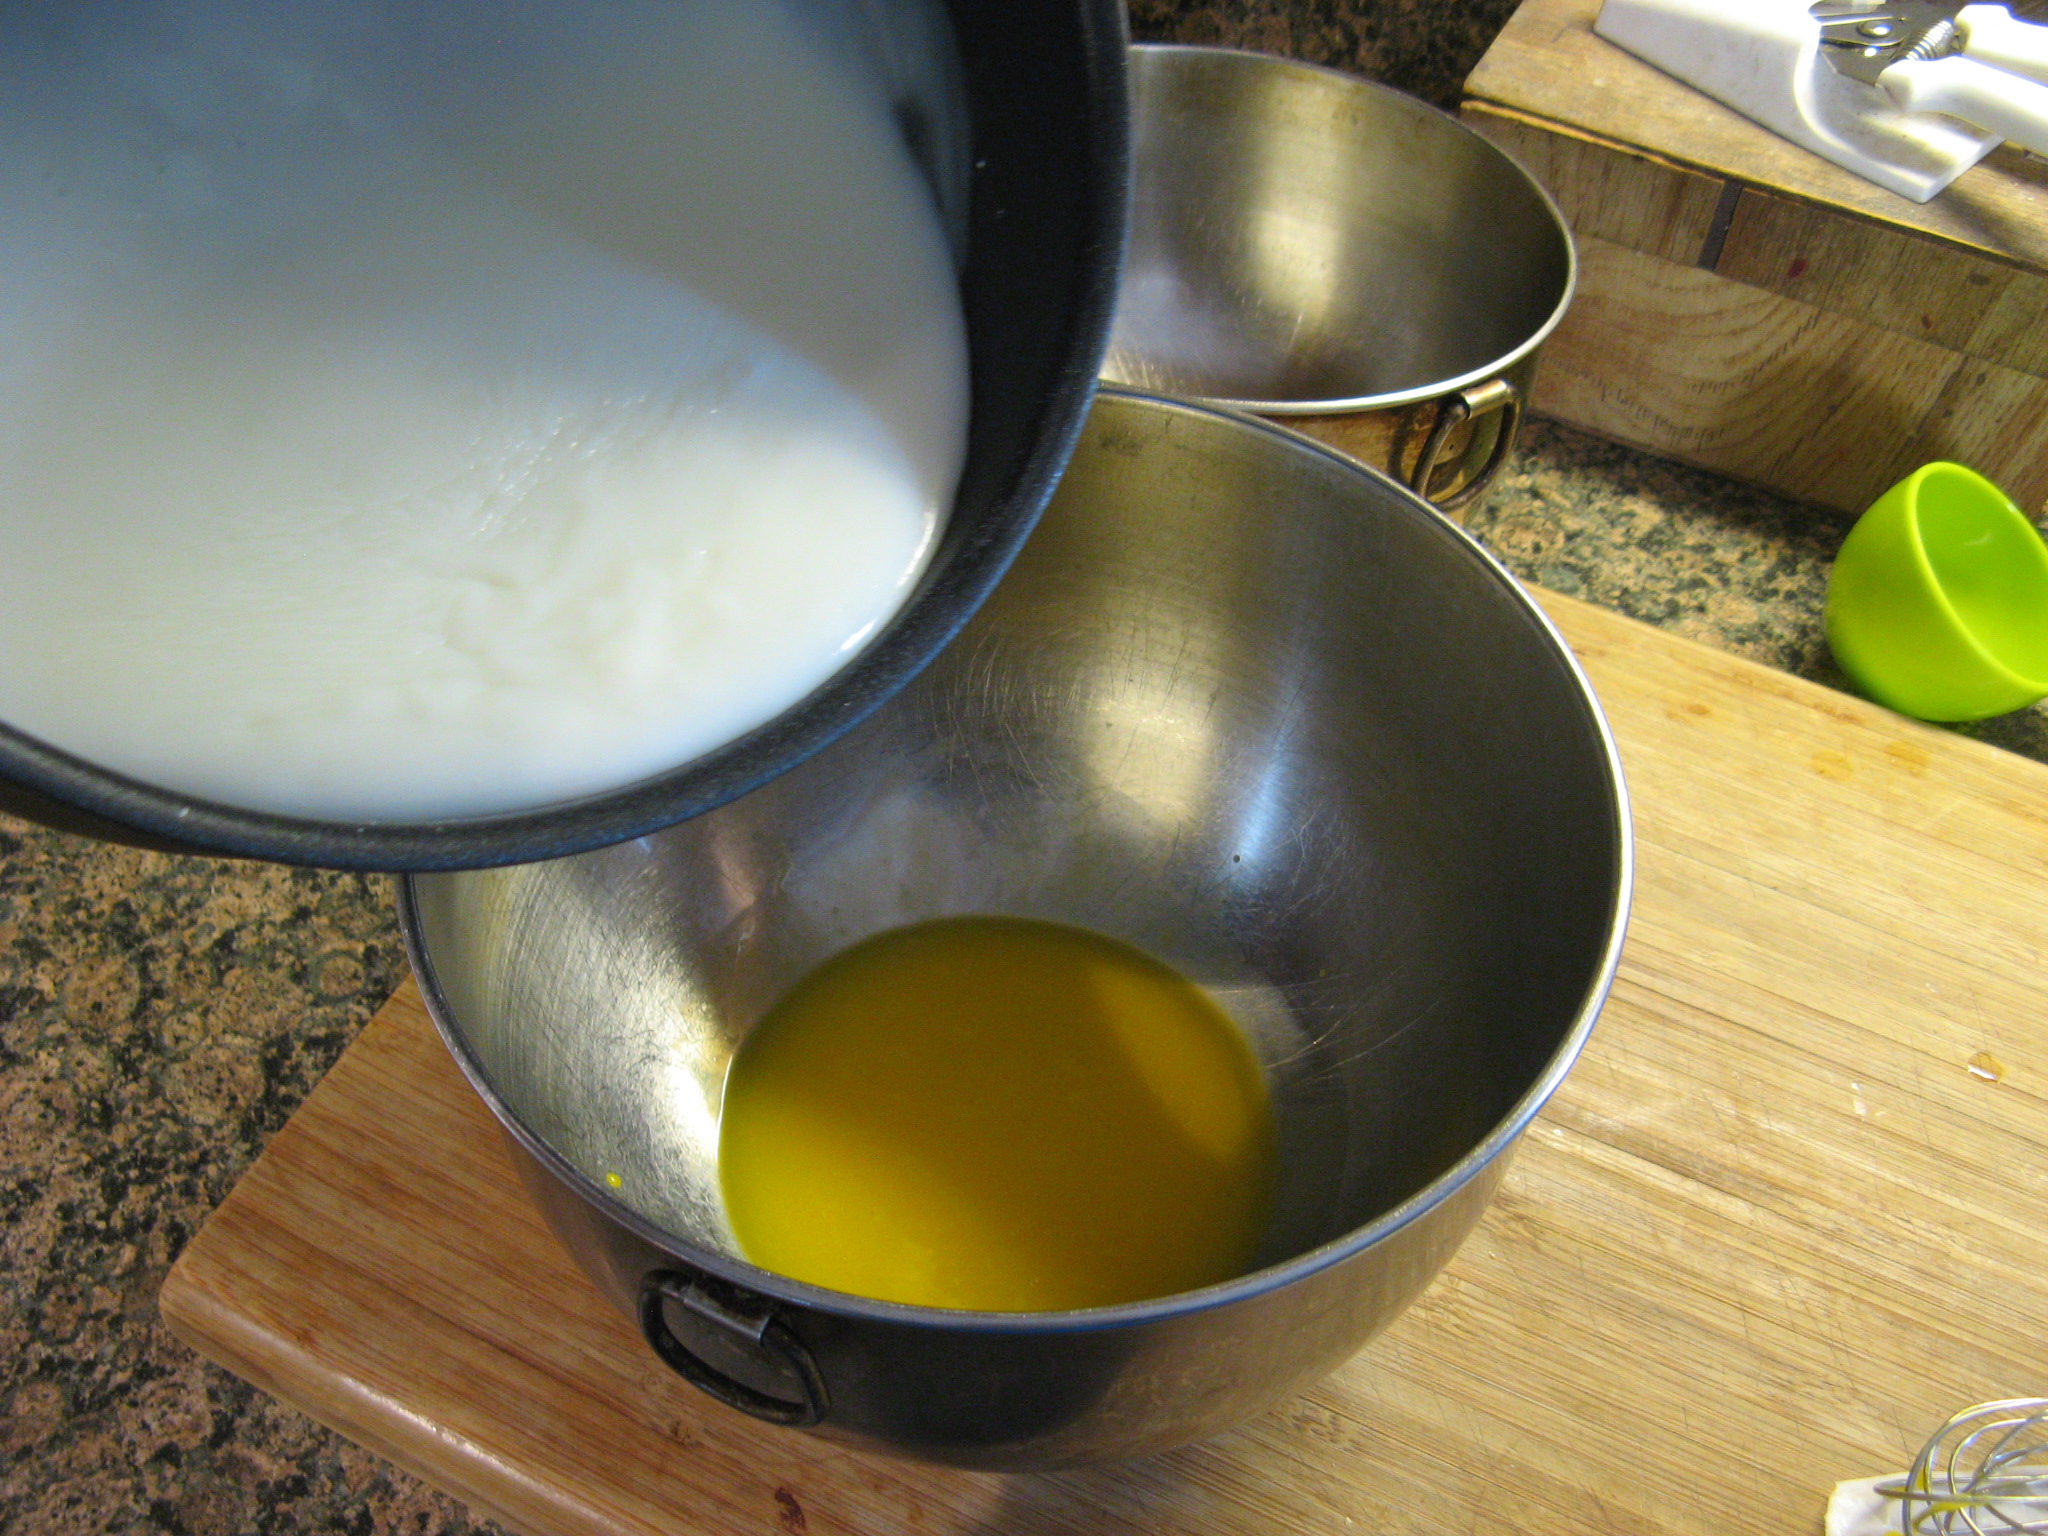
And the final wet ingredient…milk.

IMG_3699

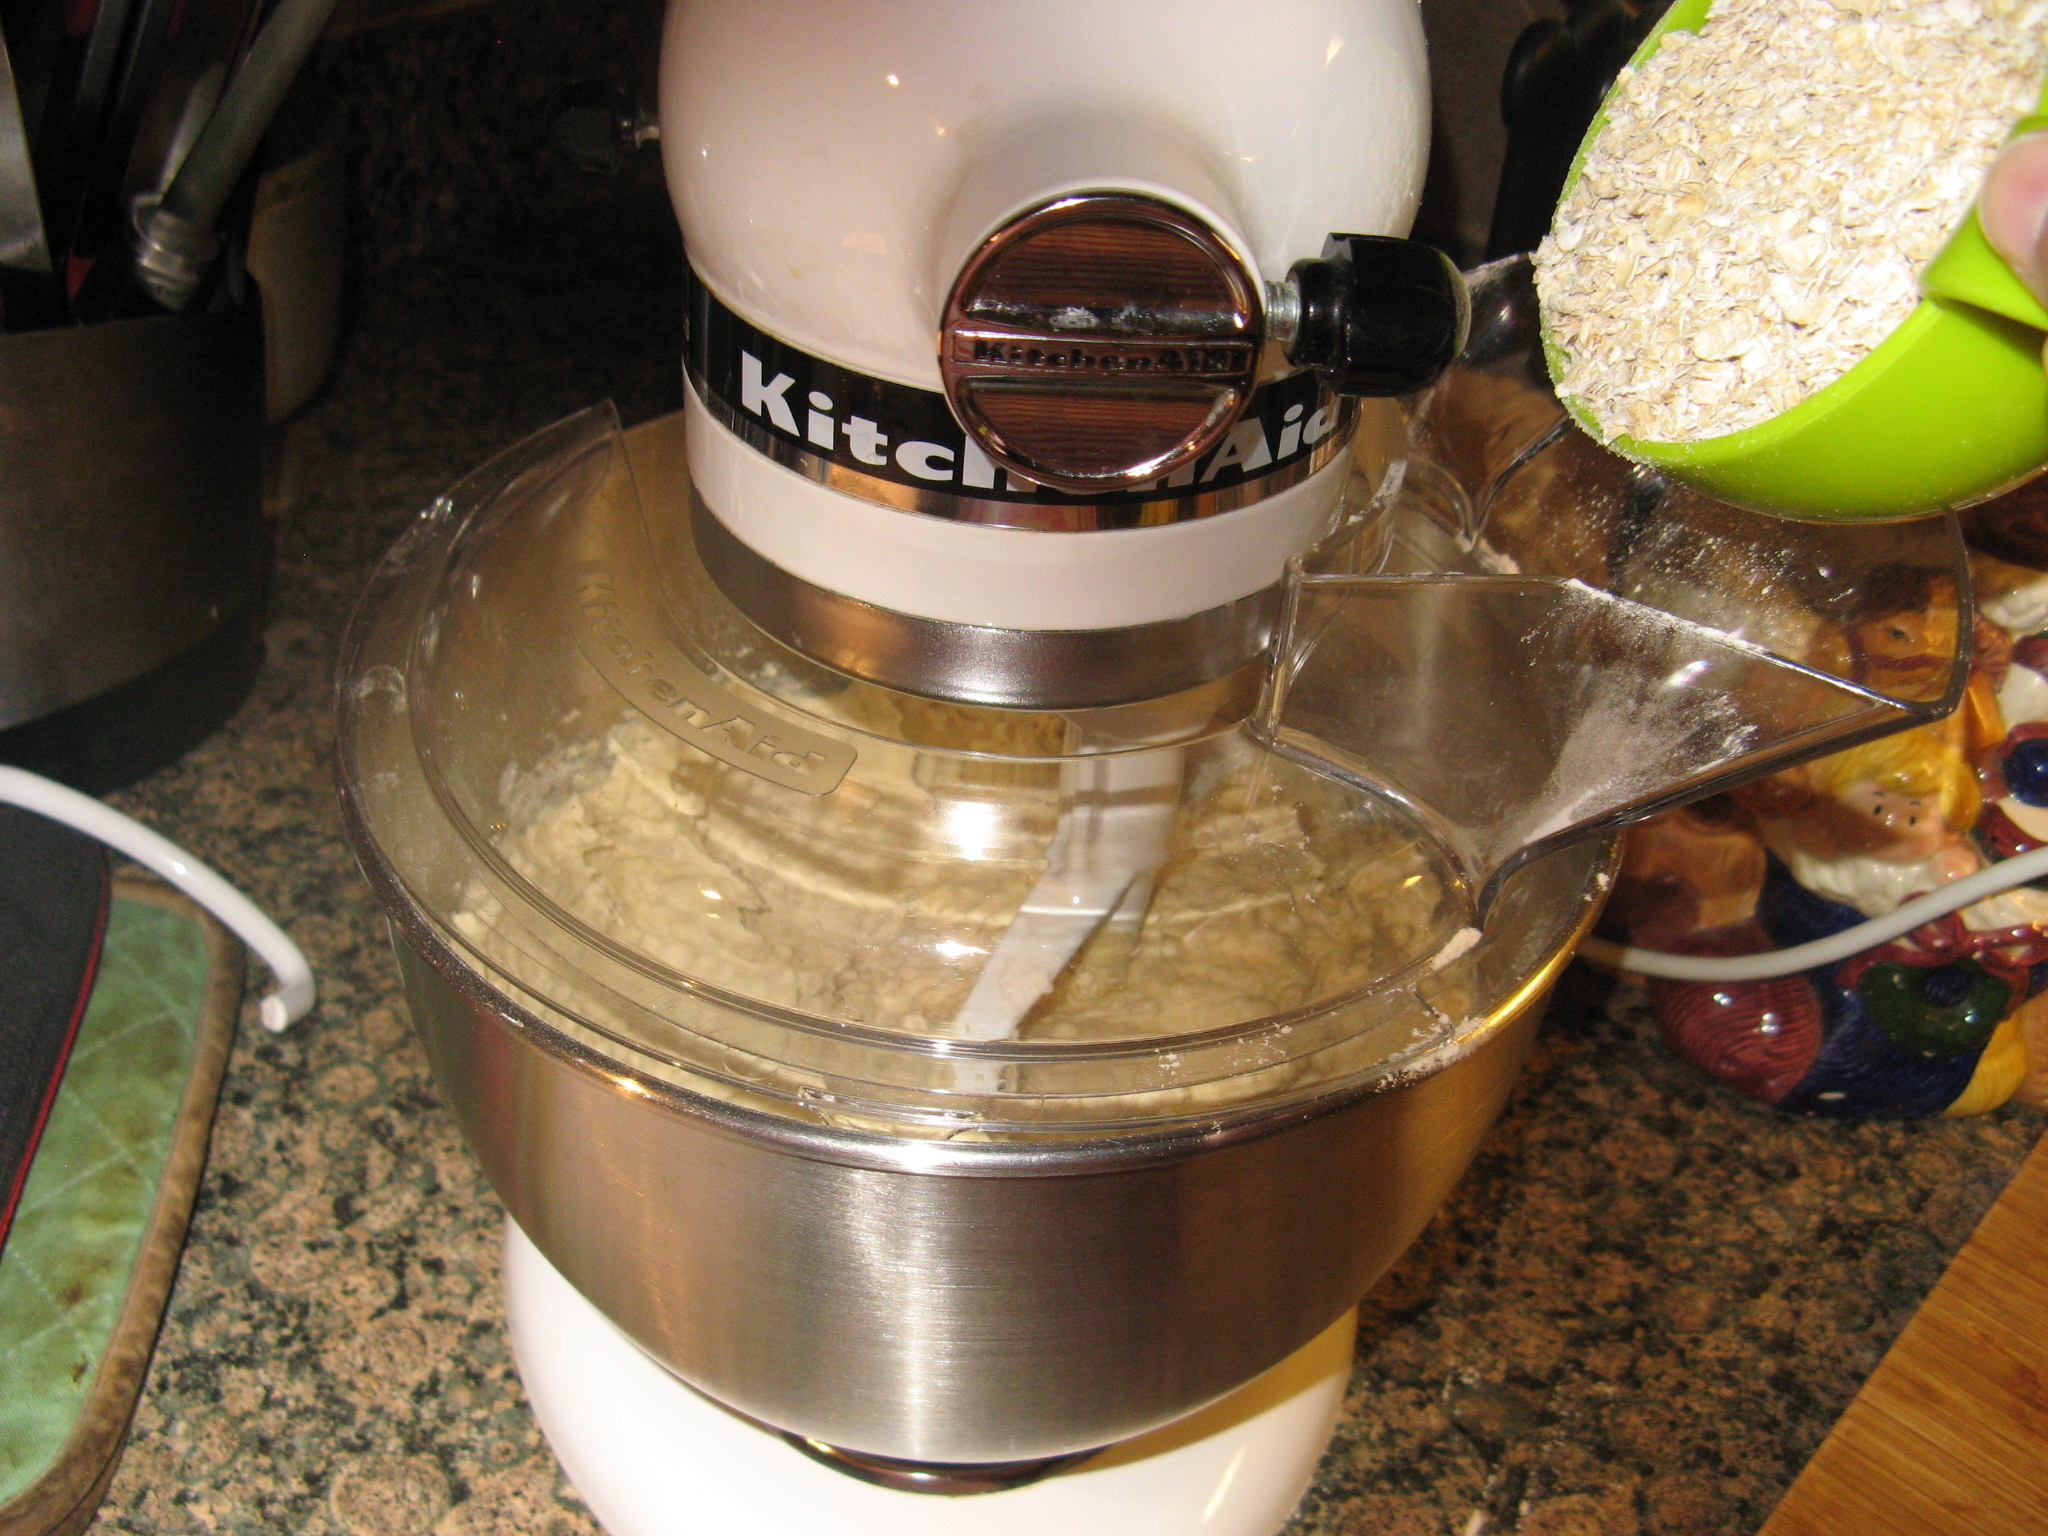
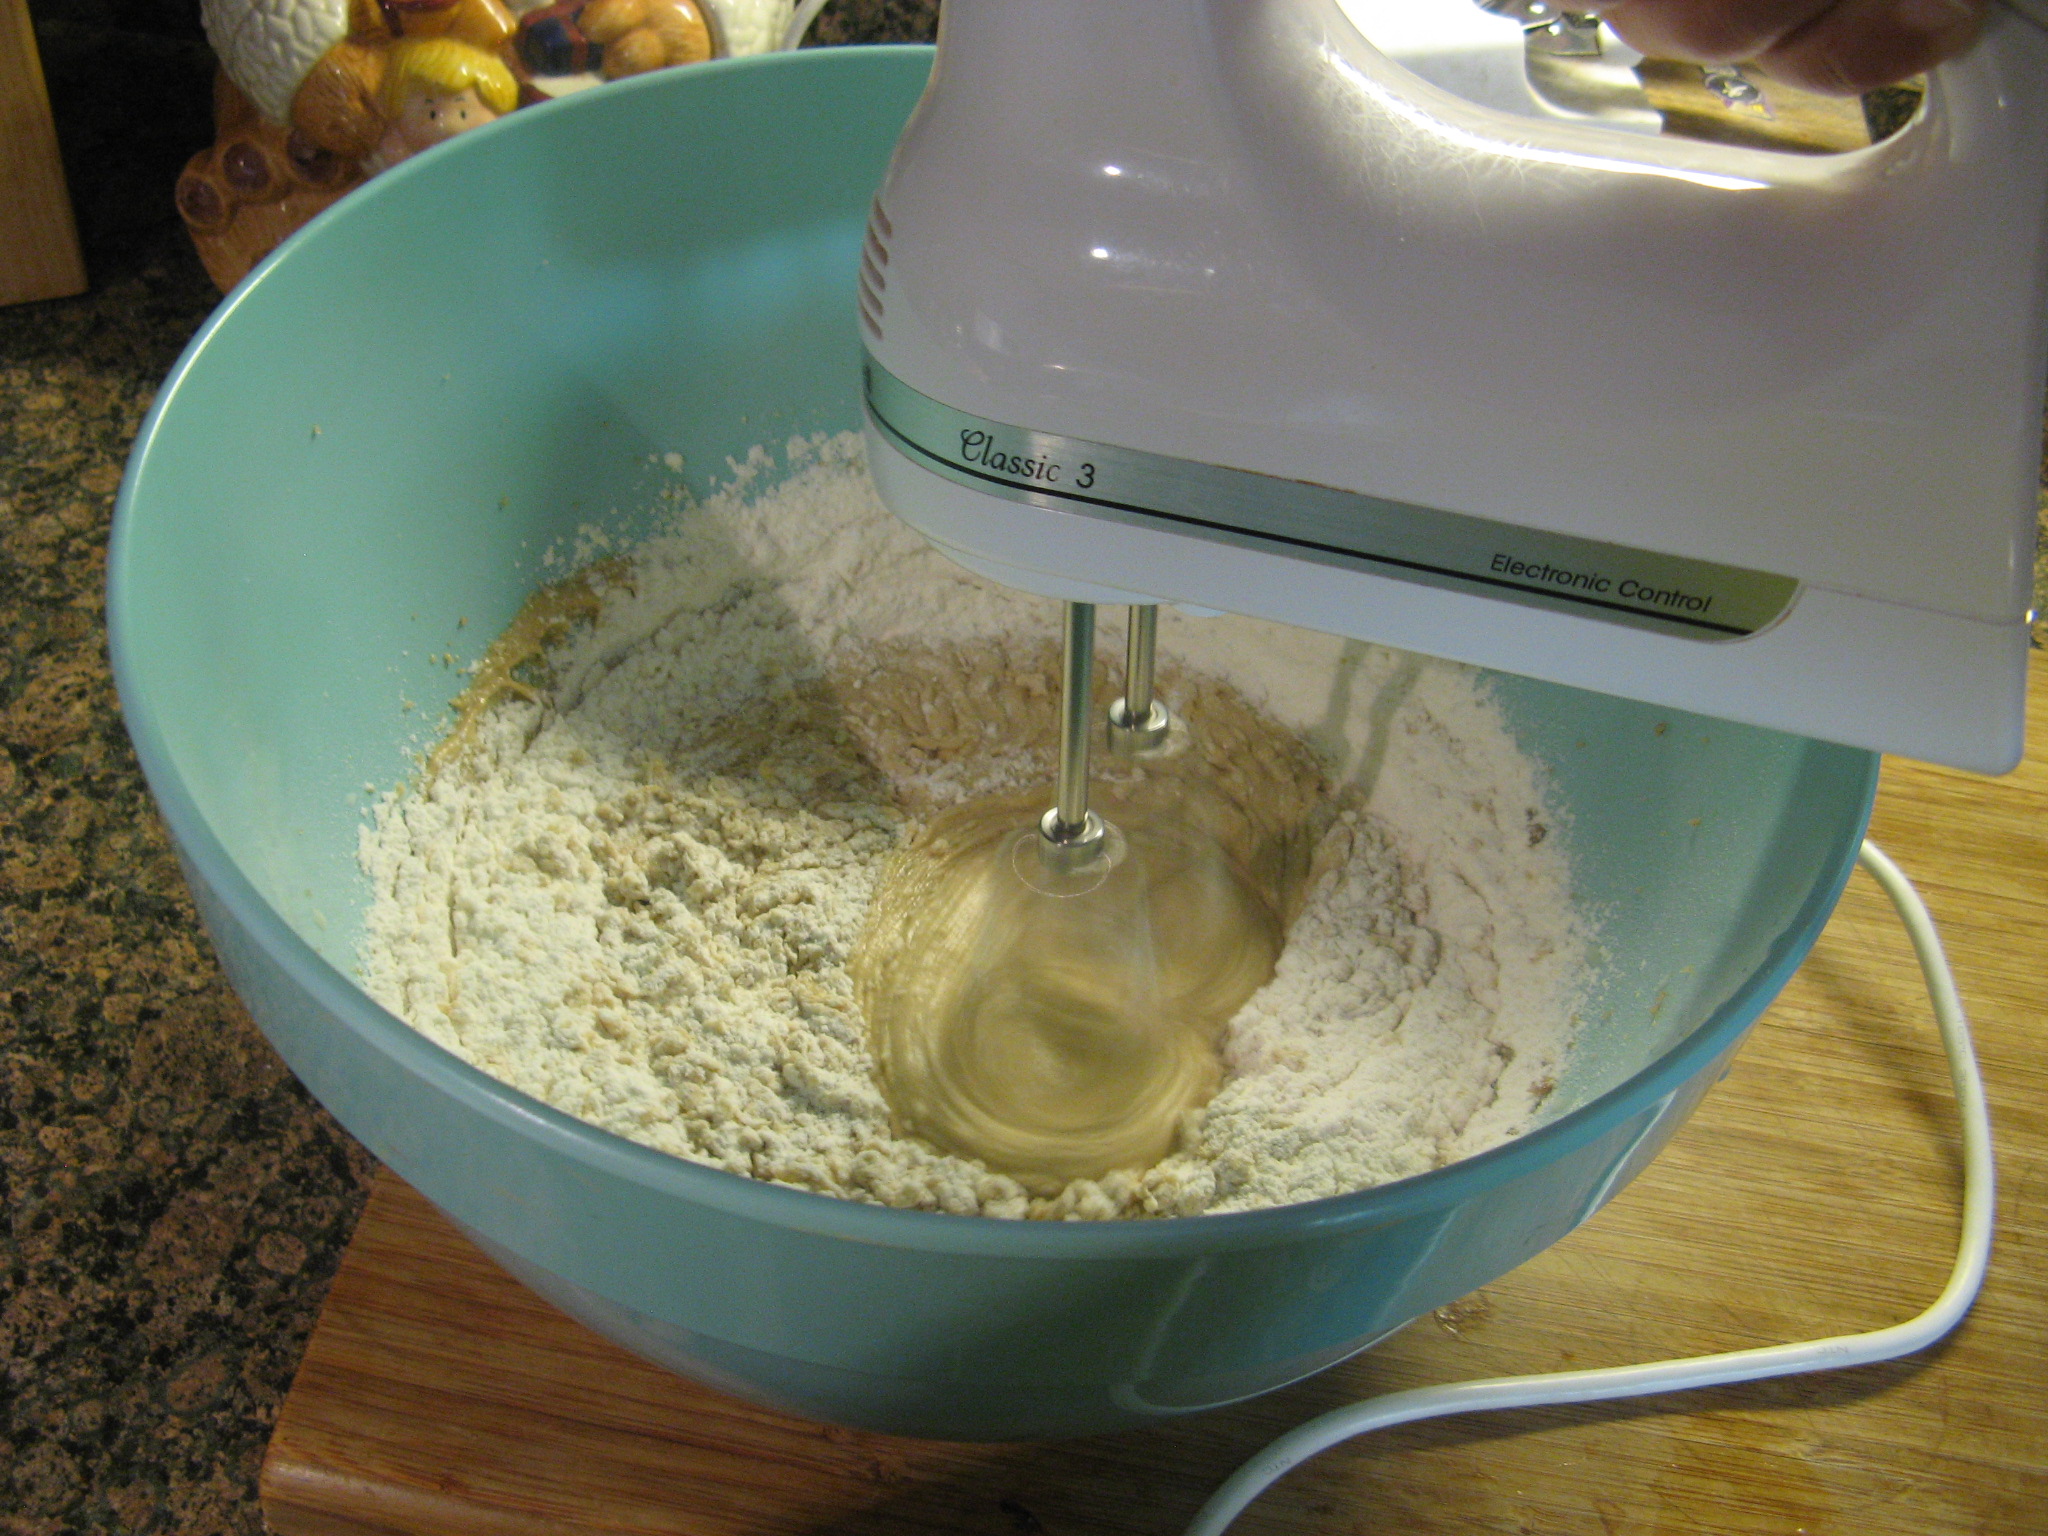
And then I added in the flour mixture.

IMG_3700

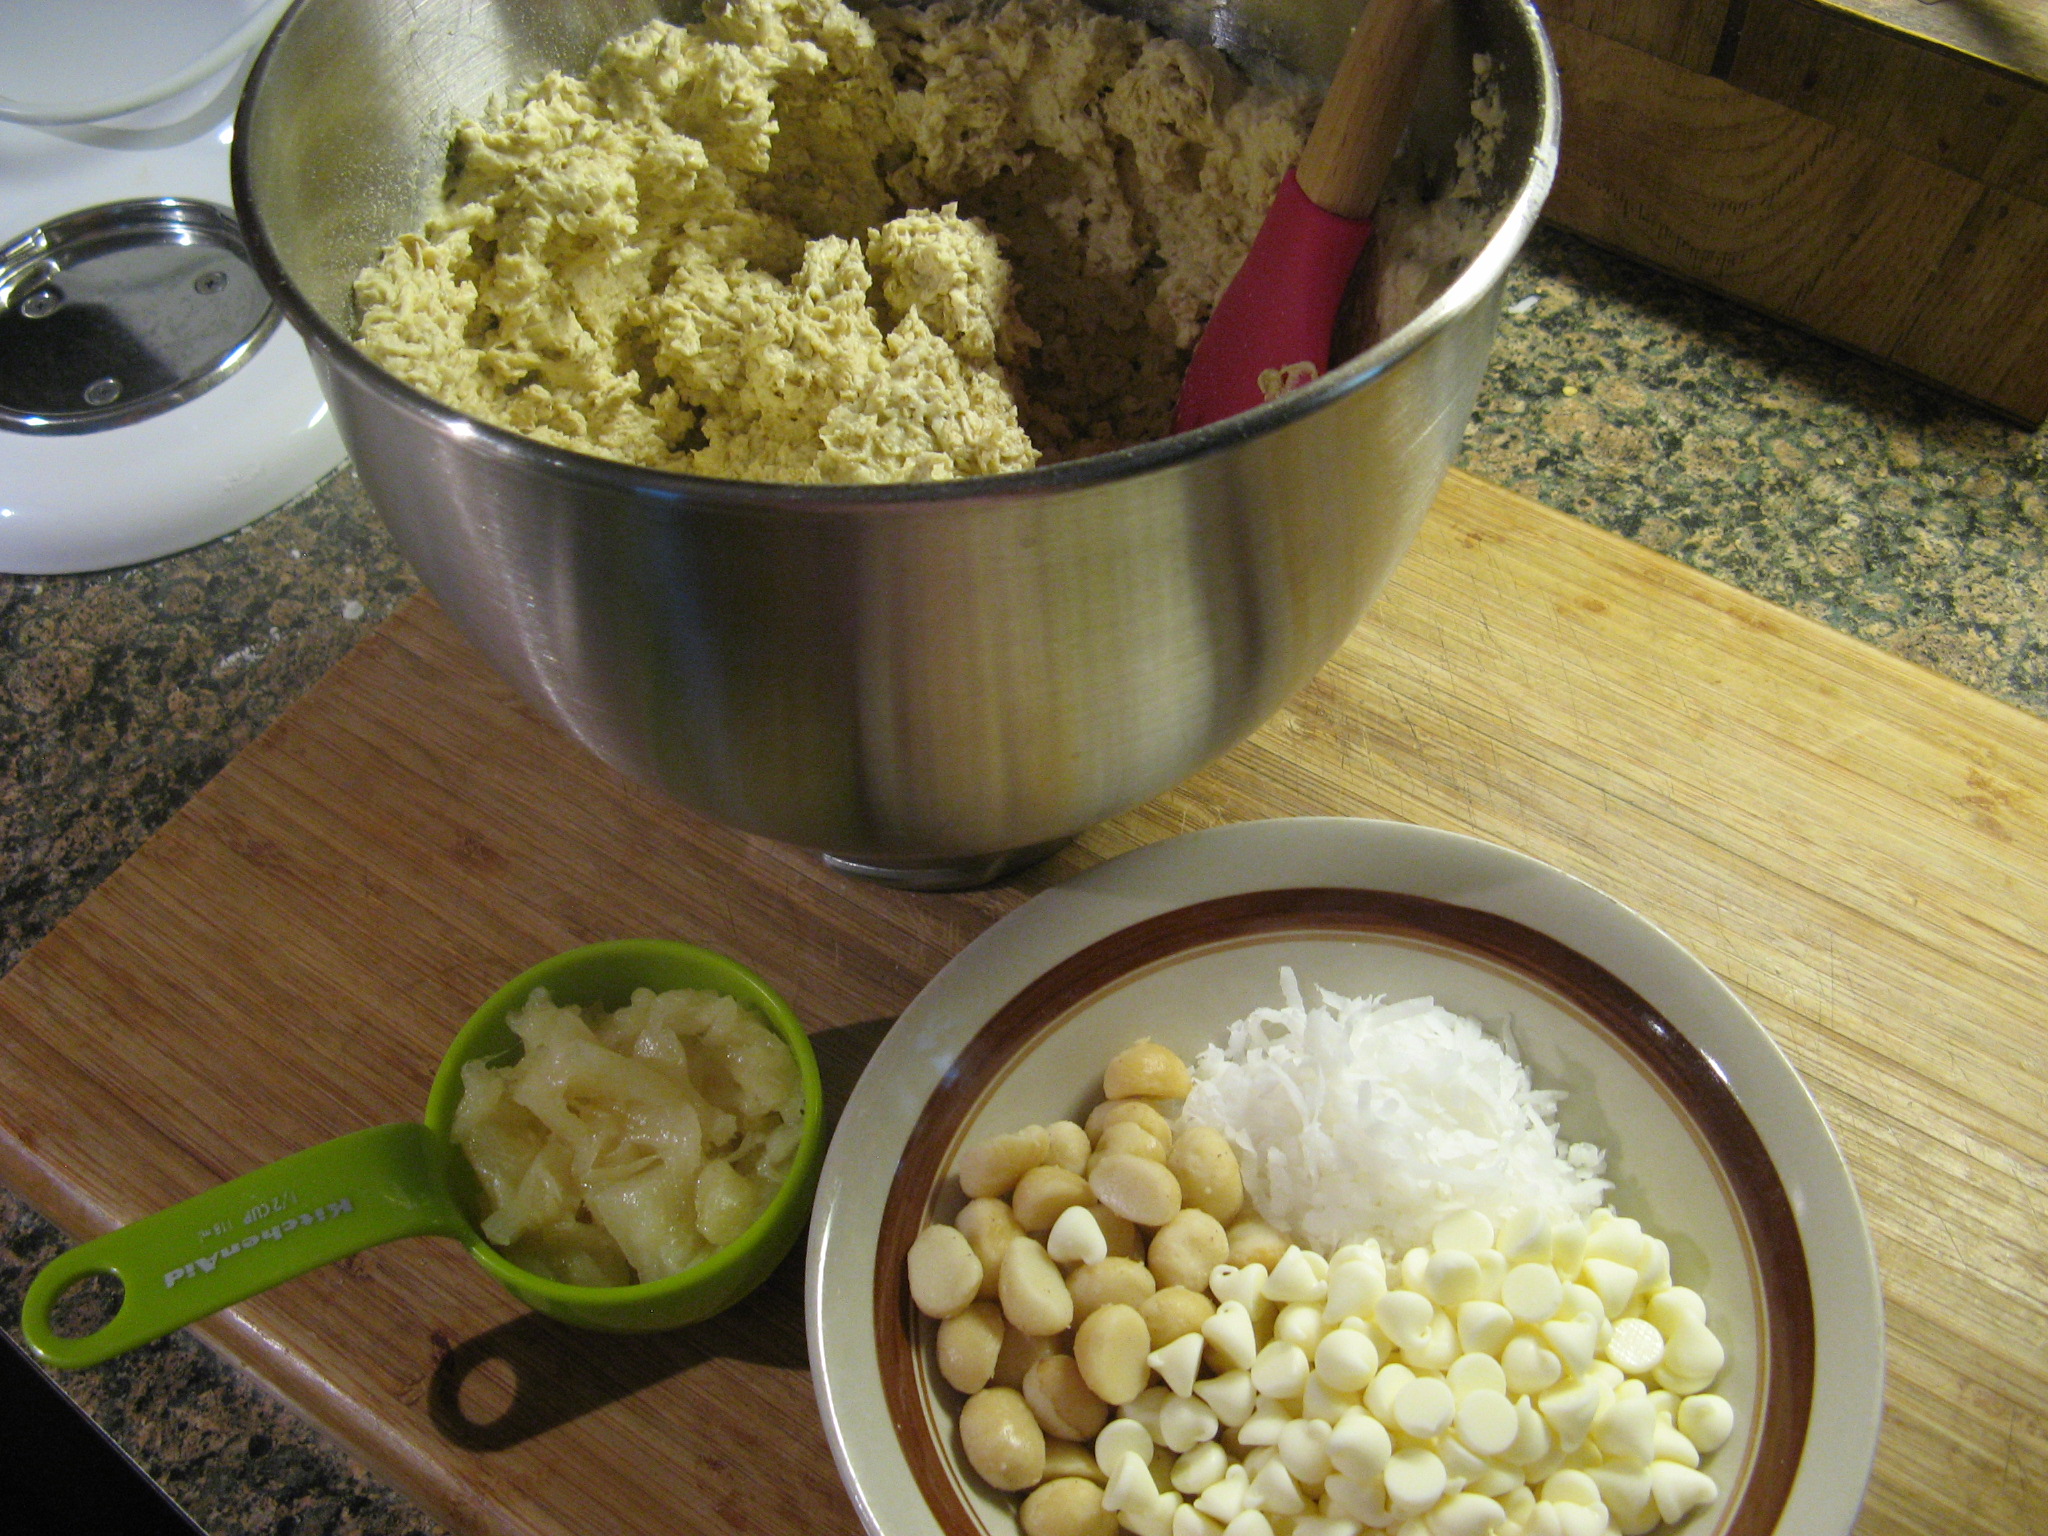
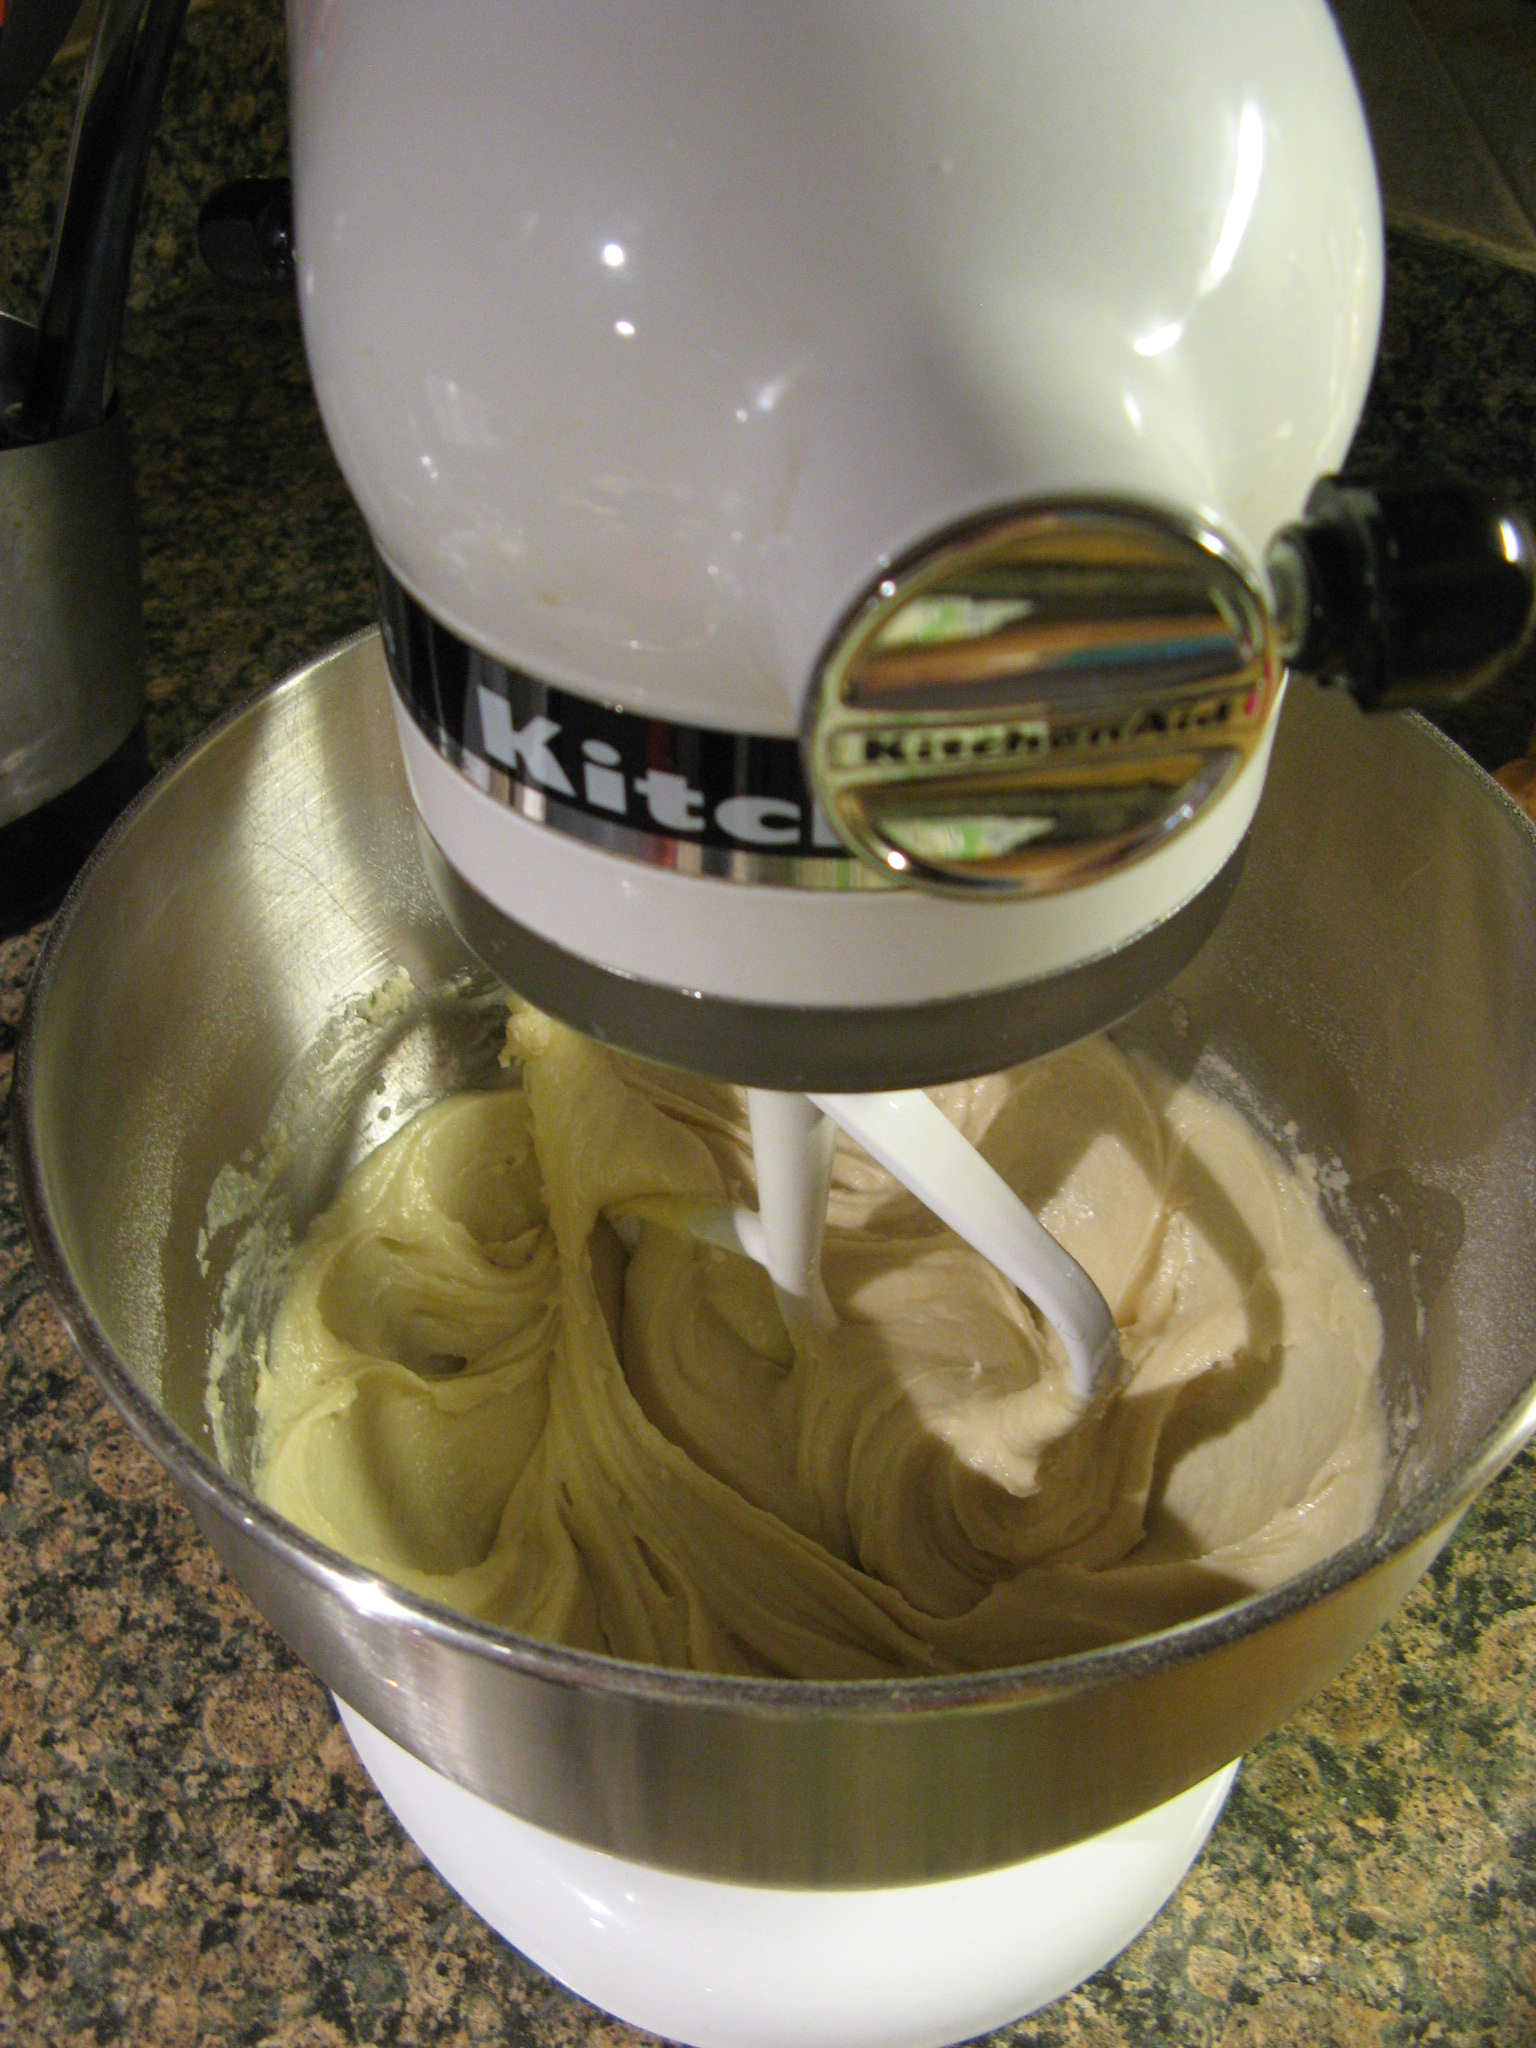
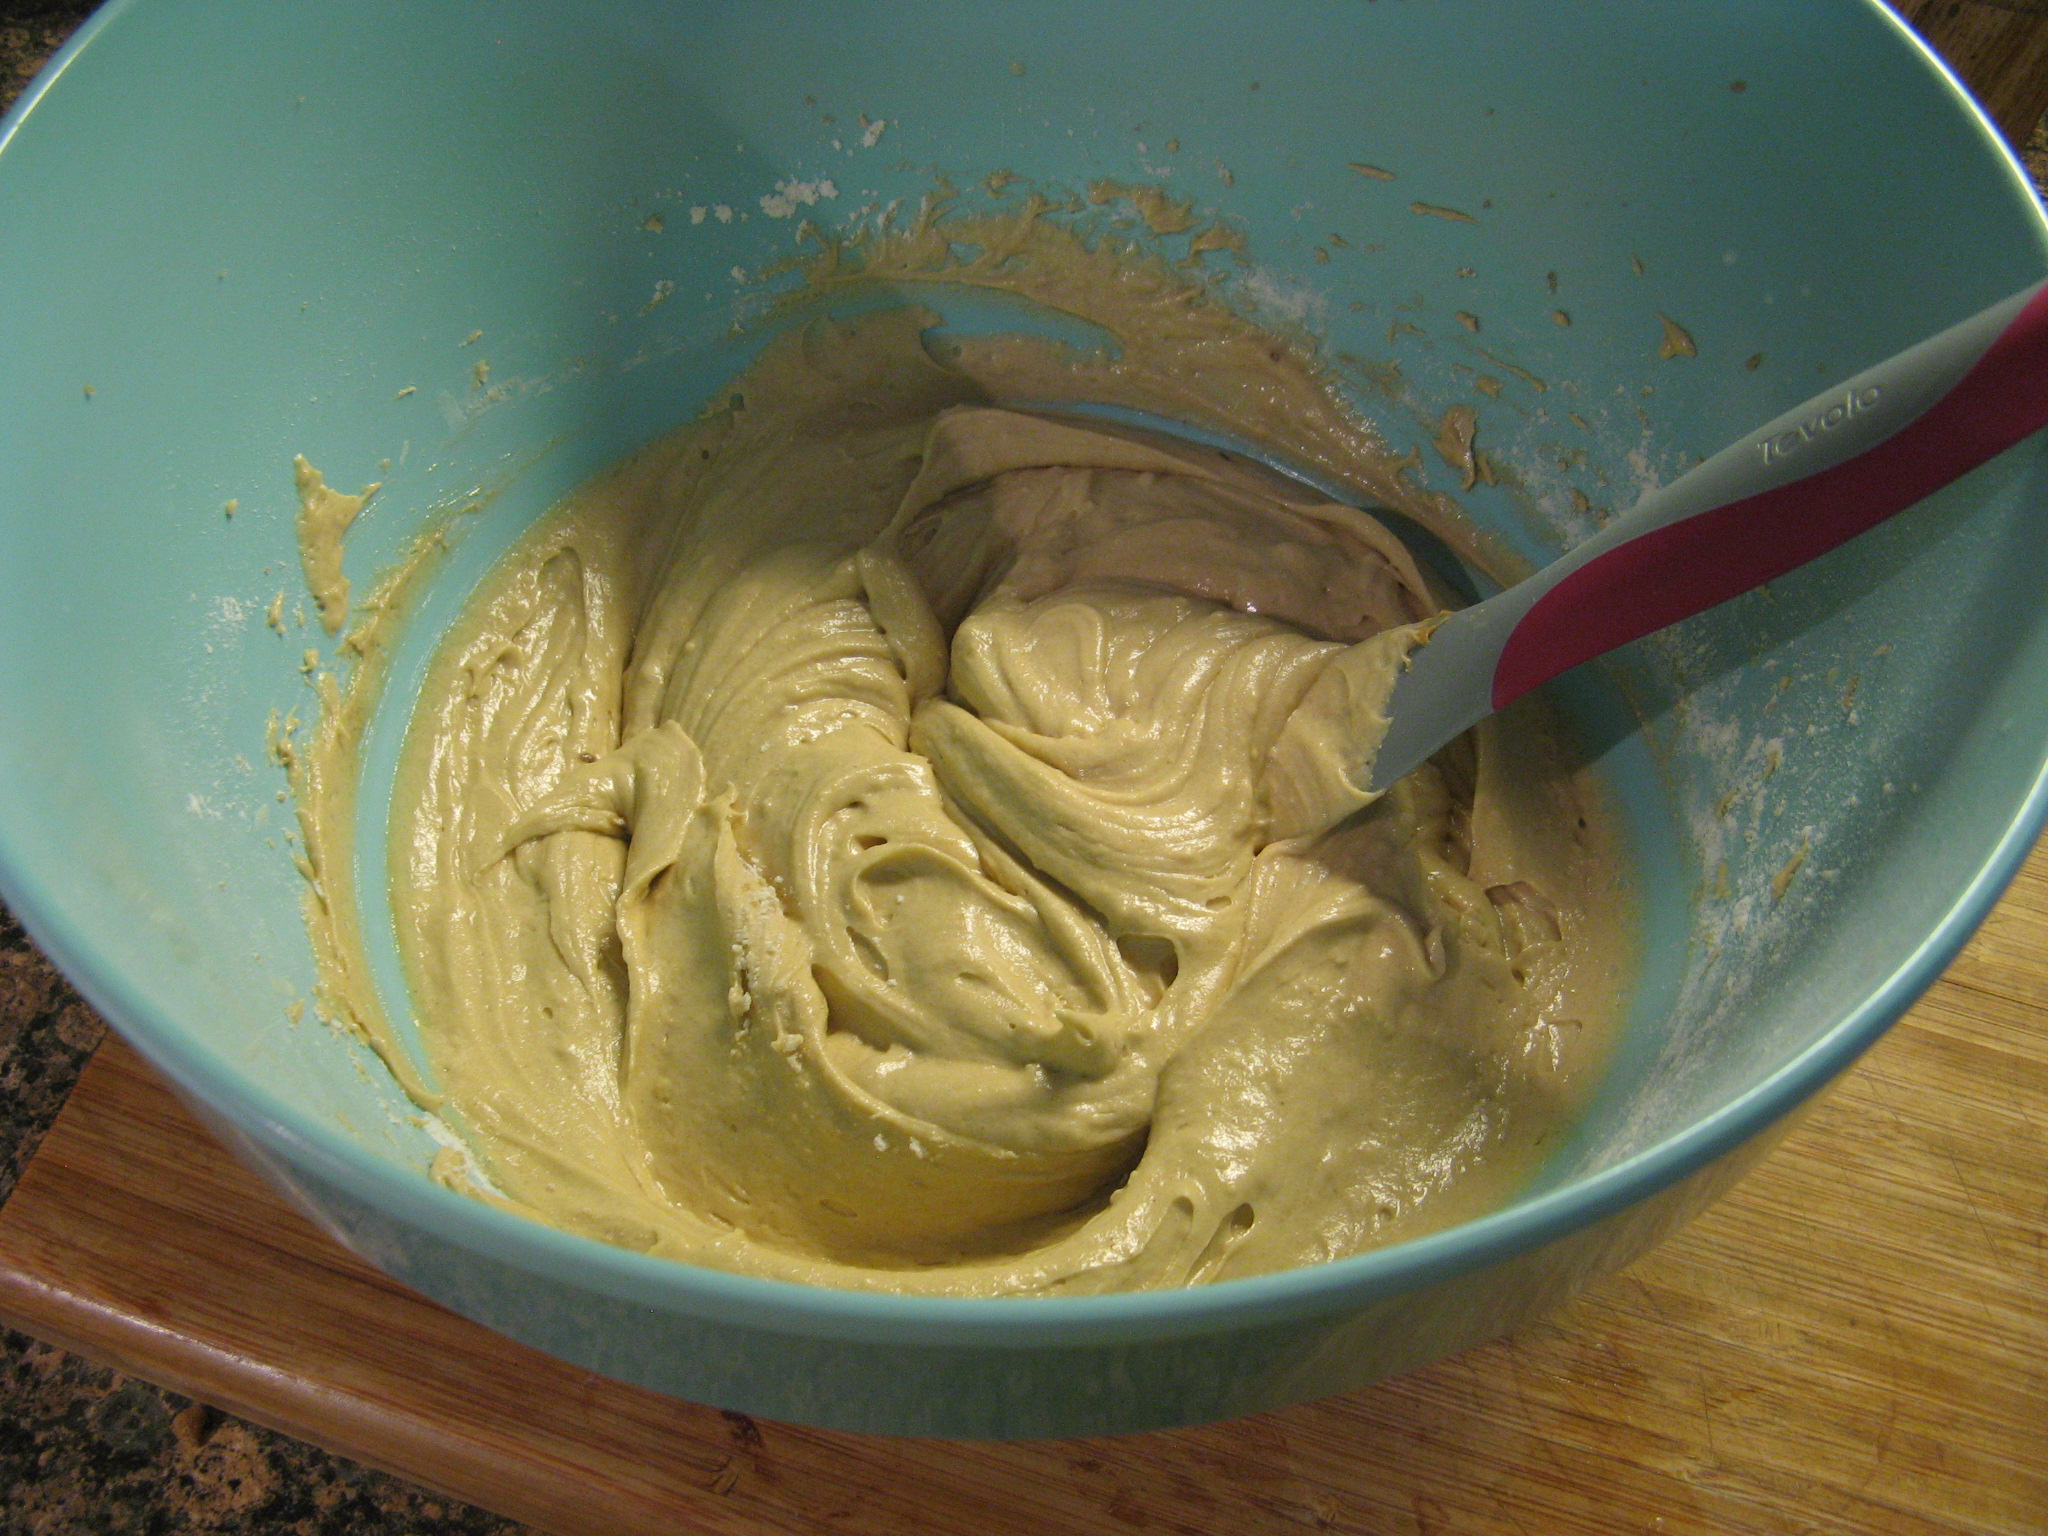
Per the directions I didn’t over-mix the batter and I must say this was one of the smoothest batters I have ever made for any cupcake or cake I have baked. I instantly knew this was going to be a perfectly textured cupcake – light and smooth. And I must admit, I couldn’t help it and I had to try the raw batter and it was the perfect peanut butter flavor.

IMG_3701

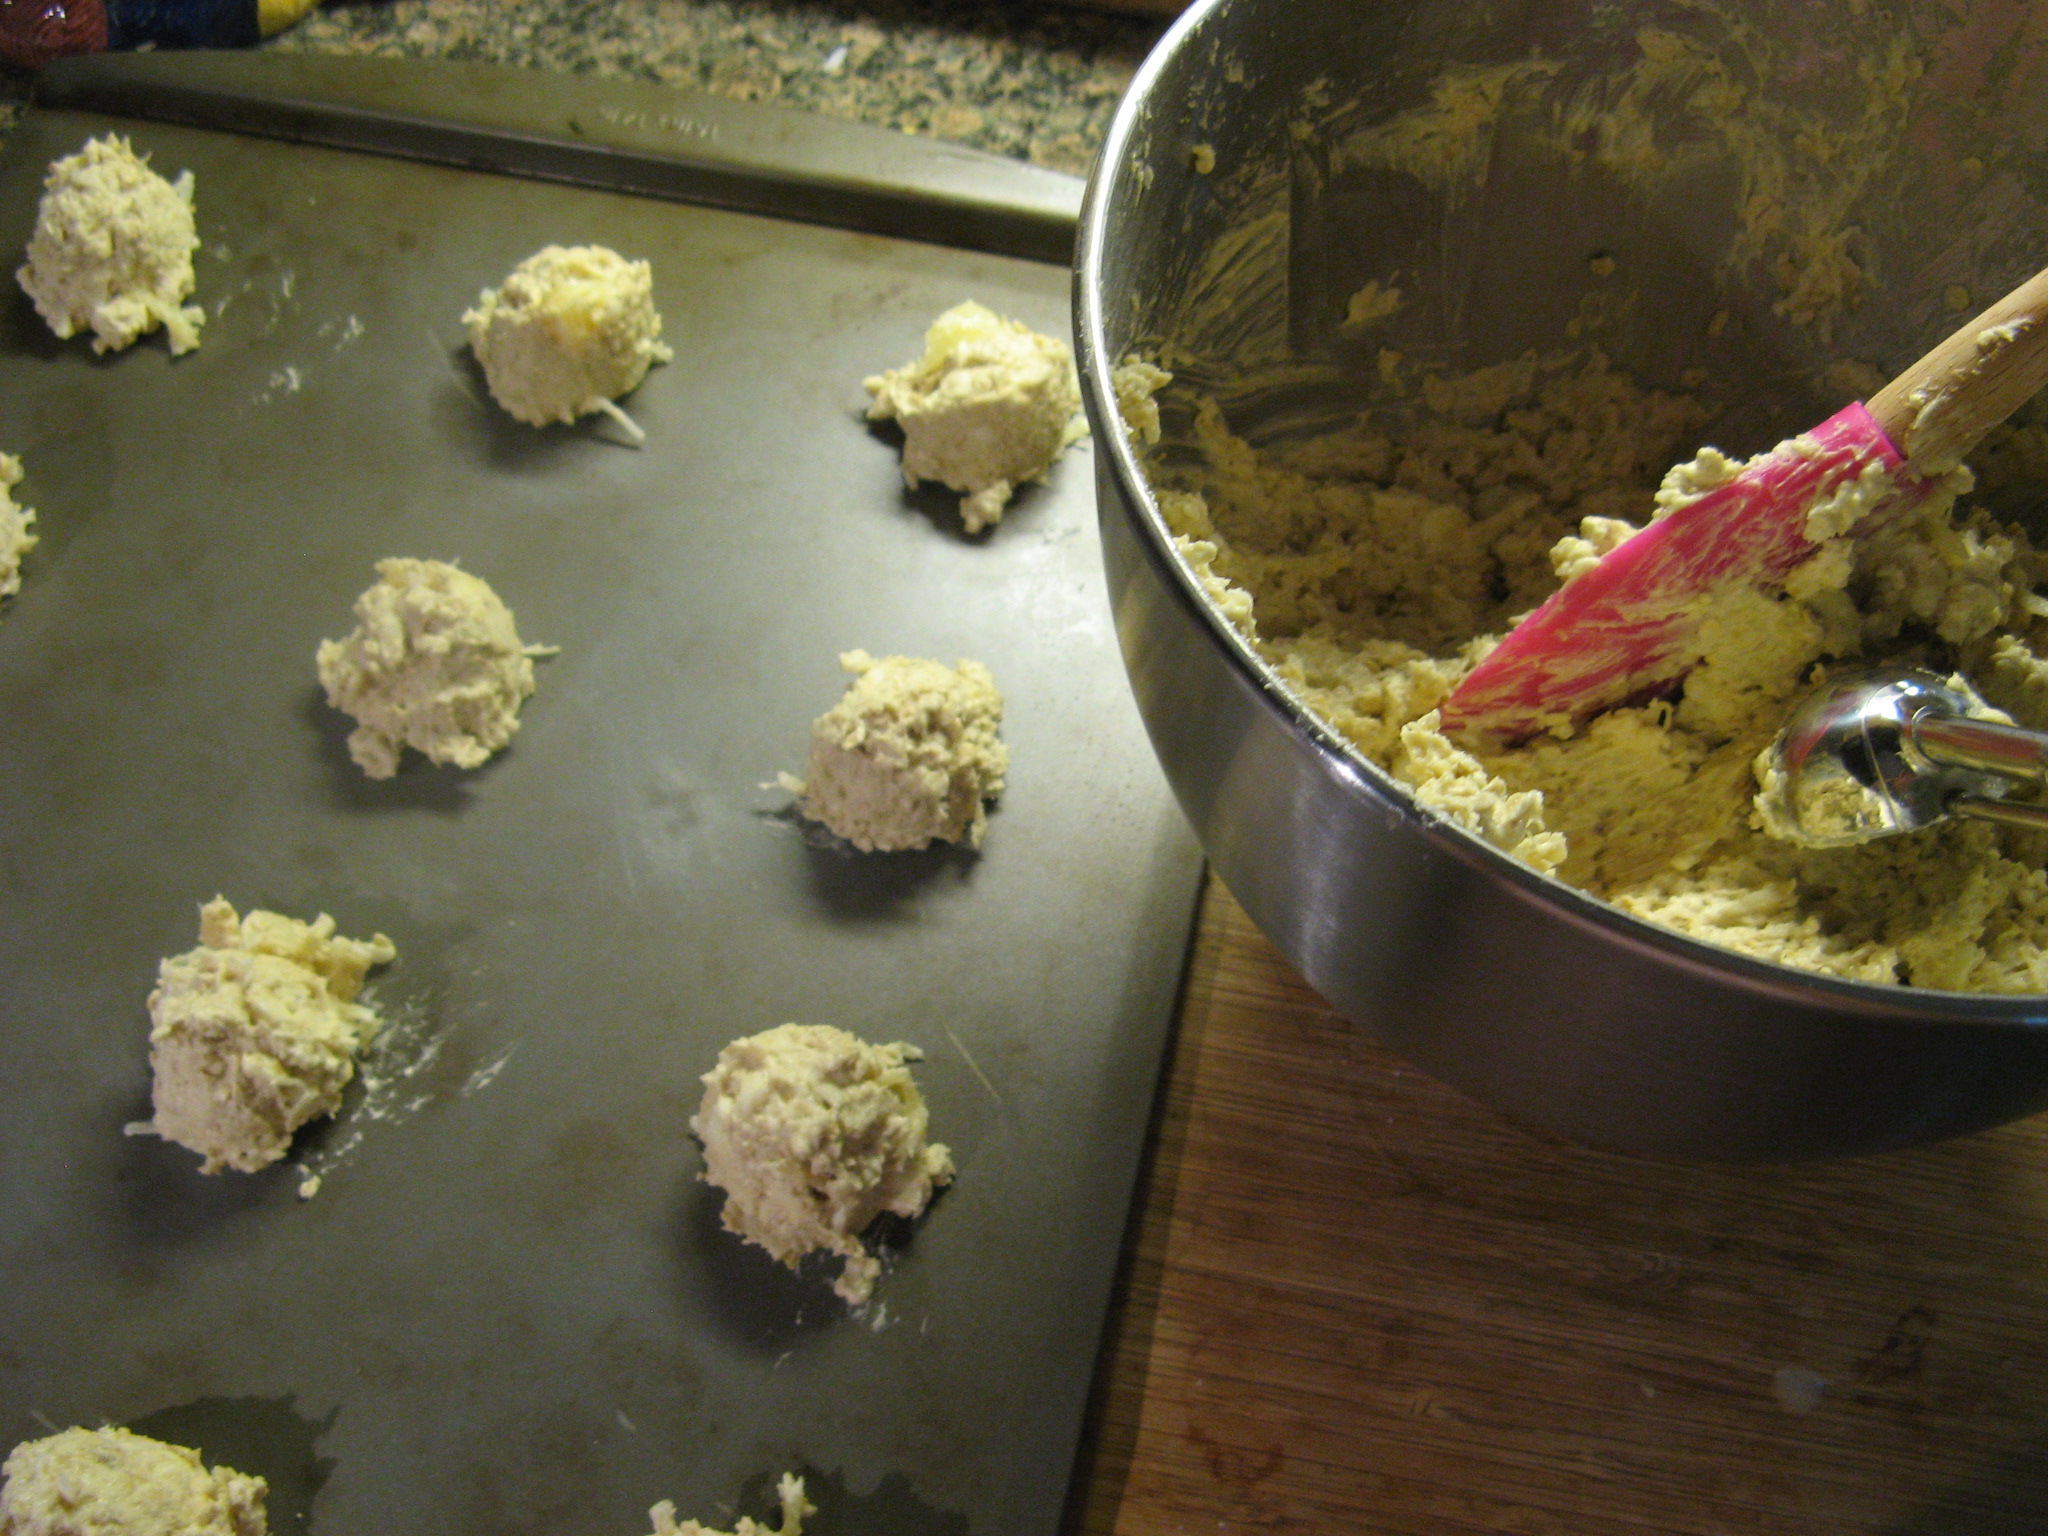
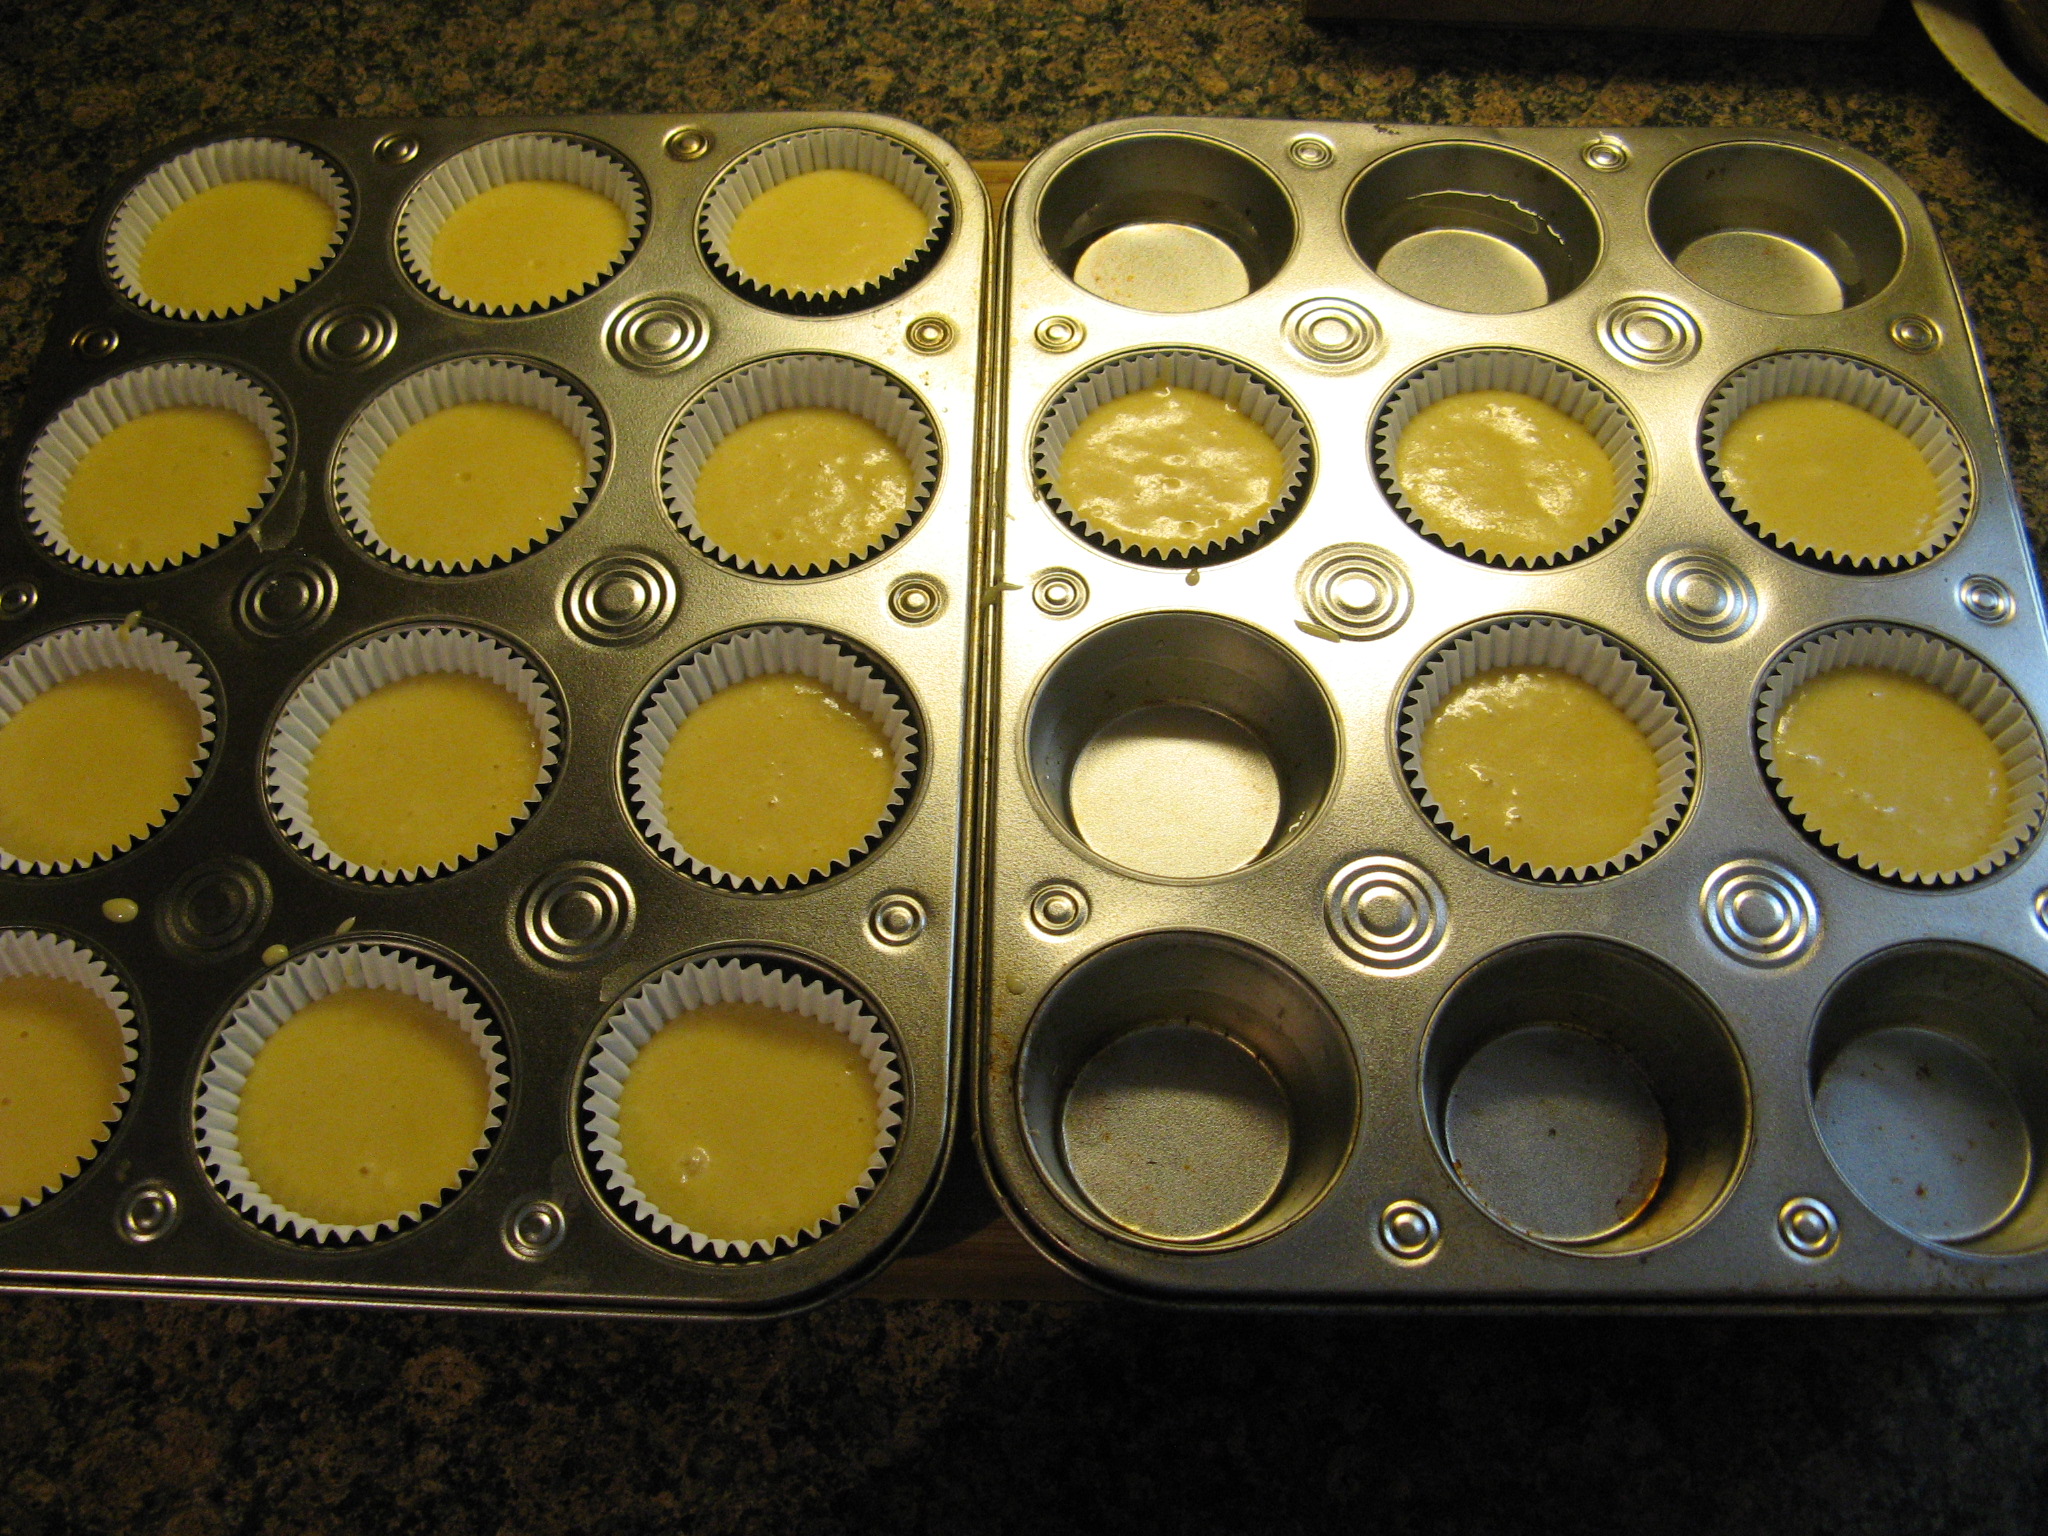
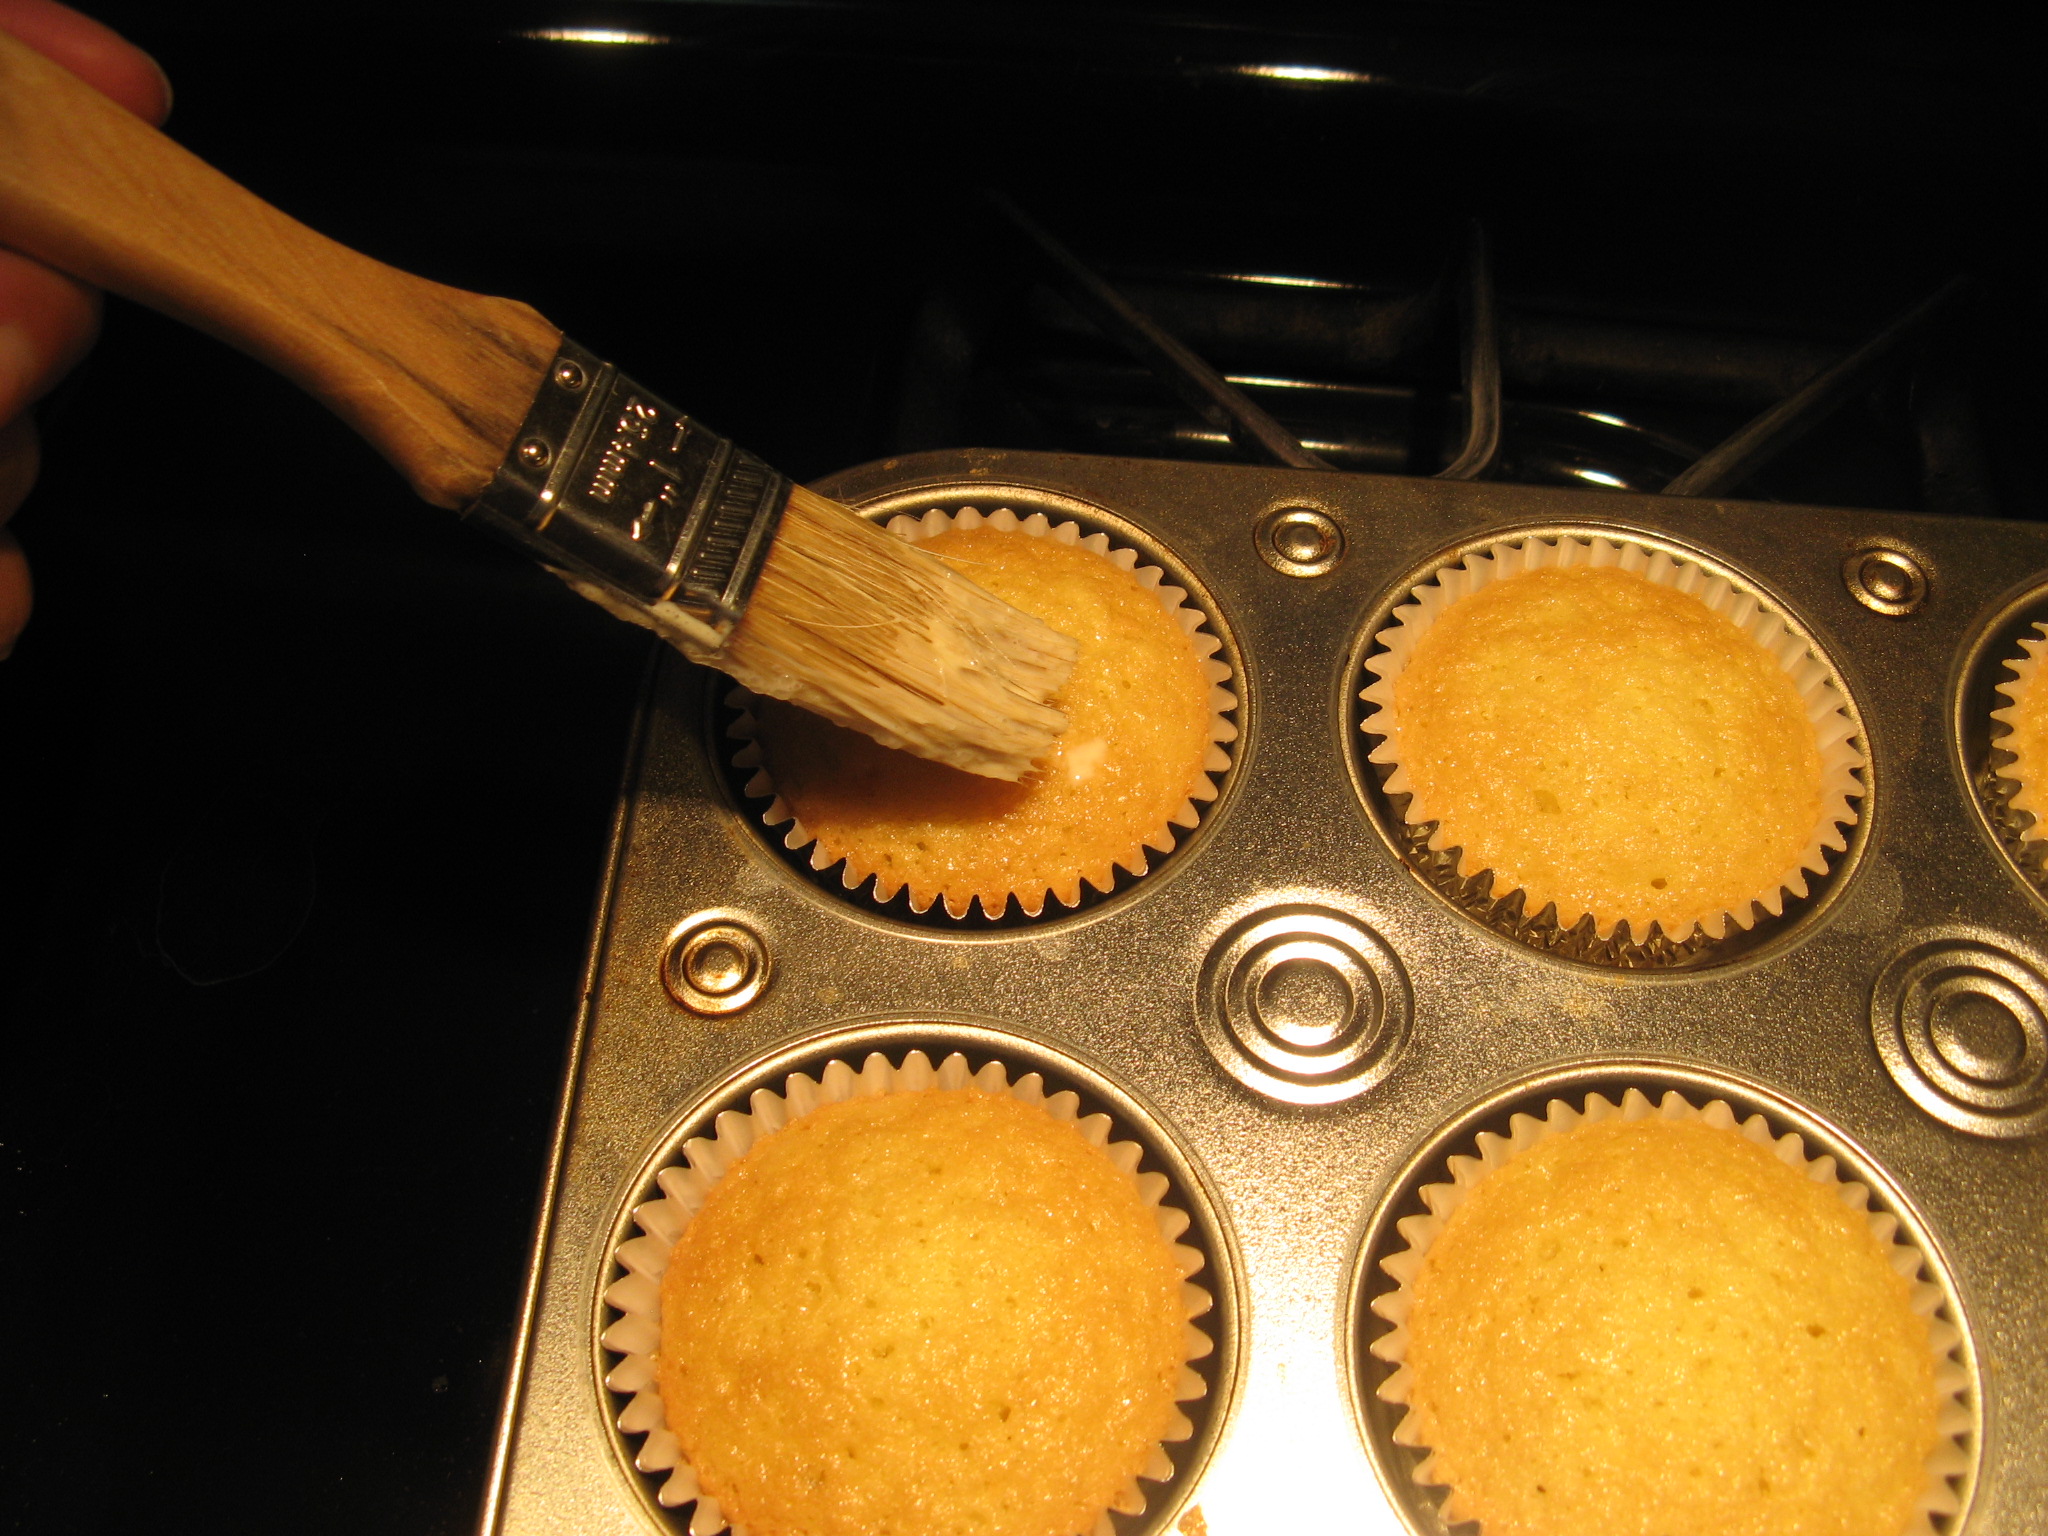
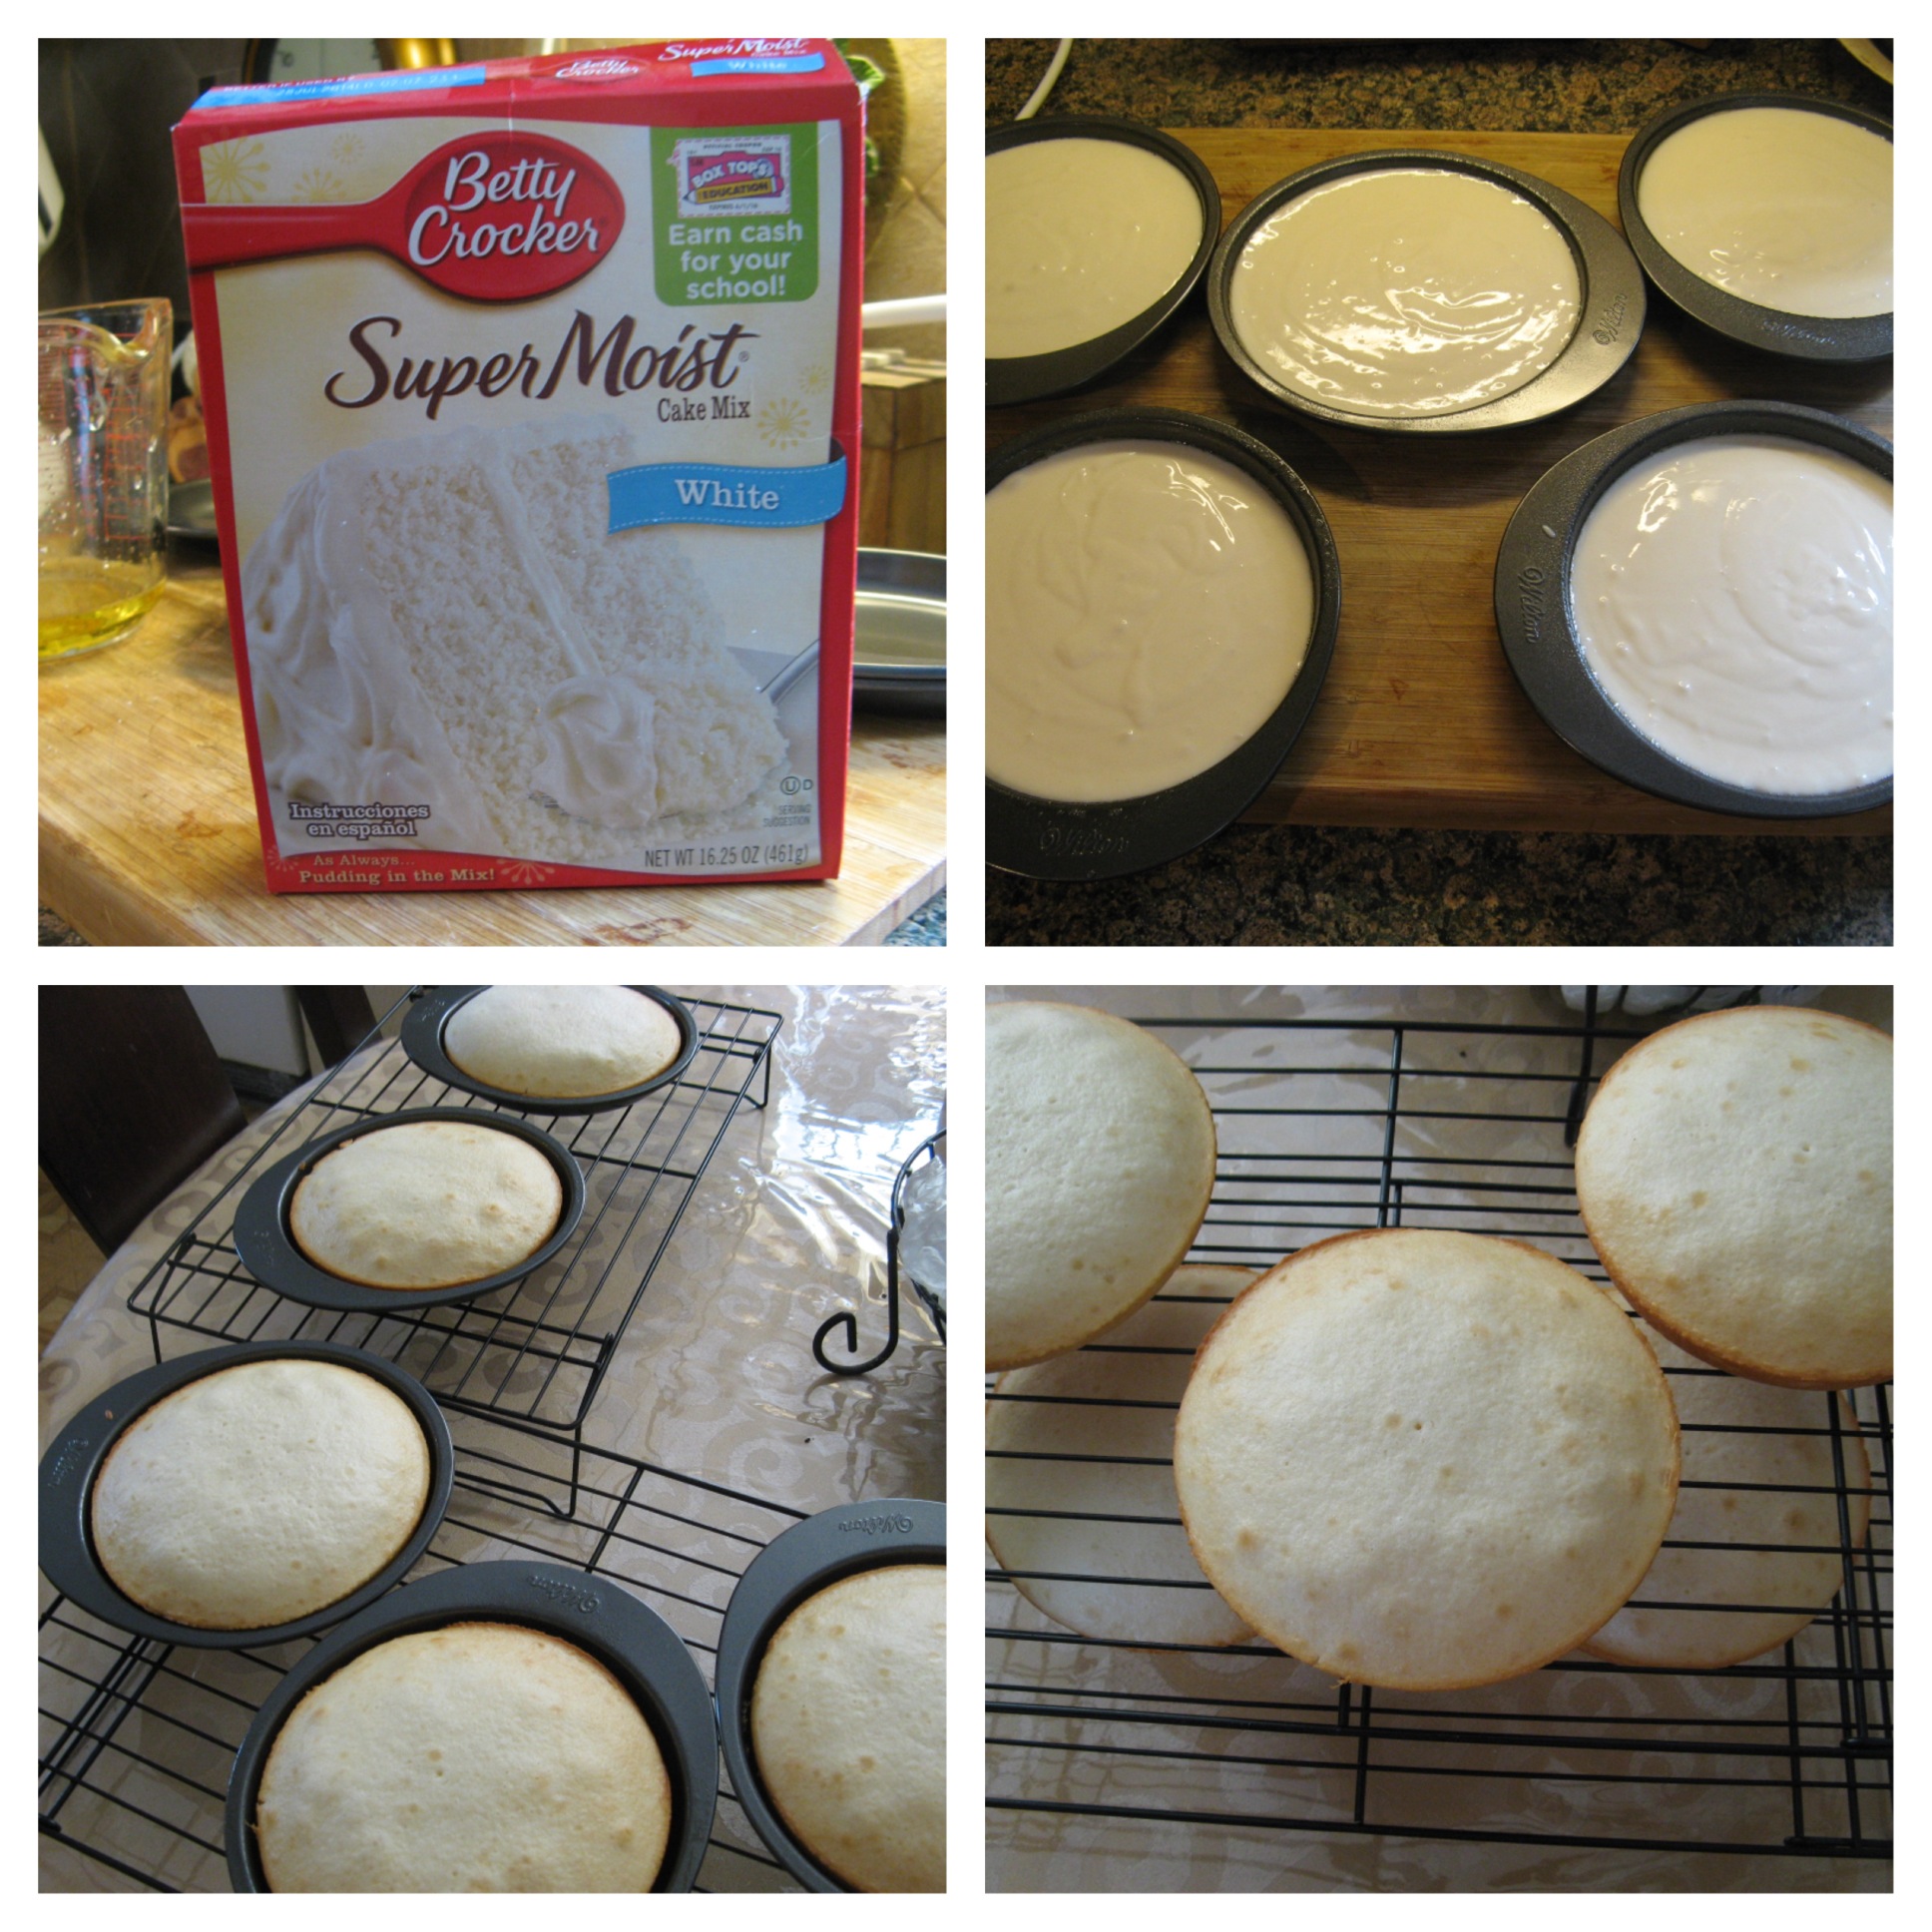
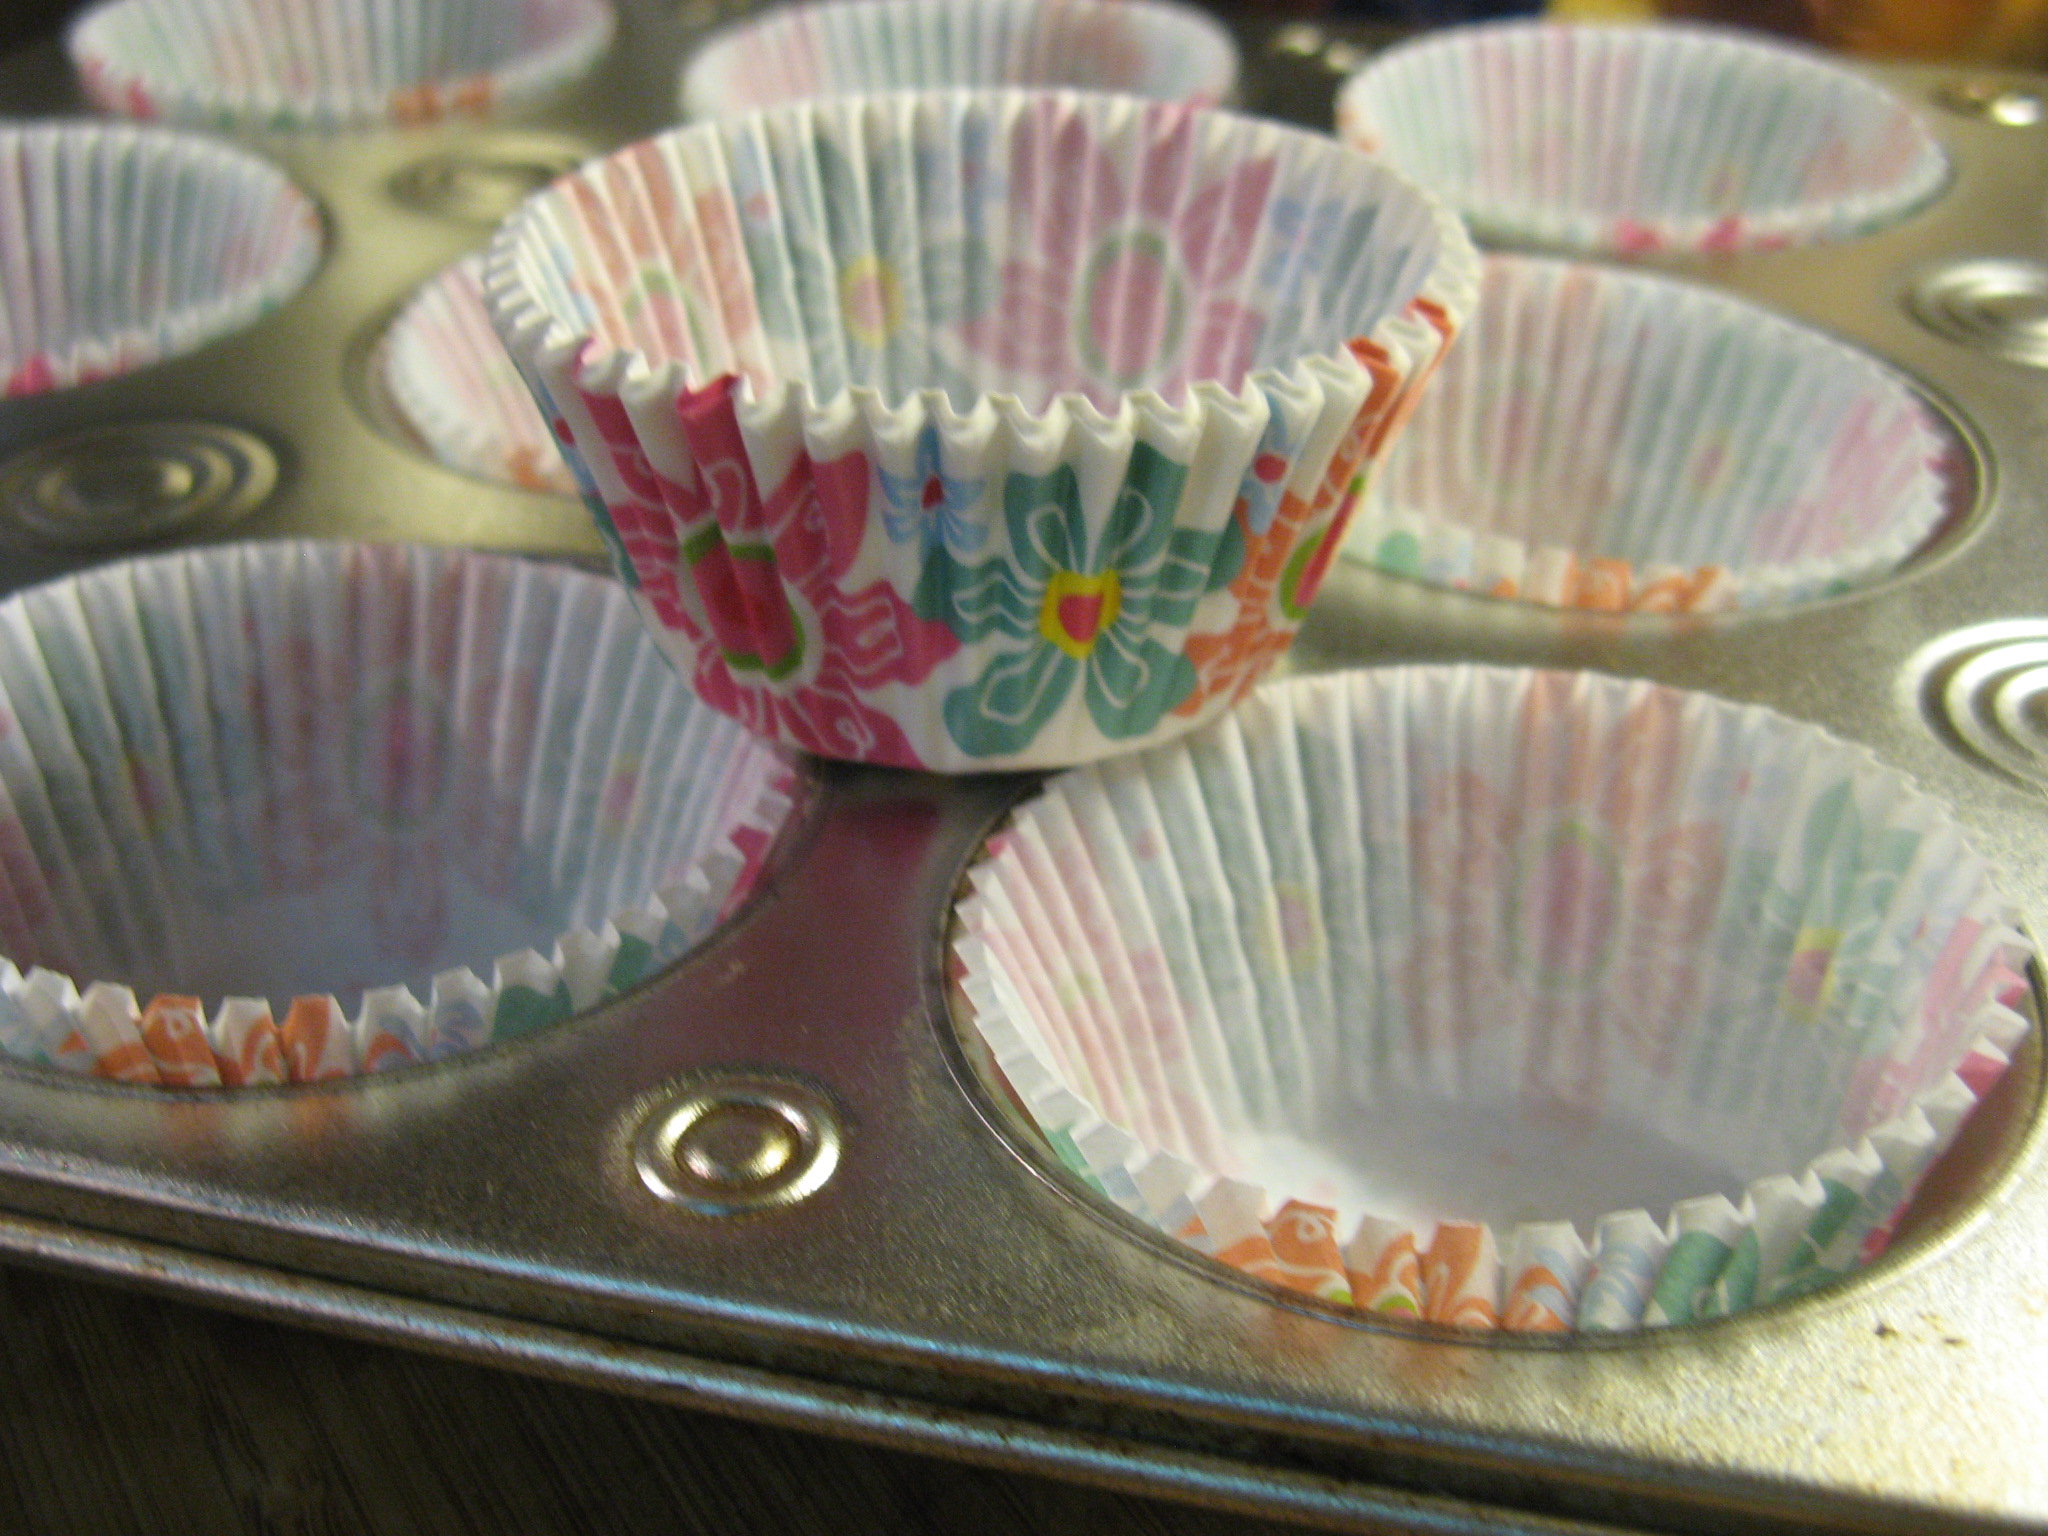
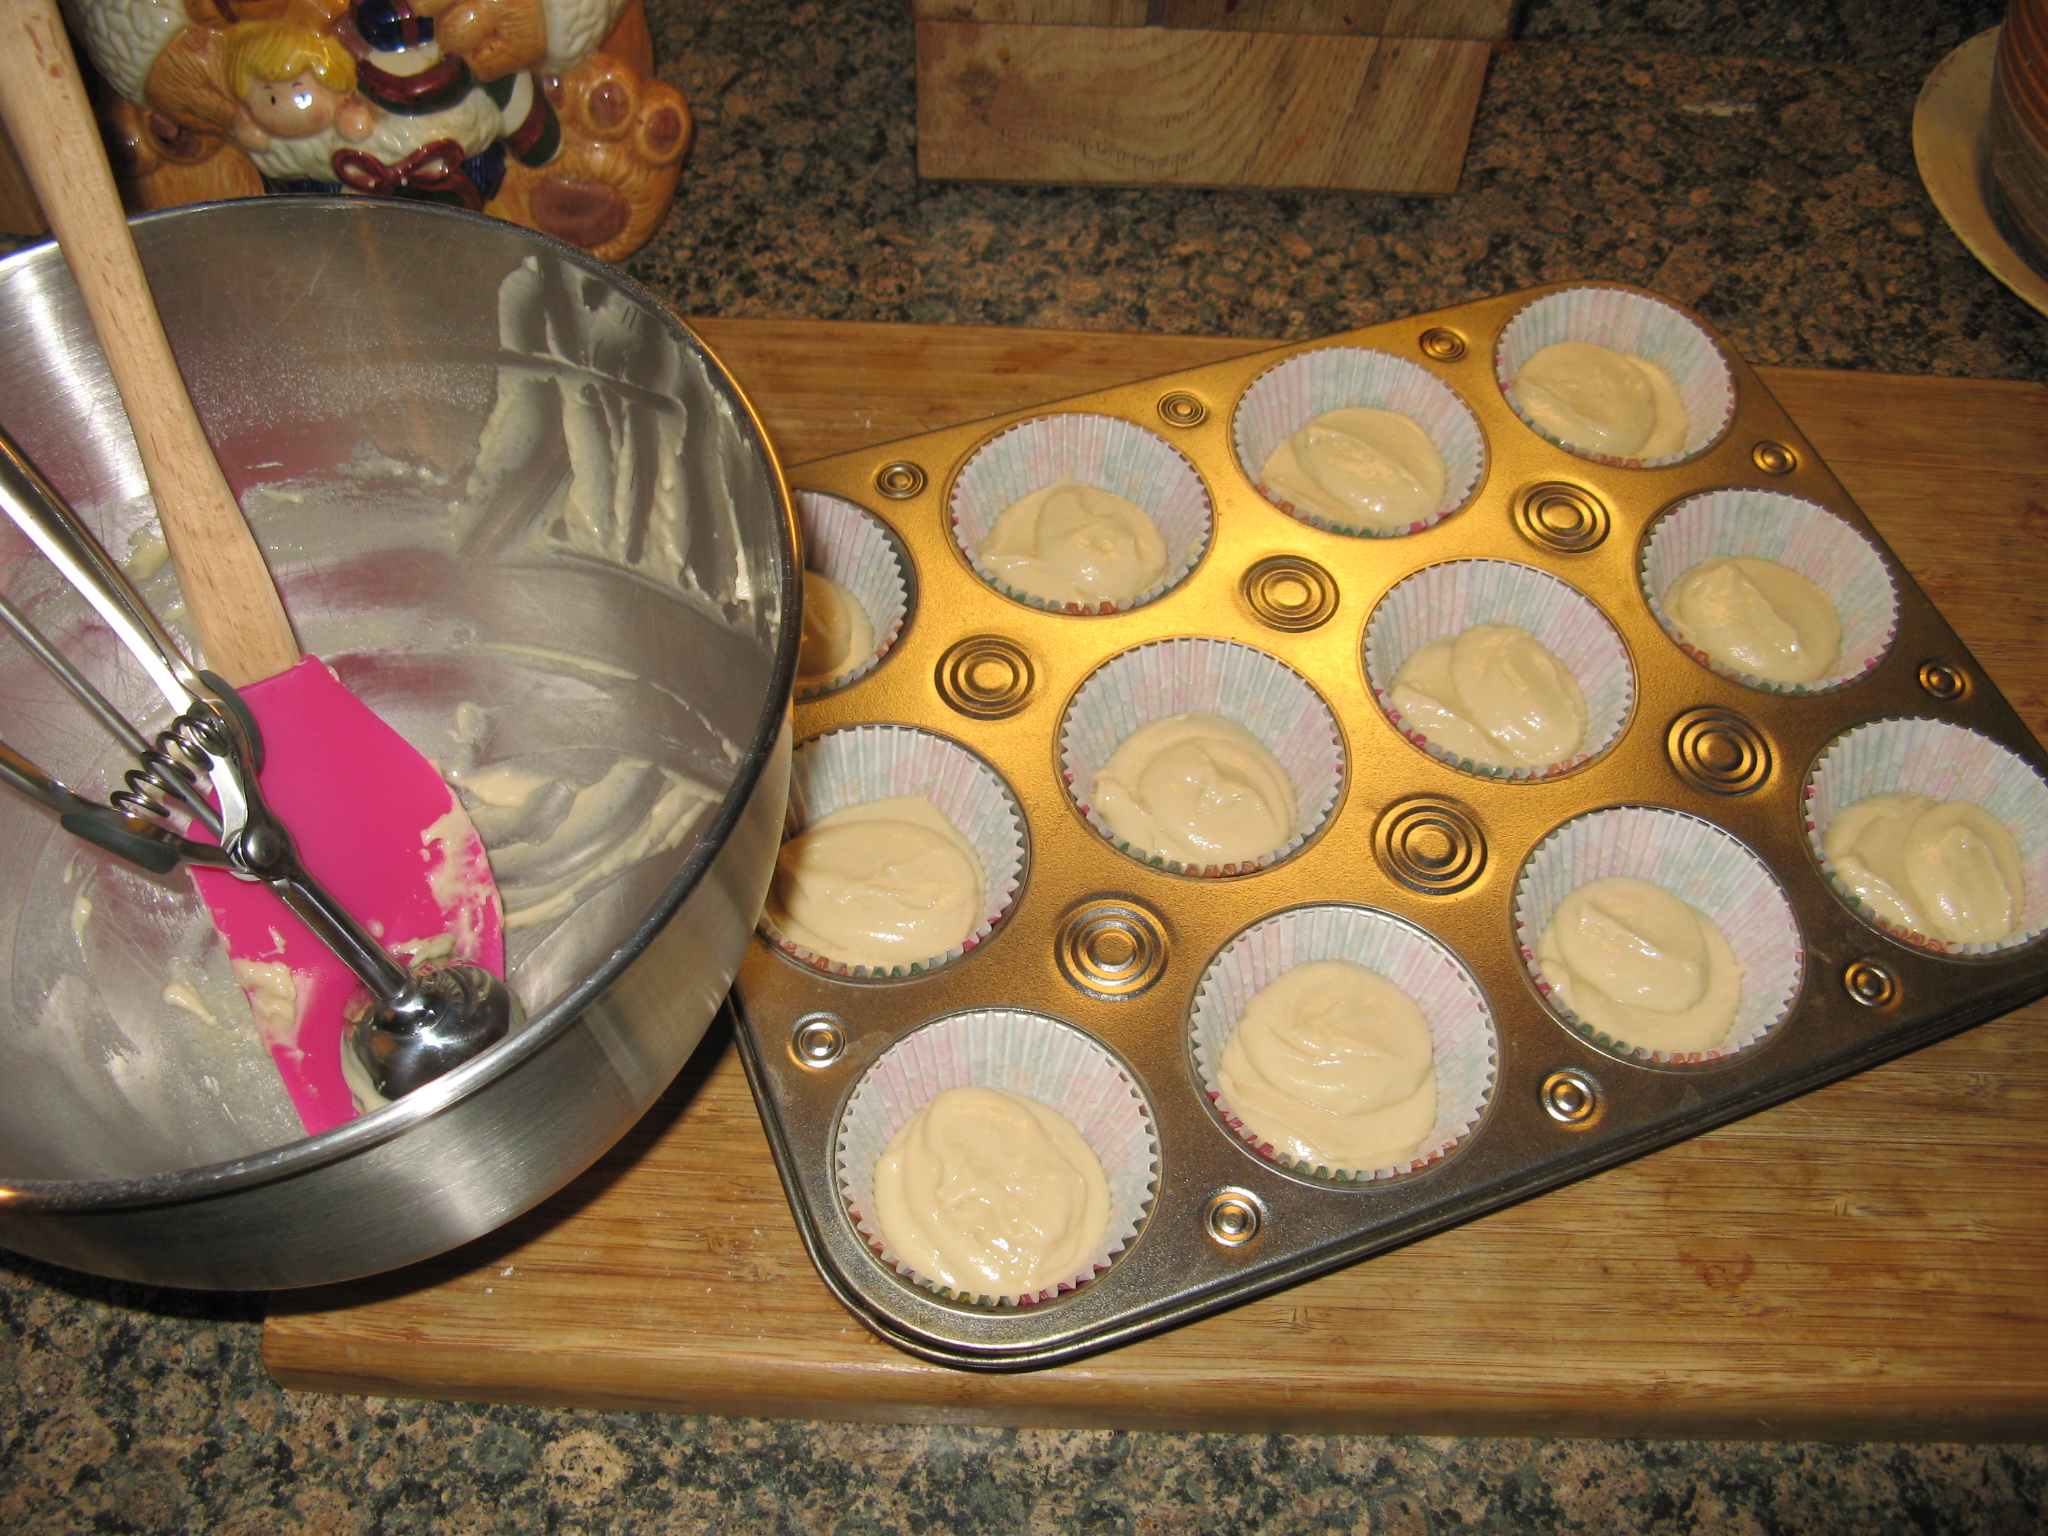
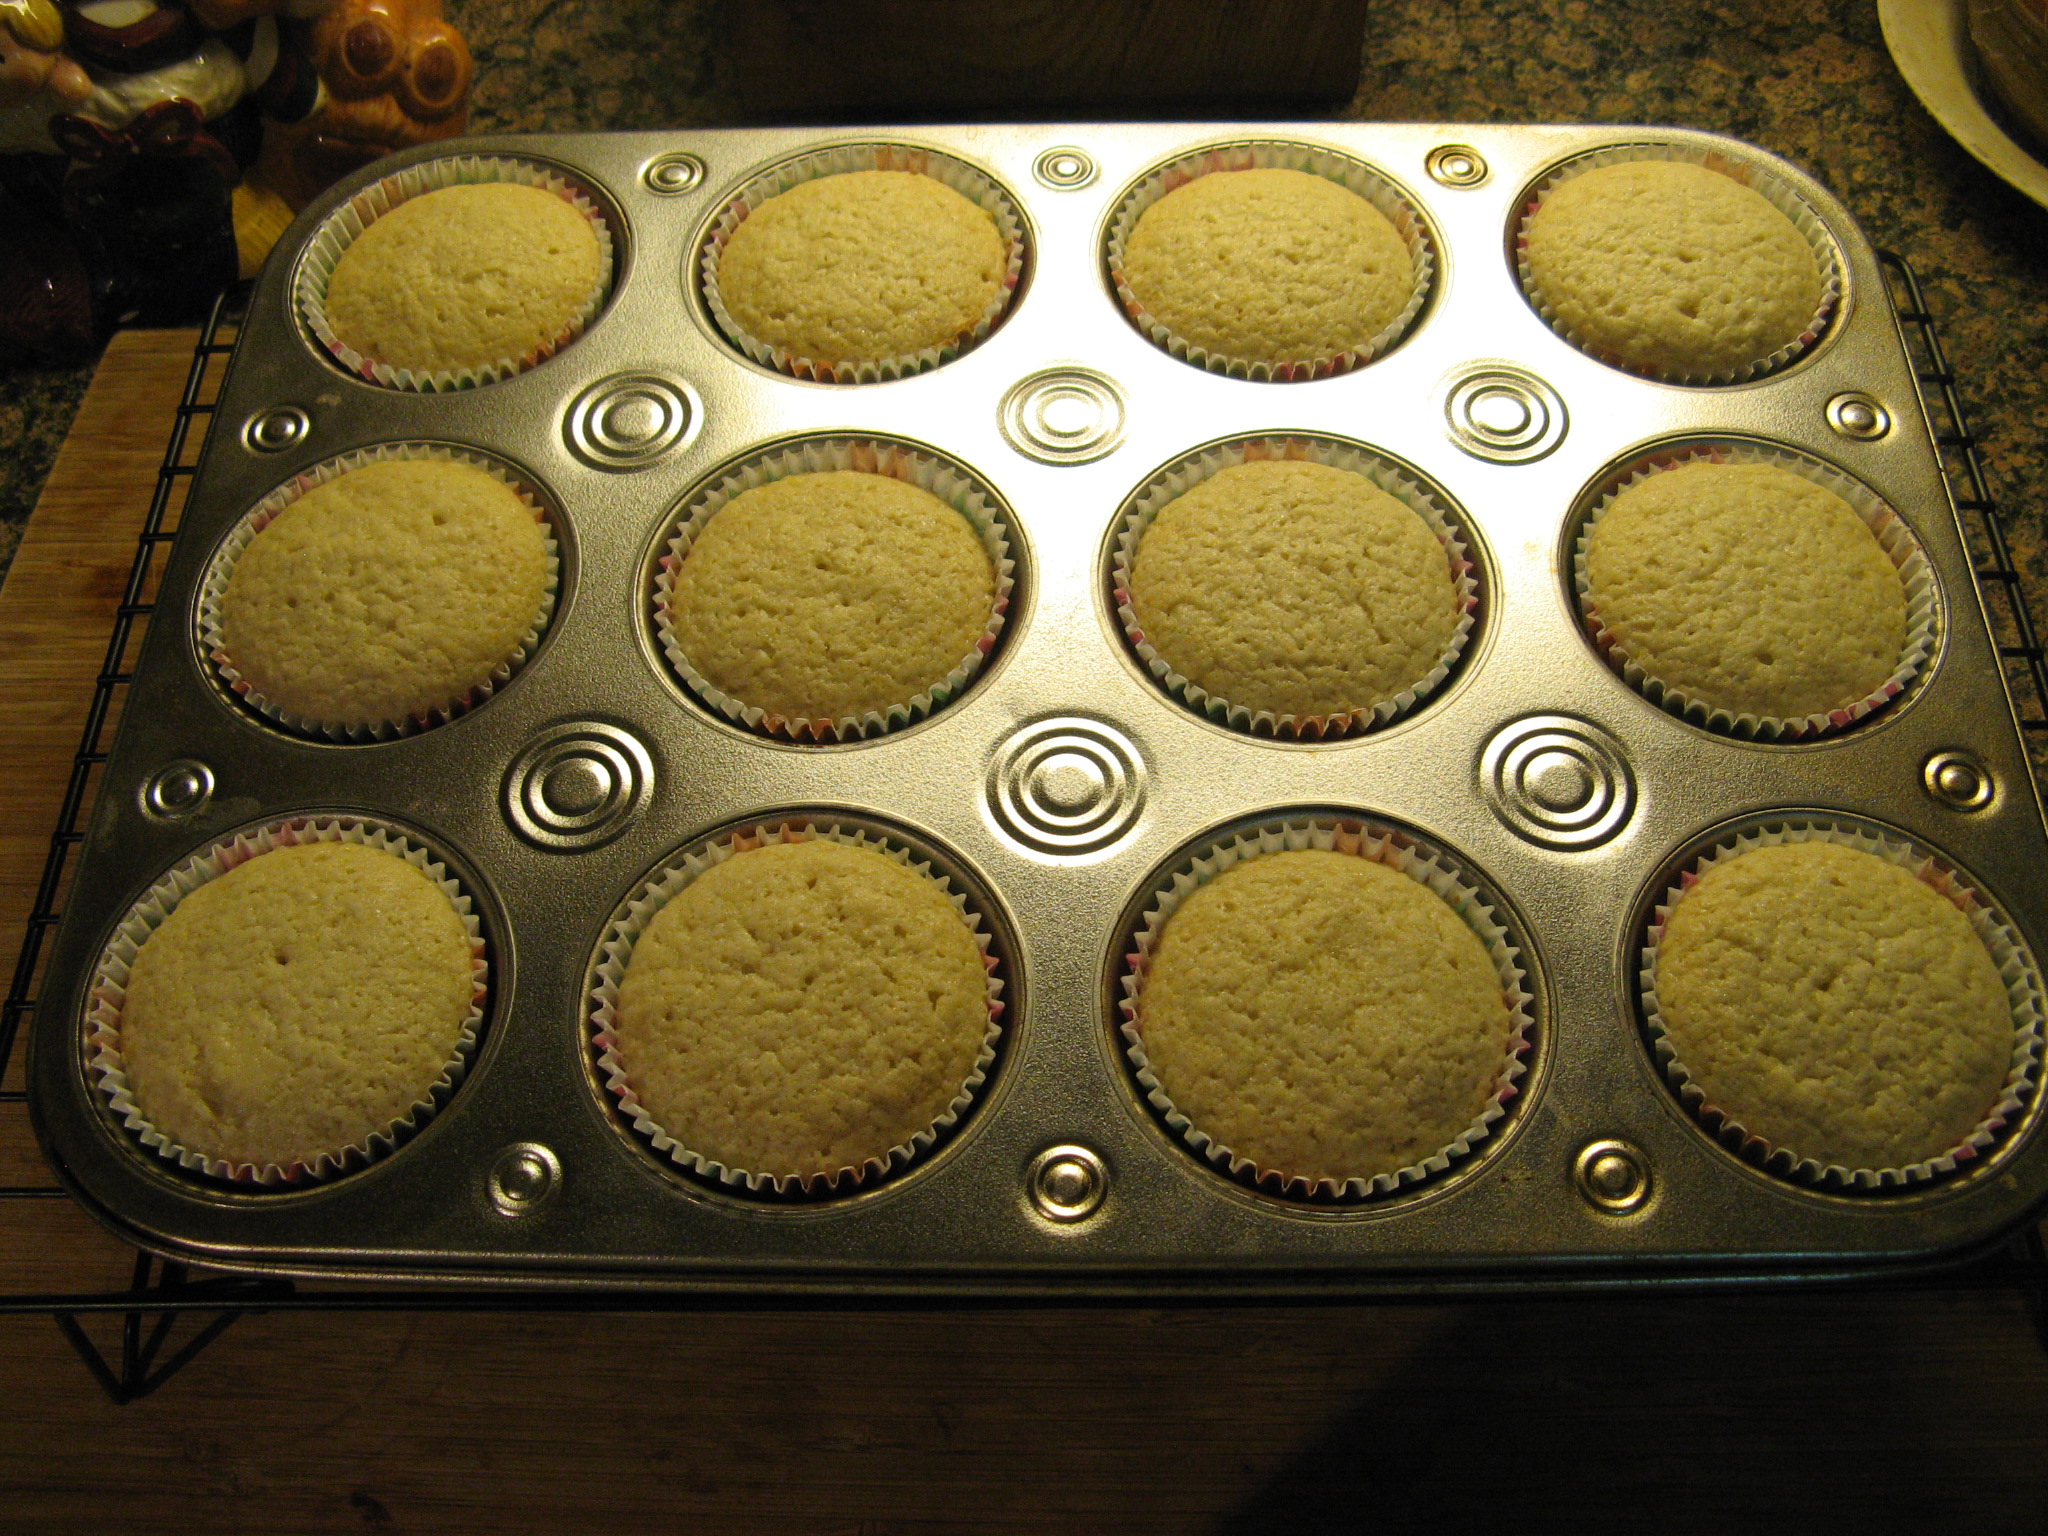
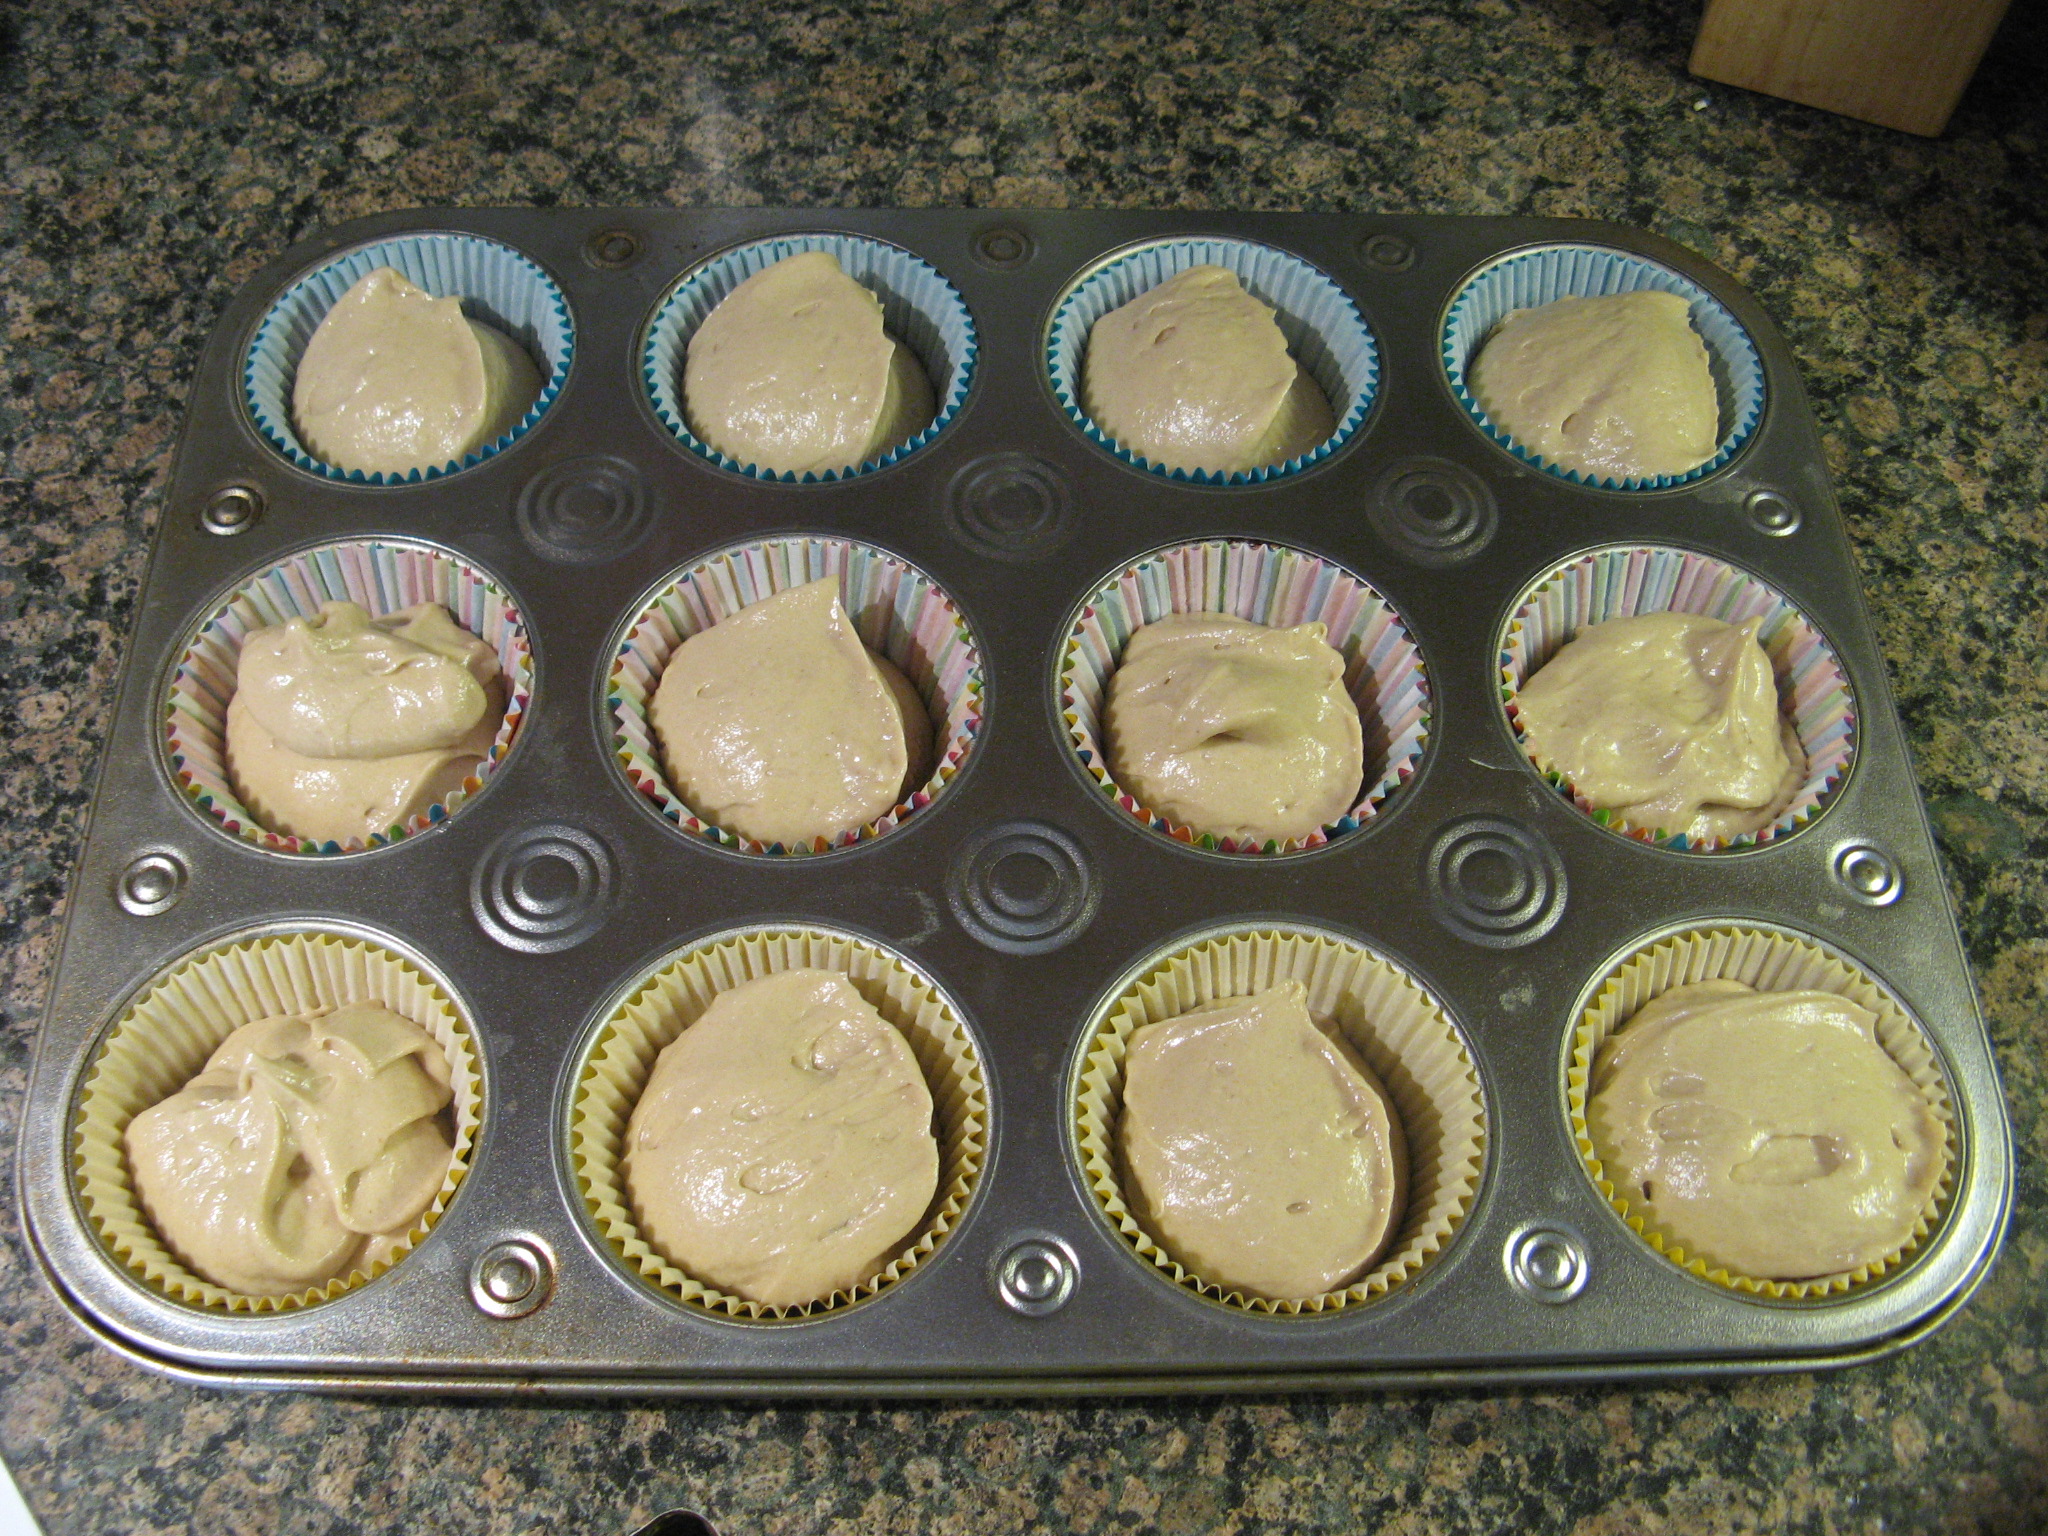
After filling the cupcake liners with about 1/4 cup of batter I baked them in a 350 F preheated oven for 25 minutes.

IMG_3705

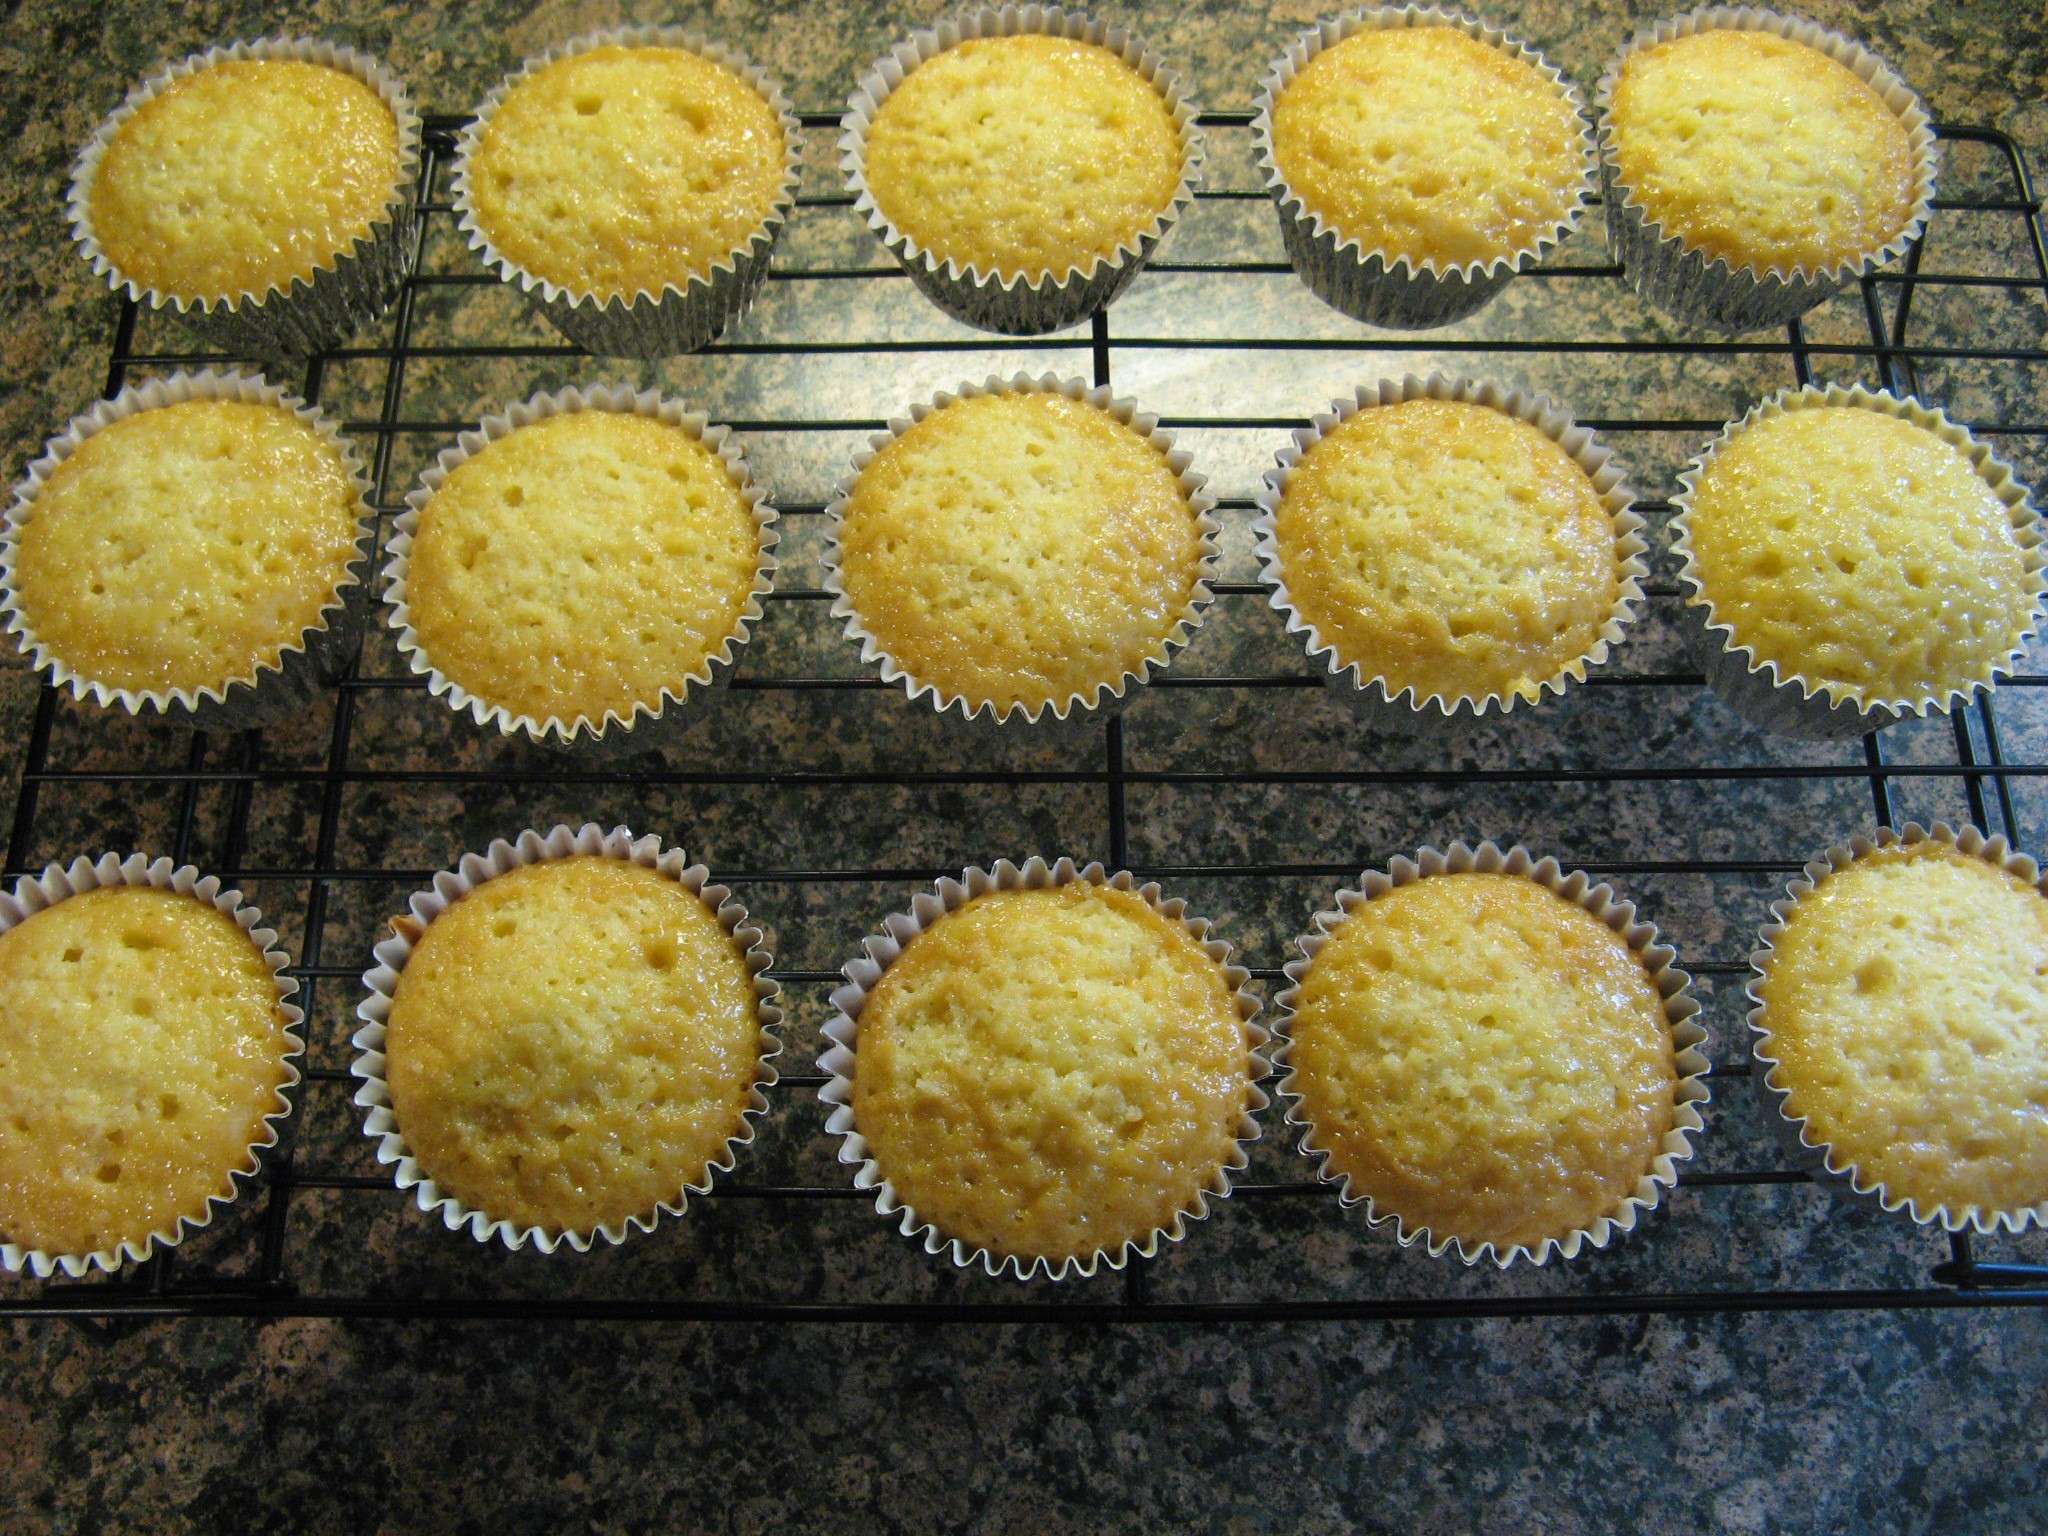
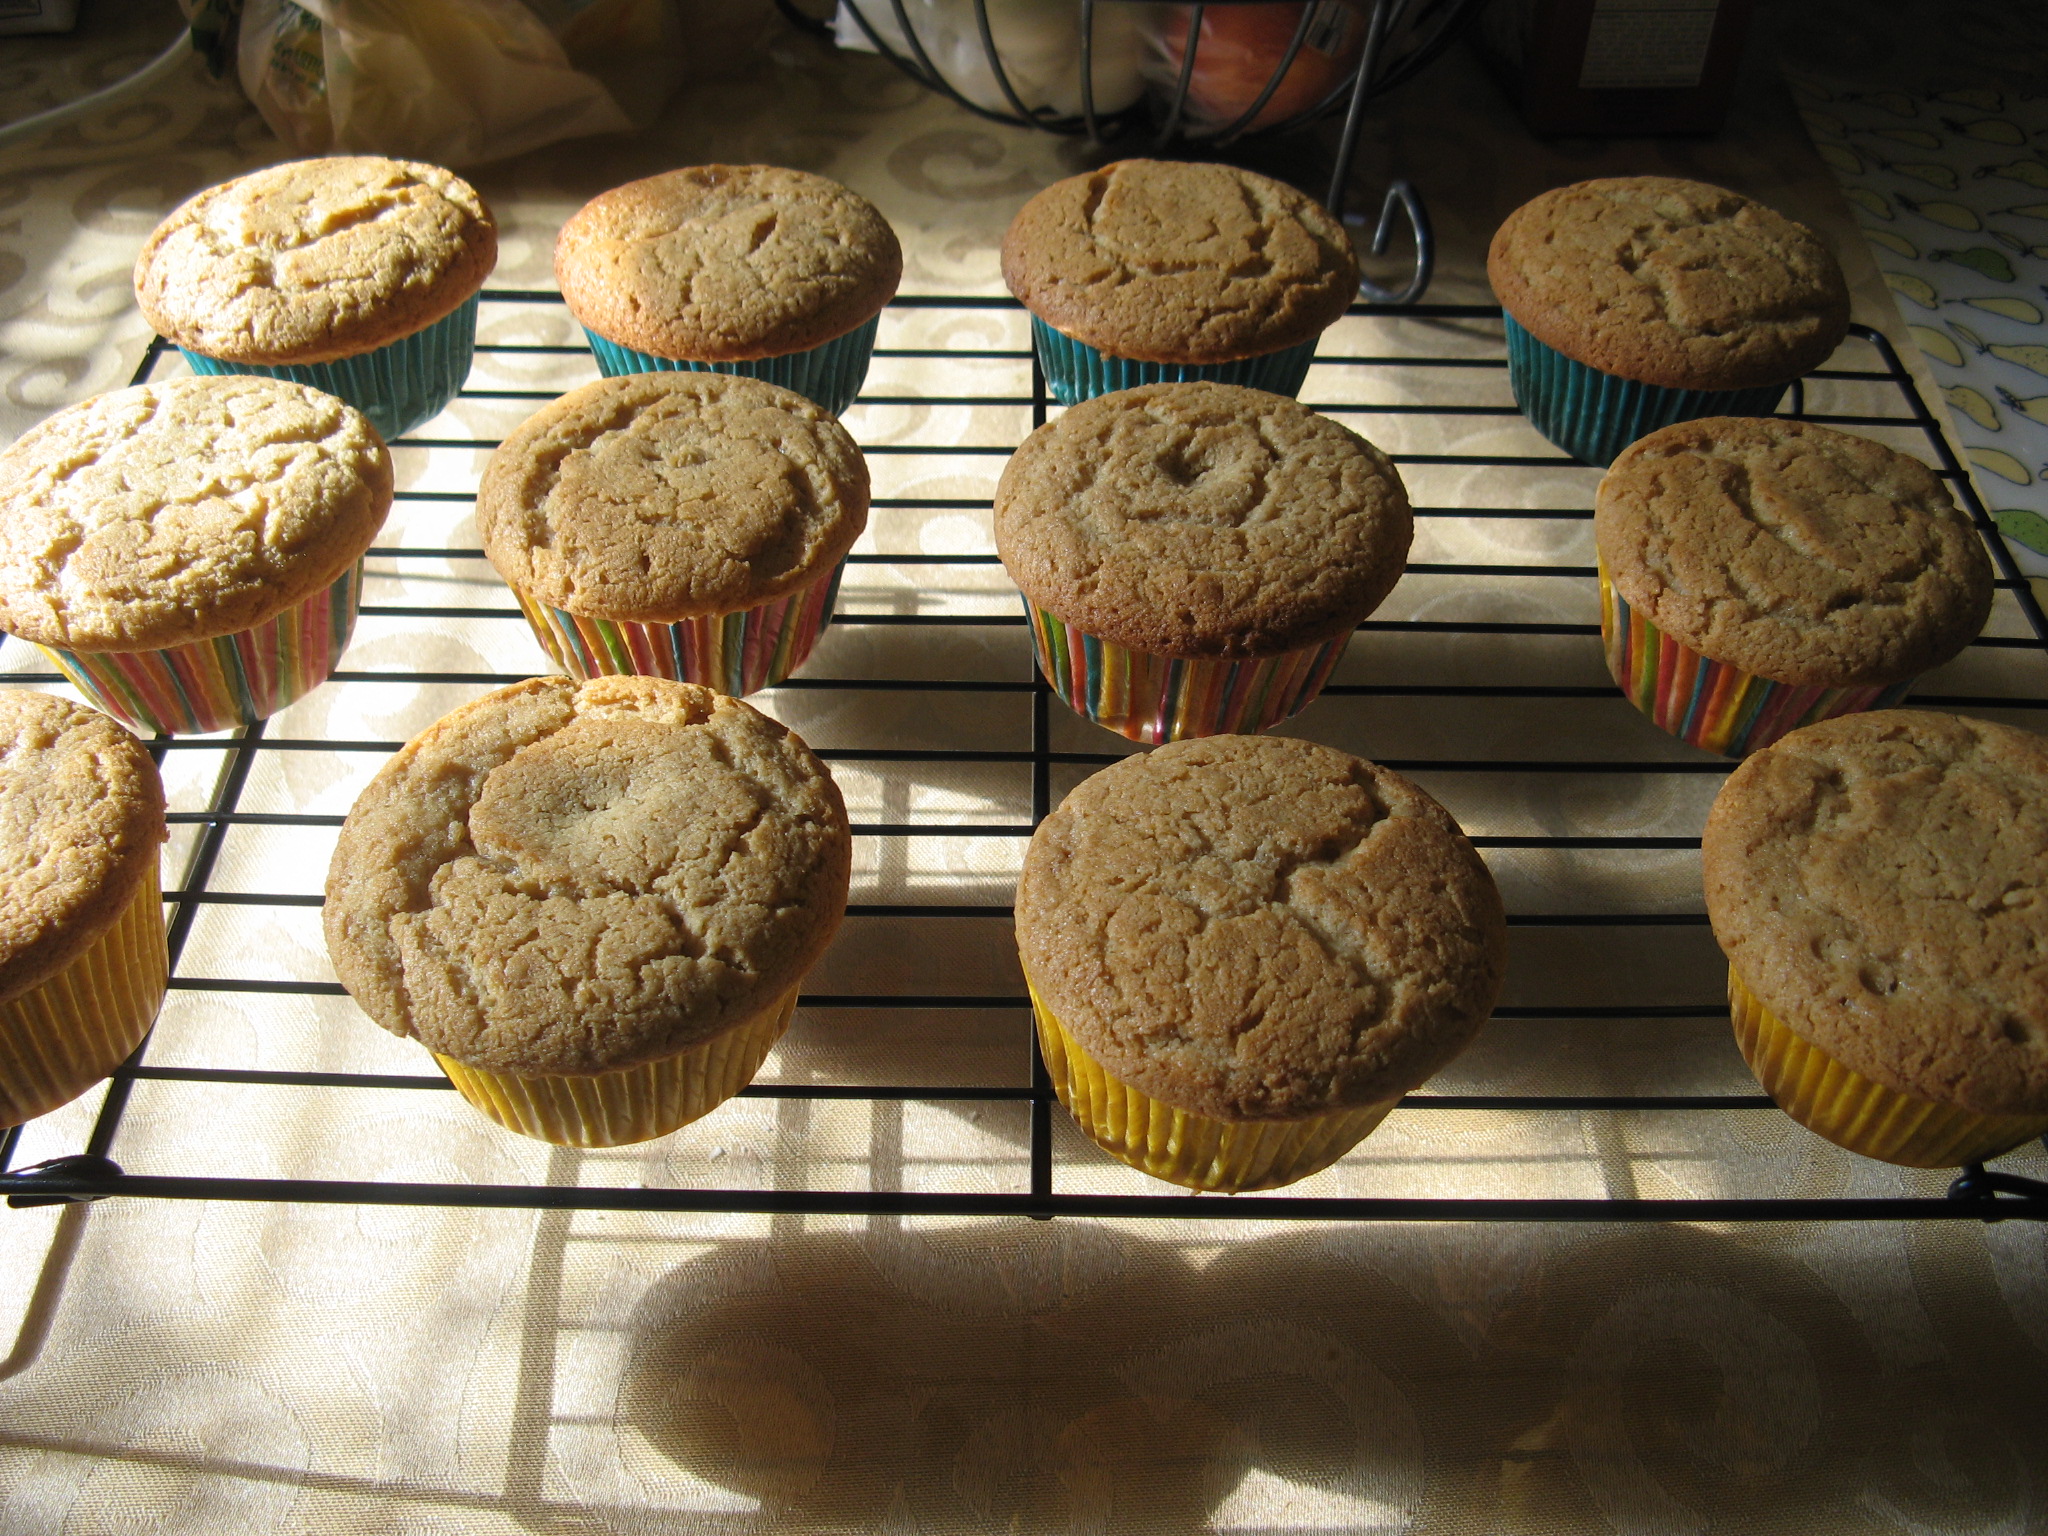
I let them sit in the pan for a few minutes before removing the cupcakes and letting them cool completely on a wire rack.

IMG_3723

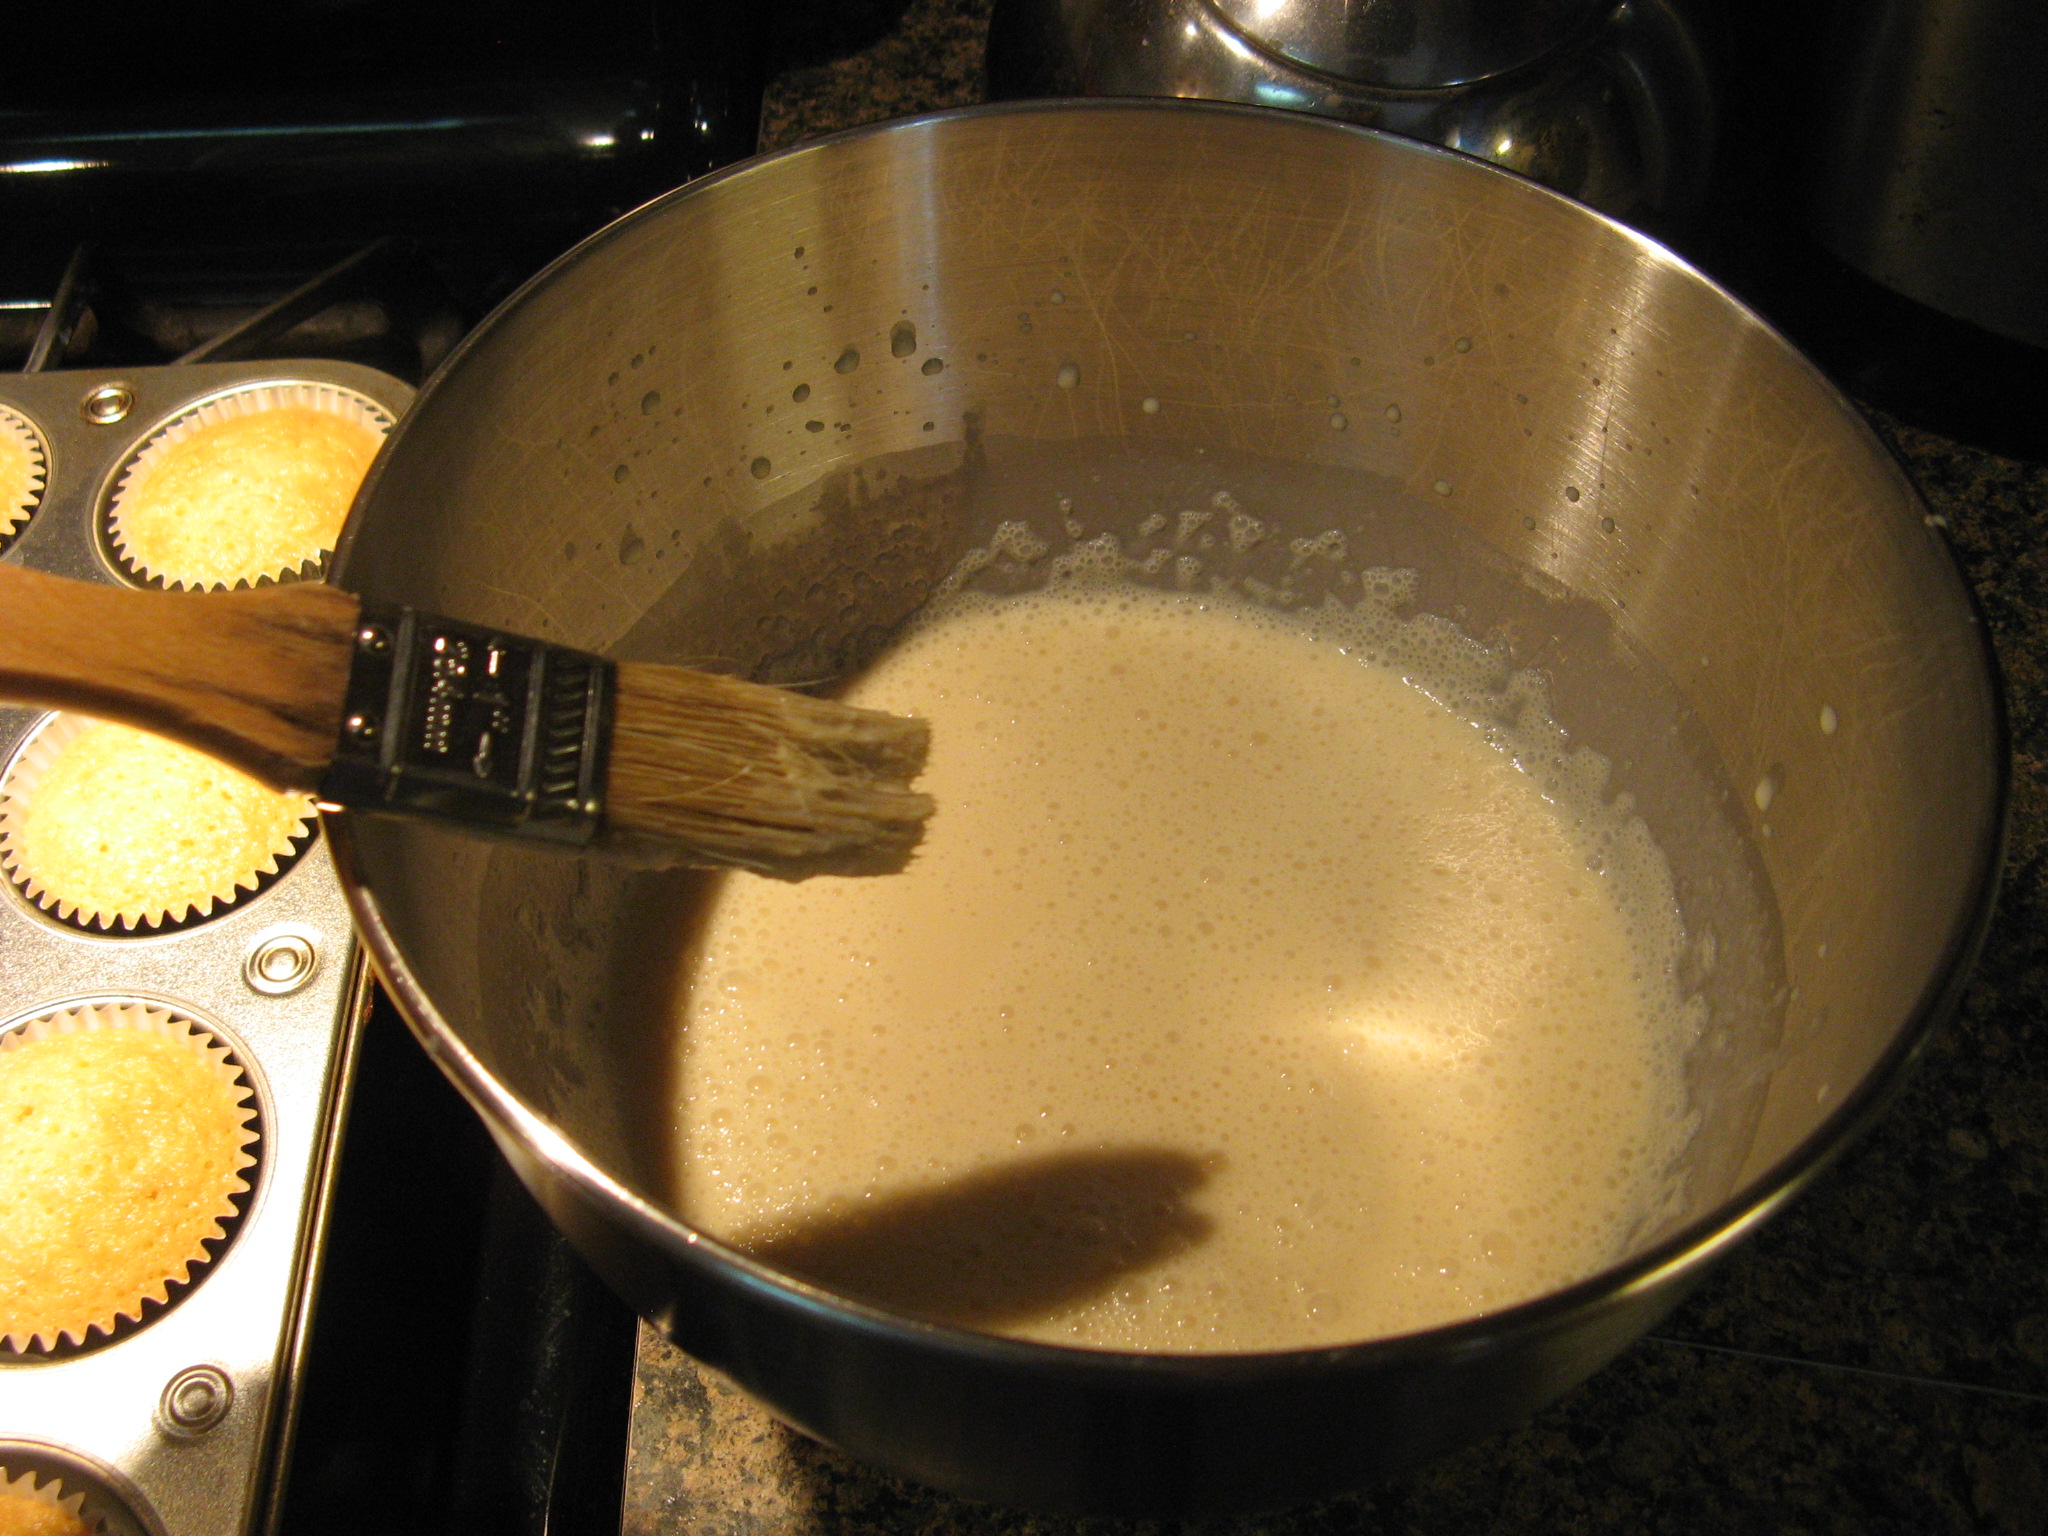
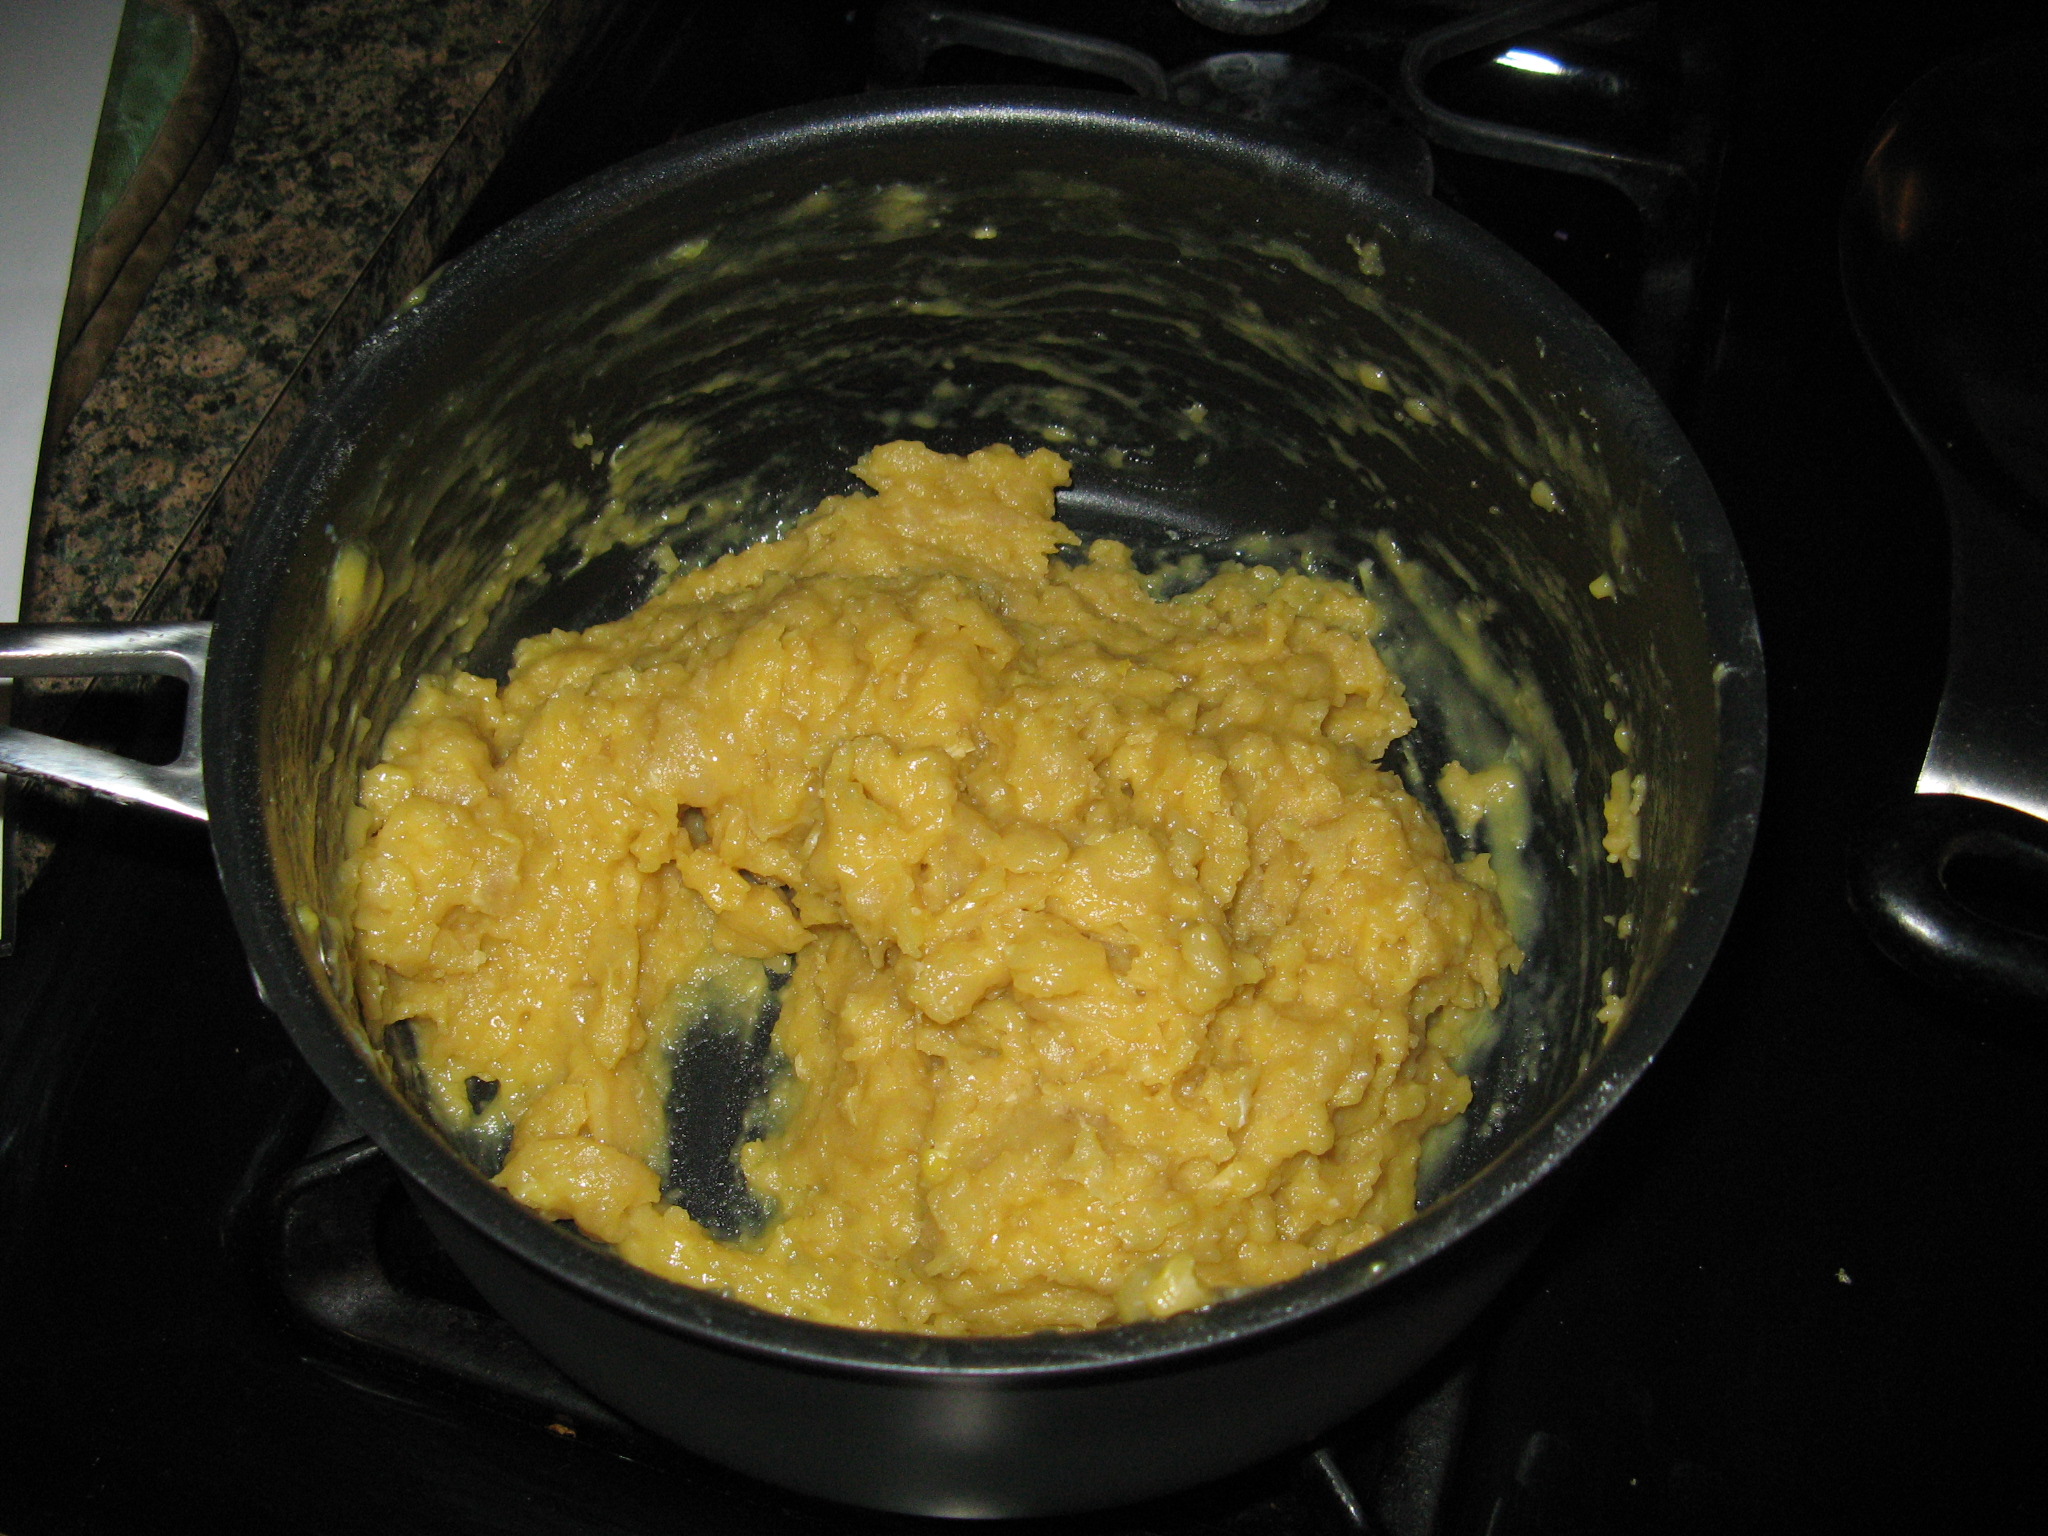
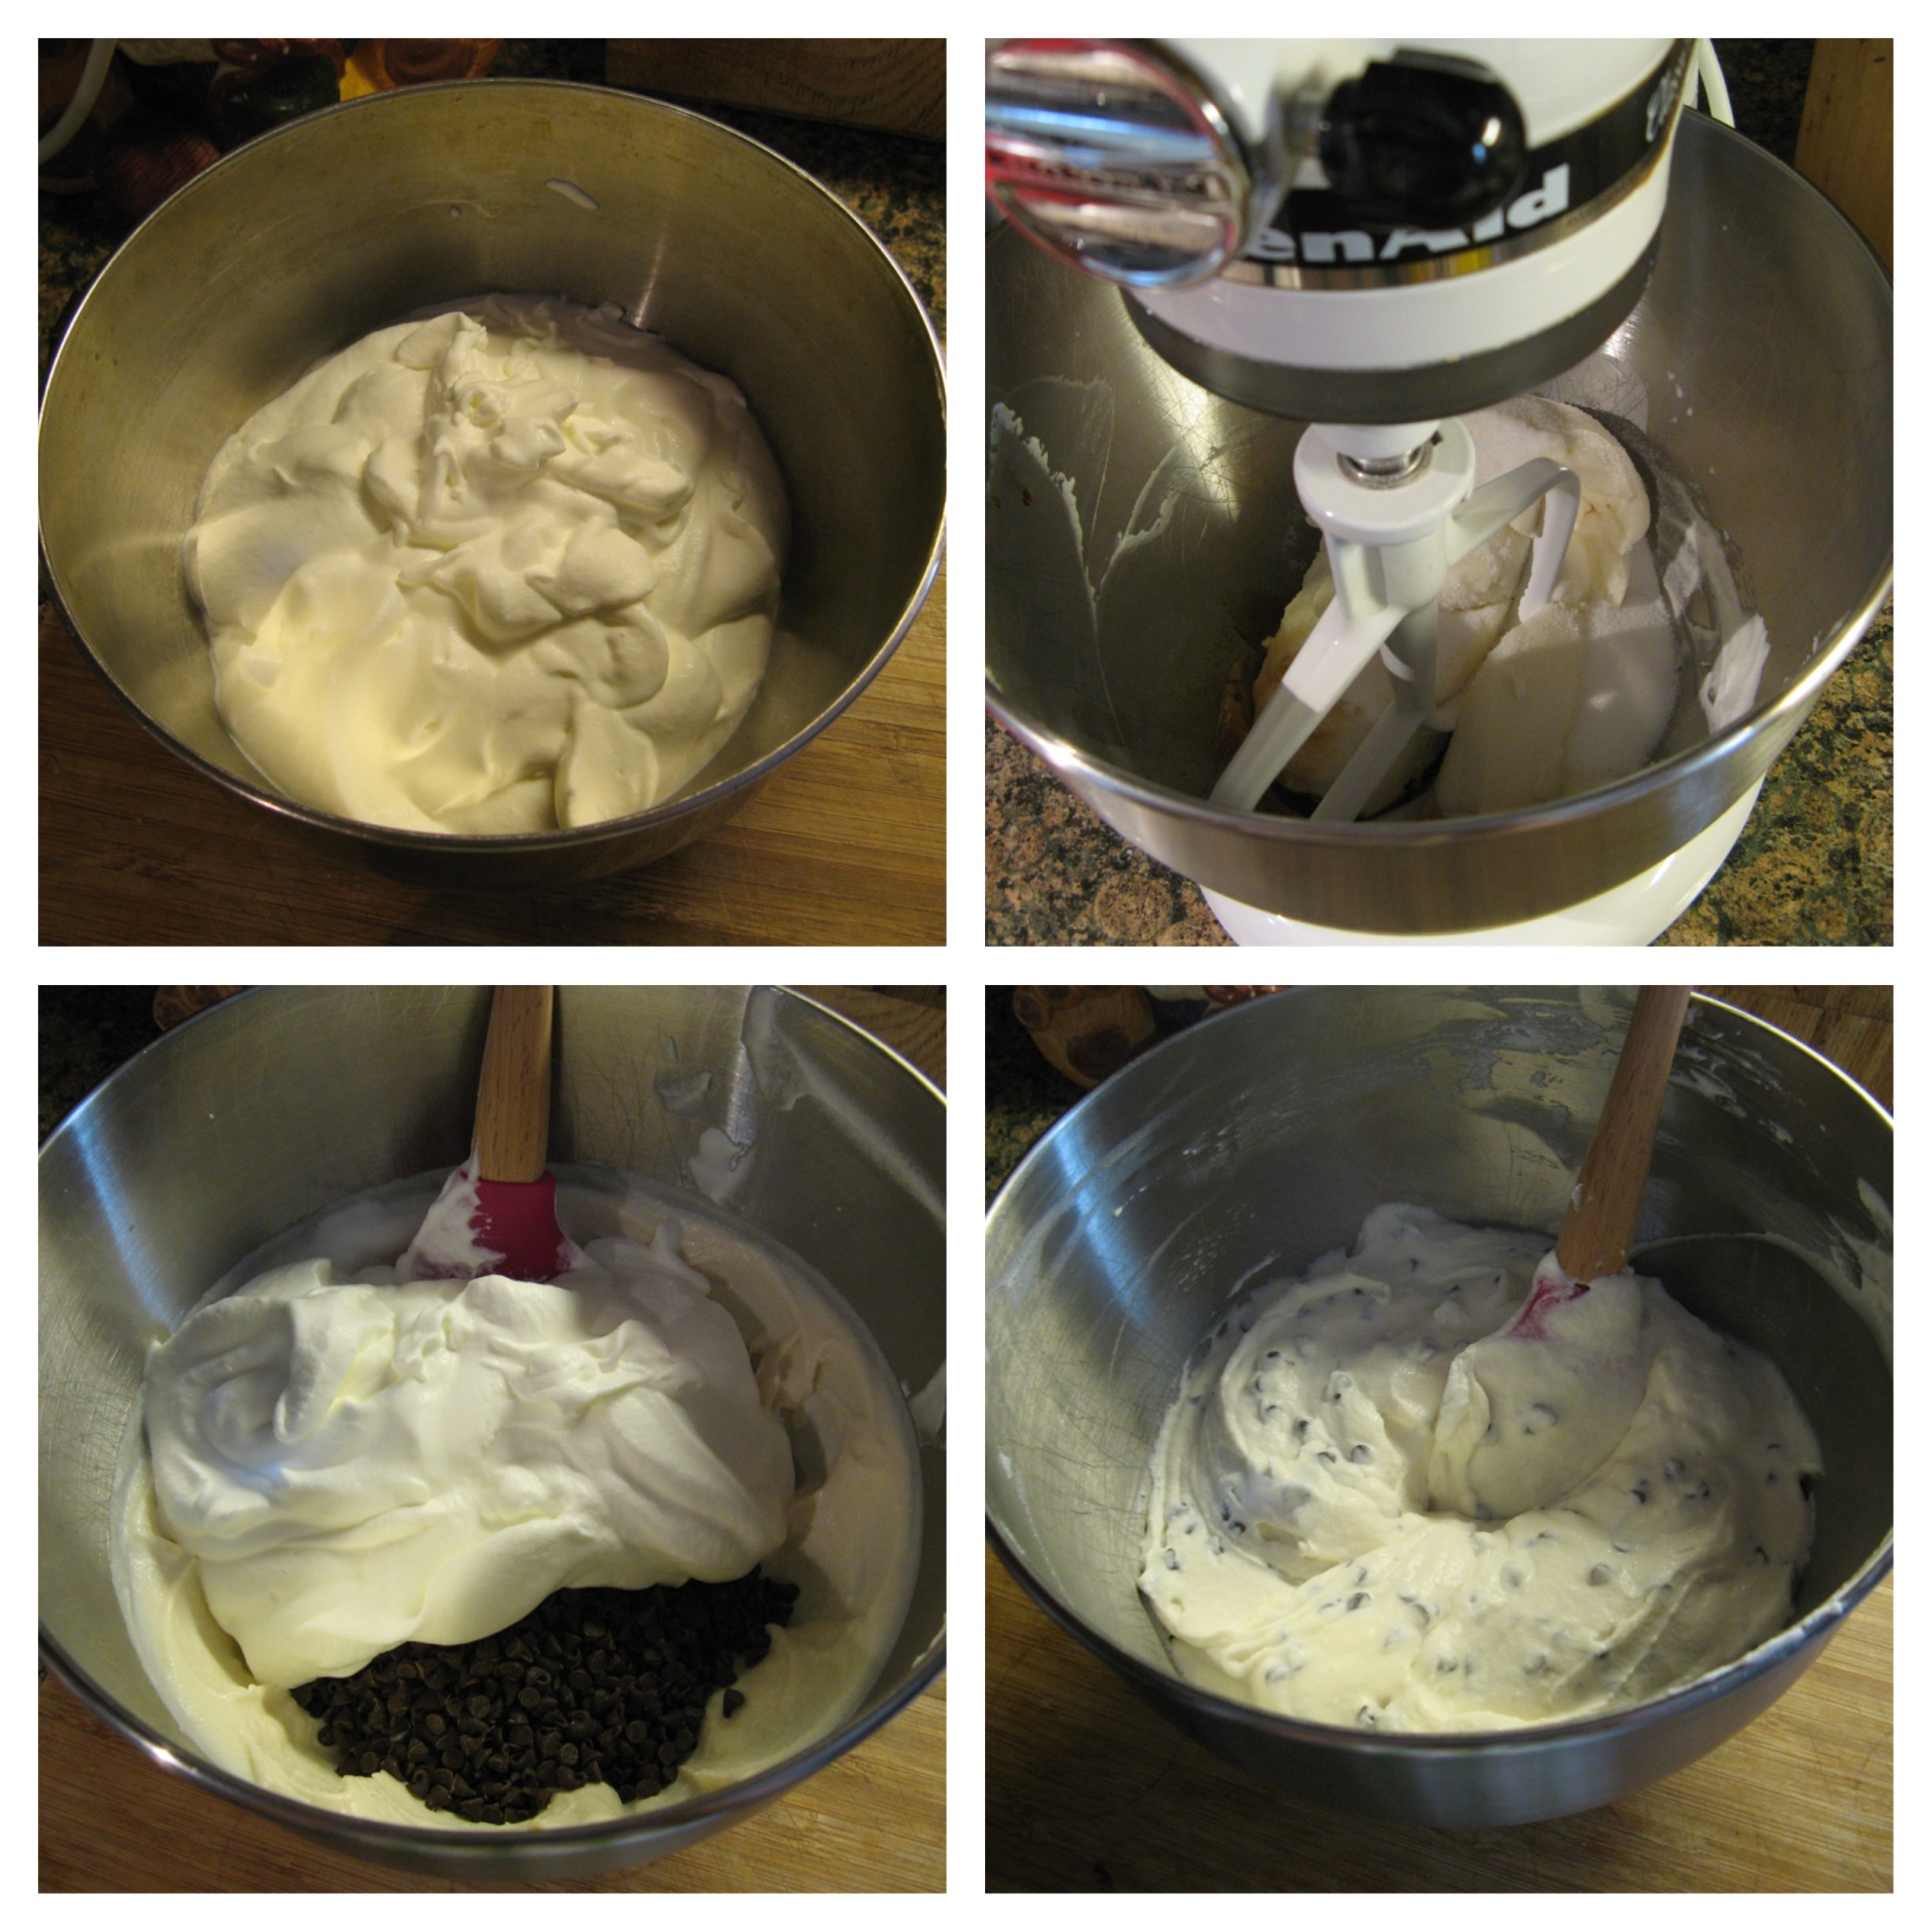
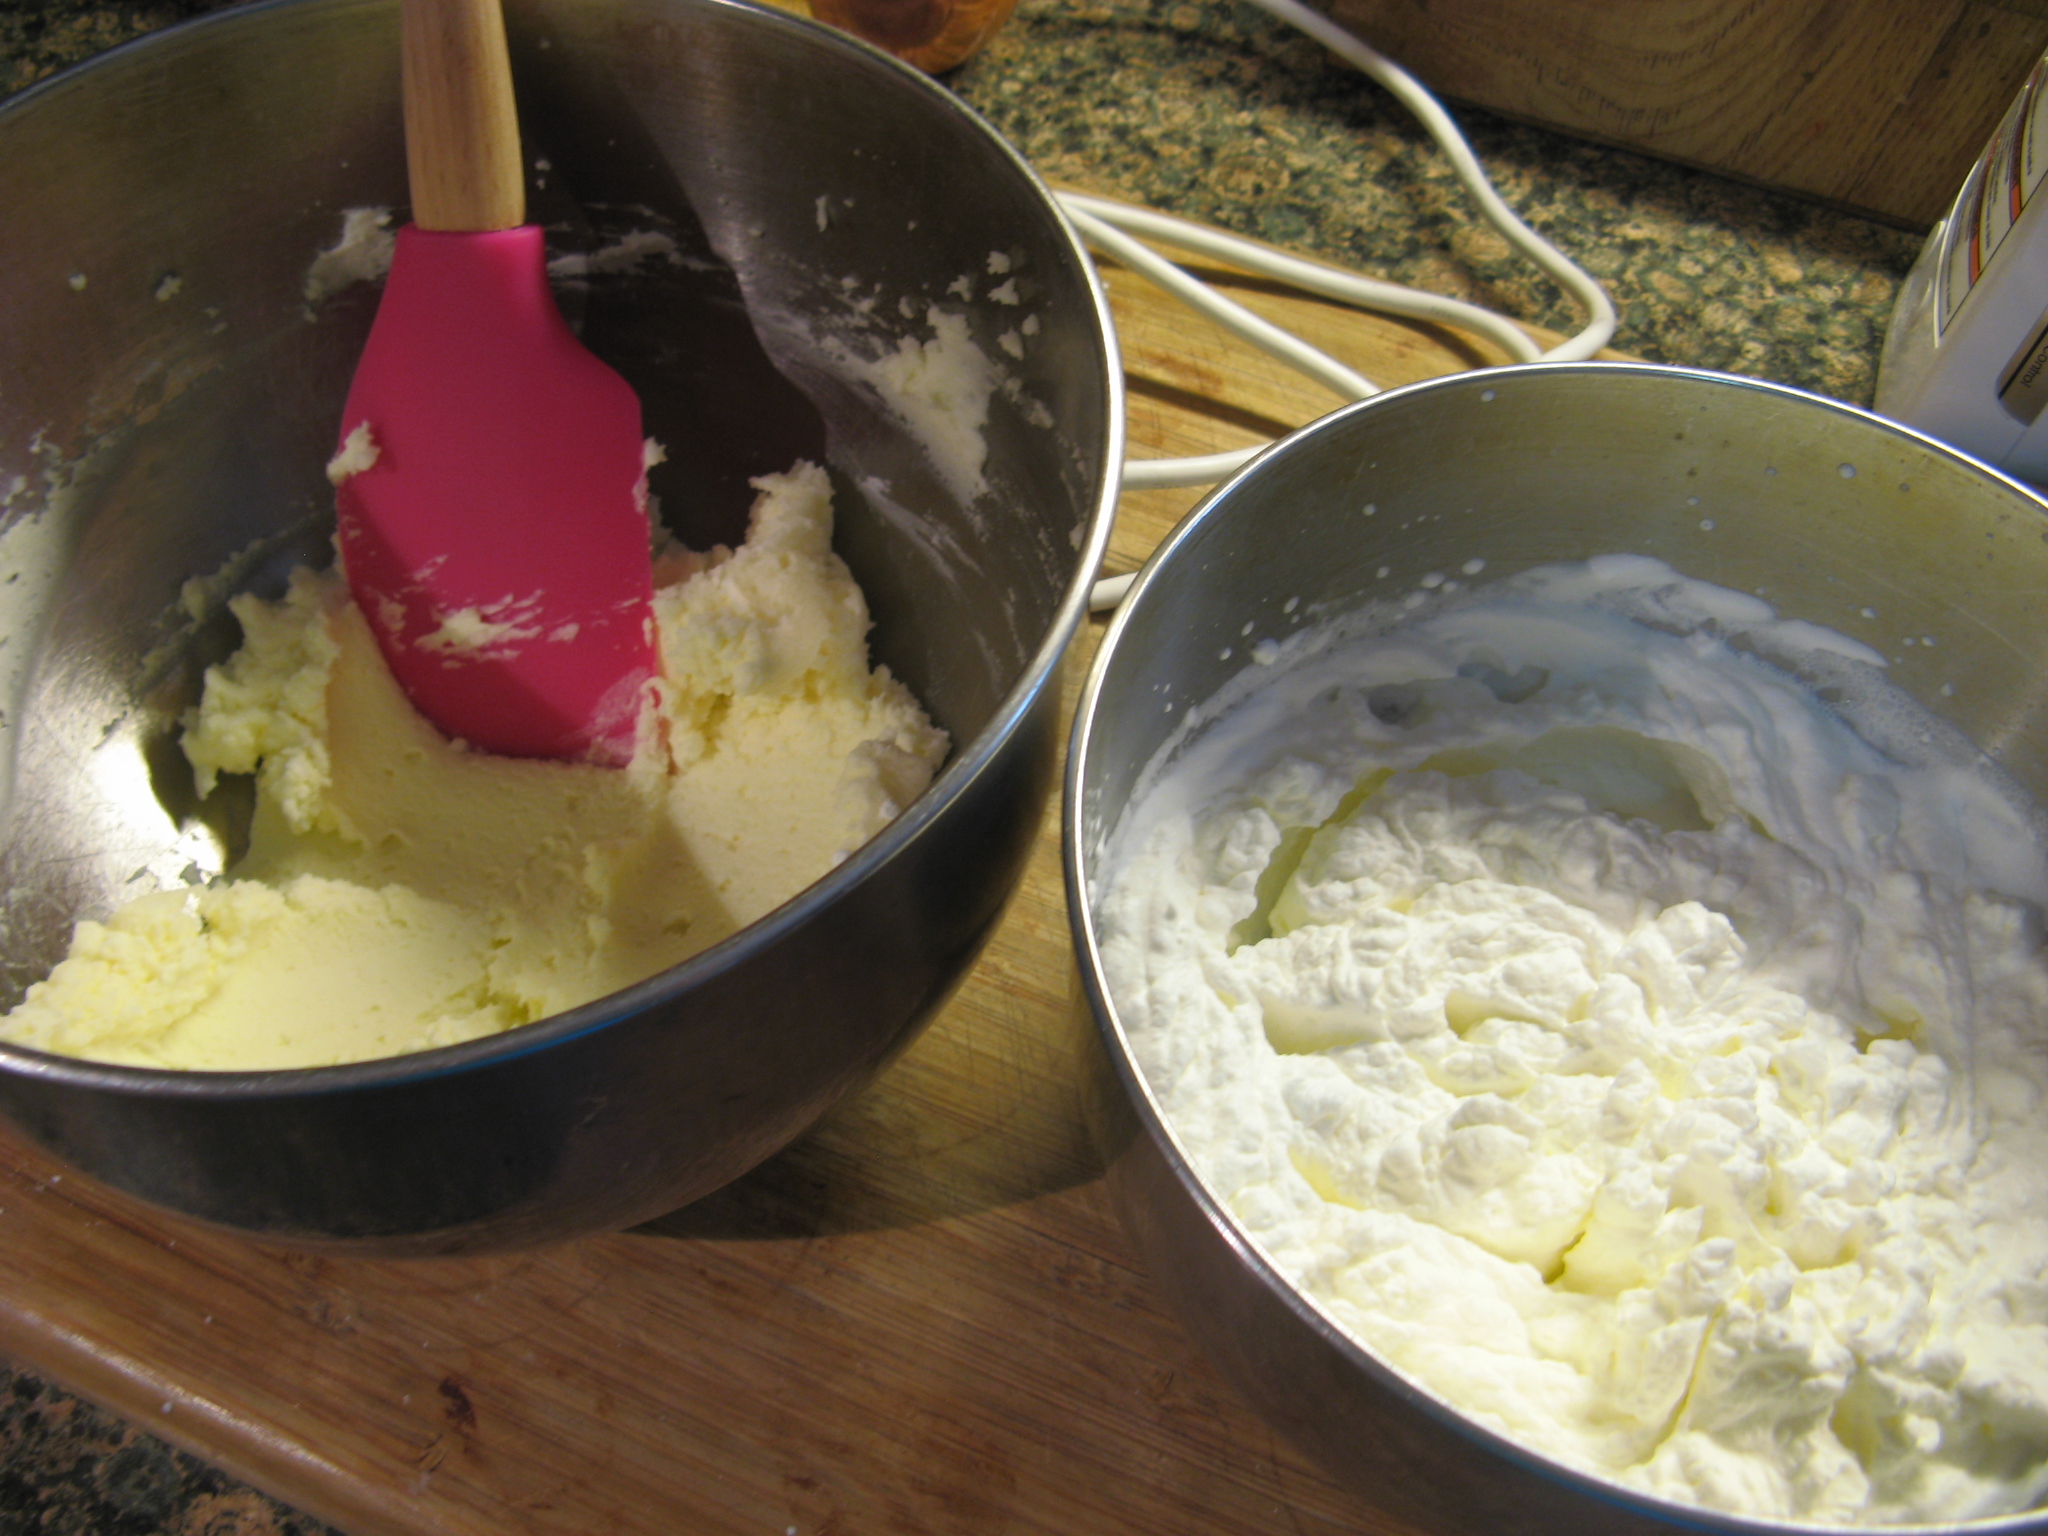
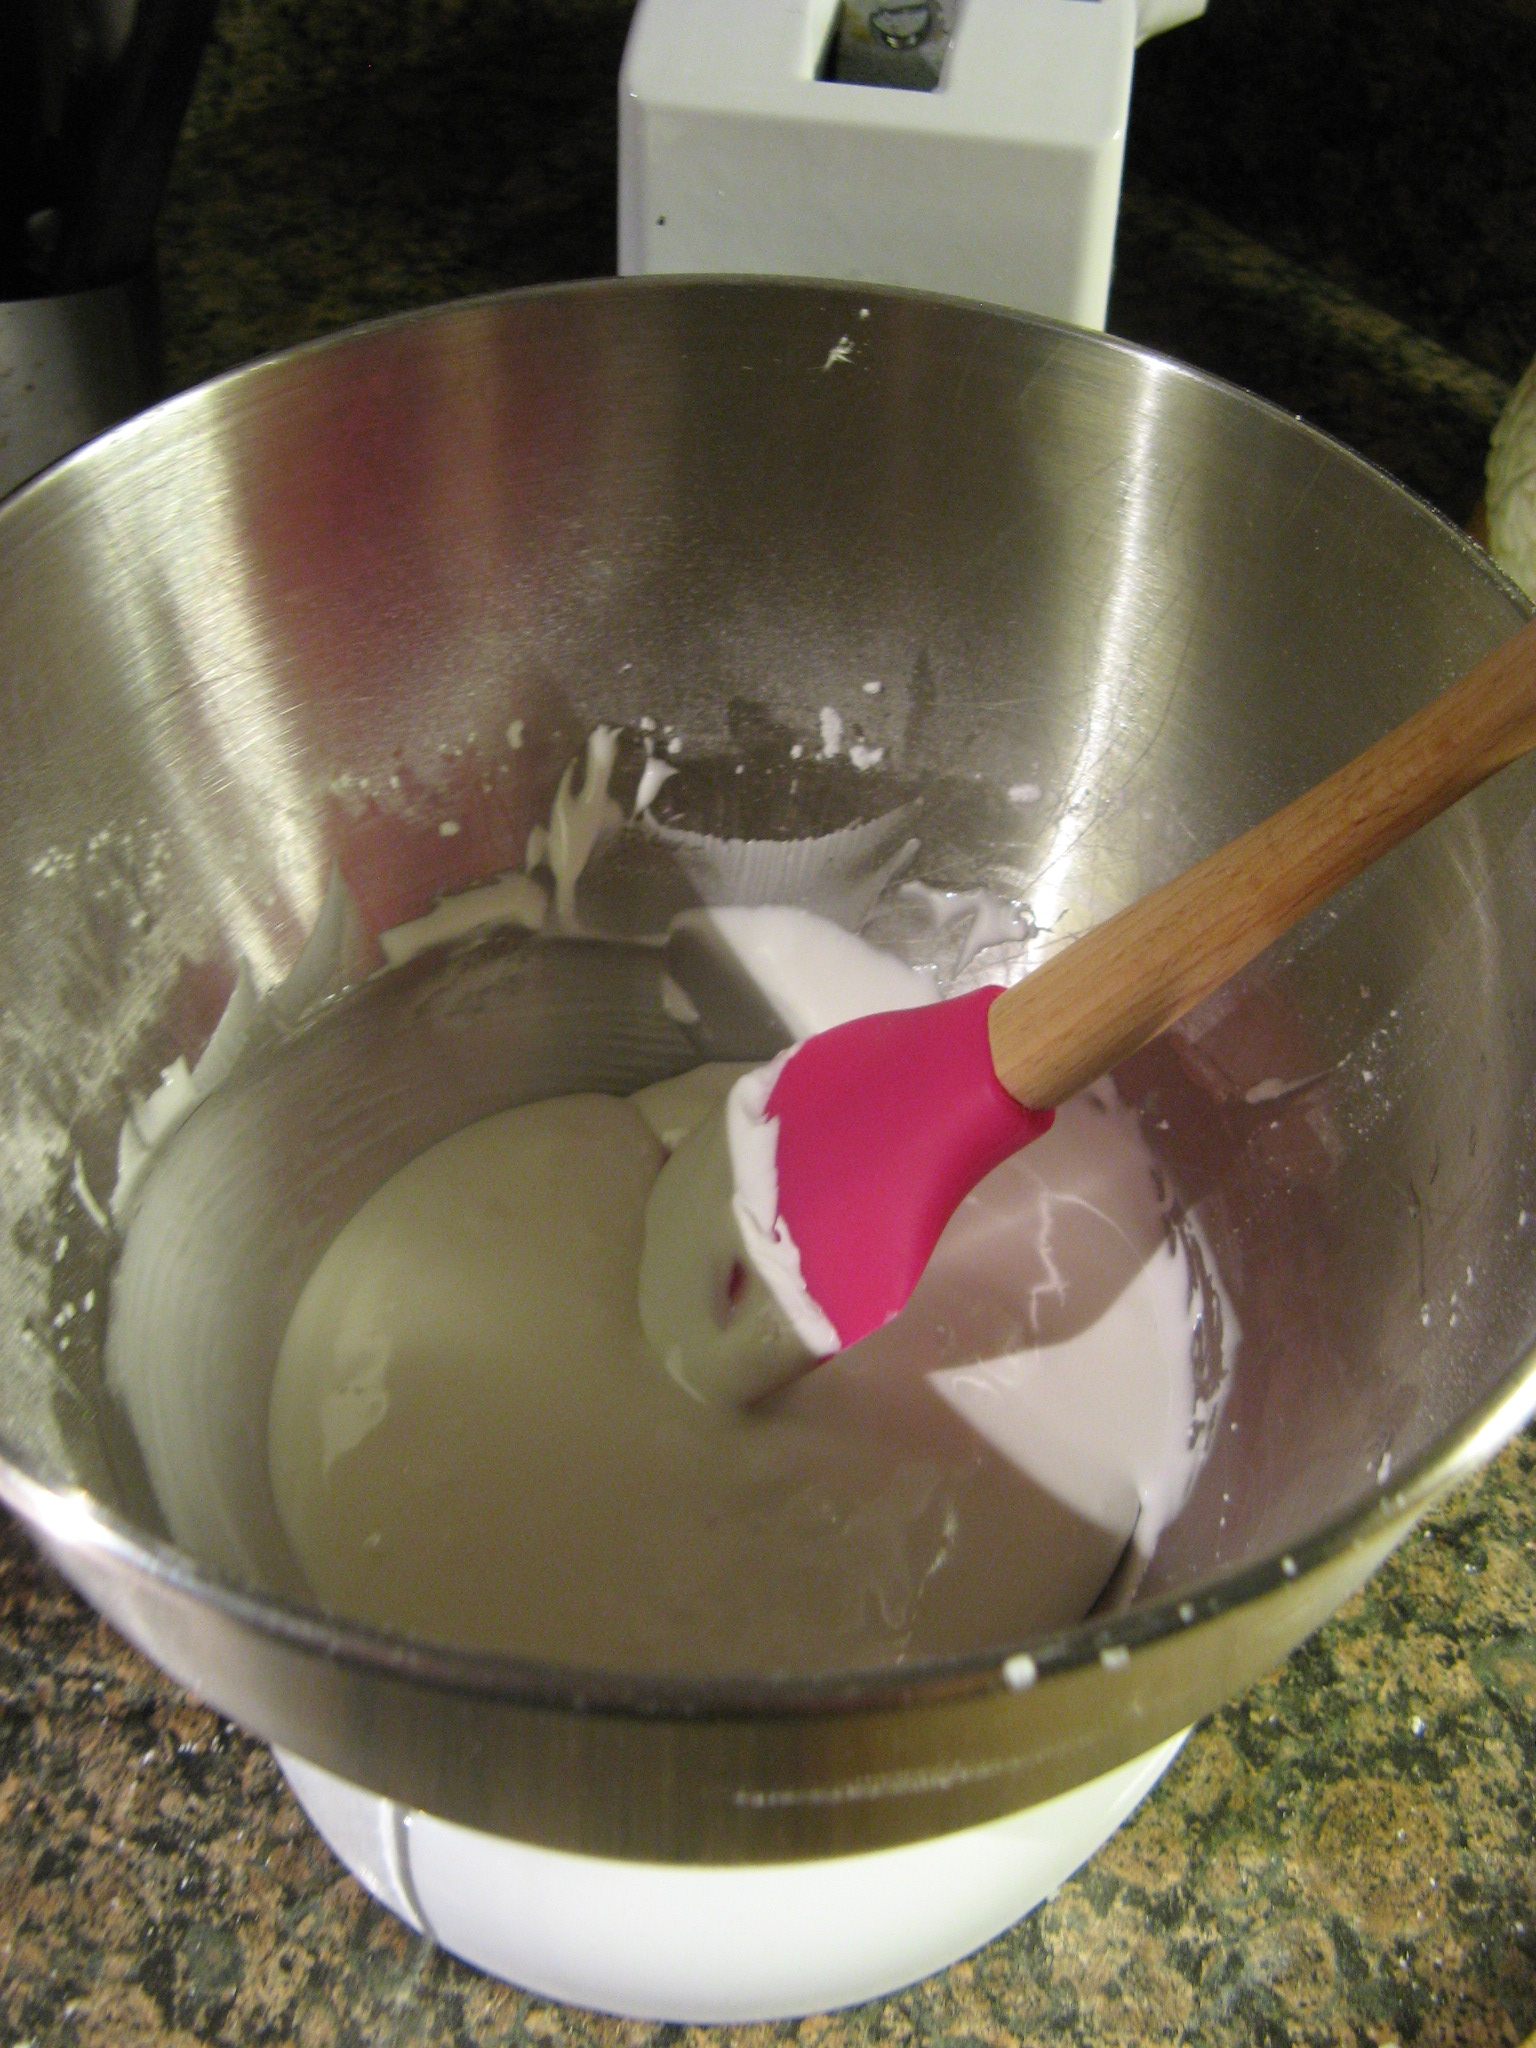
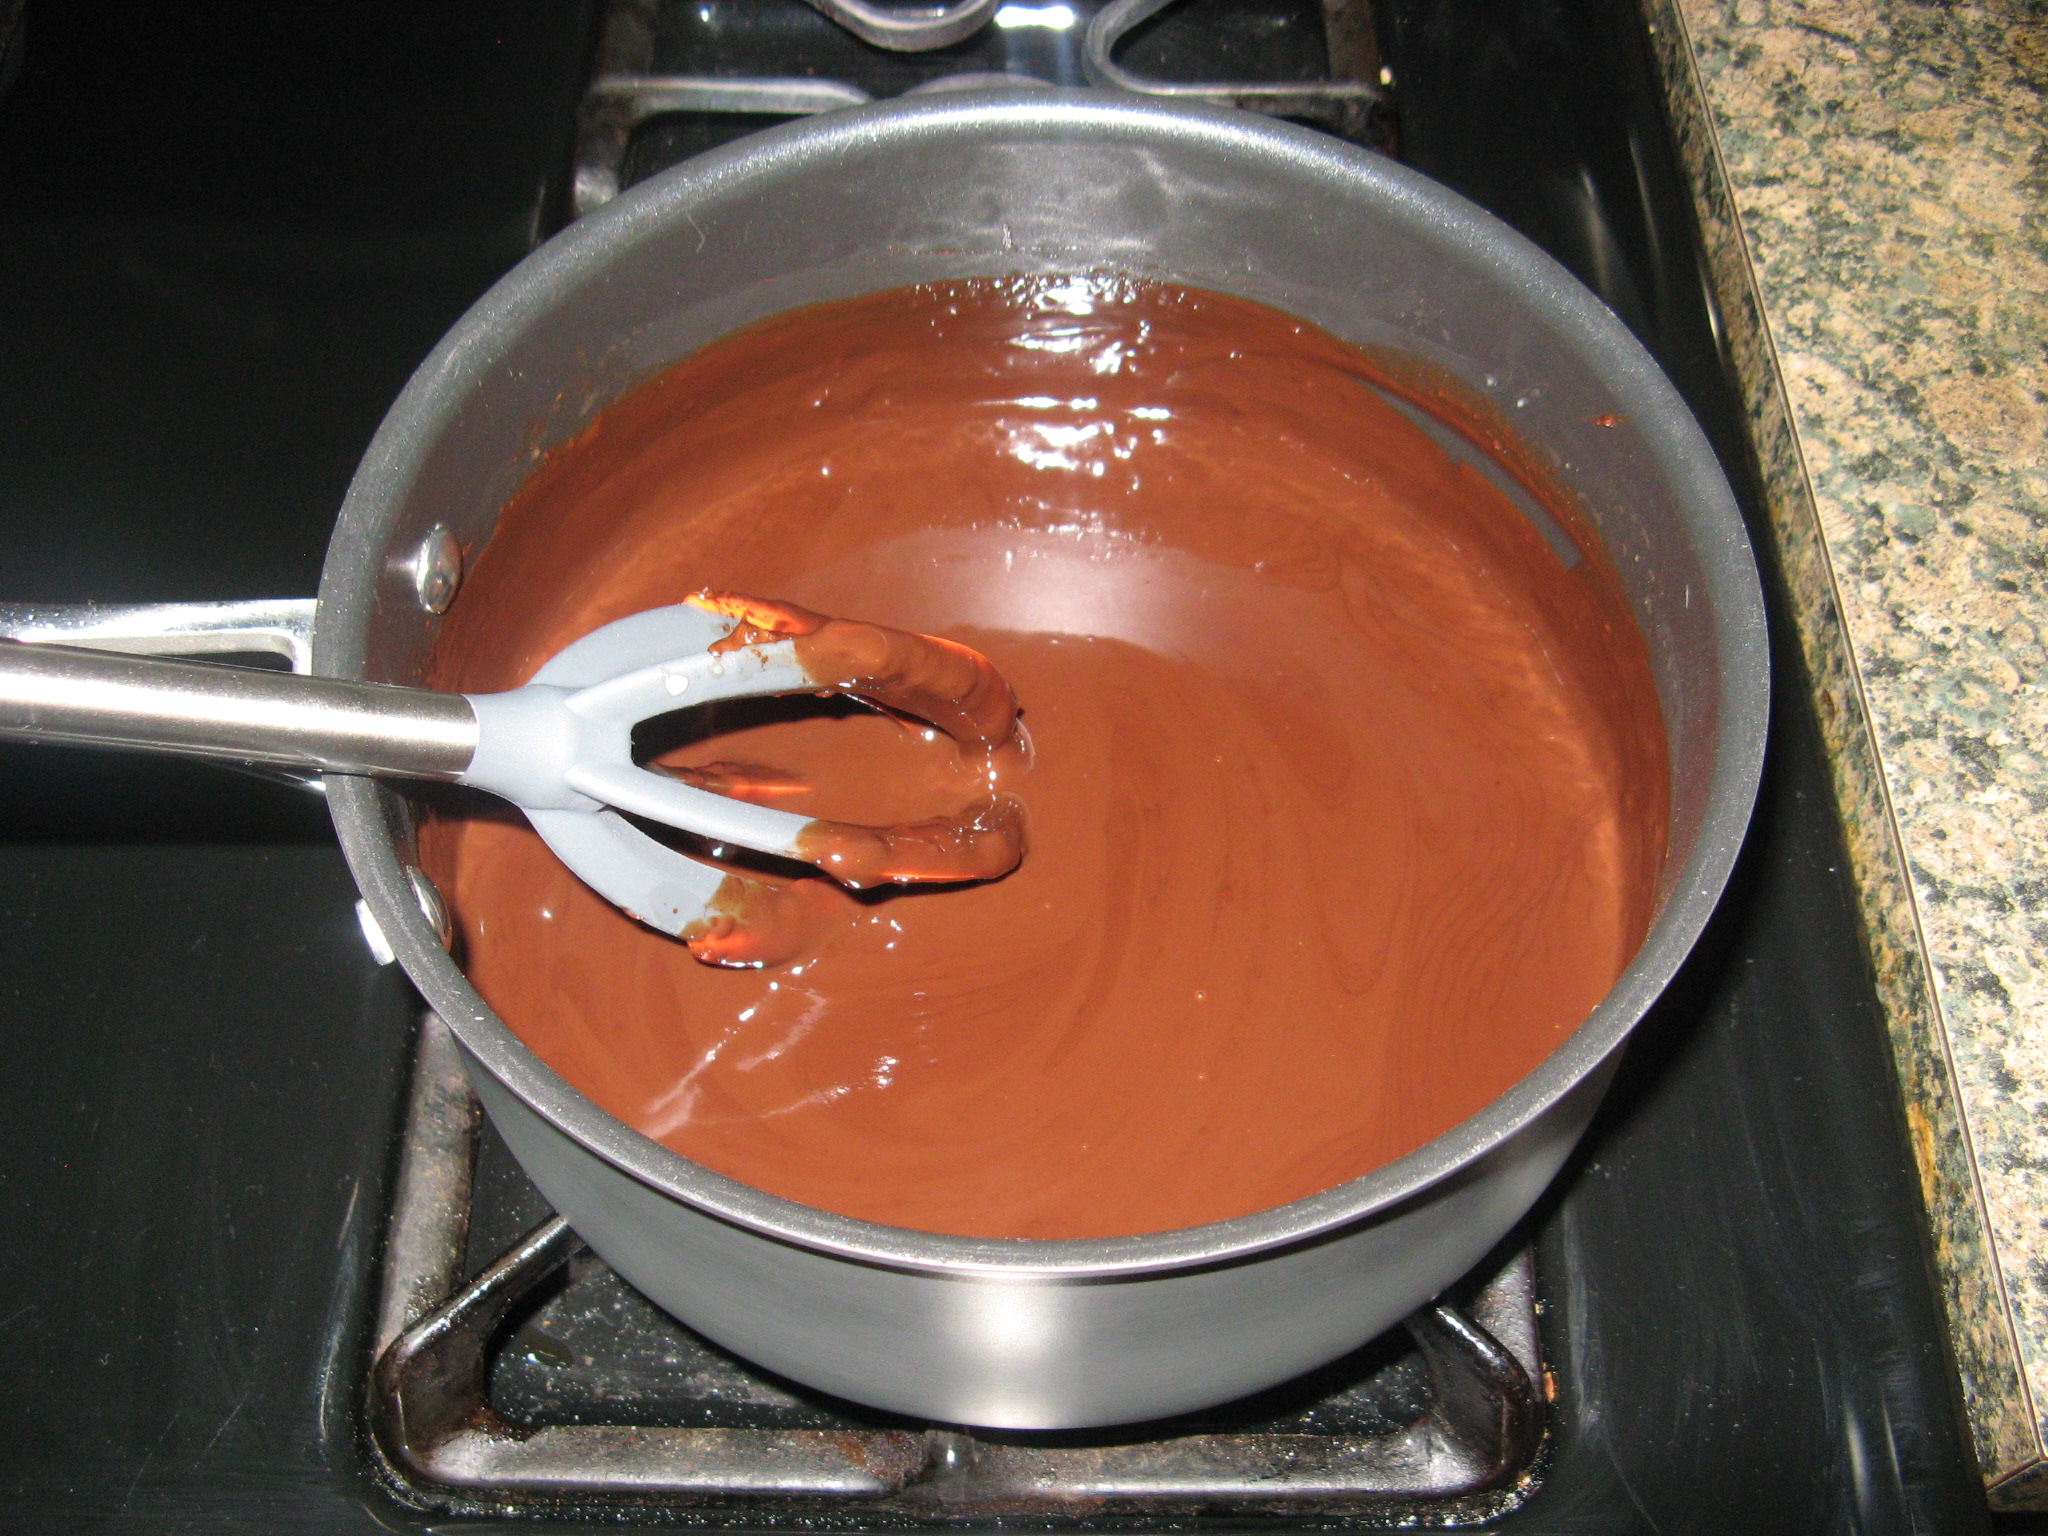
While they cooled I made the frosting, which was super simple. I melted a 12oz. bag of semi-sweet chocolate chips in 1 1/3 cups of heavy cream over low heat.

IMG_3725

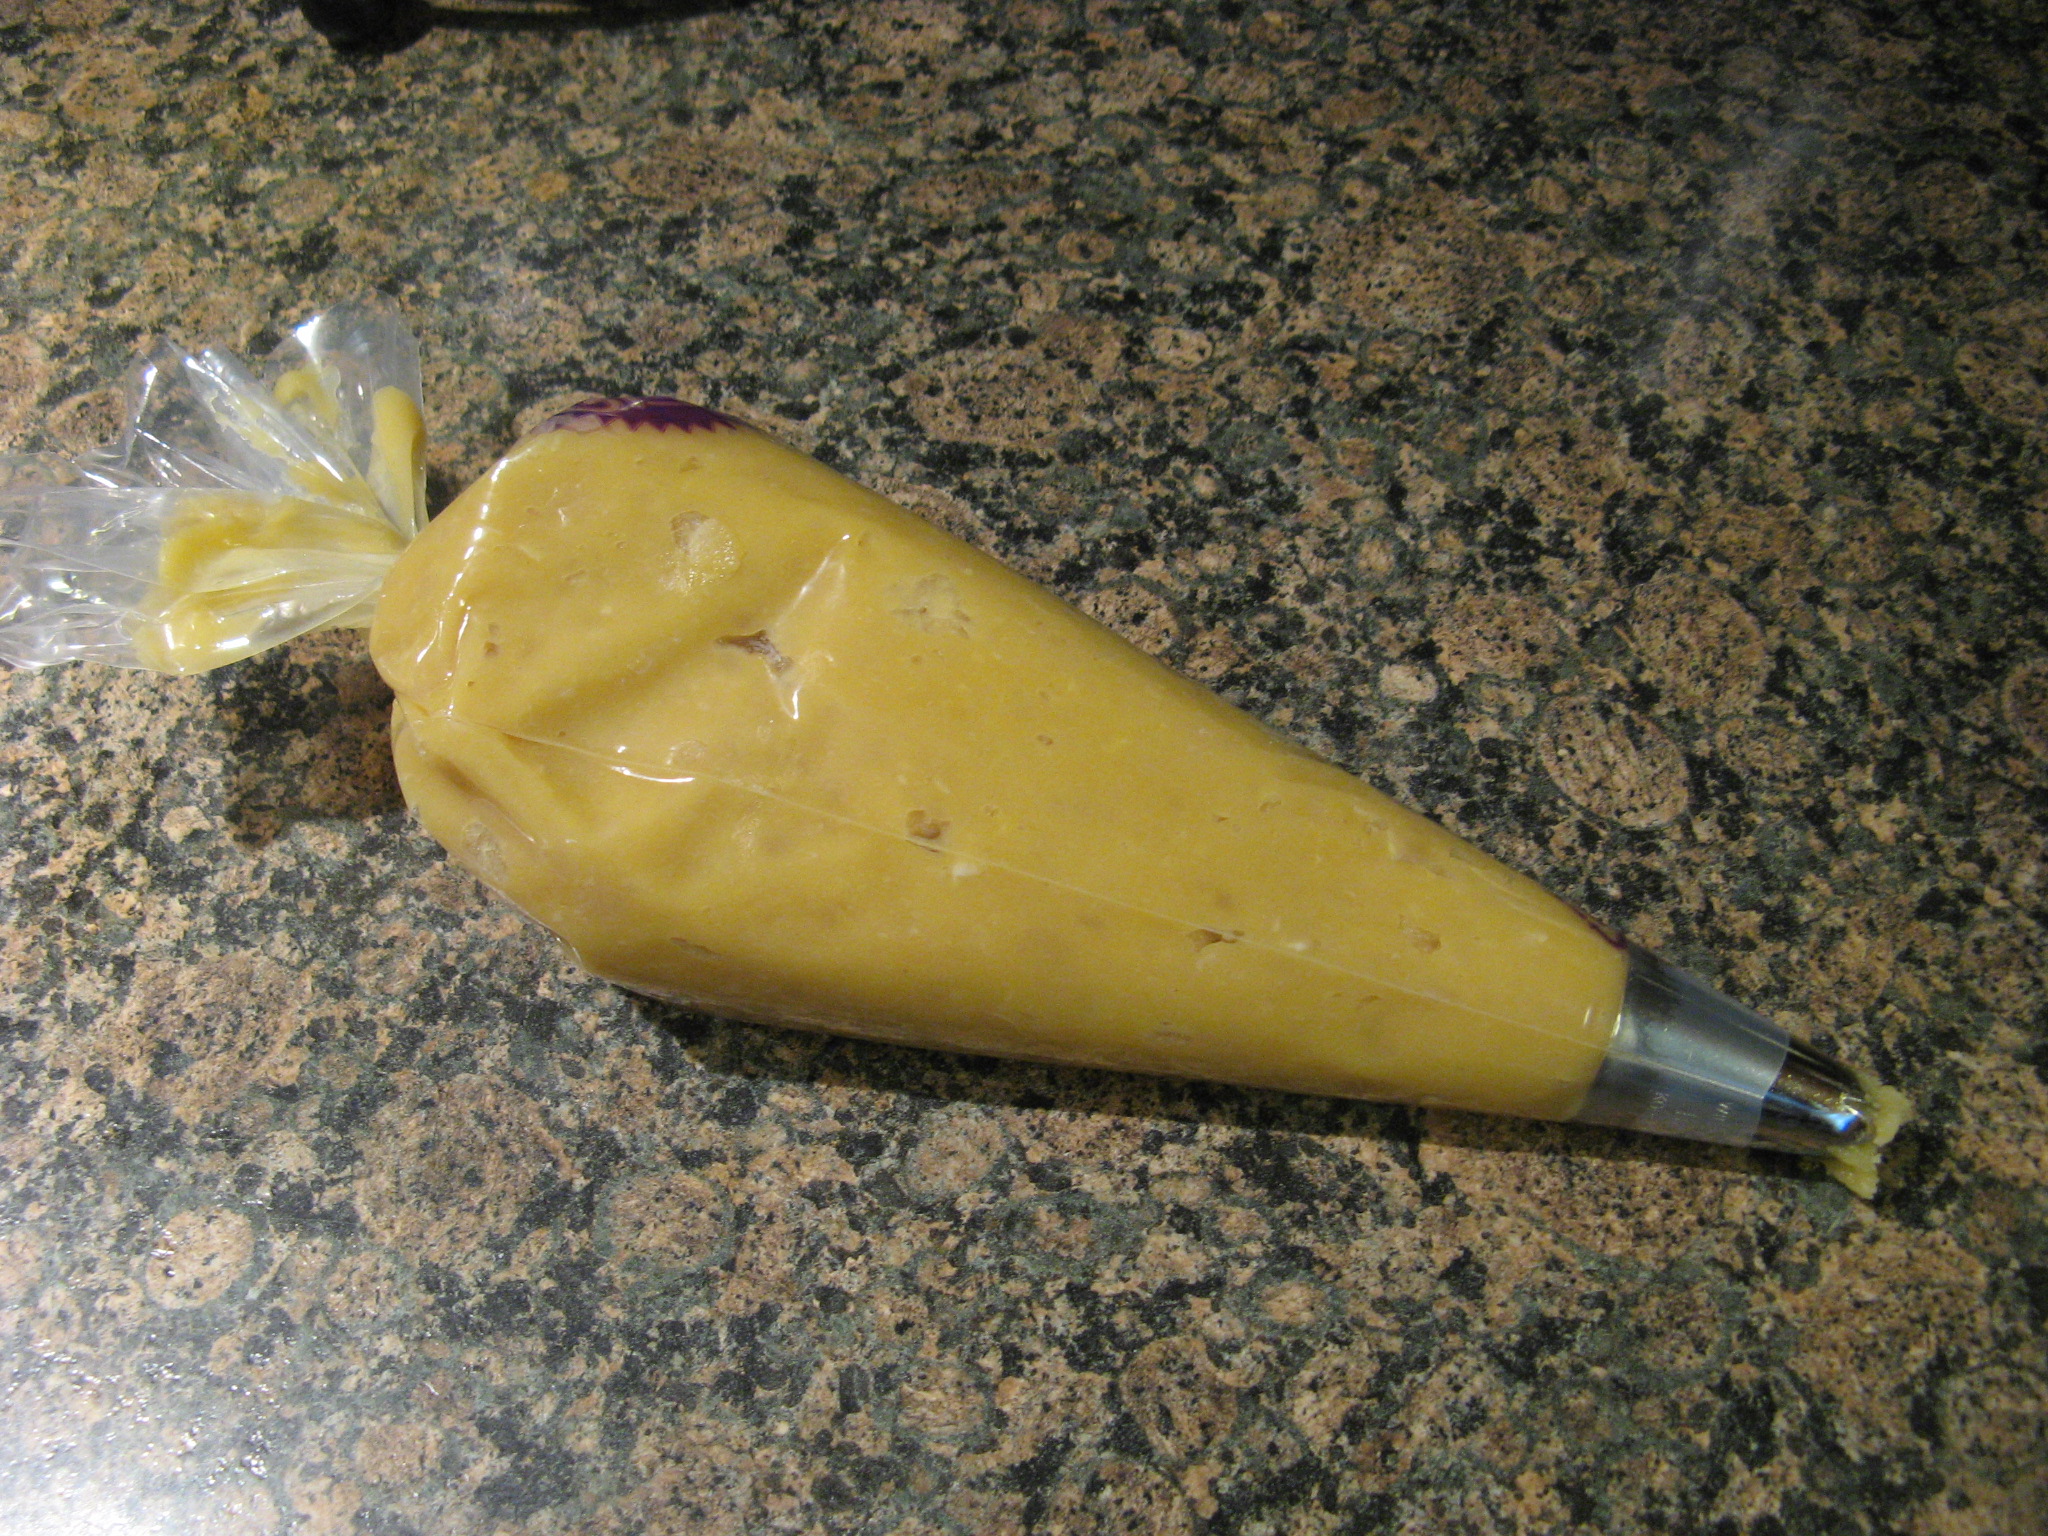
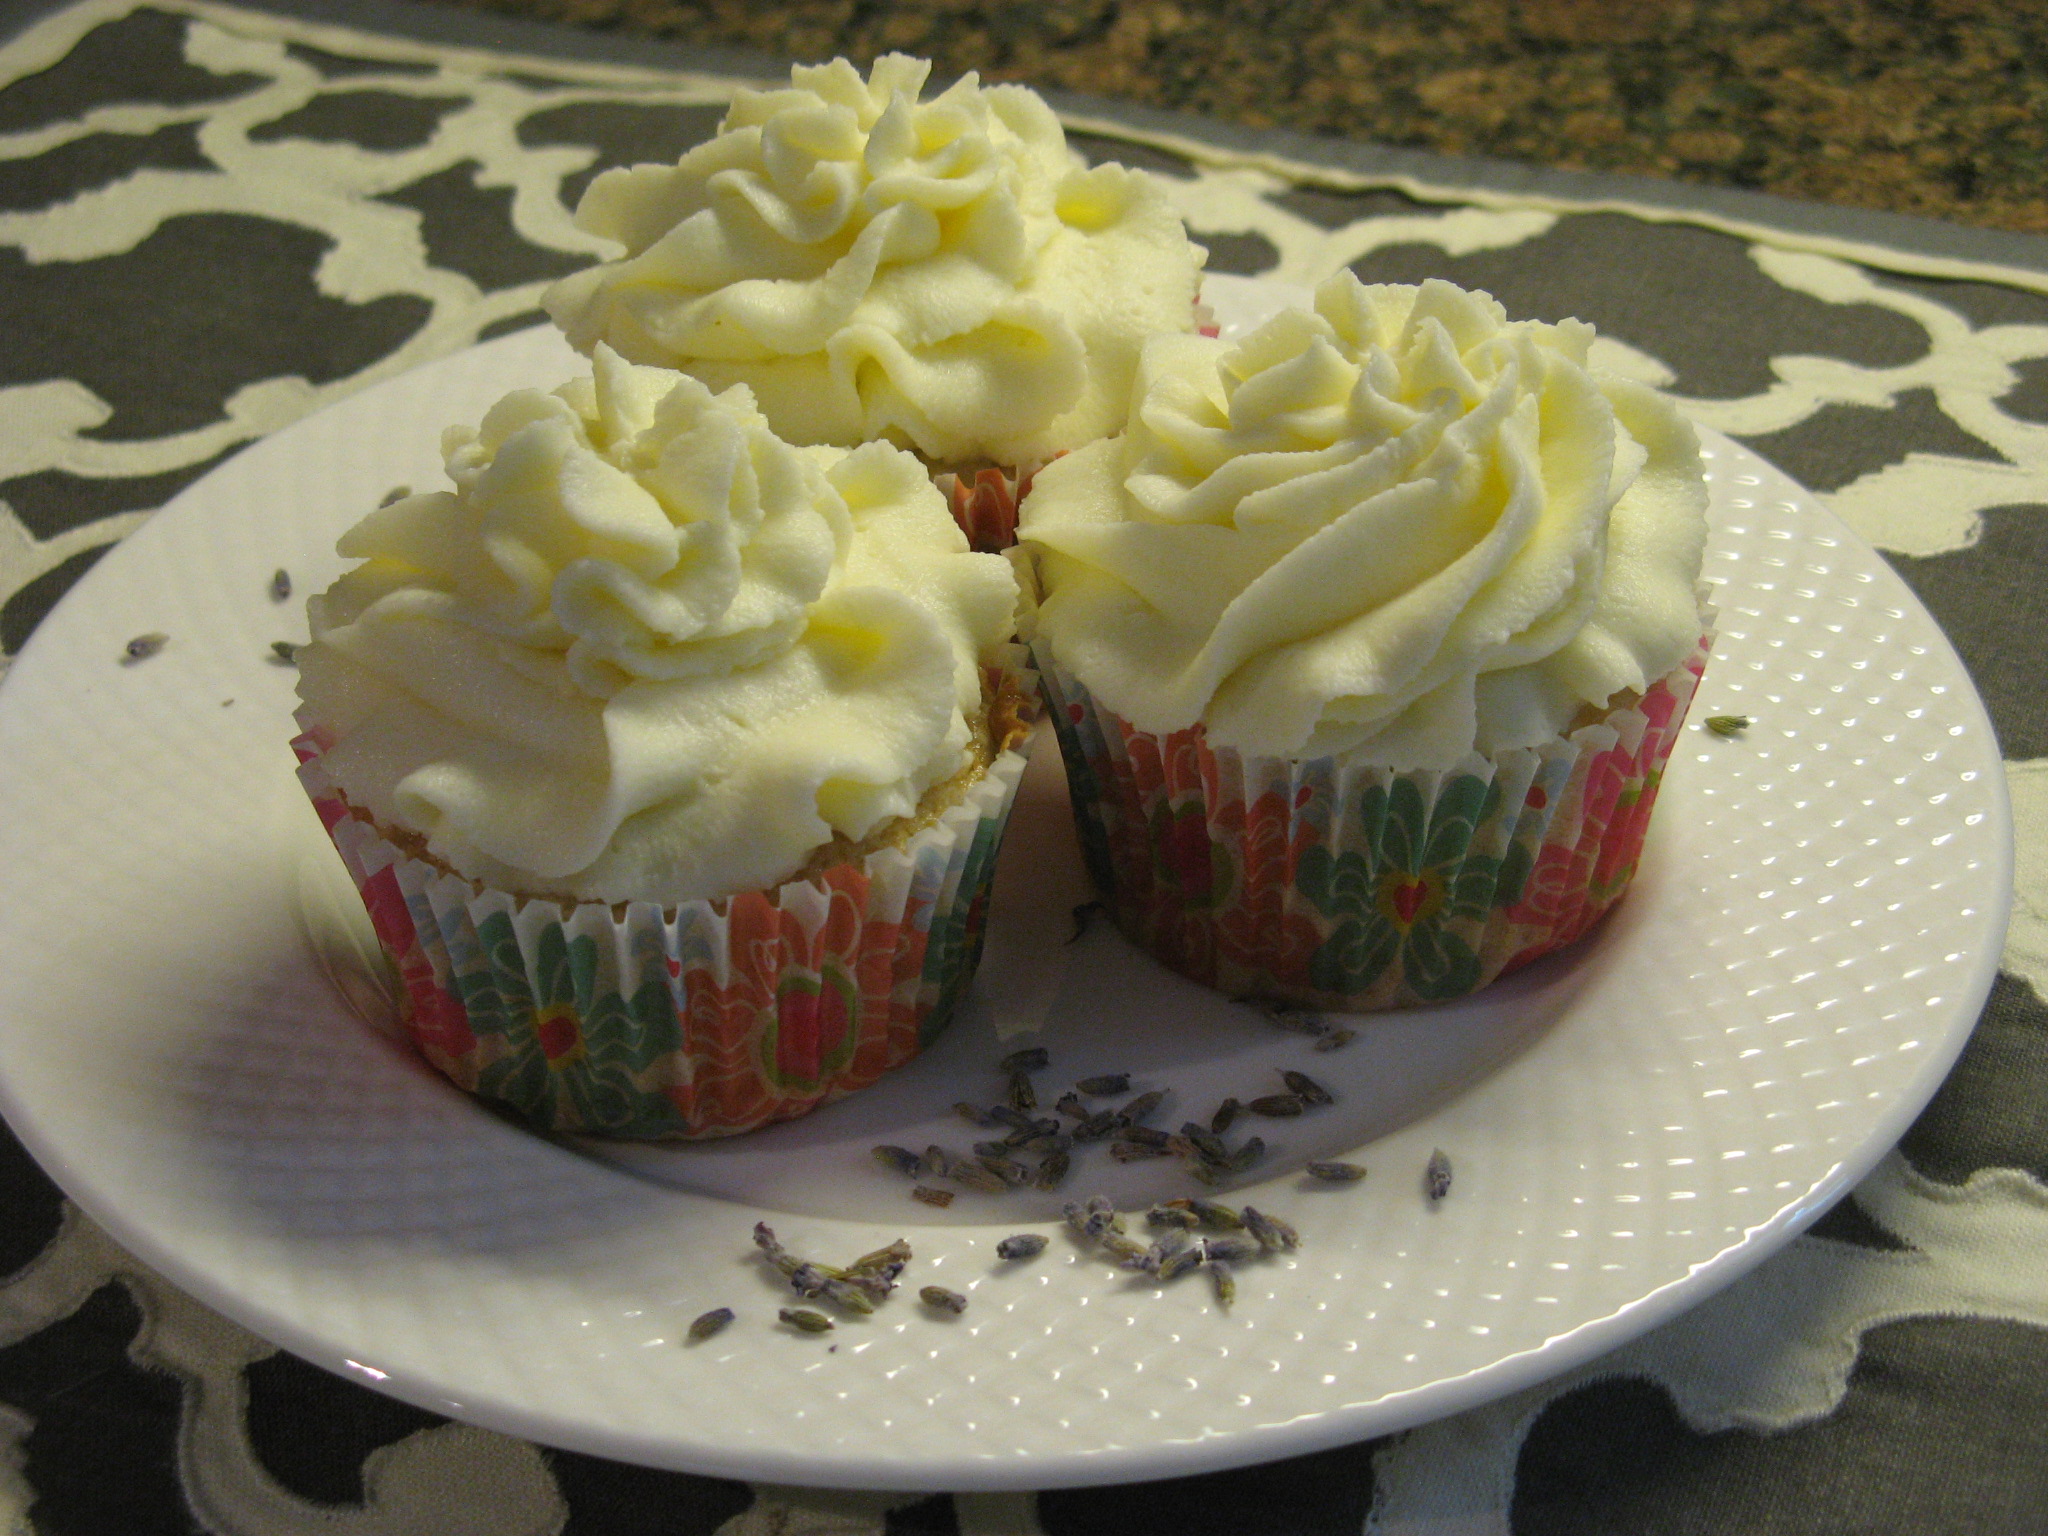
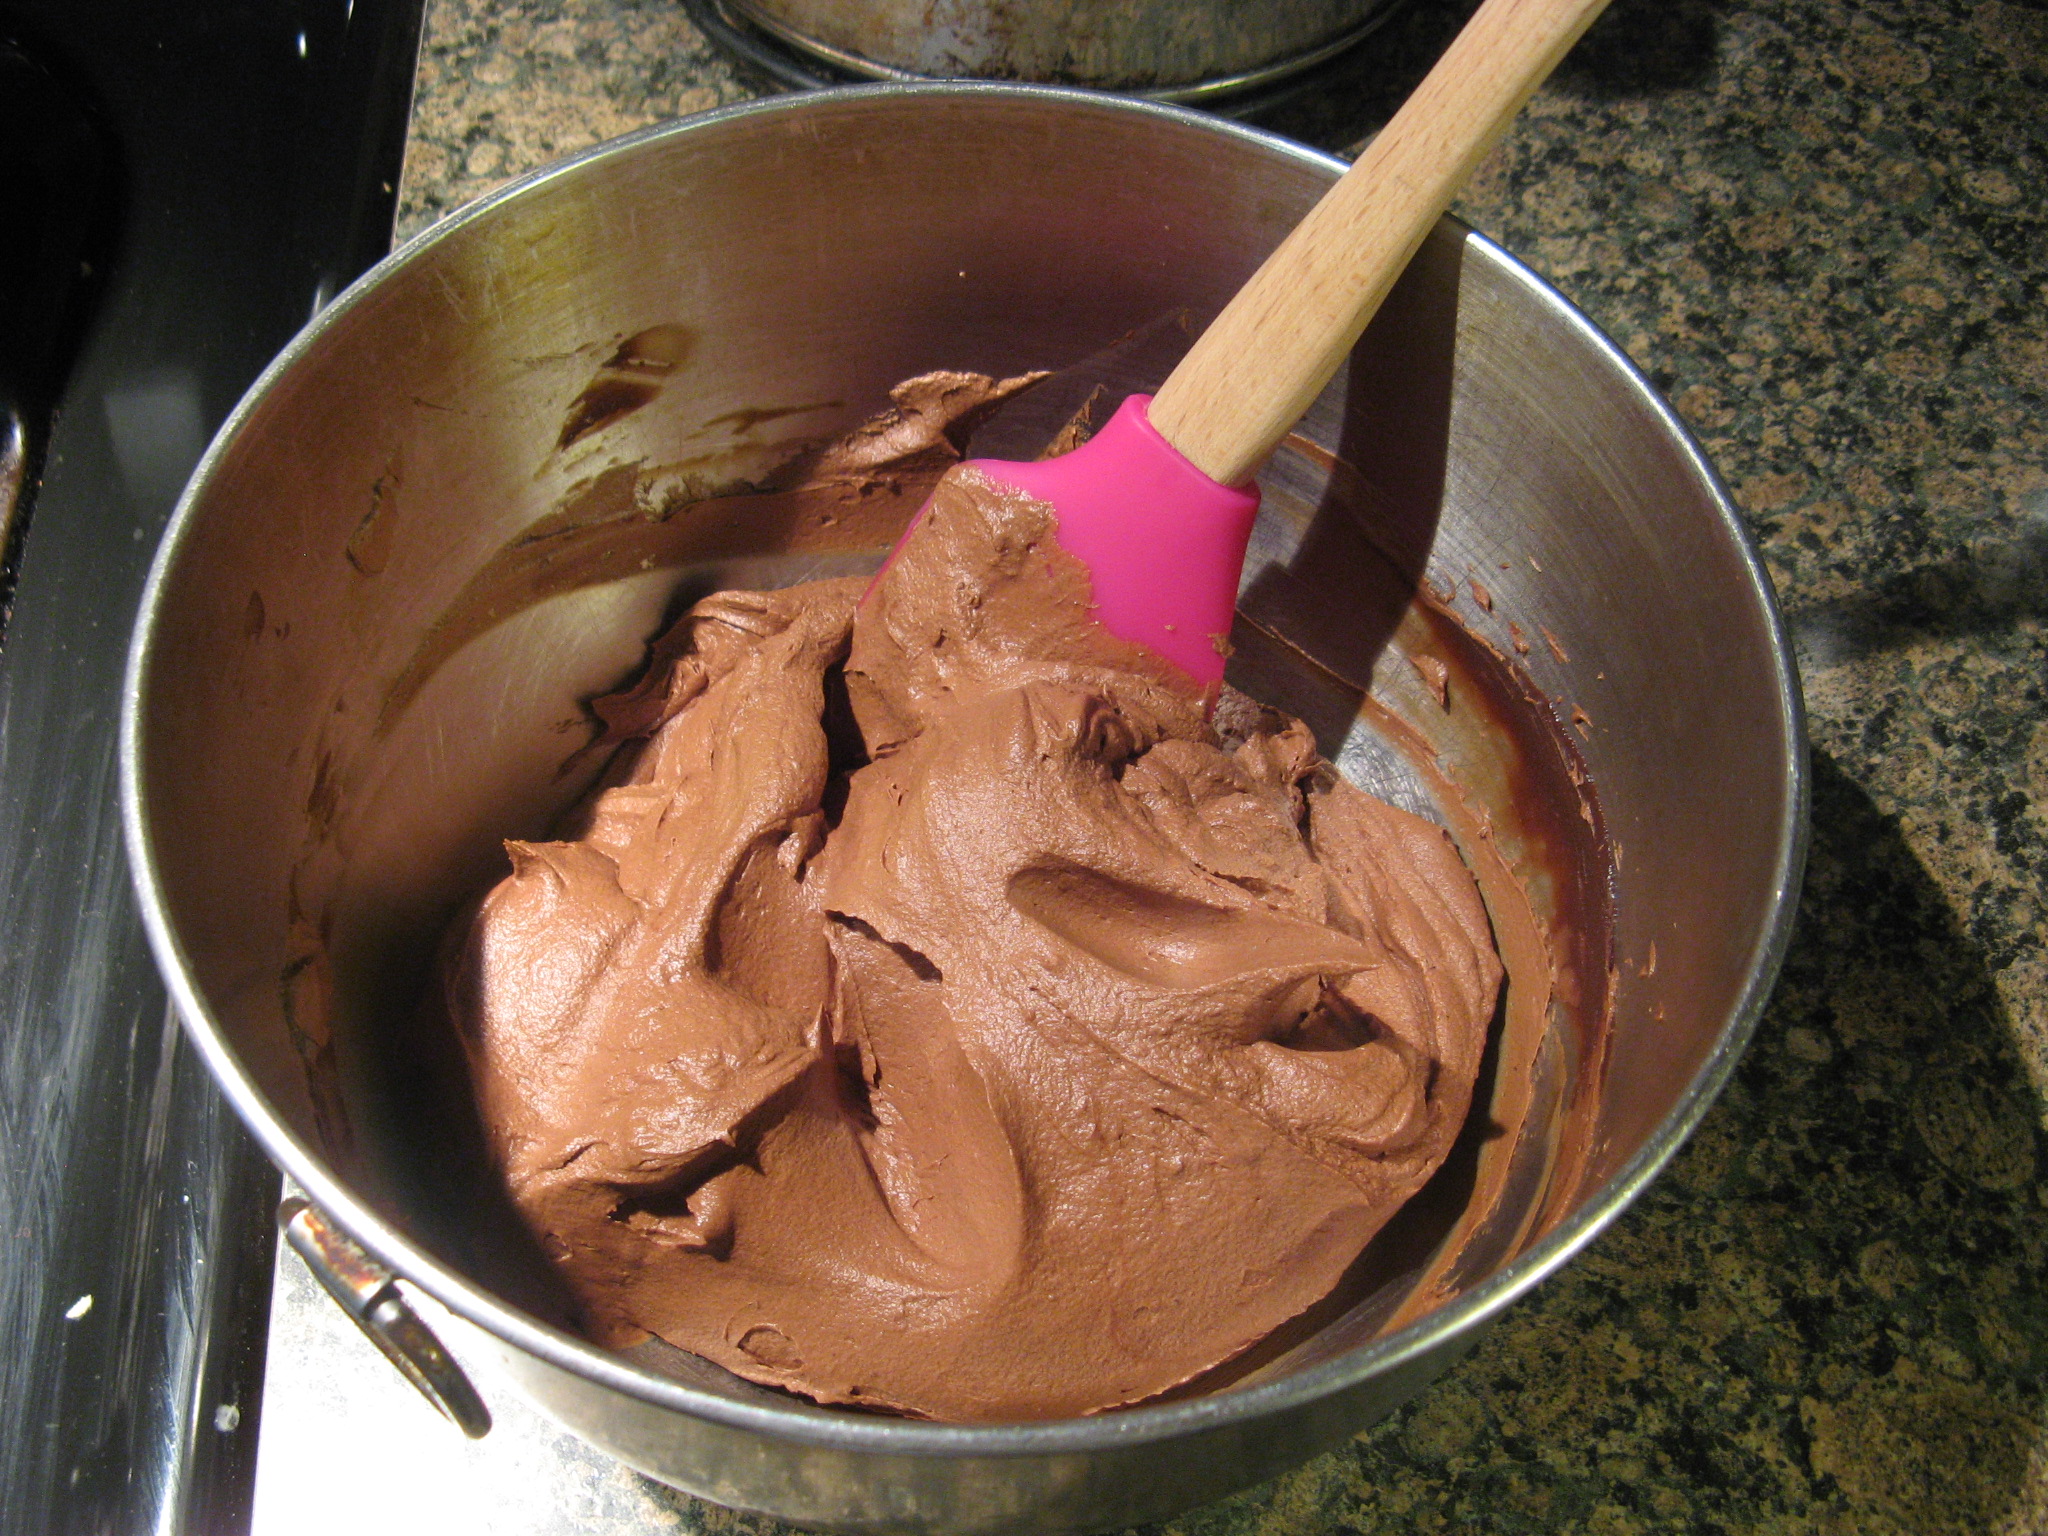
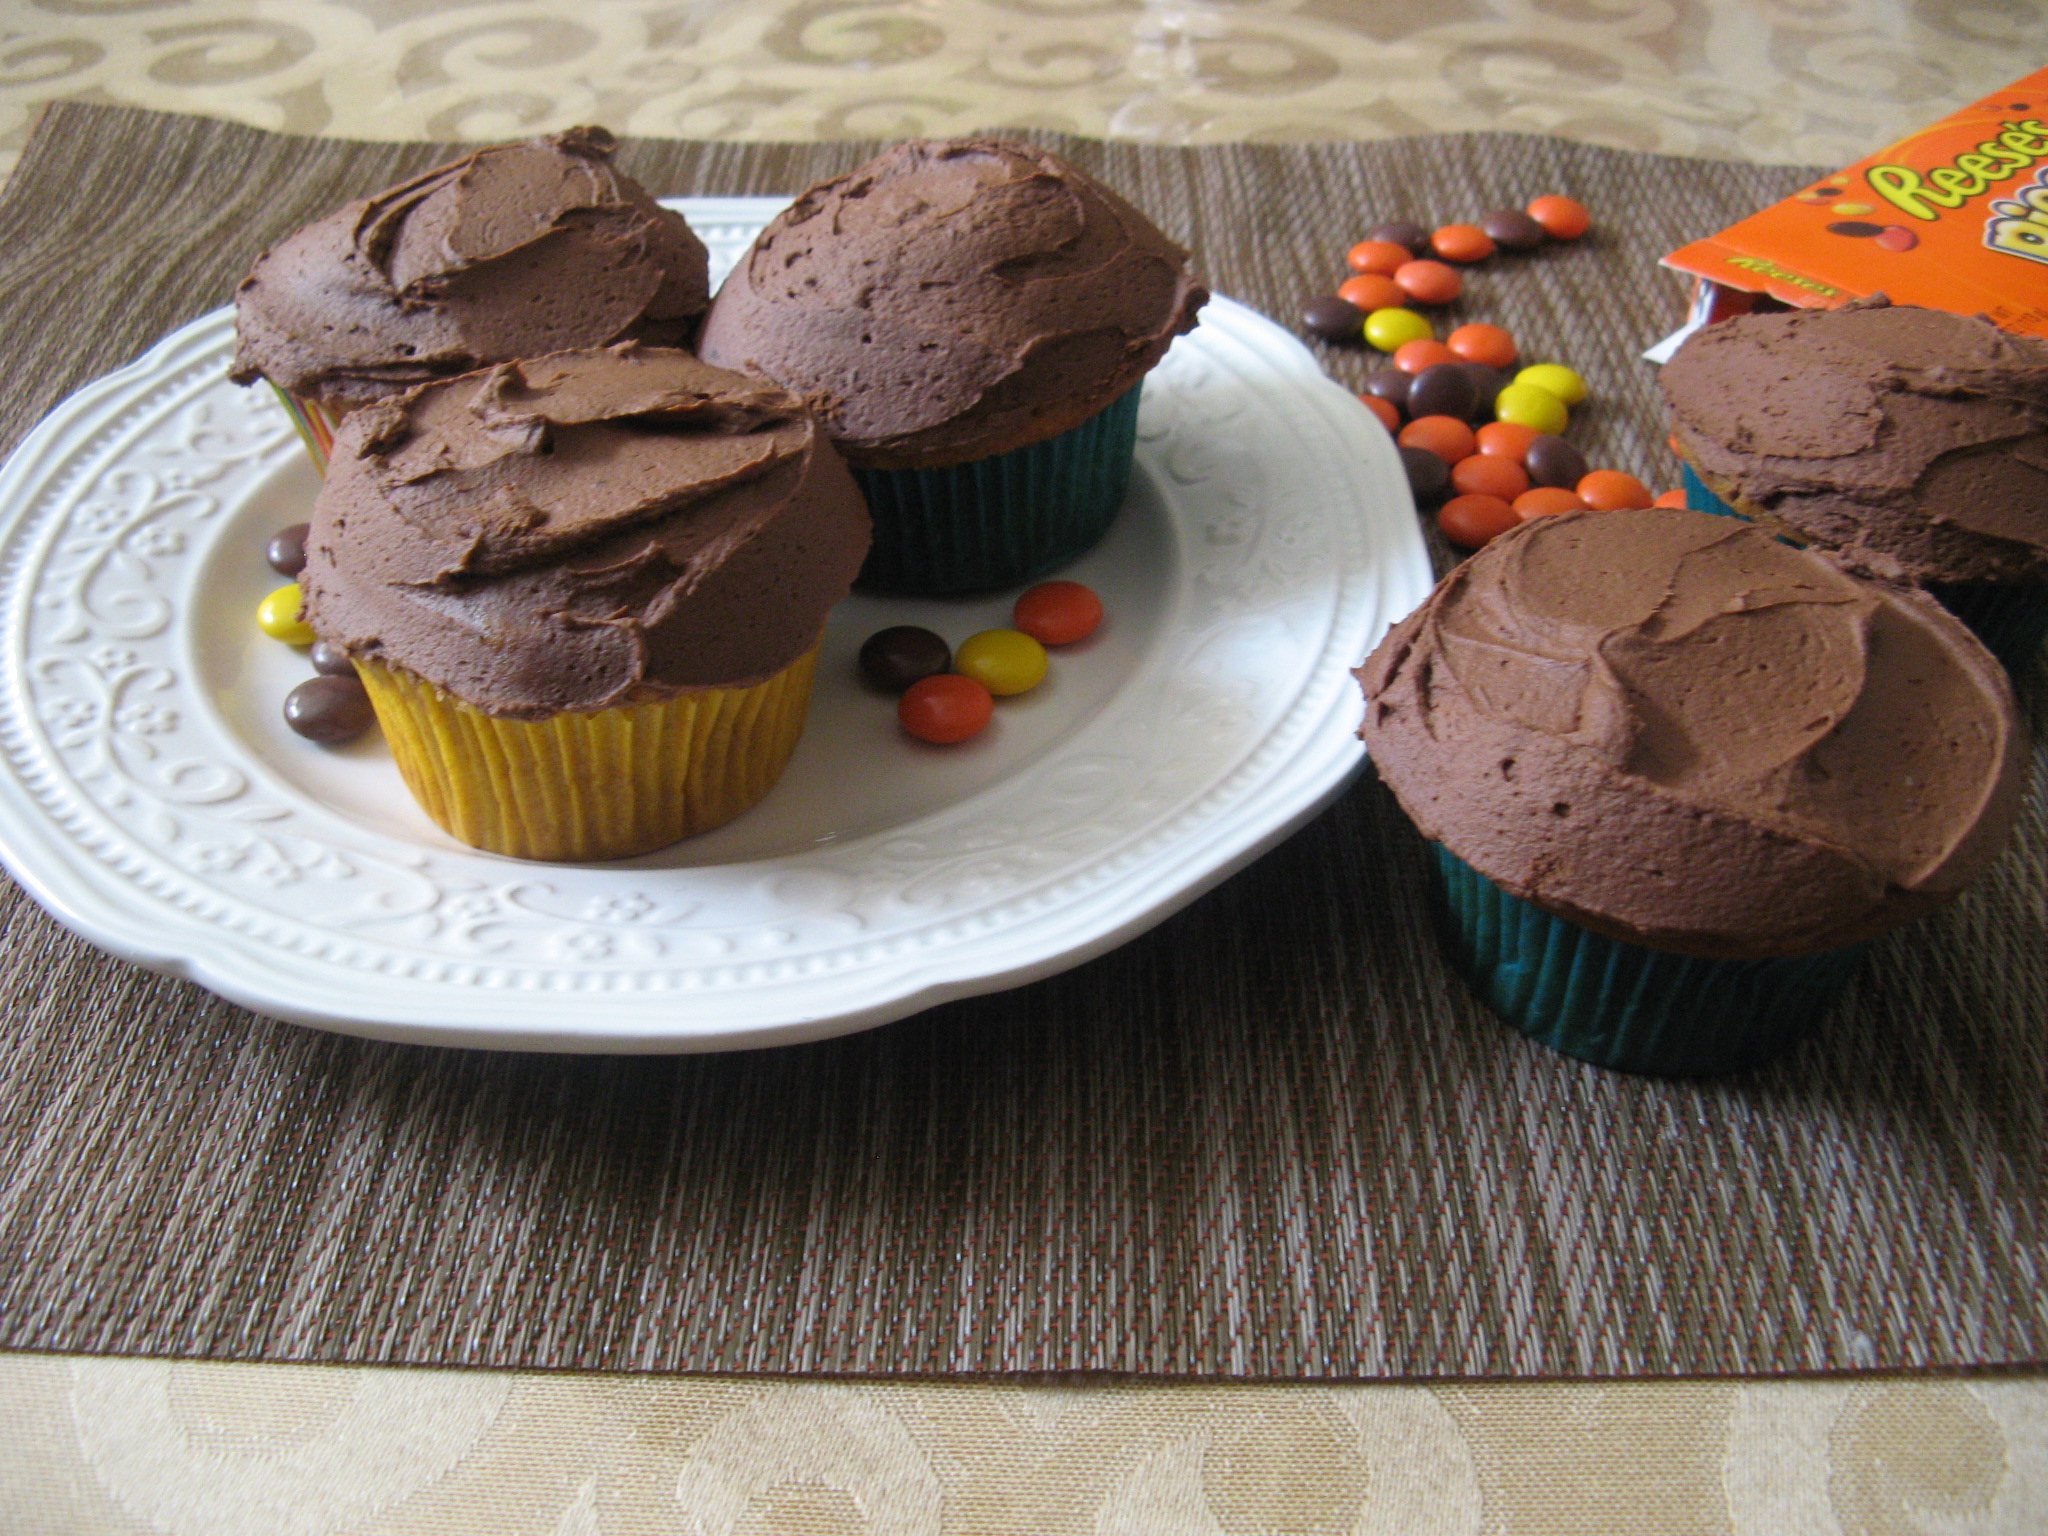
I then cooled the melted chocolate in the refrigerator for about 40 minutes and then 15 minutes in the freezer so it could chill but not become too firm. I then whipped it until it was creamy and then spread it over each of the cupcakes.

IMG_3726

These were absolutely delicious and I assume would go perfectly with a tall glass of cold milk – I am not much of a milk drinker. I prefer my milk with my daily bowl of oatmeal for breakfast.

IMG_3749

I wish I could reference where I got the recipe from, but unfortunately I ripped it out of a magazine some time ago and have no clue which one.


Peanut Butter Cupcakes with Chocolate Frosting

Makes 12 Cupcakes

Ingredients:

For Cupcakes:

1 1/4 cups flour

1 1/2 teaspoon baking powder

1/2 teaspoon salt

1 cup light brown sugar

6 tablespoons unsalted butter, softened

1 teaspoon vanilla extract

1/2 cup smooth peanut butter

1/2 cup whole milk

For Frosting:

1 12oz. bag semi-sweet chocolate chips

1 1/3 cup heavy cream

Directions:

For Cupcakes:

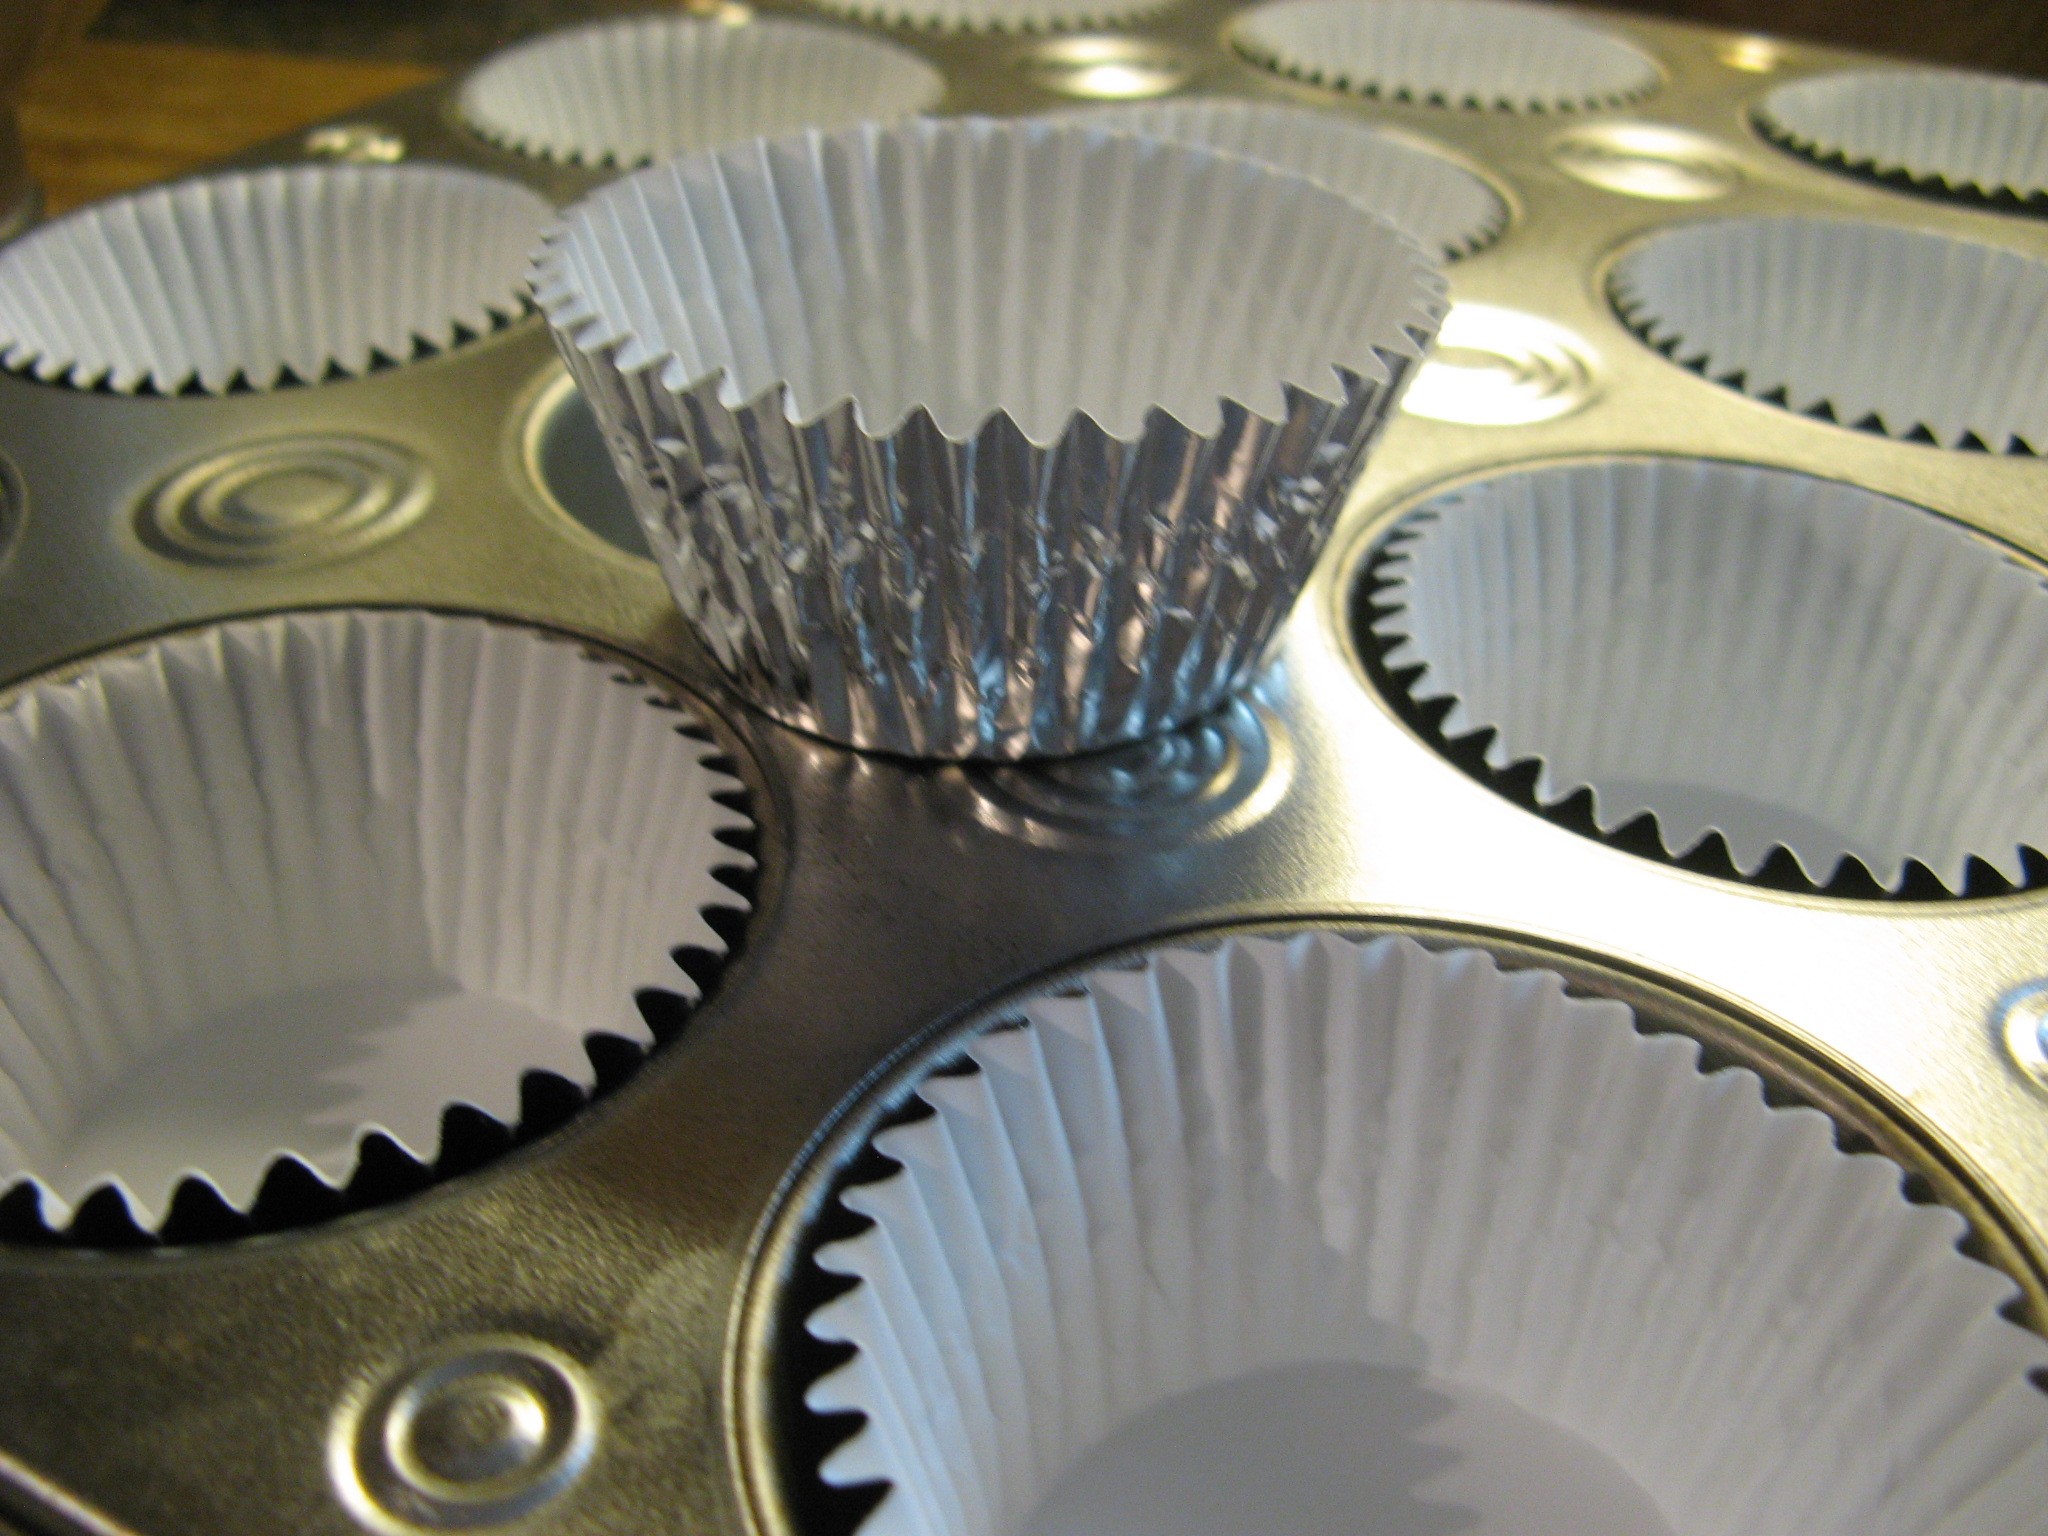
Preheat oven to 350 F. Line 12 muffin cups with paper baking cups. In a large bowl, sift together the flour, baking powder and salt; set aside. In another bowl, beat the light brown sugar, unsalted butter and vanilla extract. Add in the peanut butter and beat until completely blended. Add the eggs, one at a time beating well after each addition. Add the milk. Slowly add the flour mixture and beat until mixture is combined; do not over-mix. Fill each muffin cup with about 1/4 cup of the batter. Bake 20-25 minutes, or until the cupcakes spring back when touched lightly. Let cool for at least 10 minutes before icing.

For Frosting:

In a saucepan over low heat stir the chocolate chips and heavy cream until the chocolate is completely melted and smooth. Transfer the mixture to a mixing bowl; refrigerate 1 hour, or until chilled throughout but now too firm. Beat the mixture until creamy, about 3 minutes. Spread about 1/4 cup of frosting over each cupcake. Garnish with peanut butter chips or peanut butter – filled candies, if desired.

Banana Nut Bread… A Single Loaf

As some of you may know I have a tendency to let bananas sit for a tad bit too long which means I won’t eat them – I prefer my bananas not to have any spots on them – but instead I bake with them. Over the course of my blogging I have made Marbled Nutella Banana Bread, Banana & Chocolate Cupcakes, Banana Chocolate Chip & Nut Muffins, Banana Cream Pie, and the first banana recipe I posted, Banana Nut Bread. Which I just made again, although the first time I made it I followed the recipe exactly and ended up with two loaves, this time though I only had three of the six called for bananas so I decided to halve the recipe and am happy to say it worked out perfectly, so I decided to share that with you today. I must say I never particularly cared for Banana Bread until I made it myself and this recipe was definitely key to me liking it. It’s the perfect amount of banana flavor and sweetness.
IMG_3611
Ingredients:
1/2 cup butter (1 stick)
1 cup sugar
2 eggs
1/8 teaspoon salt
1 teaspoon baking soda
2 cups flour
3 large bananas, very ripe, mashed
1/2 cup finely chopped walnuts*
Directions:
Preheat the oven to 325 F & grease one loaf pan.
Cream together the butter and sugar. Add the eggs, one at a time, beating after each addition.
Sift the dry ingredients together and add to the cream mixture. Stir in the bananas and chopped walnuts.
Pour batter into prepared pan and bake for about an hour and 15 minutes, or until a toothpick inserted in the center comes out clean.
*The original recipe called for pecans

Tropical Oatmeal Cookies

I came up with the idea for these cookies a while back and while I am sure there is a recipe somewhere floating around on the internet for them, I decided to take a chance and create my own recipe, albeit with some assistance from a few of my favorite cookie recipes. I really had no idea how they would come out, but, in the end they were delicious and incredibly soft and the add-ins of the white chocolate chips, shredded coconut, crushed pineapple and macadamia nuts complemented one another wonderfully.
IMG_3470
To begin I mixed together the dry ingredients – flour, salt and baking soda – and set it aside and then moved on to creaming together butter, sugar and light brown sugar.
IMG_3419
I then added in two eggs – one at a time.
IMG_3420
And then the vanilla extract.
IMG_3421
After adding in the flour mixture – I really did use flour for these cookies even though I don’t have a picture of it – I then added in quick oats.
IMG_3422
And finally I folded in my “tropical ingredients:” white chocolate chips, sweetened shredded coconut, crushed pineapple and macadamia nuts.
IMG_3424
After folding in all of the add-ins I used a cookie scoop to drop mounds of the dough onto an ungreased cookie sheet.
IMG_3426
I baked them in a 325 degrees preheated oven for 11 minutes and then let them cool on the cookie sheet for five minutes before transferring them to a wire rack to cool completely.


And while you may think these cookies would be on the sweeter side with the sugars, sweetened coconut and white chocolate chips, the measurements of each of the ingredients produced a cookie that was just the right amount of sweetness to satisfy your sweet tooth.

 IMG_3473
Tropical Oatmeal Cookies
Makes 36 cookies
Ingredients
1 cup (2 sticks) unsalted butter, softened
1/2 cup light brown sugar
1/2 cup sugar
1 1/4 cup all-purpose flour
1/2 tsp. salt
1/2 tsp. baking soda
2 eggs
1 tsp. vanilla extract
3 cups quick cooking oats
1/2 cup sweetened shredded coconut
1/2 cup crushed pineapple
1/2 cup chopped macadamia nuts
1/2 cup white chocolate chips
Directions
1. Preheat oven to 325 Degrees F.
2. Combine the dry ingredients – flour, baking soda & salt – and set aside
3. Cream together the butter and the sugars on medium speed until creamy. Beat in the eggs one at a time and then add in the vanilla extract.
4. Add the flour mixture to the butter mixture and then the oats.
5. Fold in the white chocolate chips, shredded coconut, pineapple and macadamia nuts.
6. Drop rounded tablespoons (a small cookie scoop) of dough onto an ungreased cookie sheet and bake for 11 minutes.
7. Allow the cookies to cool 5 minutes on the cookie sheet and then transfer to a wire rack to cool completely.
8. Enjoy!

Cinco De Mayo Treats – Cupcakes & Churros

Happy Cinco de Mayo! While many will celebrate this day with tacos, burritos, margaritas and/or maybe some sangria (I had some yesterday,) I opted to bake some sweet treats… Tres Leches Cupcakes and Churros. The cupcakes were a piece of cake to make but the Churros; well I had my concerns prior to making them. I am not big on frying things – not because of the healthy/unhealthy debate, but, because I am fearful of hot oil splattering on me. Thankfully nothing of the sort happened and the Churros were a success.

Up first the cupcakes… I started off by assembling and prepping (separating the eggs, sifting the flour and melting the butter) all of my ingredients.

IMG_3248

I began making the batter by whisking together the egg whites with salt and baking soda until soft peaks formed. Following that I added in the eggs yolks and sugar.

IMG_3252

I then folded in the butter…

IMG_3253

And then the flour.

IMG_3254

After a little more folding the batter was ready.

IMG_3255

Per the directions, I used paper-lined foil liners which would hold up better while the cupcakes soaked up the Tres Leches.

IMG_3256 IMG_3257

While the cupcakes were baking I made the Tres Leches mixture by whipping together condensed & evaporated milk and heavy cream.

IMG_3259  IMG_3263

As soon as the cupcakes were done baking, approximately 25 minutes in a preheated 350 degree oven, I poked holes in them with a skewer and brushed the milk mixture over the cupcakes until I was just about out of the mixture.

IMG_3264

I then let the cupcakes sit for a bit so the milk mixture could be absorbed by the cupcakes and so they could finish cooling.

IMG_3266

On to the Churros… I began by making the dough for the Churros. I’ll be the first to admit that it didn’t look all that appetizing.

IMG_3267

I then filled a pastry bag fitted with a star tip with the dough.

IMG_3269

Now the part that concerned me… Piping the dough into hot oil. As I said though, it went off without a hitch.

IMG_3273

And after a frying up a few batches and letting them drain on paper towels I shook them up with a cinnamon sugar mixture and they were ready for munching.

IMG_3275

And to finish off the cupcakes… I topped them with a whipped cream frosting and then sprinkled them with some cinnamon. Delicioso!

IMG_3291


Tres Leches Cupcakes

From Martha Stewart’s Cupcakes

For Cupcakes:

6 large eggs, separated, room temperature

1/4 teaspoon baking soda

1/4 teaspoon coarse salt

1 cup sugar

1/2 cup (1 stick) unsalted butter, melted and cooled

1 cup all-purpose flour, sifted

1 can (12 ounces) evaporated milk

1 can (14 ounces) sweetened condensed milk

3/4 cup heavy cream

For Whipped Cream Frosting:

2 cups heavy cream

1/4 cup confectioners’ sugar, sifted

Preheat oven to 325 Degrees F. Line standard muffin tins with paper-lined foil liners. With an electric mixer on medium speed, whisk together egg whites, baking soda, and salt until soft peaks form. Reduce speed to low. Add yolks and sugar; whisk until completely combined. Fold in melted butter with a flexible spatula. Add flour in four batches, folding until just combined after each.

Divide batter evenly among lined cups, filling each half-way. Bake, rotating tins halfway through, until golden brown, about 25 minutes. Remove from oven. Immediately pokes holes in tops of cupcakes with a skewer.

Whisk together evaporated milk, condensed milk, and heavy cream. With cupcakes still in tin, brush milk mixture over cupcakes, repeating until all liquid has been used. Allow cupcakes to absorb mixture, at least 30 minutes (or up to 1 day in the refrigerator, wrapped tightly in plastic once completely cool; bring to room temperature before serving.)

For whipped cream – whisk heavy cream until soft peaks form. Add confectioners’ sugar and whisk until combined.

To finish, dollop whipped cream generously onto cupcakes, and dust with ground cinnamon. Serve immediately.


Mexican Crullers (Churros)

Courtesy: Daisy Martinez

1 cup water

4 tablespoons unsalted butter

2 tablespoons brown sugar

1 teaspoon vanilla extract

1/4 teaspoon salt

1 cup all-purpose flour

4 to 5 eggs

Canola oil, for frying

1/2 cup sugar

1/2 teaspoon ground cinnamon

To make the crullers: In a medium saucepan, heat 1 cup water, the butter, sugar, vanilla, and salt over medium-high heat until the edges of the liquid start to bubble. Add the flour all at once and stir briskly with a wooden spoon until well mixed and no lumps of flour remain.

Remove from the heat. Add 4 of the eggs, 1 at a time, beating well with a wooden spoon after each. The dough should look soft and glossy and keep a “hook” shape when the spoon is pulled from the dough. If not, beat in the last egg.

Scrape the dough into a pastry bag fitted with a star tip. Pour enough canola oil into a deep heavy skillet (cast iron is ideal) to fill 1-inch. Heat over medium heat until the tip of the handle of a wooden spoon gives off a slow steady stream of tiny bubbles. Carefully pipe the dough into the oil, forming 6-inch crullers. Pipe only as many crullers into the oil as fit comfortably. Overcrowding the pan will result in soggy crullers. Fry, turning once, until golden brown on each side. Drain on paper towels. Repeat with the remaining dough.

Put the sugar and the cinnamon in a paper bag. Crimp the top and shake well to mix. Drop a few crullers at a time into the bag and shake until coated. Best served as soon as possible.

Rosette Covered Cannoli Cake

A while back I picked up a five-layer cake pan set at Sur La Table– I saw it one of their catalogs which also included a coupon so it was destined to be. I wasn’t sure what kind of cake I wanted to make to test it out but then all of a sudden I had the idea that I wanted to make one with a cannoli cream filling – something I had never made before. Another thing I hadn’t done before… Decorate a cake entirely with rosettes. I did take the Wilton decorating classes some time ago and while I did learn how to make rosettes I normally just decorate a spot or two with them but lately I have been seeing these beautifully cakes decorated with large rosettes and wanted to try it myself.
IMG_3071 IMG_3075
I opted to use a white cake box mix for this cake since I wanted to be sure that I would have enough batter for the five pans and right on the box it said that one box cake would suffice. After mixing the batter according to the directions on the box, I filled the pans evenly with batter (I used an ice cream scoop to be precise,) baked them and then let them cool.
Cannoli Cake 1
While the cakes cooled I worked on the cannoli filling. I settled on a recipe from Sargento. I figured this recipe would be a good one to follow since Sargento is a producer of cheese products. To begin I whipped heavy cream until soft peaks formed. I then beat together ricotta cheese, sugar and vanilla extract. Following that I folded the whipped cream along with mini chocolate chips into the ricotta mixture.
Cannoli Cake 2
Now it was time to prep my mini cakes for assembly. I used a cake leveler to remove the crowns of the cakes to make them all level.
IMG_3114
To assemble the cake, I filled each layer with about a cup and a half of cannoli filling.
IMG_3117
Then it was time to frost it. Initially I wanted to frost it with a whipped cream frosting, but, since I wanted to cover the entire cake with rosettes the whipped cream wasn’t going hold up well on the sides of the cake… On top of the cake it would have looked great though. So I opted to whip up some Fluffy Vanilla Frosting – which I first made when I made Chocolate Malted Cupcakes. I started by crumb coating the cake.
IMG_3127
And then using a 2D Wilton Tip I covered the cake with large rosettes and I think I may have found my new way of decorating cakes….
IMG_3132 IMG_3133

Cannoli Filling

2 cups Part-Skim Ricotta Cheese

3 tablespoons sugar

1 1/2 teaspoon vanilla

1 cup whipping cream, whipped

1 cup semi-sweet mini chocolate chips

1. Beat ricotta cheese, sugar and vanilla on medium speed in bowl with electric mixer for 3 minutes.

2. Fold in whipped cream and chocolate chips.


Fluffy Vanilla Frosting

Makes About 4 Cups

1 1/2 cups (3 sticks) unsalted butter, room temperature

1 pound (4 cups) confectioners’ sugar, sifted

1/2 tsp. pure vanilla extract

1. With an electric mixer, beat butter on medium-high speed until pale and creamy, about 2 minutes.

2. Reduce speed to medium. Add the confectioners’ sugar, 1/2 cup at a time, beating well after each addition and scraping down sides of bowl as needed; after every two additions, raise speed to high and beat 10 seconds to aerate frosting, then return to medium. This process should take about 5 minutes. Frosting will be very pale and fluffy.

3. Add vanilla, and beat until frosting is smooth. If not using immediately, frosting can be refrigerated up to 10 days in an airtight container. Before using, bring to room temperature, and beat on low speed until smooth again, about 5 minutes.


Lavender Cupcakes with Mascarpone Frosting

A few weeks ago while I was out and about in Brooklyn, NY I stopped into the Middle Eastern grocery store Sahadi’s and immediately fell in love with the place. My senses were on overload with the abundance of cheeses, pastries, hard to find ingredients and herbs & spices (and that’s just to name a few of the items you can find here.) One of the herbs I couldn’t resist buying was dried lavender.

IMG_3021

A few years ago I took a cooking class where we made Honey-Lavender Fritters and I have always remembered how delicious they were so initially I was thinking of making those, but after some Google searches I settled on cupcakes instead – I can always make the fritters at a later time since I do have plenty of dried lavender left. I settled on a recipe from a fellow blogger – Sweet Society – and got to baking.

To start I soaked 3 tablespoons of dried lavender in whole milk in the refrigerator for eight hours.

IMG_3022

After straining I set it aside and began making the batter for the cupcakes.

IMG_3035

In the bowl of my stand mixer I sifted flour, baking powder and salt together.

IMG_3036

I then added in softened butter and sugar and mixed all the ingredients together until the texture of the mixture was sand-like.

IMG_3038 IMG_3039

Next up I added in the lavender infused milk and an egg.

IMG_3040

The batter quickly came together and was ready to be filled into my Spring themed cupcake liners.

IMG_3041 IMG_3043

The batter was the perfect amount for twelve cupcakes.

IMG_3047

After baking for 20 minutes in a 325 F preheated oven they were done.

IMG_3050

While the cupcakes cooled I made the frosting. I decided to try something completely new and opted for a Mascarpone Frosting which simply consisted of mascarpone cheese, heavy cream and confectioners’ sugar.

IMG_3051

In one bowl I mixed the heavy cream until stiff peaks formed and in the other bowl I mixed together the mascarpone cheese and confectioners’ sugar until it was smooth.

IMG_3053

Once that was I done folded the whipped cream into the mascarpone and sugar mixture until it was completely incorporated. Following that I piped the frosting onto my cupcakes.

IMG_3056

These cupcakes along with the frosting were a winner… Definitely something to make again!

IMG_3061

Lavender Cupcakes

Makes 10-12 cupcakes

Ingredients:

1/2 cup whole milk

3 tablespoons dried culinary lavender – you’re going to combine the milk and dried lavender in a bowl with a lid and set in the refrigerator for 6-8 hours, preferably overnight, to infuse

1 cup all-purpose flour

1 teaspoon baking powder

pinch of salt

3/4 cup granulated sugar

3 tablespoons unsalted butter – softened

1 egg – room temperature

Directions:

1) Infuse the milk and dried lavender as stated above in ingredients.

2) Preheat oven to 325 degrees (F).

3) Using a strainer, strain the infused lavender milk to remove the dried lavender.

4) In the bowl of your stand mixer (or mixing bowl if using a handheld mixer), sift together the flour, baking powder, and salt.

5) Add in sugar and softened butter to your dry ingredients from step 4. Mix with the paddle attachment on low until all is combined and the texture is sandy (the butter mixed with the dry ingredients should feel crumbly/sand-like).

6) With the stand mixer on low, slowly pour the infused milk into the flour mixture and mix just until the last of the milk is combined. Now add in the egg.

7) Mix for 15 seconds on medium speed, and then scrape the sides and the bottom of the bowl to make sure all ingredients are combined. Make sure not to over-mix (over-mixing results in a dry cake).

8) Fill the cupcake liners 2/3rd’s full, bake cupcakes at 325 degrees (F) for 20-23 minutes or when a toothpick or cake tester comes out clean.

9) Remove cupcakes and set on a wire cooling rack until completely cool

Mascarpone Frosting

Yields 2 Cups

Ingredients:

1 cup heavy cream

8 oz. mascarpone cheese, room temperature

1/2 cup confectioners’ sugar, sifted

Directions:

With an electric mixer on medium speed, whisk heavy cream until stiff peaks form (be careful not to overbeat, or cream will be grainy)

In another bowl, whisk together mascarpone cheese and confectioners’ sugar until smooth.

Gently fold whipped cream into mascarpone mixture until completely incorporated. Use immediately.

In Honor of Pi Day… A Banana Cream Pie

Happy Pi Day! What can I say; I am a bit of a math geek. It was my favorite subject throughout school and I was a Mathematics/Economics major in college. I sometimes think that my love of math is what drives some of my hobbies. Take baking; it’s not like cooking where a pinch of this and that can turn out something great. If an ingredient is slightly off when you bake you may end up with something completely inedible. When you are knitting or crocheting (especially knitting) being off with your count can completely mess up whatever you are making and with beading and jewelry making symmetry is key and adding one extra bead, stone or whatever can completely throw off the aesthetics of the final product. But, back to Pi Day… We celebrate it on this day (March 14th) since the first three numbers of Pi are 3.14. Some other things to note about this lovely number… It’s irrational (meaning it cannot be written as a ratio,) it’s never ending (3.14159…) and the decimal never repeats. So, in honor of this day I decided to bake a pie – how original!?!? – not just any pie though a pie I have never actually tried before – a Banana Cream Pie. I thought about making this pie a few weeks ago when I had a few ripe bananas staring at me in my kitchen, but then they got eaten so I decided to save the pie for today.


So, I had every intention of making my pie crust from scratch, well, let me clarify, I did make one from scratch and although I followed the directions exactly after baking it for slightly less time that directed it still came out a bit overcooked so I just opted to go with a store bought crust and baked it according to the directions on the package. Unfortunately my edge was a little uneven but I knew that wouldn’t take away from the taste.

IMG_2941
While the crust was cooling I began making the banana cream filling. To begin I prepped those ingredients that needed a bit of prepping: slicing three bananas, separating four eggs for the yolks and cutting up 2 tbsp. of butter.
IMG_2944
In a medium saucepan I combined sugar, cornstarch and salt and then whisked in milk. I cooked this over medium-high heat, stirring constantly, until the mixture was thick and bubbling.
IMG_2949
I then whisked the milk mixture in with the eggs yolks. 
IMG_2951
After the milk and eggs were completely incorporated I returned the mixture to the saucepan and cooked it over medium heat once again stirring it constantly until it boiled.
IMG_2952 IMG_2953
I then strained the mixture through a sieve…
IMG_2954
And then mixed in the butter and once it was melted I folded in the bananas.
IMG_2955 IMG_2956
It was then time to pour the banana cream into the cooled pie crust and then cover it with plastic wrap and refrigerate it until the cream was set.
IMG_2957 IMG_2959
Once the pie was set I made a whipped cream topping for it and sprinkled it with shaved chocolate curls.
IMG_2964
 

Banana Cream Pie

Ingredients:

All-purpose flour, for dusting

1 recipe Pate Brisee to Make Two 9-Inch Single-Crust Pies or One Double-Crust or Lattice-Crust Pie (http://www.marthastewart.com/258439/pate-brisee), use 1 disc and reserve remaining disc for another use*

1/2 cup granulated sugar

1/4 cup cornstarch

1/4 teaspoon coarse salt

4 large egg yolks

2 cups whole milk

2 tablespoons cold unsalted butter, cut into pieces

3 ripe bananas, halved lengthwise, then thinly sliced crosswise

1 1/2 cups heavy cream

2 teaspoons confectioners’ sugar

1/2 teaspoon pure vanilla extract

1 block (about 5 ounces) bittersweet chocolate

*I opted to use a store-bought pie crust

Directions 

1. Make the crust: Preheat oven to 425 degrees. On a lightly floured work surface, roll out dough into a 14-inch round (1/4 inch thick). Fit dough into a 9-inch pie plate. Trim dough to extend above edges by 1 inch, fold under, and crimp. Prick bottom with a fork, and freeze until firm, about 15 minutes. Cut a large round of parchment paper (about 11 inches), and place in pie shell, allowing excess to extend above edges. Fill with pie weights. Freeze until cold, about 10 minutes.

2. Bake crust 15 minutes. Reduce oven temperature to 375 degrees. Remove pie weights and parchment, and bake until golden brown, about 20 minutes more. Let cool on a wire rack.

3. Make the filling: Combine granulated sugar, cornstarch, and salt in a bowl. Add egg yolks, and whisk until smooth. Bring milk to a simmer in a saucepan over medium heat. Add 1/2 cup milk to yolk mixture in a slow, steady stream, whisking constantly. Pour mixture into pan with hot milk, and cook, whisking constantly, until mixture begins to bubble and is very thick, about 6 minutes.

4. Pour milk mixture through a large-mesh sieve into a bowl. Add butter, and stir until melted. Fold in bananas. Pour into crust. Place plastic wrap directly on surface of filling to prevent a skin from forming. Refrigerate for 2 hours.

5. Make the topping: Beat together cream, sugar, and vanilla until soft peaks form. Spread whipped cream over filling. Using a rubber spatula or the back of a spoon, shape topping into peaks.

6. Using a vegetable peeler, shave chocolate at a 45-degree angle, and scatter over pie. (You will only need about 1 ounce of chocolate for the shavings, but it will be easier to shave if you start with a larger piece than you need.) Serve.


Valentine’s Day Treats

Happy Valentine’s Day! Many have coined this day a Hallmark Holiday, for me, I personally believe that we shouldn’t have to designate a specific calendar day to show the one’s we love how much we love and appreciate them (If you’re curious here’s a little history on the origins of the day.) We should take a lesson from my friend’s four-year old daughter who will ask me to call her mom while I am baby-sitting her just so she can tell her that she loves her. I will say though that Valentine’s Day does bring about some delicious treats available in stores. I highly recommend the Heart Shaped Brownie Batter Donut from Dunkin’ Donuts… It’s delicious! Something else that is available in stores… an array of baking items so you can bake up your own delicious treats. I definitely couldn’t resist quite a few of those…

IMG_2746

While I would have loved to bake up a batch of sugar cookies from scratch I had to settle on using a bag mix since I was short on time and couldn’t afford to wait the hour or so for my dough to be refrigerated.

IMG_2736

After following the mixing directions on the package for cutout cookies I rolled out the dough and used my heart-shaped cookie cutters to cut out cookies and then popped them in a 350 F preheated oven on an ungreased cookie sheet for six minutes. I got a jump start on decorating a few of them by sprinkling sprinkles on them prior to baking. I then let them cool completely before finishing my decorating.

IMG_2738 IMG_2741

While the cookies cooled I made some cupcakes using Pillsbury’s Valentine’s Day Funfetti Cake Mix. How can you resist the Pillsbury Dough Boy on a Valentine’s Day themed cake mix box!?!? Once they cooled I frosted them using store bought vanilla frosting. I was planning on whipping up a batch of vanilla frosting from scratch, but, after shoveling snow for the umpteenth time this year I just wasn’t in the mood.

IMG_2752 IMG_2756

I tinted half of the frosting pink and then sprinkled some Valentine’s Day sprinkles on them.

IMG_2765

And finally something I did make from scratch… Royal Icing to decorate the cookies.

IMG_2758

I used a squeeze bottle to decorate the cookies with icing and then once again used sprinkles to finish decorating them.

IMG_2759

And finally my Valentine’s Day treats were done and ready to be shared…

IMG_2800

Sun-Dried Tomato Bread

As I may have mentioned before I have quite a few cookbooks that I normally mark recipes from but more often than not don’t get around to trying out. Recently I started going through some of these cookbooks to refresh my memory on those marked recipes and also to see if I can make room on my bookshelf for other cookbooks that I will get more use out of. In doing so I came across a Sun-Dried Tomato Bread recipe in Marcus Samuelsson’s New American Table cookbook which I immediately decided I wanted to try. This is one cookbook that I didn’t purchase myself but instead received as part of a prize package I got a few years back and probably haven’t looked at it since. This also marks the first time I attempted to make bread, yes, I have made banana bread and such in the past but, I guess I should clarify that it’s the first time I am making a yeast bread. I’ve only baked with yeast once before, just this past holiday actually, and it was disastrous. I tried to make cinnamon rolls from scratch but my yeast never properly dissolved and reacted with the water so the rolls were a mess, but, they did smell good. Luckily this time my results were a complete 180. I can’t even tell you how happy I was when my loaves actually expanded while they rested prior to me putting them in the oven… Sometimes it really is the little things in life.

I began by preparing the sun-dried tomato – kalamata olive – garlic paste that I ultimately kneaded into the dough. I soaked chopped sun-dried tomatoes in water for ten minutes and after patting them dry I combined them with chopped kalamata olives. To prepare the garlic I cooked four unpeeled cloves in olive oil for about twenty minutes until they were softened and then squeezed the pulp from the cloves into the mixture. I then mashed all three items together with a spoon to form the paste.

IMG_2659

Next I combined the yeast, salt and water in a bowl and let it sit in a warm area until the yeast activated. While the recipe called for fresh yeast I used dry yeast instead. I was able to find the dry equivalent after doing a quick Google search. At first nothing happened with my water, but, after reading the back of the yeast packet I learned that I needed to add a bit of sugar to get the process going. It wasn’t long after that the yeast was ready.

IMG_2660

I poured that into the center of the two flours – unbleached all-purpose and wheat flour – the recipe called for.

IMG_2661

After some kneading the dough was ready to be incorporated with the tomato-olive-garlic paste.

IMG_2663

After some more kneading I formed the dough into two loaves which I placed in prepared (sprayed with non-stick cooking spray) loaf pans.

IMG_2667

I covered them and let them rest for one hour in a warm area so they could double in size. My warm area ended up being right on top of my stove while the oven was on. And boy did they double…

IMG_2670

I then brushed the tops of the loaves with olive oil – I used the same olive oil that I cooked the garlic in to add a little extra flavor – and sprinkled some salt and freshly chopped marjoram on top.

IMG_2672

I baked them in a 375 degree preheated oven for 30 minutes uncovered and then another 25 minutes covered with aluminum foil. After letting the loaves rest in the pan on the wire rack for ten minutes I then removed them so they could cool completely.

IMG_2682

After cooling overnight I sliced them up and am happy to say that baking with yeast this time was a success for me! This bread is delicious!

IMG_2697


Sun-Dried Tomato Bread Recipe

Servings: 2 Loaves

Ingredients

1/2 cup roughly chopped sun-dried tomatoes

2 tbsp olive oil

4 garlic cloves, unpeeled

1/4 cup kalamata olives, pitted and roughly chopped

2 oz fresh yeast (approximately 7 tsp. dry yeast)

2 1/2 tsp salt

2 cups unbleached all-purpose flour

2 cups whole-wheat flour

2 marjoram sprigs, chopped

Directions

1. Preheat the oven to 400 degrees F.

2. Soak the sun-dried tomatoes in cold water for 10 minutes. Rinse and pat dry.

3. Heat the olive oil in a small saute pan over low heat. Add the garlic cloves and cook until softened, shaking the pan occasionally, about 20 minutes. Let cool slightly, then squeeze the pulp from the cloves into a bowl and mix with the olives and sun-dried tomatoes to form a paste.

4. Combine the yeast, 2 teaspoons of the salt, and 2 cups lukewarm water in a mixing bowl. Stir to dissolve, then let sit in a warm place until the yeast begins to bubble, 5 to 10 minutes.

5. Place the all-purpose flour and whole wheat flour in a large bowl and make a well in the center. Pour the yeast liquid into the well. Slowly combine the liquid with the flour. Using your hands, work the flour and liquid together to form a dough. On a lightly floured work surface, knead the dough until smooth and elastic, about 5 minutes. Add the tomato-olive mixture and knead until fully incorporated, about 5 minutes.

6. Divide the dough in half and form into 2 loaves. Transfer to two greased 81/2 x 41/2-inch loaf pans. Cover and let rest in a warm spot until doubled in bulk, about 1 hour.

7. Brush the tops of the loaves with olive oil and sprinkle with the remaining 1/2 teaspoon salt and the marjoram. Place the loaf pans in the oven and bake for 30 minutes. Cover the pans with aluminum foil and bake for another 30 minutes.

8. Remove the loaves from the oven and let cool on a wire rack for 10 minutes. Remove the loaves from the pans and let cool completely on the racks.

Enchanted Castle Cake

First it was an Elmo Cake, then a Minnie Mouse Cake and this year my friend’s daughter requested a “princess cake.” I stretched that idea a tad and made an Enchanted Castle Cake which I then surrounded with her Disney Princess figurines. My reasoning… Princesses usually live in castles! The most important thing though…. She loved it. And while last year I opted to rent the Minnie Mouse pan this year I just went ahead and purchased the Enchanted Castle Pan from Wilton. Luckily Wilton has numerous different ideas for that pan so I am sure I will get a few more uses out of it. I will say that I did cheat a bit for this cake by using a Betty Crocker Yellow Cake Mix and a few containers of Betty Crocker Vanilla Frosting which I tinted in the appropriate colors.

IMG_2639 IMG_2643

The before picture of the cake. Luckily the important aspects of the cake were visible for me to decorate, but, I did have to freehand the windows.

IMG_2537

Little by little the castle came alive. Of course I had my doubts along the way.

Enchanted Castle Step by Step

But, at this point of the decorating I was very happy with the outcome.

IMG_2547

All that was left was to add flowers to the castle. Since I have never been that good at making flowers, I decided to make them separately and then add them to the cake. I made simple drop flowers on wax paper and then let them set for a while before placing them in the freezer for a few minutes to make transferring them to the cake easier.

IMG_2549

I then “glued” them onto the cake with green tinted icing and then piped in some leaves for the final touch.

IMG_2572

And you can’t have a princess cake without some princesses.

IMG_2617

Along with the cake I also make Vanilla Squared (vanilla cake with vanilla frosting) cupcakes which I baked in Disney Princess cupcake liners and sprinkled with pink and purple cake sparkles then displayed on a Disney Princess cupcake stand.

IMG_2590 IMG_2595

I wonder what next year’s theme will be….

Vanilla Cupcakes

Makes 12 Cupcakes

Ingredients

1 1/2 cups all-purpose flour

1 1/4 teaspoons baking powder

1/4 teaspoon salt

1 stick unsalted butter, softened

1 cup sugar

2 large eggs, at room temperature

2 teaspoons vanilla extract

2/3 cup whole milk, at room temperature

Directions

Preheat the oven to 350 degrees F. Line a 12-cup muffin pan with paper liners. Whisk the flour, baking powder and salt in a bowl. Beat the butter and sugar in a stand mixer fitted with the paddle attachment on medium-high speed until fluffy, about 4 minutes. Beat in the eggs, one at a time, scraping down the bowl as needed. Beat in the vanilla. Reduce the mixer speed to medium low; beat in half of the flour mixture, then all of the milk, then the remaining flour mixture until just combined.

Divide the batter among the muffin cups, filling each three-quarters full. Bake until a toothpick inserted into the center of a cupcake comes out clean, 18 to 20 minutes, rotating the pan halfway through. Transfer the pan to a rack and let cool 5 minutes, then remove the cupcakes to the rack to cool completely. Top with frosting

Quick Vanilla Buttercream Frosting

Ingredients

3 cups confectioners’ sugar

1 cup butter

1 teaspoon vanilla extract

1 to 2 tablespoons whipping cream

Directions

In a standing mixer fitted with a whisk, mix together sugar and butter. Mix on low speed until well blended and then increase speed to medium and beat for another 3 minutes.

Add vanilla and cream and continue to beat on medium speed for 1 minute more, adding more cream if needed for spreading consistency.