Mushroom & Sausage Quiche

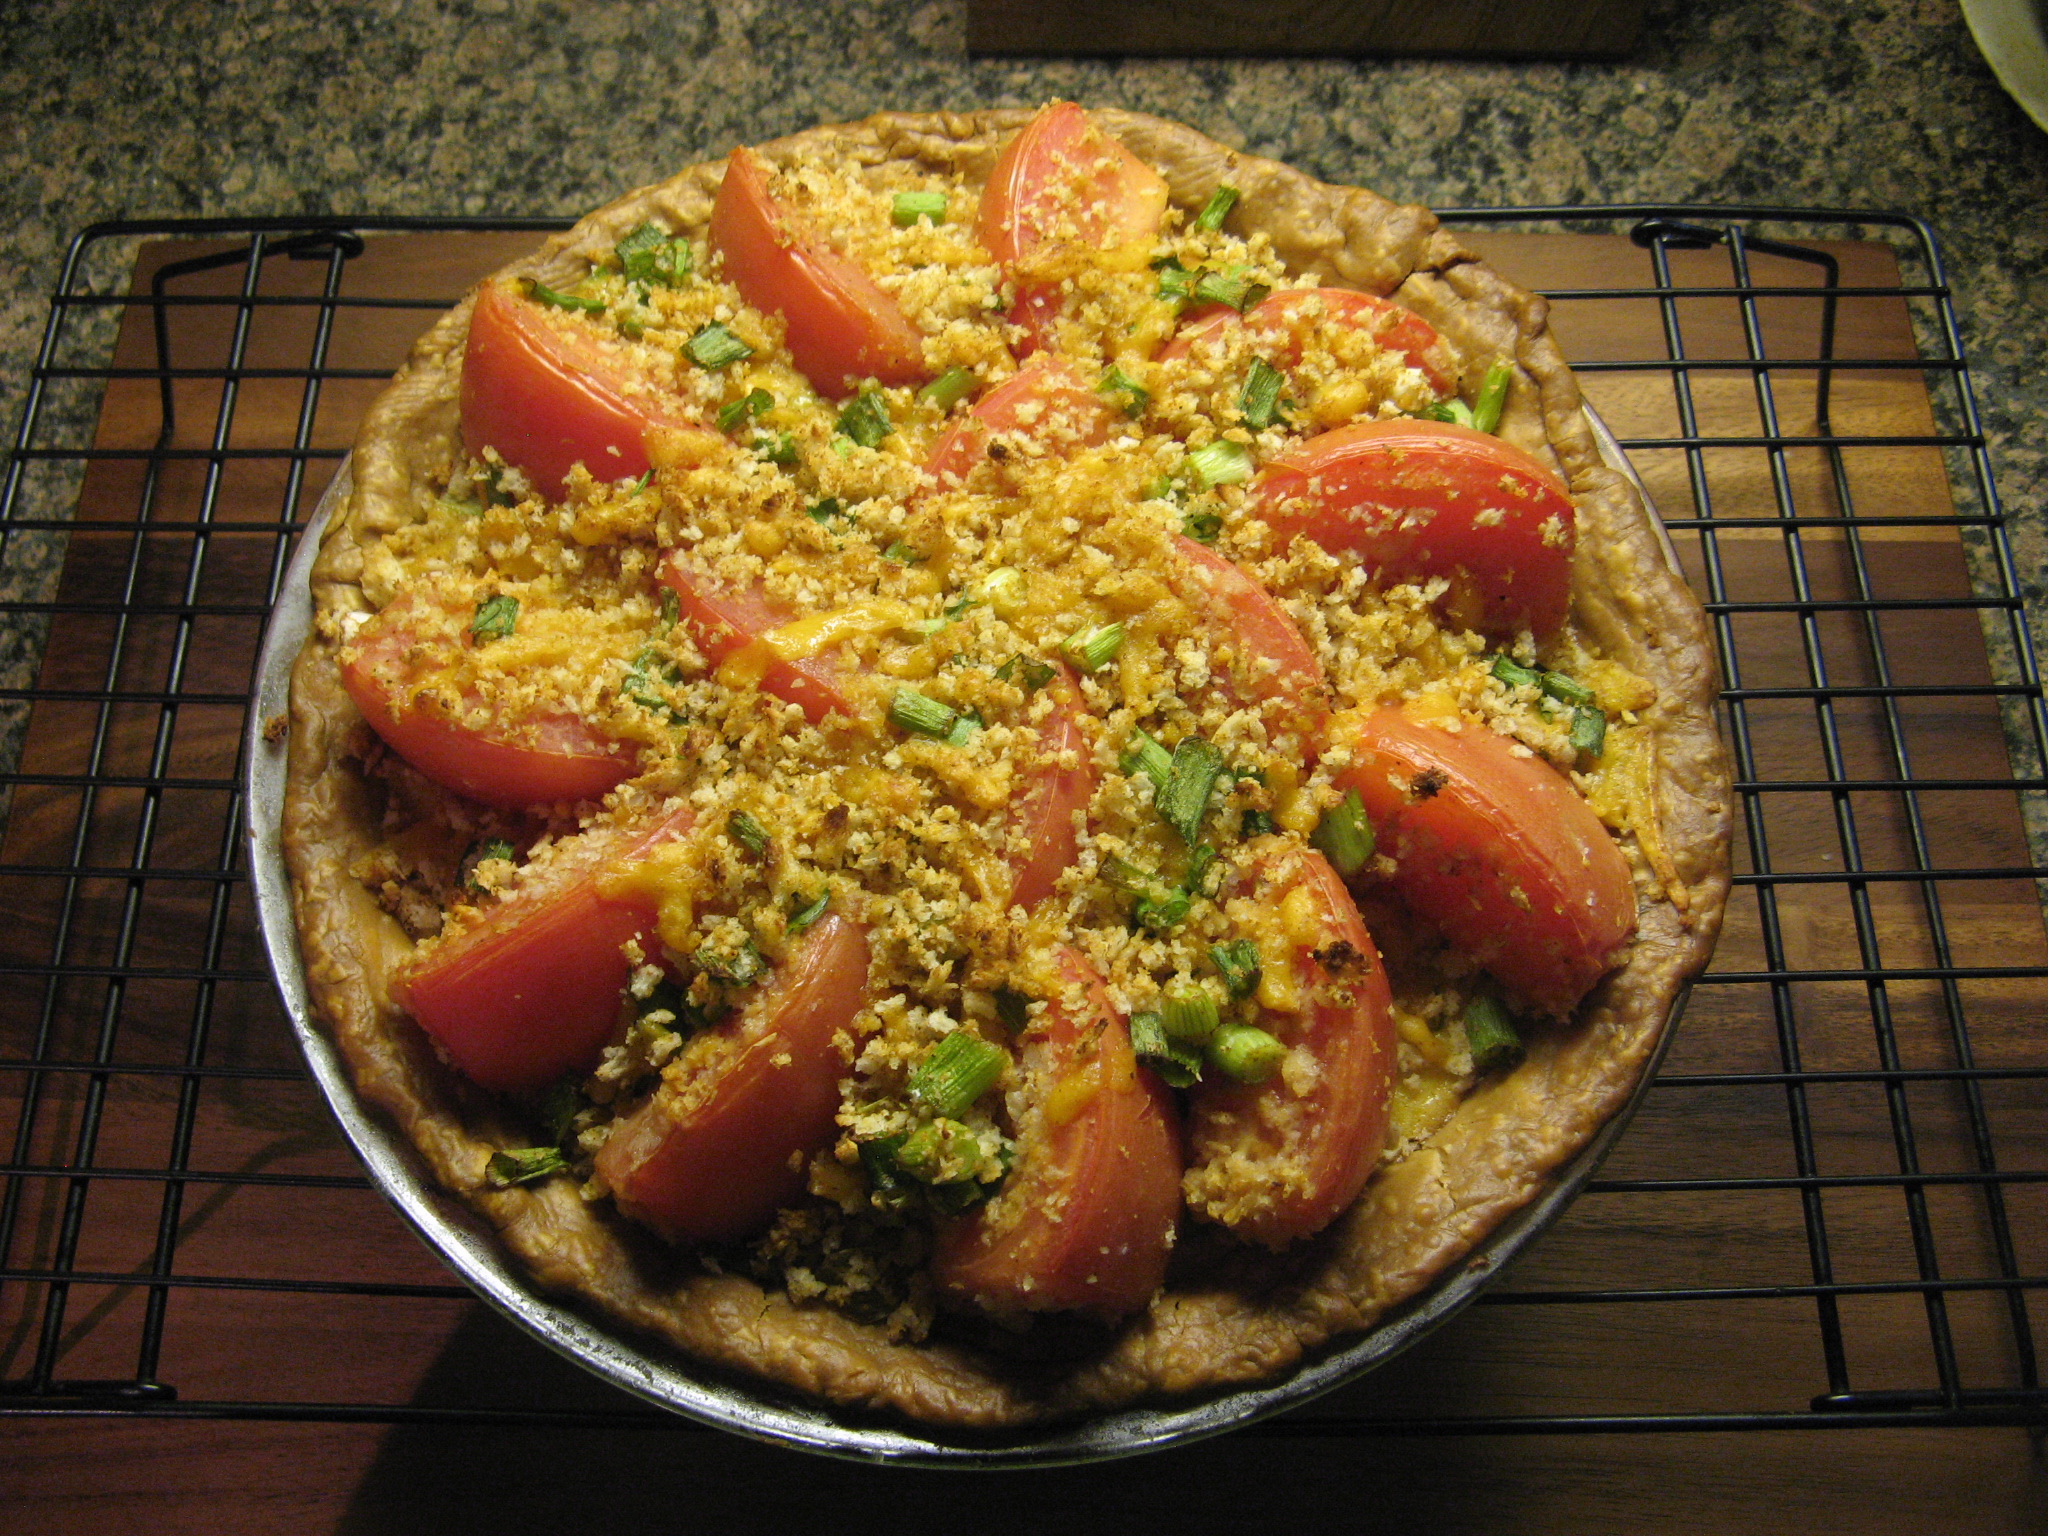
Usually I add ground sausage to my Thanksgiving stuffing, this year though I was on the fence as to whether or not to add it in. As you can guess from this post I opted not to add it, but then the question was what to do with it. I could have frozen it and used it another time but then I remembered a recipe I had for a quiche that called for sausage and mushrooms, another ingredient for the quiche that I had left over from said stuffing. The recipe – Mushroom & Sausage Quiche – is one I came across in a cookbook I picked up years ago and ended up not using. While it was filled with many recipes most of them weren’t appealing to me except this one – which I ended up photocopying and then donating the book.

IMG_6080

I began by cooking the ground sausage.

IMG_6051

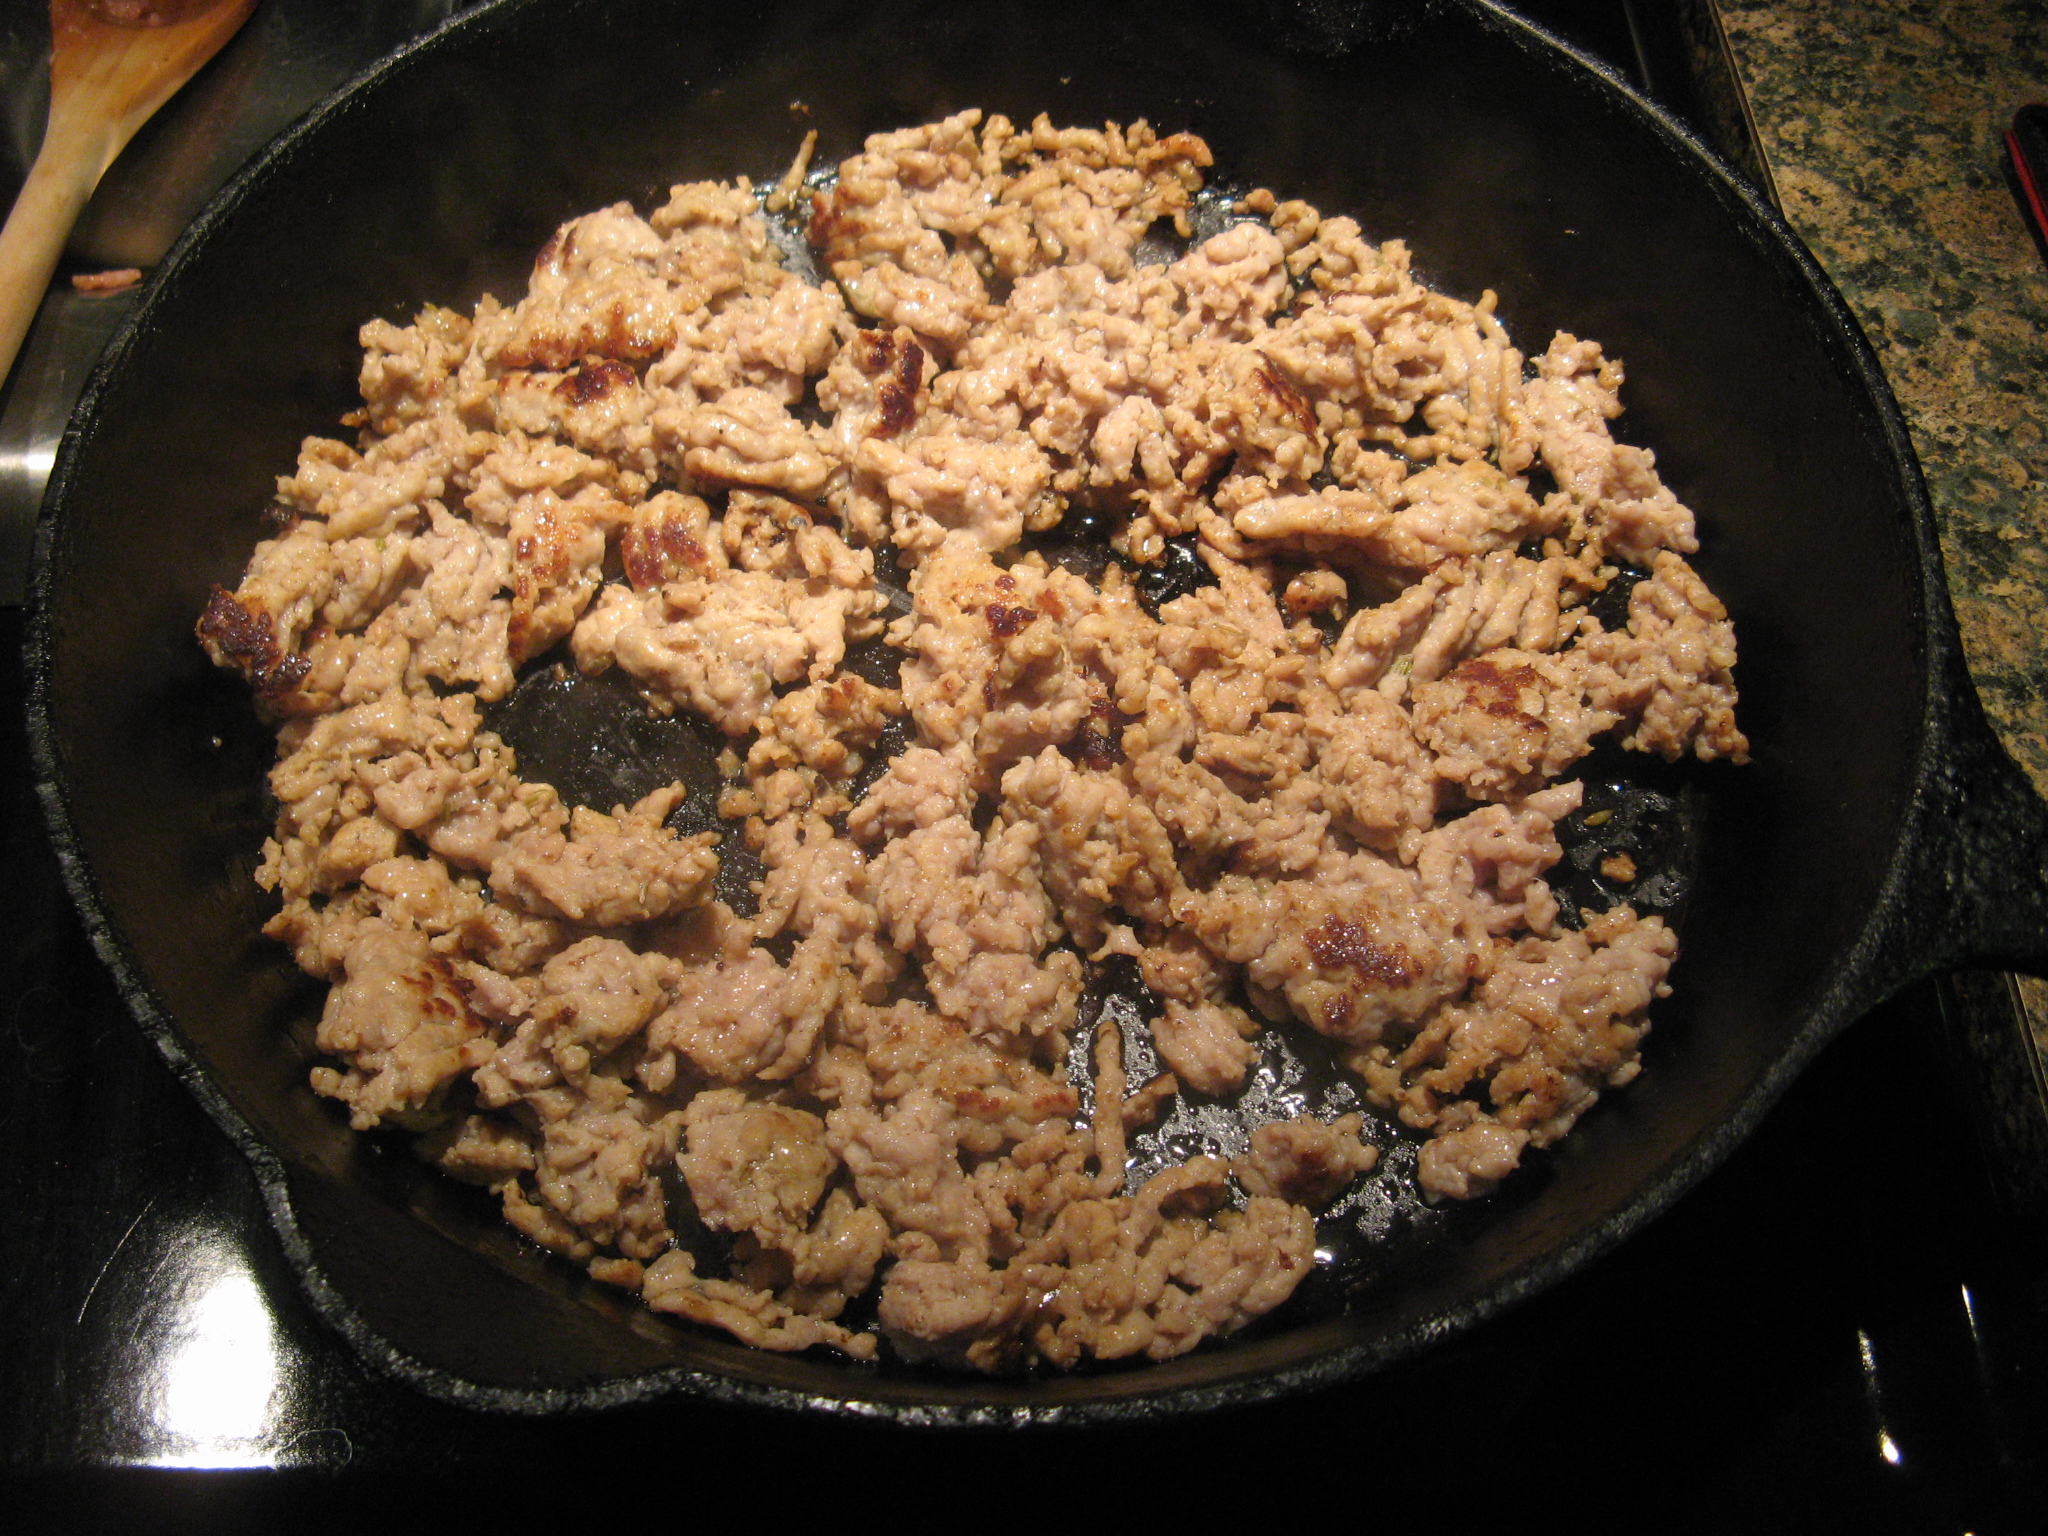
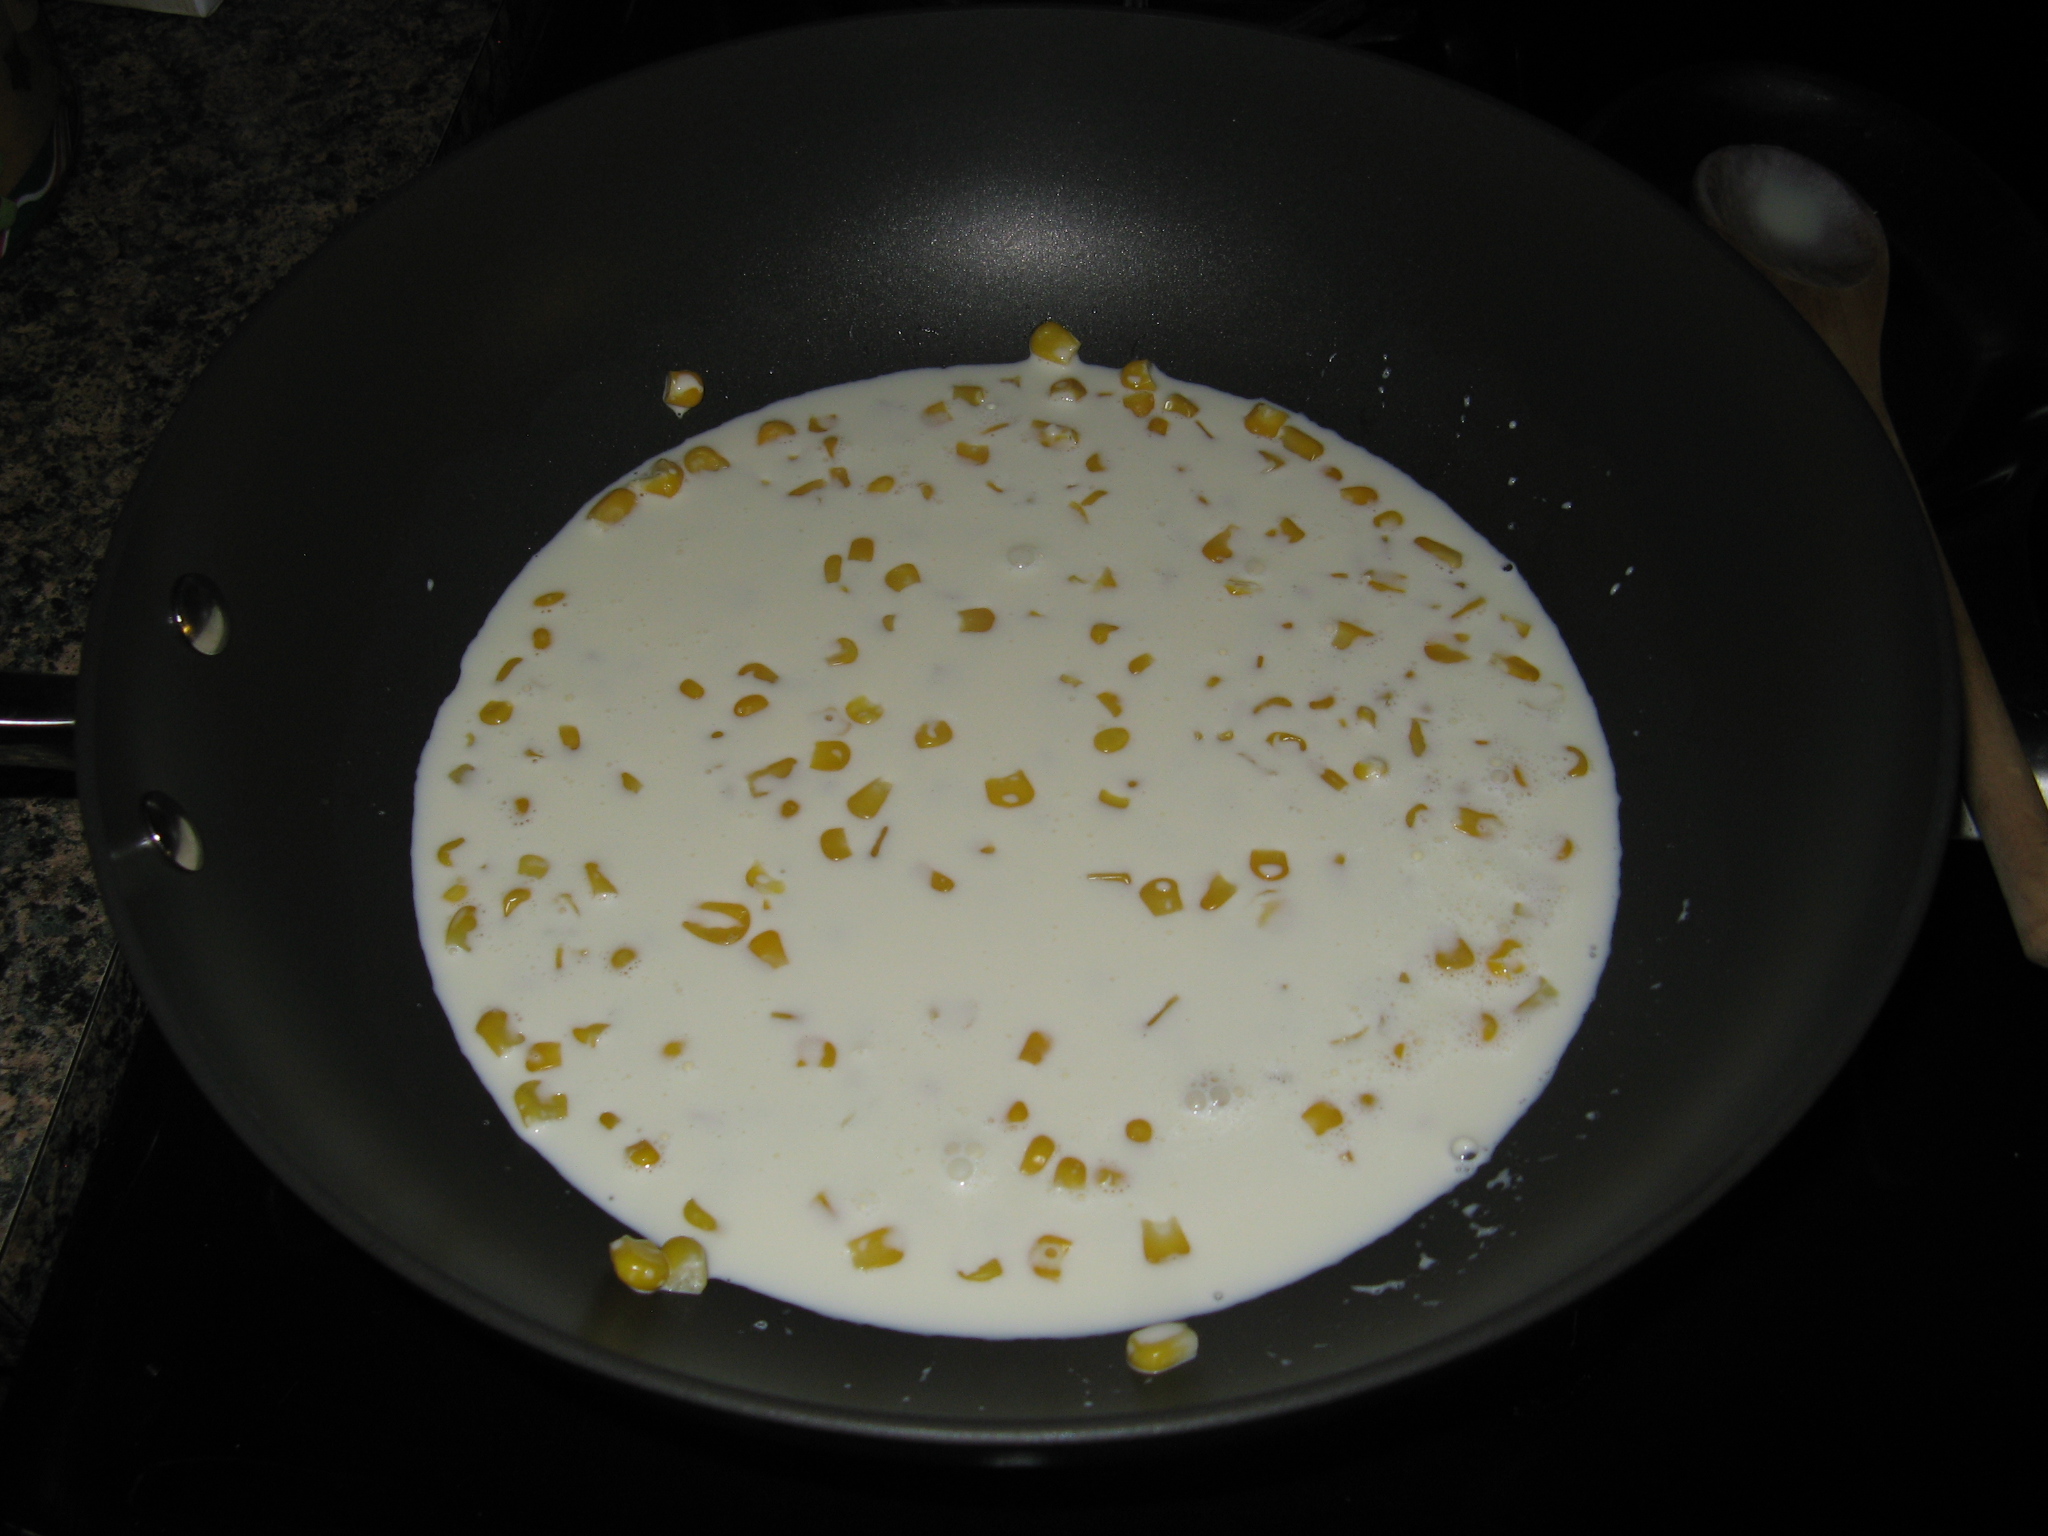
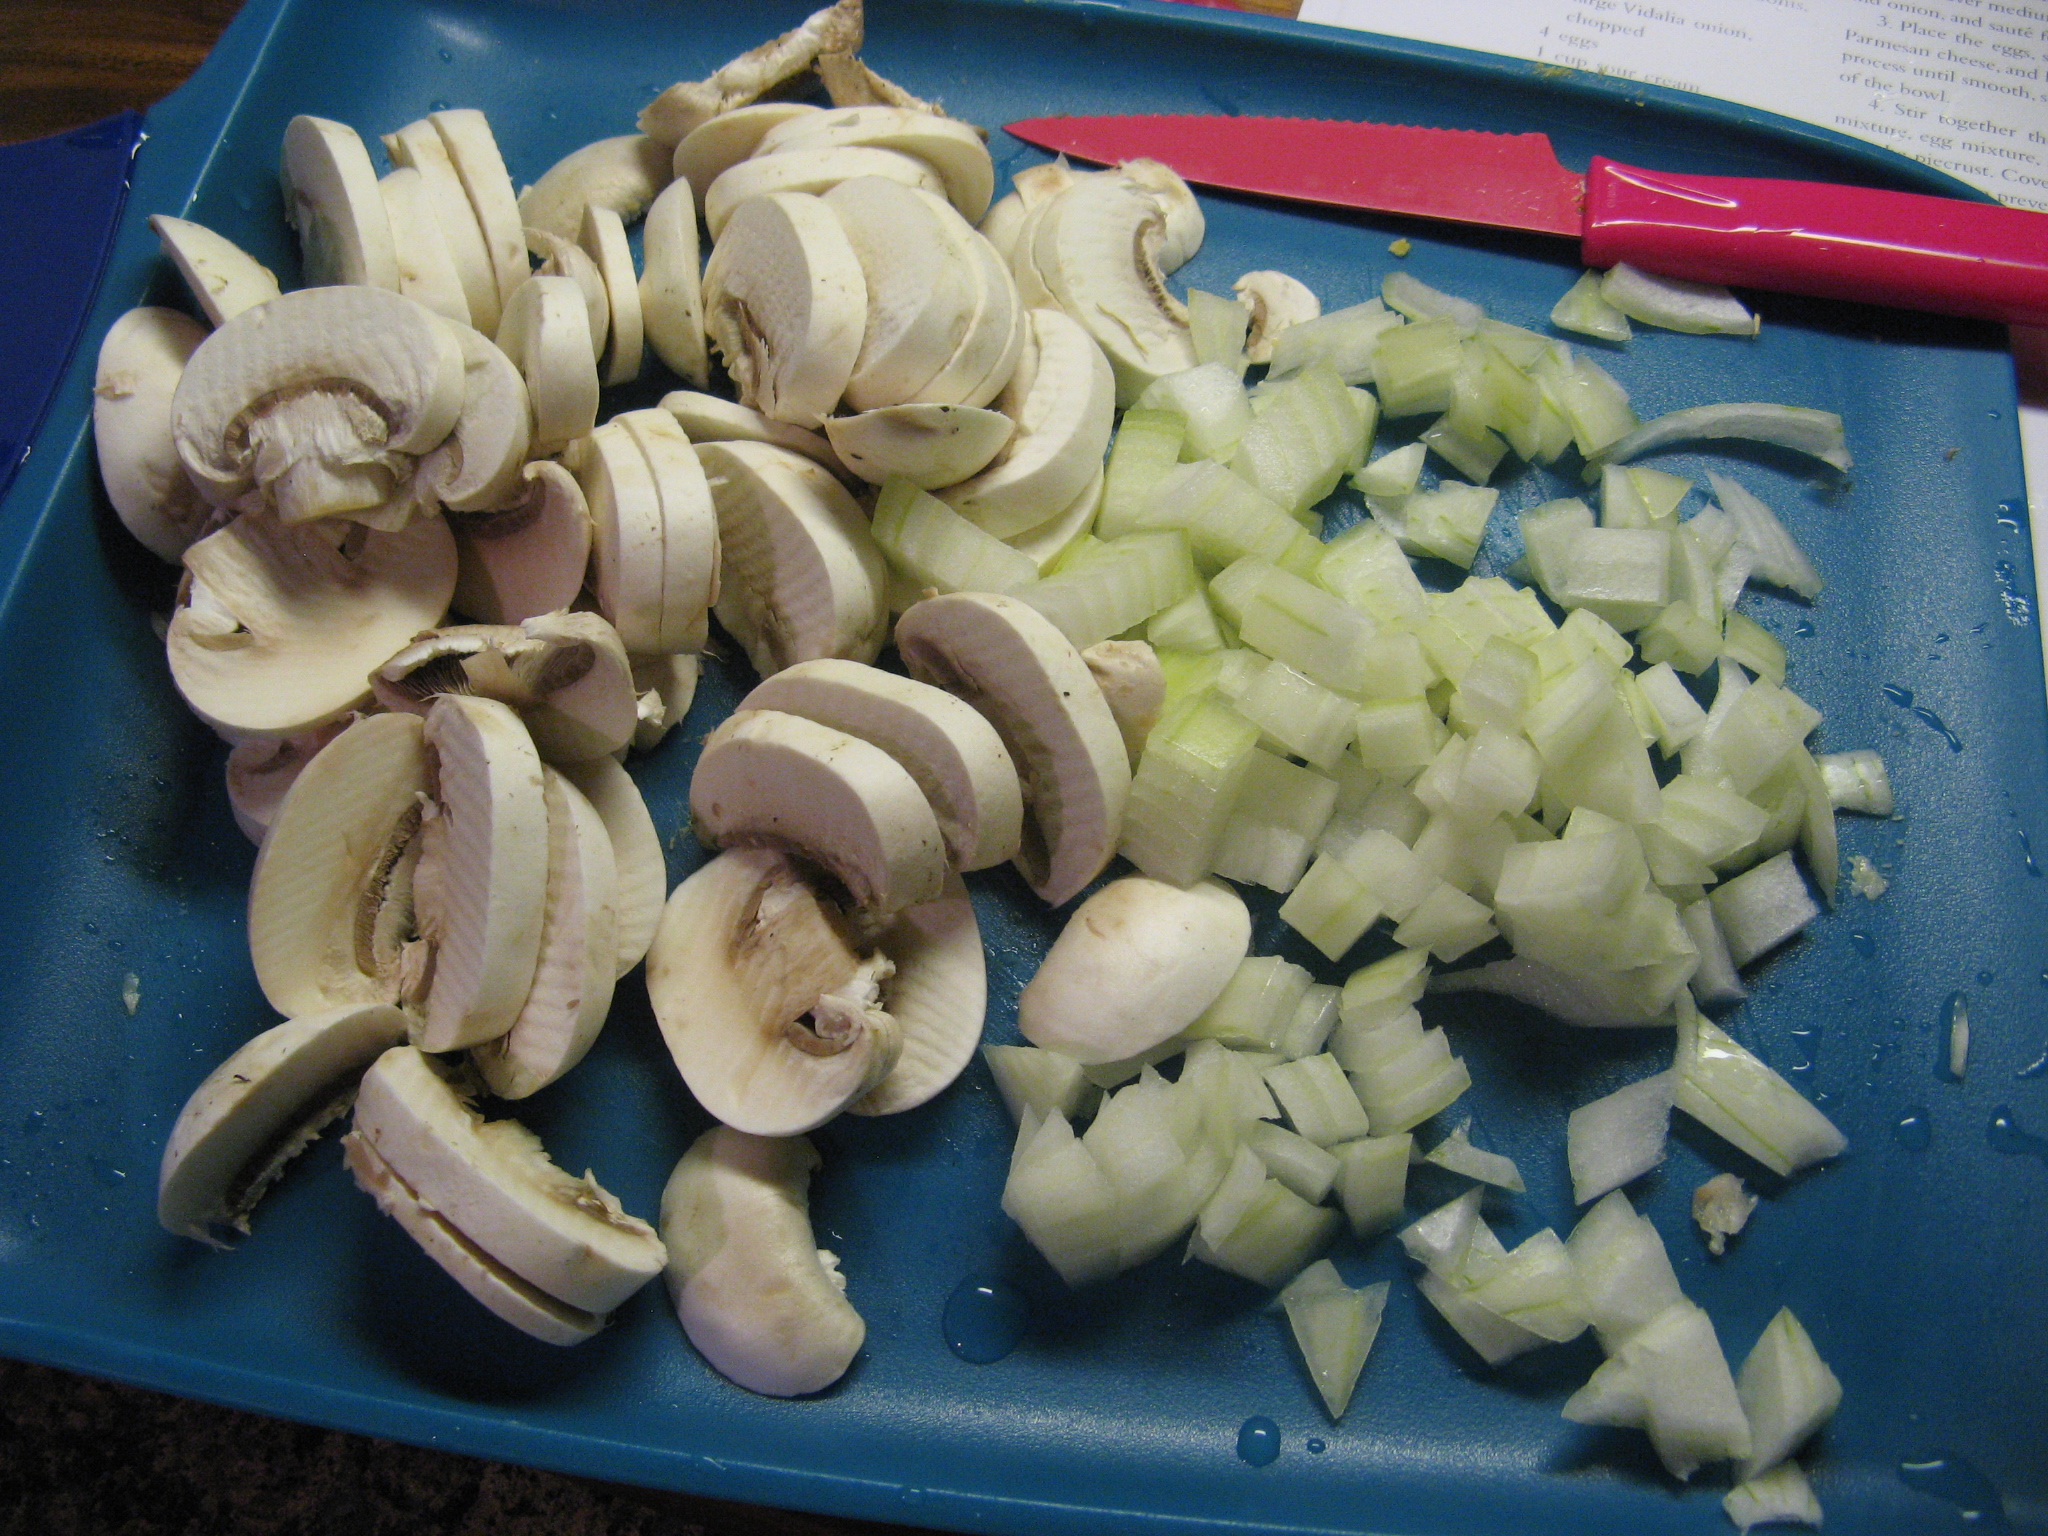
While the ground sausage was cooking I chopped up half a Vidalia onion and sliced half-a-pound of white mushrooms.

IMG_6053

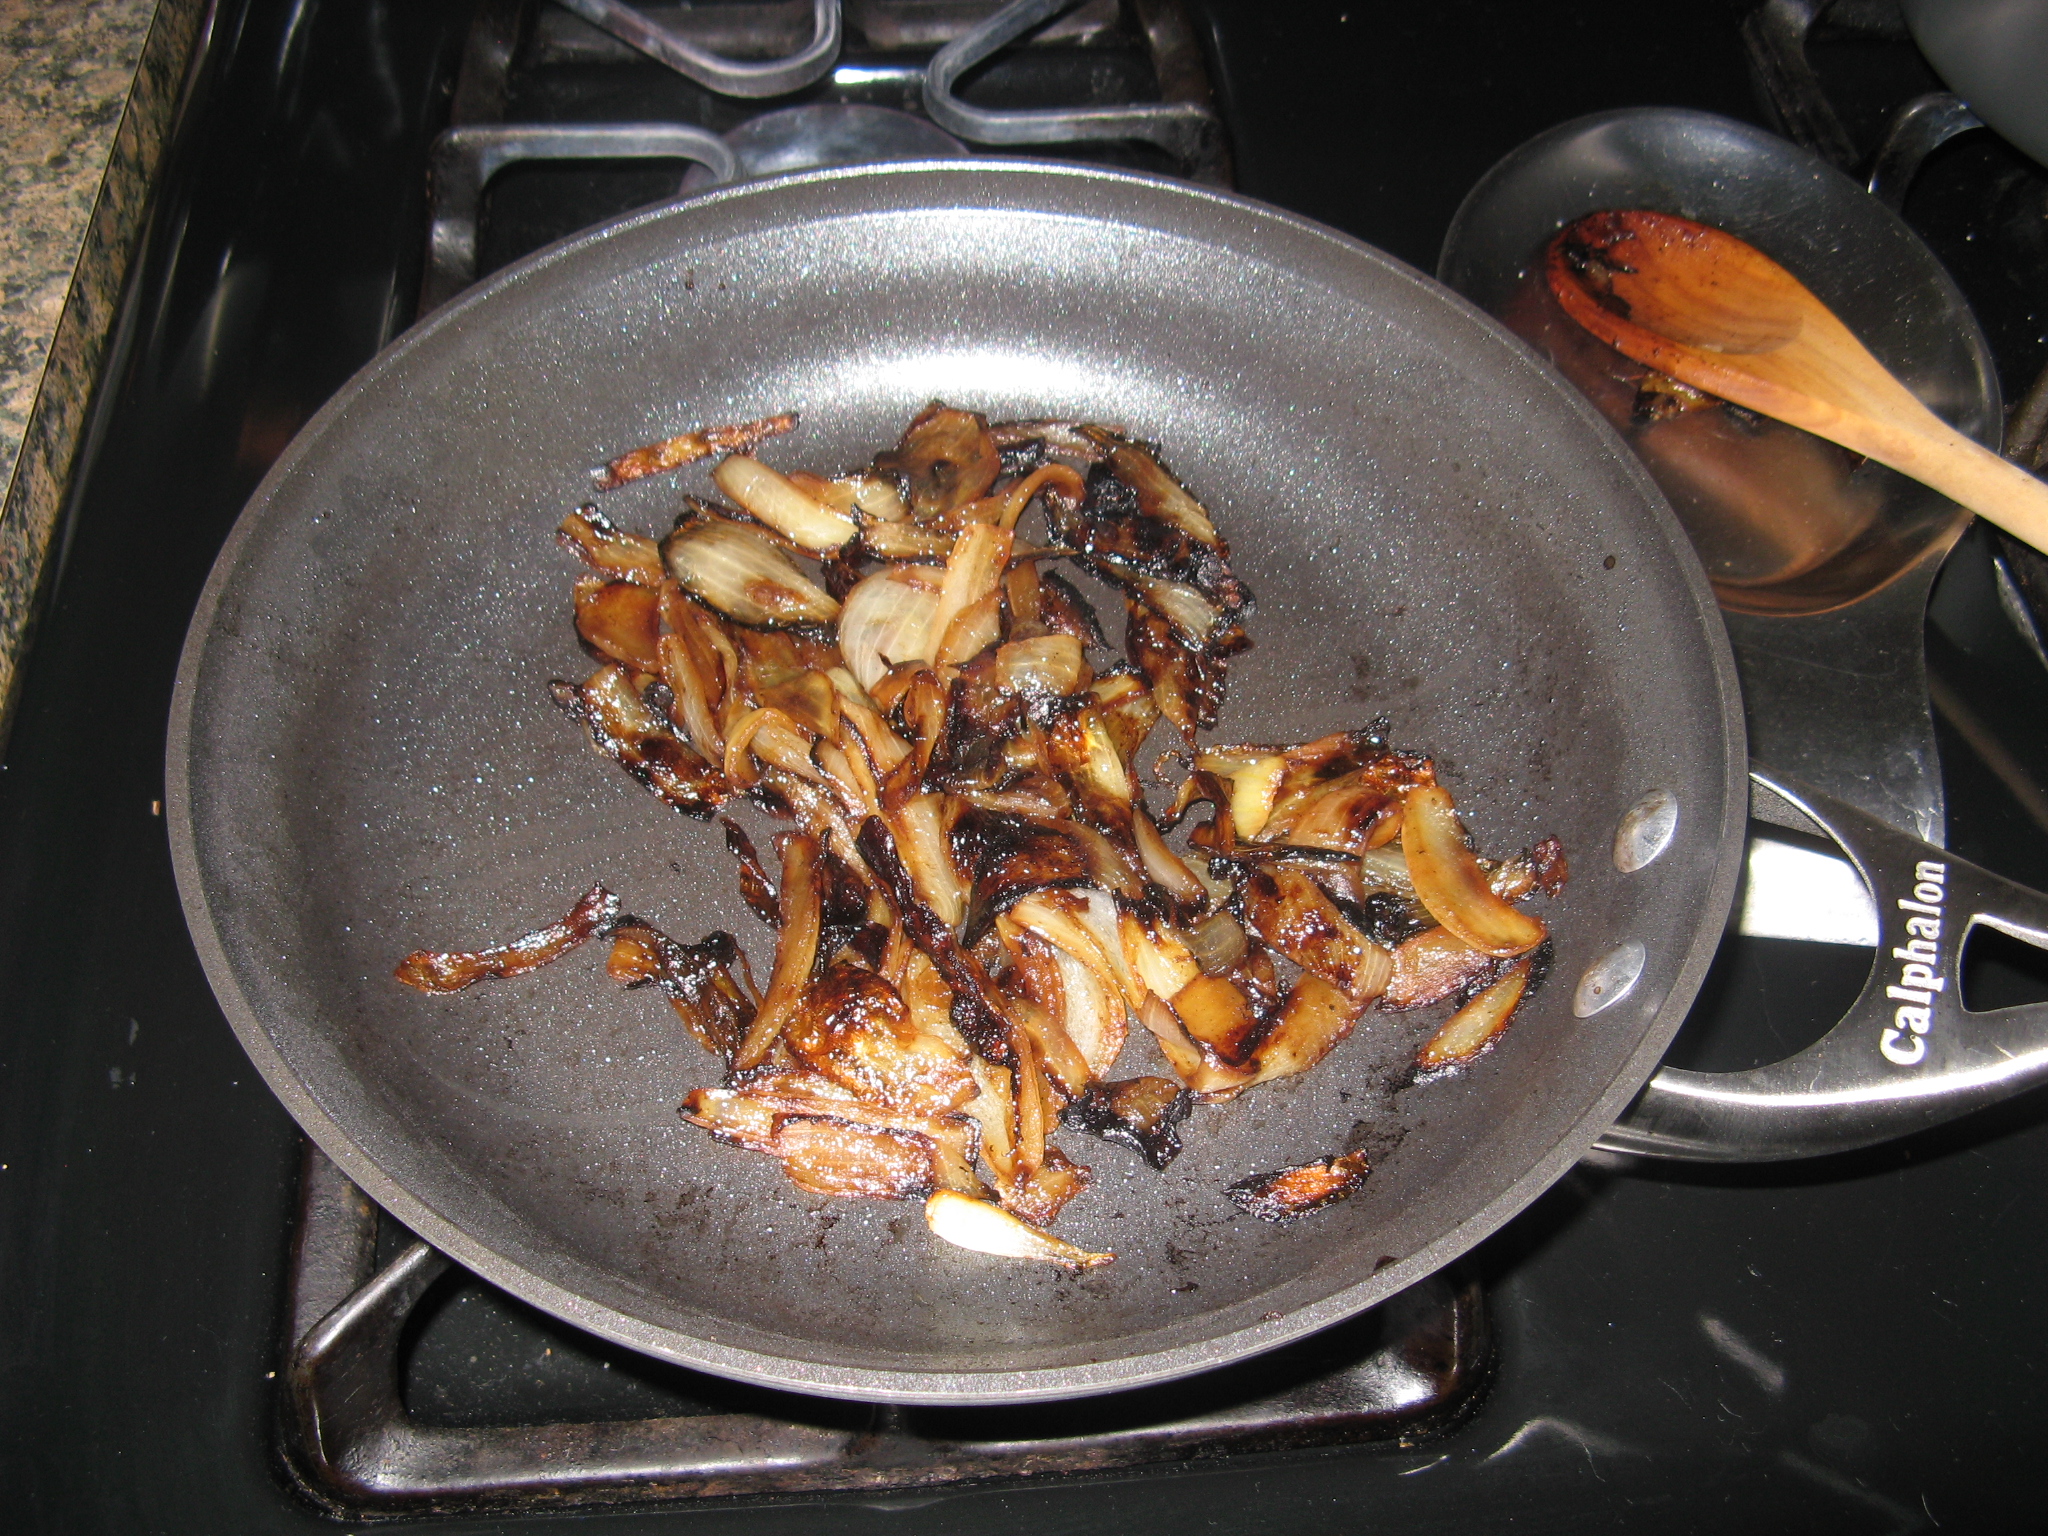
After the sausage was cooked I transferred it to a bowl and wiped the skillet down and cooked the chopped onions and sliced mushrooms in a tablespoon of melted butter.

IMG_6055

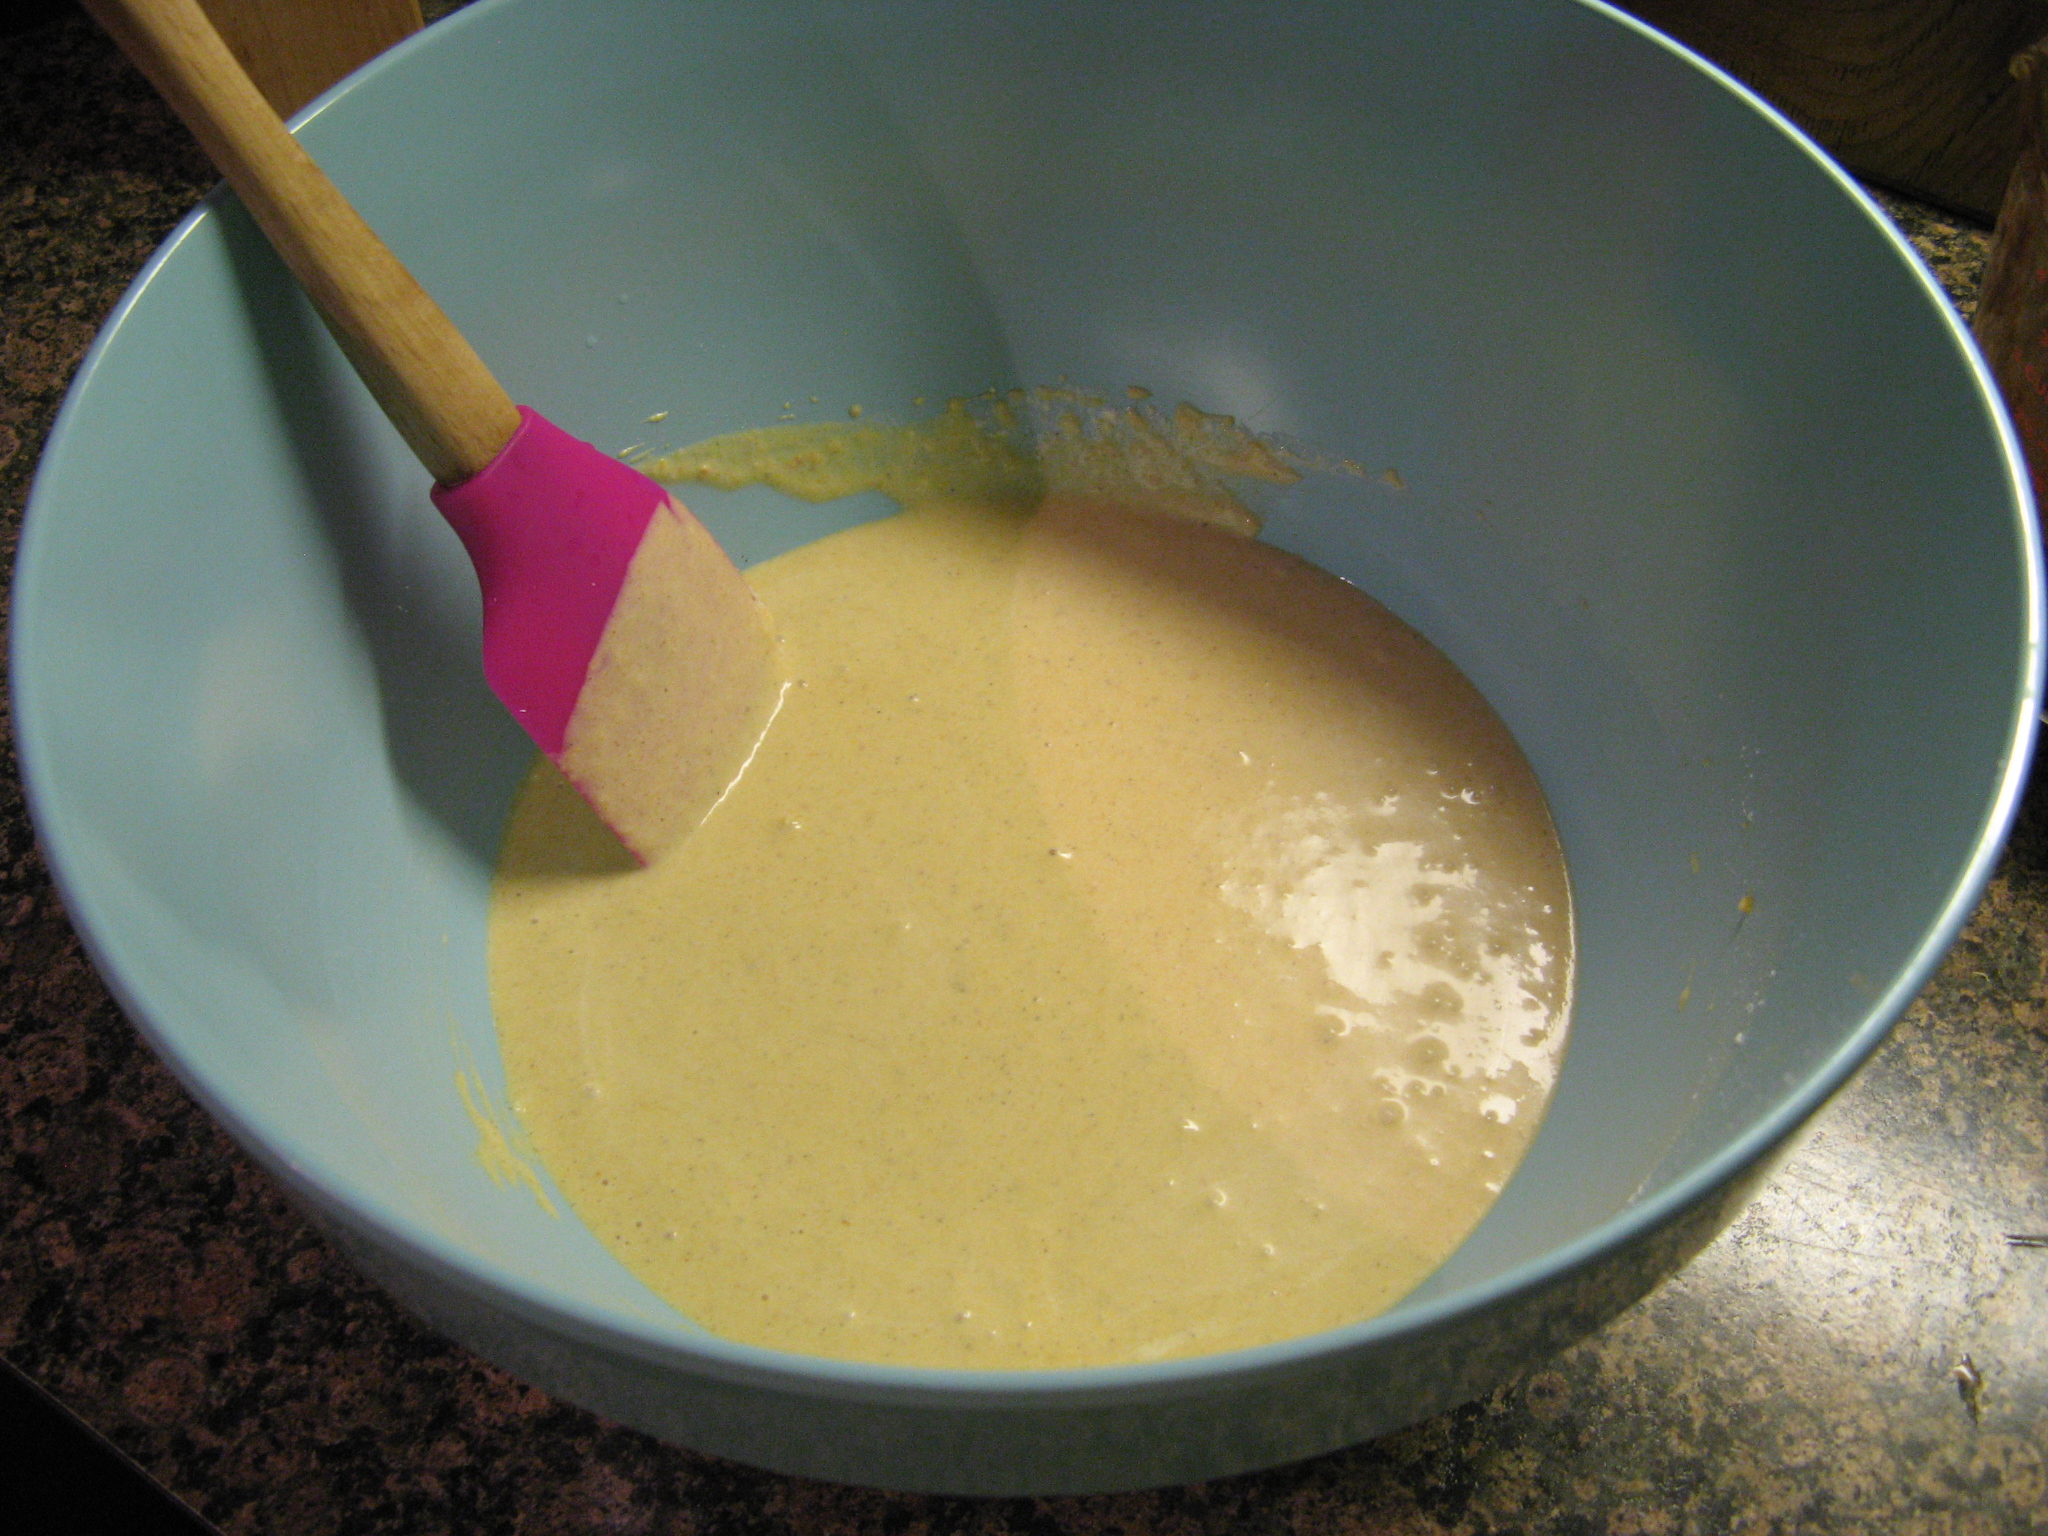
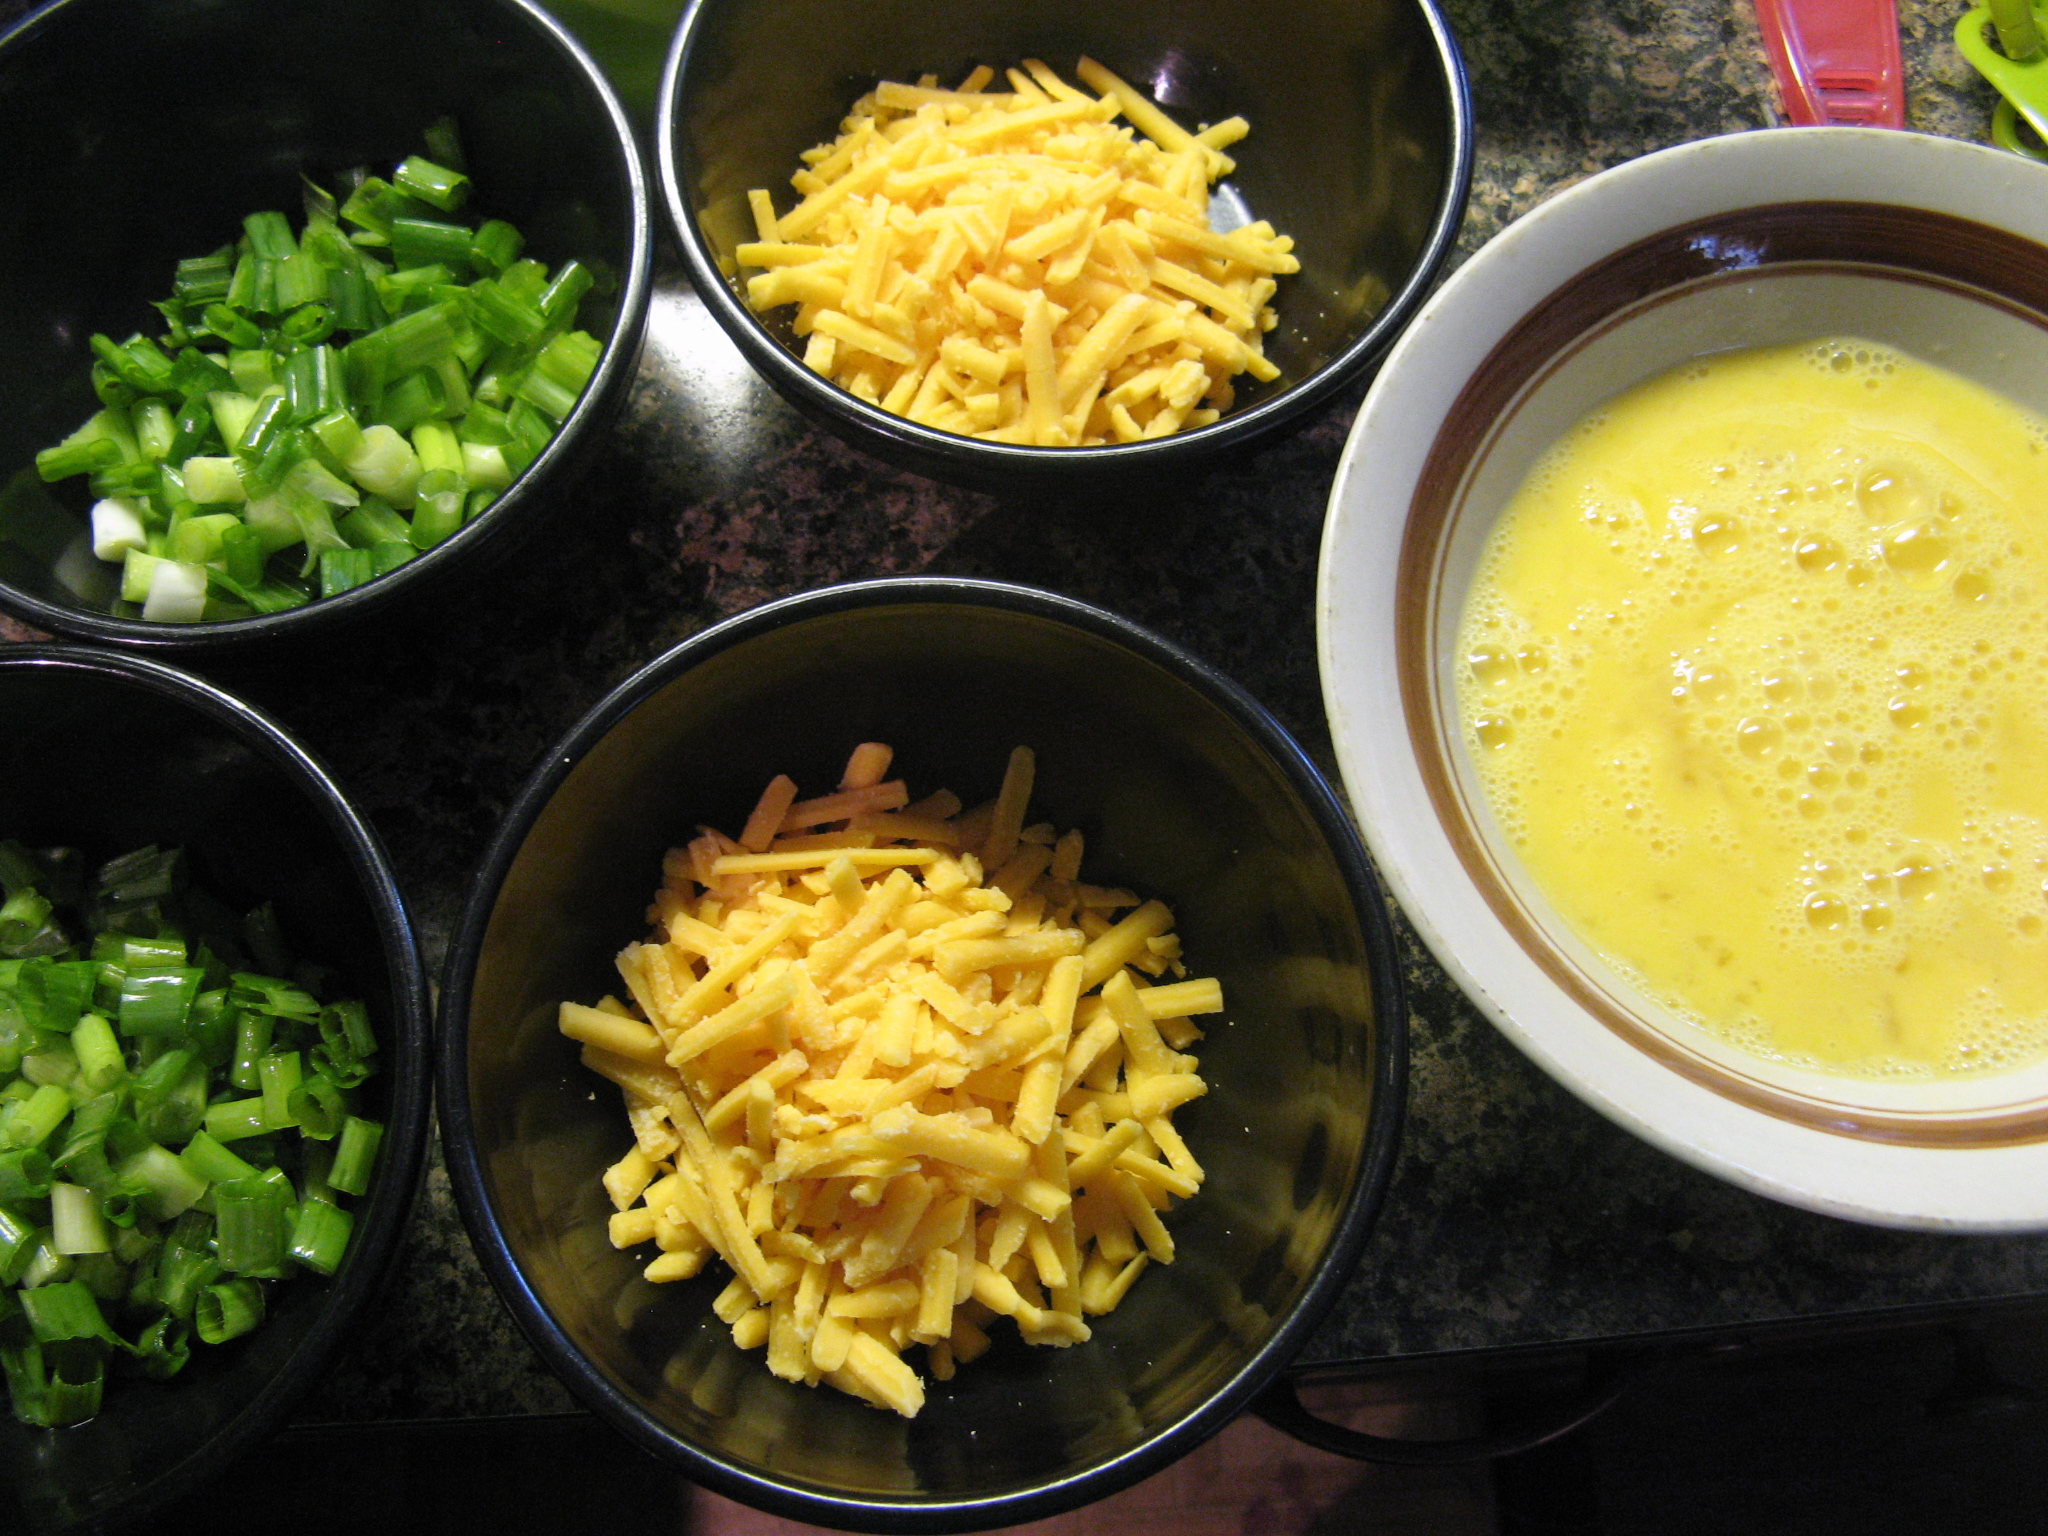
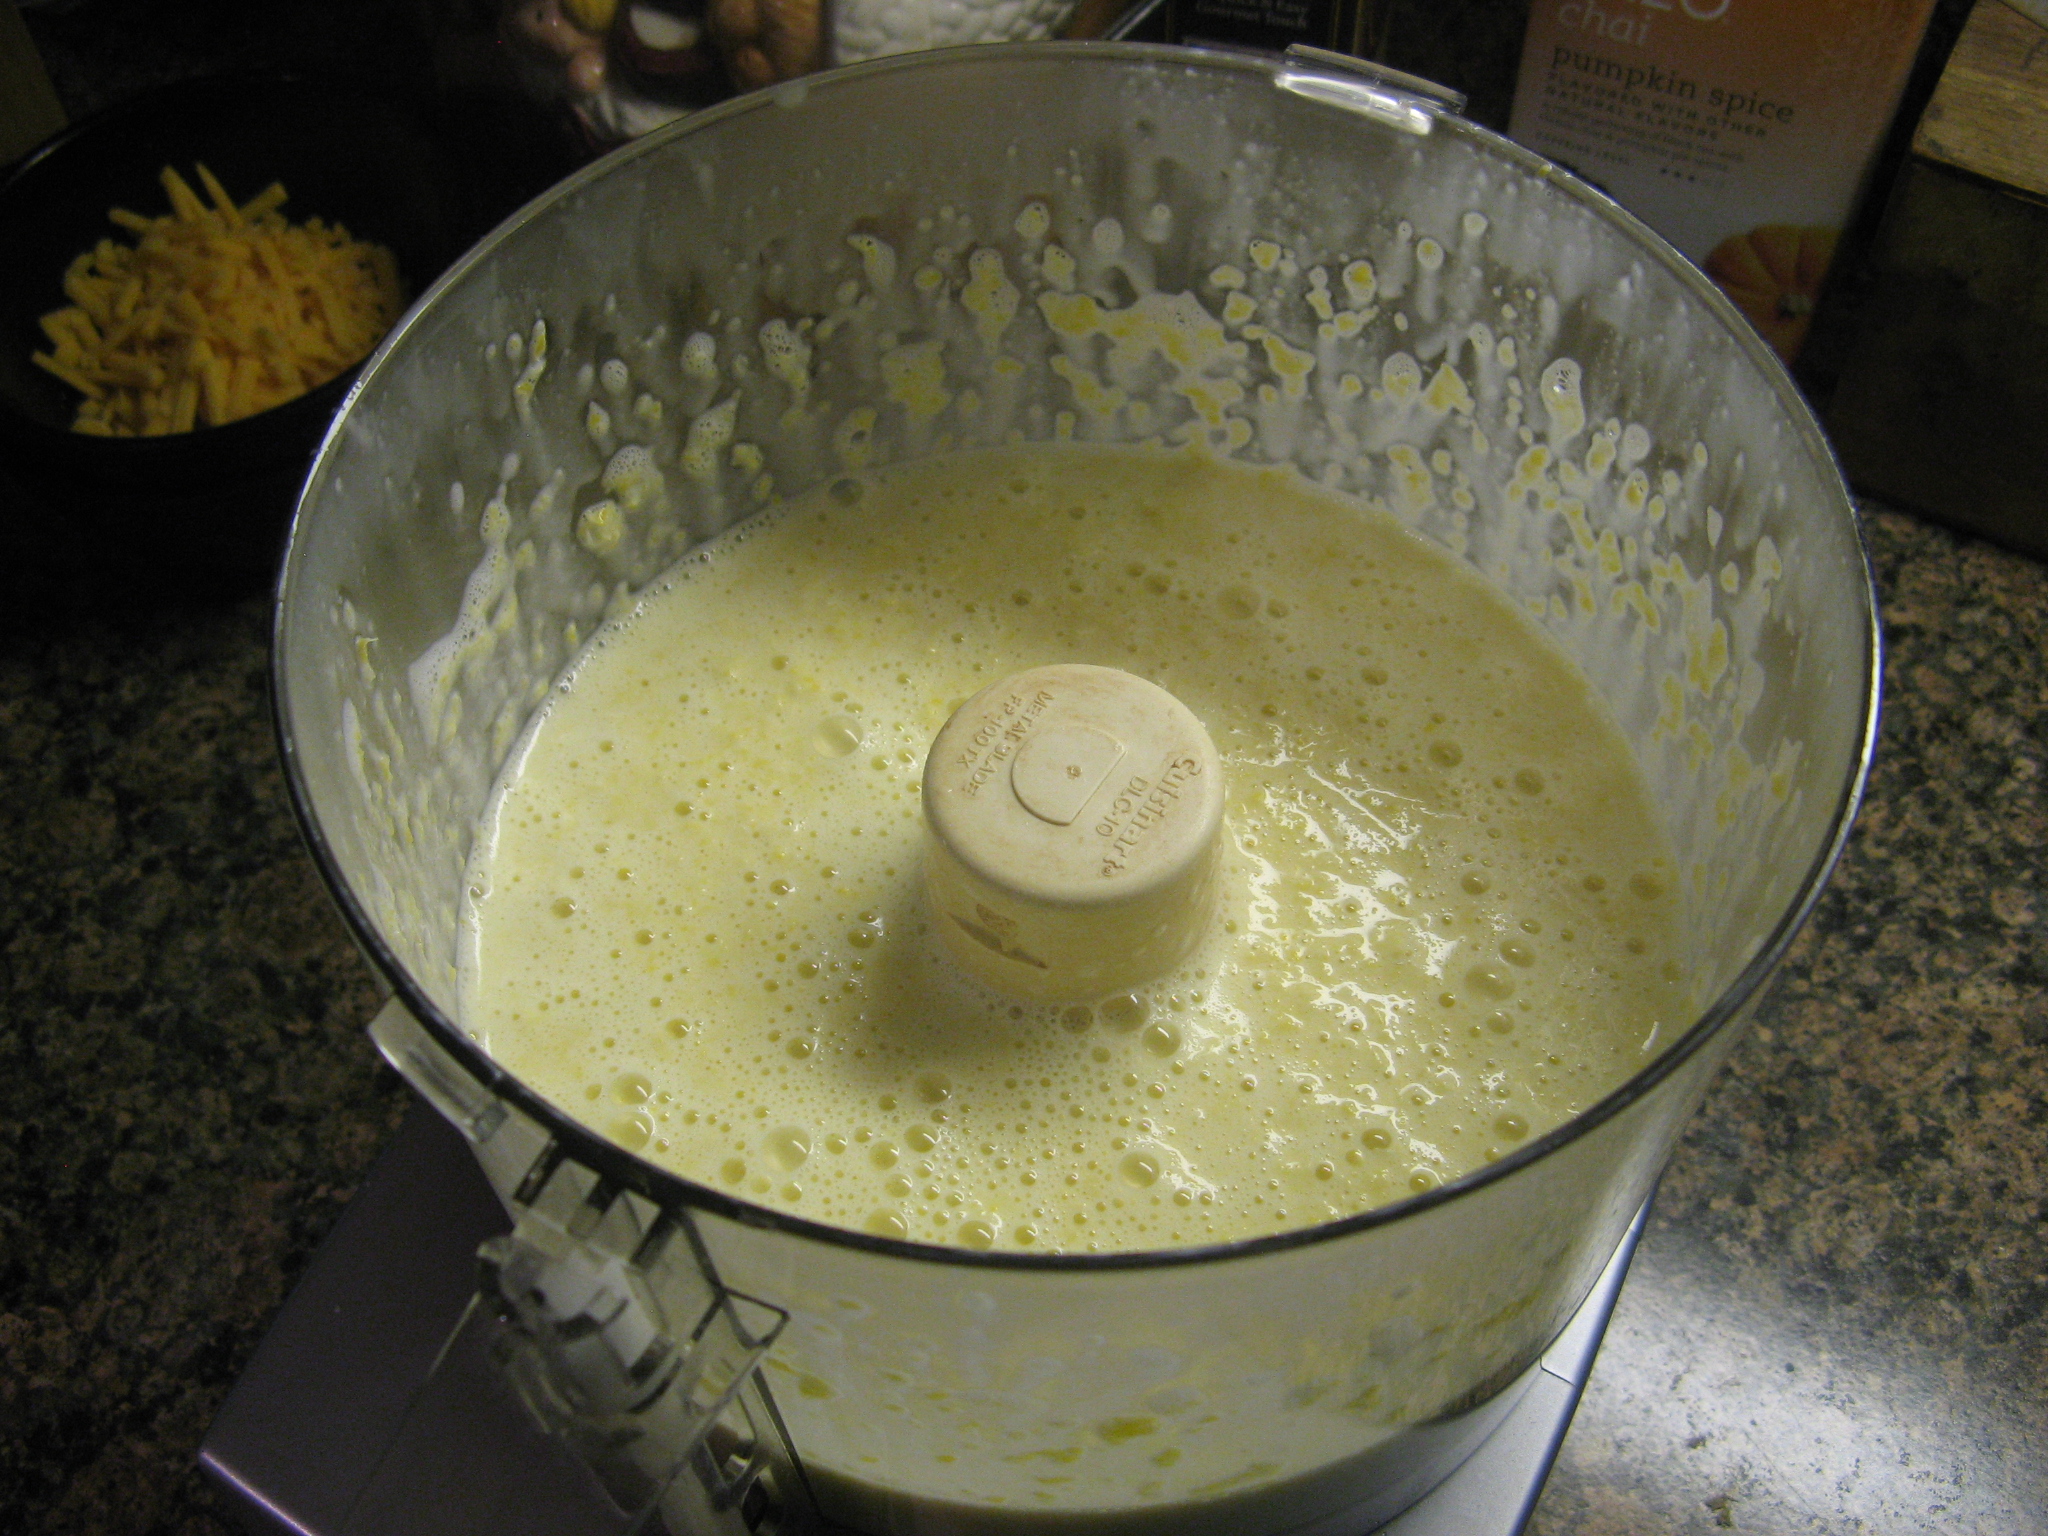
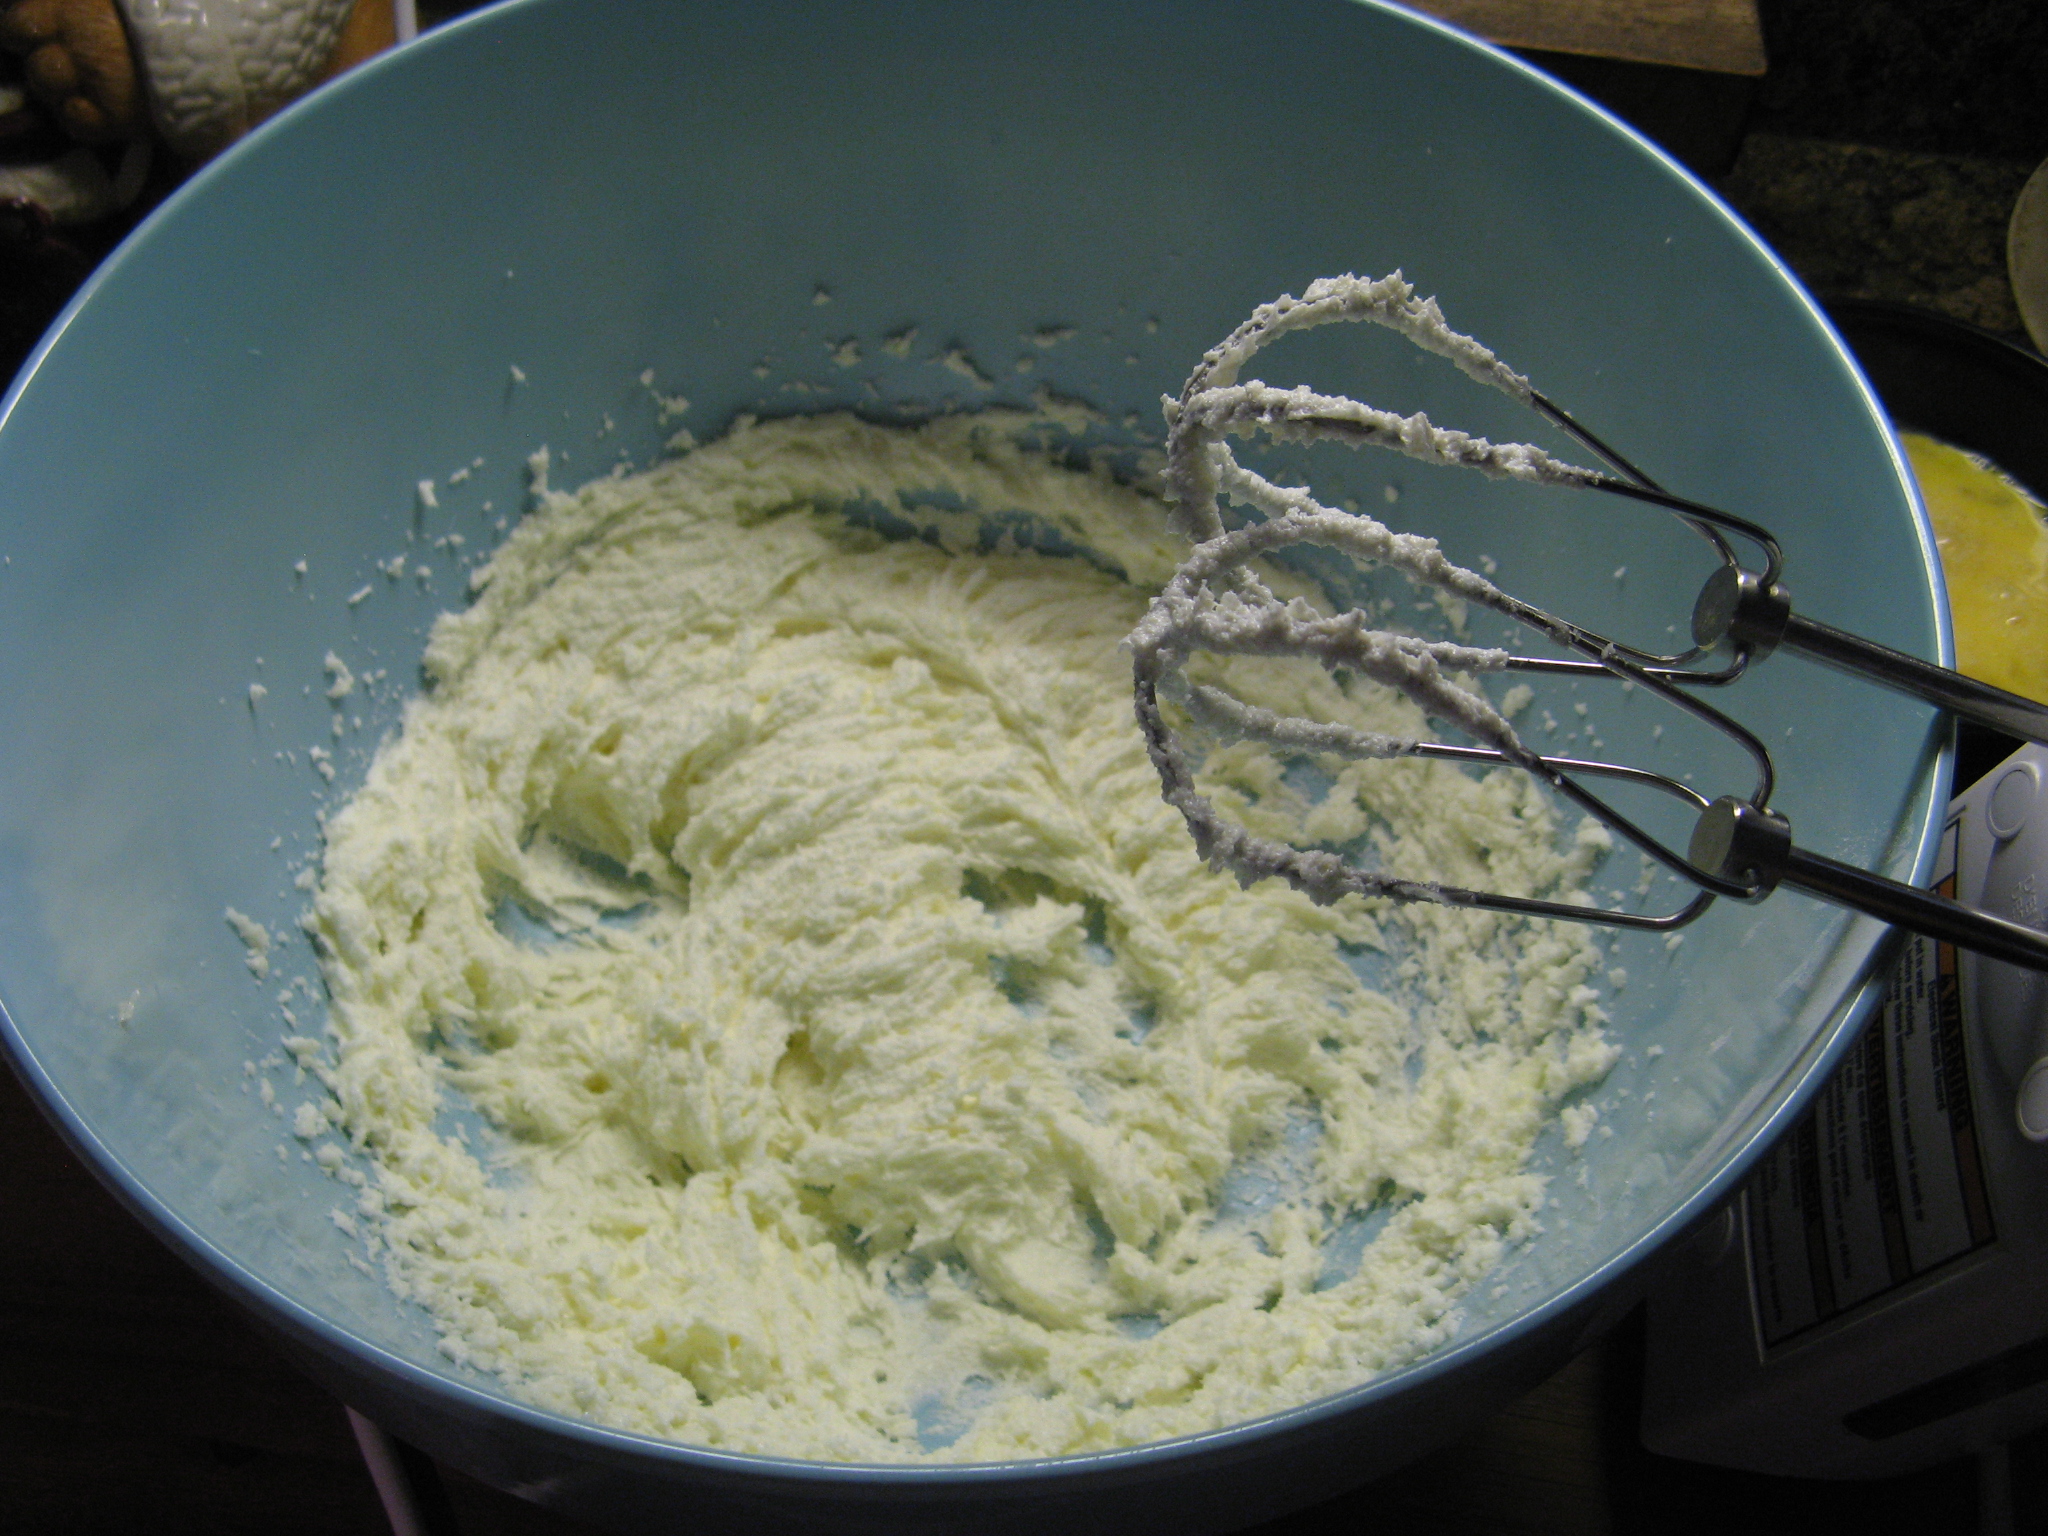
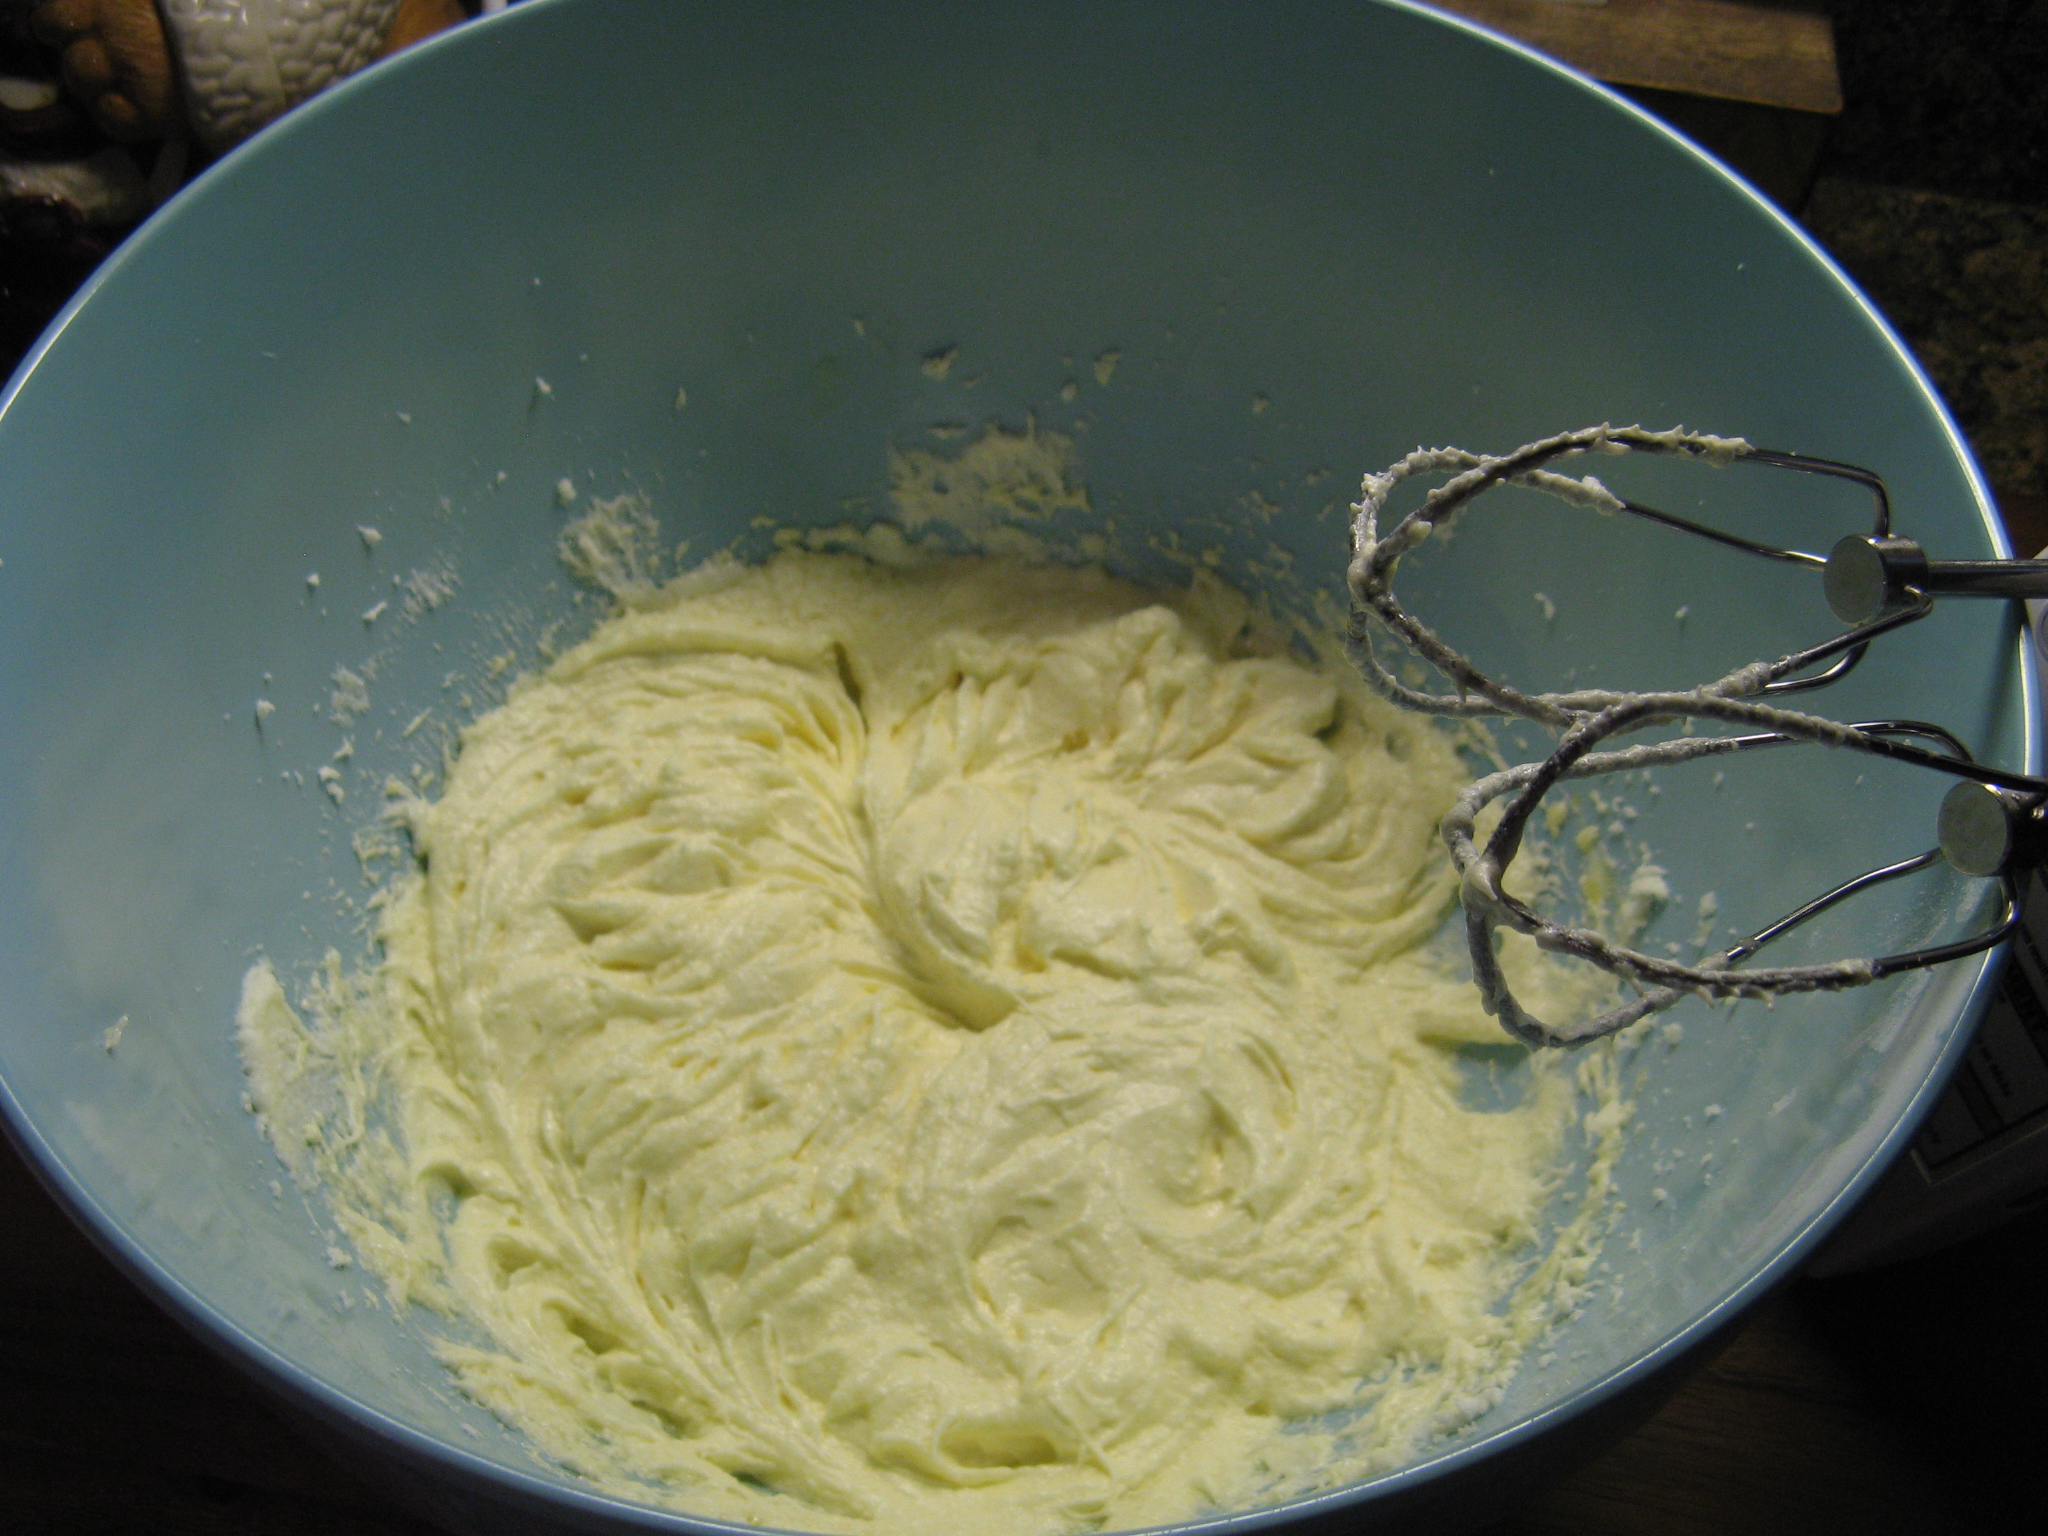
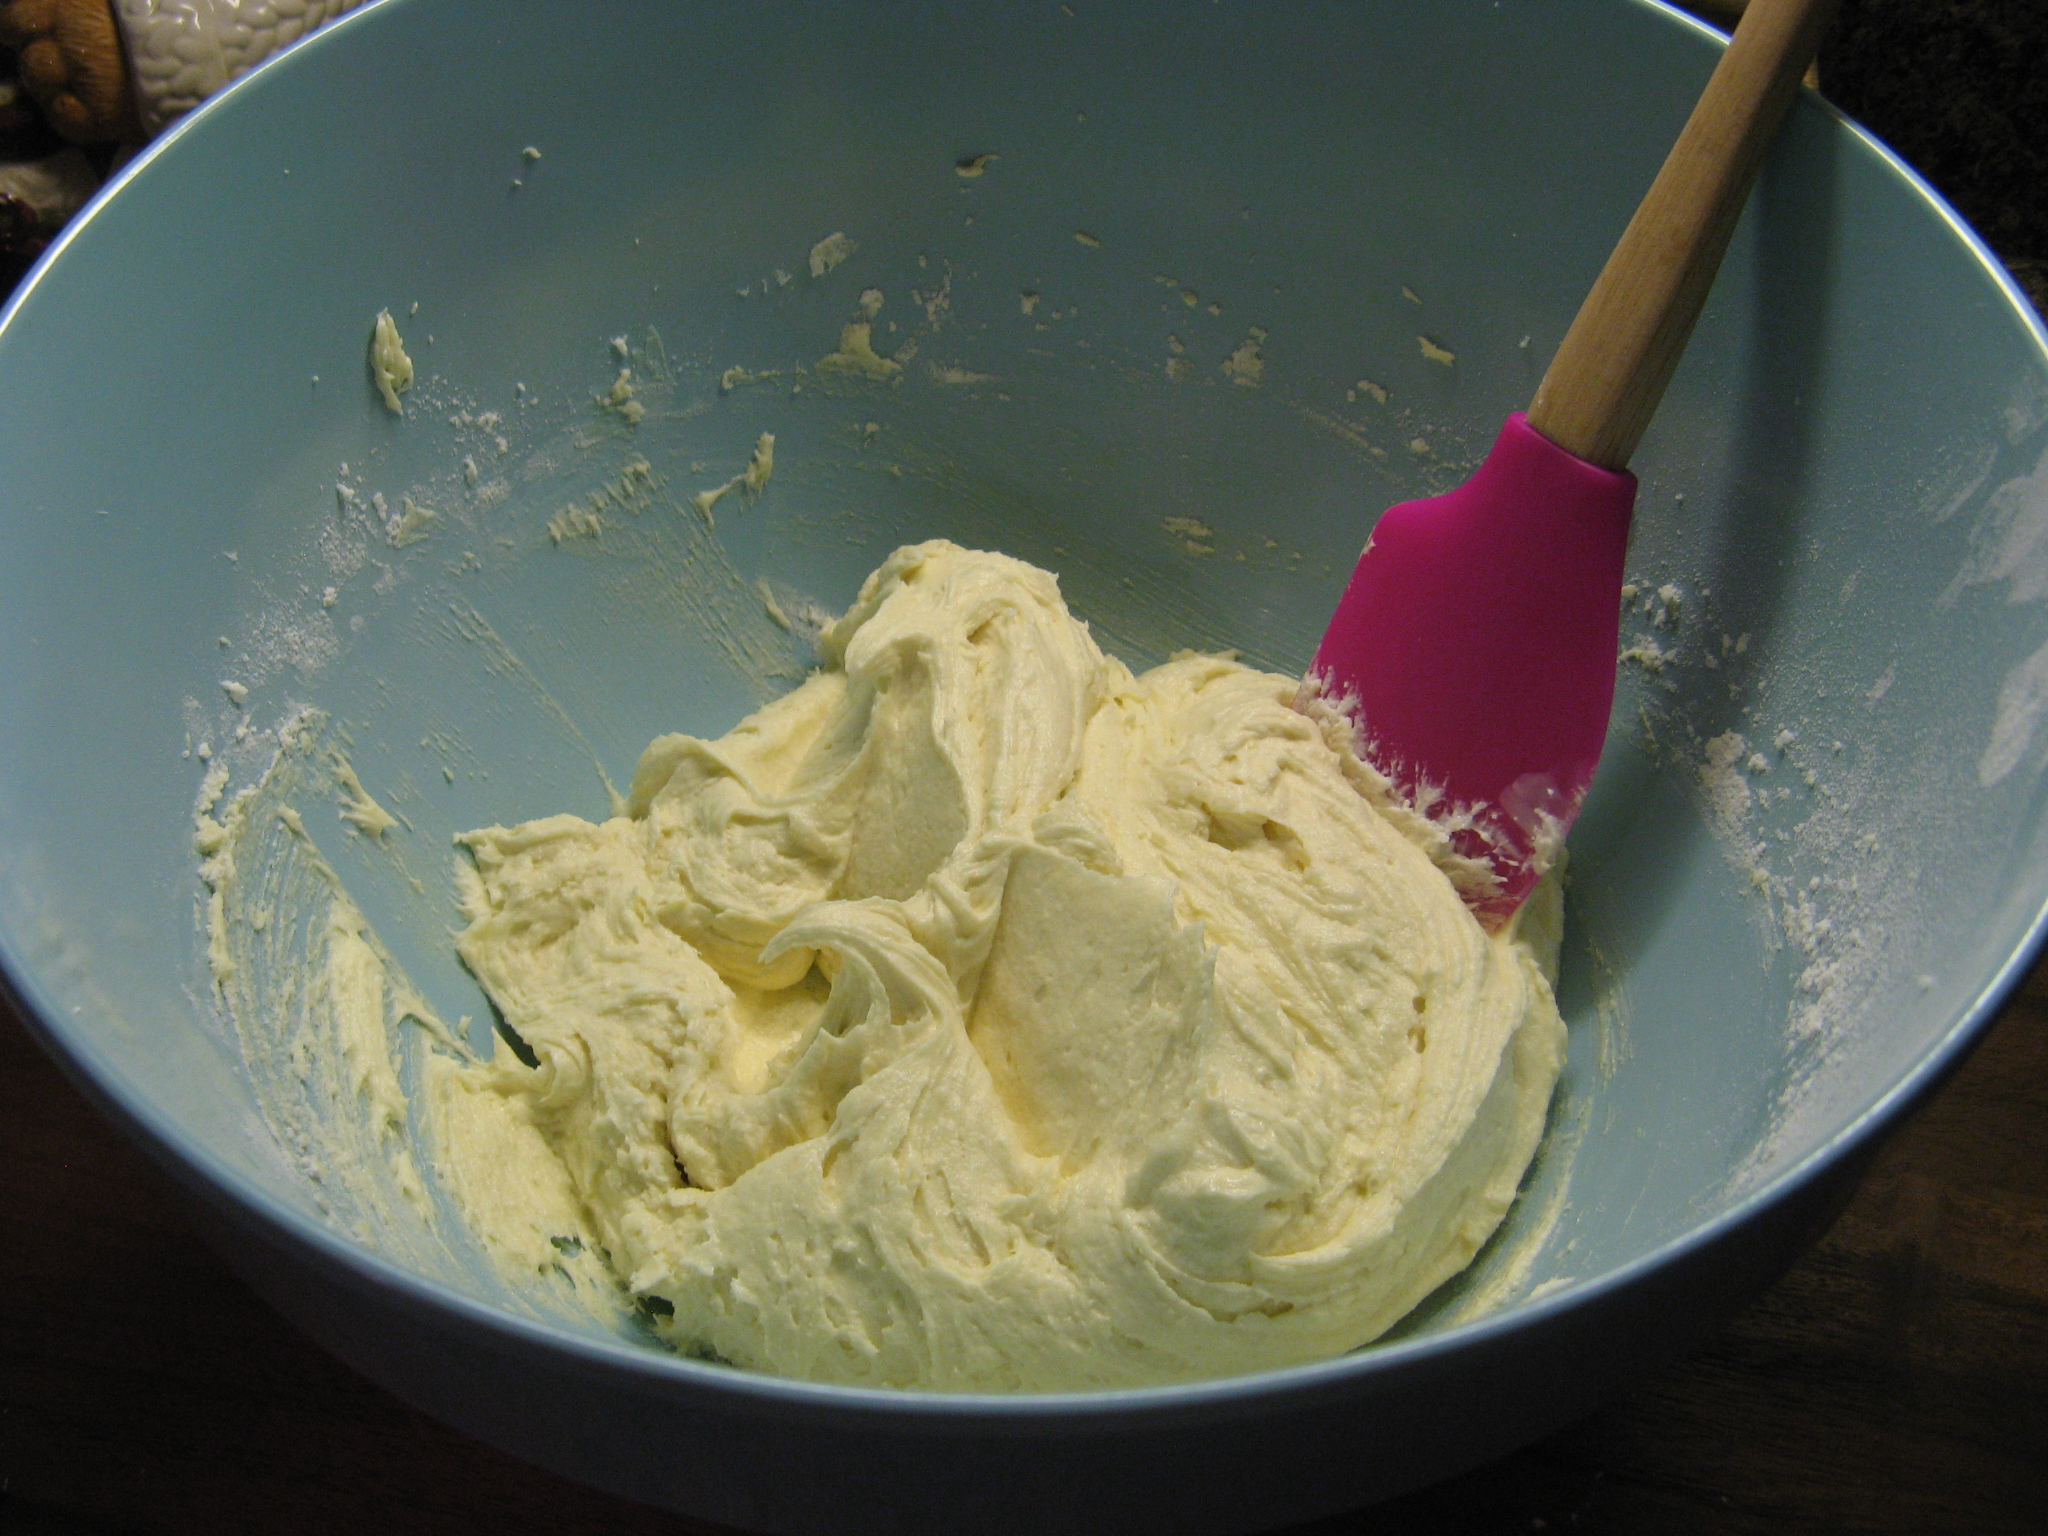
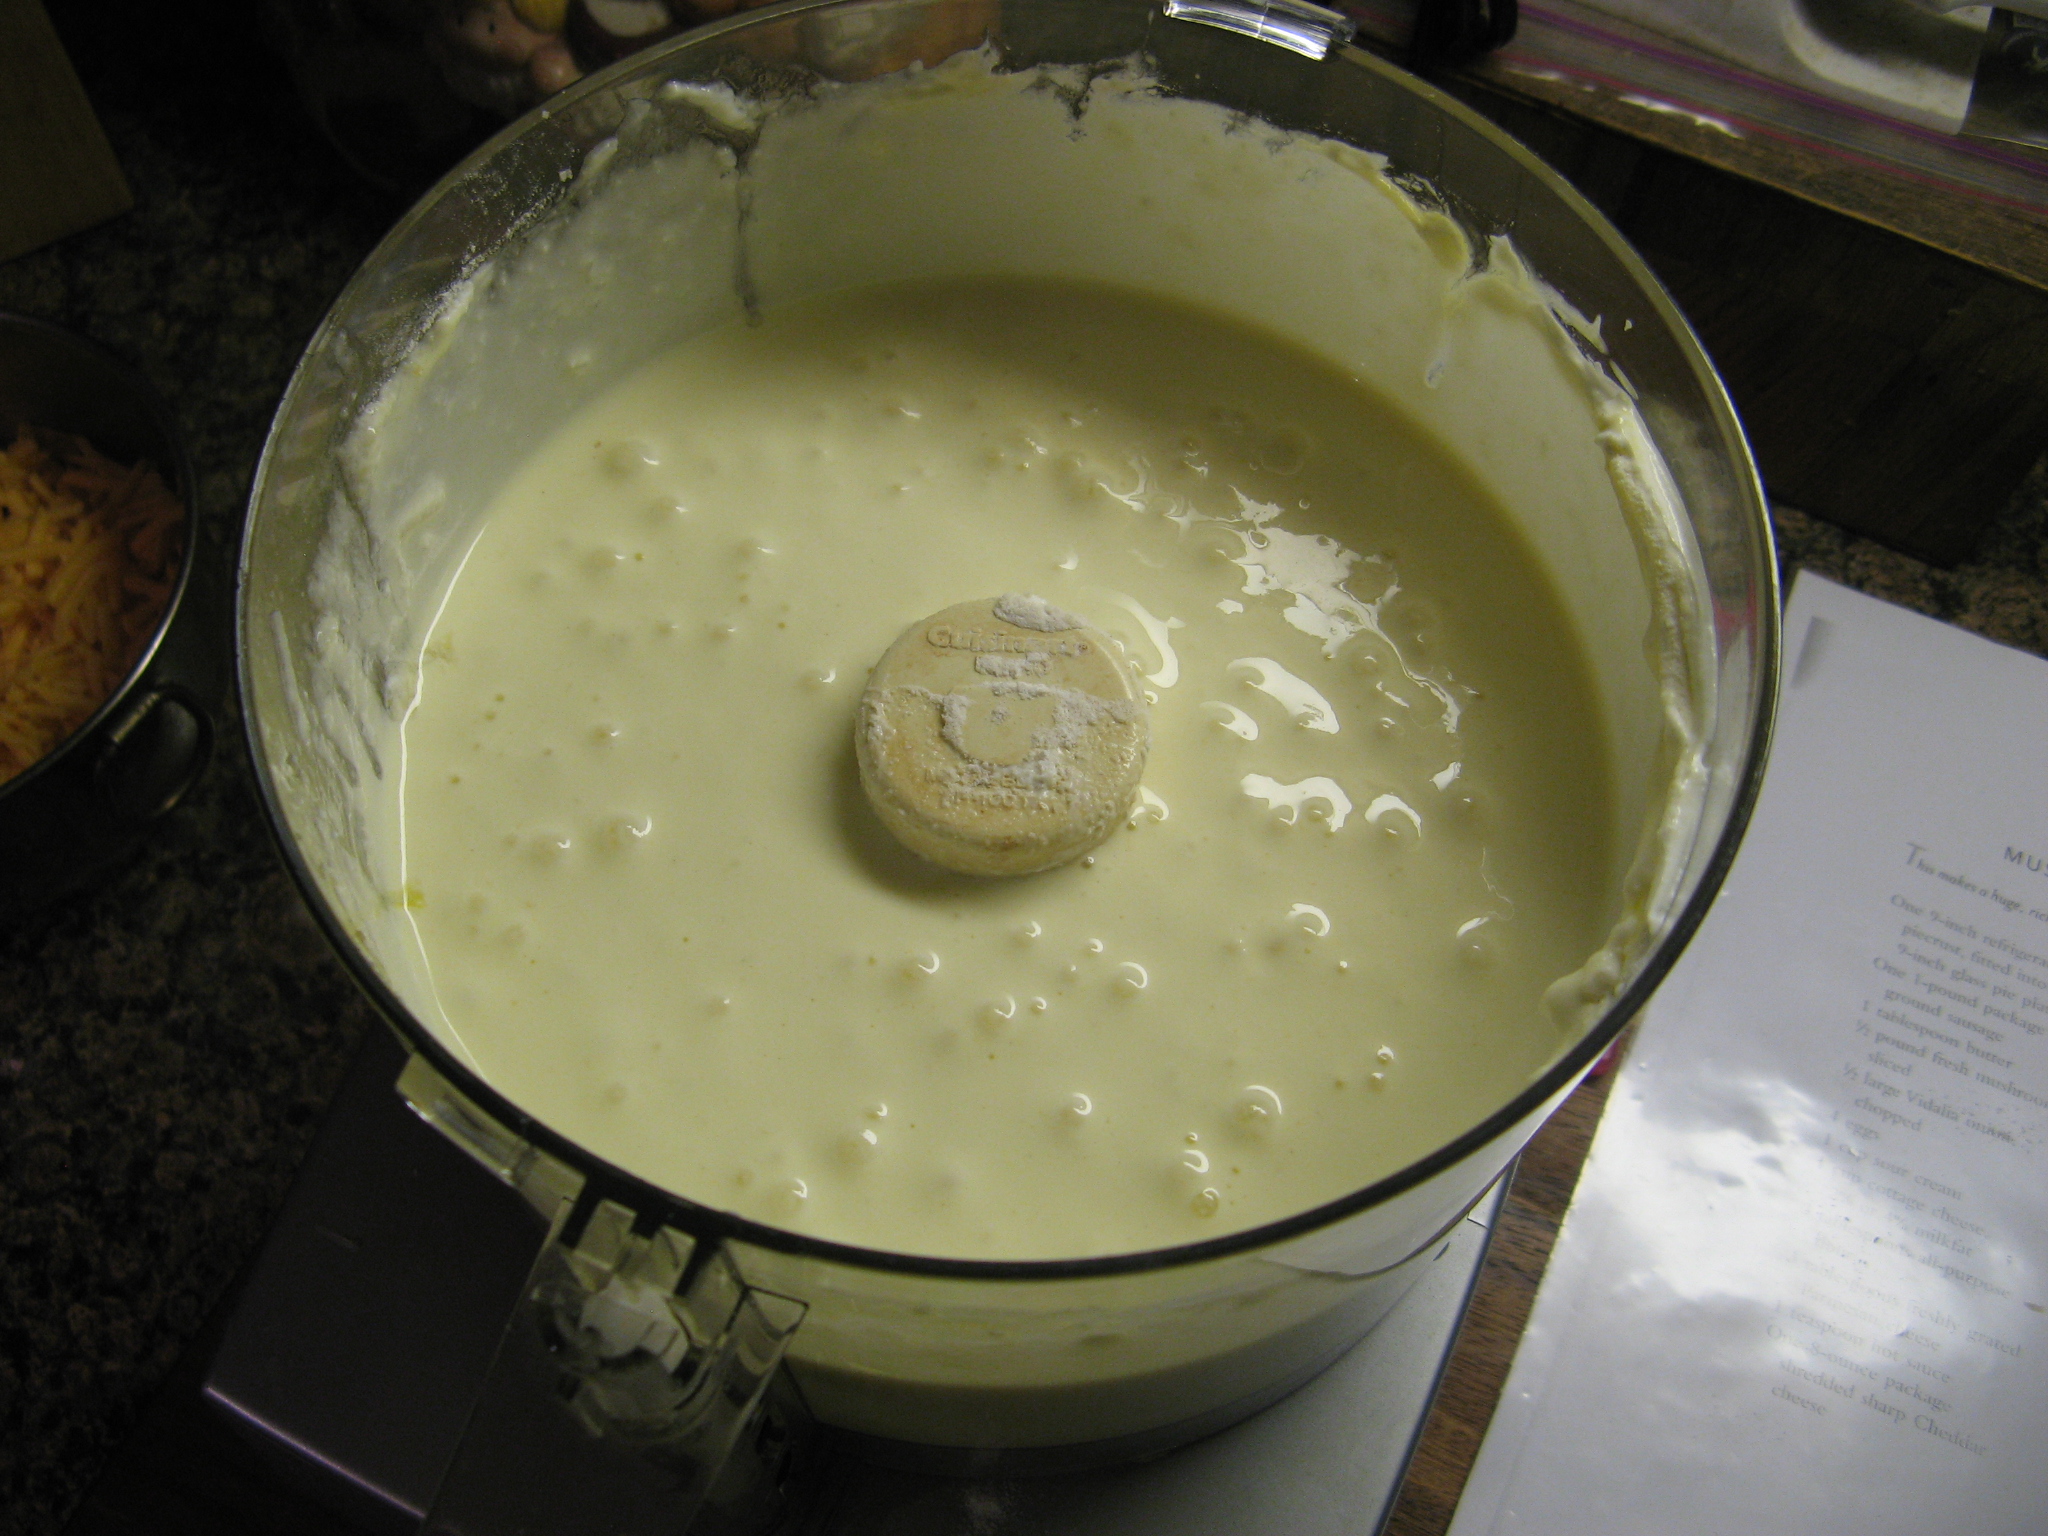
Meanwhile in the bowl of my food processor I combined eggs, sour cream, cottage cheese (those of you not fond of cottage cheese don’t worry once the quiche is done you won’t even remember it’s there), flour and parmesan cheese and blended them until the mixture was smooth.

IMG_6056

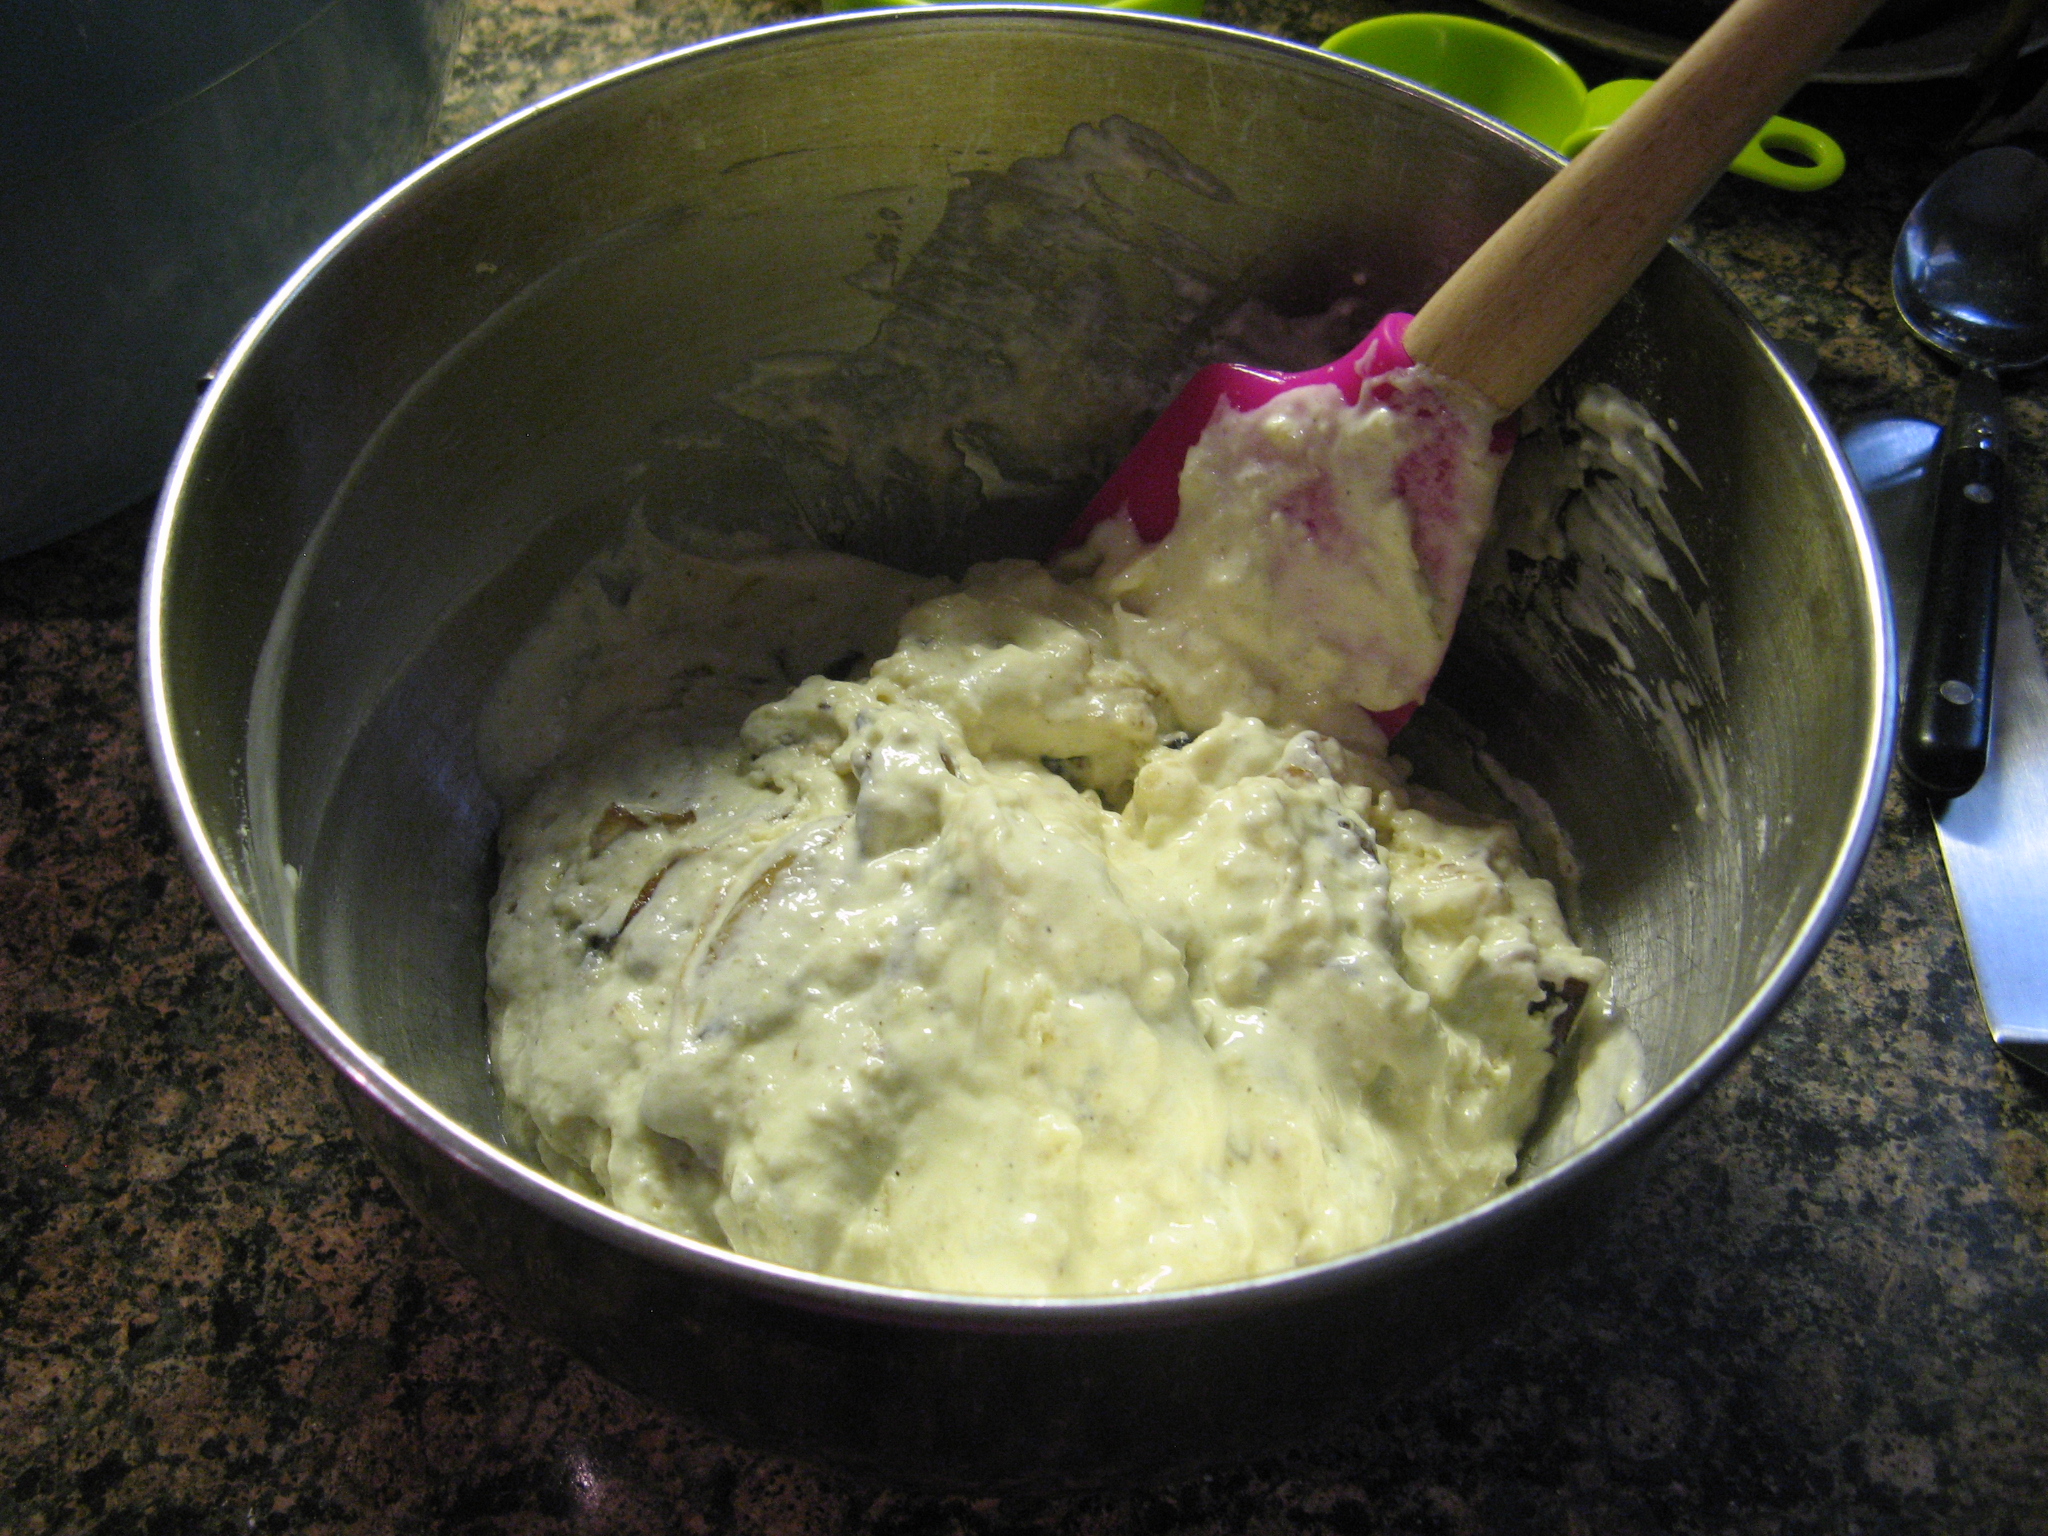
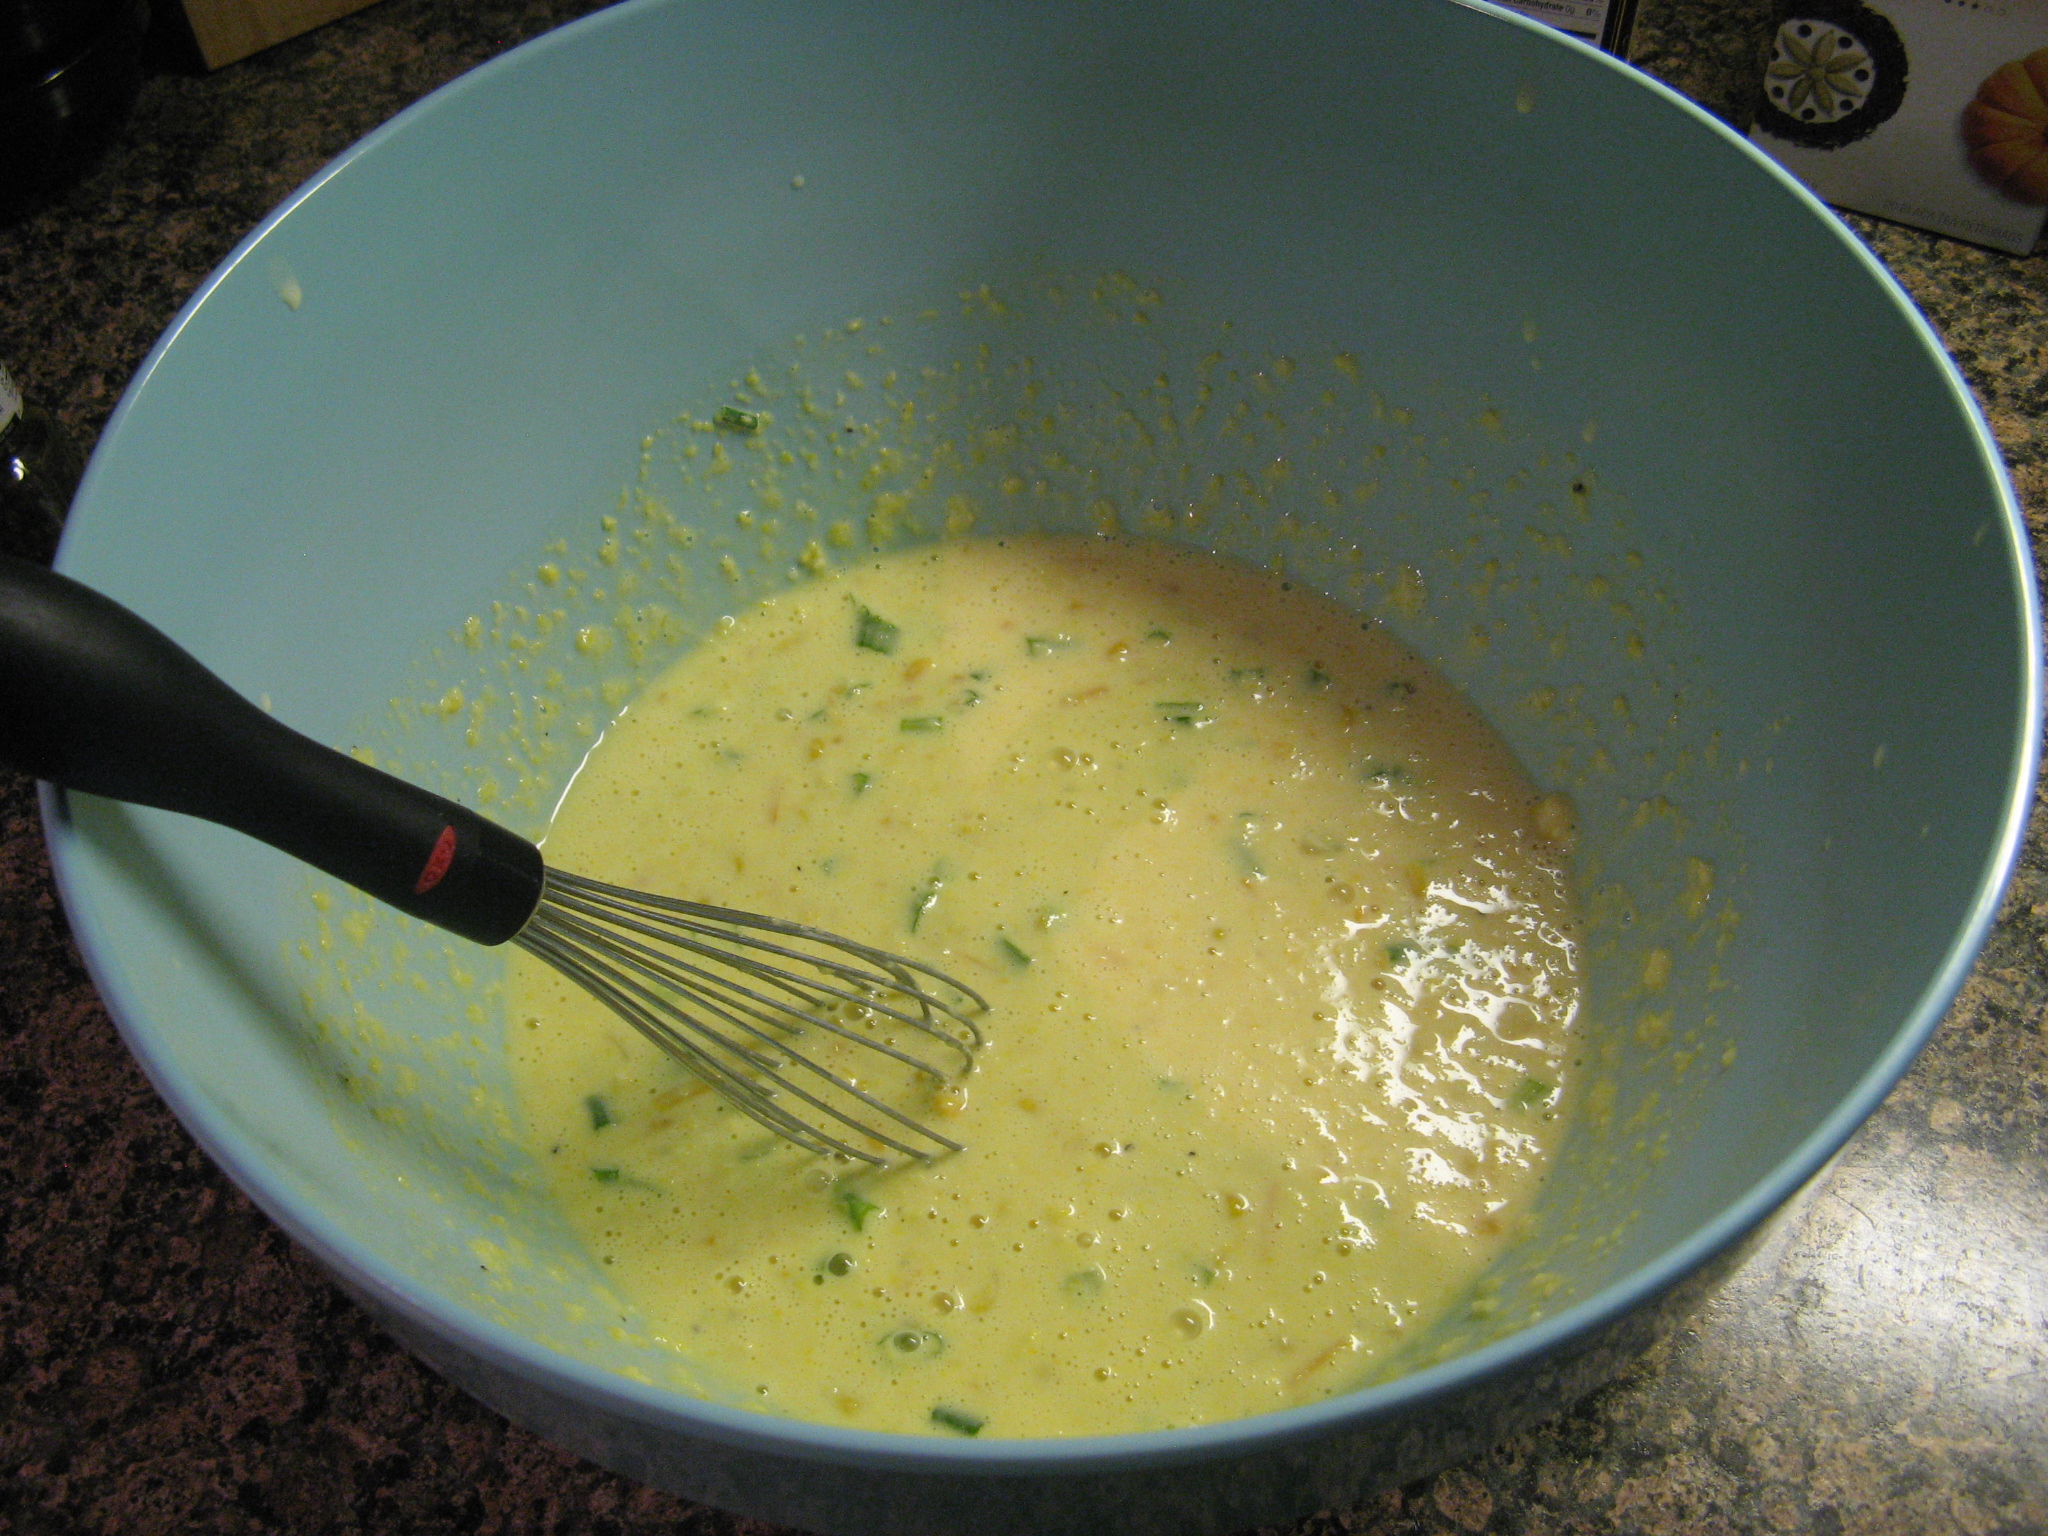
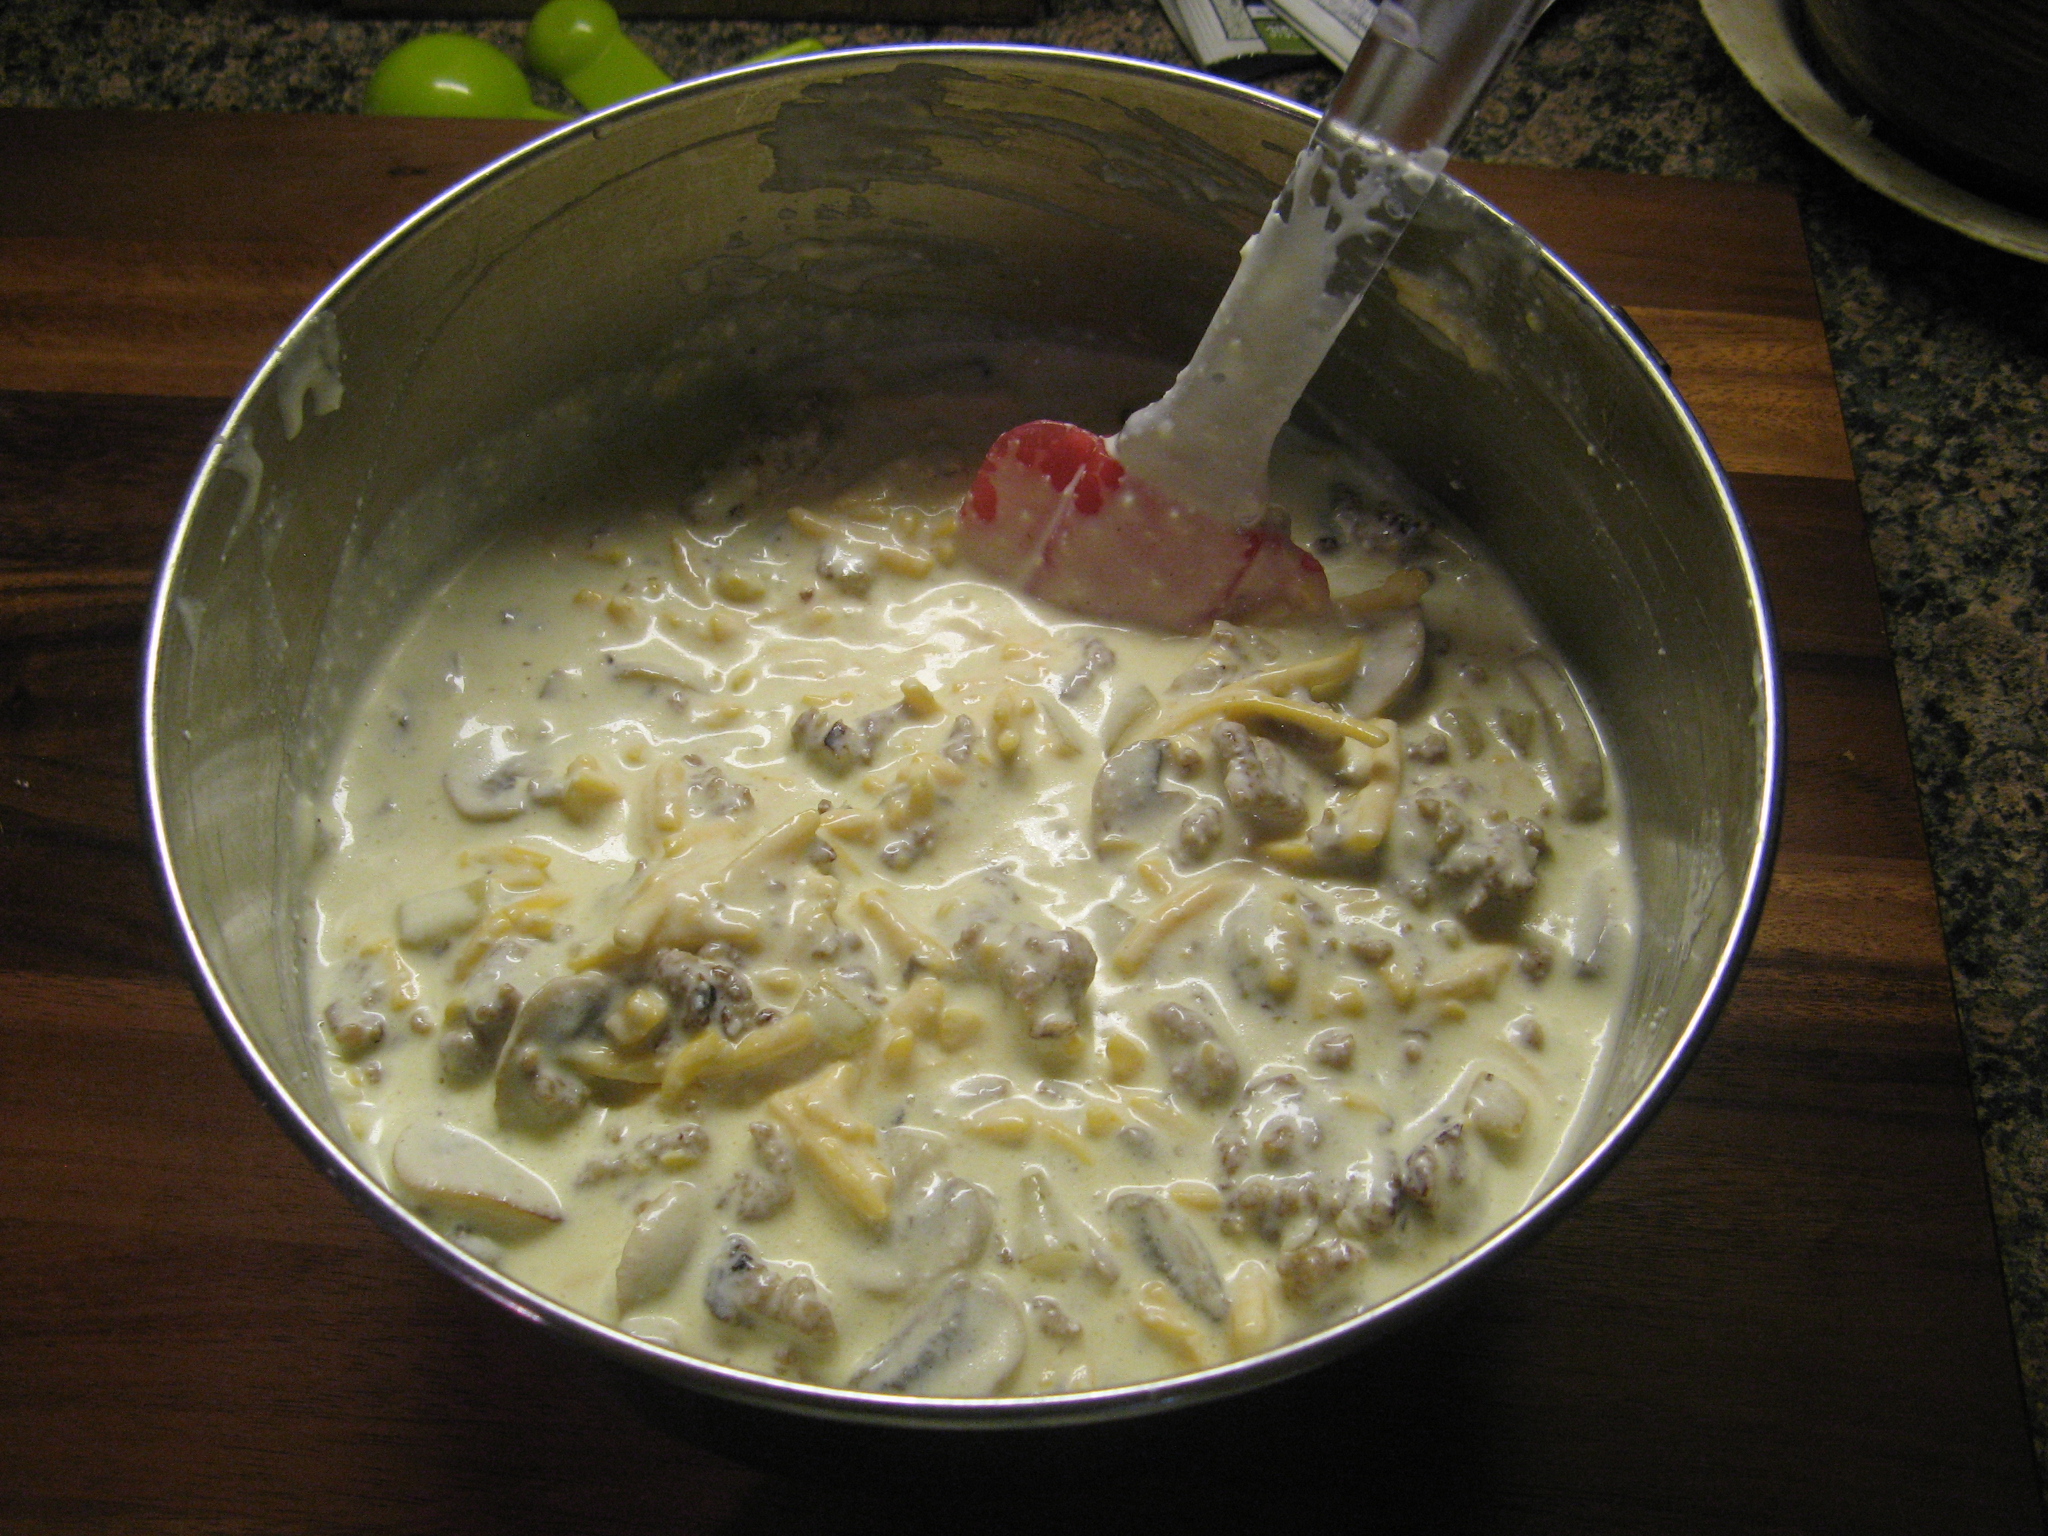
I then stirred together the sausage, sautéed onions and mushrooms, the egg mixture and shredded sharp Cheddar cheese in a large bowl.

IMG_6057

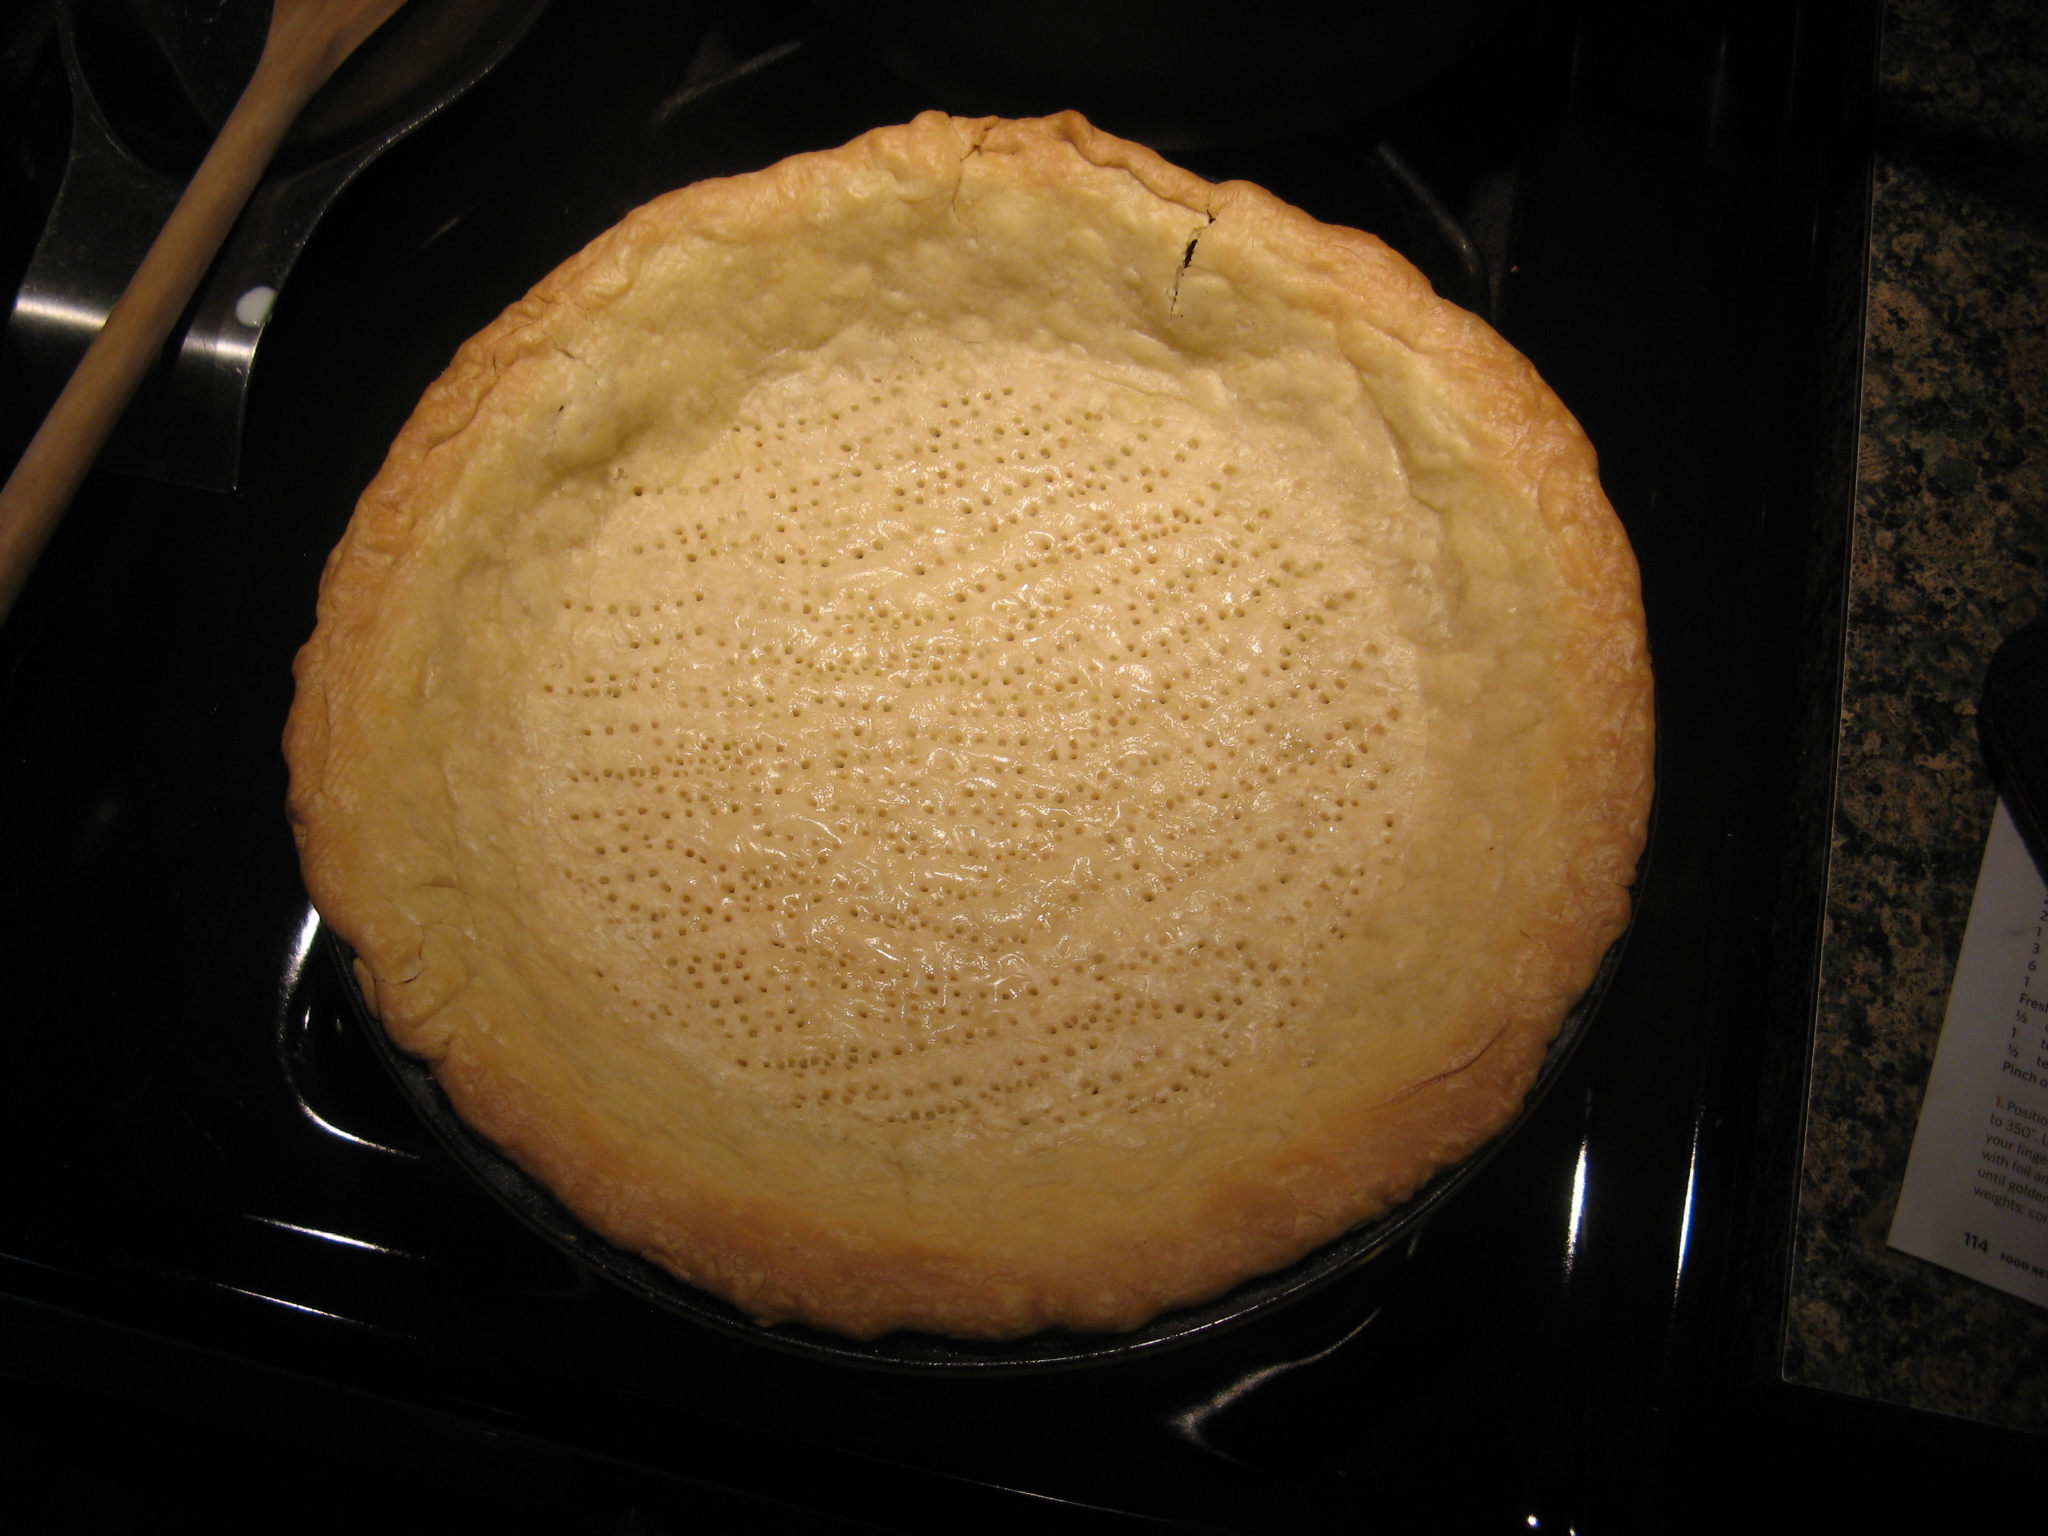
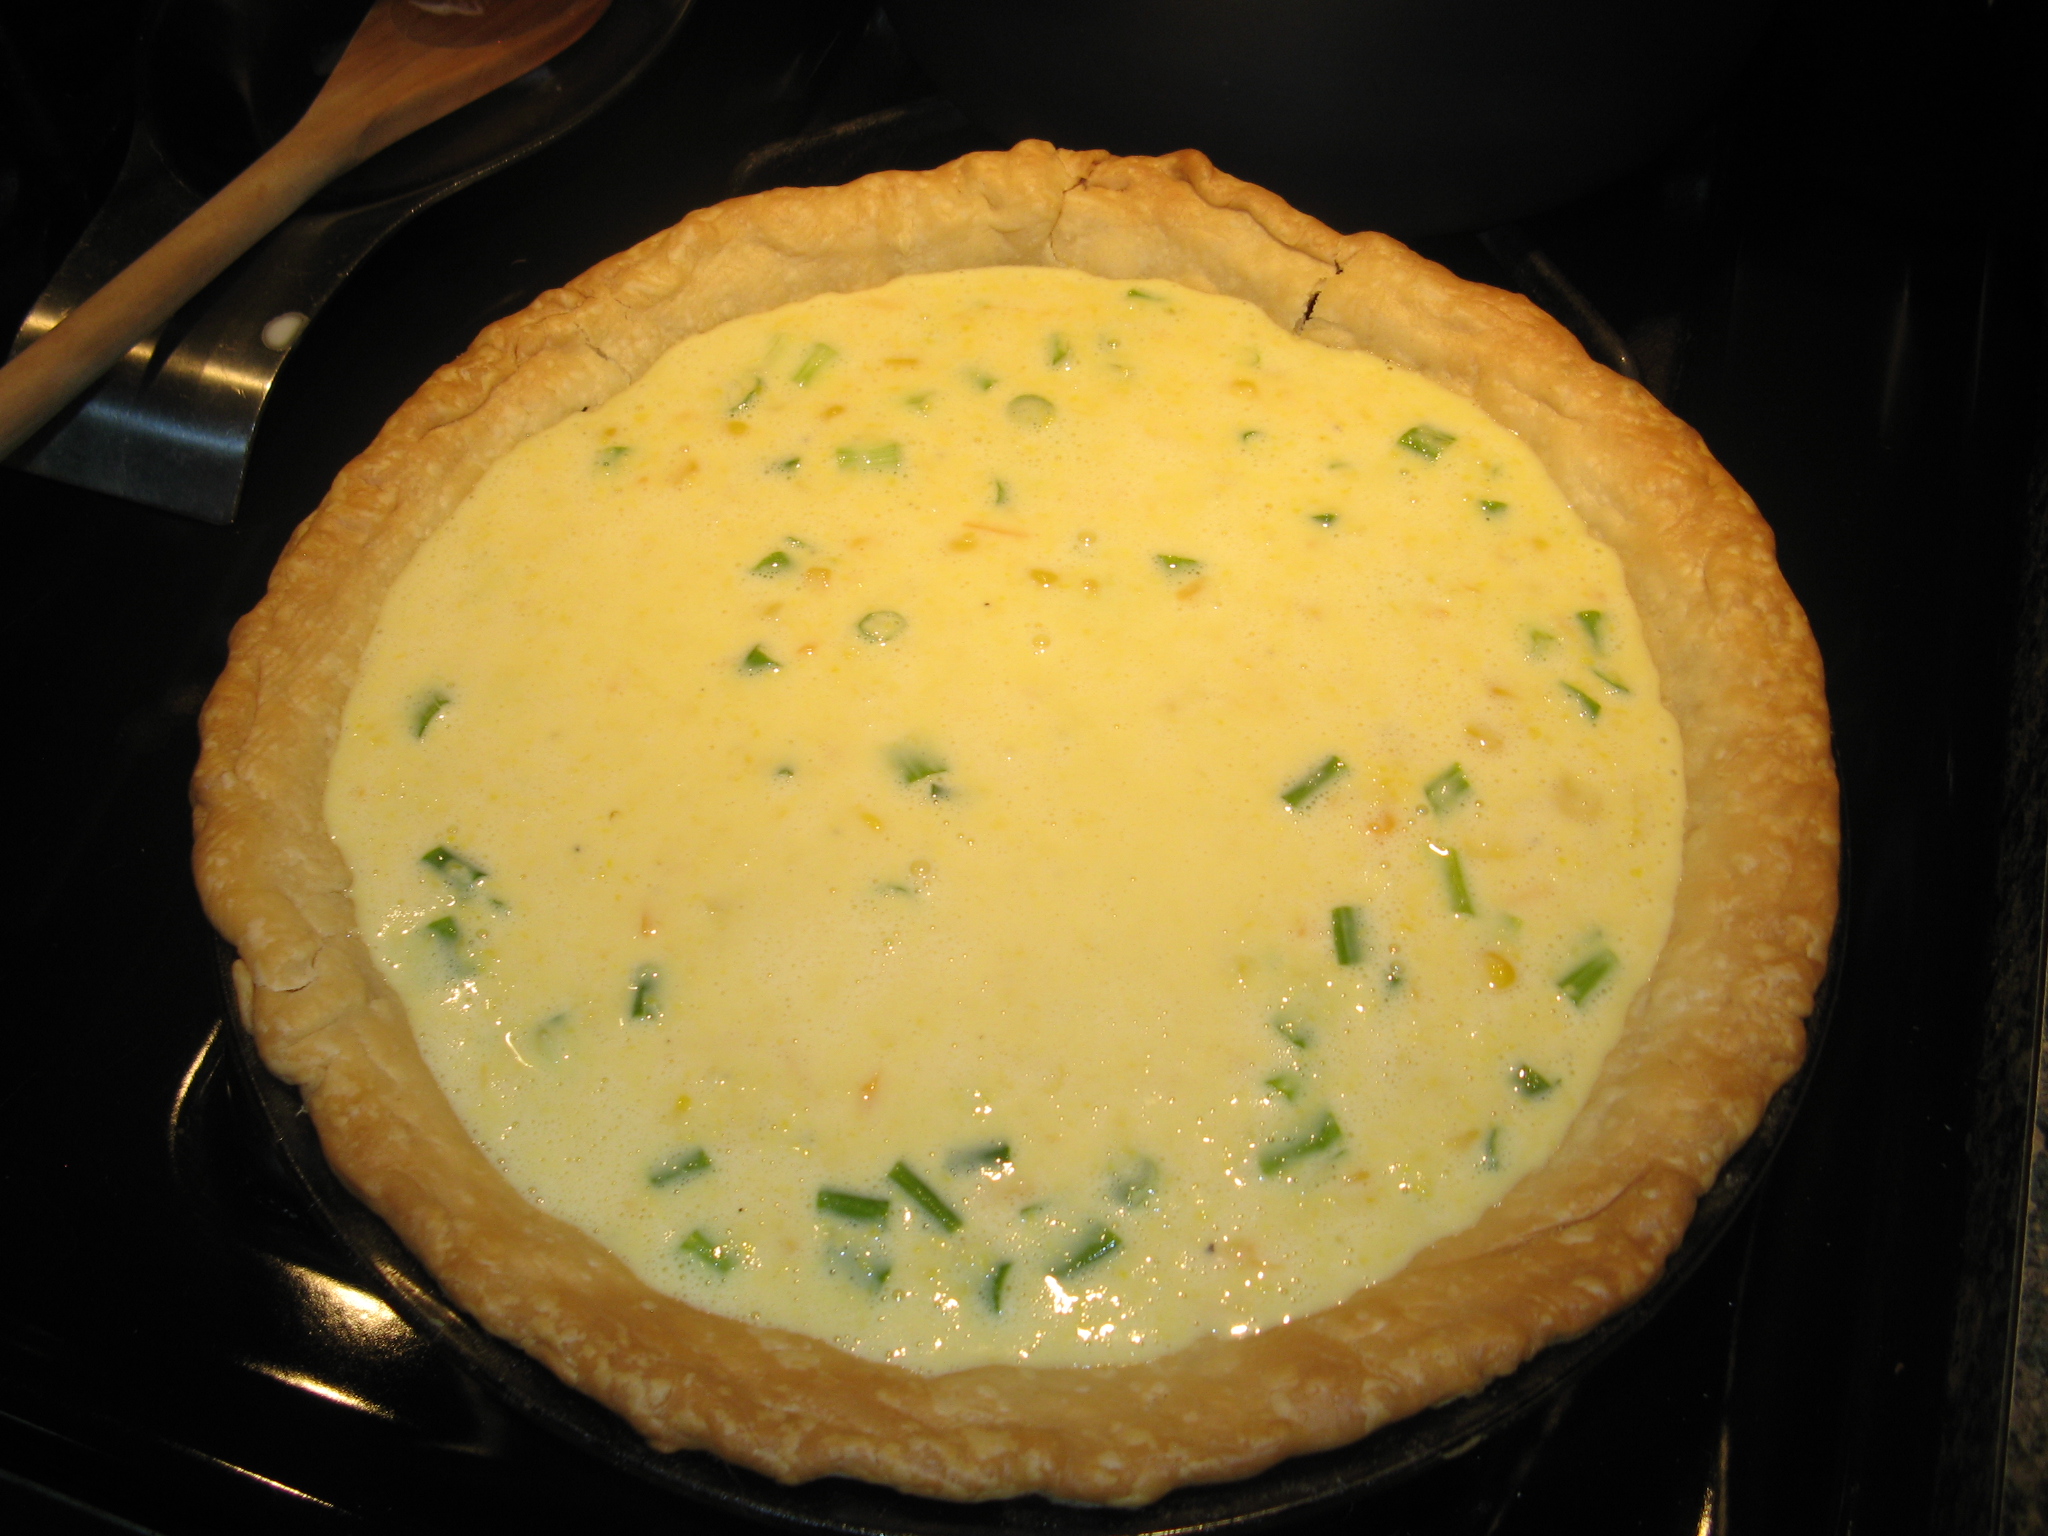
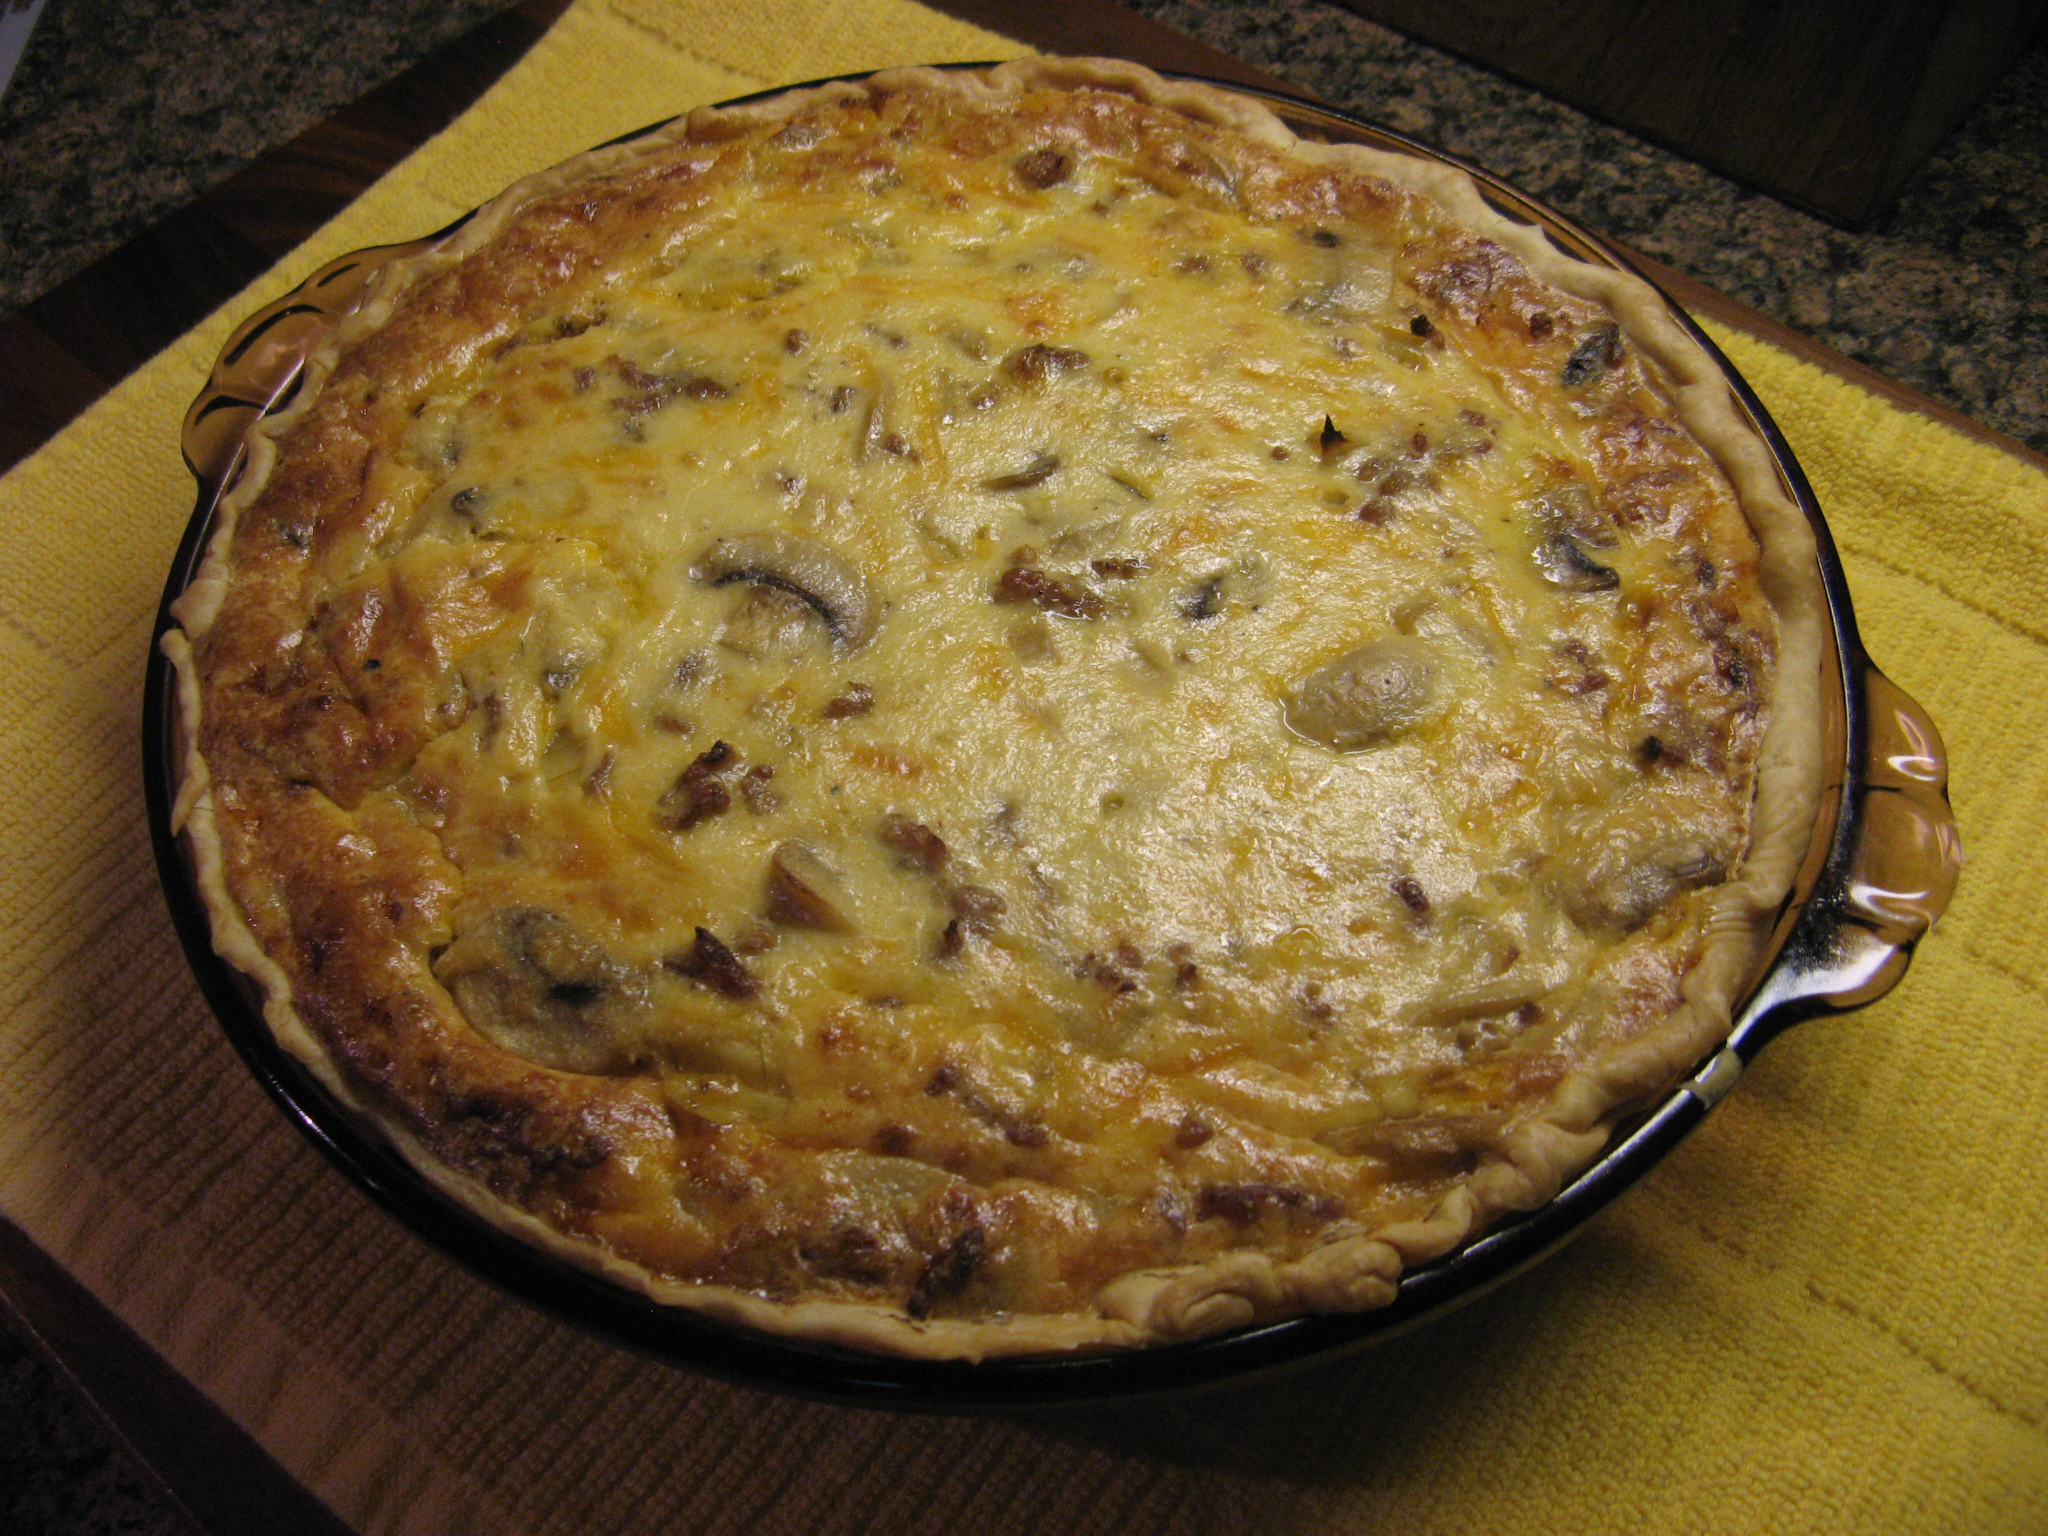
And then spooned it into my pie dish which I fitted with a refrigerated piecrust.

IMG_6060

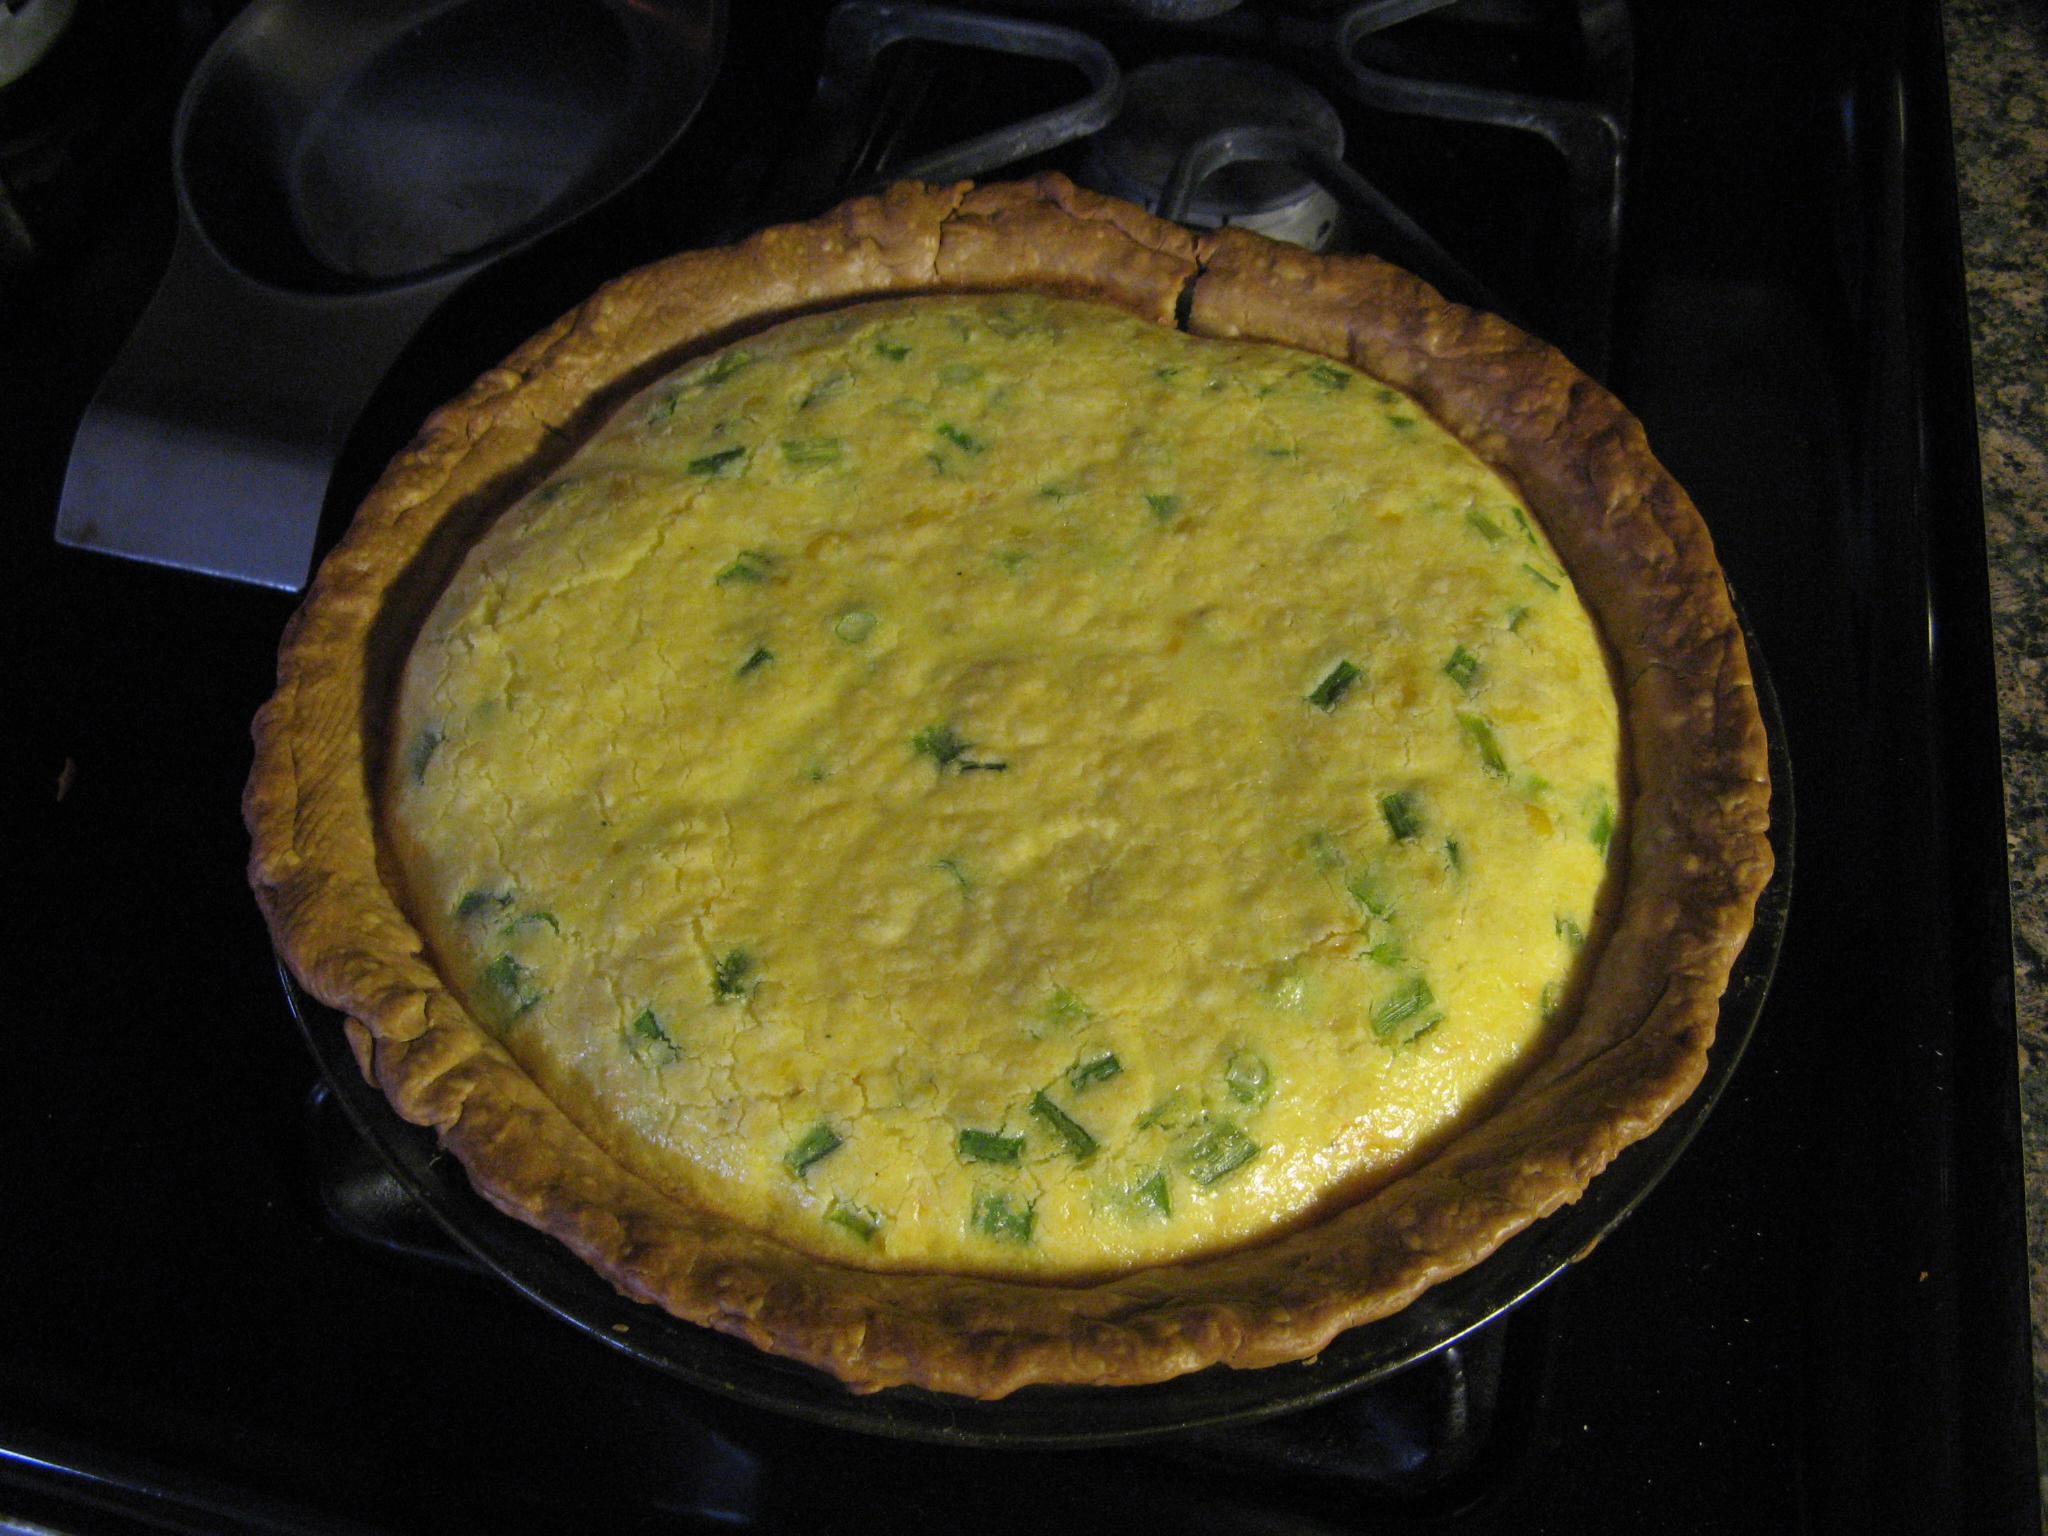
Following that I baked it in a 350 F preheated oven for about 50 minutes.

IMG_6079

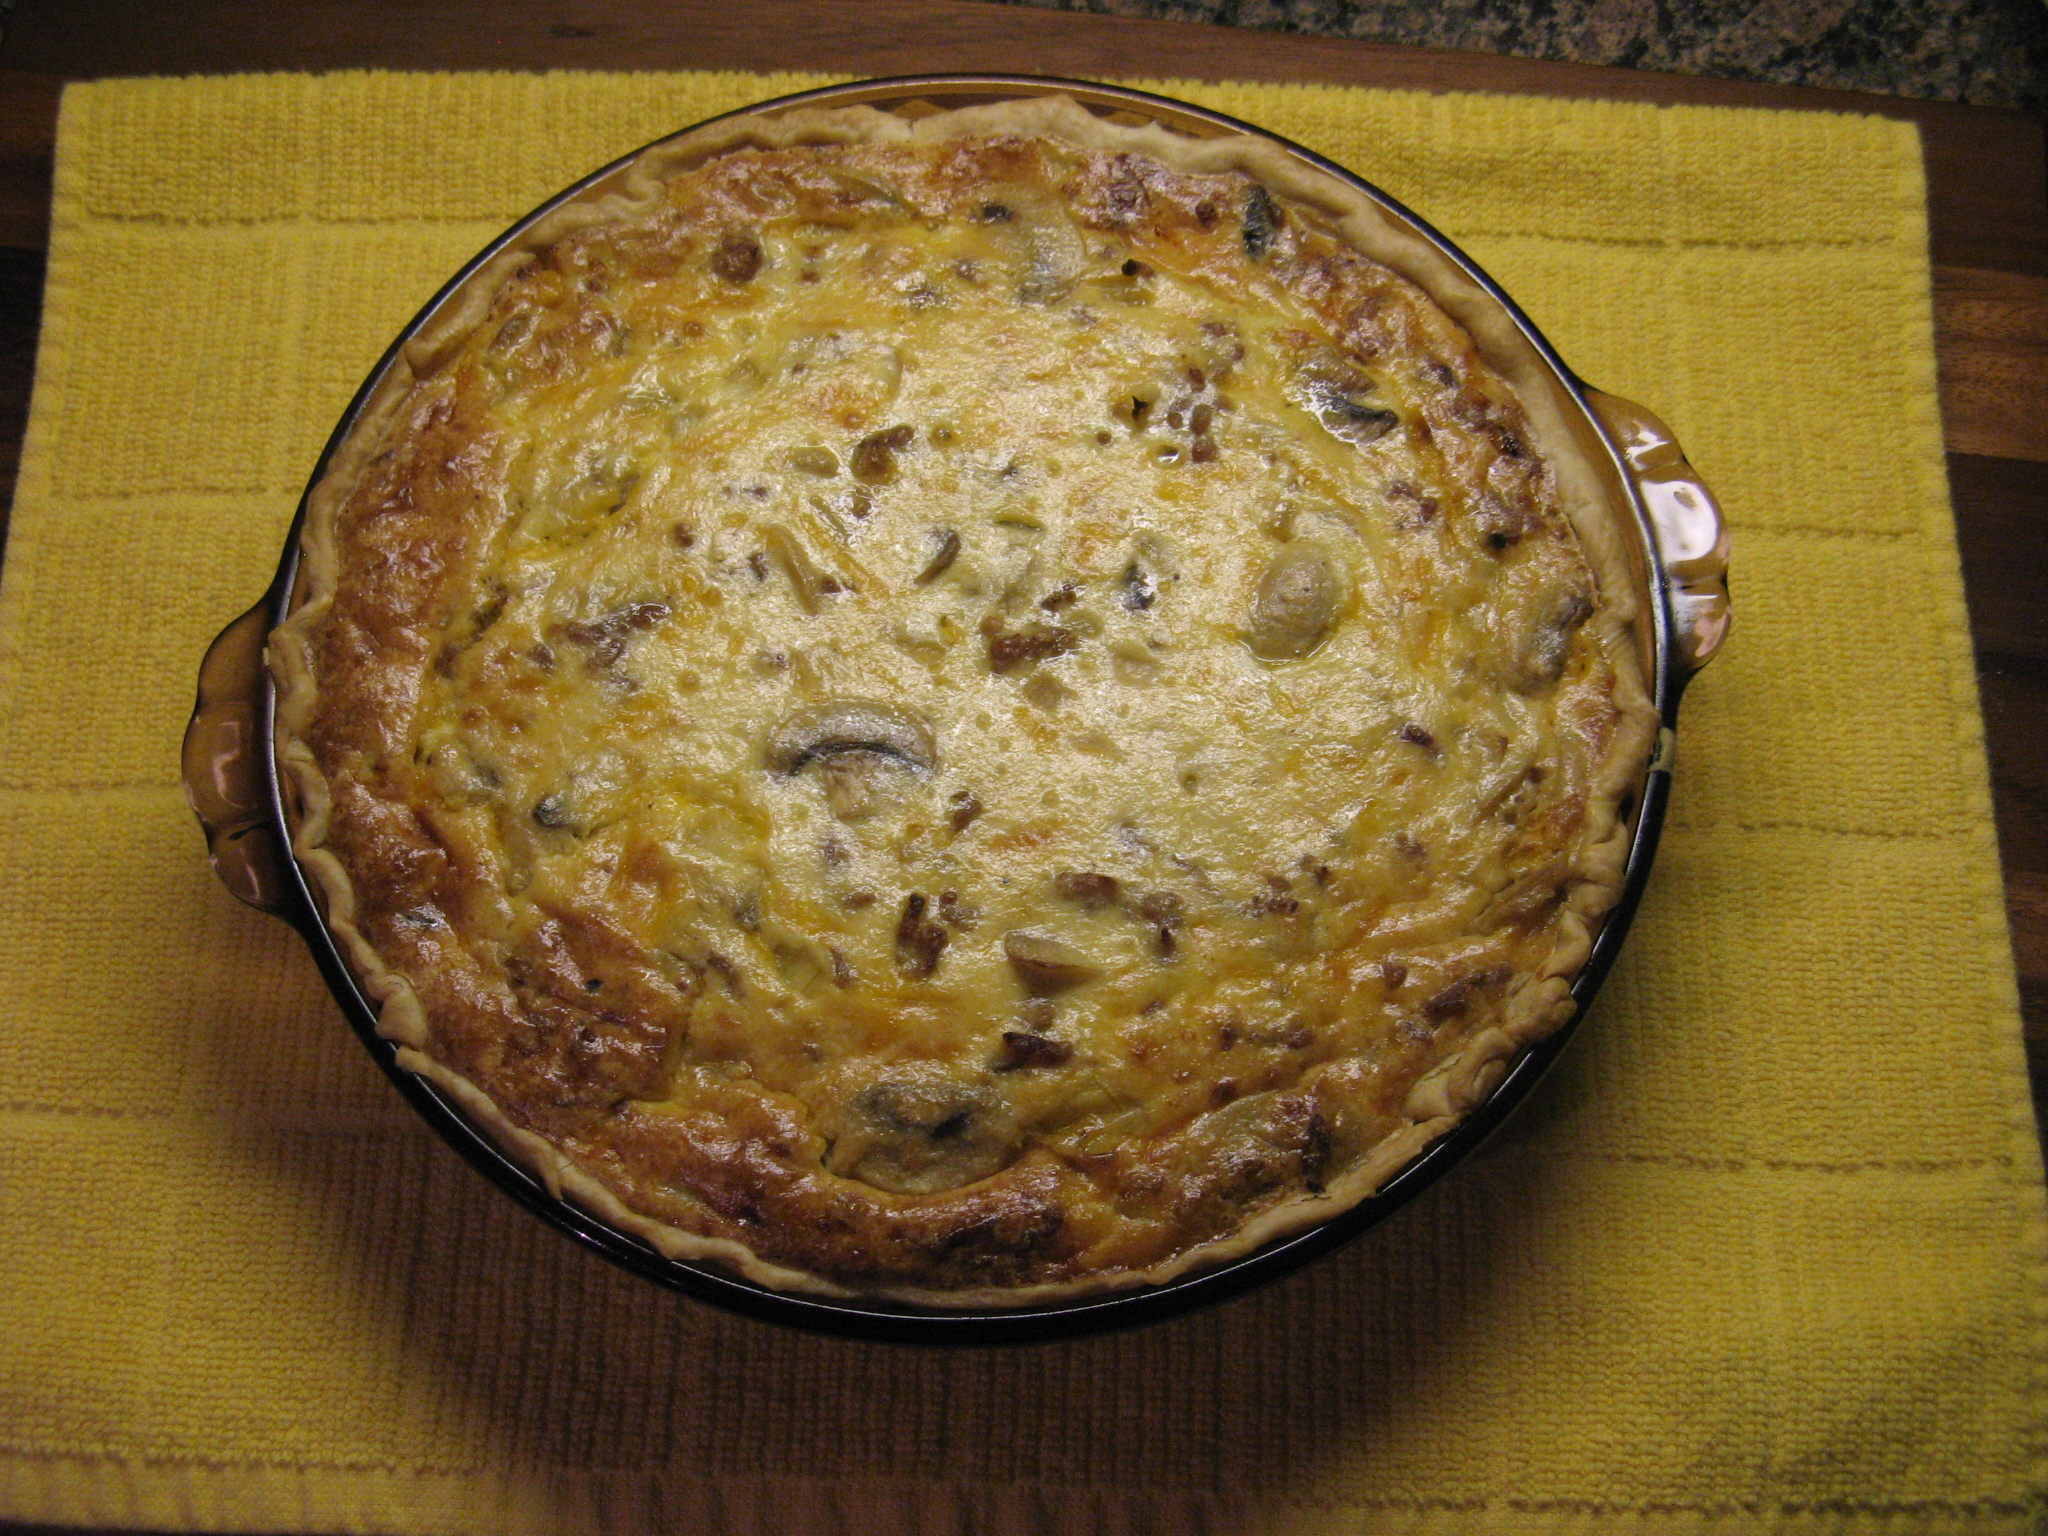
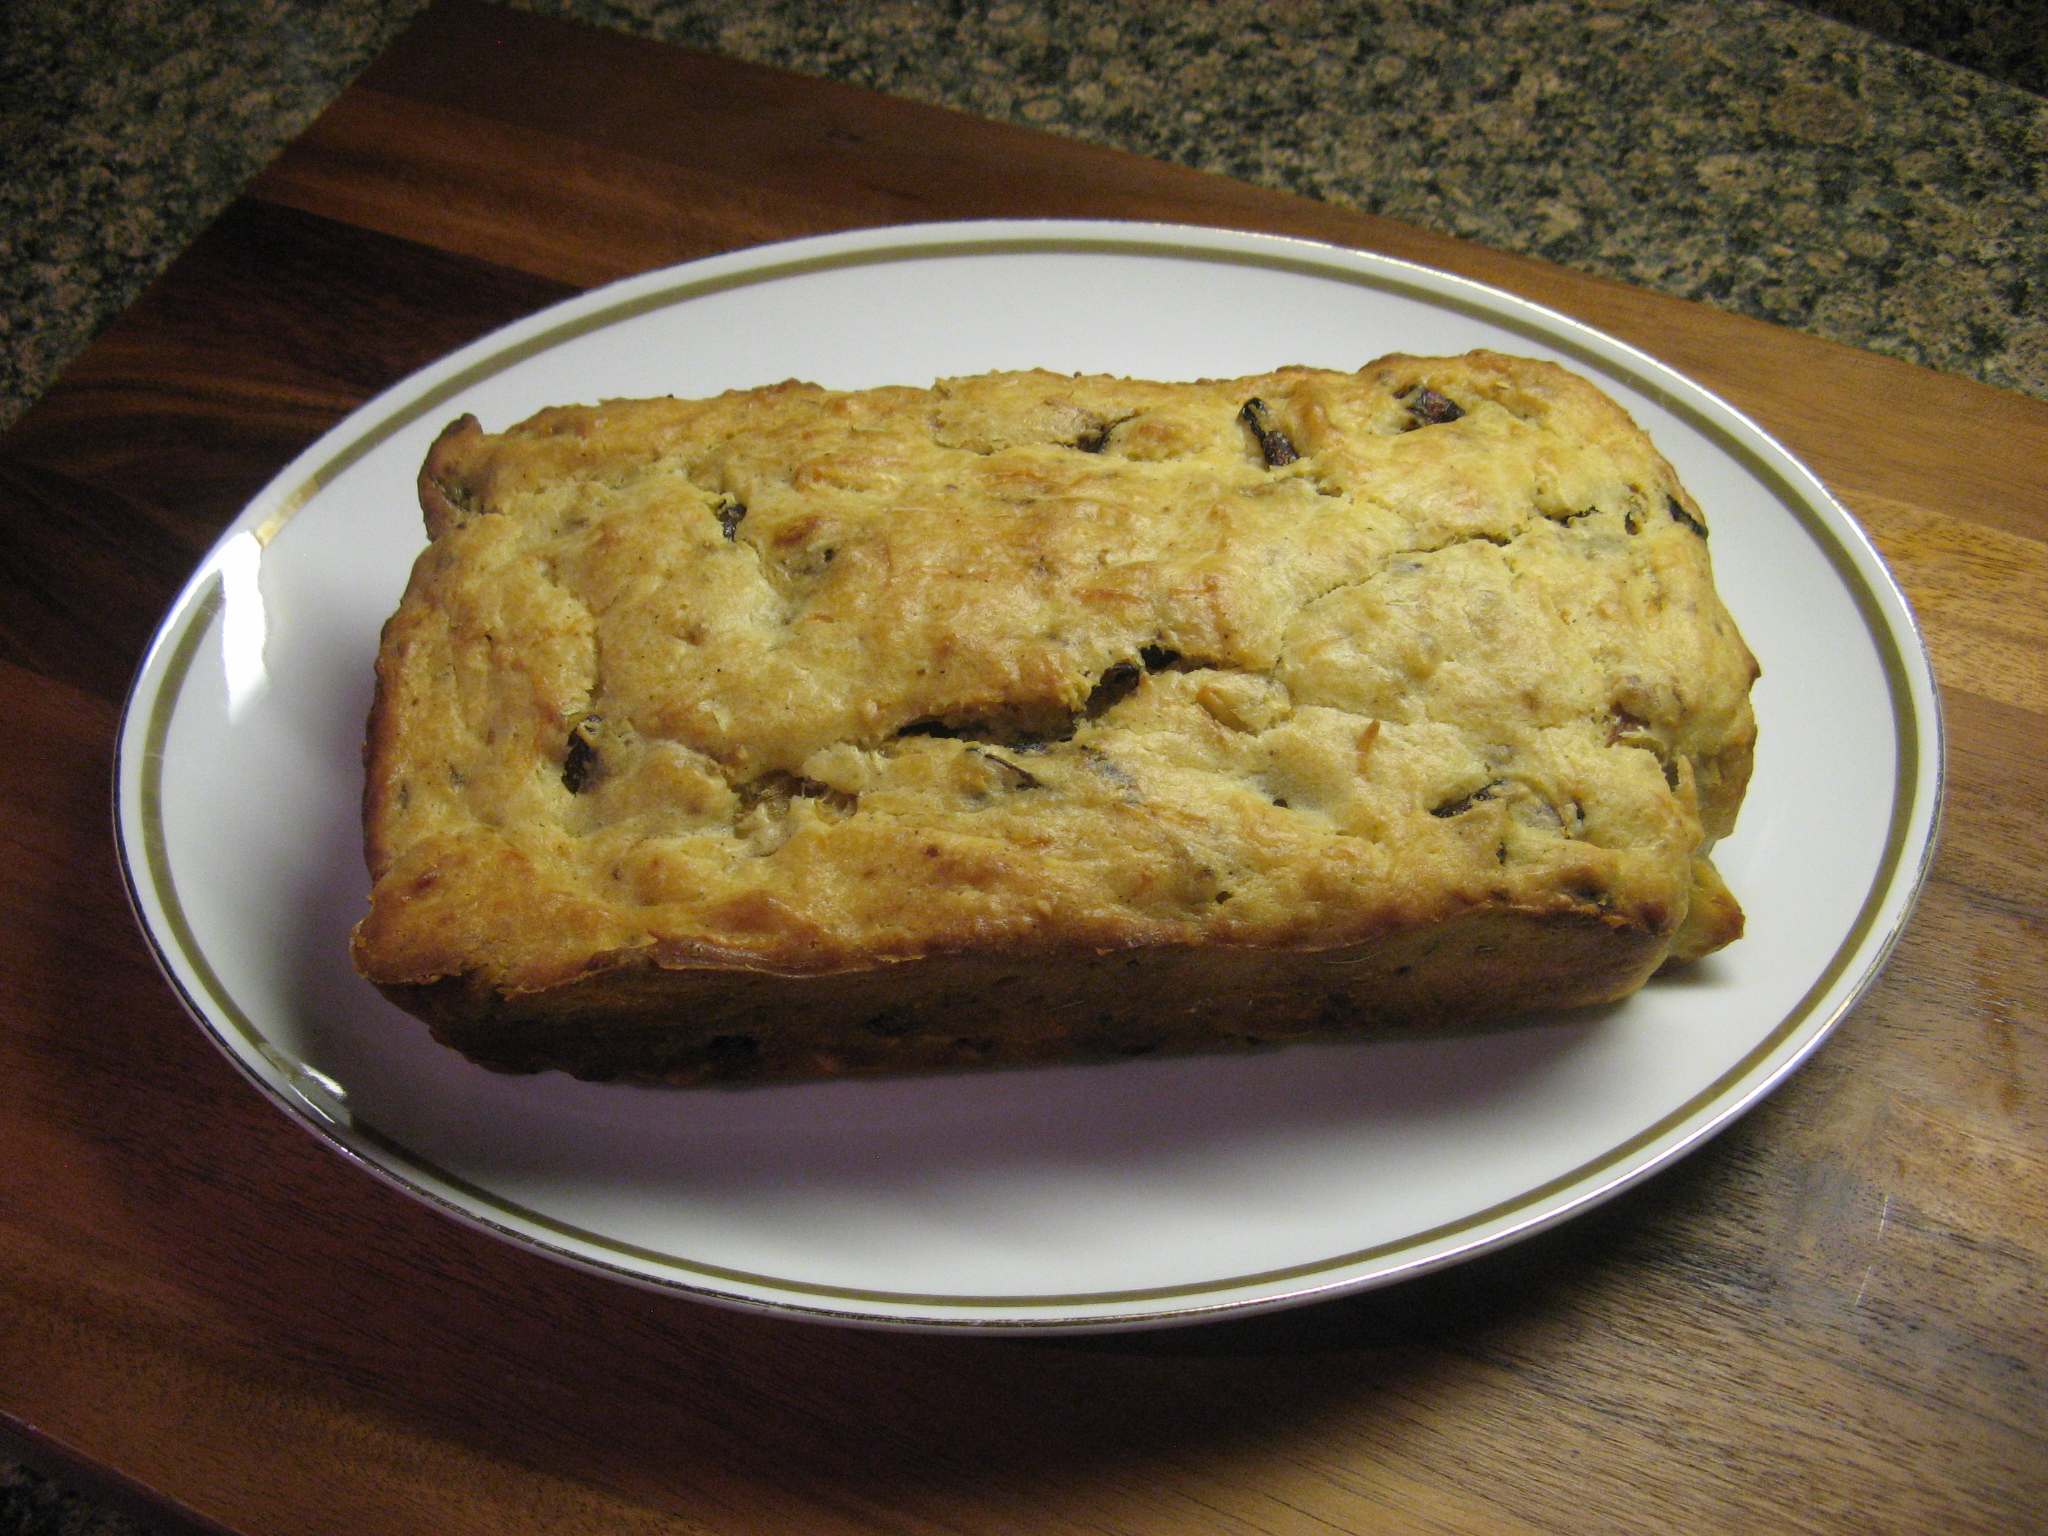
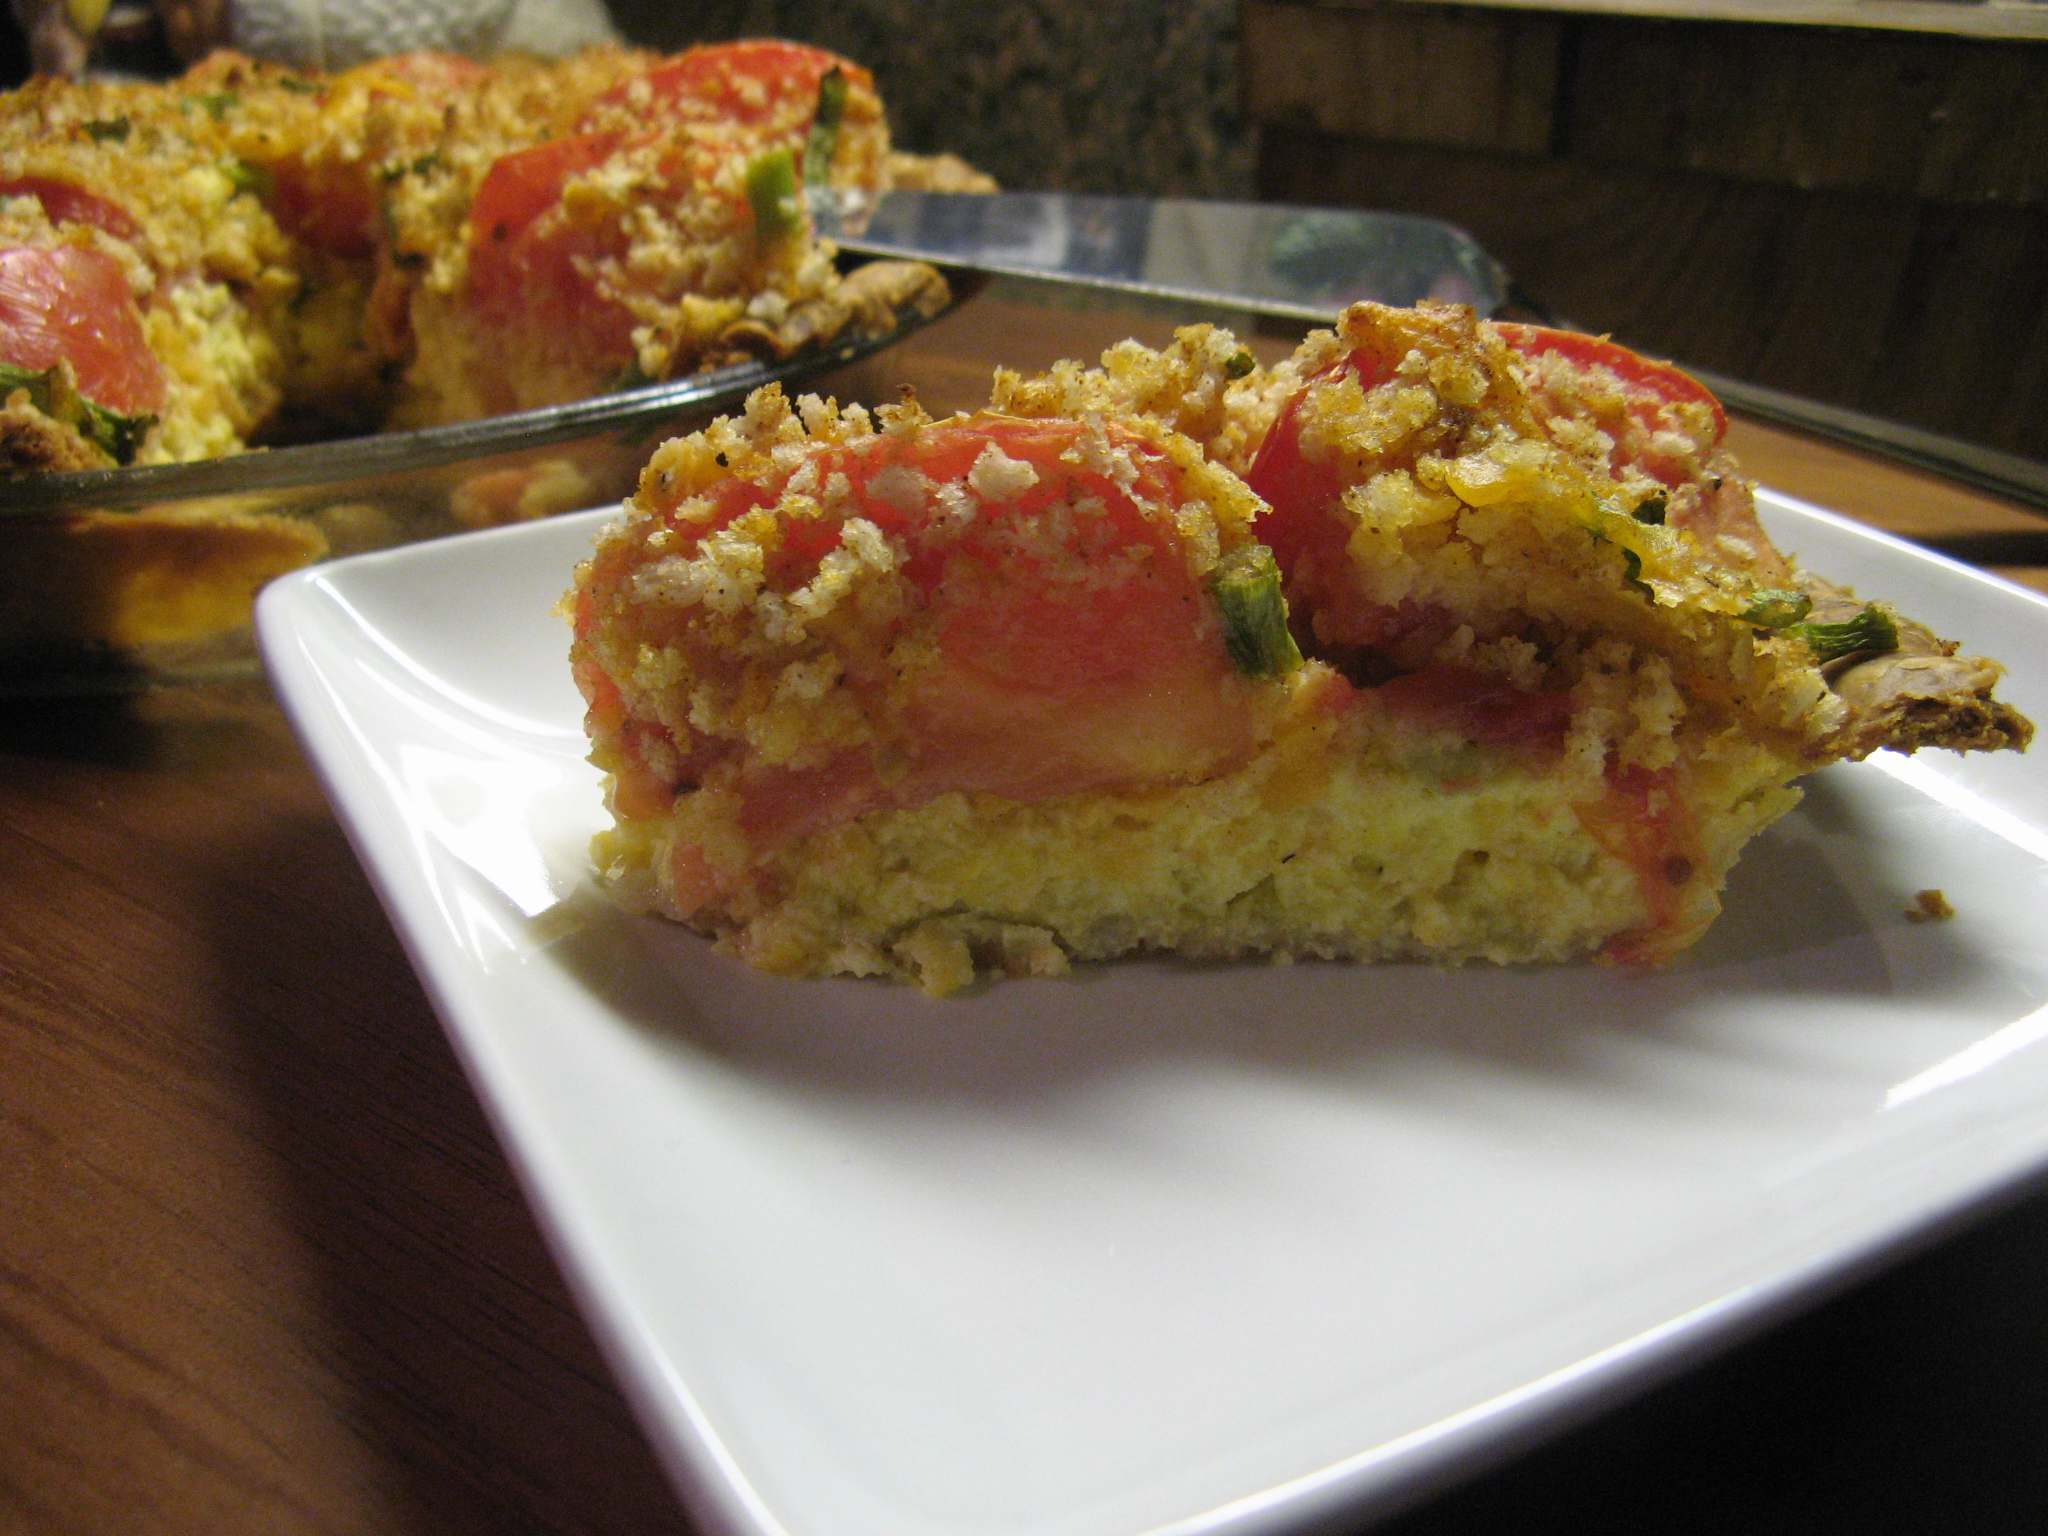
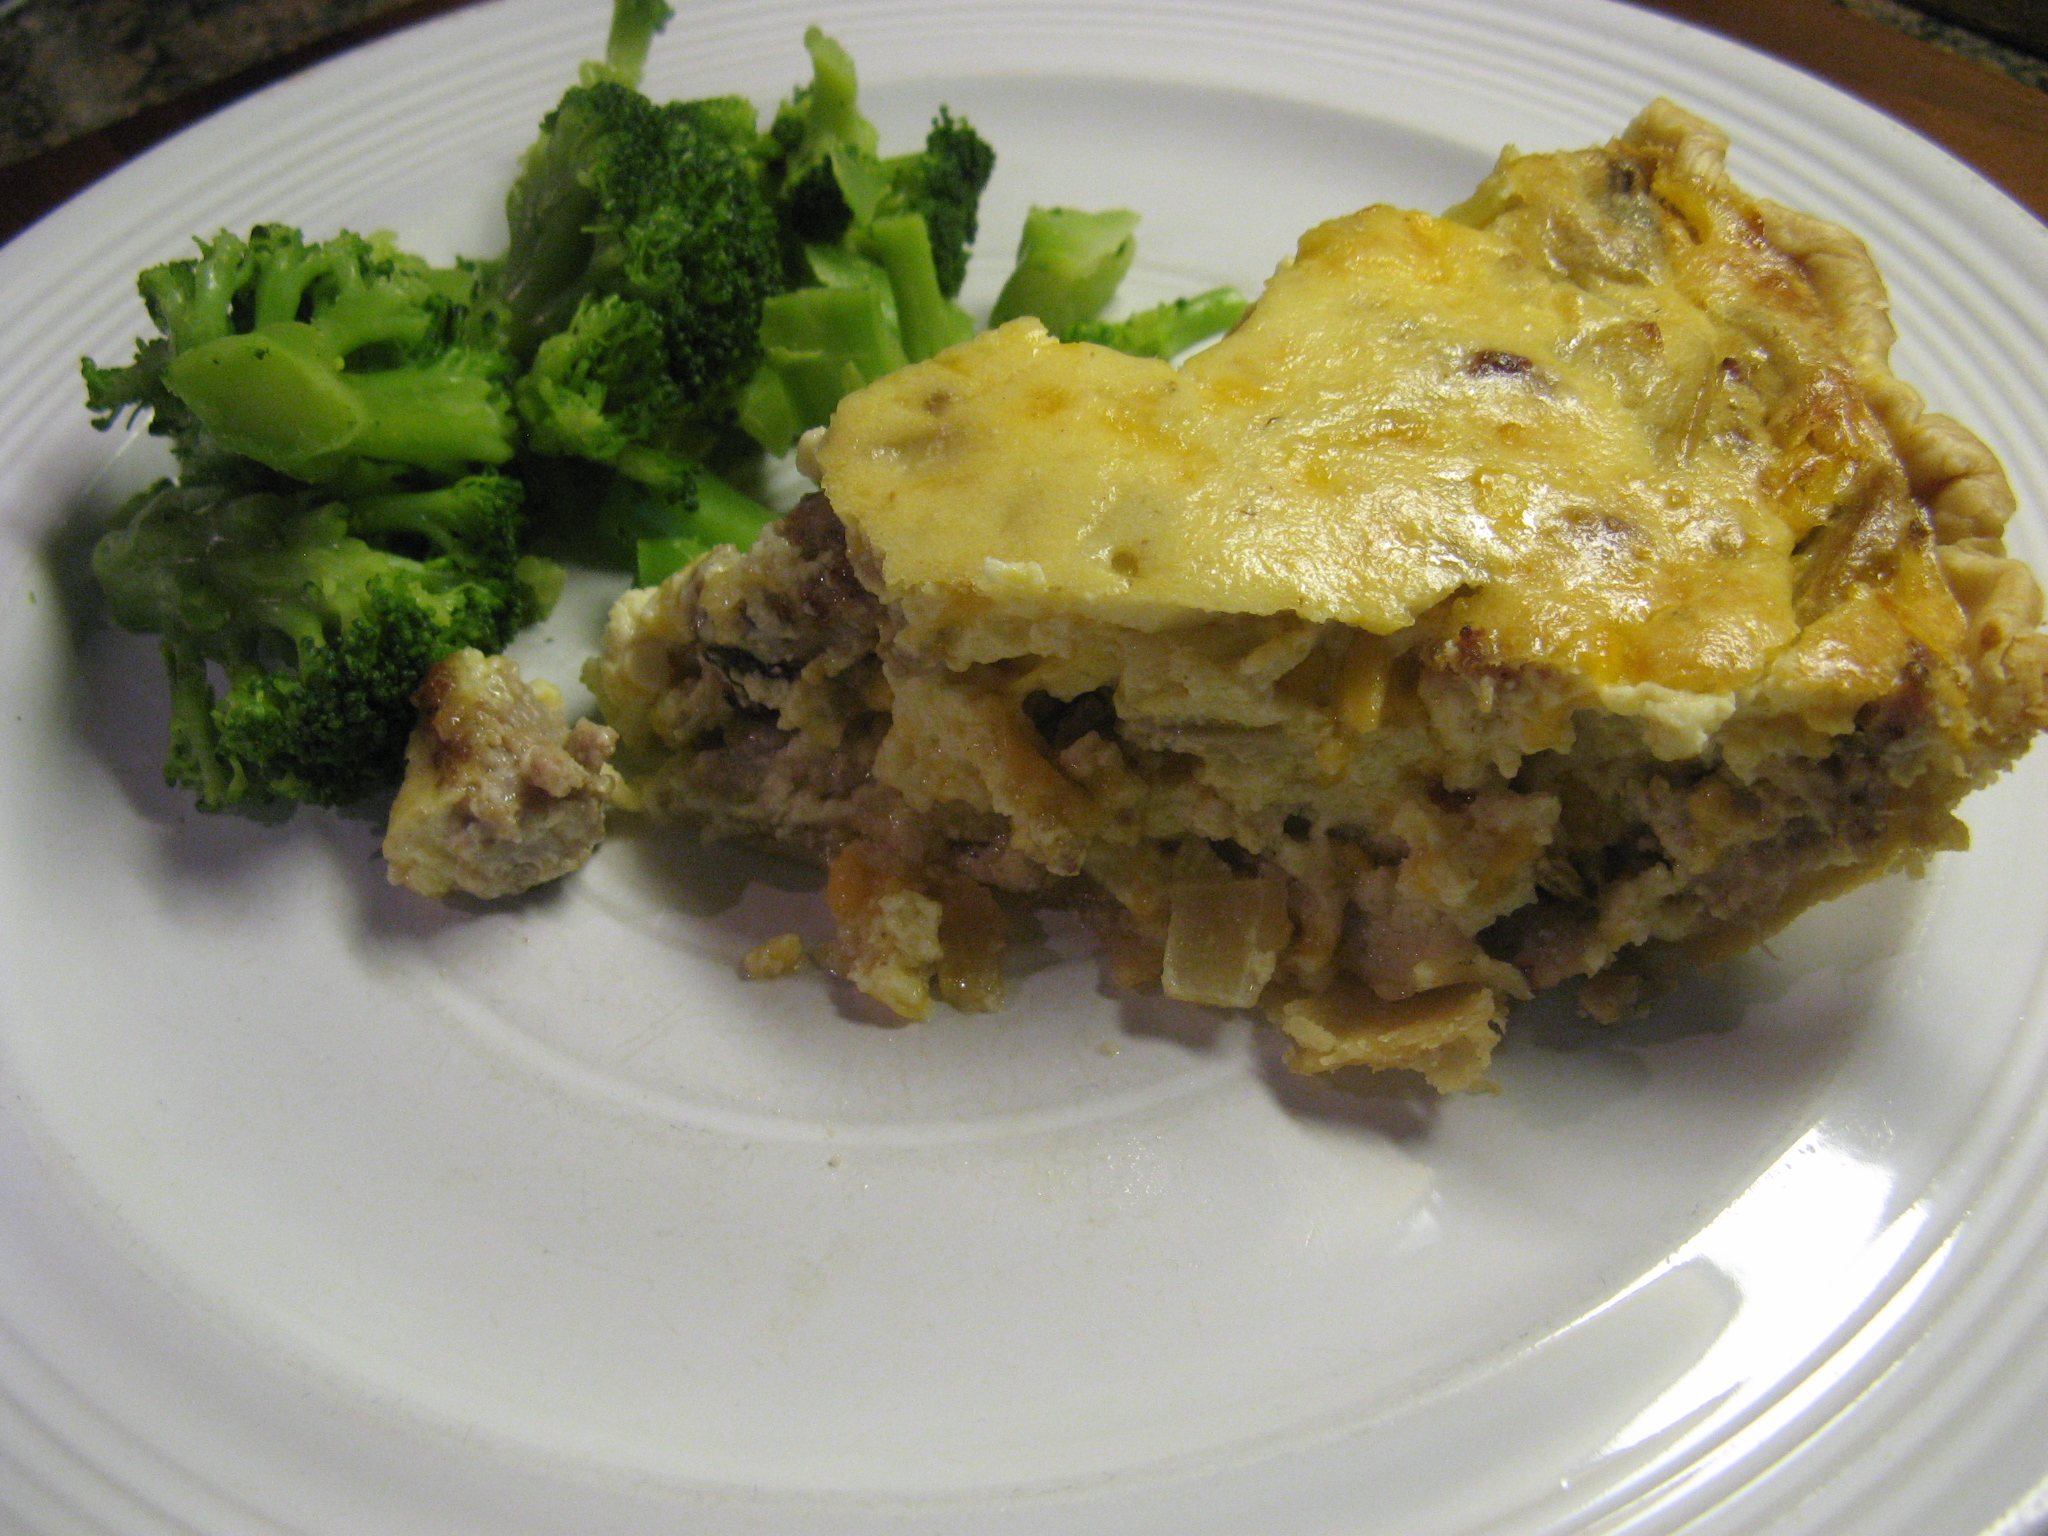
After letting it cool for about 10 minutes I sliced into it and enjoyed the every bite of it!

IMG_6083

Mushroom and Sausage Quiche 

Ingredients:

One 9-inch refrigerated piecrust, fitted into a 9-inch glass plate

One 1-pound package ground sausage

1 tablespoon butter

1/2 pound fresh mushrooms, sliced

1/2 large Vidalia onion, chopped

4 eggs

1 cup sour cream

1 cup cottage cheese, 2% or 4% milk fat

3 tablespoons all-purpose flour

3 tablespoons freshly grated Parmesan cheese

1 teaspoon hot sauce*

One 8-ounce package shredded sharp Cheddar cheese

*I omitted this from my version

Directions:

1. Preheat the oven to 350 F. Crimp the edges of the crust.

2. In a large skillet, cook and drain the sausage, and set aside. Wipe out the pan, and in the same pan, melt the butter over medium-high heat. Add the mushrooms and onion, and sauté for 5 minutes, or until tender.

3. Place the eggs, sour cream, cottage cheese, flour, Parmesan cheese, and hot sauce in a food processor and process until smooth, stopping to scrape down the sides of the bowl.

4. Stir together the crumbled sausage, mushroom mixture, egg mixture, and Cheddar cheese, and spoon into the piecrust. Cover the edges of the piecrust with aluminum foil to prevent the crust from burning.

5. Bake for 50 to 60 minutes, until golden brown and the center is set. Cool for 10 minutes and cut into 8 wedges.

Peanut Butter & Chocolate Marbled Cookies

Another month has rolled in and it’s not just any month, it’s December – the month where everywhere you look there is something sweet to eat and it’s almost impossible to say no to all of the deliciousness. One thing synonymous with December is baking, especially baking Christmas cookies. Personally I don’t think Christmas cookies are limited to those decorated with red and green sprinkles, for me it’s any cookie baked  this month – hey, it’s Christmas season, not just the day. So to kick off the baking festivities I would like to share with you a cookie that is right up my alley. I may have mentioned once or twice before that my favorite candy is Reese’s Peanut Butter Cups, so imagine my delight when I came across a cookie recipe that was a swirl of chocolate and peanut butter flavors. (I should also note that I am a big fan of peanut butter cookies as well!) The recipe is officially called Best of Both Cookies and I came across it in a special edition of Taste of Home magazine highlighting Christmas cookies and candies, but, for the purpose of this post I am going to call them Peanut Butter & Chocolate Marbled Cookies.

IMG_6029

I’ll be honest I was a bit apprehensive about making these cookies for two reasons; they are slice and bake cookies (I prefer making drop and bake cookies) and it involved making two separate doughs and then mixing them together (I thought the doughs would be difficult to meld.) Luckily I was wrong on both fronts. Incorporating the two doughs and forming them into logs to be sliced was super simple.  First up was the peanut butter dough. I creamed together peanut butter, softened butter, granulated sugar and light brown sugar until it was light and fluffy and then added in an egg. In a separate bowl I combined flour, baking powder, baking soda and salt which I then mixed into the peanut butter mixture.

IMG_5977

To make the chocolate dough I creamed together butter, granulated sugar and light brown sugar once again until it was light and fluffy. I then added in an egg and vanilla extract. And finally I added in a mixture a of flour, cocoa, baking powder, baking soda and salt.

IMG_5978

I divided each of the doughs in half and kneaded one peanut butter half and one chocolate half a few times until it began to swirl and then formed the combined doughs into a 10-inch log.

IMG_5979

I then wrapped each of the logs in plastic wrap and refrigerated them until they were firm – at least 3 hours.

IMG_5981

Once firm it was easy to slice the dough for the cookies.

IMG_6002

I then placed them on a parchment lined baking sheet and baked them for 7 minutes in a 350 F preheated oven.

IMG_6003

I let them cool on the sheet for a few minutes before transferring them to a wire rack to cool completely. Overall these cookies were amazing… Not one thing negative to say about them. Depending on how the doughs swirl together you may get a cookie that is more peanut butter than chocolate or vice versa, but, either way it’ll be delicious. Neither of the doughs is overpowering with flavor so it’s the perfect marrying of peanut butter and chocolate!

IMG_6030


Peanut Butter & Chocolate Marbled Cookies (Best of Both Cookies)

Ingredients:

Peanut Butter Dough:

3/4 cup creamy peanut butter

1/2 cup butter, softened

1/2 cup sugar

1/2 cup packed brown sugar

1 egg

1 1/4 cups all-purpose flour

1/2 teaspoon baking powder

1/2 teaspoon baking soda

1/4 teaspoon salt

Chocolate Dough:

1/2 cup butter, softened

1/2 cup sugar

1/2 cup packed brown sugar

1 egg

1 teaspoon vanilla extract

1 1/4 cups all-purpose flour

1/4 cup baking cocoa

1/2 teaspoon baking powder

1/2 teaspoon baking soda

1/4 teaspoon salt

Directions:

1. In a large bowl, cream the peanut butter, butter and sugars until light and fluffy, about 4 minutes. Beat in egg. Combine the flour, baking powder, baking soda and salt; gradually add to creamed mixture and mix well.

2. For the chocolate dough, in another large bowl, cream butter and sugars until light and fluffy. Beat in egg and vanilla. Combine the flour, cocoa, baking powder, baking soda and salt; gradually add to creamed mixture and mix well.

3. Divide each portion in half. Knead one peanut butter and one chocolate portion together 5-10 times or until it just begins to swirl. Shape into a 10-inch log. Wrap in plastic wrap. Repeat with remaining dough. Refrigerate for 3-4 hours or until firm.

4. Preheat oven to 350 F. Unwrap and cut into 1/4 inch slices. Place 2 inches apart on lightly greased baking sheets (or parchment lined baking sheets.) Bake 6-8 minutes or until bottoms are lightly browned. Cool 2 minutes before removing from pans to wire racks.


Pumpkin-Brownie Swirl Pie

I hope you all had a wonderful Thanksgiving weekend filled with love and laughter amongst family and friends and of course some delicious food! My Thanksgiving was good and while there was plenty of scrumptious food to be had there was also plenty of yummy desserts… Including this Pumpkin-Brownie Swirl Pie.

IMG_6020

To begin, I made the brownie batter portion of the pie by melting a stick of unsalted butter and a 12-ounce bag of semi-sweet chocolate chips along with light brown sugar over medium heat in a saucepan. Once the butter and chocolate were melted I removed the saucepan from the heat and whisked in two eggs and vanilla extract. In a medium bowl I whisked together flour, cocoa powder, baking powder and salt and then added this flour mixture to the chocolate mixture and whisked it until the both were combined and smooth.

IMG_5983

Following that I transferred the brownie batter into a measuring cup to ensure that I would pour the right amount – a third of the batter – into the prepared pie plate.

IMG_5986

While the brownie was baking in the oven I made the pumpkin filling by whisking together pumpkin puree, heavy cream, an egg, granulated sugar, flour, pumpkin pie spice and salt in a medium bowl until it was smooth.

IMG_5987

By the time I was done with the pumpkin filling the brownie was ready to come out of the oven.

IMG_5989

I immediately poured the pumpkin filling over the brownie. I stirred a tablespoon of water to the remaining brownie batter and then spooned the batter onto the pumpkin filling. Using the back of the spoon I then pulled the batter into the filling.

IMG_5991

After baking for about 40 minutes in a 350 F preheated oven the Pumpkin-Brownie Swirl Pie was ready to come out. Unfortunately it did end up cracking a bit but luckily it didn’t affect the flavor one bit!

IMG_6000

Pumpkin and chocolate is definitely a winning combination! The sweetness of the brownie is such a nice complement to the mellow taste of pumpkin spiced with pumpkin pie spice (a combination of cinnamon, ginger, nutmeg & allspice.) I took half of this pie to a friend’s house for dessert and one of the guests commented that I needed to go home and get the other half. You can’t beat a complement like that!

IMG_6021

Pumpkin-Brownie Swirl Pie

Ingredients:

For the Brownie Filling:

1 stick unsalted butter, plus more for the pie plate

1 12-ounce bag semi-sweet chocolate chips

2/3 cup packed light brown sugar

2 large eggs

1 teaspoon pure vanilla extract

1/2 cup all-purpose flour

2 tablespoons unsweetened cocoa powder

1/2 teaspoon baking powder

1/4 teaspoon salt

For the Pumpkin Filling:

1 cup pure pumpkin puree

1 cup heavy cream

1 large egg

1/4 cup granulated sugar

1/4 cup all-purpose flour

1/2 teaspoon pumpkin pie spice

1/4 teaspoon salt

Directions:

1. Preheat the oven to 350 F. Butter the bottom and side of a 9 1/2 – inch deep-dish pie plate. Make the brownie filling; Heat the butter, chocolate chips and brown sugar in a medium saucepan over medium heat, whisking occasionally, until the butter and chocolate are melted. Remove from the heat. Whisk in the eggs, one at a time, then the vanilla, whisking until smooth. Whisk in the flour, cocoa powder, baking powder and salt until combined.

2. Pour about one-third of the brownie batter into the prepared pie plate; set aside the remaining batter. Bake until just starting to set and the top is shiny, about 20 minutes.

3. Meanwhile, make the pumpkin filling: Combine the pumpkin puree, heavy cream, egg, granulated sugar, flour, pumpkin pie spice and salt in a medium bowl; whisk until smooth.

4. Pour the pumpkin filling over the warm brownie layer. Stir 1 tablespoon water into the remaining brownie batter, then spoon the batter (in about 6 scoops) onto the pumpkin filling. Use the back of the spoon to pull the brownie batter into the pumpkin filling and create a swirled pattern. Bake until the pie is set, 40 to 45 minutes. Transfer to a rack and let cool completely.


Chocolate Snack Cakes with a Caramel Buttercream Filling

Remember a few years ago when people were going crazy with the idea of there being no more  Twinkies available on store shelves due to the bankruptcy of Hostess, well, I wasn’t one of those people. I did find it amusing though how people were selling the packaged baked good on EBay for insane amounts of money. I don’t have anything against Twinkies; I just never found them all that tasty. I always preferred the Hostess snack of Ding Dongs, but, it was something I definitely had to be in the mood for. Thankfully many people got their wish when Twinkies made it back to store shelves after some business negotiations. So, even though I am not a Twinkies fan that didn’t stop me from buying Fat Daddio’s Snackcake Pans when I saw them at Sur La Table in the clearance section for a ridiculously irresistible price of $2.99 each. There are so many flavor combinations that could be made that I was sure I would be able to find my favorite version of the American legend treat!

IMG_5924

Since I was essentially testing out these pans I decided to use a mix to make the snack cakes.

IMG_5915 IMG_5913

After prepping the batter according to the box directions…

IMG_5917

I then filled each cavity about half-way. I honestly thought that since the mix was enough for 12 cupcakes I would end up with 12 snack cakes, but the batter was only enough for 9.

IMG_5920

I baked them in a 350 F preheated oven for 20 minutes and after letting them cool it was time to fill them. I opted for a caramel buttercream filling which was super simple to make as I purchased prepared caramel sauce as opposed to making it myself.

IMG_5922

Using a Wilton No. 230 tip I was able to fill the snack cakes without much mess or fuss.

IMG_5925

Final verdict… You can’t go wrong with the flavor combination of chocolate and caramel! These were a hit that went super-fast.

IMG_5935

Caramel Buttercream Filling

Ingredients:

1/2 cup unsalted butter, 1 stick

1 cup Confectioners’ sugar

3 tablespoons prepared caramel sauce

1 teaspoon vanilla extract

Directions:

1. Using an electric mixer beat the butter at medium speed until creamy.

2. Reduce the speed to low and gradually add in the sugar and beat until well combined

3. Add caramel sauce and vanilla extract and continue beating until all ingredients are incorporated.

Red Velvet Cupcakes

While it is safe to say we all like a dessert that will create a moment of utter bliss when we take that first bite, there are those times that all we want are tried and true classics that evoke nostalgia for a certain time and/or place or simply cannot be beat – i.e. a chocolate chip cookie, a yellow cake (or cupcake) with chocolate frosting or a chocolate cake (or cupcake) with vanilla frosting and more recently red velvet!

IMG_5832

I cannot say for sure what makes Red Velvet so special. Is it the bold red color? The flavor that is somewhere along the lines of chocolate thanks to the addition of cocoa powder? Or maybe it’s the creamy cream cheese frosting? Who knows, all I know is that it’s delicious!

IMG_5844

I began making the cupcakes by beating together butter and sugar until it was light fluffy.

IMG_5798

In then mixed in eggs, buttermilk, vanilla extract and a fluid ounce of red food coloring, which essentially gives this cake its name. But, I should note that there are recipes out there – like this one and this one –  that use beets instead to obtain that vivid red color. One more thing, if you wanted to make a red velvet cake in other colors you could simply just swap out the red food coloring for whatever color you wanted; i.e. a purple velvet cake, pink velvet cake, green velvet cake, etc…

IMG_5799

By hand I then stirred in baking soda and vinegar and finally flour, cocoa powder and salt which I had combined in another bowl.  I chose to incorporate these ingredients into the mixture by hand so I wouldn’t accidentally overbeat the batter which would turn out dense and dry cupcakes as opposed to the light and fluffy ones these turned out to be.

IMG_5801

I then divided the batter among paper lined cupcake tins and baked them in a 350 F preheated oven for twenty minutes.

IMG_5806

After the cupcakes had cooled it was time to frost them. I opted to frost them with a Cream Cheese Frosting as I think it’s the best flavor to enhance the flavors of the red velvet cake. I have had them with buttercream frosting and it’s just not the same.

IMG_5814

I also sprinkled a few of the cupcakes’ with red velvet cake crumbs and they turned out tasting just as good as they looked!

IMG_5851

Red Velvet Cupcakes

Makes 20 Cupcakes

Ingredients:

1/2 cup butter

1 1/2 cups sugar

2 eggs

1 cup buttermilk

1 fluid ounce red food coloring

1 teaspoon vanilla extract

1 1/2 teaspoons baking soda

1 tablespoon distilled white vinegar

2 cups all-purpose flour

1/3 cup unsweetened cocoa powder

1 teaspoon salt

Directions:

1. Preheat oven to 350 degrees F. Line two muffin pans with 20 paper baking cups.

2. In a large bowl, beat the butter and sugar with an electric mixer until light and fluffy. Mix in the eggs, buttermilk, red food coloring and vanilla. Stir in the baking soda and vinegar. Combine the flour, cocoa powder and salt; stir into the batter just until blended. Spoon the batter into the prepared cups, dividing evenly.

3. Bake in the preheated oven until the tops spring back when lightly pressed, 20 to 25 minutes. Cool in the pan set over a wire rack. When completely cooled frost.

Cream Cheese Frosting

Ingredients:

2 – 8 ounce packages cream cheese, softened

1/2 cup butter, softened

2 cups sifted confectioners’ sugar

1 teaspoon vanilla extract

Directions:

In a medium bowl cream together the cream cheese and butter until creamy. Mix in the vanilla, and then gradually stir in the confectioners’ sugar.

Pumpkin-Oat Chocolate Chip Cookies

I hope you are all not tired of my pumpkin recipe posts because I have one more for you today. I kicked off Fall by making Pumpkin Doughnuts and Pumpkin Rice Pudding and just last week I posted about my experience making Homemade Pumpkin Puree – and some of the subsequent treats I made from it – and today I am bringing you Pumpkin-Oat Chocolate Chip Cookies. To be honest these cookies weren’t entirely for me. I have a dear friend who is just as much of a pumpkin fan as I am – I told her about Chobani’s Pumpkin Spice Yogurt and she told me about Pumpkin Spice English Muffins (which I am yet to find) and Pumpkin Spice Oreo’s (not worth trying according to her) – so for her birthday I decided to bake up a pumpkin treat to send her. (I sent her Pumpkin Doughnuts last year so I wanted to go with something new this year.) Unfortunately my pictures for the cookies aren’t the best as rainy cloudy days don’t lend for great picture taking!

IMG_5658

I began making the dough for the cookies by whisking together the dry ingredients in a medium-sized bowl: flour, quick oats, baking soda, salt, cinnamon, nutmeg and ginger.

IMG_5638

In a larger bowl I creamed together softened butter with light-brown sugar and granulated sugar. I was concerned that these cookies would be super sweet since the total amount of sugar was 2 cups, but thankfully the sweetness was toned down due to the addition of the pumpkin puree which doesn’t have much sweetness to it.

IMG_5640

Next, I whipped in an egg, vanilla extract and the pumpkin puree to the butter mixture, mixing well after each addition.

IMG_5642

With the mixer on the lowest setting, I gradually added the flour mixture to the butter mixture until both were combined. I then folded in chocolate chips with a spatula.

IMG_5643

After letting the dough rest for 10 minutes – which allows the oats to absorb the liquids from the dough so the cookies won’t spread out as much while baking – I then used a cookie scoop to scoop the dough onto a parchment lined baking sheet and placed the cookies in a 350 F preheated oven for 12 minutes.

IMG_5645

I let the cookies cool on the baking sheet for a few minutes before transferring them to a wire rack to cool completely.

IMG_5647

In total I ended up with a little over 4 dozen cookies. Which was perfect since it meant I could keep some for myself! These cookies are all-around delish! You get a slight taste of pumpkin and the flavors of cinnamon really shine through which is a nice complement to the chocolate chips. And if you like your cookies super-soft then these are for you… They are borderline soft/cakey.

IMG_5656


Pumpkin-Oat Chocolate Chip Cookies

Makes 4 Dozen

Ingredients:

2 1/2 cups all-purpose flour

1 1/2 cups quick oats

1 teaspoon baking soda

3/4 teaspoon salt

1 3/4 teaspoon ground cinnamon

1/4 teaspoon ground nutmeg

1/4 teaspoon ground ginger

1 cup unsalted butter, softened

1 1/3 cups packed light-brown sugar

2/3 cup granulated sugar

1 large egg

1 teaspoon vanilla extract

1 1/4 cups canned pumpkin puree

1 3/4 cups semi-sweet chocolate chips

1 cup chopped pecans or walnuts (optional)

Directions:

1. Preheat oven to 350 F. In a mixing bowl whisk together flour, oats, baking soda, salt, cinnamon, nutmeg and ginger for 30 seconds, set aside.

2. In the bowl of an electric mixer fitted with the paddle attachment, whip together butter, brown sugar and granulated sugar until creamy (occasionally stop and scrape down the sides and bottom of bowl throughout entire mixing process.) Blend in egg then blend in vanilla extract and pumpkin puree. With mixer set on low speed, slowly add in dry ingredients and mix until combined. Mix in chocolate chips and nuts (if using). Let batter rest 5-10 minutes (this just gives the oats some time to absorb the liquids so batter isn’t so sticky and cookies don’t spread so much.)

3. Scoop dough of 2 tbsp. at a time and drop onto Silpat or parchment paper lines baking sheets, spacing cookies 2-inches apart. Bake in preheated oven 12-14 minutes. Allow to cool on baking sheet several minutes then transfer to a wire rack to cool completely. Store in an airtight container.


Parmesan Herb Loaf

If you follow my blog you know that I tend to try out a lot of Food Network recipes. It’s one of my go-to stops for looking for a recipe when I have something in mind and since I receive their monthly magazine it’s hard to resist the amazing recipes they include each month. Also included each month is a tear out booklet with 50 recipes designated to a specific thing… for the October issues it was 50 Quick Breads. And I was quick to try out one of those breads, the Parmesan Herb Bread to go along with the soup I posted about yesterday.

IMG_5607

To begin I caramelized two onions on medium-low heat for about 30 minutes.

IMG_5582

Following that I whisked sour cream, vegetable oil and eggs together in one bowl.

IMG_5585

In another bowl I combined flour, grated parmesan cheese, sugar, chopped rosemary, baking powder, lemon zest, baking soda, salt and pepper and finally the caramelized onions. If you are wondering why the onions were mixed in to the flour mixture as opposed to the egg mixture it’s because coating the onions with the flour will prevent them from sinking to the bottom of the bread. Hence they will be evenly distributed throughout the bread.

IMG_5588

After that I folded the wet ingredients into the dry ingredients.

IMG_5595

I then poured the batter into my prepared loaf pan – I lined it with parchment paper and sprayed it with baking spray – and baked it in a 350 F preheated oven for 40 minutes.

IMG_5598

I let the bread cool in the pan for about an hour and then removed it and let it cool completely on a wire rack.

IMG_5601

Then it was time to slice it up… As you can see each slice had a nice amount of onions throughout it as opposed to just on the bottom. This bread was super simple to make; granted waiting for the onions to caramelize does take some patience but the end product is definitely worth it. It was incredibly moist and flavorful, it reminded me of Thanksgiving!

IMG_5618


Parmesan Herb Bread

Ingredients:

2 onions sliced and caramelized

3/4 cup sour cream

1/2 cup vegetable oil

2 eggs

1 3/4 cups flour

1/2 cup grated parmesan cheese

1 tablespoon sugar

2 teaspoons chopped rosemary*

1 1/2 teaspoon baking powder

1 teaspoon lemon zest

1/2 teaspoon salt

1/2 teaspoon pepper

1/4 teaspoon baking soda

*The original recipe also called for 2 teaspoons of chopped thyme which I omitted

Directions:

1. Preheat the oven to 350 F. Prepare a 9 x 5 loaf pan by lining it with parchment paper, leaving an overhang, and spraying it with baking spray.

2. To caramelize the onions, cook in olive oil over medium-low heat for 30 minutes.

3. Whisk together the sour cream, vegetable oil and eggs in a medium-sized bowl.

4. In a large bowl whisk together the flour, grated parmesan, sugar, chopped rosemary, baking powder, lemon zest, salt, pepper and baking soda. Add in the onions.

5. Fold the wet ingredients into the dry ingredients and pour the batter into the prepared pan and bake 40 to 50 minutes until a tester comes out clean.

6. Let cool 1 hour, then remove the bread from the pan and transfer to a wire rack to cool completely.


Roasted Butternut Squash & Sweet Potato Soup

The temperatures have begun to drop and it’s the perfect excuse to make warm and hearty soups, albeit I made this soup last week on a rainy day, which as we all know is also a perfect day for soup. I’ve actually made this soup a few times before after coming across it on a fellow blogger’s blog last year, but, this was the first time that I made the soup by roasting a whole butternut squash as opposed to the prepackaged chopped ones you sometimes see in the produce area and as crazy as it sounds, it made such a difference in the flavor.

IMG_5579

Luckily the butternut squash wasn’t as difficult to slice as the pumpkins were for the homemade puree I made. Granted the two slices weren’t perfectly equal but they were close enough. After I sliced them I cleaned out all of the pulp and seeds and placed the two halves on a baking sheet and drizzled them with olive oil and a pinch of salt and pepper. I roasted them in a 425 F preheated oven for just shy of an hour, until they were fork tender.

IMG_5591

Along with the butternut squash I also roasted a large sweet potato which I peeled and cubed, the roasting time for the potato was considerably less, about 20 minutes. Once the butternut squashed cooled I removed the peel and chopped it into cubes as well. Of course I couldn’t help but trying a piece and it was absolutely delish. Roasting vegetables really brings out their inner sweetness.

IMG_5605

I then gathered all of the ingredients I needed for the soup along with the squash and sweet potato; 2 diced onions, minced ginger, coconut milk and vegetable stock.

IMG_5606

Now on to making the actual soup… I began by sautéing the onion and ginger until the onions were translucent. I then added in the cubed squash and sweet potato and finally the vegetable stock. Once I brought it to a boil over medium heat I reduced the heat to low and let the soup simmer for 20 minutes.

IMG_5621

And finally using a handheld blender (immersion blender) I pureed the soup until it was smooth and then stirred in the coconut milk.

IMG_5624

I cannot say enough good things about this soup… There is sweetness from roasting the squash and the sweet potato and a hint of ginger that makes this soup so delicious. Another plus, it’s great for many who follow different types of diets… Its vegan, gluten-free, dairy-free and all around healthy. Even those of you who are not keen on veggies will find this soup tasty!

IMG_5636

Roasted Butternut Squash & Sweet Potato Soup – adapted from here

Ingredients:

1 butternut squash sliced in half and pulp and seeds removed

1 large sweet potato, peeled and cubed

2 medium-sized onions, peeled and diced

2-inch piece of ginger, peeled and minced

4 cups vegetable stock

3/4 cup coconut milk

Kosher salt and fresh ground pepper

Olive oil

Directions:

1. Preheat oven to 425 F.

2. Drizzle olive oil over squash and sweet potato; add a pinch of salt and pepper. Place squash cut side down onto a baking sheet. On another baking sheet lay out the sweet potatoes. Cook the sweet potatoes for about 20 minutes, or until fork tender. Cook the squash for about 50 minutes, once again until fork tender. Remove from the oven and let cool for a few minutes.

3. In a large pot, heat a tablespoon olive oil over medium heat. Add the onion and ginger and sauté for 5 minutes, or until the onions are translucent.

4. Remove the peel from the squash and roughly cut it into large cubes and add it to the pot with the onions and ginger along with the sweet potato.

5. Add the vegetable stock and bring to a boil. Lower heat and let the soup simmer for 20 minutes, making sure the squash is tender.

6. Using a handheld blender, puree the soup. Add the coconut milk and stir.


Tomato and Corn Custard Pie

A few weeks ago I posted about a Tomato Fontina Torte with Rosemary Crust that was quite delicious. I got the recipe from a recent issue of Food Network Magazine, well, when I went to put the recipe back into my recipe binder (I’m one of those super-organized individuals) I noticed another recipe that I must have overlooked when I flipped through the magazine, a recipe for a Tomato and Corn Custard Pie that I knew I had to try and finally got around to it earlier this week. It ended up being the perfect combination of sweet and savory.

IMG_5524

To begin I baked the pie crust. I wish I had used my crust cover while baking the crust so it wouldn’t have browned as much during the final cooking with the actual pie in it.

IMG_5537

While the crust was in the oven I prepped all of my ingredients. I began by coring the tomatoes and slicing them into quarters. I then tossed them with kosher salt and spread them on a paper towel lined baking sheet so they could release their juices.

IMG_5528

Next I chopped up 6 scallions and divided them into two bowls and lightly beat three eggs. I took two major shortcuts for this recipe… I used pre-shredded sharp cheddar cheese and instead of using fresh corn I opted to use frozen corn that I steamed in the microwave.

IMG_5533 IMG_5530

Following that I reserved 1/2 cup of the cooked corn in a large bowl and placed the remaining corn, about 1 1/2 cups, in a sauté pan with heavy cream and brought it to a simmer on medium heat.

IMG_5534

I then poured the mixture into the bowl of my food processor and blended it until it was smooth.

IMG_5539

I transferred the pureed corn-heavy cream mixture to the bowl with the reserved corn and whisked in the eggs, half of the cheese and scallions and some fresh ground black pepper.

IMG_5540

I poured this mixture into my cooked pie crust and placed it in a 350 F oven for 35 minutes until it was just set.

IMG_5541

While the custard was cooking in the oven I mixed the remaining scallions and cheese along with panko breadcrumbs and seasoned it with paprika, salt and pepper.

IMG_5548

I reserved 1/4 cup of the mixture and tossed the remaining mixture with the tomatoes.

IMG_5552

Once I removed the pie from the oven I increased the oven temperature to 400 F…

IMG_5549

And then topped the pie with the reserved mixture and placed the coated tomatoes on top of the pie and topped it with the remaining panko mixture left in the bowl. Finally I dotted the top of the pie with a tablespoon of butter.

IMG_5556

I placed the pie back in the oven for another 15 minutes, until the top was golden, and let it cool for a bit before slicing into it.

IMG_5563

Final verdict… Absolutely delicious! The custard is a tad bit sweet because of the corn and the panko breadcrumb topping is on the savory side because of the addition of the scallions, paprika and cheddar cheese. This is a definite winner I can see myself making many times to come!

IMG_5572


Tomato and Corn Custard Pie

Serves 6 to 8

Ingredients:

1 round refrigerated pie dough (half of a 14-ounce package)

2 beefsteak tomatoes (about 12 ounces)

Kosher salt

2 tablespoons unsalted butter

2 ears of corn, kernels cut off (1 to 1 1/2 cups) *I opted to use a 10 ounce bag of frozen corn that I steamed in the microwave)

1 cup heavy cream

3 large eggs, lightly beaten

6 scallions, chopped

1 cup grated sharp cheddar cheese (about 4 ounces)

Freshly ground black pepper

1/2 cup panko breadcrumbs

1 teaspoon chopped fresh thyme*

1/2 teaspoon paprika

Pinch of cayenne pepper*

*I omitted these two spices from my version

Directions:

1. Position racks in the middle and upper third of the oven and preheat to 350 F. Line a 9-inch pie plate with the dough, crimping the edge with your fingers. Poke the bottom of the crust all over with a fork. Line with foil and fill with pie weights or dried beans. Bake on the middle rack until golden around the edge, about 20 minutes. Remove the foil and weights; continue baking until golden all over, about 10 more minutes.

2. Meanwhile, core the tomatoes and cut into 1/2-inch wedges; toss with 1 1/2 teaspoons salt. Spread the tomatoes in a single layer on paper towels to drain until ready to use.

3. Melt 1 tablespoon butter in a medium saucepan over medium heat. Add the corn and cook stirring occasionally, until tender, about 5 minutes. Transfer 1/2 cup of the corn to a large bowl.

4. Add the heavy cream to the saucepan with the remaining corn and bring to a simmer. Carefully transfer the mixture to a blends and puree until smooth; transfer to the bowl with the corn. Whisk in the eggs, half each of the scallions and cheese, and a few grinds of black pepper; pour into the crust. Bake of the middle rack until the custards is just set, 35 to 40 minutes. Remove from the oven and increase the temperature to 400 F.

5. Mix the remaining scallions and cheese, the panko, thyme, paprika and 1/4 teaspoon each salt and pepper in a bowl. Sprinkle 1/4 cup of the mixture on top of the pie. Pat the tomato wedges with paper towels to absorb the excess moisture, then coat with the remaining panko mixture and arrange on top of the tart. Sprinkle any remaining panko on top; dot with the remaining 1 tablespoon butter. Return to the oven on the upper rack and bake until the top is golden, about 15 minutes. Let cool 30 minutes before slicing.


Lemon Doughnuts

Who doesn’t love a delicious doughnut? It’s one of the top breakfast items that most people reach for in the morning. Me personally I need protein to get me going in the a.m. so I reserve doughnuts as sweet treats for any time of the day. When I first saw this recipe it was written for mini Bundt cakes, but since I don’t own such a pan I decided to turn the batter into doughnuts instead, and it was definitely a delicious tweak!

IMG_5467

I began by beating the butter on medium-high speed until it was creamy.

IMG_5458

I then added in sugar and continued beating until the mixture was light and fluffy.

IMG_5459

I added in 3 lightly beaten eggs gradually, beating the mixture well after each addition.

IMG_5460

And finally, the lemon oil. If you cannot find lemon oil you can also substitute fresh lemon zest.

IMG_5463

To complete the batter I set the mixer to low speed and gradually added in flour that I sifted with baking powder and salt.

IMG_5464

Next I filled my prepared doughnut pans – I sprayed them with cooking spray – and baked the doughnuts in a 325 F oven for 15 minutes. I still haven’t mastered filling in the doughnut crevices so I did overfill them quite a bit, luckily it doesn’t affect the flavor.

IMG_5465

These doughnuts were absolutely delicious. The lemon flavor is just the right amount and the doughnuts are not overly-sweet. These were definitely a winner that I will be making again… Possibly as cupcakes next time!

IMG_5481


Lemon Doughnuts – Adapted from here

Makes 12 doughnuts

Ingredients:

1 1/2 cups all-purpose flour

1/2 teaspoon baking powder

1/4 teaspoon salt

13 tablespoons unsalted butter

1 cup sugar

3 eggs, lightly beaten

1/2 teaspoon lemon oil (or 1 tablespoon of lemon zest)

Directions:

1. Preheat the oven to 325 F. Spray doughnut pans with baking spray.

2. In a medium bowl sift together the flour, baking powder and salt.

3. In a large bowl beat the butter on medium speed until it’s smooth and creamy, 1 to 2 minutes. Add the sugar and beat until light and fluffy, about 5 minutes. Gradually add the eggs, beating well after each addition. Beat in the lemon oil.

4. Reduce the mixer speed to low and add the flour mixture in three additions, blending well after each addition.

5. Spoon the batter into the prepared doughnut pans and bake for 15 minutes. Transfer to a wire rack and let cool.