It’s the first Friday of June, also known as National Doughnut Day! It began back in 1938 when The Salvation Army wanted to recognize the men and women who served doughnuts to soldiers in World War I. For a little more history on the day check out the following link. So, if you are in the mood for a free doughnut today head on over to your local Dunkin’ Donuts or Krispy Kreme, as for me, I decided to bake up a batch. While I did enjoy the Pumpkin Doughnuts and Cinnamon Sugar Apple Doughnuts I baked up last year soon after I got my doughnut pan I decided that today I would bake my favorite doughnut… A Chocolate Frosted Doughnut. A basic one, but always a good one! I found a great recipe on the daily web magazine The Kitchn that could easily be halved (6 vs. 12), which was the exact amount I was looking to make.
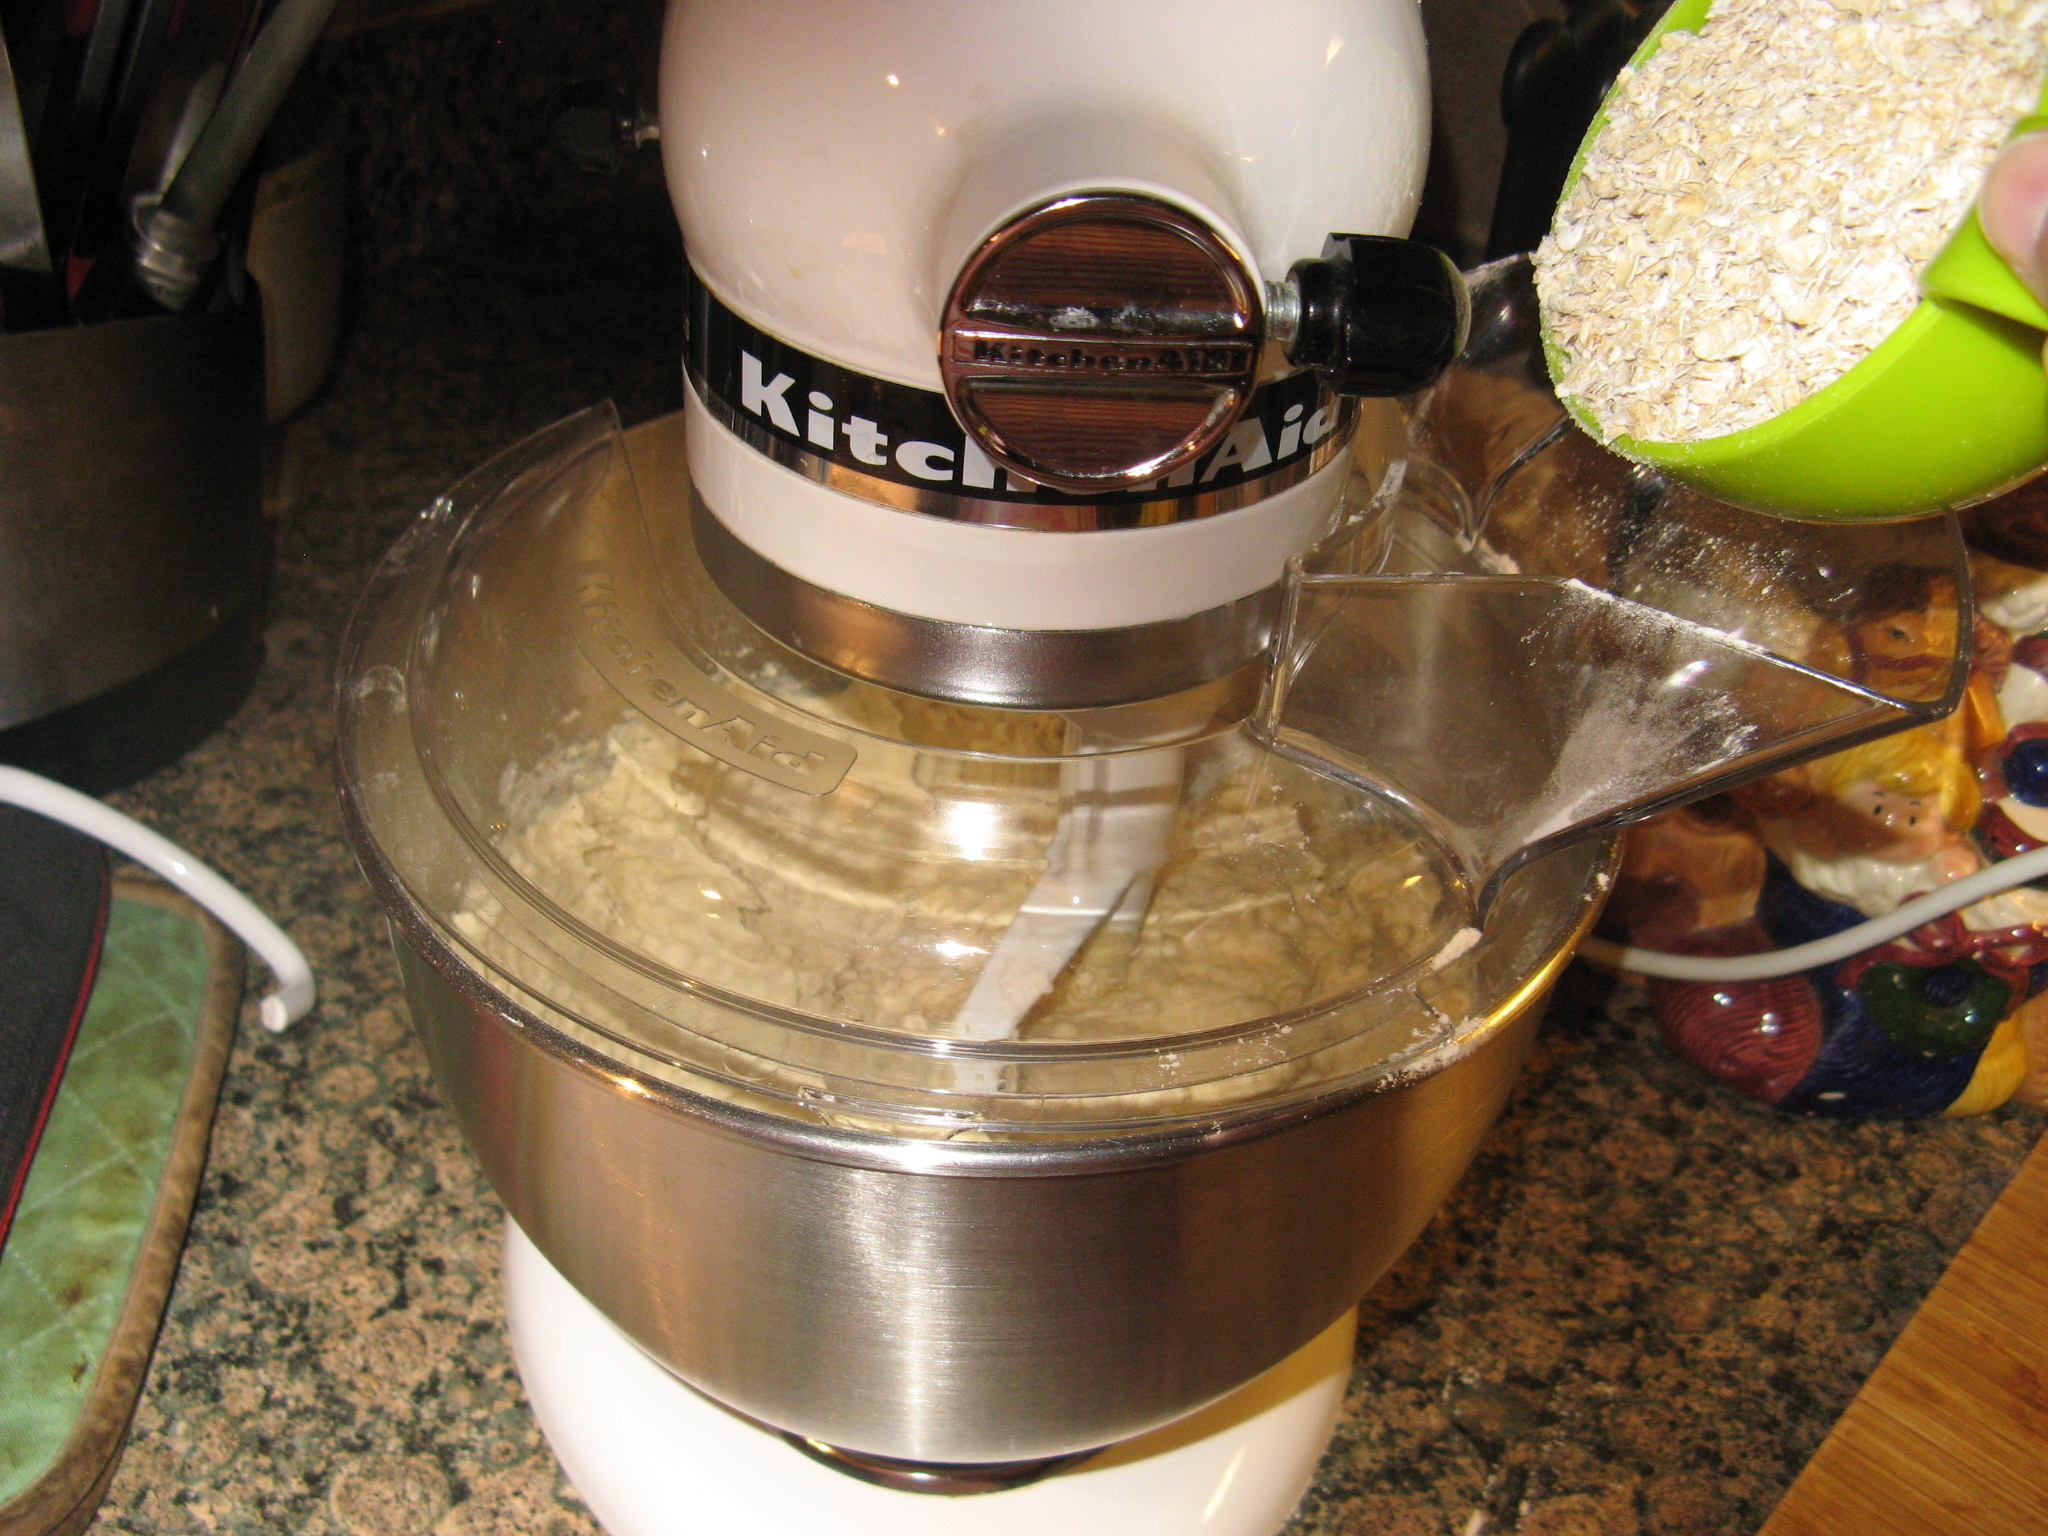
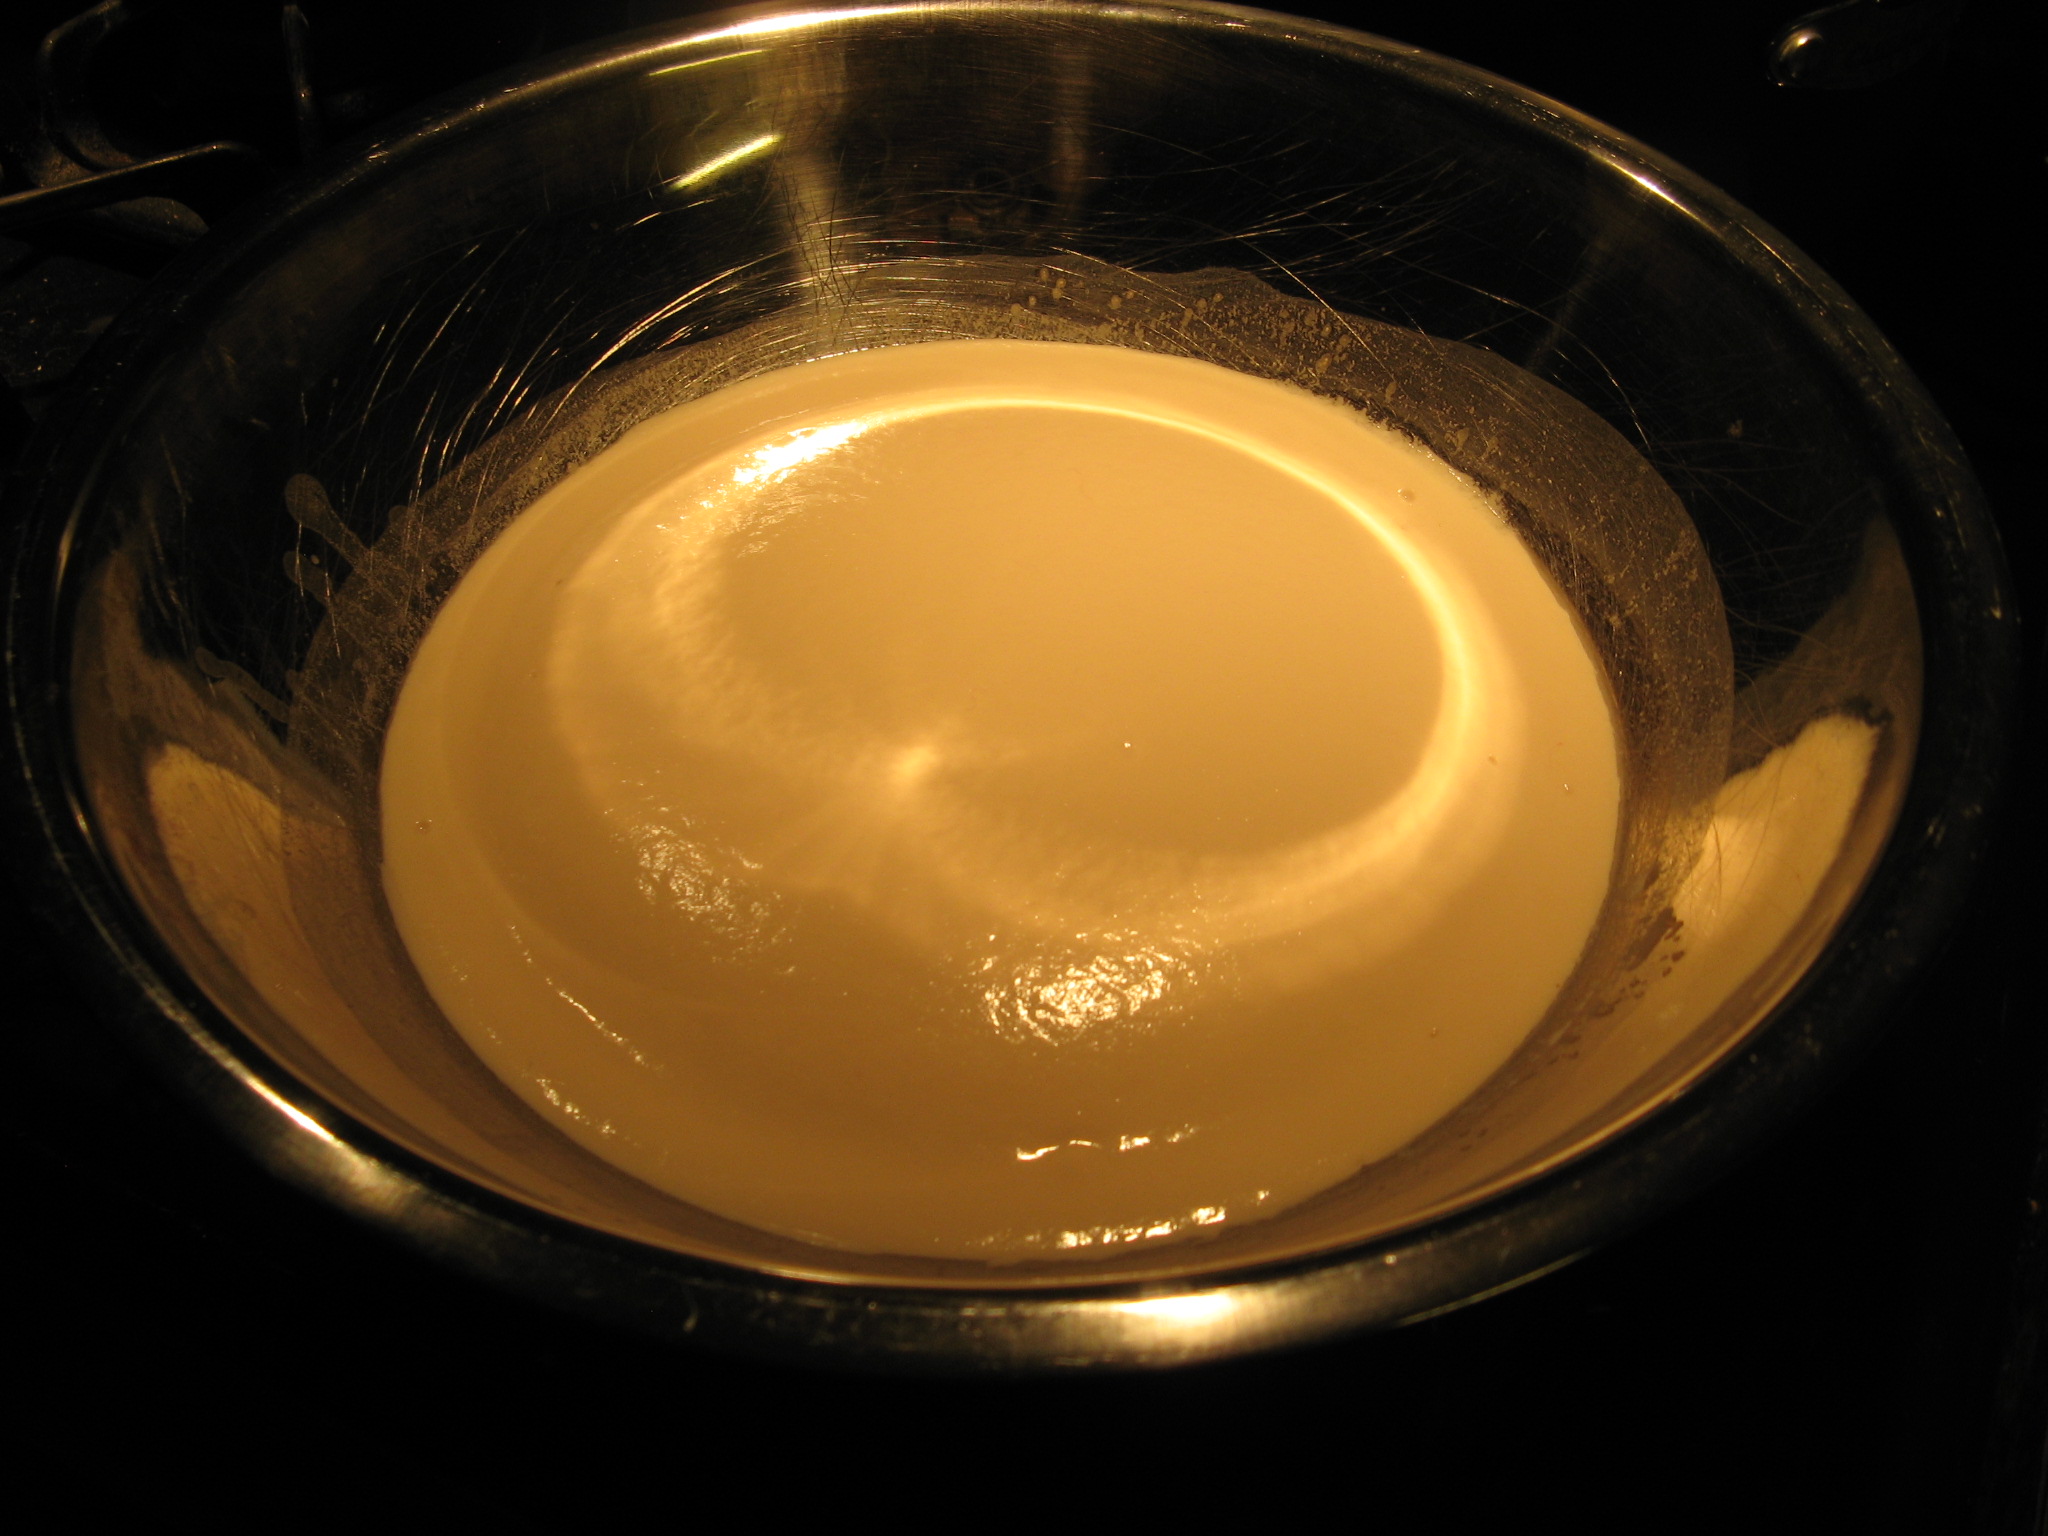
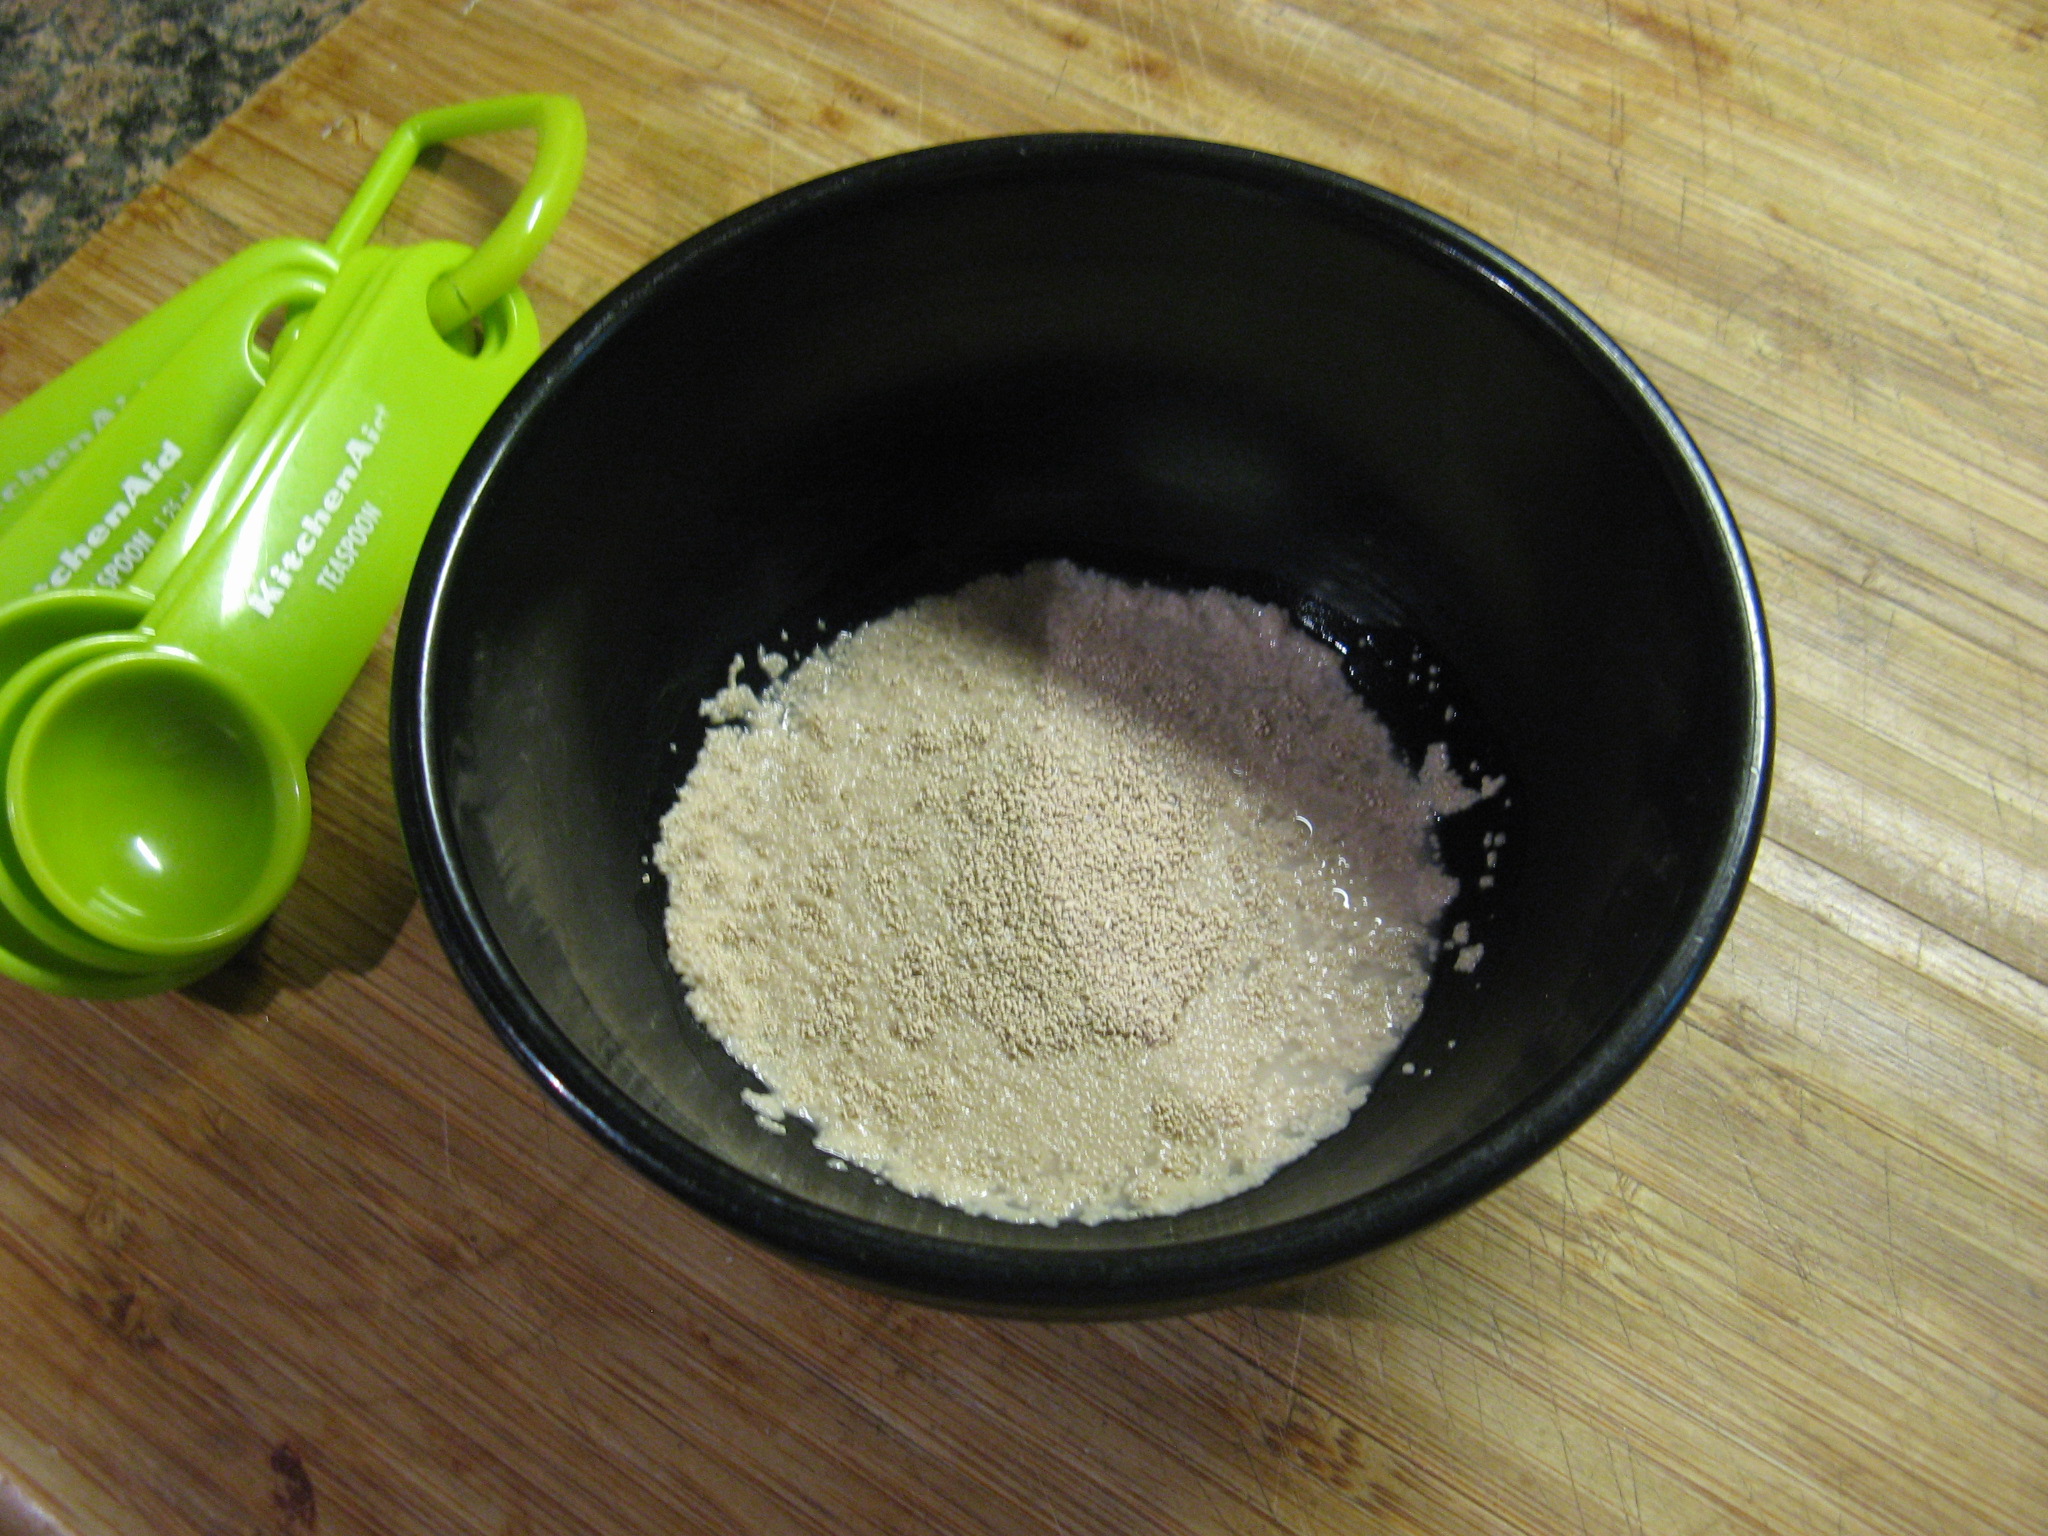
I began by mixing active dry yeast with warm water and setting it aside. While the directions didn’t state it, I also added a little sugar as well, per the directions on the yeast packaging. I made the mistake of not adding sugar the first time I worked with yeast – for cinnamon rolls – and needless to say they didn’t come out as well as I was hoping they would.
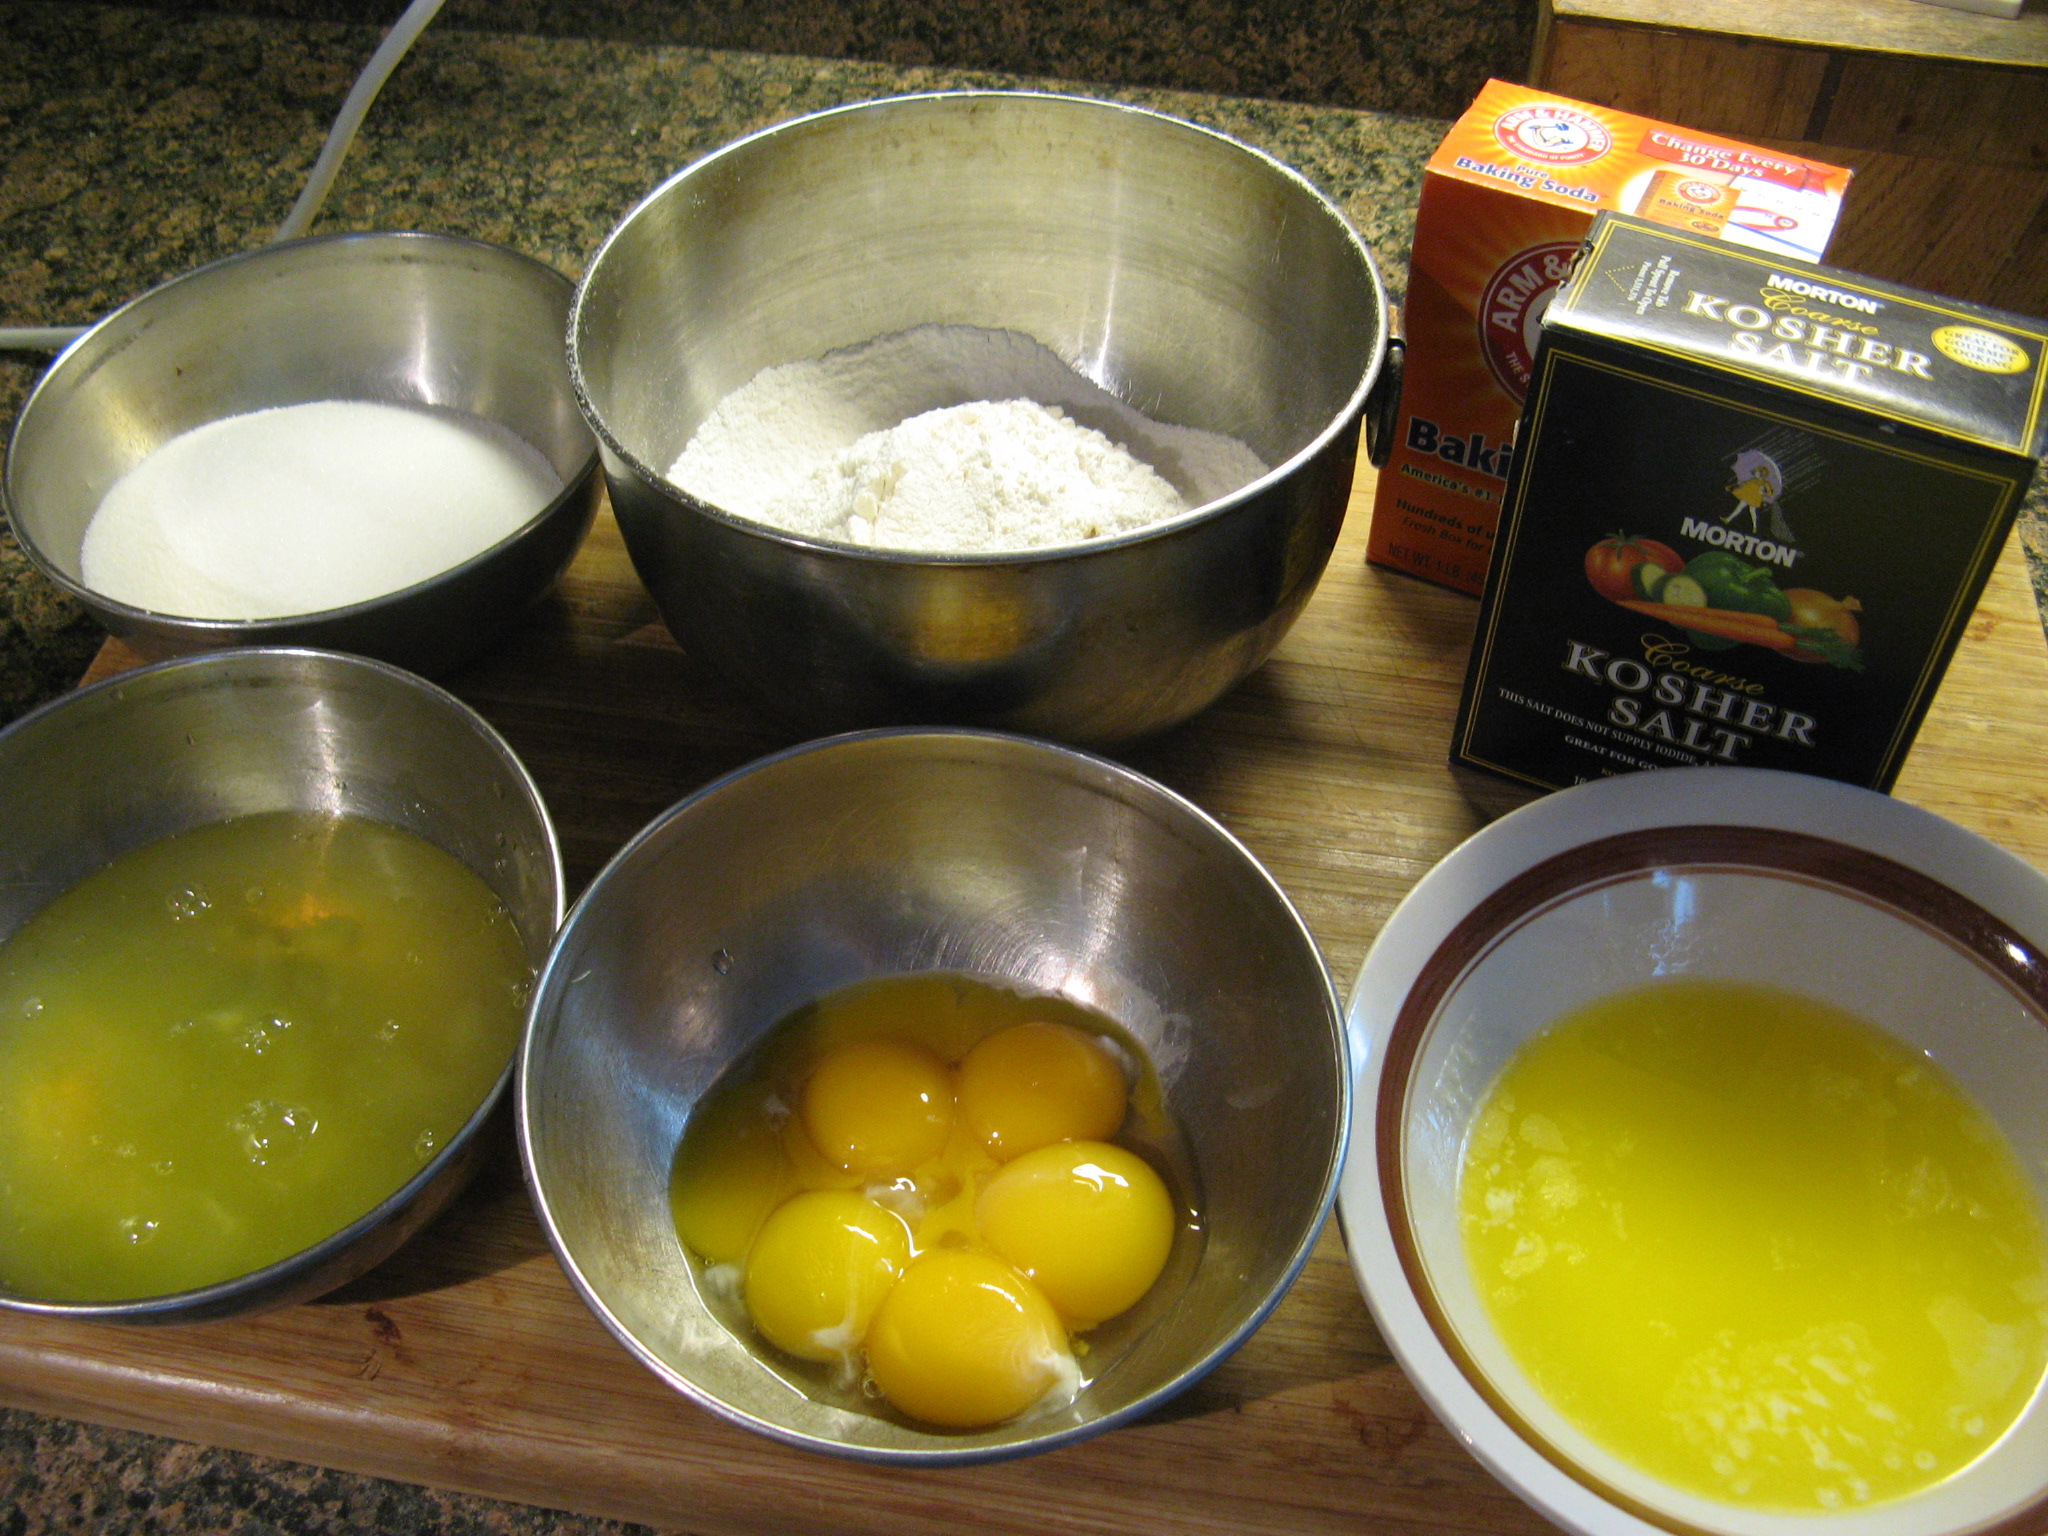
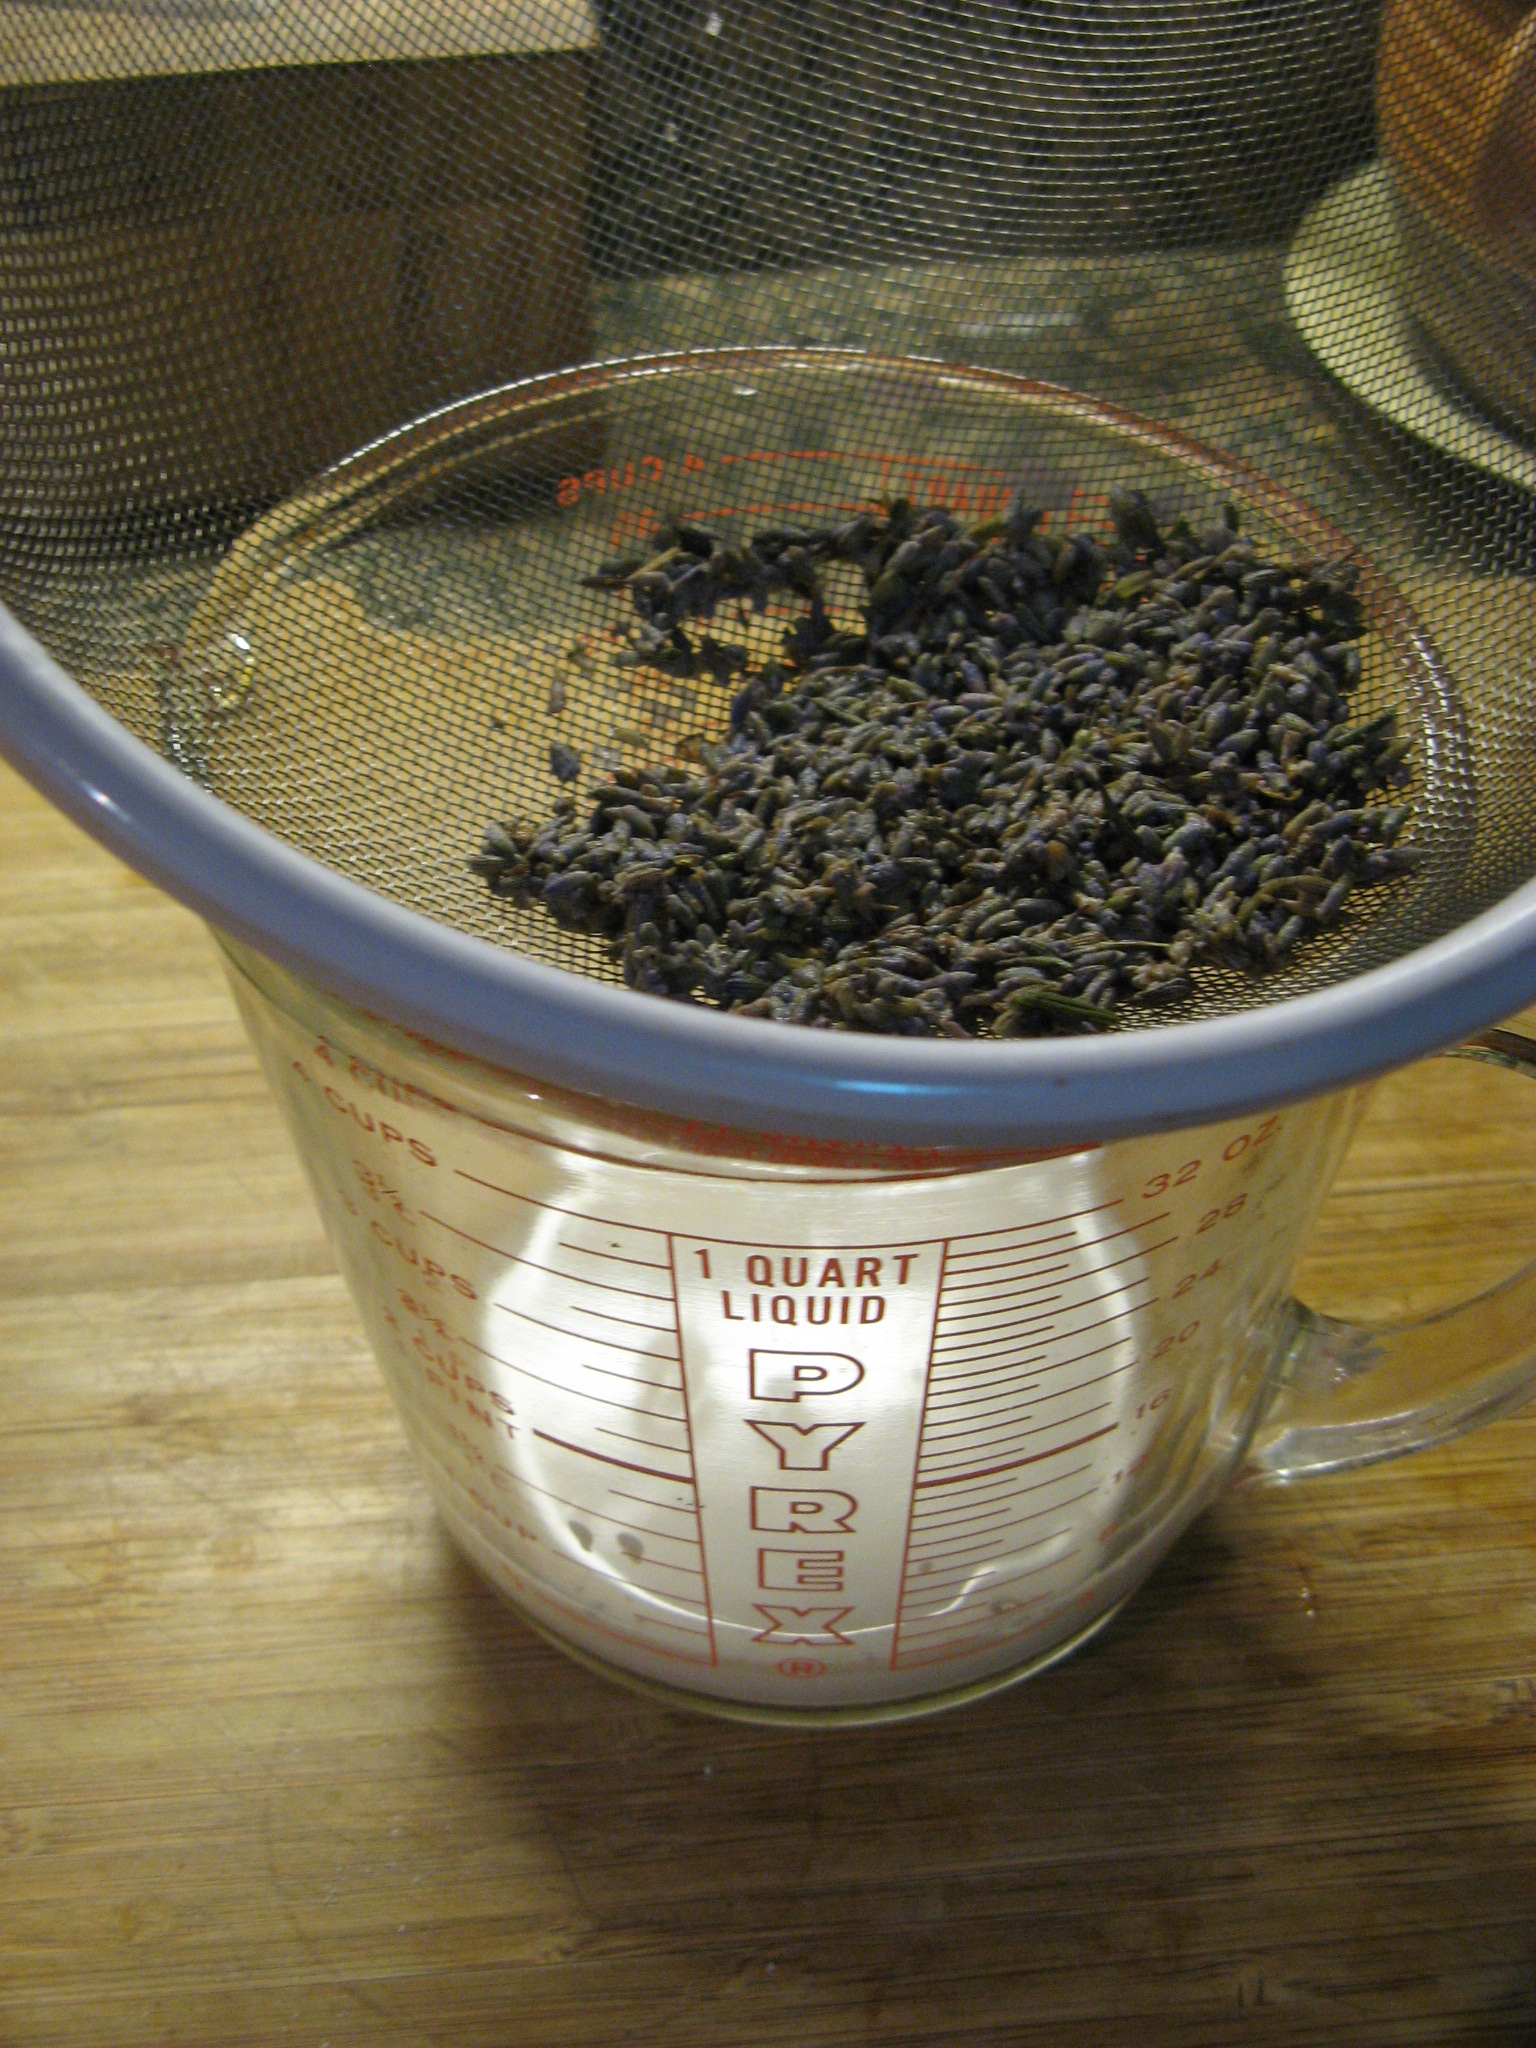
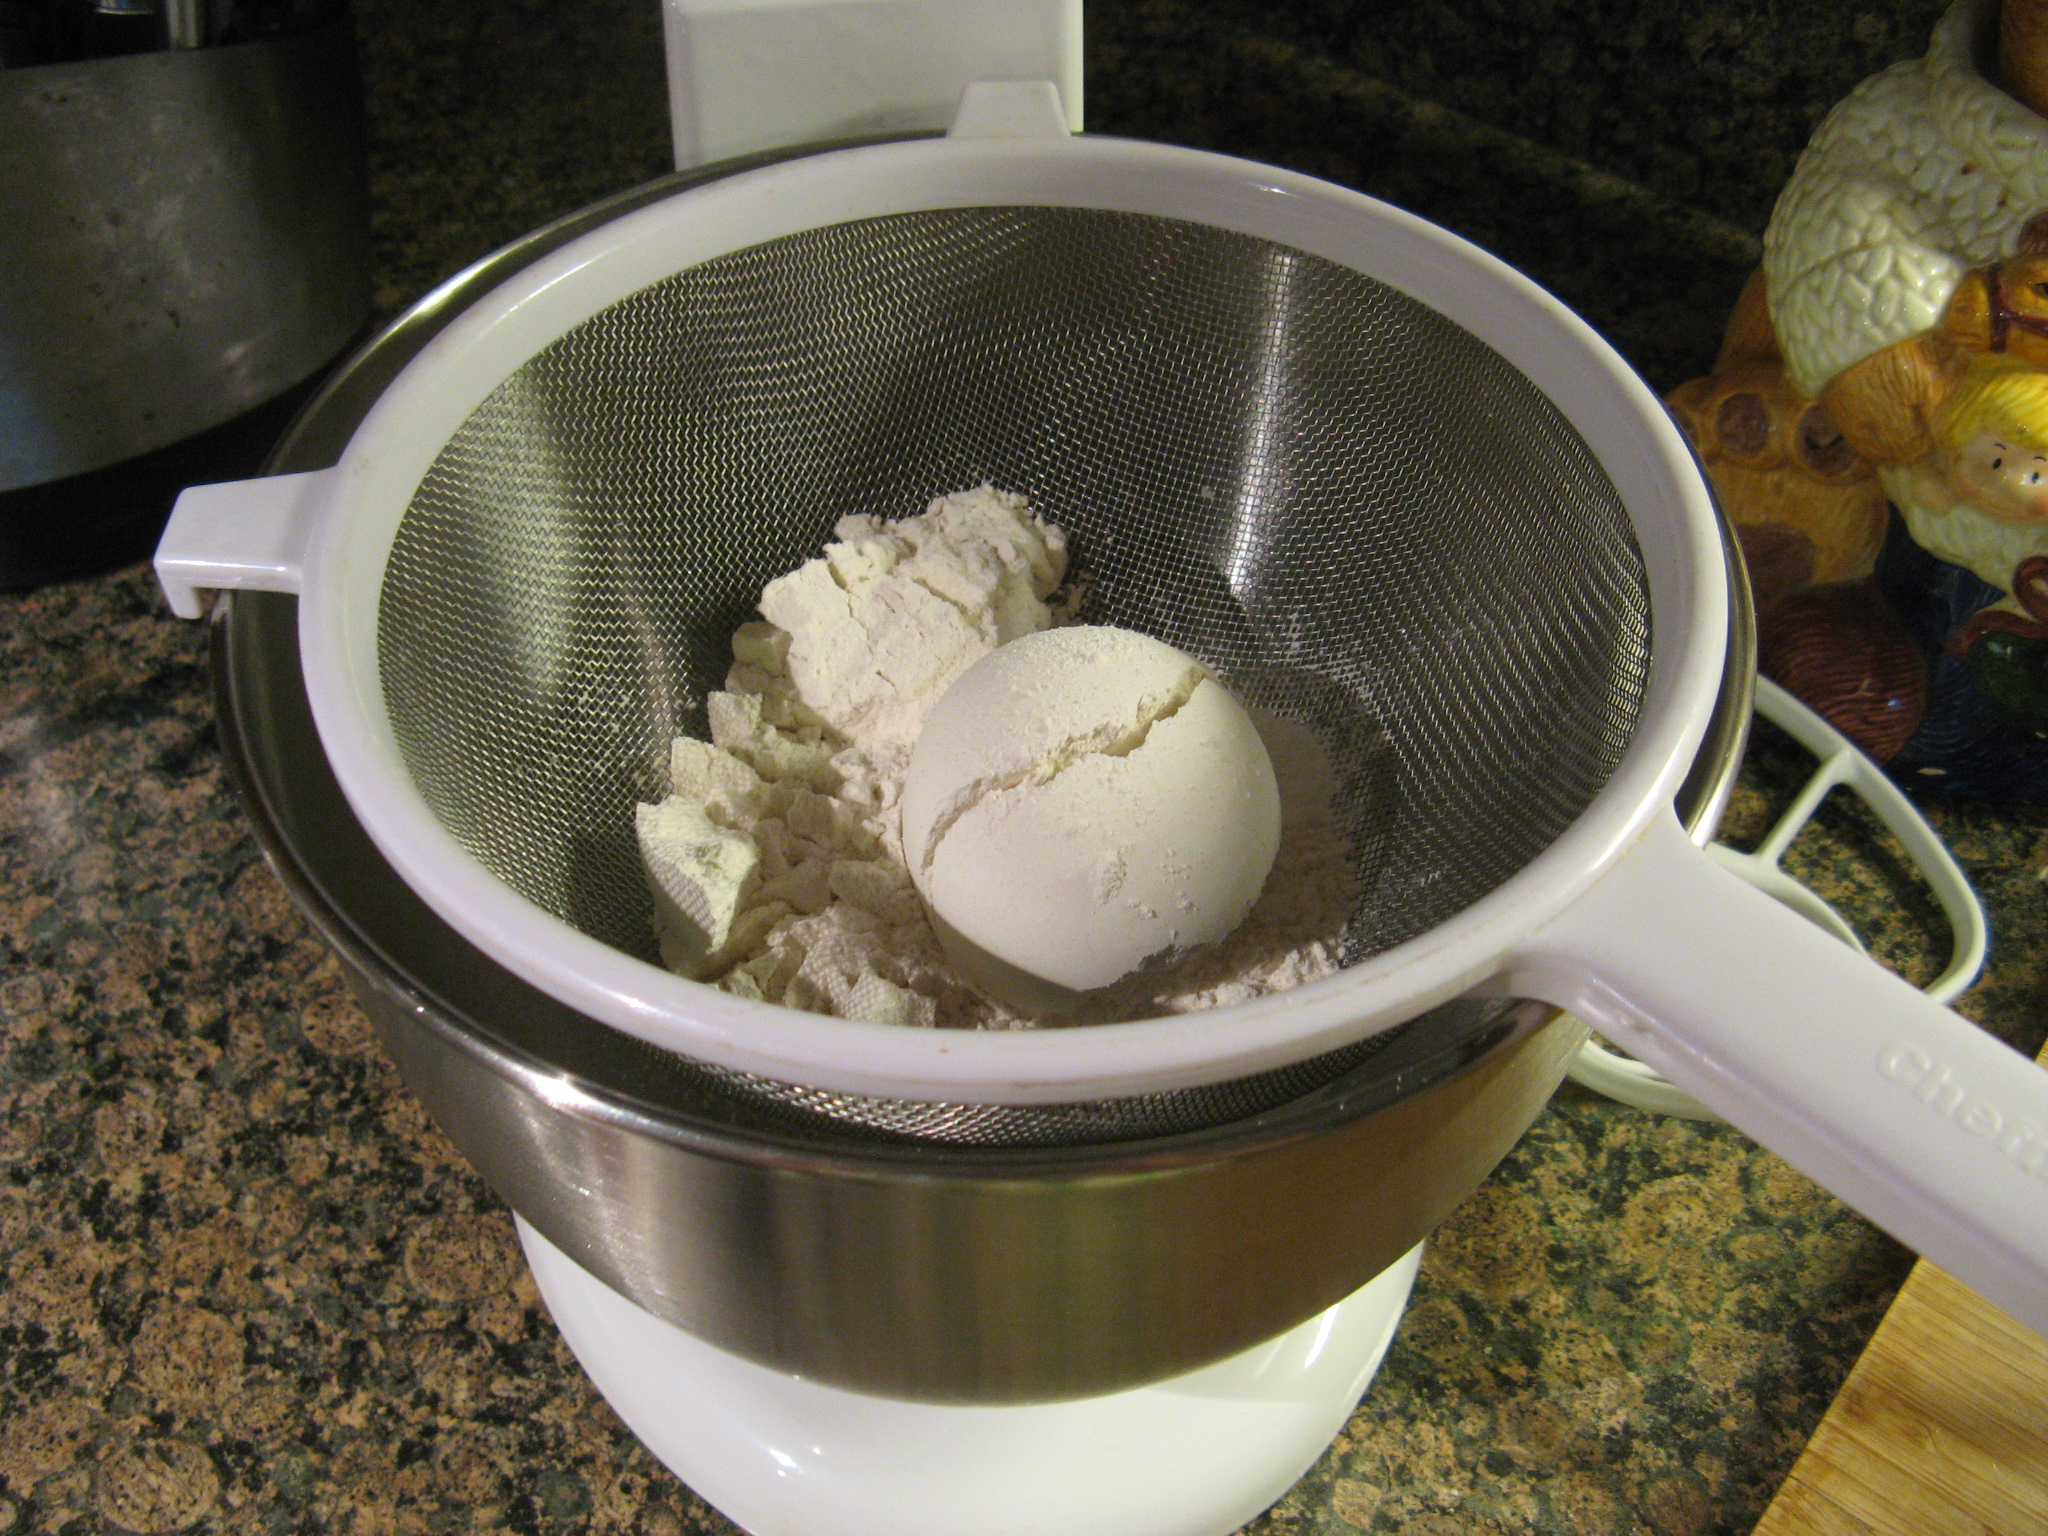
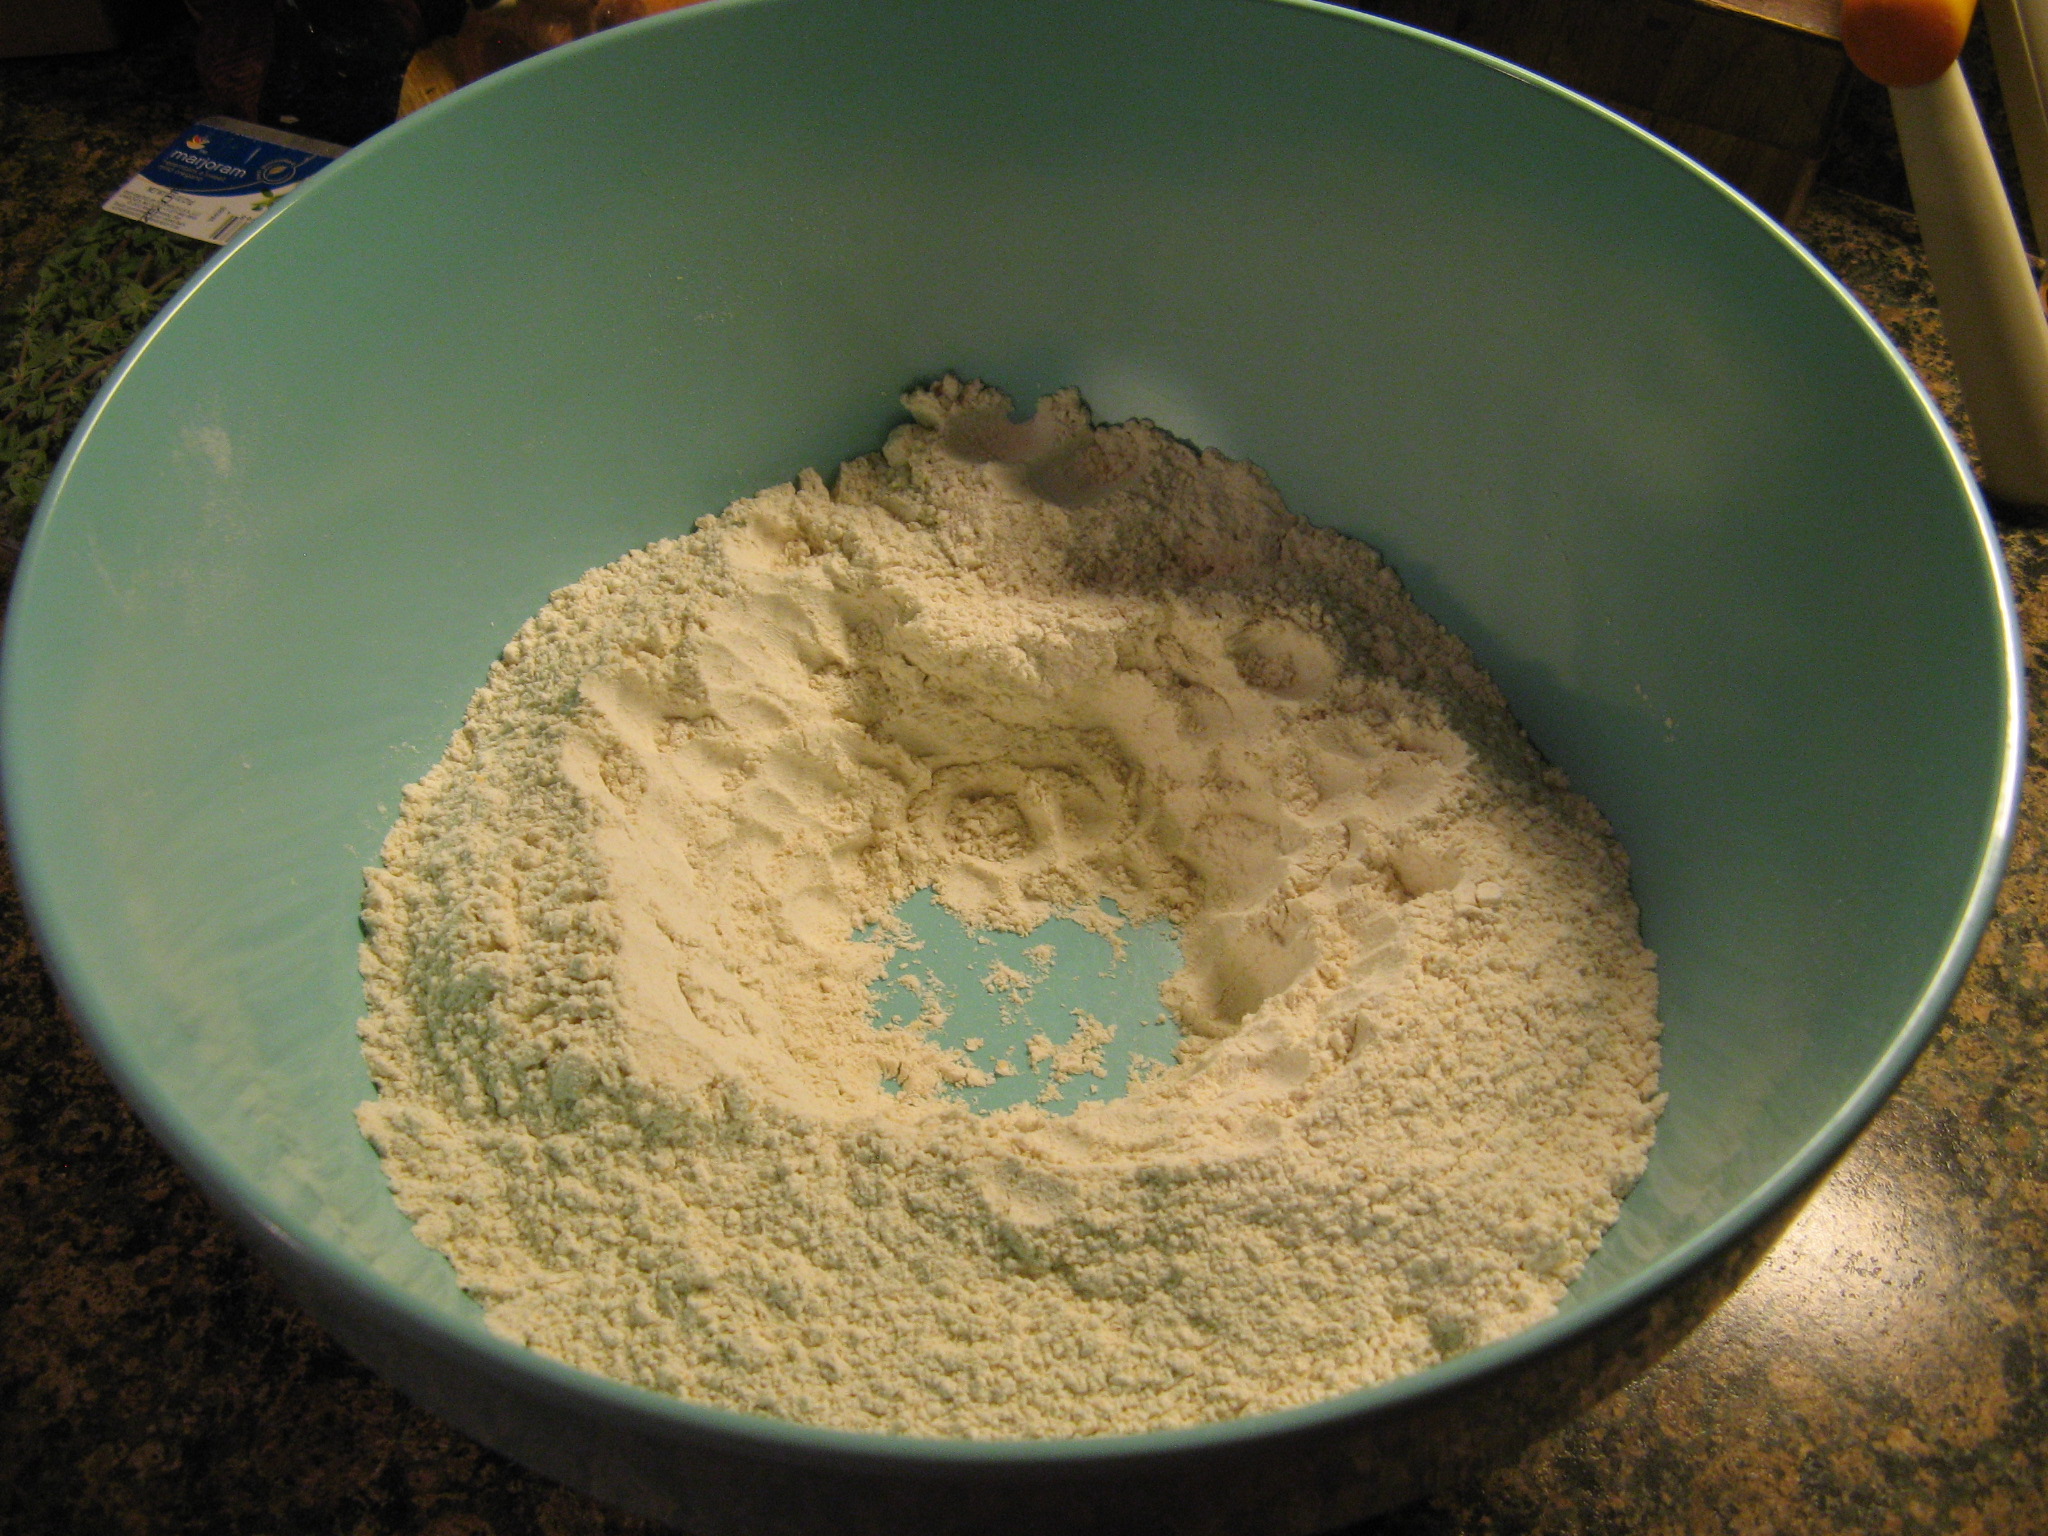
Next I sifted together flour, sugar, baking powder, nutmeg and salt and set that aside as well.

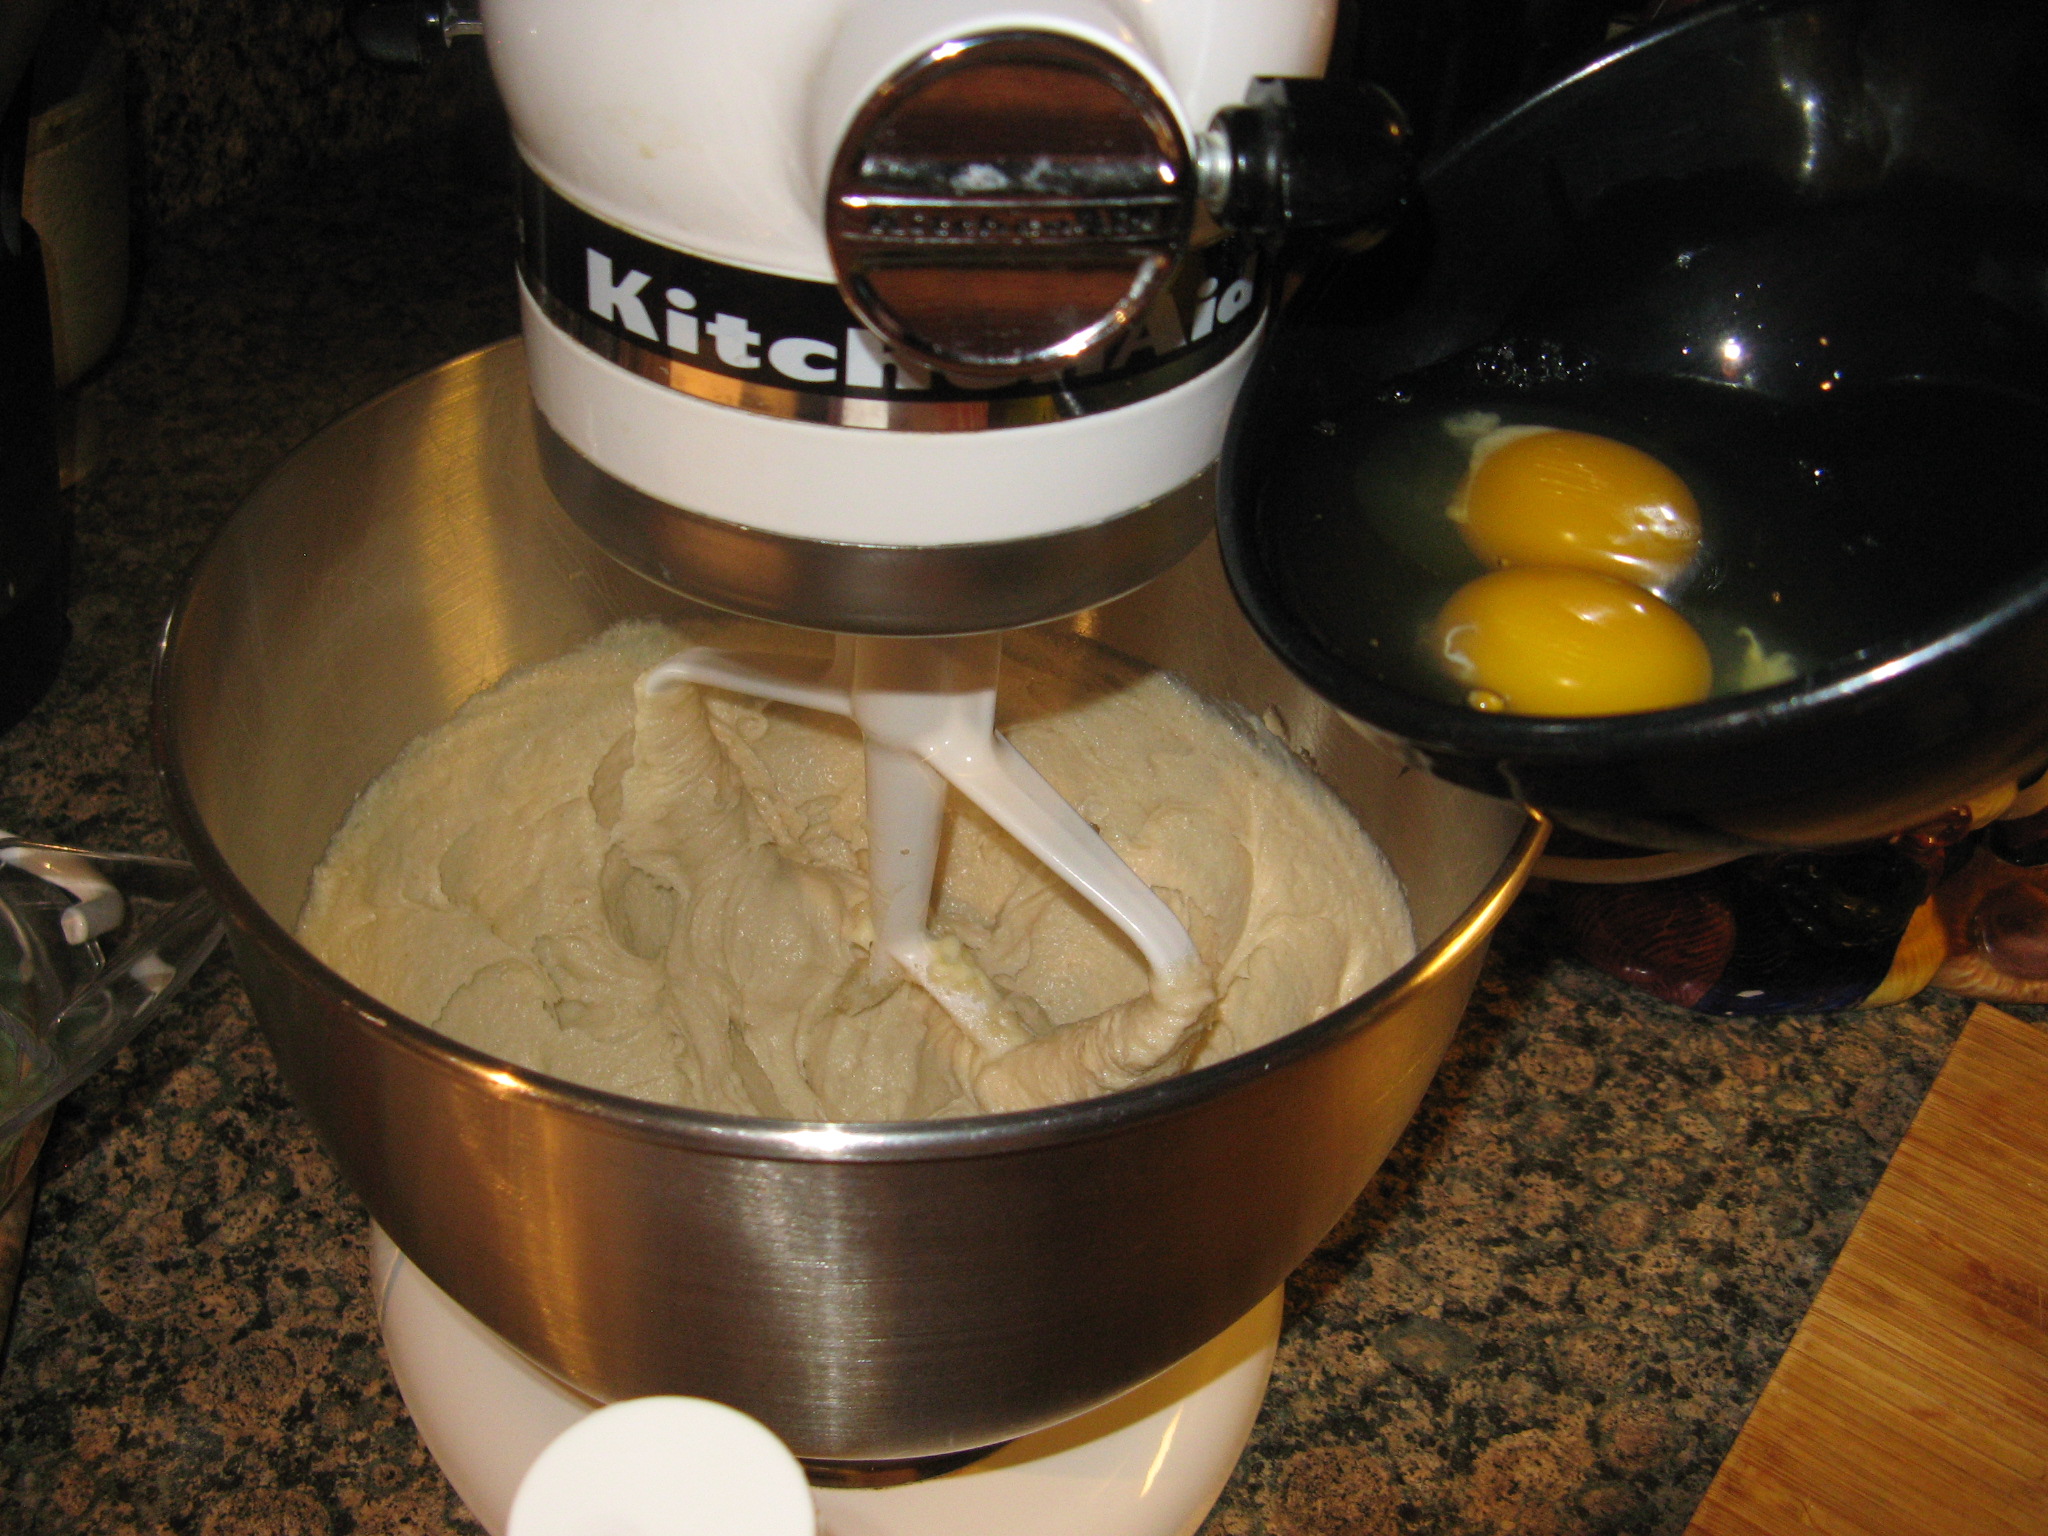
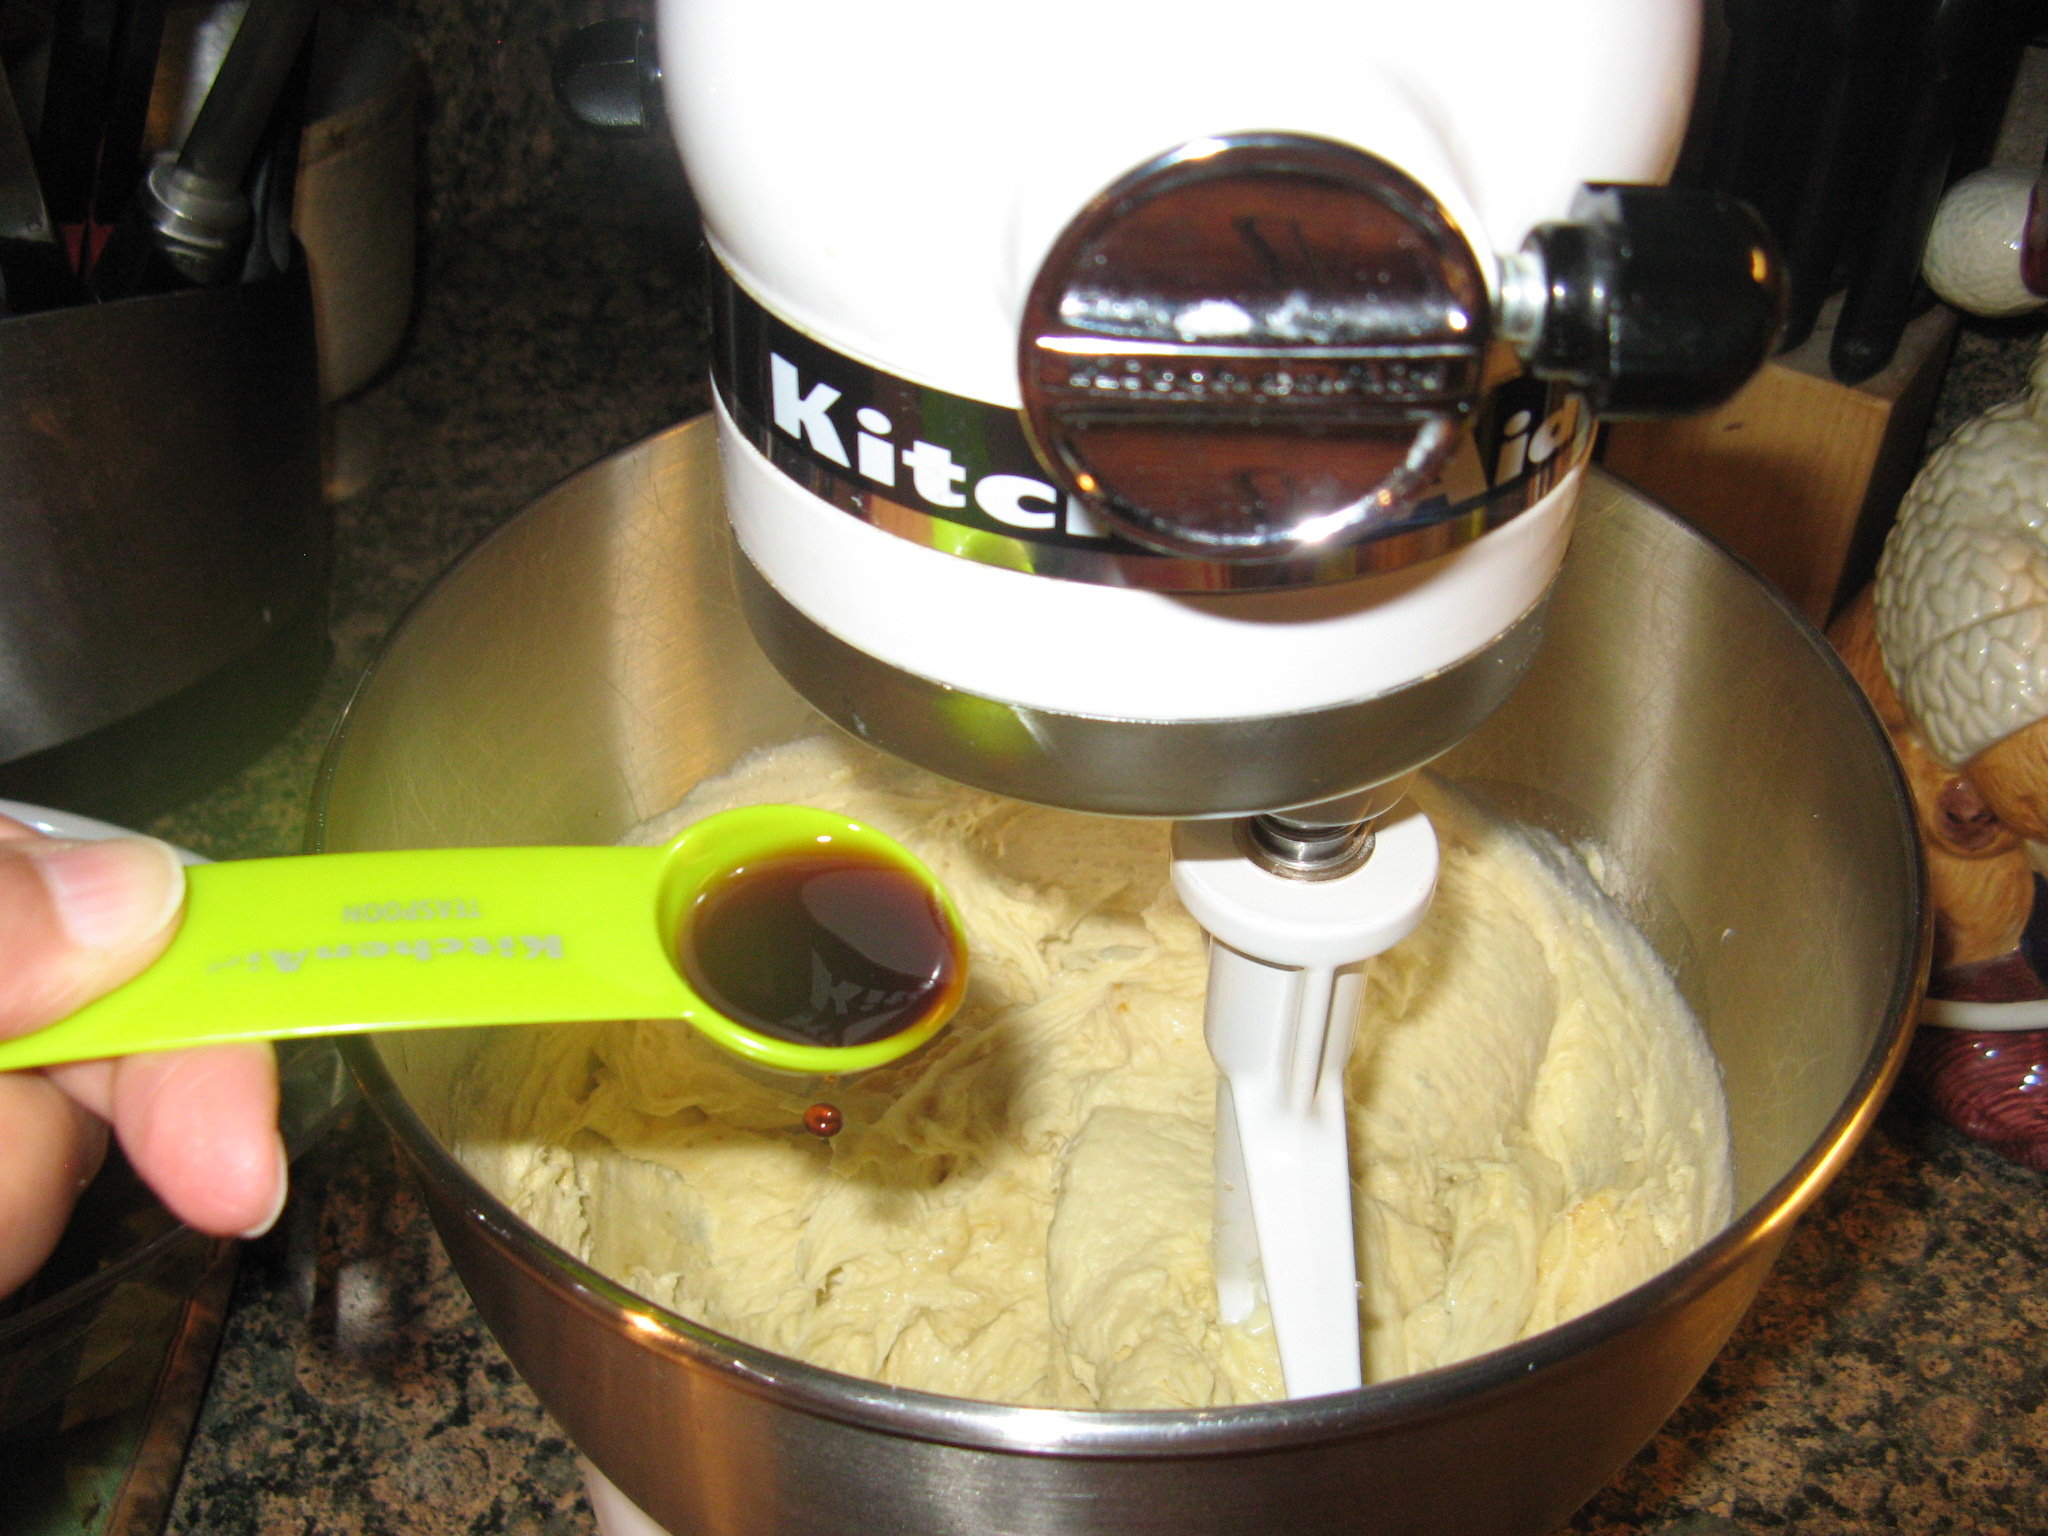
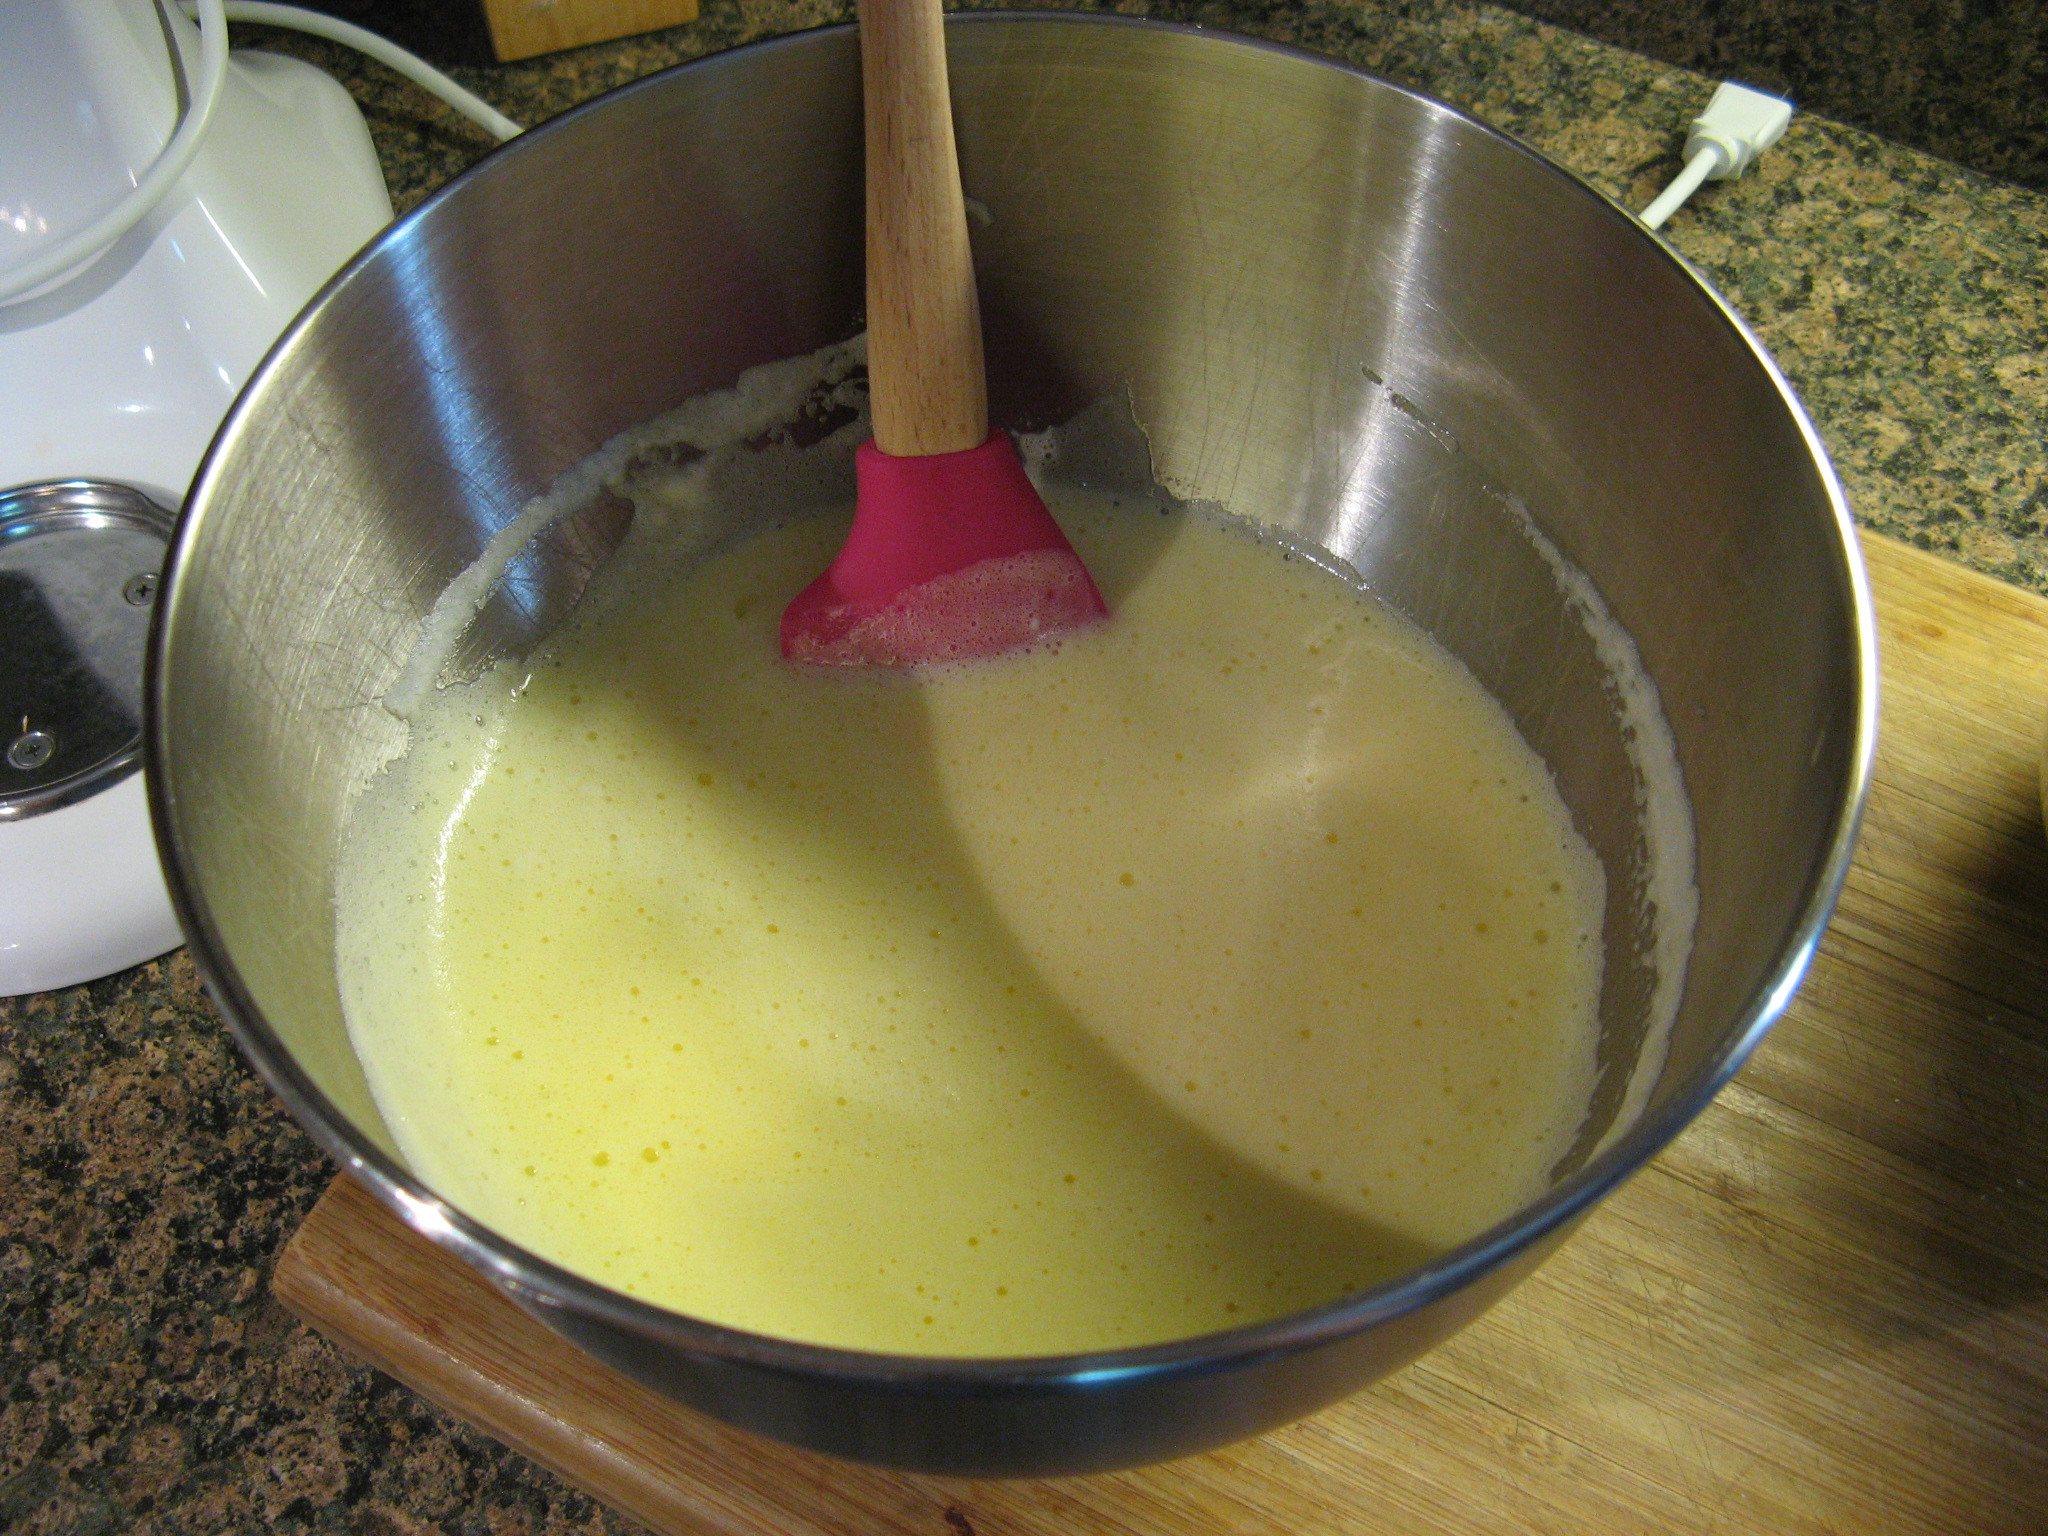
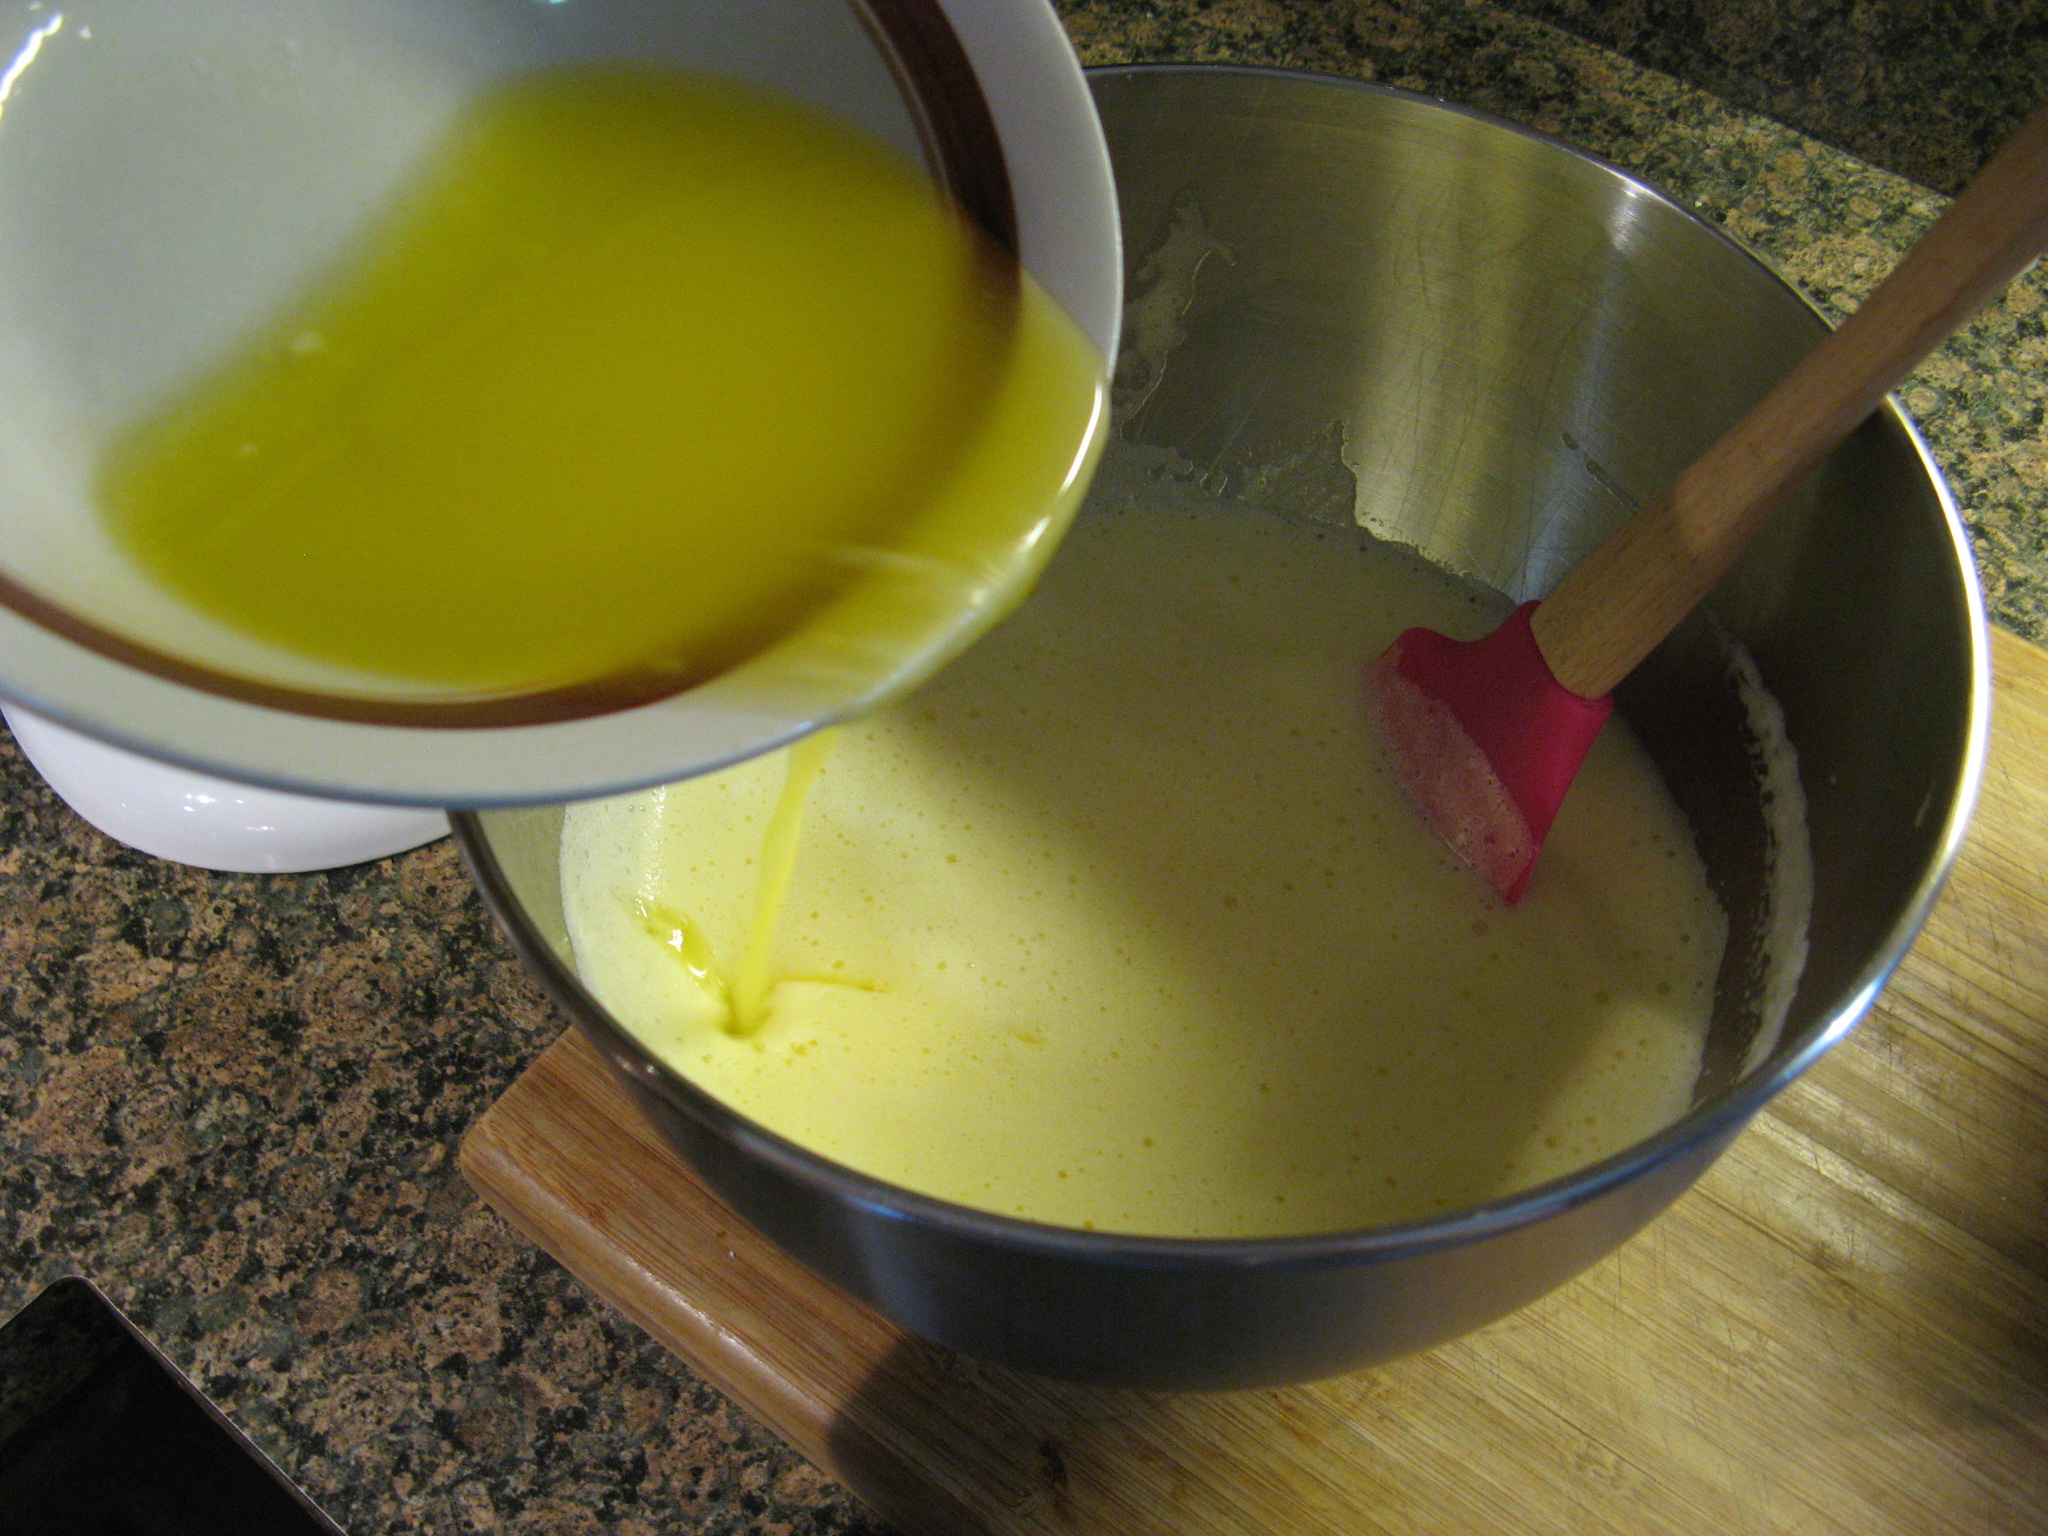
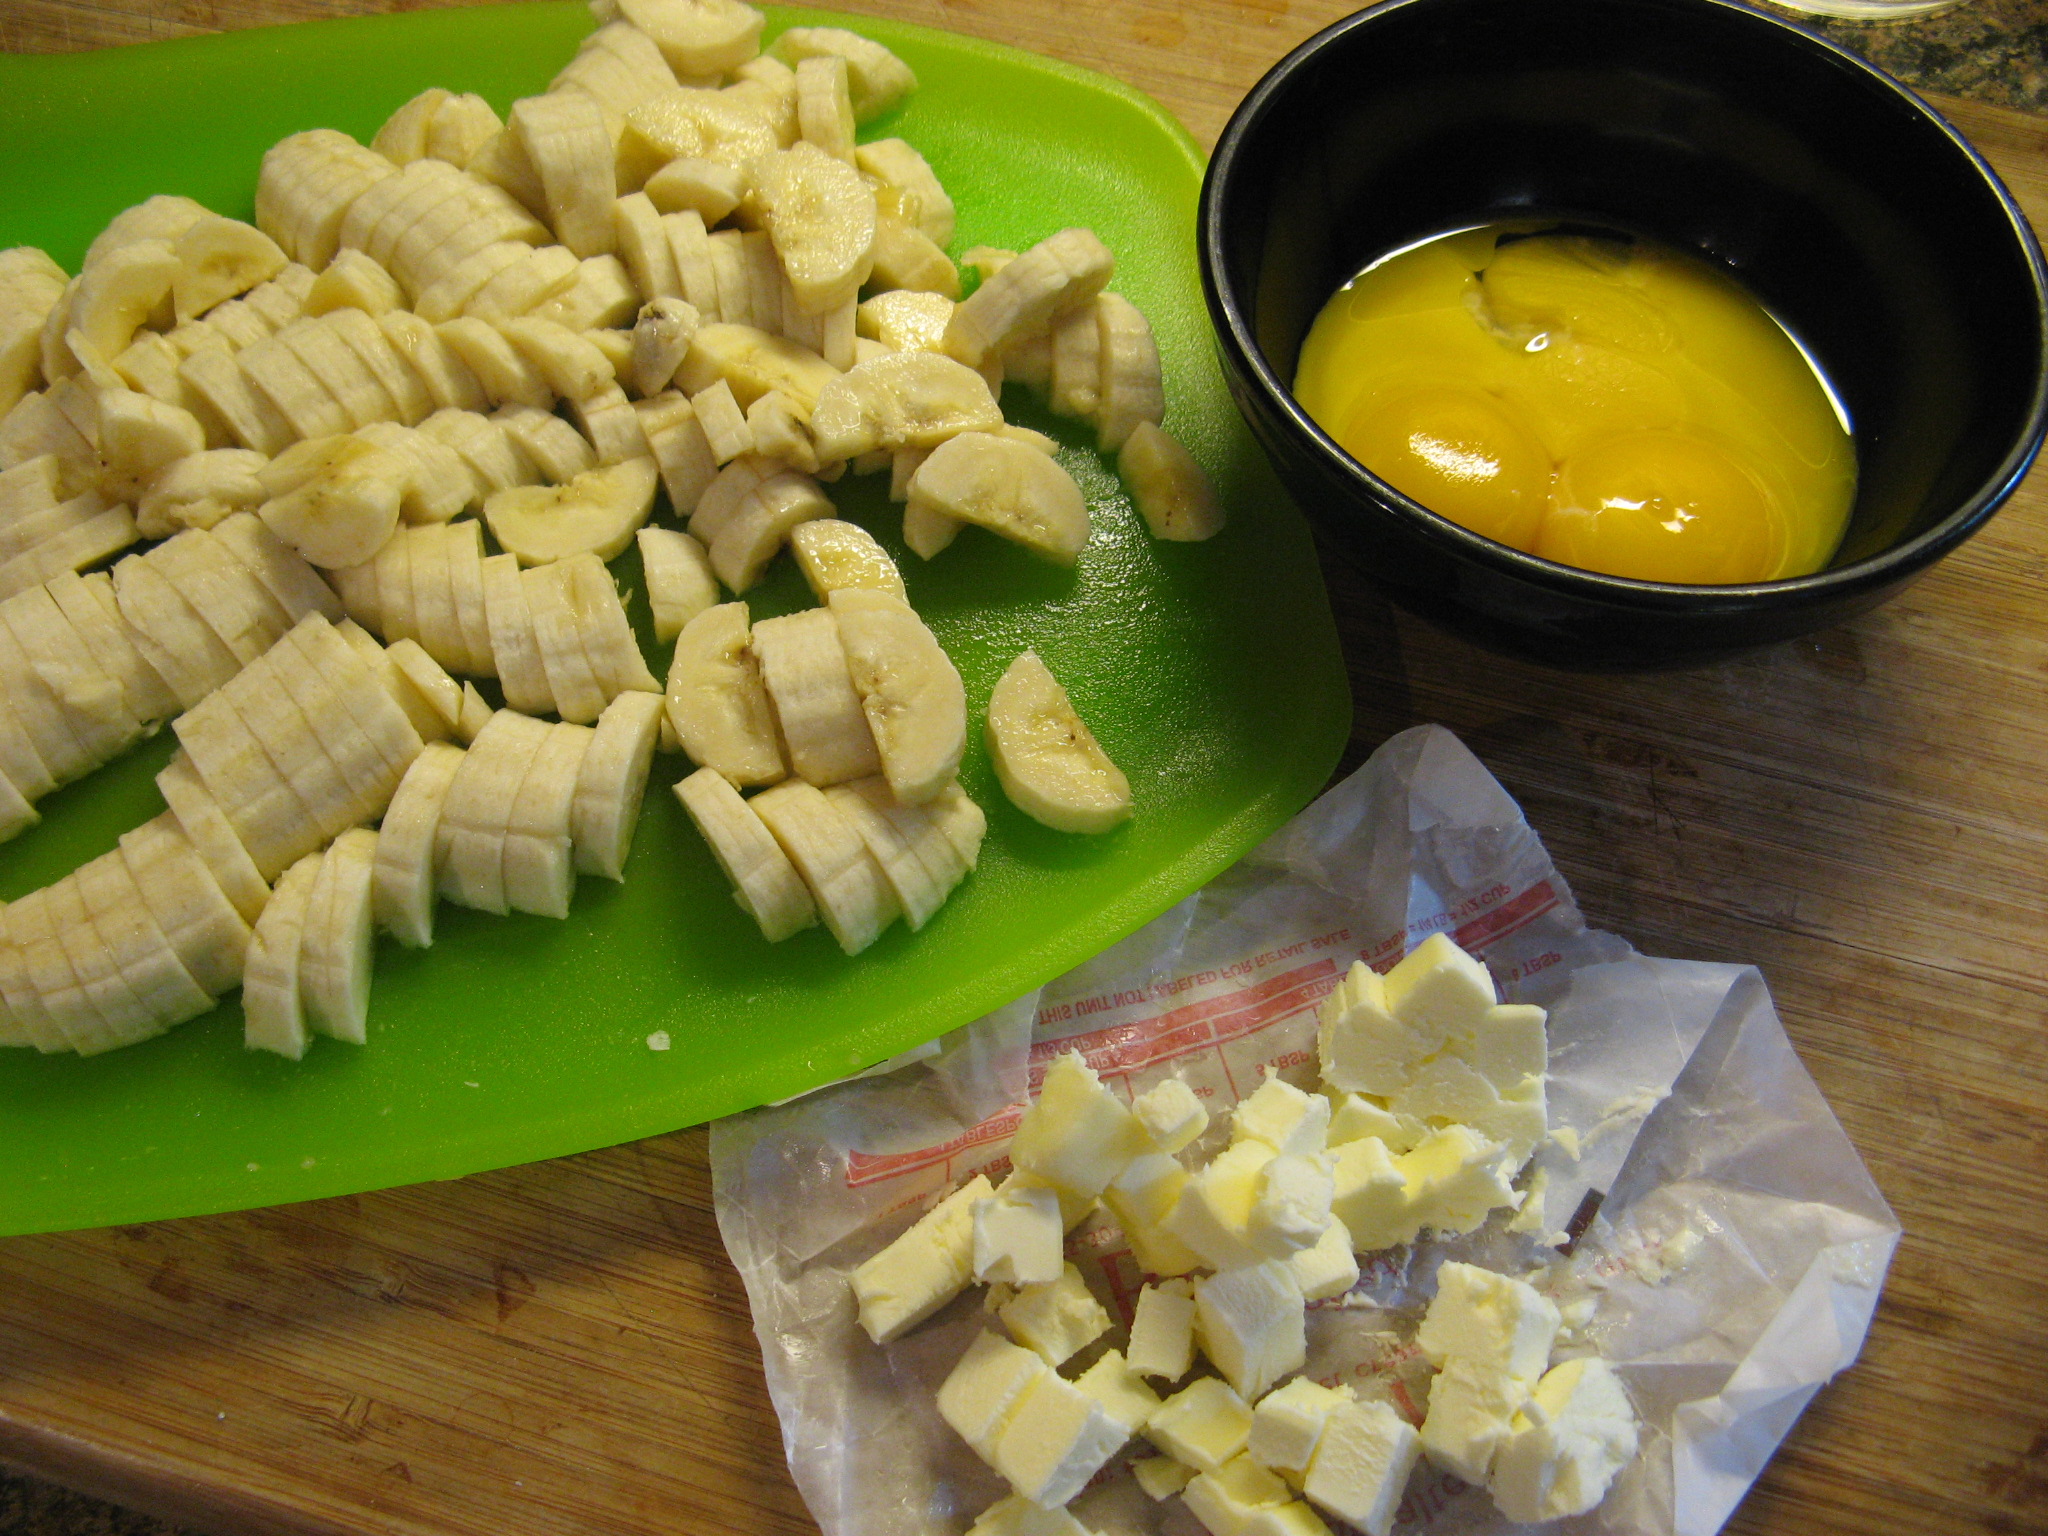
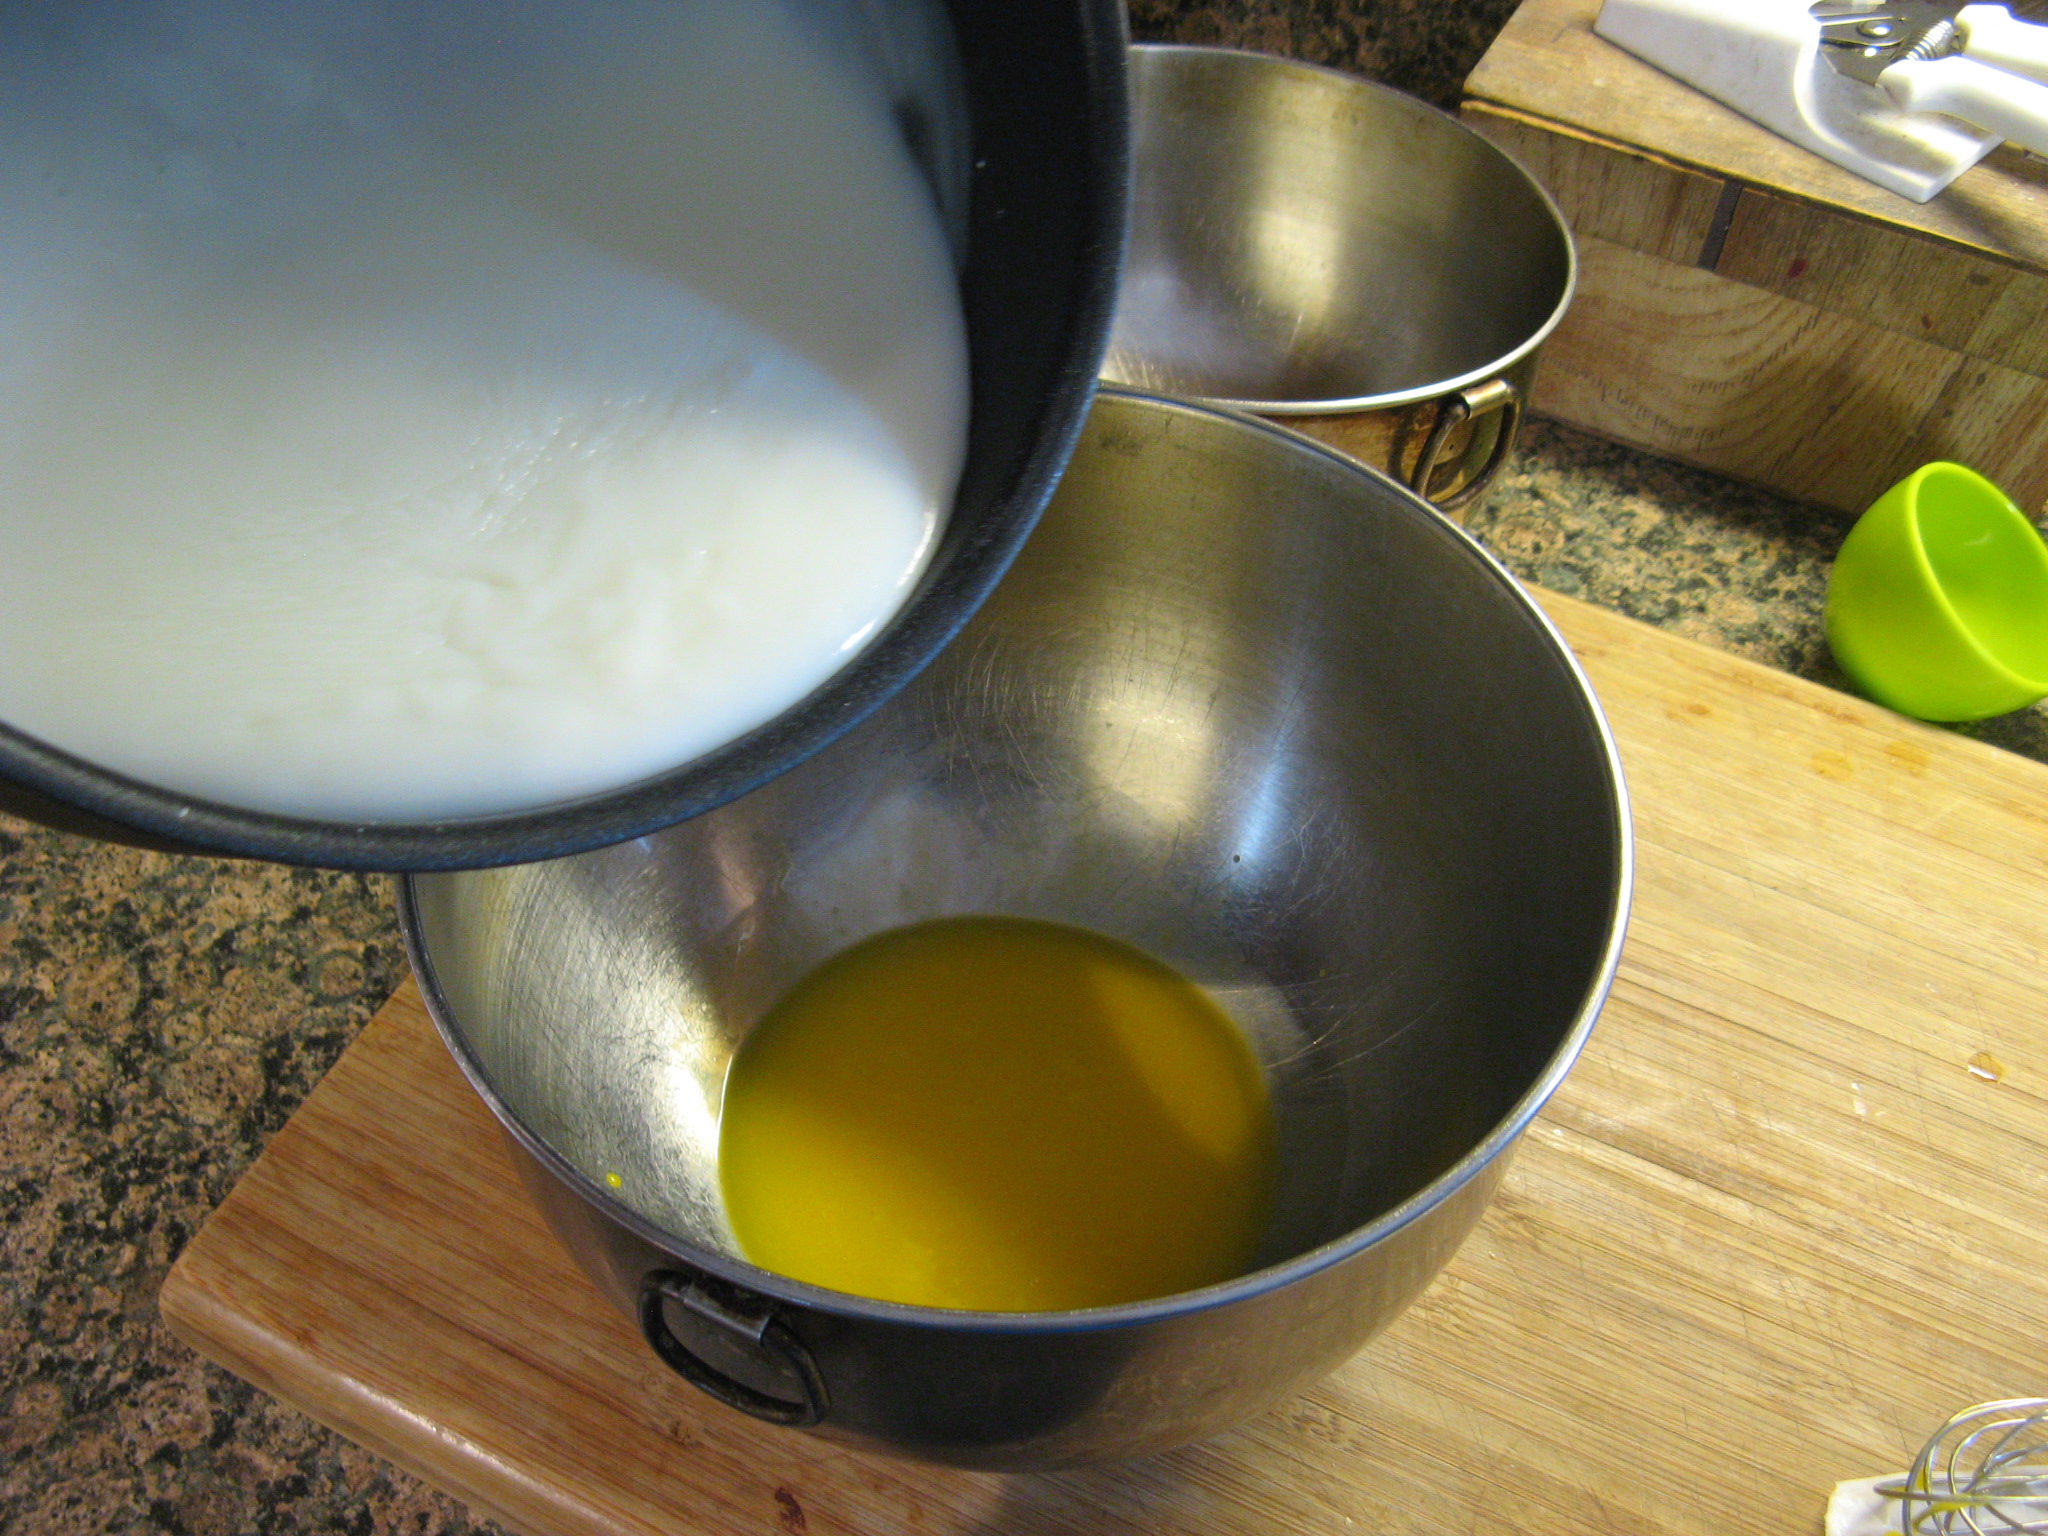
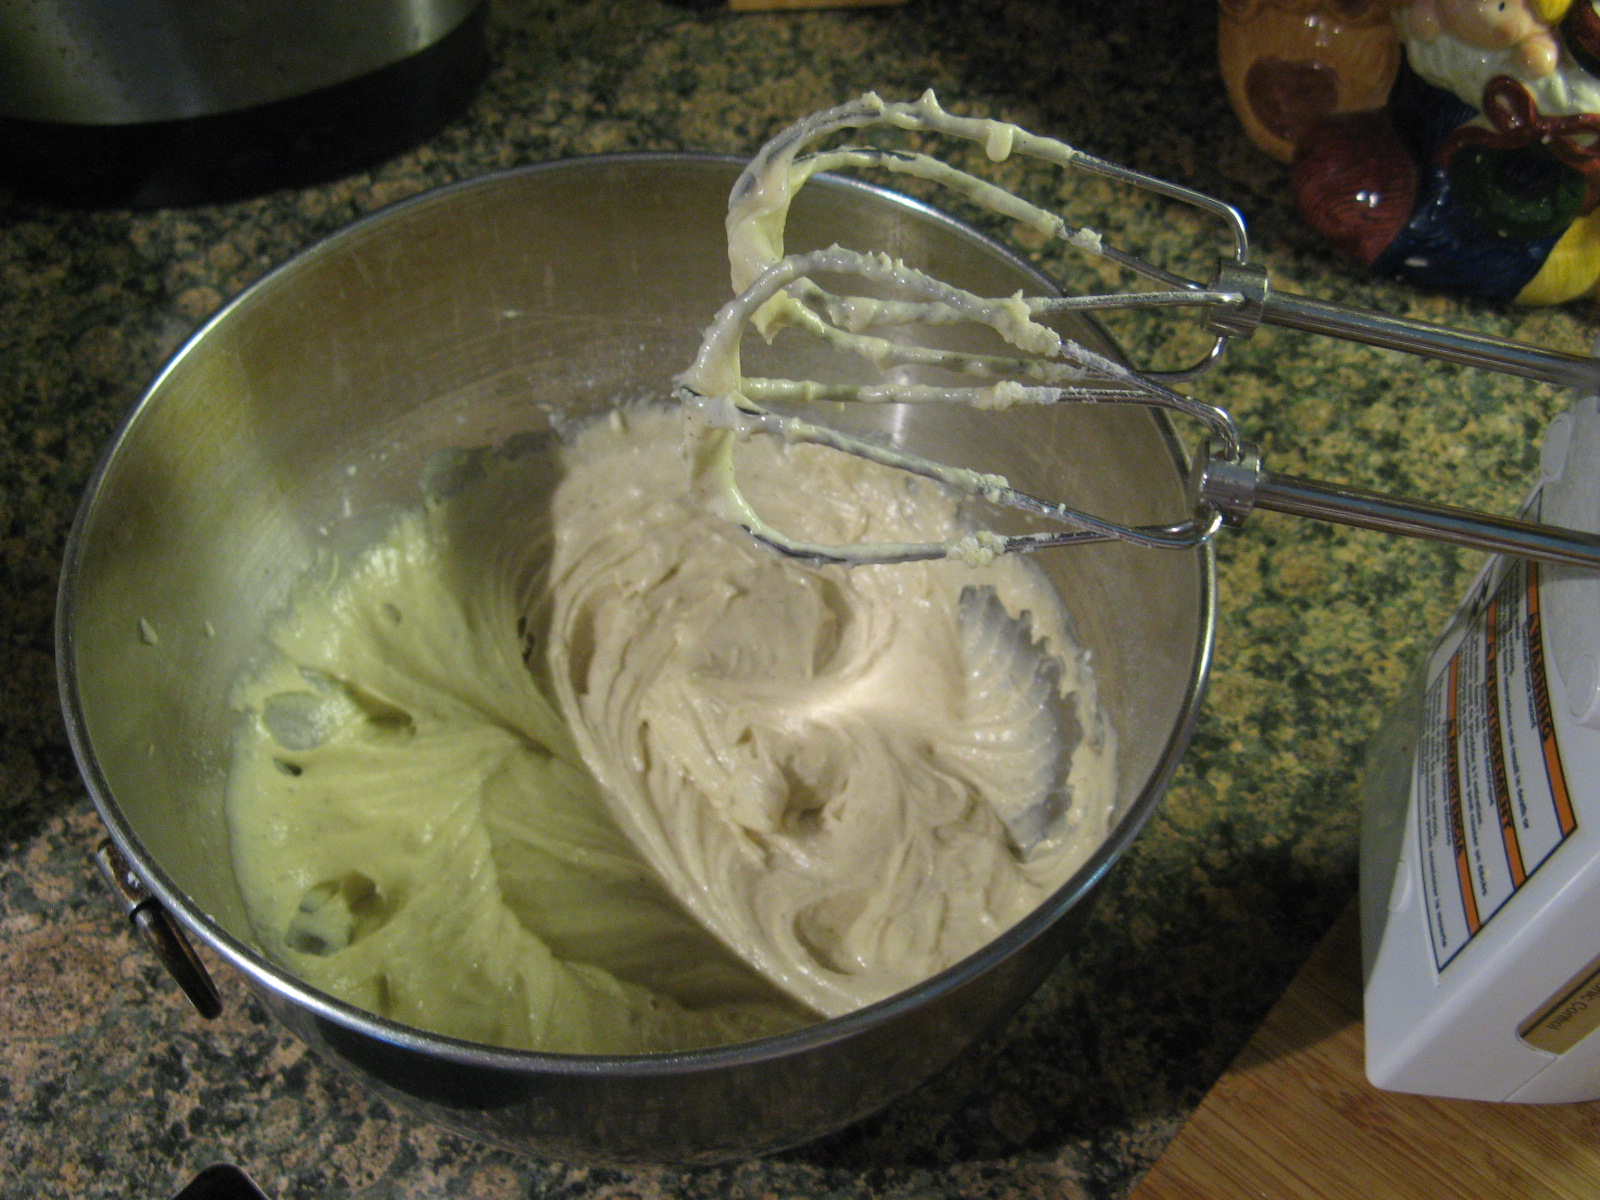
And then I whisked together an egg, vanilla yogurt (I used Greek yogurt), melted butter, vanilla paste (I actually had this in my spice collection after picking up a bottle of it from my local Home Goods. Pure Vanilla Extract is good, but the paste is excellent!), and the yeast mixture.

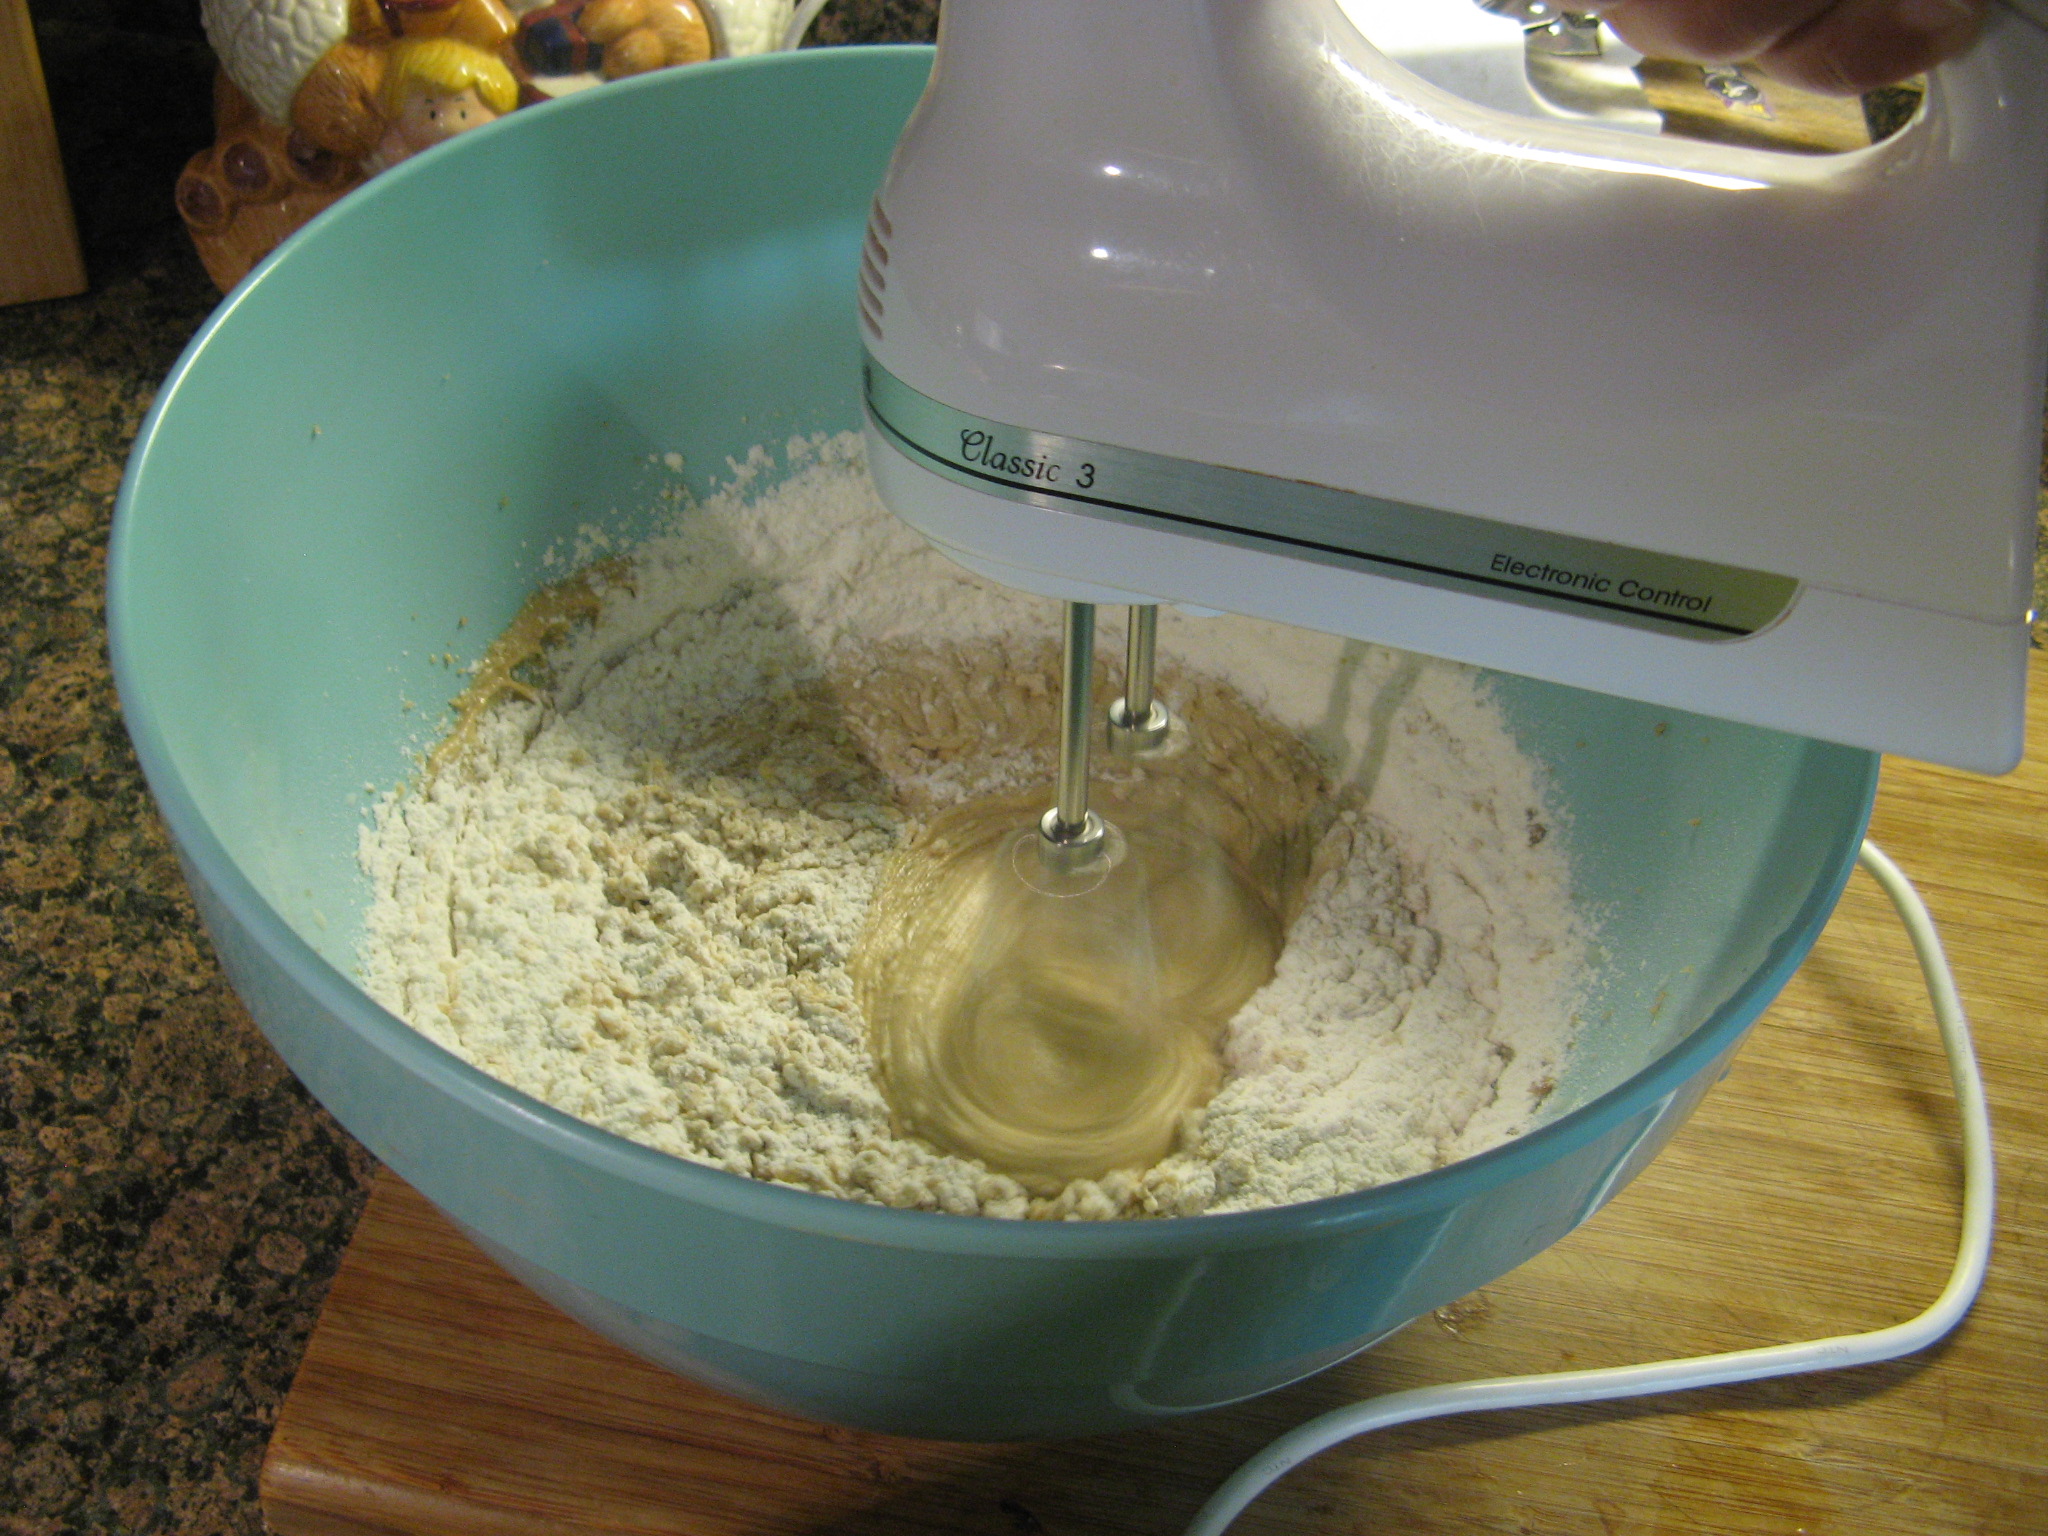
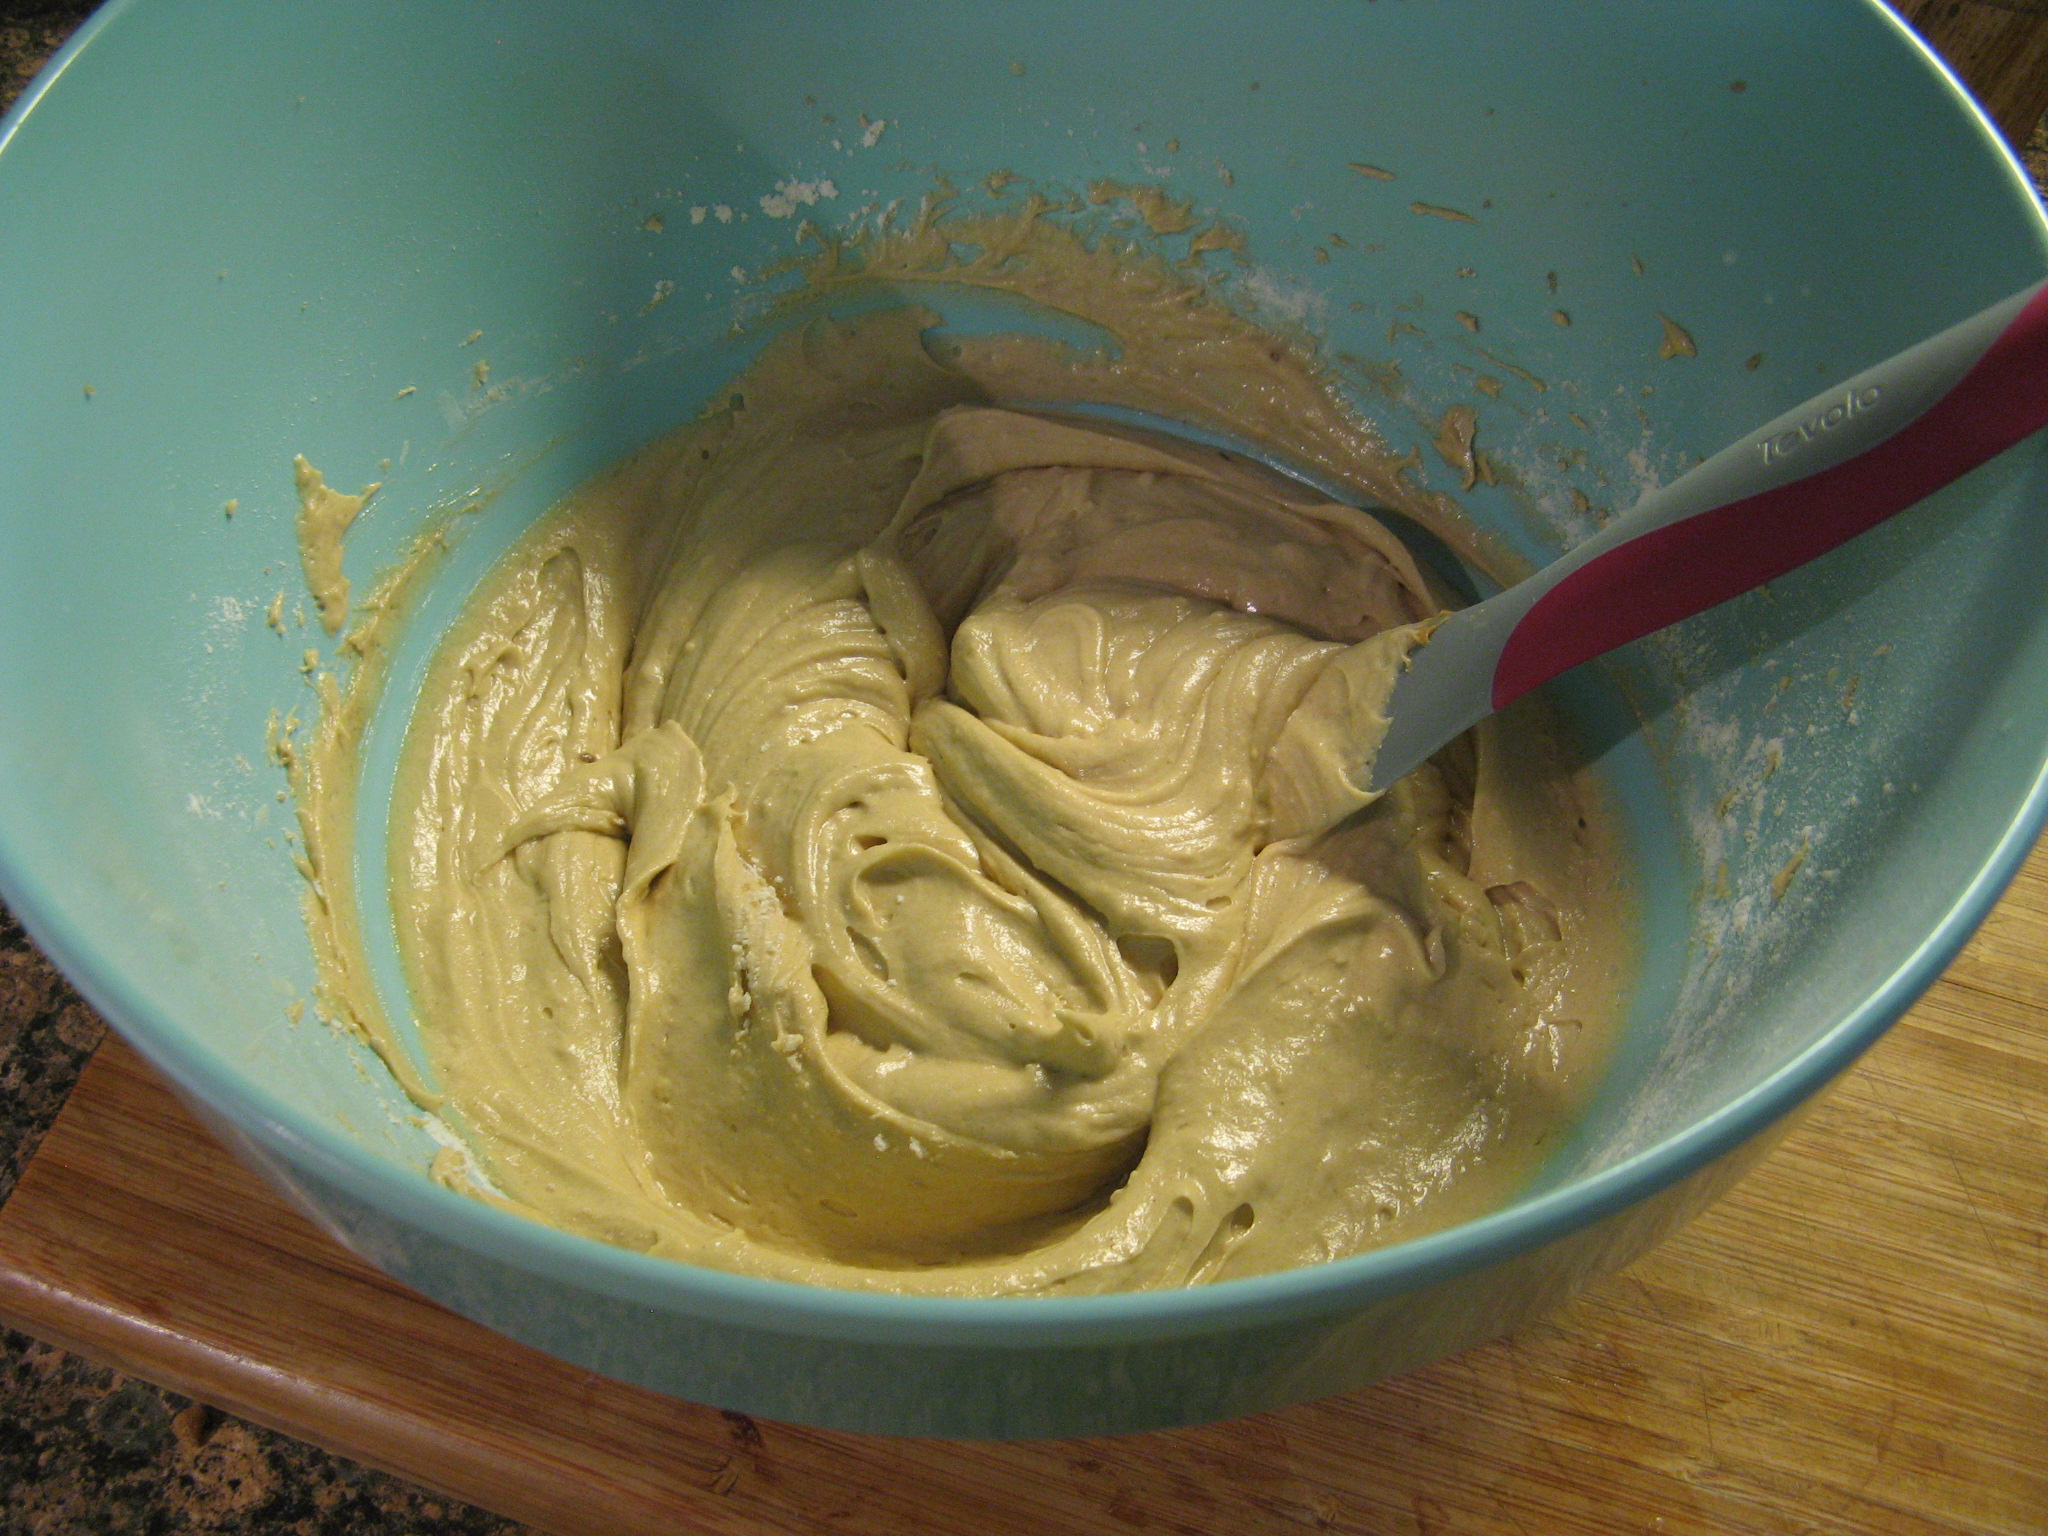
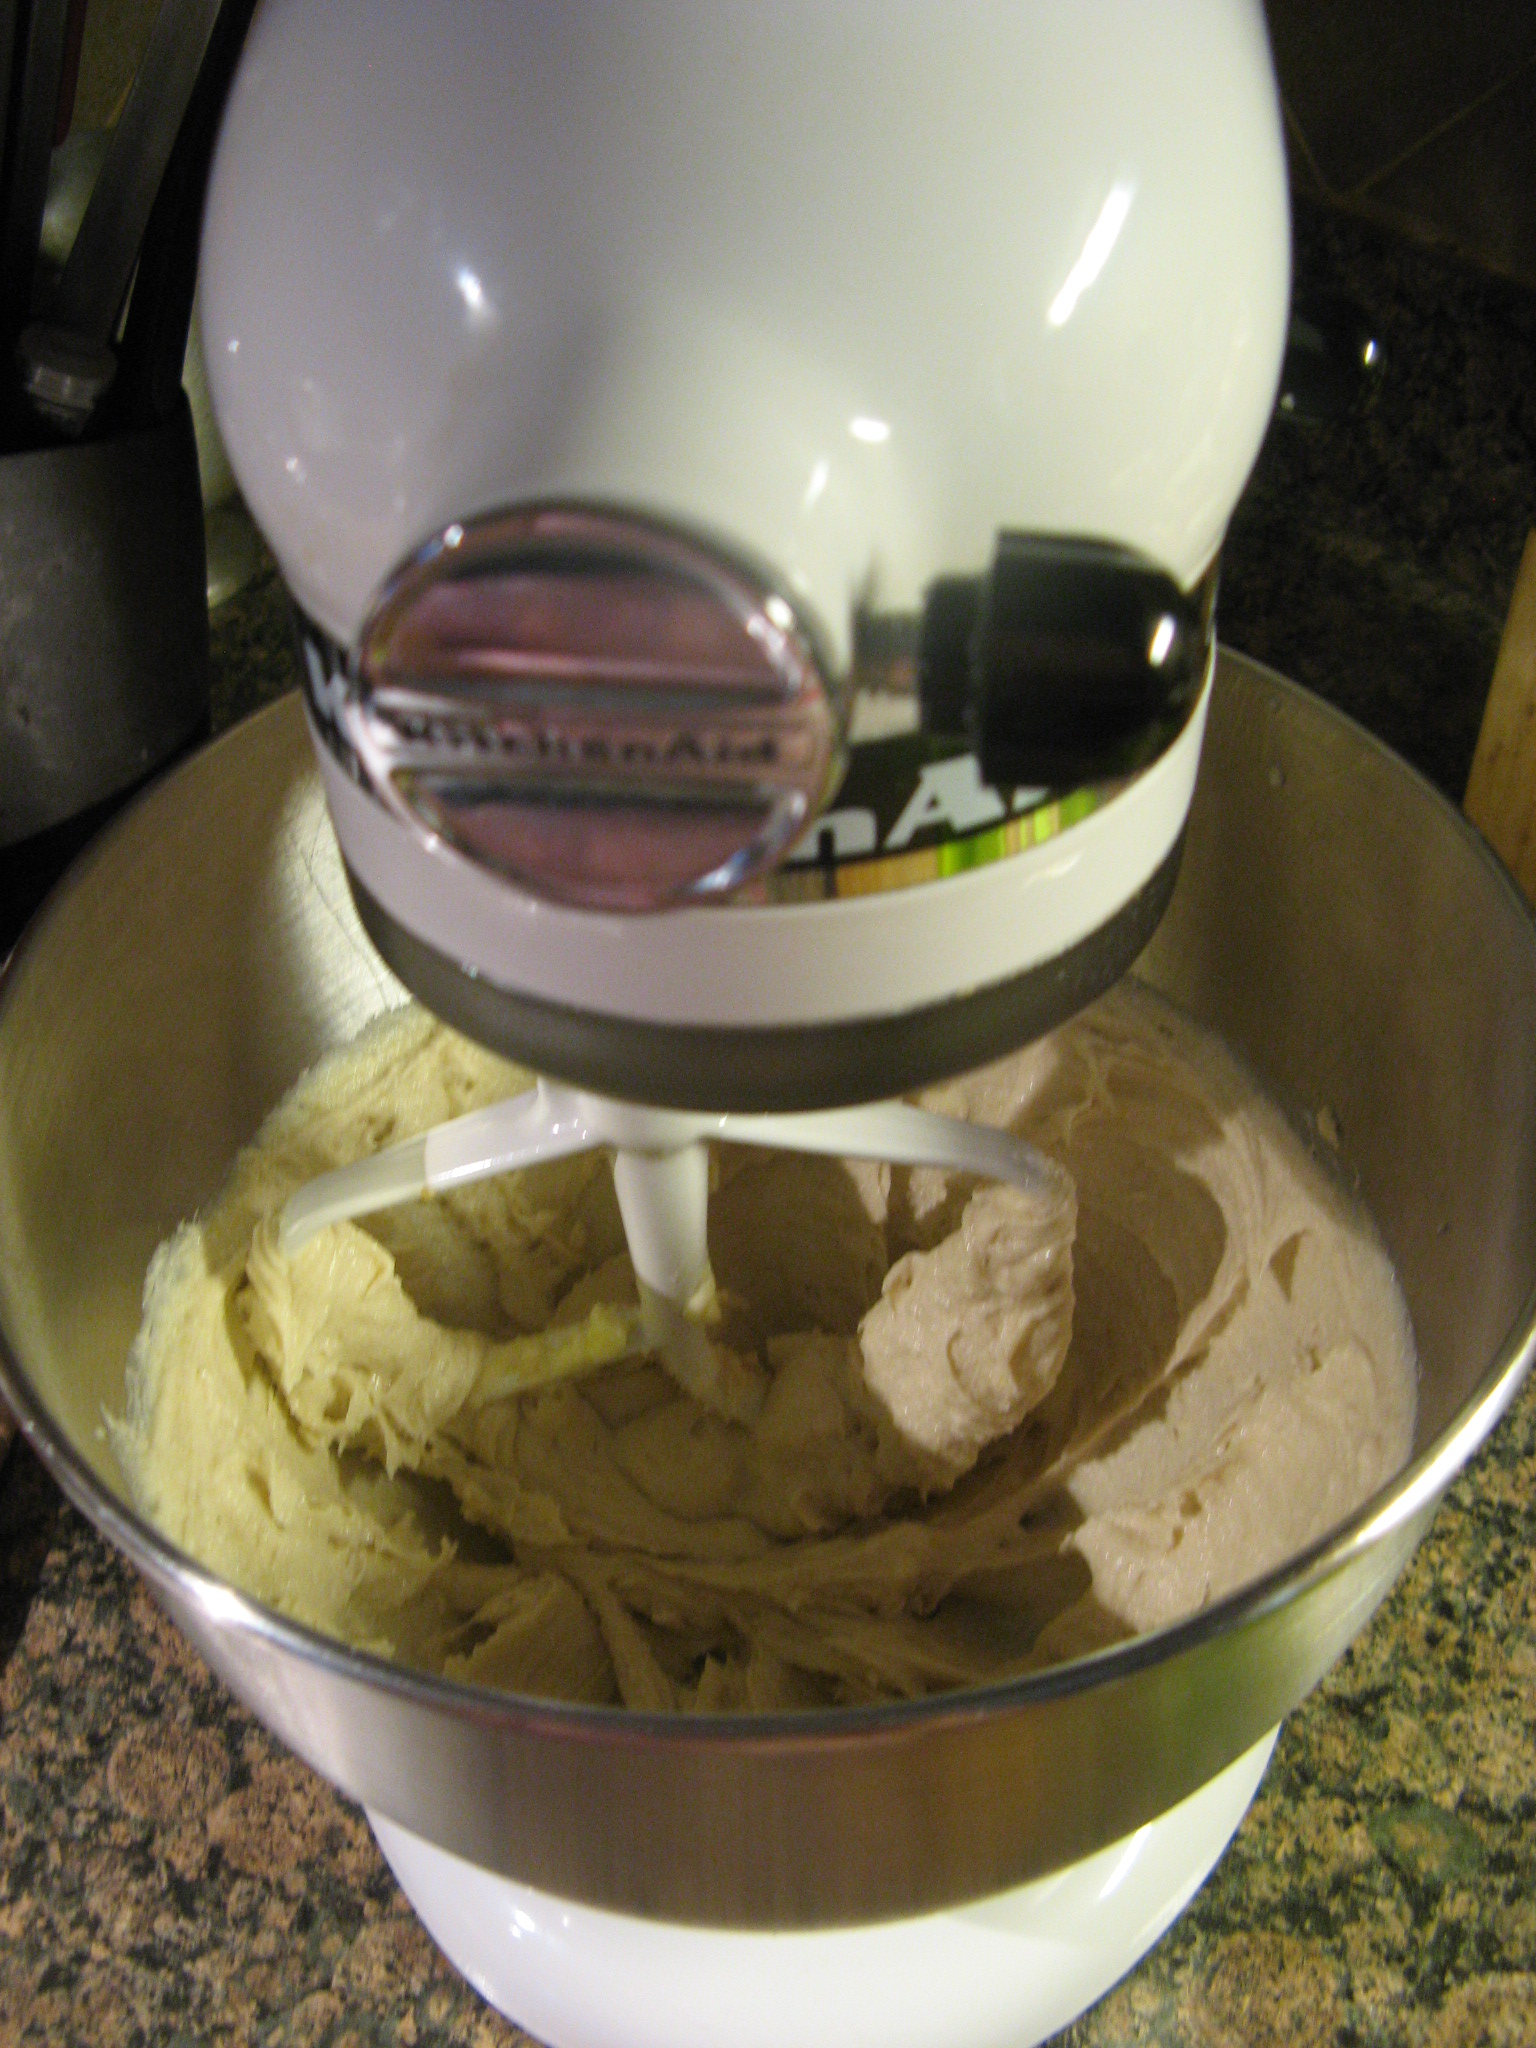
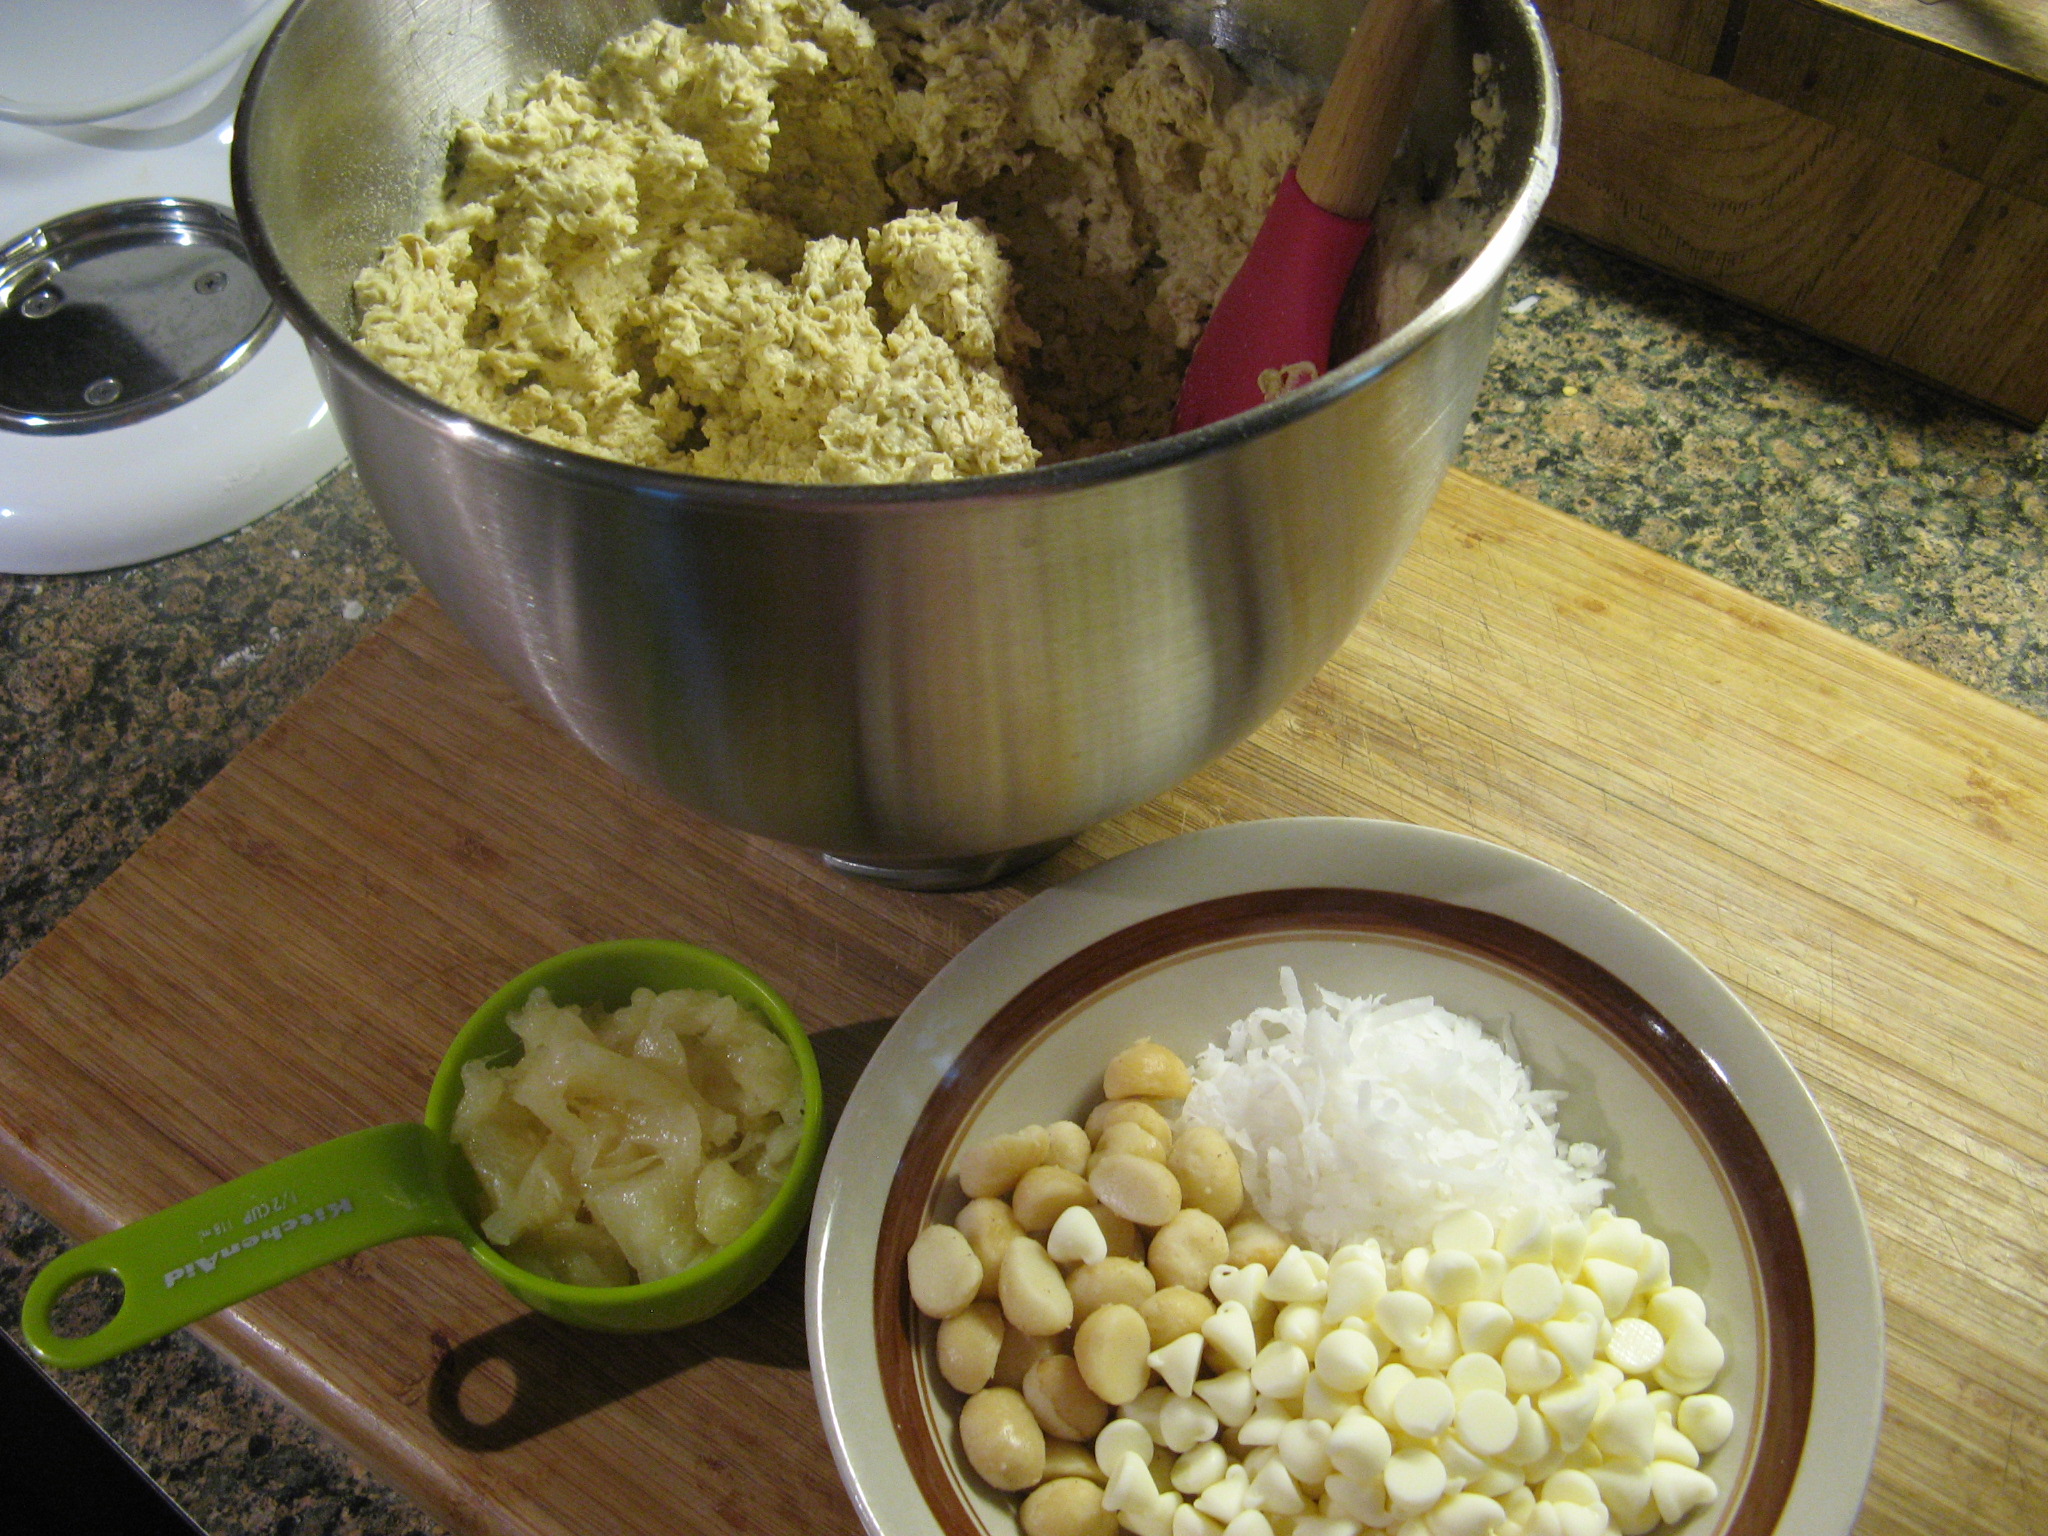
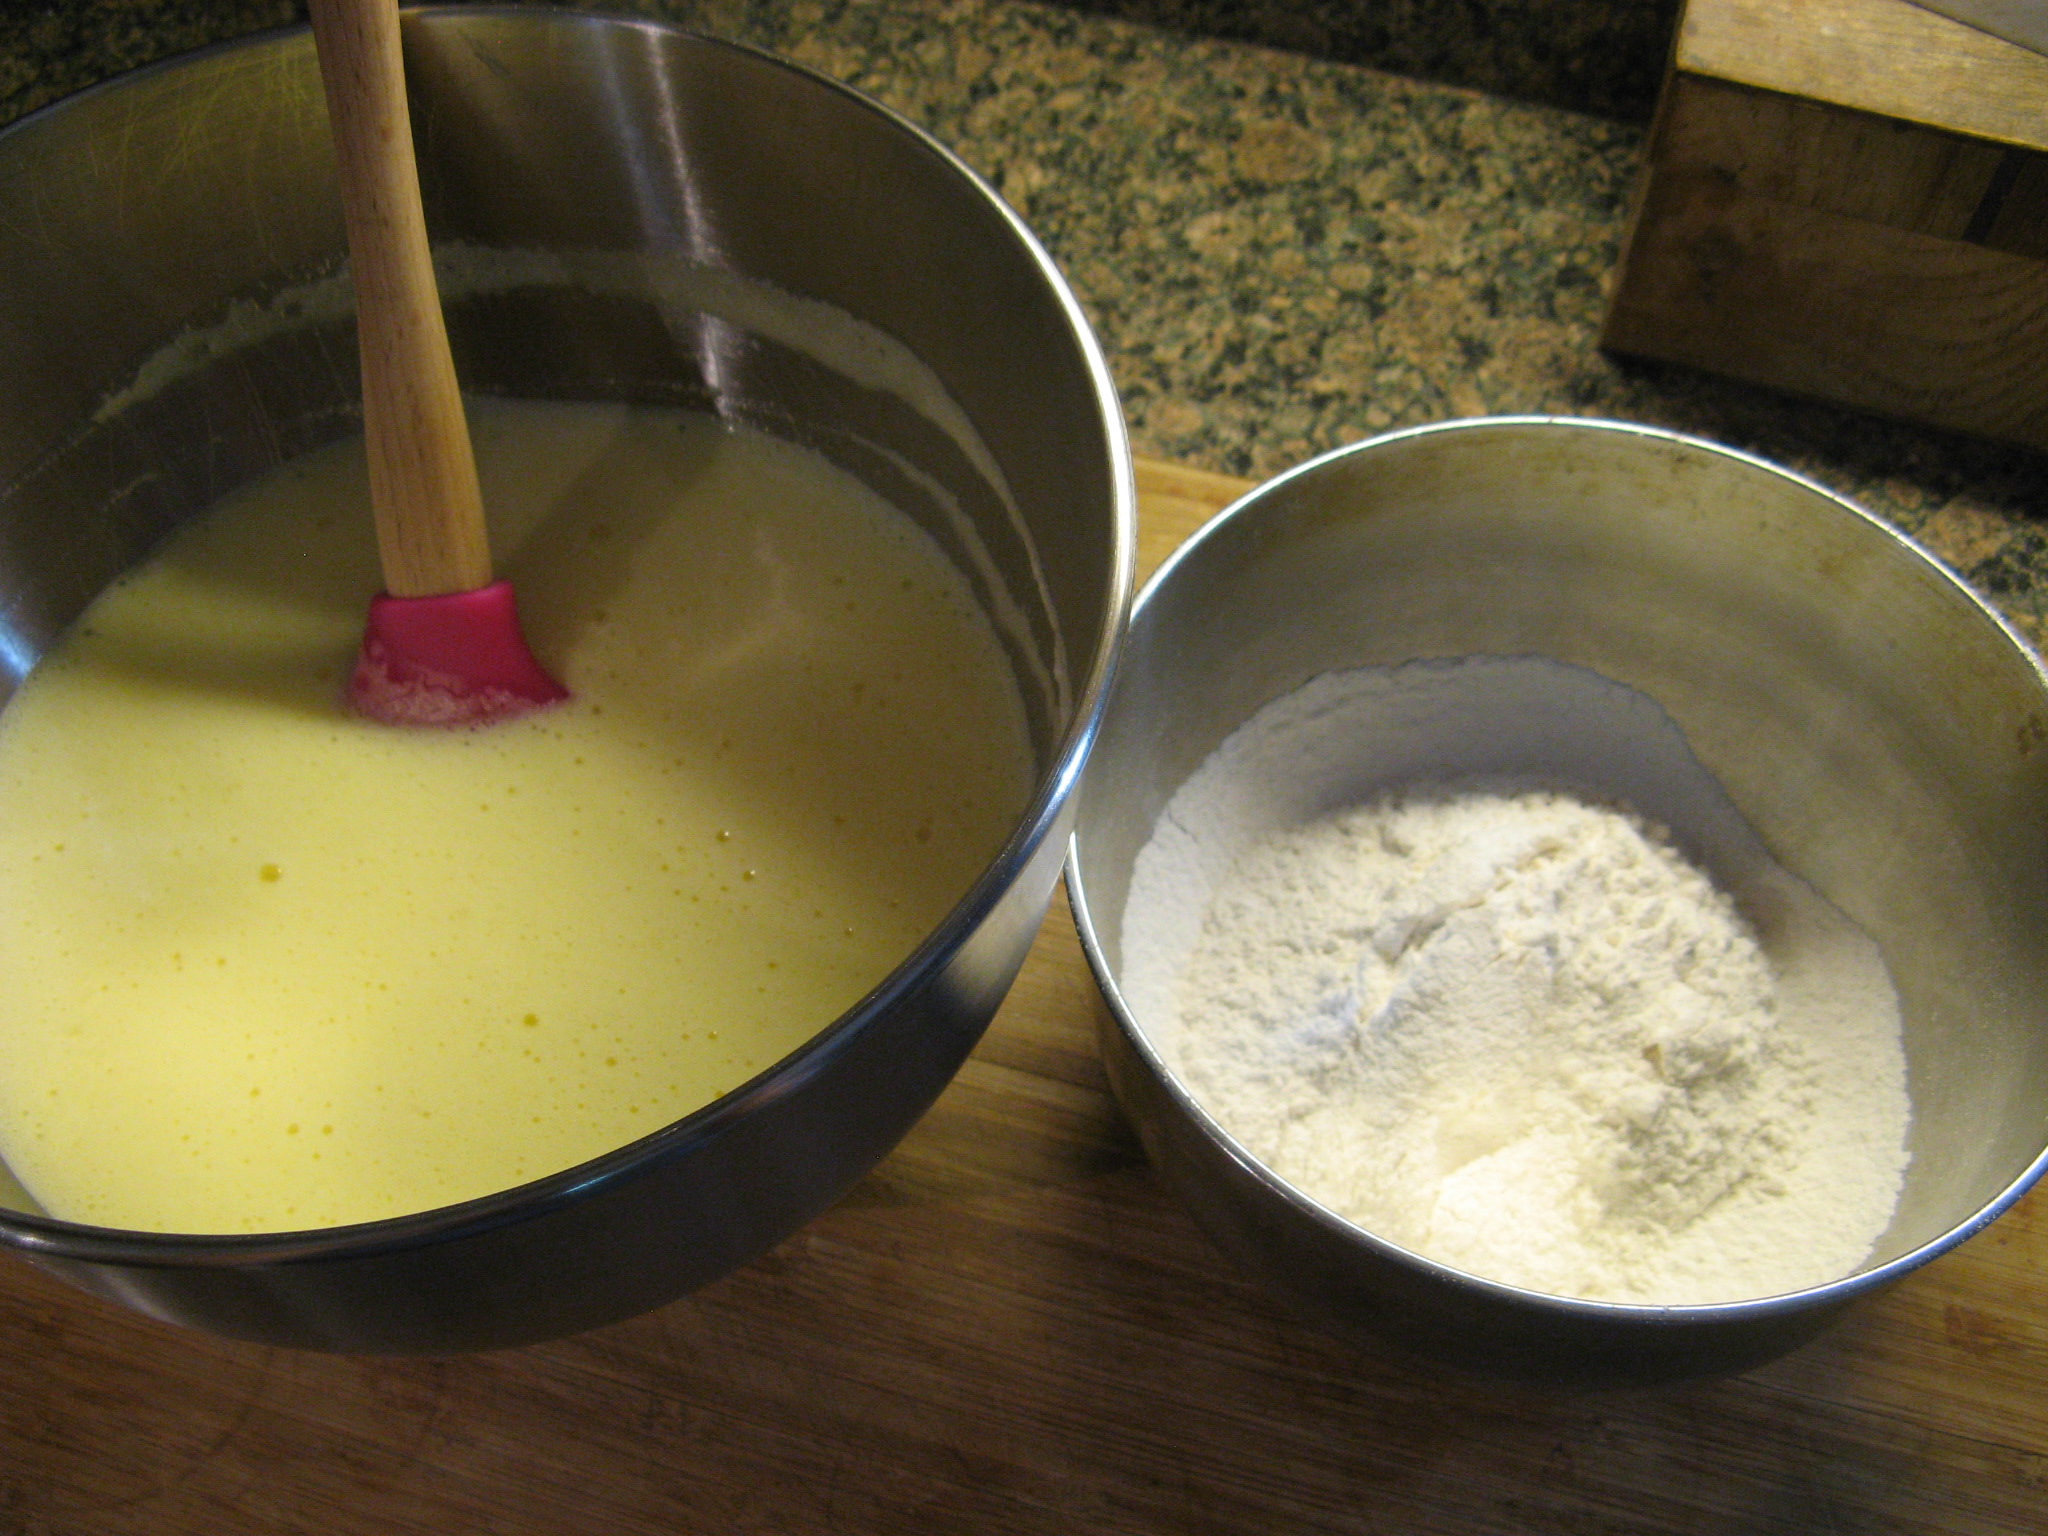
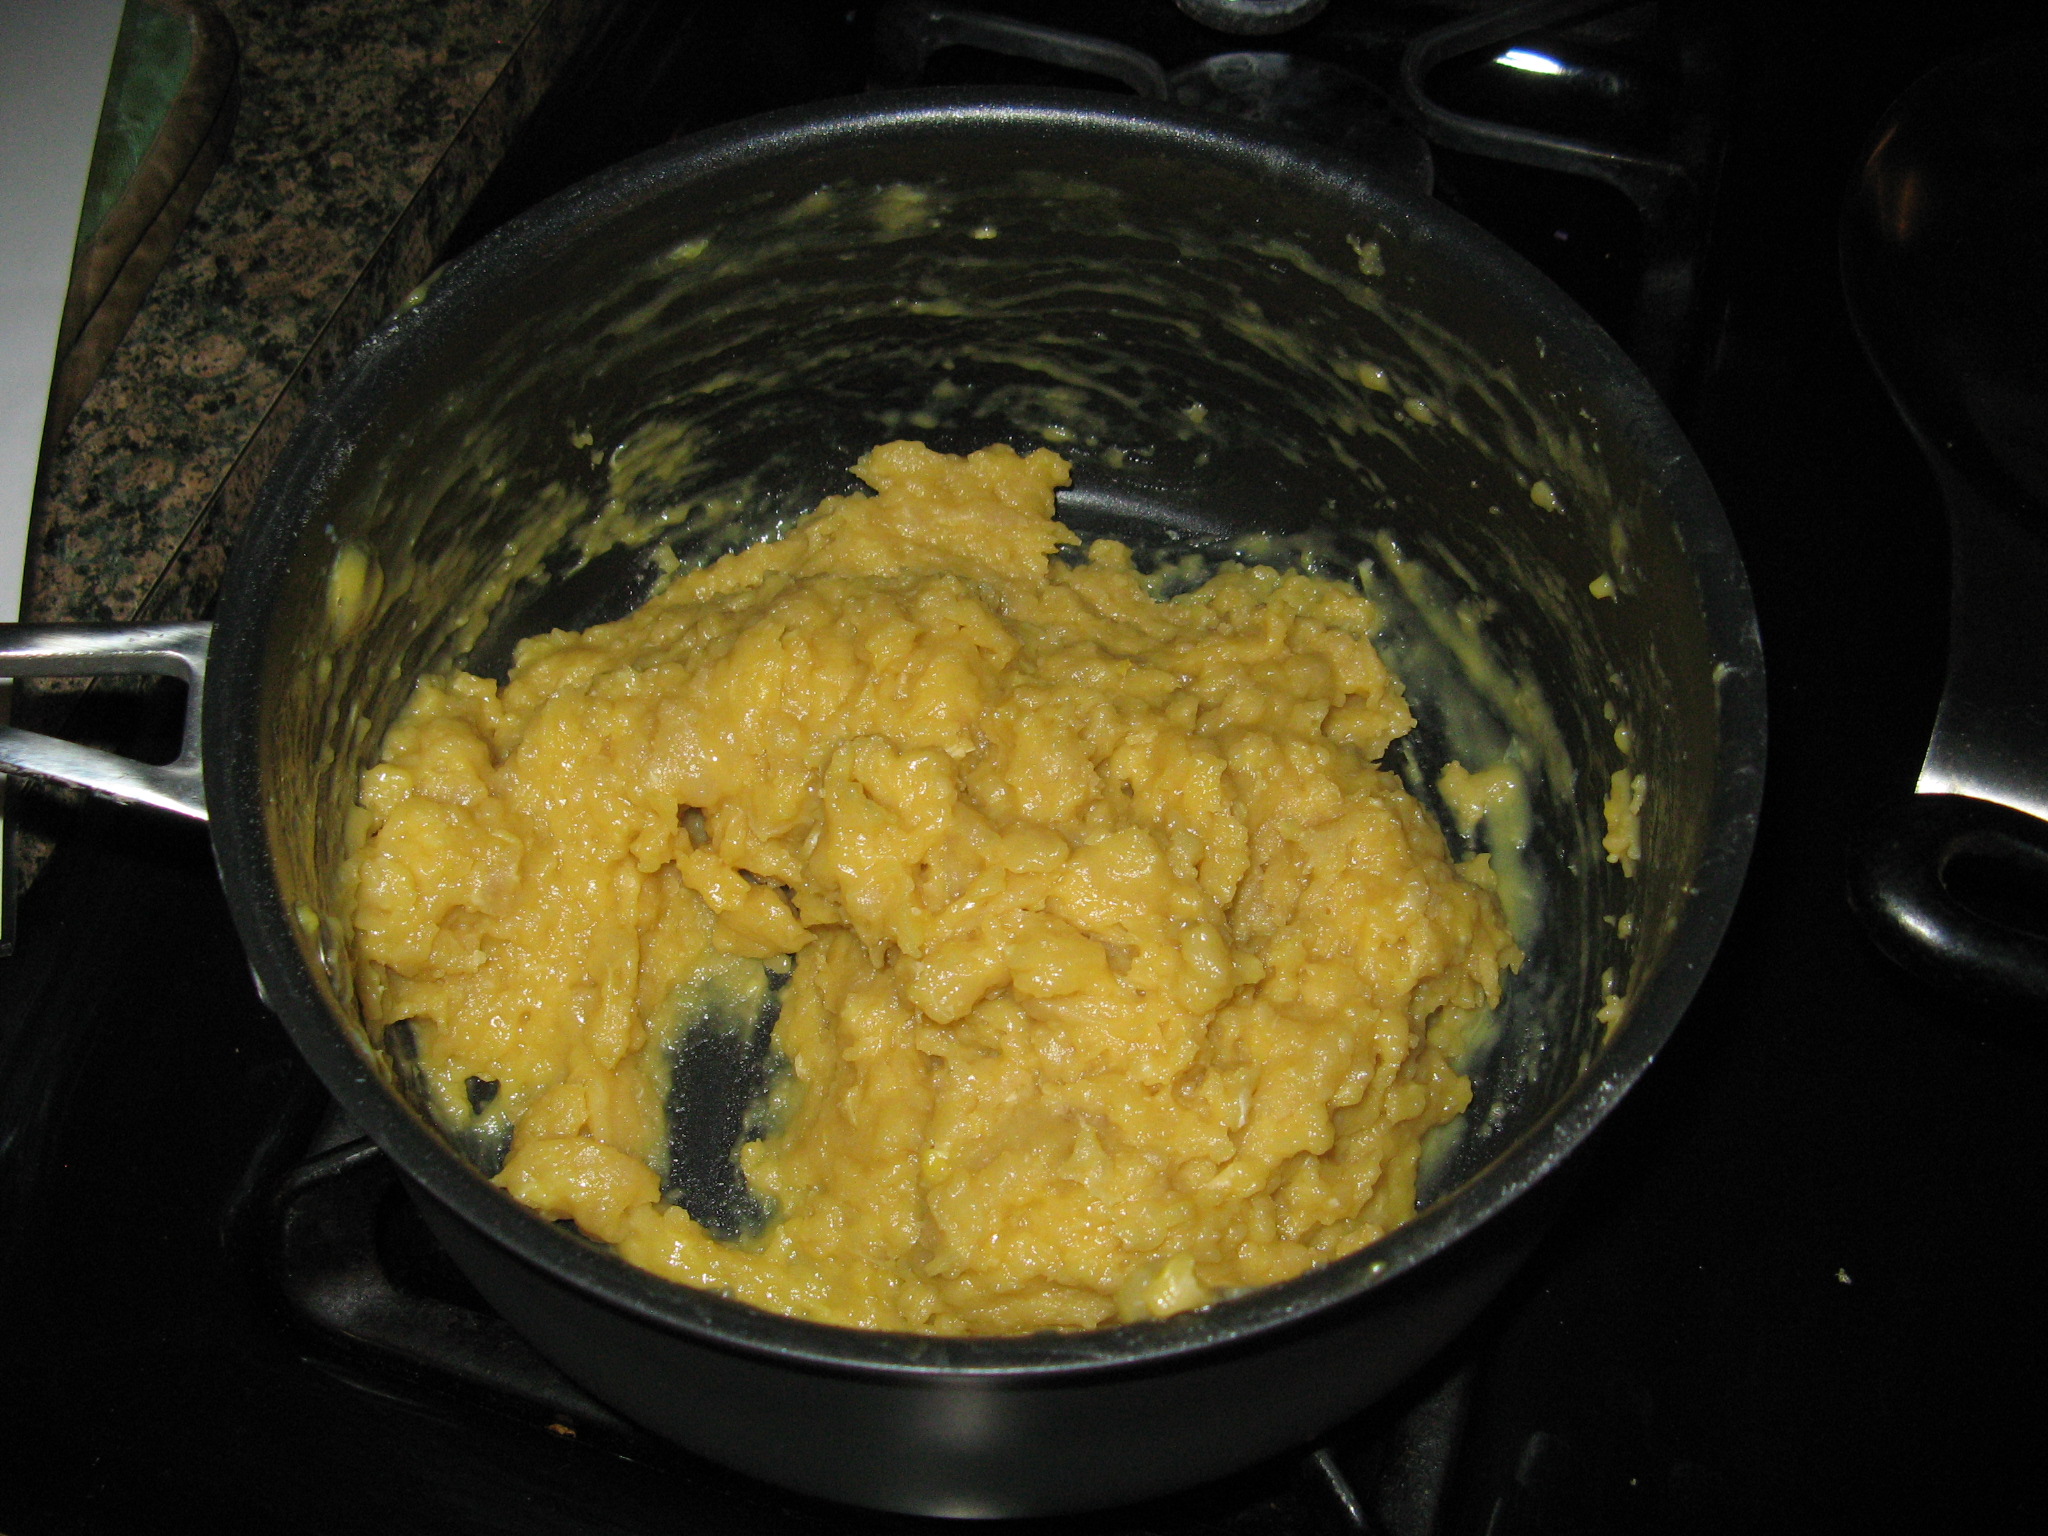
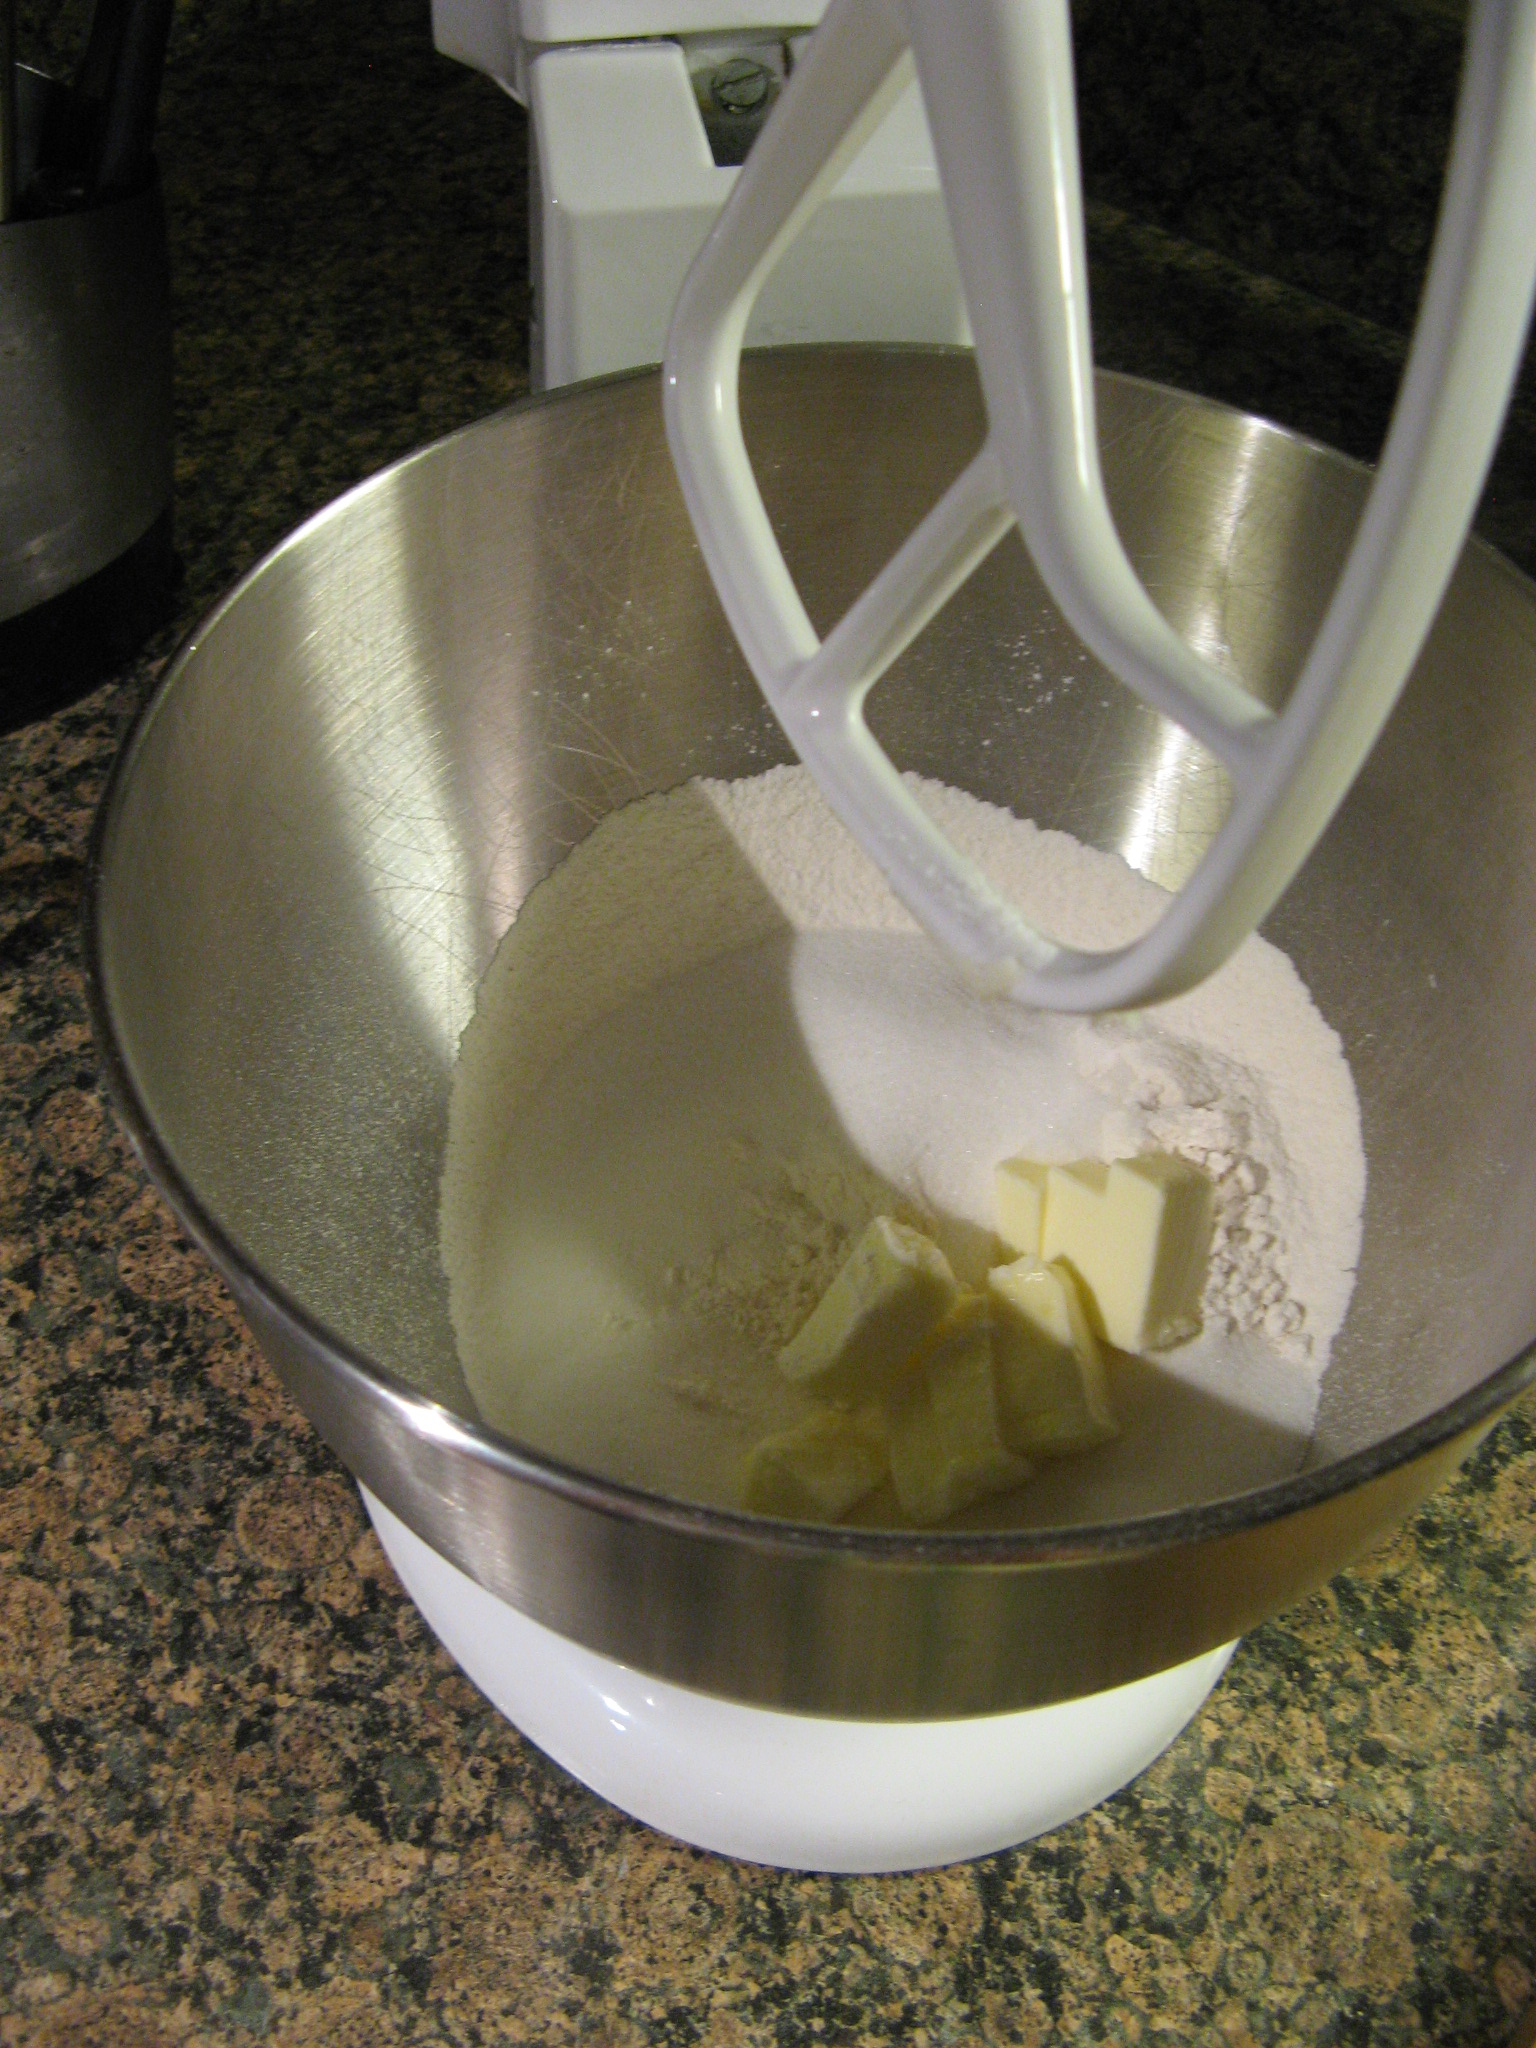
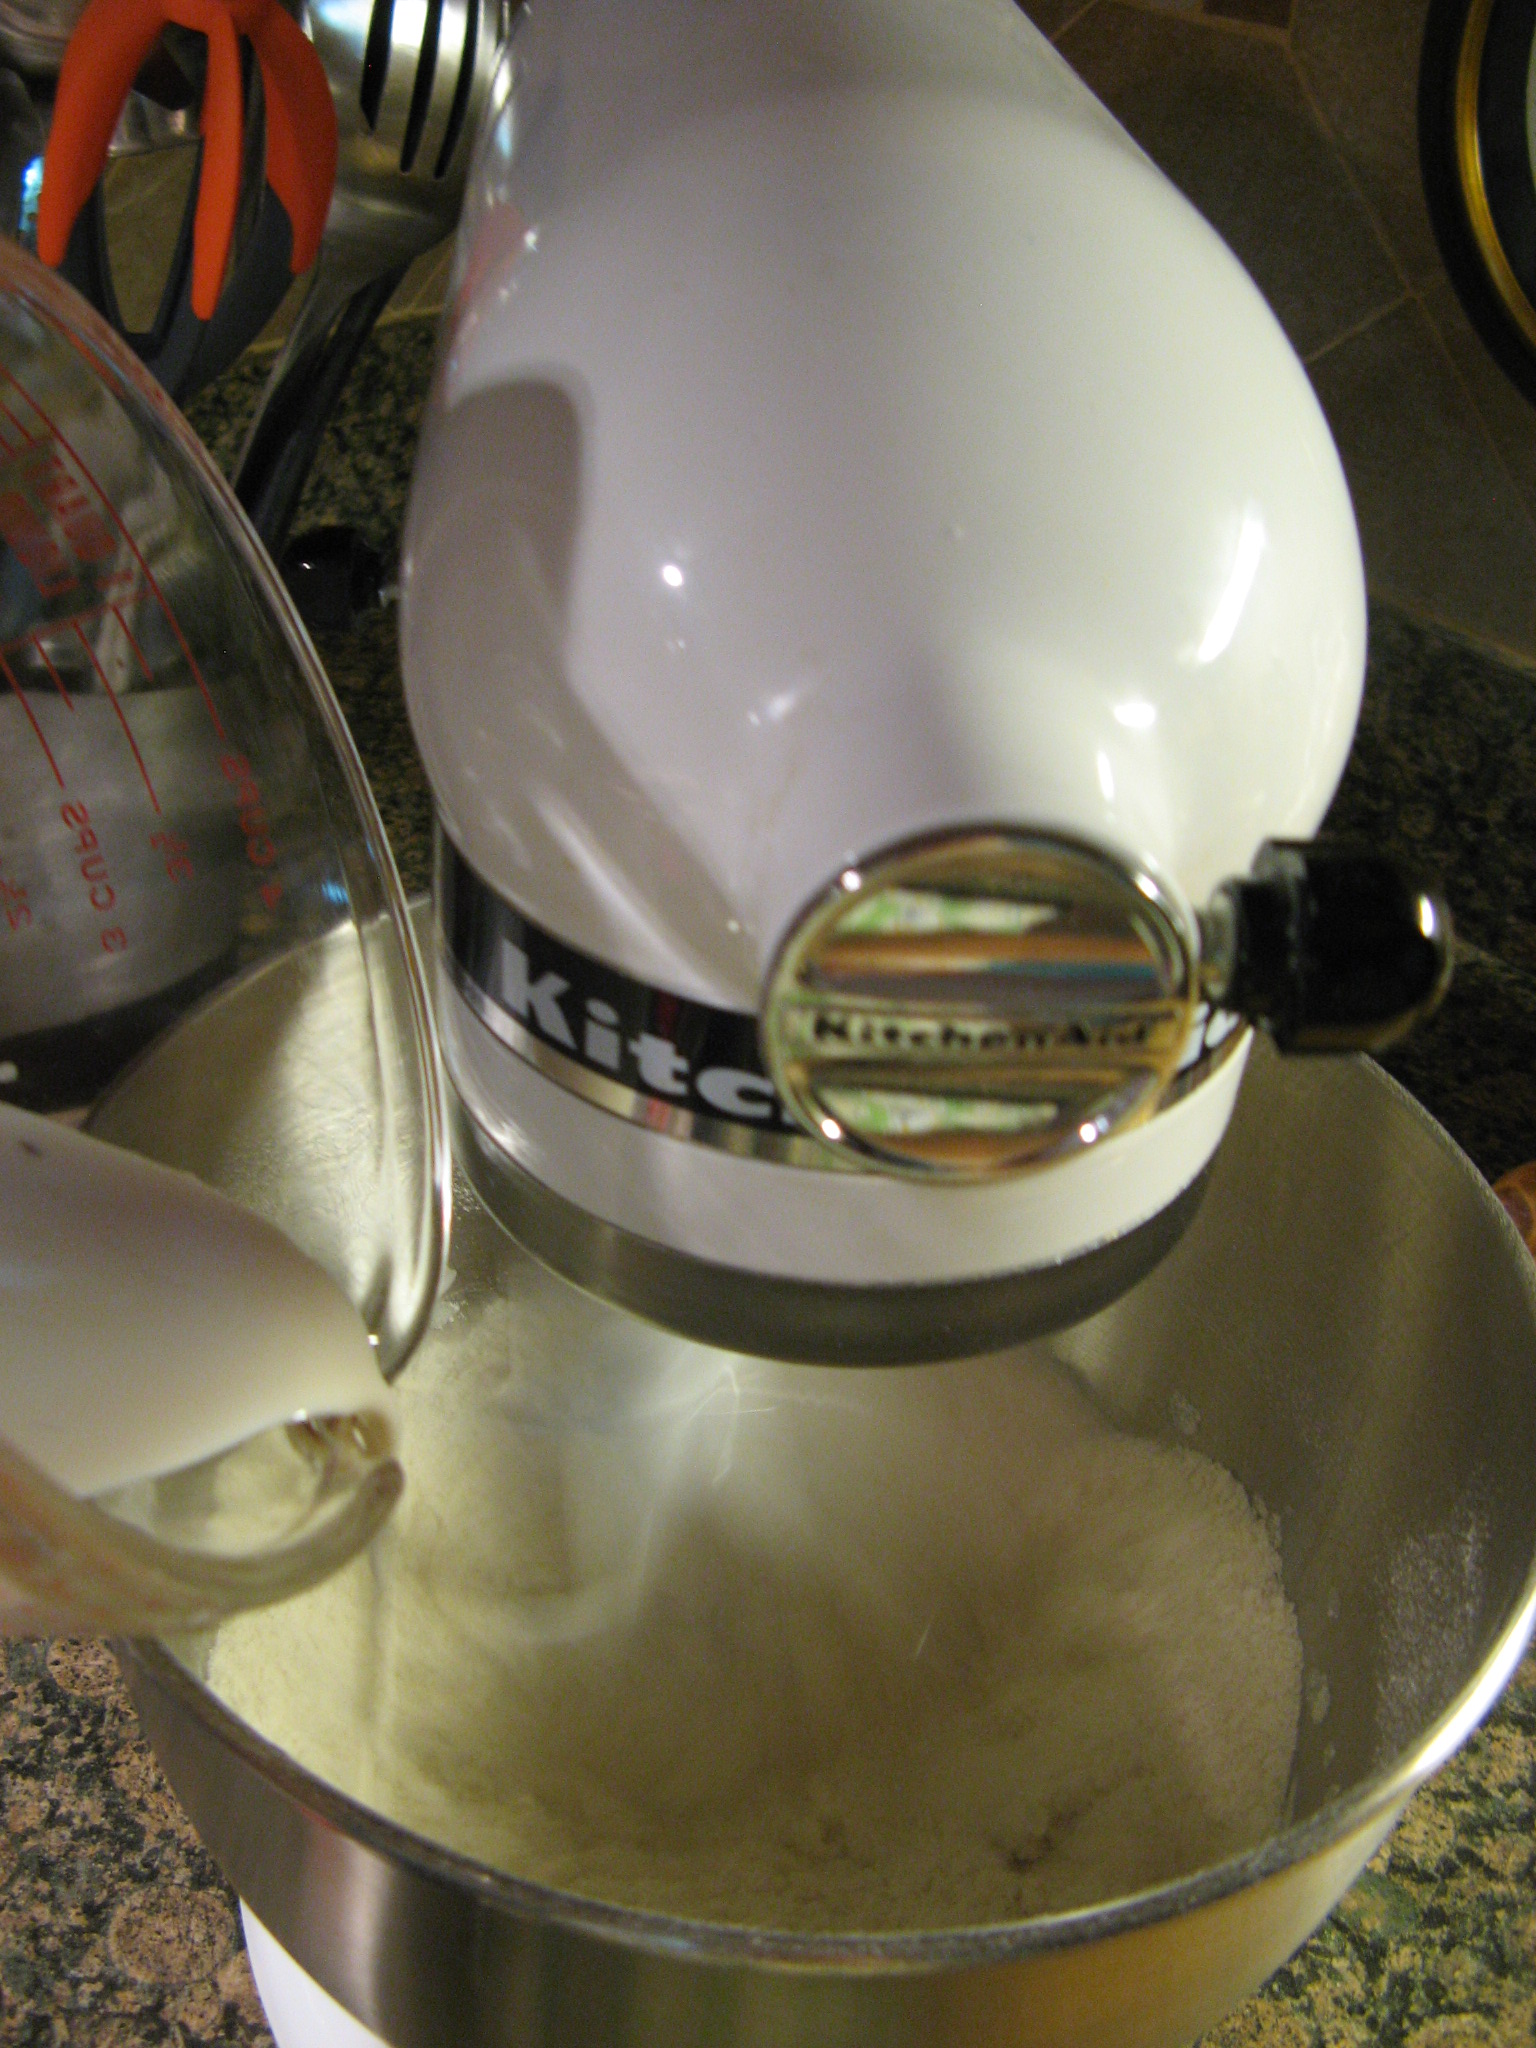
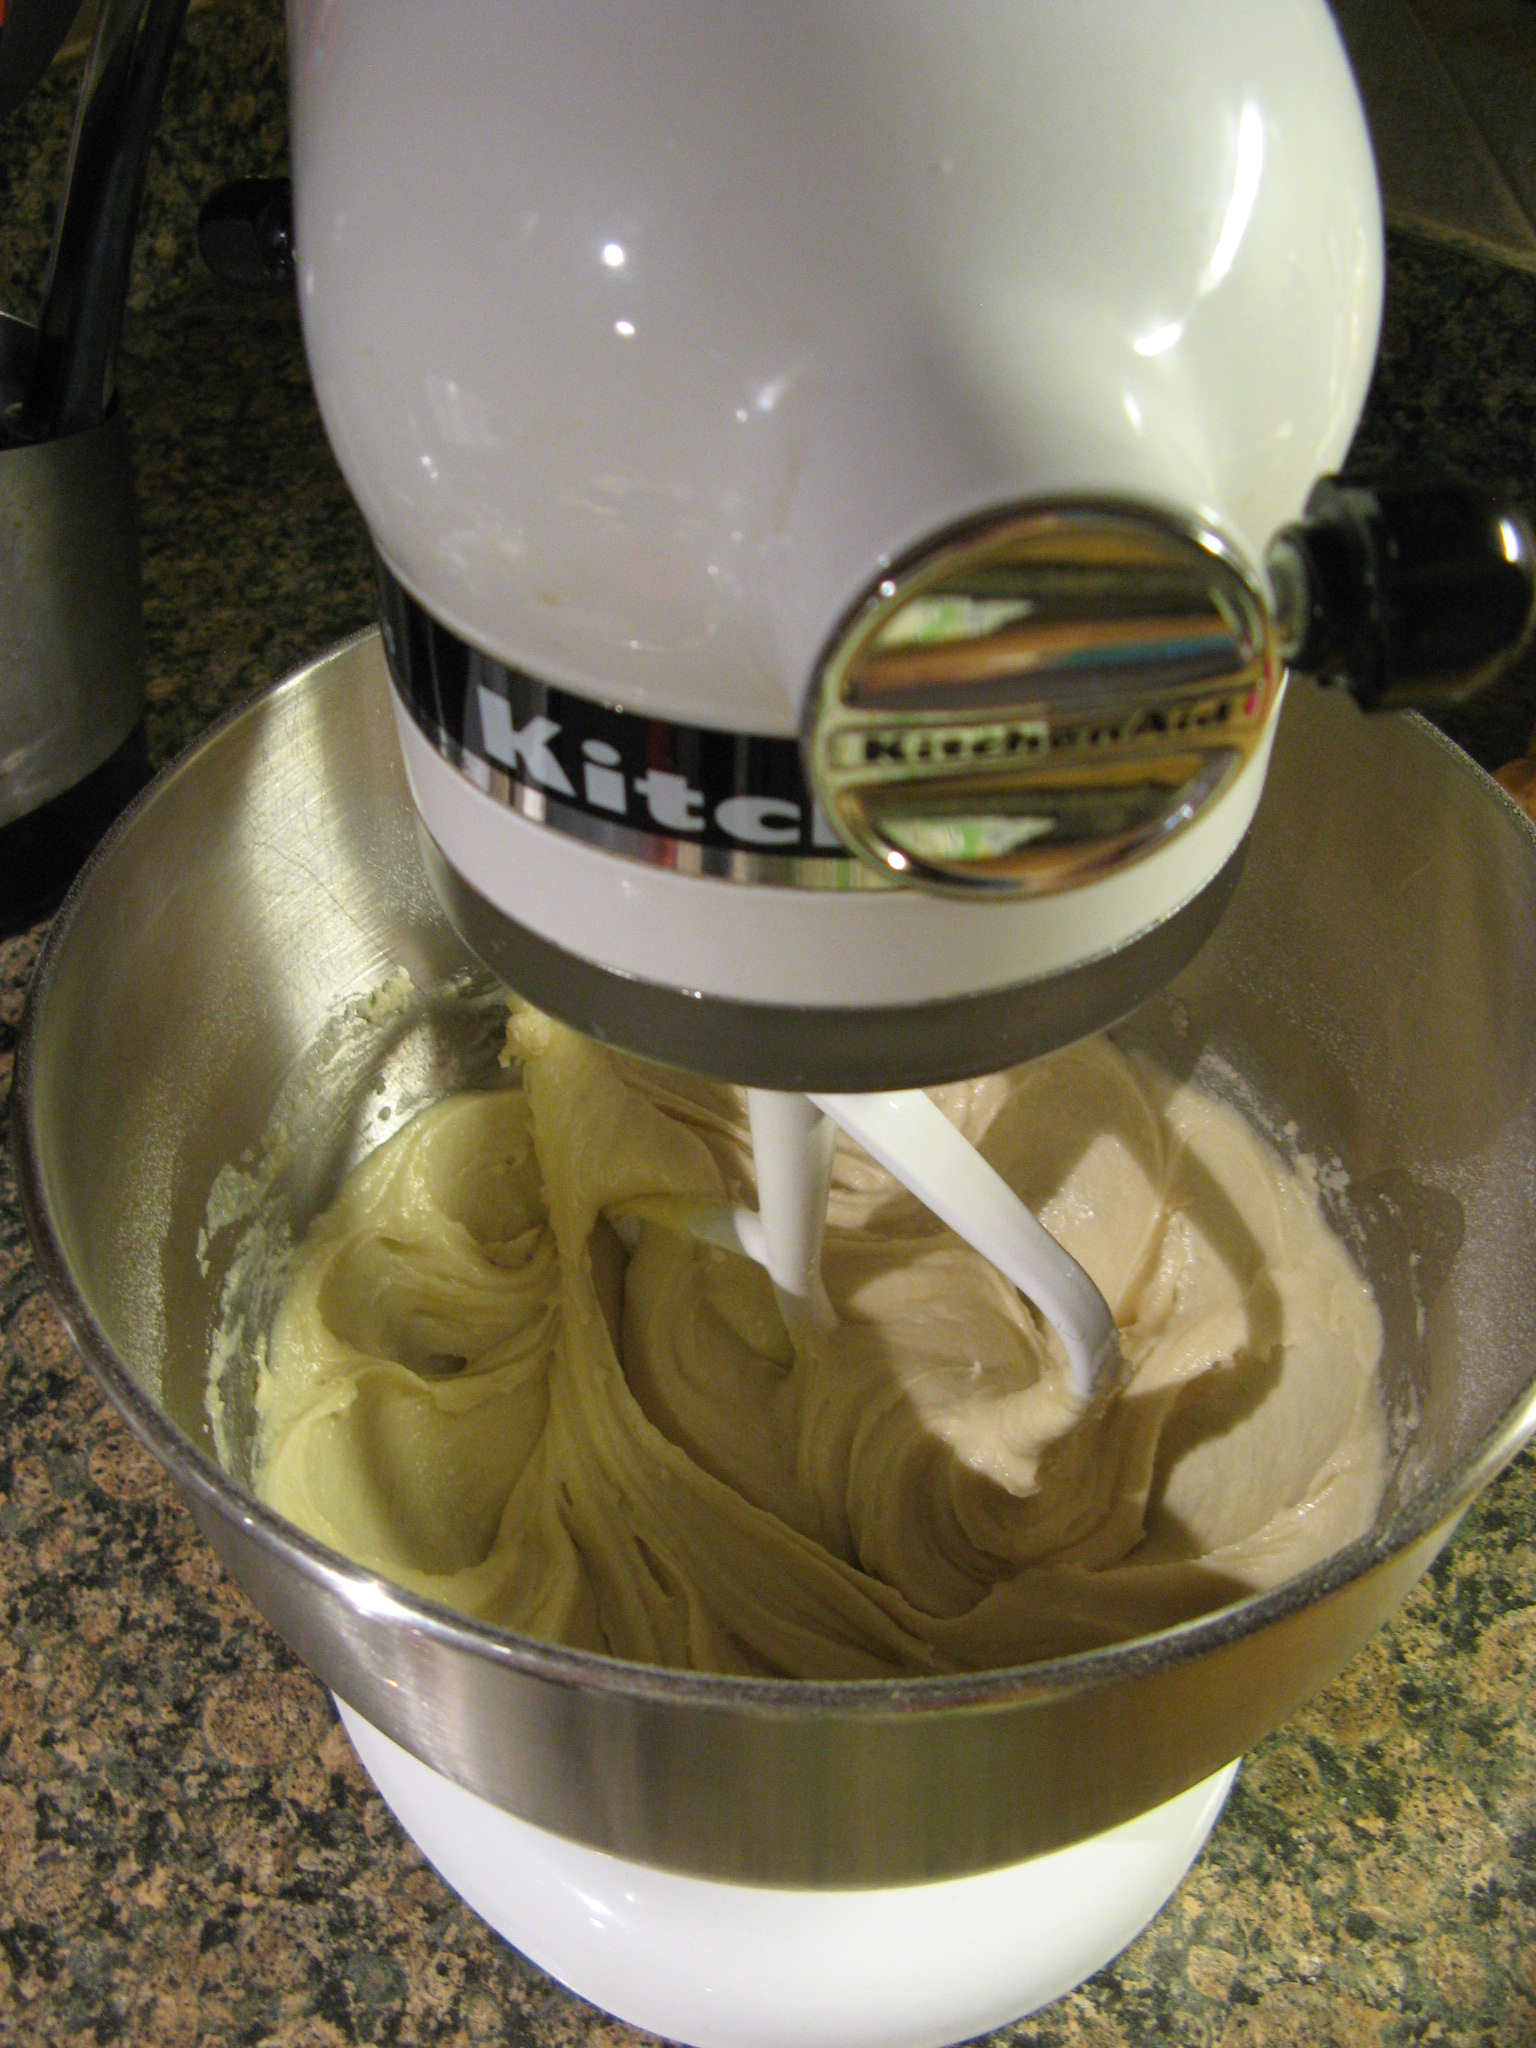
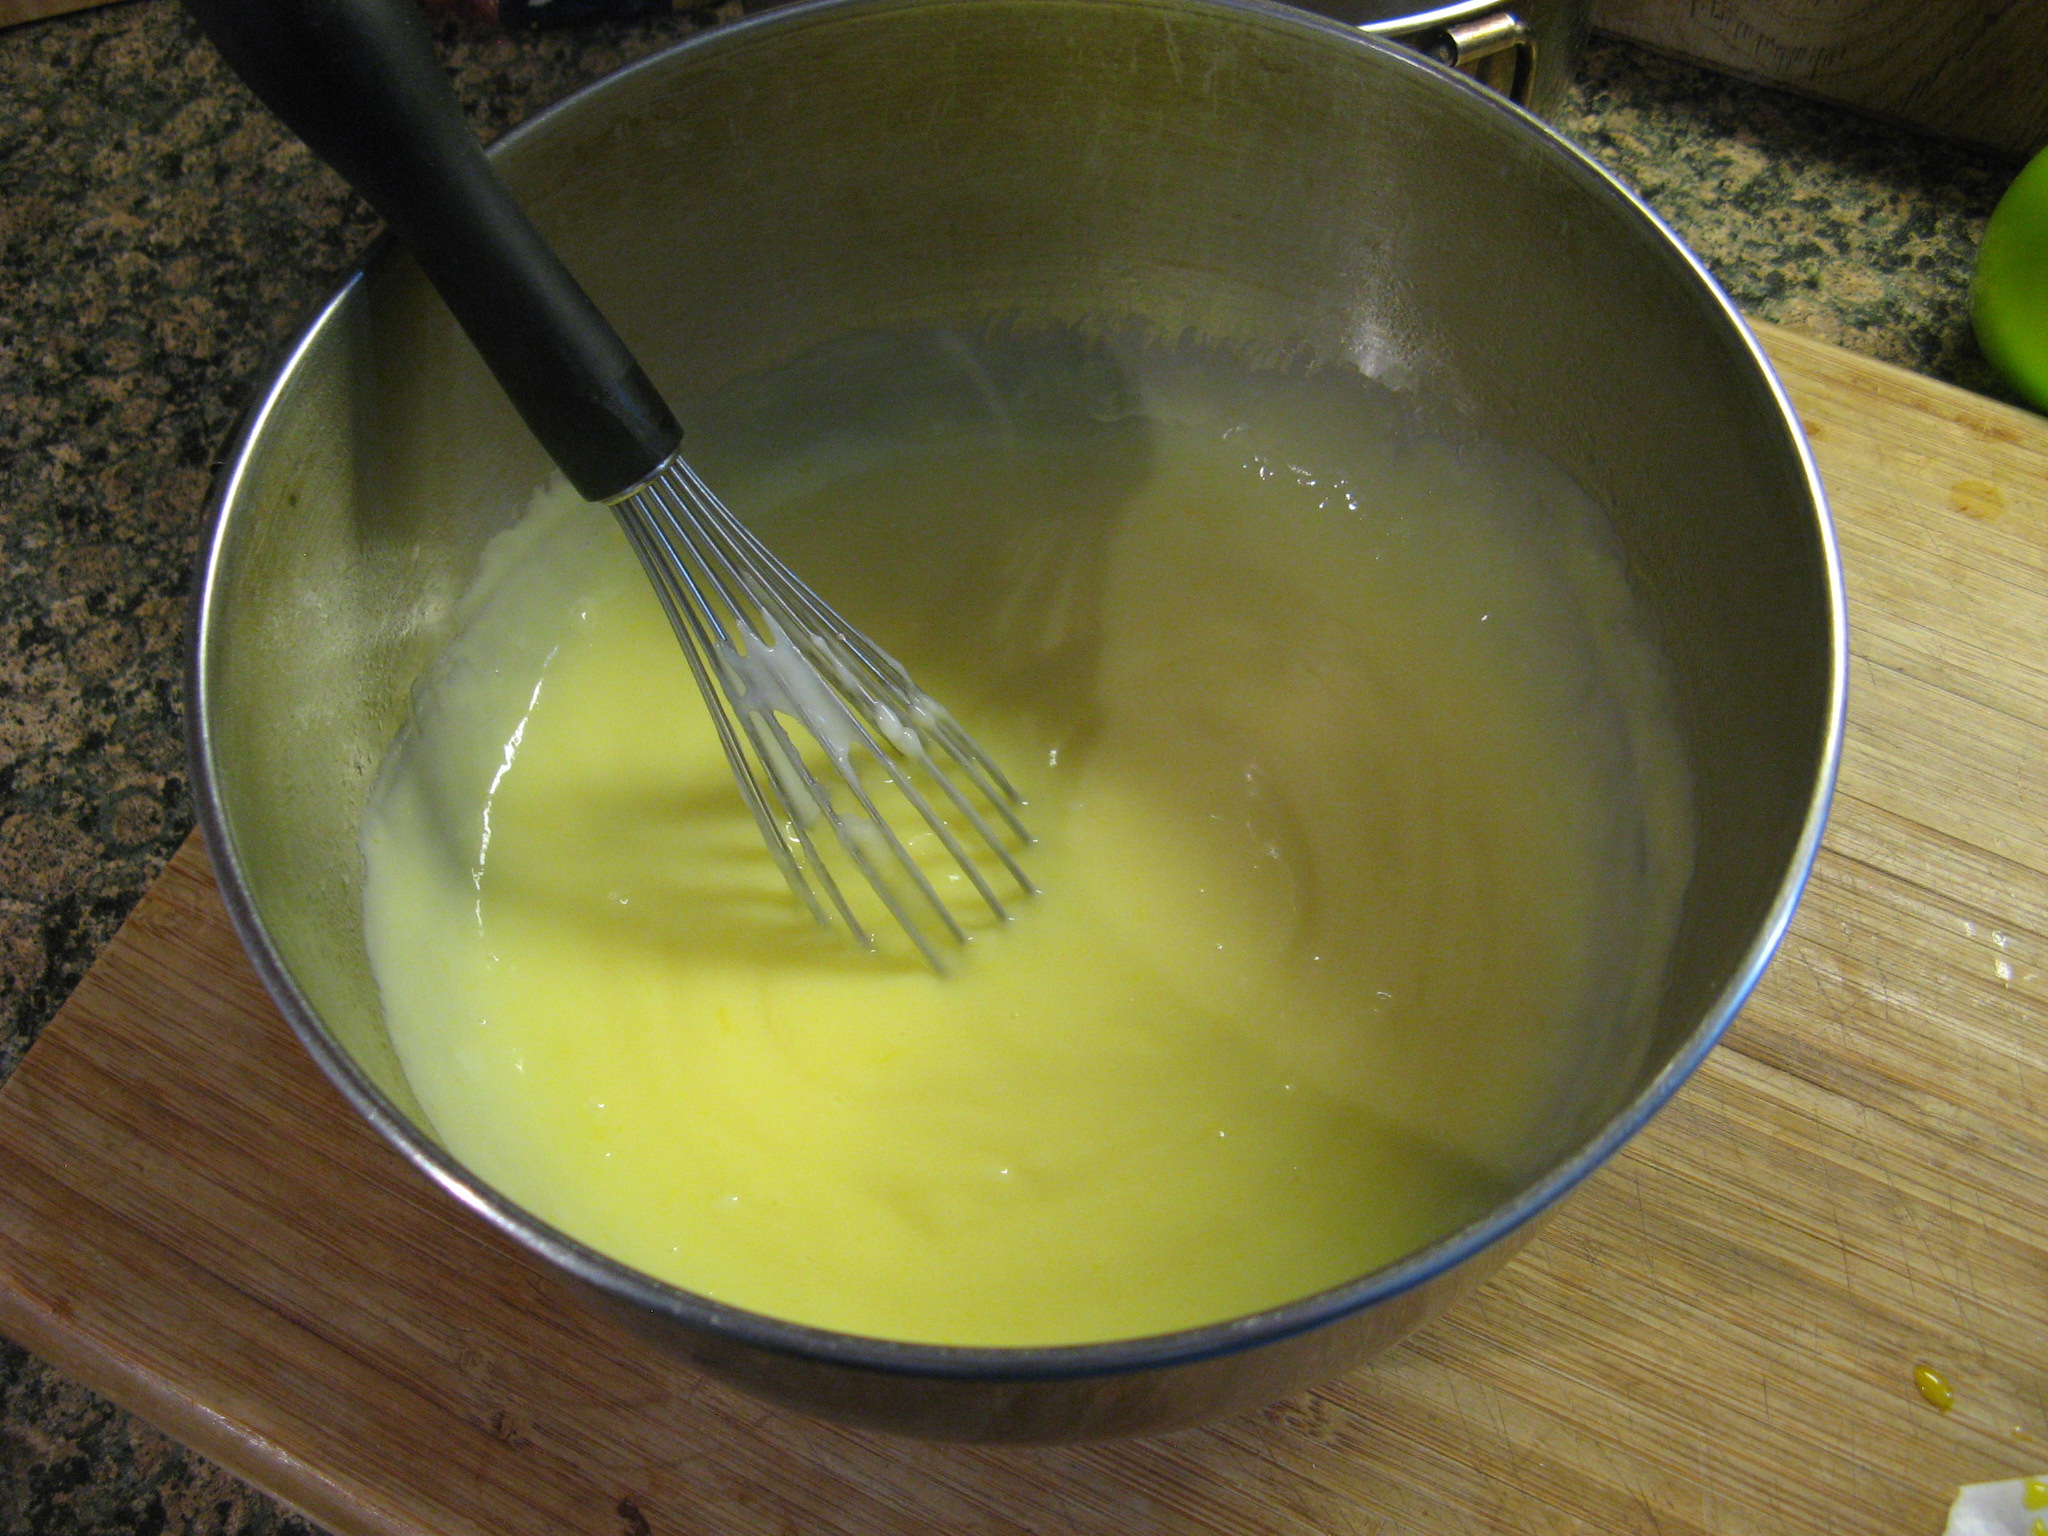
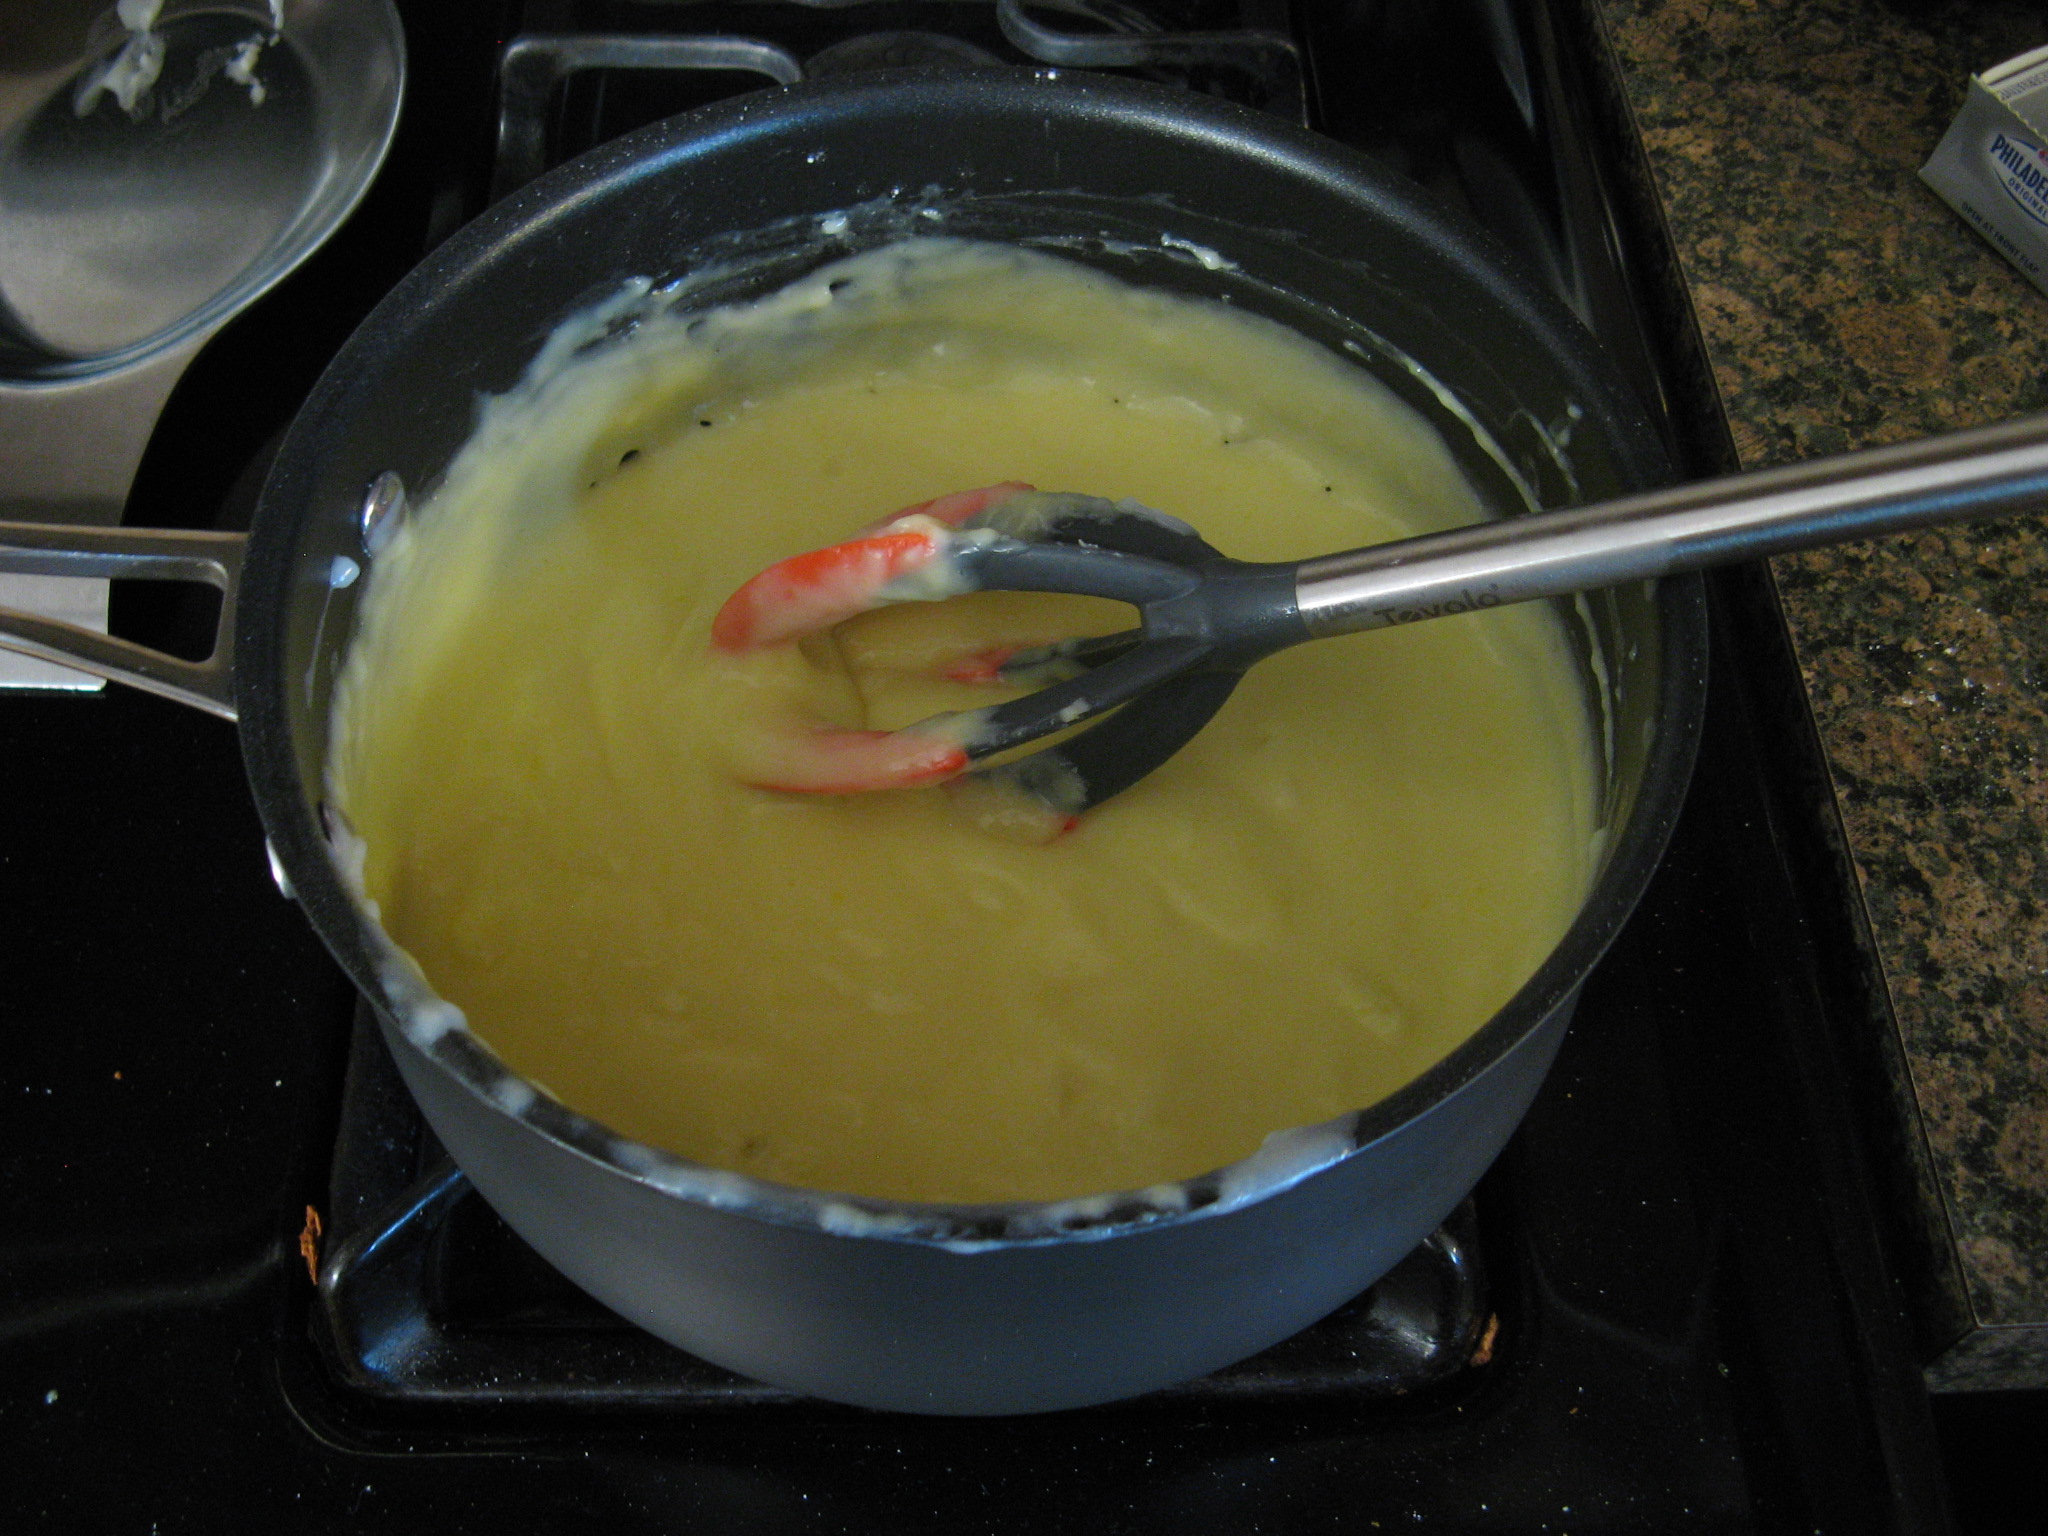
Once that was well combined I whisked in the sifted flour mixture.
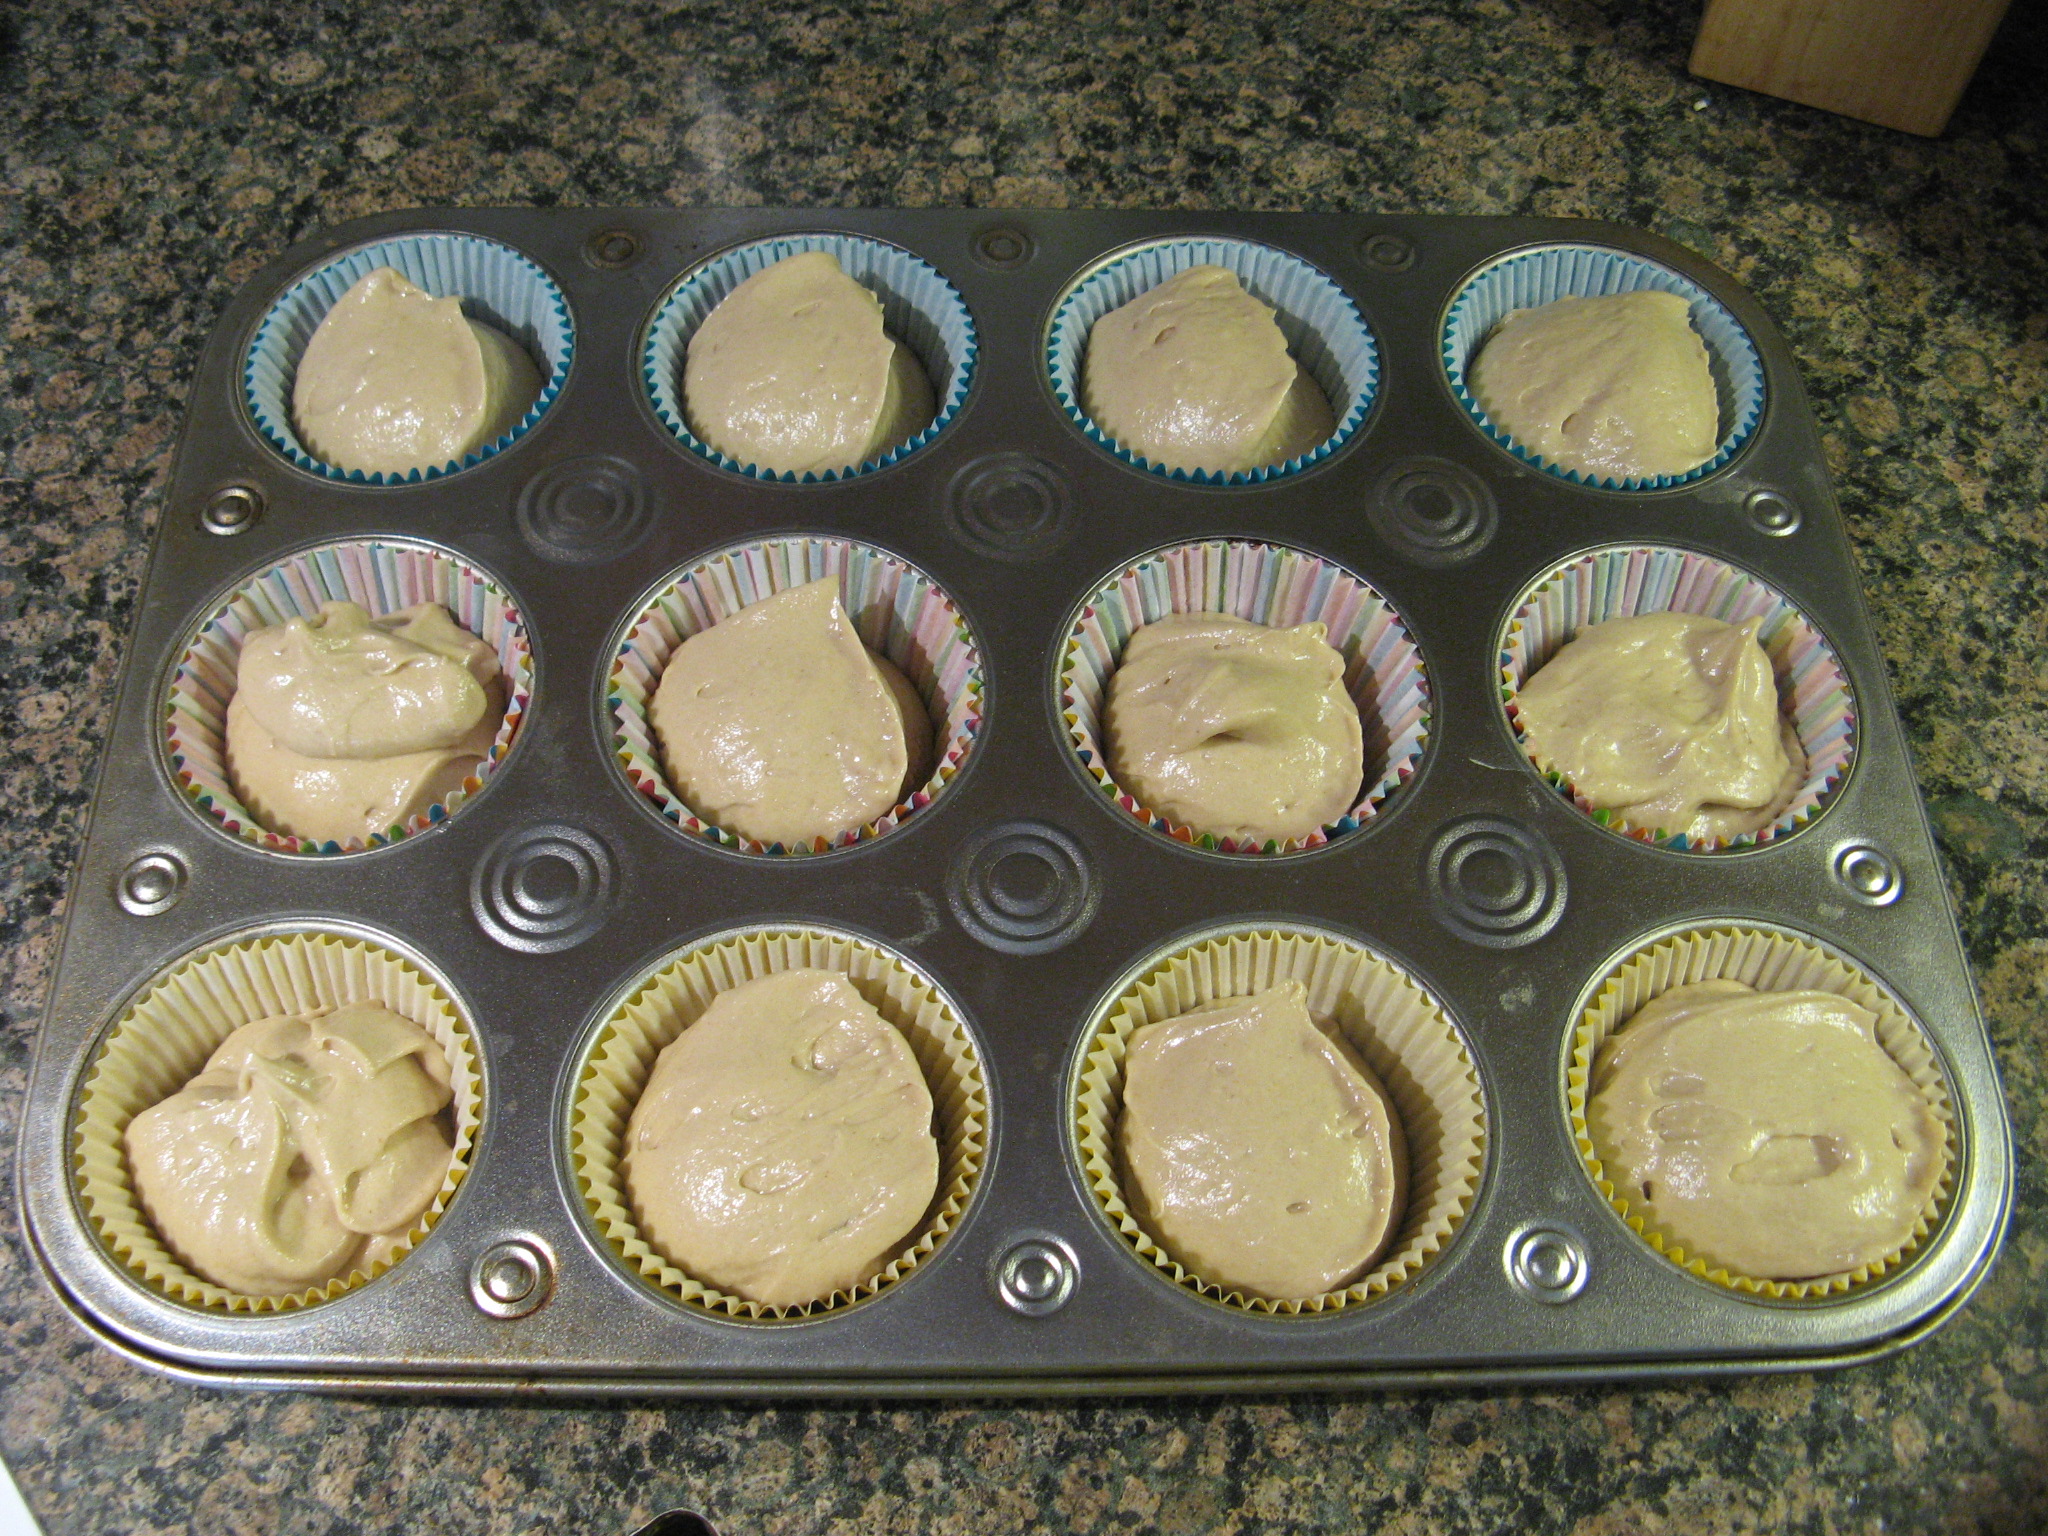
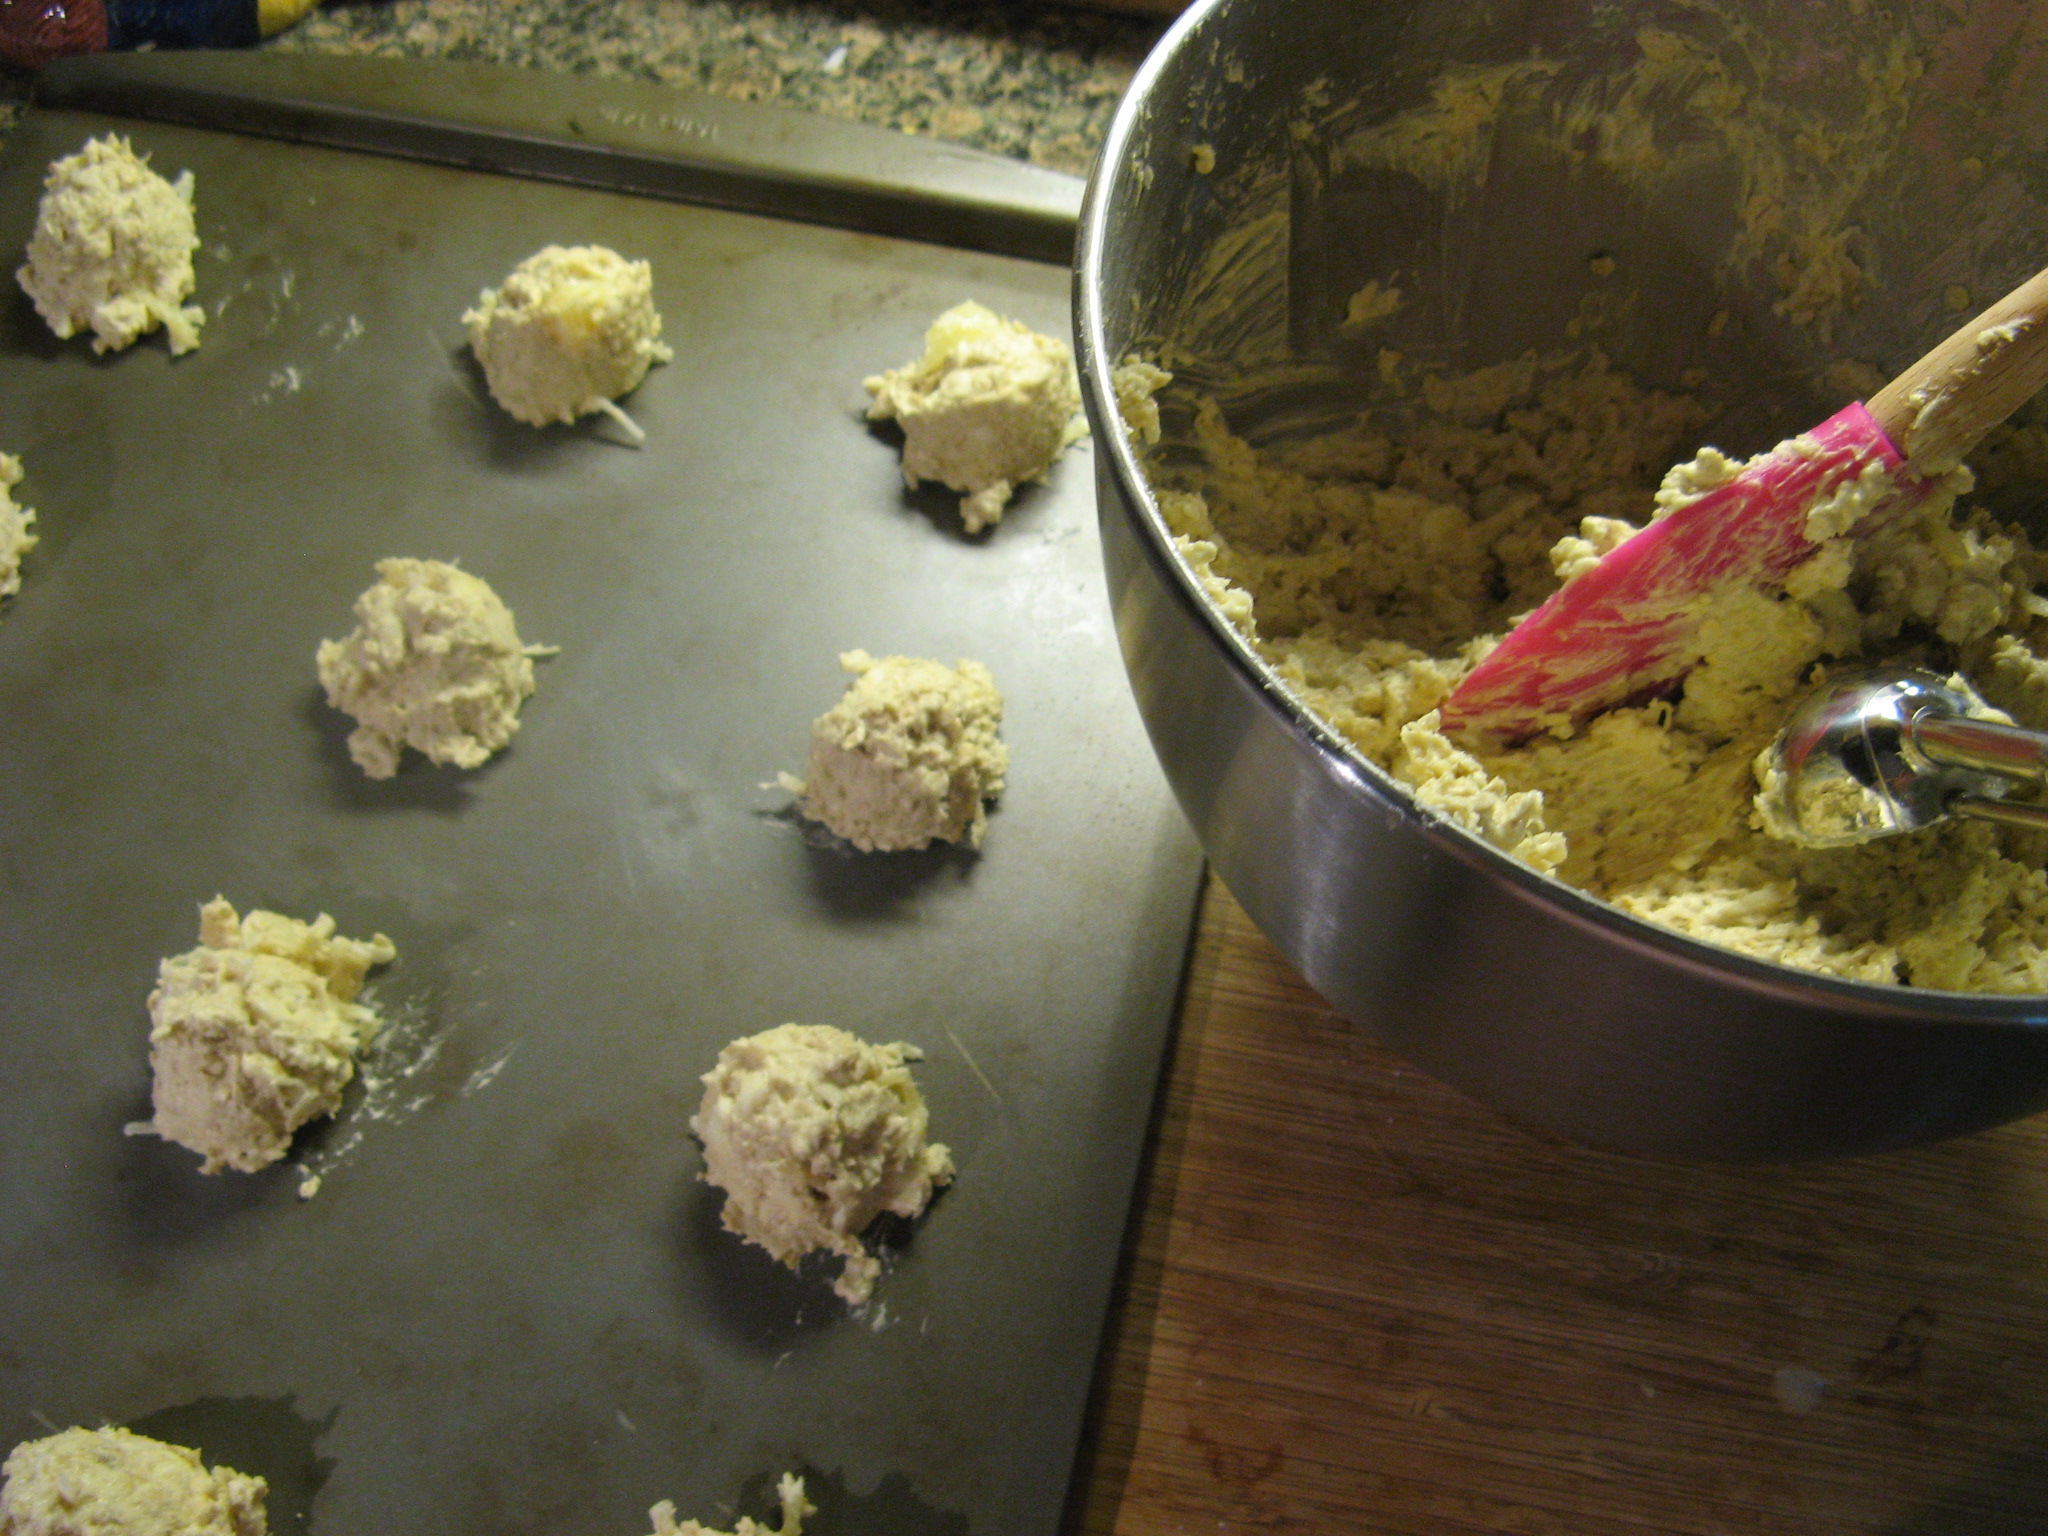
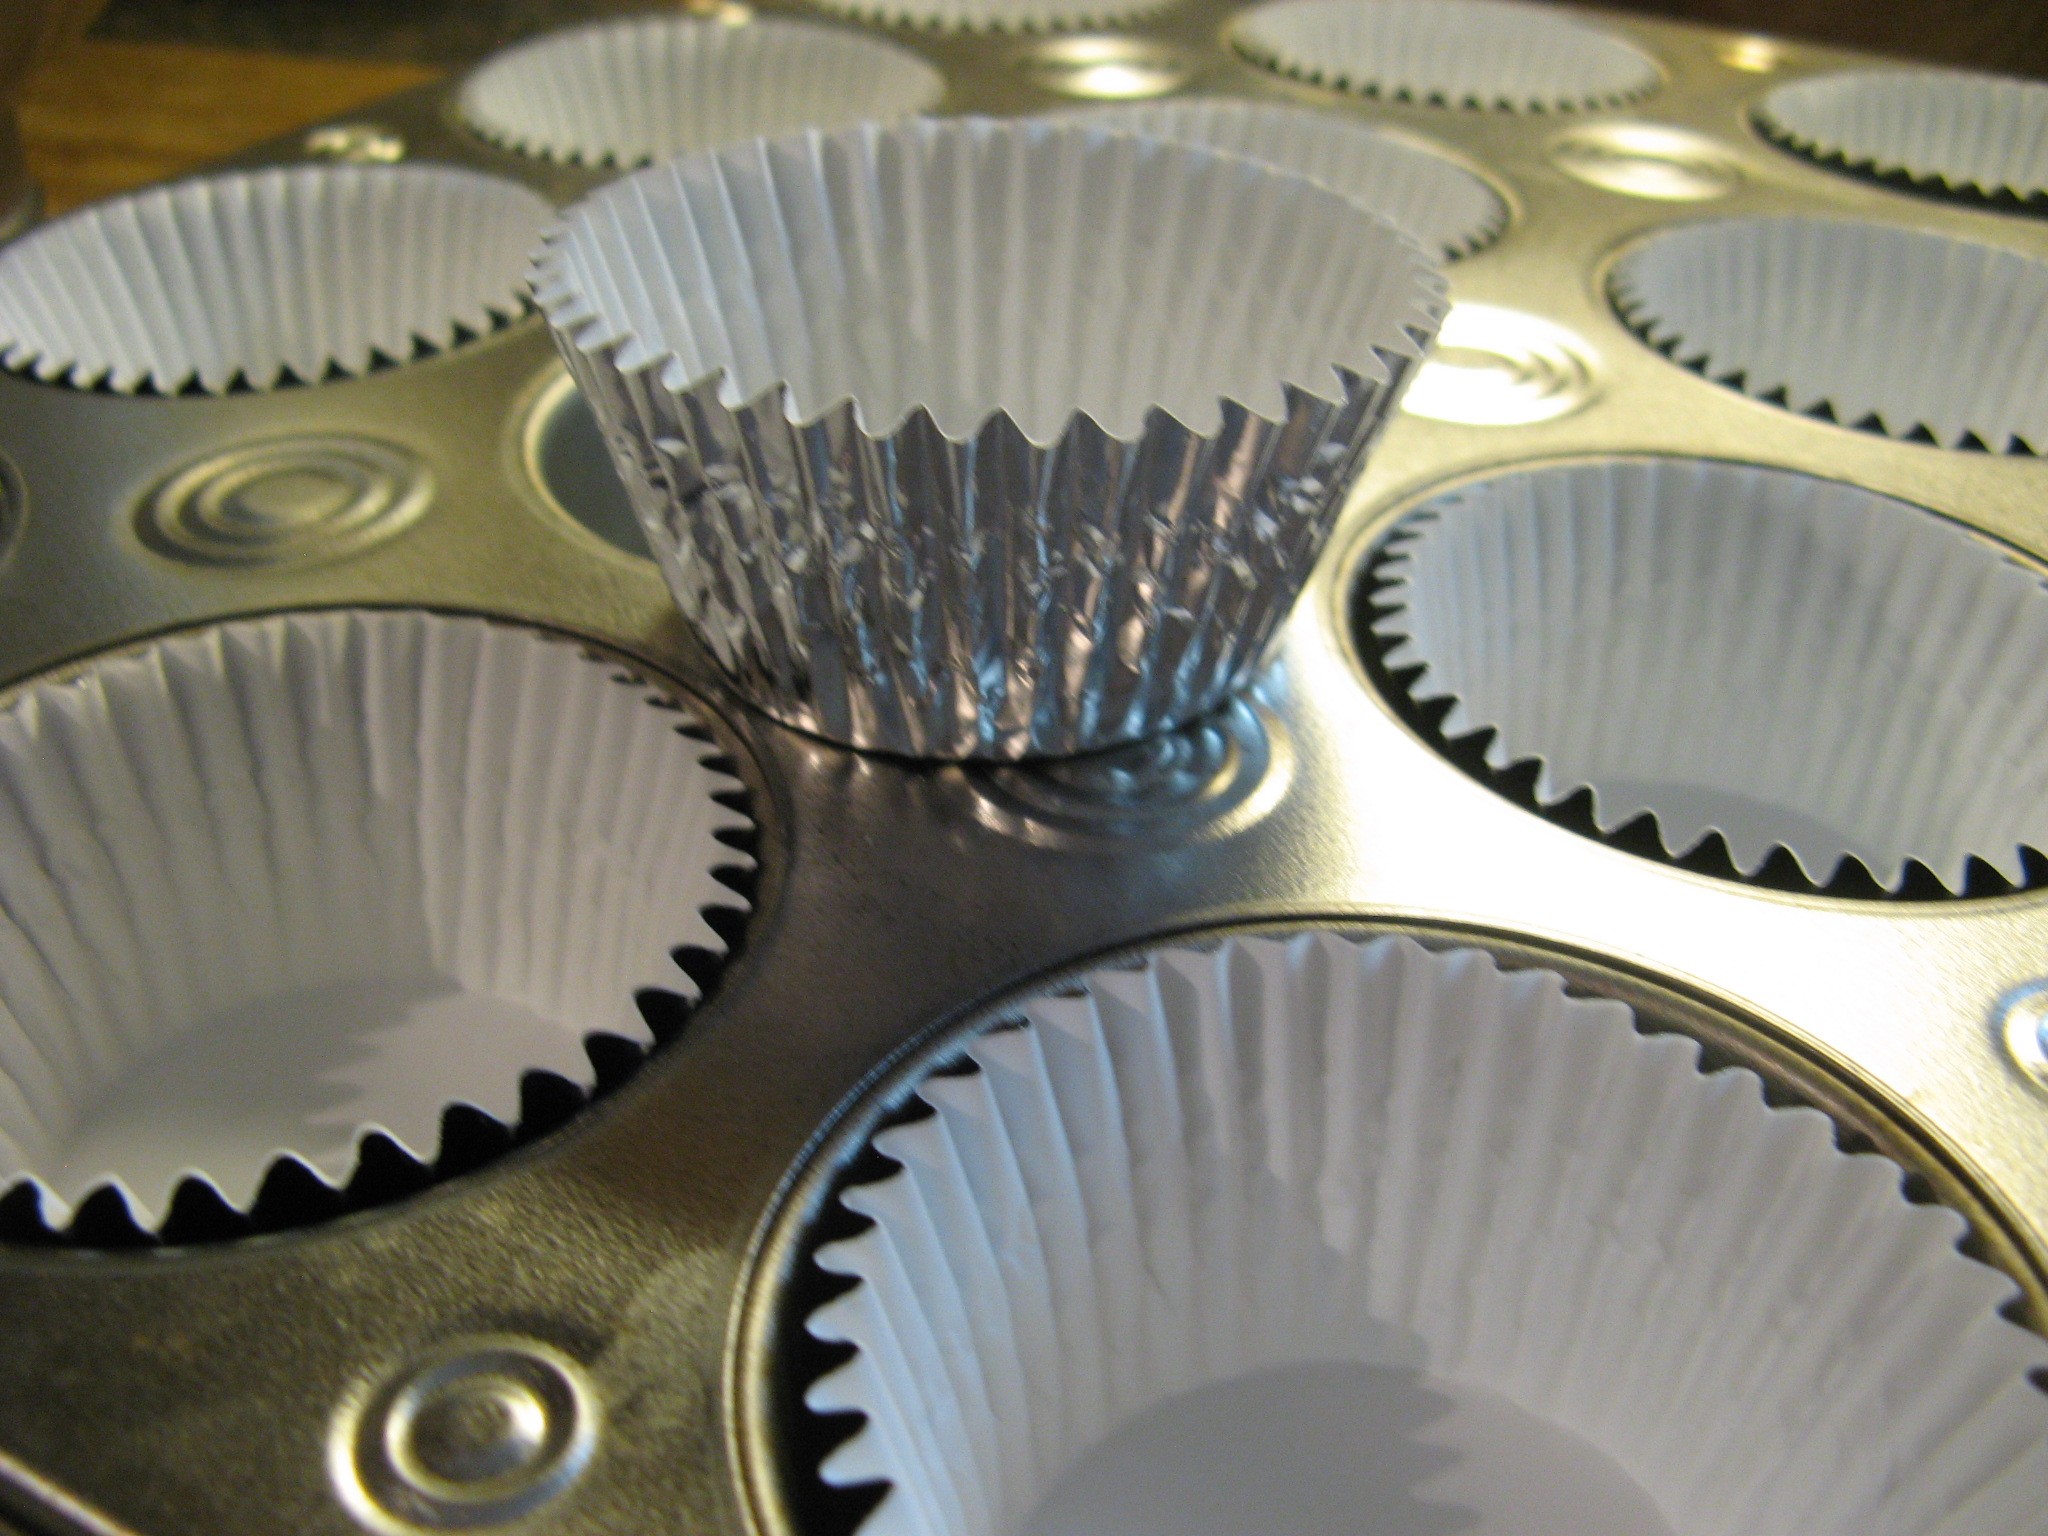
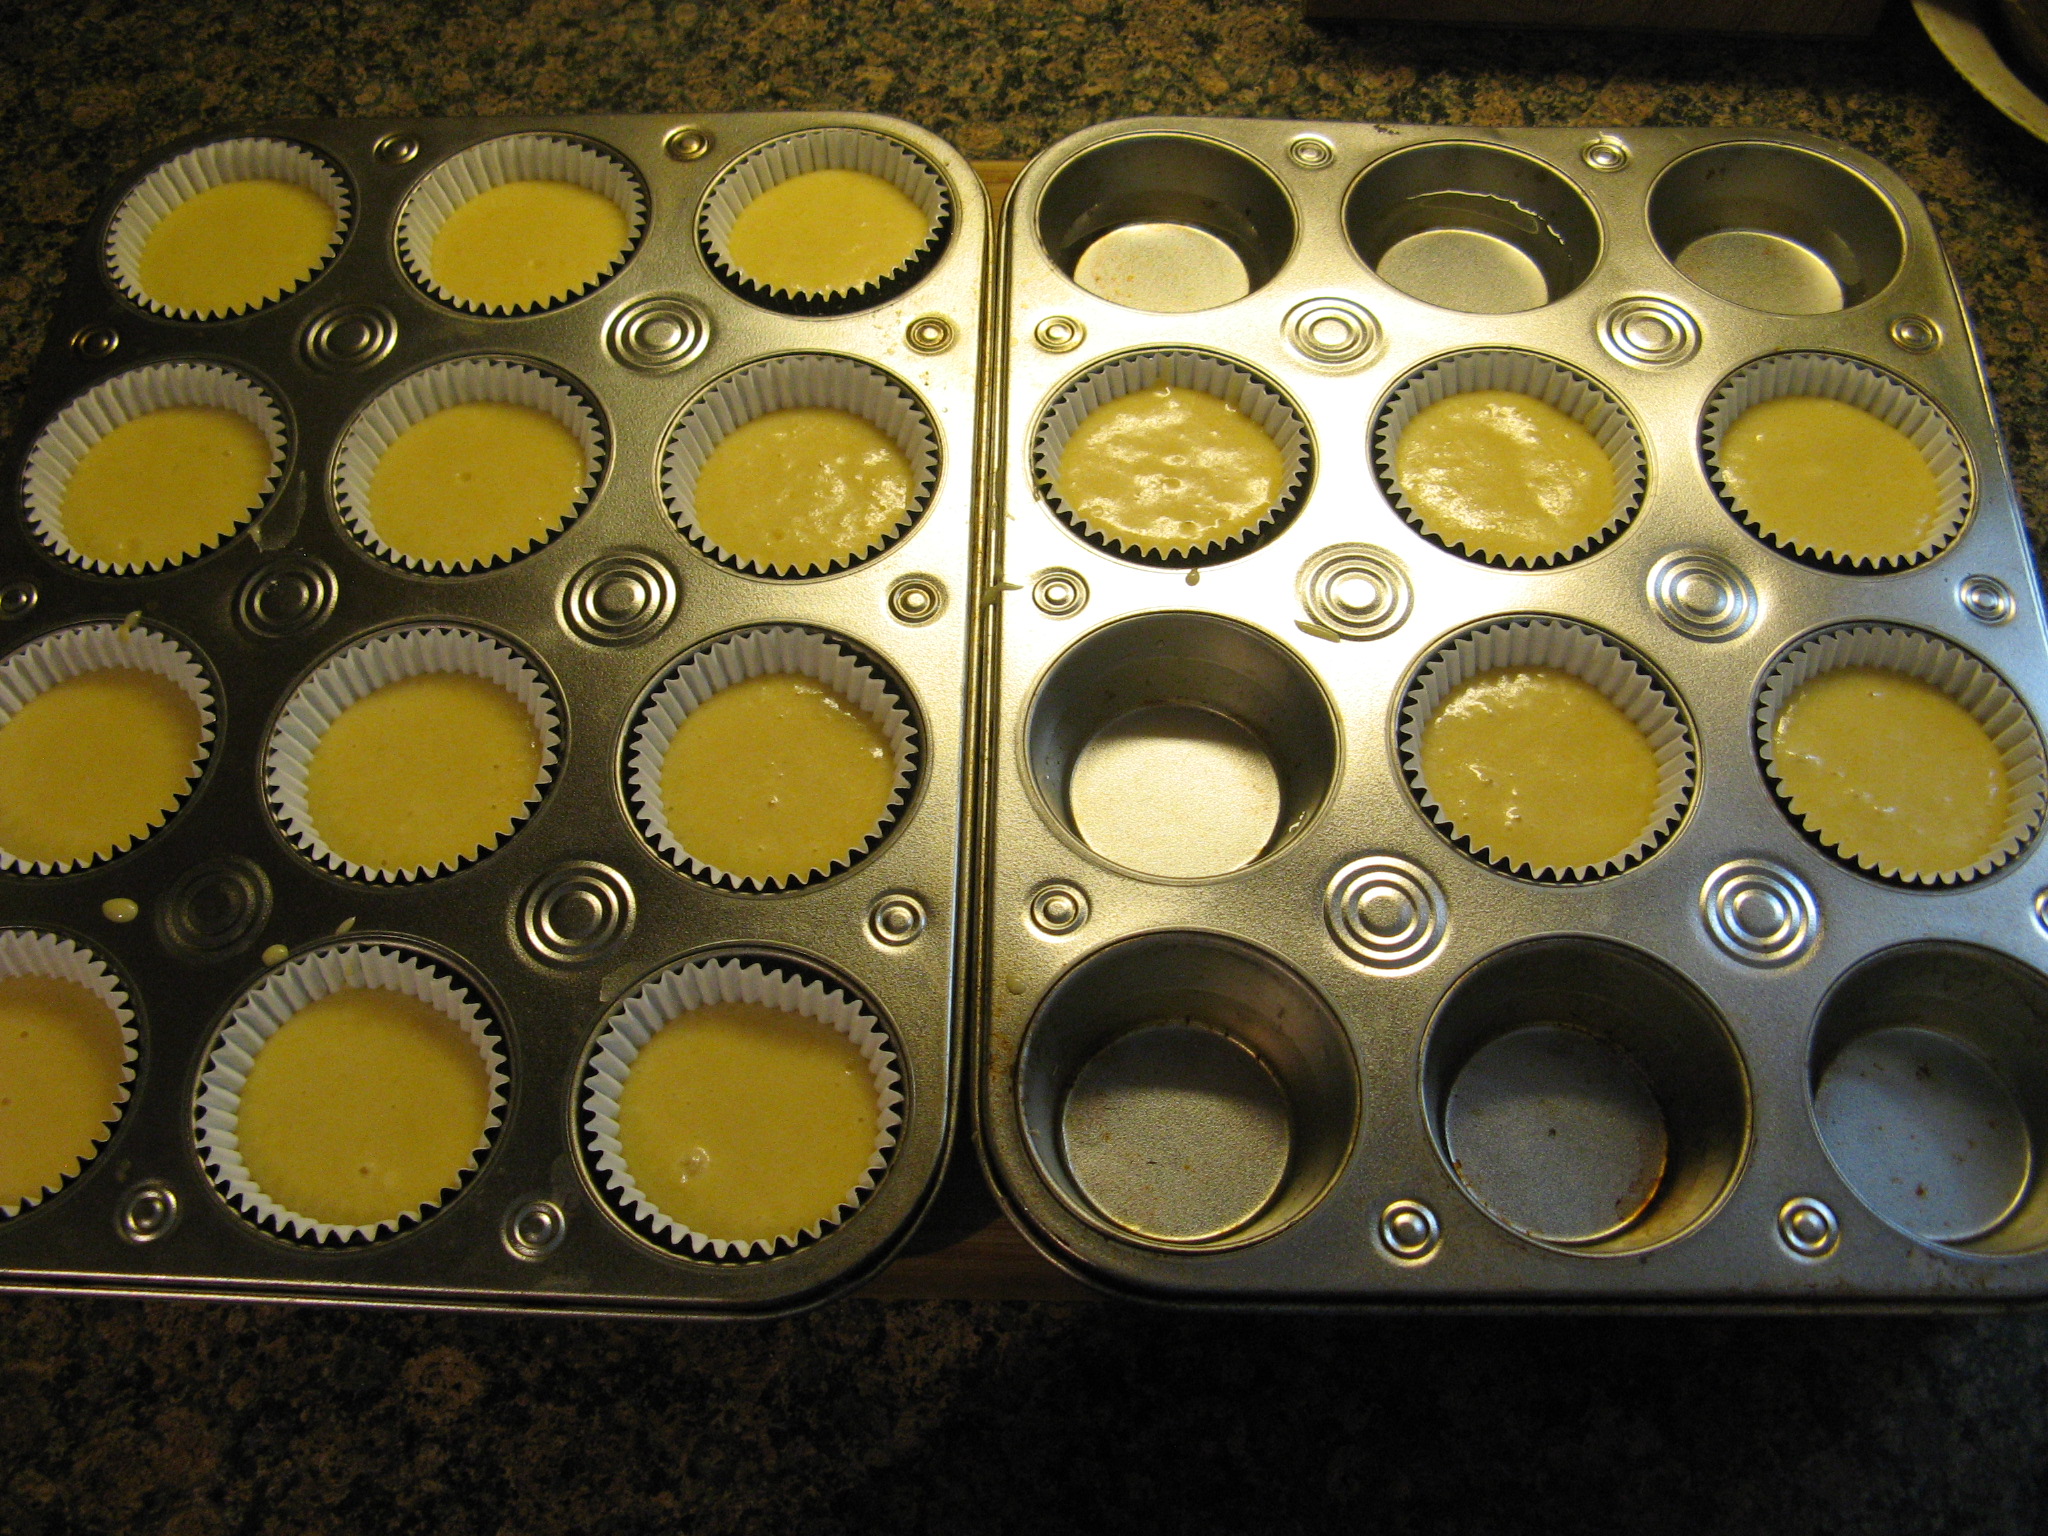
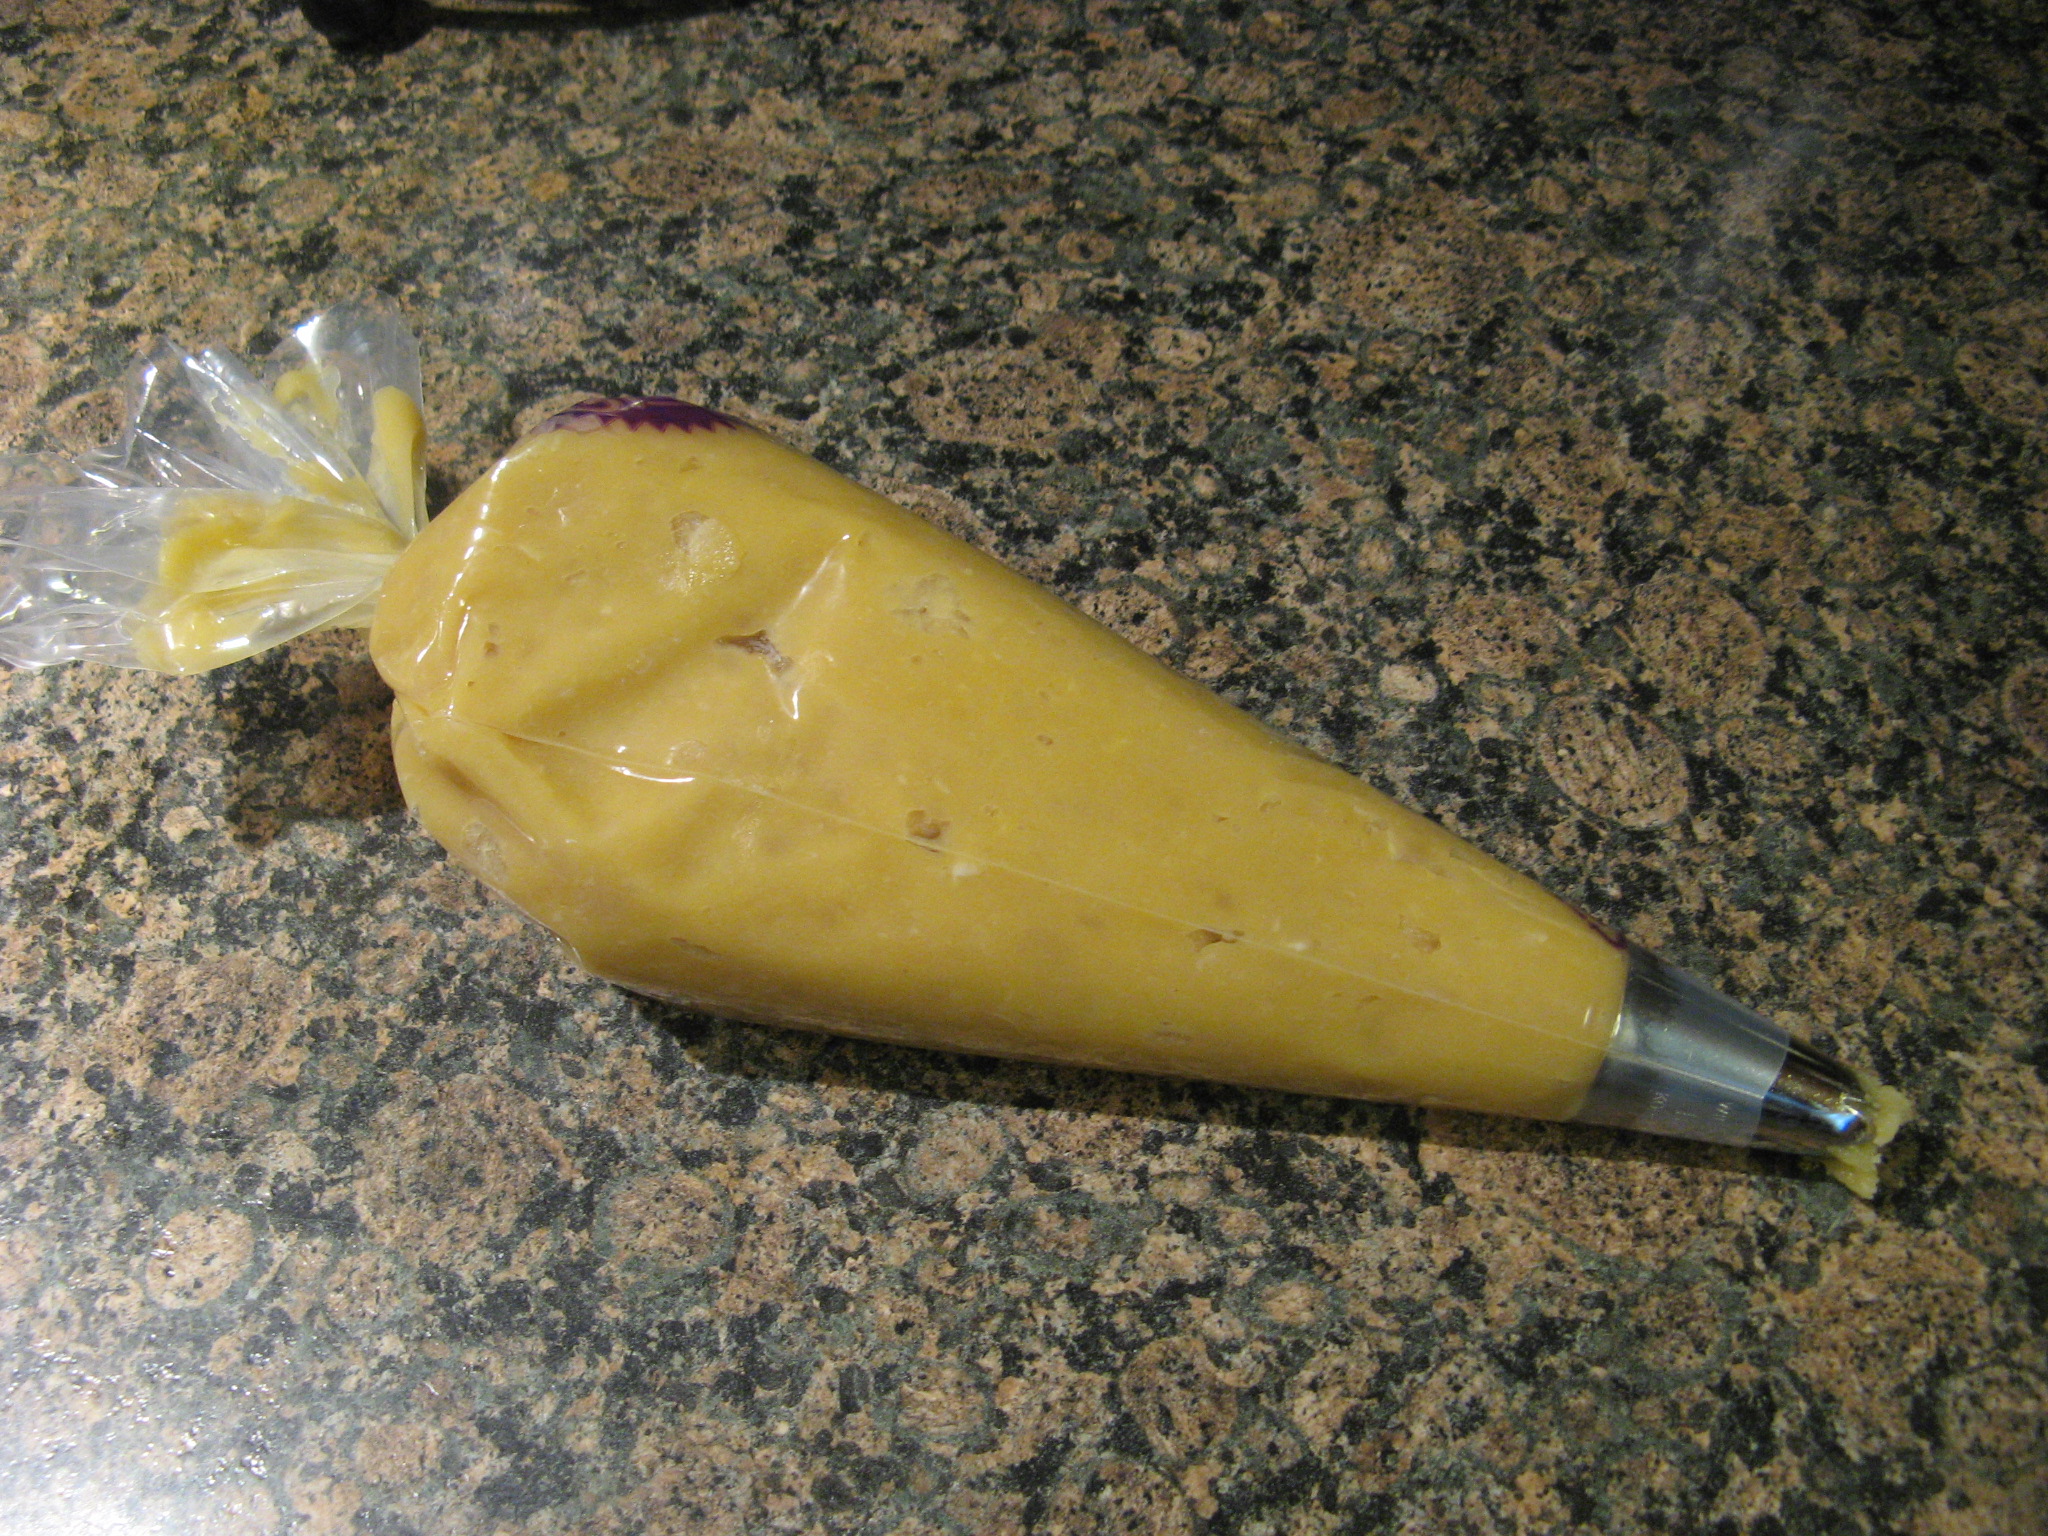
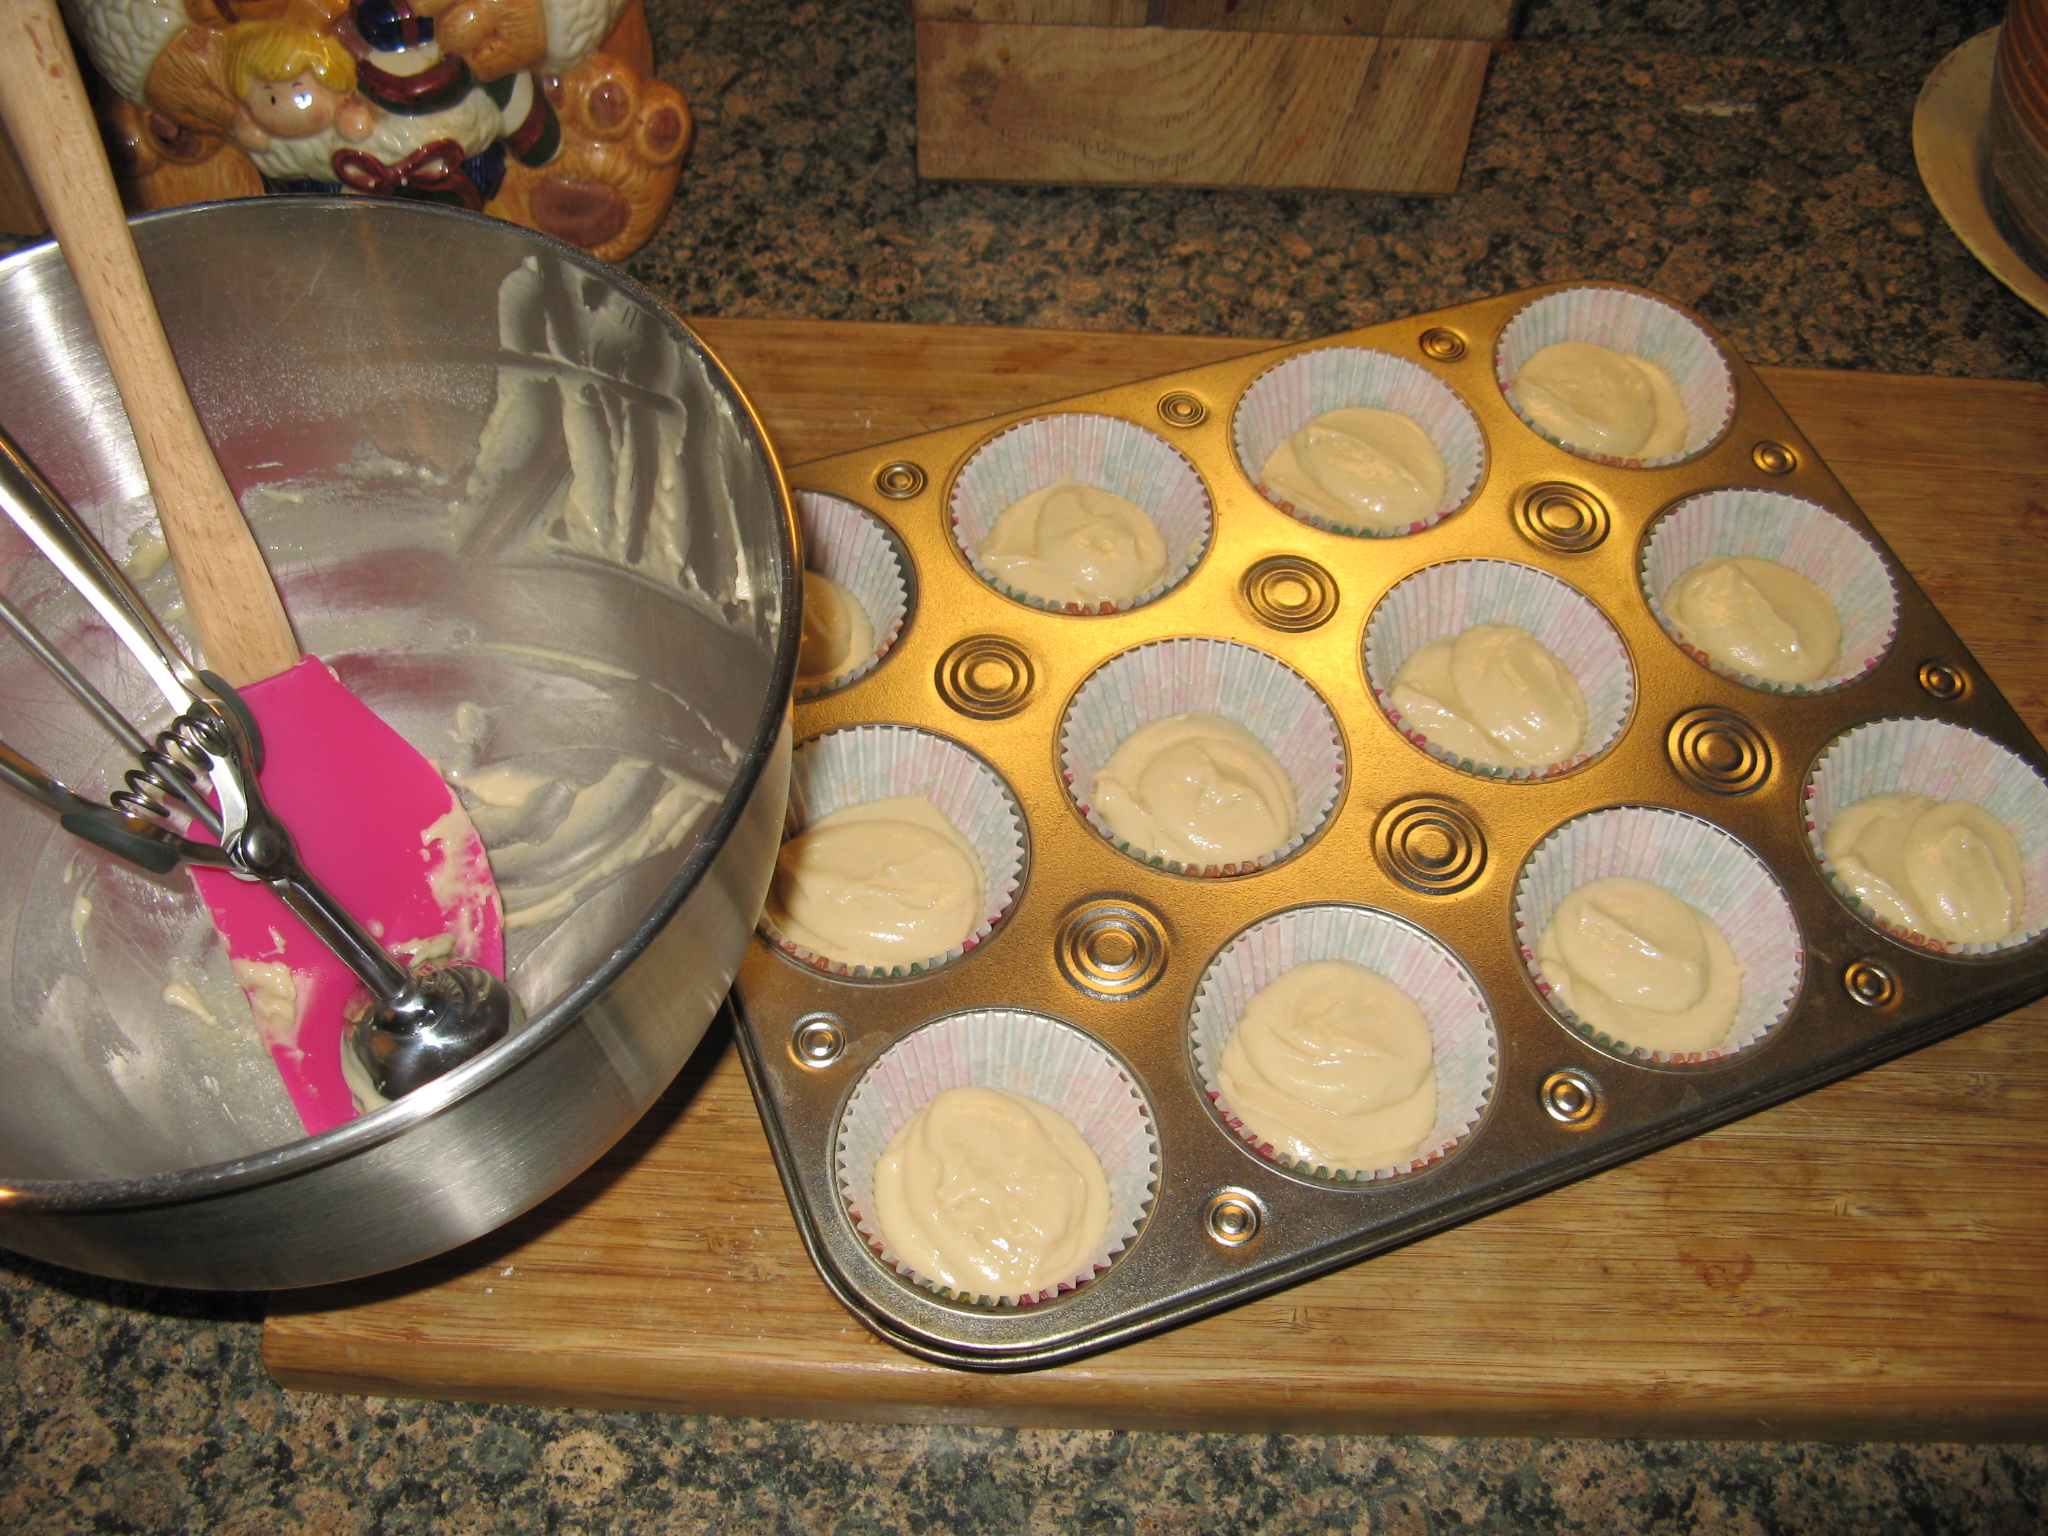
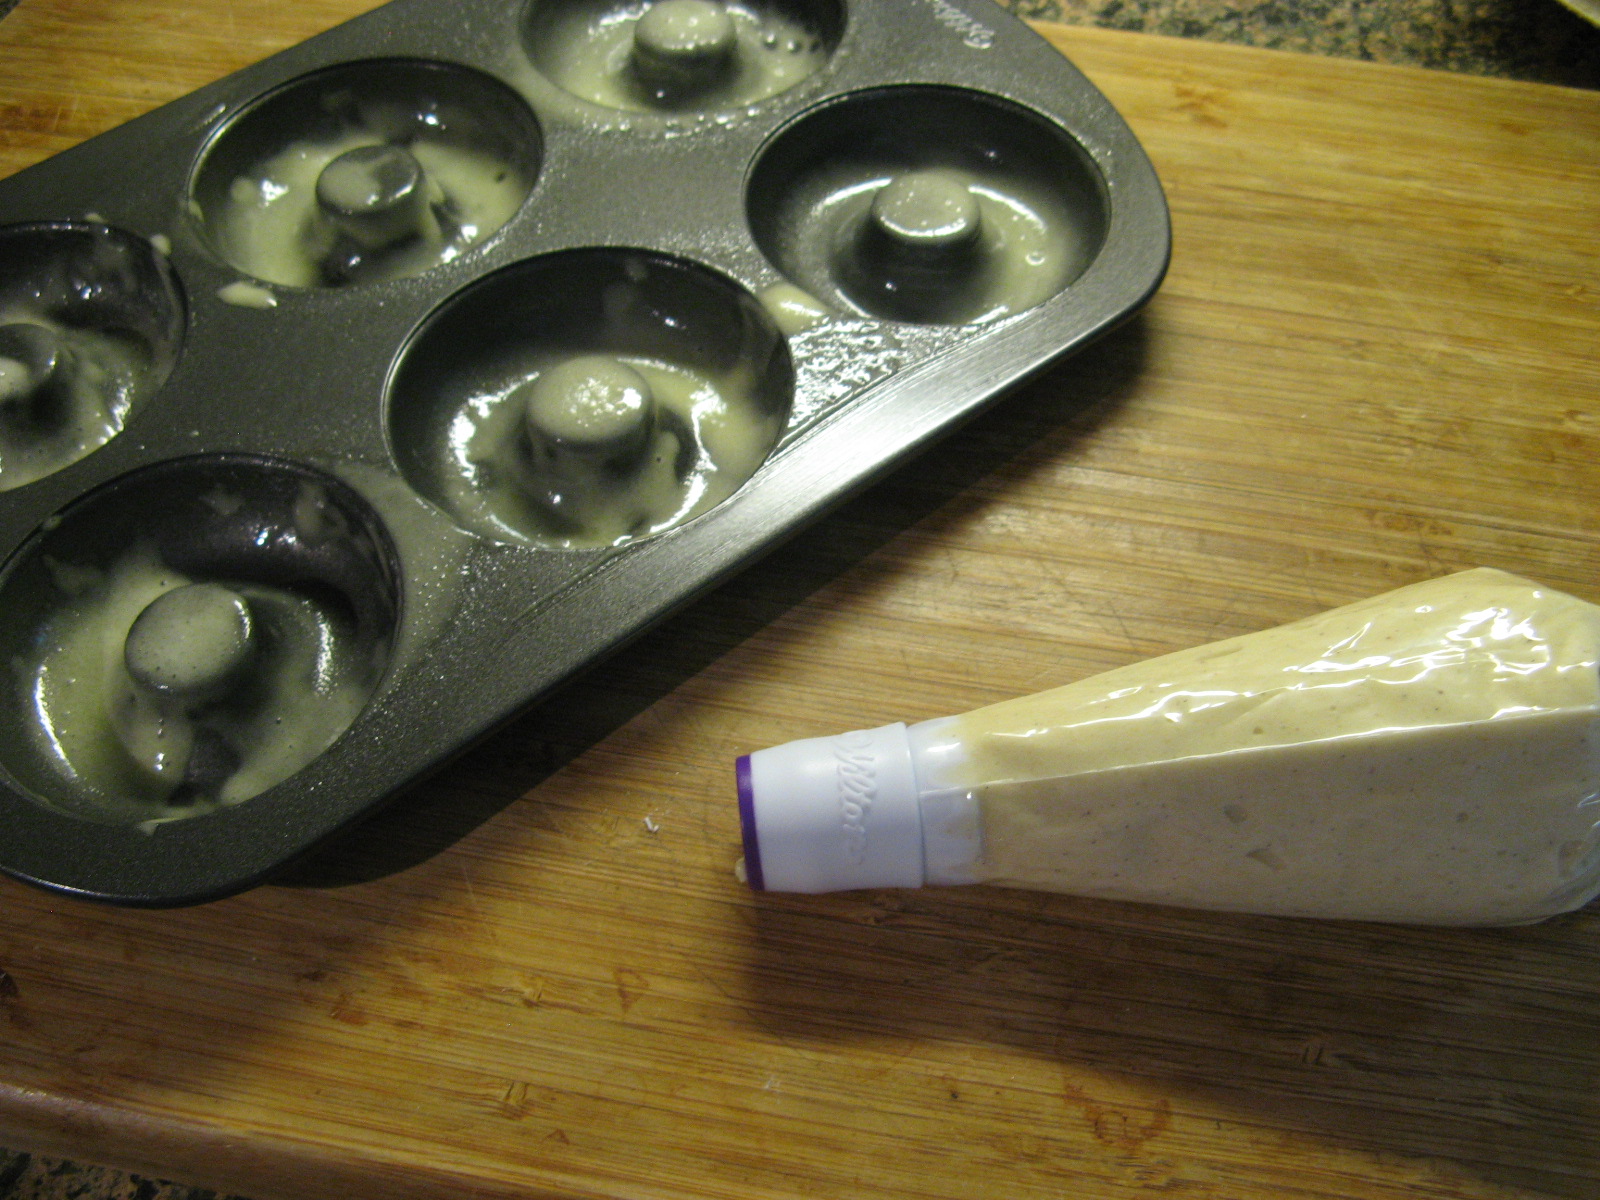
Now it was time to pipe the batter into my greased doughnut pan.
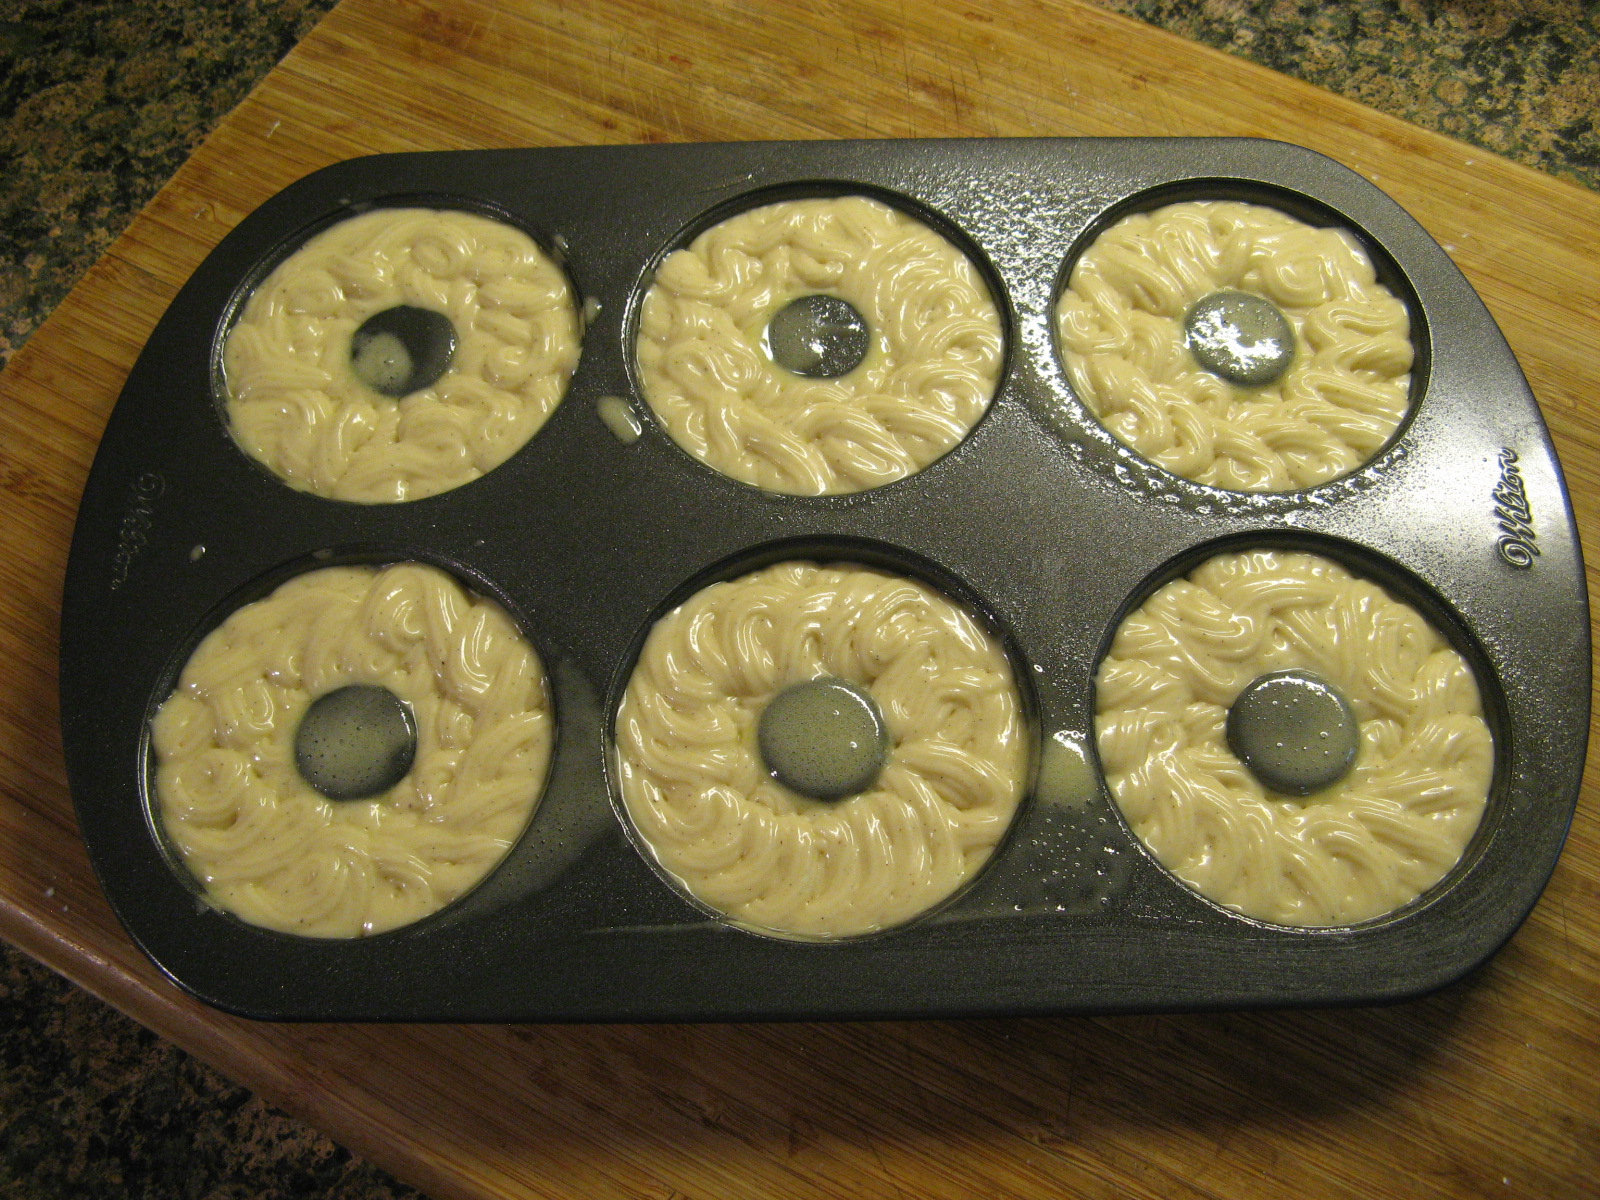
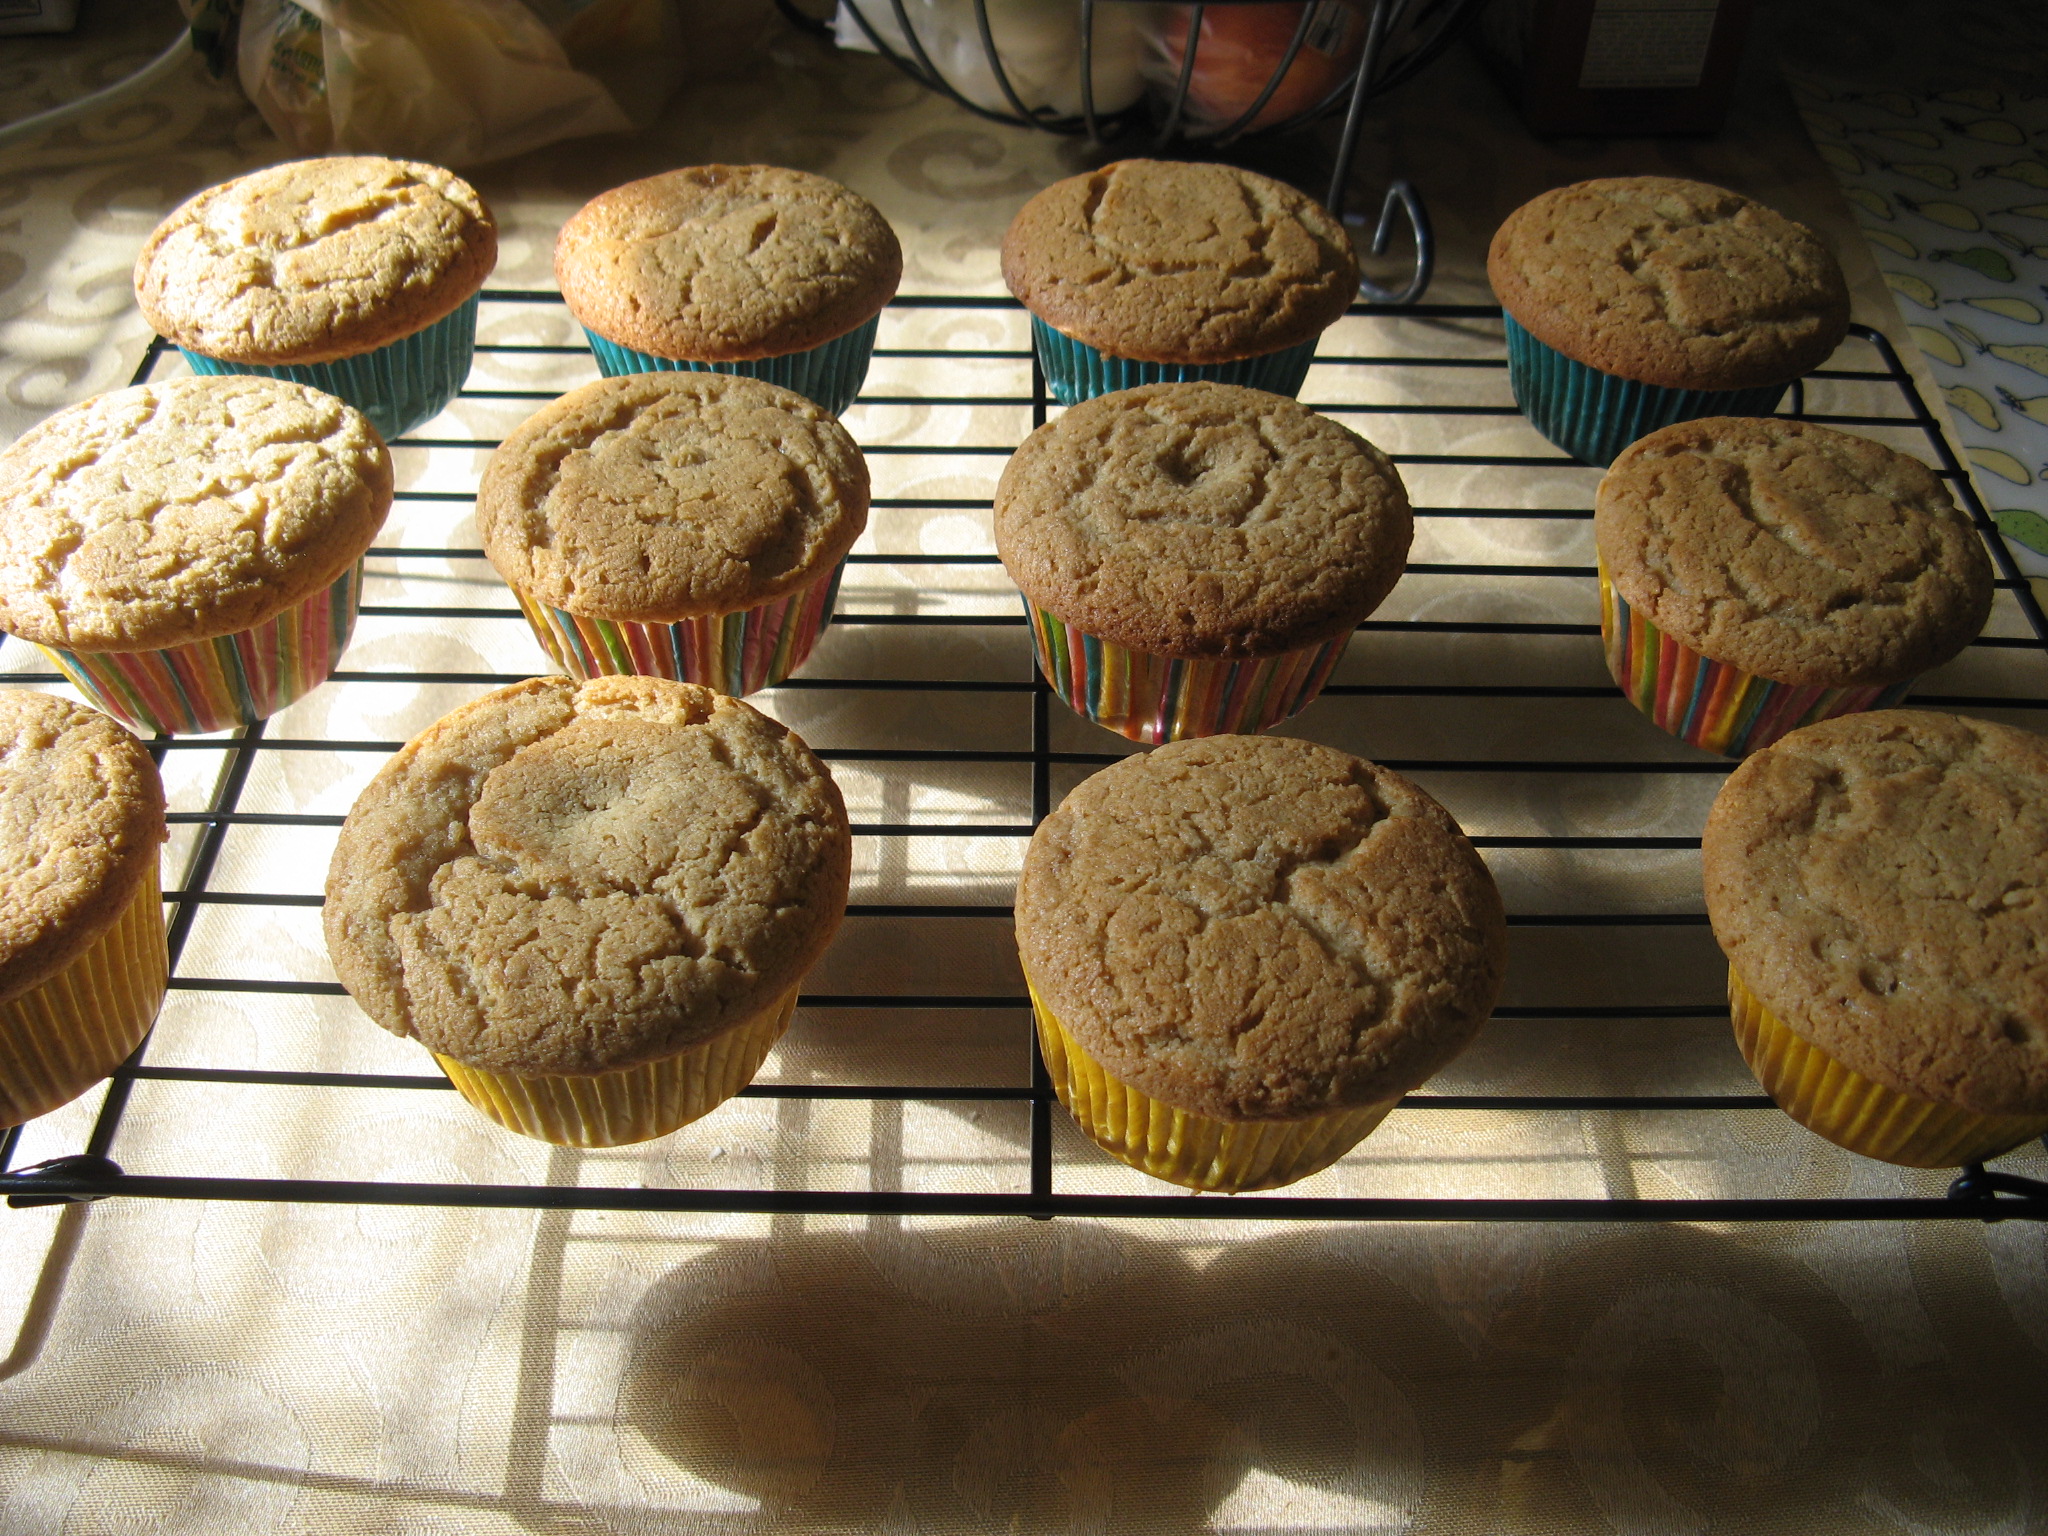
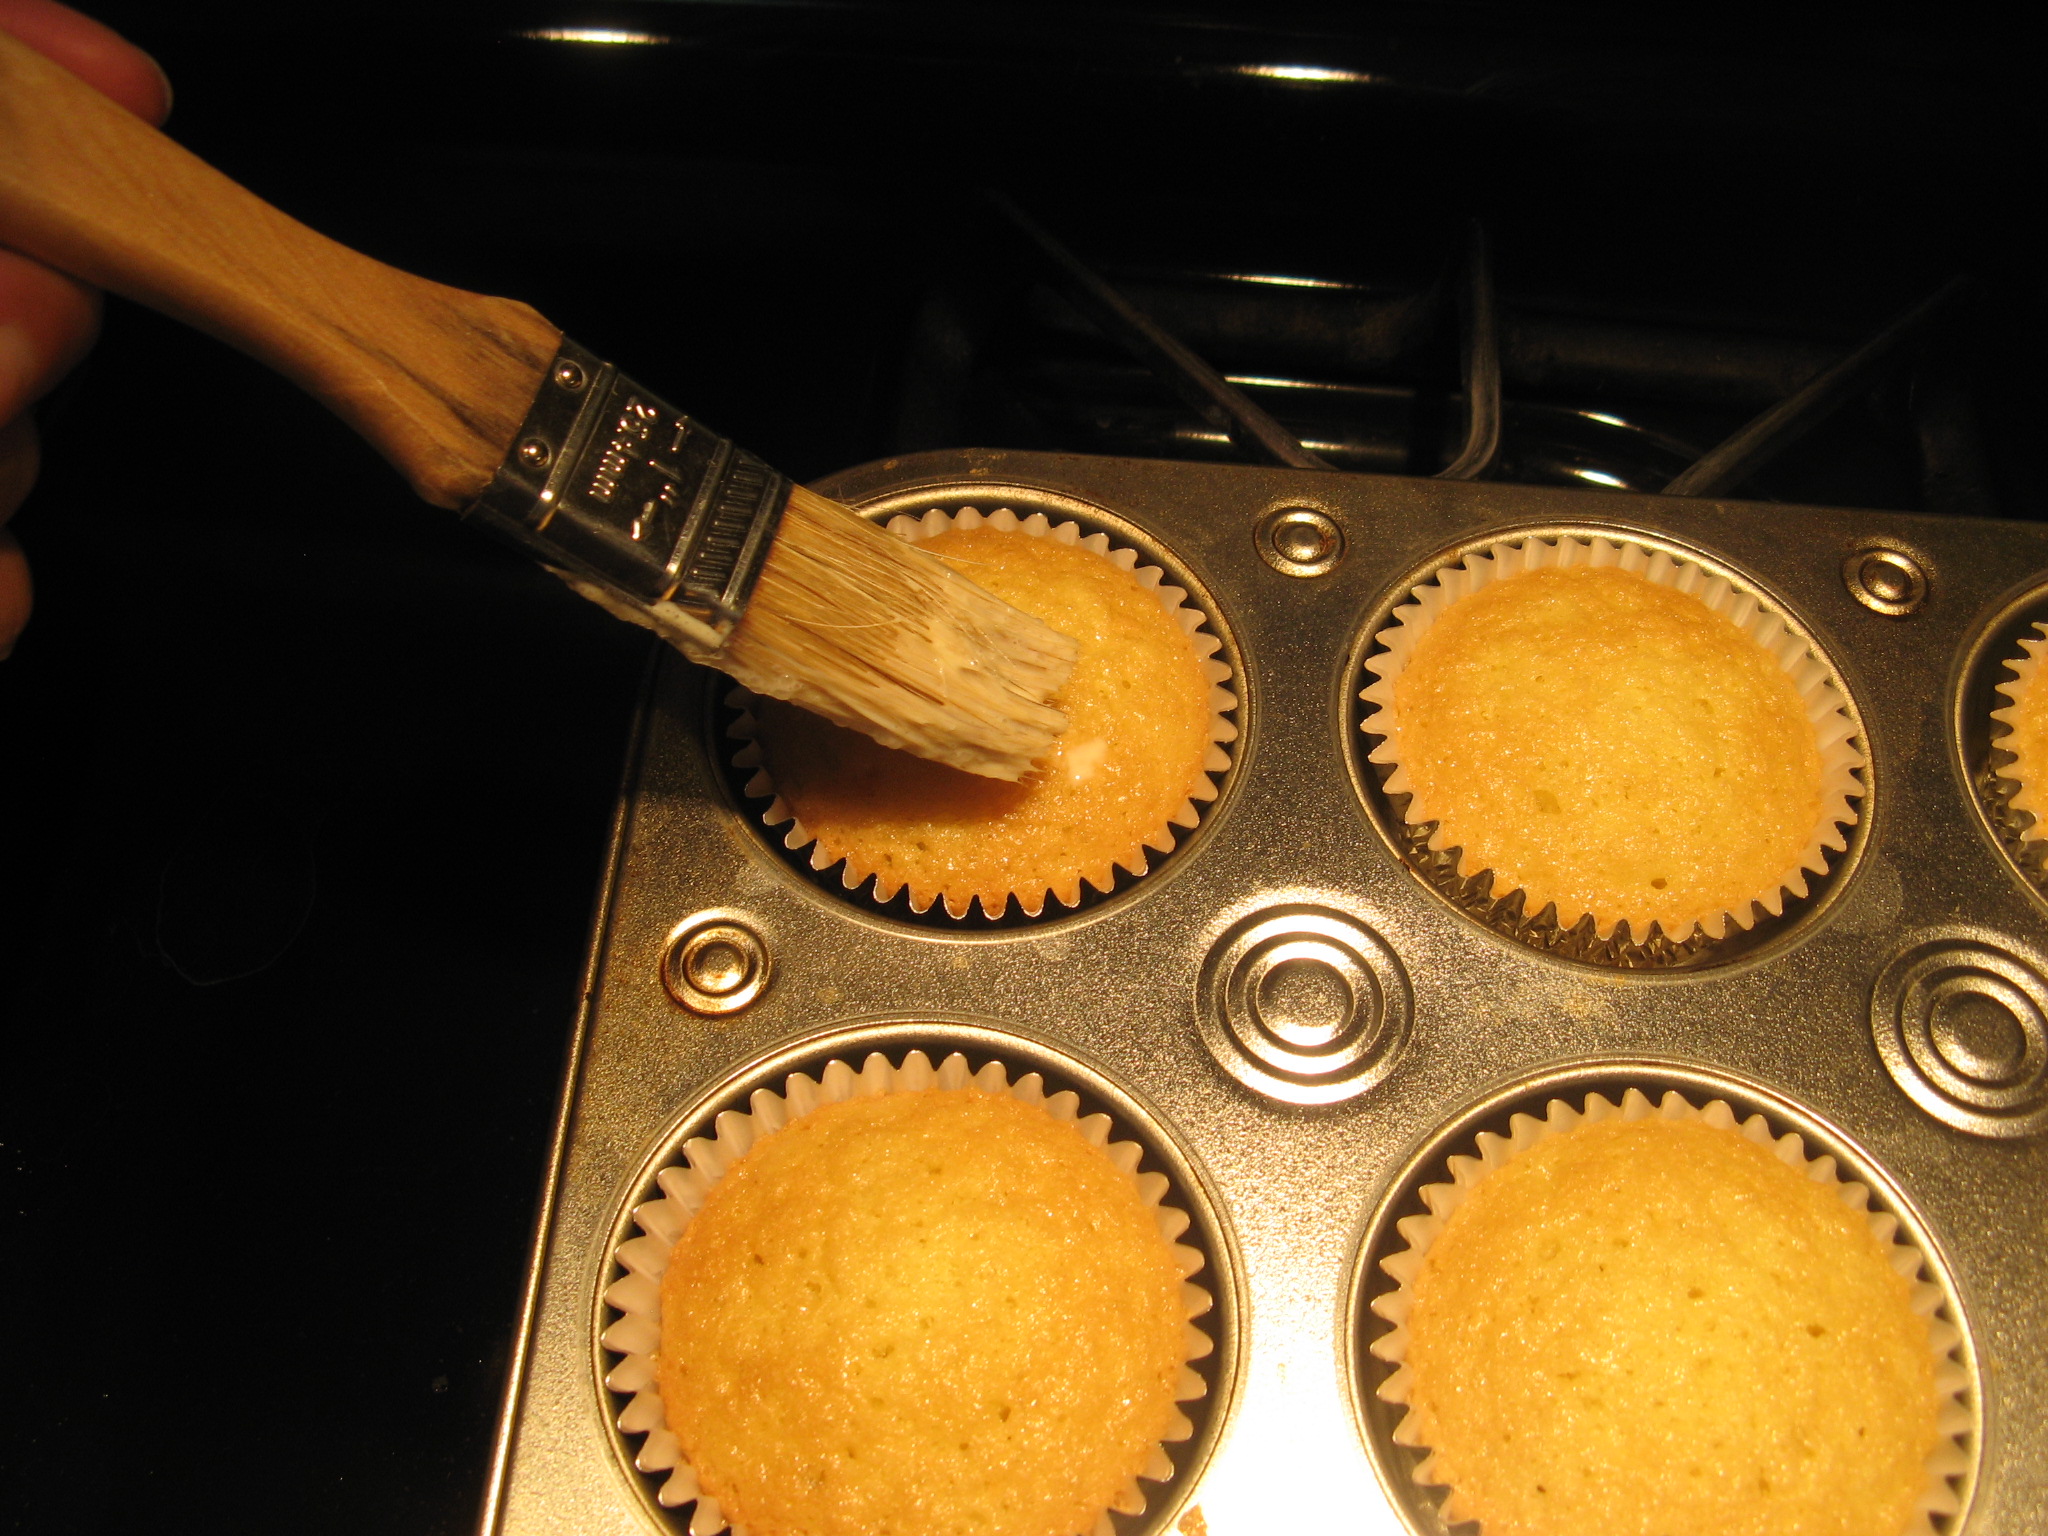
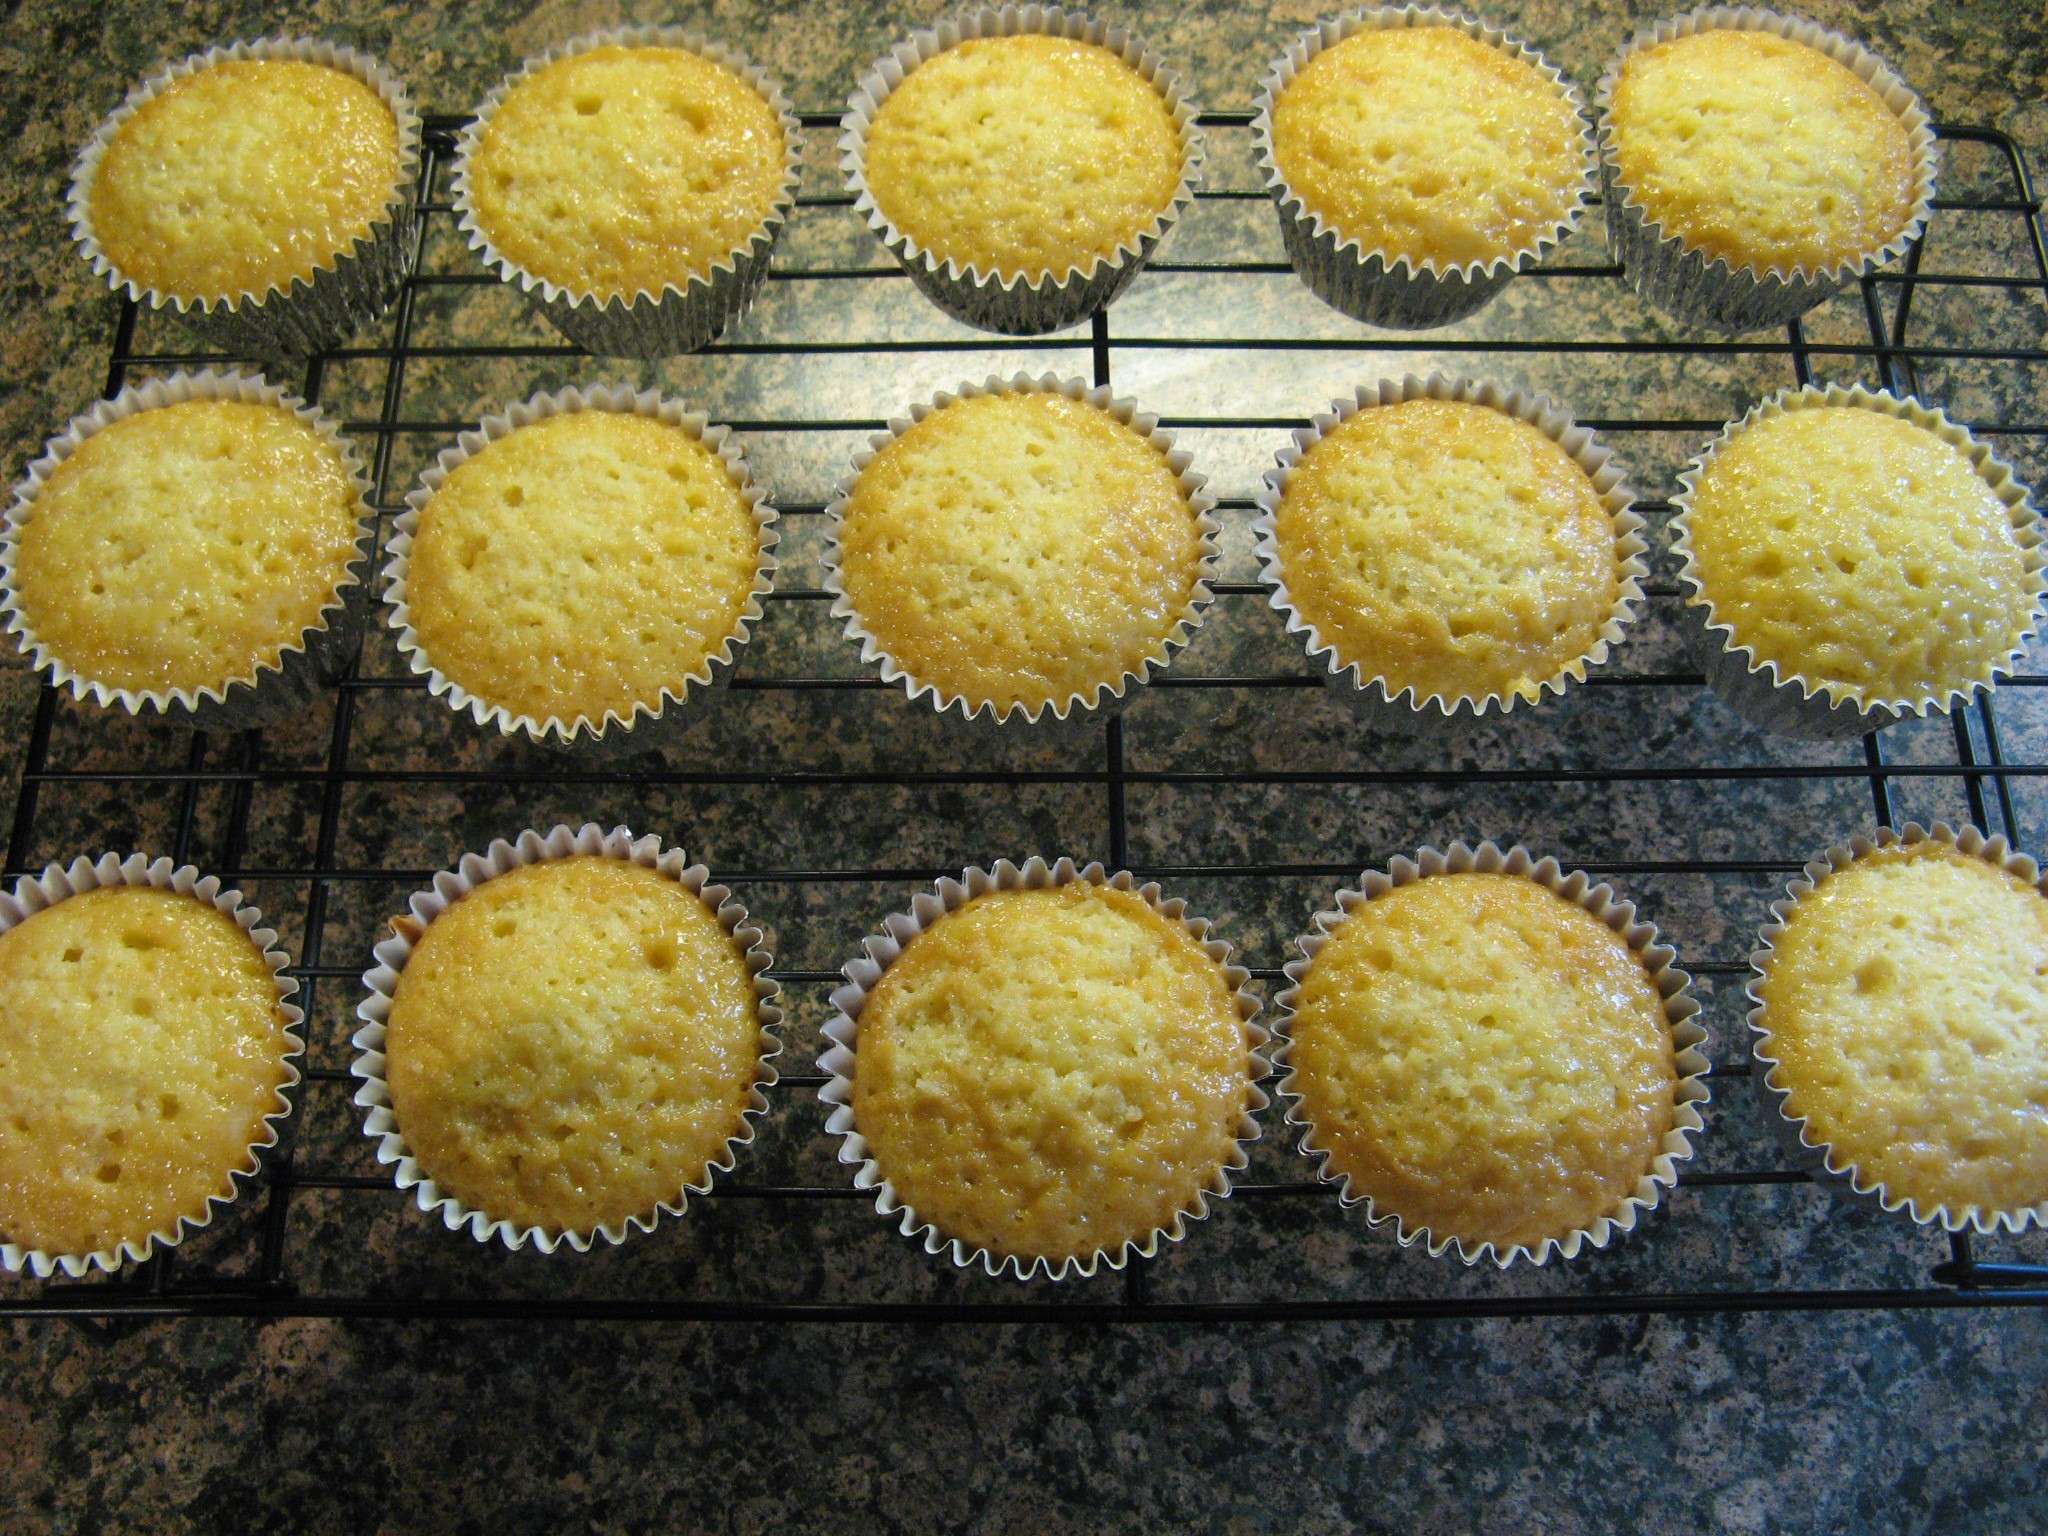
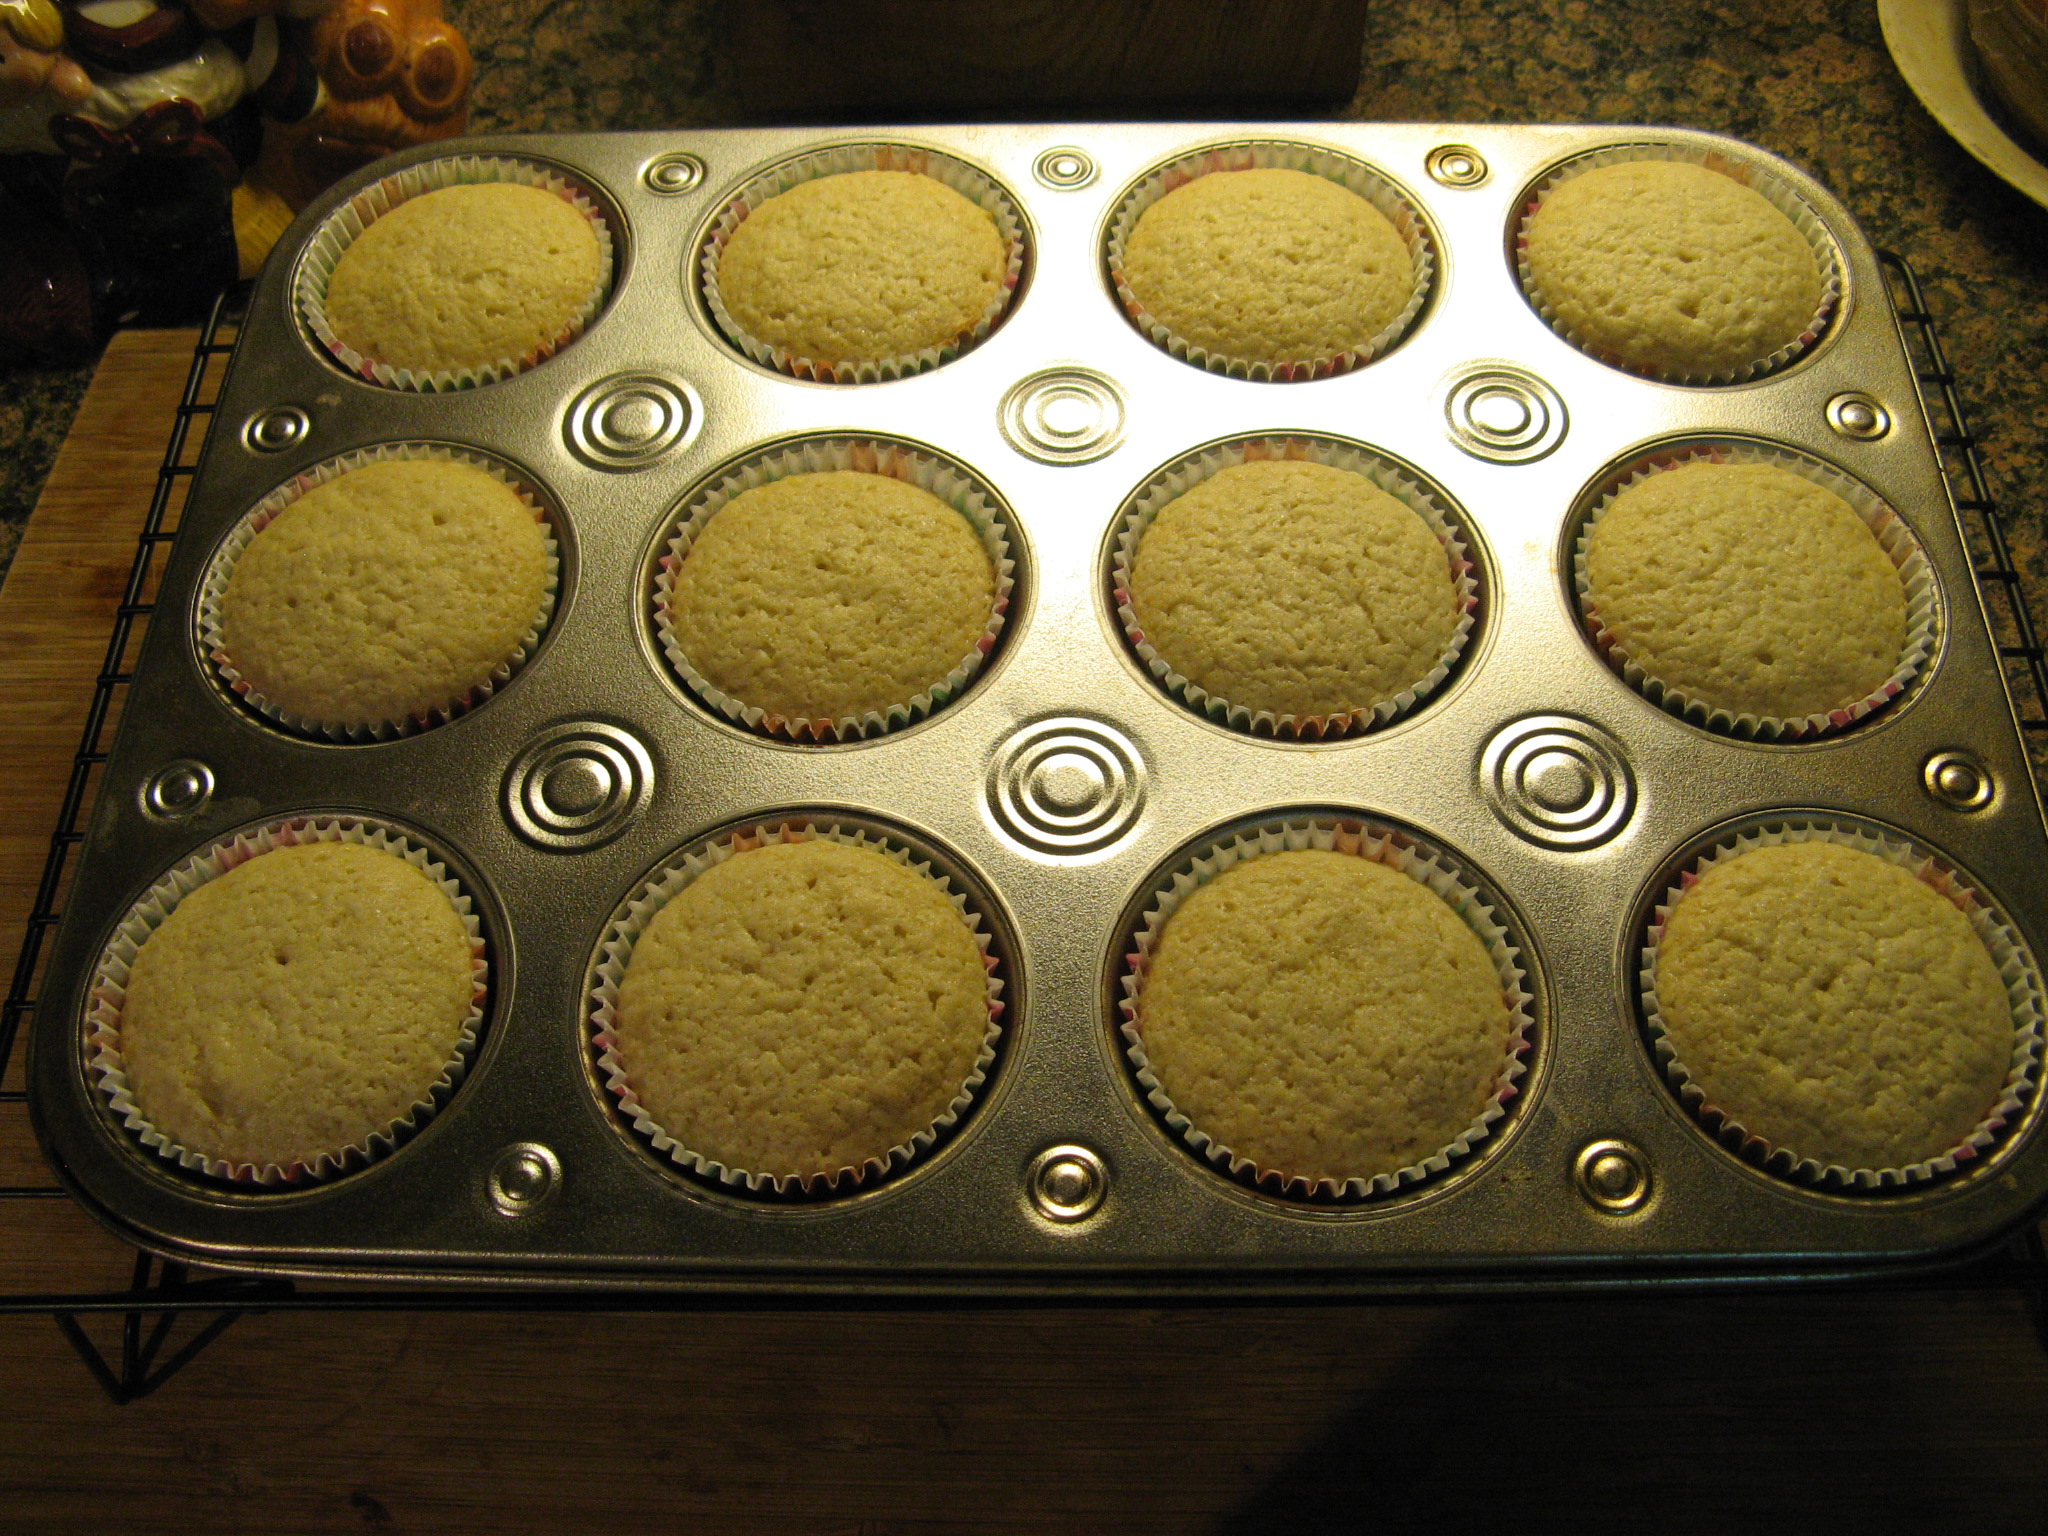
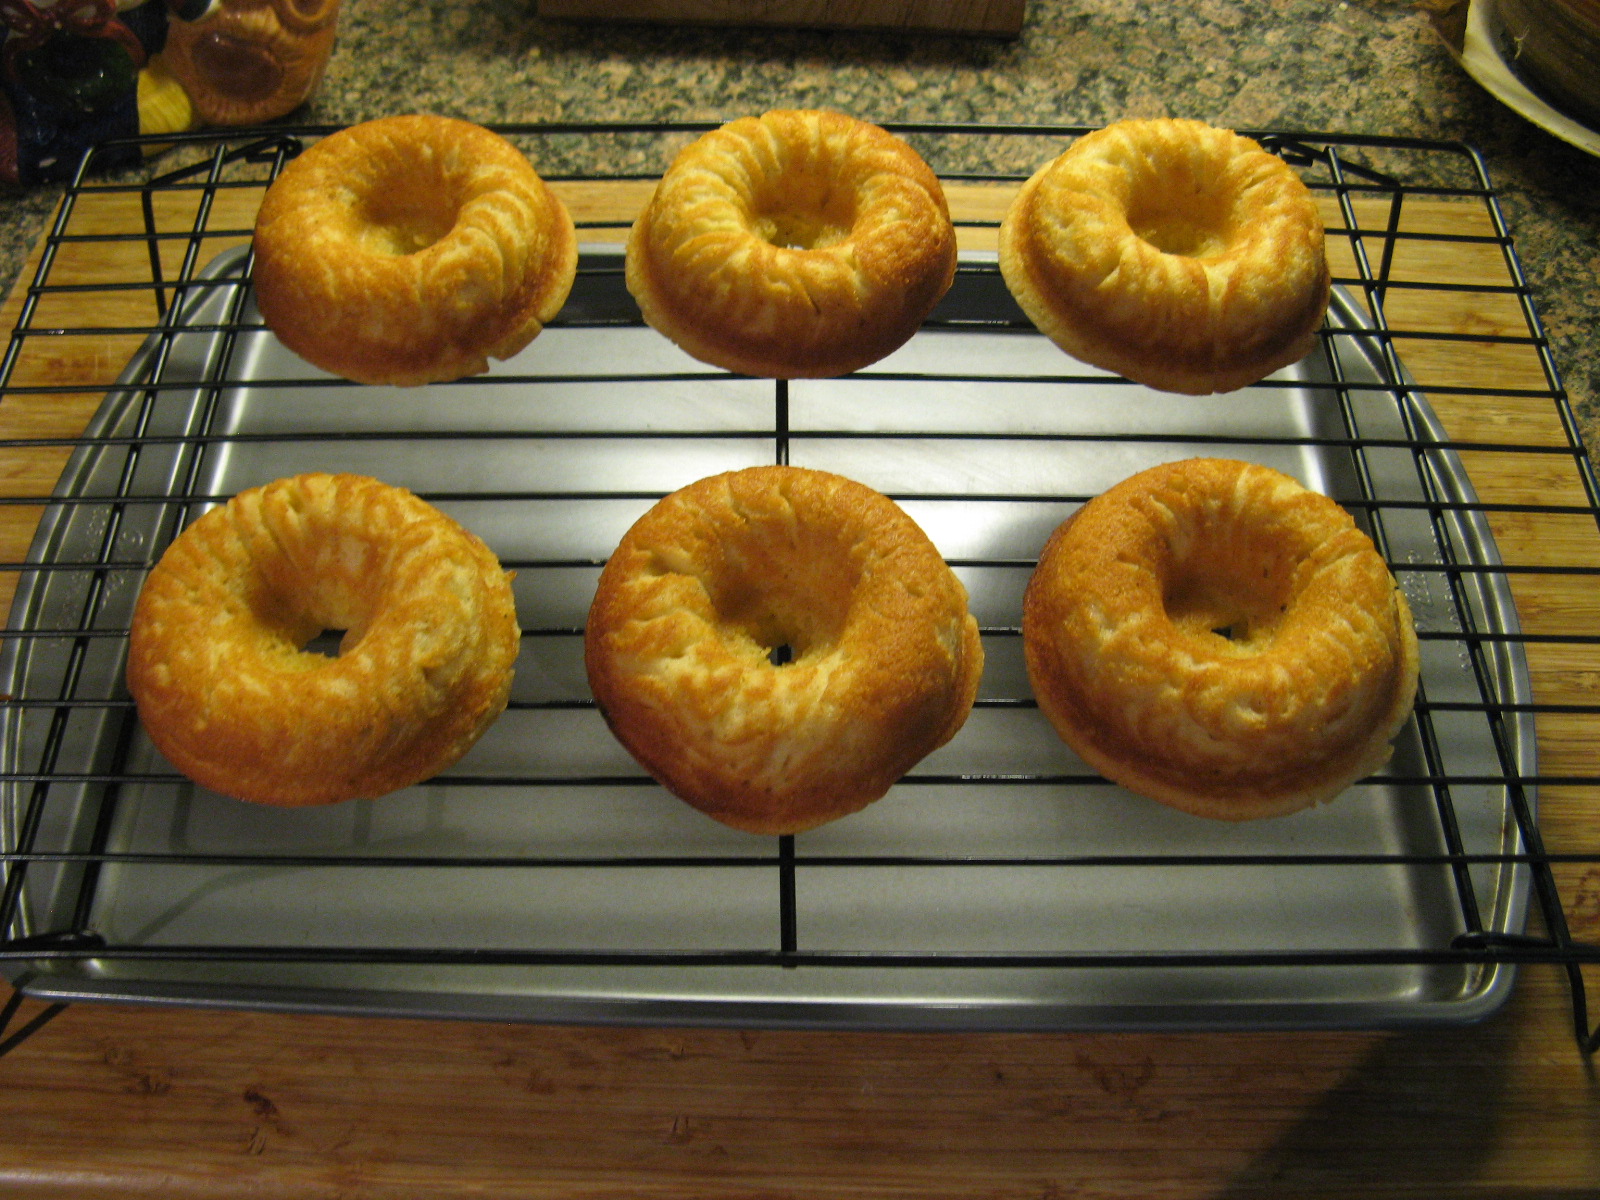
Following that I baked the doughnuts in a preheated 350 F oven for about 15 minutes. After letting them cool in the pan for 5 minutes I transferred them to a wire rack to finish cooling.
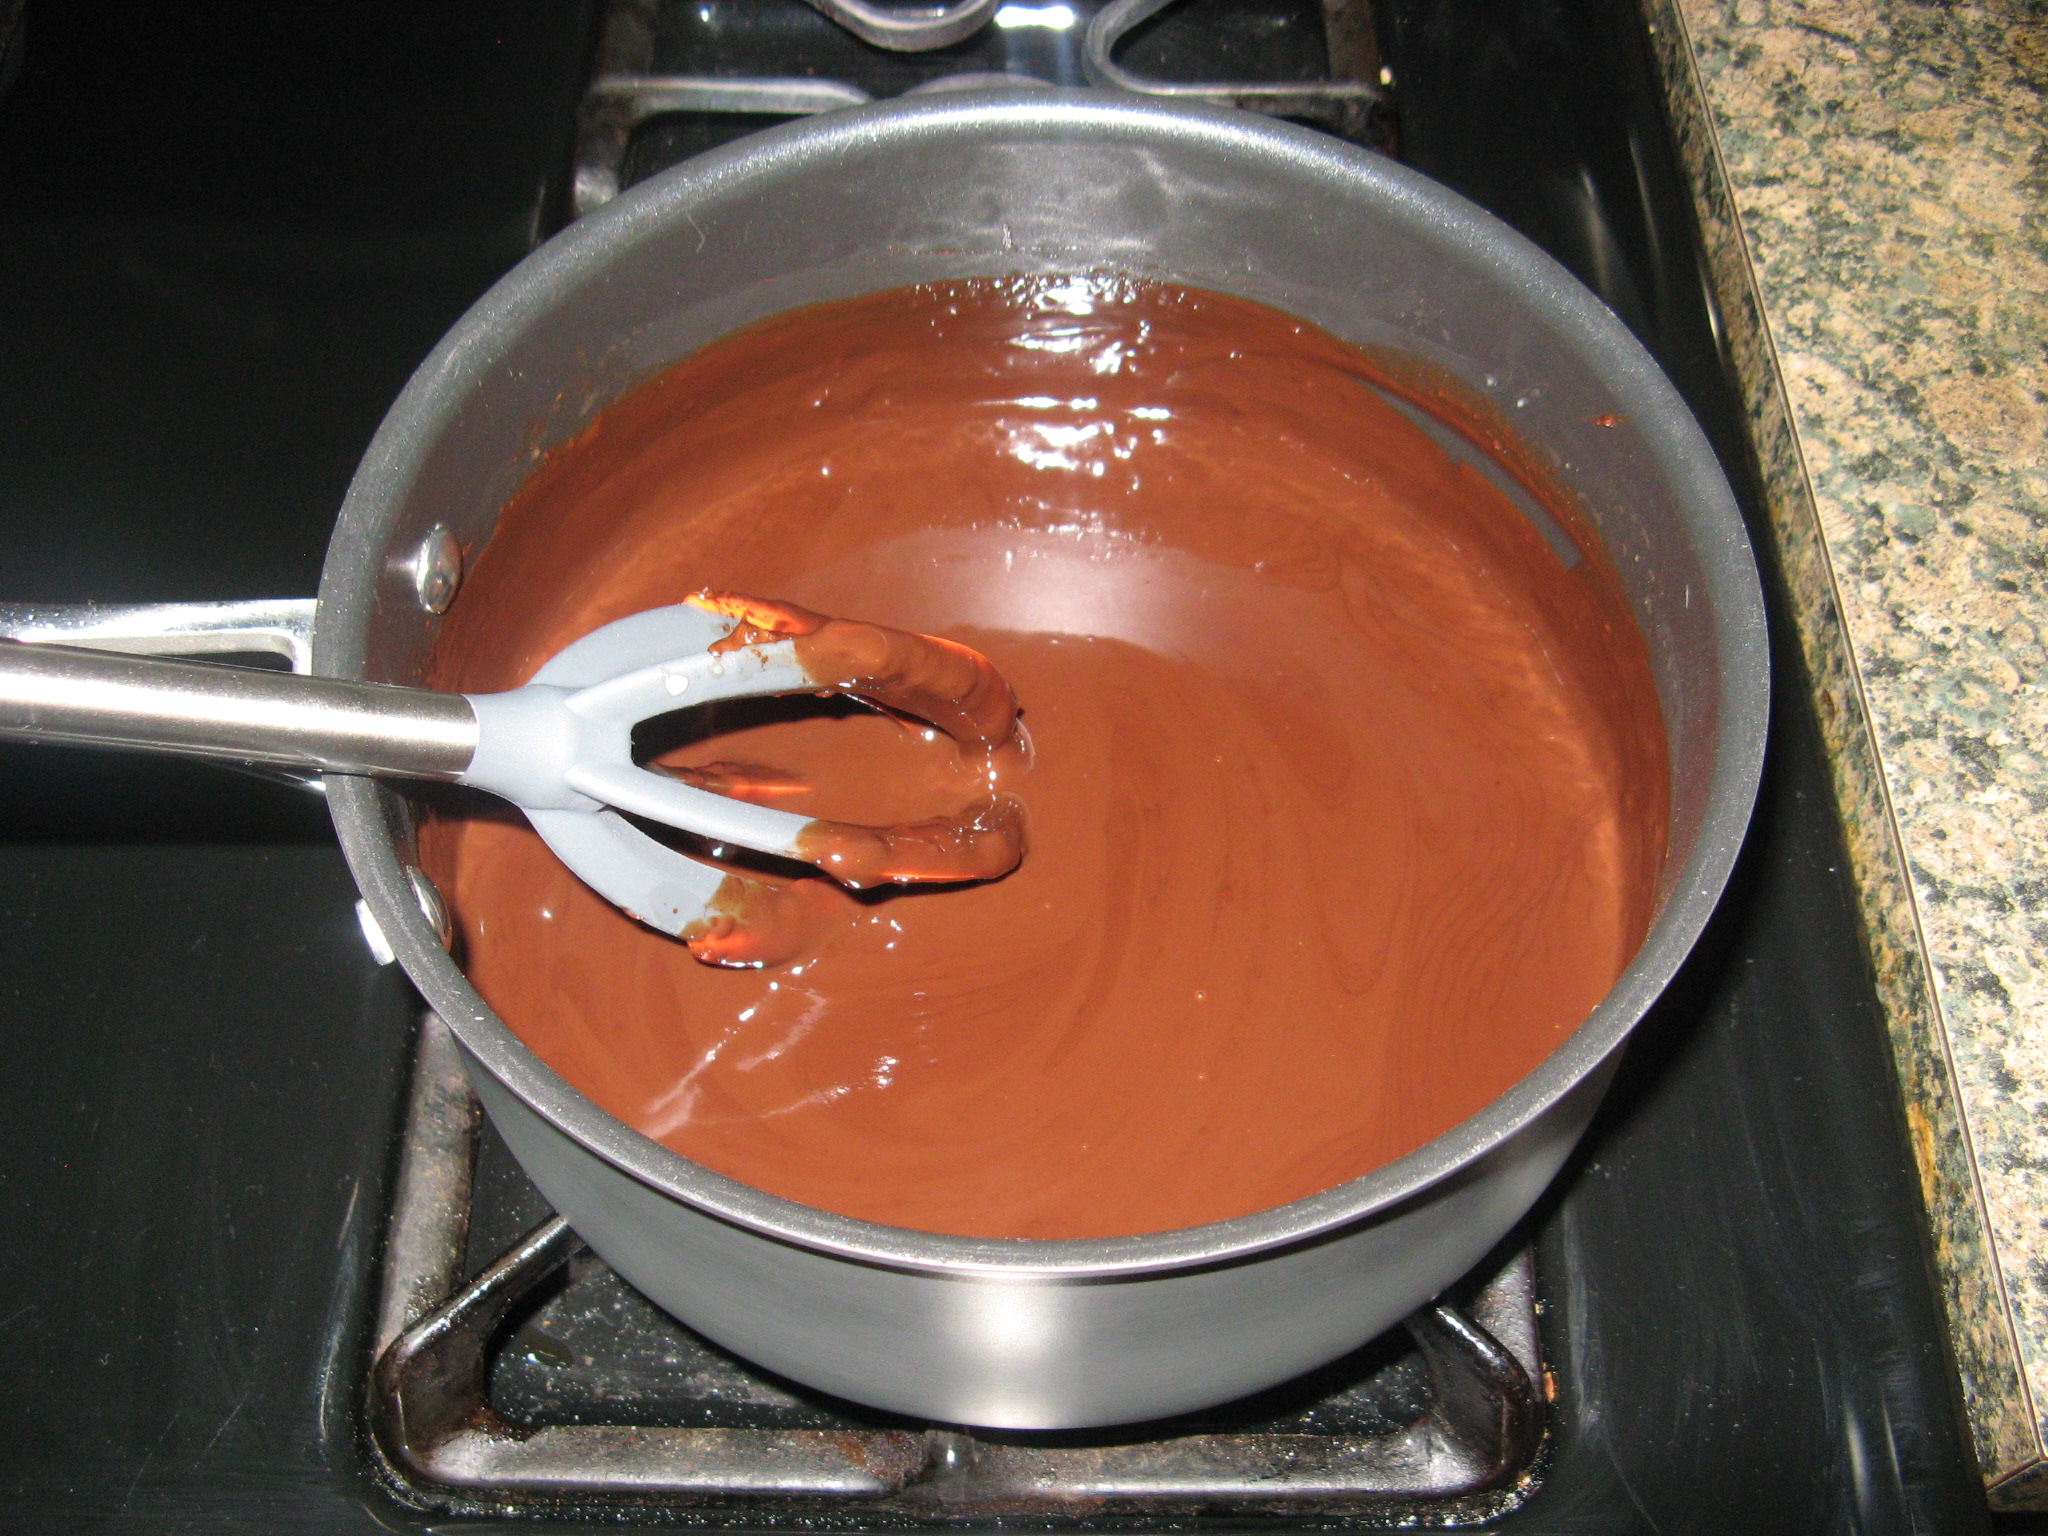
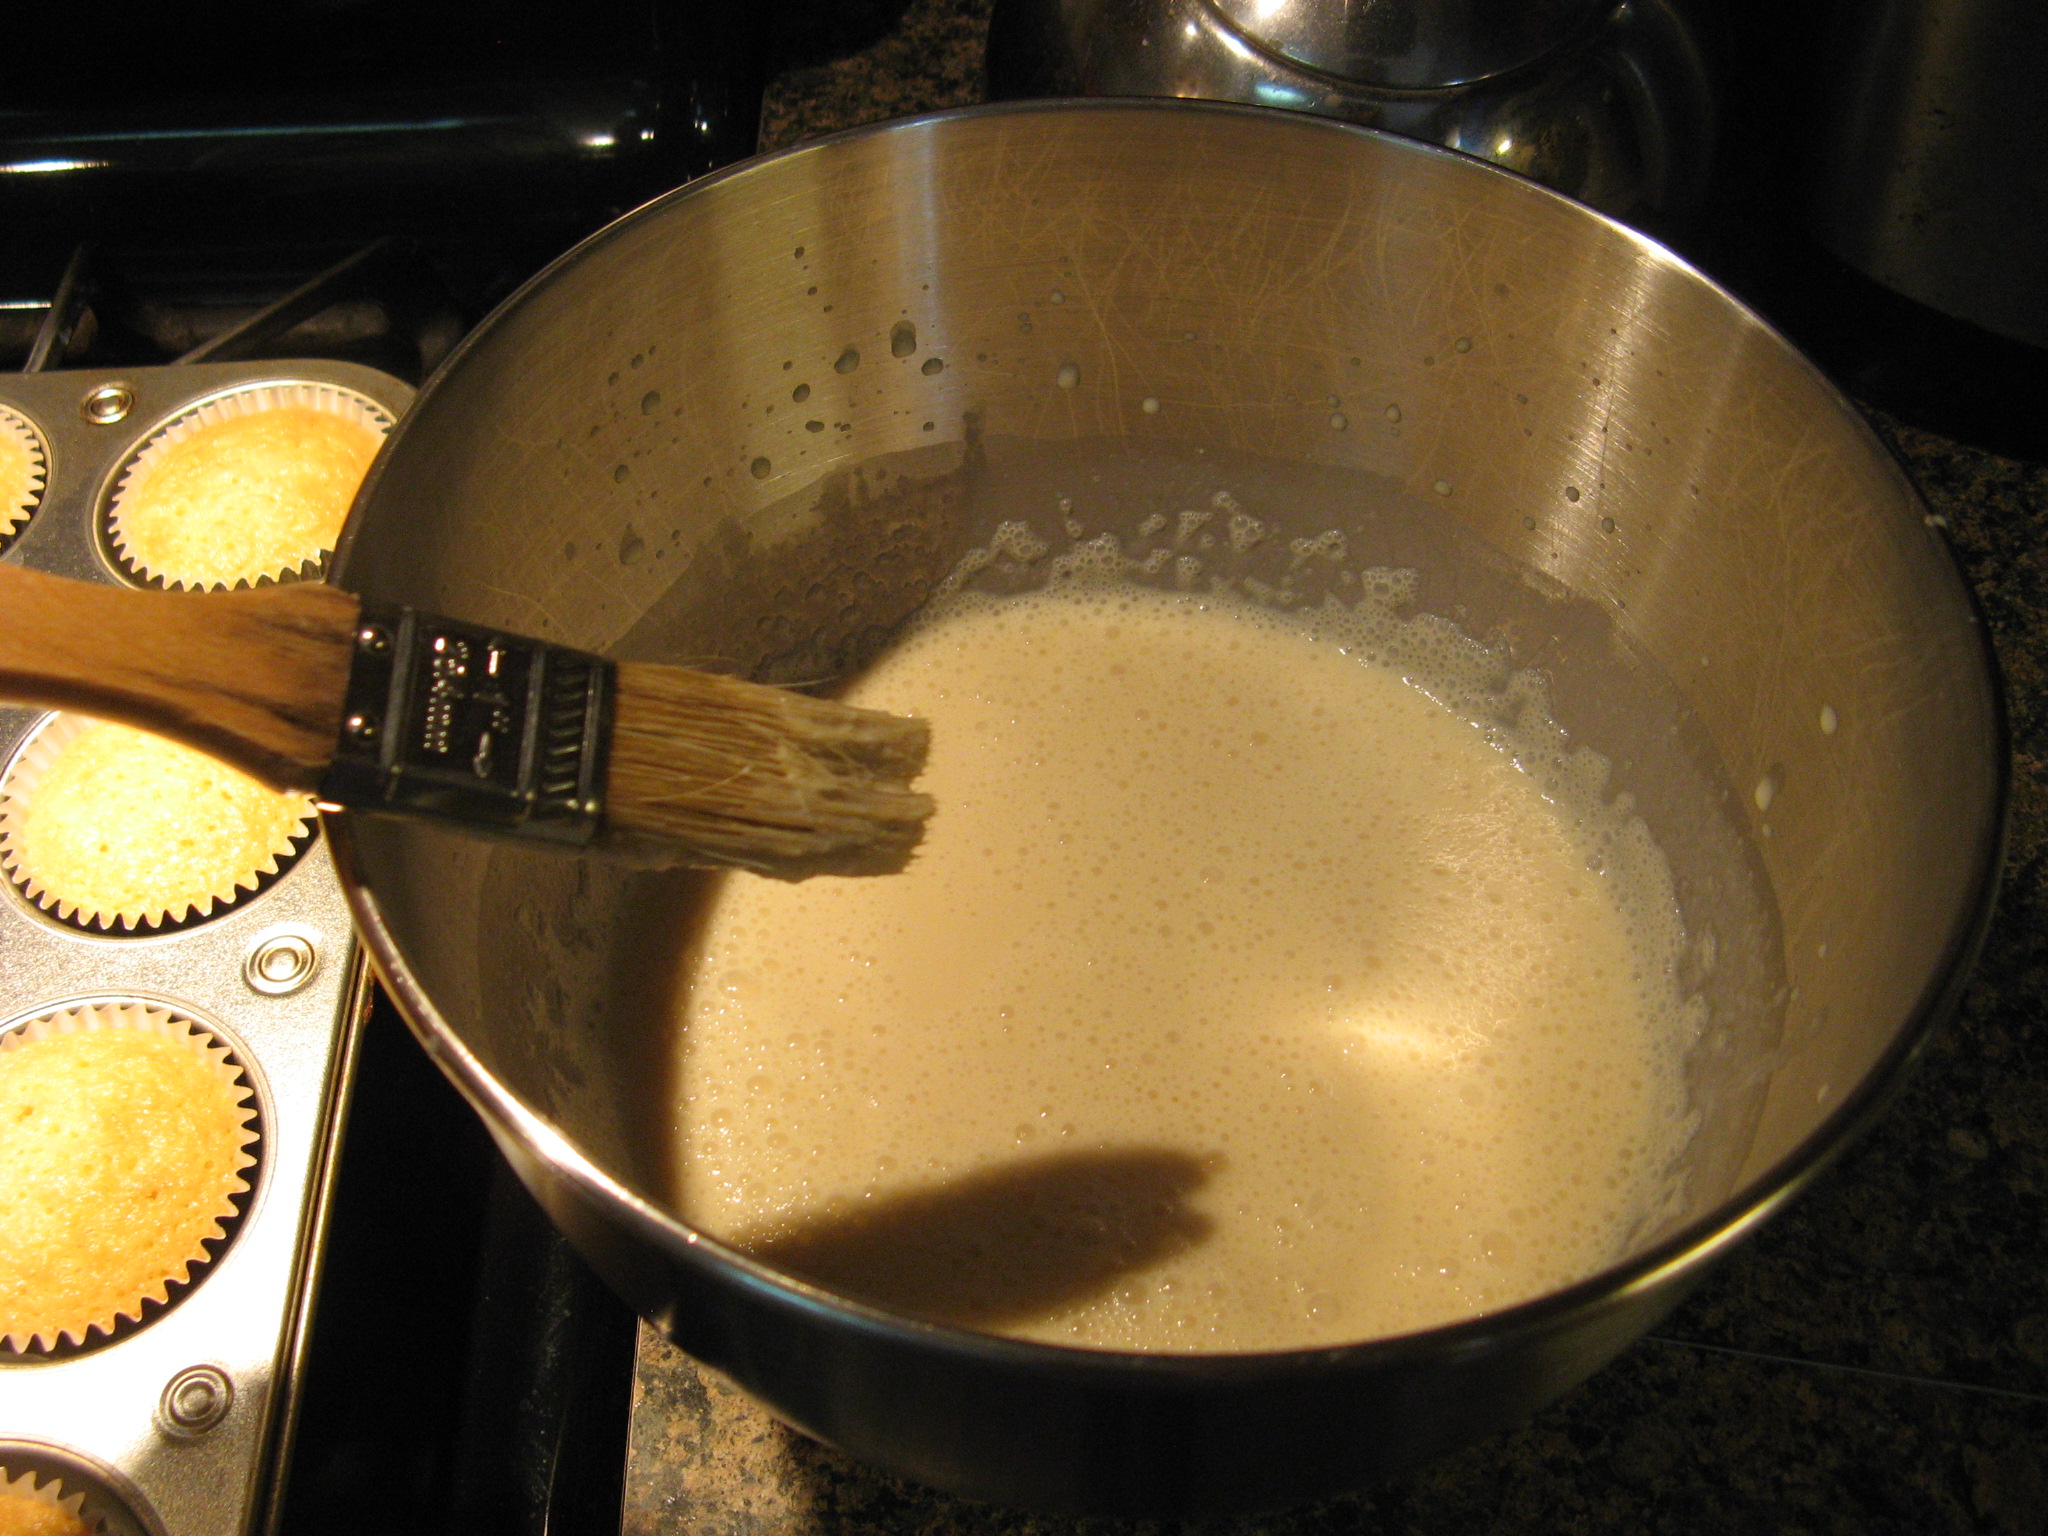
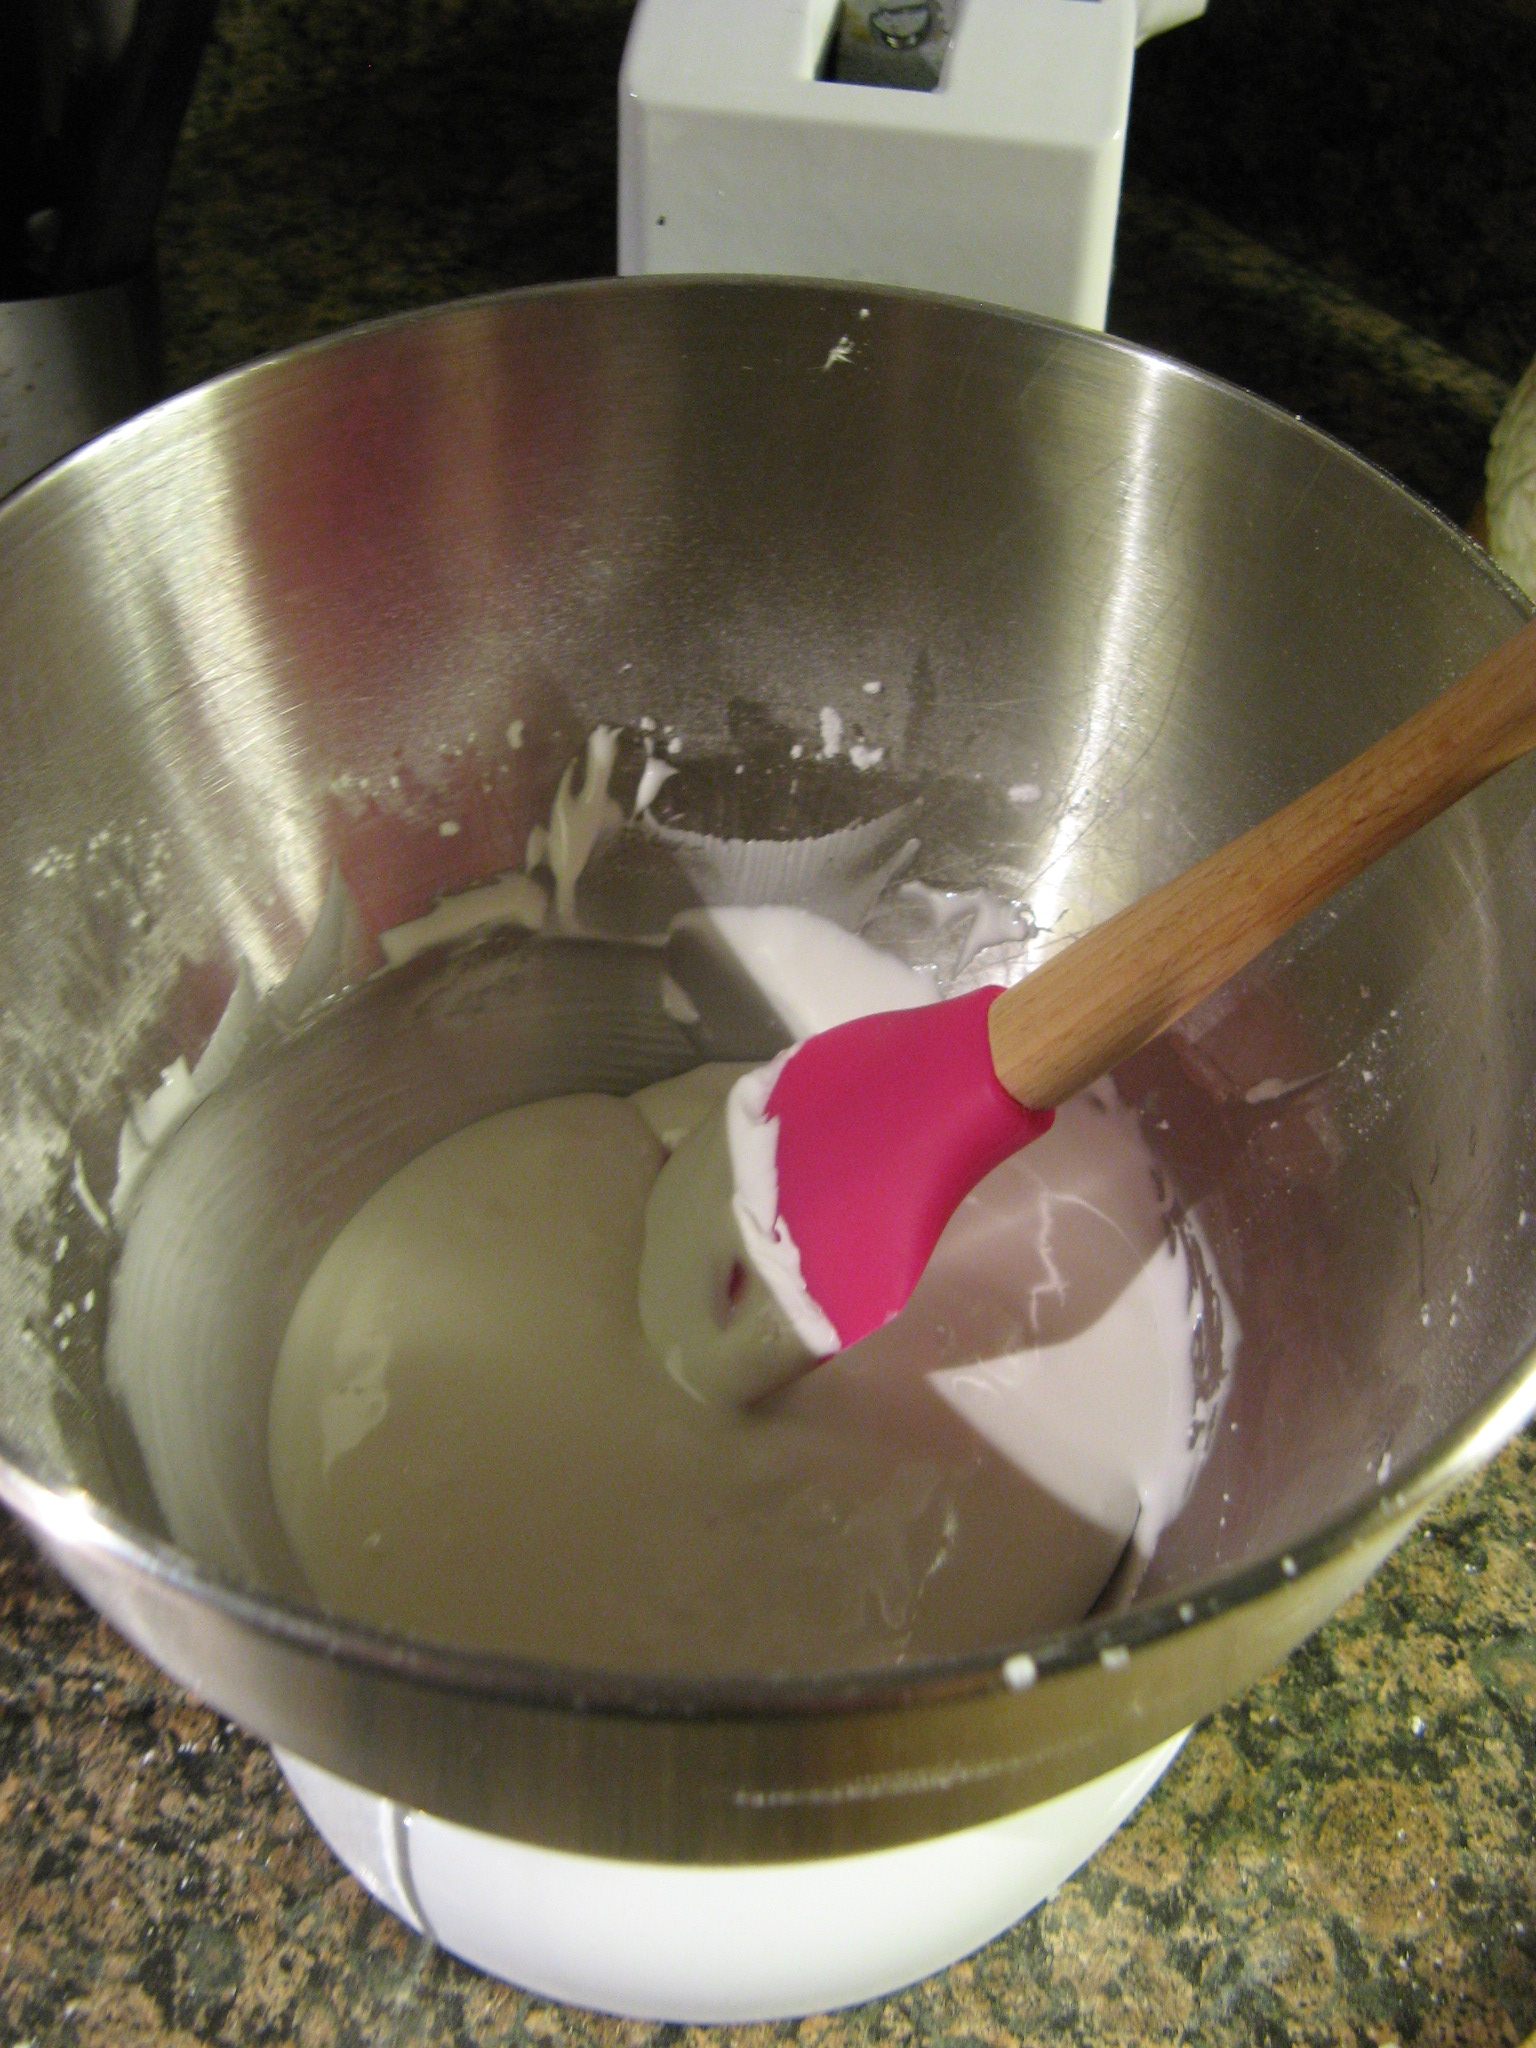
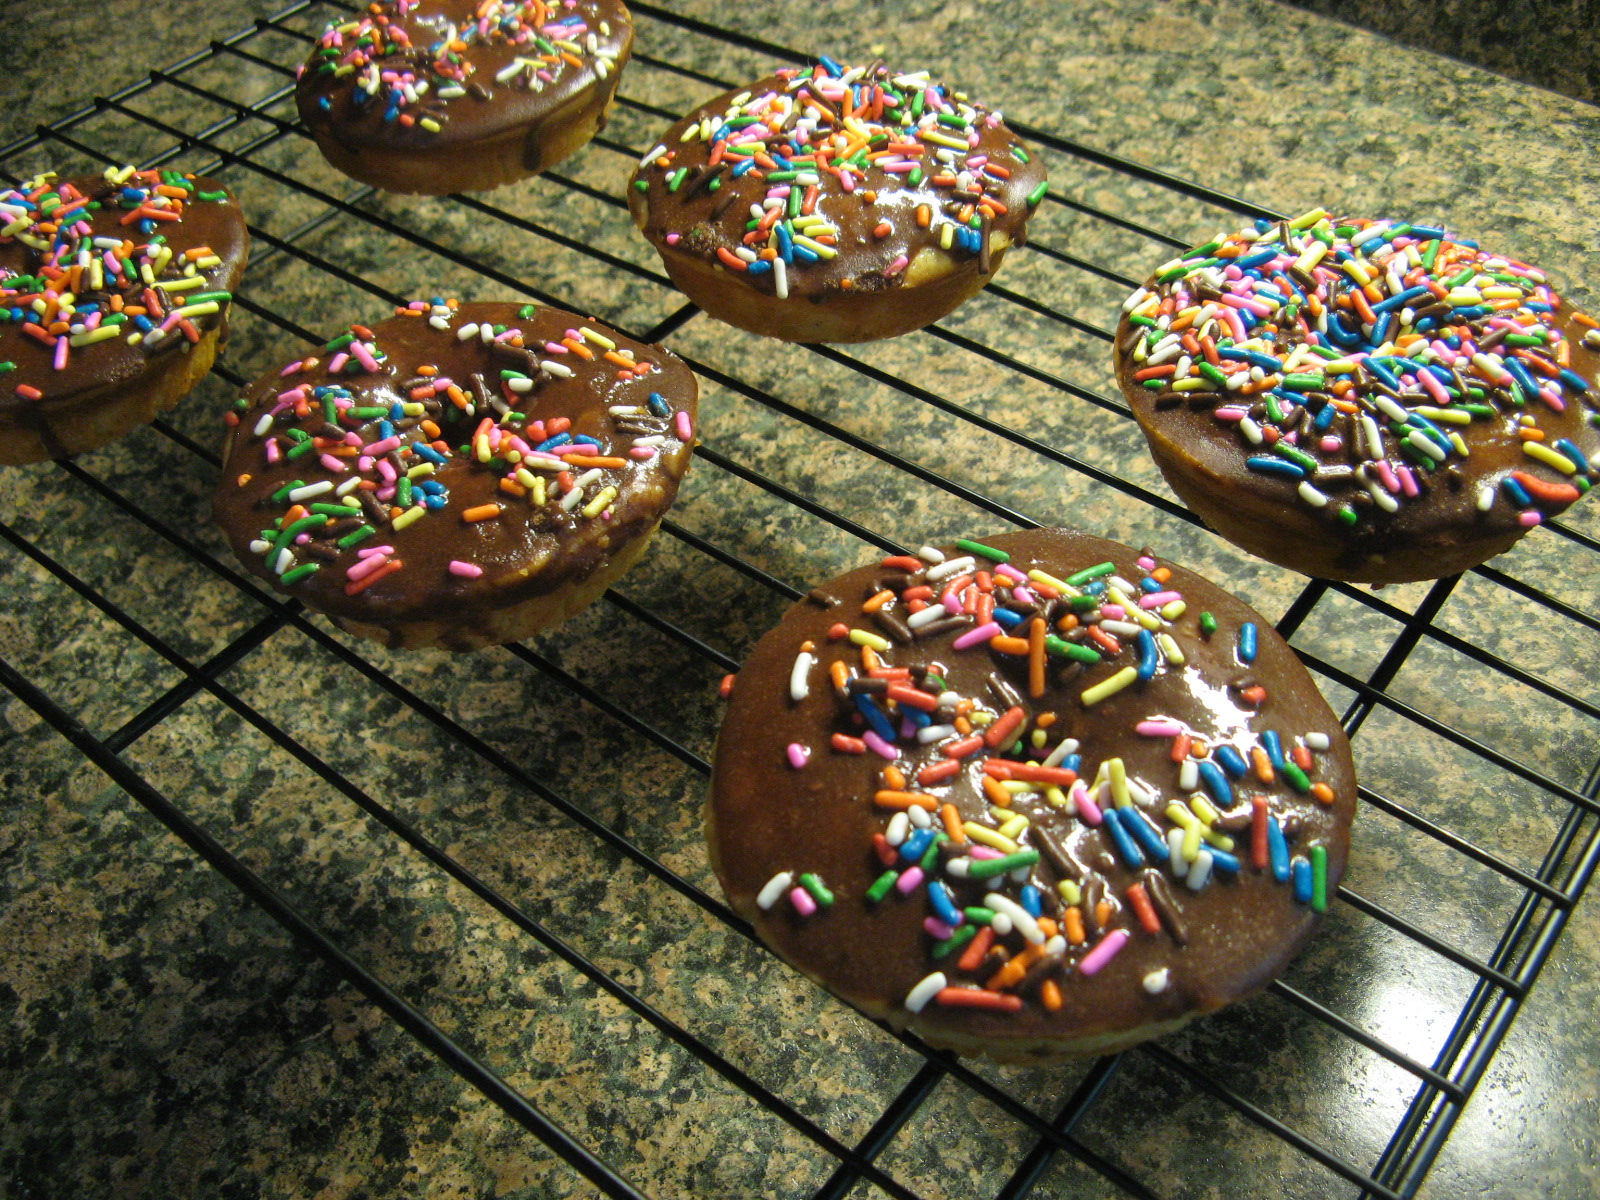
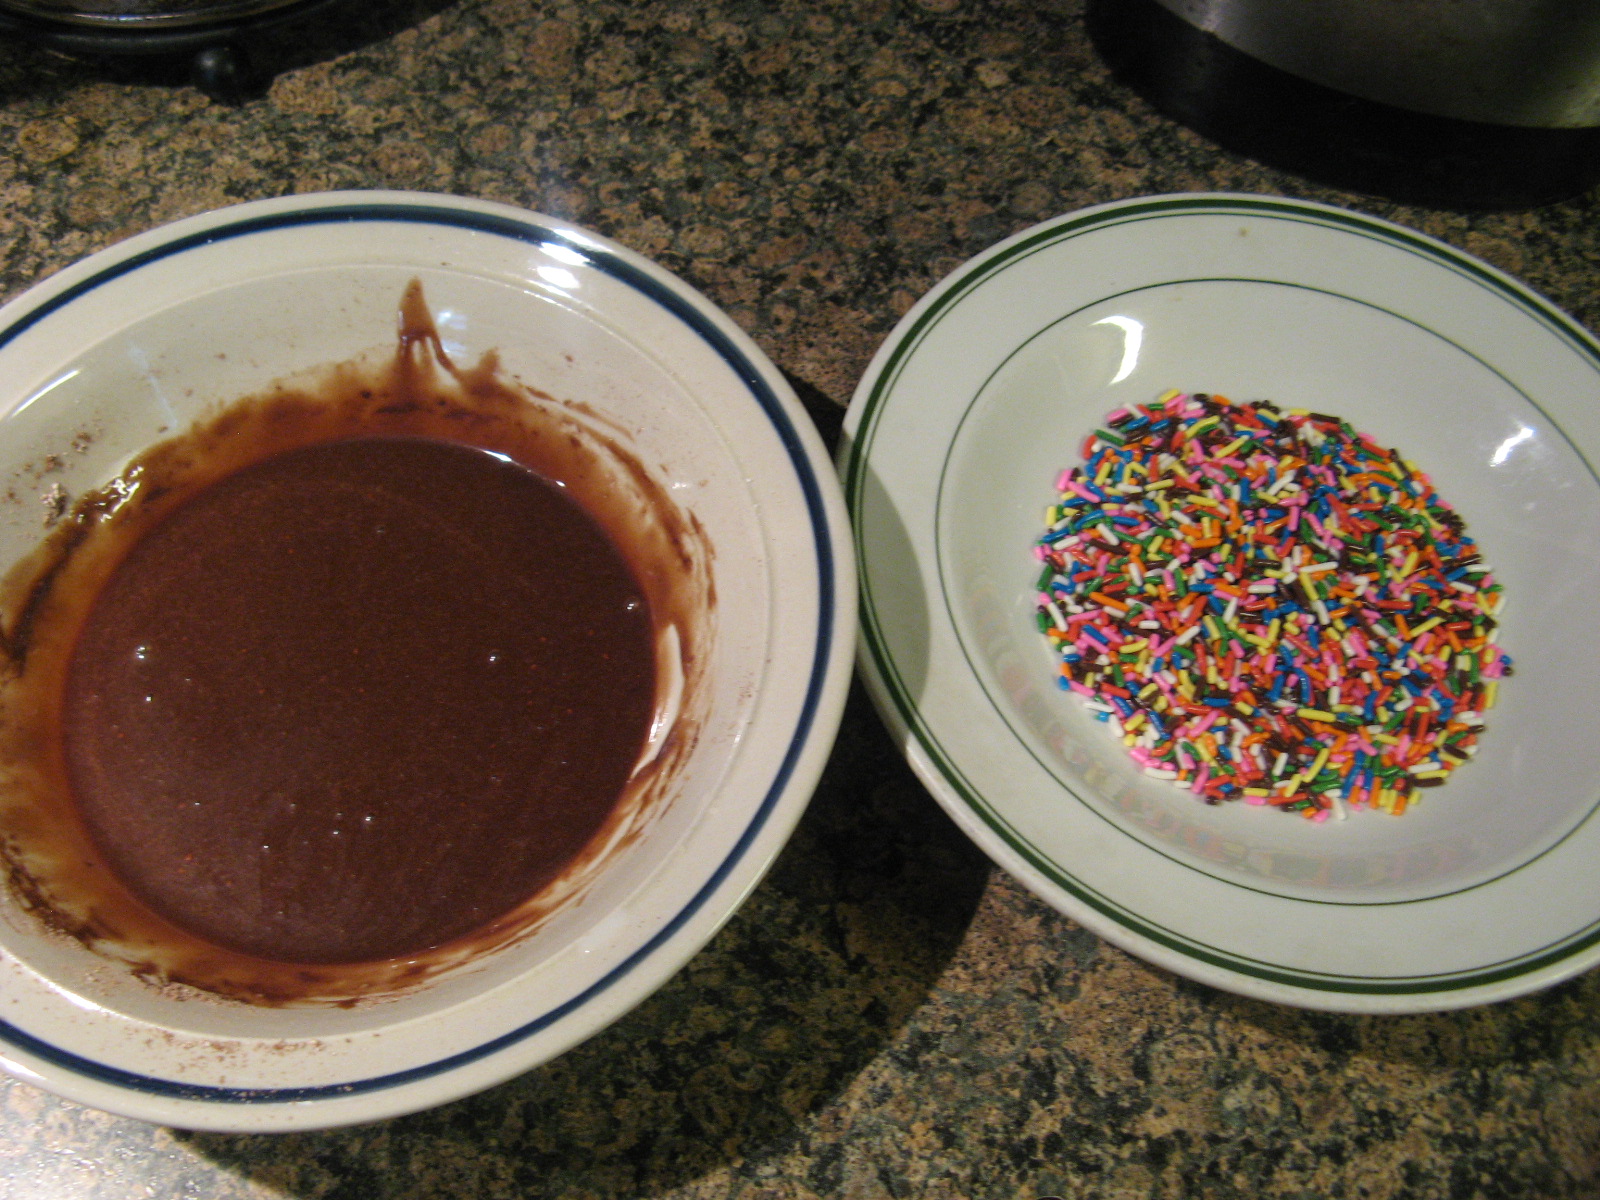
Once they were completely cooled I made the chocolate glaze and got the sprinkles ready.
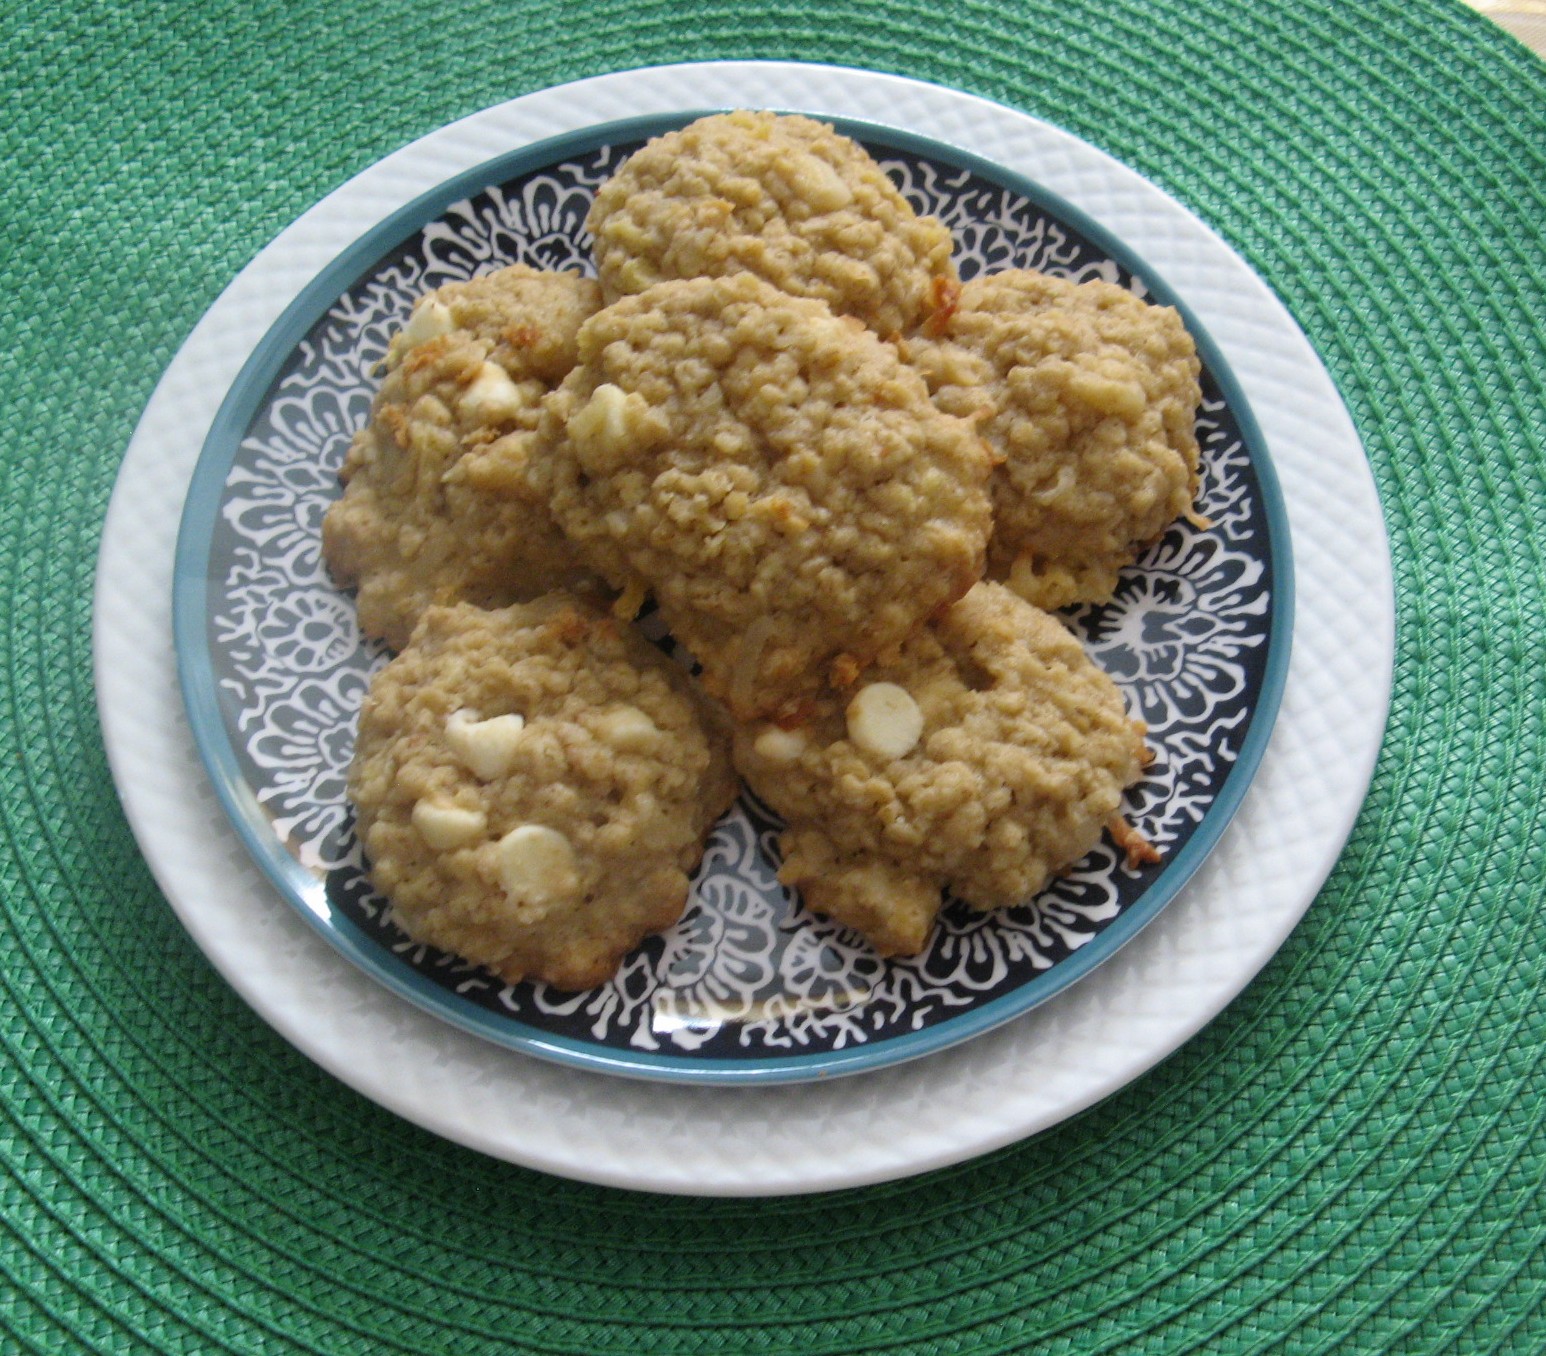
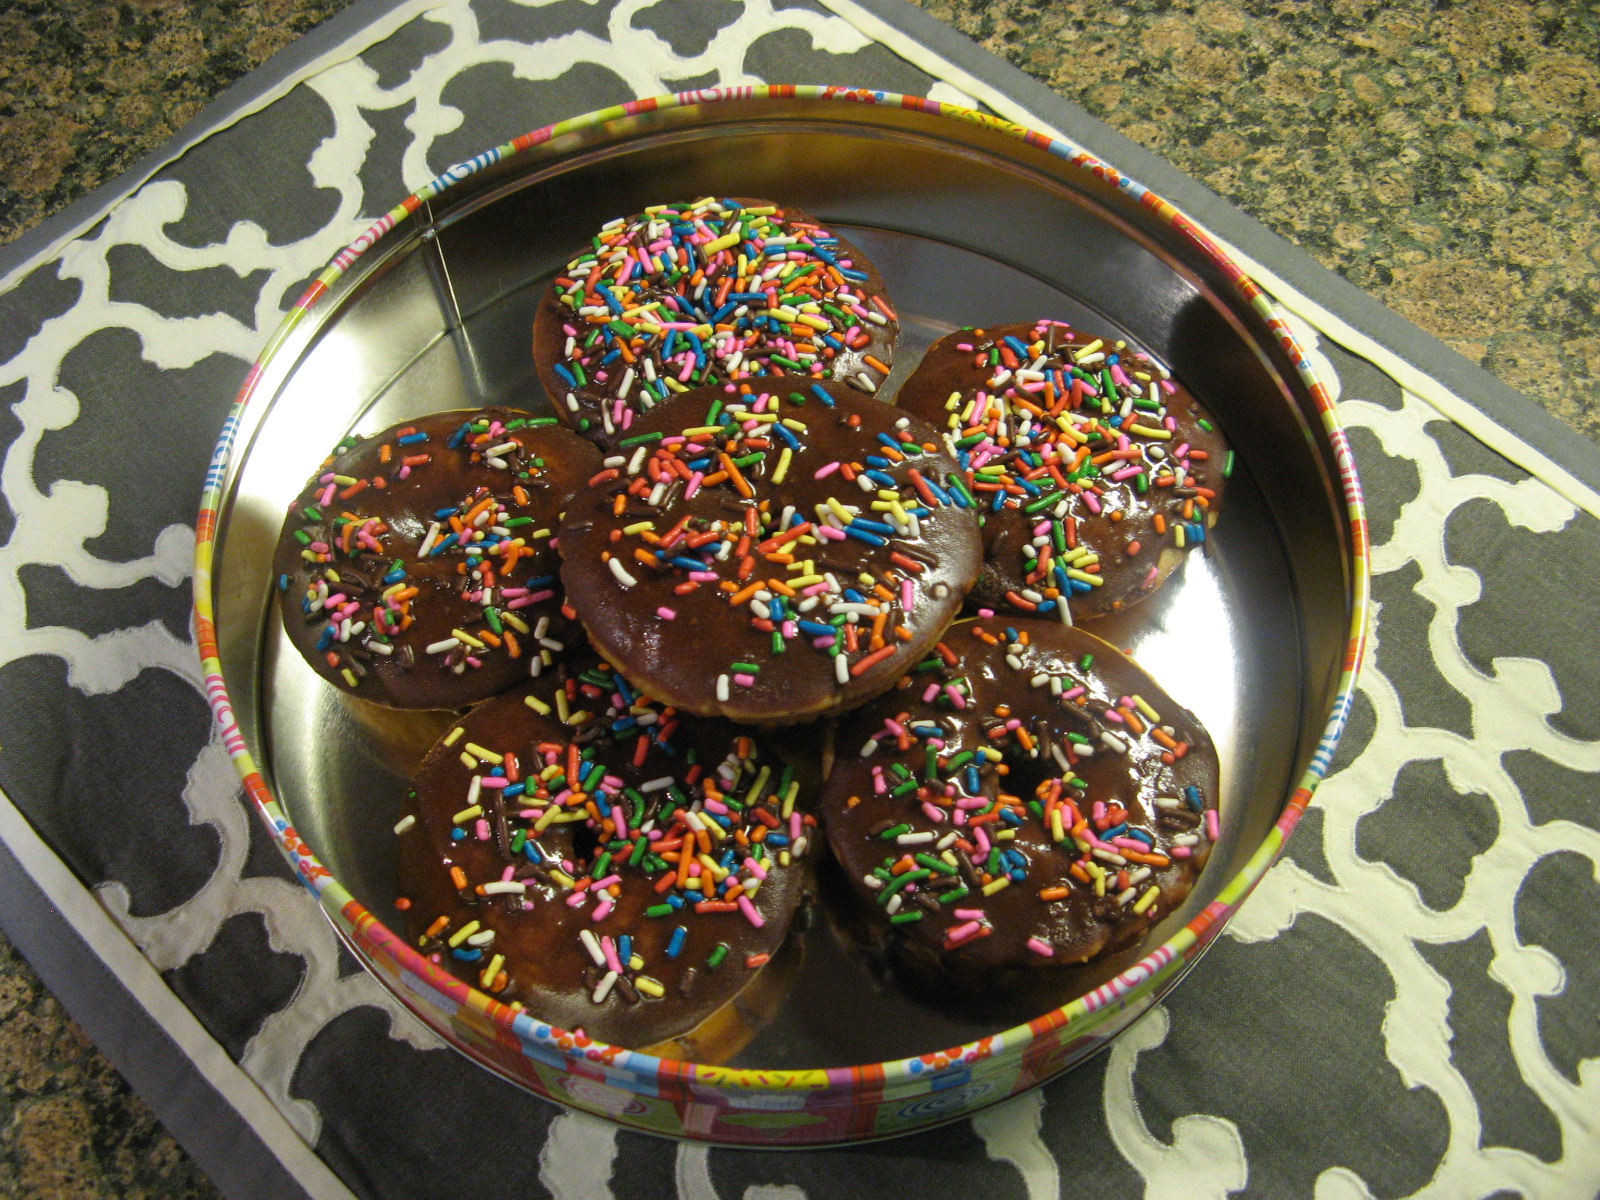
I then dipped the doughnuts in the glaze and sprinkled them with rainbow sprinkles.
Makes 12 Doughnuts (I halved the recipe and it more than enough for 6 doughnuts)
Ingredients:
2 teaspoons active dry yeast
2 tablespoons warm water
2 tablespoons warm water
2 cups all-purpose flour
1 1/4 cups sugar
1 1/2 teaspoons baking powder
1/2 teaspoon freshly grated nutmeg
1/2 teaspoon fine sea salt
2 large eggs
1 cup vanilla yogurt, whole or low fat
4 tablespoons (1/2 stick) unsalted butter, melted
2 teaspoons vanilla bean paste or pure vanilla extract
Directions:
For the doughnuts, preheat oven to 350°F. Coat two (6-count) doughnut pans with a flour-based baking spray, such as Baker’s Joy. Arrange a wire cooling rack over a sheet pan lined with parchment paper.
In a small bowl, sprinkle the yeast over the warm water and set aside. In a medium mixing bowl, sift together flour, sugar, baking powder, nutmeg, and salt.
In another bowl, whisk the eggs, yogurt, melted butter, vanilla paste, and yeast mixture until well combined. Pour the liquid ingredients into the dry ingredients and stir until completely incorporated. Transfer the batter to a disposable piping bag (or zip top bag, snipping off one corner for piping) and pipe into the prepared pan, filling each well a little over half full.
Bake the doughnuts until puffed and golden, about 15 minutes. Remove from the oven and cool the doughnuts in the pan for 5 minutes. Transfer the doughnuts from the pan to the wire rack.
Ingredients:
1/2 cup powdered sugar
1 tablespoon unsweetened baking cocoa
1 tablespoon butter, melted
3 to 4 teaspoons milk
Directions:
Combine all ingredients in a bowl and beat with a whisk until smooth.