Cake, Cake and More Cake!

So, if you follow me on Instagram or if you take a peek at my Instagram feed on the lower right-hand side of this page you’ll notice that I post more of my baking adventures on there than I actually blog about. It’s for various reasons… Sometimes I’ve already blogged and shared the recipe or as this post is about, its pictures of cakes that I have made and decorated and don’t blog about because I am really bad at taking pictures of the step by step of decorating them. So, I decided that since I made a fair share of cakes this summer I would compile them into a post and give a little description of each.

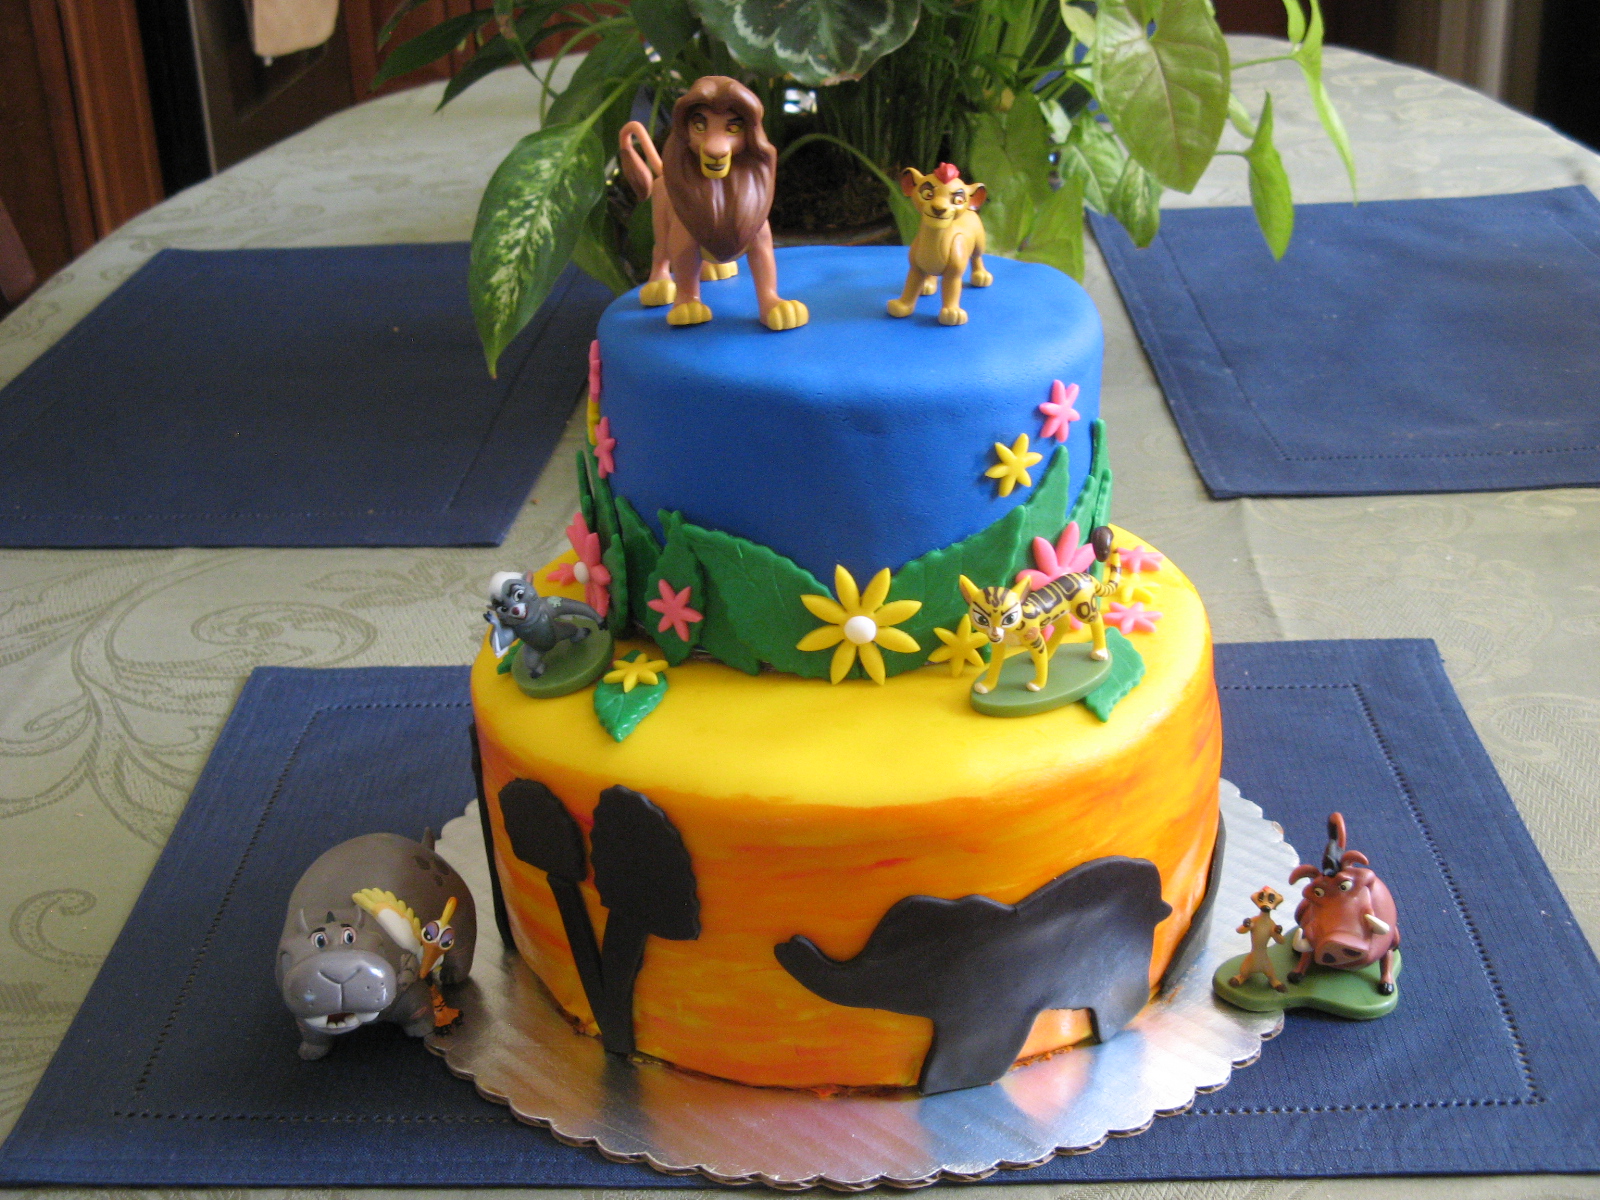
Up first, a Lion Guard themed birthday cake that I made for a friend’s daughters’ 2nd birthday. Whenever I create these themed fondant cakes quite a bit of thought goes into them and a bit of Pinterest surfing. A week before I actually made the cake I did some prep work by cutting out all the leaves, flowers and animals and stored them in my refrigerator.

img_00631

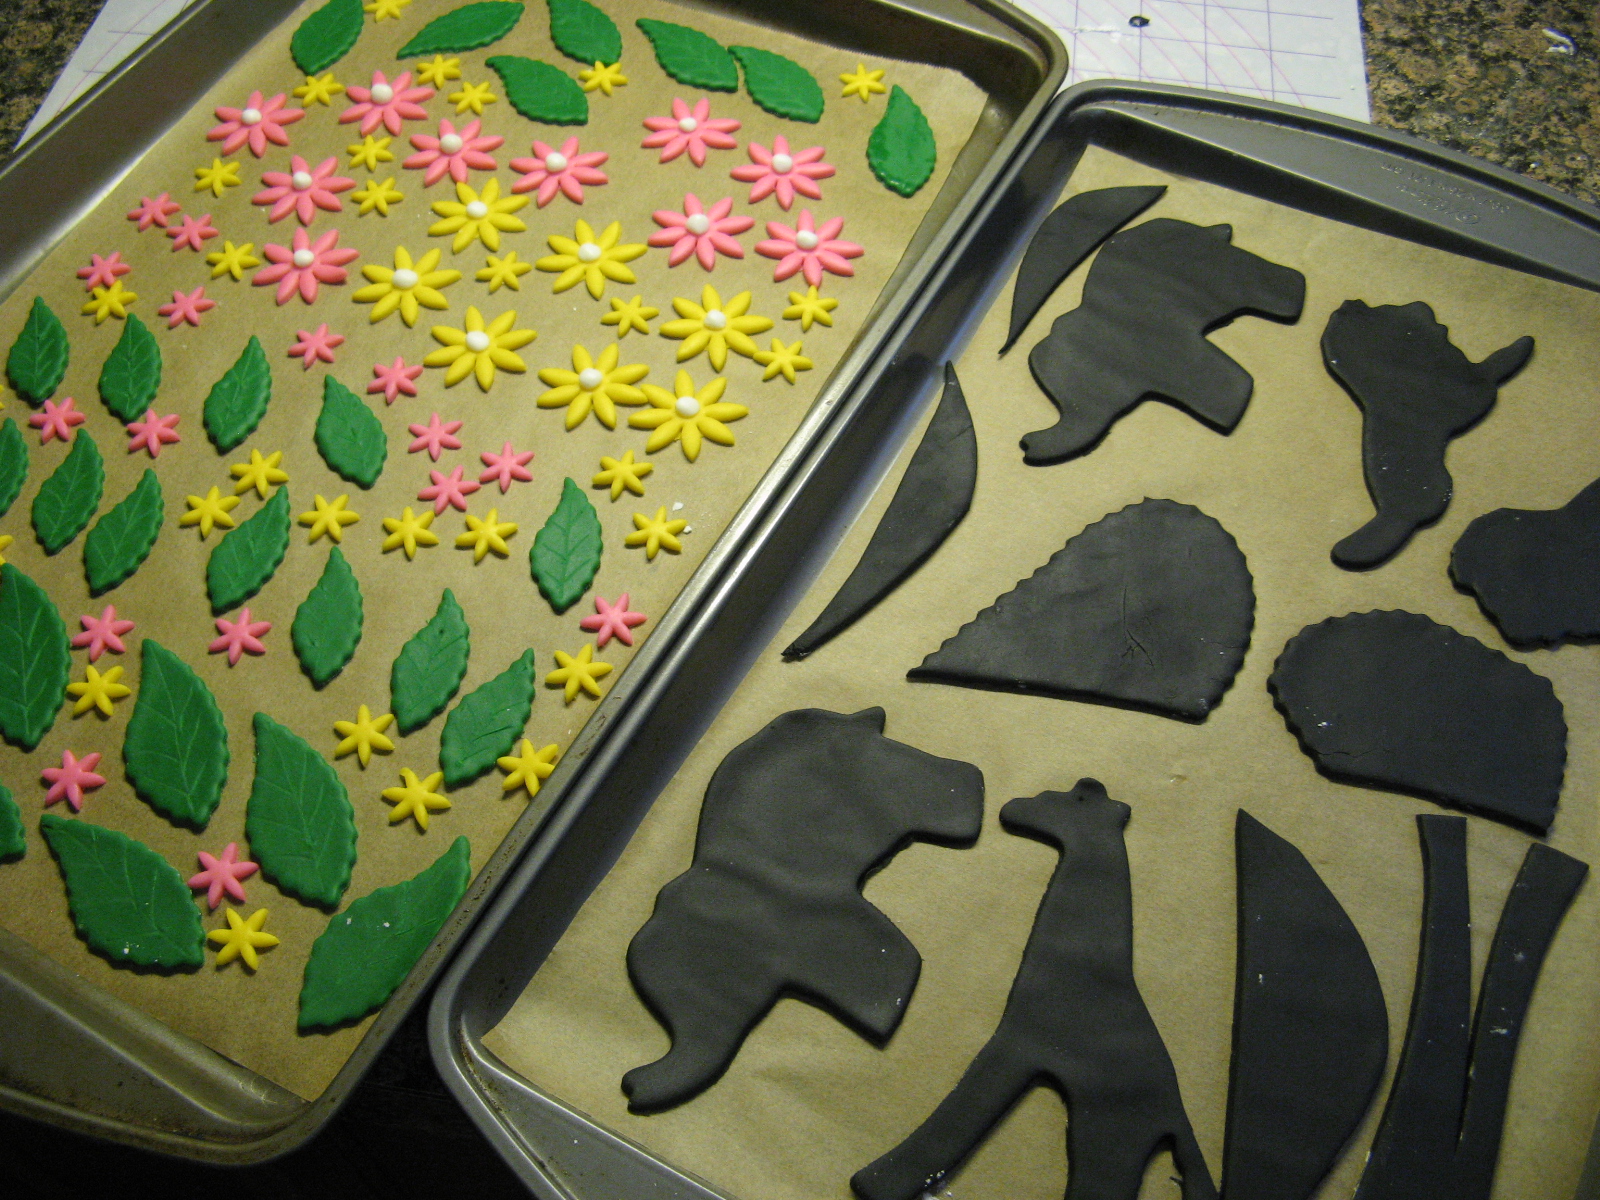
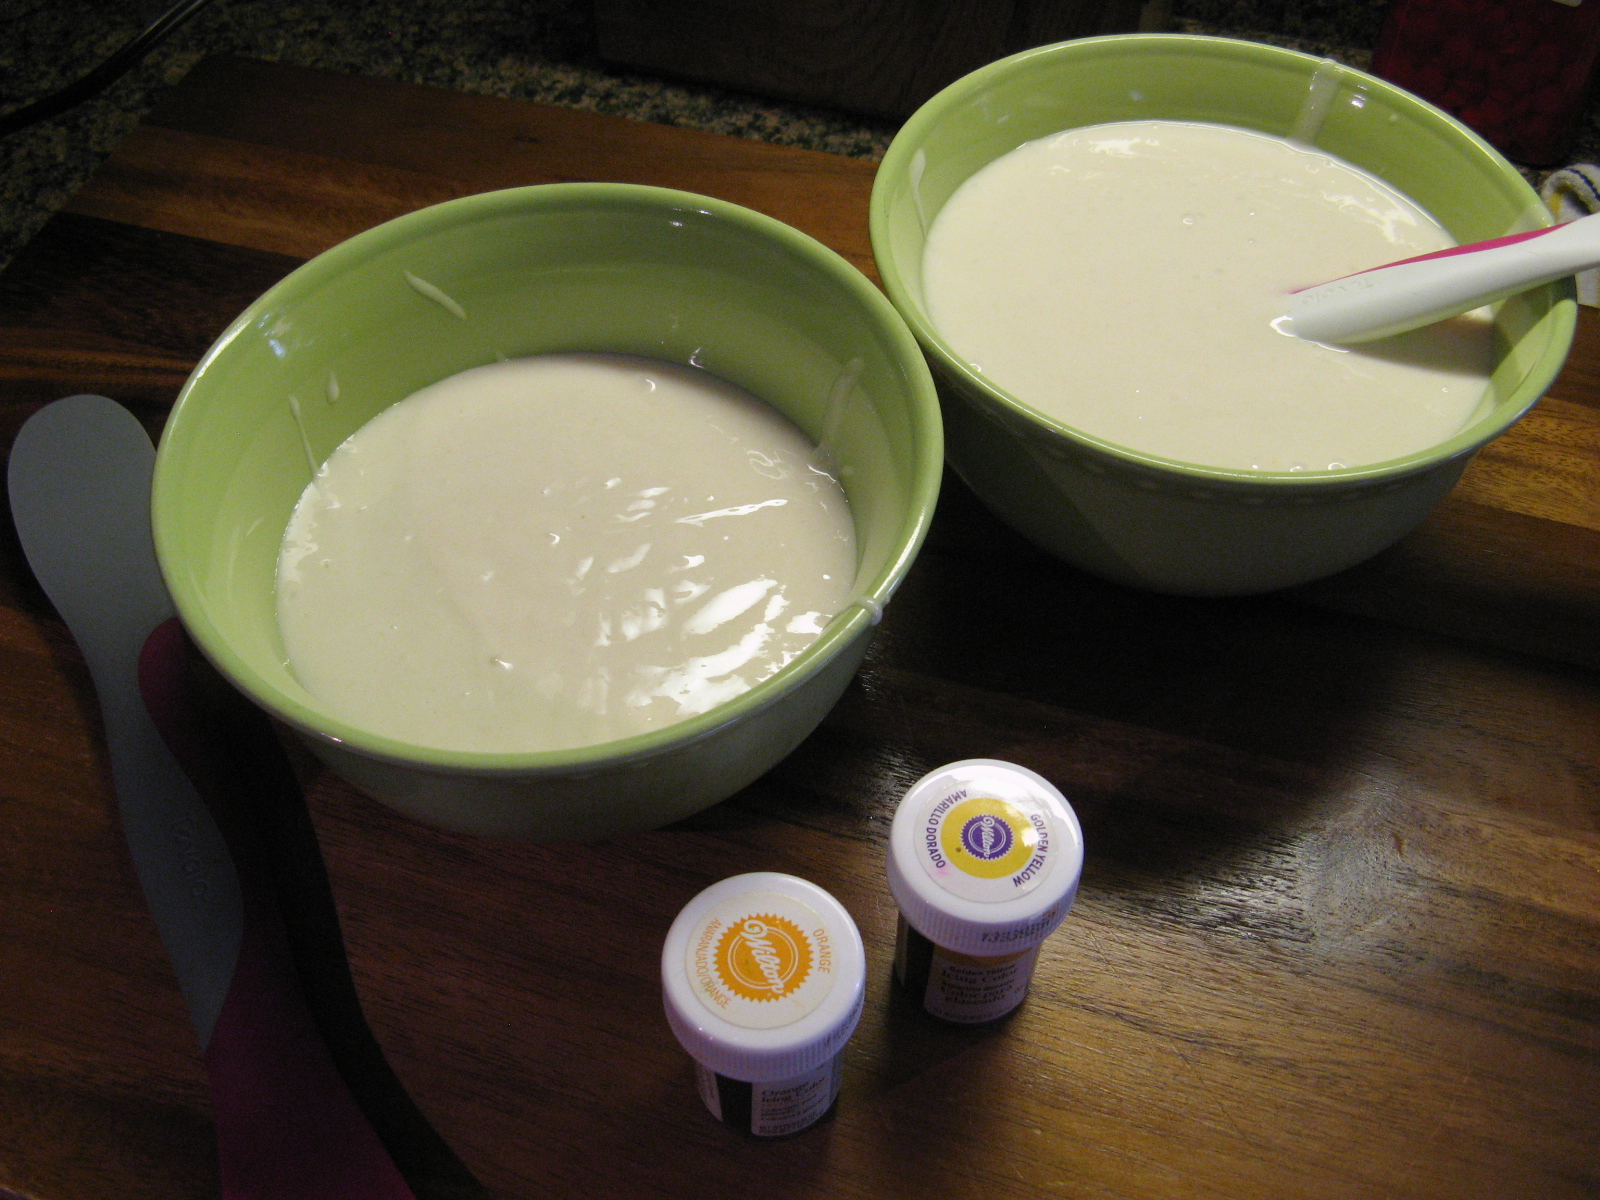
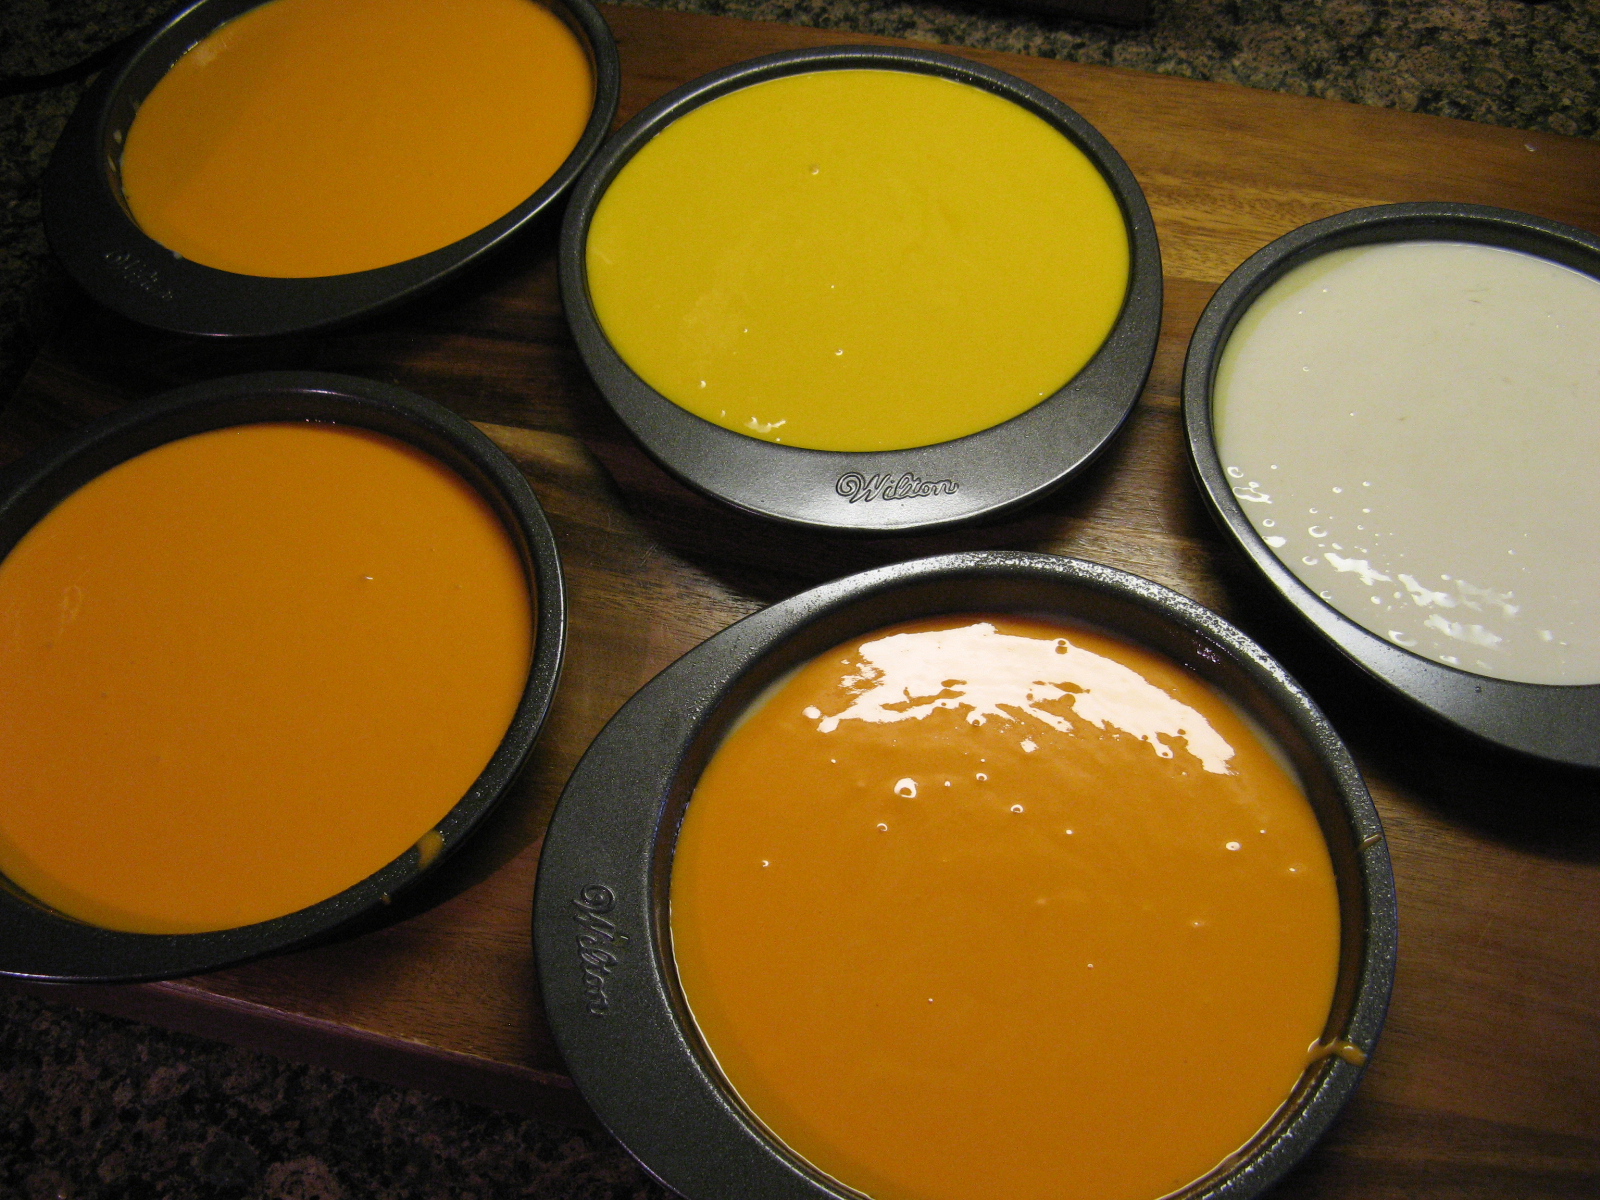
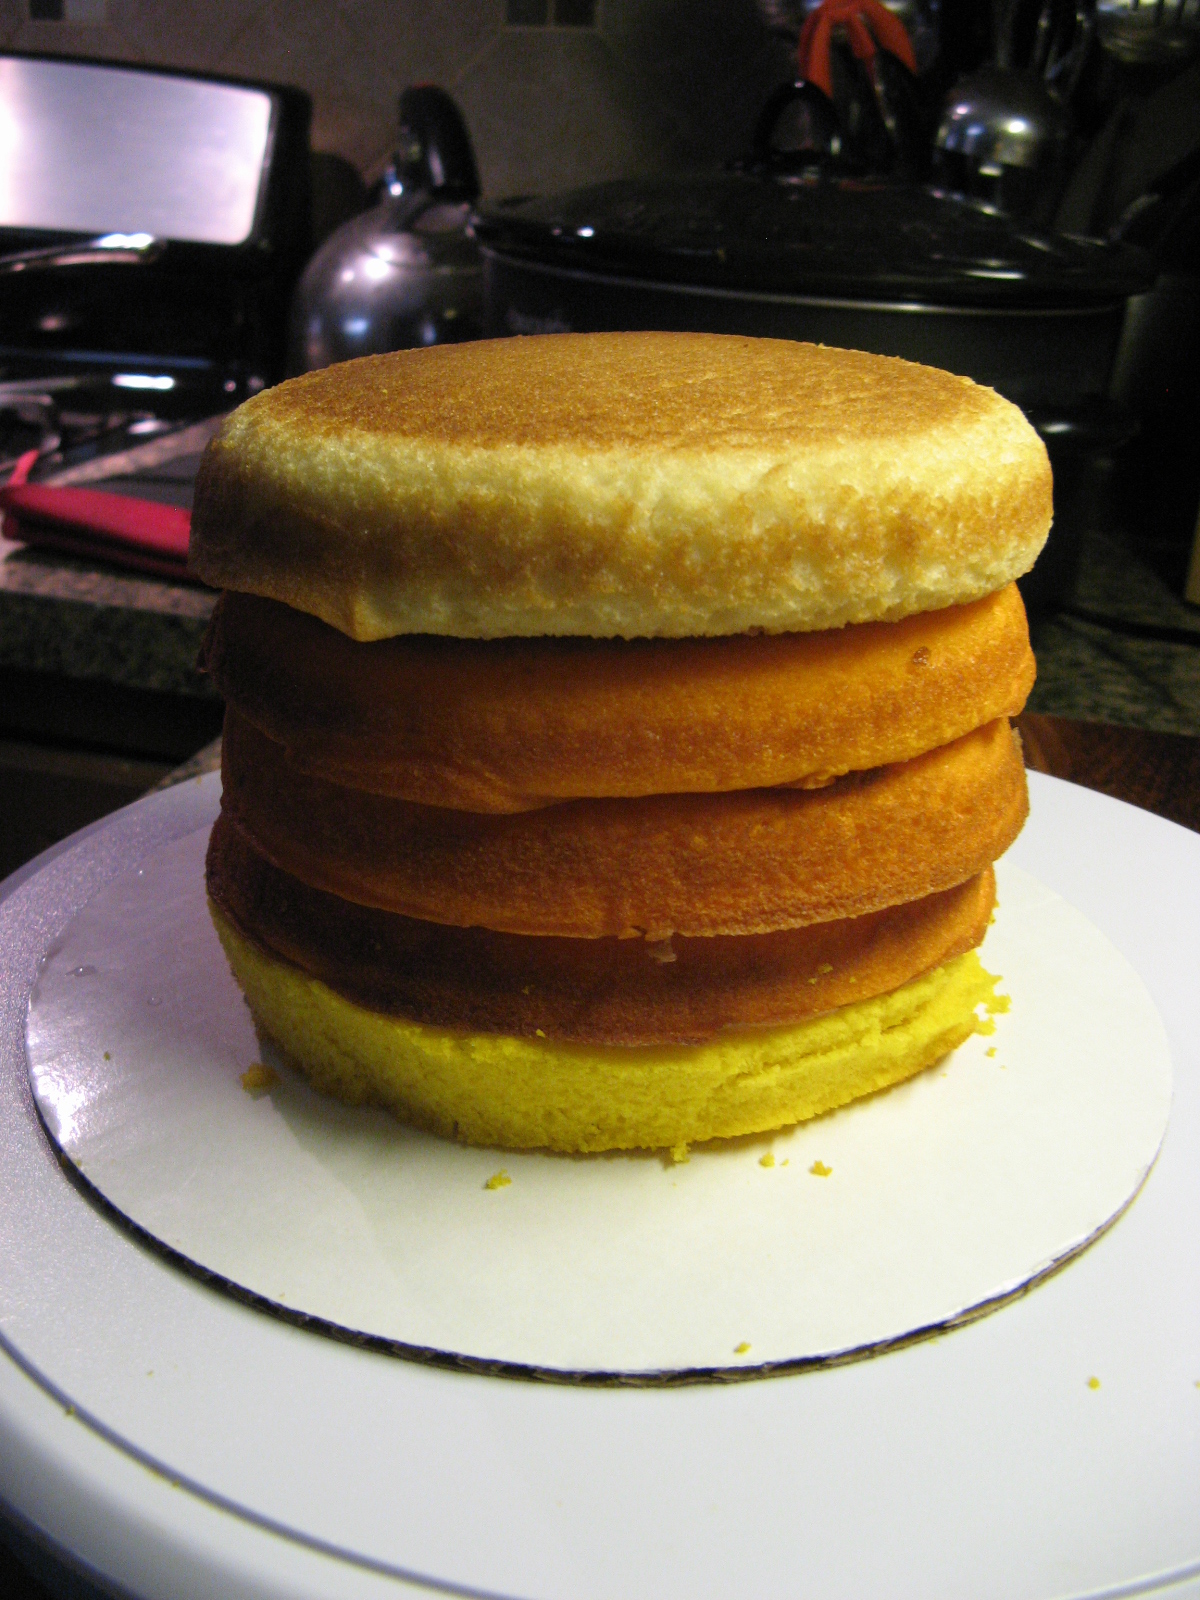
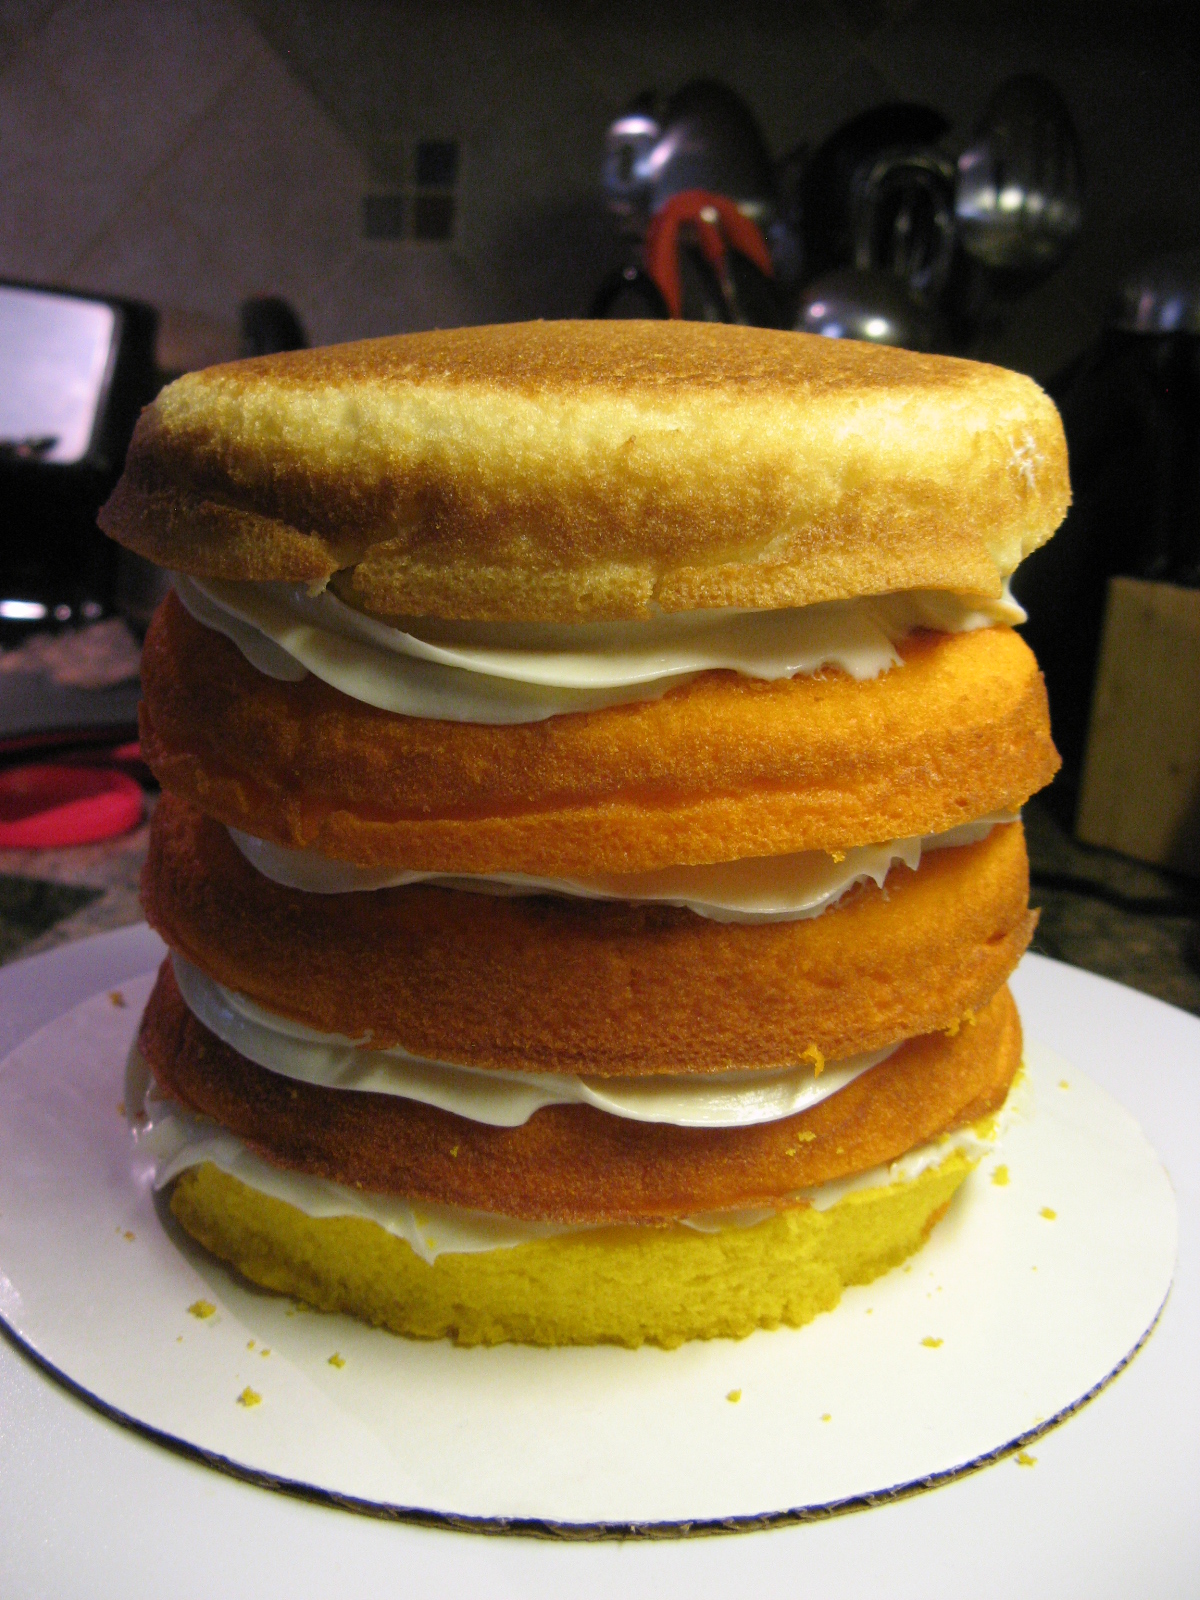
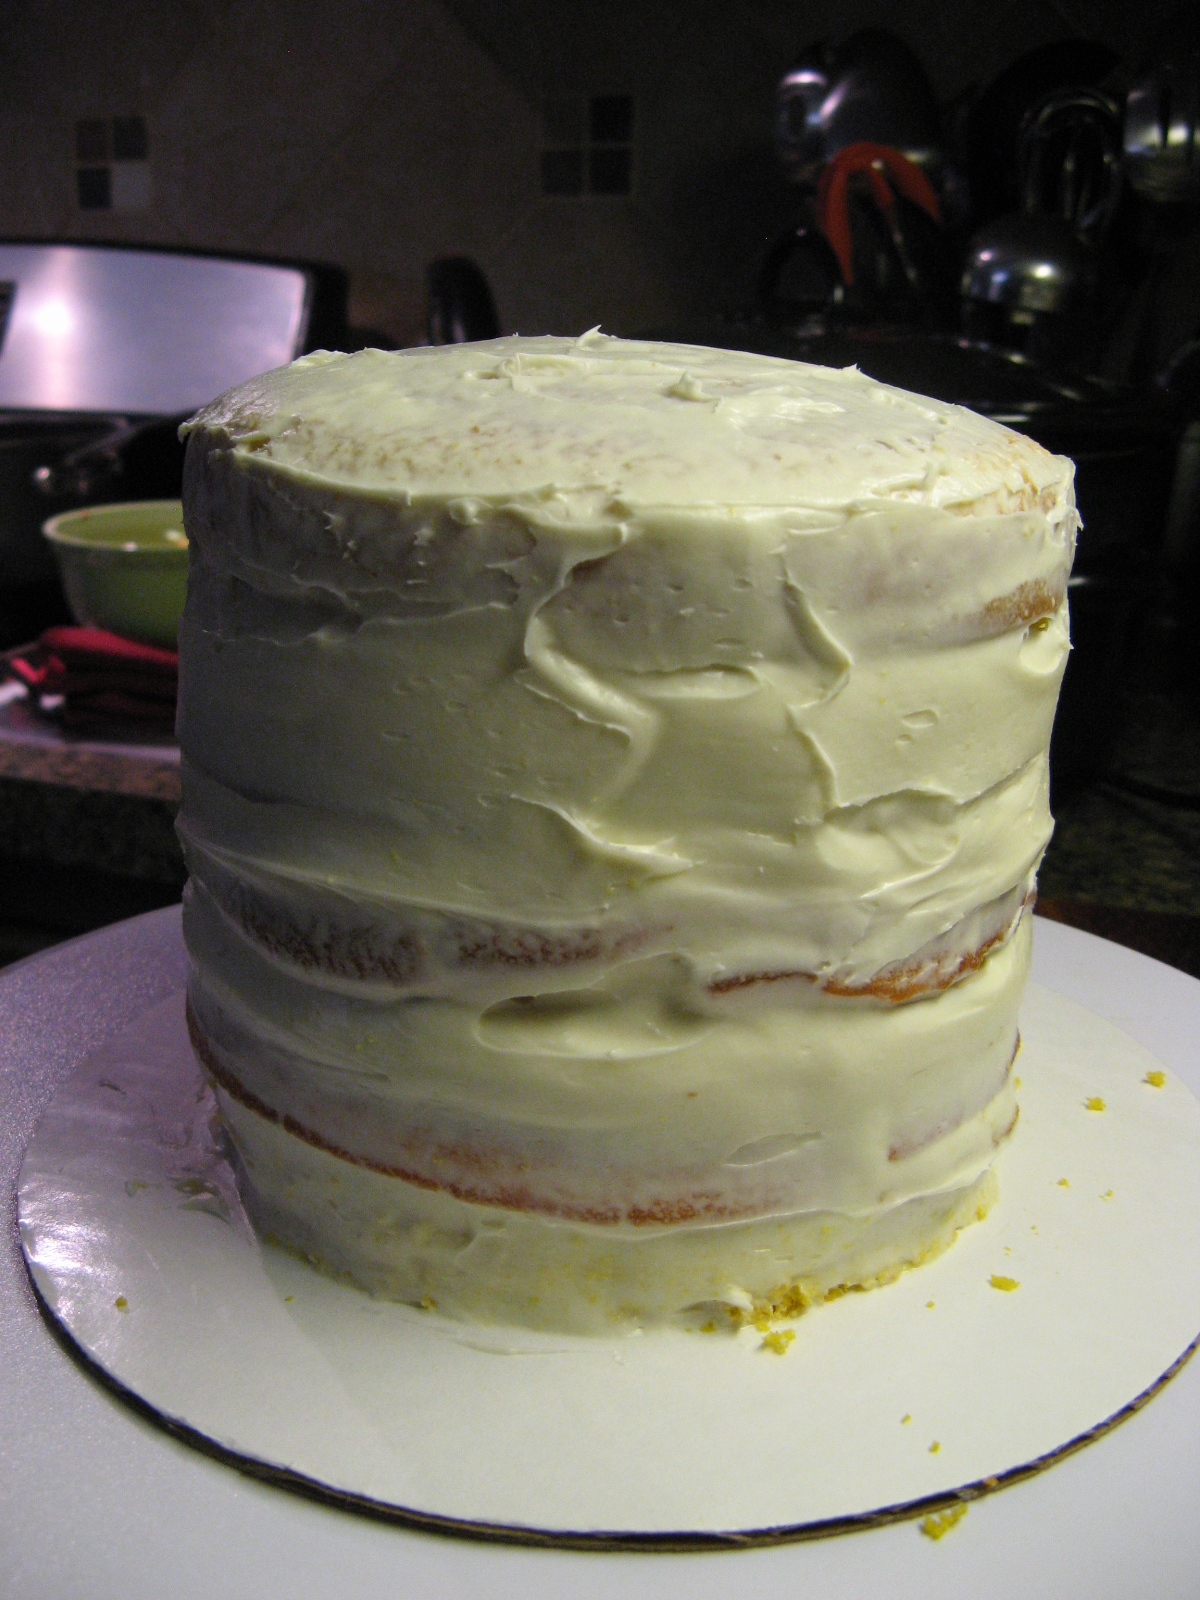
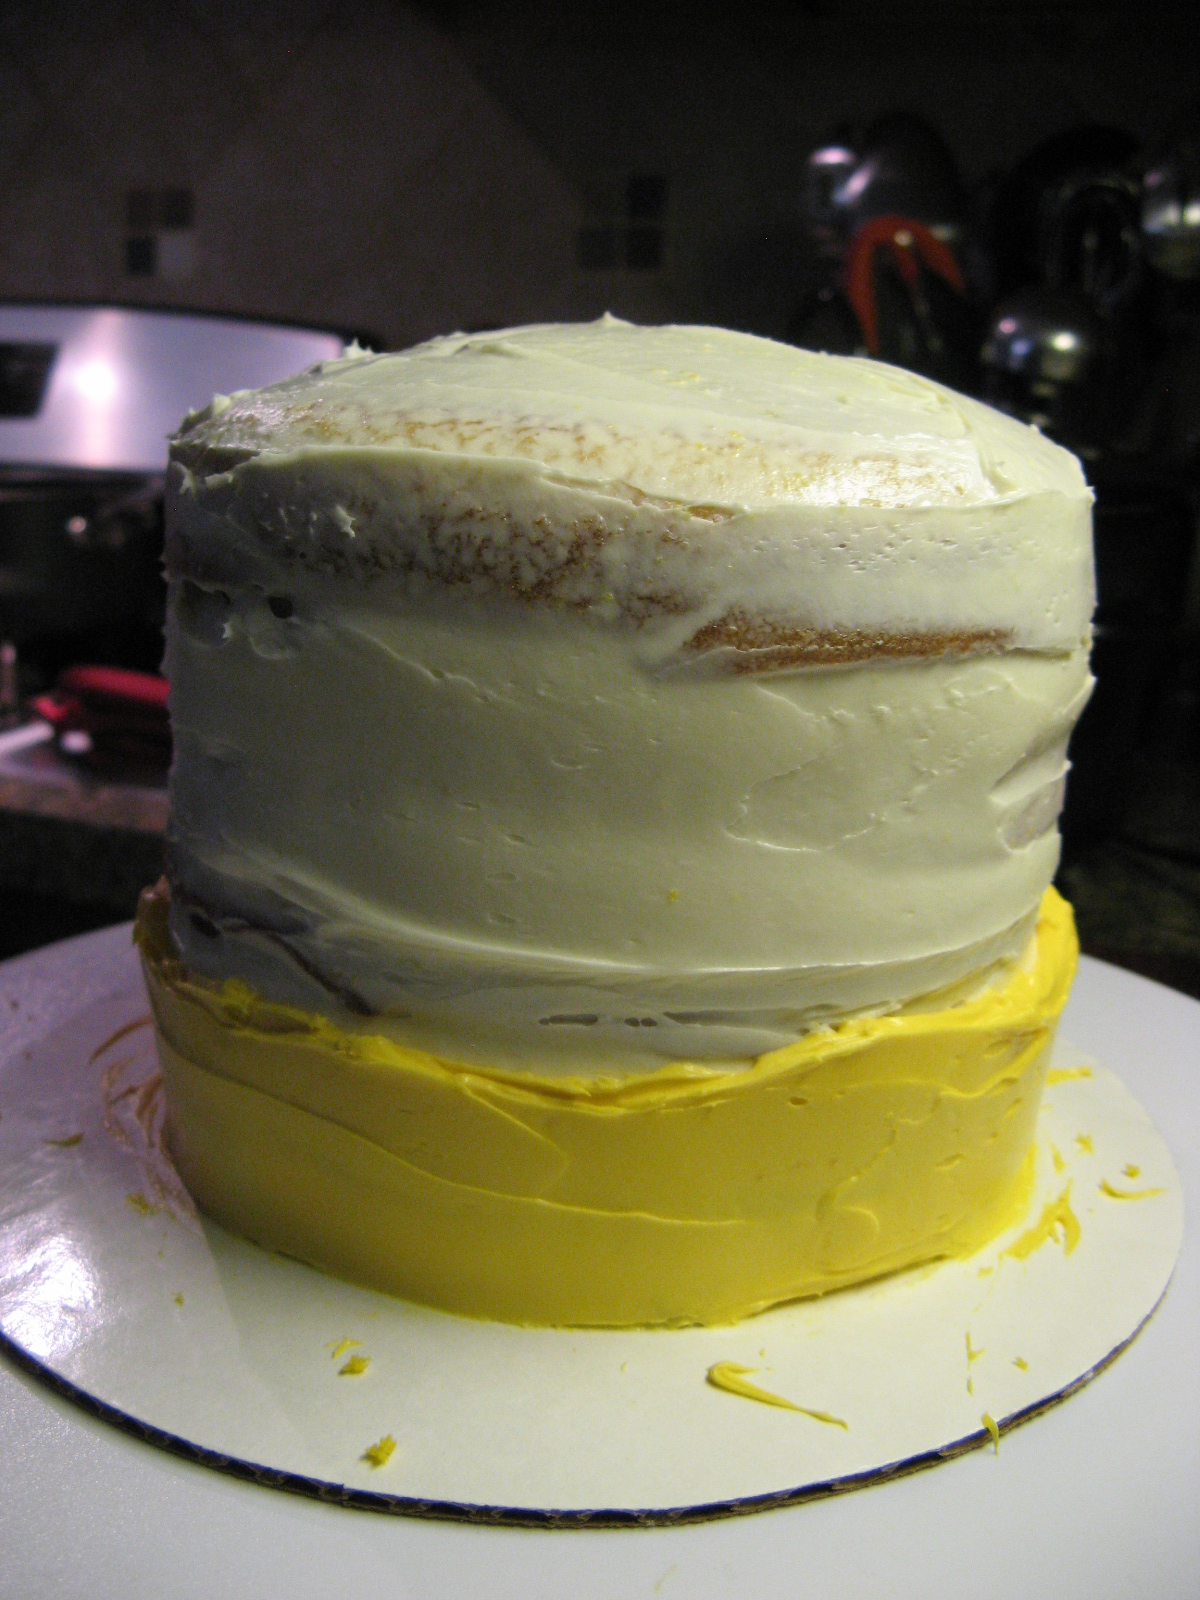
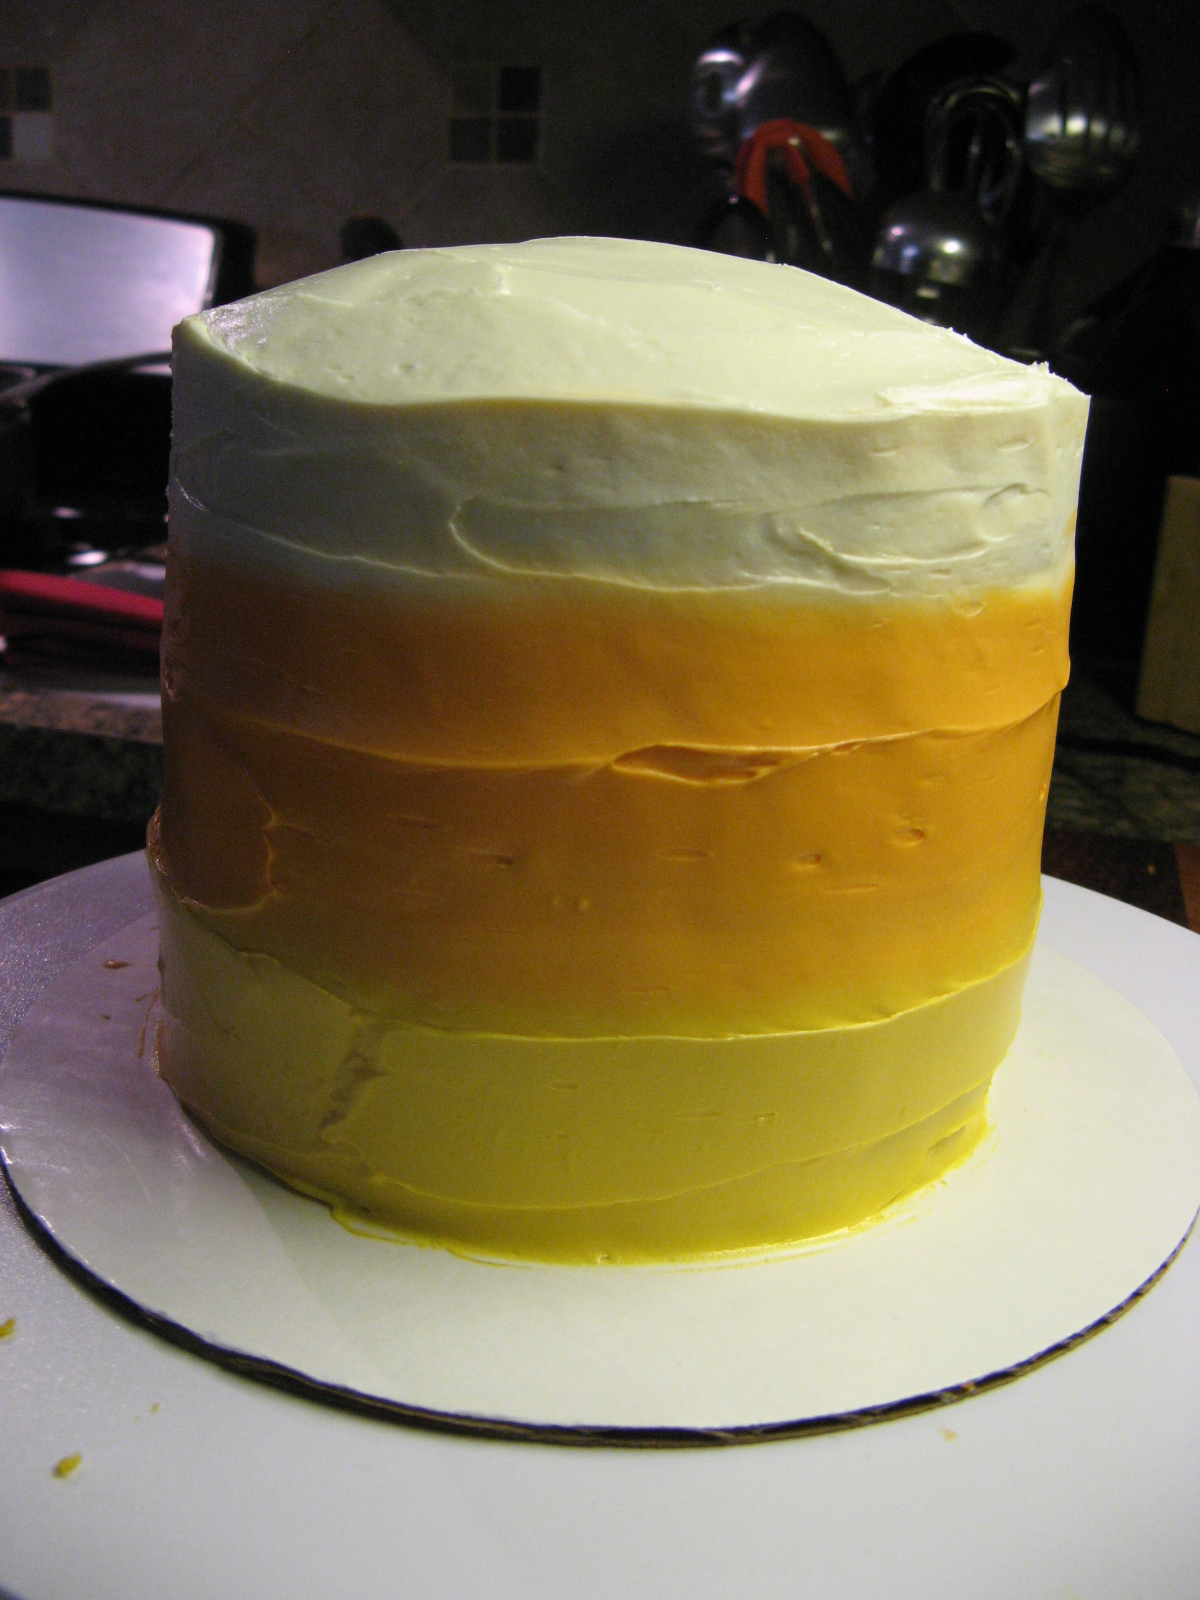
And then the following week it was time to bake, frost, roll fondant and assemble. After covering the base cake with yellow fondant I painted it orange to give the effect of a sunset. To do so, I combined orange gel color with vodka. I didn’t completely mix the two so I would get different shades of orange as the gel color diluted into the vodka. Once the color was dry I attached all of the cut-outs I made the week before to the cake and topped it with some Lion Guard figurines I picked up from my local Disney Store.

lion-guard-cake

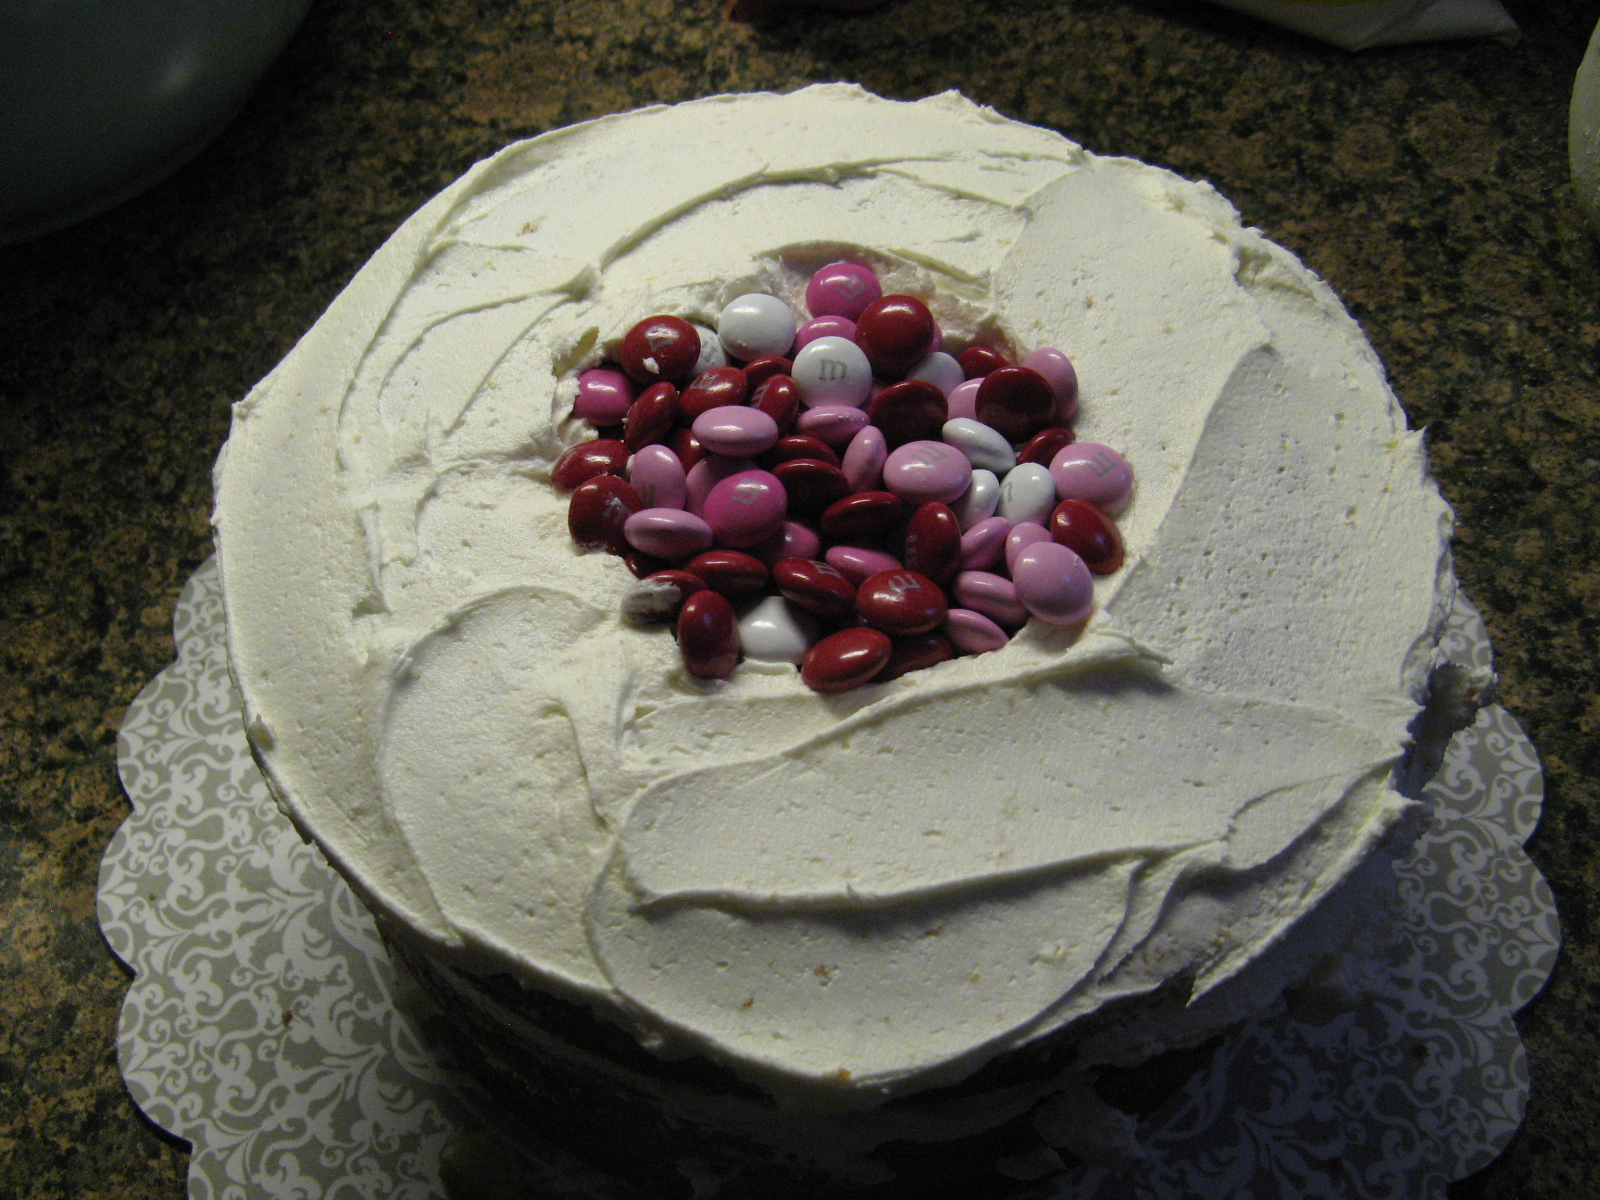
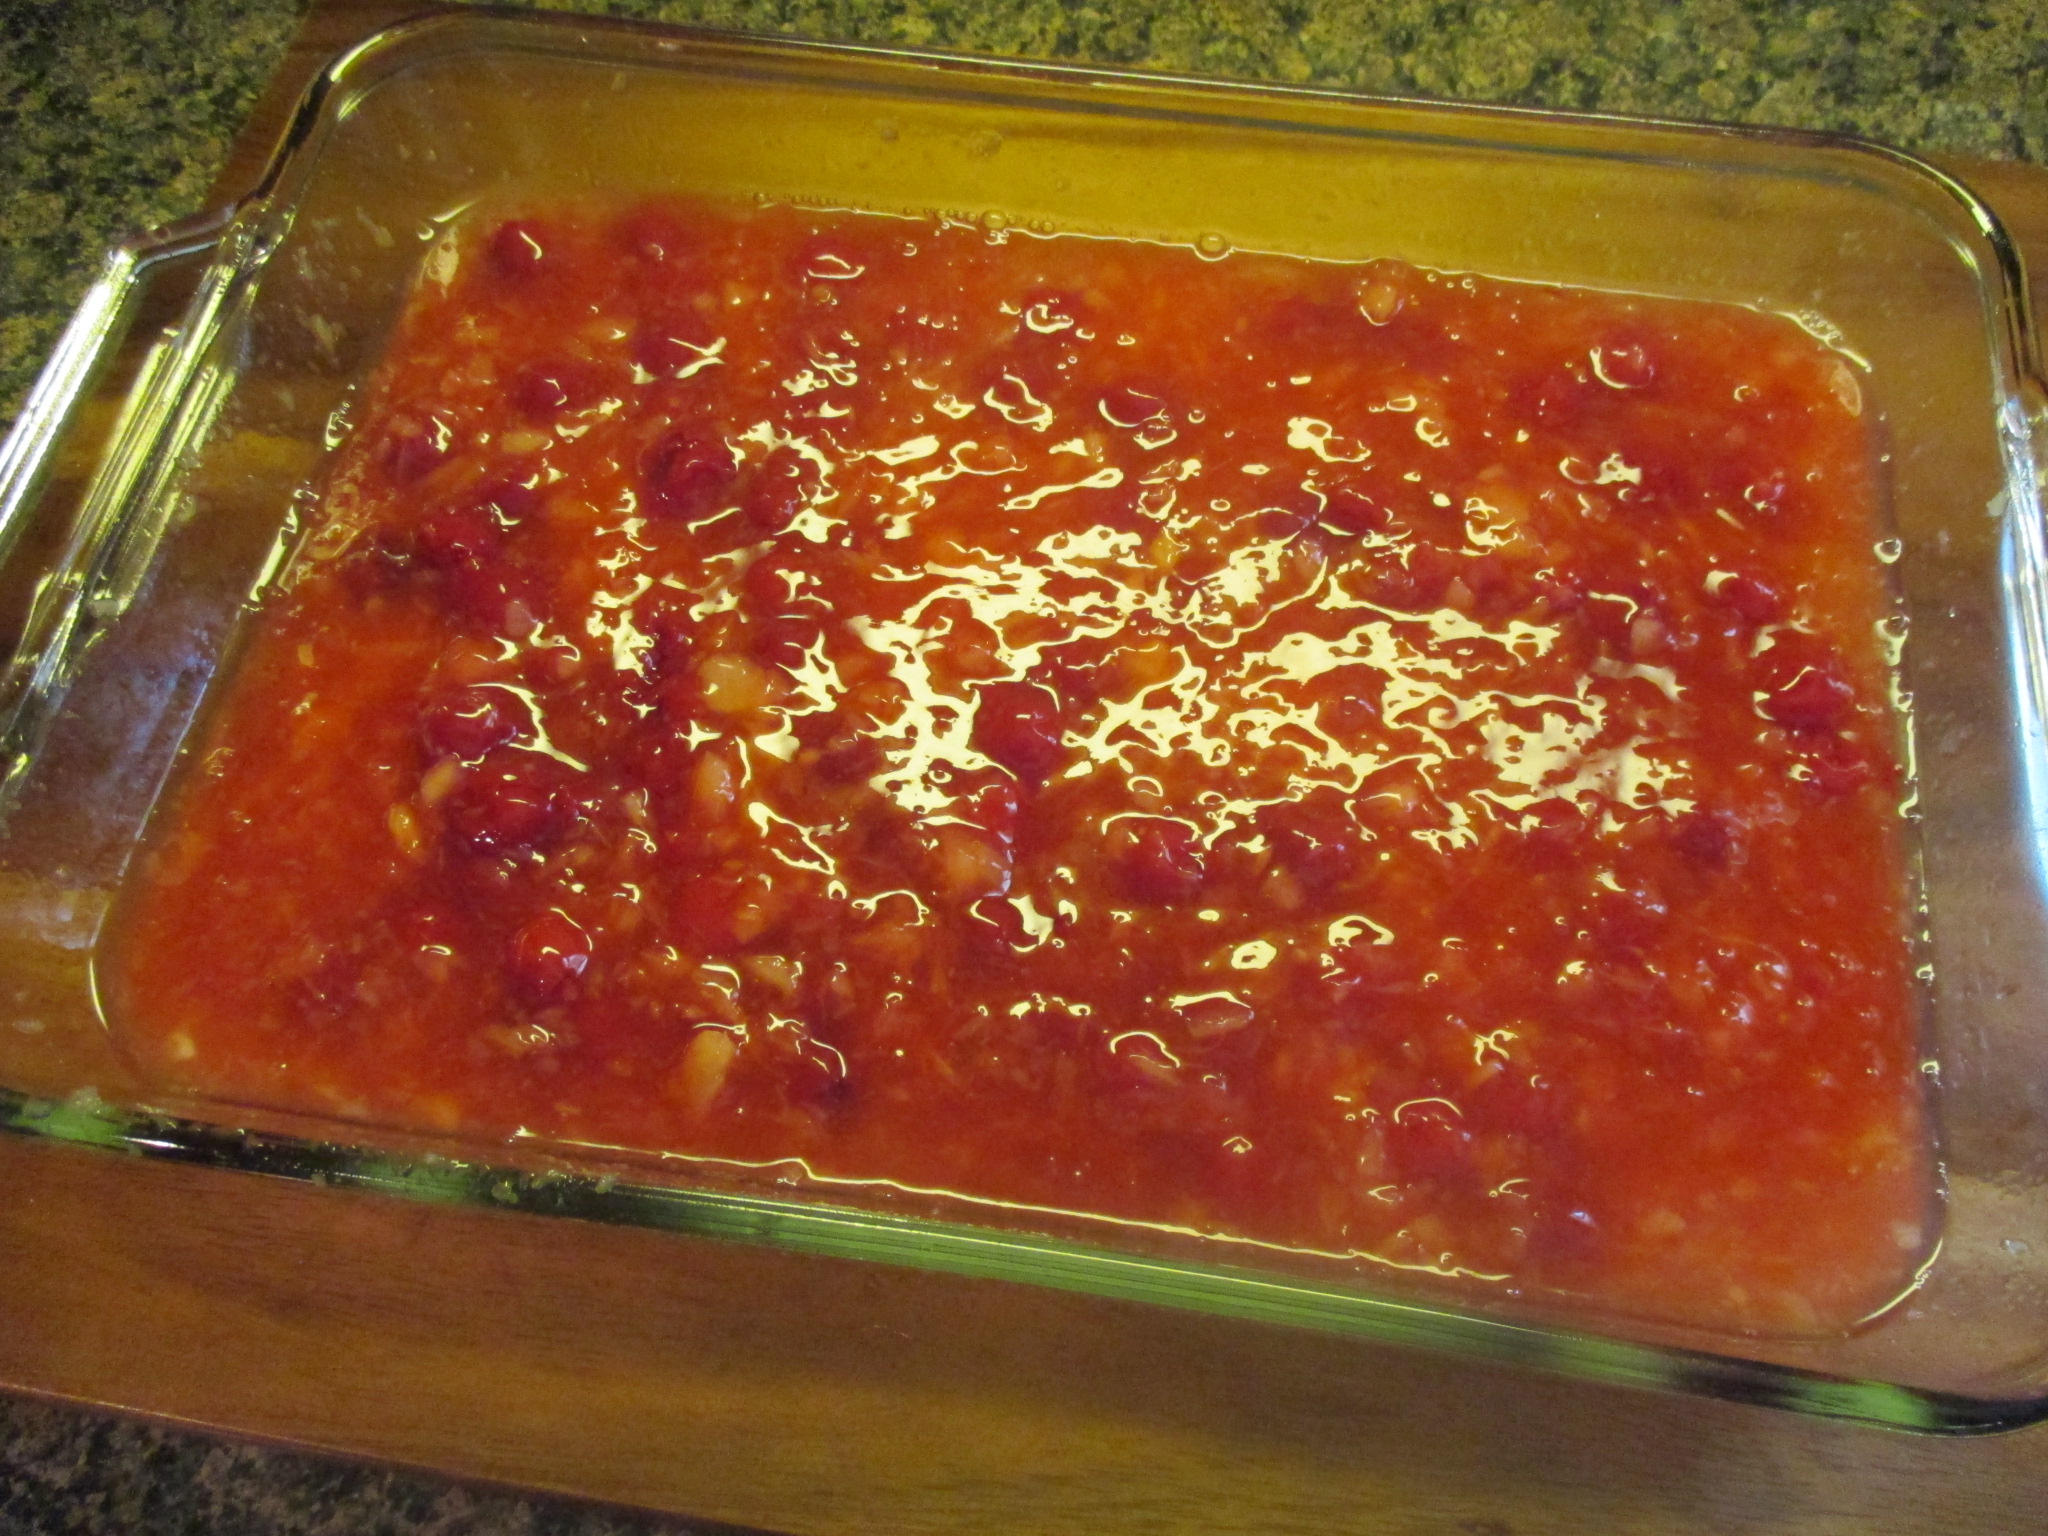
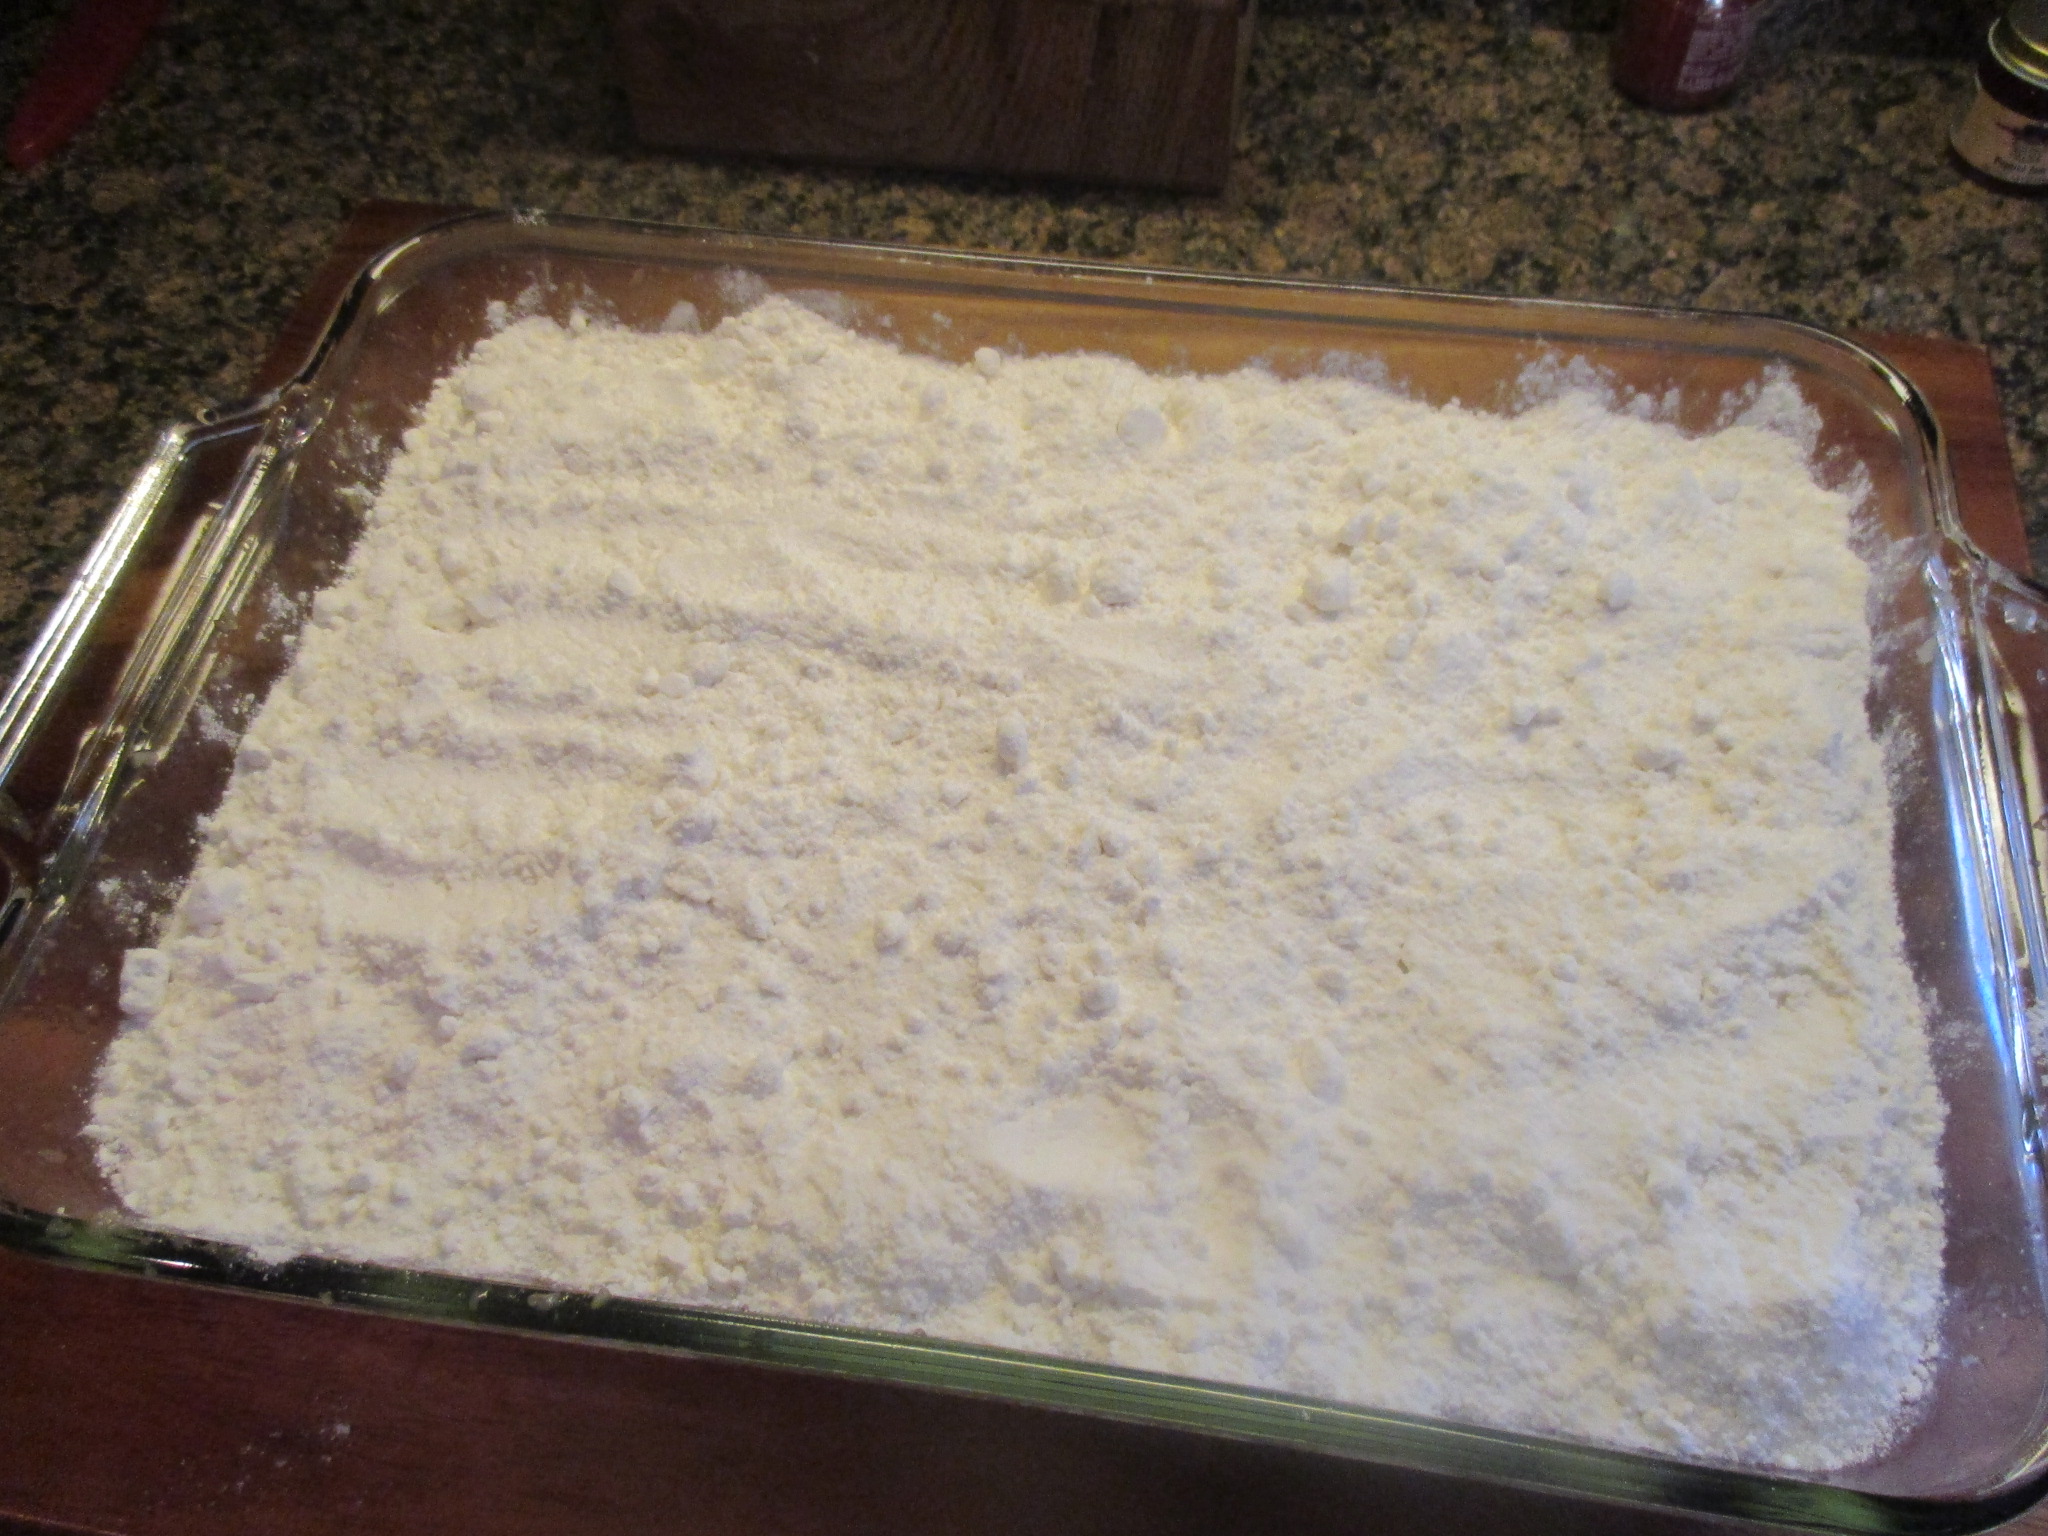
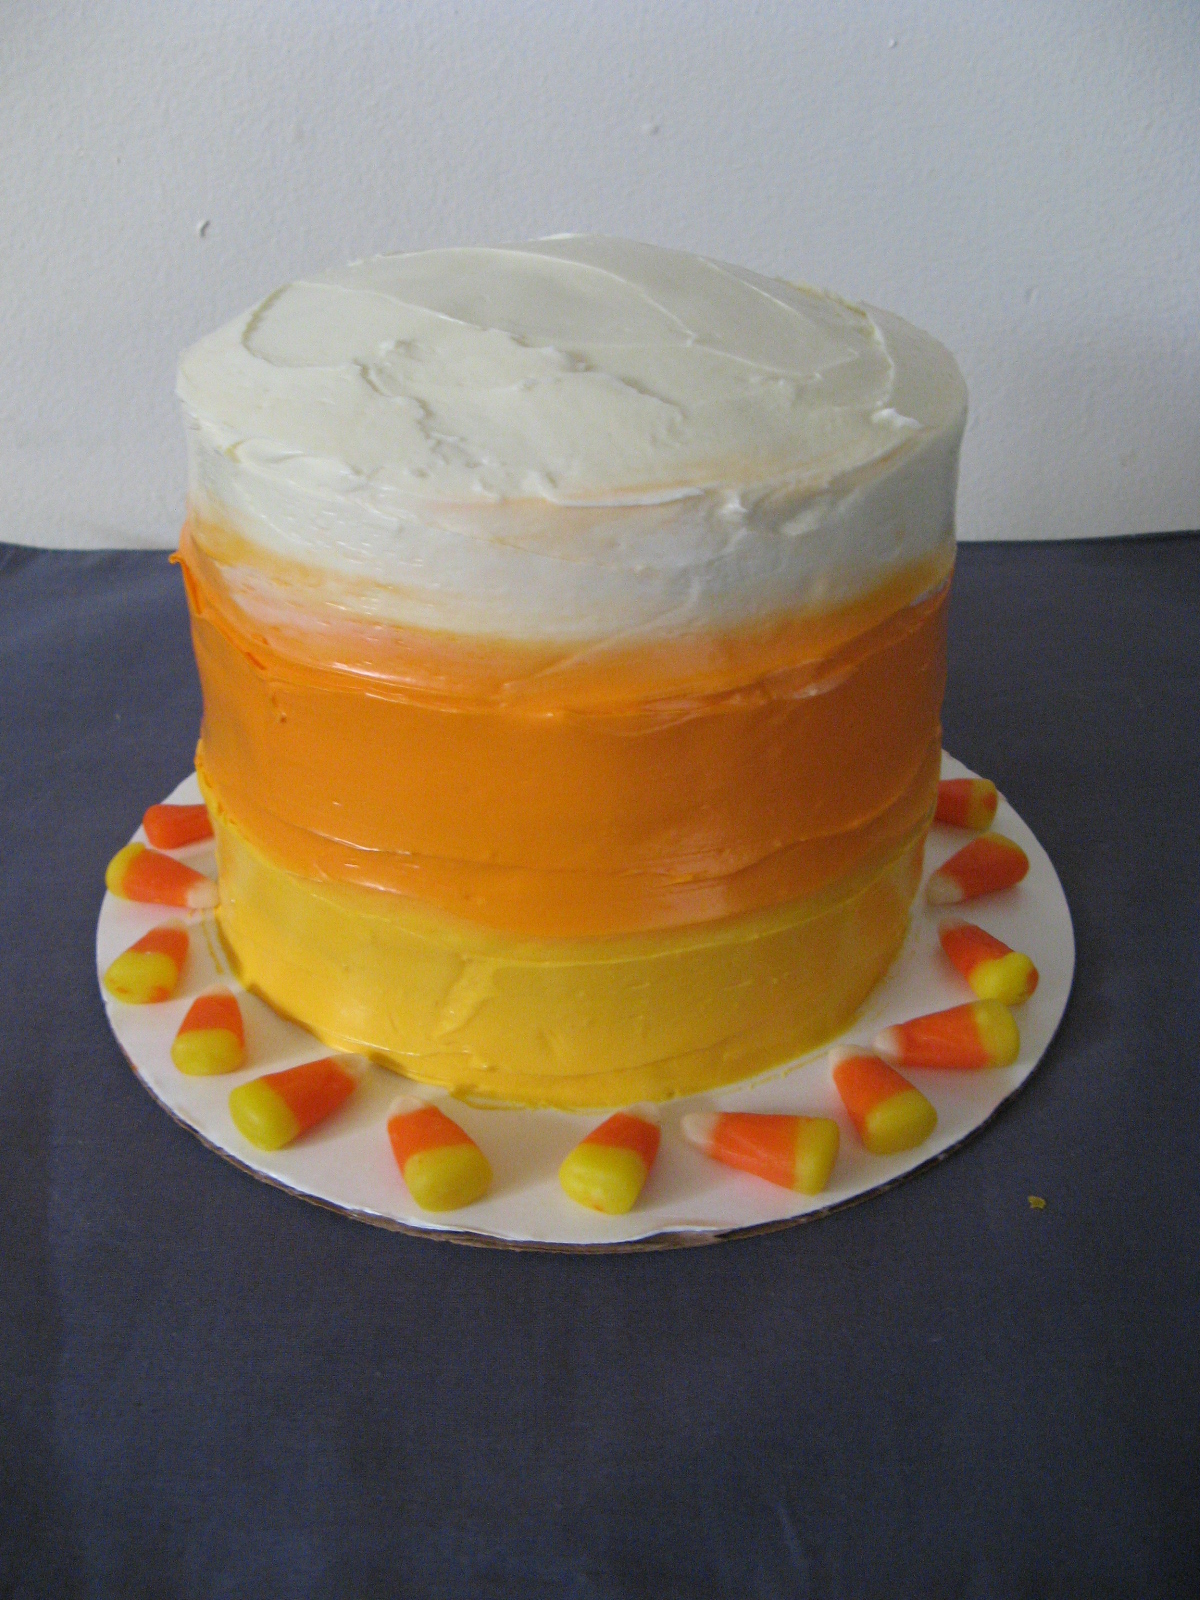
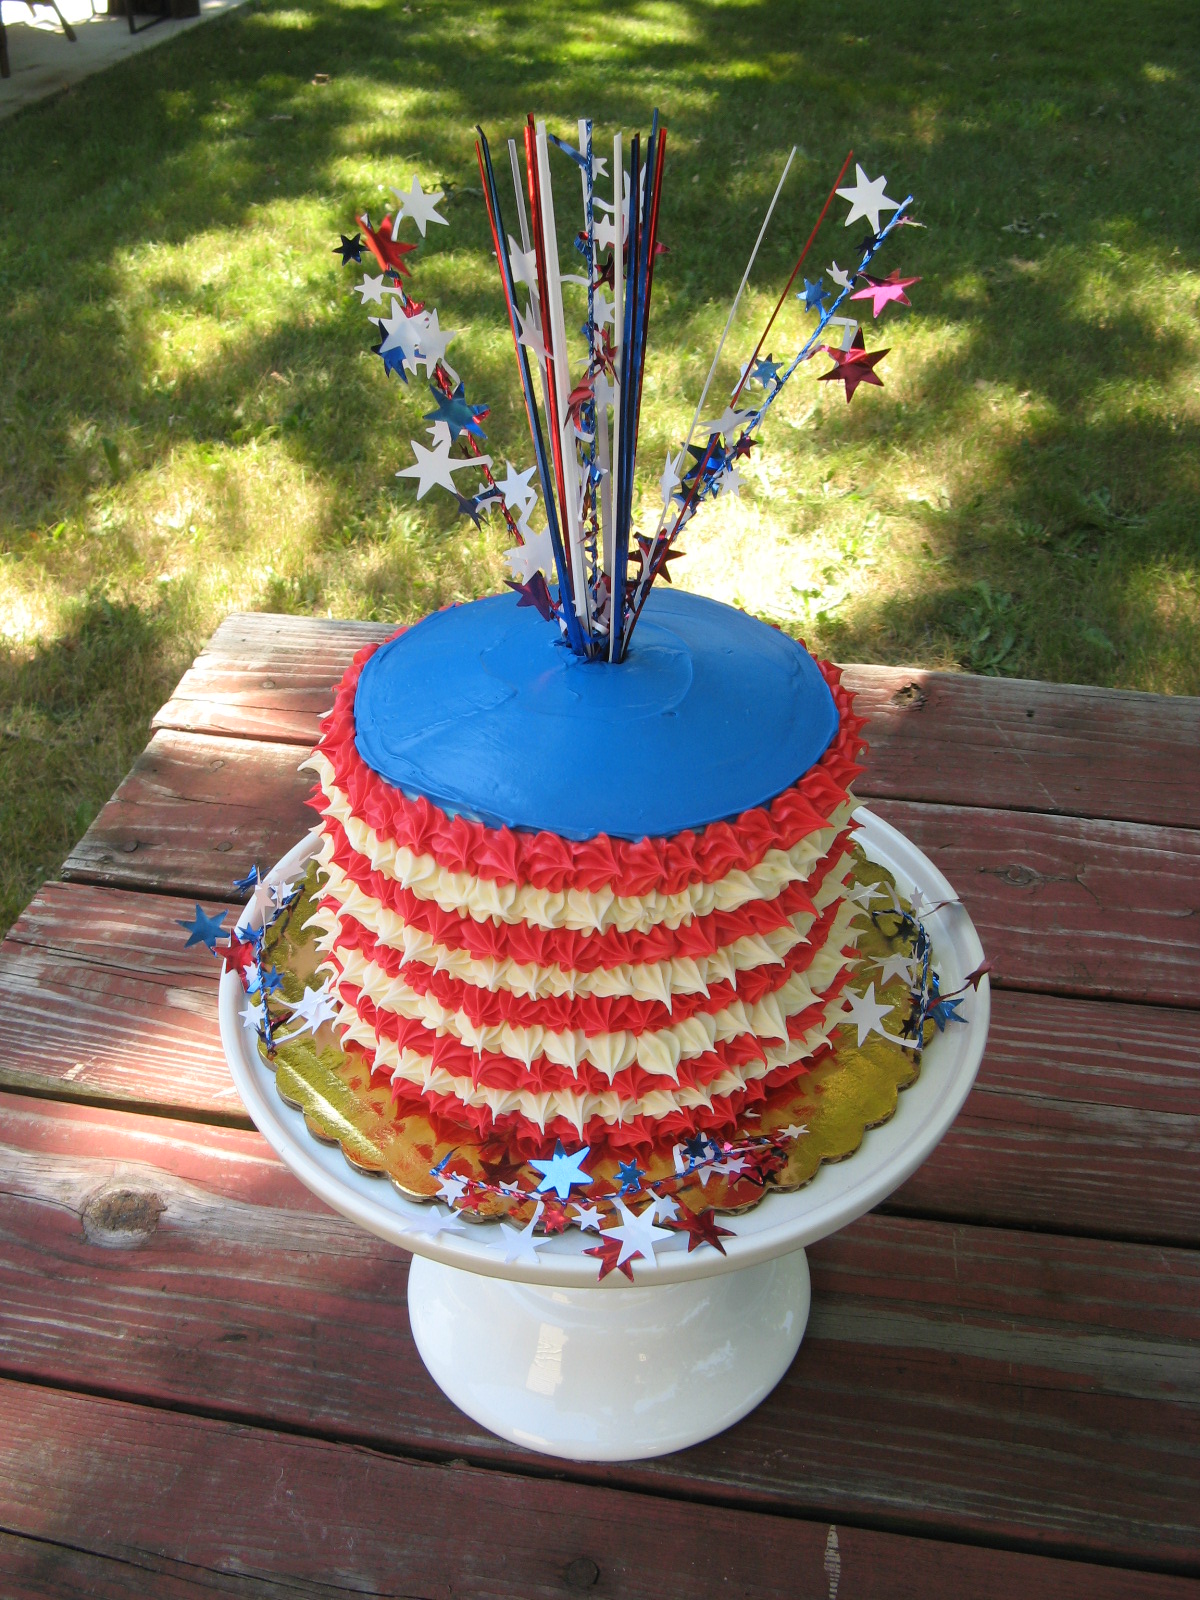
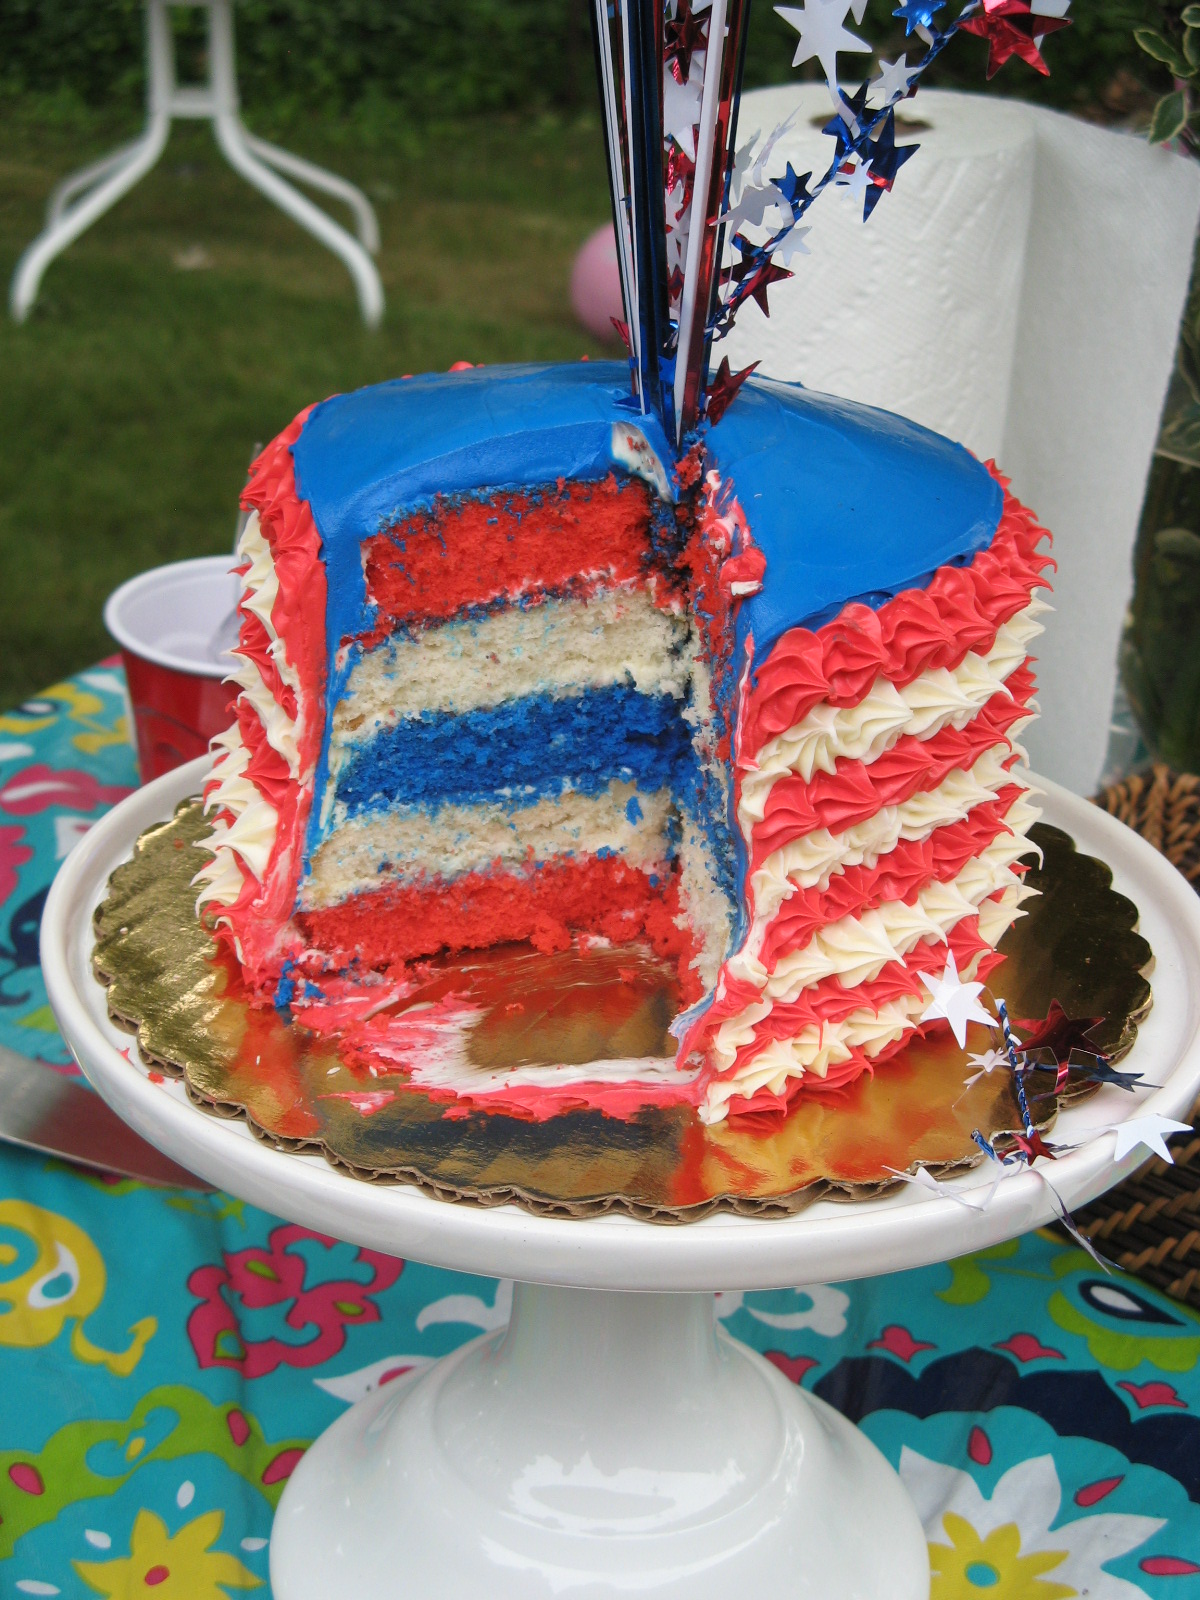
For the 4th of July I created this patriotic cake.

4th-of-july-cake

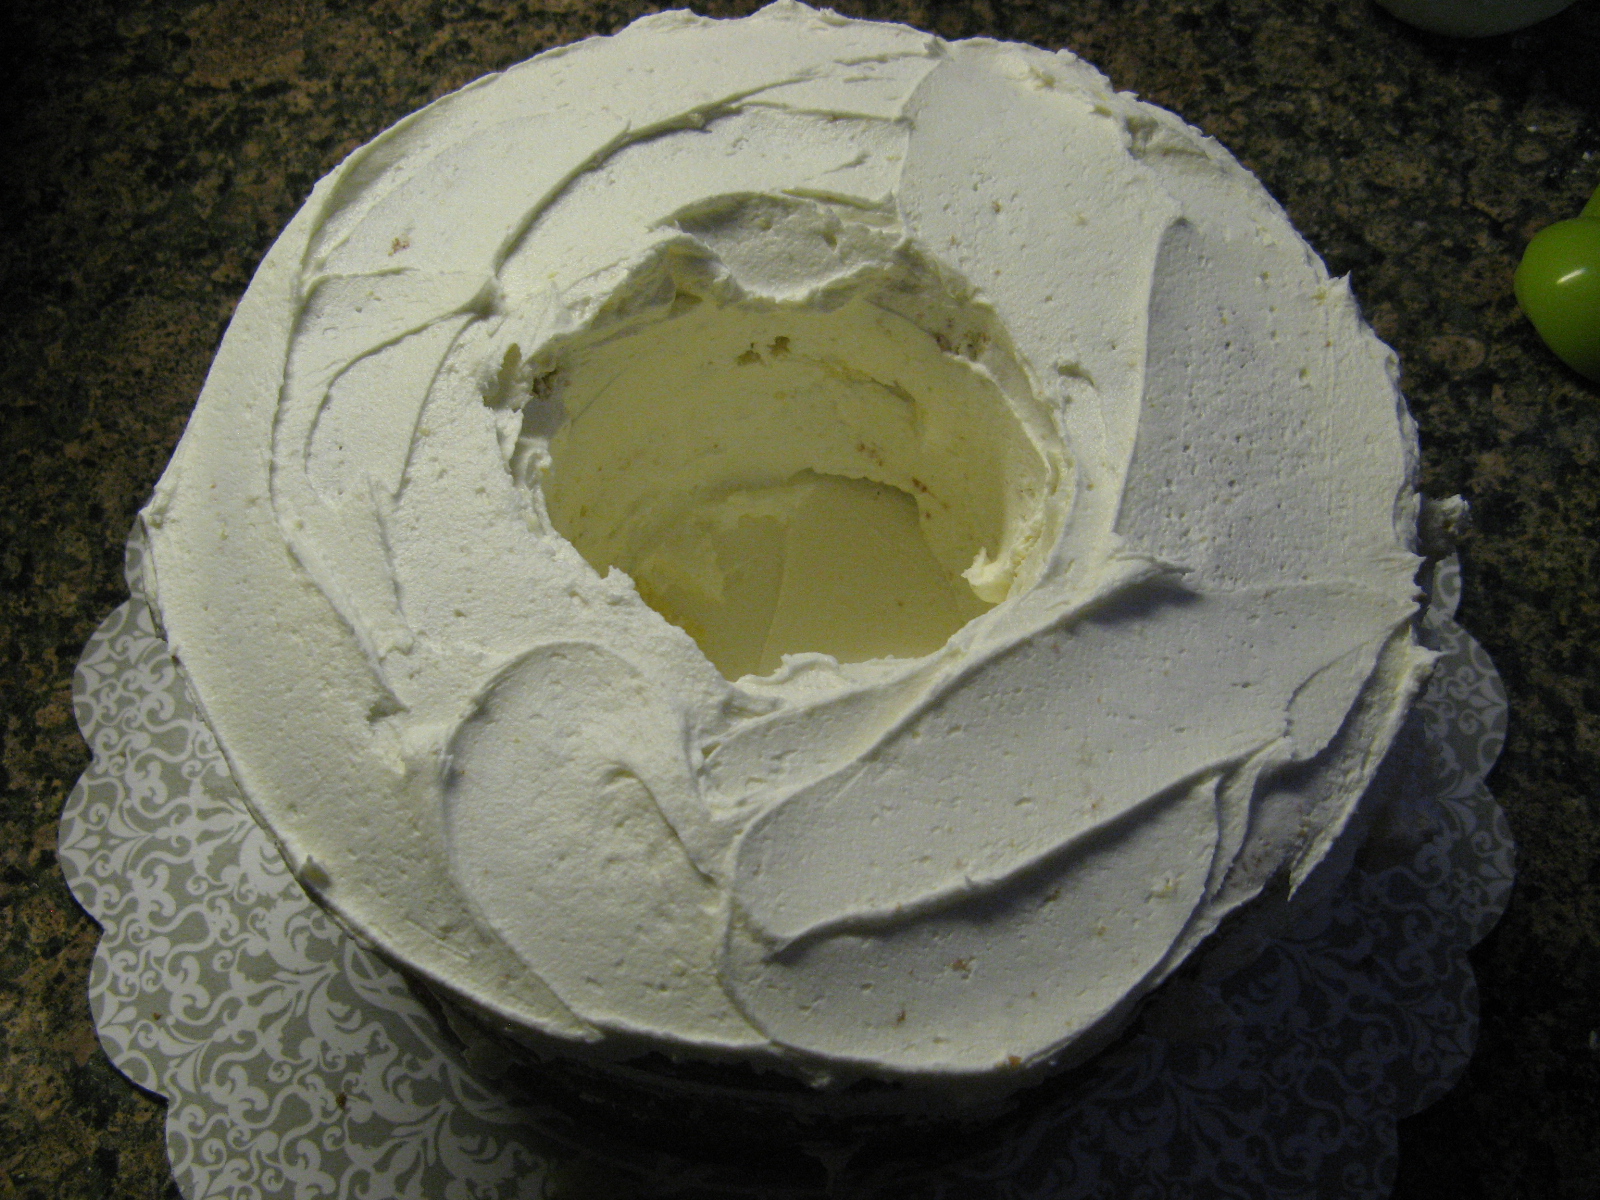
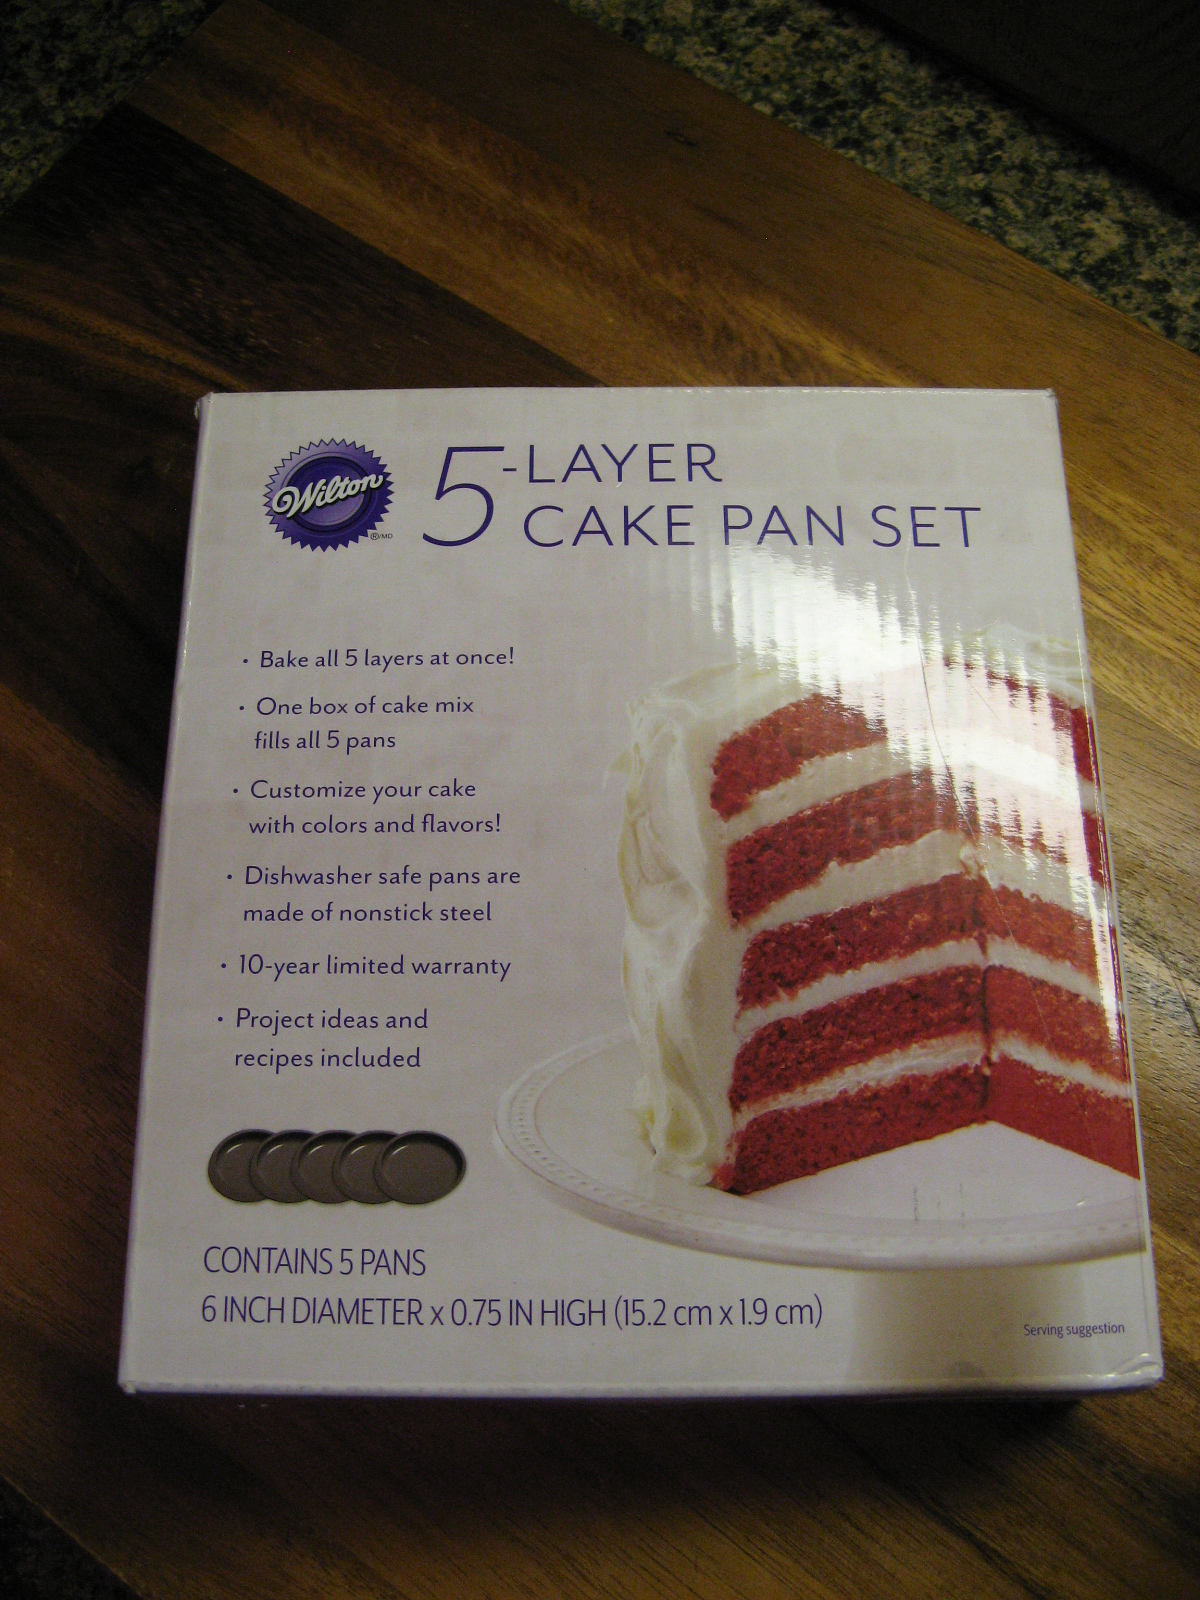
The inside was patriotic as well…

img_01791

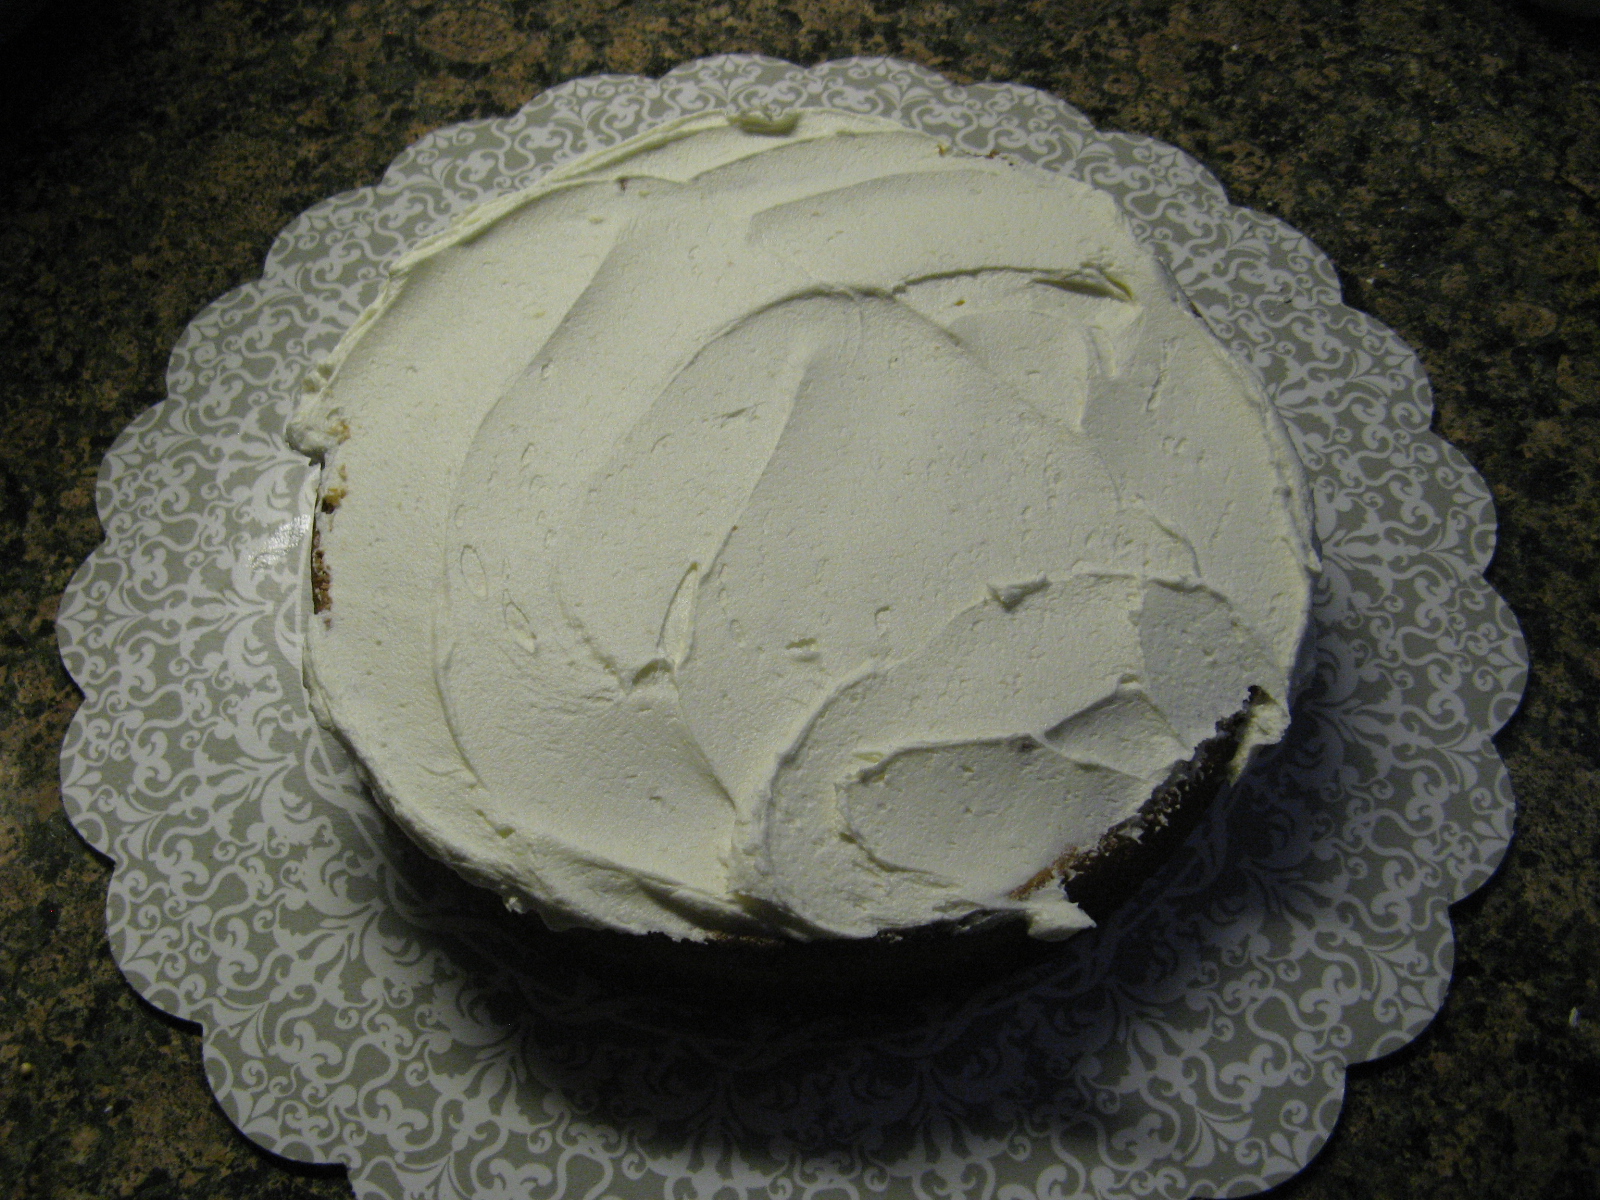
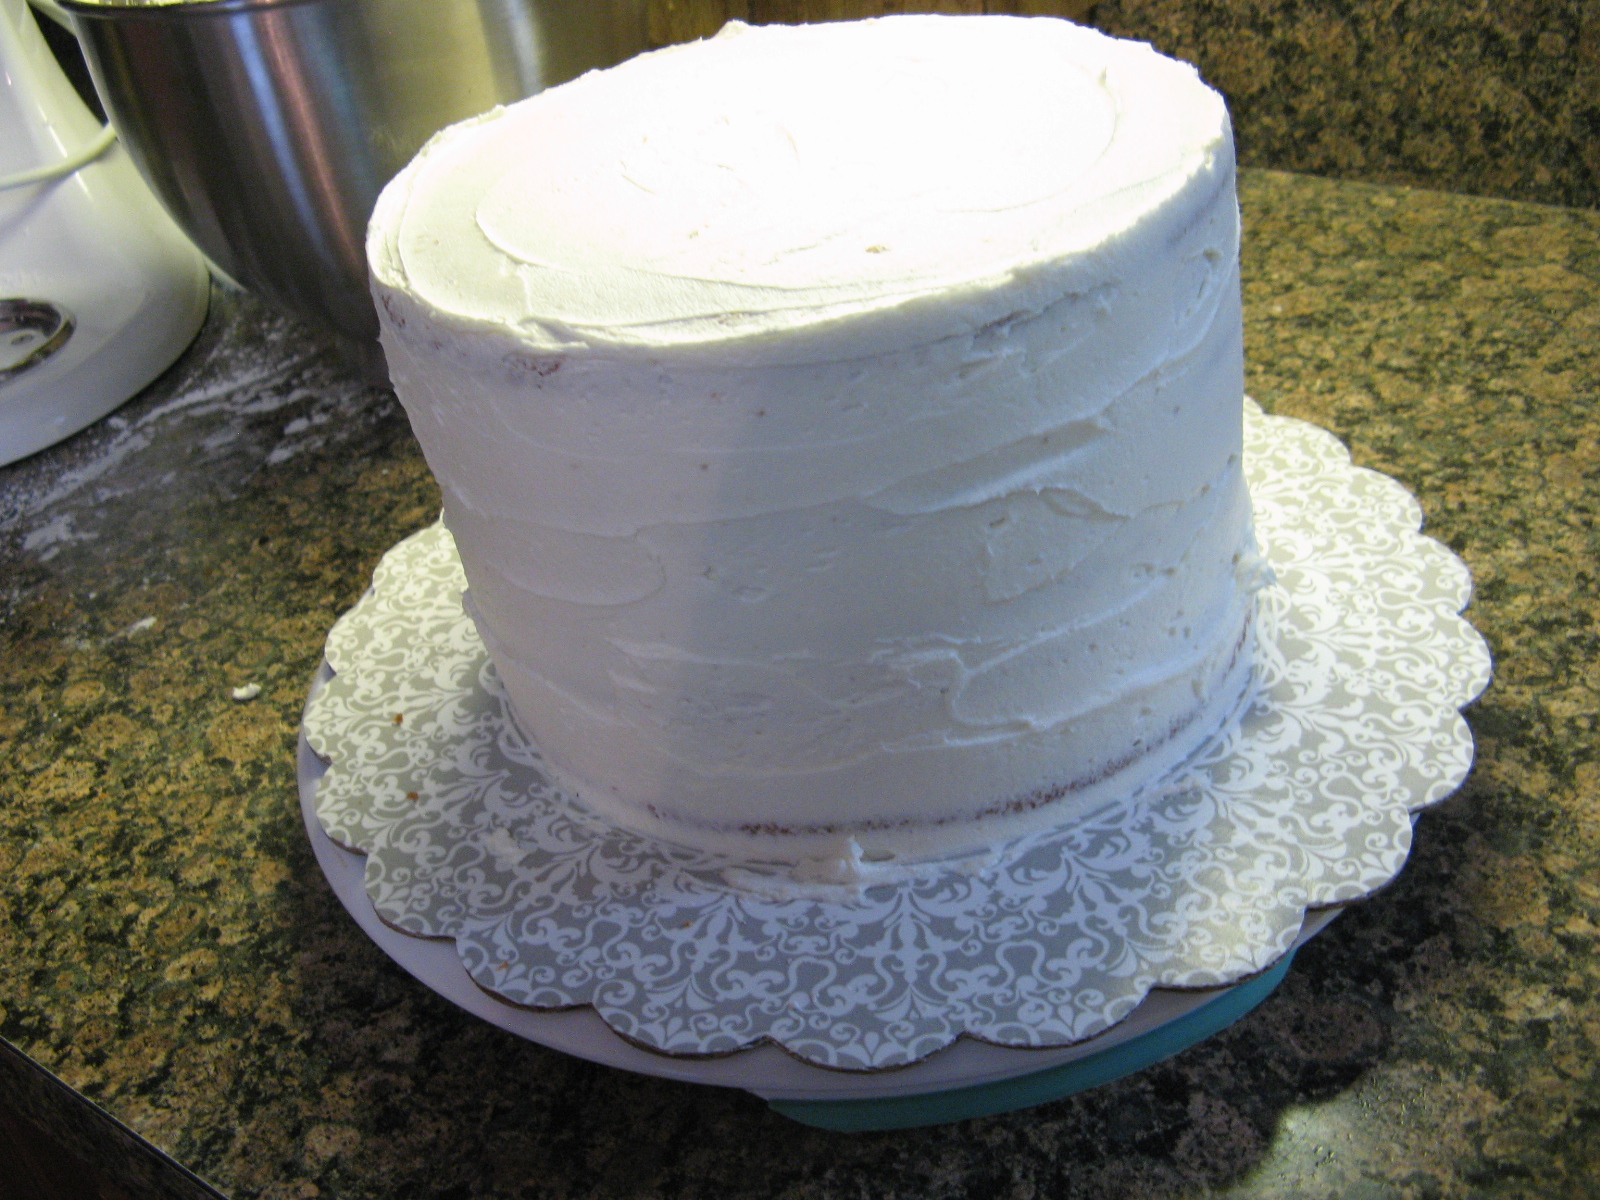
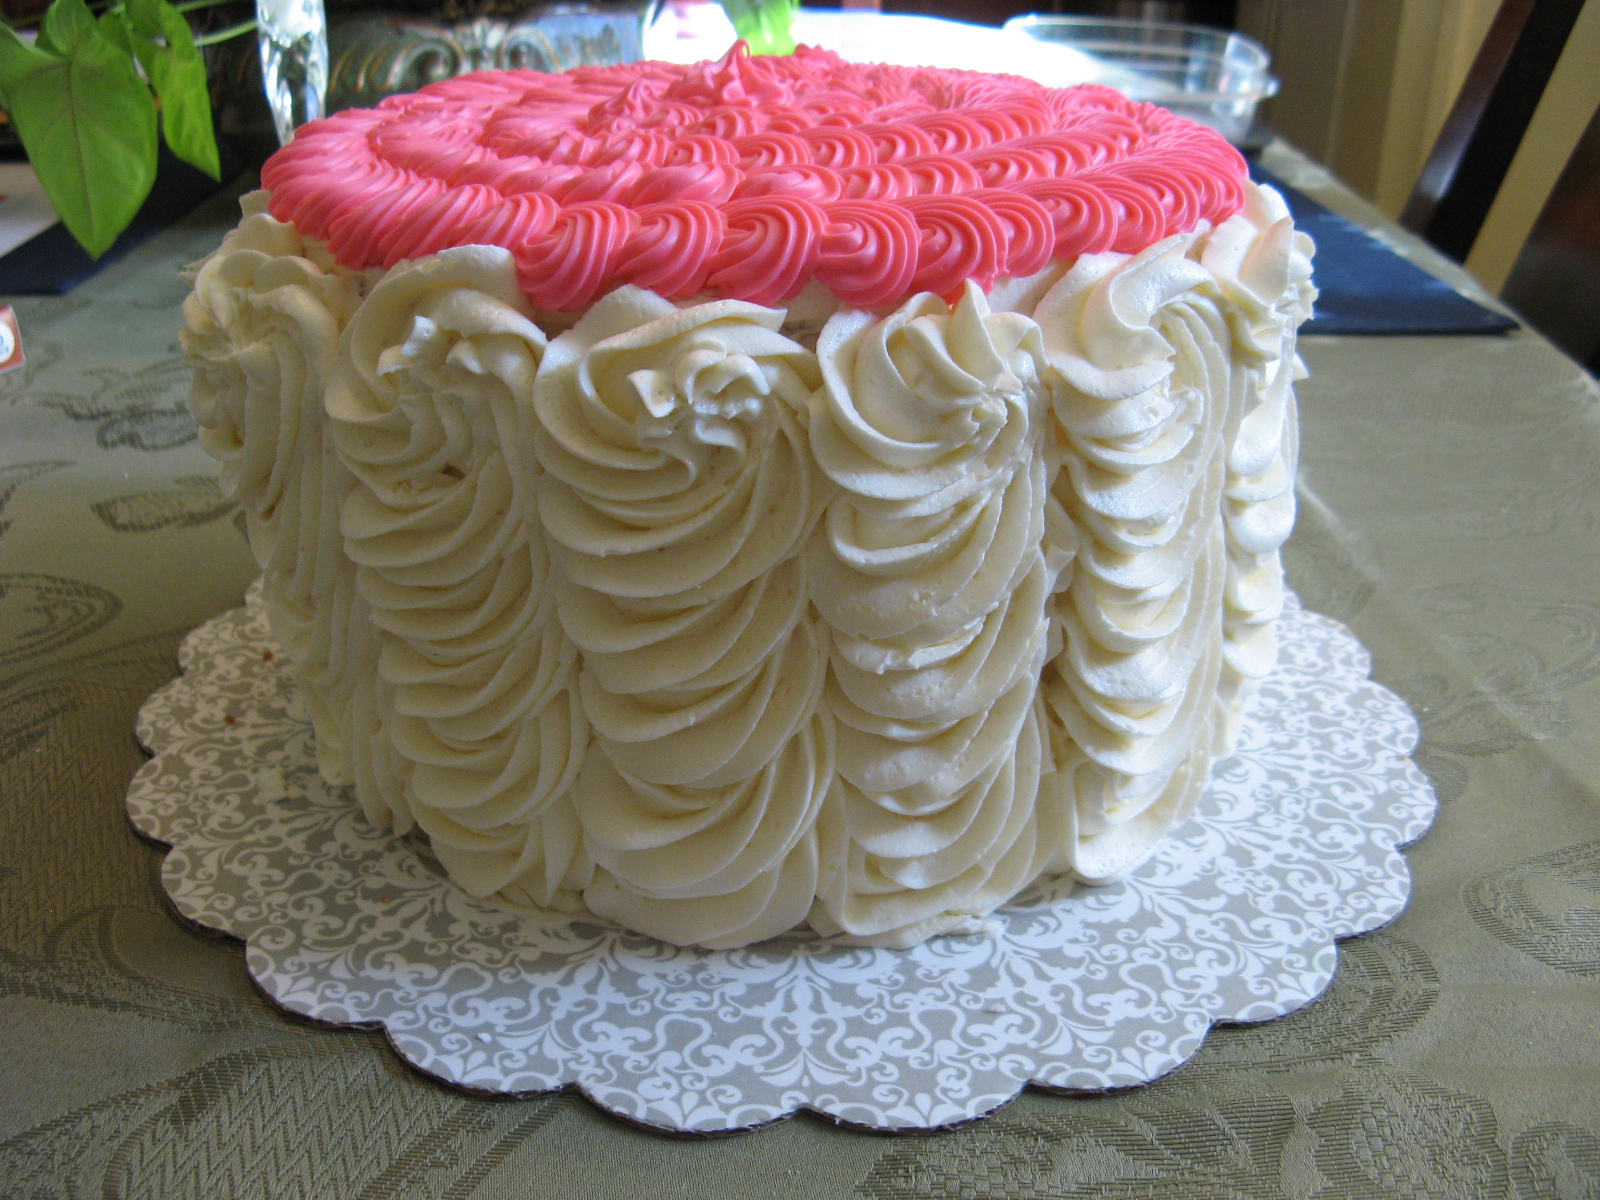
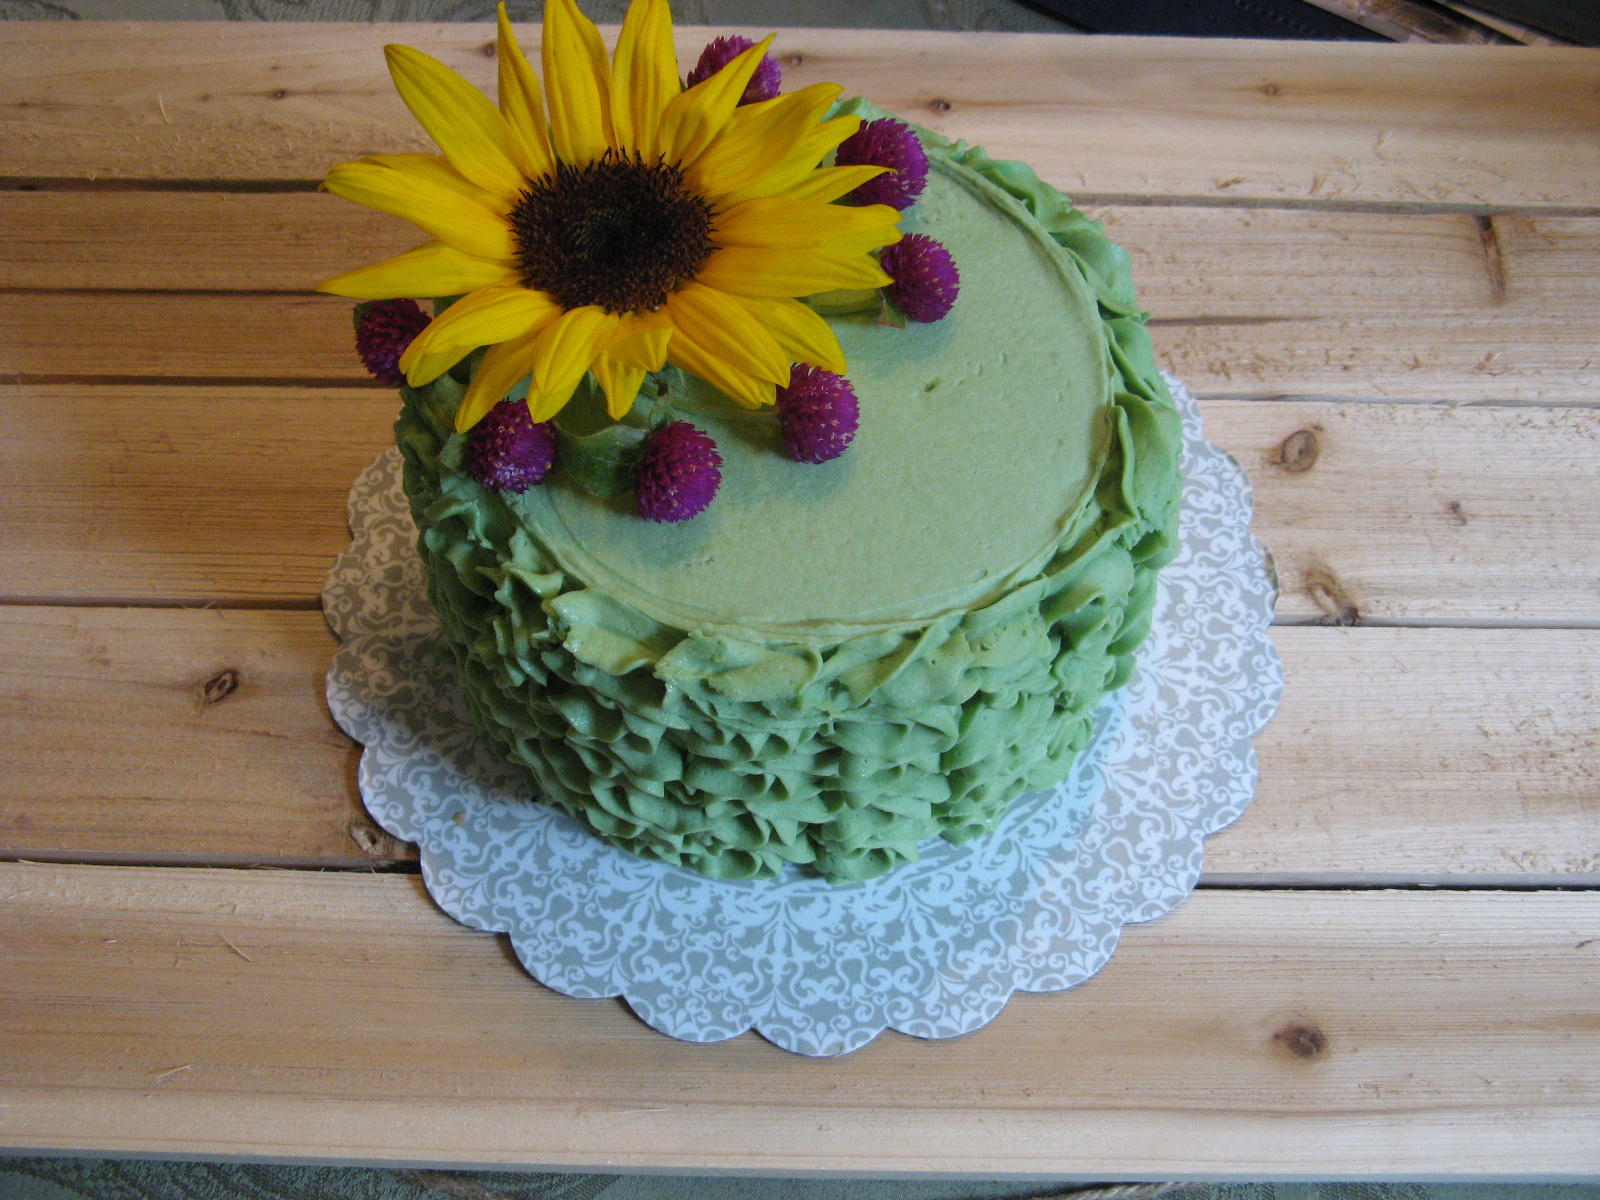
As a belated birthday gift for a dear friend I made this adorable cake topped with a bright big sunflower and some cute purple flowers that I am not sure the name of. To decorate the sides of the cake I piped ruffles vertically using a 1M tip.

img_02531

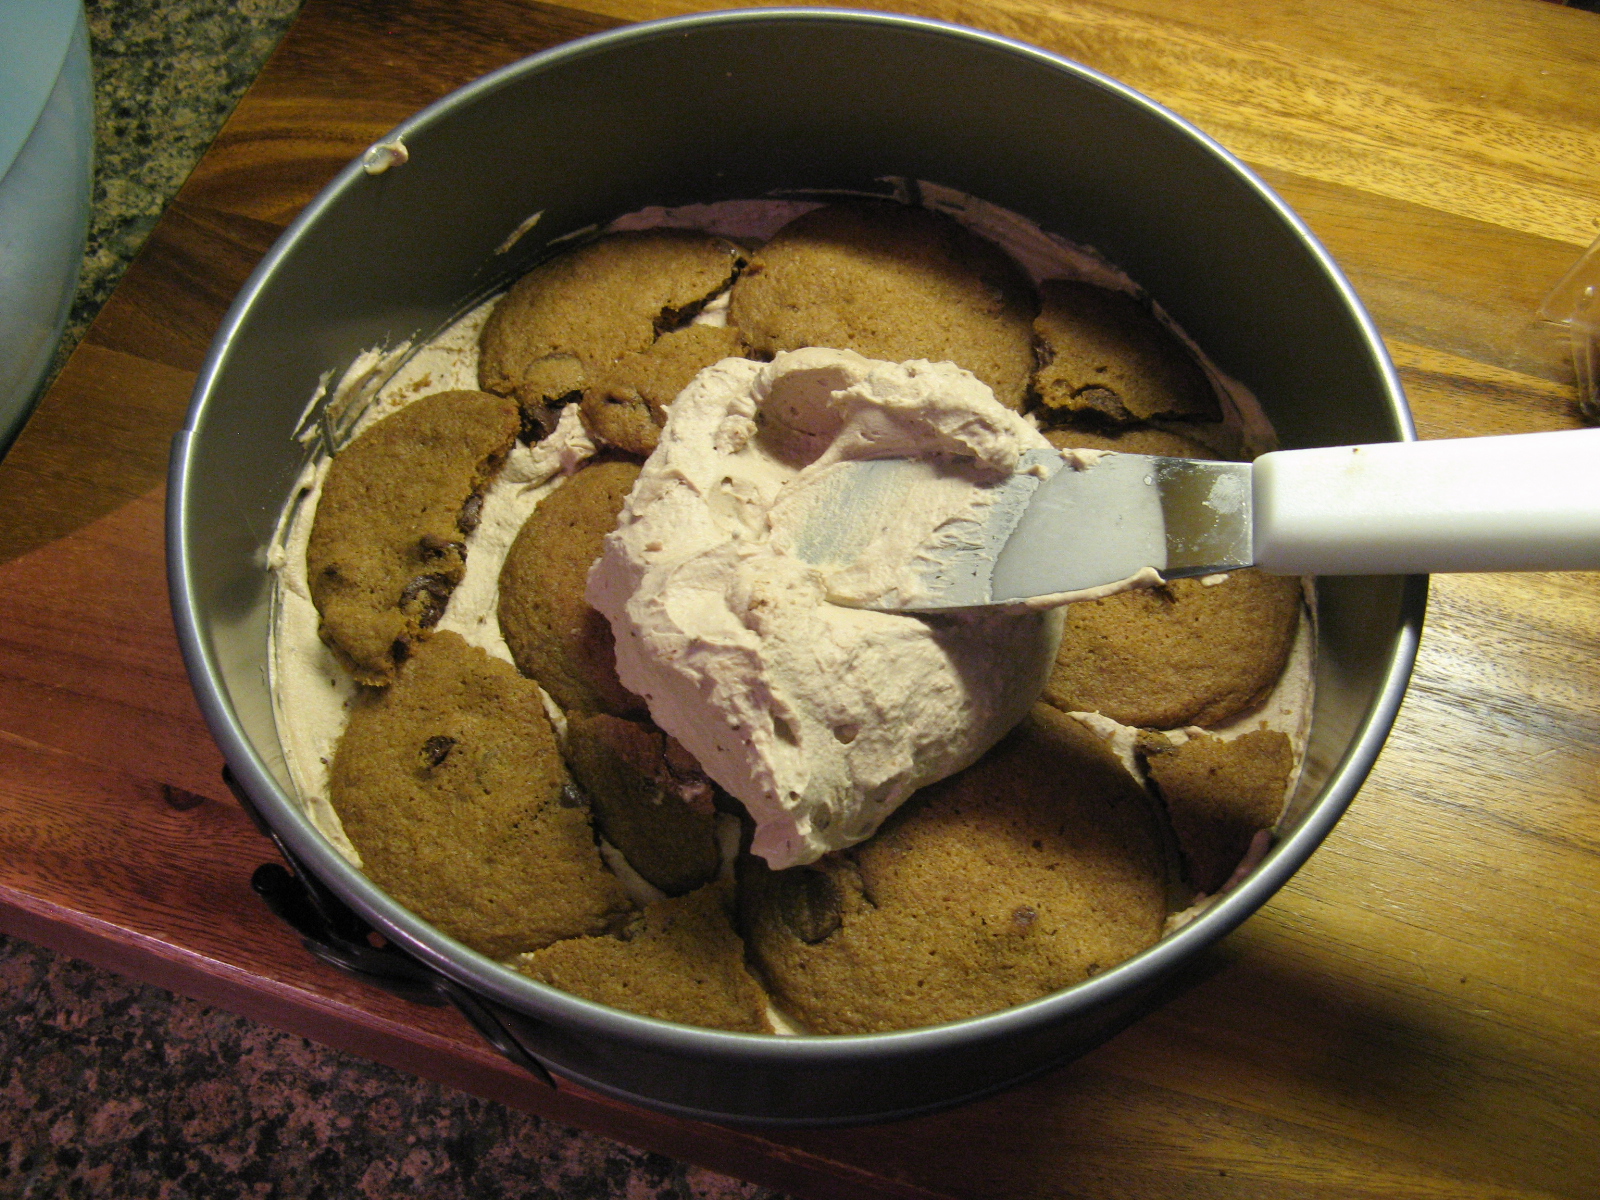
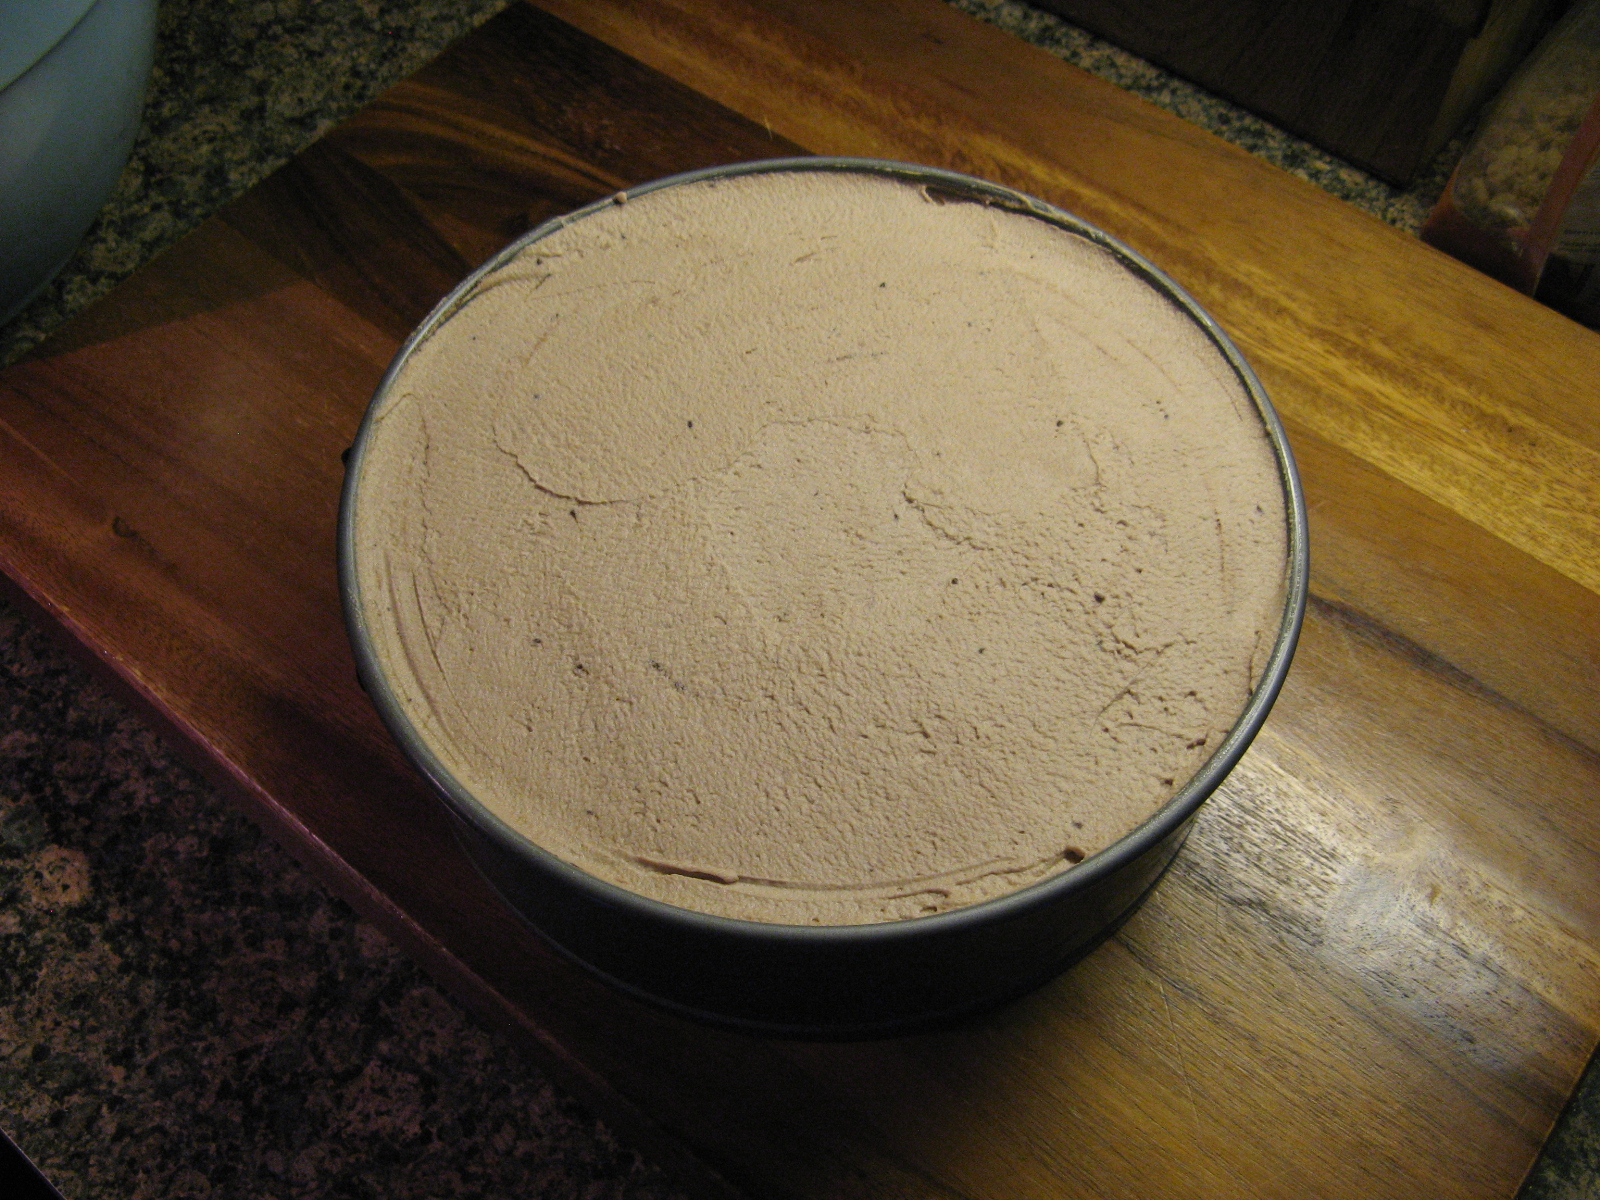
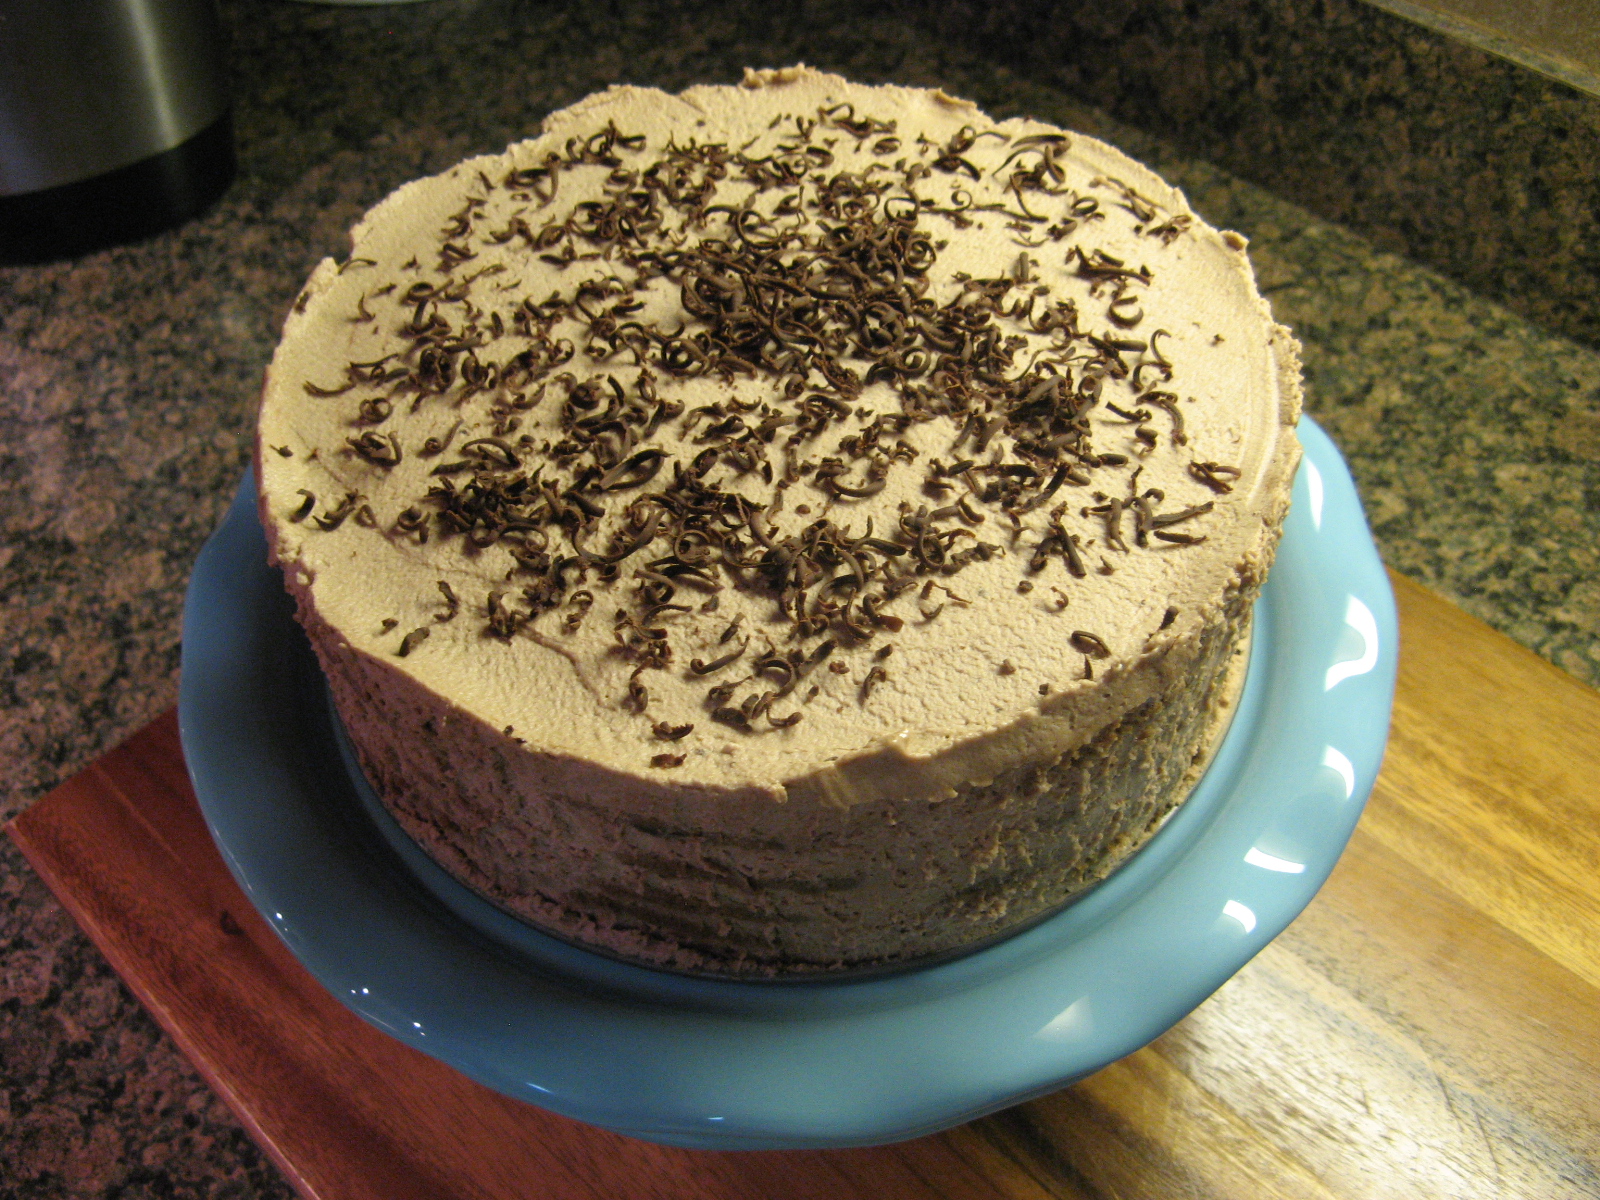
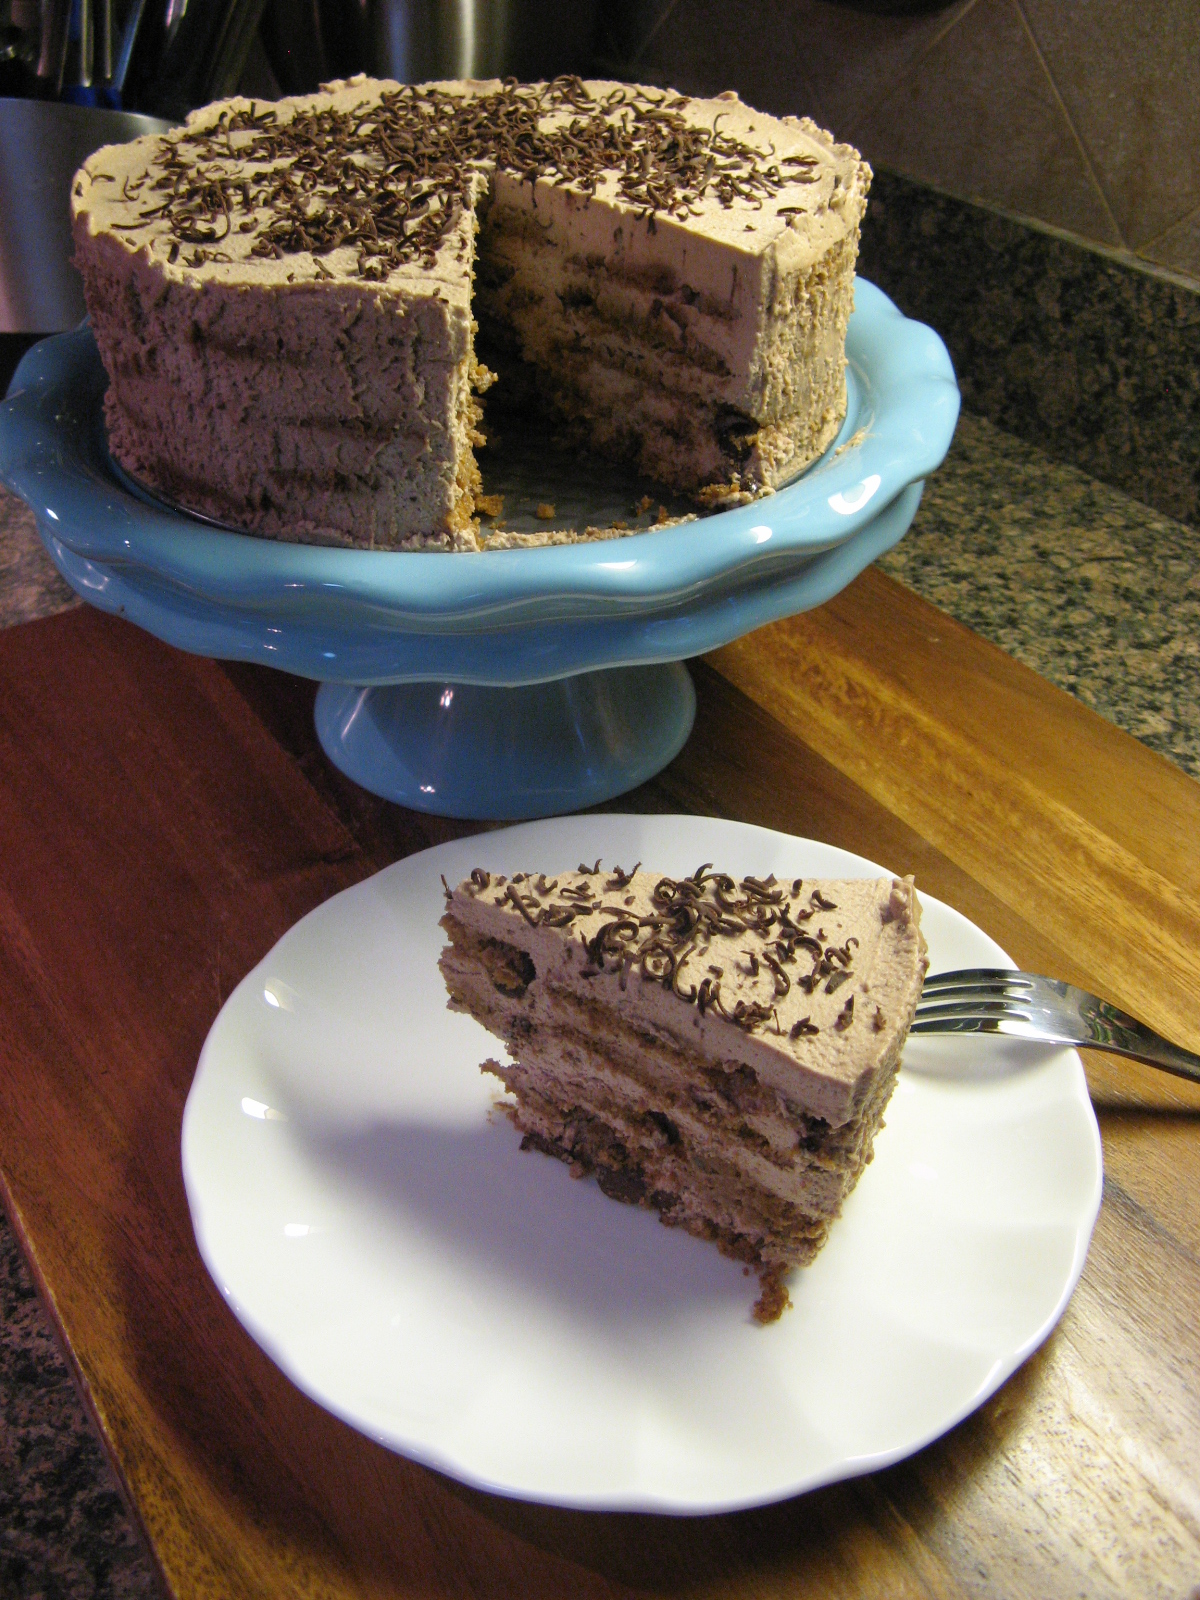
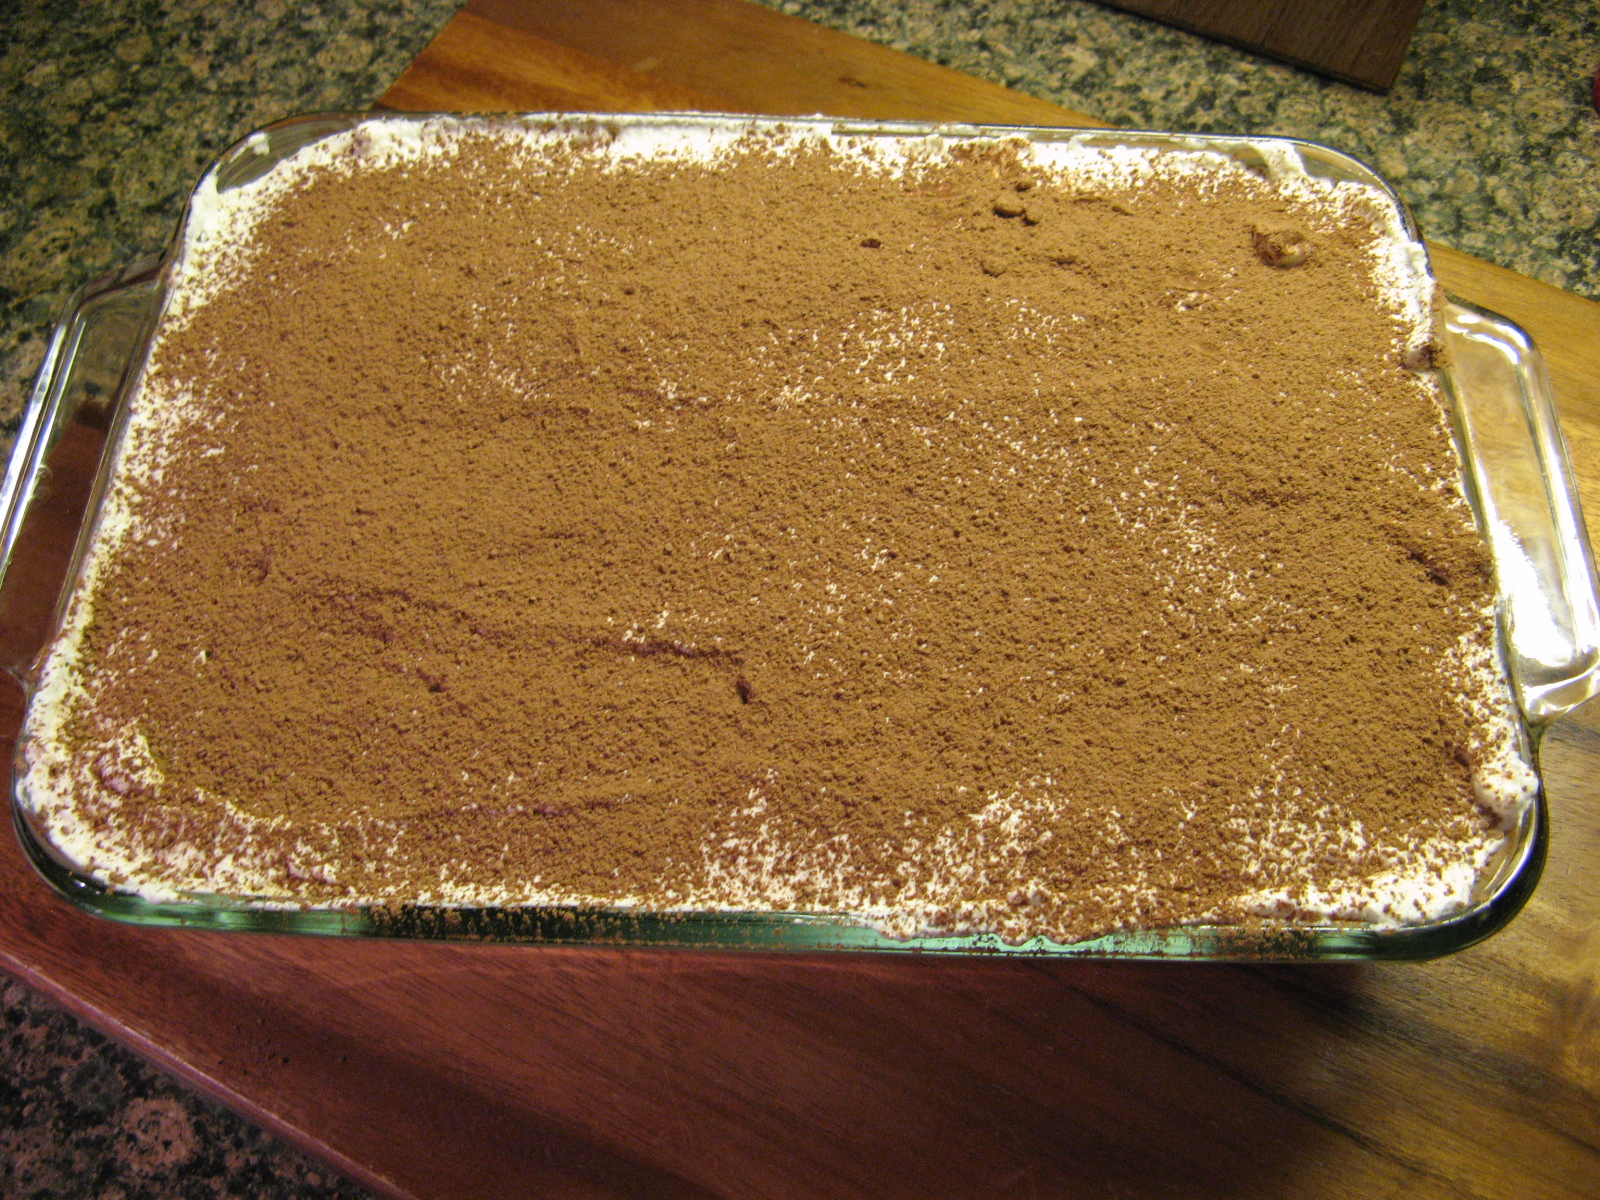
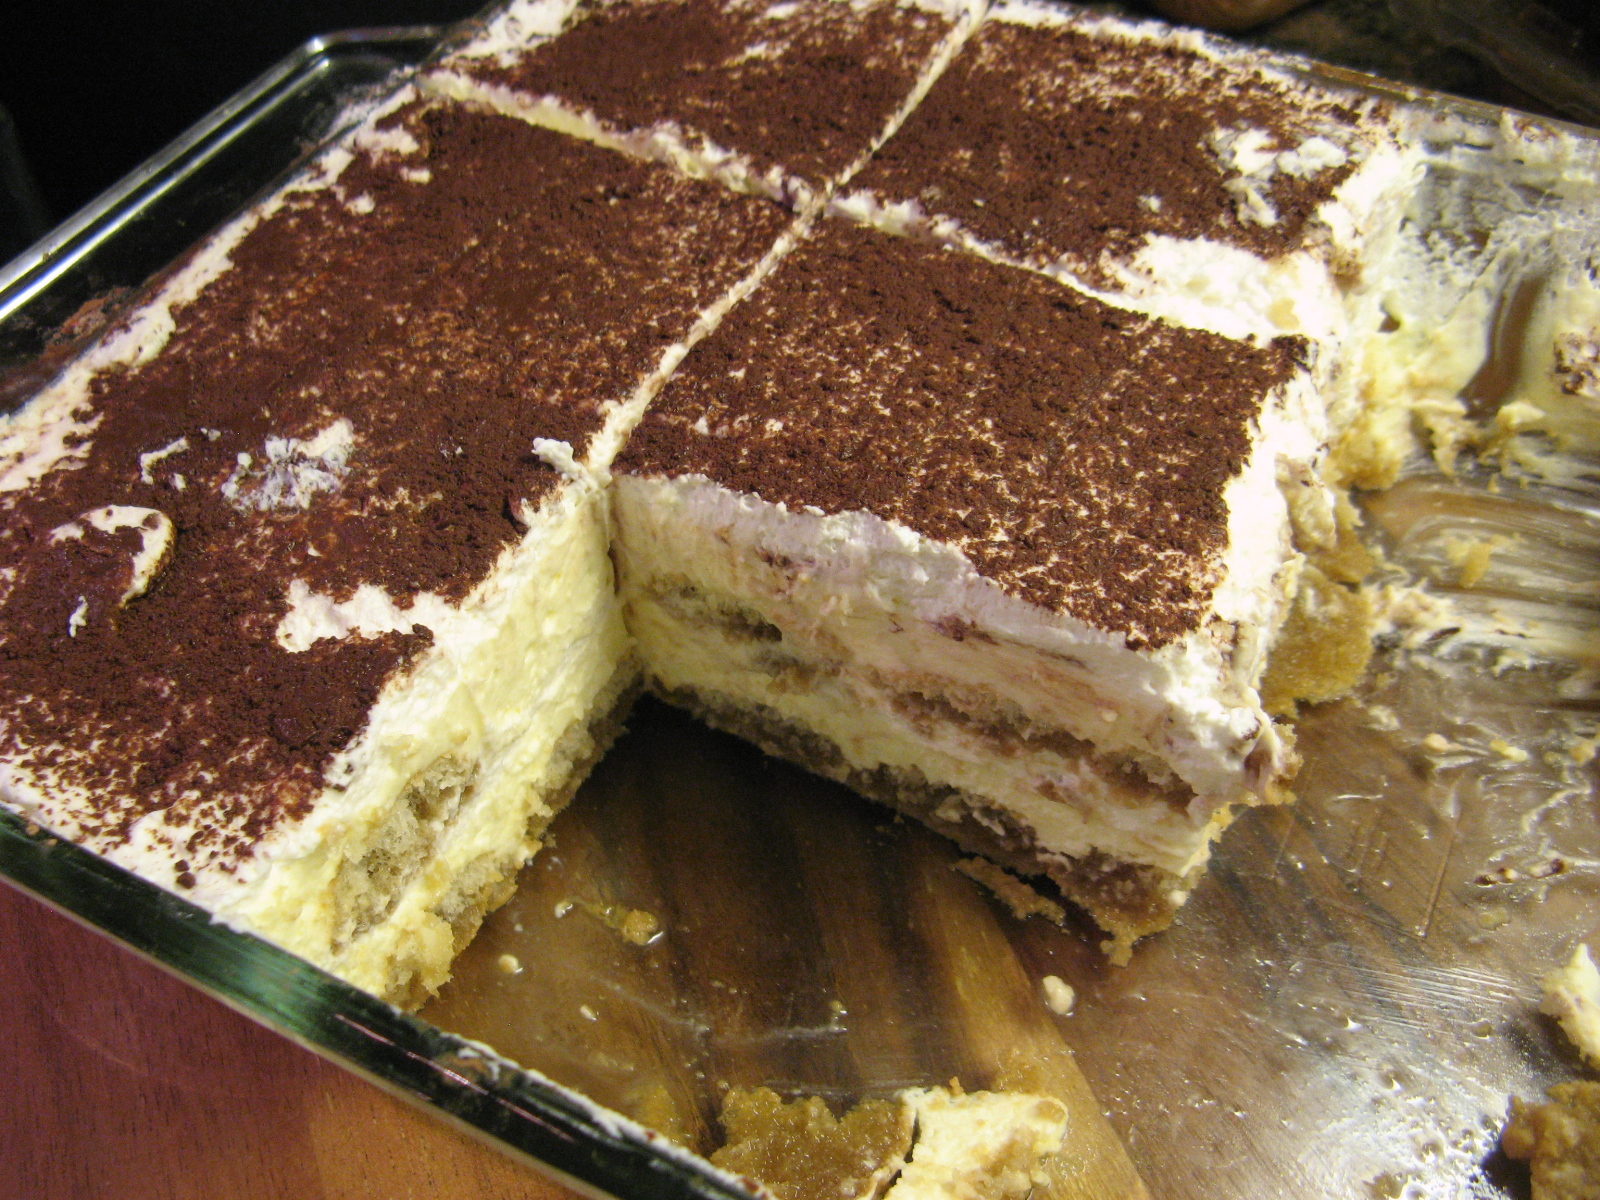
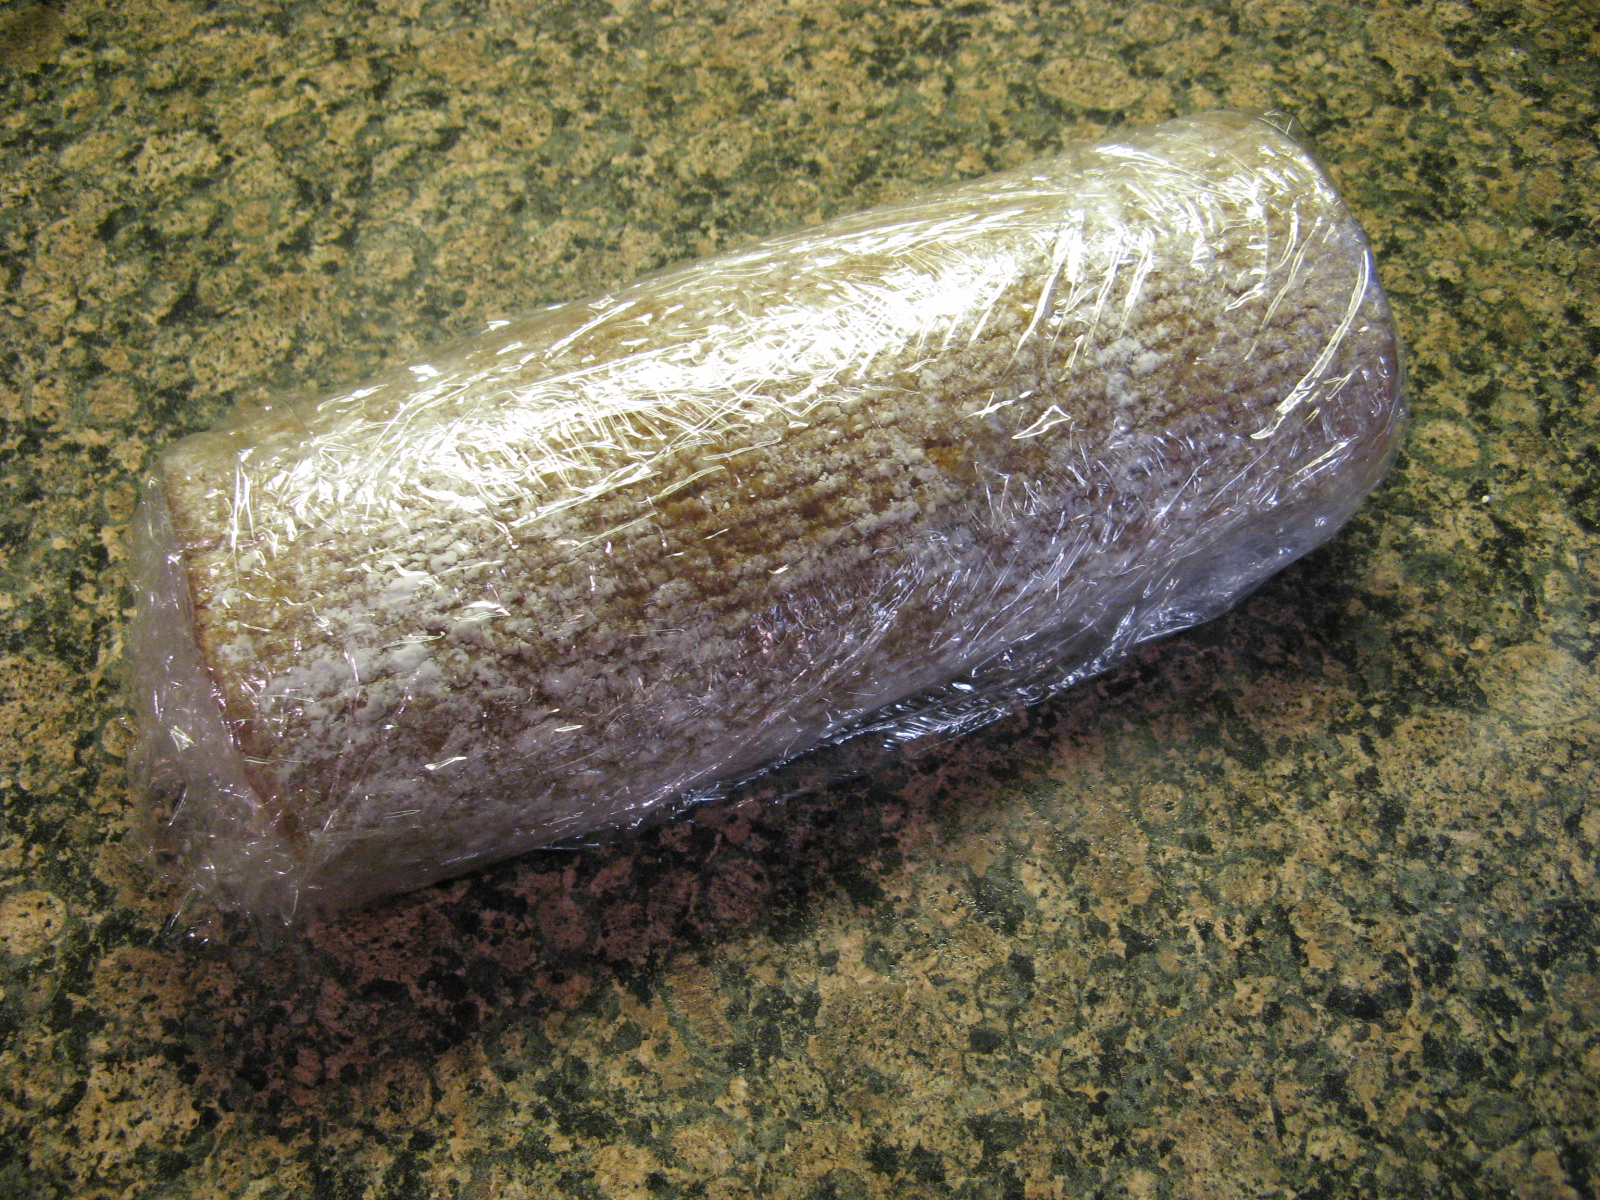
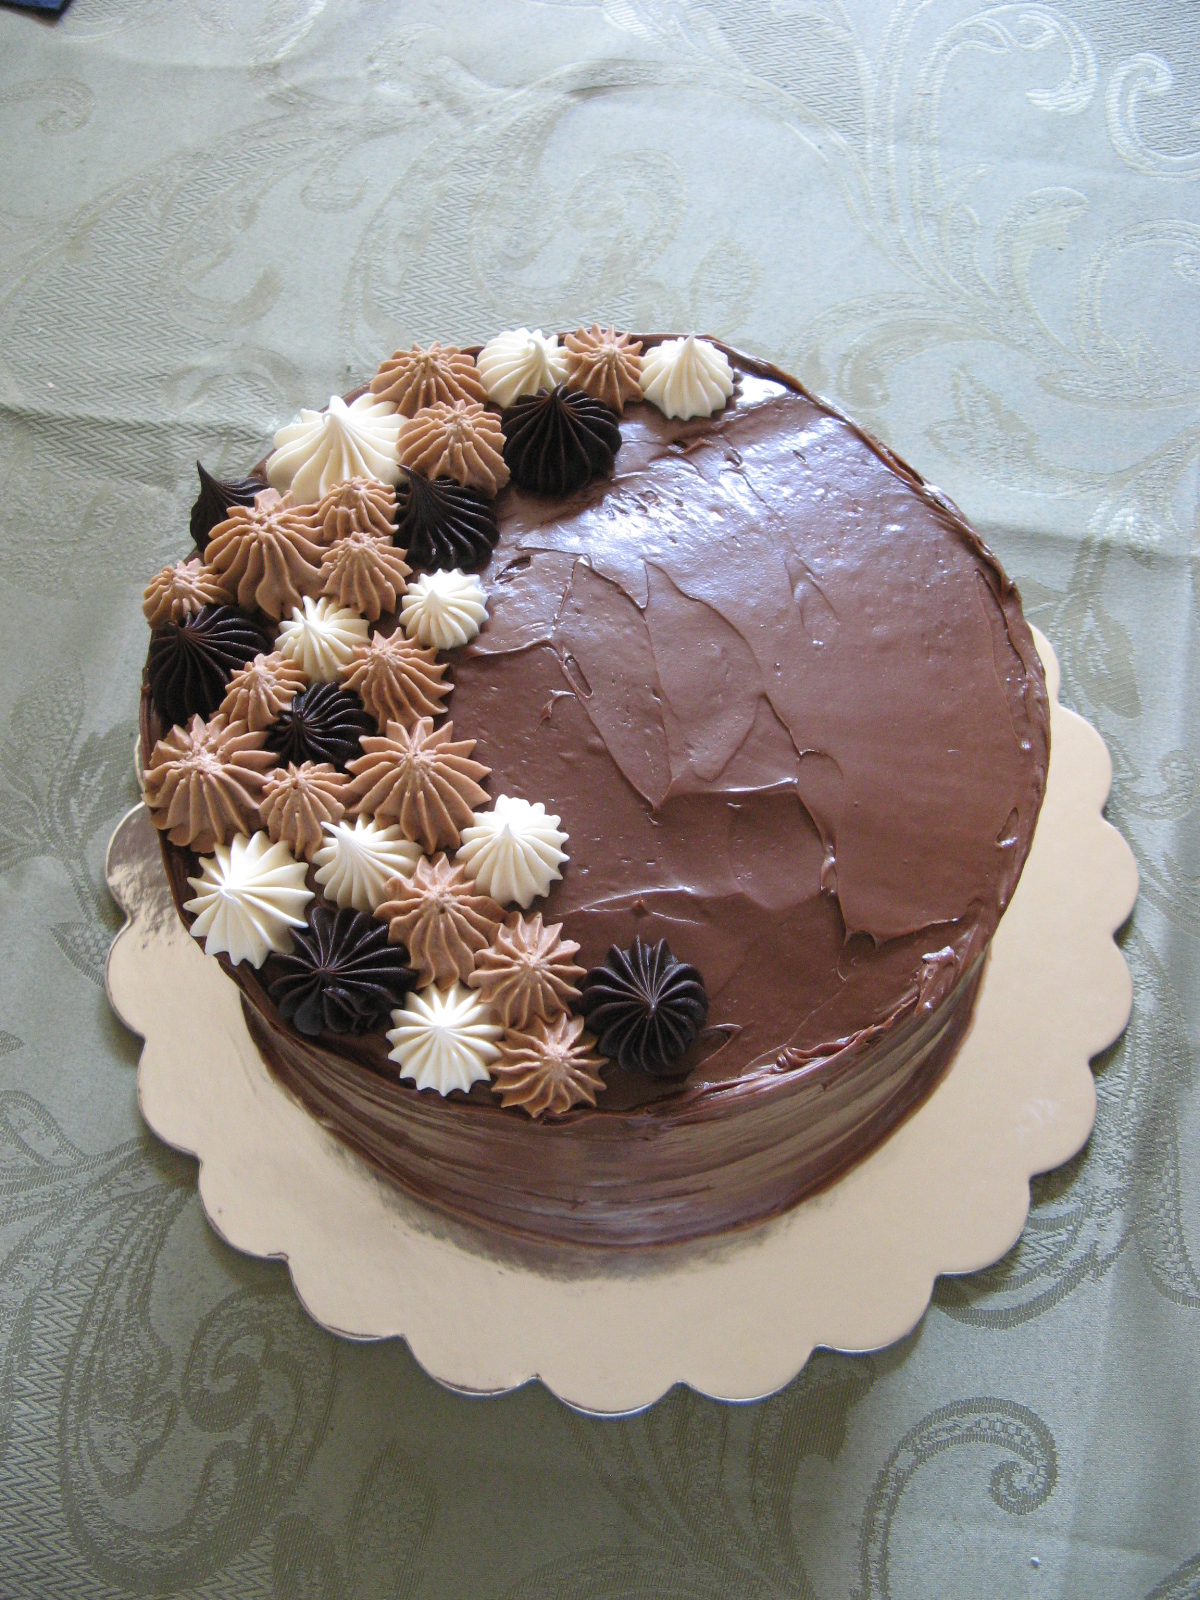
And finally, this past weekend I made this cake for another dear friend’s birthday. It was truly a death by chocolate cake… A chocolate cake with chocolate frosting and the filling was the mocha cream that I used for the Mocha Chocolate Icebox Cake I blogged about last week. I knew I had to use that delicious cream again for something and what better way than with chocolate cake. I created the dark and white chocolate toppers for this cake by melting Wilton candy melts and then piping them into small drops using a Wilton 6B tip and then placing them in the refrigerator so they could set. The other drops are the mocha cream which I piped using the 6B as well as a 4B tip.

img_02881

And there you have it… My summer shown through decorated cakes!


Mocha Chocolate Icebox Cake

The unofficial end of the summer is upon us! A bittersweet time… the lazy days of summer are coming to an end, kids go back to school (yay for crazy morning traffic – that being said in my most unenthusiastic and sarcastic voice) and temperatures begin to drop. Granted, that last fact is a welcome change to me. Fall is upon us! If you didn’t know, it’s my favorite season! There’s pumpkin everything (I’m actually eating a Chobani Flip Pumpkin yogurt as I write this), apple picking, the crisp air in the morning, the leaves changing color and so many other wonderful things. It also leads us to my other favorite time of the year… The Holiday Season! You know, that time between Thanksgiving and Three Kings Day. Well, that’s what I personally consider the Holiday Season to be, I know for some it ends with the New Year. But, before we get to all that and our ovens working overtime baking wonderful holiday treats, I have a dessert for you that’s perfect for any BBQ’s you’ll be heading to this holiday weekend and for any of those random 90+days that are sure to come… An icebox cake, more specifically a Mocha Chocolate Icebox Cake.

I first saw this recipe on Food Network’s Instagram feed. It’s from Ina Garten aka “The Barefoot Contessa” and I knew I had to make it. And then a few weeks later it was featured in their magazine. Its super simple, only requires 1 bowl for mixing and you have don’t have to bake it. You assemble it and let it set overnight in your fridge – hence icebox cake.

In a large bowl combine heavy cream, mascarpone, sugar, Kahlua, cocoa powder, espresso powder & vanilla extract. Using a hand mixer, mix on low speed until combined and slowly raise the speed until stiff peaks form. Before using this mocha cream of course I had to try it and it tasted similar to the cream used in Tiramisu… Delish!

IMG_0234

Once the cream is made it was time to assemble the cake. I arranged a layer of thin & crispy chocolate chip cookies flat in an 8-inch springform pan. I used Tate’s cookies, which are famous for their thin & crispy texture. If you can’t find Tate’s or you just don’t feel like ordering them, you can try Chips Ahoy’s new Thins Chocolate Chip Cookie. So, after arranging the first layer of cookies, I spread about a fifth of the cream evenly over the cookies. Next, another layer of cookies and then the cream. I continued this layering pattern until I had 5 layers of each, ending with the cream. I then smoothed the top, covered it with plastic wrap and refrigerated it overnight.

IMG_0235

IMG_0240

The following day to unmold the cake I ran a sharp knife along the sides and then removed the ring and topped the cake with chocolate shavings.

IMG_0264

Delicious is an understatement for how good this cake is! The cookies soften due to the cream, but, are left with enough texture that you don’t feel like you’re eating mushy cookies… Which would be gross! And the combination of the mocha cream and the chocolate chip cookies is just perfect!

IMG_0266


Mocha Chocolate Icebox Cake

Ingredients:

2 cups heavy cream, cold

12 ounces mascarpone cheese

1/2 cup sugar

1/4 cup Kahlua liqueur

2 tablespoons unsweetened cocoa powder

1 teaspoon instant espresso powder

1 teaspoon pure vanilla extract

24 ounces thin & crispy chocolate chip cookies, about 35

Shaved semi-sweet chocolate, for garnish


Directions:

In a large bowl combine the heavy cream, mascarpone, sugar, Kahlua, cocoa powder, espresso powder & vanilla extract. Using a hand mixer mix on low speed until all ingredients are combined, gradually increase the speed until firm peaks form.

To assemble to the cake, arrange the chocolate chip cookies flat in an 8-inch springform pan, breaking the cookies as necessary to completely cover the bottom of the pan. Spread a fifth of the mocha cream evenly over the cookies. Place another layer of cookies lying flat and then another fifth of mocha cream. Continue this layer pattern until there are 5 layers of each, ending with the mocha cream. Cover with plastic wrap and refrigerate overnight.

To unmold, run a sharp knife along the edges and remover the ring. Sprinkle with shaved chocolate and serve cold.

Recipe from Food Network


White Chocolate Blackberry Tiramisu

Out of all the desserts I’ve made I think Tiramisu has been my favorite. In all honesty though, it’s always been one of my favorite desserts. Today, I’m bringing you a twist on the classic Tiramisu, a White Chocolate Blackberry Tiramisu. And now is the perfect time to make it with berries, including blackberries, being in-season.

To begin I soaked ladyfingers in a mixture of orange juice and blackberry liqueur and arranged them in a 11×7 inch baking dish. Don’t let the ladyfingers soak up too much of the liquid, you don’t want them to become mushy.

IMG_0048

Next, I melted white chocolate in a double boiler. I don’t own an actual double boiler, so, I created my own by simmering water in a pot and then placing a heat-proof bowl over the water without touching it. Once the chocolate had melted I let it cool slightly and in another bowl I beat cream cheese, vanilla extract and confectioners’ sugar until creamy. I then stirred in the melted white chocolate. In another bowl, I beat heavy whipping cream until stiff peaks formed and took 1 cup of the whipped cream and folded it into the cream cheese mixture. And finally, I spread half of this mixture over the ladyfingers.

IMG_0052

On top of the cream cheese mixture I laid an even layer of fresh blackberries which I pressed lightly into the cream cheese. I then dipped the remaining ladyfingers into the orange juice / liqueur mixture and placed them on top of the blackberries.

IMG_0053

With the remaining cream cheese mixture I added in more confectioners’ sugar and then folded in the remaining whipped cream and spread this over the second layer of ladyfingers. To top it off, I melted a few tablespoons of blackberry preserves and combined it with a tablespoon of the blackberry liqueur and then drizzled it over the tiramisu and then topped it with some fresh blackberries.

IMG_0058

And after chilling for a few hours it was time to dive in…

IMG_0060

And it was delish… Sweet, but just sweet enough!


White Chocolate Blackberry Tiramisu

Ingredients:

2/3 cup orange juice

1 tbsp. blackberry liqueur

24 ladyfingers

6oz. white chocolate, chopped*

8oz. brick cream cheese, softened

1 tsp. vanilla extract

3/4 cup Confectioners’ sugar, divided use

1 1/2 cups whipping cream

2 cups fresh blackberries, divided use

 Garnish

3 tbsp. melted blackberry preserves

1 tbsp. blackberry liqueur

*I used 3/4 cup of white chocolate chips

Directions:

Combine orange juice and liqueur in a shallow bowl. Dip half of the ladyfingers in the orange juice mixture – a quick dip will suffice – and line the bottom of an 11×7 inch baking dish.

Melt the white chocolate in a double boiler. If you don’t have a double boiler you can create one yourself by simmering water in a pot and placing a heat-proof bowl over the water without allowing it to touch the water. Once melted let the chocolate cool for a few minutes.

In a large mixing bowl beat the cream cheese along with the vanilla extract and 1/4 cup of the Confectioners’ sugar until creamy. Stir in the melted chocolate and let the mixture cool for about 5 minutes.

In another bowl beat the whipping cream until stiff peaks form. Fold 1 cup of the whipped cream into the cream cheese mixture and spread half of it over the ladyfingers. Lay about 1 1/2 cups of the fresh blackberries over the cream cheese mixture, pressing down slightly.

Dip the remaining ladyfingers into the orange juice mixture and arrange them over the blackberries.

Add the remaining 1/2 cup of Confectioners’ sugar to the remaining cream cheese mixture, then fold in the remaining whipped cream. Spread this mixture over the second layer of ladyfingers.

In a small bow mix together the melted preserves and liqueur and drizzle over the top of the tiramisu. And finally, top the entire thing with the remaining blackberries.

Chill 3-5 hours and Enjoy!

Recipe from Better Recipes.

Piñata Cake

Today I’m bringing you a cake that I’ve wanted to make for quite some time… A Piñata Cake!

I took the easy route and opted to use two box yellow cake mixes. Yes, you read that right, two boxes. To get the full effect of this cake it really needs to be 4 layers. And while I could have just used one box divided into 4, lets be honest, that wouldn’t have been much of a cake and more than likely the layers would be so thin that the two layers I cut the hole into would have fallen apart. So two boxes it is (and was.)

So, after baking my 4 layers following the directions on the box (I used Duncan Hines cake mix) I let them cool and then began assembling.

Up first, the base layer which I covered in frosting.

IMG_0065

Next, one of the layers I cut a hole into using a 3-inch round cookie cutter. Truthfully you don’t want to go larger than that, if you do, you run the risk of the cake splitting in half since you won’t have much cake left in the ring left when making the hole. To ensure that my holes were evenly placed on both cakes I stacked the layers and then cut the hole. So, I placed one of these rings on top of the base layer and covered it with frosting, including the inside of the circle cut-out.

IMG_0066
I repeated this step with the second ring.

IMG_0067

Next, I filled the cake. I opted for M&M’s. It took an 11 oz bag of M&M’s to fill the hole. You can fill it with whatever you choose; M&M’s, sprinkles, gummy worms or bears, and so forth. Whatever you choose, make sure it’s nicely packed in and filled to the top so you get the full Piñata affect when you cut into it.

IMG_0068

Finally I placed the top layer on the cake and frosted it with a crumb coating. I did a crumb coating because…

IMG_0073

I decorated the cake with spiraling rosettes – which I created using a Wilton 2D tip.

IMG_0088

And after a few slices the M&M’s came pouring out. The M&M’s did start falling out after the first slice, but it took a few more to get them to really pour out.

IMG_0108

Dump Cakes

Memorial Day Weekend is upon us- the unofficial start of the summer – and with the official start right around the corner and the inevitable warmer temperatures, you may be looking for desserts that will satisfy your sweet tooth but won’t take too long to put together and don’t require a slew of ingredients. If so, today I have the recipe for you… A Dump Cake! And trust me, it tastes a whole lot better than the images the name may conjure up for you.

I wish I could say that I came up with this genius idea of a dessert myself, but the credit goes to Pioneer Woman: Ree Drummond. Warning… If you are adverse to box cake mix, can pie filling / canned fruit and butter stop reading now and deprive yourself of the opportunity to make something super simple and delicious. Hey, you have standards to keep. And yes, it only takes those three ingredients to make this cake.

To begin, in a 9×13-inch baking dish pour out a can of cherry pie filling and a can of crushed pineapple (okay, this version of the cake requires four ingredients, but, you could easily omit the pineapple.) Mix the two together well.

IMG_0107

Next, evenly pour the cake mix over the fruit… Make sure you get the corners.

IMG_0108

And finally, top it with a stick and a half of unsalted butter sliced into tablespoons, making sure to space the butter evenly over the cake.

IMG_0111

Bake it in a preheated 350 F oven for 45 minutes – 1 hour; until the top is browned and the fruit filling is bubbling.

IMG_0114

Let it cool for a few minutes before digging in. Enjoy slightly warmed with a scoop or two of vanilla ice cream or a dollop or two of whipped cream.

This cake was so delicious that I soon made another one along with a peach version.

IMG_0132


Dump Cake

Ingredients:

Cherry and Pineapple

1 21oz. can cherry pie filling

1 20oz. can crushed pineapple

1 box white cake mix

12 tablespoons unsalted butter, sliced


Peach

1 29oz. can sliced peaches in syrup

1 box yellow cake mix

12 tablespoon unsalted butter, sliced


Directions

Preheat oven to 350 F.

Pour fruit into a 9×13-inch baking dish. For the cherry and pineapple version mix both fruits together well.

Top evenly with the cake mix, making sure to get the corners.

Space the butter evenly over the cake and bake in the oven for 45 minutes – 1 hour, until the top is browned and the fruit is bubbling.

Let it cool for a few minutes before slicing so the cake can “set.”

Enjoy with ice cream, whipped cream or on its own.

Recipe from Food Network


Tres Leches Cake

Pardon my blogging hiatus… Maybe another day I will explain, but for now, in honor of Cinco De Mayo I’m bringing you a super simple, a tad bit sweet but perfectly textured Tres Leches Cake. Many versions of this cake can turn into a mushy wet mess thanks to the tres leches (three milks) the cake is soaked in – heavy cream, evaporate milk and condensed milk. But this one holds together perfectly and you’re not left feeling as though you’re eating a cake pudding but an actual cake.

I began by making a sponge cake. In a medium bowl I whisked flour along with baking powder and salt. In the bowl of my stand mixer I combined 3 eggs with sugar and vanilla extract and beat them on medium-high speed until the mixture was light and fluffy. I then added in half of the flour mixture at low speed, then gradually added in whole milk and finally the remaining flour. After pouring the batter into a 9×13-inch buttered dish I baked it in a 350F preheated oven for about 25 minutes.

I let the cake cool for about a half hour and then poked holes in it with a fork and then poured the three milk mixture over the cake.

 IMG_0091

After letting the cake sit overnight in the fridge, the following day I enjoyed a piece with some strawberries and whipped cream. One word for this dessert… YUM!!!

 IMG_0098


Tres Leche Cake

Ingredients:

1 1/2 cups flour

2 teaspoons baking powder

1/2 teaspoon salt

3 large eggs, at room temperature

1 cup sugar

2 teaspoons pure vanilla extract

1/2 cup whole milk, at room temperature

1 1/2 cups heavy cream

1 12oz. can evaporated milk

1 cinnamon stick

2 whole cloves (about 1/8 teaspoon ground)

1 14oz. can sweetened condensed milk

1/2 teaspoon ground cinnamon


Directions:

Preheat the oven to 350 F. Spray a 9×13 inch glass dish with non-stick spray (or lightly butter). In a medium bowl whisk together the flour, baking powder and salt. In the bowl of a stand mixer combine the eggs, sugar and 1 teaspoon of vanilla extract and beat on medium-high speed until light and fluffy – about 10 minutes. Switch the mixer to low speed and add half of the flour mixture, then gradually add in the milk and finally the remaining flour mixture.

Pour the batter into the prepared baking dish and bake for 20-25 minutes, until the center of the cake springs back to the touch. Transfer the dish to a wire rack and let cool for at least 30 minutes.

While the cake is cooling, in a medium saucepan whisk the heavy cream with the evaporated milk, cinnamon stick and cloves and bring to a boil over moderately high heat. Reduce the heat and simmer for about 3 minutes. Remove from the heat, cover and let steep for 10 minutes.

In a heatproof bowl, combine the condensed milk with the remaining 1 teaspoon of vanilla extract and ground cinnamon. Strain the steeped cream mixture into the condensed milk and stir to combine and let cool for 20 minutes.

With a fork, poke holes all over the cake and gradually pour the milk mixture over the entire cake. Cover with plastic wrap and refrigerate for at least 4 hours or overnight.

Serve with strawberries and/or whipped cream.

Recipe from Food & Wine

Thanksgiving Desserts

Hope you all had a wonderful Thanksgiving filled with delicious food and joyous times with loved ones. This year I spent the day at a friend’s house enjoying said delicious food and joyous times – although I did cook a turkey the following day. At this point though I am kind of turkeyed out! I didn’t go empty handed to the Thanksgiving celebration though; I brought the dessert… three pies, a cheesecake and a chocolate cake. What can I say, I love to bake!

Among the pies was a Pumpkin Pie that I decorated using Fall themed pie cutters. Then there was a Sweet Potato Pie 

that I decorated with a leaf border. I made this pie because I had never tried Sweet Potatoe Pie and was curious as to what all the fuss was about. It was good, but, I am partial to pumpking. And finally an Apple Pie that I gave a nice twisted pie crust design to.

IMG_9940

For the Cheesecake I stuck to a recipe that was a hit and topped it with sugared cranberred. The cranberries were so good that I ended up eating the leftovers like they were candy.

IMG_9938

And finally, the Chocolate Cake. The cake had a pumpkin spice mousse filling – it was super simple to make and delish thanks to a box of Jell-O Pumpkin Spice Pudding mix – and frosted it with chocolate frosting. And to give it a Fall theme I topped it with white chocolate leaves in seasonal colors.

IMG_9928

Tiramisu

Tiramisu is one of my favorite desserts and I have tried making it quite a few times in the past and have always been unsuccessful. I think it was partly because I hadn’t honed in on my baking skills and whenever I would go to buy ladyfingers I could never find them. In case you were wondering, ladyfingers are an egg-based biscuit roughly shaped like a large finger. Well, this time I had the ladyfingers on hand after coming across them at the supermarket on sale and buying them in anticipation of making this dessert. I was determined to master this favorite dessert of time and not to toot my horn, but, I think it’s one of the best desserts I have ever made.

Before assembling the tiramisu I had some prep work to do. I began by whisking egg yolks and sugar in a saucepan until they were well blended. I then added in whole milk and cooked the mixture over medium heat until it began to boil. After removing it from the heat I let the mixture cool slightly and then covered and refrigerated it for an hour. After removing it from the refrigerator I blended in mascarpone cheese until it was smooth. In another bowl I beat whipped cream and vanilla extract until stiff peaks formed. And in a third bowl I combined room temperature coffee with Kahlua.

IMG_9425

Using an 8 x 11 inch dish I made the first layer of the tiramisu and then topped it with another. After arranging ladyfingers that I soaked in the coffee and Kahlua mixture I topped it with the mascarpone mixture…

IMG_9426

Then the whipped cream mixture…

IMG_9427

And finally dusted the top with unsweetened cocoa powder. I then covered it and refrigerated it overnight.

IMG_9428

And then the next day it was time to enjoy it and enjoy it I did! It was incredibly light and the ladyfingers while crisp beforehand absorbed the coffee/Kahlua perfectly as well as the mascarpone mixture that was directly spread on top of them. I have finally mastered one of my favorite desserts and will definitely be making it again sooner rather than later.

IMG_9445


Tiramisu

Ingredients:

6 egg yolks

3/4 cup granulated sugar

2/3 cup whole milk

1 1/4 cups heavy cream

1/2 teaspoon vanilla extract

1 pound mascarpone cheese

1 cup strong brewed coffee, at room temperature

1/4 cup Kahlua

2 (3 ounce) packages ladyfinger cookies (24 cookies)

unsweetened cocoa powder, for dusting


Directions:

In a medium saucepan whisk together the egg yolks and sugar until well combined. Whisk in the milk and cook over medium heat, stirring constantly until the mixture begins to boil. Boil for one minute then remove from the heat and cool slightly. Cover tightly and chill in the refrigerator for one hour. For best results transfer to a Tupperware with a tight fitted lid.

In a medium bowl combine the heavy cream and vanilla extract and beat until stiff peaks form.

After one hour remove the egg mixture from the refrigerator and beat in the mascarpone until the mixture is smooth.

In a small bowl, one large enough to lay the ladyfingers in, combine the coffee and Kahlua. Dip the ladyfingers in the mixture for a few seconds and then arrange them in an 8 x 11 inch dish. Spread half of the mascarpone mixture over the ladyfingers and then half of the whipped cream over that. Repeat the layers with the remaining lady fingers, mascarpone mixture and whipped cream. Dust the top of the cocoa powder then cover with a sheet of parchment paper and then aluminum foil and refrigerate overnight.


Recipe slightly modified from Allrecipes

Candy Corn Inspired Ombre Cake

Not all Halloween treats have to be spooky ones. This ombre cake is simple to make with 2 tubs of vanilla frosting, a box of white cake mix, yellow and orange food colors, your favorite cake filling and is inspired by a candy that is synonymous with Fall… Candy Corn. There’s nothing spooky about that.

IMG_9529

I used my Wilton 5-layer pan set to make this cake since I wanted the inside of the cake to emulate a piece of candy corn as well. But, there’s no need to get that precise. You could simply bake a two-layer, three-layer or a one-layer cake and let the frosting on the outside speak for itself.

IMG_9493

Since I was planning on tinting the cake batter I opted to use a box of Betty Crocker White cake mix. Betty Crocker is my go-to cake mix when I am not in the mood or just don’t have the time to make a cake from scratch.

IMG_9494

After mixing the batter per the directions on the box I divided the batter to tint it. From making quite a few cakes in the past I knew that the batter yielded about 4 cups so each pan would have just shy of a cup of batter. Since the top layer of the cake was going to be white I immediately poured that batter into one of the prepared pans (I sprayed it with baking spray) and then divvied up the rest of the batter to tint – about 3 cups for the orange layers and 1 cup for the yellow layer.

IMG_9497

Following that I poured the yellow batter (the bottom layer) in the prepared pan and divided the orange batter (the middle layers) among the three remaining pans.

IMG_9501

I then placed all of the pans on a rack in my 350 F preheated oven for about 15 minutes and after letting the cakes cool in the pans for 10 minutes I transferred them to a wire rack to cool completely. Once they cooled, I did a little torting to make sure the layers would sit evenly on top of one another…

IMG_9506

It was then time to fill the layers – I opted to fill them with a quick vanilla mousse recipe that uses two ingredients: 2 cups of heavy cream and Jell-O vanilla pudding mix.

IMG_9509

And then I crumb coated the cake with vanilla frosting and placed it in the refrigerator for about 20 minutes.

IMG_9510

Then it was time to create the candy corn ombre effect on the outside of the cake. I tinted about a cup and a half of the vanilla frosting with the yellow food color and frosted that along the bottom of the cake…

IMG_9511

Next I tinted about two and a half cups of the vanilla frosting with the orange food color and spread that along the middle of the cake and finally I used the vanilla frosting untinted to frost the remaining portion of the side of the cake as well as the top of the cake. To create the ombre effect, I smoothed the sides of the cake with a long icing spatula.

IMG_9512

And for presentation some candy corns around the base of cake…

IMG_9532

And here’s a peek inside…

IMG_9558

And there you have it, a super cute and super simple unspooky Halloween treat!

Pumpkin Roll

A few weeks ago I brought you Pumpkin Custards and this week I am bringing you a Pumpkin Roll. I’ve seen recipes for jelly rolls and such but was always intimidated to try them because I just wasn’t sure how the whole rolling and unrolling of the cake would work out for me, but thankfully I gave it a try with this Pumpkin Roll because it was quite delicious – the combination of pumpkin cake and cream cheese frosting is right up there with the combination of peanut butter and chocolate.

I began by making the batter… In a small bowl I whisked together the dry ingredients (flour, baking powder, baking soda, cinnamon, nutmeg, ginger and kosher salt). In the bowl of my stand mixer I beat sugar and eggs until they were thick and then added in pure pumpkin and finally stirred in the flour mixture. Once it was all combined I spread it onto a parchment lined jelly roll pan; I sprayed the pan itself and the parchment paper with baking spray.

IMG_9238

After baking it in a preheated 375 F oven for about 12 minutes, I immediately removed the cake from the pan and placed it on a clean kitchen towel that I dusted with confectioners’ sugar. I then rolled the cake and towel together starting with the narrow end. It is crucial to dust the towel with the sugar to ensure it won’t stick and will easily unroll. Following that I placed it on a wire rack to cool completely.

IMG_9243

I let it cool for about 2 hours and then unrolled it and spread a cream cheese filling over the cake.

IMG_9246

After rolling it up again I wrapped it in plastic wrap and refrigerated it for about an hour so it could set.

IMG_9247

After unwrapping it I dusted it with confectioners’ sugar and immediately enjoyed a slice.

IMG_9251

Pumpkin Roll

Ingredients:

Cake:

3/4 cup all-purpose flour

1/2 teaspoon baking powder

1/2 teaspoon baking soda

1 teaspoon cinnamon

1/2 teaspoon nutmeg

1/4 teaspoon ginger

1/2 teaspoon kosher salt

3 large eggs

1 cup granulated sugar

2/3 cup pure pumpkin

Confectioners’ sugar

Filling:

1 8oz. package cream cheese, at room temperature

1 cup sifted confectioners’ sugar

6 tablespoons unsalted butter, at room temperature

1 teaspoon vanilla extract

Directions:

Preheat oven to 375 F. Spray a 15 x 10 inch jelly roll pan with baking spray and line it with parchment paper. Spray the parchment paper with baking spray as well. Alternatively you could also use flour and butter instead of baking spray. Sprinkle a cotton kitchen towel with confectioners’ sugar.

In a small bowl whisk together the flour, baking powder, baking soda, cinnamon, nutmeg, ginger and kosher salt. Beat the eggs and granulated sugar in a large mixing bowl until thick and then add in the pumpkin. Stir in the flour mixture. Spread the batter evenly into the prepared jelly roll pan.

Bake for 12 – 14 minutes, until the top of the cake springs back when touched. Immediately remove the cake from pan and turn it onto the prepared kitchen towel. If the parchment paper sticks to the cake, carefully remove it. Roll the cake and the towel together starting with the narrower end. Cool on a wire rack.

To make the filling, beat the cream cheese, confectioners’ sugar, butter and vanilla extract with a mixer until smooth.

Once cooled, carefully unroll the cake and spread the cream cheese mixture over the cake. Reroll the cake – without the towel – and wrap in plastic wrap and refrigerate for at least an hour so the cake can set. When ready to serve, sprinkle the cake with confectioners’ sugar.

Recipe slightly modified from Libby’s Pumpkin Roll