Pumpkin Gingersnap Tiramisu

I was on the fence with this dessert when I first tried it and I still am. I liked the custard part, but, I think the gingersnap cookies may have thrown off the flavor a bit, but, if you are a gingersnap cookie and pumpkin fan than this is the dessert for you. If you want more of a traditional tiramisu with a pumpkin flavor, check out the pumpkin tiramisu I posted last year.

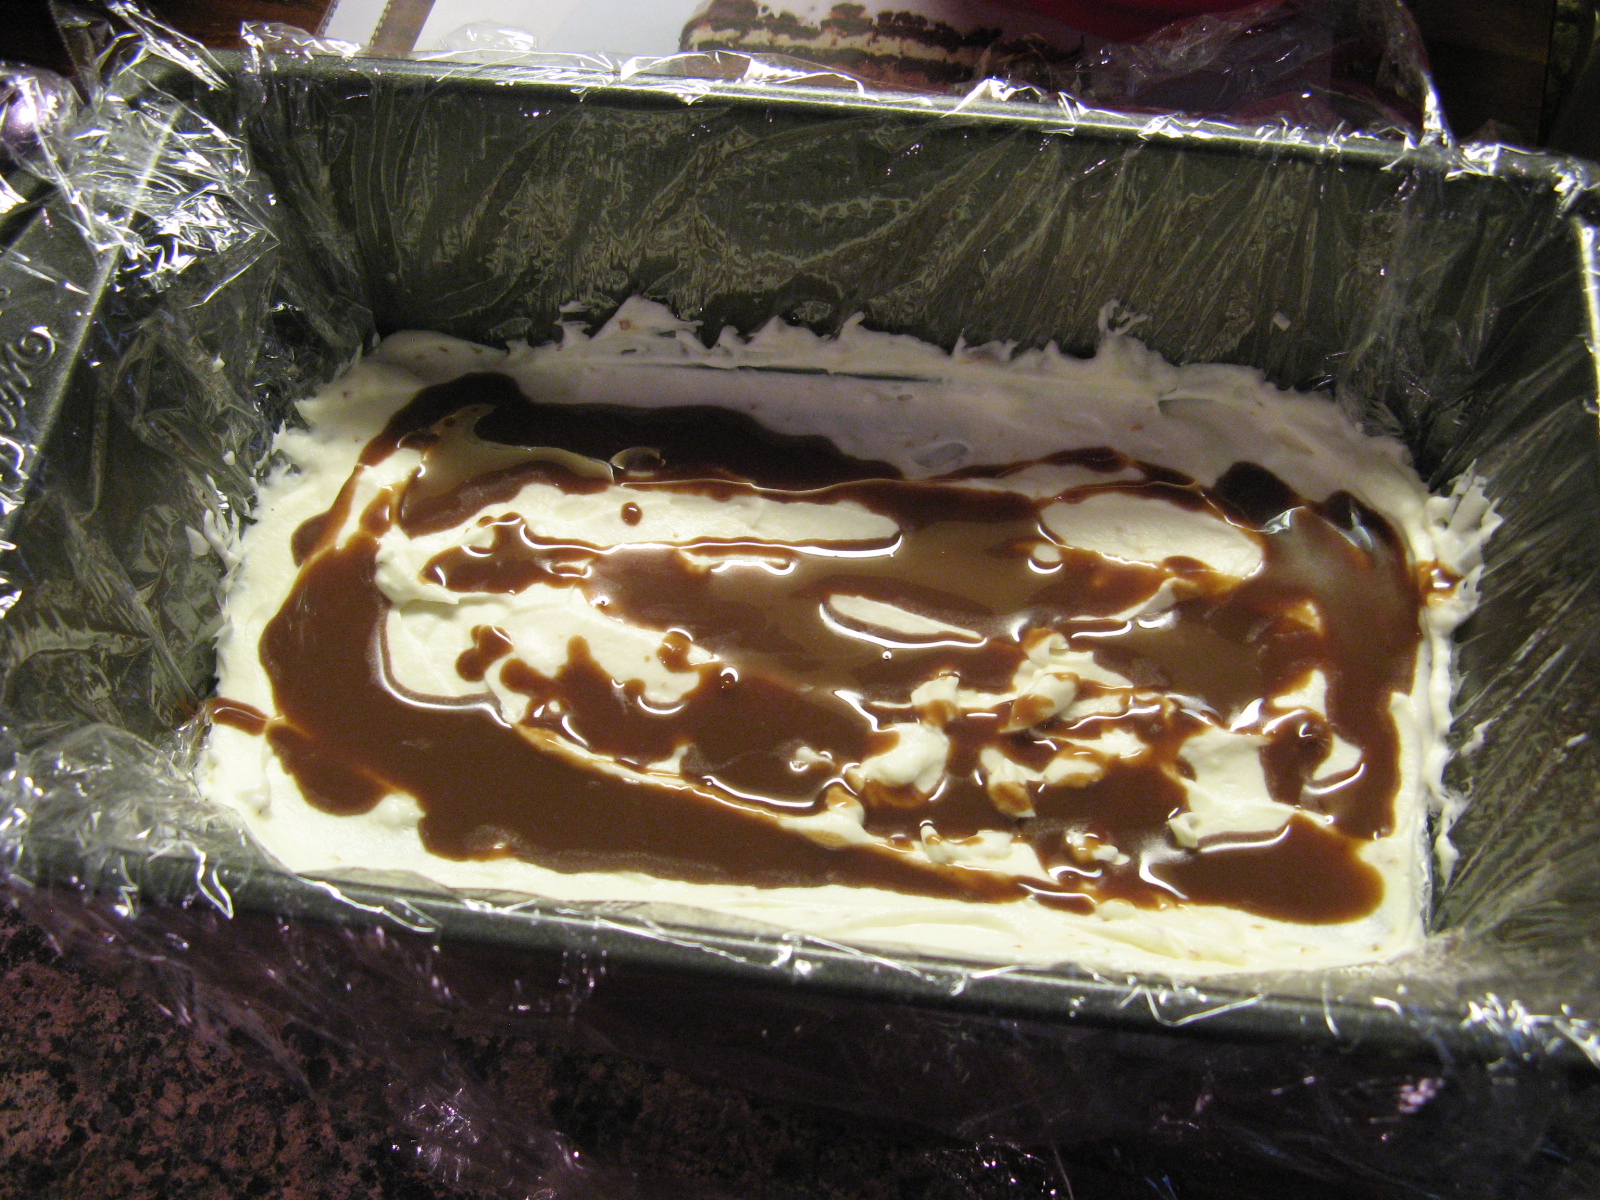
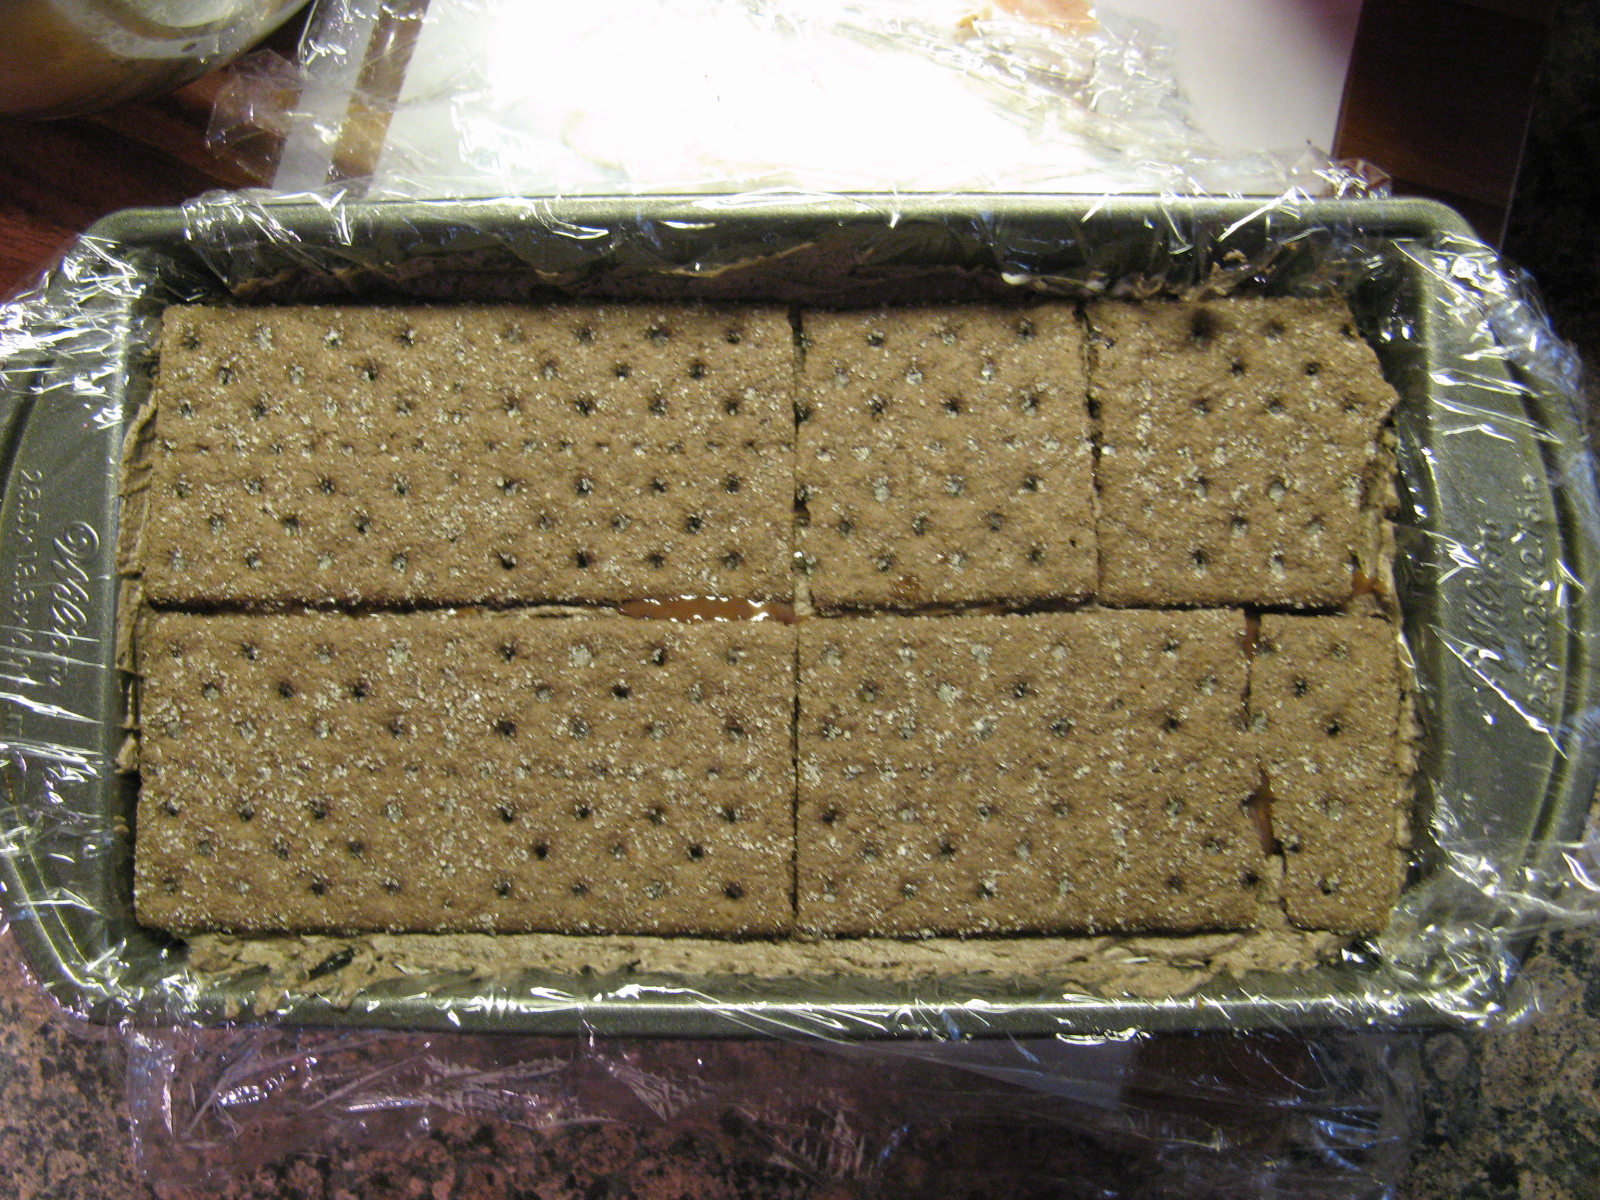
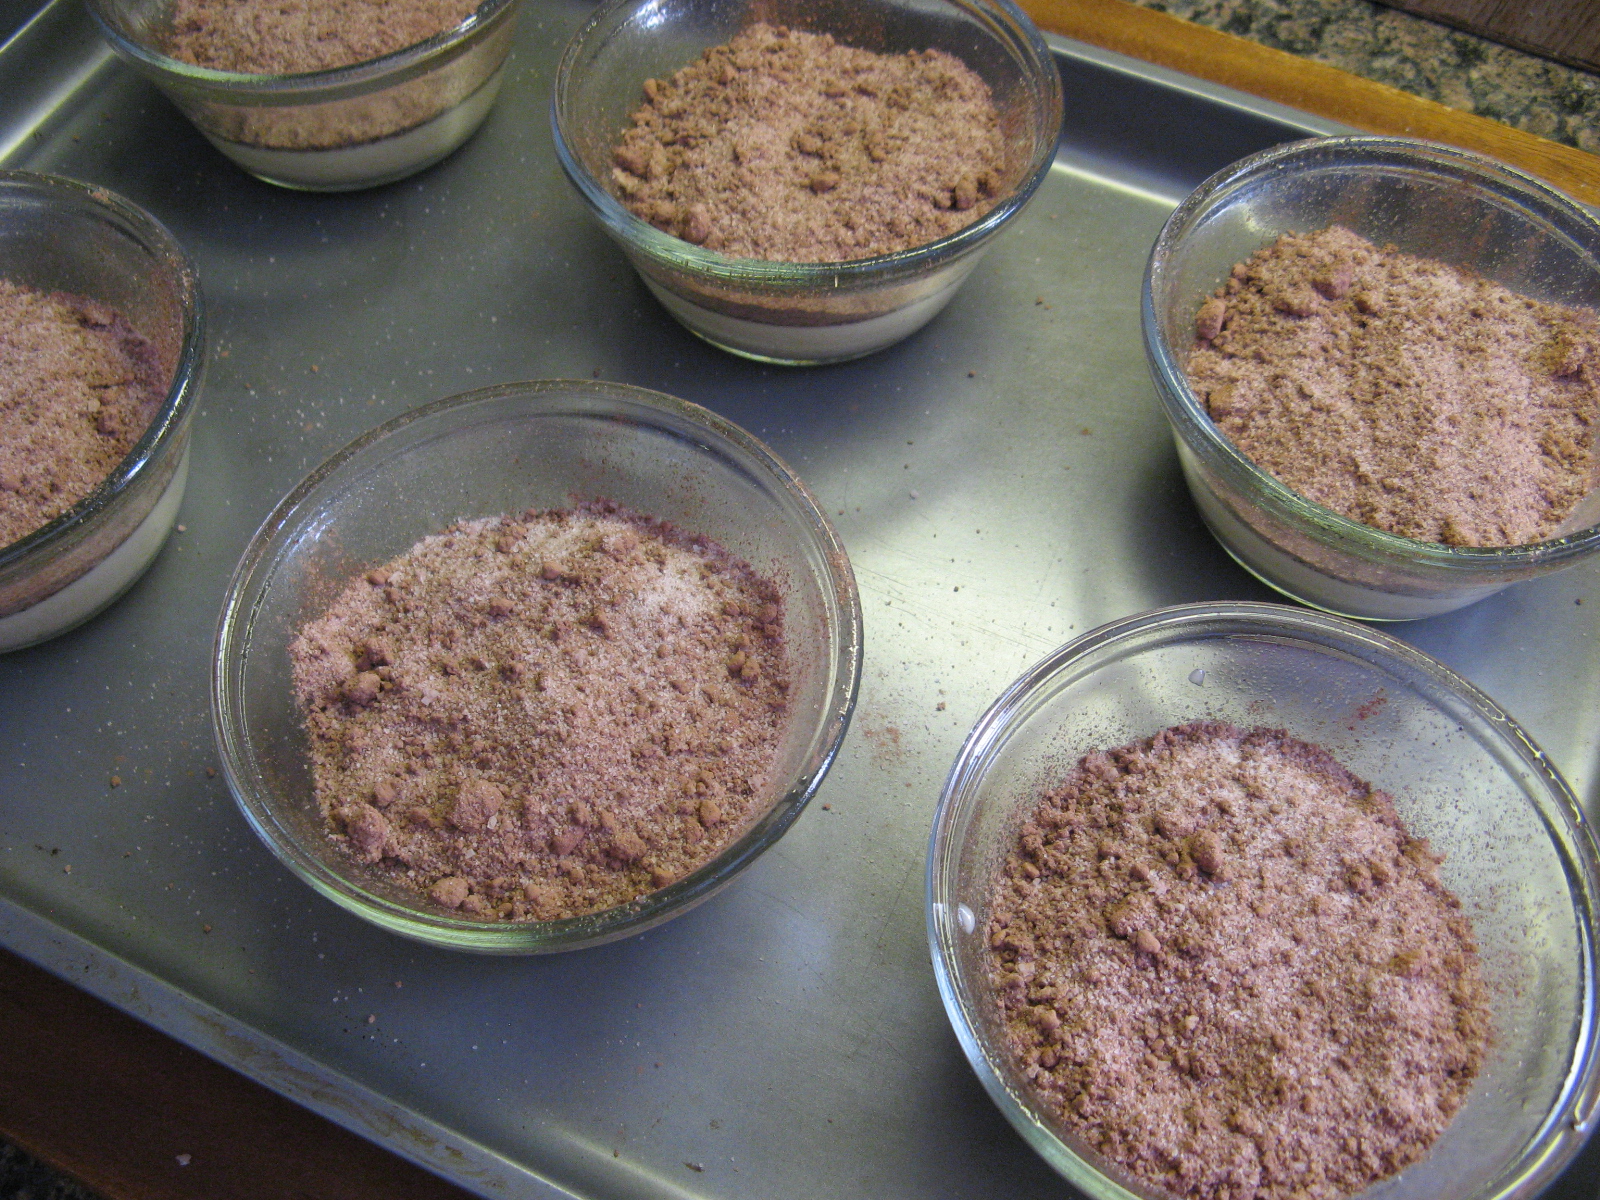
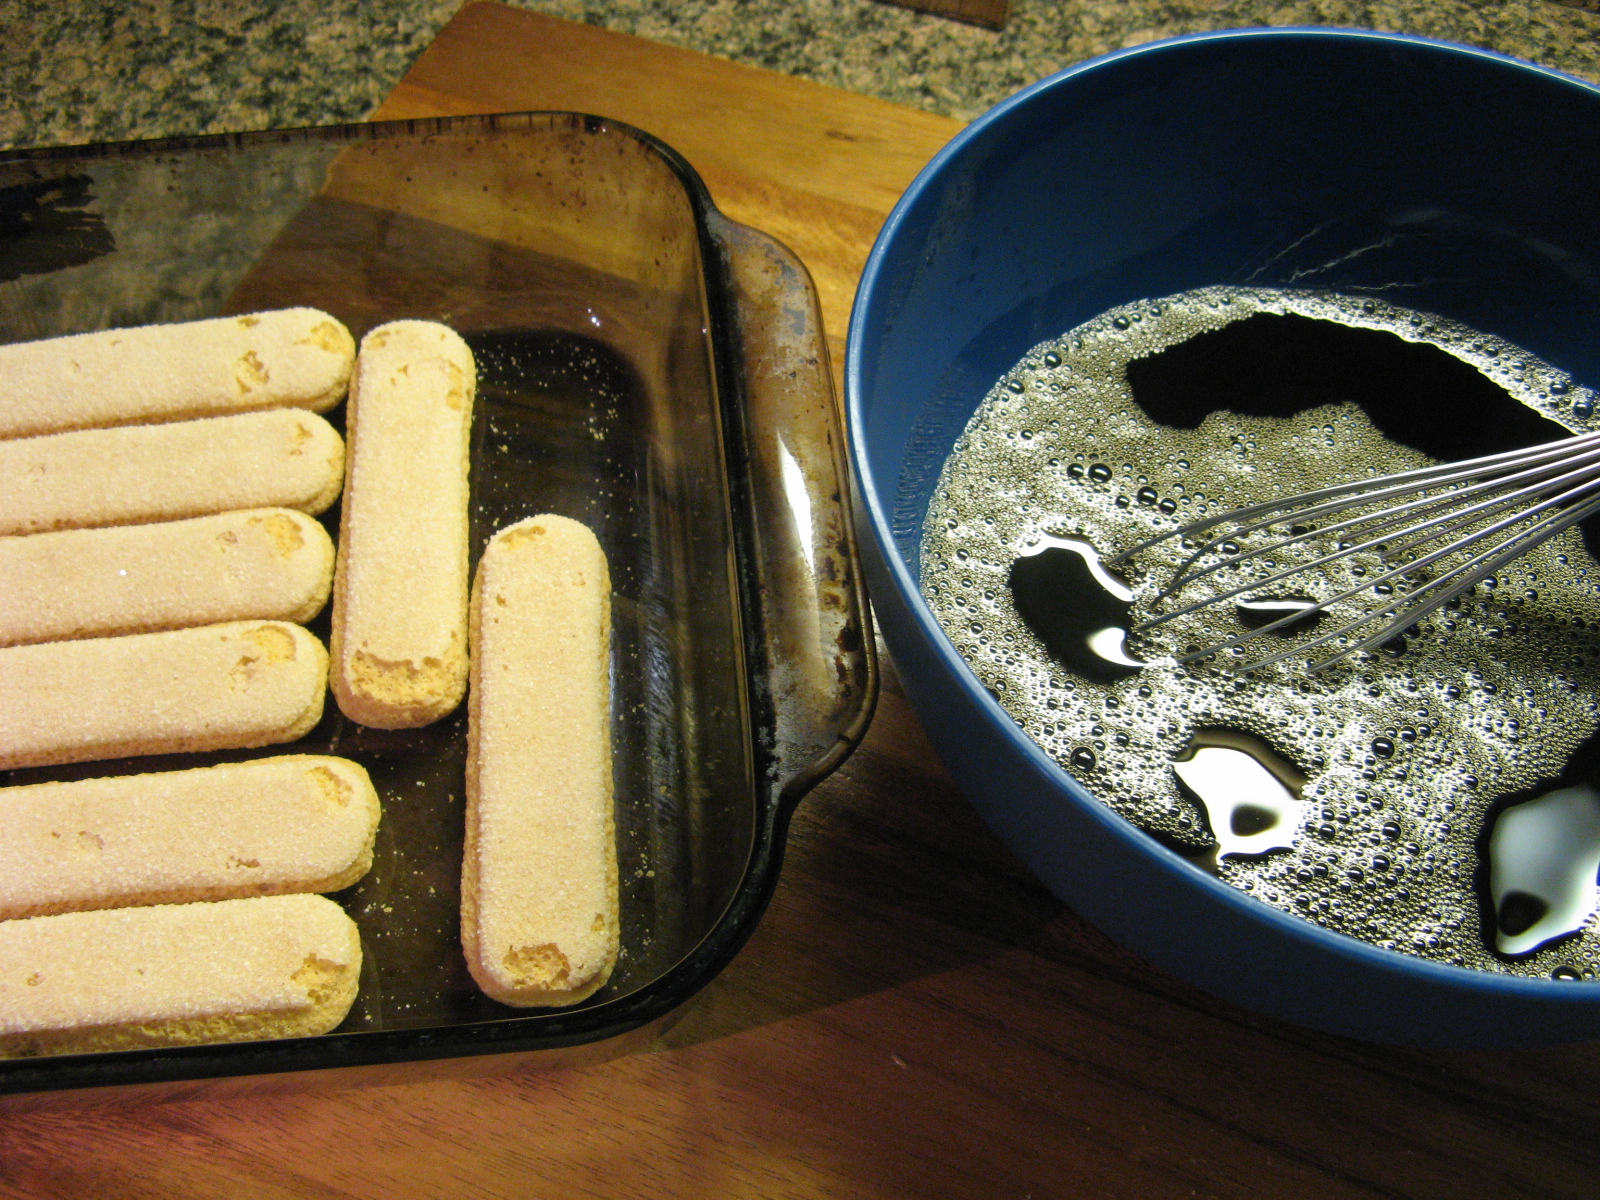
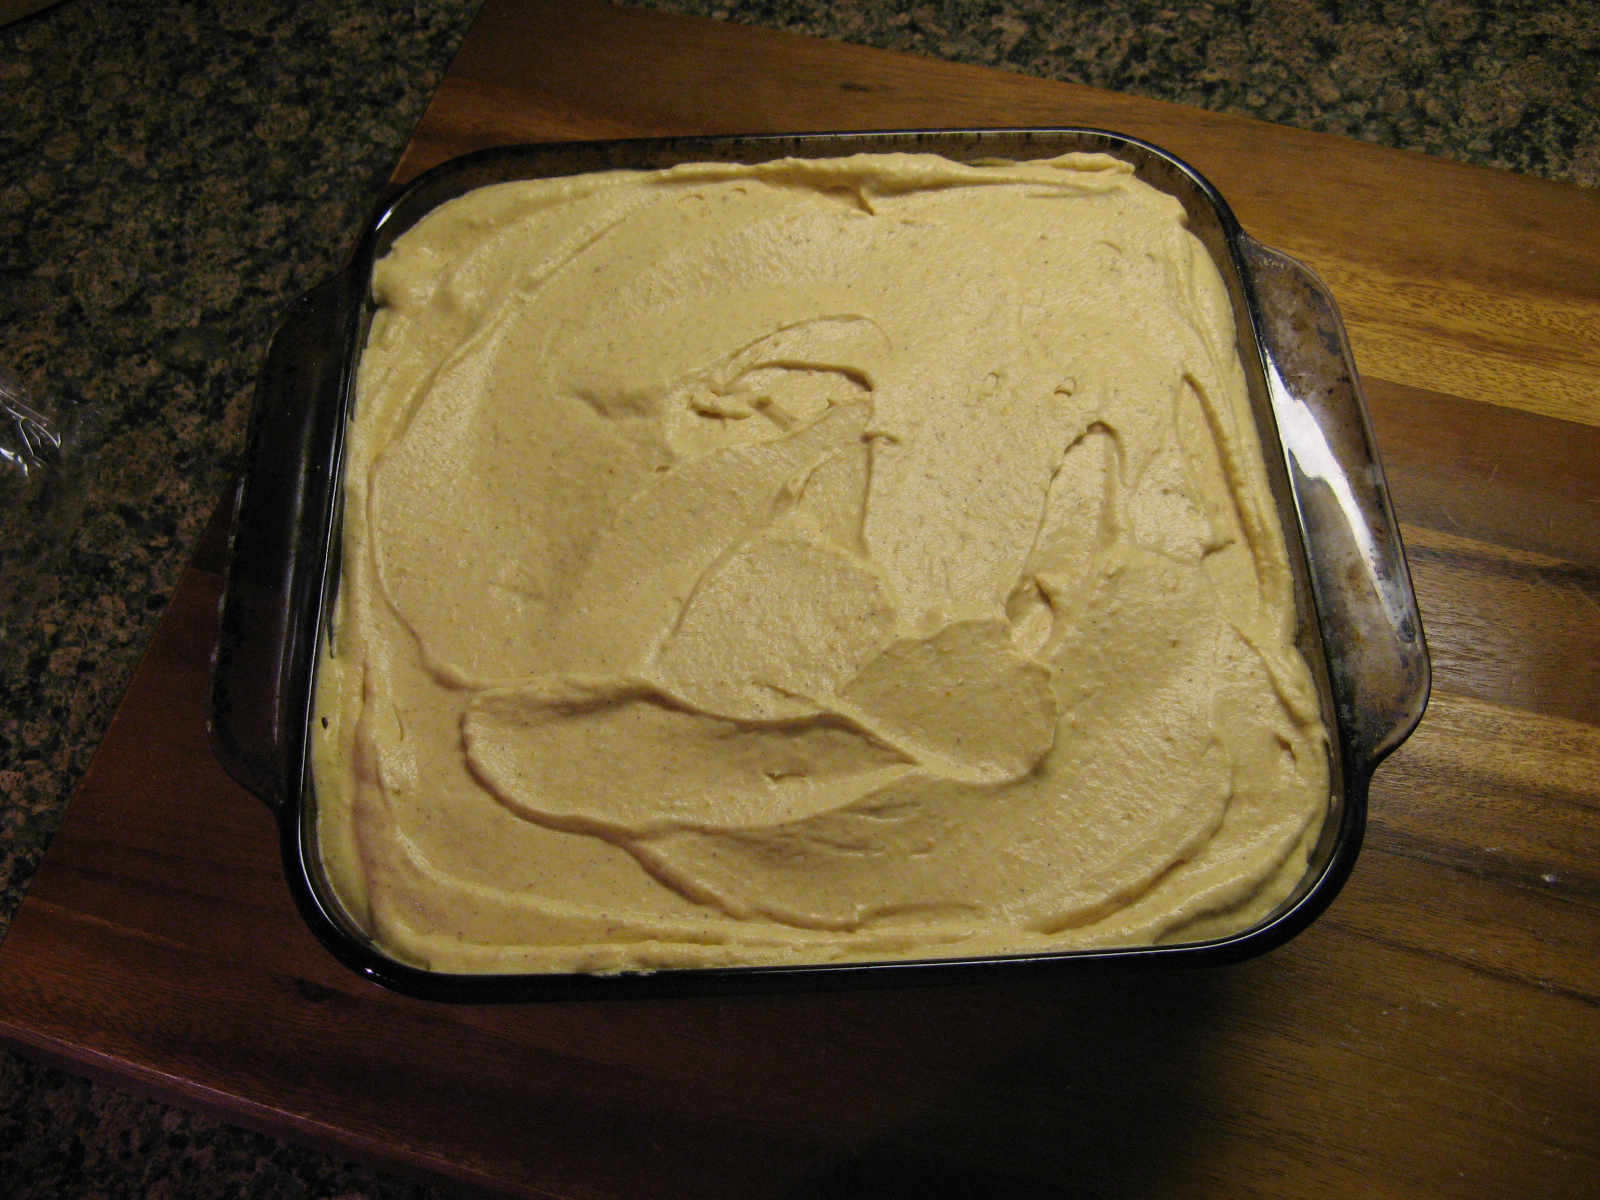
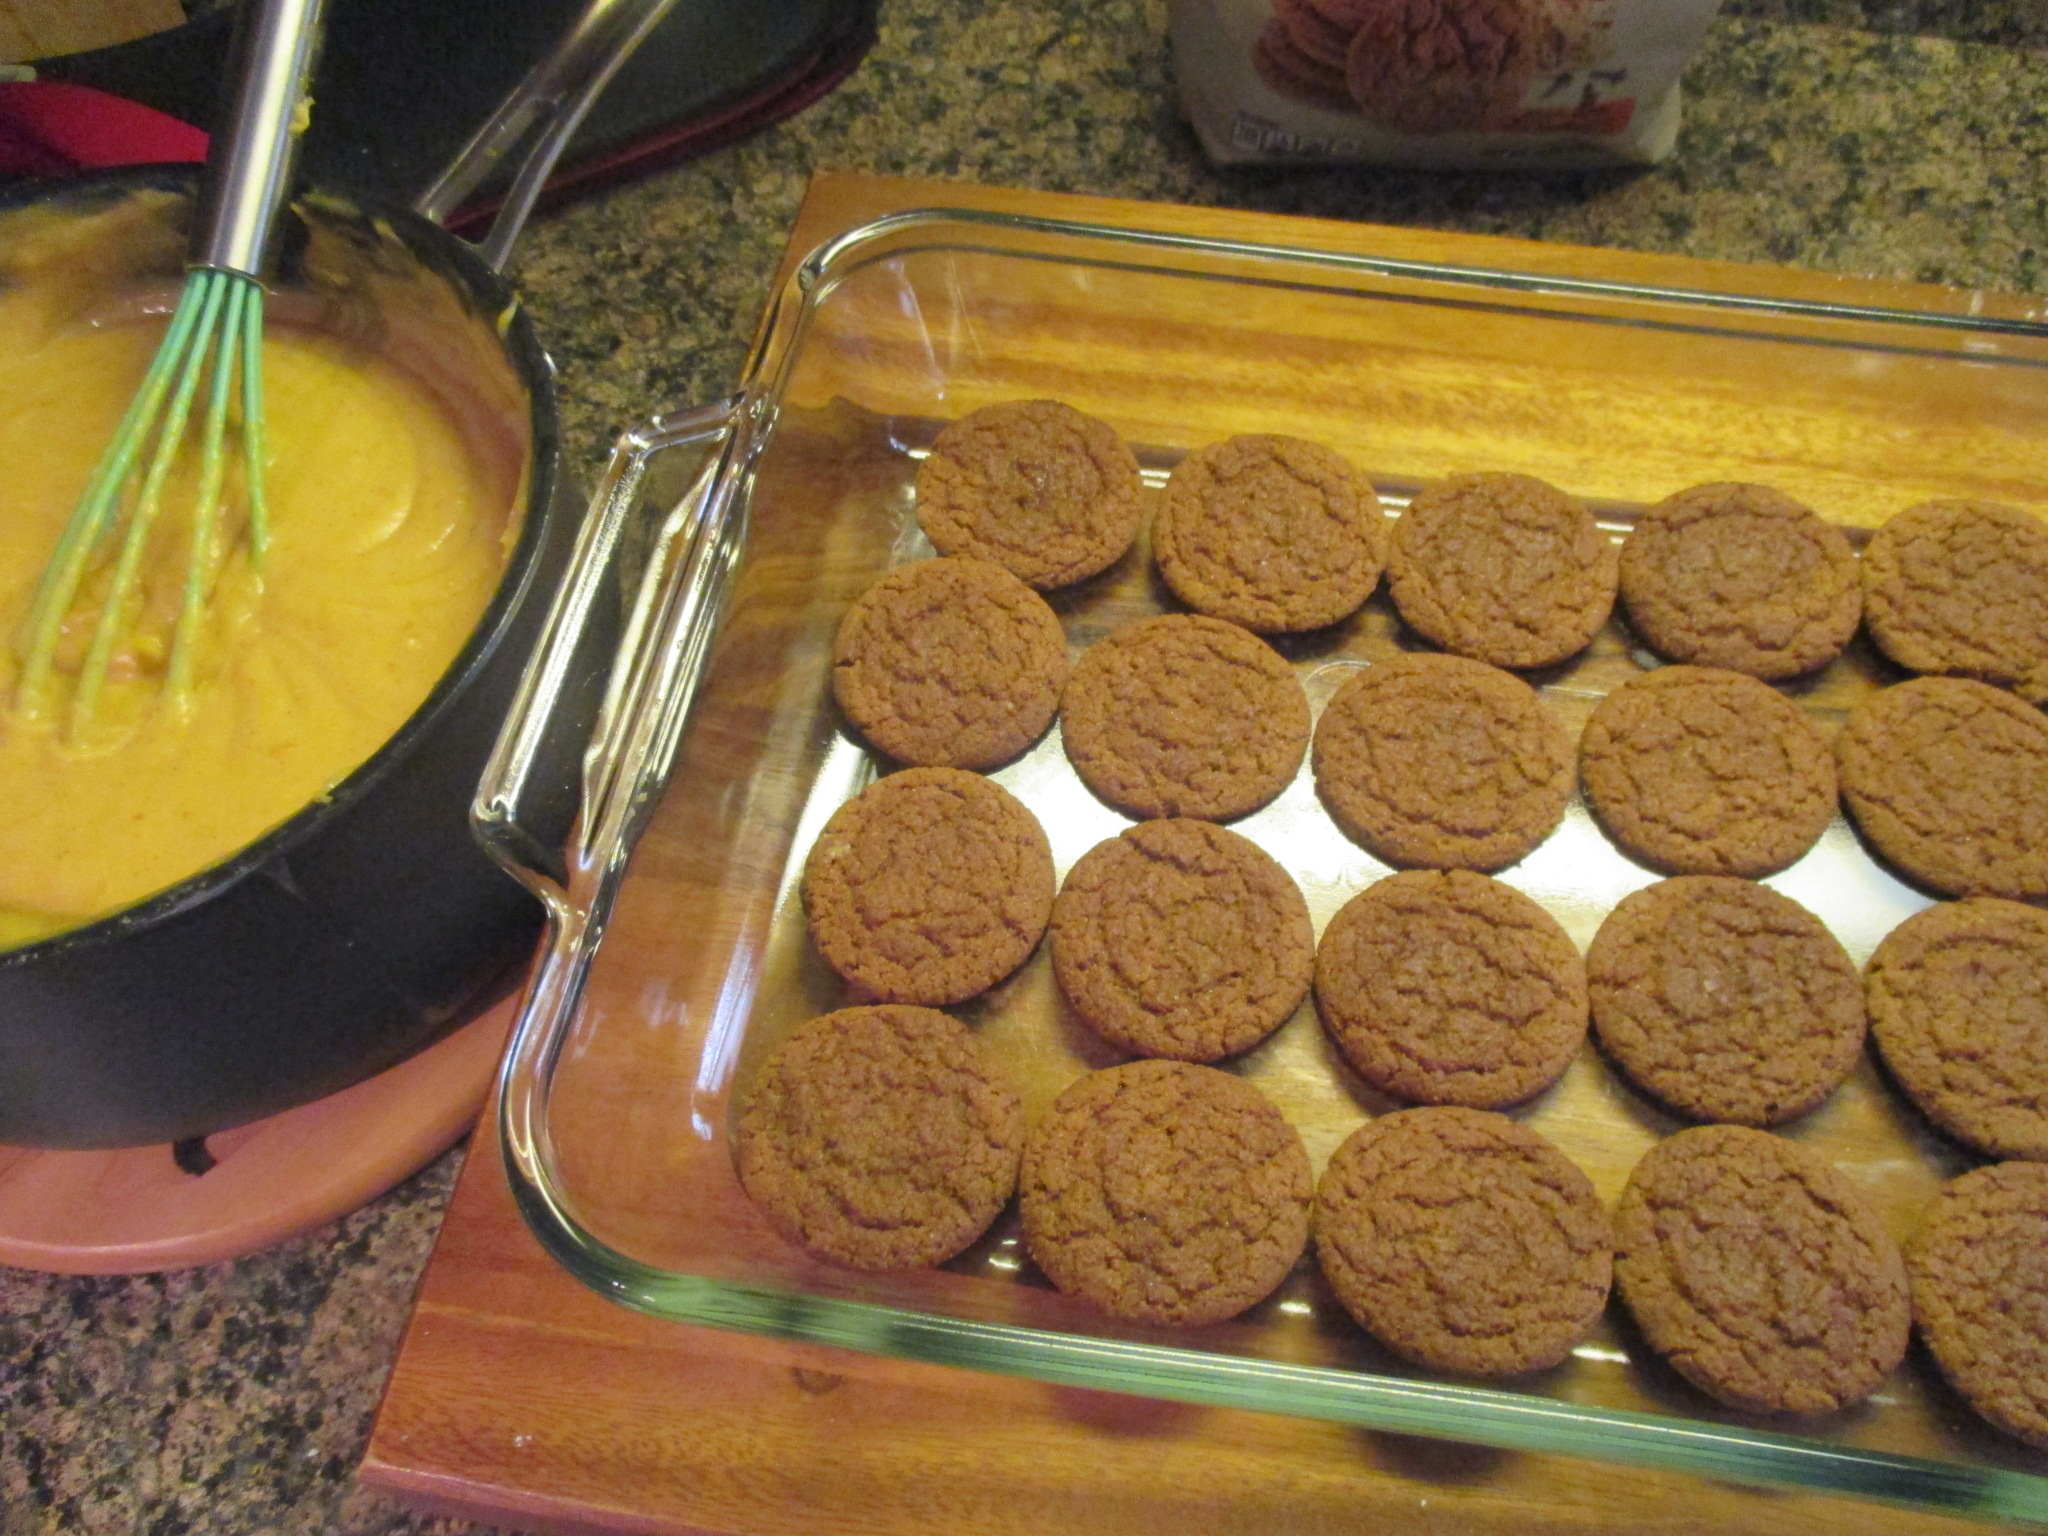
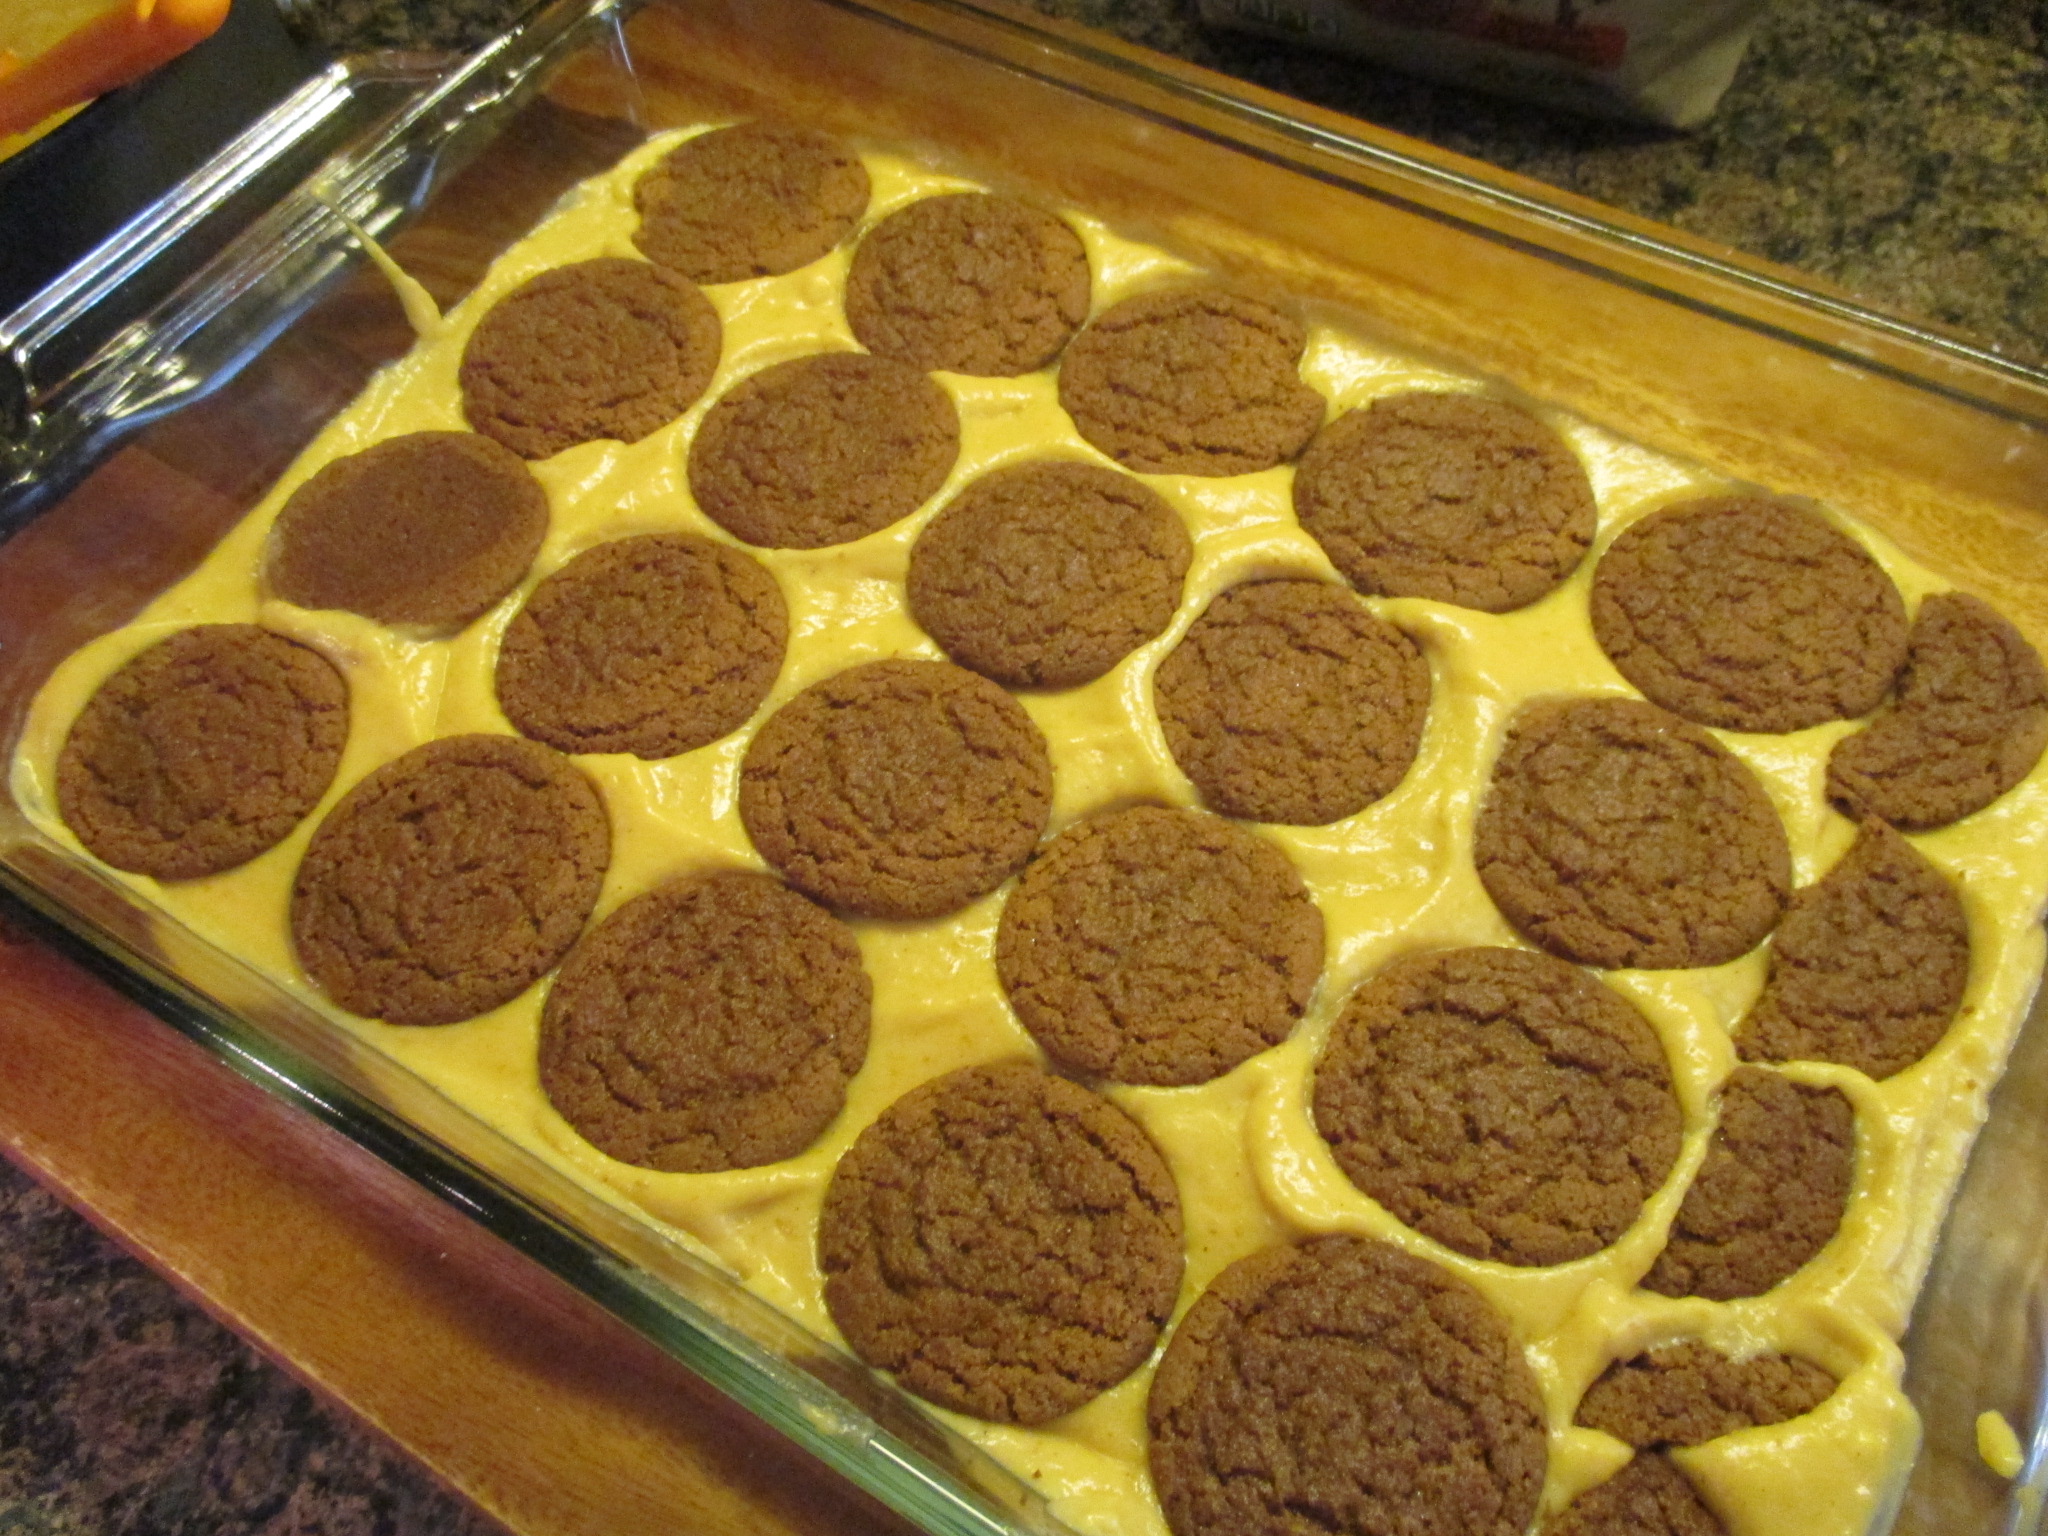
After making the pumpkin custard I layered gingersnaps in a single layer in the bottom of a 9 x 13 baking dish. I then brushed them with apple brandy that I warmed with sugar and finally I spread a third of the custard over the cookie.

I repeated this layering two more times….

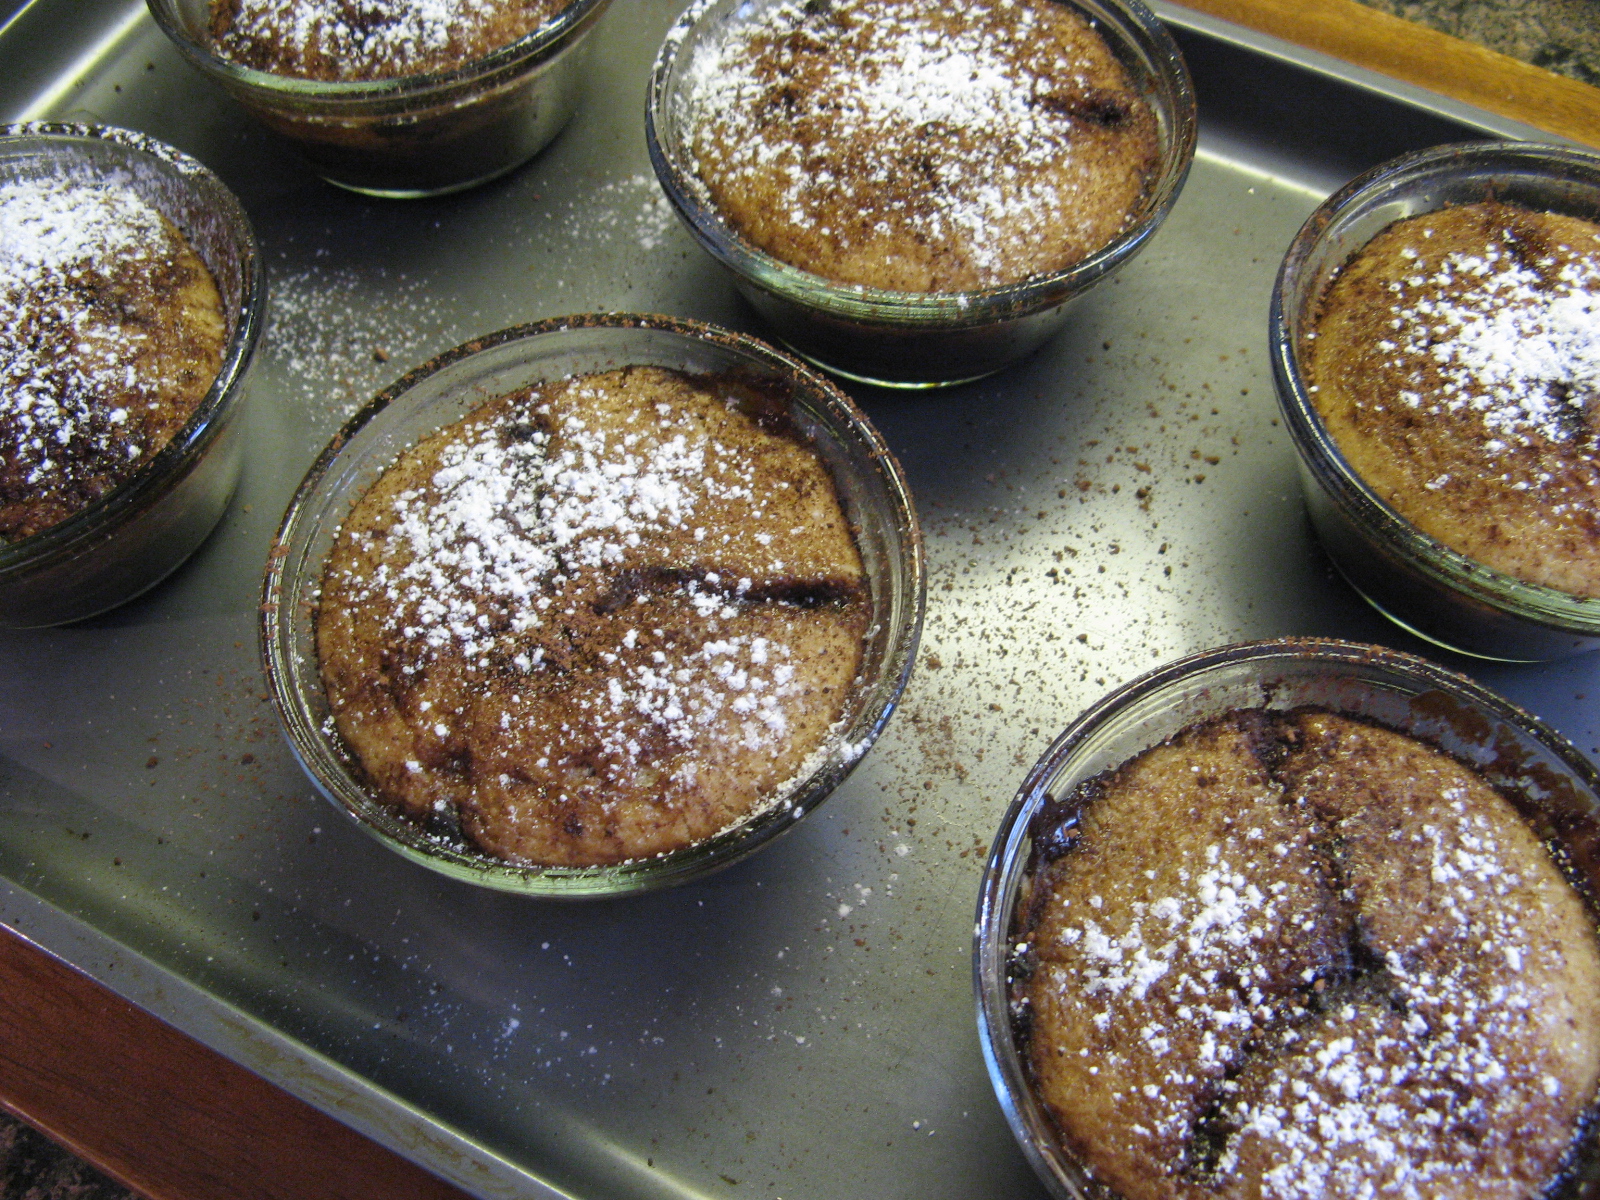
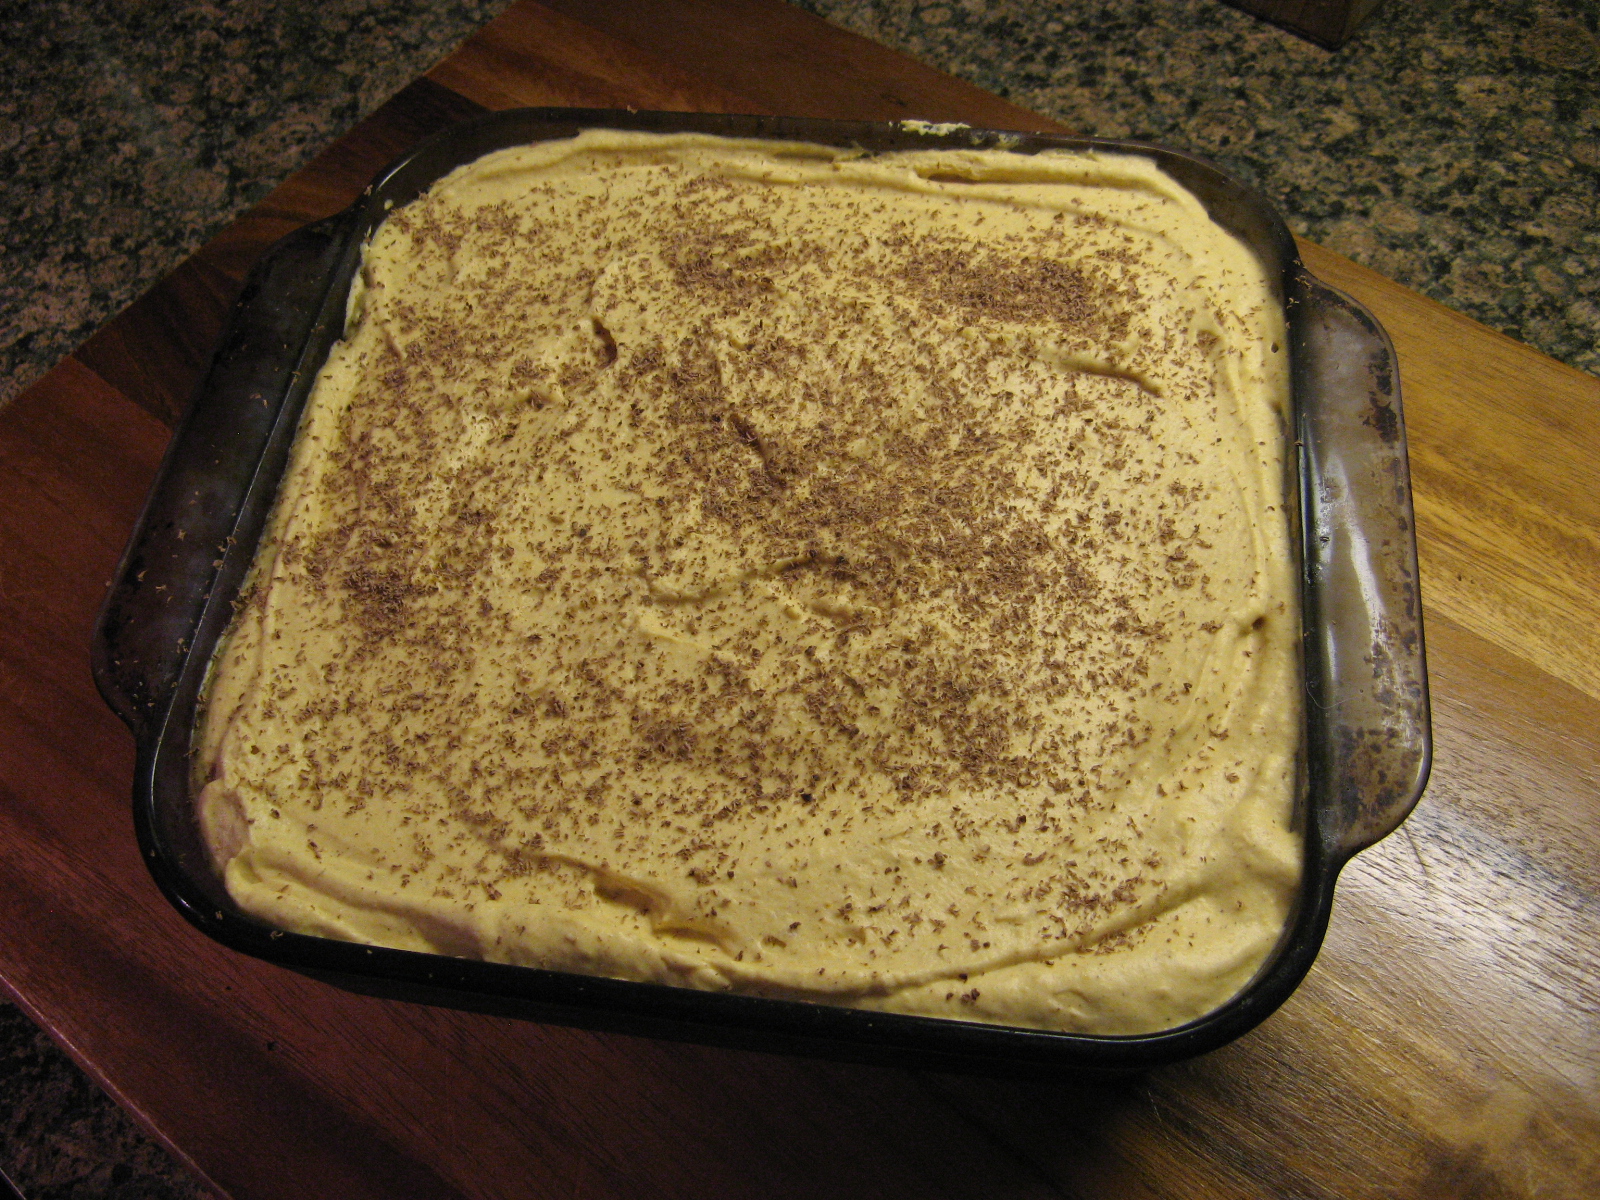
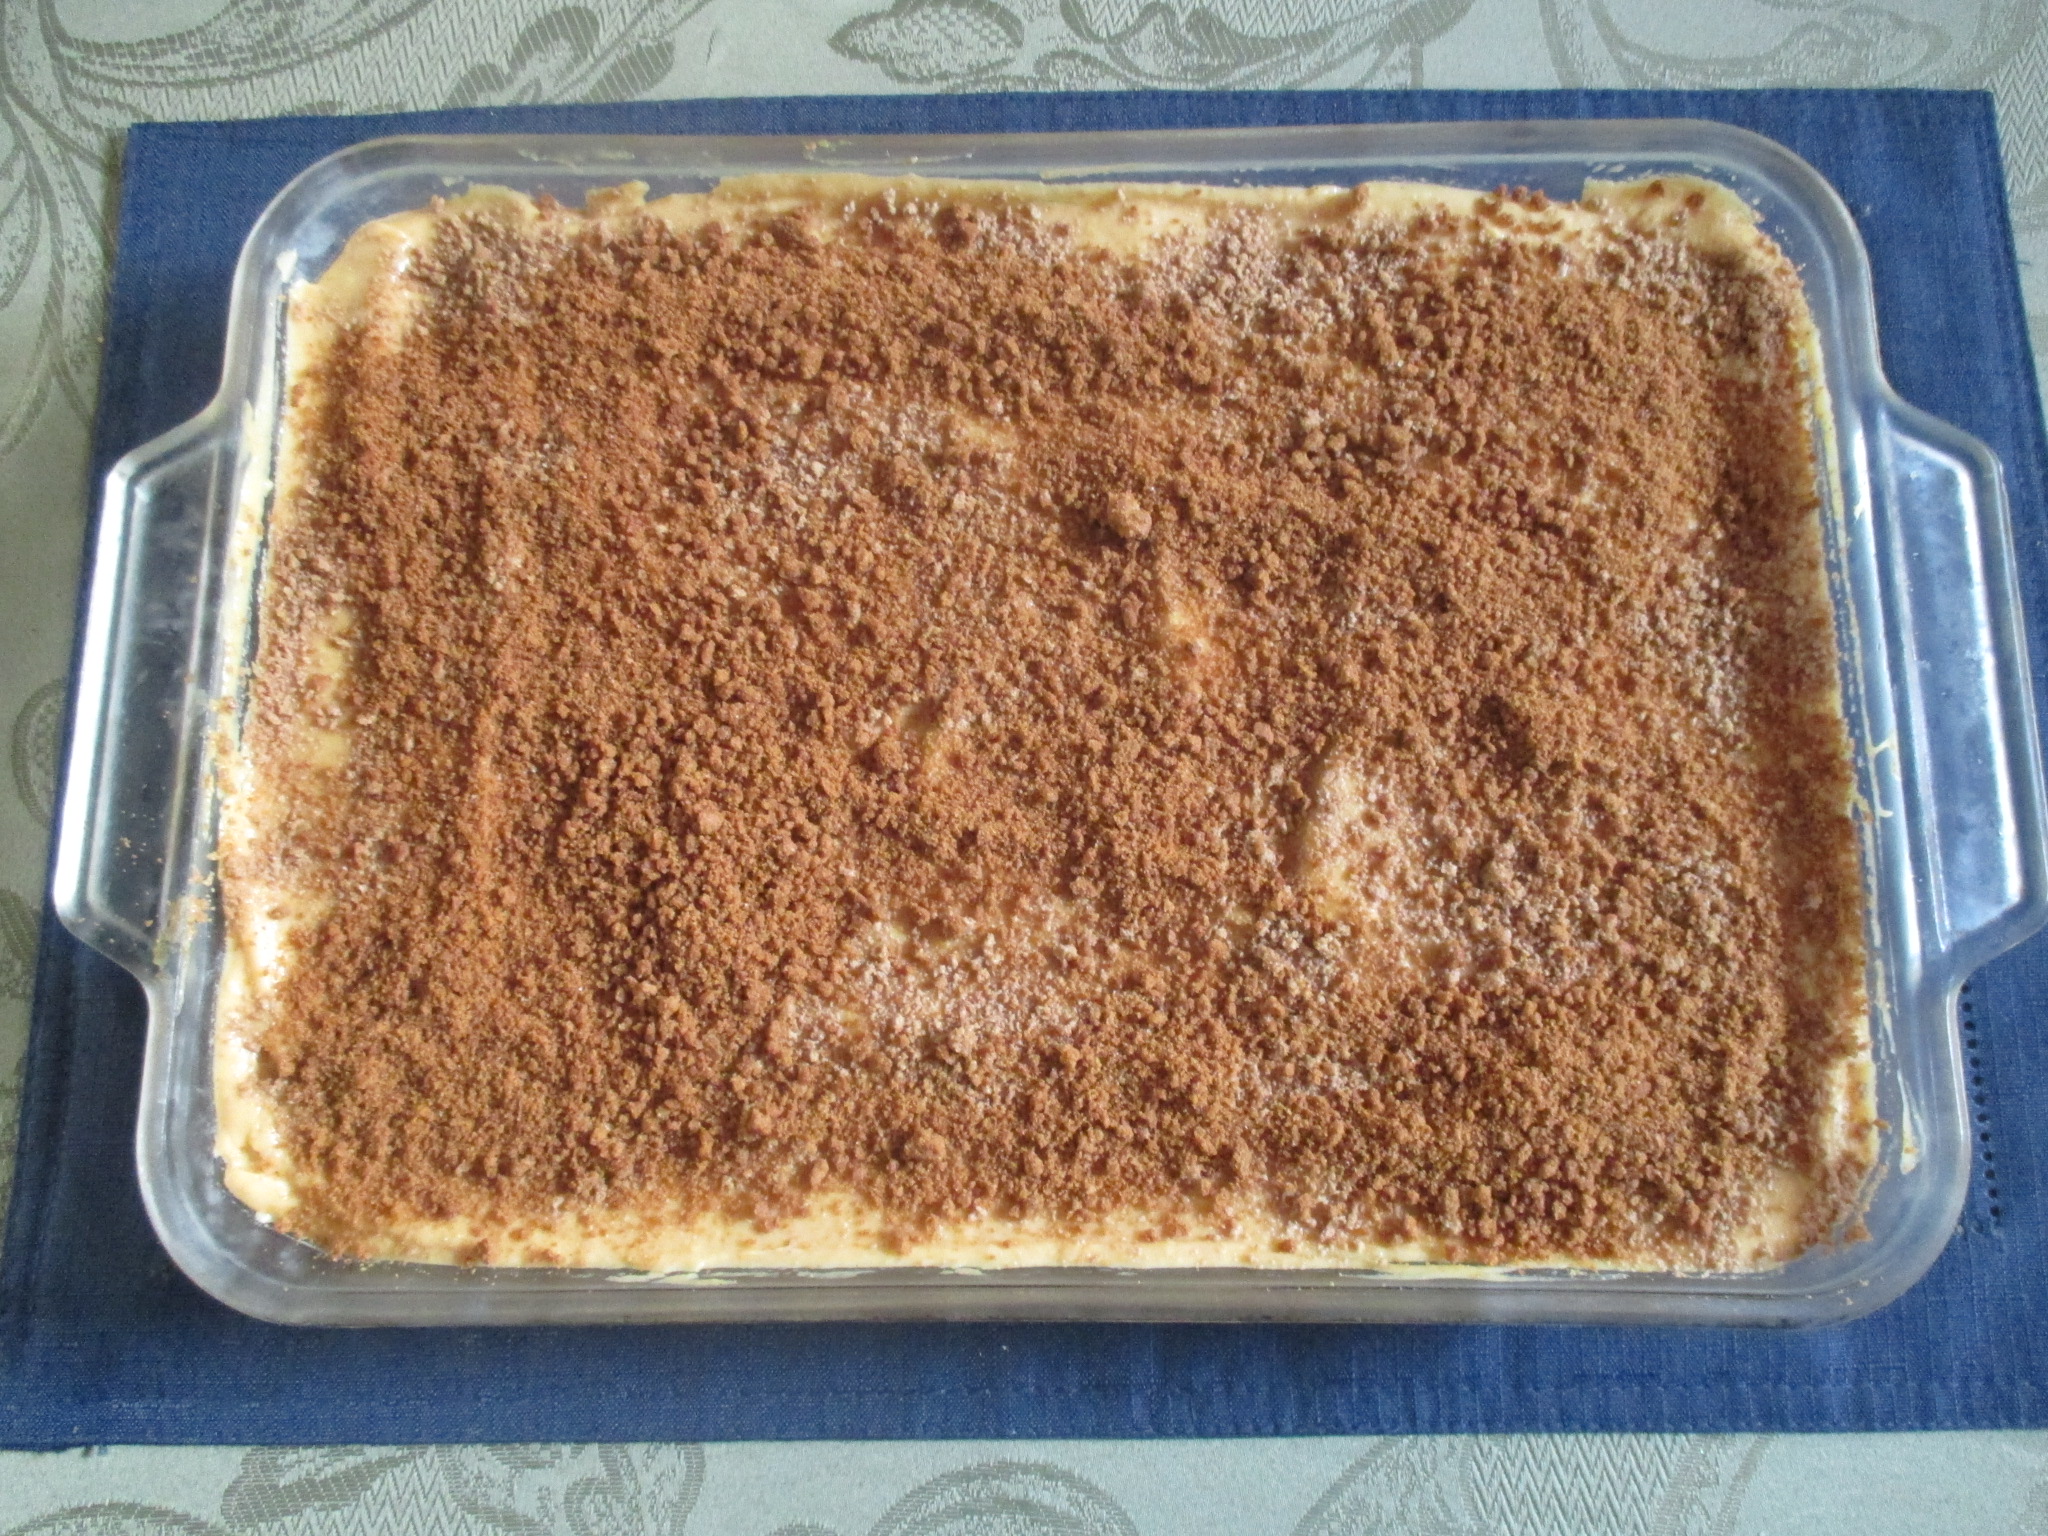
And on the final layer of custard I topped it with crushed gingersnap cookies.

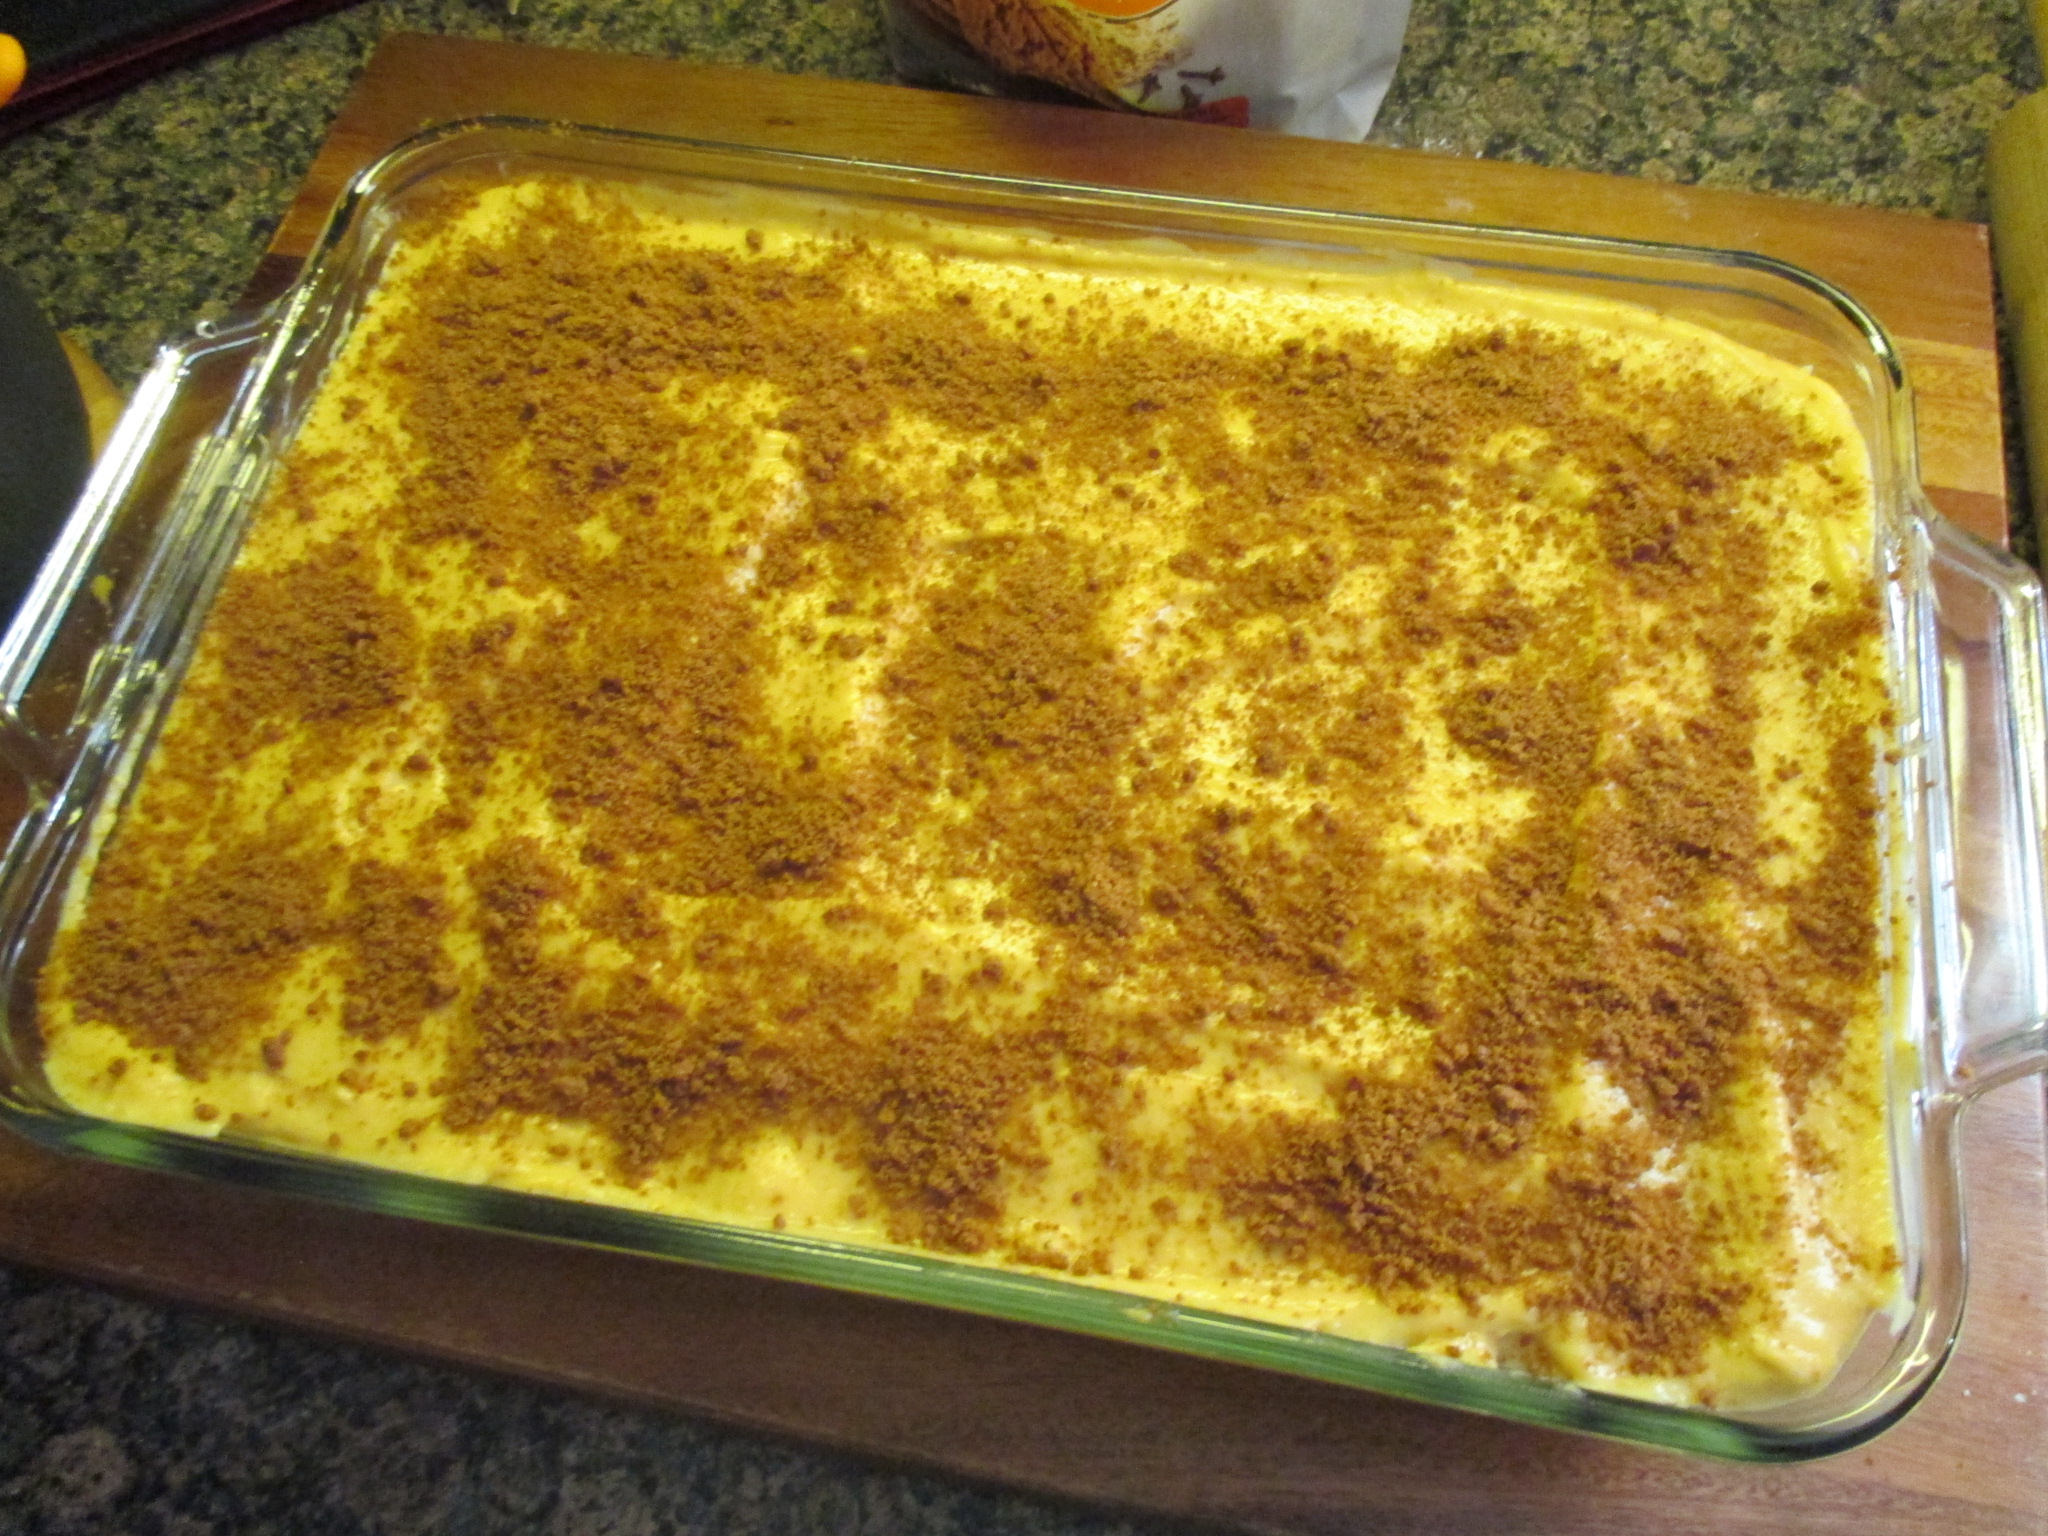
I then covered the dish with wax and aluminum paper and refrigerated it overnight and before slicing it the next day I topped it with more crushed gingersnap cookies.

A few things I should mention. I slightly modified this recipe from the original by omitting gelatin in the custard and refrigerated my tiramisu as opposed to putting it in the freezer. I am sure that the gelatin would have resulted in cleaner slices, but, I just didn’t like the texture I was imagining that would result from the gelatin. And, the reason why I didn’t freeze it is that the directions said to let the tiramisu thaw for 6 hours before slicing. It just didn’t make sense to let it thaw for so long after freezing it to cut it.


Pumpkin Gingersnap Tiramisu

Ingredients:

6 large egg yolks

1/4 cup plus 2 tablespoons cornstarch

1/4 teaspoon salt

1 1/2 cups plus 1 tablespoon sugar

1 quart whole milk

1 15-oz. can pumpkin puree

1 tablespoon pure vanilla extract

3/4 teaspoon cinnamon

1 pound (2 cups) mascarpone

3 tablespoons apple brandy

1 1/4 pounds gingersnaps, 1/4 pound finely crushed


Directions:

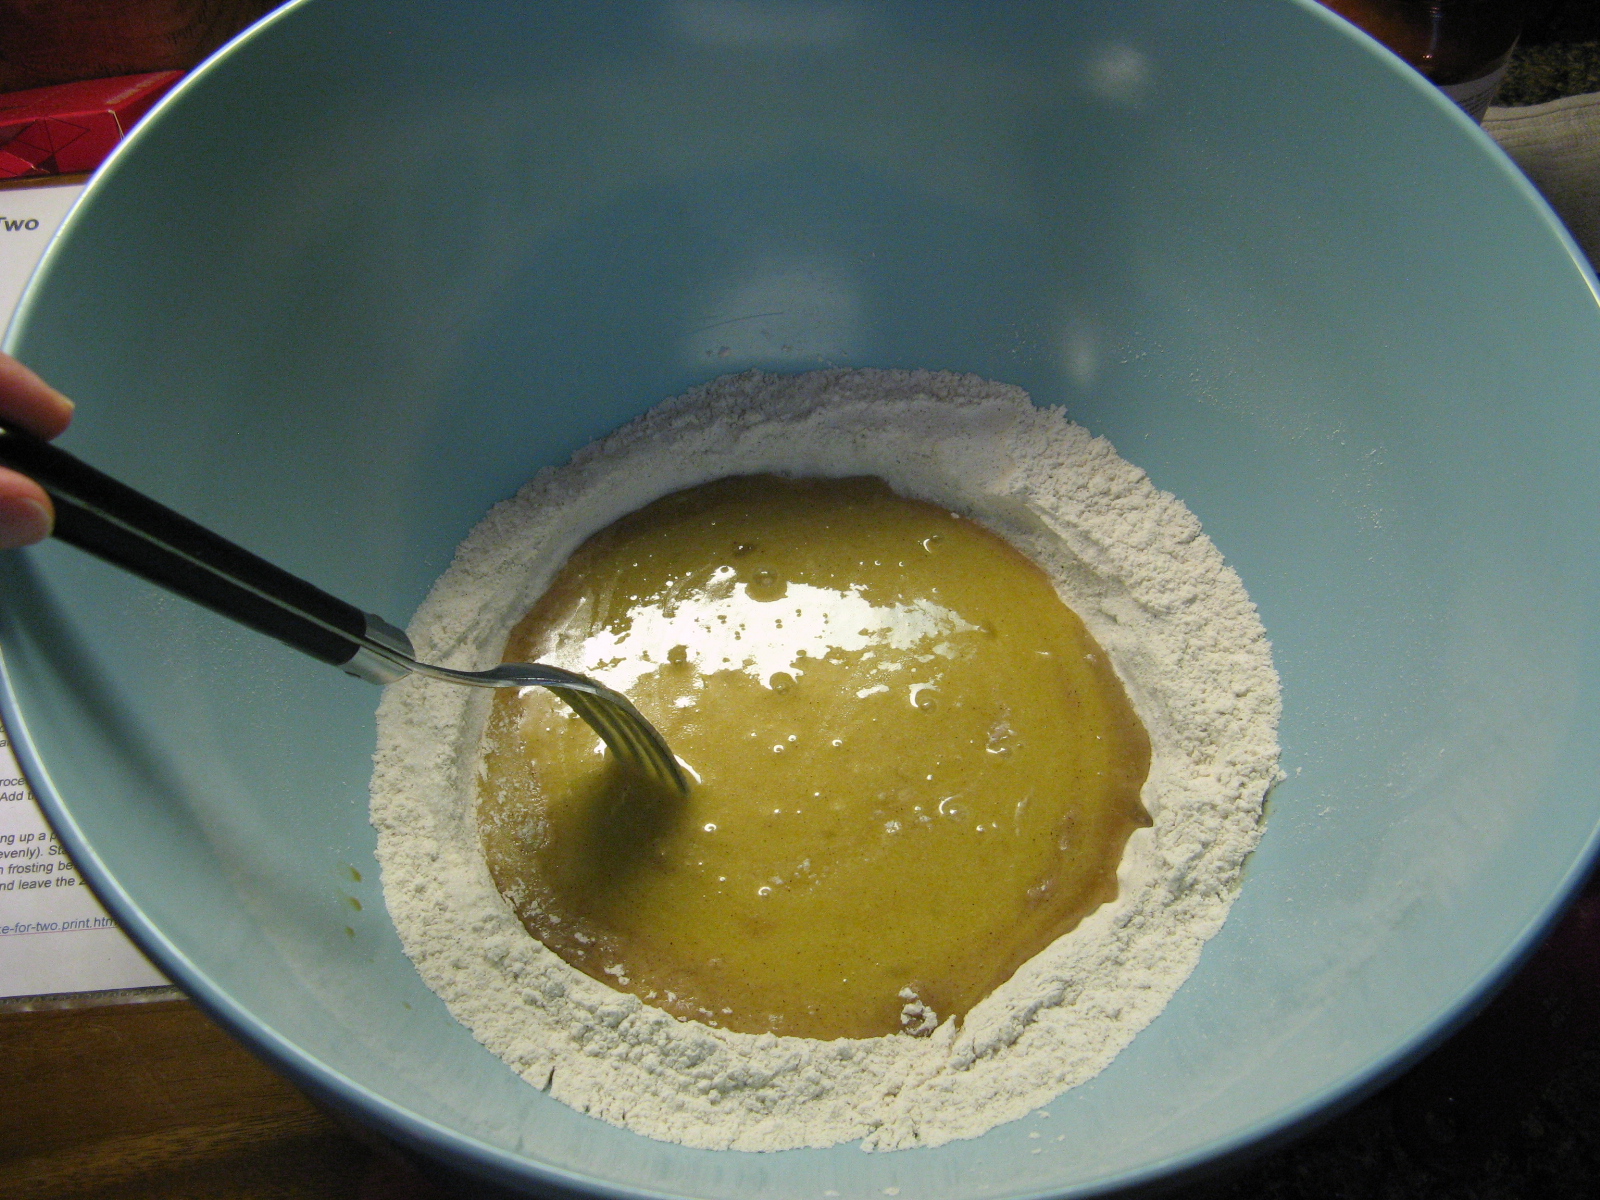
In a large bowl, whisk the yolks, cornstarch, salt, and 1 1/2 cups of the sugar together until the sugar is moistened.

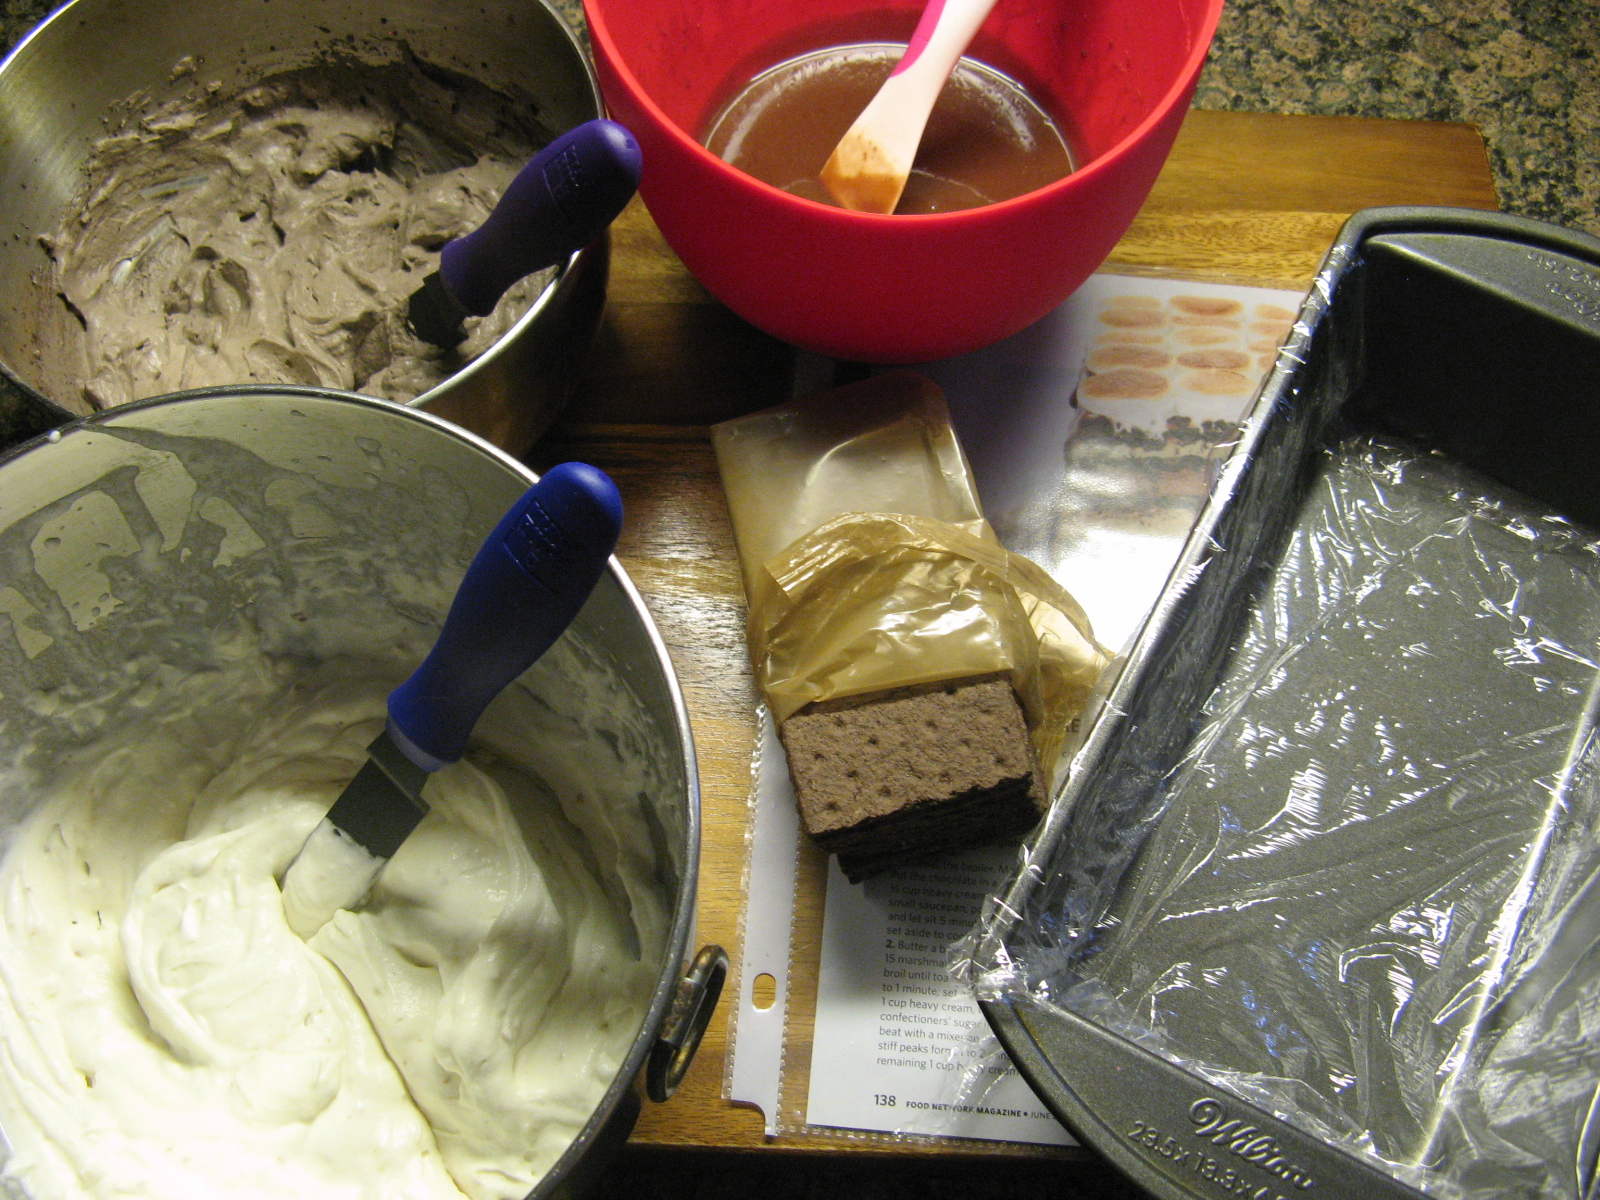
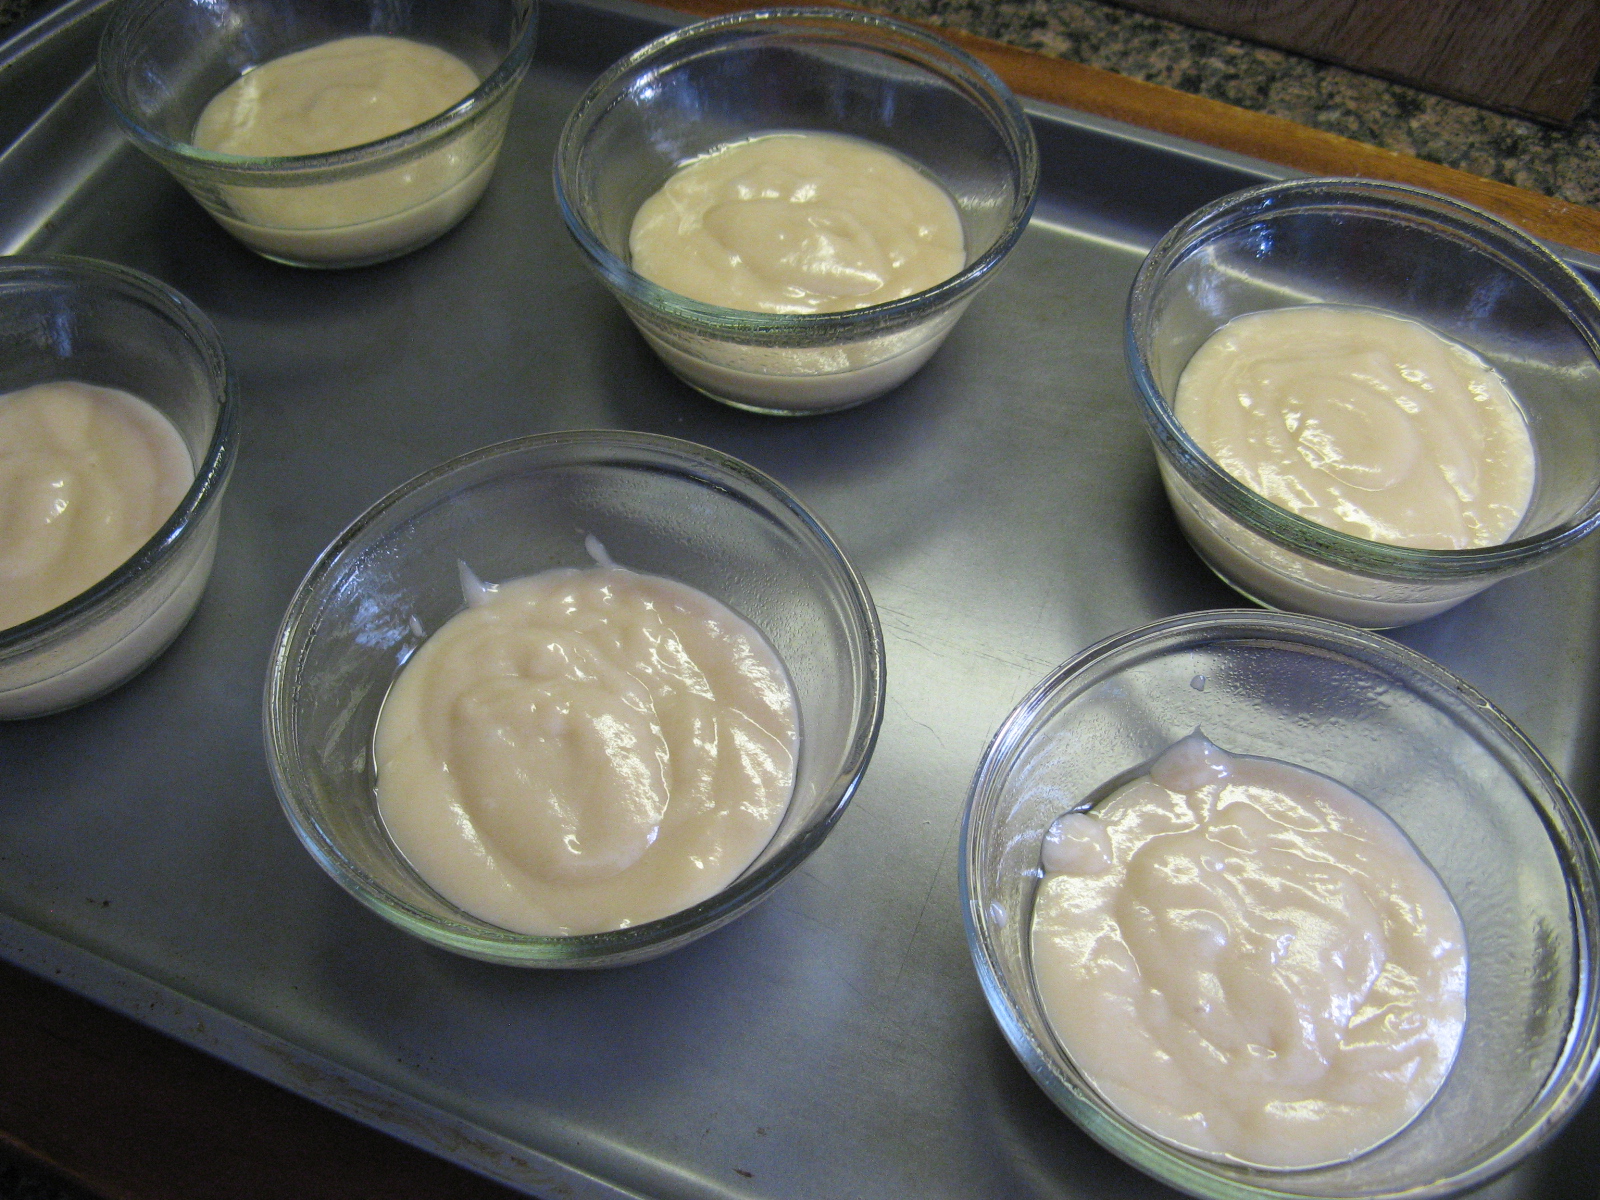
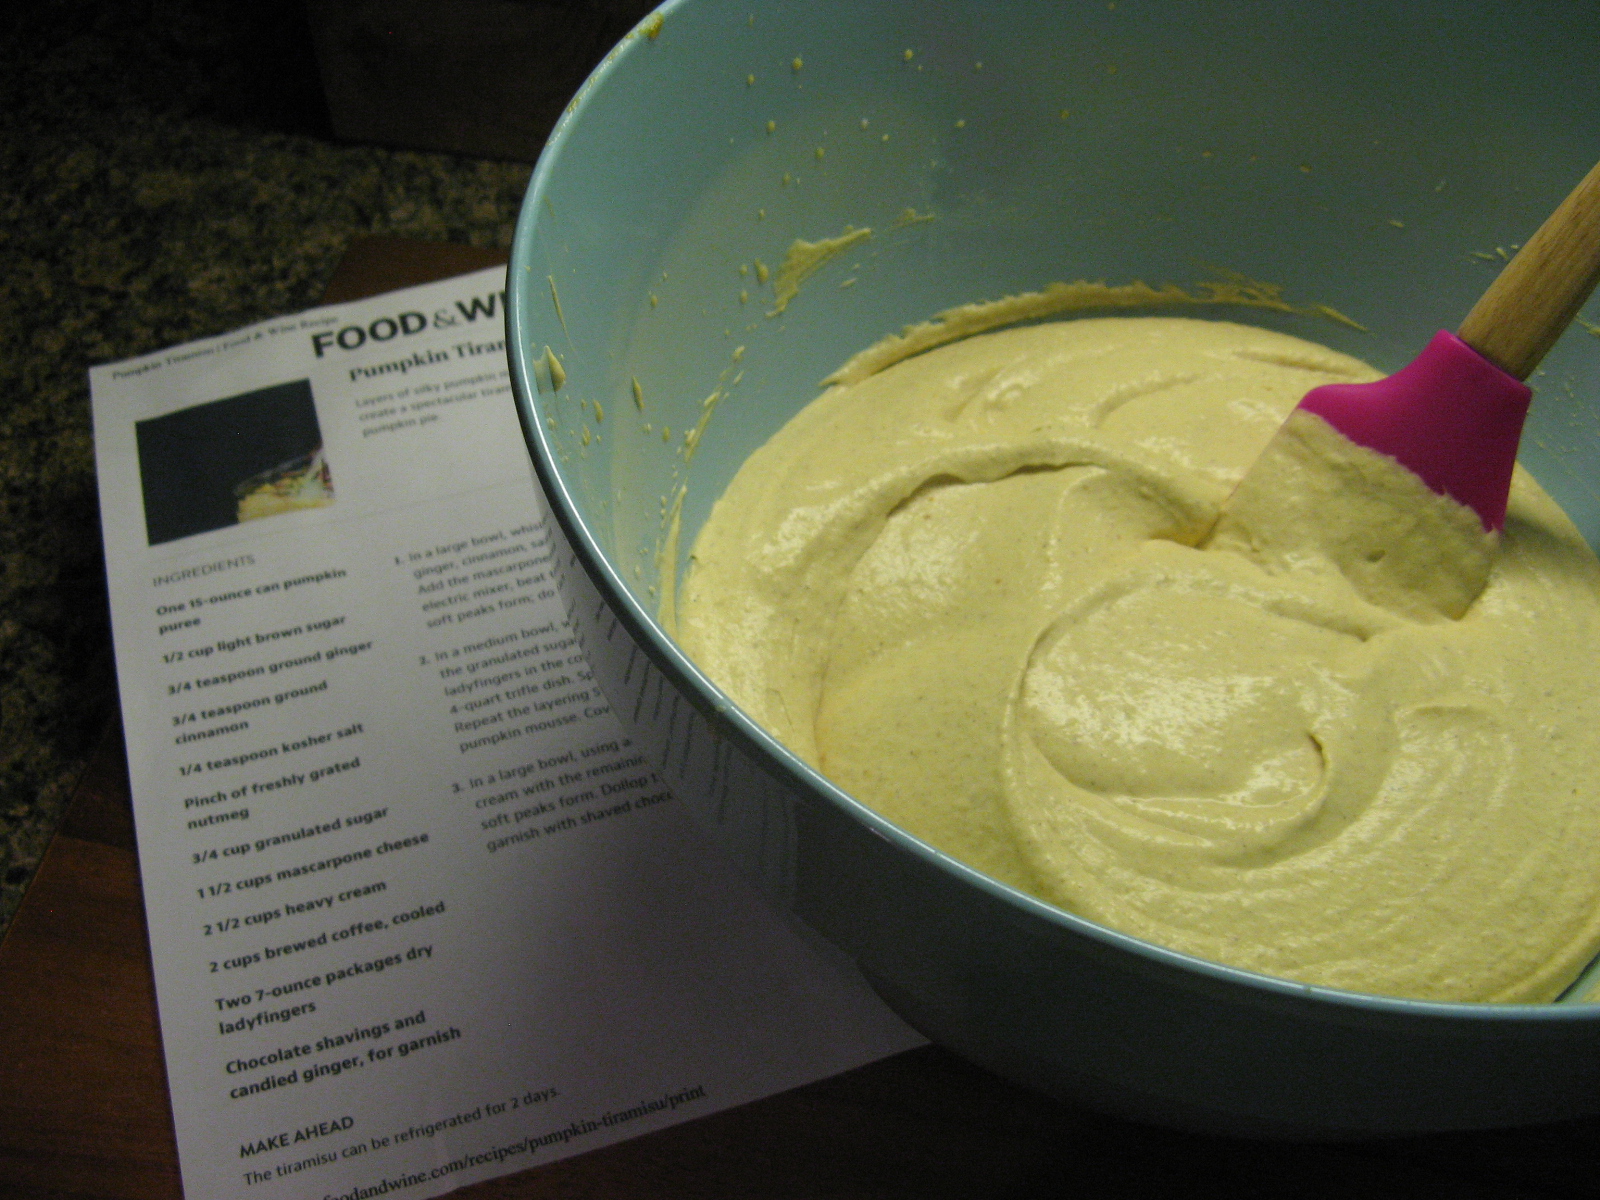
In a large saucepan, heat the milk until it just begins to steam. Whisk 1 cup of the milk into the egg mixture to temper the eggs. Pour the mixture into the milk in the saucepan and cook over medium heat, whisking constantly until boiling and thick, about 5 minutes. Then whisk in the pumpkin puree and cook, whisking for an additional minute. Remove from the heat and whisk in the vanilla extract and cinnamon and finally whisk in the mascarpone.

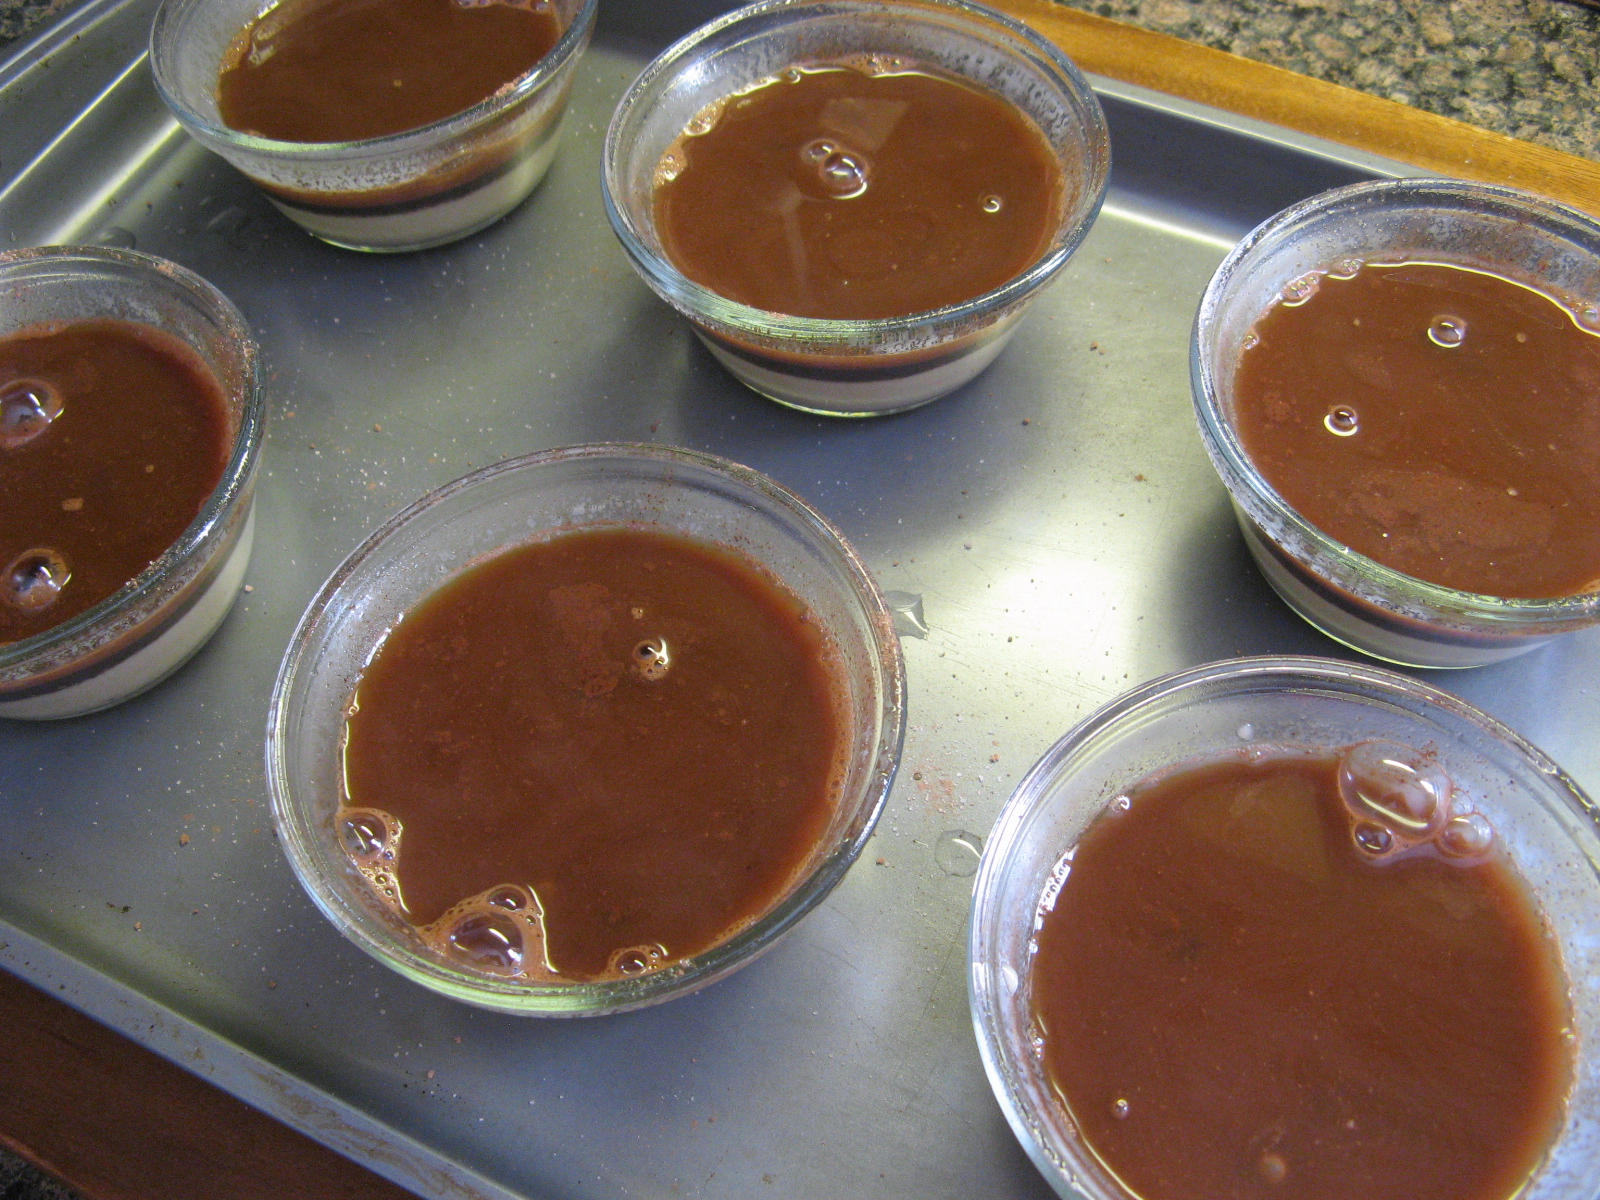
In a small microwave safe bowl, microwave the brandy and 1 tablespoon of sugar at high power for 10 seconds. Just until the sugar is dissolved.

Arrange one-third of the gingersnaps in a single layer in the bottom of a 9 x 13 inch baking dish. Lightly brush the cookies with some of the apple brandy and then spread a third of the pumpkin custard over the cookies. Repeat this layering two more times and then top the final layer of custard with half of the crushed gingersnaps. Cover the dish with wax paper and aluminum paper and place in the refrigerator overnight.

Before slicing sprinkle with the remaining crushed gingersnaps.

Recipe modified from Food & Wine

S’mores Icebox Cake

Happy National S’mores Day! Isn’t it insane how there’s a day for everything?!?! Today is also National Lazy Day so if you feel like doing nothing you have a decent excuse. And if you want to prepare yourself for tomorrow… August 11th is National Son’s and Daughter’s Day, National President Joke Day and National Raspberry Bombe Day. And if you are so incline to go further than that check out the National Day Calendar website. So, would you believe that even though I have been sharing s’mores related desserts on my blog for the past couple of years I had never had a s’more until this past weekend? I can’t really say why, maybe it’s because I have never been camping, but, that’s not a good excuse. Truth is, I don’t care for marshmallows that much. But, after making this cake I realized that I like toasted marshmallows! I guess it’s like toasting bread, somehow it just tastes better that way.

Before assembling the cake I made ganache, chocolate whipped cream and marshmallow whipped cream. In case you are wondering at the moment and you can’t wait to get to the directions, to make the marshmallow whipped cream I roasted marshmallows in the oven under the broiler, let them cool and then whipped them with heavy cream. I am beginning to learn that you can make any type of whipped cream. I recently came across a recipe with coconut whipped cream using just the coconut solids from a refrigerated can of coconut milk. It’s essentially a vegan version of whipped cream, but, nonetheless I really want to try it.

Next, I assembled the cake. After lining a 9×5 loaf pan with plastic wrap – leaving an overhang on the long sides – I placed a single layer of chocolate graham crackers along the bottom. Breaking the pieces as necessary. Now, I am sure if you want more of an “authentic” s’mores flavor you could swap out the chocolate graham crackers for honey (or cinnamon) flavored ones. Truth be told, these chocolate graham crackers aren’t available everywhere. And did know they make vanilla ones now? I am really hoping this isn’t going to become like M&M’s or Oreos where there are more flavors than you can name or remember. Back to the cake though… Once I had a layer of graham crackers I then spread half of the marshmallow whipped cream over them and drizzled it with a few tablespoons of the chocolate ganache.

I repeated the layers again this time with the chocolate whipped cream, and then another with the marshmallow whipped cream and one last one with the chocolate whipped cream. Finally, I topped it with a layer of the graham crackers. I folded the overhanging plastic wrap over the cake and refrigerated it overnight. I also placed the remaining ganache in the fridge as well. And, I placed 2 whole graham crackers in a Ziploc bag and crushed them with a rolling pin until they were fine crumbs.

The next day, before removing the cake from the fridge, I heated the ganache in the microwave until it was pourable and let it cool for an hour. I also cut 9 marshmallows in half and placed them on a greased baking sheet in a tight 3-by-6 rectangle and broiled them until they were toasted and bubbling. I also let this cool for an hour.

To finish the cake, I inverted it onto a platter and then pressed the chocolate crumbs onto the sides of it. I poured the leftover ganache over the top and spread it into a thin layer – allowing the excess to fall over the sides of the cake. And finally, I removed the marshmallow rectangle from the baking sheet and placed it on top of the cake. And there you have it, a S’mores Icebox Cake.

And you can see after slicing it the layers were distinct. This cake was a hit… especially those roasted marshmallows. My favorite part! I think if I make this again I will opt to use the honey or cinnamon graham crackers just so that the chocolate isn’t the focal point of the cake.

Here are some more s’mores related desserts:

S’mores Stuffed Chocolate Chip Cookies

S’mores Brownies 

Malted S’mores Ice Cream


S'mores Icebox Cake

Ingredients:

4 ounces milk chocolate, finely chopped

2 1/2 cups heavy cream

24 marshmallows

3 tablespoons unsweetened Dutch-process cocoa powder

3 tablespoons confectioners’ sugar

16-18 whole chocolate graham crackers

unsalted butter, for the baking sheet


Directions:

Preheat the broiler.

Make the ganache: Put the chocolate in a small bowl. Bring 1/2 cup of heavy cream to a simmer in a small saucepan. Pour over the chocolate and let stand for 5 minutes until stirring until smooth. Set aside to cool.

Butter a baking sheet, then arrange 15 marshmallows on the baking sheet. Broil until toasted and bubbling, 30 second to 1 minute. Set aside to cool.

Combine 1 cup heavy cream, the cocoa powder and confectioners’ sugar in a large bowl and beat with a mixer on medium speed until stiff peaks form.

Combine the remaining 1 cup heavy cream and the broiled marshmallows in another medium and beat with a mixer on medium speed until stiff peaks form. Don’t worry if bits of marshmallow remain.

Line a 9×5-inch loaf pan with plastic wrap, leaving a 4-inch overhang on the long sides. Line the bottom of the pan with a single layer of chocolate graham crackers, break the crackers to fit as needed. Spread half of the marshmallow mixture over the graham crackers and drizzle with 2 tablespoons of the chocolate ganache. Repeat this step, but using the chocolate whipped cream instead of the marshmallow one.  Repeat again using the marshmallow whipped cream and then finally the chocolate whipped cream. Top with a layer of graham crackers and then wrap the overhanging plastic wrap over the cake and refrigerate for at least 6 hours or overnight.

Crush the remaining graham crackers into finely ground crumbs by placing them in a resealable plastic bag and rolling them with a rolling pin, set aside. Place the remaining ganache in the refrigerator.

About an hour before serving preheat the broiler. Warm the reserved ganache in the microwave until pourable and set aside for an hour to cool. Butter a baking sheet and cut the remaining 9 marshmallows in half and arrange them on the baking sheet in a tight 3 x 6 rectangle – the marshmallows should be touching. Broil until toasted and bubbling and then let cool for an hour.

Invert the cake onto a platter, discard the plastic wrap and press the graham cracker crumbs onto the sides of the cake. Pour the ganache over the cake and spread into a thin layer letting the it drip down the sides. Finally, remove the toasted marshmallow rectangle in one piece and place on top of the cake.

Recipe from Food Network

Boston Cream Pie

I remember when I was younger I was not a fan of filled donuts. Jelly, cream, chocolate, whatever the filling, it was not my thing. Fast forward a few years and I can eat them now, but, and I apologize if this sounds a little gross, I squeeze out the excess filling first and then eat the donut. I just don’t like the filling to overpower the donut and that seems to happen a lot with filled donuts. And that, in a very roundabout way brings me to today’s post… A Boston Cream Pie. A yellow cake filled with custard and glazed with chocolate. I’ve have it in a donut form, but, the pie version is a 100x better.

I began by making the cake. To do so I started off by sifting cake flour, baking powder and salt in medium bowl. In my stand mixer I whisked eggs and sugar on high speed for 15 minutes. This part is integral as it ensure that the cake will be light and airy. Once the egg and sugar mixture was ready – it will be pale and tripled in volume – I gently folded in the flour mixture in two addition with a rubber spatula. And finally, I added in whole milk, vegetable oil and vanilla and returned the bowl to my stand mixer and beat it until everything was combined. I poured the batter in a 9-inch round cake pan that I sprayed with baking spray and baked it in a 350 F oven for about a half hour.

While the cake was in the oven I made the pudding. In a large bowl I whisked whole eggs, egg yolks and sugar until it was light and fluffy, and then whisked in cornstarch and salt. In a medium saucepan I heated whole milk and vanilla extract until it was hot, but not yet boiling. I then whisked in a 1/4 cup of the milk mixture into the egg mixture in order to temper the eggs and then gradually whisked in the remaining milk mixture. I then returned the entire mixture to the medium saucepan and constantly whisked it on low heat until it was thick and pudding like. Once it was the right consistency, I strained the pudding through a fine mesh sieve by pushing the pudding through the sieve with a rubber spatula. After letting the pudding cool for a few minutes I pressed plastic wrap directly on the surface of the pudding and refrigerated it for at least 2 hours.

Once the cake was done and the pudding cooled it was time to assemble. I cut the cake in half and spread the pudding on the bottom half.

After topping the cake I made the chocolate glaze by melting semi-sweet chocolate with heavy cream, vanilla extract and a pinch of salt. I then spread the glaze on the cake…

And then refrigerated it until the glaze was set.

Final verdict… YUM!!!


Boston Cream Pie

Ingredients:

For The Cake:

1 1/4 cups cake flour

1 teaspoon baking powder

1/4 teaspoon salt

4 large eggs, at room temperature

1 cup sugar

1/2 cup whole milk

1/3 cup vegetable oil

1 1/2 teaspoons vanilla extract


For The Pudding:

1 1/2 cups whole milk

2 teaspoons vanilla extract

2 large eggs plus 4 egg yolks

1/2 cup sugar

1/4 cup cornstarch

Pinch of salt


For The Glaze:

4 ounces semi-sweet chocolate, finely chopped

1/2 cup heavy cream

1 teaspoon vanilla extract

Pinch of salt


Directions:

Preheat the oven to 350 F. Spray a 9-inch-round cake pan with baking spray or butter and flour.

Make the cake: Sift the flour, baking powder and salt into a medium bowl. Beat the eggs and sugar in a stand mixer fitted with the whisk attachment on high speed until pale and tripled in volume, about 15 minutes. Gently fold the flour mixture into the eggs mixture in two additions using a rubber spatula.

Add the milk, vegetable oil and vanilla and beat with the mixer until combined. Pour the batter into the prepared pan and bake for 25-30 minutes until a cake tested inserted in the center comes out clean. Transfer the pan to a rack to cool and then invert onto to the rack to cool and invert once again and let the cake cool completely.

Make the pudding: Heat the milk and vanilla extract in a medium saucepan over medium heat, but, do not boil. Whisk the whole eggs, egg yolks and sugar in a large bowl until light and fluffy. Add the cornstarch and salt and continue whisking until no lumps remain. Whisk 1/4 cup of the milk mixture into the egg mixture and then gradually whisk in the remaining milk mixture.

Pour the egg-milk mixture into the saucepan and cook over low heat, whisking constantly, until thick and pudding like, 10 to 15 minutes. It could take longer as well. Strain through a fine-mesh sieve by pushing the pudding through the sieve using a rubber spatula. Let the pudding cool for a few minutes and then place a piece of plastic wrap on the surface of the pudding and refrigerate for at least 2 hours.

Slice the cake in half and spread the pudding over the bottom half of the cake. Top the cake with the top half.

Make the glaze: Heat the chocolate, heavy cream, vanilla extract and salt in a saucepan over medium-low heat, stirring until the chocolate is melted and all of the ingredients are well combined and the mixture is smooth. Remove from heat and let cool for 5 minutes, you want it to be slightly thickened, then pour over the entire cake using an off-set spatula to smooth it. Refrigerate for at least 30 minutes so the glaze can set.

Recipe from Food Network

Tiramisu Pudding Cakes

Okay, to be truthful these are more like Espresso Pudding Cakes. I only say that because you don’t get the traditional flavor of tiramisu from them. Yes, you have the cocoa powder and the espresso, but, you don’t have the mascarpone. It’s all good though, they are delicious nonetheless.

I began by making the batter for the cake portion. In a microwave safe bowl I combined a stick of unsalted butter (which I cut into small pieces) with whole milk. I microwaved it in 30-second intervals until the butter had melted. I then added in sugar, vanilla extract and salt and whisked until the batter was smooth. I then added in flour and baking powder and continued whisking until the batter was smooth once again. Next, I divided the batter among 6 ramekins that I lightly sprayed with cooking spray and placed on a baking sheet. It came out to about 1/2 cup of batter for each ramekin.

I then topped the cake batter with a mixture of sugar, brown sugar, cocoa powder and espresso powder. It seems like a lot, but trust me you want to use all of the mixture up.

And finally, I poured about 3 tablespoons of hot water (I used boiled water as opposed to hot tap water) into each ramekin.

I baked the cakes in a 350 F preheated oven for about 25 minutes; until a cake tester inserted in the middle came out clean. Once out of the oven I brushed each cake with Kahlua and then sprinkled them with confectioners’ sugar and cocoa power.

After letting them rest for about 30 minutes it was time to try one. As you will see the “pudding” settles to the bottom while baking and you get a nice amount of it with each spoonful.

Tiramisu Pudding Cakes

Ingredients:

1 stick unsalted butter, cut into small pieces

1/2 cup whole milk

1 cup sugar

1 tablespoon pure vanilla extract

1/4 teaspoon salt

1 1/4 cups flour

2 teaspoons baking powder

1/4 cup light brown sugar

2 tablespoons unsweetened cocoa powder, plus more for dusting

1 tablespoons instant espresso powder

1 1/4 cups hot water

2 tablespoons coffee liqueur or dark rum (optional)

Confectioners’ sugar, for dusting

Directions:

Preheat the oven to 350 F. Lightly butter each ramekin and place on a baking sheet.

Put the butter and milk in medium microwave-safe bowl and microwave in 30-second intervals until the butter has melted. Add 1/2 cup sugar, the vanilla and salt and whisk until smooth. Add the flour and baking powder and continue whisking until smooth. Divide among the ramekins.

Combine the remaining 1/2 cup sugar, along with the brown sugar, cocoa powder and espresso powder in small bowl and sprinkle over the batter. Pour the hot water – about 3 tablespoons per ramekin – over the batter. Do not stir.

Bake until a cake tester comes out clean from the center – about 25-30 minutes. Remove from the oven and brush the tops with the liqueur or rum and then lightly dust with cocoa powder and confectioners’ sugar. Let stand 30 minutes before serving.

If you would prefer, you can also make one large pudding cake by using a 2-quart baking dish. The directions and cooking time would be the same.

Recipe from Food Network

A Red Velvet Valentine Heart

In honor of Valentine’s Day tomorrow I decided to bake up a red velvet cake heart and decorate it with cream cheese frosting. I just can’t stand when red velvet (or carrot cake for that matter) are frosted with buttercream or vanilla frosting. The flavors just don’t go well together in my opinion. So, what are your plans for Valentine’s Day? Or will you be celebrating Singletine’s Day? Or Galentine’s Day? Which is actually today!

For the cake I used a recipe that I came across on another blog that was for 12 cupcakes. In one bowl I combined all of my dry ingredients – flour, sugar, baking soda, baking powder, unsweetened cocoa powder and salt. And in a smaller bowl I whisked together buttermilk, vegetable oil, vanilla extract, an egg, vinegar and red food coloring. I didn’t have buttermilk so I made my own by combining a 1/2 cup of milk with 1/2 tablespoon of lemon juice (you could use vinegar in lieu of the lemon juice). I stirred the two together and let it sit at room temperature until it was slightly thickened. You may also see some curdling on the top as well. Ever since I learned I could make my own buttermilk I have opted to do that as opposed to buying it. Inevitably I always end up throwing out most of the buttermilk since I have nothing else to use it for.

img_0437

Next, I added the wet ingredients to the dry ingredients and beat them until they were well combined. And then slowly added in hot water – I boiled the water and then let it cool a bit.

img_0439

And finally, I poured the batter into my prepared 6-inch heart pan (I sprayed it with baking spray) and baked it in a 350 F oven for about 40 minutes. Now, if you plan on using a 6-inch heart pan like I did, don’t make the same mistake I did. I poured all of the batter into the pan. I probably should have only poured in enough to fill half or 3/4 of the pan, but, it was slightly more than 3/4. So, what happened, it overflowed when I baked it. Thankfully I had the premonition that it would so I placed aluminum foil on the rack beforehand so I didn’t have a huge mess in my oven.

img_0440

It wasn’t all that bad though, after letting the cake cool I was able to torte the cake. I just used the cut side as the bottom of the cake.

img_0442

And then it was time to decorate. I made cream cheese frosting and let it firm up a bit in the fridge before decorating with it. I began by make two large rosettes on the cake using a Wilton 1M tip…

img_0443

And soon enough, using various sizes and shapes of decorating tips, my heart was completely decorated.

img_0452

So, however you will be celebrating, or if you’re not celebrating at all, I hope you have a wonderful day.


Red Velvet Cake

Ingredients:

1 1/4 cups all-purpose flour

1 cup sugar

1 1/8 teaspoons baking soda

1/4 teaspoon baking powder

2 teaspoons unsweetened cocoa powder

1/2 teaspoon salt

1/2 cup buttermilk

1/4 cup vegetable oil

1 teaspoon vanilla extract

1 large egg

1 teaspoon white vinegar

2 teaspoons red food coloring

1/2 cup hot water

Directions:

Preheat oven to 350 F and prepare your desired pan. This recipe was originally for 12-14 cupcakes, but, can be easily used for a single layer 6-inch or 8-inch cake.

In a large bowl combine the dry ingredients – flour, sugar, baking soda, baking powder, cocoa powder and salt, set aside.

In a medium bowl whisk together the buttermilk, vegetable oil, vanilla extract, egg, vinegar and red food coloring.

Add the wet ingredients to the dry ingredients, and using a hand mixer beat until well combined.

Slowly add the hot water to the batter and mix on low speed until well combined. Scrape the sides of the bowl as needed.

If using a cupcake pan, bake for about 15 – 17 minutes. If using a cake pan, bake for 30 – 40 minutes. Until a cake tested comes out clean.

Remove the pan from the oven and let cool for 2 minutes and then remove to a cooling rack to finish cooling.

Recipe from The Cake Blog

Cream Cheese Frosting

Ingredients:

1 8-oz. package cream cheese, at room temperature

1/2 cup unsalted butter, at room temperature

3 cups confectioners’ sugar

1 1/2 teaspoons vanilla extract

Directions:

Combine the cream cheese and butter in a bowl and beat until smooth.

Gradually add in the confectioners’ sugar and continue beating until smooth.

Add in the vanilla extract and beat until well incorporated.

Happy Blogiversary and a Trolls Inspired Cake

It’s my 5 year Blogiversary and I am celebrating with a Trolls inspired cake. Okay, not really. But, it truly is the 5-year anniversary of Bead Yarn & Spatula. Boy, where does the time go? And I’ll be honest I wish my blog was further along and had more exposure than it currently does but I know I am part to blame for that. I definitely need to be more consistent with the posting. Hopefully this year I’ll be better with that. As for the Trolls inspired cake, I really did create one. But, it was for a friend’s daughter’s Birthday.

This cake was a three day process. And can I say I am always apprehensive to work with fondant because you just don’t know what’s going to happen. It’s not as consistent as buttercream that’s for sure. But, it does make for a beautiful cake and is worth the extra work. On the first day, which only took about a half hour or so I created the rainbow that was going to sit on top of the cake. I made it a few days early to ensure that the fondant would harden and hold the arch shape. I rolled each color of the fondant about the same width and stuck them together by brushing the fondant with a little water, not too much as I didn’t want the colors to run. I used a 2-inch round cookie cutter as my base for the first arch and continued from there with the other colors. Once the rainbow was complete I stuck toothpicks into the bottom of it so I would be able to stick it on to the cake.

img_0367img_0371

The night before I was to cover the cakes with fondant I baked them. I don’t like baking my cakes too early because I want them to still be fresh when they are cut into. The bottom portion of this two-tier cake was a three-layer chocolate cake with a chocolate mousse filling and chocolate frosting. While the top portion was a yellow cake that I filled and frosted with chocolate frosting. After letting the cakes cool overnight I frosted and filled them the following morning and then placed them in the refrigerator so they could settle.

That afternoon I removed both cakes from the refrigerator and let them come to room temperature. You don’t want to place fondant on a cold cake because fondant is at room temperature and if you place it on a cold cake you will end up with a bunch of air bubbles; that can be quickly remedied with a pin but, why go through that if need not be.

For the bottom tier of the cake I covered it with yellow fondant and then with neon colored fondant I cut out flower designs to adhere to the cake. And to cover up any fondant imperfections along the bottom of the cake I opted for a half circle design around it in pink fondant…

img_0373

Which matched the top tier of the cake that I decorated to mimic the headband that the Poppy troll wears in her hair.

img_0374

I placed both of the tiers back in the fridge until the following afternoon when I completed the top tier of the cake by placing the rainbow on top of it and used marshmallows to mimic clouds. They stuck together and to the cake with just a few drops of water. That’s also how I stuck all the flowers and such to the cake. Once again though with not too much water so the colors don’t begin to run.

img_0375

And this cake wasn’t complete until a few trolls were placed on it. Of course Poppy and Branch, the main characters from the Trolls movie and a few of their friends. And if you haven’t seen the movie I highly suggest you do so. The message behind it is good for all ages to learn or to be reminded of.

img_0389

And there you have it… My 5-year anniversary post and an adorable – if I do so say myself – Trolls inspired cake. The Birthday Girl loved it and that’s really all that matters to be honest!


Carrot Cake For Two…

Or dessert for One for two days! I love carrot cake, but, truth be told it’s a lot of work to make for just me alone to eat. Okay, it’s really not a lot of work; it’s a lot of cake for me alone. But, I recently came across a recipe for carrot cake that resulted in two perfect-sized slices of cake, which would be great as a dessert for two or in my case dessert for one for two days… Yum! Who doesn’t love a delicious dessert two days in a row?

To make the batter I began by whisking together flour, baking powder, salt, cinnamon and nutmeg in a medium bowl. I then created a well in the center of the flour mixture and added in eggs and sugar and mixed the two together. Next I added in oil and vanilla extract and continued mixing it with a fork.

img_0153

I then incorporated the flour mixture and egg mixture and folded in shredded carrots and pecans to the batter. Once the batter was well combined I transferred it to a 9-inch round pan that I sprayed with baking spray.

img_0154

After baking the cake in a 350 F preheated oven for about 25 minutes I removed it from the oven and allowed the cake to cool in the pan on a wire rack for about 20 minutes.

img_0158

After the 20 minutes, I removed the cake from the pan and allowed it to cool completely on the wire rack. Once it was completely cooled I cut the cake into 4 equal parts and frosted the top of each piece with cream cheese frosting.

img_0164

I then stacked the four pieces and frosted the back curve of the cake.

img_0167

After refrigerating the cake for half an hour I then sliced it in half and was left with 2 perfect sized slices of cakes.

img_0173


Carrot Cake For Two

Ingredients:

For the Cake:

2/3 cup all-purpose flour

1 teaspoon baking powder

1/2 teaspoon ground cinnamon

1/4 teaspoon Kosher salt

Pinch freshly grated nutmeg

1/2 cup granulated sugar

1 large egg, at room temperature

1/4 cup vegetable oil

1/2 teaspoon pure vanilla extract

5 ounces carrots (about 3 small), finely grated (about 1 cup)

1/4 cup pecans


For the Frosting:

8 ounces cream cheese, at room temperature

1 stick unsalted butter, at room temperature

3/4 cup confectioners’ sugar

1/2 teaspoon pure vanilla extract


Directions:

For The Cake:

Preheat the oven to 350 F. Spray a 9 -by- 2 inch round cake pan with baking spray.

Whisk together the dry ingredients – flour, baking powder, cinnamon, salt and nutmeg – in a medium bowl. Make a well in the center of the flour mixture. Working within the well, use a fork to mix together the eggs and sugar until well combined. Add the oil and vanilla to egg mixture and continue mixing with a fork until well combined once again. Stir the wet and dry ingredients together with the fork until just combined. Fold in the carrots and pecans.

Transfer the batter to the prepared pan and bake for 20 to 25 minutes, until a cake tester comes out clean. Let the cake cool in the pan for 20 minutes on a wire rack. Turn out the cake and let it cool on the wire rack for about an hour until completely cool.

For The Frosting:

Using a handheld mixer or stand mixer on medium, beat together the butter and cream cheese. Slowly add the confectioners’ sugar and continue beating until well incorporated. Finally add in the vanilla extract.

To Assemble the Cake:

Cue the cake into 4 equal wedges. Frost the top of each wedge with about 3 tablespoons of frosting. Stack the wedges on top of each other and with the remaining frosting frost the back curve of the cake, and leave the 2 sides of the cake open. Refrigerate for about 30 minutes, then cut the cake wedge in half and serve.

Recipe from The Food Network

Ricotta Pound Cake

Hey Everyone! So, I took a bit of a break from blogging, but, not from baking and crafting. If you follow me on Instagram or if you look down on the right hand side of this page you can see what I was up to during the holidays. How has the New Year been treating you? Hopefully good thus far. And for those of you who make resolutions, how’s it going? I may have mentioned this before, but, I don’t make resolutions. The way I see it, every day is a good day to set a goal or to make a change. So, for my first post of the New Year I bring you a Ricotta Pound Cake. Yeah, I know not too exciting, but, definitely a yummy treat nonetheless. It came about because I had about 2 cups of ricotta cheese in my fridge that was about to expire and I didn’t want to throw out.

This was a quick and easy pound cake to make. In one bowl I sifted together the dry ingredients (flour, baking powder and salt) and in the bowl of my stand mixer I creamed together the ricotta, butter, sugar, eggs and vanilla bean paste before incorporating the flour mixture into the mix. I then poured the batter into a 9-inch loaf pan that I sprayed with baking spray and baked it in a preheated oven for about 50 minutes.

And after letting it cool on a wire rack…

img_0351

It was time to slice it and enjoy! This cake is definitely good for any time of the day… If you’re not into your typical breakfast foods it’s a nice accompaniment to your morning coffee or tea, as an afternoon snack or for dessert after dinner.

img_0353


Ricotta Pound Cake

Ingredients:

1 1/2 cups cake flour

2 1/2 teaspoons baking powder

1 teaspoon kosher salt

3/4 cup unsalted butter, at room temperature

1 1/2 cups whole milk ricotta

1 1/2 cups granulated sugar

3 large eggs

2 teaspoons pure vanilla extract*

*I used vanilla bean paste

Directions:

Preheat the oven to 350 F. Prep a 9-inch loaf pan by spraying it with baking spray or by greasing and flouring it.

Sift the flour, baking powder and salt in a medium bowl.

In the bowl of a standing mixer, or in large bowl to using a hand mixer, cream together the butter, ricotta and the sugar. Add the eggs, one at a time, incorporating each egg before adding the next one. Add the vanilla.

On low speed, gradually add in the flour mixture. Once added, mix the batter for 30 seconds.

Pour the batter into the prepared pan and smooth the batter.

Bake the cake on the center rack for 15 minutes, then lower the heat to 325 F and bake for an additional 25-60 minutes. It will all depend on how wet the ricotta cheese is. The cake will be done when it springs back from touch and has slightly pulled away from the pan sides and a cake tested come out clean.

Cool the cake inside the pan for 15 minutes, before removing and letting it cool completely on wire rack before slicing.

Recipe from Epicurious

Pumpkin Cake with Goat Cheese Frosting

So, what happens when you bake a cake late at night and then frost it early the next morning? You don’t take pictures! But, that’s okay. I don’t need pictures to tell you how delicious this cake is. I do have this lovely final picture though…

img_0144

With Thanksgiving this week this Pumpkin Cake with Goat Cheese Frosting is my final pumpkin dessert of the season. I can’t say it’s the best as that title goes to the Pumpkin Tiramisu I posted about last month, but, it’s definitely a close second, and I am sure would be a welcome addition to your Thanksgiving dessert table. I actually made it for a Friendsgiving celebration I had with some wonderful friends last weekend. If you’ve never had your own Friendsgiving celebration I strongly advise you to have one next year. There’s absolutely no drama and you get to spend some time with people who are just as important or in some cases more important to you than your own family!

Here are some quick notes about this cake though… Definitely go with the freshly grated nutmeg and don’t try to substitute ground ginger for the freshly grated ginger, trust me, these two things make a huge difference in the flavor. I speak from experience. Make your own buttermilk by combining vinegar (or lemon juice) and milk (for this cake, I used 1/2 tablespoon of vinegar and 1/2 cup 2% milk to make the buttermilk.) And finally, if you’re not a fan of goat cheese go with a simple cream cheese frosting. You can never go wrong with cream cheese frosting.

So, however you’re spending your Thanksgiving I hope it’s one with delicious food, sweet desserts and great company. And remember, no matter what has happened in life there is ALWAYS something to be grateful for!


Pumpkin Cake

Ingredients:

2 sticks unsalted butter, at room temperature

2 3/4 cups all-purpose flour

1 1/2 teaspoons baking powder

1 teaspoon baking soda

1 1/2 teaspoons ground cinnamon

3/4 teaspoon freshly grated nutmeg

1/2 teaspoon salt

2 cups light-brown sugar

3 large eggs

1 1/2 cups solid-pack pumpkin

1 teaspoon pure vanilla extract

3/4 teaspoon grated peeled fresh ginger

1/2 cup buttermilk*

*To make your own combine 1/2 tablespoon vinegar (or lemon juice) with 1/2 cup milk – I used 2%. Let stand for 5-10 minutes at room temperature. When the milk is ready it will have thickened and you will see small curdled bits.

Directions:

Preheat oven to 350 F. Prep two 8-inch round pans, either by spraying them with baking spray (what I did) or brush the pans with butter, line the bottoms with parchment paper, butter the parchment paper then dust the pans with flour, tapping out the excess.

In a medium bowl whisk together the flour, baking powder, baking soda, cinnamon, nutmeg and salt.

With an electric mixer (or stand mixer) beat the butter and brown sugar on medium speed until pale and fluffy, 3 to 4 minutes. Beat in the eggs, 1 at a time. Then beat in the pumpkin and finally the vanilla and ginger. Reduce the speed to medium and add the flour in the batches alternating with 2 batches of the buttermilk, beating until just combined, scraping down the sides of the bowl as necessary.

Divide the batter evenly between the prepared pans. Bake until the cakes are golden brown, the edges pull away from the sides of the pan and a cake tested comes out clean, about 30 -35 minutes. Transfer the pans to a wire rack to cool for 15 minutes. Turn out the cakes onto the racks to cool completely.

Place the bottom layer of the cake on a cake stand (or board) and spread half of your desired frosting evenly over the cake. Top with the second layer and evenly spread the remaining frosting over the cake.

Recipe from Martha Stewart


Goat Cheese Frosting

Ingredients:

1 pound (2 – 8oz bars) cream cheese, at room temperature

8 ounces soft goat cheese, at room temperature

1/2 cup confectioners’ sugar

Directions:

Beat cheese until combined, then gradually add sugar and continue beating until smooth and creamy.

Recipe from Martha Stewart

Pumpkin Tiramisu

So, here’s one of those pumpkin recipes I wanted to try that I mentioned in my Pumpkin Bread post… A Pumpkin Tiramisu. About a month or so ago I started thinking about different Pumpkin desserts, not just the typical pie or loaf bread or a variation of them but something more outside the box. Hence the Pumpkin Tiramisu. You may not think it’s not too out of the box, but, how many times have you gone to a restaurant or bakery and they had a different type of tiramisu?

I began by making a pumpkin mousse. In a large bowl I whisked together the pumpkin puree along with brown sugar, ground ginger, cinnamon & nutmeg, salt and sugar. Once that was well combined I added in mascarpone cheese and heavy cream and beat it with my hand mixer on medium speed until soft peaks formed. I must say, this pumpkin mousse is delicious on its own. I actually had some leftover after assembling the tiramisu and it’s the perfect fall dessert with not as much guilt.

img_0350

Next, it was time to assemble. Prior to making the mousse I brewed coffee (I really didn’t brew it, I just made instant – I’m not a coffee drinker) and whisked in sugar and a few tablespoons of Kahlua. After letting it cool, I soaked ladyfinger cookies in it for a few seconds and arranged them on the bottom of an 8×8 baking dish. I then spread the mousse over the cookies and repeated these two steps one more time.

img_0351

And voila… I covered it with wax paper and aluminum foil and refrigerated it overnight.

img_0352

The following day I shaved chocolate over it and enjoyed it!

img_0354


Pumpkin Tiramisu

Ingredients:

15-ounce can pumpkin puree

1/2 cup light brown sugar

3/4 teaspoon ground ginger

3/4 teaspoon ground cinnamon

1/4 teaspoon ground nutmeg

1/4 teaspoon kosher salt

1/2 cup plus 2 tablespoons granulated sugar

1 1/2 cups mascarpone chees

1 1/2 cups heavy cream

2 cups brewed coffee, cooled

2 tablespoons Kahlua*

2 7-ounce packages (about 20) dry ladyfingers

Chocolate shavings, for garnish

*Optional

Directions:

In a large bowl whisk together the pumpkin puree with the brown sugar, ginger, cinnamon, nutmeg, salt and 1/2 cup of the granulated sugar. Add the mascarpone cheese and the heavy cream. With an electric mixer, beat the mixture on medium speed until soft peaks form. Be sure not to overbeat.

In a medium bowl combine the coffee, 2 tablespoons of sugar and the Kahlua and whisk together until the sugar dissolves. Dip half the ladyfingers in the coffee mixture and arrange them on the bottom of an 8×8 baking dish. Spread a generous amount of the pumpkin mousse over the ladyfingers. Repeat these two steps cover and refrigerate overnight. You will have some mousse leftover.

Prior to serving garnish the tiramisu with the chocolate shavings.

This recipe was slightly modified from Food & Wine