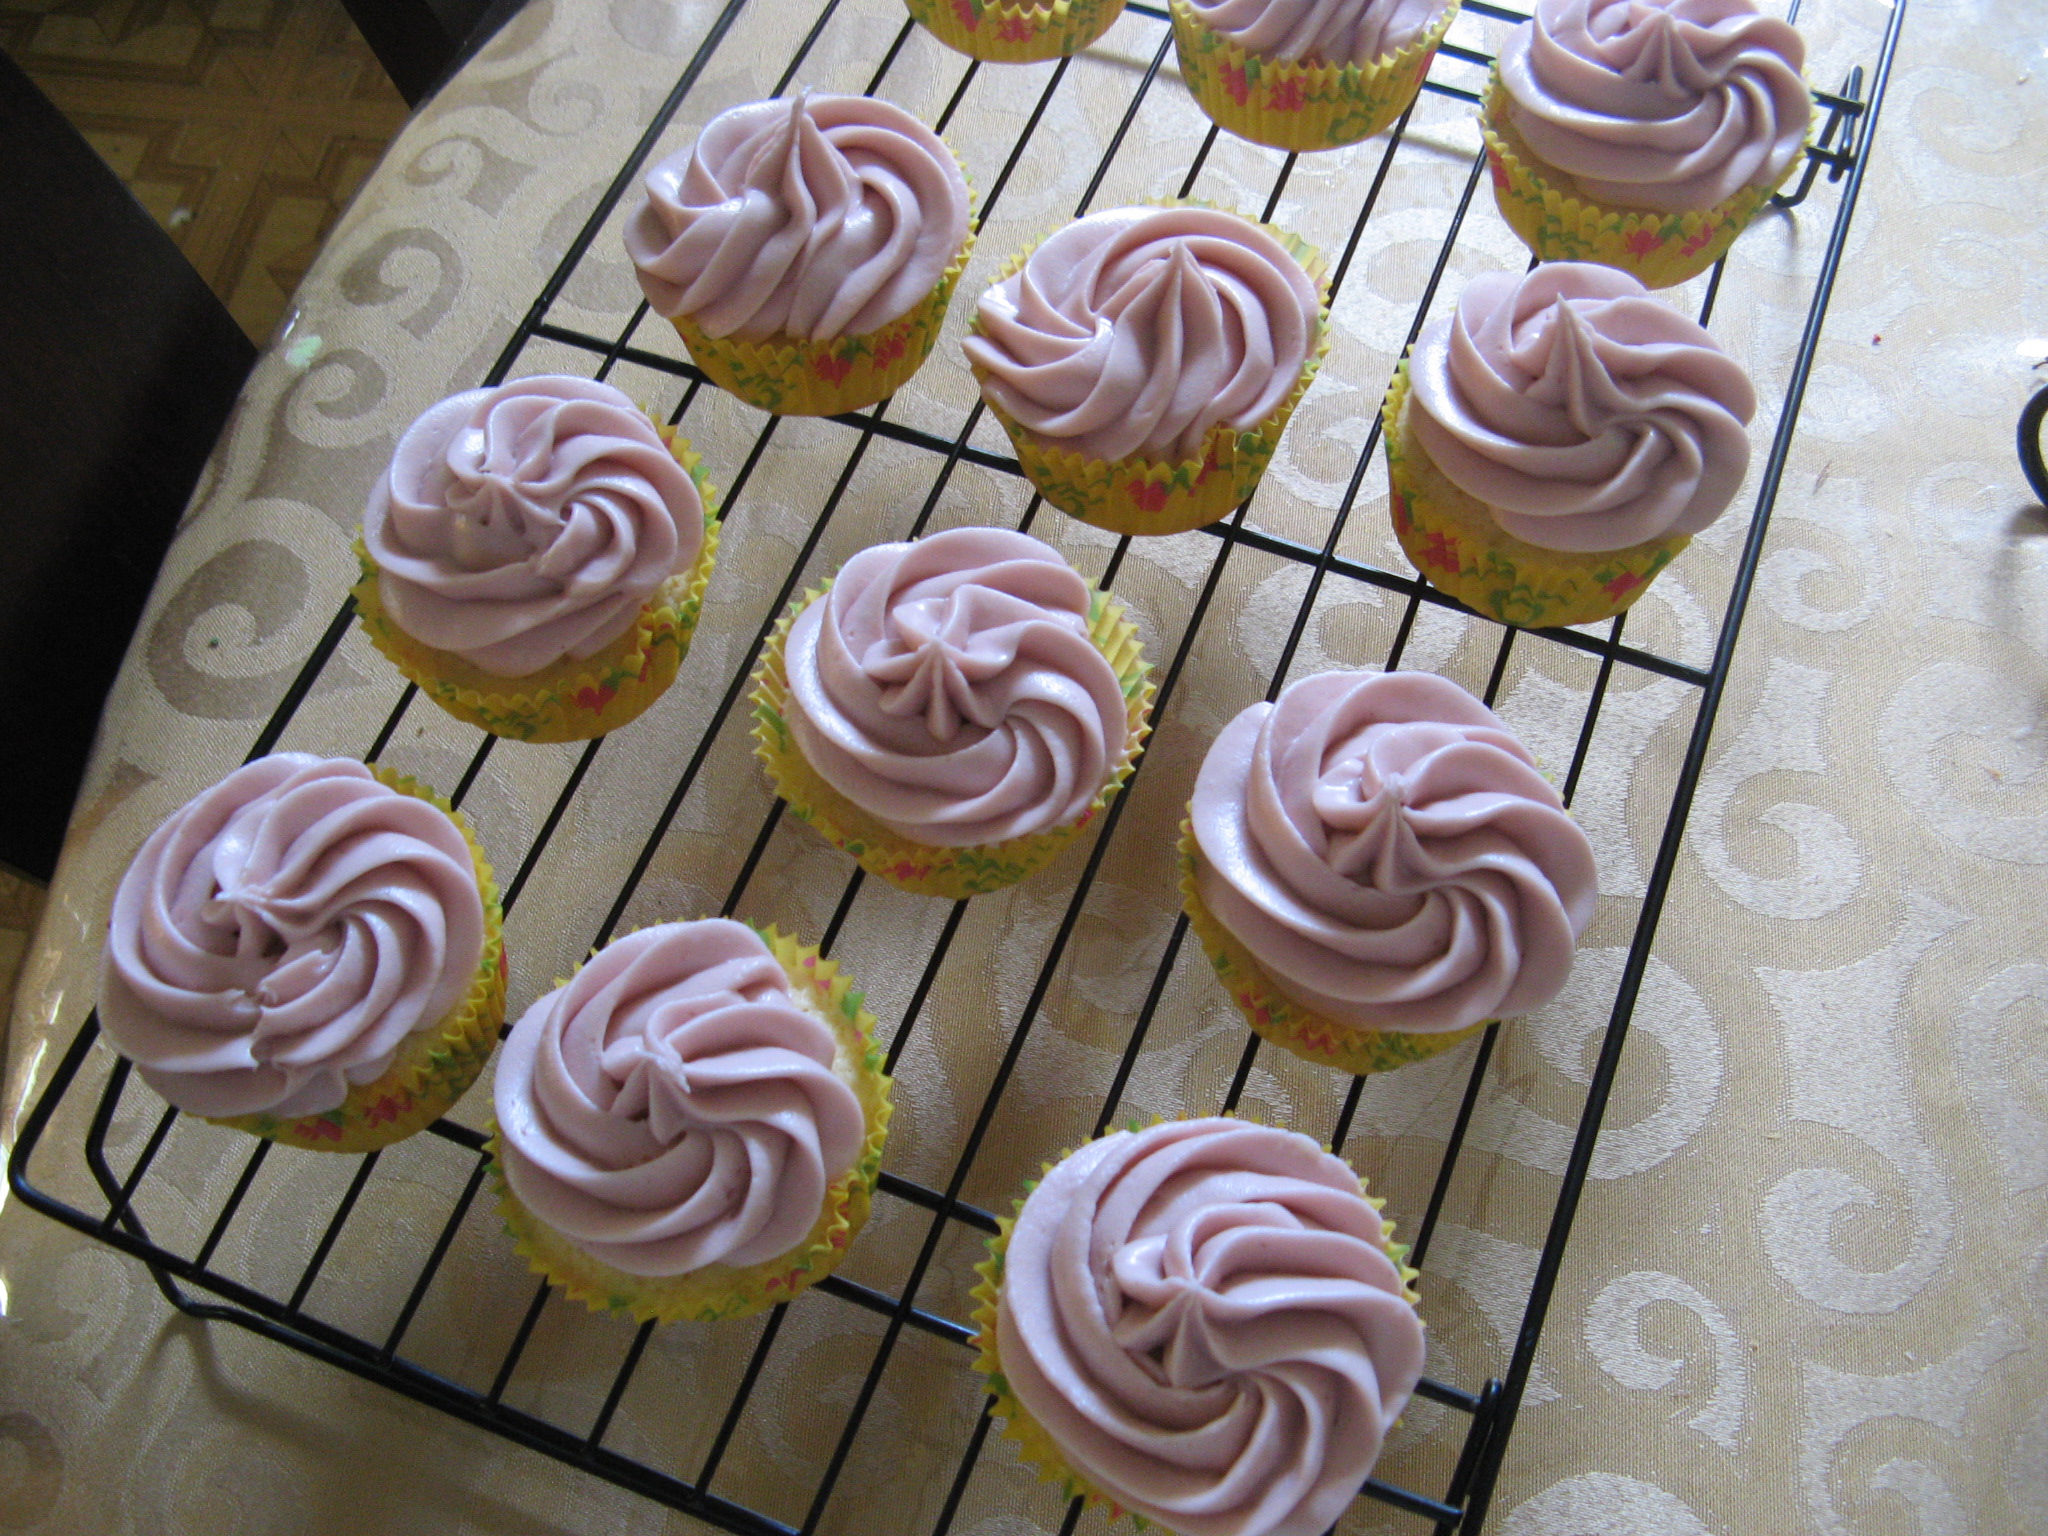
There’s nothing like a homemade birthday cake and whenever I bake one I usually let the honoree pick whatever they want – as was the case when I recently baked one for a friend’s mom. She had loved the Raspberry Cream Cheese frosting I used when I made the Lemon Cupcakes so I wanted to make a cake that would complement it and at the right moment I received an email from Real Simple with a Classic Chocolate Layer Cake recipe that sounded like the perfect match.
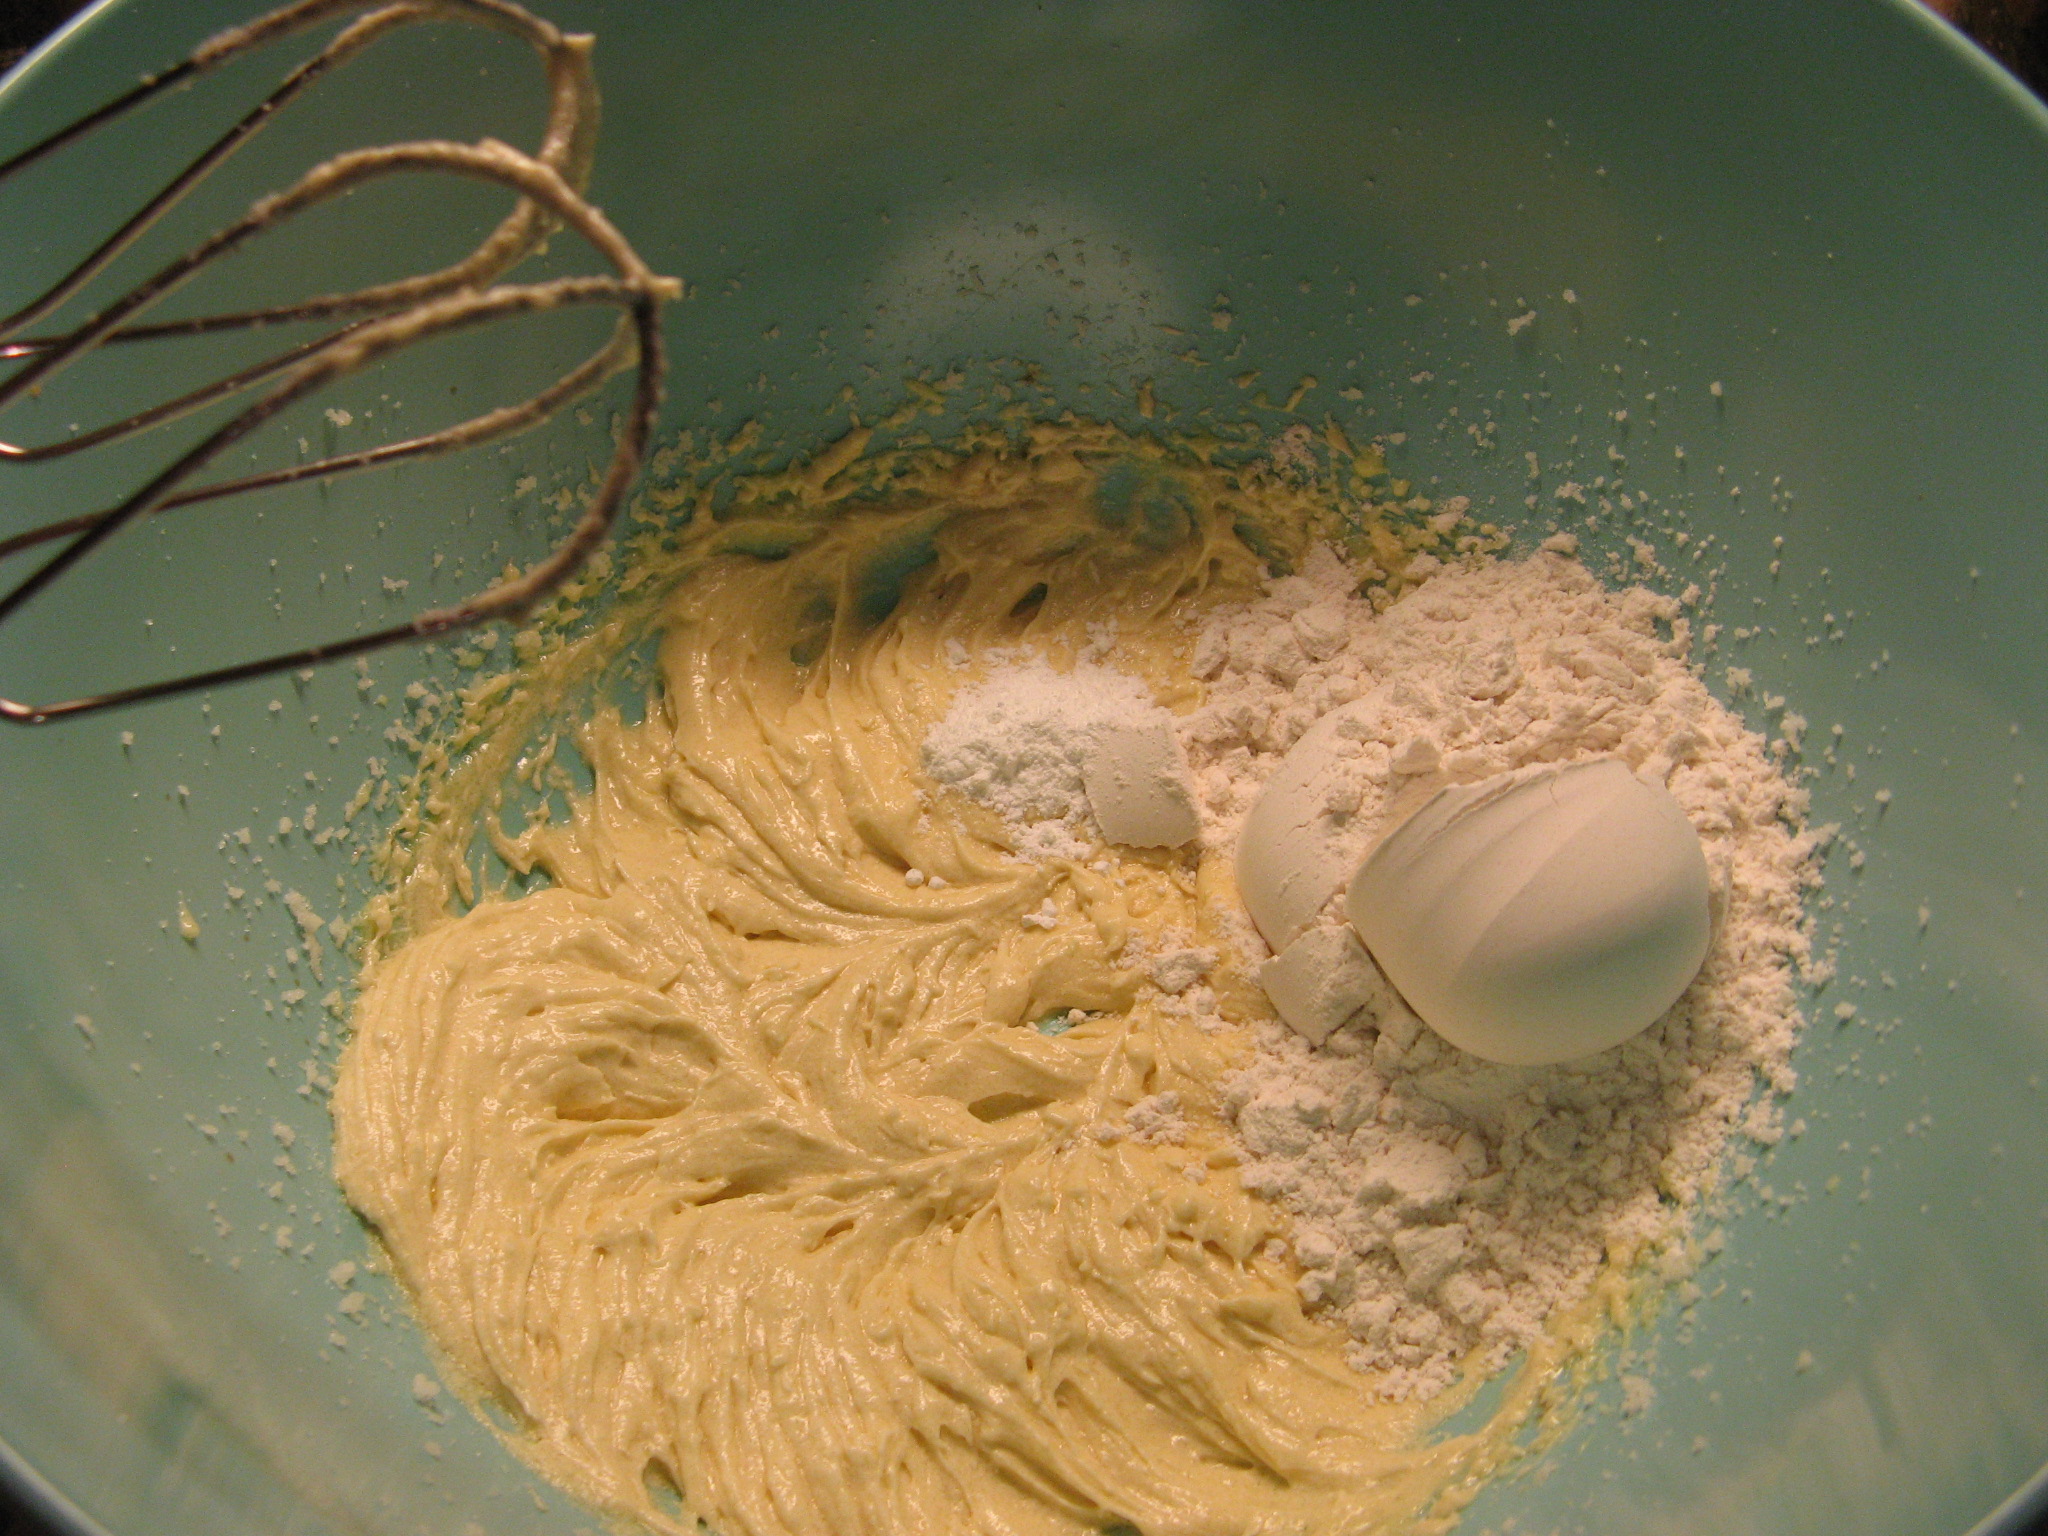
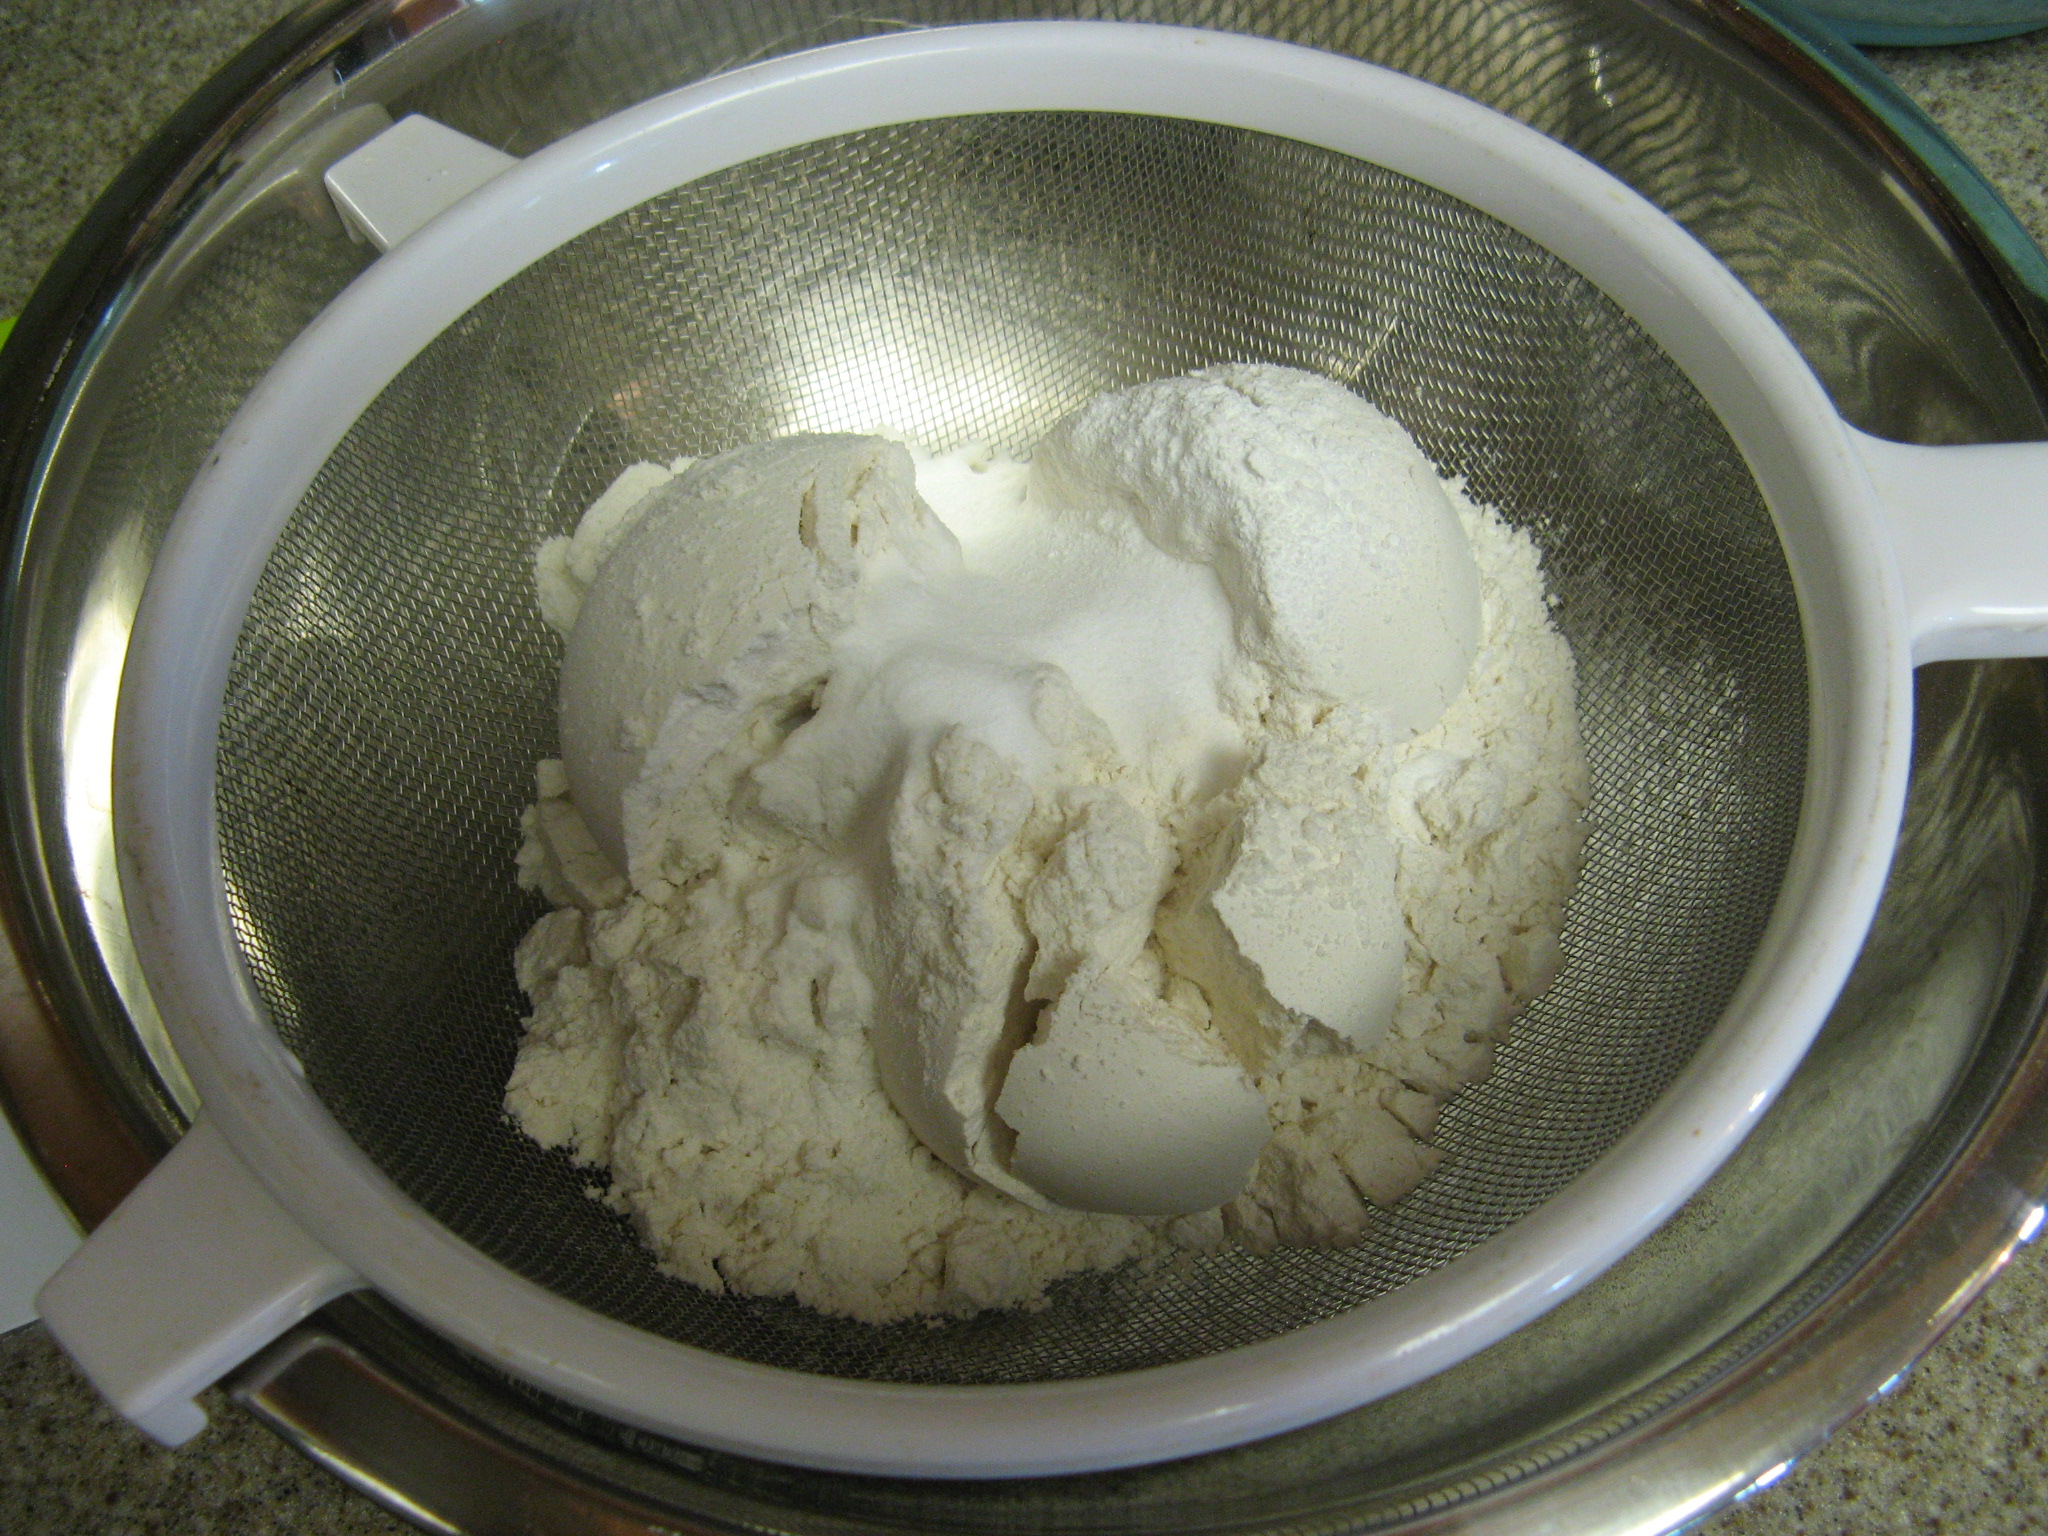
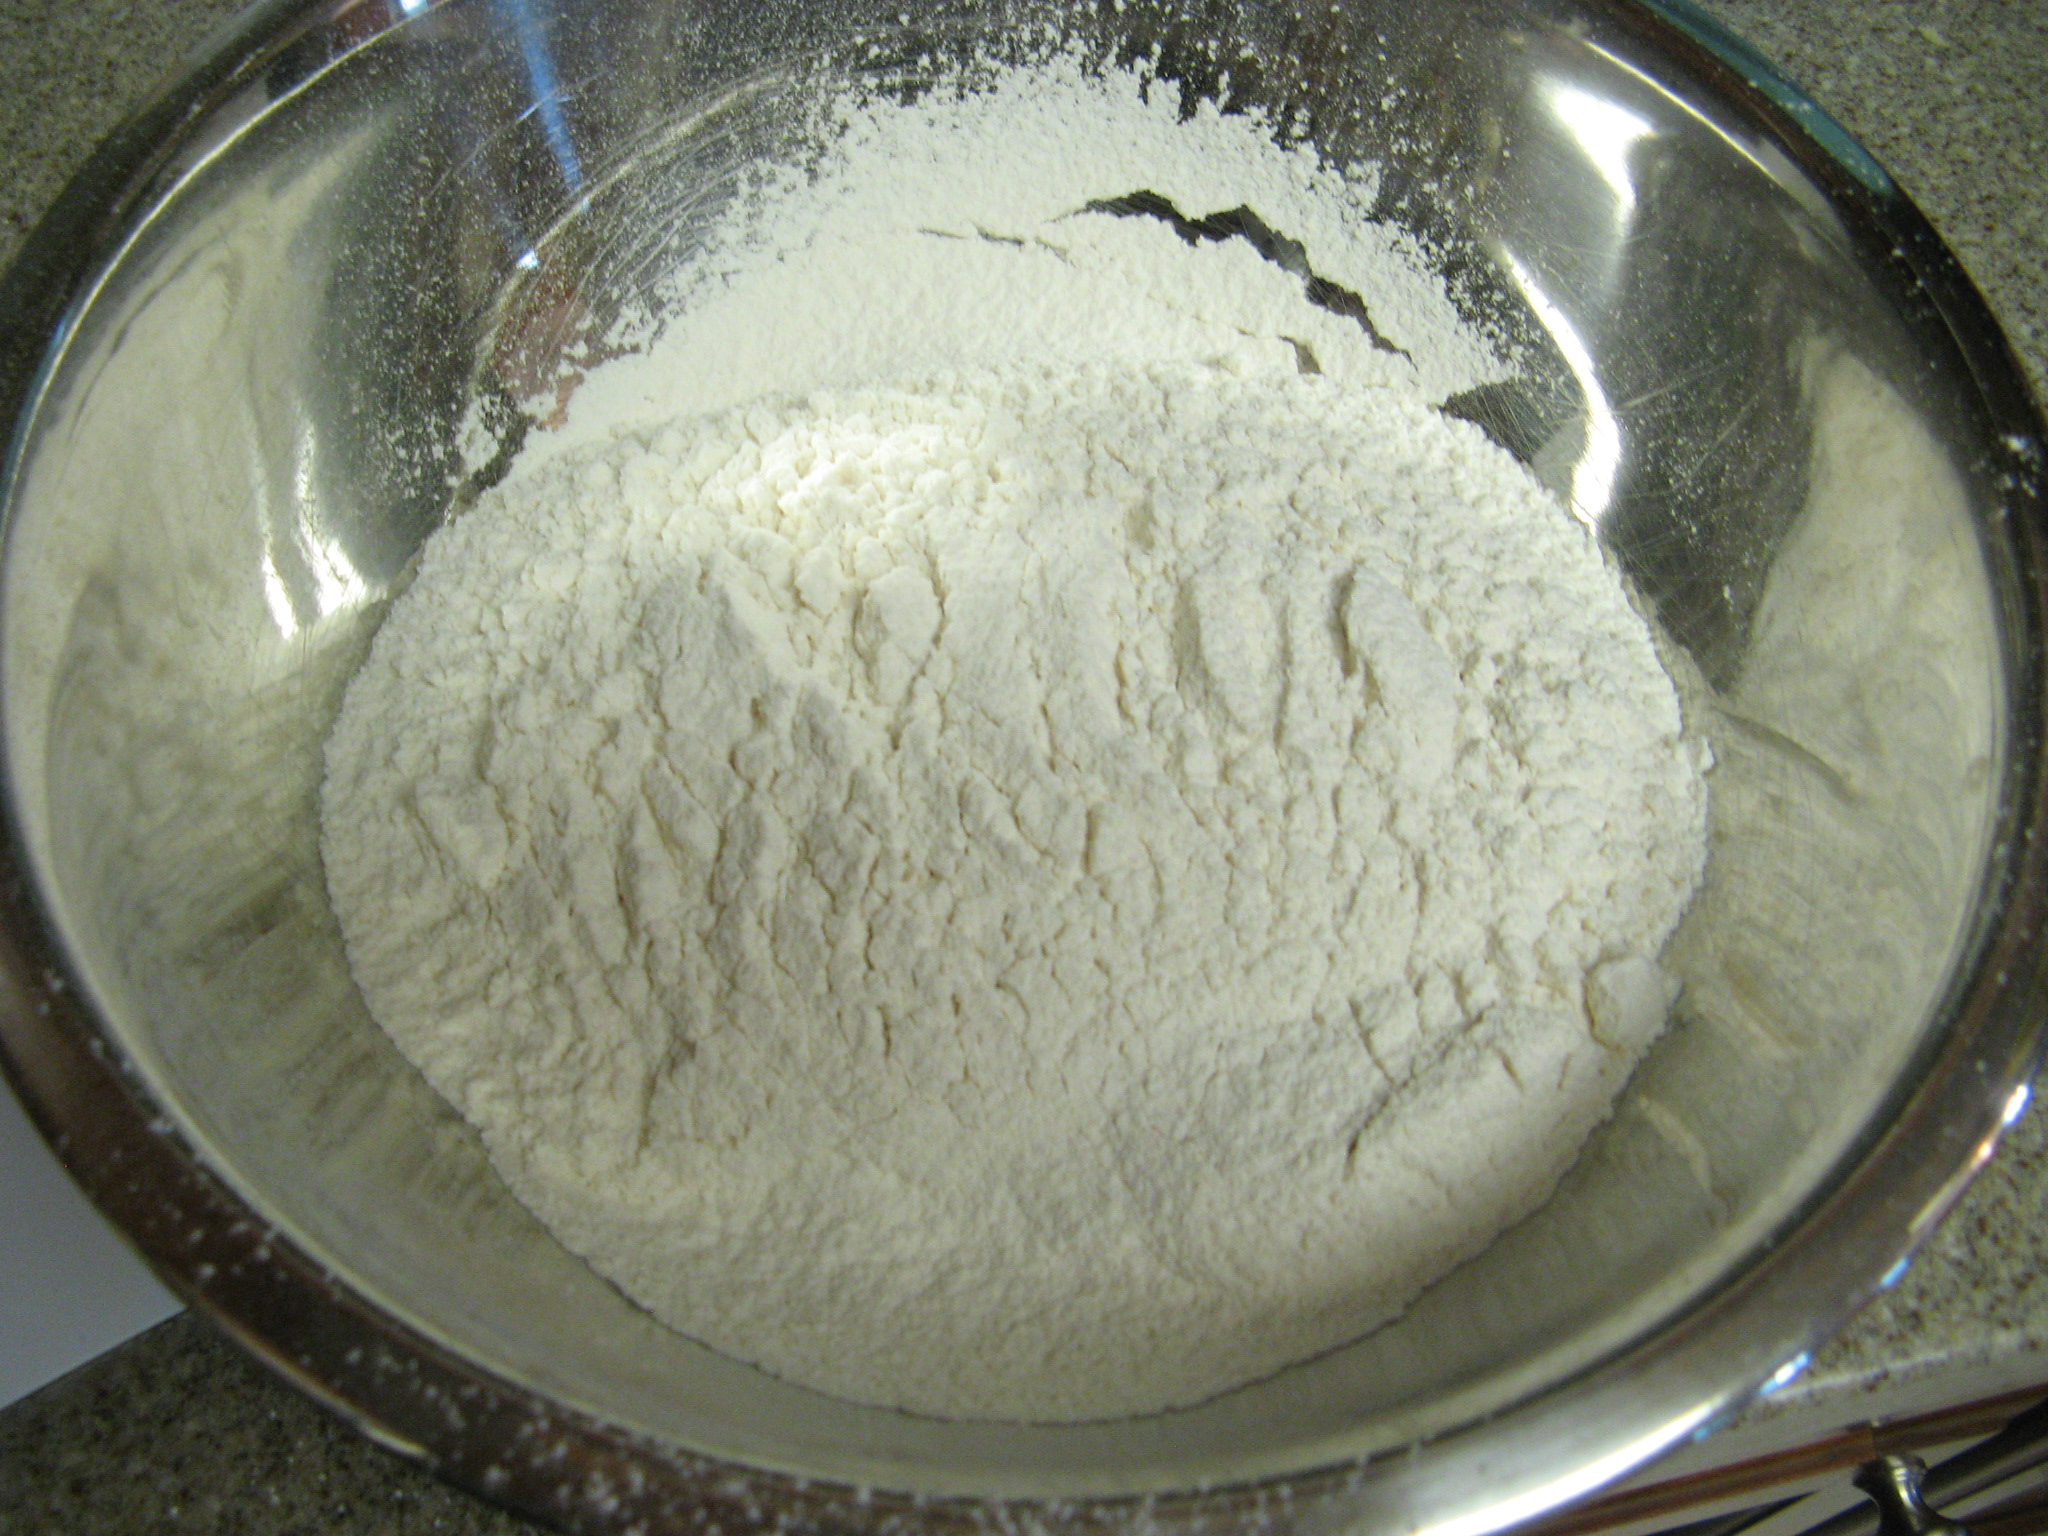
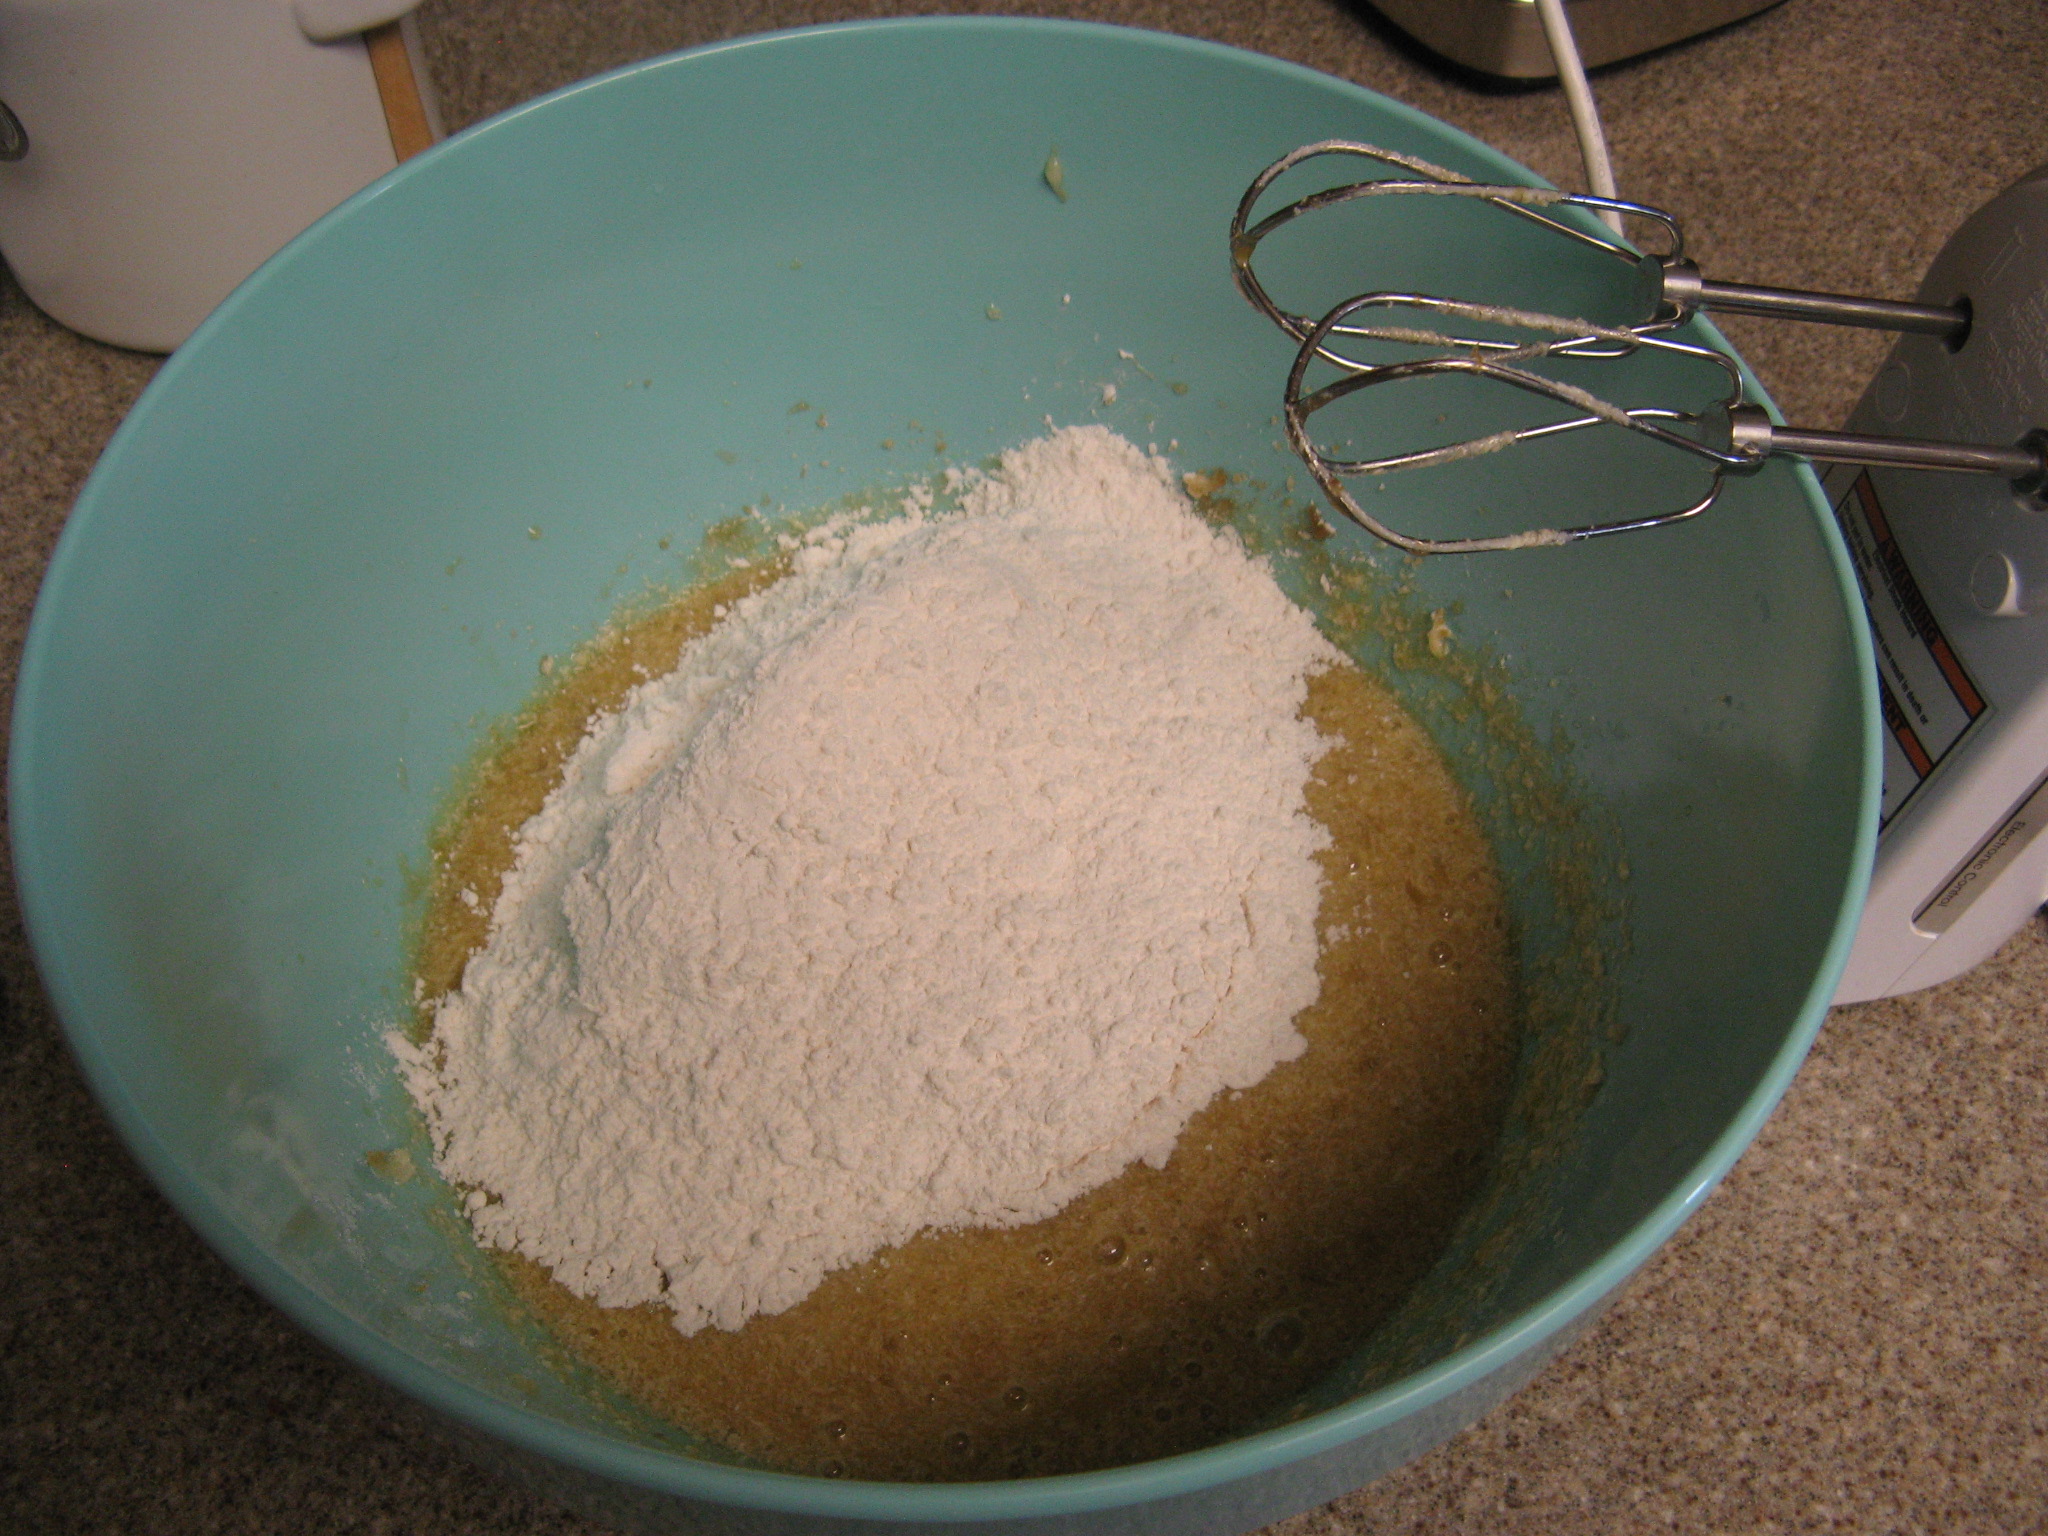
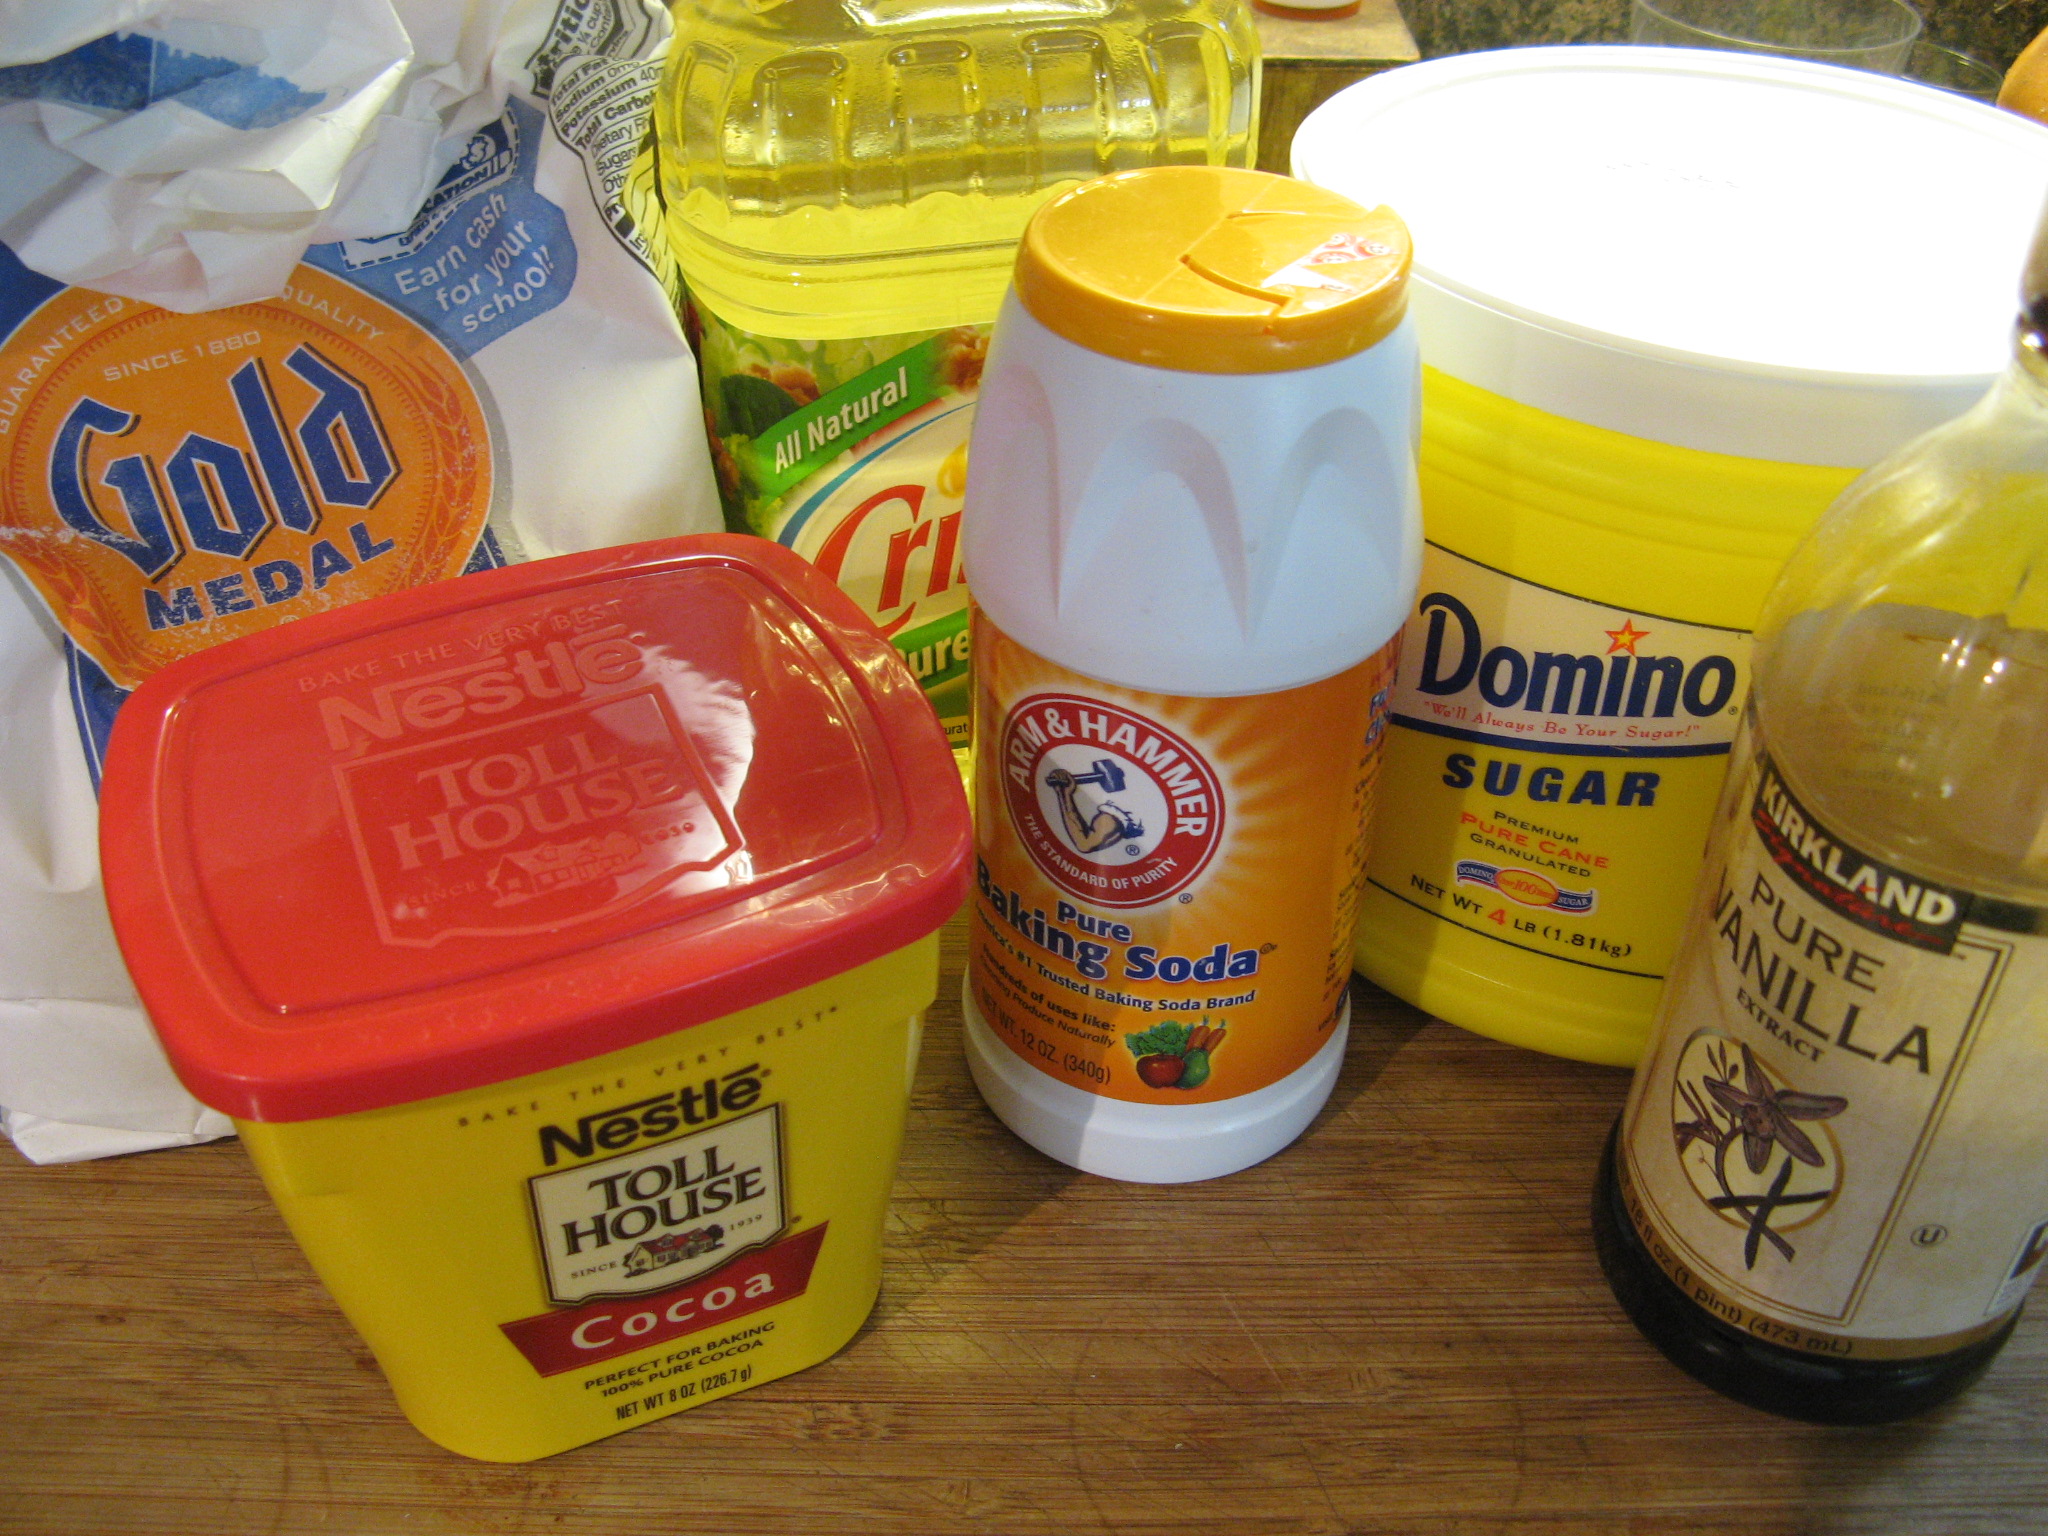
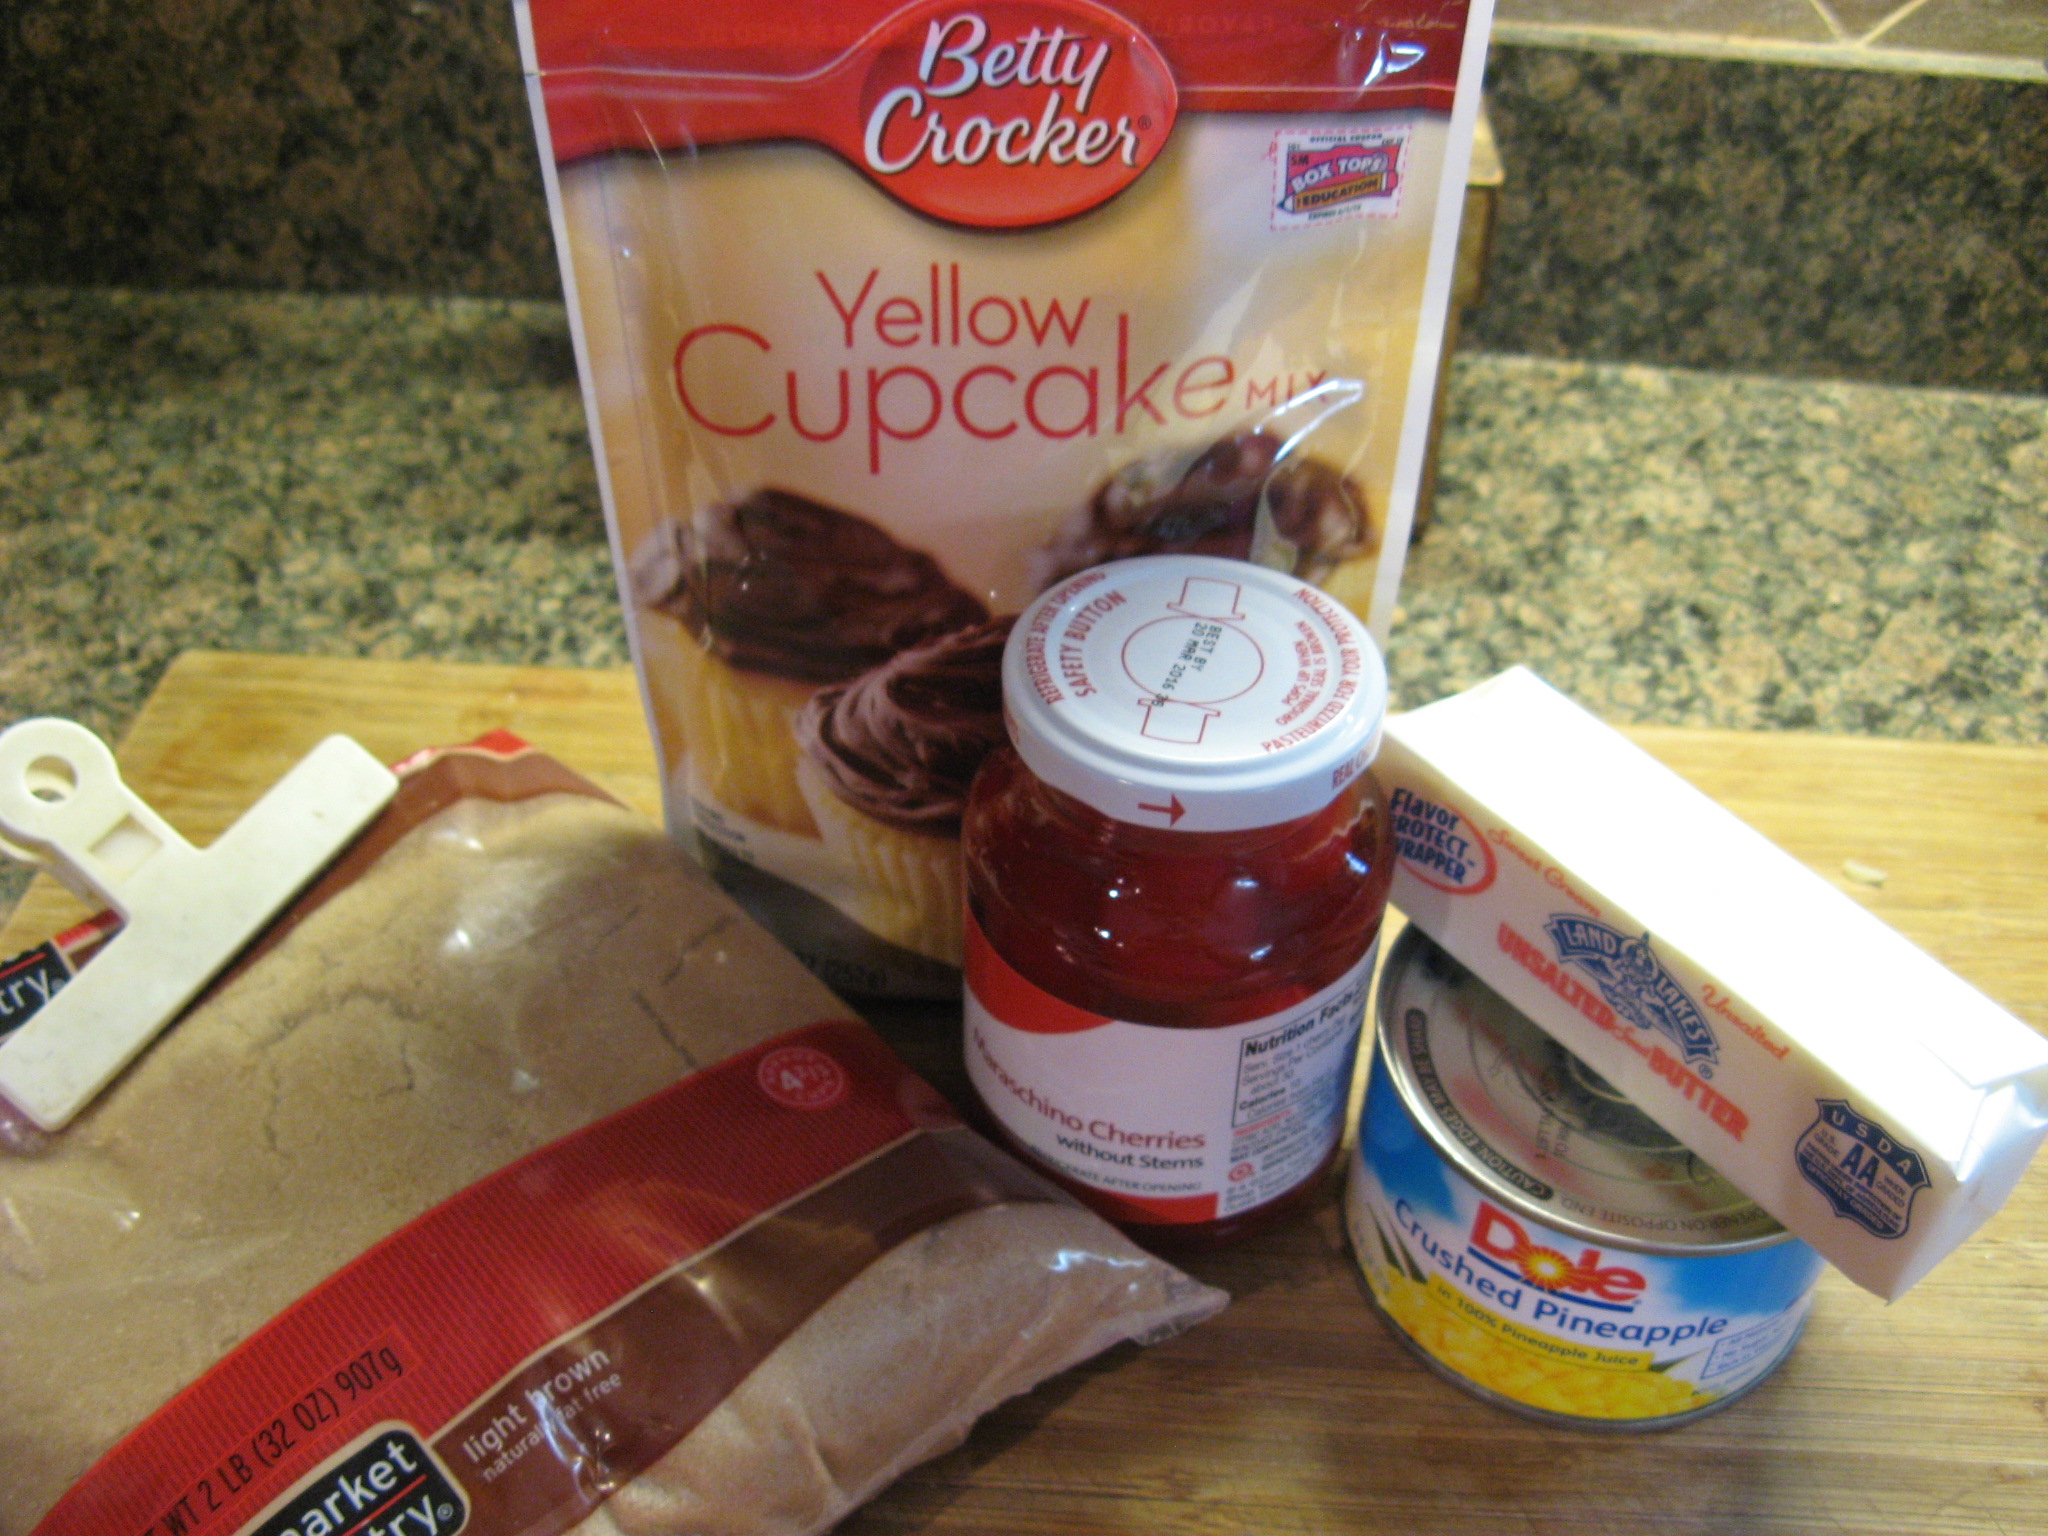
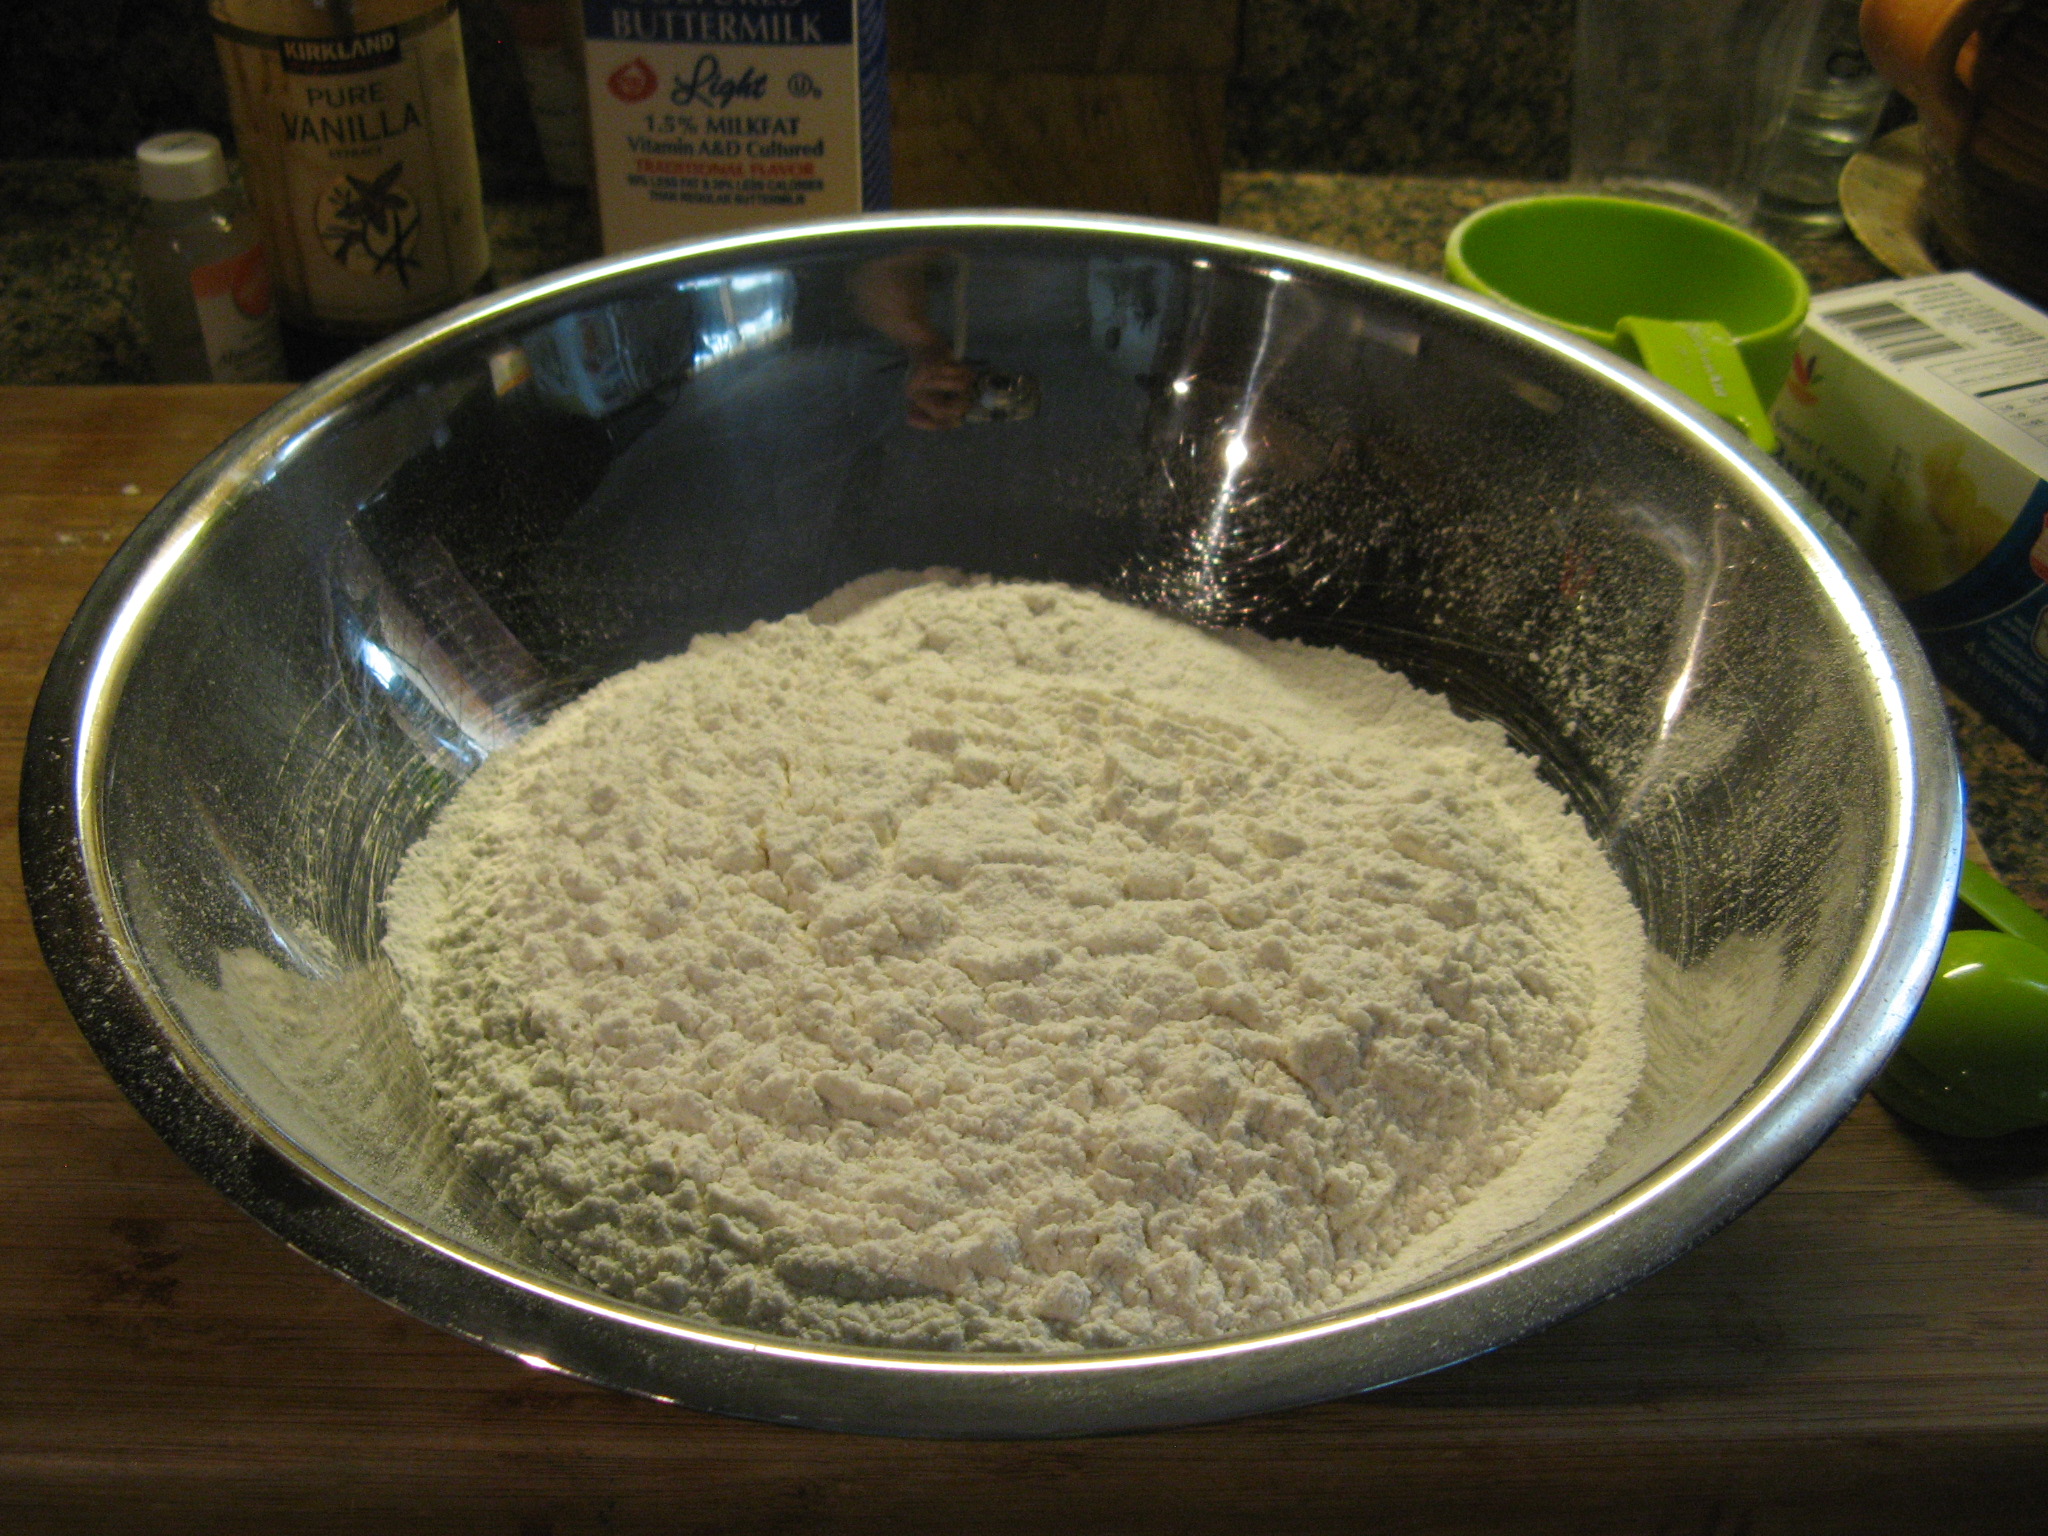
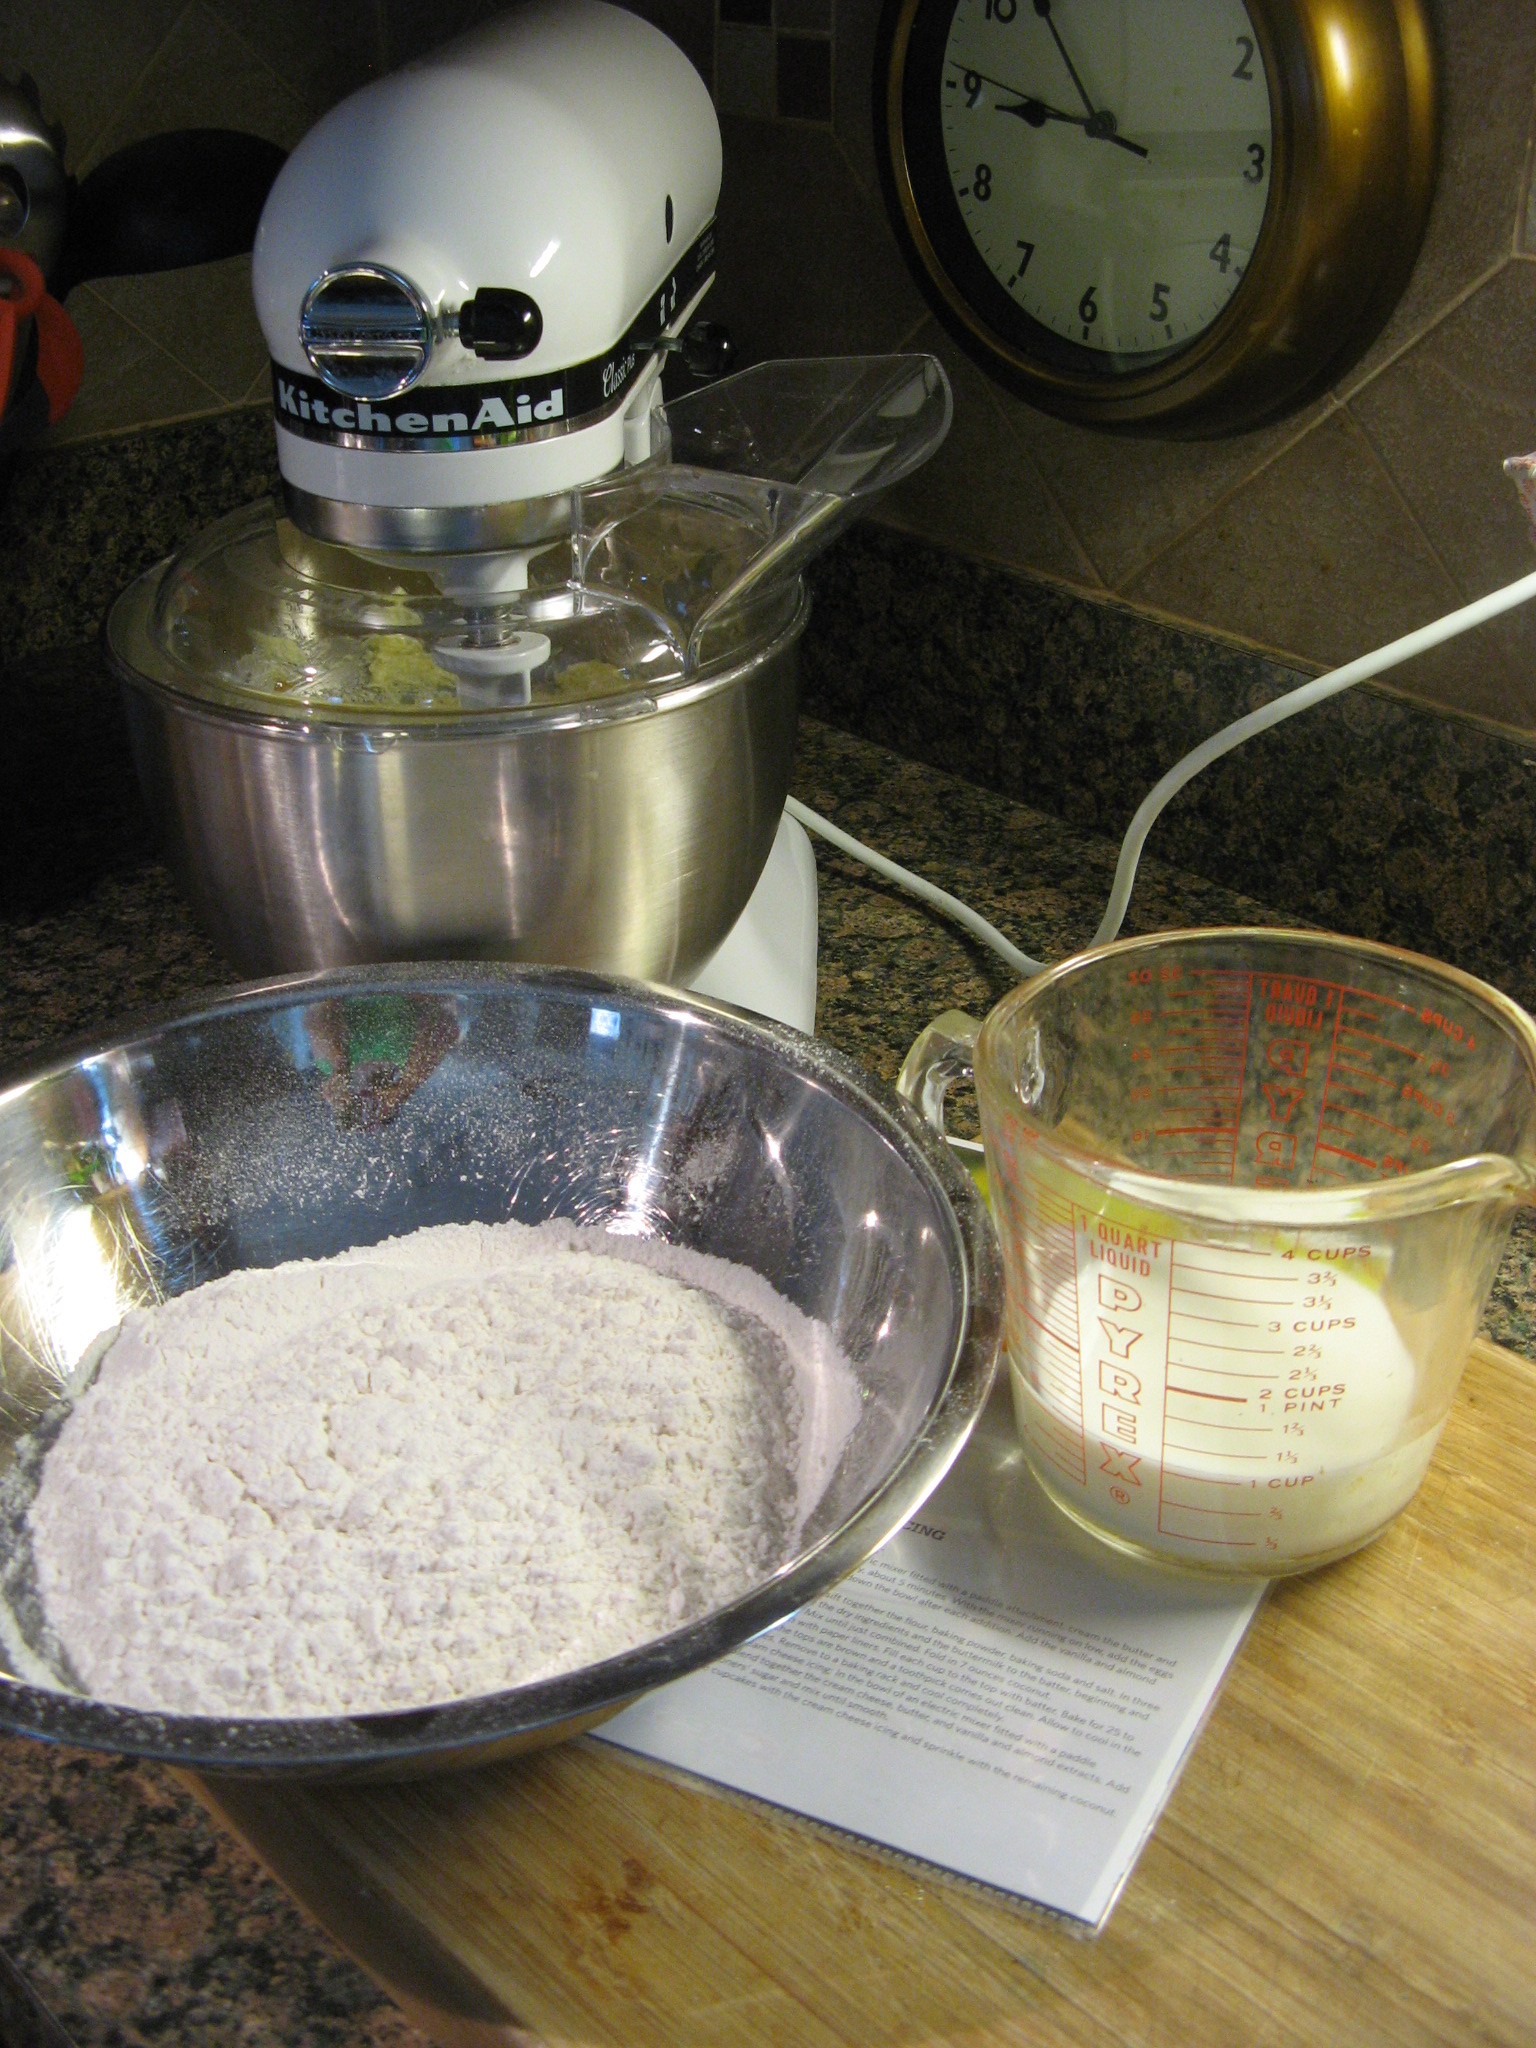
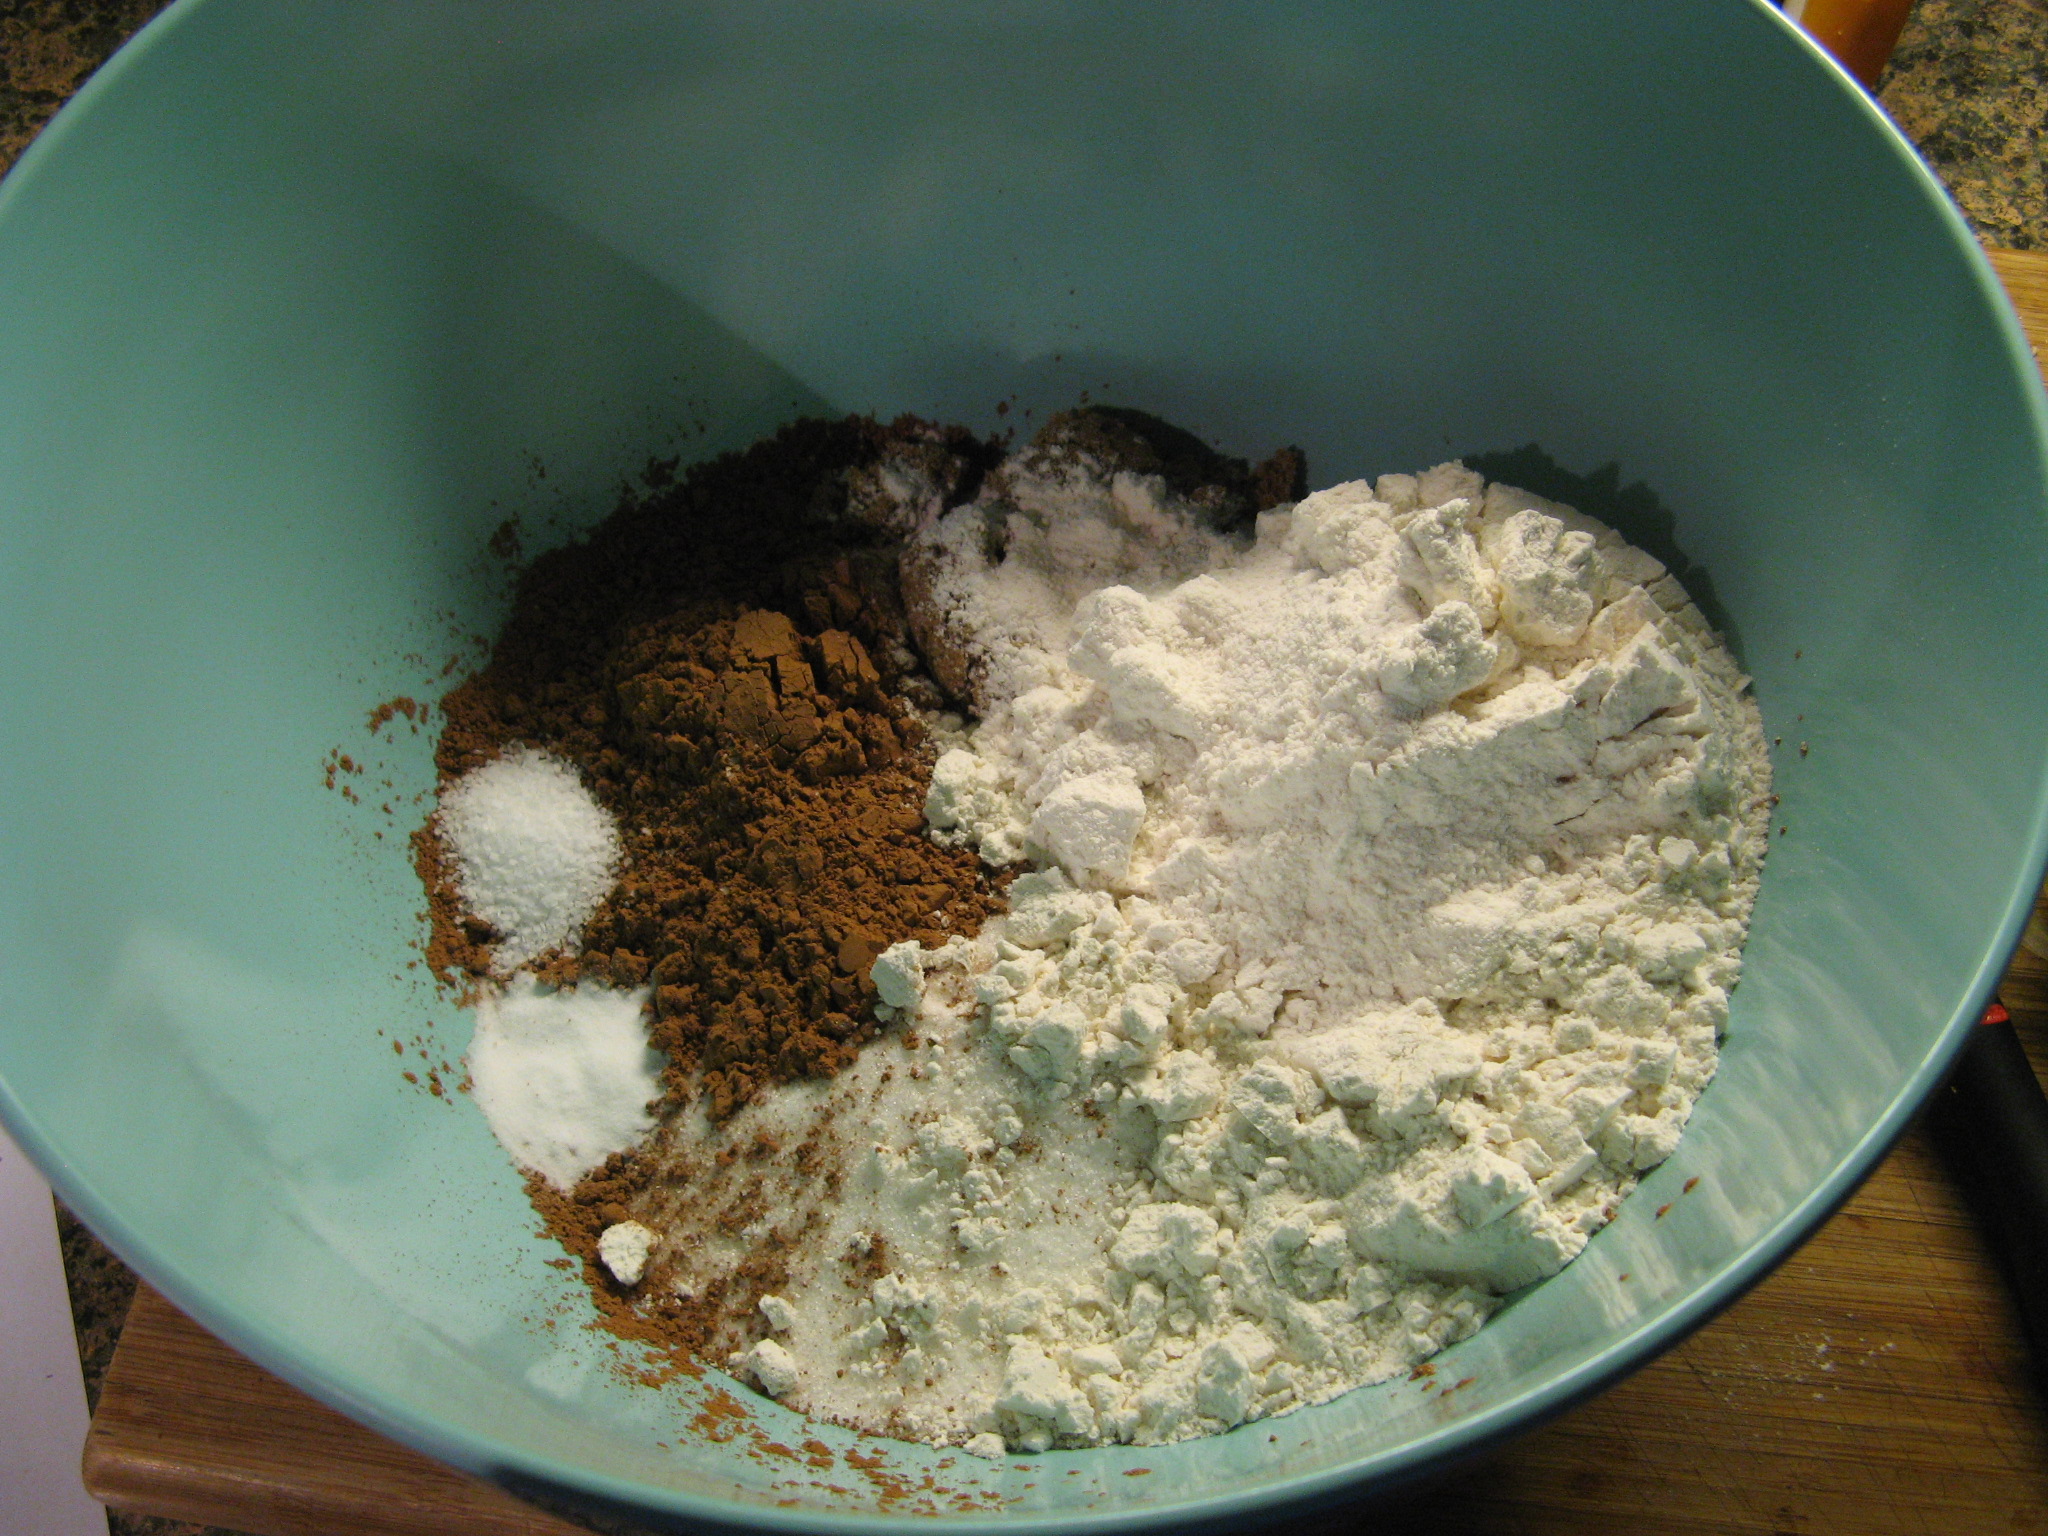
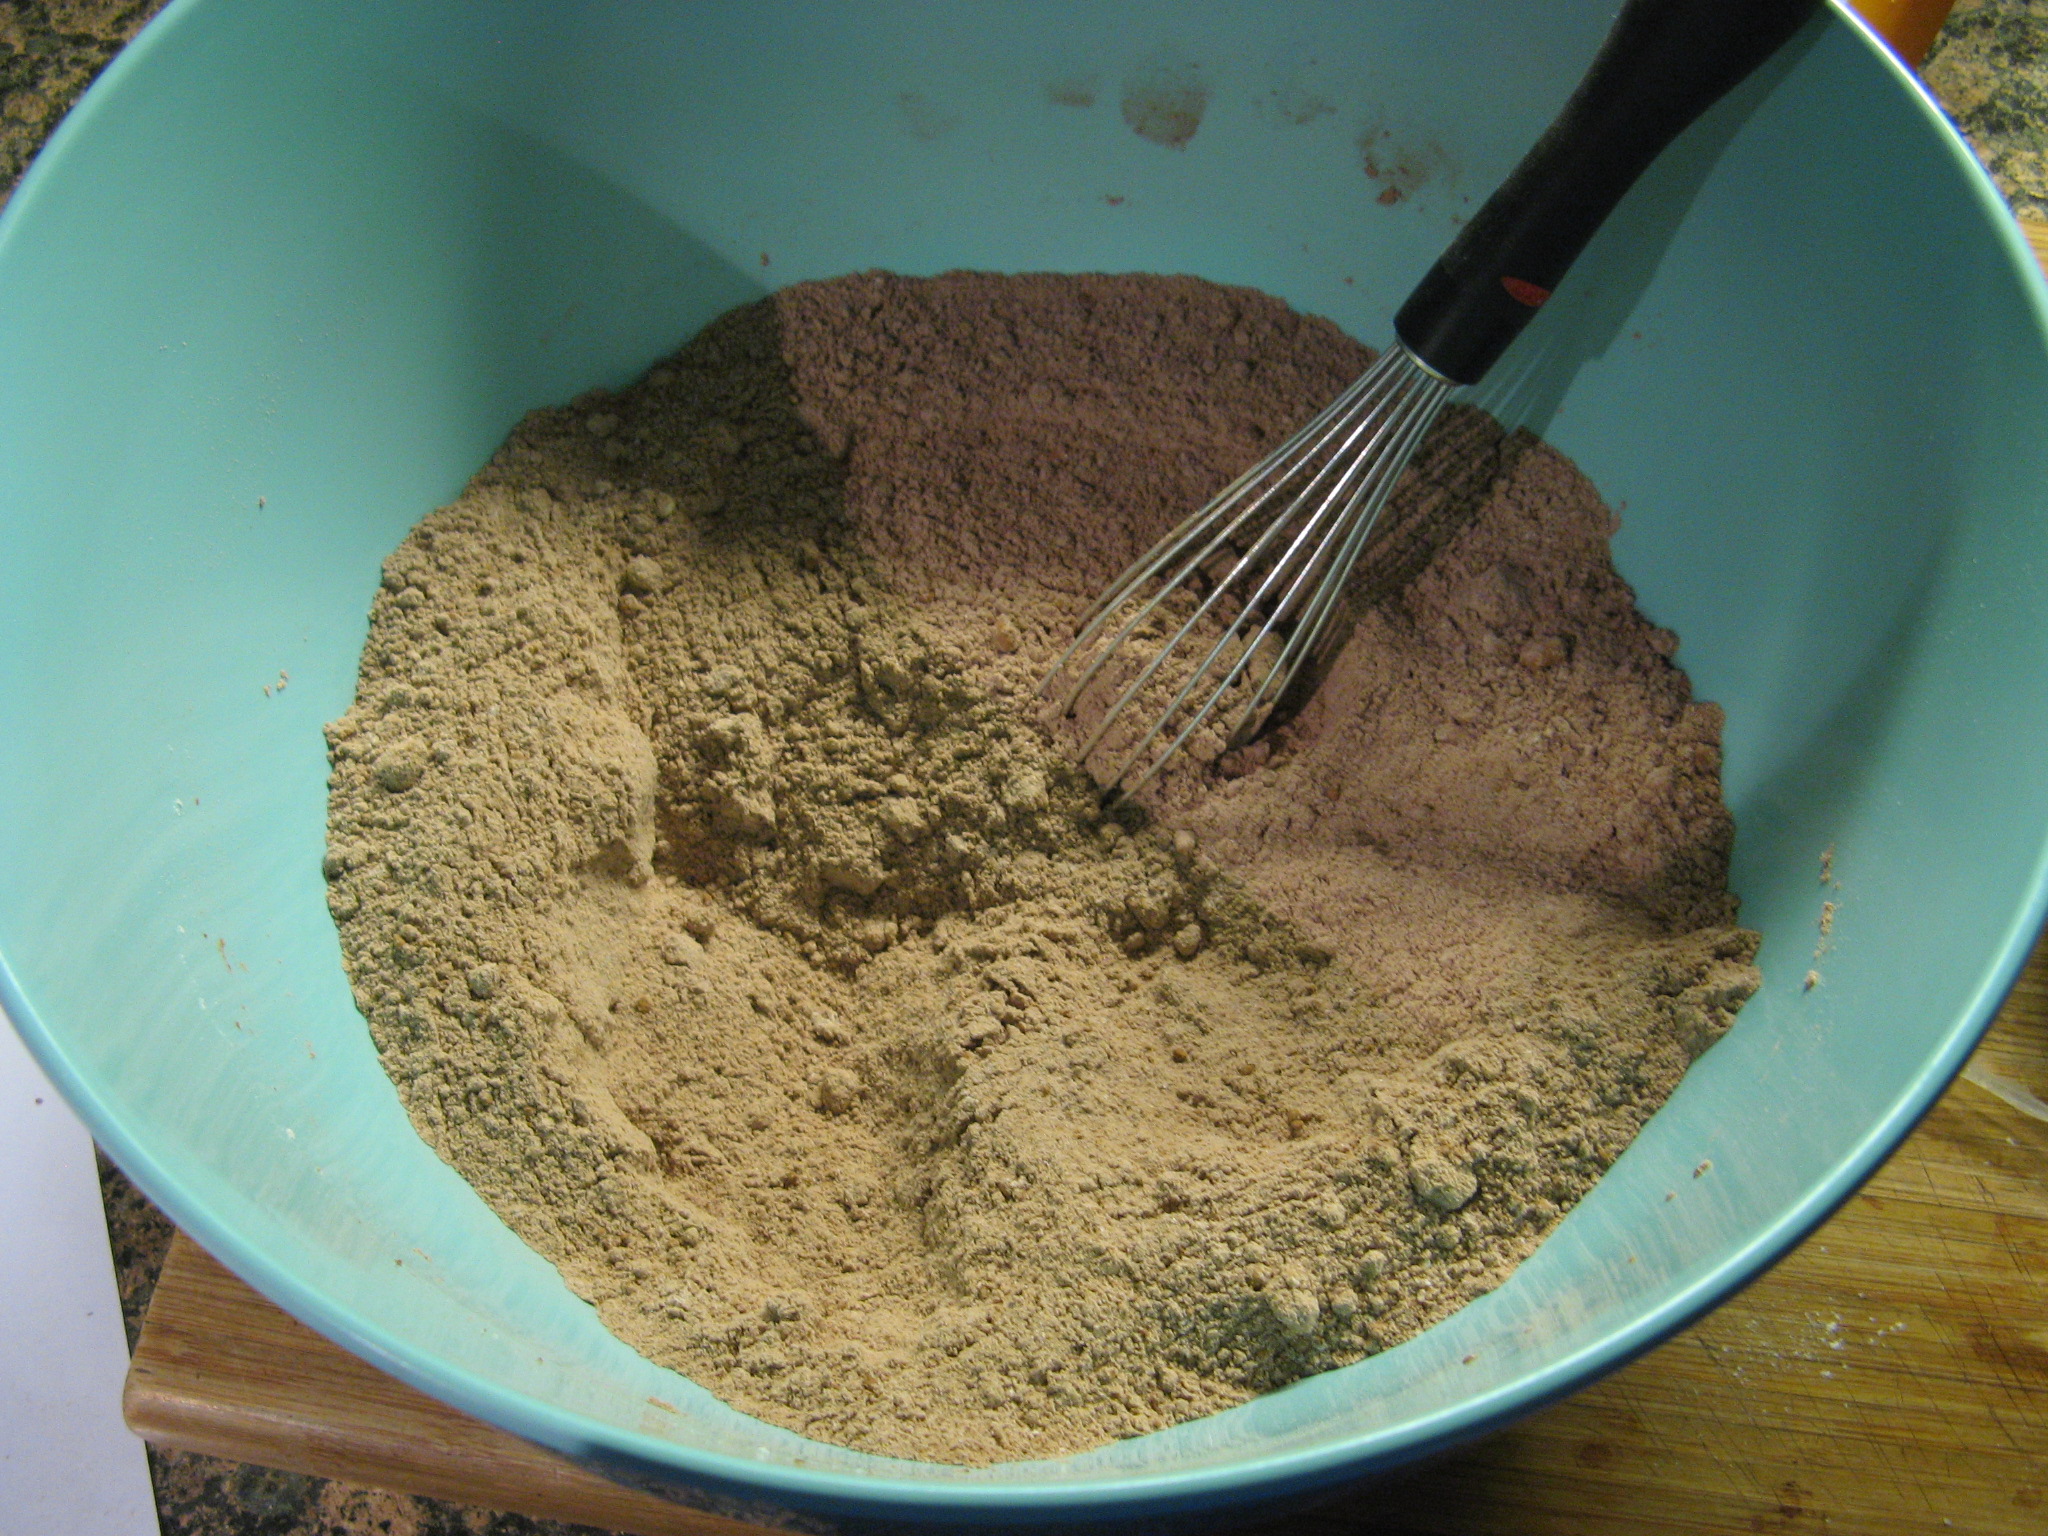
I started off by combining all of my dry ingredients (flour, sugar, cocoa powder, brown sugar, baking soda & salt) in a large bowl and whisking them together.
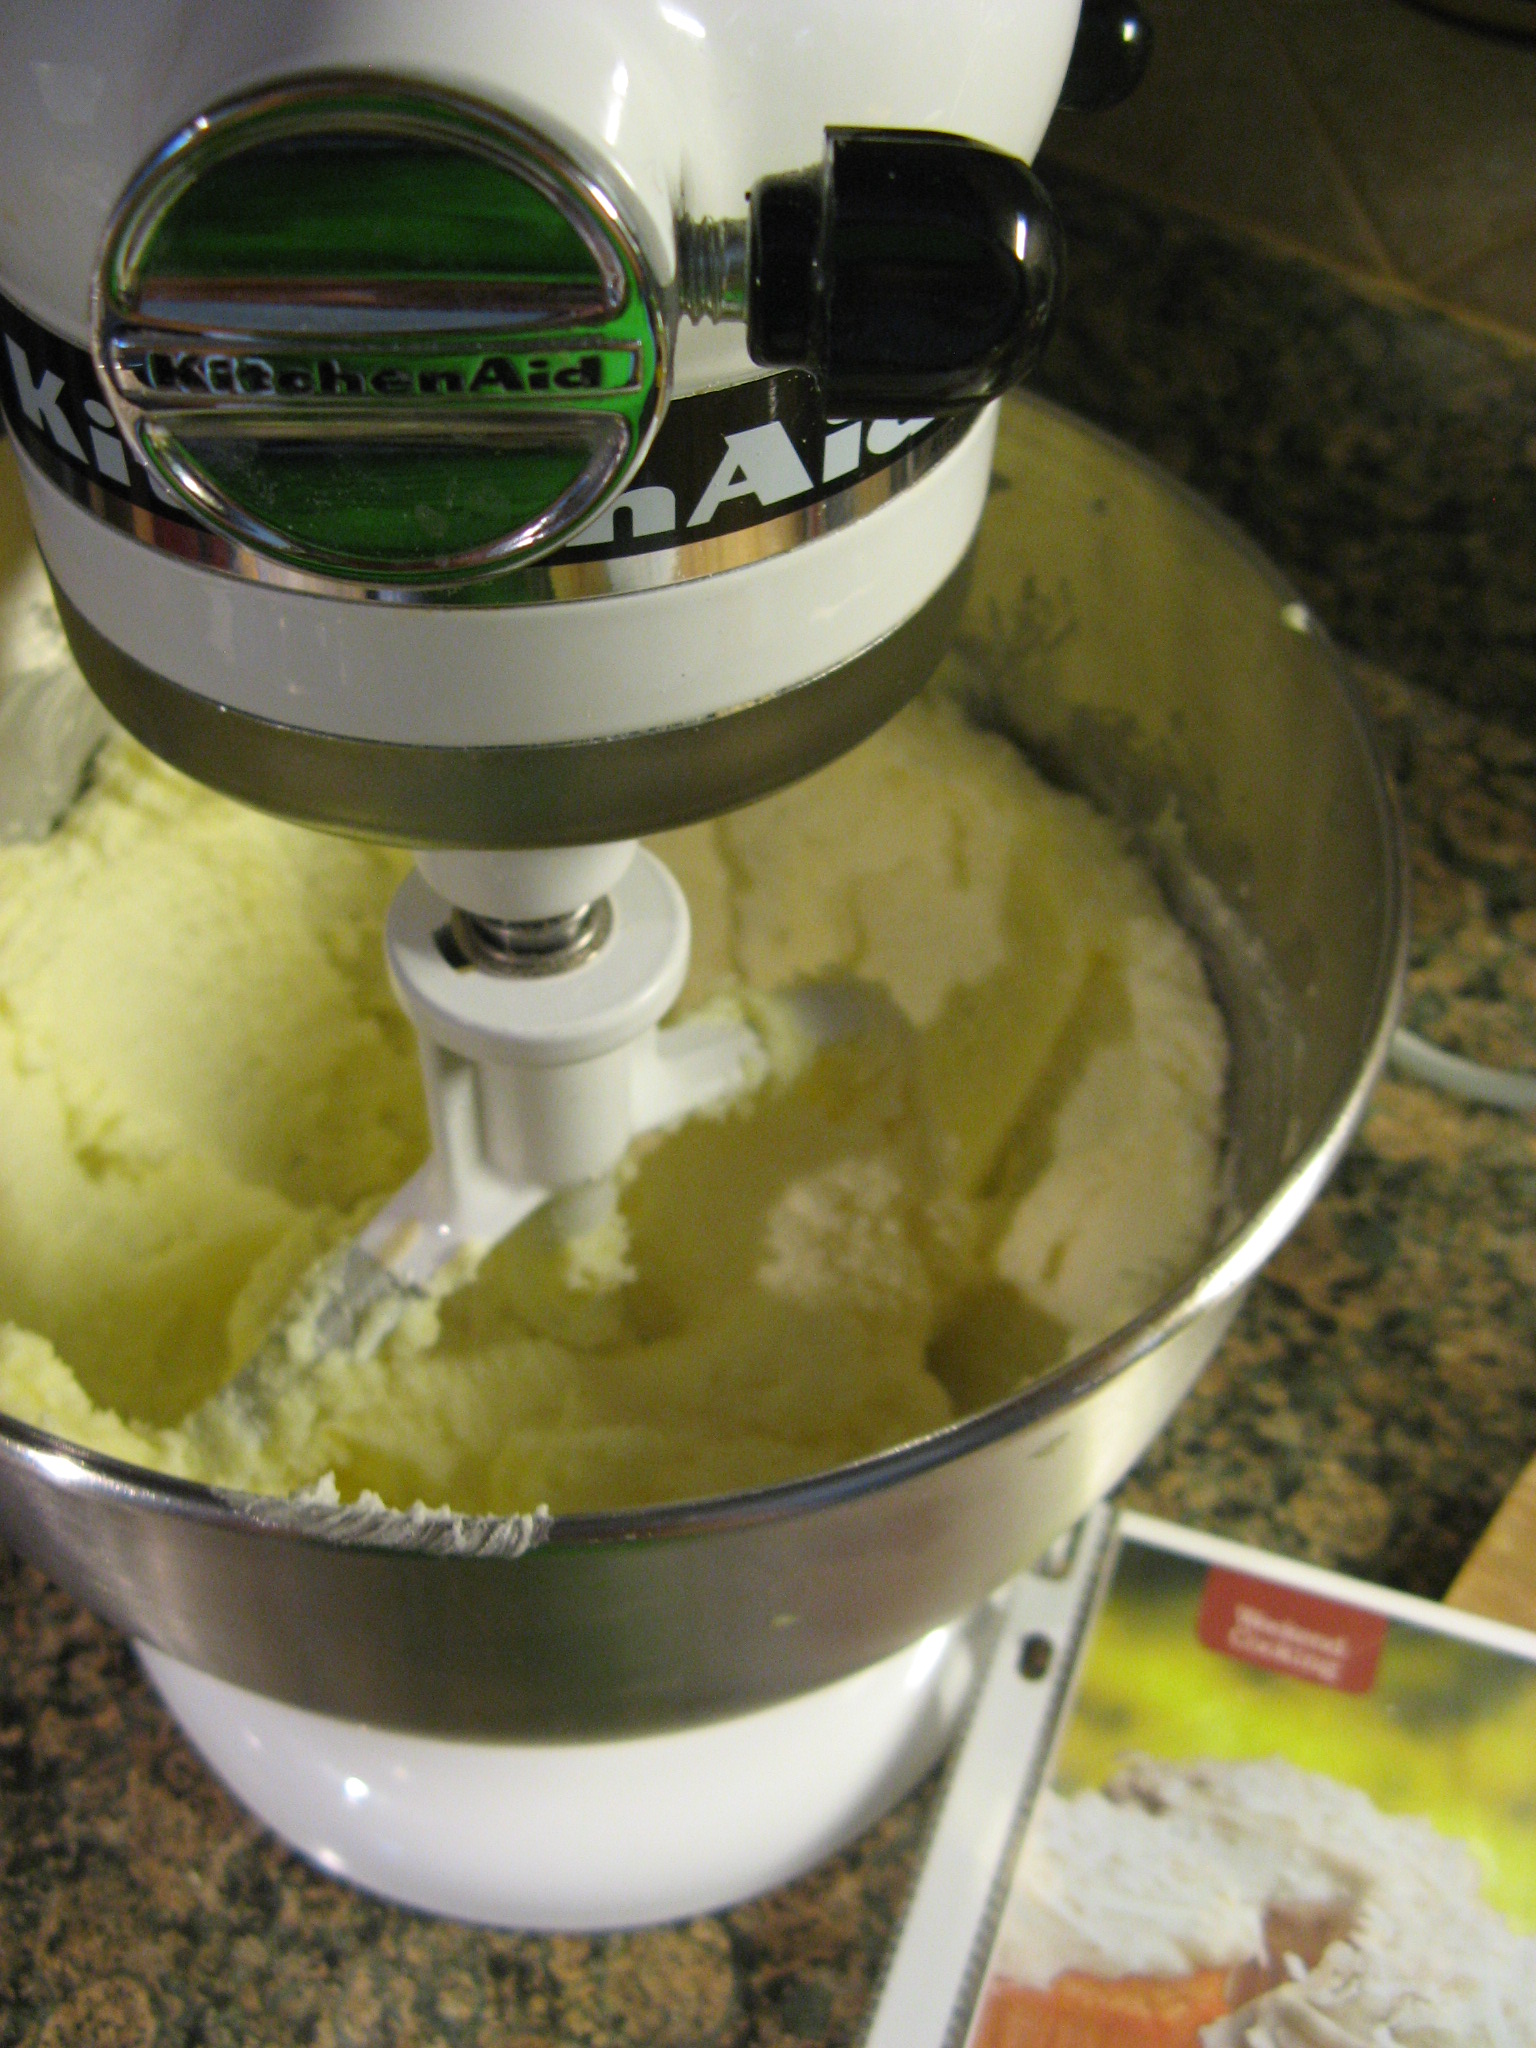
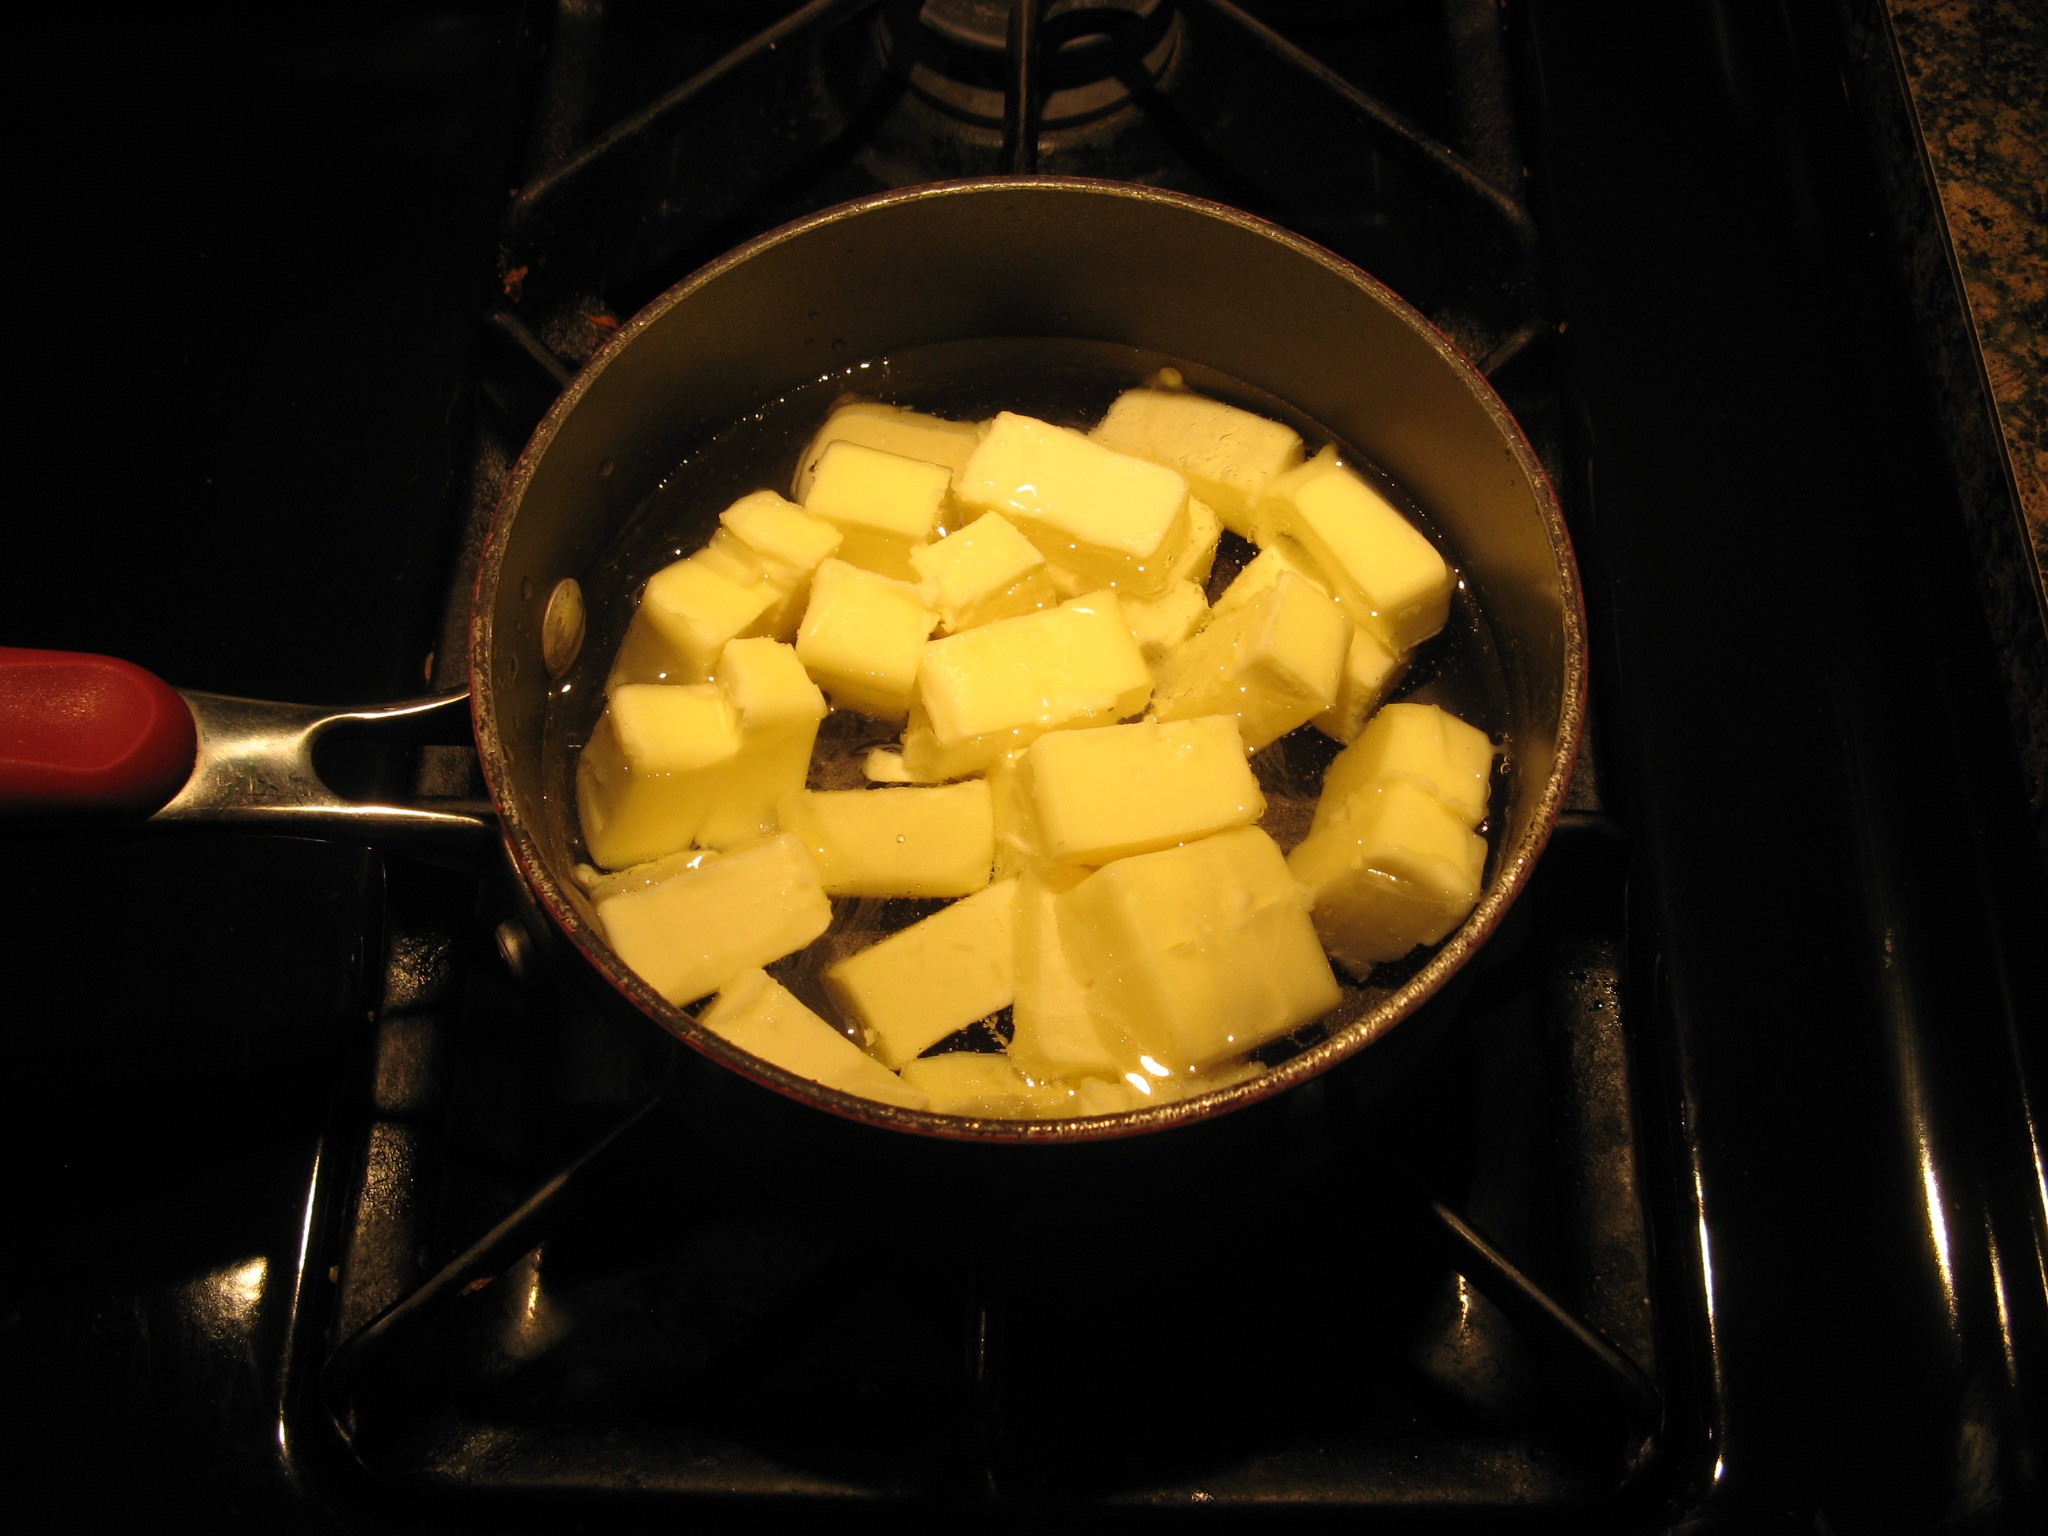
I then combined two sticks of unsalted butter and a cup of water in a small saucepan and brought it to a boil.
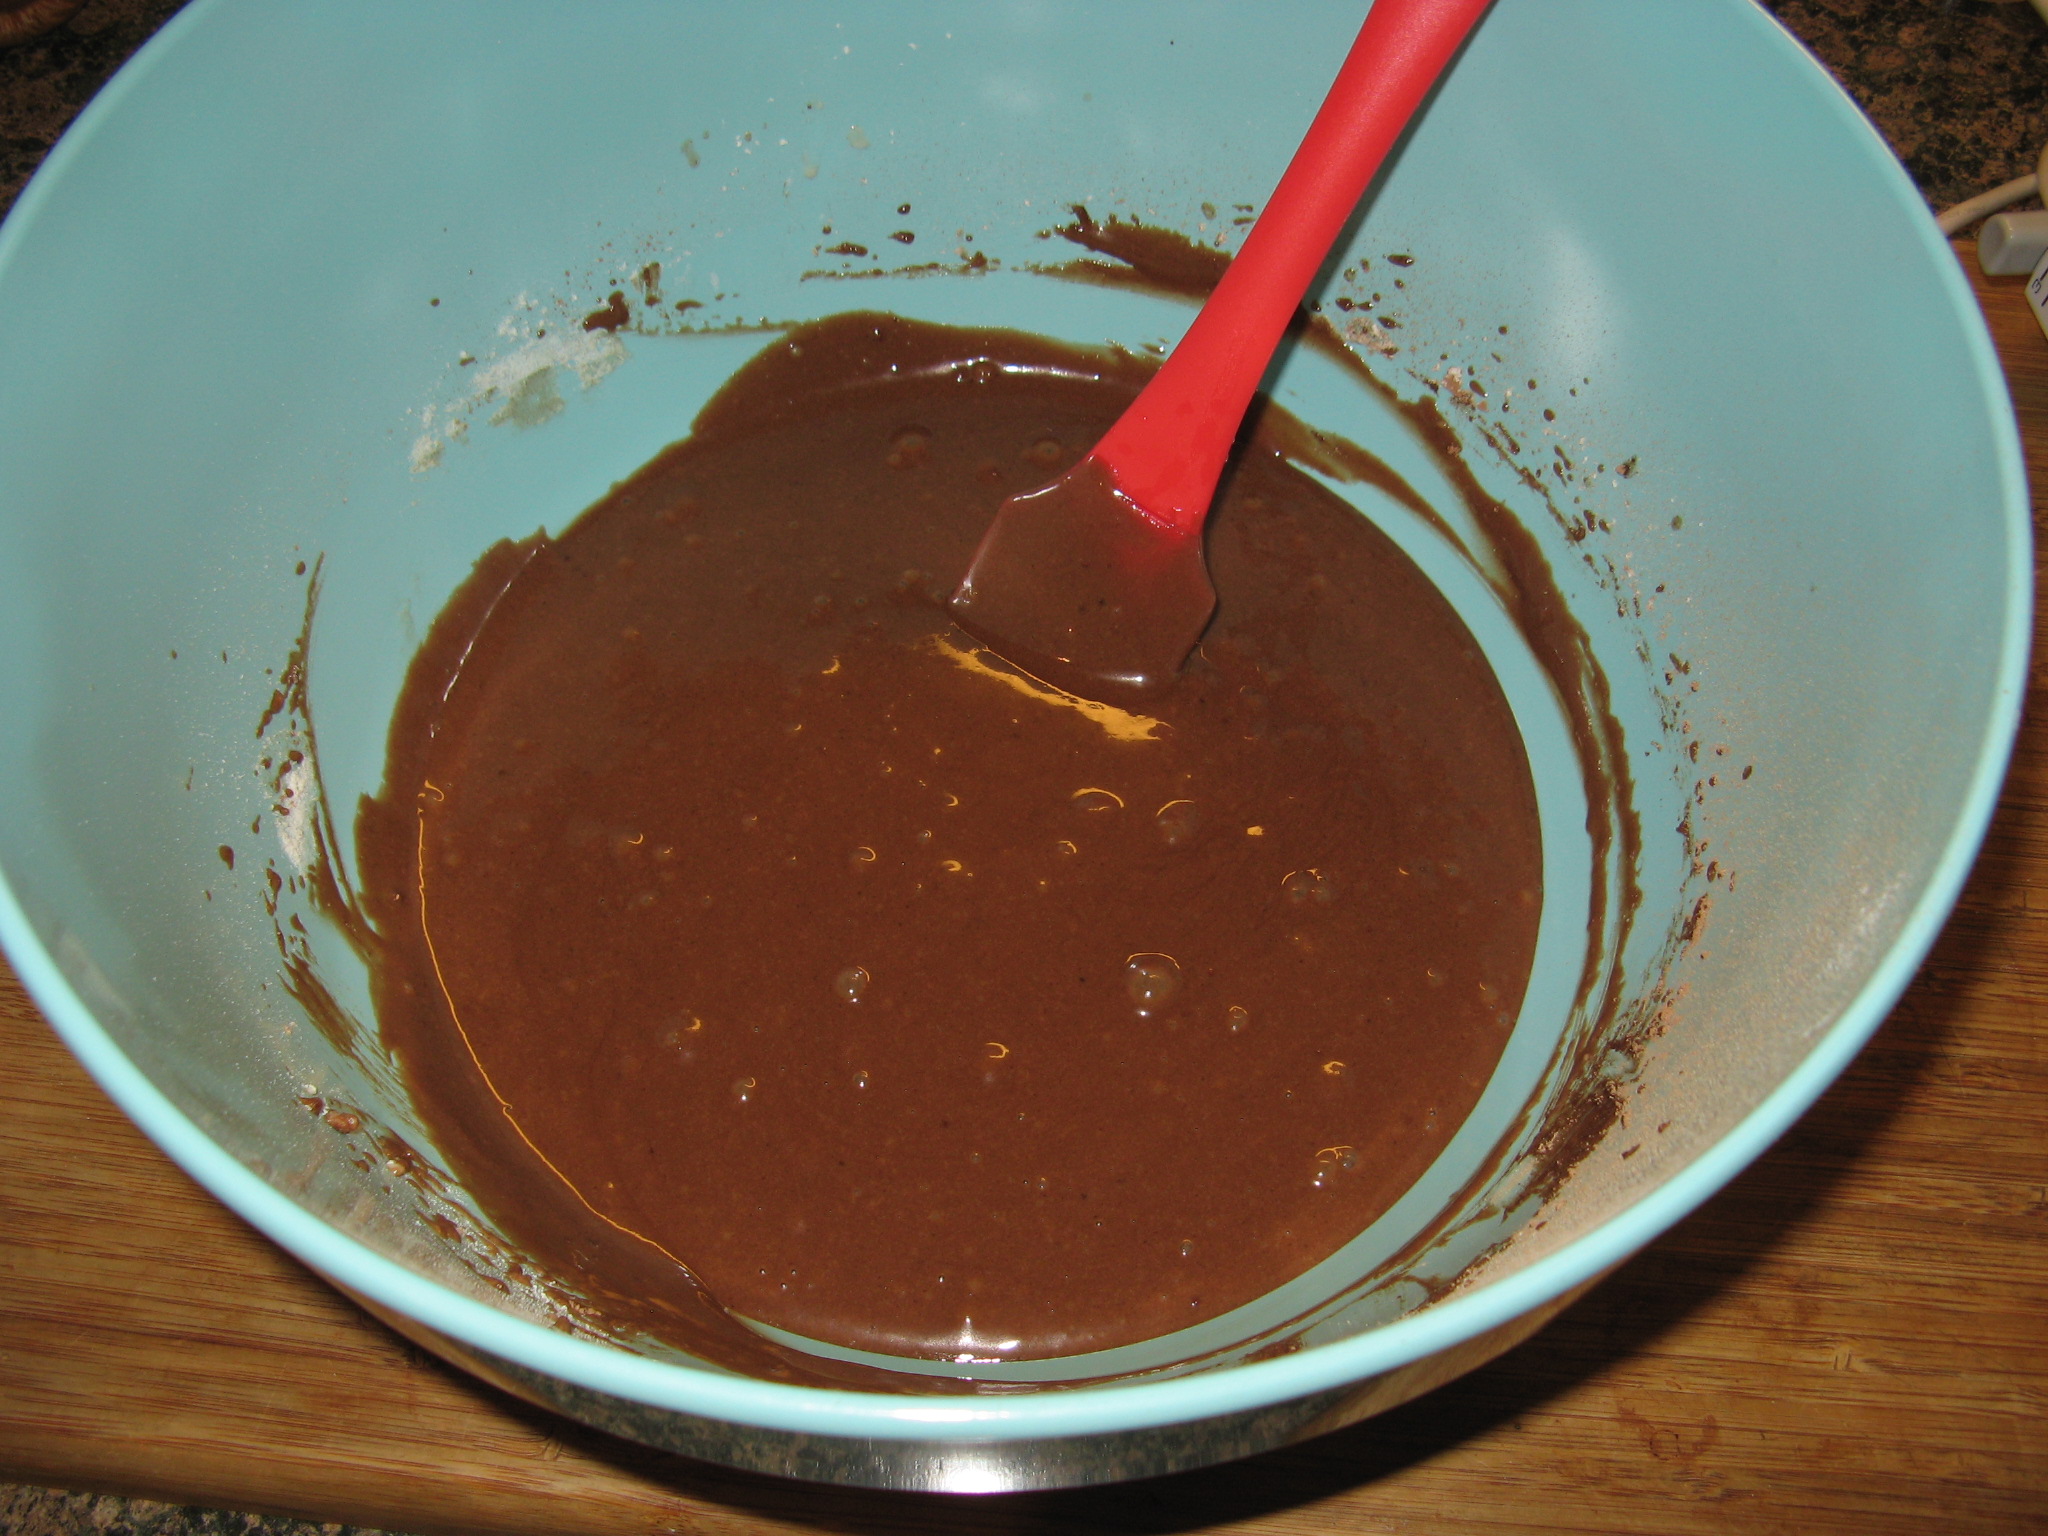
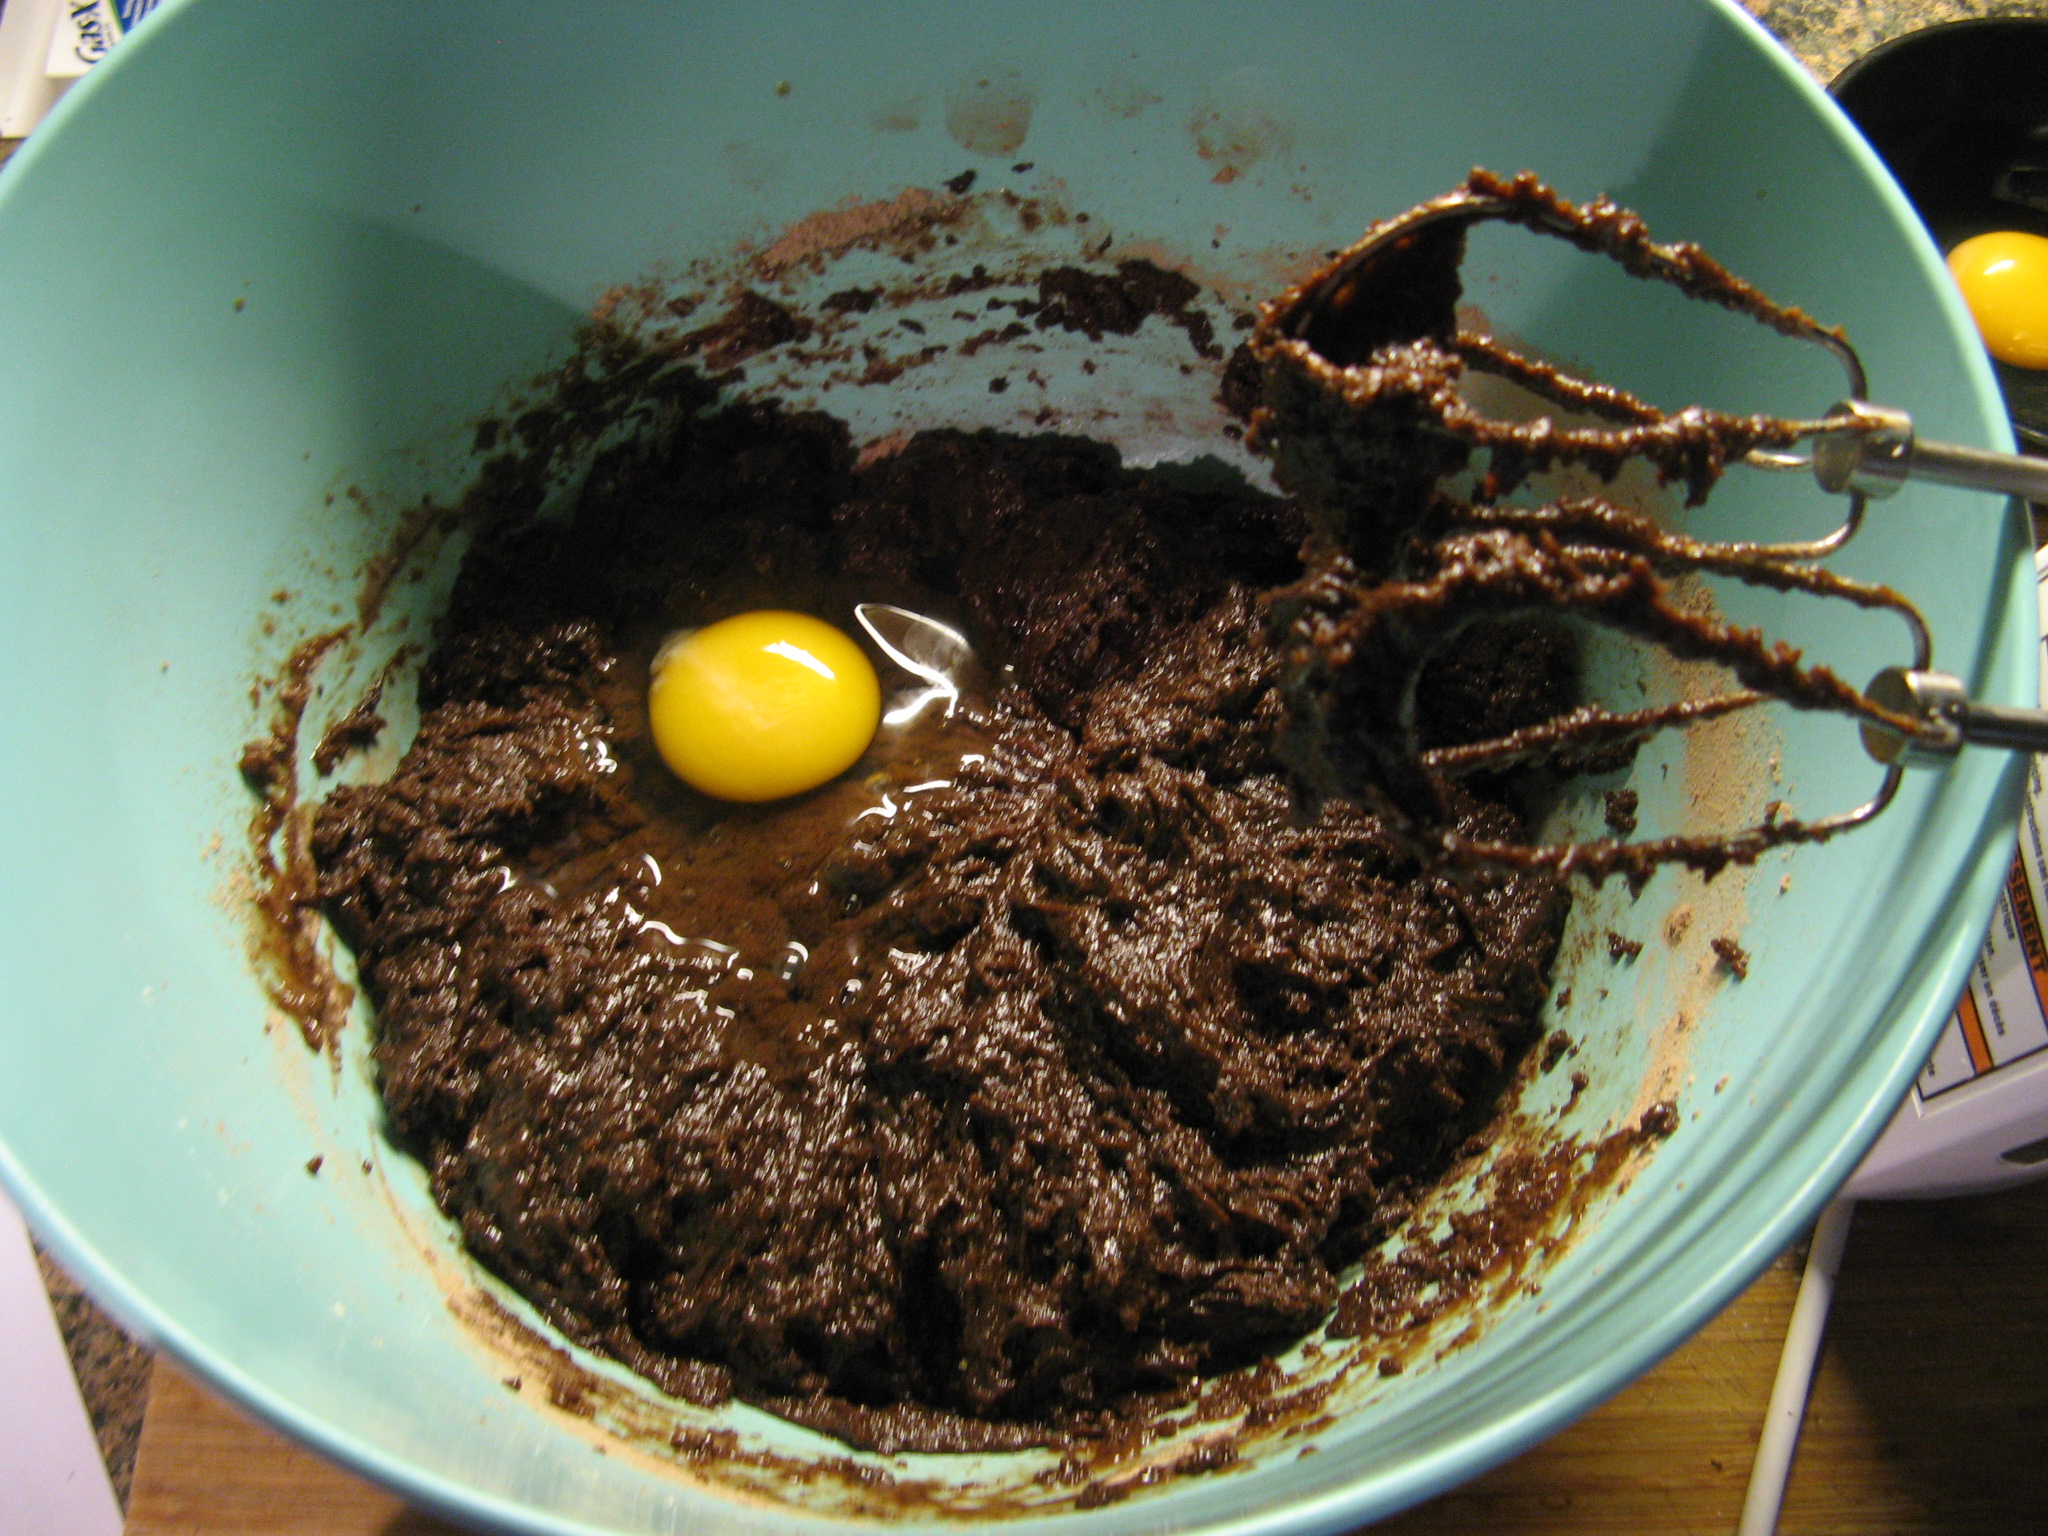
Once it boiled and the butter was completed melted I added it to the dry ingredients.

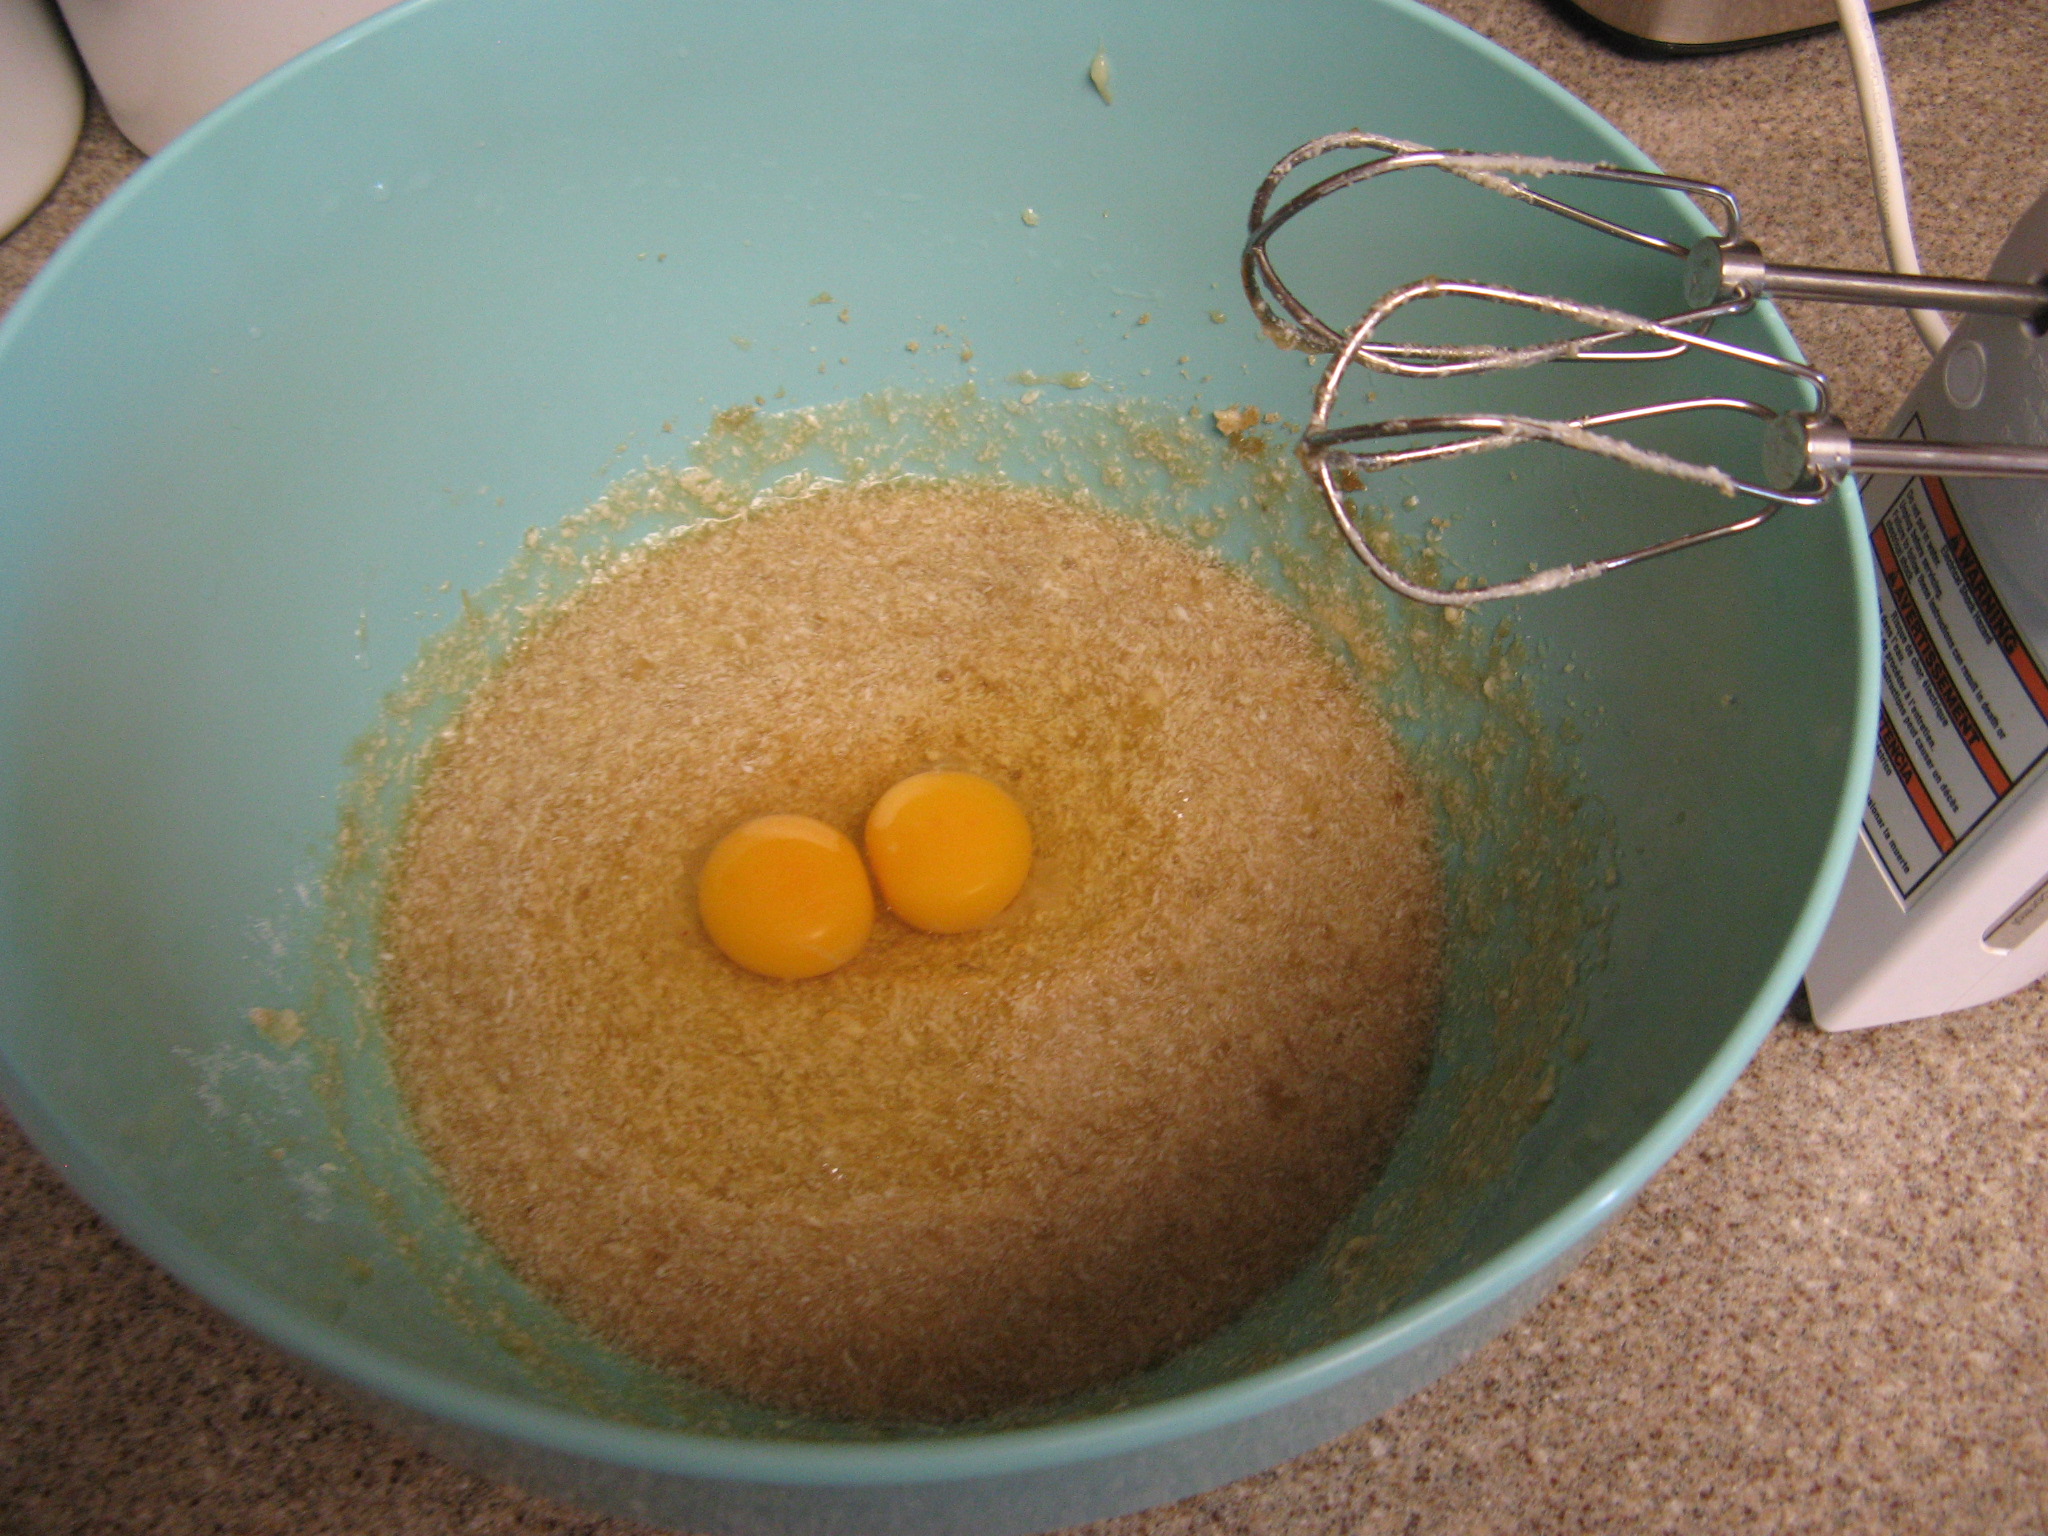
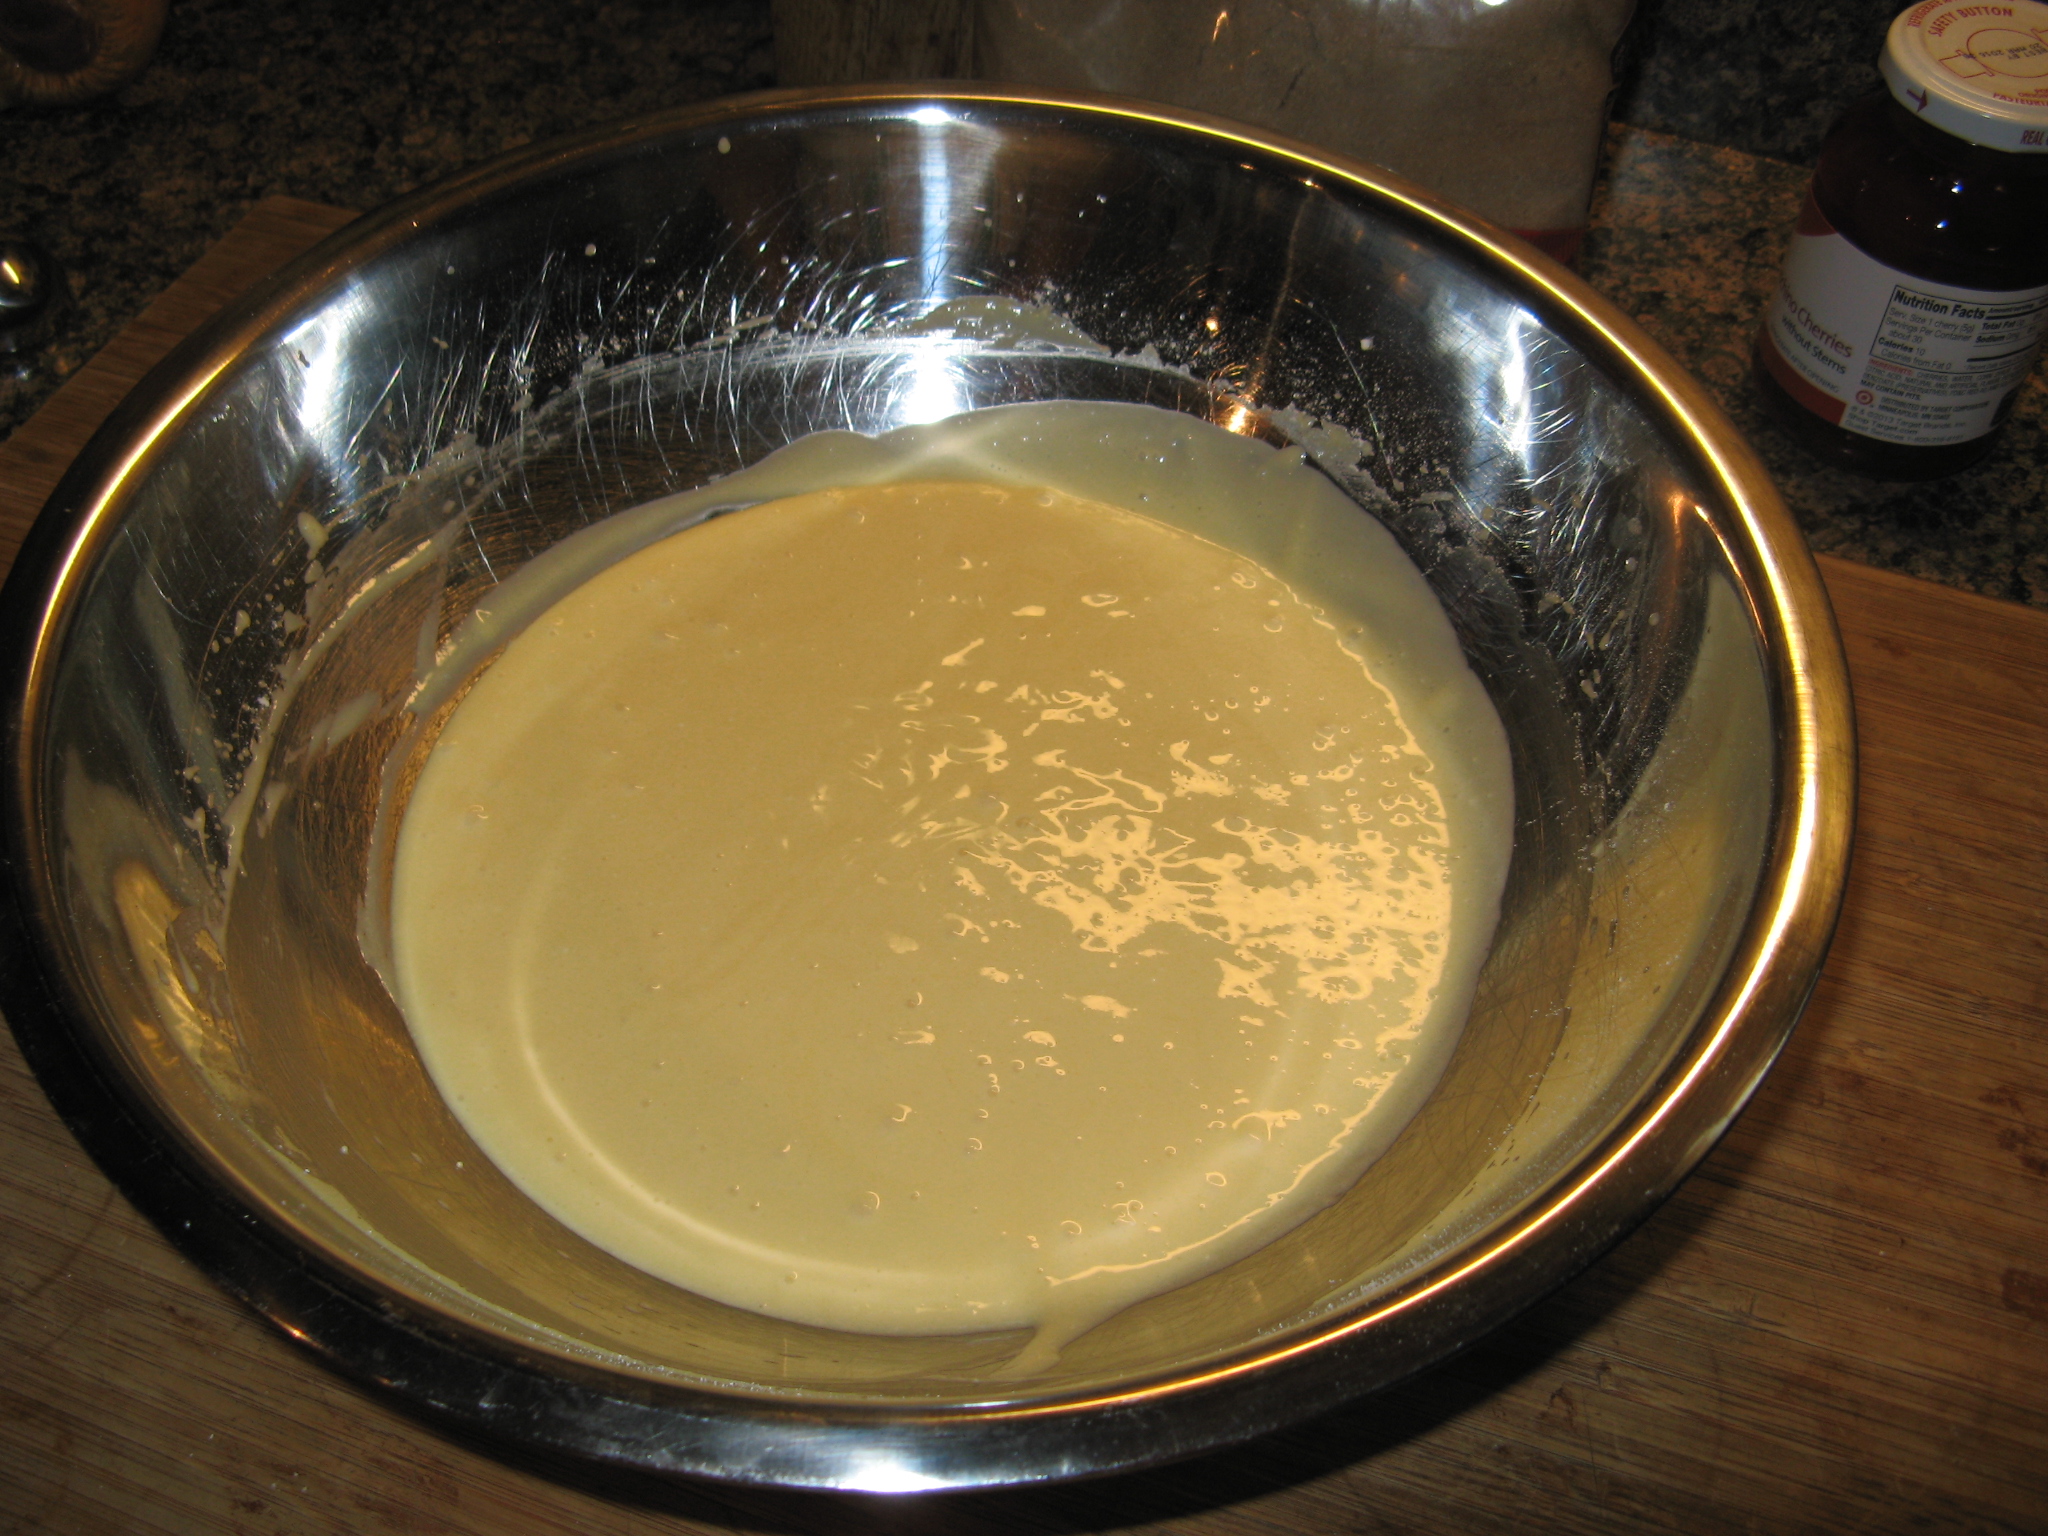
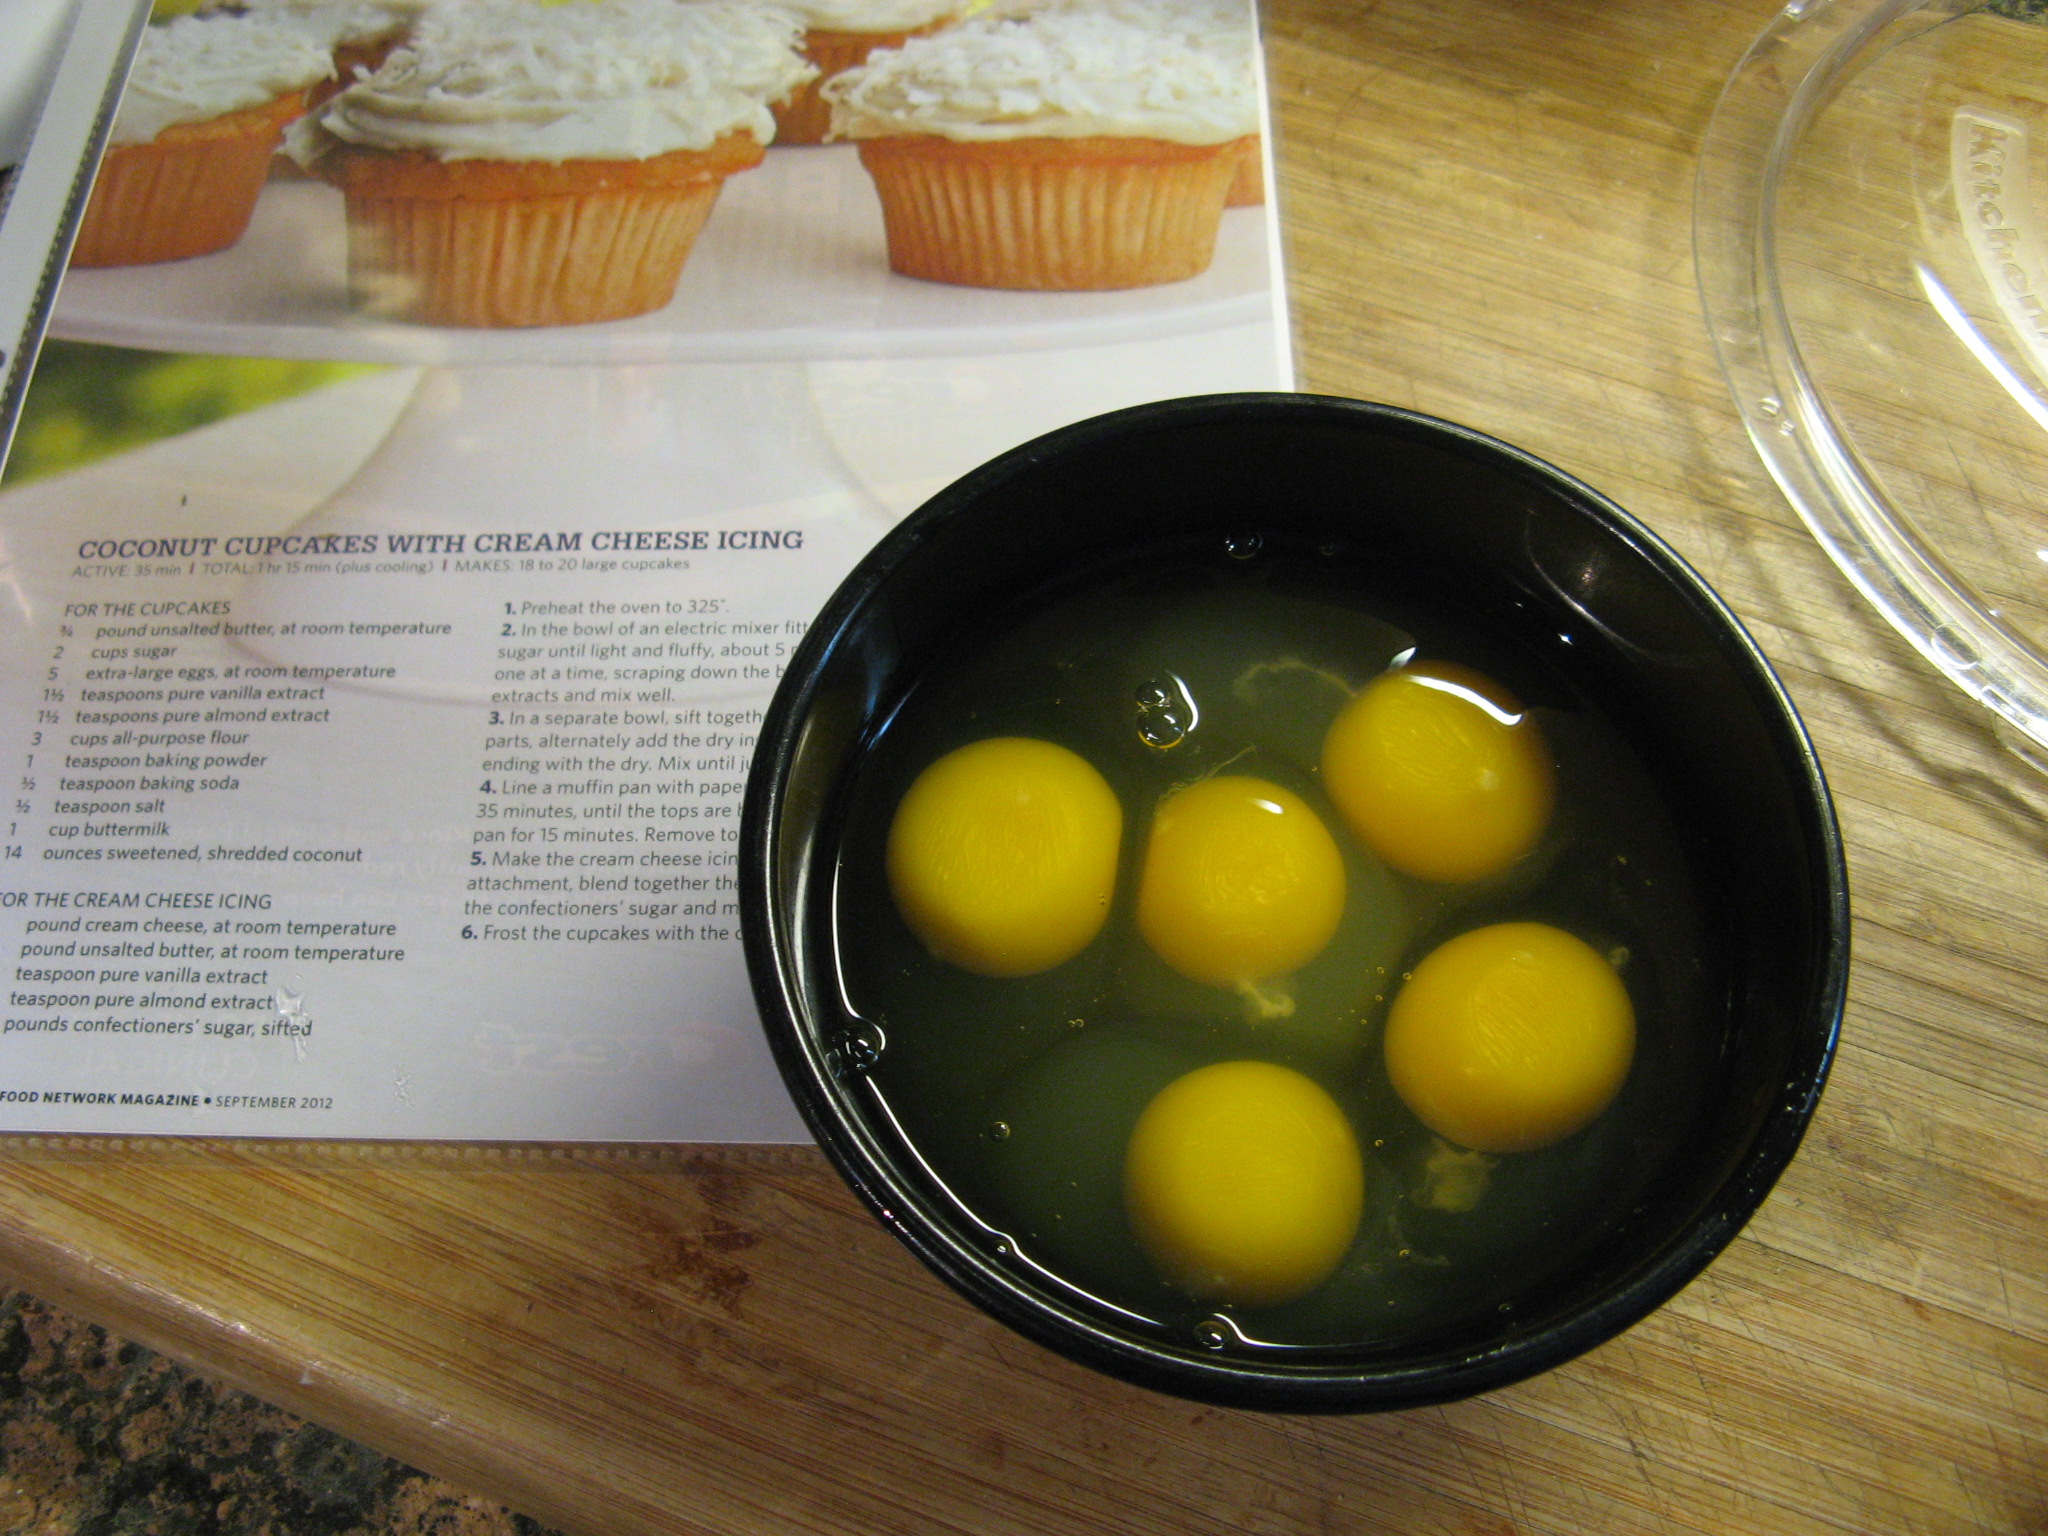
Once it was combined I added in two eggs one at a time.
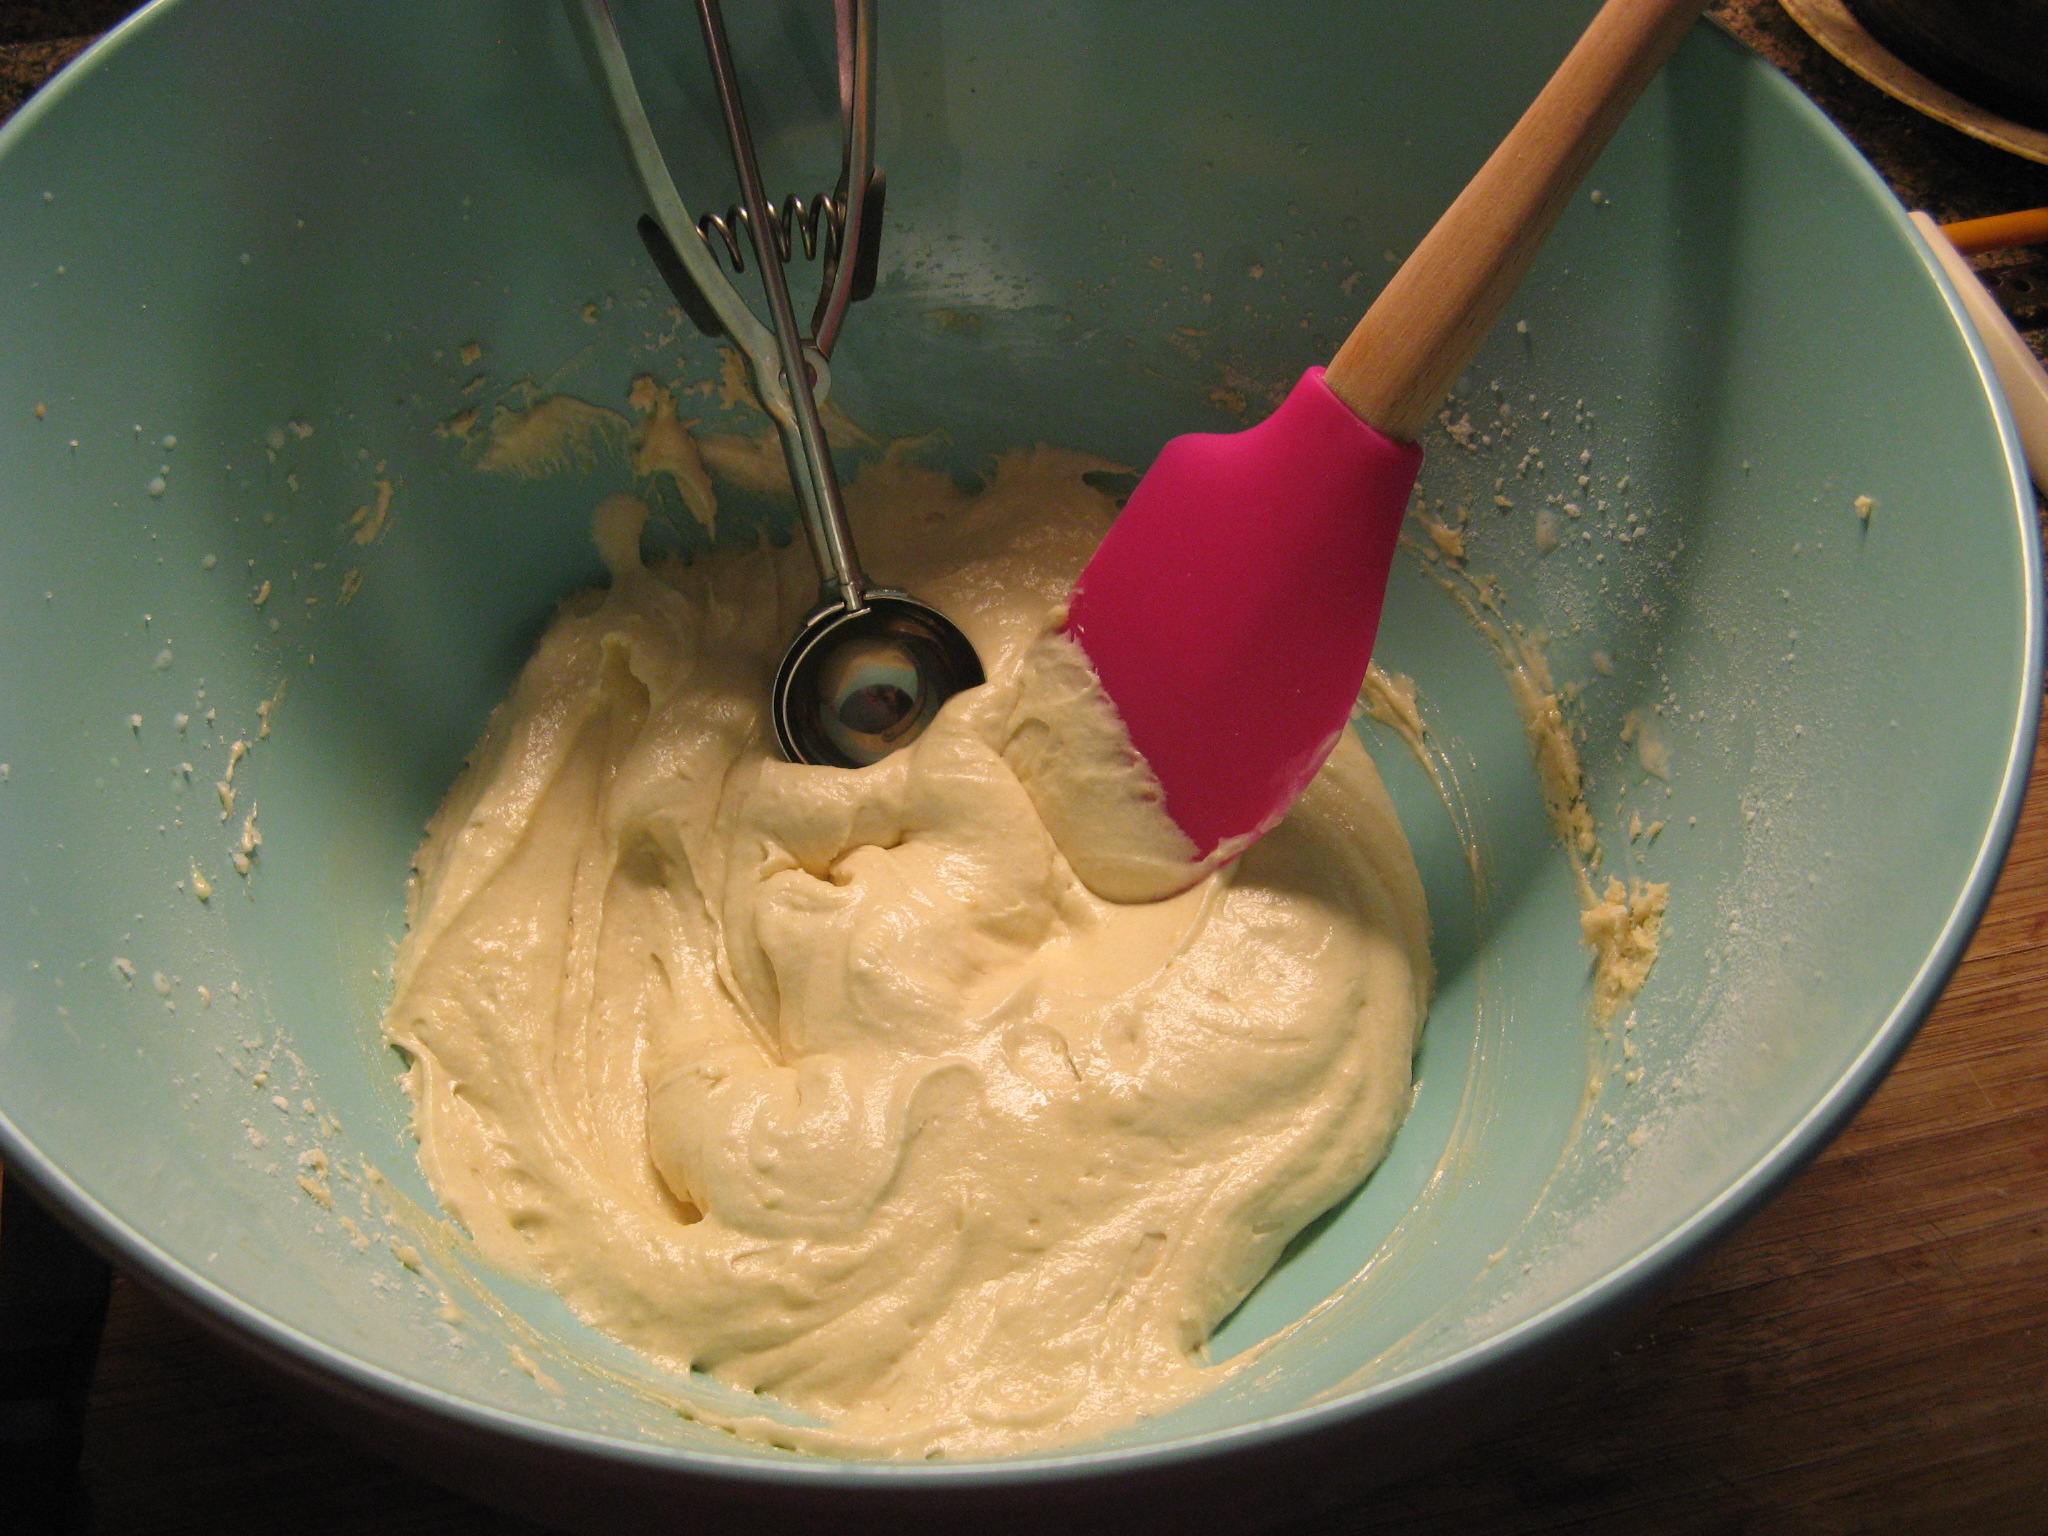
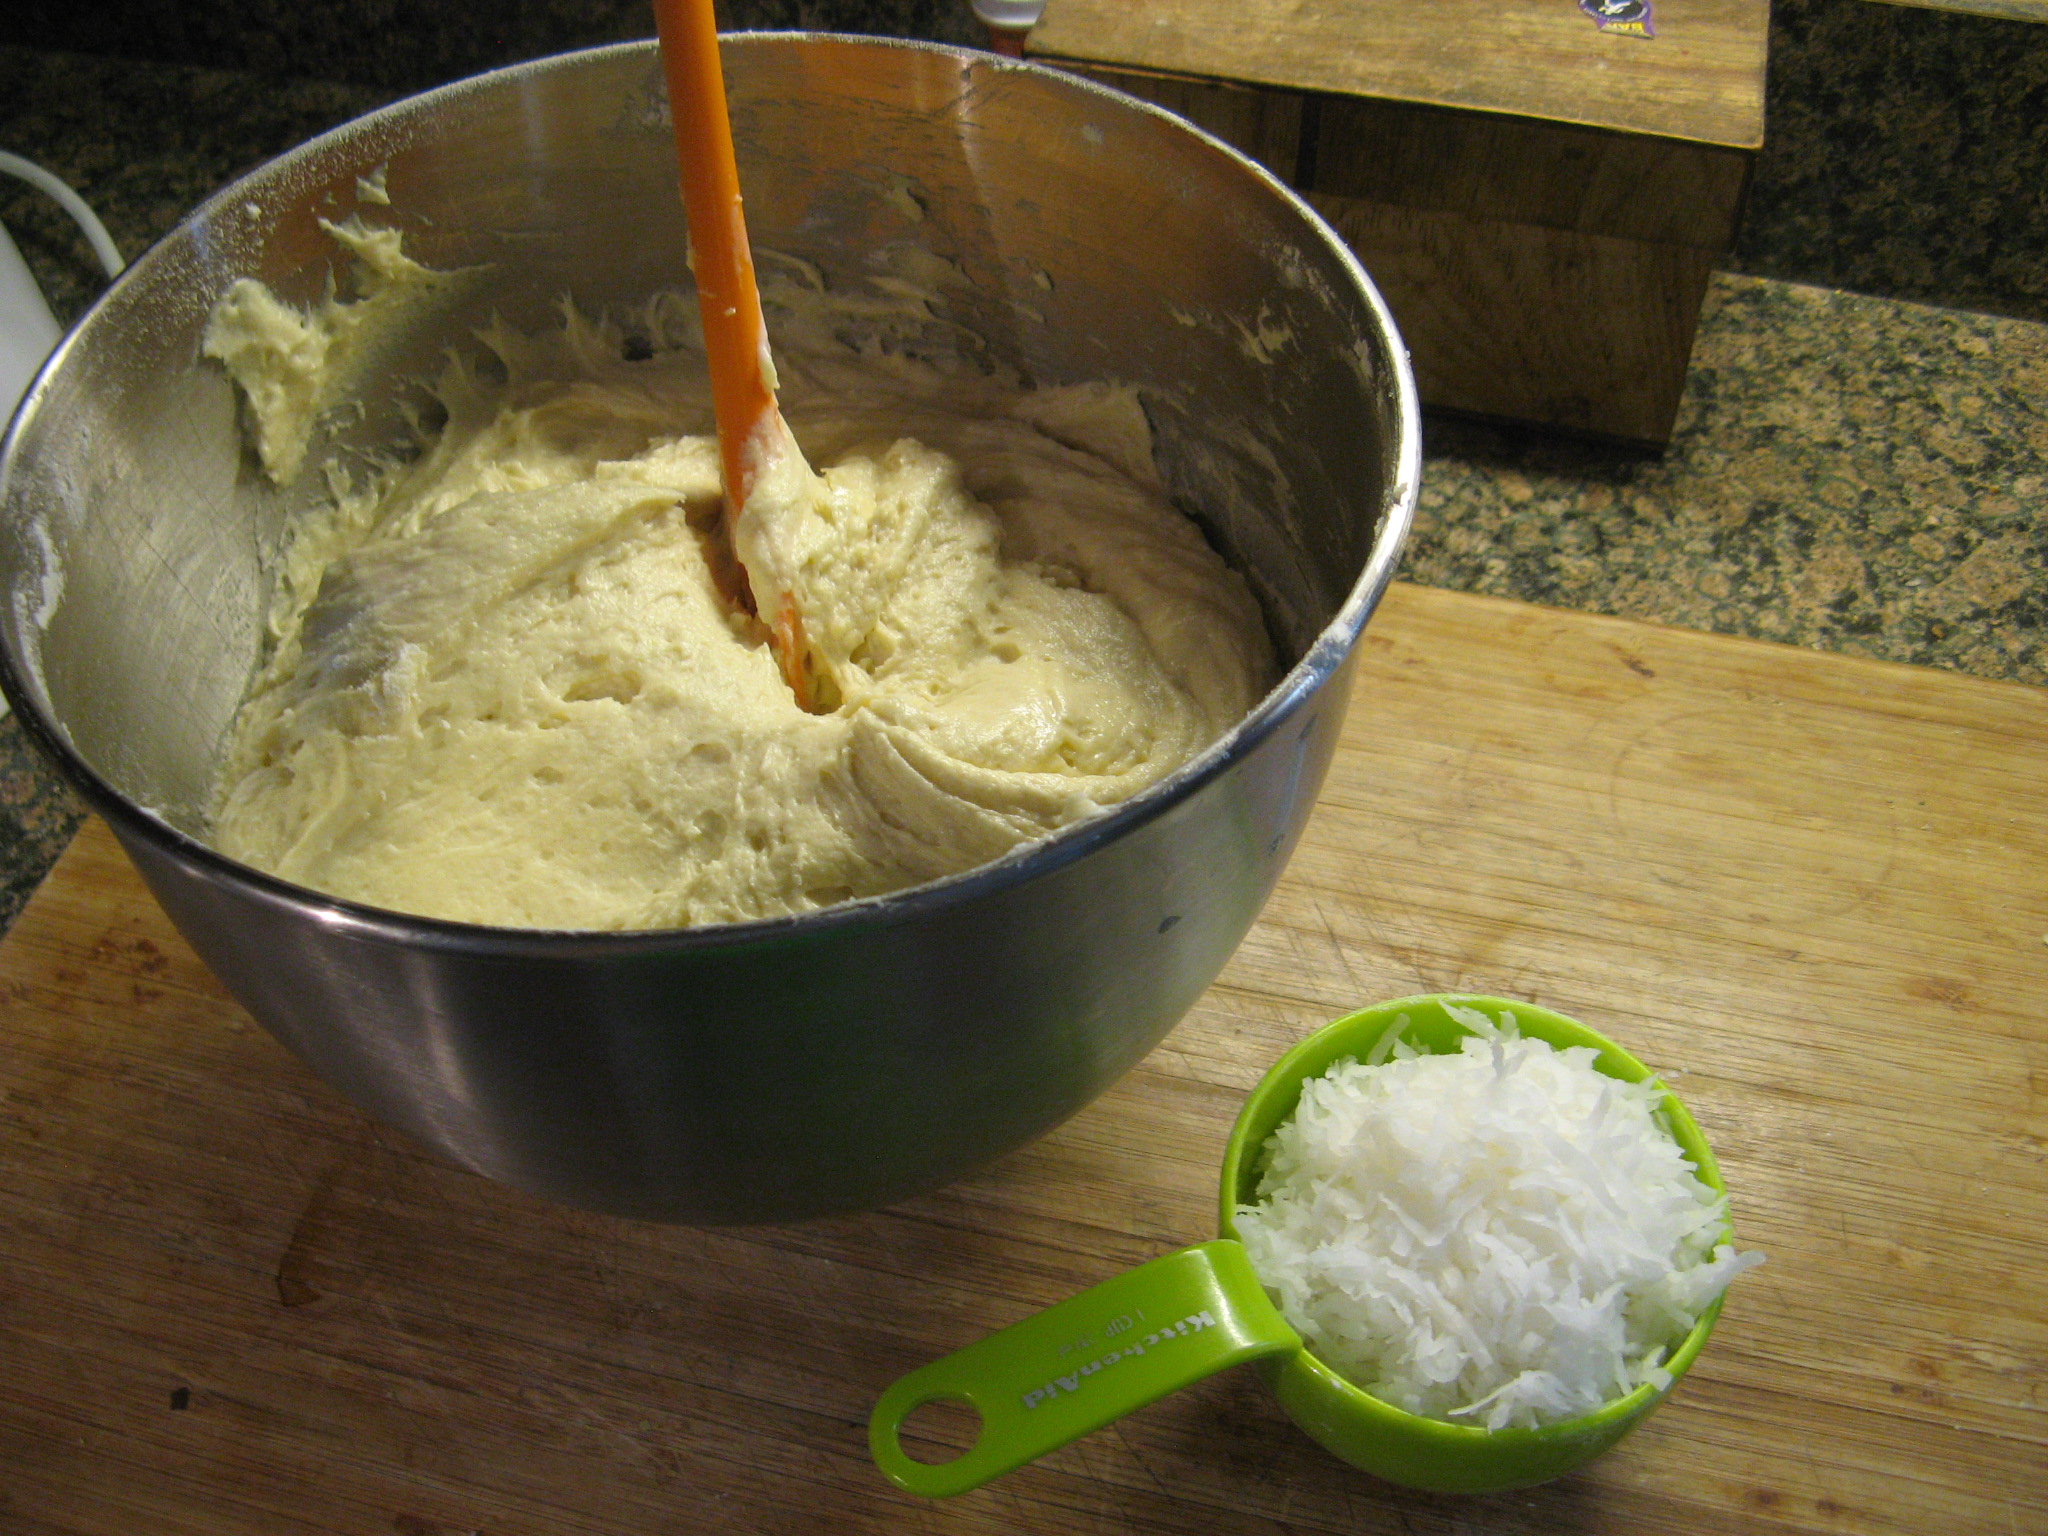
Then sour cream.
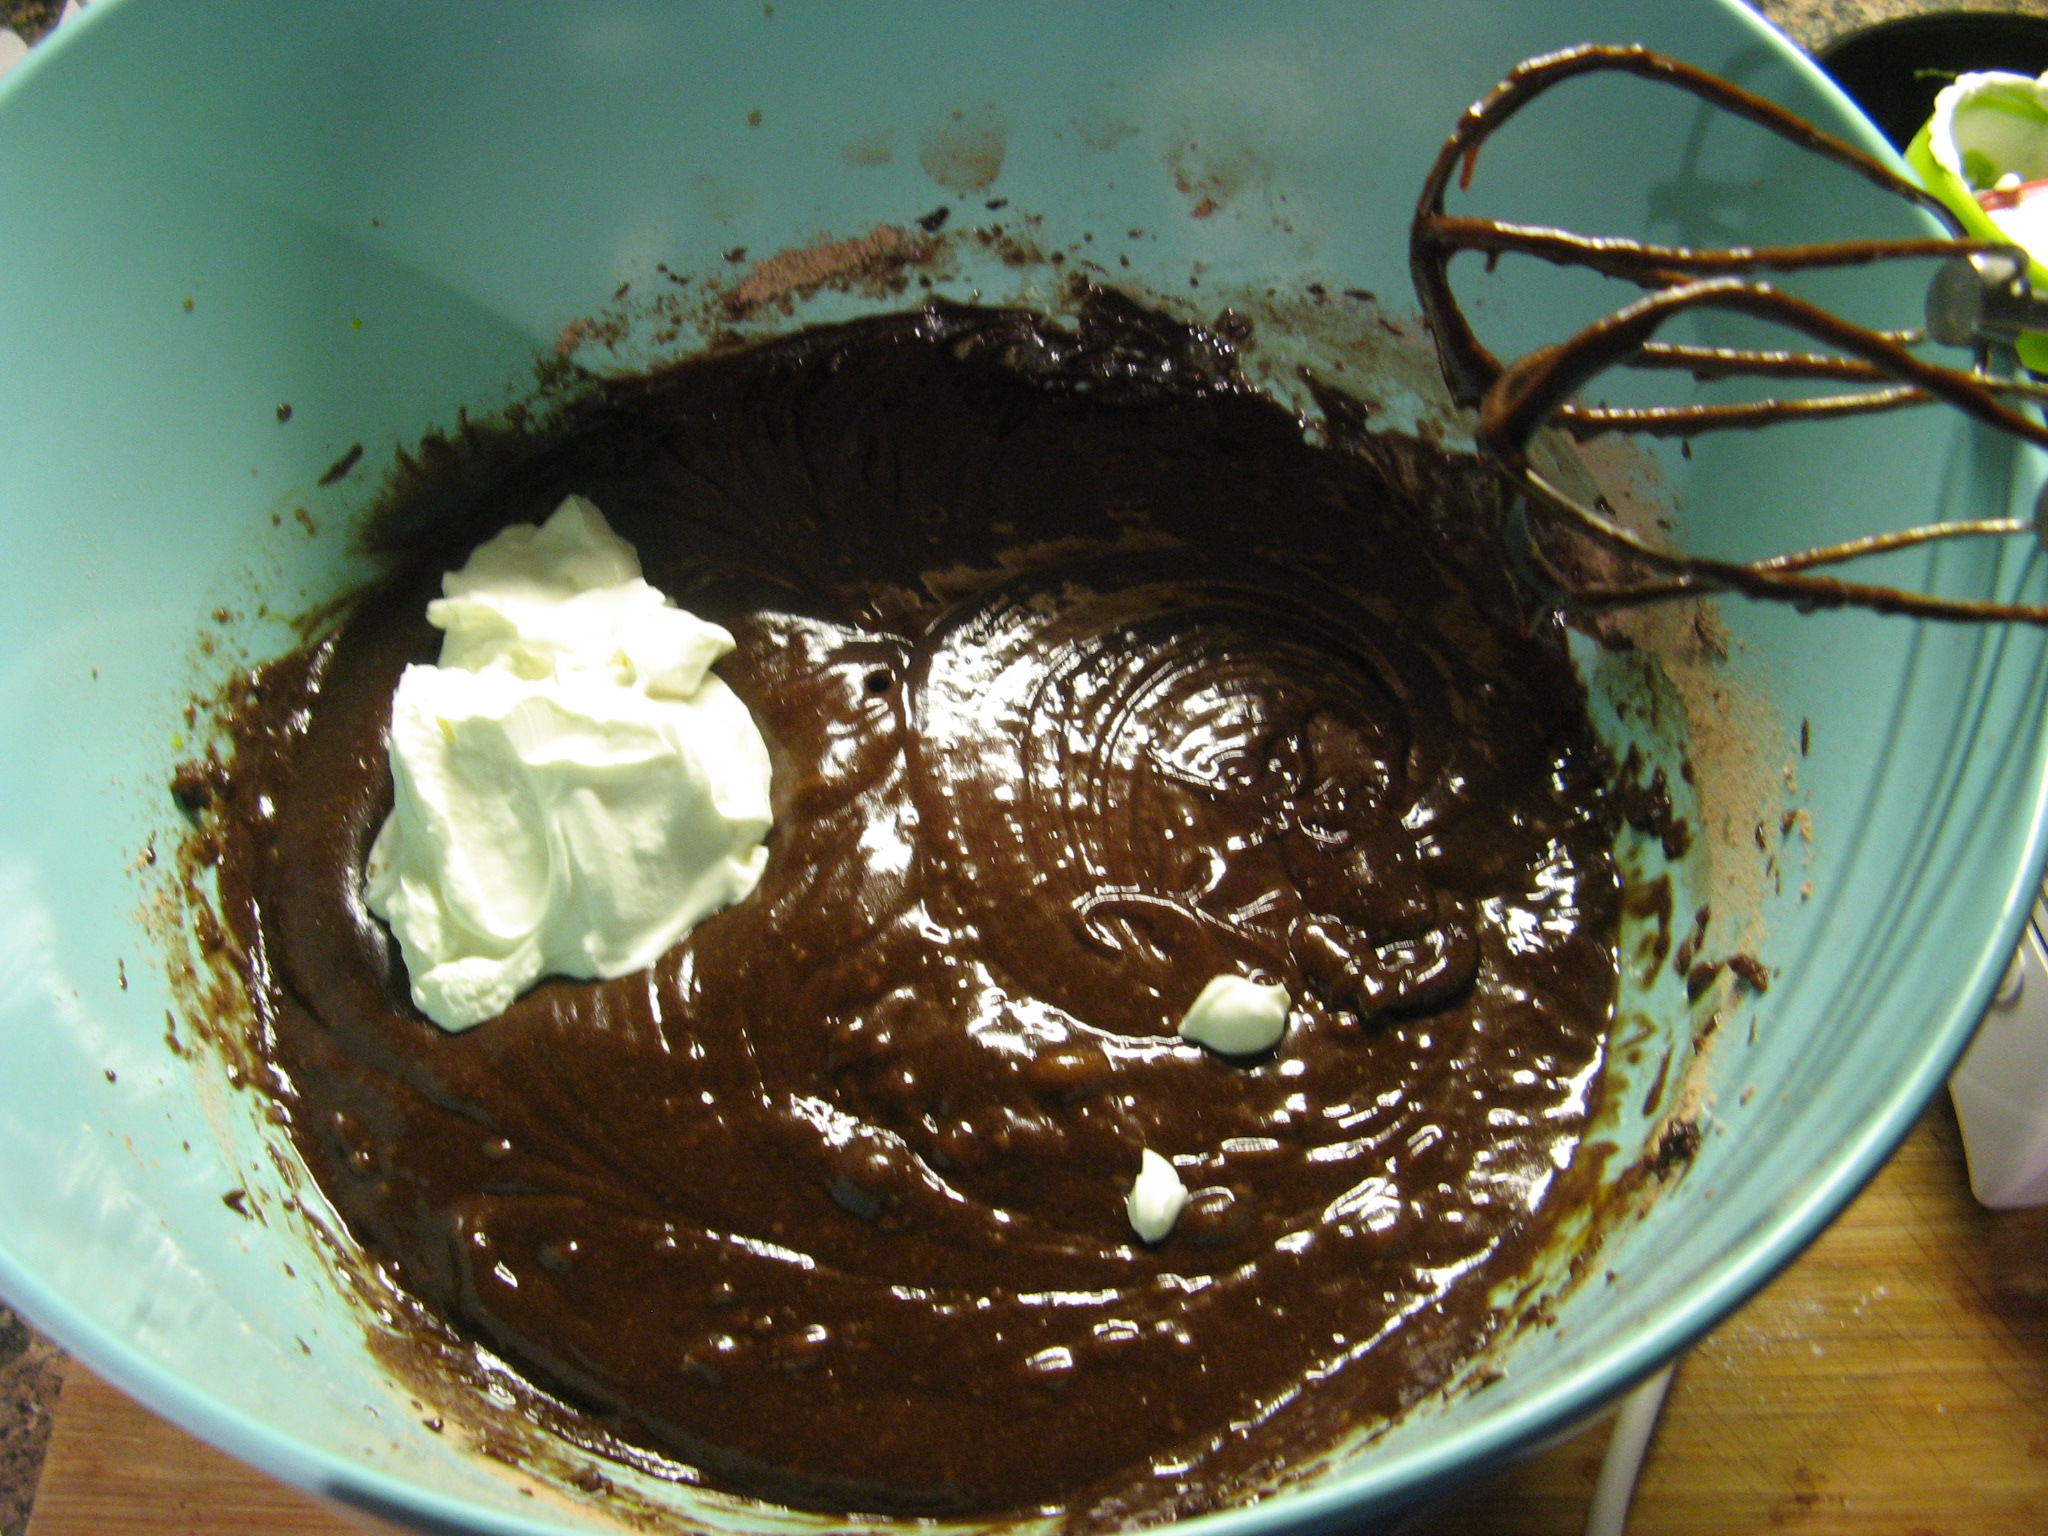
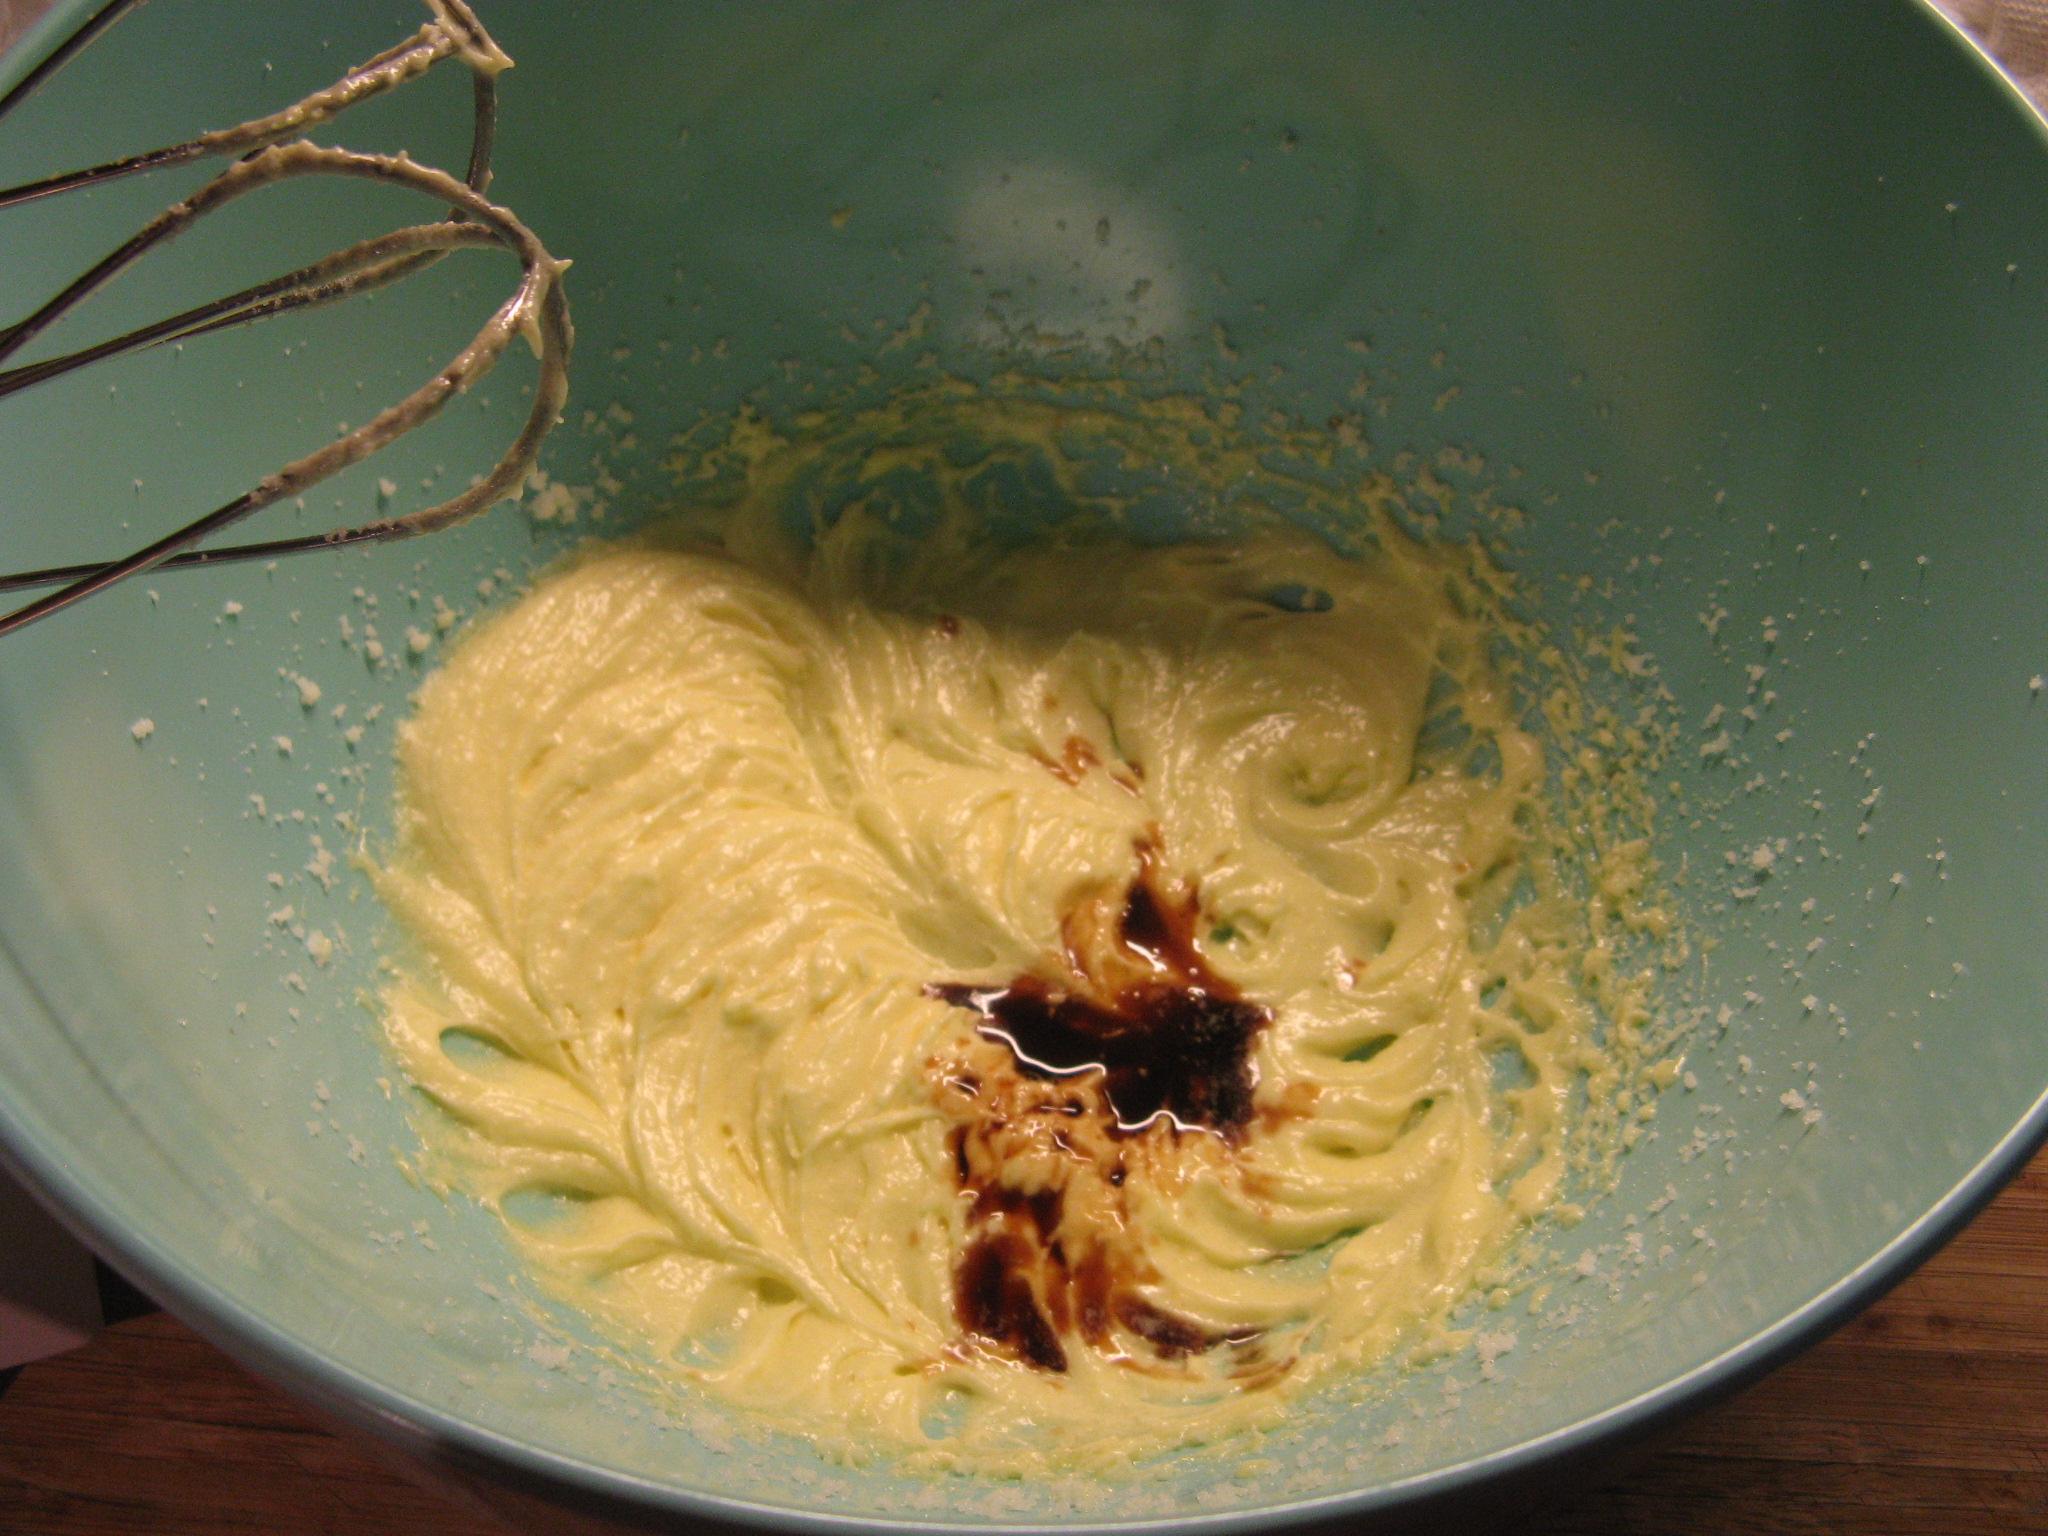
And finally vanilla extract.
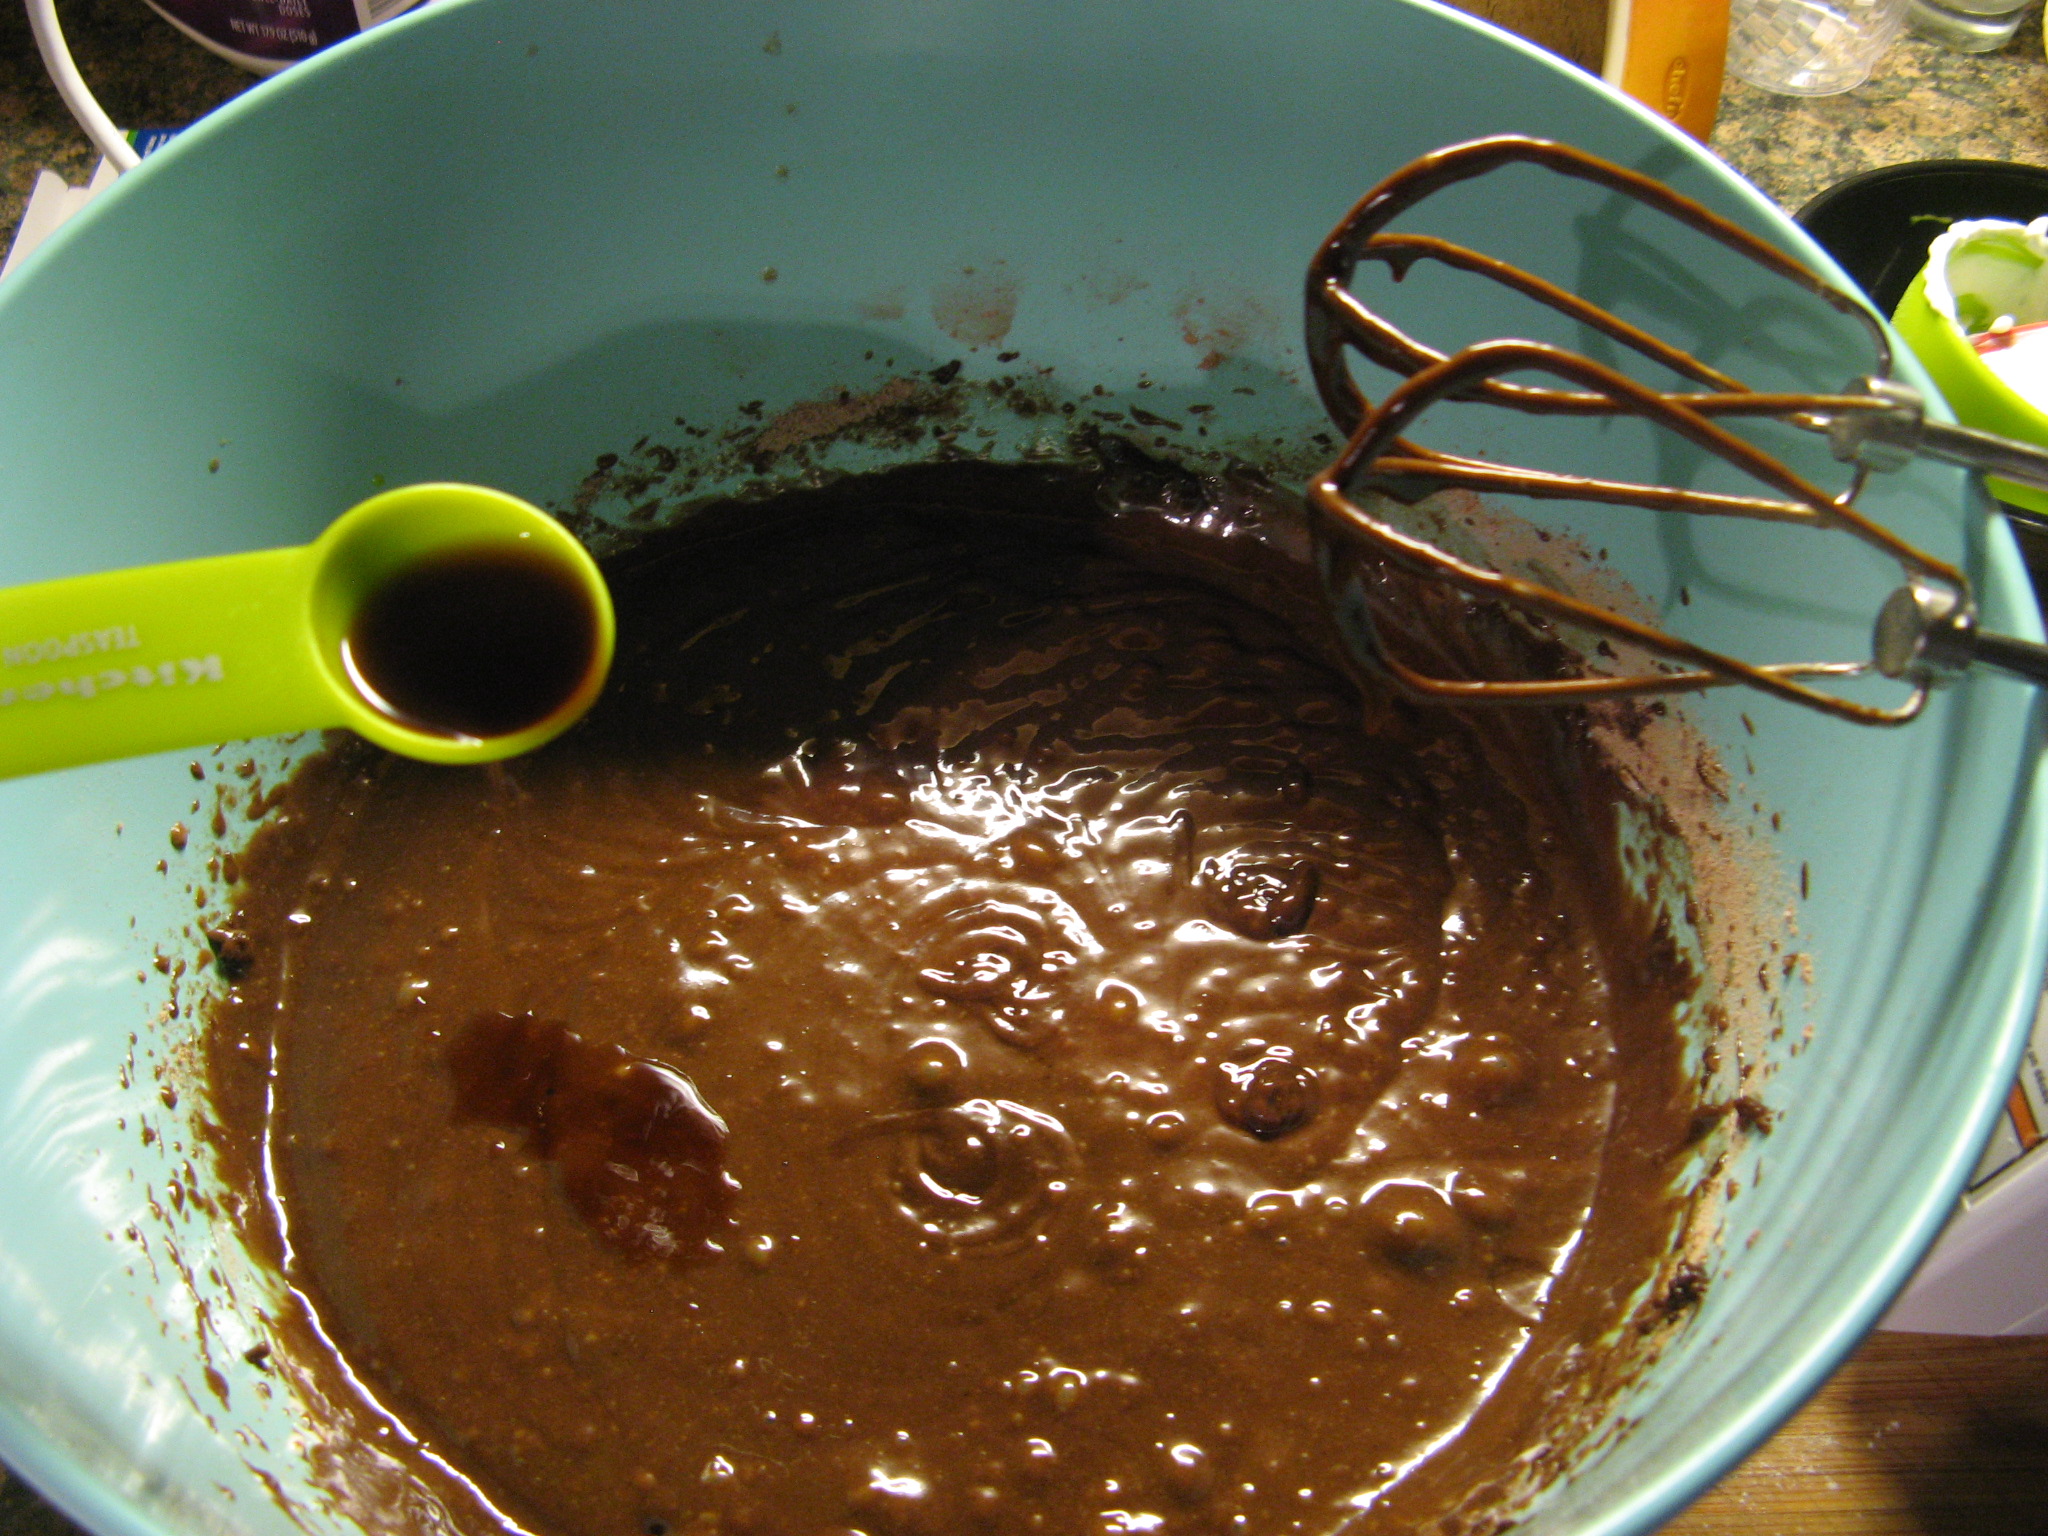
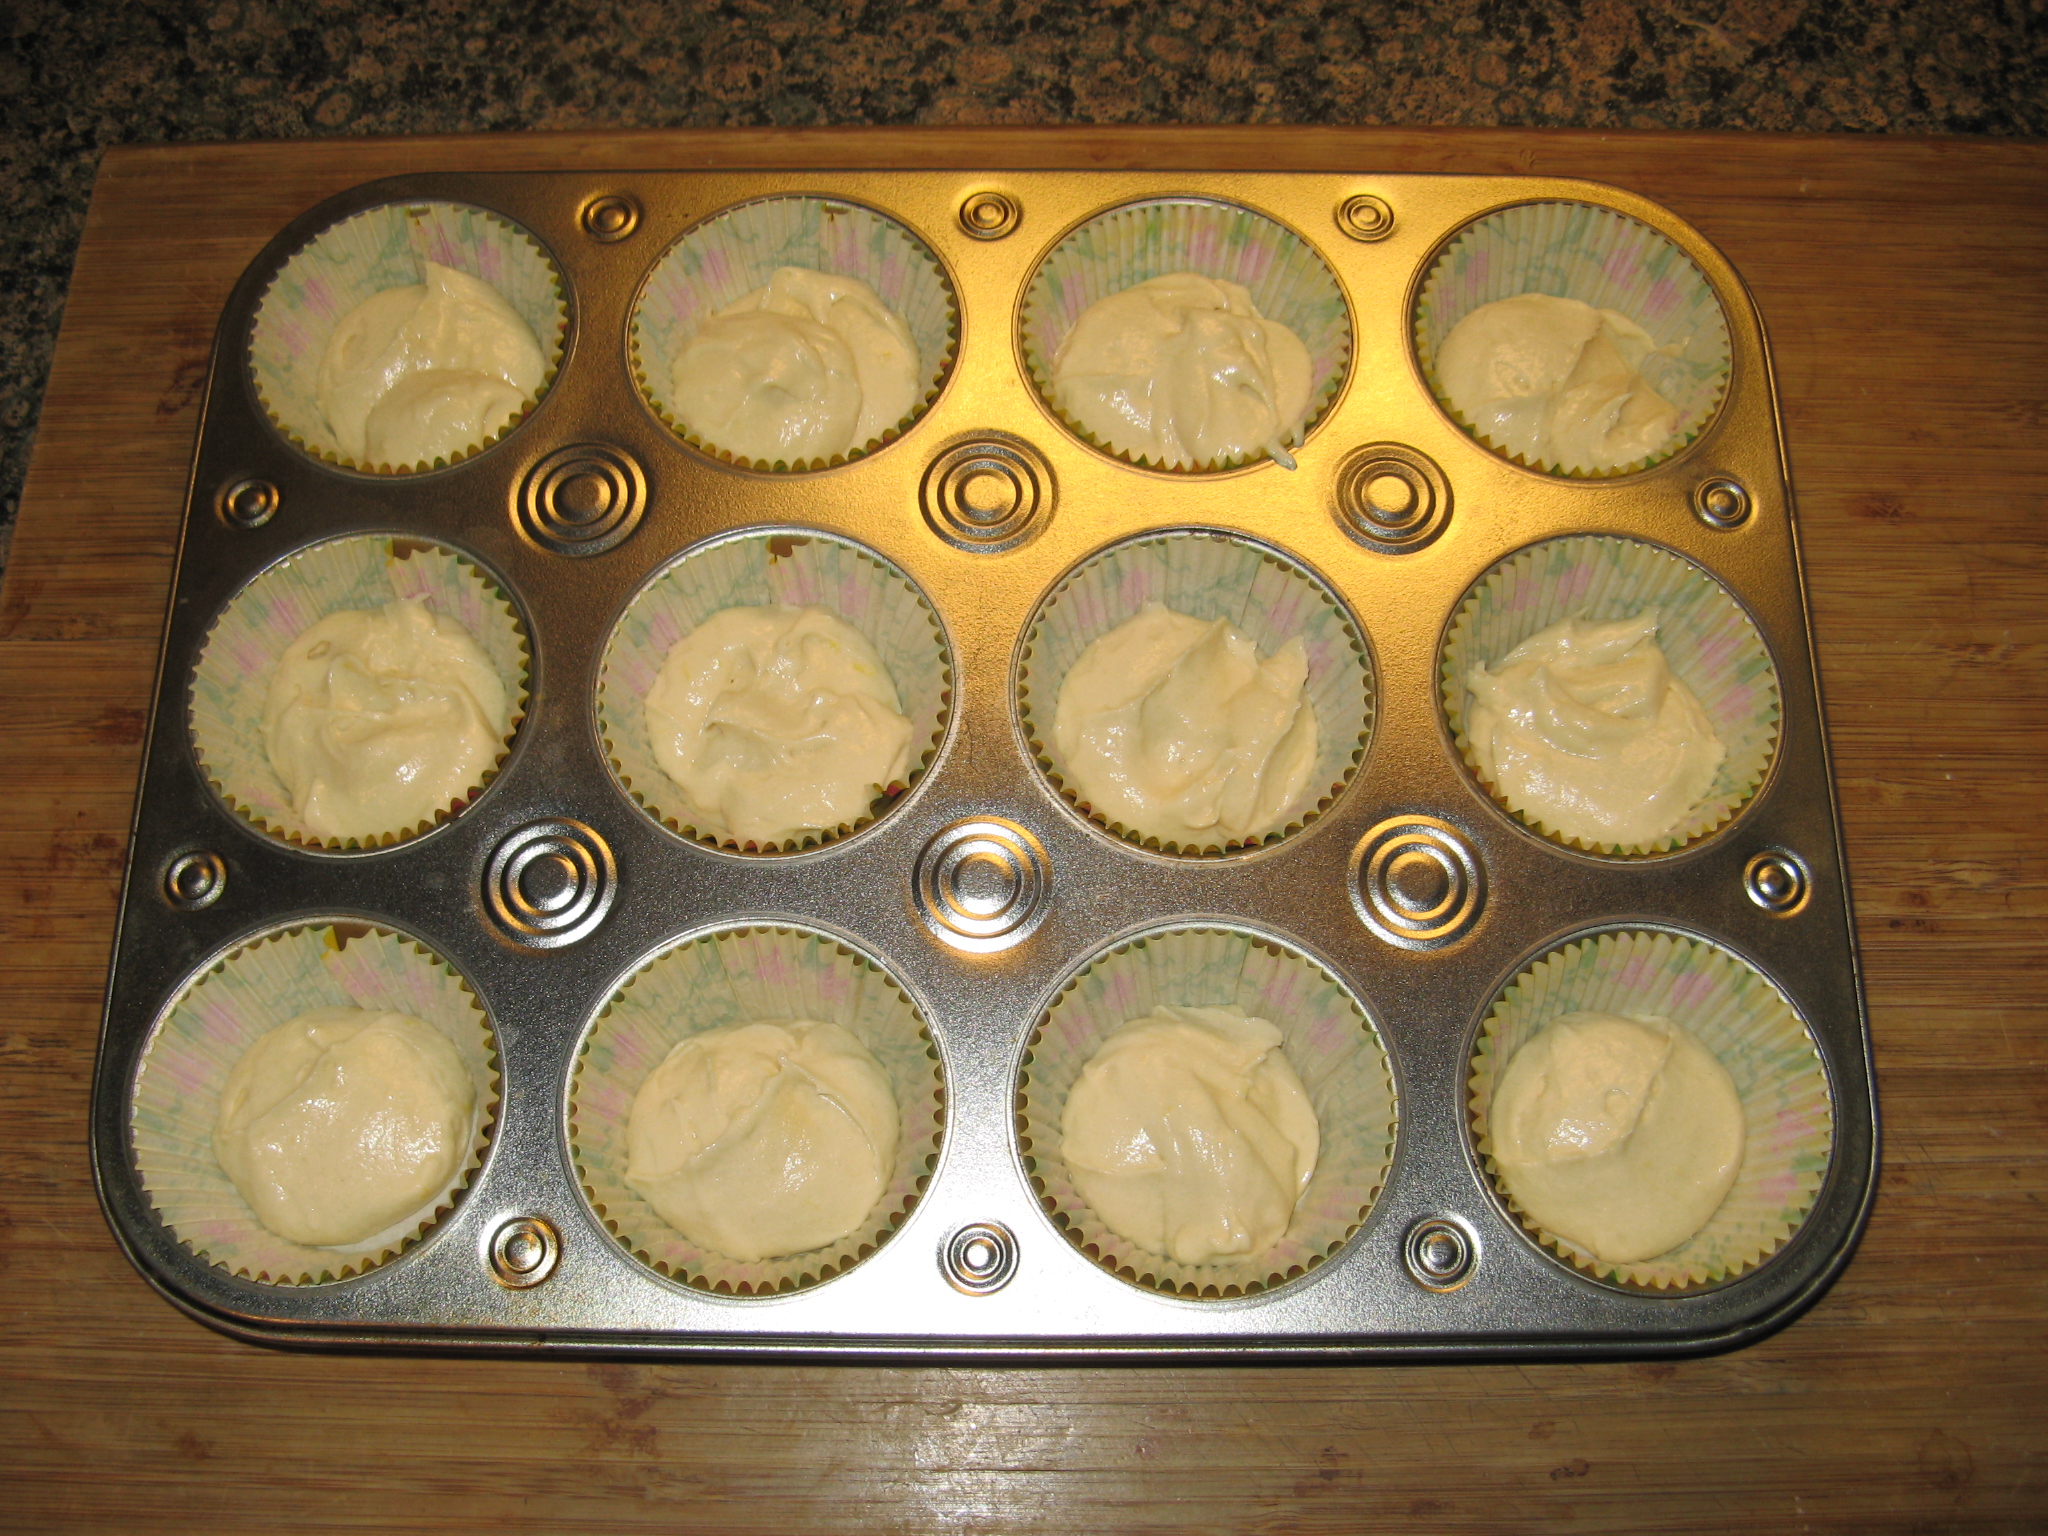
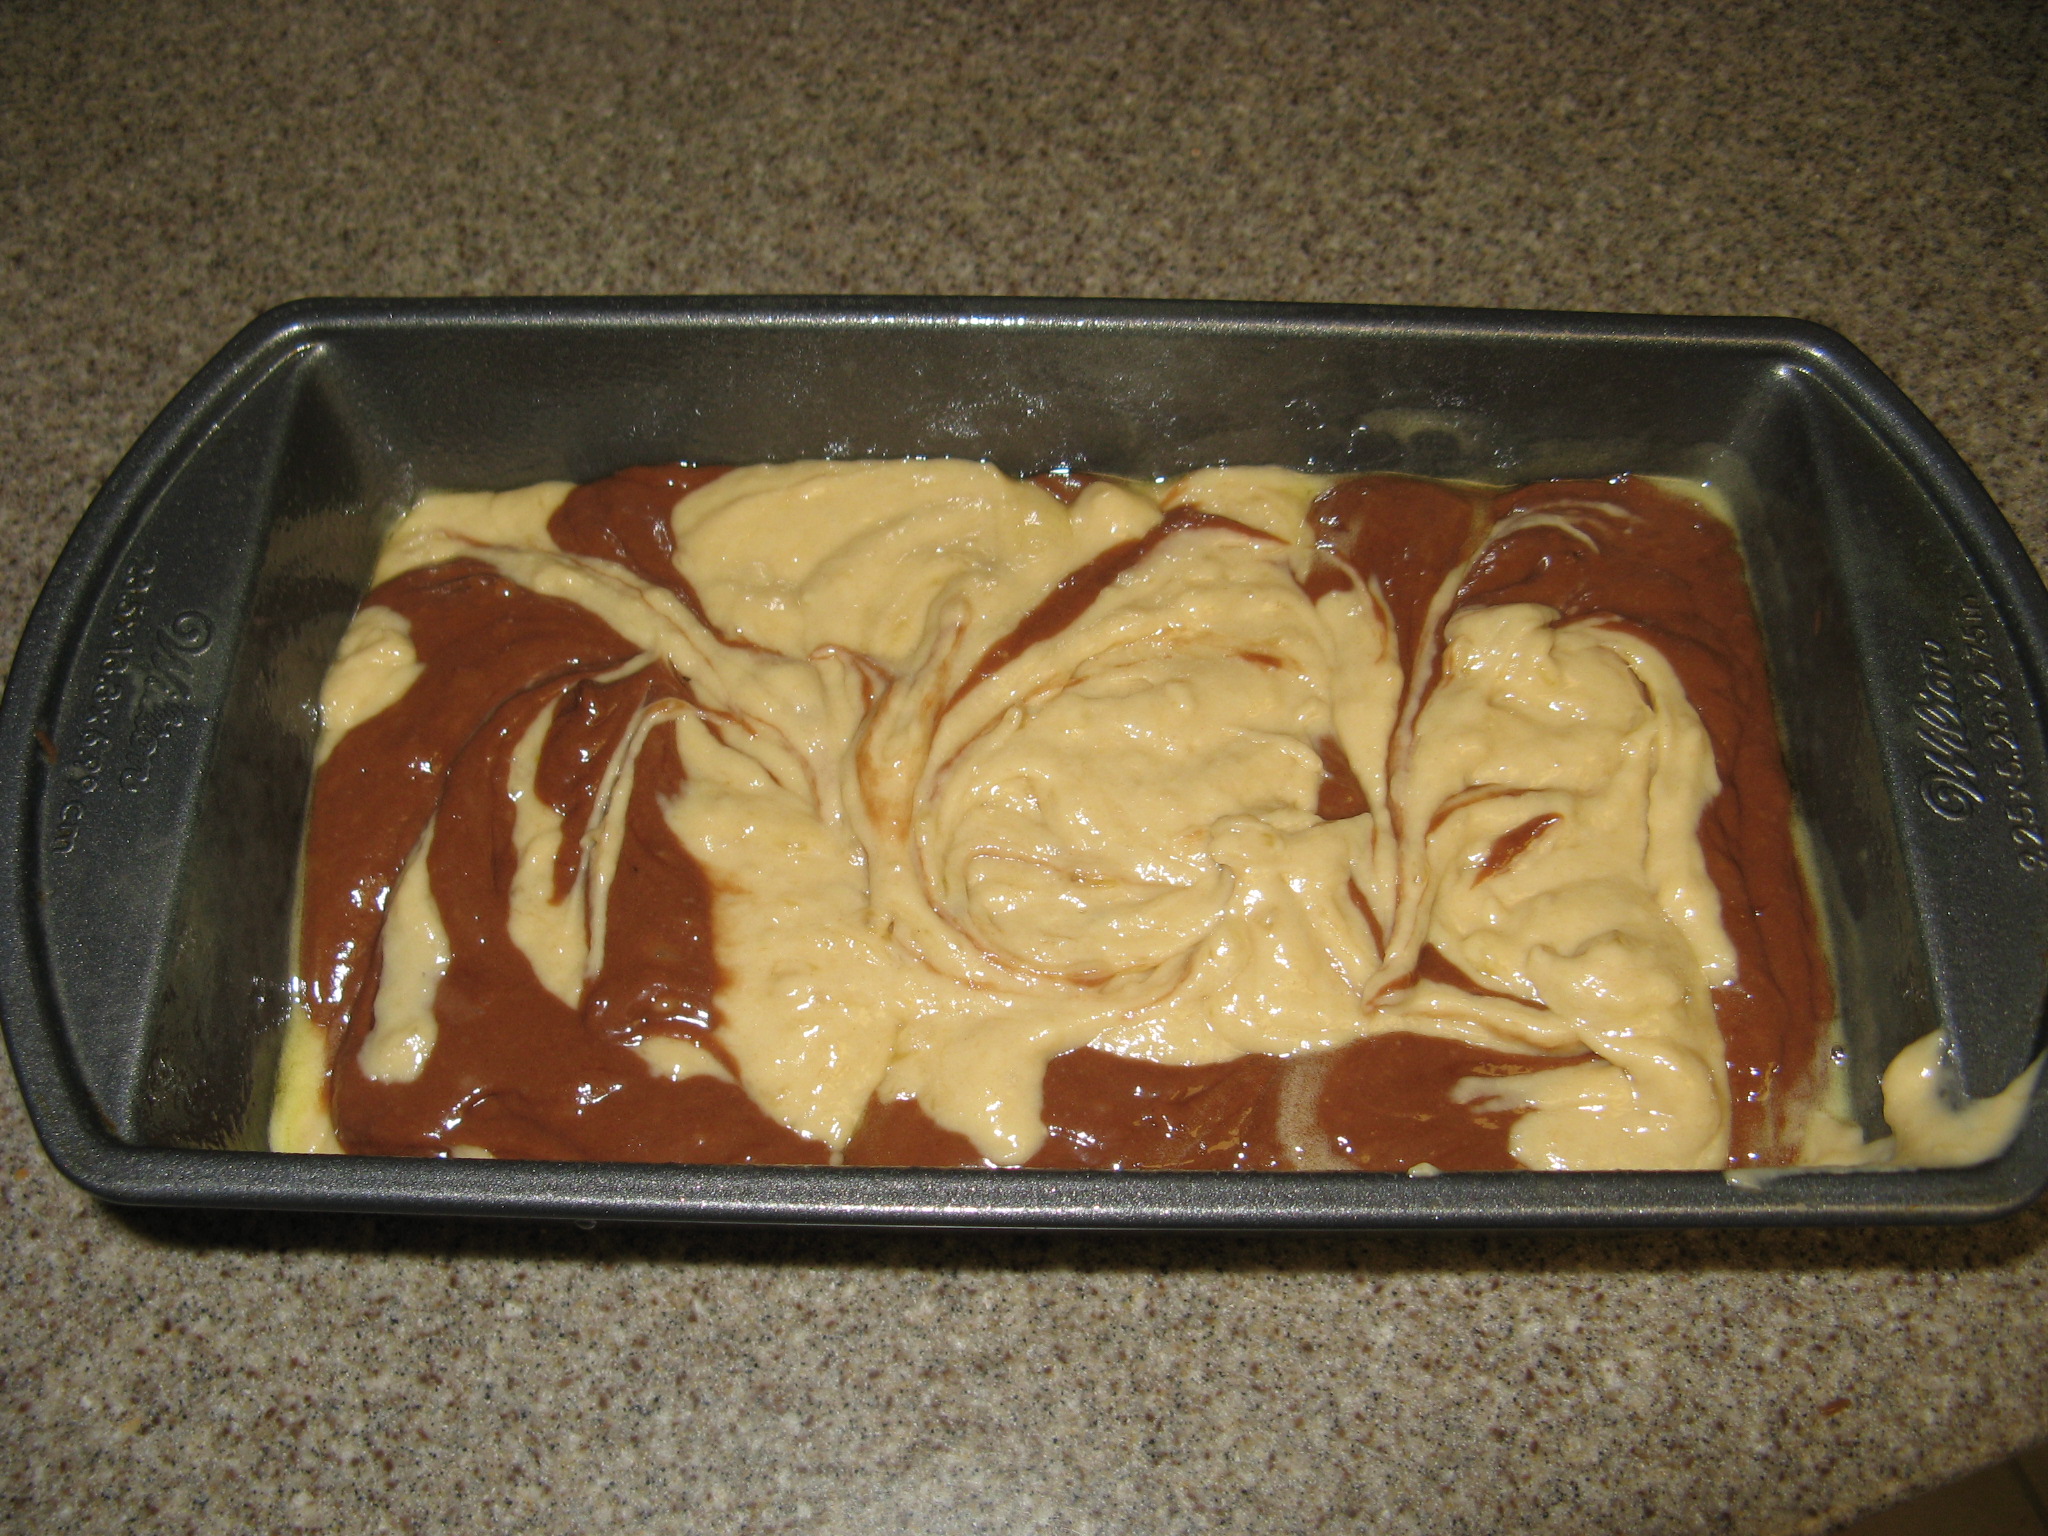
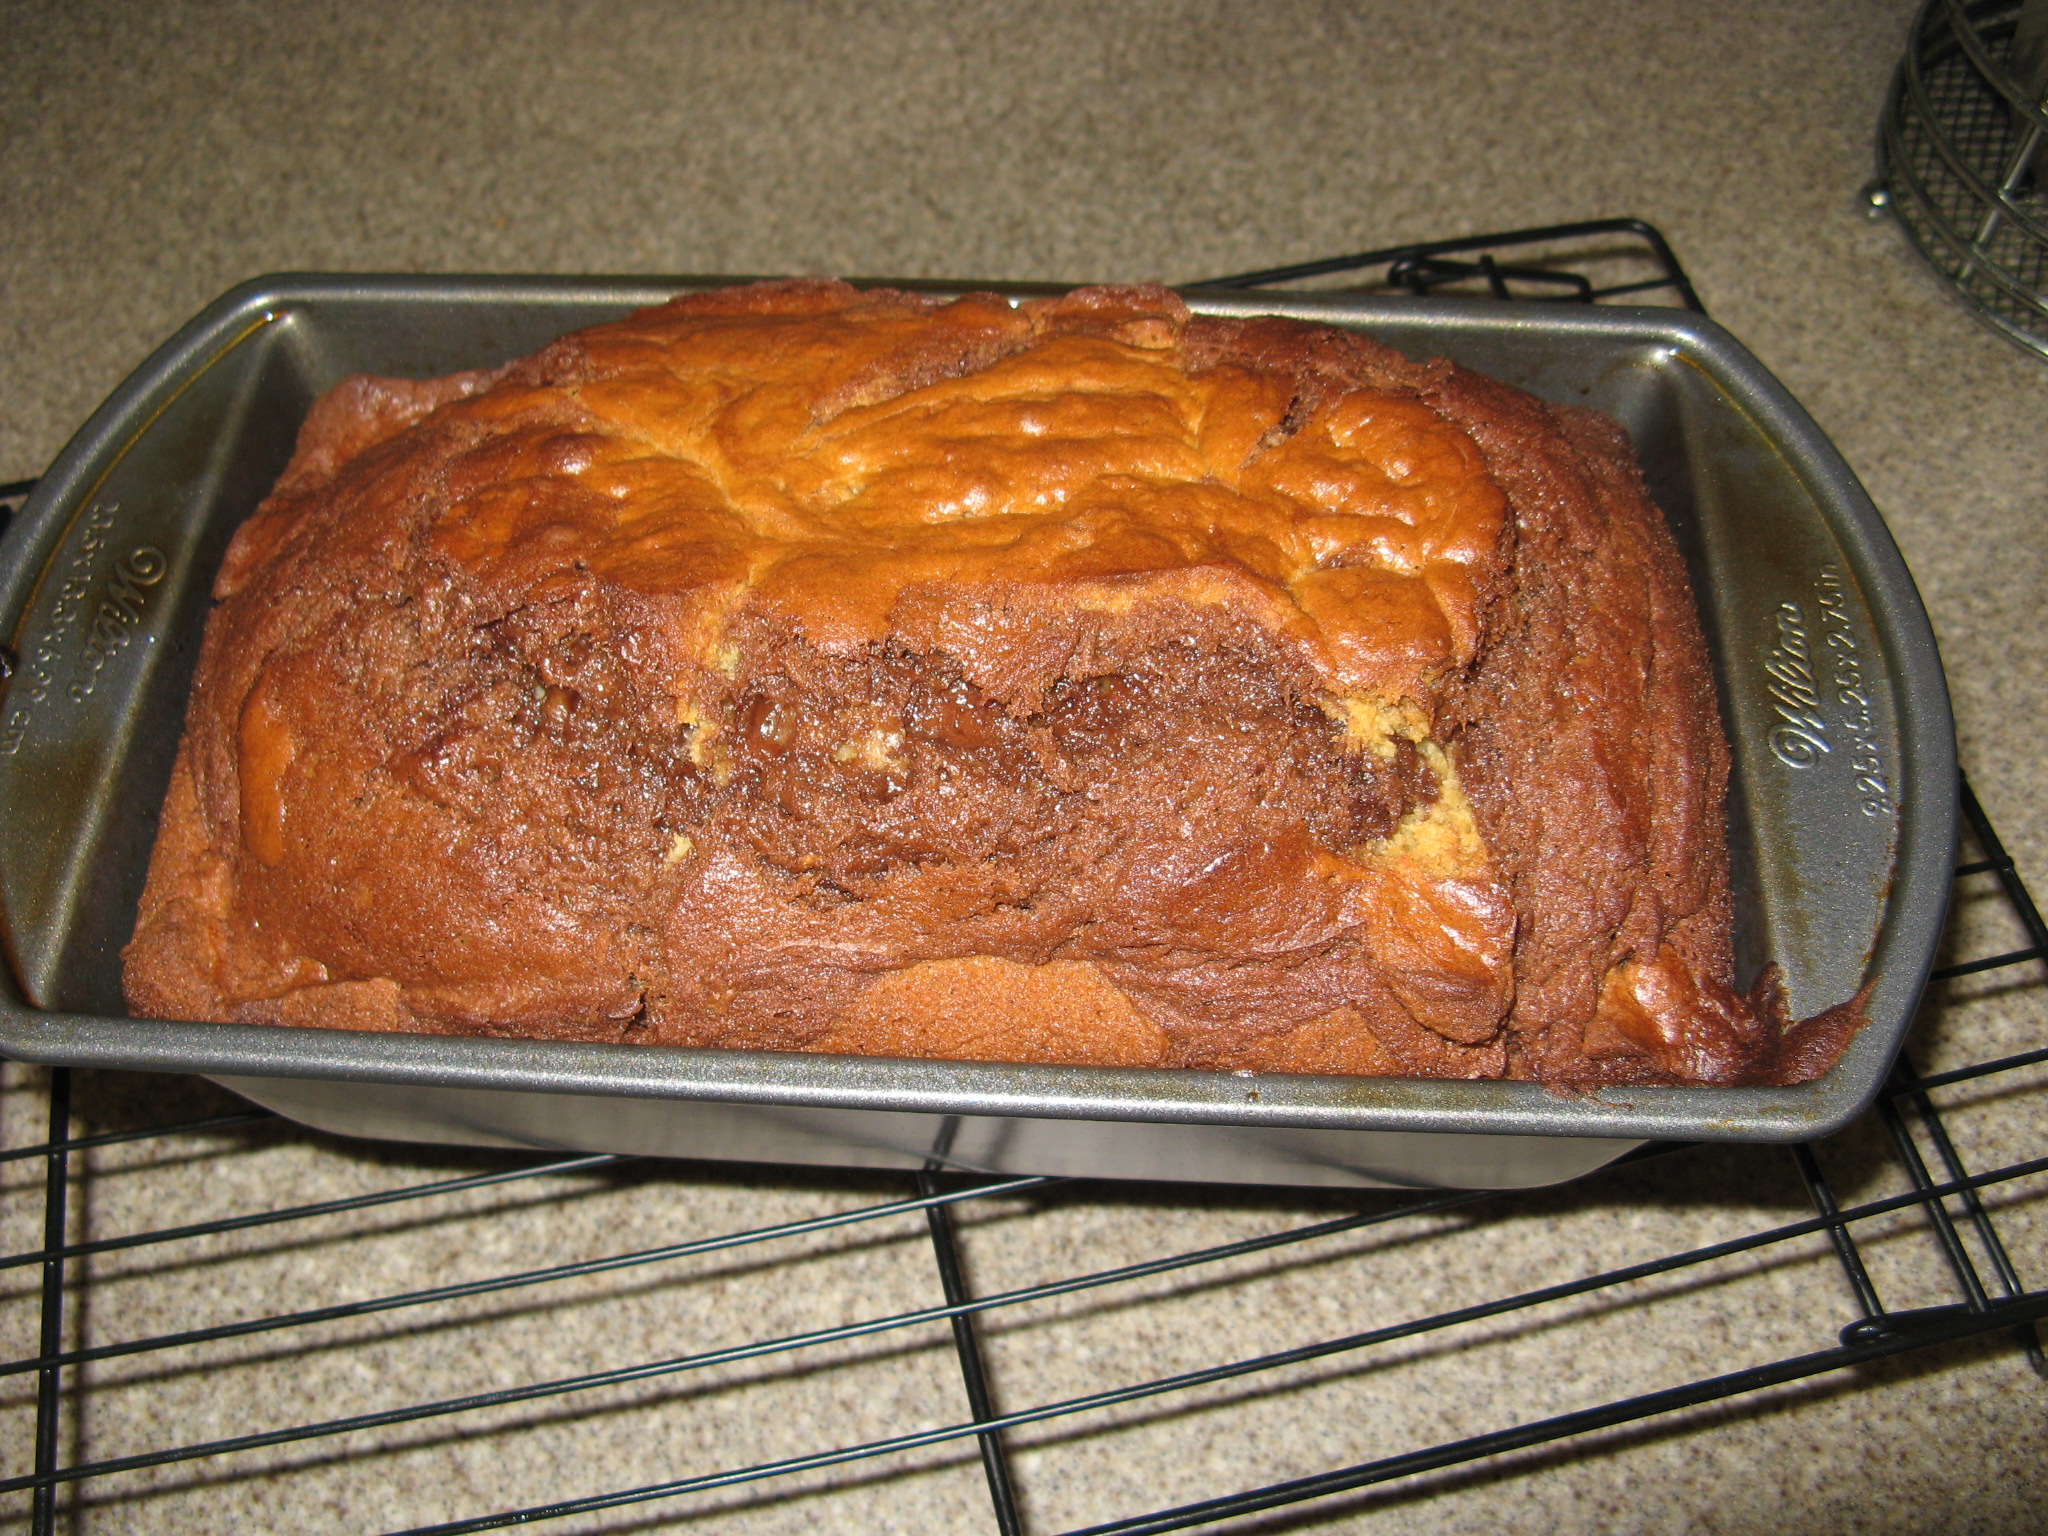
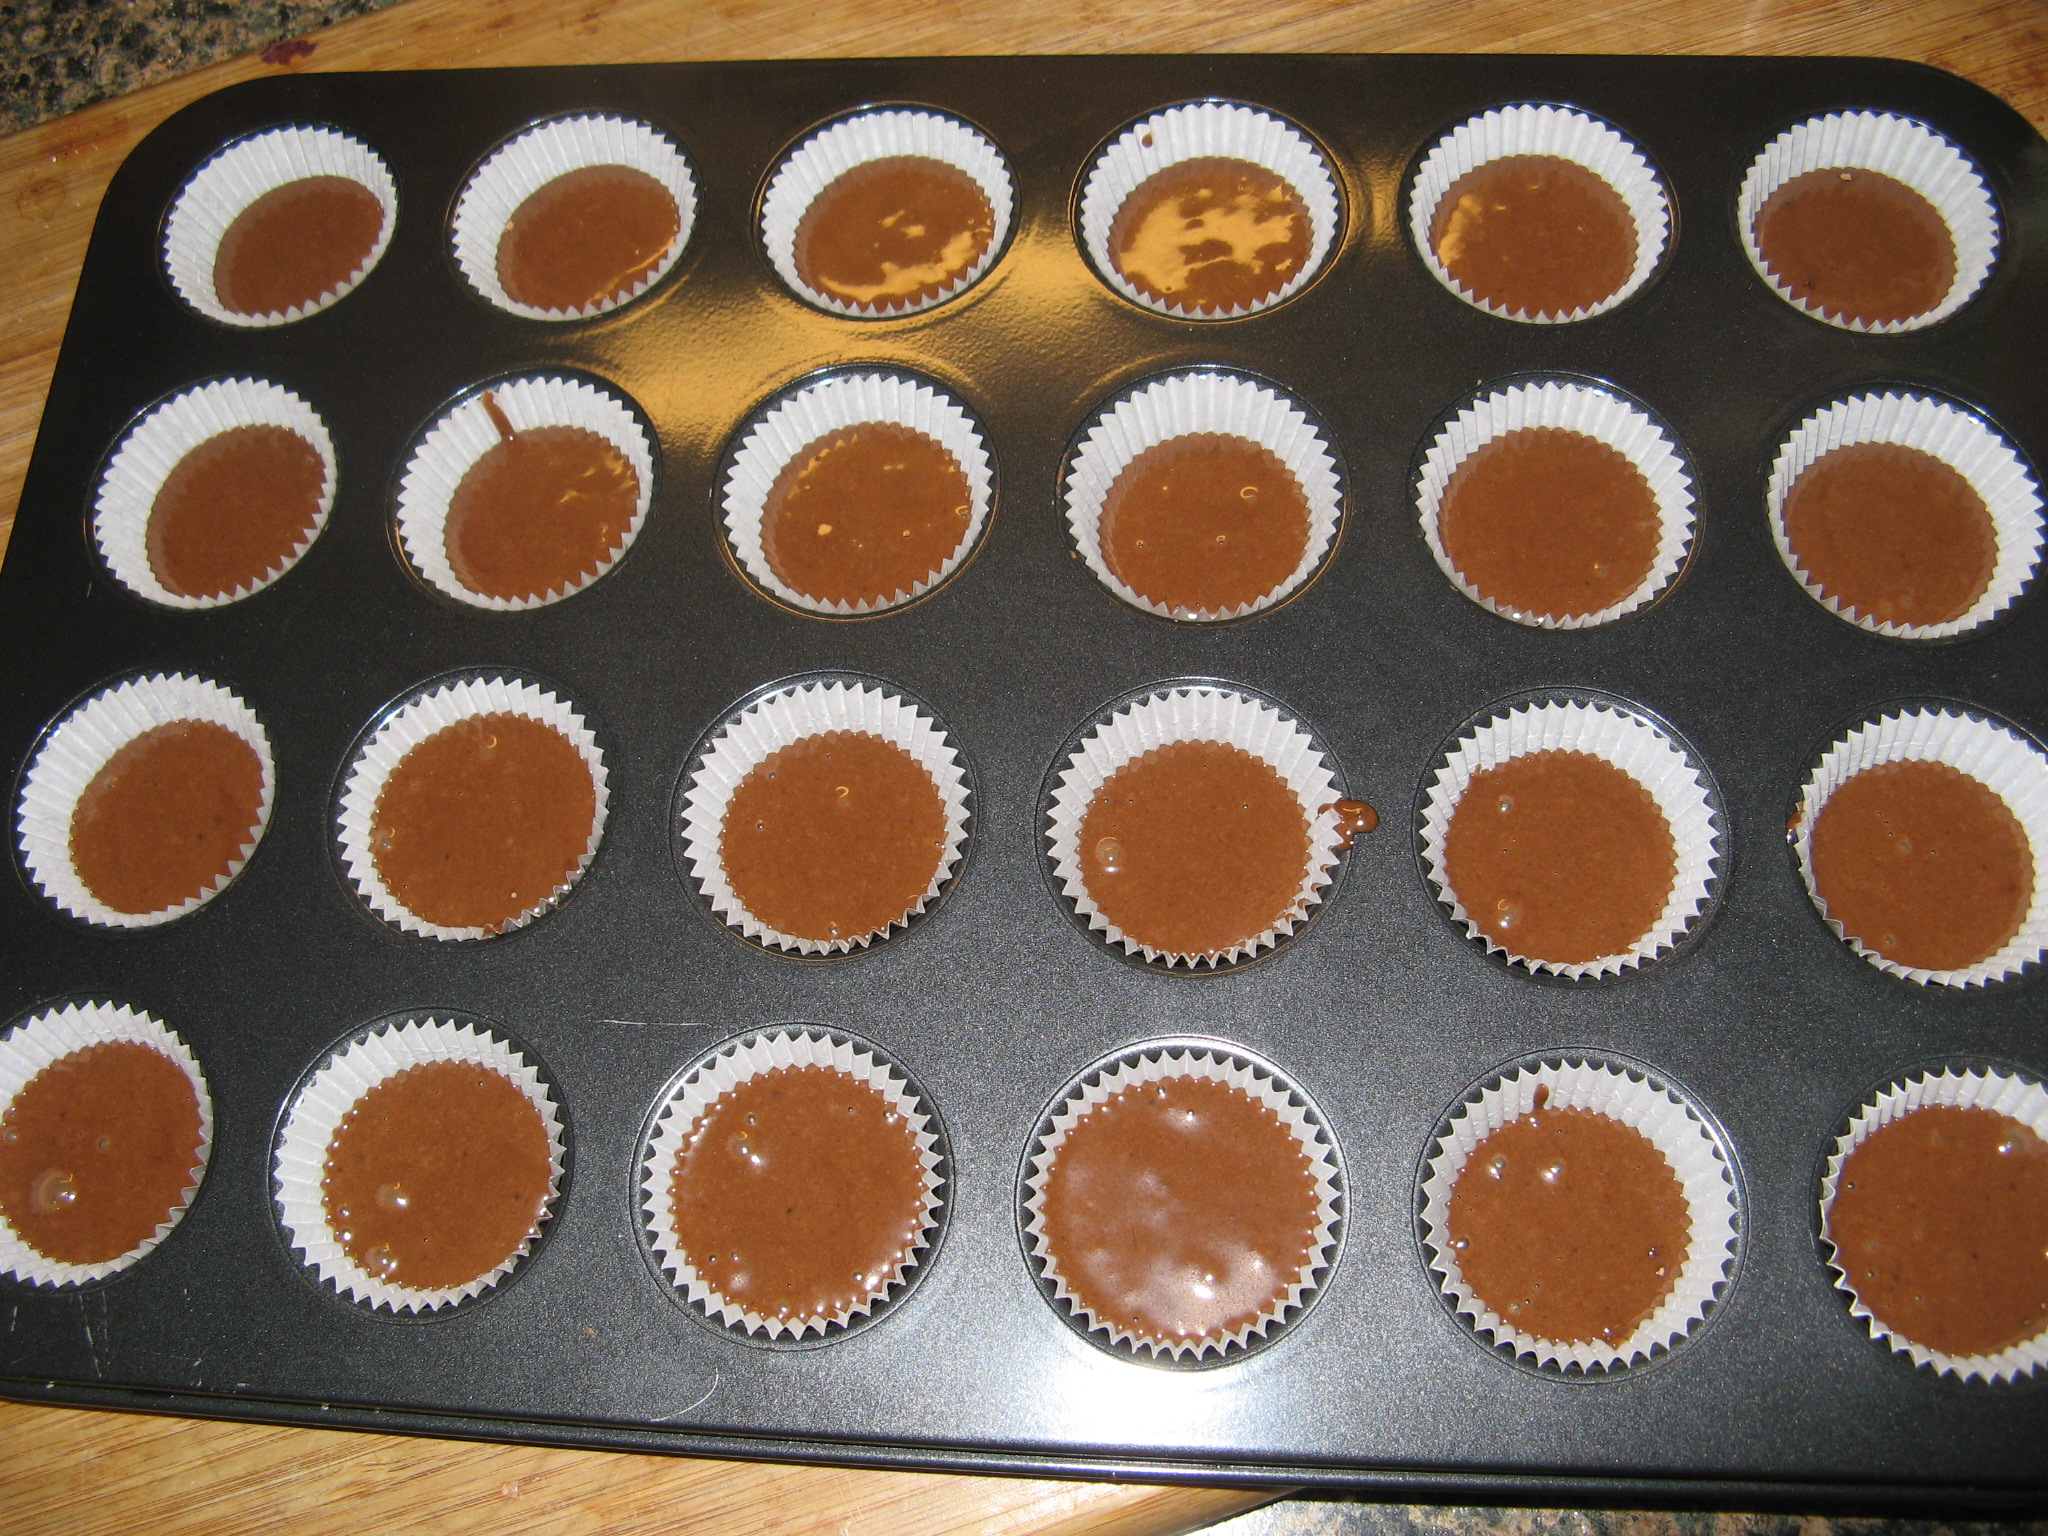
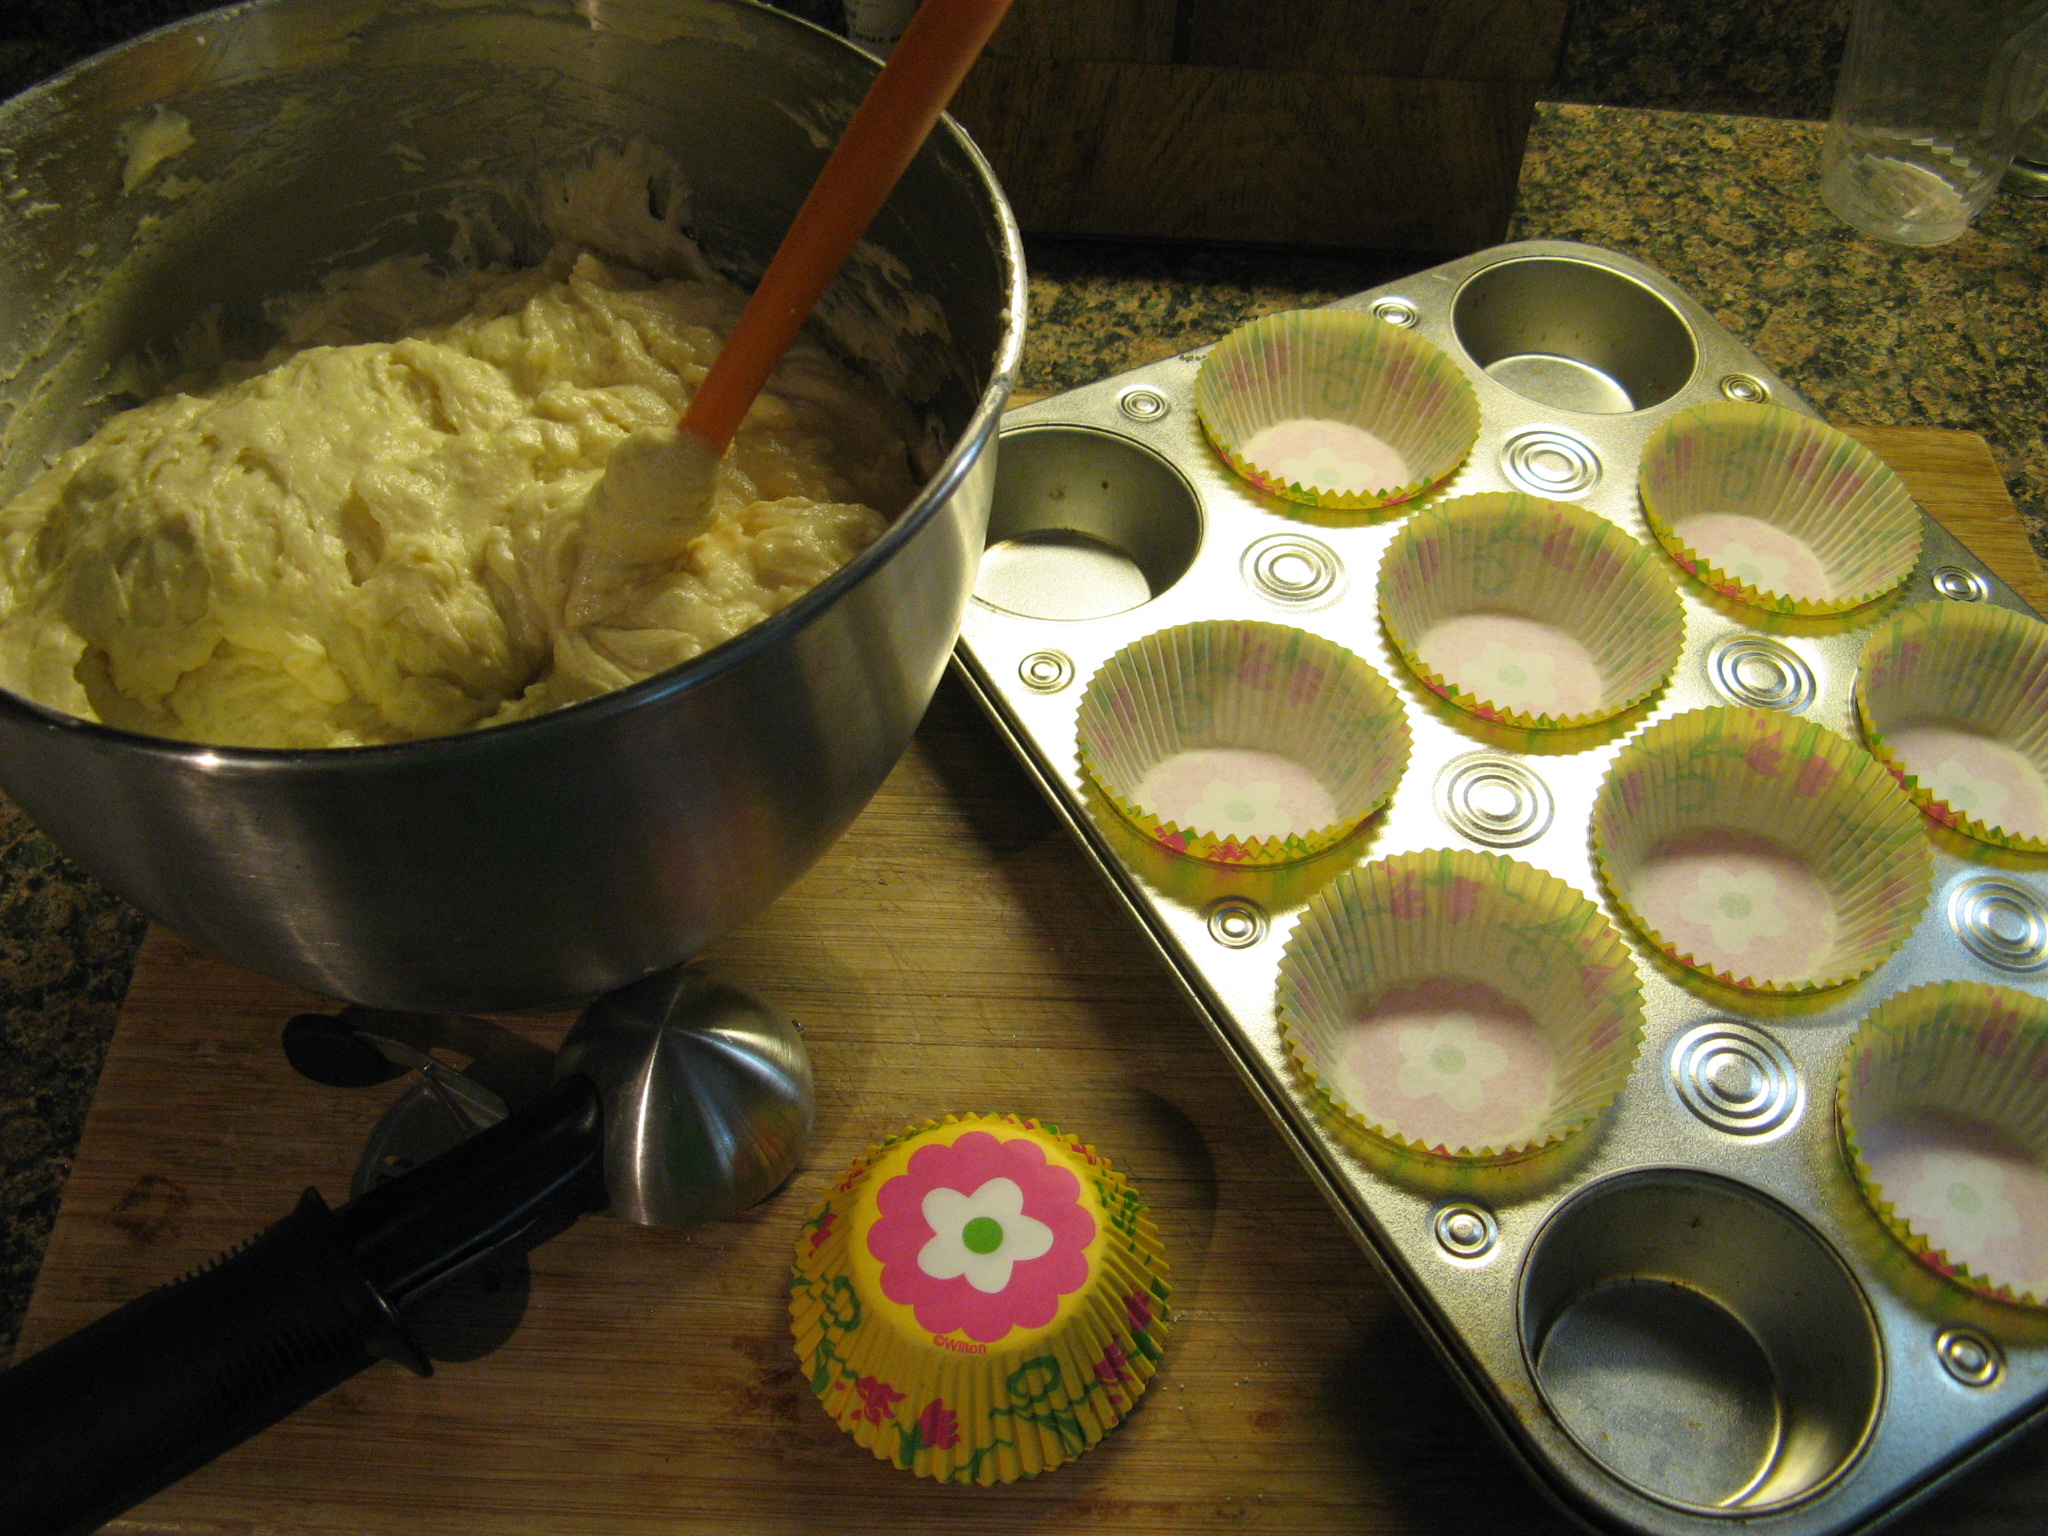
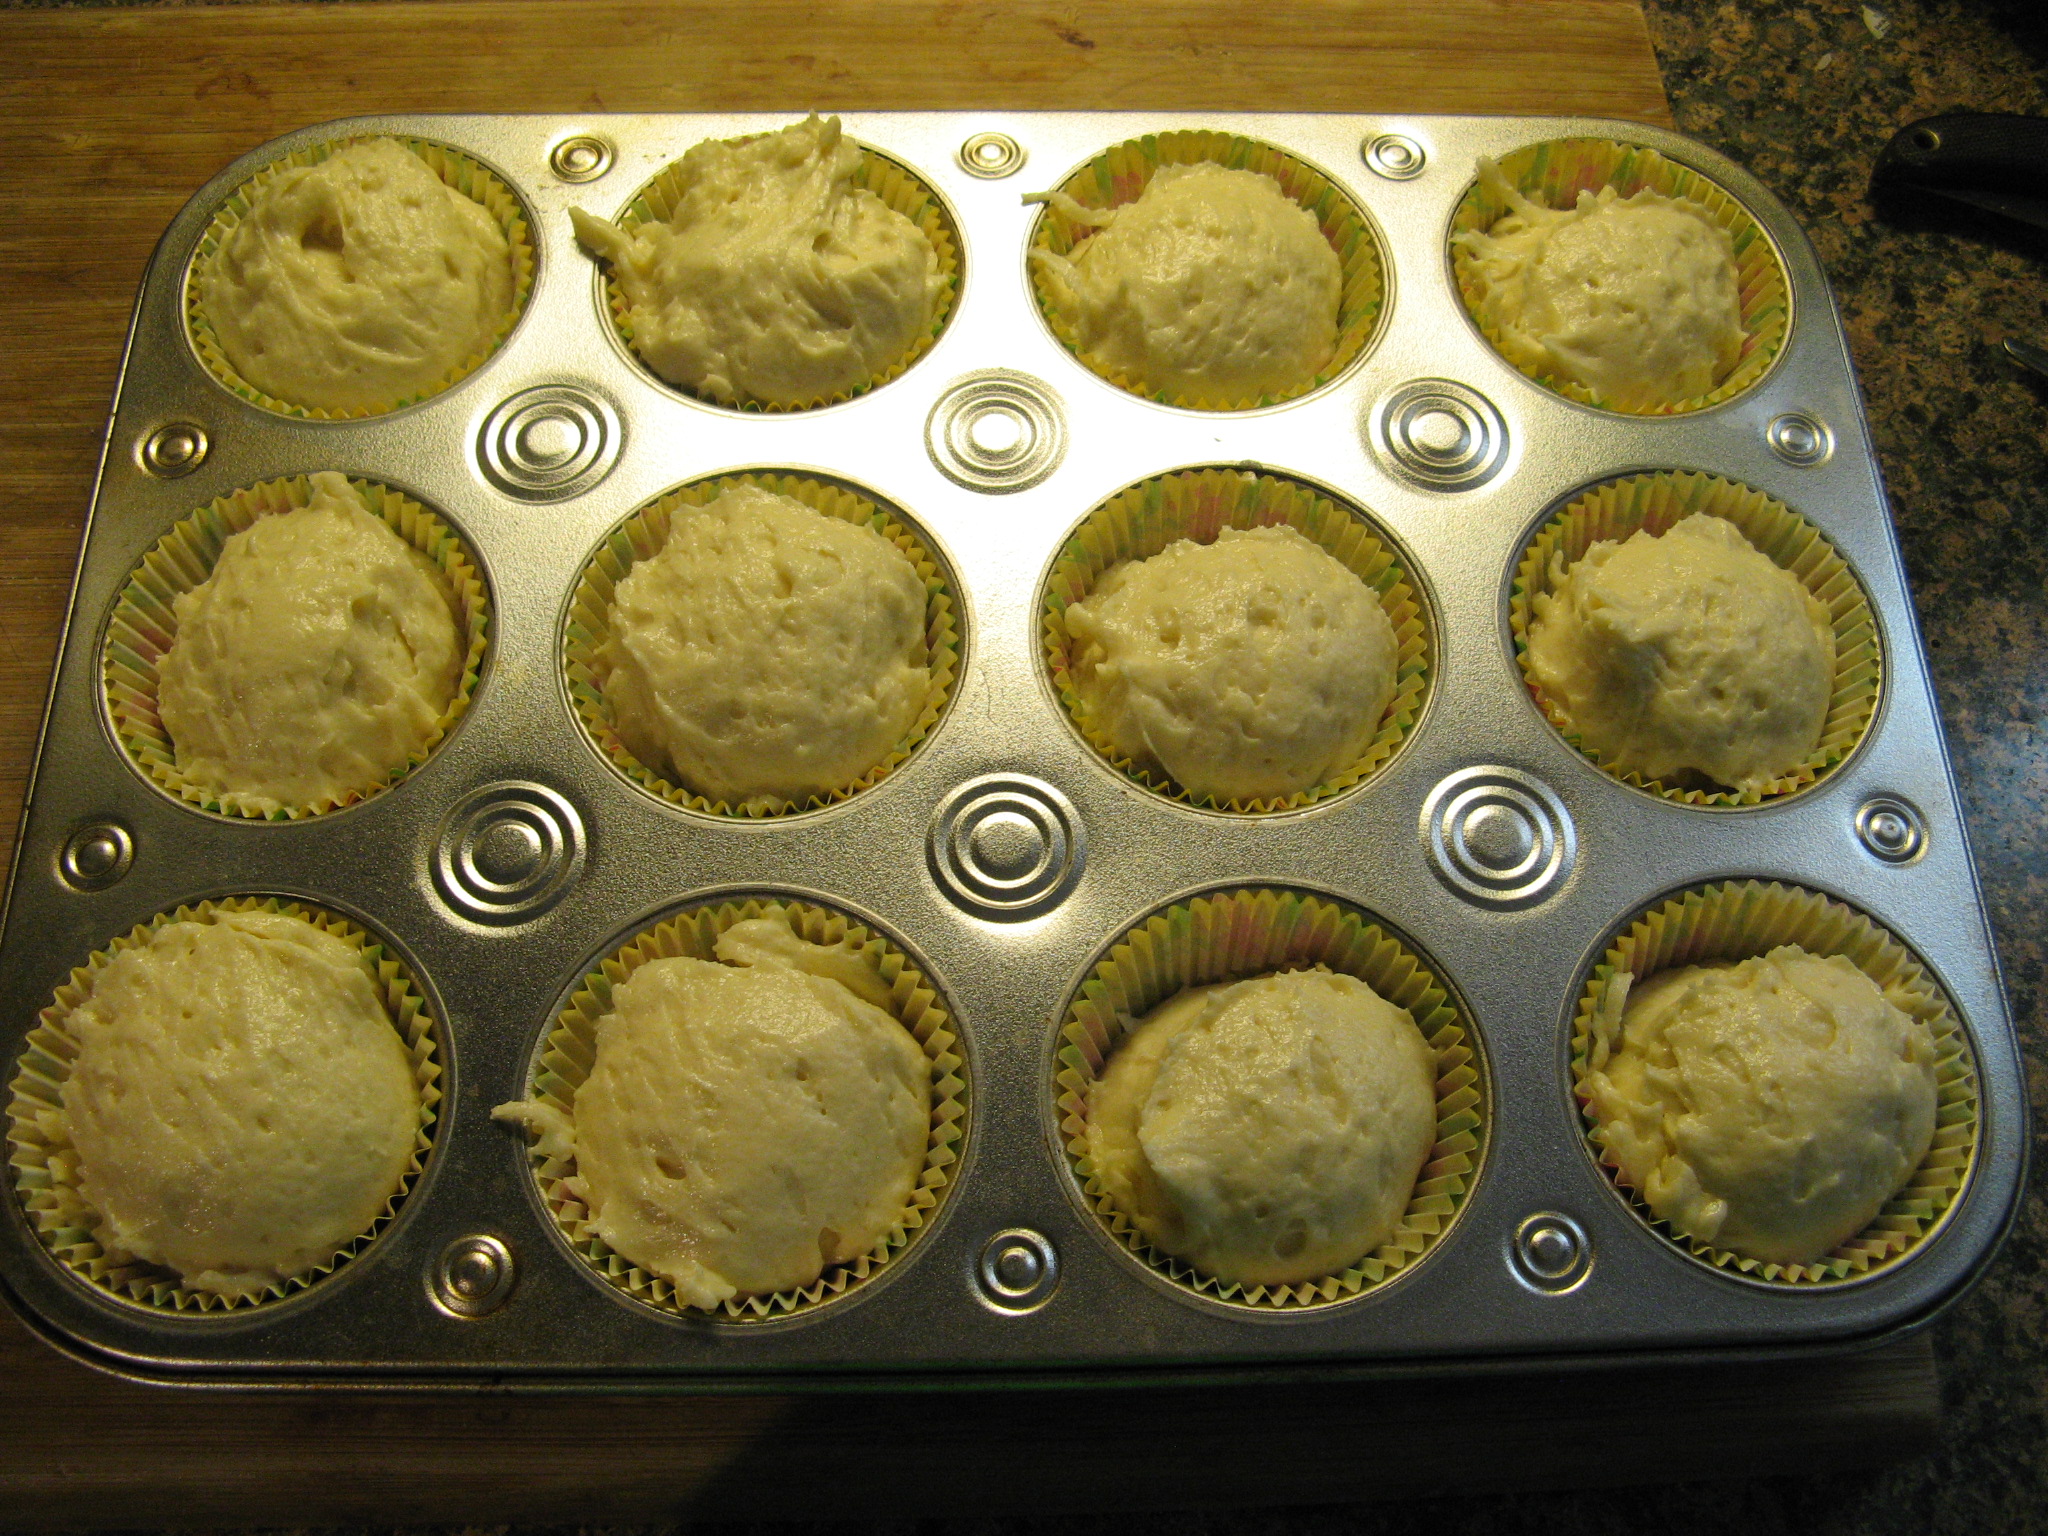
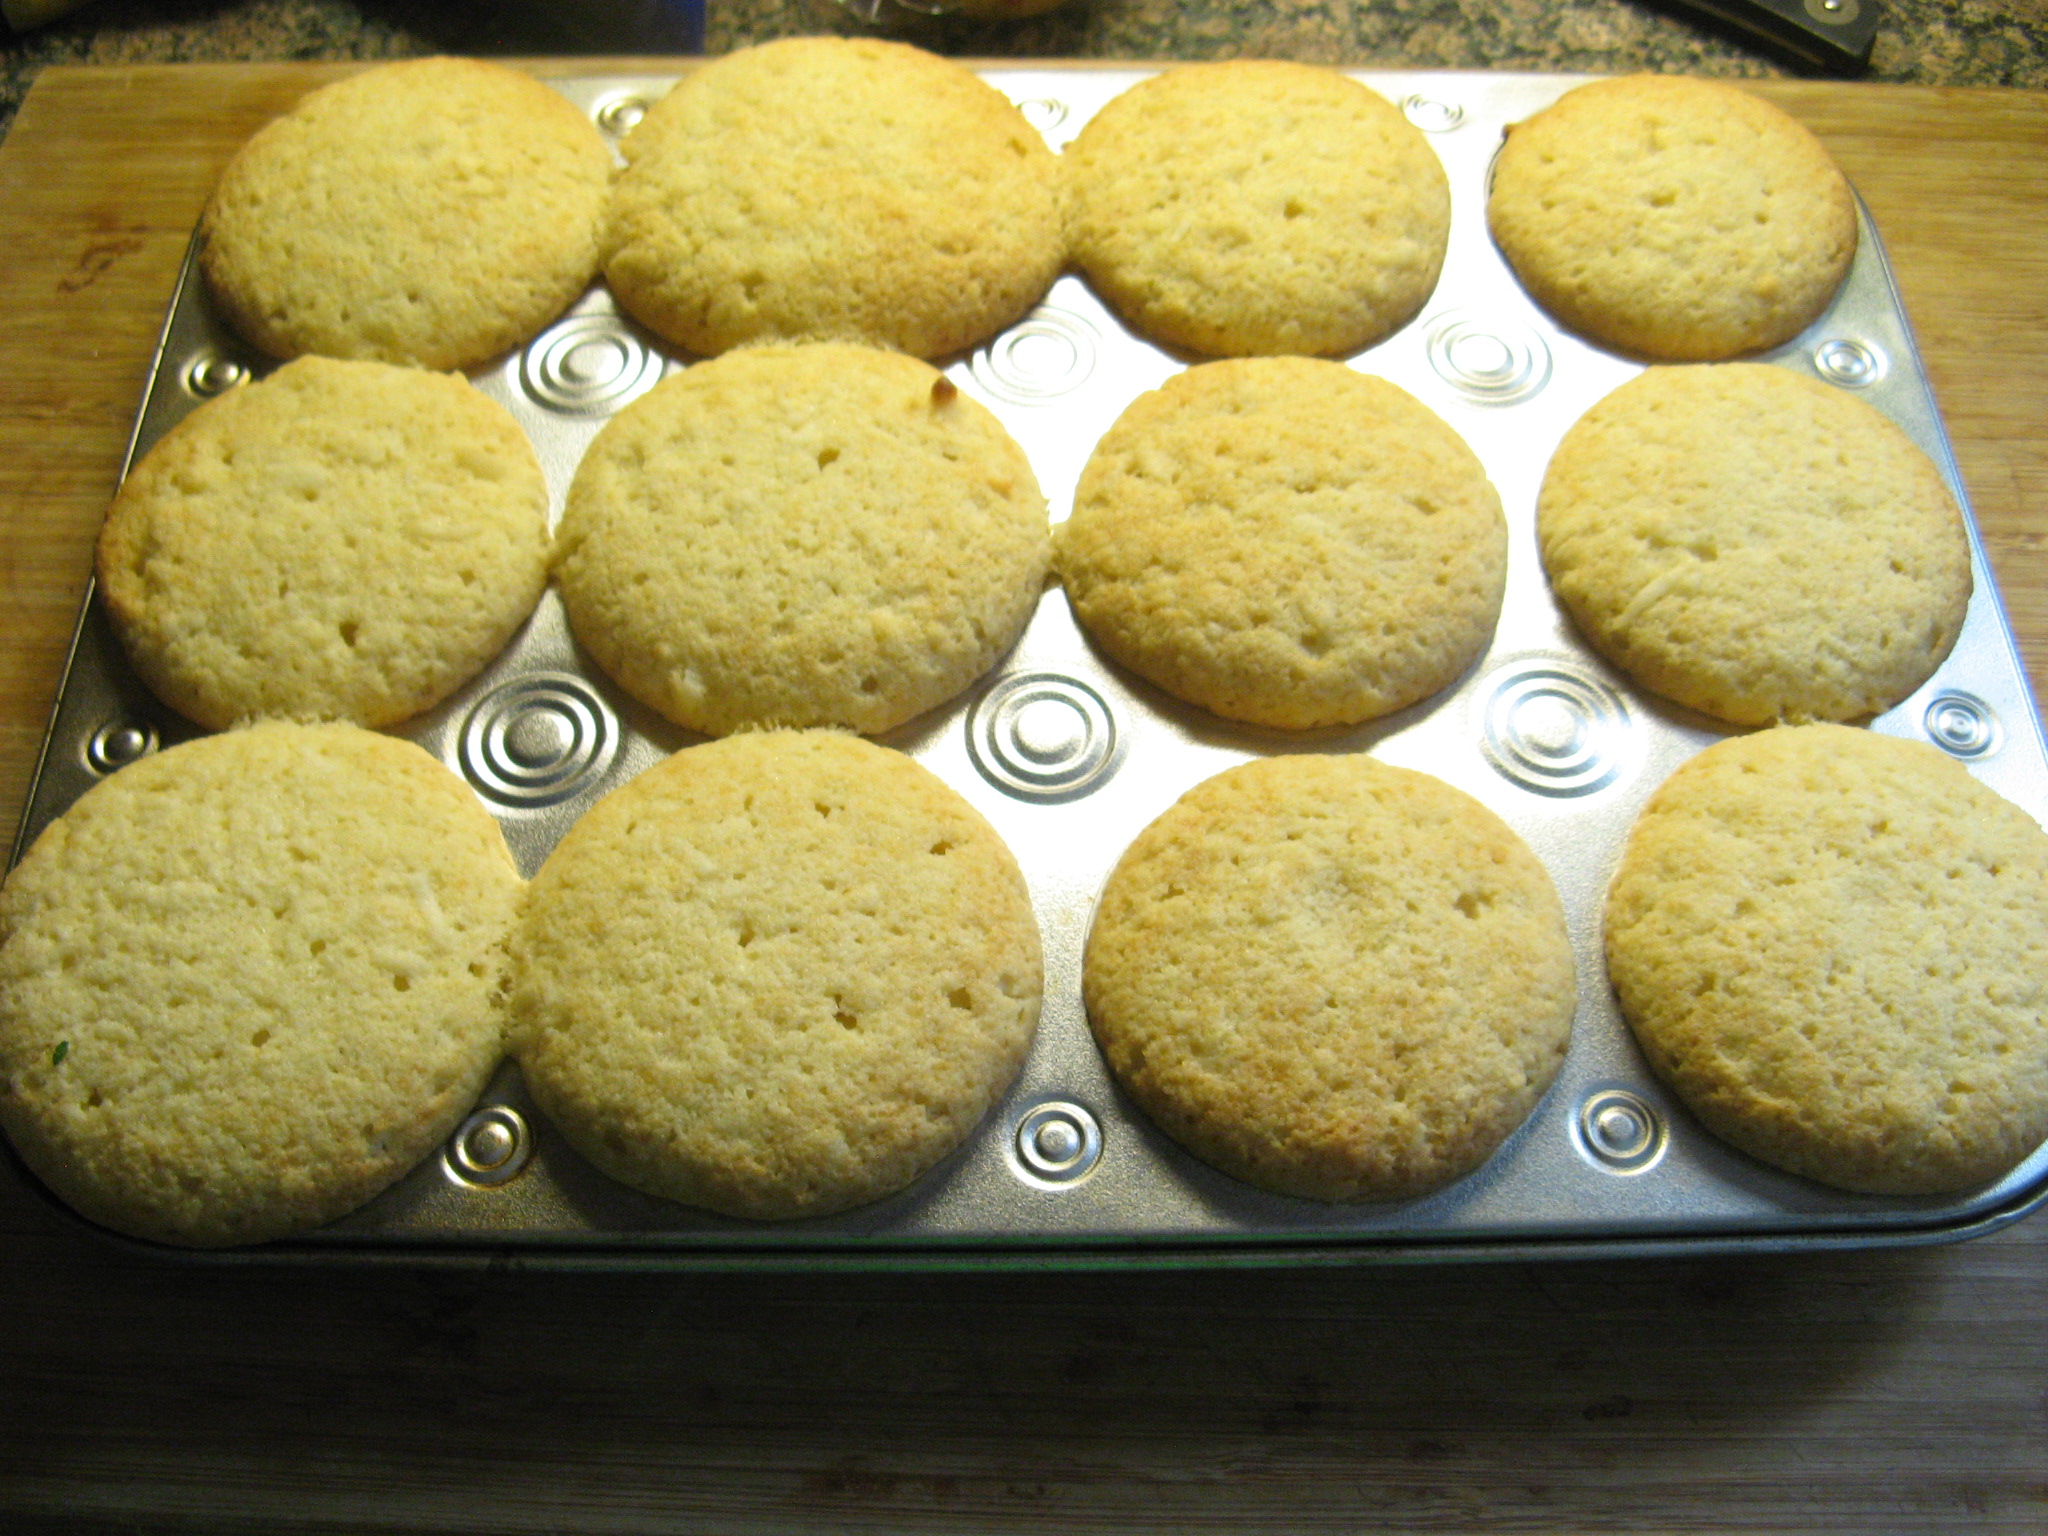
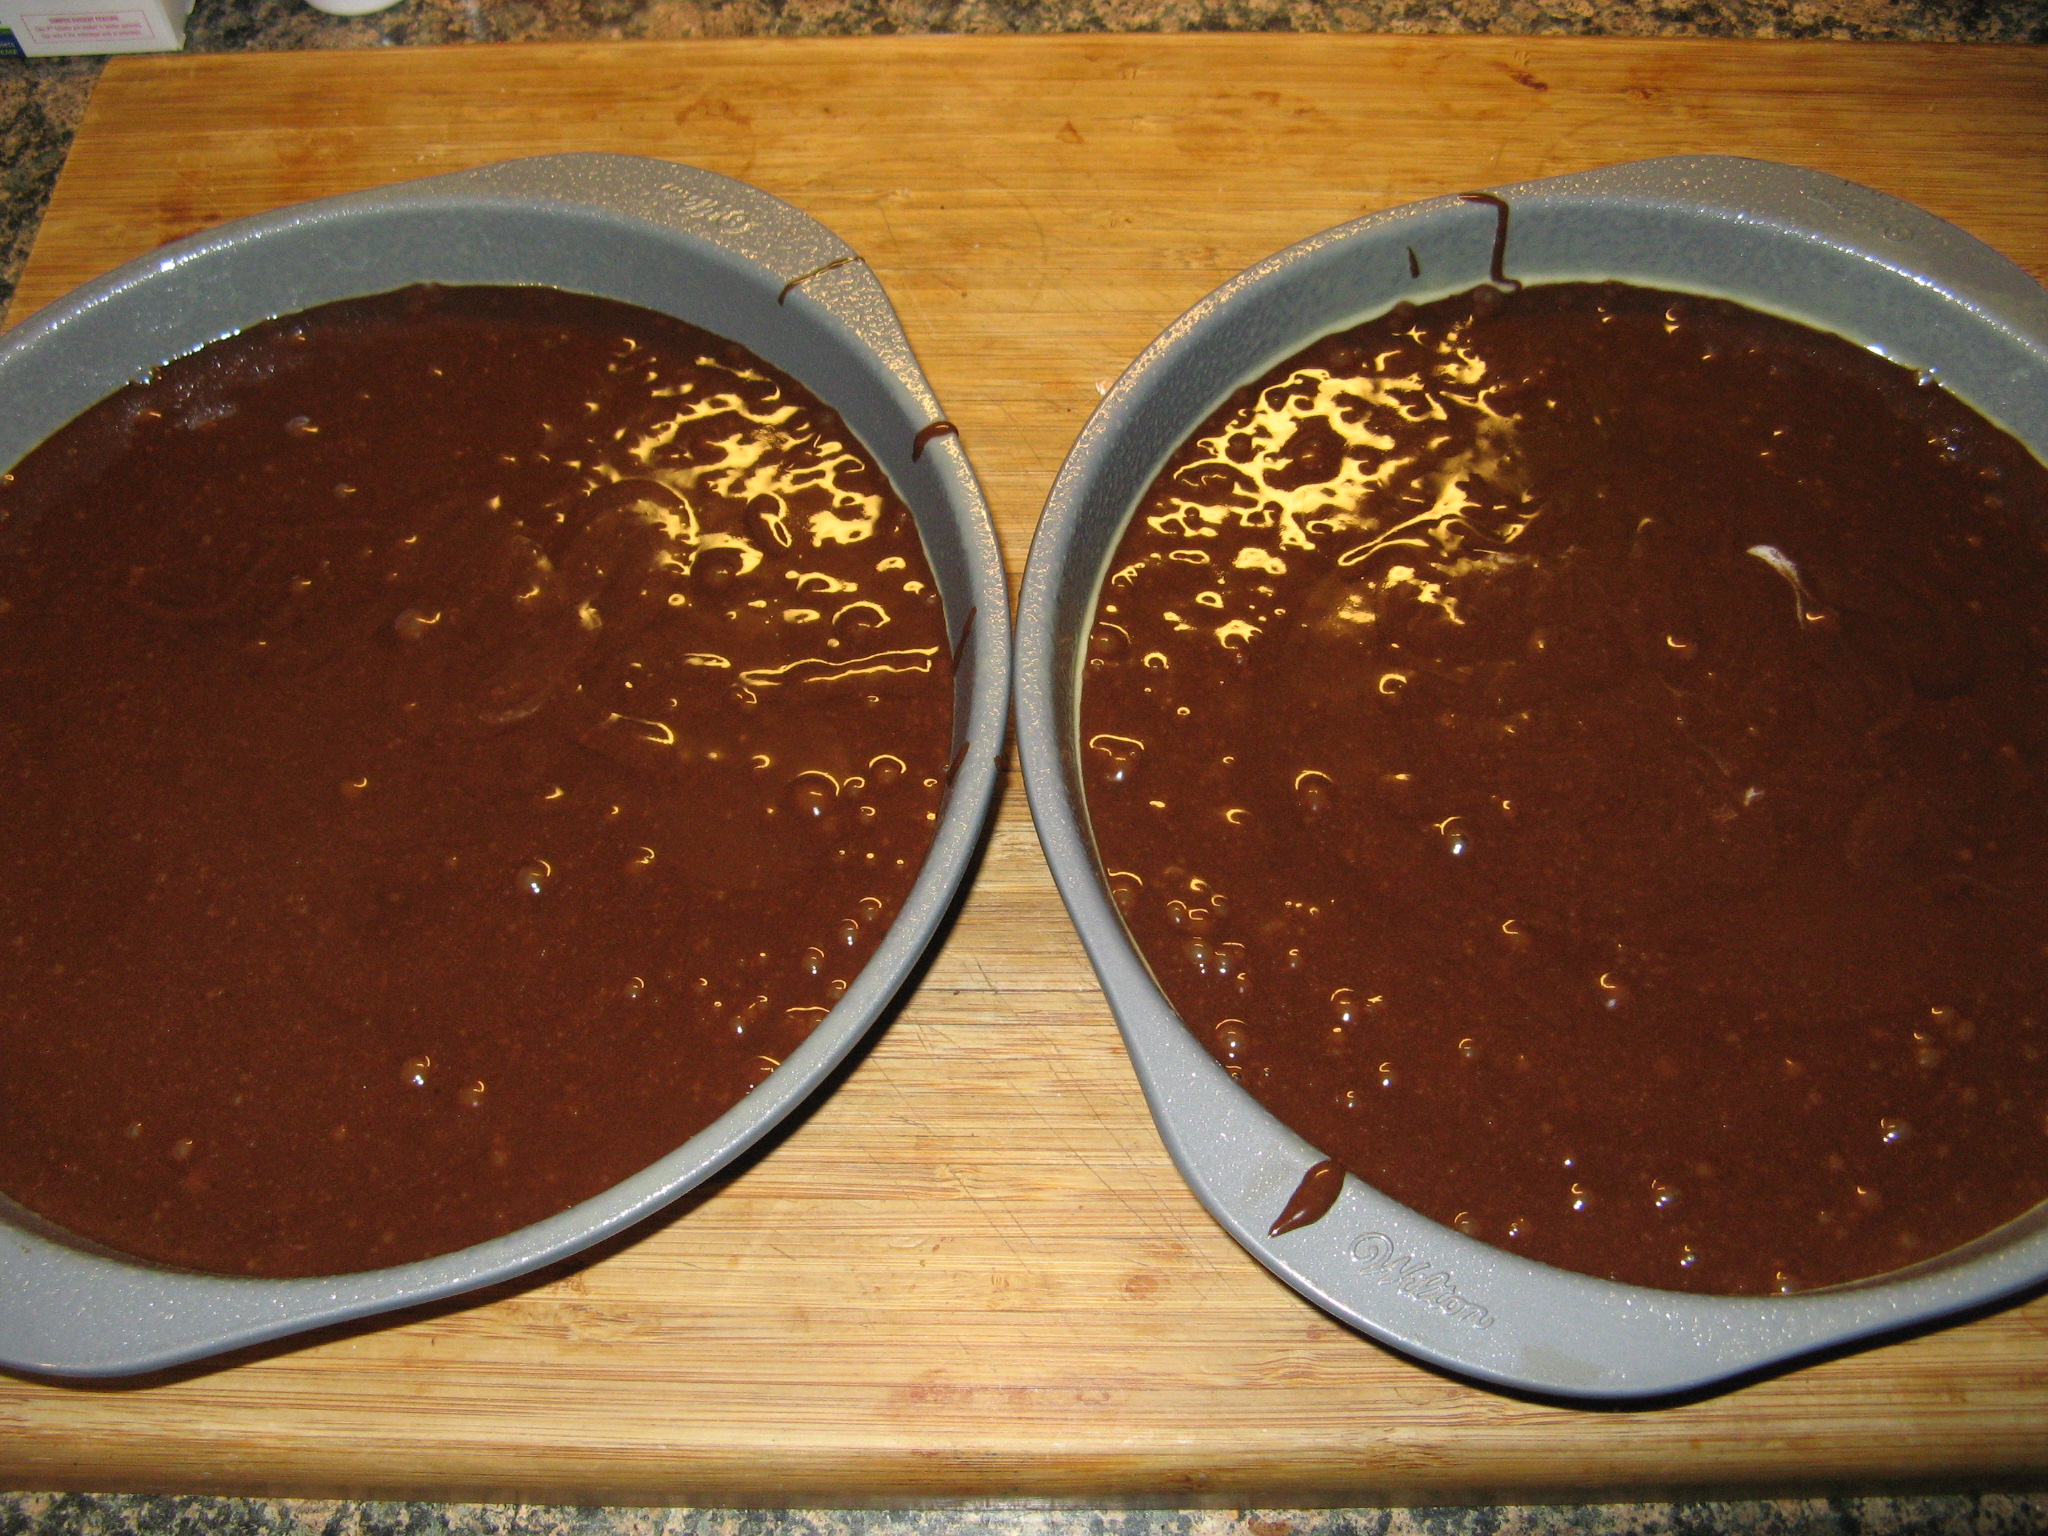
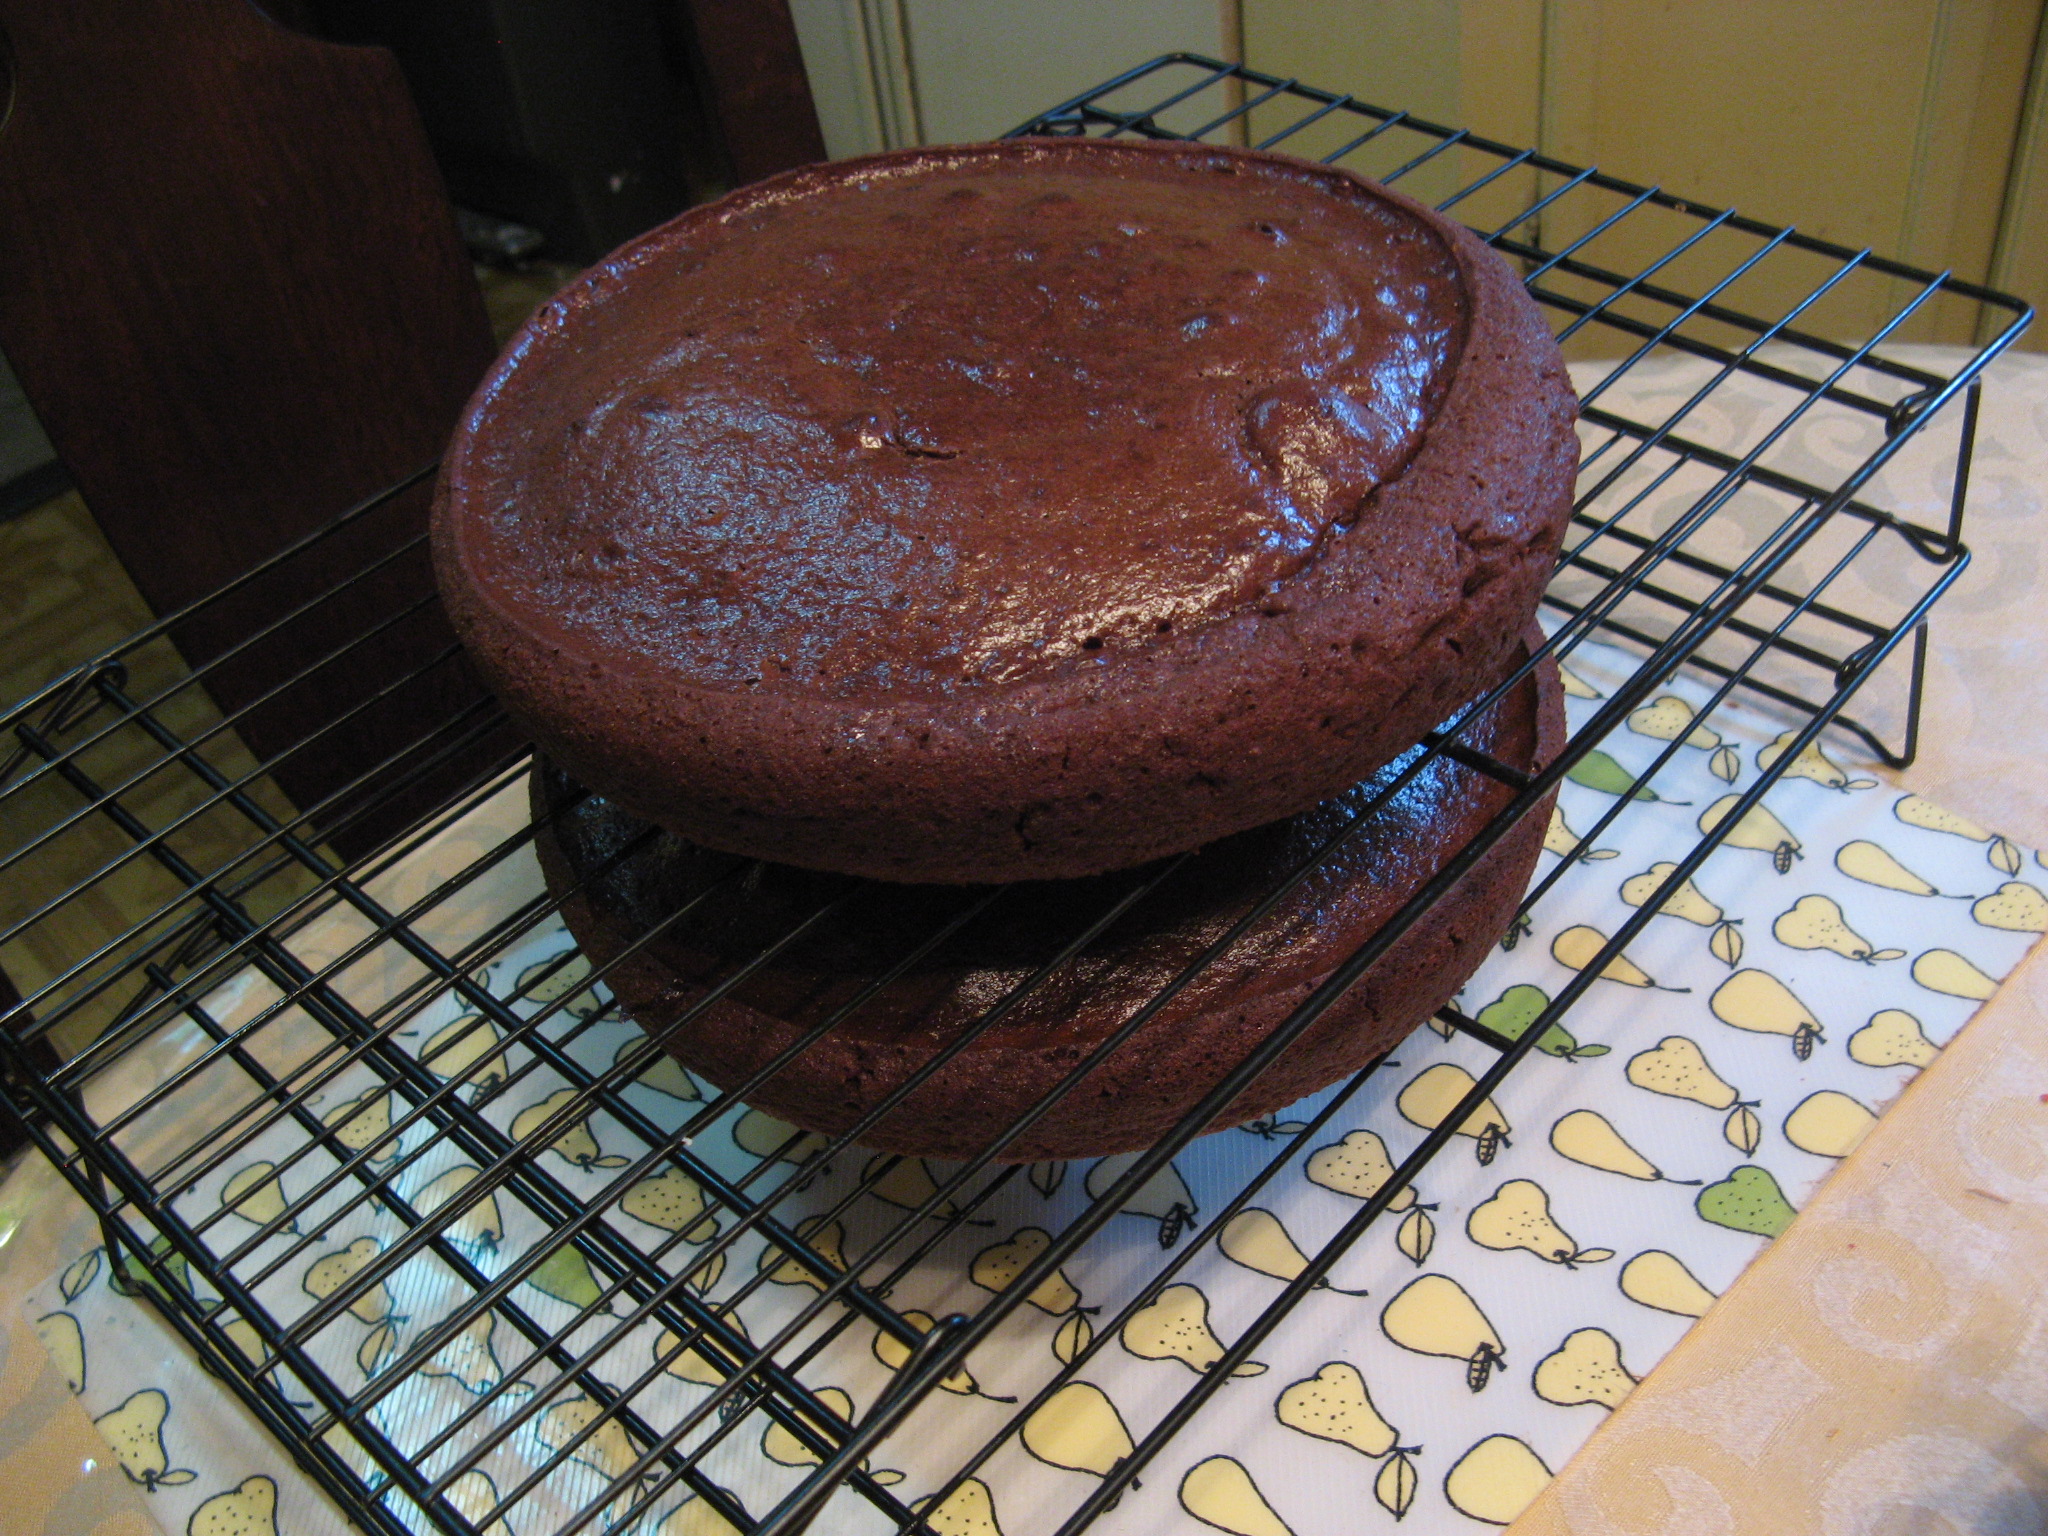
I then divided the batter between two 9-inch round pans and baked it in a 350 degrees preheated oven for 35 minutes.
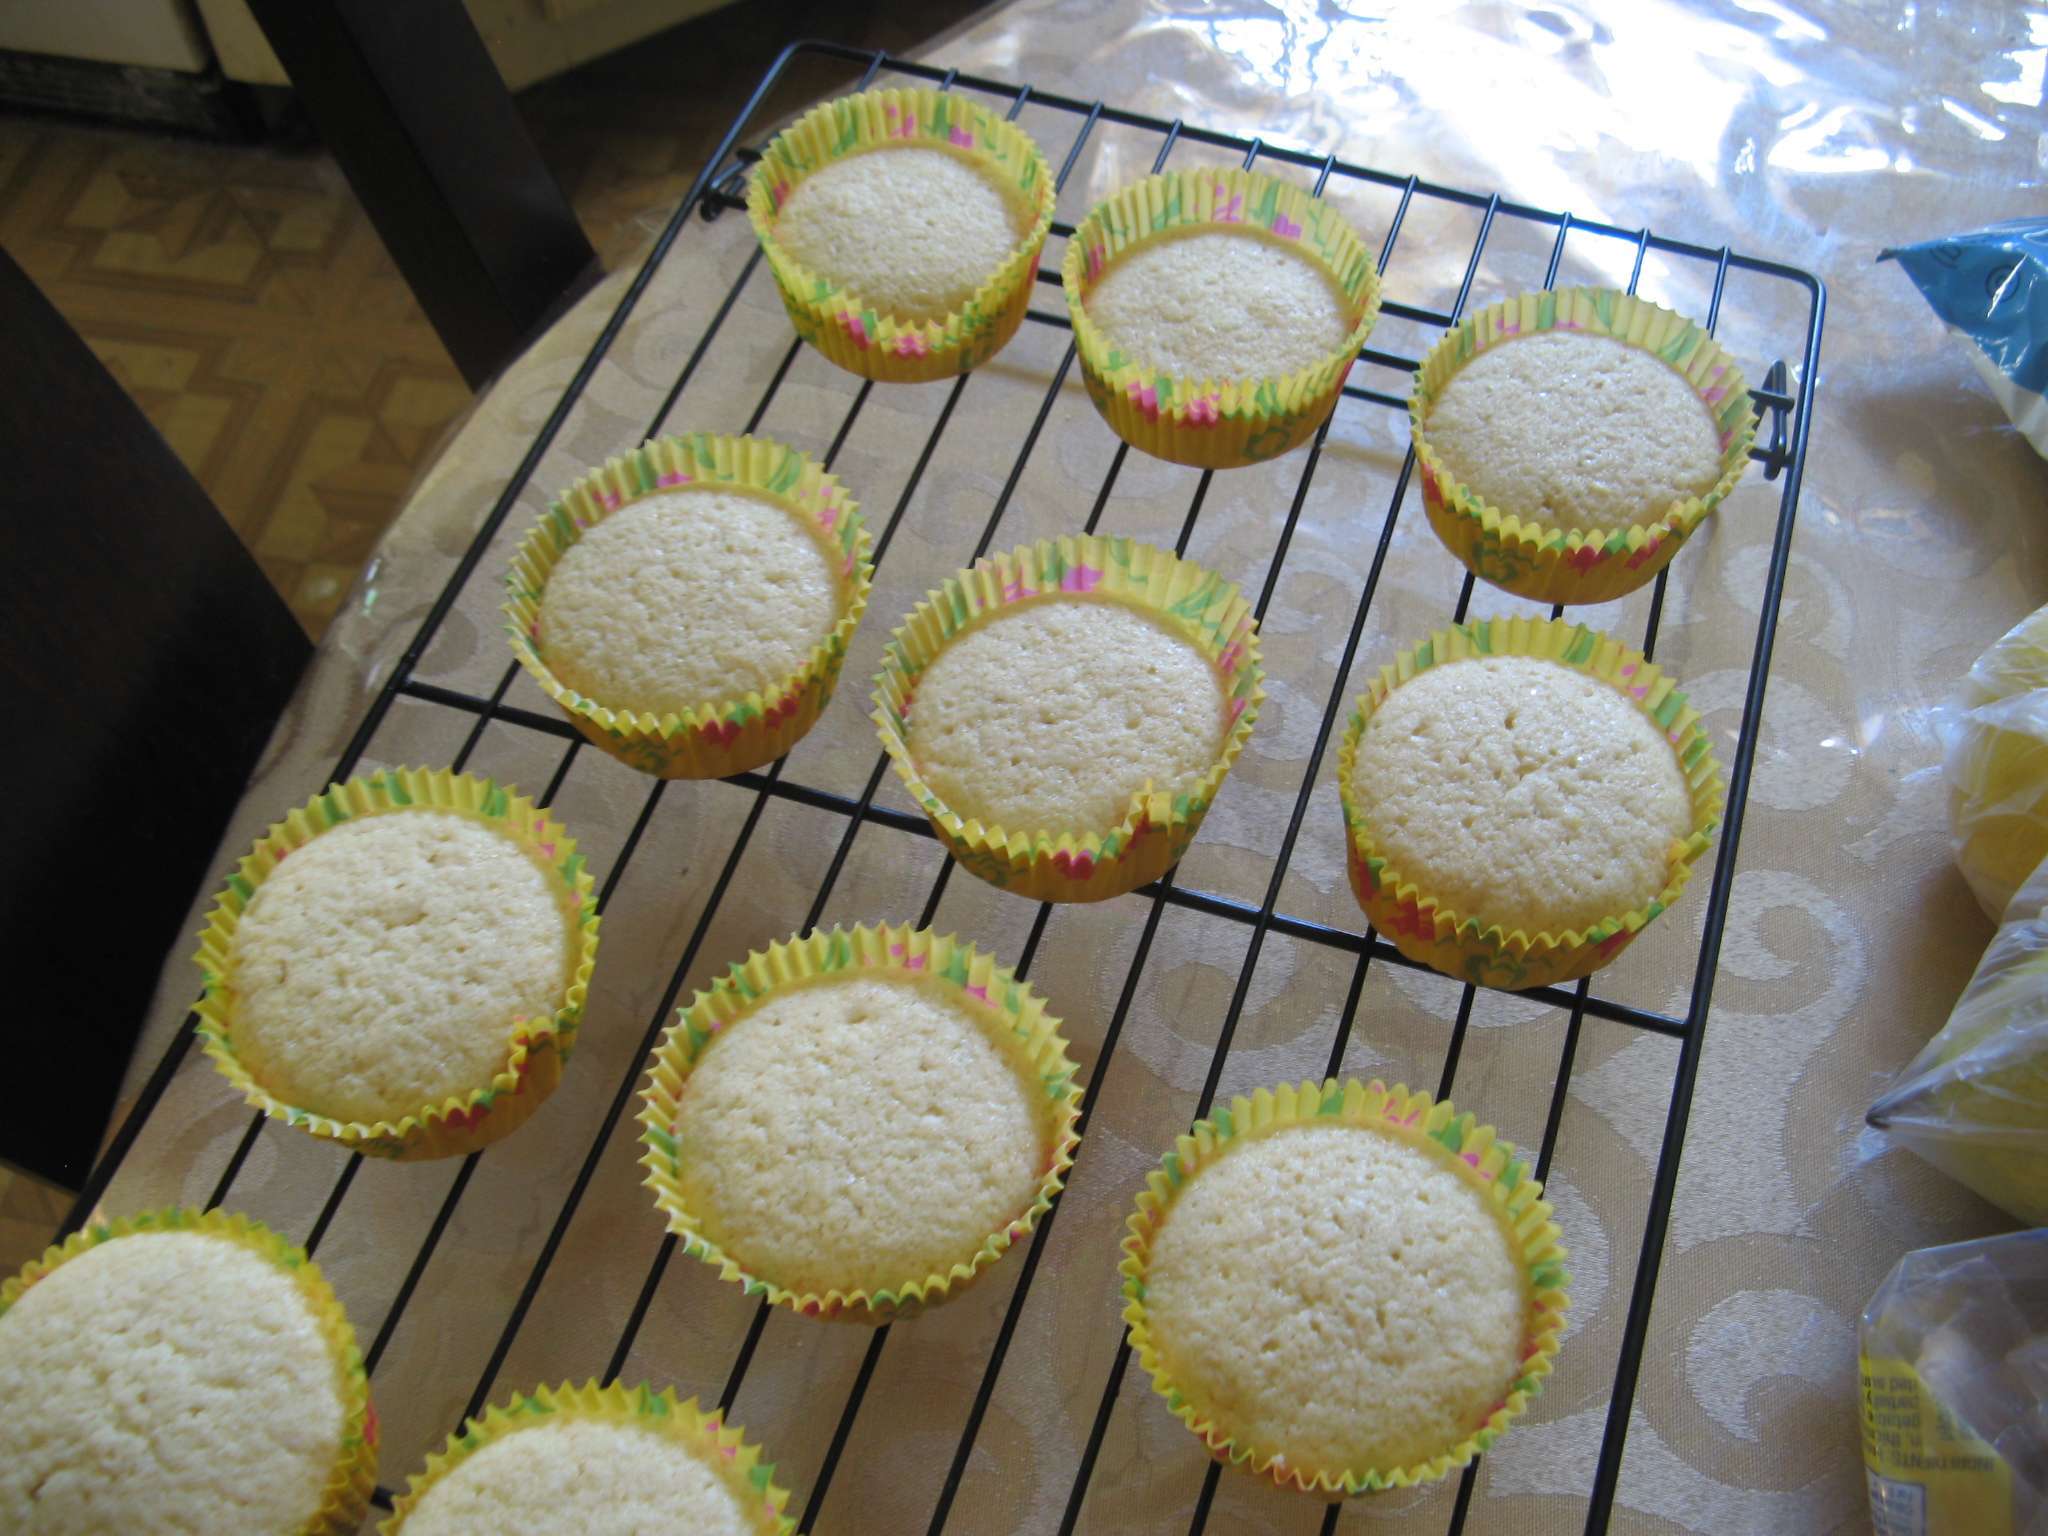
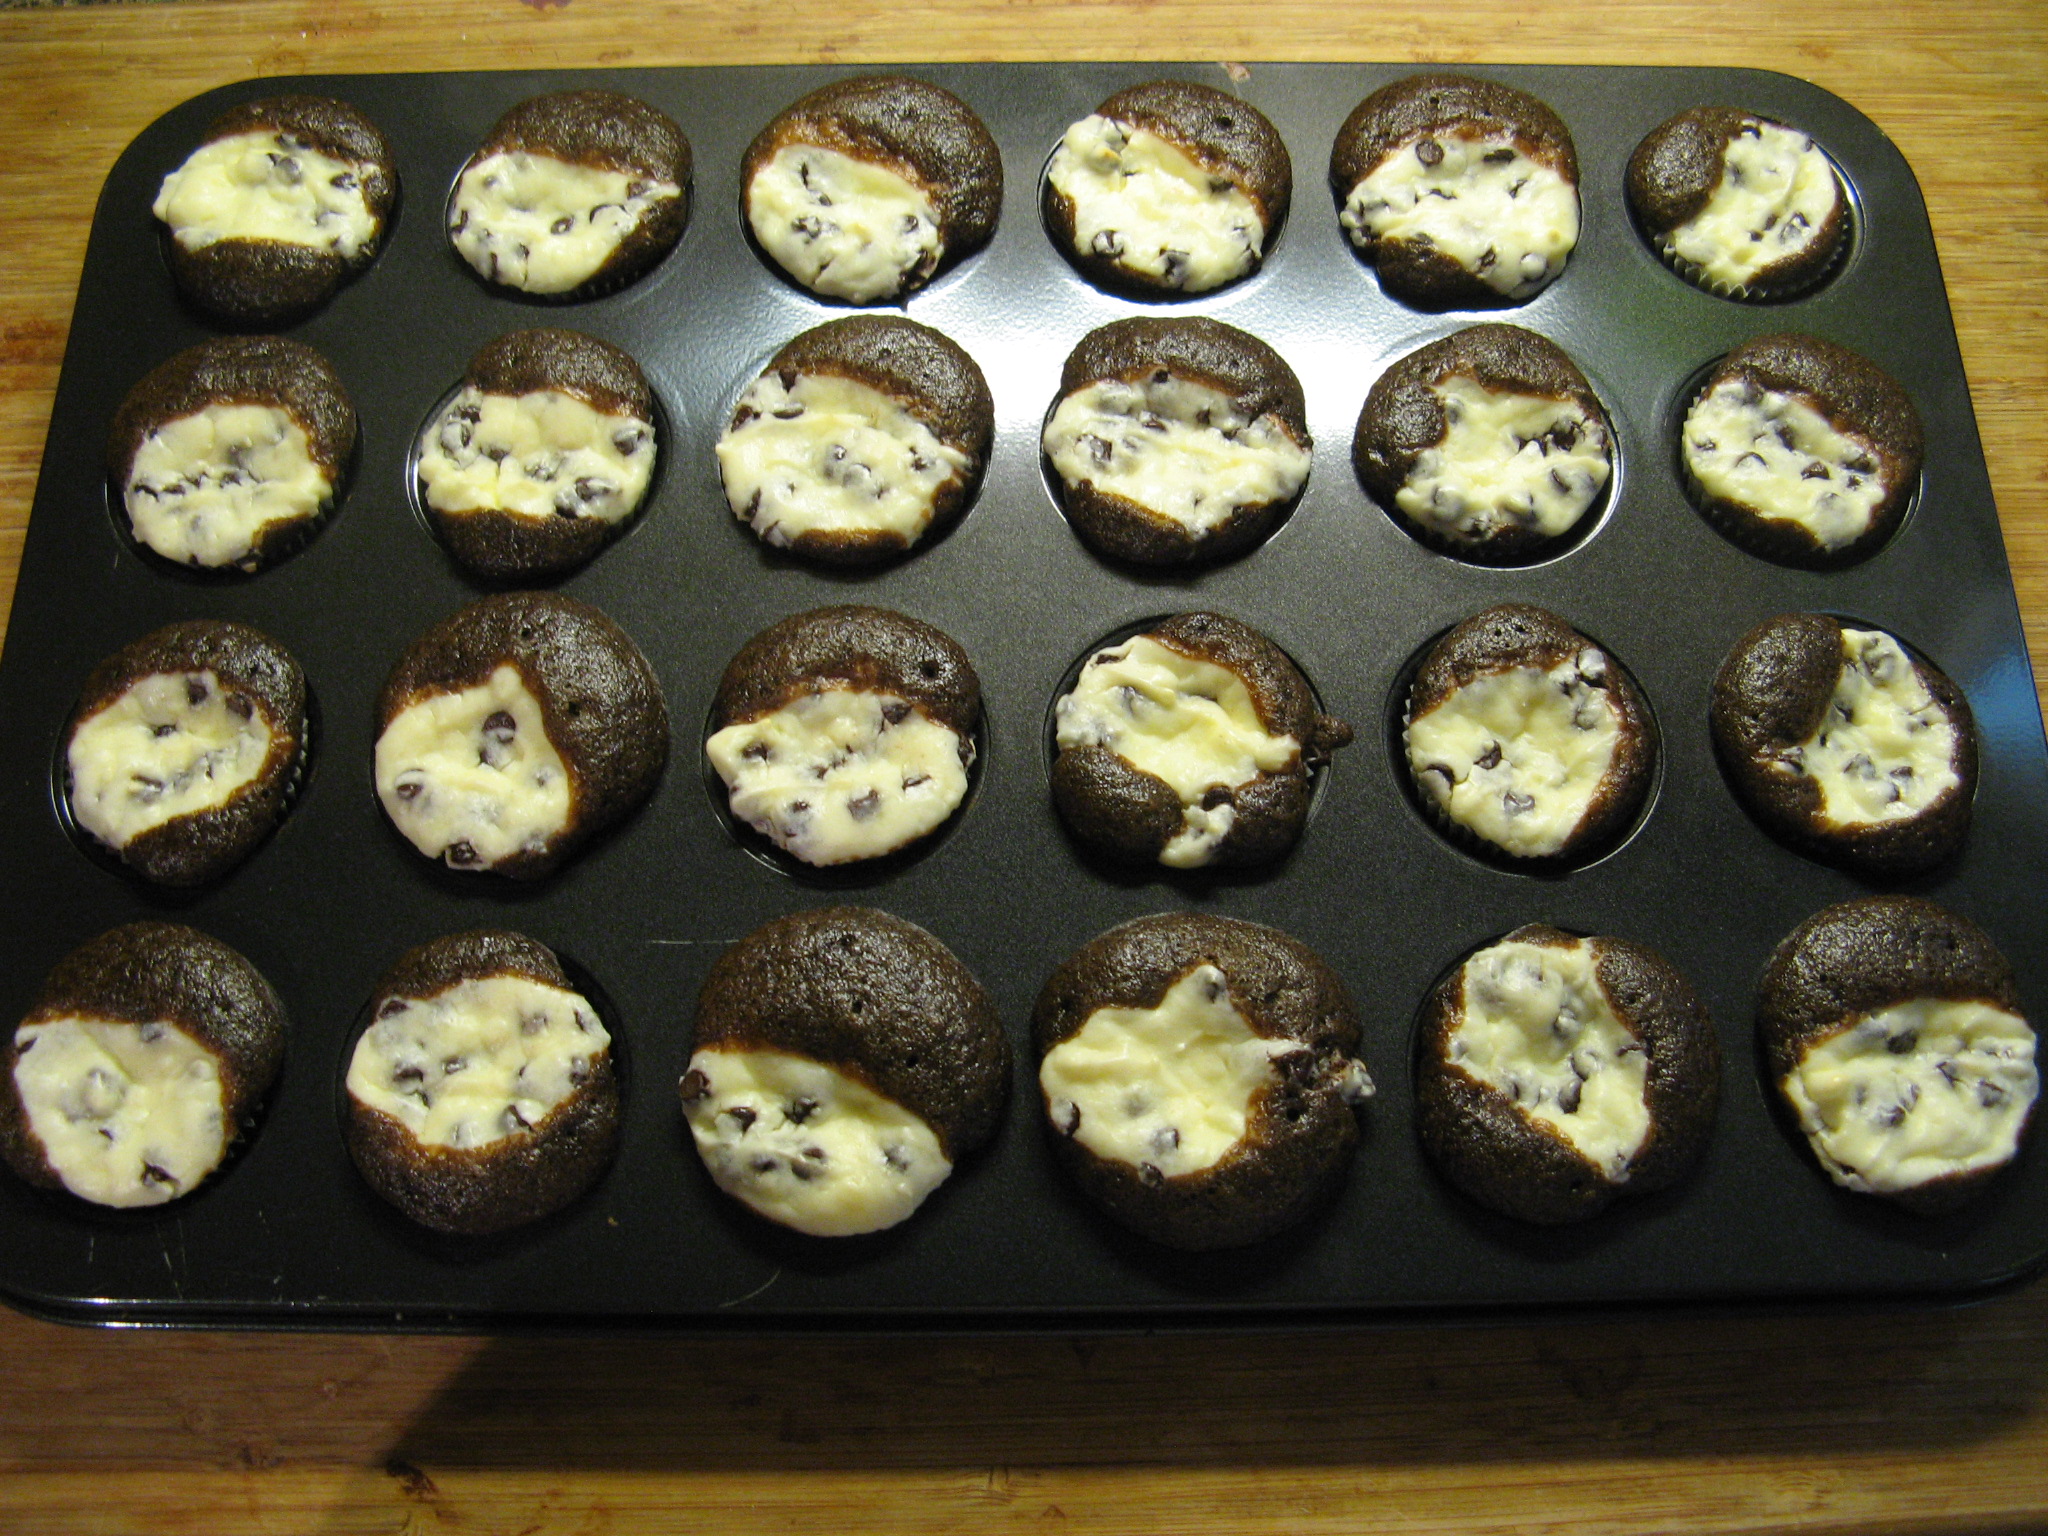
I let the cakes cool completely before frosting them.
I whipped up a batch of Raspberry Cream Cheese Frosting and folded in about a cup of fresh raspberries into half of the frosting and used it as the filling between the two cakes. I used the other half of the frosting to crumb coat the cake and then refrigerated it for about fifteen minutes so the filling and frosting could set. Meanwhile I made another batch of the frosting to cover and decorate the cake. I also used some fresh raspberries to decorate the cake and this was the final outcome…
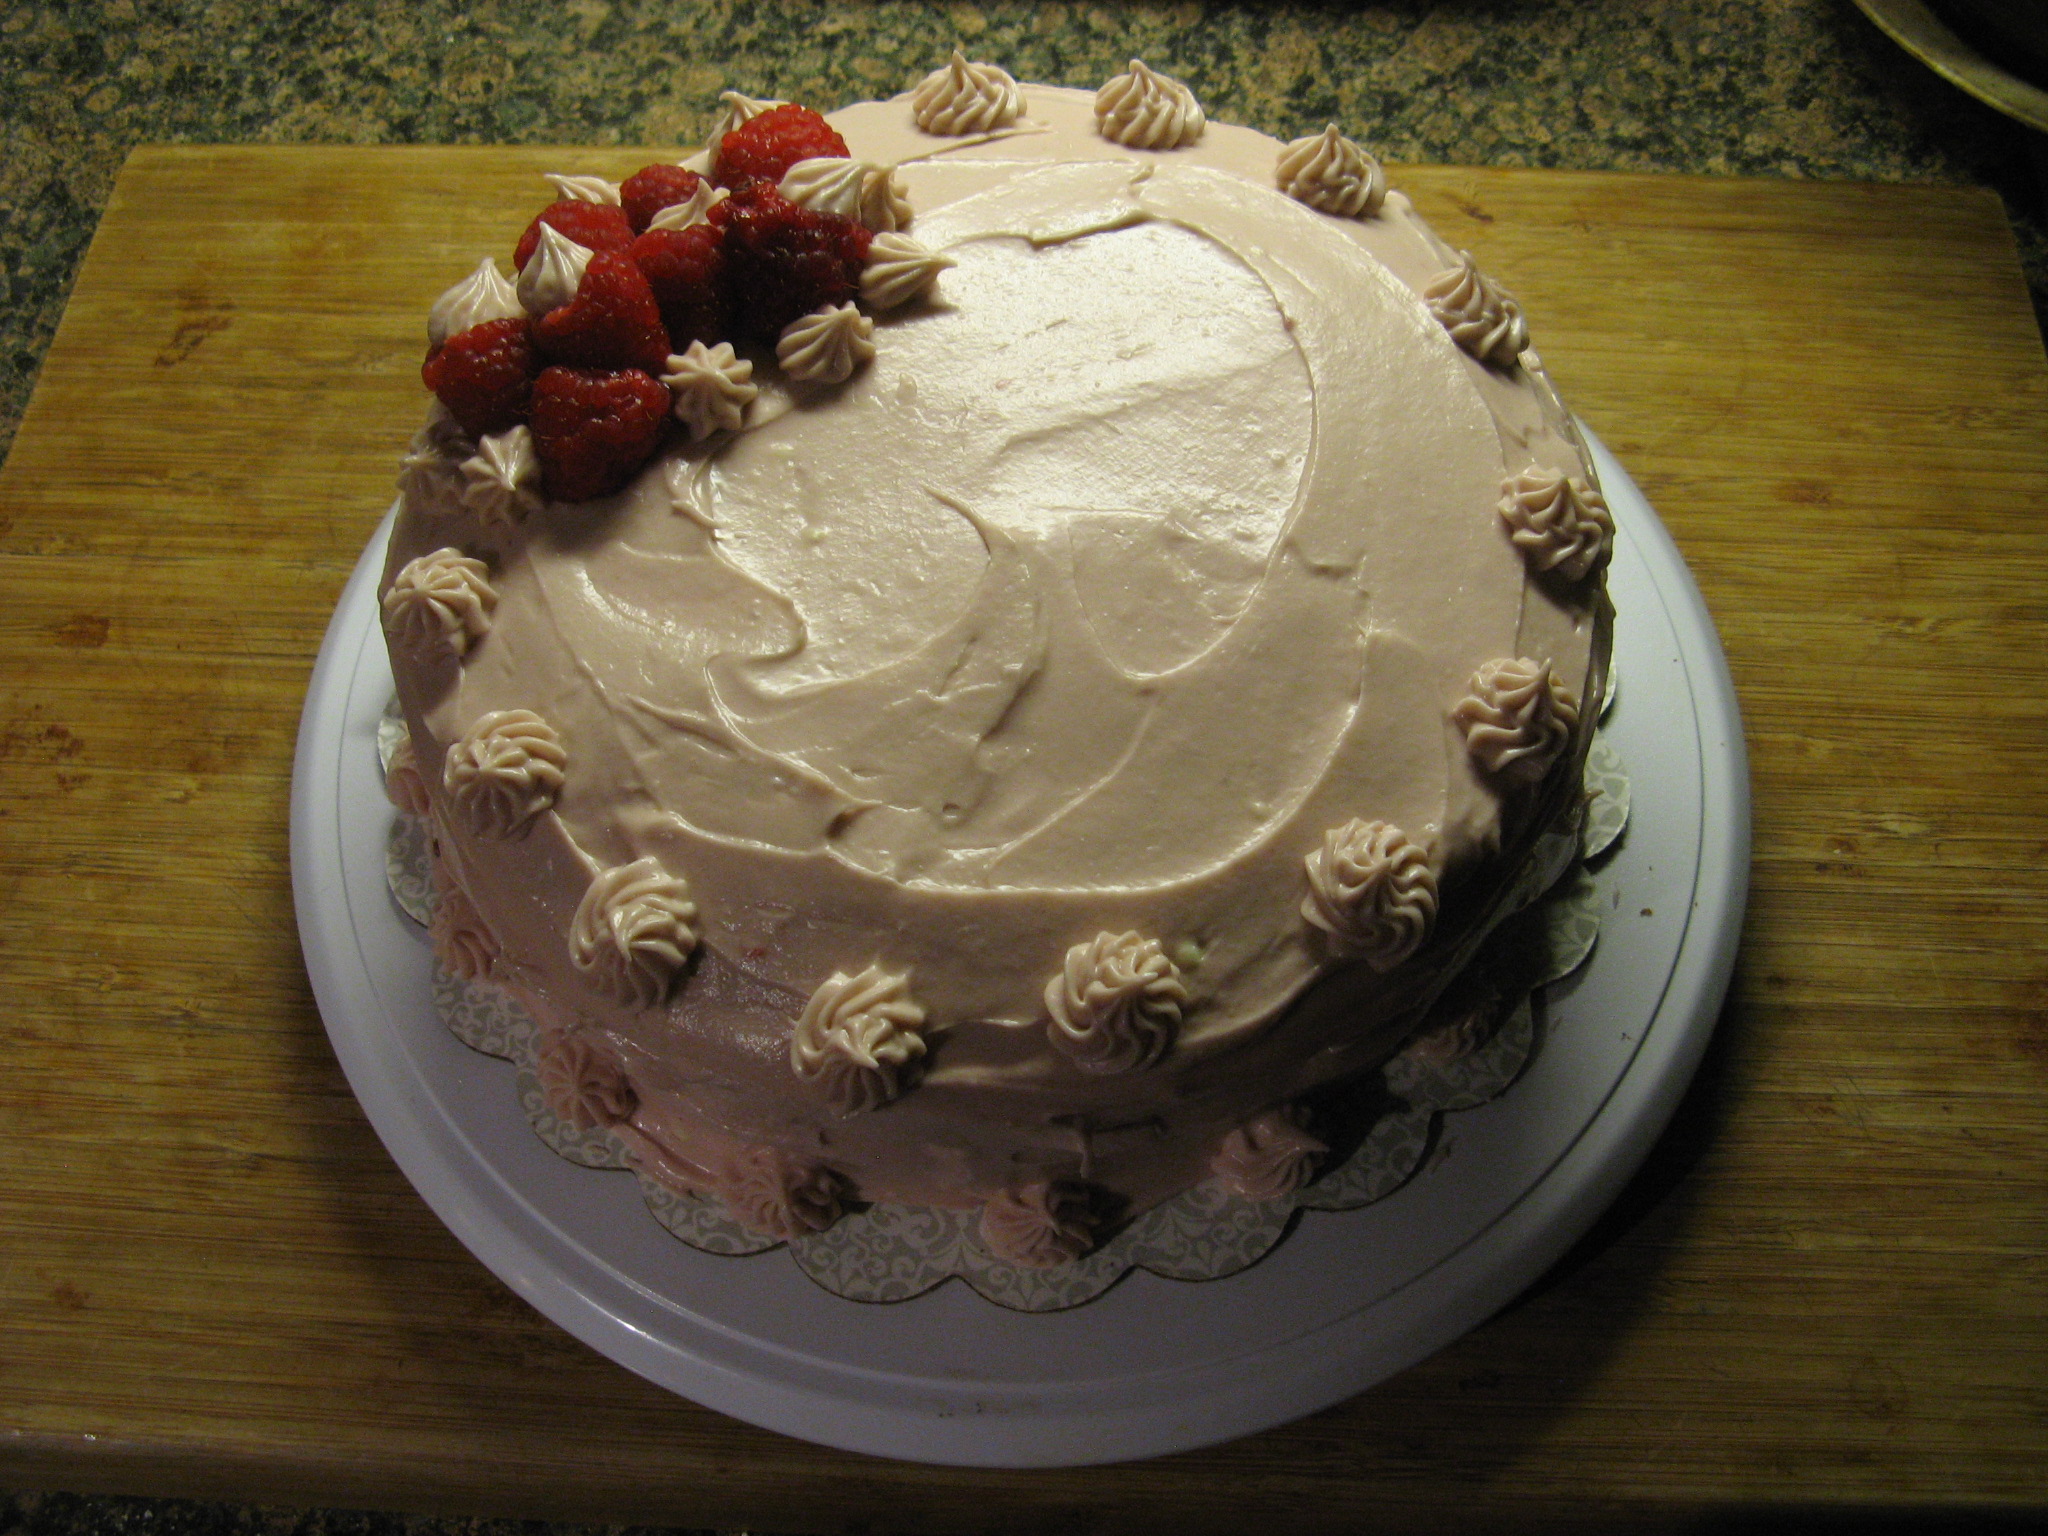
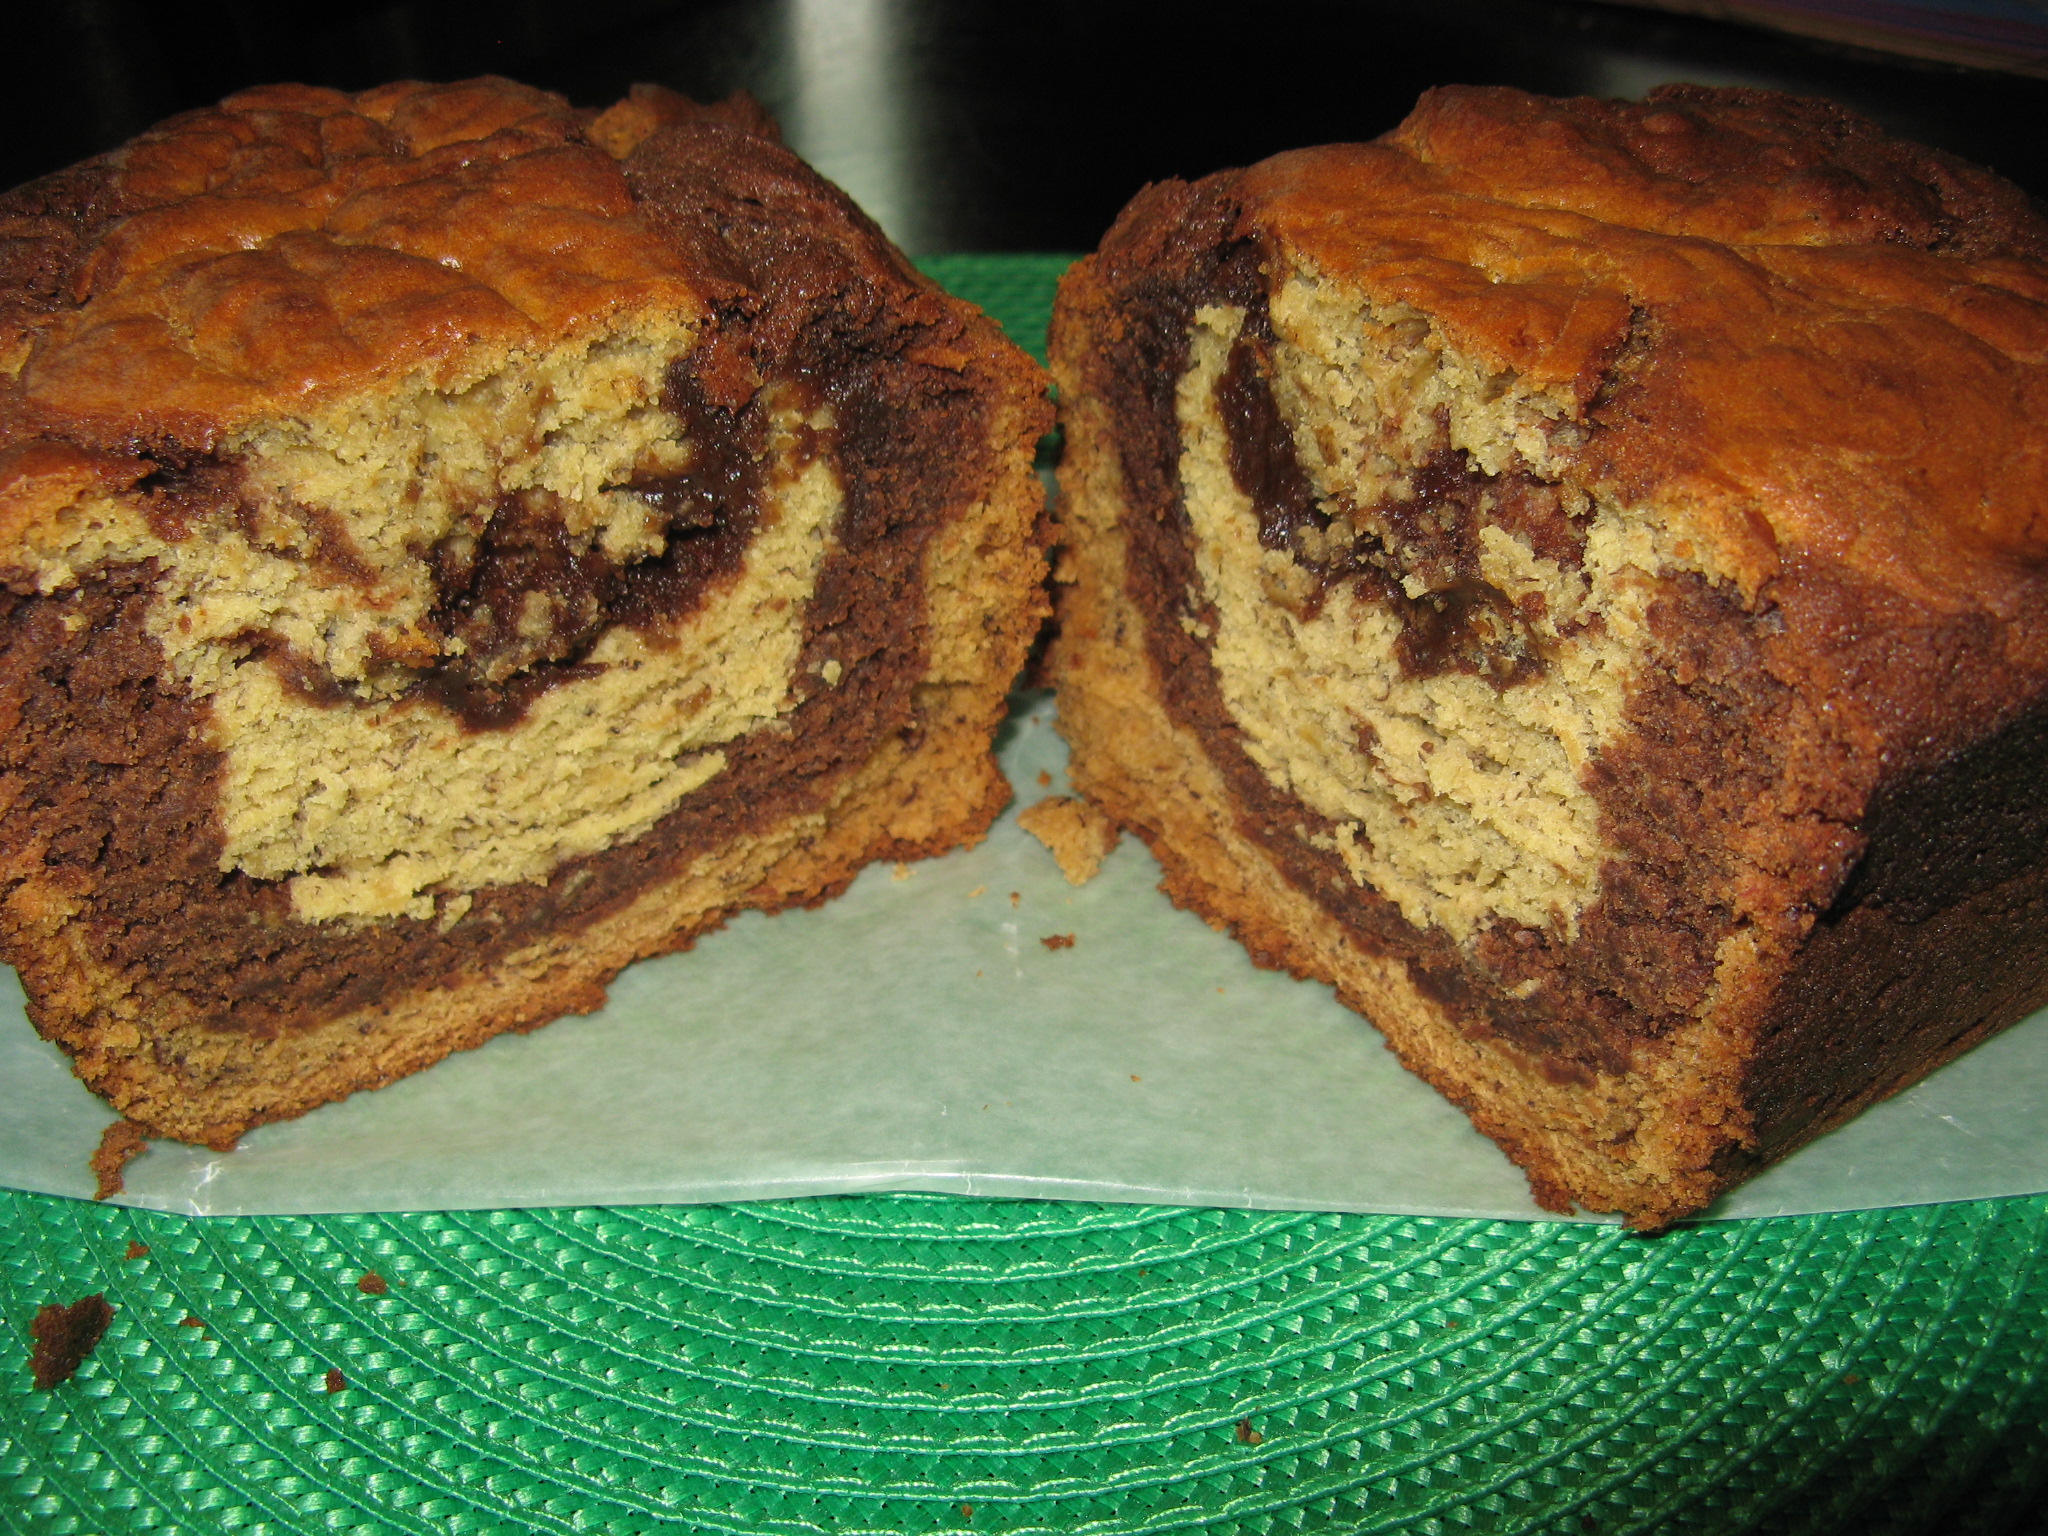
It looked and more importantly tasted delicious. Definitely something I’ll make again!
Classic Chocolate Layer Cake
Serves 8
Hands-On Time: 45m
Total Time: 2hr 00m
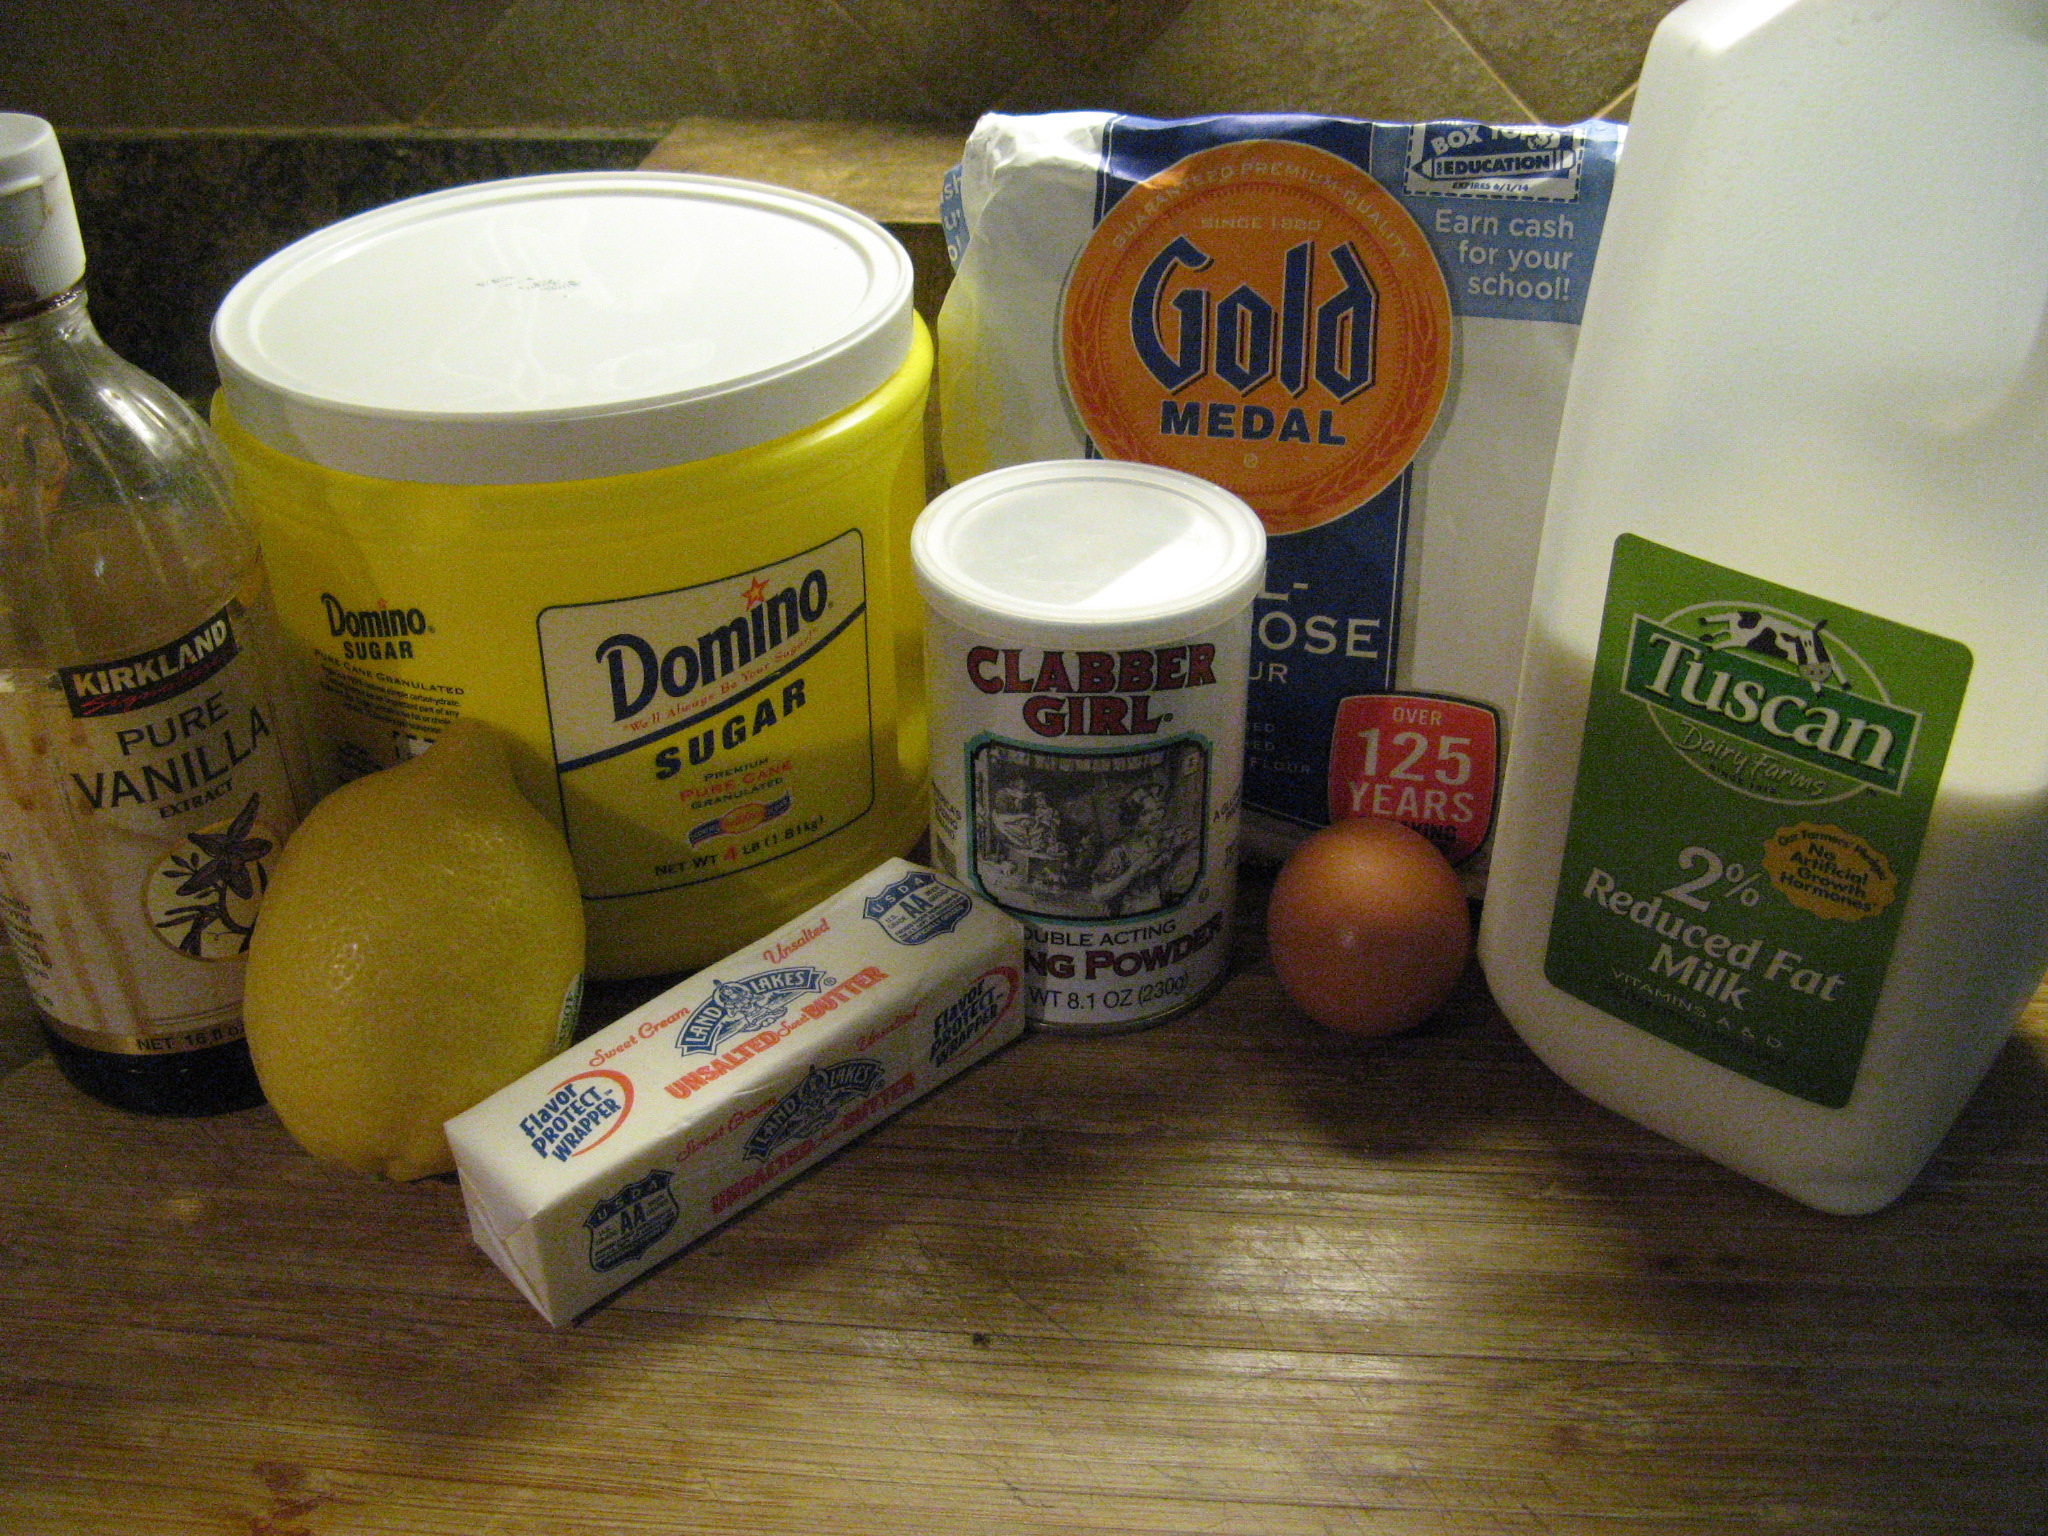
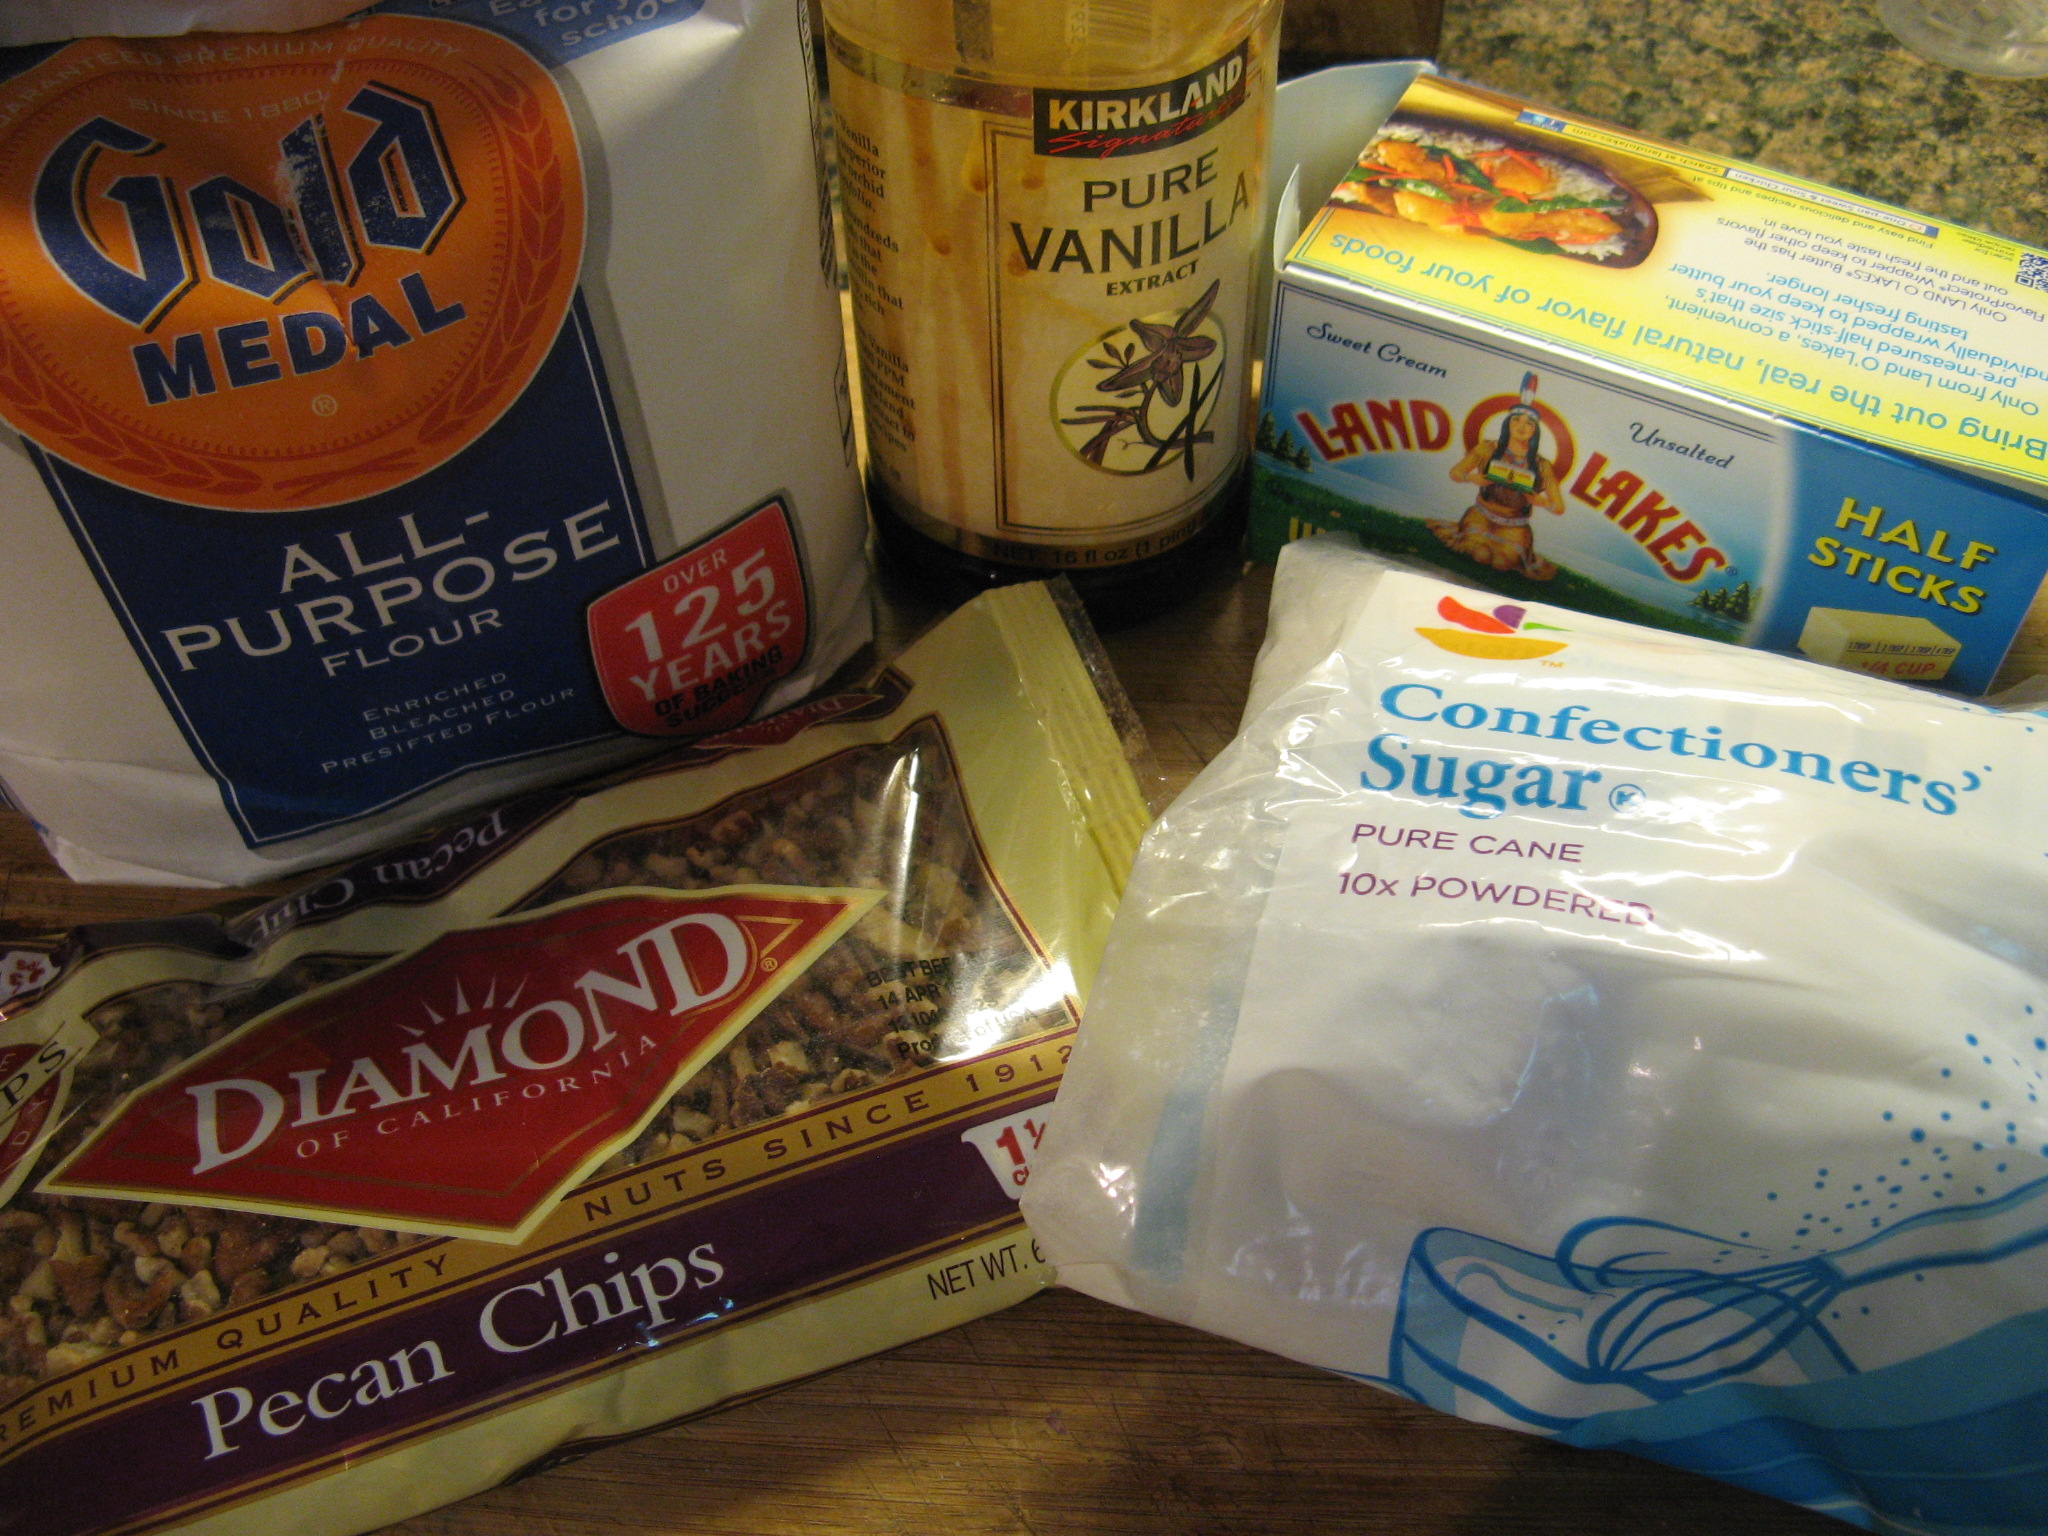
Ingredients
1 cup unsalted butter (2 sticks), cut into pieces, plus more for the pans
2 cups all-purpose flour, spooned and leveled
1 1/2 cups granulated sugar
3/4 cup unsweetened cocoa powder
1/2 cup dark brown sugar
1 teaspoon baking soda
1 teaspoon kosher salt
2 large eggs
1/2 cup sour cream
1 teaspoon pure vanilla extract
Directions
1. Heat oven to 350º F. Butter two 8- or 9-inch round cake pans and line the bottom of each with a round of parchment paper.
2. In a large bowl, whisk together the flour, granulated sugar, cocoa powder, brown sugar, baking soda, and salt.
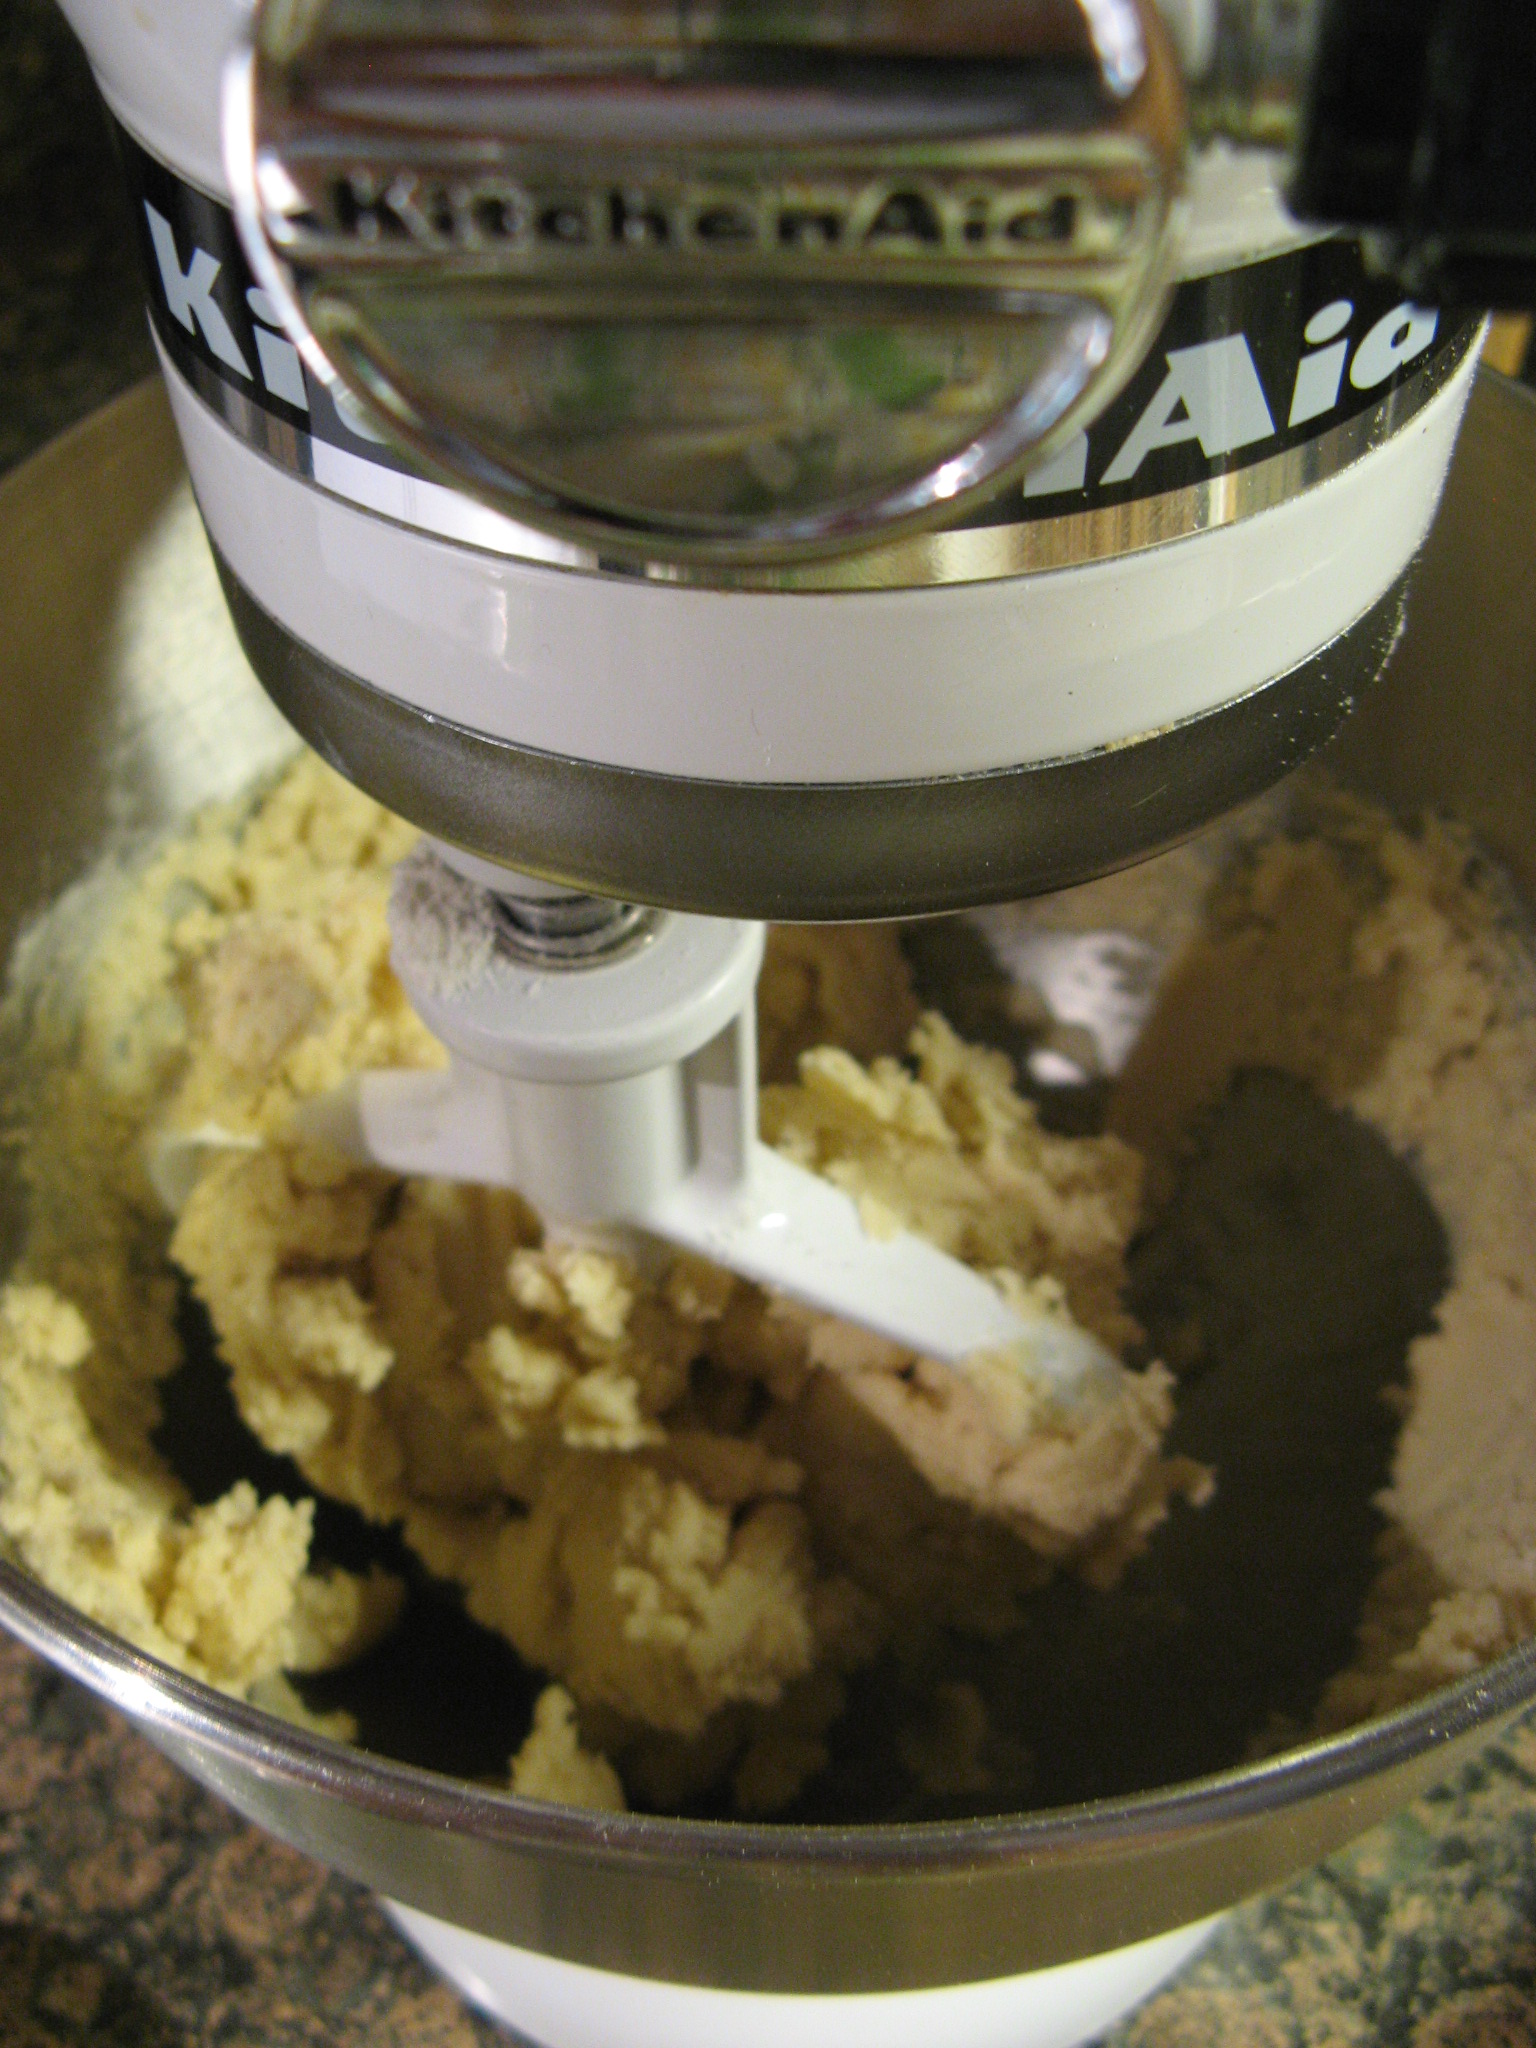
3. In a small saucepan, combine the butter and 1 cup water and bring to a boil. Add to the flour mixture and, using an electric mixer, mix until combined. Beat in the eggs, one at a time, then the sour cream and vanilla.
4. Divide the batter evenly between the prepared pans. Bake until a toothpick inserted in the center of each cake comes out clean, 35 to 45 minutes. Cool in the pans for 20 minutes, then turn out onto a rack to cool completely.
Raspberry Cream Cheese Frosting
Ingredients
1 8 oz. package cream cheese, softened
1 stick unsalted butter, softened
1 teaspoon vanilla extract
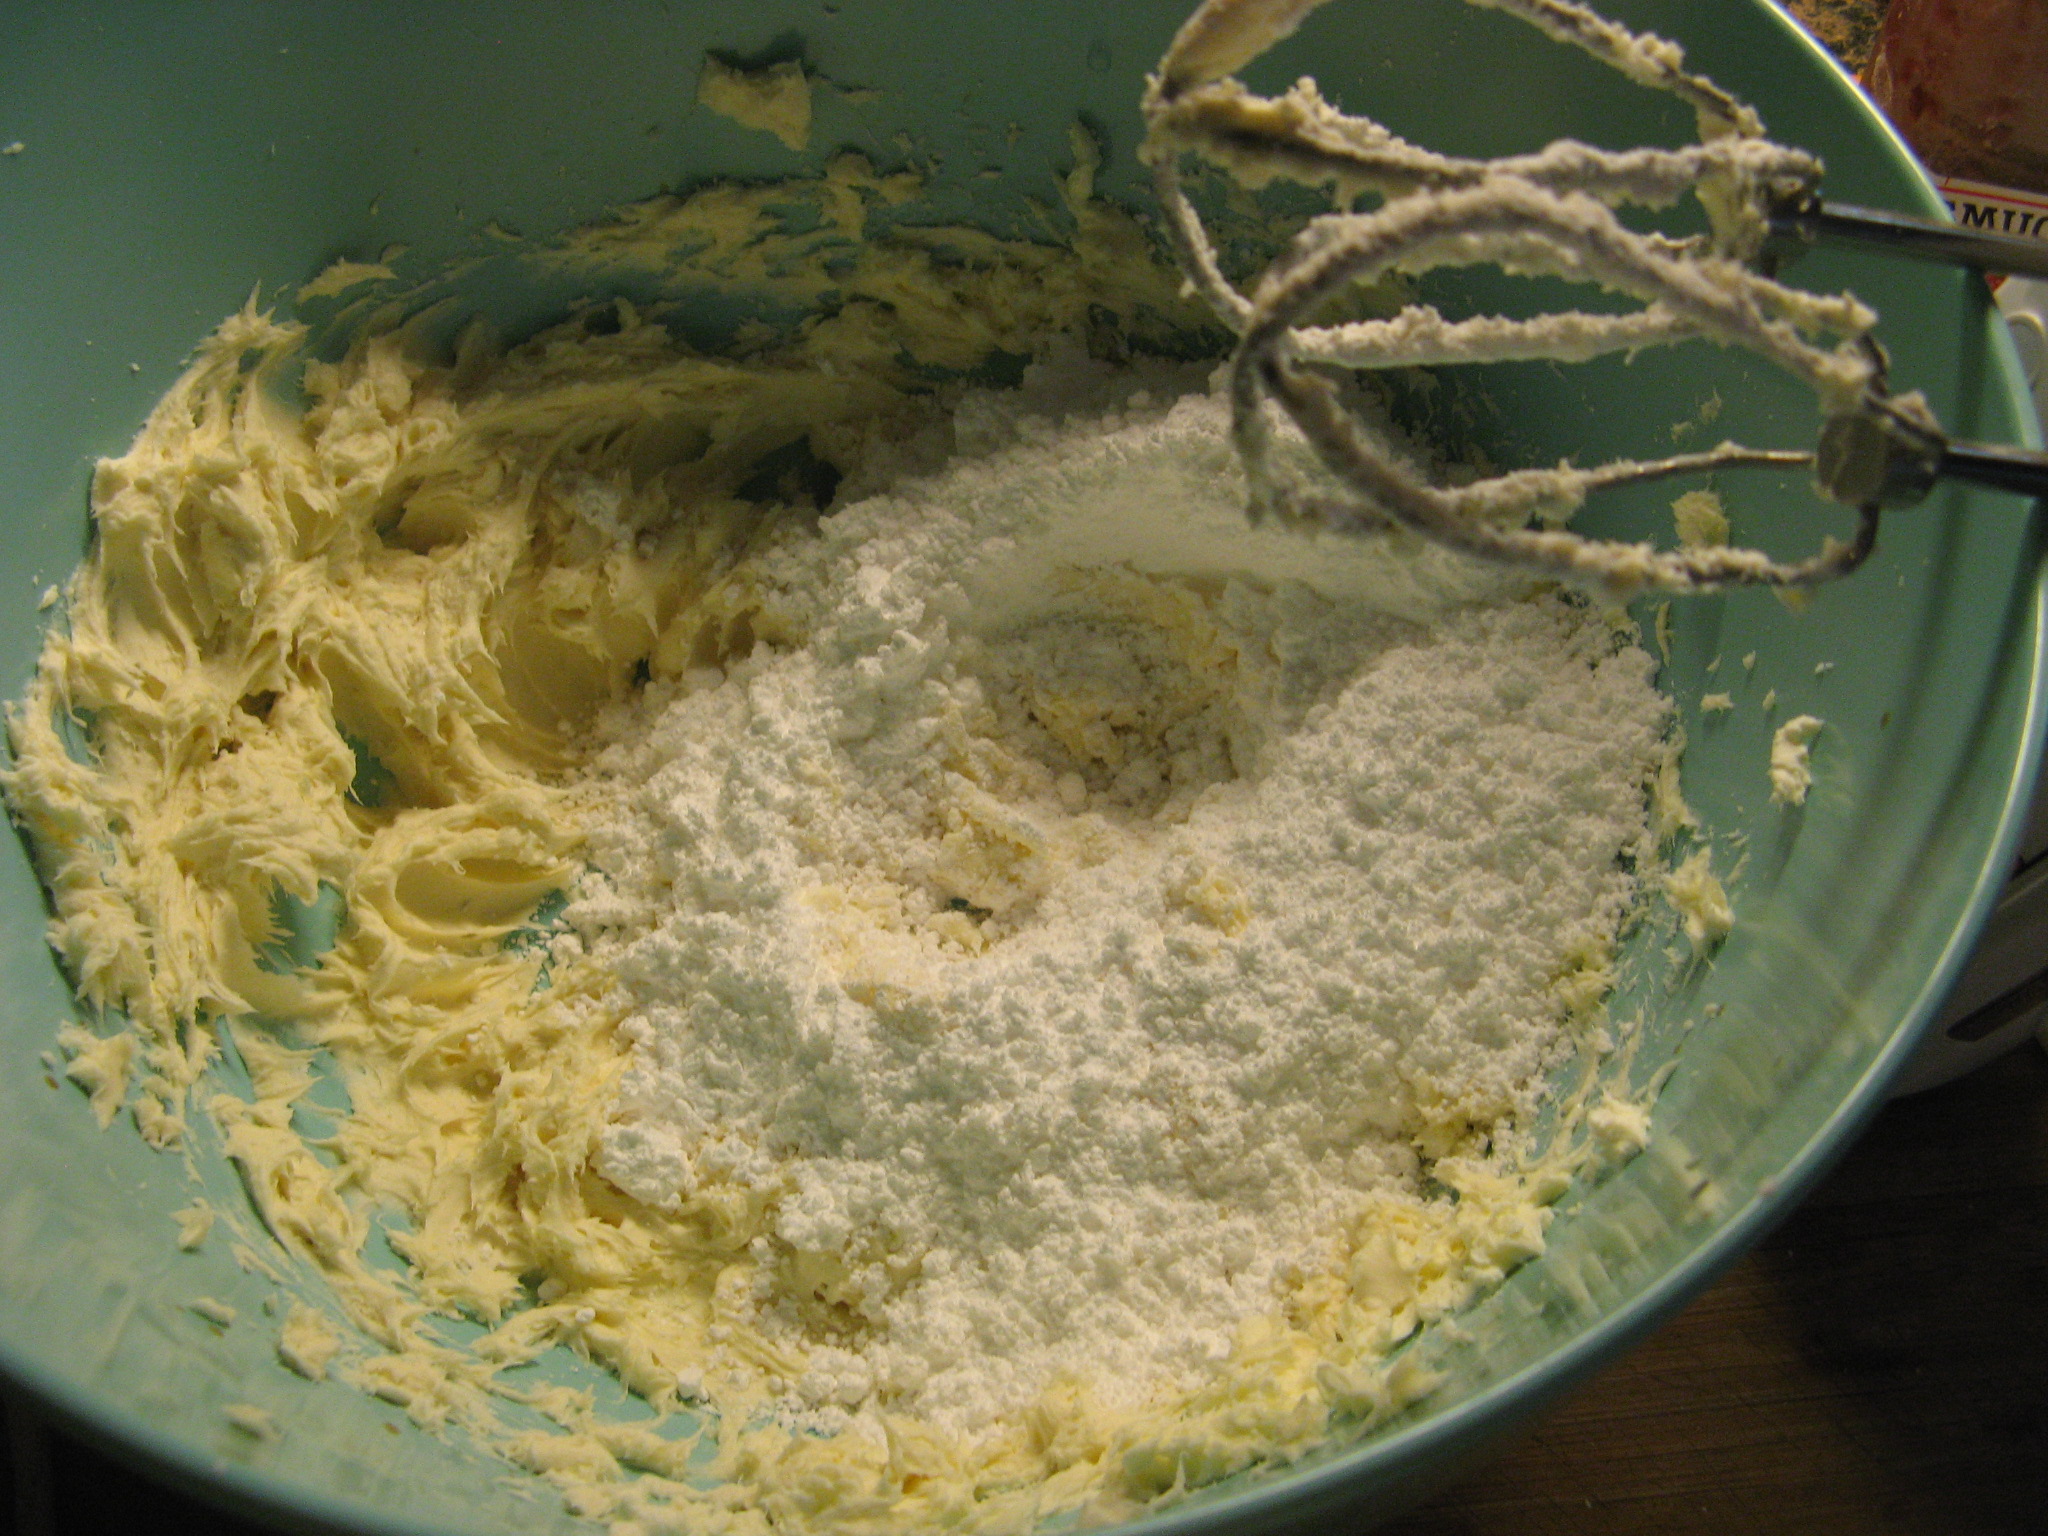
2 cups confectioners’ sugar
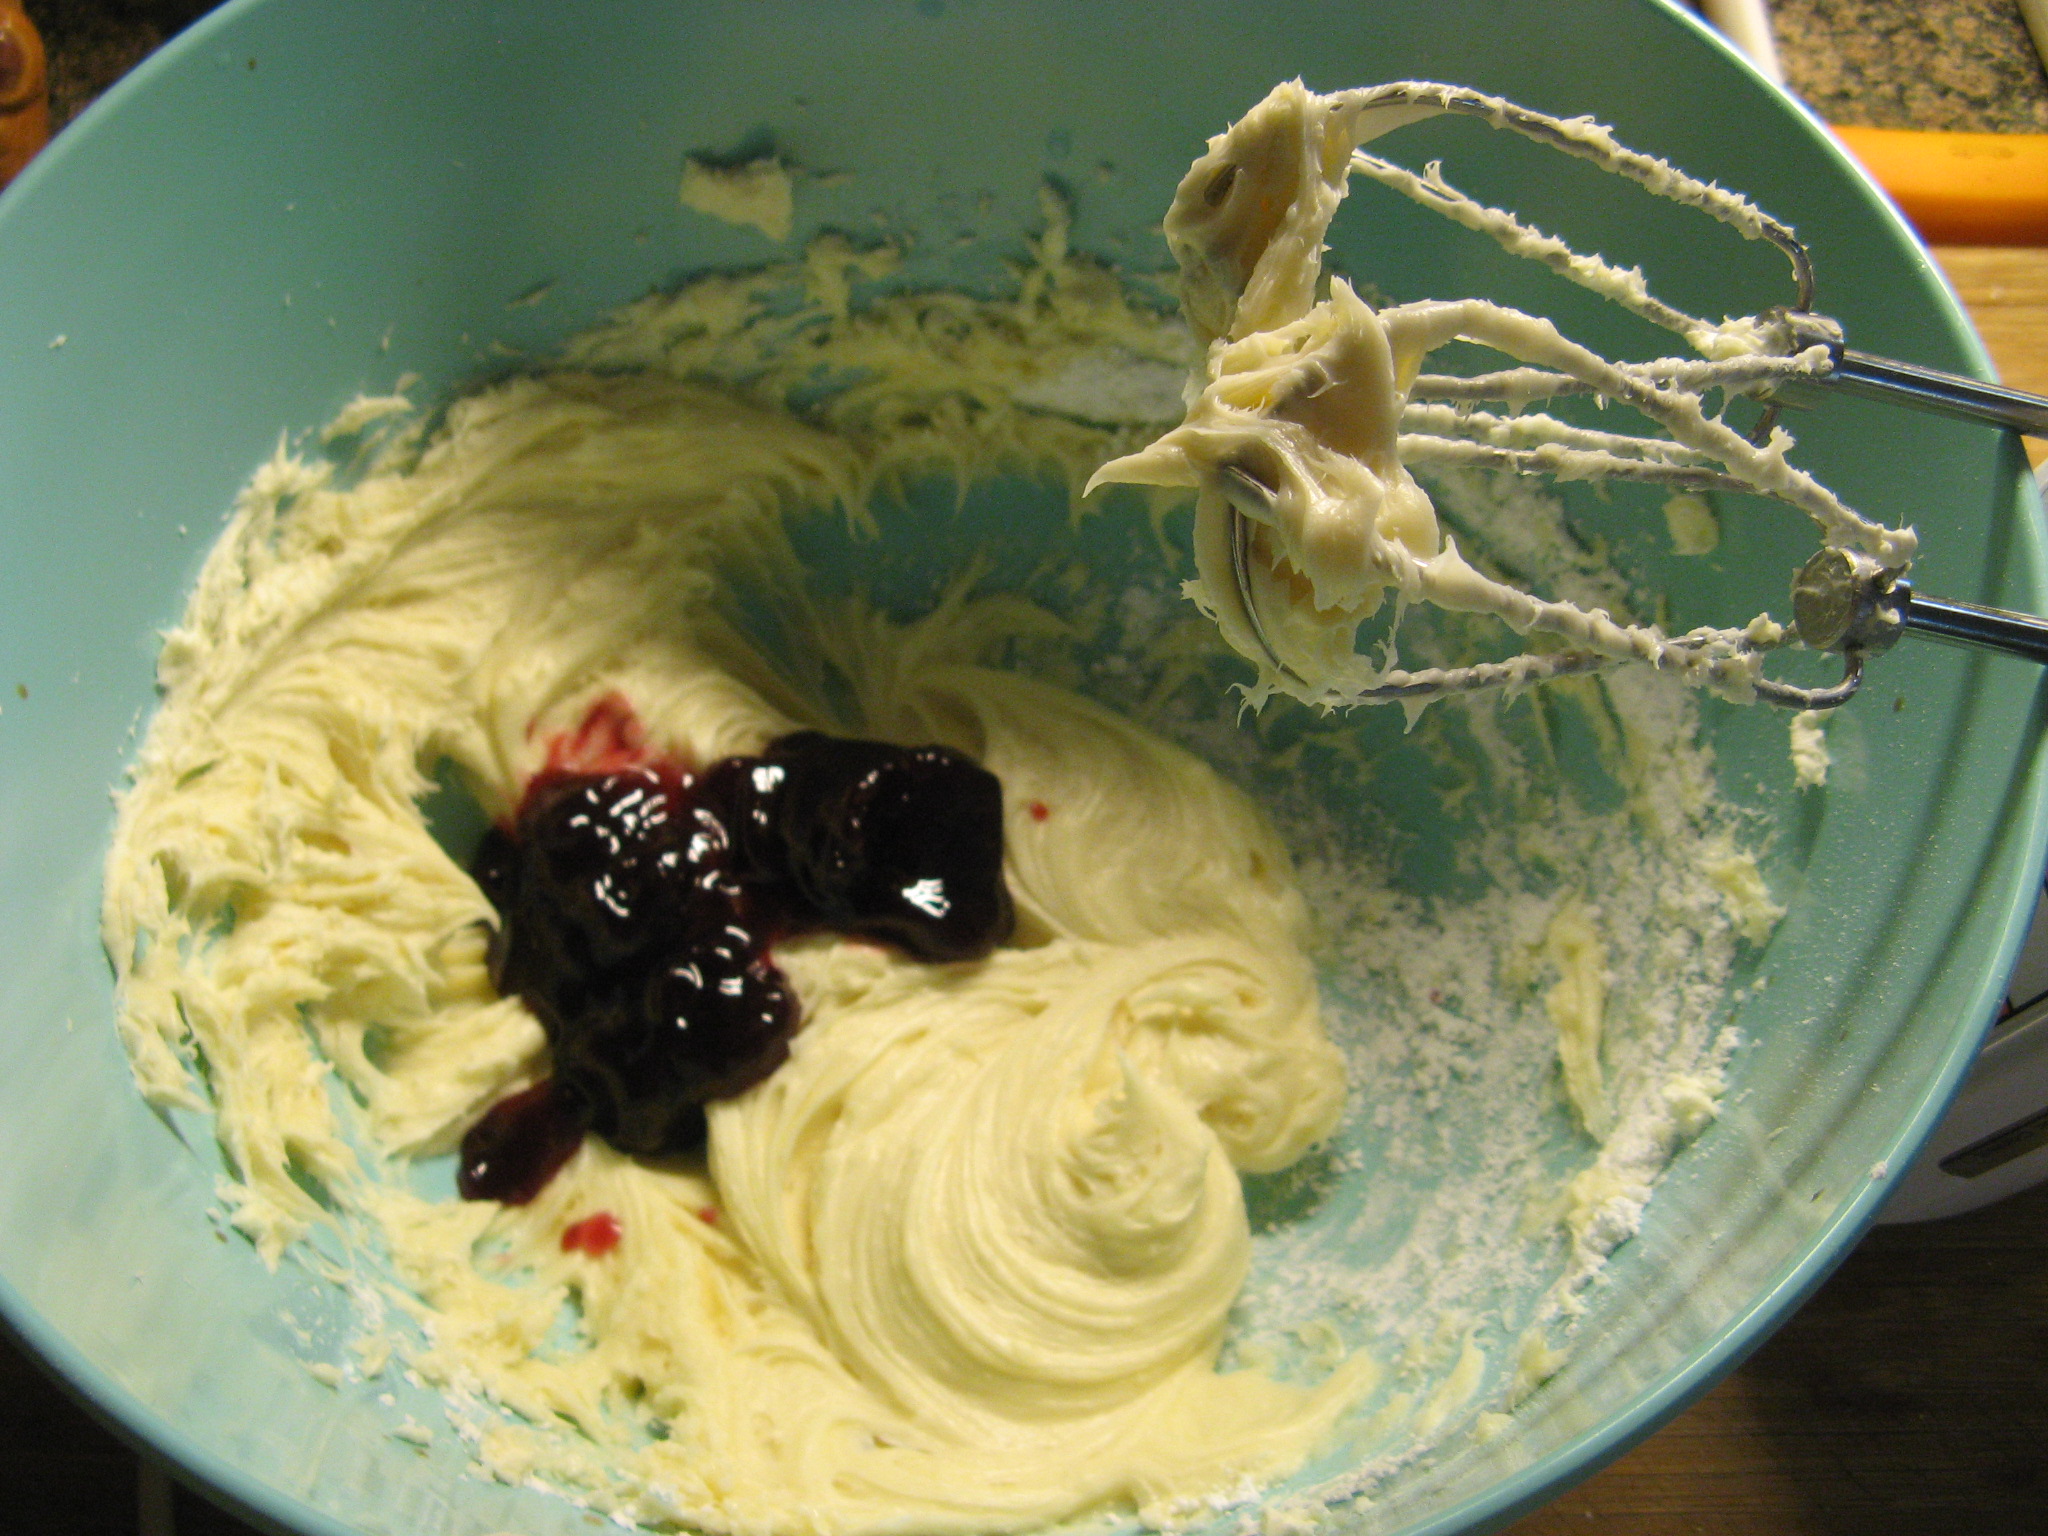
1/4 cup seedless raspberry jam
Directions
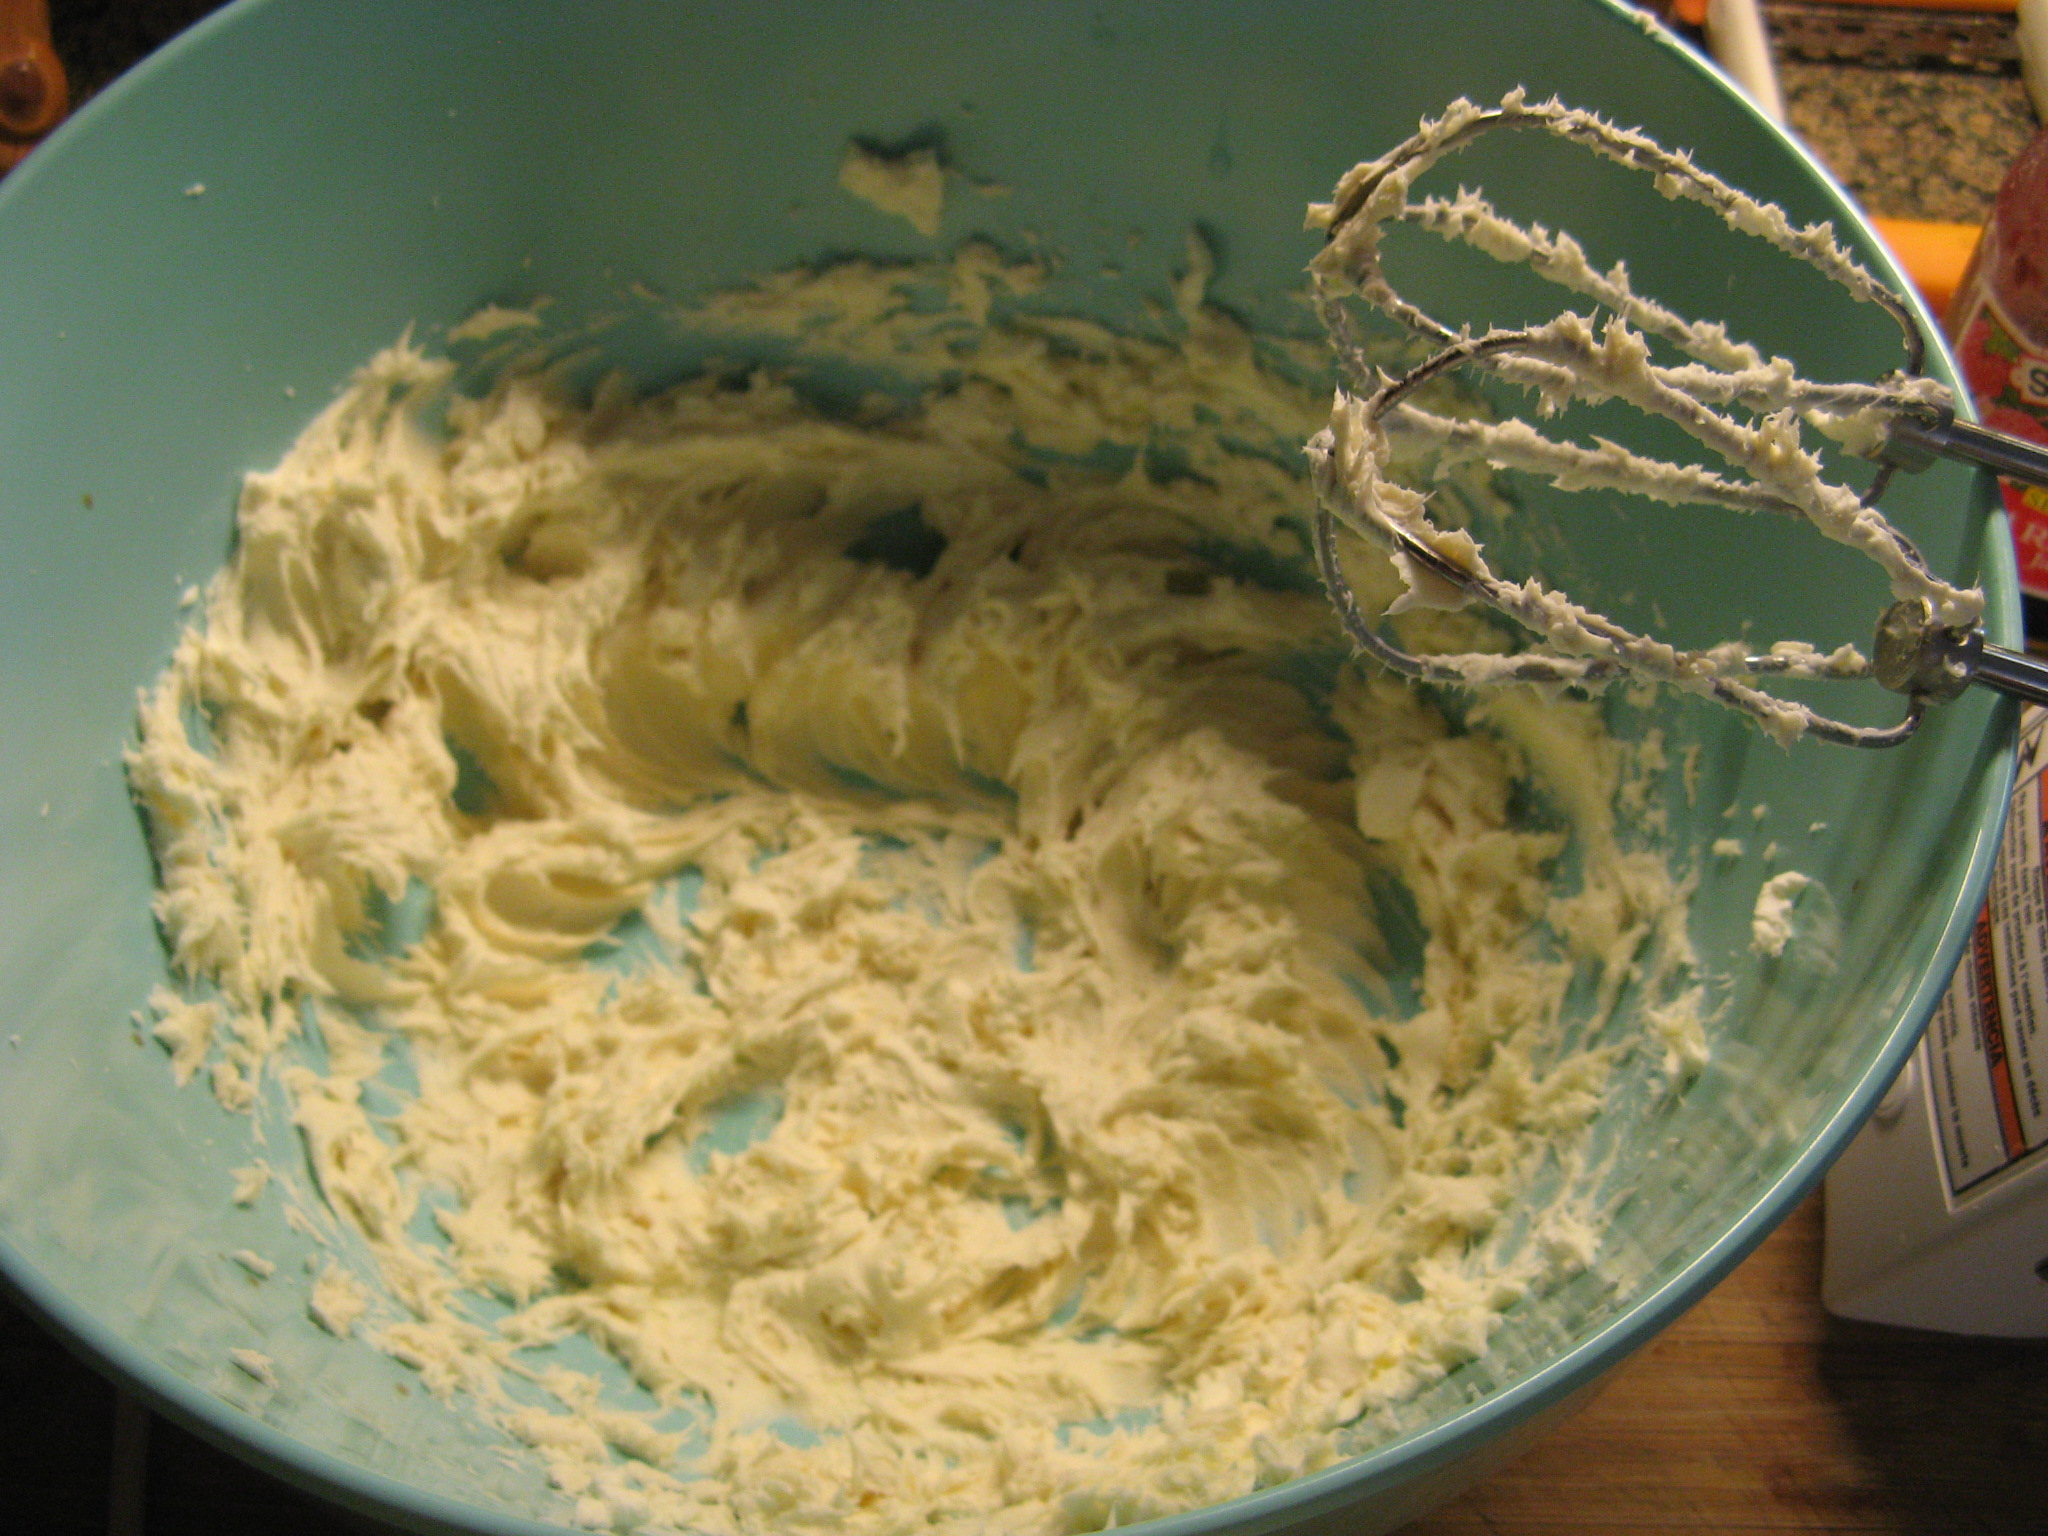
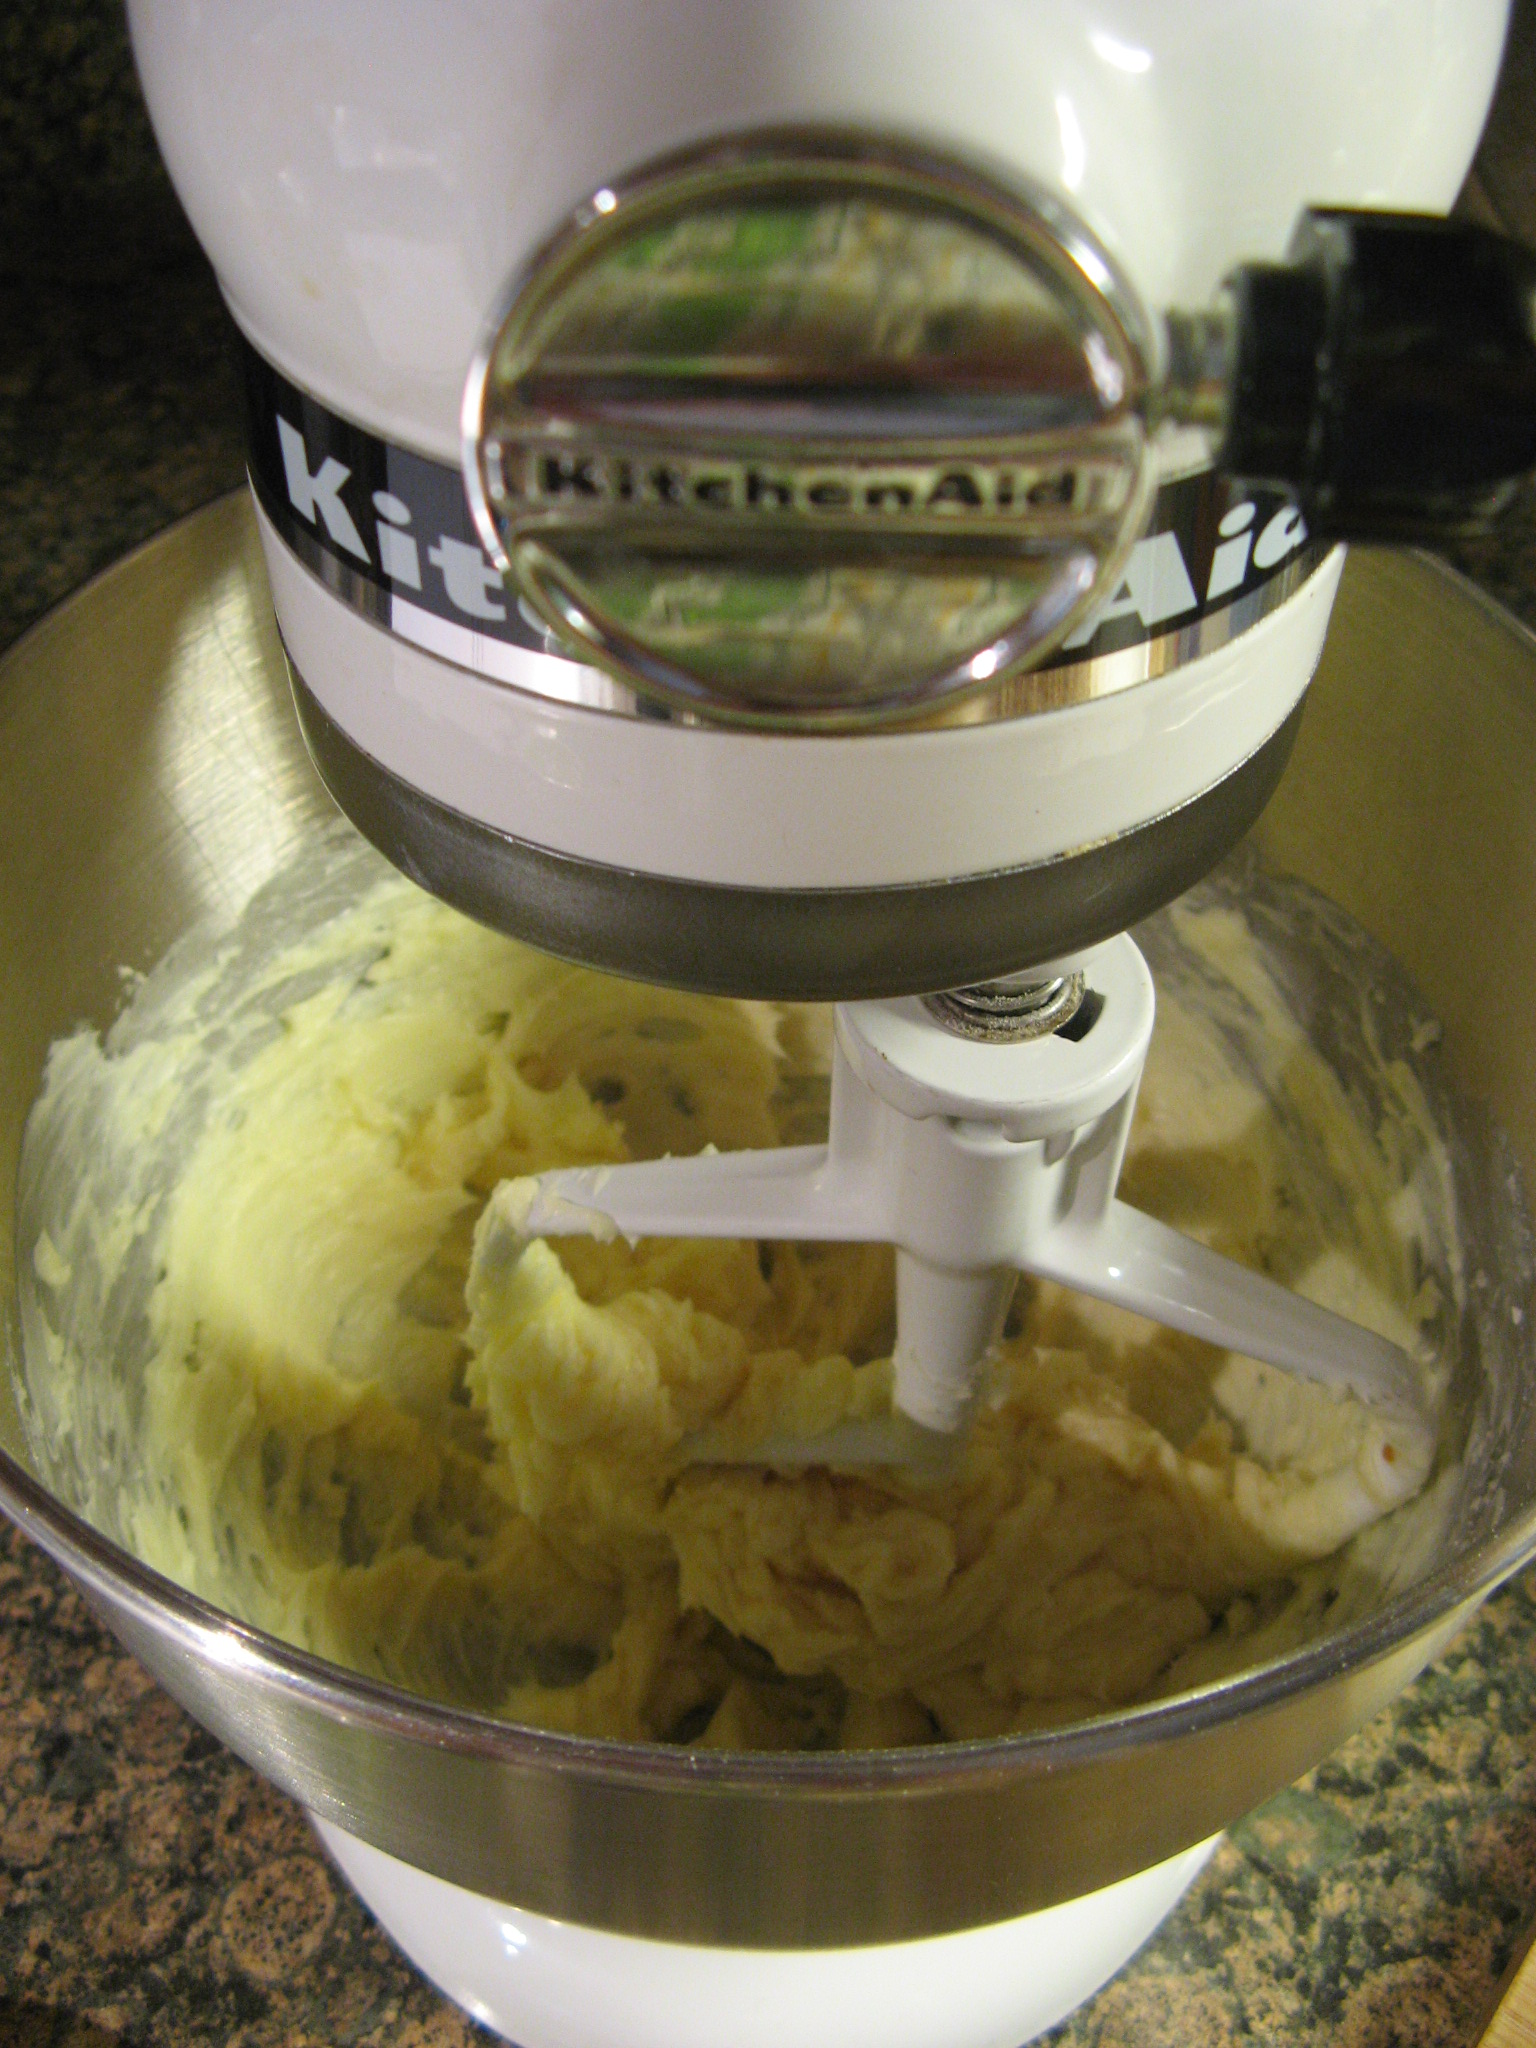
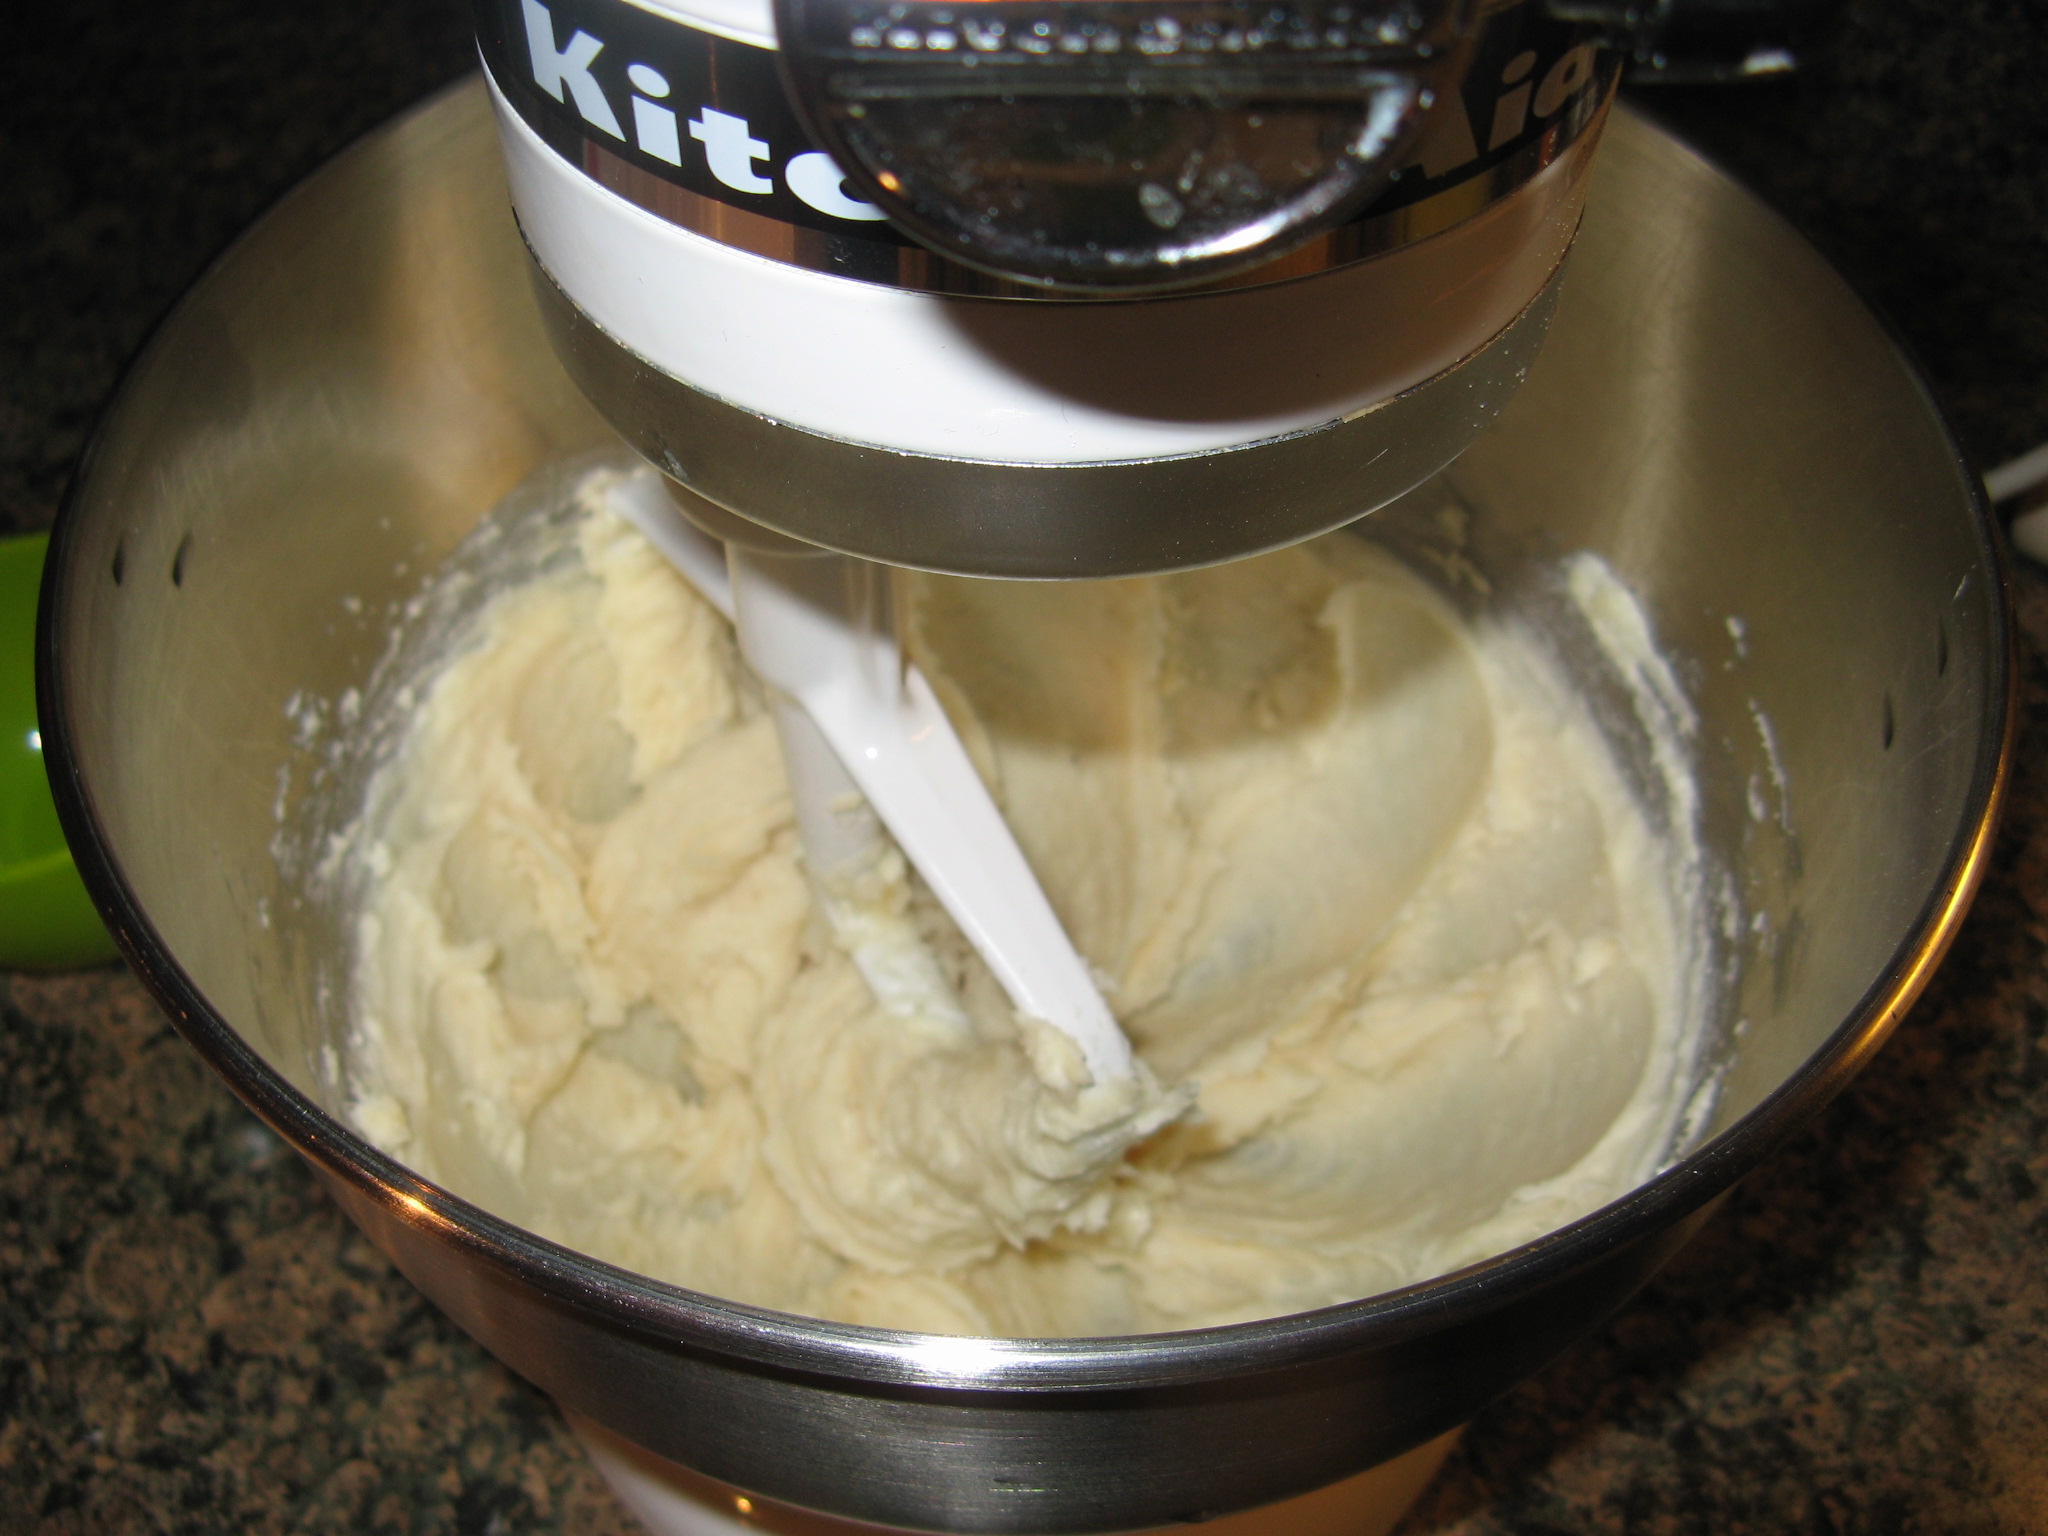
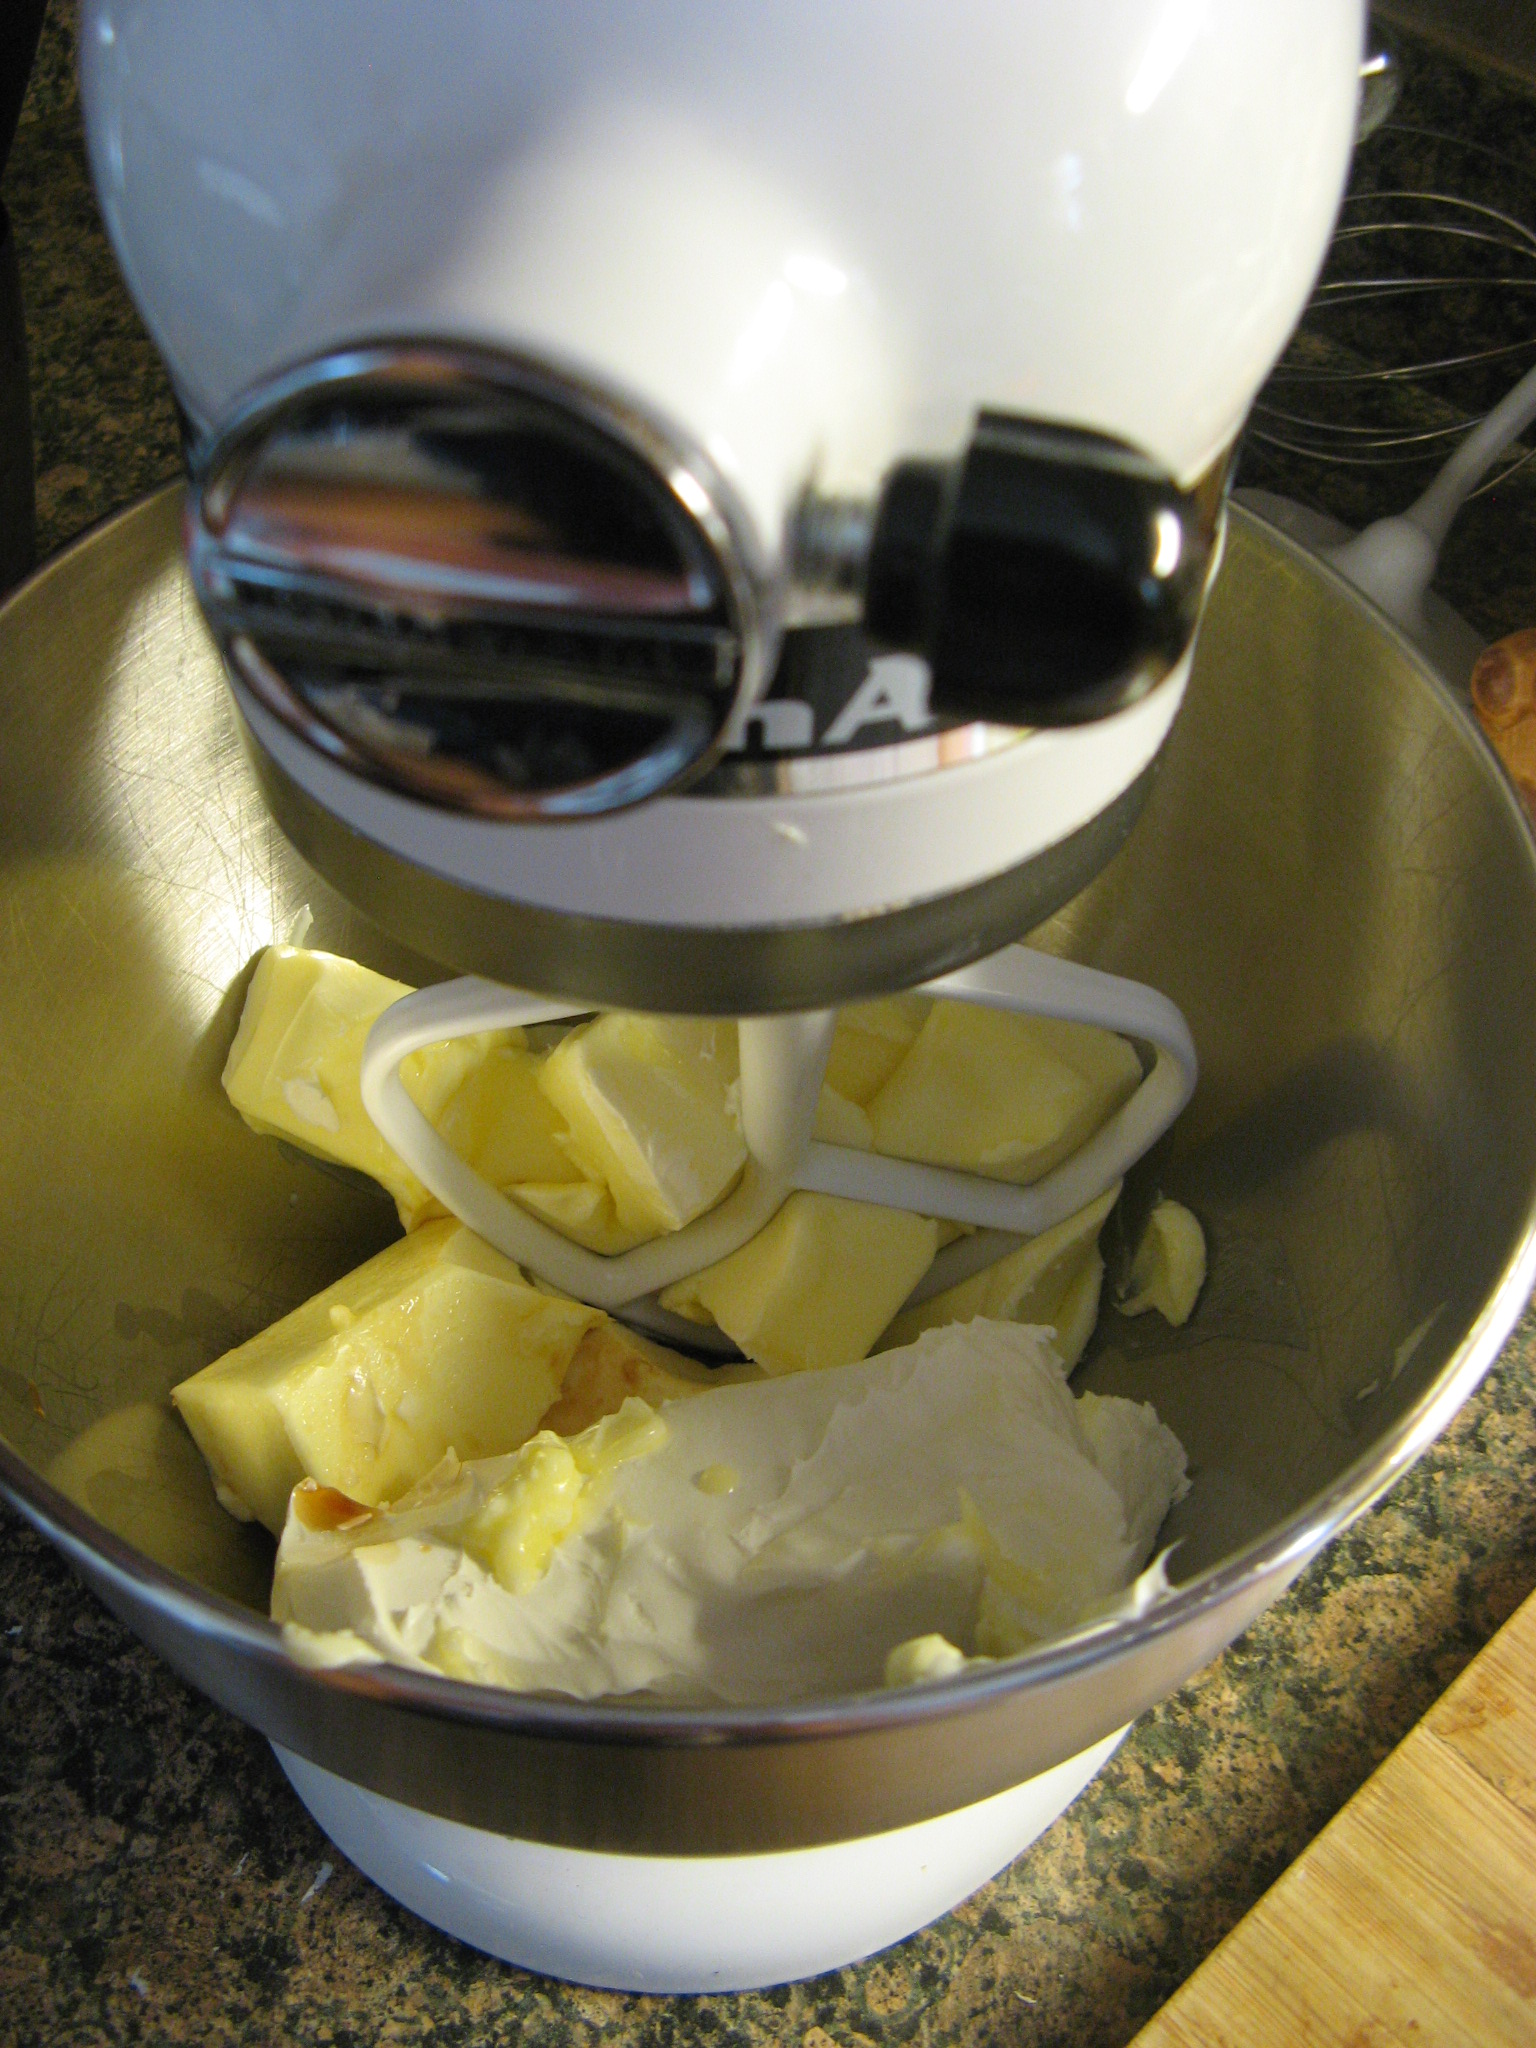
Begin by creaming the cream cheese and butter together and then add in the vanilla extract. Reduce the speed of the mixer to low and add in the confectioners’ sugar, once the sugar is incorporated add in the raspberry jam and continue mixing on medium speed.