Lemon Cupcakes with Raspberry Cream Cheese Frosting

I recently went to Georgetown Cupcake – if you haven’t tried them and you get the opportunity to do so definitely do it, even if you have to wait on a ridiculously long line – to get some cupcakes and while I was there I picked up one of their menus. While they have staple cupcakes they make every day they also have a daily (and monthly) rotating schedule of specialty flavors that they offer as well. One of those specialty flavors is a Lemon Berry cupcake – a lemon and raspberry cupcake with a raspberry frosting topped with a candied lemon – which gave me the idea for a basic lemon cupcake with a raspberry whipped cream frosting which then turned into a raspberry cream cheese frosting. I could have sworn I had a recipe for lemon cupcakes among my recipe stash, but, I couldn’t find one so I turned to Allrecipes to do so. I like using recipes from their website since you can scale them down to whatever serving size you need. After reading through a few recipes I settled on one submitted by Megan C. that was initially scaled for twenty-four cupcakes and I scaled down to twelve. The directions also have a recipe for a Blackberry Buttercream which sounds pretty good as well.

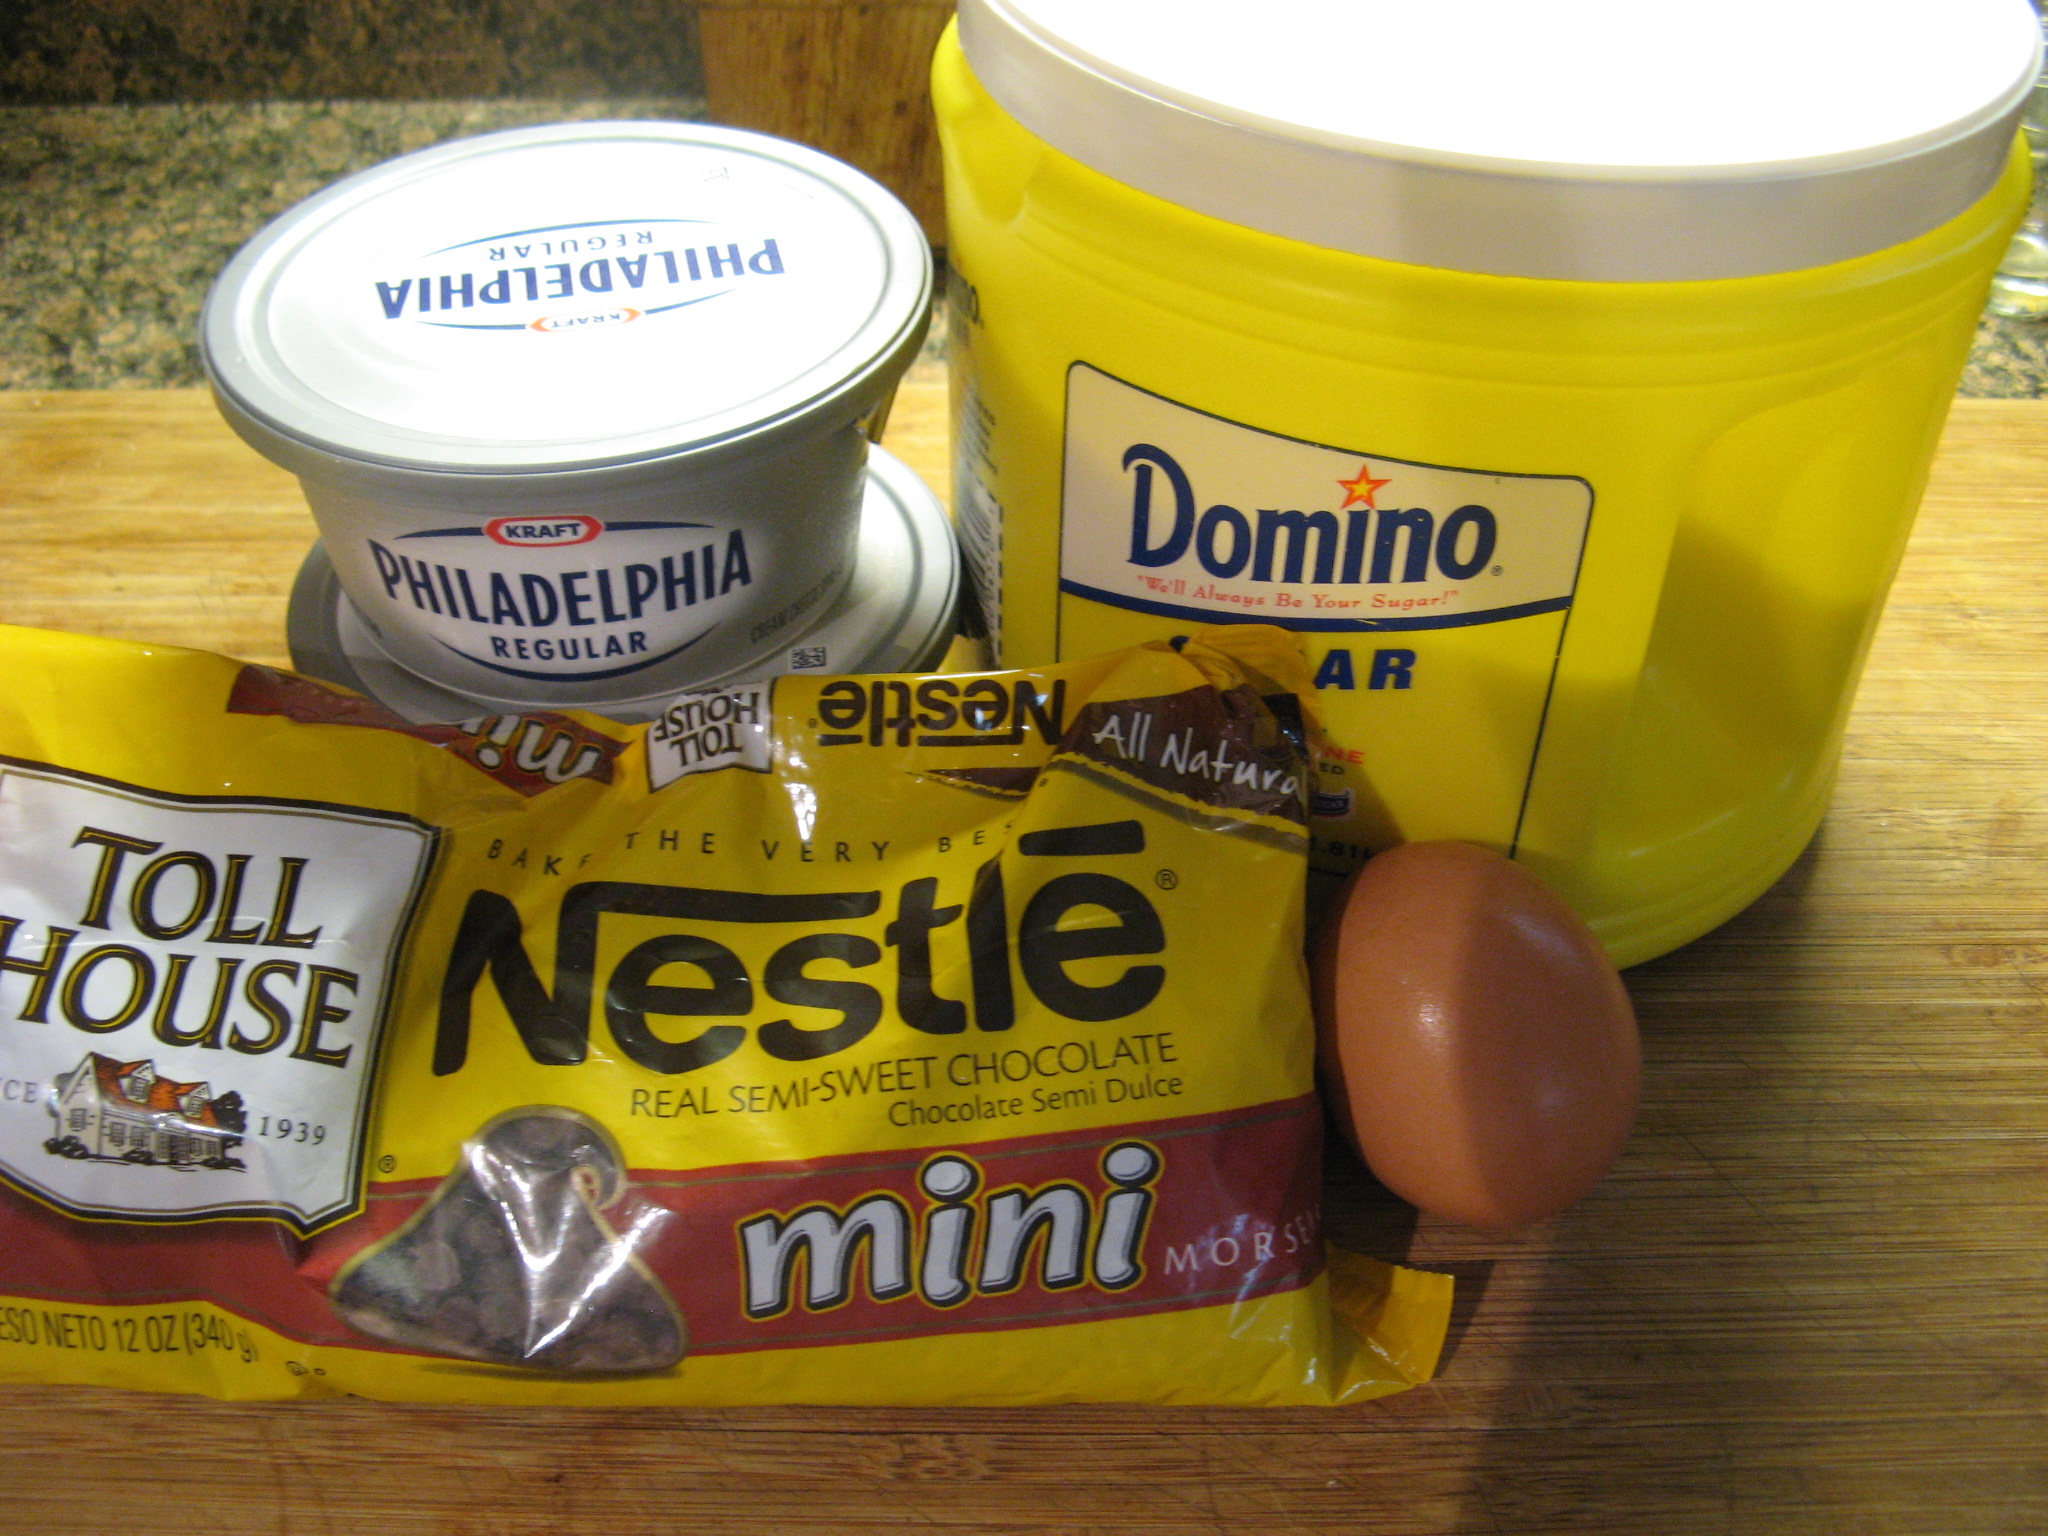
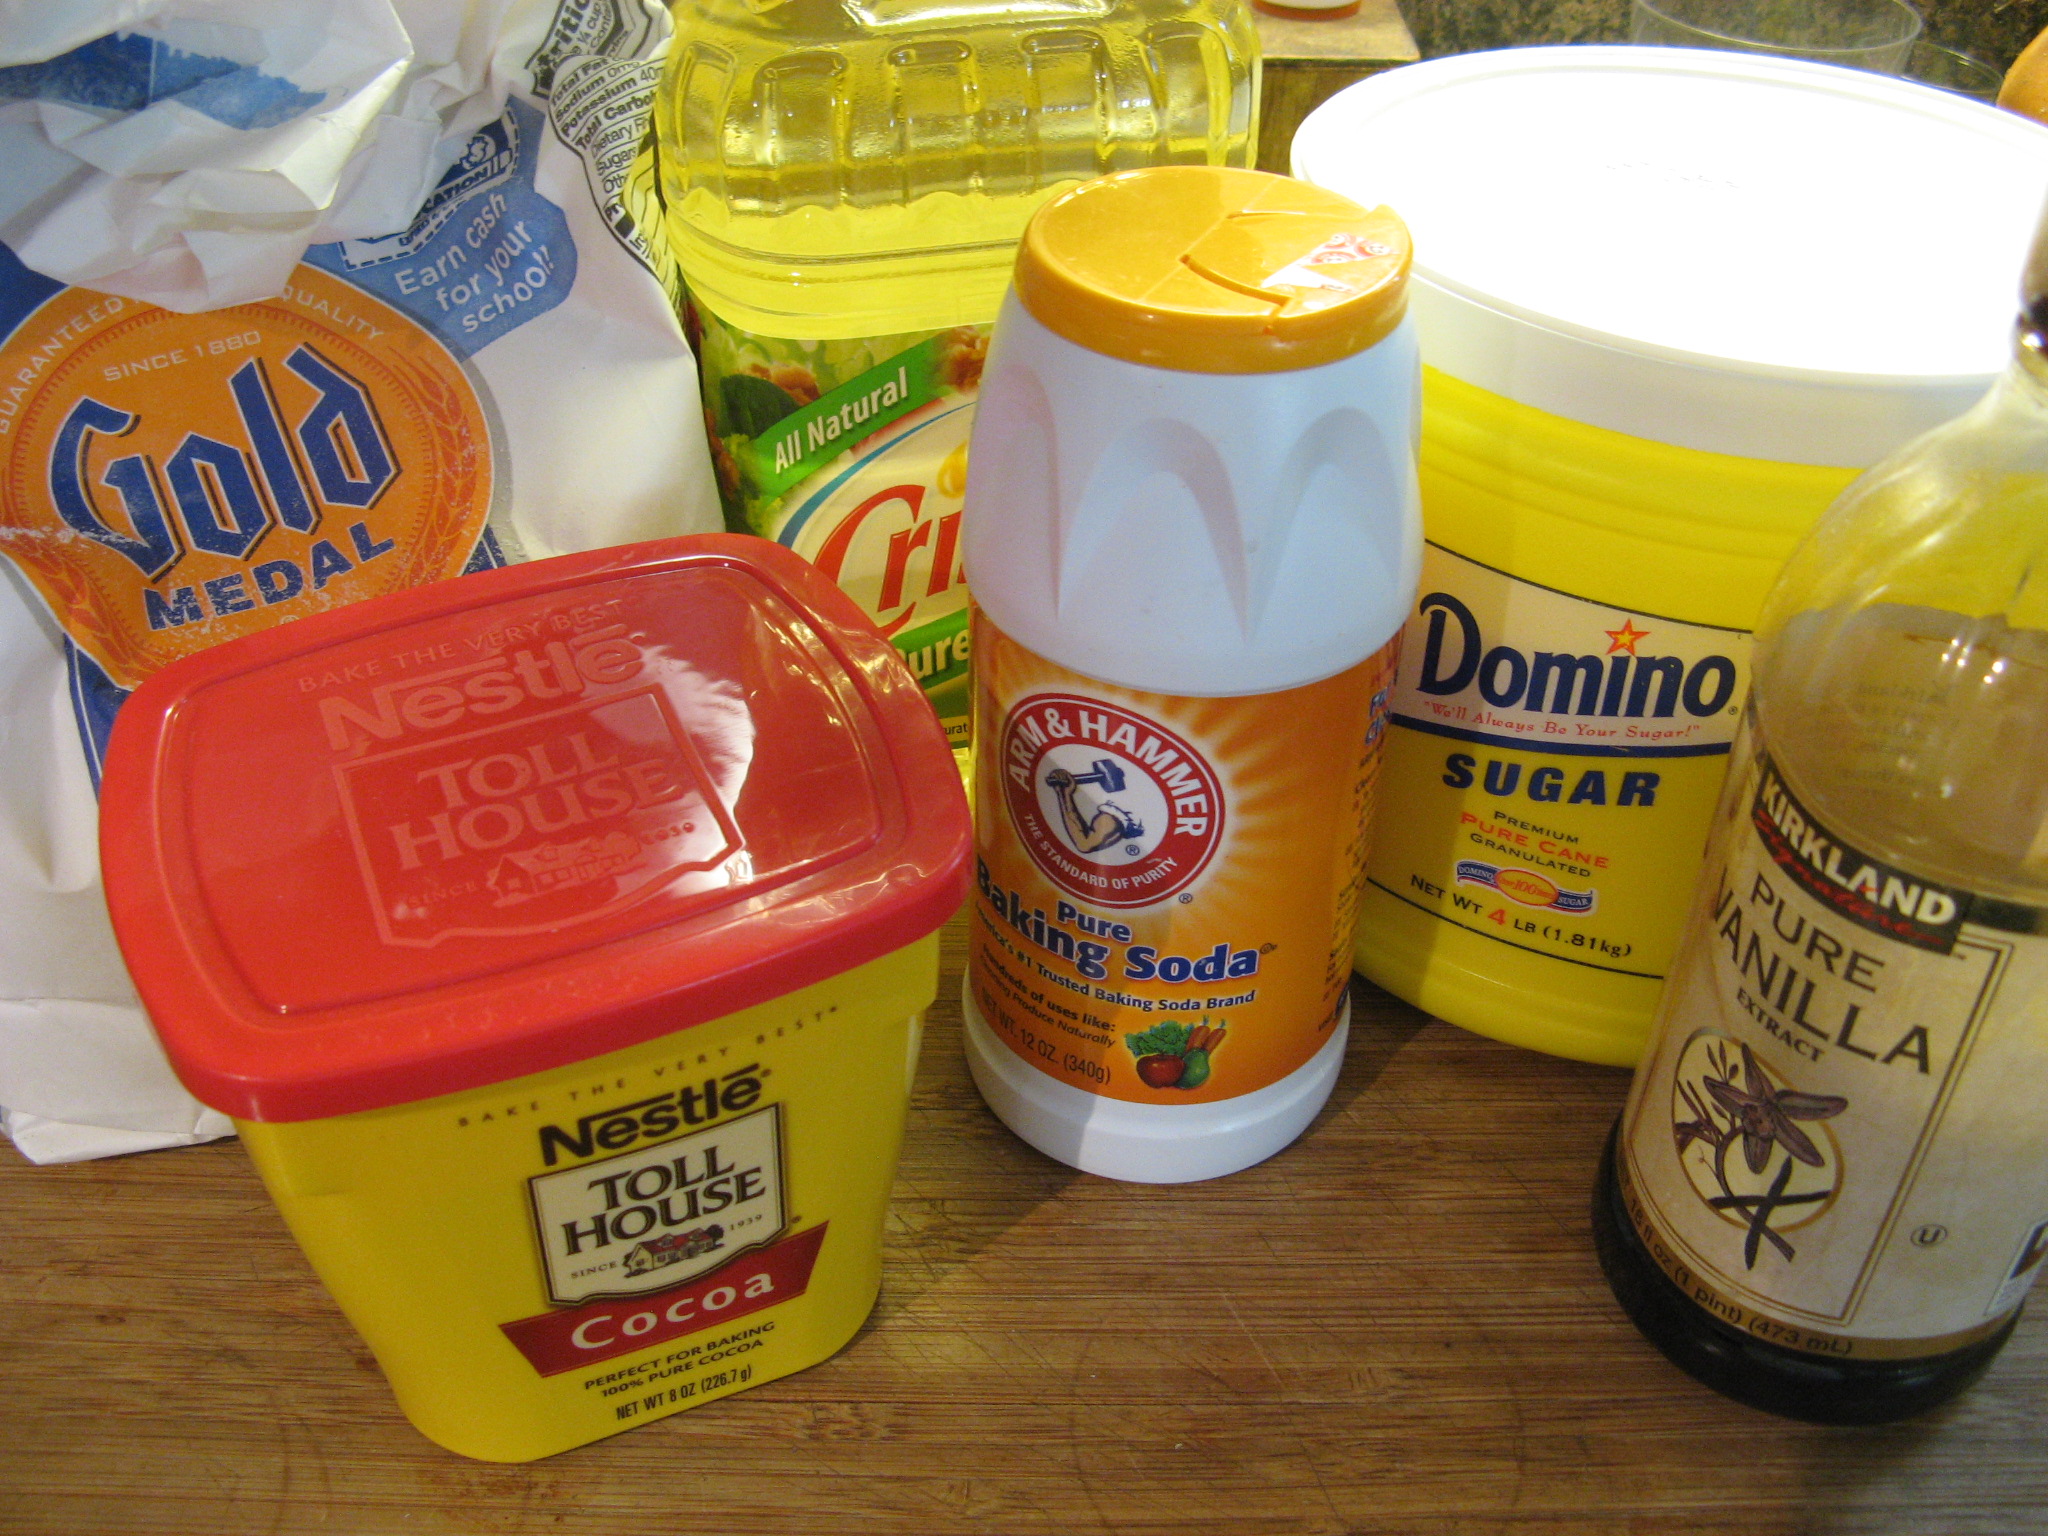
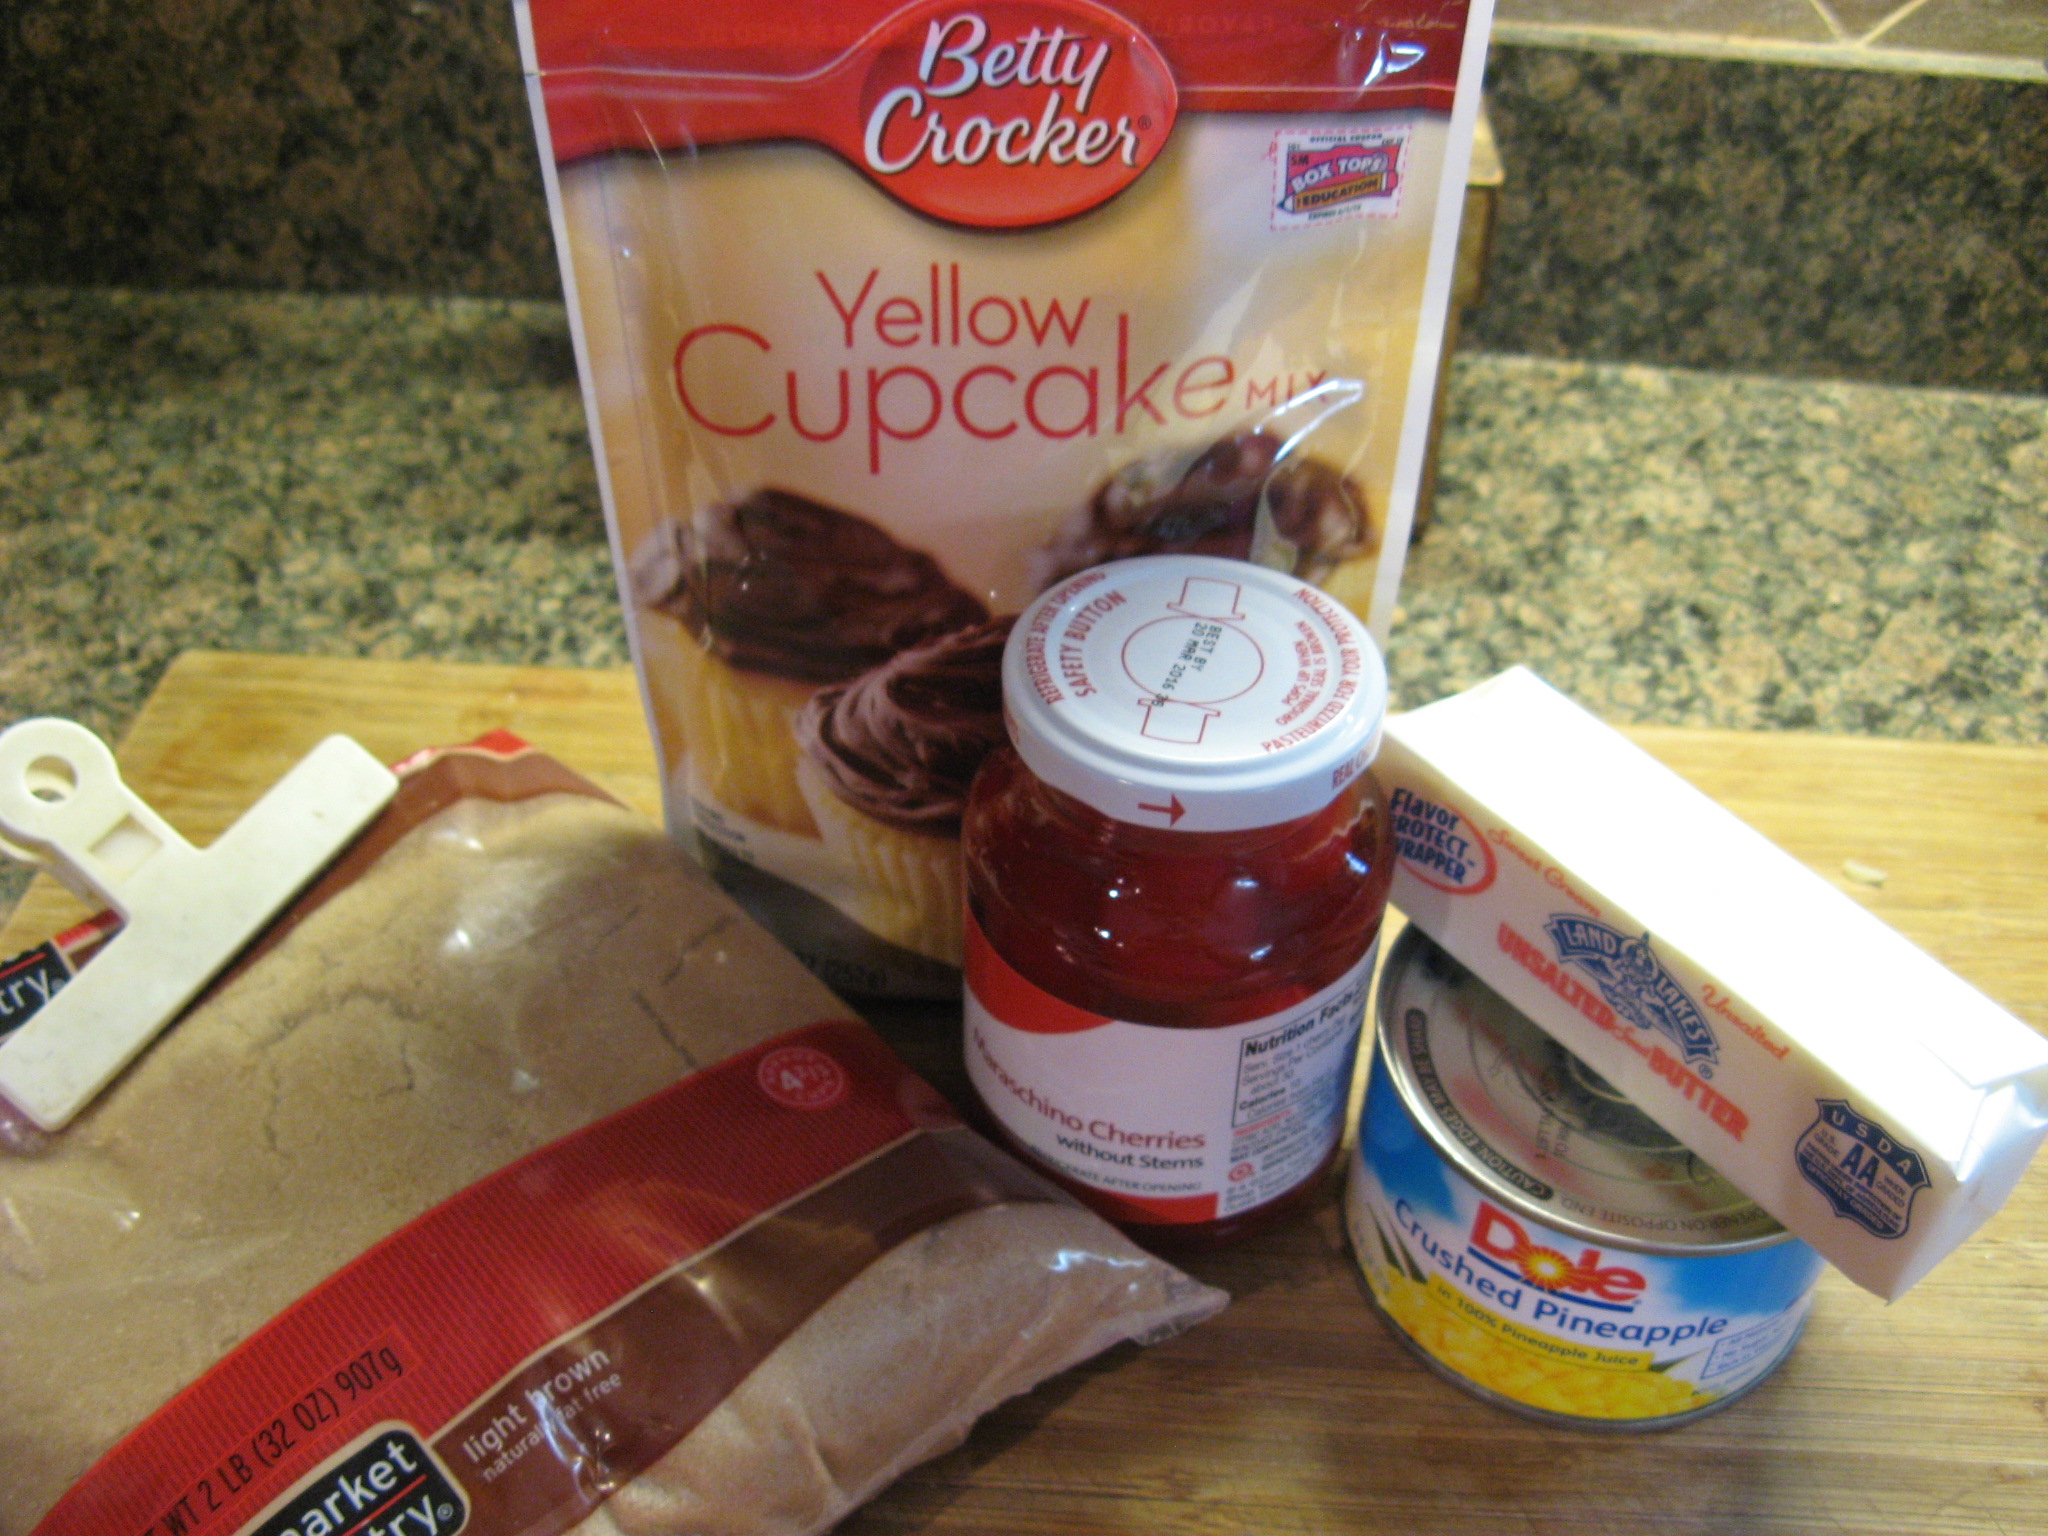
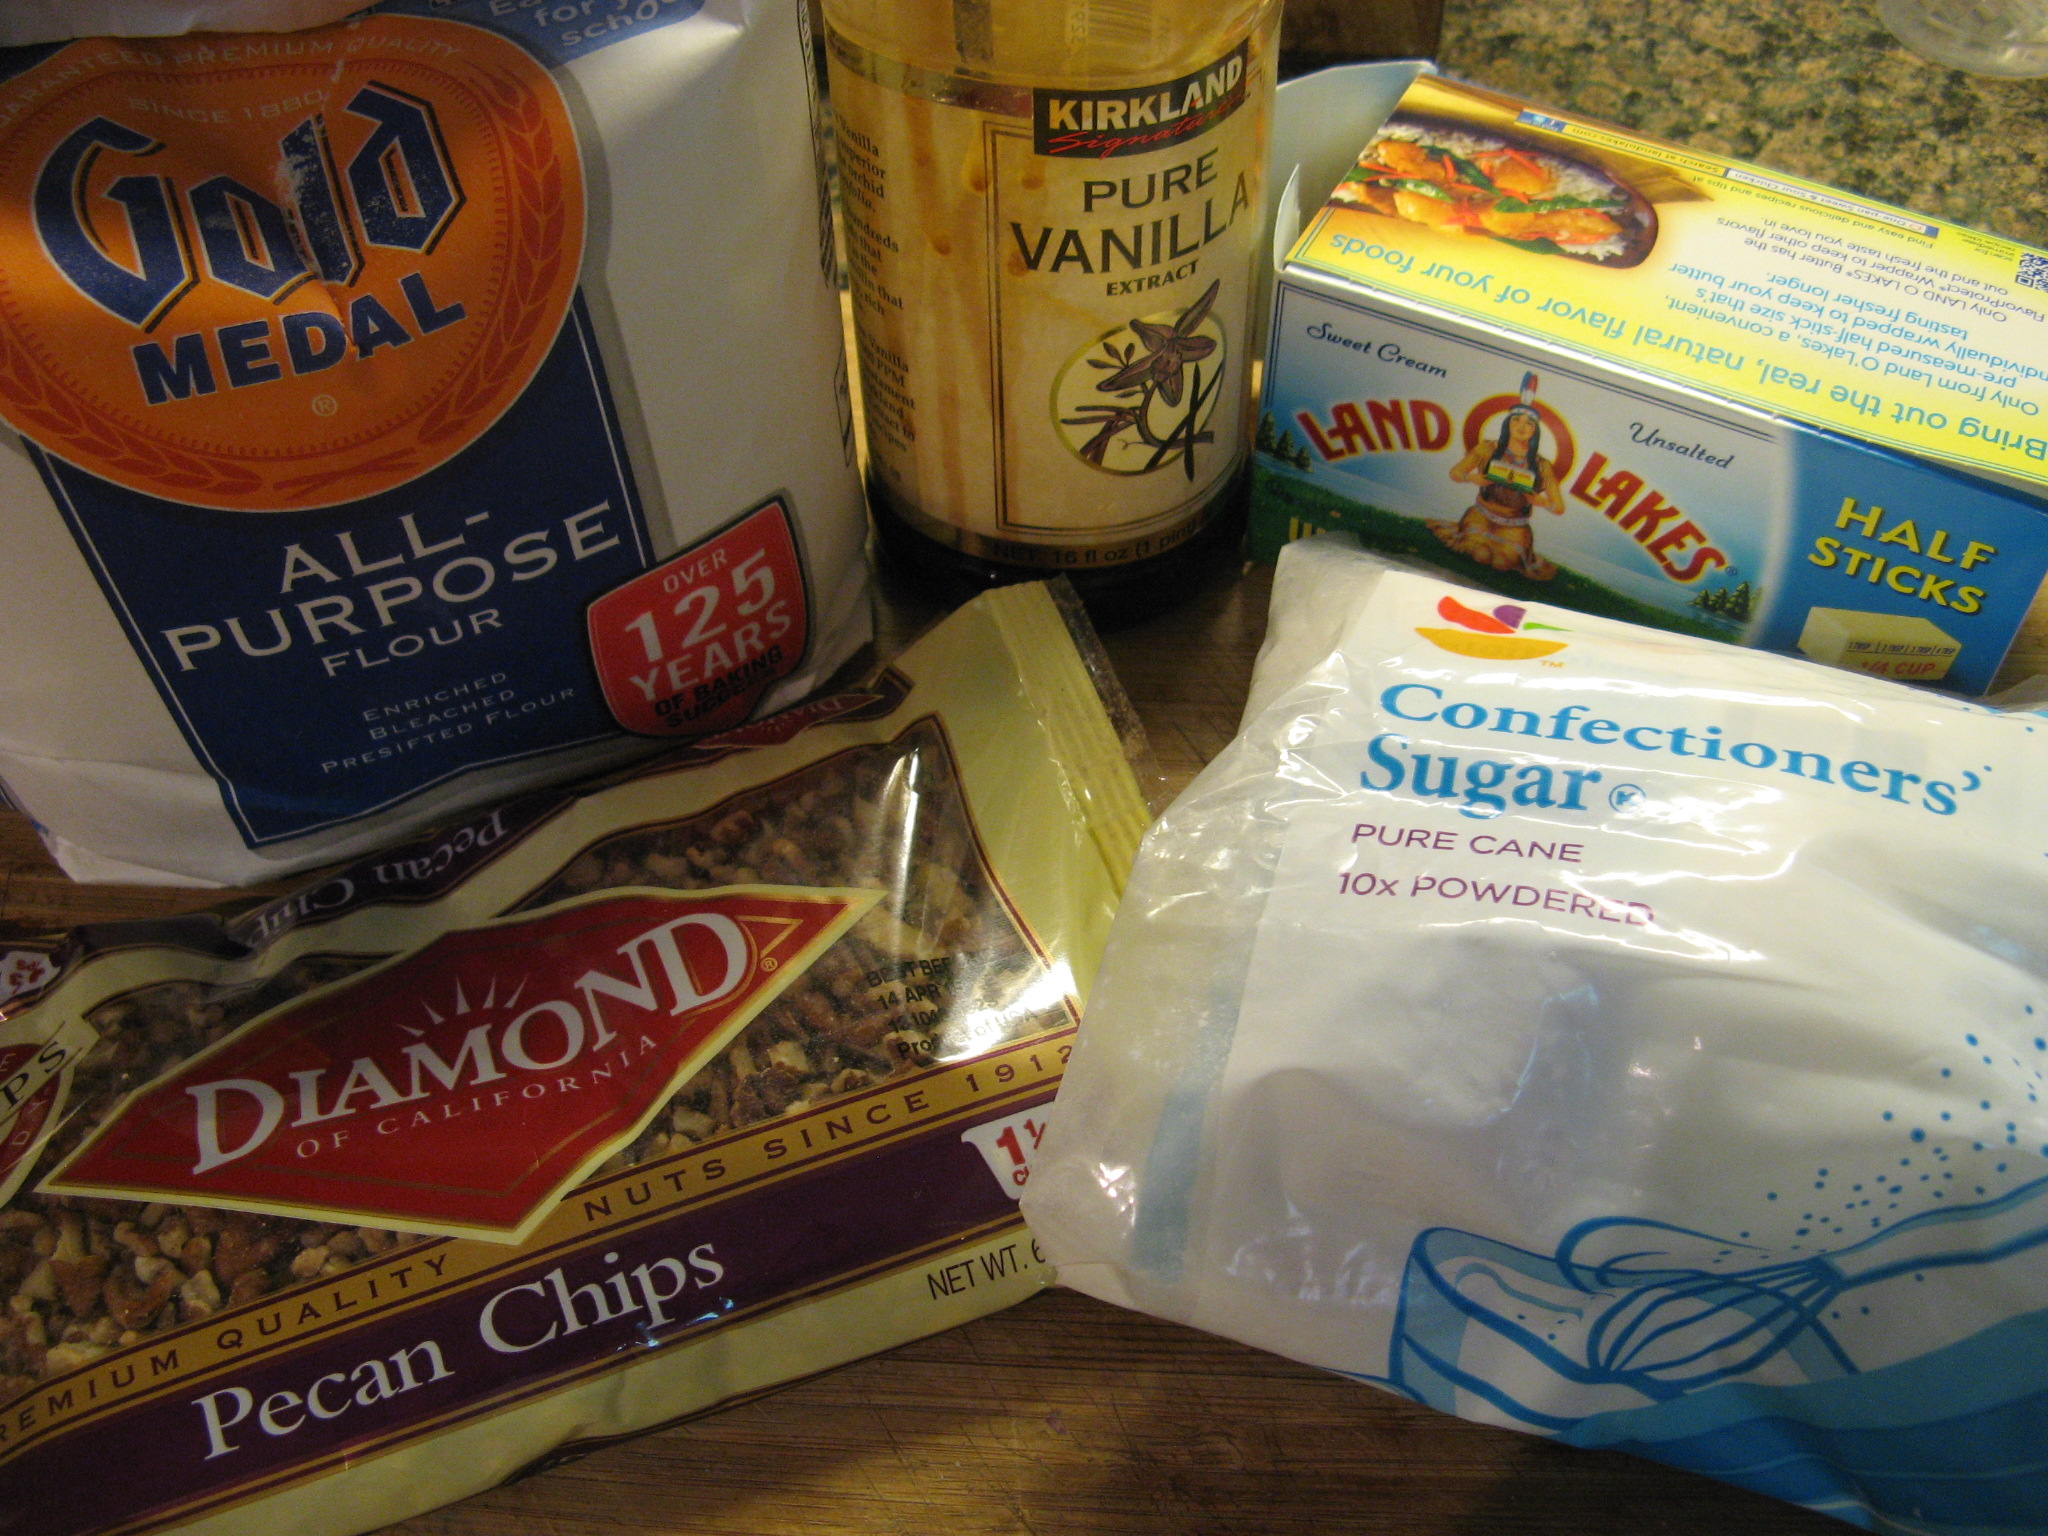
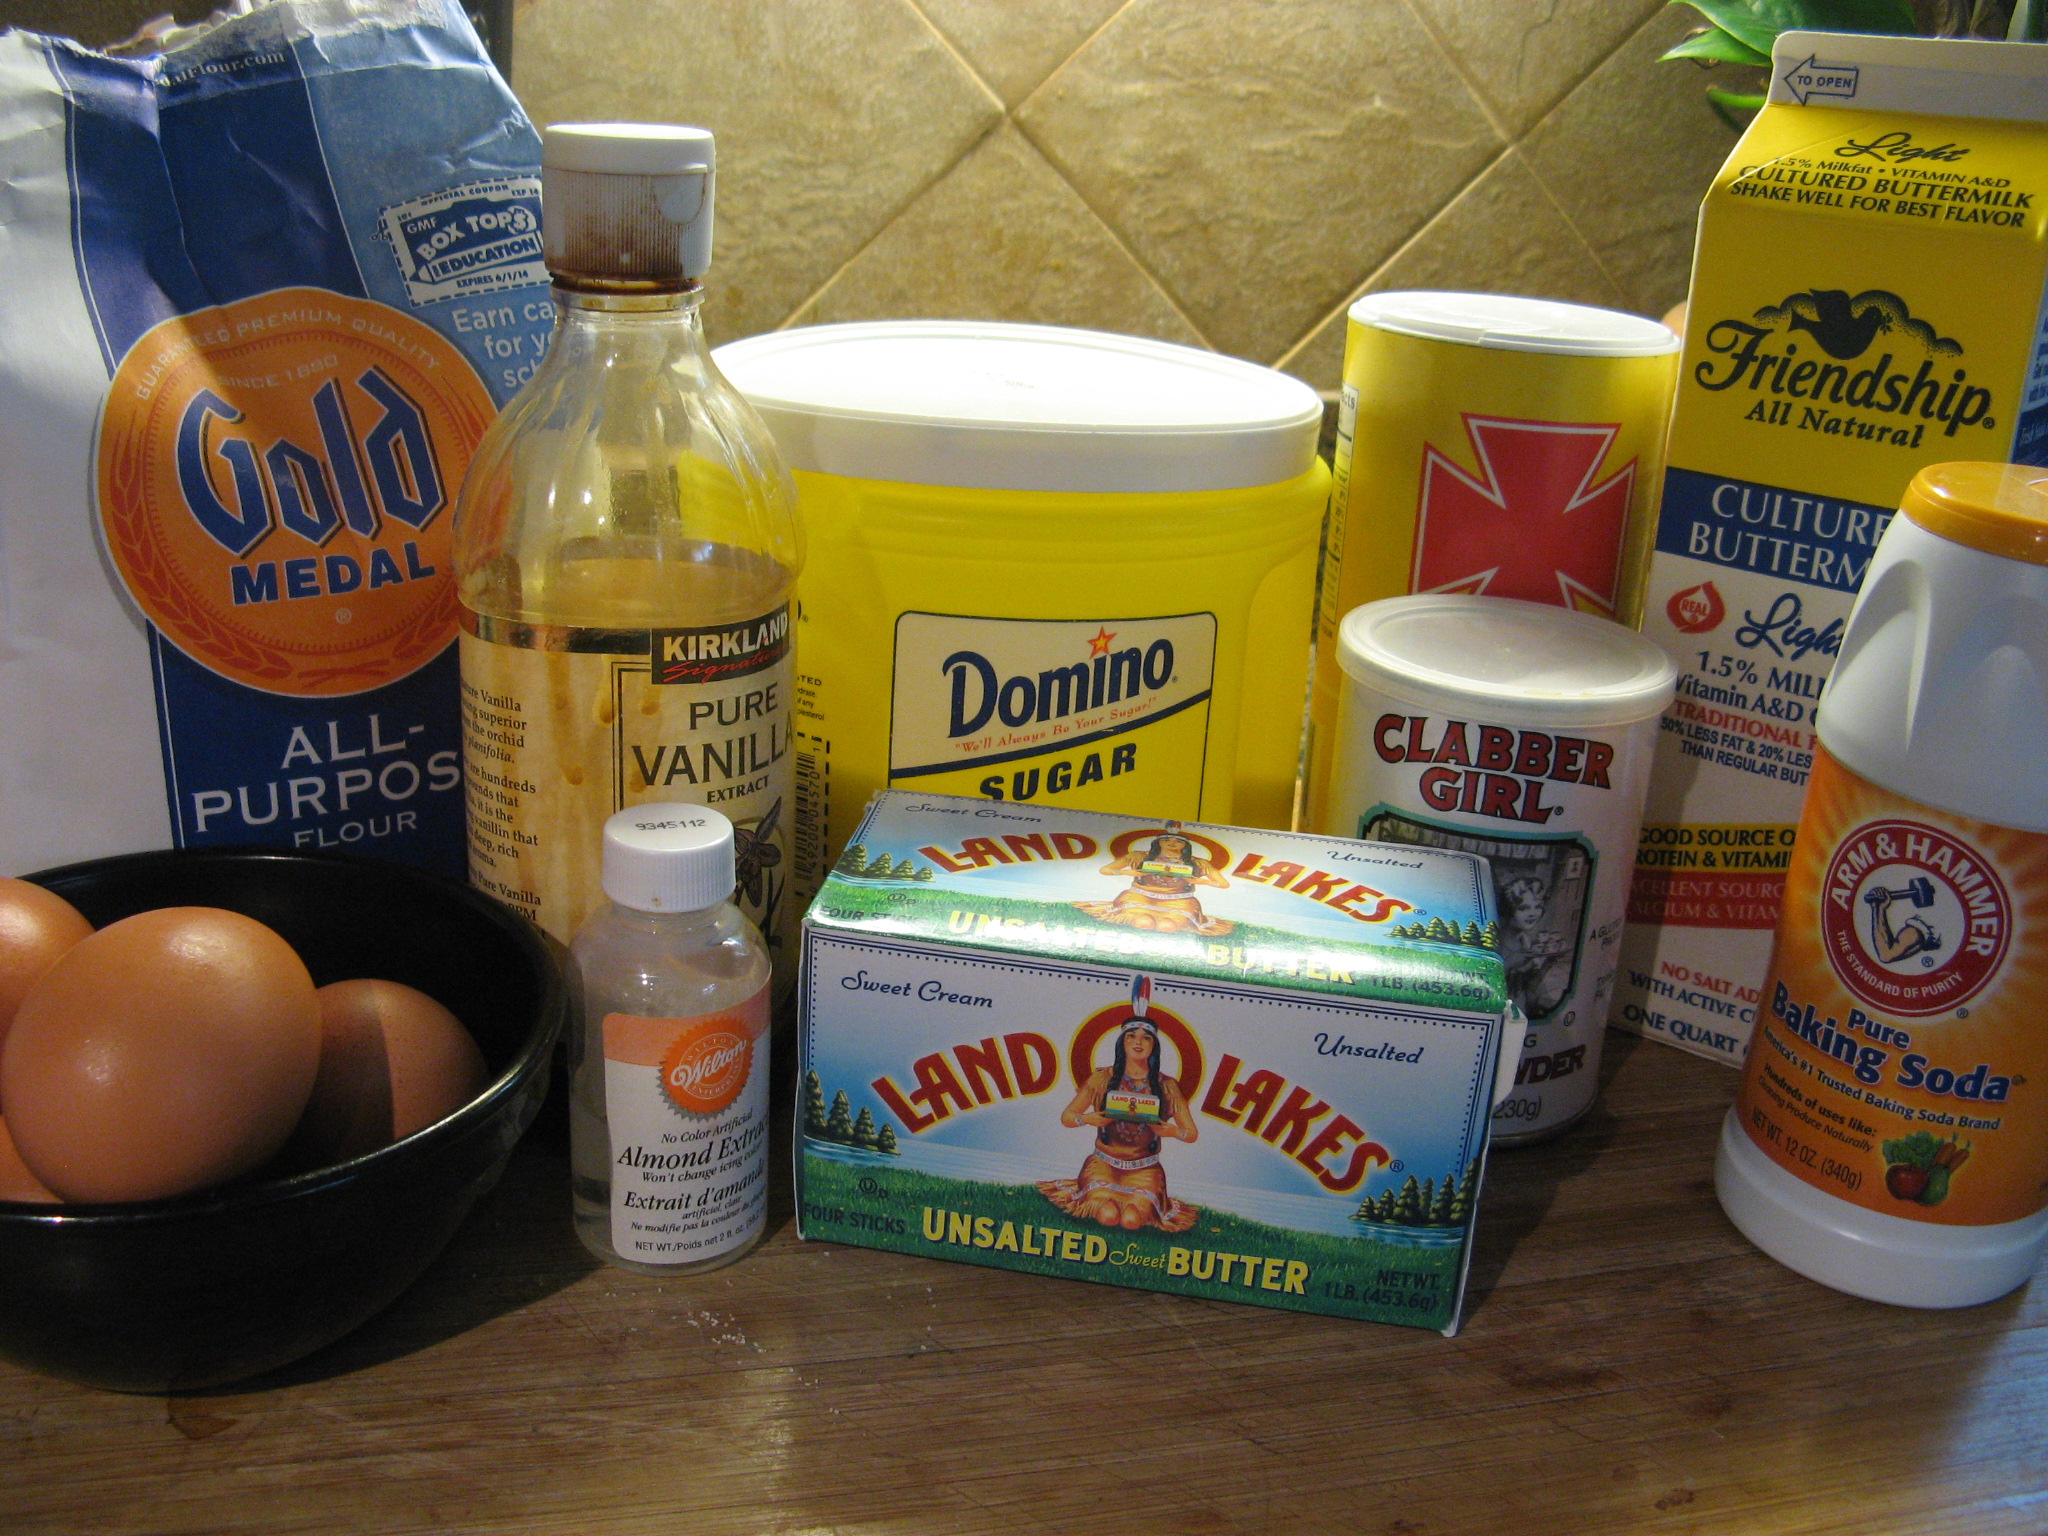
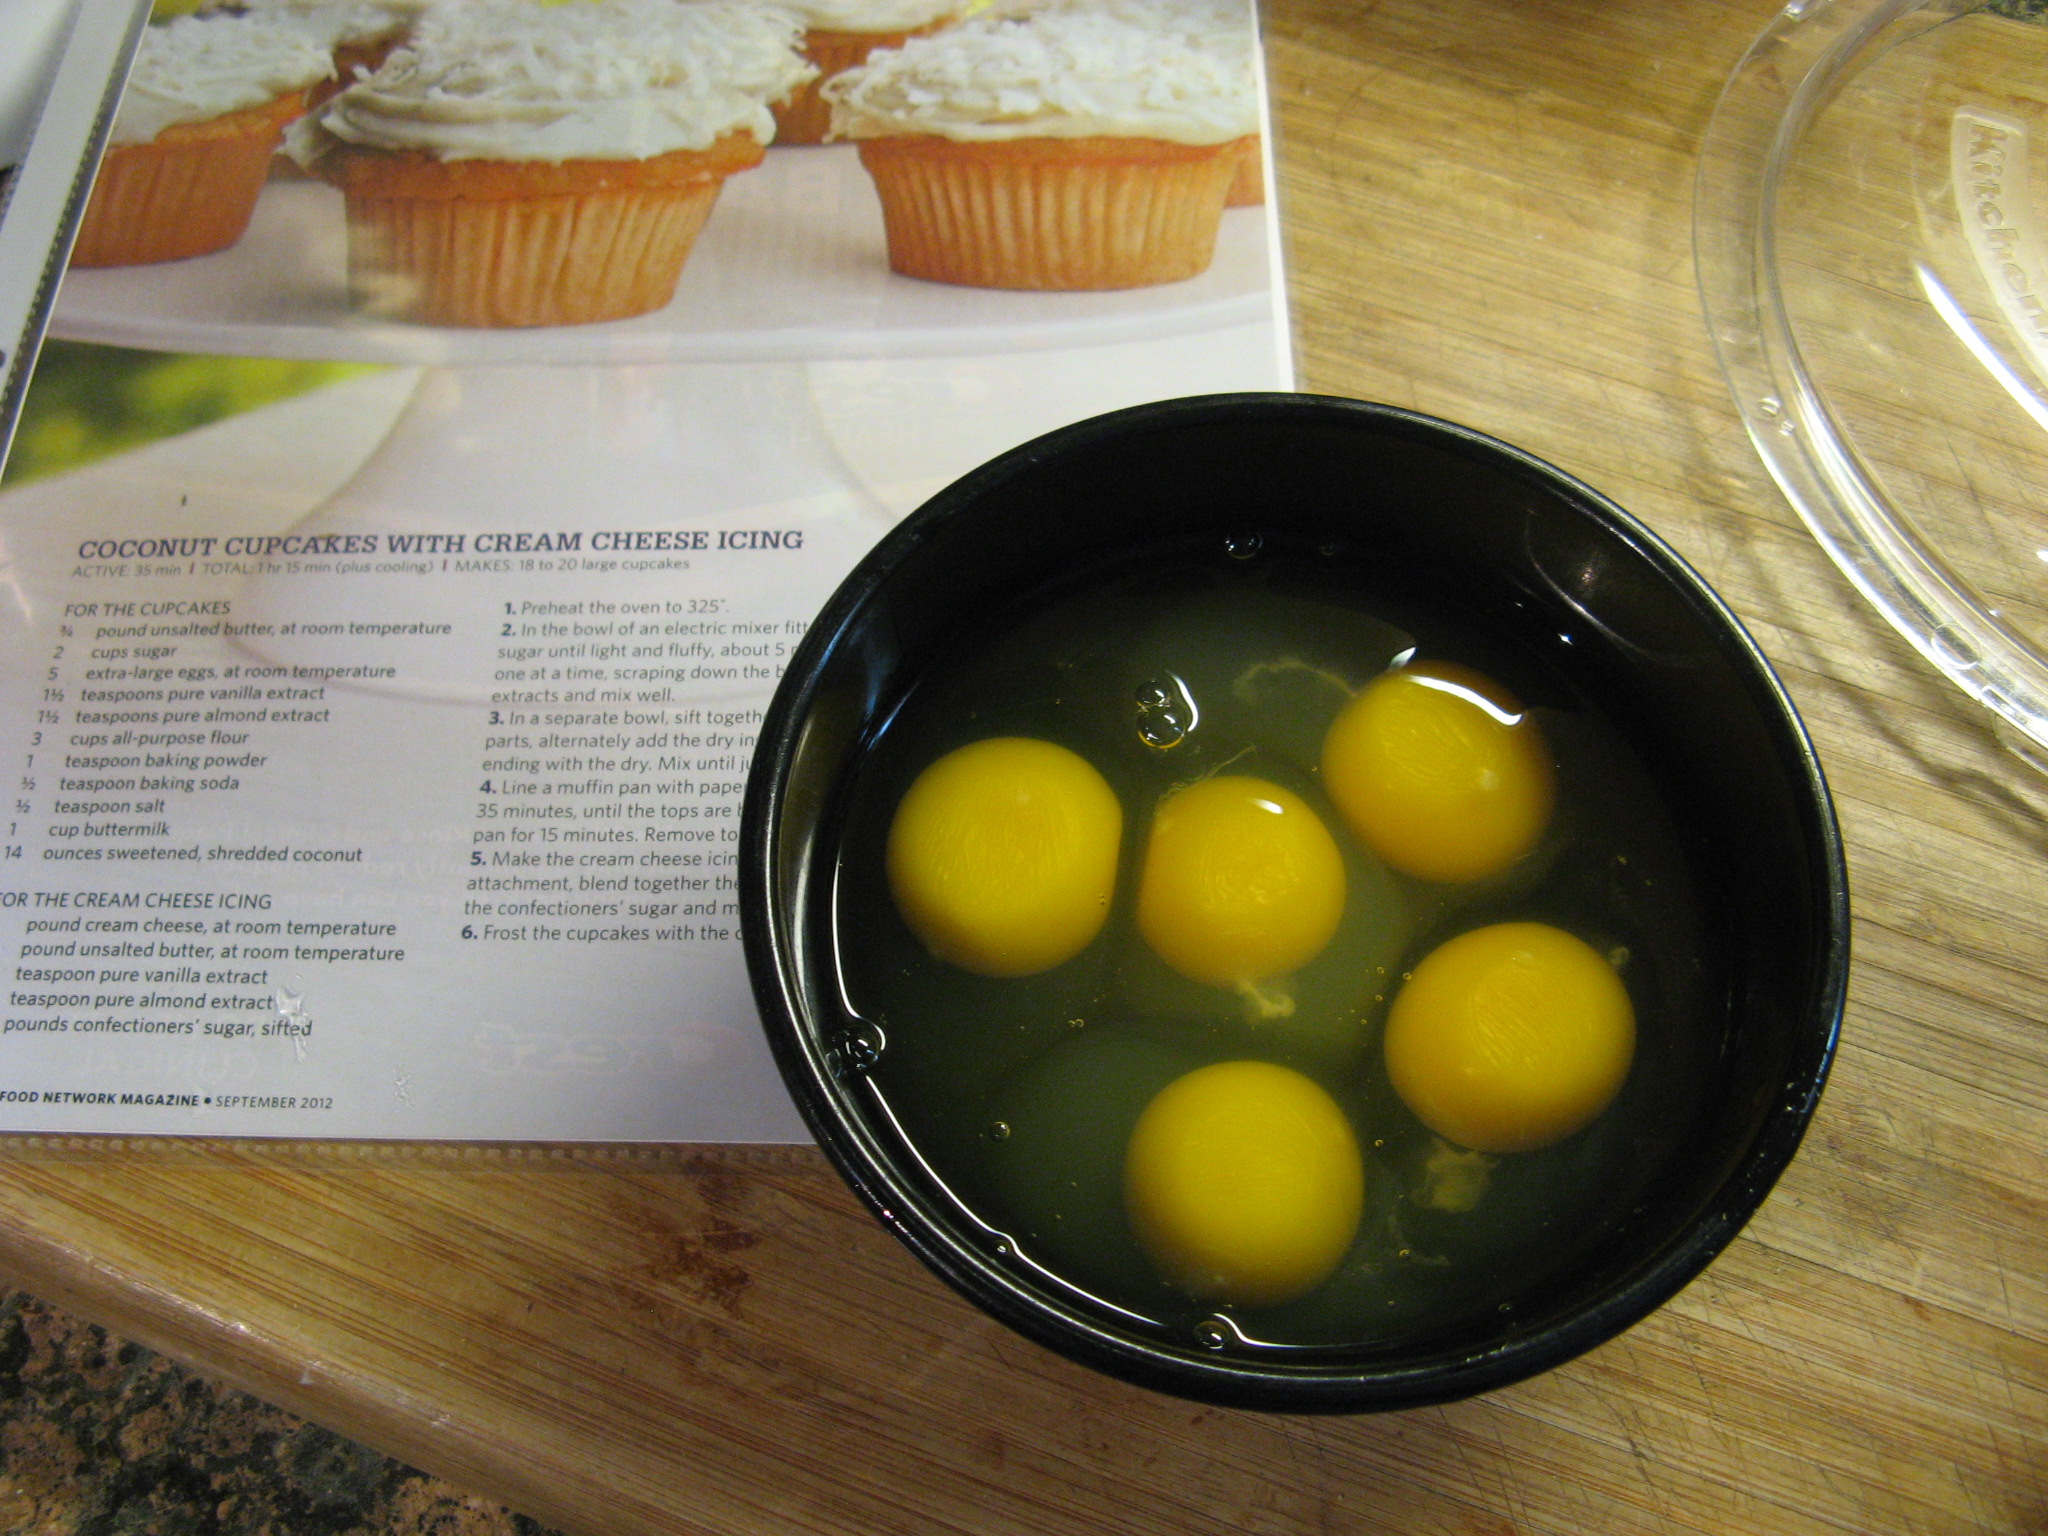
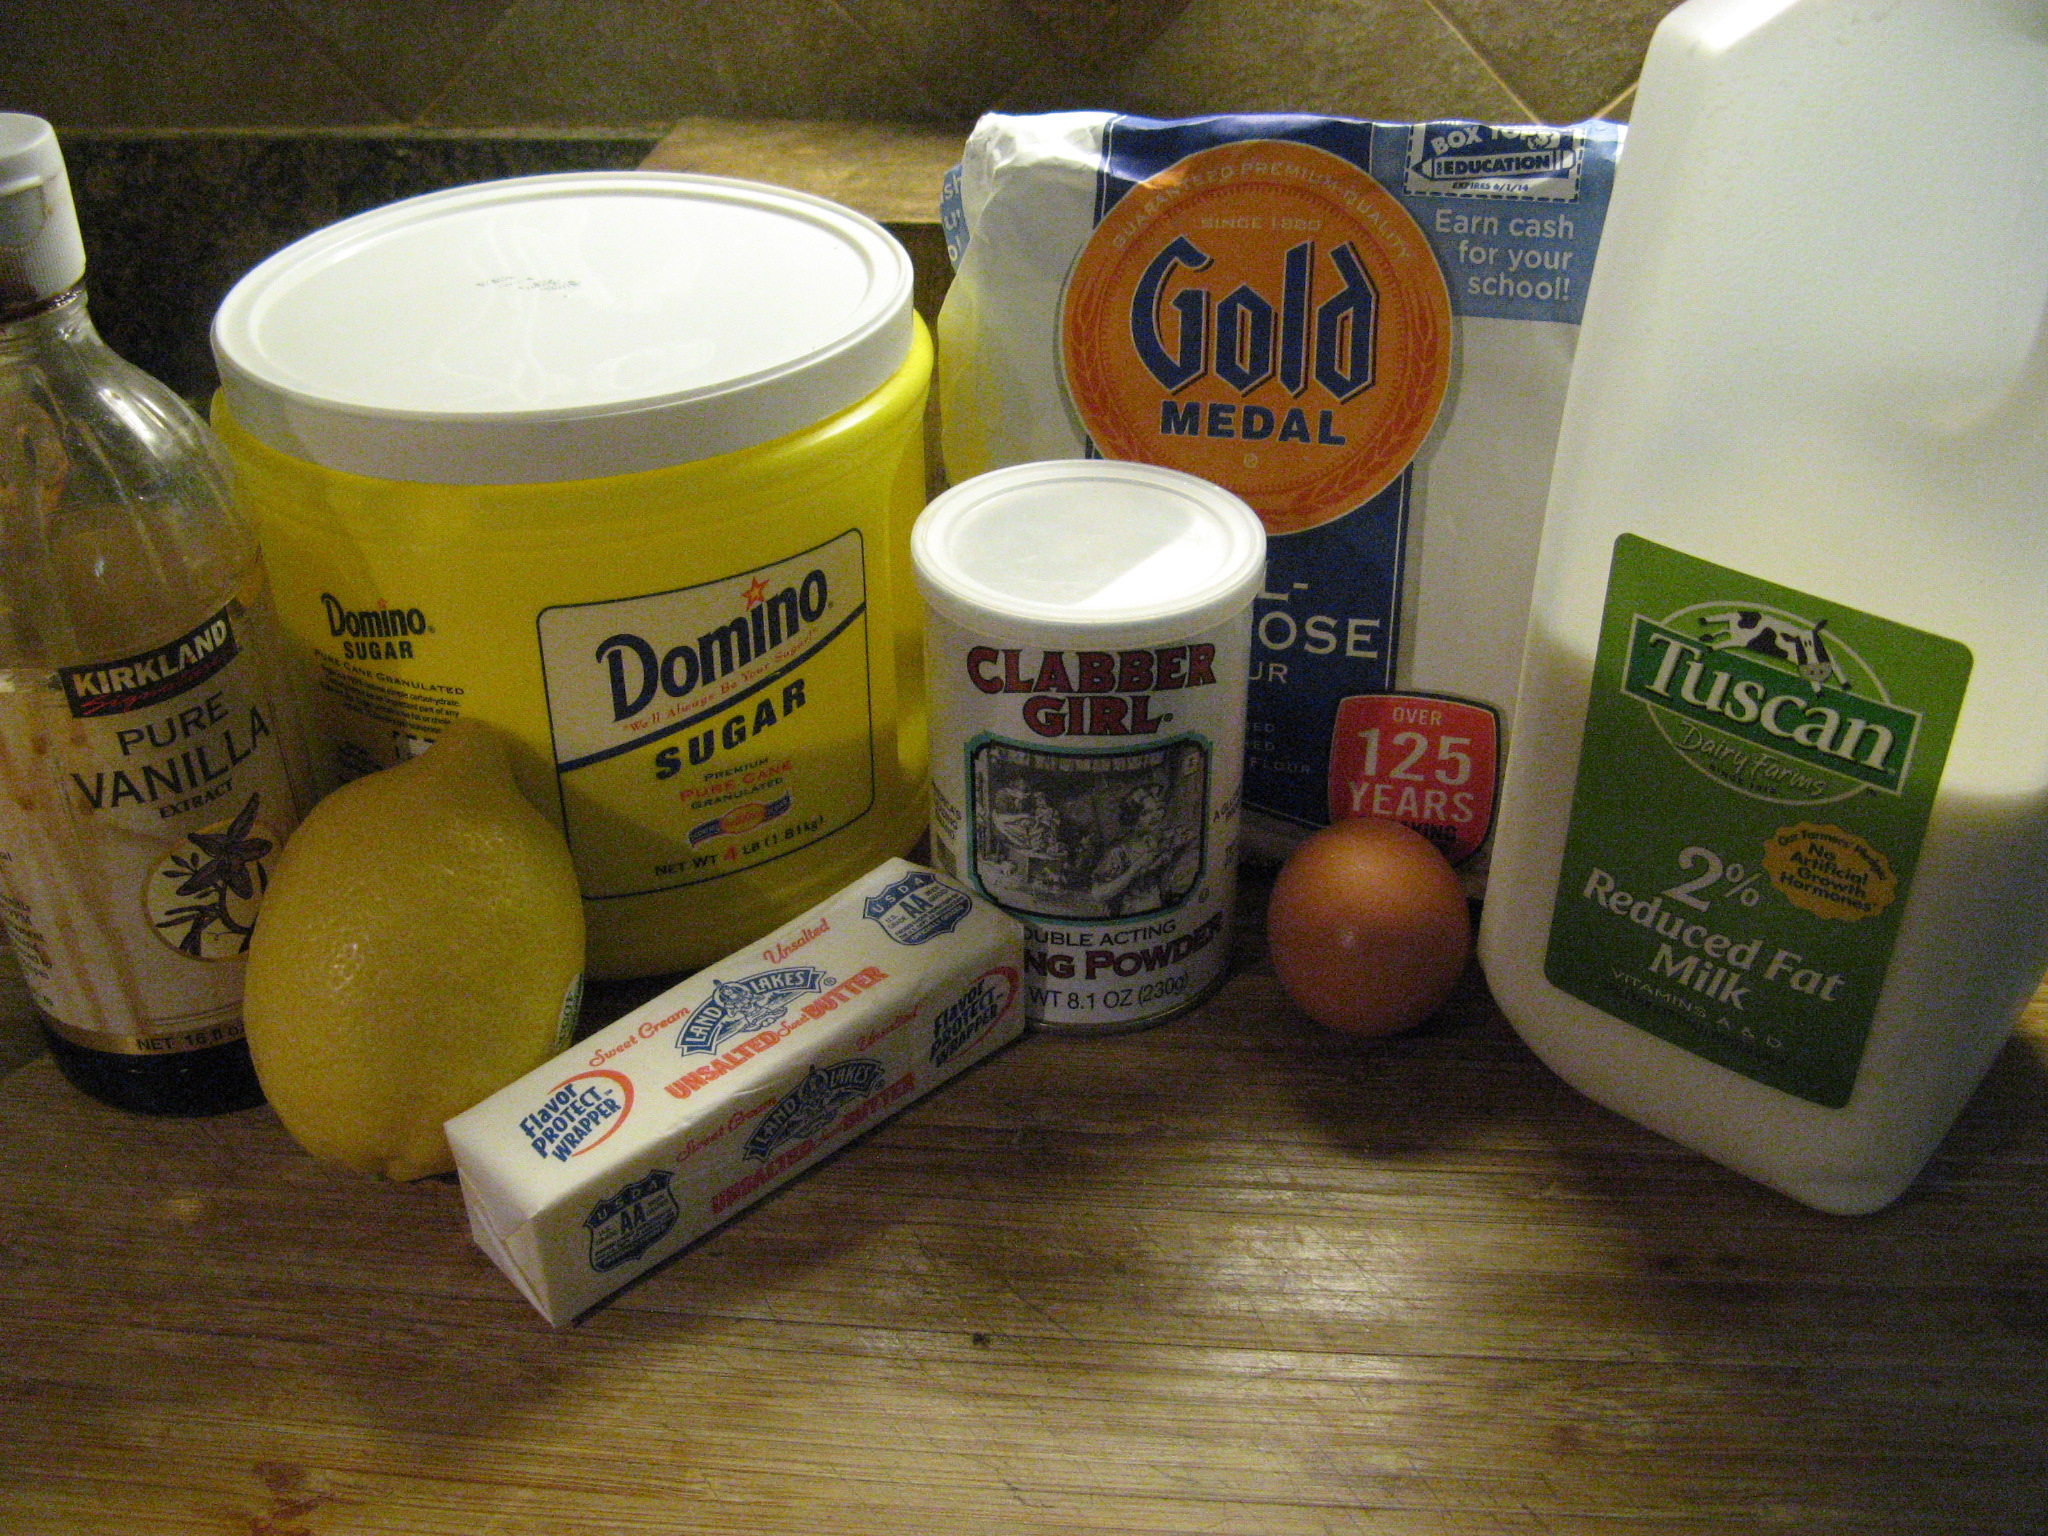
I started by assembling all of my ingredients for the cupcakes: sugar, butter, an egg, vanilla extract, flour, baking powder, milk and a lemon.

IMG_0648

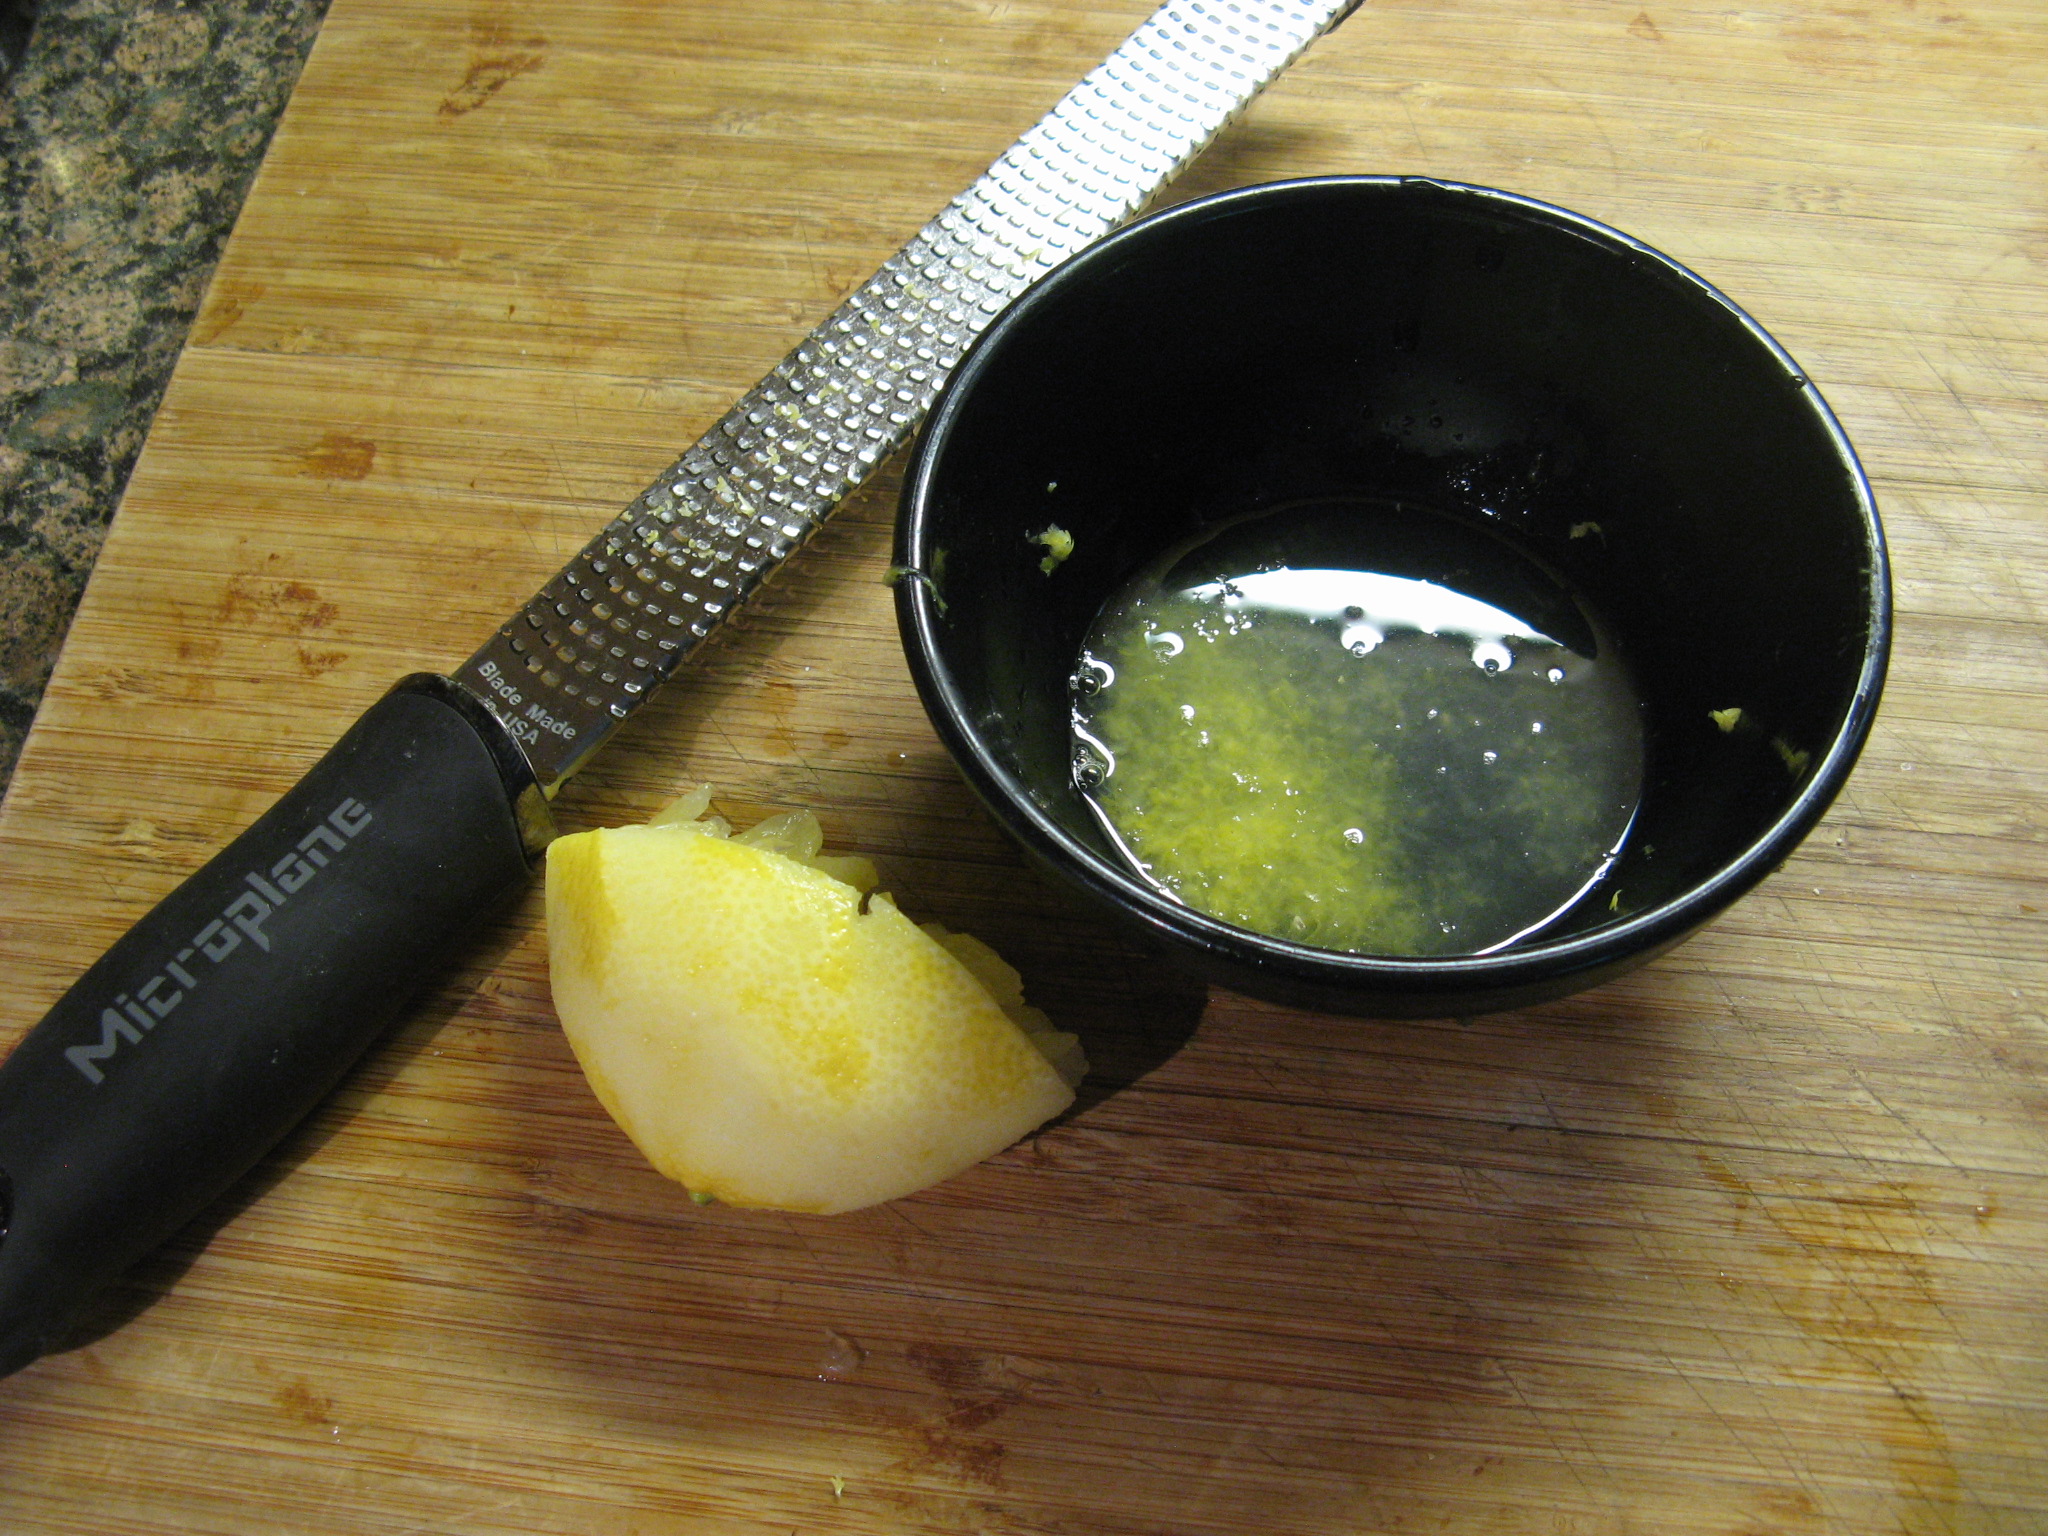
Using a Microplane I grated half of the lemon to get the zest and then squeezed it to get the juice.

IMG_0655

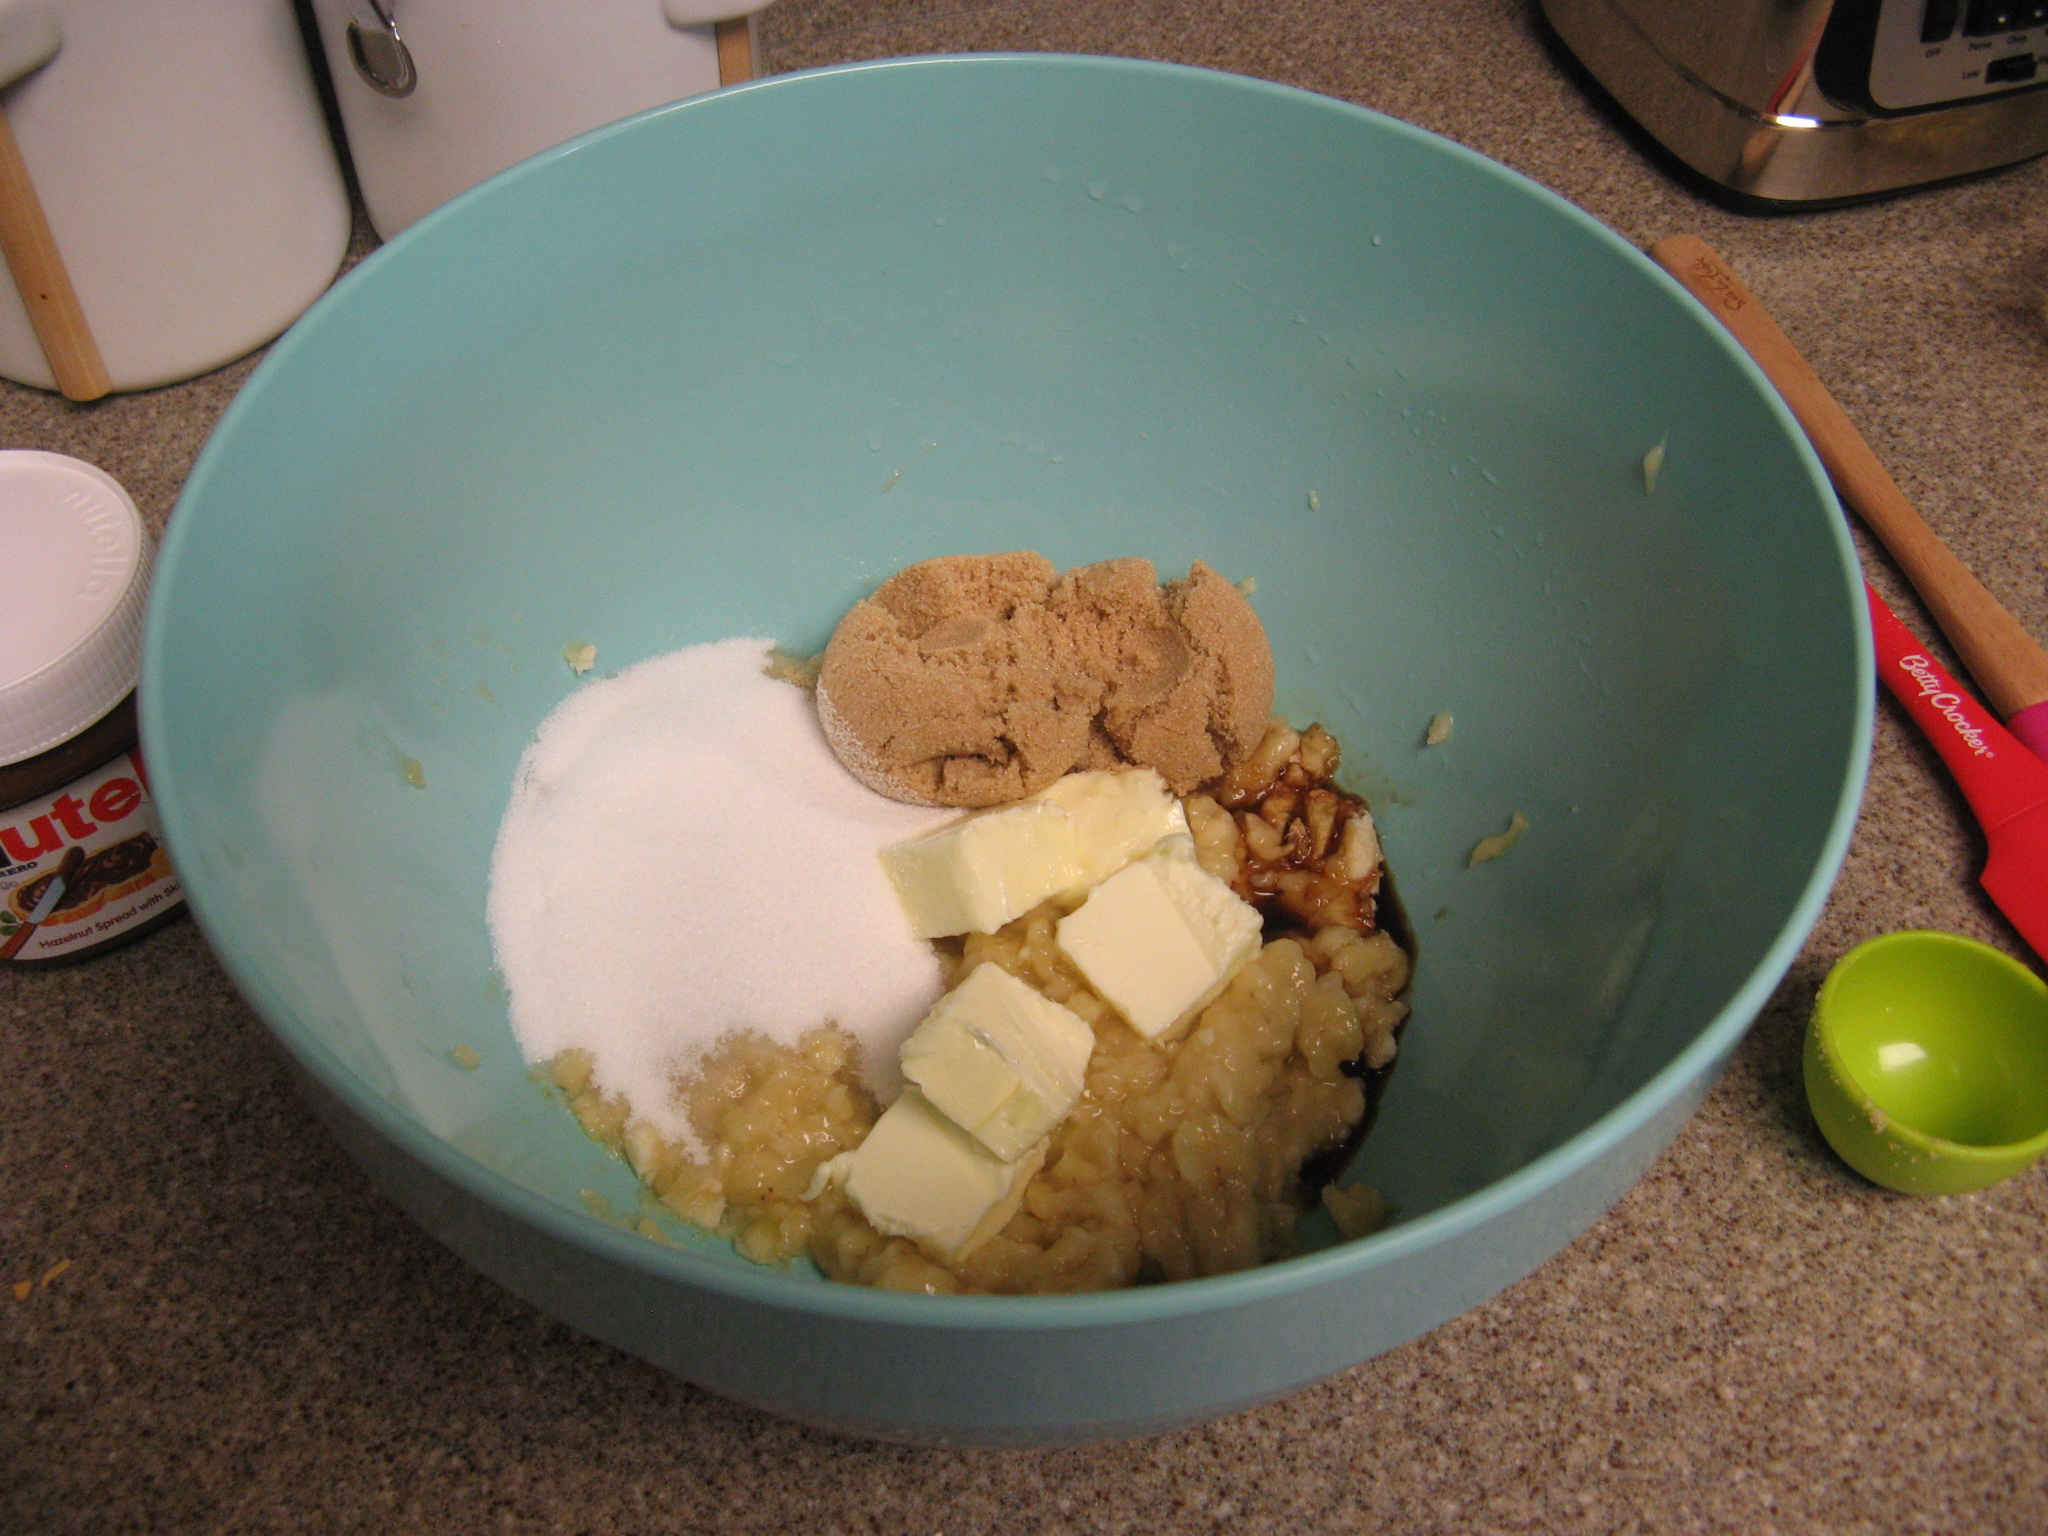
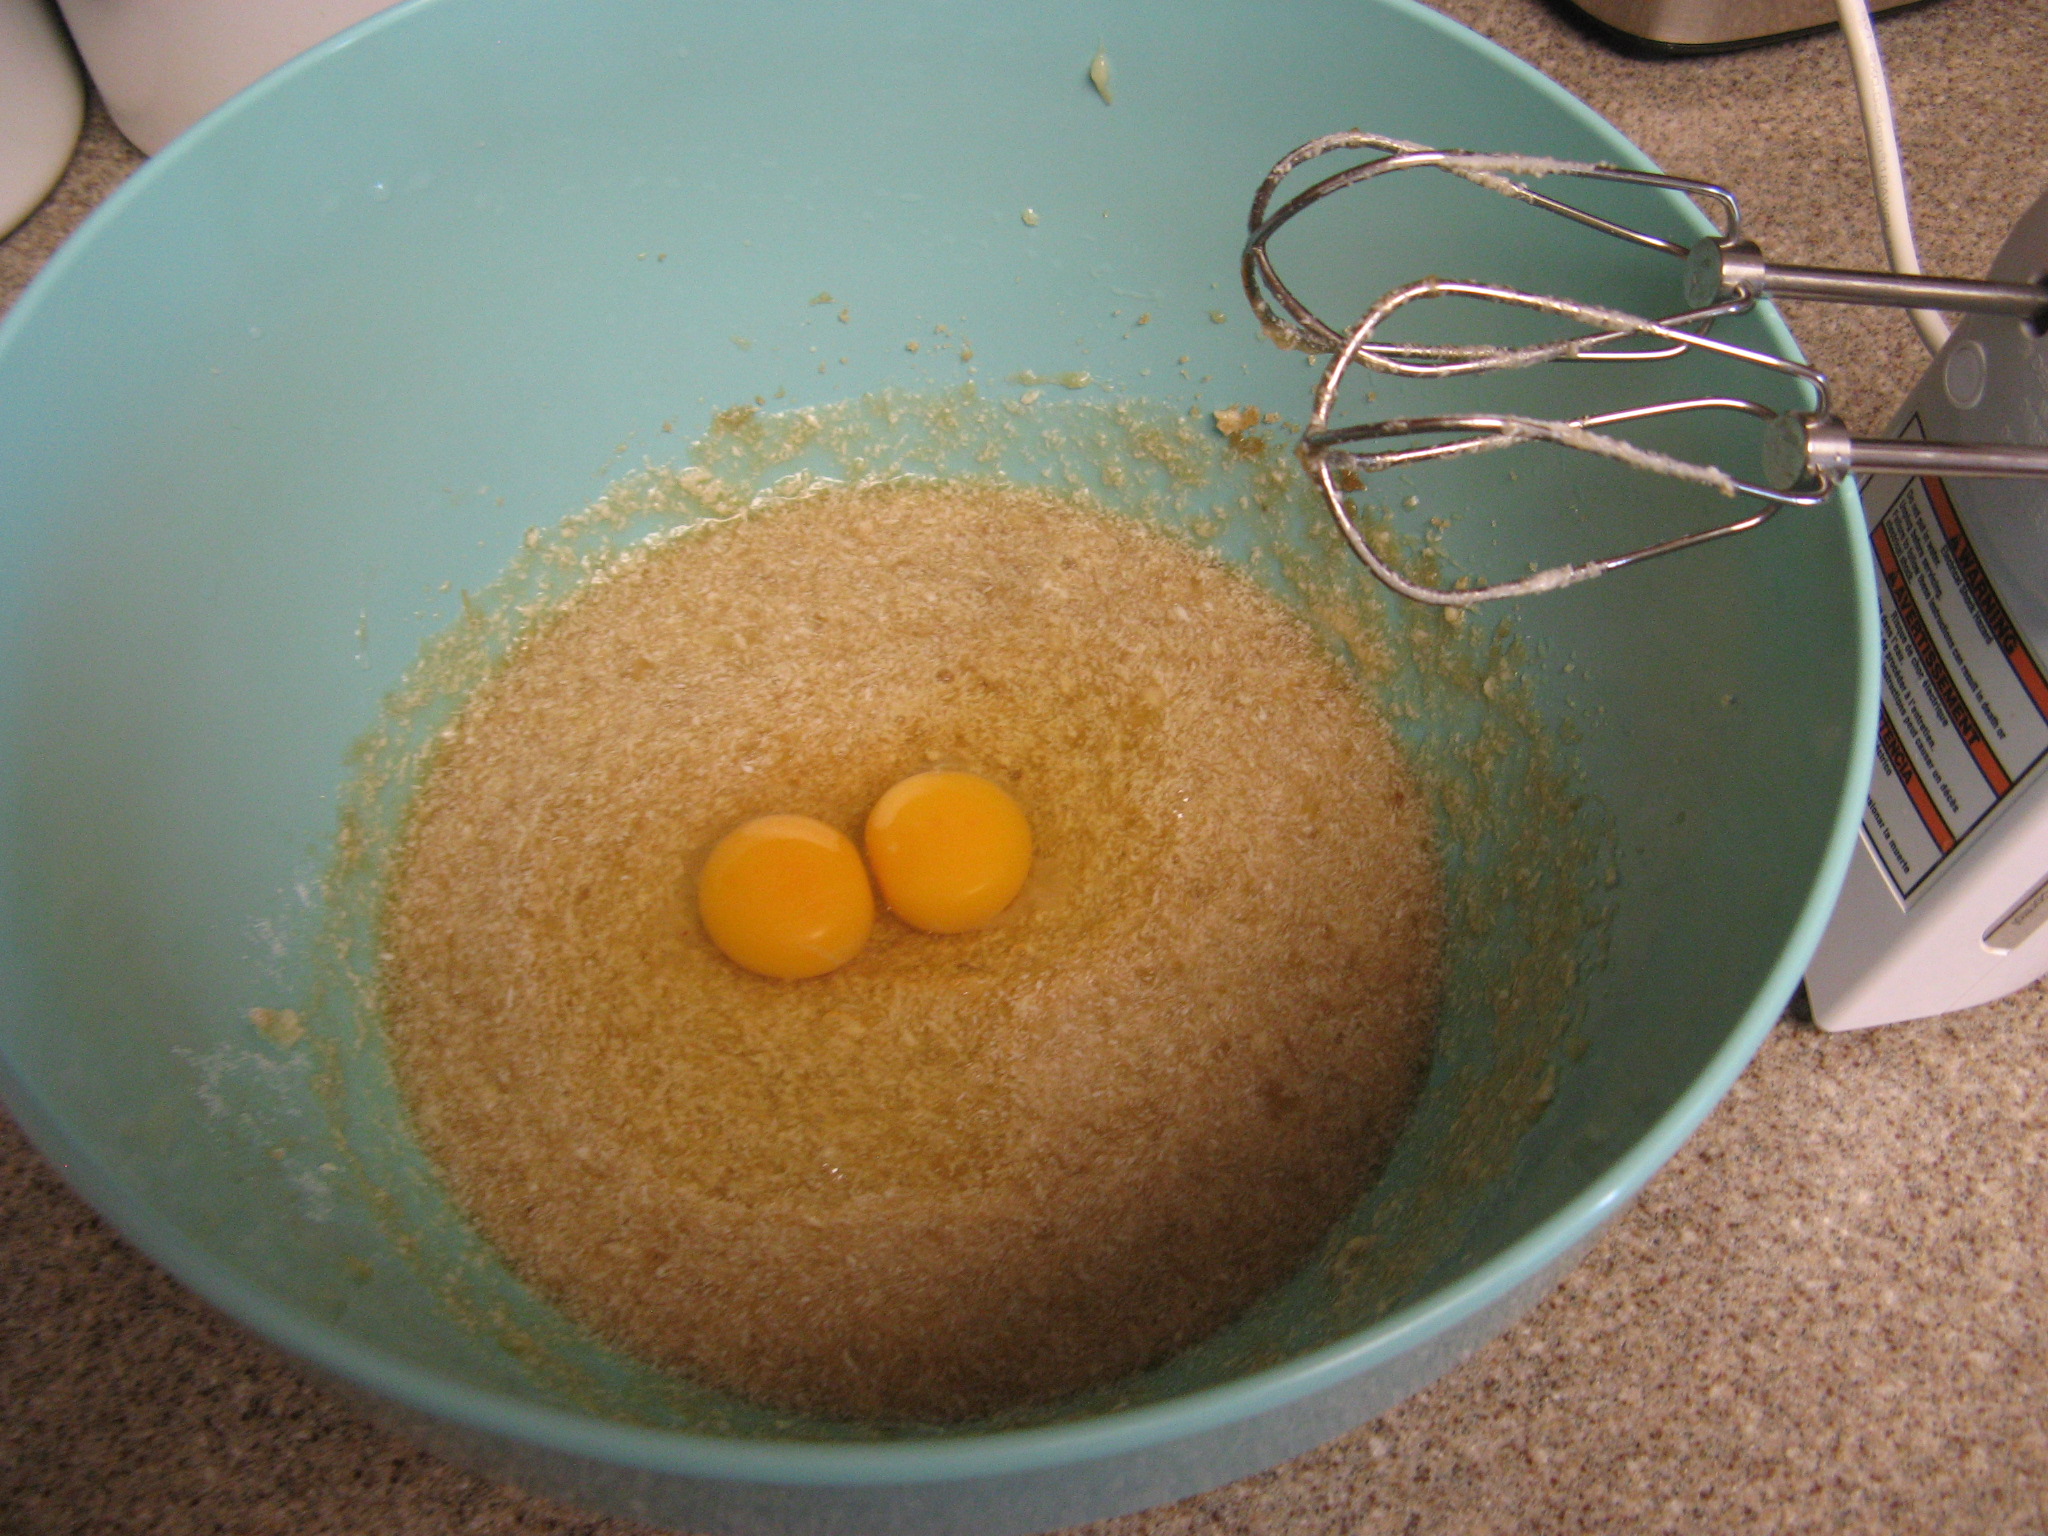
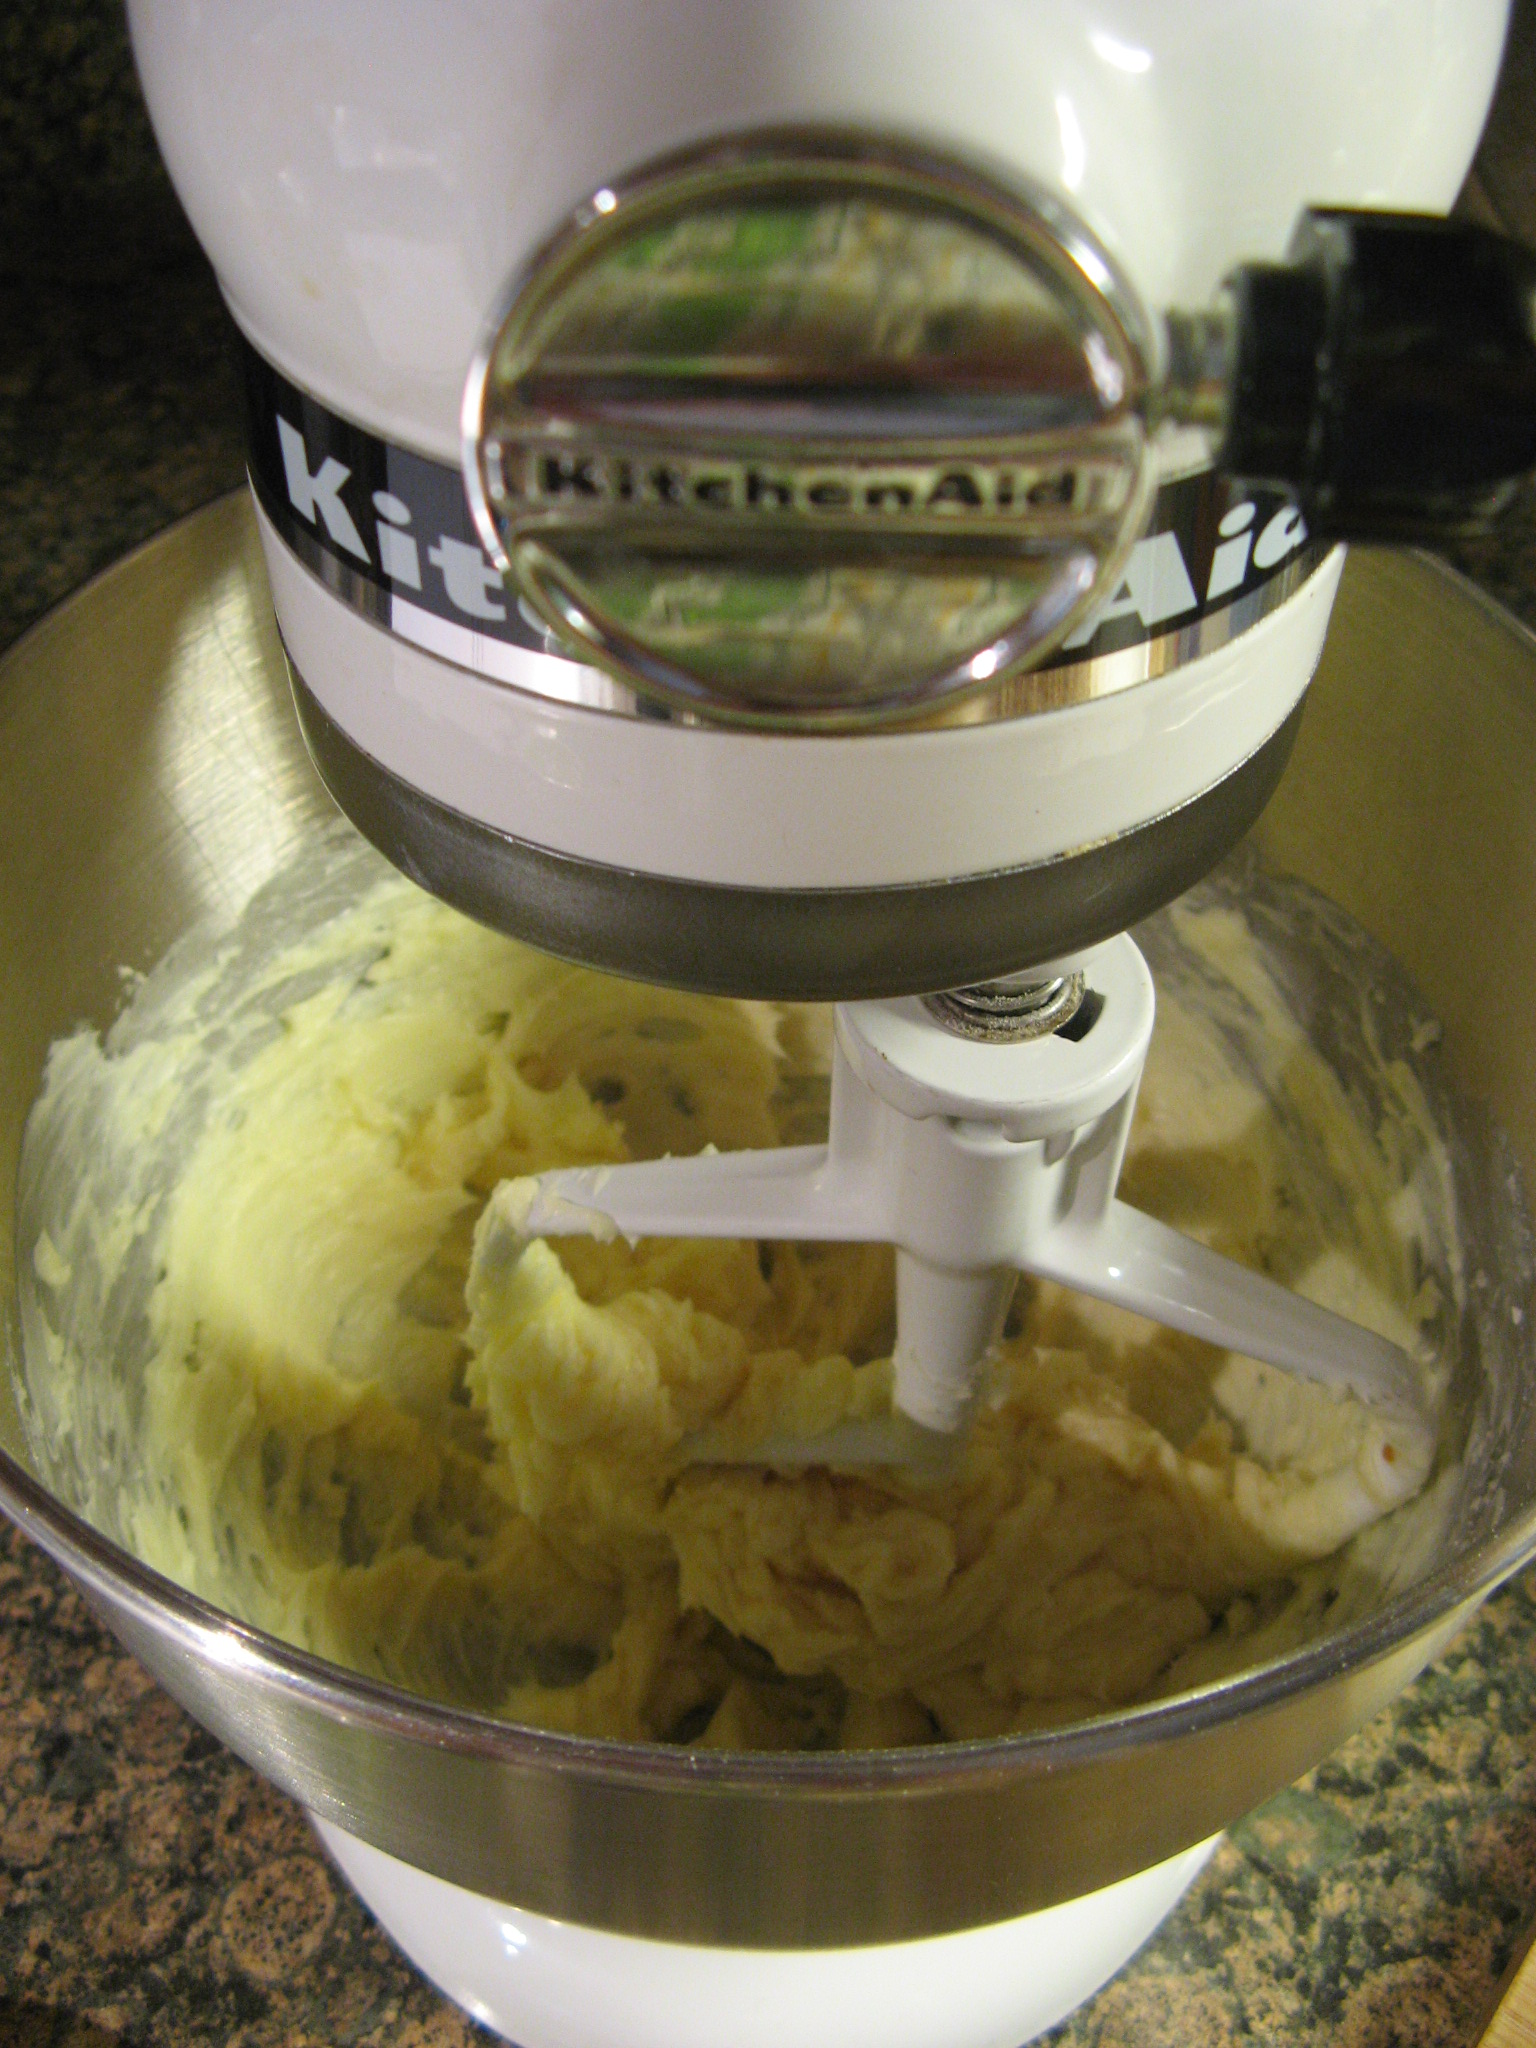
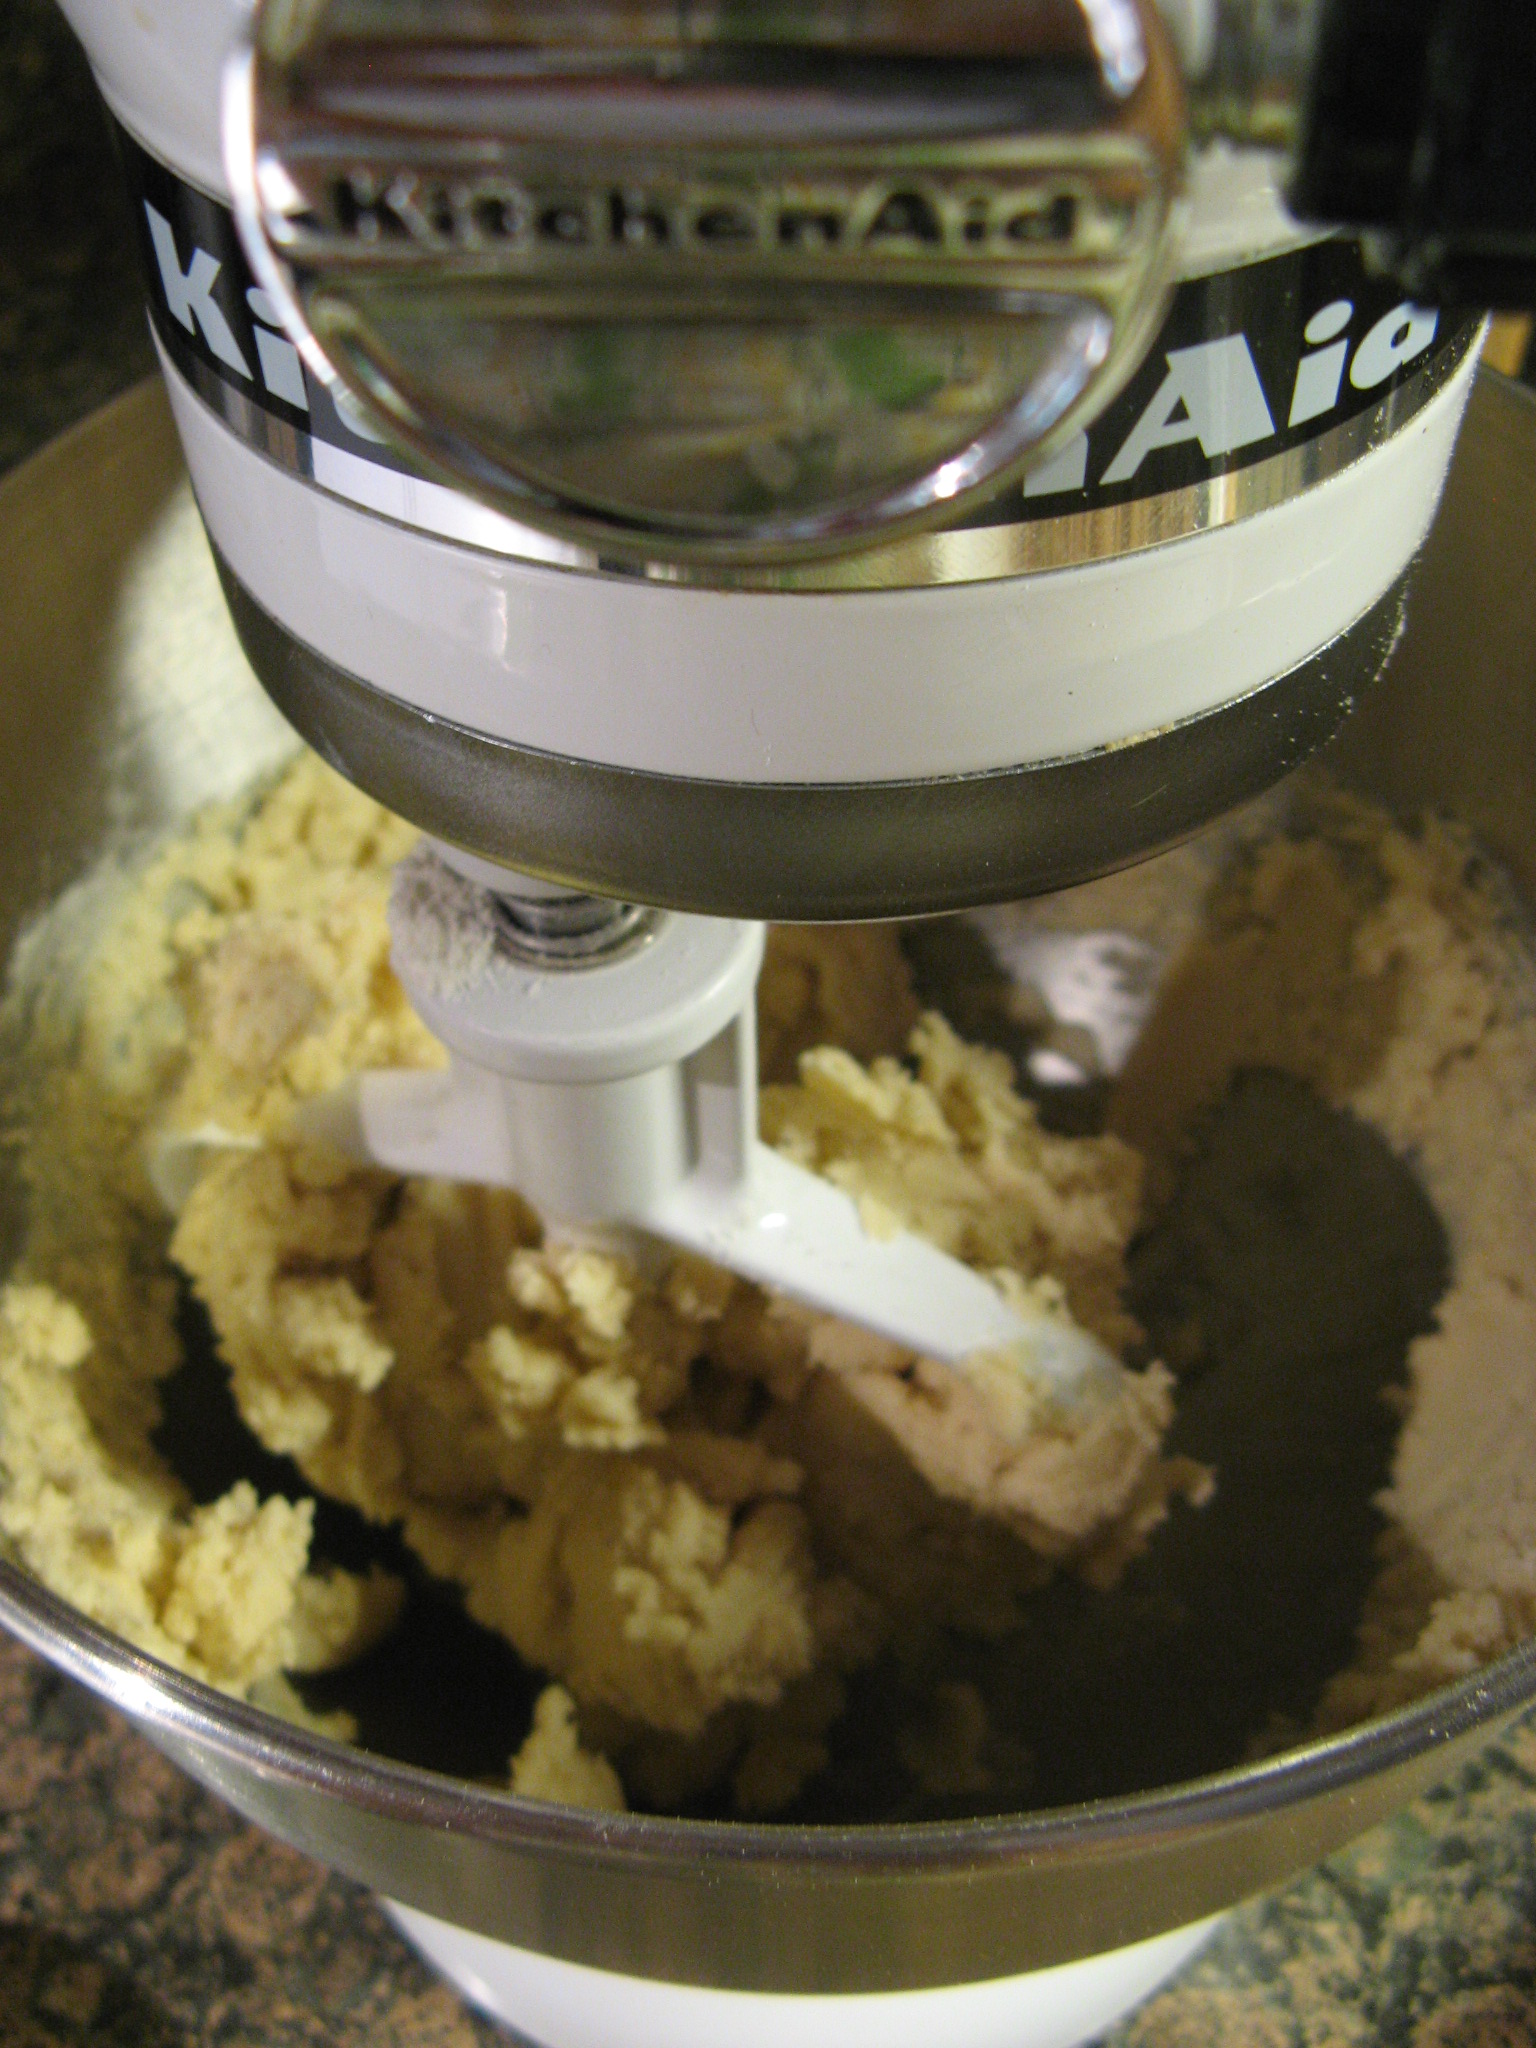
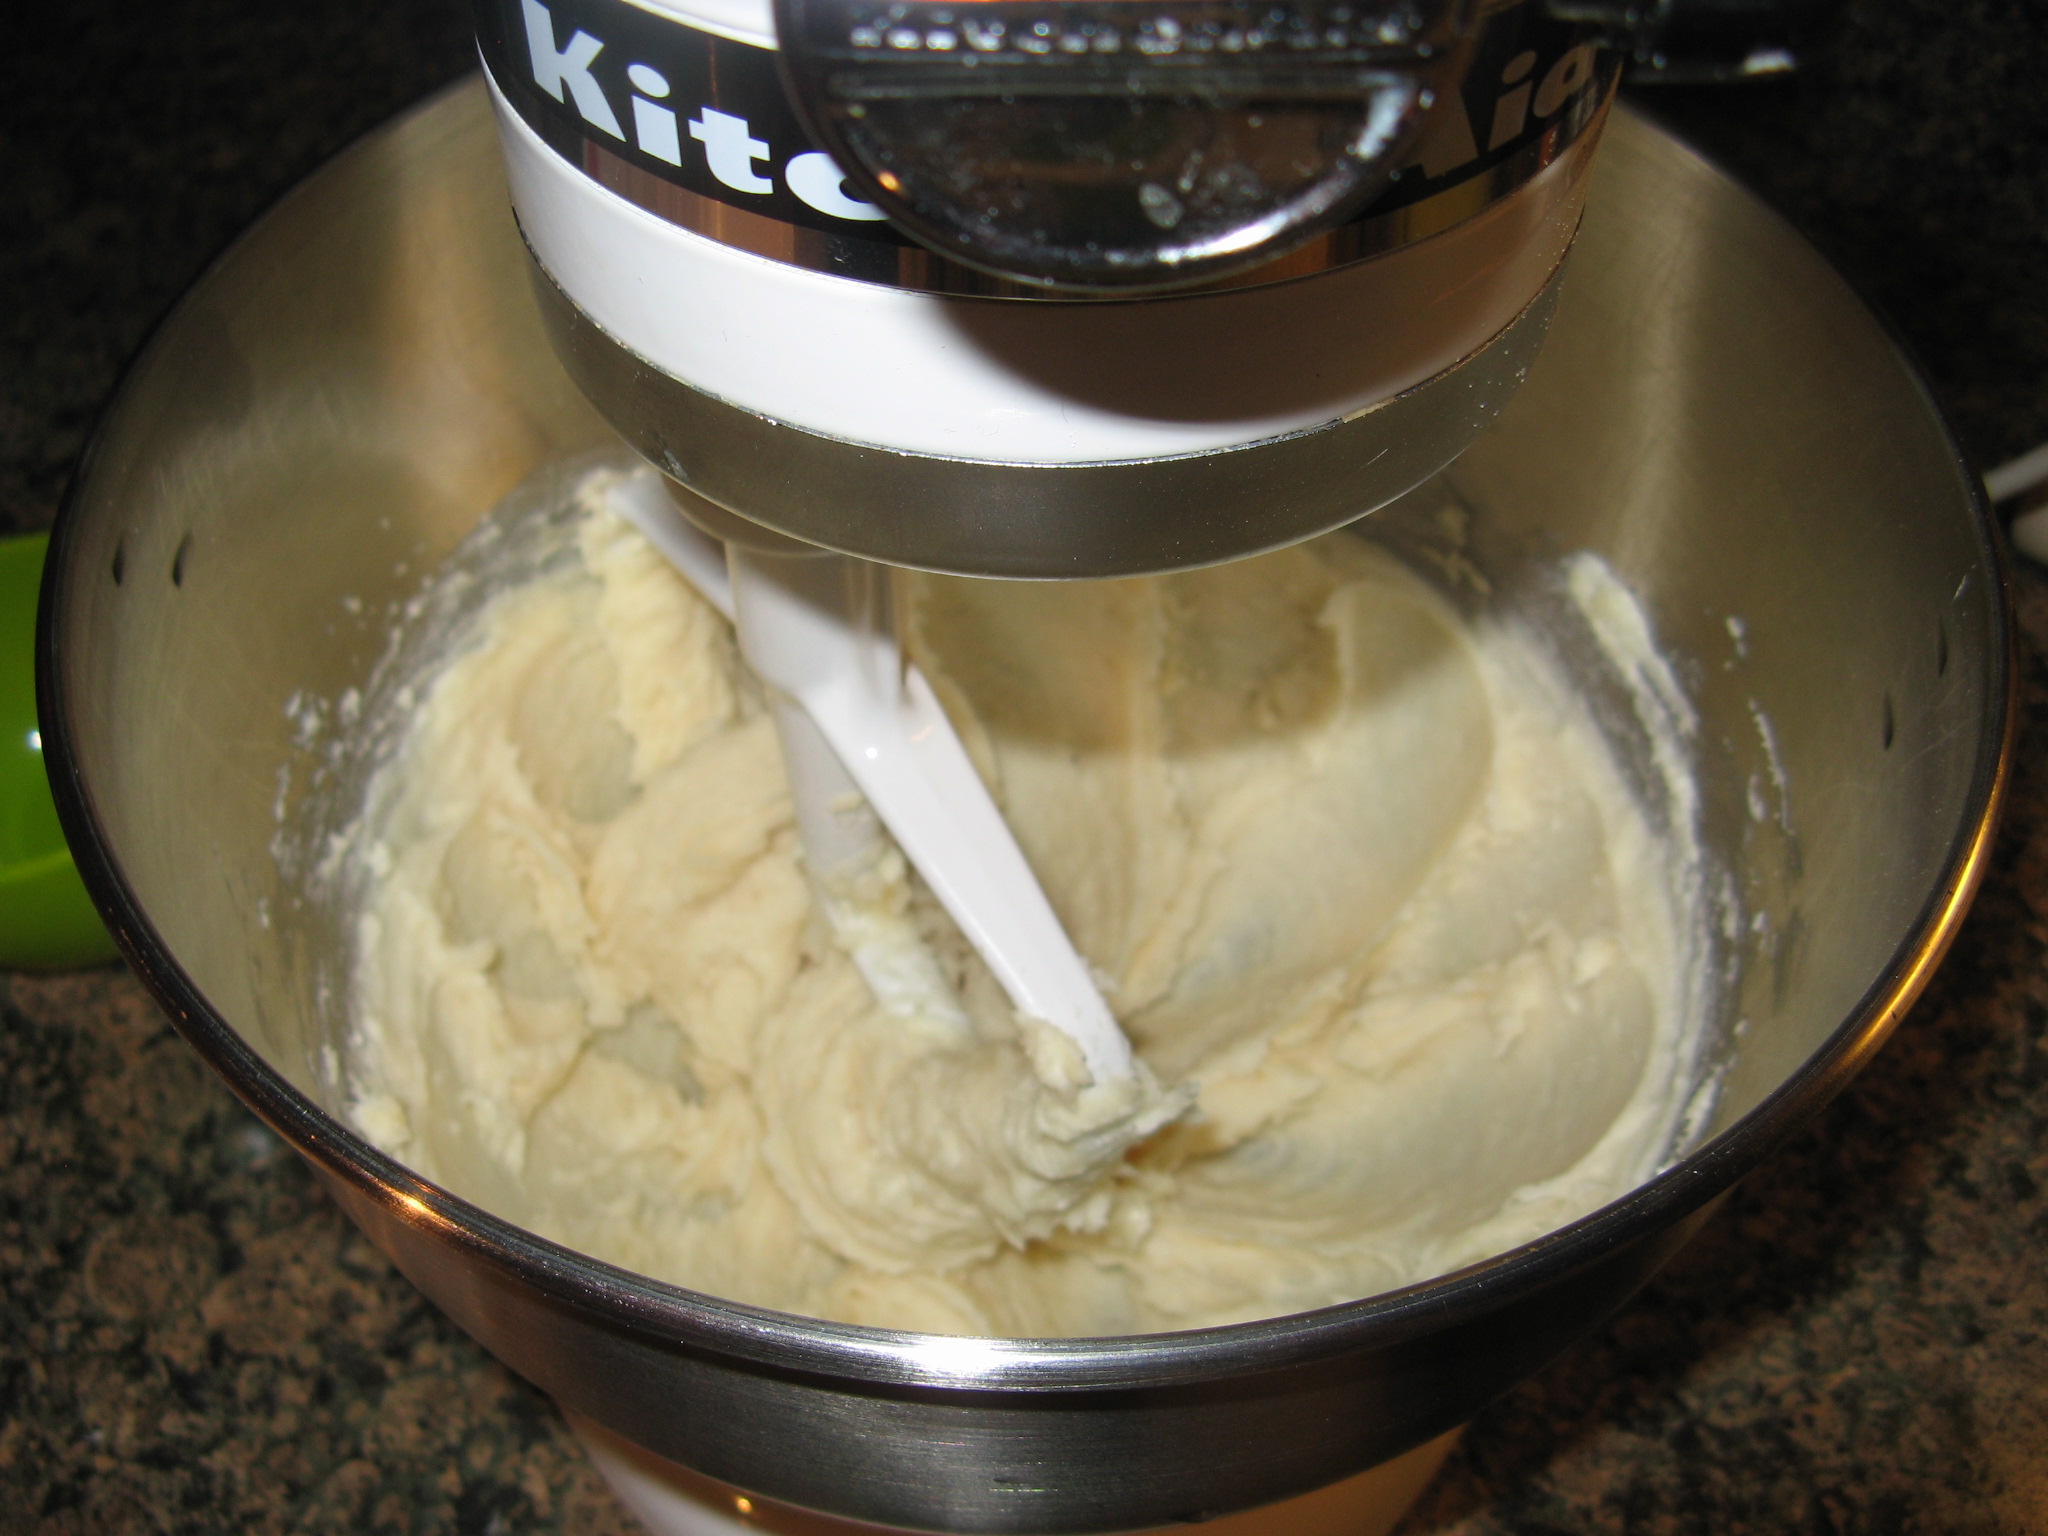
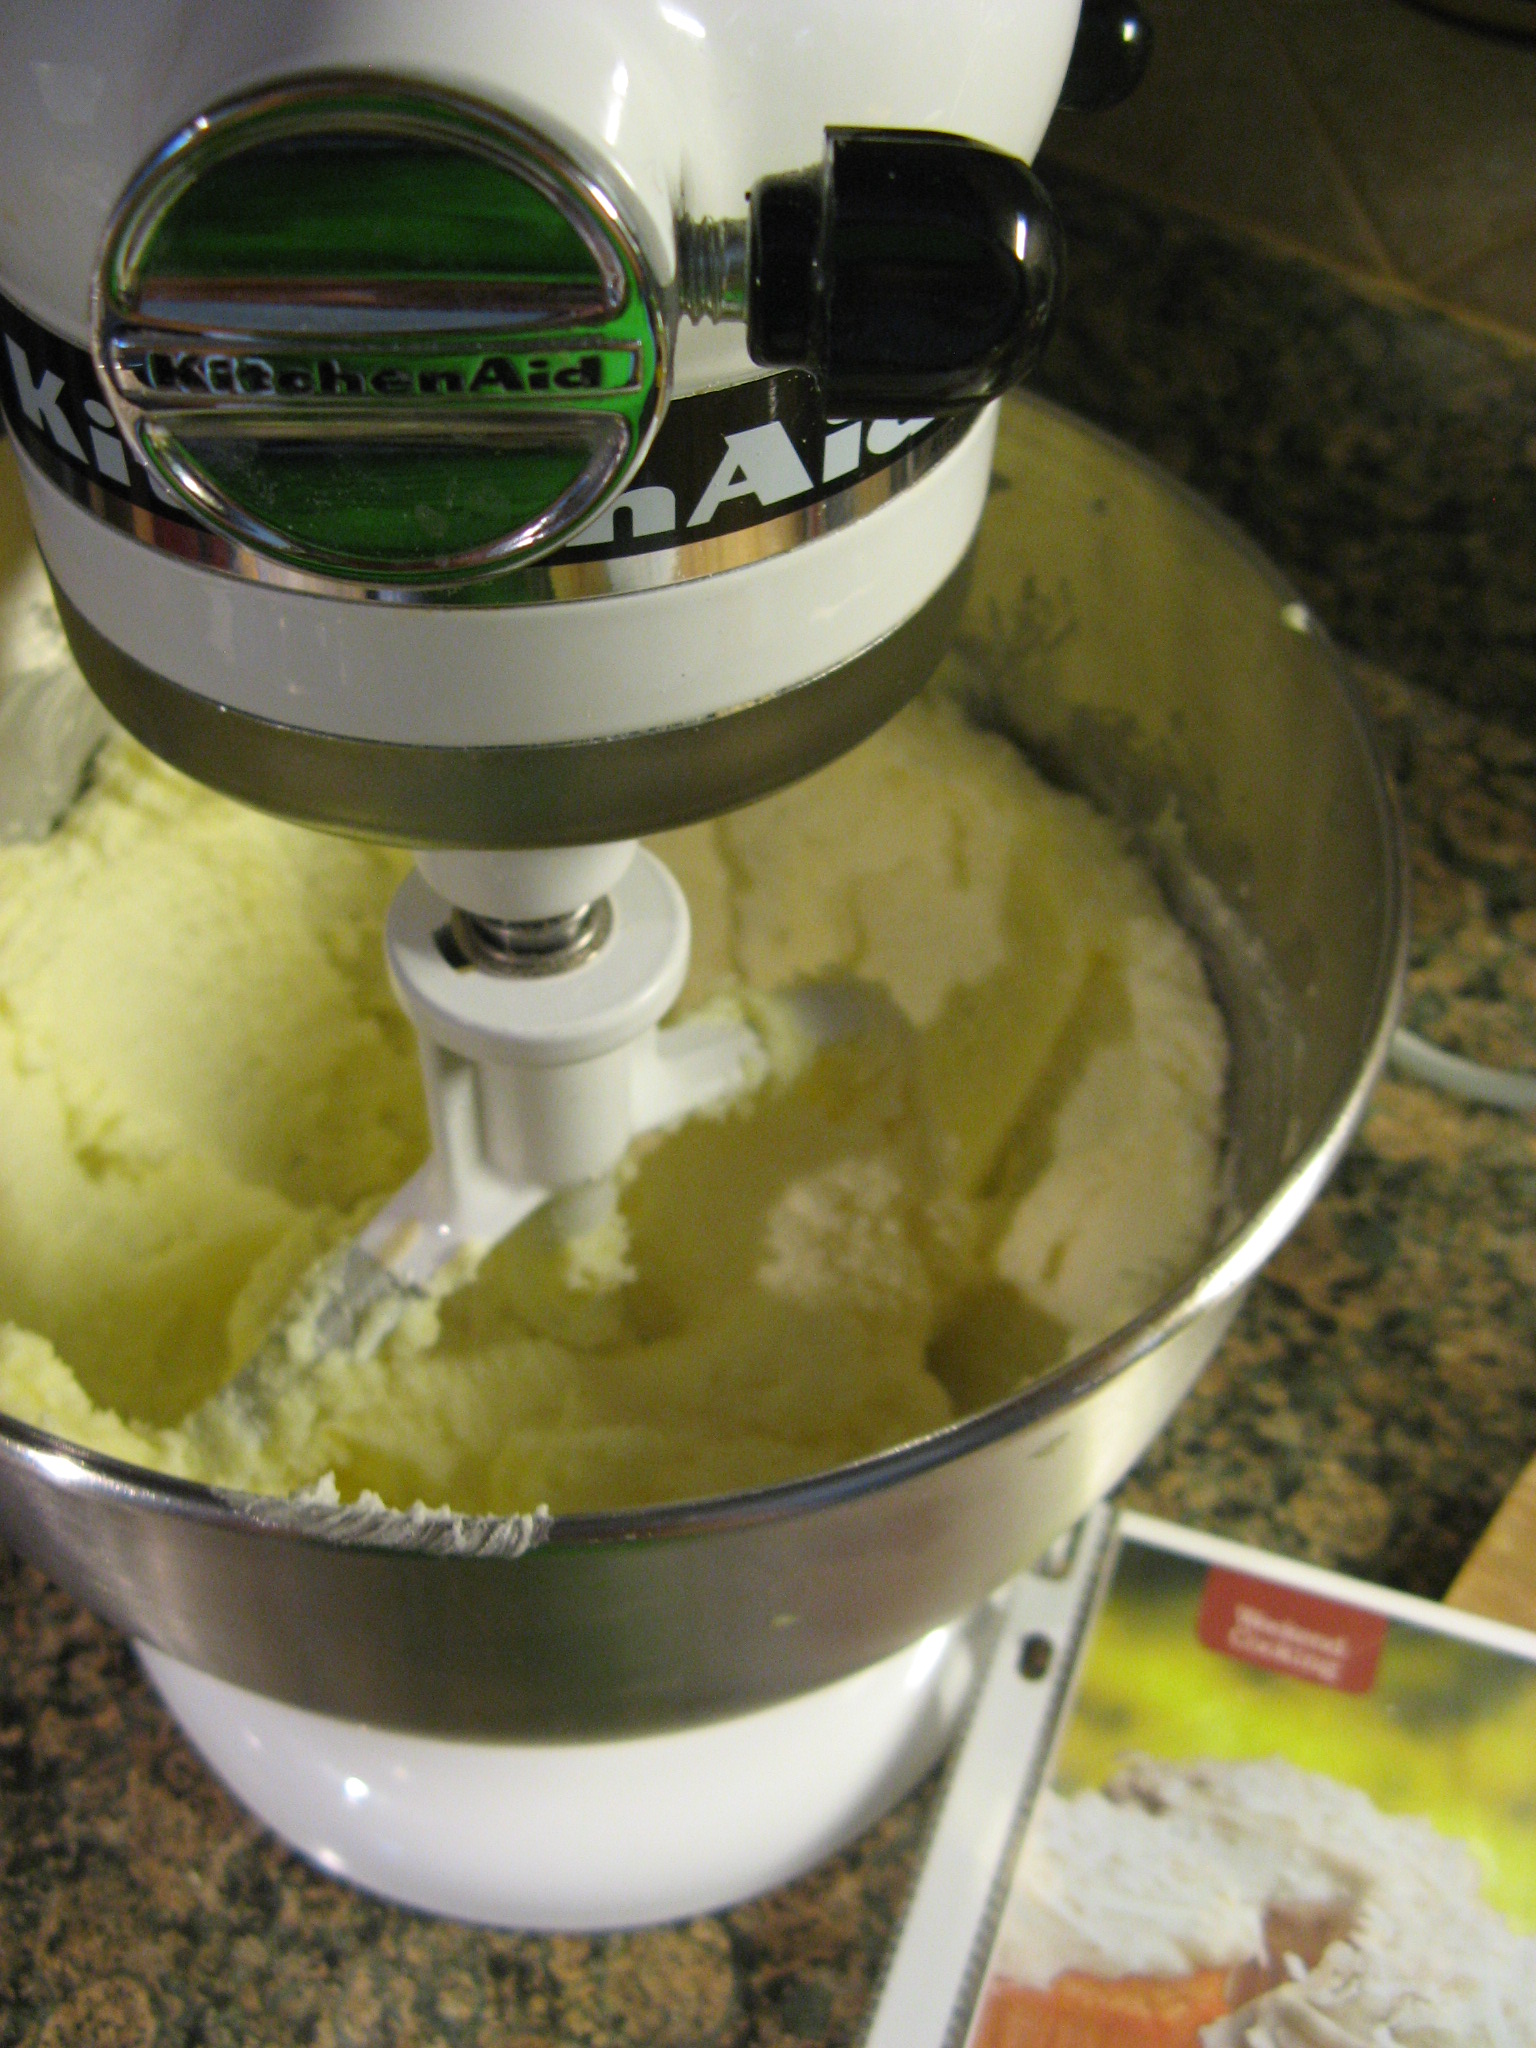
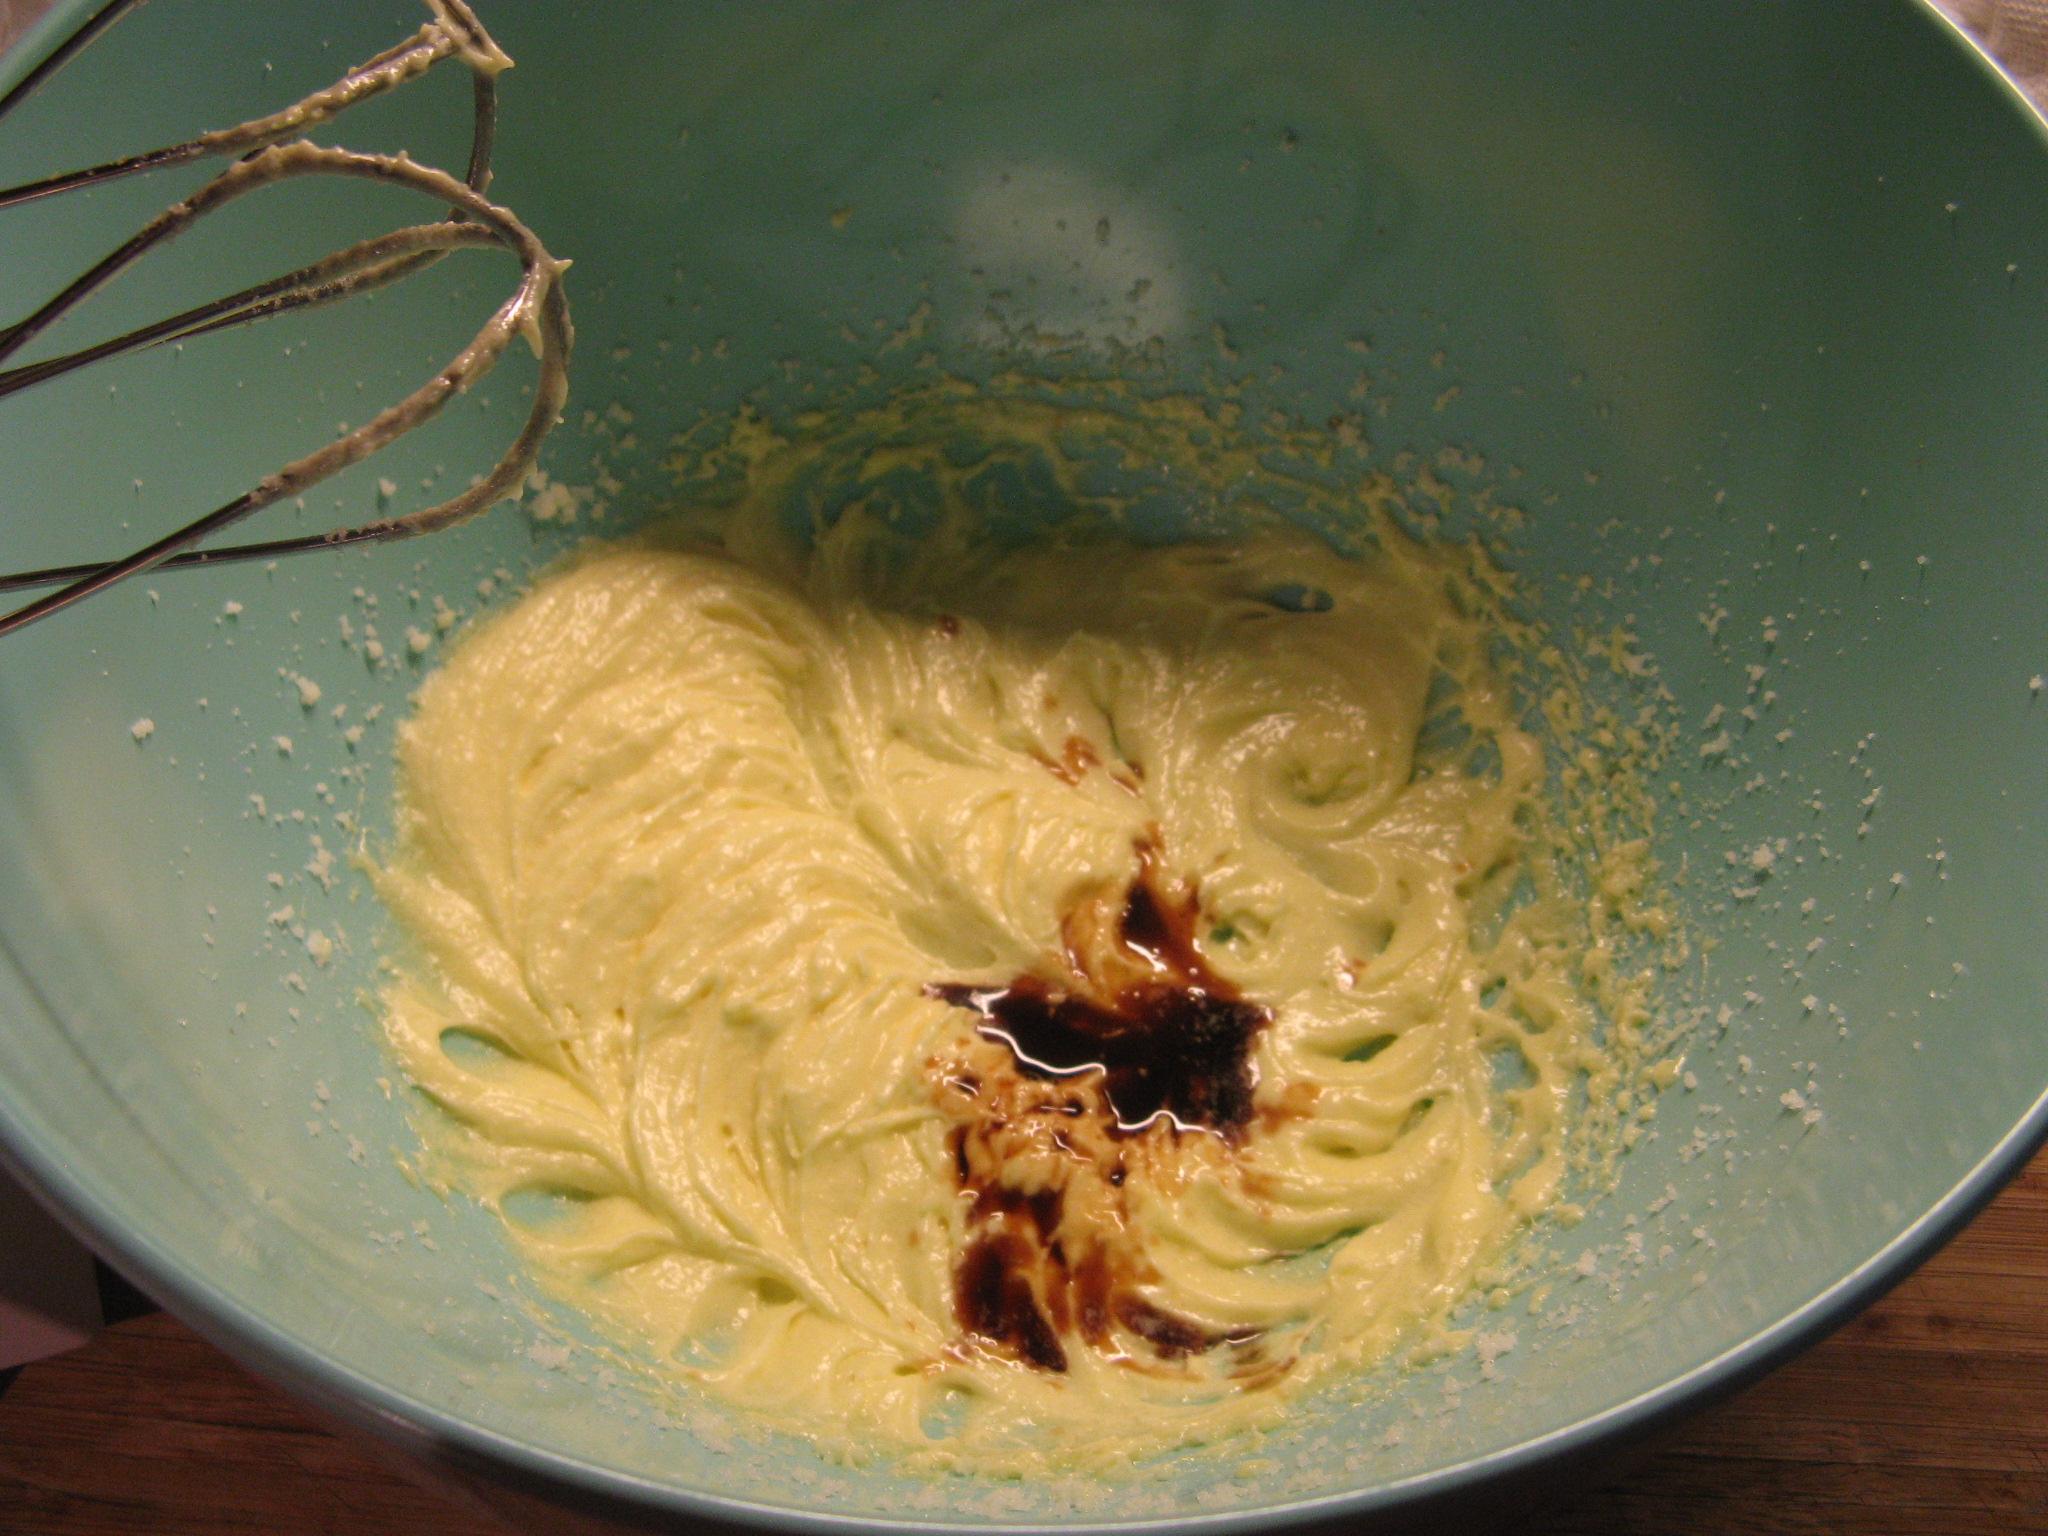
To make the batter I started off by creaming together the sugar and butter and then adding in the egg.

IMG_0656

Once the egg was mixed in well I added in the vanilla extract.
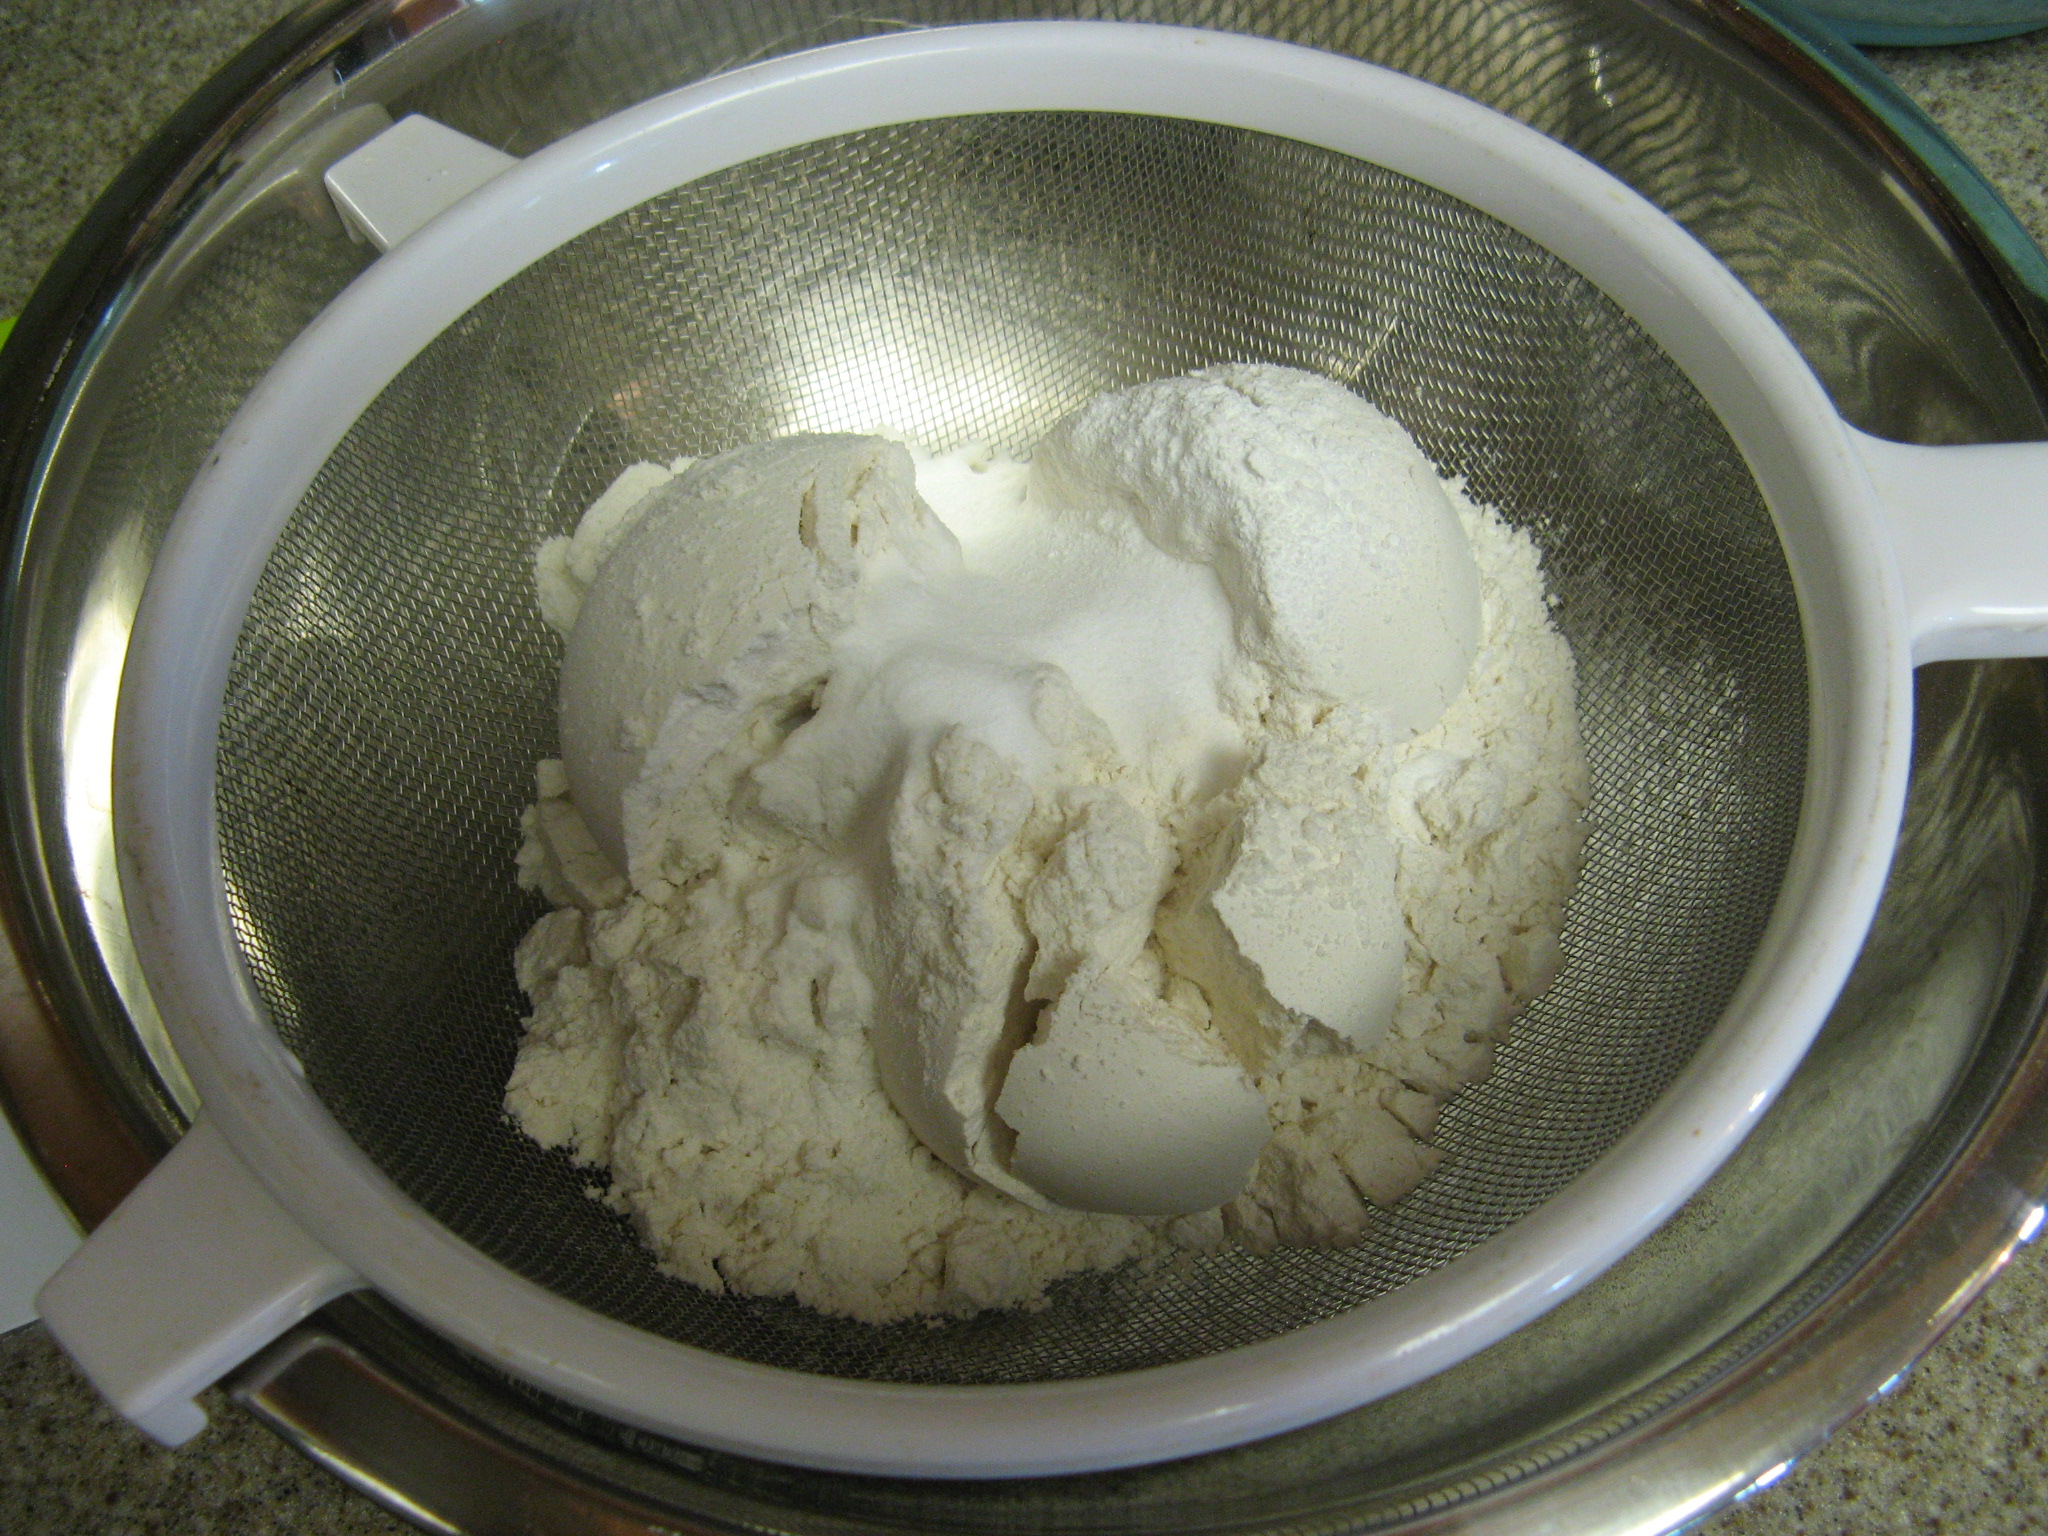
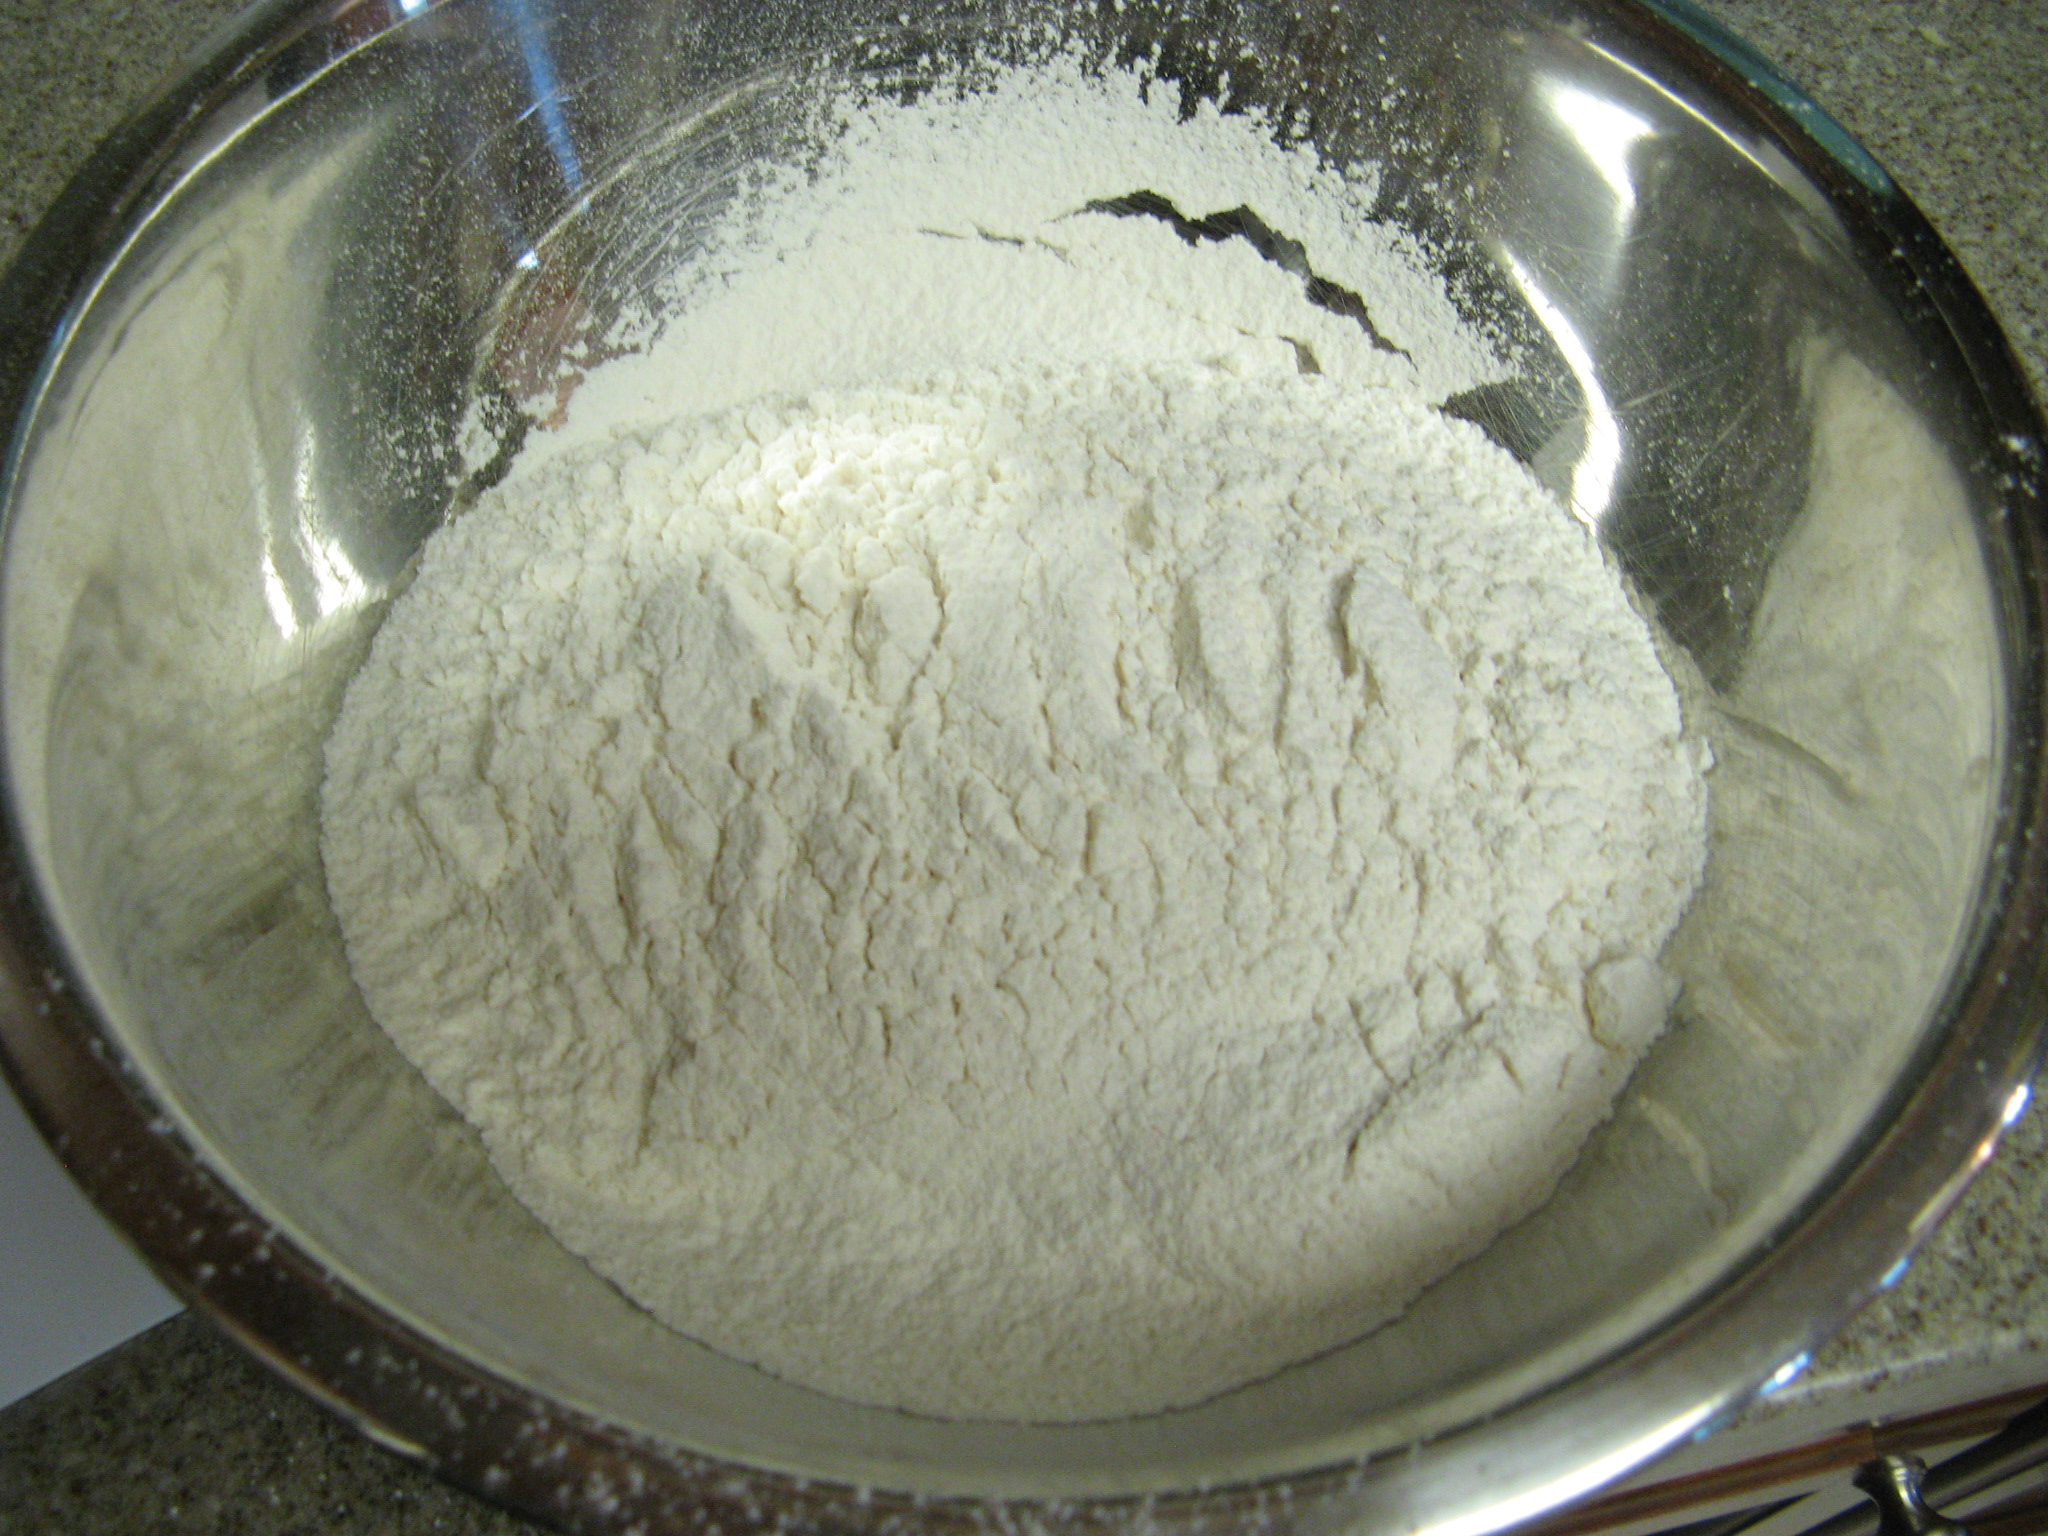
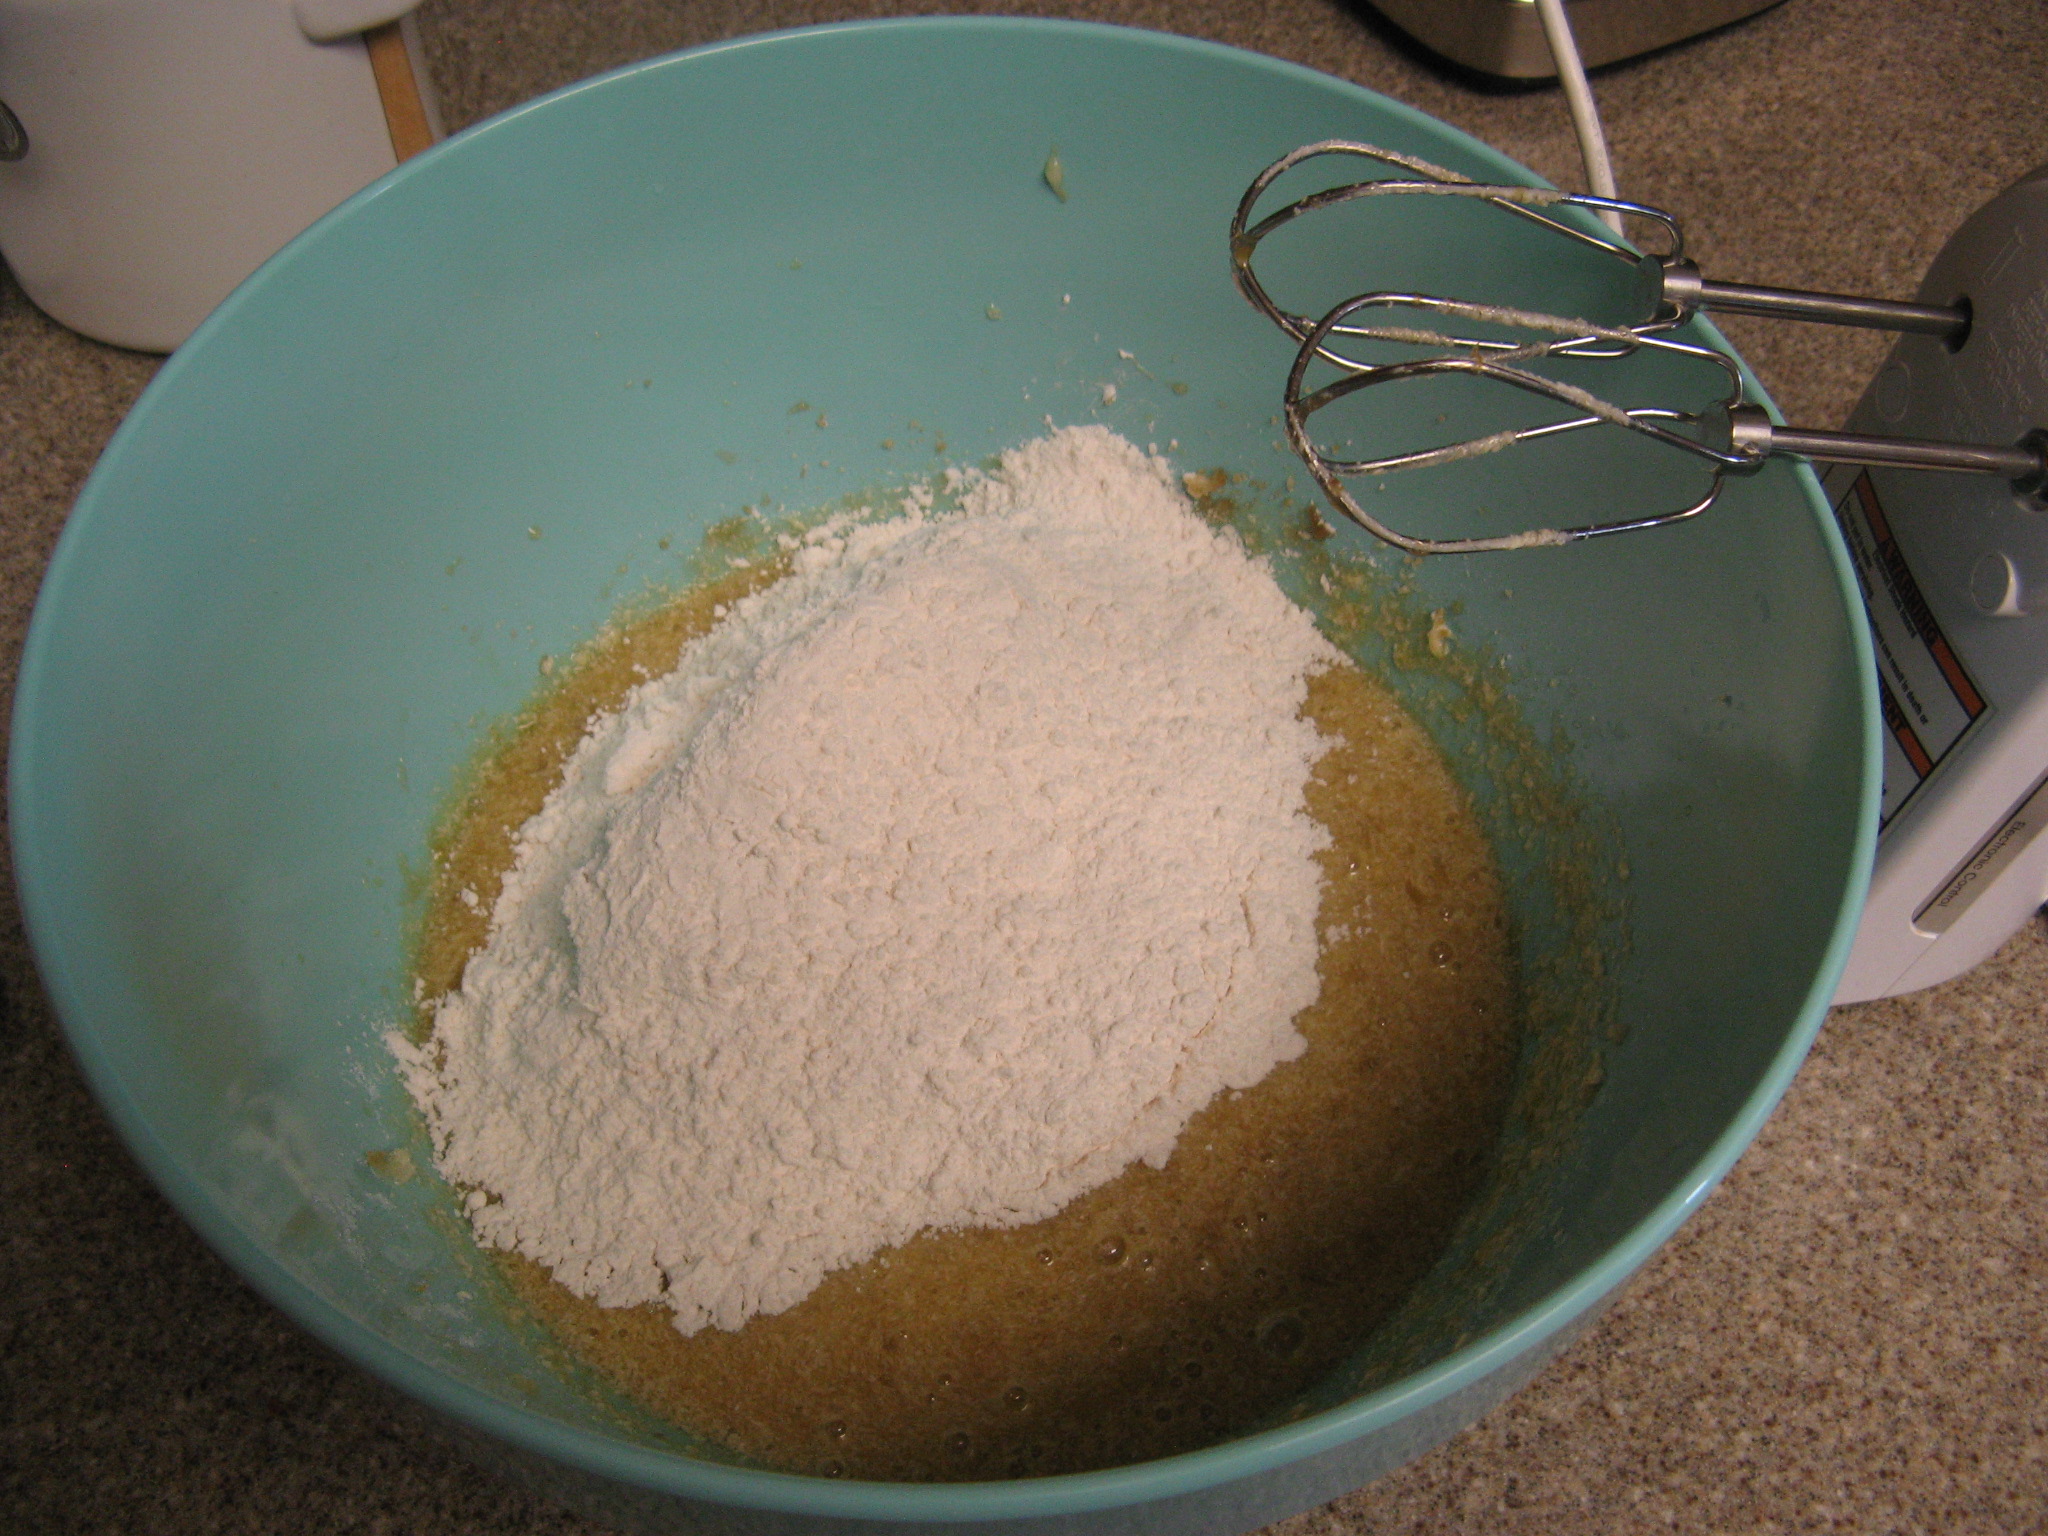
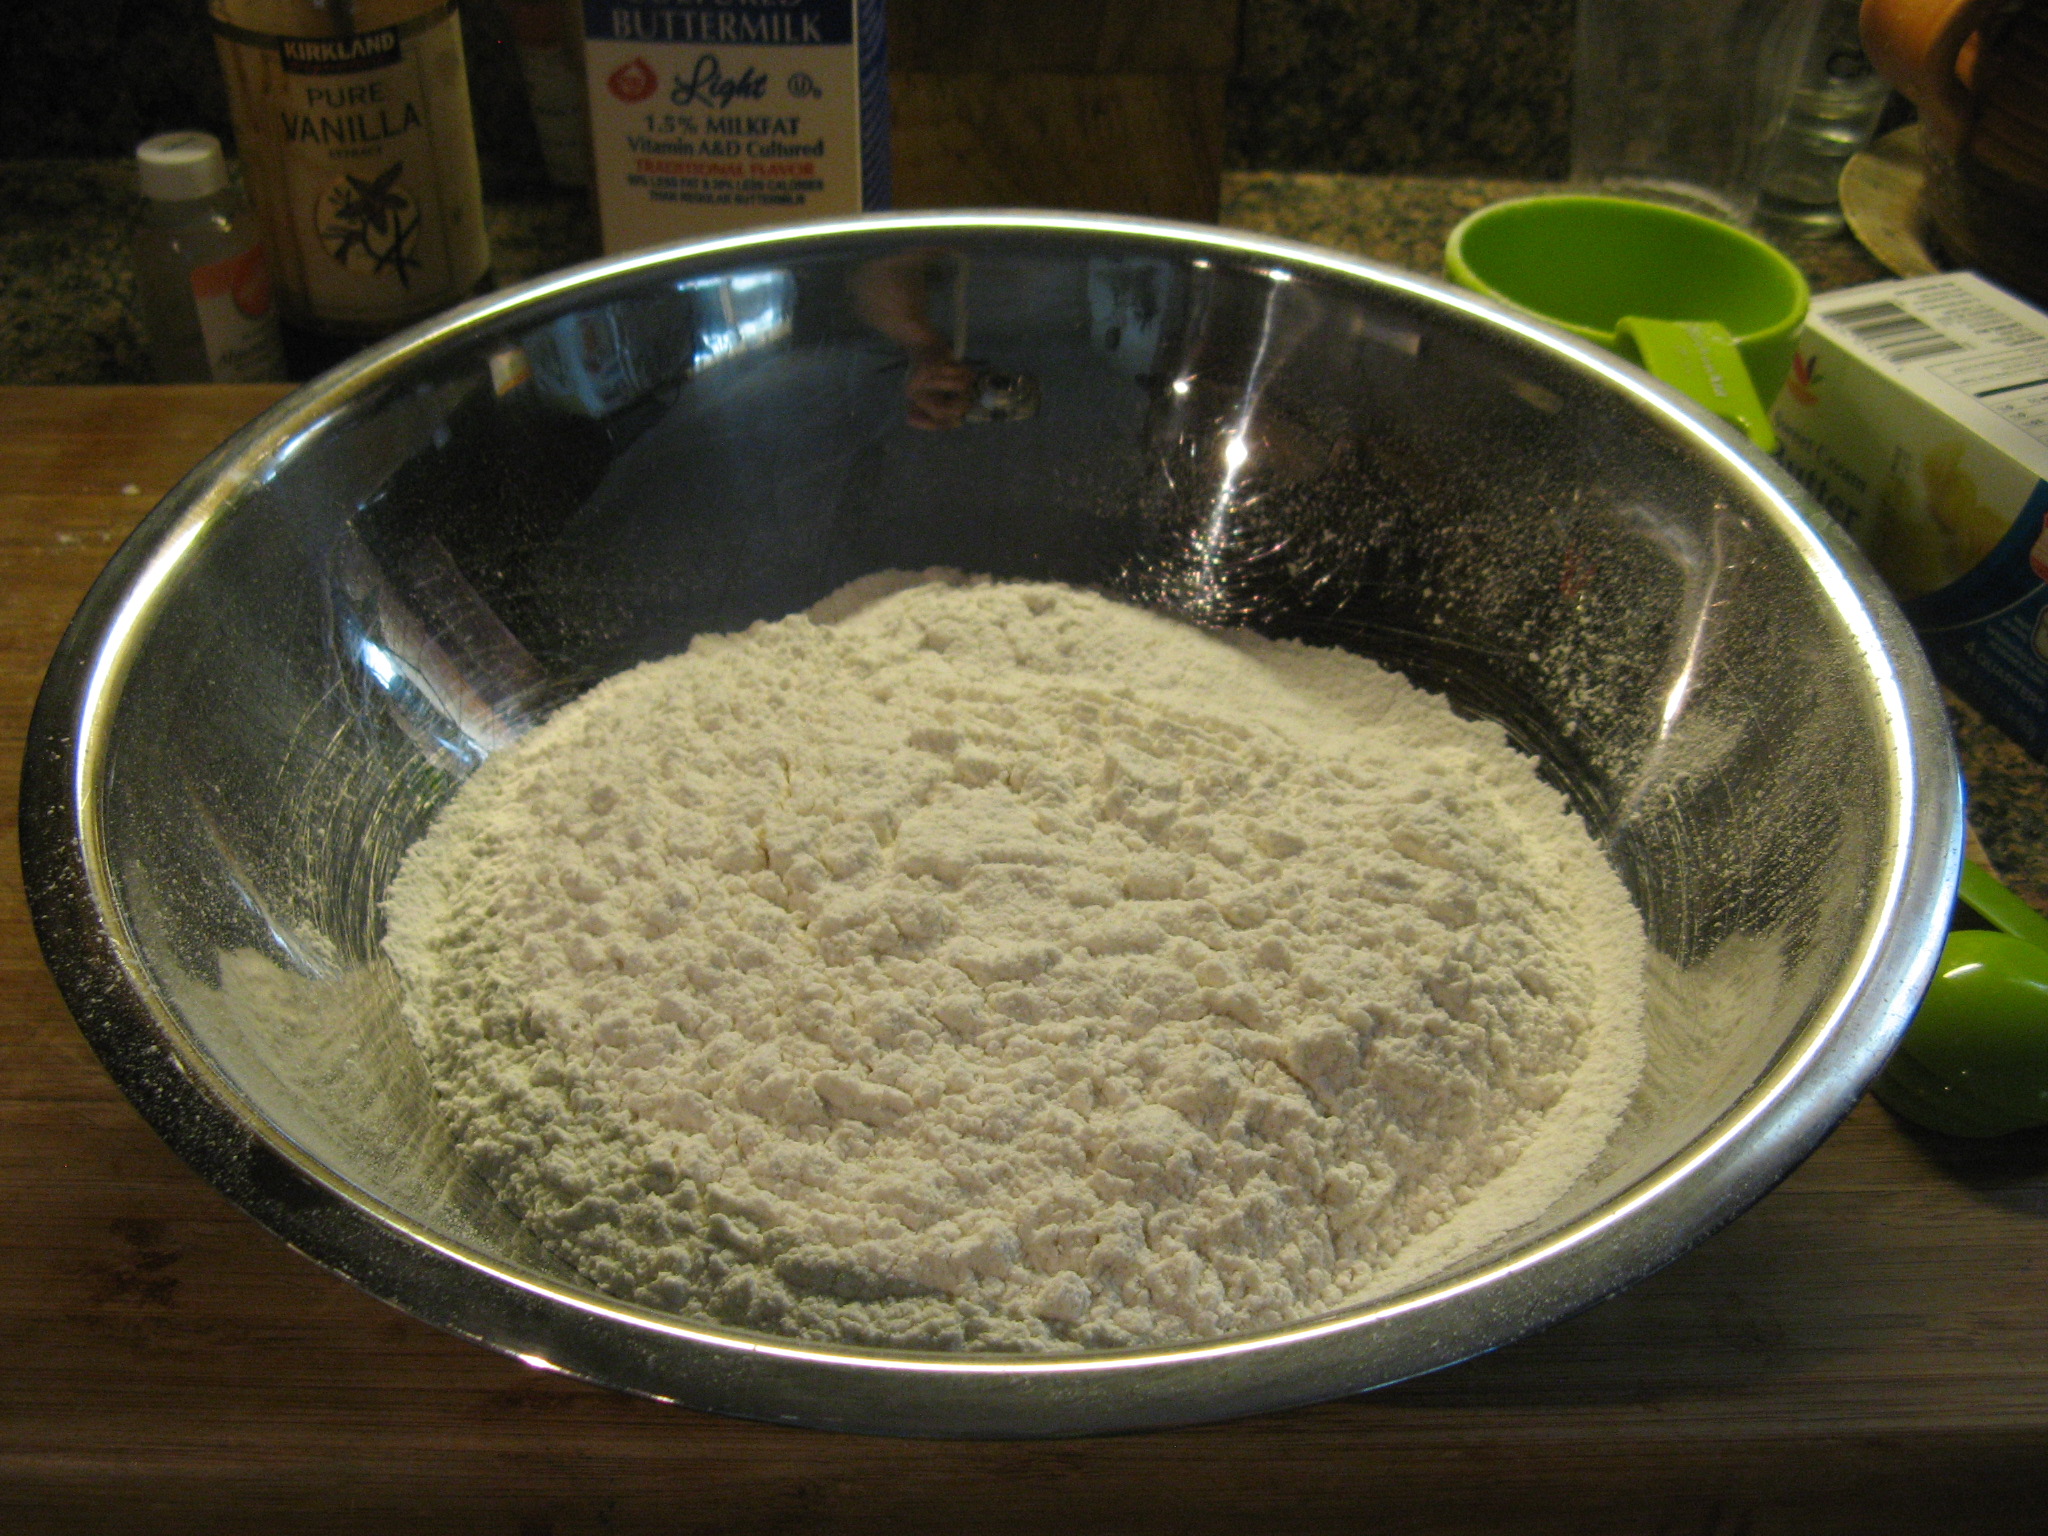
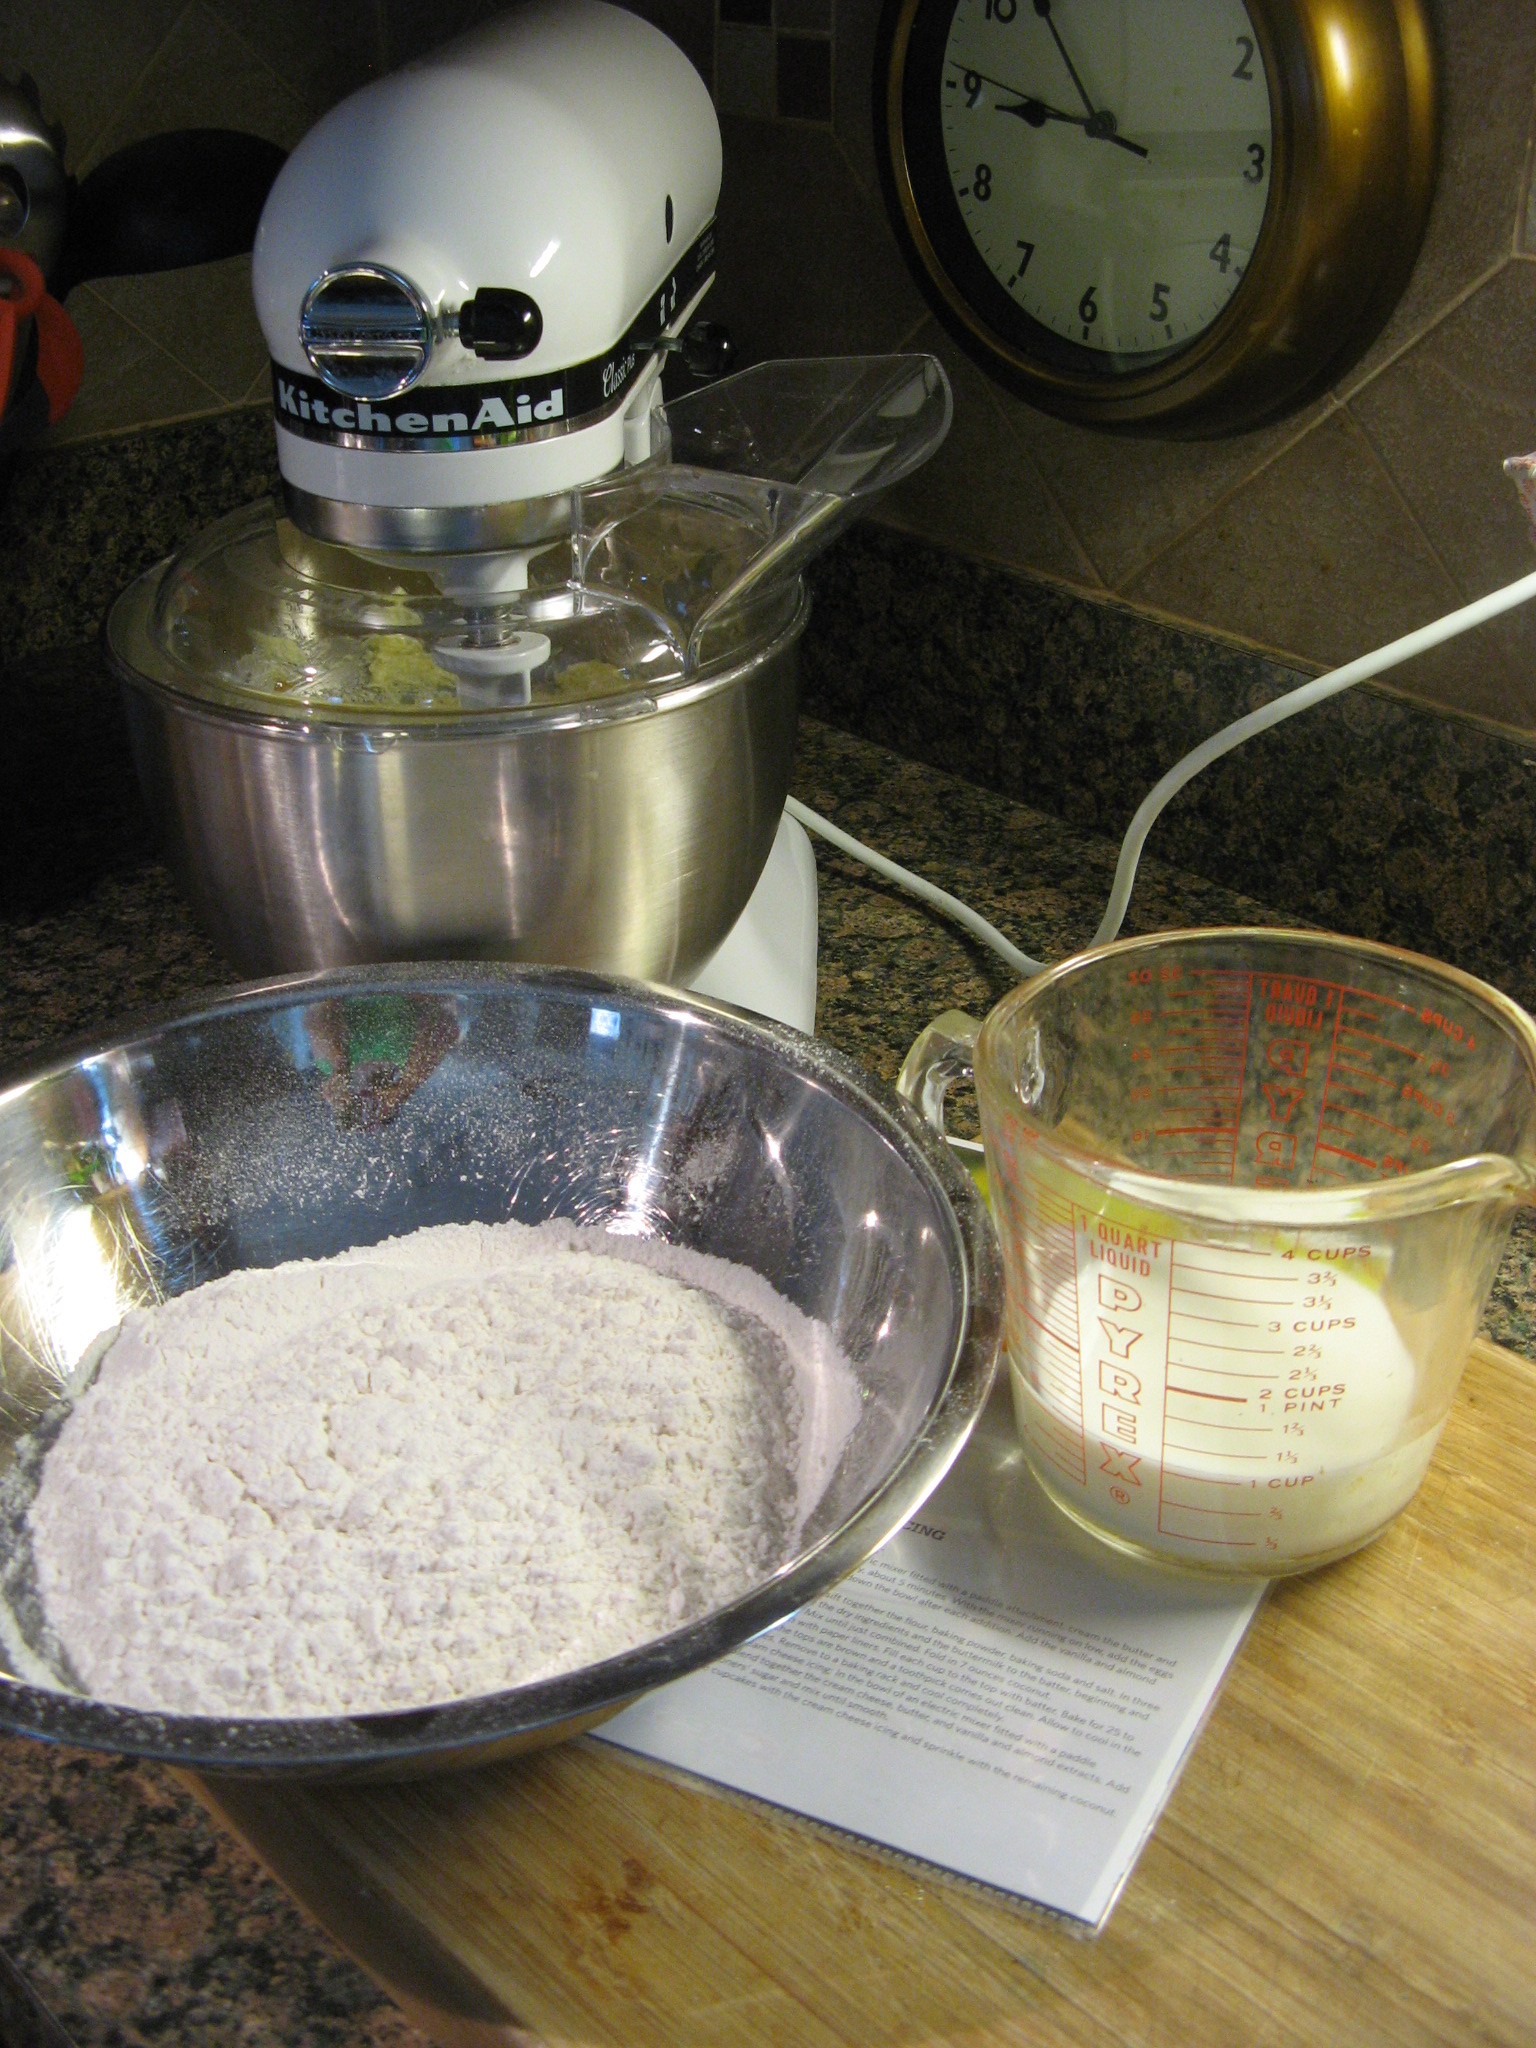
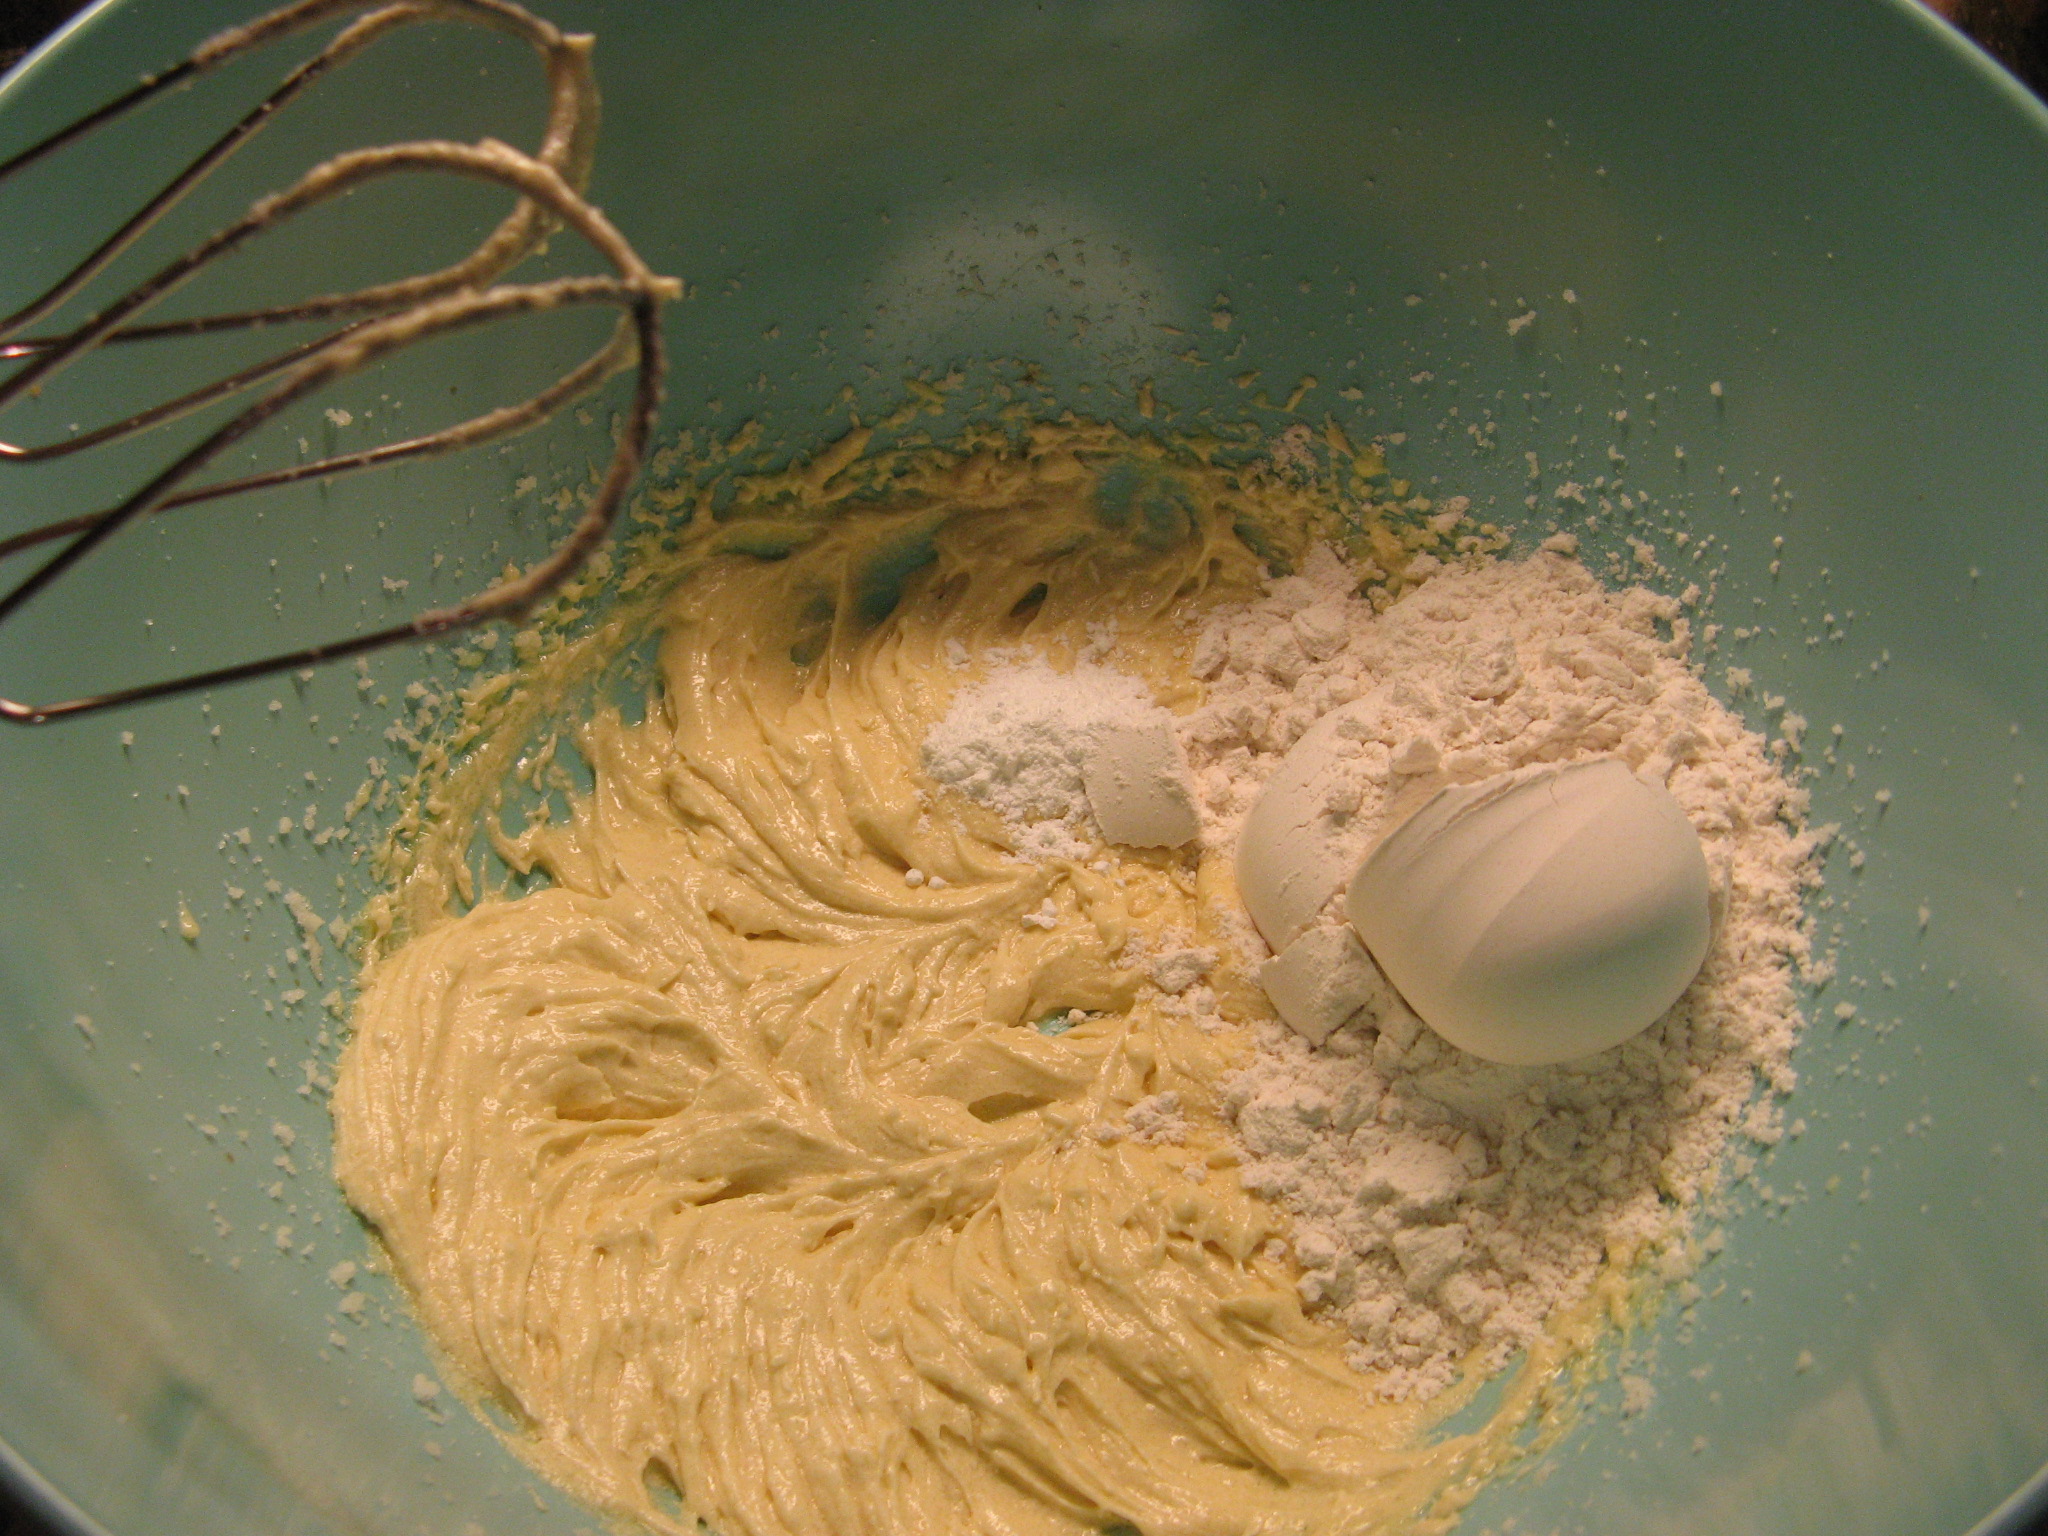
IMG_0657

Next up the flour.

IMG_0658

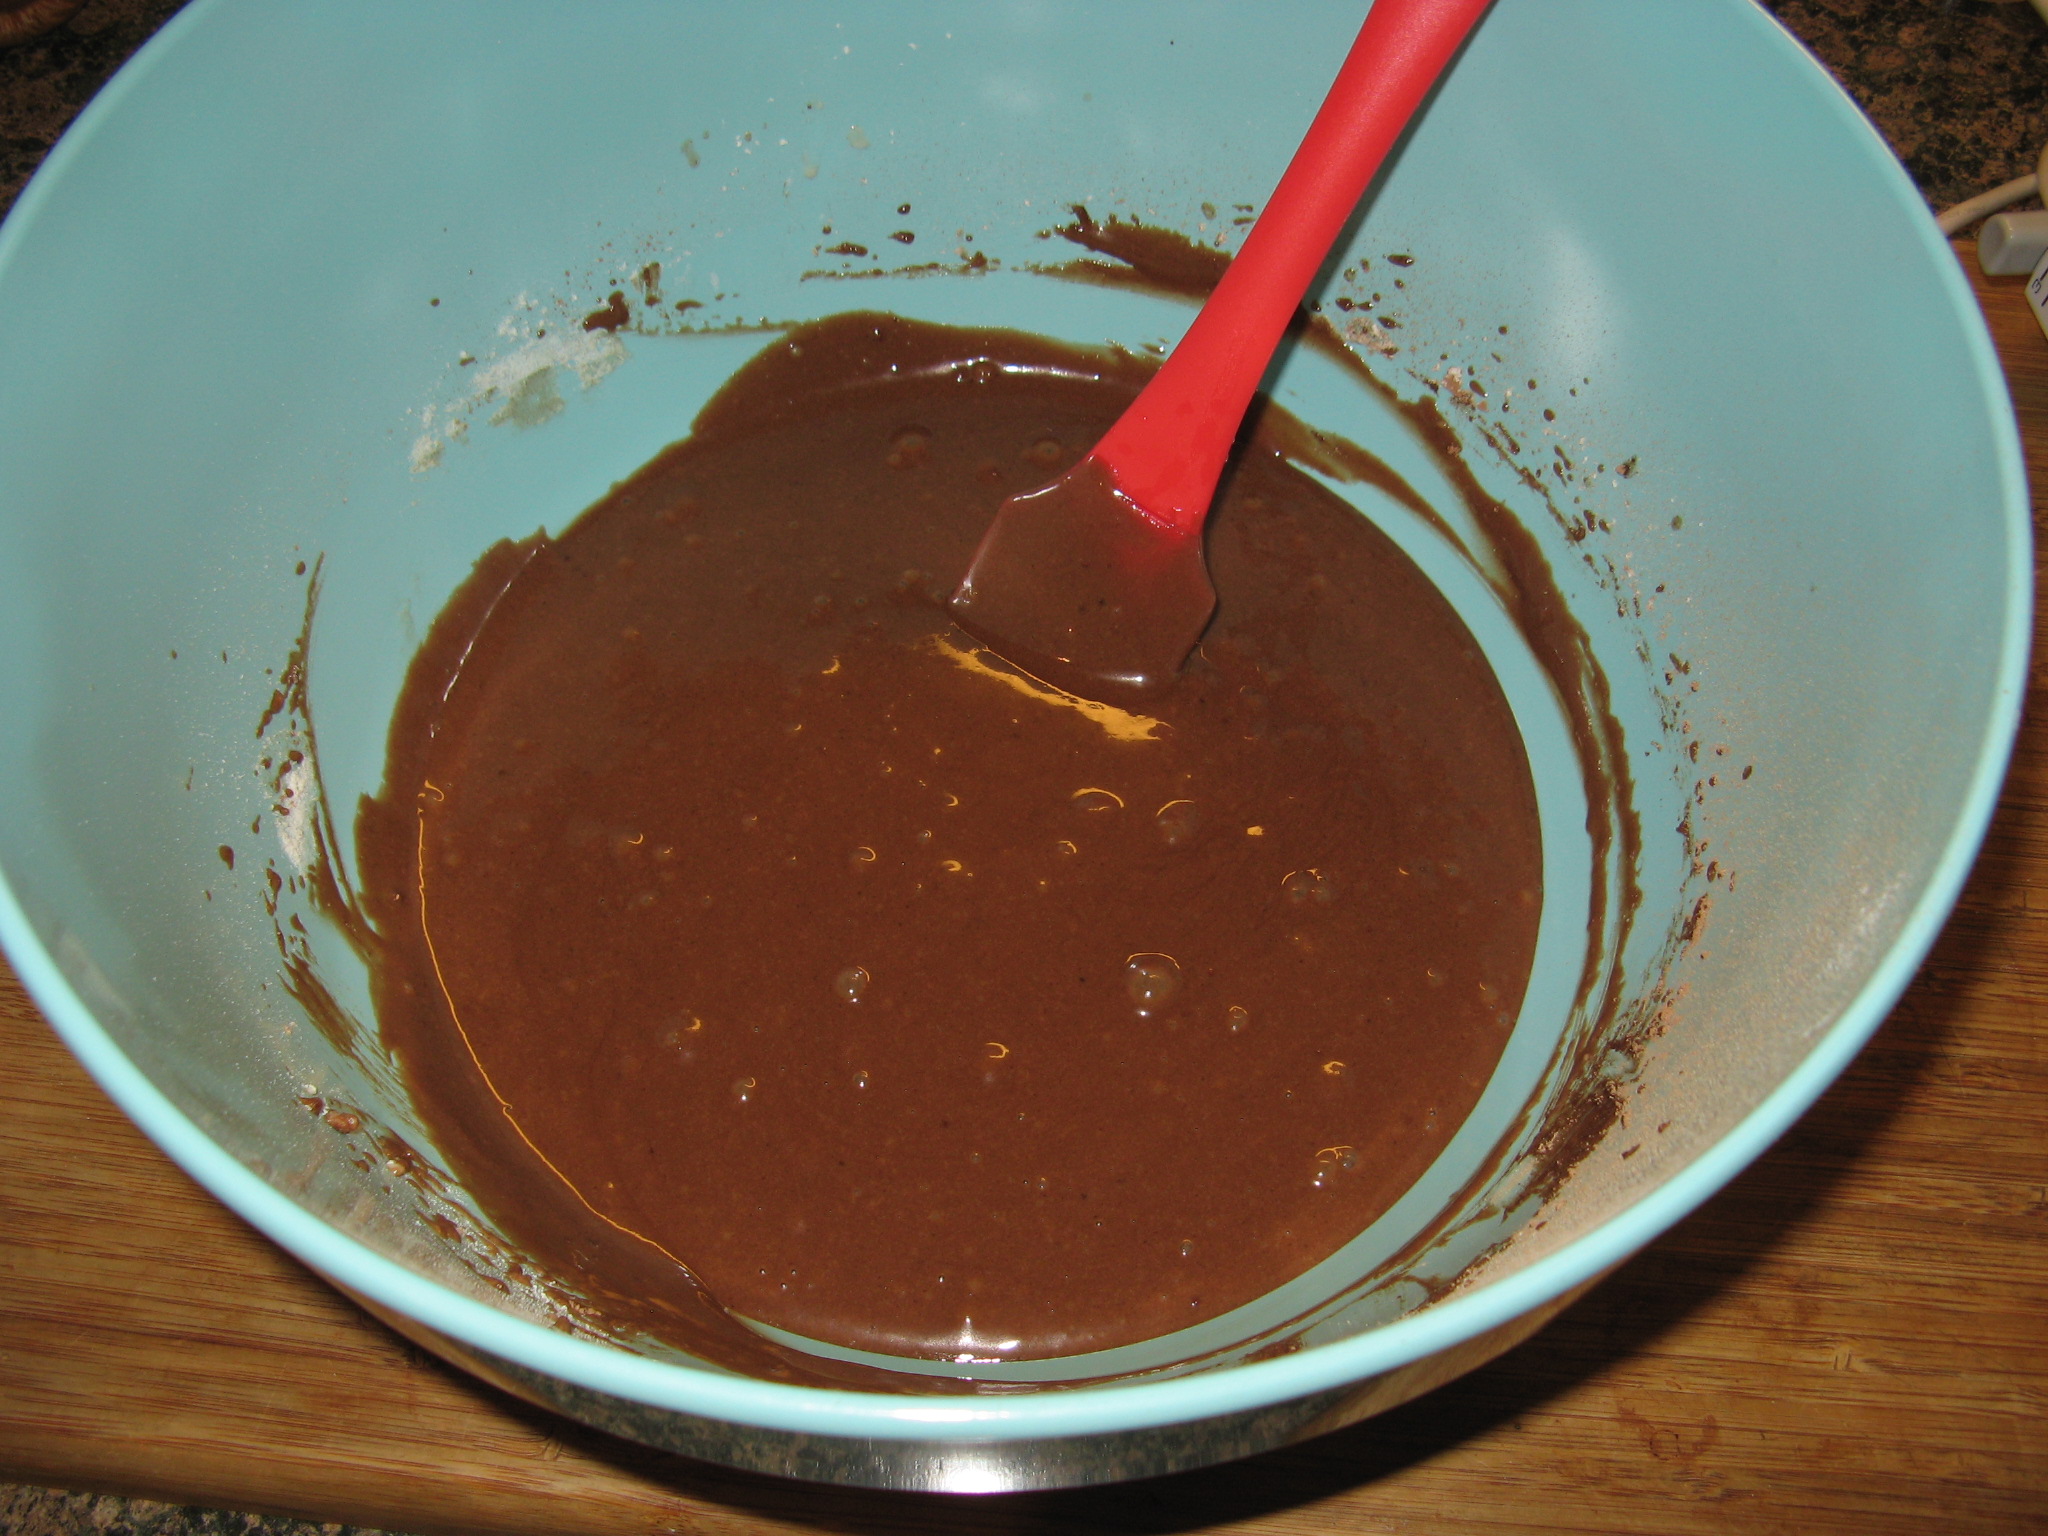
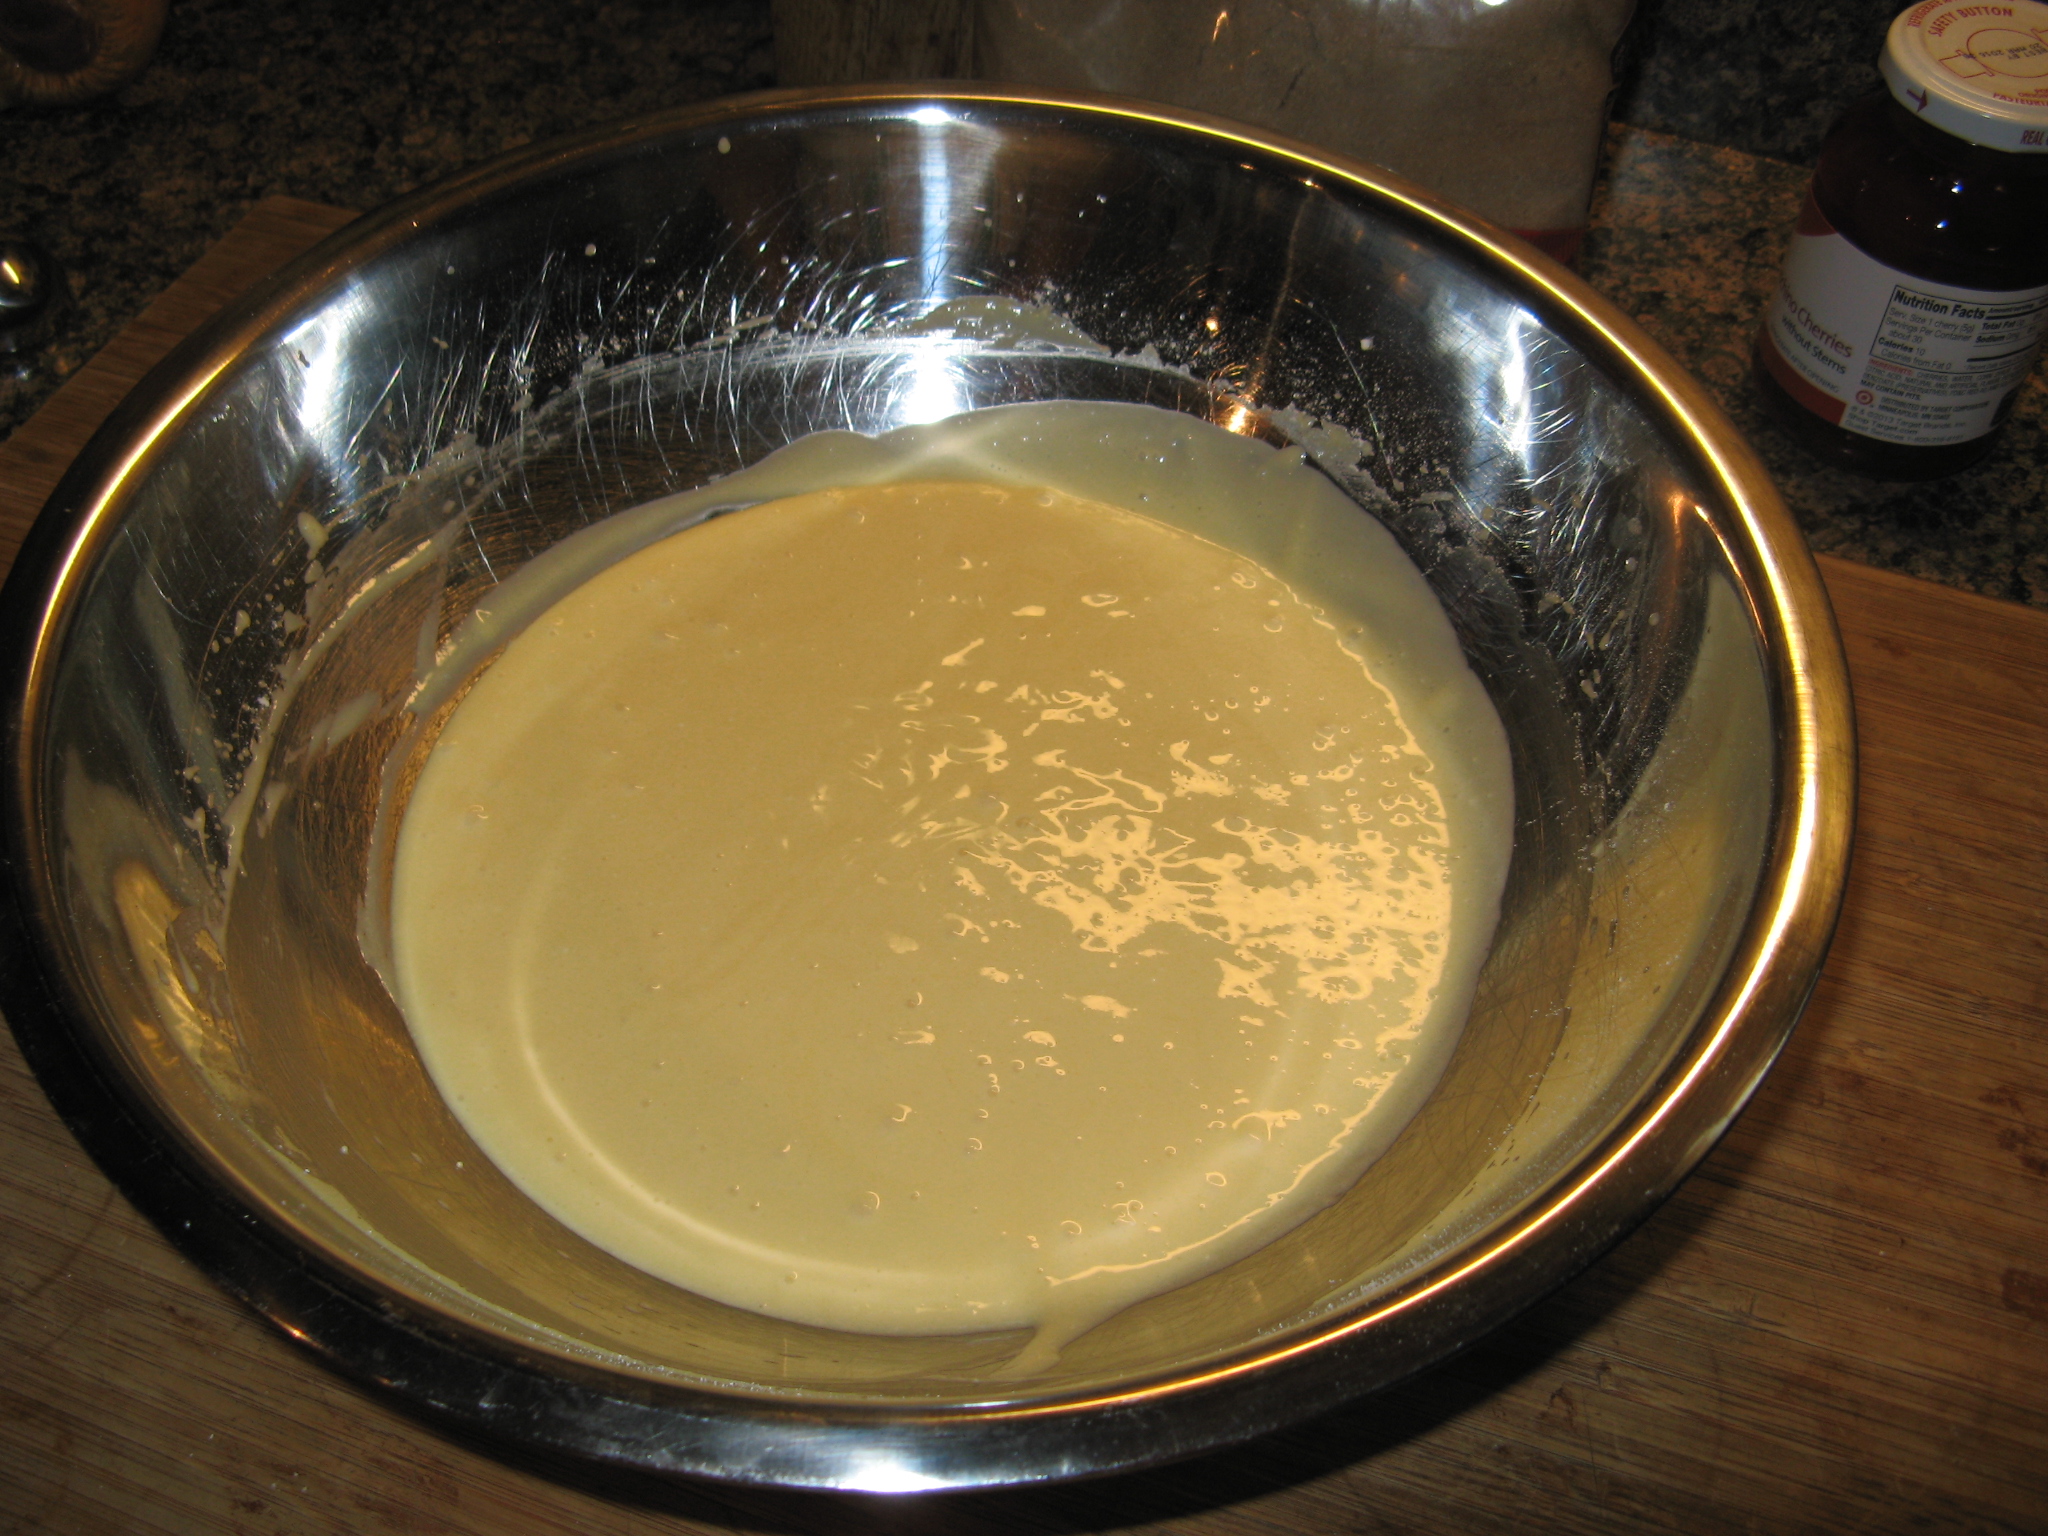
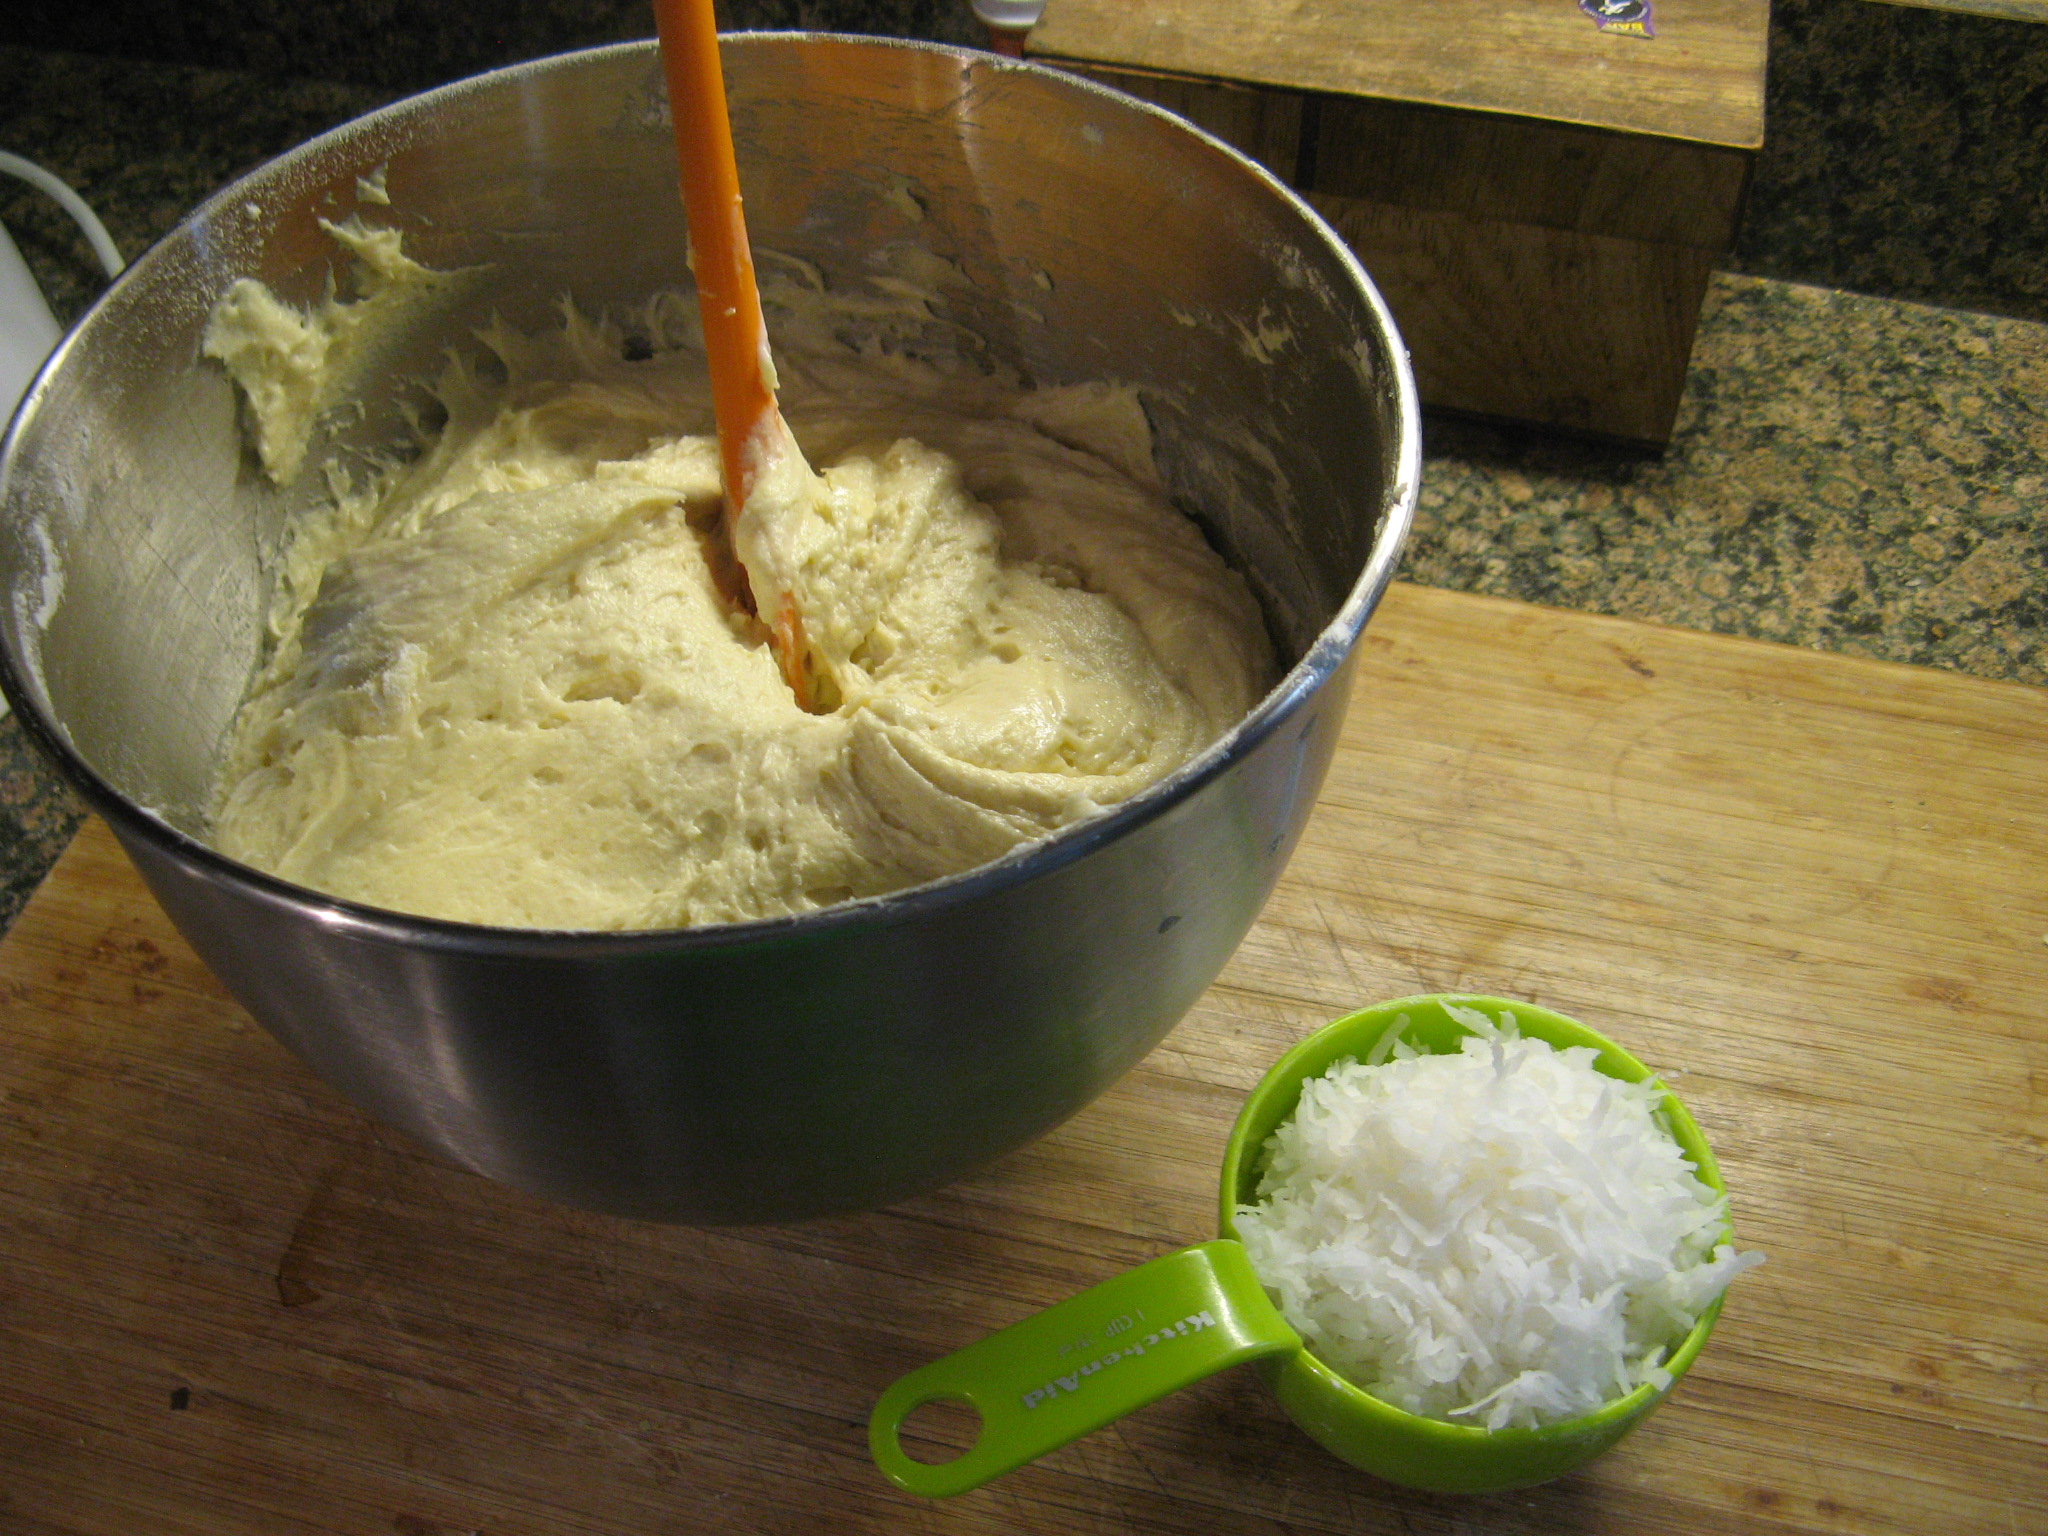
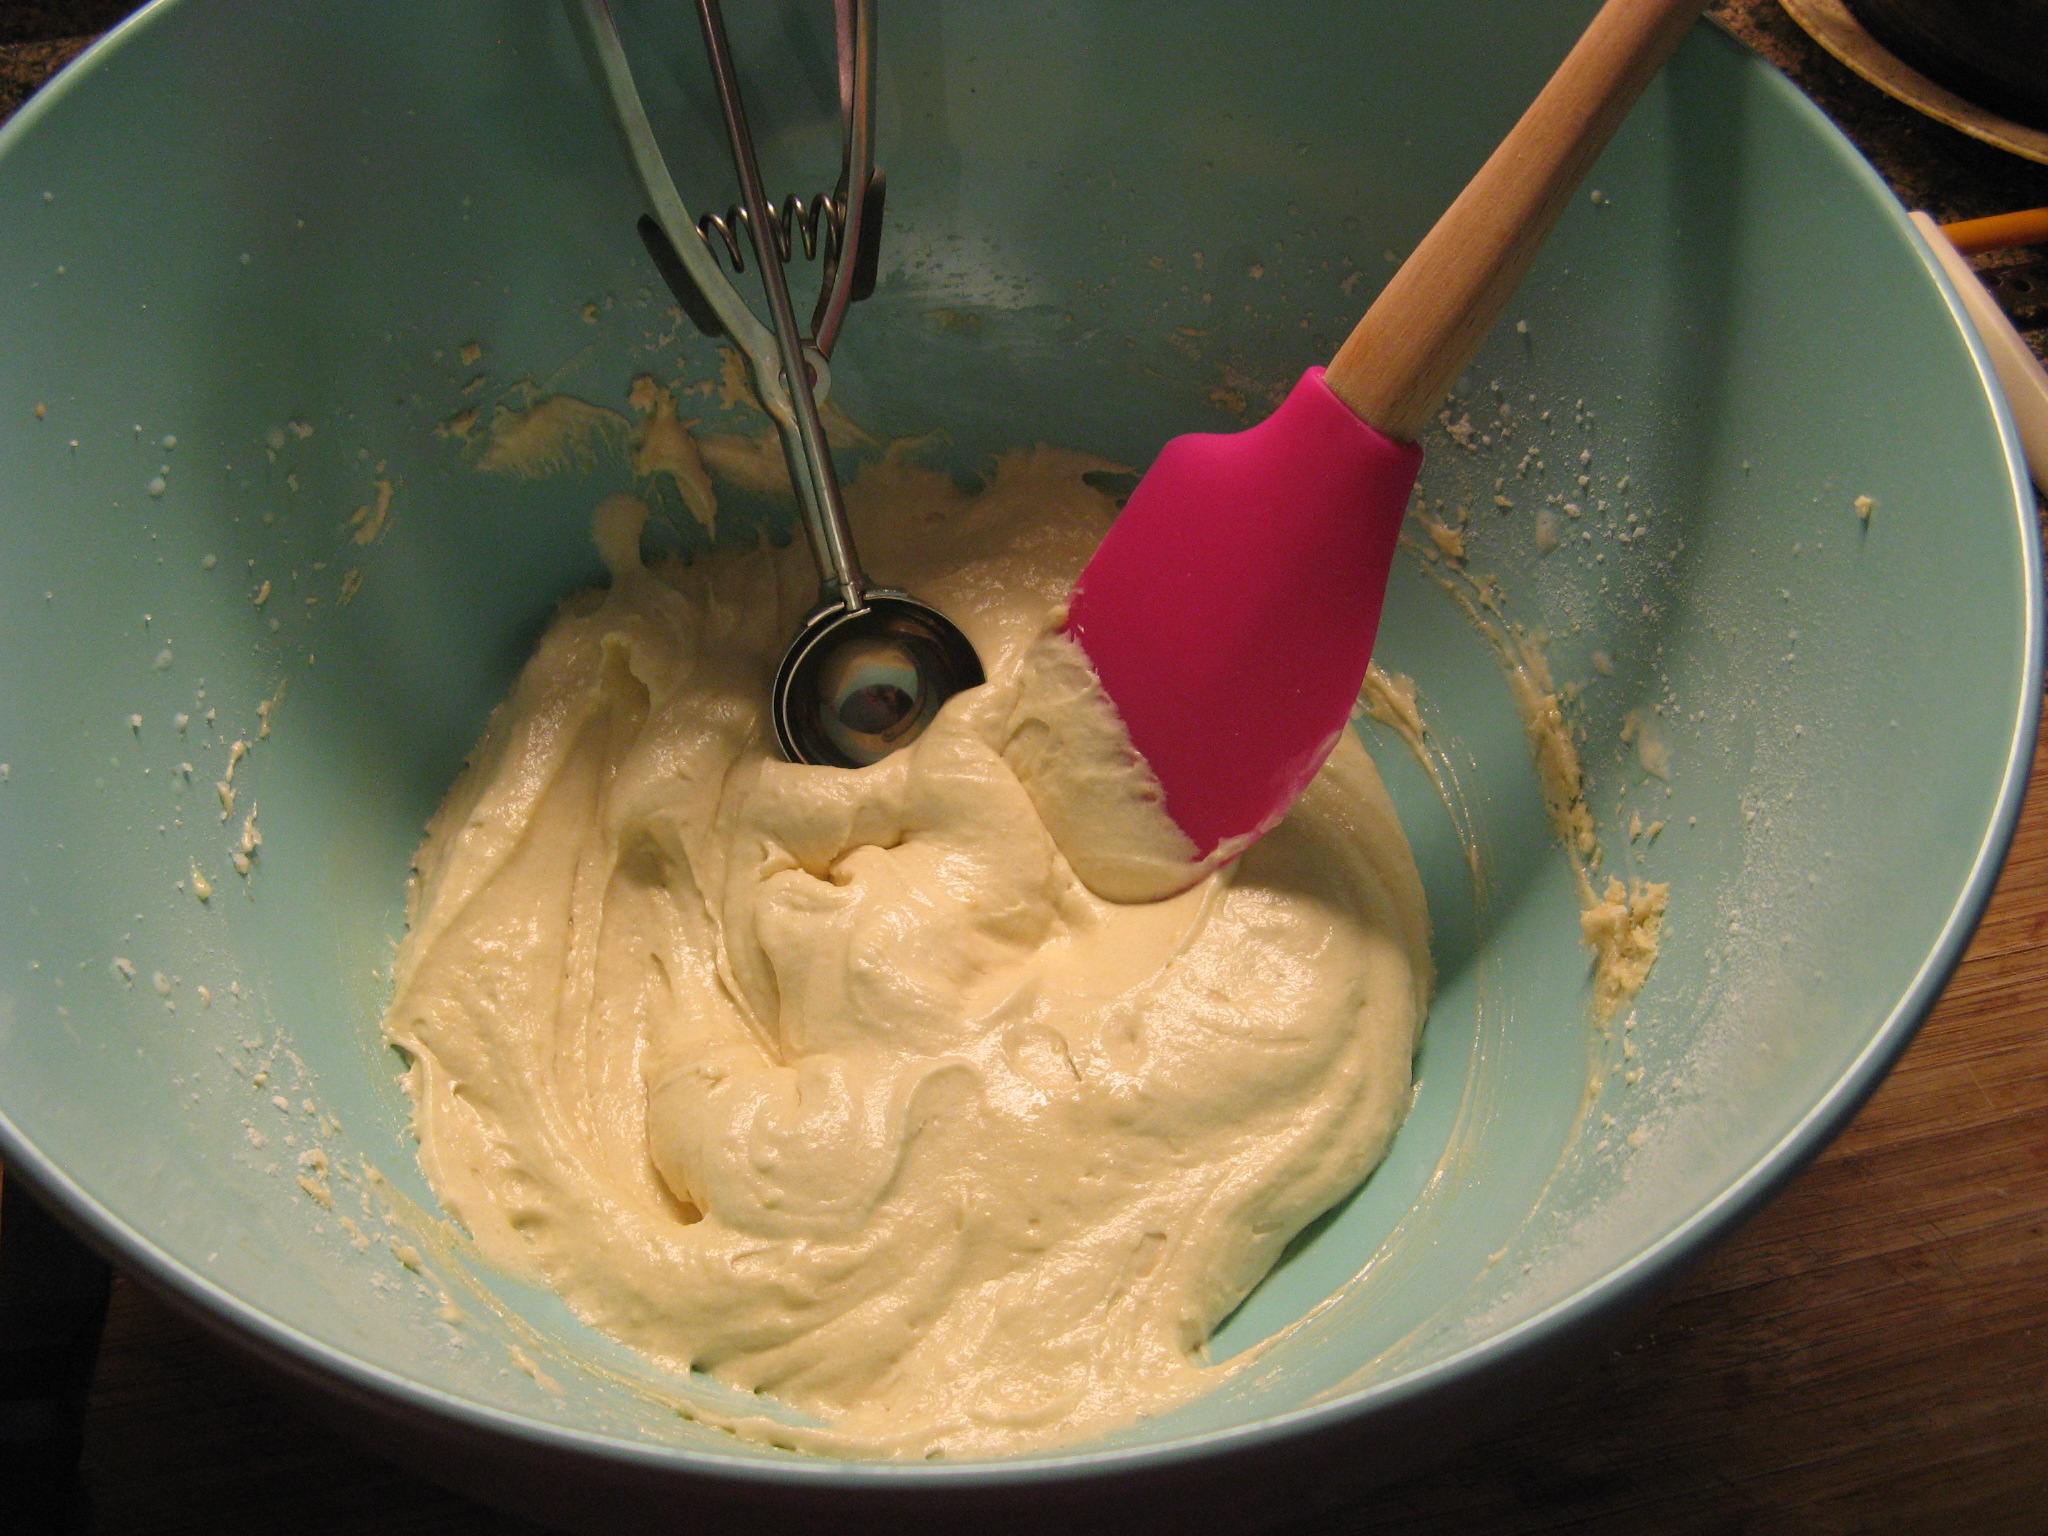
Then the milk, lemon zest and juice.

IMG_0660

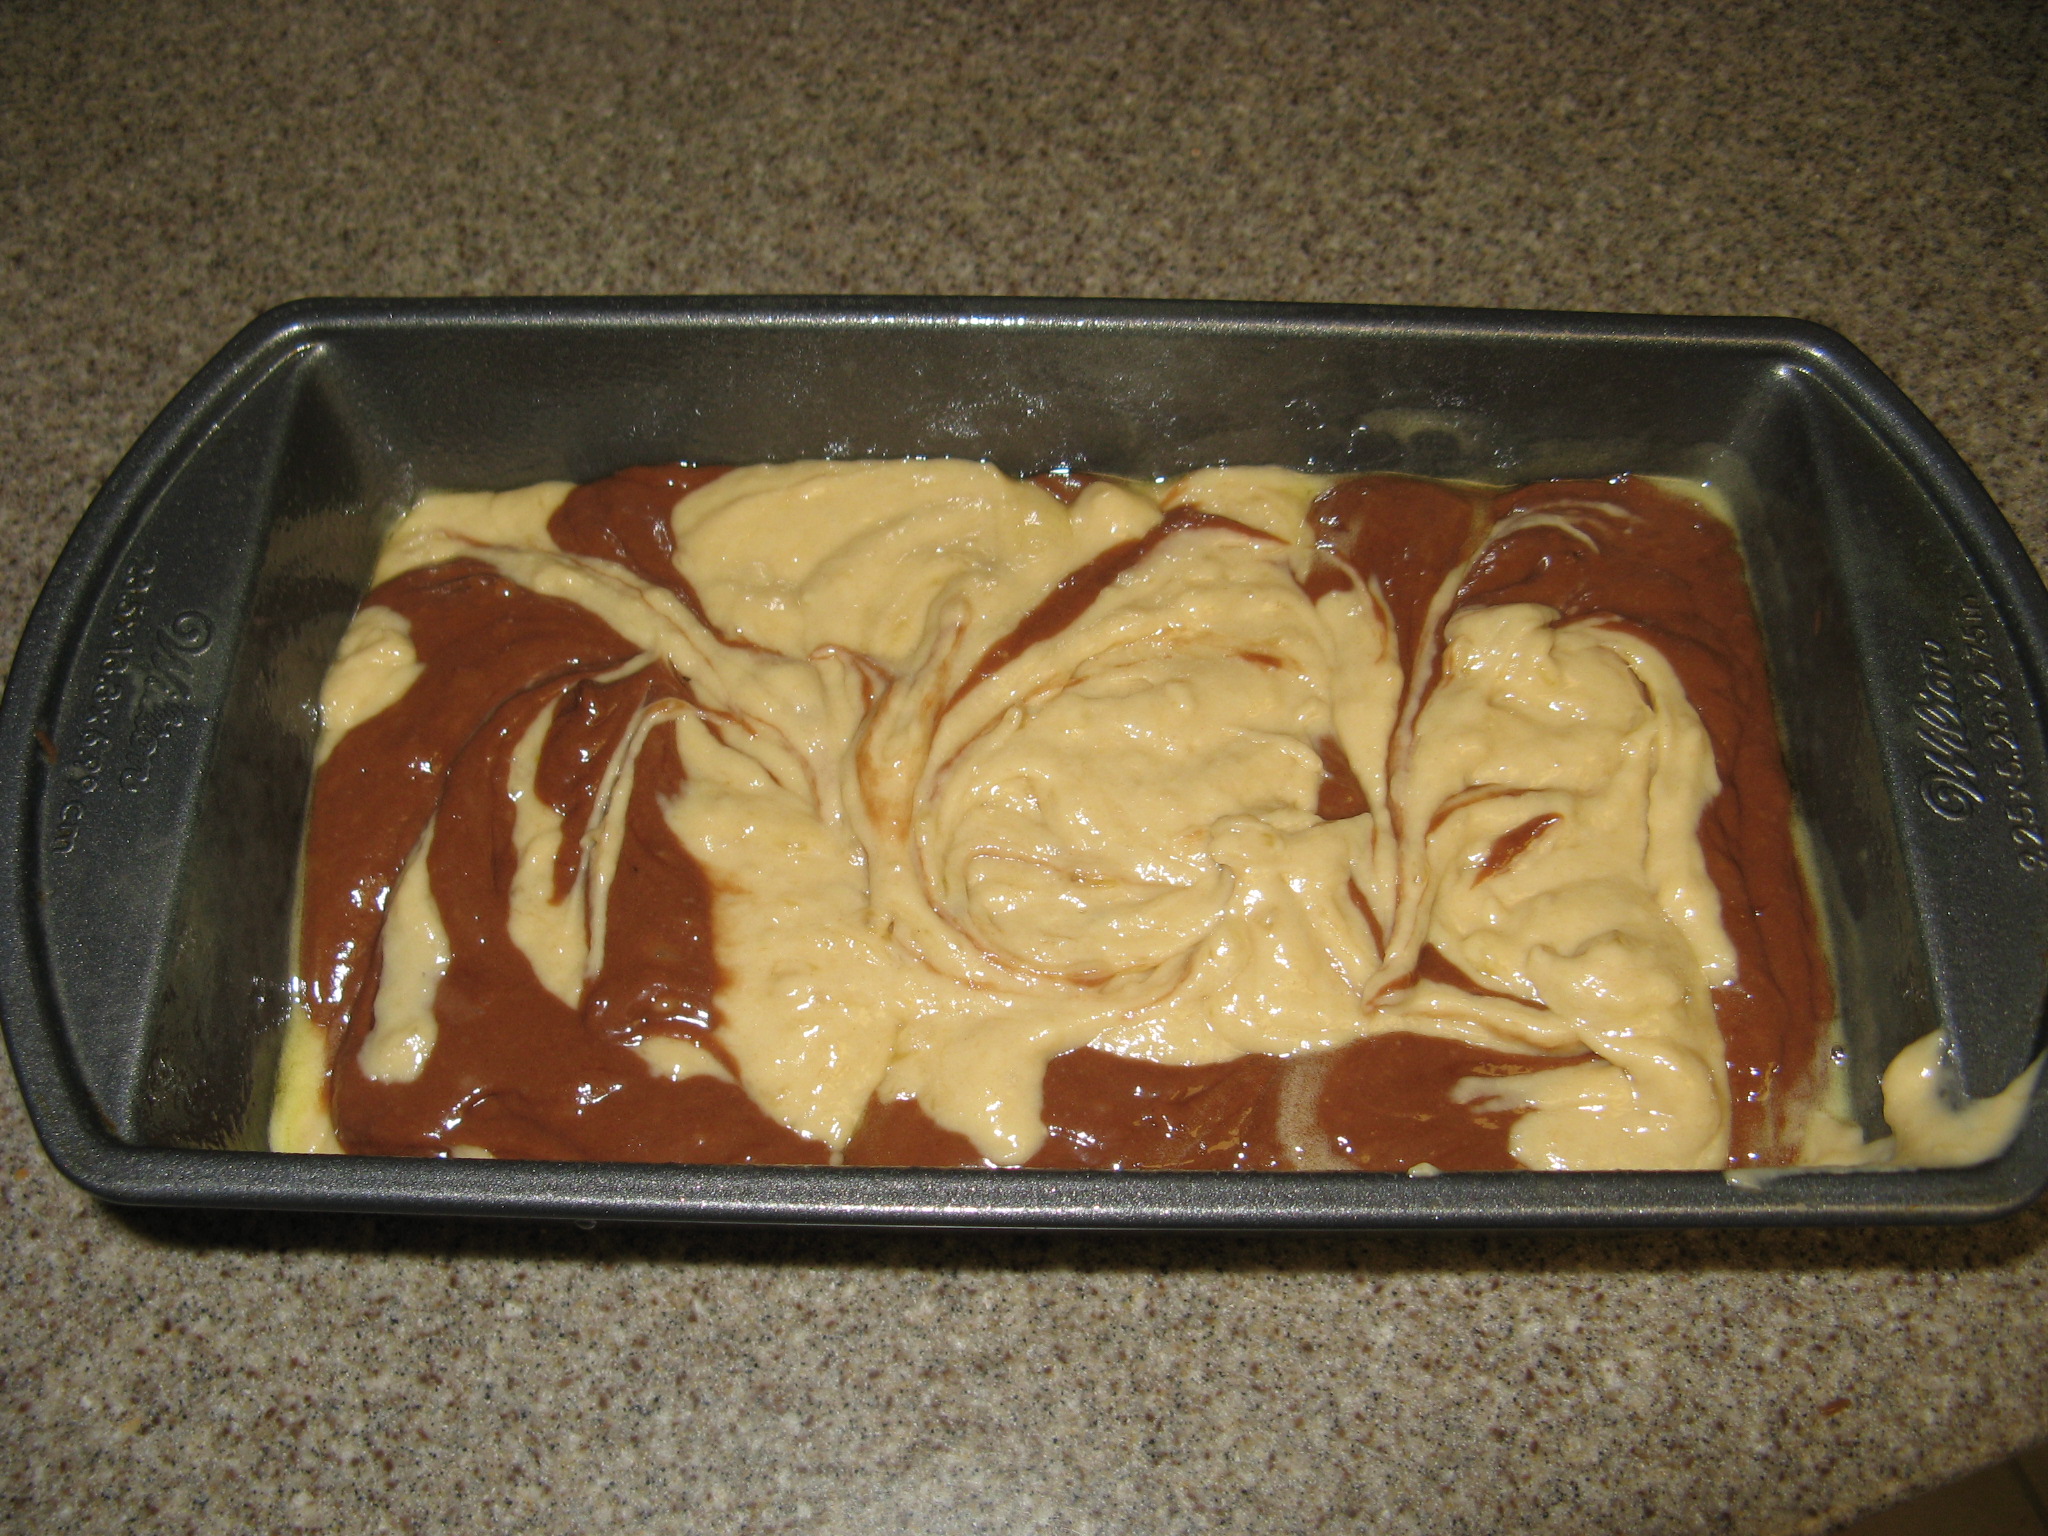
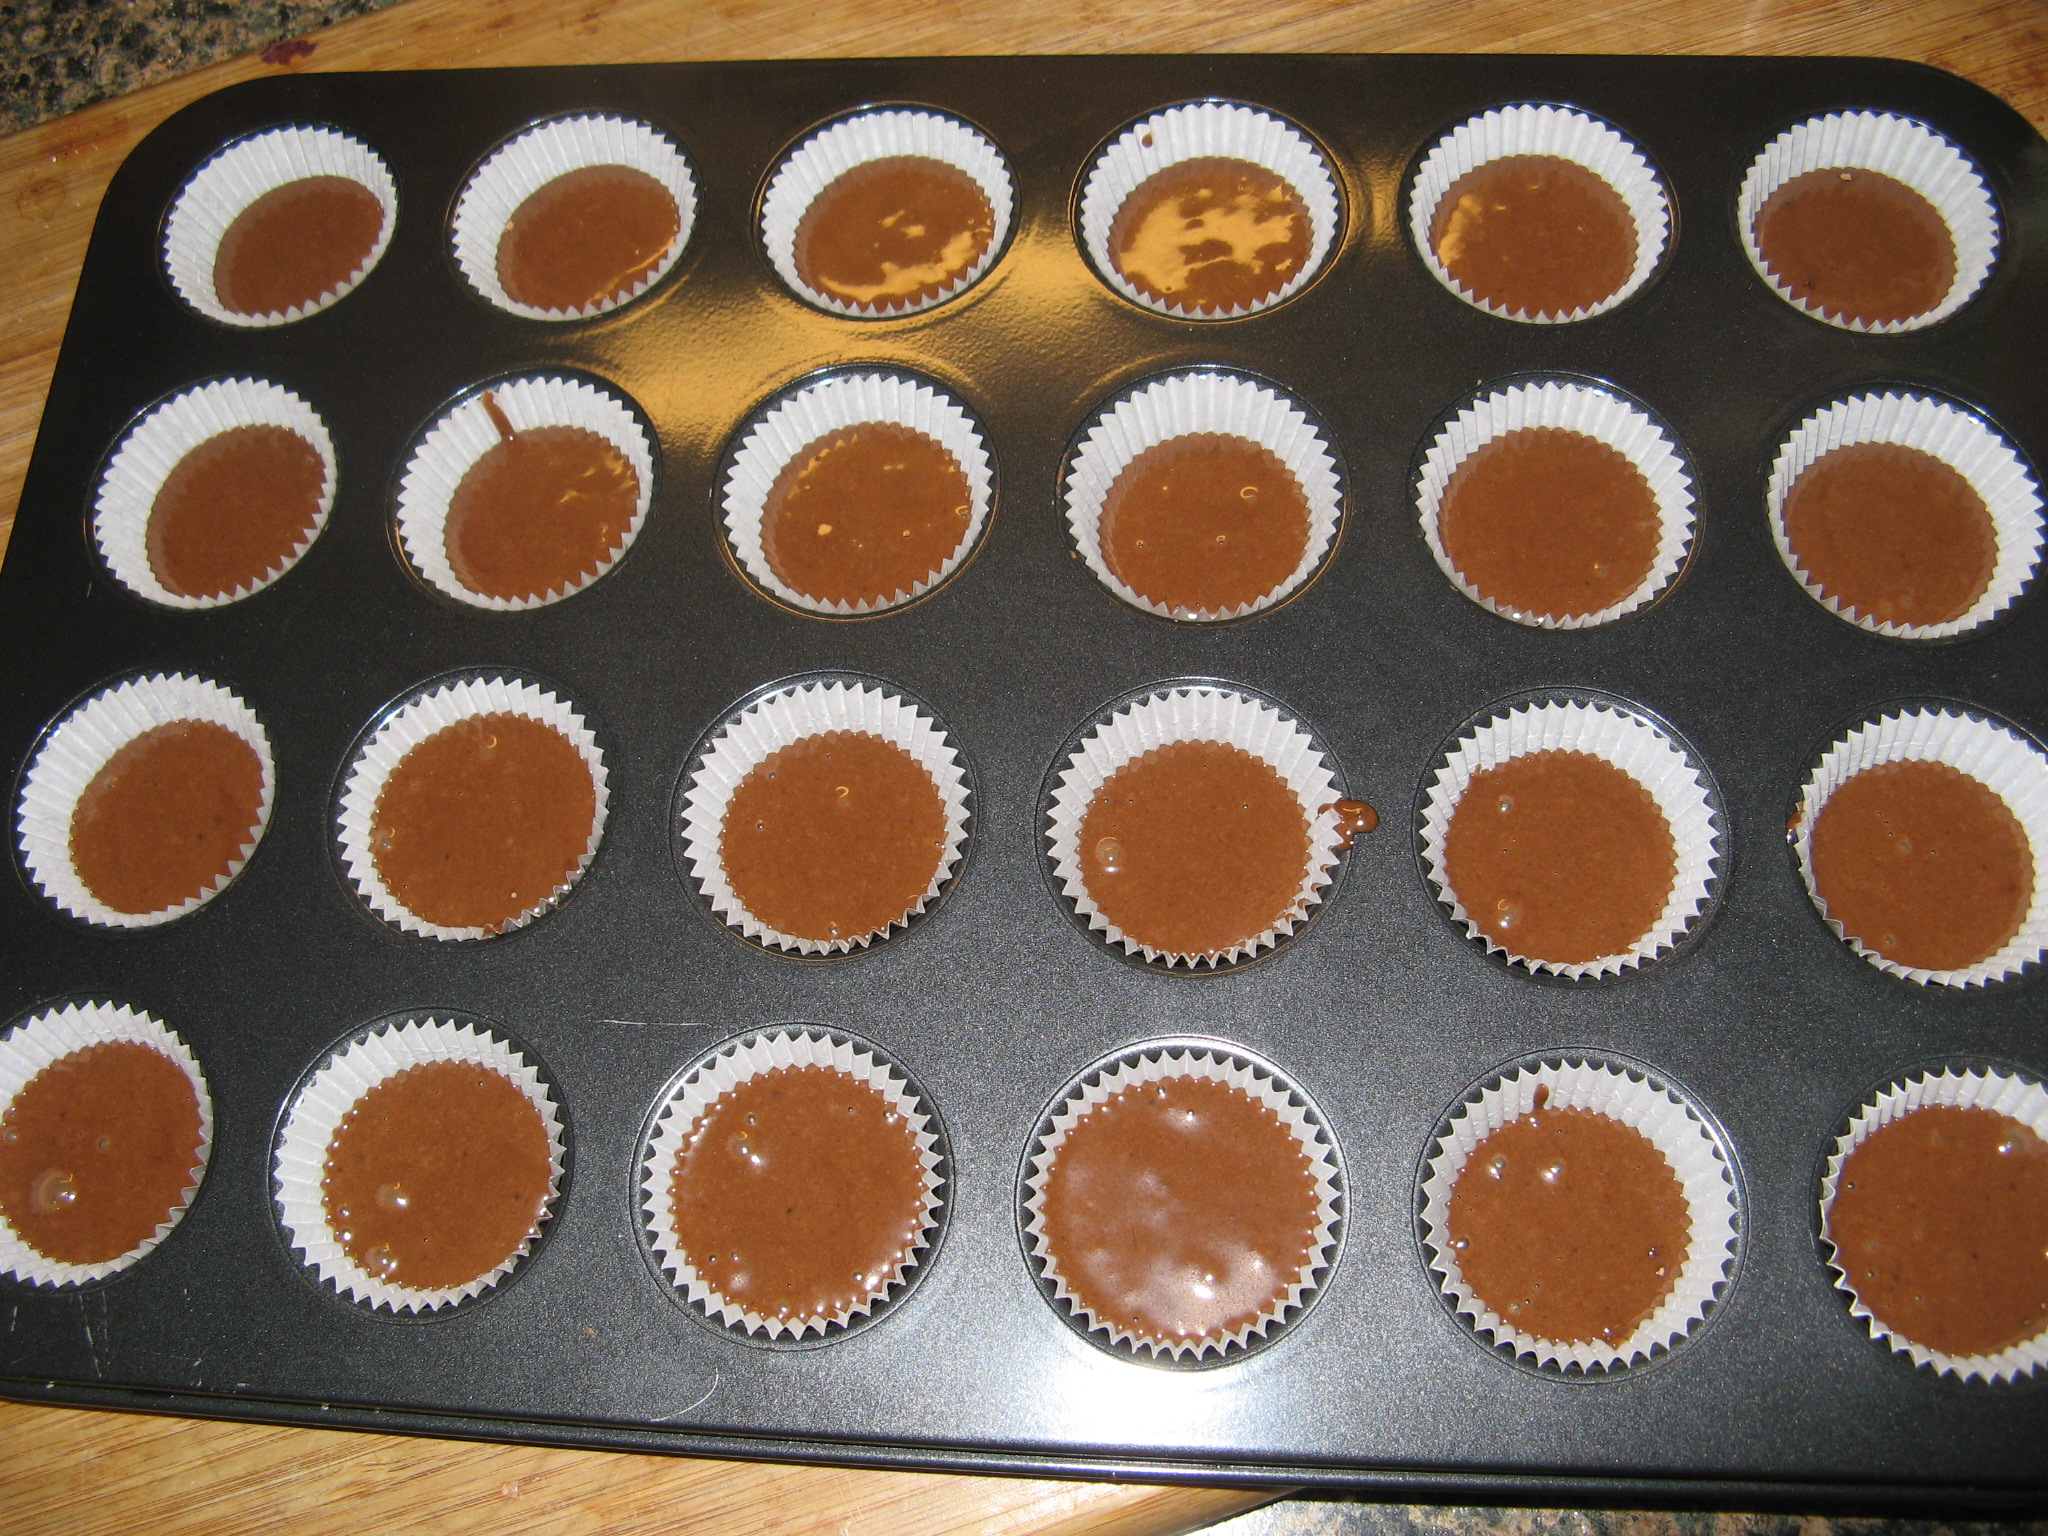
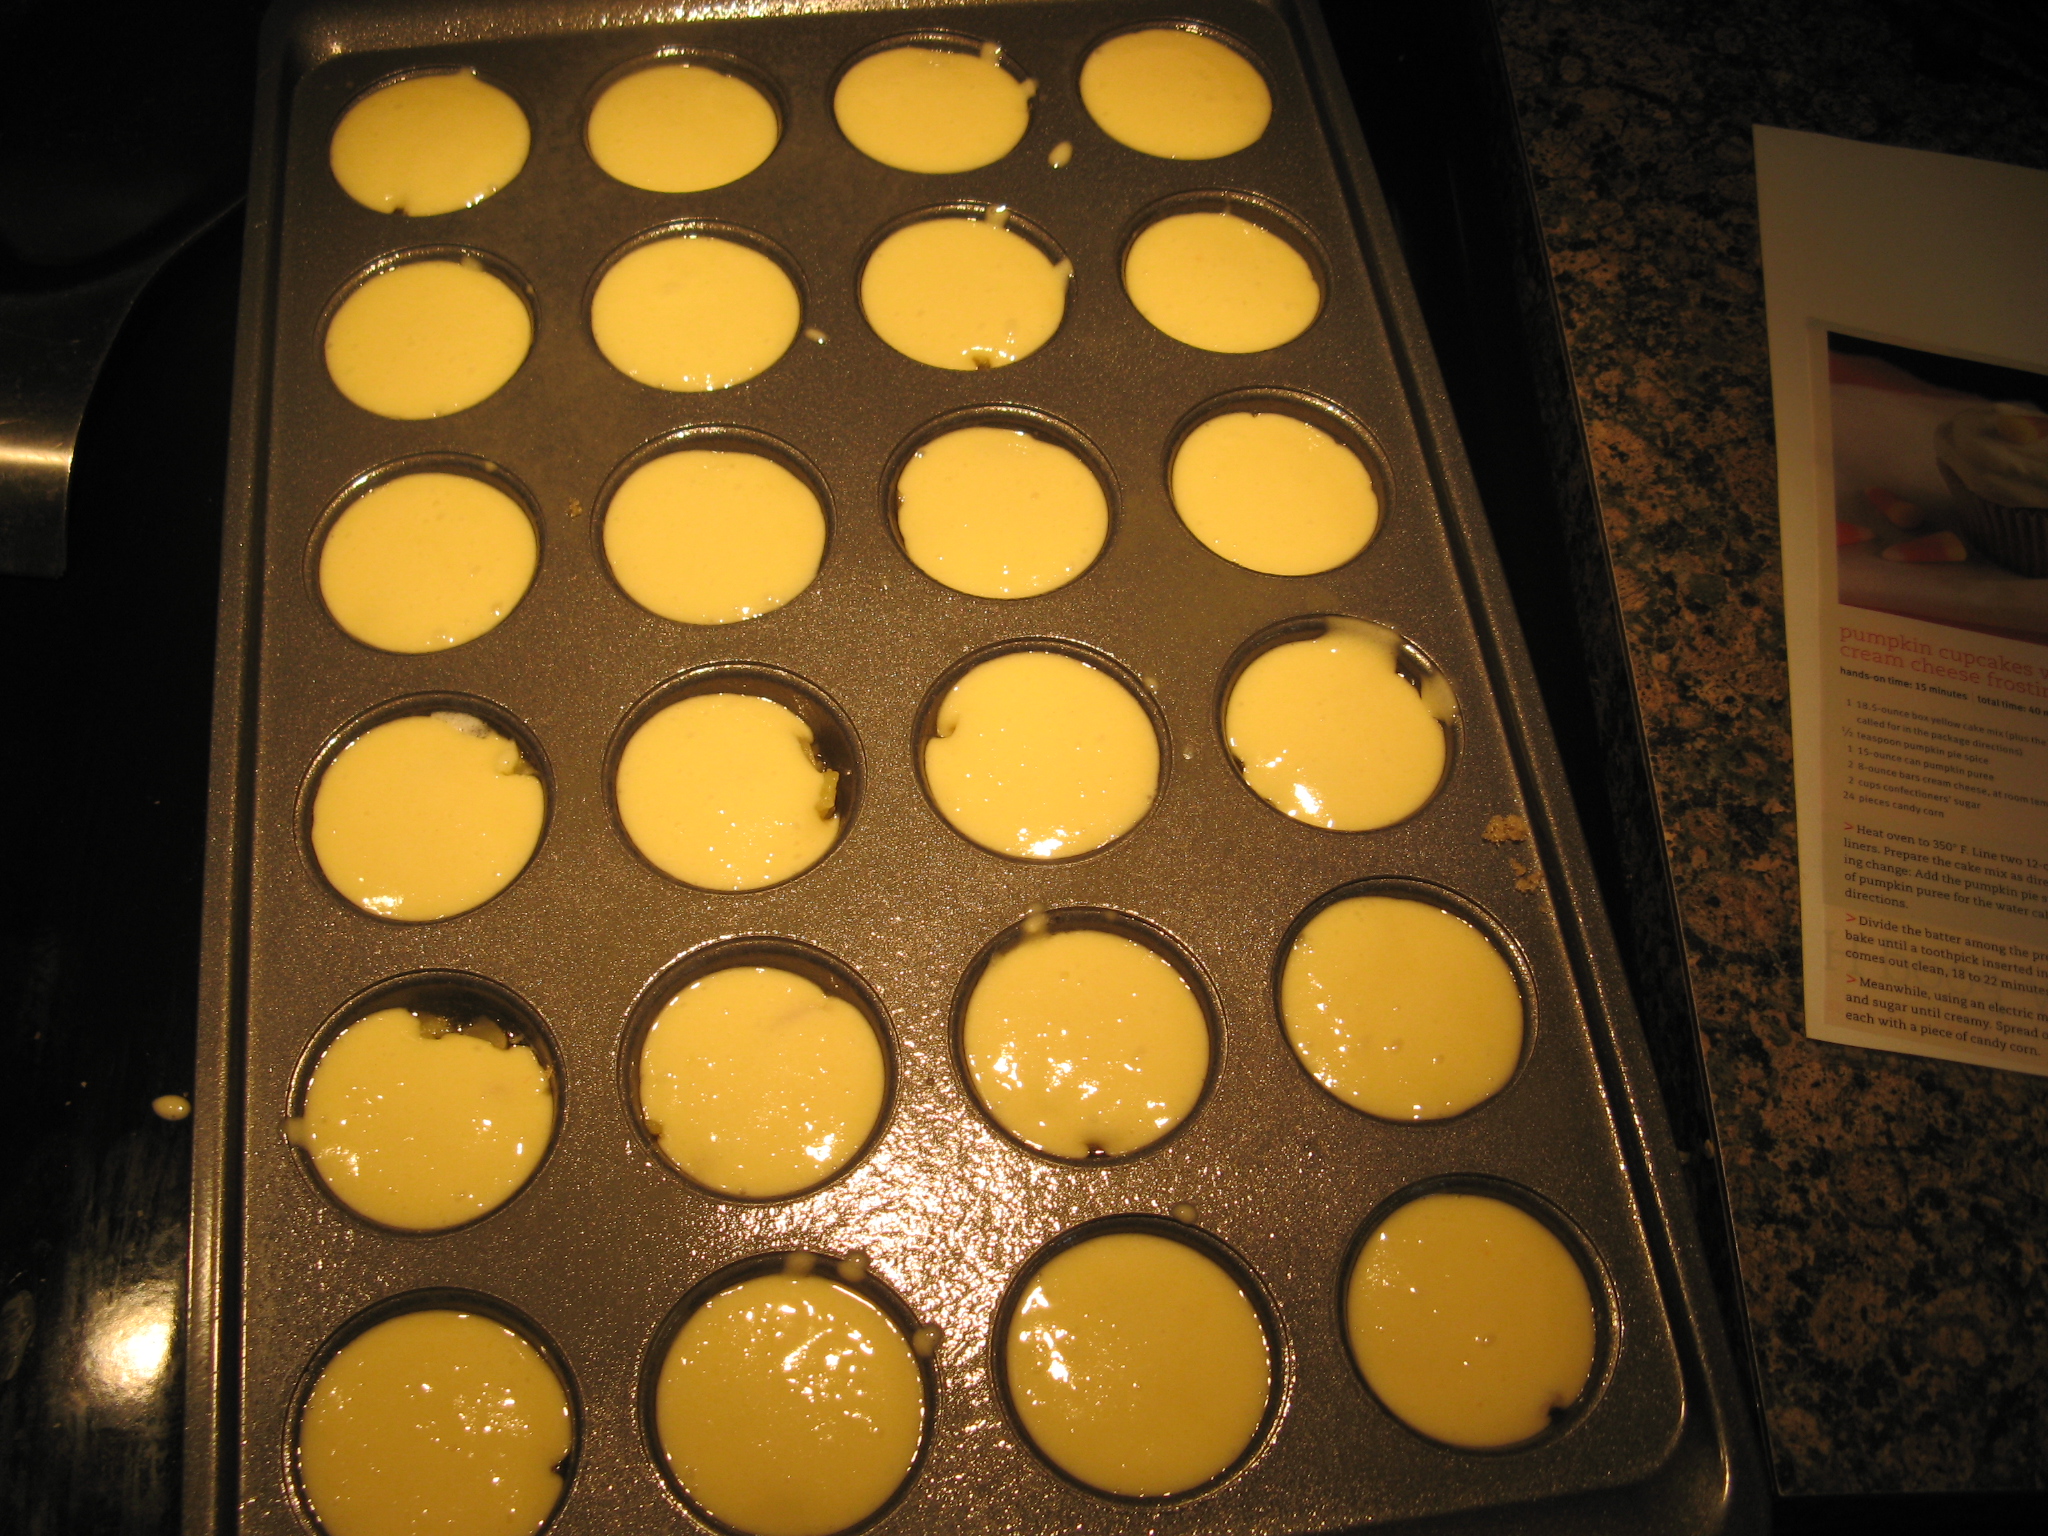
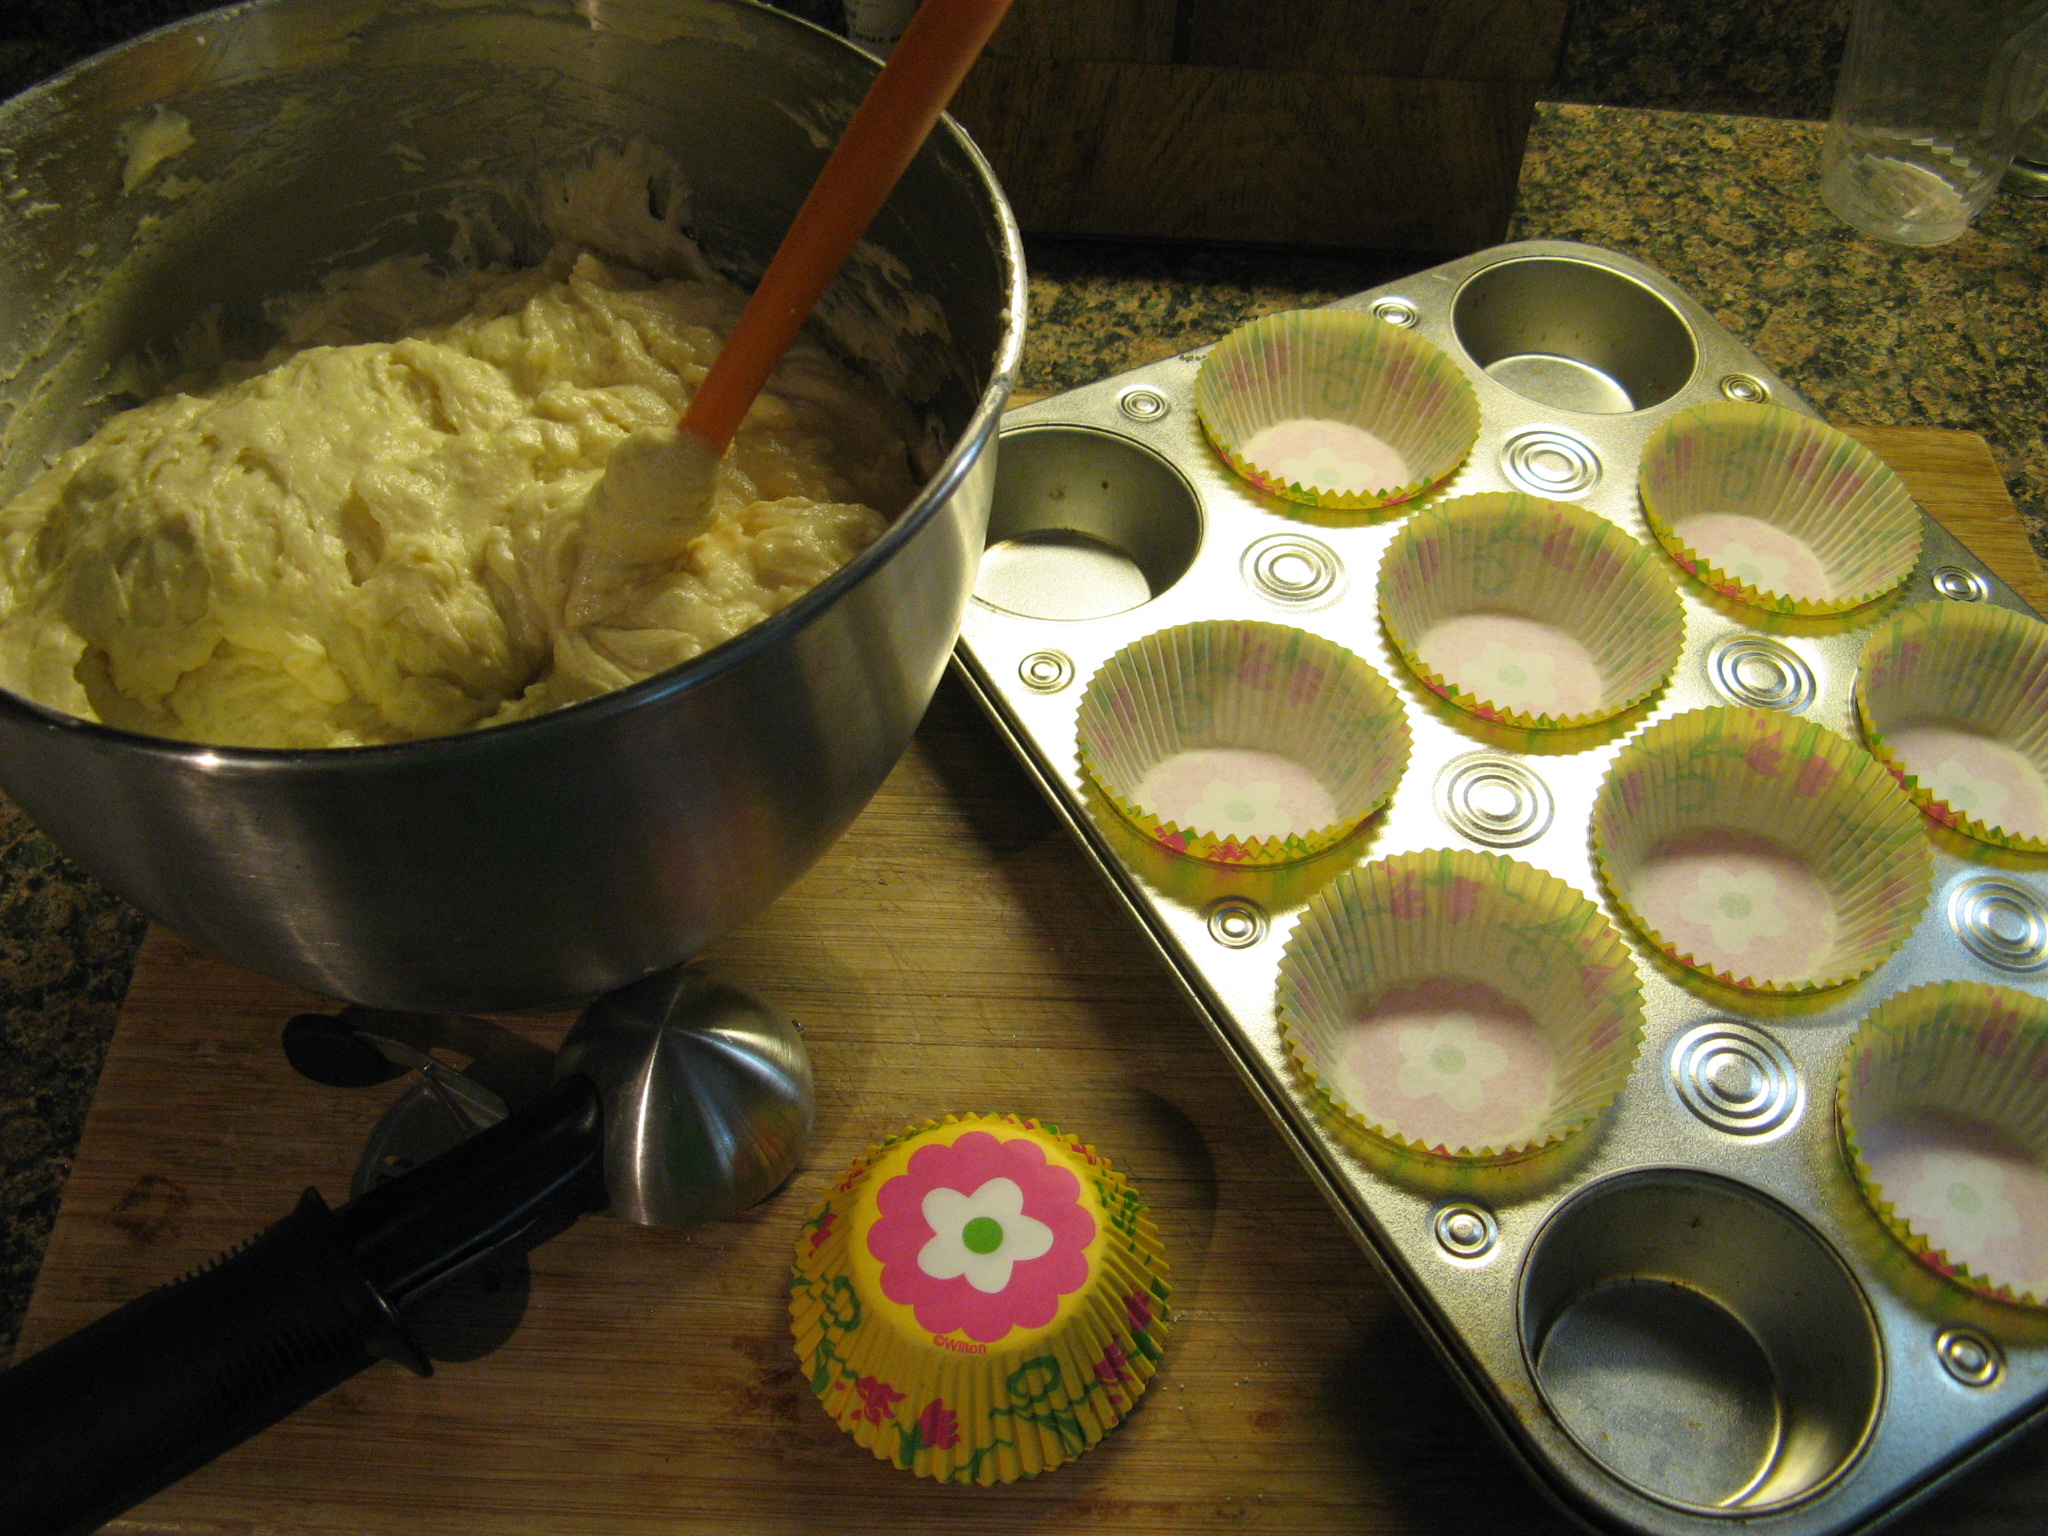
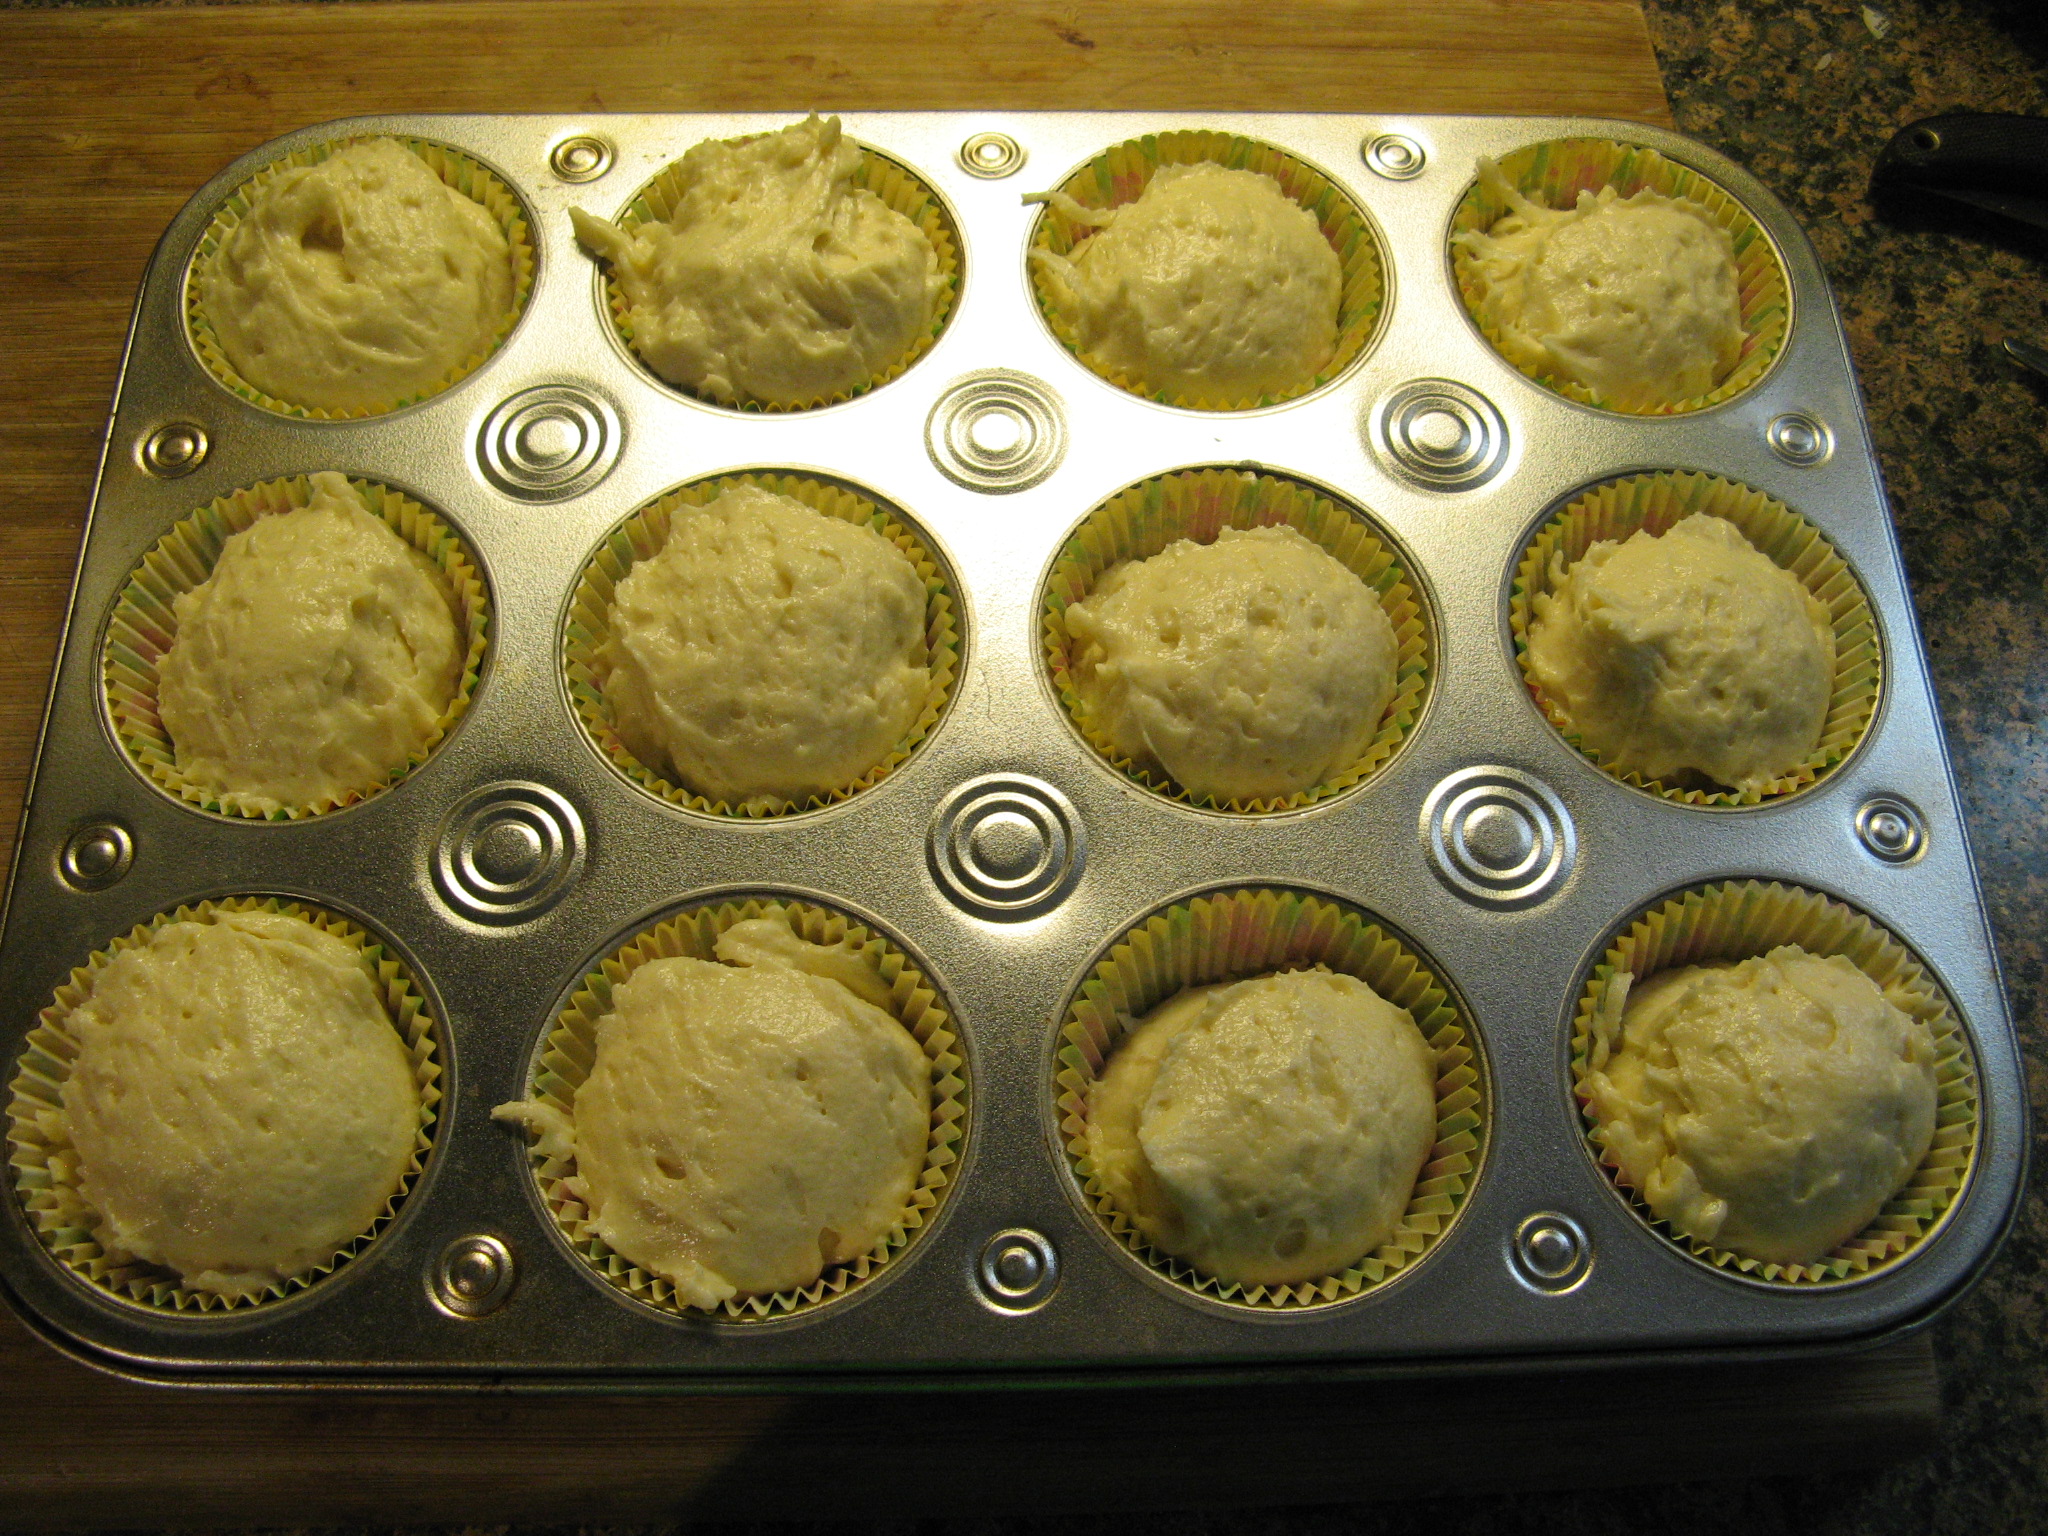
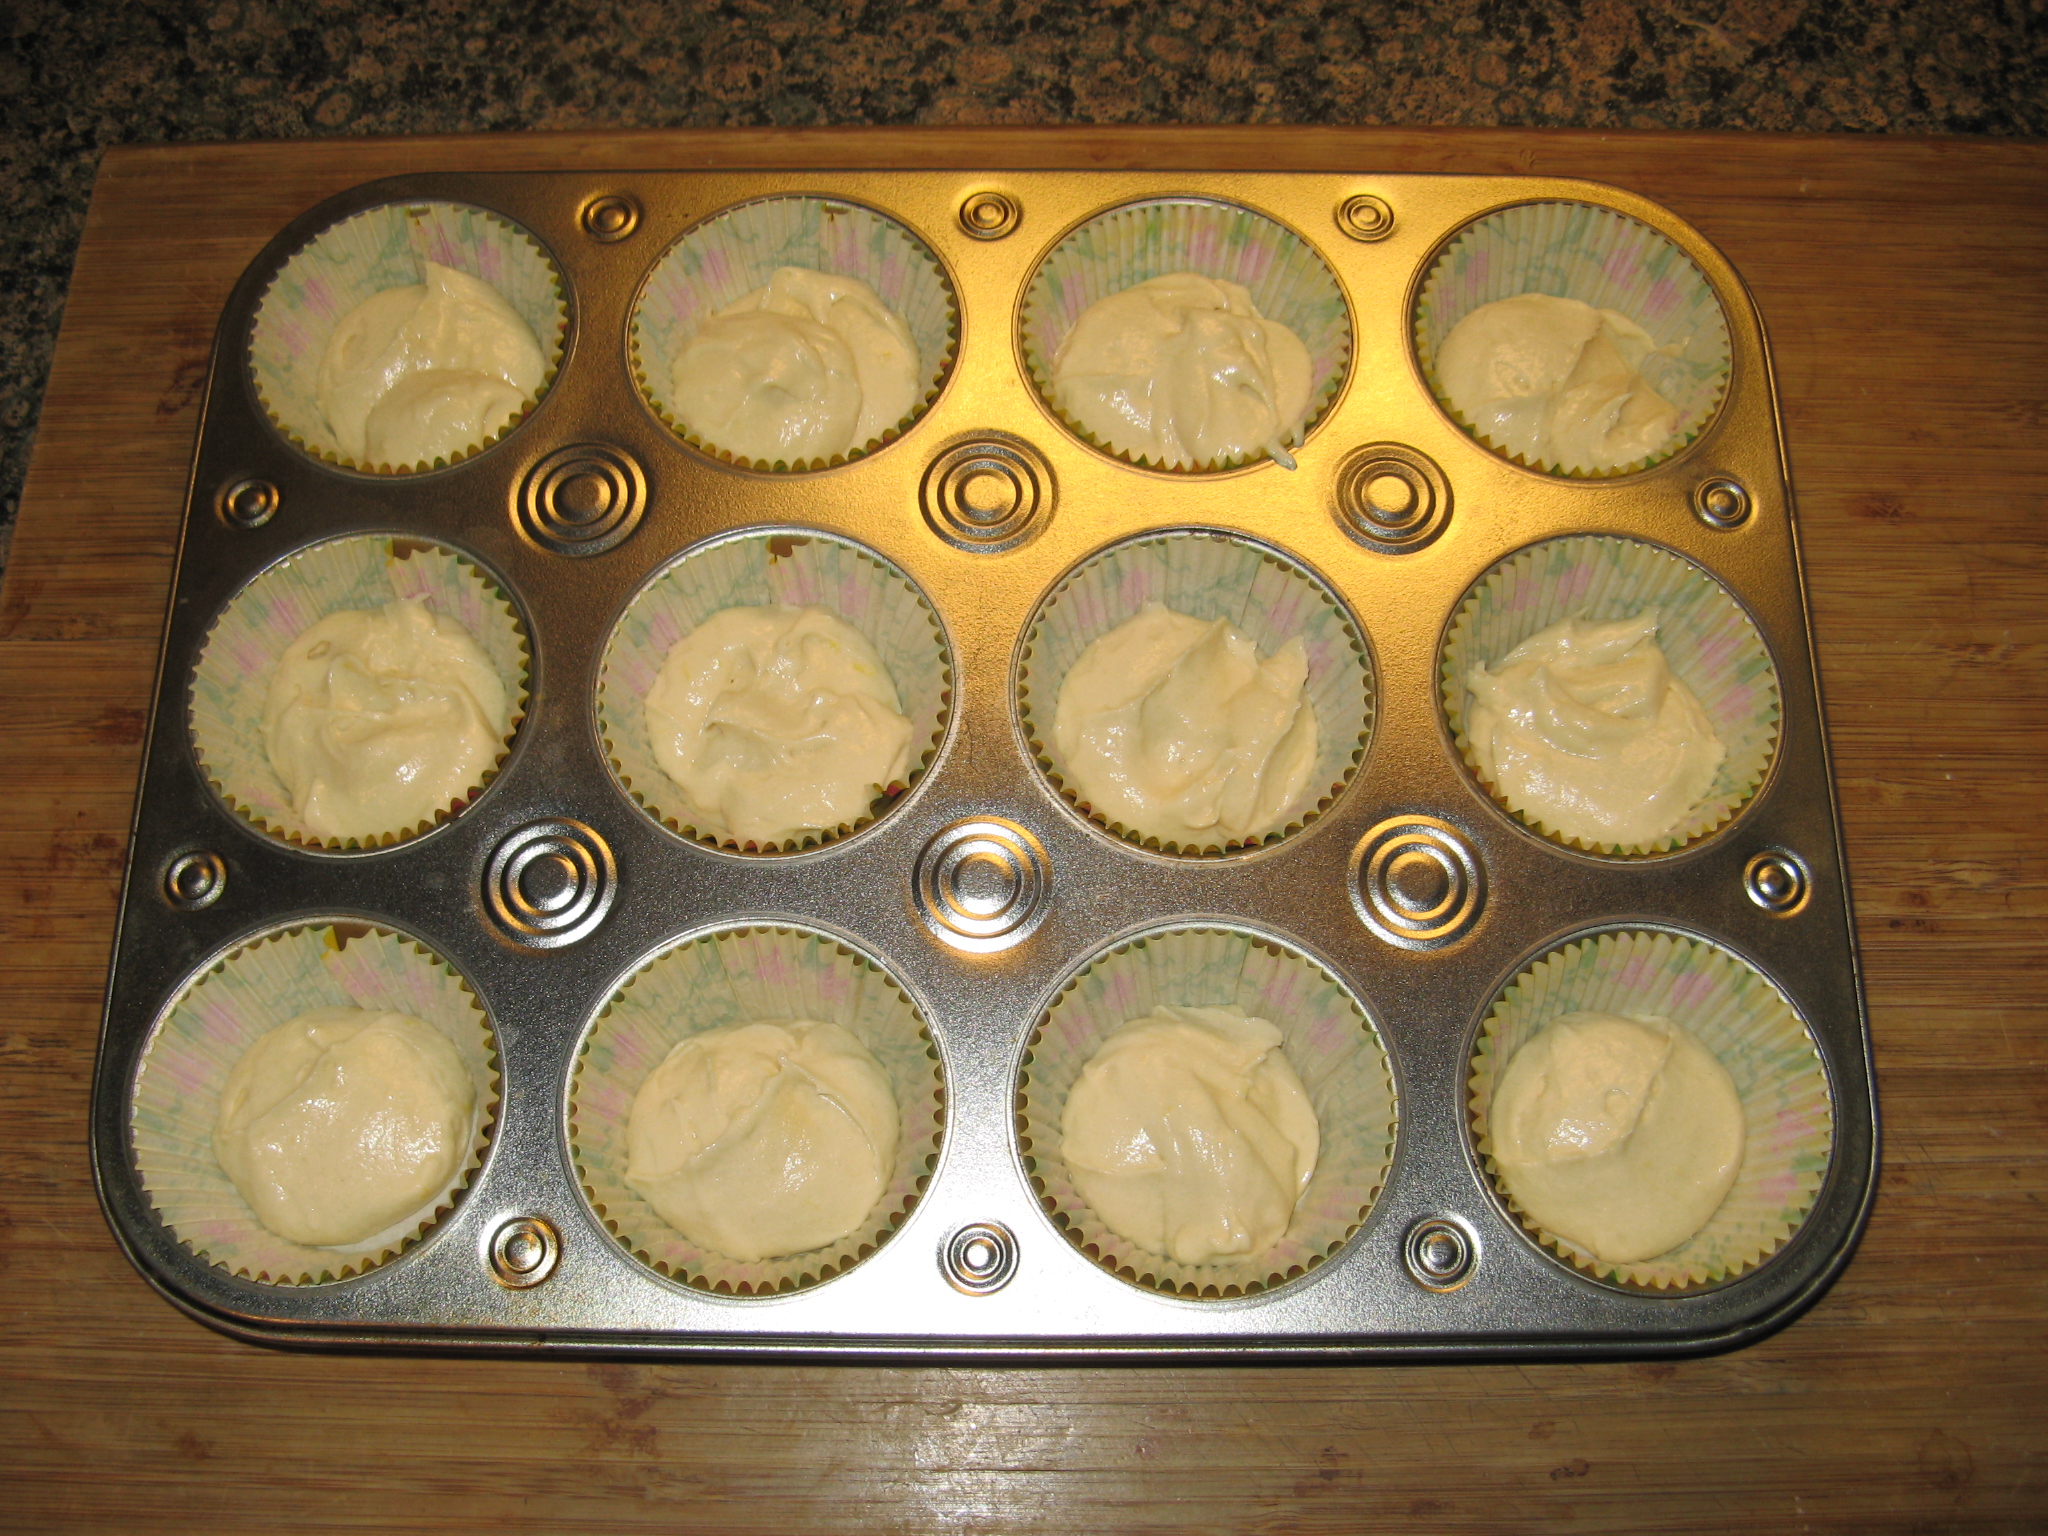
Now it was time to spoon the batter into my prepared cupcake tin. While I did scale the recipe down for twelve cupcakes the batter definitely didn’t look like it was for twelve decent sized cupcakes so while I normally use my ice cream scoop to spoon the batter into the cupcake tins I opted to use my cookie scoop instead so I could be sure to have enough batter for twelve. As you can see the liners were barely halfway filled.

IMG_0661 IMG_0665

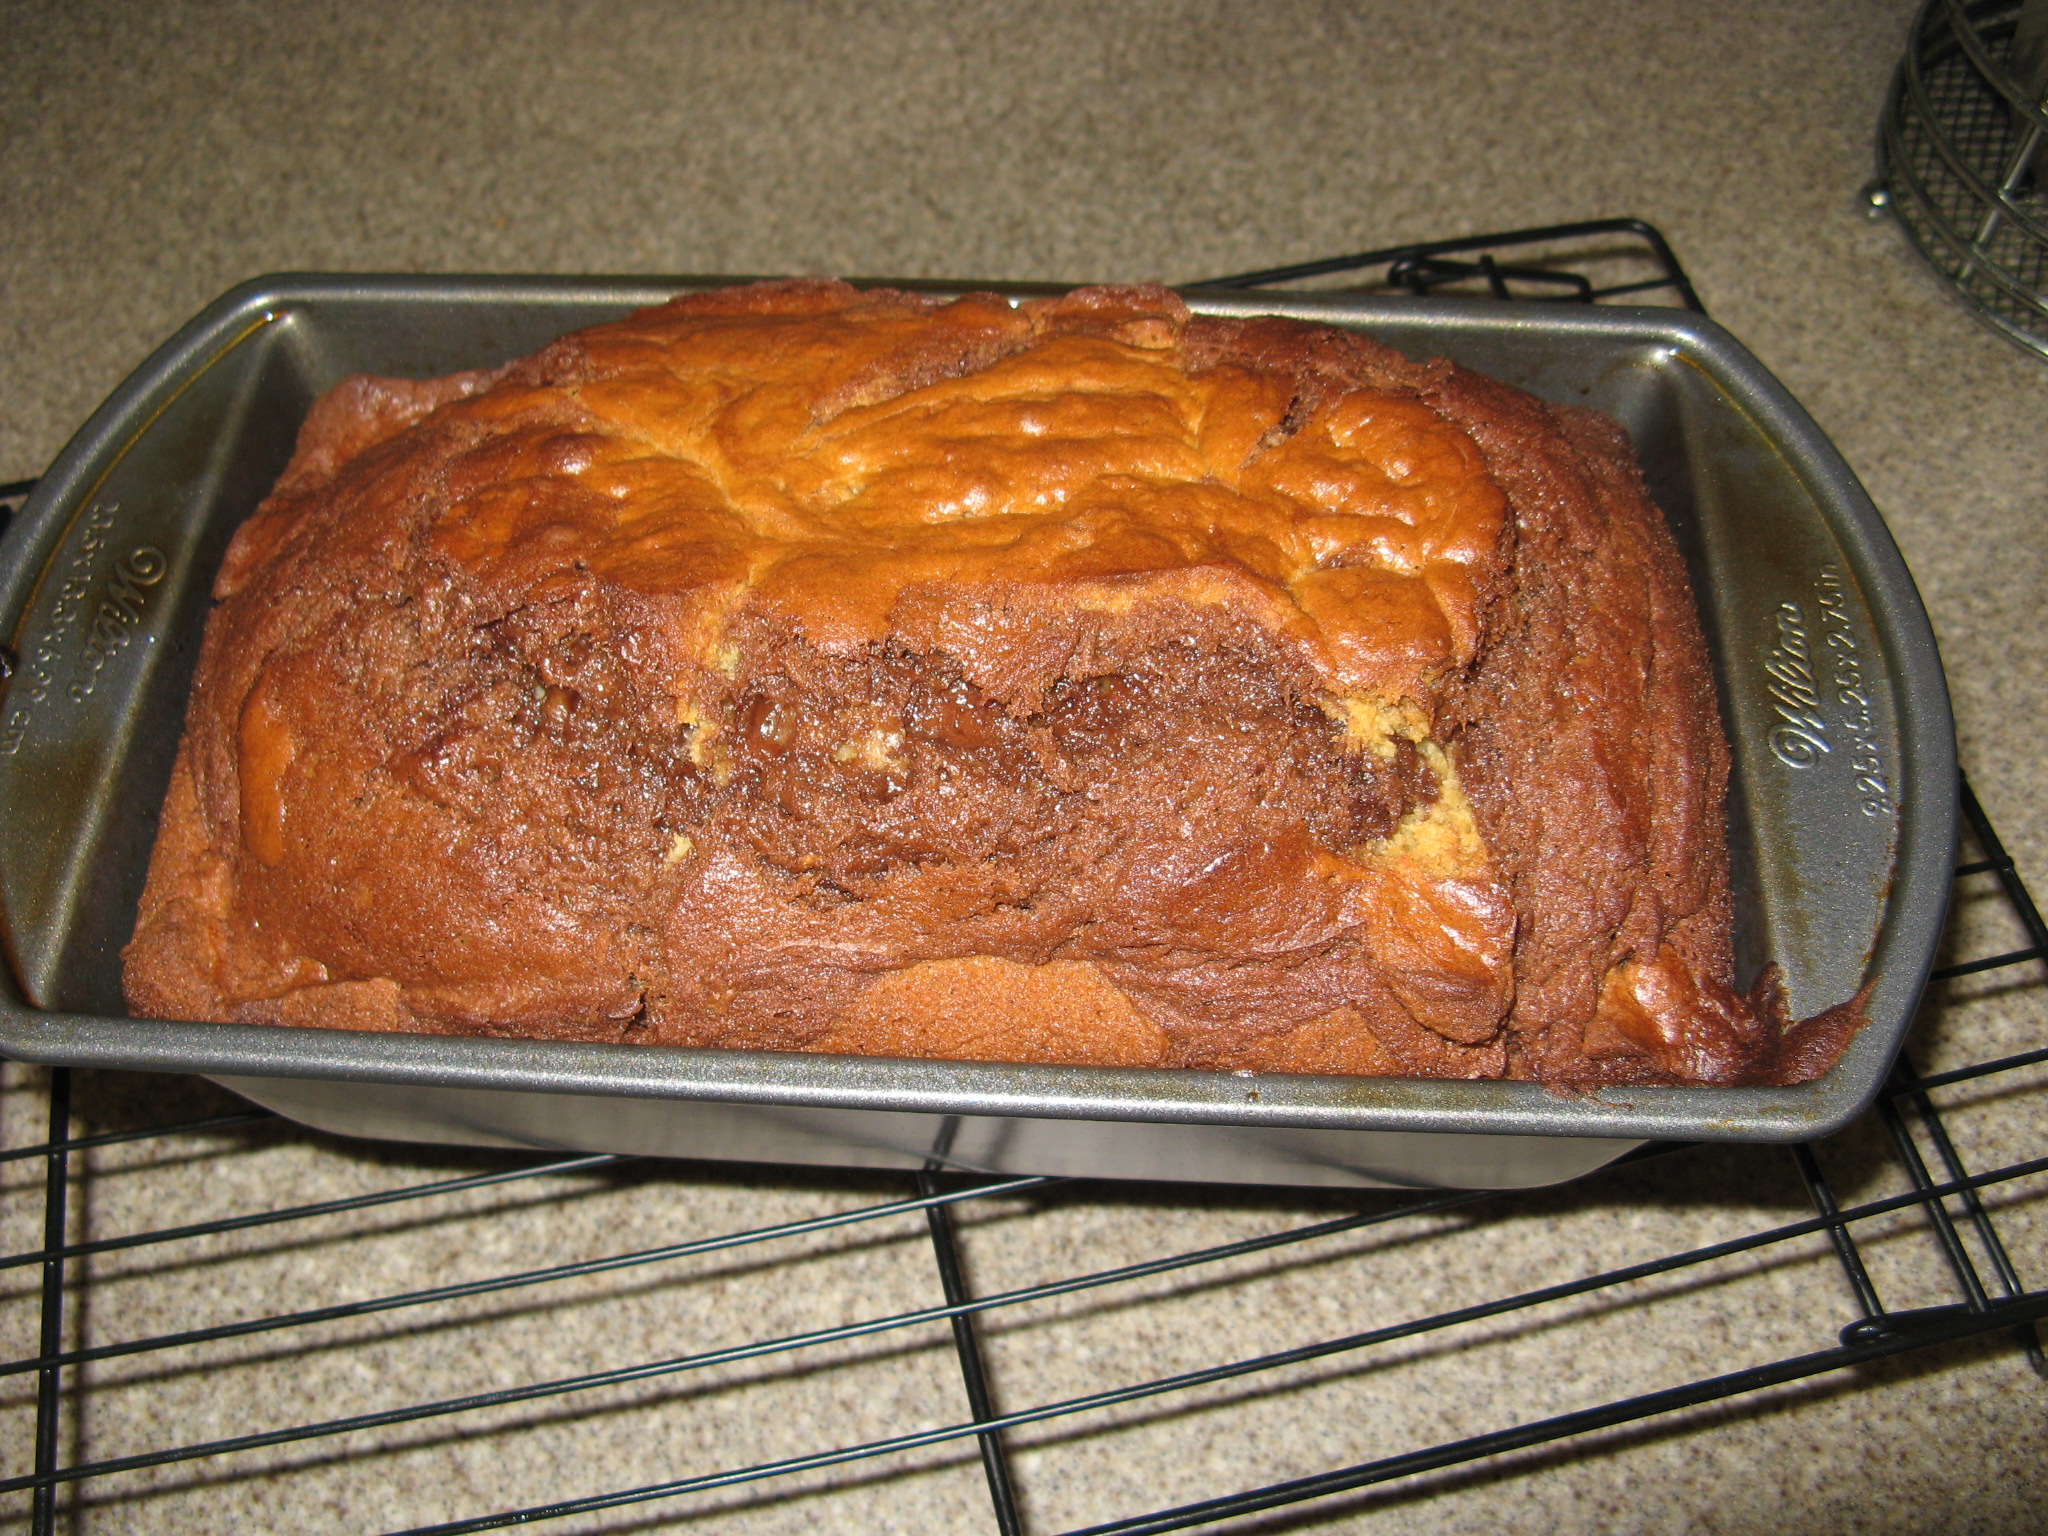
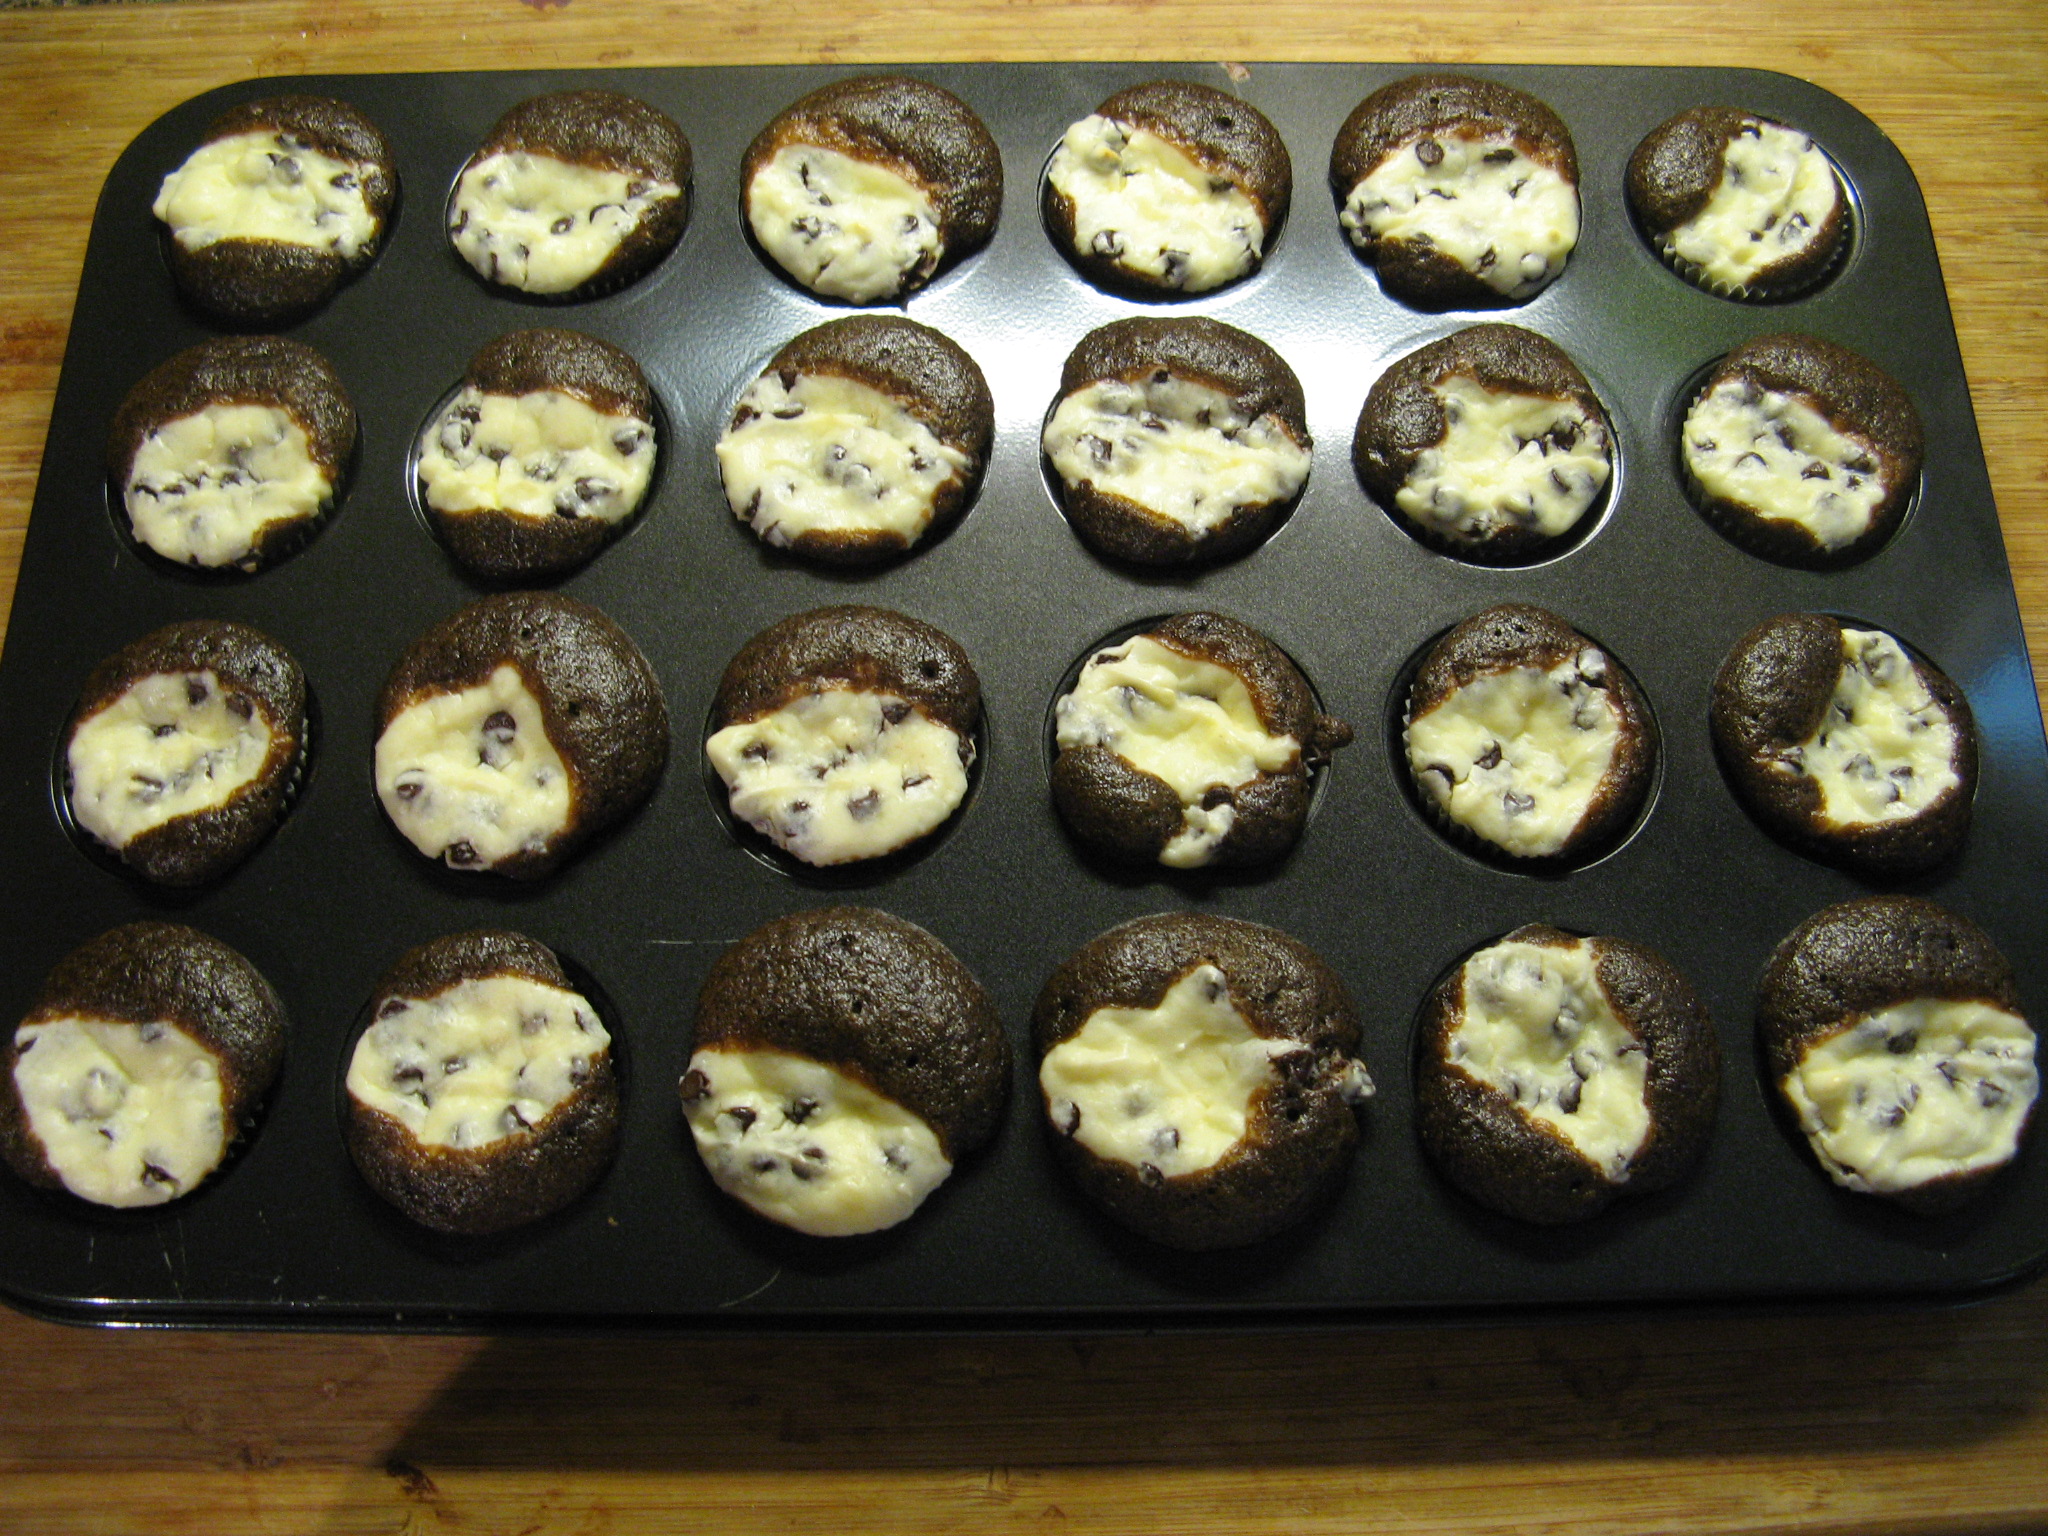
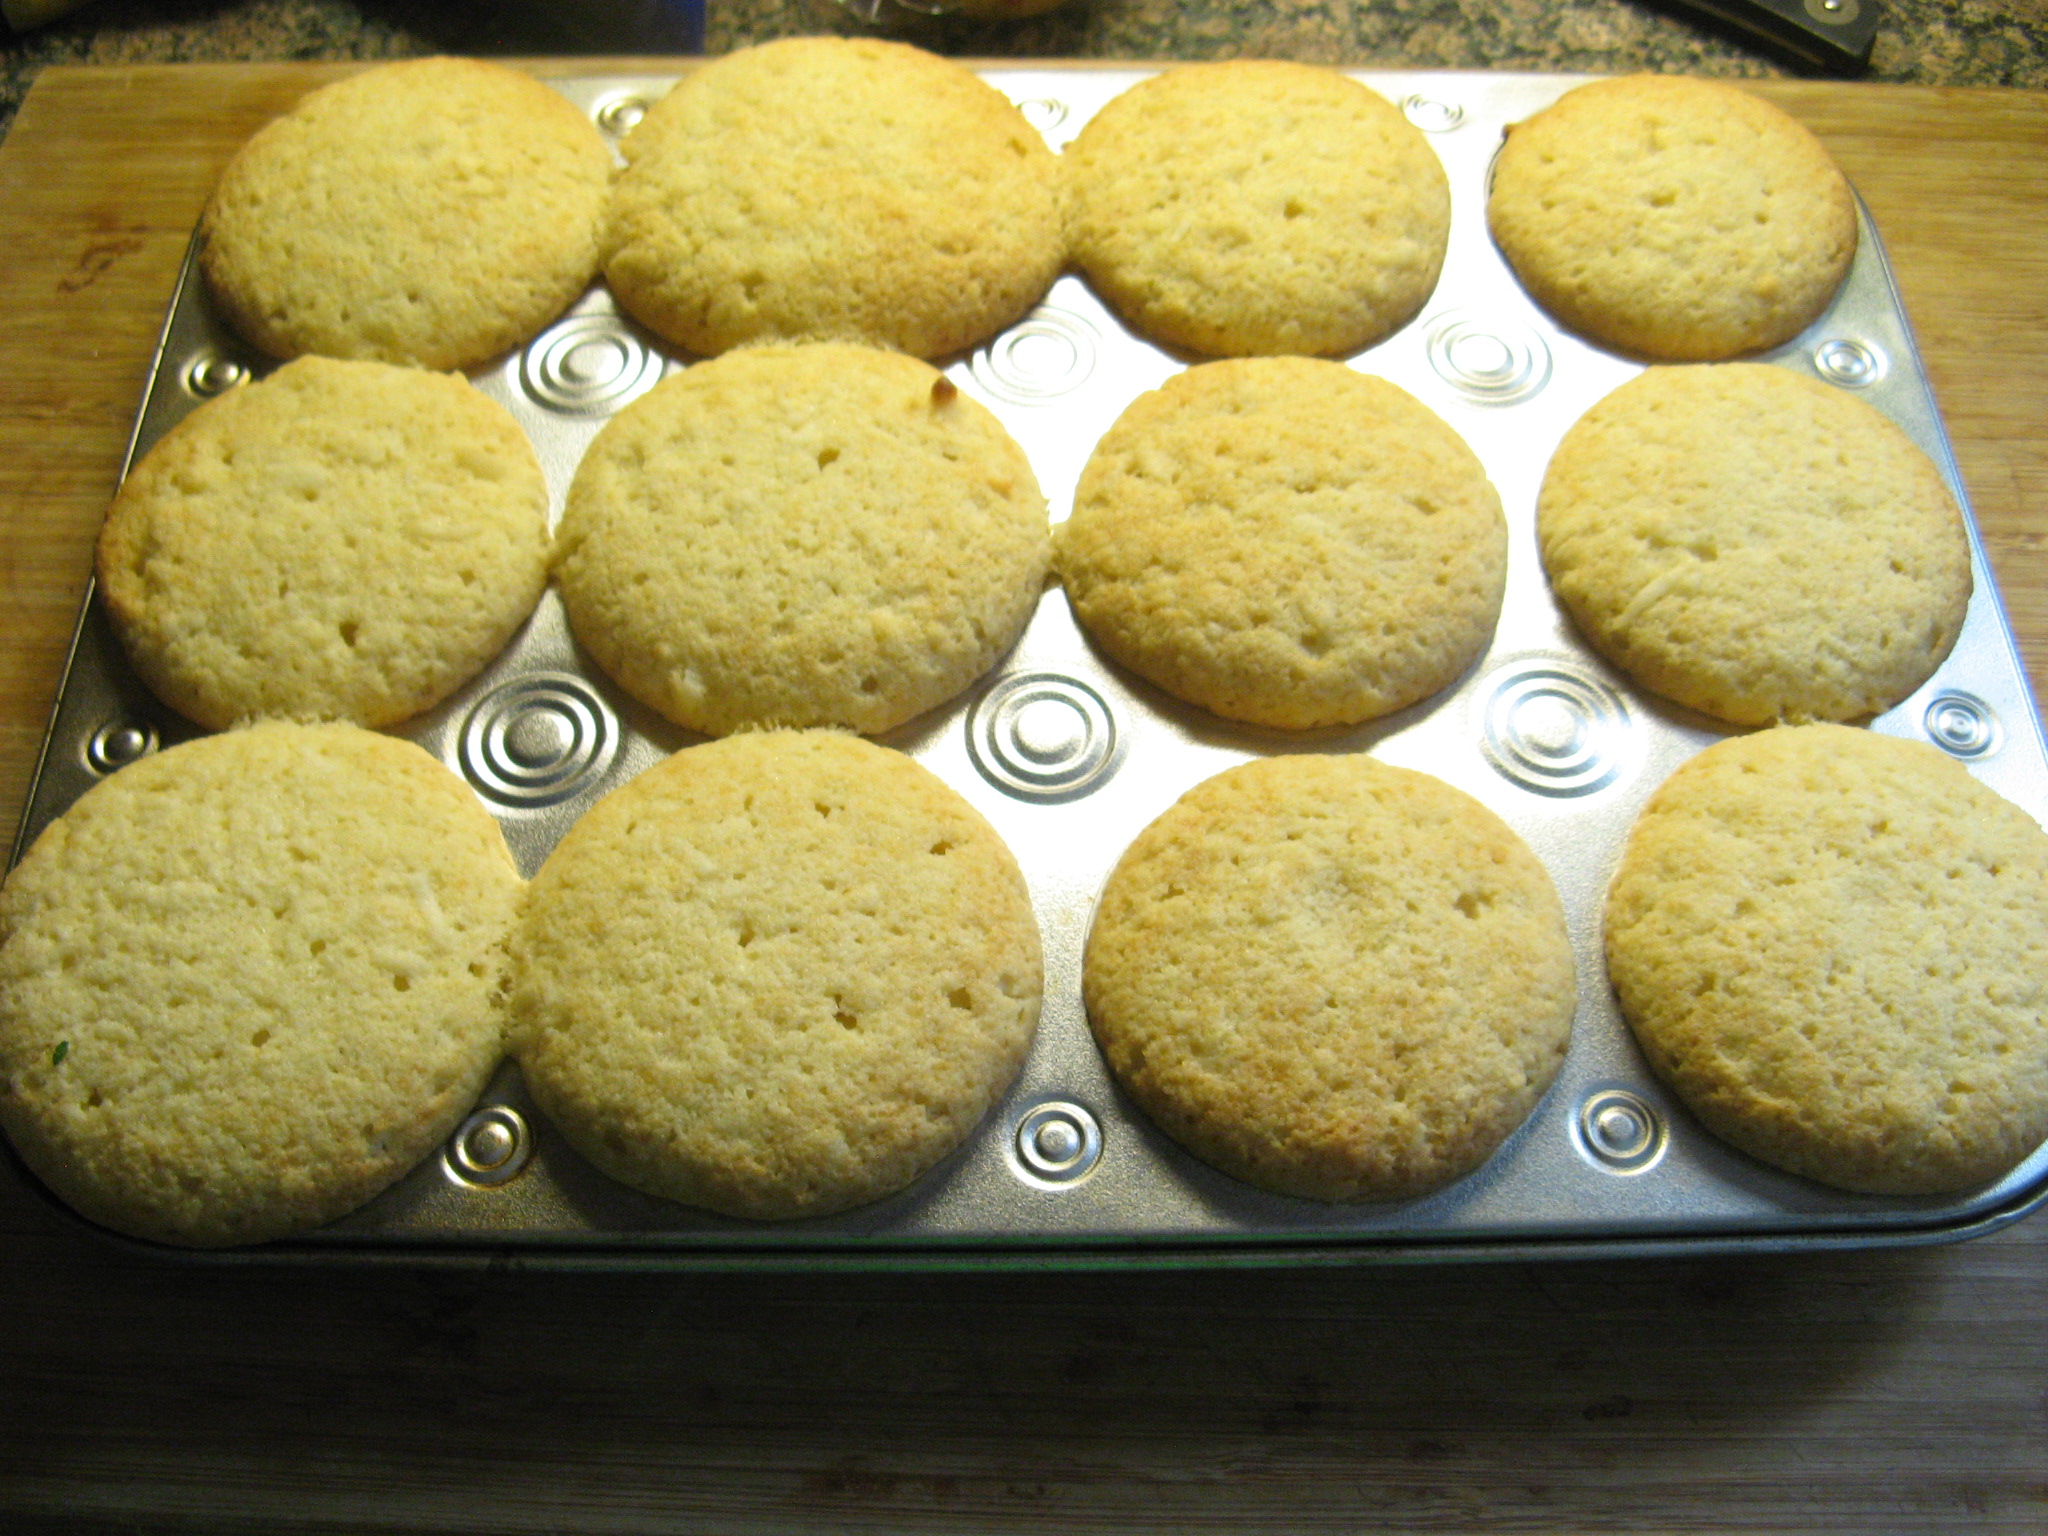
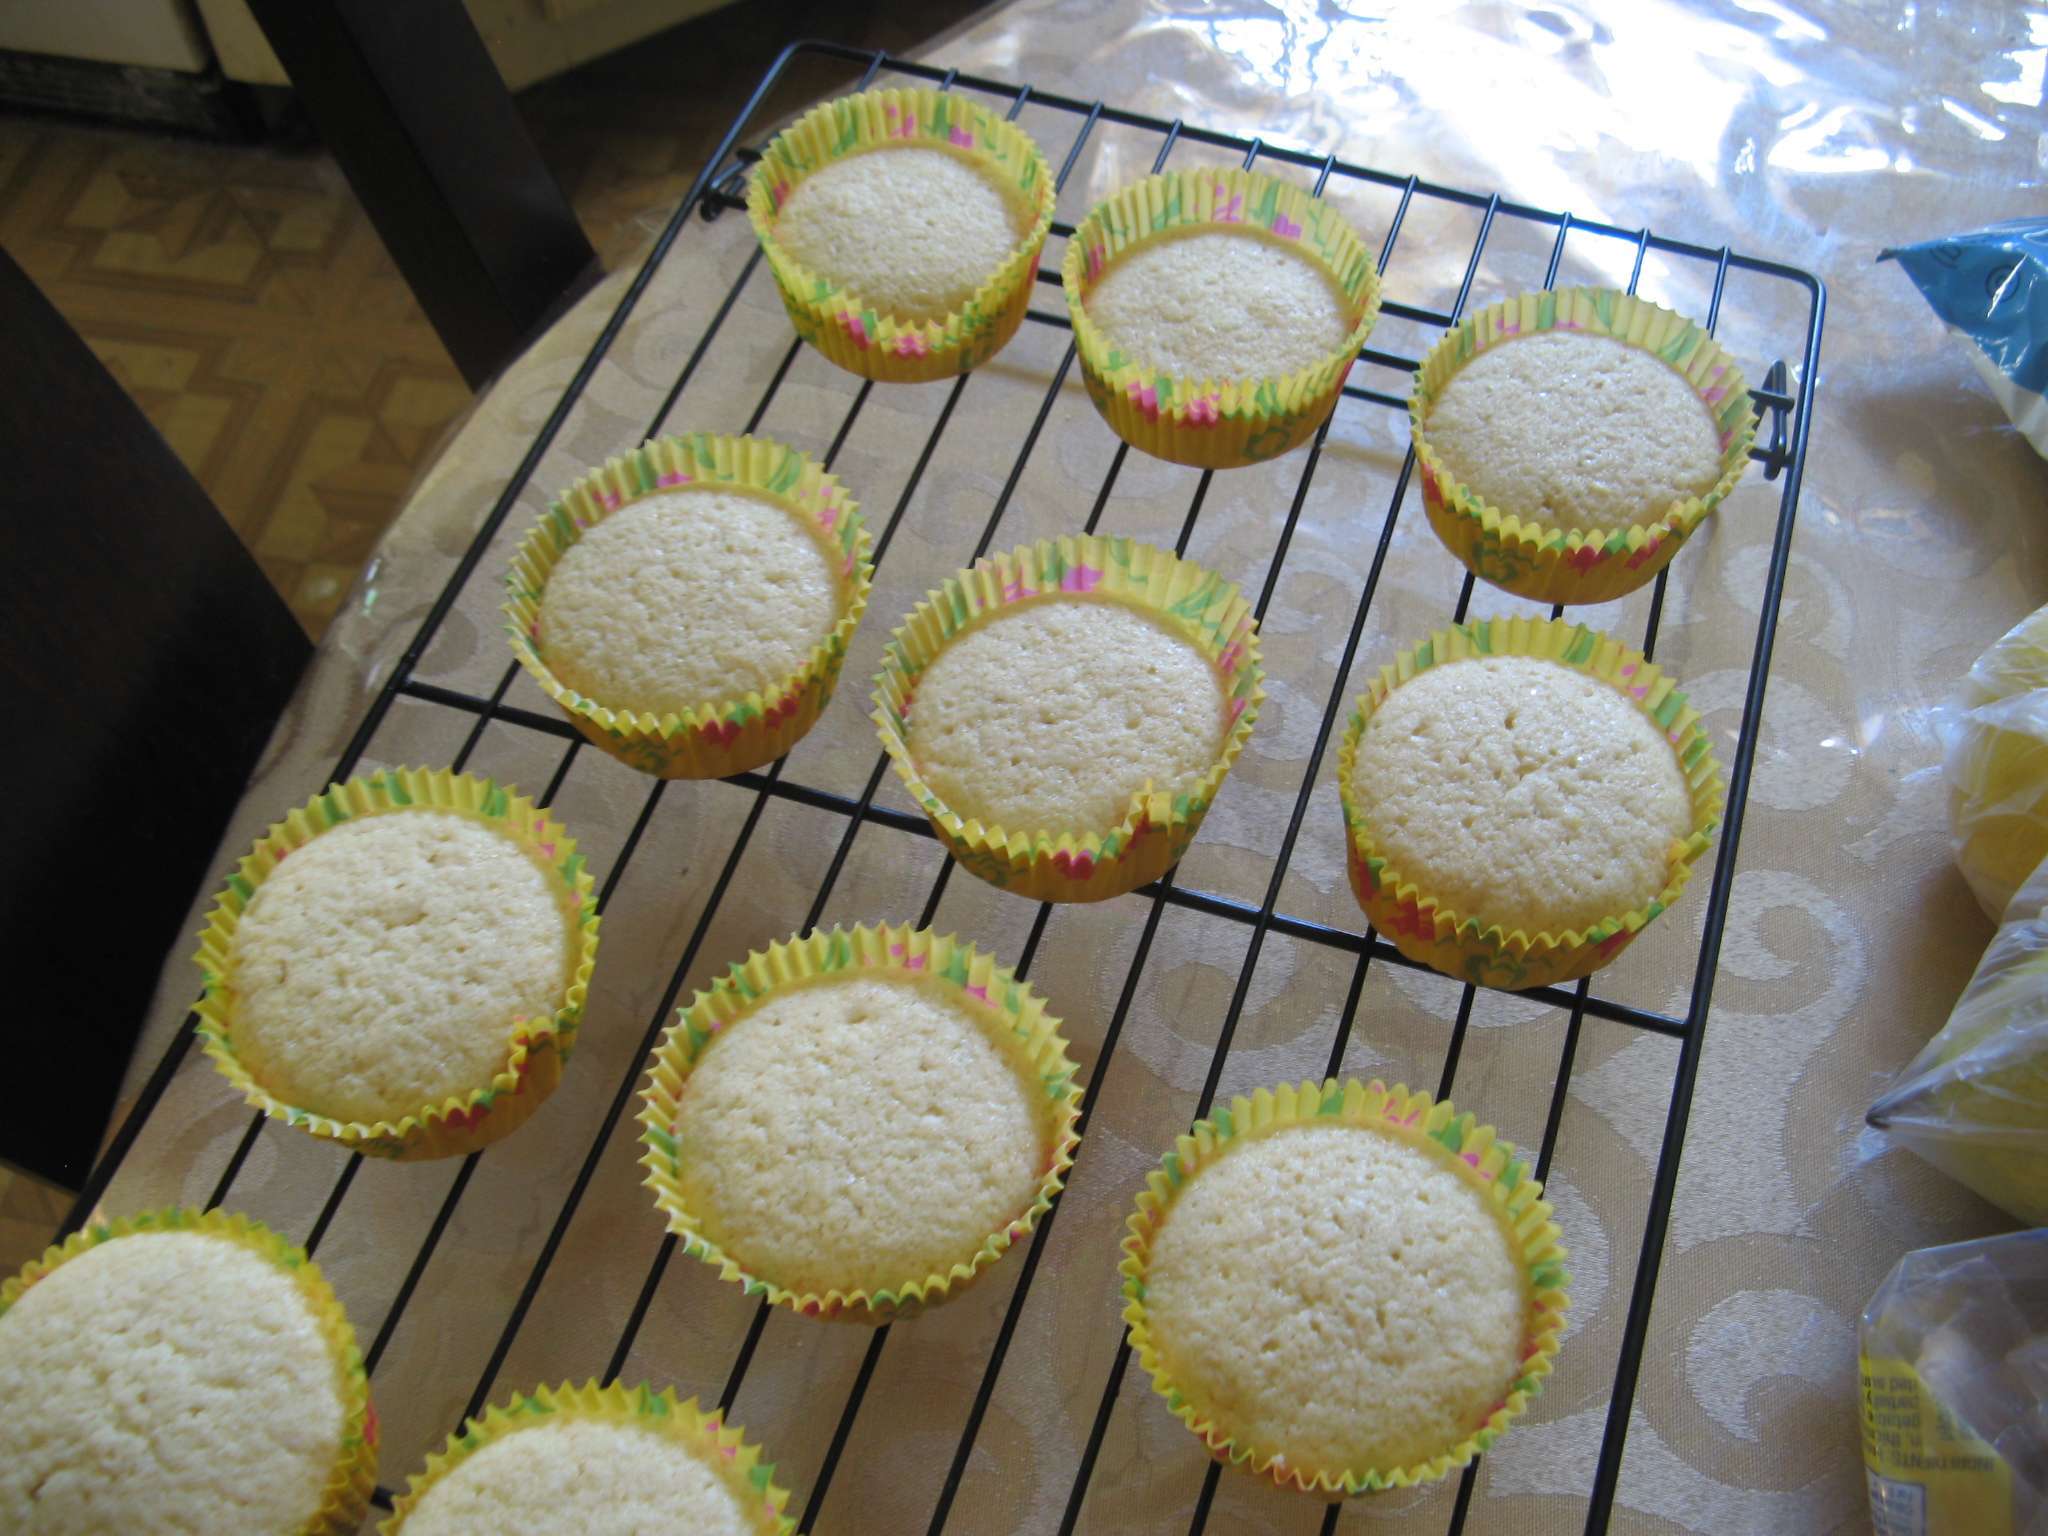
After baking for 20 minutes in a 350 degrees F preheated oven they were done. As I suspected, the cupcakes by no means baked-up to fill the entire liner. Oh well, at least I know for next time that if I am going to make twelve I should scale the recipe to make eighteen cupcakes.

IMG_0670

While the cupcakes cooled I got to making the frosting.

As I mentioned before, I was initially planning on making a raspberry whipped cream frosting but decided to make a cream cheese frosting instead since I figured it would hold up better and be a little richer with the lemon cupcake. I actually didn’t follow a specific recipe for it since I’ve made cream cheese frosting quite a few times before and it’s fairly simple. I opted to cut back on the confectioners’ sugar so it wouldn’t be too sweet with the addition of the raspberry jam.

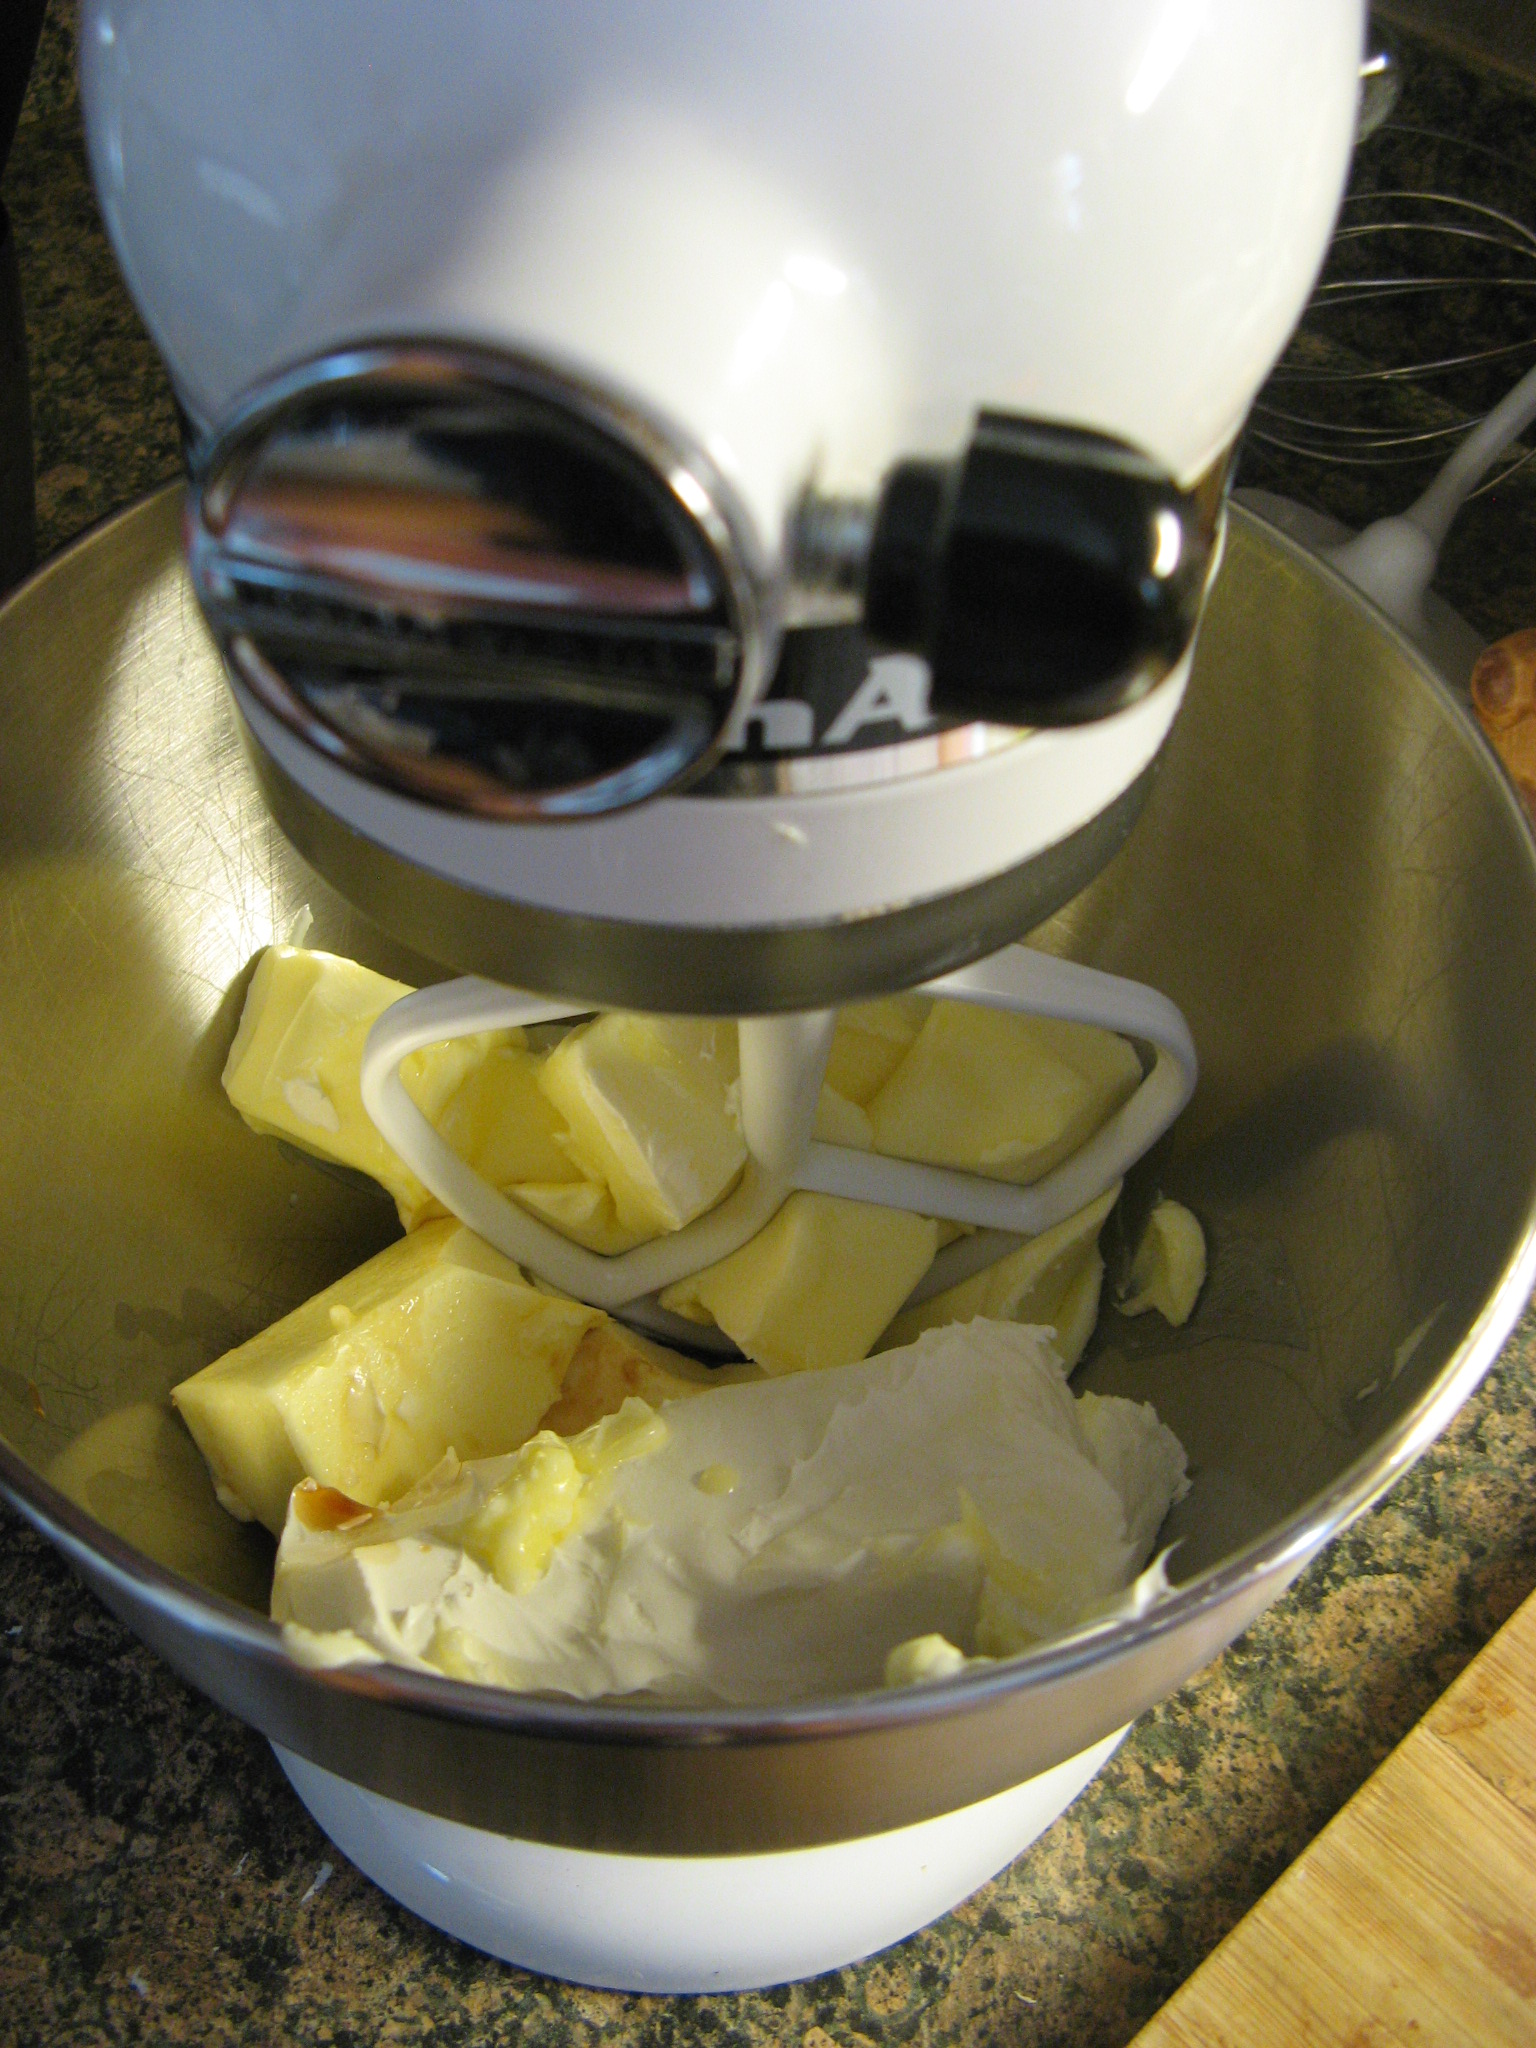
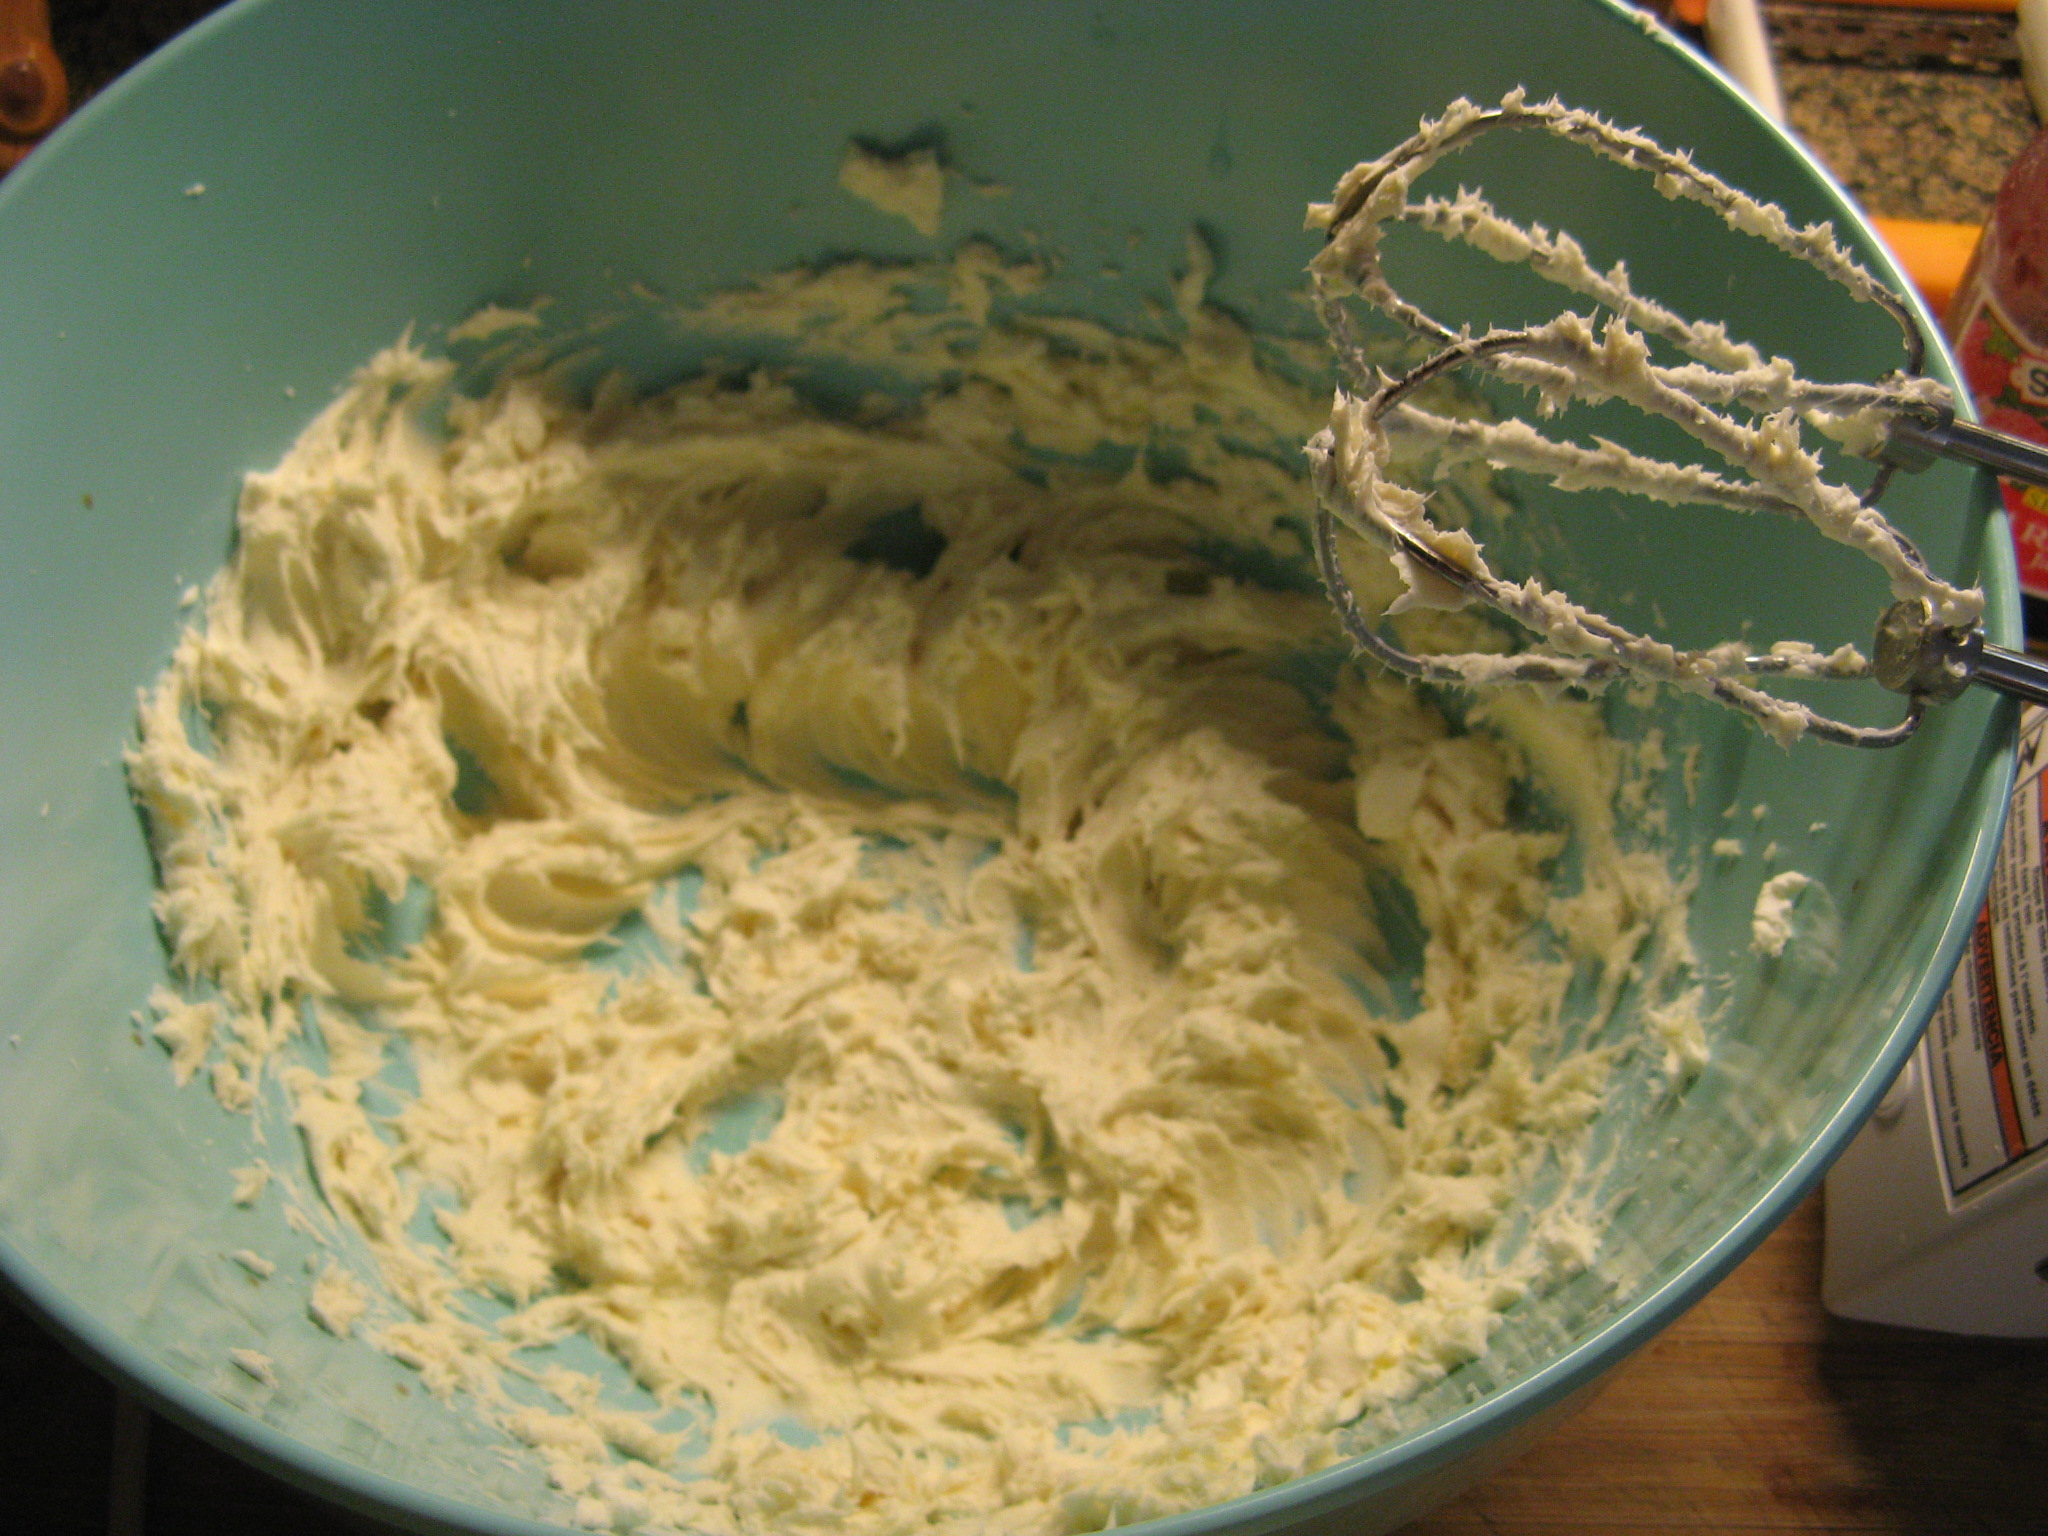
I started by creaming together one stick of unsalted butter and an 8oz. block of cream cheese with a teaspoon of vanilla extract.

IMG_0672

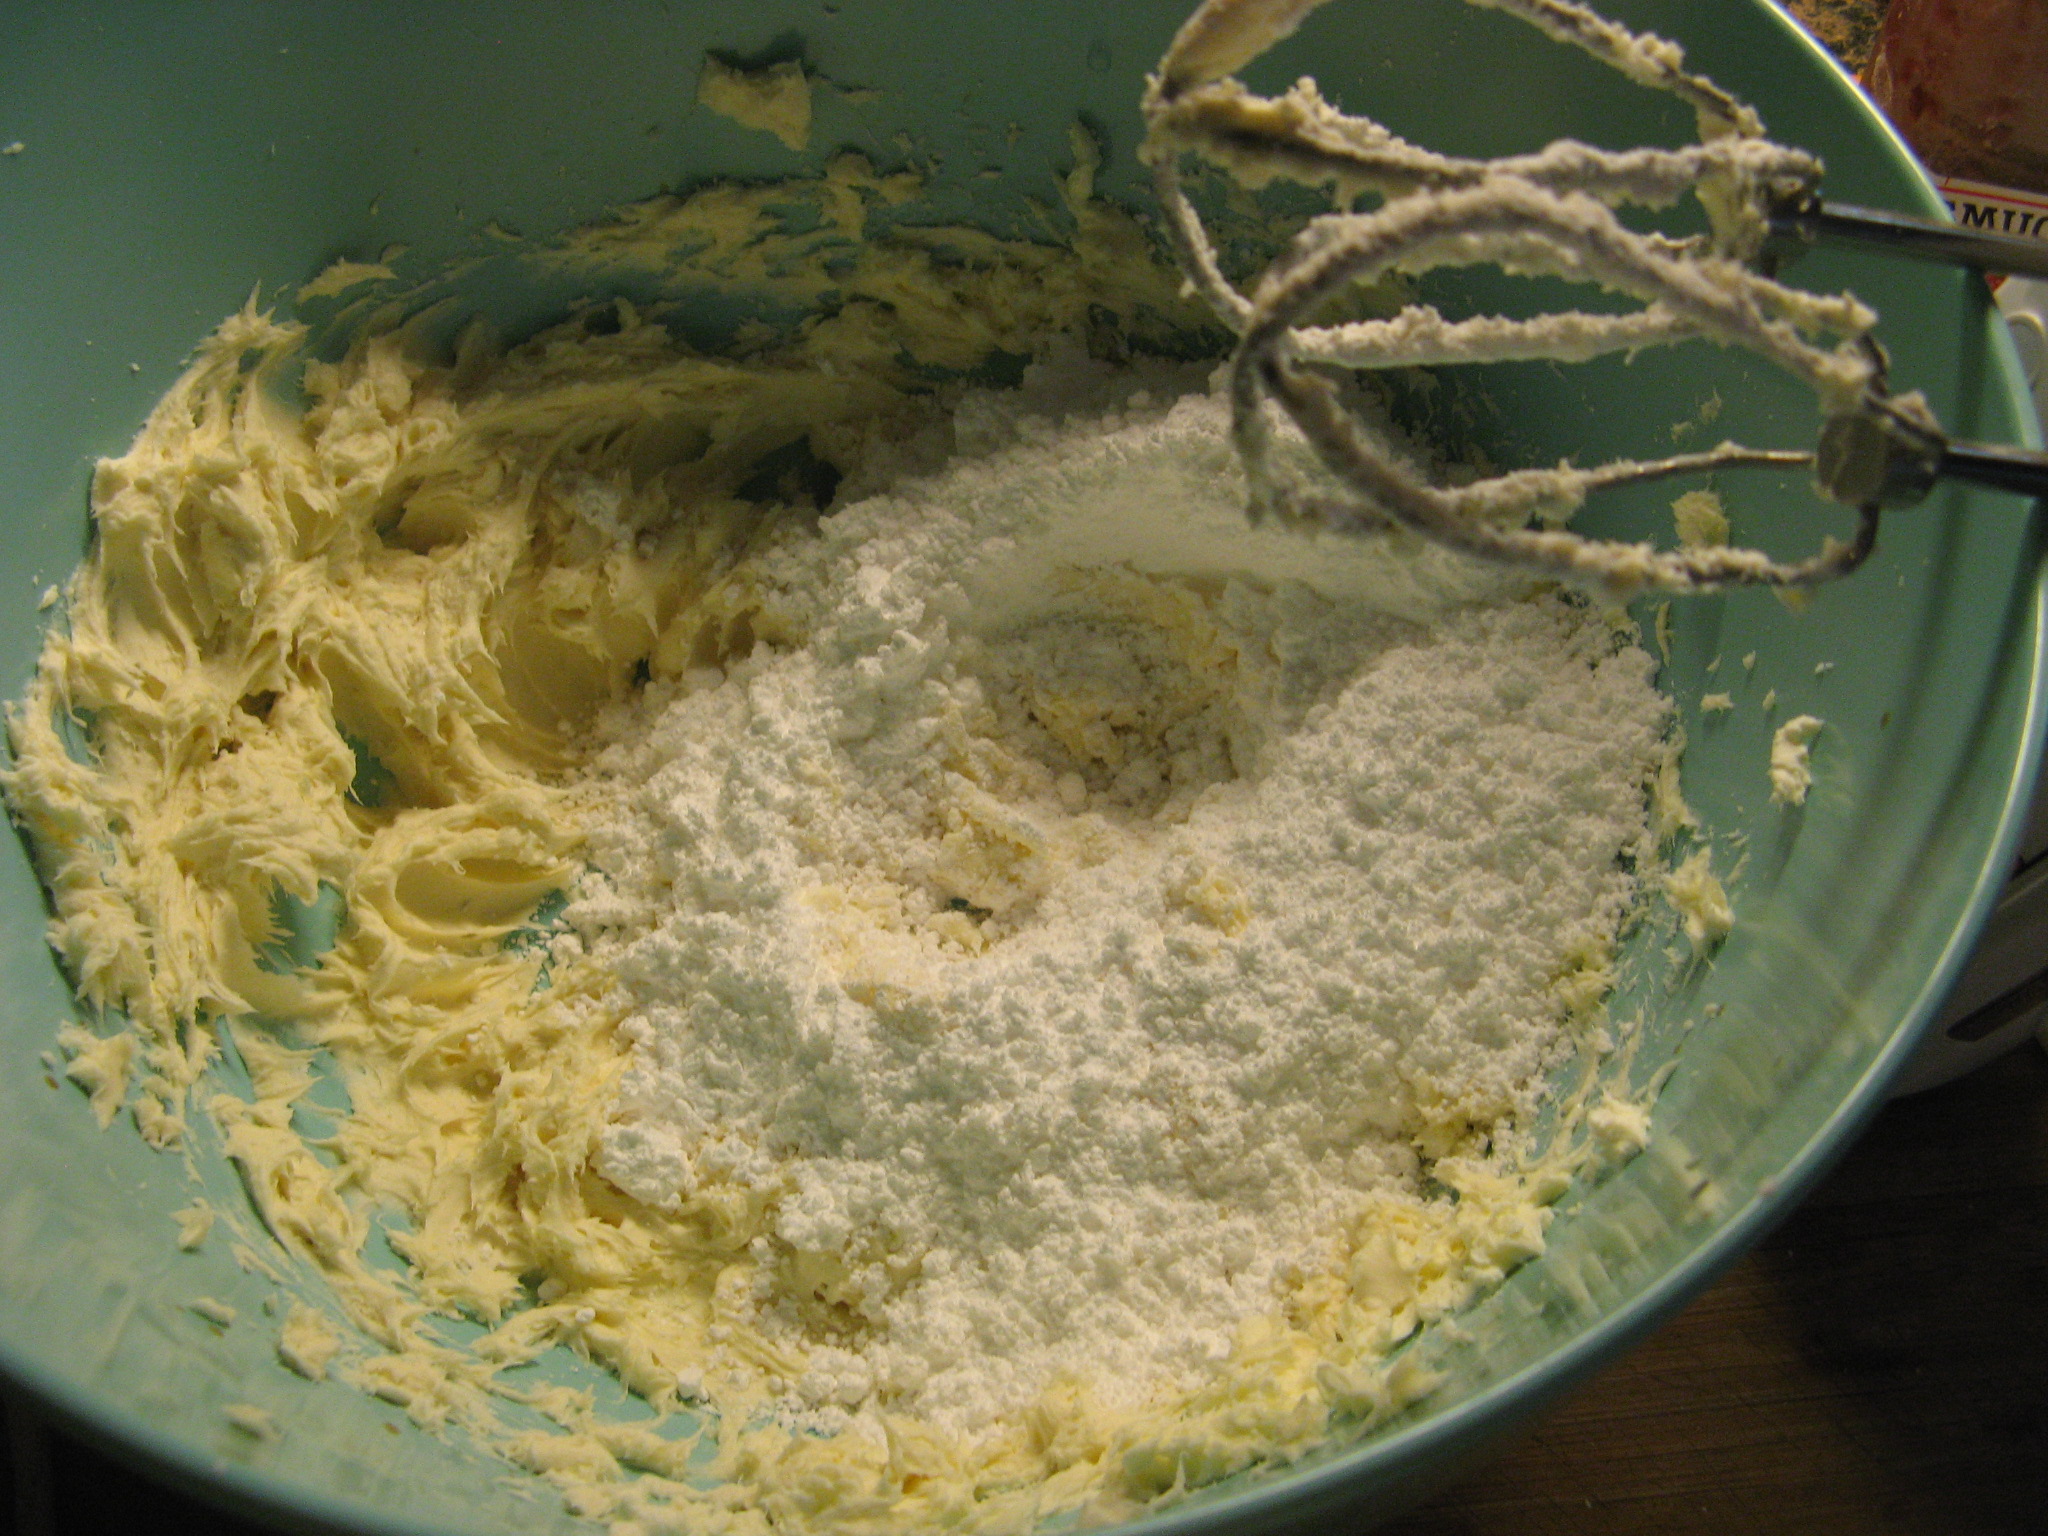
I then added in 2 cups of confectioners’ sugar.

IMG_0673

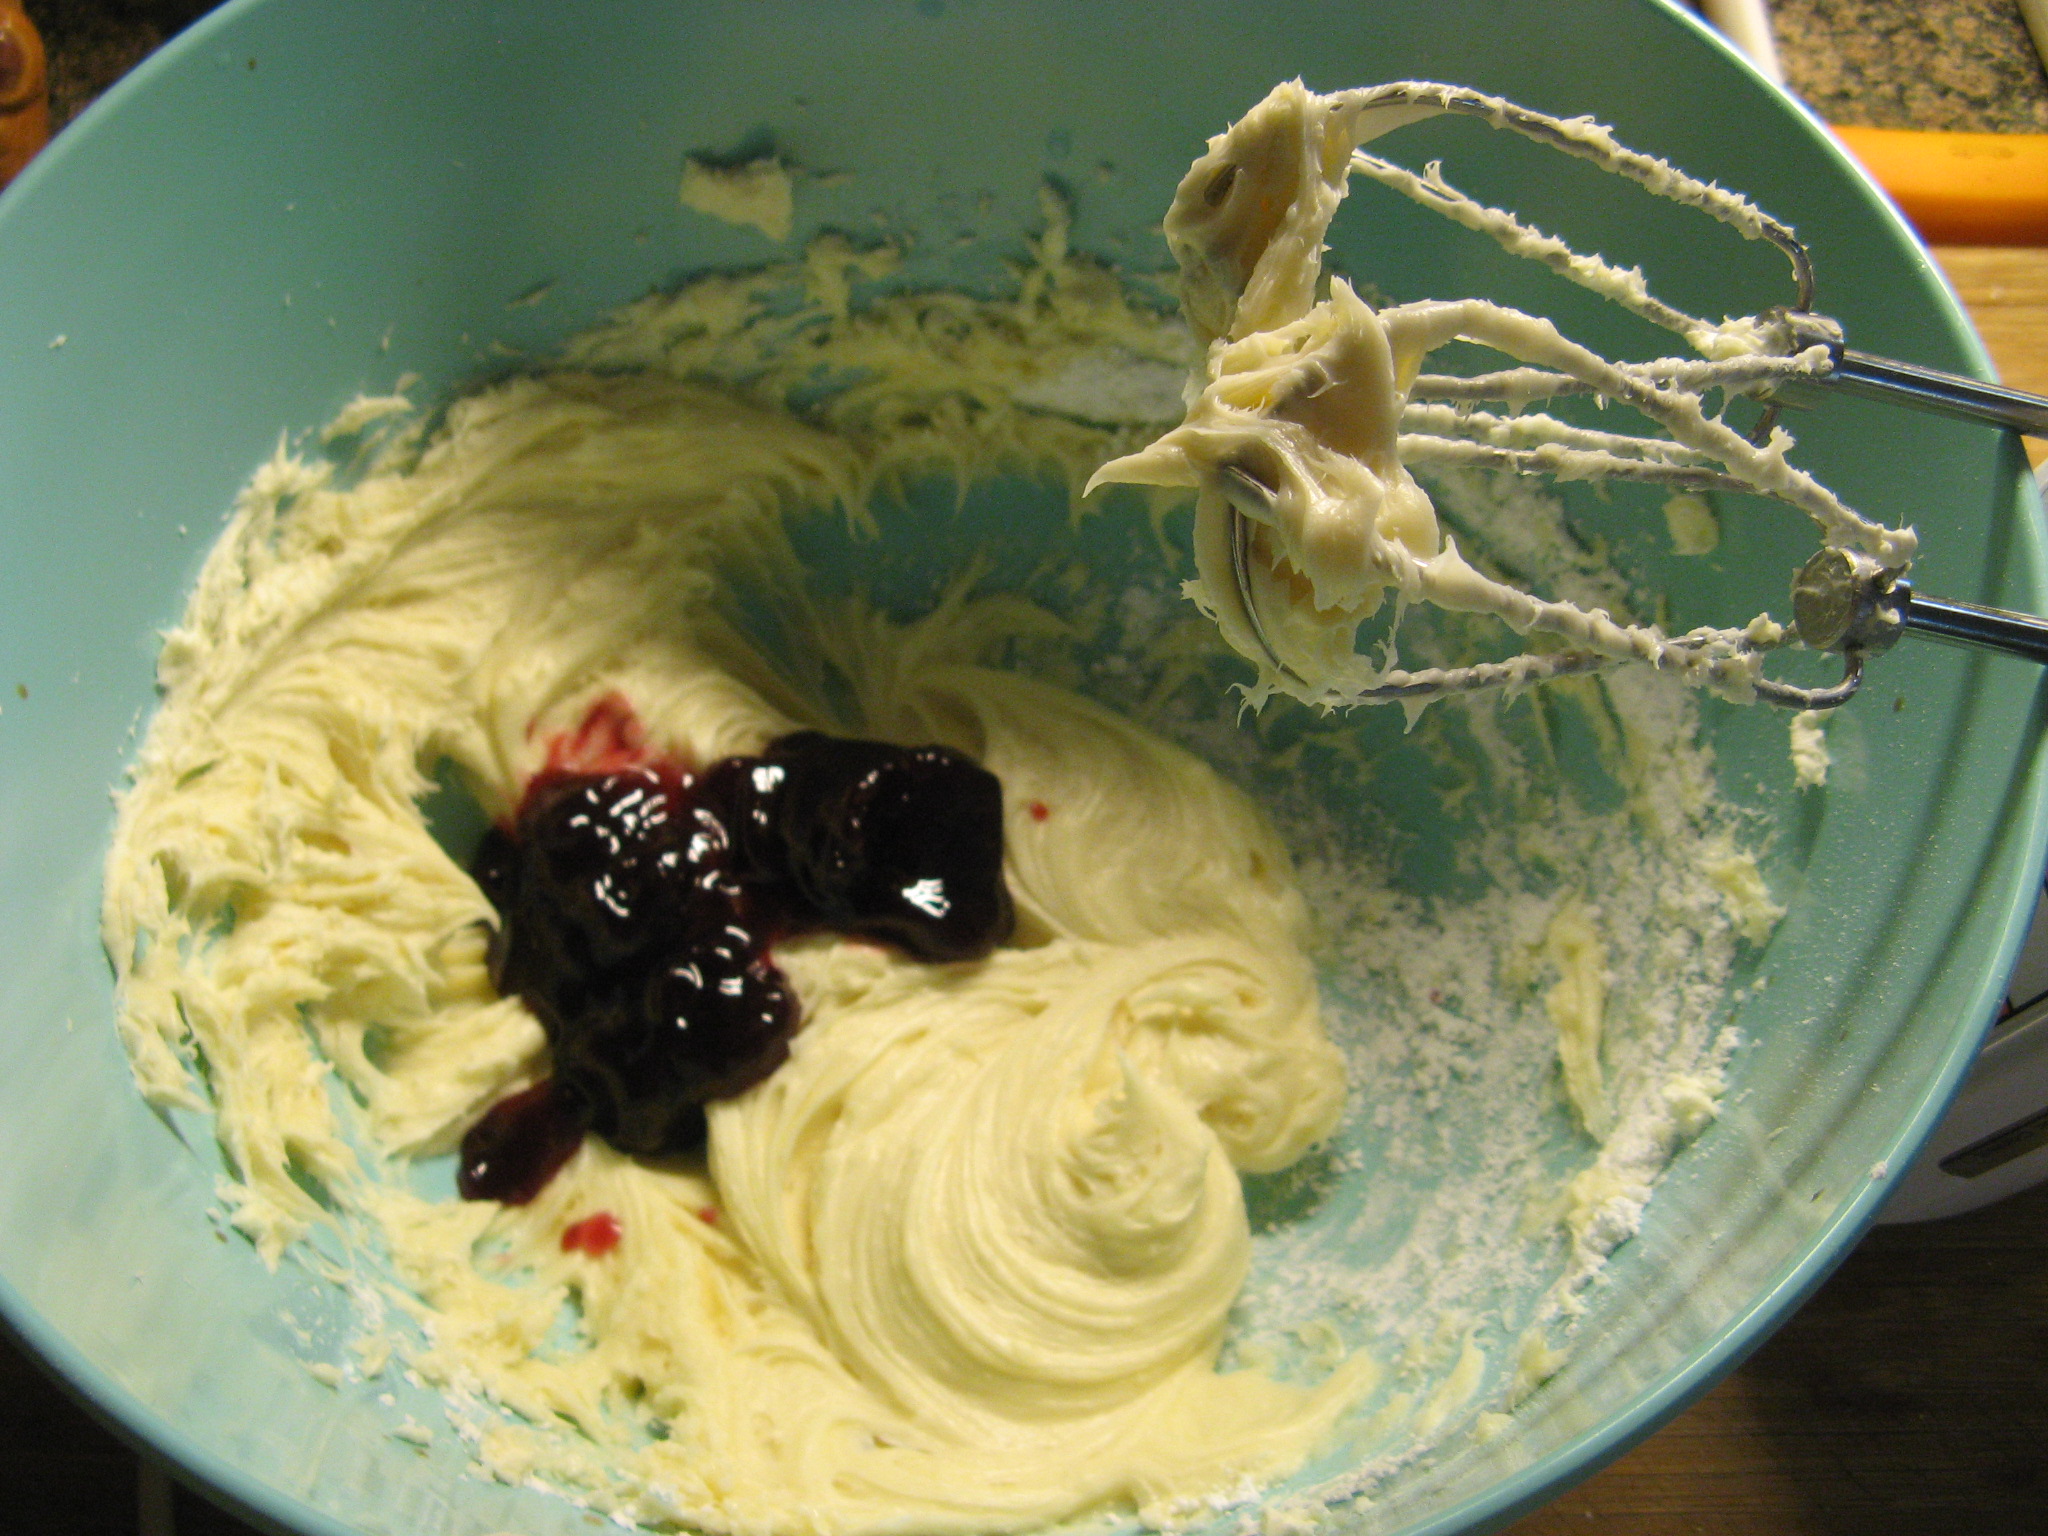
And finally 1/4 cup of seedless raspberry jam. It came out to be a nice shade of pink actually.

IMG_0674 IMG_0675

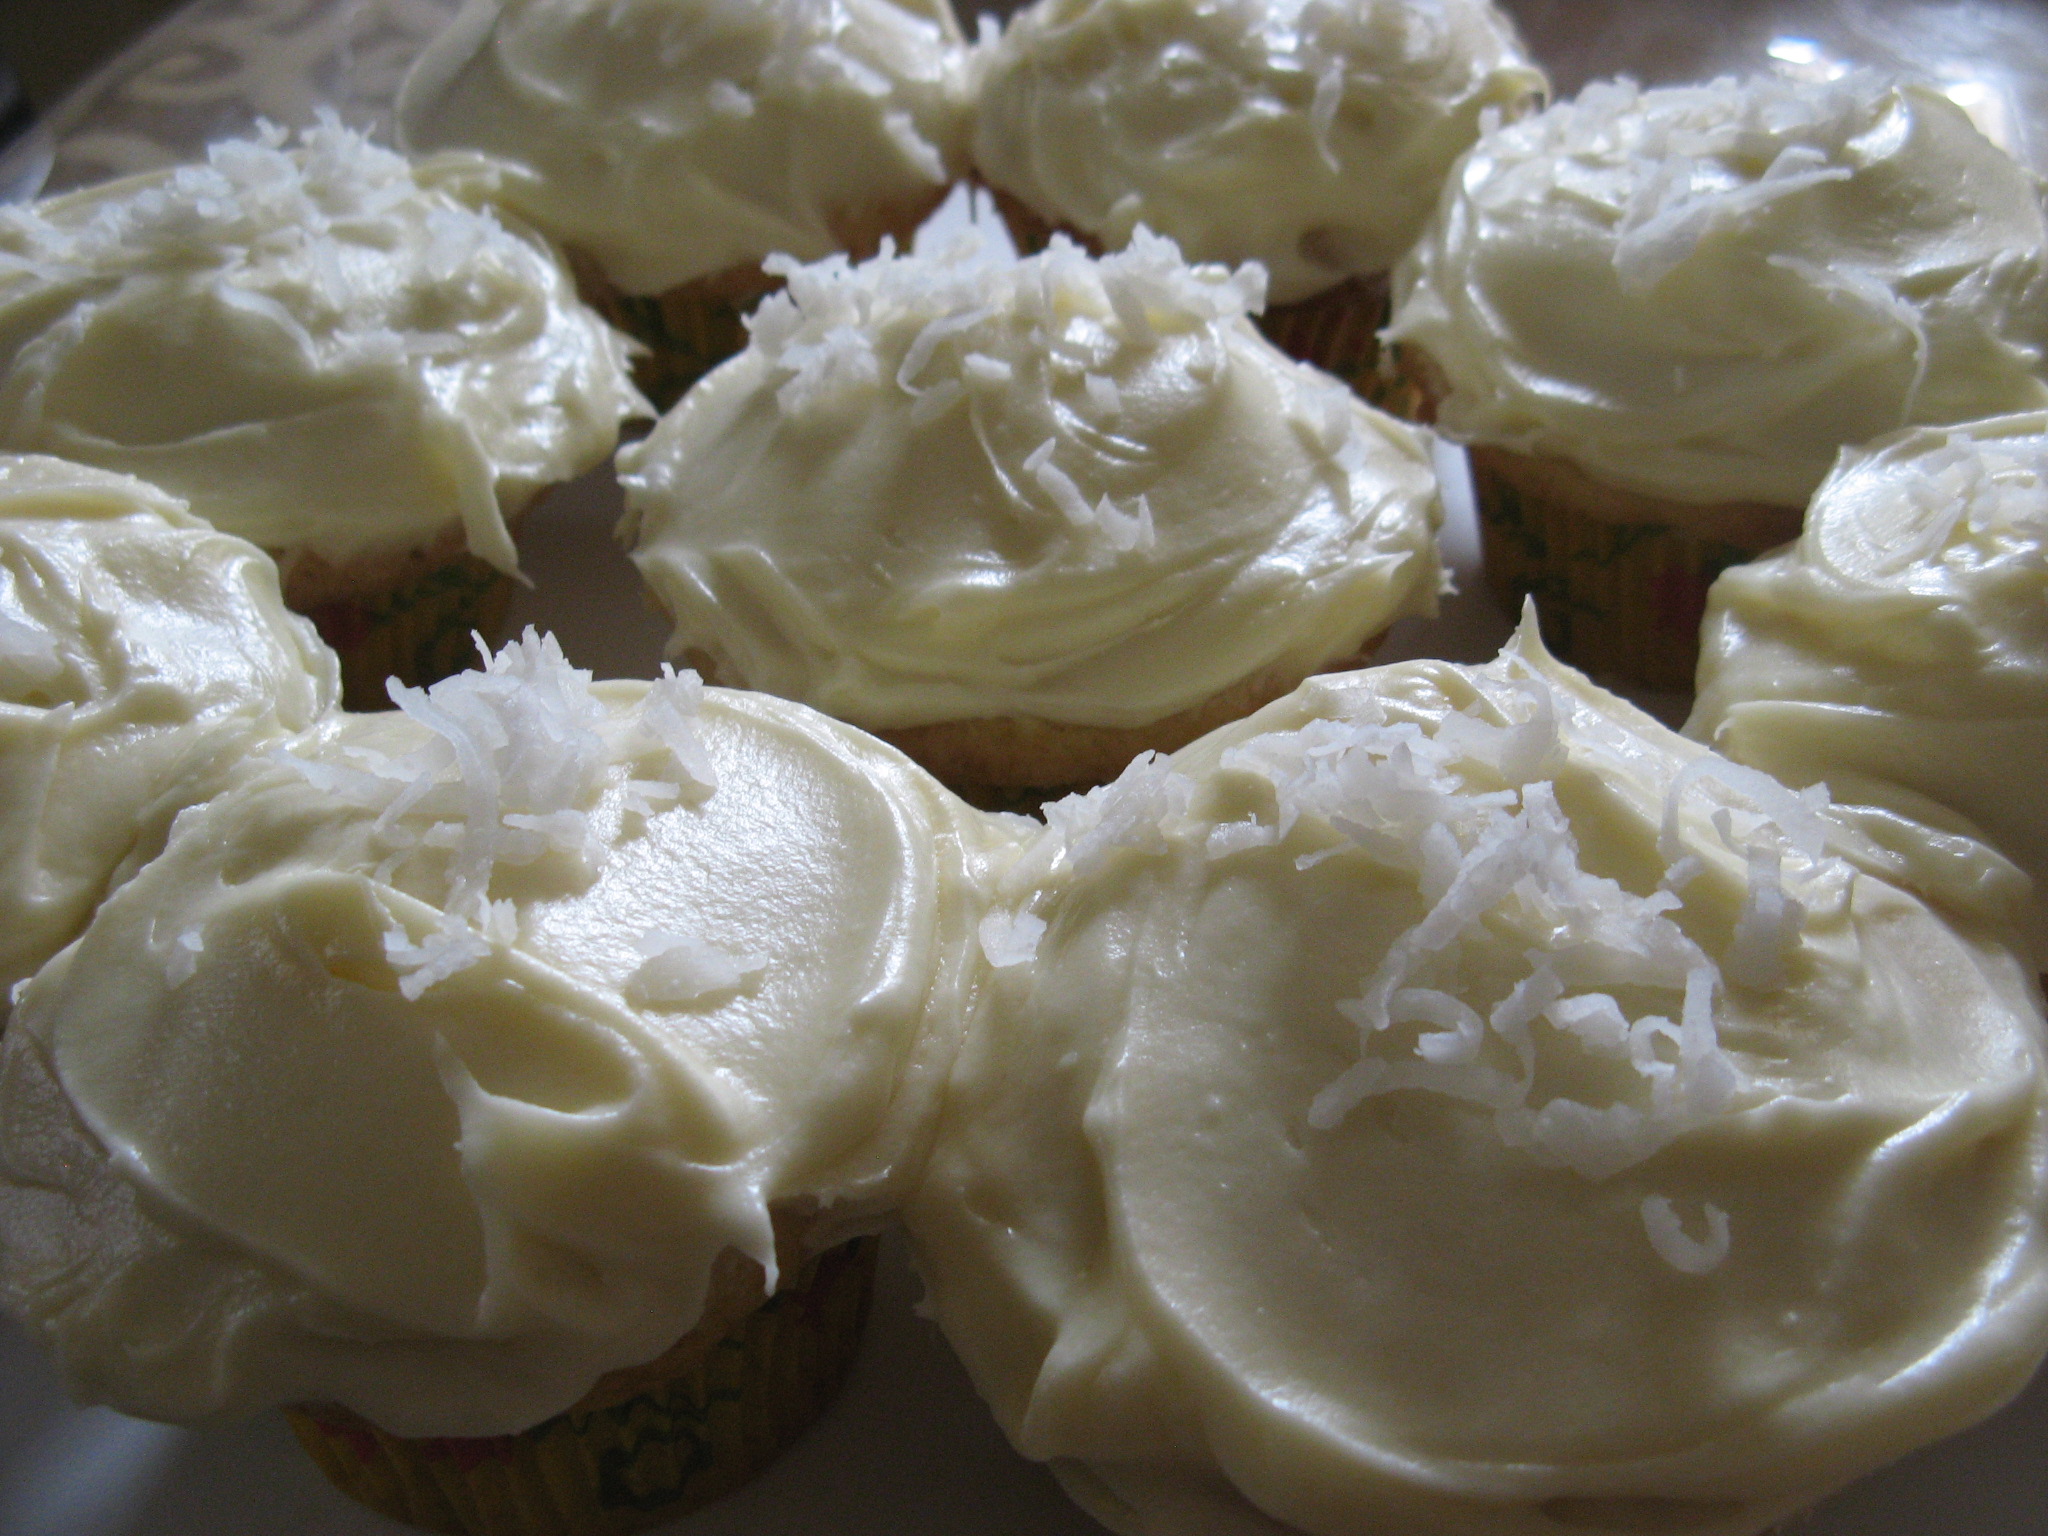
Once the cupcakes were completely cooled I piped the frosting onto each of the cupcakes using a large star tip.

IMG_0677

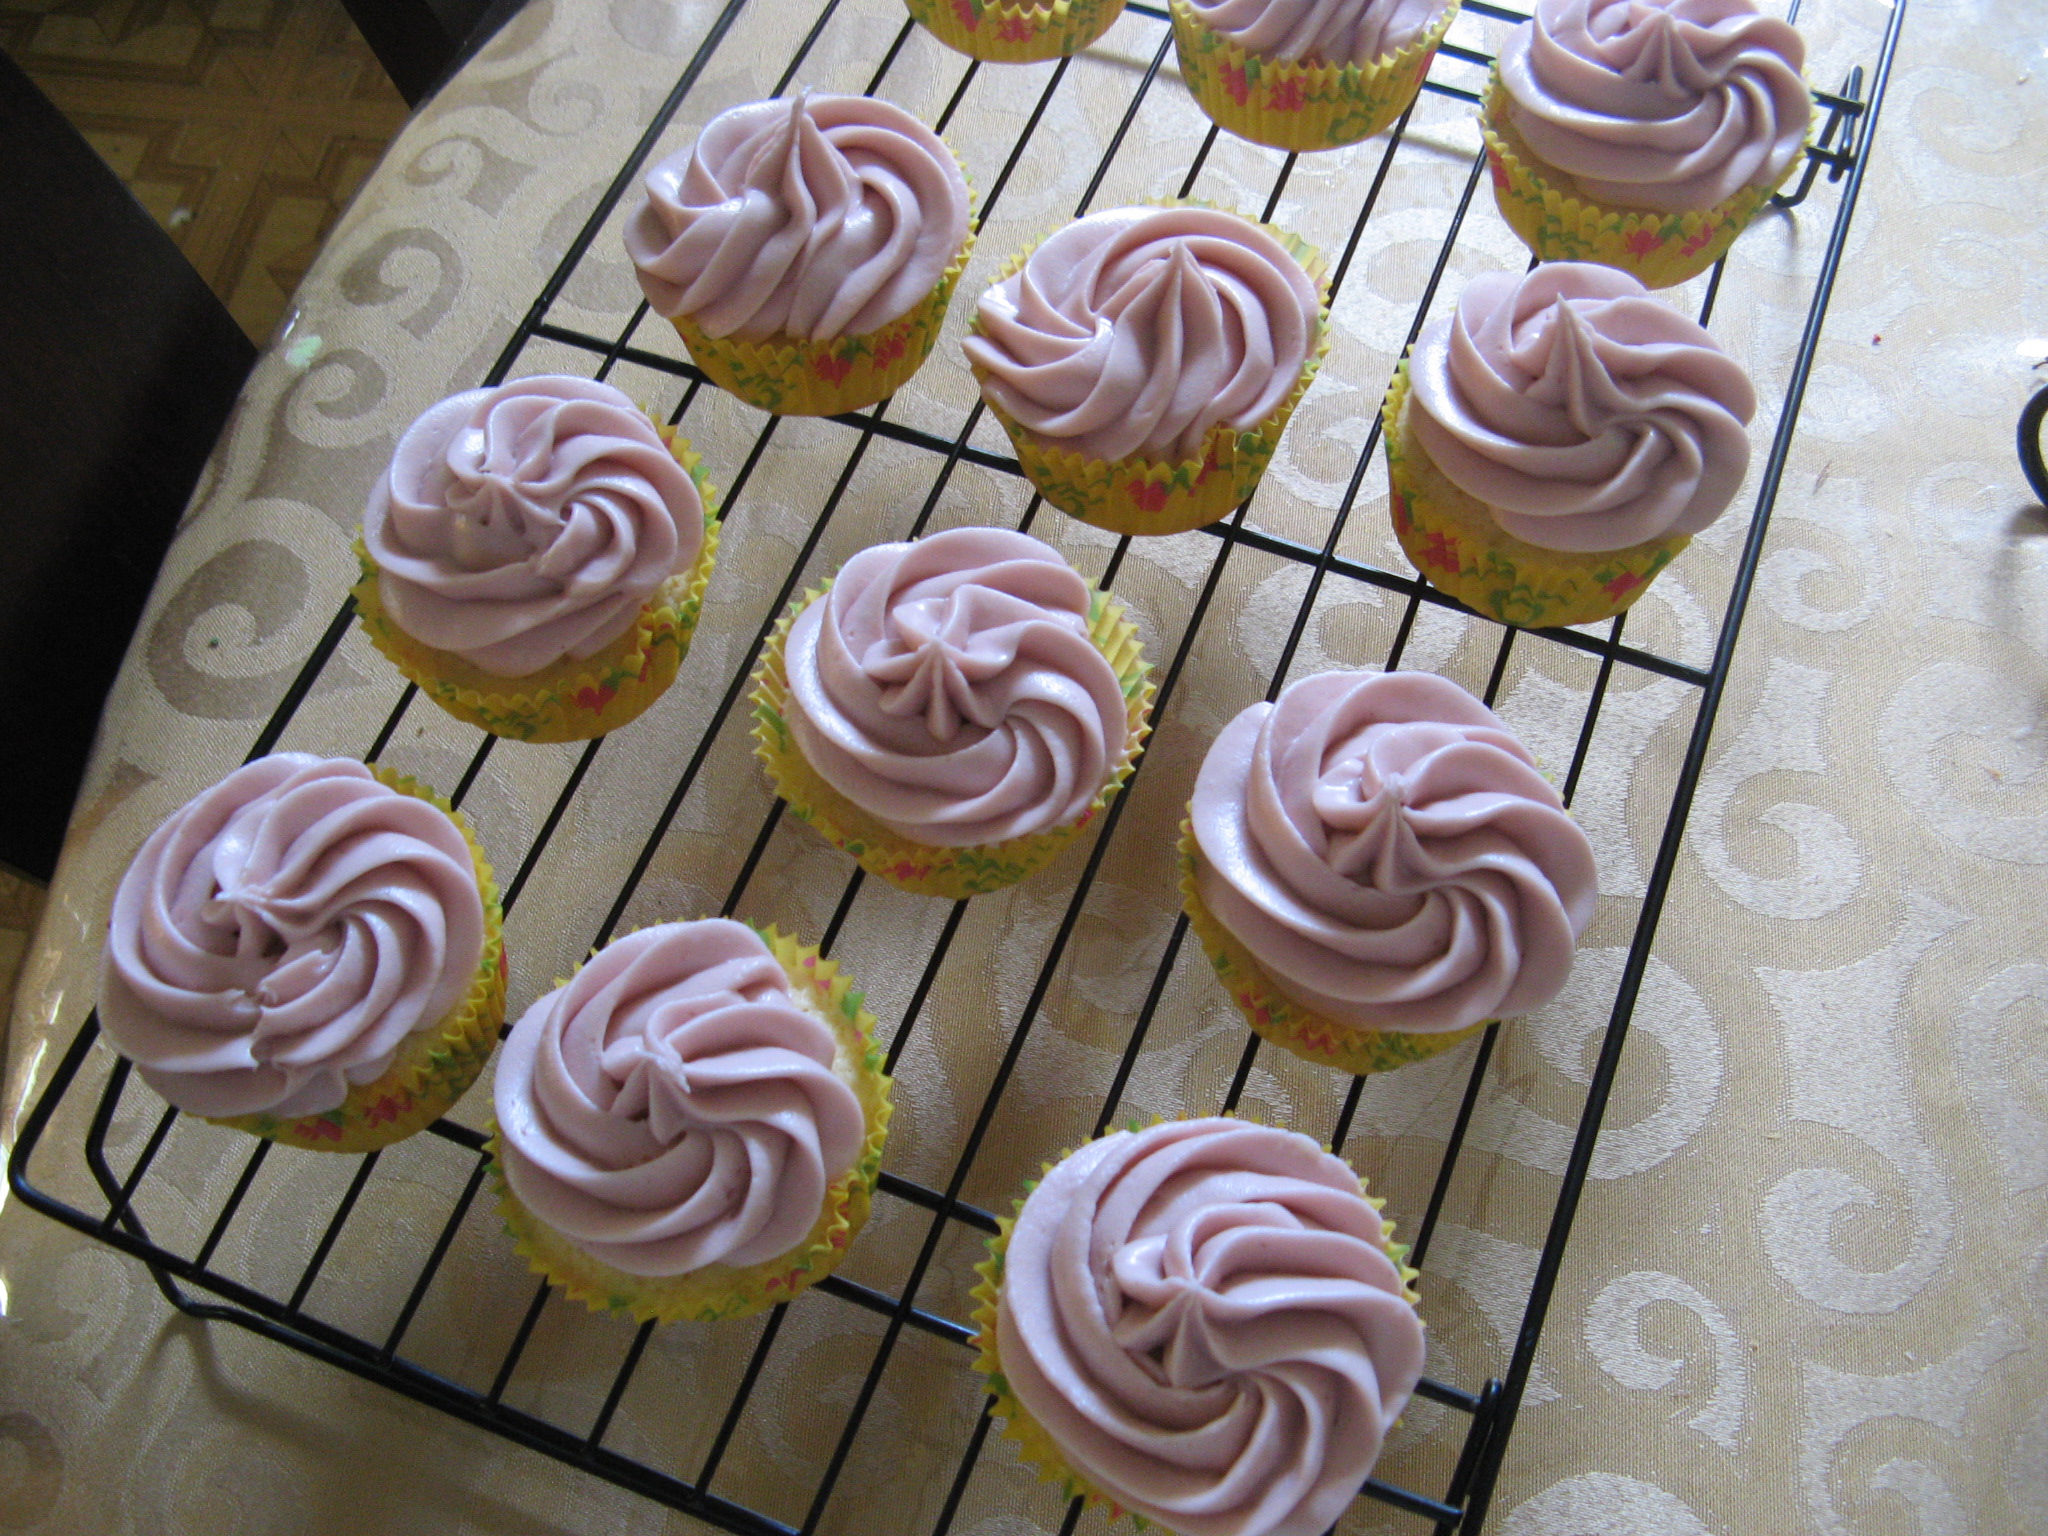
Final verdict… They were quite yummy, especially the frosting. I plan on using it again for chocolate or vanilla cupcakes.

Lemon Cupcakes

1/2 cup white sugar

1/4 cup butter

1 egg

3/4 teaspoon vanilla extract

3/4 cup all-purpose flour

1 teaspoon baking powder

1/4 cup low-fat milk

1/2 lemon, juice and zest

1. Preheat oven to 350 degrees F

2. Line 12 muffin cups with paper liners

3. Cream sugar and butter in the bowl of a stand mixer until fluffy. Beat in egg and vanilla extract.

4. Beat in flour and baking powder until thoroughly combined; beat in milk, lemon juice, and lemon zest to make a smooth batter.

5. Spoon the batter into the prepared muffin cups.

6. Bake in the preheated oven until cupcake edges are slightly golden brown and a toothpick inserted into the center of a cupcake comes out clean, 20 to 25 minutes. Cool cupcakes completely.

Raspberry Cream Cheese Frosting

1 8 oz. package cream cheese, softened

1 stick unsalted butter, softened

1 teaspoon vanilla extract

2 cups confectioners’ sugar

1/4 cup seedless raspberry jam

Begin by creaming the cream cheese and butter together and then add in the vanilla extract. Reduce the speed of the mixer to low and add in the confectioners’ sugar, once the sugar is incorporated add in the raspberry jam and continue mixing on medium speed.

Marbled Nutella Banana Bread

A few months ago I came across a recipe for a Marbled Nutella Banana Bread on a fellow bloggers’, My Ninja Naan, blog  and I have wanted to make it ever since. I was all set to make it last weekend but then my dad ate one of my perfectly ripened bananas. It was probably for the best though, the bananas were practically over-ripened in my book so I am sure the taste of the bread would have been overpowered by the banana taste and the Nutella flavor would have gotten lost in it. While I am a fan of bananas I prefer to eat mine when they are pale yellow without any spots – when most people would say they are not ready to be eaten – so they won’t have the overpowering banana taste I am not fond of. So, I bought three bananas that were on the verge of turning a darker shade of yellow and let them sit for a week to ripen up a bit to make the bread.

I started off by sifting together flour, baking powder, baking soda and salt. While I do have a traditional sifter, I prefer to use a sieve to sift my dry ingredients as it’s much quicker and I find that it does the job just as well.

IMG_0584 IMG_0585

I set the dry ingredients aside and I began to mix together the wet ingredients. First up, I mashed three ripe bananas.

IMG_0587

Next, I added in the butter, granulated sugar, brown sugar and vanilla extract and used my hand mixer to combine them all.

IMG_0589

I then mixed in two eggs.

IMG_0590

And finally I added in the flour mixture.

IMG_0591  IMG_0592

Once the batter was well combined I divided it into two bowls and added the Nutella to one of them.

IMG_0596

To get the marbled effect I alternately spooned the banana and the Nutella-banana batters into my prepared 9-inch loaf pan (I just sprayed it with baking spray) and then swirled it with a knife.

IMG_0597

After baking for an hour in a 350 degrees F preheated oven the bread was done.

IMG_0600

I let it cool for a bit and then sliced a few slices to see the marble effect and of course to try it and it was delish!

IMG_0632 IMG_0636

Marbled Nutella Banana Bread

2 1/3 cups all-purpose flour

1 teaspoon baking powder

1 teaspoon baking soda

1/2 teaspoon salt

1 1/4 cups mashed ripe bananas (3 bananas)

6 tablespoons unsalted butter, softened

1/2 cup granulated sugar

1/2 cup packed brown sugar

1 teaspoon vanilla extract

2 large eggs

1/2 cup Nutella

Heat oven to 350 degrees F. Coat a 9-inch loaf pan with cooking spray.

In a medium mixing bowl, sift the together flour, baking powder, baking soda and salt. In a large mixing bowl, using a mixer on medium speed, beat together banana, butter, granulated sugar, brown sugar and vanilla until creamy and well combined – about 2 minutes. Beat in eggs until well combined – about 2 minutes. Reduce speed to low and beat in flour mixture until just combined.

Divide 1/2 of the batter into a medium bowl; stir in Nutella until combined.

Alternate spoonfuls of batter into loaf pan until all of the batter is used up. Swirl batter gently with a knife (not too much!).

Bake 1 hour or until well risen, deep golden brown, and a toothpick inserted into bread comes out with moist crumbs attached.

Makes 1 loaf.

The Great Gatsby Inspired Bracelet

If you haven’t seen “The Great Gatsby” I highly recommend it. After watching it I actually regretted never having read the book. I was supposed to read it in high school but after reading a page or two I opted to read the cliff notes instead. It’s probably one of the few cliff notes I have ever read as I have always enjoyed reading, but that was just one book that was impossible for me to get in to. I thought for a second of reading it now but that regret soon subsided as my previous sentiments were validated by many… the book is boring. Baz Luhrmann apparently took some liberties in adapting the book to the big screen.

The movie has inspired a new wave of fashion trends especially in jewelry. Just check out the new collection from Tiffany’s, which is gorgeous but out of most peoples price range. I suppose jewelry made by the company 1928 Jewelry will be experiencing a surge in sales now as it’s a little more affordable. The jewelry from that era was more like pieces of art more than anything else. A friend of mine came across a bracelet/hand ornament on M&JTrimming’s blog that was inspired by the piece Carey Mulligan’s character Daisy wore in the movie that she liked and asked me to recreate.

The supplies: a yard of pearl rosary chain, a pearl and rhinestone applique and a clasp.

IMG_0408

To begin I made the actual bracelet part first. Since the pearl rosary chain is connected by interlocking eye hooks I was able to connect the chain to the clasp without the use of jump rings which gave it a much cleaner look.

IMG_0416

Next, I used fireline to sew one section of pearl chain to each end of the applique.

IMG_0417

I then made a ring with some of the chain and attached it to one end of the applique.

IMG_0419

I then attached the other end to the bracelet and voila, as simple as that a Great Gatsby inspired bracelet.

IMG_0487 IMG_0441

Spiraling Pearls, Crystals and Seed Beads

I currently subscribe to Bead & Button  magazine and while I normally rip out a few patterns from each issue that I want to make, I usually find that there is one pattern that I am eager to try over the other ones. From the most current issue that pattern was Sea Strand by Sue Neel. The pictures made it look really intricate and complicated but in actuality it’s quite simple to follow.

From the title of my post you can guess what components I used: 4mm & 12mm glass pearls, 6mm crystal rondelles and Size 11 seed beads.

IMG_0187

To start the necklace I strung alternating rondelles and 12mm pearls on a yard of 6lb fireline – beginning and ending with a rondelle – for my desired length. I then centered the beads on the thread so the two tails would be the same length. I sewed each tail through its corresponding rondelle once so they could essentially be stop beads as I continued to work on the piece.

IMG_0190

Next up, using about a yard and a half of thread I sewed twelve seed beads around alternating sides of the pearls by sewing through the rondelles. Once again I sewed the tails of the thread – which should be the same length as the original thread – through their respective rondelle.

IMG_0192 IMG_0193

And for the final strand I used another yard and a half of thread to sew three 4mm pearls and additional seed beads onto the piece. As with before, the tails of this thread should be the same length as the original thread and sewn through their respective rondelle. To end the necklace I used one thread from each end to connect the clasp – I used the original thread – and I ended the other two threads by weaving them through the path of the clasp and ending them in the necklace.

IMG_0194  IMG_0197

While a bracelet wasn’t part of the pattern I saw in the article, I decided to make one after completing the necklace. I followed the exact same pattern and technique as the necklace just for a shorter length.

IMG_0198

And finally I made the earrings that were included in the pattern to complete the set.

IMG_0199 IMG_0201

IMG_0217

A Blanket, a Runner and a Scarf

I recently completed a few crocheting/knitting projects – one was sitting on my needles a little longer than I had hoped, one came together rather quickly and another was semi-done but just waiting to be sewn together.

Up first a baby blanket that was a cinch to make. This is actually the third baby blanket I’ve completed this year – I previously made a Violet V-Stitch Baby Blanket and a Baby Blue Basketweave Blanket. Every time I make one I try to find a completely different pattern to follow and for this one I opted to use the Spring Ripple Baby Throw pattern from the Lion Brand Yarn website. At first I wasn’t seeing the ripple pattern come through but midway through it became clearer. I’m really happy with how this blanket came out and I loved the yarn I used – Loops & Threads Snuggly Wuggly in Doodle Dots. It wasn’t too heavy or too light which is perfect since the baby it’s meant for is due in late spring.

IMG_0026 IMG_0108

And next a crochet project that I actually started late last year… the Crochet Shapes Table Runner, once again a pattern from the Lion Brand Yarn website. I liked this pattern even before I knew how to crochet because of the different motifs it consisted of. I had crocheted all the motifs but needed to stitch them together, unfortunately I got sidetracked with other projects before doing so. I ended up putting the motifs away but it was always in the back of my mind that I needed to finish it and I recently found the time to do so.

The table runner consists of six motifs: Octagon Star, Granny Stitch Hexagon, Circle in the Square, Octagon, Six Petal Flower & Flower Center Circular.

Motifs

And when all of these pieces are stitched together you have a unique and customized table runner.

IMG_0392

Finally, a scarf that I began when a fellow blogger, For The Knit Of It, ran a knit-a-long back in March. The pattern chosen was the Bosc Pattern from Robin Ulrich. And yes, Bosc as in pears. If you look closely at the scarf you can actually see the curves of pears in the pattern. I loved the pattern and was excited to work on it, but, getting it started was such a task. Just getting to this point – the first 10 rows of the pattern – took me about 10 tries.

IMG_9769

The reason… the pattern consisted of numerous yarn overs and I kept missing them and would ultimately have to start over. (Knitting is not as forgiving as crocheting.) To combat that I actually typed of the pattern and then marked where the yarn overs would be so I wouldn’t keep missing them. Once I did that working on the pattern was a piece of cake. Unfortunately for myself it wasn’t the type of pattern that I could mindlessly work on while watching television so it took me a lot longer to complete it than I had hoped. I am happy though that I didn’t give up on it and am looking forward to wearing it next winter.

IMG_0355 IMG_0369

Bite-Sized Goodness

As they say good things come in small packages and bite sized treats are no exception. You get all the flavor in a nice small portion. For Mother’s Day I decided to bake up some small treats as opposed to a large cake or pie and it was an overall hit.

First up are Mini Chocolate-Chip Cheesecakes. I came across this recipe a few years ago in a now defunct magazine and it was an instant hit amongst my friends. It’s been a while since I’ve made them so needless to say they didn’t last all that long.

I started off by making the cheesecake part of the bites by mixing together cream cheese, an egg and sugar. I then folded in the mini-chocolate chips and set this aside while I made the cake portion.

IMG_0235 IMG_0236

To make the cake portion I mixed together sugar, flour, cocoa, baking soda, water, oil and vanilla.

IMG_0238 IMG_0239

Now it was time to assemble the mini cheesecakes. I spooned the chocolate mixture into the muffin tins until they were half full and then dolloped about a tablespoon of the cheesecake mixture on top.

IMG_0240 IMG_0242

And after baking in a 350 degrees pre-heated oven for about 20 minutes they were all done.

IMG_0245

Up next… Pineapple Upside-Down Bites. I clipped this recipe out of the May 2013 issue of  Everyday with Rachael Ray. The recipe sounded quick and simple and only required a few ingredients: butter, light brown sugar, maraschino cherries, pineapple and yellow cake mix.

IMG_0252

I started off by preparing the cake mix per the directions on the package. The recipe actually calls for a 16.5oz box of cake mix, but since the recipe states that there would be cake batter left over I decided to use a smaller bag that is meant for 12 cupcakes or an 8×8 cake.

IMG_0254

Up next it was time to prepare the muffin tin for the pineapple portion of these mini bites.

IMG_0256

I spooned a 1/2 teaspoon of melted butter into each cup of the tin and then layered a 1/2 teaspoon of brown sugar, a cherry piece and a layer of pineapple on top of it. Also, while the recipe didn’t call for it I sprayed the muffin tin with baking spray to ensure that the bites wouldn’t stick to it.

IMG_0257

I then spooned about a tablespoon of cake batter into each cup and then baked it in a 350 degrees preheated oven for 12 minutes.

IMG_0259

Once out of the oven I inverted the muffin tin on a baking sheet so the pineapple bites could cool.

IMG_0262

They tasted as good as they looked…

IMG_0266

Mini Chocolate-Chip Cheesecakes

Makes about 4 dozen

1 1/2 lbs (2 12-oz packages) cream cheese

1 egg

1 1/3 cups sugar

1 1/4 mini chocolate chips

1 1/2 cups flour

1/4 cup cocoa

1 tsp baking soda

1 cup water

1/3 vegetable oil

1 tsp vanilla

1. In a bowl, mix cream cheese, egg and 1/3 cup sugar

2. Add mini chocolate chips

3. In another bowl, mix remaining sugar with flour, cocoa, baking soda, water, oil and vanilla

4. Spoon chocolate mixture into mini muffin cups until half full

5. Place 1 teaspoon cream cheese mixture on top of each cupcake

6. Bake at 350 degrees for about 20 minutes or until top springs back when gently pressed

7. Cool on rack for 10 minutes before serving


Pineapple Upside-Down Bites

Makes 24

Prep 30 Minutes

Bake 15 Minutes

1/4 cup unsalted butter, melted

1/4 cup (packed) light brown sugar

5 maraschino cherries, quartered

1/3 cup diced pineapple, patted dry

1 box (16.5oz) yellow cake mix, prepared into batter

1. Preheat the oven to 350 degrees. In the cups of two 12-cup mini muffin tins, layer 1/2 teaspoon butter, 1/2 teaspoon brown sugar, a cherry piece, a single layer of pineapple (about 5 pieces) and about 1 tablespoon cake batter (cups should be about two-thirds full; save remaining cake batter for another use).

2. Bake until golden-brown and a toothpick comes out clean when inserted into the center of the cupcakes, about 12 minutes. Immediately run a knife around the edge of each cake and invert to cool on a baking sheet. Serve warm or at room temperature.

Cinco De Mayo Treats

Happy Cinco De Mayo! In honor of the day I decided to make a Sopapilla Cheesecake and Mexican Wedding Cookies. While it probably would have been more traditional to make Churros or a Tres Leches Cake… I attempted to make Churros in the past and the end result wasn’t all that great and while I have wanted to make a Tres Leches Cake for quite some time, I was already planning on making a Strawberry Shortcake for my dad’s birthday this weekend so I figured one cake per weekend is more than enough. When Sopapilla is made as a dessert it is essentially fried dough with something sweet drizzled on it – a fruit sauce, powdered sugar, cinnamon sugar or honey. I tend to shy away from anything that needs to be fried due to past experiences (i.e. the Churros) so when I came across a cheesecake version I was excited to try it, especially since it sounded super easy and only required six simple ingredients. I actually remember eating something similar to Sopapillas when I was younger – Domplines – which I usually ate with beans. As for the Mexican Wedding Cookies, they are actually known by quite a few different names… Russian Tea Cakes, Italian Wedding Cookies, Butterballs or as they are commonly known as in Spanish Polvorones. Stemming from the Spanish word polvo – meaning powder or dust.

First up were the Mexican Wedding Cookies. I assembled all of my ingredients before I got started: butter, confectioners’ sugar, vanilla extract, flour and pecans.

IMG_0121

I started by creaming the butter and sugar together and then adding in the vanilla extract.

IMG_0125

I then added in the flour so the dough for the cookies could really come together.

IMG_0127

Although I did buy chopped pecans I decided to chop them up a little more to make them a more appropriate size for these bite-sized cookies.

IMG_0126

To add in the pecans I folded them in as opposed to mixing them in with the mixer. Now it was time to form the cookies. While these cookies are usually crescent shaped I opted to just form them into small rounds and popped them in a 275 degree F oven for 40 minutes.

IMG_0128 IMG_0131

Fresh out of the oven. I must say they didn’t look that much different cooked from when they were raw.

IMG_0140

After letting them cool for a few minutes it was time to cover them in confectioners’ sugar.

IMG_0151 IMG_0161

Once I was done with the cookies it was time to start on the Sopapilla Cheesecake. This by far was one of the simplest things I have ever made. It definitely helped that I didn’t make the dough from scratch but used crescent rolls and the filling was simply made with sugar, cream cheese and vanilla extract.

IMG_0135

I started off by spraying a 9×13 baking dish with cooking spray and pressing one of the two crescent rolls into it. It was quite comical trying to open the crescent rolls. I have never had a hard time unwrapping them but for some reason both of these packages didn’t want to pop open when I unwrapped them. With one of them I had to actually release the pressure in it by making punctures in it with a knife and then the second one just popped open as I was doing something else.

IMG_0138

To make the filling I mixed the cream cheese, sugar and vanilla extract until it was smooth.

IMG_0139

I then spread the filling over the bottom crescent roll and pressed the second crescent roll over it. Now it was time to add the topping.

IMG_0143

I brushed the top with melted butter and sprinkled the cinnamon sugar evenly over it. I must say that while the recipe called for 1/2 cup of sugar that was too much for my taste and probably only used about 1/4 cup.

IMG_0148  IMG_0149

After baking for 30 minutes in a 350 degrees F oven it was time for it to come out of the oven and it looked and smelled DELISH!

IMG_0173

Final verdict… The cookies and cheesecake were declared to be “moreish” by my friends… Definitely a good thing to hear!

IMG_0176

Mexican Wedding Cookies

Courtesy Paula Deen

Ingredients

1 cup unsalted butter, at room temperature

1/2 cup confectioners’ sugar, plus more for coating baked cookies

1 teaspoon vanilla extract

1 3/4 cup all-purpose flour, plus more for dusting hands

1 cup pecans, chopped into very small pieces

Directions

Preheat the oven to 275 degrees F. Line cookie sheets with parchment paper.

Using an electric mixer, cream the butter and sugar at low speed until its smooth. Beat in the vanilla. At low speed gradually add the flour. Mix in the pecans with a spatula. With floured hands, take out about 1 tablespoon of dough and shape into a crescent. Continue to dust hands with flour as you make more cookies. Place onto prepared cookie sheets. Bake for 40 minutes. When cool enough to handle but still warm, roll in additional confectioners’ sugar. Cool on wire racks.

Sopapilla Cheesecake

Courtesy Allrecipes

Ingredients

1 (8 ounce) package cream cheese, softened

1 cup white sugar

1 teaspoon vanilla extract

2 (8 ounce) packaged refrigerated crescent rolls

1/2 cup melted butter

1/2 cup white sugar

1 teaspoon ground sugar

Directions

1. Preheat an oven to 350 degrees F (175 degrees C). Prepare a 9×13 inch baking dish with cooking spray

2. Beat the cream cheese with 1 cup of sugar and the vanilla extract in a bowl until smooth; set aside

3. Unroll the cans of crescent roll dough, and use a rolling pin to shape each sheet into 9×13 rectangles. Press one sheet into the bottom of a 9×13 inch baking dish. Evenly spread the cream cheese mixture into the baking dish, then cover with the remaining piece of crescent dough, and brush with melted butter. Stir together 1/2 cup of sugar with the cinnamon in a small bowl, and sprinkle evenly over the top of the cheesecake.

4. Bake in the preheated oven until the crescent dough has puffed and turned golden brown, about 30 minutes. Allow to cool 10 minutes before serving.

Coconut Cupcakes with Cream Cheese Frosting

I bought a bag of sweetened shredded coconut a while back and kept changing my mind as to what I wanted to make with it. Initially I bought it to make Coconut Macaroons for Easter, but, after making a Carrot Cake I opted not to make them. I then came across a recipe for Coconut Almond Macaroons that sounded yummy, but, I soon changed my mind on making them. And then I saw a recipe for an Apricot Coconut Cake that sounded amazing, but, while flipping through my recipe binder I discovered a Coconut Cupcake with Cream Cheese Icing recipe that I had ripped out from the September 2012 issue of Food Network Magazine and I immediately settled on what I wanted to use that bag of shredded coconut for.

To begin I assembled all of my ingredients for the cupcakes together: butter, sugar, eggs, vanilla extract, almond extract, flour, baking powder, baking soda, salt & buttermilk.

IMG_0040

And you can’t have Coconut Cupcakes without the coconut…

IMG_0044

While the recipe calls for sifting the dry ingredients – flour, baking powder, baking soda and salt – together after creaming the sugar and butter together, I opted to do this first this way it didn’t interrupt the flow of making my batter.

IMG_0049

I then creamed together the butter and sugar until the mixture was light and fluffy – per the directions.

IMG_0051

While the butter and sugar were mixing I got my eggs ready. I used to just crack my eggs right into my batter, but, after having to fish out egg shells once or twice I decided cracking them into a separate bowl is a better idea and it also makes the process of adding them to the batter a lot quicker.

IMG_0050

After adding in the eggs and the vanilla & almond extracts the batter was now ready to come together with the addition of the flour mixture and the buttermilk. I added them by alternating between the two – beginning and ending with the addition of the flour mixture.

IMG_0054

And then it was time to fold in the coconut. The recipe only called for half of the 14 ounce bag which was approximately 1 cup.

IMG_0056

Then the fun part… Scooping the batter into the paper lined muffin tin. The recipe called for filling the liners to the top with the batter – this is the one thing I would do differently next time I make these. By filling them so much the tops of the cupcakes were enormous.

IMG_0059 IMG_0061

After baking for about 30 minutes there were ready to come out of the oven. Ultimately I ended up with 23 cupcakes.

IMG_0063

Once they cooled it was time to make the frosting.

I started off by blending together butter, cream cheese, vanilla extract and almond extract.

IMG_0065

While the recipe called for 1 1/2 pounds of sifted confectioners’ sugar I decided to only use 1 pound this way it wouldn’t be too sweet. I tried to take a shortcut and sift the powder right into my mixing bowl – definitely won’t do that again. I ended up with sugar all over my counter.

After mixing for a few minutes the frosting was nice and smooth and ready to be spread onto the cupcakes.

IMG_0067

Once I frosted the cupcakes I sprinkled each of them with a little shredded coconut. These cupcakes were amazing! Definitely a recipe I will be making again. And since I still have about half a bag left of the shredded coconut I am sure I’ll be making one of those other recipes I mentioned earlier soon.

IMG_0074

Coconut Cupcakes With Cream Cheese Frosting

Food Network Magazine September 2012

Makes 18 to 20 Cupcakes

For the Cupcakes:

3/4 pound unsalted butter, at room temperature

2 cups sugar

5 extra-large eggs, at room temperature

1 1/2 teaspoons pure vanilla extract

1 1/2 teaspoons pure almond extract

3 cups all-purpose flour

1 teaspoon baking powder

1/2 teaspoon baking soda

1/2 teaspoon salt

1 cup buttermilk

14 ounces sweetened, shredded coconut

For the Cream Cheese Frosting:

1 pound cream cheese, at room temperature

3/4 pound unsalted butter, at room temperature

1 teaspoon pure vanilla extract

1/2 teaspoon pure almond extract

1 1/2 pounds confectioners’ sugar, sifted

1. Preheat the oven to 325 degrees.

2. In the bowl of an electric mixer fitted with a paddle attachment, cream the butter and sugar until light and fluffy, about 5 minutes. With the mixer running on low, add the eggs one at a time, scraping the bowl after each addition. Add the vanilla and almond extracts and mix well.

3. In a separate bowl, sift together the flour, baking powder, baking soda and salt. In three parts, alternately add the dry ingredients and the buttermilk to the batter, beginning and ending with the dry. Mix until just combined. Fold in 7 ounces coconut.

4. Line a muffin pan with paper liners. Fill each cup to the top with batter. Bake 25 to 35 minutes, until the tops are brown and a toothpick comes out clean. Allow to cool in the pan for 15 minutes. Remove to a baking rack and cool completely.

5. Make the cream cheese icing: In the bowl of an electric mixer fitted with a paddle attachment blend together the cream cheese, butter, vanilla and almond extracts. Add the confectioners’ sugar and mix until smooth.

6. Frost the cupcakes with the cream cheese icing and sprinkle with the remaining coconut.

Pottery Class… The Final Product

So, I finally got the vase back that I made in an introductory pottery class a little over a month ago.

I was happy with how it looked pre- firing and glazing…

Pottery Class

But, I am sad to say that I am not all that thrilled with the final product. While thankfully it didn’t fall apart during the firing and glazing process – which was a possibility – there were quite a few dings and dents in it that weren’t there before and the basketweave pattern that was so obvious before seems to have faded away in certain spots. Oh well… it was a fun experience with some great friends, but, pottery will definitely not be on my hobby list ever.

IMG_0093

Three Long Necklaces In A Short Amount Of Time

While I do have a few projects sitting on my knitting and crocheting needles, I decided to take a small break this week from working on them to make a few jewelry pieces.

I made this necklace about a year ago and unfortunately the chain I used has started to tarnish. I tried to clean it but it was to no avail, the tarnish is here to stay, so, I decided to remake it.

IMG_9926

To replace the chain sections I decided to use some glass pearls and natural shell beads I had in my collection strung on flexible beading wire. I’m always happy when I can use things I already have. So many times I find myself buying more items to create things as opposed to utilizing what’s in my collection.

IMG_9928

For the first section of the necklace I used three different sizes of the glass pearls arranging them from largest to smallest.

IMG_9931

While the second section remained the same as the original necklace, I updated the third section  – which used to be chain – with more glass pearls and the natural shell beads.

IMG_9932

And here’s the completed necklace. At first I wasn’t sure if I liked it, but, once I tried it on I was much happier with it than I ever was with the original one.

IMG_9969

Up next I worked on a necklace that I got the idea from while I was out shopping one day. I liked the necklace I saw, but wasn’t too keen on the colors it was made with. I wanted something a little brighter and summery. It’s made up of alternating sections of seed beads and chain.

Supplies for this necklace are pretty basic; size 6 seed beads, two different styles of chains, jump rings and eye pins. In lieu of the eye pins you could use a medium gauge beading wire.

IMG_9938 IMG_9948

I started off by creating the sections of seed beads by threading fifteen seed beads onto each eye pin. I had already mapped out the pattern I wanted to follow so I knew I needed eight stacks of the green and white beads and four of the blue beads. The nice thing about using the eye pins is that I only needed to create a loop on one side as opposed to two sides had I used beading wire.

IMG_9944

Following that I used jump rings to combine two stacks of each color. The stacks were about two inches long.

IMG_9945 IMG_9946

Now I was ready to cut the two chain styles into two inch sections and attach four pieces of the chain (two pieces of each chain style) to jump rings.

IMG_9949 IMG_9950

I had a feeling that the necklace was going to be on the long side so I only connected half of it to get an idea how long it was going to be. And I was right, this one half of the necklace was approximately twenty-seven inches long so I knew I had to make some modifications.

IMG_9952

I ended up re-doing the bead stacks by eliminating five seed beads on each one and re-cutting the chain to match the new length of the bead stacks – approximately one and a half inches. The necklace ended up being about forty inches.

IMG_9973

And finally I used some of the bead strands I got at the bead show I went to last month along with some chain I had to create this final piece.

IMG_9962

First off I created the bead portion of the necklace by stringing the beads onto flexible beading wire. I wasn’t sure if I wanted to use spacer beads or daisy spacers between the beads but once I started stringing I realized the daisy spacers were a better fit.

IMG_9963 IMG_9964

Next up I cut the chain into three equal pieces and attached them to the bead sections.

IMG_9965

And voila a new necklace. This was by far the easiest one to make and probably my favorite.

IMG_9976