Chocolate Bunny Topped Easter Cake

Happy Easter! A few weeks ago when I posted about the Springtime Chocolate Chip Cookies  I made I mentioned that I picked up some other things at my local Target store to create an Easter cake and I am happy to say that the cake turned out just as I pictured it in my head. So, what did I pick up? Edible Easter Grass, Cadbury Mini Easter Eggs and Chocolate Bunny.


IMG_7246

To begin, I baked my favorite Carrot Cake and frosted it with Cream Cheese Frosting.

IMG_7194 

The Edible Easter Grass, if you’re wondering, is made of wafer paper candy. It has a slight green apple flavor and surprisingly doesn’t have an after-taste. And from what I read about it online, most of the companies that sell it here in the United States import it from Germany.

 IMG_7193

I cut the grass into 1 to 2 inch pieces and spread it onto a cookie sheet. I then misted the grass with a littel water and mixed the grass so that it could clump together. I was careful not to use too much water because the grass would then disintegrate.

 IMG_7196

I first placed the chocolate bunny in the center of the cake and then started spreading the grass around the bunny lightly pressing it into the frosting.

 IMG_7197

I decided to only cover the top of the cake with the grass.

 IMG_7198

And after placing some Cadbury milk eggs in the grass my cake was decorated and ready for Easter!

IMG_7202


Chocolate Dipped Coconut Macaroons

Coconut is one of those things that people either love or hate. For me, I love coconut. Come the summer I can never pass up getting a Coconut Italian Ice and while I enjoy most flavors of Chobani Greek yogurt my favorite by far is the Almond Coco Loco Flip. So, it’s pretty surprising that I have never had a Coconut Macaroon. I’ve always wanted to make them, but, some other treat makes its way into my oven instead. I finally got around to making them and I must say I wish I had made them sooner!

These were by far one of the easiest cookies I have ever made… They didn’t require a hand or stand mixer and were easily prepared in one bowl. You can’t beat simplicity like that. I began my mixing together shredded sweetened coconut along with sugar, flour, and salt.

IMG_7133

I then added in egg whites and almond extract and mixed the ingredients until they were well blended. Then using a cookie scoop I scooped up the coconut mixture…

IMG_7134

And dropped them on a parchment lined cookie sheet and baked them in a 325 F preheated oven for about 20 minutes.

IMG_7135

Once out of the oven I immediately transferred the macaroons to a wire rack to cool completely.

IMG_7148

After they cooled it was time to dip them in melted chocolate. Conveniently I had half a bag of semi-sweet chocolate chips in my fridge. I melted the chocolate in the microwave and then dipped the bottom of each of the macaroons in the chocolate and then placed them on a wax paper lined cookie sheet and put them in the fridge so the chocolate could set.

IMG_7152

And since I had some chocolate left-over I decided to enjoy a mid-afternoon snack of chocolate dipped pretzels… You can’t go wrong with sweet & salty!

IMG_7156

Overall these macaroons were delish… With the combination of coconut, almond extract and chocolate they were reminiscent of an Almond Joy candy bar!


Coconut Macaroons

Makes 3 Dozen

Ingredients:

1 14oz. package sweetened coconut flakes (5 1/3 cups)

2/3 cup sugar

6 tablespoons flour

1/4 teaspoon salt

4 egg whites

1 teaspoon almond extract

Directions:

1. Preheat oven to 325 F. Line two cookies sheets with parchment paper.

2. Mix coconut, sugar, flour and salt in a large bowl. Stir in eggs whites and almond extract until well blended. Drop by rounded tablespoonful (I used a small cookie scoop which yielded 26 macaroons) onto prepared cookie sheets.

3. Bakes for 18-20 minutes, or until edges of cookies are golden brown. Remove from cookie sheets and transfer to a wire rack to cool completely.

Enjoy as is, or dip in melted chocolate for an extra sweet treat!

Springtime Chocolate Chip Cookies

The sayings are that March comes in like a lion and leaves like a lamb and that April showers bring May flowers, but, what is there to be said about the first day of Spring coming with snow. Well, if you ask a New Yorker… enough already! As I write this the snow is falling and starting to accumulate. Thankfully tomorrow some spring-like temperatures are in the forecast so hopefully whatever falls today will be gone tomorrow. Since the day is gray and gloomy I decided to bring some sunshine into my kitchen with some Spring themed Chocolate Chip cookies. What makes them Spring-y you may ask? Well, pink and yellow chocolate chips that I recently picked up at my local Target. I’ve been known to aimlessly walk around Target and find some pretty cool things. I picked up a bunch of things yesterday to hopefully create an Easter cake that I have pictured in my head, but that’s a post for a later date.

IMG_7091

After making the dough for the cookies – I combined flour, baking soda and salt in one bowl and then slowly added that to a mixture of butter, granulated and brown sugars, eggs and vanilla extract which I mixed in a stand mixer and then stirred in a cup of the Spring themed chips – I used a cookie scoop to drop the dough on parchment lined cookie sheets and pressed some extra chips into the cookies and then baked them in a preheat 350 F oven for eleven minutes.

IMG_7097

After letting the cookies cool on the sheet for a few minutes I then transferred them to a wire rack to cool completely. In less than an hour I had some springtime in my kitchen while I looked at the falling snow outside of my kitchen window as I washed the dishes. Fingers crossed this will be the last snowstorm of this season, or I should say since it’s the first day of Spring, the only snowstorm of this season.

IMG_7106


Springtime Chocolate Chip Cookies

Makes 36 cookies

Ingredients:

2 1/4 cups all-purpose flour

1 teaspoon baking soda

1 teaspoon salt

1 cup (2 sticks) unsalted butter, at room temperature

3/4 cup granulated sugar

3/4 cup light brown sugar

1 teaspoon vanilla extract

2 large eggs, at room temperature

1 2/3 cups (10 oz. package) Nestle Toll House Springtime Morsels

1 cup chopped nuts*

*I opted to omit the nuts from the cookies and added in an extra 1 1/2 tablespoons of flour in addition to the 2 1/4 cups.

Directions:

1. Preheat the oven to 350 F. In a bowl combine the flour, baking soda and salt and set aside.

2. Beat the butter, sugars and vanilla extract on medium speed until creamy. Add the eggs one at a time, beating well after each addition. Gradually add in the flour mixture. Stir in 1 cup of the morsels and nuts (if using.)

3. Drop the dough using a cookie scoop on parchment lined cookie sheets and top the dough with the remaining morsels.

4. Bake for 11 to 13 minutes or until golden brown. Allow the cookies to cool on the cookie sheets for a few minutes before transferring them to a wire rack to cool completely.

Valentine’s Heart Candy Box Cake

A great thing about blogging and social media – Instagram in particular – is the chance to discover other bloggers. One blog that I have enjoyed following is The Cake Blog – a blog with amazing cake designs that include tutorials so you can recreate them yourself if you wish. Recently they featured a Valentine’s Heart Candy Box Cake that I thought was too cute not to try.

IMG_6750

Using one milk chocolate box cake mix I baked two heart cakes filling the pan with about 2 cups of batter for each of the cakes. After letting the cakes cool completely I leveled the cakes using a large serrated knife. I used to use a cake leveler but have found that using a knife allows me to level the cakes more evenly.

IMG_6697

Following that I frosted each of the cakes with vanilla frosting and then placed them in the refrigerator so the frosting could harden in preparation for decorating them with fondant.

IMG_6709

And while I was on a kick making marshmallow fondant recently, I opted to go with store bought fondant to decorate these cakes. I picked up Wilton’s Decorator Preferred Fondant in red and pink and I was pleasantly surprised; it was easy to knead and roll out. I’ve used Wilton’s Rolled Fondant in the past and it wasn’t as easy to work with.

IMG_6713

After rolling the red fondant out to an 1/8 of an inch thick I cut two strips of fondant long enough to wrap around each of the heart cakes, one an inch and half wide – the height of the cake – for the top of the candy box and the other two inches wide for the candy box.

IMG_6716

I rolled up the strips and then unrolled them around each of the cakes.

IMG_6717

Next I rolled out more of the red fondant and using my heart cake pan as a template, I traced out a heart for the cover of the candy box.

IMG_6718

Once I was done with the red fondant I rolled out the pink fondant and cut out two hearts – one smaller than the red cover I previously cut and one to fit inside of the wider red border – the candy box cake. On the smaller of the two pink hearts I used a fondant stitching wheel to etch an angle design.

IMG_6719

Next it was time to make the candy box cake actually look like a candy box and to do that I needed candy, more specifically chocolate candy. I melted some Wilton Dark Cocoa Candy Melts and filled heart & circle swirls molds to create the candy.

IMG_6712

After refrigerating the molds so the chocolate could set I tapped them out onto wax paper.

IMG_6720

I then used some of the melted chocolate to glue two pieces of the candy together so they would have a little height inside the candy box cake.

IMG_6726

To add a little more pizazz to the chocolates I drizzled them with melted chocolate and then sprinkled them with Valentine’s themed sprinkles.

IMG_6727

Then I used more of the melted chocolate to glue the pieces onto the candy box cake.

IMG_6729

On the original cake the edges were painted gold using gold dust and extract. I attempted to do the same with shimmer powder I had on hand…

IMG_6731

But unfortunately I wasn’t too successful as the powder I have didn’t have the same color intensity. It was worth a try though! While there were some imperfections with my final outcome, overall I was pleased with it. I definitely need to work on cutting fondant shapes and making straight lines when etching a design into the fondant.

IMG_6756

Peanut Butter & Chocolate Marbled Cookies

Another month has rolled in and it’s not just any month, it’s December – the month where everywhere you look there is something sweet to eat and it’s almost impossible to say no to all of the deliciousness. One thing synonymous with December is baking, especially baking Christmas cookies. Personally I don’t think Christmas cookies are limited to those decorated with red and green sprinkles, for me it’s any cookie baked  this month – hey, it’s Christmas season, not just the day. So to kick off the baking festivities I would like to share with you a cookie that is right up my alley. I may have mentioned once or twice before that my favorite candy is Reese’s Peanut Butter Cups, so imagine my delight when I came across a cookie recipe that was a swirl of chocolate and peanut butter flavors. (I should also note that I am a big fan of peanut butter cookies as well!) The recipe is officially called Best of Both Cookies and I came across it in a special edition of Taste of Home magazine highlighting Christmas cookies and candies, but, for the purpose of this post I am going to call them Peanut Butter & Chocolate Marbled Cookies.

IMG_6029

I’ll be honest I was a bit apprehensive about making these cookies for two reasons; they are slice and bake cookies (I prefer making drop and bake cookies) and it involved making two separate doughs and then mixing them together (I thought the doughs would be difficult to meld.) Luckily I was wrong on both fronts. Incorporating the two doughs and forming them into logs to be sliced was super simple.  First up was the peanut butter dough. I creamed together peanut butter, softened butter, granulated sugar and light brown sugar until it was light and fluffy and then added in an egg. In a separate bowl I combined flour, baking powder, baking soda and salt which I then mixed into the peanut butter mixture.

IMG_5977

To make the chocolate dough I creamed together butter, granulated sugar and light brown sugar once again until it was light and fluffy. I then added in an egg and vanilla extract. And finally I added in a mixture a of flour, cocoa, baking powder, baking soda and salt.

IMG_5978

I divided each of the doughs in half and kneaded one peanut butter half and one chocolate half a few times until it began to swirl and then formed the combined doughs into a 10-inch log.

IMG_5979

I then wrapped each of the logs in plastic wrap and refrigerated them until they were firm – at least 3 hours.

IMG_5981

Once firm it was easy to slice the dough for the cookies.

IMG_6002

I then placed them on a parchment lined baking sheet and baked them for 7 minutes in a 350 F preheated oven.

IMG_6003

I let them cool on the sheet for a few minutes before transferring them to a wire rack to cool completely. Overall these cookies were amazing… Not one thing negative to say about them. Depending on how the doughs swirl together you may get a cookie that is more peanut butter than chocolate or vice versa, but, either way it’ll be delicious. Neither of the doughs is overpowering with flavor so it’s the perfect marrying of peanut butter and chocolate!

IMG_6030


Peanut Butter & Chocolate Marbled Cookies (Best of Both Cookies)

Ingredients:

Peanut Butter Dough:

3/4 cup creamy peanut butter

1/2 cup butter, softened

1/2 cup sugar

1/2 cup packed brown sugar

1 egg

1 1/4 cups all-purpose flour

1/2 teaspoon baking powder

1/2 teaspoon baking soda

1/4 teaspoon salt

Chocolate Dough:

1/2 cup butter, softened

1/2 cup sugar

1/2 cup packed brown sugar

1 egg

1 teaspoon vanilla extract

1 1/4 cups all-purpose flour

1/4 cup baking cocoa

1/2 teaspoon baking powder

1/2 teaspoon baking soda

1/4 teaspoon salt

Directions:

1. In a large bowl, cream the peanut butter, butter and sugars until light and fluffy, about 4 minutes. Beat in egg. Combine the flour, baking powder, baking soda and salt; gradually add to creamed mixture and mix well.

2. For the chocolate dough, in another large bowl, cream butter and sugars until light and fluffy. Beat in egg and vanilla. Combine the flour, cocoa, baking powder, baking soda and salt; gradually add to creamed mixture and mix well.

3. Divide each portion in half. Knead one peanut butter and one chocolate portion together 5-10 times or until it just begins to swirl. Shape into a 10-inch log. Wrap in plastic wrap. Repeat with remaining dough. Refrigerate for 3-4 hours or until firm.

4. Preheat oven to 350 F. Unwrap and cut into 1/4 inch slices. Place 2 inches apart on lightly greased baking sheets (or parchment lined baking sheets.) Bake 6-8 minutes or until bottoms are lightly browned. Cool 2 minutes before removing from pans to wire racks.


Pumpkin-Oat Chocolate Chip Cookies

I hope you are all not tired of my pumpkin recipe posts because I have one more for you today. I kicked off Fall by making Pumpkin Doughnuts and Pumpkin Rice Pudding and just last week I posted about my experience making Homemade Pumpkin Puree – and some of the subsequent treats I made from it – and today I am bringing you Pumpkin-Oat Chocolate Chip Cookies. To be honest these cookies weren’t entirely for me. I have a dear friend who is just as much of a pumpkin fan as I am – I told her about Chobani’s Pumpkin Spice Yogurt and she told me about Pumpkin Spice English Muffins (which I am yet to find) and Pumpkin Spice Oreo’s (not worth trying according to her) – so for her birthday I decided to bake up a pumpkin treat to send her. (I sent her Pumpkin Doughnuts last year so I wanted to go with something new this year.) Unfortunately my pictures for the cookies aren’t the best as rainy cloudy days don’t lend for great picture taking!

IMG_5658

I began making the dough for the cookies by whisking together the dry ingredients in a medium-sized bowl: flour, quick oats, baking soda, salt, cinnamon, nutmeg and ginger.

IMG_5638

In a larger bowl I creamed together softened butter with light-brown sugar and granulated sugar. I was concerned that these cookies would be super sweet since the total amount of sugar was 2 cups, but thankfully the sweetness was toned down due to the addition of the pumpkin puree which doesn’t have much sweetness to it.

IMG_5640

Next, I whipped in an egg, vanilla extract and the pumpkin puree to the butter mixture, mixing well after each addition.

IMG_5642

With the mixer on the lowest setting, I gradually added the flour mixture to the butter mixture until both were combined. I then folded in chocolate chips with a spatula.

IMG_5643

After letting the dough rest for 10 minutes – which allows the oats to absorb the liquids from the dough so the cookies won’t spread out as much while baking – I then used a cookie scoop to scoop the dough onto a parchment lined baking sheet and placed the cookies in a 350 F preheated oven for 12 minutes.

IMG_5645

I let the cookies cool on the baking sheet for a few minutes before transferring them to a wire rack to cool completely.

IMG_5647

In total I ended up with a little over 4 dozen cookies. Which was perfect since it meant I could keep some for myself! These cookies are all-around delish! You get a slight taste of pumpkin and the flavors of cinnamon really shine through which is a nice complement to the chocolate chips. And if you like your cookies super-soft then these are for you… They are borderline soft/cakey.

IMG_5656


Pumpkin-Oat Chocolate Chip Cookies

Makes 4 Dozen

Ingredients:

2 1/2 cups all-purpose flour

1 1/2 cups quick oats

1 teaspoon baking soda

3/4 teaspoon salt

1 3/4 teaspoon ground cinnamon

1/4 teaspoon ground nutmeg

1/4 teaspoon ground ginger

1 cup unsalted butter, softened

1 1/3 cups packed light-brown sugar

2/3 cup granulated sugar

1 large egg

1 teaspoon vanilla extract

1 1/4 cups canned pumpkin puree

1 3/4 cups semi-sweet chocolate chips

1 cup chopped pecans or walnuts (optional)

Directions:

1. Preheat oven to 350 F. In a mixing bowl whisk together flour, oats, baking soda, salt, cinnamon, nutmeg and ginger for 30 seconds, set aside.

2. In the bowl of an electric mixer fitted with the paddle attachment, whip together butter, brown sugar and granulated sugar until creamy (occasionally stop and scrape down the sides and bottom of bowl throughout entire mixing process.) Blend in egg then blend in vanilla extract and pumpkin puree. With mixer set on low speed, slowly add in dry ingredients and mix until combined. Mix in chocolate chips and nuts (if using). Let batter rest 5-10 minutes (this just gives the oats some time to absorb the liquids so batter isn’t so sticky and cookies don’t spread so much.)

3. Scoop dough of 2 tbsp. at a time and drop onto Silpat or parchment paper lines baking sheets, spacing cookies 2-inches apart. Bake in preheated oven 12-14 minutes. Allow to cool on baking sheet several minutes then transfer to a wire rack to cool completely. Store in an airtight container.


Hold The Chips Add A Kiss Chocolate Chip Cookies

Customarily this cookie is made with a peanut butter cookie base and then topped with a Hershey Kiss pressed into its center, what is commonly known as a Peanut Butter Blossom. But, I decided to switch it up a bit and use a chocolate chip cookie without the chips as the base and then top it with a Hershey Kiss.

IMG_5057

To begin I made the dough to one of my favorite chocolate chip cookies. I particularly like these because the ingredients are things I always have on hand and they are simple to make. Sometimes a basic recipe produces the best flavor. To make the dough I whisked the dry ingredients – flour, salt and baking soda – in one bowl and in another I combined butter, dark brown and granulated sugars, vanilla extract and an egg. I then incorporated all of the ingredients until they were combined.

IMG_5052

Following that I used a cookie scoop to scoop the dough onto a parchment paper lined baking sheet and baked them in a 375 F preheated oven for 12 minutes.

IMG_5055

While the cookies were in the oven, I unwrapped the Hershey Kisses and refrigerated them so they wouldn’t be too soft when I placed them on the fresh out of the oven cookies.

IMG_5059

Immediately after removing the cookies from the oven I placed a Hershey Kiss in the center of each of them.

IMG_5060

I then transferred the cookies to a wire rack so they could cool completely.

IMG_5071

These cookies were delicious. You will especially like them if you like the part of a chocolate chip cookie without the chips! It’s definitely the best of both worlds… A delicious cookie with an even better delicious chocolate center!

IMG_5070

Hold The Chips Add A Kiss Chocolate Chip Cookies (Adapted from here)

Makes 32 Cookies

Ingredients:

2 sticks unsalted butter, at room temperature

1 cup packed dark brown sugar

1/2 cup granulated sugar

1 teaspoon vanilla extract

1 large egg

2 3/4 cups all-purpose flour

1/2 teaspoon Kosher salt

1 1/2 teaspoons baking soda

32 unwrapped Hershey Kisses

Directions:

1. Preheat oven to 375 F. Line 2 baking sheets with parchment paper.

2. In a medium bowl whisk together the flour, salt and the baking soda and set aside.

3. In a large bowl beat the butter, sugars and vanilla extract with an electric mixer on medium-high speed for 3 minutes. Add the egg and beat until combined.

4. Reduce the mixer speed to low and slowly add the flour mixture to the egg mixture until combined.

5. Using a cookie scoop (about tablespoon-size mounds) scoop the dough and place on the prepared sheets, 1-2 inches apart. Bake until lightly browned at the edges, approximately 12 minutes.

6. While the cookies are still on the baking sheets press an unwrapped Hershey Kiss into the center of each of them, then transfer the cookies to a wire rack to cool completely.

Happy National Doughnut Day!

It’s the first Friday of June, also known as National Doughnut Day! It began back in 1938 when The Salvation Army wanted to recognize the men and women who served doughnuts to soldiers in World War I. For a little more history on the day check out the following link. So, if you are in the mood for a free doughnut today head on over to your local Dunkin’ Donuts or Krispy Kreme, as for me, I decided to bake up a batch. While I did enjoy the Pumpkin Doughnuts and Cinnamon Sugar Apple Doughnuts I baked up last year soon after I got my doughnut pan I decided that today I would bake my favorite doughnut… A Chocolate Frosted Doughnut. A basic one, but always a good one! I found a great recipe on the daily web magazine The Kitchn that could easily be halved (6 vs. 12), which was the exact amount I was looking to make.
IMG_3880
I began by mixing active dry yeast with warm water and setting it aside. While the directions didn’t state it, I also added a little sugar as well, per the directions on the yeast packaging. I made the mistake of not adding sugar the first time I worked with yeast – for cinnamon rolls – and needless to say they didn’t come out as well as I was hoping they would.
IMG_3841
Next I sifted together flour, sugar, baking powder, nutmeg and salt and set that aside as well.
IMG_3844
And then I whisked together an egg, vanilla yogurt (I used Greek yogurt), melted butter, vanilla paste (I actually had this in my spice collection after picking up a bottle of it from my local Home Goods. Pure Vanilla Extract is good, but the paste is excellent!), and the yeast mixture.
IMG_3850
Once that was well combined I whisked in the sifted flour mixture.
IMG_3851
Now it was time to pipe the batter into my greased doughnut pan.
IMG_3853 IMG_3855
Following that I baked the doughnuts in a preheated 350 F oven for about 15 minutes. After letting them cool in the pan for 5 minutes I transferred them to a wire rack to finish cooling.
IMG_3857
Once they were completely cooled I made the chocolate glaze and got the sprinkles ready.
IMG_3858
I then dipped the doughnuts in the glaze and sprinkled them with rainbow sprinkles.
IMG_3898
Makes 12 Doughnuts (I halved the recipe and it more than enough for 6 doughnuts)
Ingredients:
2 teaspoons active dry yeast
2 tablespoons warm water
2 cups all-purpose flour
1 1/4 cups sugar
1 1/2 teaspoons baking powder
1/2 teaspoon freshly grated nutmeg
1/2 teaspoon fine sea salt
2 large eggs
1 cup vanilla yogurt, whole or low fat
4 tablespoons (1/2 stick) unsalted butter, melted
2 teaspoons vanilla bean paste or pure vanilla extract
Directions:
For the doughnuts, preheat oven to 350°F. Coat two (6-count) doughnut pans with a flour-based baking spray, such as Baker’s Joy. Arrange a wire cooling rack over a sheet pan lined with parchment paper.
In a small bowl, sprinkle the yeast over the warm water and set aside. In a medium mixing bowl, sift together flour, sugar, baking powder, nutmeg, and salt.
In another bowl, whisk the eggs, yogurt, melted butter, vanilla paste, and yeast mixture until well combined. Pour the liquid ingredients into the dry ingredients and stir until completely incorporated. Transfer the batter to a disposable piping bag (or zip top bag, snipping off one corner for piping) and pipe into the prepared pan, filling each well a little over half full.
Bake the doughnuts until puffed and golden, about 15 minutes. Remove from the oven and cool the doughnuts in the pan for 5 minutes. Transfer the doughnuts from the pan to the wire rack.
 
Ingredients:
1/2 cup powdered sugar
1 tablespoon unsweetened baking cocoa
1 tablespoon butter, melted
3 to 4 teaspoons milk
Directions:
Combine all ingredients in a bowl and beat with a whisk until smooth.

Peanut Butter Cupcakes With Chocolate Frosting

While I do have a sweet tooth for desserts I have never been one to eat much candy. I have this idea that eating a cookie is a better sweet fix than a piece of candy, yes, they are both sweet, but, somehow that cookie is the “healthier” option in my mind – this coming from the girl who has never met a glass, bottle or can of Coca-Cola she didn’t like! Don’t get me wrong though, I do love the occasional truffle from Godiva, but, you definitely won’t find me eating a bag of Skittles. I swear I am not a candy snob or anything though… I just don’t particularly care for candies that can change the color of your tongue all shades of the rainbow. There is one candy though that I do have a sweet spot for – Reese’s. That can be a Reese’s Peanut Butter (any size or shape, but especially the Easter egg one’s) or Reese’s pieces. There is something about peanut butter and chocolate together that is oh so delicious! So how could you go wrong with a peanut butter cupcake with chocolate frosting!

IMG_3744

To begin I sifted the together flour, salt and baking powder and set it aside.

IMG_3692

I then creamed together softened butter, light brown sugar and vanilla extract.

IMG_3693

Up next I added in smooth peanut butter to the butter mixture.

IMG_3697

Once the peanut butter was incorporated I added in two eggs, one at a time.

IMG_3698

And the final wet ingredient…milk.

IMG_3699

And then I added in the flour mixture.

IMG_3700

Per the directions I didn’t over-mix the batter and I must say this was one of the smoothest batters I have ever made for any cupcake or cake I have baked. I instantly knew this was going to be a perfectly textured cupcake – light and smooth. And I must admit, I couldn’t help it and I had to try the raw batter and it was the perfect peanut butter flavor.

IMG_3701

After filling the cupcake liners with about 1/4 cup of batter I baked them in a 350 F preheated oven for 25 minutes.

IMG_3705

I let them sit in the pan for a few minutes before removing the cupcakes and letting them cool completely on a wire rack.

IMG_3723

While they cooled I made the frosting, which was super simple. I melted a 12oz. bag of semi-sweet chocolate chips in 1 1/3 cups of heavy cream over low heat.

IMG_3725

I then cooled the melted chocolate in the refrigerator for about 40 minutes and then 15 minutes in the freezer so it could chill but not become too firm. I then whipped it until it was creamy and then spread it over each of the cupcakes.

IMG_3726

These were absolutely delicious and I assume would go perfectly with a tall glass of cold milk – I am not much of a milk drinker. I prefer my milk with my daily bowl of oatmeal for breakfast.

IMG_3749

I wish I could reference where I got the recipe from, but unfortunately I ripped it out of a magazine some time ago and have no clue which one.


Peanut Butter Cupcakes with Chocolate Frosting

Makes 12 Cupcakes

Ingredients:

For Cupcakes:

1 1/4 cups flour

1 1/2 teaspoon baking powder

1/2 teaspoon salt

1 cup light brown sugar

6 tablespoons unsalted butter, softened

1 teaspoon vanilla extract

1/2 cup smooth peanut butter

1/2 cup whole milk

For Frosting:

1 12oz. bag semi-sweet chocolate chips

1 1/3 cup heavy cream

Directions:

For Cupcakes:

Preheat oven to 350 F. Line 12 muffin cups with paper baking cups. In a large bowl, sift together the flour, baking powder and salt; set aside. In another bowl, beat the light brown sugar, unsalted butter and vanilla extract. Add in the peanut butter and beat until completely blended. Add the eggs, one at a time beating well after each addition. Add the milk. Slowly add the flour mixture and beat until mixture is combined; do not over-mix. Fill each muffin cup with about 1/4 cup of the batter. Bake 20-25 minutes, or until the cupcakes spring back when touched lightly. Let cool for at least 10 minutes before icing.

For Frosting:

In a saucepan over low heat stir the chocolate chips and heavy cream until the chocolate is completely melted and smooth. Transfer the mixture to a mixing bowl; refrigerate 1 hour, or until chilled throughout but now too firm. Beat the mixture until creamy, about 3 minutes. Spread about 1/4 cup of frosting over each cupcake. Garnish with peanut butter chips or peanut butter – filled candies, if desired.

Chocolate Malted Cupcakes with Fluffy Vanilla Frosting

I have baked numerous types of cookies in my baking adventures that I have loved, but, by far one of my favorites is a Malted Milk Chocolate Chip Cookie that is the perfect combination of chewiness and chocolate without being overly sweet thanks to the addition of malted milk powder. So, when I was flipping through some cookbooks for baking inspirations and I came across a recipe for a Chocolate Malted Cupcake I knew I had to try it!

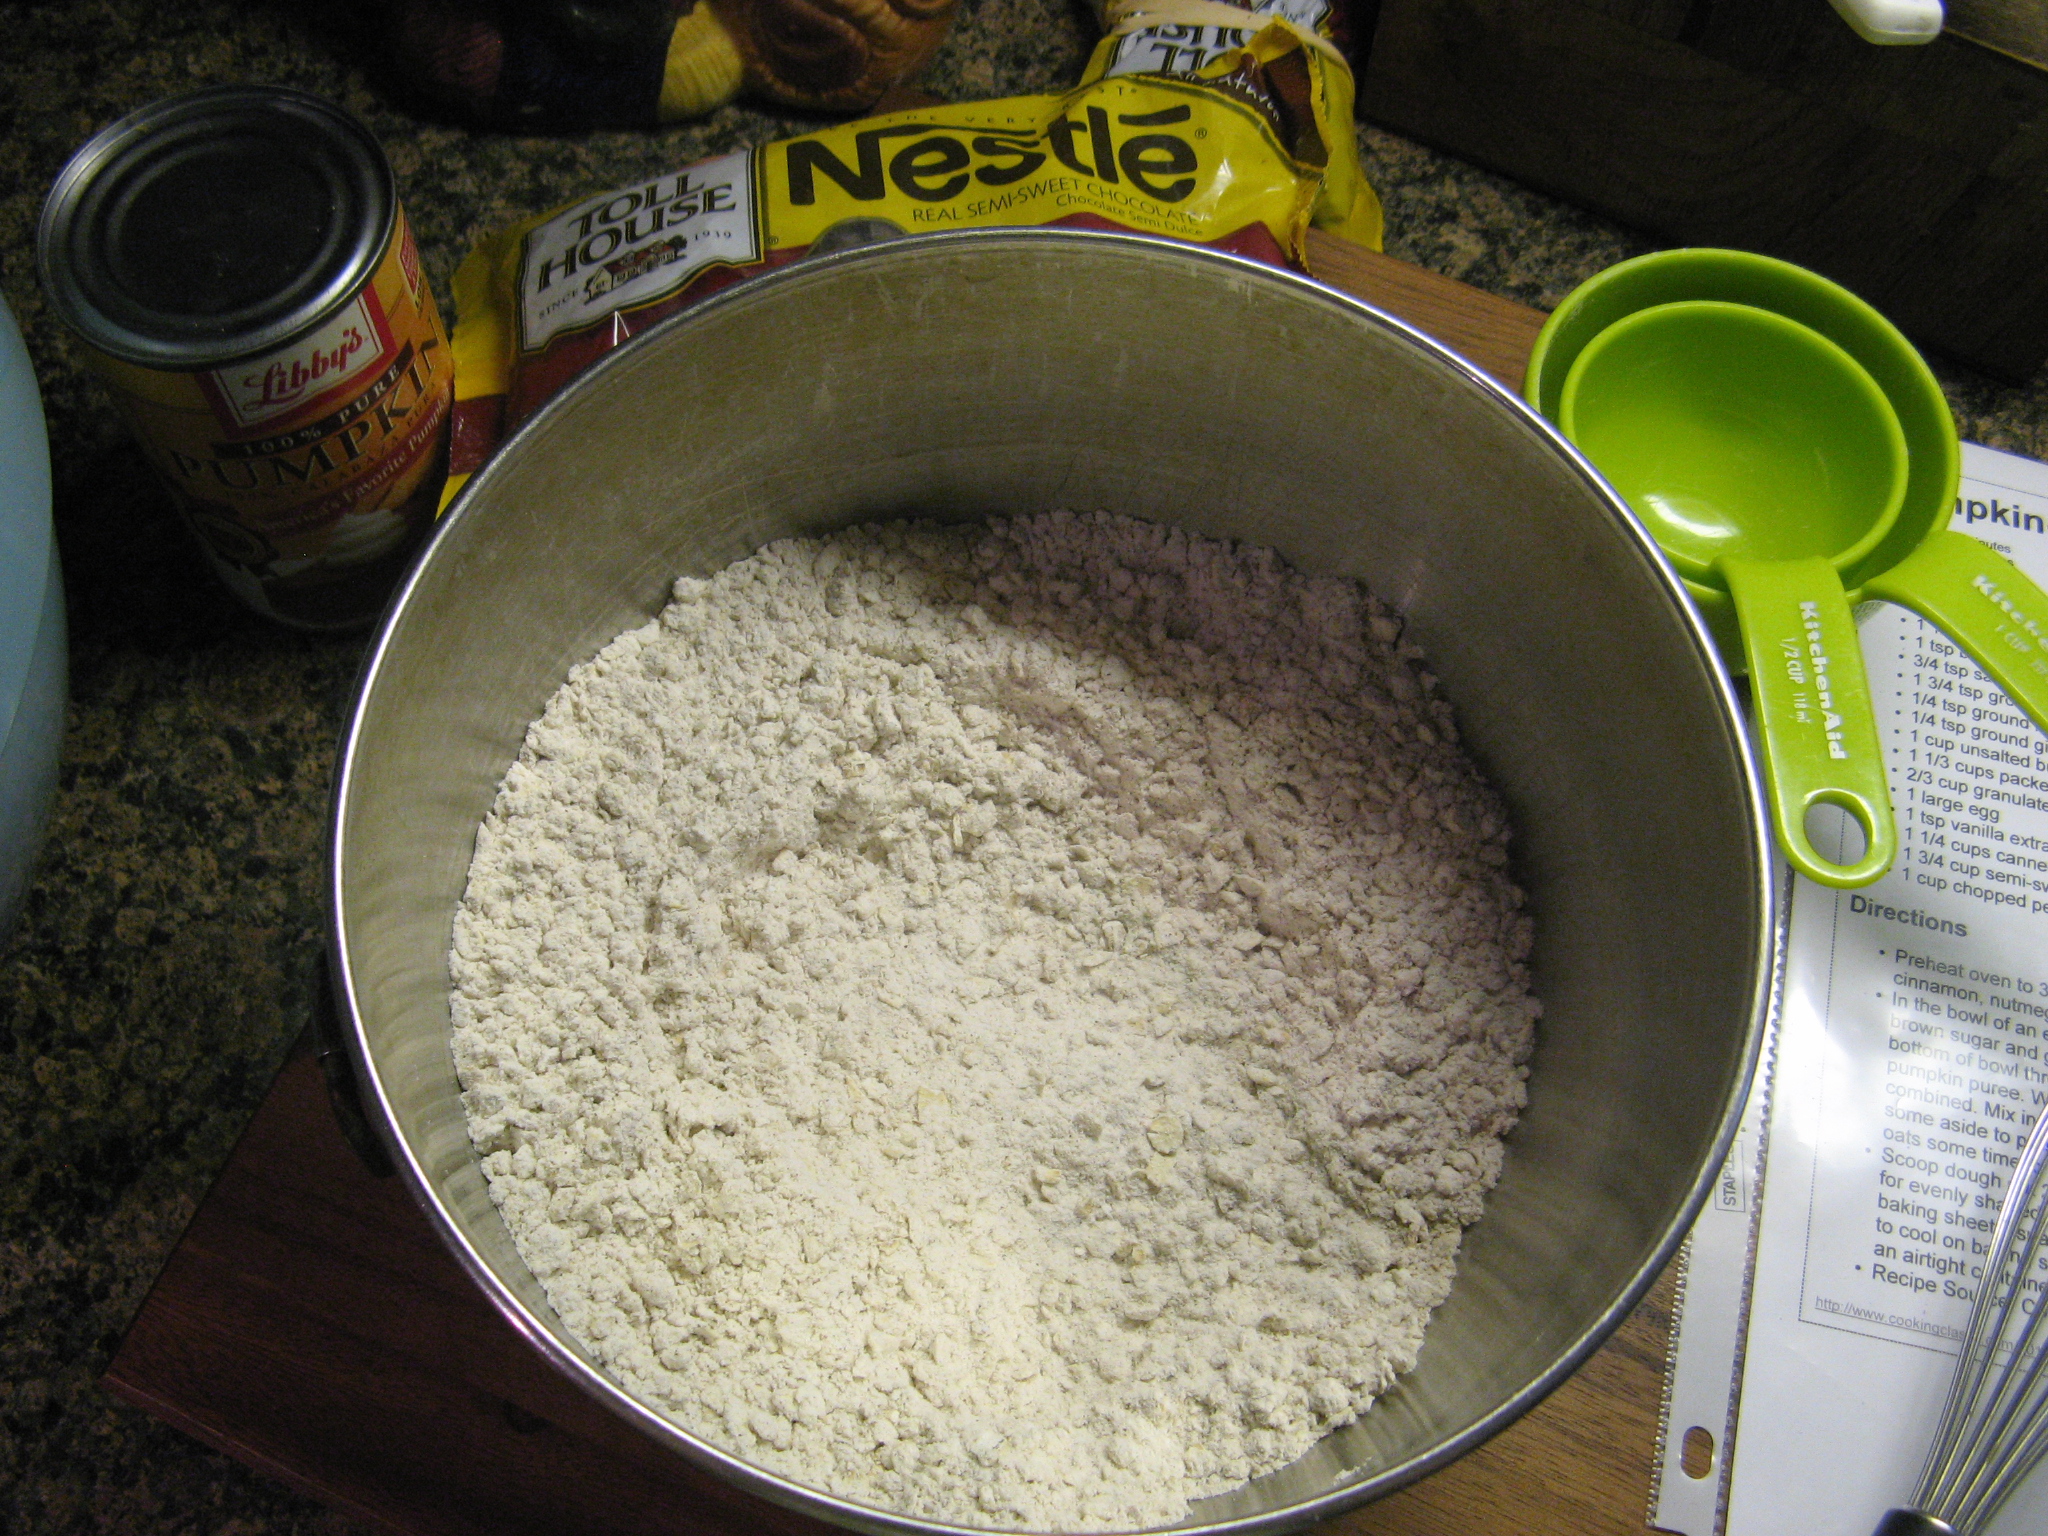
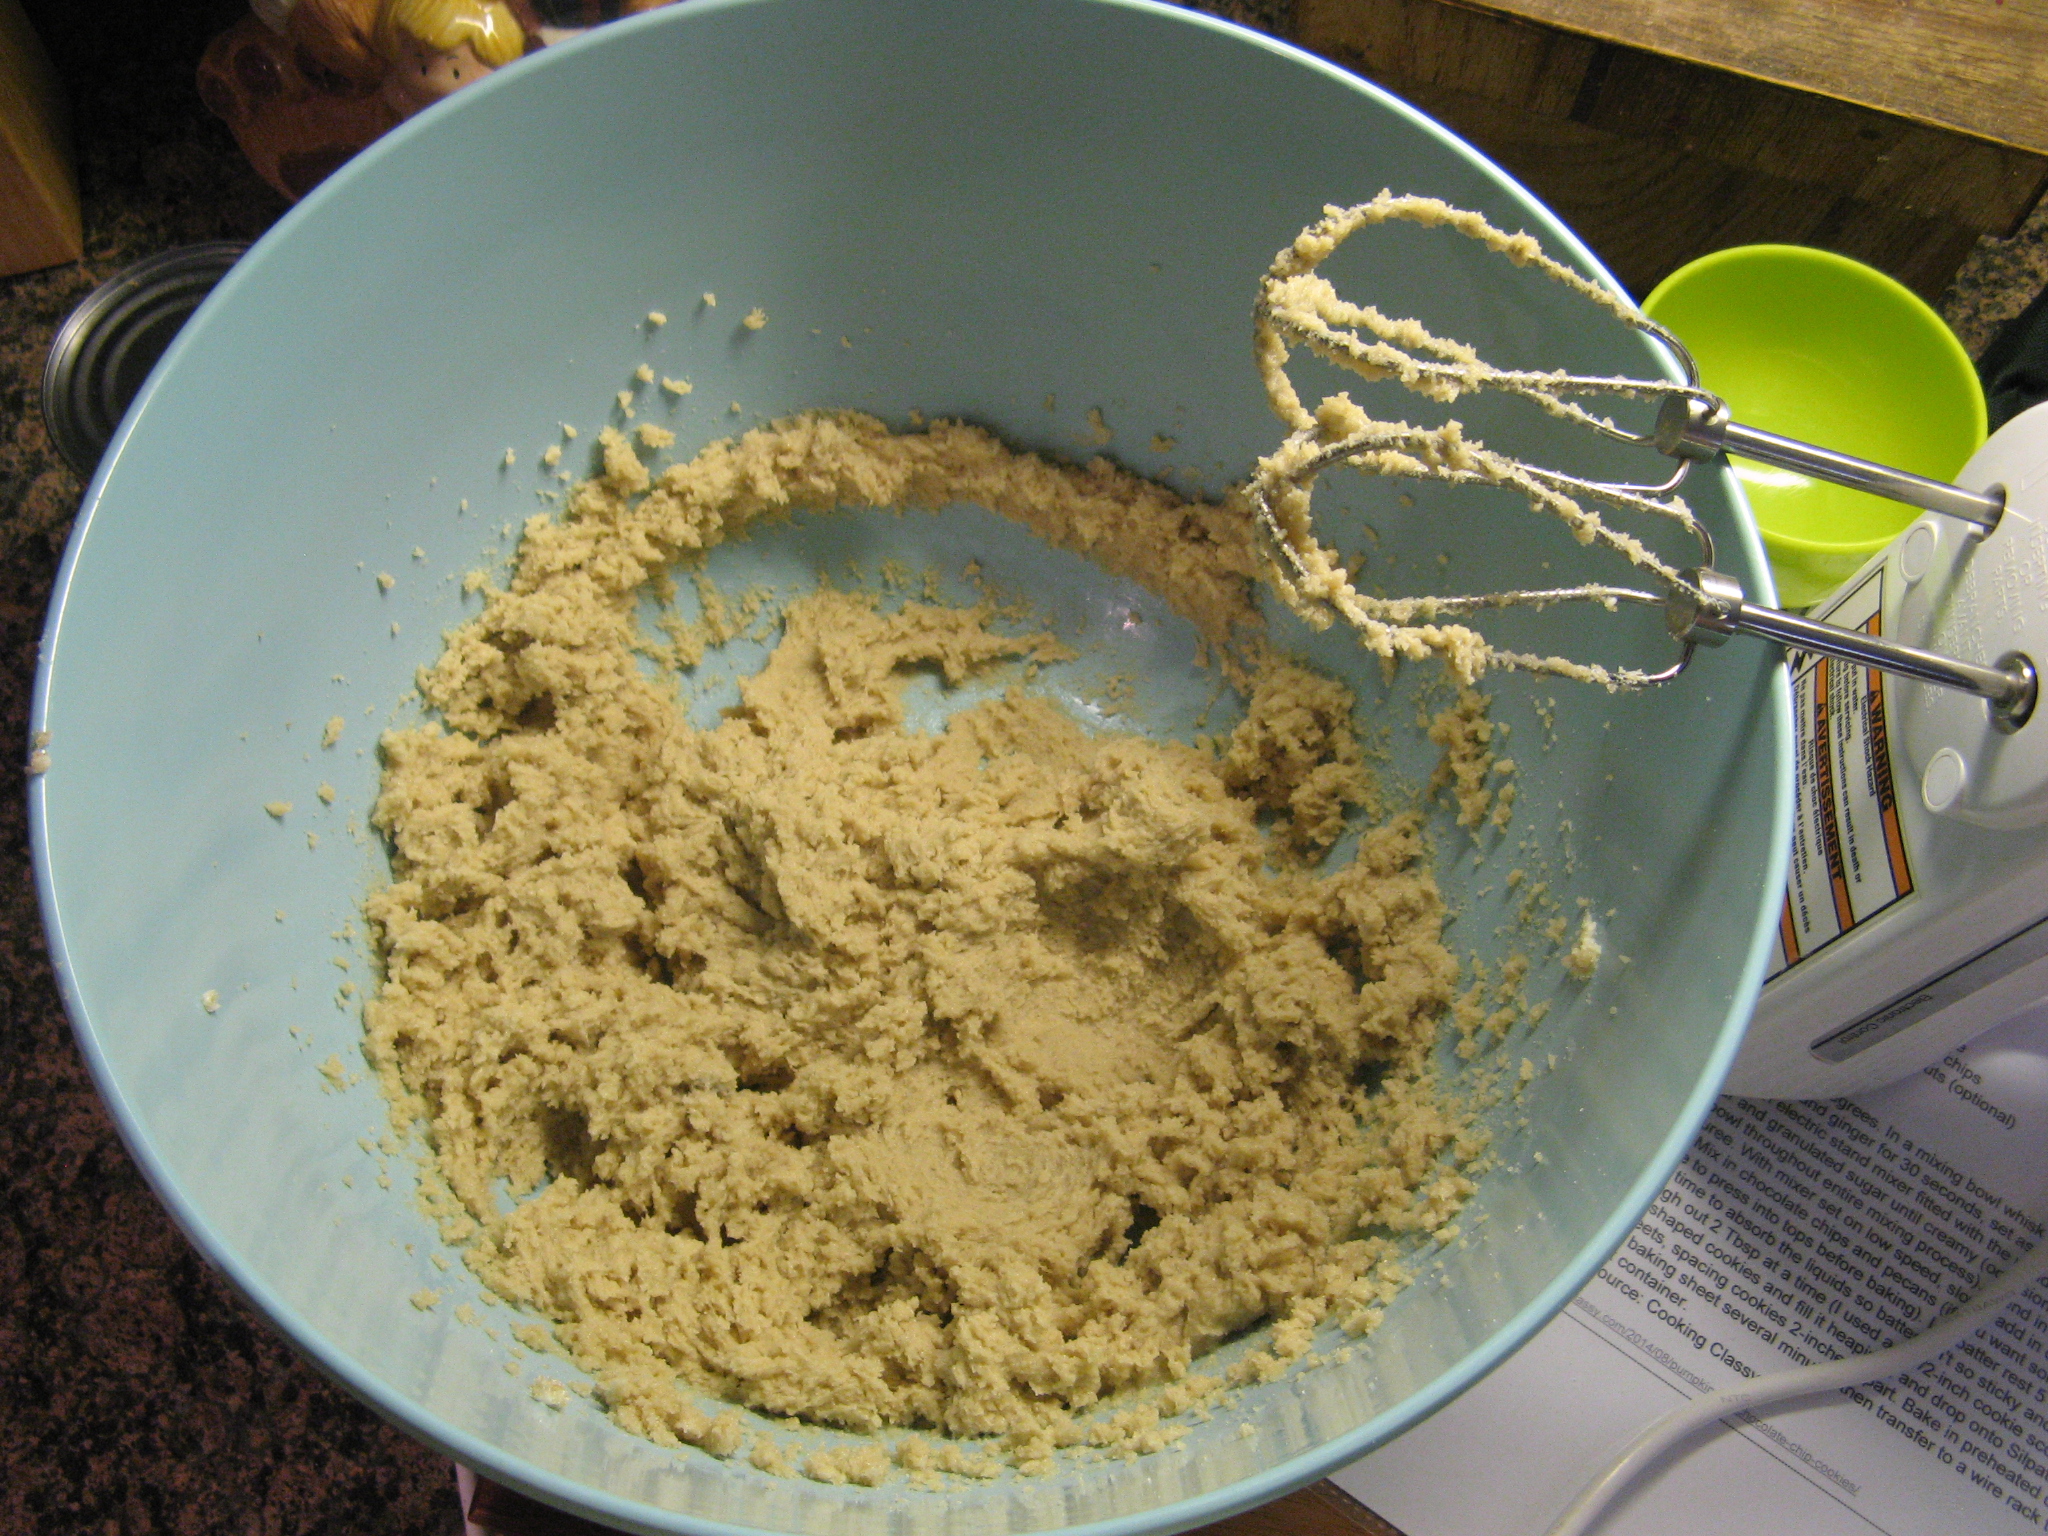
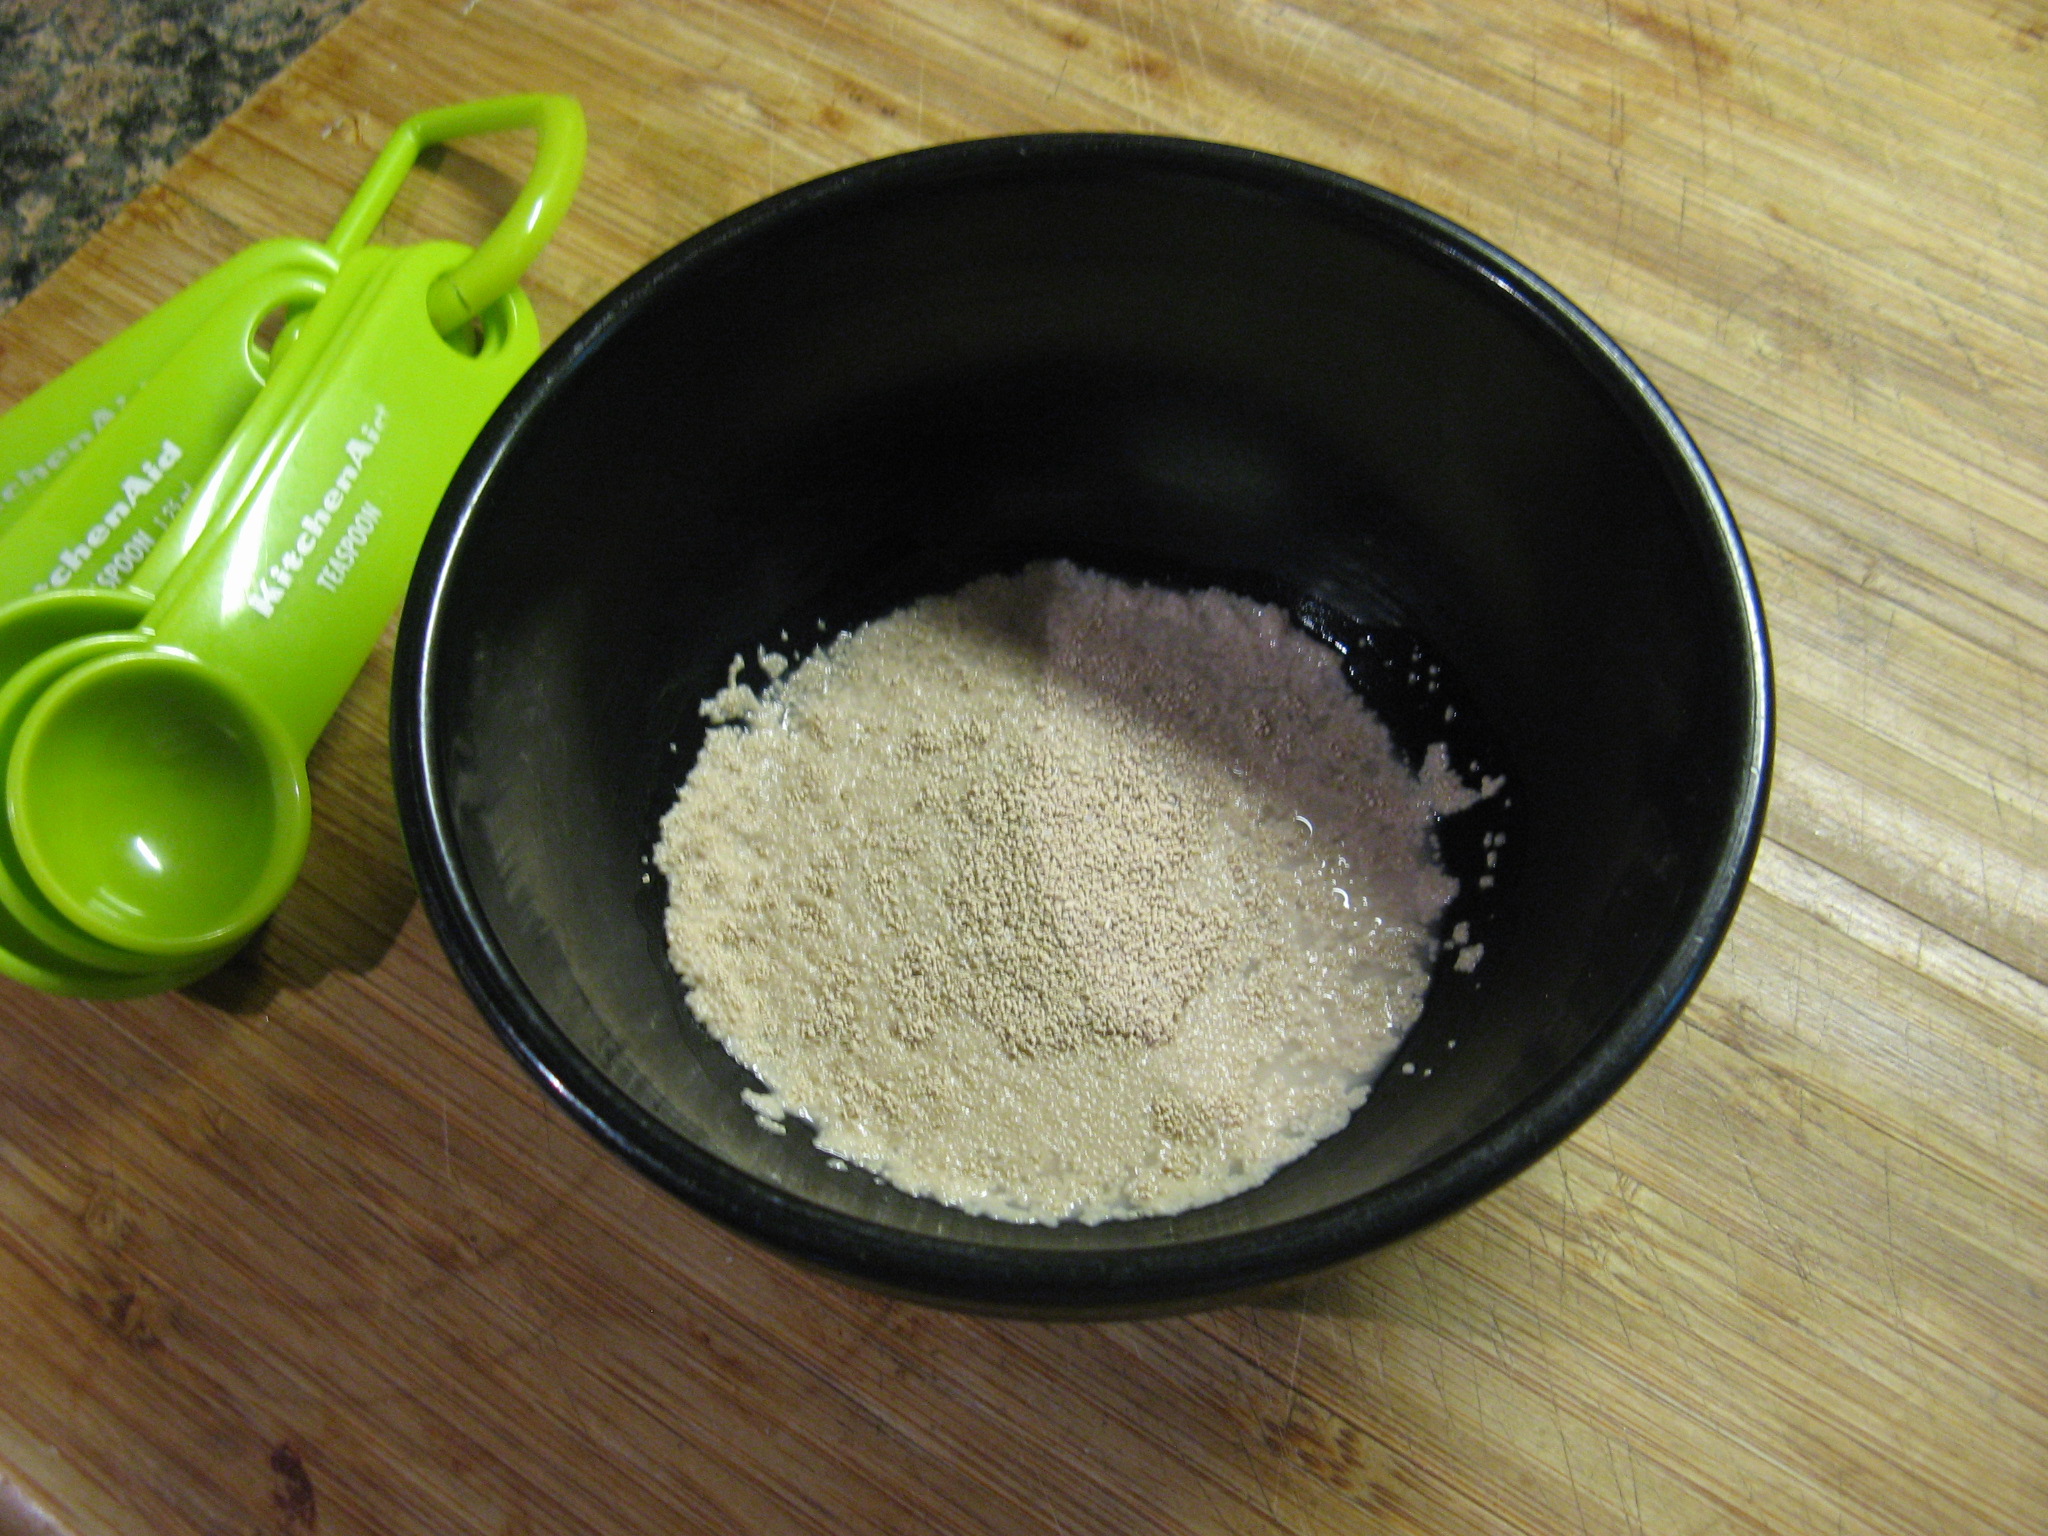
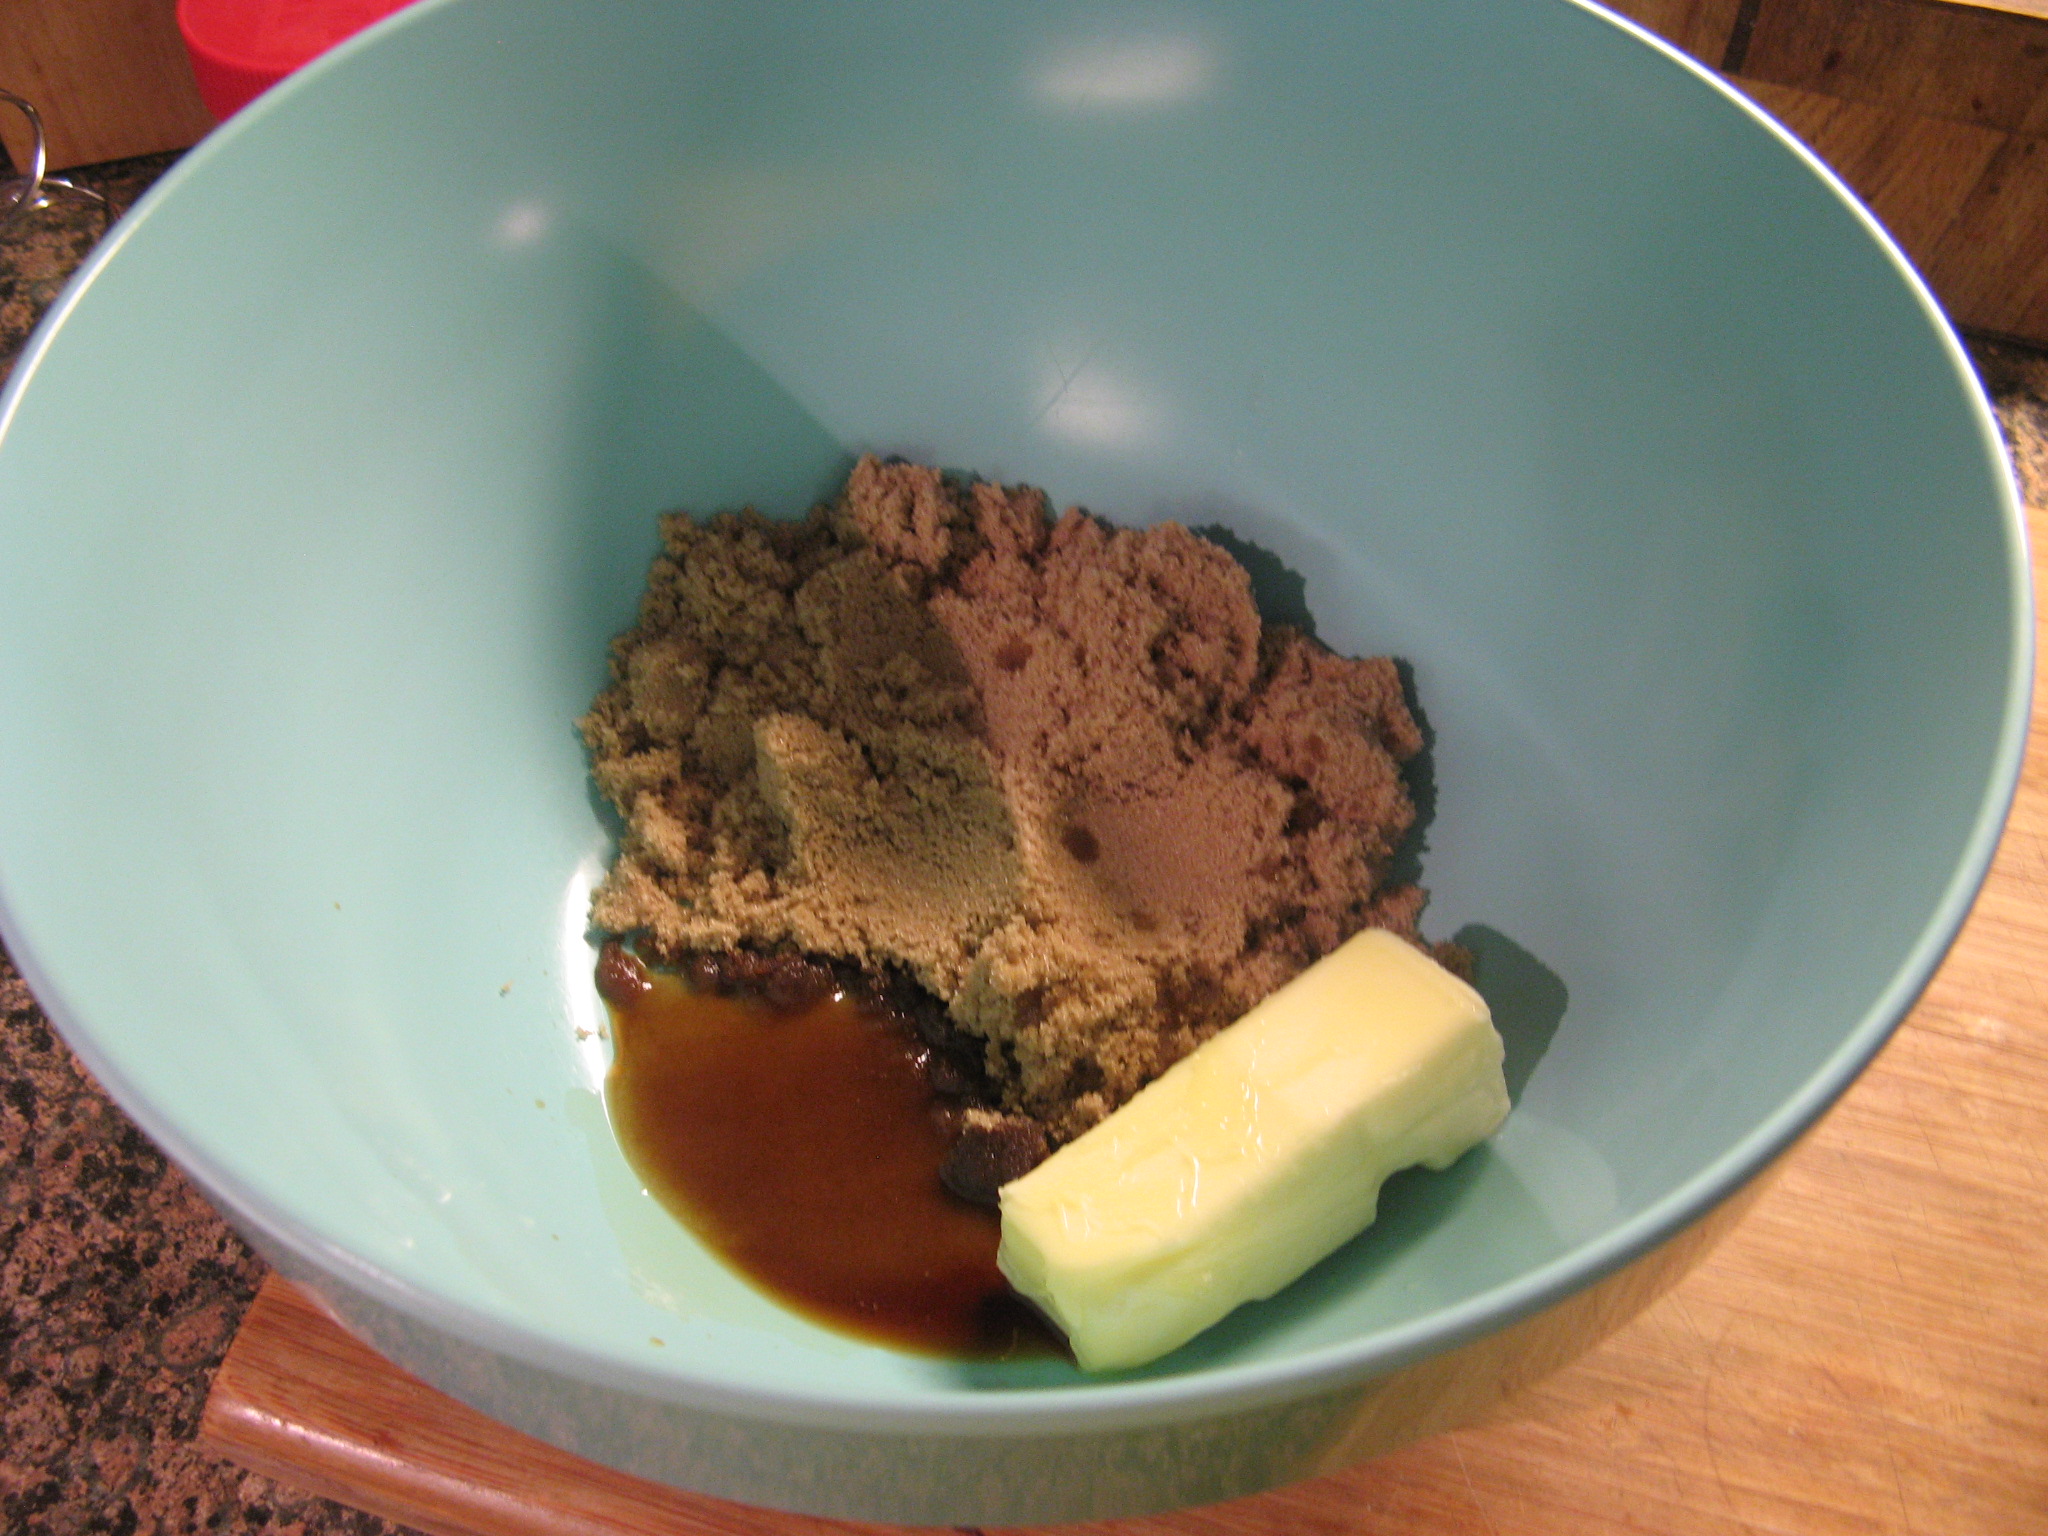
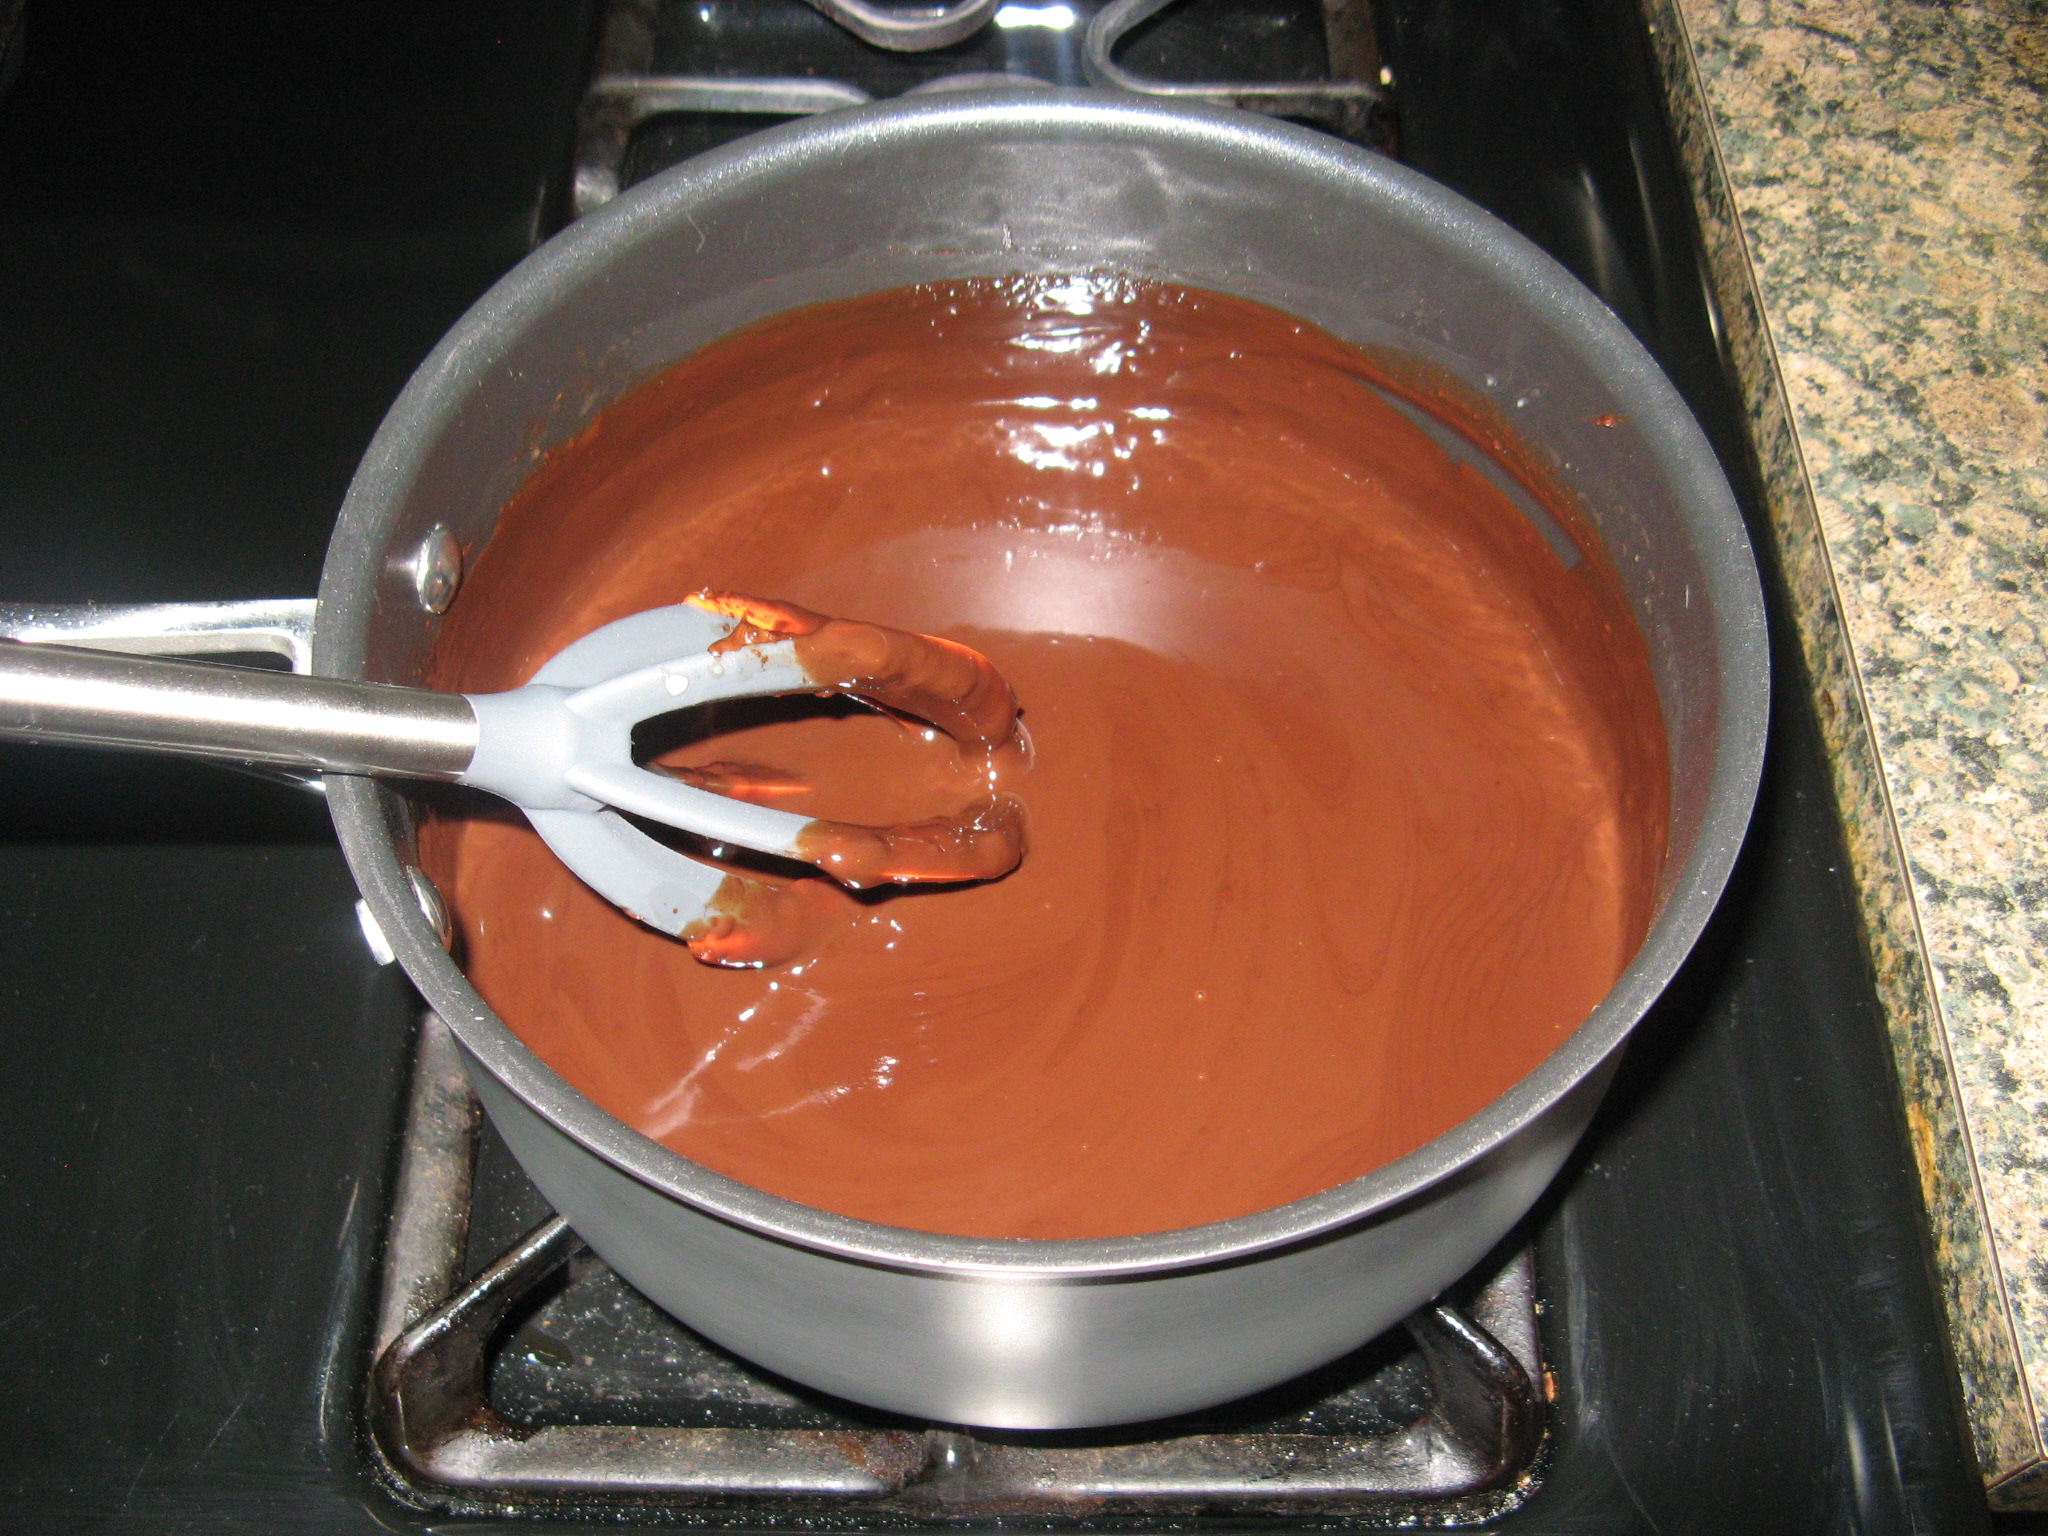
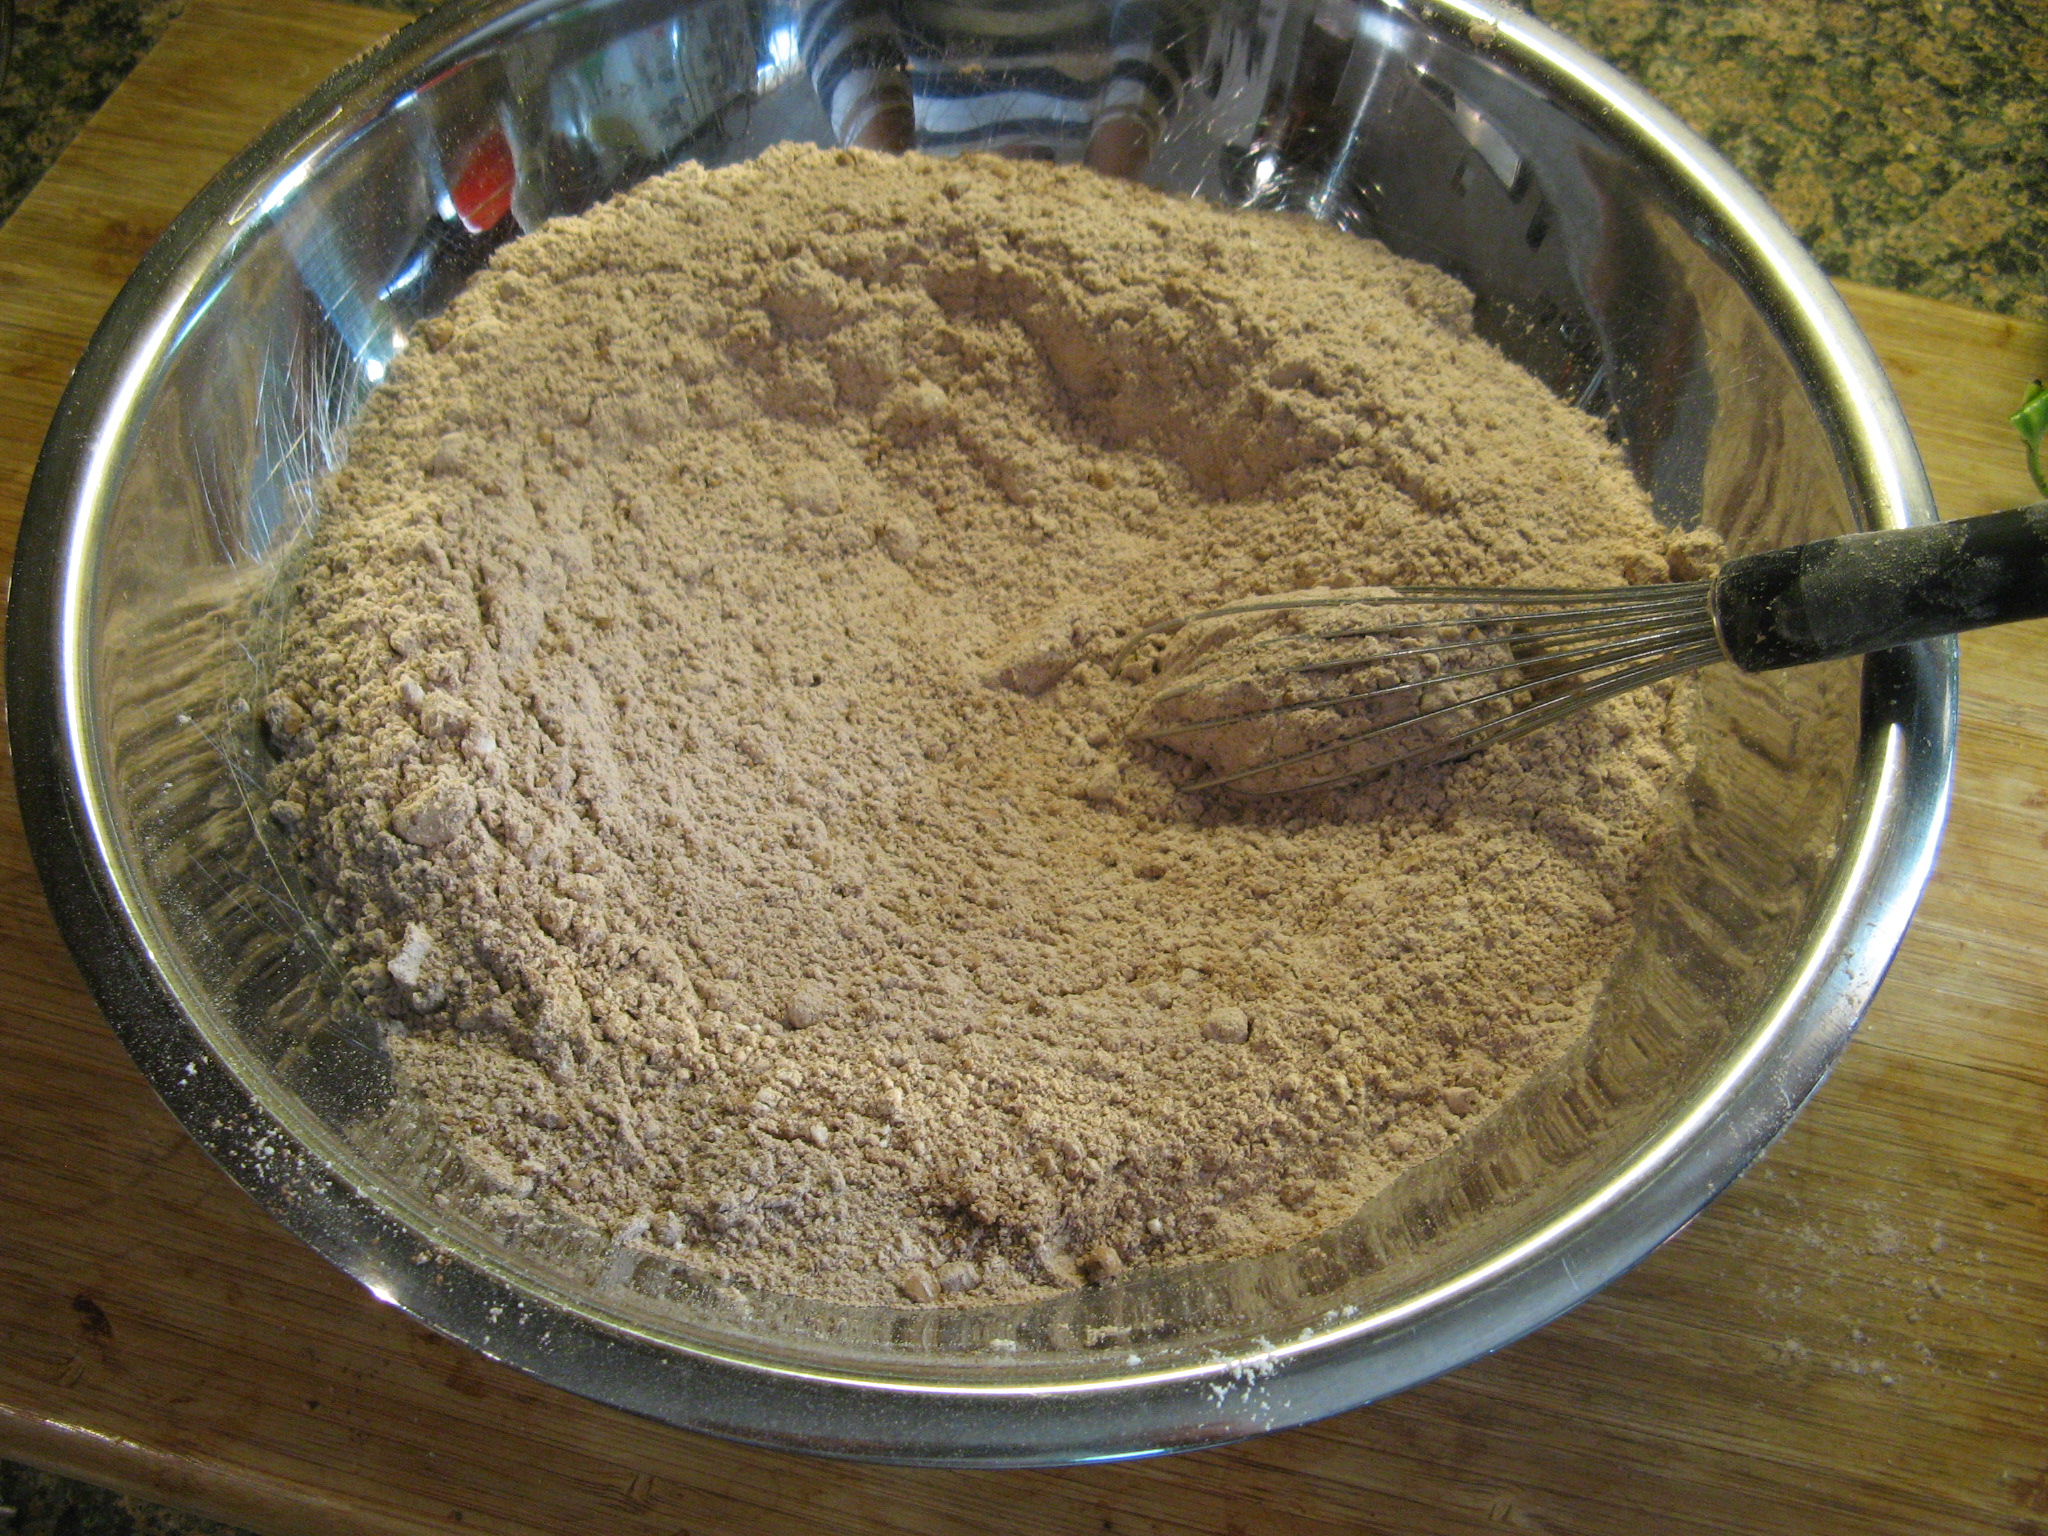
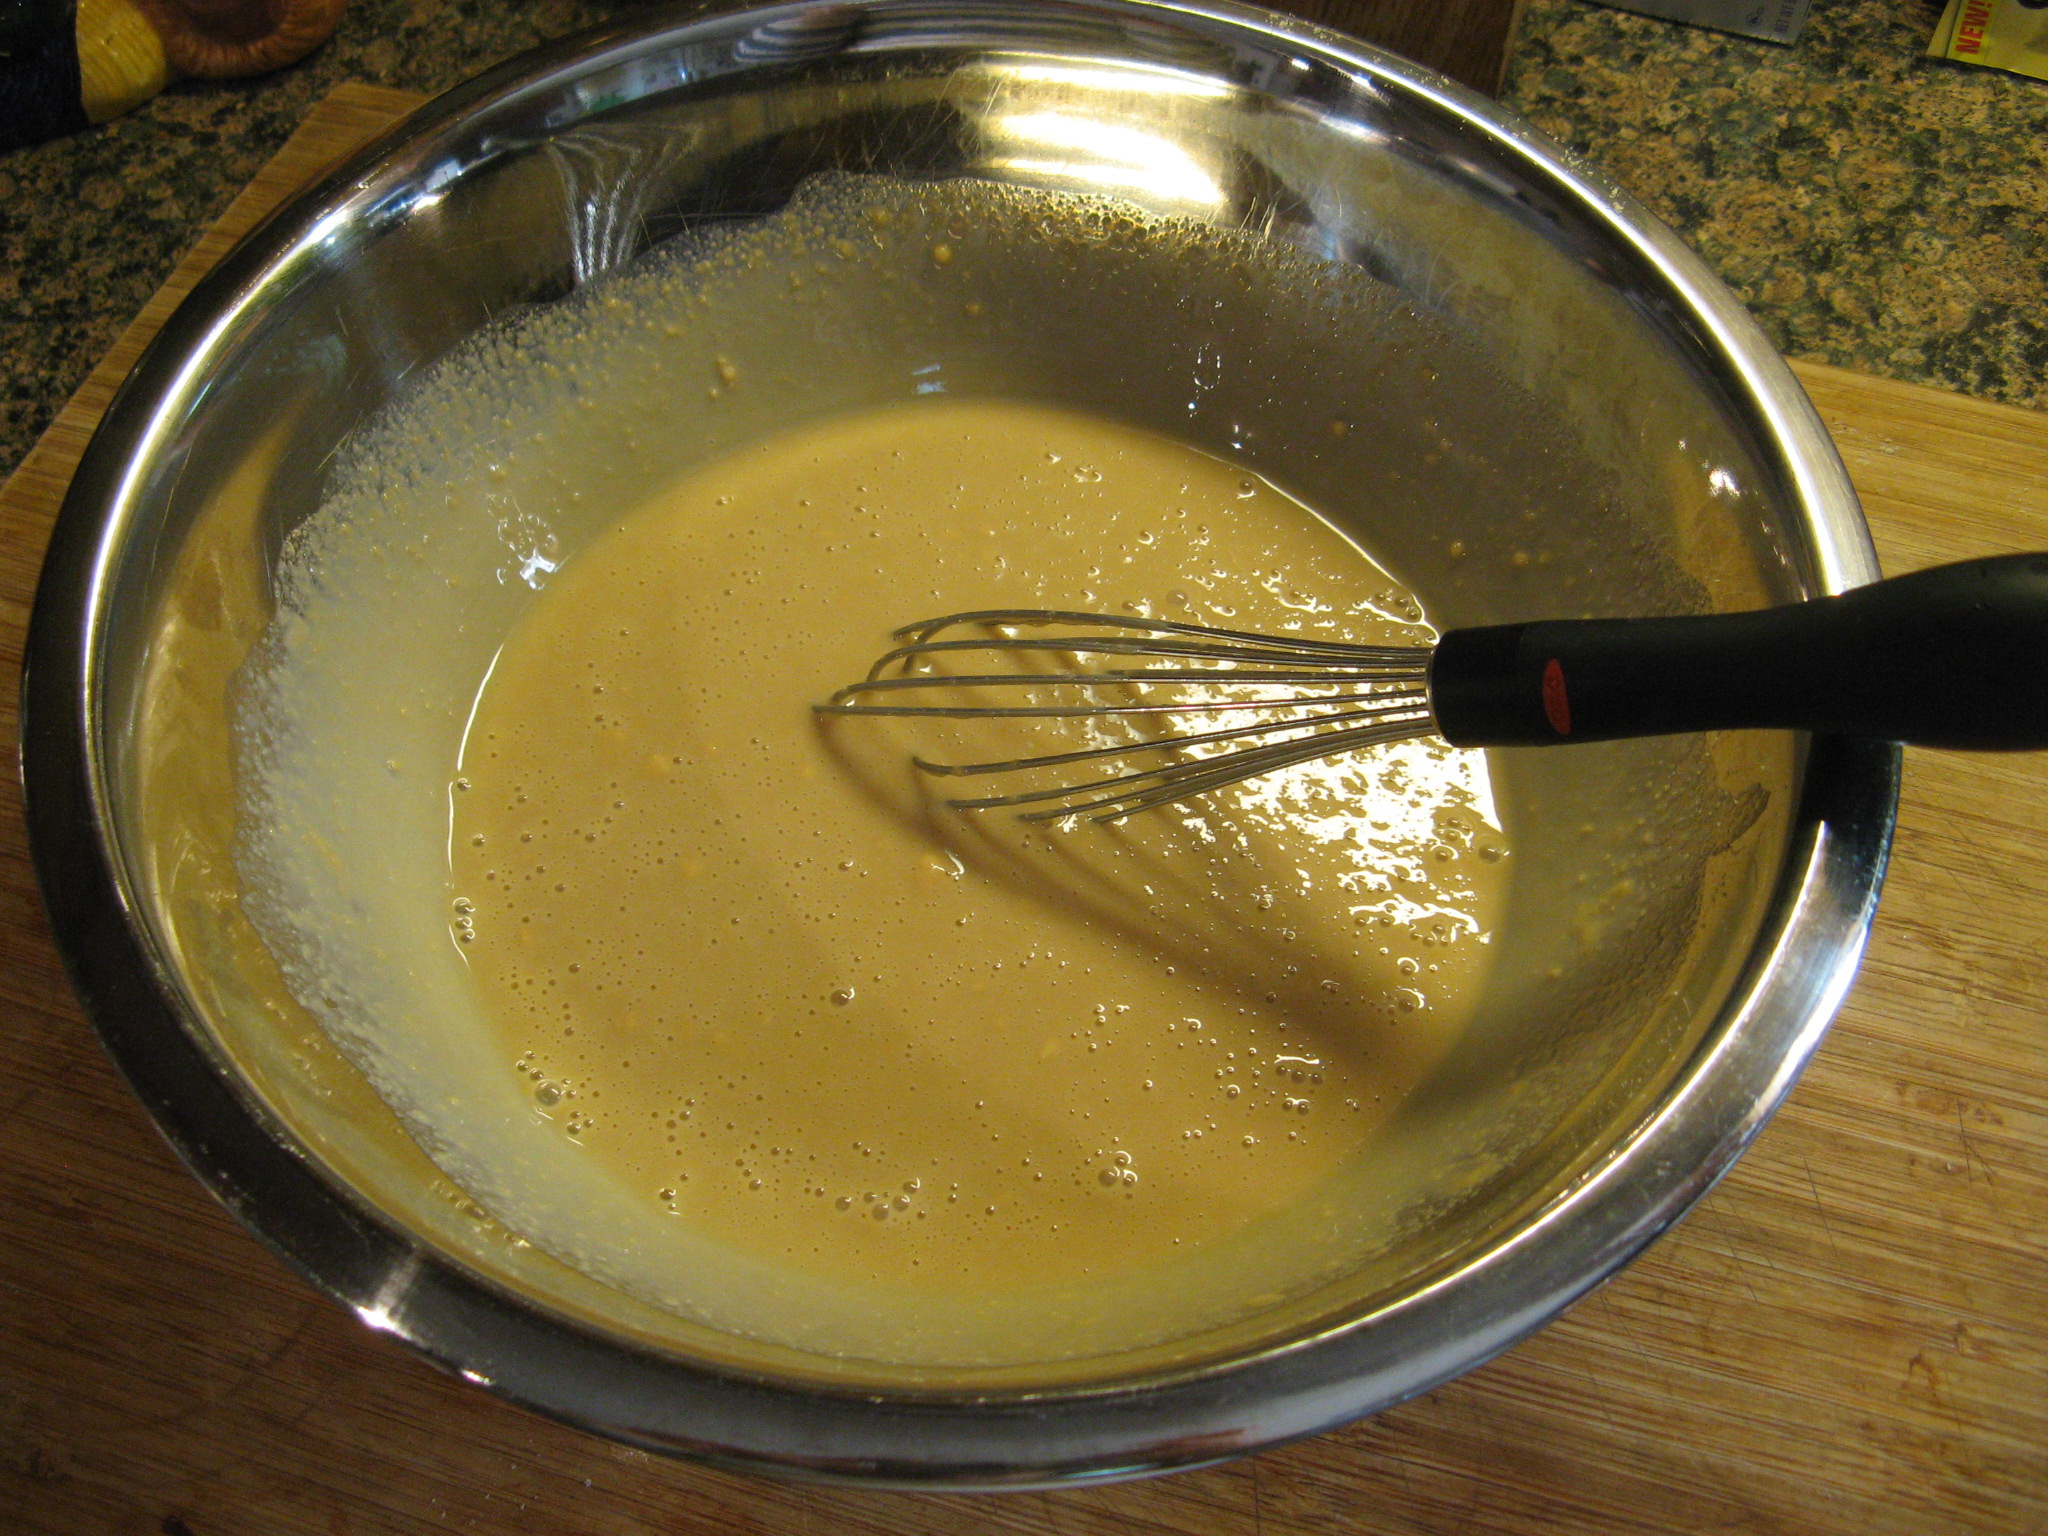
To begin I whisked together my dry ingredients (flour, cocoa powder, sugar, light brown sugar, baking soda and salt) in one bowl and malted milk powder and milk in another bowl.

IMG_2867 IMG_2868

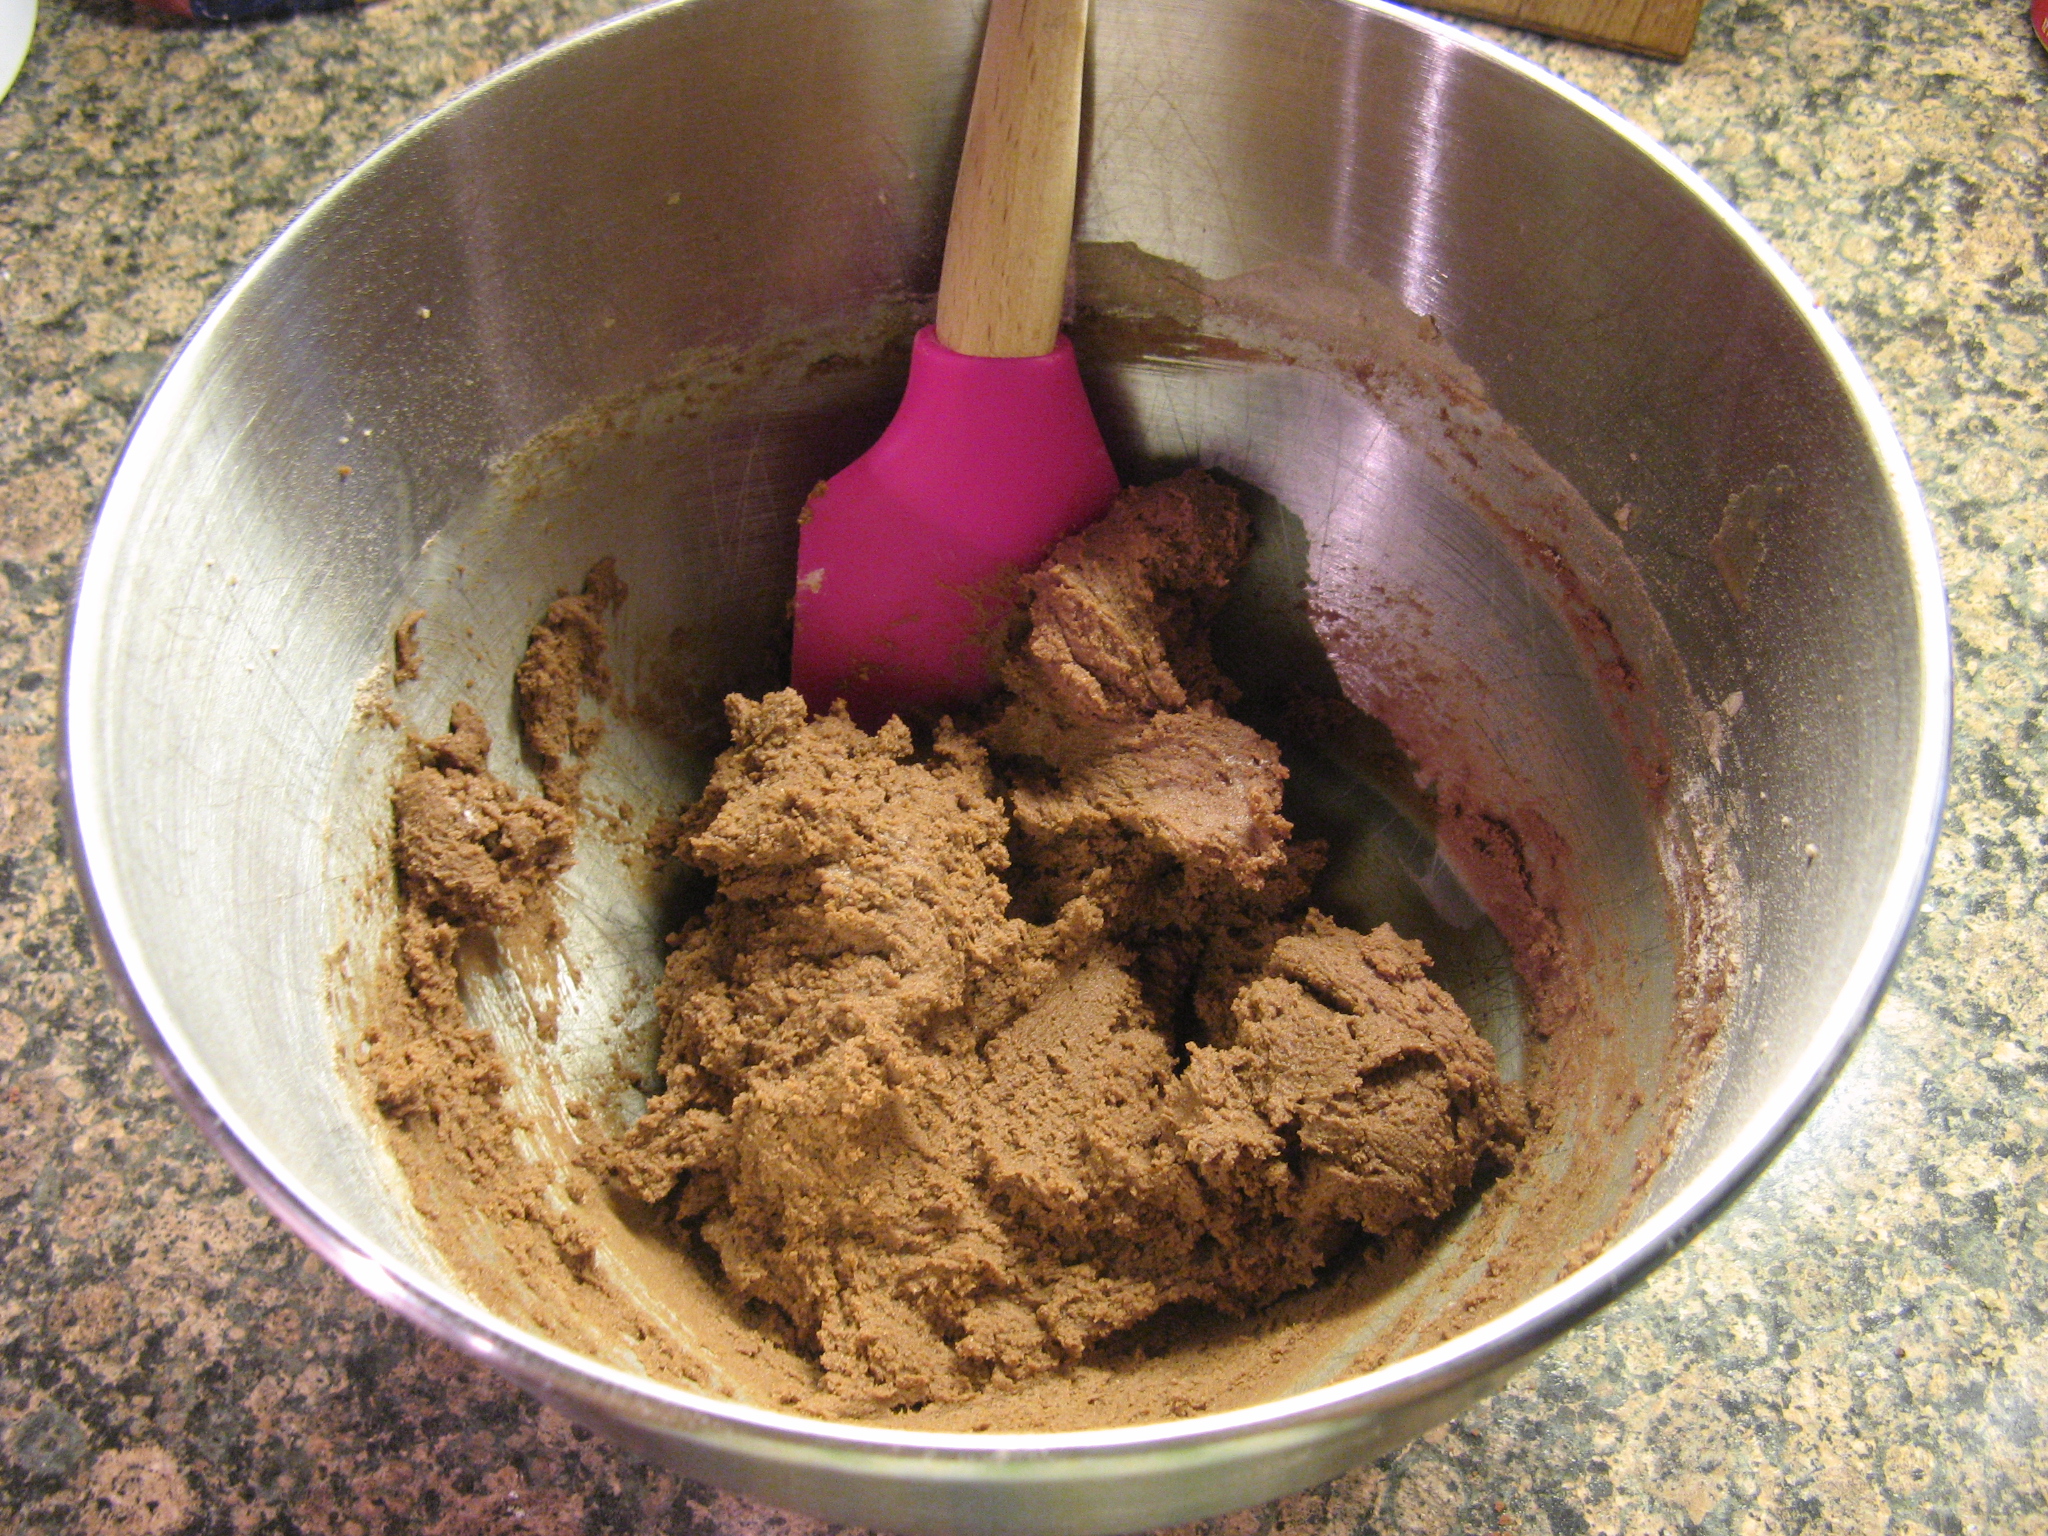
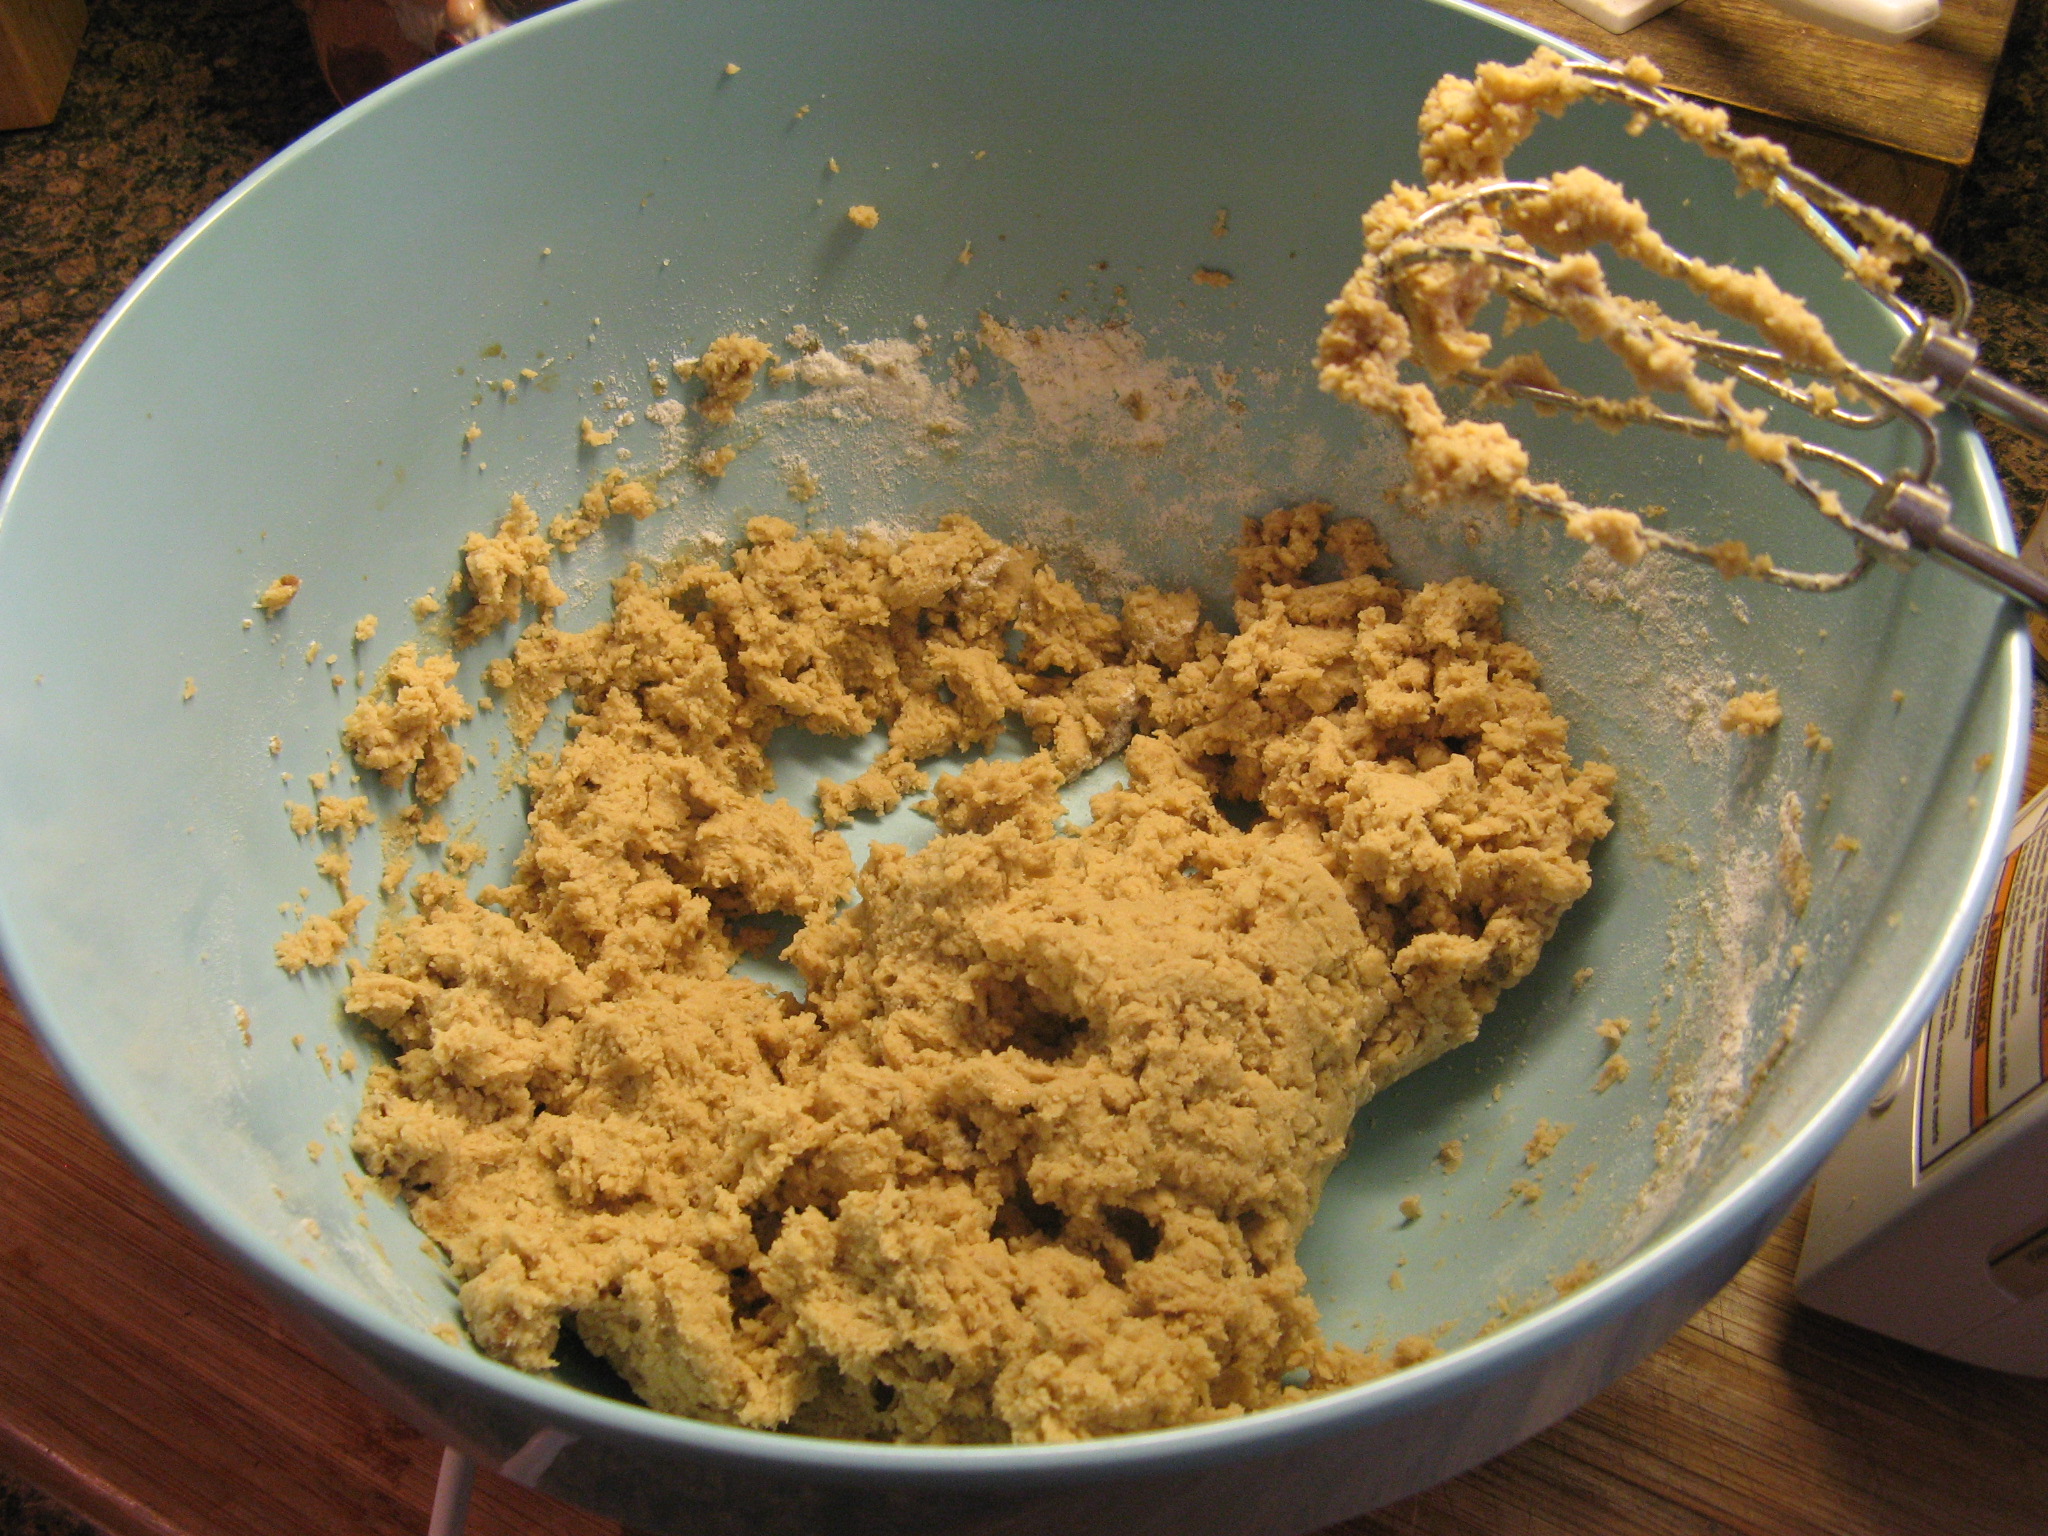
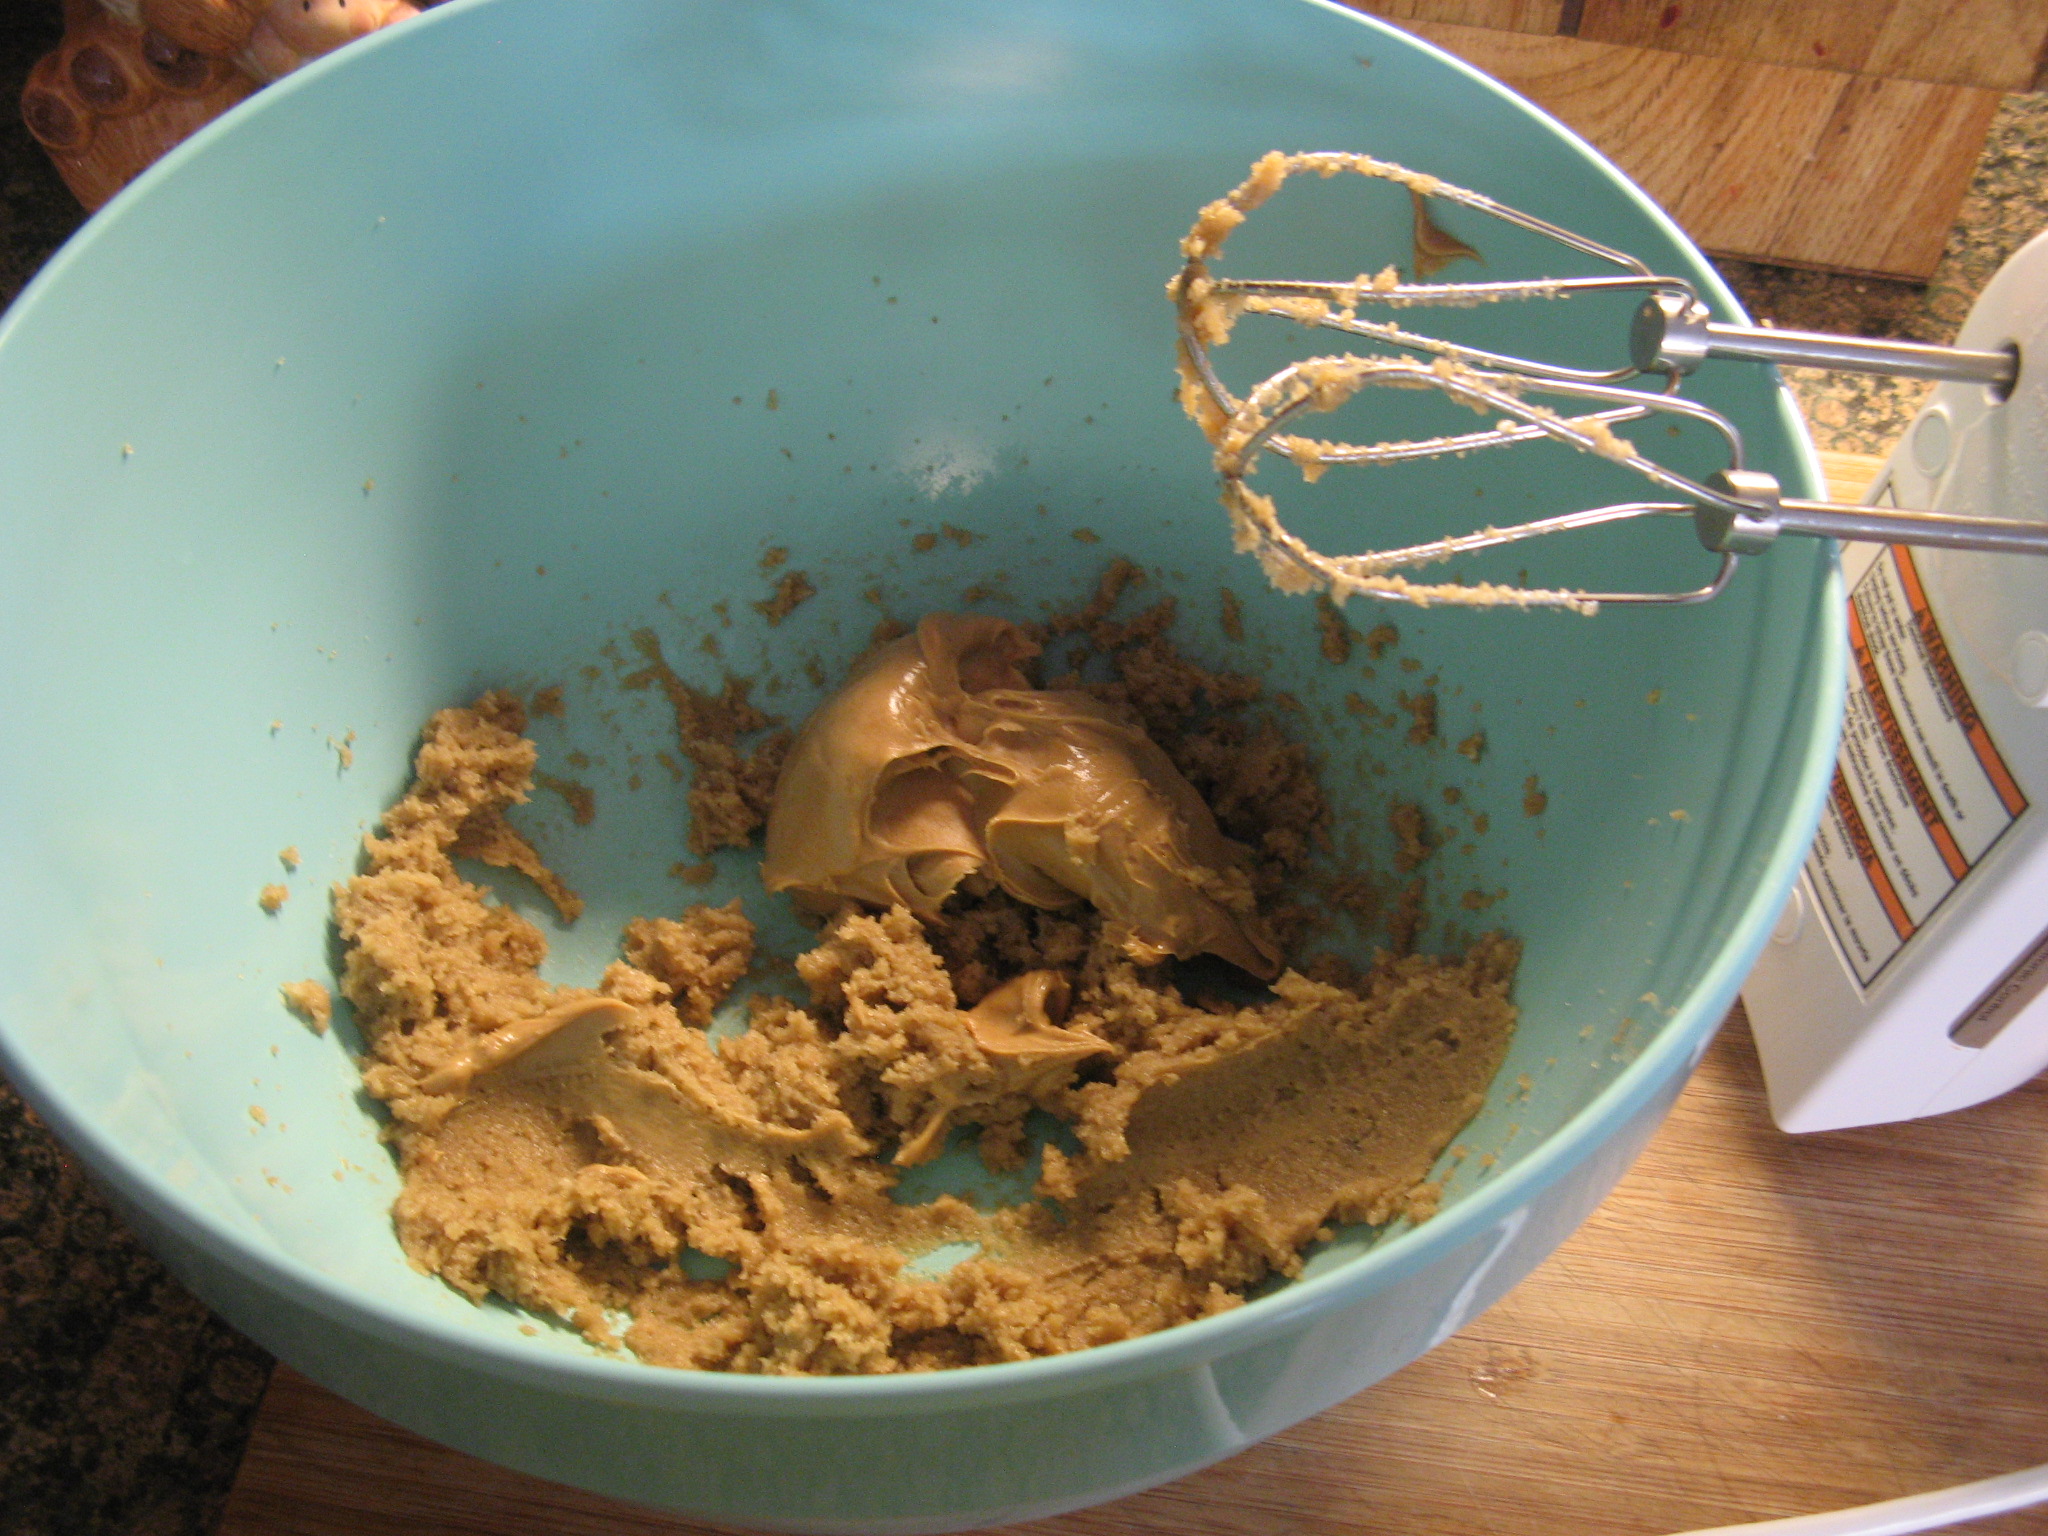
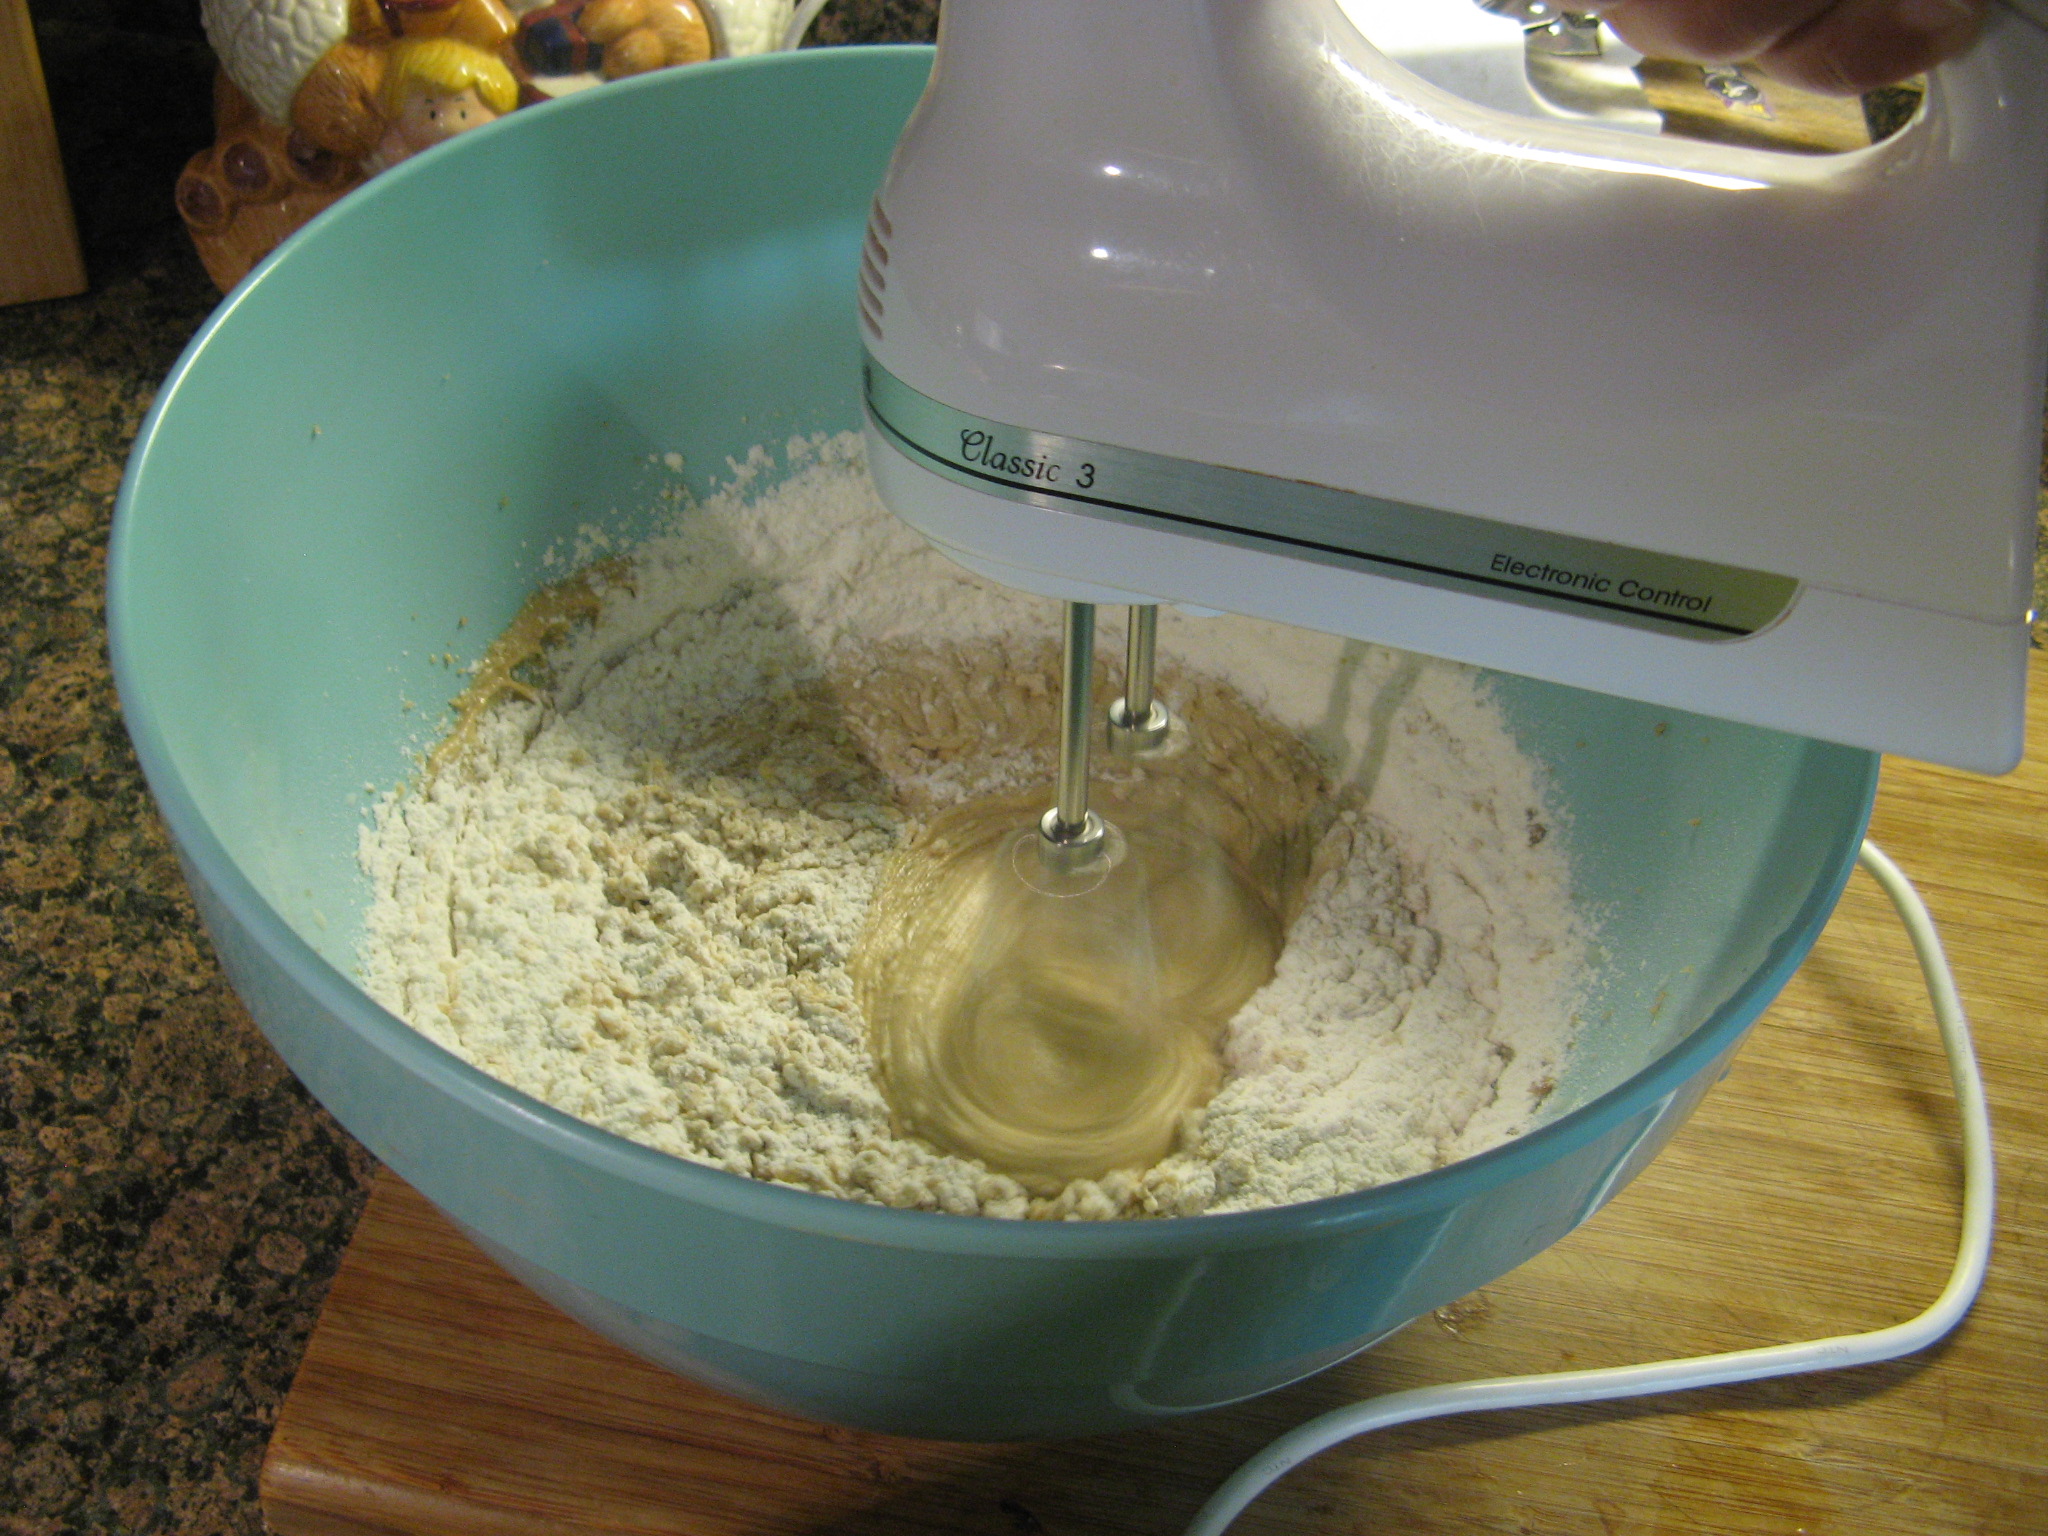
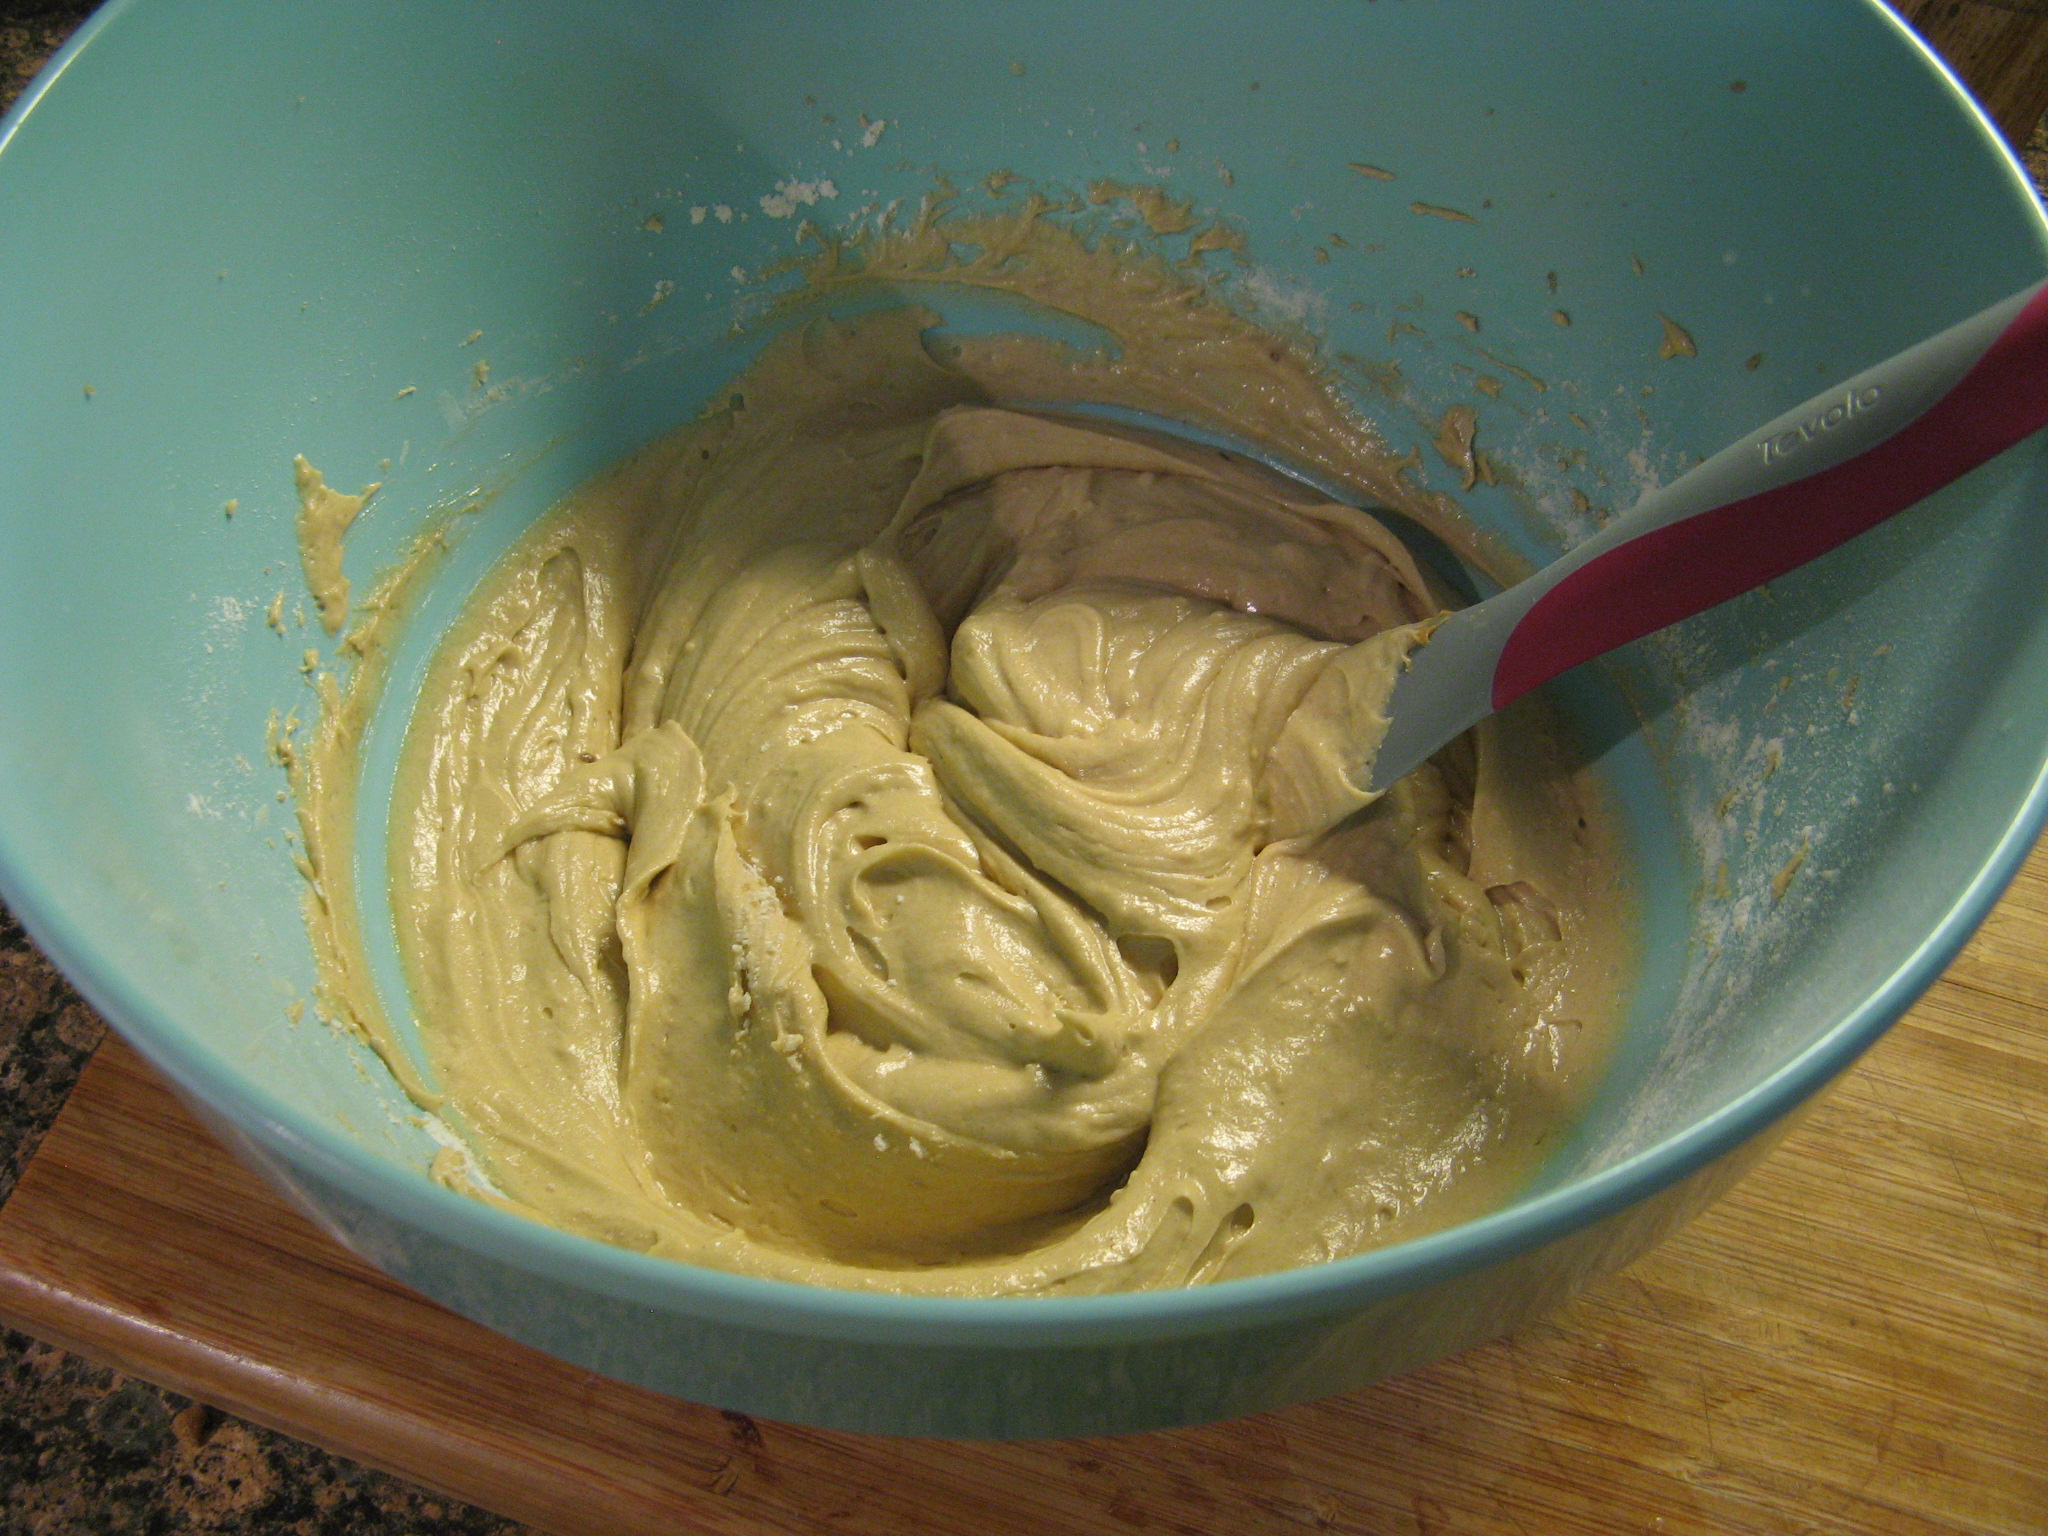
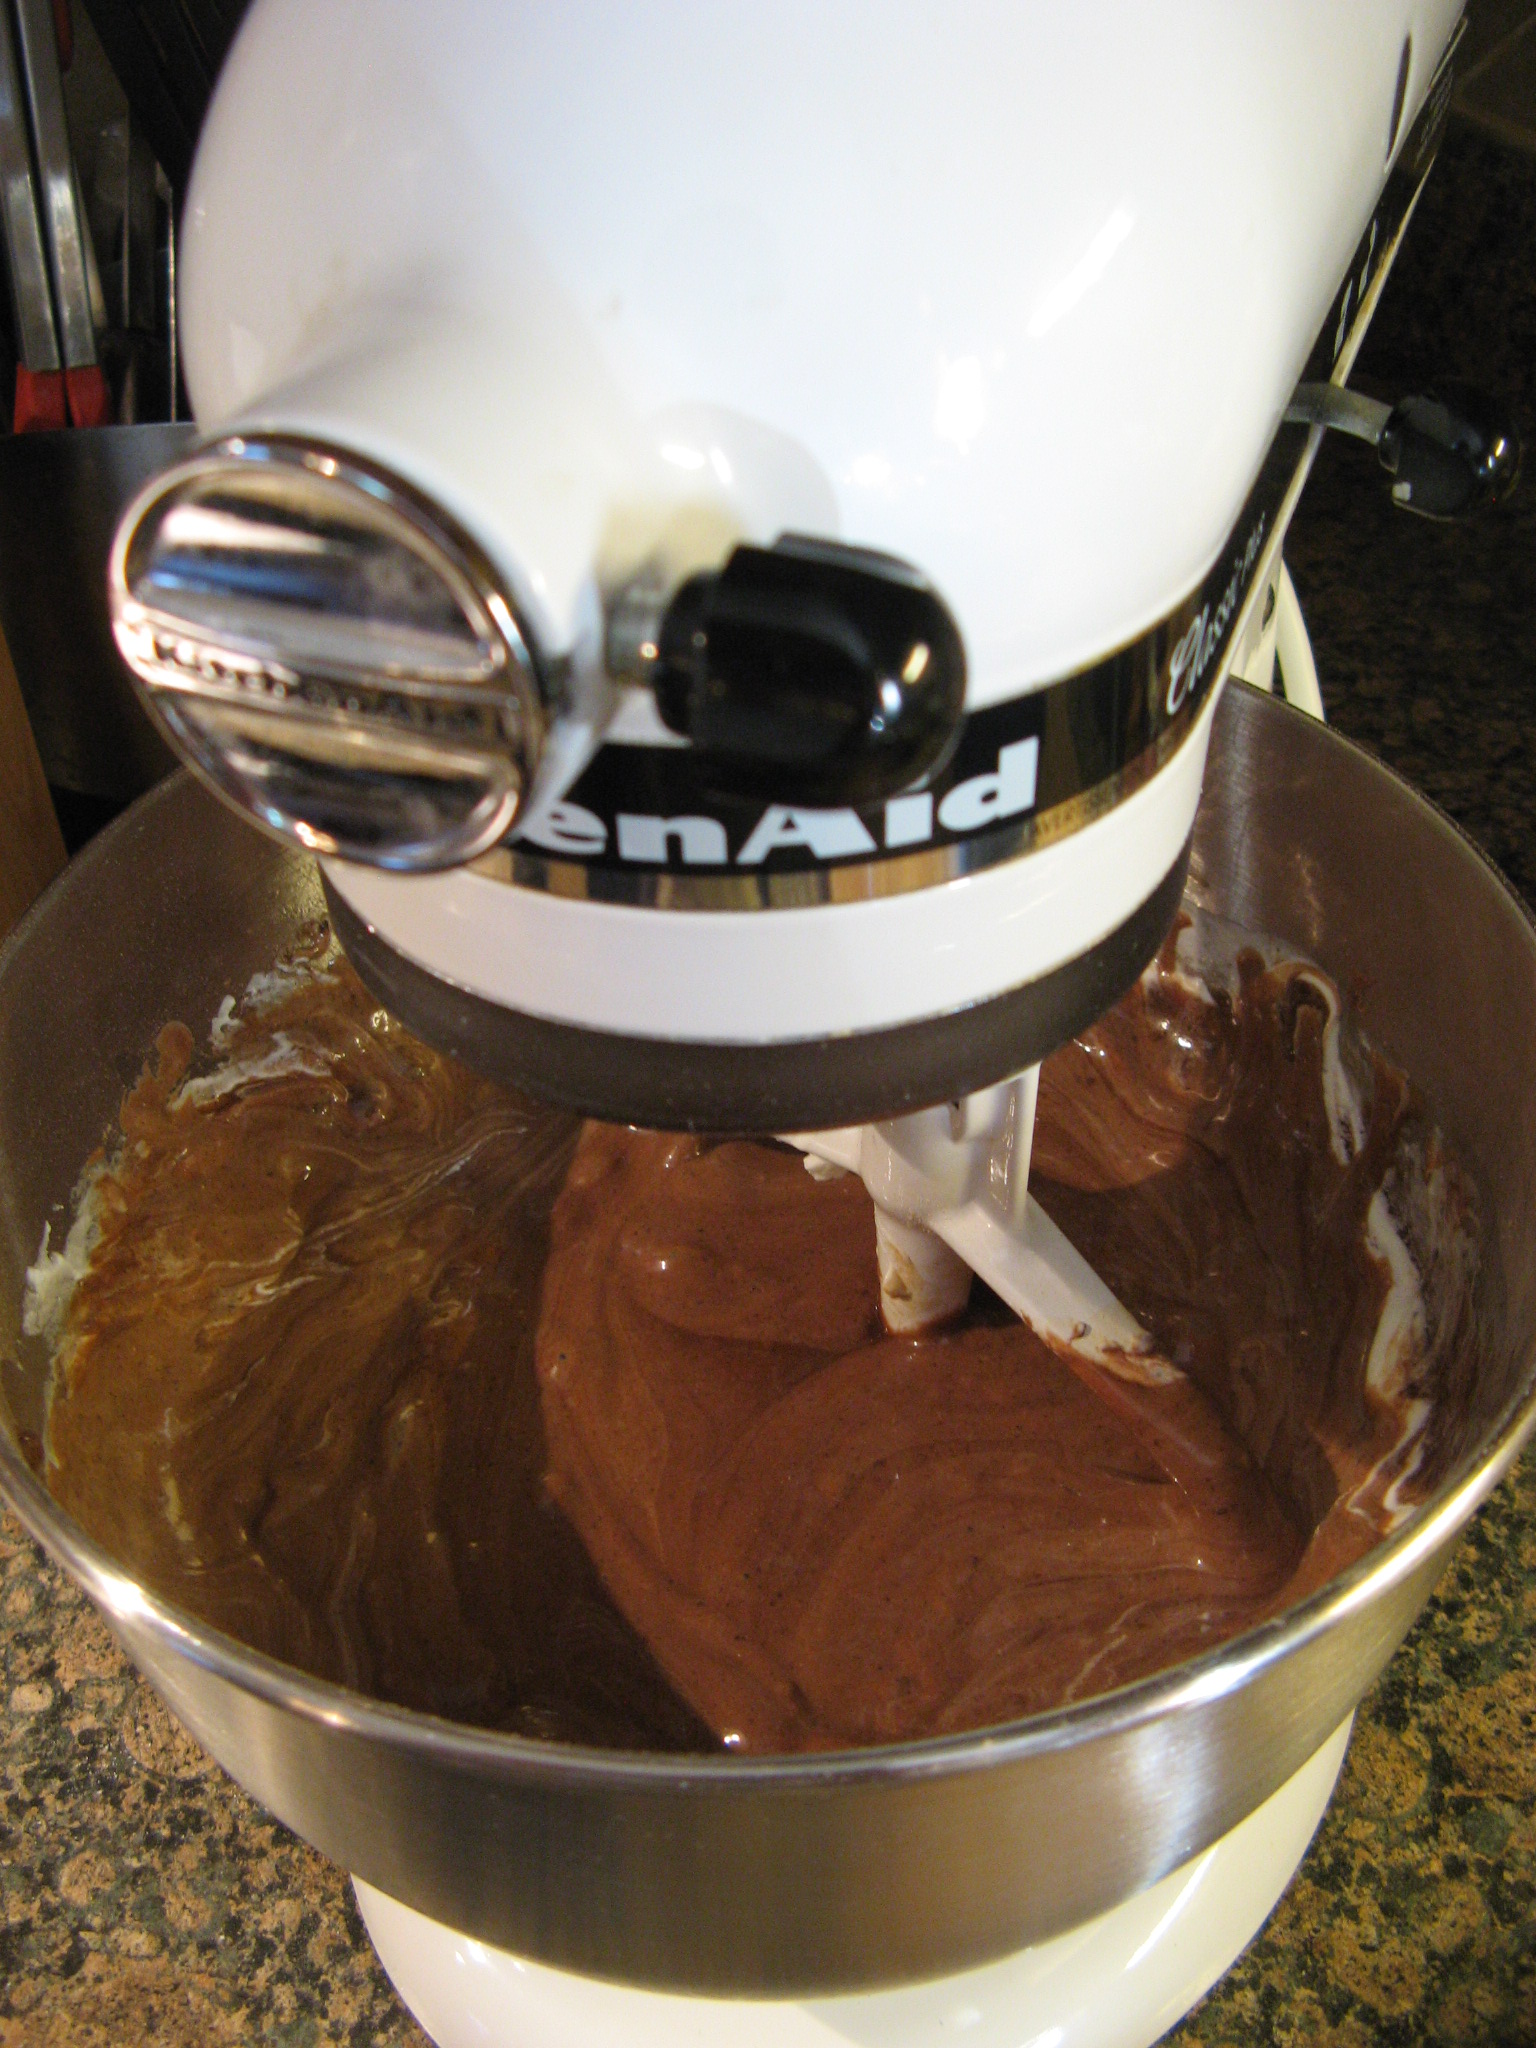
Once that was done I combined both of these mixtures along with vegetable oil in the bowl of my stand mixer and mixed it until it was combined.

IMG_2869

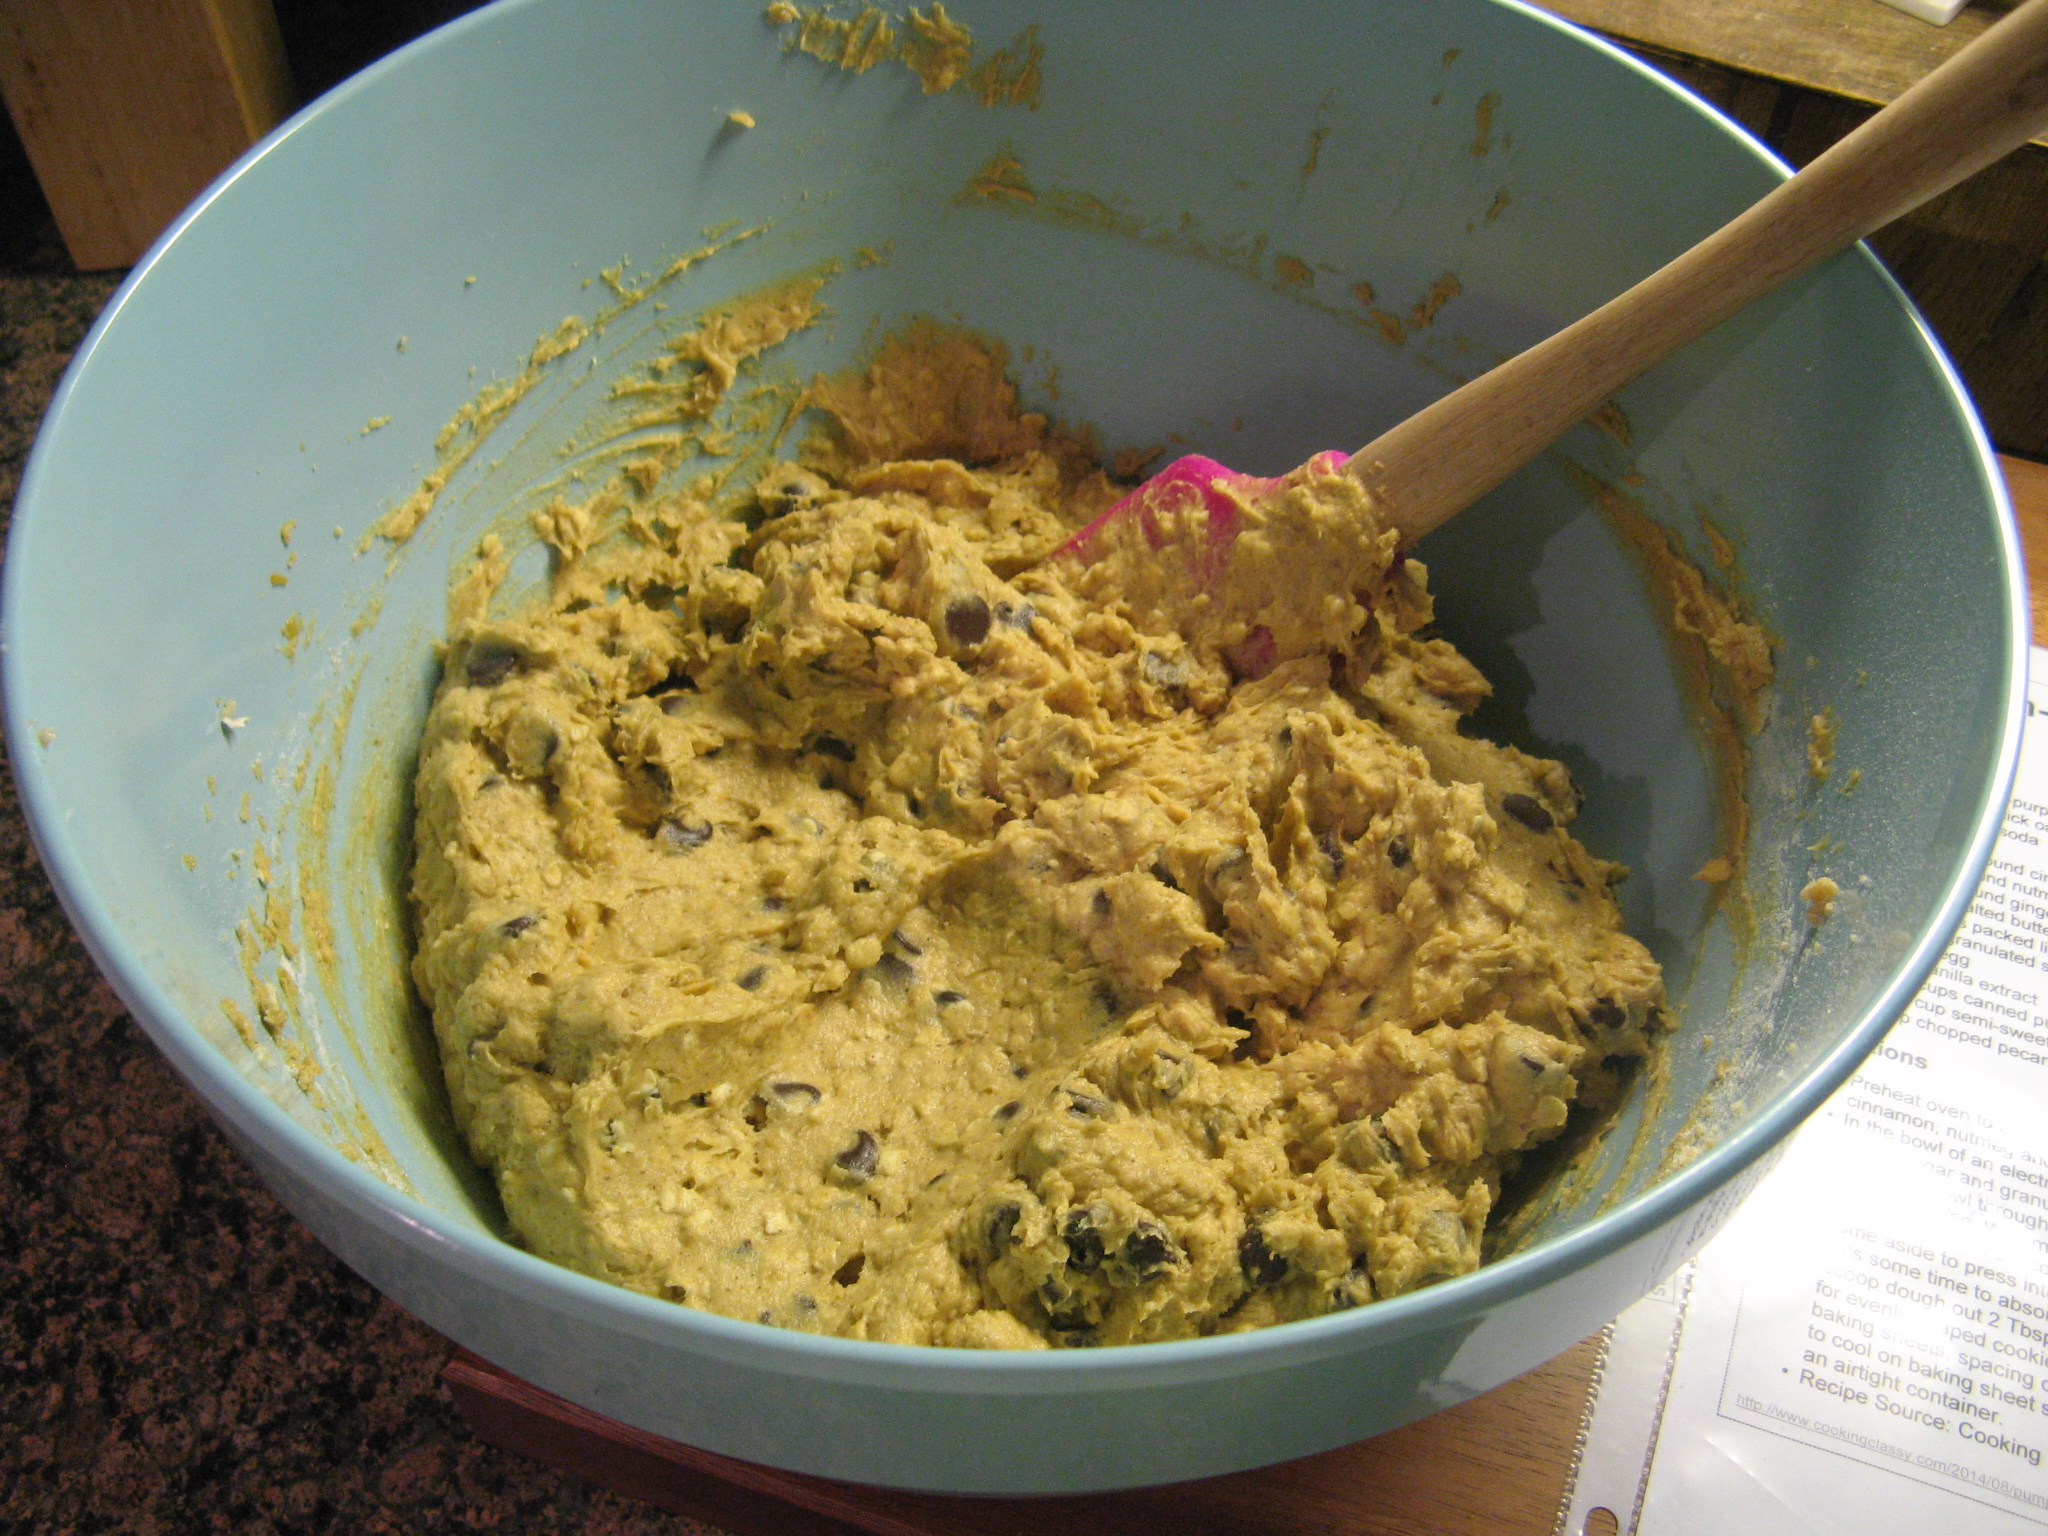
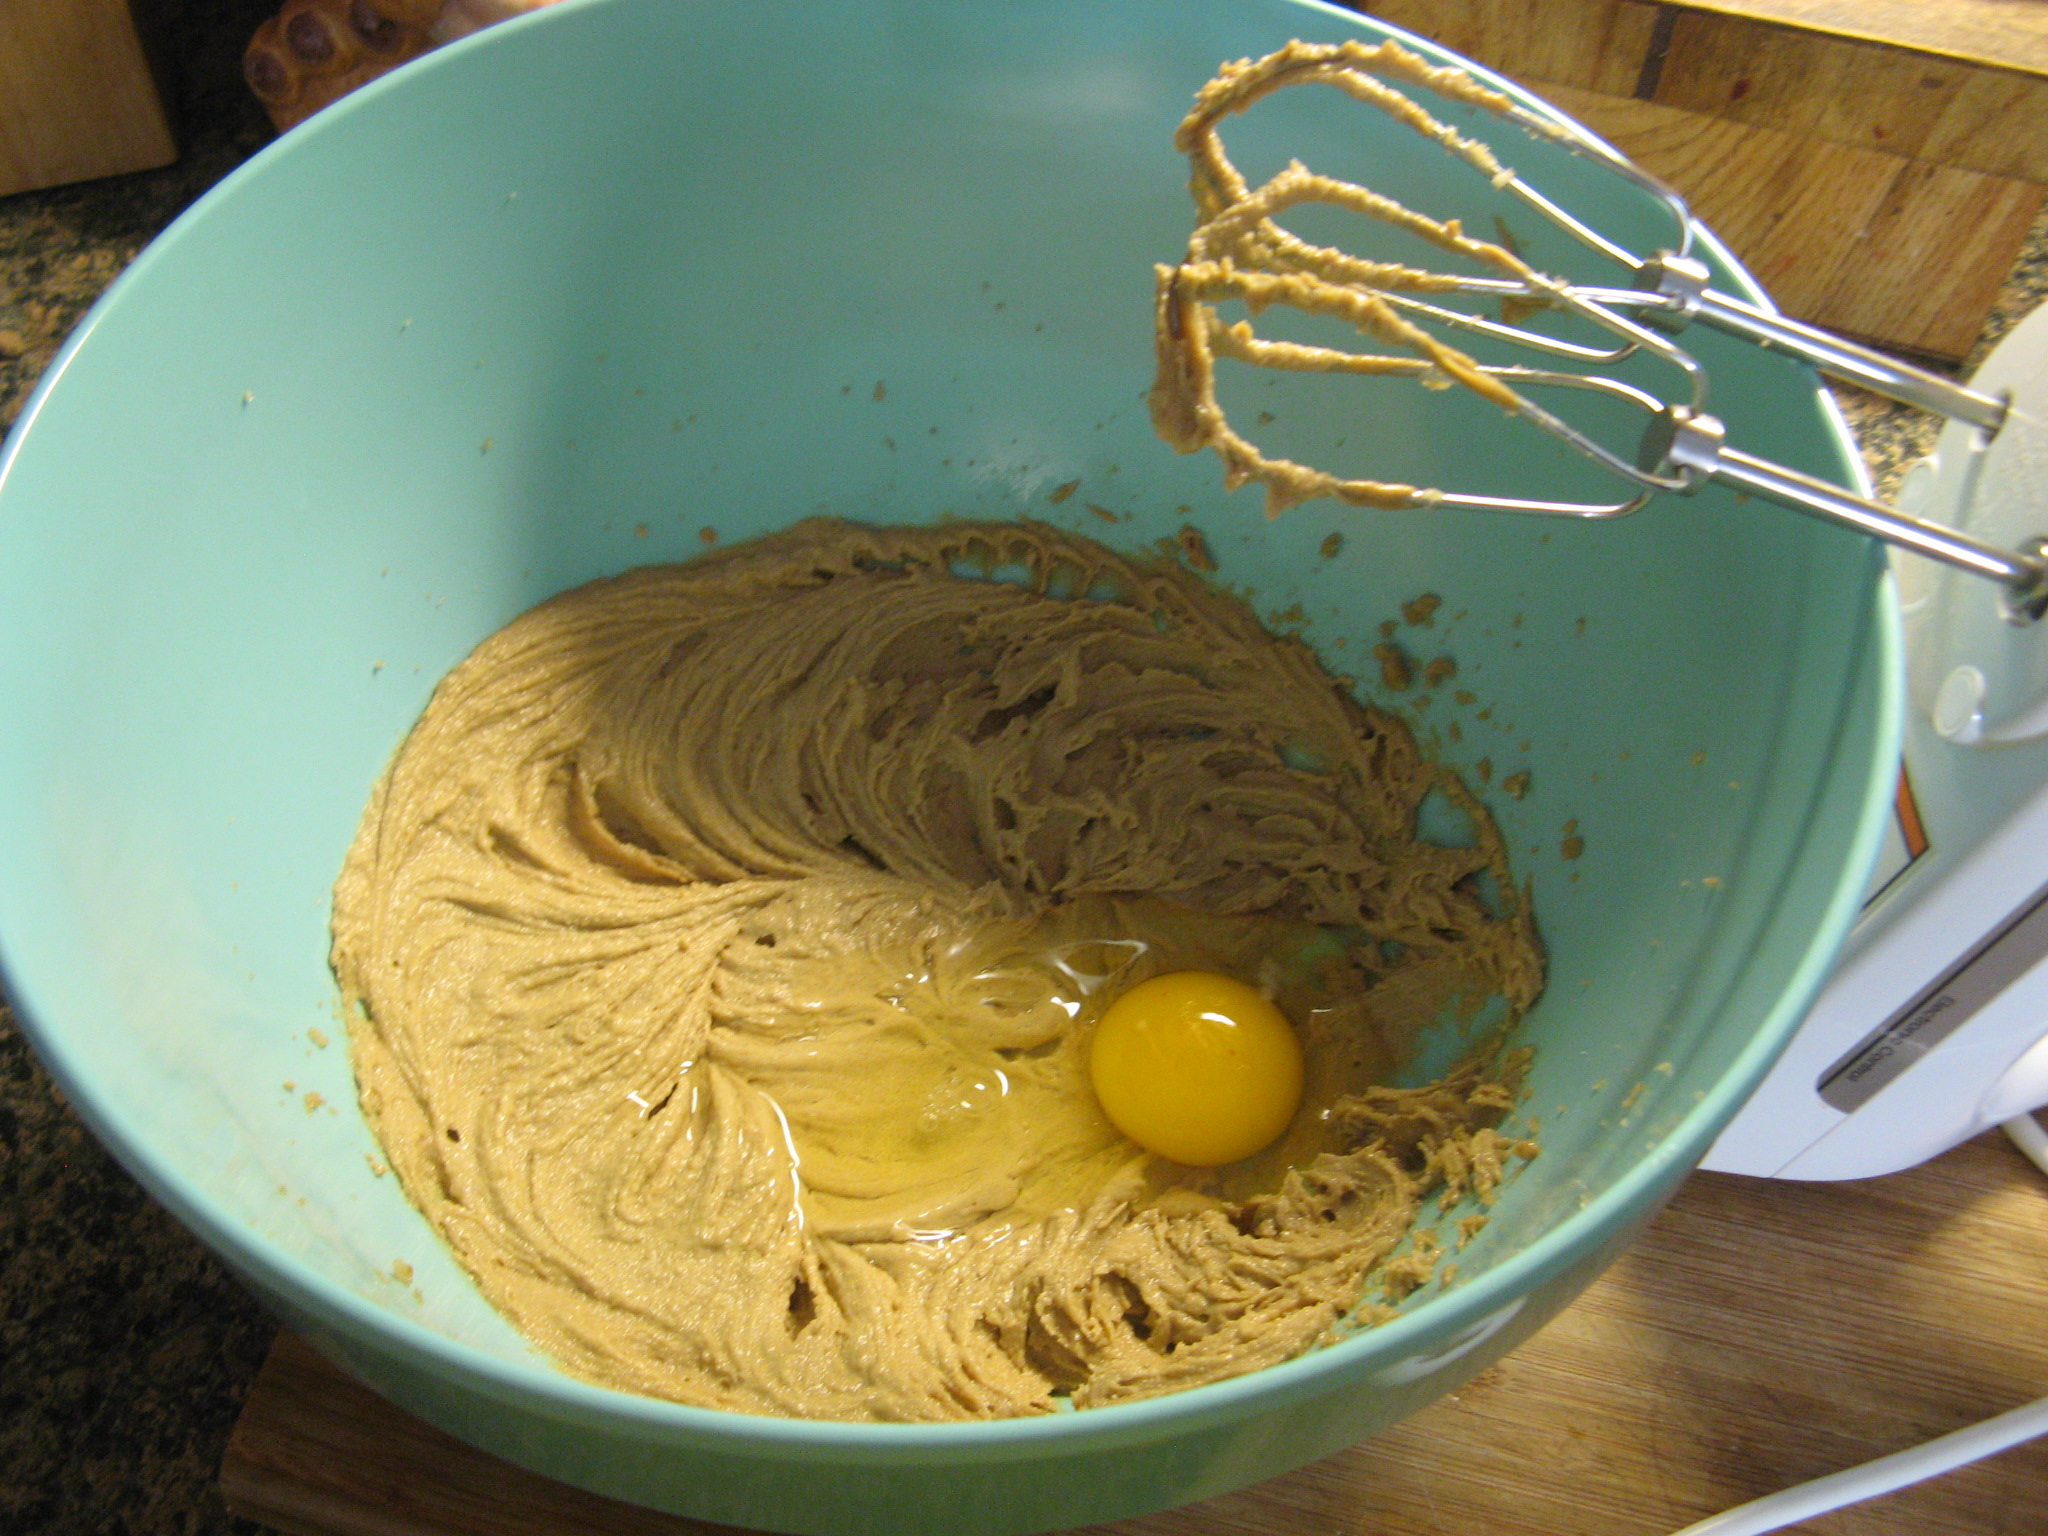
To finish the batter I beat in three eggs, sour cream and vanilla.

IMG_2870

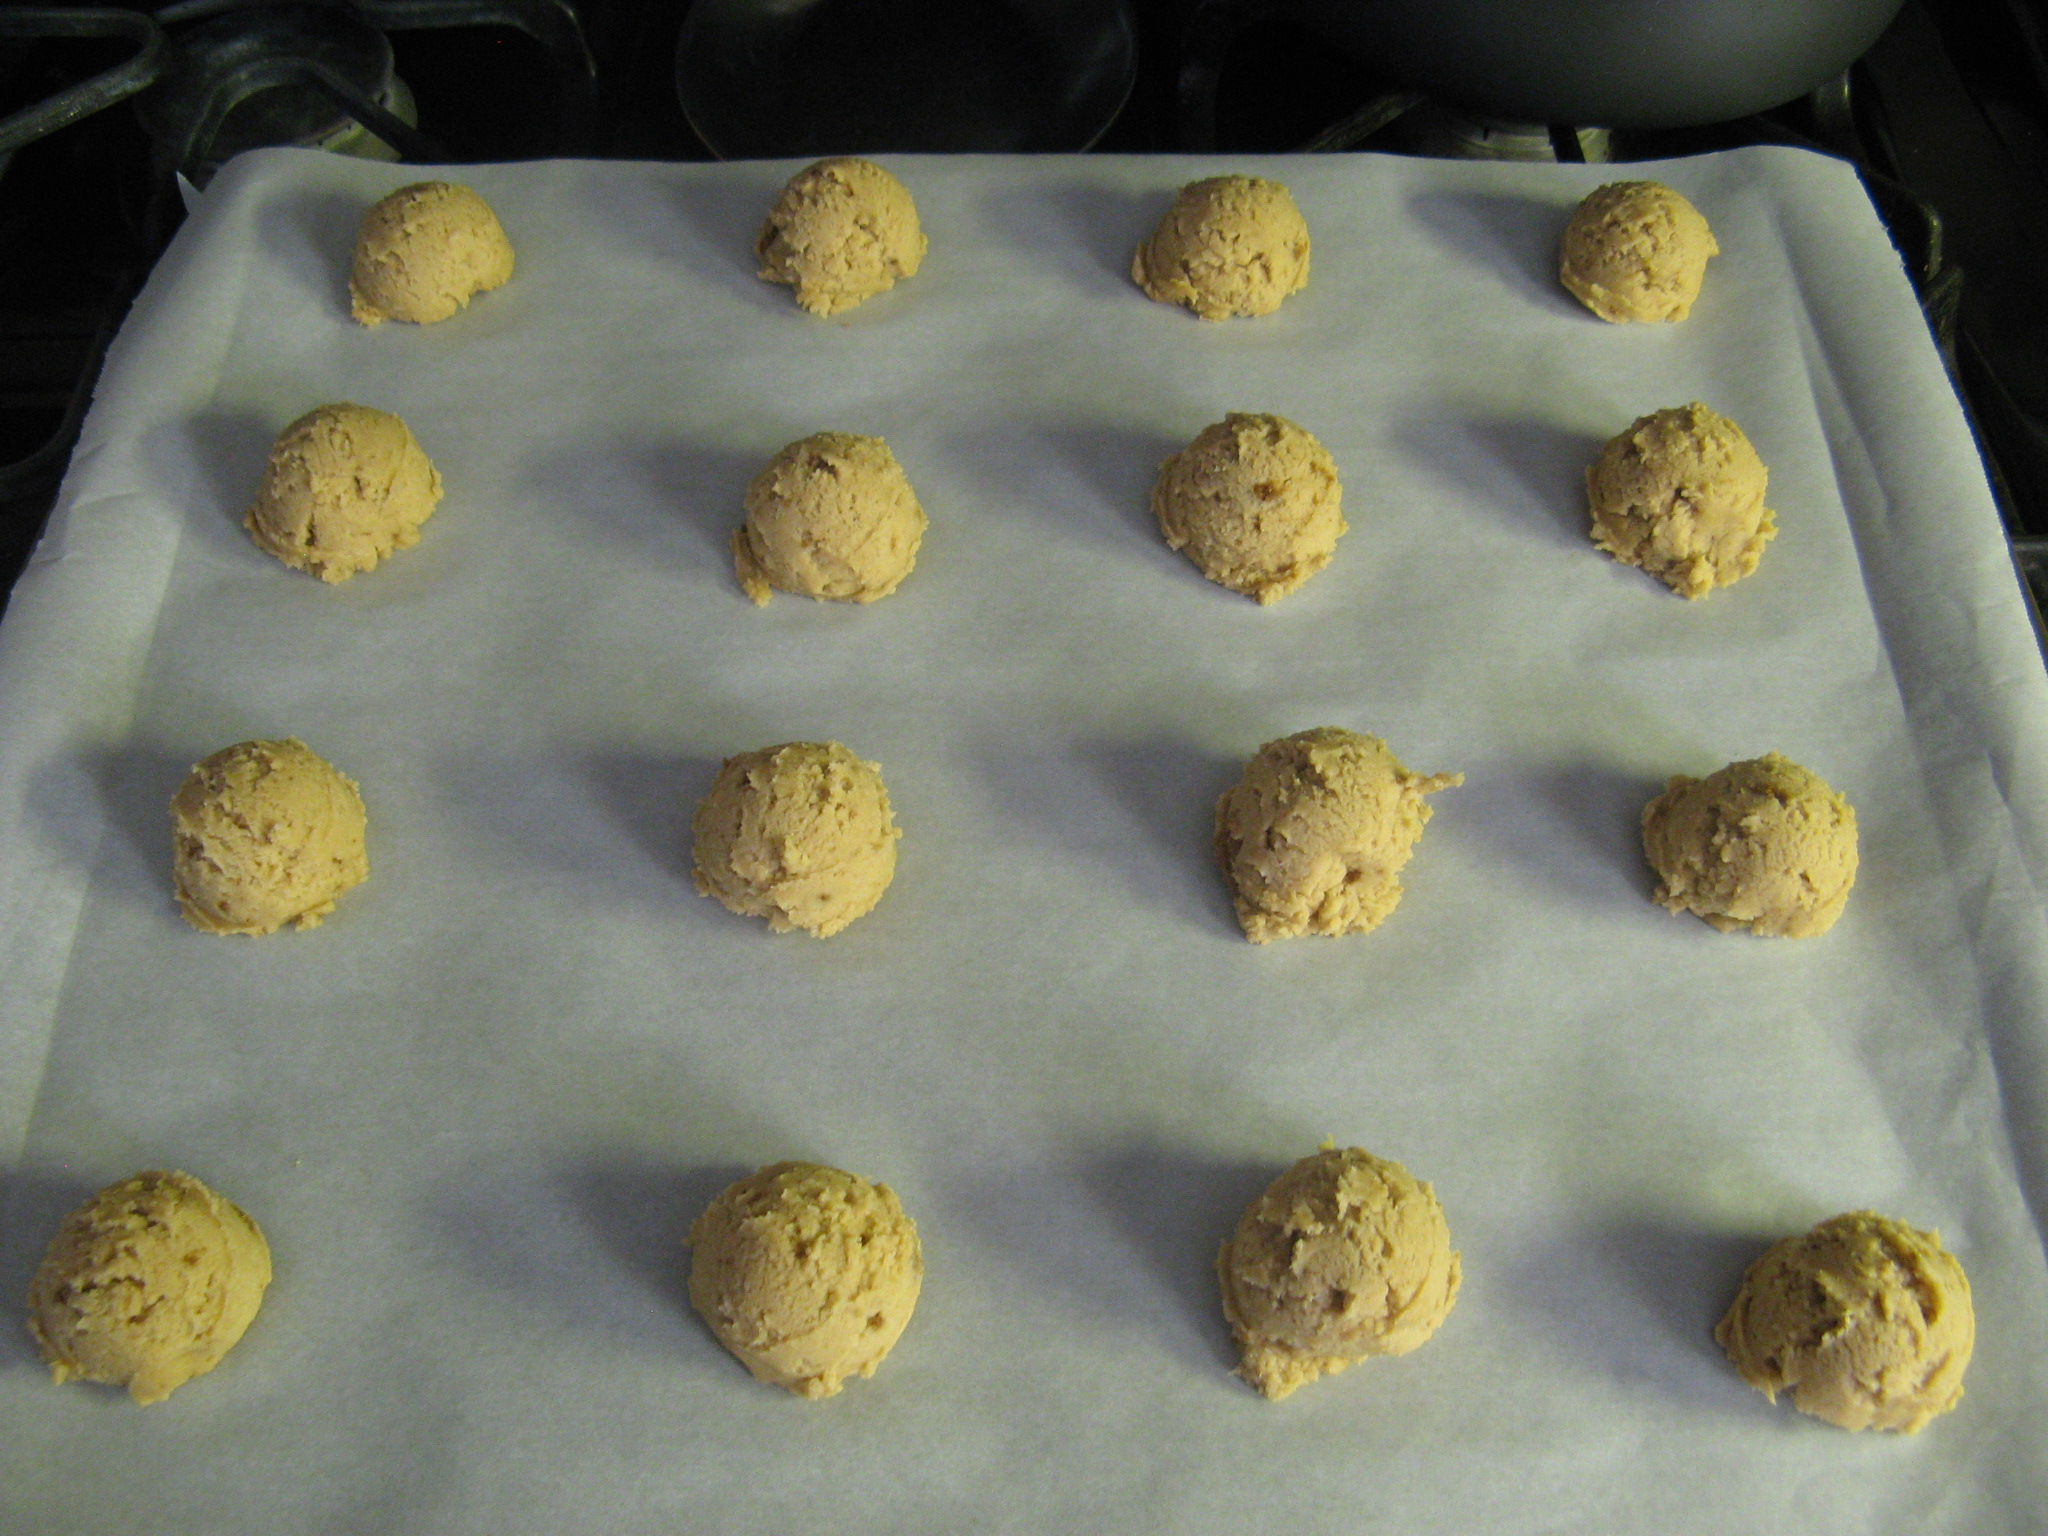
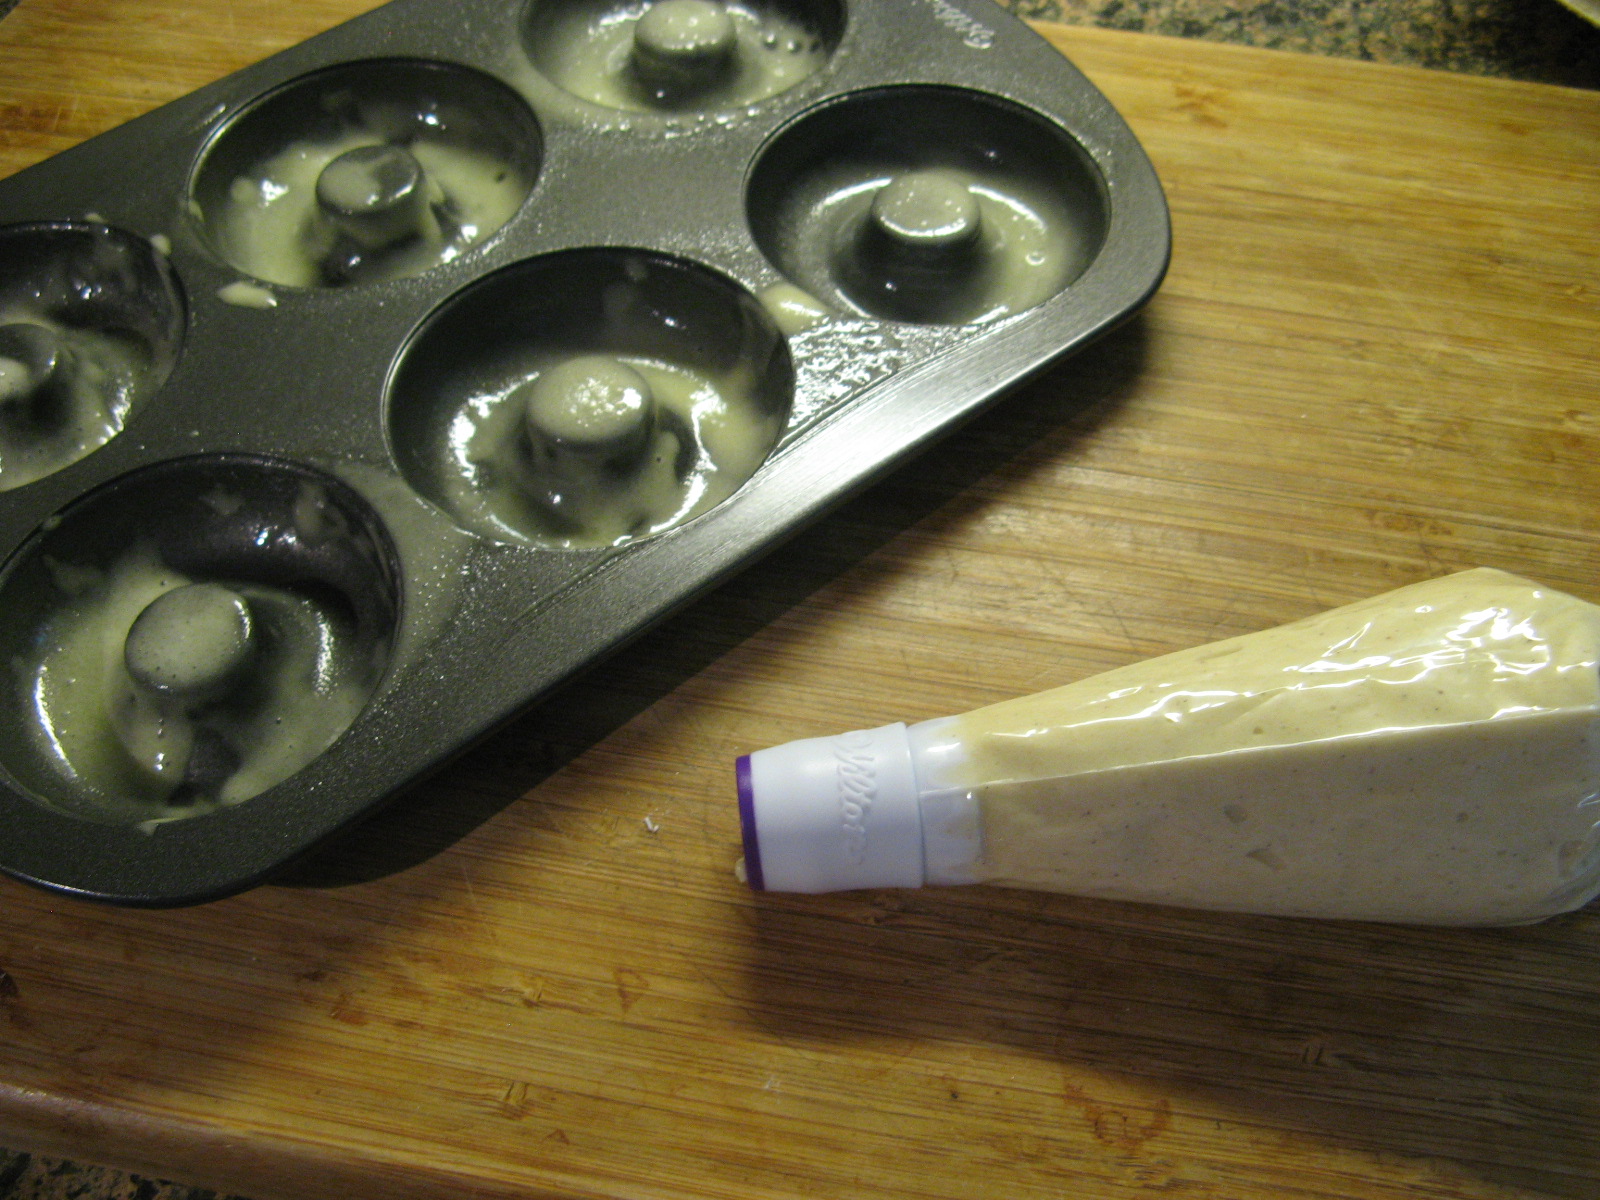
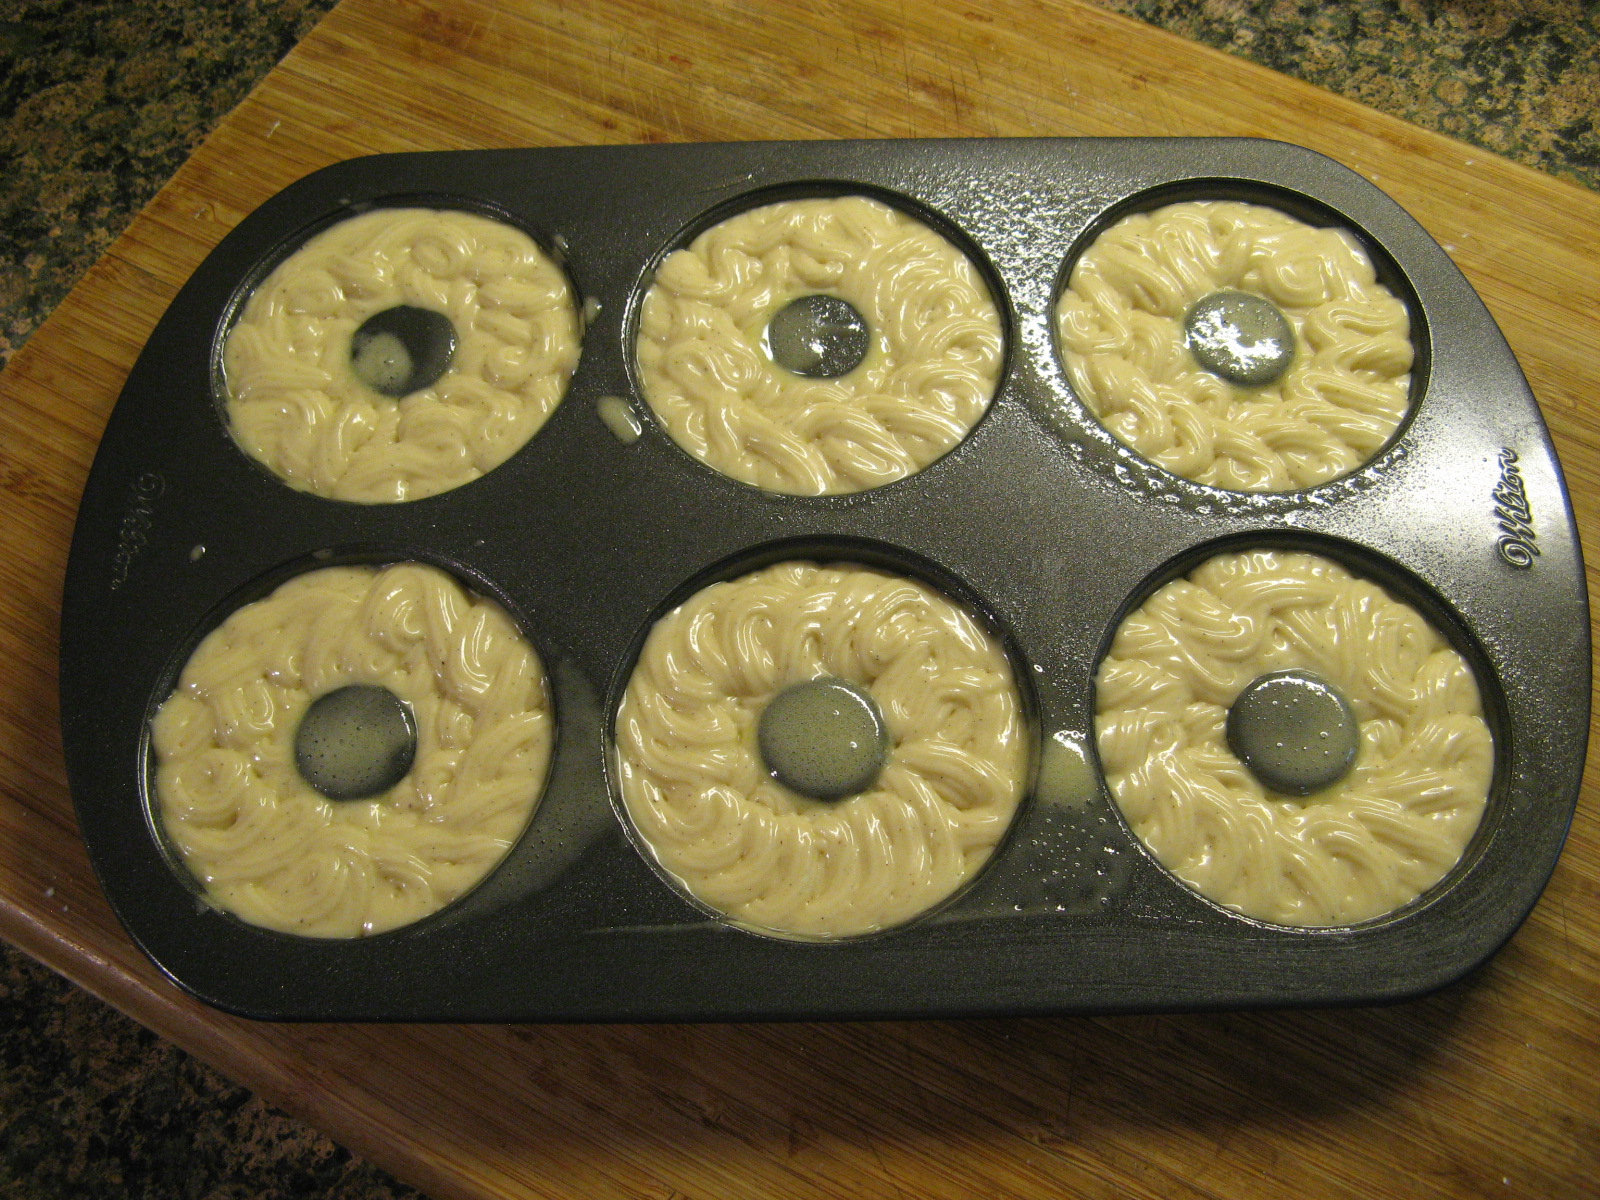
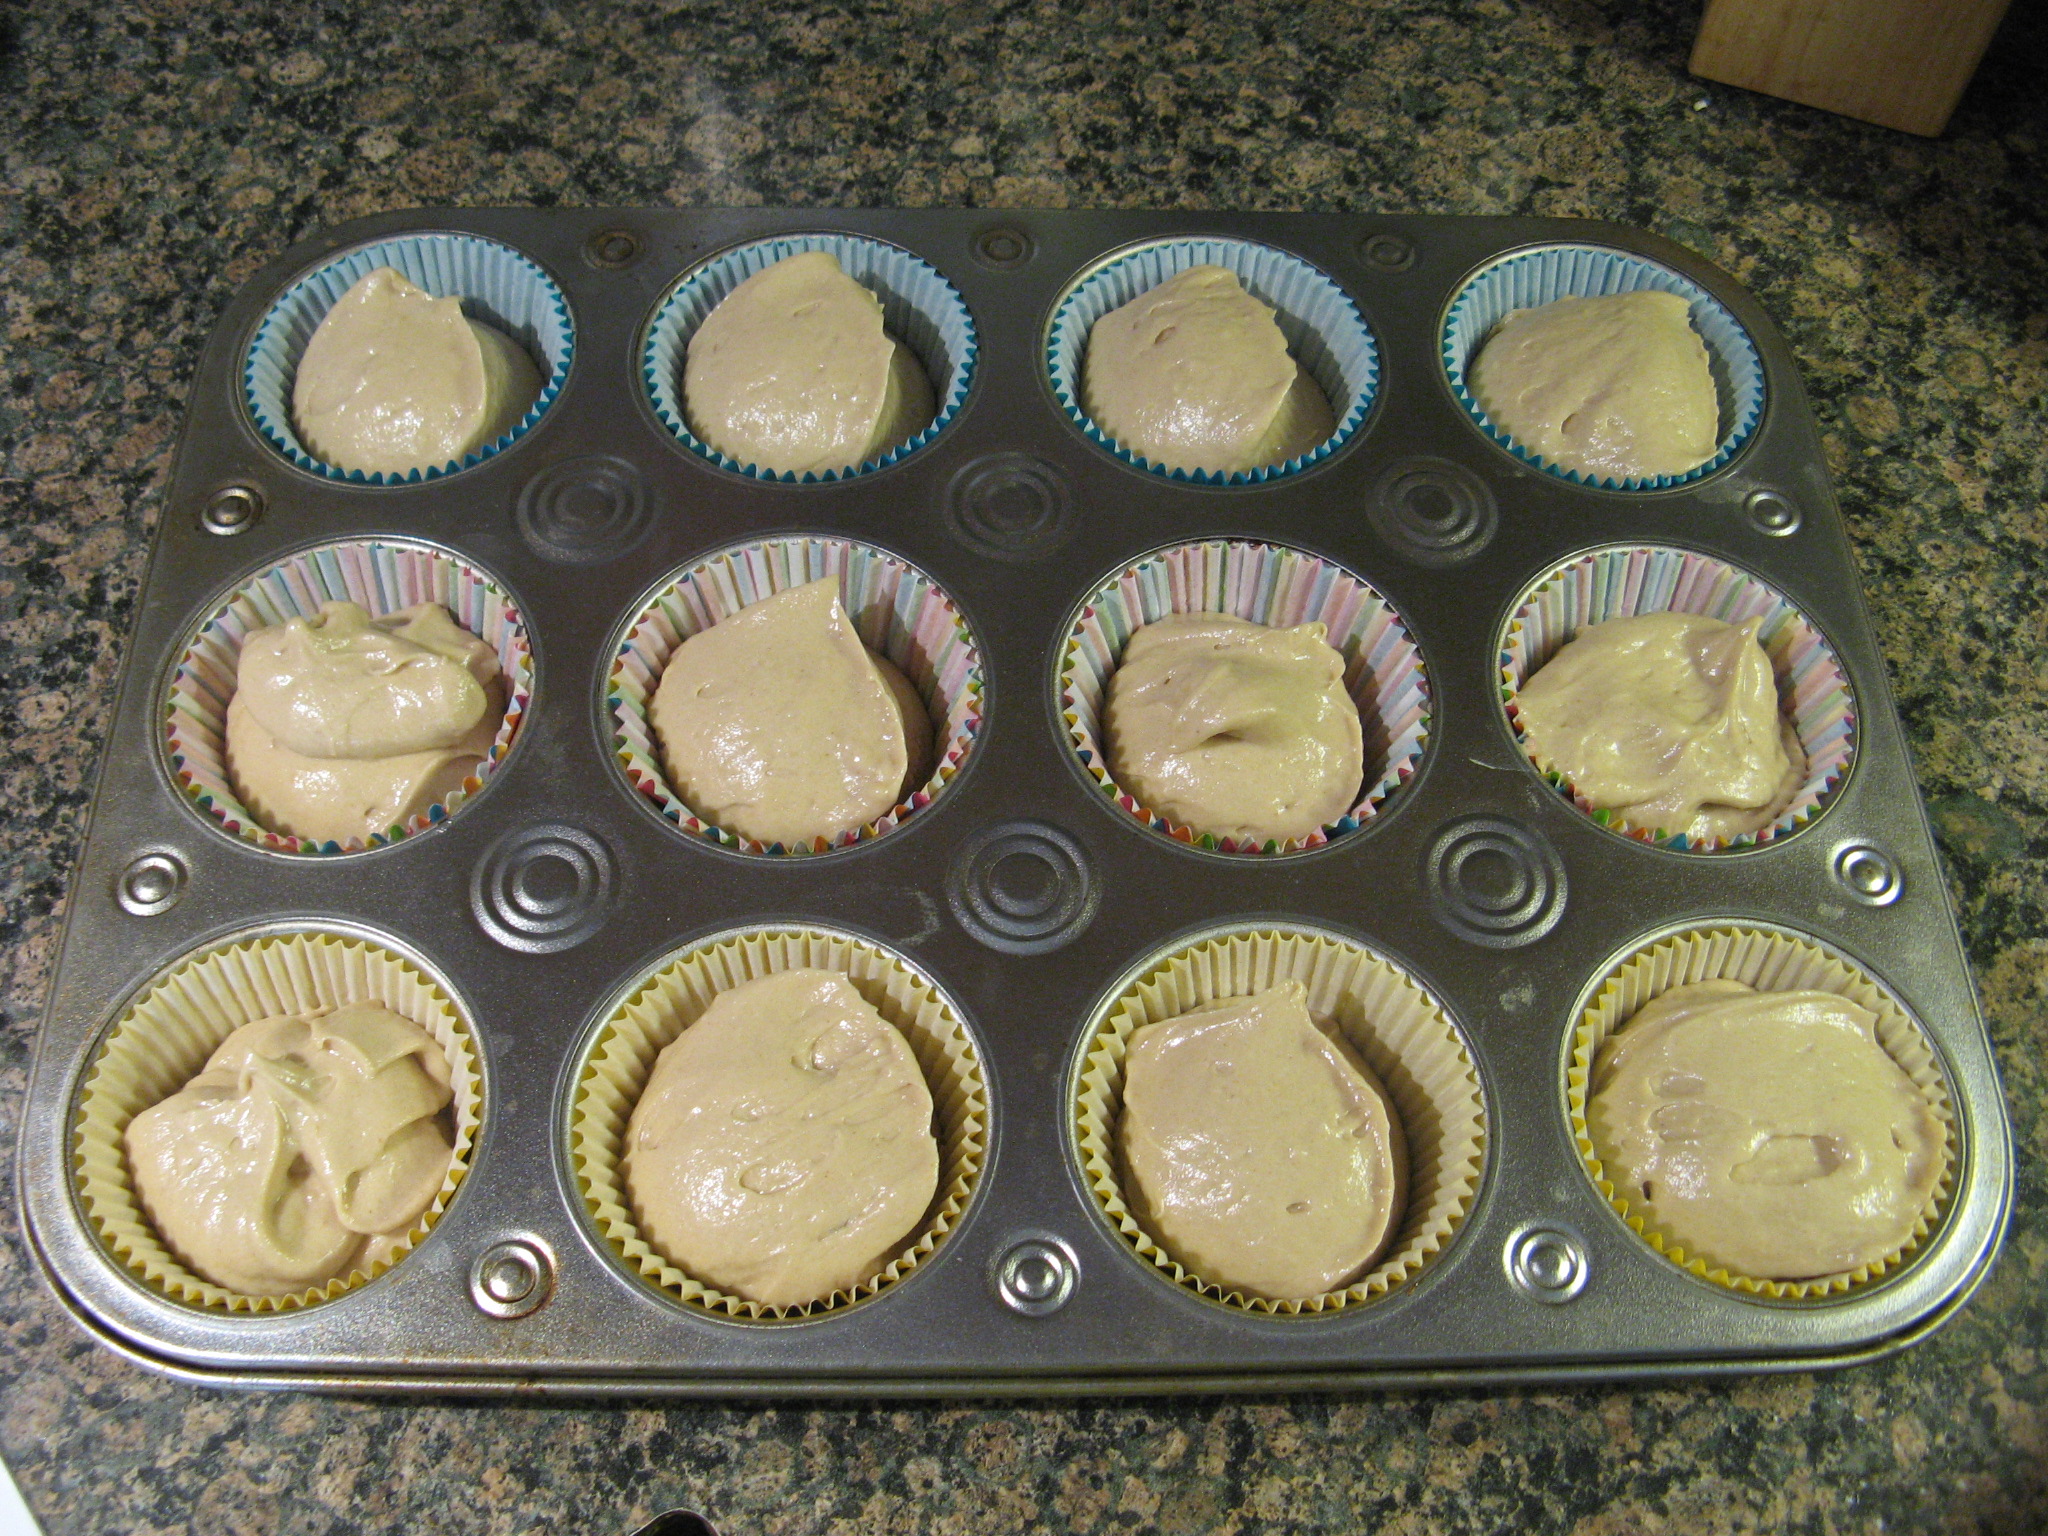
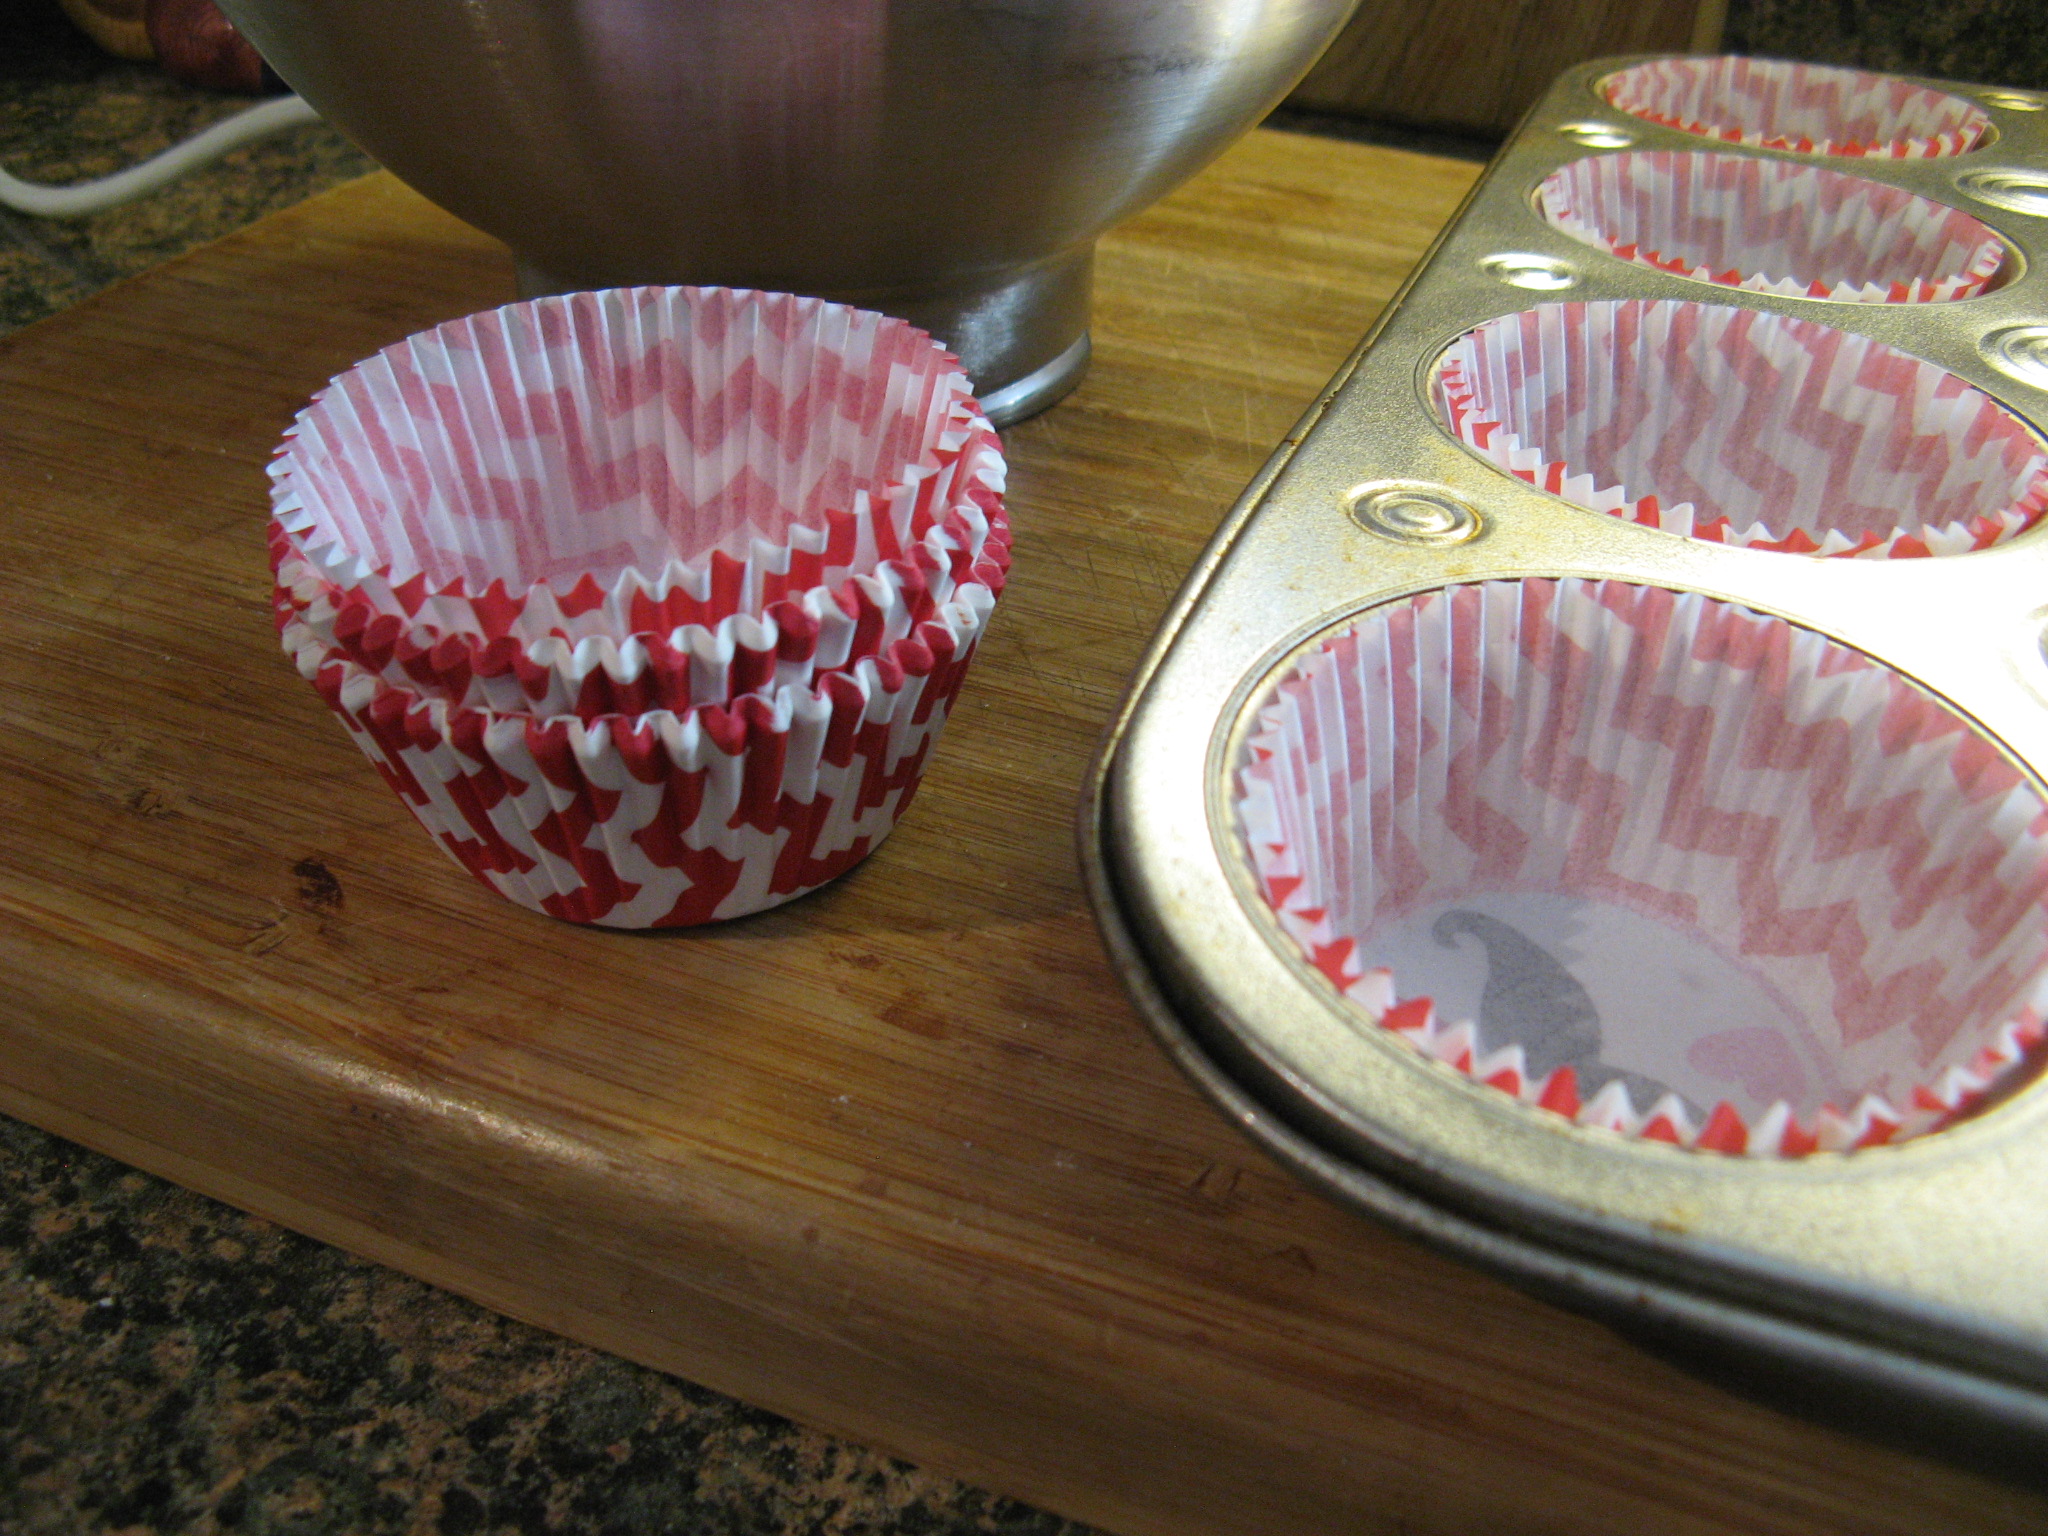
I then divided the batter into my prepared muffin tins which I lined with these cupcake liners that I thought were a perfect for these cupcakes. The red and white is reminiscent of old school soda shops where malted beverages were a staple. I actually got these cupcake liners the day after Valentine’s Day at my local Michael’s for less than a $1. You have to love post-Holiday sales!

IMG_2872

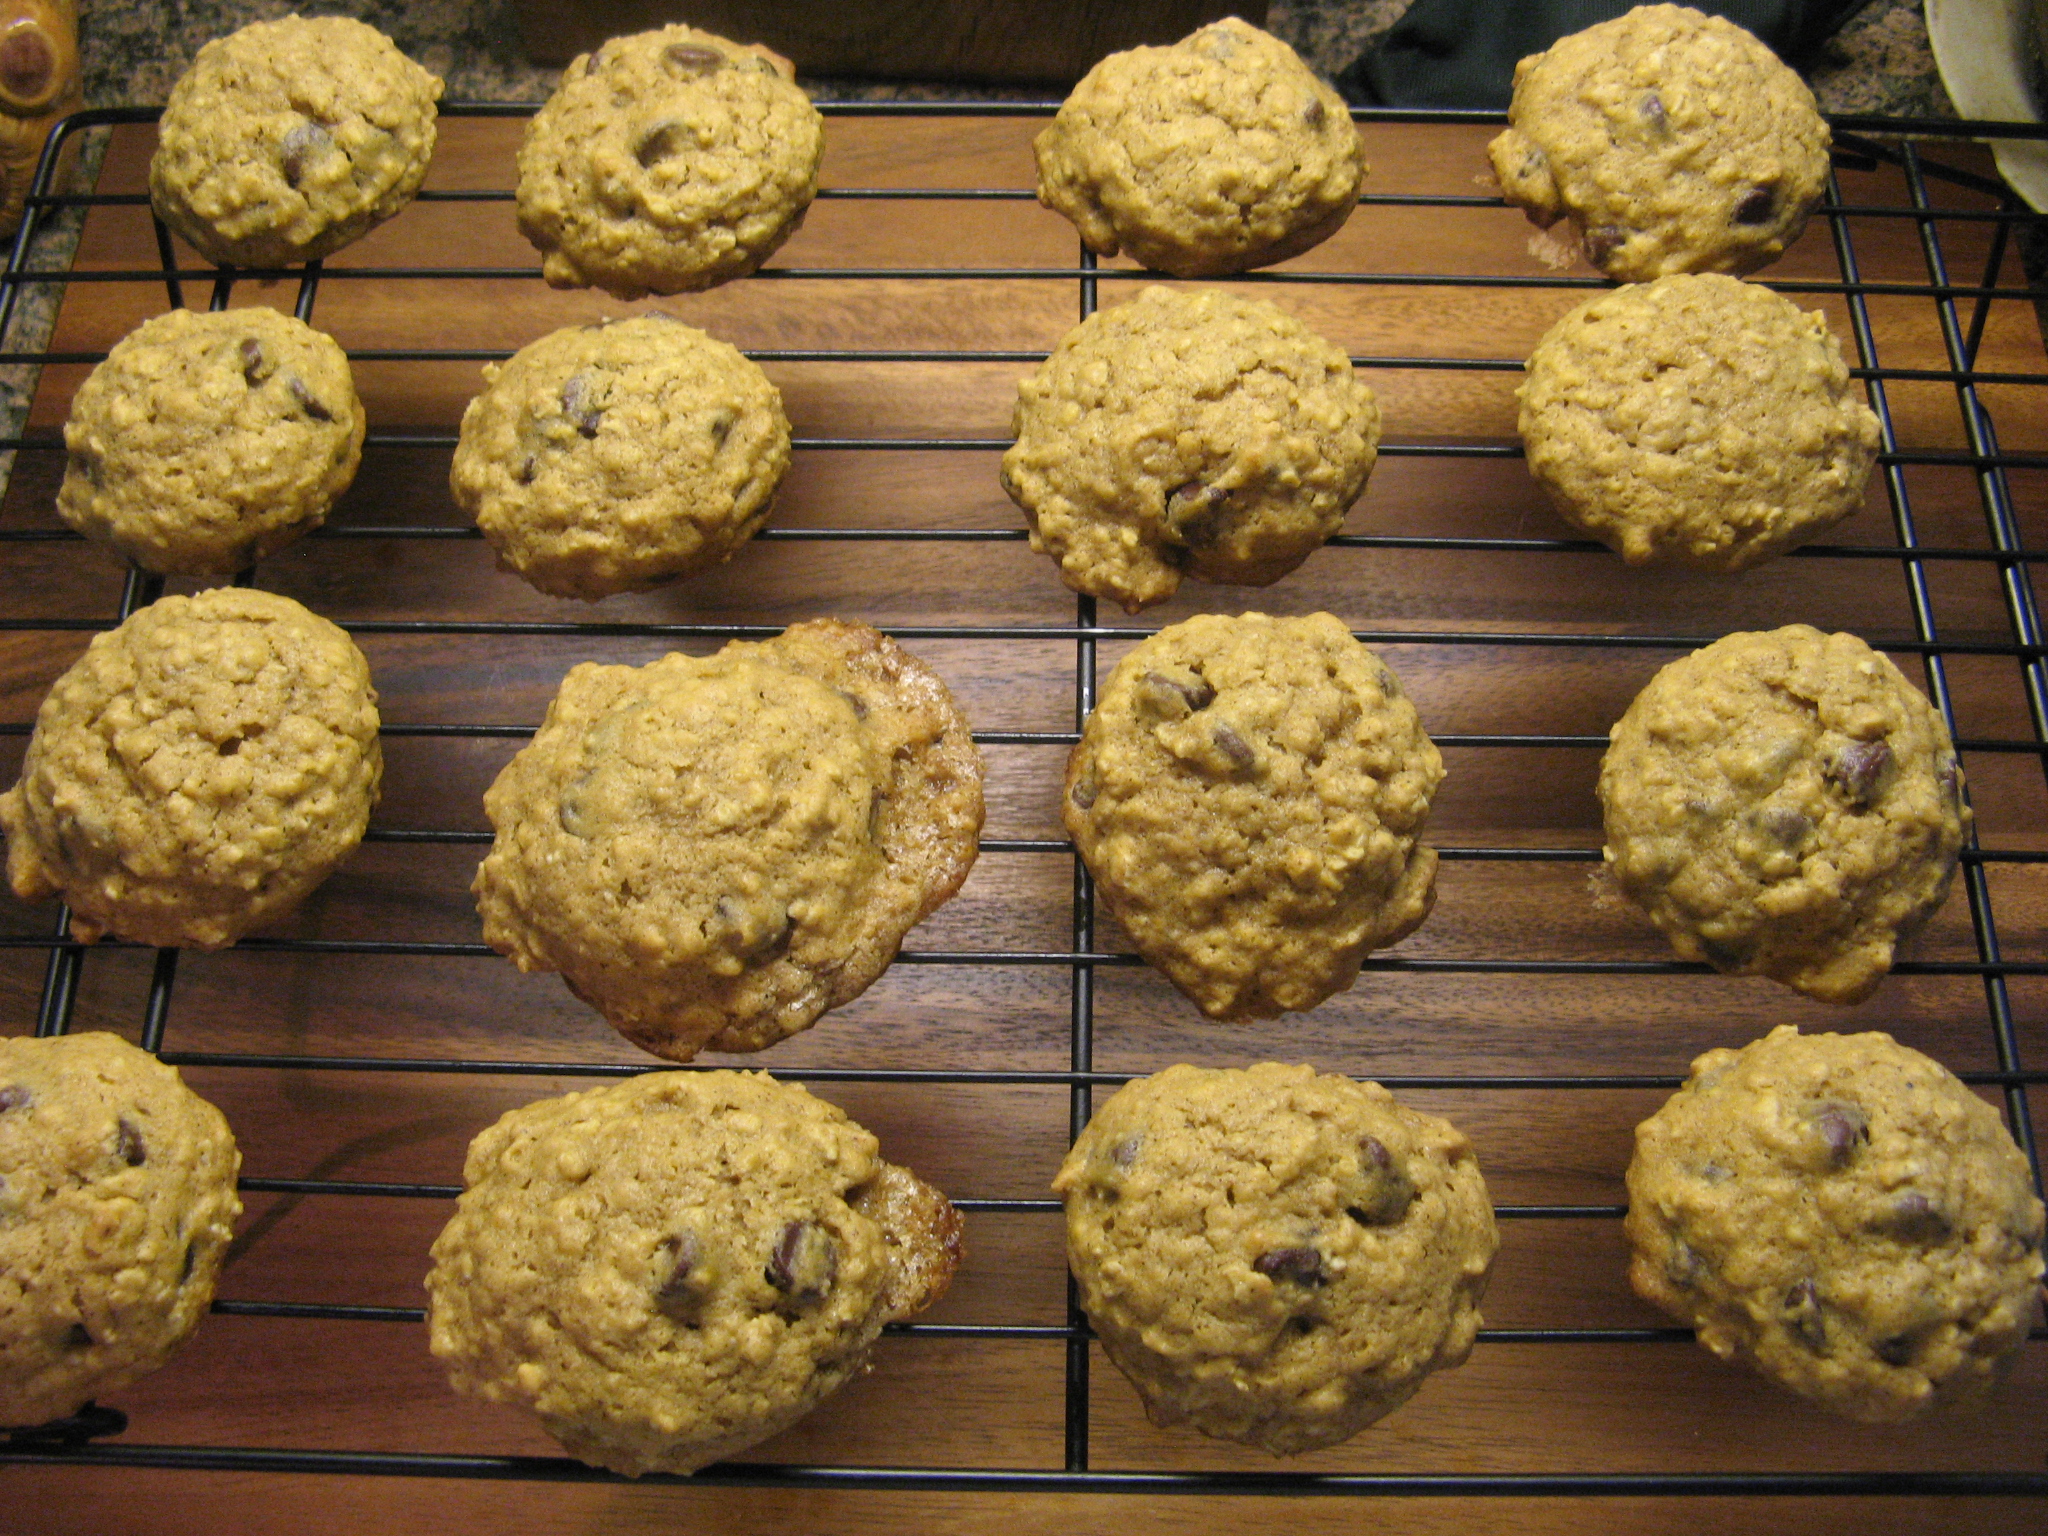
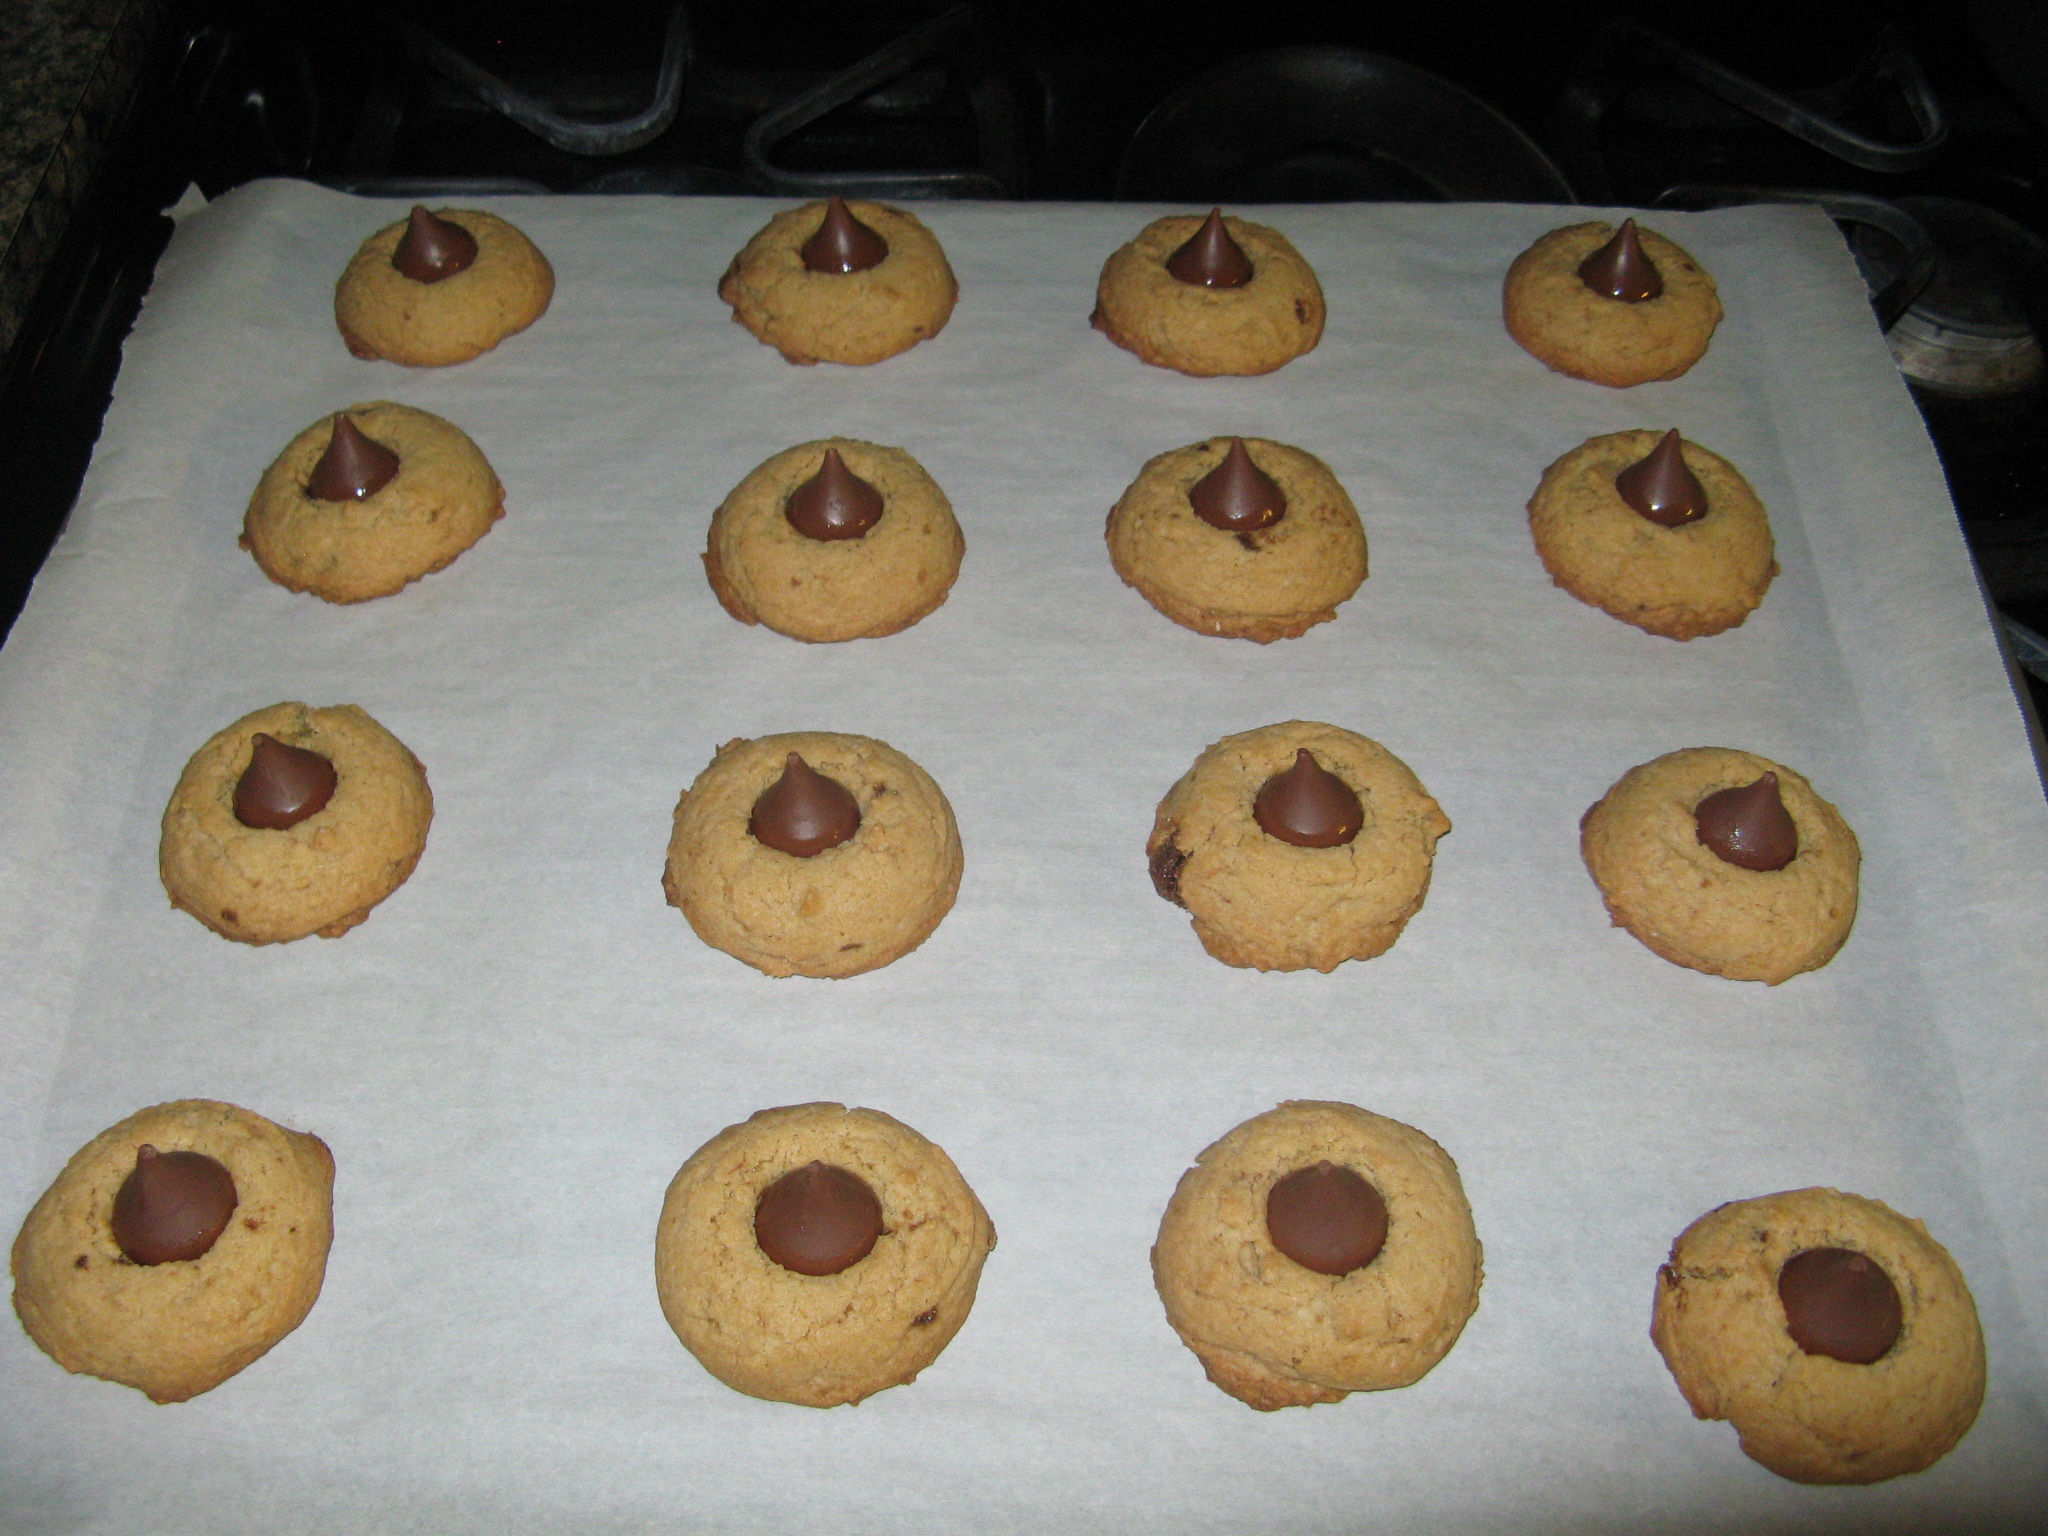
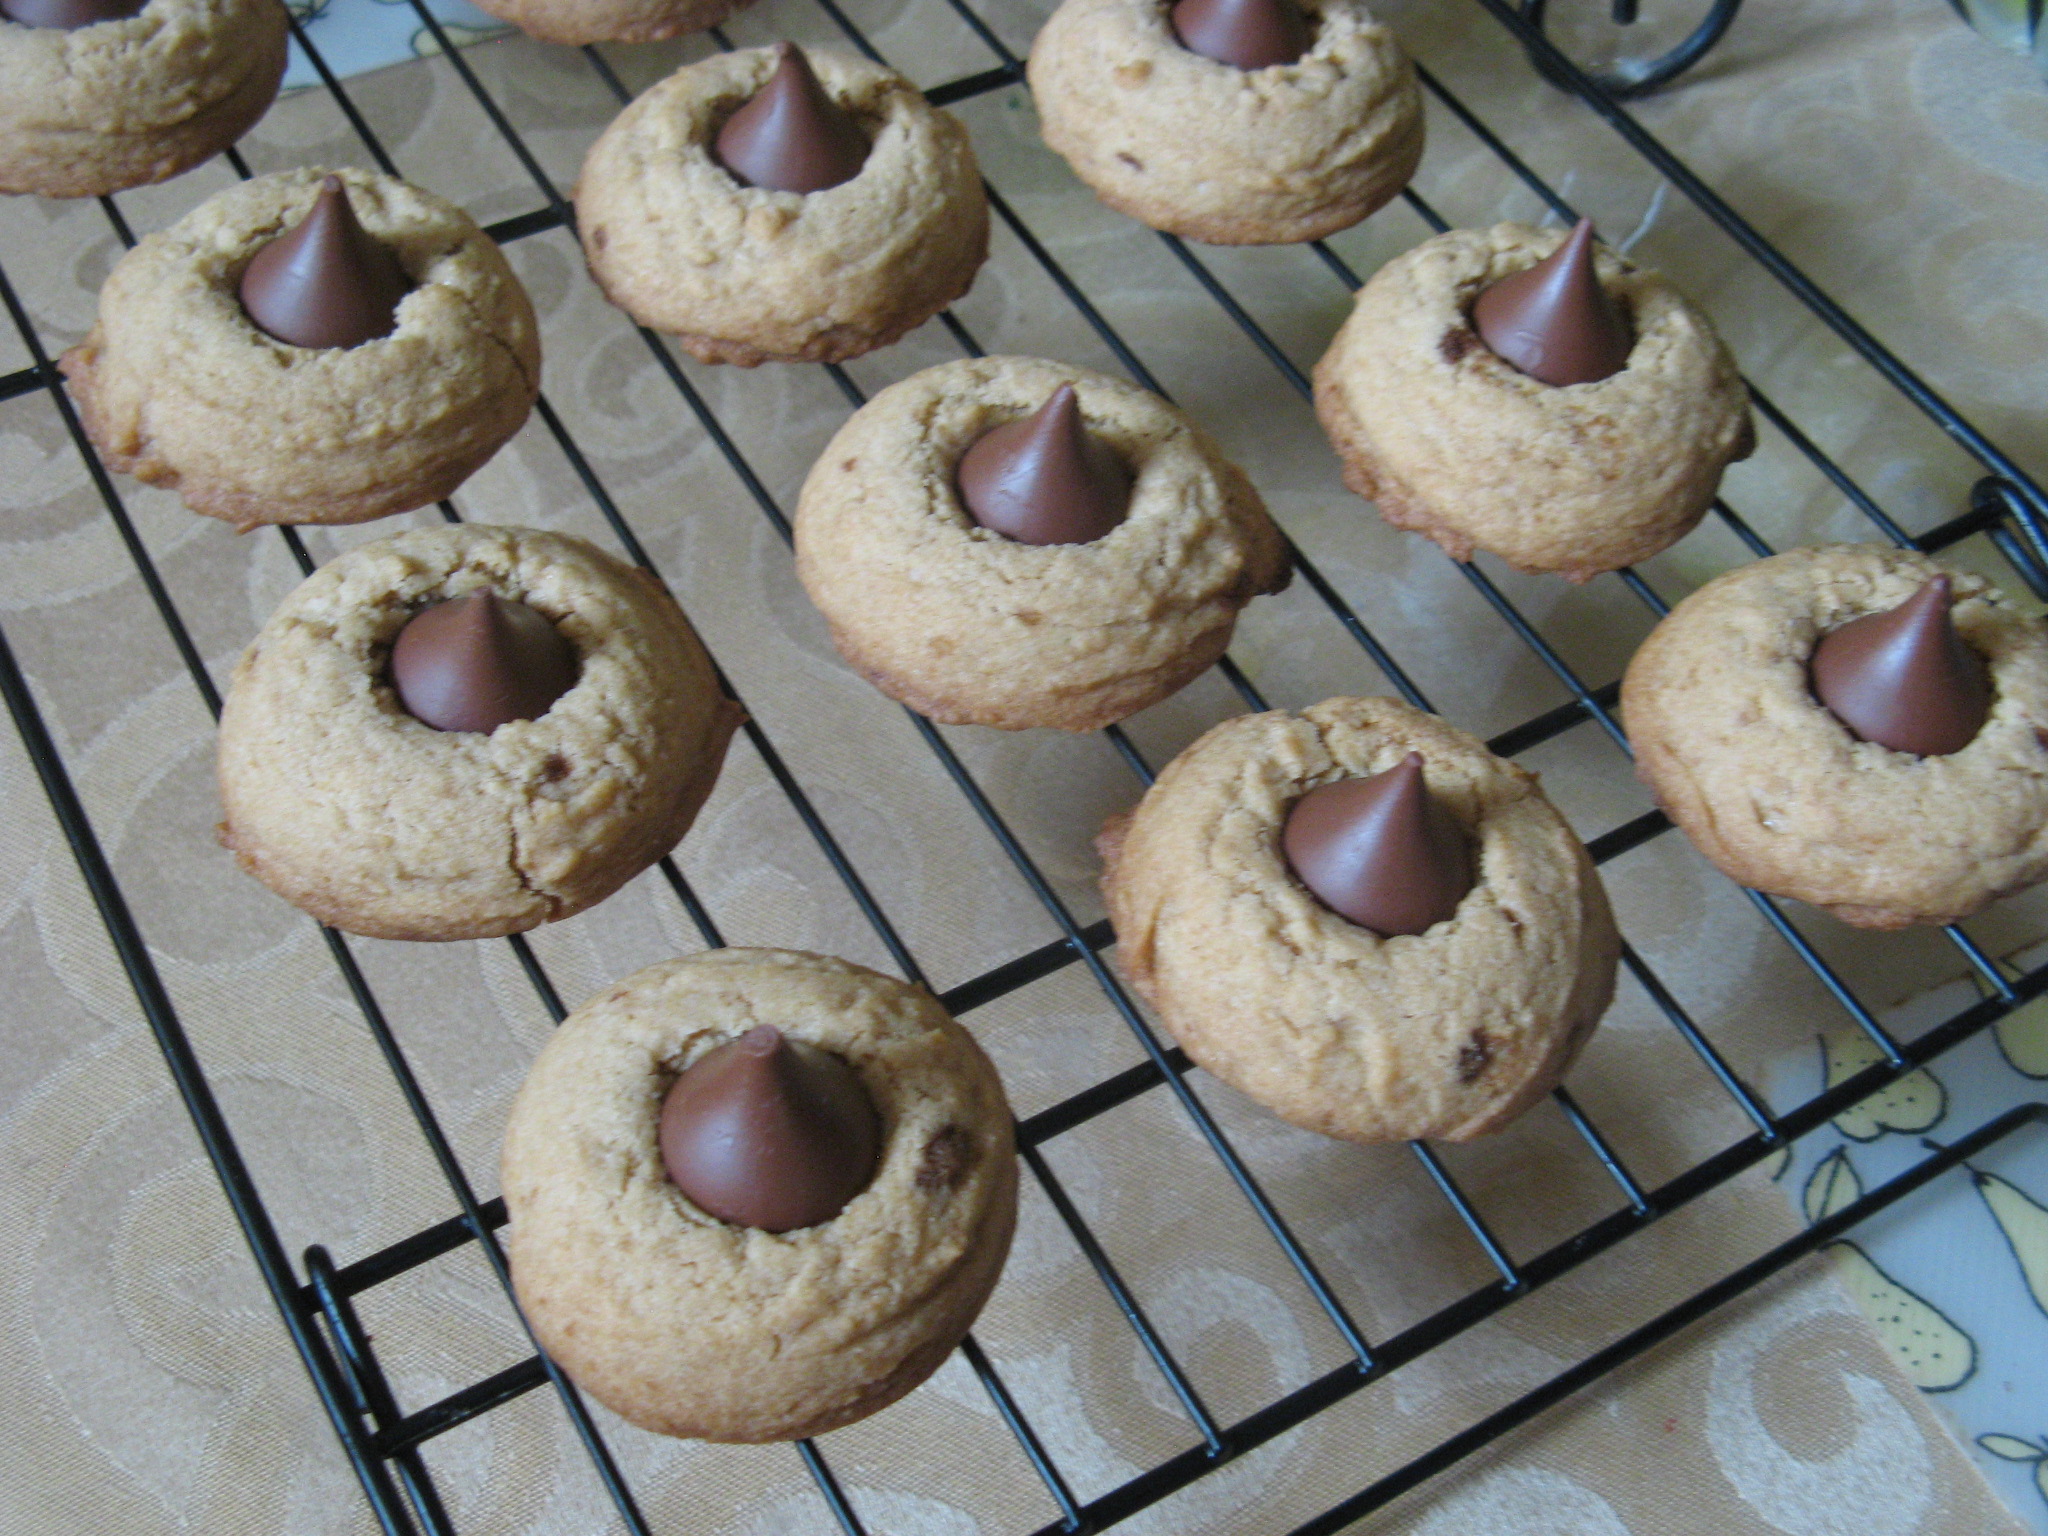
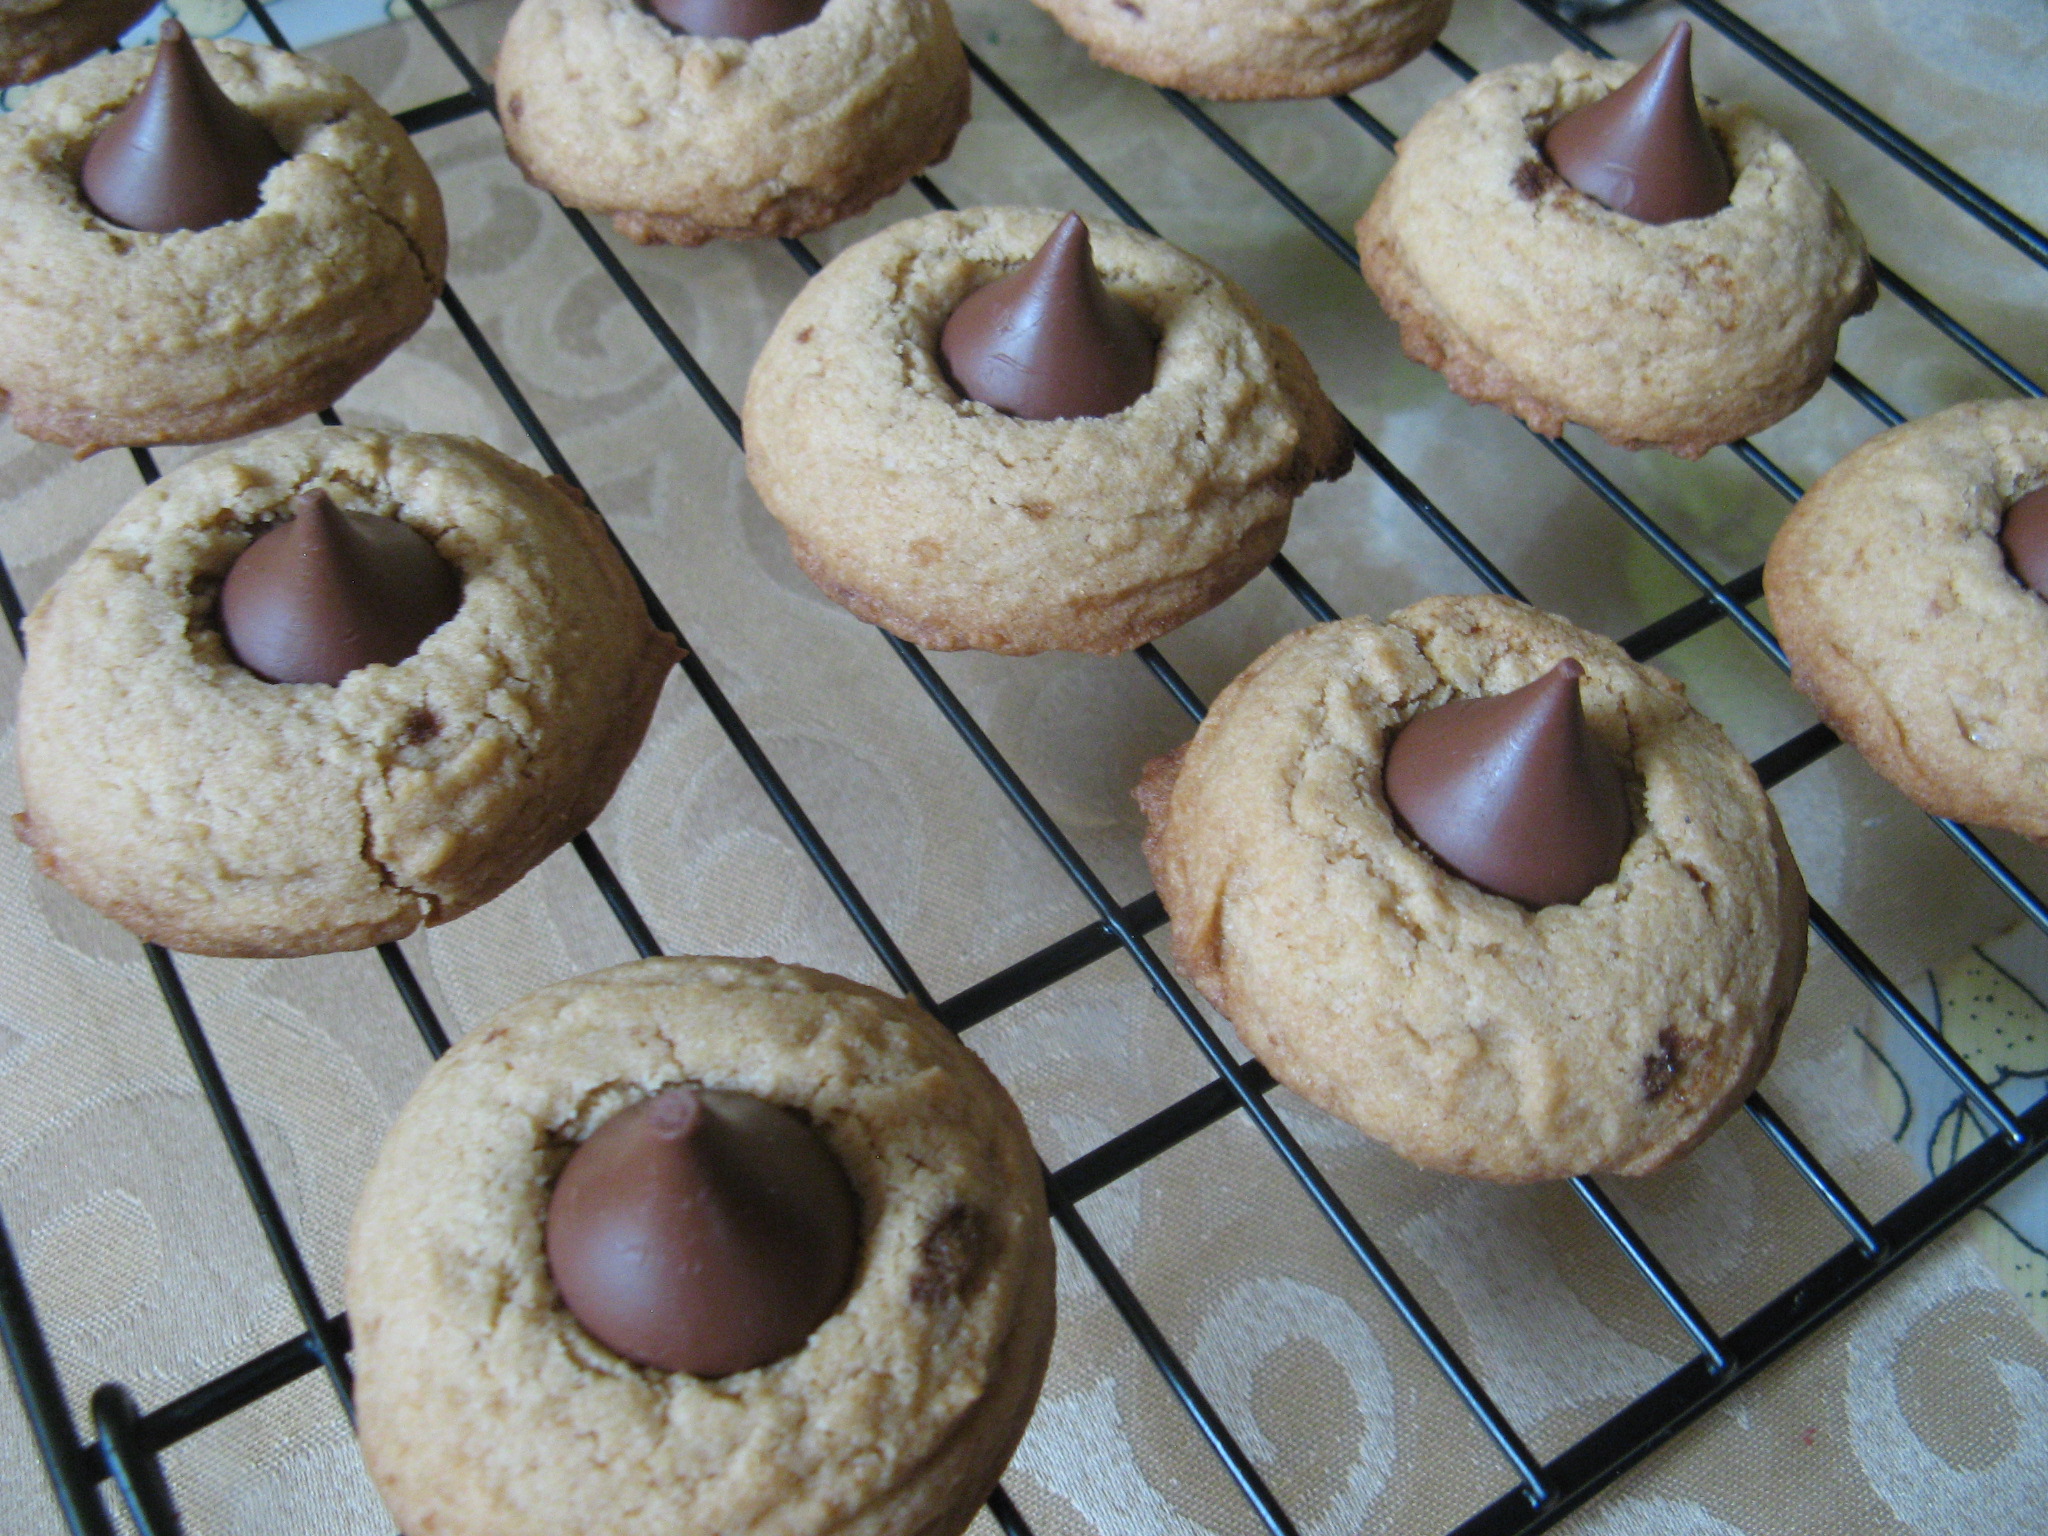
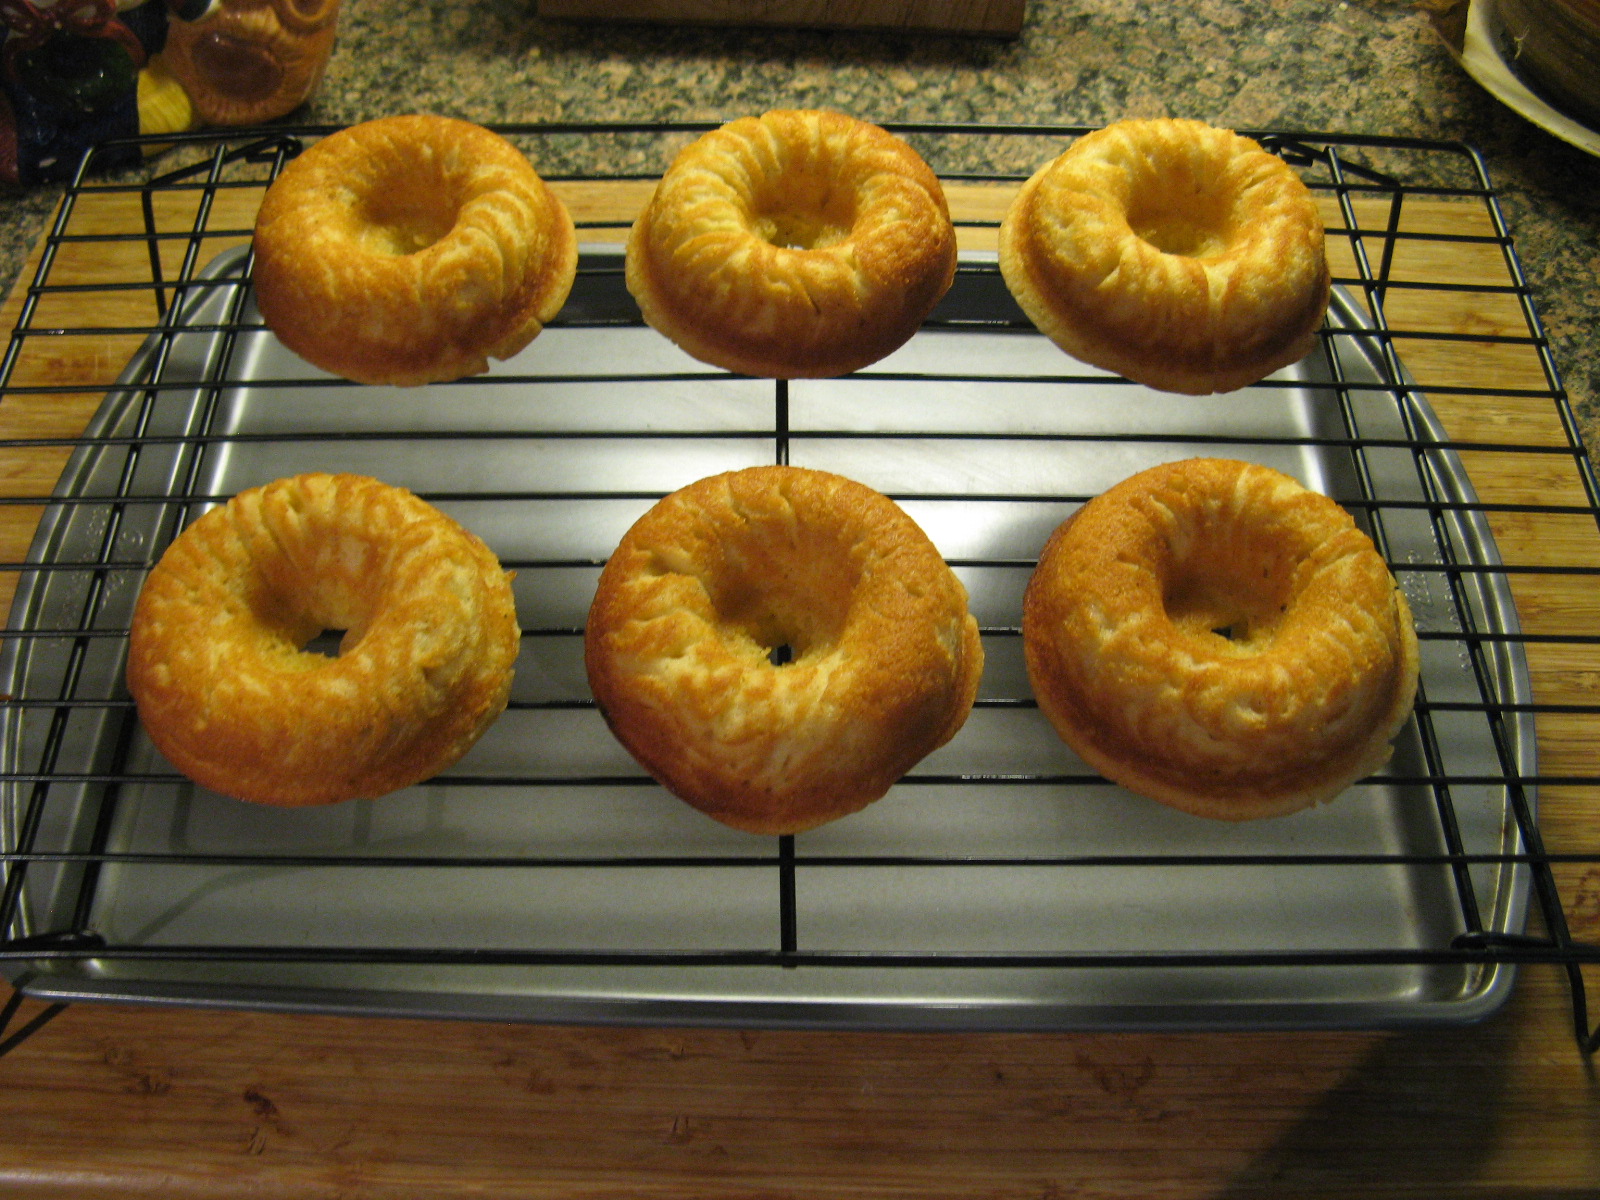
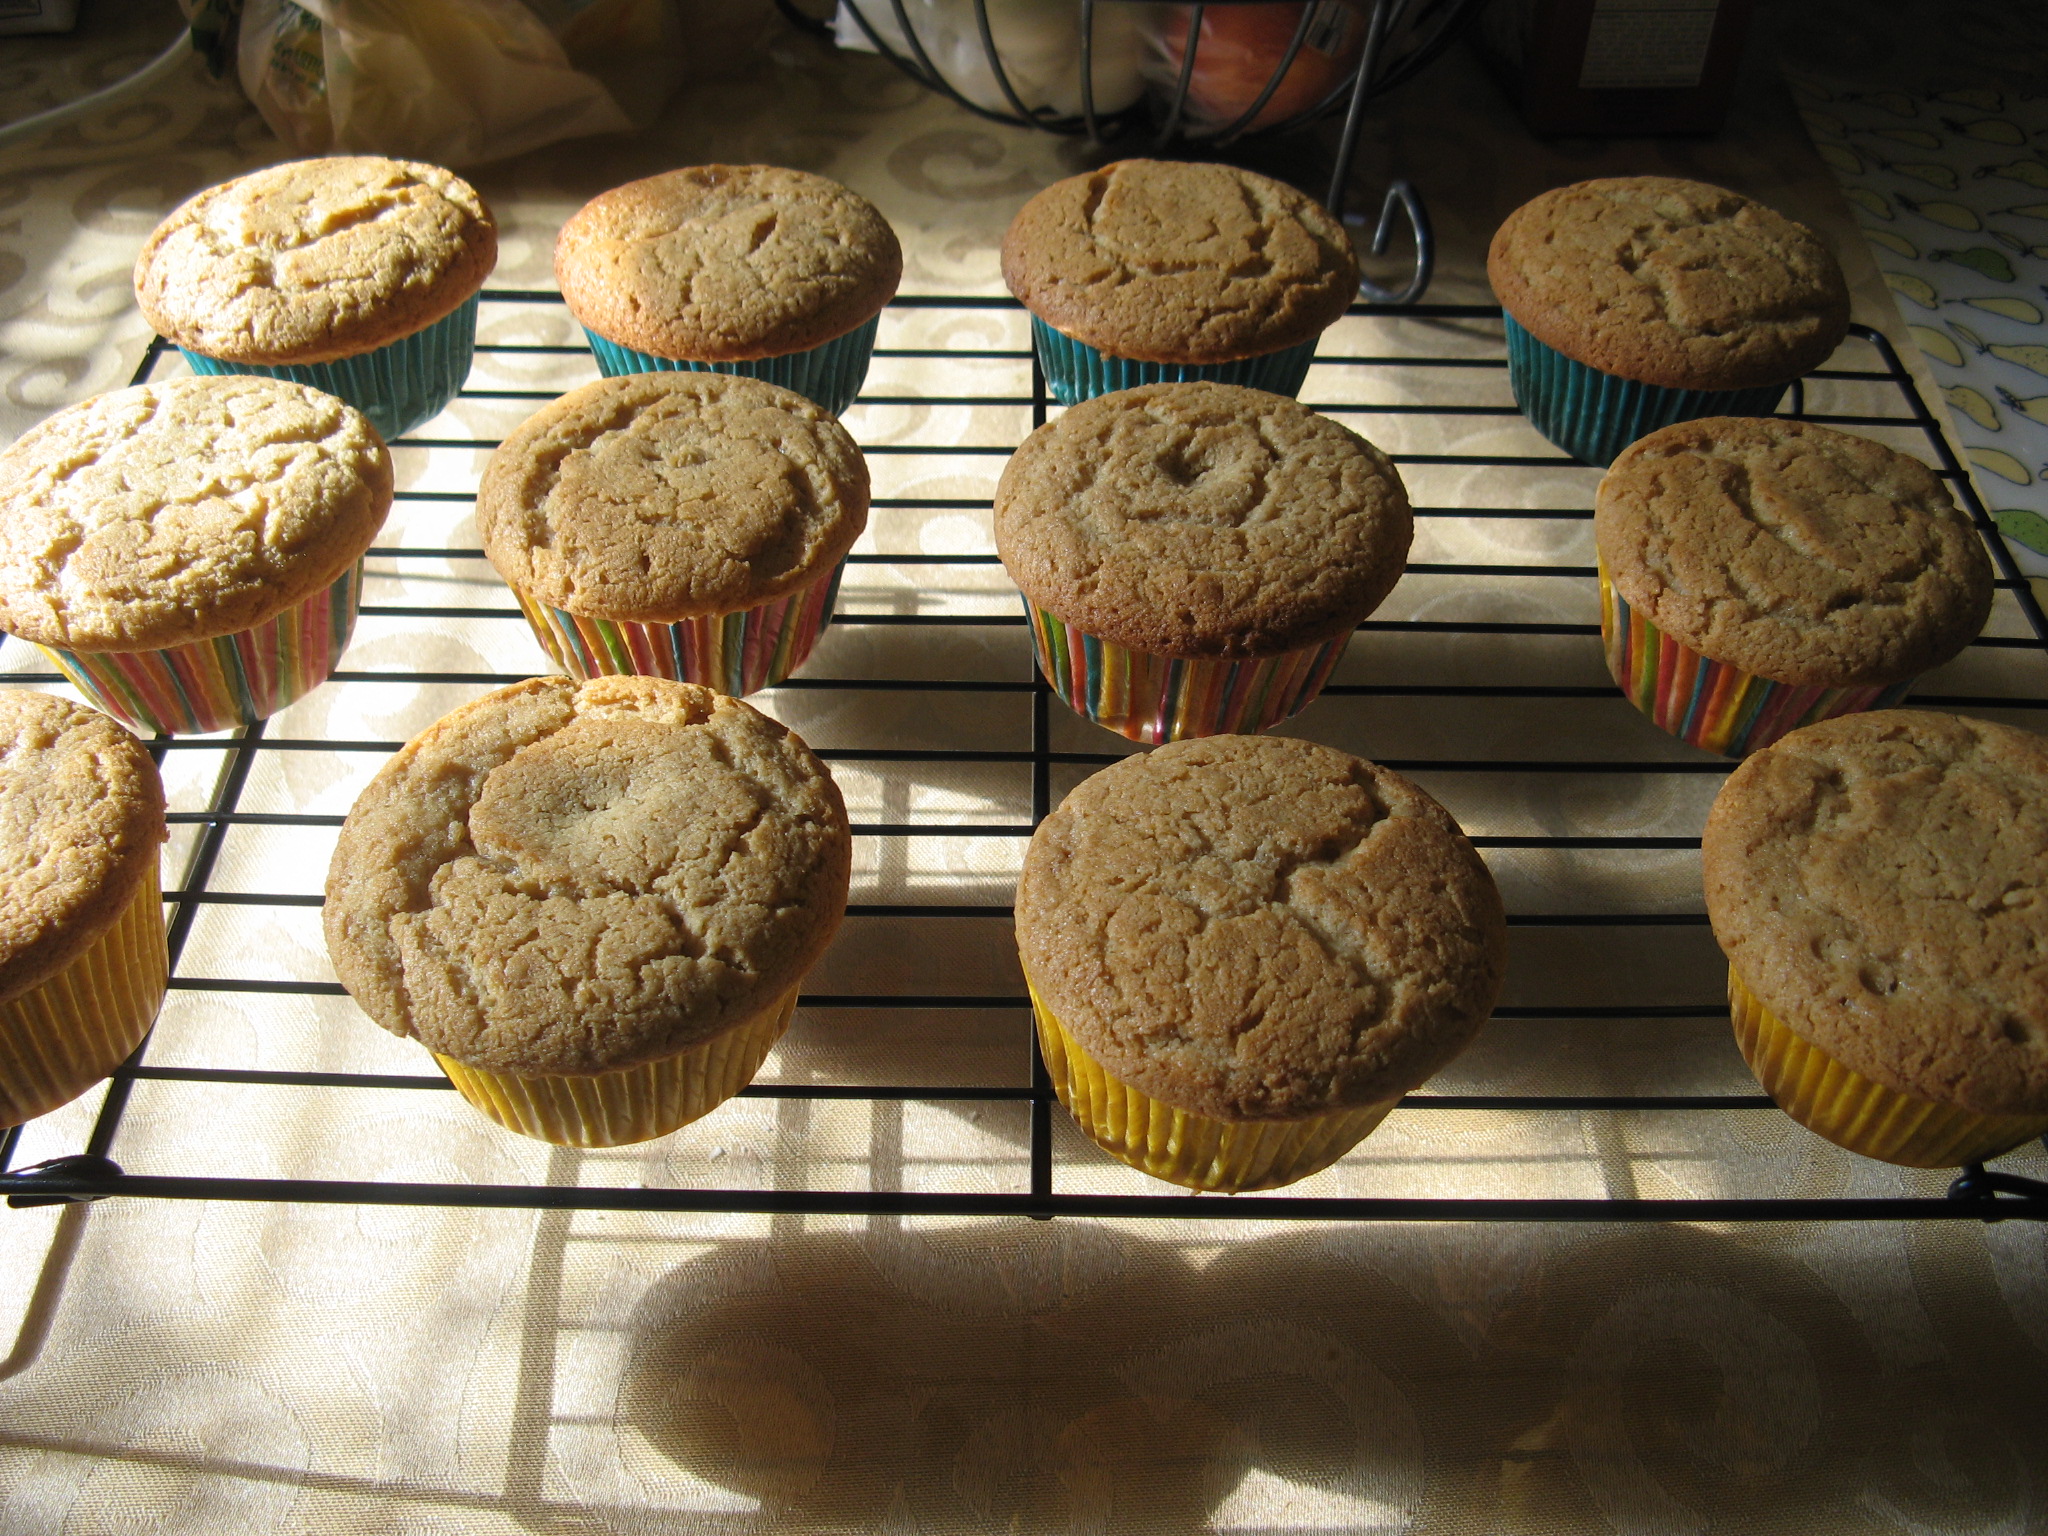
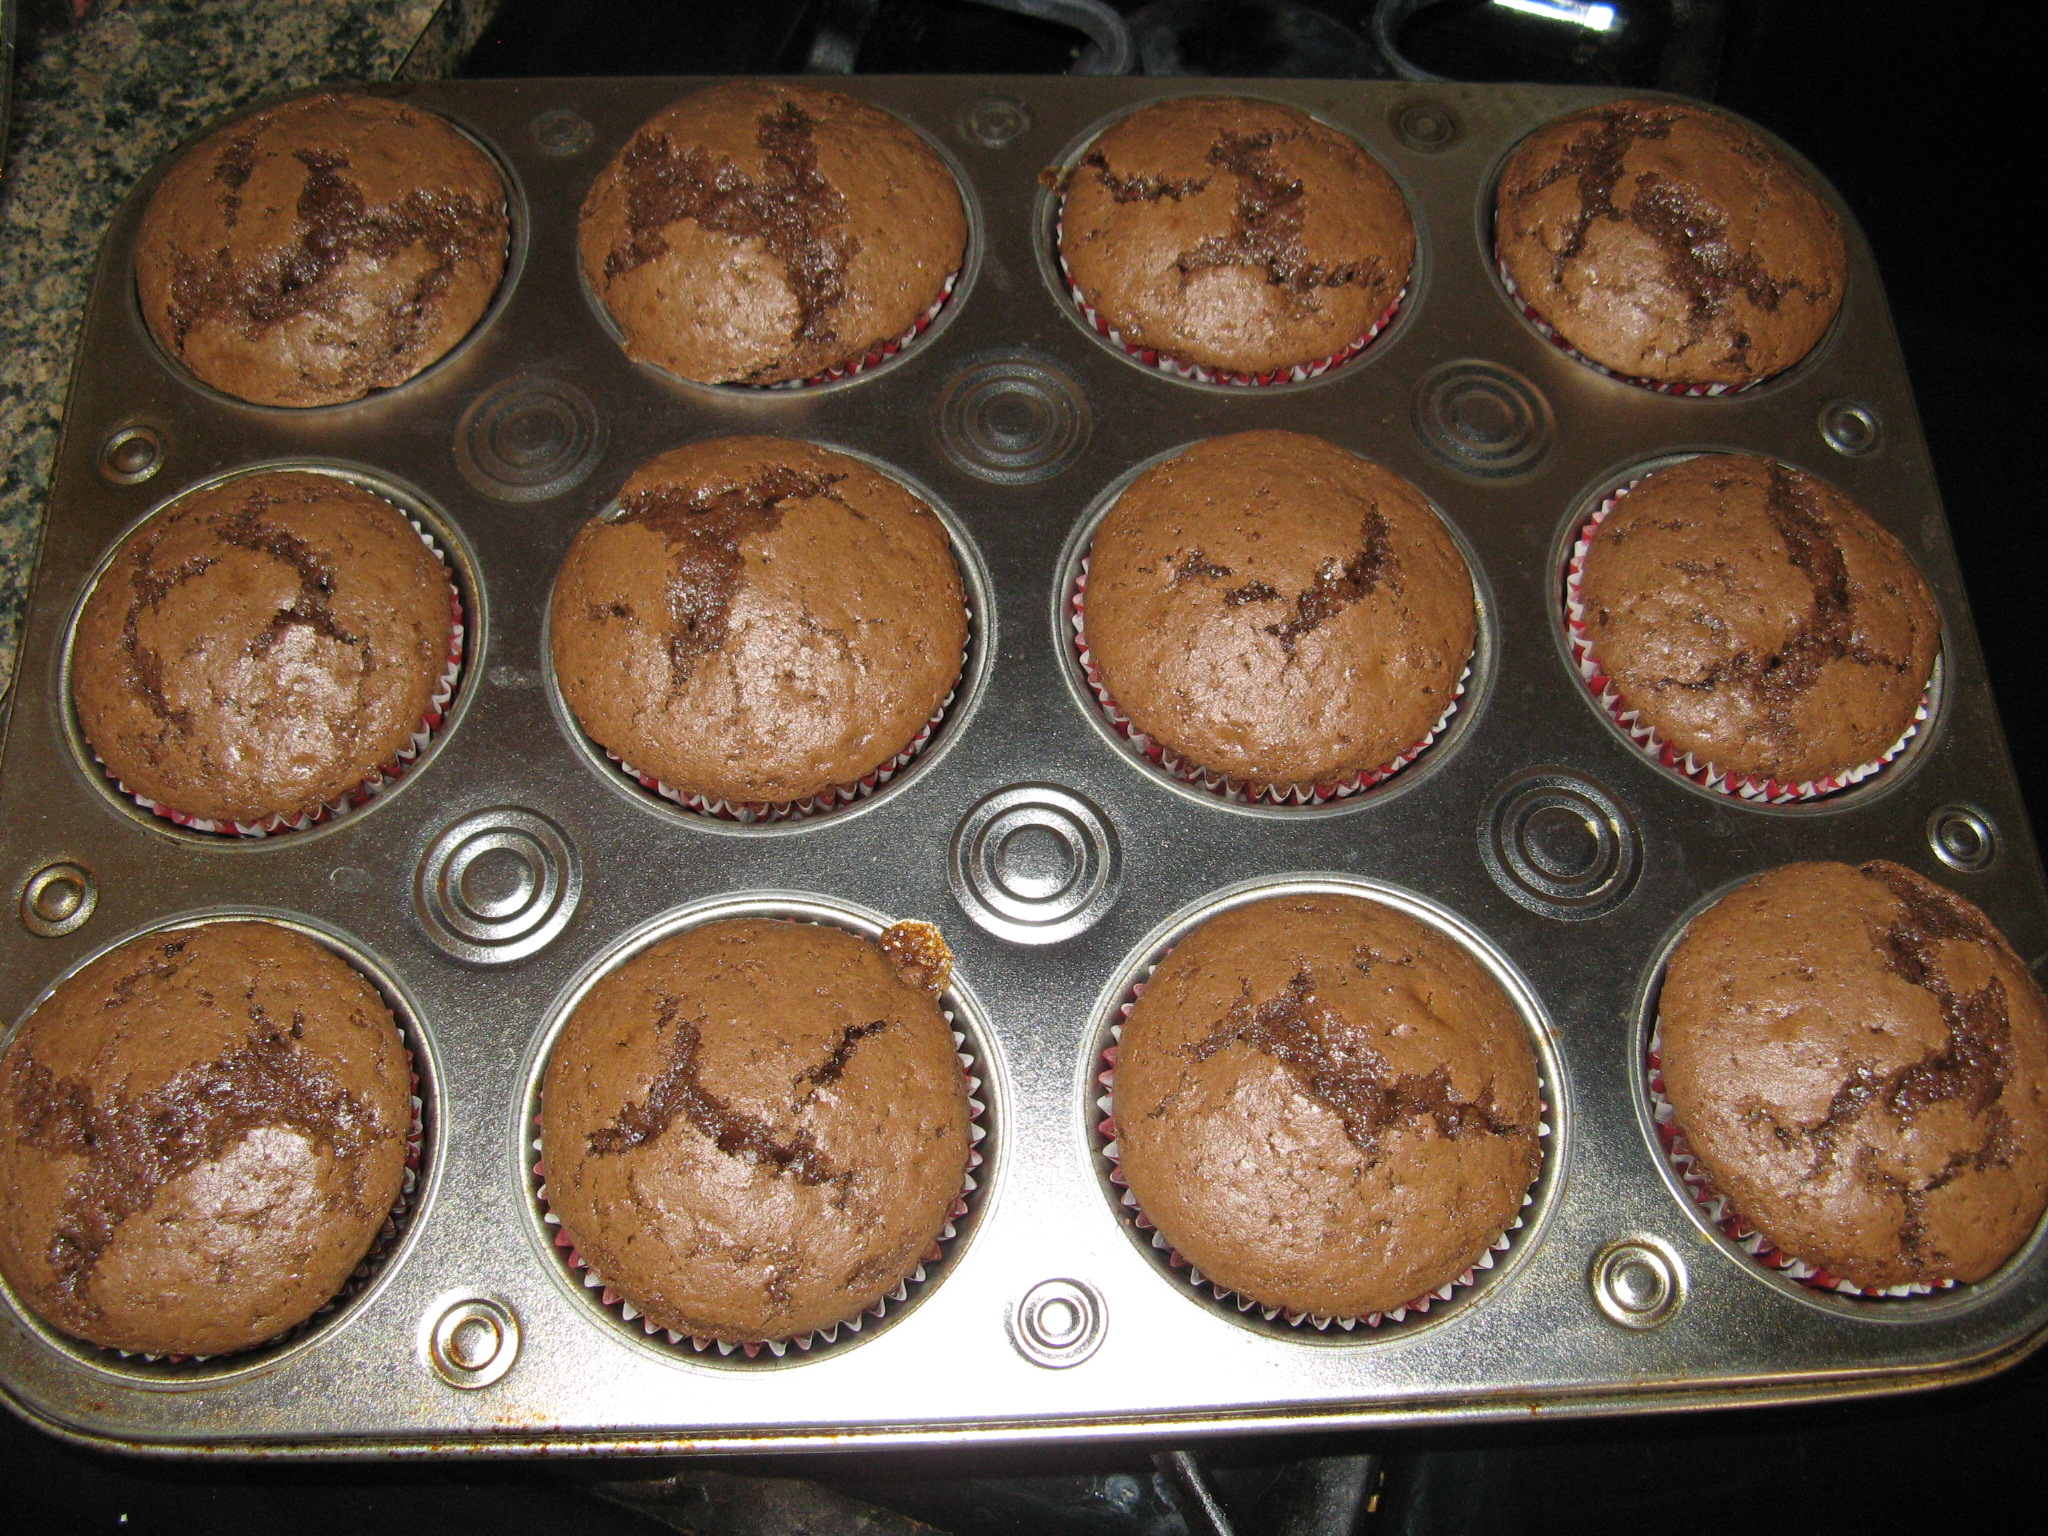
After baking for about twenty minutes in a pre-heated 350 F oven my first batch of Chocolate Malted Cupcakes were done!

IMG_2873

The recipe was right on point and I ended up with twenty-eight delicious cupcakes!

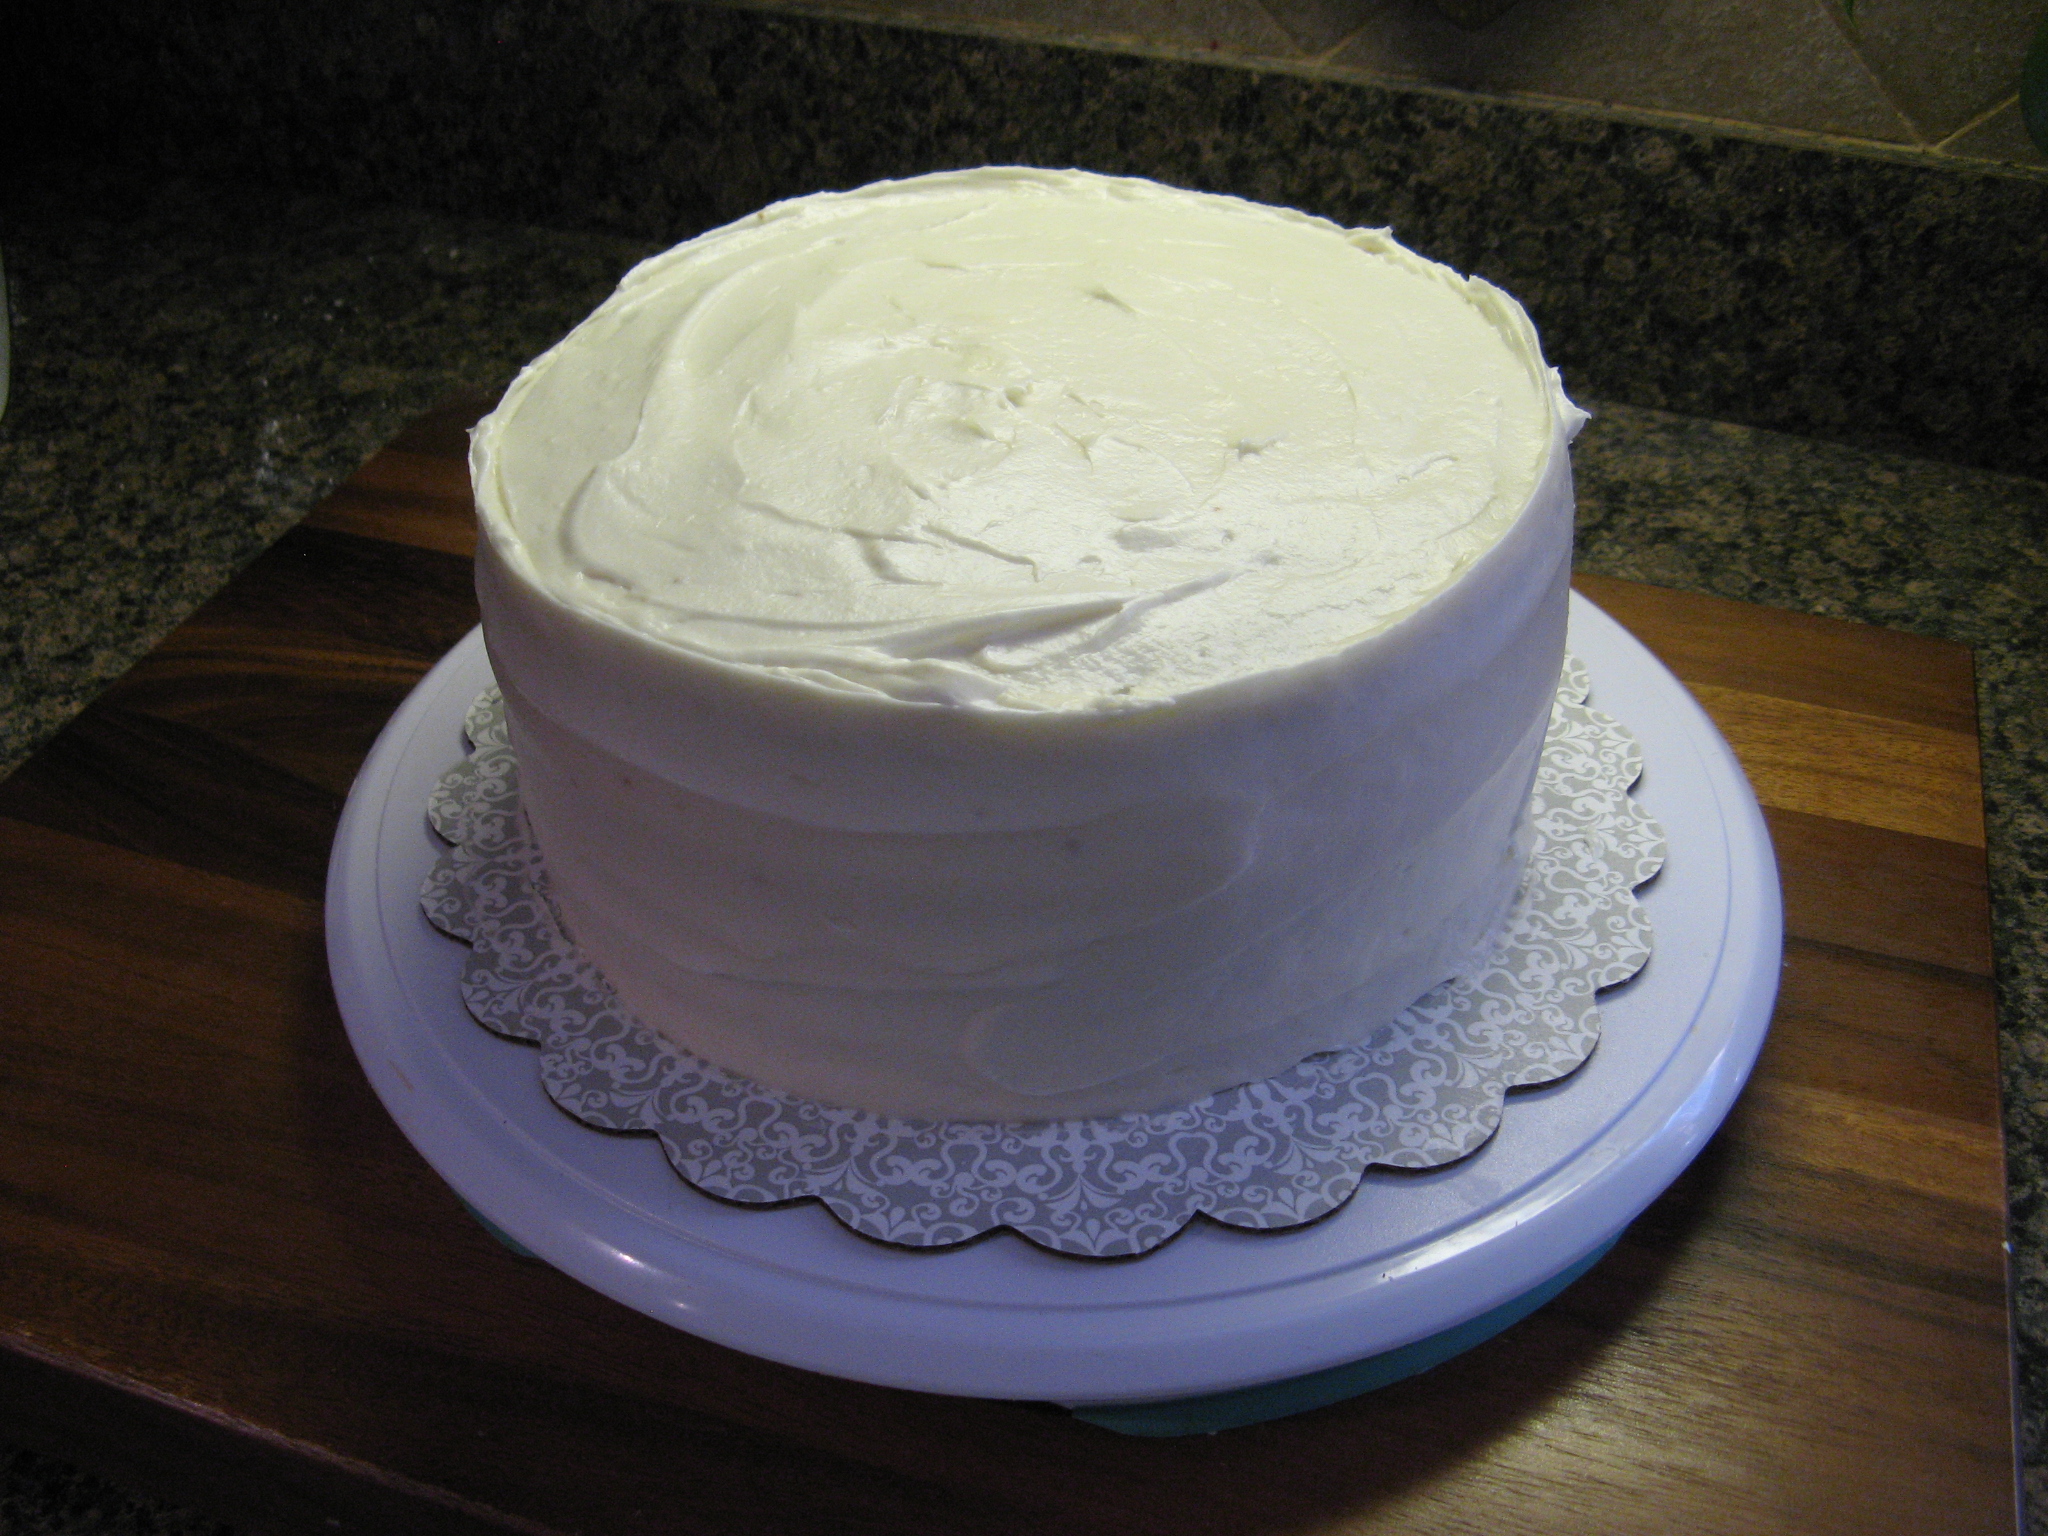
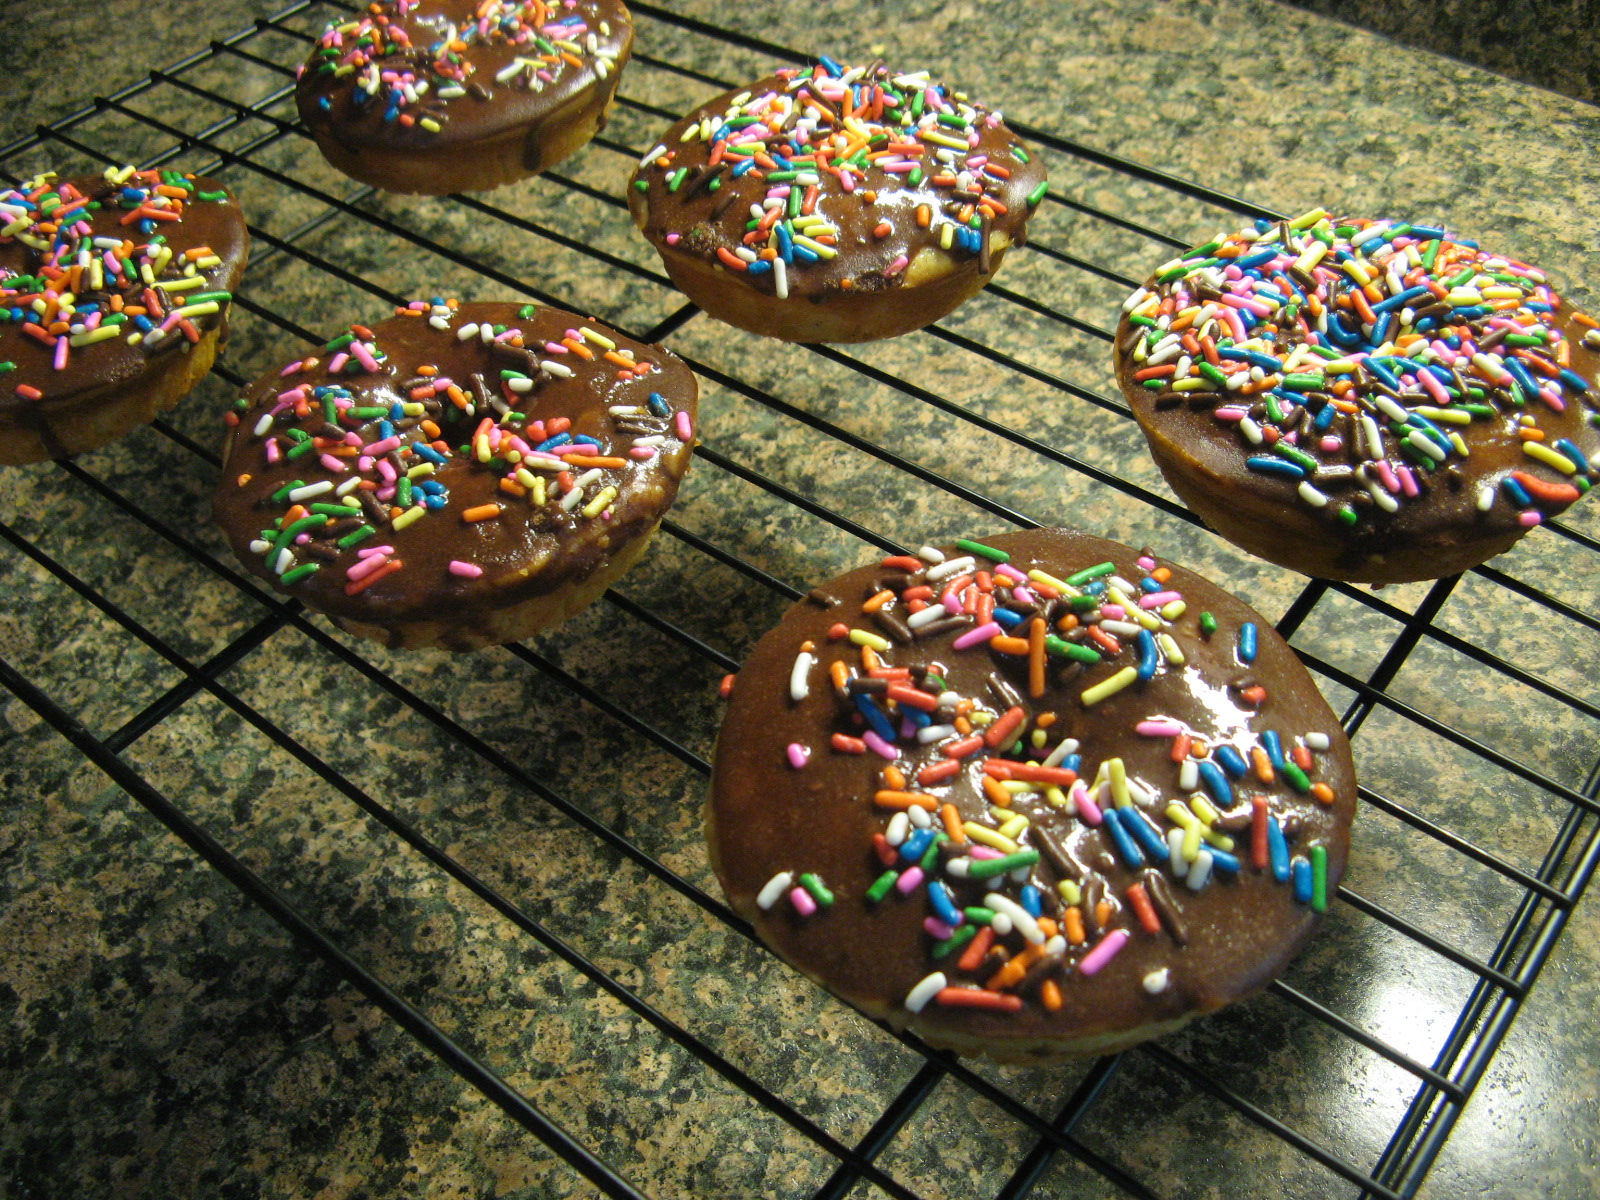
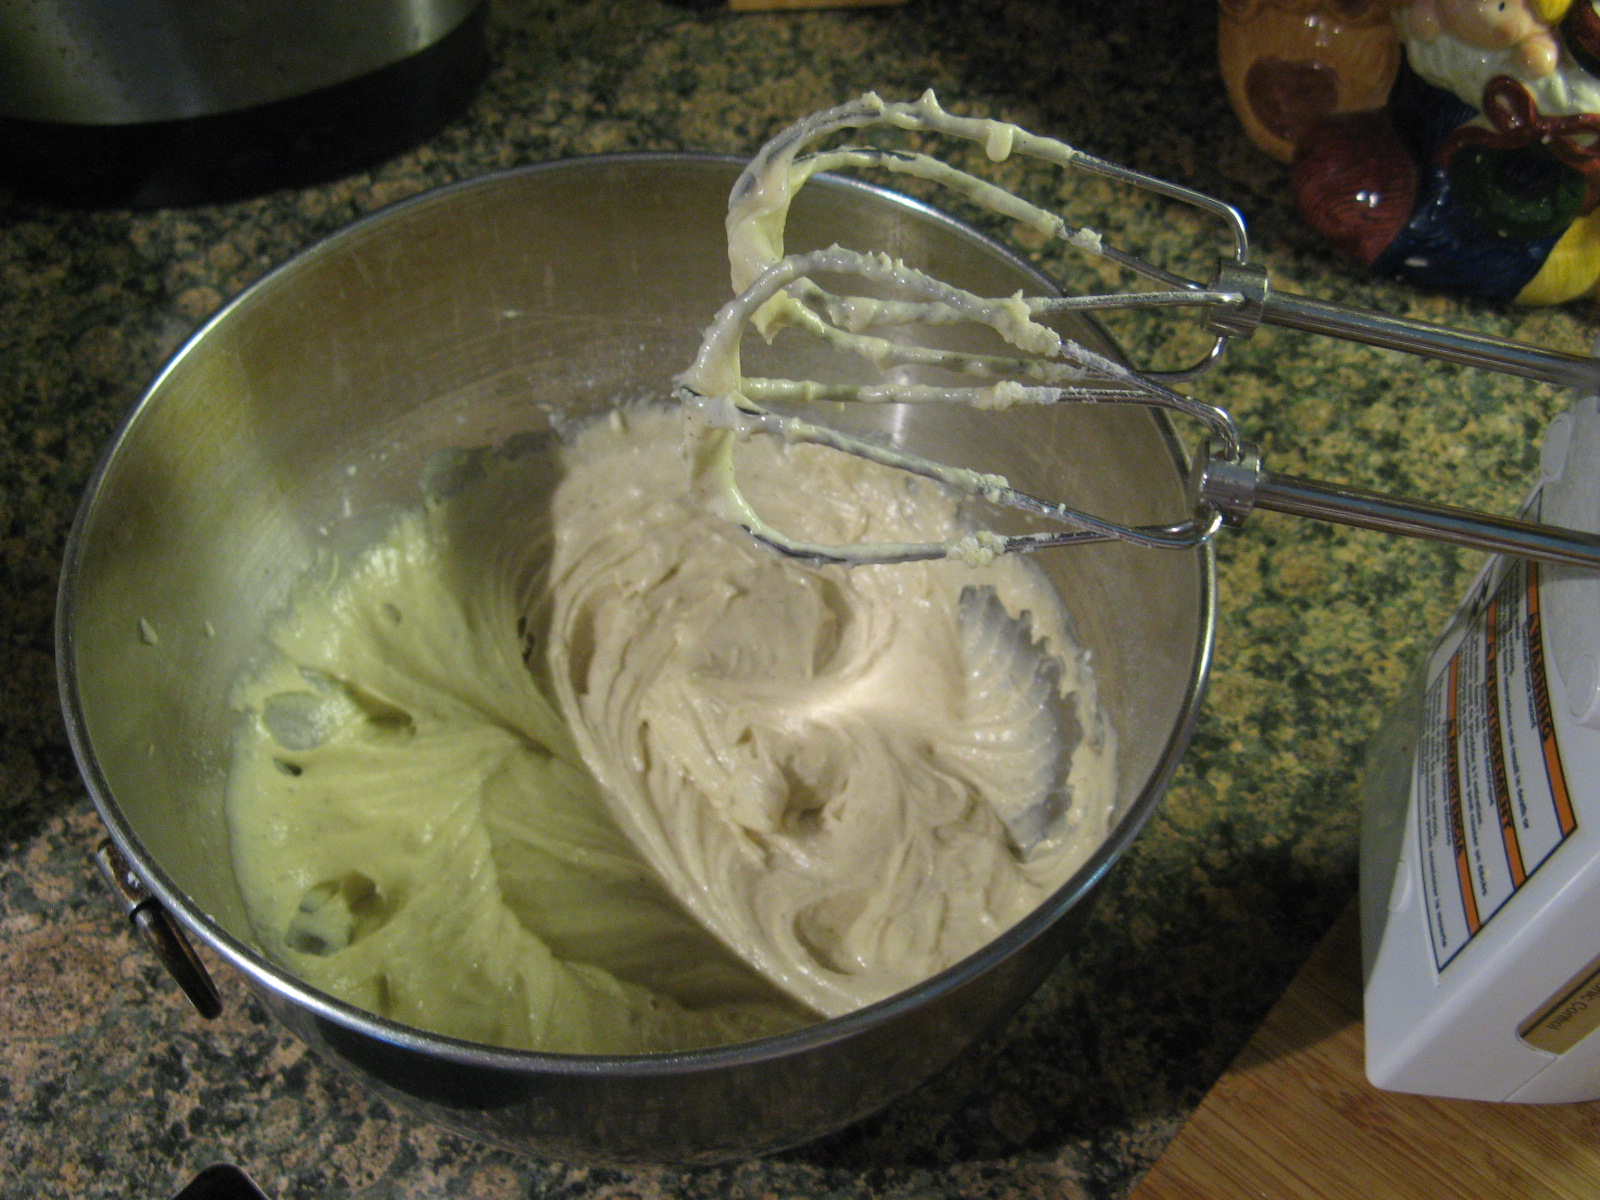
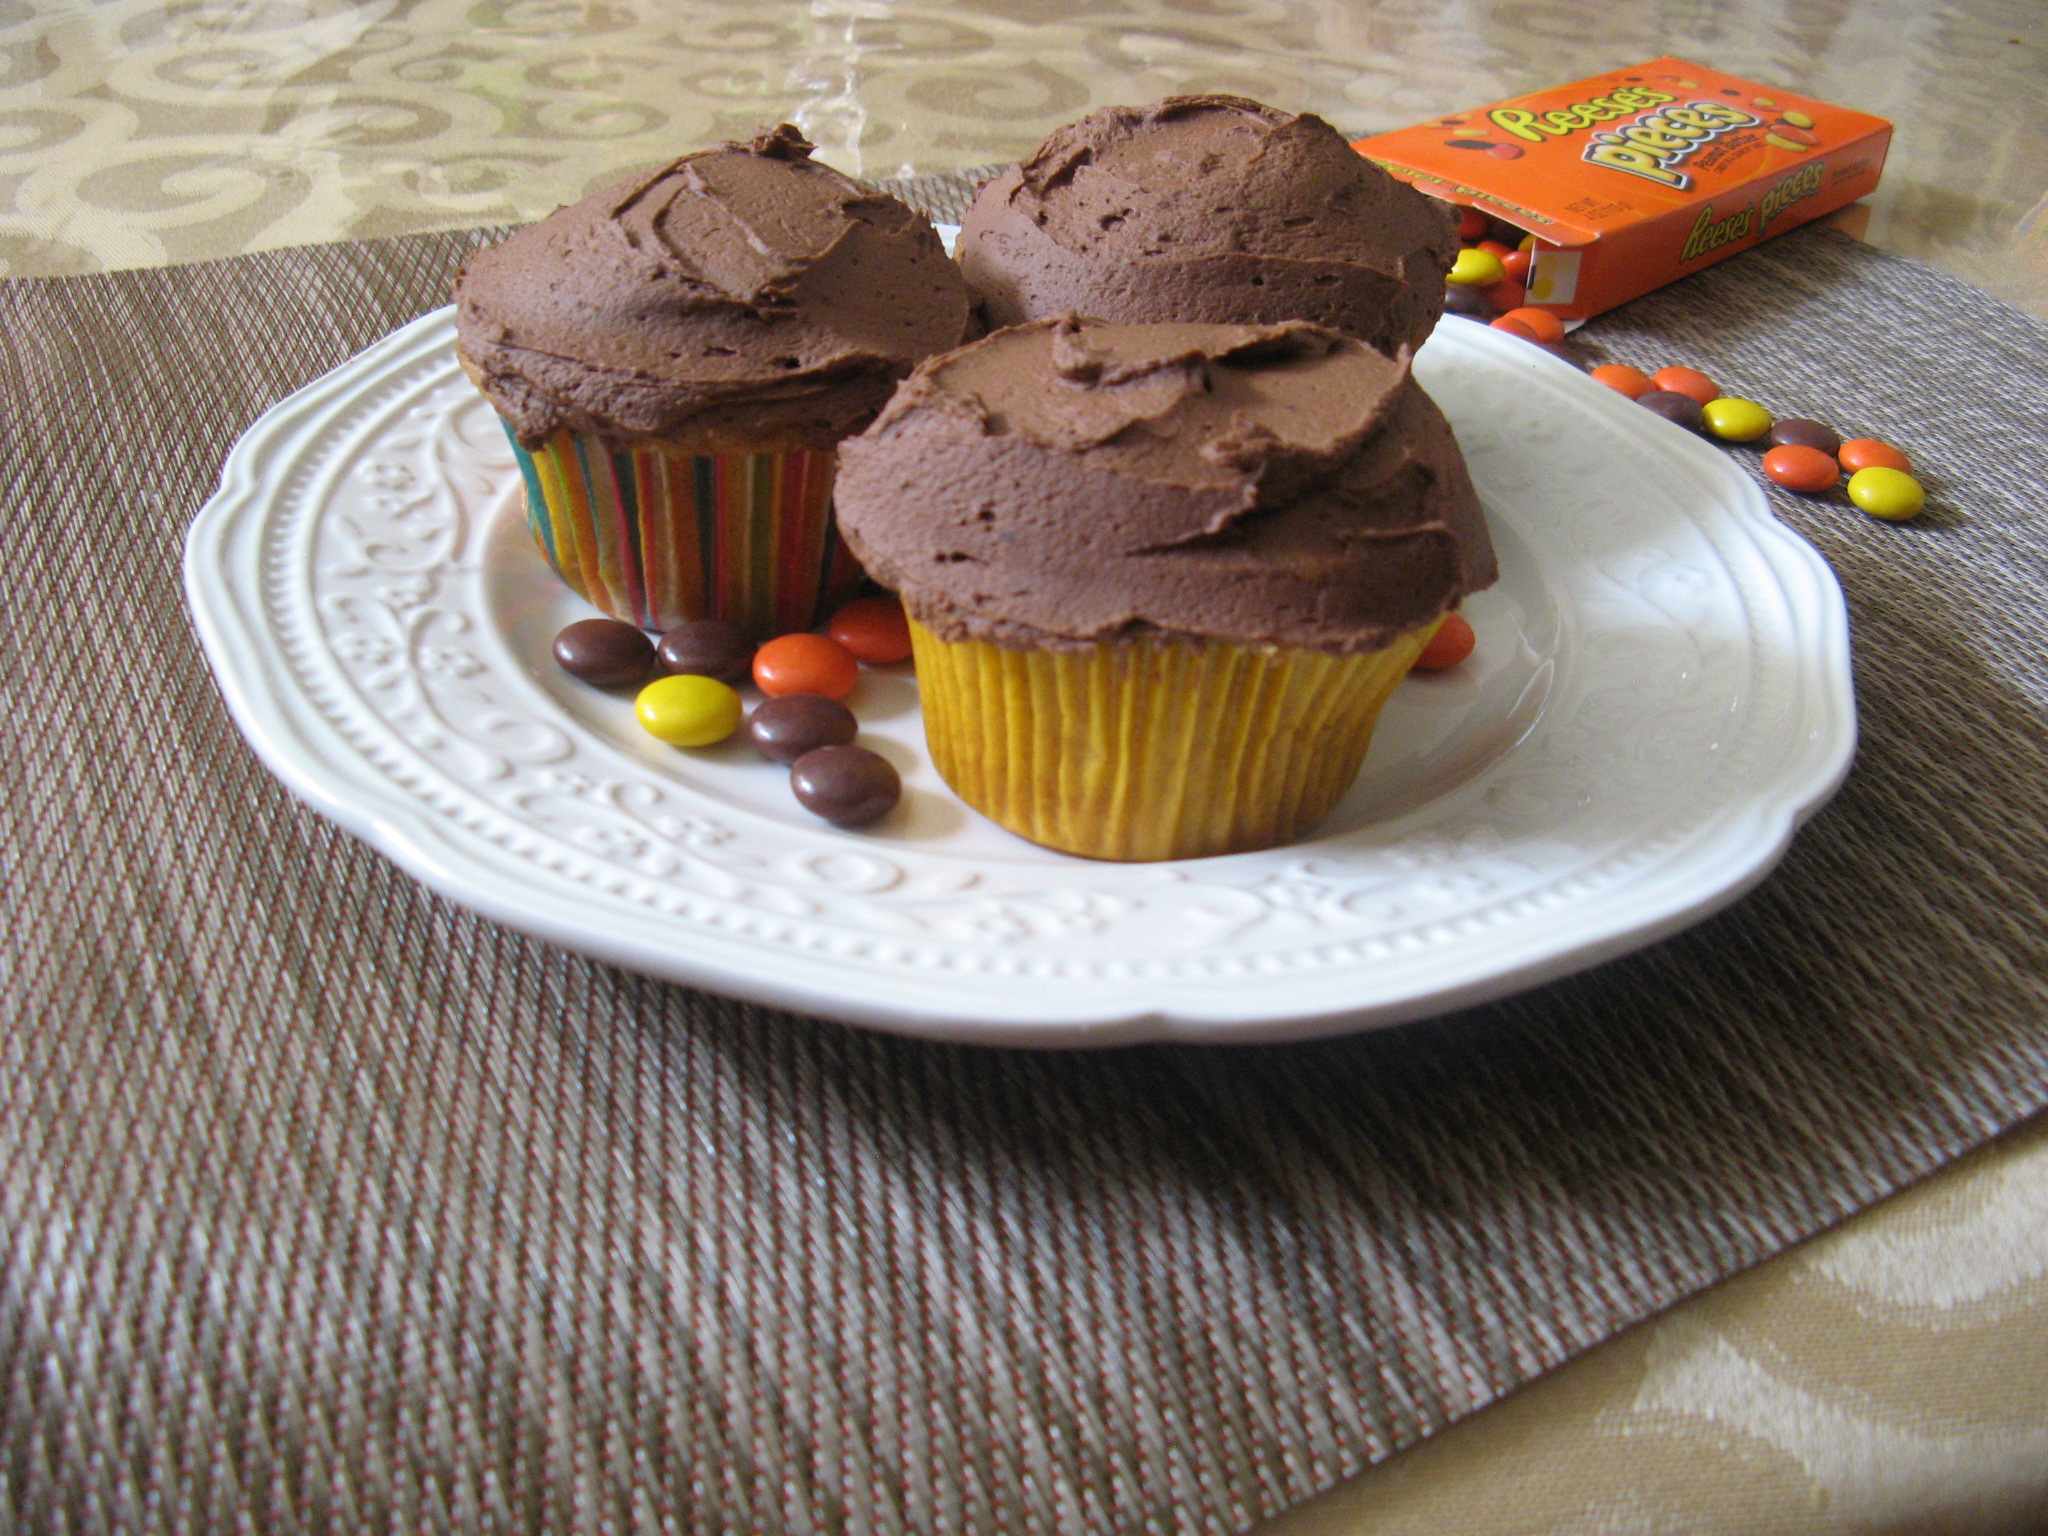
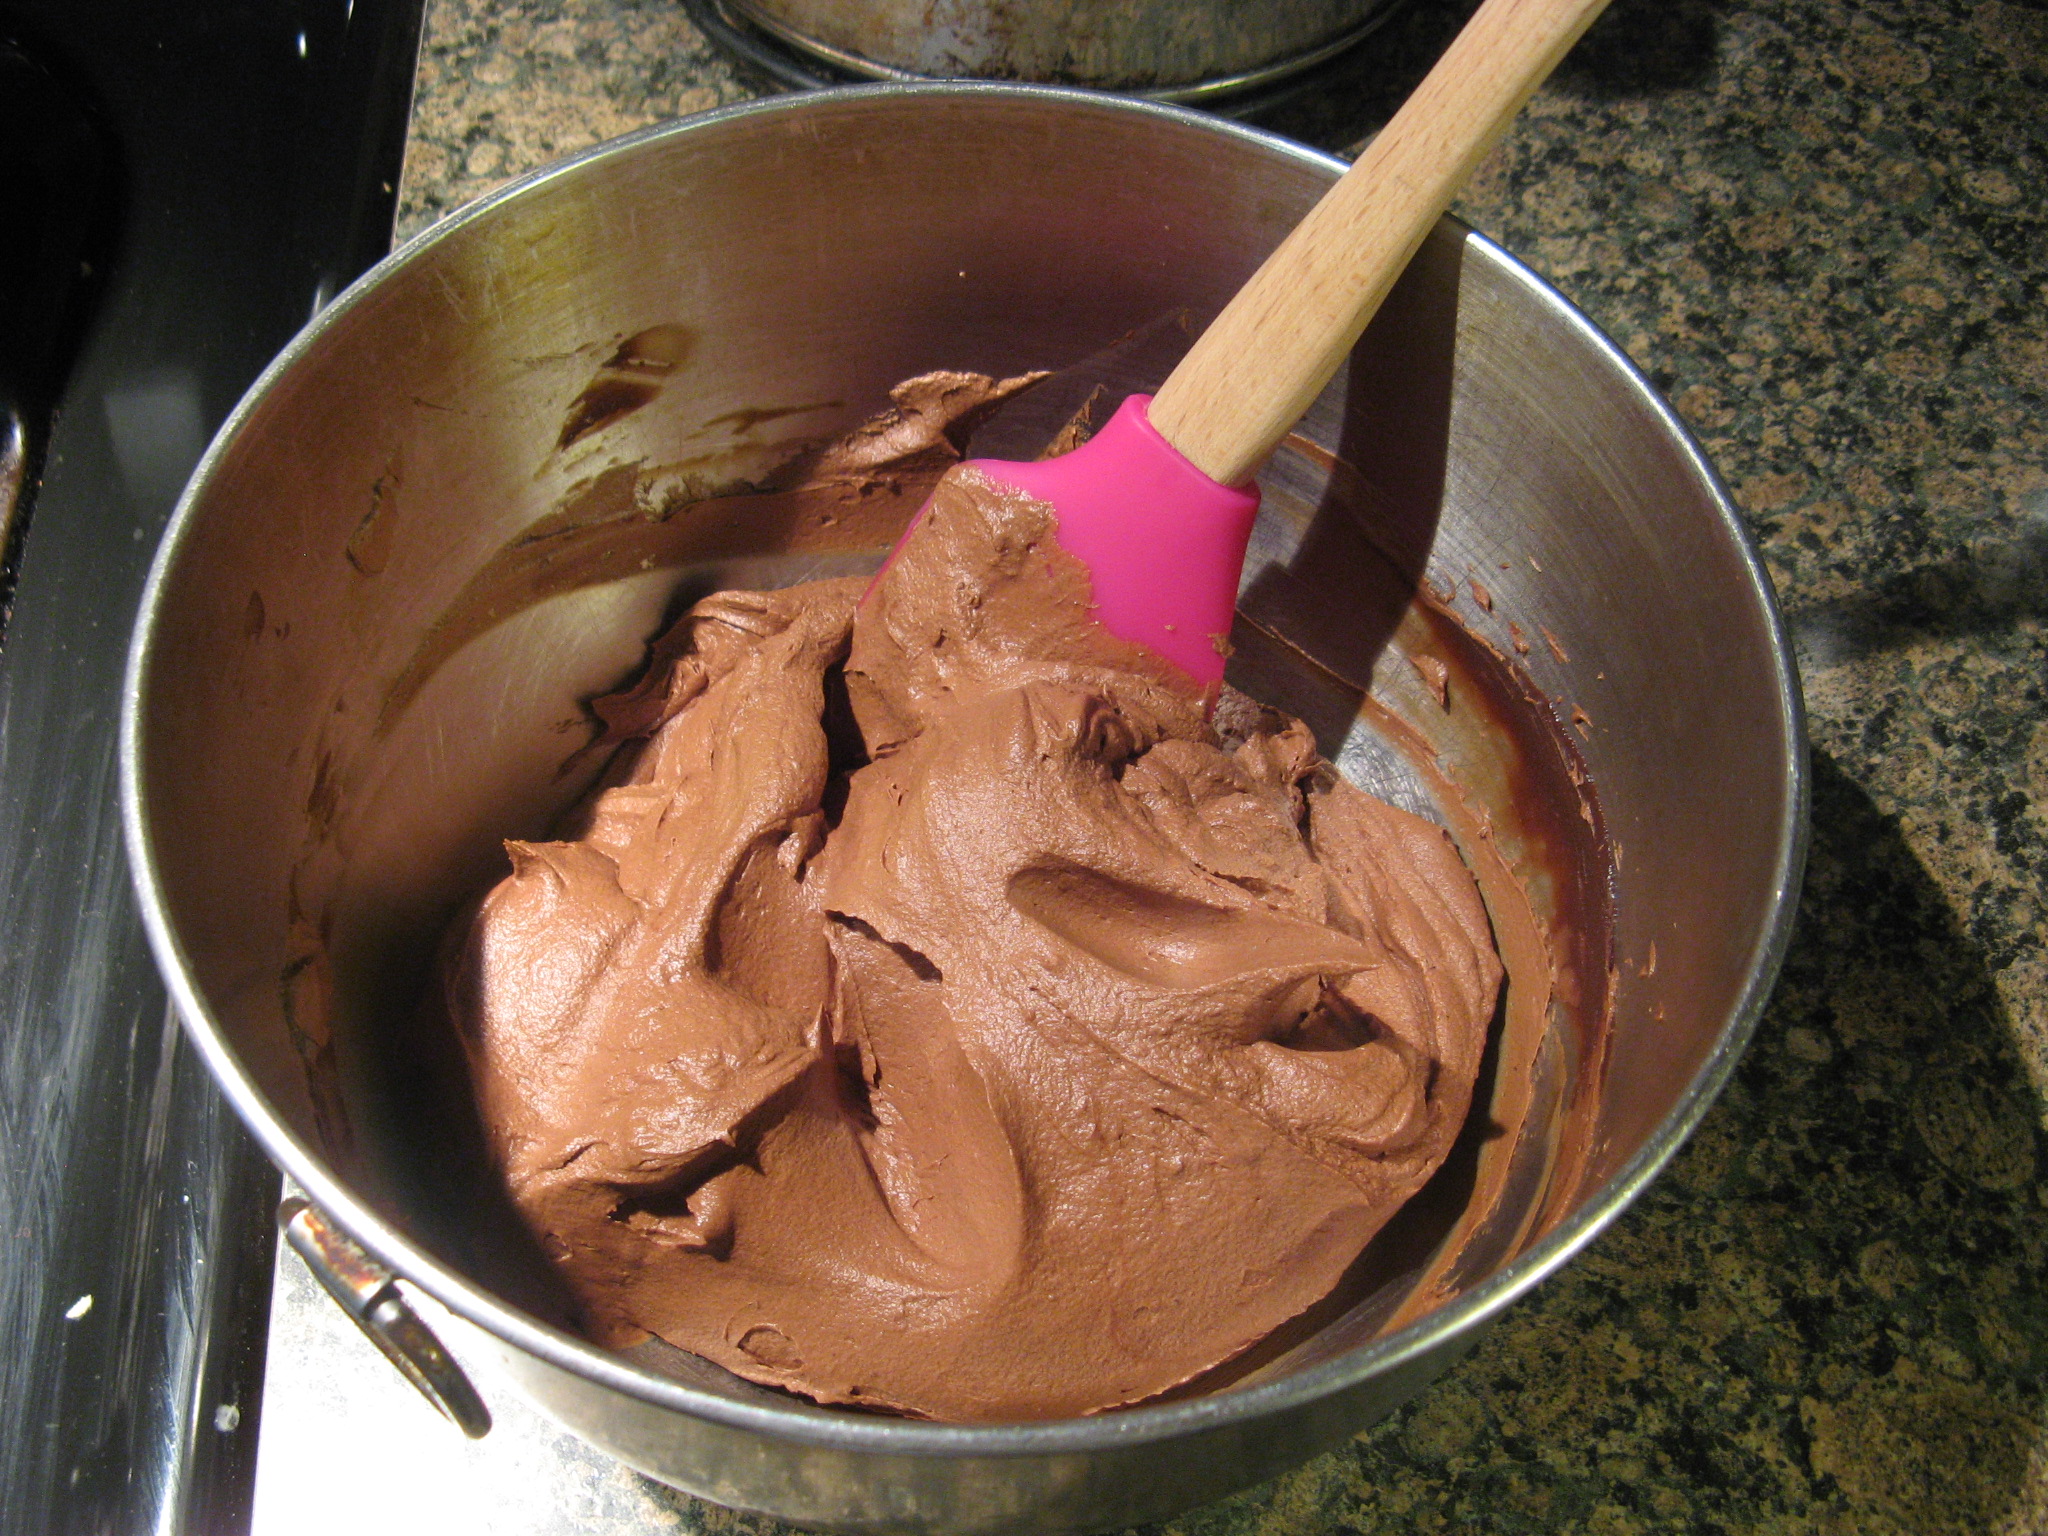
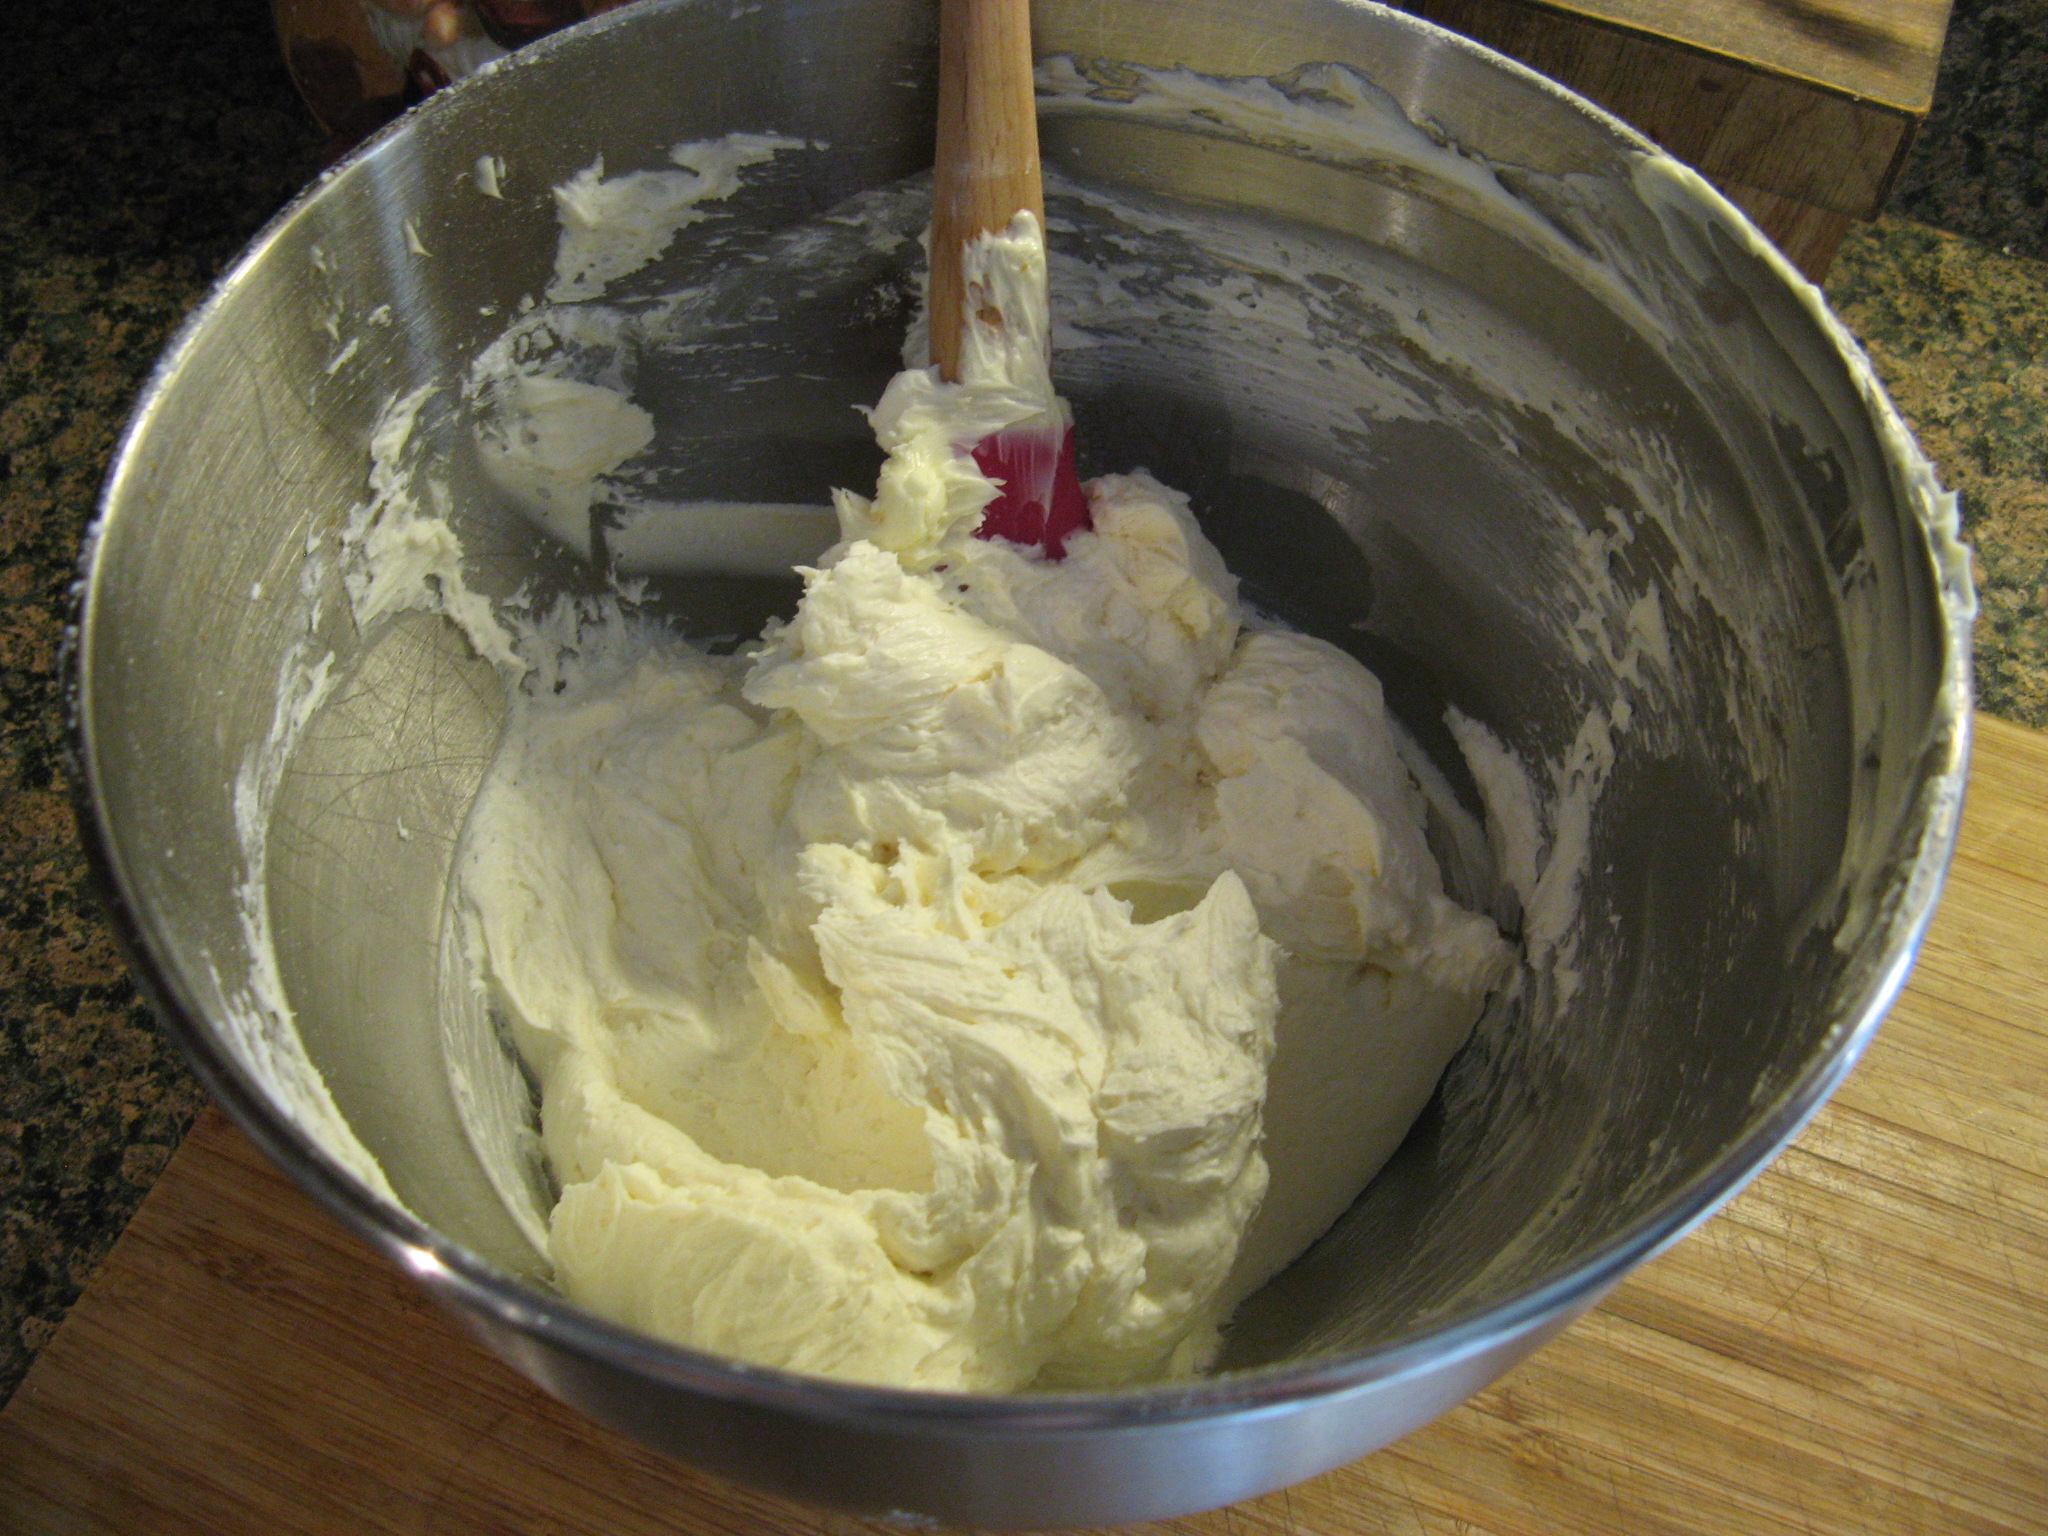
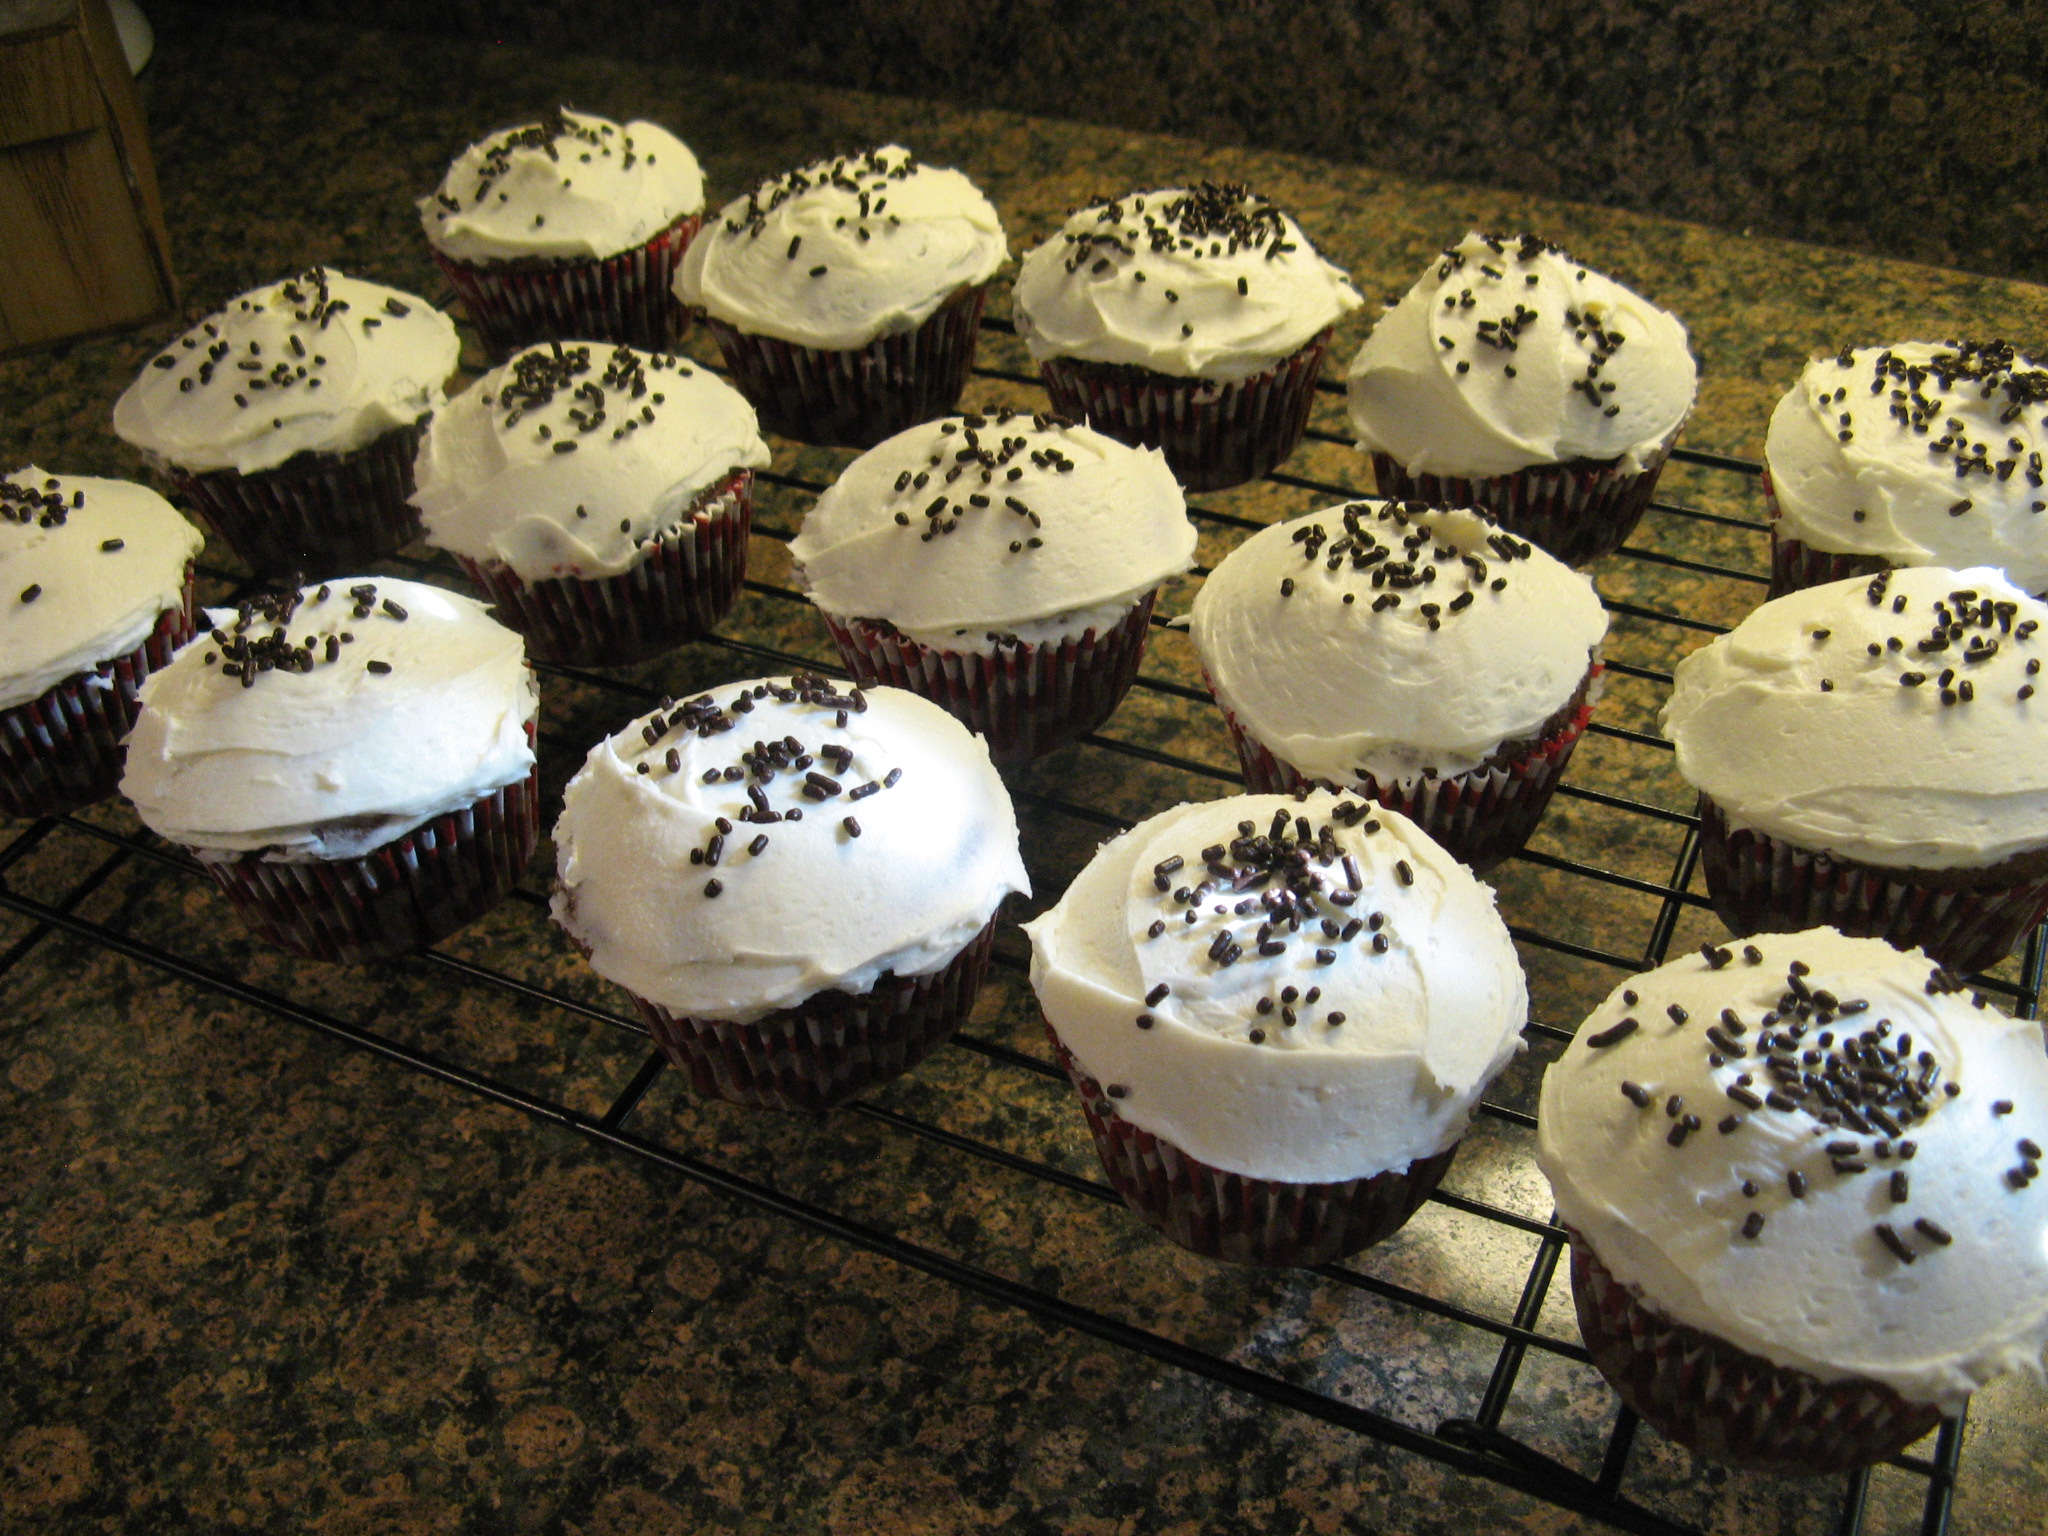
After the cupcakes had cooled I whipped up a batch of Fluffy Vanilla Frosting using three simple ingredients: unsalted butter, confectioners’ sugar and vanilla extract. I think this may become my new go-to vanilla frosting!

IMG_2878

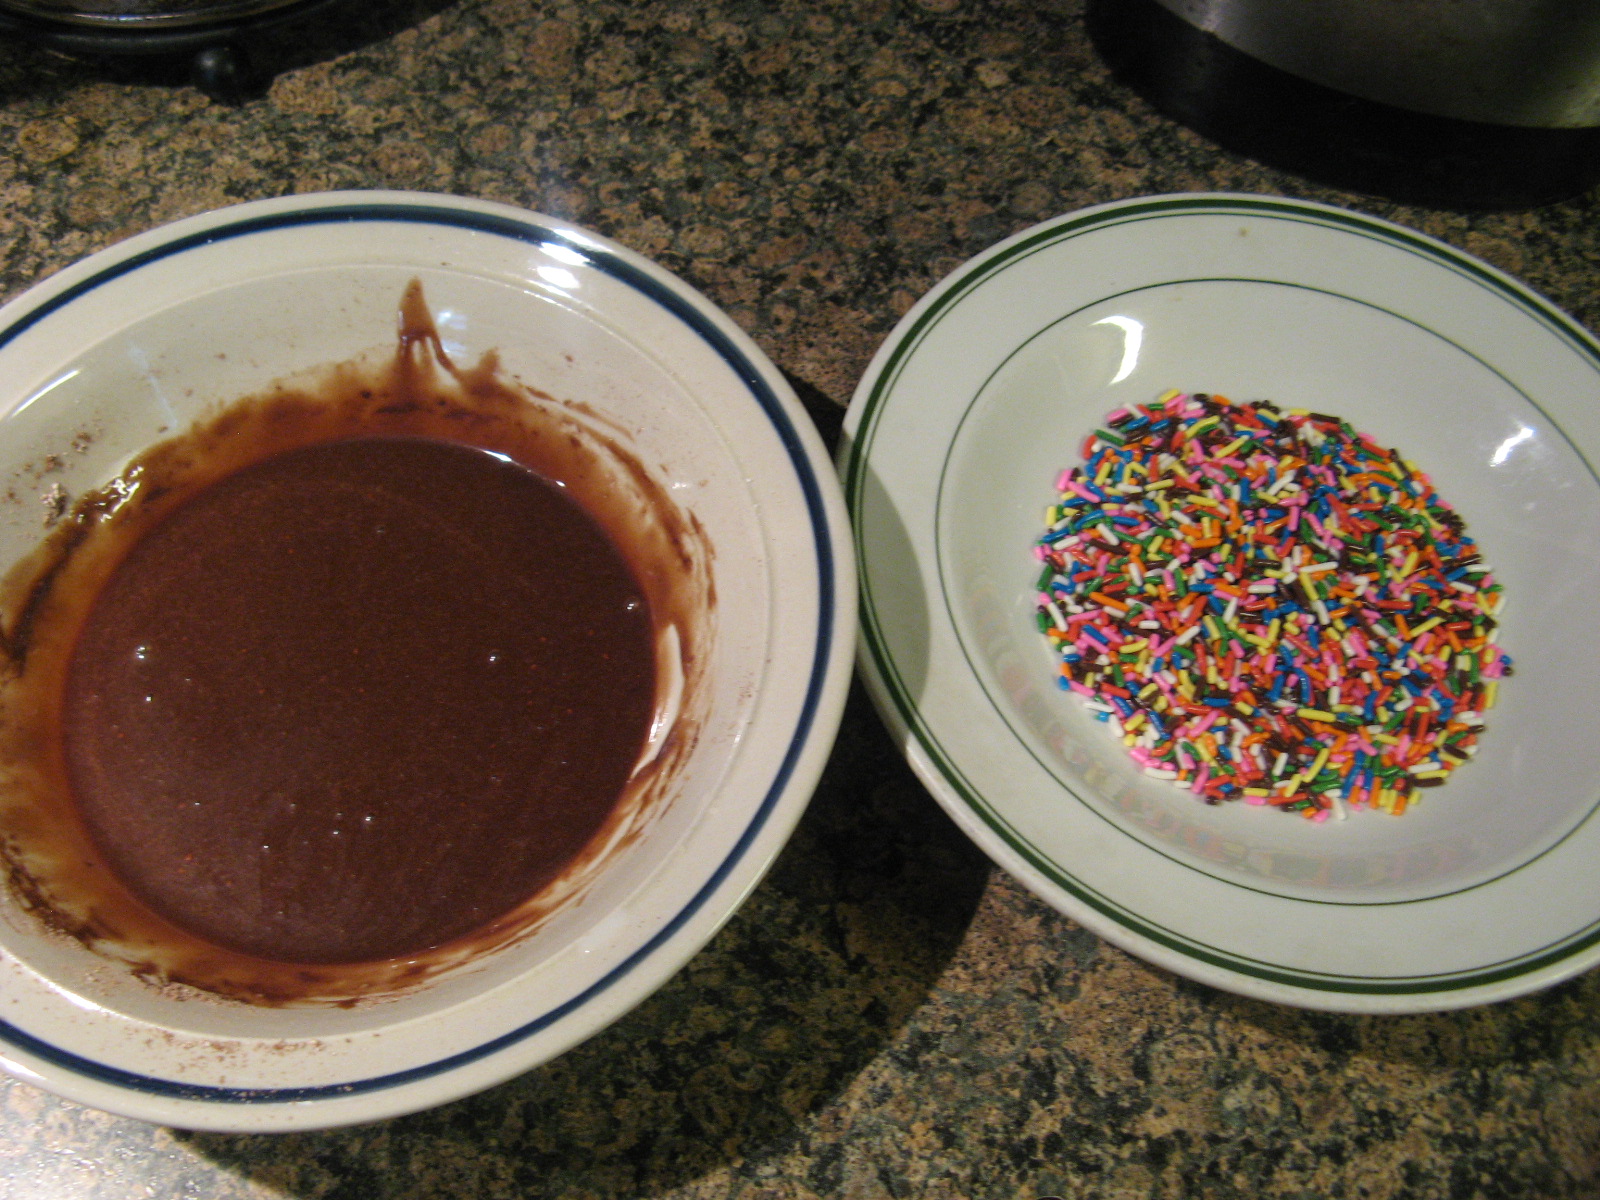
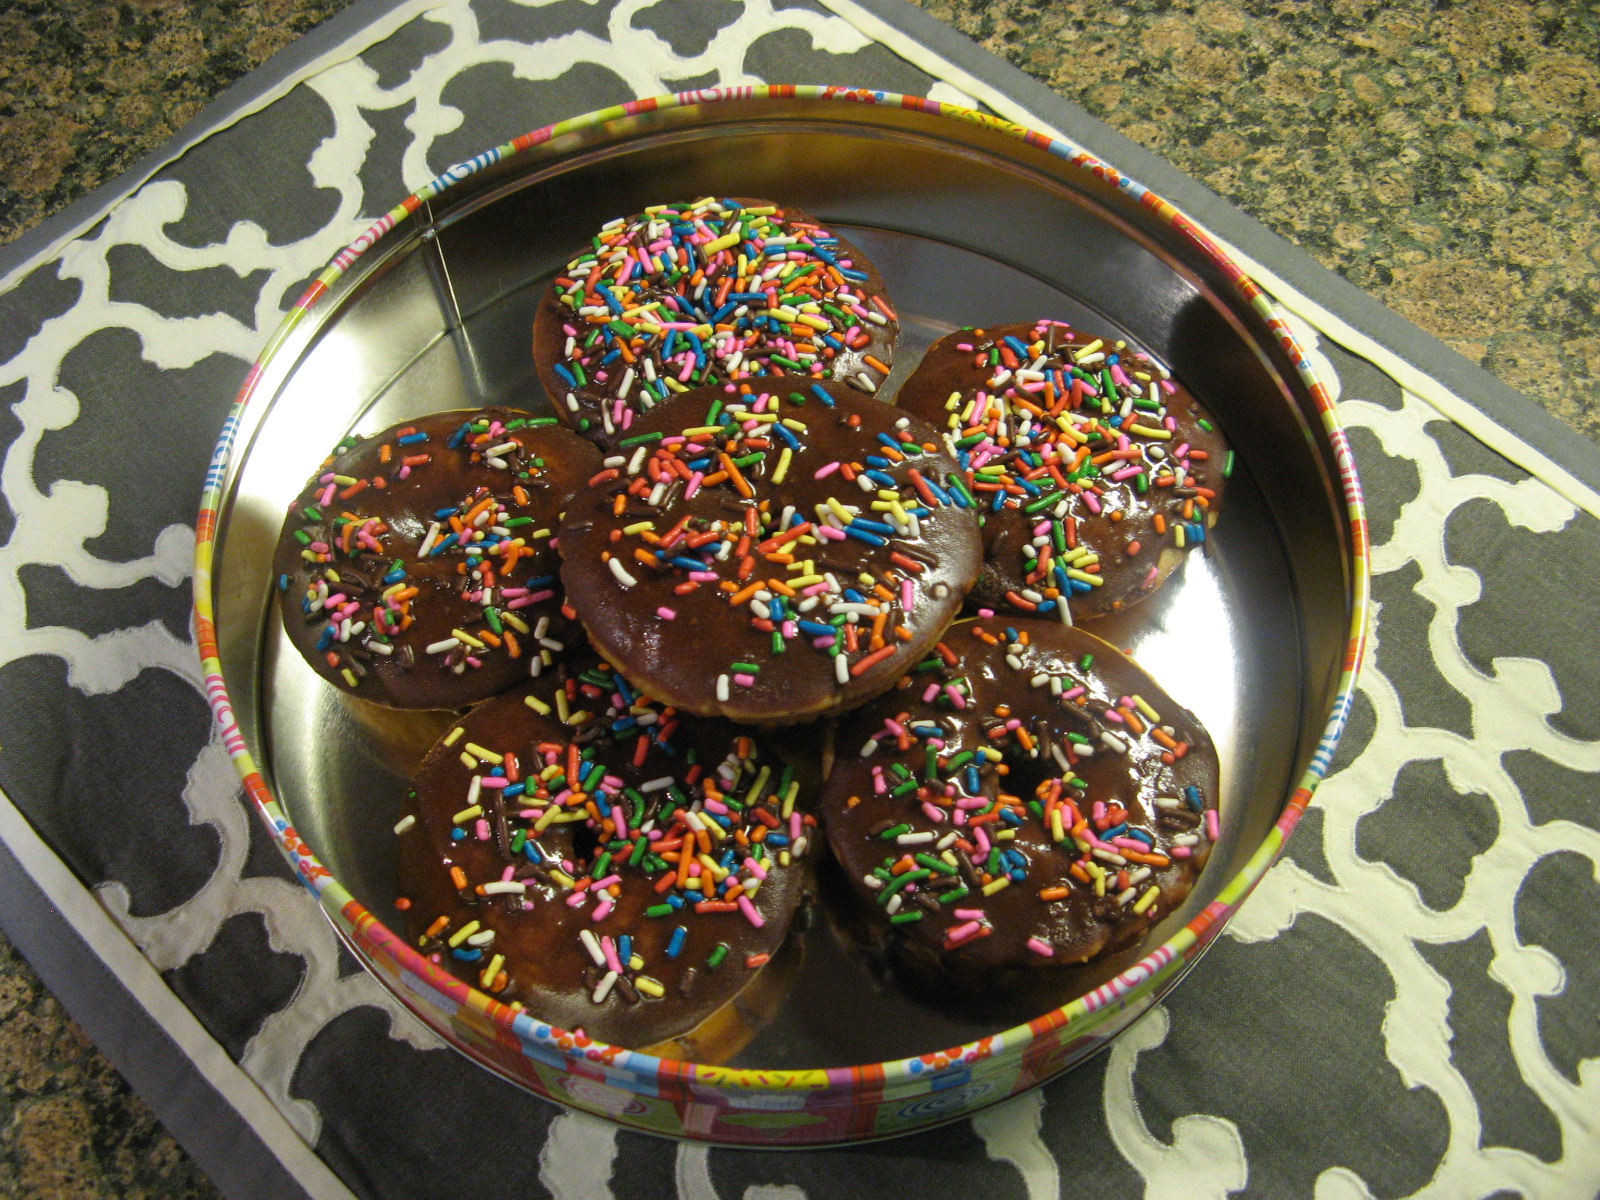
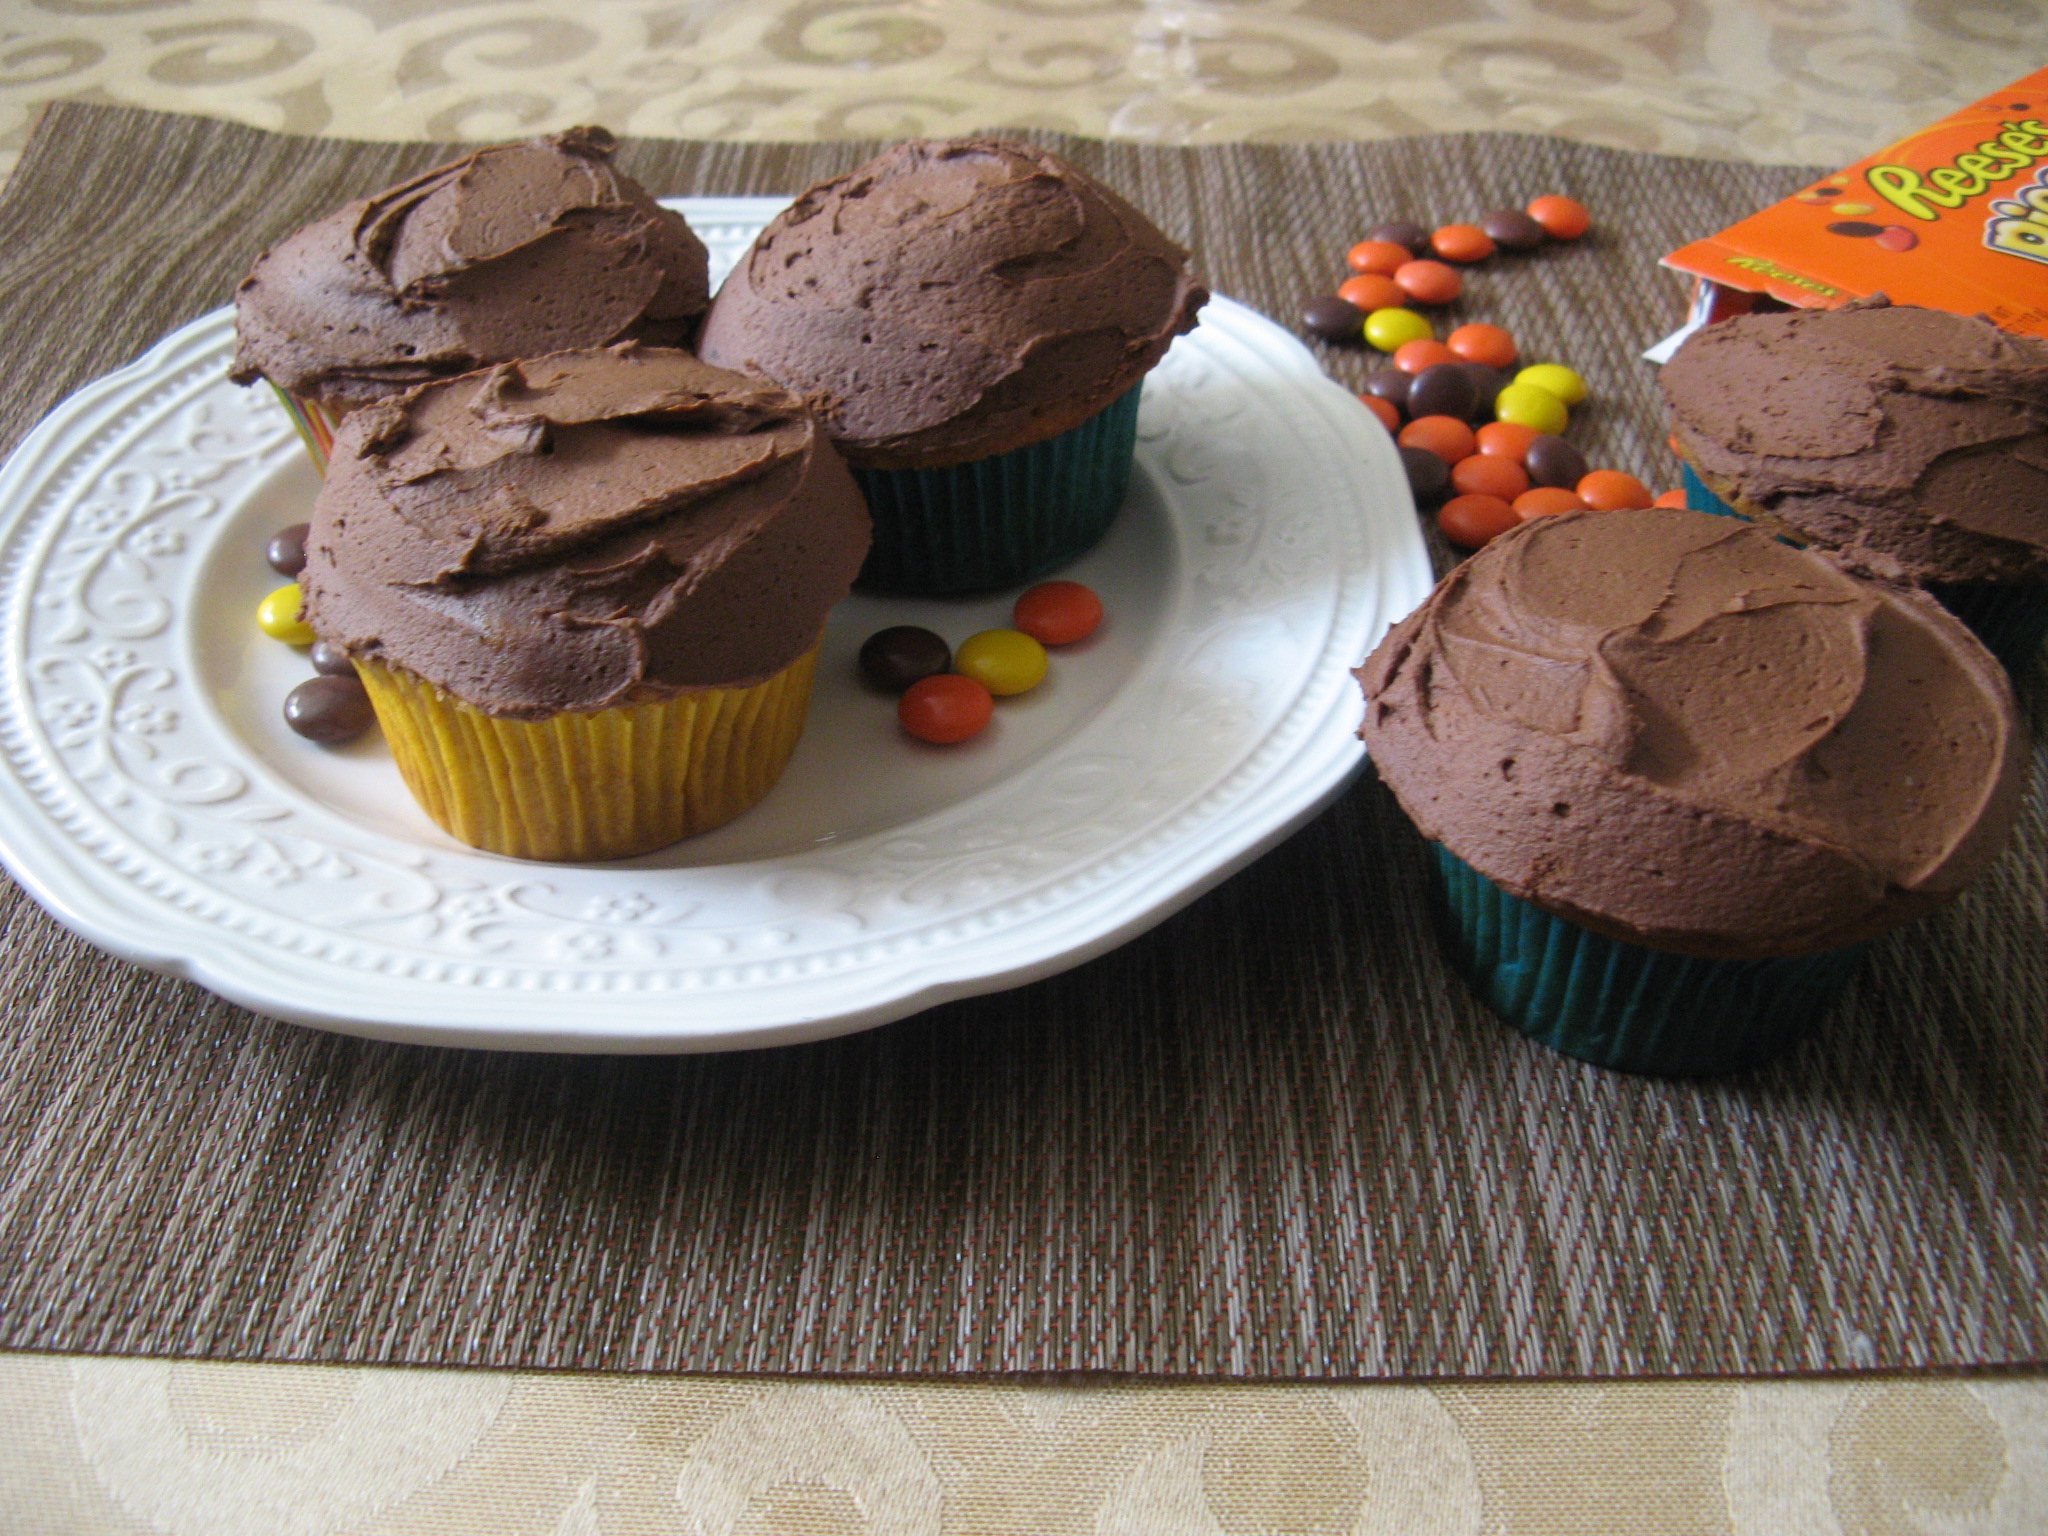
As opposed to piping my favorite 1M Swirl on these cupcakes, I frosted them using an offset spatula and then decorating them with chocolate sprinkles.

IMG_2903

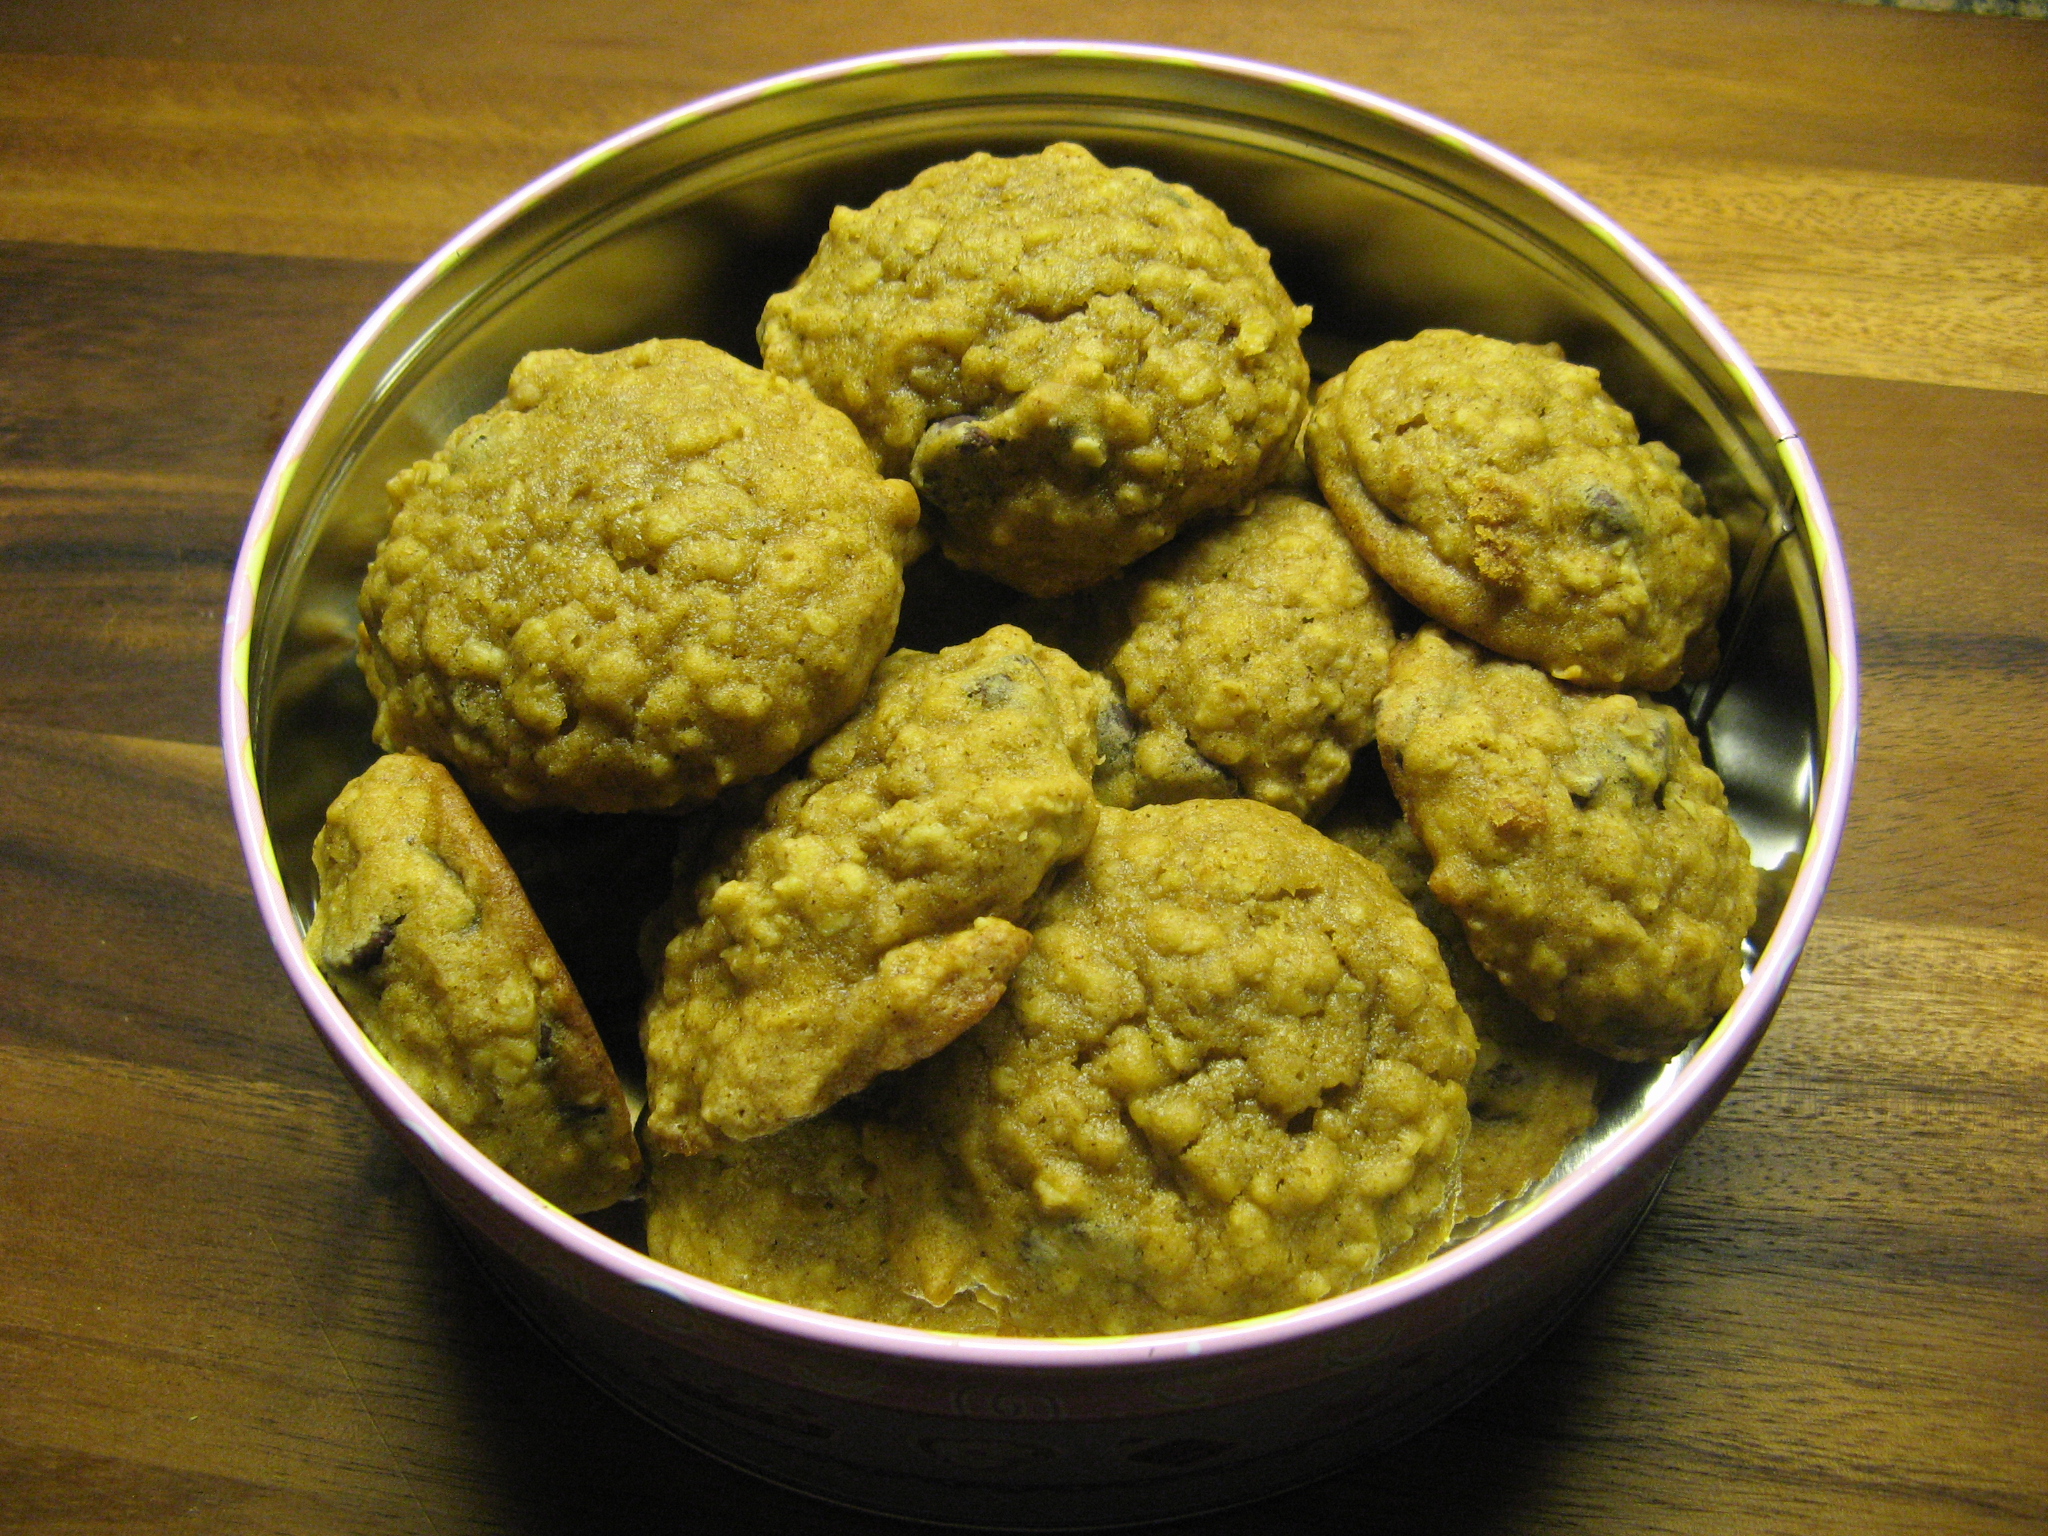
Overall they were a hit and just the right amount of sweetness!

Chocolate Malted Cupcakes

From Martha Stewart’s Cupcakes

Makes 28 Cupcakes

2 1/4 cups all-purpose flour

3/4 cup unsweetened Dutch-process cocoa powder

1/4 cup granulated sugar

3/4 cup packed light-brown sugar

1 1/2 tsps. baking soda

1/2 tsp. salt

1 cup milk

1 1/4 cups malted milk powder

1 cup vegetable oil

3 large eggs, room temperature

1 cup sour cream, room temperature

1 tsp. pure vanilla extract

1. Preheat oven to 350F. Line standard muffin tins with paper liners. Whisk together flour, cocoa, both sugars, baking soda, and salt. In another bowl, whisk together milk and malted milk powder until powder is dissolved.

2. With an electric mixer on medium-high speed, beat flour mixture, milk mixture, and oil until combined. Add eggs, one at a time, beating until each is incorporated, scraping down sides of bowl as needed. Add sour cream and vanilla, and beat until just combined.

3. Divide batter evenly among lined cups, filling each halfway. Bake, rotating halfway through, until a cake tester inserted in centers comes out clean, about 20 minutes. Cupcakes can be stored up to 3 days at room temperature, or frozen up to 2 months, in airtight containers.

Fluffy Vanilla Frosting

From Martha Stewart’s Cupcakes

Makes About 4 Cups

1 1/2 cups (3 sticks) unsalted butter, room temperature

1 pound (4 cups) confectioners’ sugar, sifted

1/2 tsp. pure vanilla extract (I used 1 tsp.)

1. With an electric mixer, beat butter on medium-high speed until pale and creamy, about 2 minutes.

2. Reduce speed to medium. Add the confectioners’ sugar, 1/2 cup at a time, beating well after each addition and scraping down sides of bowl as needed; after every two additions, raise speed to high and beat 10 seconds to aerate frosting, then return to medium. This process should take about 5 minutes. Frosting will be very pale and fluffy.

3. Add vanilla, and beat until frosting is smooth. If not using immediately, frosting can be refrigerated up to 10 days in an airtight container. Before using, bring to room temperature, and beat on low speed until smooth again, about 5 minutes.