Pumpkin-Brownie Swirl Pie

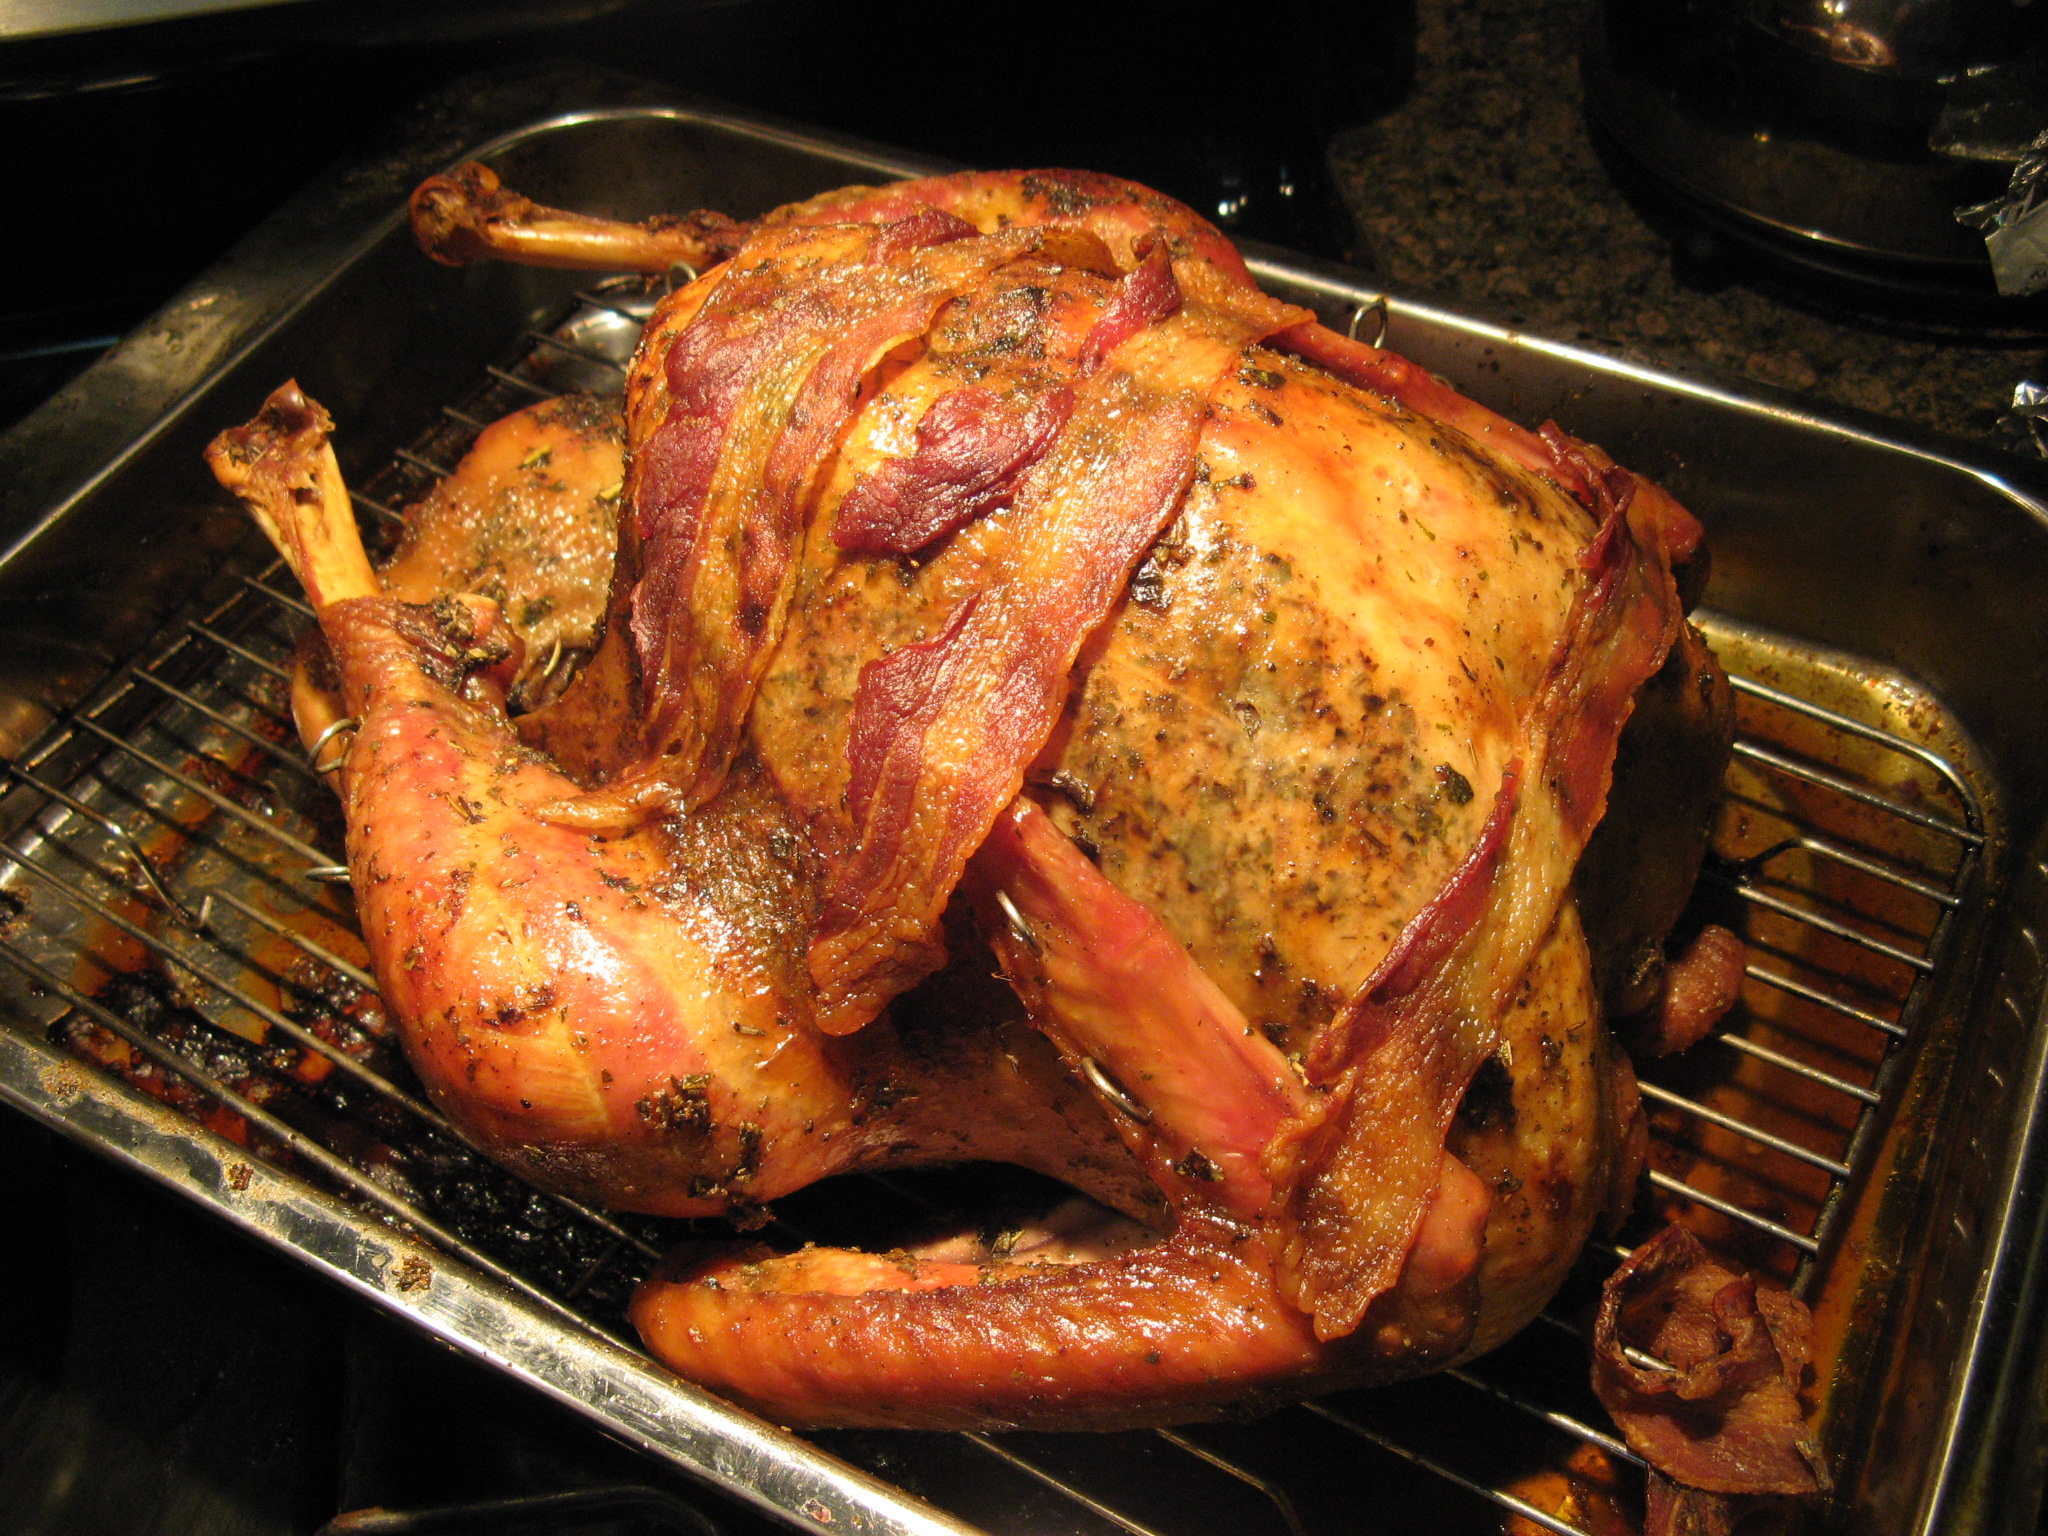
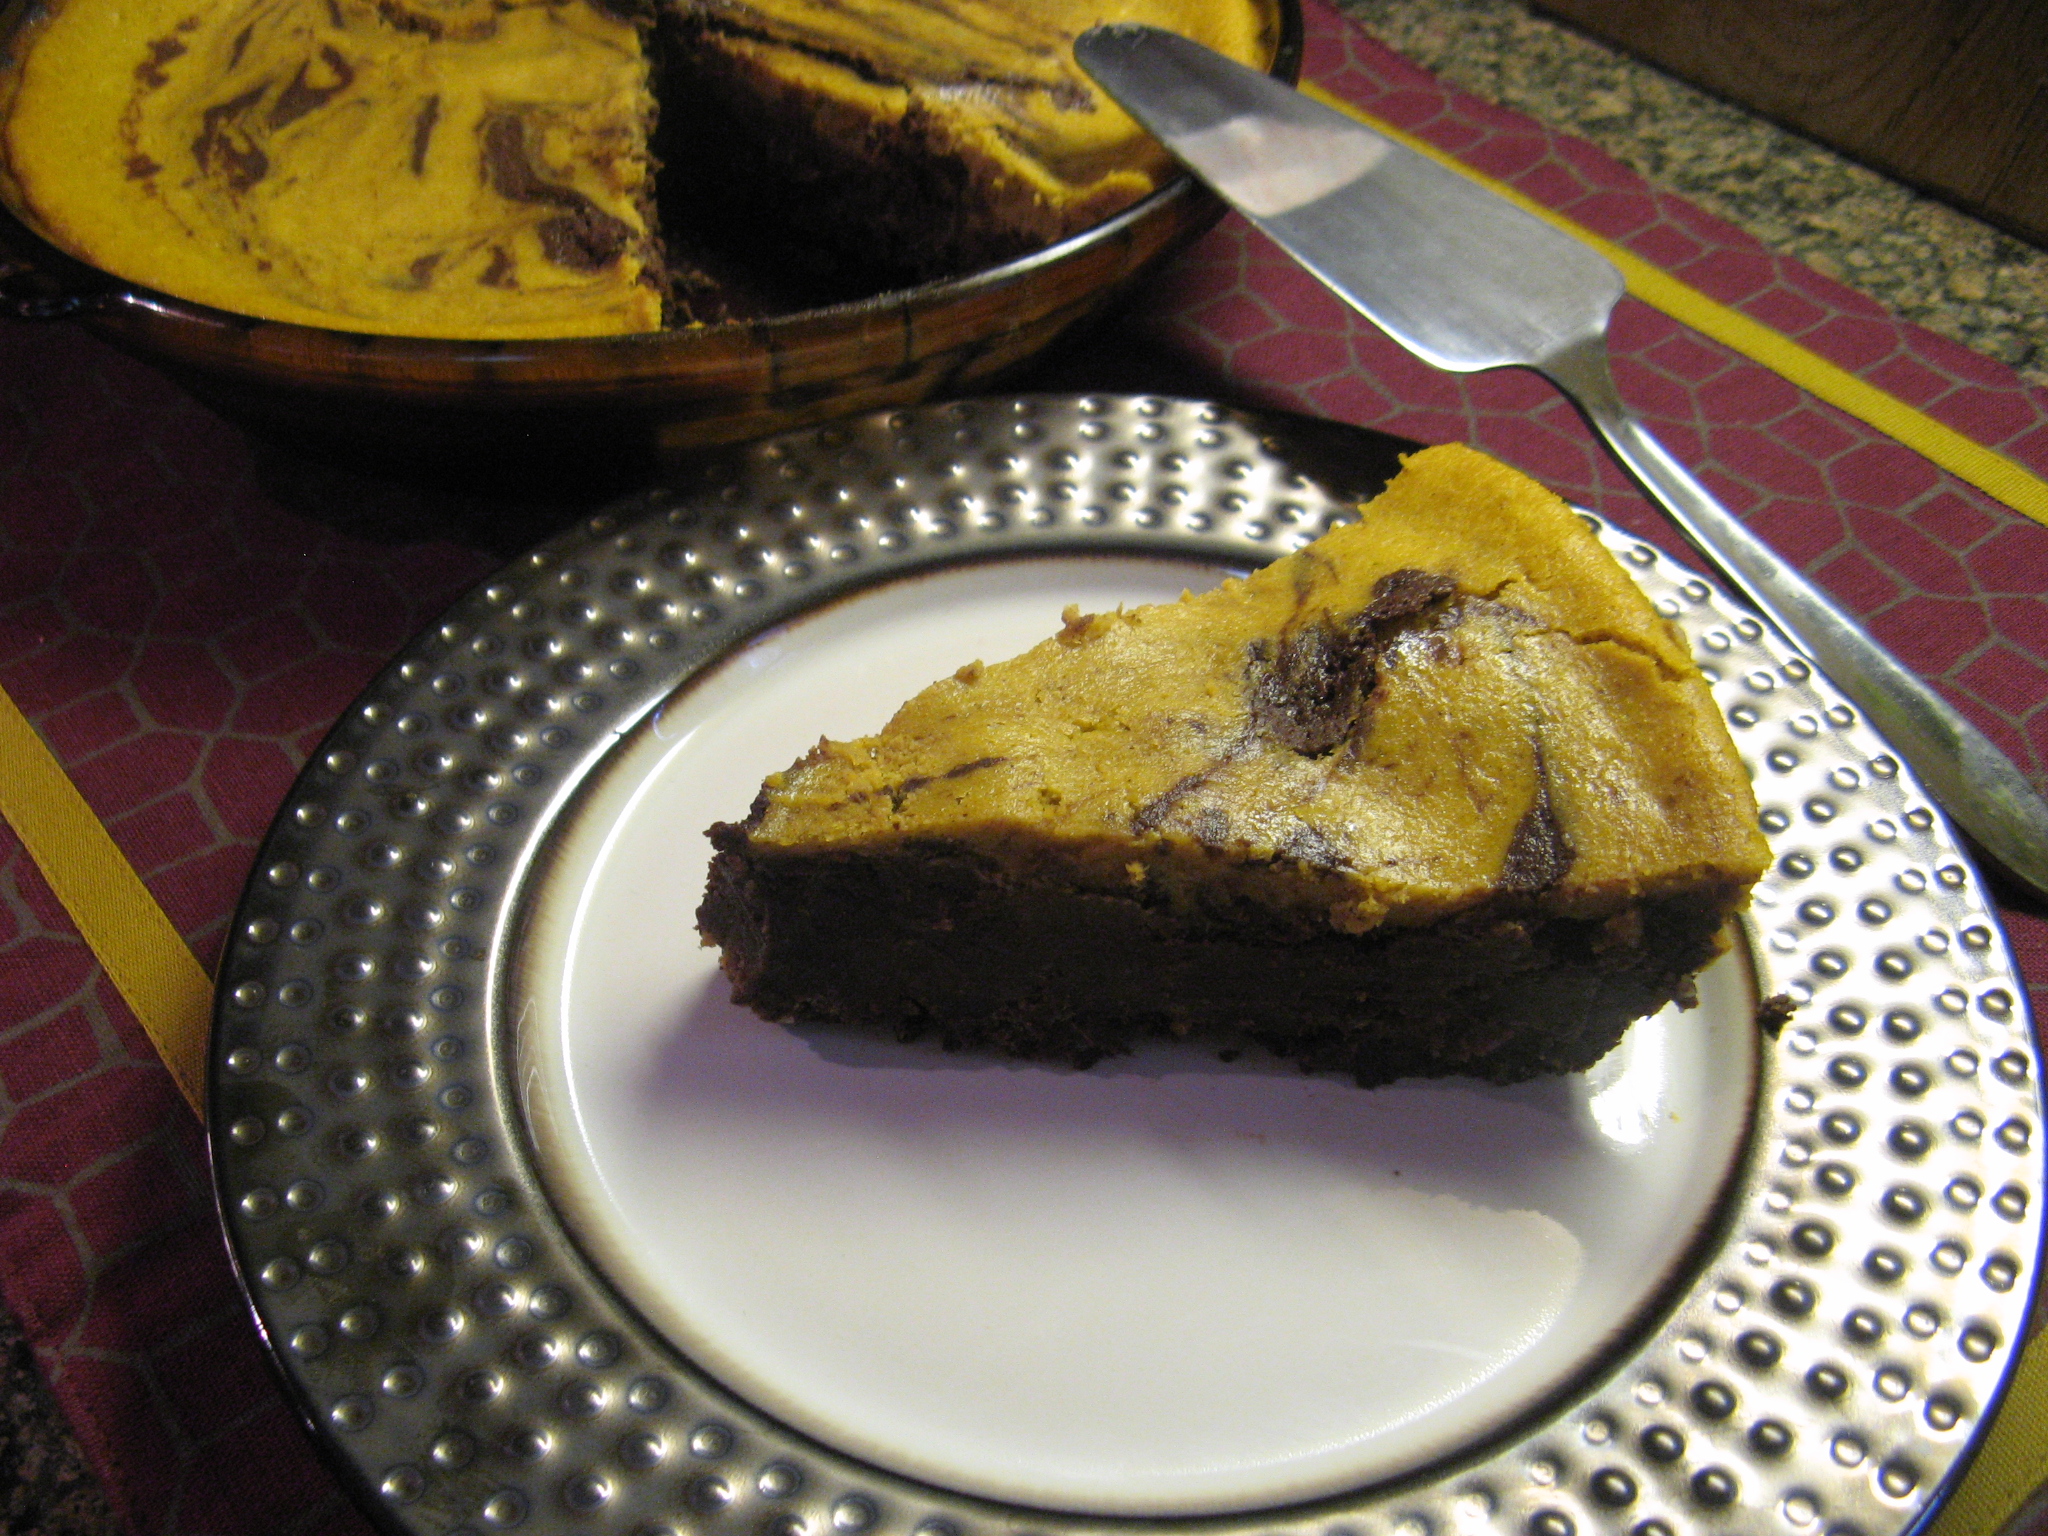
I hope you all had a wonderful Thanksgiving weekend filled with love and laughter amongst family and friends and of course some delicious food! My Thanksgiving was good and while there was plenty of scrumptious food to be had there was also plenty of yummy desserts… Including this Pumpkin-Brownie Swirl Pie.

IMG_6020

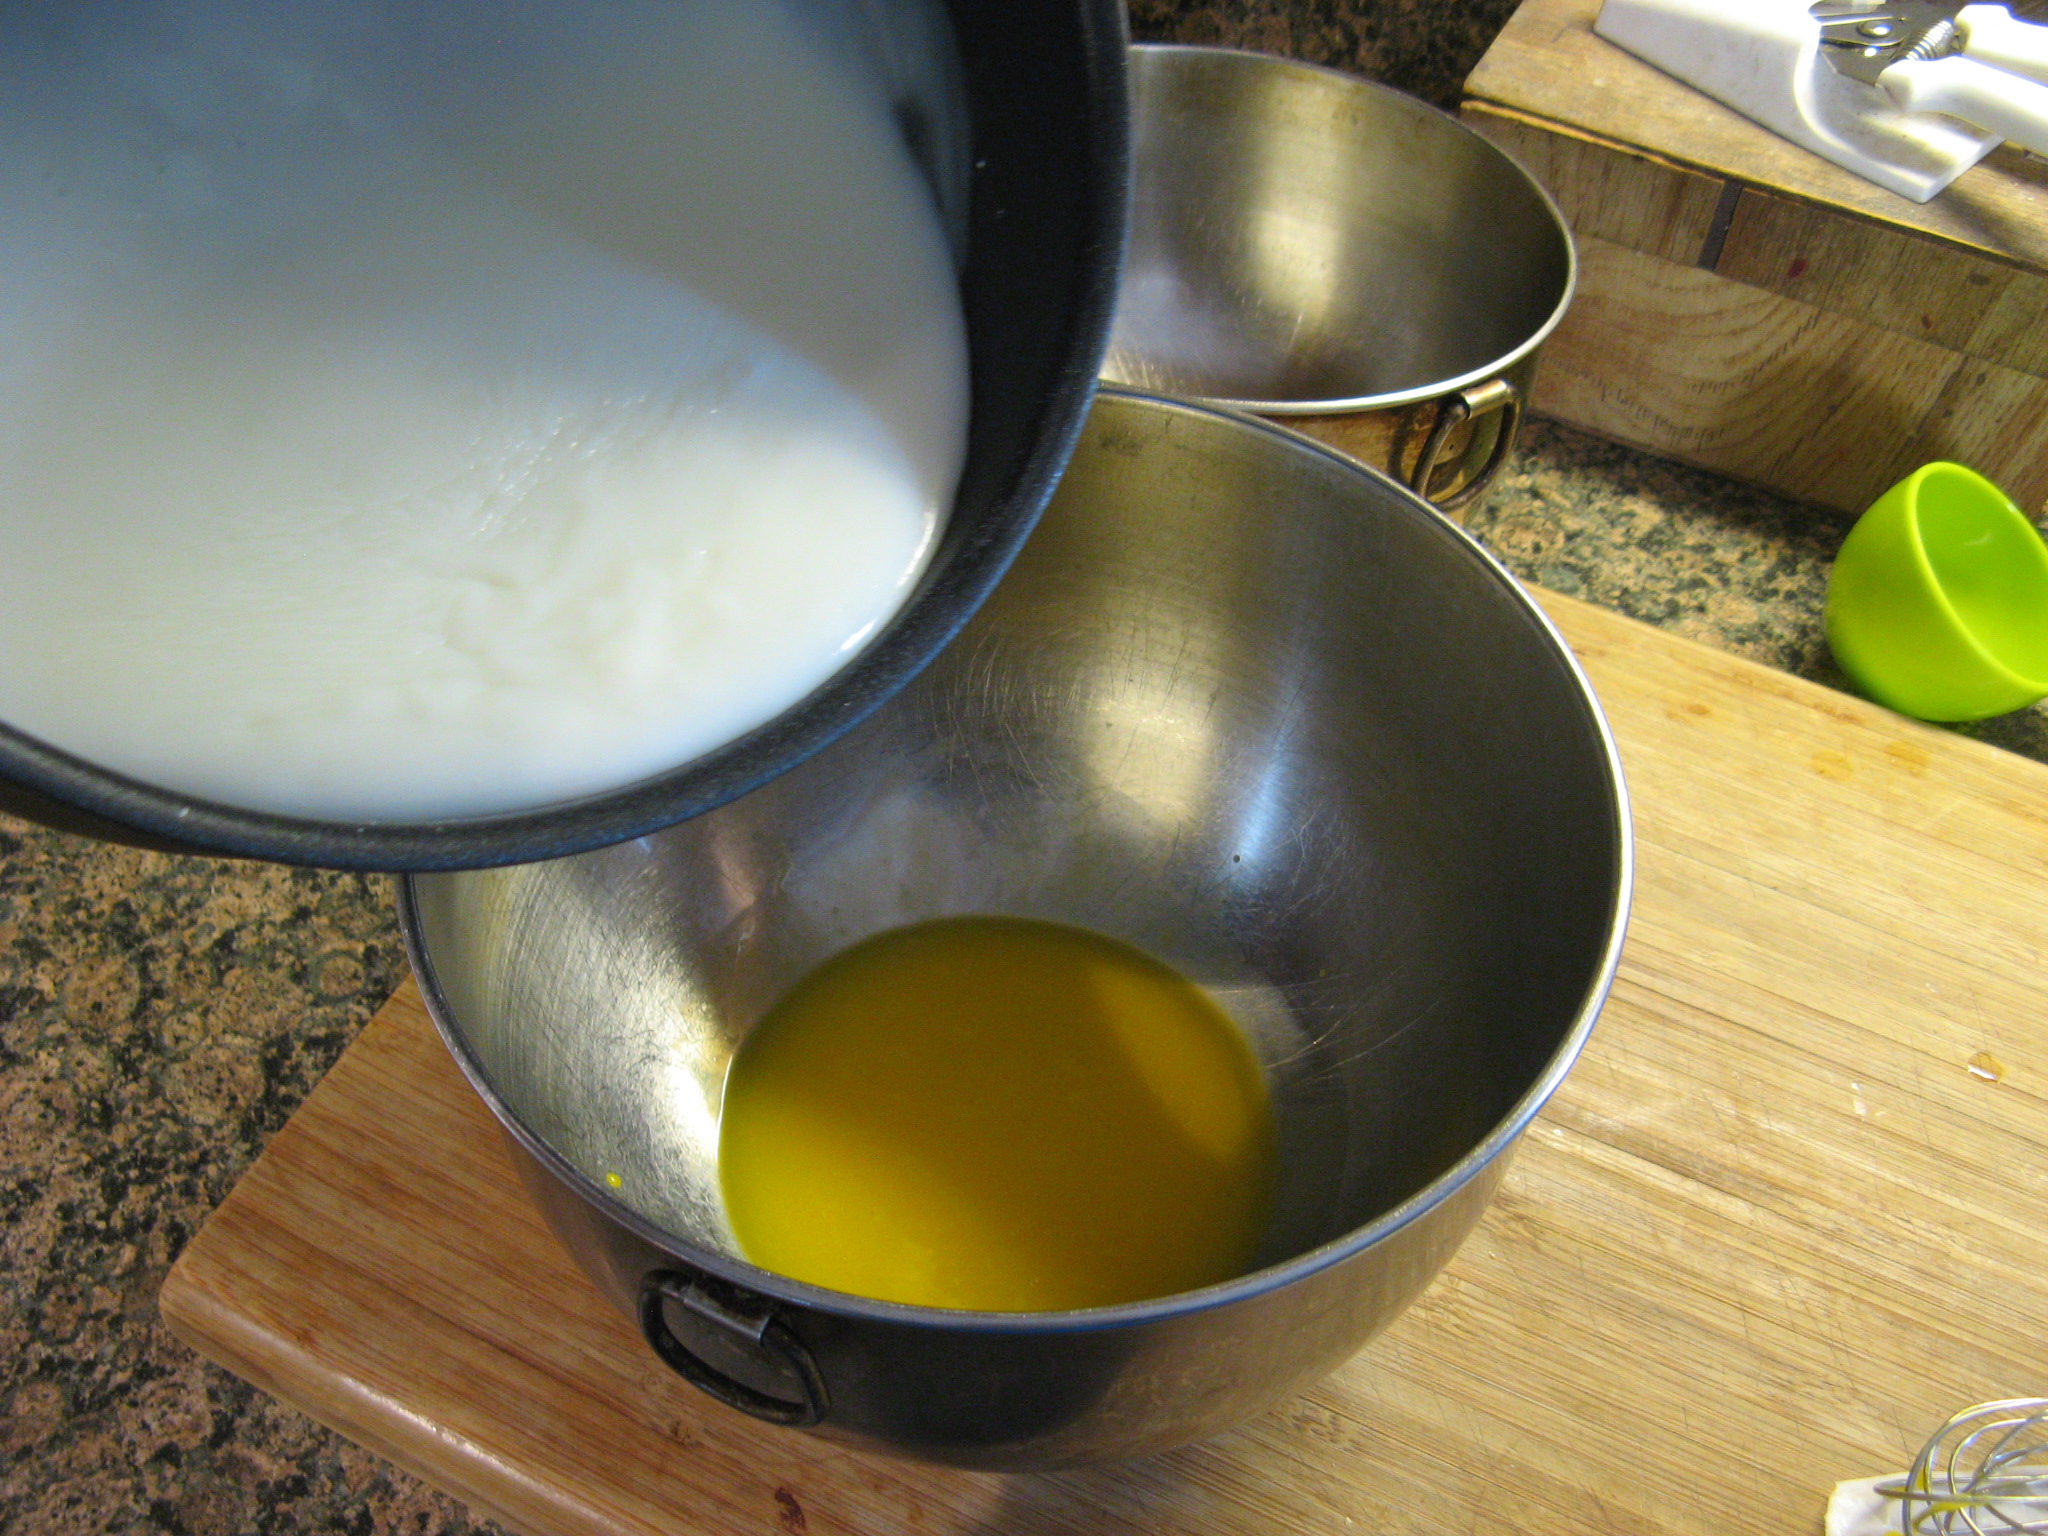
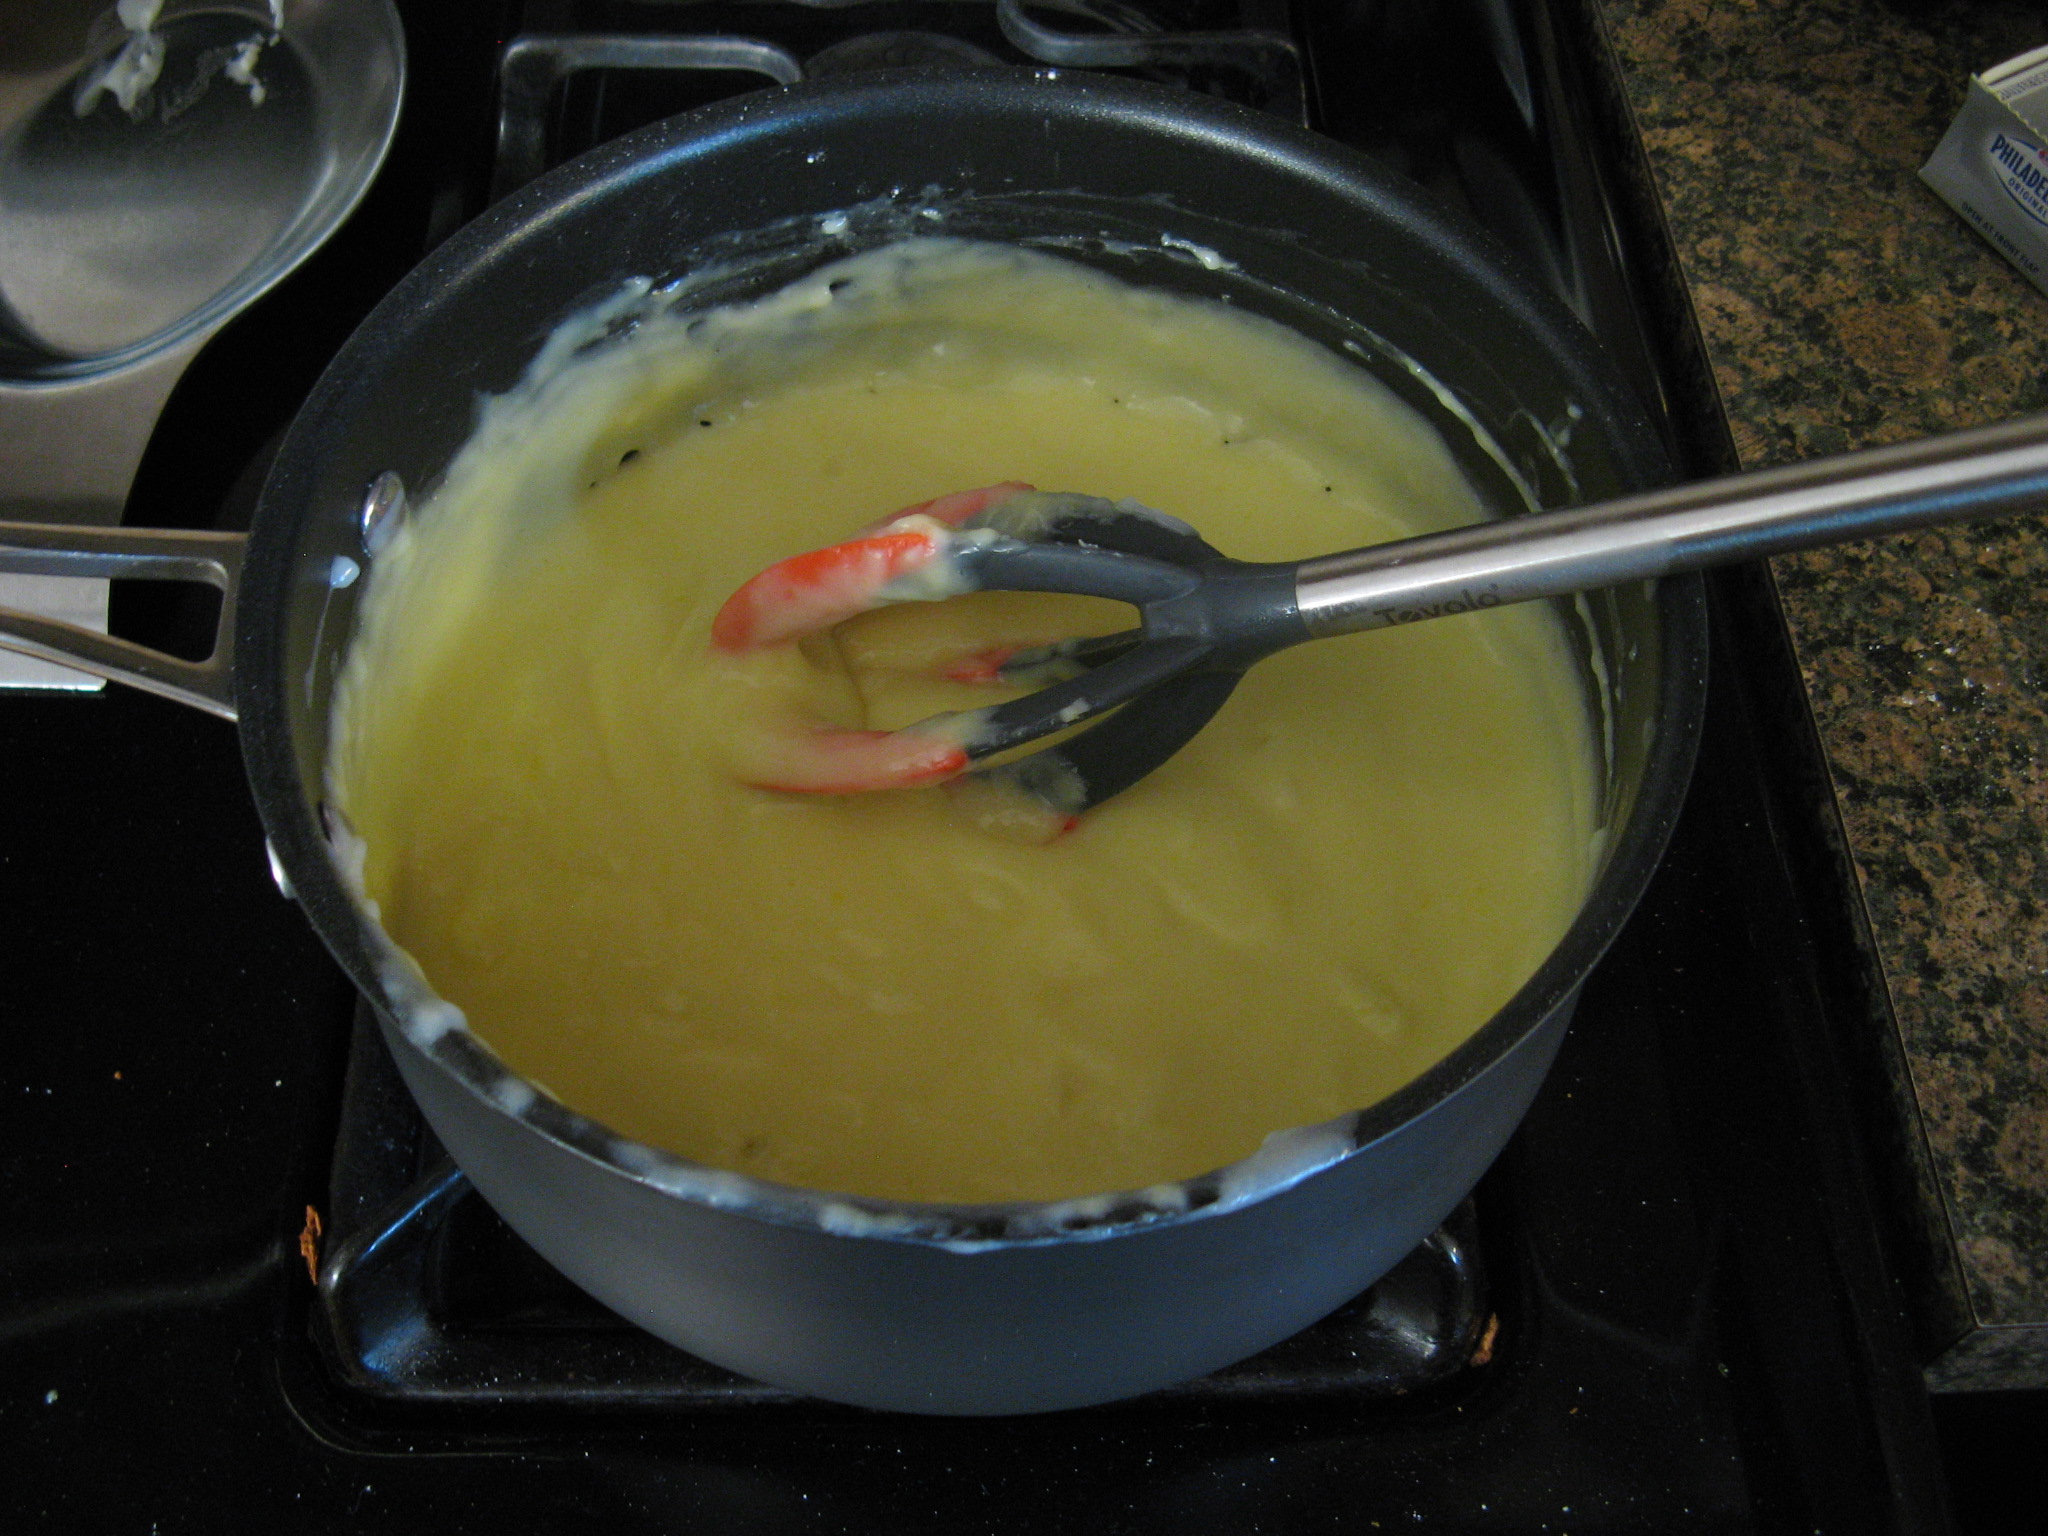
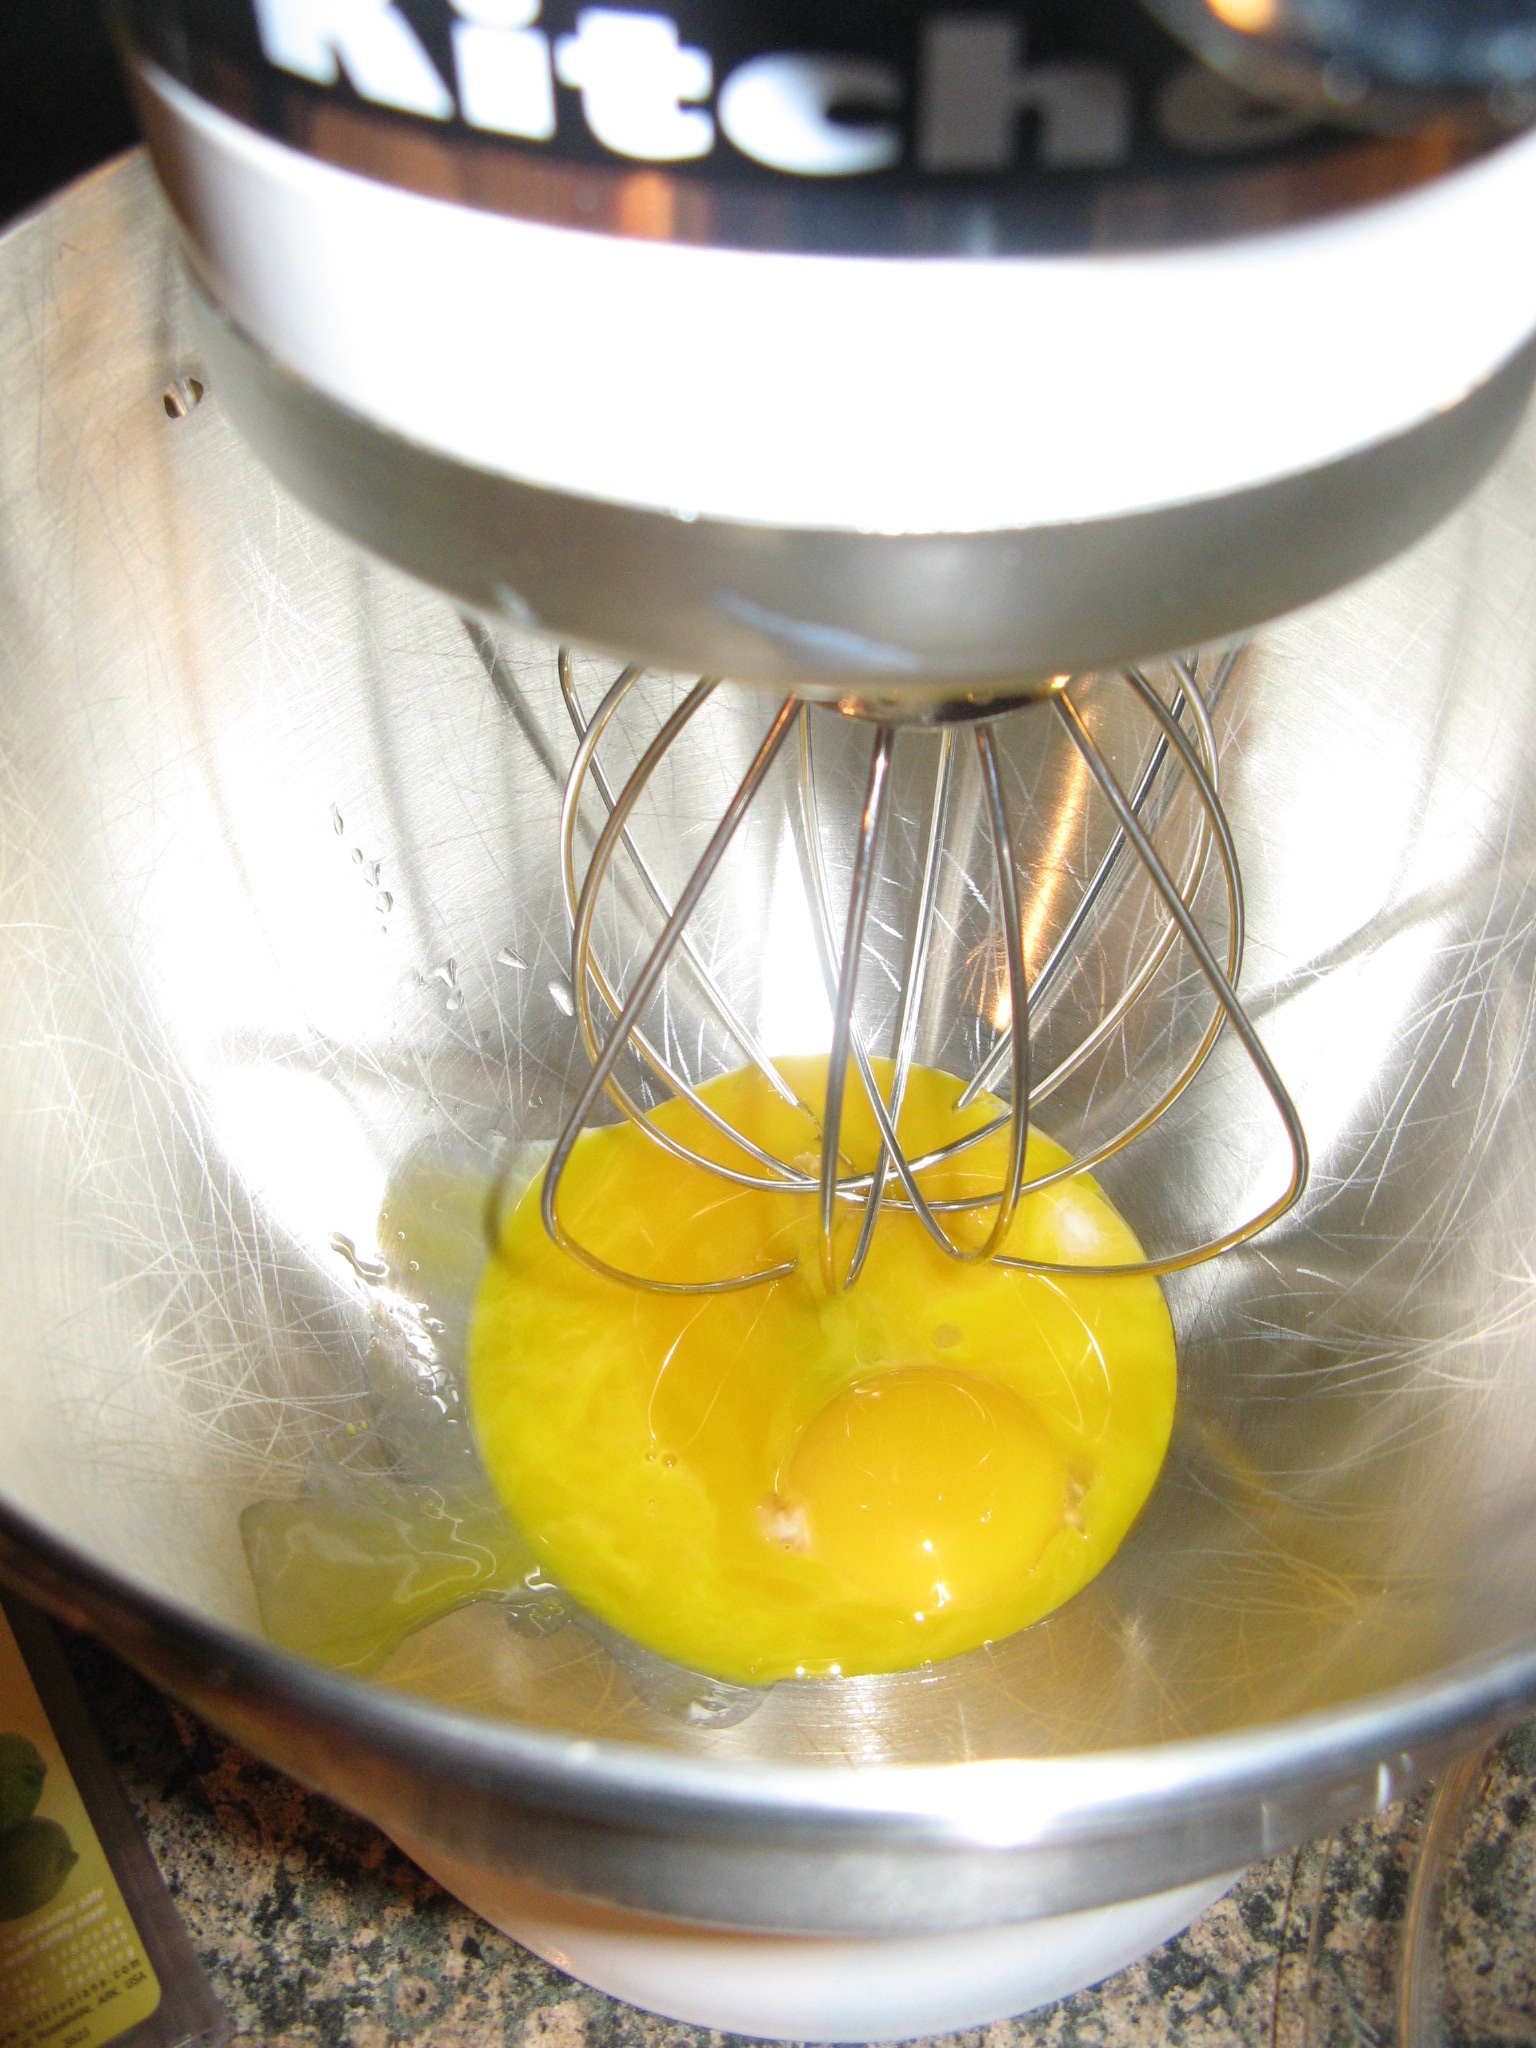
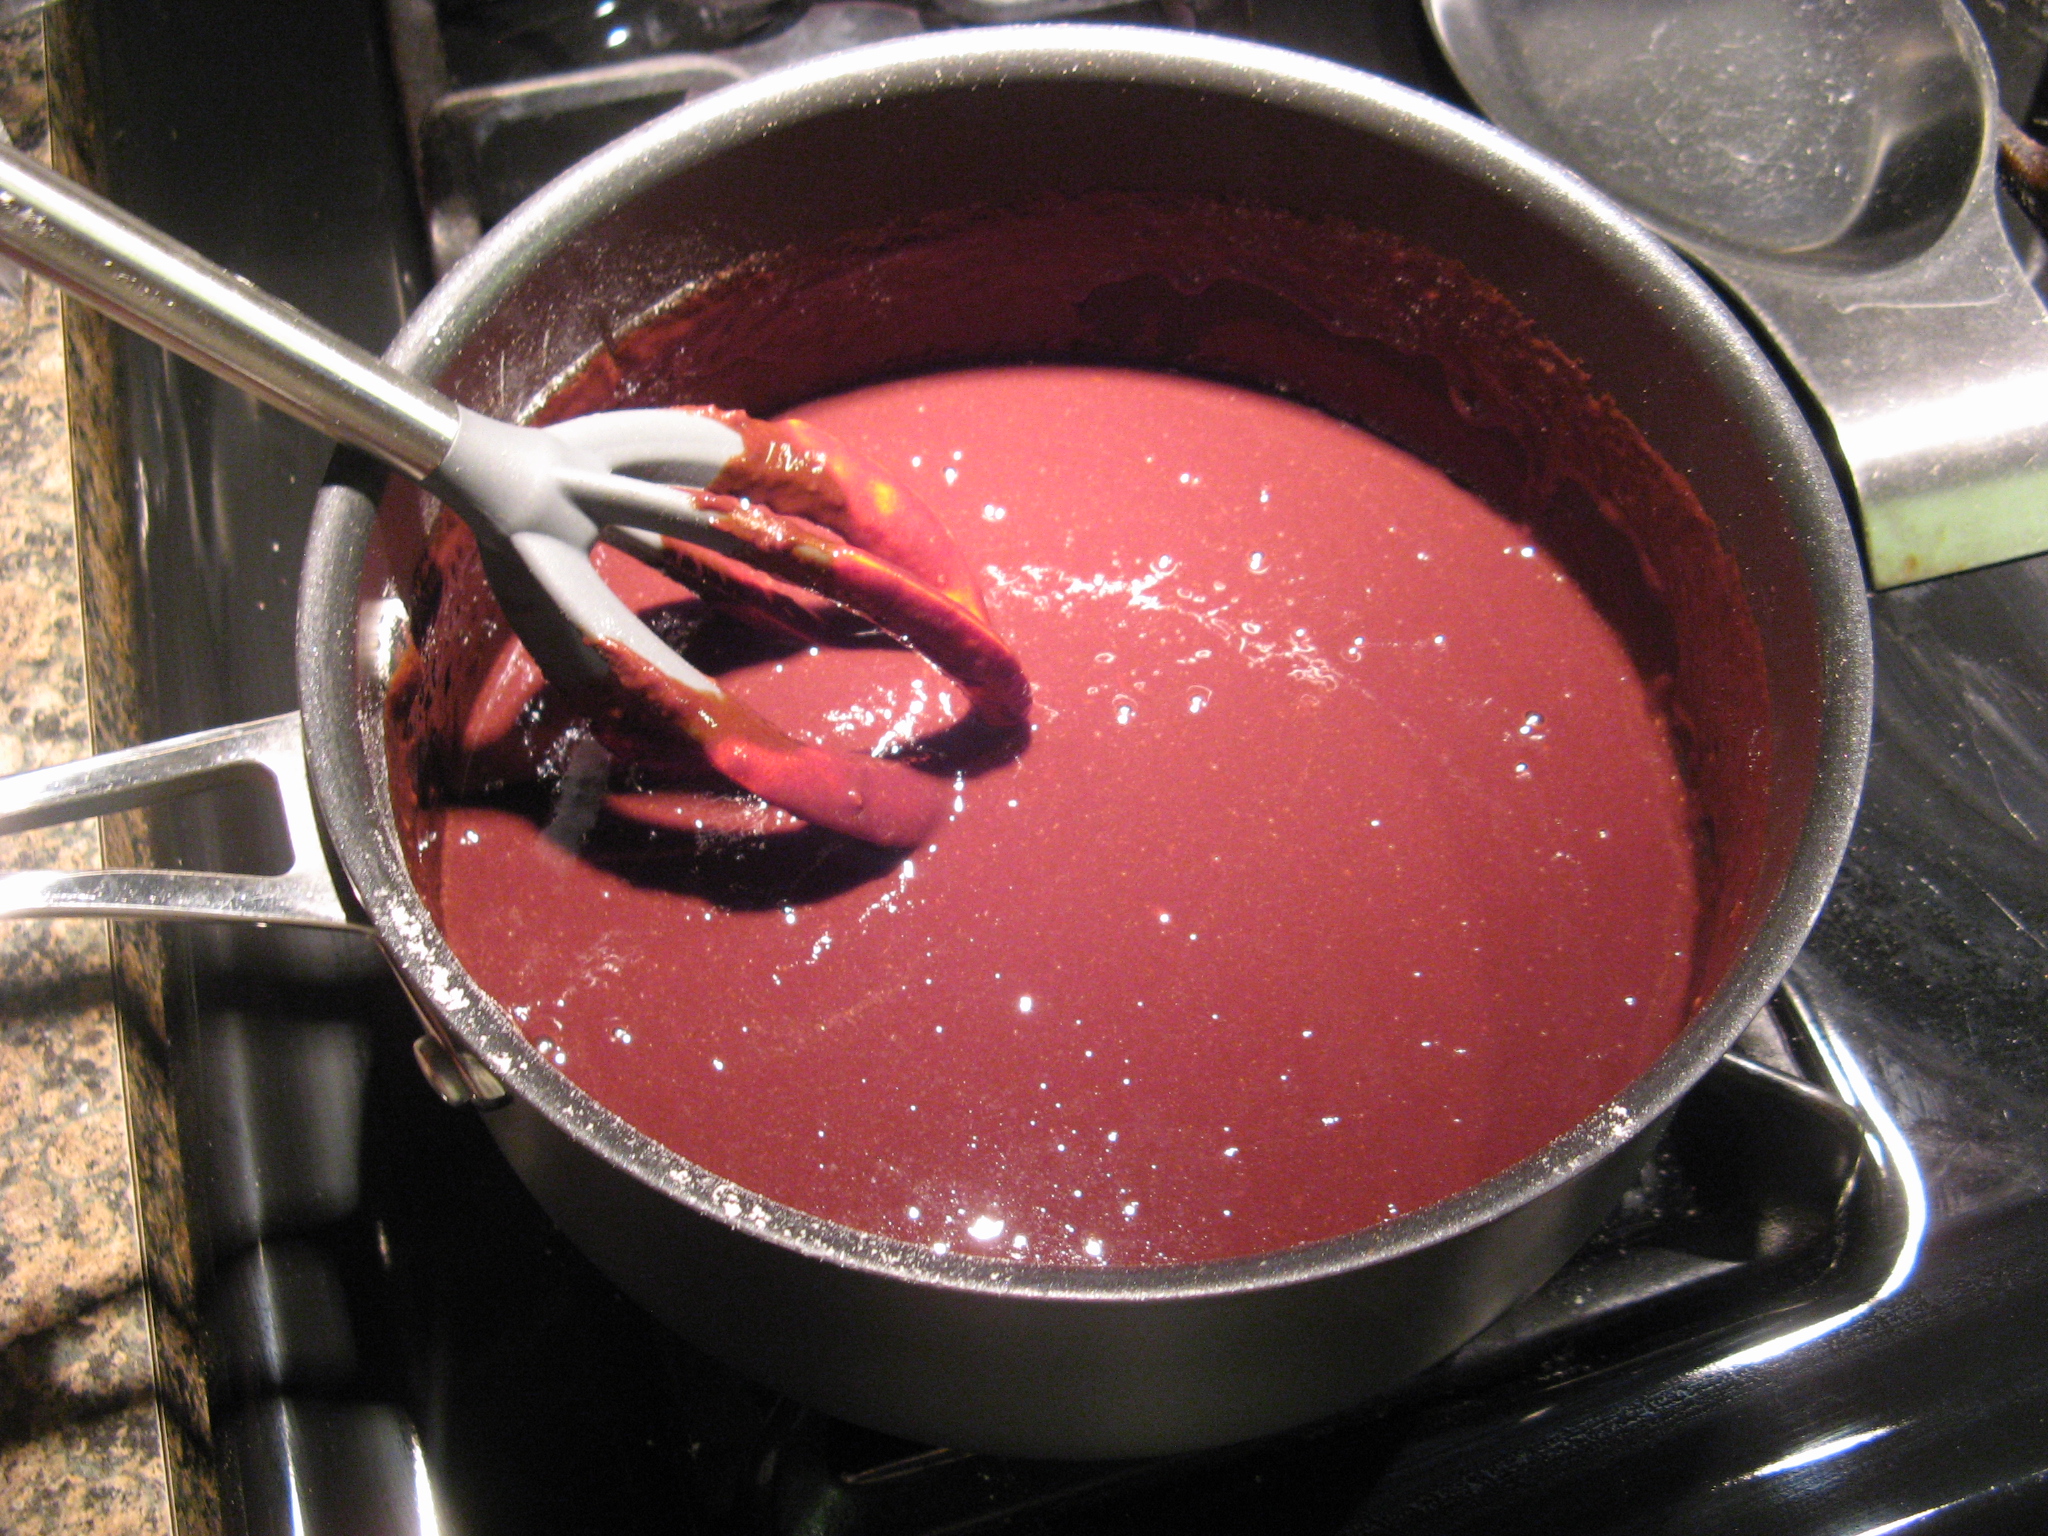
To begin, I made the brownie batter portion of the pie by melting a stick of unsalted butter and a 12-ounce bag of semi-sweet chocolate chips along with light brown sugar over medium heat in a saucepan. Once the butter and chocolate were melted I removed the saucepan from the heat and whisked in two eggs and vanilla extract. In a medium bowl I whisked together flour, cocoa powder, baking powder and salt and then added this flour mixture to the chocolate mixture and whisked it until the both were combined and smooth.

IMG_5983

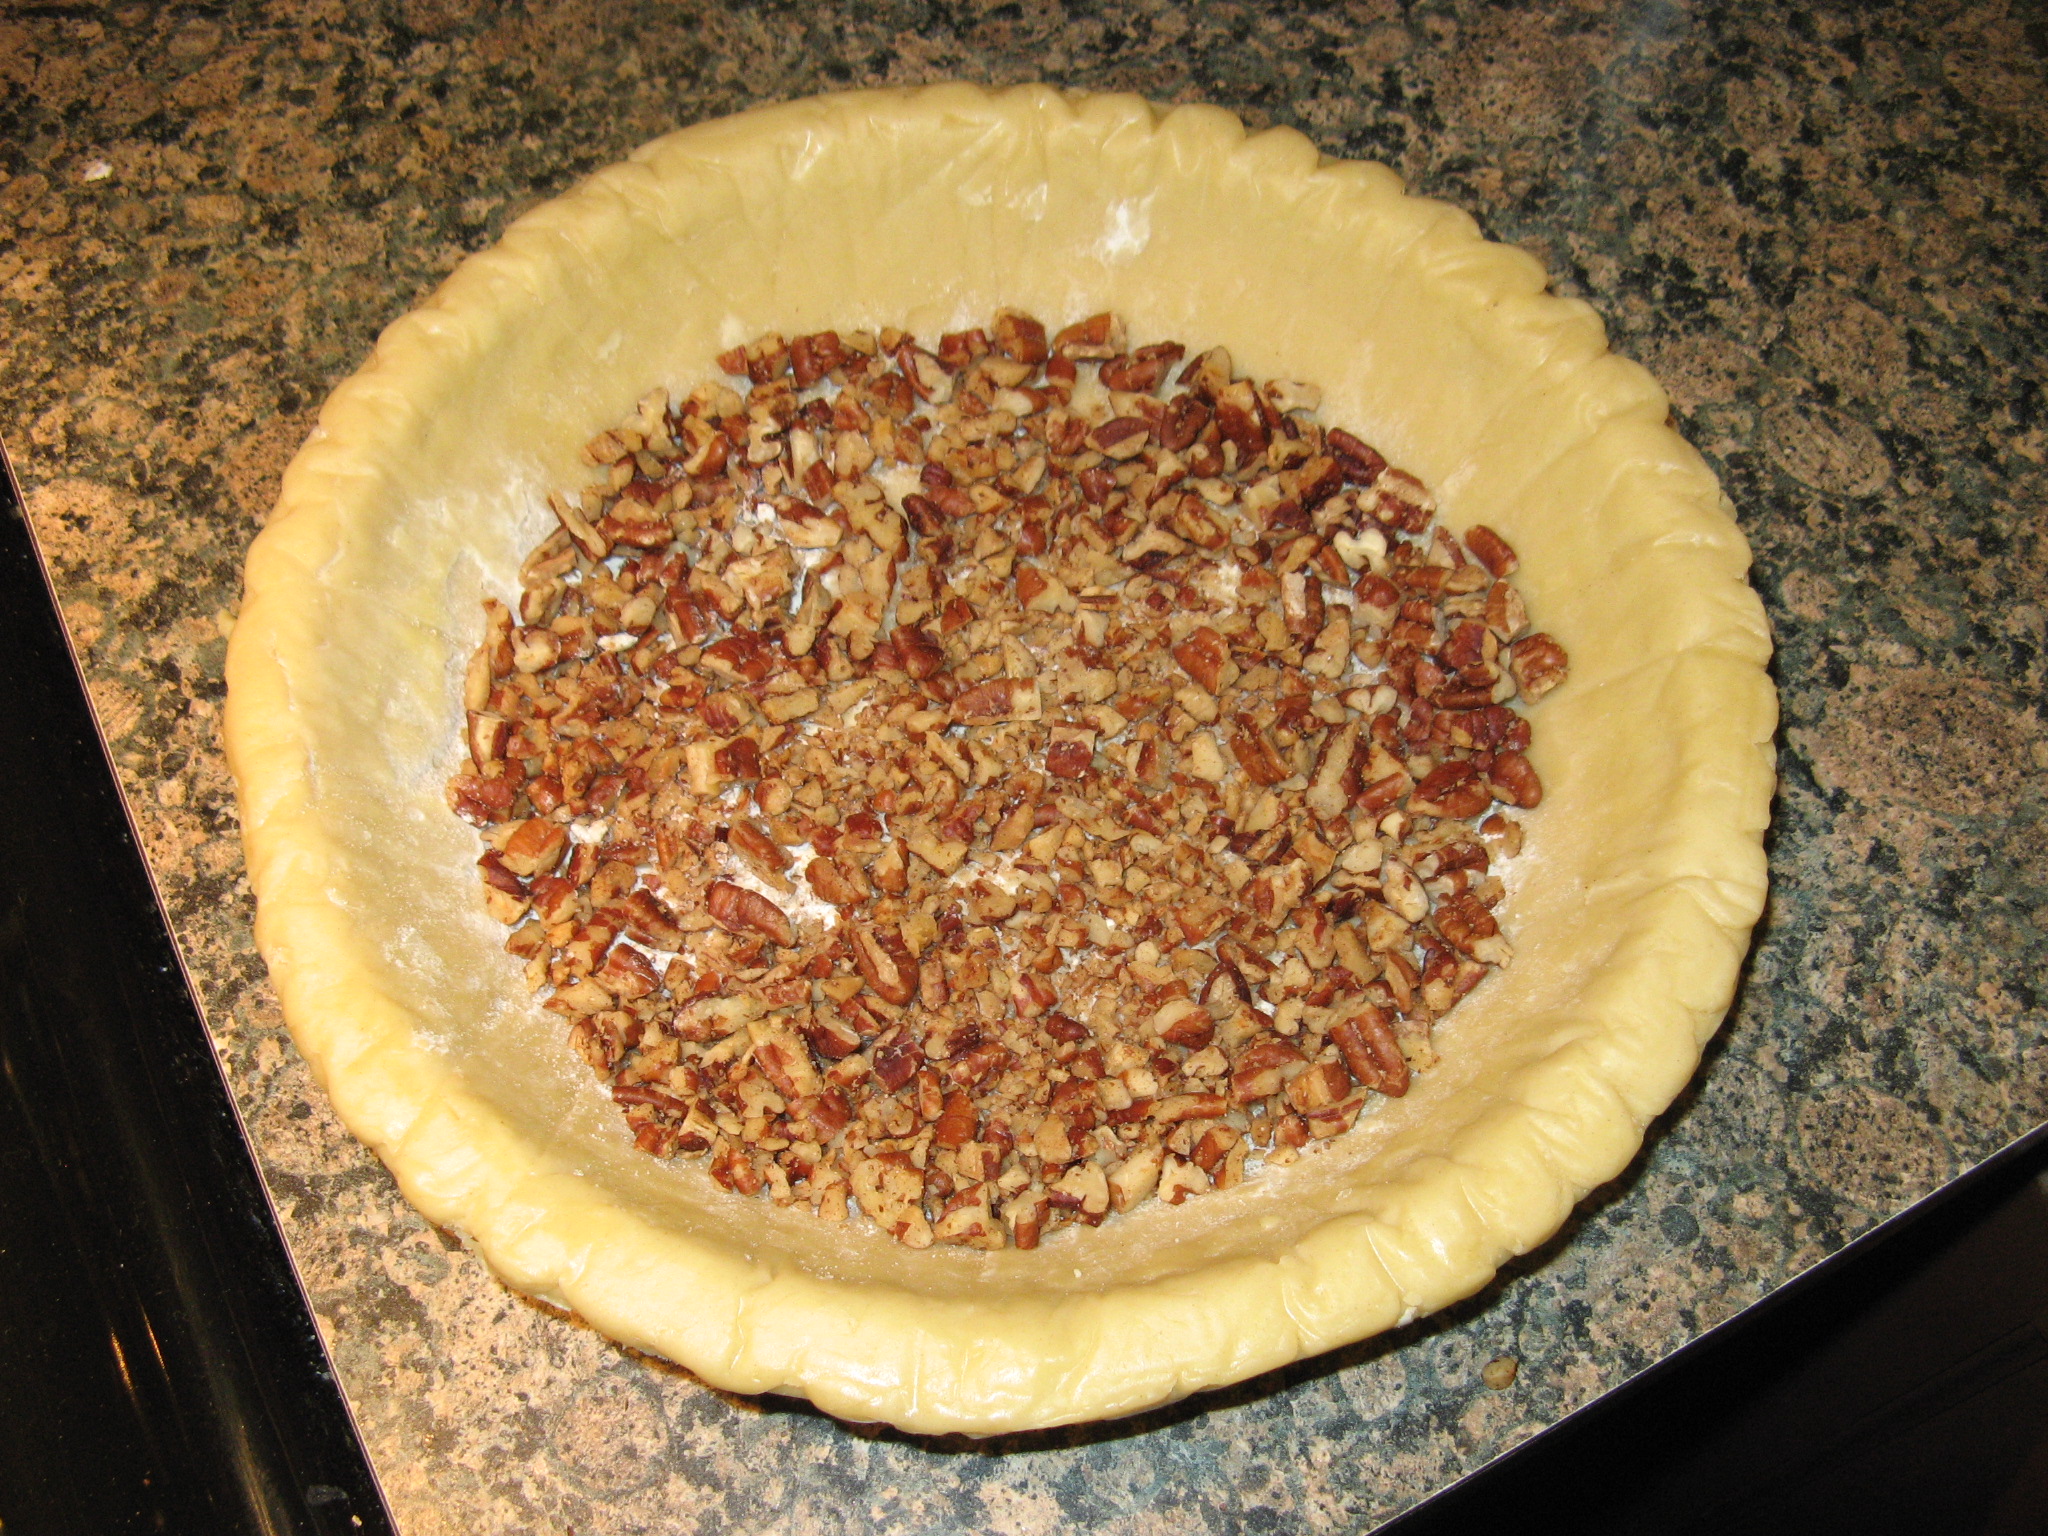
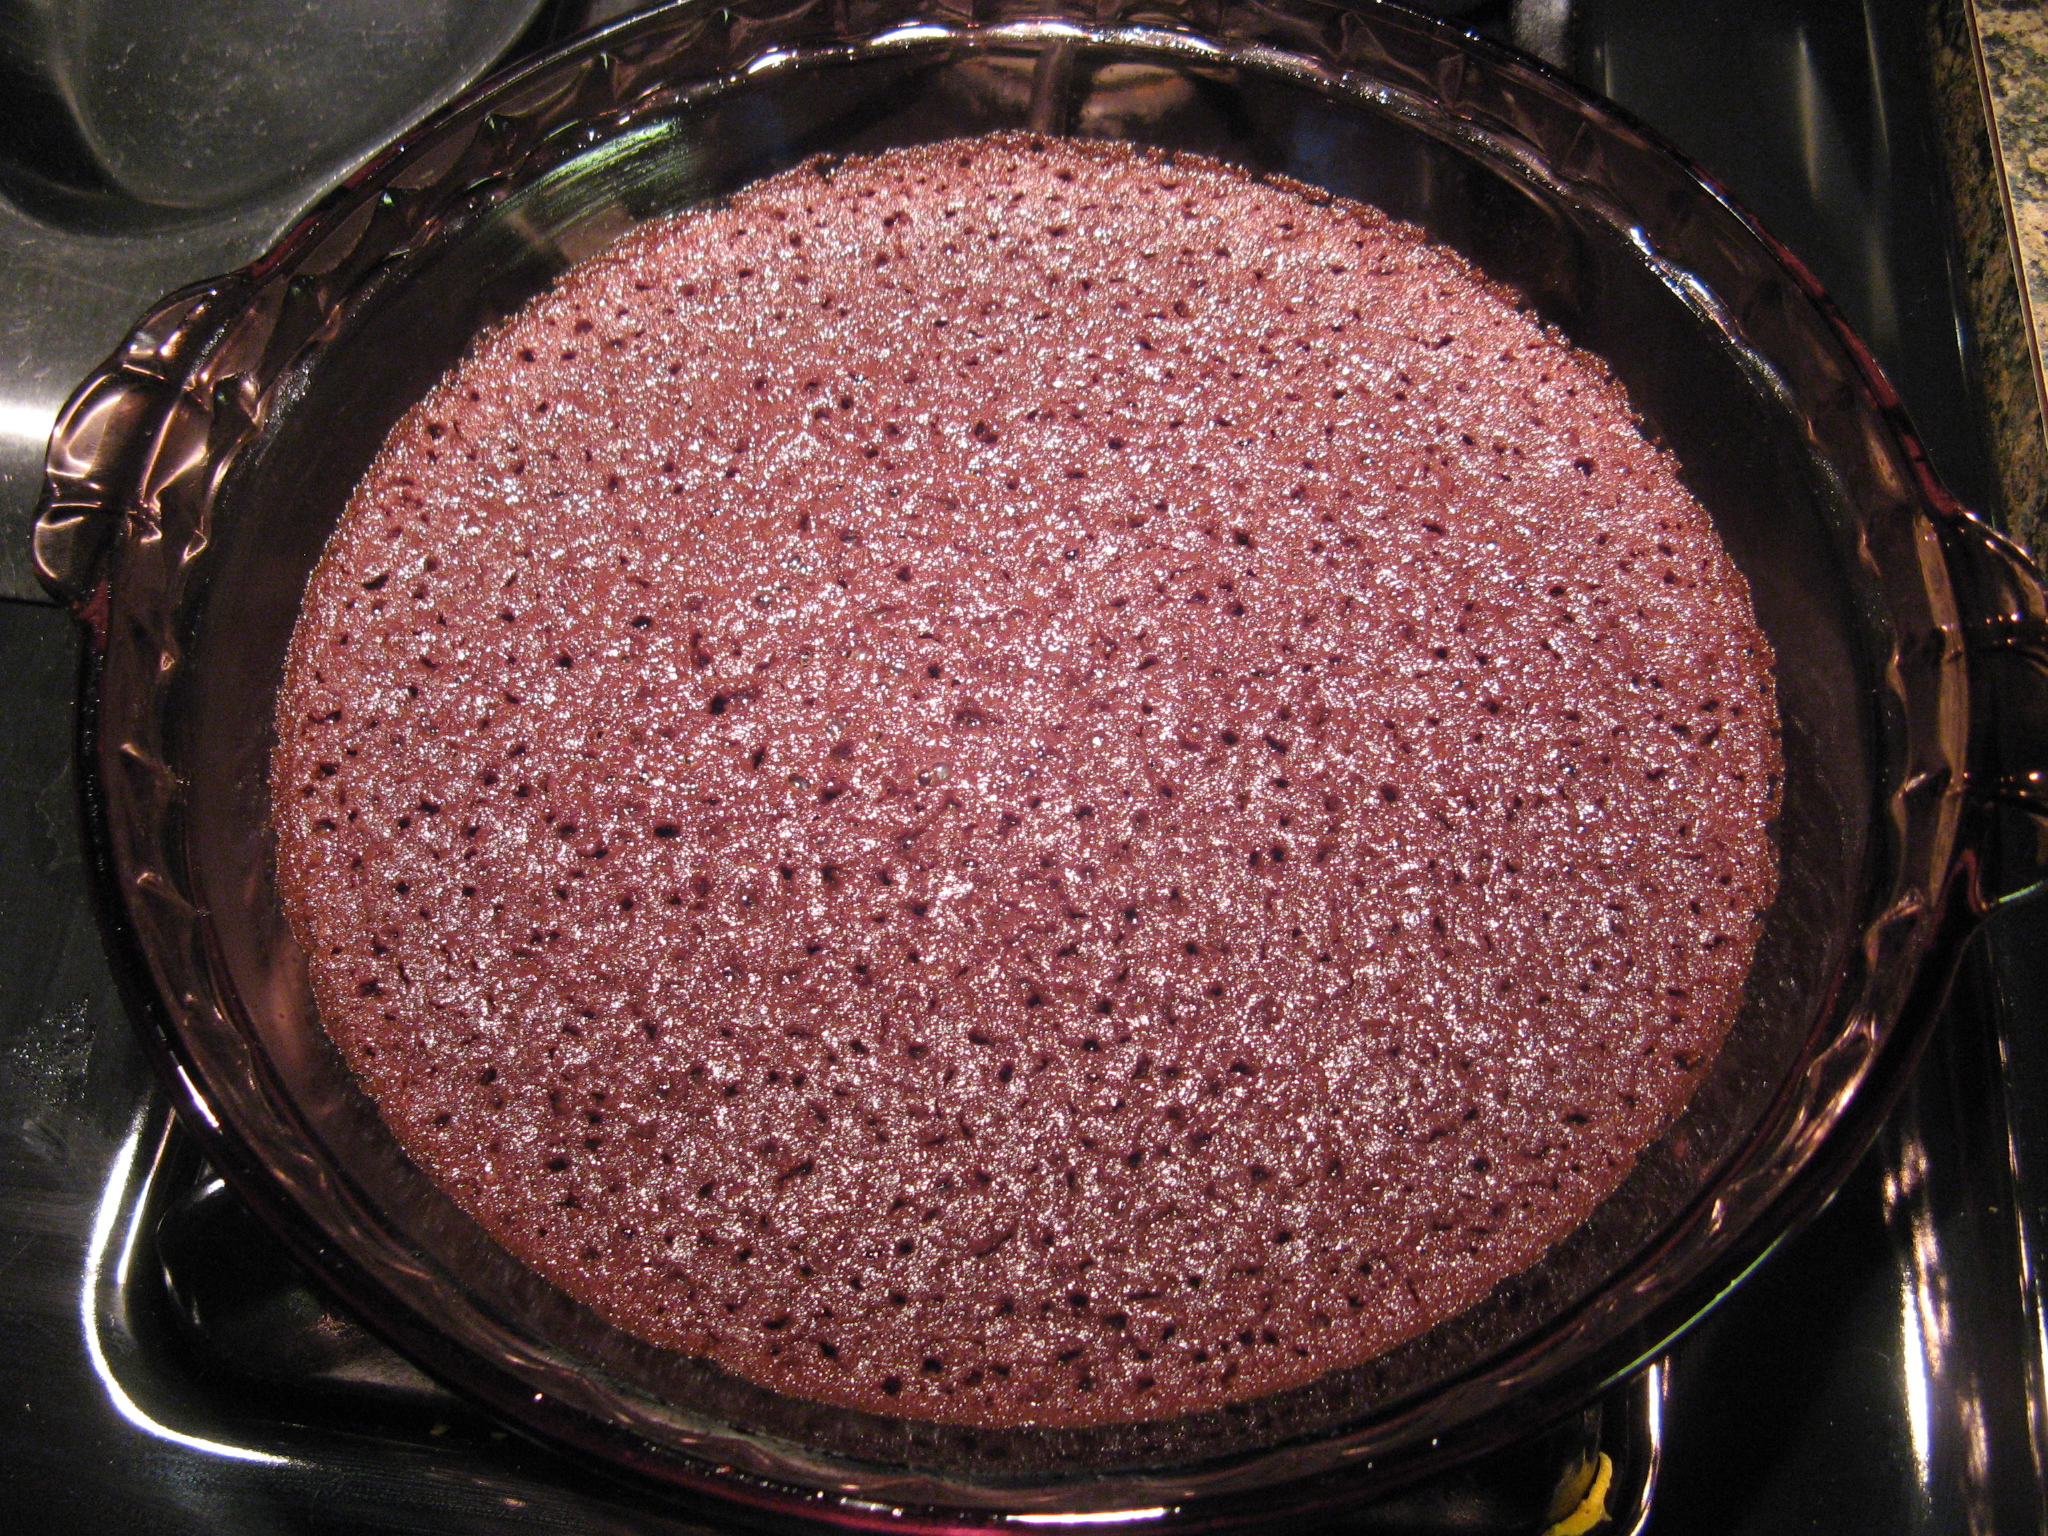
Following that I transferred the brownie batter into a measuring cup to ensure that I would pour the right amount – a third of the batter – into the prepared pie plate.

IMG_5986

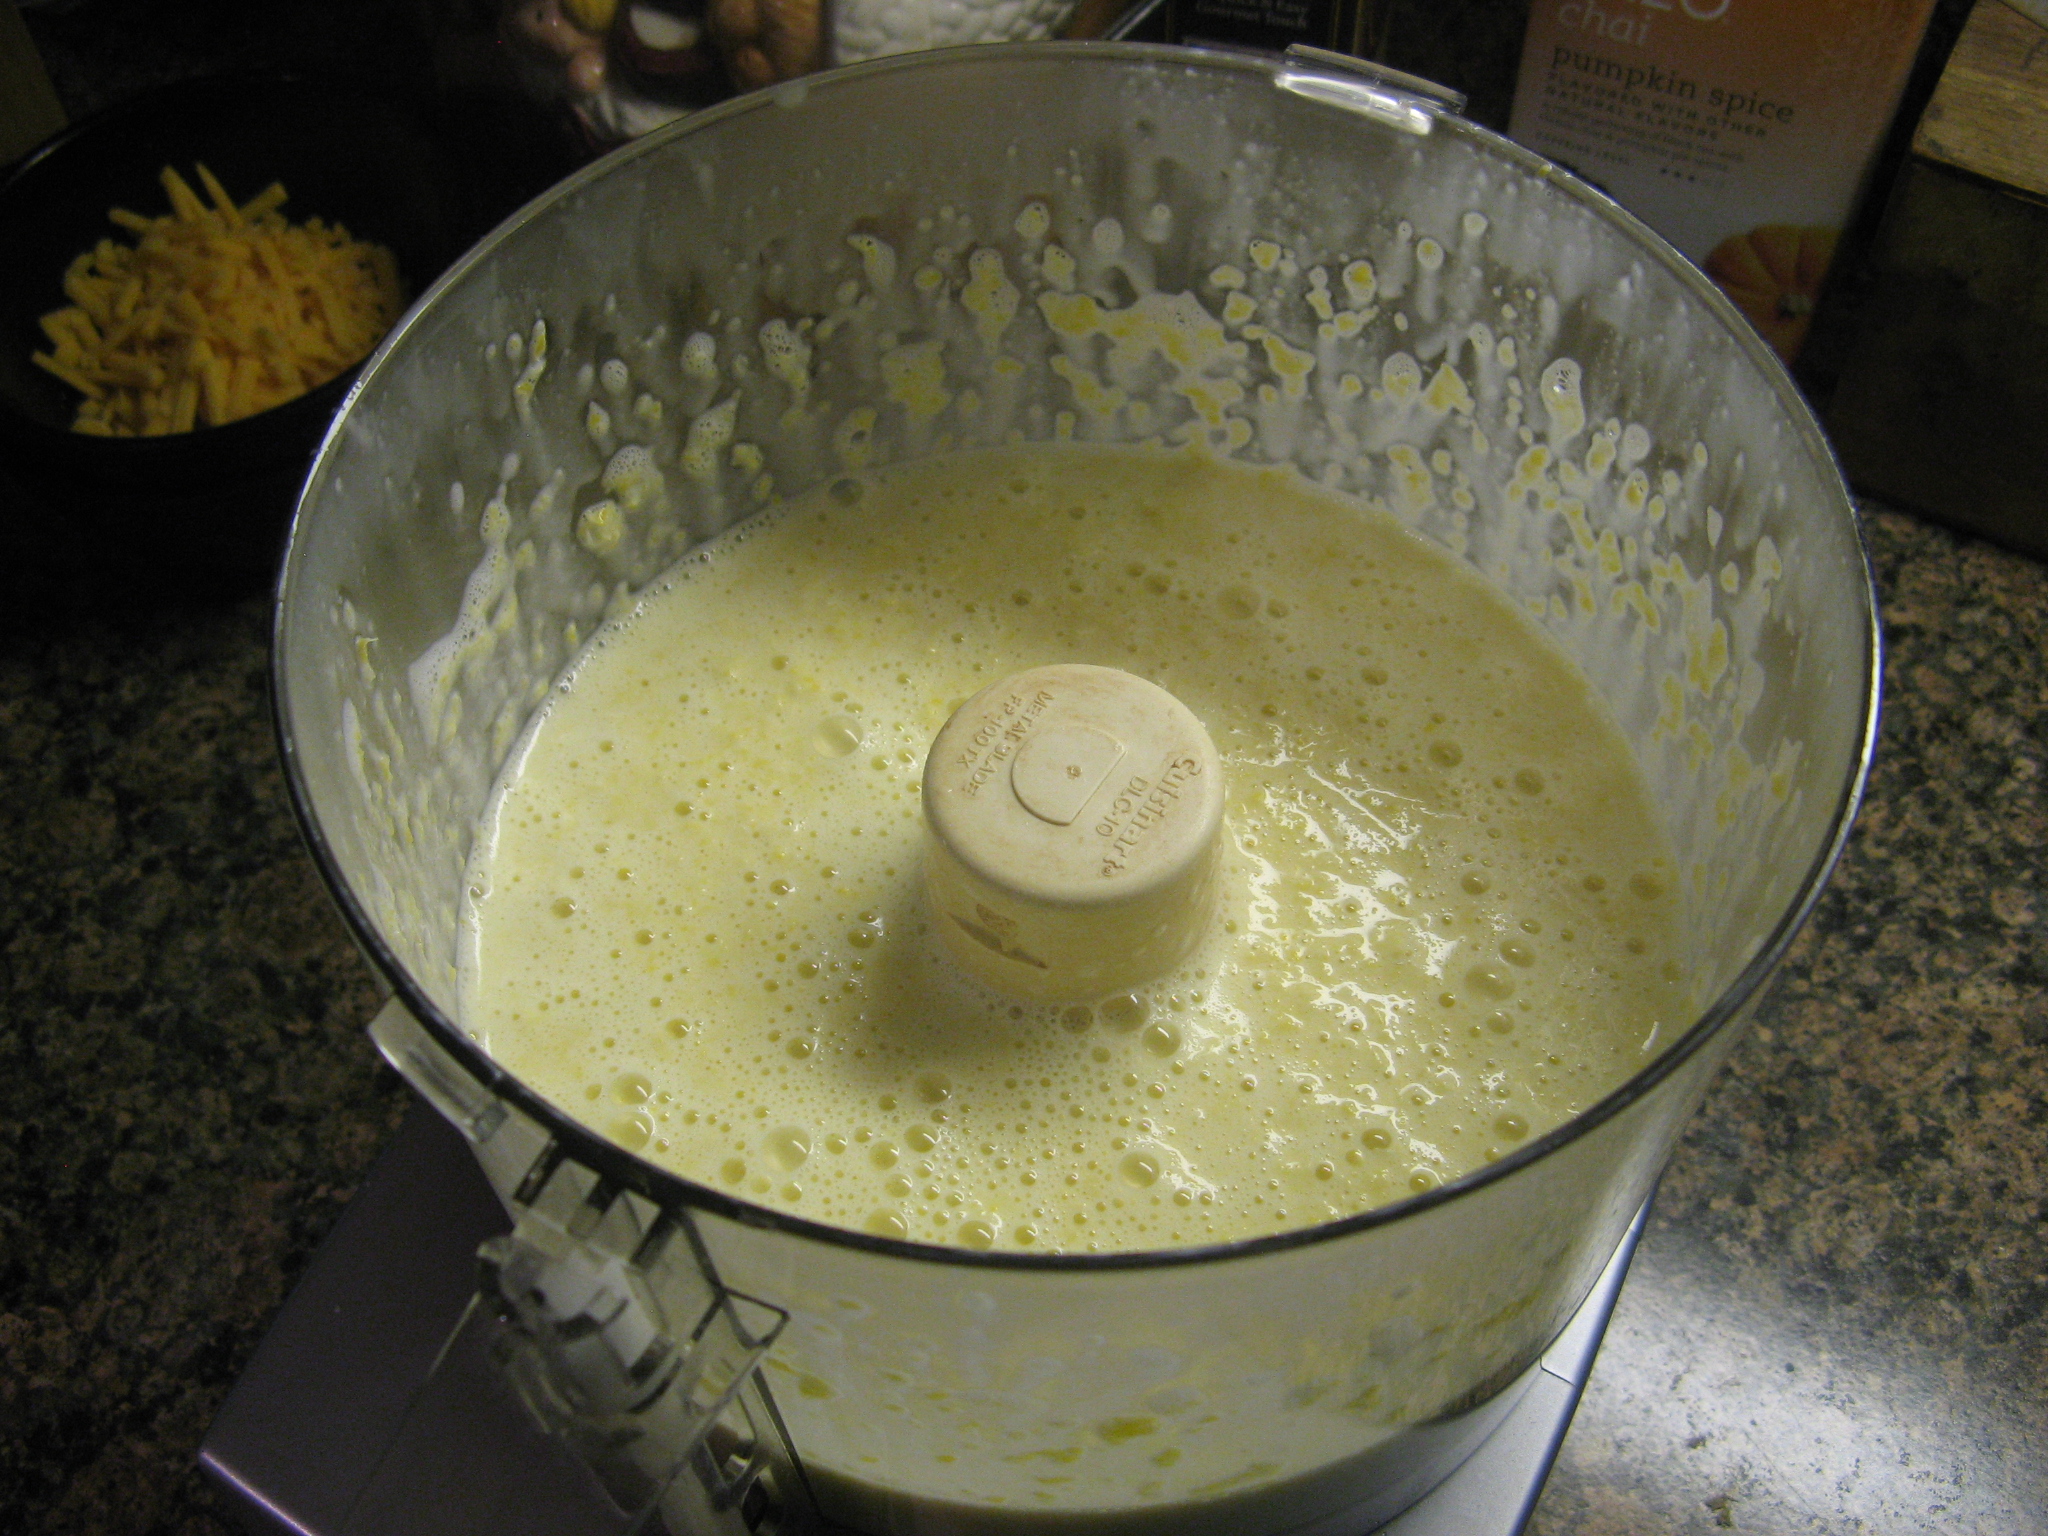
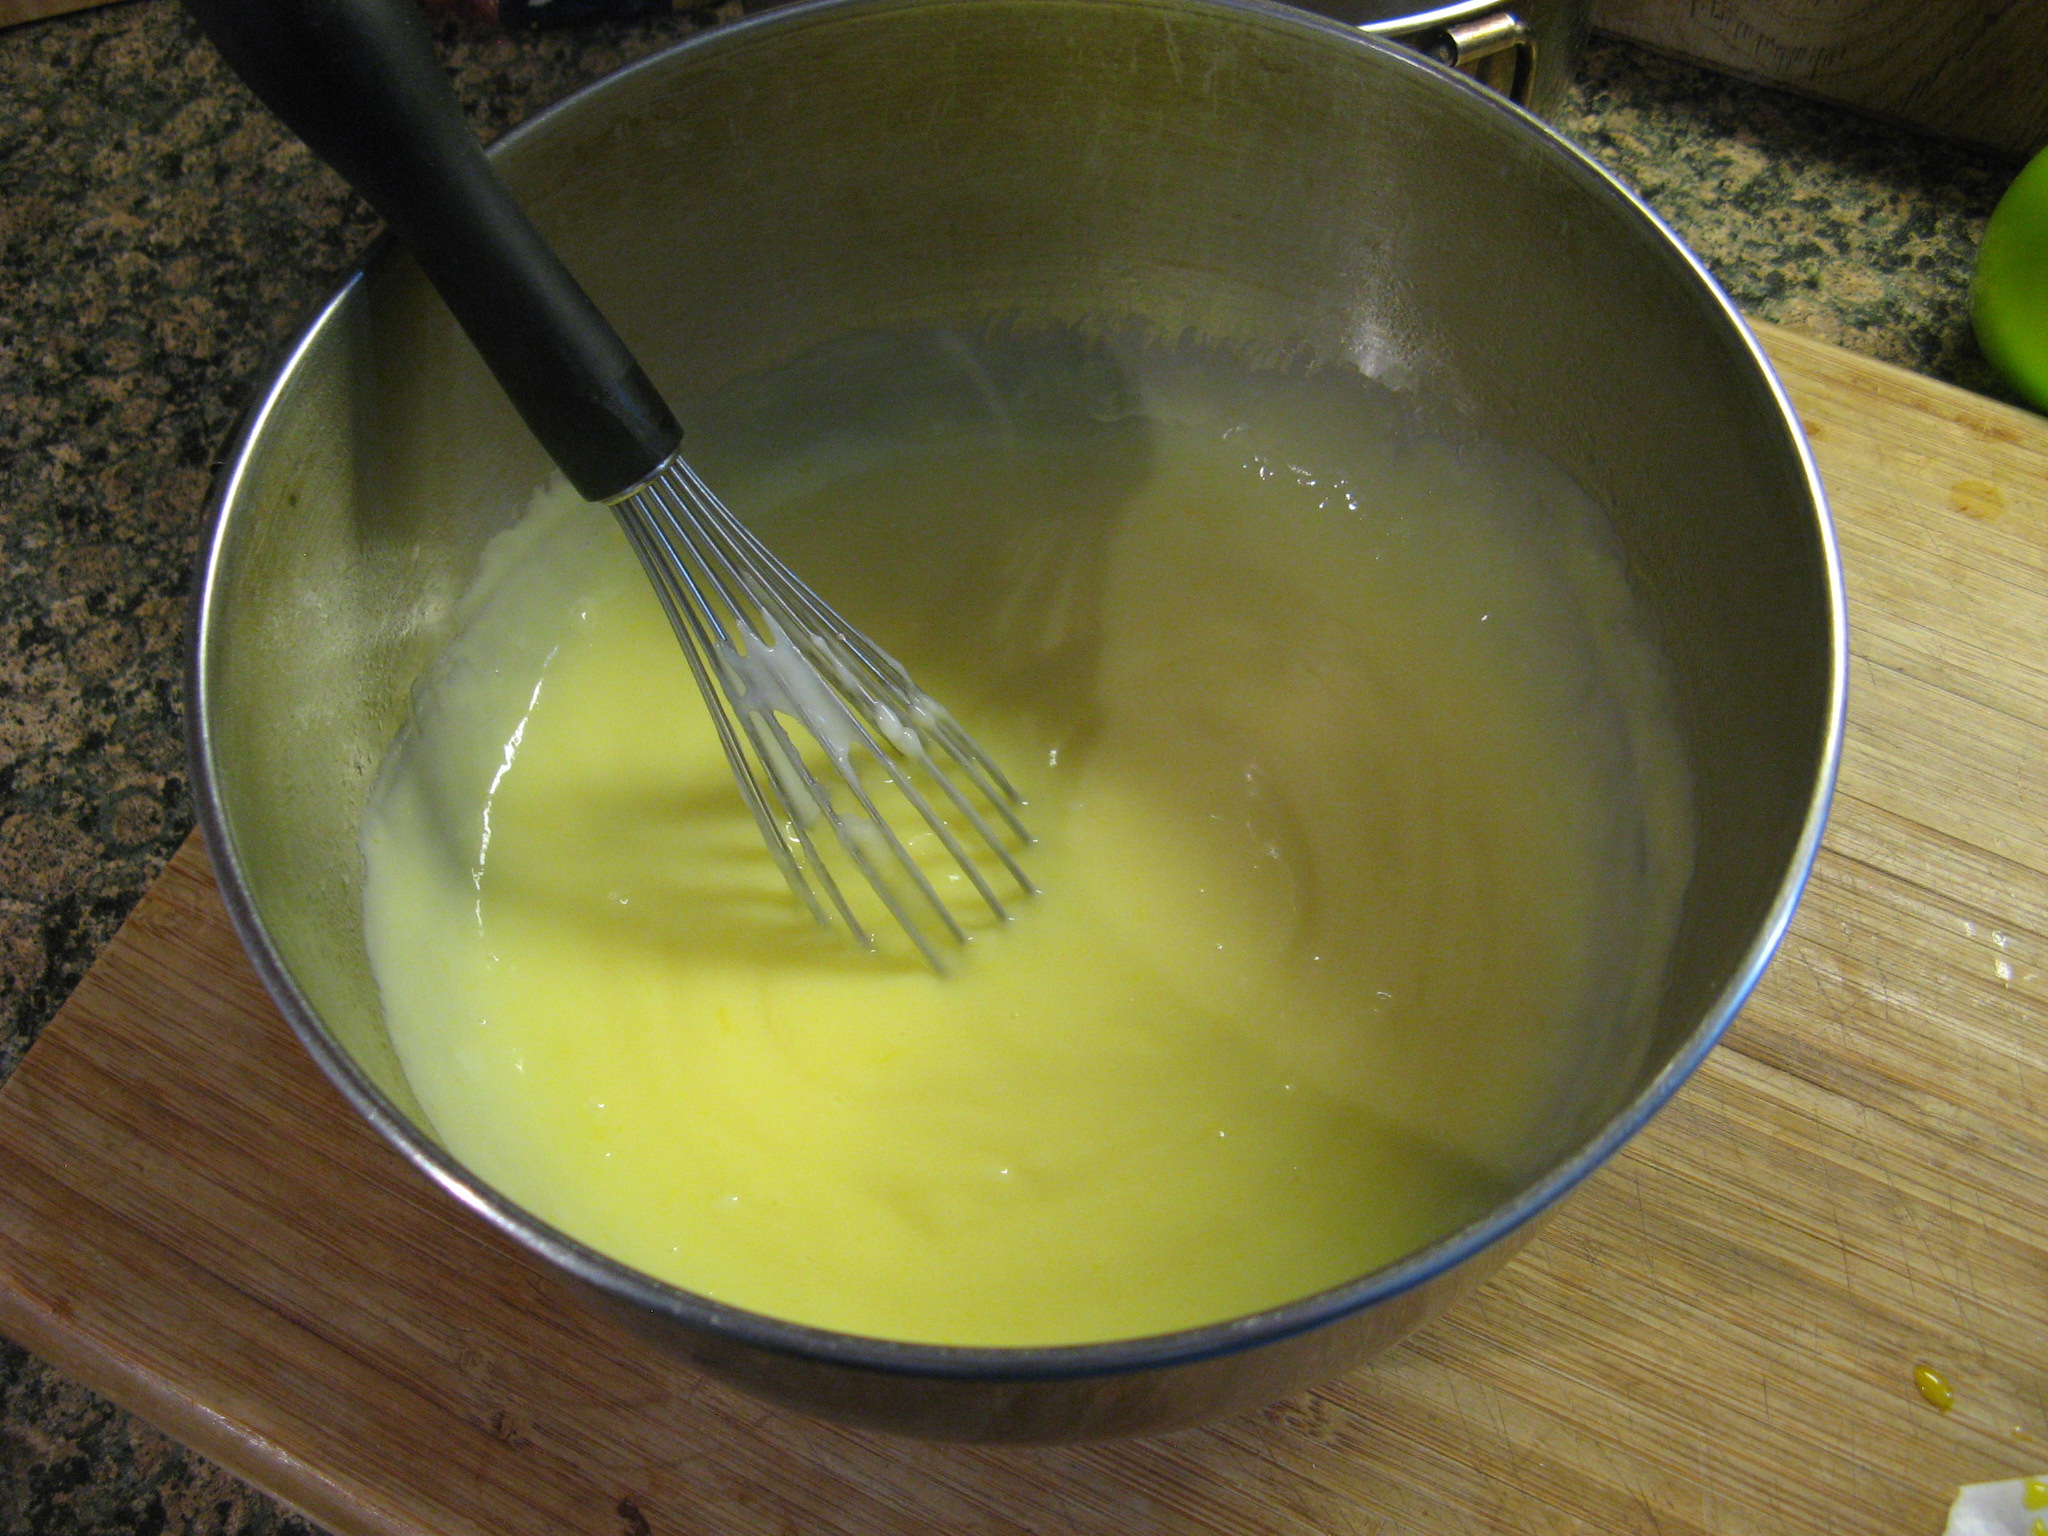
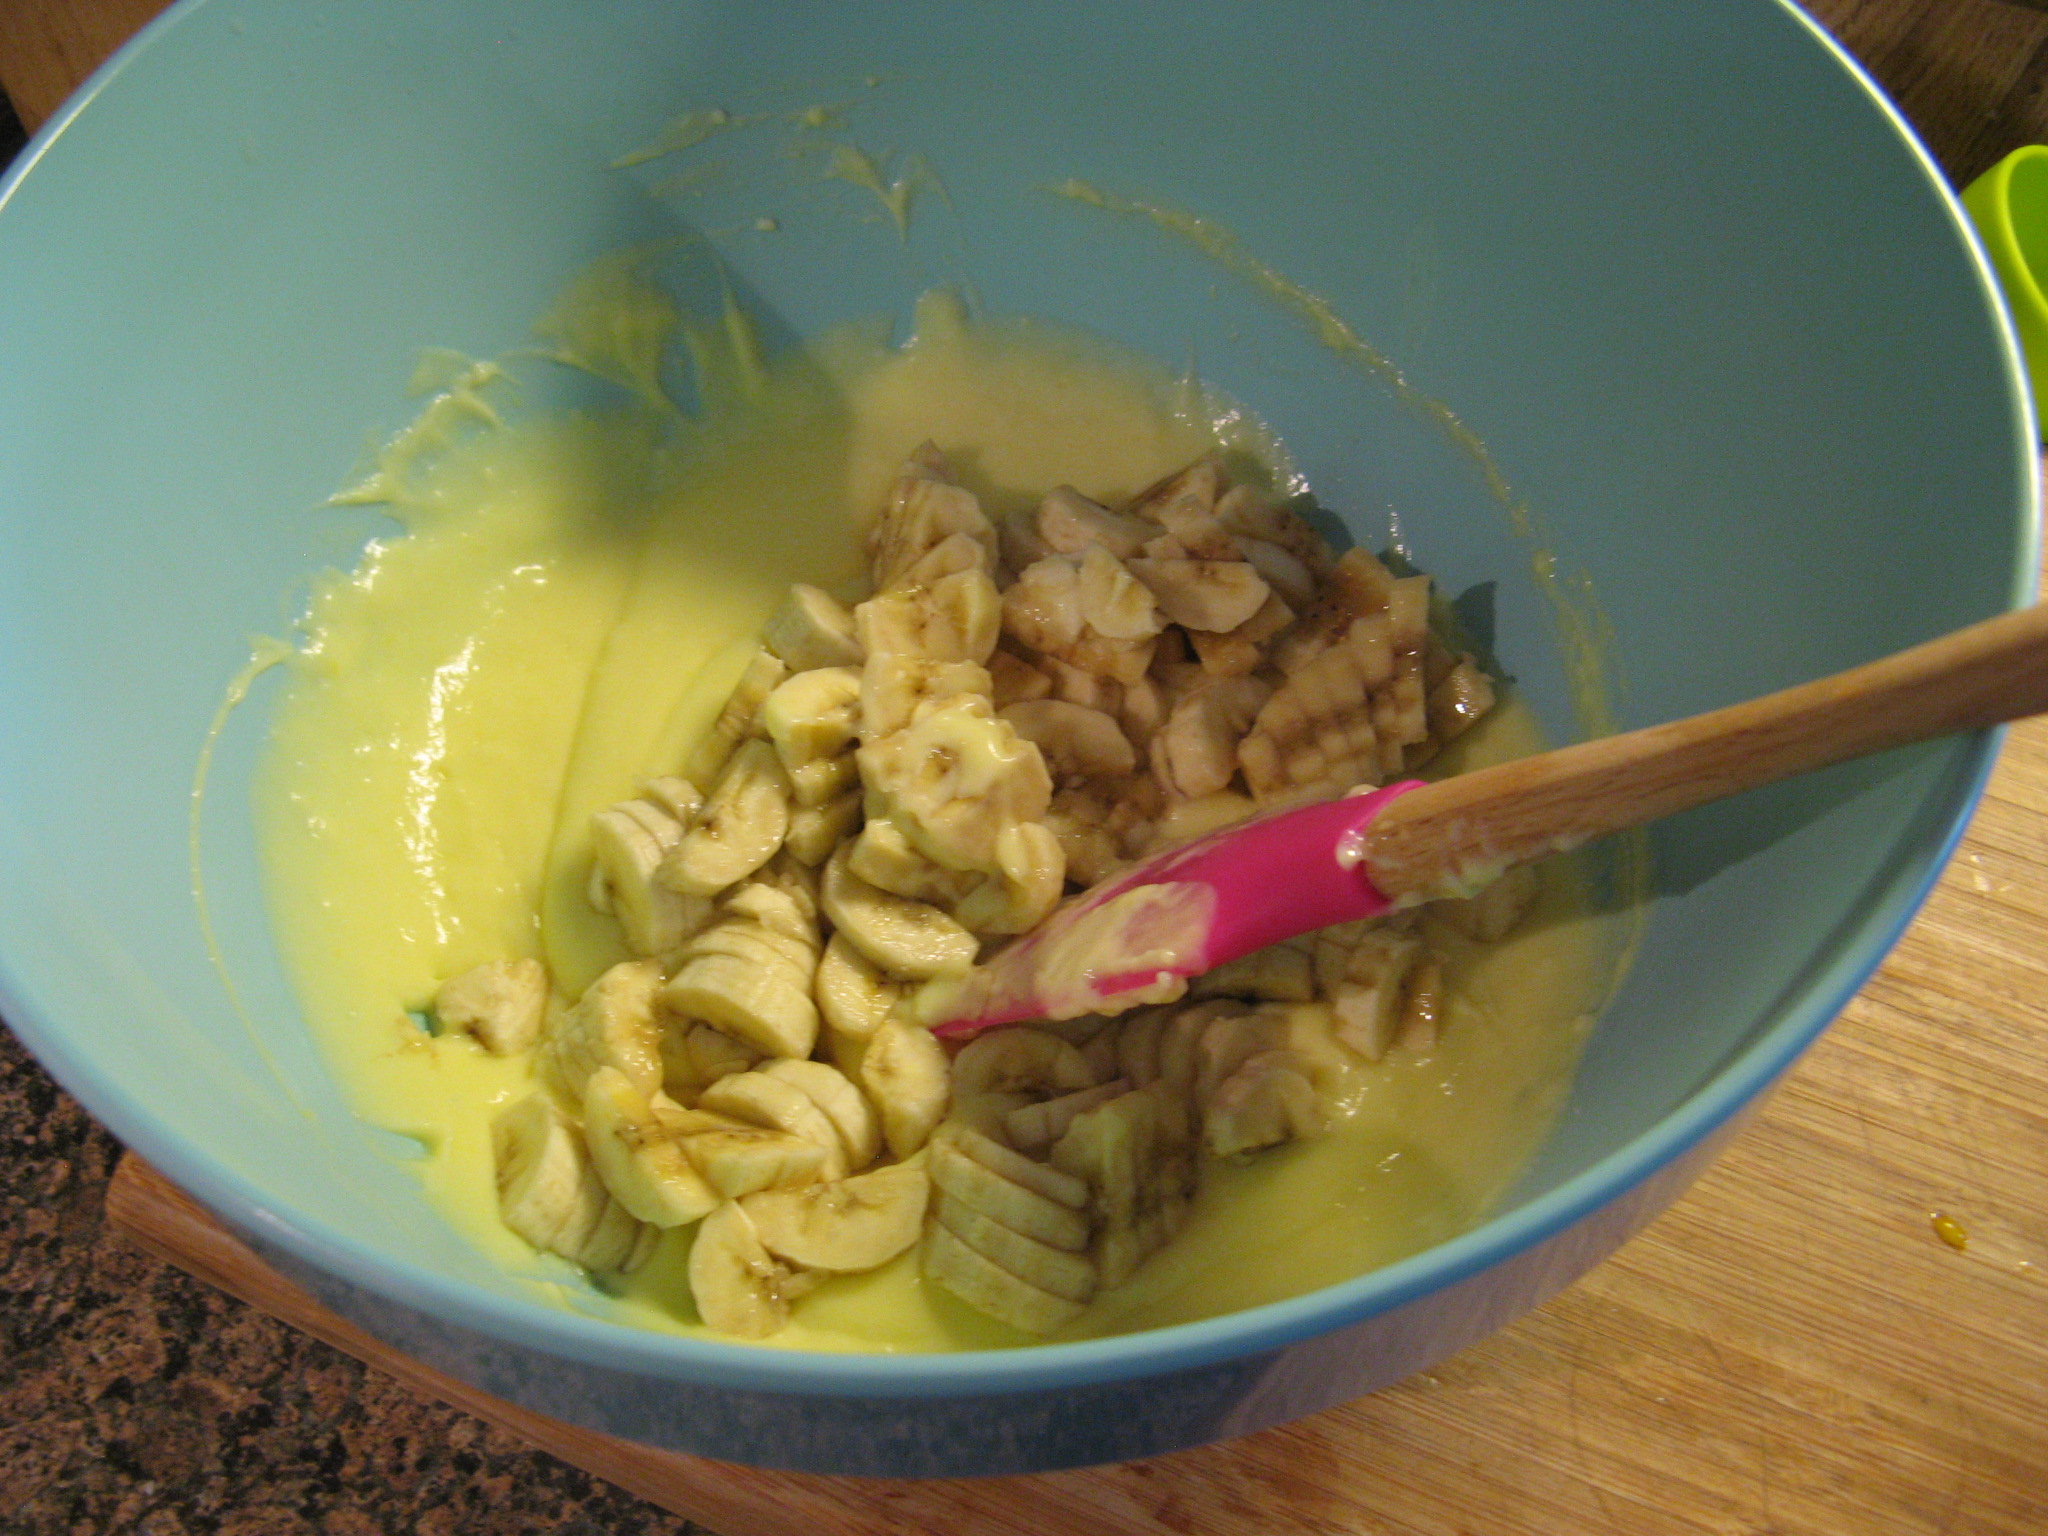
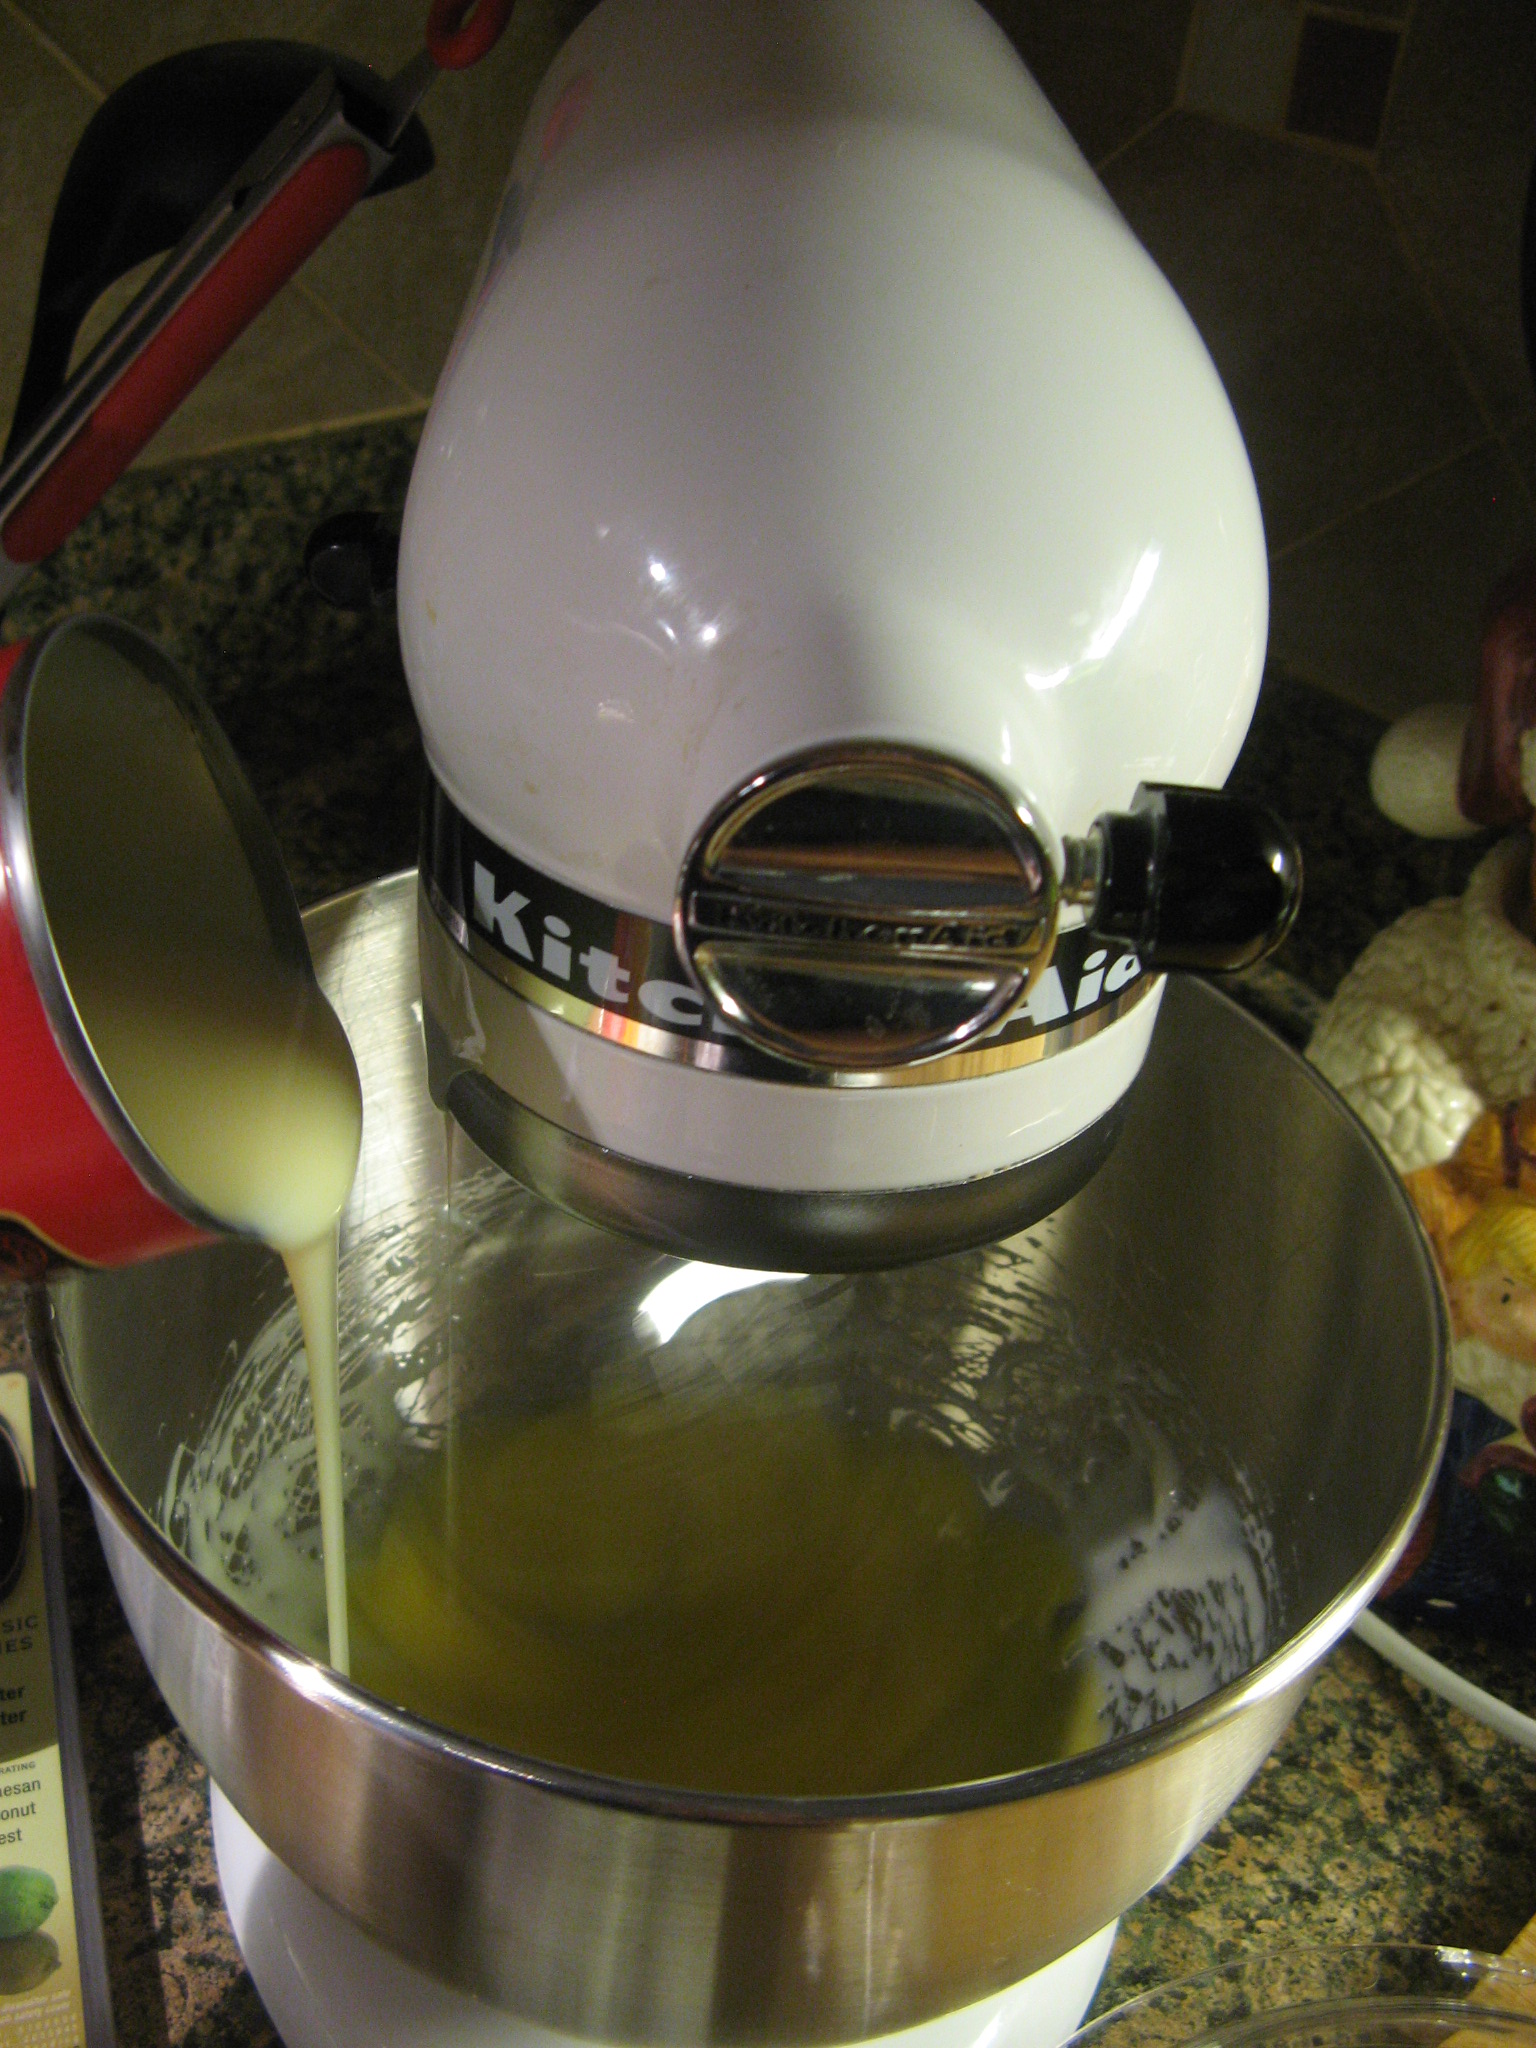
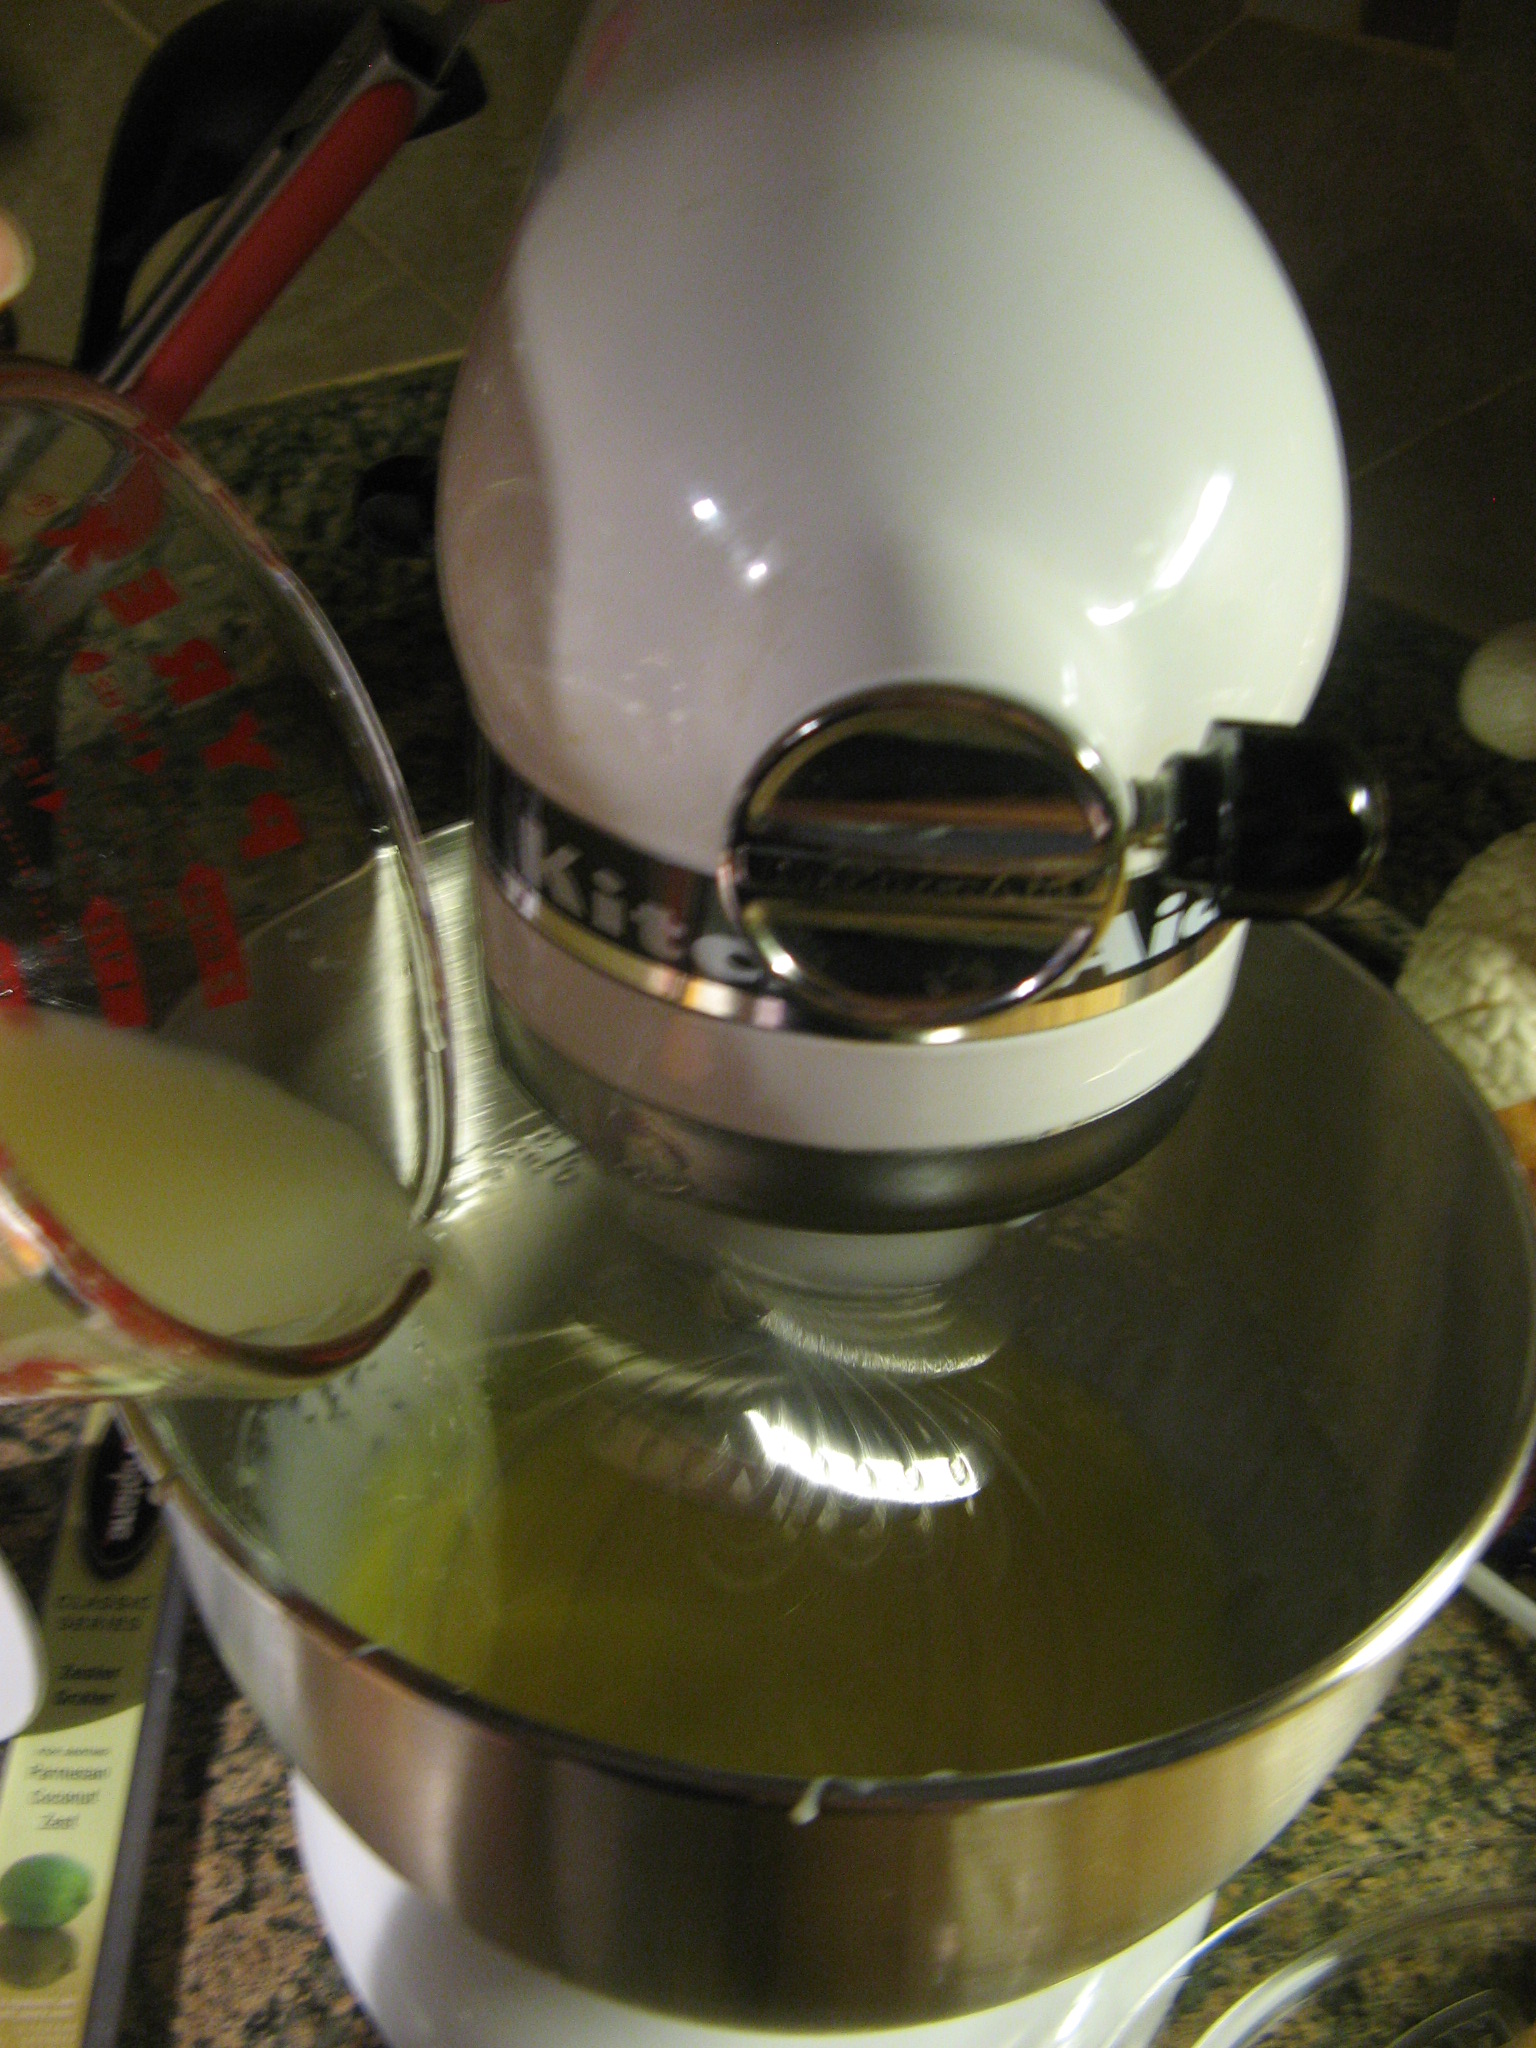
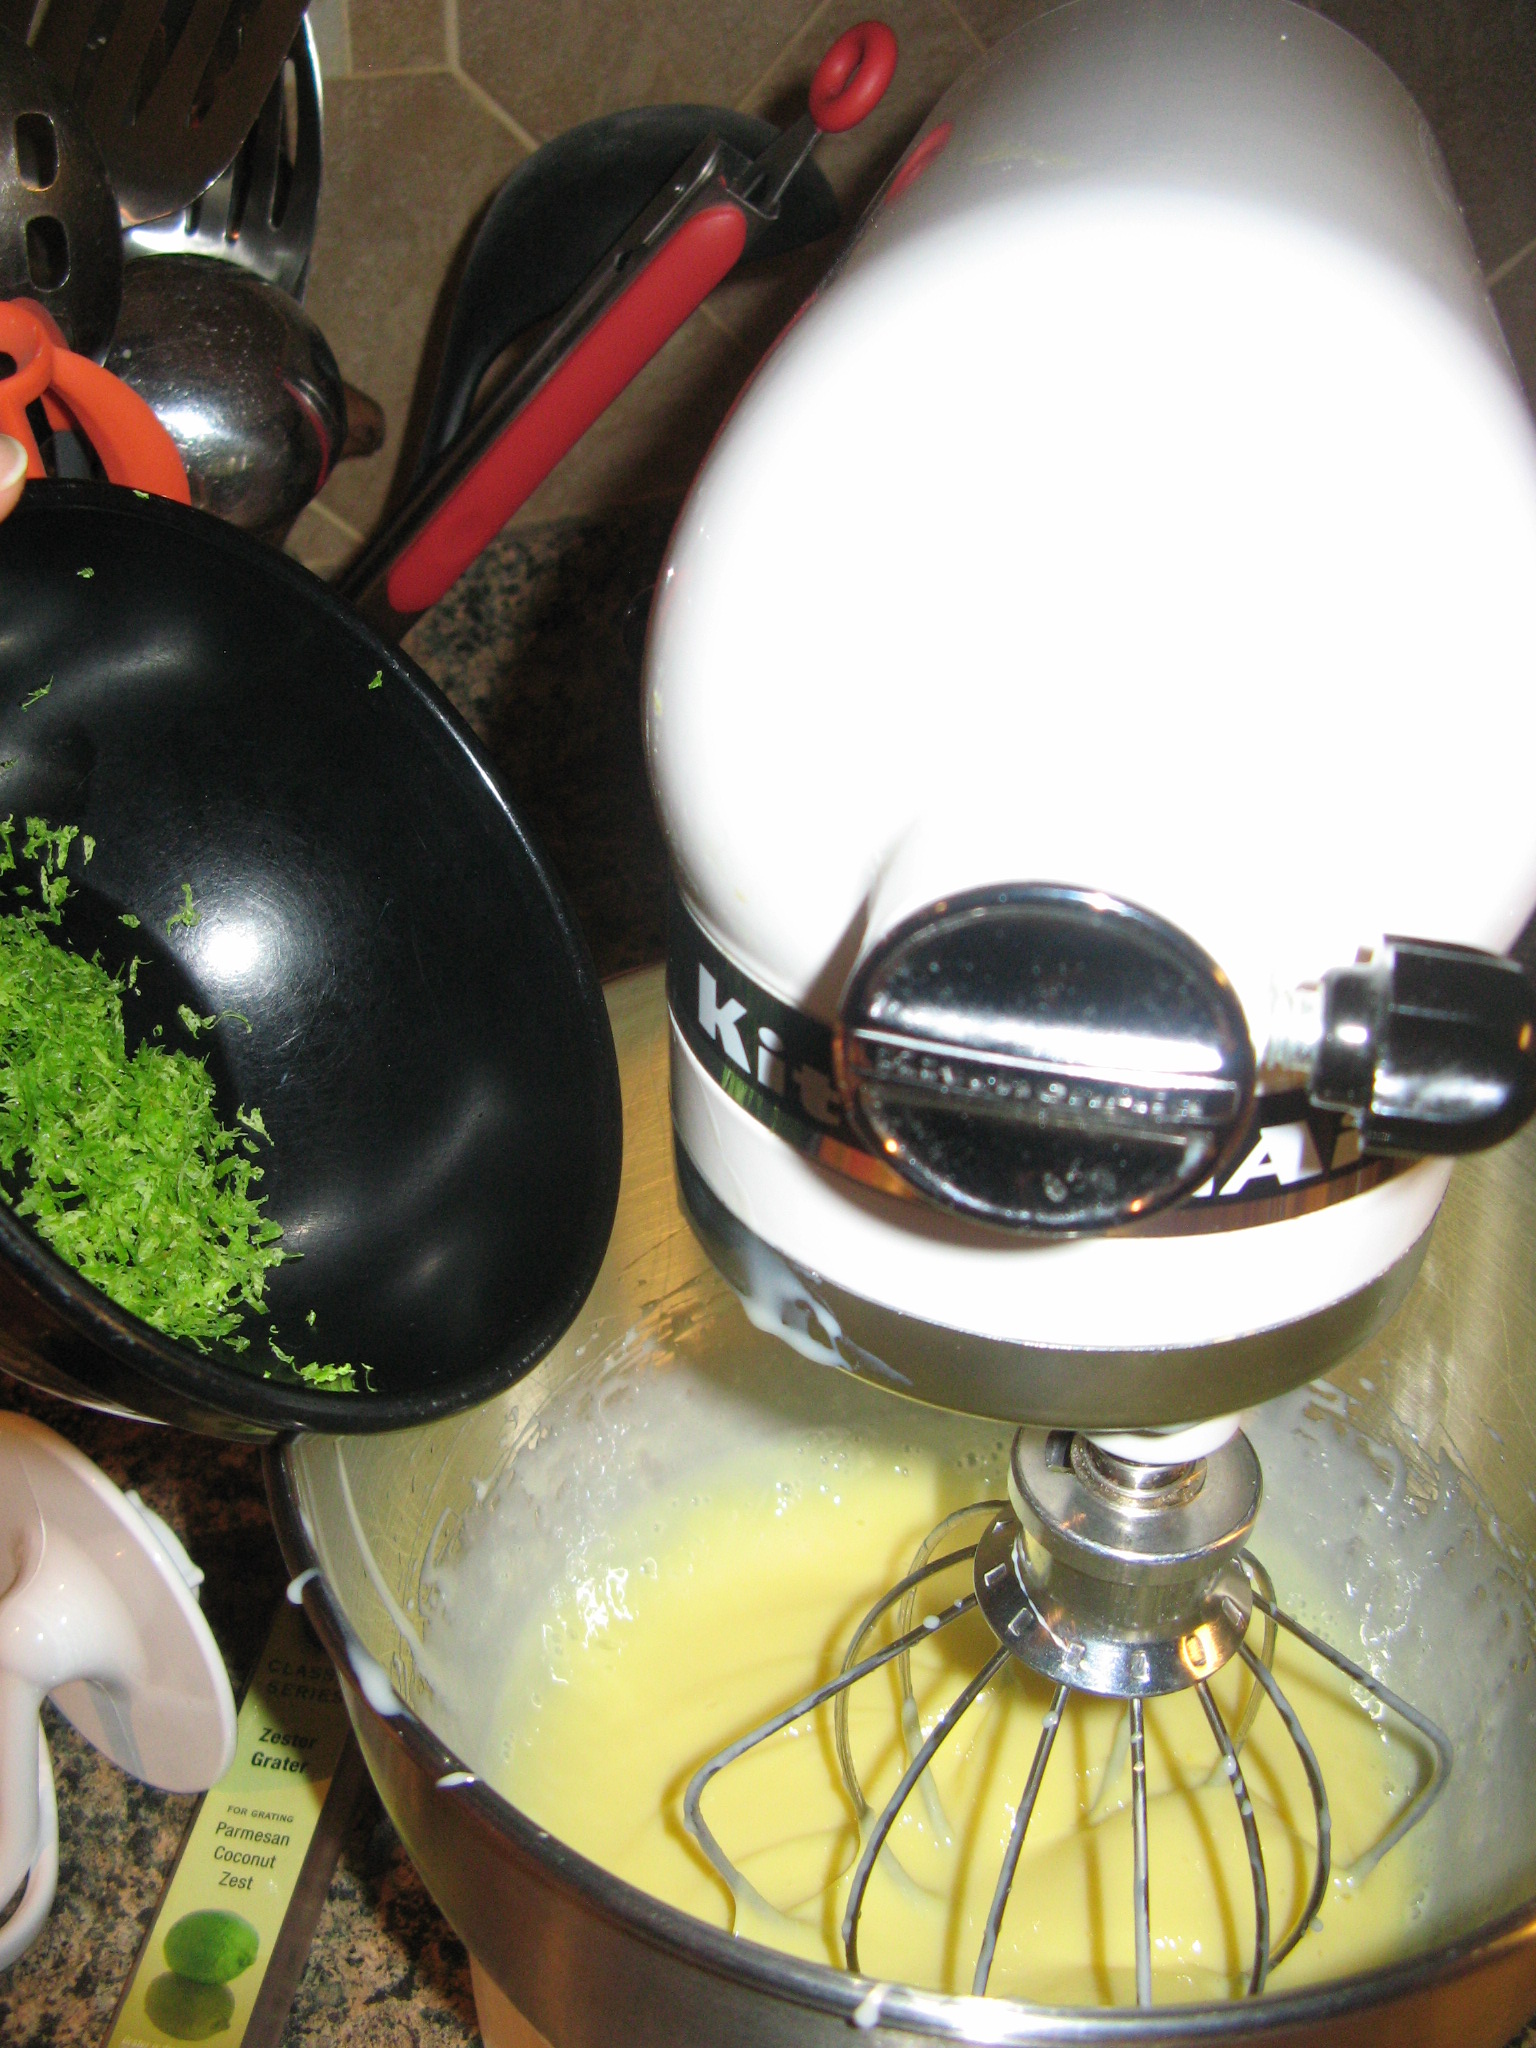
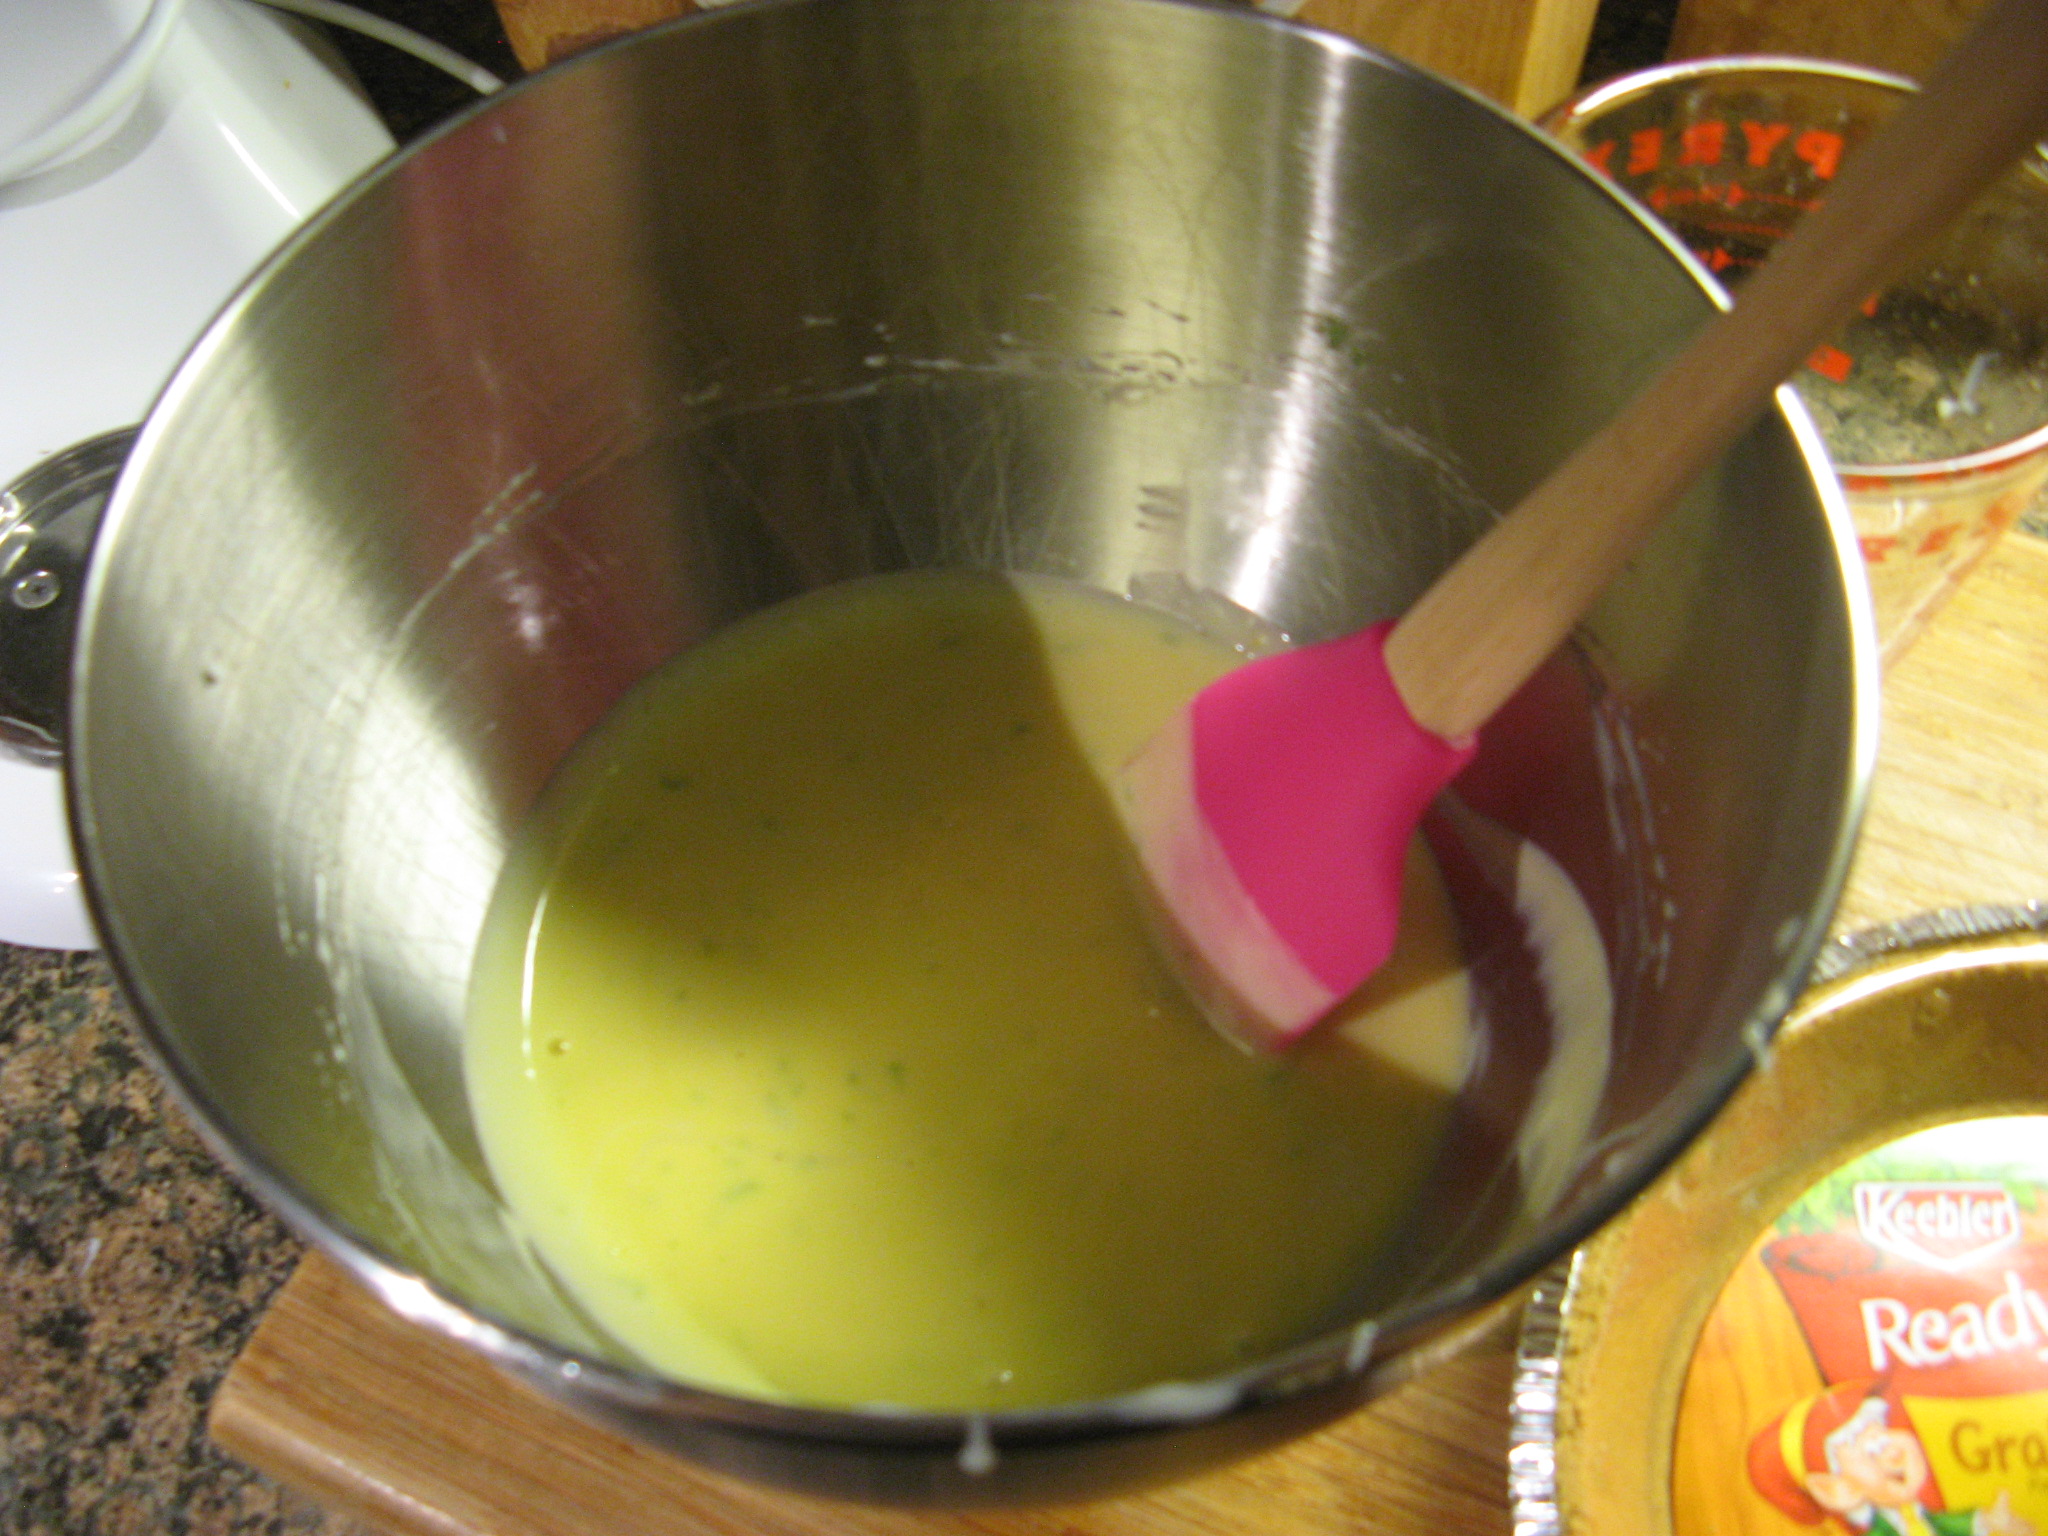
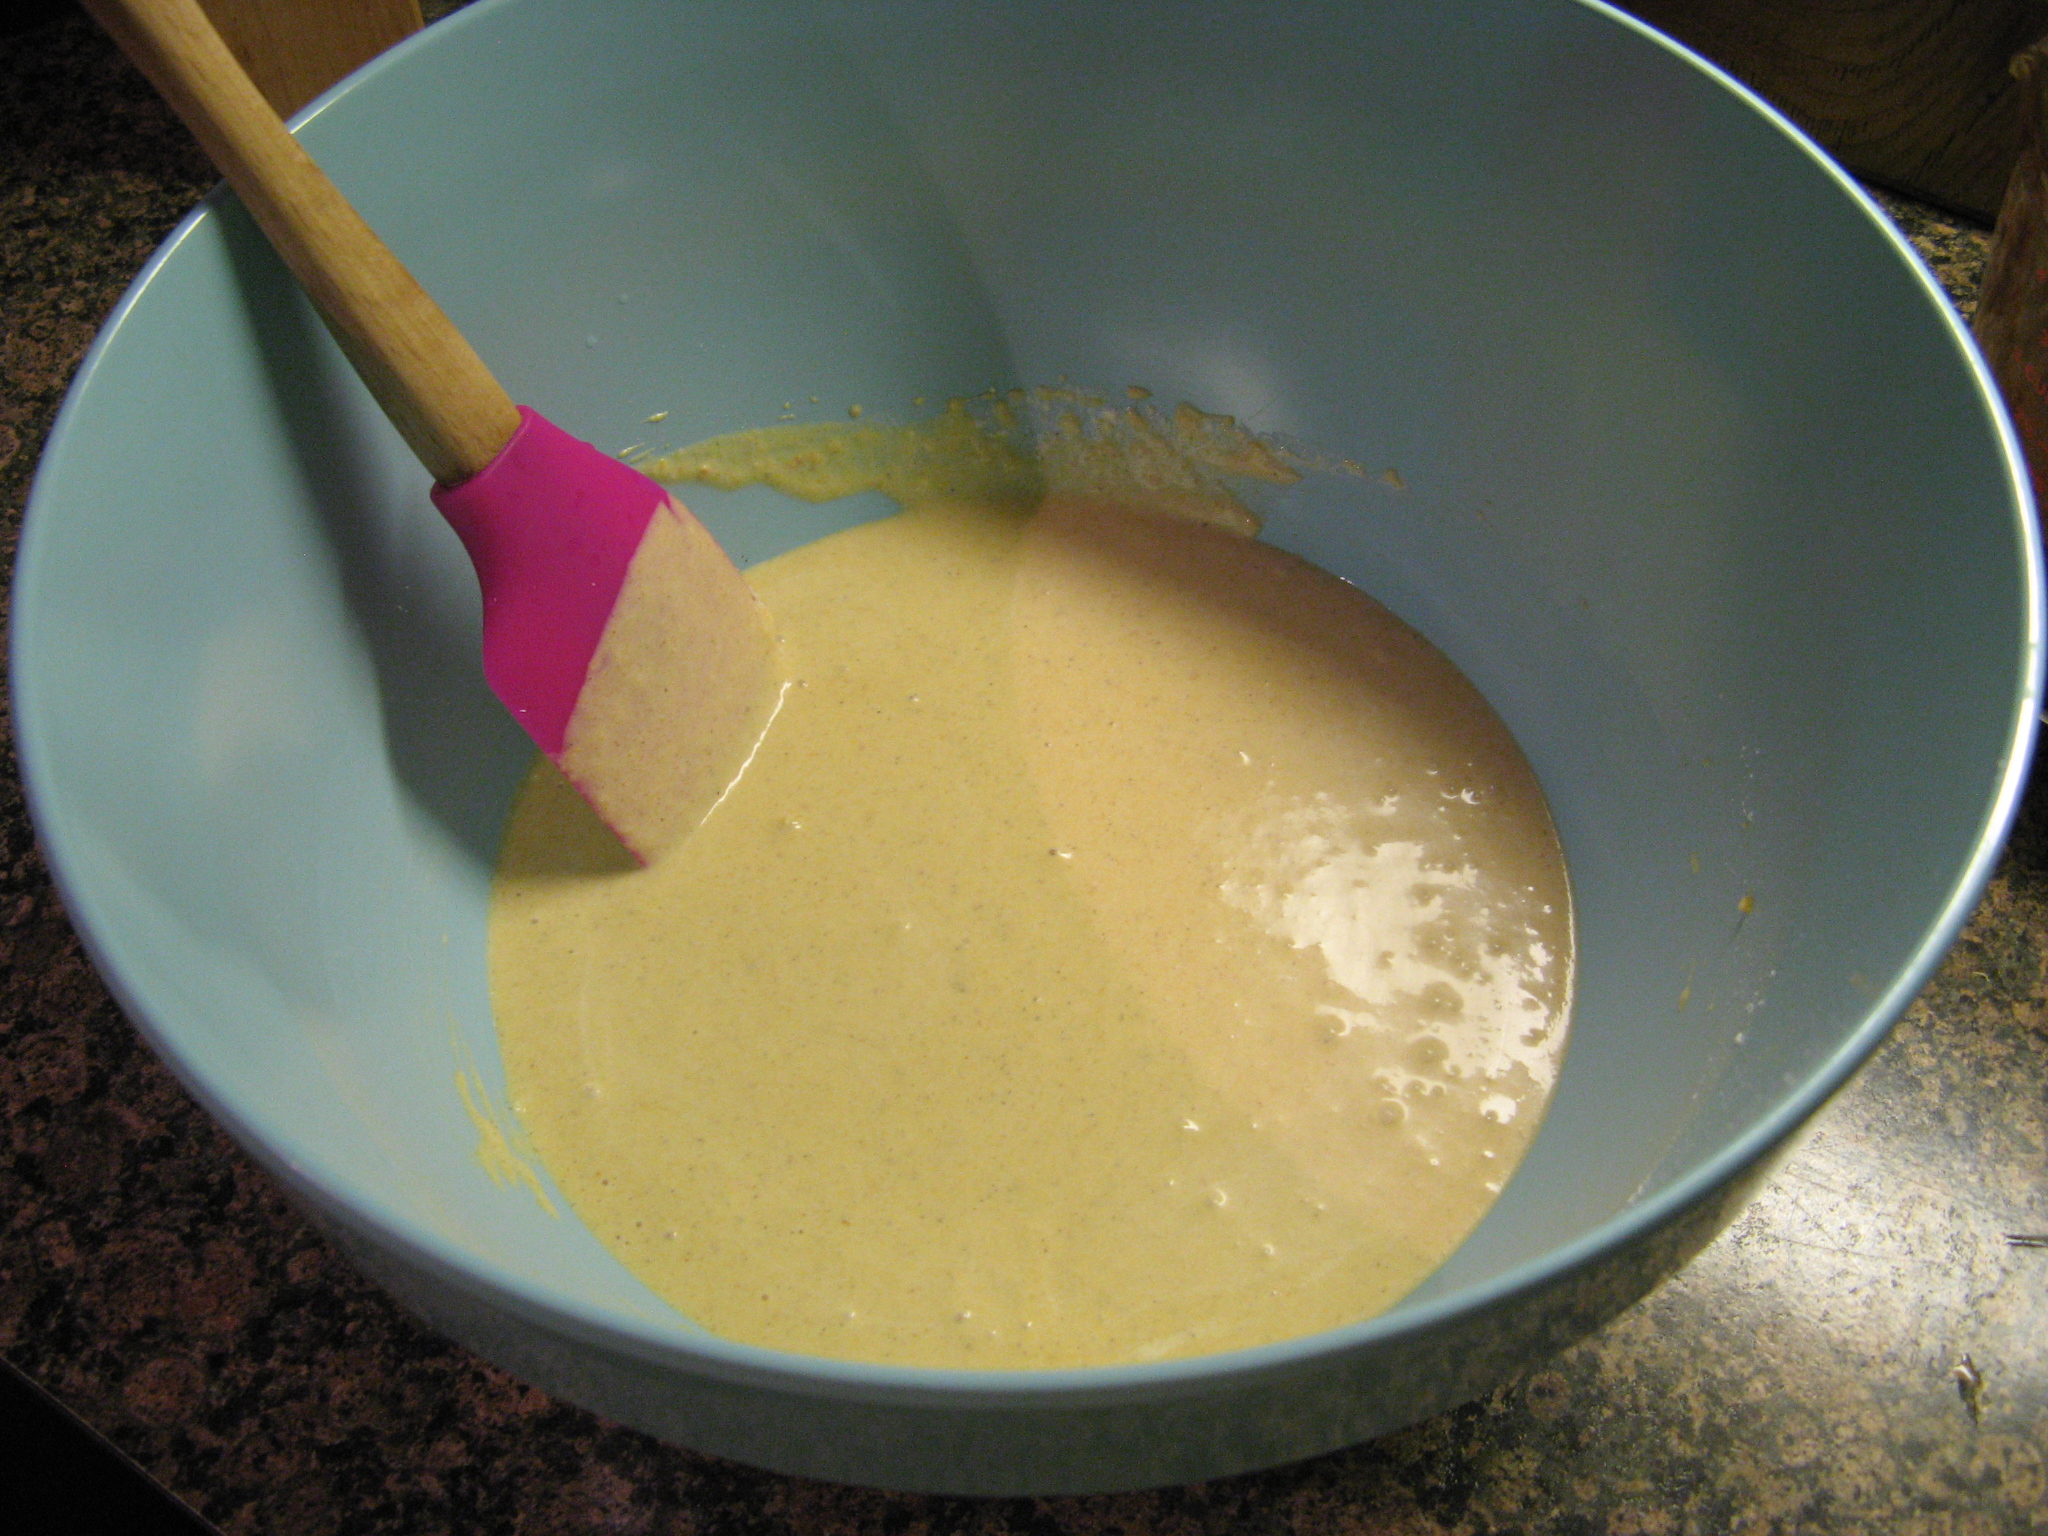
While the brownie was baking in the oven I made the pumpkin filling by whisking together pumpkin puree, heavy cream, an egg, granulated sugar, flour, pumpkin pie spice and salt in a medium bowl until it was smooth.

IMG_5987

By the time I was done with the pumpkin filling the brownie was ready to come out of the oven.

IMG_5989

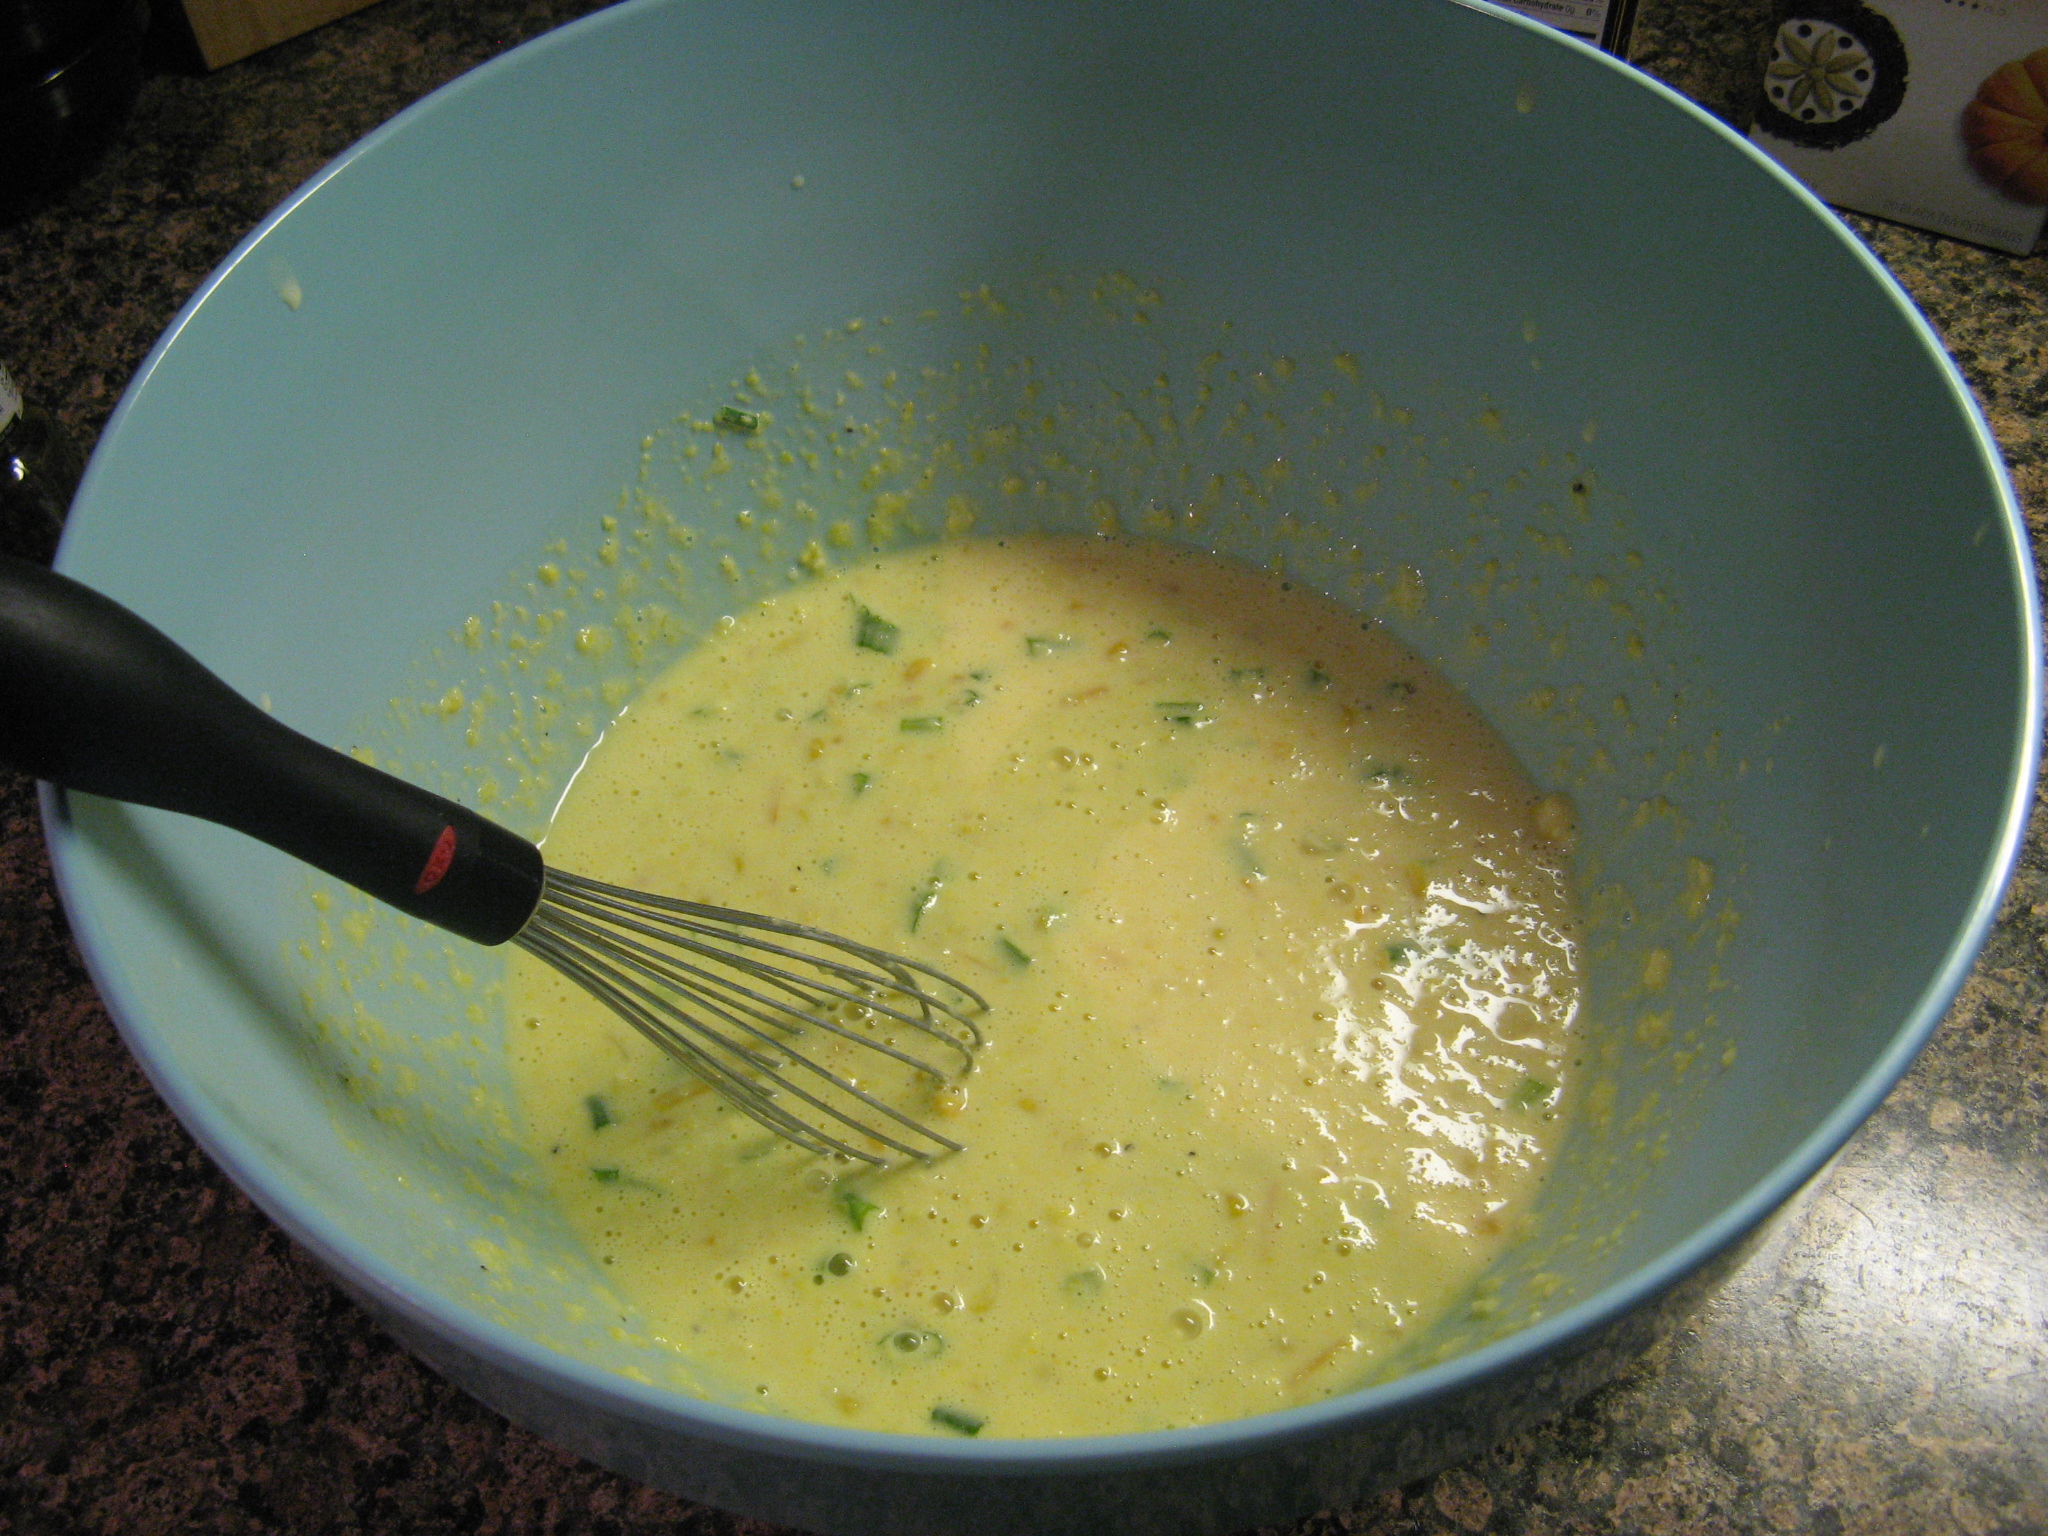
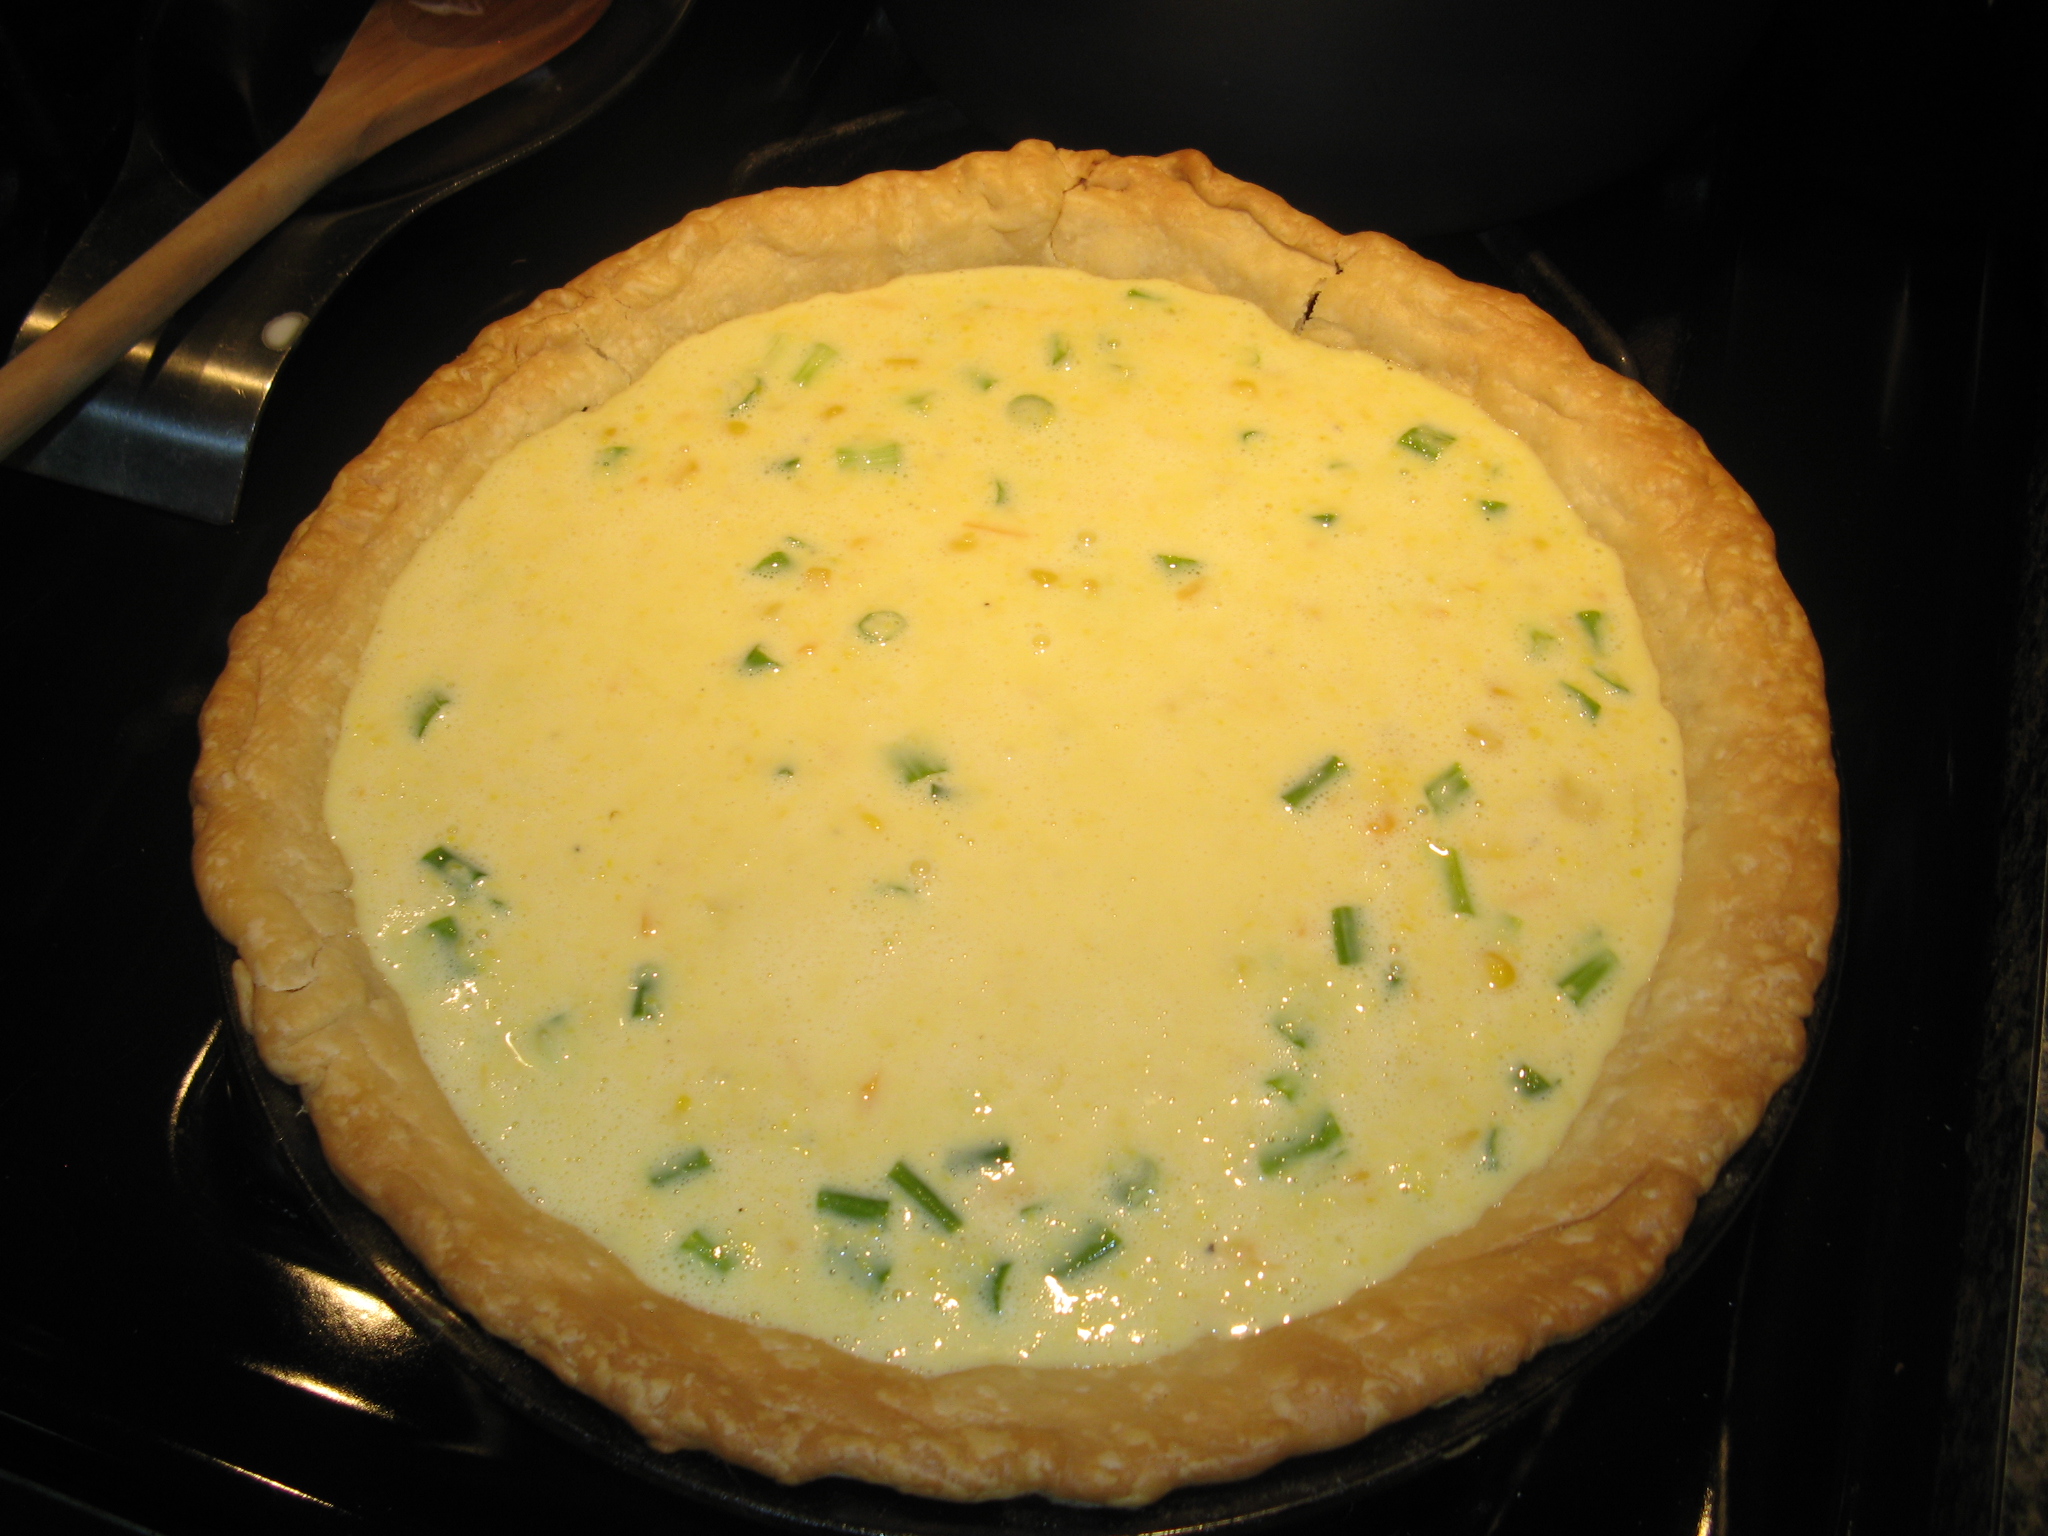
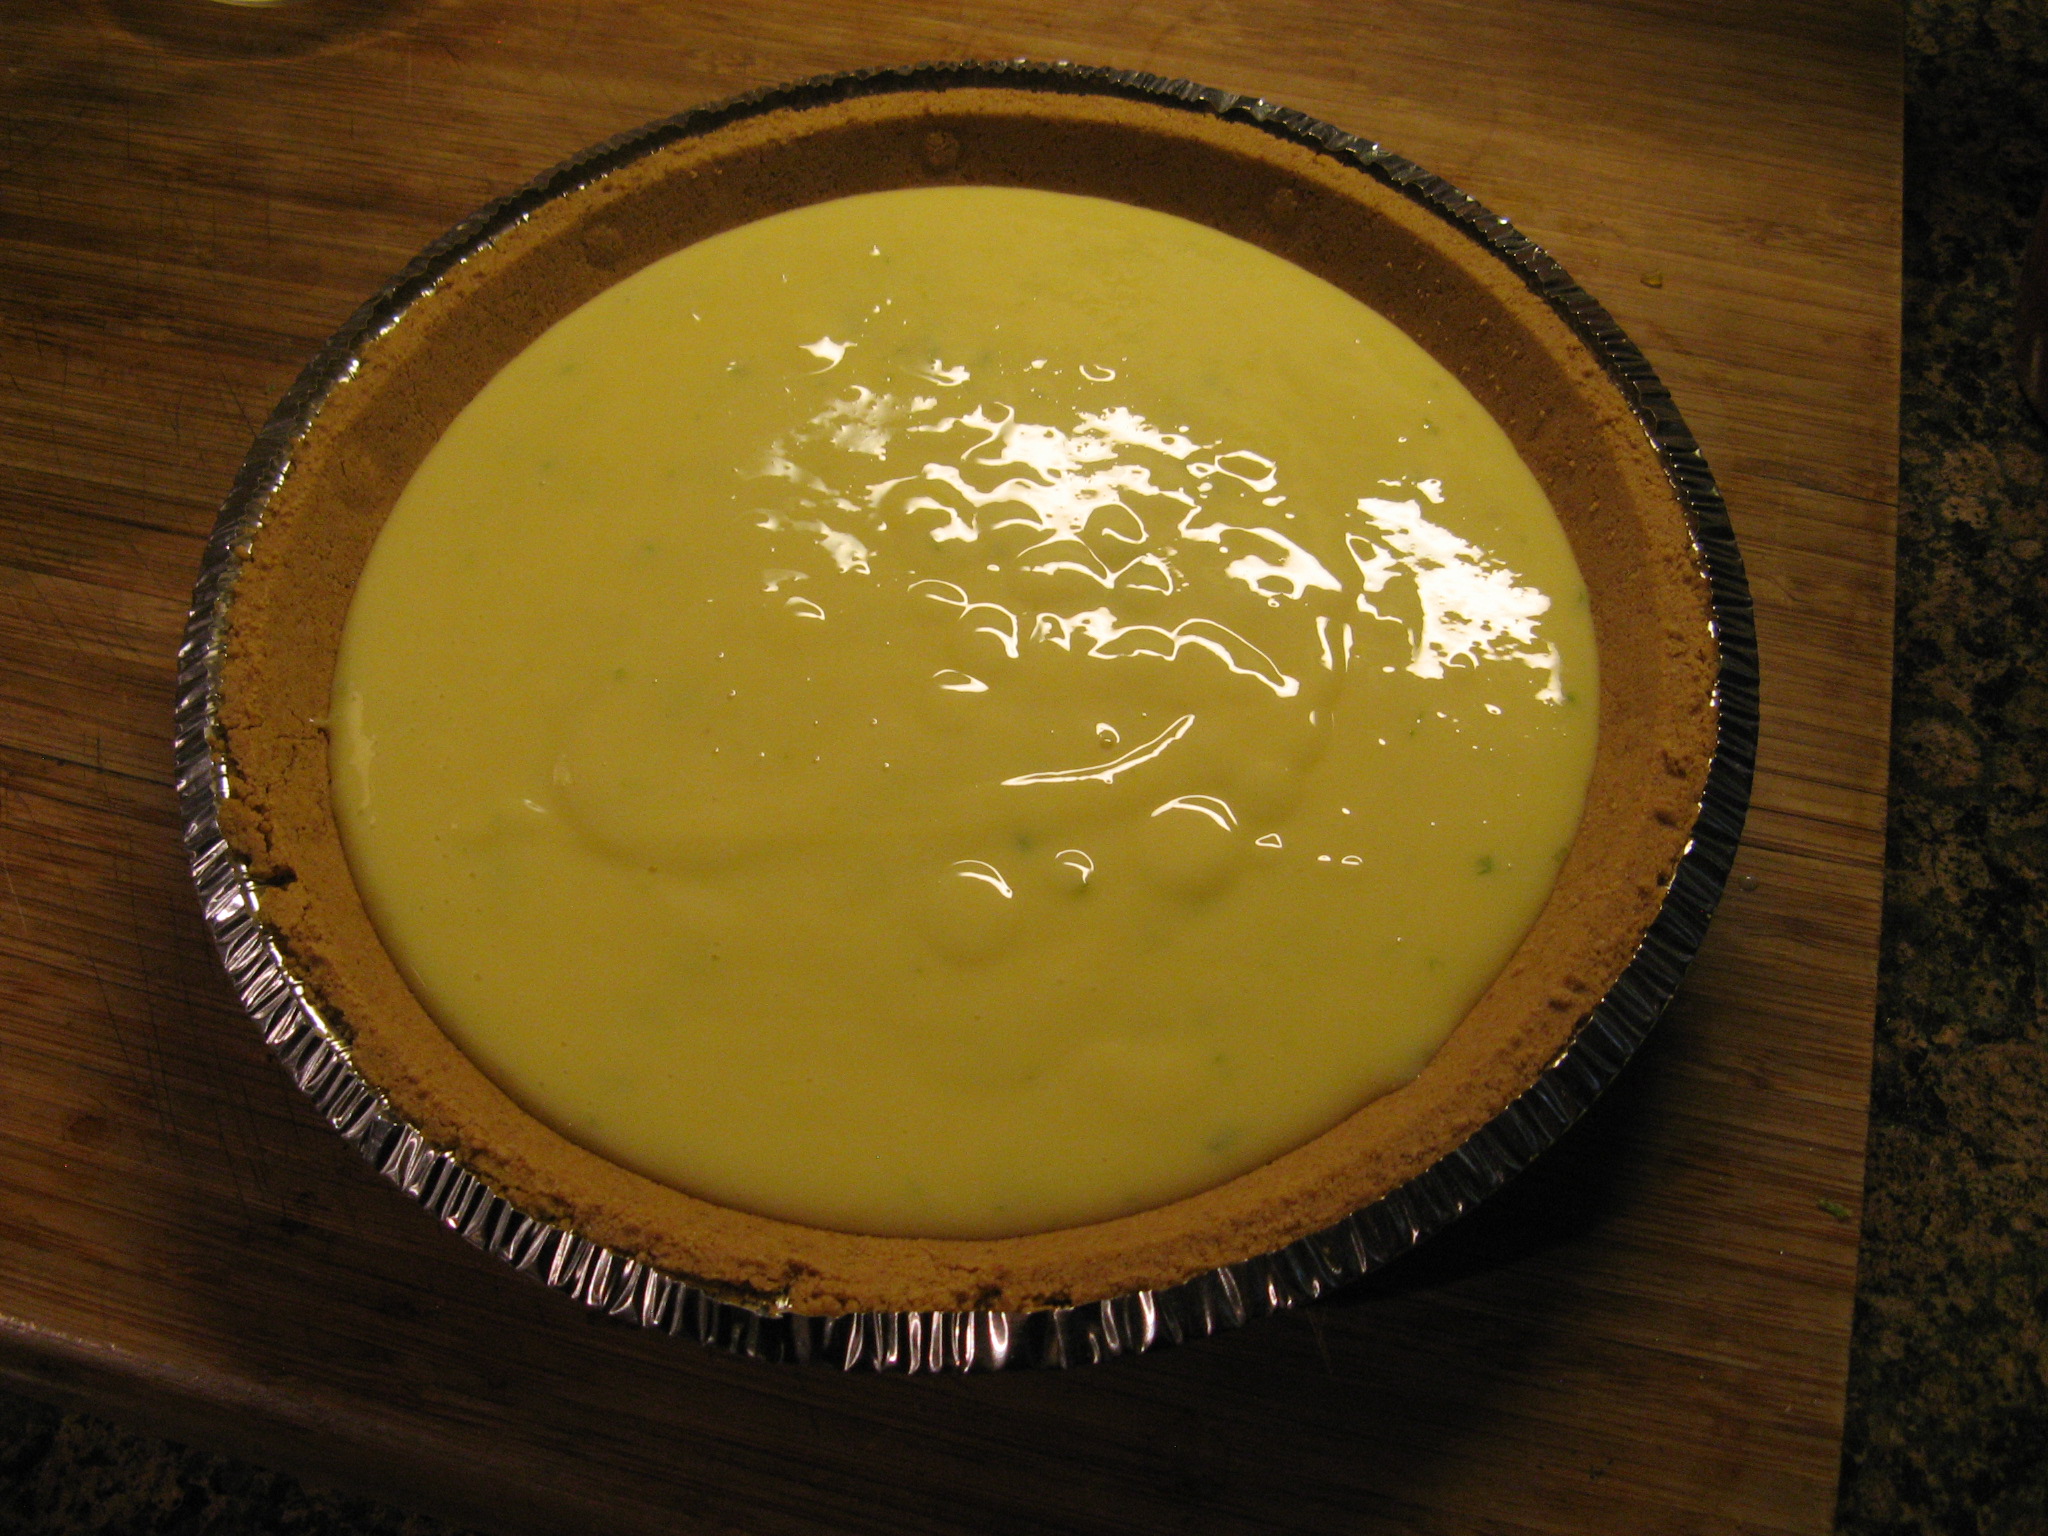
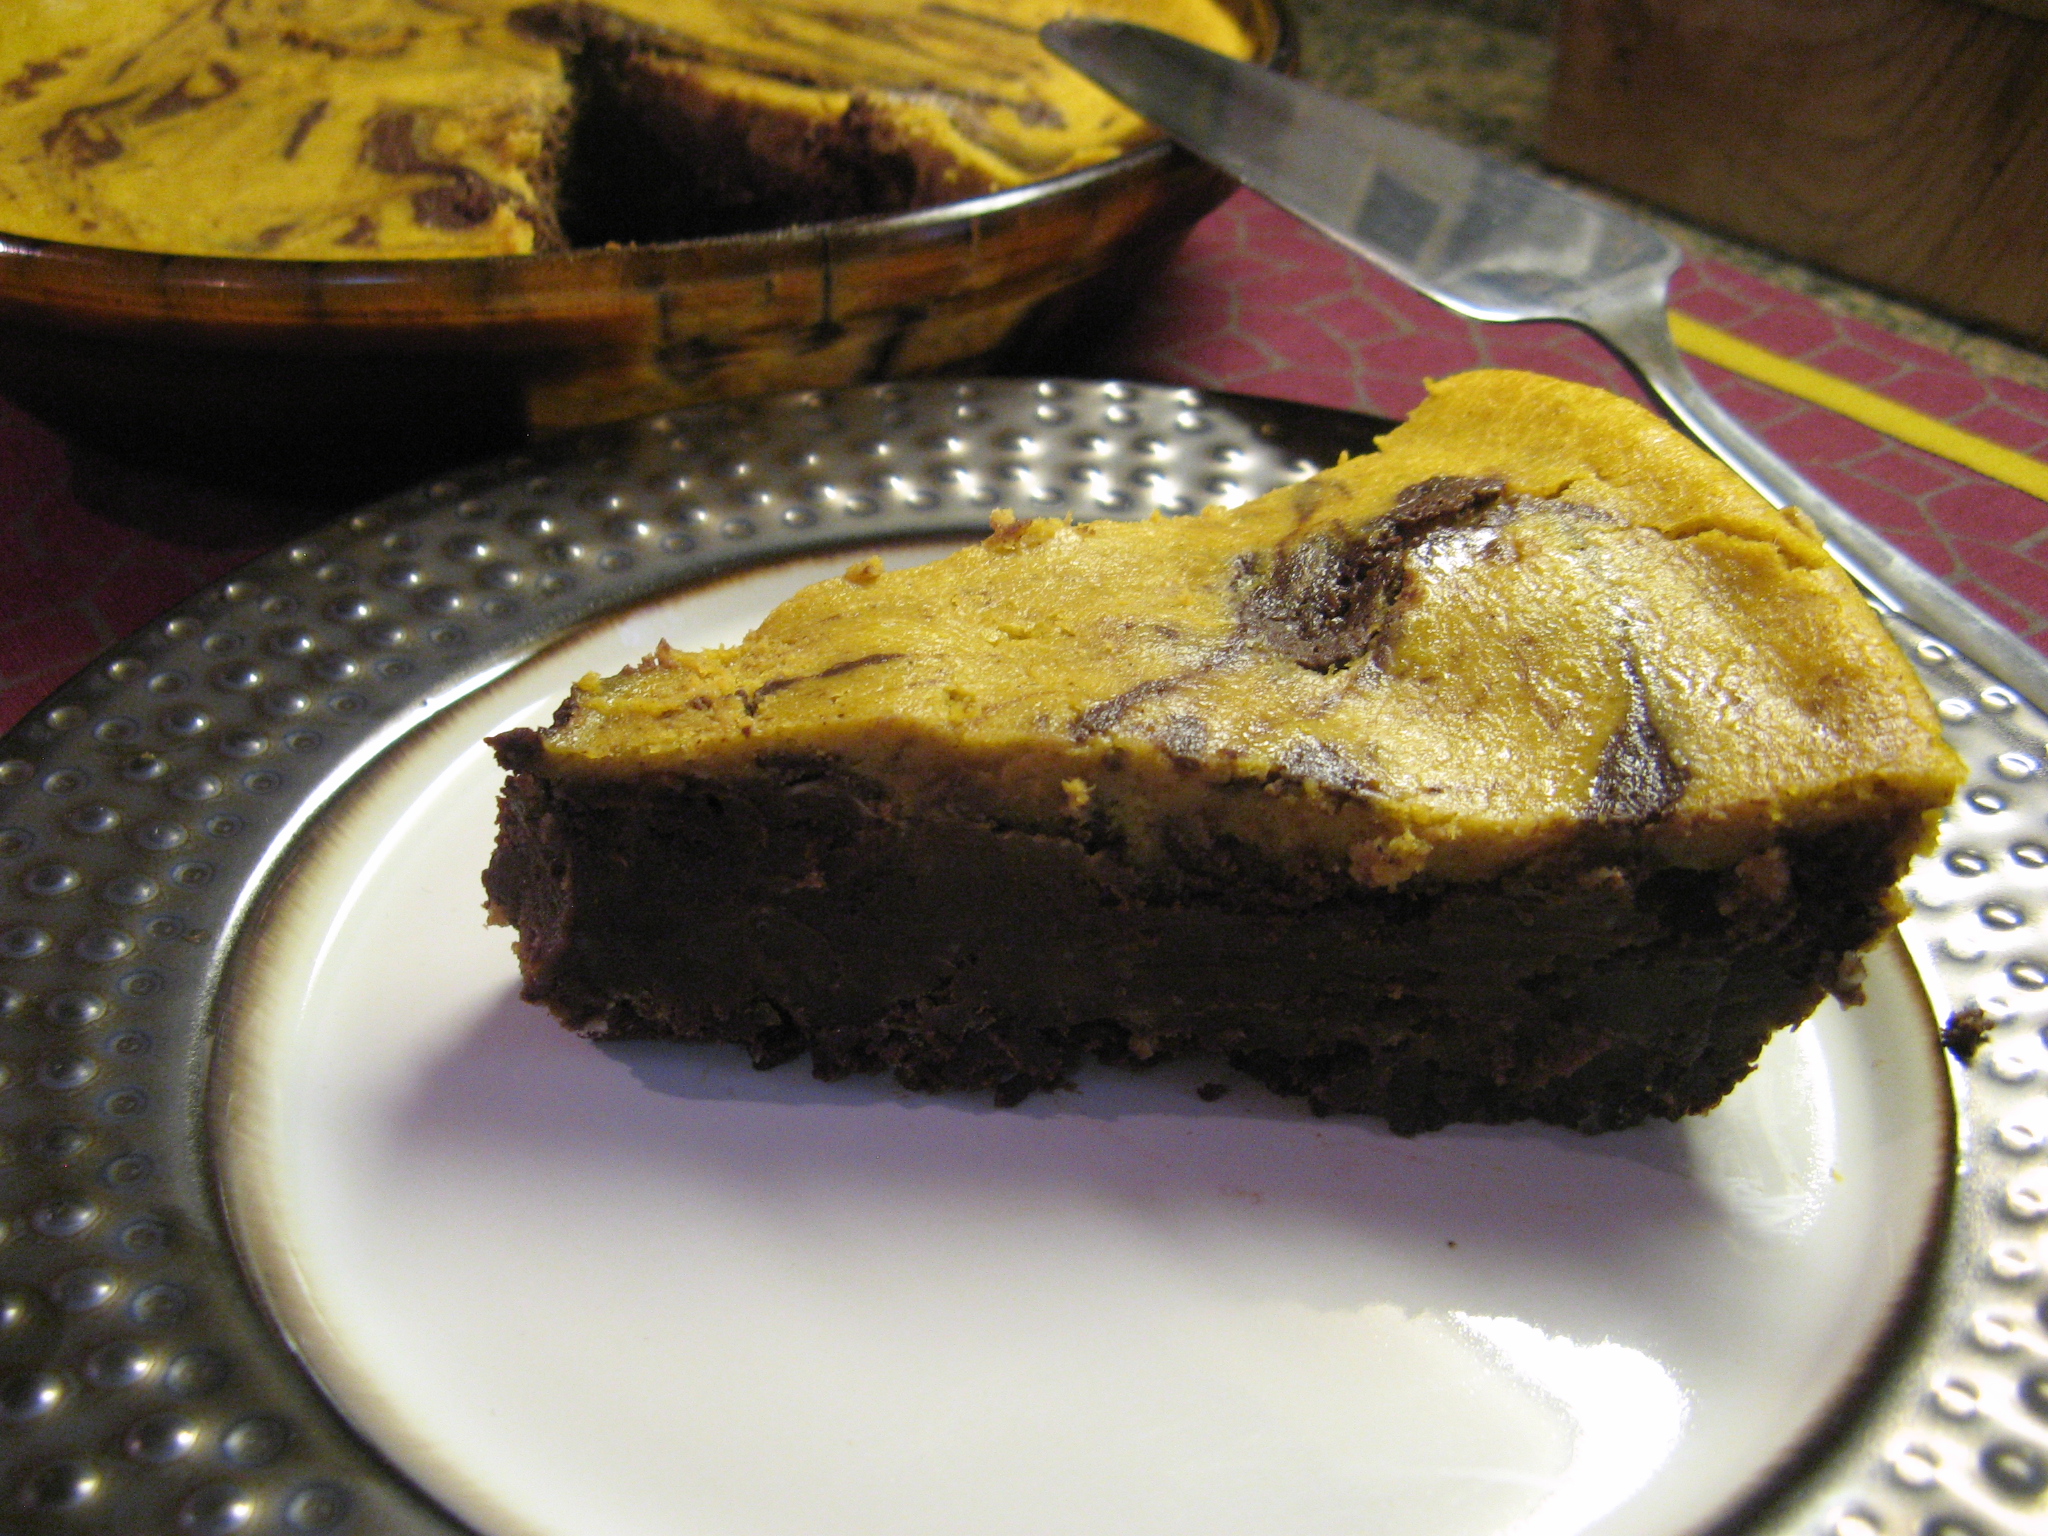
I immediately poured the pumpkin filling over the brownie. I stirred a tablespoon of water to the remaining brownie batter and then spooned the batter onto the pumpkin filling. Using the back of the spoon I then pulled the batter into the filling.

IMG_5991

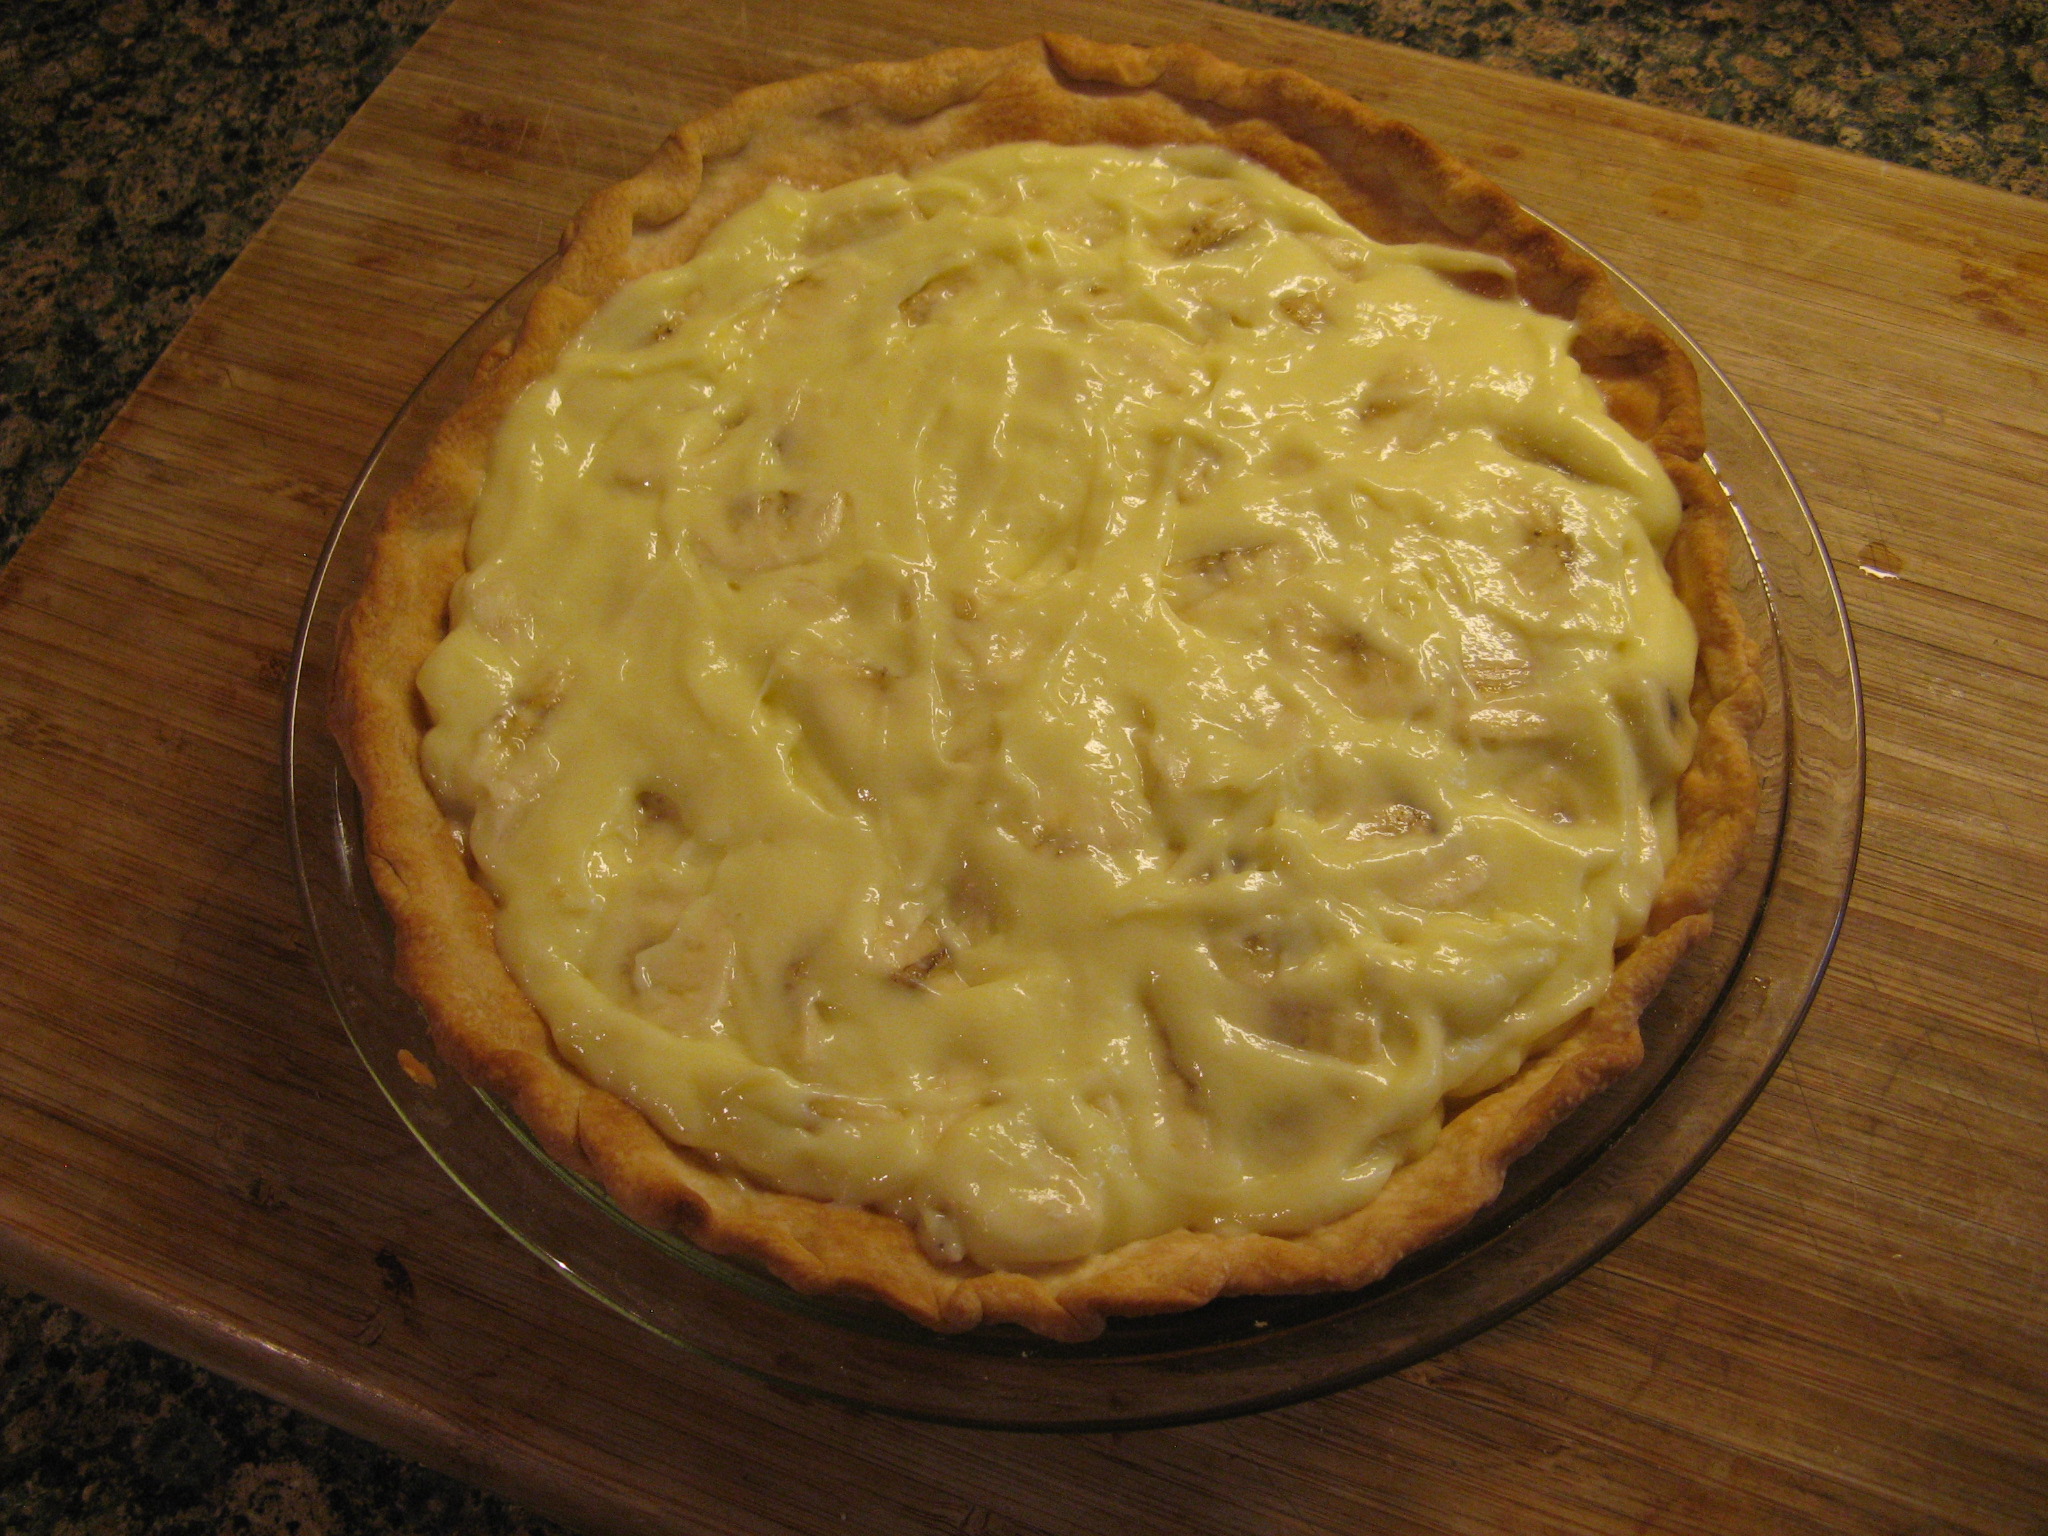
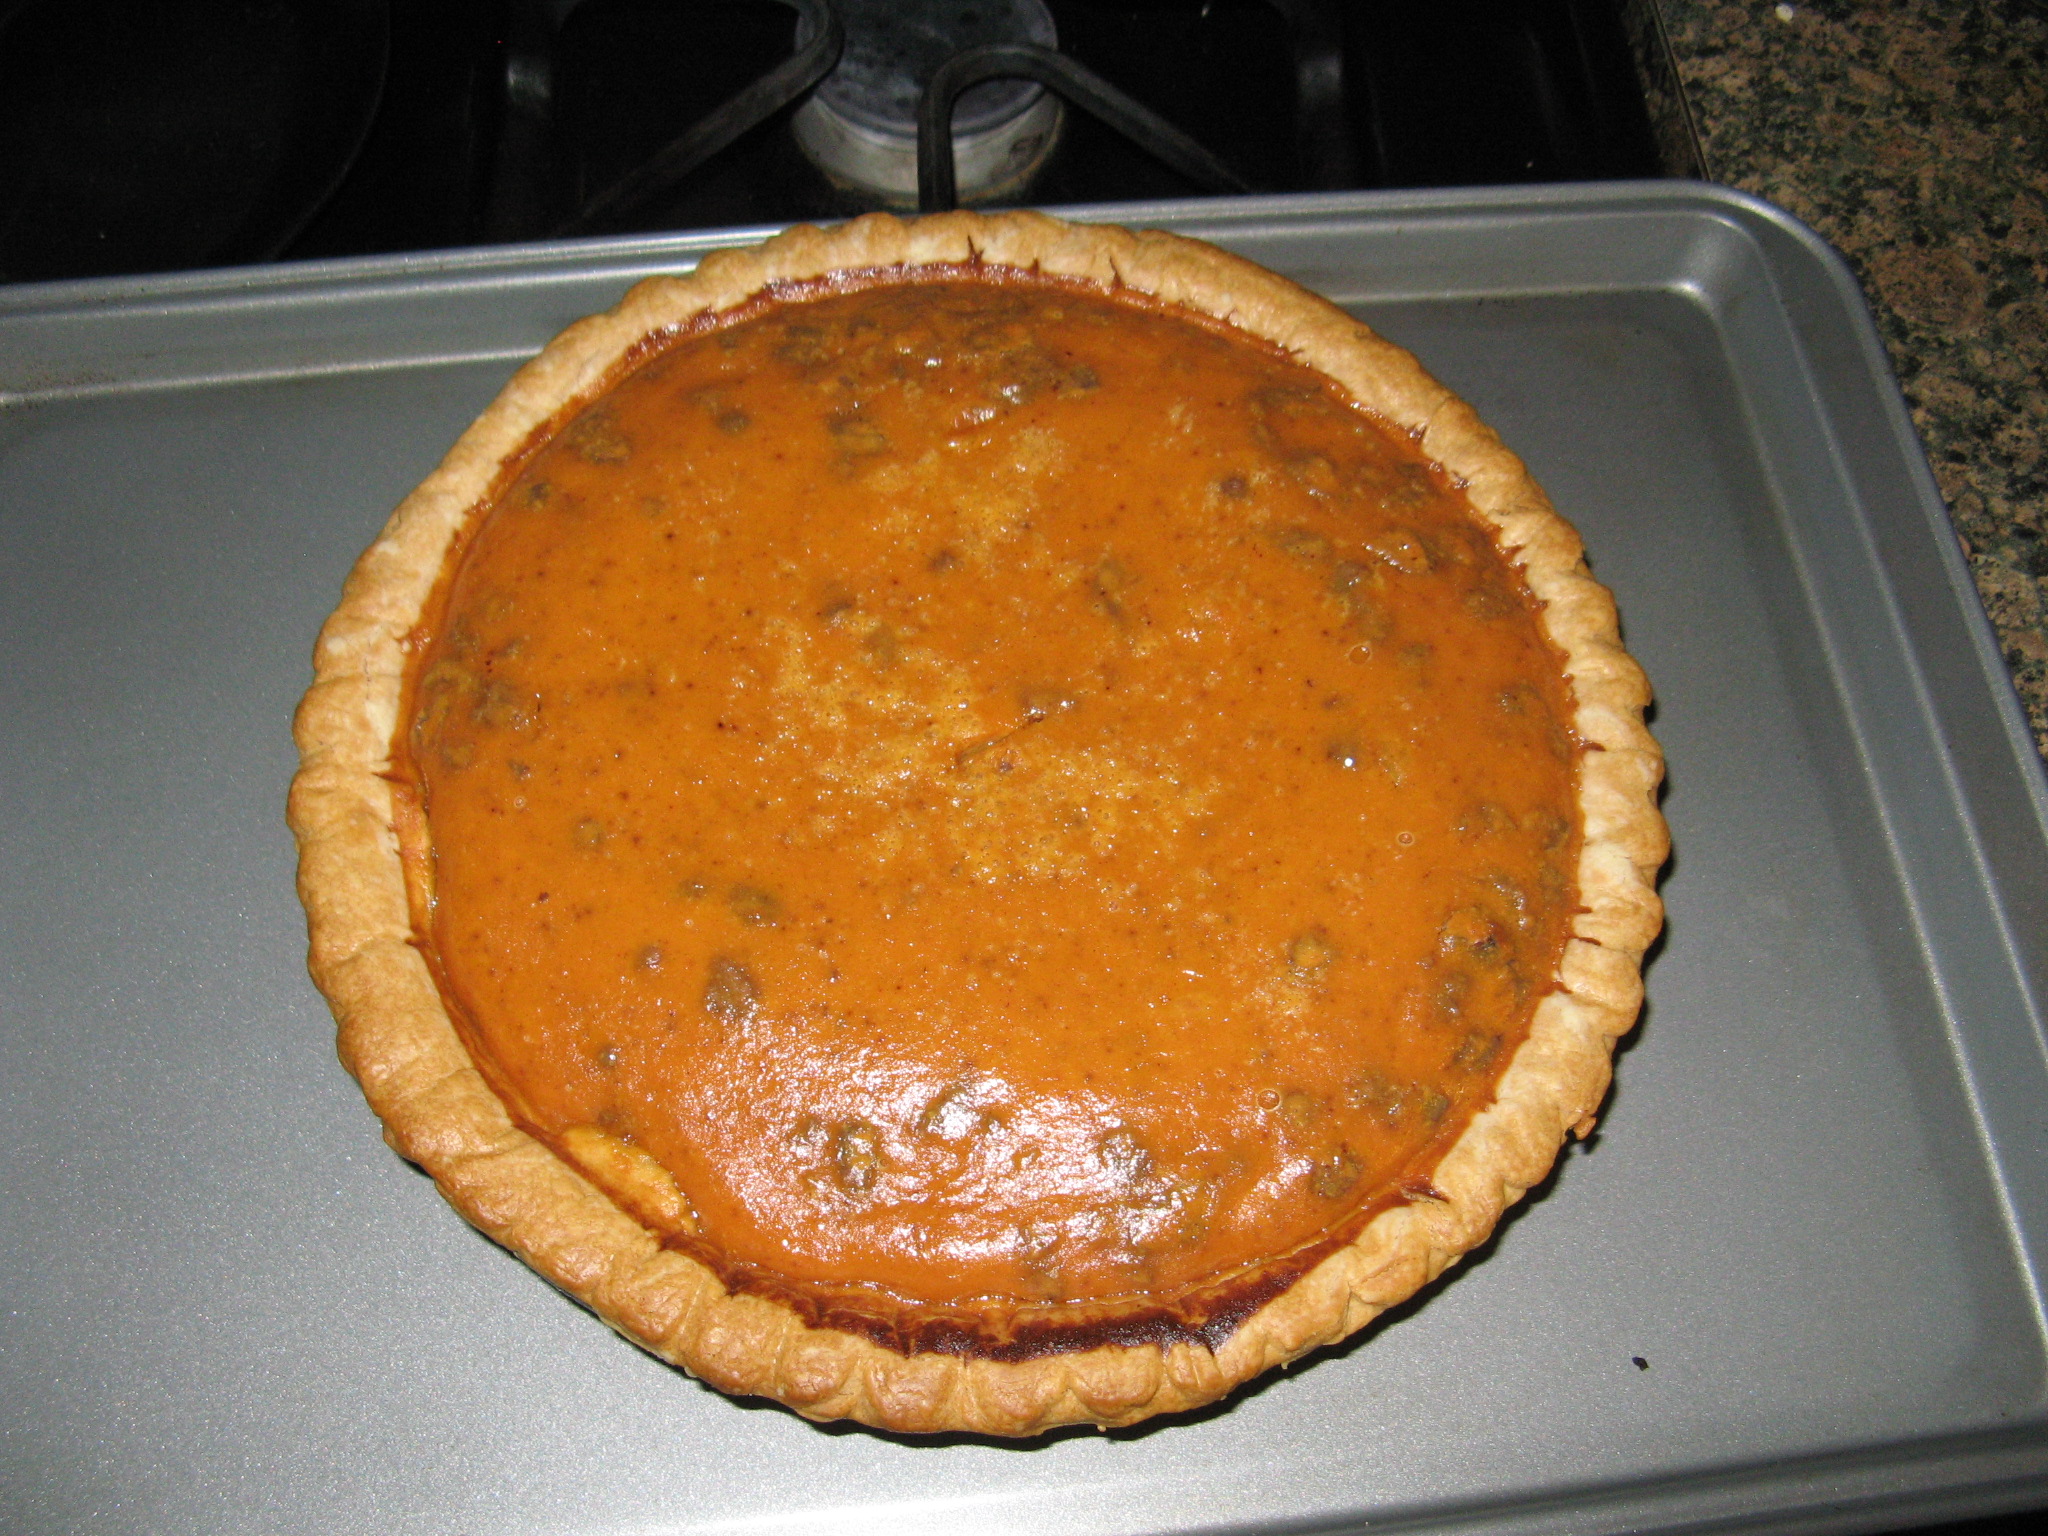
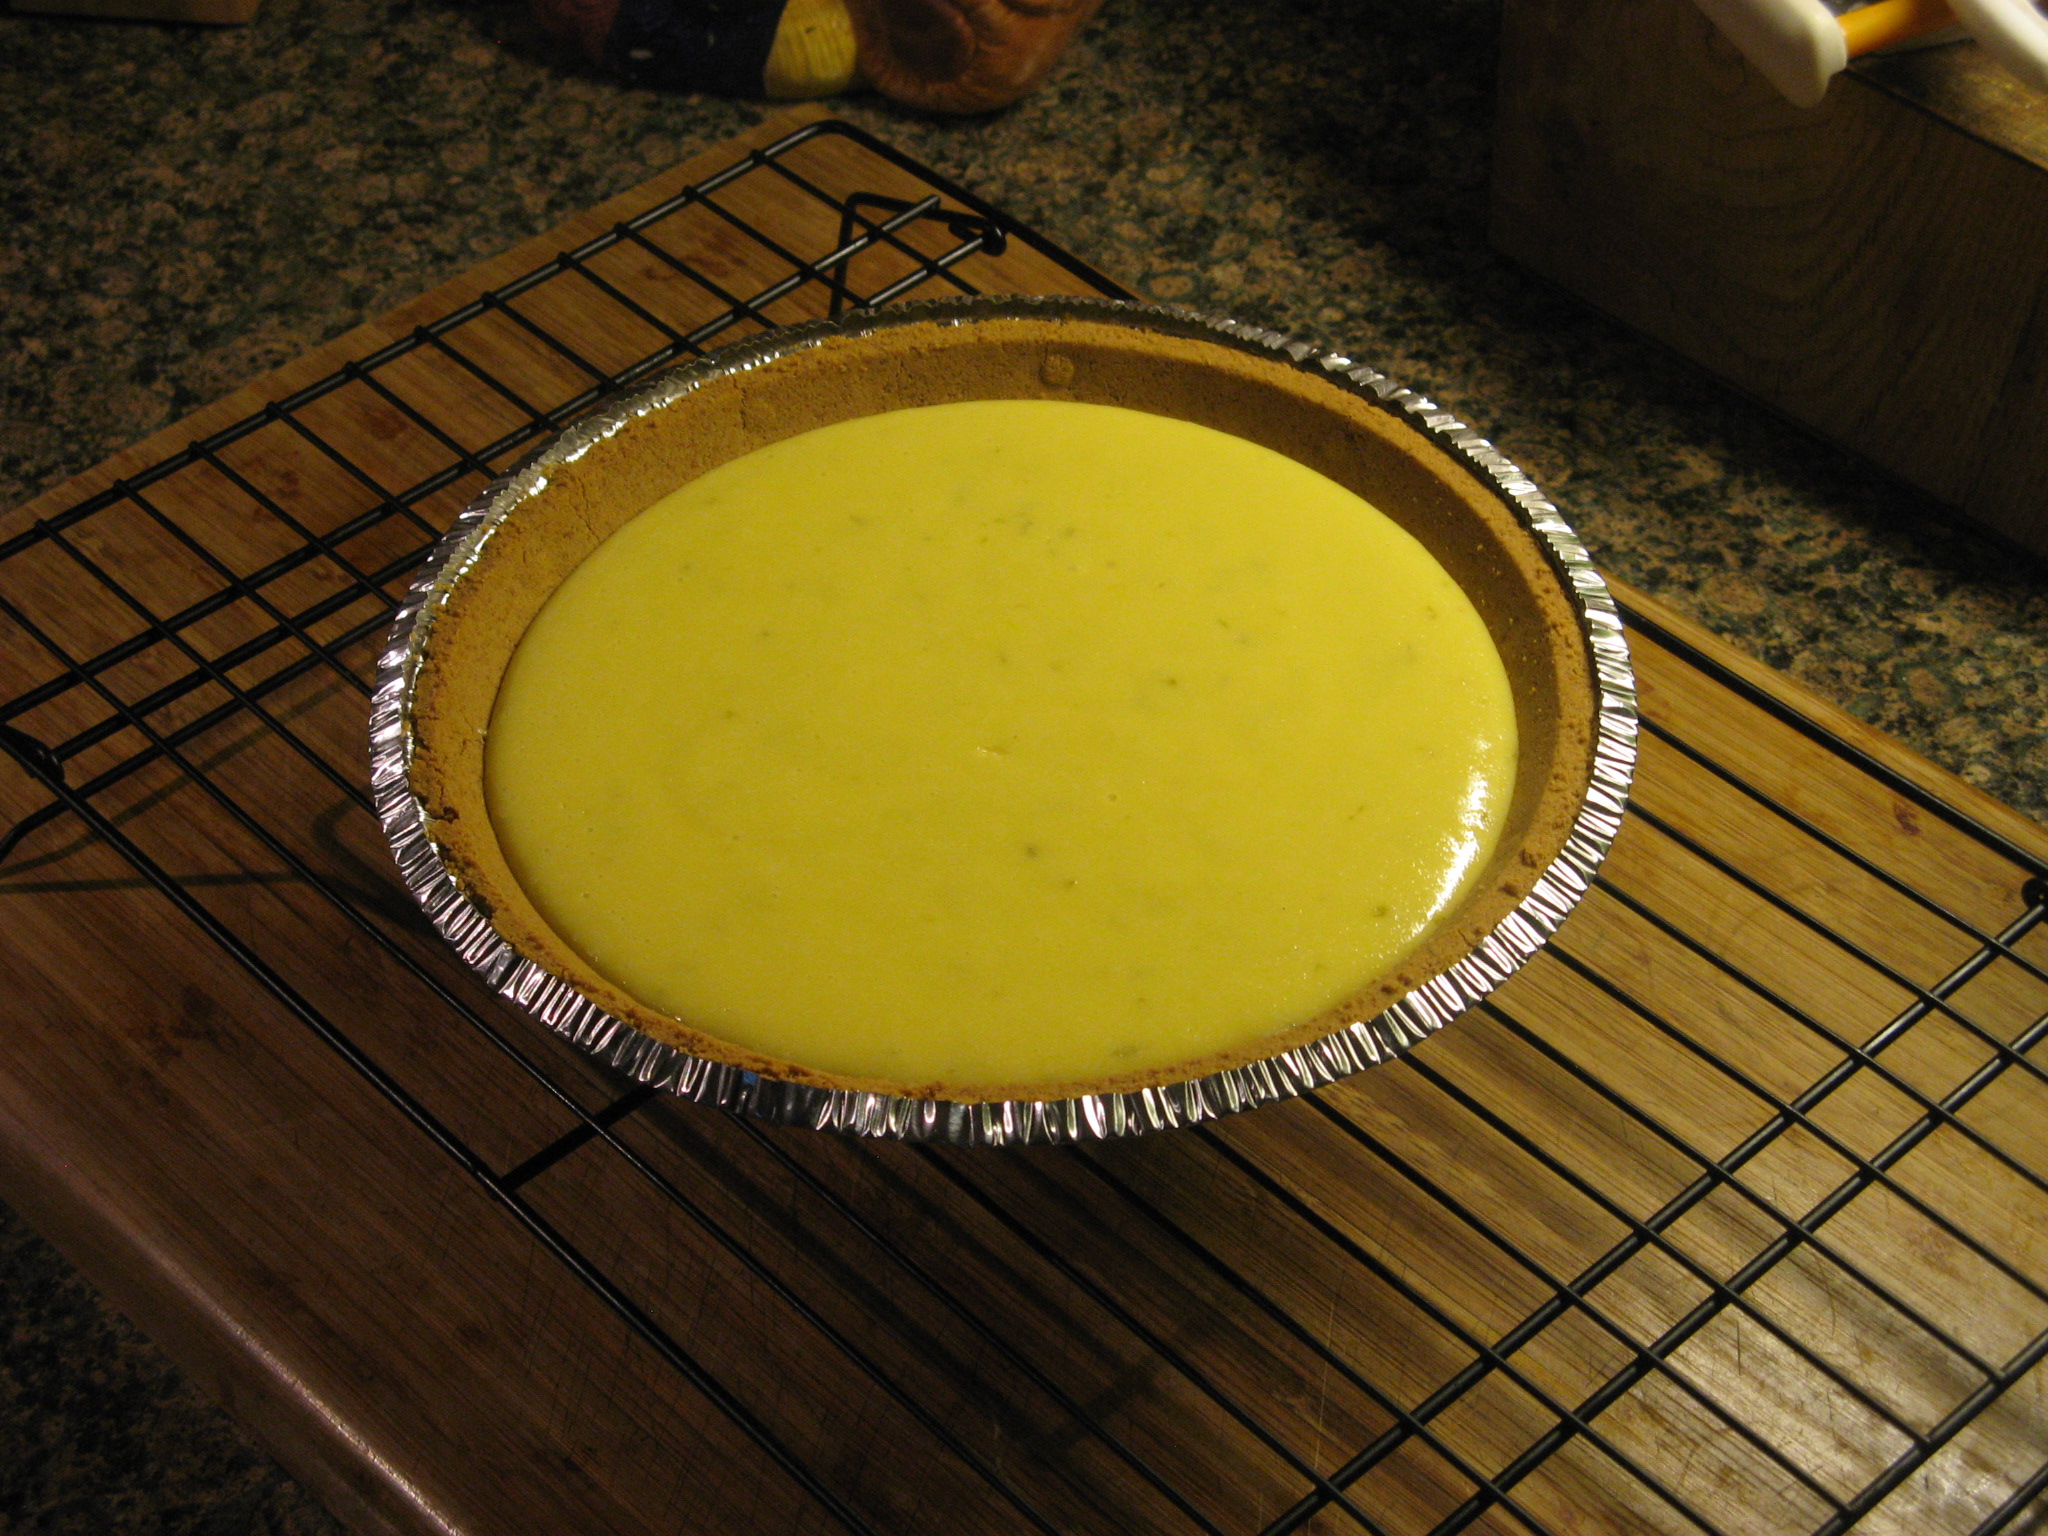
After baking for about 40 minutes in a 350 F preheated oven the Pumpkin-Brownie Swirl Pie was ready to come out. Unfortunately it did end up cracking a bit but luckily it didn’t affect the flavor one bit!

IMG_6000

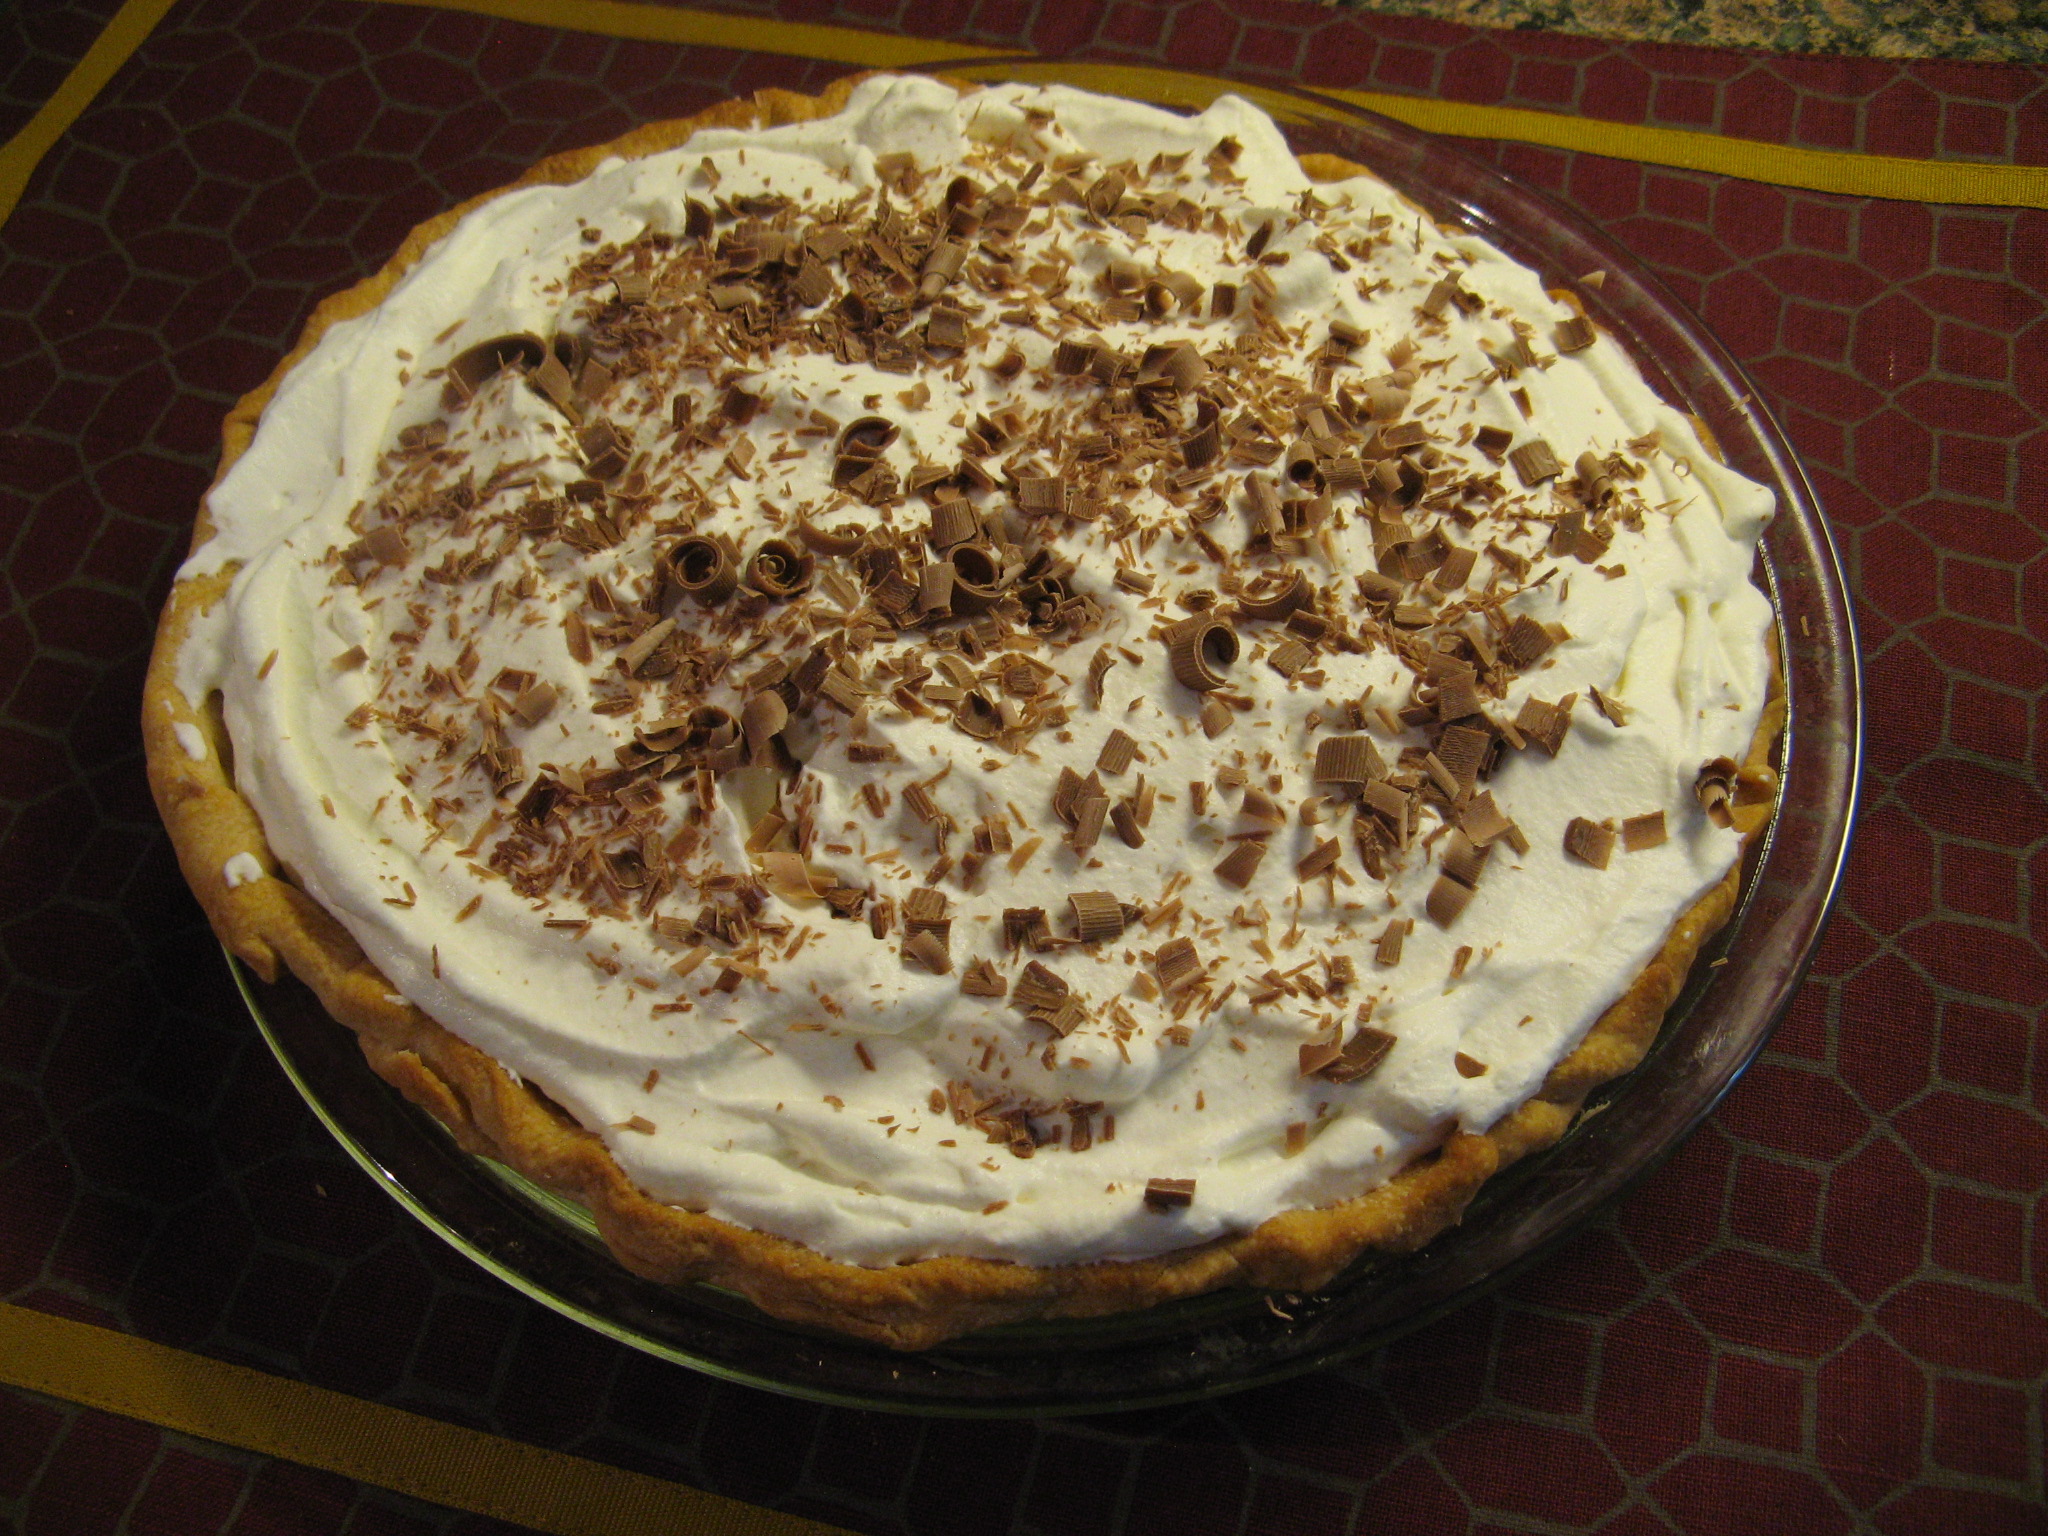
Pumpkin and chocolate is definitely a winning combination! The sweetness of the brownie is such a nice complement to the mellow taste of pumpkin spiced with pumpkin pie spice (a combination of cinnamon, ginger, nutmeg & allspice.) I took half of this pie to a friend’s house for dessert and one of the guests commented that I needed to go home and get the other half. You can’t beat a complement like that!

IMG_6021

Pumpkin-Brownie Swirl Pie

Ingredients:

For the Brownie Filling:

1 stick unsalted butter, plus more for the pie plate

1 12-ounce bag semi-sweet chocolate chips

2/3 cup packed light brown sugar

2 large eggs

1 teaspoon pure vanilla extract

1/2 cup all-purpose flour

2 tablespoons unsweetened cocoa powder

1/2 teaspoon baking powder

1/4 teaspoon salt

For the Pumpkin Filling:

1 cup pure pumpkin puree

1 cup heavy cream

1 large egg

1/4 cup granulated sugar

1/4 cup all-purpose flour

1/2 teaspoon pumpkin pie spice

1/4 teaspoon salt

Directions:

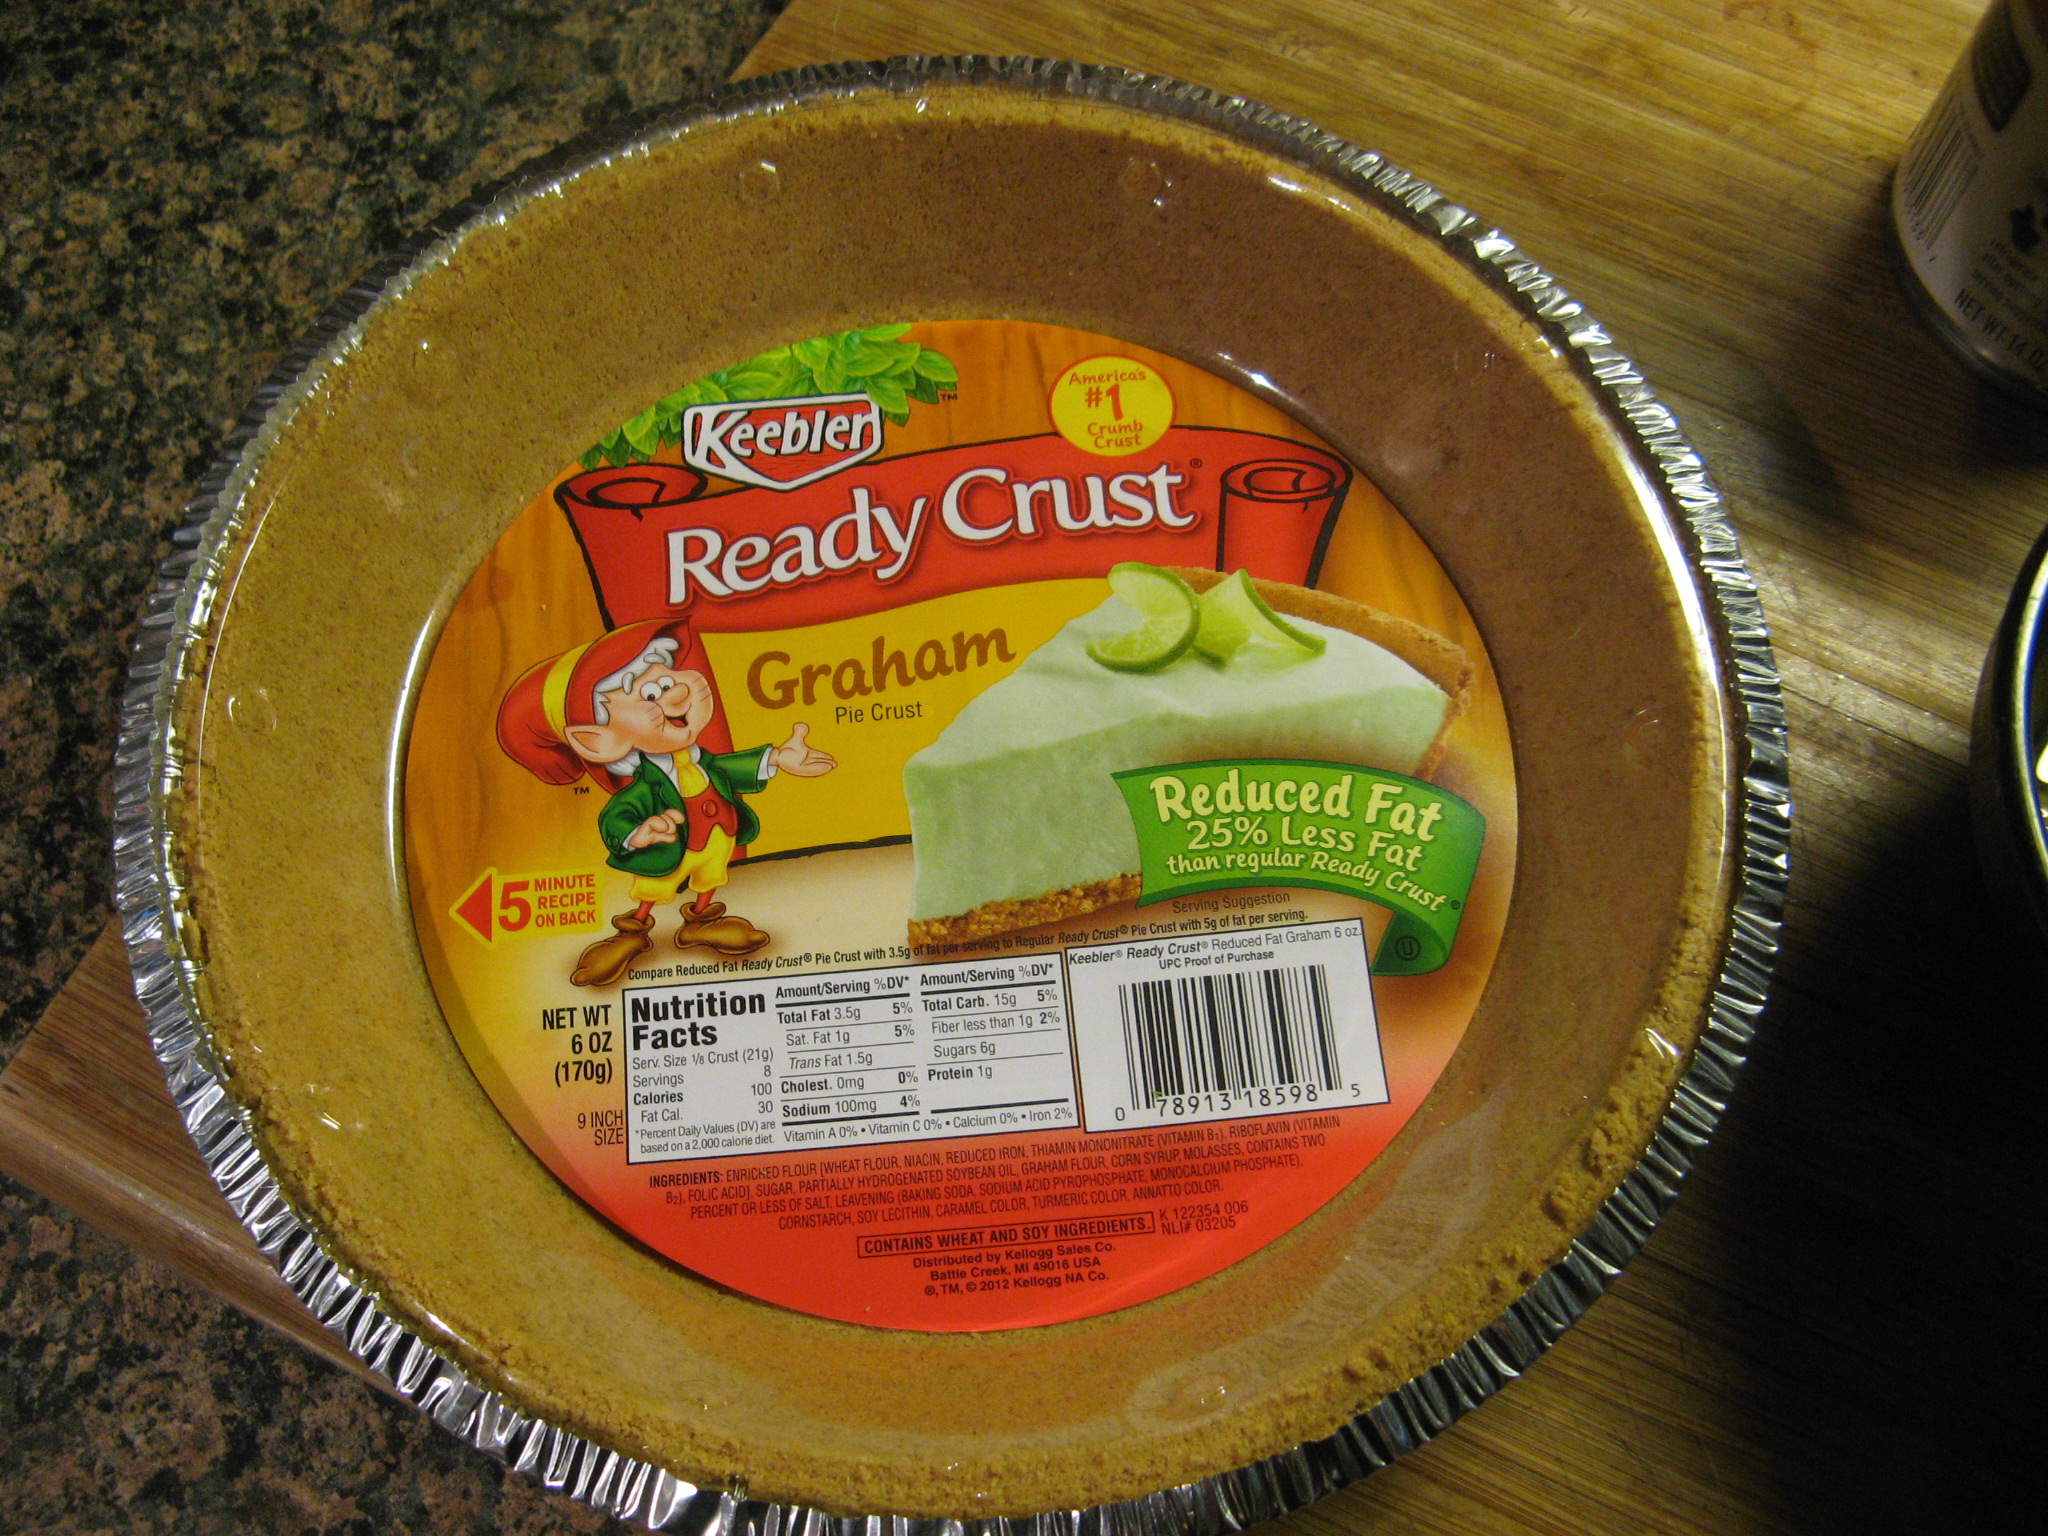
1. Preheat the oven to 350 F. Butter the bottom and side of a 9 1/2 – inch deep-dish pie plate. Make the brownie filling; Heat the butter, chocolate chips and brown sugar in a medium saucepan over medium heat, whisking occasionally, until the butter and chocolate are melted. Remove from the heat. Whisk in the eggs, one at a time, then the vanilla, whisking until smooth. Whisk in the flour, cocoa powder, baking powder and salt until combined.

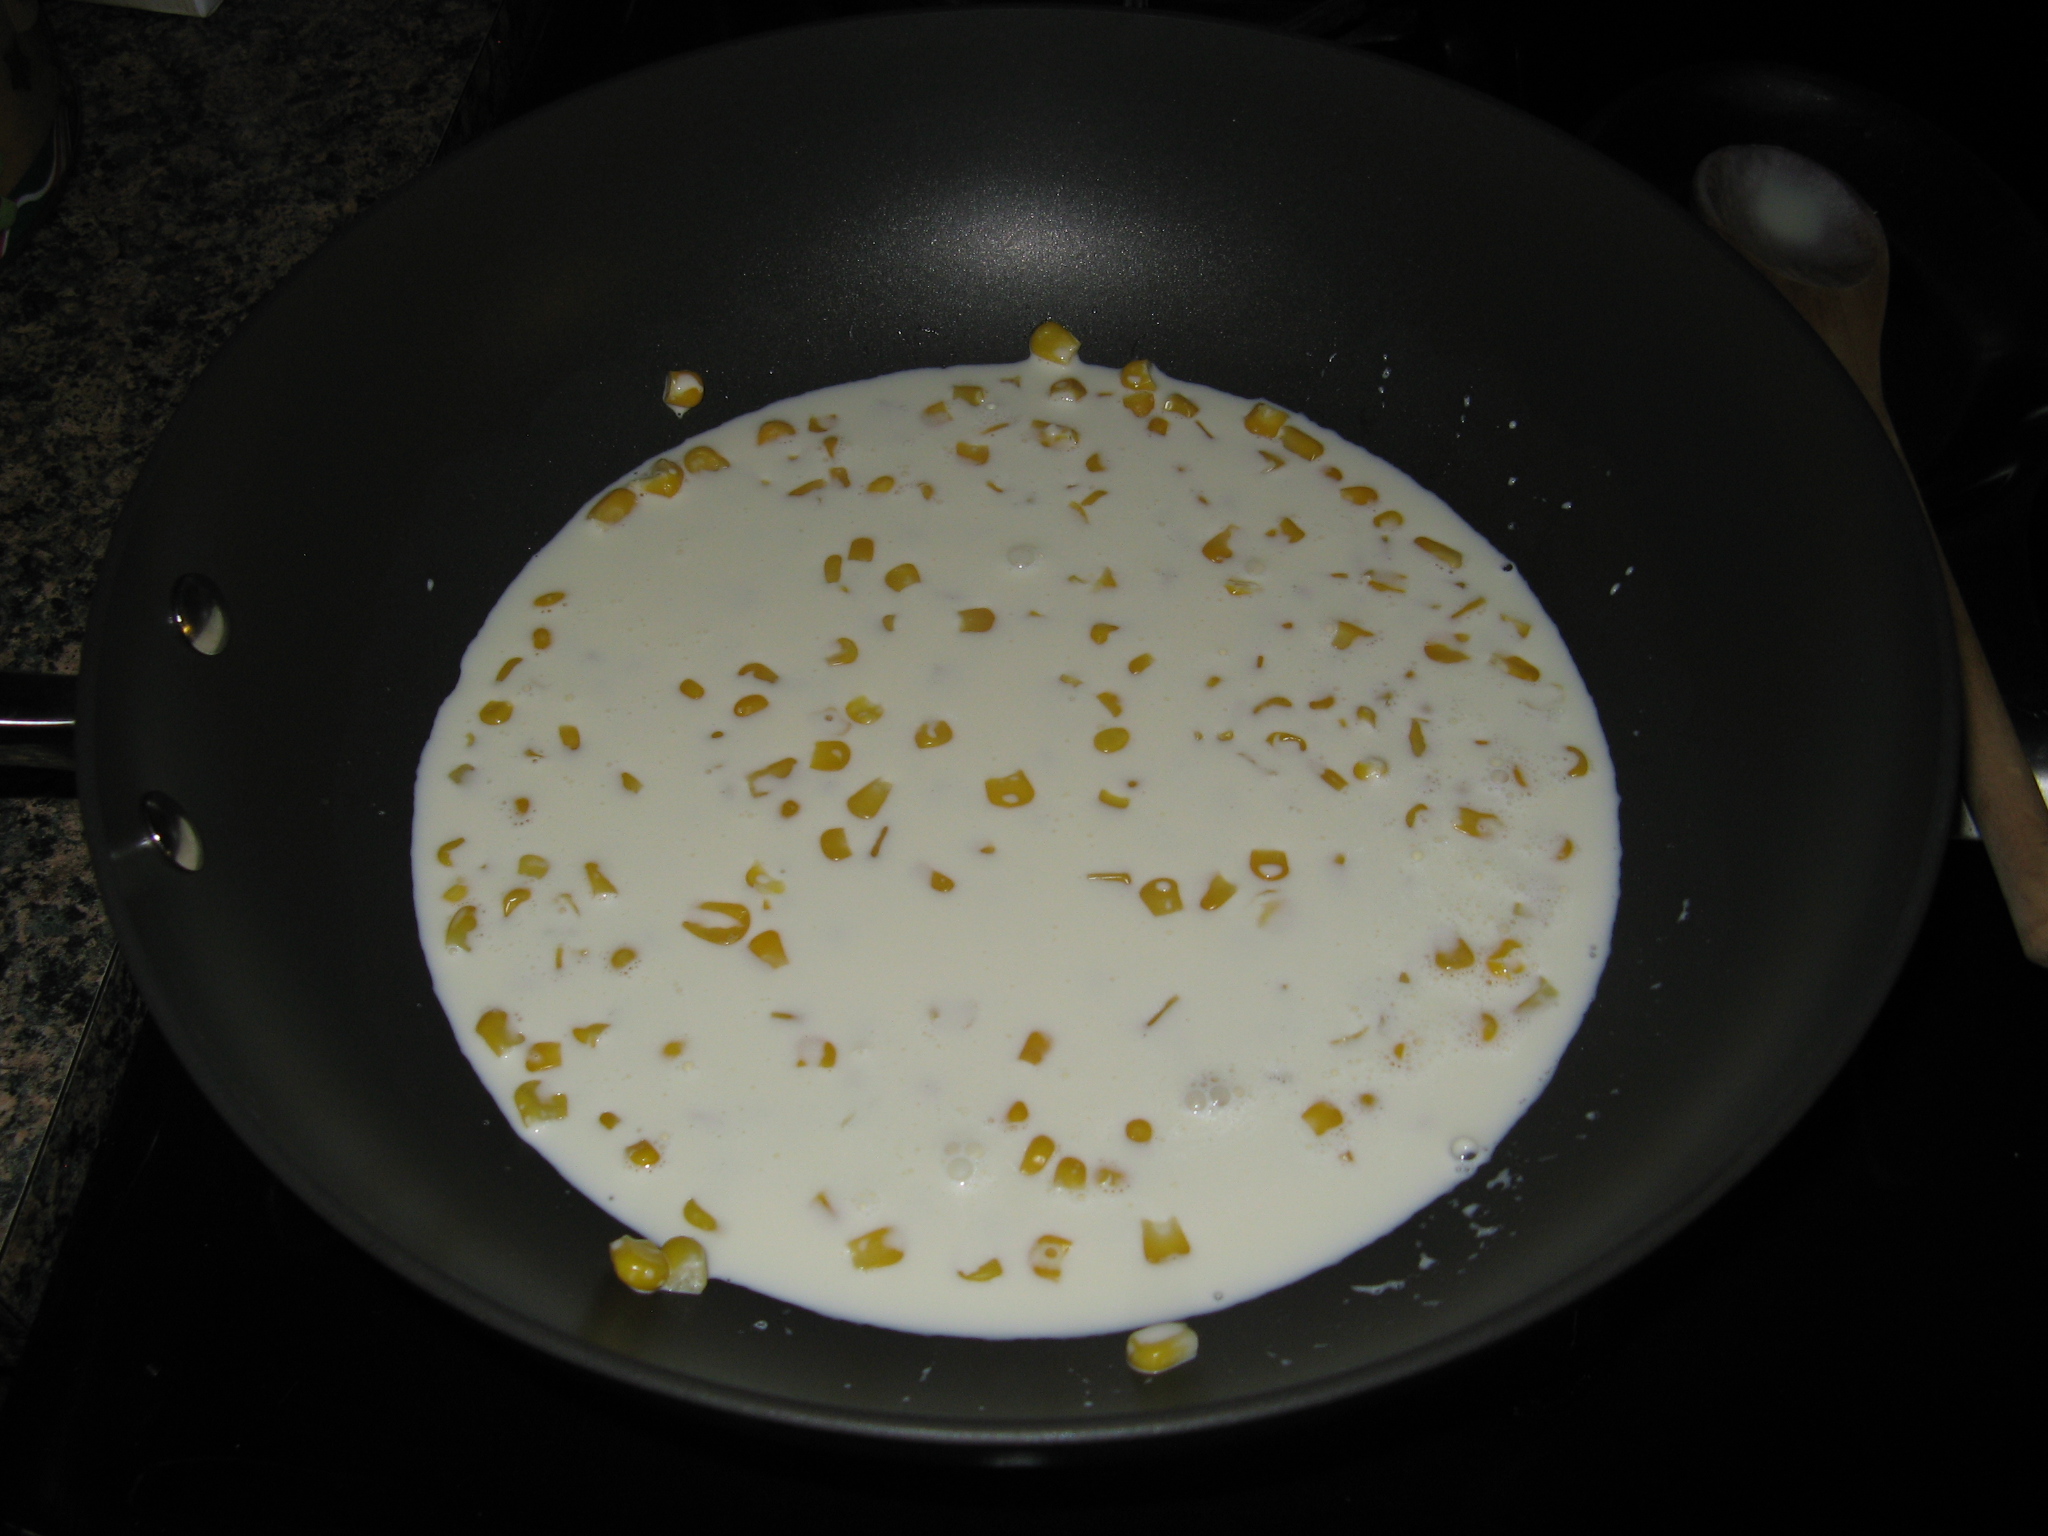
2. Pour about one-third of the brownie batter into the prepared pie plate; set aside the remaining batter. Bake until just starting to set and the top is shiny, about 20 minutes.

3. Meanwhile, make the pumpkin filling: Combine the pumpkin puree, heavy cream, egg, granulated sugar, flour, pumpkin pie spice and salt in a medium bowl; whisk until smooth.

4. Pour the pumpkin filling over the warm brownie layer. Stir 1 tablespoon water into the remaining brownie batter, then spoon the batter (in about 6 scoops) onto the pumpkin filling. Use the back of the spoon to pull the brownie batter into the pumpkin filling and create a swirled pattern. Bake until the pie is set, 40 to 45 minutes. Transfer to a rack and let cool completely.


Tomato and Corn Custard Pie

A few weeks ago I posted about a Tomato Fontina Torte with Rosemary Crust that was quite delicious. I got the recipe from a recent issue of Food Network Magazine, well, when I went to put the recipe back into my recipe binder (I’m one of those super-organized individuals) I noticed another recipe that I must have overlooked when I flipped through the magazine, a recipe for a Tomato and Corn Custard Pie that I knew I had to try and finally got around to it earlier this week. It ended up being the perfect combination of sweet and savory.

IMG_5524

To begin I baked the pie crust. I wish I had used my crust cover while baking the crust so it wouldn’t have browned as much during the final cooking with the actual pie in it.

IMG_5537

While the crust was in the oven I prepped all of my ingredients. I began by coring the tomatoes and slicing them into quarters. I then tossed them with kosher salt and spread them on a paper towel lined baking sheet so they could release their juices.

IMG_5528

Next I chopped up 6 scallions and divided them into two bowls and lightly beat three eggs. I took two major shortcuts for this recipe… I used pre-shredded sharp cheddar cheese and instead of using fresh corn I opted to use frozen corn that I steamed in the microwave.

IMG_5533 IMG_5530

Following that I reserved 1/2 cup of the cooked corn in a large bowl and placed the remaining corn, about 1 1/2 cups, in a sauté pan with heavy cream and brought it to a simmer on medium heat.

IMG_5534

I then poured the mixture into the bowl of my food processor and blended it until it was smooth.

IMG_5539

I transferred the pureed corn-heavy cream mixture to the bowl with the reserved corn and whisked in the eggs, half of the cheese and scallions and some fresh ground black pepper.

IMG_5540

I poured this mixture into my cooked pie crust and placed it in a 350 F oven for 35 minutes until it was just set.

IMG_5541

While the custard was cooking in the oven I mixed the remaining scallions and cheese along with panko breadcrumbs and seasoned it with paprika, salt and pepper.

IMG_5548

I reserved 1/4 cup of the mixture and tossed the remaining mixture with the tomatoes.

IMG_5552

Once I removed the pie from the oven I increased the oven temperature to 400 F…

IMG_5549

And then topped the pie with the reserved mixture and placed the coated tomatoes on top of the pie and topped it with the remaining panko mixture left in the bowl. Finally I dotted the top of the pie with a tablespoon of butter.

IMG_5556

I placed the pie back in the oven for another 15 minutes, until the top was golden, and let it cool for a bit before slicing into it.

IMG_5563

Final verdict… Absolutely delicious! The custard is a tad bit sweet because of the corn and the panko breadcrumb topping is on the savory side because of the addition of the scallions, paprika and cheddar cheese. This is a definite winner I can see myself making many times to come!

IMG_5572


Tomato and Corn Custard Pie

Serves 6 to 8

Ingredients:

1 round refrigerated pie dough (half of a 14-ounce package)

2 beefsteak tomatoes (about 12 ounces)

Kosher salt

2 tablespoons unsalted butter

2 ears of corn, kernels cut off (1 to 1 1/2 cups) *I opted to use a 10 ounce bag of frozen corn that I steamed in the microwave)

1 cup heavy cream

3 large eggs, lightly beaten

6 scallions, chopped

1 cup grated sharp cheddar cheese (about 4 ounces)

Freshly ground black pepper

1/2 cup panko breadcrumbs

1 teaspoon chopped fresh thyme*

1/2 teaspoon paprika

Pinch of cayenne pepper*

*I omitted these two spices from my version

Directions:

1. Position racks in the middle and upper third of the oven and preheat to 350 F. Line a 9-inch pie plate with the dough, crimping the edge with your fingers. Poke the bottom of the crust all over with a fork. Line with foil and fill with pie weights or dried beans. Bake on the middle rack until golden around the edge, about 20 minutes. Remove the foil and weights; continue baking until golden all over, about 10 more minutes.

2. Meanwhile, core the tomatoes and cut into 1/2-inch wedges; toss with 1 1/2 teaspoons salt. Spread the tomatoes in a single layer on paper towels to drain until ready to use.

3. Melt 1 tablespoon butter in a medium saucepan over medium heat. Add the corn and cook stirring occasionally, until tender, about 5 minutes. Transfer 1/2 cup of the corn to a large bowl.

4. Add the heavy cream to the saucepan with the remaining corn and bring to a simmer. Carefully transfer the mixture to a blends and puree until smooth; transfer to the bowl with the corn. Whisk in the eggs, half each of the scallions and cheese, and a few grinds of black pepper; pour into the crust. Bake of the middle rack until the custards is just set, 35 to 40 minutes. Remove from the oven and increase the temperature to 400 F.

5. Mix the remaining scallions and cheese, the panko, thyme, paprika and 1/4 teaspoon each salt and pepper in a bowl. Sprinkle 1/4 cup of the mixture on top of the pie. Pat the tomato wedges with paper towels to absorb the excess moisture, then coat with the remaining panko mixture and arrange on top of the tart. Sprinkle any remaining panko on top; dot with the remaining 1 tablespoon butter. Return to the oven on the upper rack and bake until the top is golden, about 15 minutes. Let cool 30 minutes before slicing.


Tomato-Fontina Torte with Rosemary Crust

There is nothing like home-grown fruits and vegetables! When I was younger we used to always grow cucumbers, eggplant, lettuce, string beans, strawberries (the only fruit with its seeds on the outside) and my favorite, tomatoes. I remember picking the tomatoes, rinsing them and biting into them like they were an apple. Unfortunately store bought tomatoes don’t invoke that same zeal in me. I strictly use those for sandwiches and salads. But, there is one store-bought tomato that does come close to that memory of my childhood… Heirloom Tomatoes. You may or may not have seen them at your local supermarket. They are usually not the perfect round tomatoes that many of us have come accustomed to seeing and they come in an array of colors – red, orange, yellow, green and purple. Recently I came across a torte recipe – Tomato-Fontina Torte with Rosemary Crust – incorporating these tomatoes and I knew I had to try it. It took visiting a few different supermarkets, but, I finally found decent heirloom tomatoes to use.

IMG_4991

I started the torte by making the crust… I combined flour, sugar, fresh rosemary, salt and pepper in the bowl of my food processor.

IMG_4980

After I pulsed it until it was just combined I added in 12 tablespoons of cold butter cut into small pieces and pulsed the mixture until it looked like coarse meal.

IMG_4984

I then added in eggs while the food processor was running so the dough could come together.

IMG_4986

After kneading the dough on a lightly floured surface I pressed it into the bottom and halfway up the sides of a 9-inch springform pan. I then covered it and refrigerated it overnight.

IMG_4988

The following day, while the crust was still in the refrigerator, I prepped the heirloom tomatoes by slicing them, spreading them on baking sheets and sprinkling them with kosher salt so they could release some of their juices.

IMG_4998

I also got my other ingredients together… shredded fontina and parmesan cheeses and capocollo.

IMG_5000

I combined the 3 cups of shredded fontina with 7 tablespoons (1/2 cup minus 1 tablespoon) of shredded parmesan along with a teaspoon of fresh chopped rosemary.

IMG_5003

As you can see my tomatoes did a great job of releasing their juices. I should note that I did let them sit for about an hour as opposed to the recipe recommended 30 minutes.

IMG_5004

After patting them dry it was time to start assembling the torte. I finally took the very cold crust of out the refrigerator and sprinkled it with a tablespoon of panko breadcrumbs.

IMG_5006

Next I topped the breadcrumbs with about 1/3 of the tomatoes and then topped the tomatoes with the capocollo.

IMG_5007

On top of the capocollo I scattered half of the cheese mixture.

IMG_5008

I repeated the layering once again.

IMG_5009

And finally I used up the rest of my tomatoes for the very top layer and then sprinkled it with a tablespoon of shredded parmesan cheese.

IMG_5010

I placed the torte on a baking sheet and baked it in a 375 F preheated oven for 40 minutes. I wanted to be sure that the crust was completely cooked through so I dropped the temperature of the oven to 350 F and baked the torte for another 7 minutes. While the recipe did call for 35 minutes in a 400 F preheated oven I didn’t want to run the risk of over-cooking the torte at such a high temperature. And I am happy to say that my temperature and time adjustment was just perfect…

IMG_5012

I let the torte cool for about an hour before removing the ring from the springform pan.

IMG_5028

This was absolutely delicious and I can’t wait to make it again! There’s isn’t one flavor that overpowers the torte… In every bite you get a hint of the rosemary, the tomatoes, capocollo and best of all the cheese.

IMG_5032n


Tomato-Fontina Torte with Rosemary Crust

Ingredients:

2 cups all-purpose flour, plus more for dusting

2 tablespoons sugar

2 teaspoons chopped fresh rosemary

Kosher salt and freshly ground pepper

1 1/2 sticks (12 tablespoons) cold unsalted butter, cut into small pieces

2 large eggs, plus 1 egg yolk

2 1/2 to 3 pounds assorted heirloom tomatoes

3 cups shredded fontina cheese (about 12 ounces)

1/2 cup grated pecorino cheese or parmesan cheese (1 ounce)

1/4 cup panko breadcrumbs

1/3 pound thinly sliced capicola (capocollo) ham, cut into strips

2 teaspoons extra-virgin olive oil


Directions:

1. Combine the flour, sugar, 1 teaspoon rosemary, 1/4 teaspoon salt and 1/2 teaspoon pepper in a food processor and pulse until just combined. Add the butter and pulse until the mixture looks like coarse meal.

2. Whisk the eggs and egg yolk in a small bowl. With the motor running, add the eggs to the food processor and process until the dough just gathers into a ball. Turn out onto a lightly floured surface and gently knead until soft and pliable. Press the dough into the bottom and about halfway up the side of a 9-inch springform pan. Cover and refrigerate the crust until very cold, at least 1 hour or overnight.

3. Slice the tomatoes and spread them out on 2 baking sheets in a single layer. Sprinkle lightly with salt and set aside until they release some of their juices, about 30 minutes. Meanwhile, combine the fontina and all but 1 tablespoon of the pecorino (parmesan) in a bowl; add the remaining 1 teaspoon rosemary.

4. Preheat the oven to 400 F. Pat the tomatoes gently with paper towels to absorb the excess moisture. Sprinkle 1 tablespoon panko in the crust, then top with one-third of the tomatoes. Scatter half of the ham over the tomatoes, then half of the cheese mixture. Repeat with the remaining 3 tablespoons panko, another one-third of the tomatoes and the remaining ham and cheese. Top with a final layer of tomatoes and sprinkle with the reserved 1 tablespoons pecorino (parmesan); drizzle with olive oil.

5. Transfer the pan to a baking sheet and bake until the crust is golden and the cheese is melted, about 35 minutes. Transfer to a rack and let cool about 1 hour, then remove the springform ring.


Key Lime Pie Revisited

I made Key Lime Pie for the first time last year when I came across the small limes while grocery shopping. I picked them up having only tried Key Lime Pie once and not caring for it and unsure how easy or difficult the pie would be to make. A quick call to friend and a Google search later let me know it wouldn’t be all that bad. And after my second tasting of Key Lime Pie I was hooked. Unfortunately key limes aren’t something that are readily available in my area throughout the year so I haven’t gotten to enjoy the pie since last year. Granted, I have seen key lime juice in the baking aisle of my local supermarket, but, I have a feeling that using the bottled juice just won’t taste the same as the freshly squeezed version. During a recent shopping trip I came across the limes once again and without hesitation I bought a bag and made another Key Lime Pie and just wanted to share the recipe with you all once again.

IMG_4678


Key Lime Pie

Ingredients

1 9-inch graham cracker pie shell

1/2 cup key lime juice (approximately 12 key limes)

1 14 oz. can sweetened condensed milk

4 egg yolks

Grated lime zest of one lime

Directions

1) Preheat the oven to 350 degrees

2) Whisk together the four eggs yolks until pale and fluffy

3) Gradually add in the condensed milk and continue mixing until the mixture becomes light and fluffy

4) Add in the lime juice and finally the lime zest.

5) Pour the filling into the graham cracker pie shell and bake for about 20 minutes, or until the filling is set.

6) Let the pie cool completely on a wire rack and then cover and refrigerate for a few hours.

7) Decorate with whipped cream or save for serving and drop heaping spoonfuls of whipped cream on each slice.


Whipped Cream

Ingredients:

1 cup heavy cream

2 tablespoons confectioners’ sugar

1 teaspoon vanilla extract

Directions

Whip cream and sugar in a large bowl until soft peaks form. Add in the vanilla extract and continue whipping until stiff peaks form.

A Delicious Short-Cut Peach Pie

Short-cuts aren’t always a bad thing. When you are driving they can get you where you have to go quicker and hopefully help you avoid some traffic along the way. In our day-to-day lives they can make us a bit more efficient to get daily tasks completed. And in baking they can guarantee us a flakier crust and fruit that’s perfectly ripe for a pie!

A few weeks ago I got it in my head that I wanted to make a peach pie. I’m actually not a big fruit pie fan – I’m not that keen on fruit pie filling, especially when it’s on the runny side – but, I think the Pillsbury Pie Crust sitting in my refrigerator got me thinking. I’ve made pie crusts from scratch once or twice before but, like I said there’s nothing wrong with taking a short-cut every now and then. I went one step further with my short-cut and opted to use frozen peaches. I just wasn’t in the mood to peel and slice a few pounds of peaches.

IMG_4587

I combined 2 pounds of frozen sliced peaches with sugar, flour, lemon juice, cinnamon, allspice and almond extract. I decided on the almond extract after reading that many bakers used to add the nut – sometimes called a “bitter almond” –  that’s inside the pit of the peach to the pie while baking to give it an almond flavor. That practice has since diminished as it was discovered that the nut contains trace amounts of cyanide, granted you would have to eat a large quantity of them for anything to happen, but, who wants to bite down on something hard when they are enjoying a piece of pie.

IMG_4588

Next I unrolled one of the pie crusts and pressed it into the bottom of the pie dish.

IMG_4590

I then added the filling and mounded it slightly in the middle and dotted it with small pieces of unsalted butter.

IMG_4593

Instead of just unrolling the other pie crust on top of the pie I decided to give it a little pizazz with a lattice pattern that wouldn’t require weaving. First I sliced the top pie crust into 6 1-inch strips…

IMG_4595

And then divided those strips in half to end up with a total of 12 1/2-inch strips.

IMG_4596

I laid five strips across the pie, doing my best to equally space them

IMG_4597

Then I laid four strips across the previous strips diagonally.

IMG_4598

And after some trimming and crimping, voila, a simple lattice pattern.

IMG_4600

I then placed the pie on a baking sheet in a 400 F preheated oven for about 25 minutes. I then lowered the oven to 375 F and baked the pie for about another hour. Prior to lowering the temperature I brushed the top of the pie with an egg wash to ensure a nice golden brown color. I kept a close eye on the pie and when I noticed the rims of it were browning a tad bit too much I covered it with aluminum foil. I knew it was time to take the pie out of the oven when the filling was bubbling.

IMG_4617

After letting it cool it was time to slice into it…

IMG_4639

And I happy to say that the pie was a perfect consistency… Not too watery and not too dry! It was a definite winner!

IMG_4645


Peach Pie – Adapted from here

1 box refrigerated pie crusts, softened as directed on box

Filling:

2 pounds of sliced and peeled frozen peaches (Use frozen, do not thaw)

3/4 cup sugar

1/2 cup flour (I doubled the amount the original recipe called for to allot for the water the frozen fruit would release while baking)

1 tablespoon lemon juice

1/2 teaspoon cinnamon

1/4 teaspoon all spice

1/2 teaspoon almond extract

2 tablespoons unsalted butter, cut into small pieces

1 large egg

Directions:

1. Preheat the oven to 400 F.

2. Make the filling by mixing the peaches in a large bowl with the sugar, flour, lemon juice, cinnamon, all spice and almond extract.

3. Unroll one pie crust and place in an ungreased 9-inch pie plate. Add the filling, mounding it slightly in the center and dot with the butter.

4. Unroll the second crust and dust it lightly with flour and cut it into 1/2-inch wide strips. Lay half of the strips on the pie in one direction, leaving about a 1-inch space between each strip. Lay the remaining strips on top, crossing them diagonally to make a faux lattice pattern. Trim the edges of the strips leaving a small overhang and crimp the edges into the bottom crust with your fingers.

5. Place the pie on a baking sheet and place it in the oven for 20 minutes. Lower the temperature of the oven to 375 F and brush the pie with an egg wash (beat the egg with a tablespoon of water). Bake for another hour until the filling it bubbly. If you notice the out crusts of the pie is browning too quickly cover it loosely with aluminum foil. Once baked, transfer to a rack to cool completely before slicing. Store remaining pie in the refrigerator.


In Honor of Pi Day… A Banana Cream Pie

Happy Pi Day! What can I say; I am a bit of a math geek. It was my favorite subject throughout school and I was a Mathematics/Economics major in college. I sometimes think that my love of math is what drives some of my hobbies. Take baking; it’s not like cooking where a pinch of this and that can turn out something great. If an ingredient is slightly off when you bake you may end up with something completely inedible. When you are knitting or crocheting (especially knitting) being off with your count can completely mess up whatever you are making and with beading and jewelry making symmetry is key and adding one extra bead, stone or whatever can completely throw off the aesthetics of the final product. But, back to Pi Day… We celebrate it on this day (March 14th) since the first three numbers of Pi are 3.14. Some other things to note about this lovely number… It’s irrational (meaning it cannot be written as a ratio,) it’s never ending (3.14159…) and the decimal never repeats. So, in honor of this day I decided to bake a pie – how original!?!? – not just any pie though a pie I have never actually tried before – a Banana Cream Pie. I thought about making this pie a few weeks ago when I had a few ripe bananas staring at me in my kitchen, but then they got eaten so I decided to save the pie for today.


So, I had every intention of making my pie crust from scratch, well, let me clarify, I did make one from scratch and although I followed the directions exactly after baking it for slightly less time that directed it still came out a bit overcooked so I just opted to go with a store bought crust and baked it according to the directions on the package. Unfortunately my edge was a little uneven but I knew that wouldn’t take away from the taste.

IMG_2941
While the crust was cooling I began making the banana cream filling. To begin I prepped those ingredients that needed a bit of prepping: slicing three bananas, separating four eggs for the yolks and cutting up 2 tbsp. of butter.
IMG_2944
In a medium saucepan I combined sugar, cornstarch and salt and then whisked in milk. I cooked this over medium-high heat, stirring constantly, until the mixture was thick and bubbling.
IMG_2949
I then whisked the milk mixture in with the eggs yolks. 
IMG_2951
After the milk and eggs were completely incorporated I returned the mixture to the saucepan and cooked it over medium heat once again stirring it constantly until it boiled.
IMG_2952 IMG_2953
I then strained the mixture through a sieve…
IMG_2954
And then mixed in the butter and once it was melted I folded in the bananas.
IMG_2955 IMG_2956
It was then time to pour the banana cream into the cooled pie crust and then cover it with plastic wrap and refrigerate it until the cream was set.
IMG_2957 IMG_2959
Once the pie was set I made a whipped cream topping for it and sprinkled it with shaved chocolate curls.
IMG_2964
 

Banana Cream Pie

Ingredients:

All-purpose flour, for dusting

1 recipe Pate Brisee to Make Two 9-Inch Single-Crust Pies or One Double-Crust or Lattice-Crust Pie (http://www.marthastewart.com/258439/pate-brisee), use 1 disc and reserve remaining disc for another use*

1/2 cup granulated sugar

1/4 cup cornstarch

1/4 teaspoon coarse salt

4 large egg yolks

2 cups whole milk

2 tablespoons cold unsalted butter, cut into pieces

3 ripe bananas, halved lengthwise, then thinly sliced crosswise

1 1/2 cups heavy cream

2 teaspoons confectioners’ sugar

1/2 teaspoon pure vanilla extract

1 block (about 5 ounces) bittersweet chocolate

*I opted to use a store-bought pie crust

Directions 

1. Make the crust: Preheat oven to 425 degrees. On a lightly floured work surface, roll out dough into a 14-inch round (1/4 inch thick). Fit dough into a 9-inch pie plate. Trim dough to extend above edges by 1 inch, fold under, and crimp. Prick bottom with a fork, and freeze until firm, about 15 minutes. Cut a large round of parchment paper (about 11 inches), and place in pie shell, allowing excess to extend above edges. Fill with pie weights. Freeze until cold, about 10 minutes.

2. Bake crust 15 minutes. Reduce oven temperature to 375 degrees. Remove pie weights and parchment, and bake until golden brown, about 20 minutes more. Let cool on a wire rack.

3. Make the filling: Combine granulated sugar, cornstarch, and salt in a bowl. Add egg yolks, and whisk until smooth. Bring milk to a simmer in a saucepan over medium heat. Add 1/2 cup milk to yolk mixture in a slow, steady stream, whisking constantly. Pour mixture into pan with hot milk, and cook, whisking constantly, until mixture begins to bubble and is very thick, about 6 minutes.

4. Pour milk mixture through a large-mesh sieve into a bowl. Add butter, and stir until melted. Fold in bananas. Pour into crust. Place plastic wrap directly on surface of filling to prevent a skin from forming. Refrigerate for 2 hours.

5. Make the topping: Beat together cream, sugar, and vanilla until soft peaks form. Spread whipped cream over filling. Using a rubber spatula or the back of a spoon, shape topping into peaks.

6. Using a vegetable peeler, shave chocolate at a 45-degree angle, and scatter over pie. (You will only need about 1 ounce of chocolate for the shavings, but it will be easier to shave if you start with a larger piece than you need.) Serve.


Thanksgiving Wrap-Up

So I ate the last of my Thanksgiving leftovers yesterday and they were definitely good while they lasted. Ironically cooking a turkey on Thanksgiving has never intimidated me like cooking on an everyday basis used to. Go figure! I would like to say that I turned those turkey leftovers into something creative, but, that just never happened (although I did have a thought or two about it.)

Along with my turkey (which I must say came out really juicy and tasty thanks to brining and an herbed butter rub)…

IMG_2038

I also made a Sweet Potato Casserole (it was the first time I ever made one and it will definitely become a staple of mine), Williams-Sonoma’s Focaccia Stuffing and Brussels Sprouts with Caramelized Onions…

IMG_2043

And in my opinion Thanksgiving is just not complete without some Cranberry Sauce.

IMG_2018

For dessert I decided to make a Pumpkin Pecan Pie. I usually just make a plain old Pumpkin Pie but after seeing a recipe that included pecans I was intrigued to try it. In all honesty I didn’t particularly care for that recipe so originally I decided to add pecans to the usual recipe I follow for Pumpkin Pie, but, I decided this year to try out Libby’s Famous Pumpkin Pie recipe. They are known for their packed pumpkin in cans so I figured they should know a thing or two about turning that into a delicious pie.

To start I toasted about 1/2 cup of chopped pecans on a lightly greased baking sheet in a 350 degrees preheated oven for five minutes. After they cooled I scattered them on the bottom of a deep-dish pie shell. I took a major short-cut and opted to buy a frozen pie crust.

IMG_2003

Next, I made the pumpkin filling by beating 2 large eggs in a bowl and then adding in the pumpkin and a mixture of sugar, cinnamon, salt, ginger and cloves. And then I gradually stirred in a can of evaporated milk.

IMG_2002

And finally I poured that into the pecan covered pie crust and baked it for fifteen minutes in a 425 degrees preheated oven and then dropped the temperature to 350 degrees and baked it for another forty-five minutes.

IMG_2006

I loved the texture the pecans added to the pie as well as the nutty flavor.

IMG_2010

And while many were out scoring Black Friday deals I opted to stay in and work on some Christmas crafts… Stay tuned!

Freshly Squeezed Key Lime Pie

They say you should never go to the supermarket hungry and I think the same should be said when your creative baking juices are running wild. Living in New York it’s extremely rare to see key limes at my local supermarket but during a recent trip I found just that… three lonely bags of key limes and I immediately thought why not make a key lime pie (I should note that prior to this I had only tried it once and didn’t care for it since I couldn’t taste the lime). I put a bag in my shopping cart and then called a friend to see if she knew anything about making one – I wasn’t sure how many limes I needed and wondered whether or not it required any oddball ingredients. She did a quick Google search for me and it turned out that it wasn’t all that difficult and the ingredients were all ones that I already had home – except for the key limes of course.

IMG_1007

Once I got home I did a few Google searches of my own to find the perfect recipe to follow. I decided on one that I found on the website the Joy of Baking. But then the following morning as I was getting ready to start making the filling I noticed that there was a recipe right on the bag of the key limes so I decided to combine the two of the recipes to make the filling.

IMG_1011

I knew that I needed a 1/2 cup of key lime juice, but, I wasn’t too sure how many limes I would need to squeeze to get that amount. From looking at recipe online I got all different numbers ranging from 12 – 20. I decided to start on the smaller side and opted to start off with slicing and squeezing 10 limes. Prior to slicing the limes rolled them to make sure I would get the most juice out of them.

IMG_1015

After squeezing the 10 limes I had just about a 1/2 cup of juice.

IMG_1018

Since I did have pulp and seeds in the juice I strained it using sieve. My sieve also doubles as sifter from time to time. In all honesty they are both one in the same.

IMG_1019

After straining it I was just shy of a 1/2 cup.

IMG_1020

So, I rolled, sliced and squeezed 2 more limes which got me exactly to a 1/2 cup. I wised up this time and squeezed the limes over the sieve so I wouldn’t have to strain out any pulp or seeds.

IMG_1021

Along with the lime juice I also needed 4 egg yolks, a can of sweetened condensed milk and the zest of one regular lime to make the pie.

IMG_1022

I also needed a pie crust… I cheated and opted to use a Keebler Graham Ready Crust instead of making one myself. I figured squeezing the limes was enough work… LOL!

IMG_1024

To begin I used the whisk attachment of my stand mixer and whisked together the eggs yolks.

IMG_1025

I then slowly added in the sweetened condensed milk.

IMG_1027

Then the freshly squeezed lime juice.

IMG_1028

And finally I added in the lime zest.

IMG_1029

Here’s what the filling looked like prior to being poured into the pie crust.

IMG_1031

As you can see the filling barely filled the pie crust. Which I didn’t mind since it meant that I wouldn’t have to worry about it overflowing into my oven while it baked and more importantly it meant that there would be enough space for a whipped cream topping!

IMG_1033

After baking for a mere 15 minutes it was ready to come out of the oven. I let it cool on the wire rack for a bit and then placed it in the refrigerator so it could cool.

IMG_1038

Once it was in the refrigerator for at least two hours I started working on the whipped cream frosting. It’s a basic recipe… one cup of heavy cream and 2 tablespoons of confectioners’ sugar whipped until stiff peaks form.

IMG_1039

Using my favorite Wilton  tip -1M – (my favorite because I don’t need to use a coupler on the decorating bag for it, it creates a nice sized star for decorating and you can use it to create a nice swirl topping on cupcakes) I decorated the top of the pie with dropped stars. I started by adding stars around the outer perimeter of the pie and then for the second round I placed the stars in between the stars from round one and continued that for the remaining rounds.

IMG_1042 IMG_1058

The pie was delicious… Definitely something I will make again.

IMG_1087

Key Lime Pie*

Ingredients

1 9-inch graham cracker pie shell

1/2 cup key lime juice (approximately 12 key limes)

1 14 oz. can sweetened condensed milk

4 egg yolks

Grated lime zest of one lime

Directions

1) Preheat the oven to 350 degrees

2) Whisk together the four eggs yolks until pale and fluffy

3) Gradually add in the condensed milk and continue mixing until the mixture becomes light and fluffy

4) Add in the lime juice and finally the lime zest.

5) Pour the filling into the graham cracker pie shell and bake for about 20 minutes, or until the filling is set.

6) Let the pie cool completely on a wire rack and then cover and refrigerate for a few hours.

7) Decorate with whipped cream or save for serving and drop heaping spoonfuls of whipped cream on each slice.

*Recipe is a combination of the Key Lime Pie recipes from Joy of Baking and Susie Key Limes.


Whipped Cream

Ingredients

1 cup heavy whipping cream

2 tbsp. confectioners’ sugar

Directions

Using a whisk attachment on an electric mixer beat the cream and sugar until stiff peaks form.

A Pumpkin Pie… And Tart

Thanksgiving is not only a day to indulge in some yummy food but also a day to save room for dessert. This year along with making the prerequisite pumpkin pie I also made something a little more special, a Pecan Pumpkin Frangipane Tart. (Frangipane is a filling that is made from or flavored with almonds.) I got the recipe two years ago when I attended a cooking demonstration at Williams & Sonoma. I made it for Thanksgiving that year and have wanted to make it again ever since.

First up though… The Pumpkin Pie. I followed a recipe that I got from the Food Network website. This is probably one of the simplest recipes I have seen for pumpkin pie but it turns out one the yummiest ones I have ever tasted. I actually wasn’t a big fan of pumpkin pie until I made this one; I always thought it tasted quite bland. Although, I did cheat a little and bought my pie crust instead of making it from scratch as the recipe calls for. I opted to use the Keebler Ready Crust Graham 2 Extra Servings Pie Crust to make sure that my filling wouldn’t overflow. I used a regular sized pie crust once and quickly learned my lesson. The filling overflowed and I had to spend a considerable amount of time cleaning my oven afterwards. Not fun!


To make the Pecan Pumpkin Frangipane Tart I started off by making my crust. Using a store bought crust for this tart just wouldn’t be the same. Using a food processor I pulsed together the following ingredients: salt, eggs, flour, confectioners’ sugar & butter.


I then formed the dough into a disk and refrigerated it for 2 hours.

Afterwards I rolled out the dough and pressed it into my tart pan and refrigerated it once again. It needs to be refrigerated for at least 30 minutes. I ended up being refrigerating mine for a few hours, but, it had no effect on the final outcome.

To make the frangipane I used sugar, cake flour, eggs, almond paste and butter.

I combined all of these ingredients in my mixer.

Now it was time to assemble the tart.

I started out by spreading Pecan Pumpkin Butter, which I bought from Williams & Sonoma, on the bottom of my dough. Unfortunately this is a seasonal item so it’s only available in the early fall. But, this isn’t the only thing you can use as the base for this tart. You could actually use fruit, jams/jellies, pudding and so forth. The frangipane is what really gives this tart it’s burst of flavor so whatever you use as the base is just a complement to that.


I then spooned the frangipane on top and smoothed it out evenly.

I baked it for about 30 minutes and this was the final product and it was delicious!


Pumpkin Pie

Recipe courtesy Joanne Chang

Pie Dough:
2 cups all-purpose flour
1 tablespoon sugar
1/4 teaspoon salt
1 cup unsalted butter, cut into cubes
2 egg yolks
3 tablespoons milk

Filling:
1 1/2 cups canned pumpkin
1/2 cup brown sugar
2/3 cup heavy cream
7 tablespoons sweetened condensed milk
6 1/2 tablespoons evaporated milk
1/4 teaspoon vanilla extract
1 1/2 teaspoons ground ginger
1 teaspoon ground cinnamon
1 teaspoon ground nutmeg
Pinch ground clove
Pinch salt
2 eggs
1 egg yolk

Equipment: 9-inch pie pan

Directions

Make the Pie Dough: In a standing mixer fitted with the paddle attachment, combine the flour, sugar, and salt and mix to combine. Add the butter and continue mixing until the mixture holds together when you clump it, and there are pecan-sized lumps of butter still visible.

Meanwhile, whisk together the yolks and milk in small bowl.

Add the yolk mixture to the flour mixture and mix until a dough forms. Transfer the dough to a sheet of plastic wrap, wrap well and store in the refrigerator for several hours. (The dough will keep for several days in the fridge and several weeks in the freezer.)

On a lightly floured work surface, roll half of the dough into a 11 to 12-inch circle about 1/8 inch thick. Line the pan with the dough and crimp the edges. Chill the pie shell for about 30 minutes.

Preheat the oven to 350 degrees F.

Line the pie shell with aluminum foil and fill with dried beans. Bake the shell until golden brown, about 45 minutes. Remove the foil and beans.

Meanwhile, make the Filling: Lower the oven to 325 degrees F. In a medium saucepan, mix together the pumpkin and sugar. Cook over medium heat, stirring frequently, until reduced and thick, about 15 to 20 minutes. Remove from the heat and whisk in the cream, milks, vanilla, ginger, cinnamon, nutmeg, clove, salt, eggs, and yolk. Pour the filling into the pie shell and bake until set, about 45 to 55 minutes. Cool and serve


Pecan Pumpkin Frangipane Tart

From Williams & Sonoma

For the Pastry:
1 1/4 cups all-purpose flour
1/2 cup confectioners’ sugar
1/2 tsp. salt
10 tbs. (1 1/4 sticks) chilled unsalted butter, cut into pieces
2 egg yolks, lightly beaten with 1 tbs. water

For the Frangipane:
8 Tbs. (1 stick) unsalted butter
1/3 cup firmly packed almond paste
1/2 cup granulated sugar
3 eggs, lightly beaten with 1 egg white
1/3 cup plus 1 tbs. cake flour

3/4 cup (1/2 jar) Murihead Pecan Pumpkin Butter

Confectioners’ sugar for dusting

To make the pastry, in the bowl of a food processor, combine the all-purpose flour, confectioners’ sugar and salt and pulse to mix. Add the butter and process in short pulses until pea-size crumbs form, 20 to 25 seconds. While pulsing, add the egg yolk mixture and process to form large, moist crumbs, 10 to 15 seconds more.

Turn the dough out onto a lightly floured surface and shape the dough into a disk. Wrap with plastic wrap and refrigerate for at least 2 hours.

Roll out the dough 1⁄8 inch thick, dusting it with confectioners’ sugar if it begins to stick. Transfer the dough round into a 10-inch tart pan and, using your fingers, press the dough into the pan. Refrigerate for at least 30 minutes.

Preheat an oven to 350°F.

To make the frangipane, in the bowl of an electric mixer fitted with the flat beater, beat the butter on medium speed until light and creamy. Add the almond paste and granulated sugar and beat until smooth and creamy. While beating, add the eggs a little at a time, beating well after each addition. Reduce the speed to low and fold in the cake flour until just blended and no lumps of flour remain.

Spread the pecan pumpkin butter into the chilled tart shell, forming a layer about 1⁄4 inch thick. Spoon the frangipane on top in an even layer. Bake until the tart is golden and set, 25 to 30 minutes. Transfer the pan to a wire rack and let the tart cool to room temperature, then remove it from the pan. Dust the tart with confectioners’ sugar just before serving. Makes one 10-inch tart.