Cookie Palooza: Pumpkin Spice Chocolate Chip Cookies

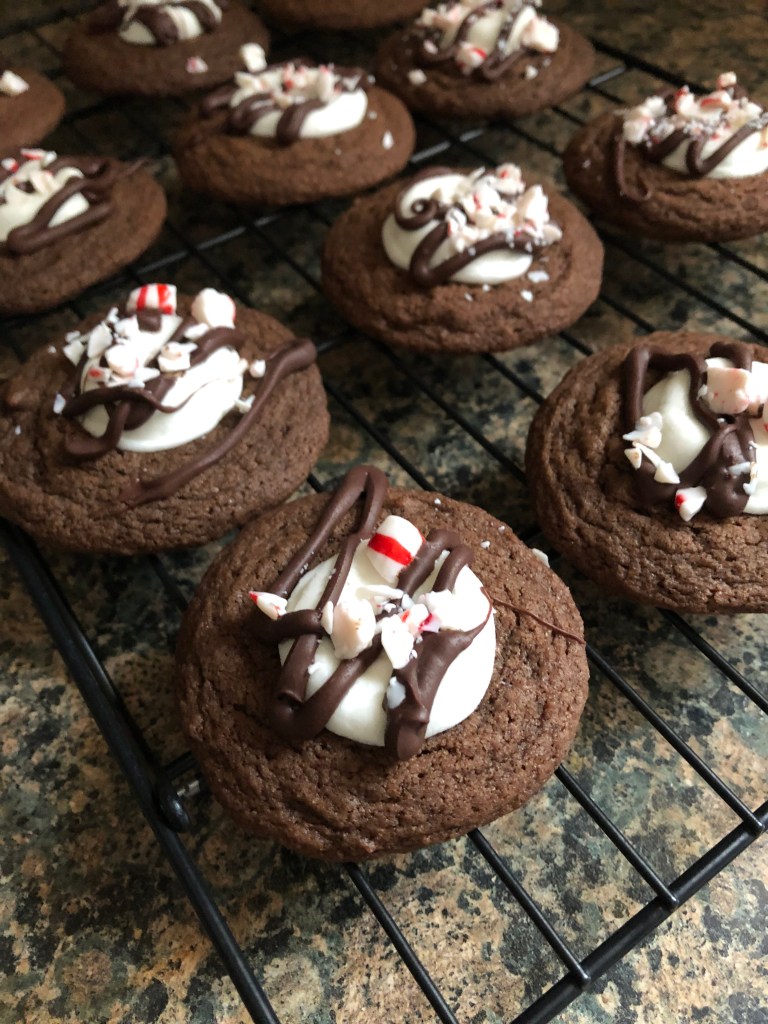
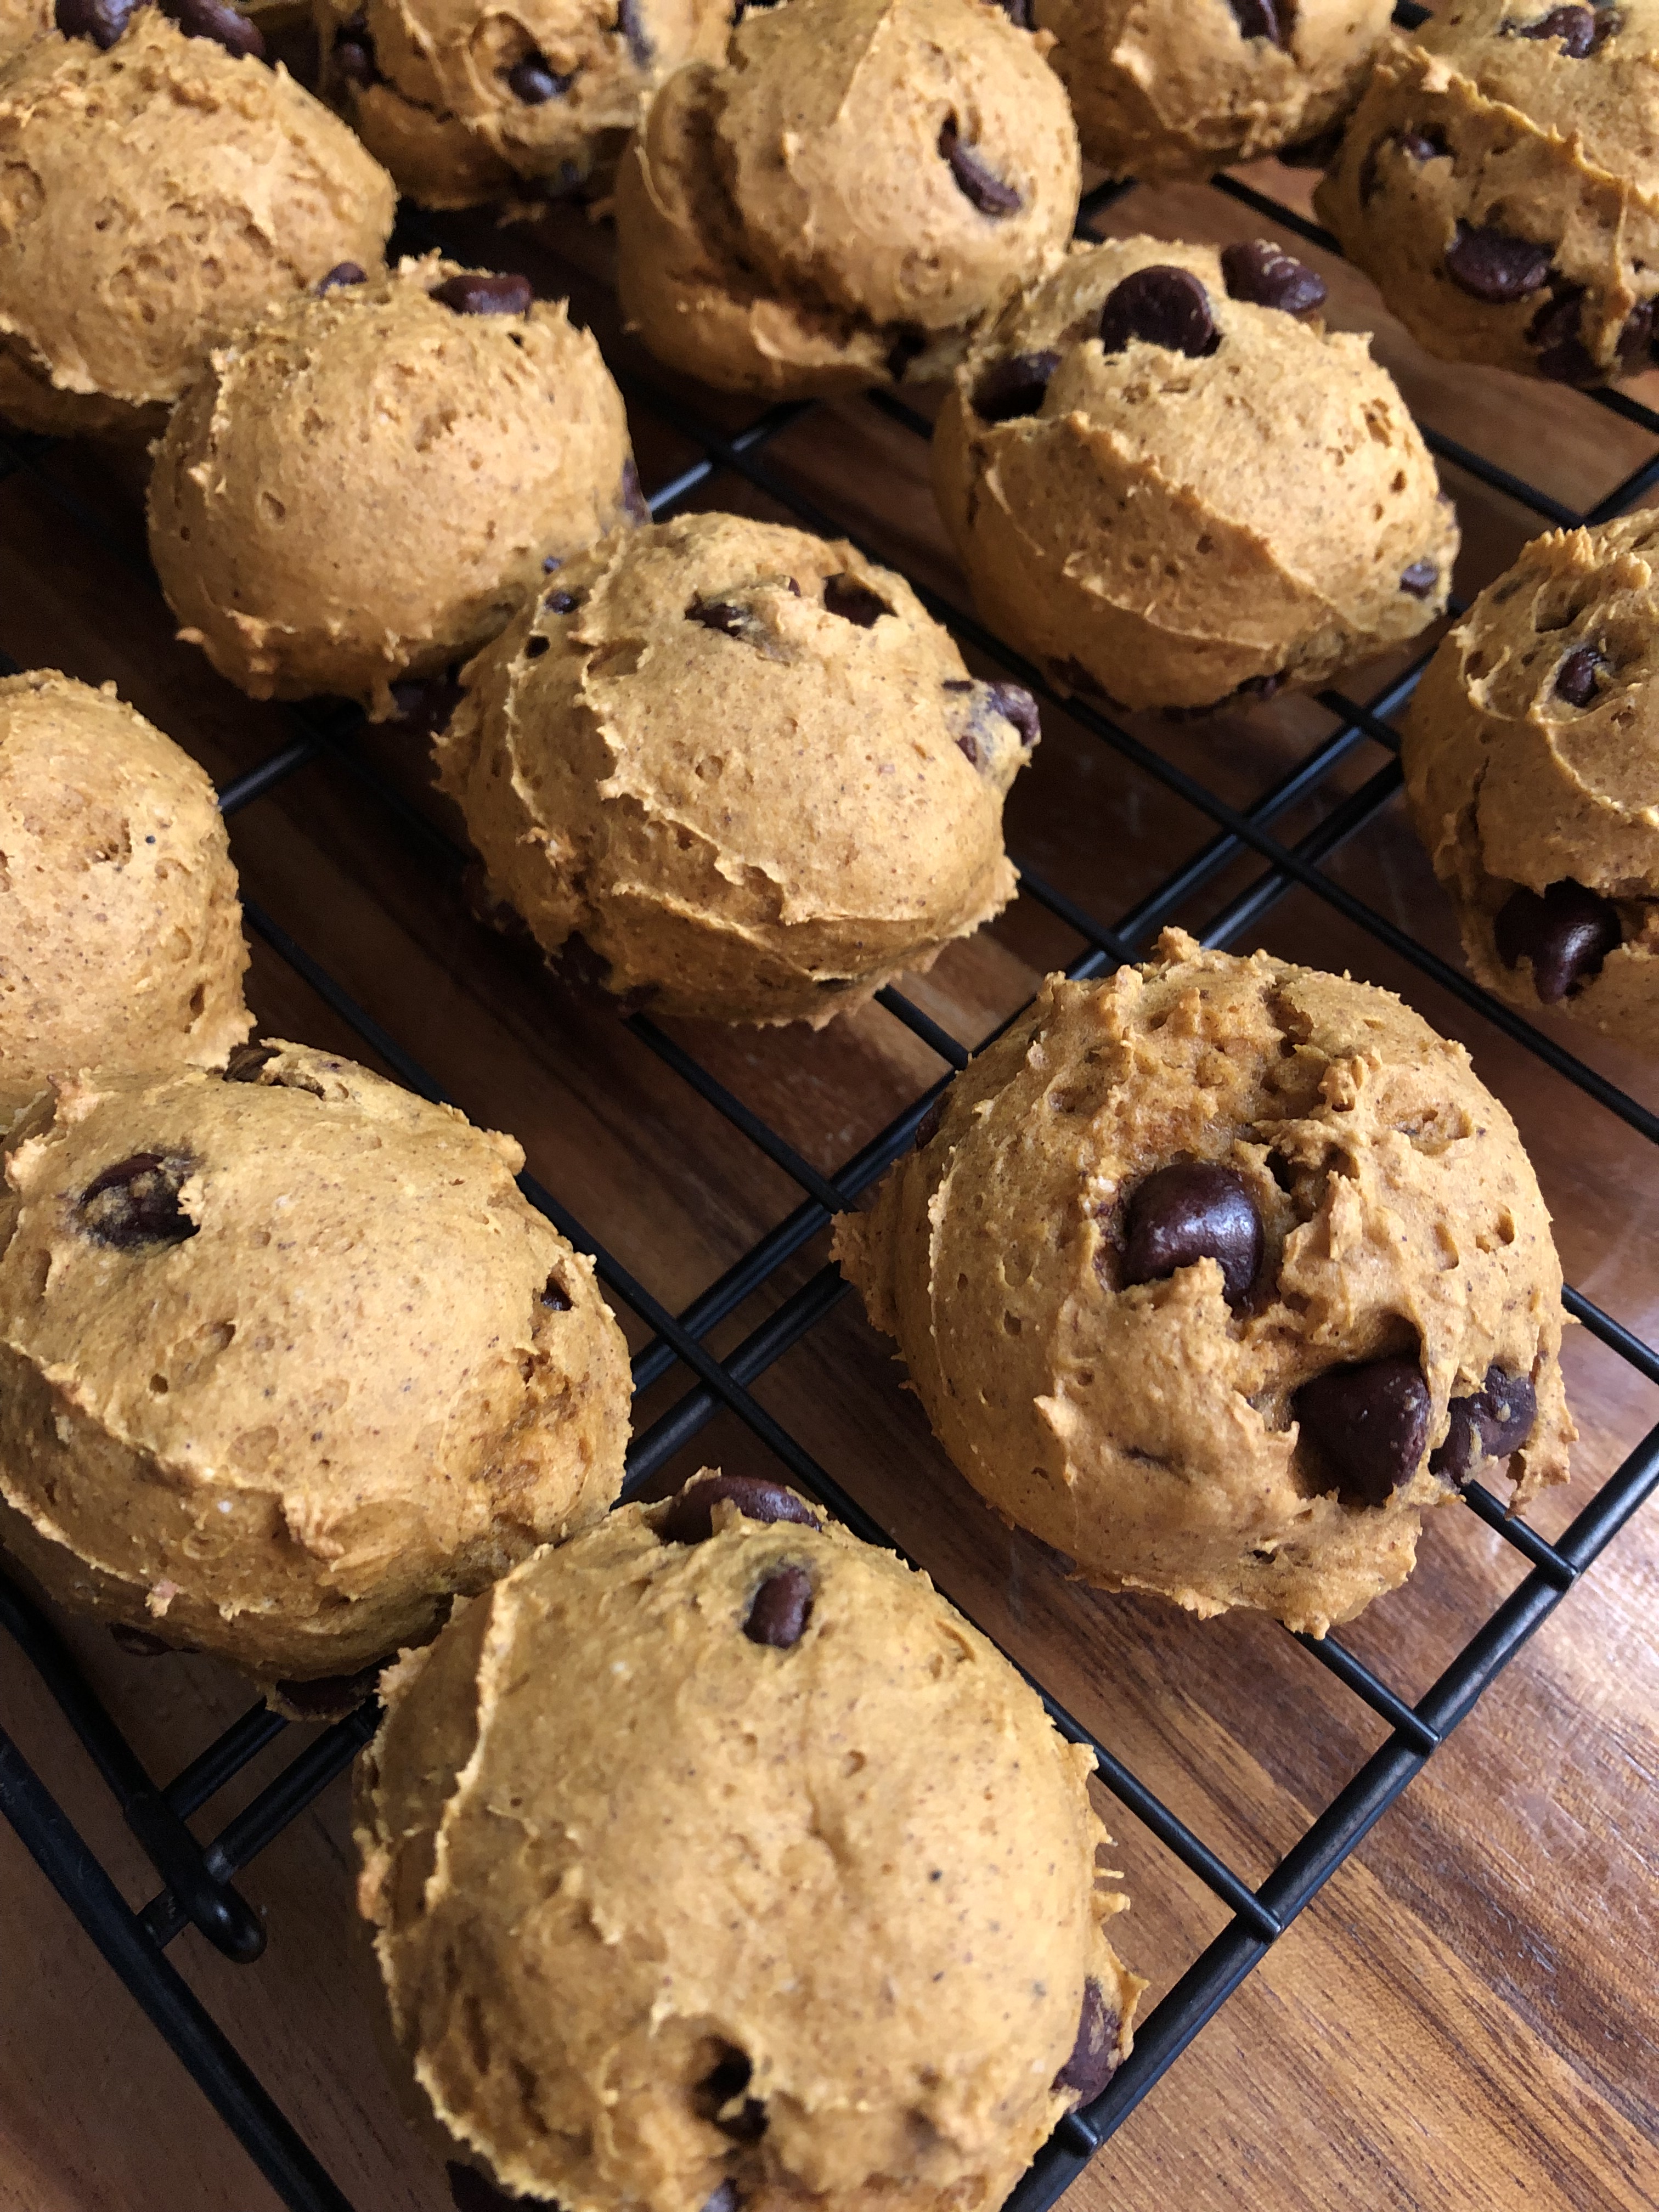
Welcome to Cookie Palooza 2022 on Bead Yarn Spatula. I am quite excited this year because all the recipes I will be bringing you this week are original ones. To kick it off I am sharing a recipe that is perfect for all your pumpkin spice loving family and friends and for those that enjoy pumpkin even after the Fall season is long gone… A Pumpkin Spice Chocolate Chip Cookie.

I’ve been searching for a good pumpkin cookie recipe for a while now. Some I made tasted good, but the texture just wasn’t appealing to me. When pumpkin puree is added to any recipe it adds a lot of moisture to it. And if you add too much pumpkin puree to a dessert recipe that isn’t well balanced with other wet ingredients you end up with a very odd texture. As was the case with my first few tries of my Pumpkin Tiramisu Cake. So, how did I finally achieve a good pumpkin cookie recipe? To get these Pumpkin Spice Chocolate Chip cookies just right I started by using a cake mix as the base.

If you are wondering, cake mix cookies are an actual thing. It’s an easy way to make a red velvet, strawberry, lemon and /or carrot flavored cookie since those flavors are readily available in box cake mixes. While I am sure around this time of the year there are pumpkin cake mixes, I opted to use a yellow cake mix as my base and added some spices that are reminiscent to pumpkin pie spice (this is the recipe I used for the cake portion of my Bourbon Caramel Apple Upside Down Spice Cake) and to get real pumpkin flavor I added in a can of pumpkin puree. And that was it for my wet ingredients… no butter, eggs or anything else.

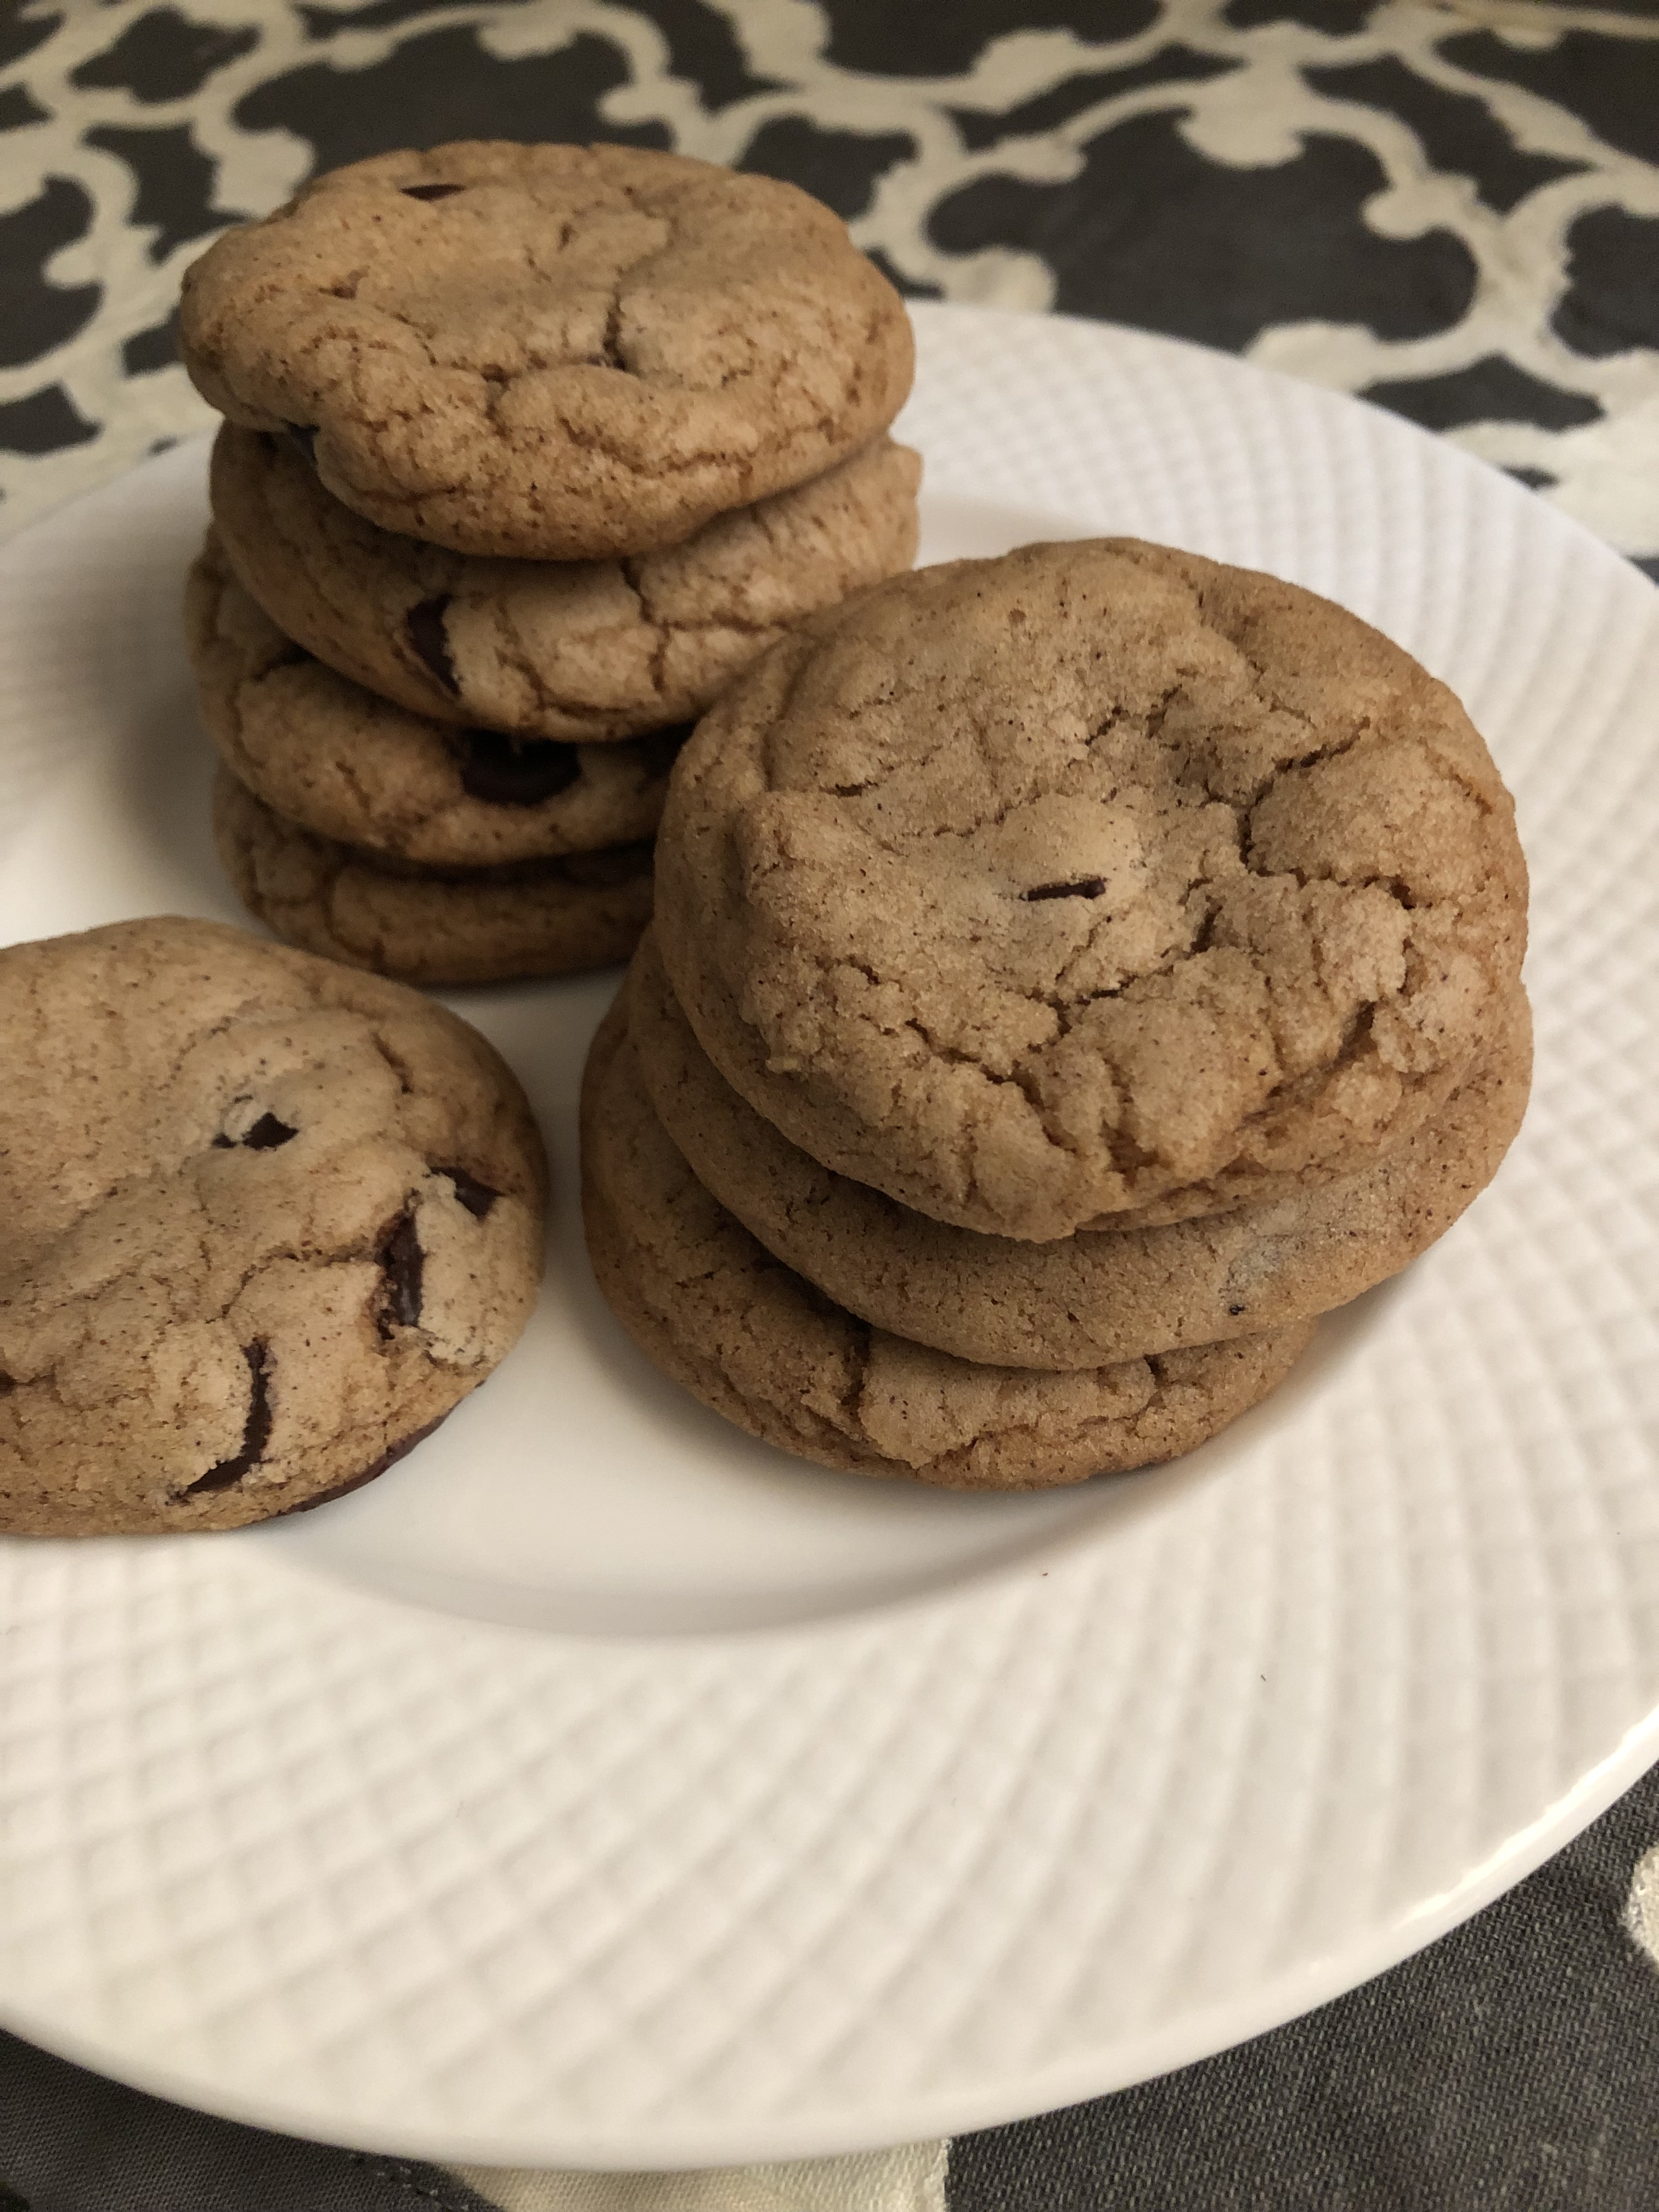
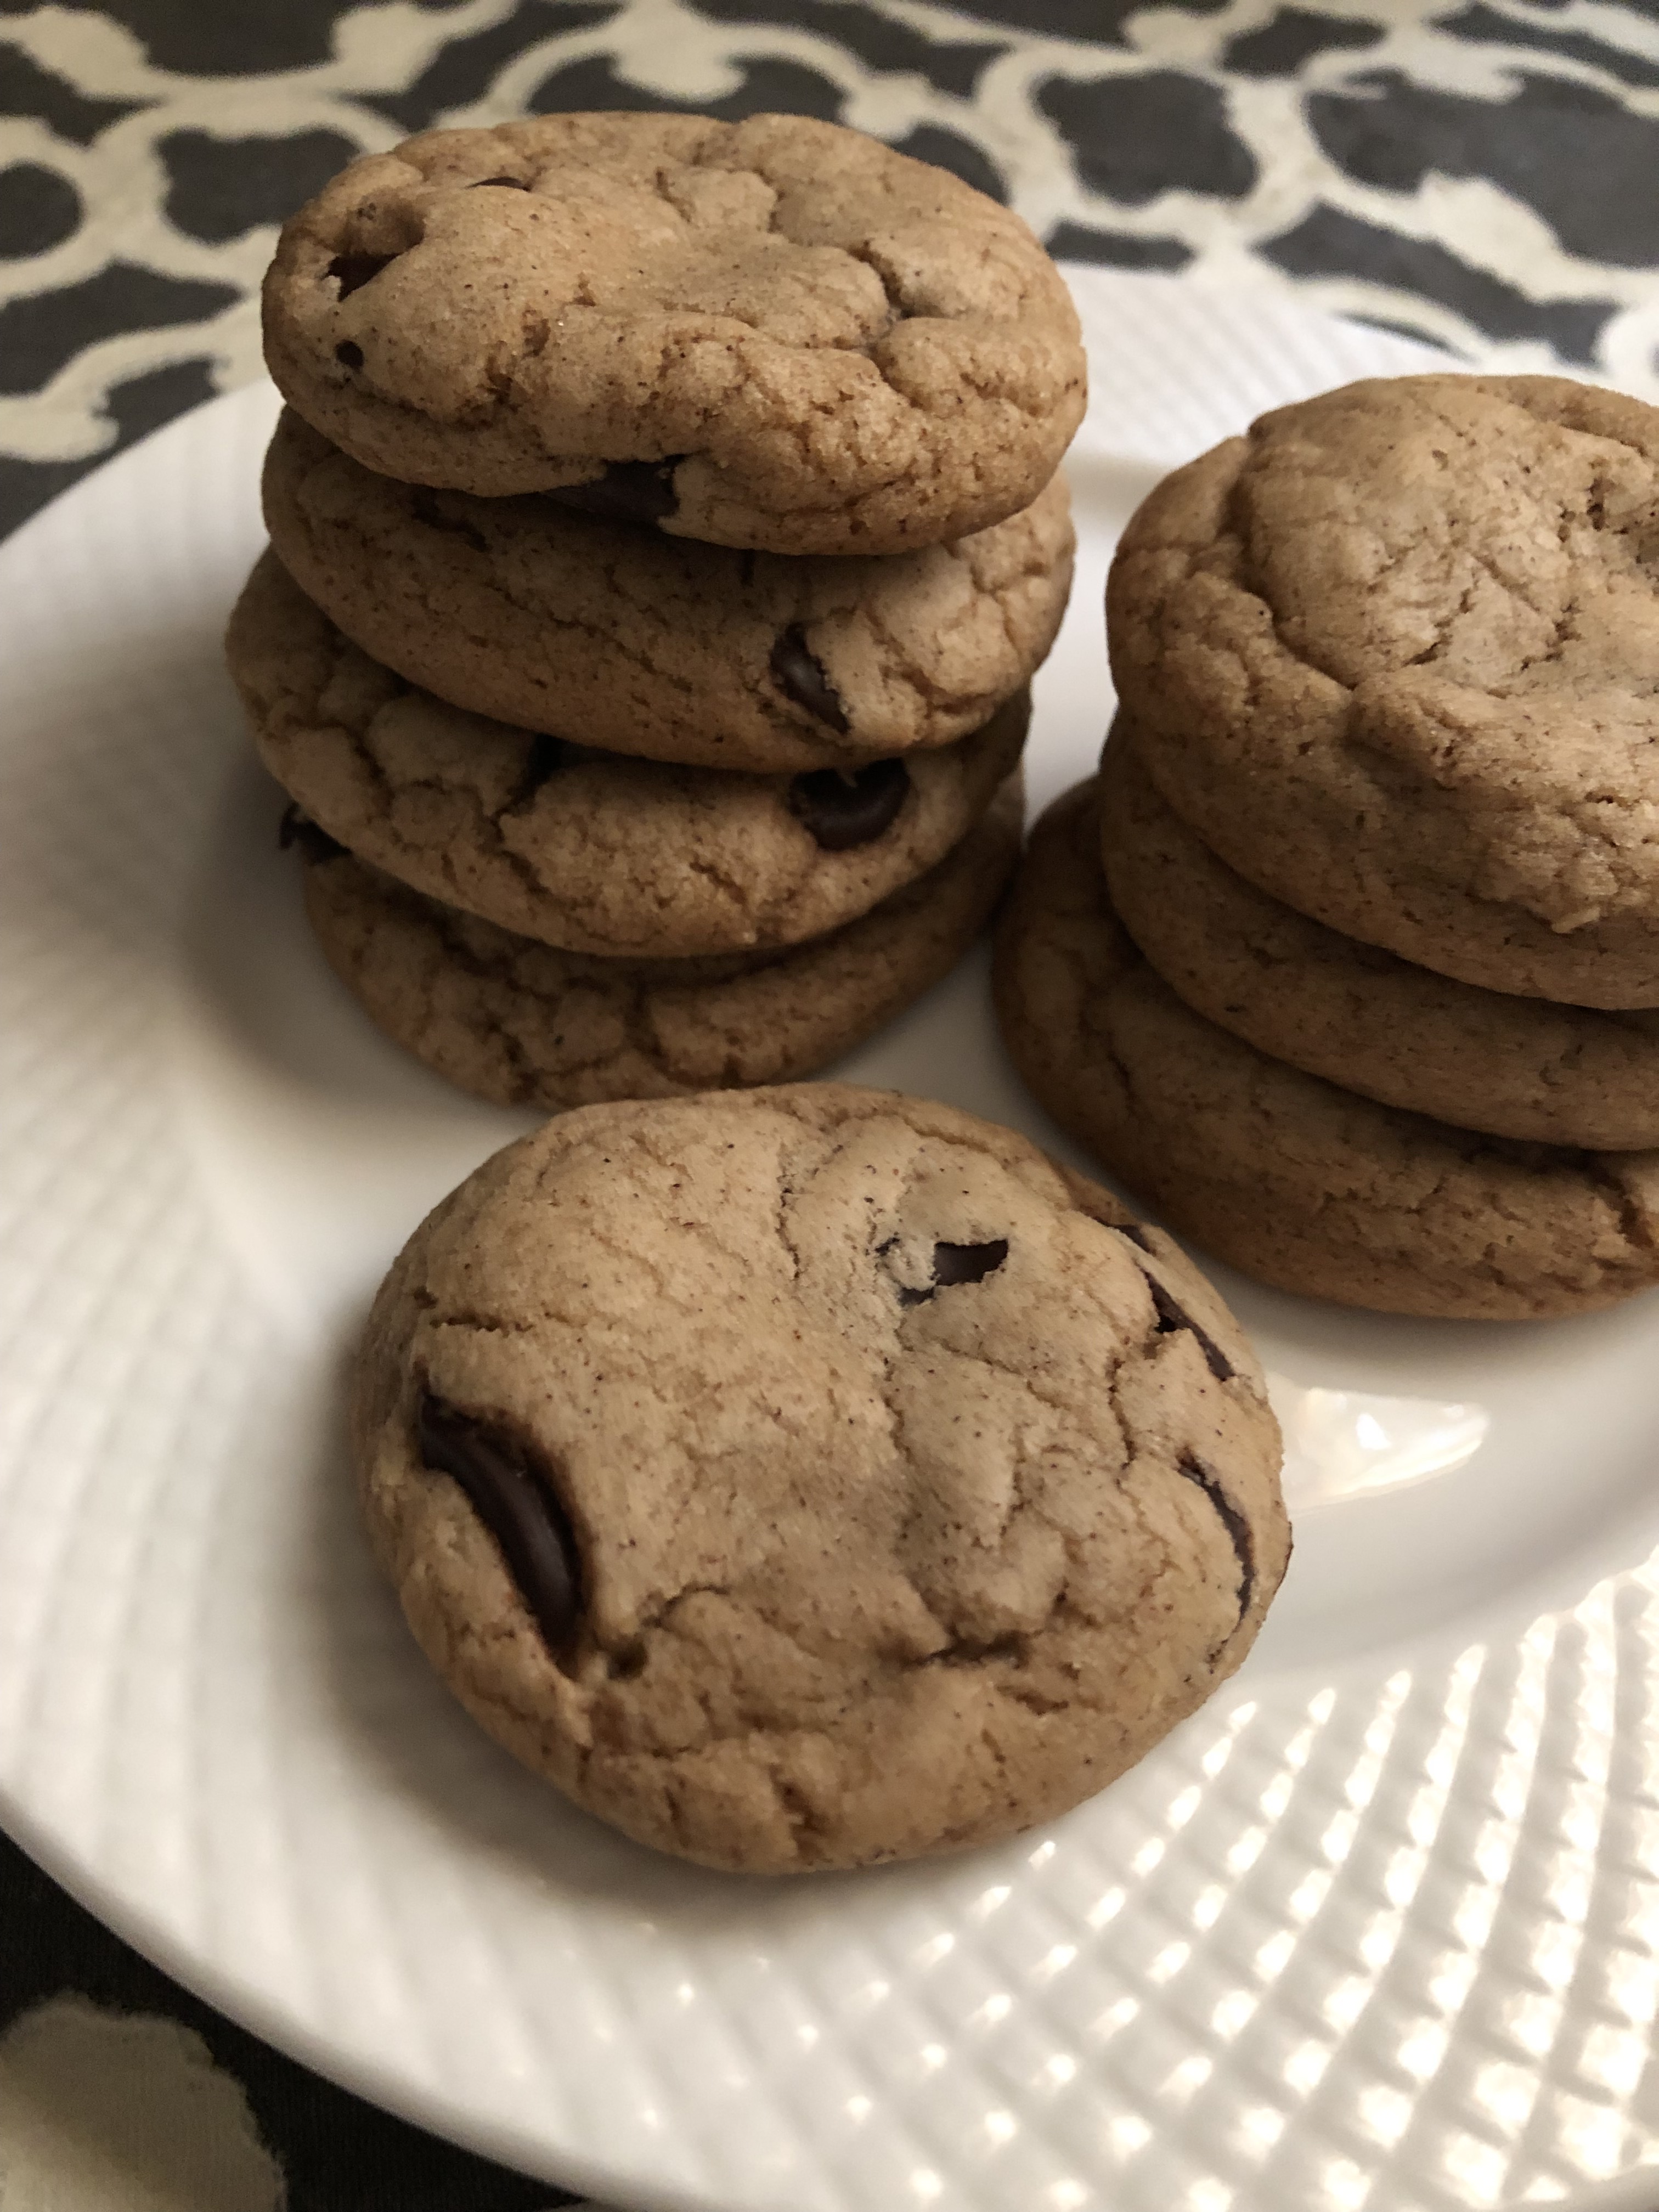
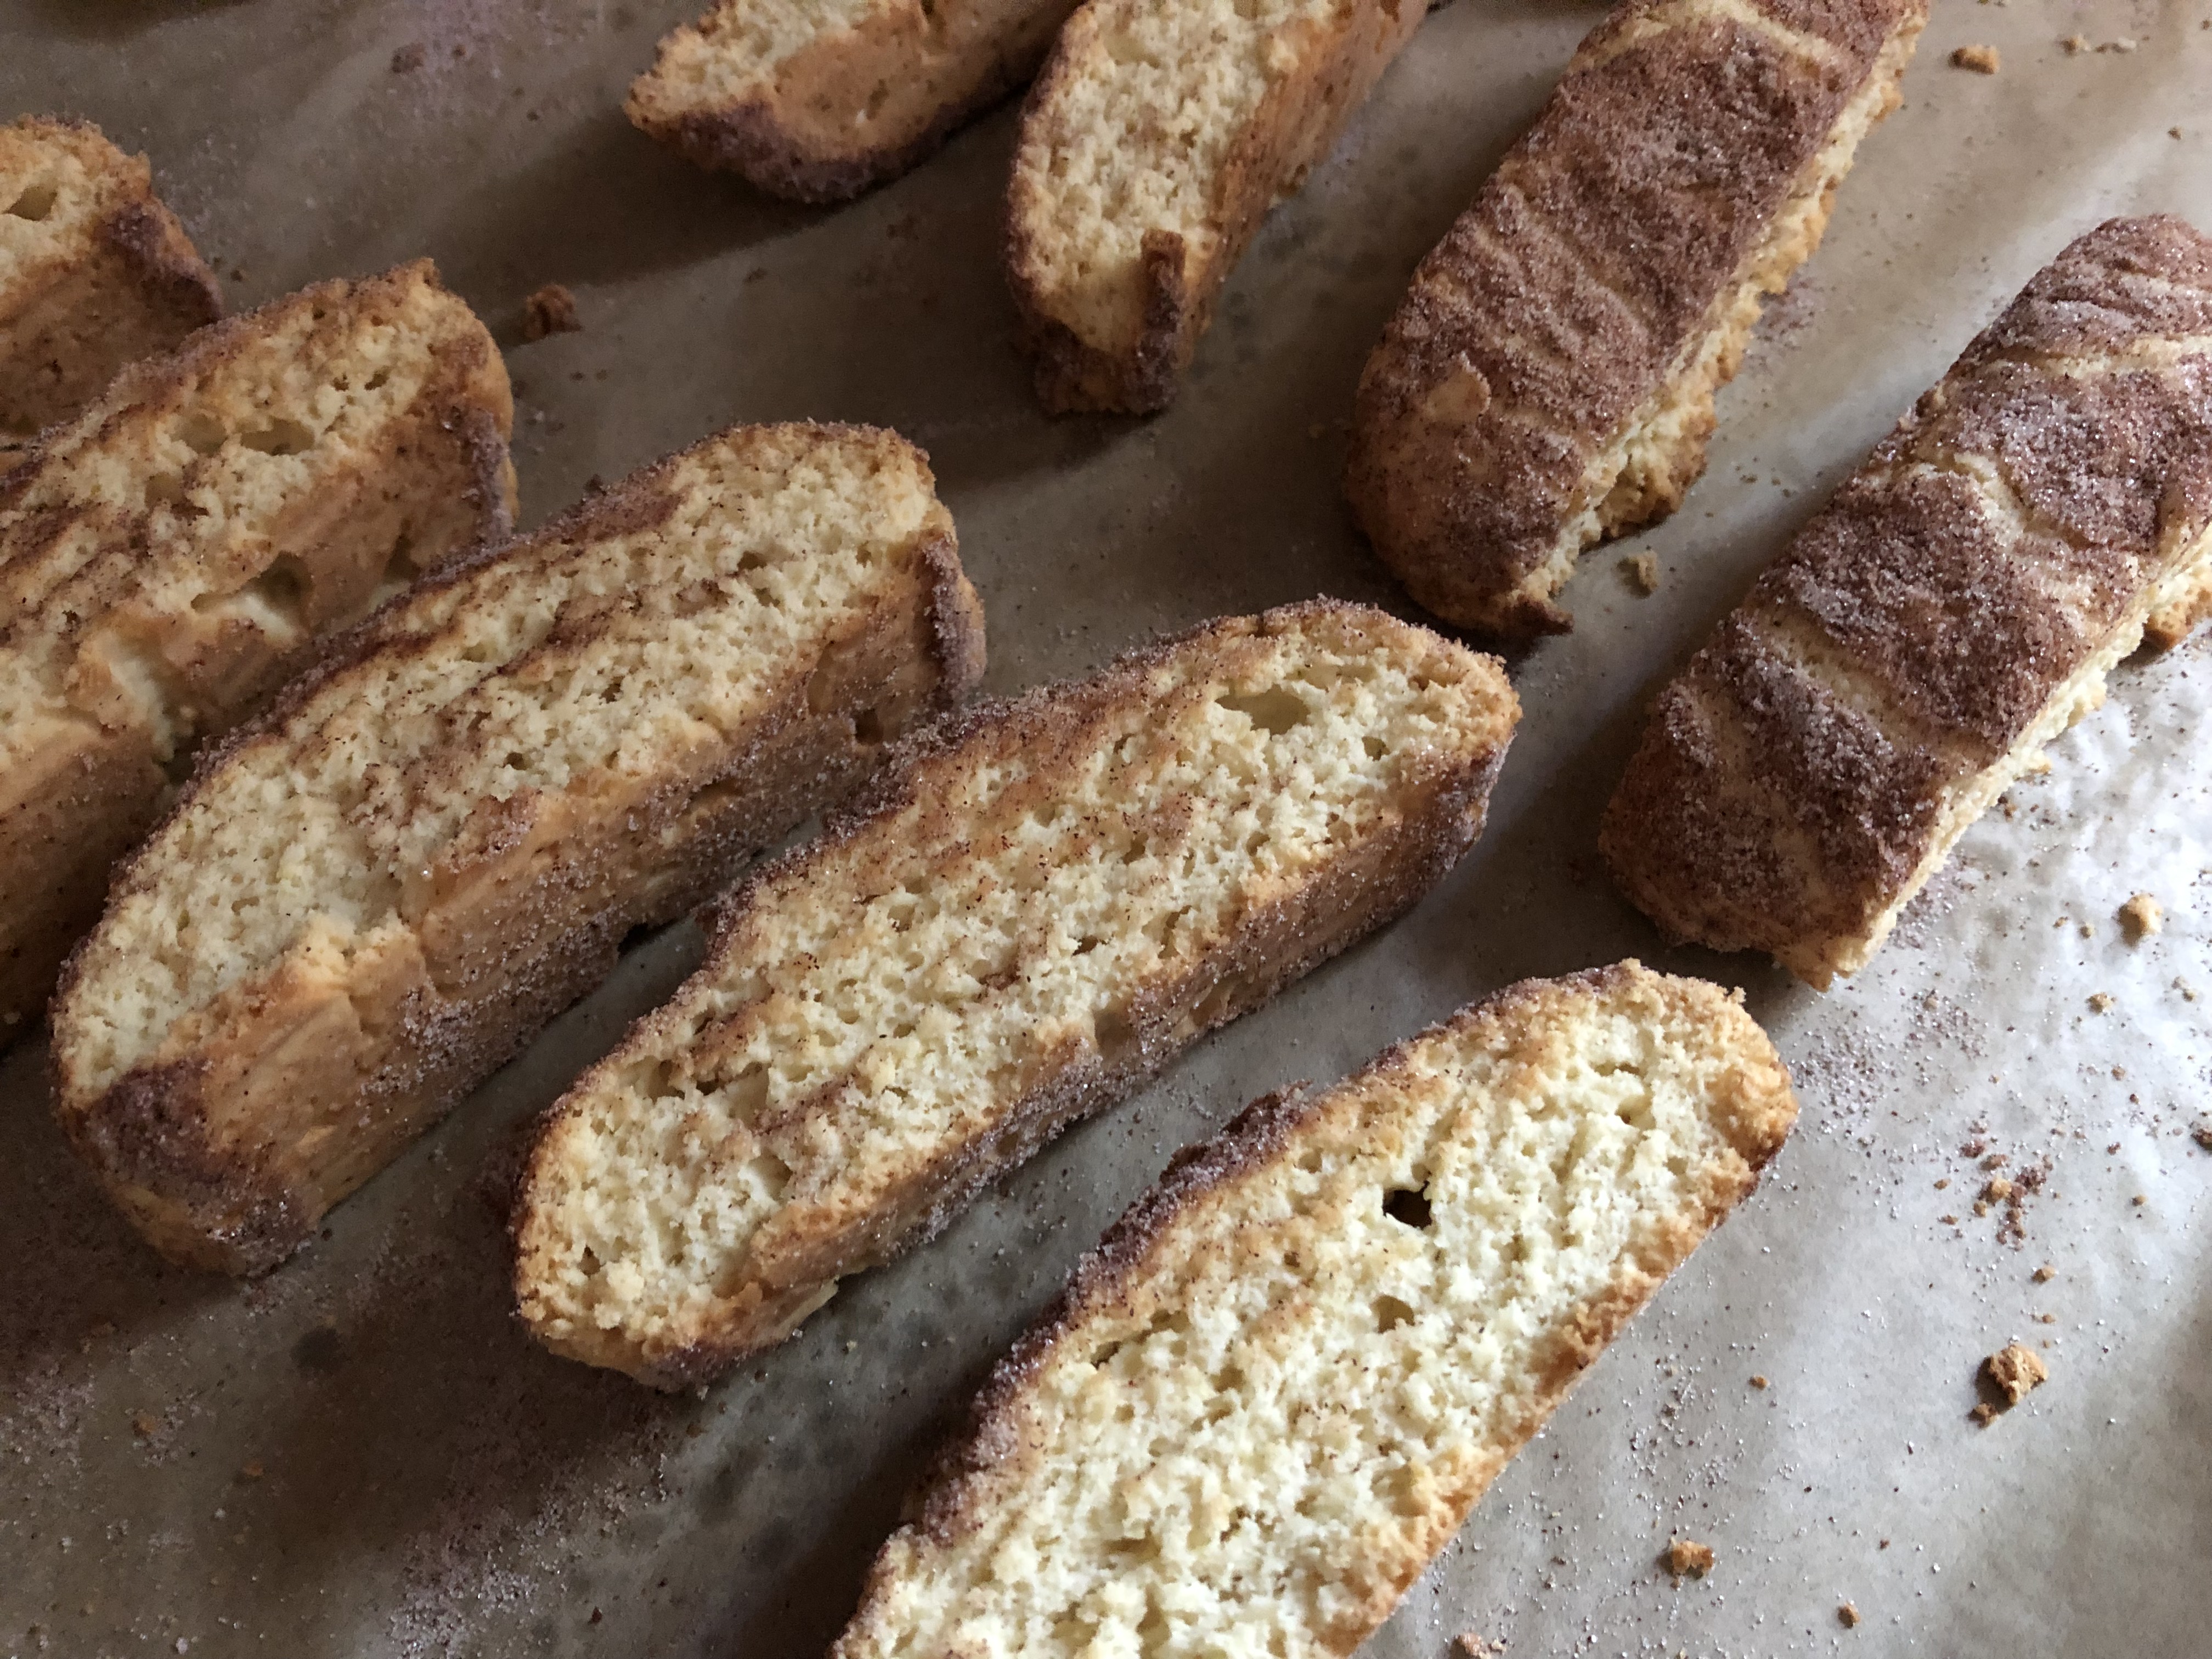
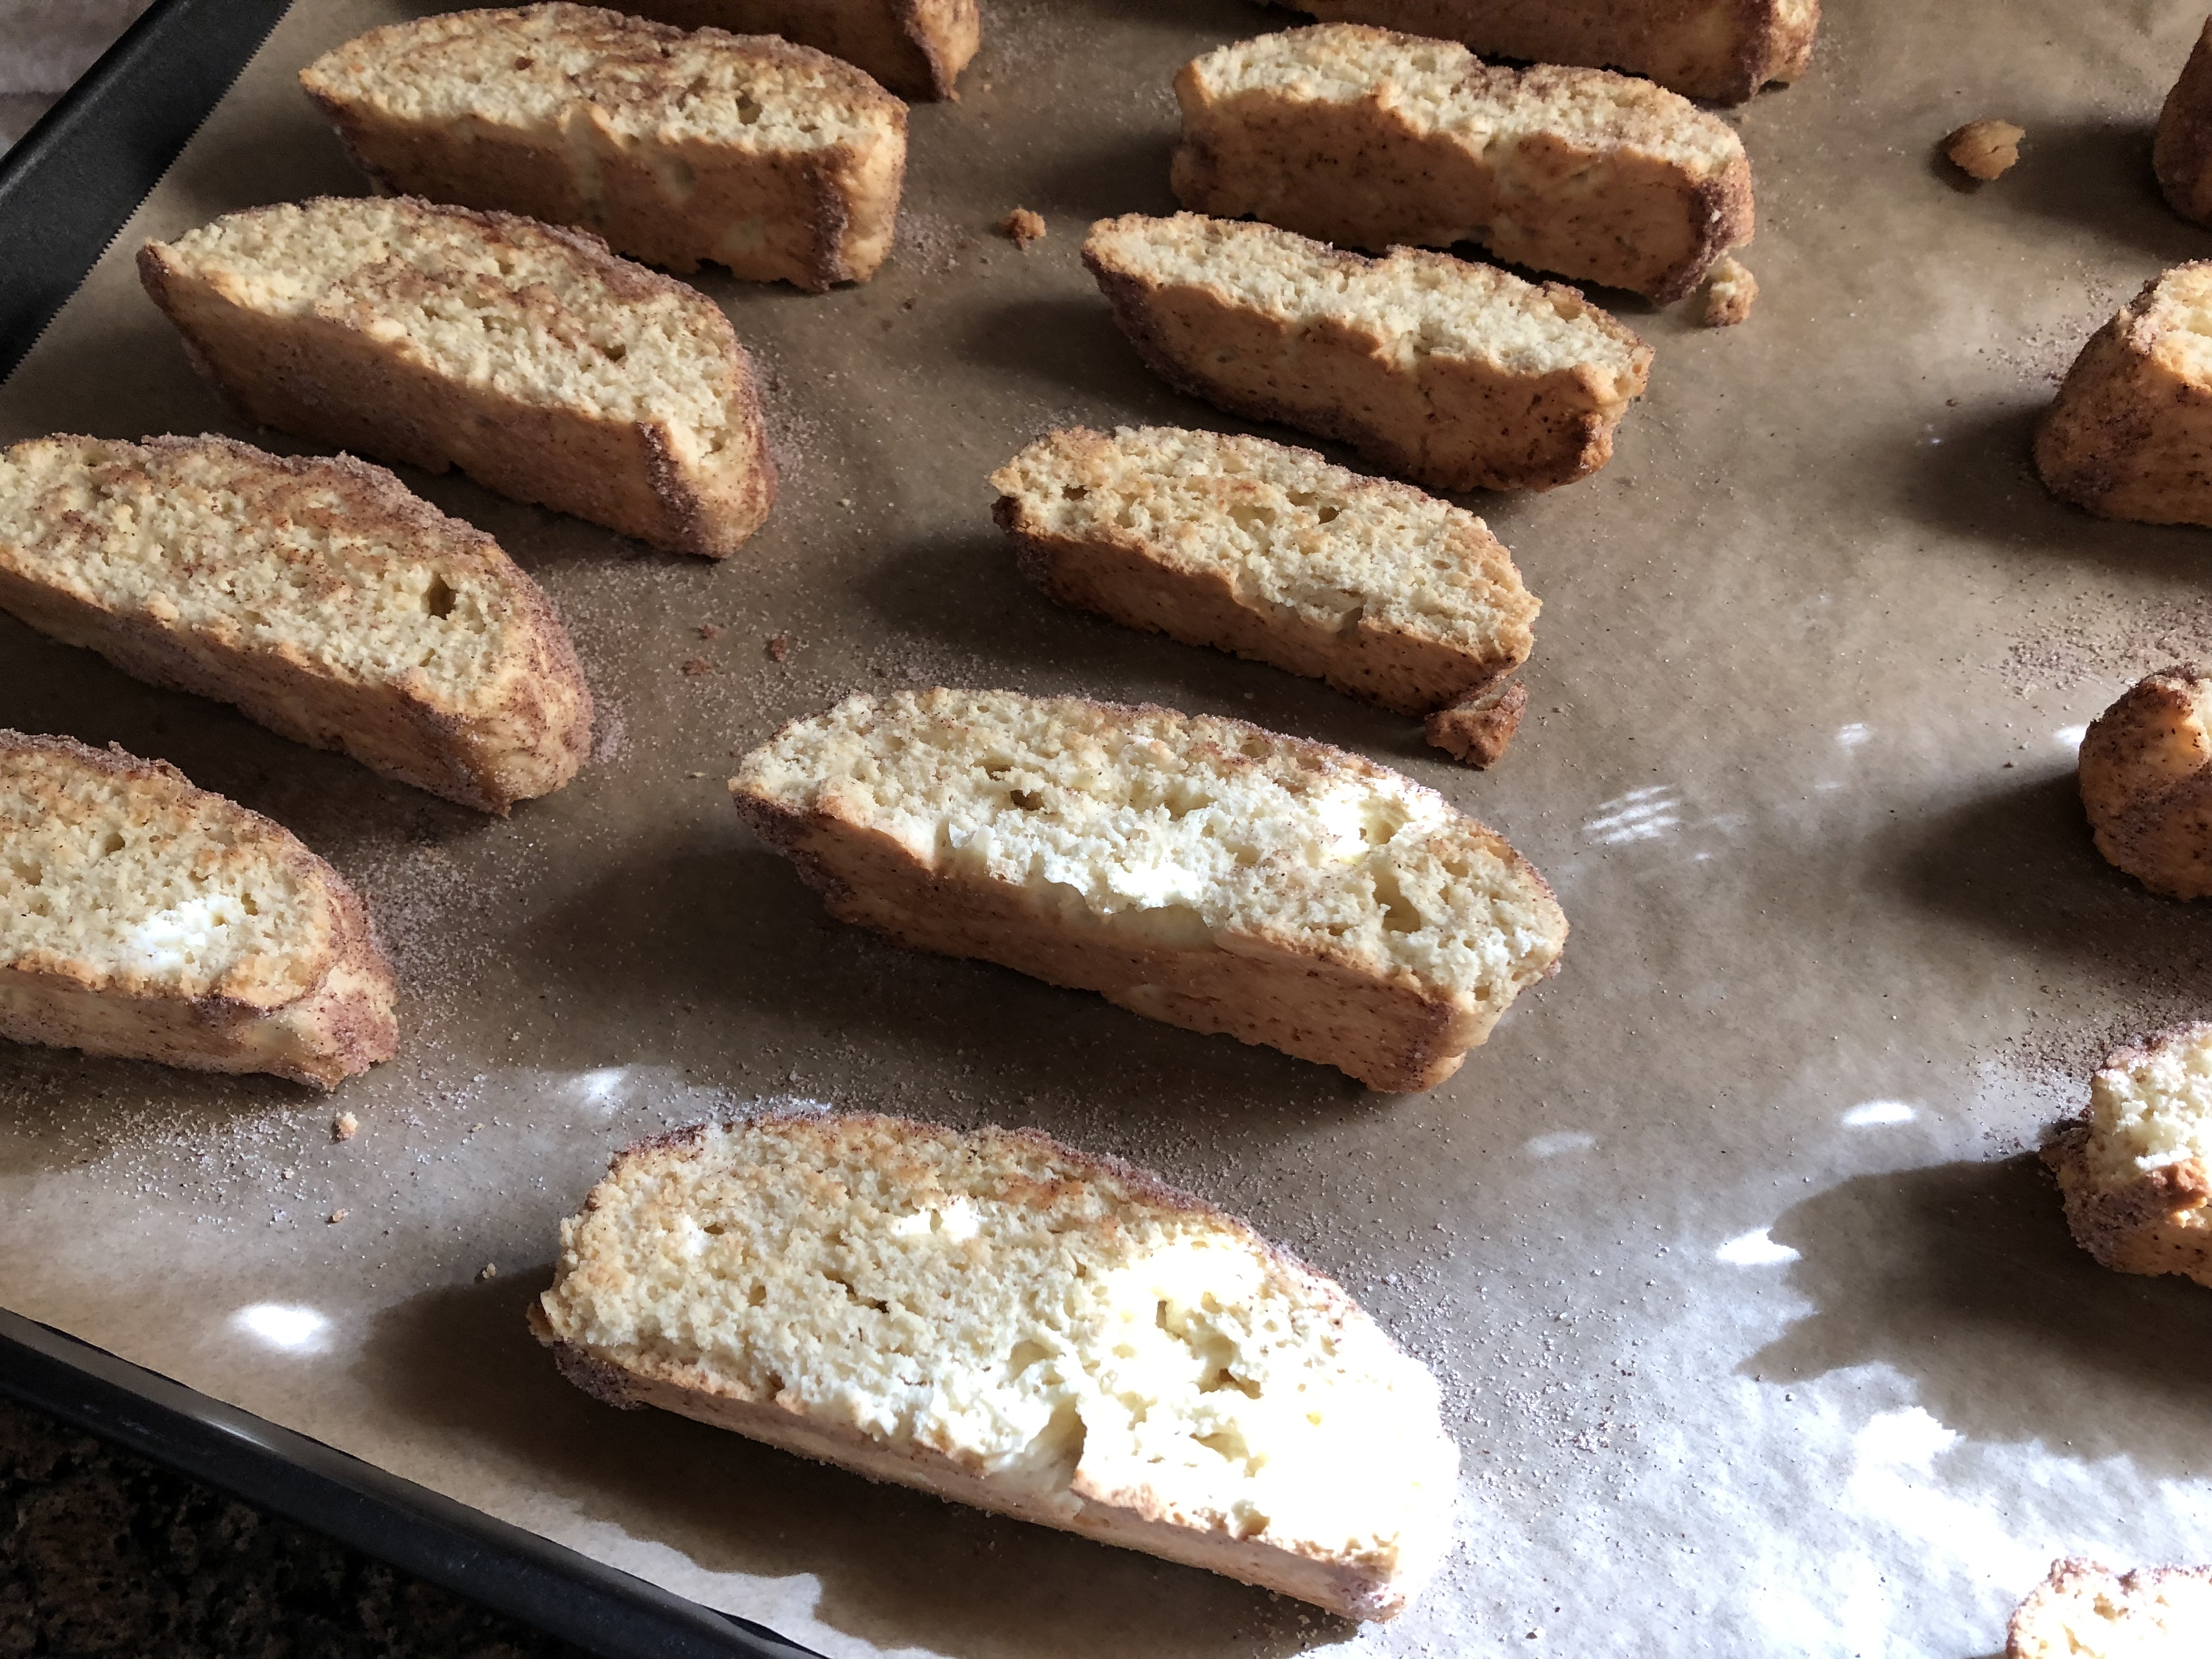
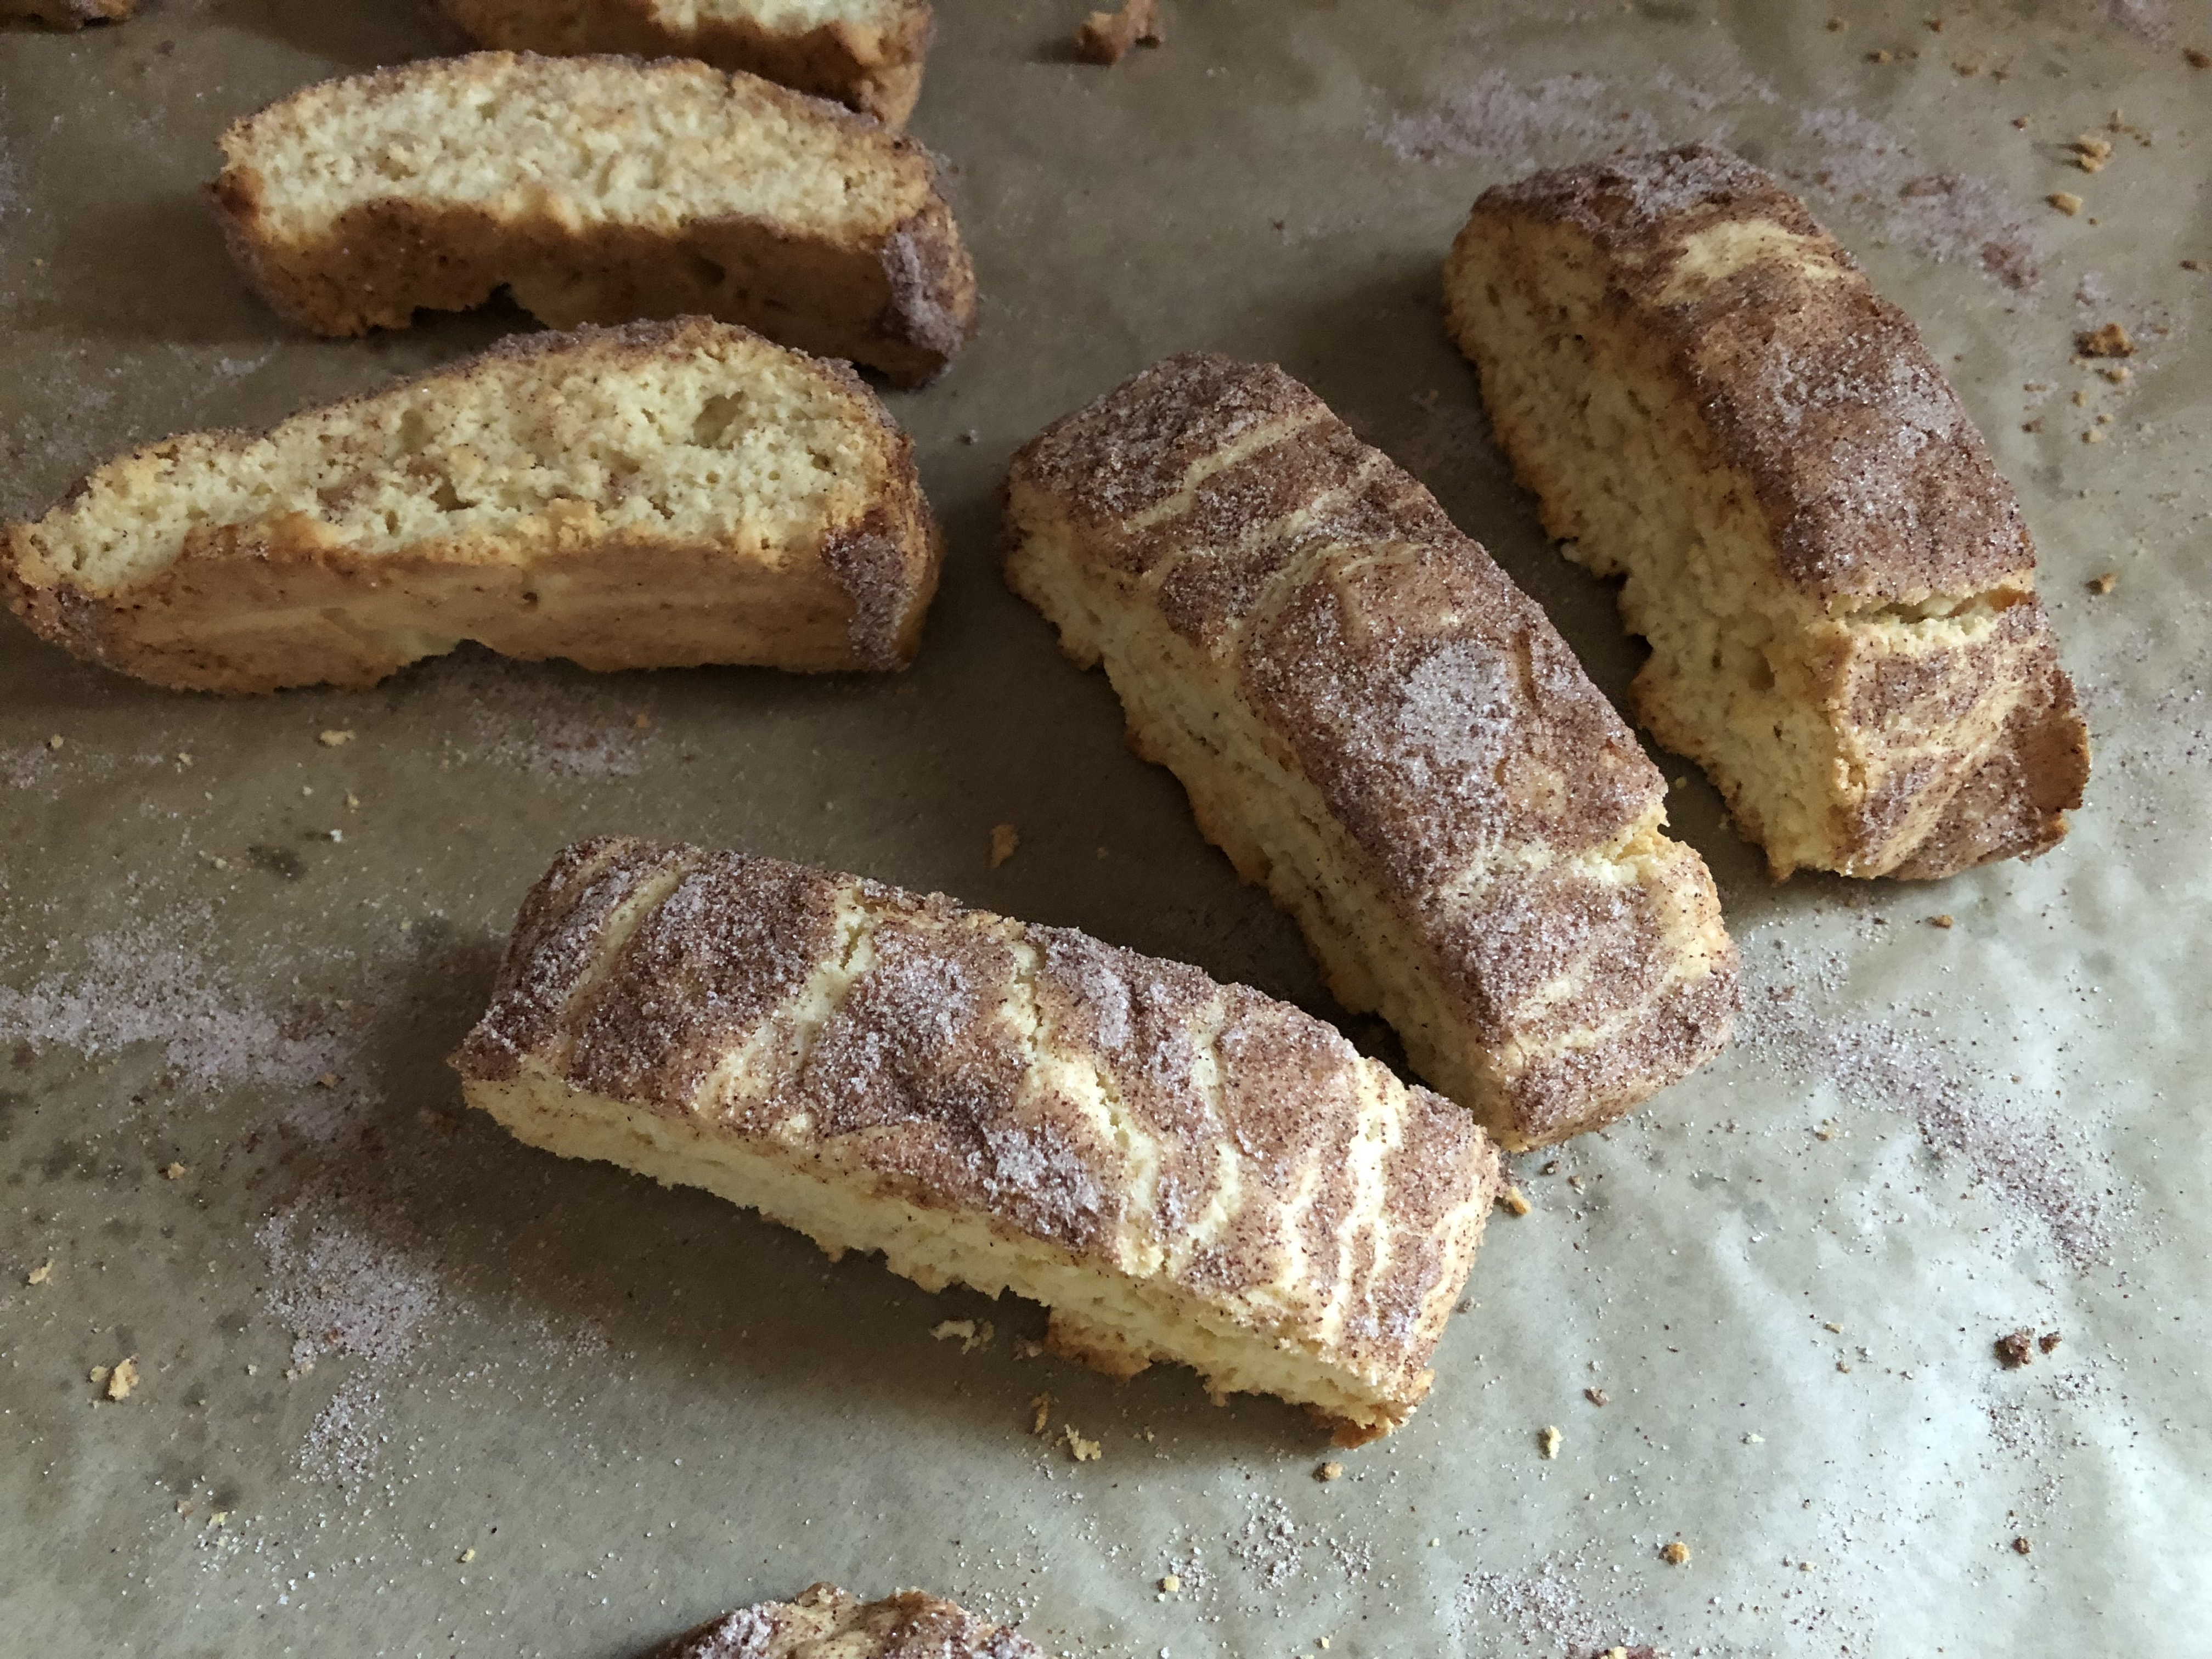
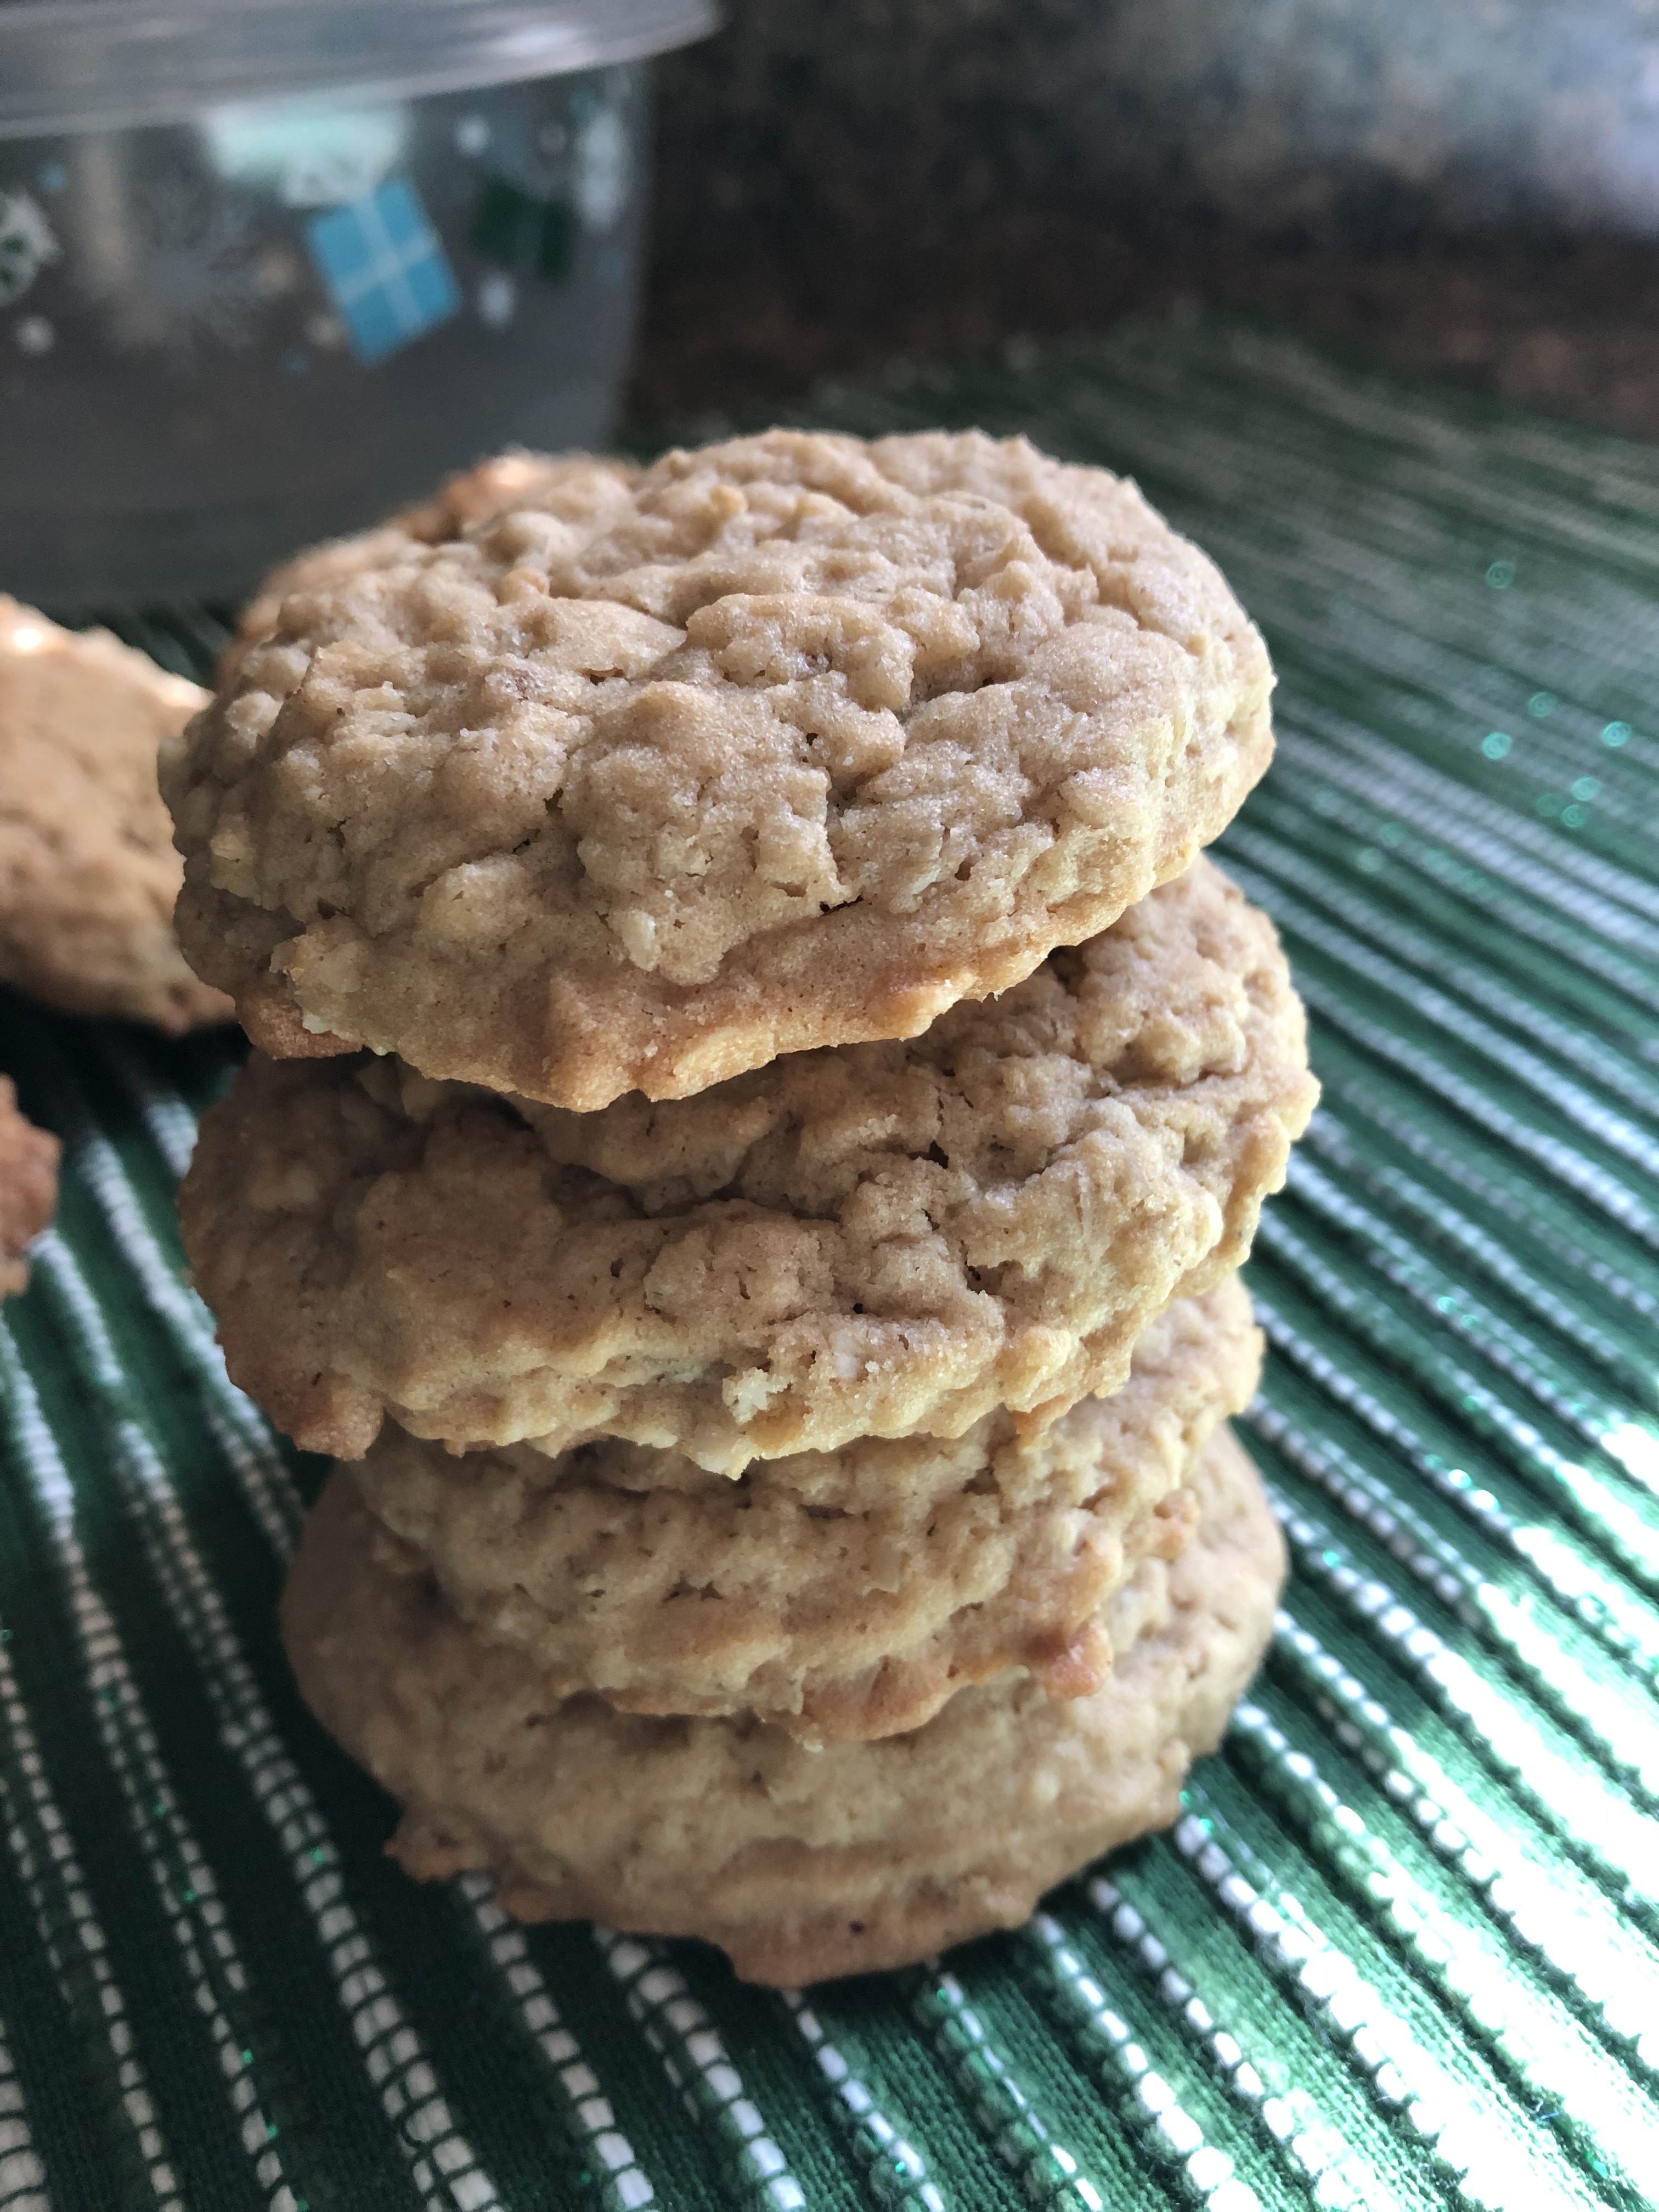
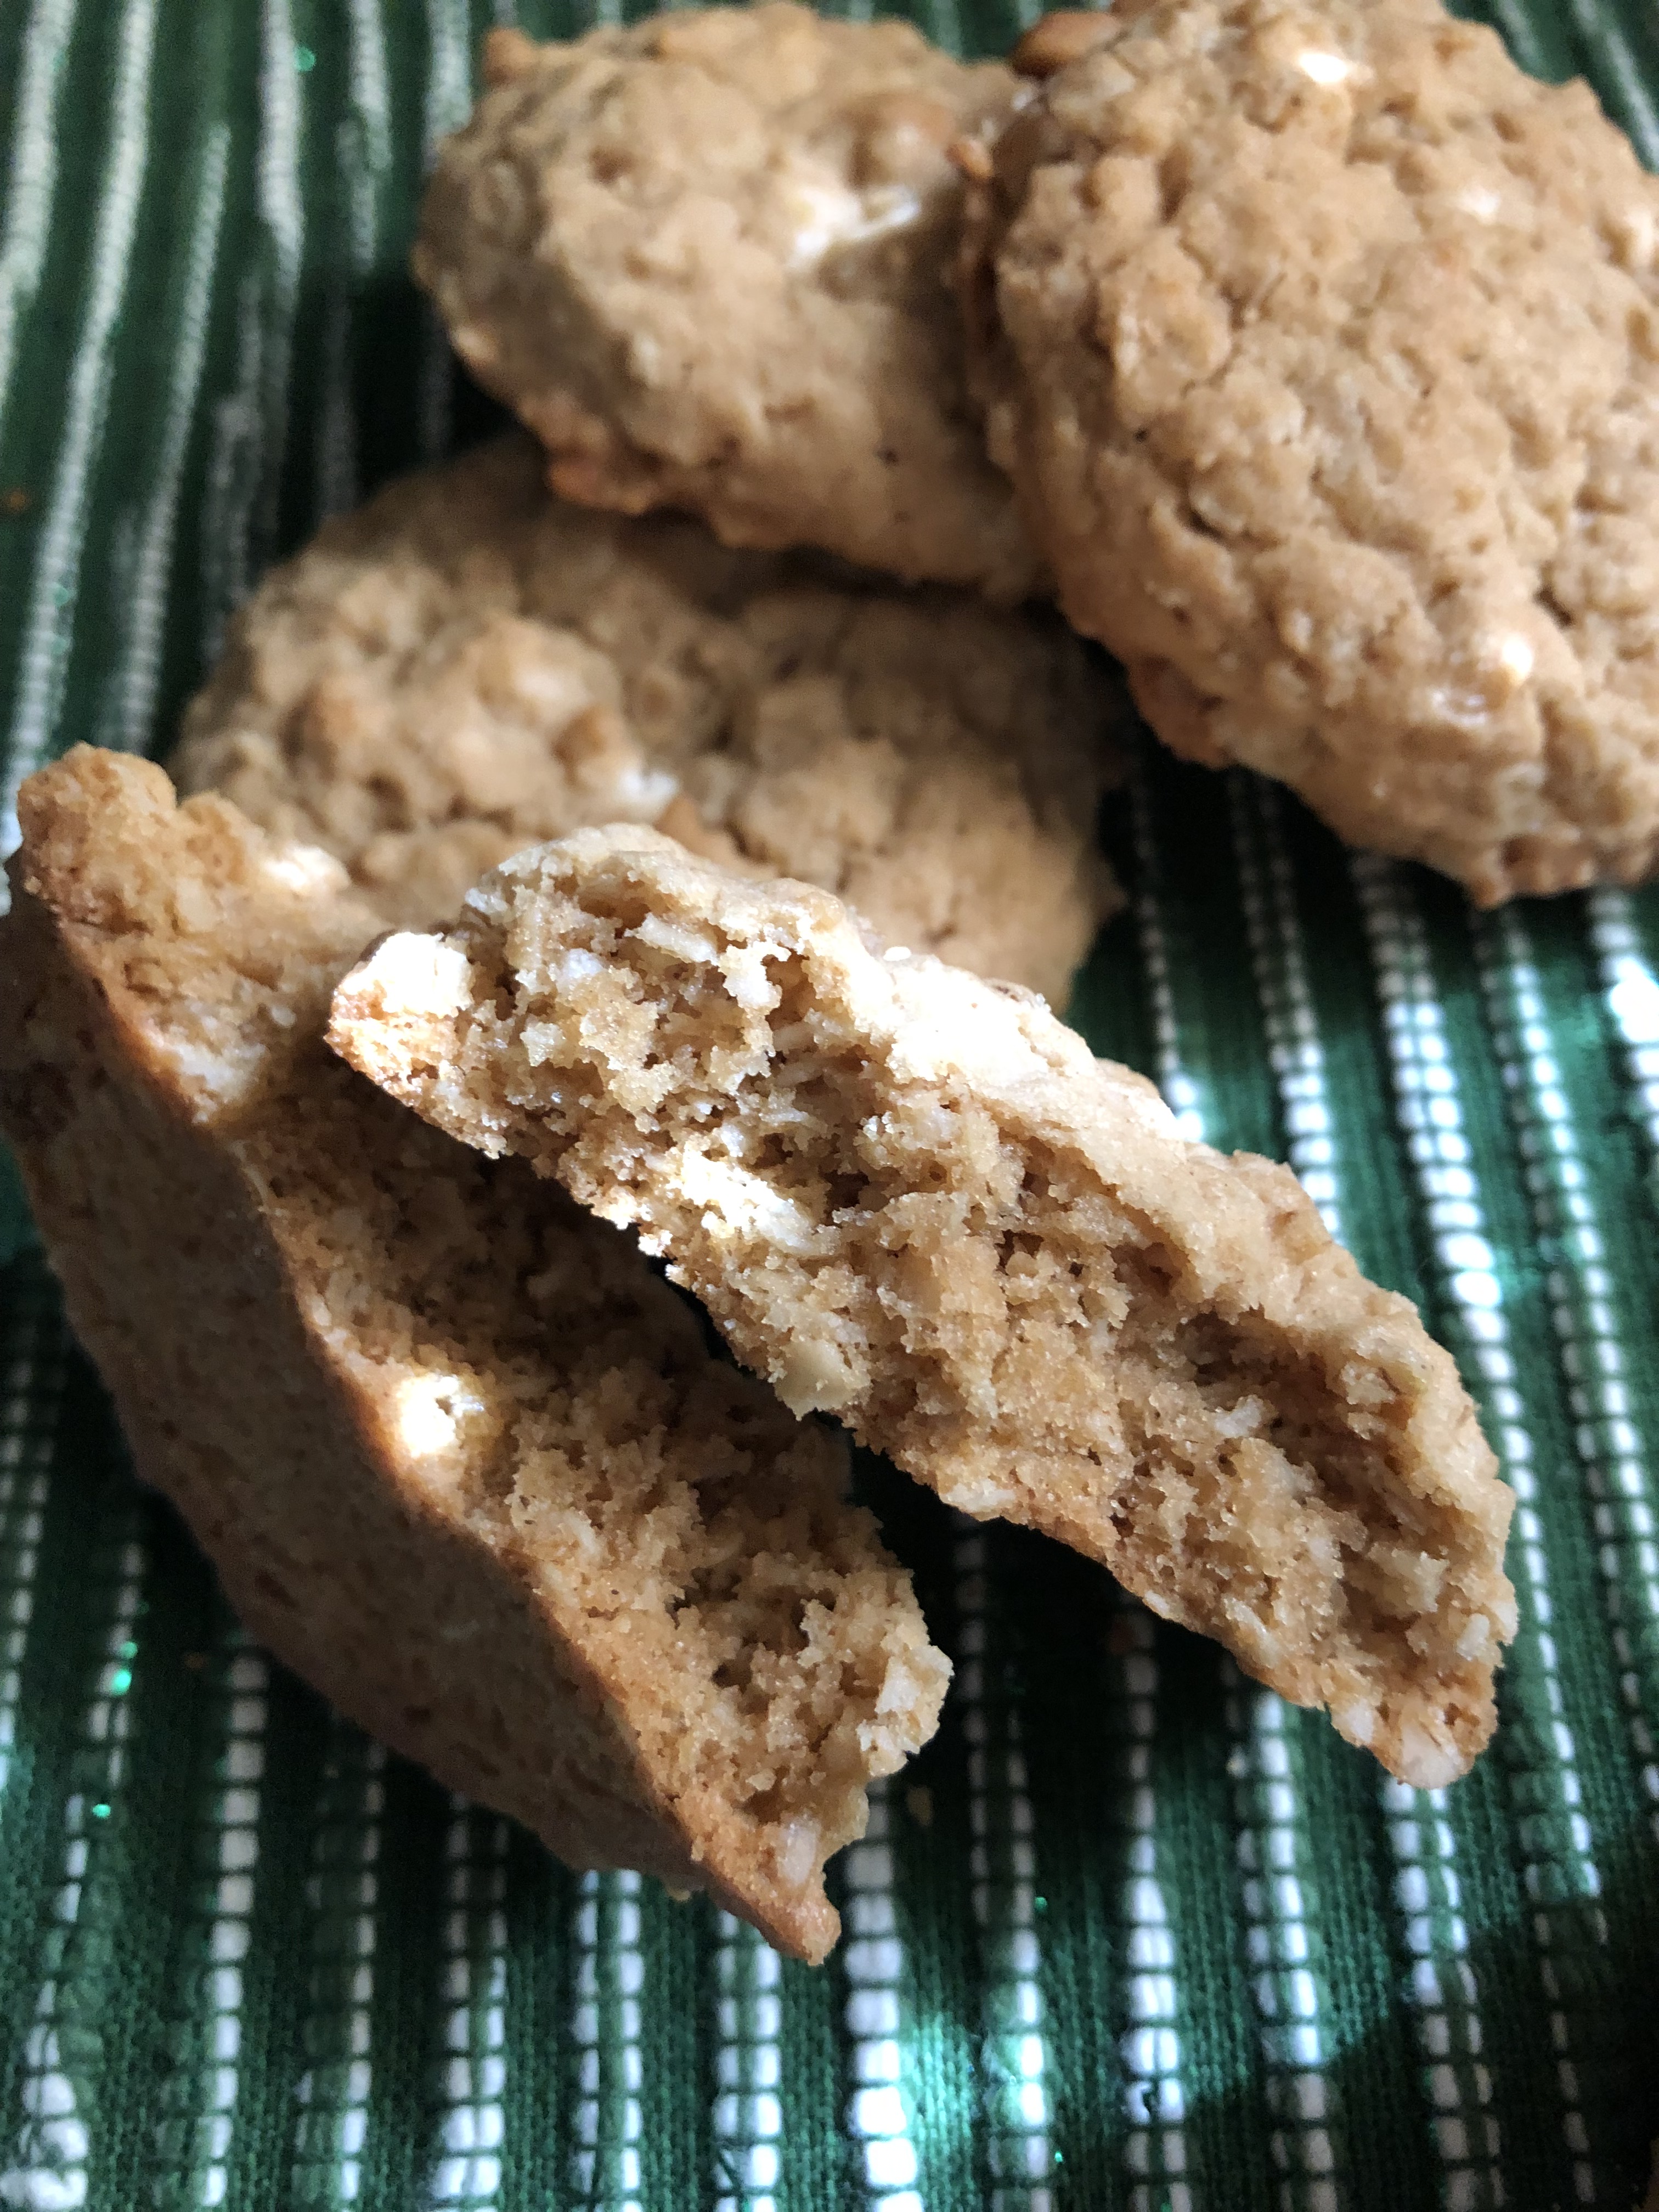
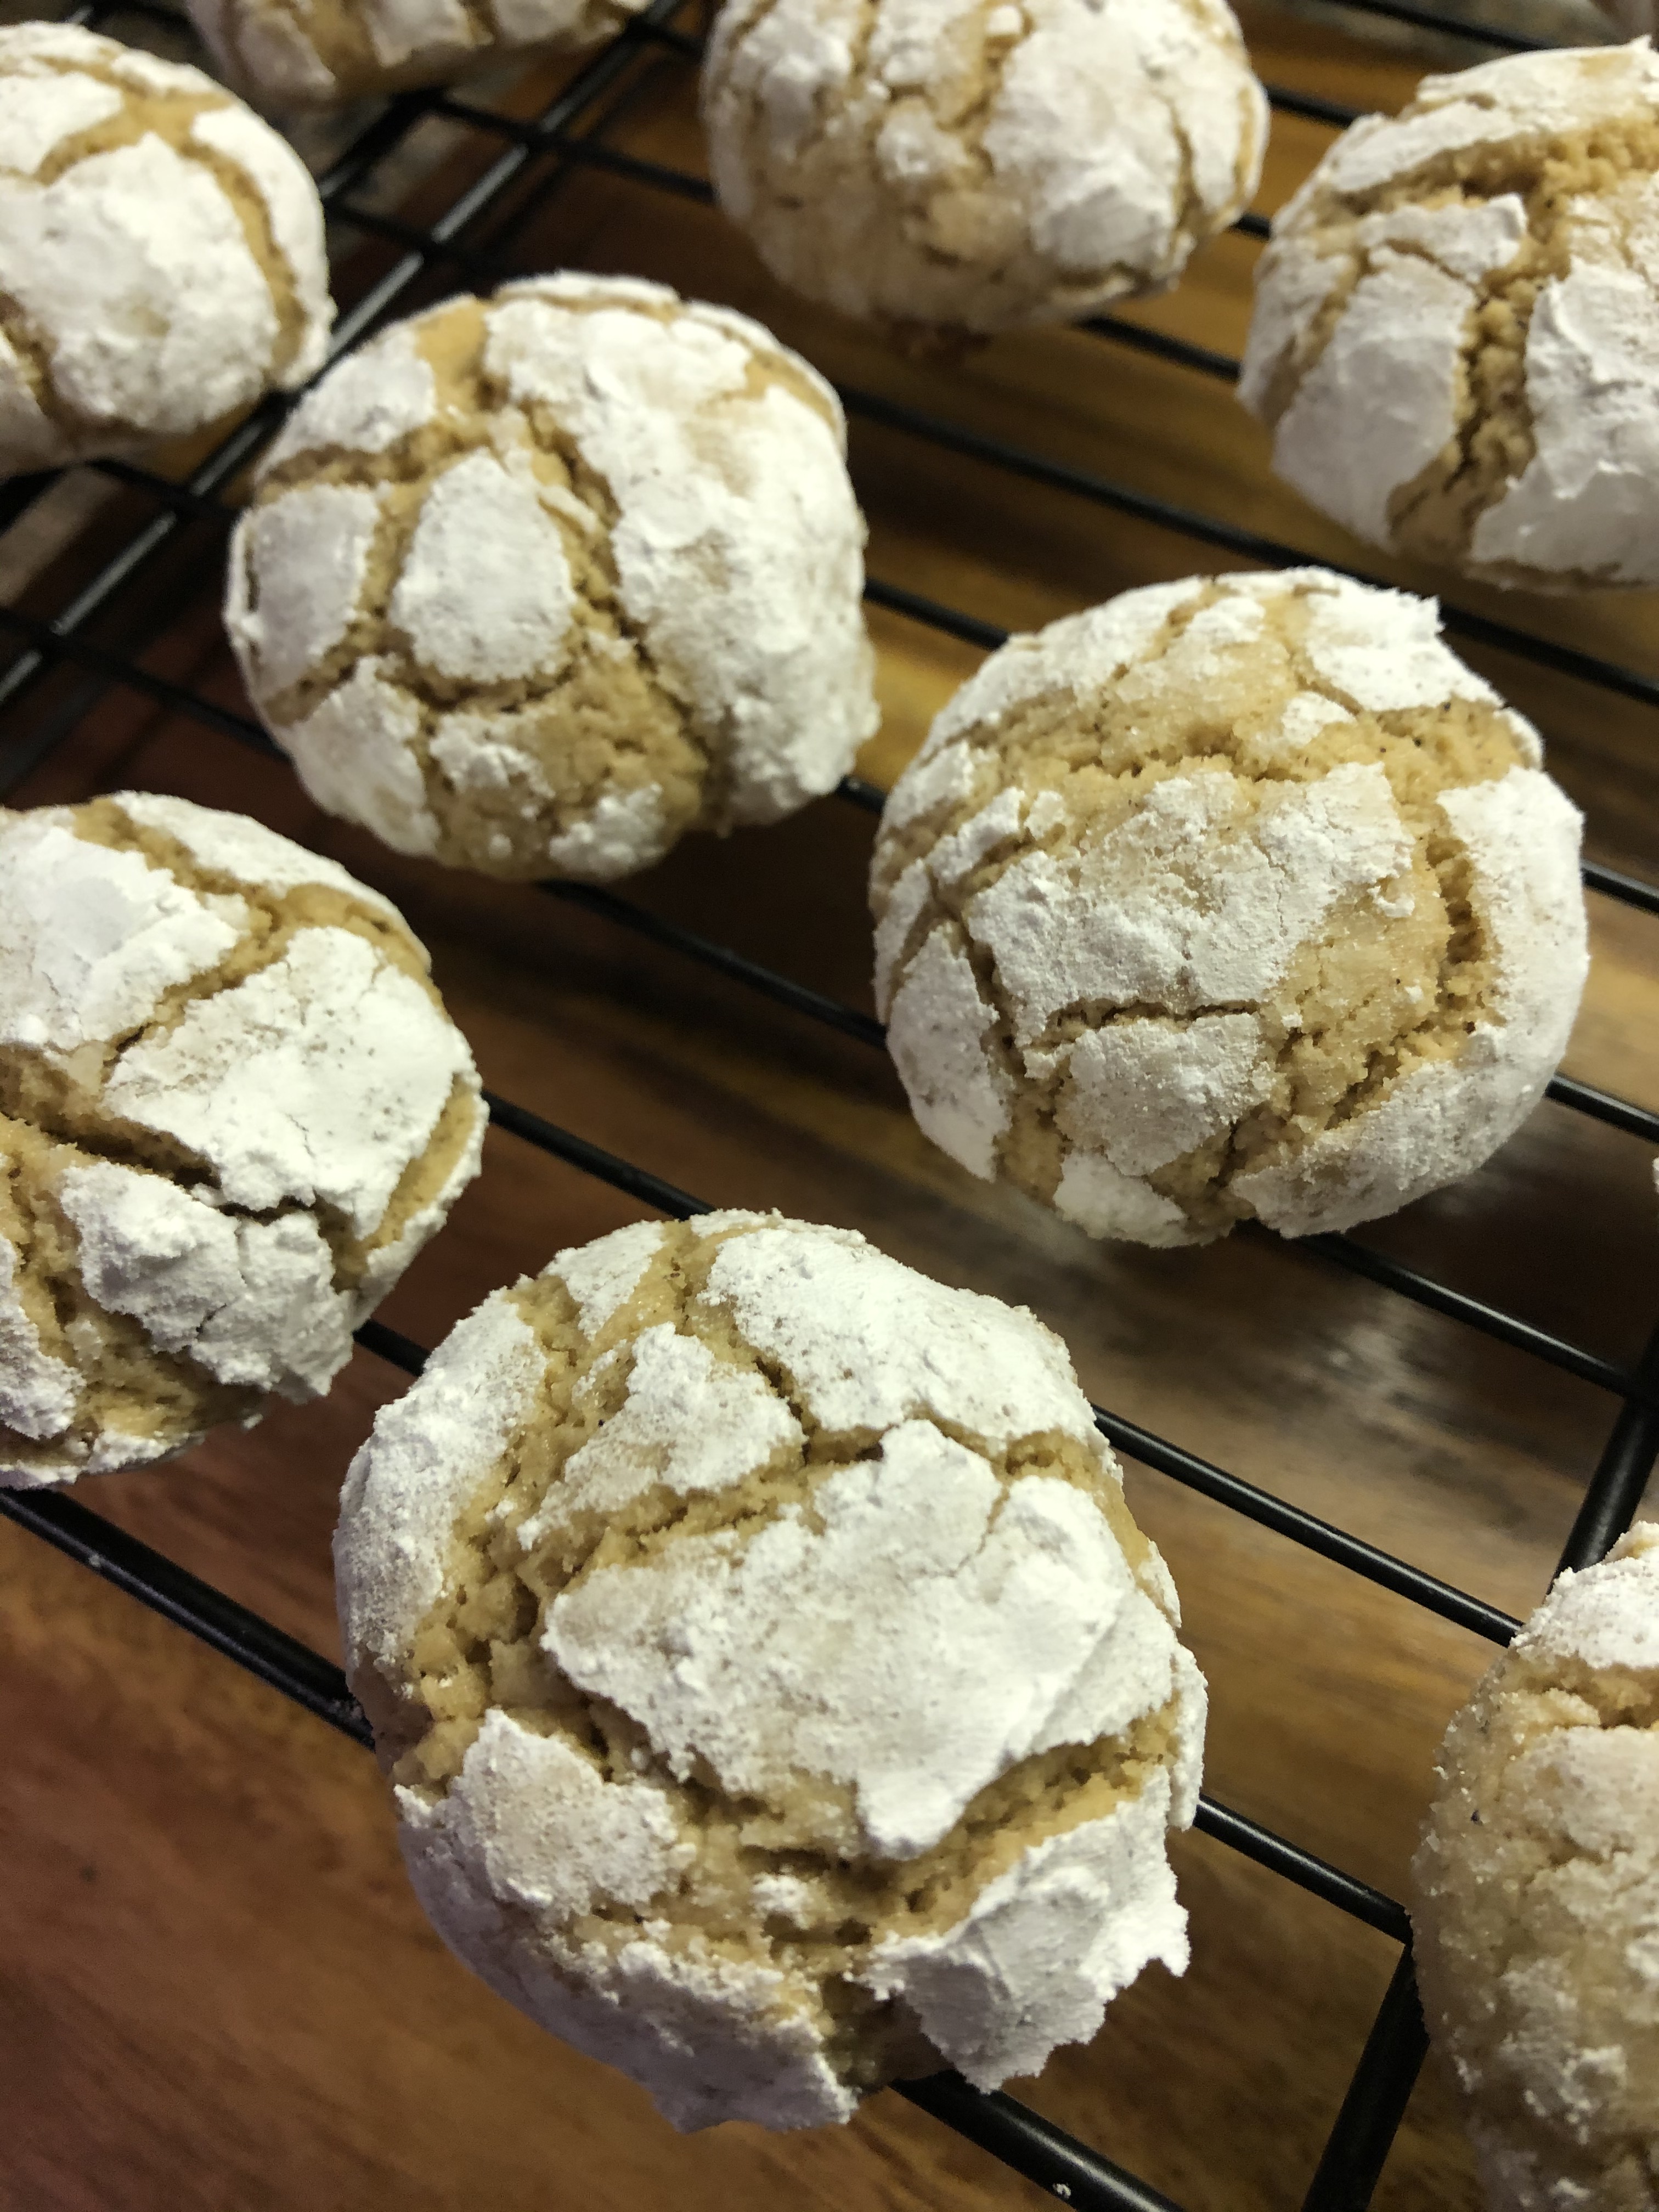
The result, a pumpkin cookie with just the right amount of spice and sweetness. And the perfect texture… Not too moist and nowhere near dry.

Pumpkin Spice Chocolate Chip Cookies

  • Servings: 30 Cookies
  • Print

Ingredients:

1 15.25oz. box of yellow cake mix

1 15oz. can pumpkin puree

2 teaspoons cinnamon

1 teaspoon nutmeg

1/2 teaspoon ginger

1/2 teaspoon allspice

1/2 teaspoon ground cloves

1 teaspoon vanilla extract

1 1/4 cups semi-sweet chocolate chips

Directions:

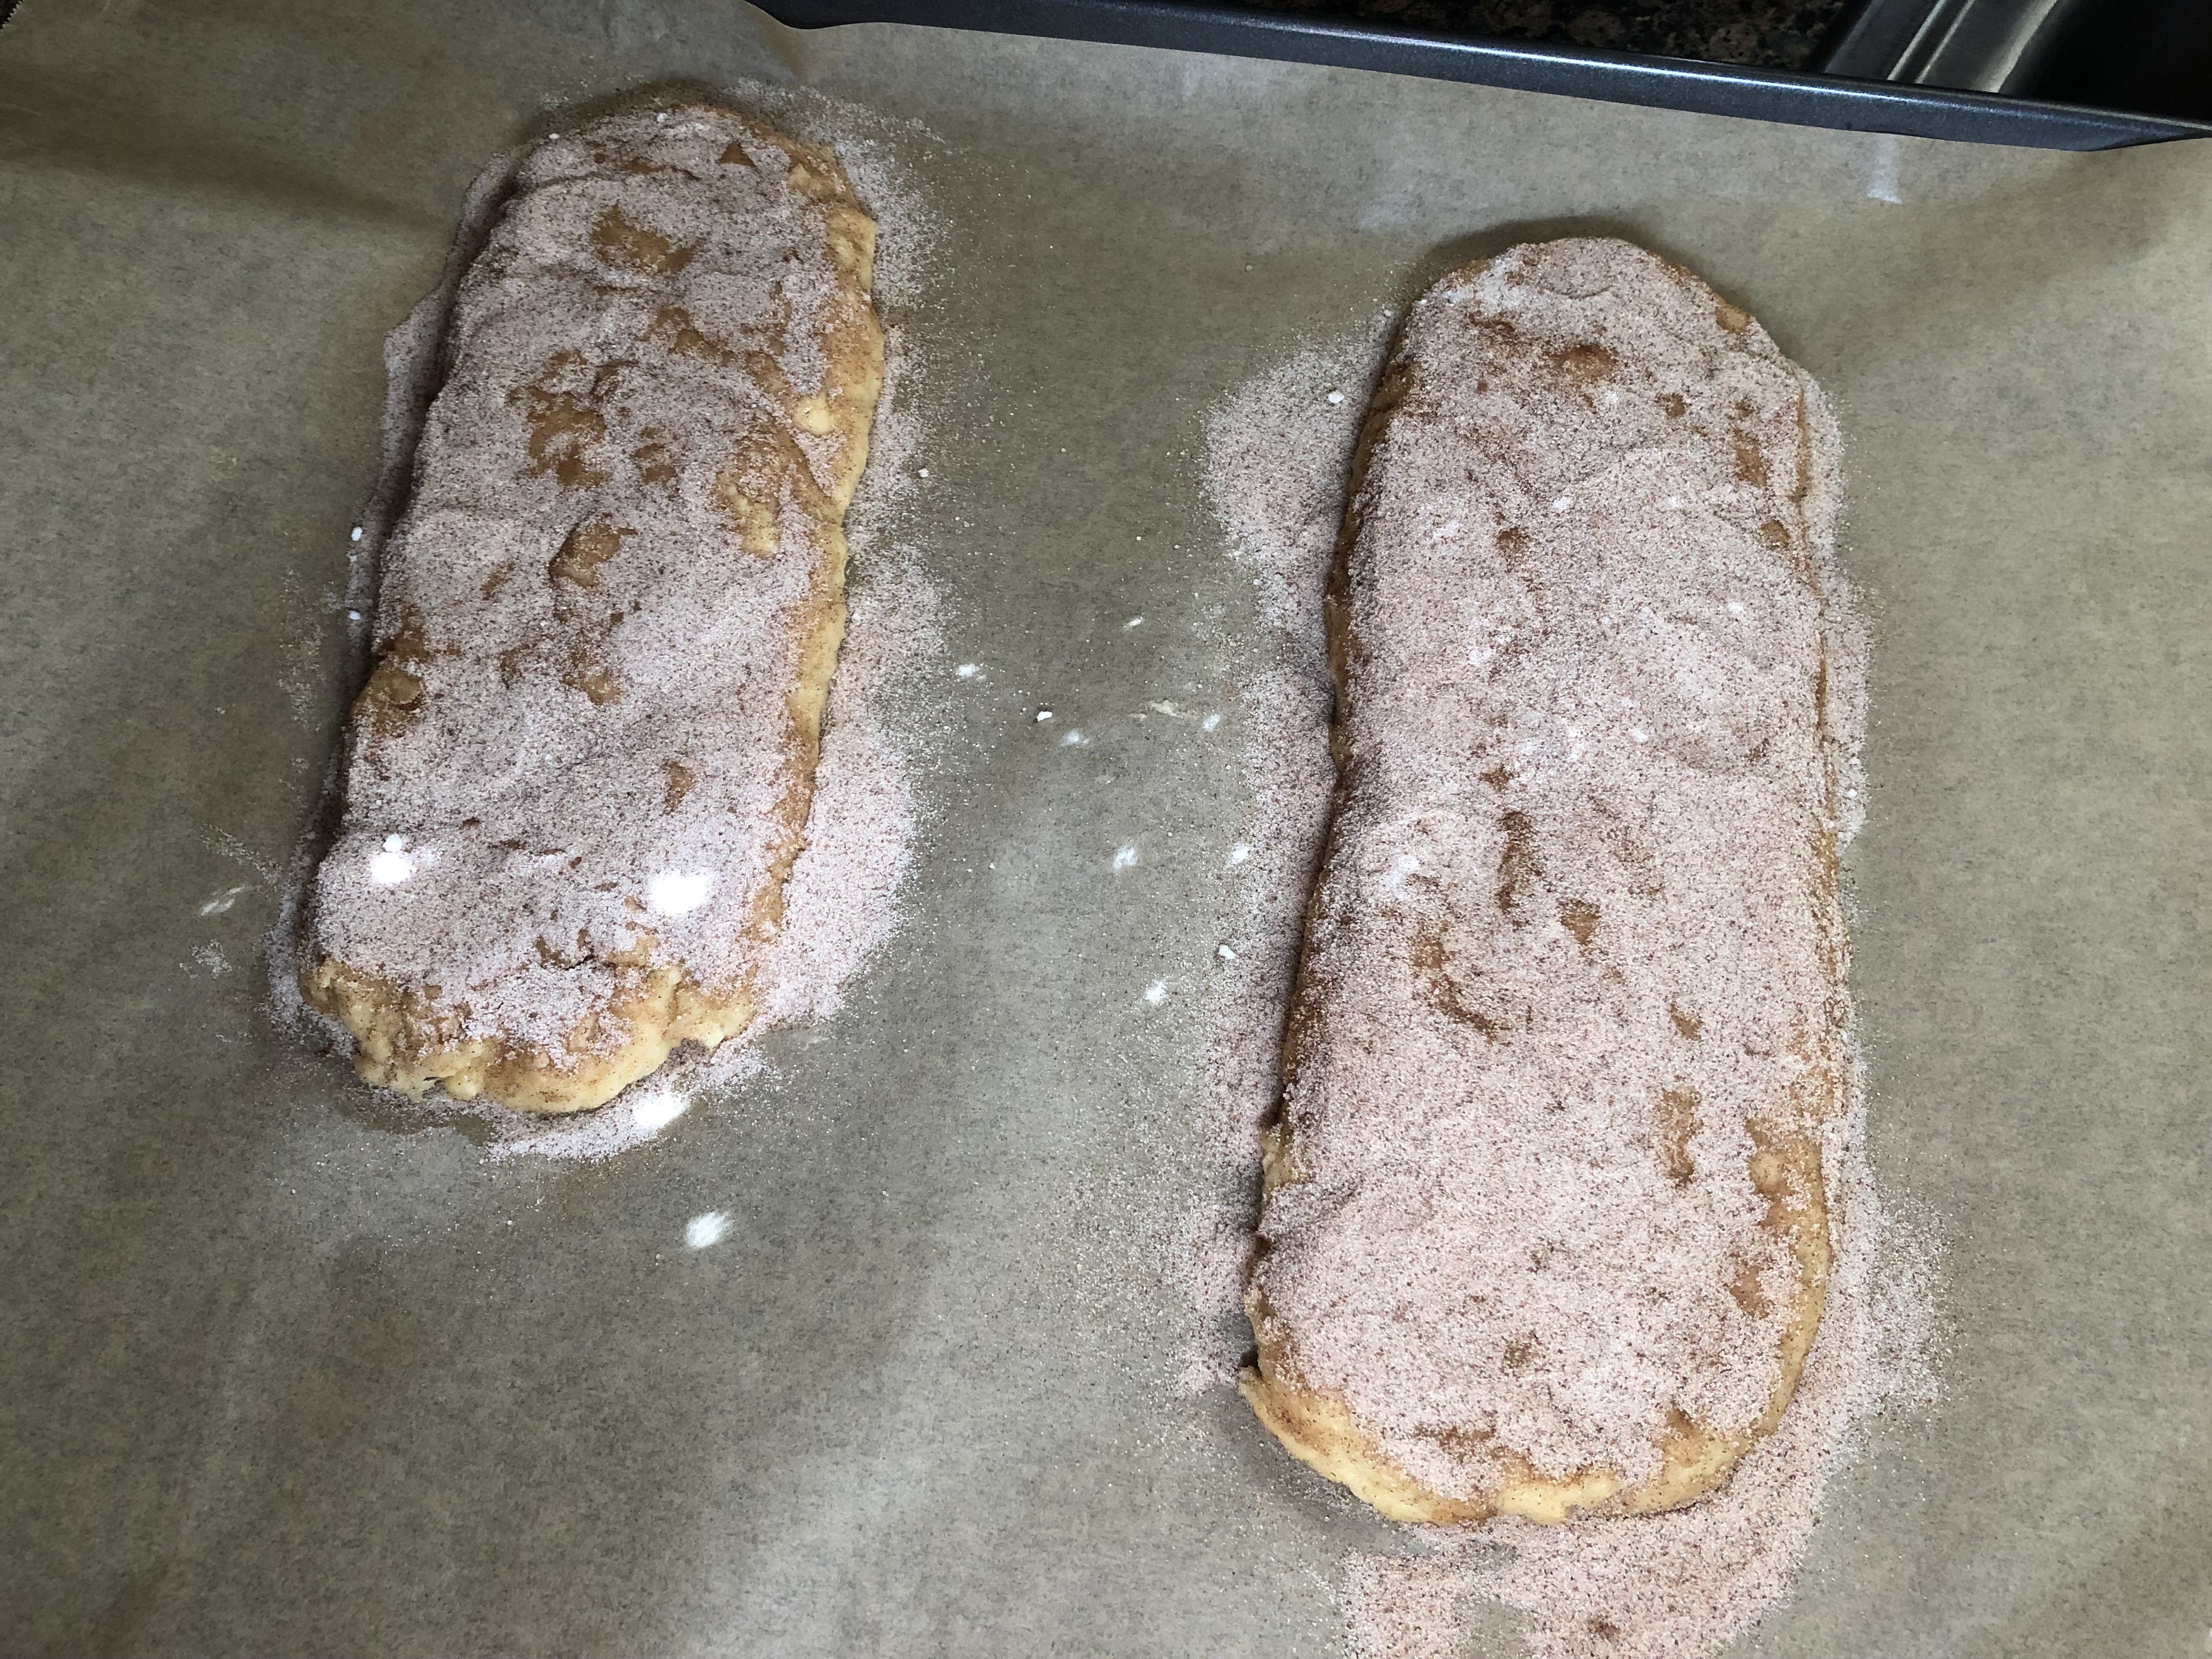
Preheat oven to 350 F. Line 2 baking sheets with parchment paper.

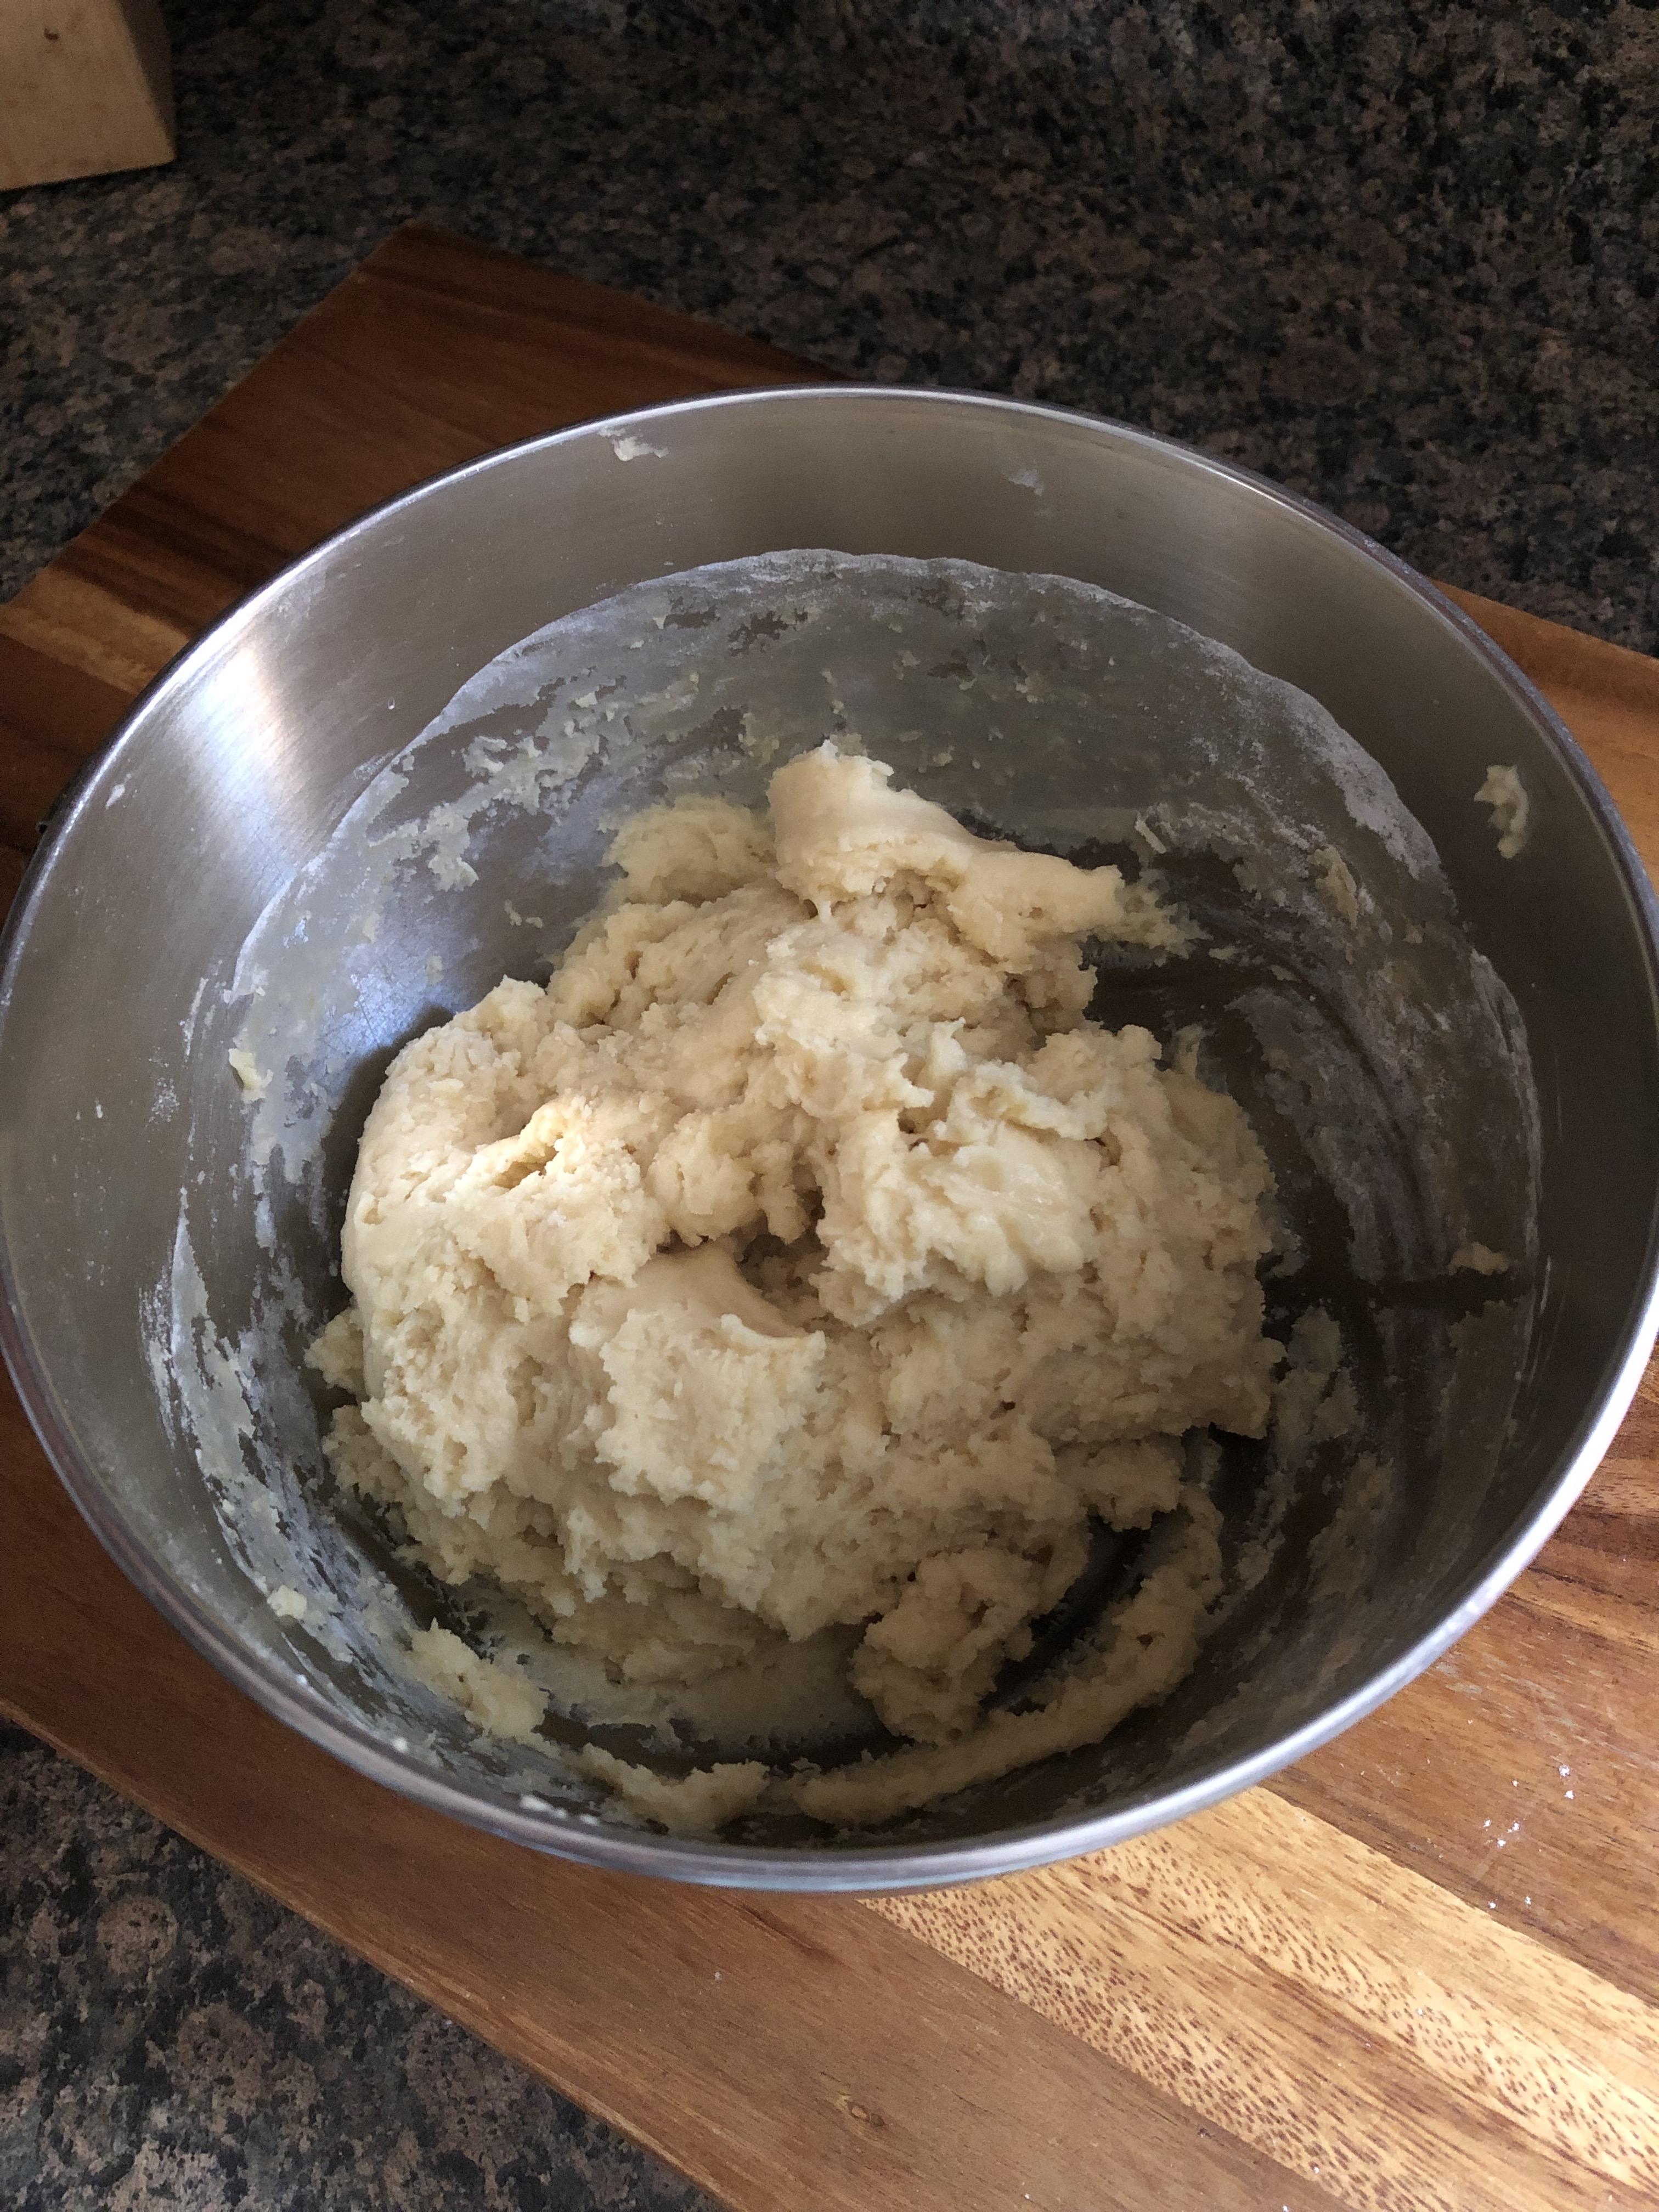
In a large bowl whisk together the yellow cake mix with the spices. Add in the pumpkin puree and vanilla extract and stir to combine. Finally, stir in the chocolate chips.

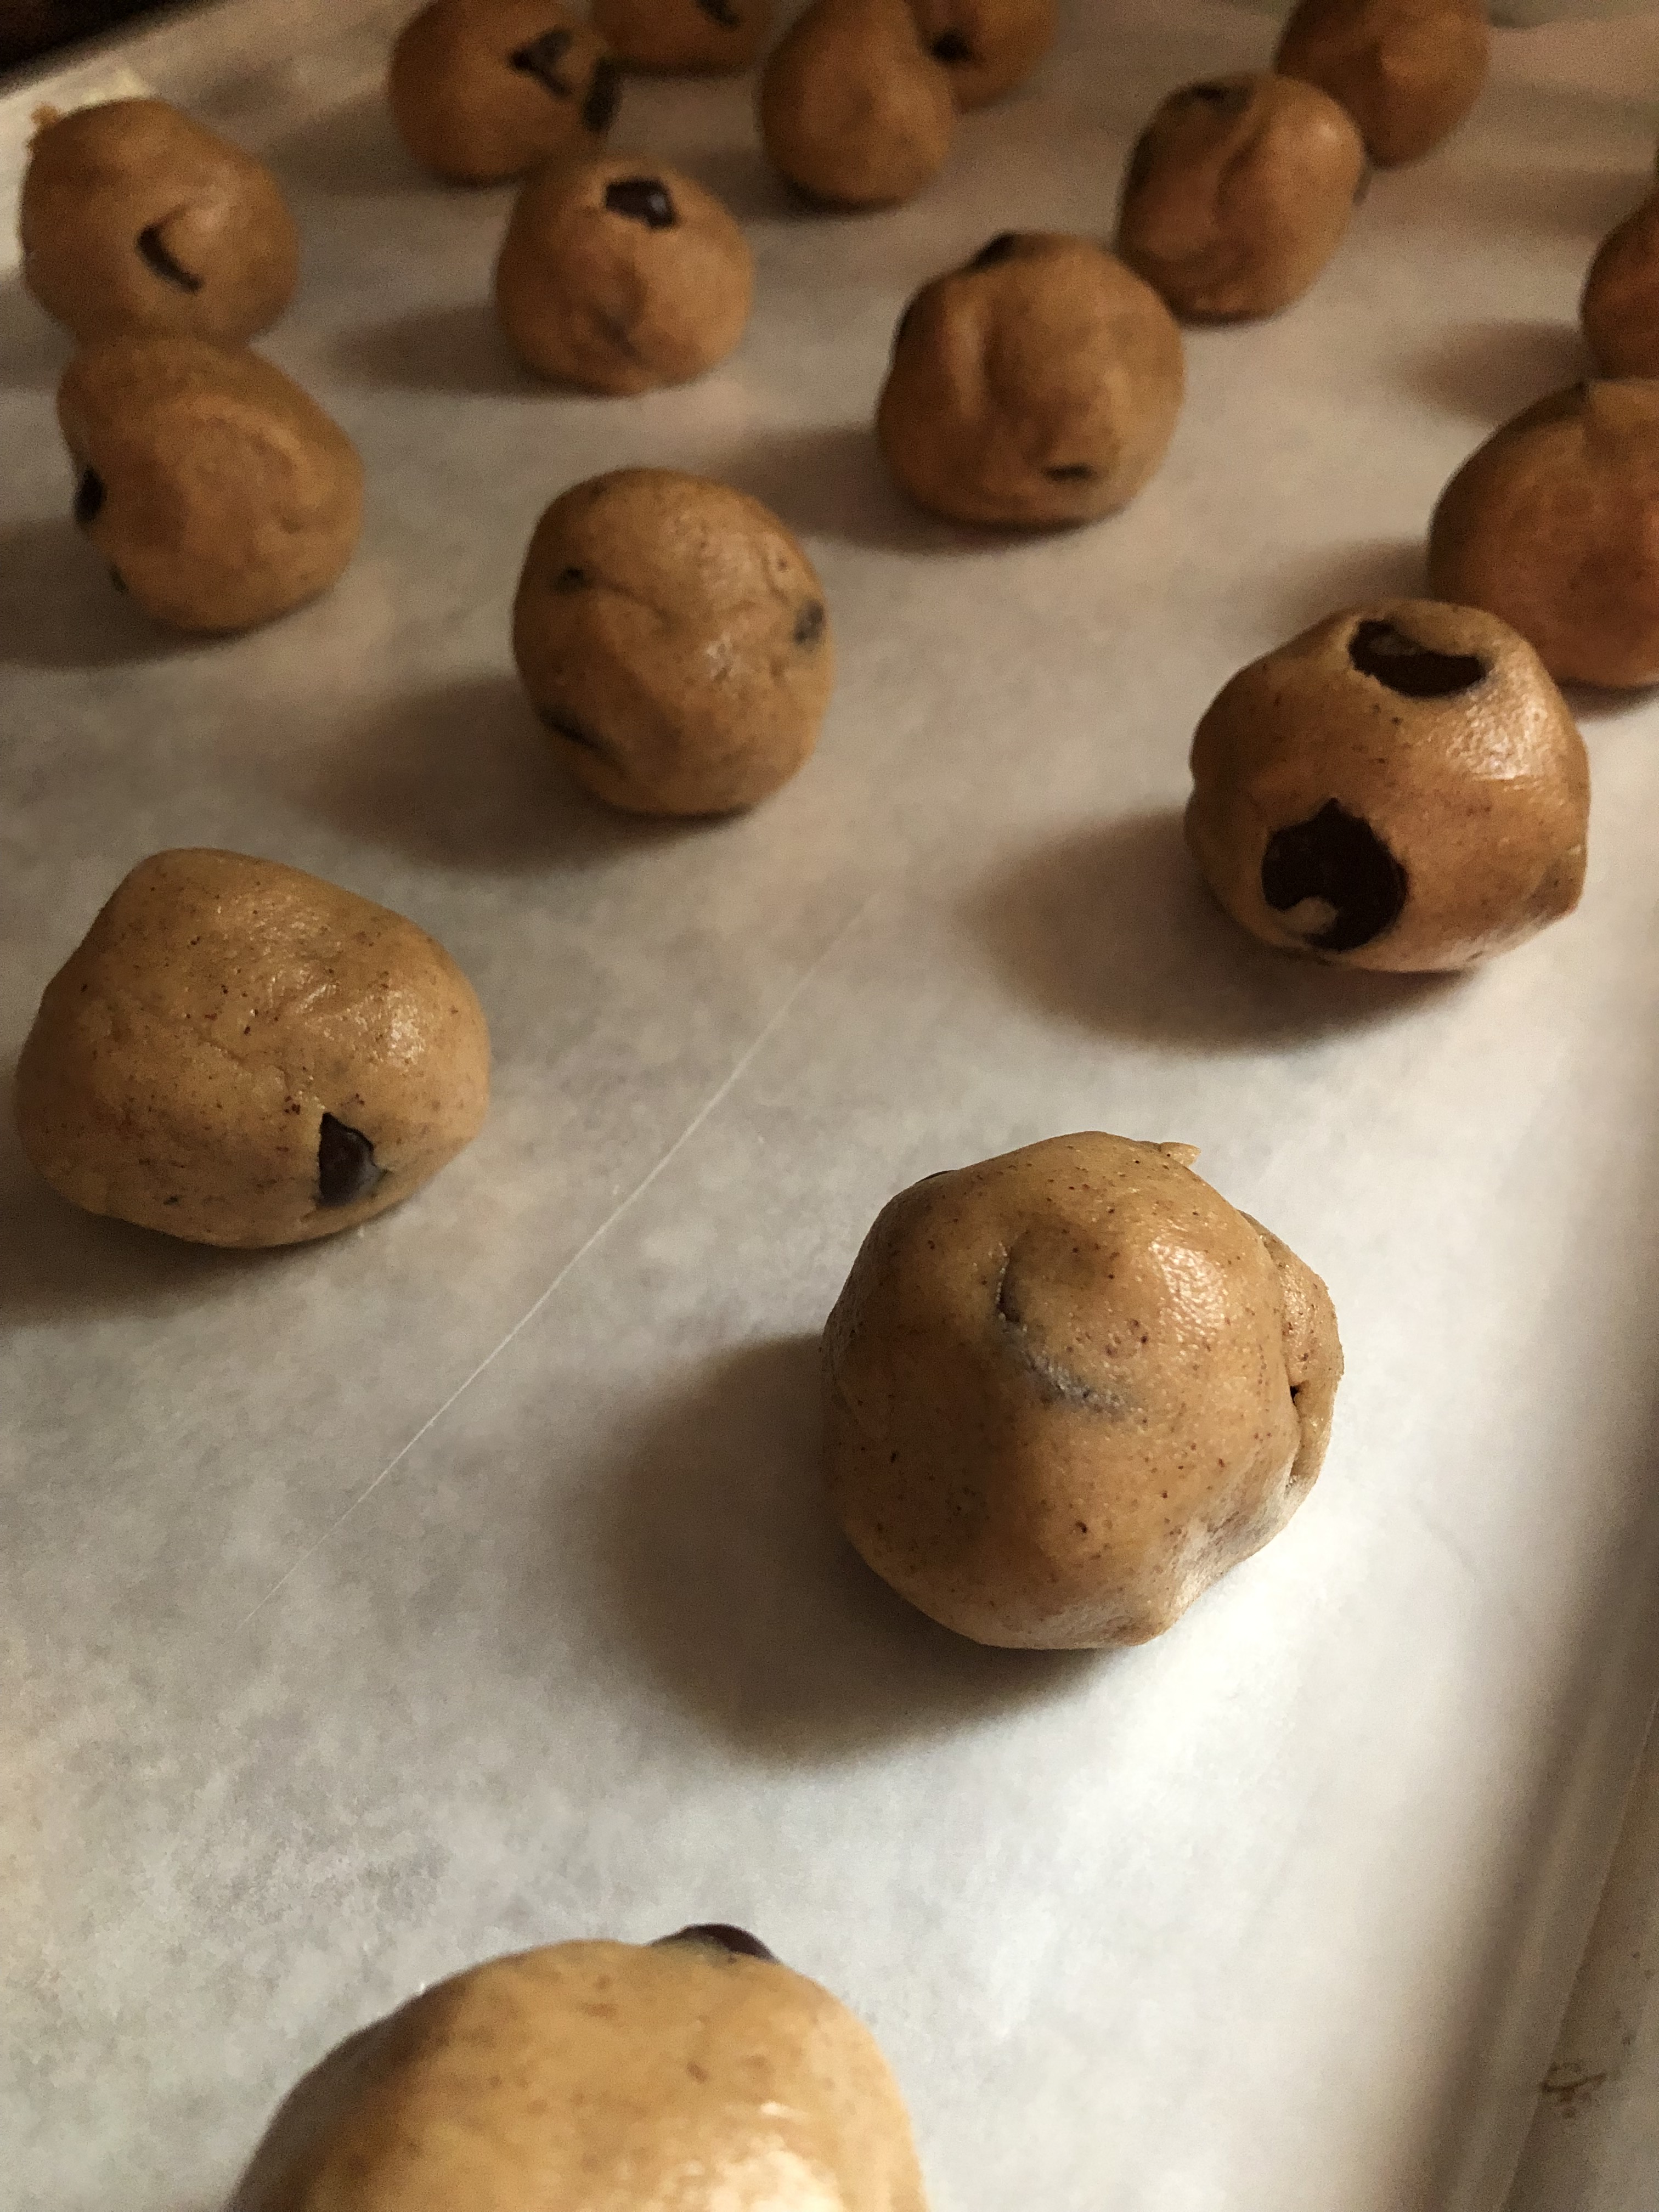
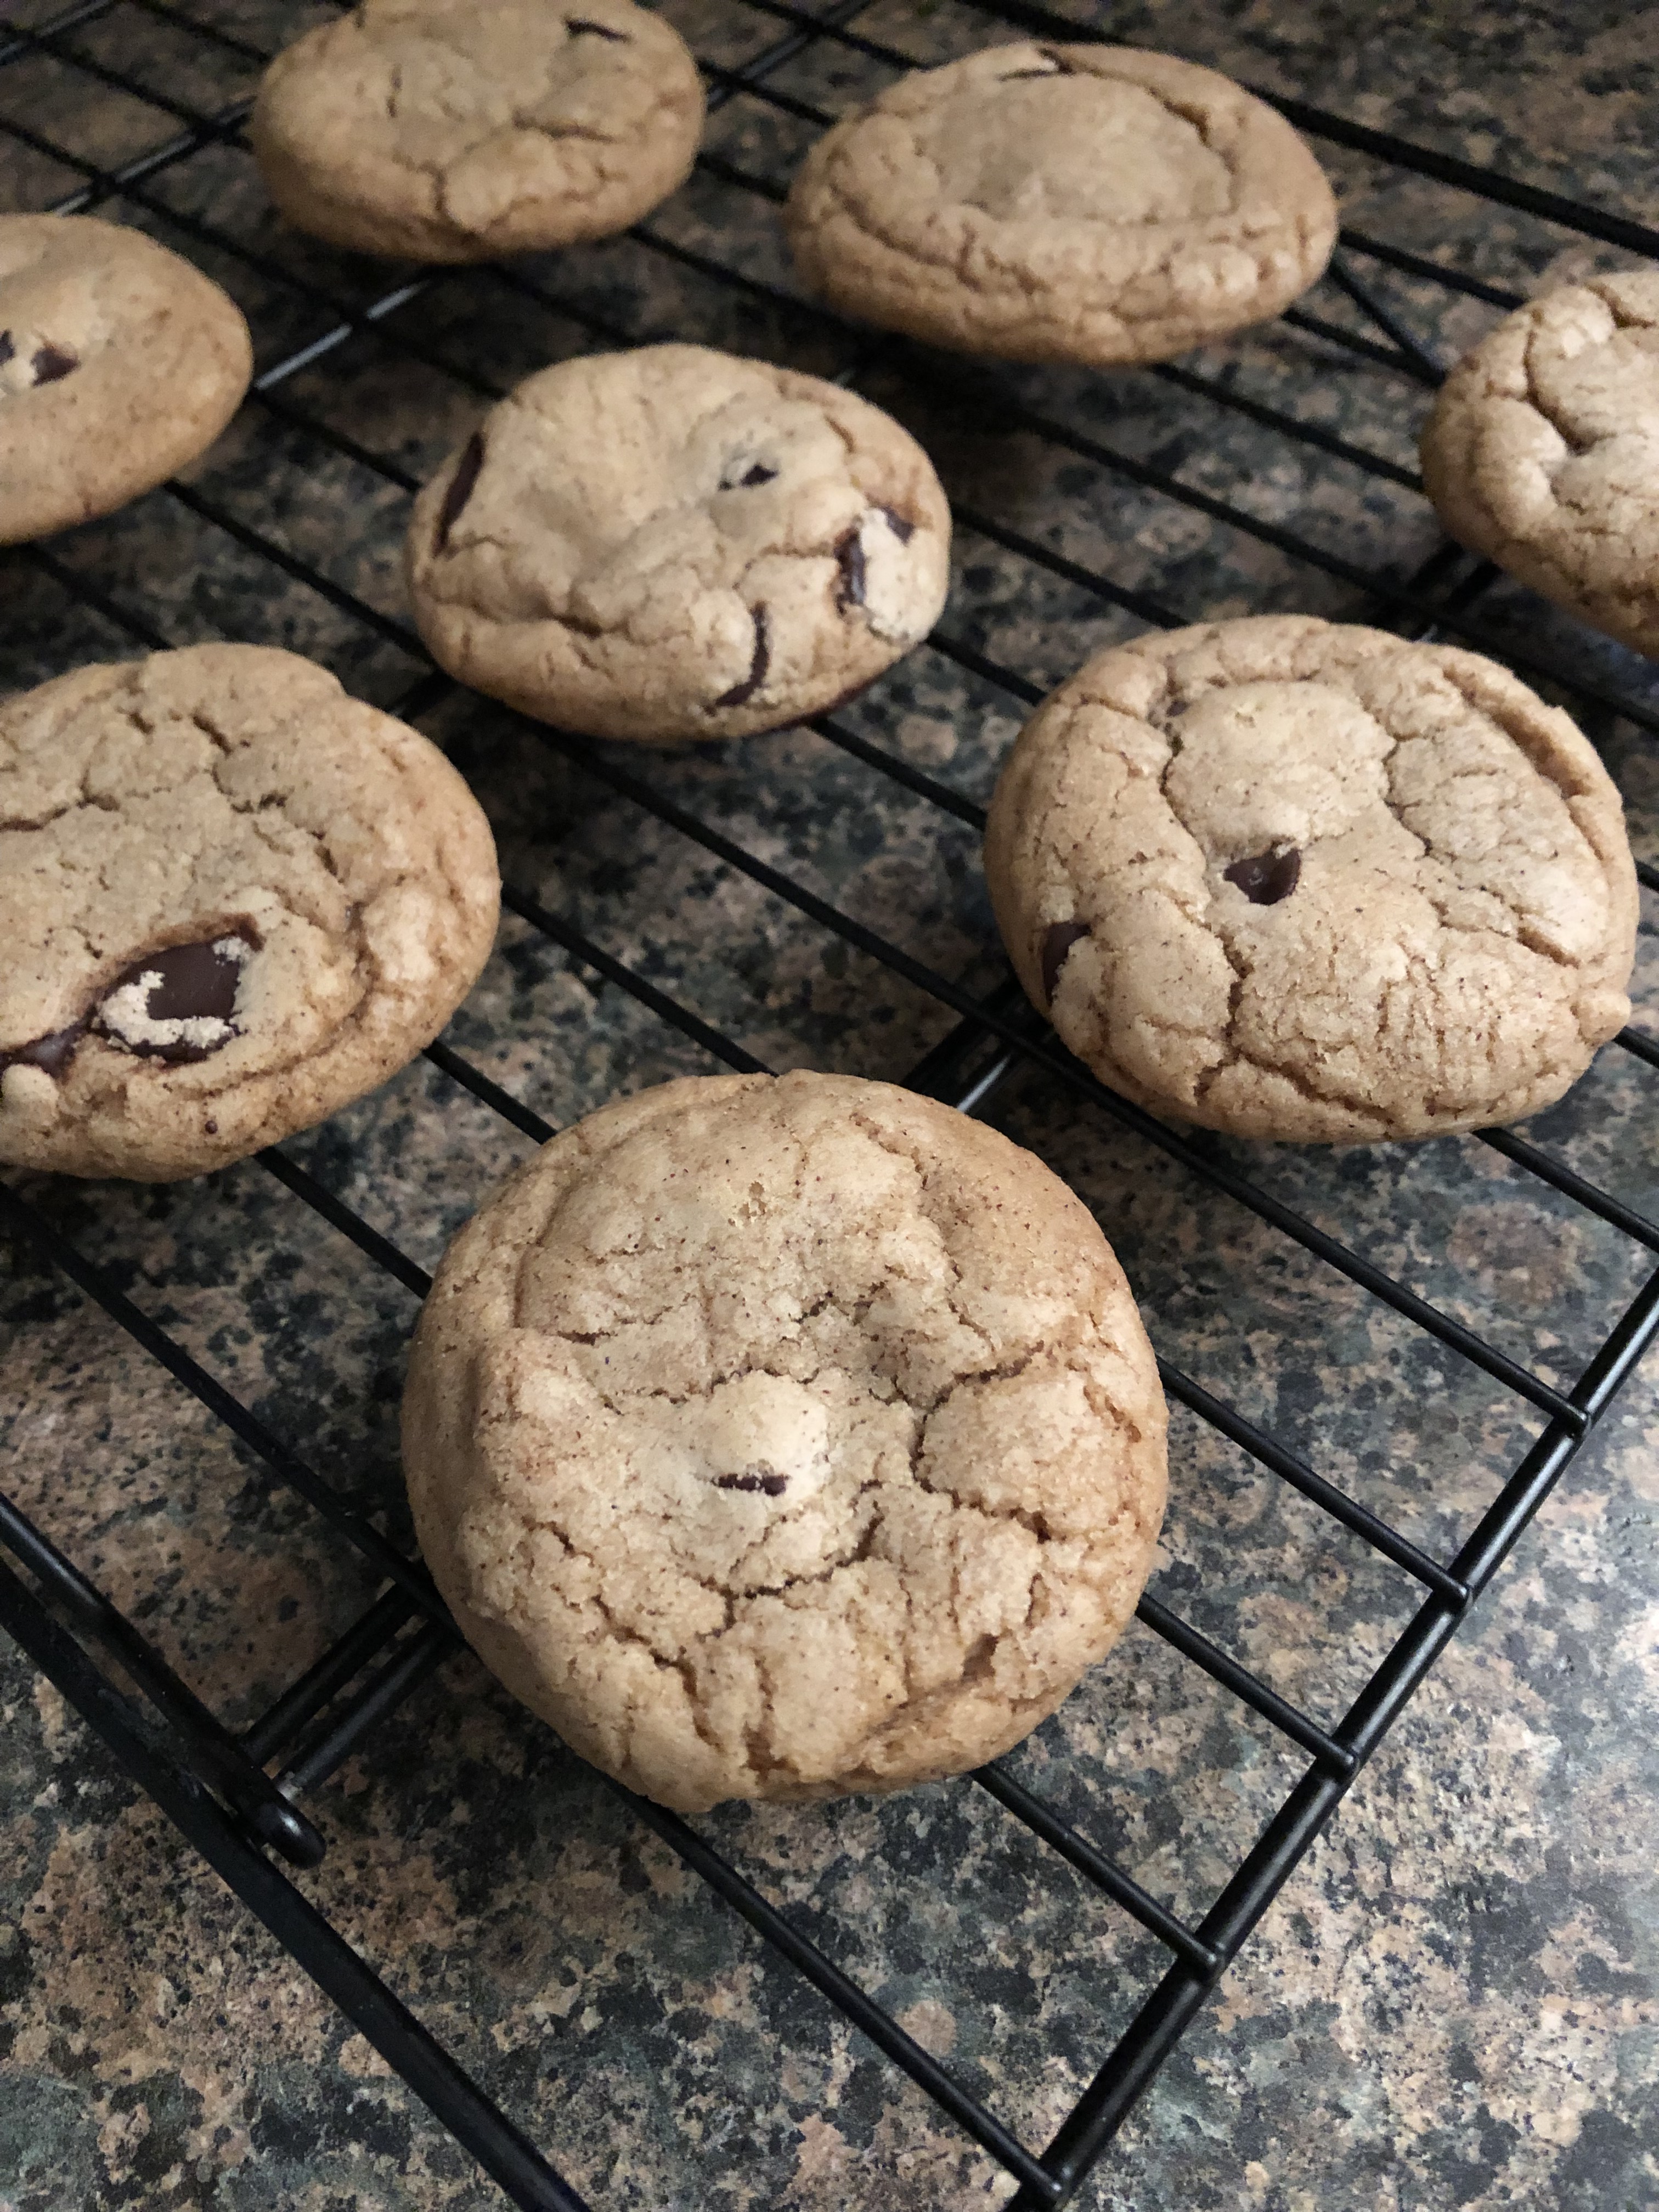
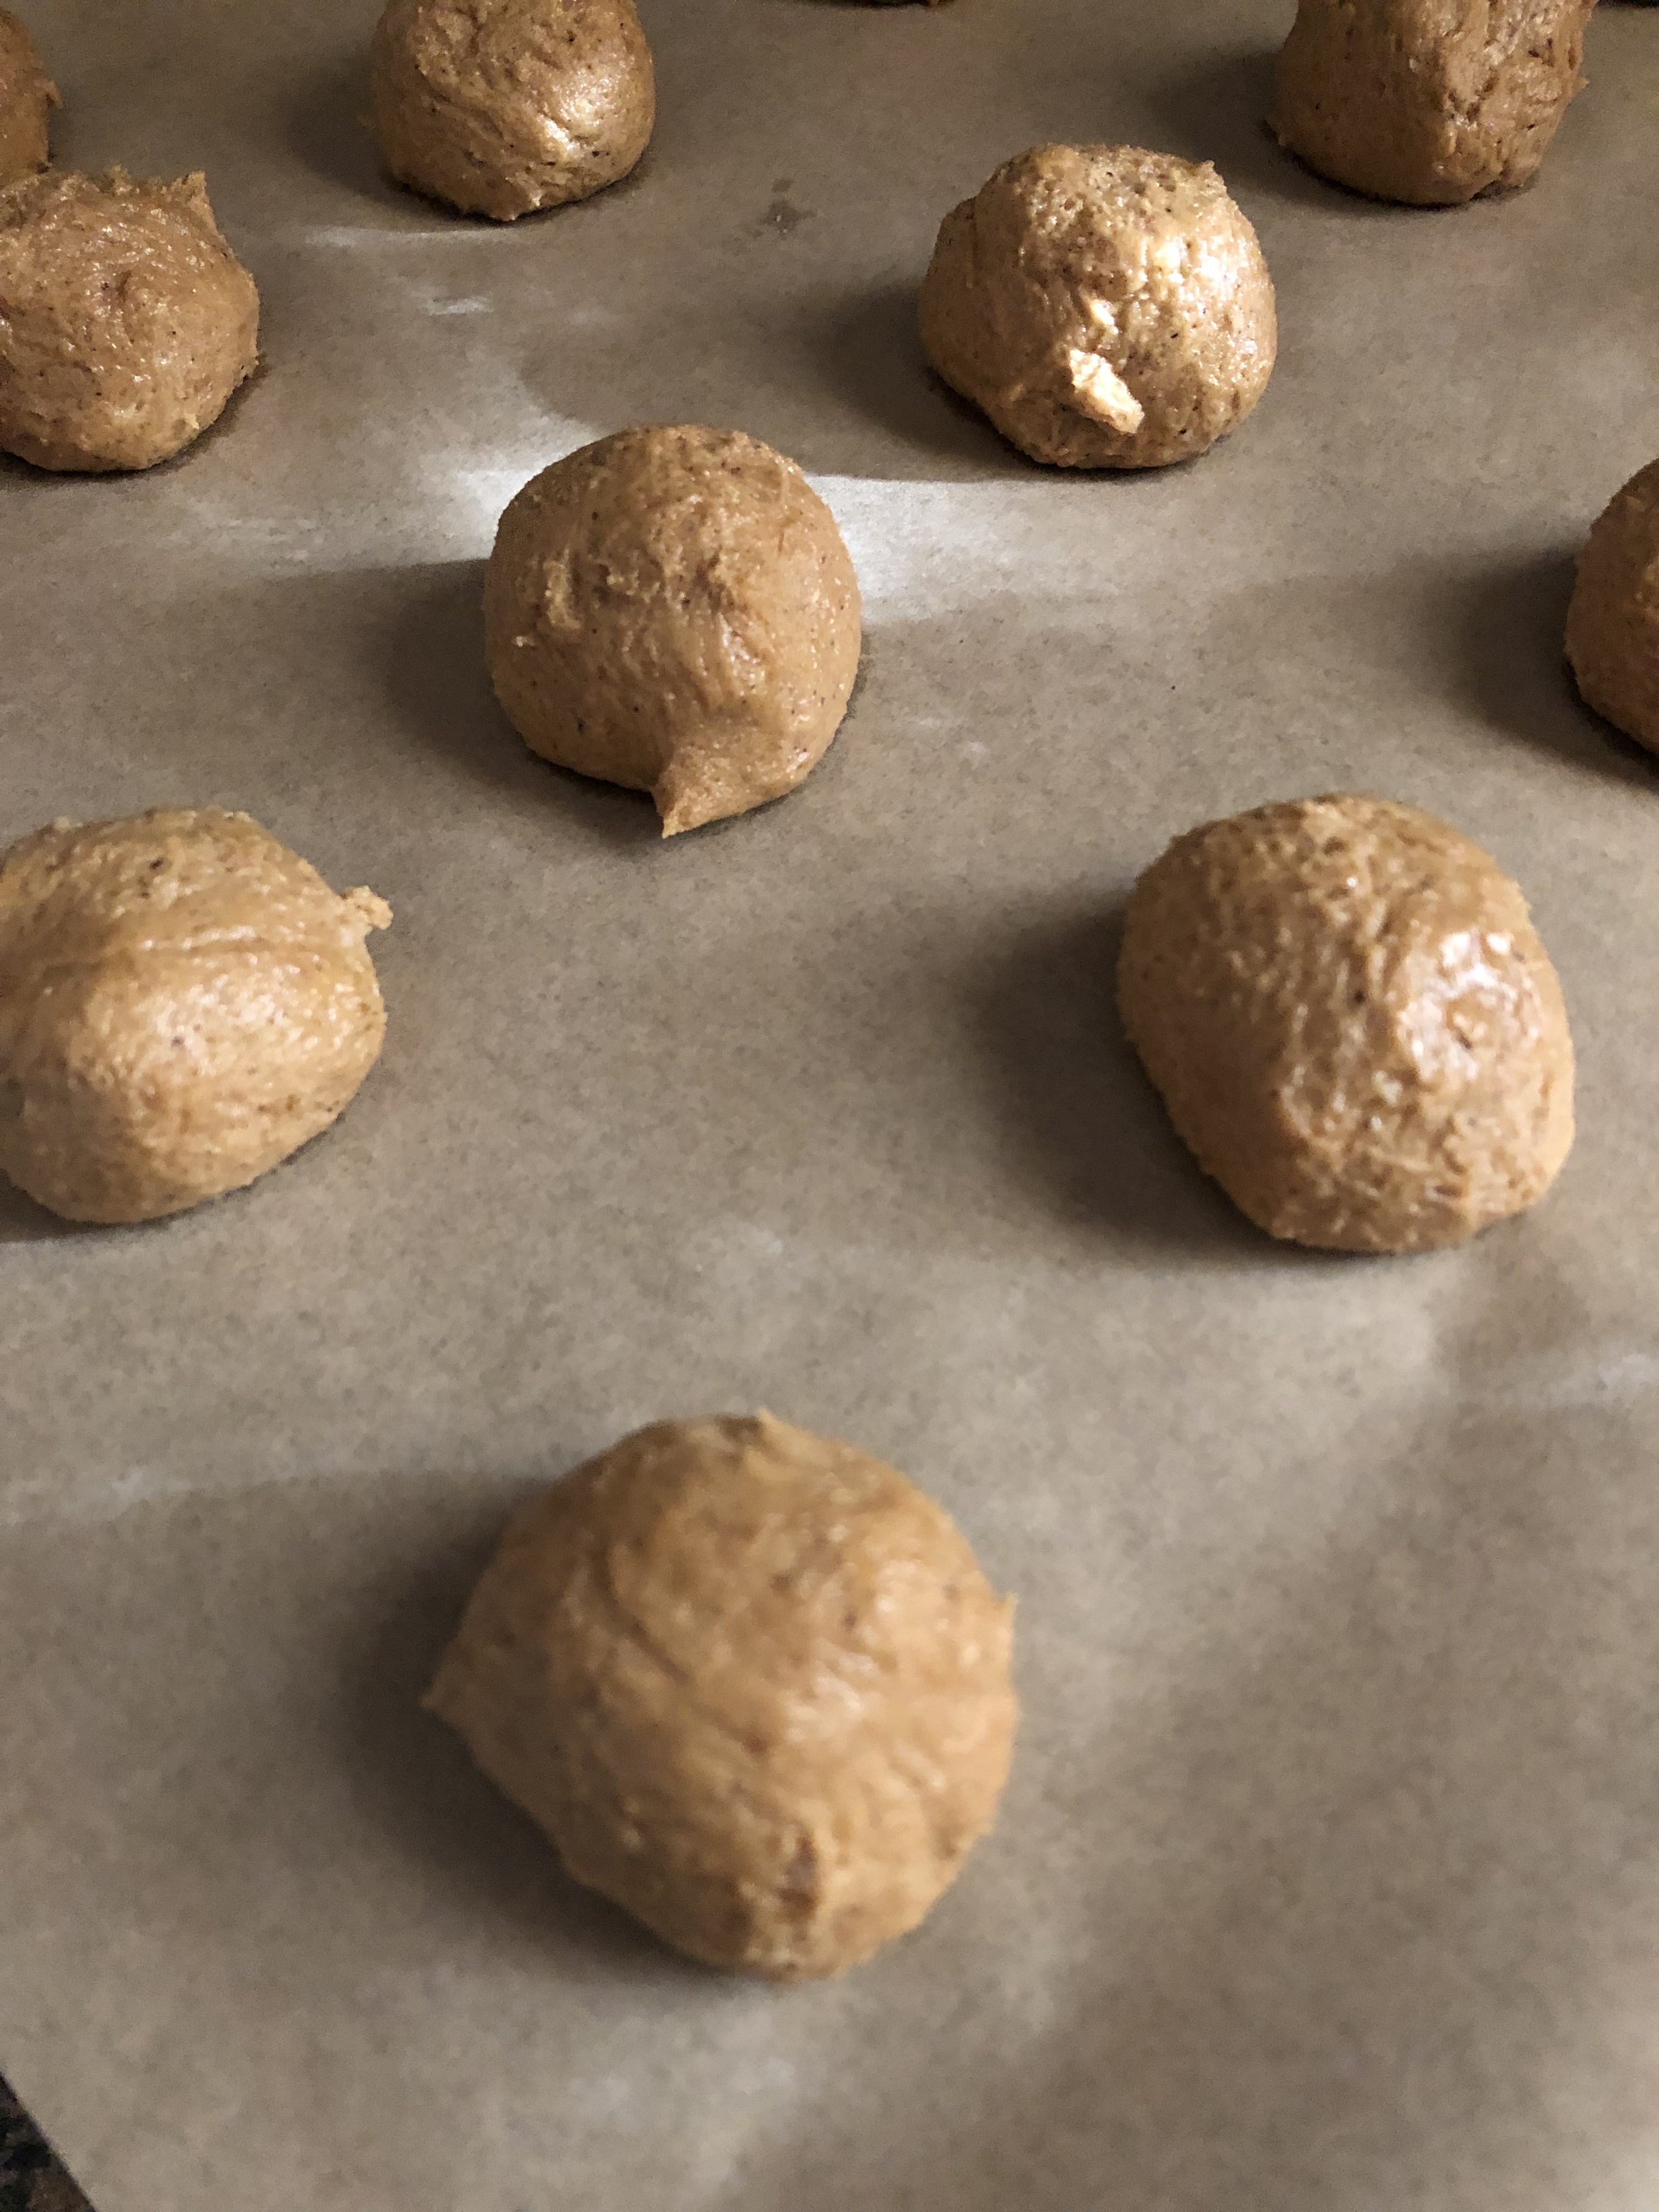
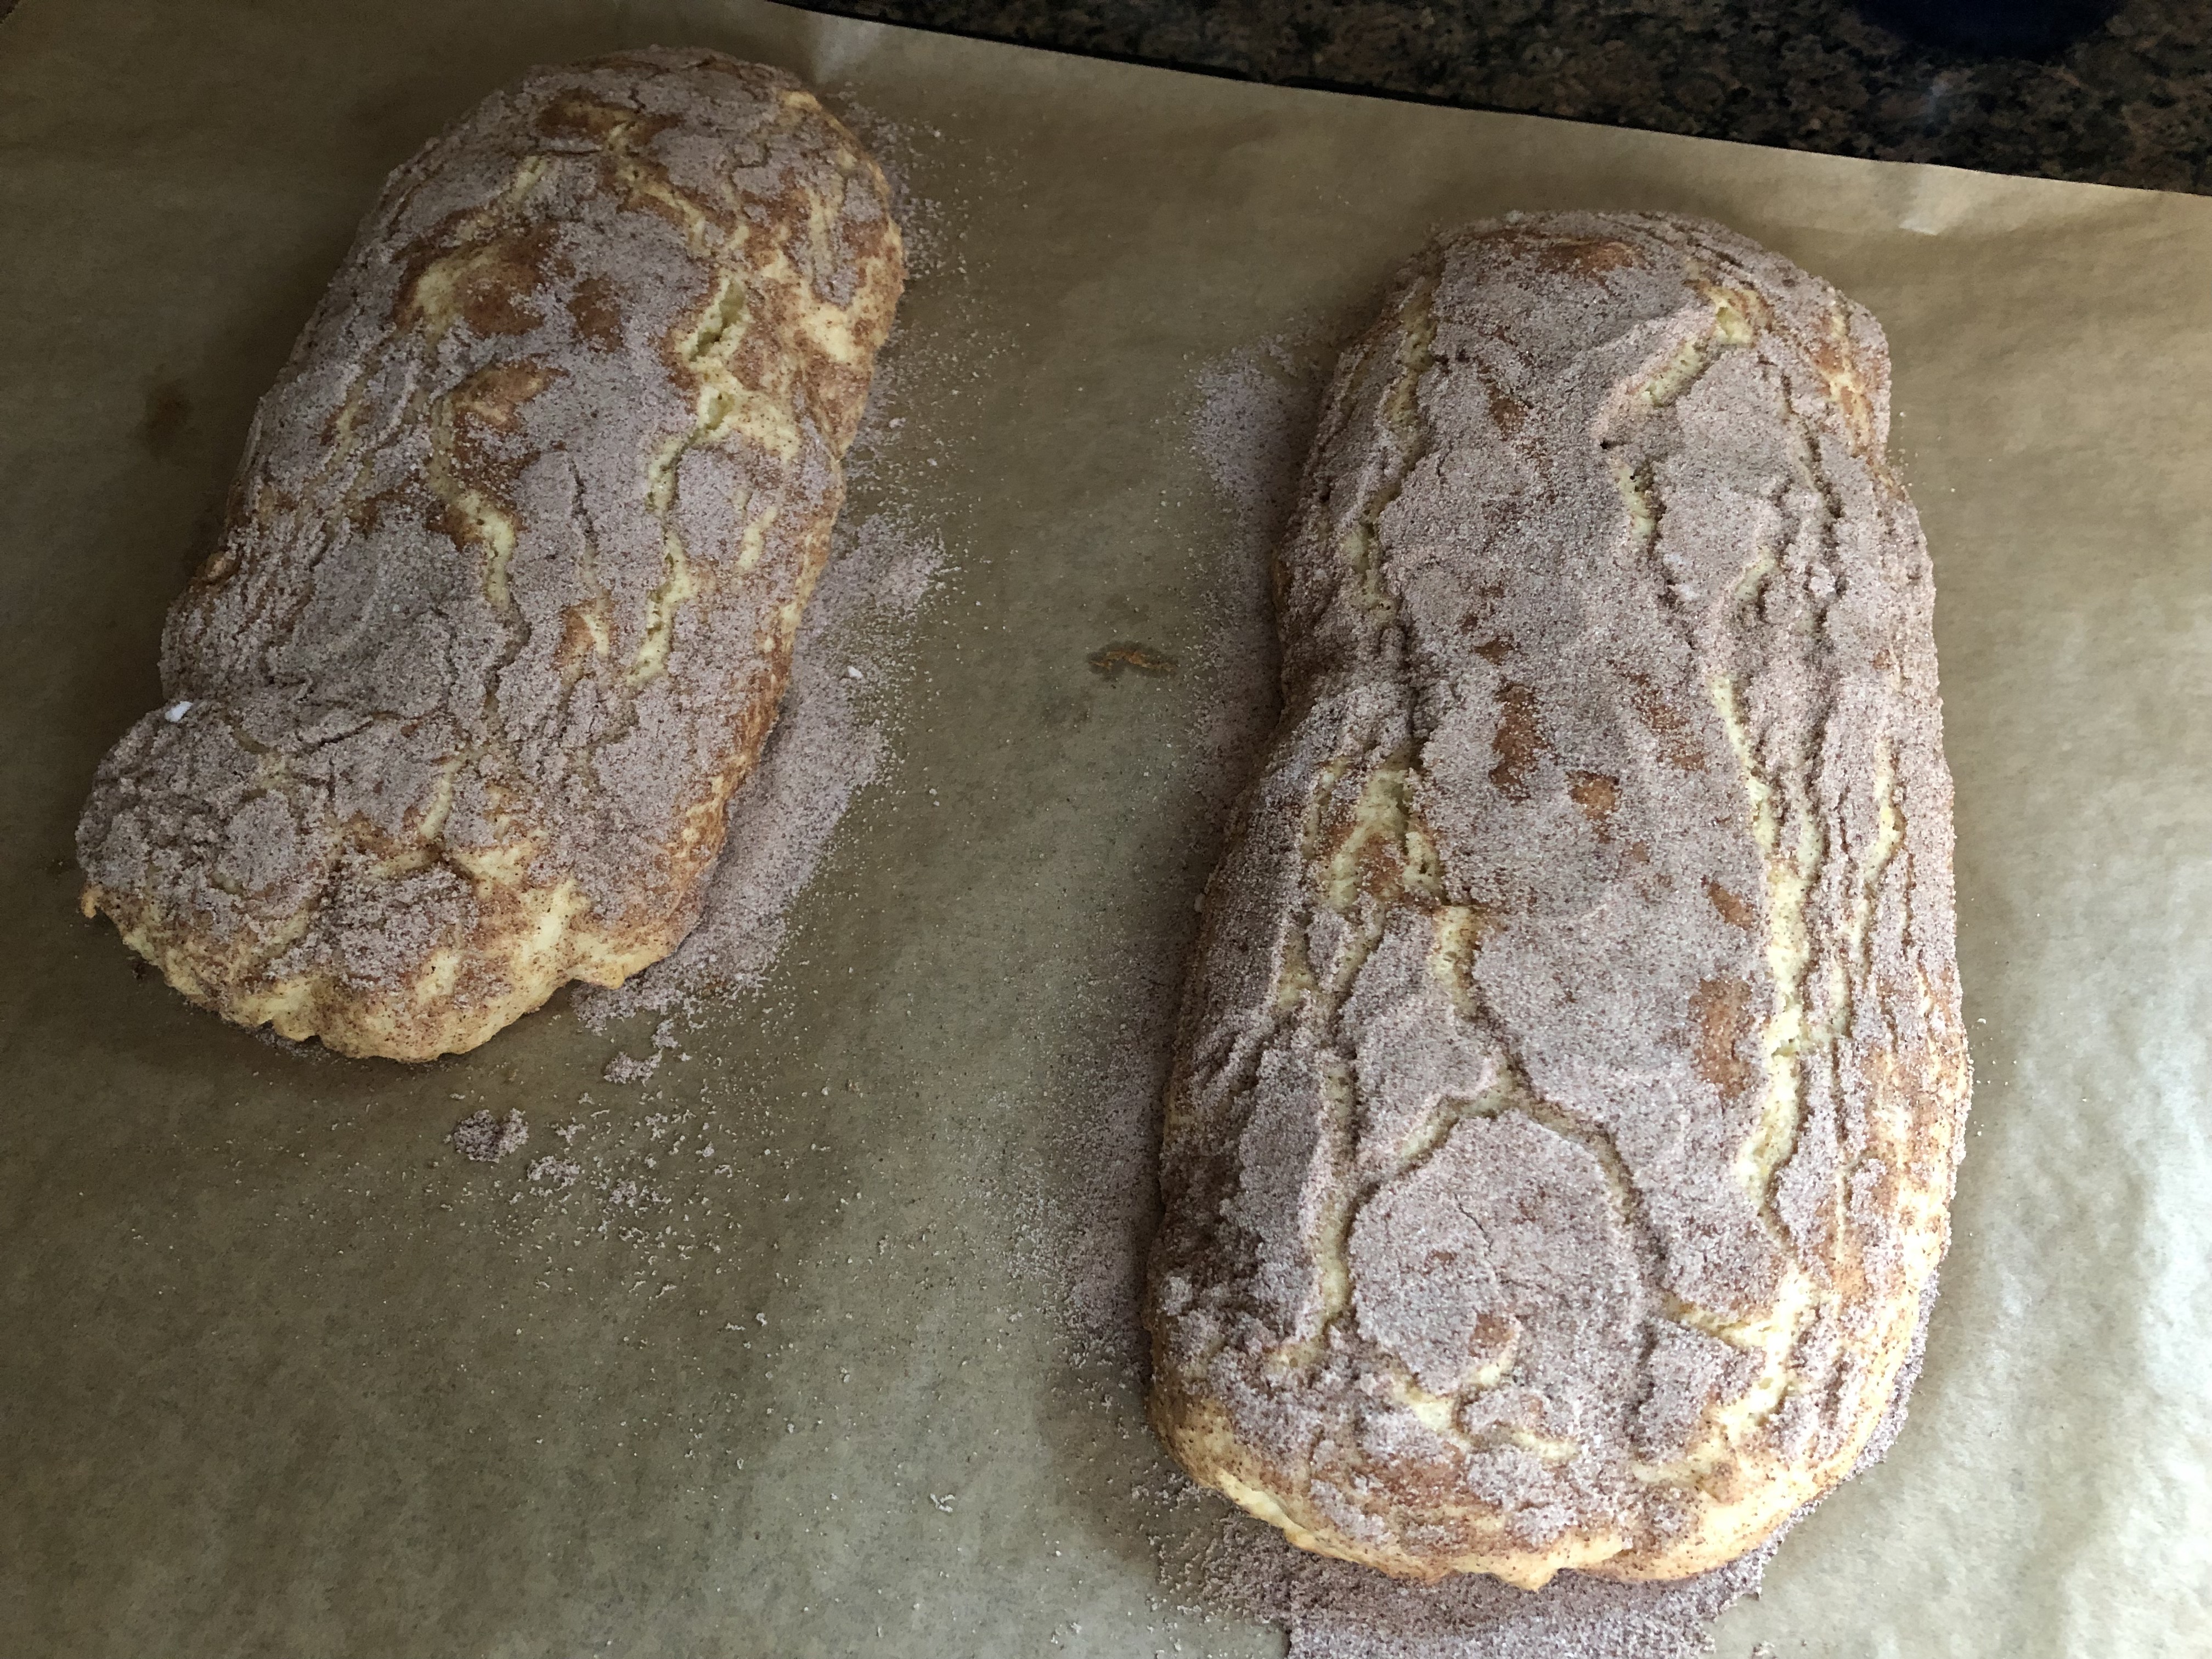
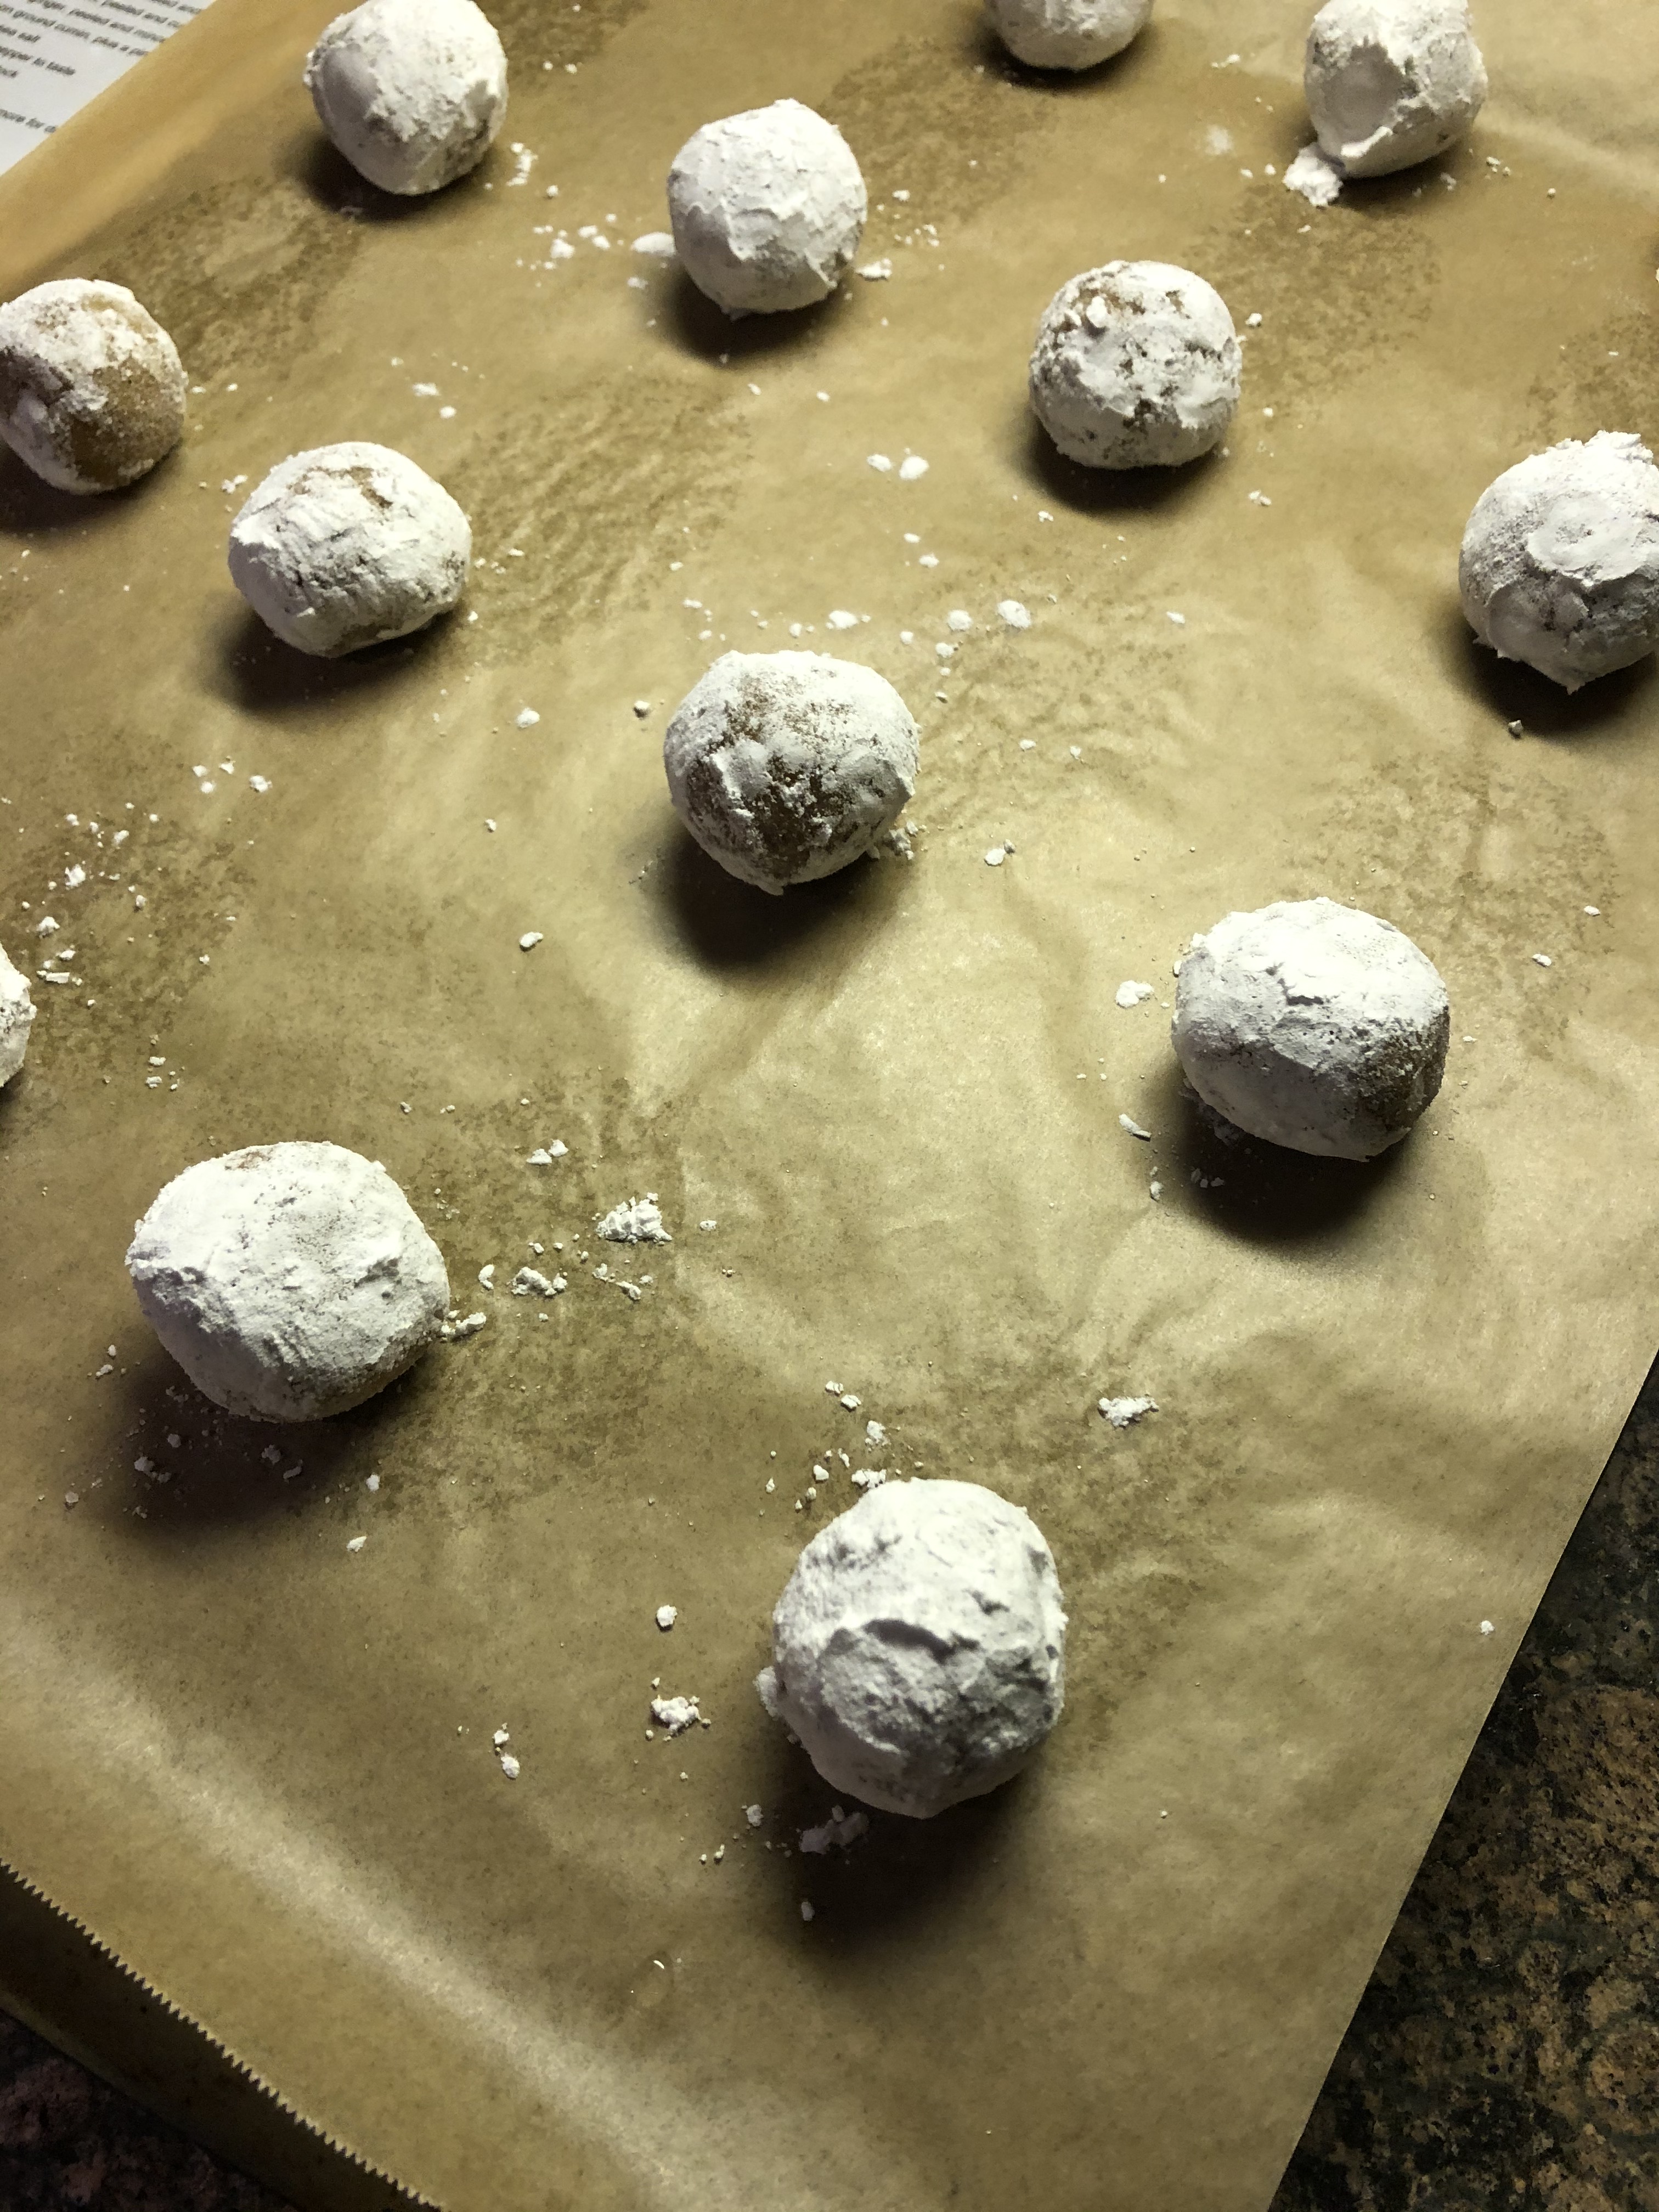
Using a cookie scoop, scoop the dough onto the prepared baking sheets and bake in the preheated oven for 13-15 minutes. Cool the cookies 5 minutes on the baking sheets before transferring them to a wire rack to cool completely.

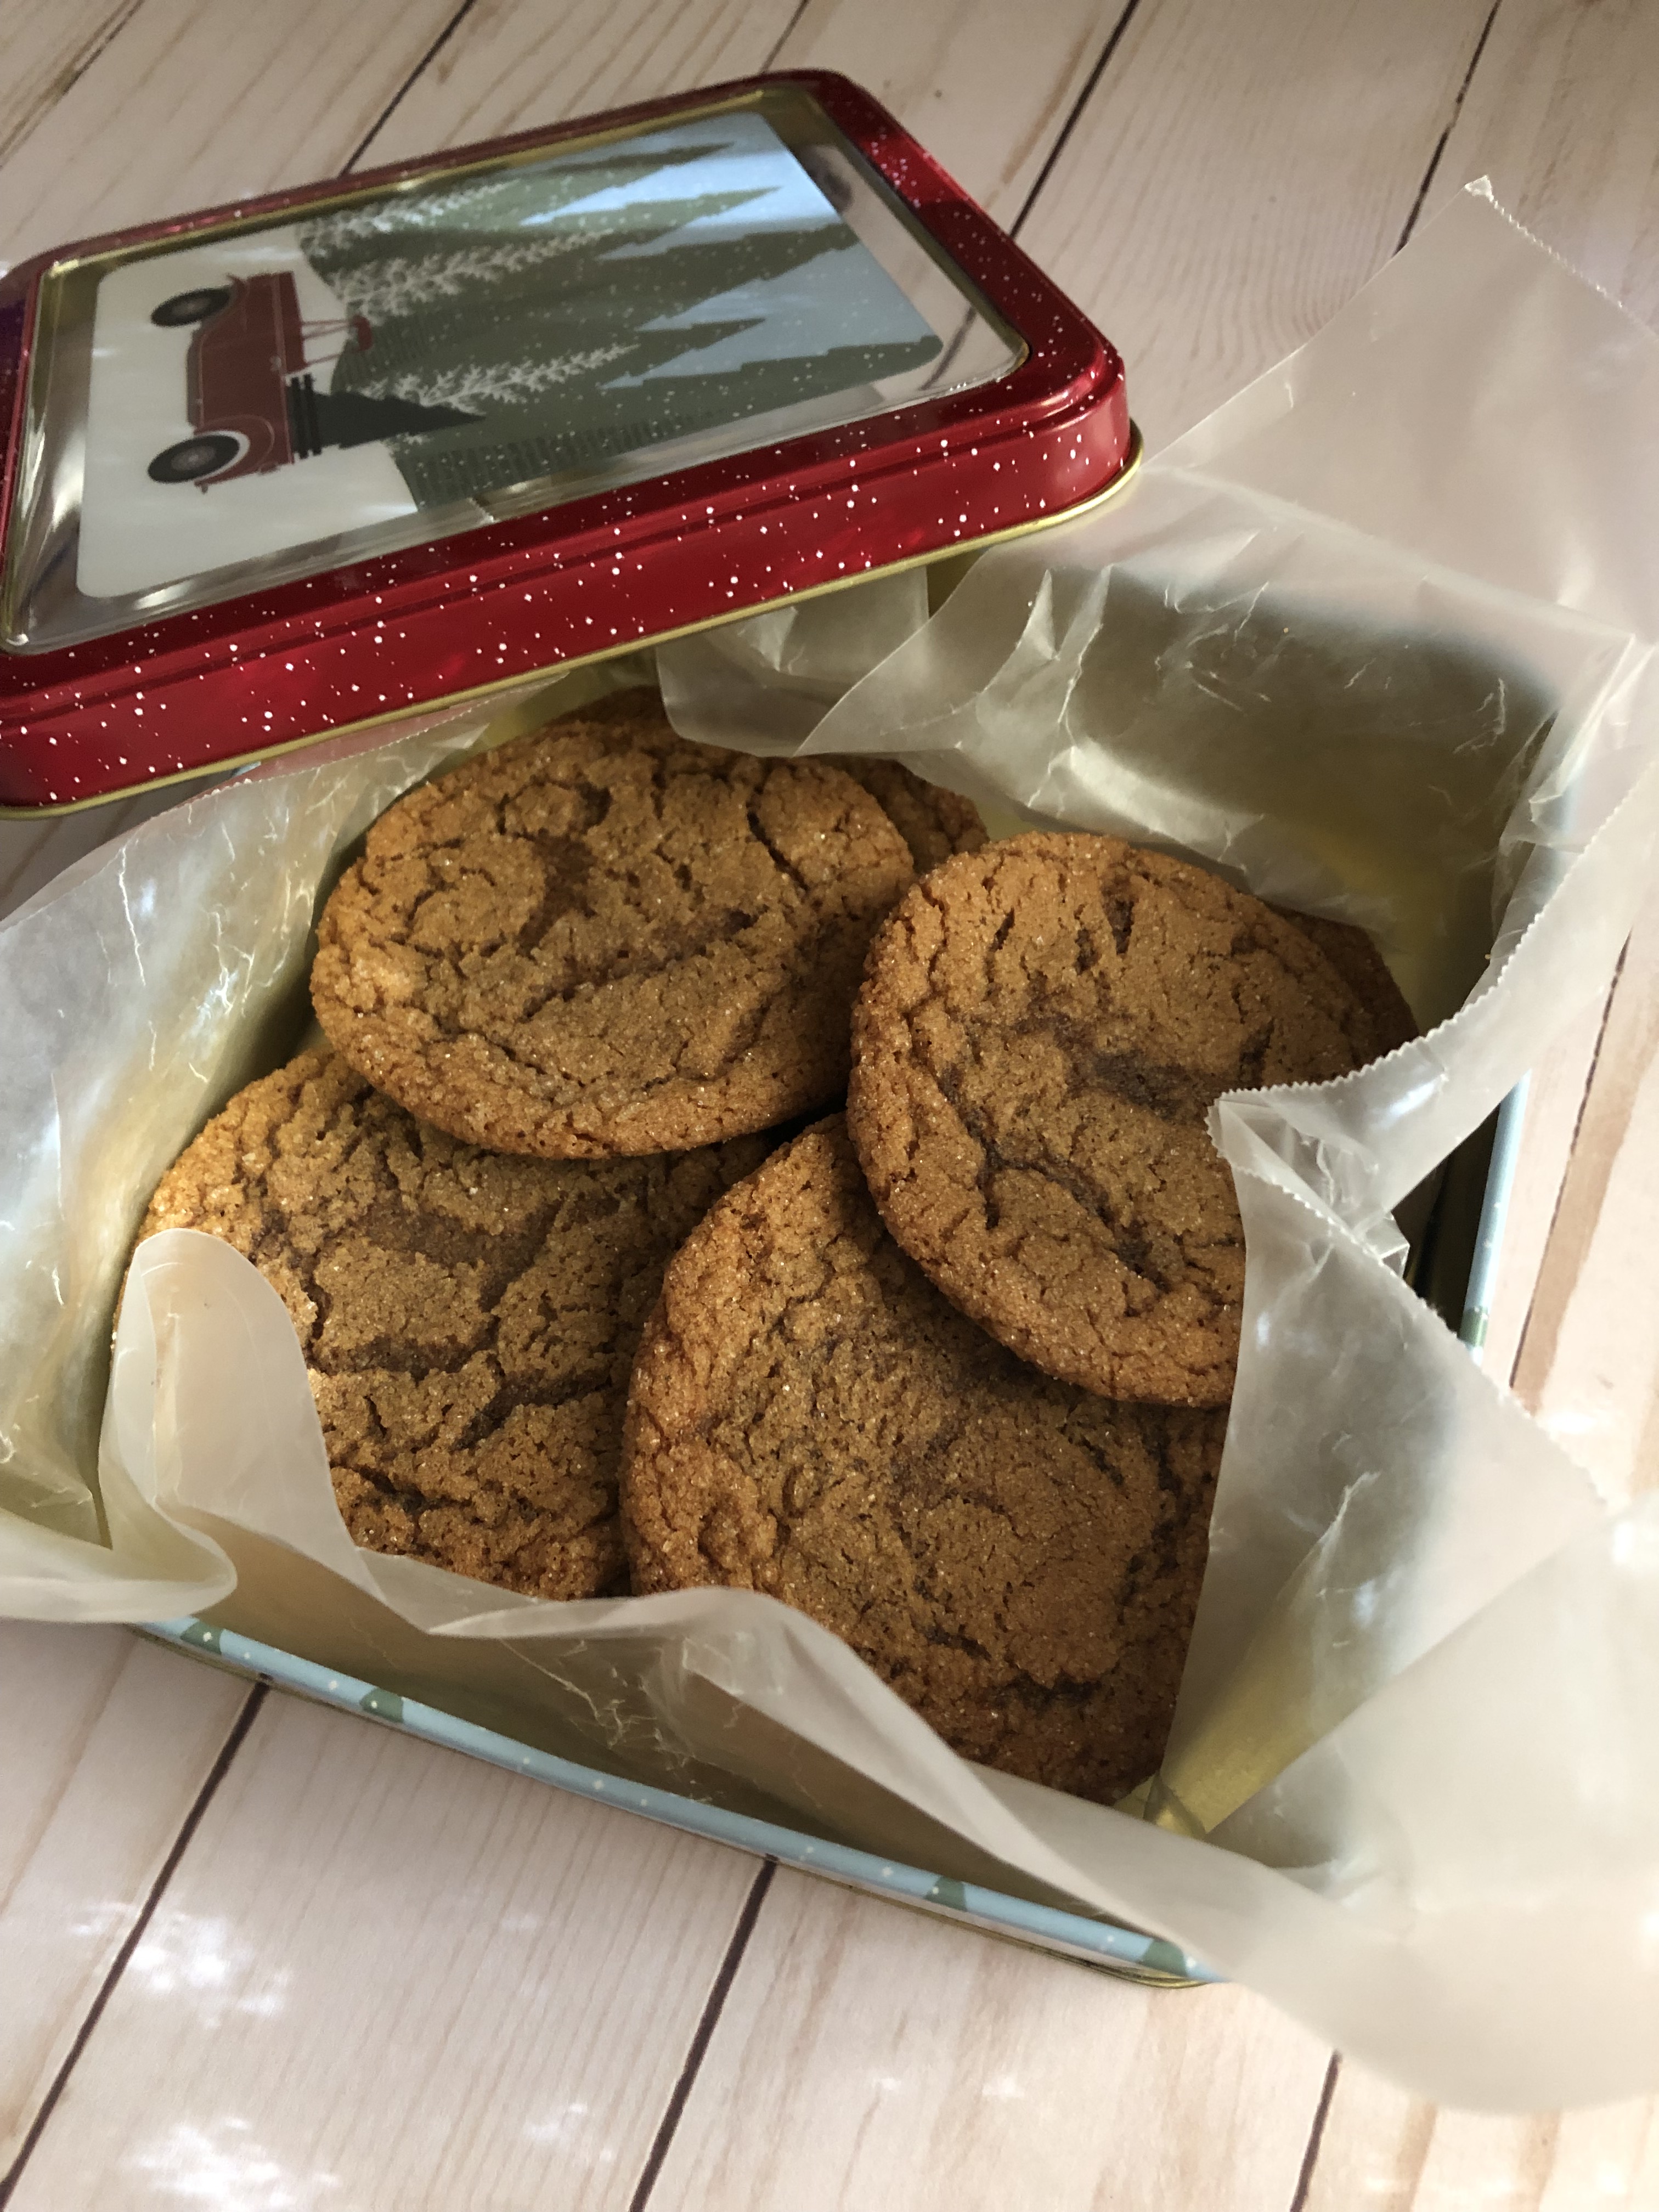
Store cookies in an airtight container.

Some notes:

-The dough will be soft, but there is no need to refrigerate it prior to baking. The cookies won’t spread much while baking.

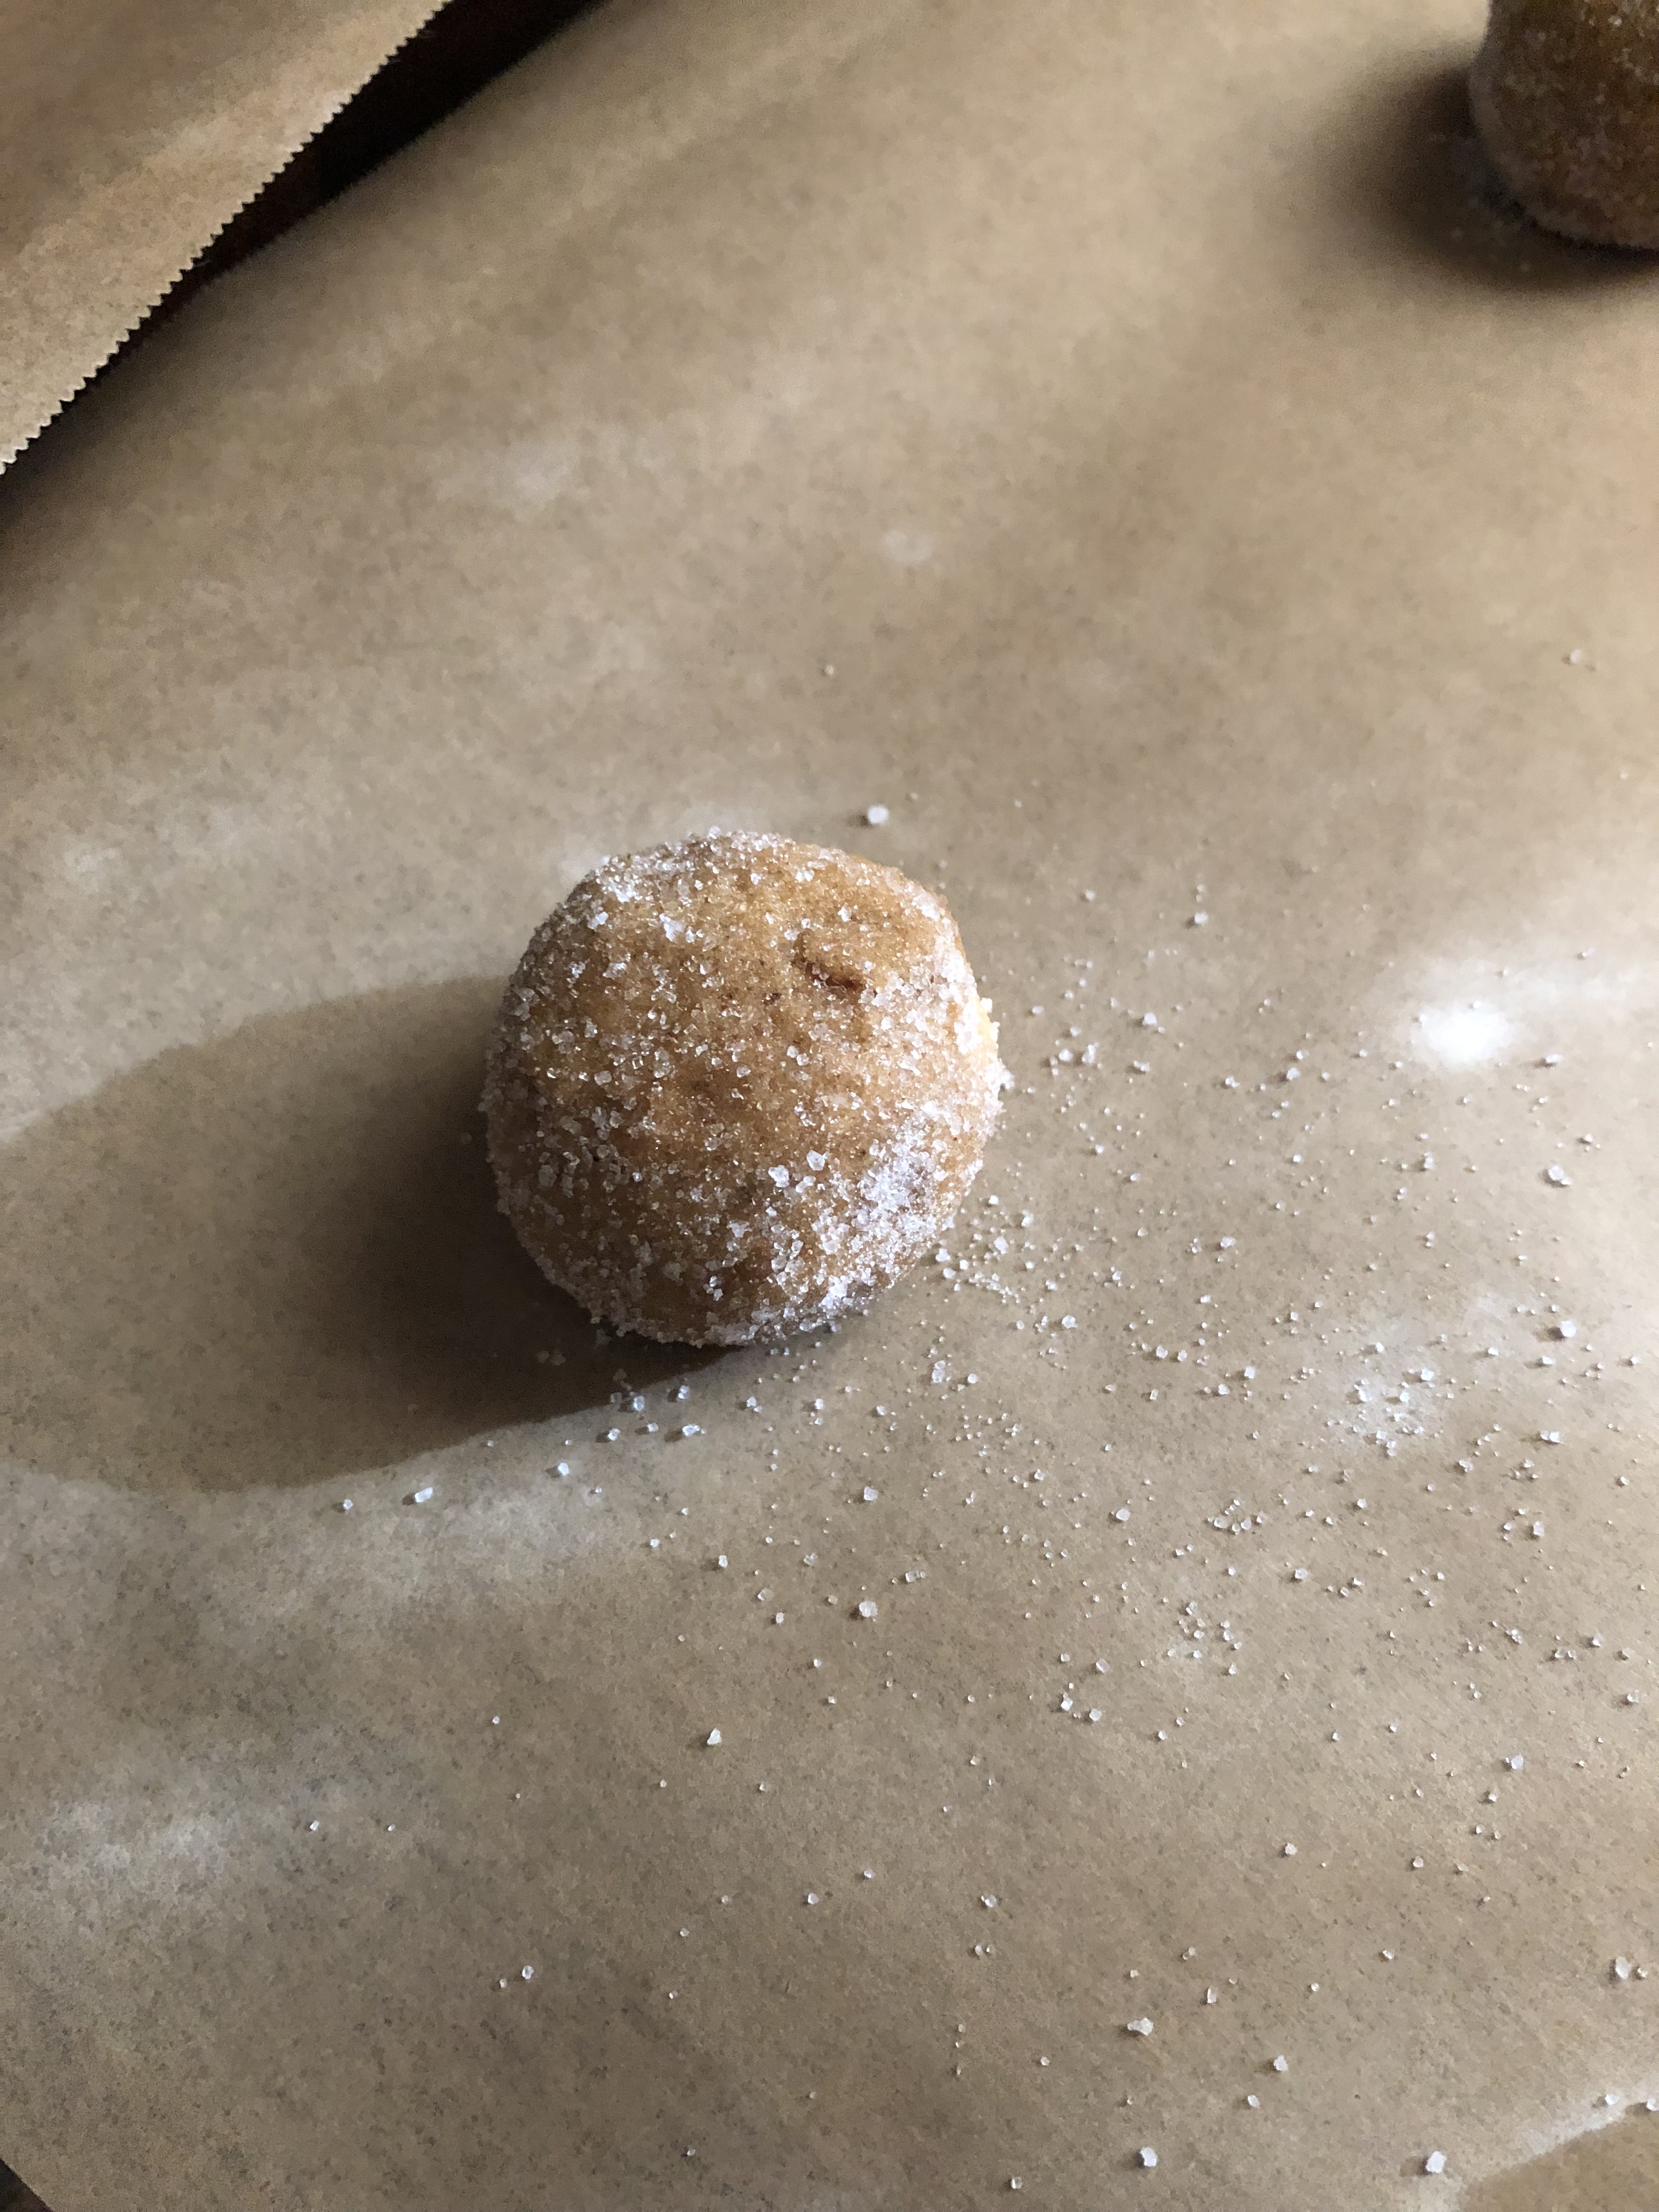
-If you want a flatter cookie, after scooping the dough onto the baking sheets press them down slightly with a glass bottom sprayed with cooking spray.

Recipe first appeared on Bead Yarn Spatula.

Apple Crisp Cheesecake

So, are you savoring these last days of Fall while getting ready for Thanksgiving still embracing the pumpkins, leaves and colors of the season? Or have you just gone full blown into Christmas and all around you is red and green and your Thanksgiving meal will be celebrated with Christmas décor?  People have very strong feelings about this and prefer each holiday to have its own time. Me personally I put up my Christmas Tree on November 1st. I used to wait until after Thanksgiving, but I would always feel rushed then to get all my decorating done in one day. The tree up, décor around the house and the lights outside. It was just too much. So, a few years ago I decided that I would set up my tree right after Halloween. I will wait until Thanksgiving week though to turn it on and enjoy it all lit up. I must say though that this year I found that people really had some strong feelings about people jumping into Christmas right after Halloween. Is it really that big of a deal? Just do you own thing and don’t fault others for wanting to spread some holiday cheer a little early. Regardless, today’s dessert might just be the perfect addition to your Thanksgiving dessert table. It combines quite a few desserts into one, an Apple Crisp Cheesecake. You get your apples, a crisp topping and a cheesecake all tied together into one yummy dessert.

I started off by making the crisp topping since it needed to be chilled, then the apples and finally the cheesecake part. To assemble, I started off by filling a 9-inch graham cracker crust with the cheesecake filling. I added in some apple pie spices – cinnamon, nutmeg, allspice and ginger – to the cheesecake to help tie all the flavors together since I did add cinnamon to both the apples and crisp topping.

I then arranged the apples over the filling. First in an even layer and then placed the remaining apples over them. I tossed the apples with lemon juice, cinnamon and brown sugar. I used Granny Smith apples, so they weren’t very sweet or mushy after baking.

And finally, I sprinkled the chilled crisp topping over the apples. Initially I wasn’t planning on baking the cheesecake on a baking sheet, but, as I started to sprinkle the topping on it, I thought it best to bake it on the sheet just in case any of the topping fell off. The reason I chilled the crisp topping was to minimize the chances of it over-browning or burning too quickly while in the oven.

I baked the cheesecake for just shy of an hour and then let it cool on the baking sheet for a few minutes before placing it on a wire rack to cool completely. It’s best to let cool it for a few minutes on the pan before transferring it so the cheesecake can firm up a bit. The apples will release some juices while baking and while the cheesecake will be done it will feel soft due to these extra juices.

Once the cheesecake had cooled completely, I refrigerated it overnight. And the next day it was time to slice it and enjoy a piece. And I must say, this came out just as I had hoped and envisioned in my head. As with the Apple Tiramisu from the other day it wasn’t overly sweet and all the components worked well together.  


Apple Crisp Cheesecake

Ingredients:

9-inch graham cracker crust

For the Cheesecake:

2 8oz packages cream cheese, at room temperature

1/2 cup sour cream

1/2 cup sugar

1 teaspoon vanilla extract

1/2 teaspoon cinnamon

1/4 teaspoon nutmeg

1/4 teaspoon allspice

1/8 teaspoon ginger

2 large eggs, at room temperature

For the Apple Topping:

2 Granny Smith Apples, peeled, cored & sliced thin

1 tablespoon lemon juice

1/2 teaspoon cinnamon

1 tablespoon light brown sugar

For the Crisp Topping:

1/2 cup old-fashioned oats

1/2 cup flour

1/2 cup light brown sugar

1/2 teaspoon cinnamon

4 tablespoons butter, softened

Directions:

Preheat oven to 325 F.

For the Crisp Topping: In a medium bowl mix together the oats, flour, sugar and cinnamon until well combined. Add in the butter and mix until the mixture is crumbly. It might be best to use your hands. Refrigerate or freeze until ready to use.

For the Apple Topping: In a medium bowl toss together the apples, lemon juice, cinnamon and sugar until the apples are well coated. Set aside.

For the Cheesecake: In a large bowl beat together the cream cheese, sour cream, sugar, vanilla extract, cinnamon, nutmeg, allspice and ginger with a hand mixer on medium speed until well blended. Add the eggs and continue beating until the eggs are incorporated into the batter.

Assemble: Place the graham cracker crust on a baking sheet then pour the cheesecake batter into the crust. Arrange the apples evenly over the batter and then sprinkle the crisp topping over the apples.

Bake in the preheated oven for 50-55 minutes, until the center is set. To prevent the crisp topping from over-browning or burning, tent the cheesecake with aluminum foil for the last 15-20 minutes.

Cool on the pan for a few minutes before transferring to a wire rack to cool completely. Cover with a piece of plastic wrap or aluminum foil and refrigerate for at least 8 hours (or overnight) before serving.

Recipe first appeared on Bead Yarn & Spatula.

Cannoli Cake

Happy Holidays! Are you in the throes of holiday baking and eating your way through more sweets than you would like to admit? Well, today I am bringing you a cake that you would be a nice addition to your holiday dessert table and to be honest is my favorite cake flavor… A Cannoli Cake! And it doesn’t skimp on the flavors and ingredients of the delicious handheld dessert… Ricotta and chocolate chips.

The cake itself is made with a French Vanilla box mix (I used a Duncan Hines mix) and the cannoli flavors comes from the filling made with ricotta cheese, cinnamon, three different extracts, confectioners’ sugar and of course chocolate chips. It’s all topped off with a mascarpone cheese frosting and sliced almonds and mini chocolate chips are used to decorate it. It sounds like a lot, but, trust me it’s not. All of the flavors/ingredients work well together and you won’t feel guilty for enjoying a slice because it’s just so good!

Cannoli Cake

Ingredients:

1 package French Vanilla Cake Mix, plus additional ingredients to prepare per packaging

Filling:

2 cups ricotta cheese

1/2 cup confectioners’ sugar

2 teaspoons cinnamon

1 teaspoon almond extract

1 teaspoon rum extract

1 teaspoon vanilla extract

1/3 cup mini chocolate chips

Frosting:

2 8oz. packages mascarpone cheese, at room temperature

3/4 cup confectioners’ sugar

2 teaspoons almond extract

1 teaspoon vanilla extract

2 tablespoons whole milk

1 cup sliced almonds

mini chocolate chips, for top of cake

Directions:

Prepare and bake cake mix per package directions using two 8-inch round baking pans sprayed with baking spray. Cool in pans for 10 minutes and then transfer to wire racks to cool completely.

Make the filling: In a large bowl fold together the ricotta cheese, confectioners’ sugar, cinnamon, and all extracts until well incorporated. Stir in the chocolate chips. Set aside.

Make the frosting: In another large bowl, using a hand mixer on medium speed, beat the mascarpone cheese, confectioners’ sugar, almond & vanilla extracts and milk until creamy.

Place one of the cake layers on a cake board or serving plate and spread 1 cup of the filling over it. Top with the other cake layer and spread the remaining frosting over the top of the cake within 1inch of the edge. Frost the sides and top edge of the cake with the frosting.

Press the almonds on the sides of the cake and the chocolate chips around the edge of the top of the cake.

Refrigerate until ready to serve.

Recipe from Taste of Home

Cookie Palooza: Peppermint Hot Chocolate Cookies

I hope you have enjoyed this year’s Cookie Palooza. I’m closing it out with a cookie that is inspired by my favorite holiday beverage. While I’m not a coffee drinker, around this time of the year I make frequent visits to Starbucks to get a Peppermint Hot Chocolate. And while you can order one any time of the year, there’s just something extra special about it during the holidays. I love having one while I am running holiday errands or doing some Christmas shopping.

To get the flavors of a peppermint hot chocolate, I added peppermint extract to chocolate cookie dough. I baked the cookies for 10 minutes and then removed them from the oven and pressed a large marshmallow cut in half in the center. I then returned the cookies to the oven to bake for an additional 2 minutes. I opted to use one large marshmallow as opposed to the traditional mini ones used in hot chocolate so that I could press them in and get the cookies back in the oven quickly. When you remove them from the oven after the 2 minutes the marshmallows will be soft, but they will still be puffy, they will flatten a bit as the cookies cool though so don’t be tempted to press them down. I let them cool on the pan for about a minute before transferring them to a wire rack to cool completely.

Once the cookies were cool it was time to decorate them and amp up the peppermint hot chocolate flavor. I crushed peppermint candy (I used starlight mints, only because I couldn’t find candy canes) and melted semi-sweet chocolate chips in the microwave. I transferred the melted chocolate to a piping bag and snipped a small piece off the end. I drizzled each cookie with the melted chocolate and then sprinkled them with the crushed peppermint candy. I let the chocolate set for a few minutes and then popped the cookies in the refrigerator for about 10 minutes so it could set completely.

And I must say, these tasted spot on to my favorite holiday beverage!

Peppermint Hot Chocolate Cookies

  • Servings: 30 Cookies
  • Print

Ingredients:

2 cups flour

1/2 cup unsweetened cocoa powder

1 teaspoon baking soda

1/2 teaspoon salt

3/4 cup sugar

3/4 cup light brown sugar

2 sticks unsalted butter, at room temperature

2 large eggs

1 teaspoon vanilla extract

1 teaspoon peppermint extract

15 large marshmallows, cut in half

1 cup semi-sweet chocolate chips

1/2 cup crushed peppermint candy (either candy canes or starlight mints)

Directions:

Preheat the oven to 350 F. Line two baking sheets with parchment paper and set aside.

In a medium bowl whisk together the flour, unsweetened cocoa powder, baking soda and salt.

In the bowl of a stand mixer or in a large bowl if using a hand mixer, beat both sugars and butter on medium speed until creamy. Add the eggs one at time, beating well after each addition. Then beat in both extracts.

With the mixer on low, add in the flour mixture and beat until combined.

Using a cookie scoop, drop the dough onto the prepared baking sheets 2 inches apart. Bake in the preheated oven for 10 minutes. Remove from the oven and press half of a marshmallow in the center of each cookie. Return to the oven for an additional 2 minutes.

Let the cookies cool on the pan for 1-2 minutes before transferring to a wire rack to cool completely.

Once the cookies are cooled, melt the chocolate chips in the microwave. Microwave for :30 second intervals, stirring between each, until the chocolate is smooth.

Transfer the melted chocolate to a piping bag or a resealable bag and snip off the end and drizzle the chocolate over the cookies and then sprinkle with the crushed peppermint candy. Let the chocolate set before enjoying or storing. You can place them in the refrigerator for 5-10 minutes to speed up the process.

Store in an airtight container.

Recipe first appeared on Bead Yarn & Spatula

Cookie Palooza: Browned Butter Spice Cookies

On this fourth day of Cookie Palooza I am bringing you a variation on the classic chocolate chip cookie. Now, I must say chocolate chip cookies are one of those baked goods that once you find your favorite recipe it becomes your go-to. I personally have two or three of them. A traditional chocolate chip cookie recipe and then two others that produce a nice twist on the classic. Today I am bringing you a version that some might say is nowhere near what a chocolate chip cookie should be… A Browned Butter Spice Cookie.  

Let’s talk about the flavors that go into this cookie. First, browned butter. To make browned butter you are cooking butter just beyond its melting point. This produces a nutty flavor that is just not possible to get by using softened butter. A word to the wise though, it’s best to cook the butter on medium-low heat and with a cover on your saucepan. Melted butter can pop and shoot-up pretty high and make quite the mess. Along with cinnamon, ginger and nutmeg there’s also a splash of spiced rum that really ups the ante for the spice in these cookies. If you don’t have spiced rum you could sub it with vanilla extract or regular rum and just add a little extra of each of the spices. Finally, dark chocolate chips. The dark chocolate is a nice balance to the spice in these cookies. Semi-sweet would just be too sweet and the flavors wouldn’t work well together.

As with the Gingersnaps from yesterday, the cookie dough for these cookies needed to be refrigerated prior to baking. I did the same thing again though. I rolled the dough into balls and then refrigerated them as opposed to refrigerating the entire bowl of cookie dough.

I then baked them in a 350 F preheated oven and then transferred them to a wire rack to cool completely.

The end result… A cookie with a nice balance of spice and sweetness.

Browned Butter Spice Cookies

  • Servings: About 2 dozen
  • Print

Ingredients:

1 stick unsalted butter, cubed

1 cup light brown sugar

1 large egg

1 tablespoon spiced rum

1 1/4 cups flour

1 1/2 teaspoons cinnamon

1/2 teaspoon baking soda

1/4 teaspoon salt

1/4 teaspoon ground ginger

1/4 teaspoon ground nutmeg

1/2 cup dark chocolate chips

Directions:

Place butter in small saucepan and cover medium heat until golden brown, about 5-7 minutes. Let cool for a few minutes.

In a medium bowl whisk together the flour, cinnamon, baking soda, salt, ginger and nutmeg. Set aside.

Add cooled butter to a large bowl along with the brown sugar. Beat with a hand mixer on medium speed until blended. Add the egg and then the spiced rum. With the mixer on low, gradually add in the flour mixture until combined. Stir in the chocolate chips.

Line a baking sheet with waxed paper. Drop dough by rounded tablespoonfuls onto the prepared baking sheet. Cover with plastic wrap and refrigerate for at least 30 minutes.

Preheat oven to 350 F.

Line a baking sheet with parchment paper and placed refrigerated dough 2 inches apart. Baked for 10-12 minutes. Until cookies are set and bottoms are beginning to brown. Transfer to a wire rack to cool complete.

Store in an airtight container.

Recipe from Taste of Home

Cookie Palooza: Gingersnaps

There are quite a few flavors that are synonymous with the holidays… Peppermint, Eggnog, Cranberry, Pumpkin, and so forth. A few flavors – molasses, ginger, cloves, nutmeg and cinnamon – combine to create one of the most popular, gingerbread. For today’s Cookie Palooza recipe I am bringing you a variation on gingerbread cookies… Gingersnaps. So, what’s the difference between the two? Gingersnaps are dropped cookies that are crispy around the edges and chewy in the center whereas Gingerbread cookies are almost always shaped with cookie cutters after the dough is rolled out.

For these Gingersnaps, the dough needed to be refrigerated prior to baking. Refrigerating the dough helps to prevent the cookies from spreading too much while baking. I always find though that cookie dough is too hard to scoop once it has been refrigerated. So, I opted to shape tablespoonfuls of the dough into balls and place them on a parchment paper lined baking sheet prior to refrigerating. I let the dough chill for about 4 hours.

I then rolled the dough balls in sugar and placed them back on parchment lined baking sheets 2-inches apart…

And then baked them in a 350 F preheated oven for about 10 minutes. After letting the cookies cool on the pan for 2 minutes so they could set I then transferred them to a wire rack to cool completely.

The texture of these Gingersnaps was spot on. Crispy around the edges and chewy in the middle. And since the recipe is for a small batch (just shy of 2 dozen) you may want to double it to make sure you have enough to share or maybe some extra to make ice cream sandwiches.  

Love the flavor of gingerbread? Check out the recipes below for a Gingerbread Cake and your traditional Gingerbread Men. You could also use the cookie recipe to make your own Gingerbread House.

Gingerbread Cake

Gingerbread Men

Gingersnaps

  • Servings: About 2 Dozen
  • Print

Ingredients:

1/3 cup shortening

1/2 cup sugar

1 large egg, at room temperature

2 tablespoons molasses

1 cup flour

1 teaspoon baking soda

1/2 teaspoon cinnamon

1/2 teaspoon ground cloves

1/2 teaspoon ground ginger

1/8 teaspoon salt

Additional sugar to roll the cookie dough

Directions:

Line two baking sheets with parchment paper and set aside.

In a large bowl beat the shortening and sugar together using a hand mixer on medium speed until light and fluffy. Beat in the egg and the molasses.

In a medium bowl whisk together the flour, baking soda, cinnamon, cloves, ginger and salt.

With the mixer speed on low, gradually beat the flour mixture into the sugar mixture until incorporated.

Shape tablespoonfuls of the dough into balls and place on the prepared baking sheets 2-inches apart. Cover with plastic wrap and refrigerate for at least 4 hours.

Preheat the oven to 350 F. Scoop 1/4 cup of sugar into a small bowl. Roll each of the dough balls in the sugar and return to the baking sheets. Bake in the pre-heated oven for 8-10 minutes. Let the cookies cool on the baking sheets for 2 minutes before transferring to a wire rack to cool completely.

Store in an airtight container.

Recipe from Taste of Home

Cookie Palooza: Snickerdoodle Biscotti

Welcome to day 2 of Cookie Palooza 2021. Today I am bringing you a twist on a holiday favorite. While Snickerdoodles are great any time of the year they are especially great around the holidays. It could be because they are a nice complement to a hot cup of cocoa or because they can easily be transformed into a holiday cookie by using colored sanding sugar in lieu of white sugar to be rolled in. Either way, they are always a welcomed addition to any cookie platter. Today though, we are making them into another holiday favorite… biscotti.

I started by making and refrigerating the dough for 30 minutes.

While the dough was chilling I prepped an extra-large baking sheet by lining it with parchment paper. I opted to use one baking sheet to ensure that the biscotti would cook evenly.

Once the dough was chilled I divided it in half and shaped both pieces into a 10×4-inch rectangle. The dough was quite sticky so I wet my hands with water beforehand. I would suggest shaping the dough right on the parchment paper. You may have trouble transferring it from your counter to the baking sheet otherwise. Next, I generously covered both loaves with a cinnamon-sugar mixture and gently pressed it into the dough.

After baking in a 350 F oven for 25 minutes I removed it and using the parchment paper I transferred it to a wire rack to cool for 10 minutes. While the loaves cooled I lined my baking sheet with a fresh piece of parchment paper. I must say, the top of the loaves reminded me of what snickerdoodles look like after they are baked. That cracked look with the cinnamon-sugar coating.

After letting the loaves cool for 10 minutes I used a serrated knife to slice them into 3/4-inch pieces. I then placed the biscotti, cut side down, back on my prepared baking sheet. I baked them for 10 minutes, flipped them, and then baked them for an additional 10 minutes. I then let the biscotti cool completely on the pans before enjoying.

I’ll admit that some of my pieces were slightly bigger than 3/4 of an inch. They were closer to an inch. Oops! Needless to say though, they were delish. They definitely tasted like your traditional Snickerdoodle.

These would make the ideal food gift for anyone who enjoys a sweet treat with their warm beverage or anyone who loves a good snickerdoodle!

One thing I should note, the original recipe called for dipping the finished biscotti in white chocolate. I opted to omit that part since a) Snickerdoodles aren’t normally dipped in chocolate and b) I like to dip my biscotti in tea or hot cocoa and I felt that the white chocolate would just get in the way of that.

Snickerdoodle Biscotti

Ingredients:

3 cups flour

1 1/2 teaspoons baking powder

1/2 teaspoon kosher salt

2 teaspoons cinnamon

1 cup sugar, divided

1 stick unsalted butter, melted and slightly cooled

1/4 cup rum*

3 large eggs, at room temperature

*could use brandy or bourbon instead

Directions:

In a medium bowl whisk together the flour, baking powder, salt and cinnamon. Set aside.

In a large bowl whisk together 3/4 cup sugar, melted butter and rum. Add the eggs one at a time, whisking until smooth after each addition. Using a wooden spoon, stir in the flour mixture until no streaks of the flour mixture remain.  Cover the bowl tightly with plastic wrap and refrigerate for 30 minutes.

Preheat the oven to 350 F. Line 1 extra-large baking sheet or 2 medium baking sheets with parchment paper.

Divide the dough in half and using moistened hands shape each half on the prepared baking sheets into a 10×4 – inch rectangle.

In a small bowl stir together the remaining 1/4 cup sugar and the cinnamon and sprinkle generously over the both doughs. Gently pressing it in.

Bake in the preheated oven for 25 minutes, until pale golden.

Remove from the oven and using the parchment paper transfer to a wire rack to cool for 15 minutes.

Leave the oven on and line your baking sheet(s) with fresh parchment paper.

Using a serrated knife, cut the biscotti loaves crosswise into 3/4 – inch slices. Place the slices cut side down on the prepared baking sheet(s).

Bake for 10 minutes, and then flip the biscotti and bake for another 10 minutes. Let cool completely on the baking sheet(s).

Store in an airtight container.

Recipe from Baked From Scratch

Cookie Palooza: Peanut Butter Oatmeal Cookies

It’s the first week of December and around here that means Cookie Palooza! A week dedicated to cookies that would make a great addition to your holiday cookie platters. And we are kicking it off with a cookie that combines two favorites, peanut butter and oatmeal. I personally love a good peanut butter cookie and a good oatmeal cookie. And I like both just plain, no peanuts in my peanut butter cookies and no raisins in my oatmeal ones. I got to thinking one day what about combining the two. Hence, the resulting Peanut Butter Oatmeal cookie. A cookie that is soft like a peanut butter one, but has the texture and heartiness of an oatmeal one. So, you get the best of both worlds.

And while these cookies are delicious just the way they are you could make them extra special by adding in a cup of semi-sweet chocolate chips. You can never go wrong with peanut butter and chocolate together!

Peanut Butter Oatmeal Cookies

  • Servings: 3 Dozen Cookies
  • Print

Ingredients:

2 sticks unsalted butter, room temperature

1 cup light brown sugar

1/2 cup sugar

1 cup creamy peanut butter

2 eggs, room temperature

2 teaspoons vanilla extract

1 1/4 cups flour

1 teaspoon baking soda

1 teaspoon salt

3 cups quick cooking oats

Directions:

Preheat the oven to 350 F. Line two cookie sheets with parchment paper.

In a medium bowl beat the butter, both sugar and peanut butter using hand mixer on medium speed until smooth. Beat the eggs in 1 at a time. Stir in the vanilla extract.

In another medium bowl whisk together the flour, baking soda and salt.

Add the flour mixture into the peanut butter mixture and beat until just blended. Stir in the oats.

Using a cookie scoop, drop the dough onto the prepared cookies sheets 2 inches apart.

Bake in the preheated oven 12-14 minutes, or until the cookies are set and beginning to brown.

Allow to cool on the cookies sheets for two minutes before transferring to a wire rack to cool completely.

Store in an airtight container at room temperature.

Recipe first published on Bead Yarn & Spatula

Gingerbread Cake

While peppermint gets all the glory as the flavor of the holiday season there is another flavor that is just as popular… Gingerbread. And while you may only think of houses and cookies when it comes to gingerbread, it’s also a great flavor for a holiday themed cake.

So, what exactly is gingerbread flavor? Well, it’s a combination of spices – ginger, cloves, nutmeg and cinnamon – and usually sweetened with molasses. I honestly think it’s the molasses that gives gingerbread it’s distinct flavor more so than the spices.

To make things a little easy I used a spice cake mix as the base for my cake and then added in some additional spices, molasses and other ingredients to doctor it up. I got the recipe from fellow blogger Baking with Blondie. She made cupcakes with her recipe whereas I opted to use the recipe to make 2 6-inch cake layers. Once they were cooled, I wrapped them in plastic wrap and refrigerated them overnight before frosting. Frosting cold cakes is a lot easier than frosting cooled, but still room temperature ones.

I left the cakes in the refrigerator overnight and before removing them I made a Spiced Almond Cream Cheese Frosting. This frosting is so good I could eat spoonful’s as dessert!

Once the frosting was ready I torte the cakes and filled and frosted them with the frosting.

And finally, I decorated the cake with gingerbread men (you could bake them or, do as I did and use store-bought ones), fresh rosemary and sugared cranberries.

Gingerbread Cake with Spiced Almond Cream Cheese Frosting

Ingredients:

For the Cake:

3 large eggs

1 tablespoon vanilla extract

2/3 cup sour cream

2/3 cup buttermilk*

1/4 cup vegetable oil

1/2 cup molasses

1 teaspoon ground ginger

1/4 teaspoon ground cloves

1 box spiced cake mix

For the Frosting:

2 sticks unsalted butter, at room temperature

1 8oz. block cream cheese, at room temperature

1 tablespoon vanilla extract

1 teaspoon almond extract

1 teaspoon ground cinnamon

1/4 teaspoon ground nutmeg

1/4 cup heavy cream

4 cups confectioners’ sugar, sifted

Gingerbread Men, Fresh Rosemary Sprigs, Sugared Cranberries for decoration

*I made my own by combining 2/3 cup whole milk with 3 teaspoons of white vinegar. Stir together and let it sit for 10-15 minutes. It will begin to curdle when ready.

Directions:

Preheat oven to 350 F. Spray two 6-inch pans with baking spray and set aside.

To make the cake: In a large bowl combine all the ingredients for the cake, except the spiced cake mix, and stir together until well combined. Sift the cake mix into the mixture and stir all the ingredients together until just combined. Divide the batter among the prepared pans and bake in the preheated oven for 35-40 minutes, or until a cake tester inserted into the middle of the cakes comes out clean.

Let the cakes cool in the pan for 15 minutes before removing them and transferring them to a wire rack to cool completely.

To make the frosting: Using a hand mixer, or a stand mixer fitted with the paddle attachment, beat together the butter and cream cheese on high speed until light and fluffy. Add in the vanilla extract, almond extract, cinnamon, nutmeg and heavy cream. Continue mixing and gradually add in the confectioners’ sugar until thoroughly combined.

Torte the cooled cakes and then frost about a cup of the frosting on one of the cakes. Stack the other cake on top and crumb coat the cake. Refrigerate for about 15 minutes and then use the remaining frosting to finish frosting the cake. Decorate with gingerbread men, sugared cranberries and fresh rosemary.

Recipe from Baking with Blondie

Sugared Cranberries

Ingredients:

1/2 cup water

1 1/2 cups sugar

12oz. bag fresh cranberries

Directions:

Combine 1/2 cup sugar and the water in a medium saucepan over medium heat stirring until the sugar has dissolved. Stir in the cranberries until well coated. You will want to work fast as the cranberries may begin to burst.

Use a slotted spoon to transfer the cranberries to a parchment lined wire rack to dry for at least an hour.

Pour the remaining sugar into a bowl. Once the cranberries are dry work in batches to coat the cranberries in the sugar. Transfer to a clean piece of parchment paper and let the cranberries dry for at least an hour.

Cookie Palooza: Brown Butter Crinkles

Crinkles are great holiday cookies. You can make them in numerous flavors or stick with a simple recipe and tint the batter red and/or green for Christmas or blue for Hanukkah. In fact, I have been sharing a crinkle cookie recipe for the past couple of years during my Cookie Palooza. Believe it or not there is a science behind crinkle cookies. The cookies get their look and name because the surface of the cookie dries out before the cookie is done spreading and rising while baking. This causes the cookie to harden, crack and pull apart, hence the name crinkles. This is all thanks to rolling the dough in granulated sugar and then confectioners’ sugar prior to baking. I’ve shared quite a few crinkle recipes here on my blog and today I am sharing my favorite thus far, a Brown Butter Crinkle.

To start, you need to make brown butter. To do so I melted a stick of unsalted butter in a saucepan over medium high heat. Once it started to boil, I reduced the heat to medium and let the melted butter simmer until foamy. I stirred it occasionally and scraped the bottom of the pan until the foam subsided and the butter turned a golden brown and had a nutty aroma. I then transferred the melted butter and the brown specks that formed to a large heatproof bowl and let it cool for about 10 minutes.

While the butter cooled I combined the dry ingredients in a medium bowl. Once the butter cooled, I mixed in granulated sugar, dark brown sugar, eggs, vanilla extract and finally the flour mixture until the dough formed. I then transferred it to a piece of plastic wrap and shaped it into a disk and refrigerated it for an hour. The dough needs to be refrigerated because it is extremely soft. Thanks to the brown butter, the dough (and ultimately the cookie itself) had a nice mocha color.

After an hour I removed the dough from the refrigerator and while the dough did firm up some, it was still soft enough to scoop with a cookie scoop. I scooped the dough and rolled it into a ball…

And then coated each with granulated sugar and then confectioners’ sugar.

And baked them in a 350 F preheated oven for about 15 minutes. After letting them cool on the baking sheets for a few minutes I then transferred them to a wire rack to cool completely.

So, why are these my favorite crinkle cookies now? Well, it’s because of the brown butter. Brown butter added a nice nutty flavor to the cookie.

Looking for more crinkle flavors, check out these recipes:

Key Lime Crinkles

PeanutButterCrinkles

Chocolate Walnut Crinkles

Chocolate Crinkles

Red Velvet Blossom


Brown Butter Crinkles

  • Servings: 30 Cookies
  • Print

Ingredients:

1 stick unsalted butter

2 1/4 cups unbleached flour

3/4 teaspoons baking powder

1/2 teaspoon ground cinnamon

3/4 teaspoon coarse salt

1 cup granulated sugar

1/2 cup dark brown sugar

2 large eggs

1 teaspoon vanilla extract

3/4 cup confectioners’ sugar, sifted


Directions:

Melt the stick of butter in a medium saucepan over medium-high heat. When the butter begins to boil reduce the heat to medium and simmer until foamy. Continue cooking the butter, stirring occasionally and scraping the bottom of the pan, until foam subsides, and the butter has turned a golden brown with a nutty aroma and milk solids separate into brown specks that sink to the bottom of the pan, 2 to 7 minutes. Remove from the heat and transfer to a large heatproof bowl and let cool for 10 minutes.

In a medium bowl whisk together the dry ingredients – flour, baking powder, cinnamon and salt – and set aside.

Once the butter has cooled, stir in 1/2 cup of the granulated sugar and the dark brown sugar into the brown butter until combined. Add in the eggs and vanilla and finally the flour mixture until the dough forms. Transfer the dough to piece of plastic wrap, shape into a disk and then wrap tightly and refrigerate for at least 1 hour and up to 2 days.

Preheat the oven to 350 F and line two baking sheets with parchment paper. Place the confectioners’ sugar in a small bowl and the remaining 1/2 cup sugar in another small bowl. Scoop 1 tablespoon of the dough and roll into a bowl. Roll the dough in the granulated sugar and then in the confectioners’ sugar. Place on the prepared on the baking sheet, spacing the cookies about 1 inch apart.

Bake in the preheated oven for 15 to 18 minutes. The cookies will be done when they spread slightly, crackle and are set at the edges. Let cool on the baking sheets for 5 minutes before transferring to a wire rack to cool completely.

Recipe from Martha Stewart’s Cookie Perfection