Slow Cooker Sunday: Pumpkin Bread Pudding

This week for Slow Cooker Sunday I am bringing you something different… Dessert. Most people don’t think of making dessert in their slow cooker. I know I usually don’t. I tried making brownies once and it was a complete mess. Thankfully I had lined the insert of my slow cooker with aluminum foil so the clean-up wasn’t that bad. Thankfully this week’s Pumpkin Bread Pudding wasn’t a total mess and gave me hope that dessert is possible in a slow cooker. With Thanksgiving coming up this week this may be a good alternative to the customary pumpkin pie or a good addition to your dessert table.

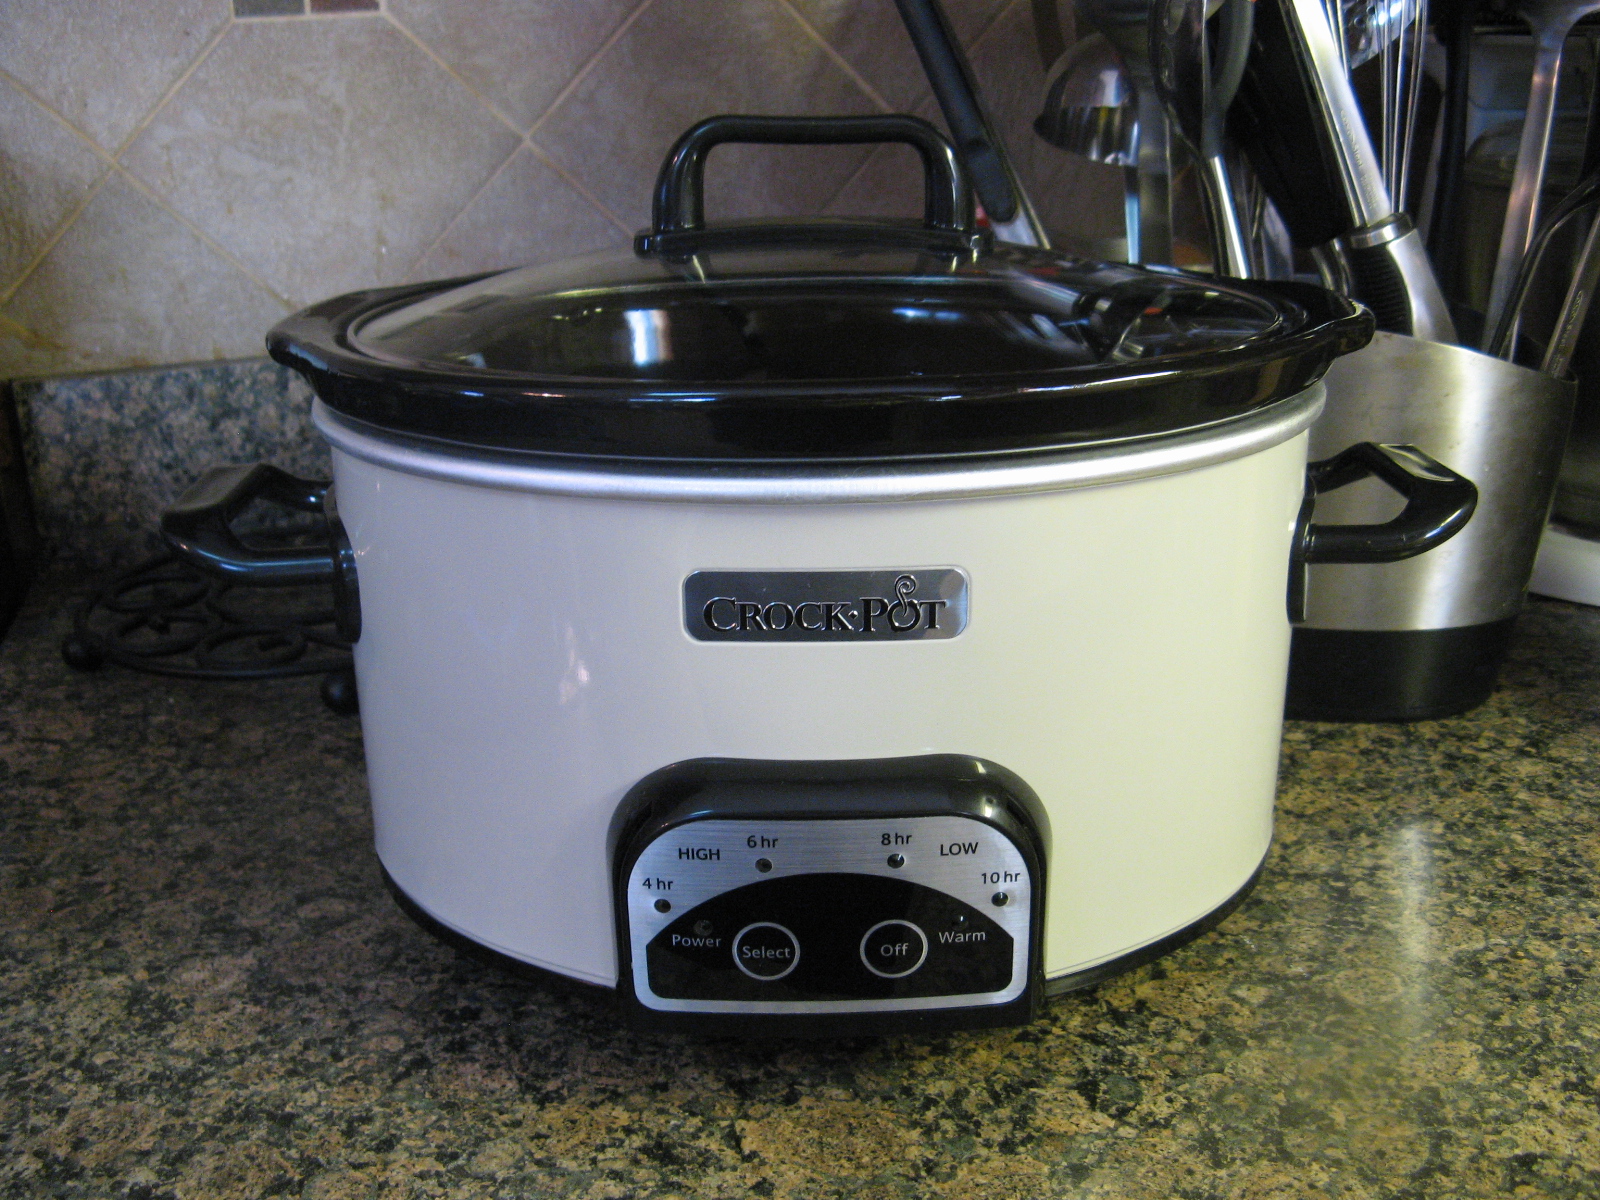
First though let me introduce you to the newest addition to my kitchen… A smaller slow cooker. The slow cooker I normally use is  5 1/2 – quart and while it is a great size, I have a wonderful slow cooker cookbook with amazing recipes that call for a smaller one. Hence this 4 – quart one.

IMG_9765

Now back to the recipe… To begin I cubed a small French baguette and set it aside.

IMG_9767

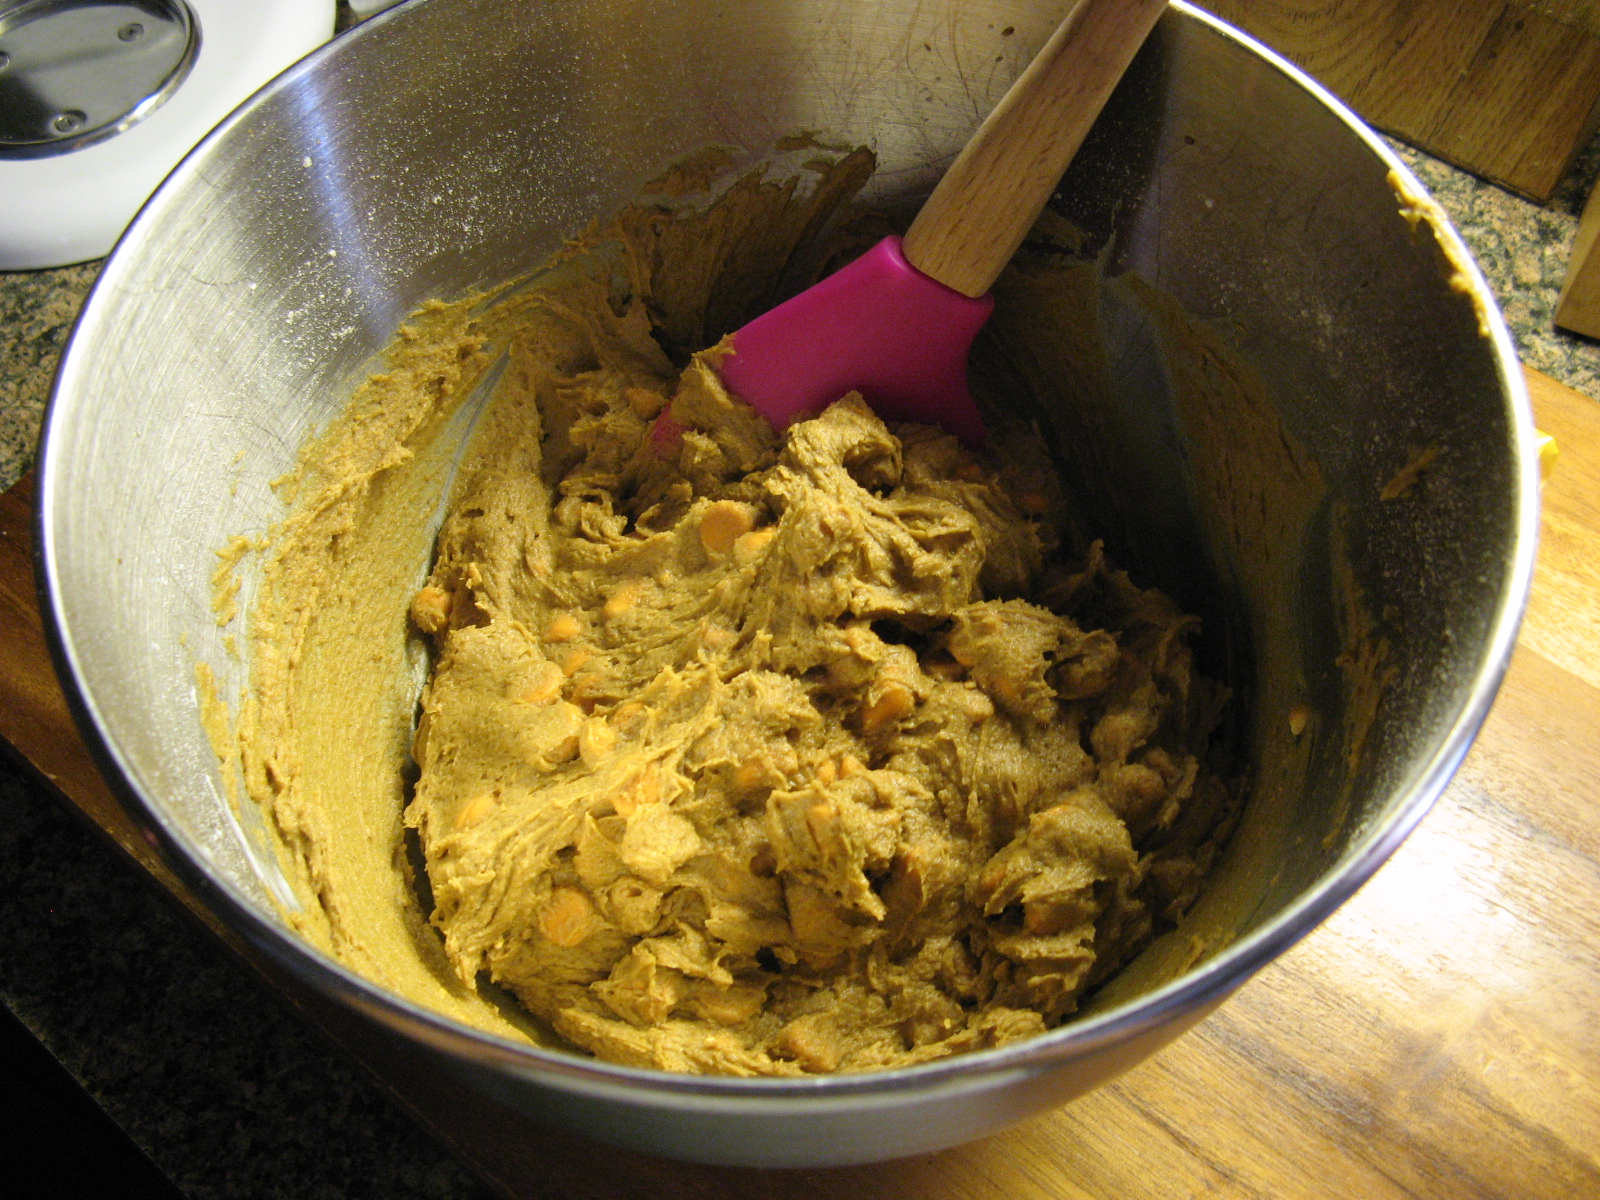
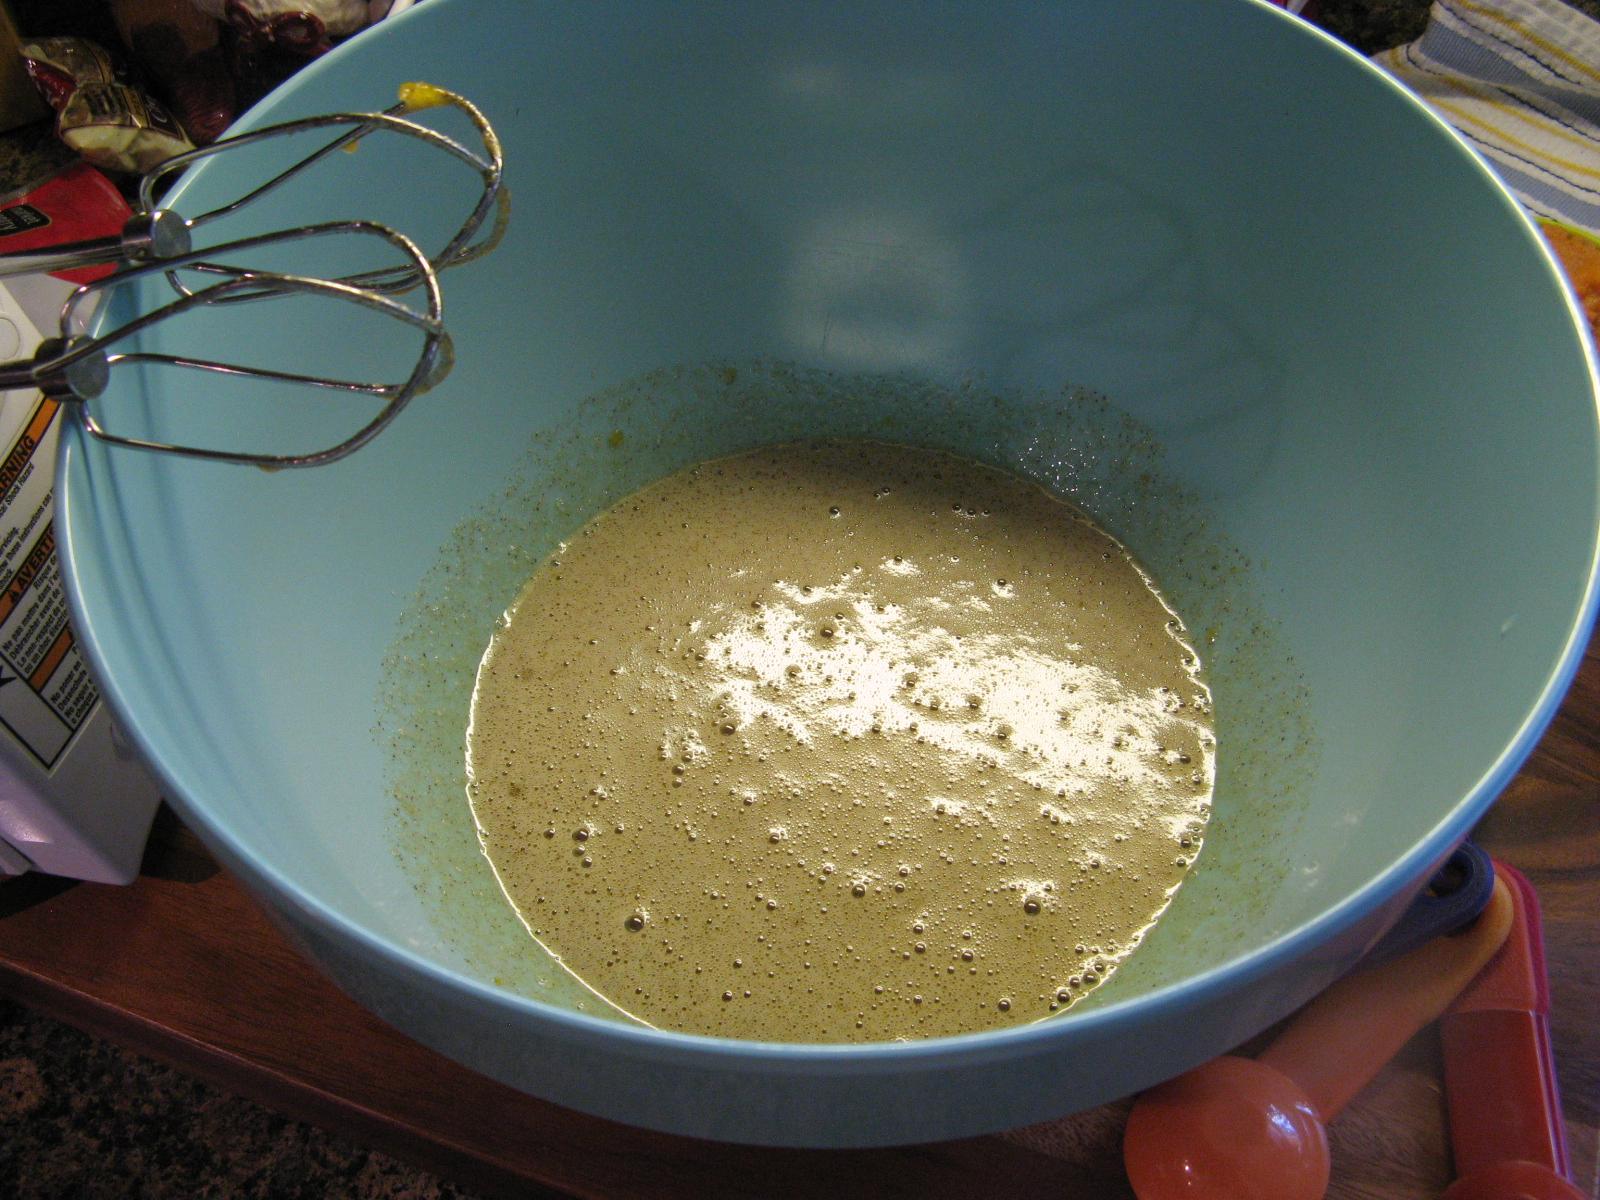
Then in a large mixing bowl I combined eggs, granulated and brown sugar, cinnamon and ginger and beat them until smooth.

IMG_9768

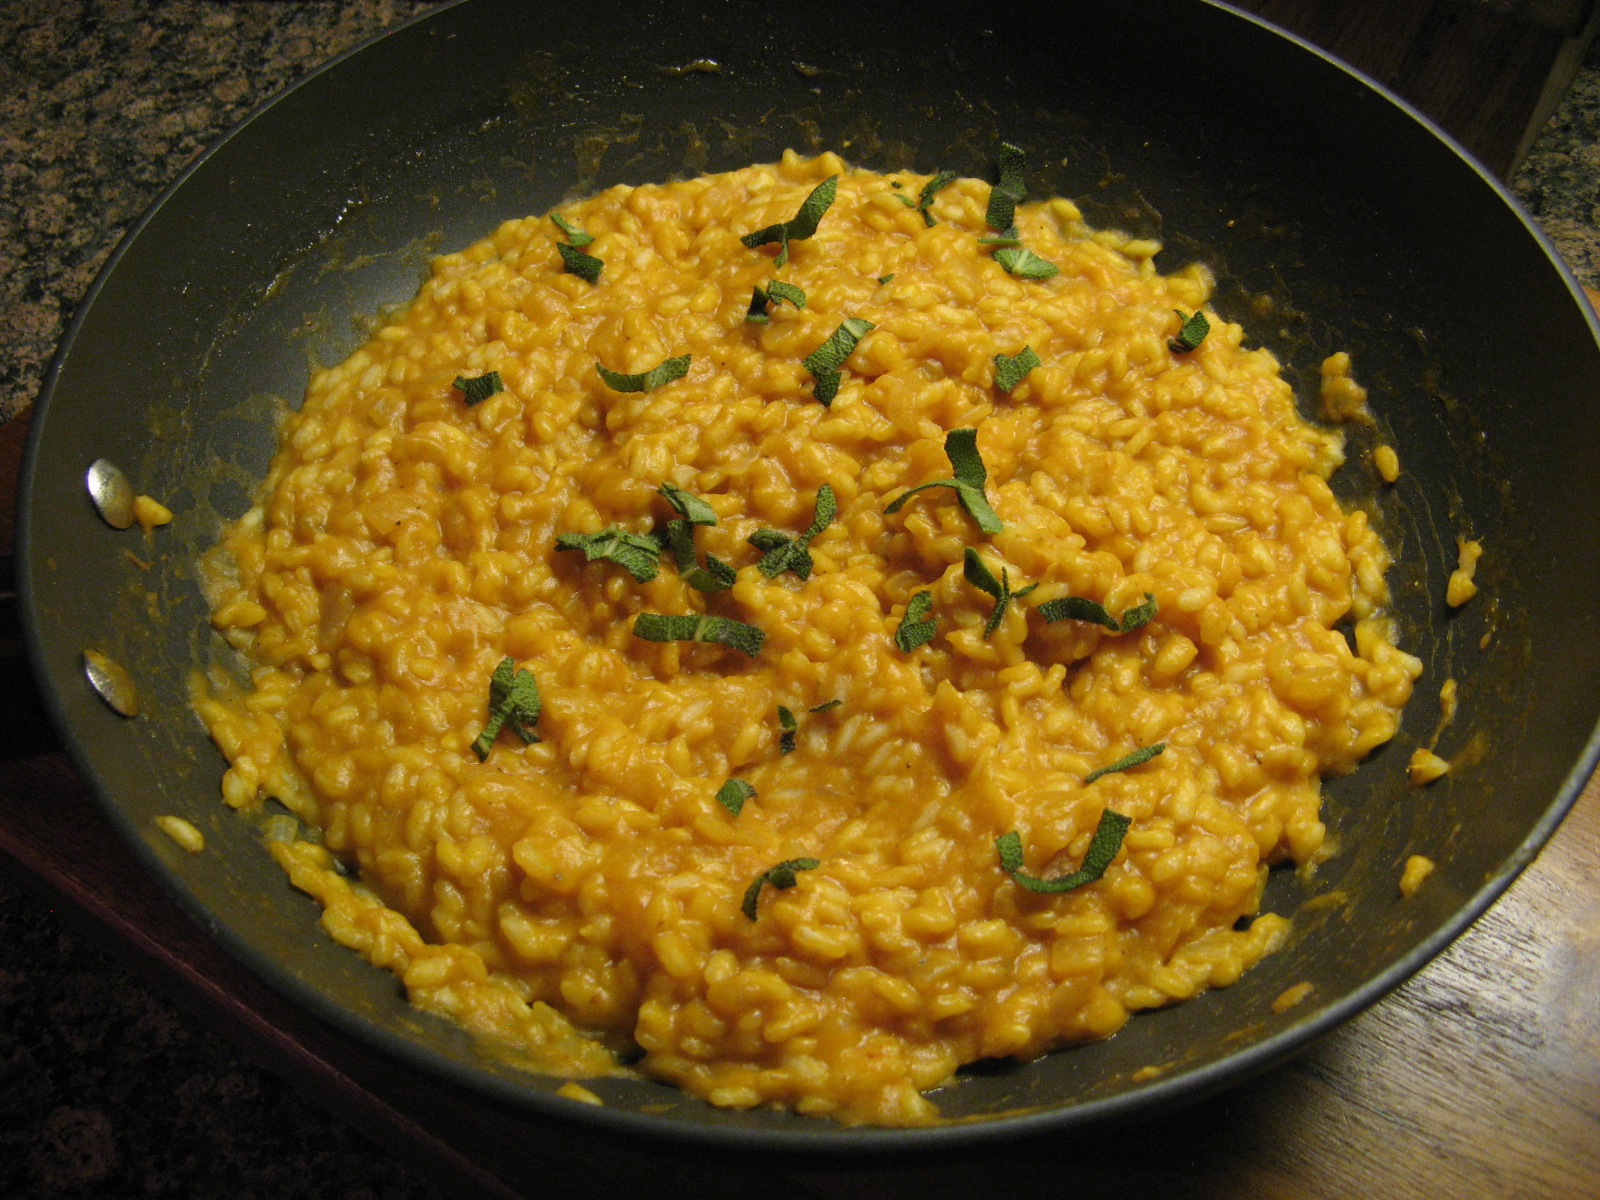
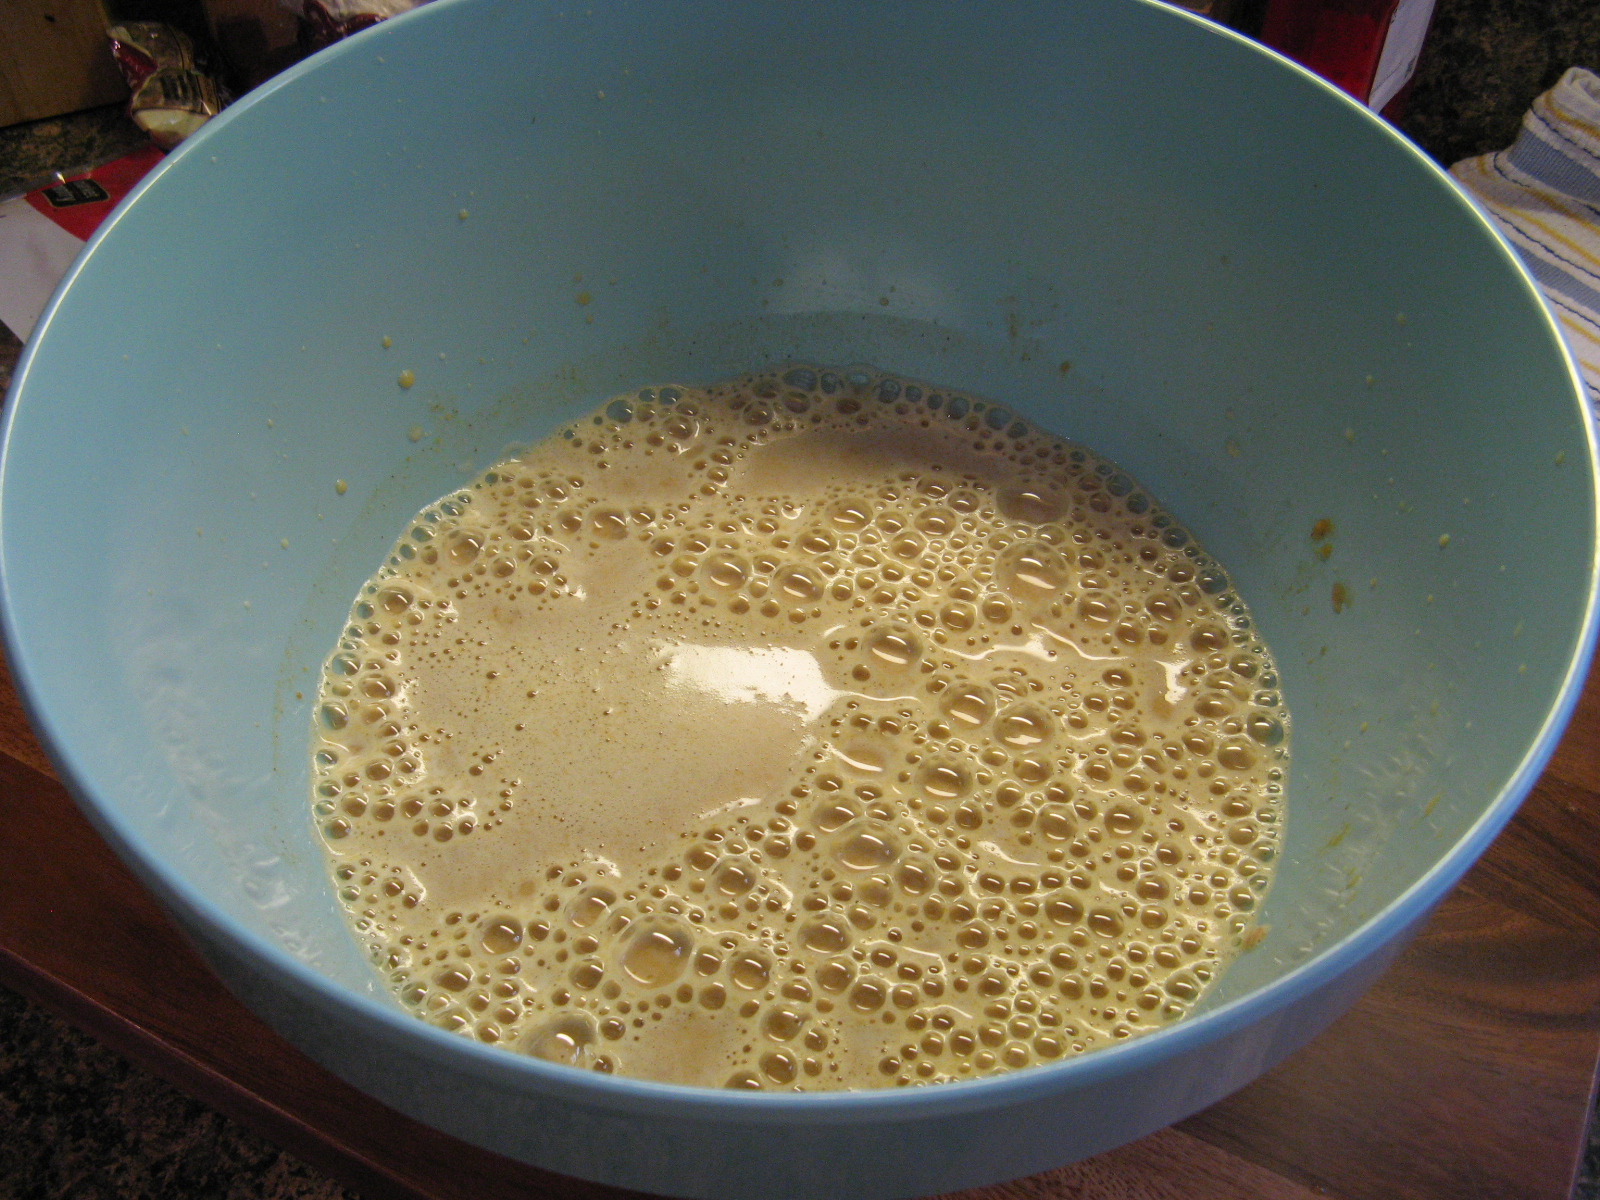
To that mixture I added pumpkin, milk, evaporated milk and vanilla extract and beat it until it was well blended.

IMG_9769

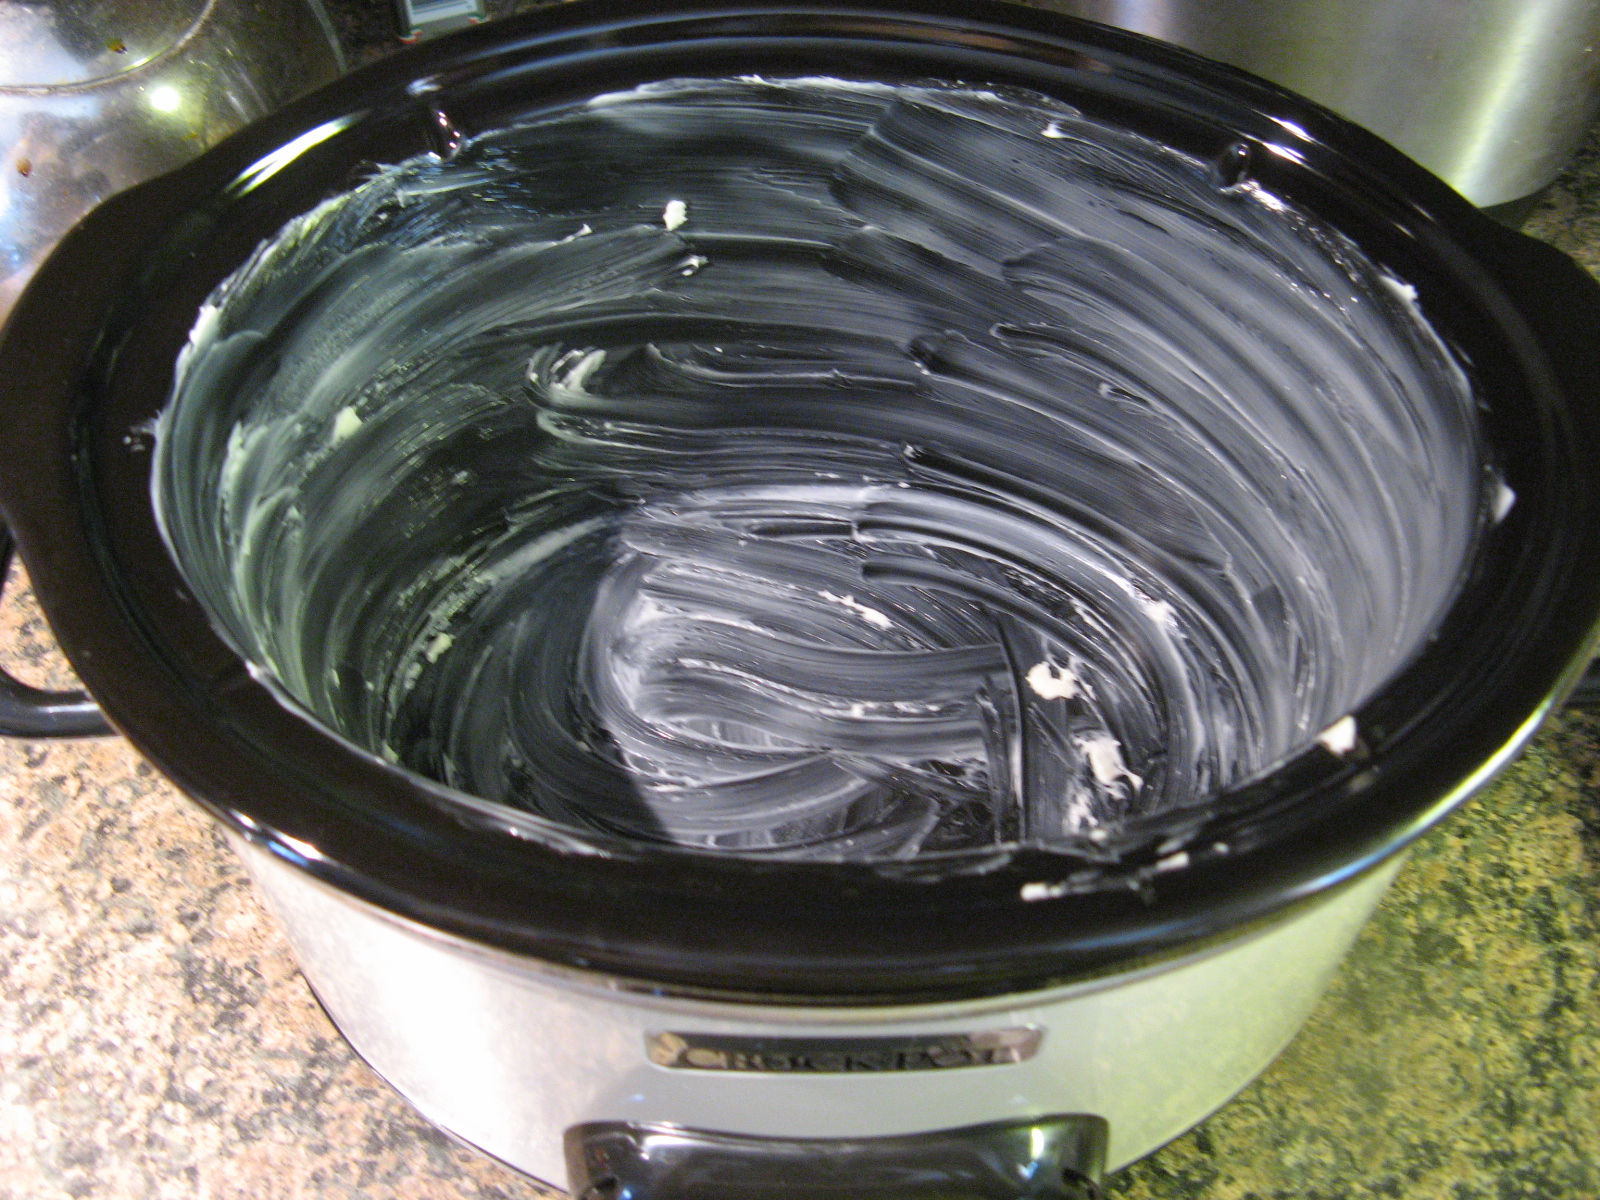
Before adding anything to the slow cooker I generously greased it with butter.

IMG_9766

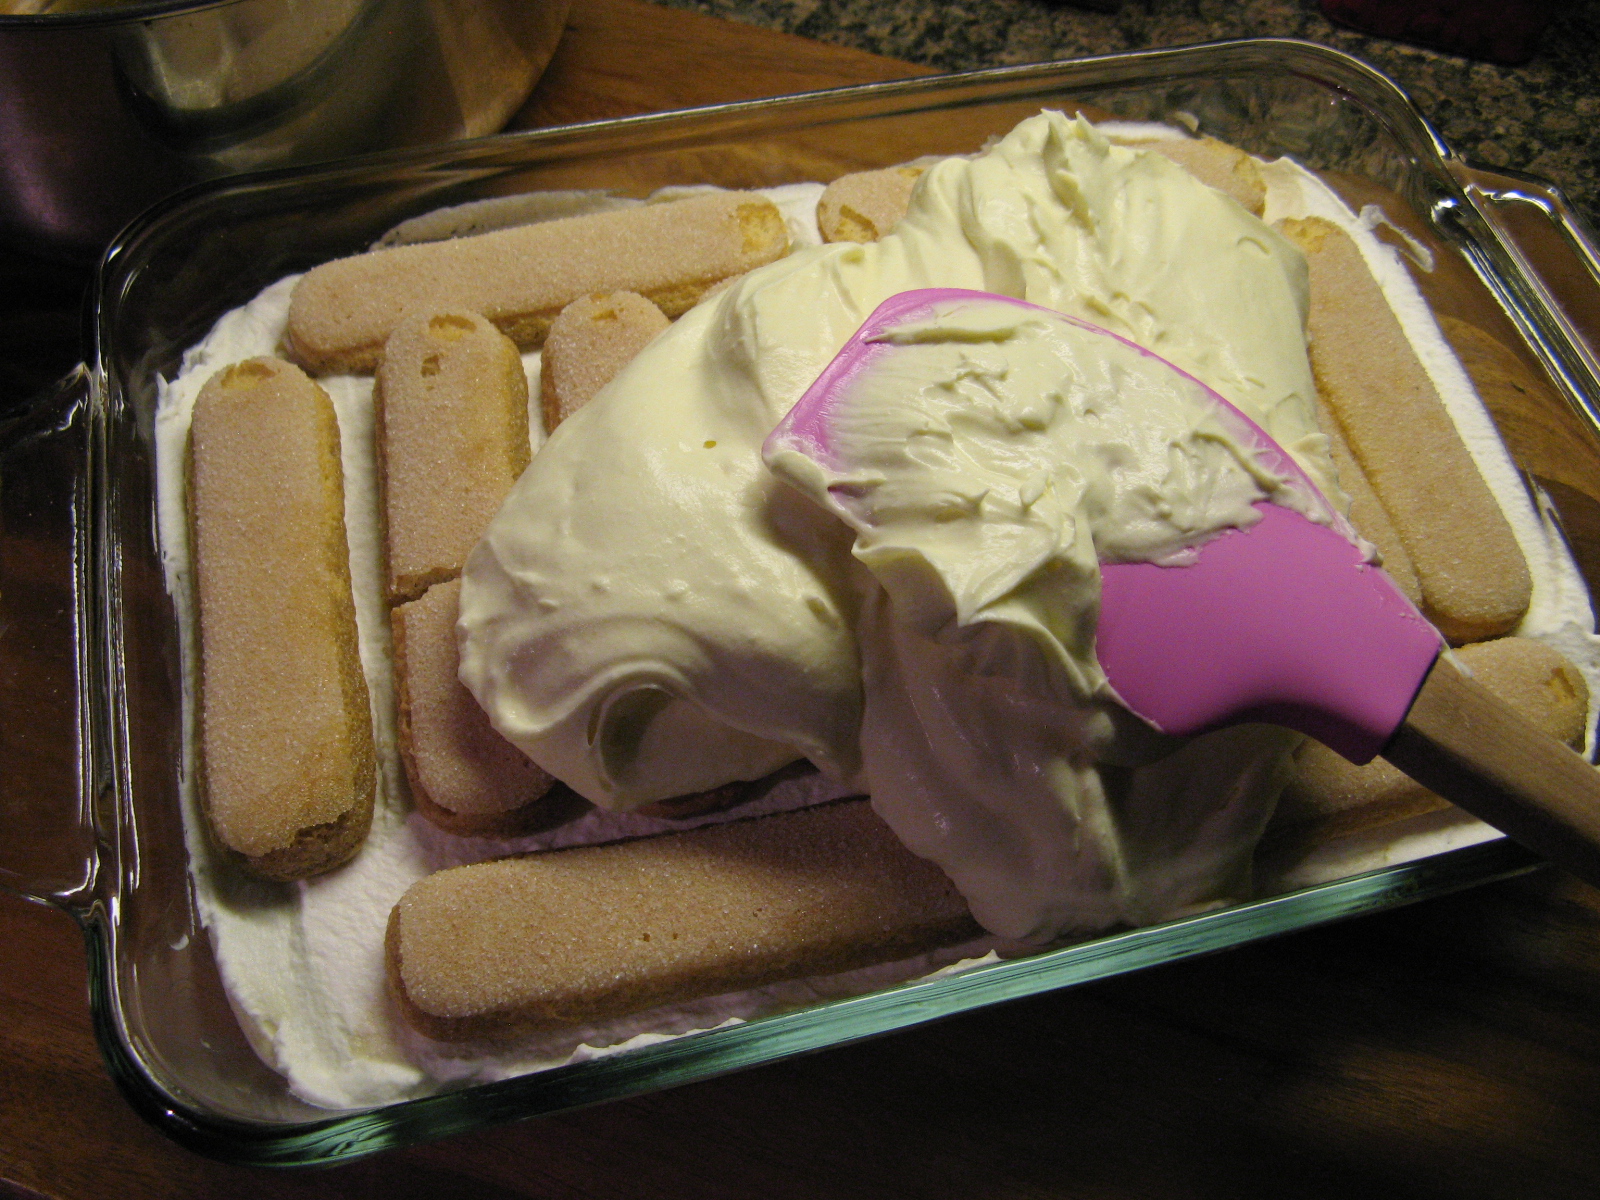
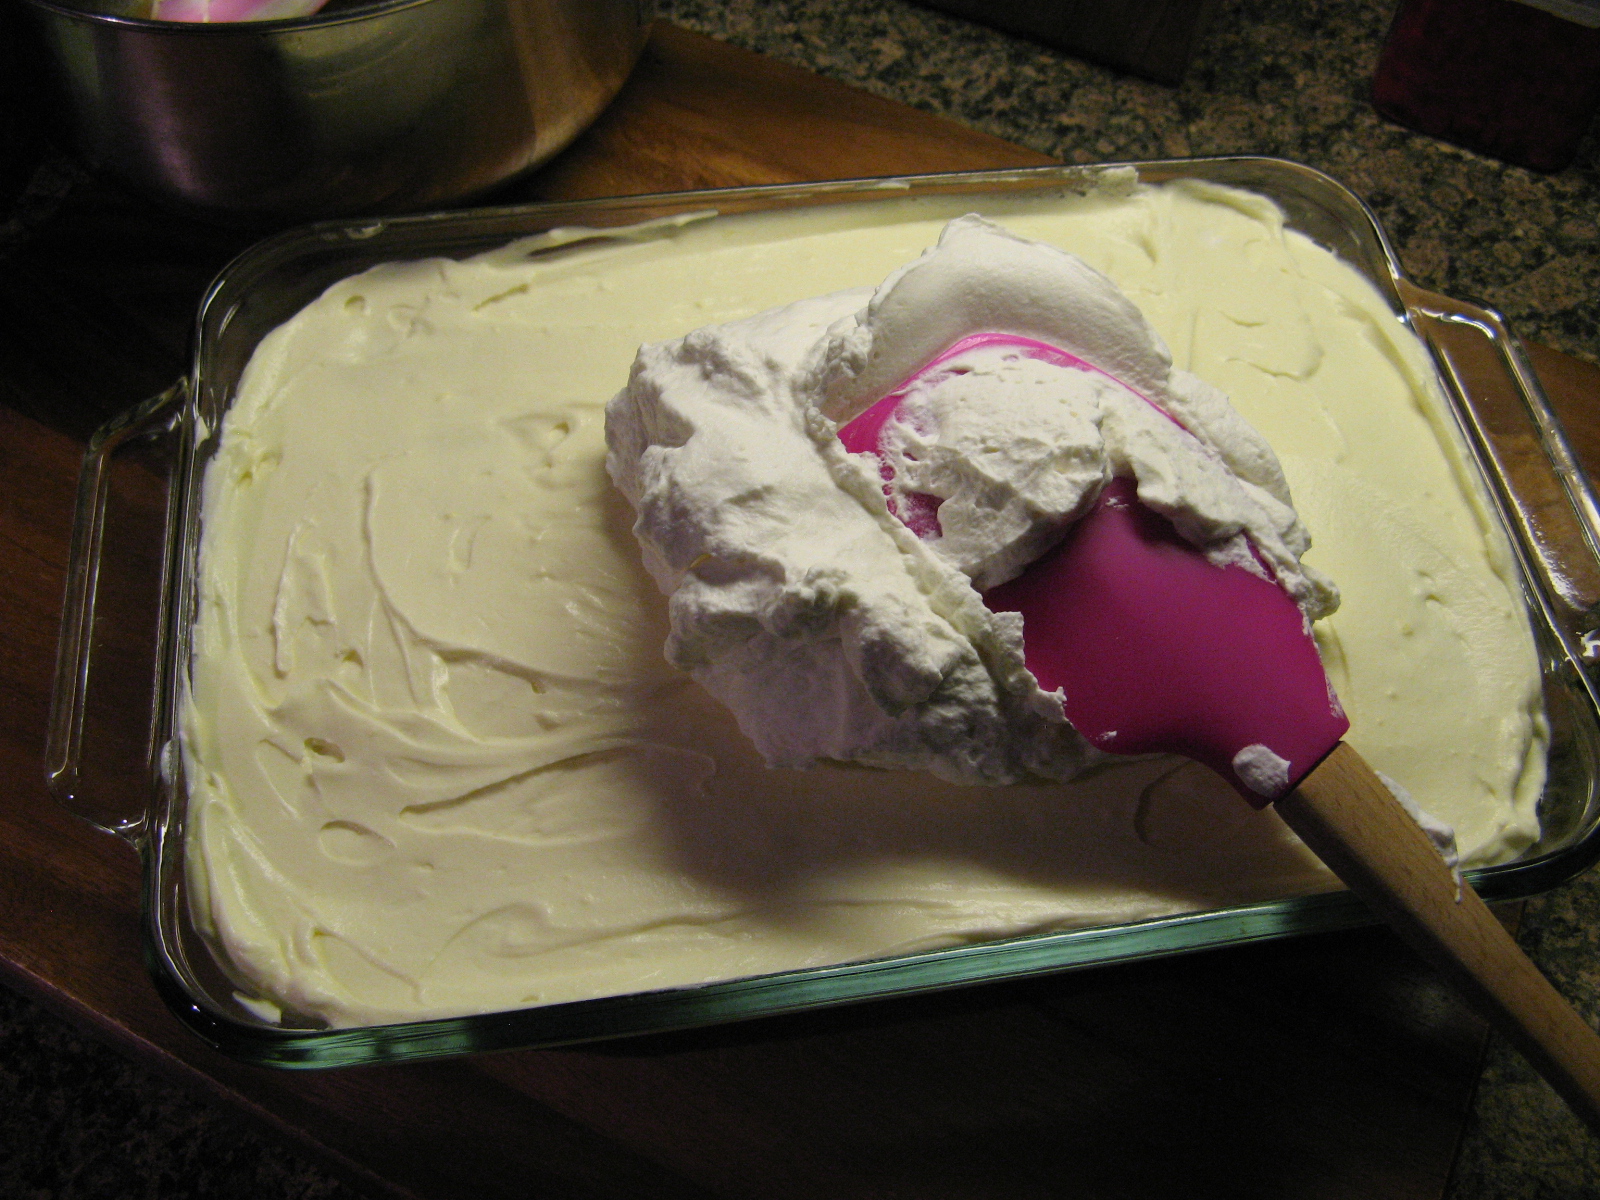
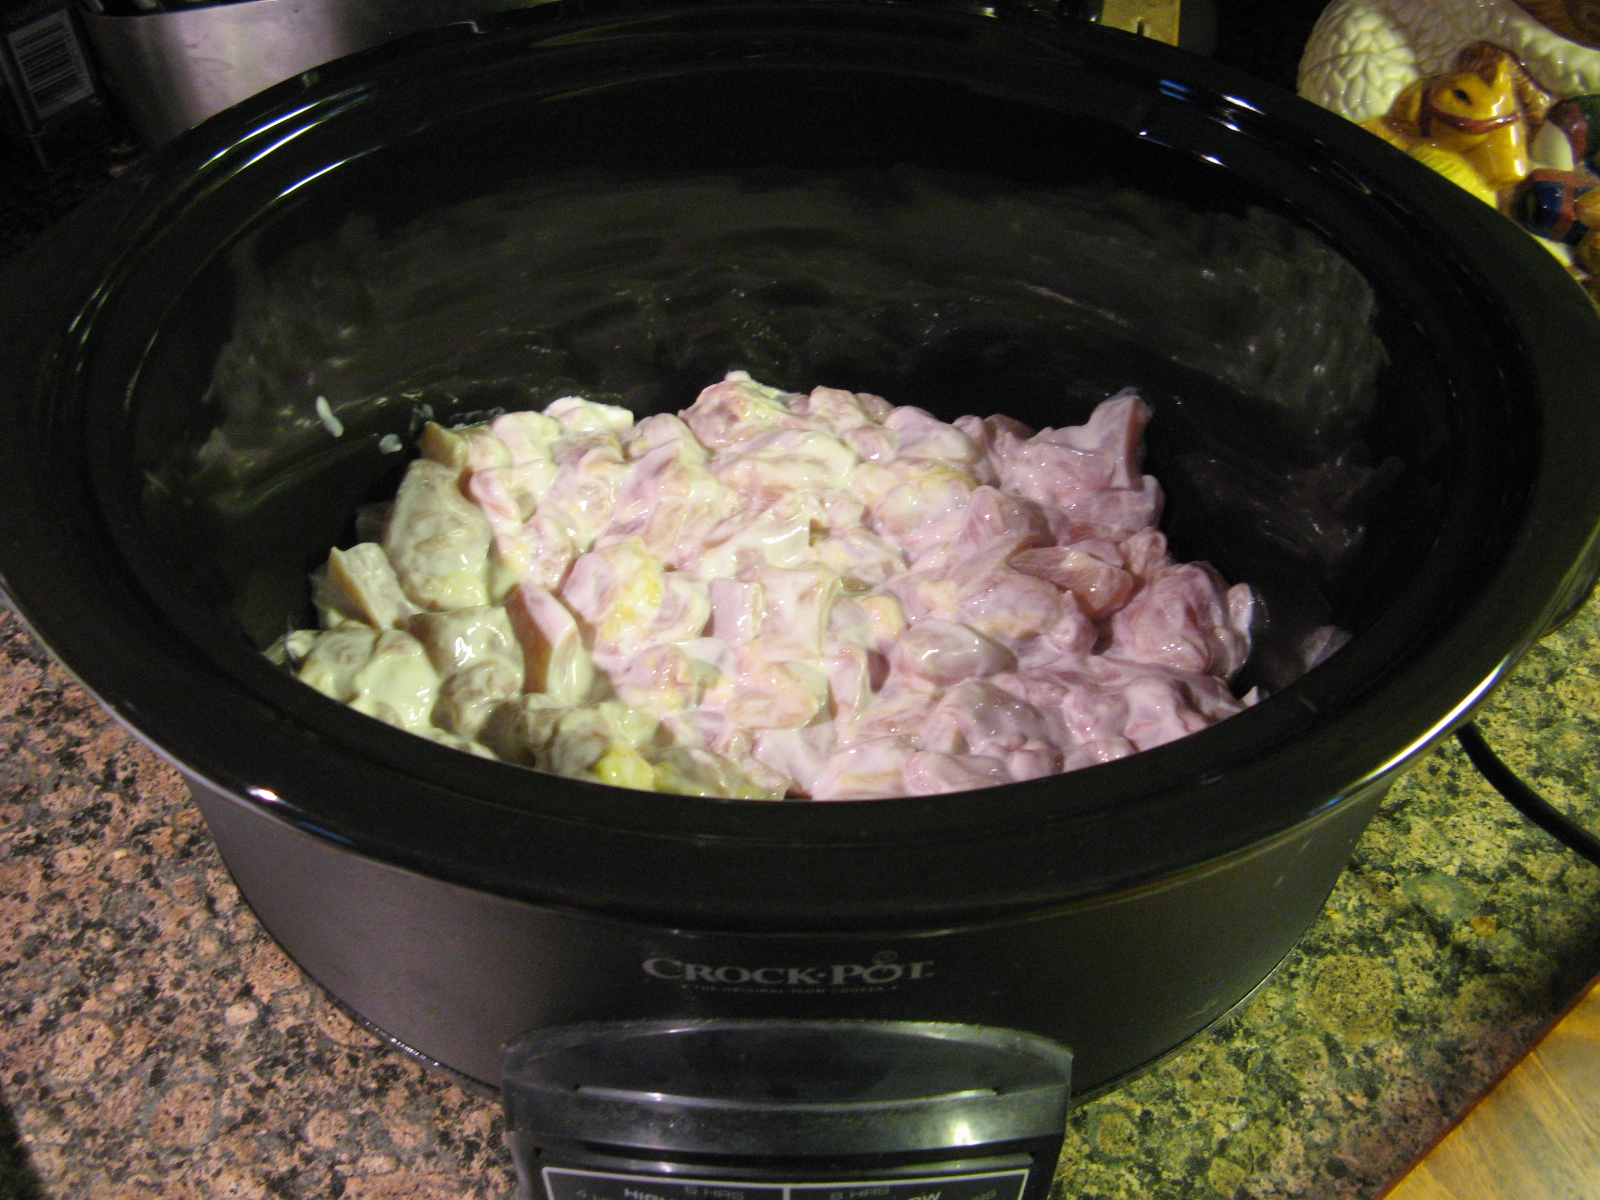
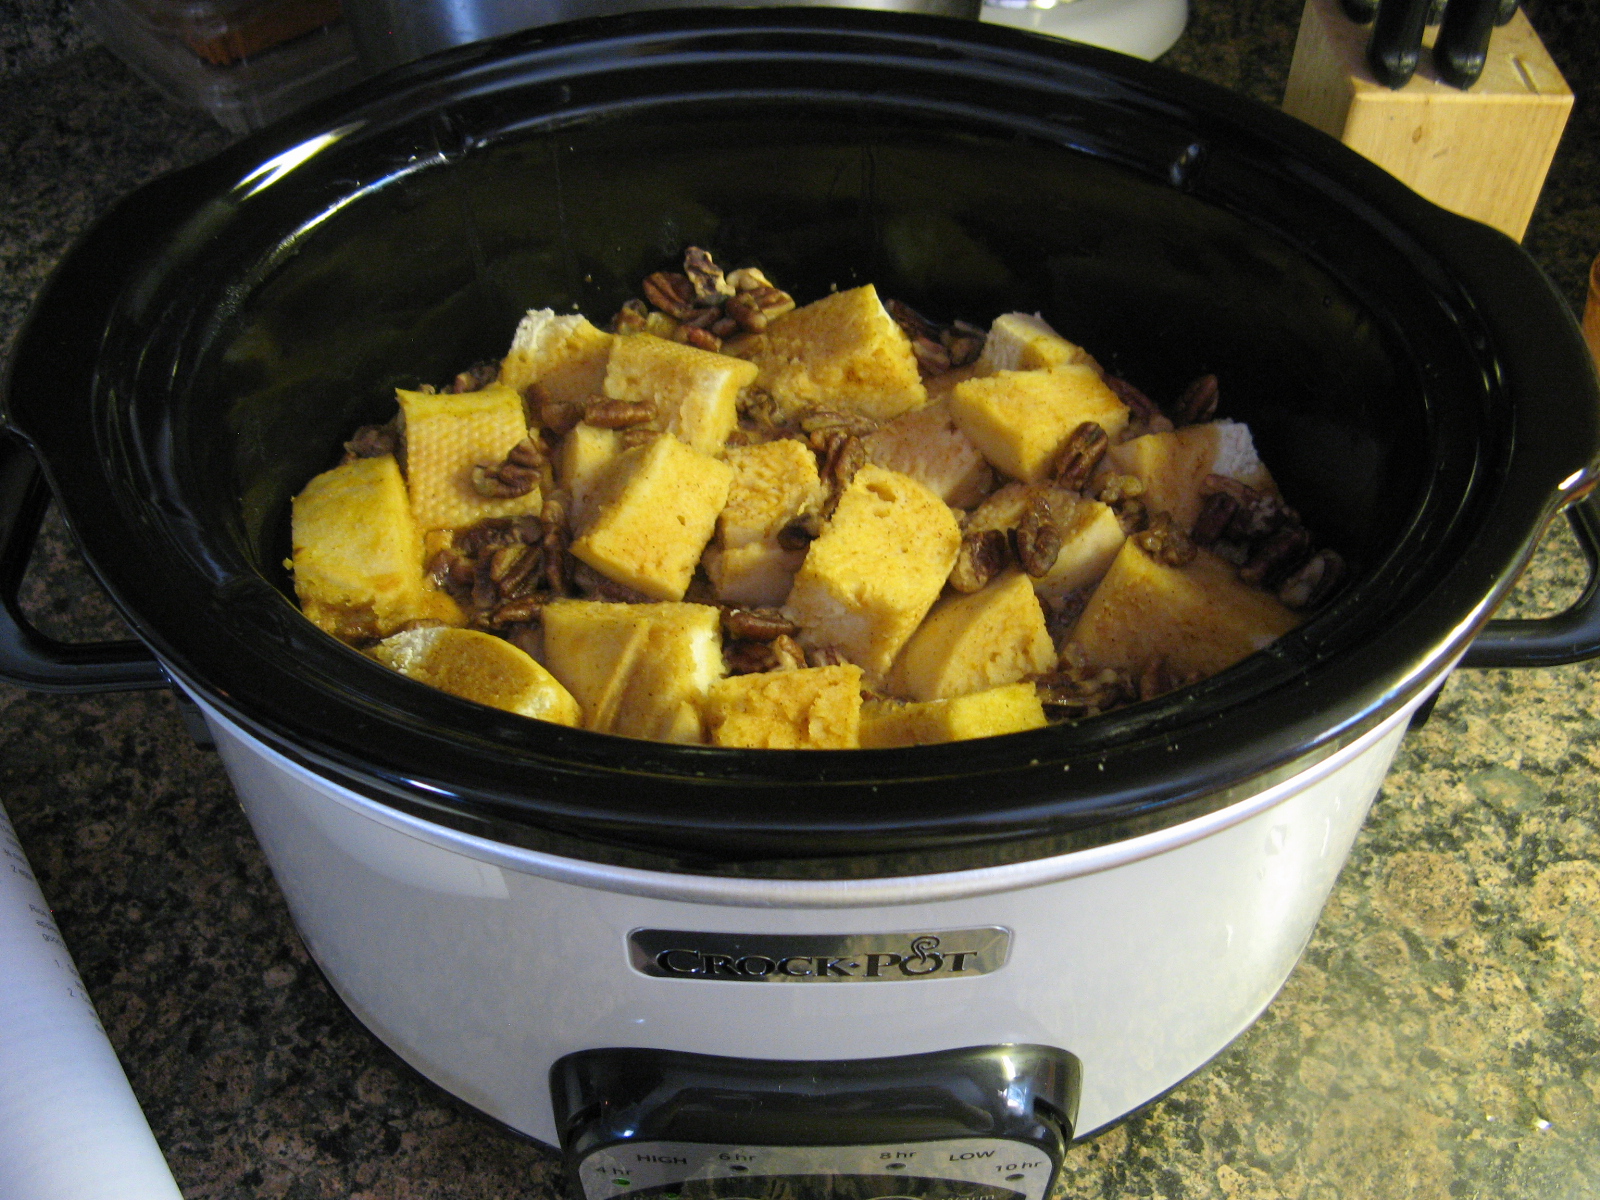
Once I had done that, I placed half of the bread in the bottom of the slow cooker and drizzled it with 2 tablespoons of melted better. Next I poured half of the pumpkin mixture over it and topped it with 1/2 cup of chopped pecans. I repeated the layers…

IMG_9771

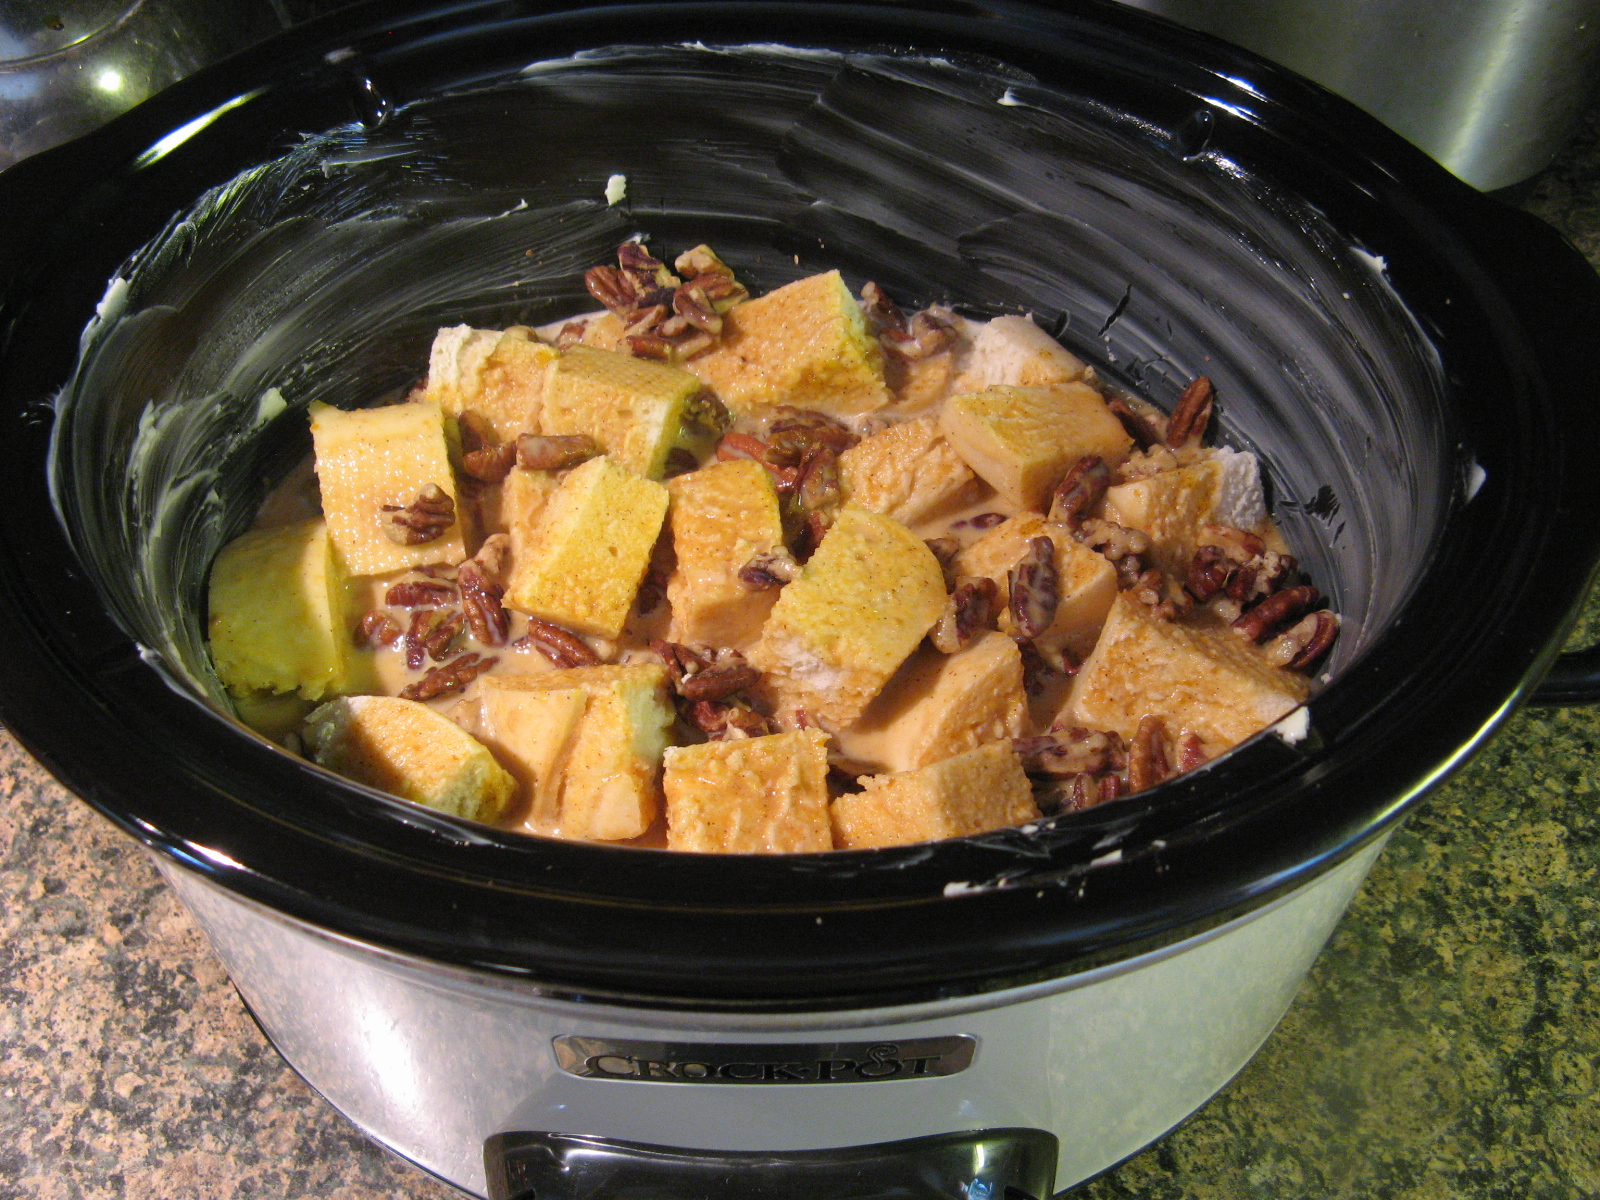
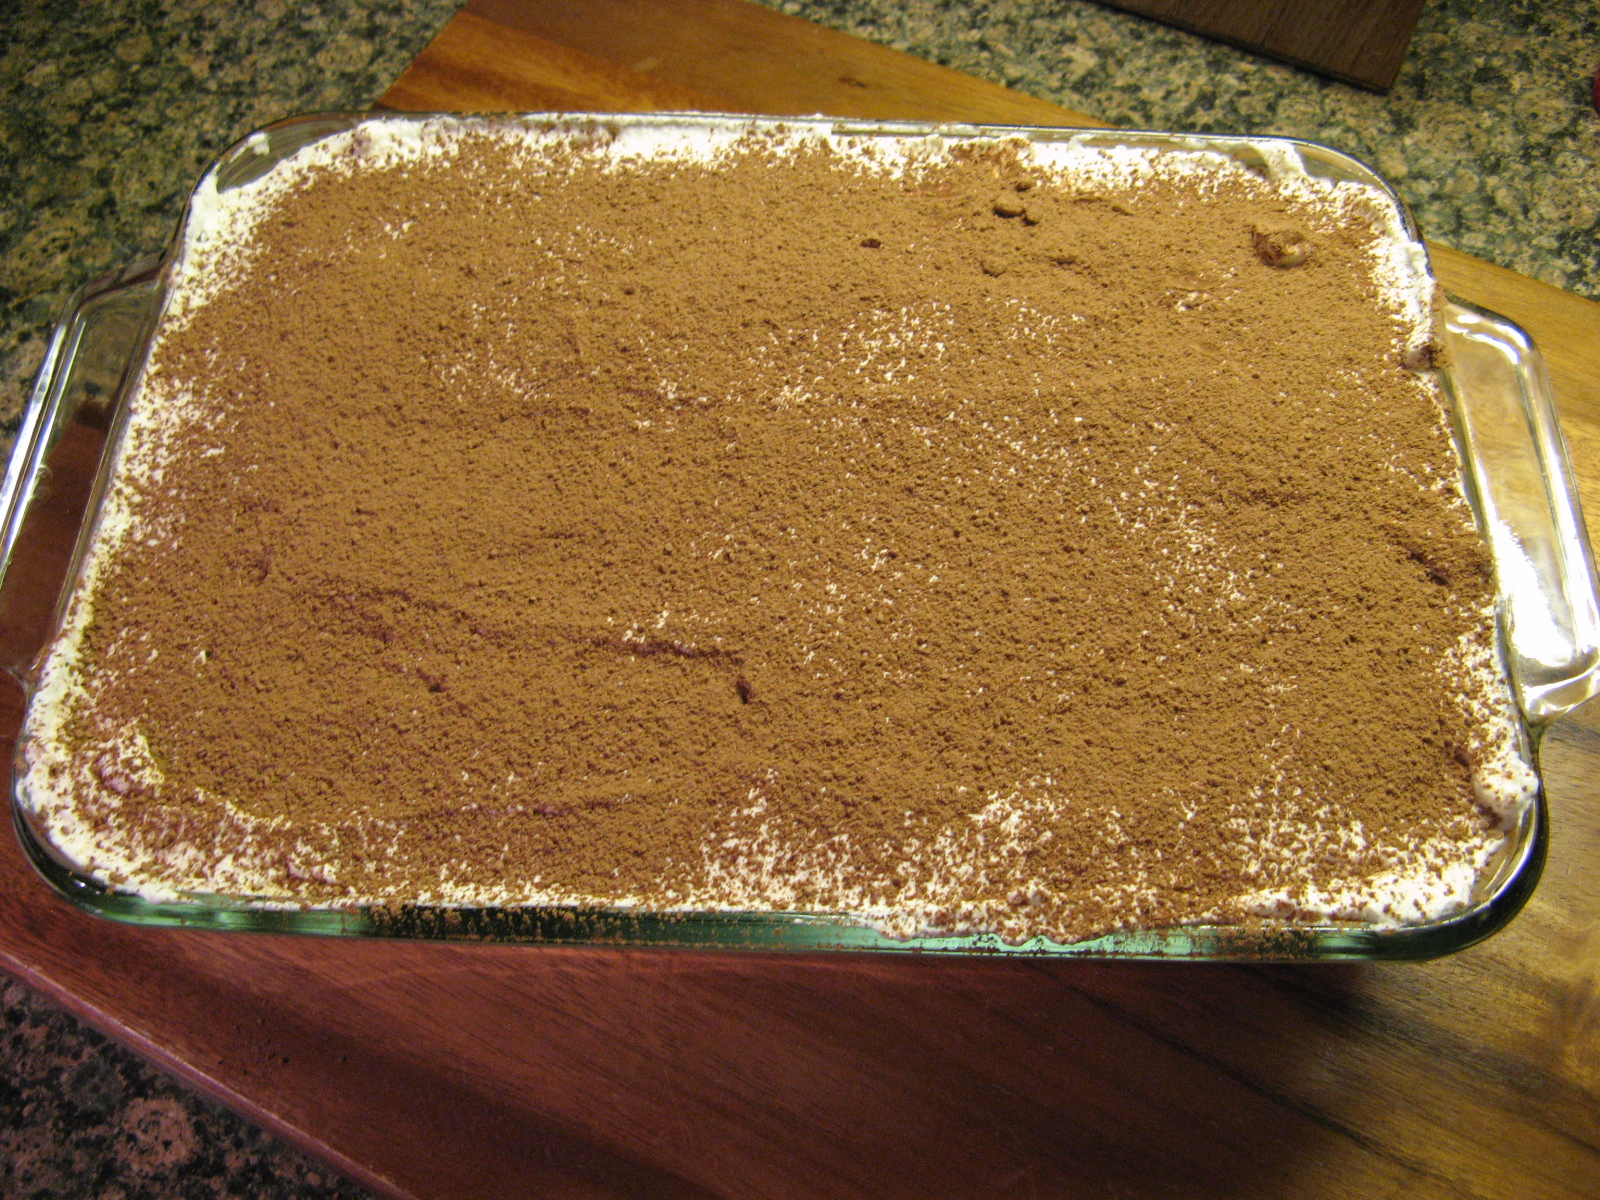
Then covered the slow cooker and set it to cook on high for 2 hours.

IMG_9789

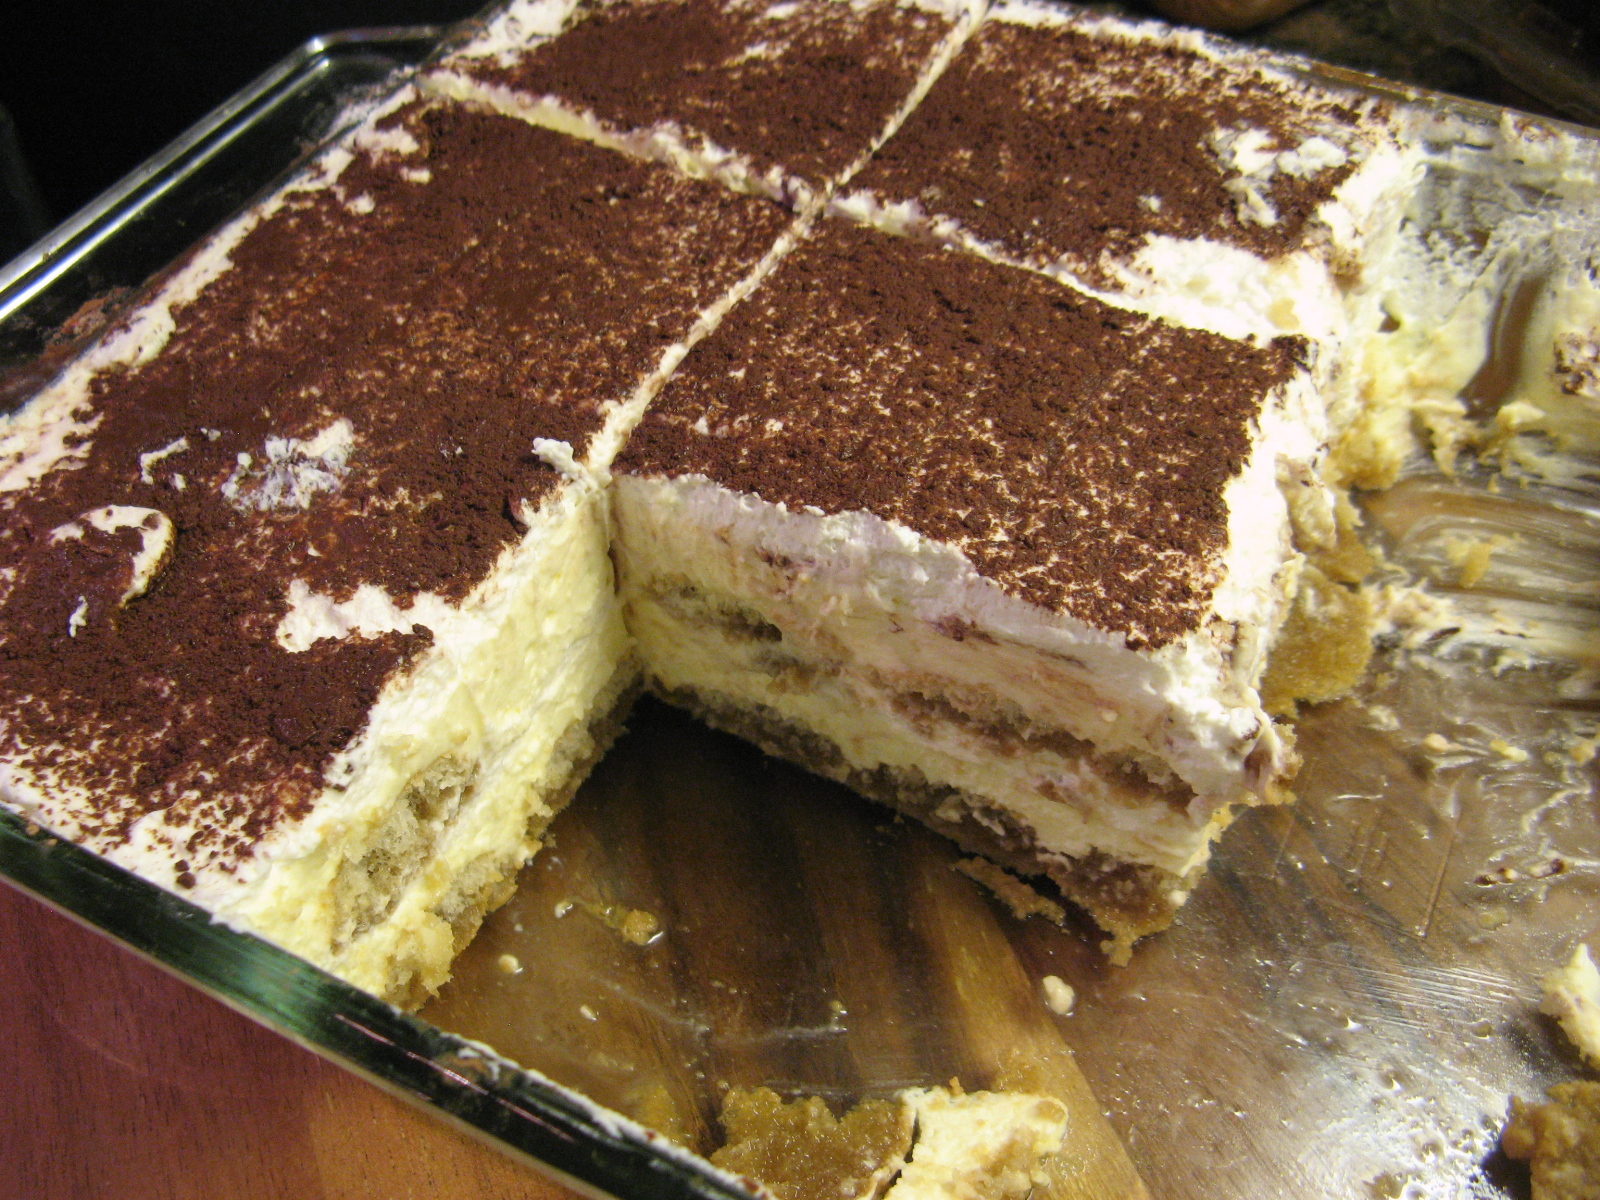
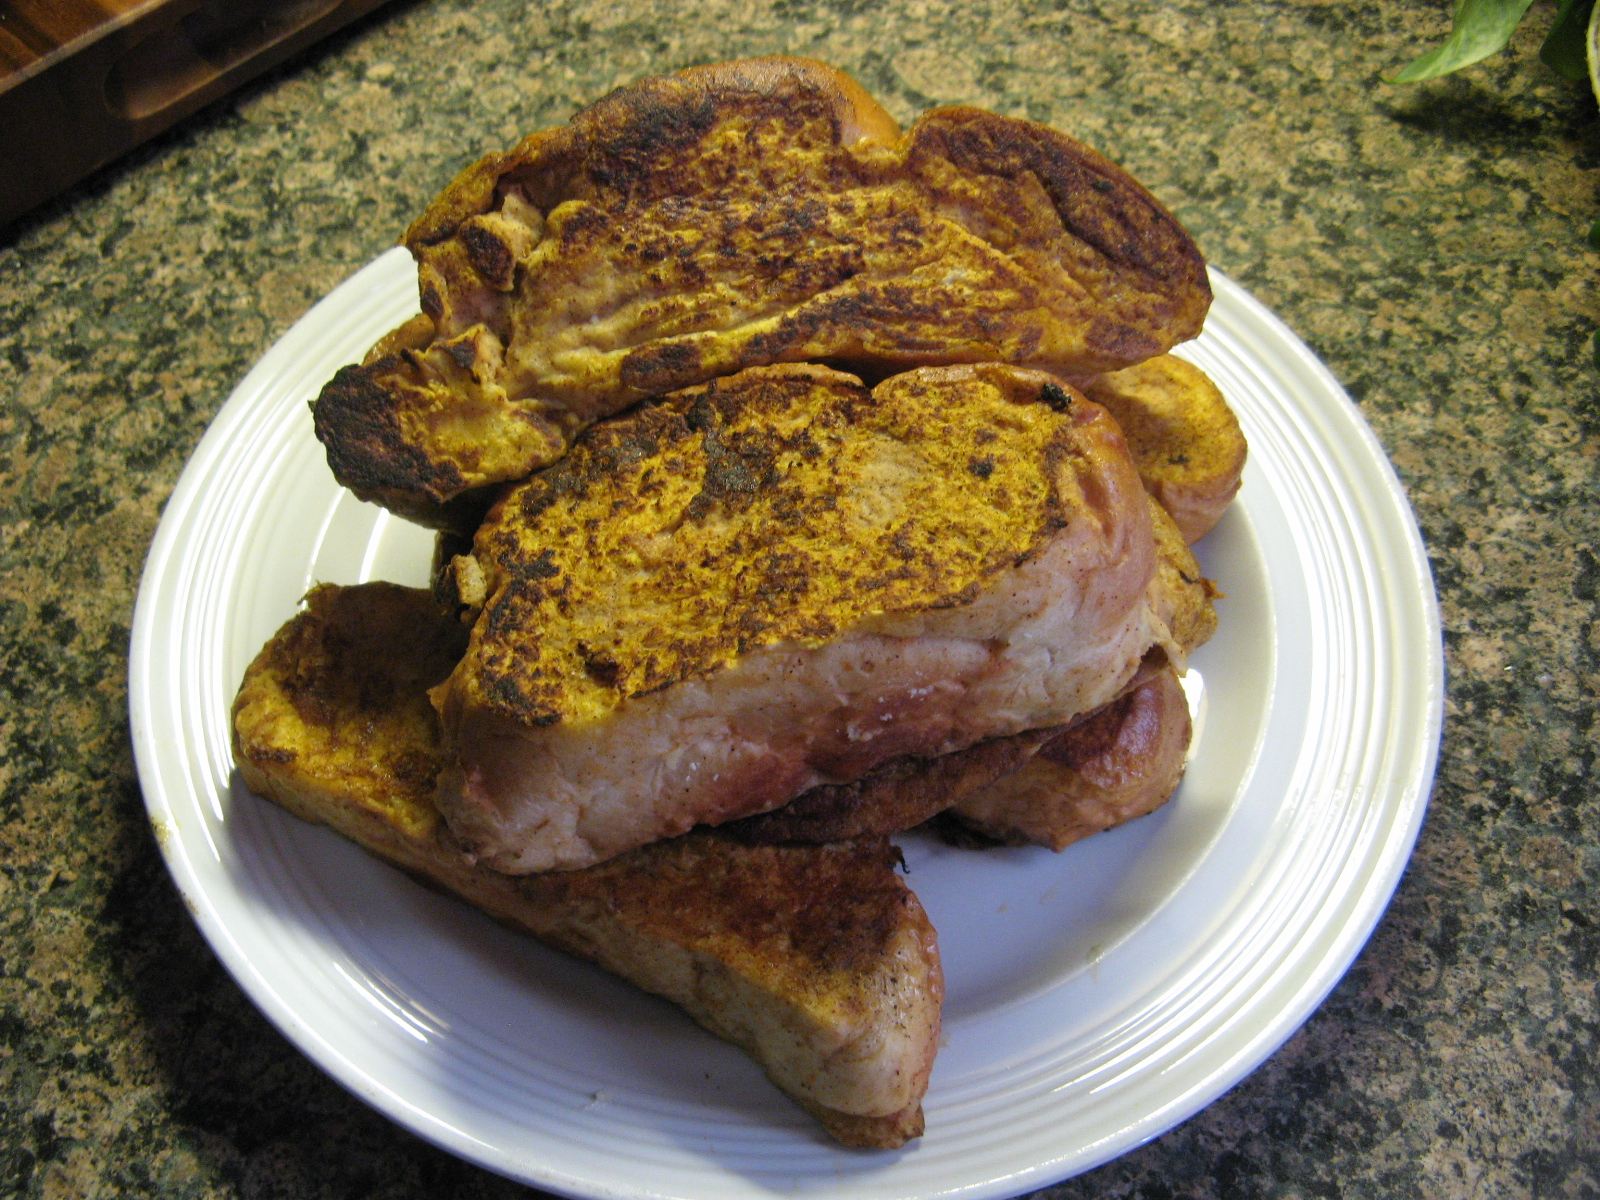
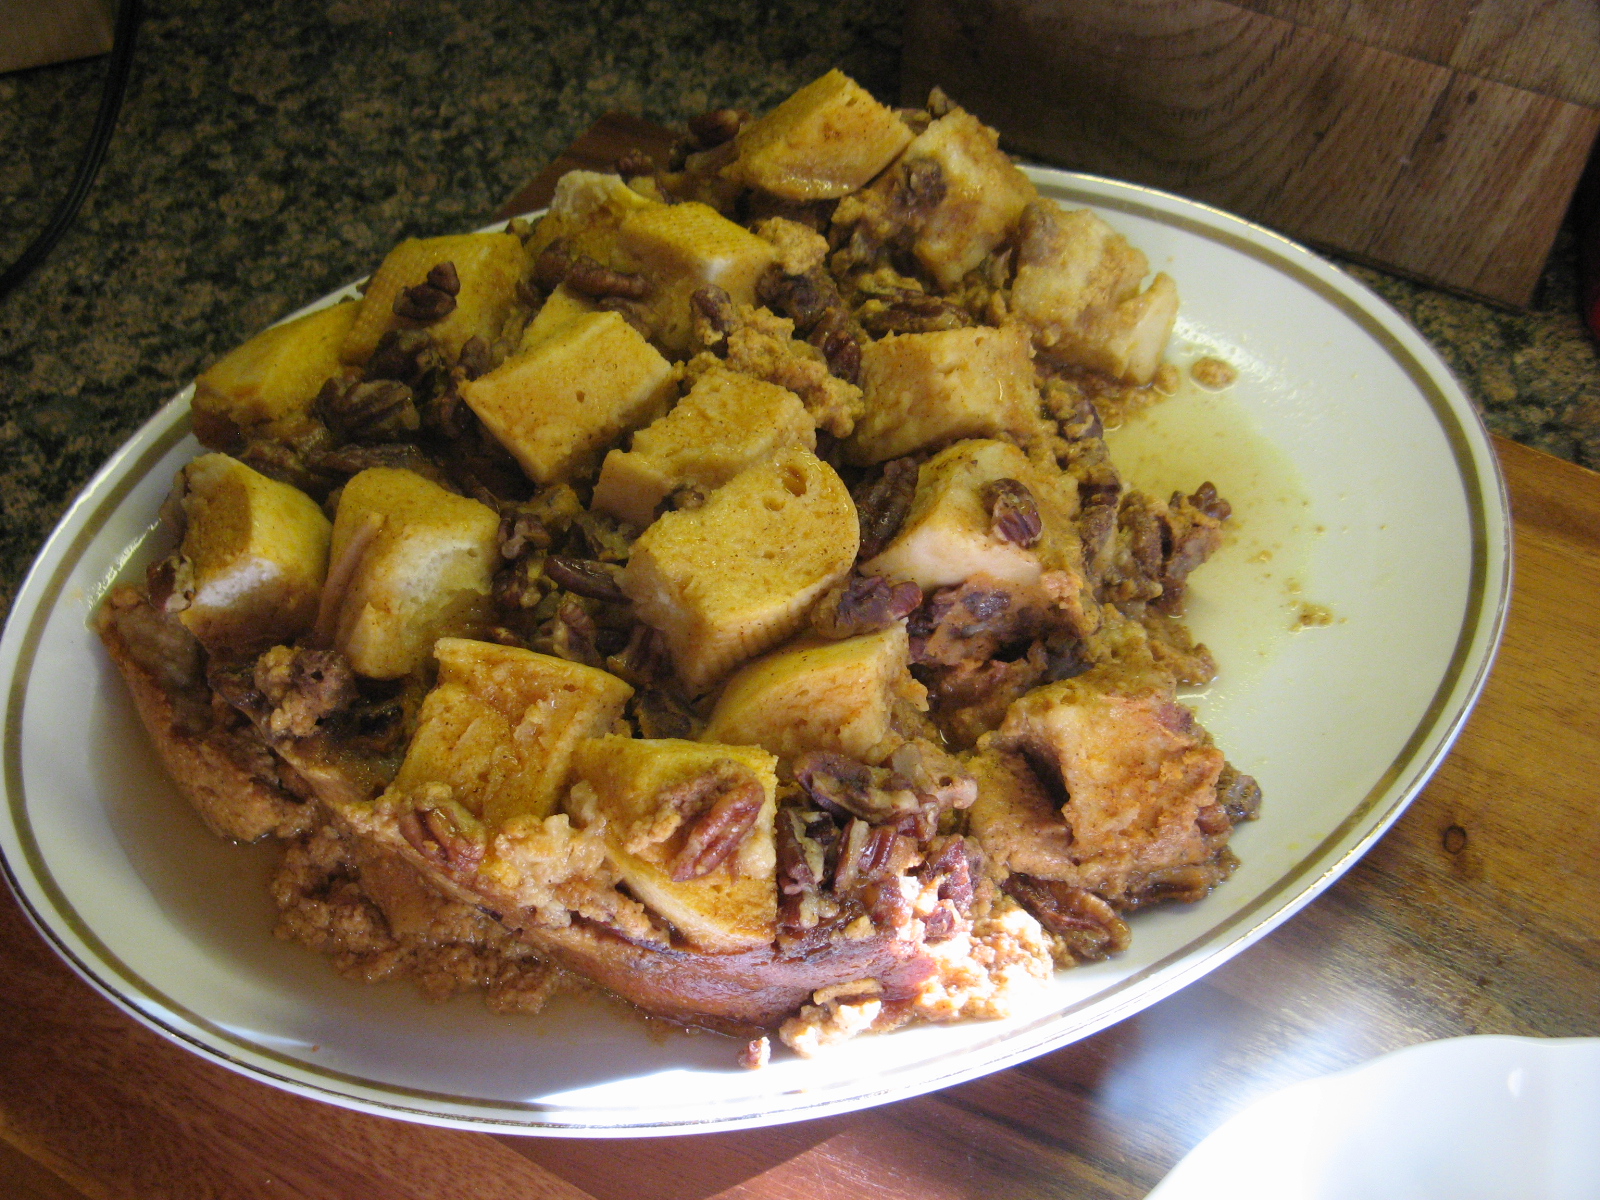
After some careful inverting I transferred the bread pudding to a platter. Now, you could just serve it from the slow cooker – especially if you are serving it to a large crowd – but, if you choose to transfer it don’t make the same mistake I did. Let it cool for a few minutes before trying to flip it. I did it a little too soon after it was done and part of it fell apart. I will say that this definitely doesn’t look like your traditional bread pudding; it sort of reminded me of Monkey Pull Apart Bread. Regardless it was tasty although it didn’t have a strong pumpkin flavor. So it would be ideal for those who like pumpkin but don’t love it!

IMG_9794


Pumpkin Bread Pudding

Ingredients:

3 eggs

1/2 cup sugar

1/2 cup light brown sugar

1 teaspoon cinnamon

1/2 teaspoon ginger

1 cup canned pumpkin

1 cup milk

1 (14-ounce) can evaporated milk

2 teaspoons vanilla extract

2 tablespoons butter, melted, plus more for greasing slow cooker

1 small French baguette, cubed

1 cup chopped pecans

Directions:

In a medium bowl combine the eggs, sugars, cinnamon and ginger and mix well with a hand mixer. Add the pumpkin, milks and vanilla and continue beating until blended.

Generously butter the slow cooker insert and cover the bottom with half of the cubed bread and drizzle with melted butter. Pour half of the pumpkin mixture over it and top with half of the pecans. Repeat the layers.

Cover the slow cooker and cook on high for 2 hours until set and puffed. Best served warm.

From the book The $7 a Meal Slow Cooker Cookbook


Tiramisu

Tiramisu is one of my favorite desserts and I have tried making it quite a few times in the past and have always been unsuccessful. I think it was partly because I hadn’t honed in on my baking skills and whenever I would go to buy ladyfingers I could never find them. In case you were wondering, ladyfingers are an egg-based biscuit roughly shaped like a large finger. Well, this time I had the ladyfingers on hand after coming across them at the supermarket on sale and buying them in anticipation of making this dessert. I was determined to master this favorite dessert of time and not to toot my horn, but, I think it’s one of the best desserts I have ever made.

Before assembling the tiramisu I had some prep work to do. I began by whisking egg yolks and sugar in a saucepan until they were well blended. I then added in whole milk and cooked the mixture over medium heat until it began to boil. After removing it from the heat I let the mixture cool slightly and then covered and refrigerated it for an hour. After removing it from the refrigerator I blended in mascarpone cheese until it was smooth. In another bowl I beat whipped cream and vanilla extract until stiff peaks formed. And in a third bowl I combined room temperature coffee with Kahlua.

IMG_9425

Using an 8 x 11 inch dish I made the first layer of the tiramisu and then topped it with another. After arranging ladyfingers that I soaked in the coffee and Kahlua mixture I topped it with the mascarpone mixture…

IMG_9426

Then the whipped cream mixture…

IMG_9427

And finally dusted the top with unsweetened cocoa powder. I then covered it and refrigerated it overnight.

IMG_9428

And then the next day it was time to enjoy it and enjoy it I did! It was incredibly light and the ladyfingers while crisp beforehand absorbed the coffee/Kahlua perfectly as well as the mascarpone mixture that was directly spread on top of them. I have finally mastered one of my favorite desserts and will definitely be making it again sooner rather than later.

IMG_9445


Tiramisu

Ingredients:

6 egg yolks

3/4 cup granulated sugar

2/3 cup whole milk

1 1/4 cups heavy cream

1/2 teaspoon vanilla extract

1 pound mascarpone cheese

1 cup strong brewed coffee, at room temperature

1/4 cup Kahlua

2 (3 ounce) packages ladyfinger cookies (24 cookies)

unsweetened cocoa powder, for dusting


Directions:

In a medium saucepan whisk together the egg yolks and sugar until well combined. Whisk in the milk and cook over medium heat, stirring constantly until the mixture begins to boil. Boil for one minute then remove from the heat and cool slightly. Cover tightly and chill in the refrigerator for one hour. For best results transfer to a Tupperware with a tight fitted lid.

In a medium bowl combine the heavy cream and vanilla extract and beat until stiff peaks form.

After one hour remove the egg mixture from the refrigerator and beat in the mascarpone until the mixture is smooth.

In a small bowl, one large enough to lay the ladyfingers in, combine the coffee and Kahlua. Dip the ladyfingers in the mixture for a few seconds and then arrange them in an 8 x 11 inch dish. Spread half of the mascarpone mixture over the ladyfingers and then half of the whipped cream over that. Repeat the layers with the remaining lady fingers, mascarpone mixture and whipped cream. Dust the top of the cocoa powder then cover with a sheet of parchment paper and then aluminum foil and refrigerate overnight.


Recipe slightly modified from Allrecipes

Slow Cooker Sunday: Shepherd’s Pie

This week for Slow Cooker Sunday I am bringing you Shepherd’s Pie. Customarily Shepherd’s Pie (or as it can also be called Cottage Pie) is a meat pie with a crust of mashed potatoes. Traditionally it was made with leftover roast meat but is commonly made today with ground meat, beef or lamb. This Shepherd’s Pie is made with beef chuck that is slow-cooked with vegetables in a beef broth and served over mashed potatoes. A twist on the traditional, but, just as delicious. And can I just say that this is my favorite type of slow cooker meal… Just place all of the ingredients into the slow cooker, turn it on and let the machine do the work.

First I placed beef, carrots and an onion into the slow cooker…

IMG_9488

Next I added in beef broth, Worcestershire sauce and tomato paste. After giving the mixture a few goof stirs I then nestled two potatoes – one of the potatoes was the size of two – right on top and covered it and set it cook on low for 8 hours.

IMG_9489

After the 8 hours I stirred in 2 cups of frozen peas and left it on the warm setting until the peas were heated through.

IMG_9516

Meanwhile I removed the potatoes and mashed them with milk, butter, salt and pepper. If you are wondering why the color is a bit off, don’t forget that the potatoes absorbed some of the beef broth during the cooking, which only added to their flavor.

IMG_9518

To serve, I scooped some of the mash potatoes in to a bowl and topped them with the stew… It was DELICIOUS!!!

IMG_9521

Slow Cooker Shepherd's Pie

Ingredients:

1 1/2 pounds beef chuck, trimmed and cut into 2-inch pieces

1 large carrots, chopped

1 large onion, chopped

2 cups low-sodium beef broth

3 tablespoons Worcestershire sauce

2 tablespoons tomato paste

2 tablespoons all-purpose flour

2 large russet potatoes, peeled

2 cups frozen peas

1/2 cup milk, warmed

2 tablespoons unsalted butter

kosher salt

black pepper

Directions:

Place the beef, carrots and onions in the slow cooker. Add in the broth, Worcestershire sauce, tomato paste, flour 1 1/2 teaspoon salt and 1 teaspoon pepper and stir to mix well. Nestle the potatoes in the liquid.

Cover and cook on low for 7 to 8 hours or on high for 4 to 5 hours – until the potatoes are tender. Transfer the potatoes to a medium bowl and add the peas to the stew. Stir and cover and allow the peas to warm, 2 to 3 minutes.

Mash the potatoes with the warmed milk along with butter and 1/2 teaspoon each salt and pepper.

Serve the mashed potatoes topped with the stew.

*Please note I use a 5 1/2 quart slow-cooker.

Recipe slightly modified from Real Simple

Pumpkin Spice Molasses Cookies

Here it is… Another pumpkin recipe! I have a dear friend who loves pumpkin flavored items as much – or maybe more – than I do. We actually text each other pictures of the different pumpkin items we purchase during our grocery or Target runs. Imagine if we lived closer to one another; we would probably have pumpkin flavored taste testing get-togethers for all the different things that have hit the shelves over the past couple of years. She let me know about Pumpkin Spice Milanos – if you haven’t tried them, they are a must – and I told her about Chobani’s Pumpkin Harvest Crisp flip yogurt – once again a must try for anyone who is a fan of pumpkin. So, with all this love of pumpkin it should be of no surprise that when I saw Nestle Toll House’s Pumpkin Spice Morsels in a supermarket circular I knew I had to have them. I got ahead of myself before even trying them and bought a package or two (okay, it was three.) Luckily though, those three bags will be put to good use as the morsels are good enough to eat as candy but are even better when baked into a cookie. Specifically the cookie recipe that was included right on the bag. So, in actuality I am now down to two bags. I have had these morsels for a few weeks now but waited until now to use them as I planned (and did) to send some of them to said friend.

IMG_9465

To make the batter for the cookies I began by creaming together butter and sugar in the bowl of my stand mixer. I then added in pumpkin, molasses, an egg and vanilla extract and continued mixing until the ingredients were blended together. In another bowl I combined flour, baking soda, salt, cinnamon and ginger. Once the pumpkin mixture was well blended I gradually added in the flour mixture and finally stirred in the pumpkin chocolate chips. I then covered the dough and refrigerated it for at least an hour.

IMG_9467

Next I used a cookie scoop to scoop out the dough. I shaped the dough into a ball and then rolled it in sugar and then placed it on a parchment lined baking sheet.

IMG_9470

After baking them in a 350 F oven for eleven minutes, until the tops began to crack and the edges were set, I let them cool on the baking sheets and then transferred them to a wire rack so they could cool completely.

IMG_9472

I then packed some up to send to my pumpkin-loving friend as part of her birthday gift and of course kept a few for myself. And how do they taste? Delicious! They sort of reminded me of a gingerbread cookie, I am sure that’s due to the addition of molasses. And in case you are wondering, rolling the cookie dough in sugar prior to baking them doesn’t make them overly sweet. I was a little concerned about that while making them.

IMG_9480

Pumpkin Spice Molasses Cookies

  • Servings: 36 cookies
  • Print

Ingredients:

2 1/3 cups flour

2 teaspoons baking soda

1/2 teaspoon salt

1/2 teaspoon cinnamon

1/4 teaspoon ginger

1 1/3 cups sugar, divided

1/2 cup (1 stick) unsalted butter, at room temperature

1/2 cup pure pumpkin puree

1/4 cup molasses

1 large egg

1 teaspoon vanilla extract

1 10oz. bag Nestle Toll House Pumpkin Spice Morsels

Directions:

Combine flour, baking soda, salt, cinnamon and ginger in a medium bowl and set aside. Beat 1 cup of the sugar with the butter until creamy. Add in the pumpkin, molasses, egg and vanilla extract, continue beating until well combined. Gradually add in the flour mixture and then stir in the morsels. Cover and refrigerate the dough for at least one hour.

Preheat the oven to 350 F and line two large cookie sheets with parchment paper or lightly grease.

Use a cookie scoop (or scoop tablespoonfuls of dough) to scoop out of the dough and then shape them in a ball and roll in the remaining 1/3 cup of sugar. Place 2 inches apart on the prepared baking sheets and bake 11 to 13 minutes in the preheated oven. Cool on the cookie sheets for 3 minutes before transferring to a wire rack to cool completely.

Recipe from Nestle

Slow Cooker Sunday: Chicken Tikka Masala

Welcome to my new (and first) series… Slow Cooker Sunday. As the temperatures drop and the craziness of the holidays approach you may want something hearty and stress-free for dinner and the perfect solution to that is a slow-cooker dinner. You put all of your ingredients into the cooker in the morning, set it to cook on a high or low setting depending on your time needs and by the time you are ready to sit down to dinner your meal is ready and clean-up is a breeze. It can’t get better than that. A slow-cooker meal is also perfect for during the week, whether you are working, running errands or taking care of kids. That dreaded question that may run through your mind throughout the day – “what should I make for dinner?” – can easily be answered. So be sure to check back every Sunday to see what new meal I post. For today’s first Slow Cooker Sunday meal I am bringing you Chicken Tikka Masala. This is something I always order whenever I go out to an Indian restaurant. I am always tempted to order something different but I always settle on this favorite.

I began by cutting about a pound and a half of boneless skinless chicken thighs into bite-sized pieces and marinating them in yogurt for a few hours. Afterwards I placed them in the bottom of my slow cooker. In case you are wondering, marinating the chicken in yogurt helps to tenderize the chicken.

IMG_9431

Next, in a sauté pan I cooked a diced onion and three minced garlic cloves in olive oil until the onion was softened. I then stirred in fresh grated ginger, tomato paste, garam masala, paprika and Kosher salt. Garam masala is what gives this dish its incredible flavor. Typically it’s a blend of black and white peppercorns, cloves, cinnamon, nutmeg, mace, black and green cardamom, bay leaf and cumin. Initially I looked for it in the international aisle of my supermarket and with no luck there I checked out the spice area and was able to find it among the McCormick Gourmet spices. I should have known it would be among the “fancy” spices in the glass bottles… LOL!

IMG_9432

I then added the onion mixture to the chicken in the slow cooker along with a can of diced tomatoes. After stirring everything together I covered it and cooked it on high for 4 hours. I typically like to use my slow cooker on the low setting, but, I needed this dish to be done in the early afternoon.

IMG_9434

Fifteen minutes before the end of cooking I stirred in heavy cream and left the cover off of the slow cooker so the sauce could thicken. Meanwhile I made basmati rice…

IMG_9436

Which I served on the side with some of the chicken. This was INCREDIBLY delicious and just as good as the Chicken Tikka Masala I’ve had at some of my favorite Indian restaurants. I can’t wait to make it again.

IMG_9455

Slow Cooker Chicken Tikka Masala

Ingredients:

1 to 1 1/2 pounds boneless, skinless chicken thighs, cut into bit-sized pieces

1/2 cup plain Greek yogurt

1 large onion, diced

3 garlic cloves, minced

1-inch piece whole ginger, peeled and grated

2 tablespoons tomato paste

2 tablespoons garam masala

2 teaspoons paprika

2 teaspoons kosher salt

1 (28-ounce) can diced tomatoes

3/4 cup heavy cream

2 cups cooked basmati rice, to serve

Directions:

Marinate the chicken in the yogurt for up to six hours or as little as an hour. Shake to remove the excess yogurt and place in the bottom of the slow cooker.

Sauté the onions and garlic in a little olive oil over medium-high heat until the onions have softened. Stir in the ginger, tomato paste, garam masala, paprika and salt. Transfer to the slow cooker on top of the kitchen. Add in the diced tomatoes. Stir to combine everything.

Cover the slow cooker and cook on high for 4 hours or on low for 8 hours. Make note of the start time because 15 minutes before the end of cooking add in the heavy cream. If you would like a thicker sauce leave the cover off for these final 15 minutes. Serve over rice.

*Please note I use a 5 1/2 quart slow-cooker.

Recipe from the kitchn

Quick & Easy Apple Tarts

Do you sometimes want an apple pie, but, you don’t really want to go through all the trouble to make one? Even if you are using a store-bought crust – I have no qualms in saying that’s usually my go-to way of “making” pie crust – it can still be a bit time and labor consuming. So, if you are ever feeling like that or you are feeling like that right now I have the remedy for you. A pair of Apple Tarts that take just about an hour to make – that includes prep and bake time – and only requires six ingredients!

To begin thaw out a puff pastry sheet for about 20-30 minutes. You don’t want it to become warm and mushy, but, you also don’t want it to be partially frozen. Once you are able to unfold it, it’s ready to be used. Slice it in half – a pizza cutter works best – and place both pieces on a baking sheet that has been sprayed with nonstick spray.

IMG_9390

While the puff pastry is defrosting make your apple filling. Core three apples…

IMG_9386

Then thinly slice them. It’s important to slice the apples as thin as possible this way they will cook (i.e. soften) during the short baking time.

IMG_9388

Next add in lemon juice, brown sugar, salt and cinnamon. Let the apples sit until the puff pastry is ready to be filled.

IMG_9389

Once the puff pastry is ready and you have sliced it in half arrange the apples in a single line.

IMG_9392 IMG_9391

Bake in a 415 F preheated oven for 15 to 18 minutes, until the pastry has puffed and is lightly golden.

IMG_9393

Remove the tarts from the pan and transfer them to a cutting board to cool.

IMG_9401

Or, immediately cut off a piece and enjoy with a scoop of vanilla ice cream. There’s nothing like a warm apple treat with a scoop of ice cream on top of it.

IMG_9454

Overall these were incredibly easy to make and wonderfully delicious, but, there’s one thing I think I would change when I make these again… I’ll peel the apples this way it’ll be easier to take a bit out of them. The peel holds you back a little from taking clean bites… At least it does for me.

Baked Apple Tarts

Ingredients:

1 puff pastry sheet, thawed and cut in half

3 apples, cored and thinly sliced

2 tablespoons of lemon juice (approximately juice from half a lemon)

1 cup light brown sugar

1/4 teaspoon salt

1/4 teaspoon cinnamon

Directions:

Preheat the oven to 415 F.

While the puff pastry is thawing prepare the apple filling by coring and slicing the apples then tossing them with the lemon juice, sugar, salt and cinnamon.

Once the puff pastry has thawed slice it half and place it on a baking sheet that has been sprayed with nonstick spray.

Arrange the apples on the puff pastry in a thin overlapping line.

Bake in the preheated oven for 15 to 18 minutes, until the pastry is lightly golden and puffed. Transfer the tarts to a cutting board or serving platter immediately.

Recipe slightly modified from The Pioneer Woman

Candy Corn Inspired Ombre Cake

Not all Halloween treats have to be spooky ones. This ombre cake is simple to make with 2 tubs of vanilla frosting, a box of white cake mix, yellow and orange food colors, your favorite cake filling and is inspired by a candy that is synonymous with Fall… Candy Corn. There’s nothing spooky about that.

IMG_9529

I used my Wilton 5-layer pan set to make this cake since I wanted the inside of the cake to emulate a piece of candy corn as well. But, there’s no need to get that precise. You could simply bake a two-layer, three-layer or a one-layer cake and let the frosting on the outside speak for itself.

IMG_9493

Since I was planning on tinting the cake batter I opted to use a box of Betty Crocker White cake mix. Betty Crocker is my go-to cake mix when I am not in the mood or just don’t have the time to make a cake from scratch.

IMG_9494

After mixing the batter per the directions on the box I divided the batter to tint it. From making quite a few cakes in the past I knew that the batter yielded about 4 cups so each pan would have just shy of a cup of batter. Since the top layer of the cake was going to be white I immediately poured that batter into one of the prepared pans (I sprayed it with baking spray) and then divvied up the rest of the batter to tint – about 3 cups for the orange layers and 1 cup for the yellow layer.

IMG_9497

Following that I poured the yellow batter (the bottom layer) in the prepared pan and divided the orange batter (the middle layers) among the three remaining pans.

IMG_9501

I then placed all of the pans on a rack in my 350 F preheated oven for about 15 minutes and after letting the cakes cool in the pans for 10 minutes I transferred them to a wire rack to cool completely. Once they cooled, I did a little torting to make sure the layers would sit evenly on top of one another…

IMG_9506

It was then time to fill the layers – I opted to fill them with a quick vanilla mousse recipe that uses two ingredients: 2 cups of heavy cream and Jell-O vanilla pudding mix.

IMG_9509

And then I crumb coated the cake with vanilla frosting and placed it in the refrigerator for about 20 minutes.

IMG_9510

Then it was time to create the candy corn ombre effect on the outside of the cake. I tinted about a cup and a half of the vanilla frosting with the yellow food color and frosted that along the bottom of the cake…

IMG_9511

Next I tinted about two and a half cups of the vanilla frosting with the orange food color and spread that along the middle of the cake and finally I used the vanilla frosting untinted to frost the remaining portion of the side of the cake as well as the top of the cake. To create the ombre effect, I smoothed the sides of the cake with a long icing spatula.

IMG_9512

And for presentation some candy corns around the base of cake…

IMG_9532

And here’s a peek inside…

IMG_9558

And there you have it, a super cute and super simple unspooky Halloween treat!

Baked Onion Rings

I do my best to avoid frying anything; not because of health reasons but because I hate having to clean up oil splatter and inevitably I always end up with an oil stain on my shirt no matter what efforts I take to avoid it. So, whenever I can make one of my favorite foods that normally has to be fried baked I’m all for it – thank heaven for my doughnut pan! Today’s not fried but baked recipe I would like to share with you is Onion Rings!

To begin I sliced a small sweet onion and separated the rings. You can use any sweet onion to make these: Vidalia, Walla Walla, etc… Random fact, sweet onions have a lower sulfur content than other onions so you are less likely to cry when slicing them. I know this from experience! When I cook and am using onions they are always the last thing I cut so I can ensure I won’t end up slicing my finger while cutting other things because I am trying to control my onion crying fit.

IMG_9145

Next I combined panko bread crumbs with olive oil, salt and pepper and baked it on a rimmed baking sheet until they were golden brown. I then transferred them to a shallow bowl. I also put flour and two lightly beaten eggs in shallow bowls as well and was then ready to prep my onion rings for baking.

IMG_9148

I dipped the onion rings in the flour, then the eggs and finally in the bread crumb mixture and placed them on a baking sheet that I rubbed with olive oil. Once the sheet was full I baked the rings in a pre-heated 450 F oven for 12 minutes, flipping the rings once.

IMG_9151

Right out of the oven….

IMG_9153

After letting them cool for a few minutes I enjoyed them with a side of ranch dress – thank-you Johnny Rockets for introducing me to that winning combination! In case you are wondering, baking the rings still gives the crumb coating that crunch you are familiar with when frying them, but, I also think it makes the onion itself tender and sweeter!

IMG_9179

Baked Onion Rings

Ingredients:

1 1/2 cups panko bread crumbs

1/4 cup olive oil

1/2 teaspoon salt

1/4 teaspoon black pepper

1/3 cup all-purpose flour

2 large eggs, lightly beaten

1 small sweet onion, sliced and rings separated

Directions:

Preheat the oven to 450 F. In a small bowl combine the bread crumbs, 2 tablespoons of the olive oil, salt, and black pepper. Transfer the crumbs to a rimmed baking sheet and bake until golden brown, 3 to 5 minutes, tossing once. Transfer the crumbs to a shallow bowl. In two other shallow bowls place the flour and eggs.

Rub the remaining oil on 2 rimmed baking sheets. Dip the onion rings in the flour first, then the eggs (allowing any excess to drip off) and finally in the bread crumb mixture. Bake on the prepared baking sheets for 12 to 14 minutes, turning once.

Serve with your favorite dipping sauce; my go-to for onion rings is ranch dressing.

Recipe from Real Simple

Knitting Update – Entrelac Scarf is Done!

You may recall that about two months ago I posted about an Entrelac scarf I was working on. Well, I am happy to say that I have finally finished it and am very happy with the final outcome. I really love how the colors change throughout the scarf and the overall diamond pattern that Entrelac produces. While I would love to make something larger using the pattern I think I am cool with a scarf for now. While I finally did get the hang of working Entrelac it did take quite a few tries to get the scarf going and there were a few hiccups along the way that I was fortunately able to correct before I got too far along. Besides, I have a few other projects I want to work on before adding anything else to my knitting/crocheting to-do list. Here’s a link to where you can find the pattern as well as a YouTube Video link that will help you get started: Freckles and Purls
IMG_9405 IMG_9423
Which leads me to what is currently on my knitting needles… A shrug. Granted right now it doesn’t look like much but once I get all 40 plus inches knitted and do some stitching I am completely sure it will look like a shrug. Hopefully!
IMG_9417
I did sneak in a quick project between the scarf and shrug… These cute coffee mug coasters that I was able to crochet in less than two hours with yarn that I already had in my yarn stash. I found the pattern on a fellow blogger’s website, Repeat Crafter Me.
IMG_9305  IMG_9313
Stay tuned to find out if my shrug ends up looking like a shrug!

1 Can of Pumpkin, 2 Recipes, 1 Day

My apologies to anyone who is not a fan of pumpkin as this is my second pumpkin post this week and third in a month! For those of you who can’t get enough of pumpkin read on and for those of who you could do without another pumpkin recipe just scroll down and look at the yummy pictures. Oh, as a warning there will be at least one more pumpkin recipe coming soon.

For most pumpkin recipes a full can of pure pumpkin is not necessary so you’re left with a cup or two remaining. What do you do? You can put it in a Tupperware and hope you remember to use it before it goes rancid. Or, the best solution obviously would be to use it up right away. Sometimes that’s easier said than done depending on what recipes you have on hand and/or what you’re in the mood for. But, if you don’t mind enjoying some pumpkin in the morning and then again at dinnertime I have just the recipes to use up that one can of pumpkin in a day! Pumpkin French Toast and Pumpkin Risotto. Both of which require a bit of time and the risotto some patience so they are best suited for those times you have extra time and patience on your hands.

I began the day by making the Pumpkin French Toast. I came across this recipe on People magazine’s website and it comes from fellow blogger Sally McKenney Quinn of Sally’s Baking Addiction. I began by whisking together milk and eggs in a bowl and then whisked in the pumpkin, maple syrup, vanilla extract, cinnamon and pumpkin pie spice. Once it was well combined I transferred the mixture to a shallow bowl. After slicing day old challah bread into fairly thick slices I dipped them into the mixture, a few seconds on each side, and then cooked them on a skillet that I heated on medium heat and greased with butter. I enjoyed them topped with butter and more maple syrup and it was an absolutely delicious breakfast.

IMG_9285

Later in the day I used up the rest of the pumpkin by making Pumpkin Risotto. I came across this recipe on People as well, but, in their magazine as opposed to their website. I began by doing a little prep work… I measured out 1 cup of Arborio rice & pumpkin, chopped a small yellow onion, minced 1 garlic clove and chopped fresh sage.

IMG_9331

After bringing 5 cups of vegetable broth to a gentle boil in a medium saucepan I let it simmer while I sautéed the onions in olive oil in a large skillet. Once the onions were soft I added in the garlic and cooked it for about a minute and then added in the rice and 1 cup of the warmed broth. I reduced the heat of the skillet from medium to medium low so the mixture could simmer while I stirred it often. Once the broth had been mostly absorbed I added in another cup of broth and continued stirring until once again it was almost absorbed. I continued doing this until I finished the broth and the rice was tender. I will say that even without the pumpkin the risotto tasted delicious at this point, so if you’re not really a fan of pumpkin don’t add it and you’ll have a delicious basic risotto. Once the rice was tender I stirred in the pumpkin, salt and nutmeg. I also seasoned it with pepper and continued stirring it until it was hot and then finally topped it with the chopped sage.

IMG_9335

Pumpkin French Toast

Ingredients:

3 large eggs

1 cup whole milk

1/2 cup pumpkin puree

1/4 cup maple syrup

1 teaspoon vanilla extract

1/2 teaspoon ground cinnamon

1/2 teaspoon pumpkin pie spice

1 Challah bread, sliced into 8 slices

Directions:

Heat a skillet over medium heat.

In a large bowl whisk together the eggs and milk. Once combined, add in the pumpkin, maple syrup, vanilla extract, ground cinnamon and pumpkin spice. Continue mixing until well combined and then transfer to a shallow dish.

Grease the skillet.

Take one slice of the challah bread and dip it into the mixture and let sit for a few seconds, flip the bread and let soak for a few more seconds. Transfer to the prepared skillet and let cook until golden brown on each side. Repeat with each slice.

Best served warm with butter, maple syrup, regular syrup, confectioners’ sugar or your favorite topping.

Recipe can be found here.

Pumpkin Risotto

Ingredients:

5 cups vegetable broth

3 tablespoons olive oil

1 small yellow onion, finely chopped

1 clove garlic, minced

1 cup Arborio rice

1 cup canned pure pumpkin

1 teaspoon kosher salt

1/8 teaspoon nutmeg

1/2 tablespoon chopped fresh sage

Freshly ground black pepper

Directions:

In a medium saucepan over medium-low heat bring the broth to a gentle boil and let simmer while preparing the recipe.

Heat a large skillet over medium-high heat and add olive oil. Reduce the heat to medium and sauté onions for about 3 to 4 minutes, until soft. Add the garlic and cook for addition minute, until fragrant. Stir in the rice and 1 cup of the heated broth and reduce the heat so the mixture simmers. Stir often, until most of the liquid has been absorbed. Repeat with an additional cup of broth and continue stirring. Repeat this step until the rice is tender, about 20-30 minutes.

Stir in the pumpkin, salt and nutmeg. Season with the pepper and stir the risotto until hot. Top with the sage and serve.

Recipe can be found in Chloe Coscarelli’s book Chloe’s Vegan Italian Kitchen