Happy Memorial Day! The unofficial kickoff to the summer. Albeit, this summer will definitely look and feel different than summer’s past. One thing remains certain though, the days will be getting warmer. And with warmer days you’ll be wanting to spend less time in the kitchen but will probably still want something sweet that’s quick and easy to make, and this cheesecake is just that. Topped with some fresh berries that are soon to be in season it’s the perfect treat for the warmer days ahead.
Instead of using a springform pan and graham crackers crumbs for the crust you simple use a store-bought graham cracker crust. For the cheesecake filling beat room temperature cream cheese with sugar, vanilla extract and sour cream until well blended. Then add two room temperature eggs to the mixture and continue beating until all the ingredients are well combined and then pour the batter into the crust and bake for 40 – 45 minutes in a 325 F preheated oven.
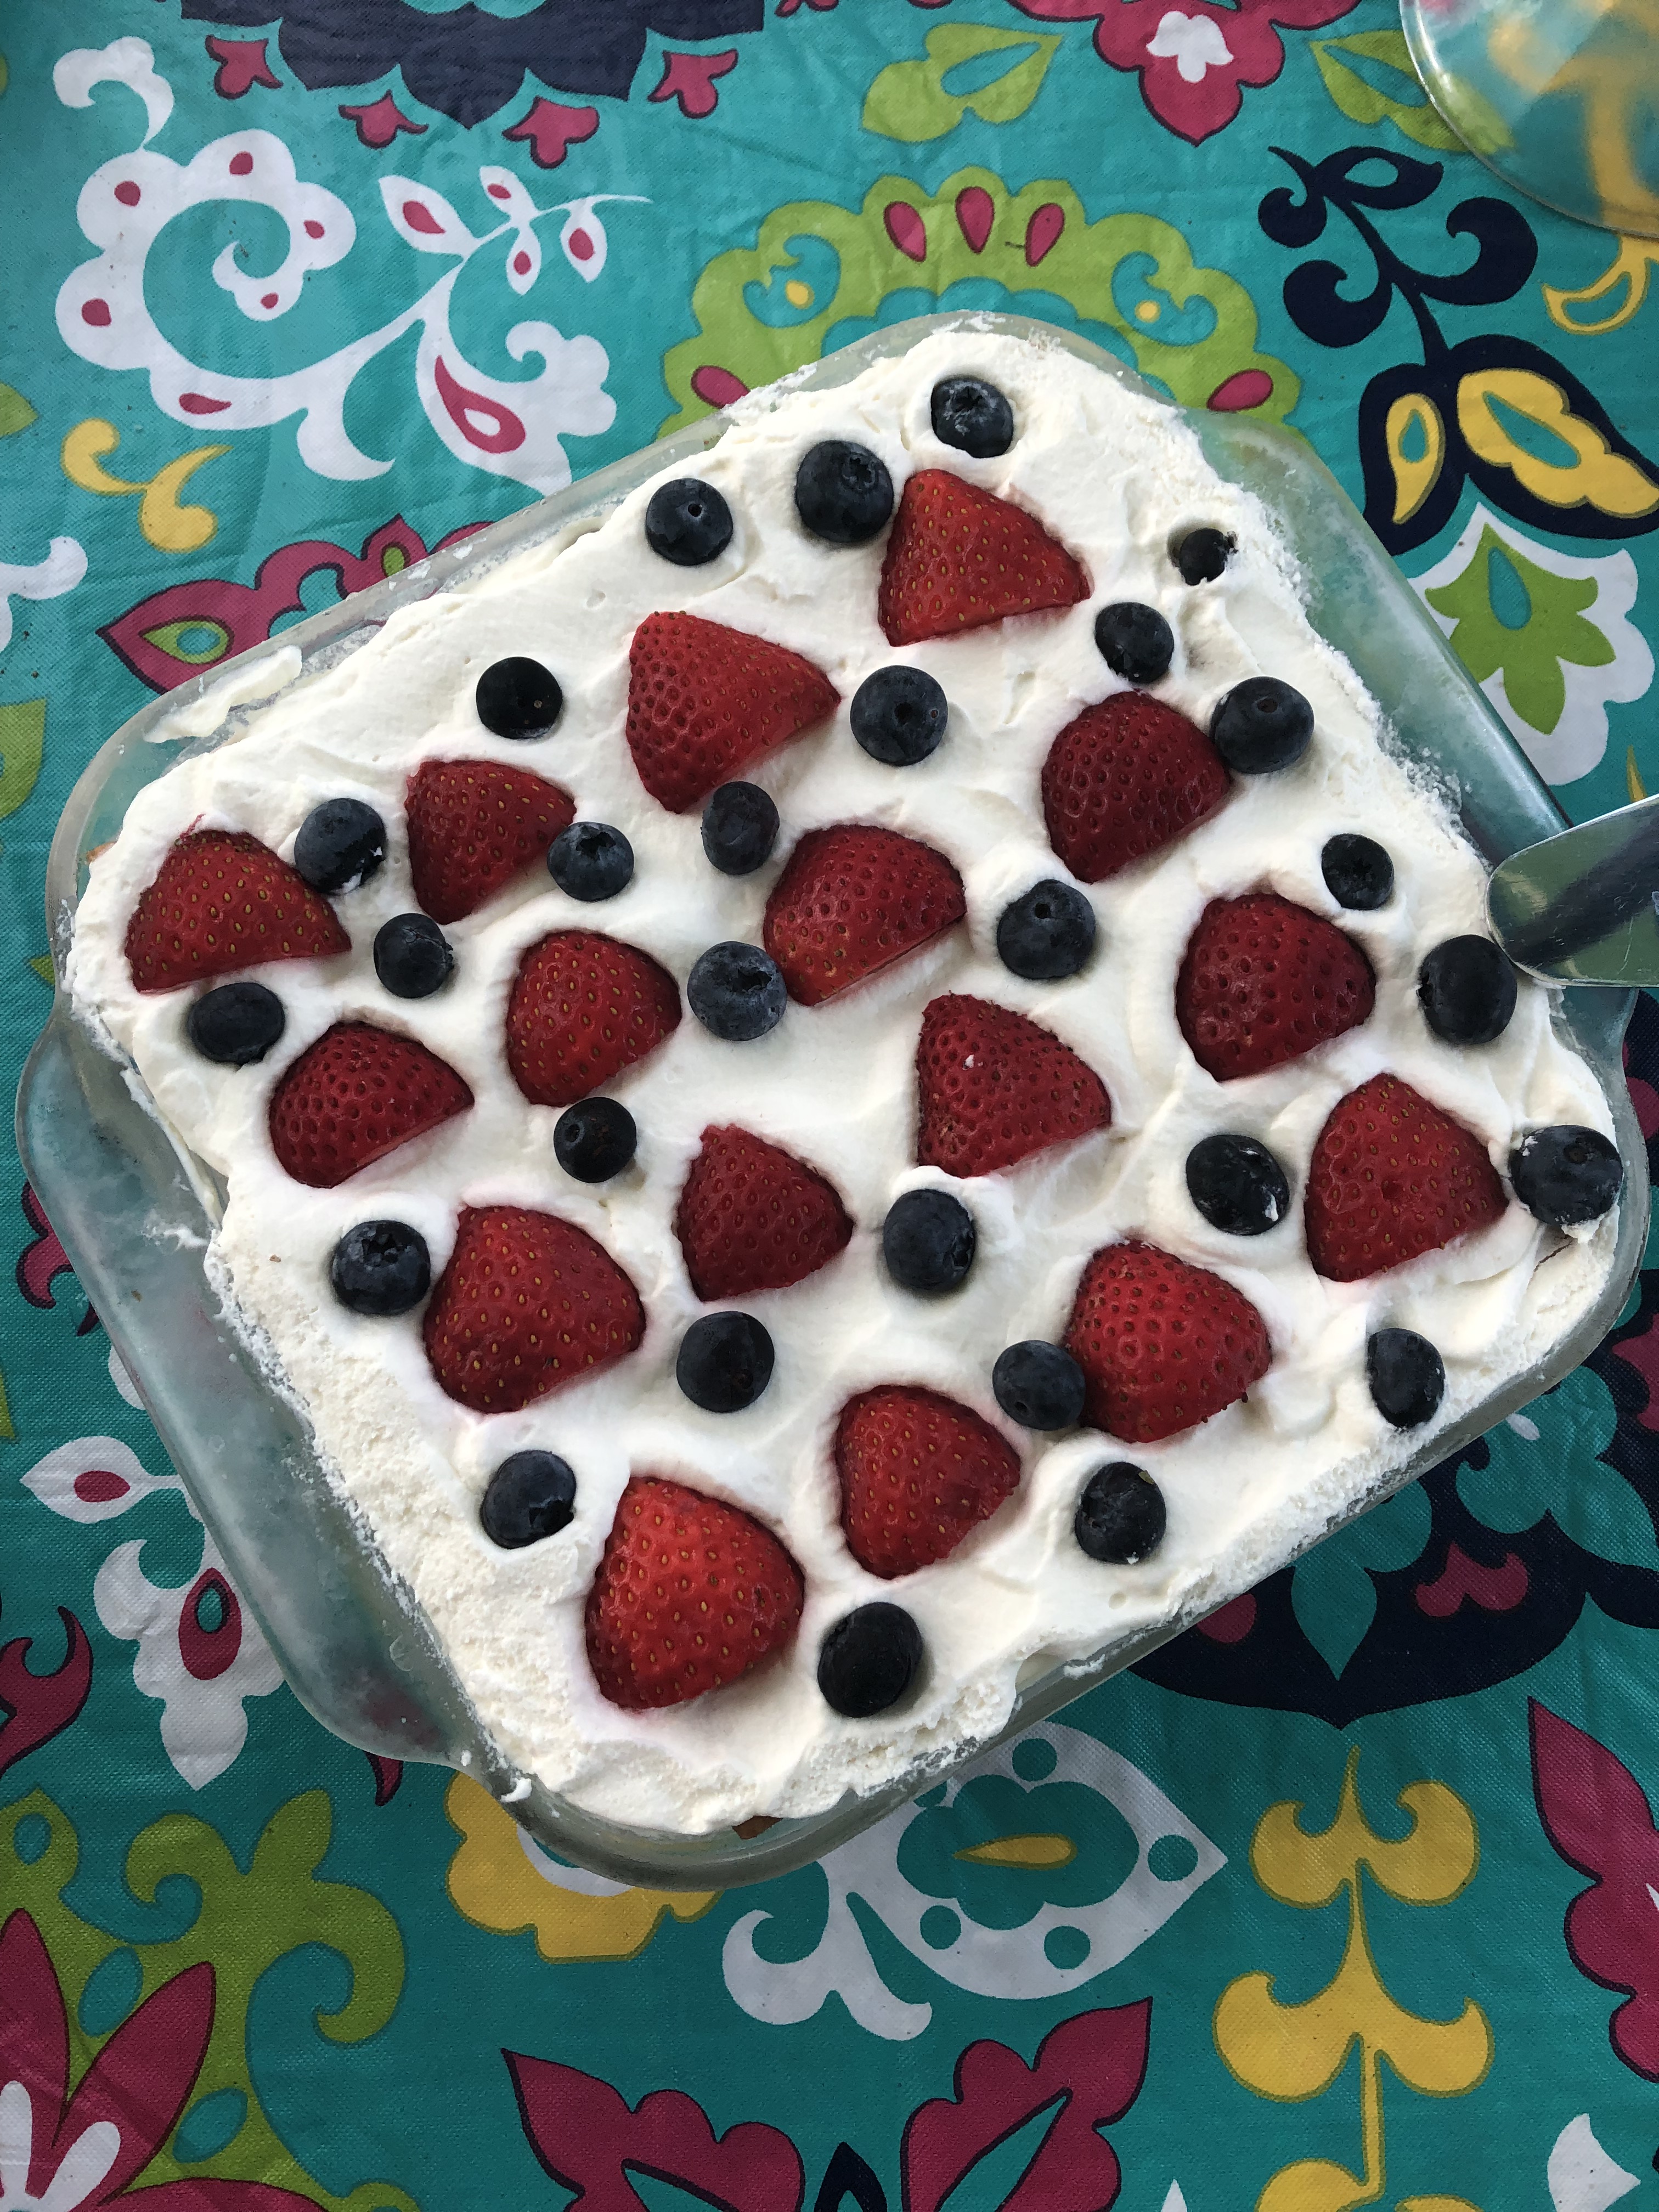
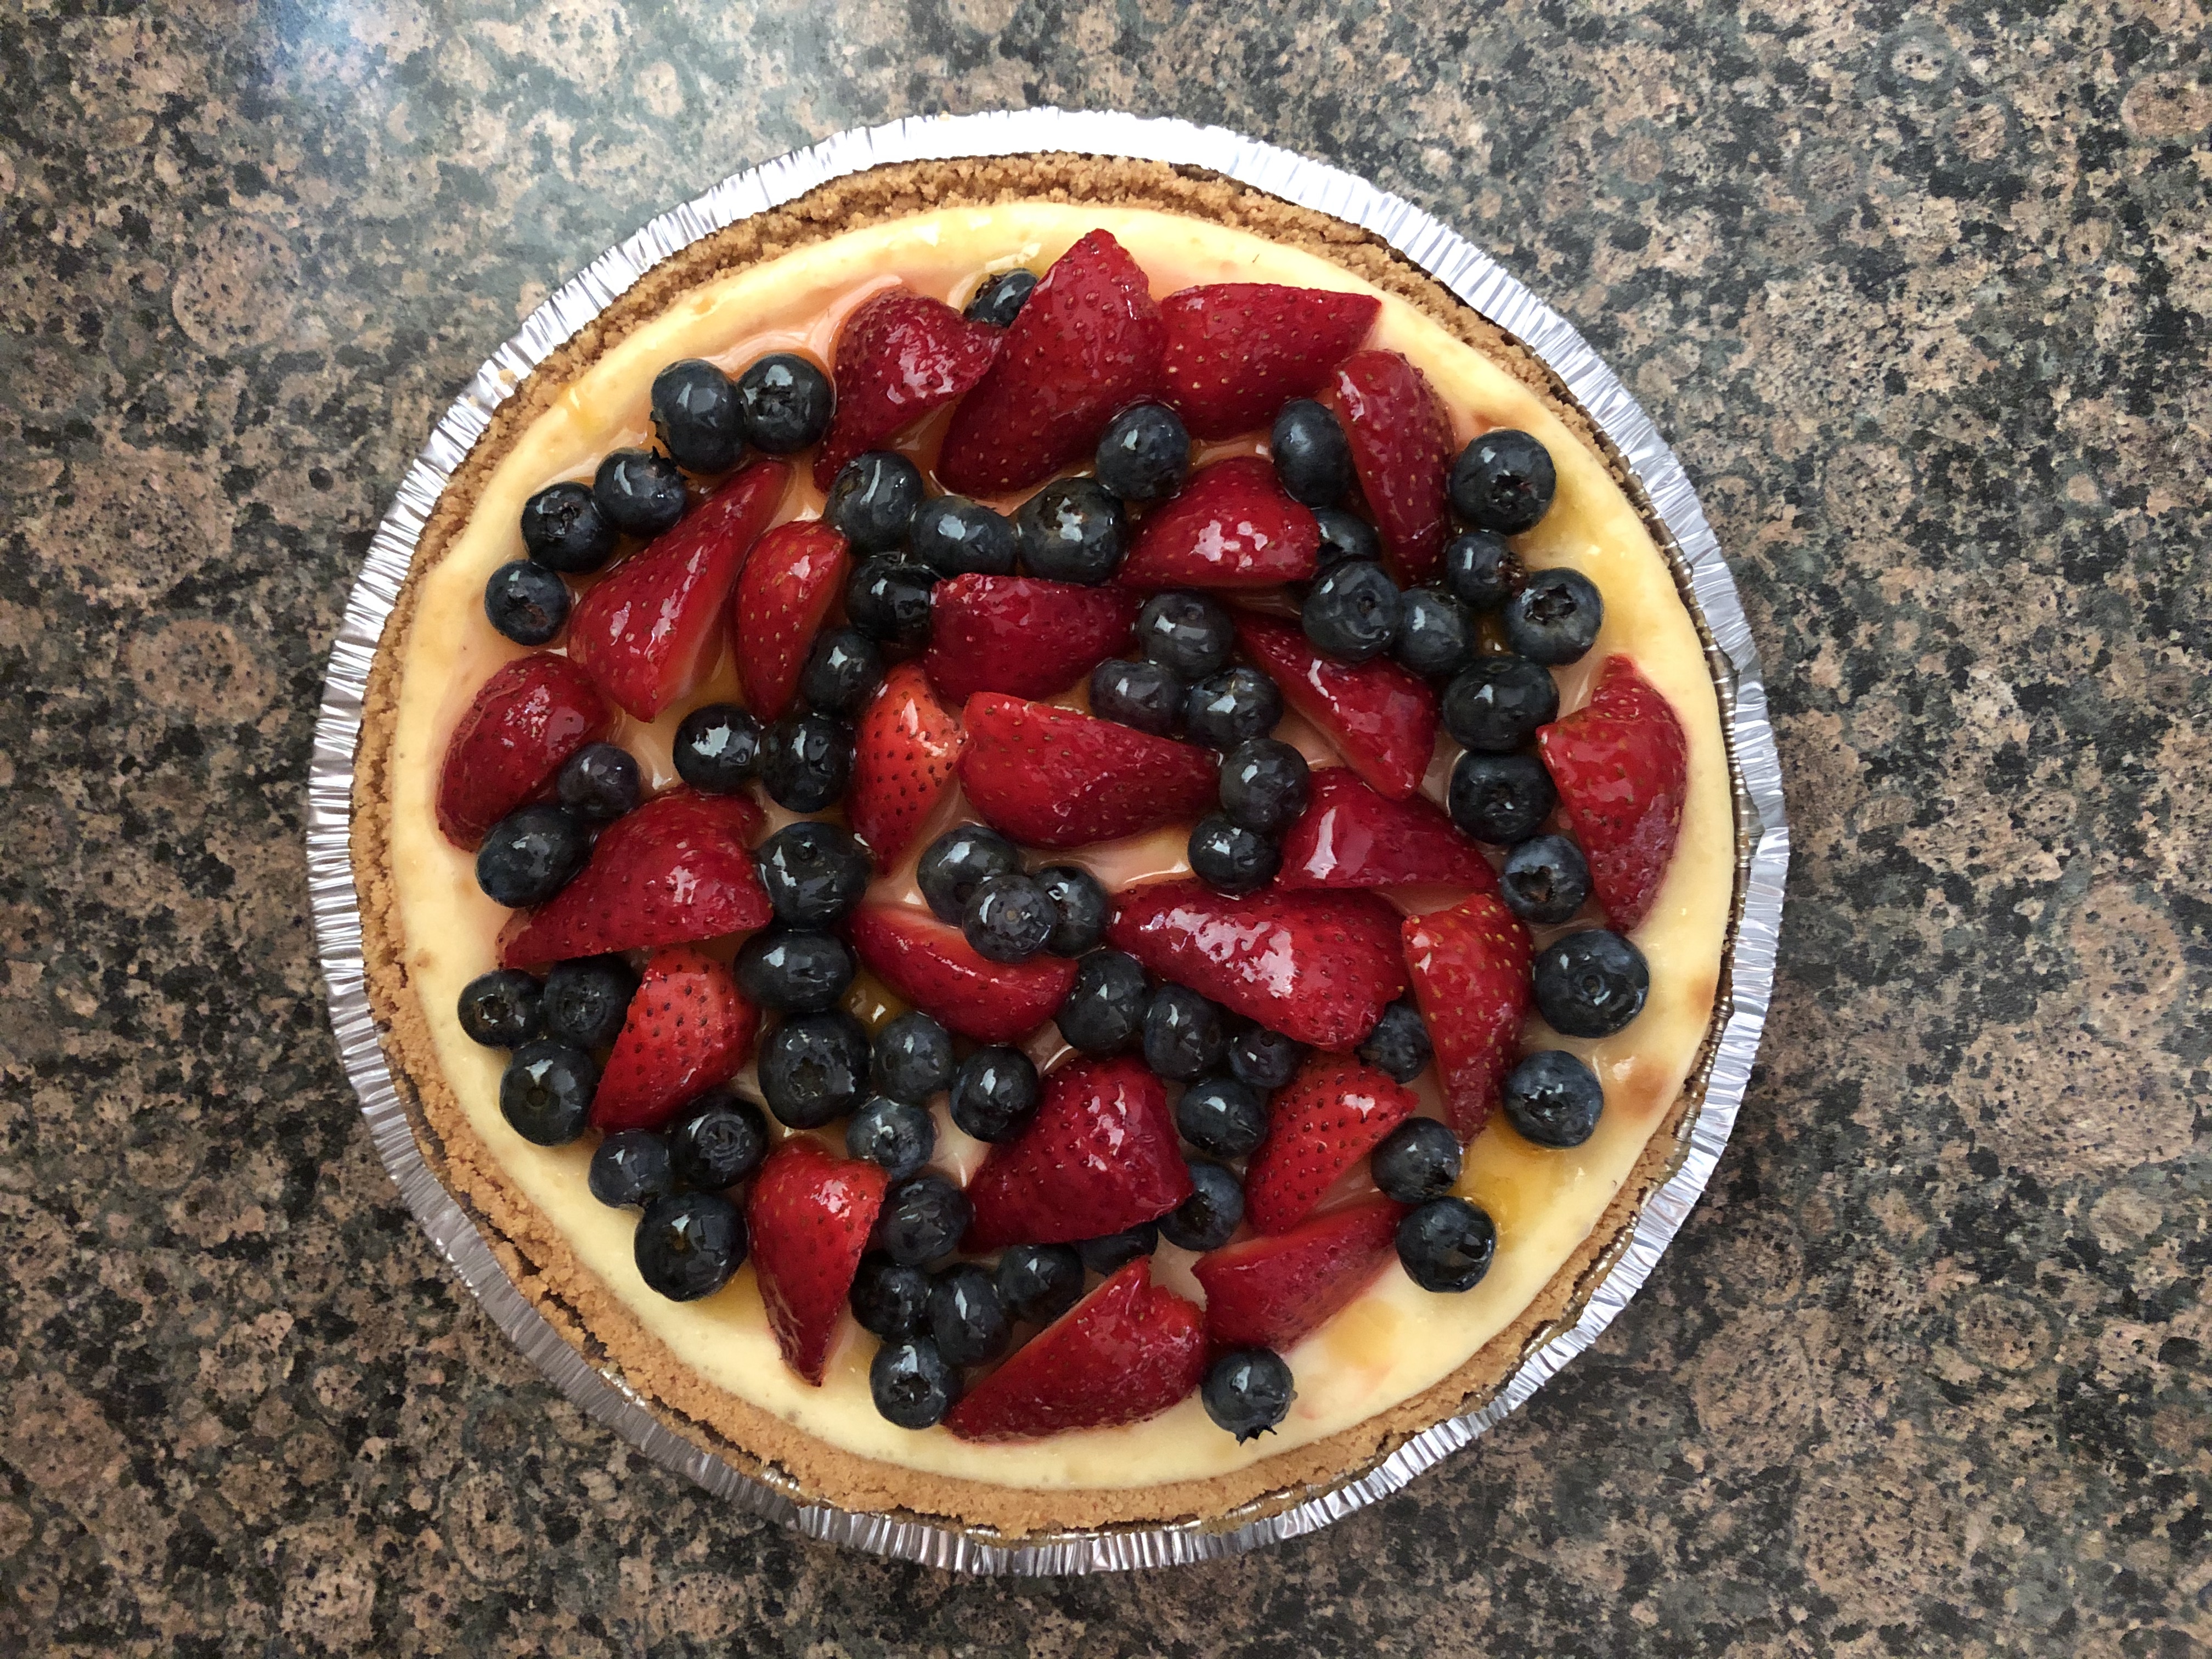
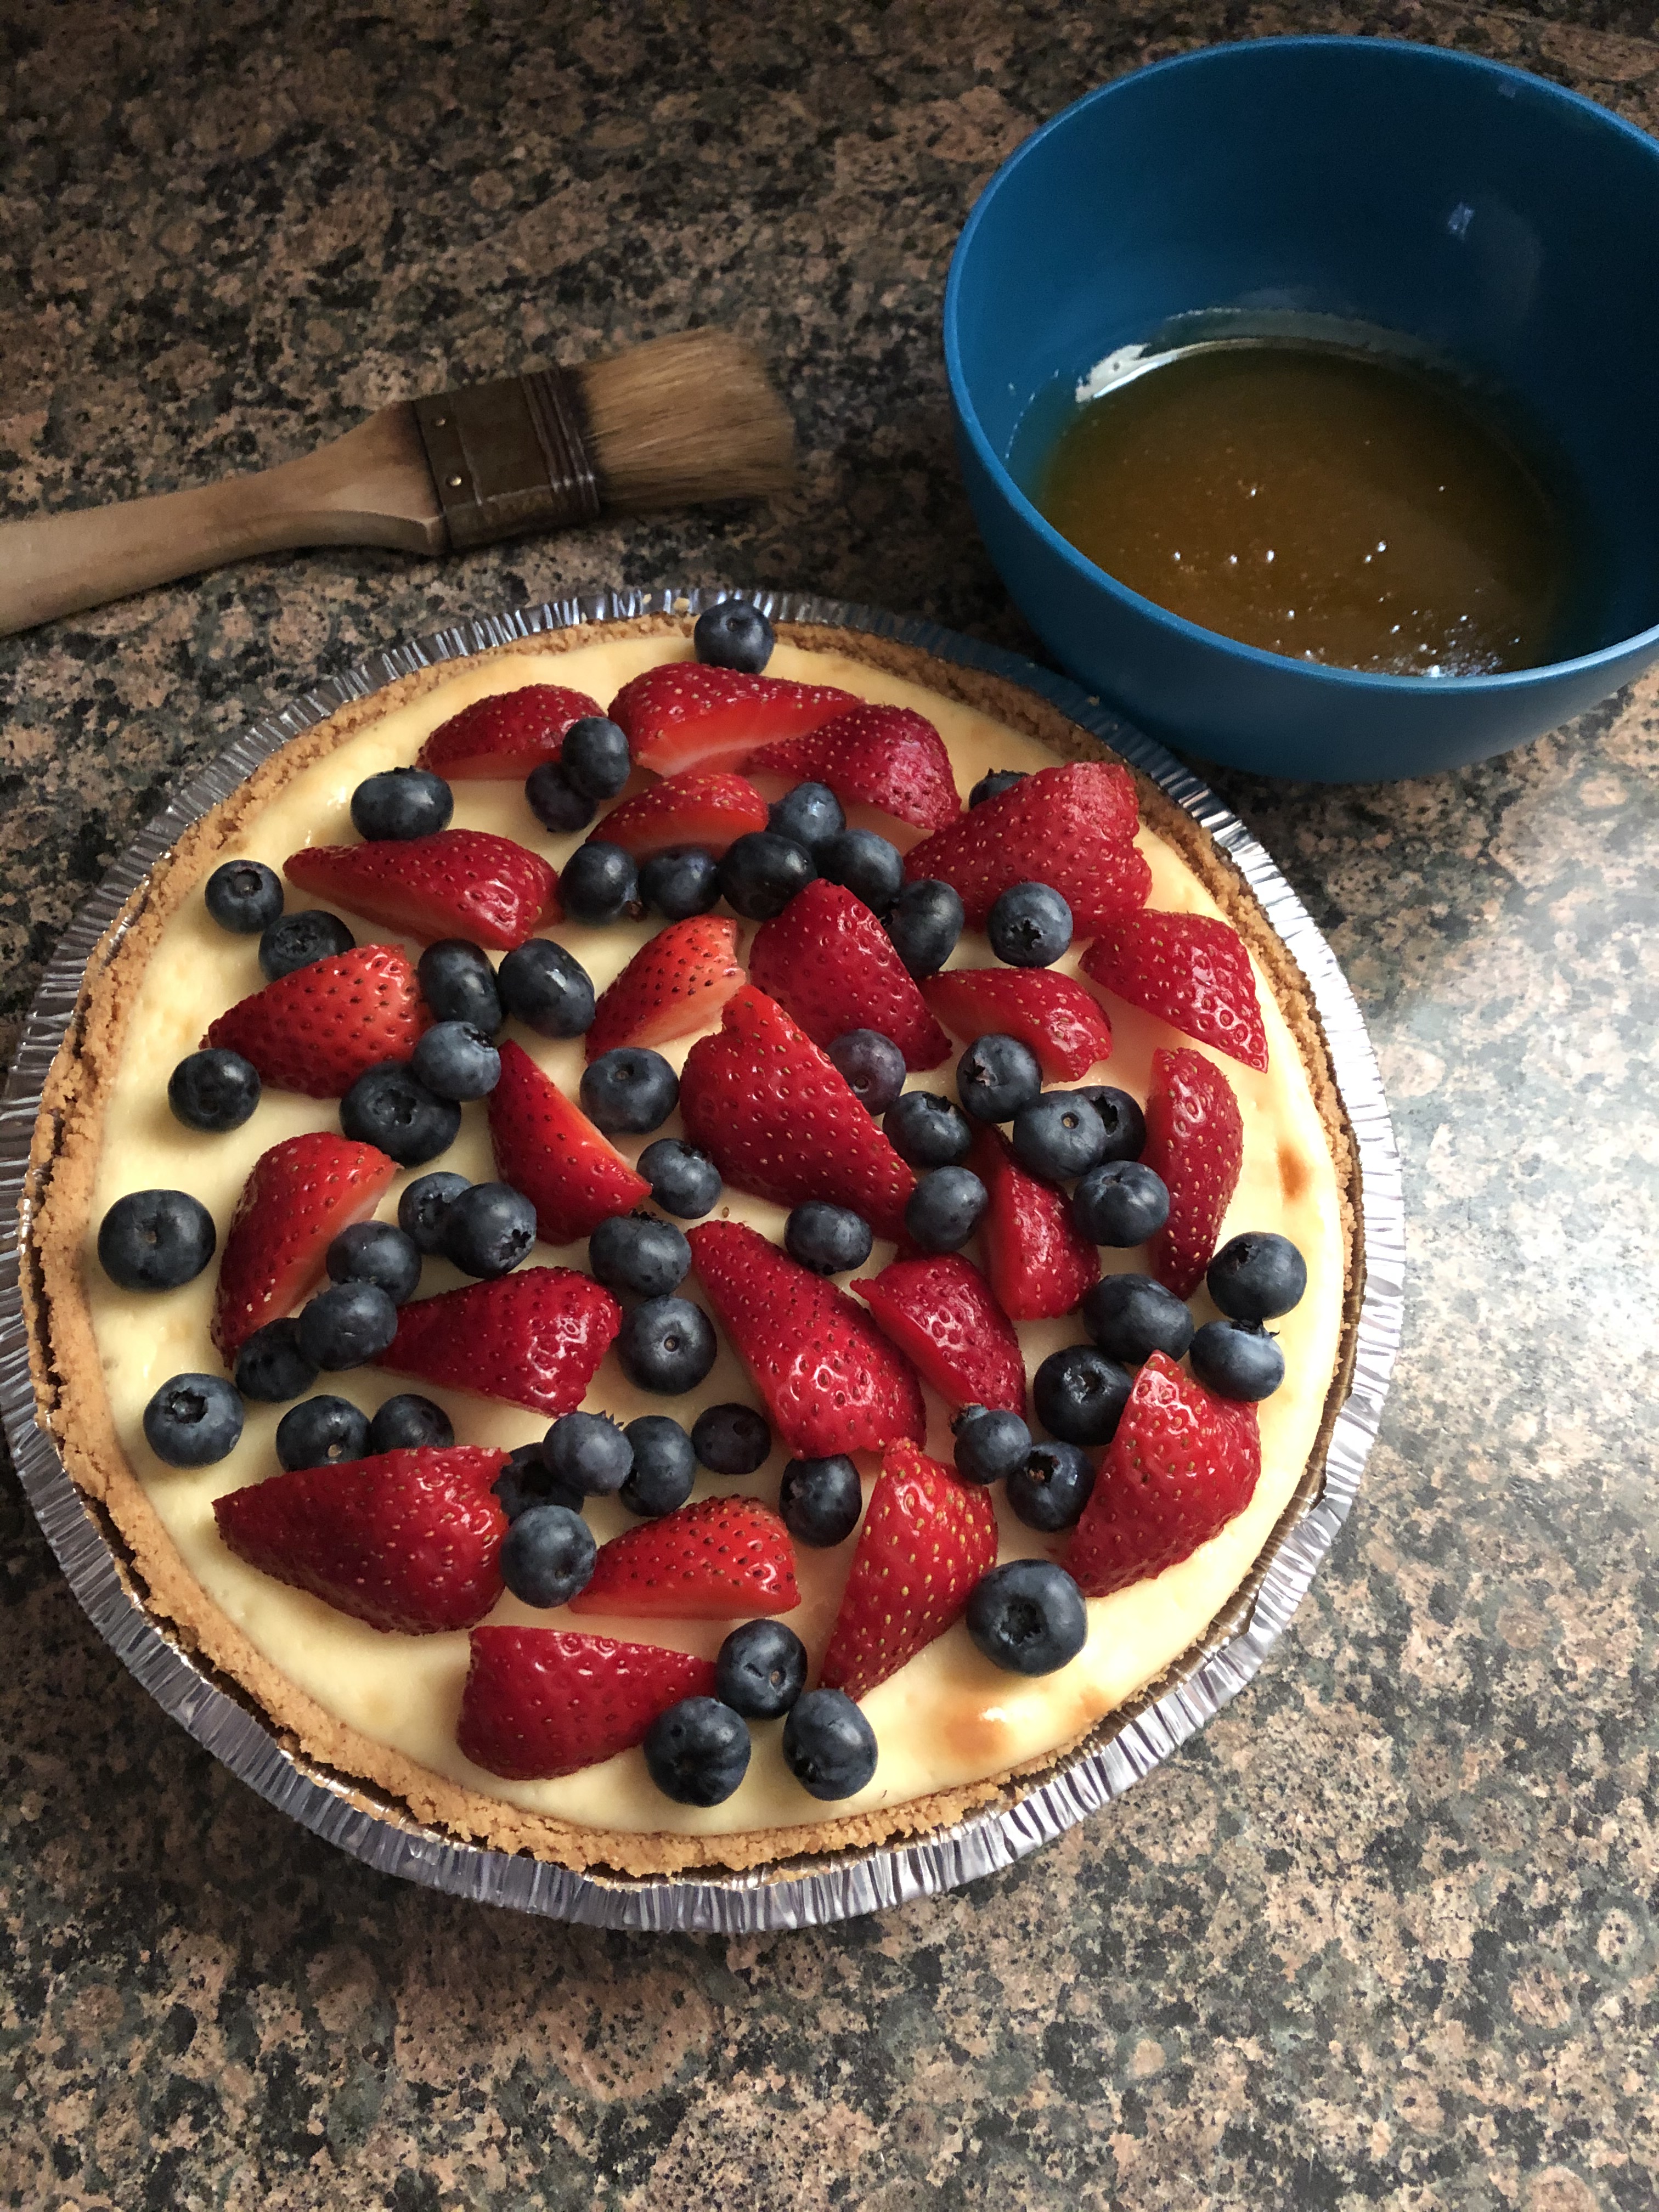
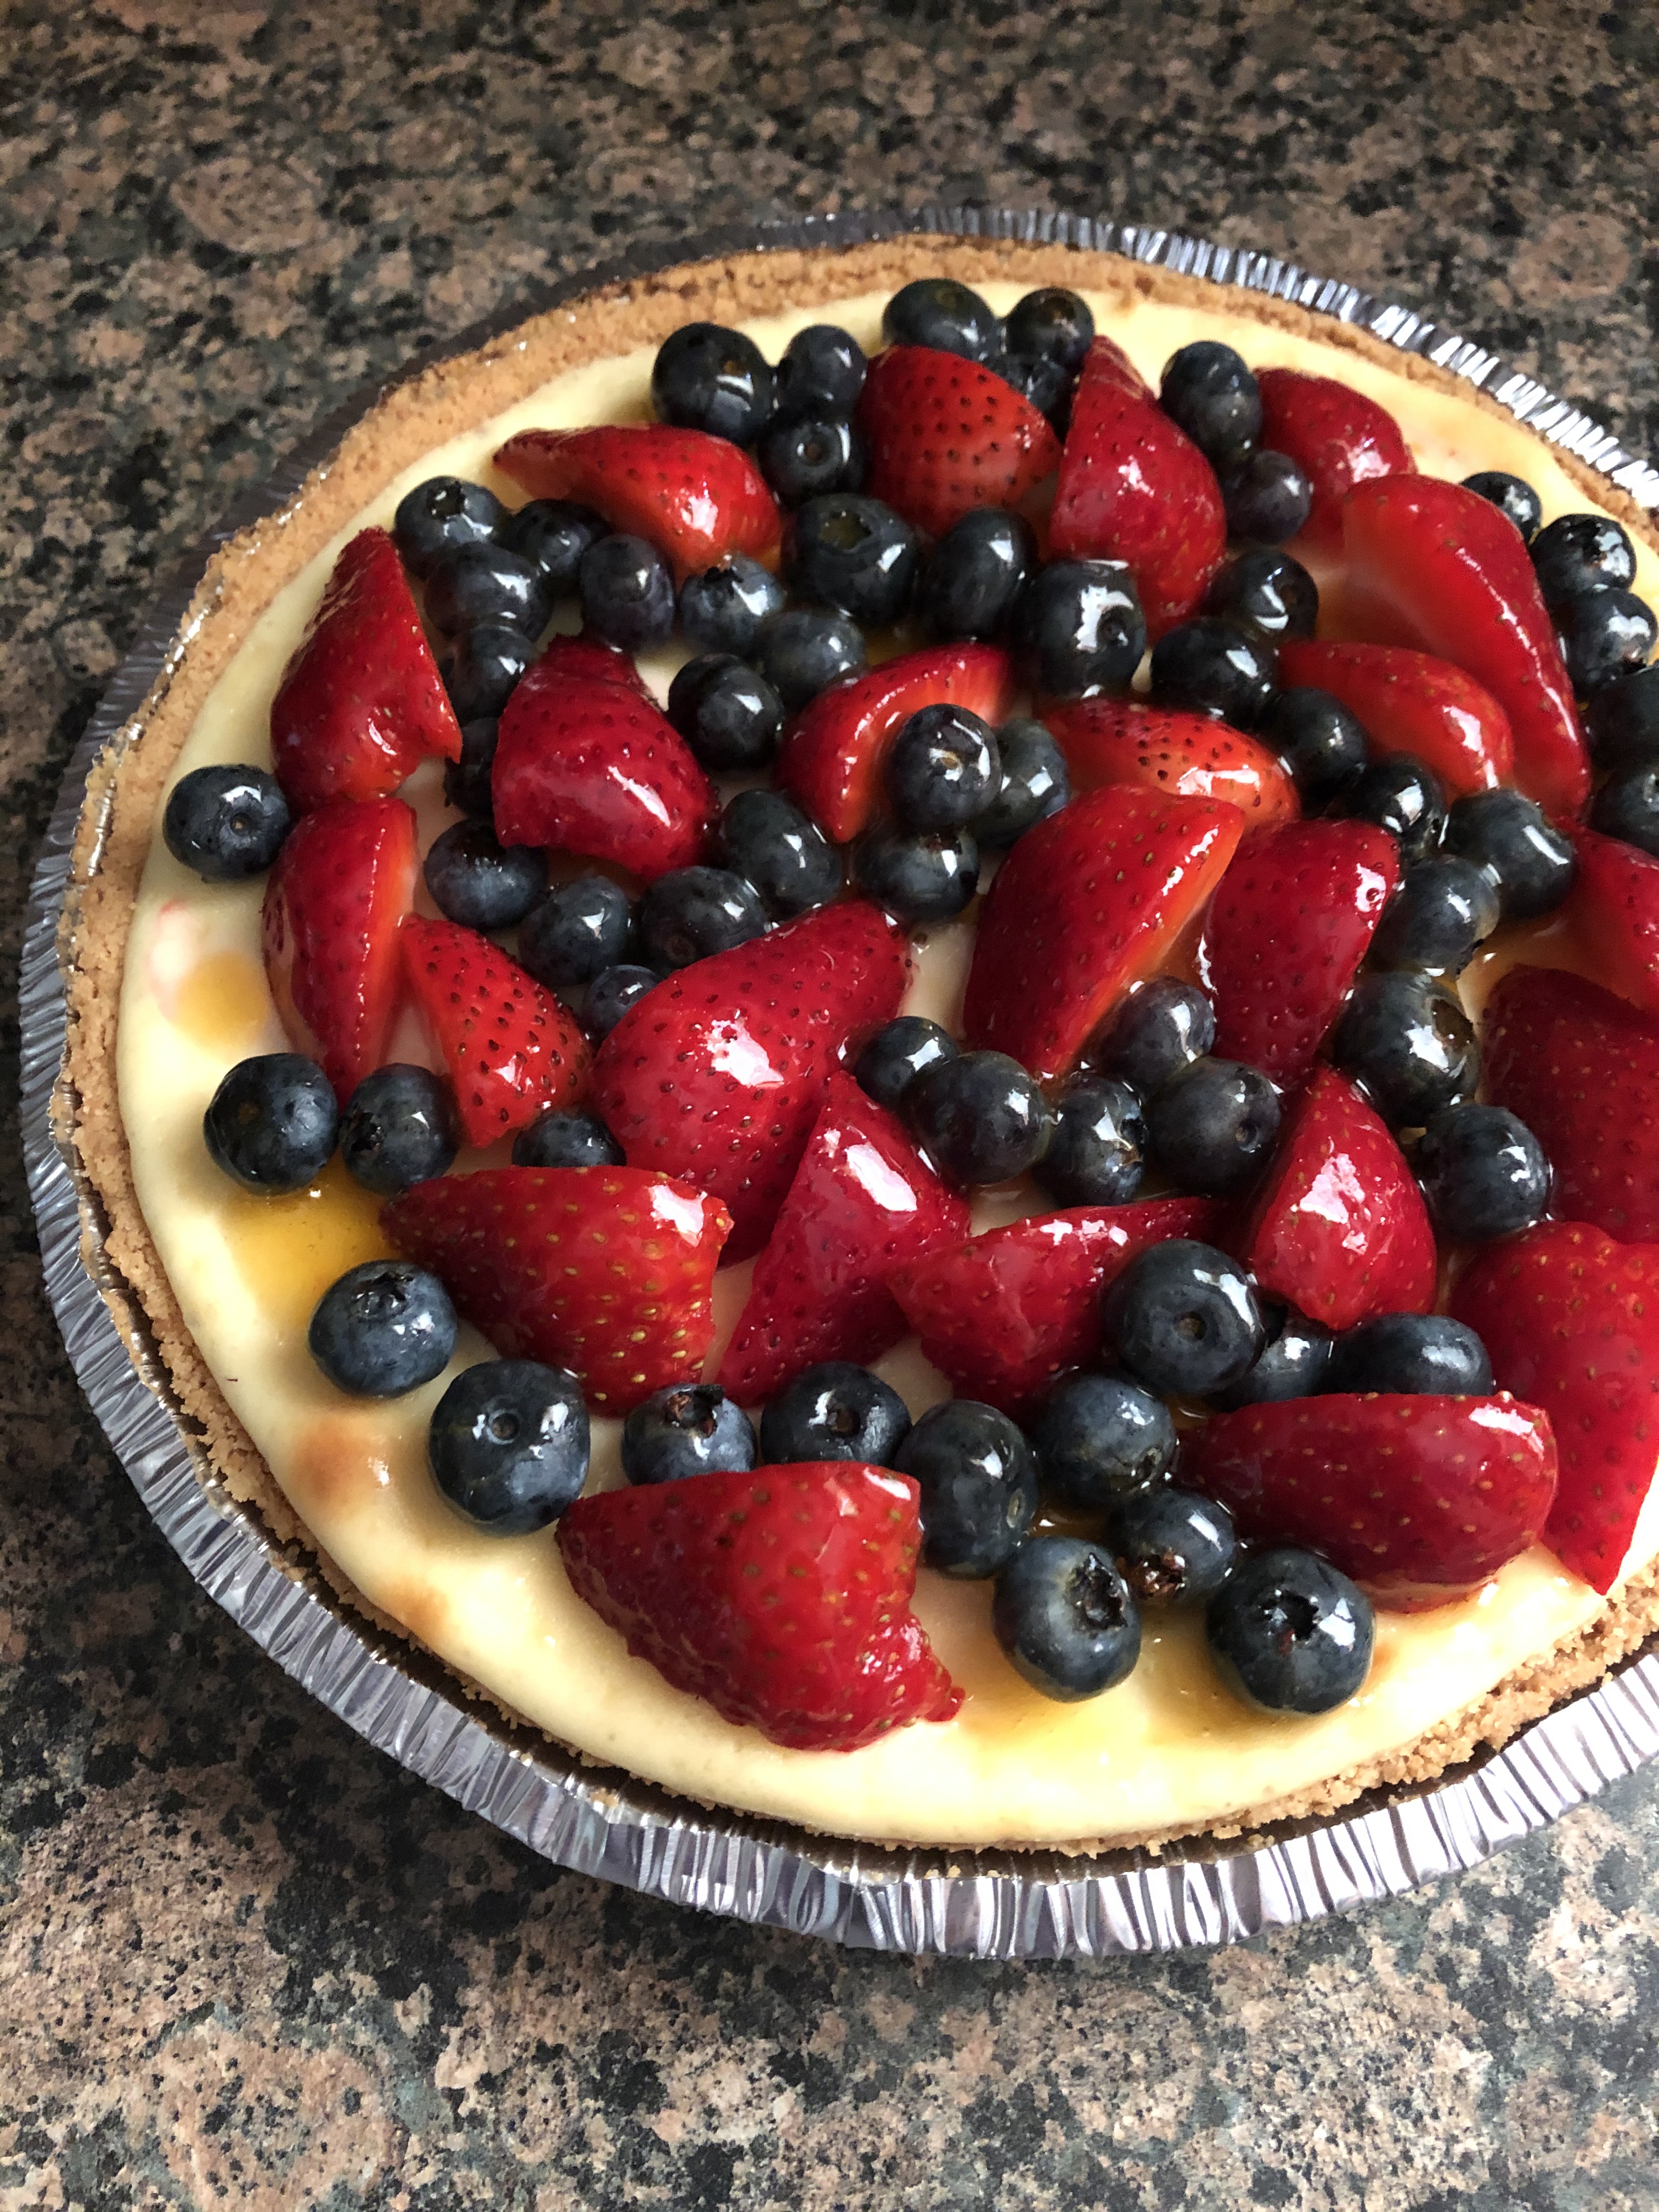
After removing it from the oven I let it cool on a wire rack for an hour before refrigerating it overnight. I then topped it with sliced strawberries and blueberries. And to add a little extra sweetness and to ensure that the berries wouldn’t slide off the cheesecake I brushed them with an apricot glaze. To make the glaze I warmed apricot preserves with water in a small saucepan over medium heat until the preserves had melted. I then strained the mixture through a strainer.
And after letting the glaze cool for a few minutes I gently brushed it over the berries.
An as the title says, the cheesecake was super creamy and delicious!
Quick Easy & Creamy Cheesecake
Ingredients:
For The Cheesecake:
2 8oz. packages cream cheese, at room temperature
1/2 cup sour cream
1/2 cup sugar
1 teaspoon vanilla extract
2 large eggs, at room temperature
9-inch graham cracker crust
For The Topping:
1 cup blueberries
1 cup strawberries, quartered
1/2 cup apricot preserves
1 tablespoon water
Directions:
Preheat the oven to 325 F.
In a large bowl combine the cream cheese, sour cream, sugar and vanilla extract and beat with a hand mixer on medium speed until well blended. Add the eggs and continue beating until all ingredients are well incorporated.
Pour the filling into the crust and bake in the preheated oven for 40 – 45 minutes, or until the center is almost set.
Let cool on a wire rack for an hour and then refrigerate for at least three hours.
To make the glaze combine the apricot preserves and water in a small saucepan and whisk together over medium heat until the preserves have melted. Strain through a fine mesh sieve and let cool for a few minutes.
Arrange the sliced strawberries and blueberries on the chilled cheesecake and then brush the warm apricot glaze over them.
Refrigerate until ready to serve.