Almond Pound Cake

I pretty much love anything made with almonds…Danishes, croissants, cookies, cakes, milk, etc. And of course almond themselves are wonderful to snack on. Their health benefits are pretty vast. To name a few… they are a great source of Vitamin E, they are packed with protein, they are gluten free and snacking on them can help curb other cravings. So, when I had half a pack of Odense Almond Paste left over from a previous recipe I knew I had to put it to good use and what better use than an Almond Pound Cake… something simple but yet so satisfying.

IMG_6789

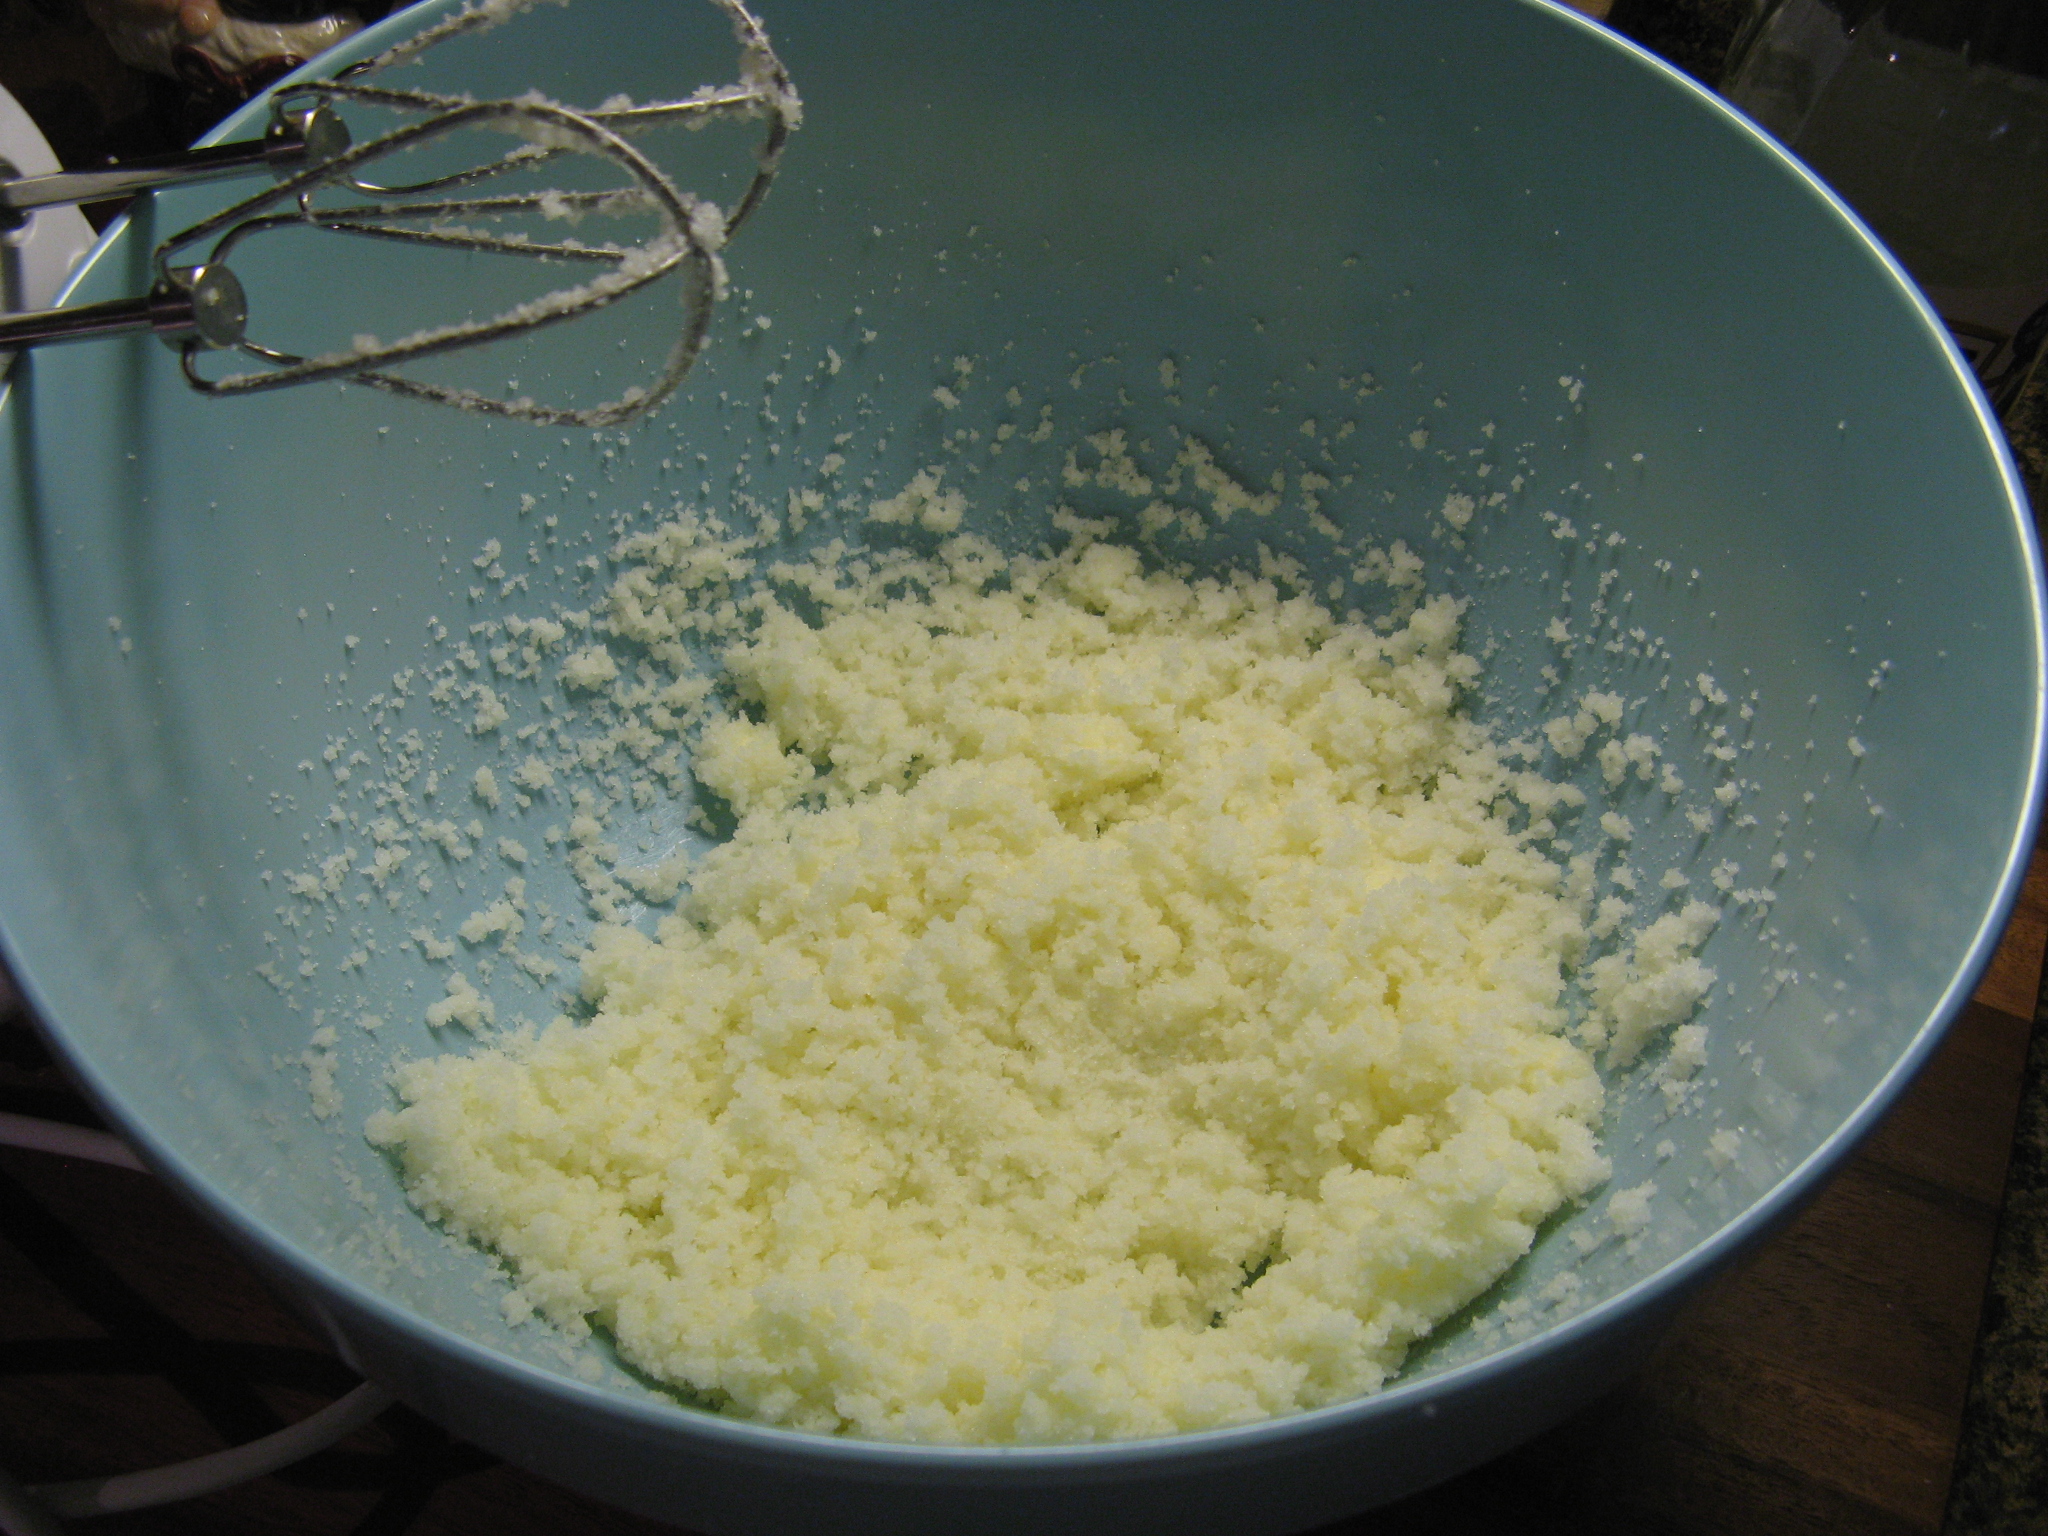
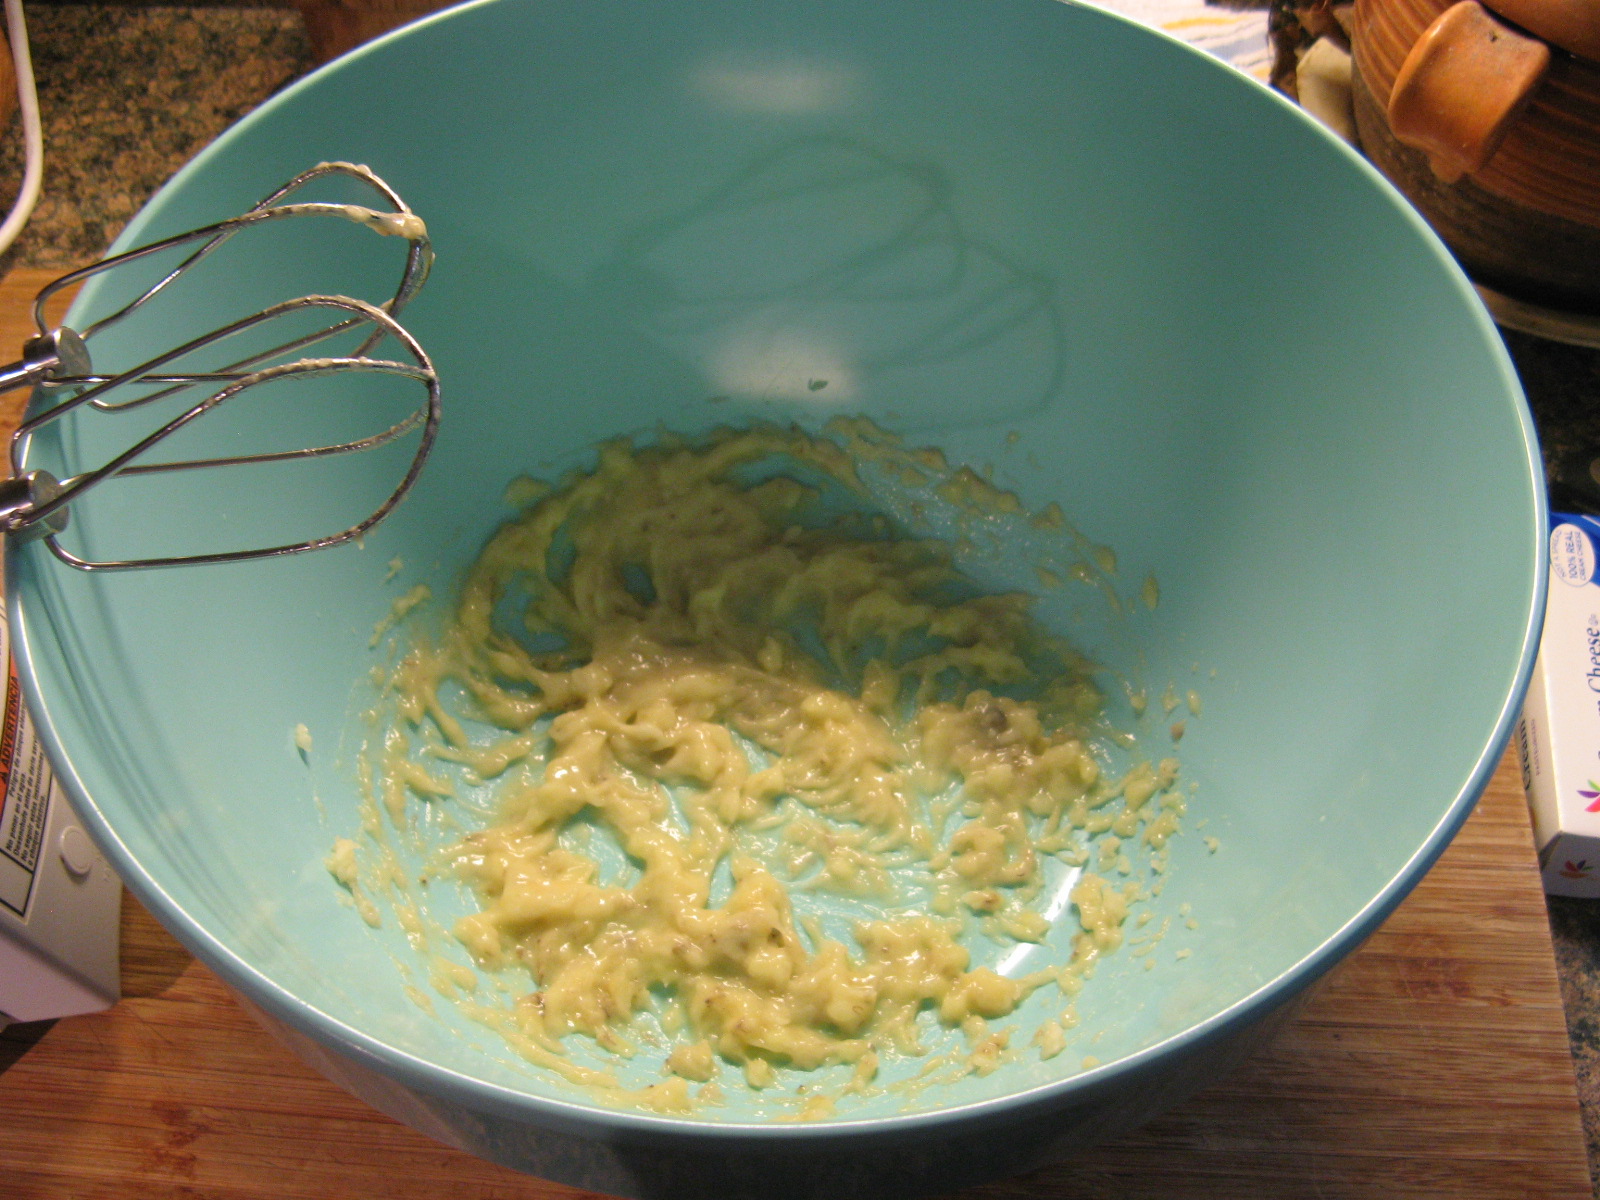
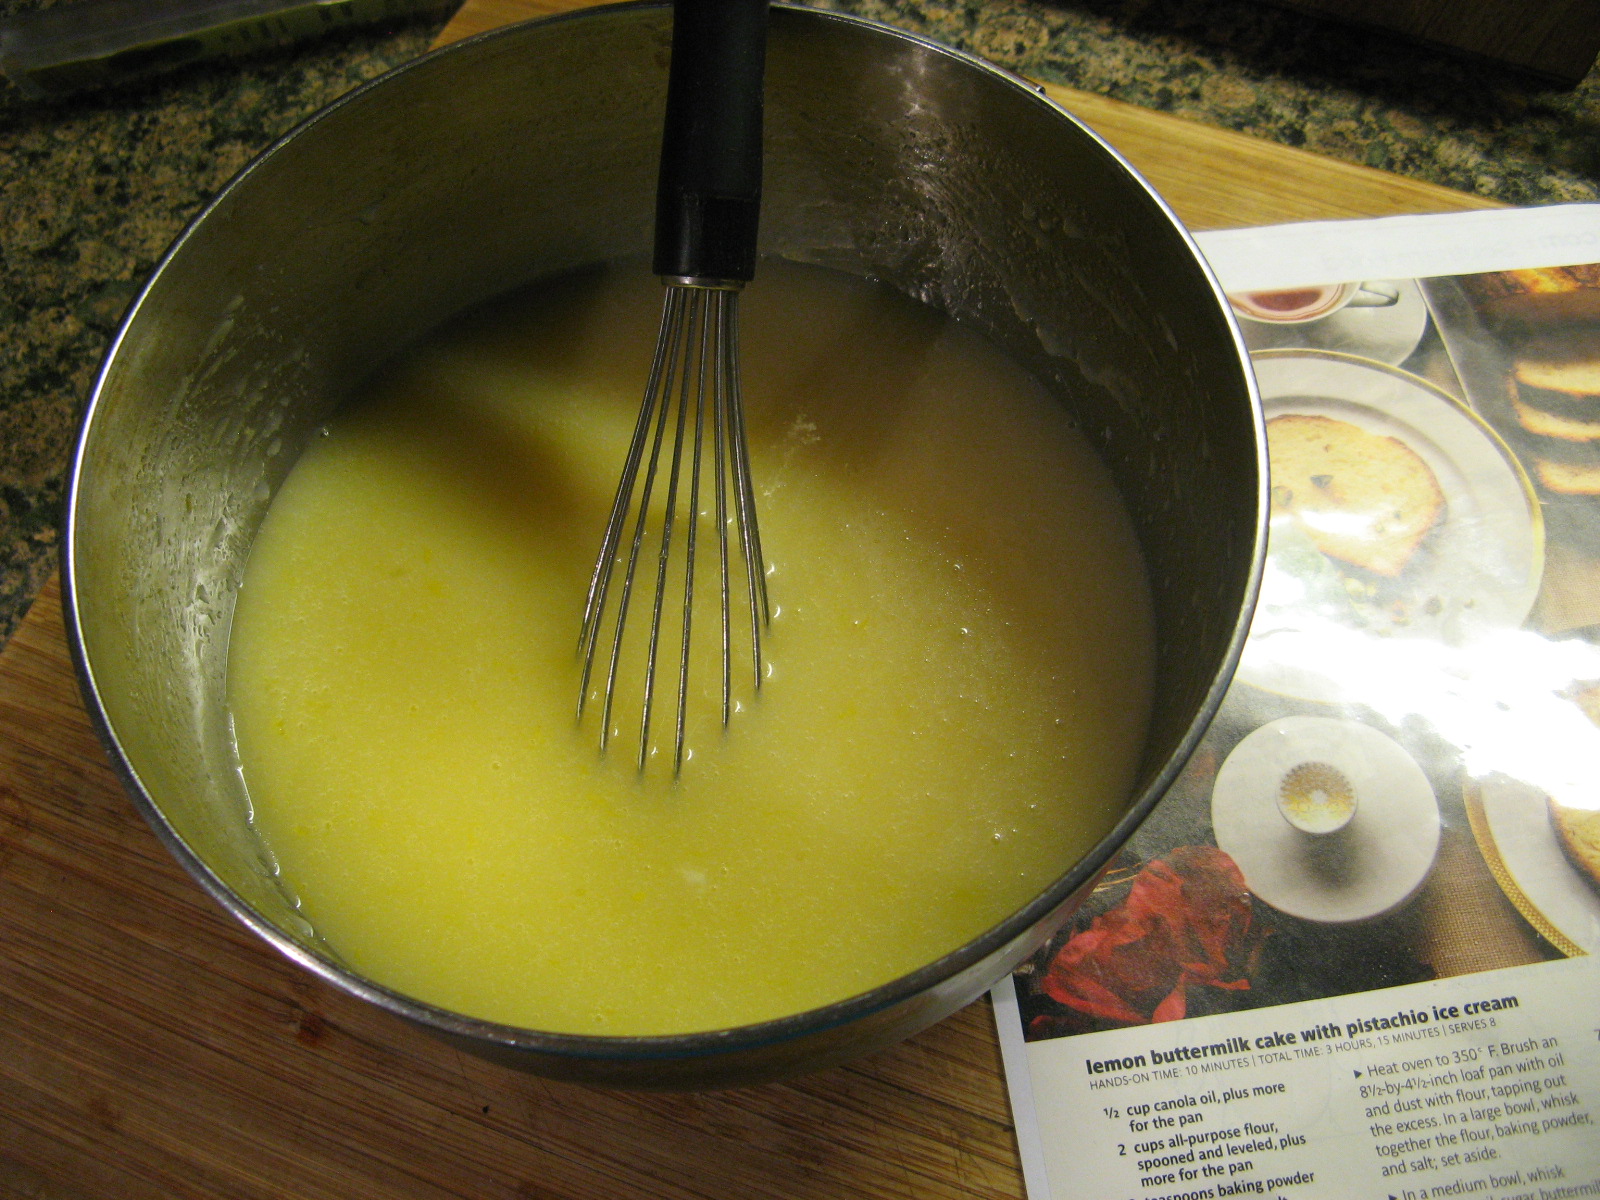
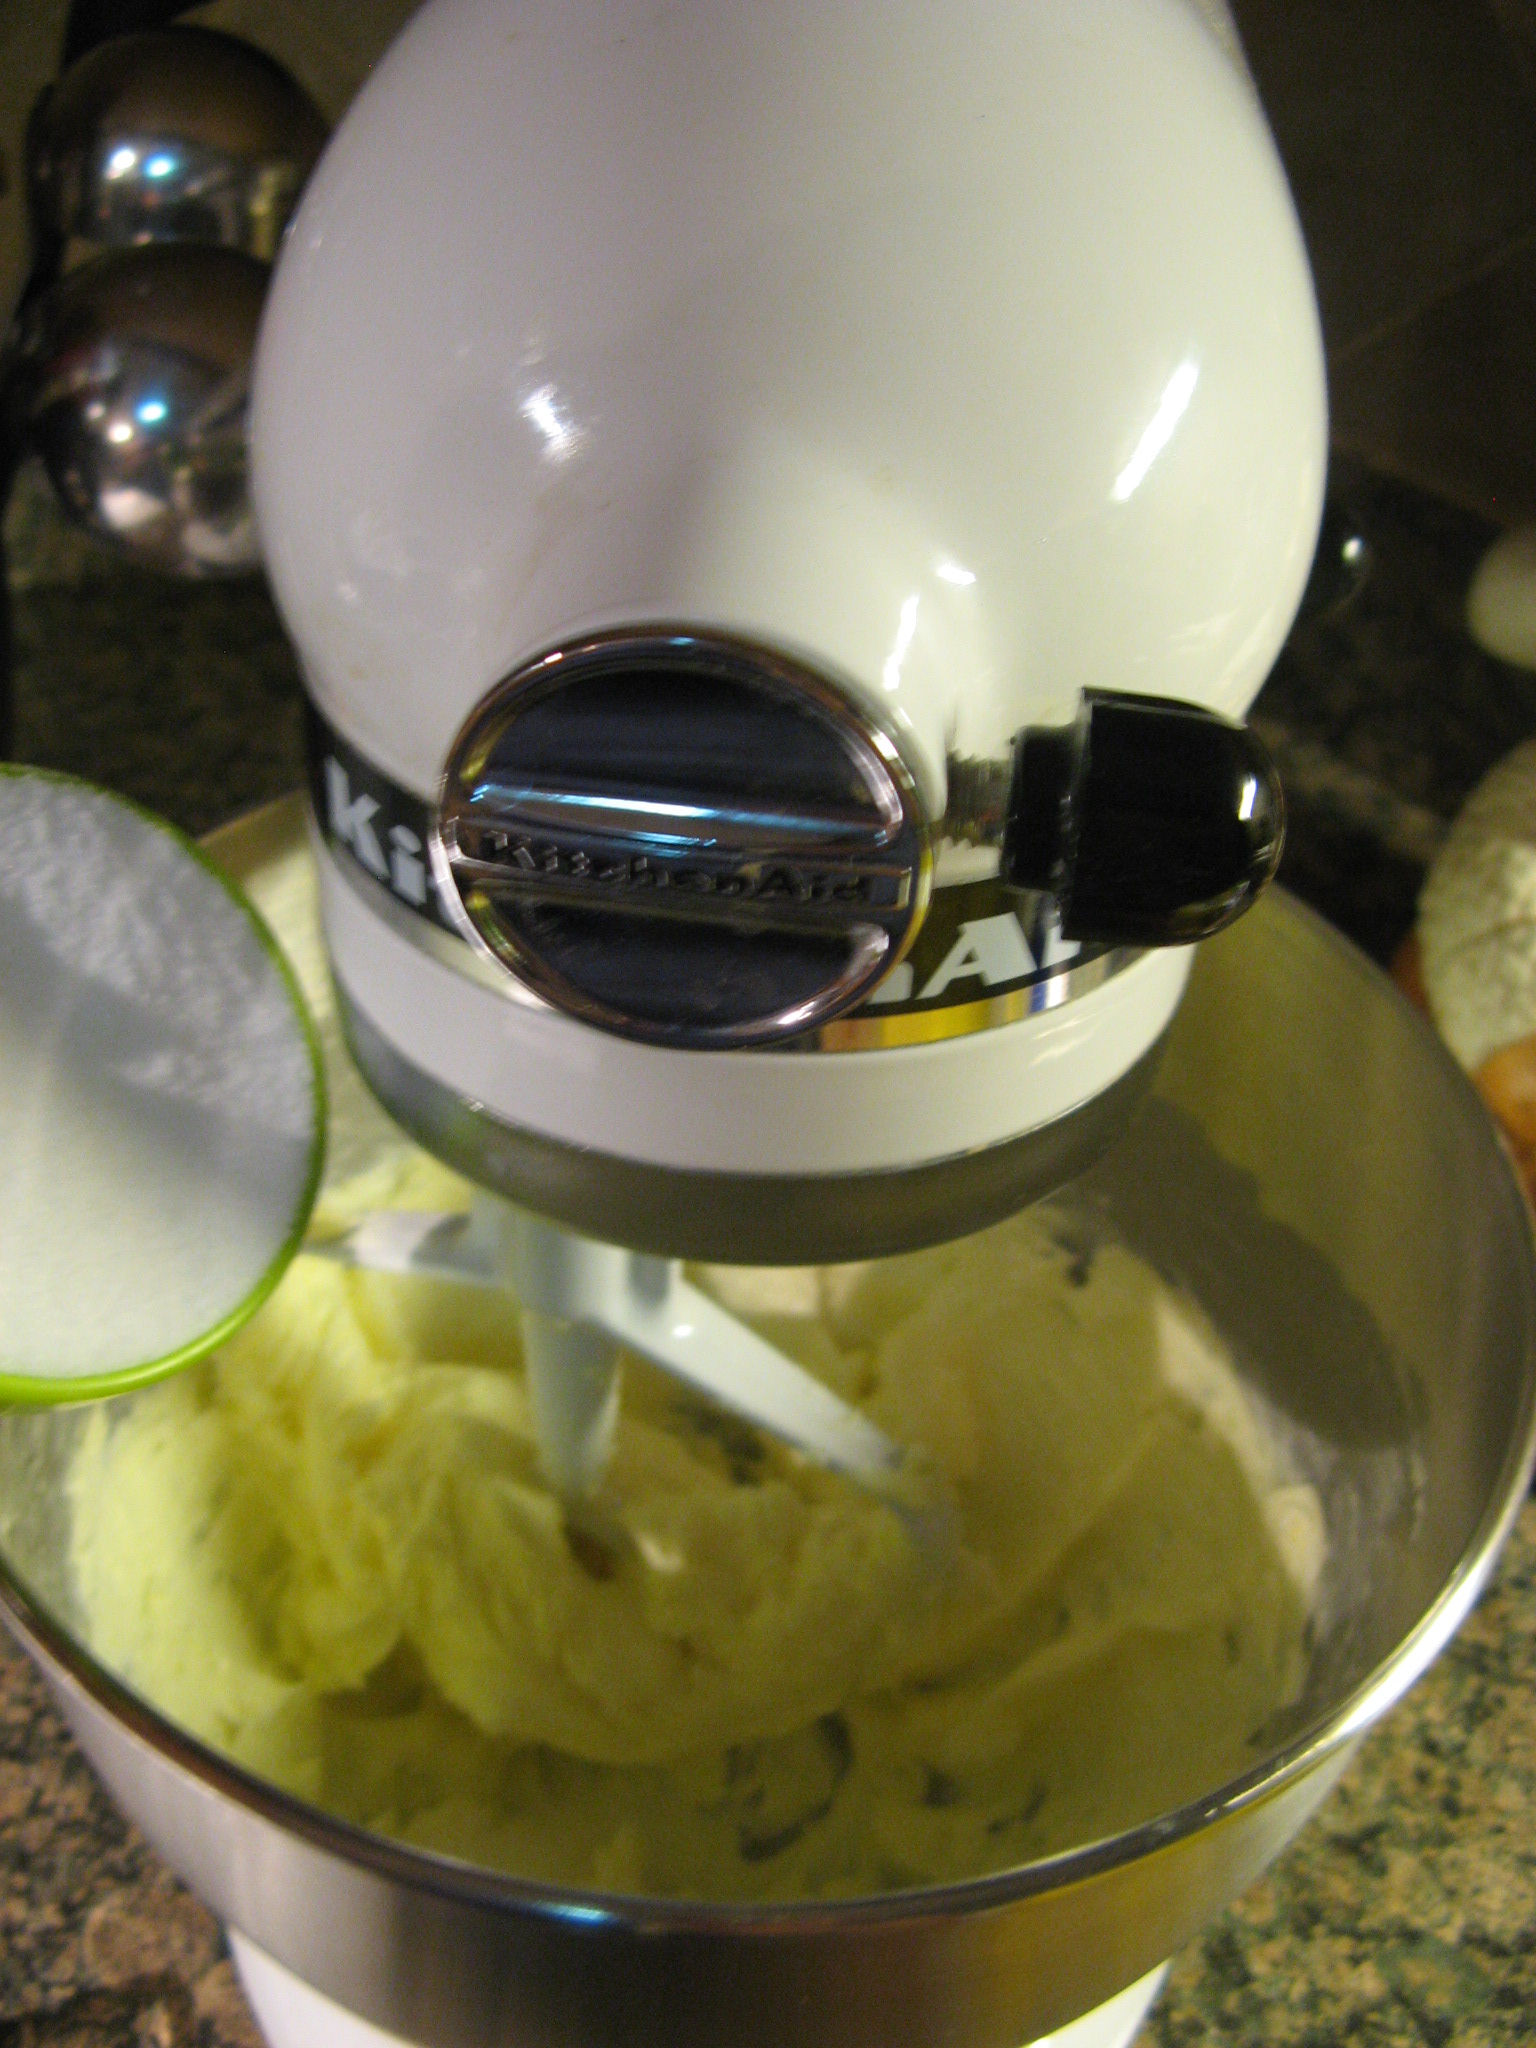
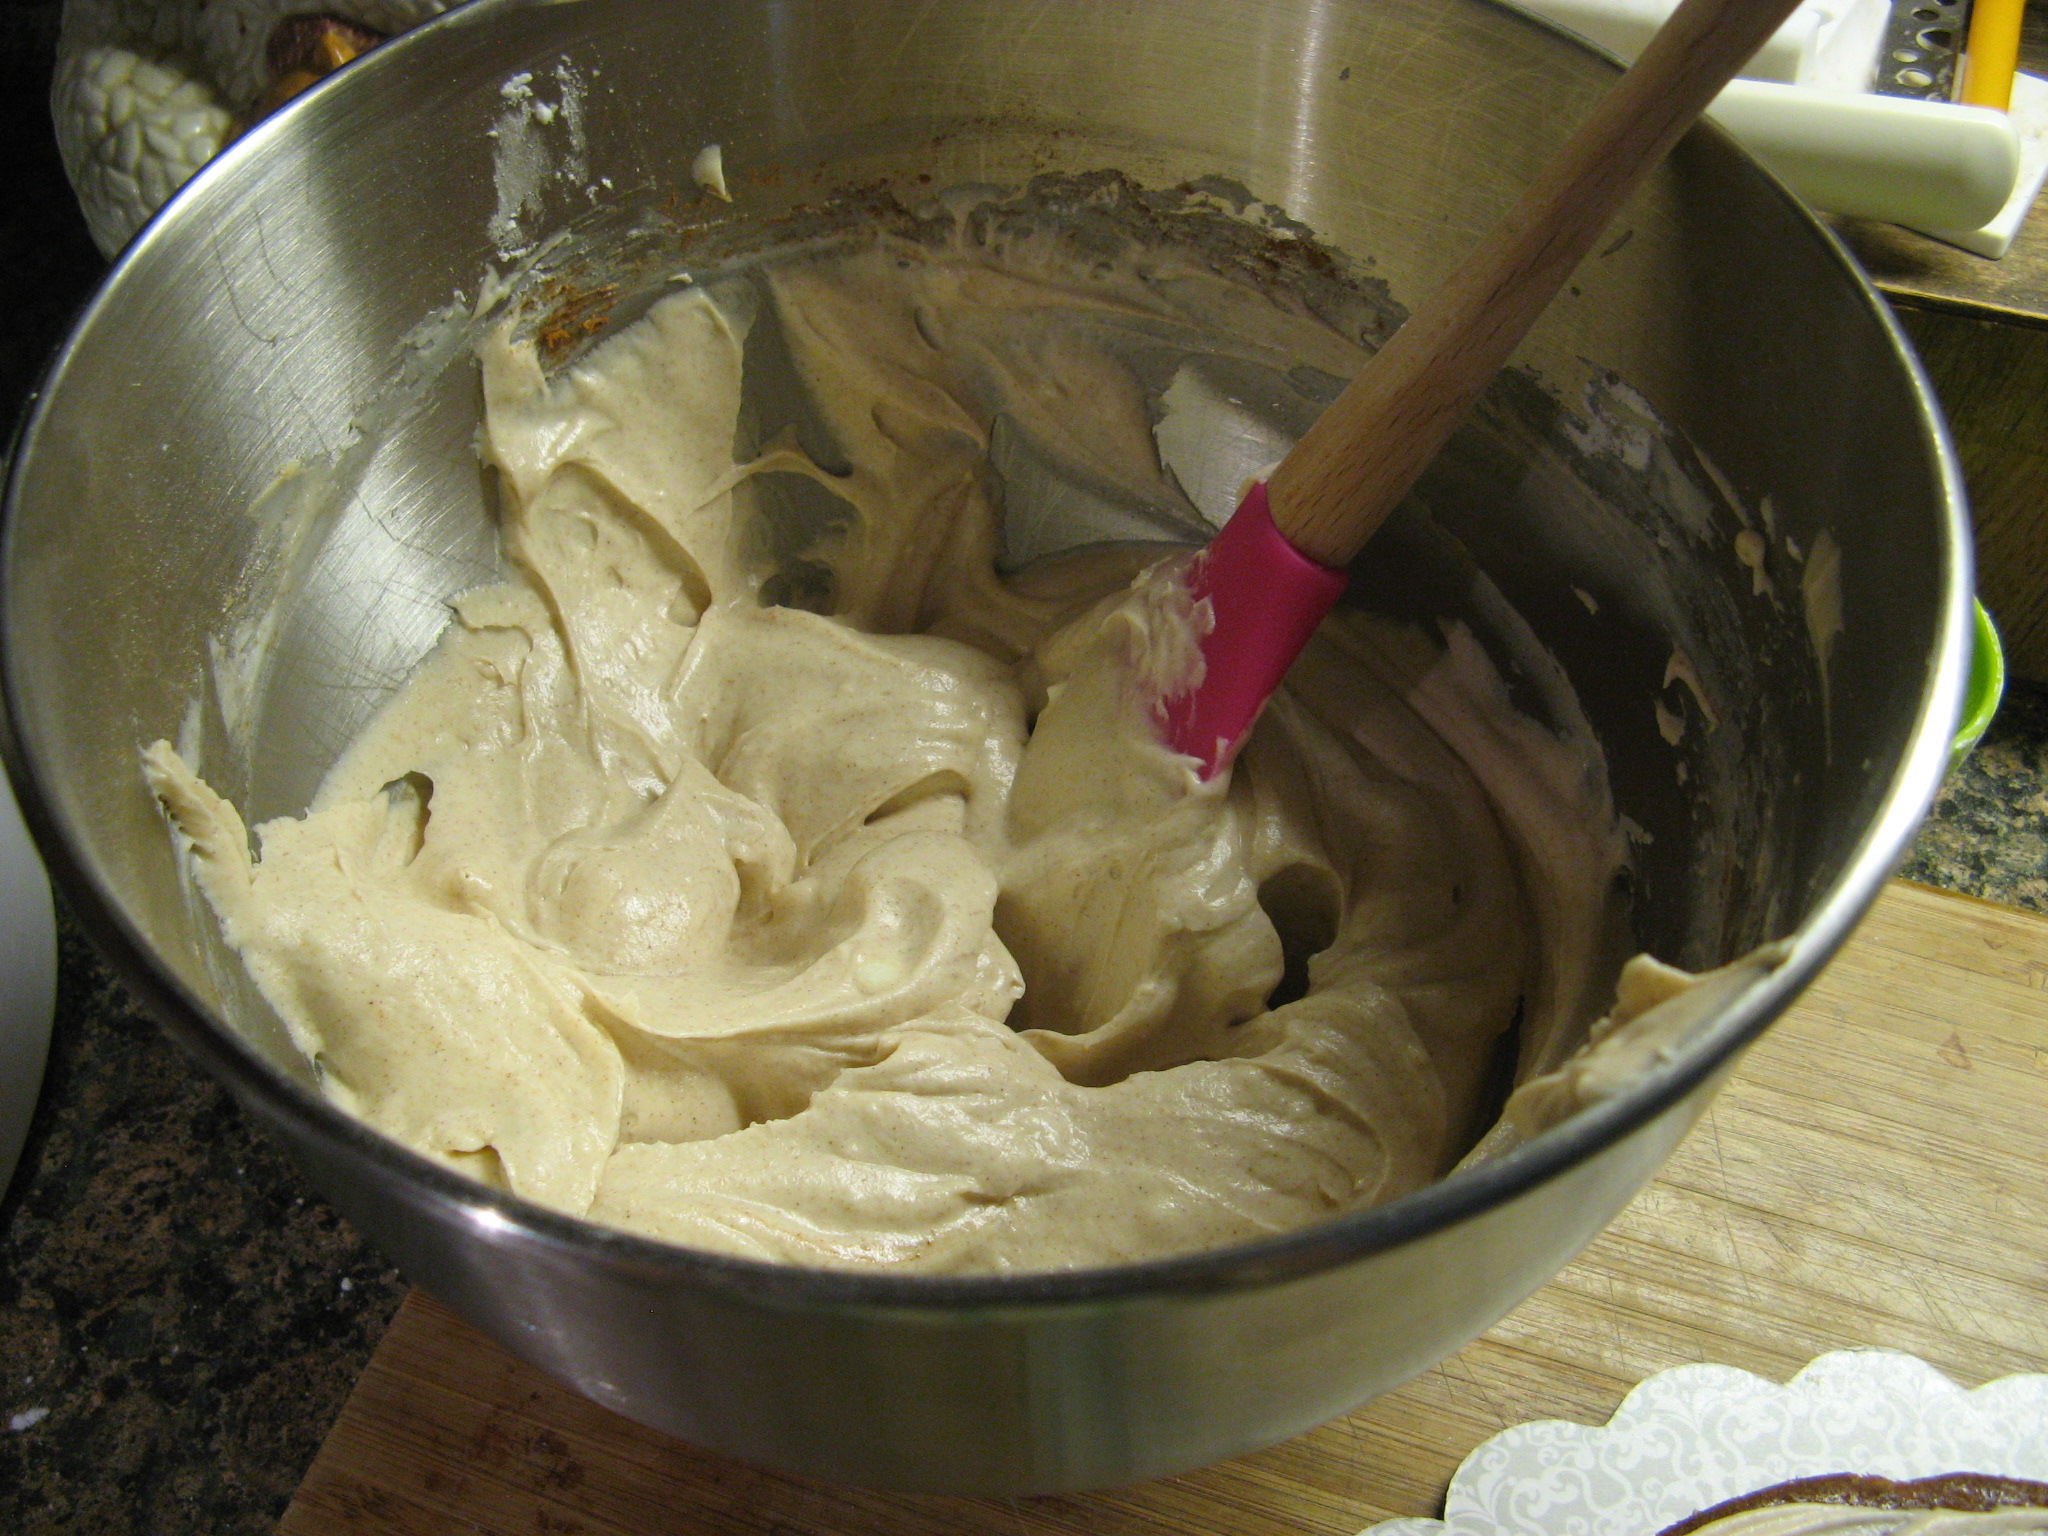
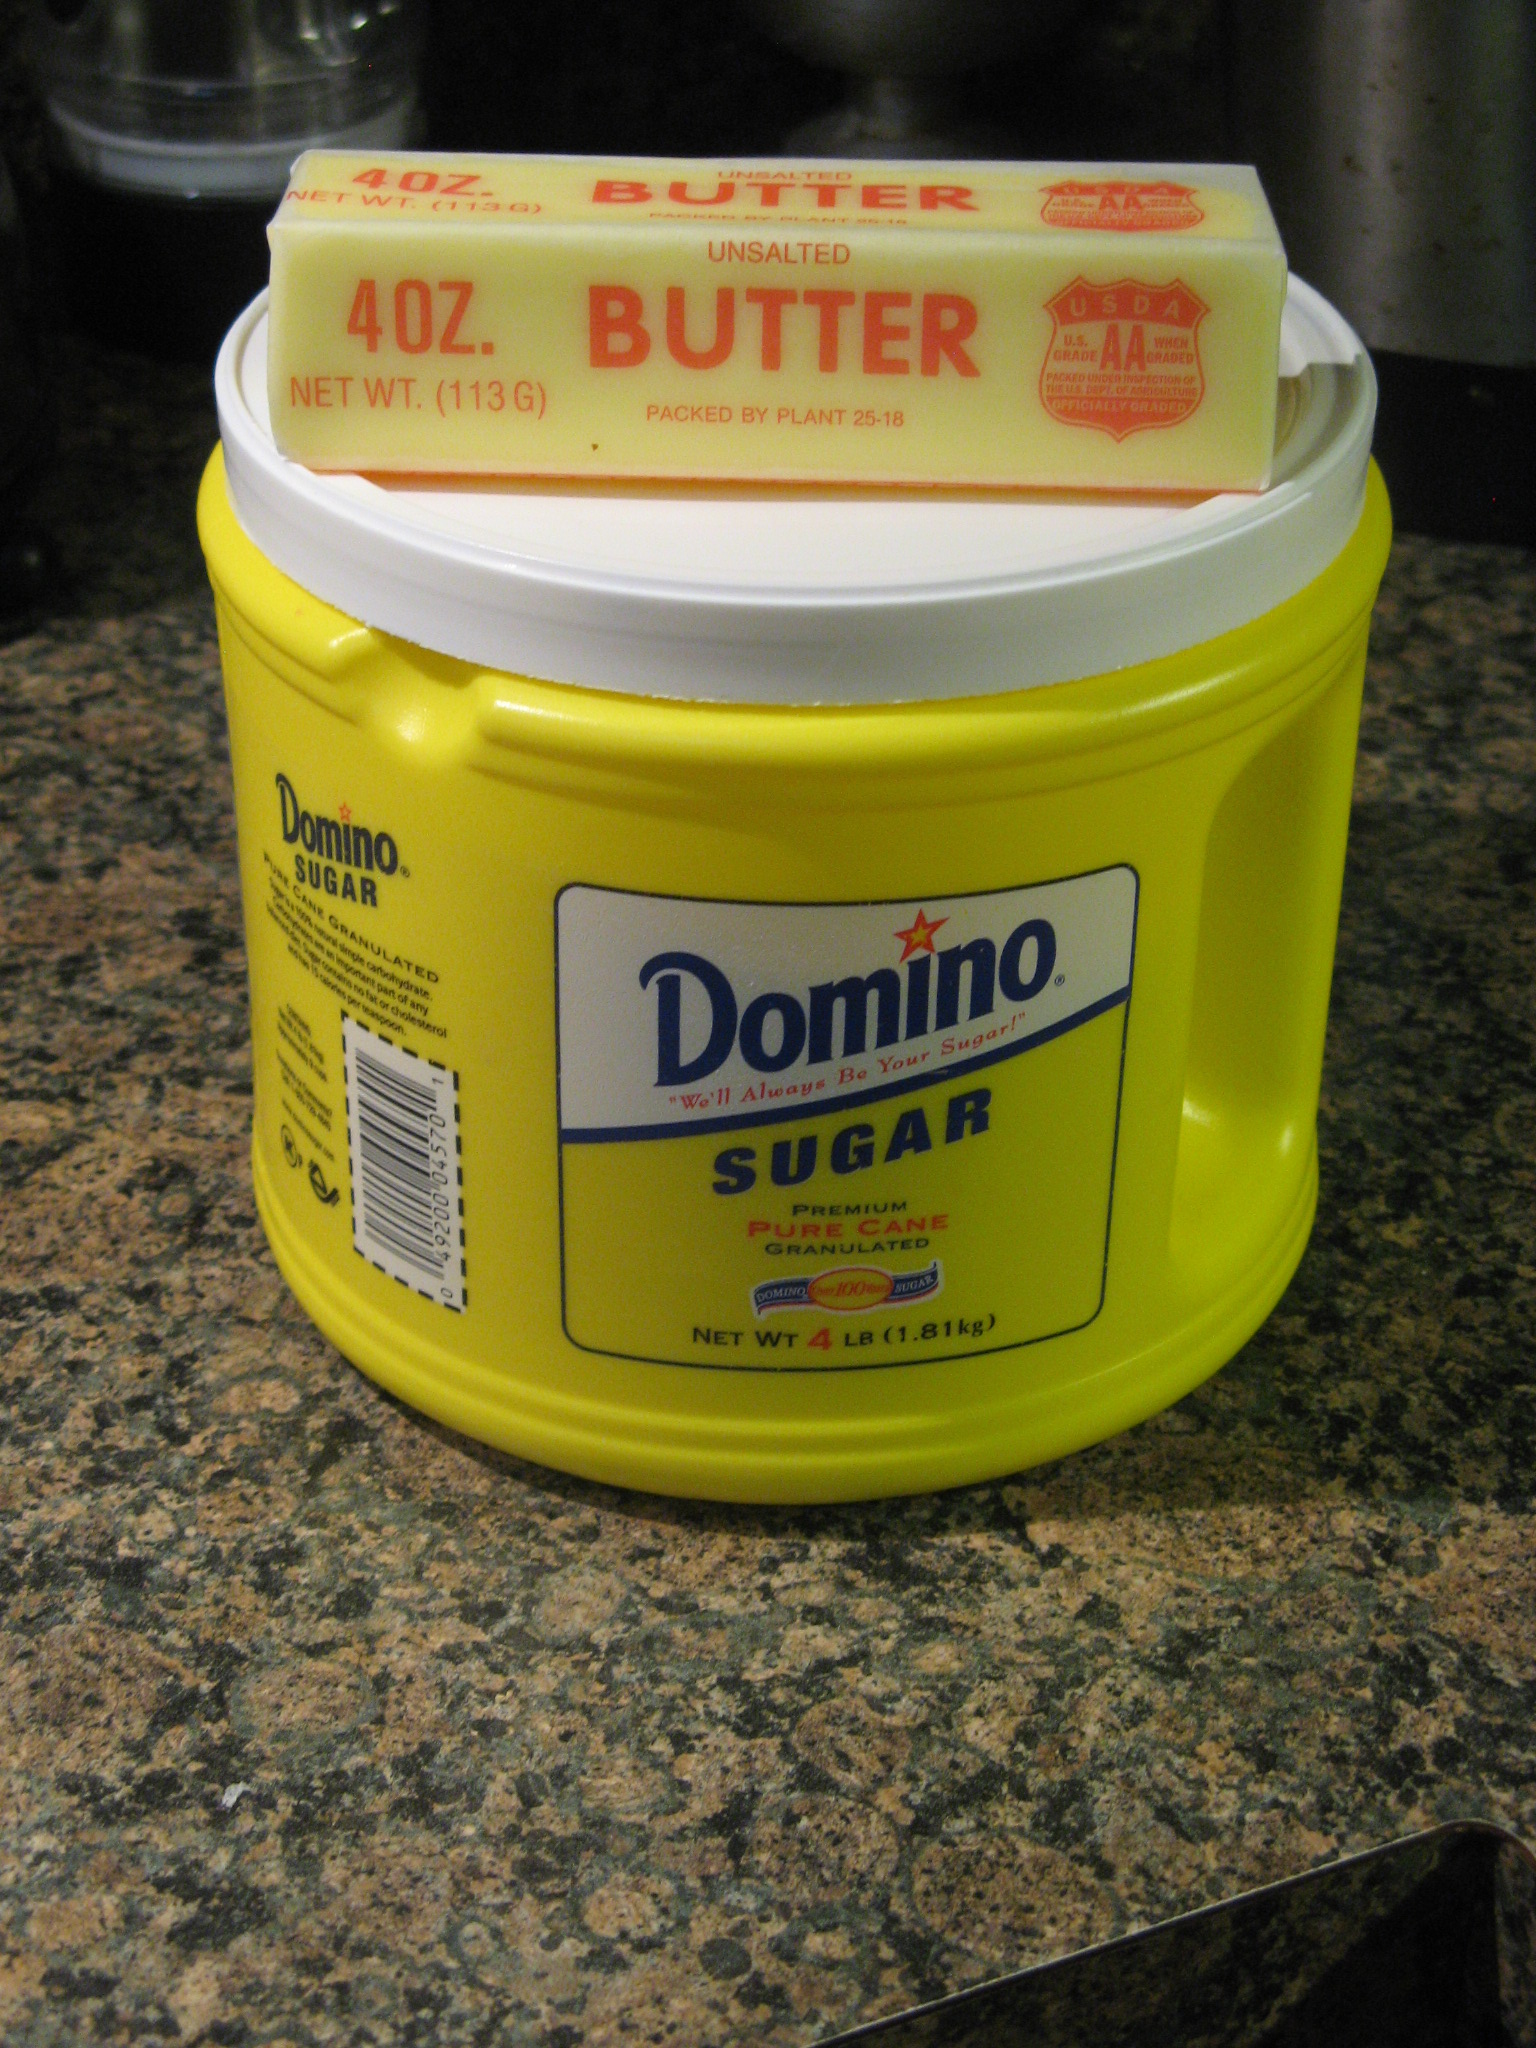
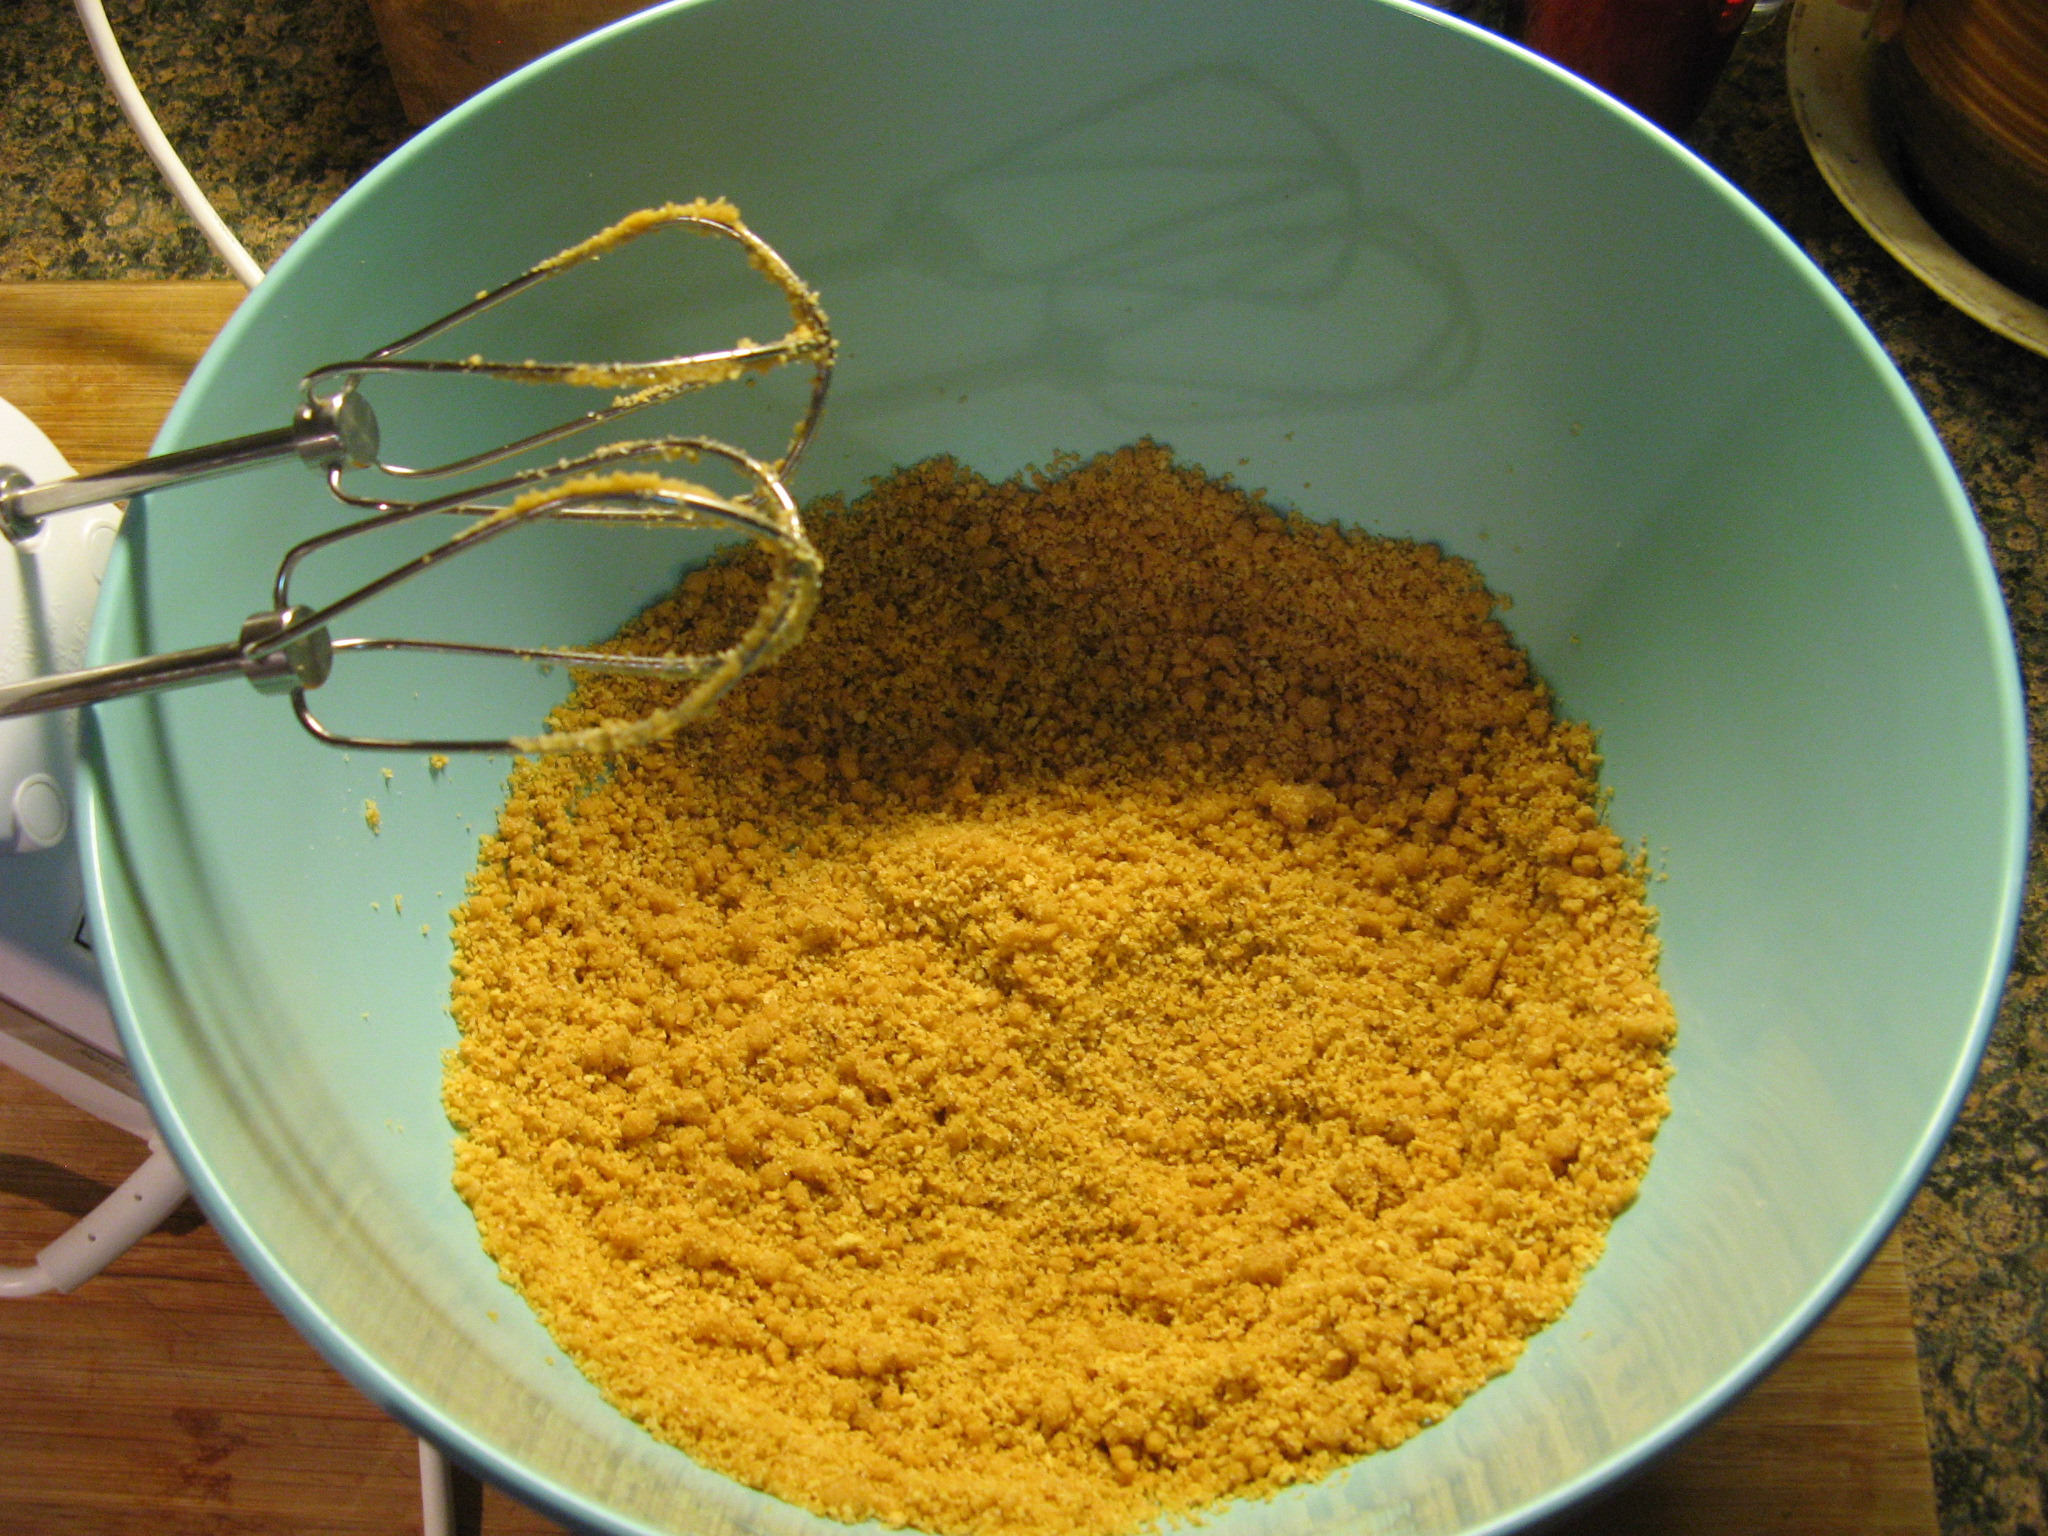
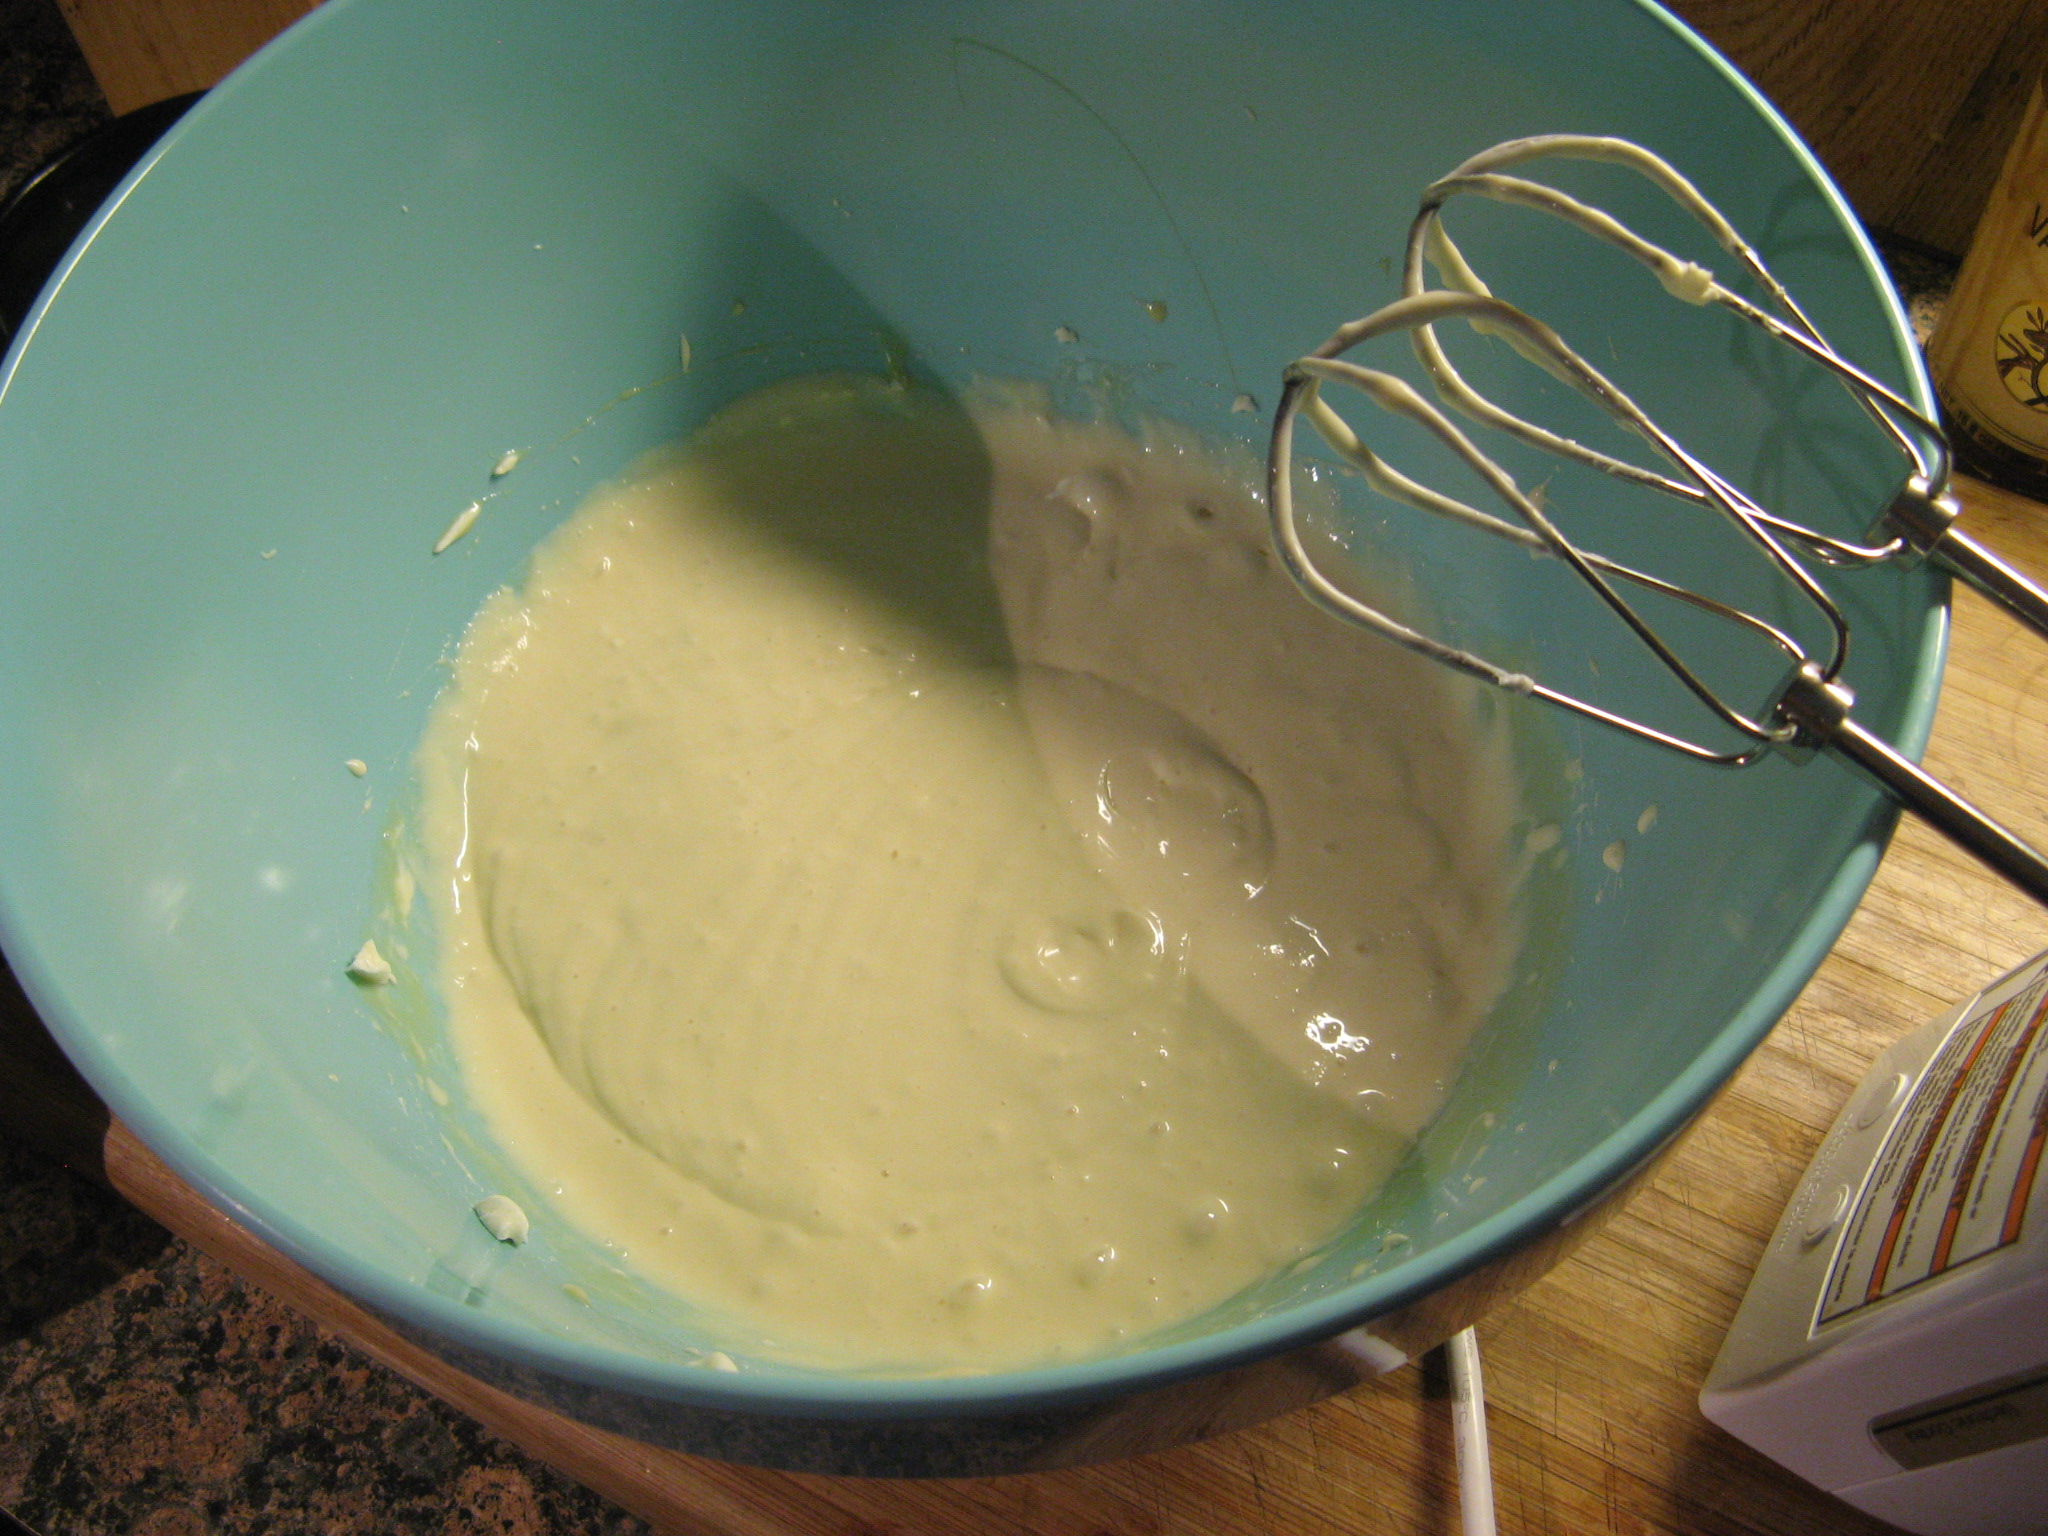
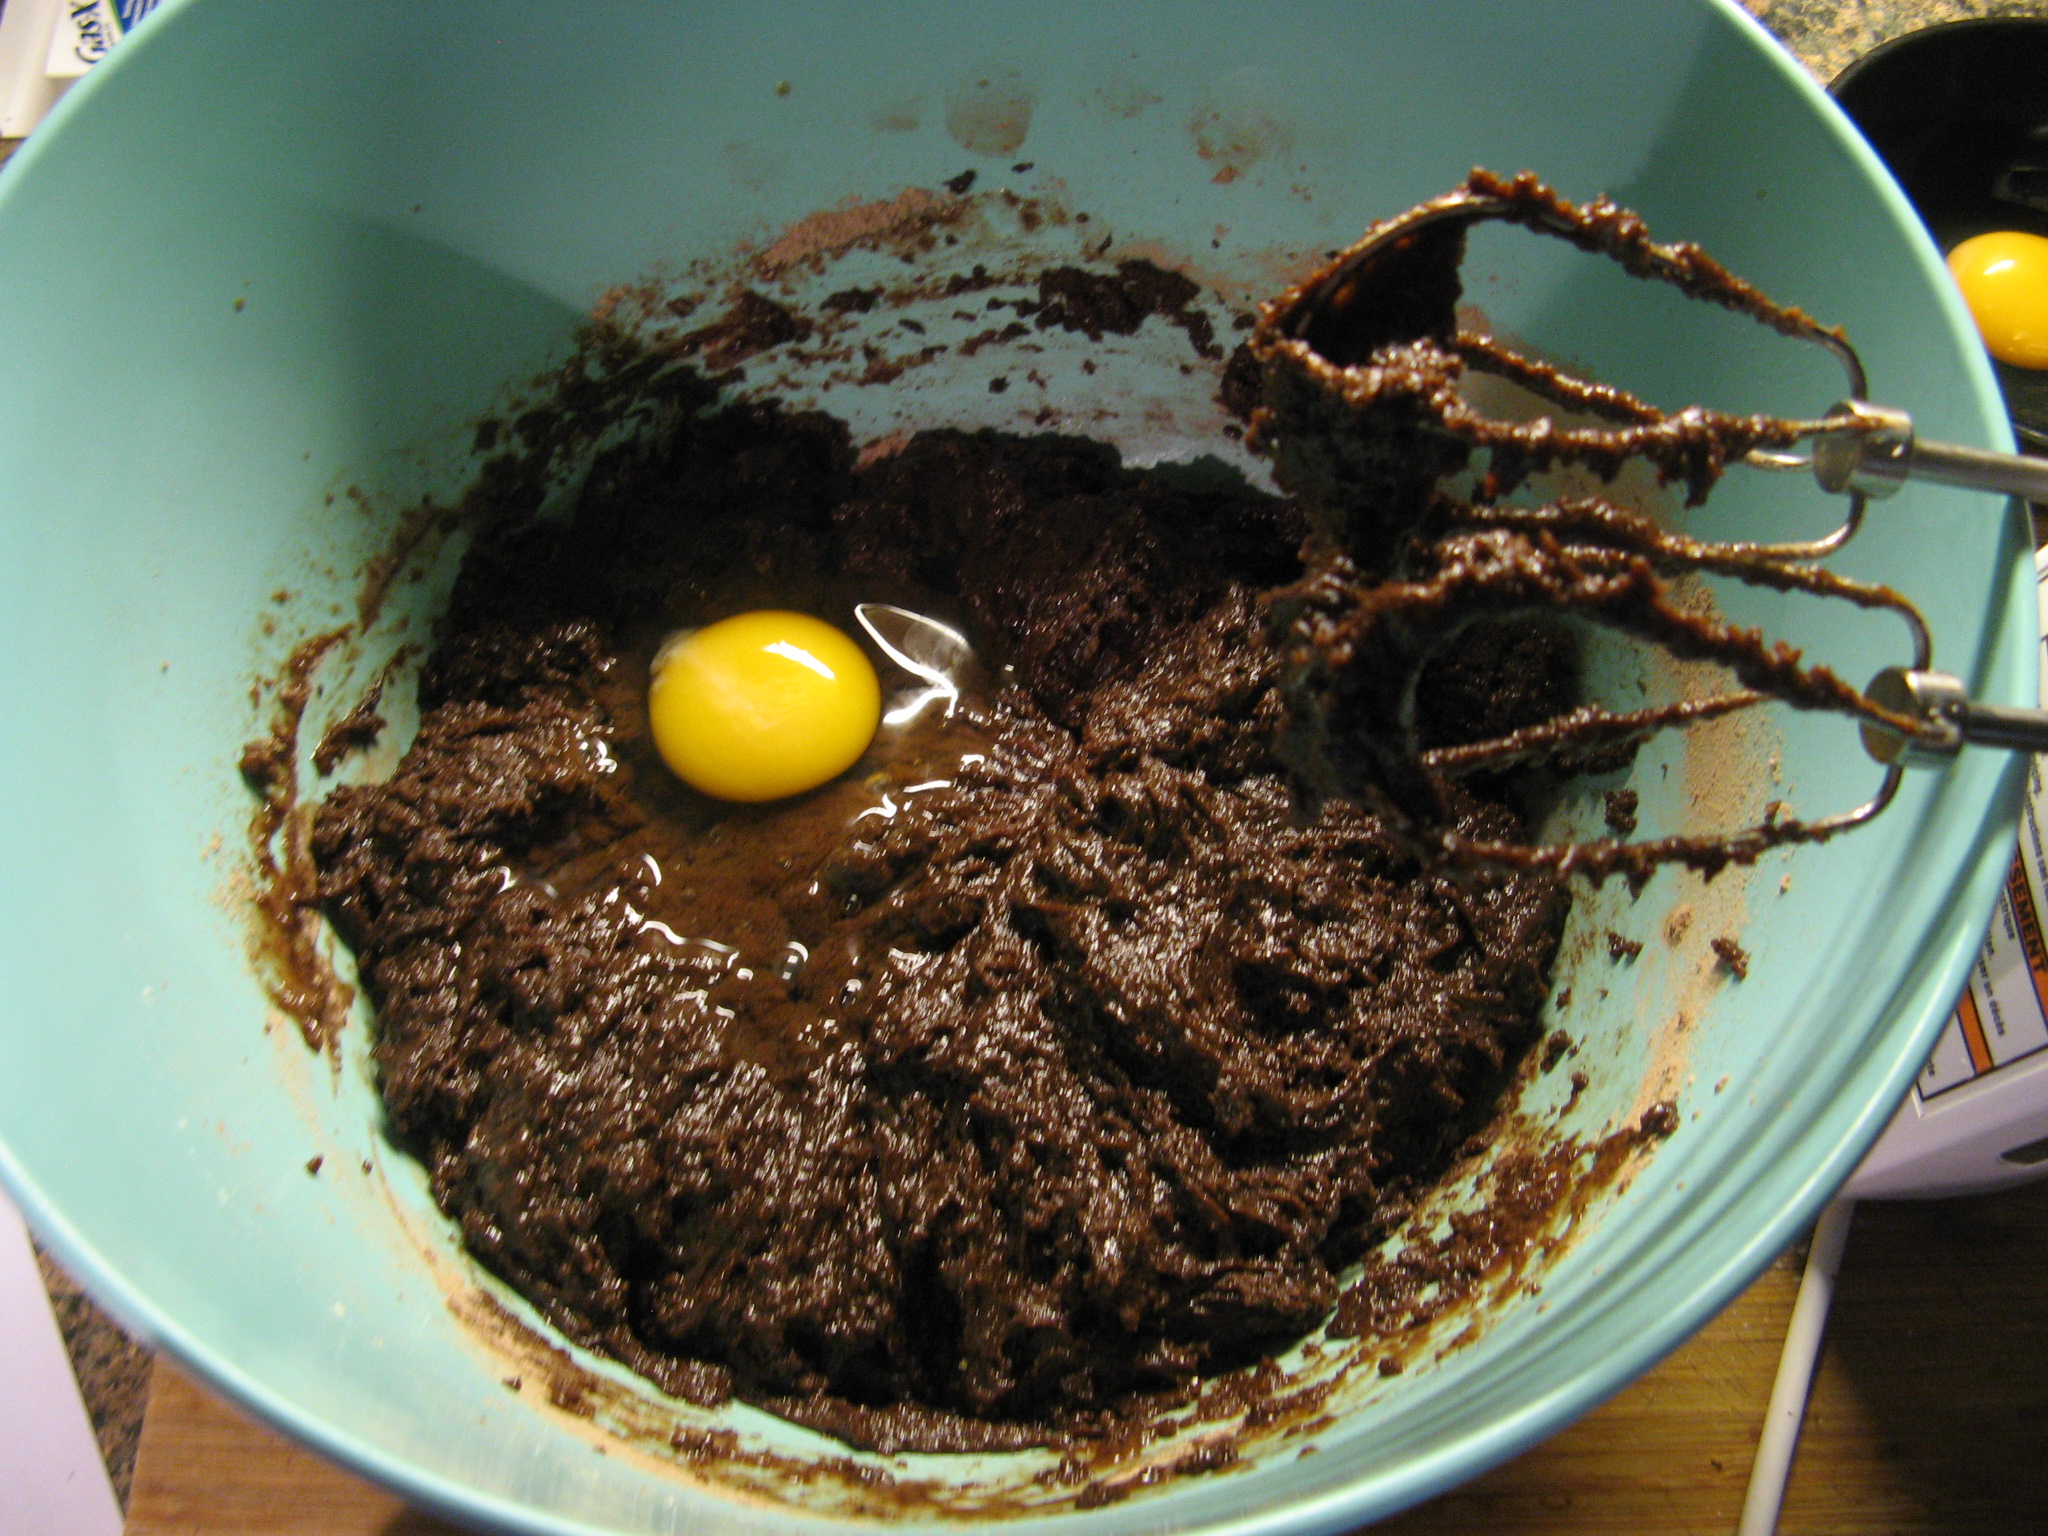
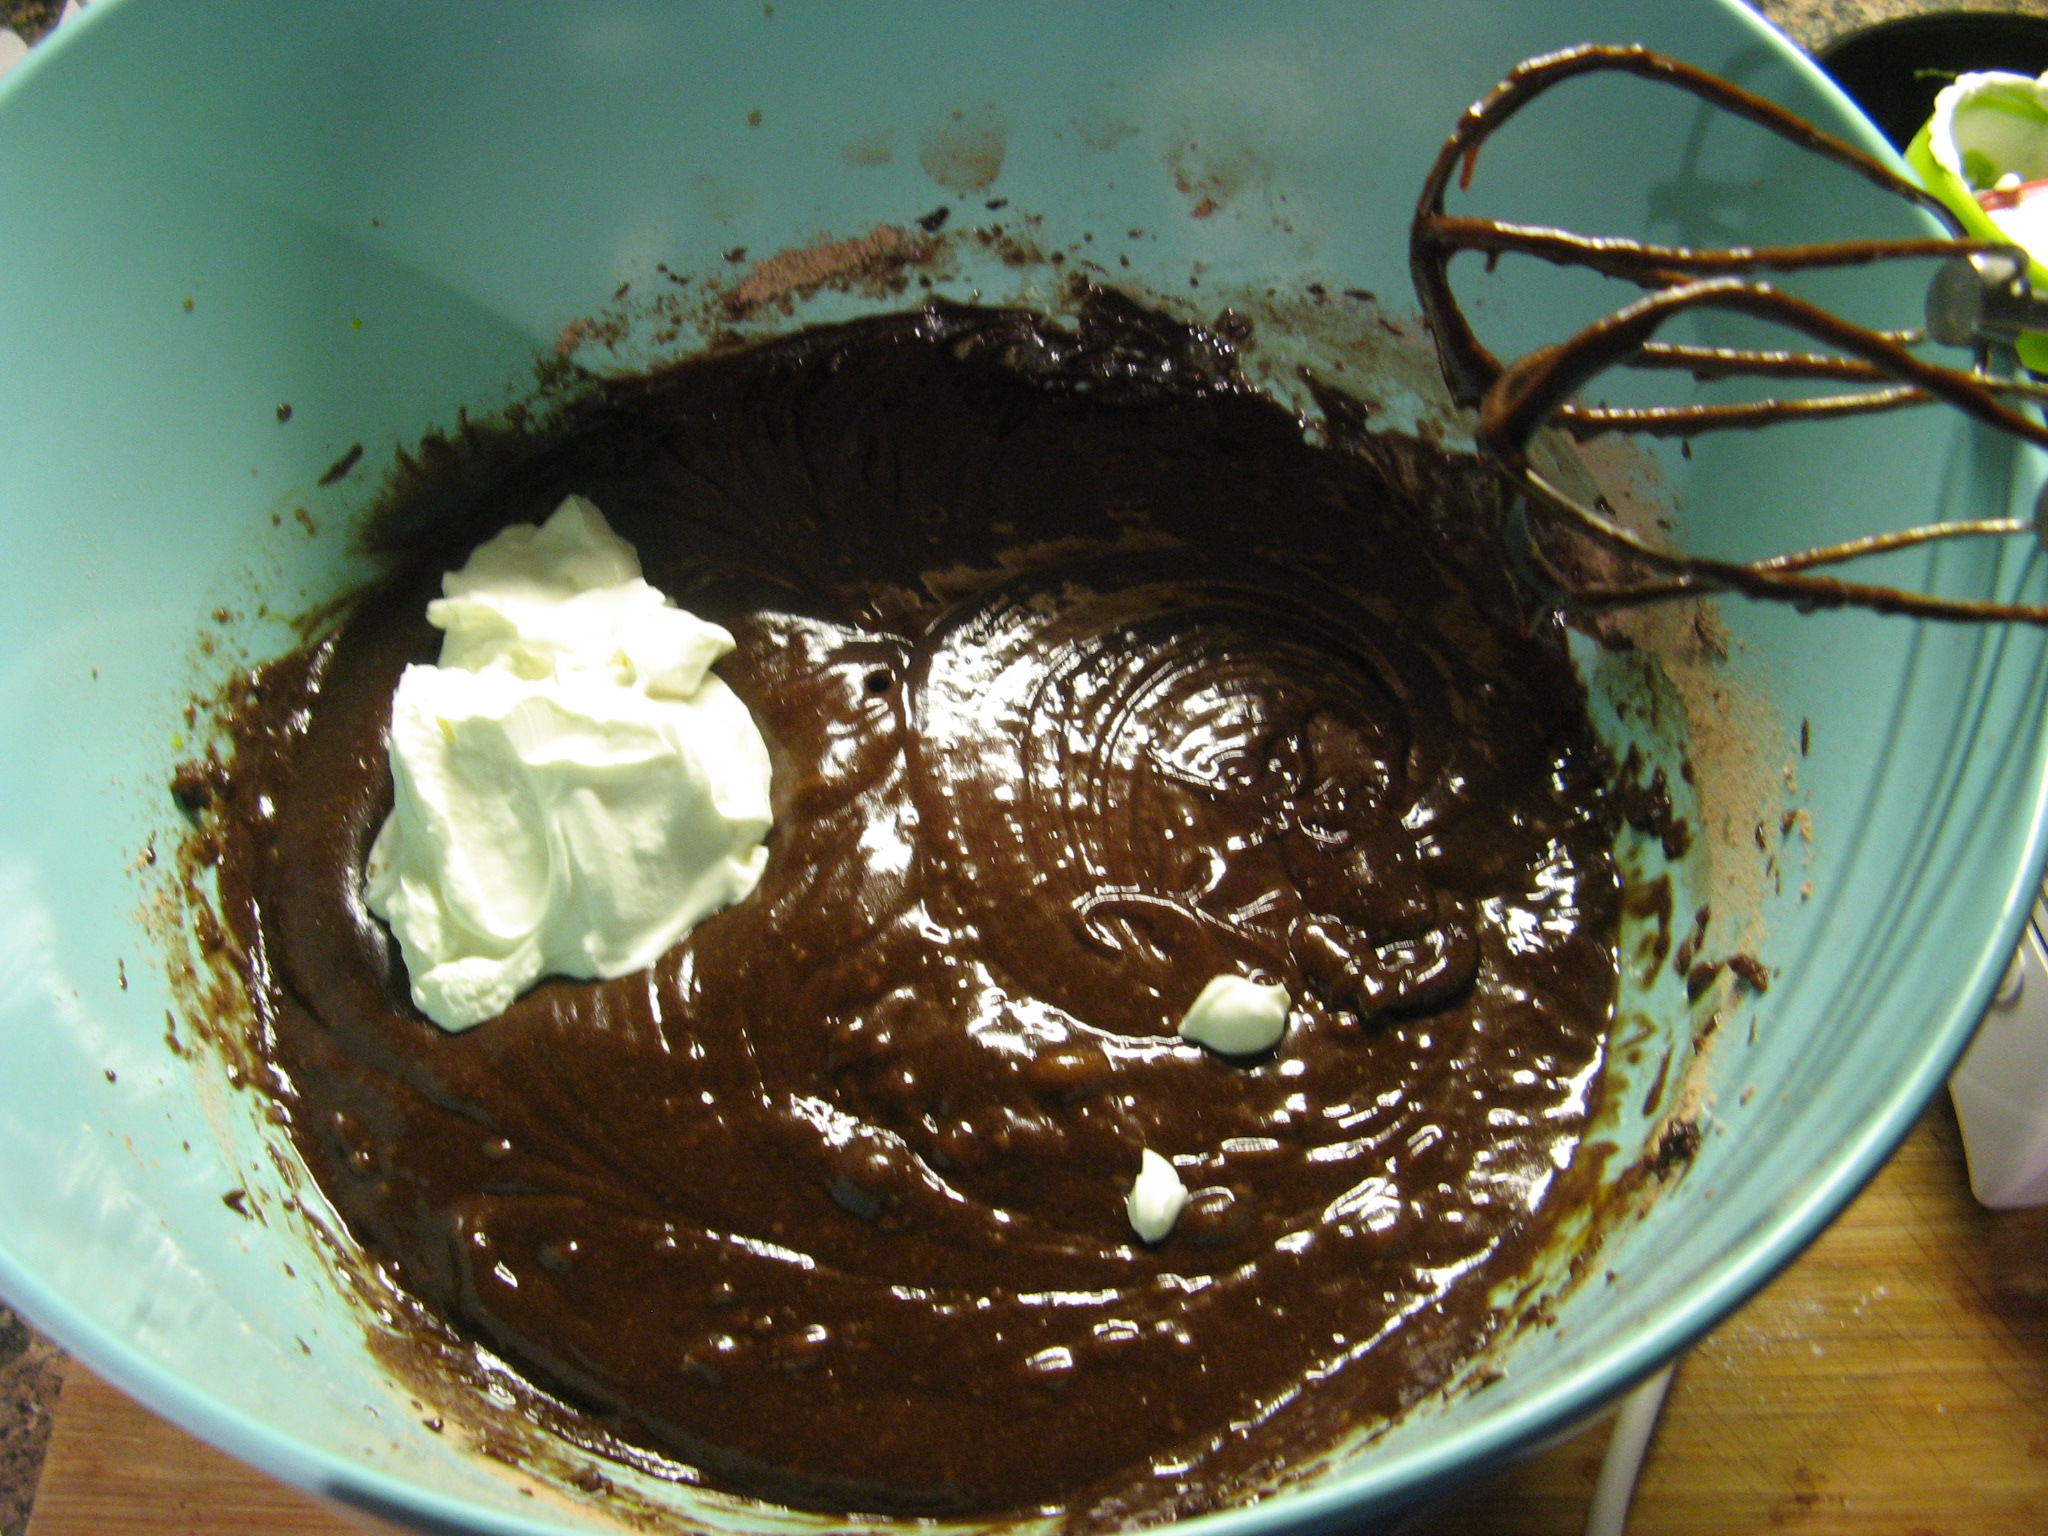
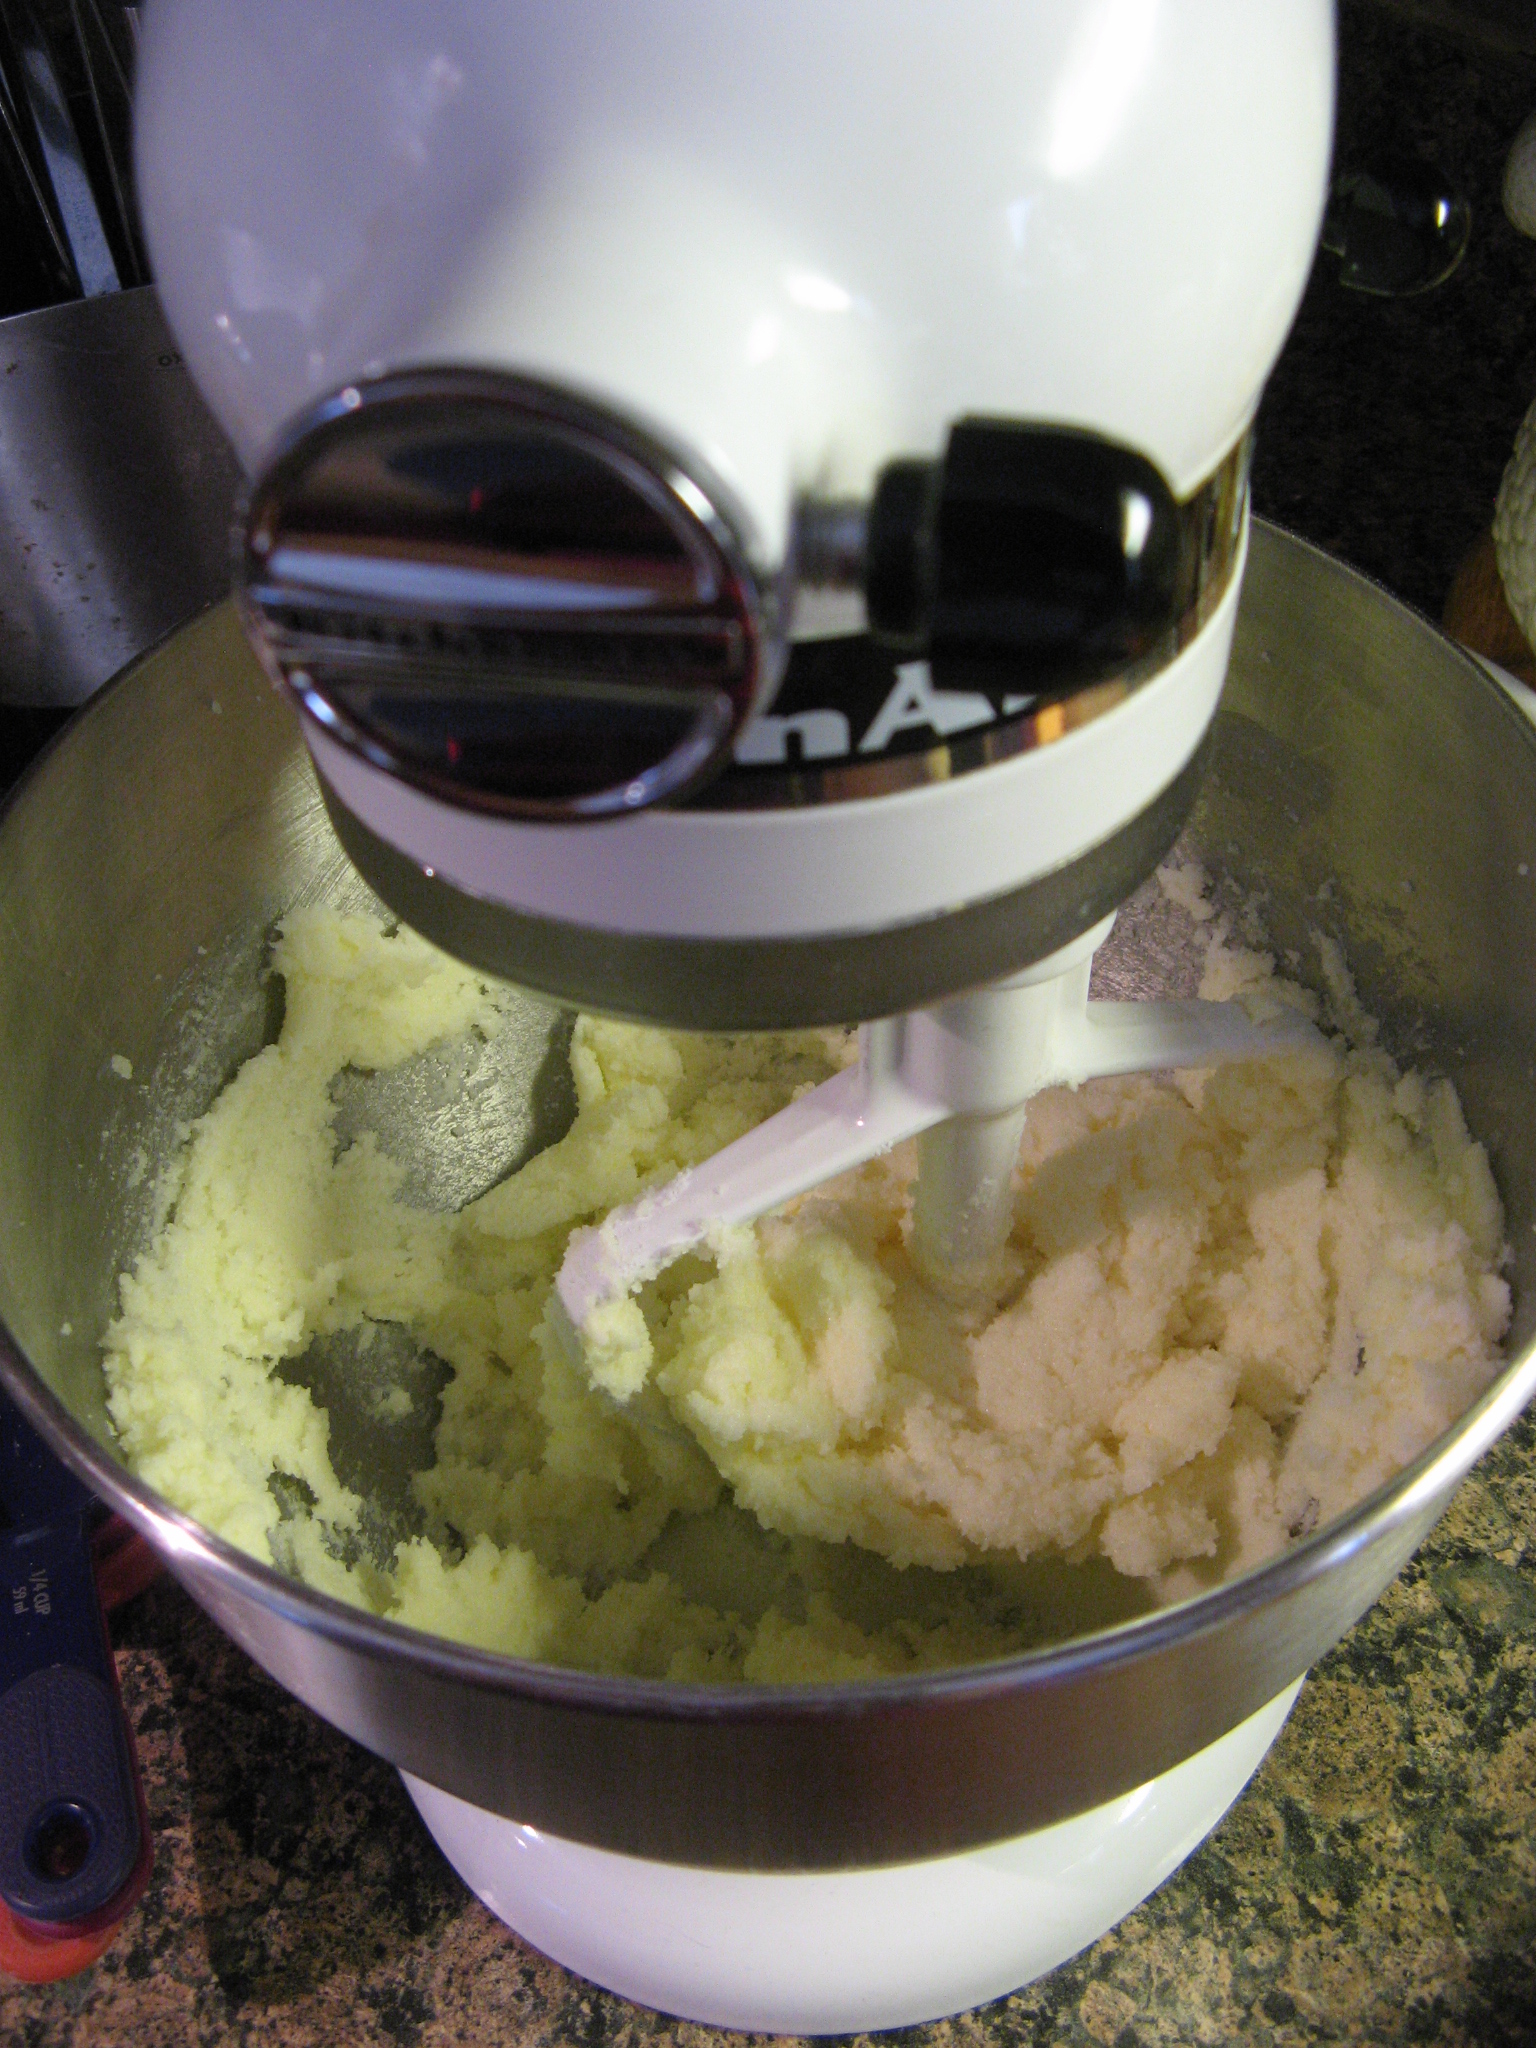
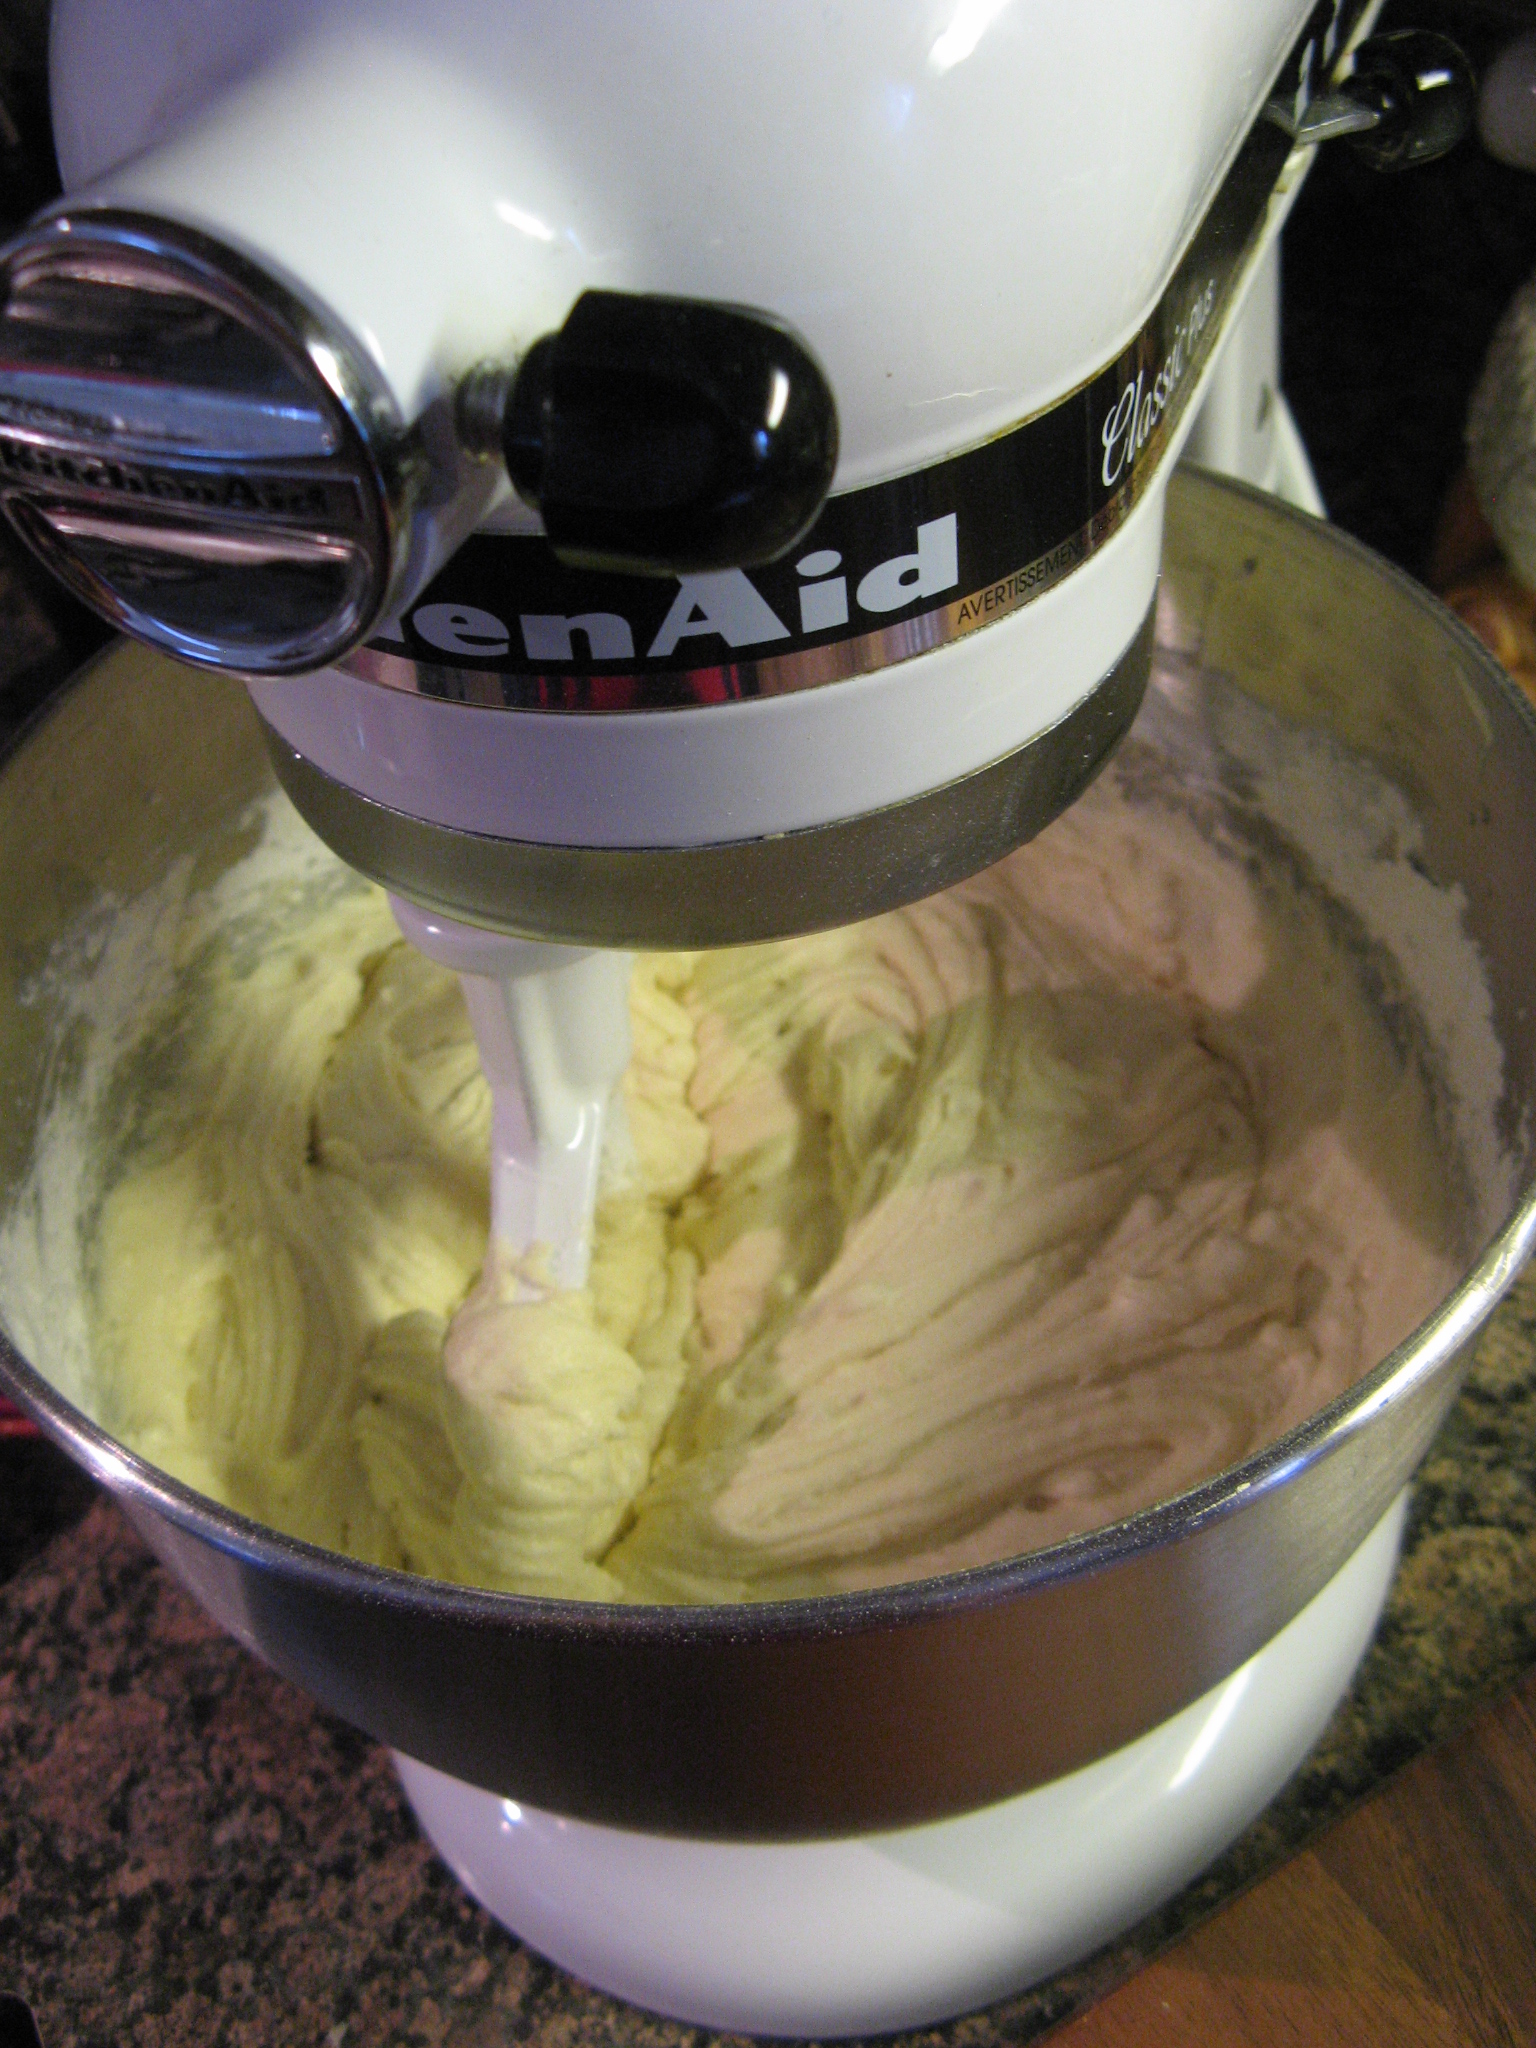
To begin I beat 2 sticks of butter until they were creamy, then gradually added in 2 cups of sugar and continued beating the mixture until it was light and fluffy. I then added in an 8 oz. package of cream cheese, vanilla extract and the almond paste, which I crumbled.

IMG_6791

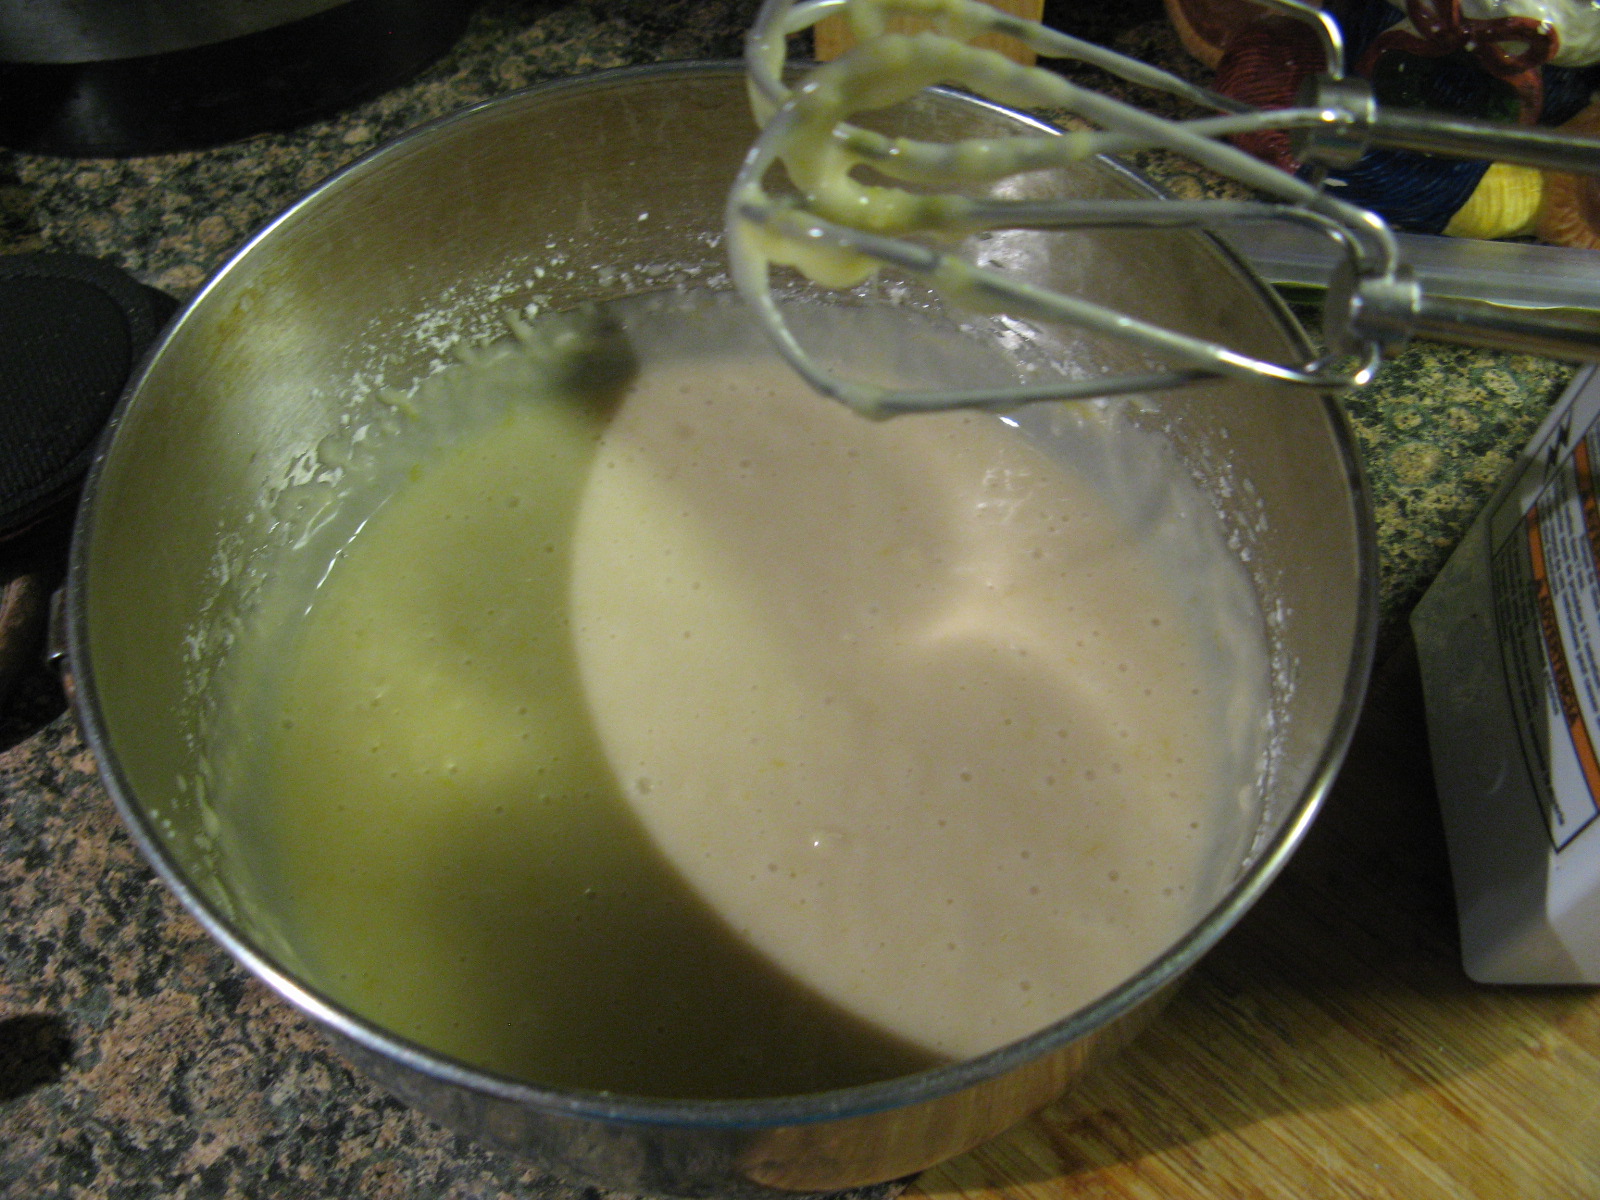
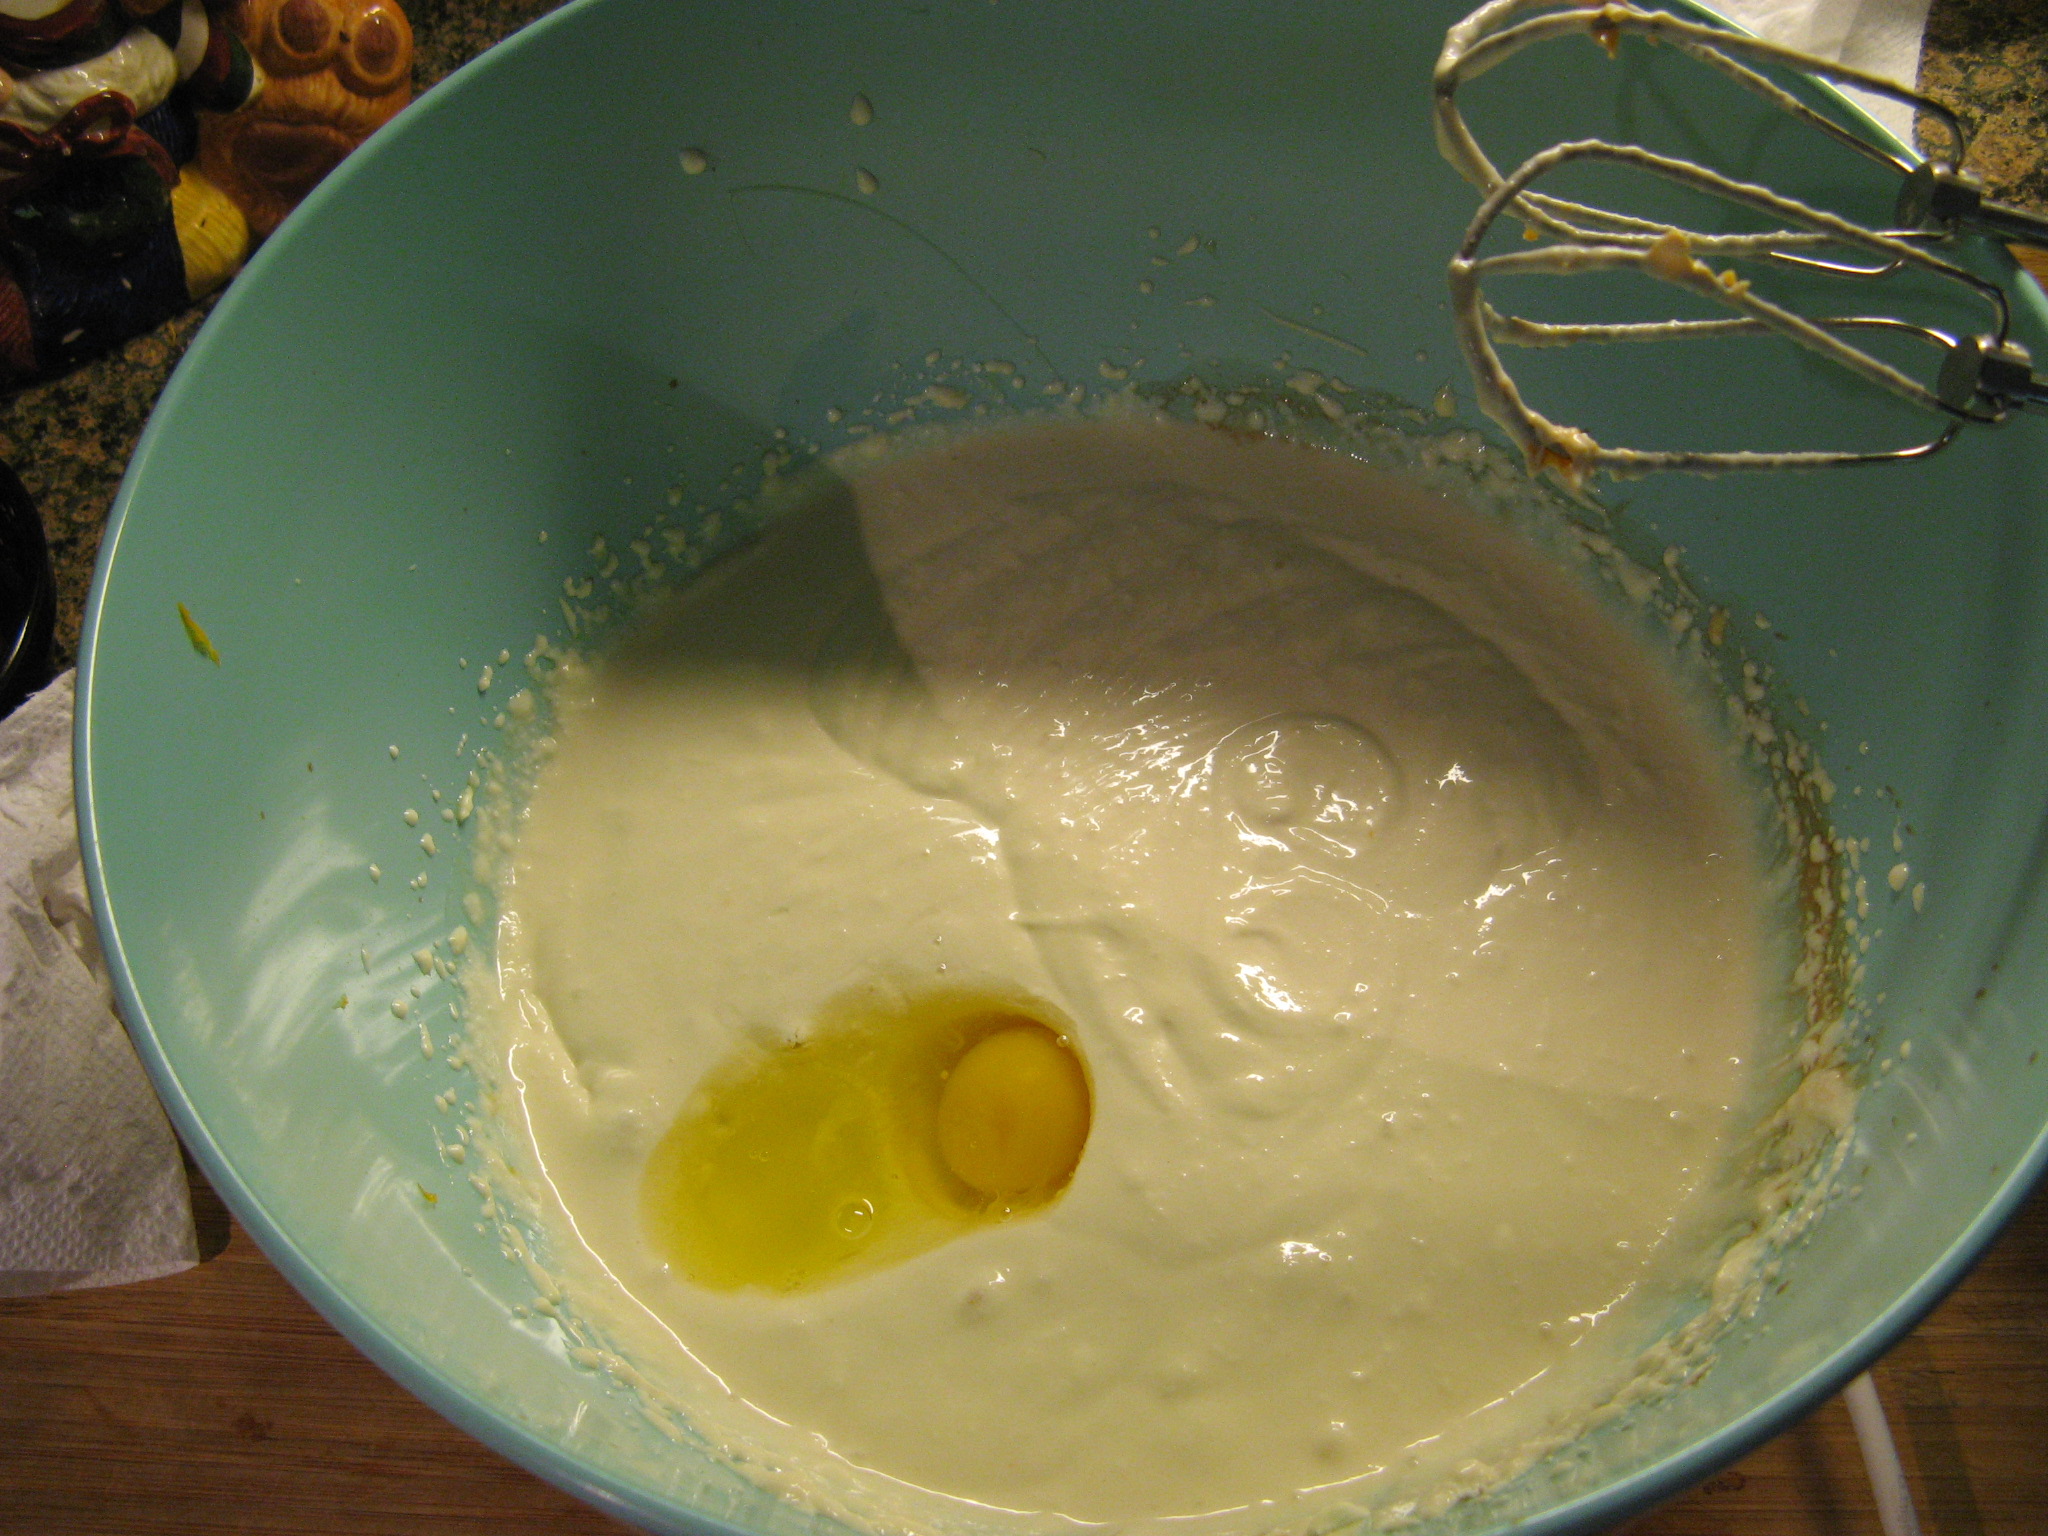
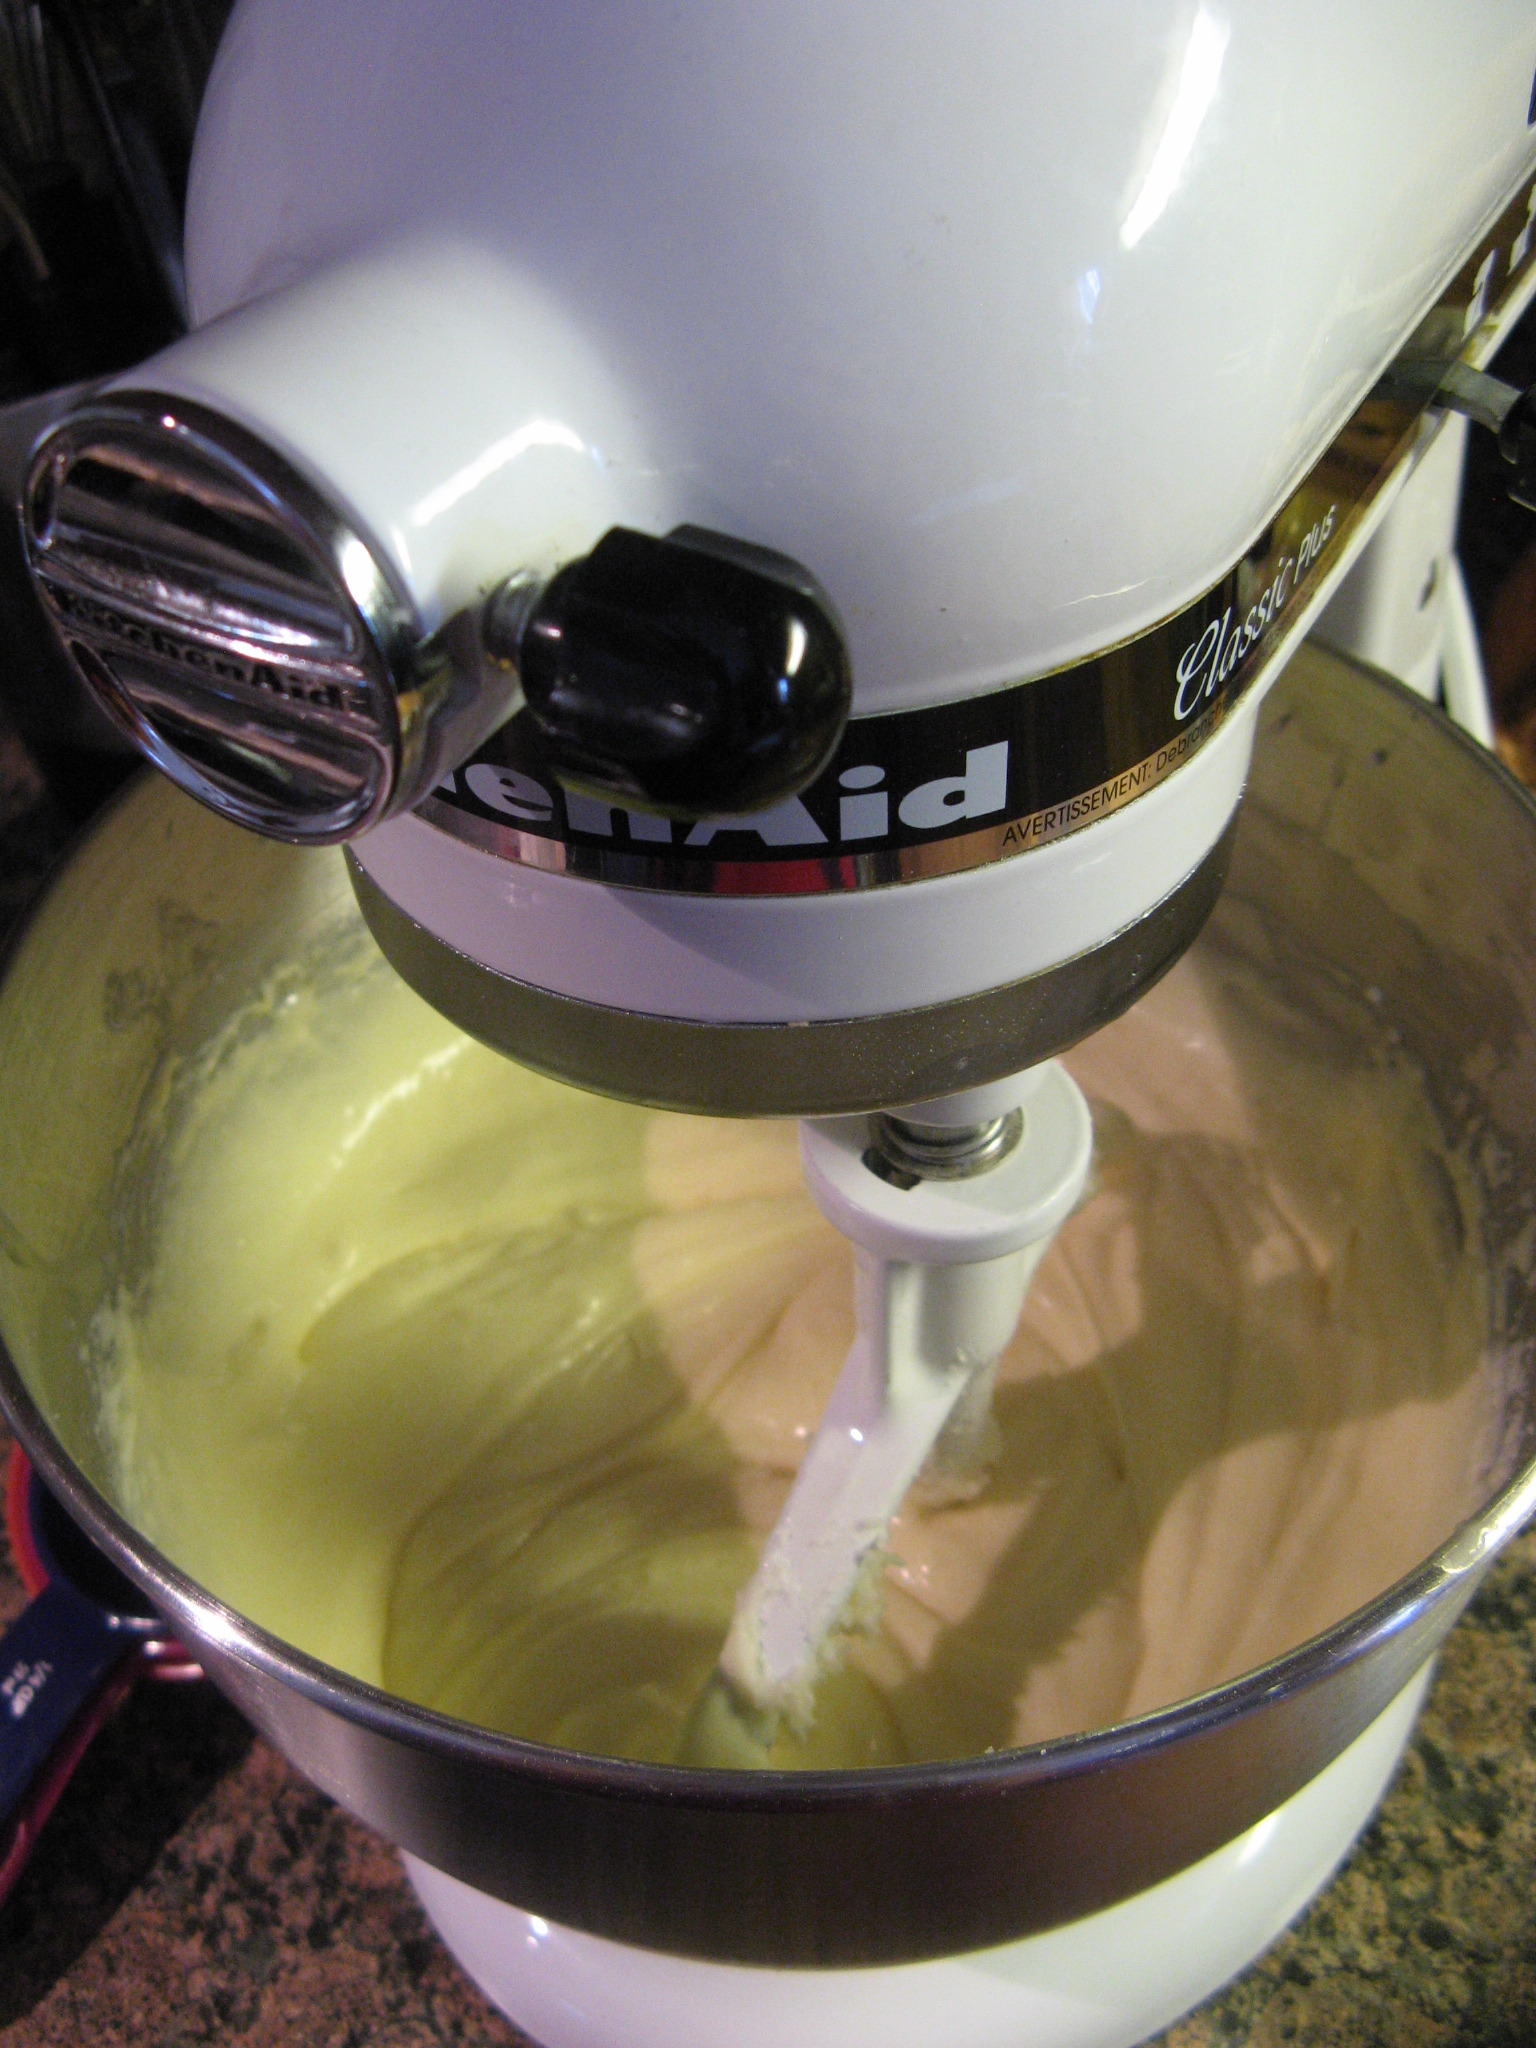
Following that I added in 6 eggs one at a time, beating well after each addition.

IMG_6792

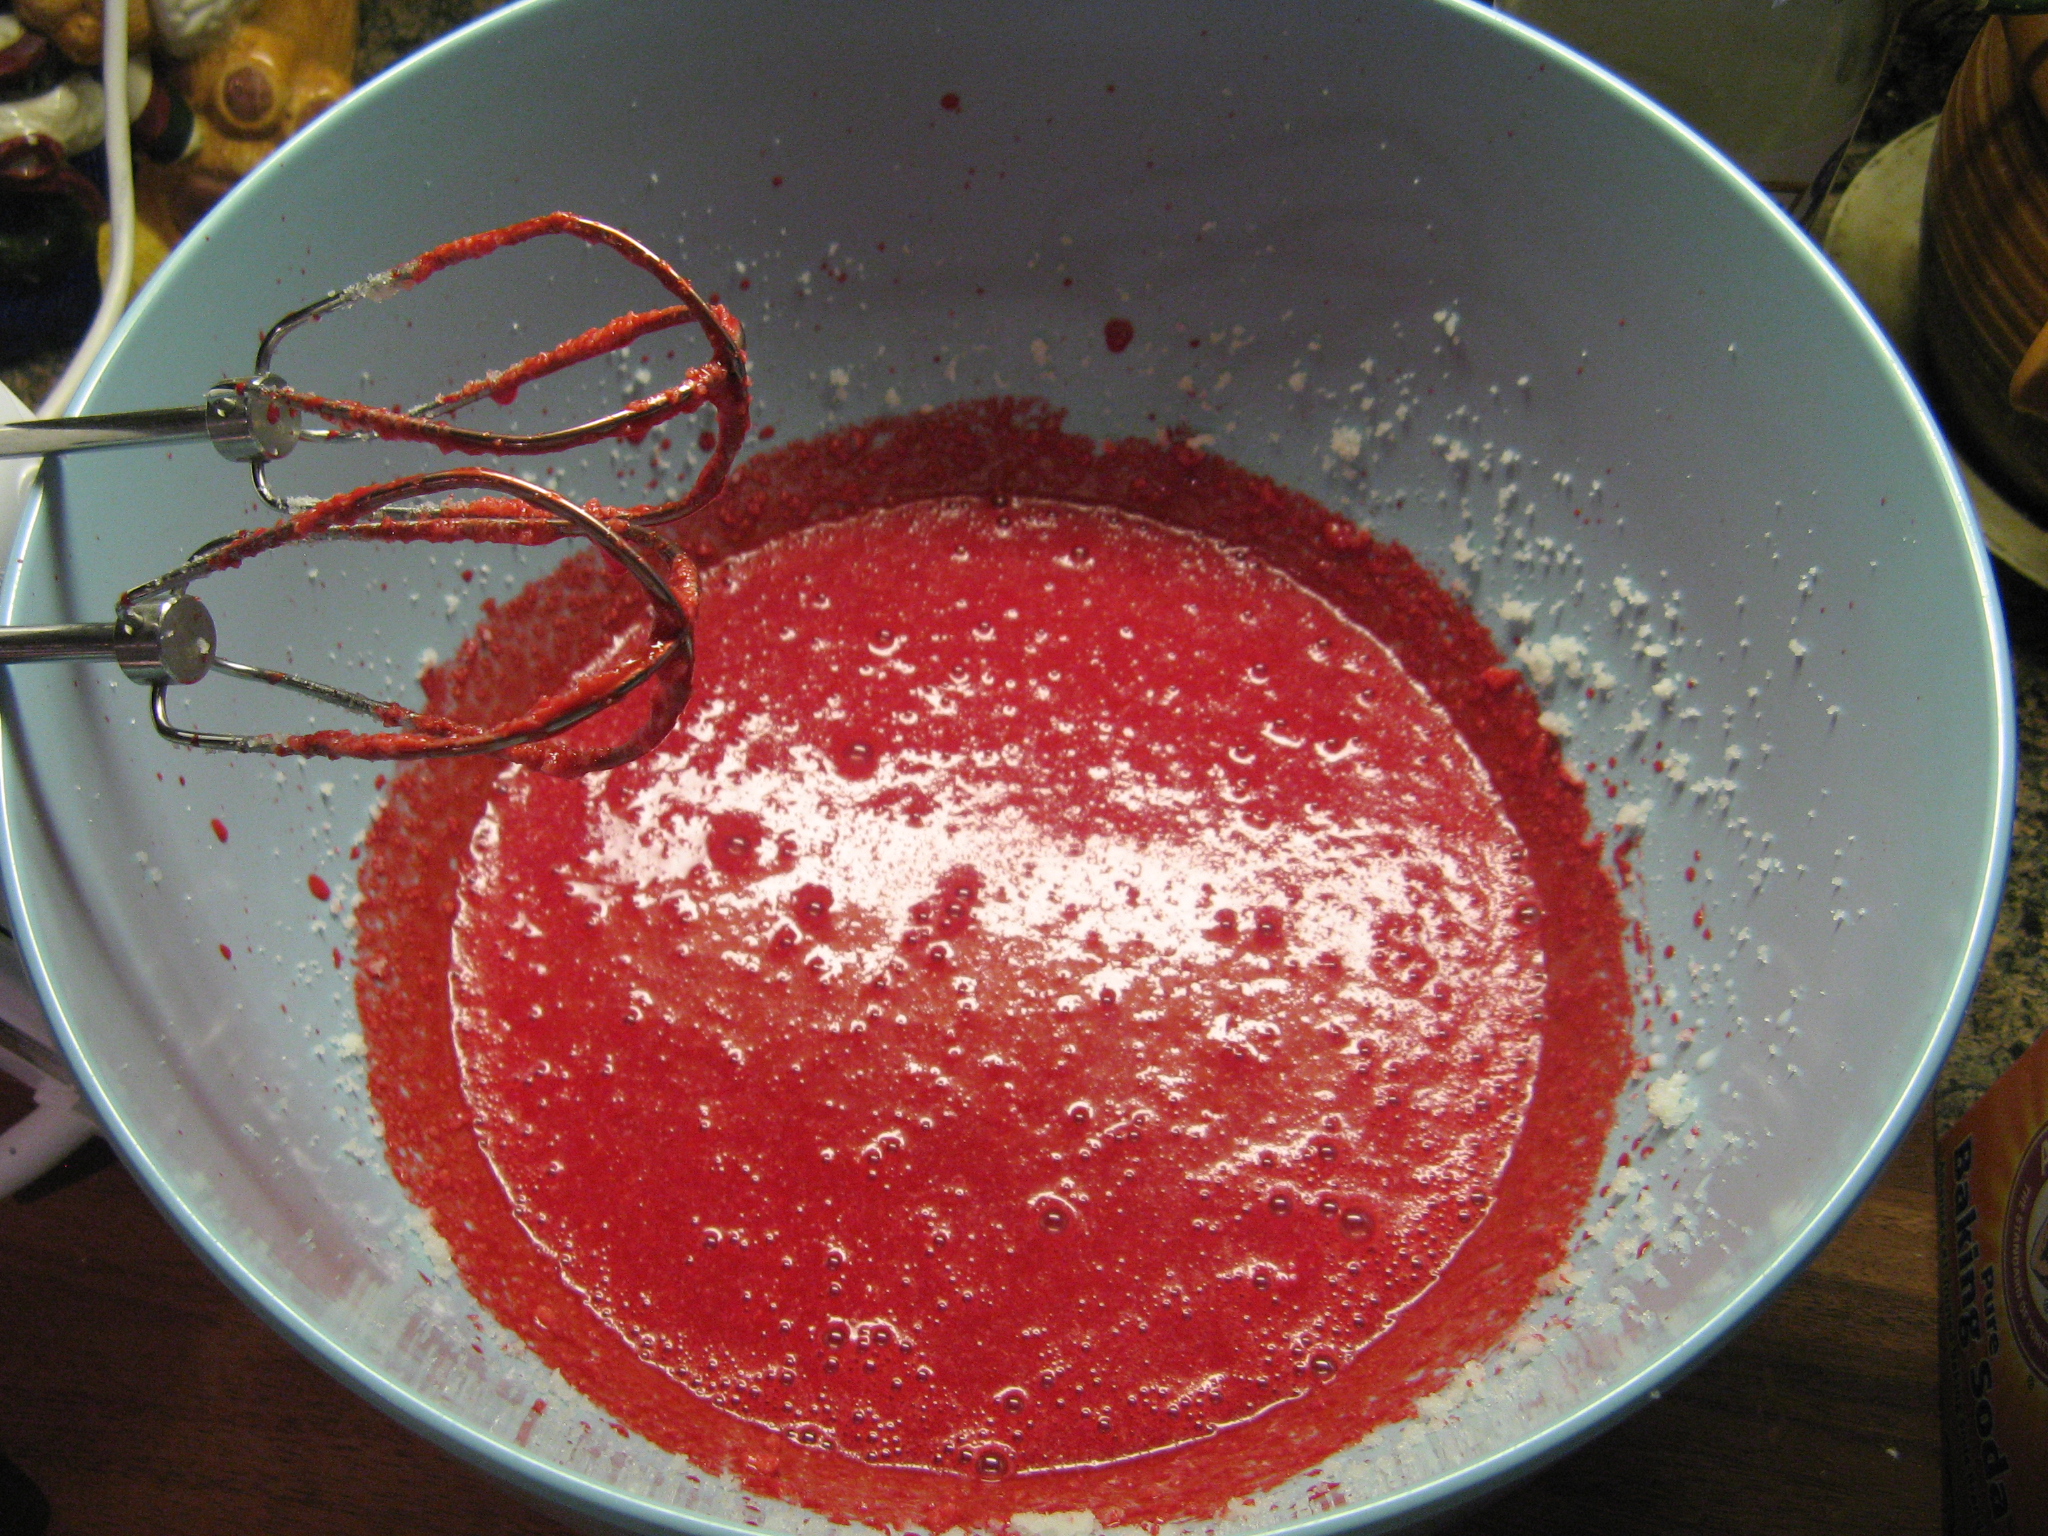
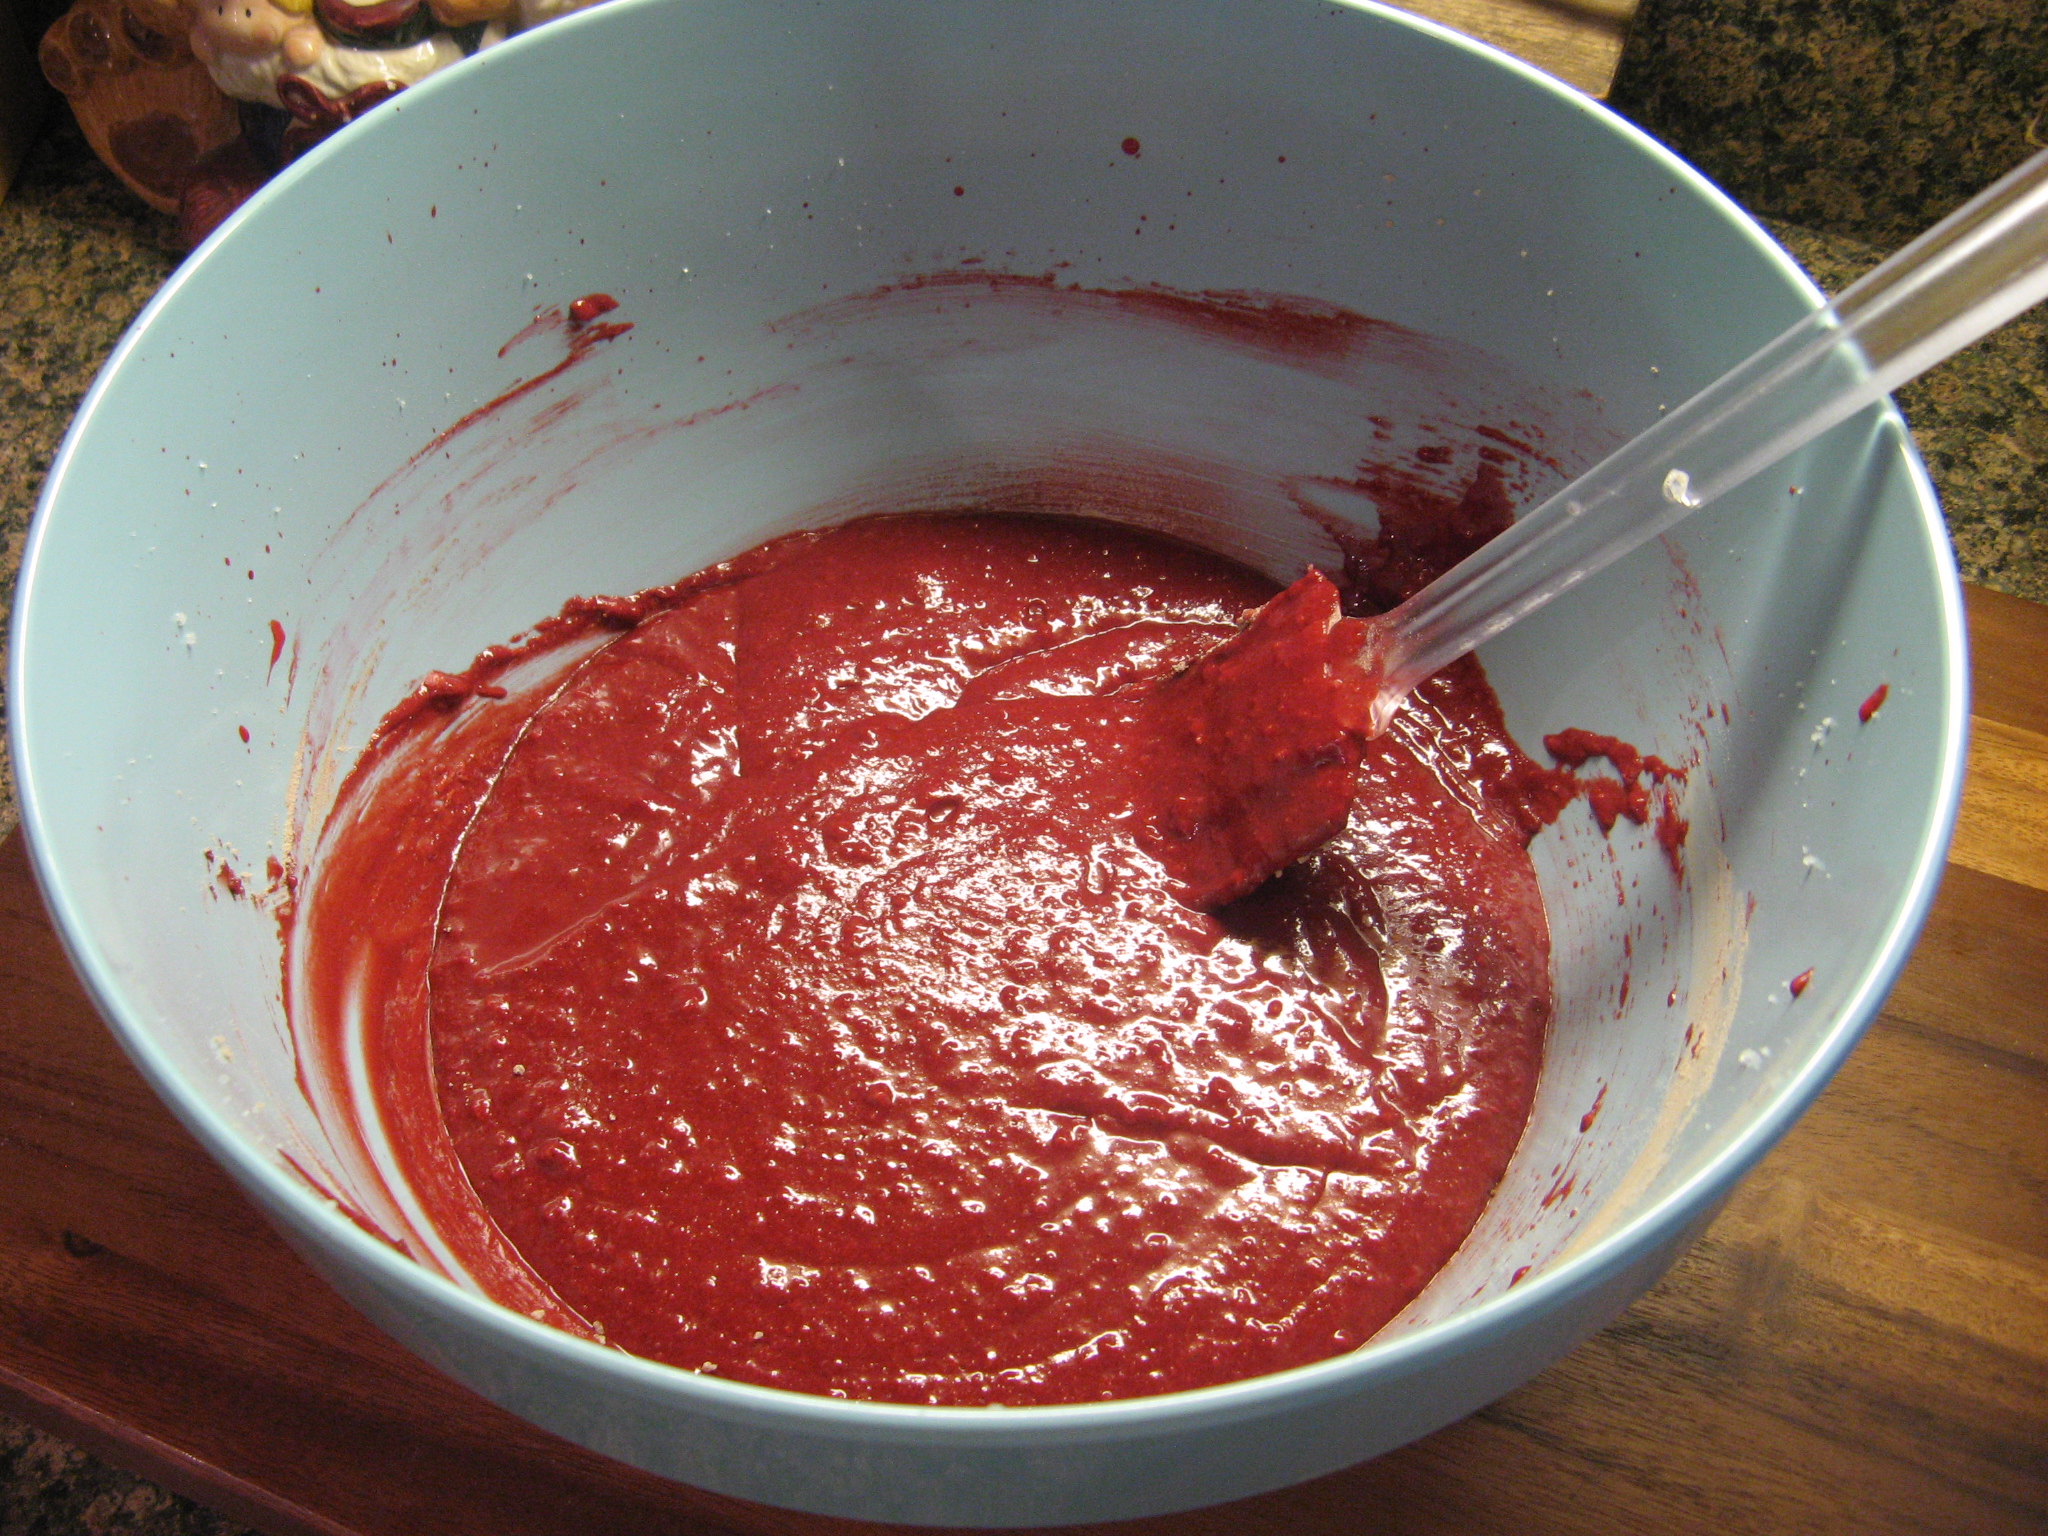
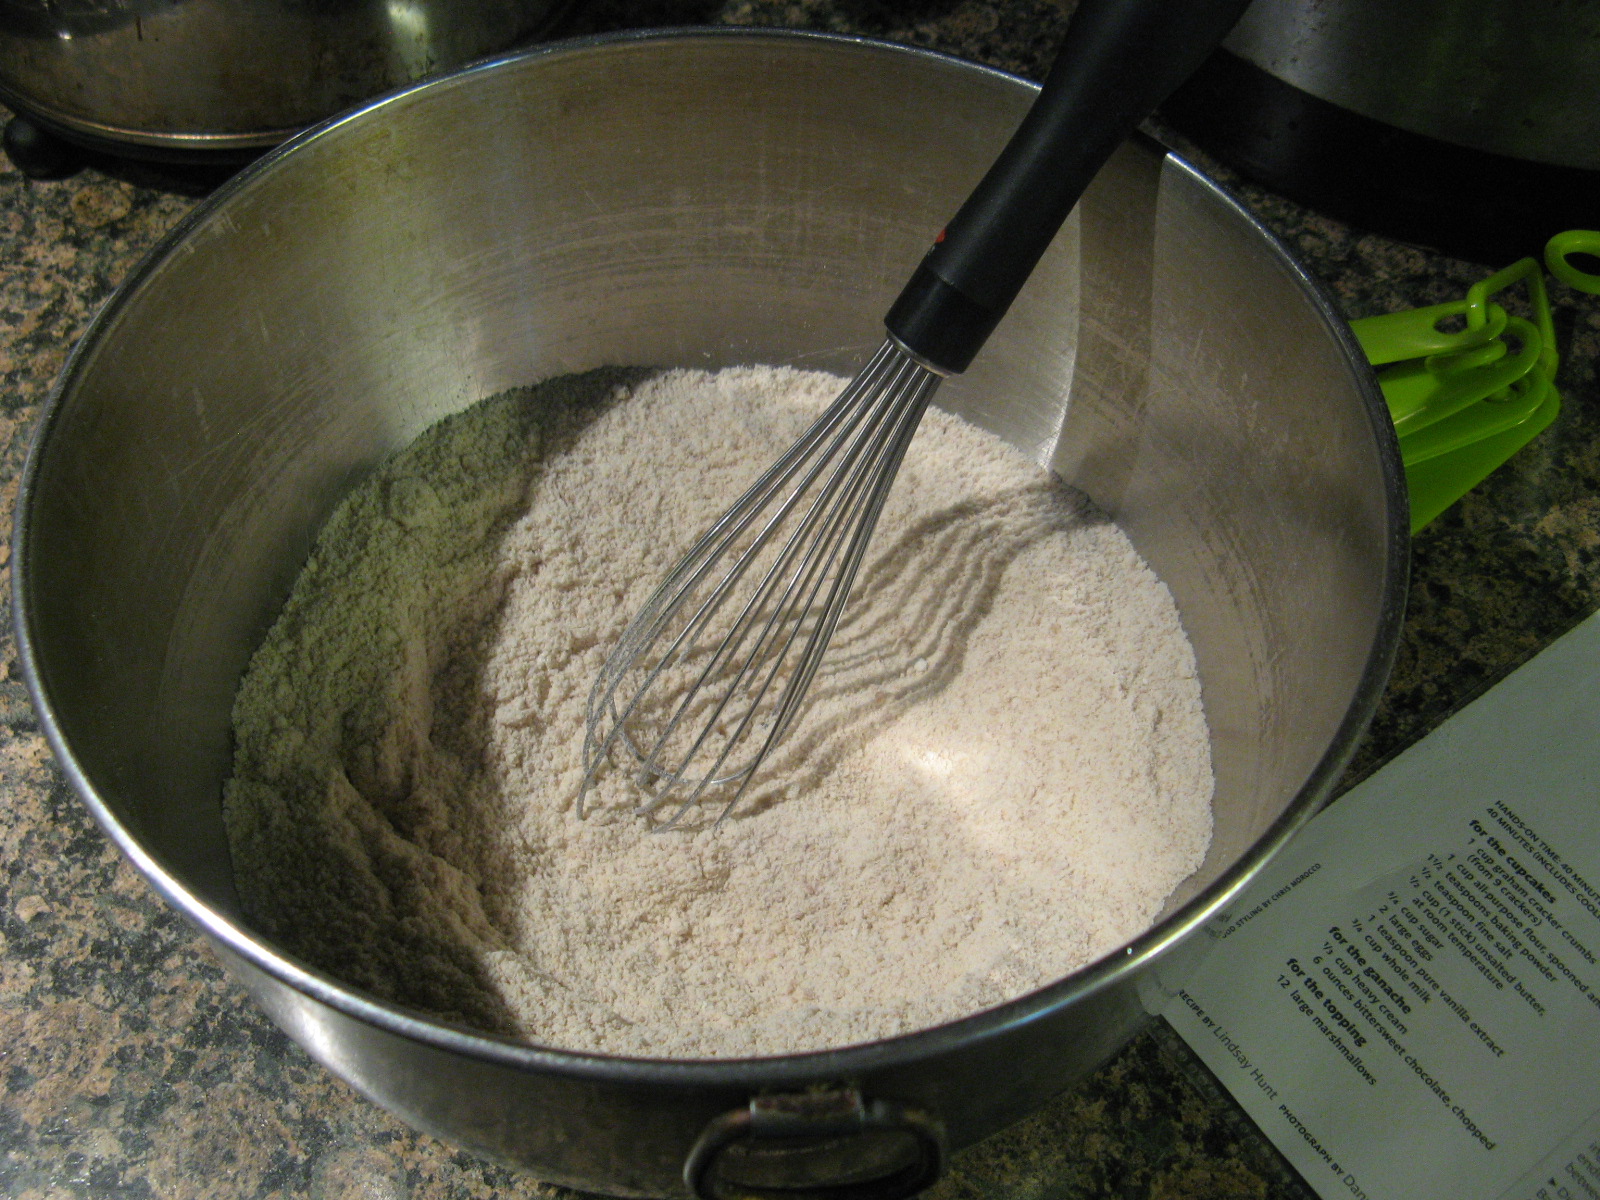
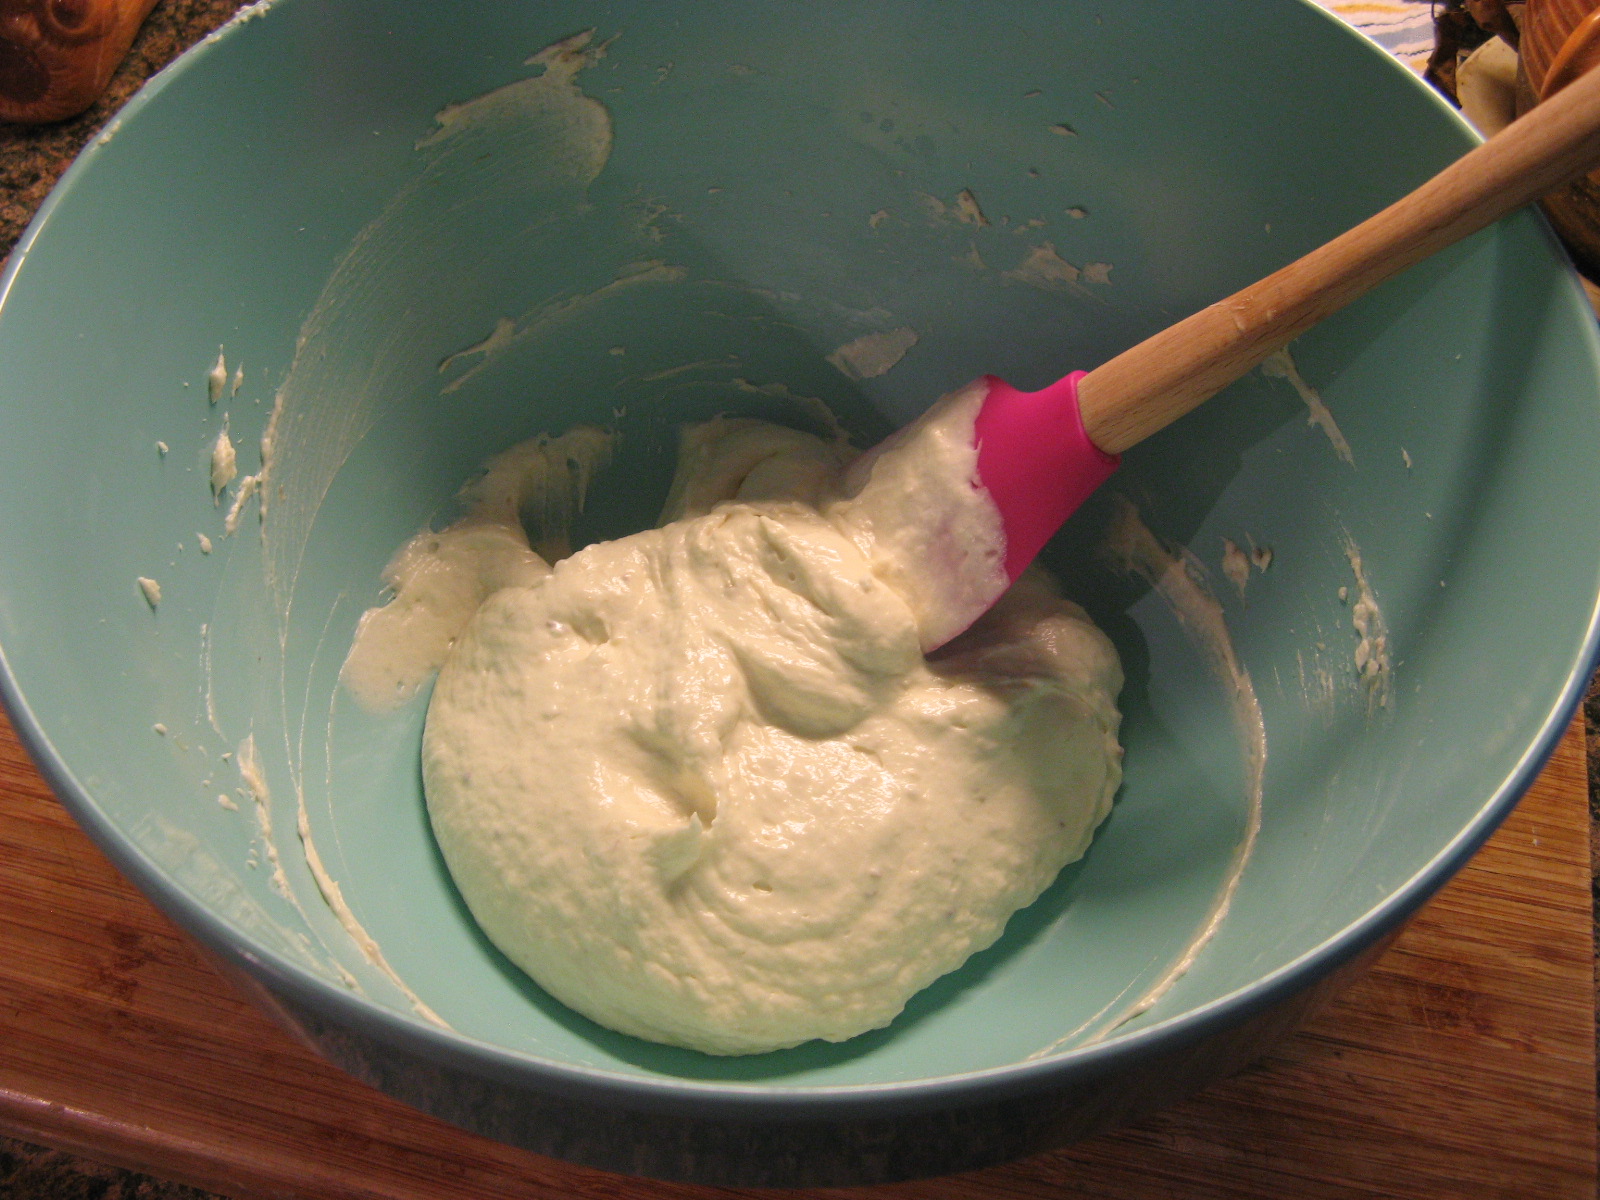
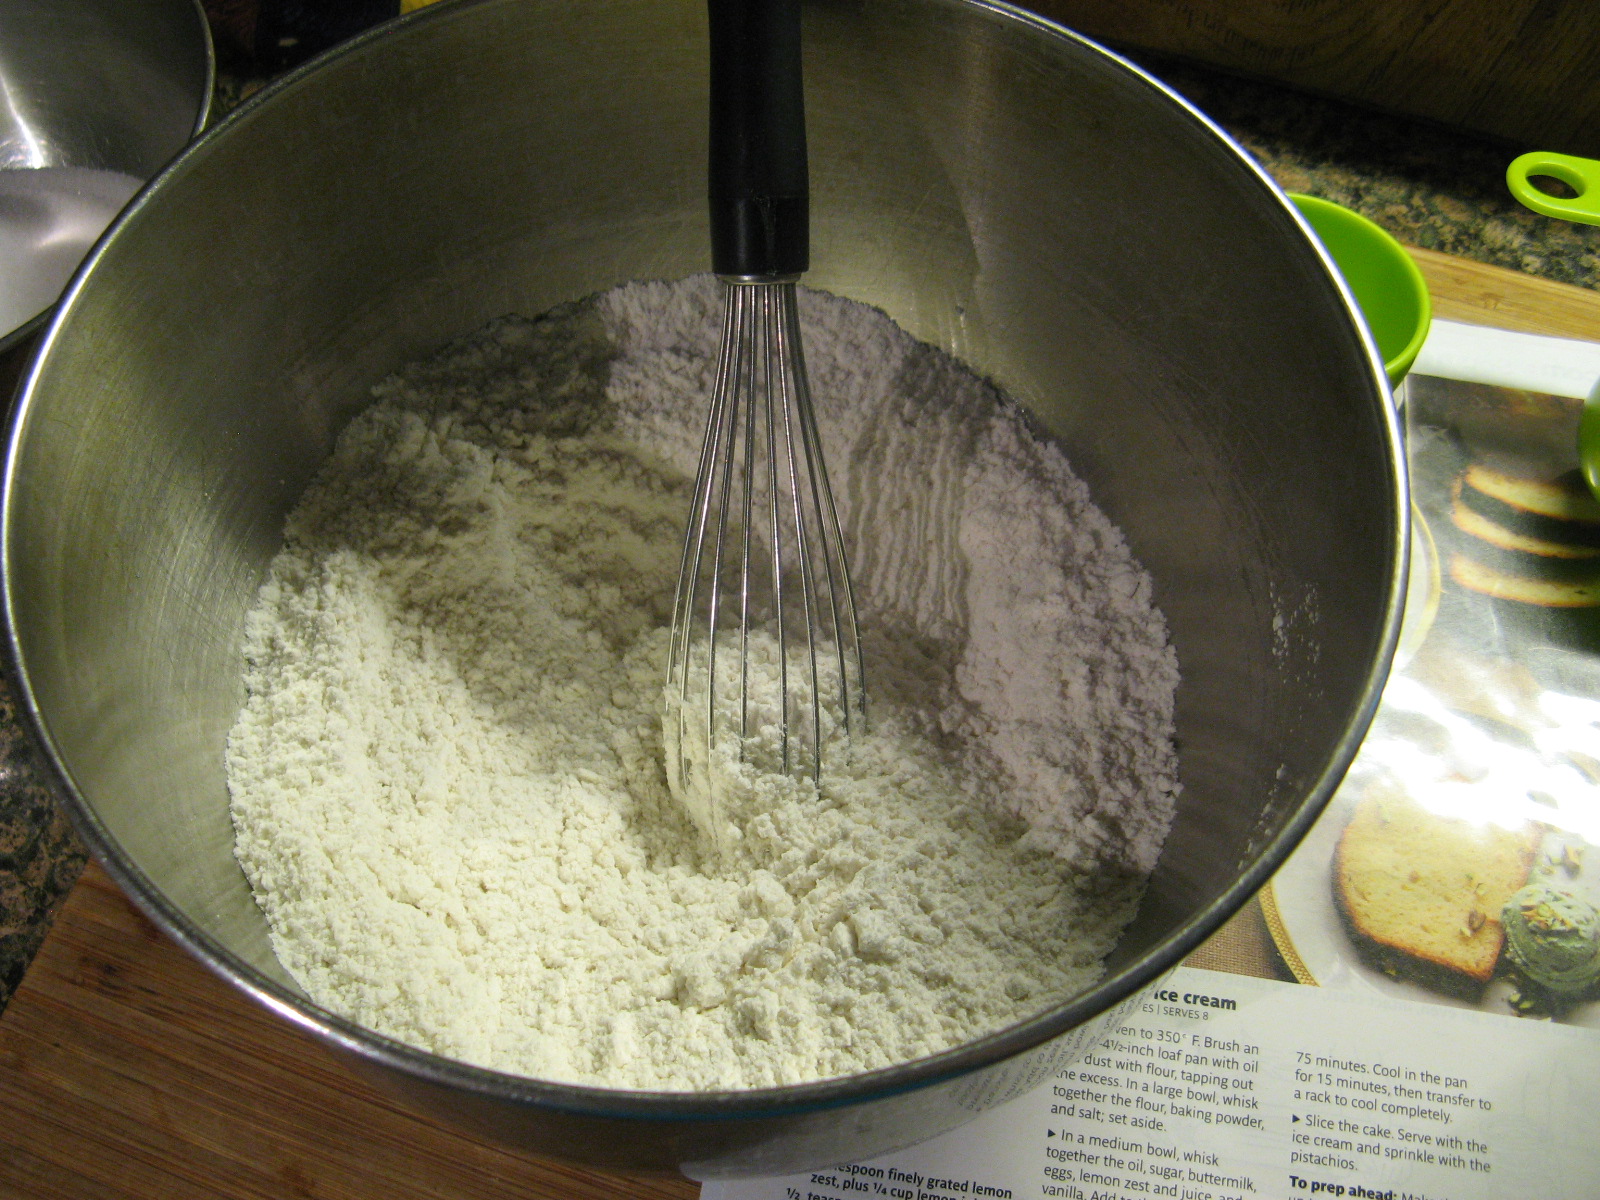
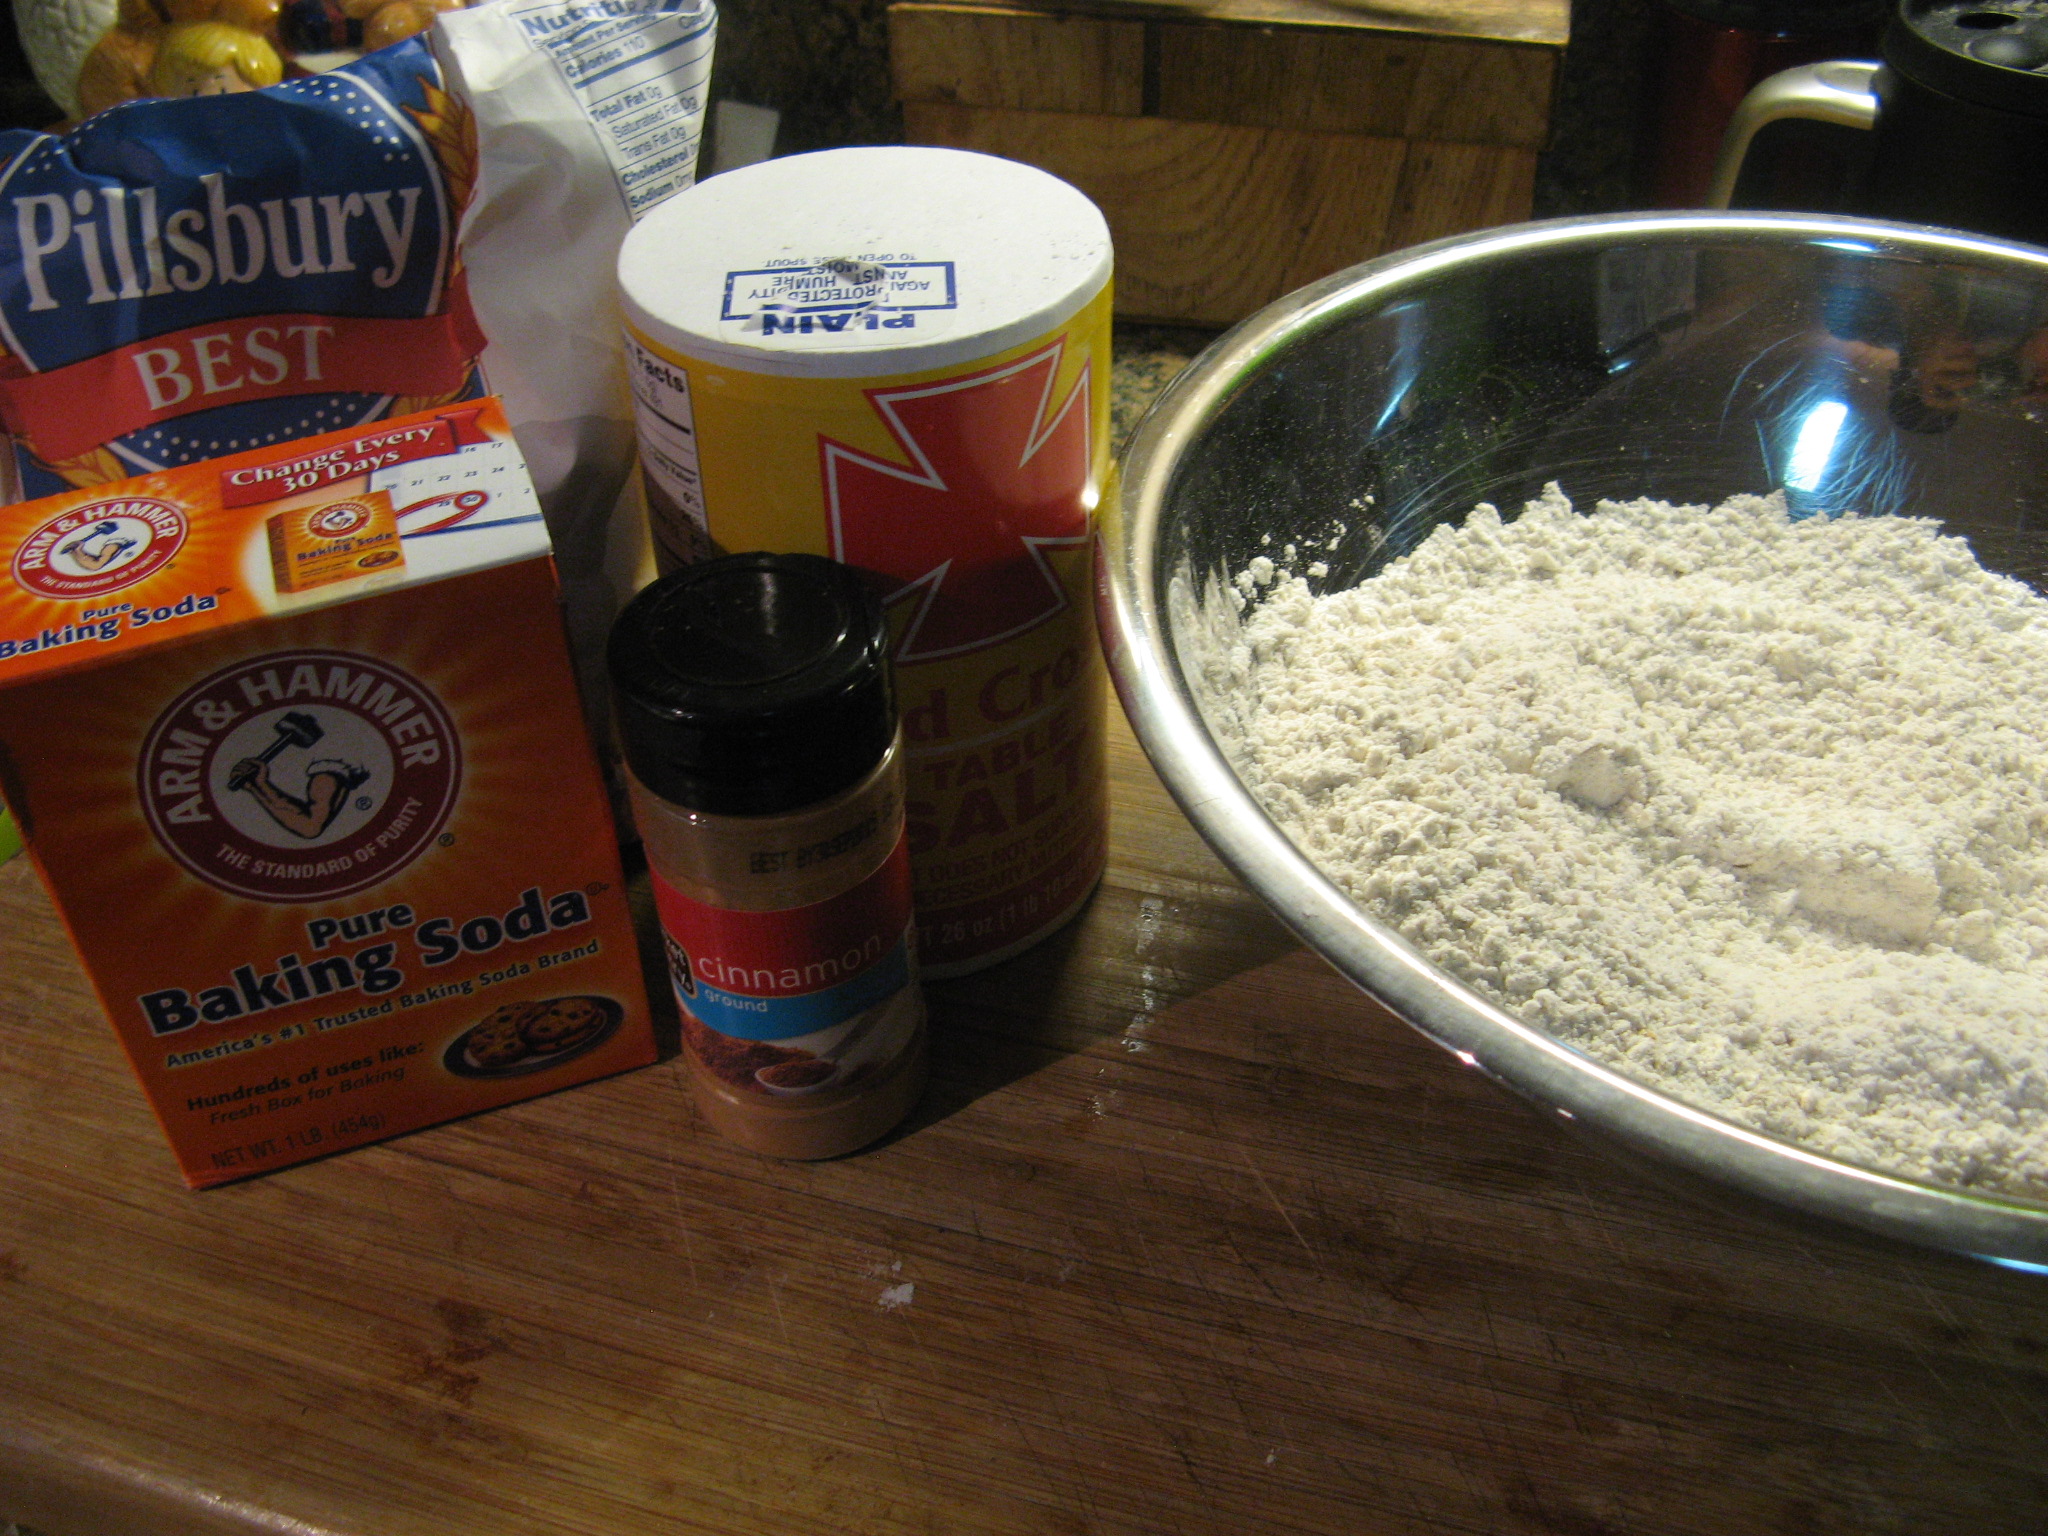
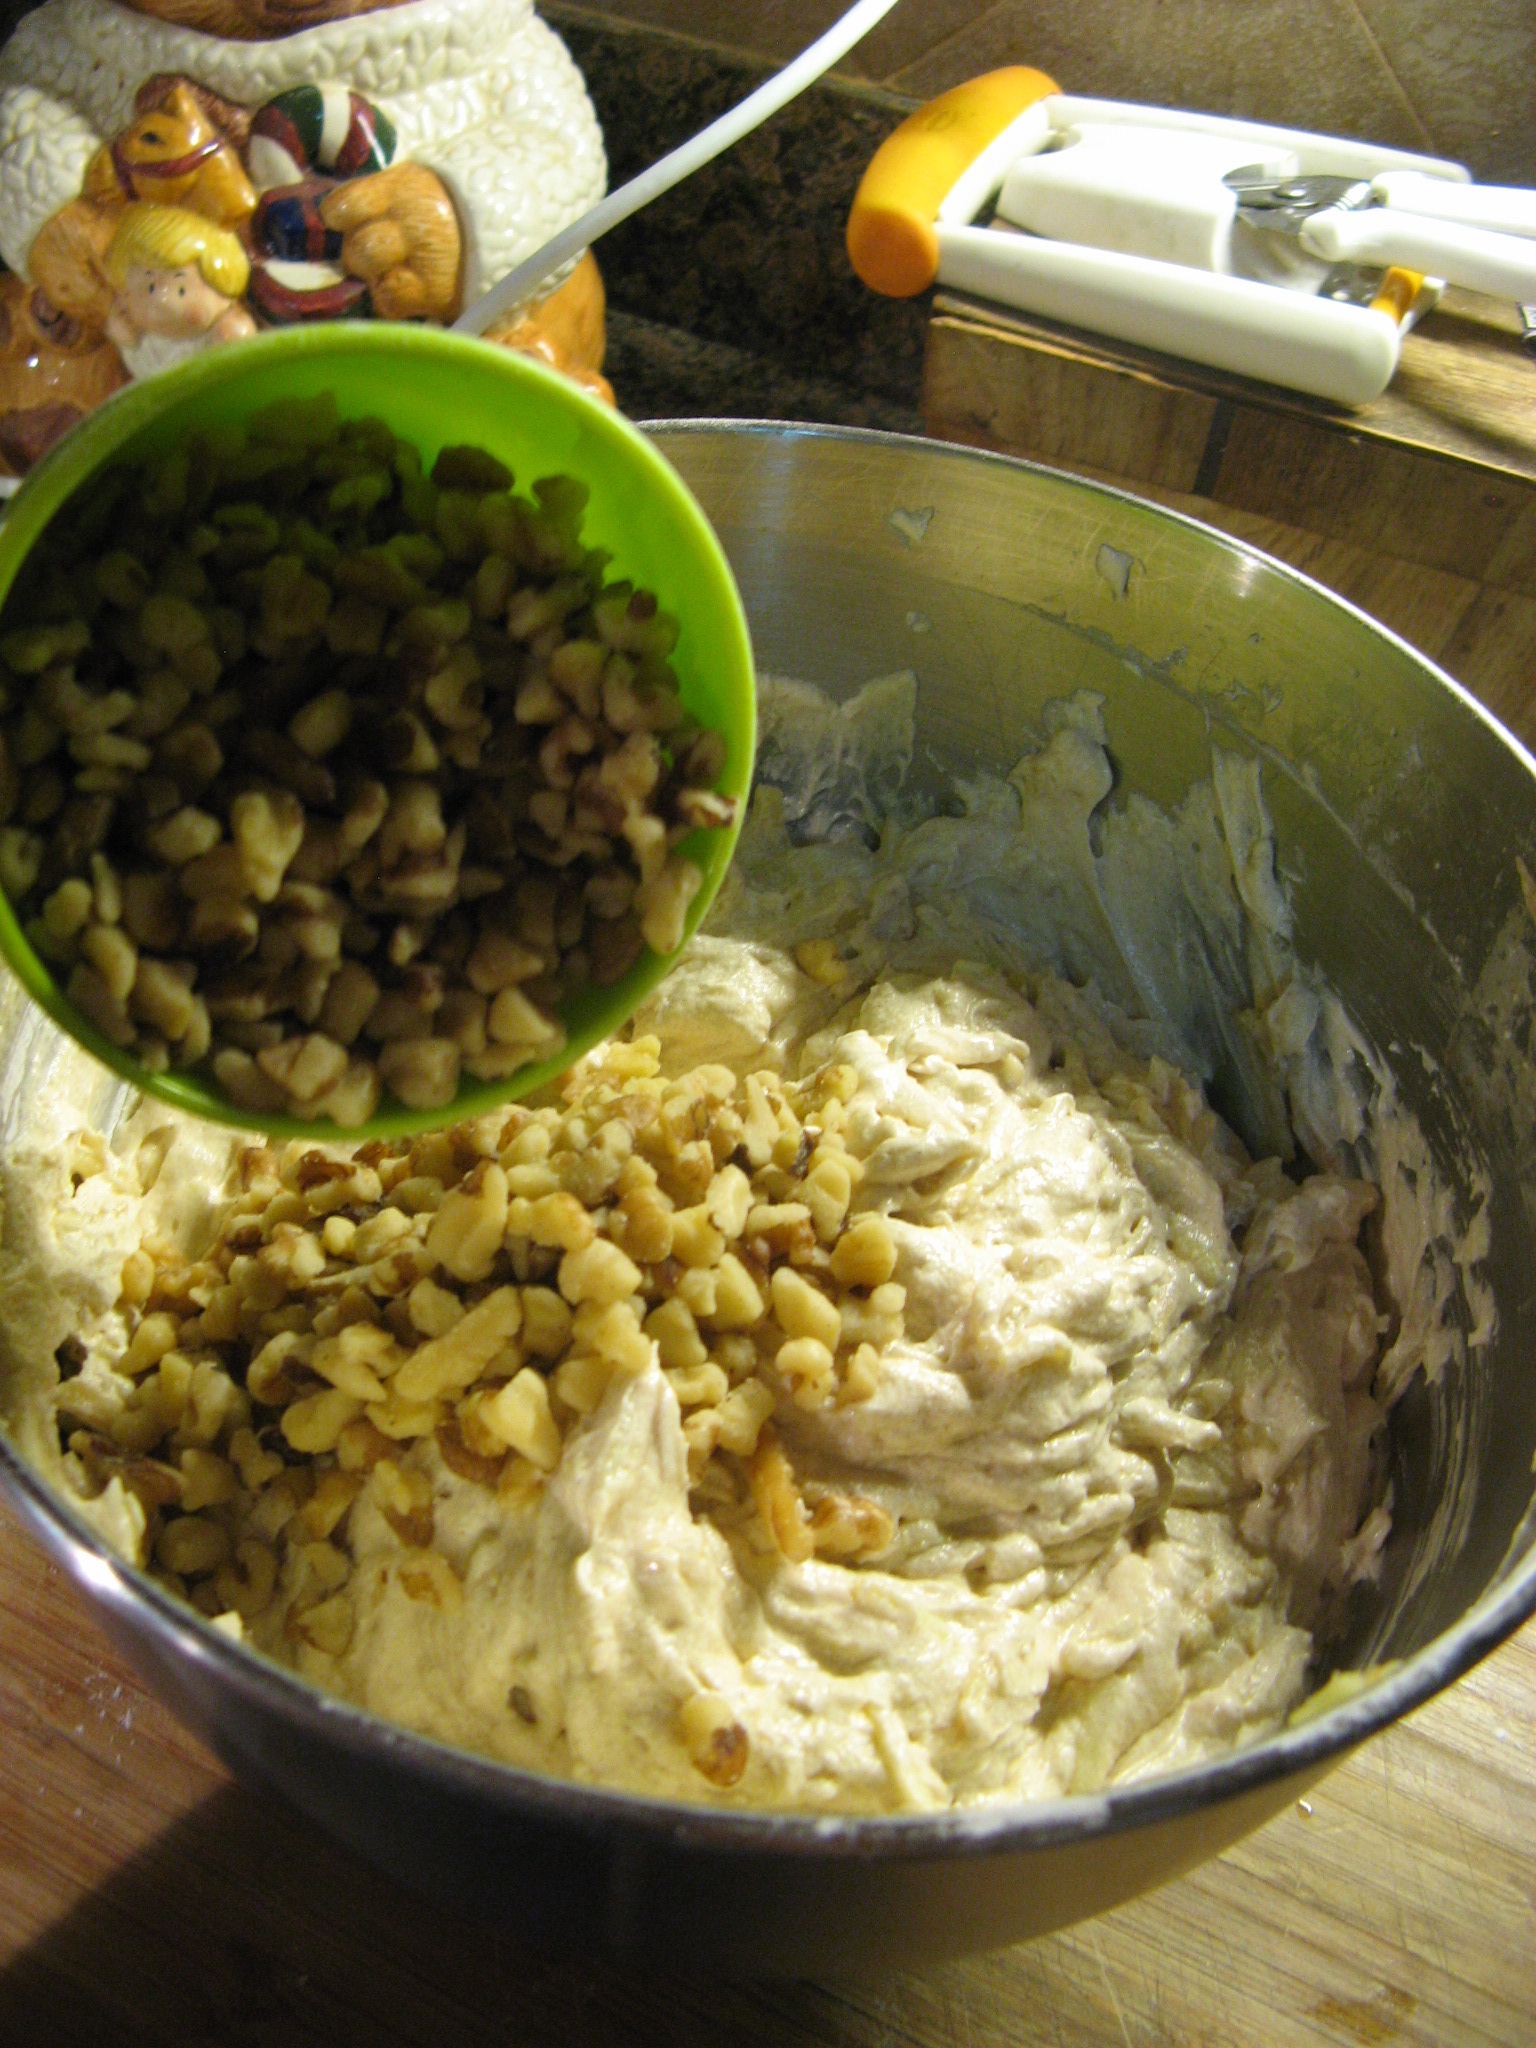
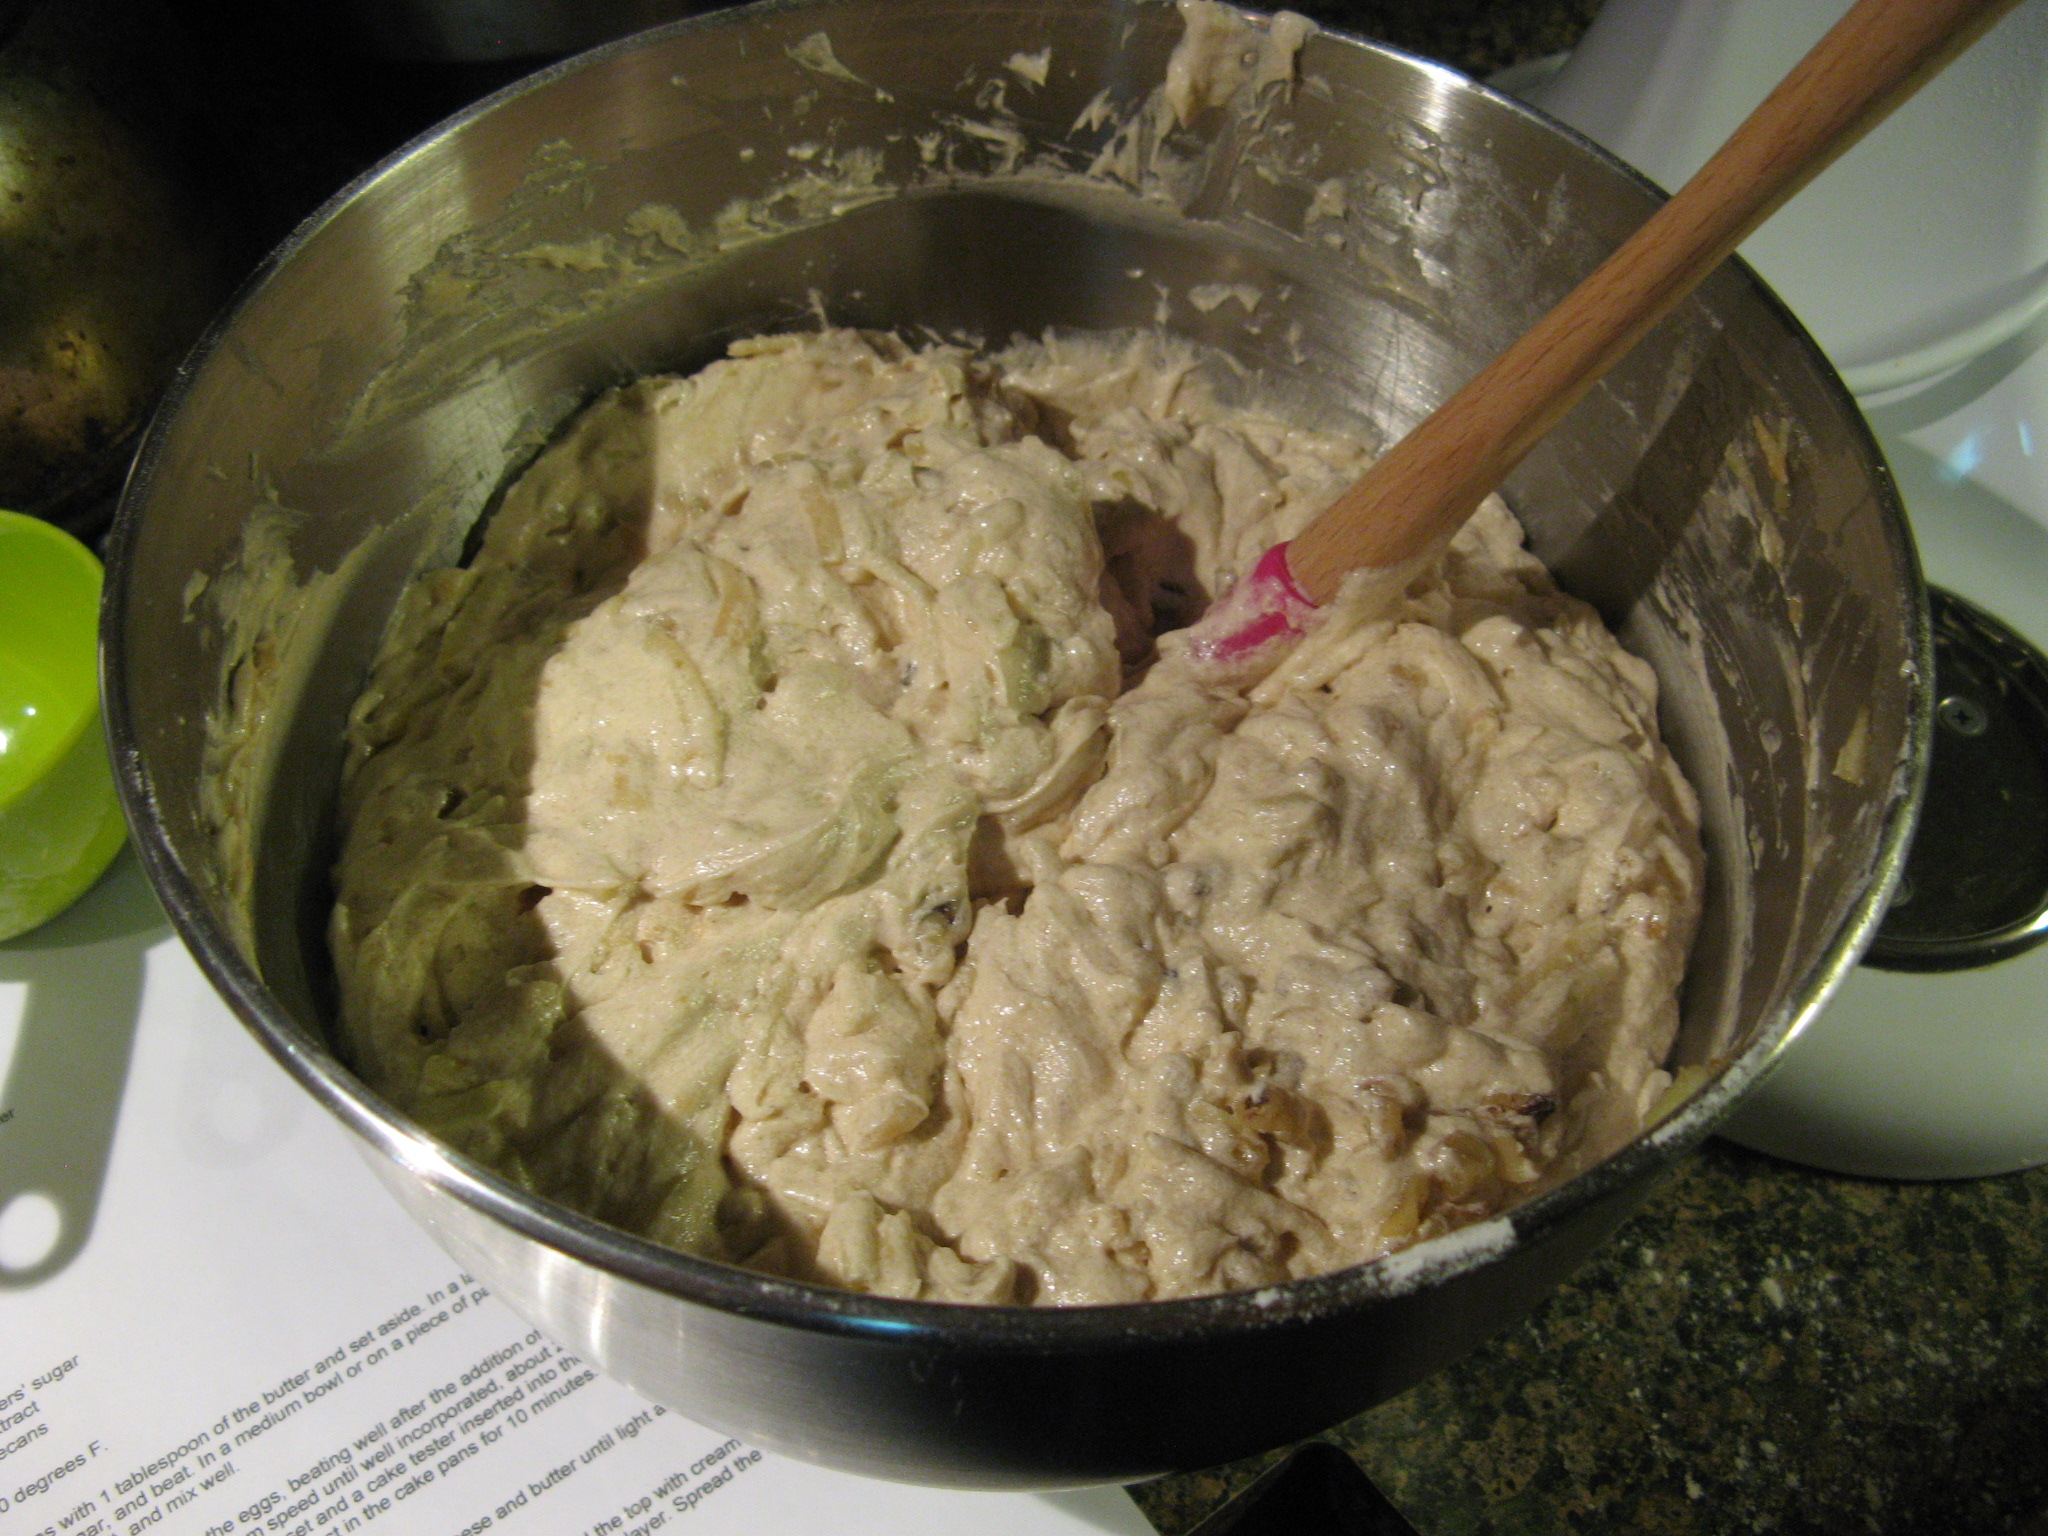
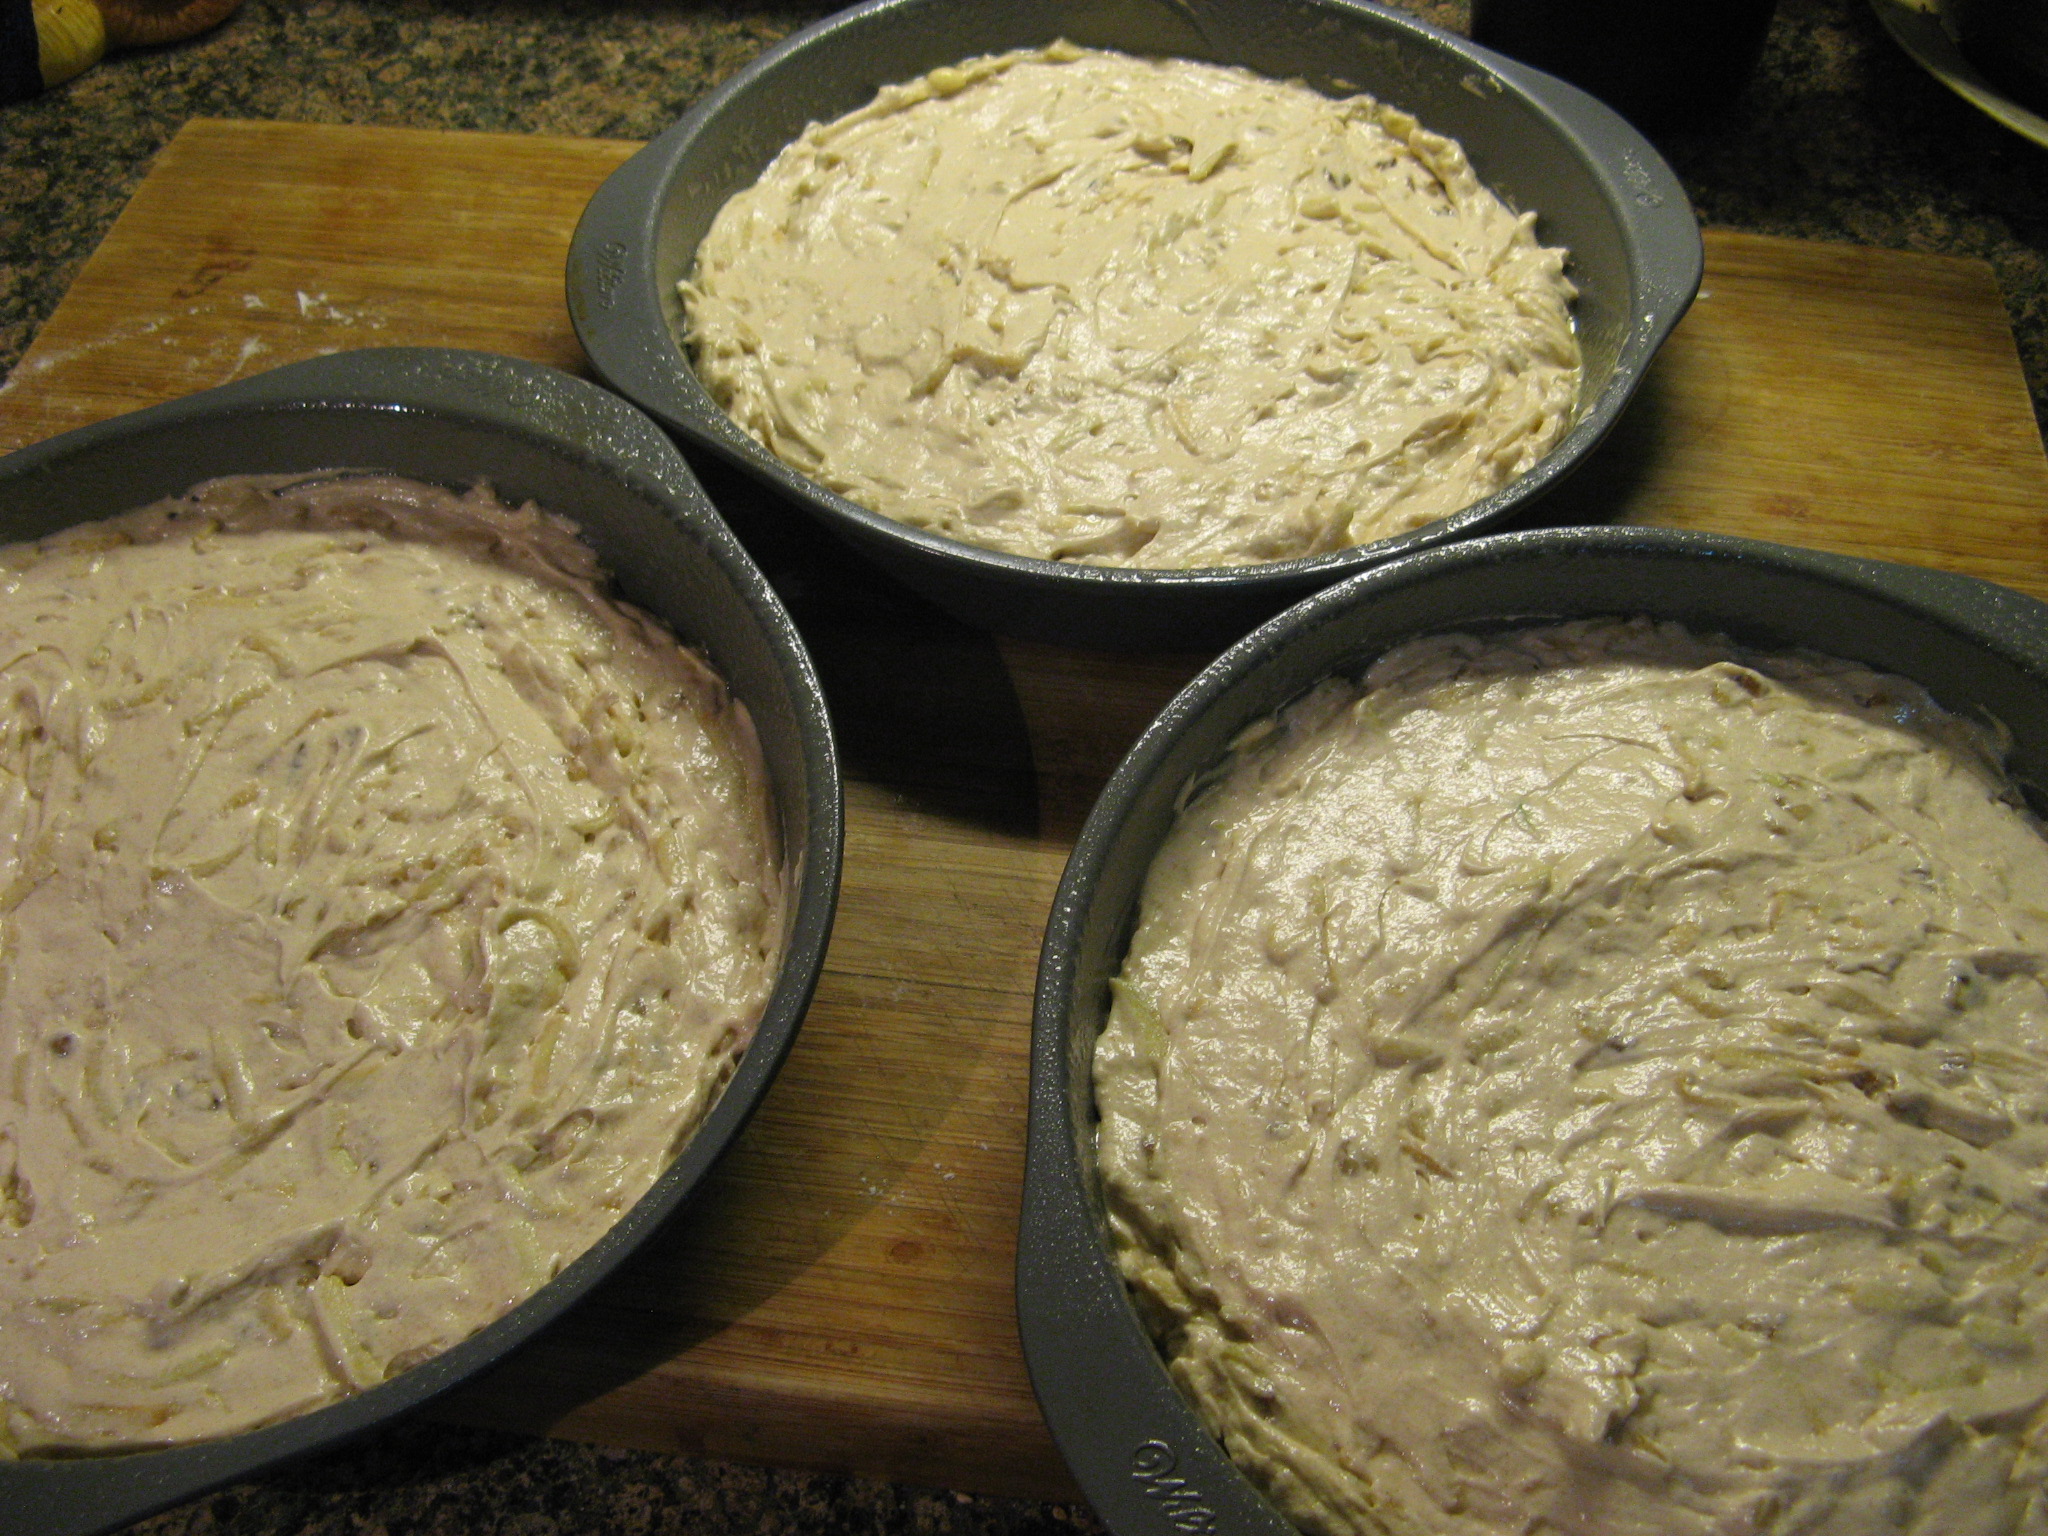
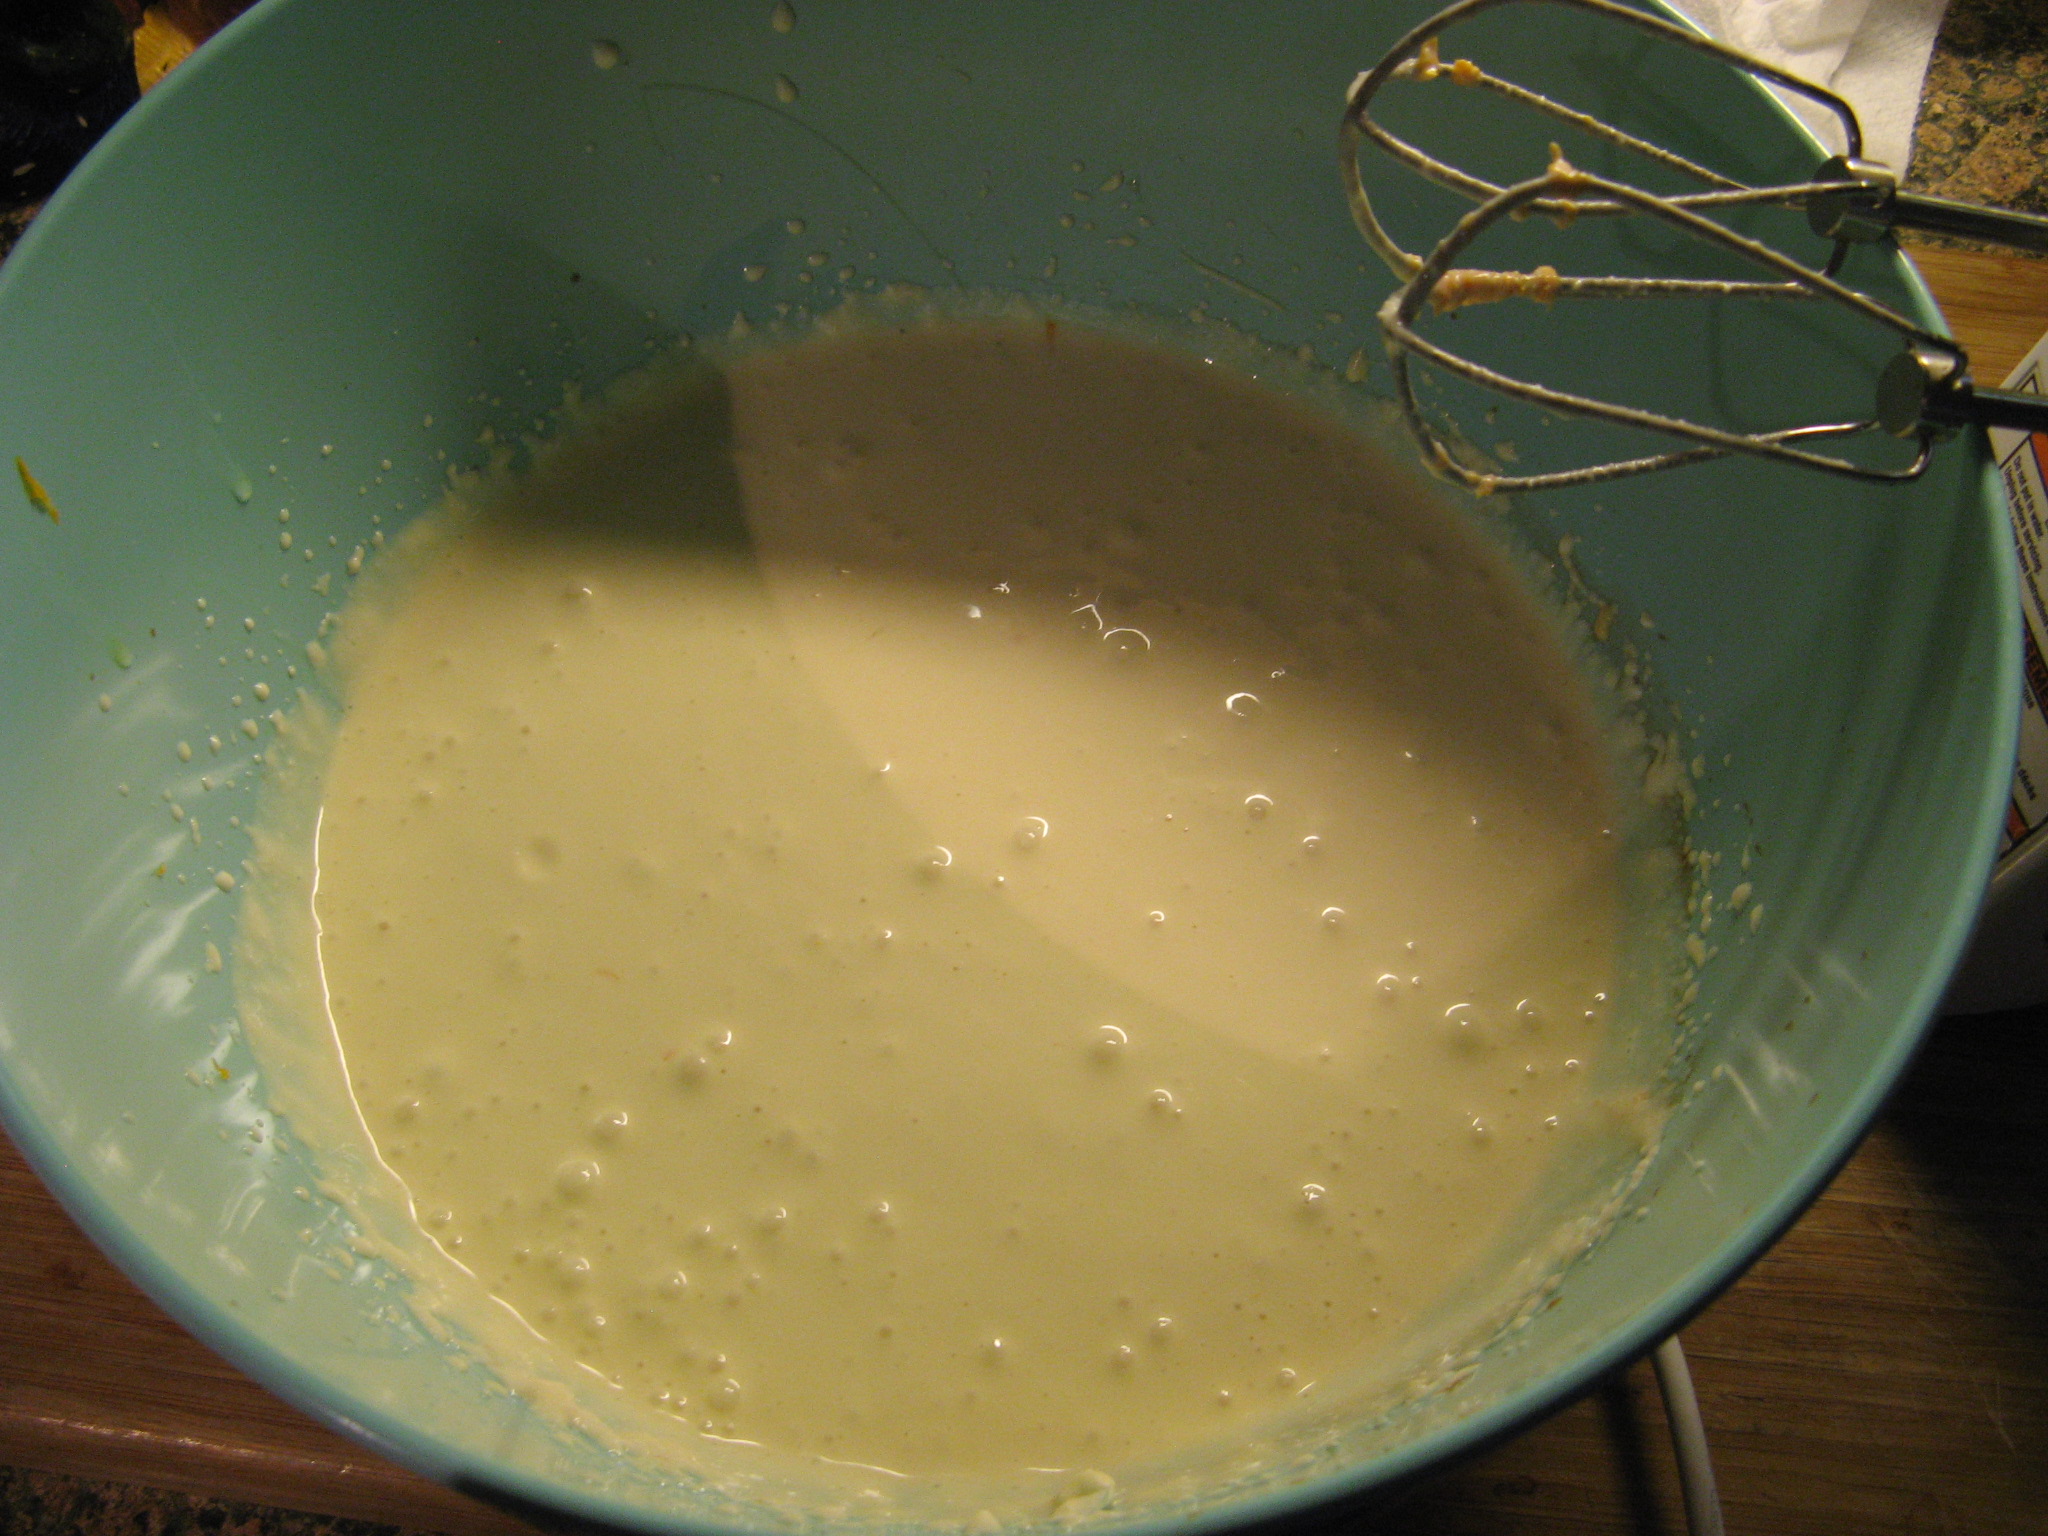
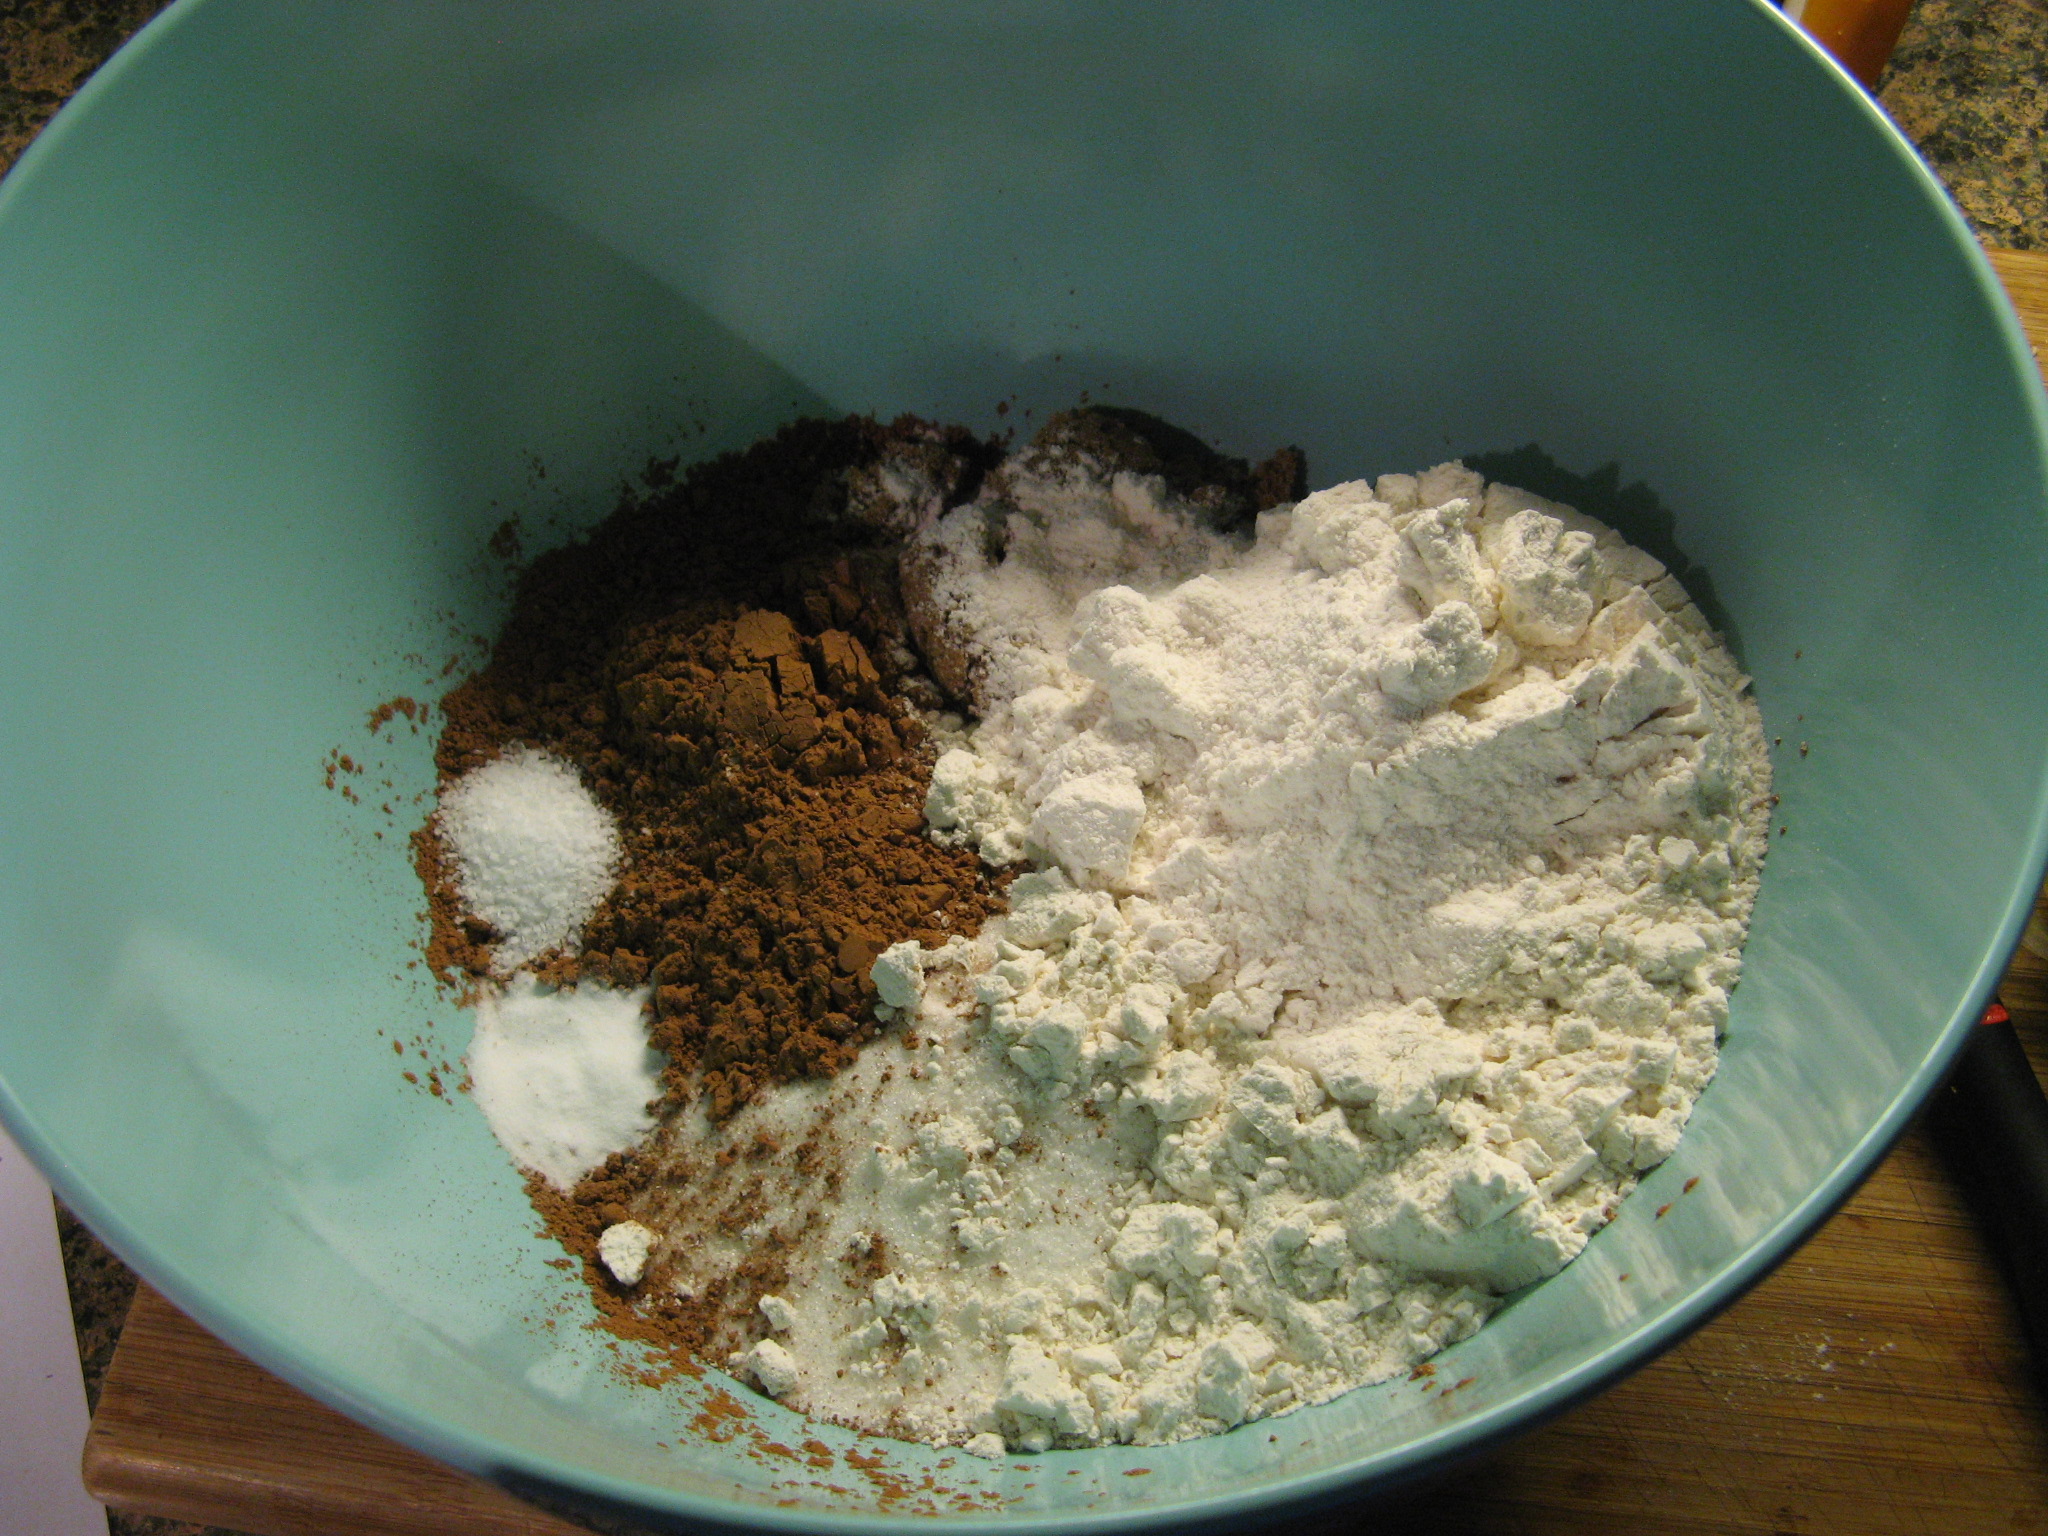
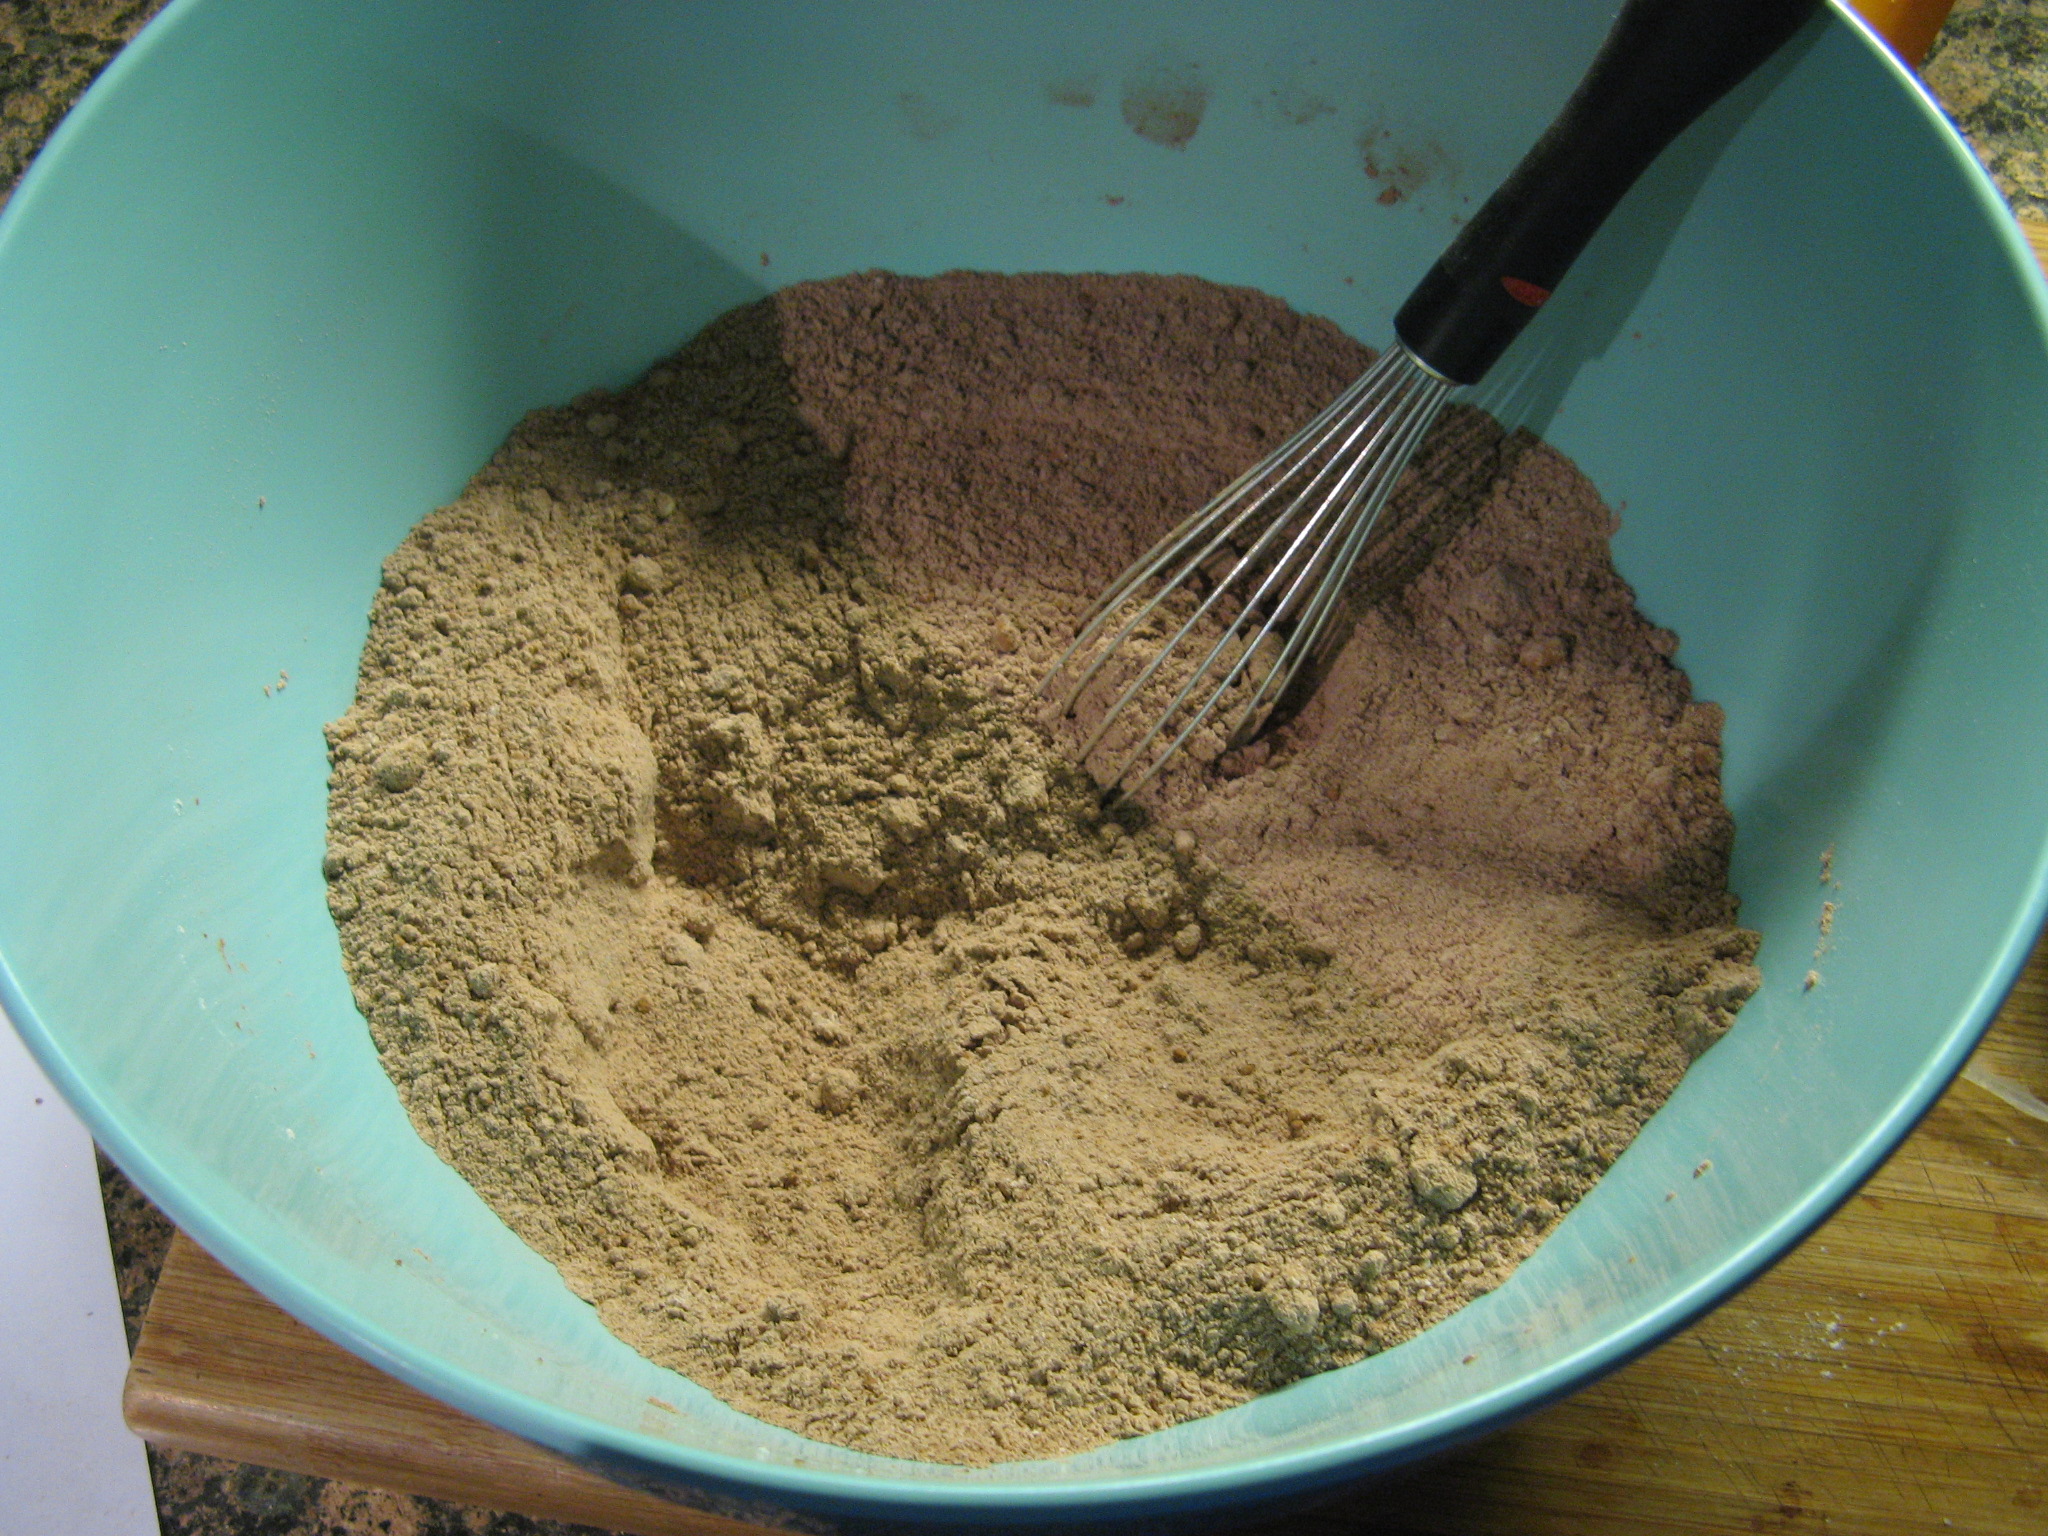
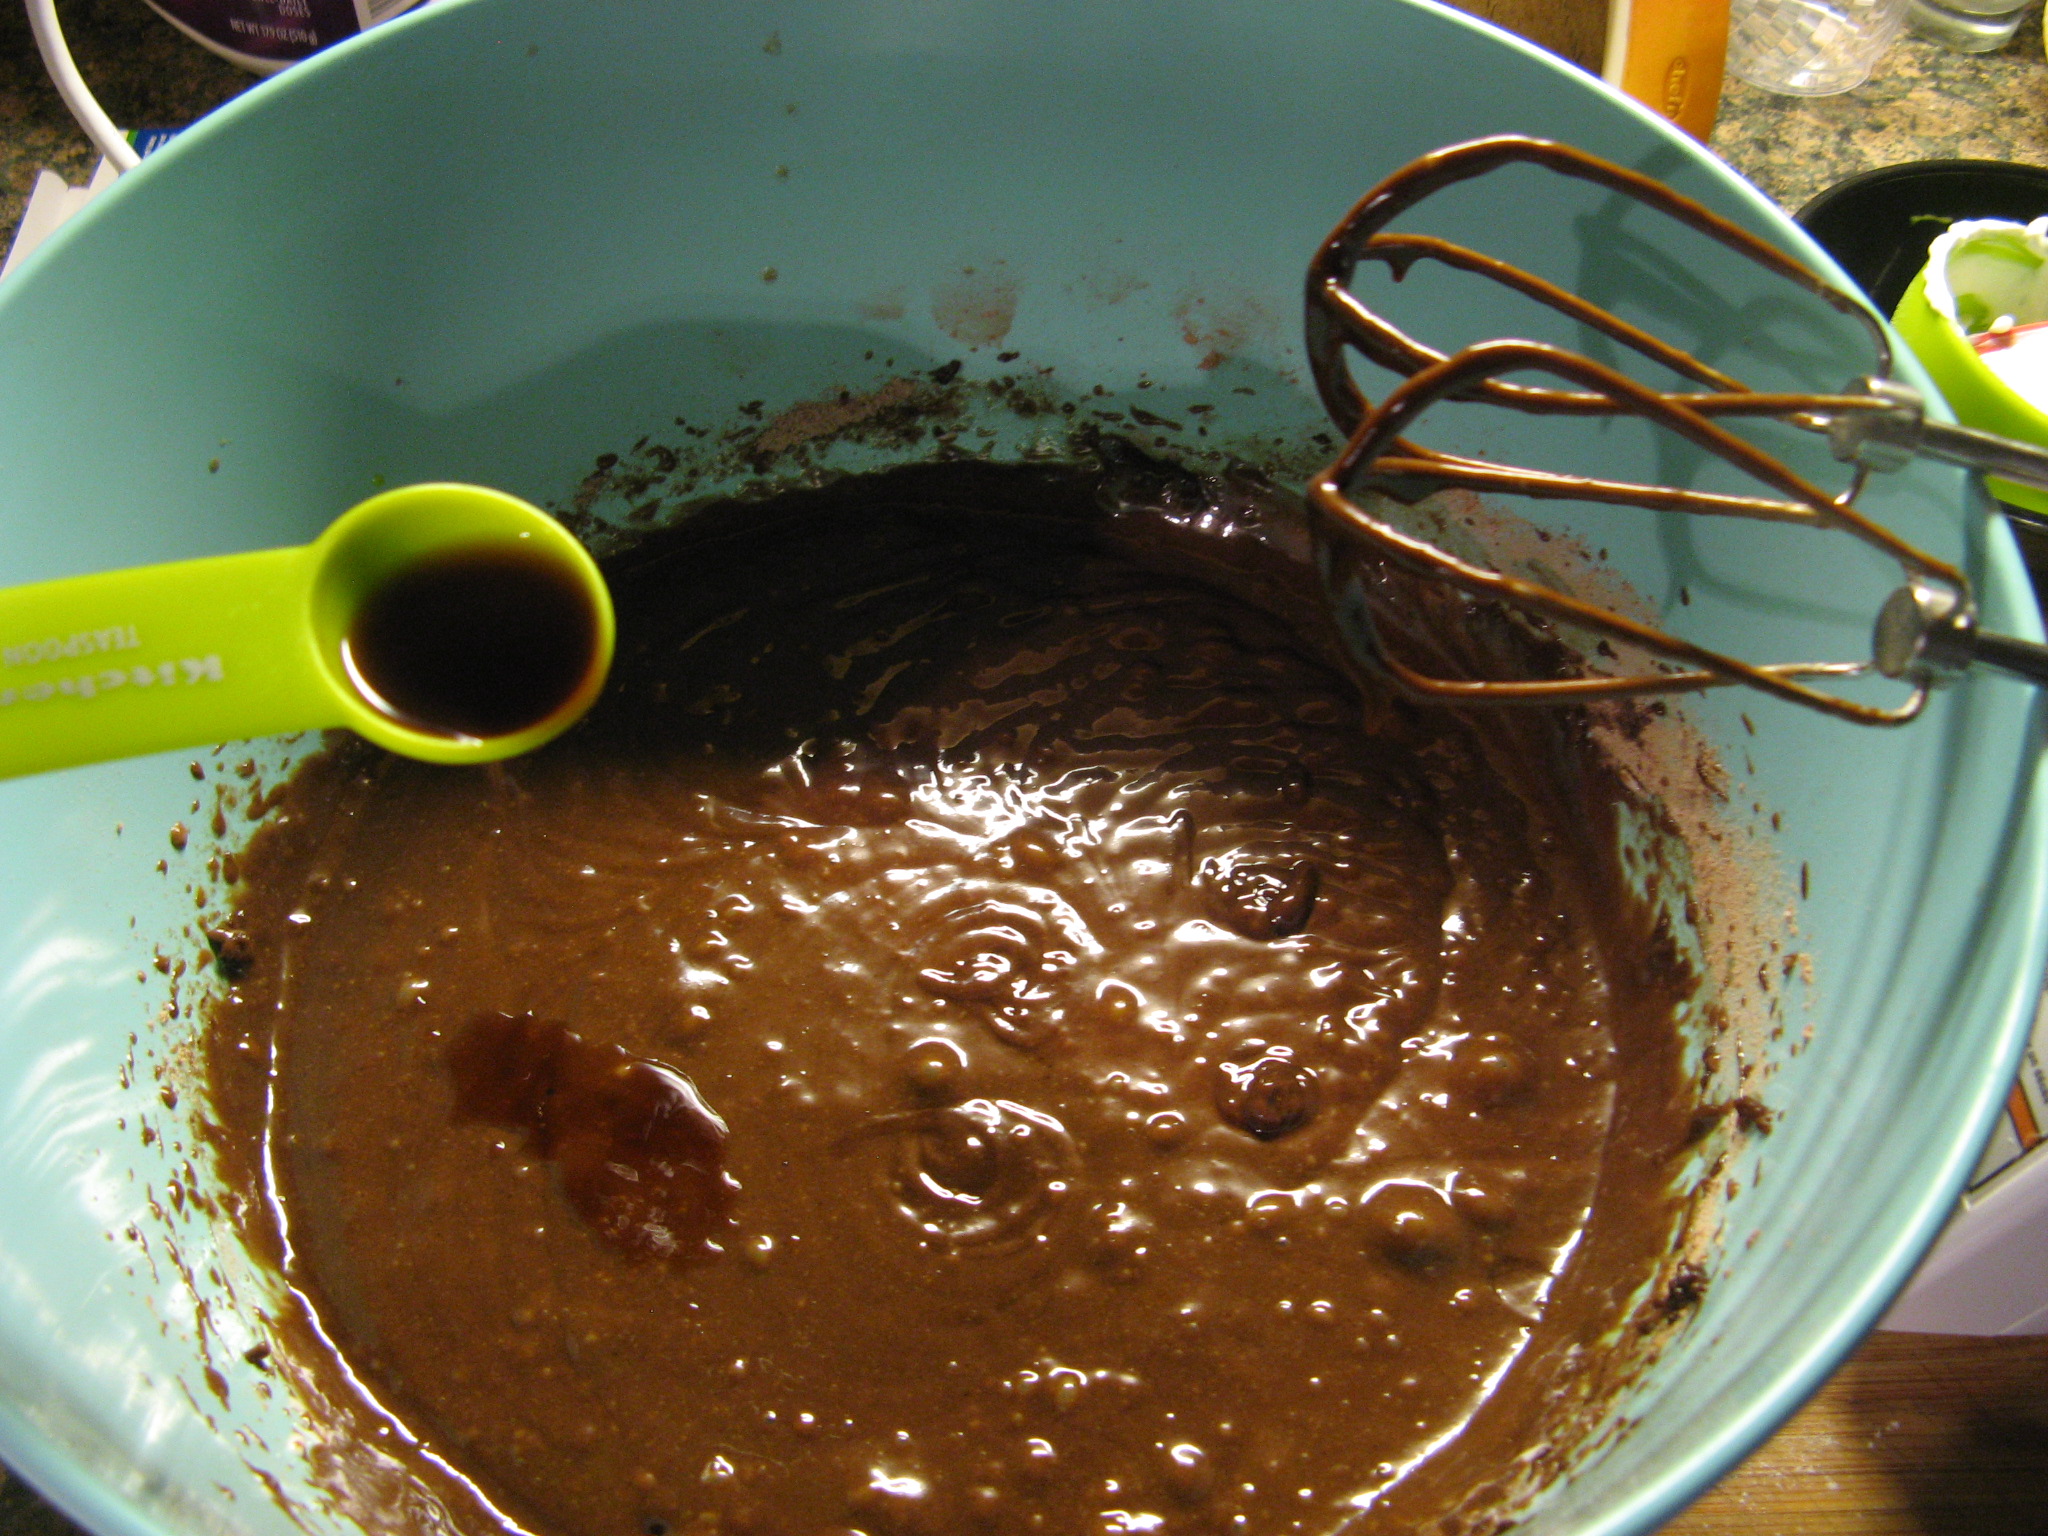
And finally I added in 2 cups of flour that I whisked together with baking powder and salt. I beat the batter until it was well blended and then stirred the mixture a few times with a rubber spatula to ensure all of the ingredients were well combined.

IMG_6794

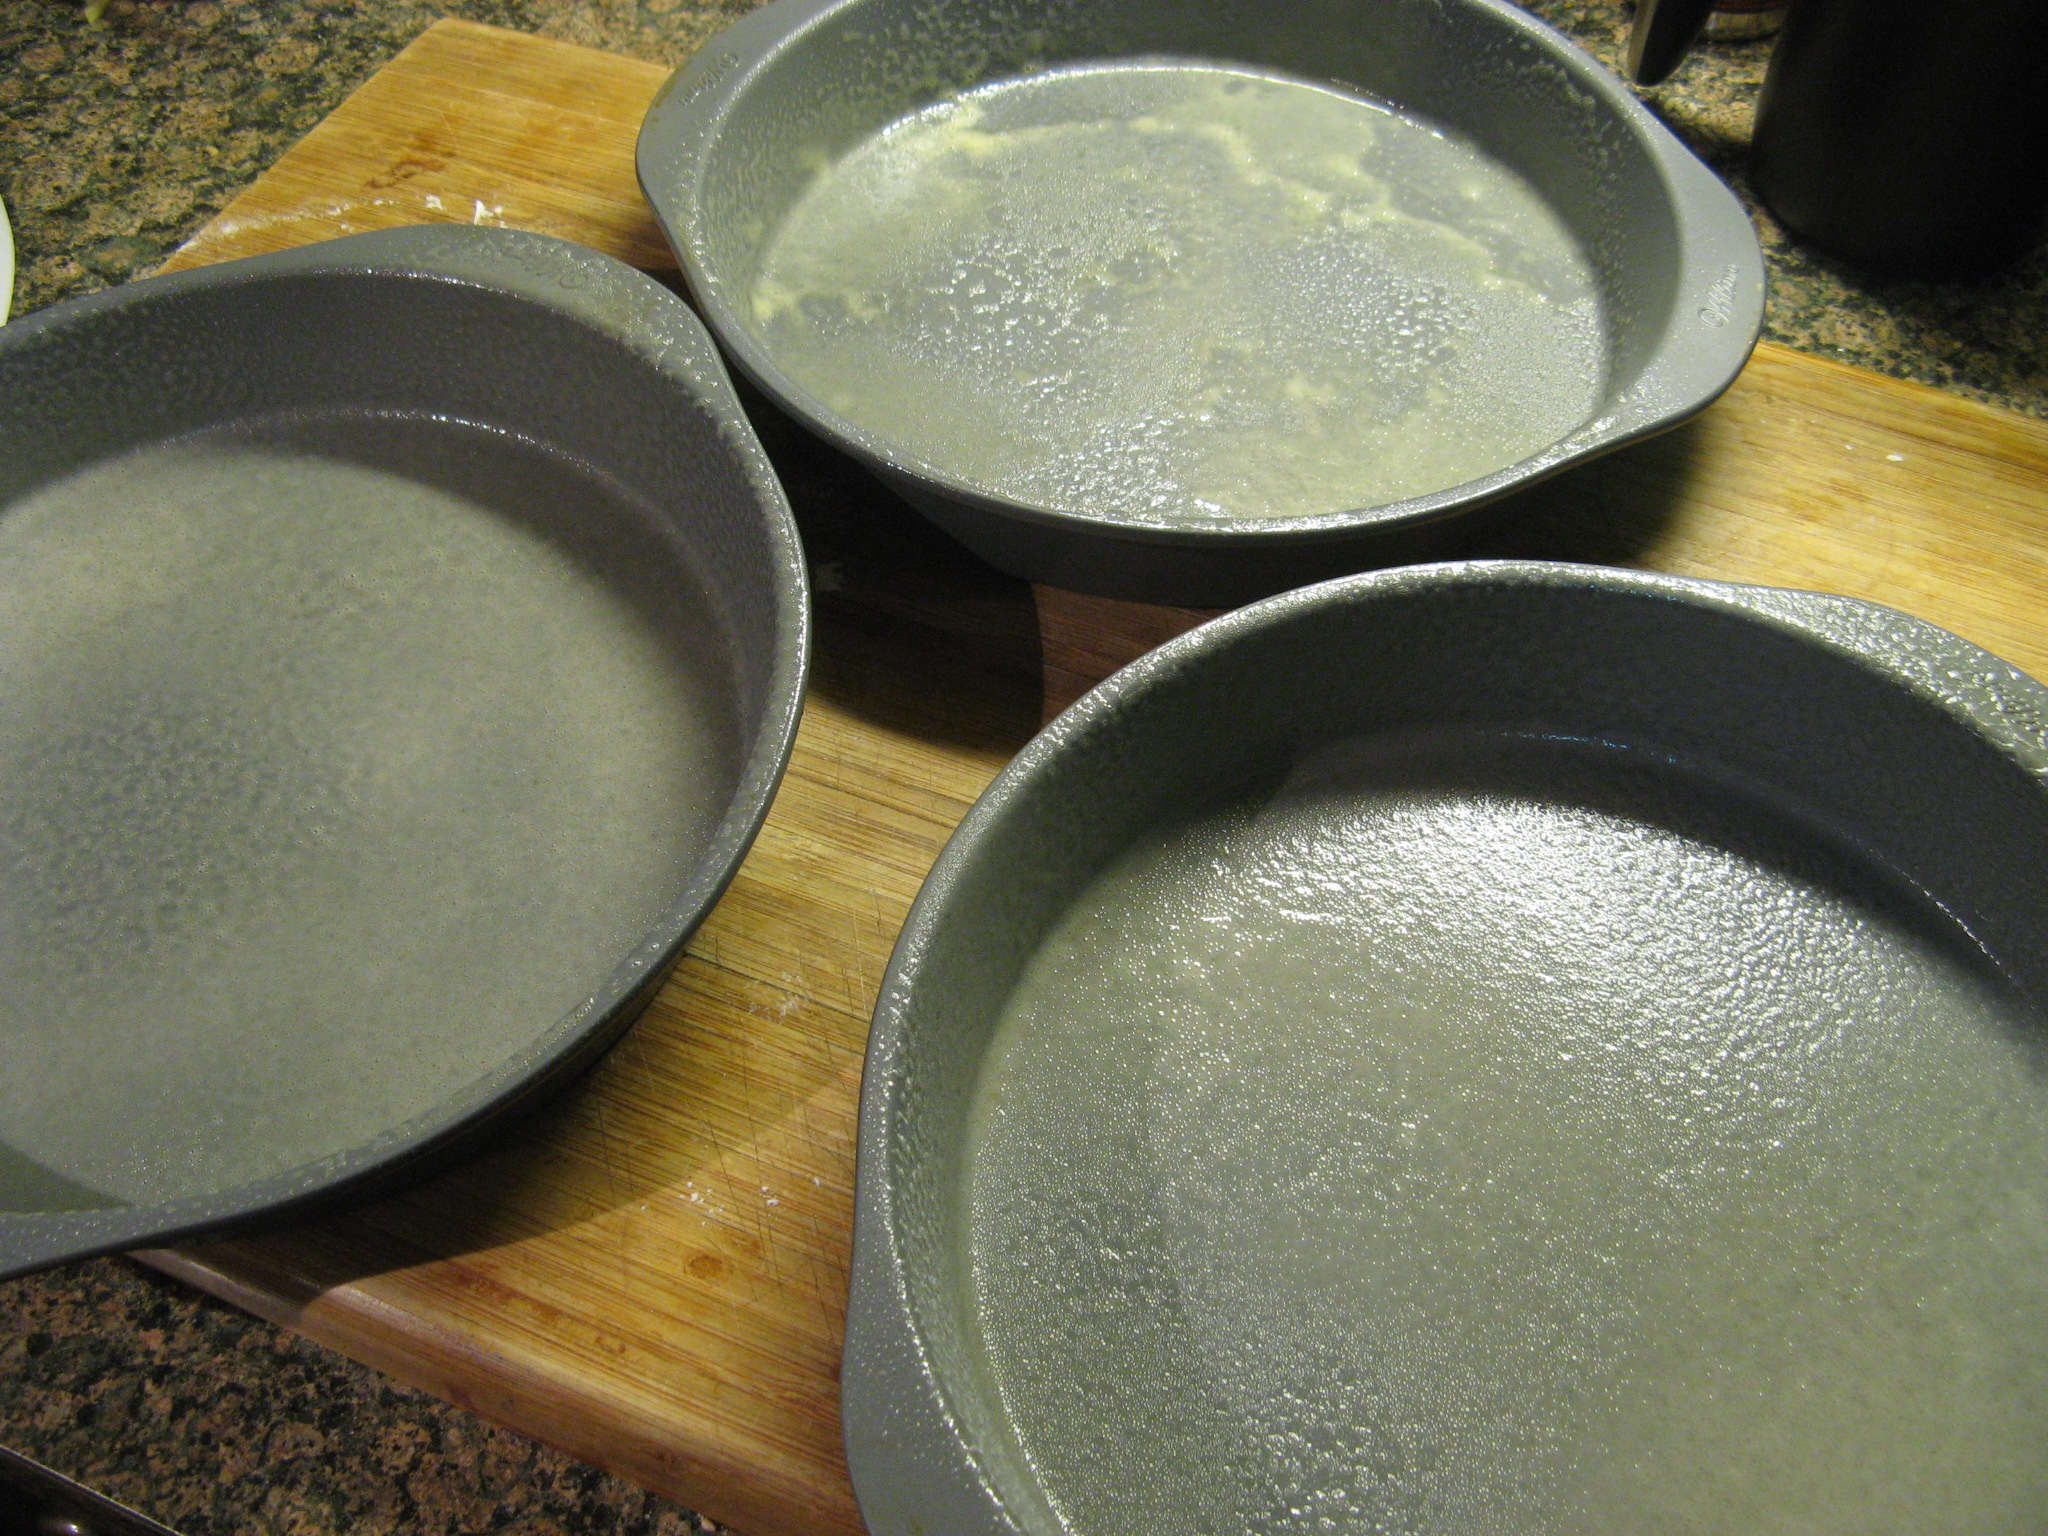
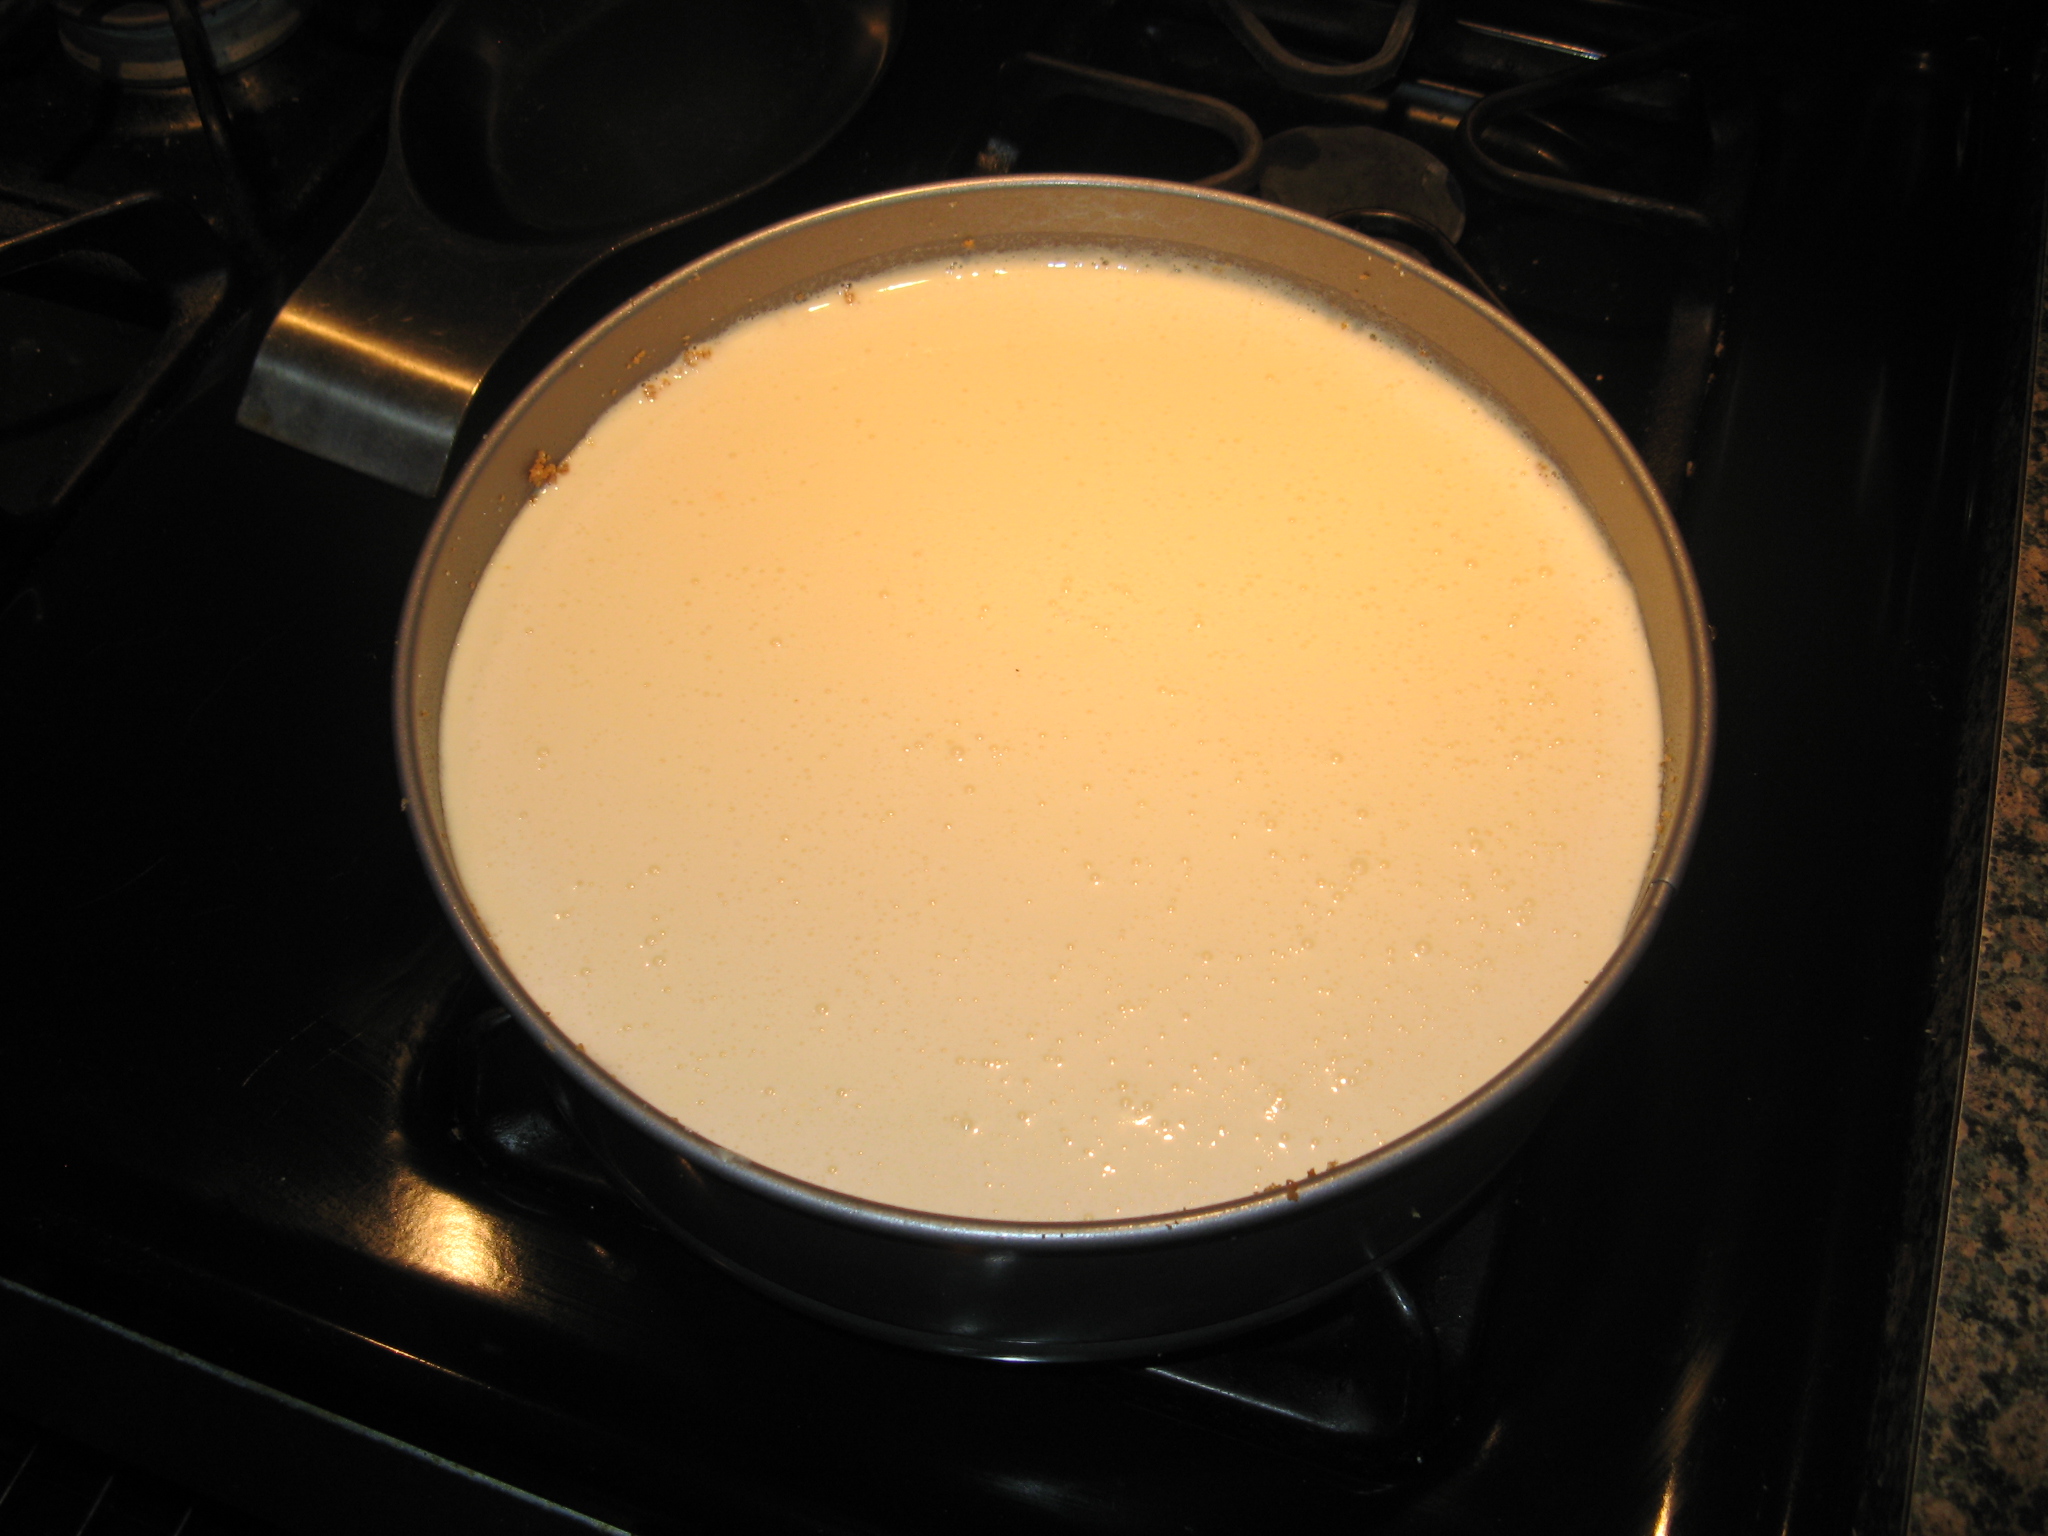
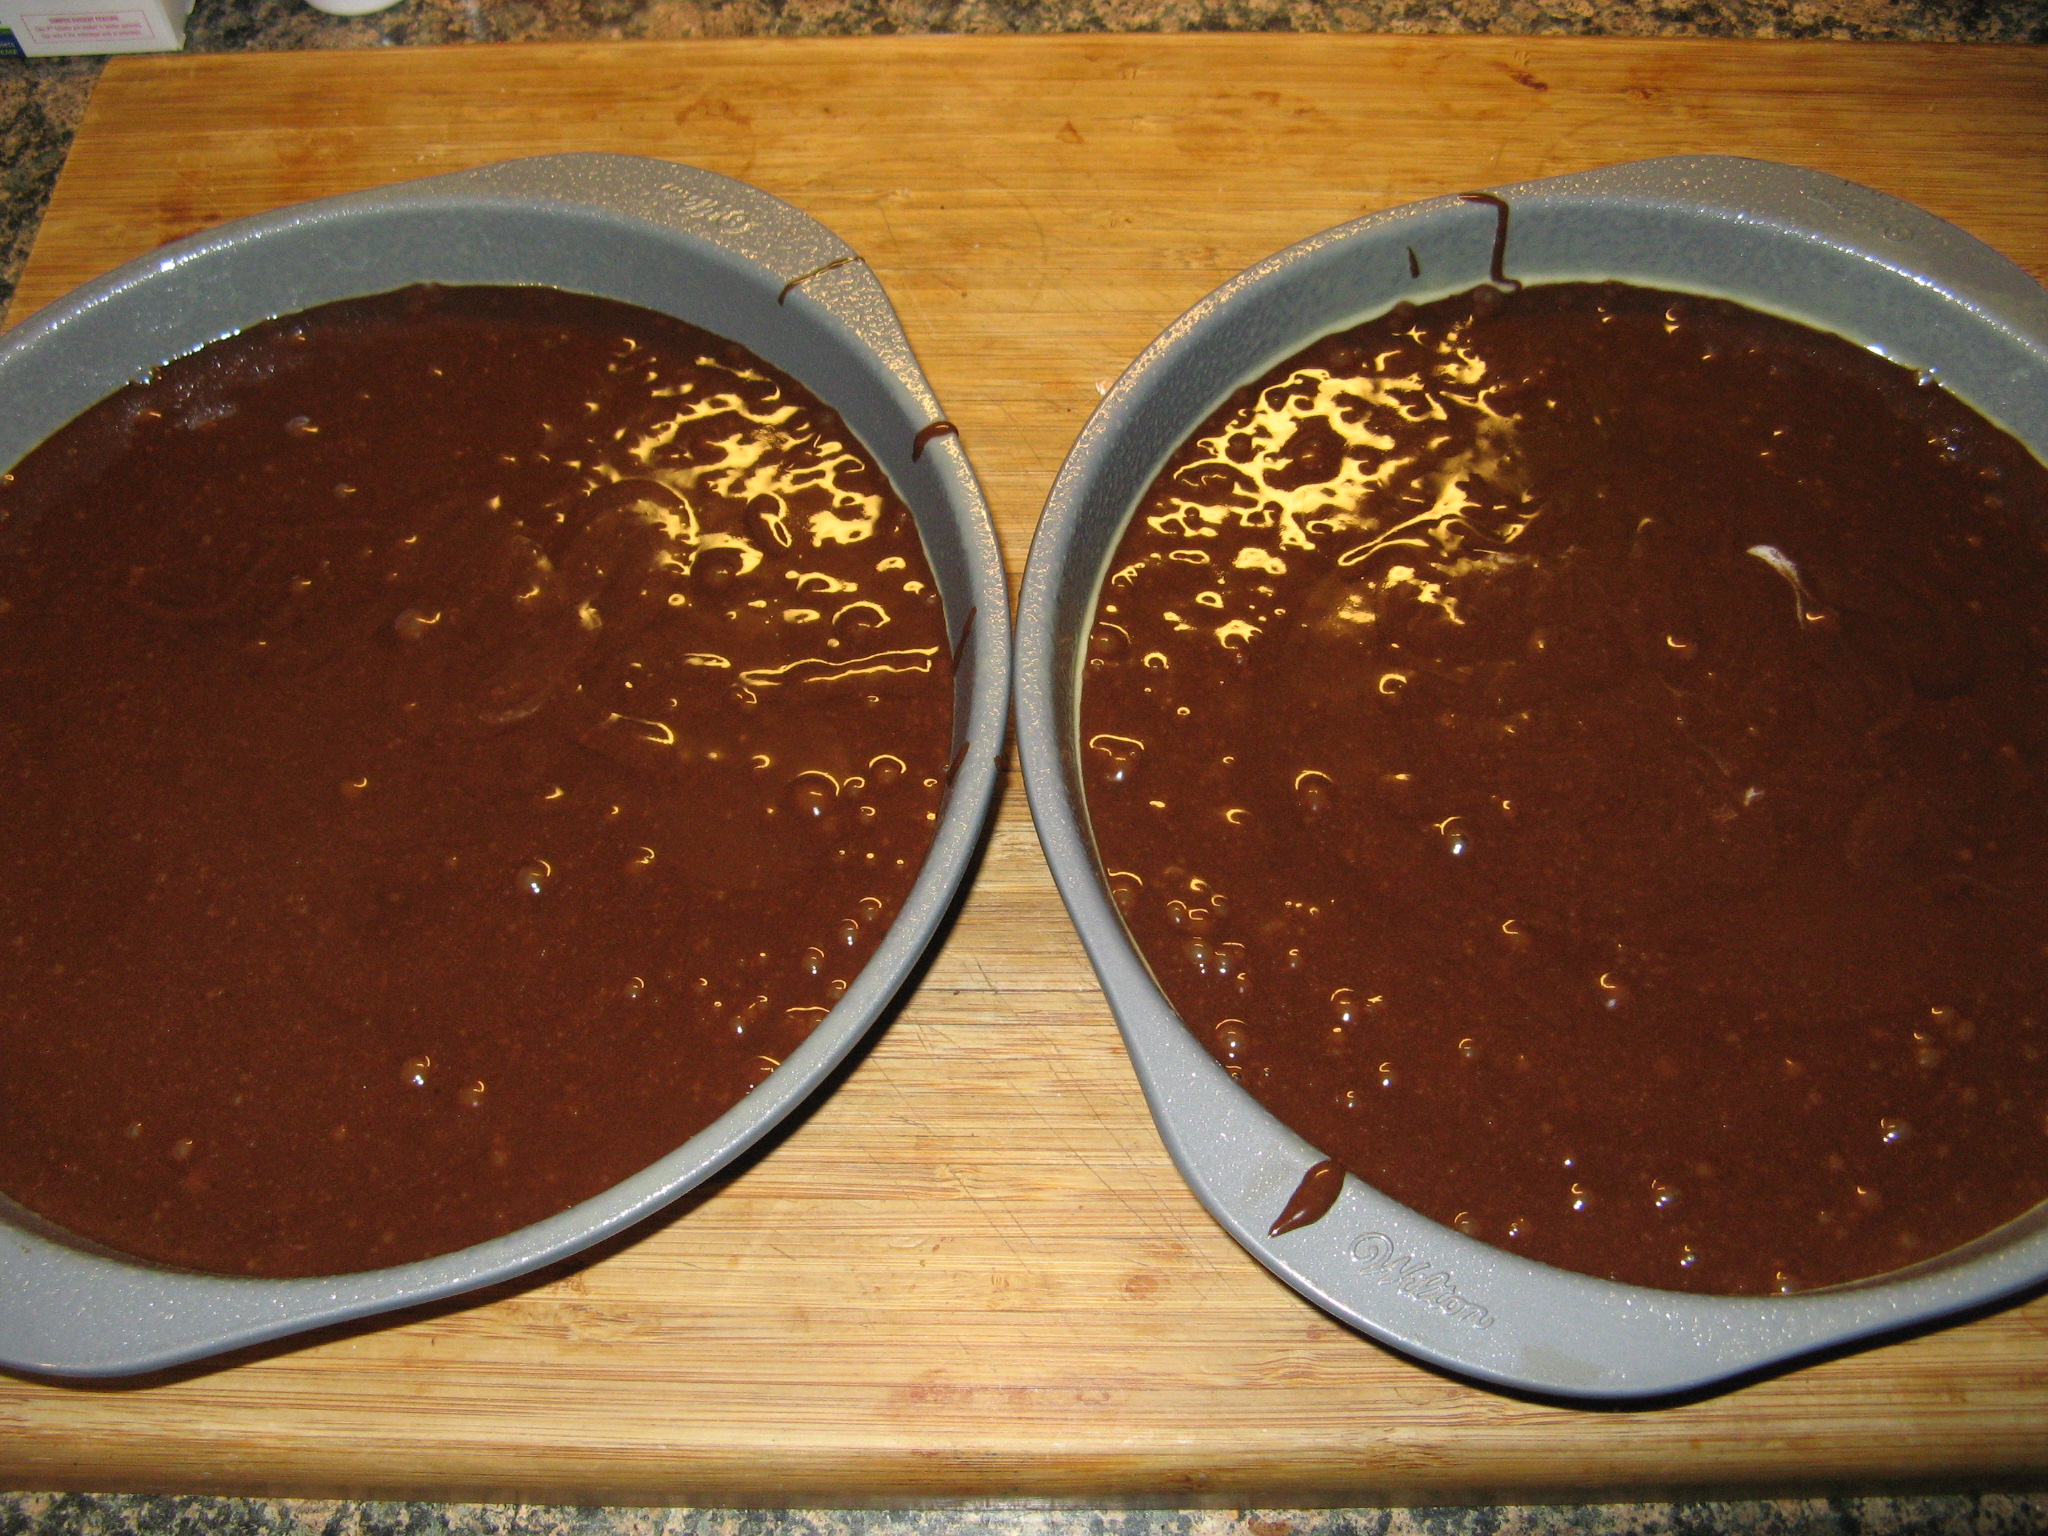
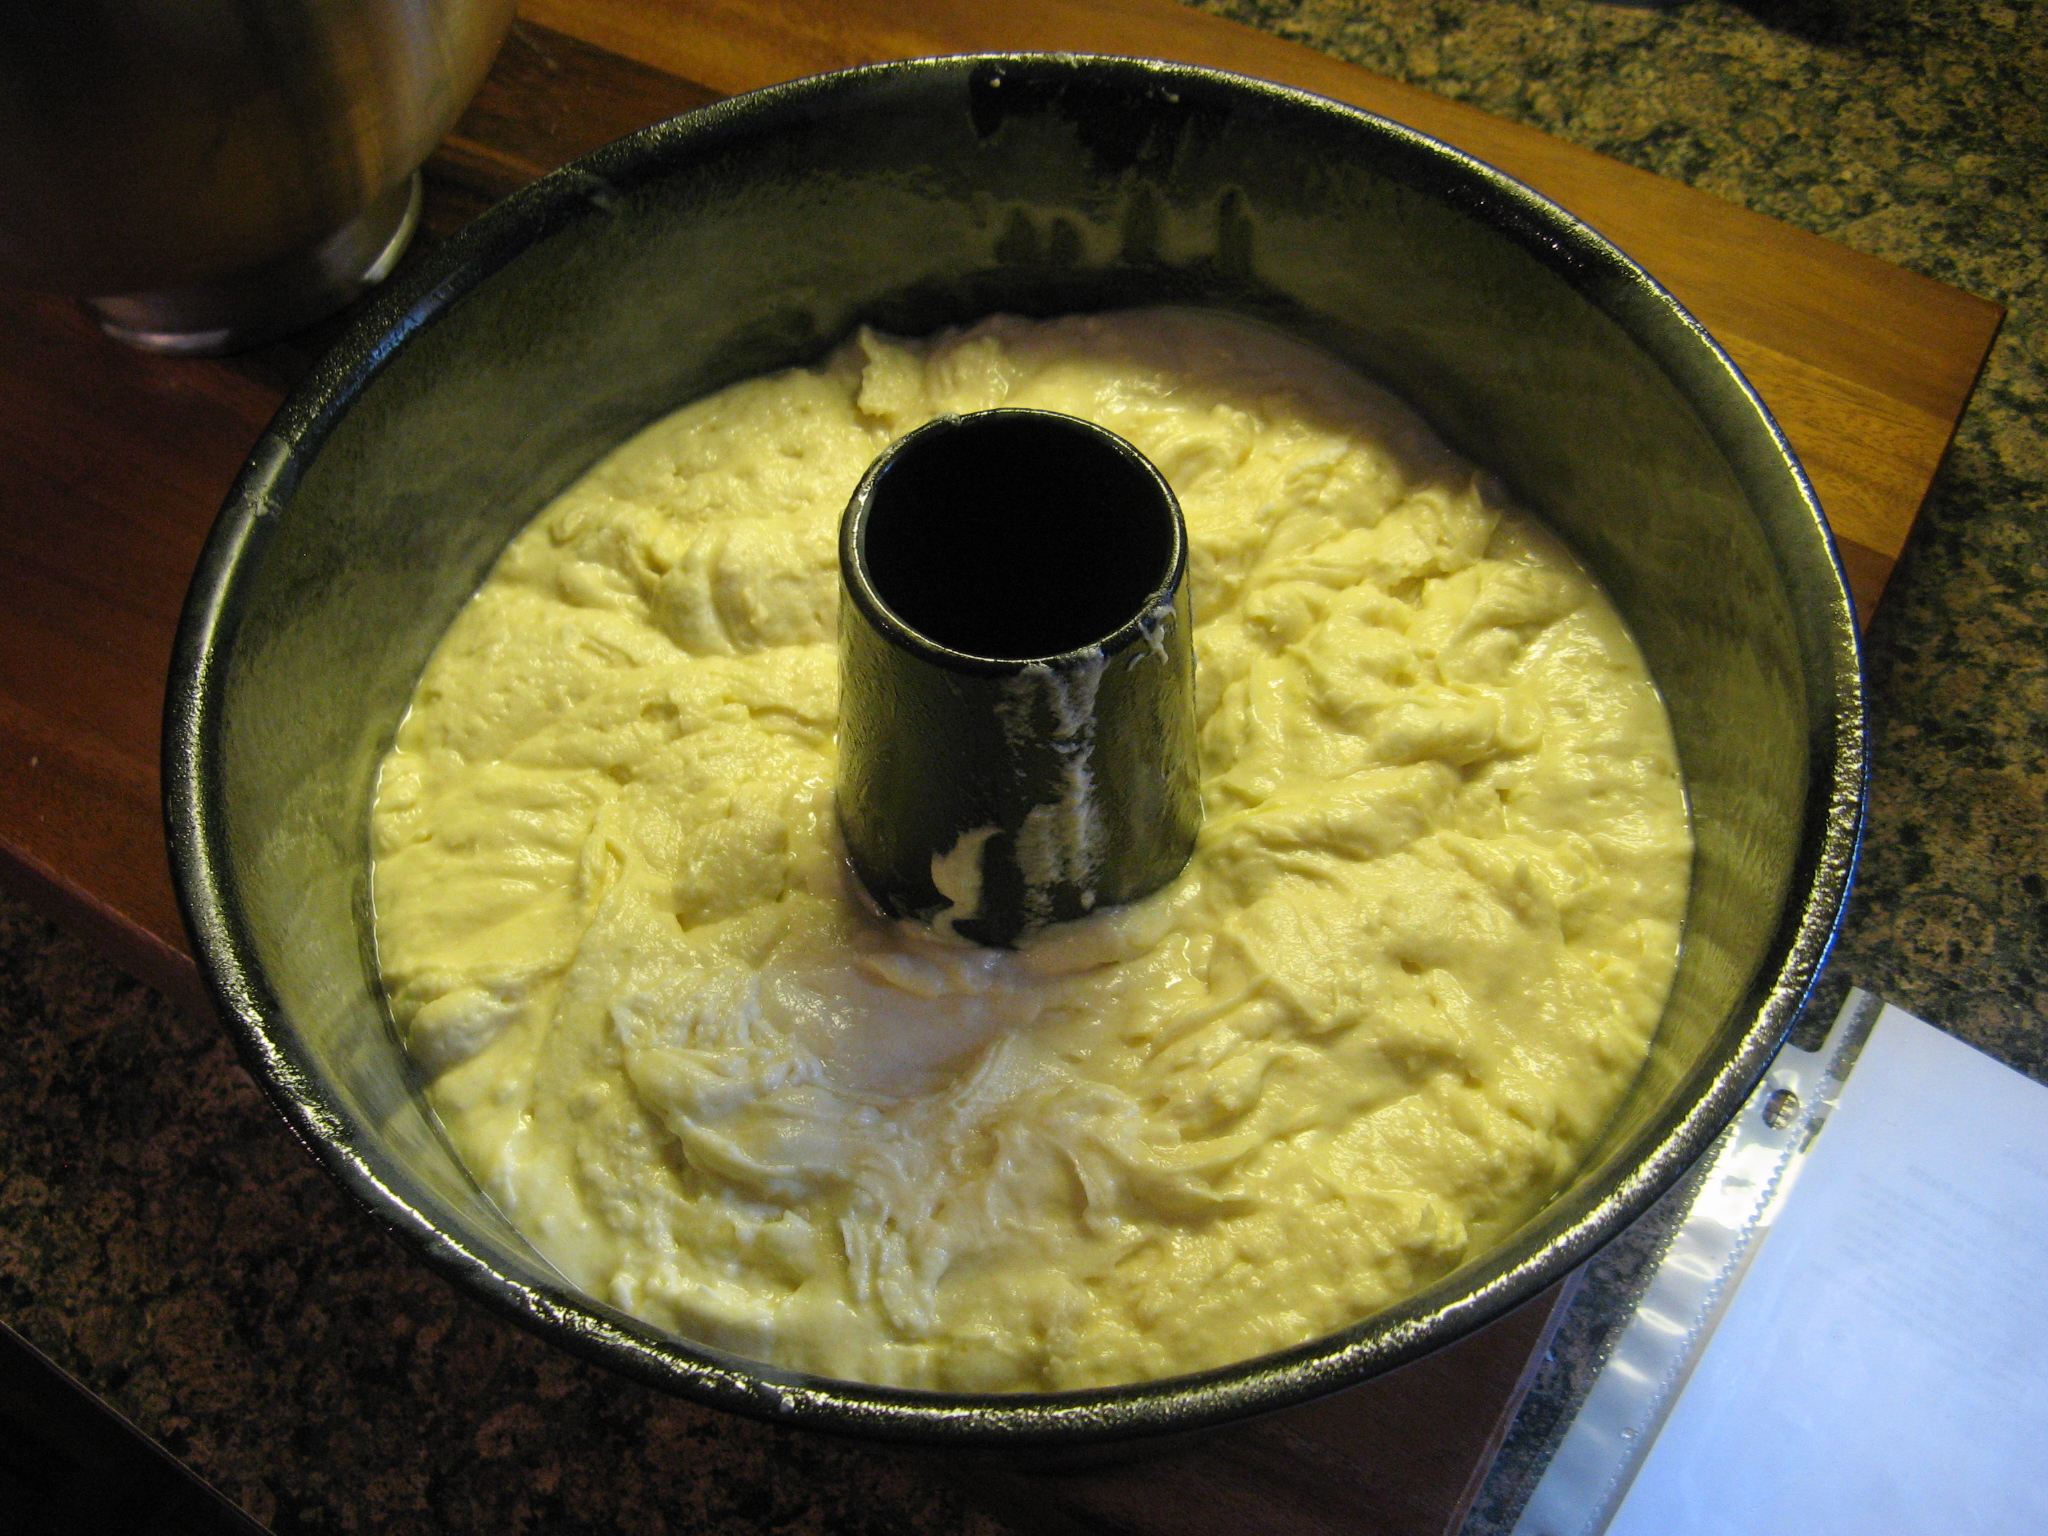
I then poured it into a prepared tube pan. To prepare the pan I sprayed it with a baking spray that contains flour.

IMG_6796

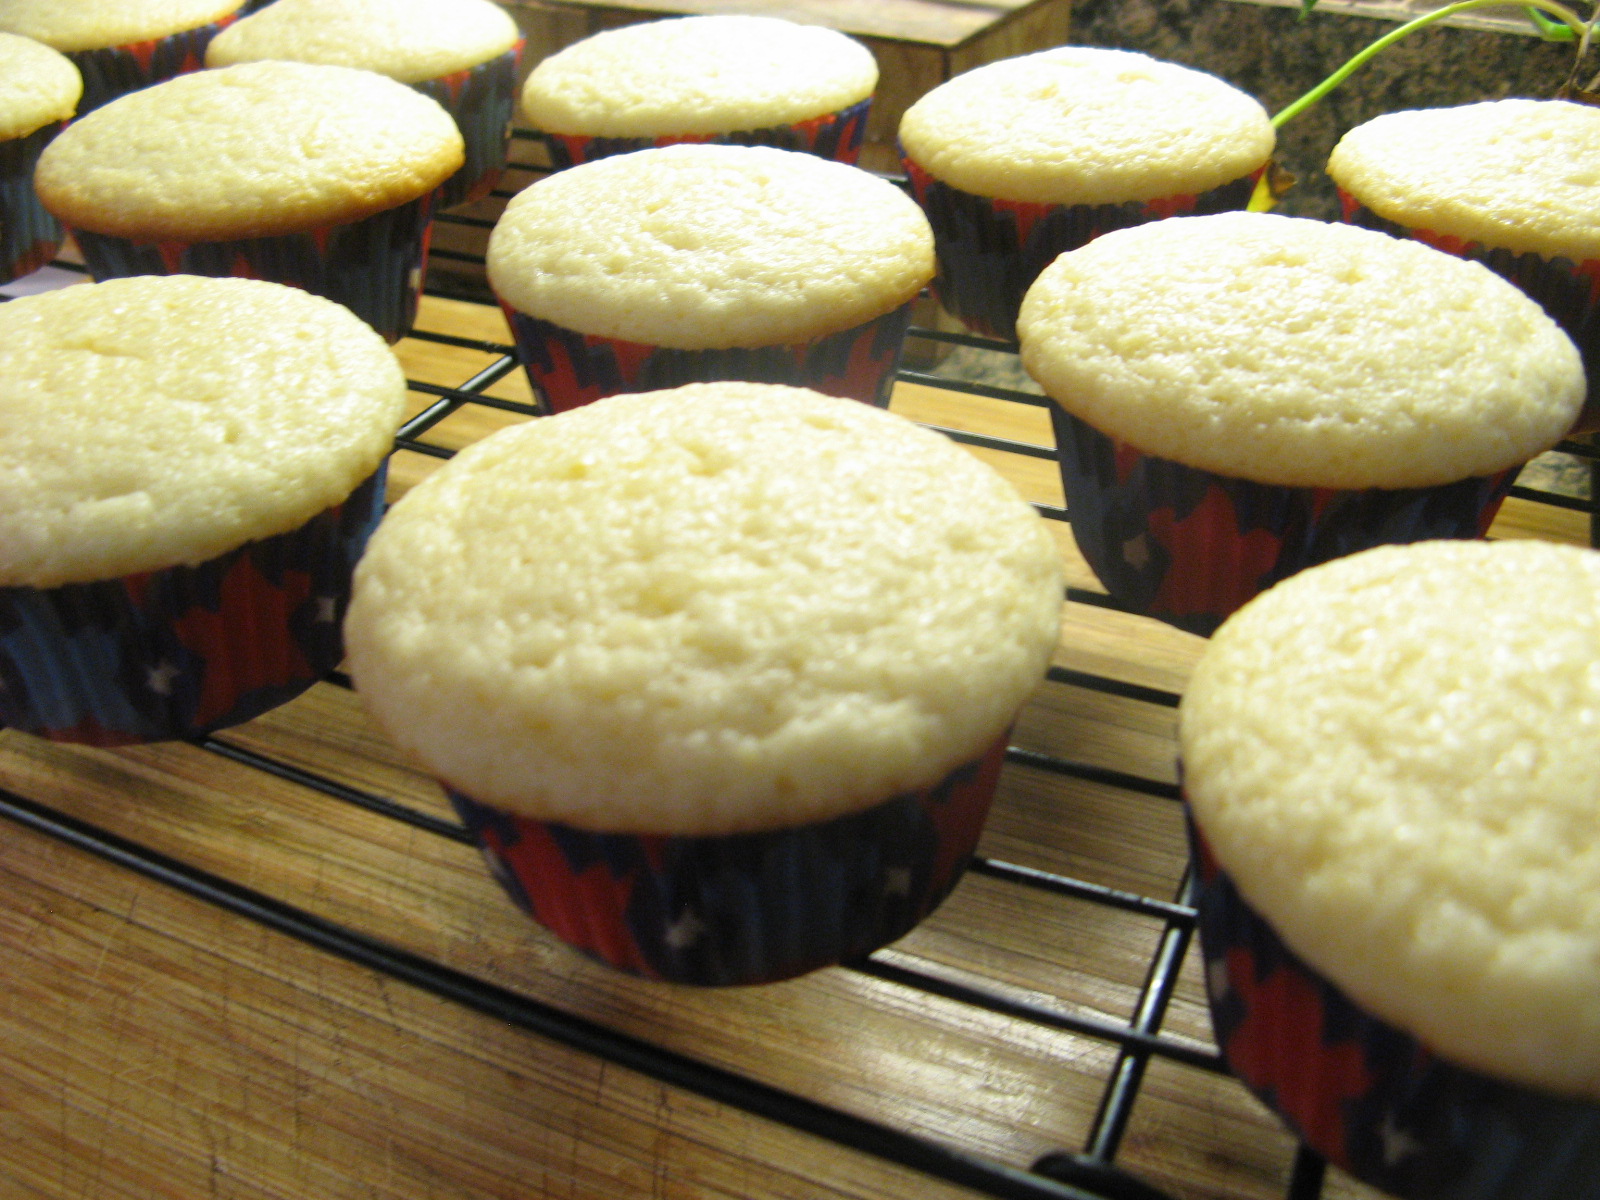
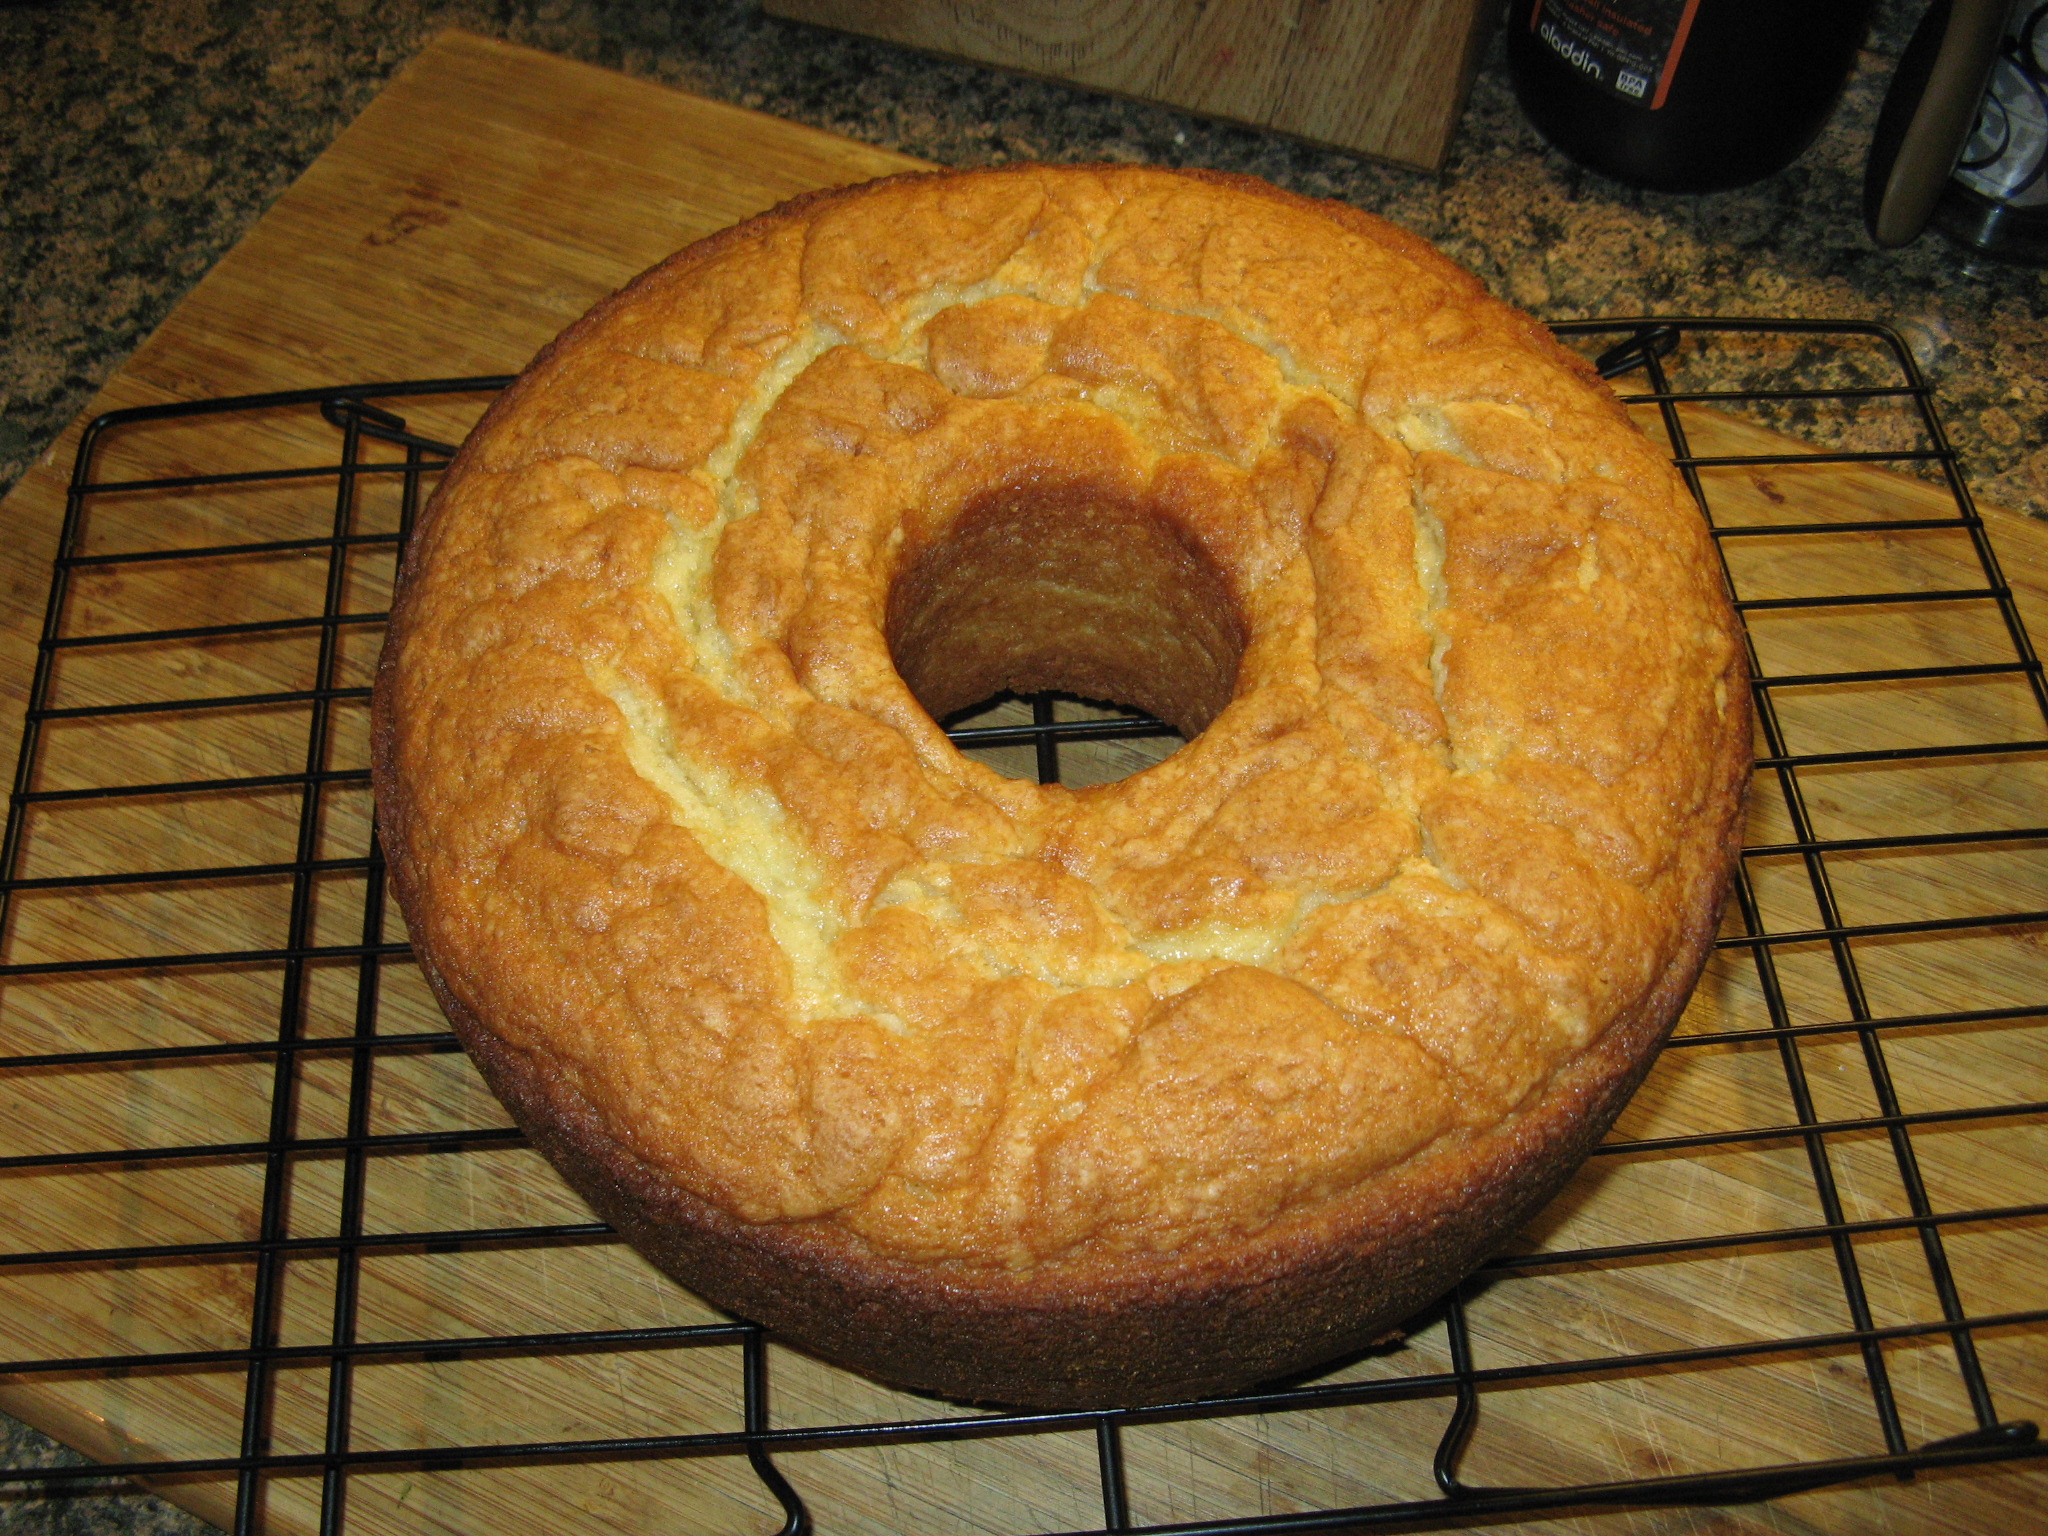
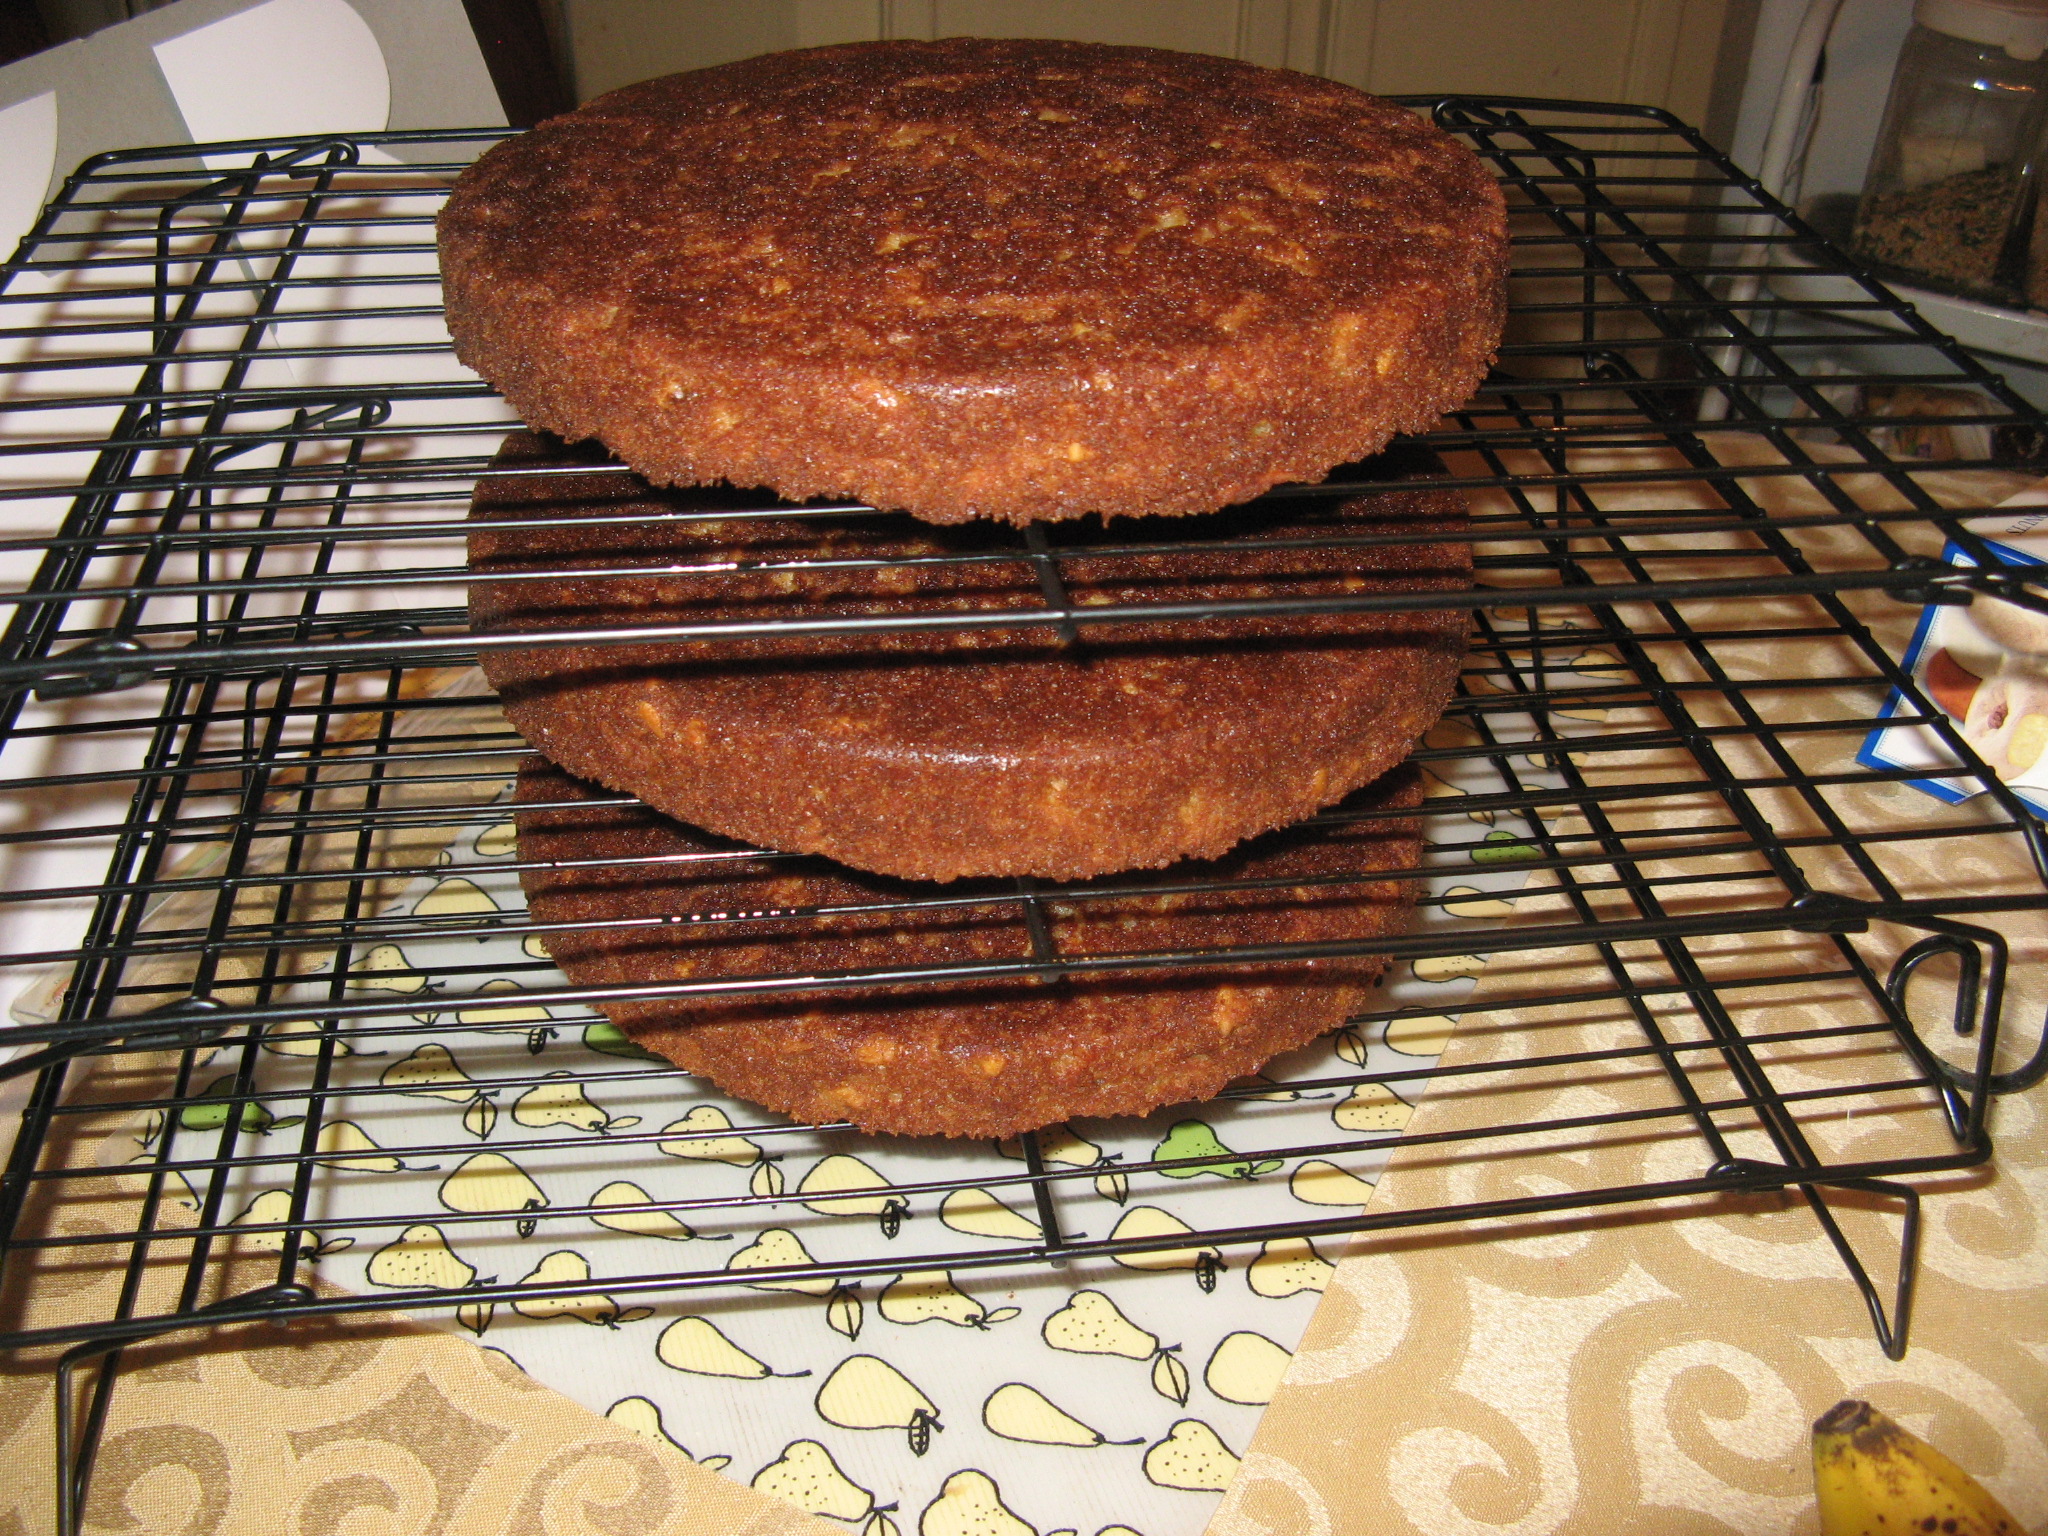
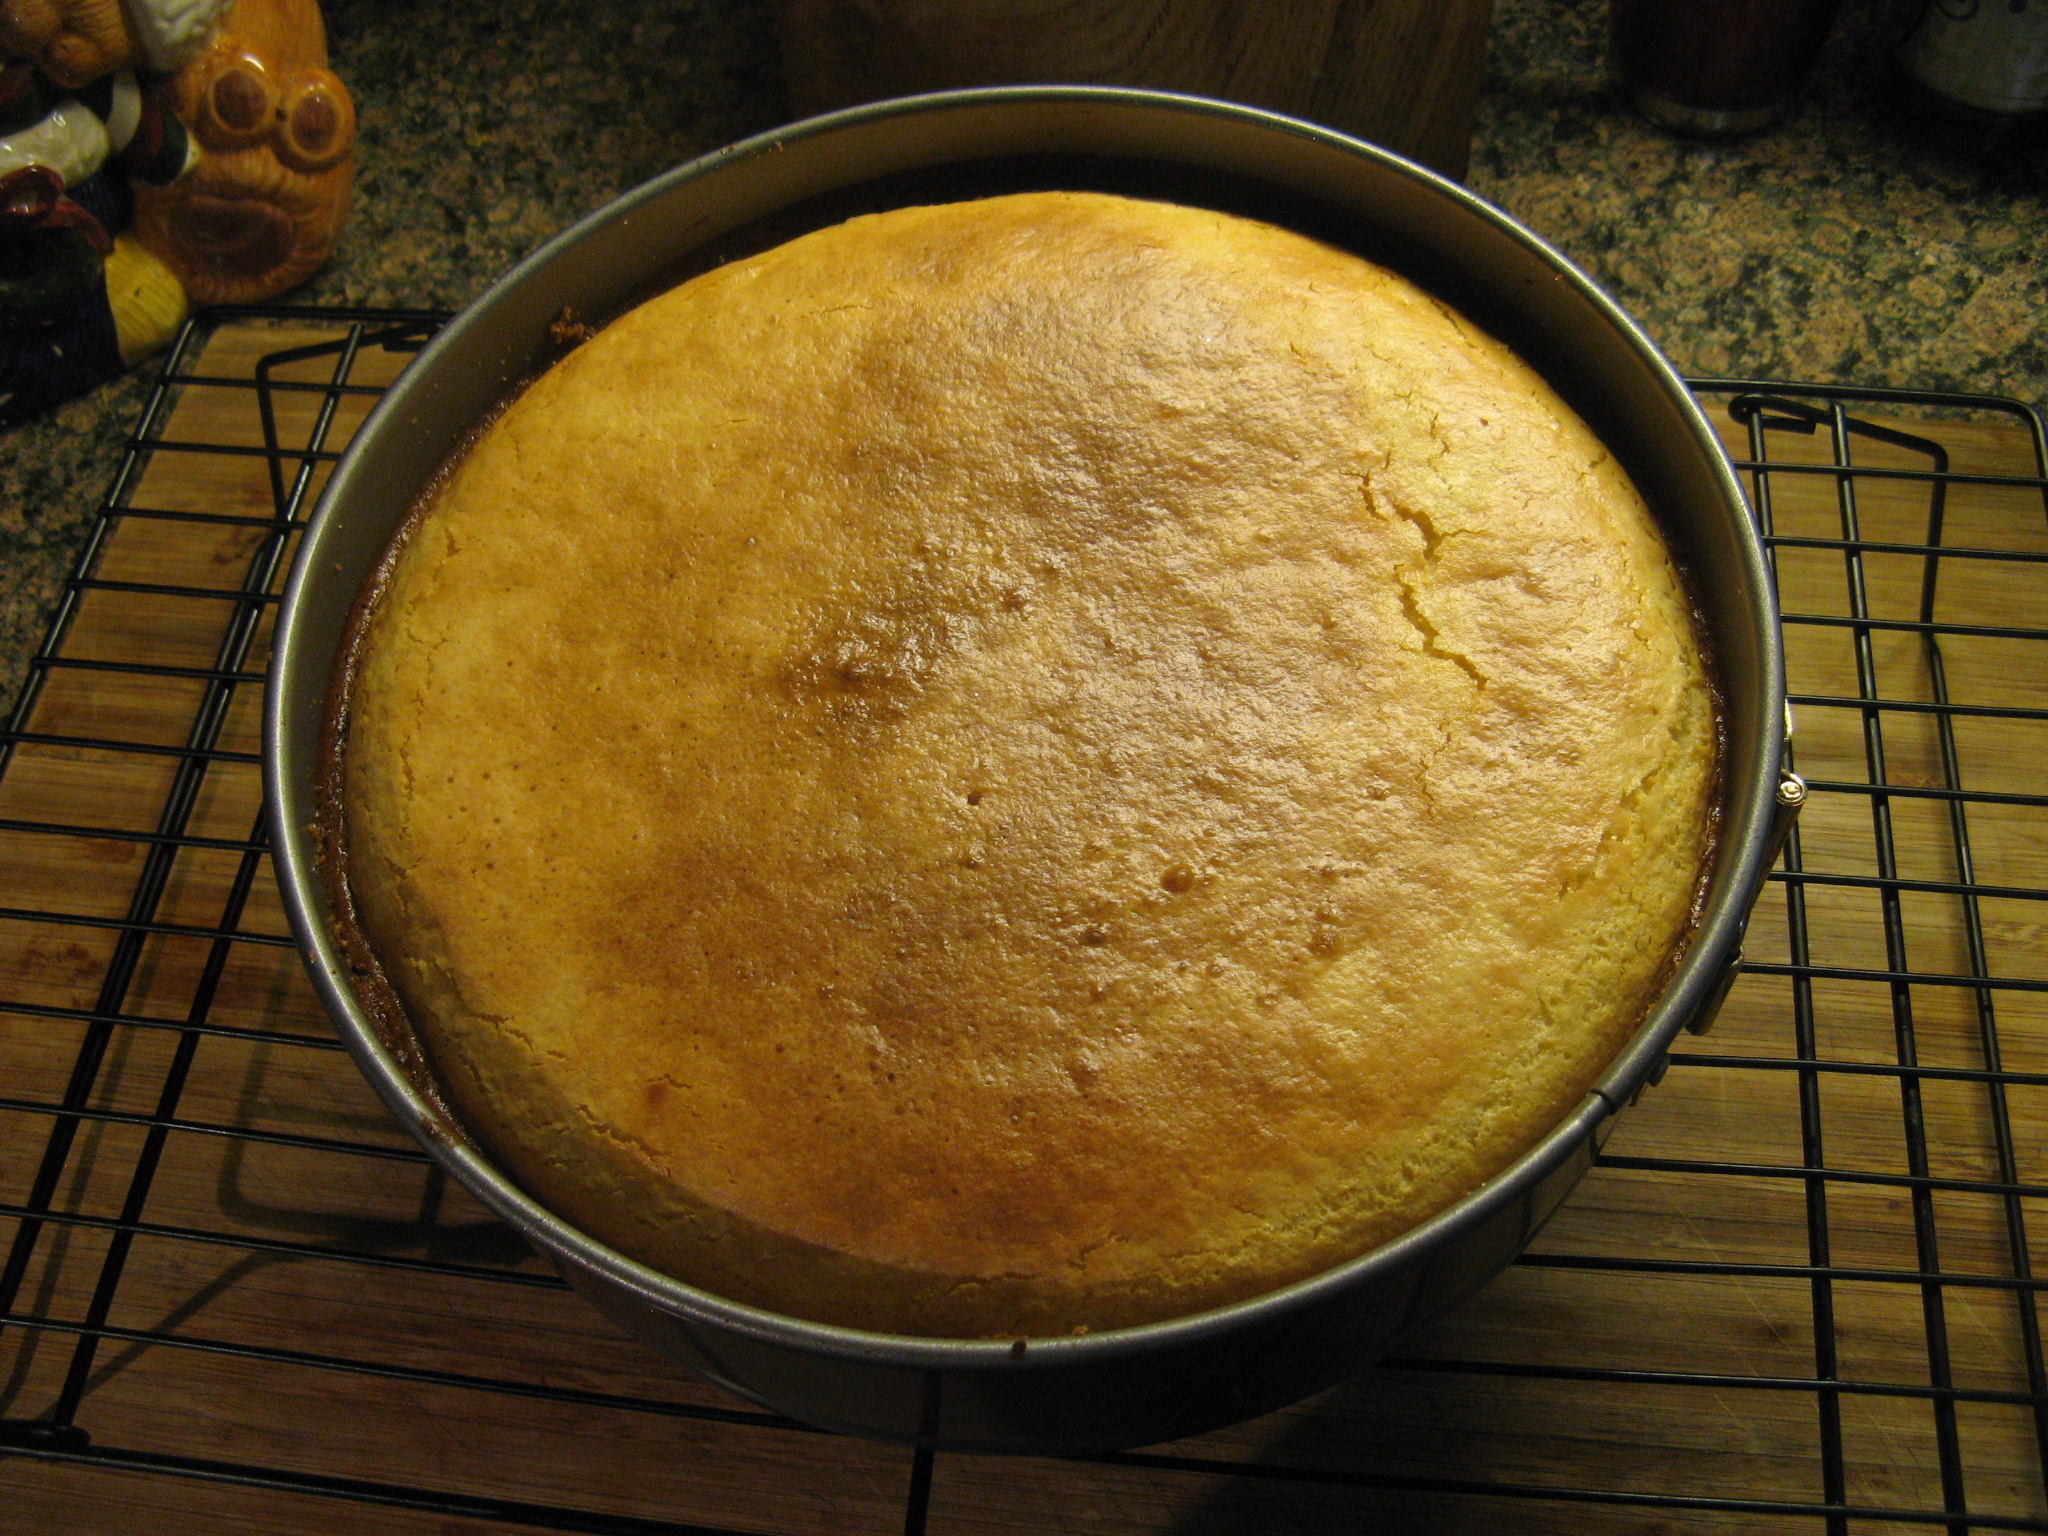
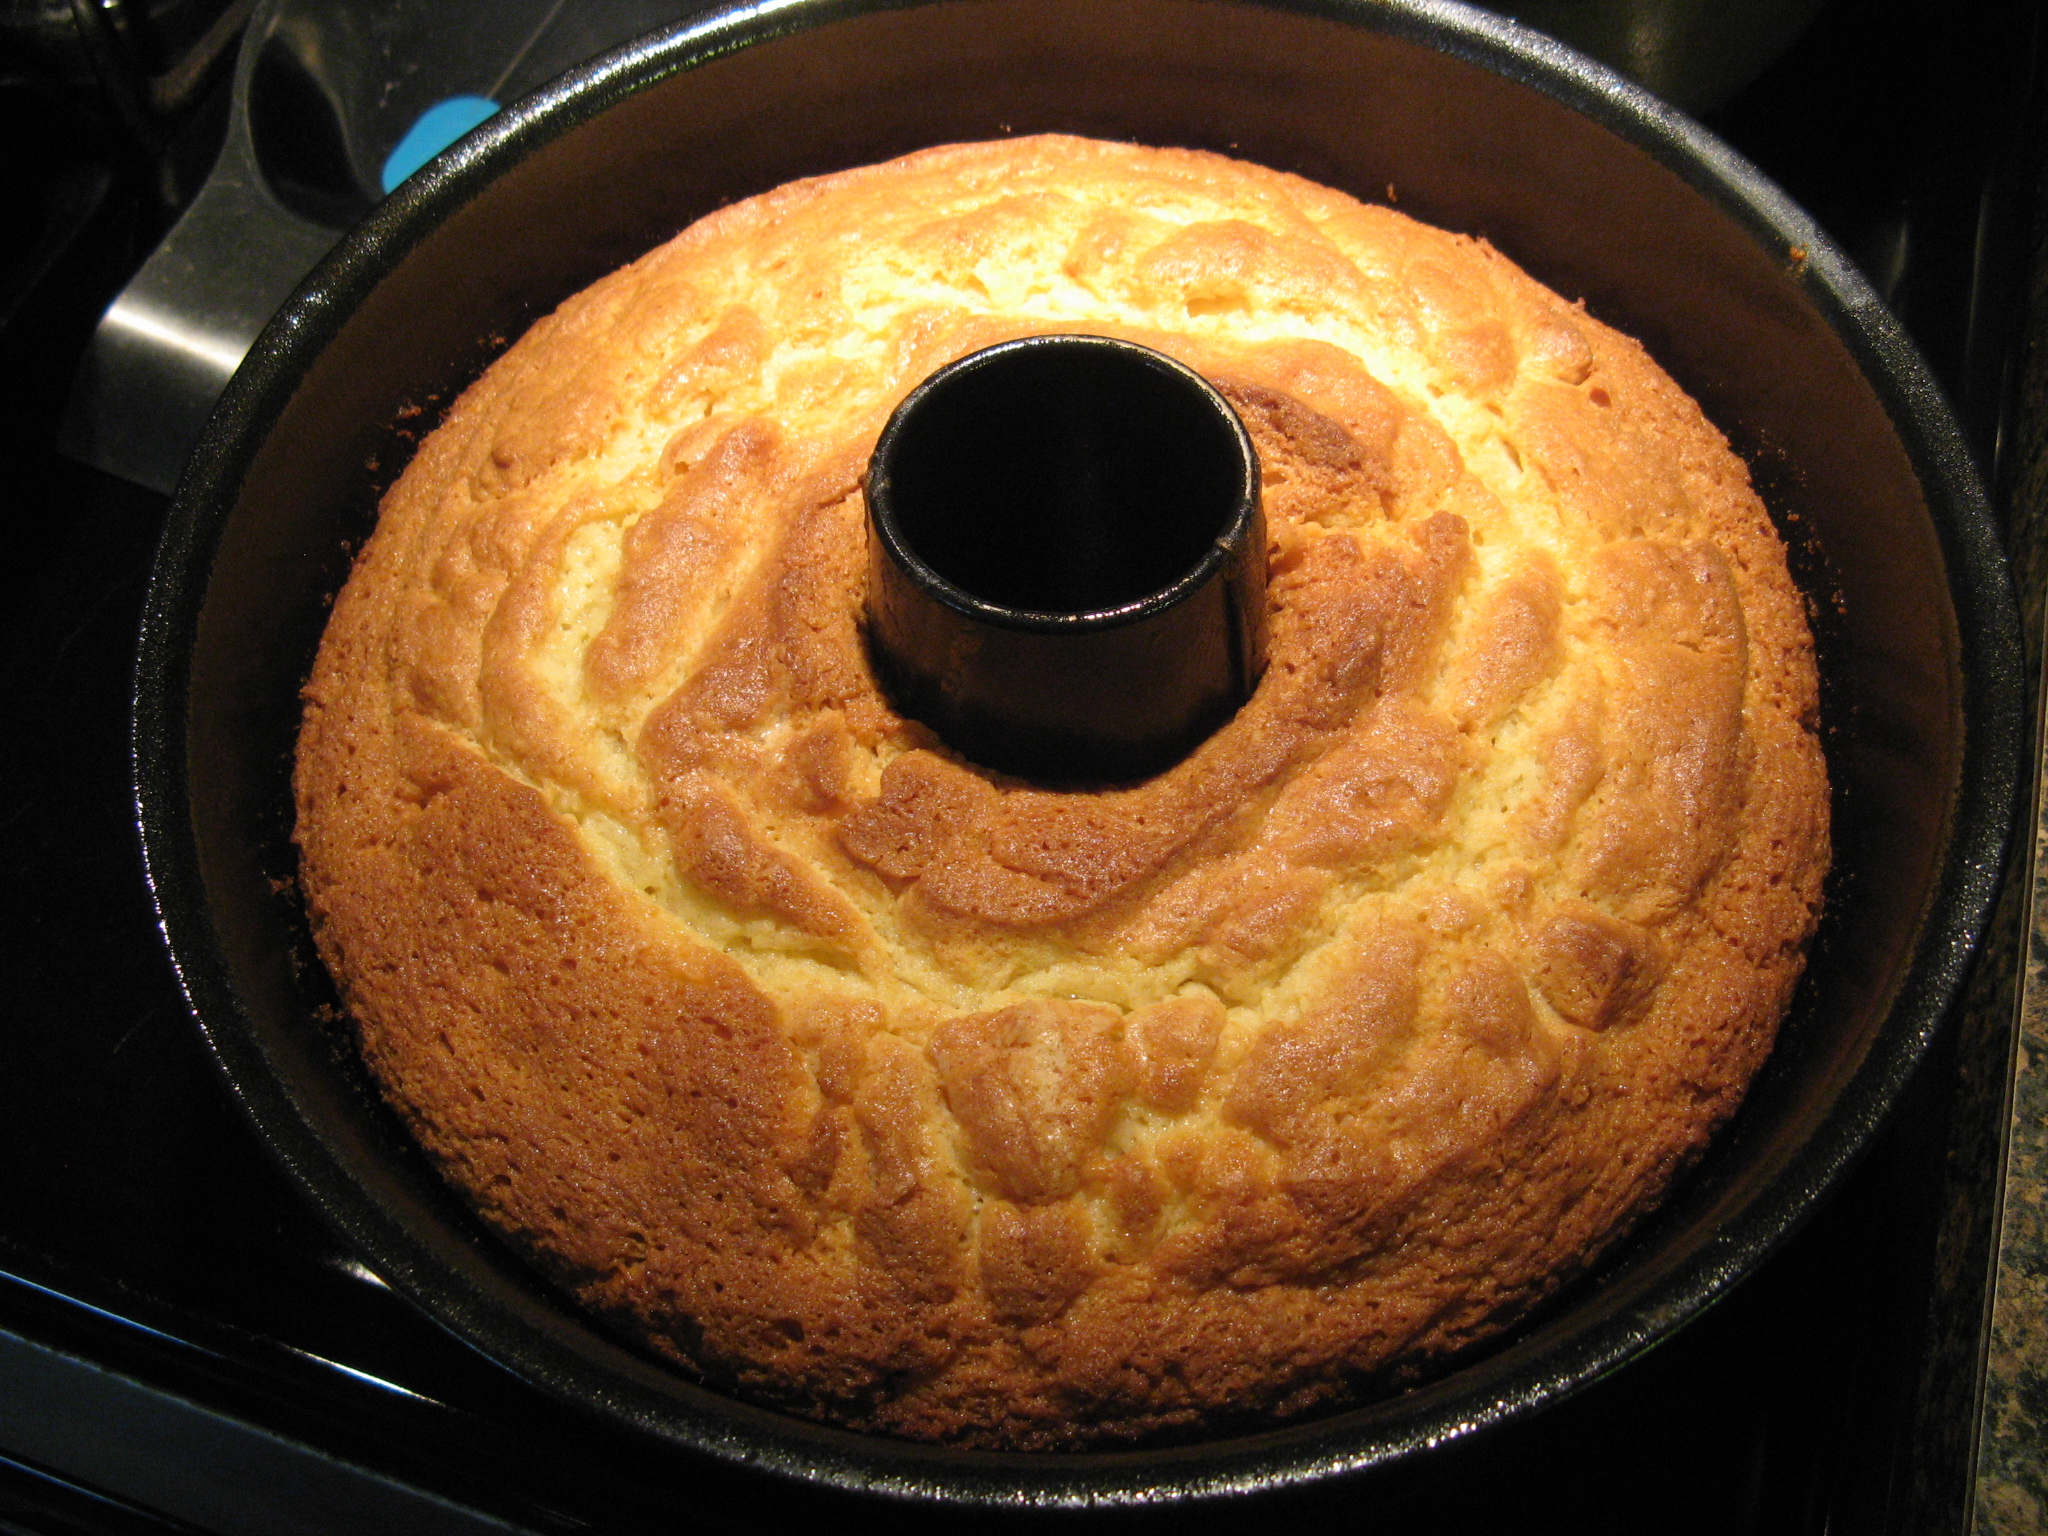
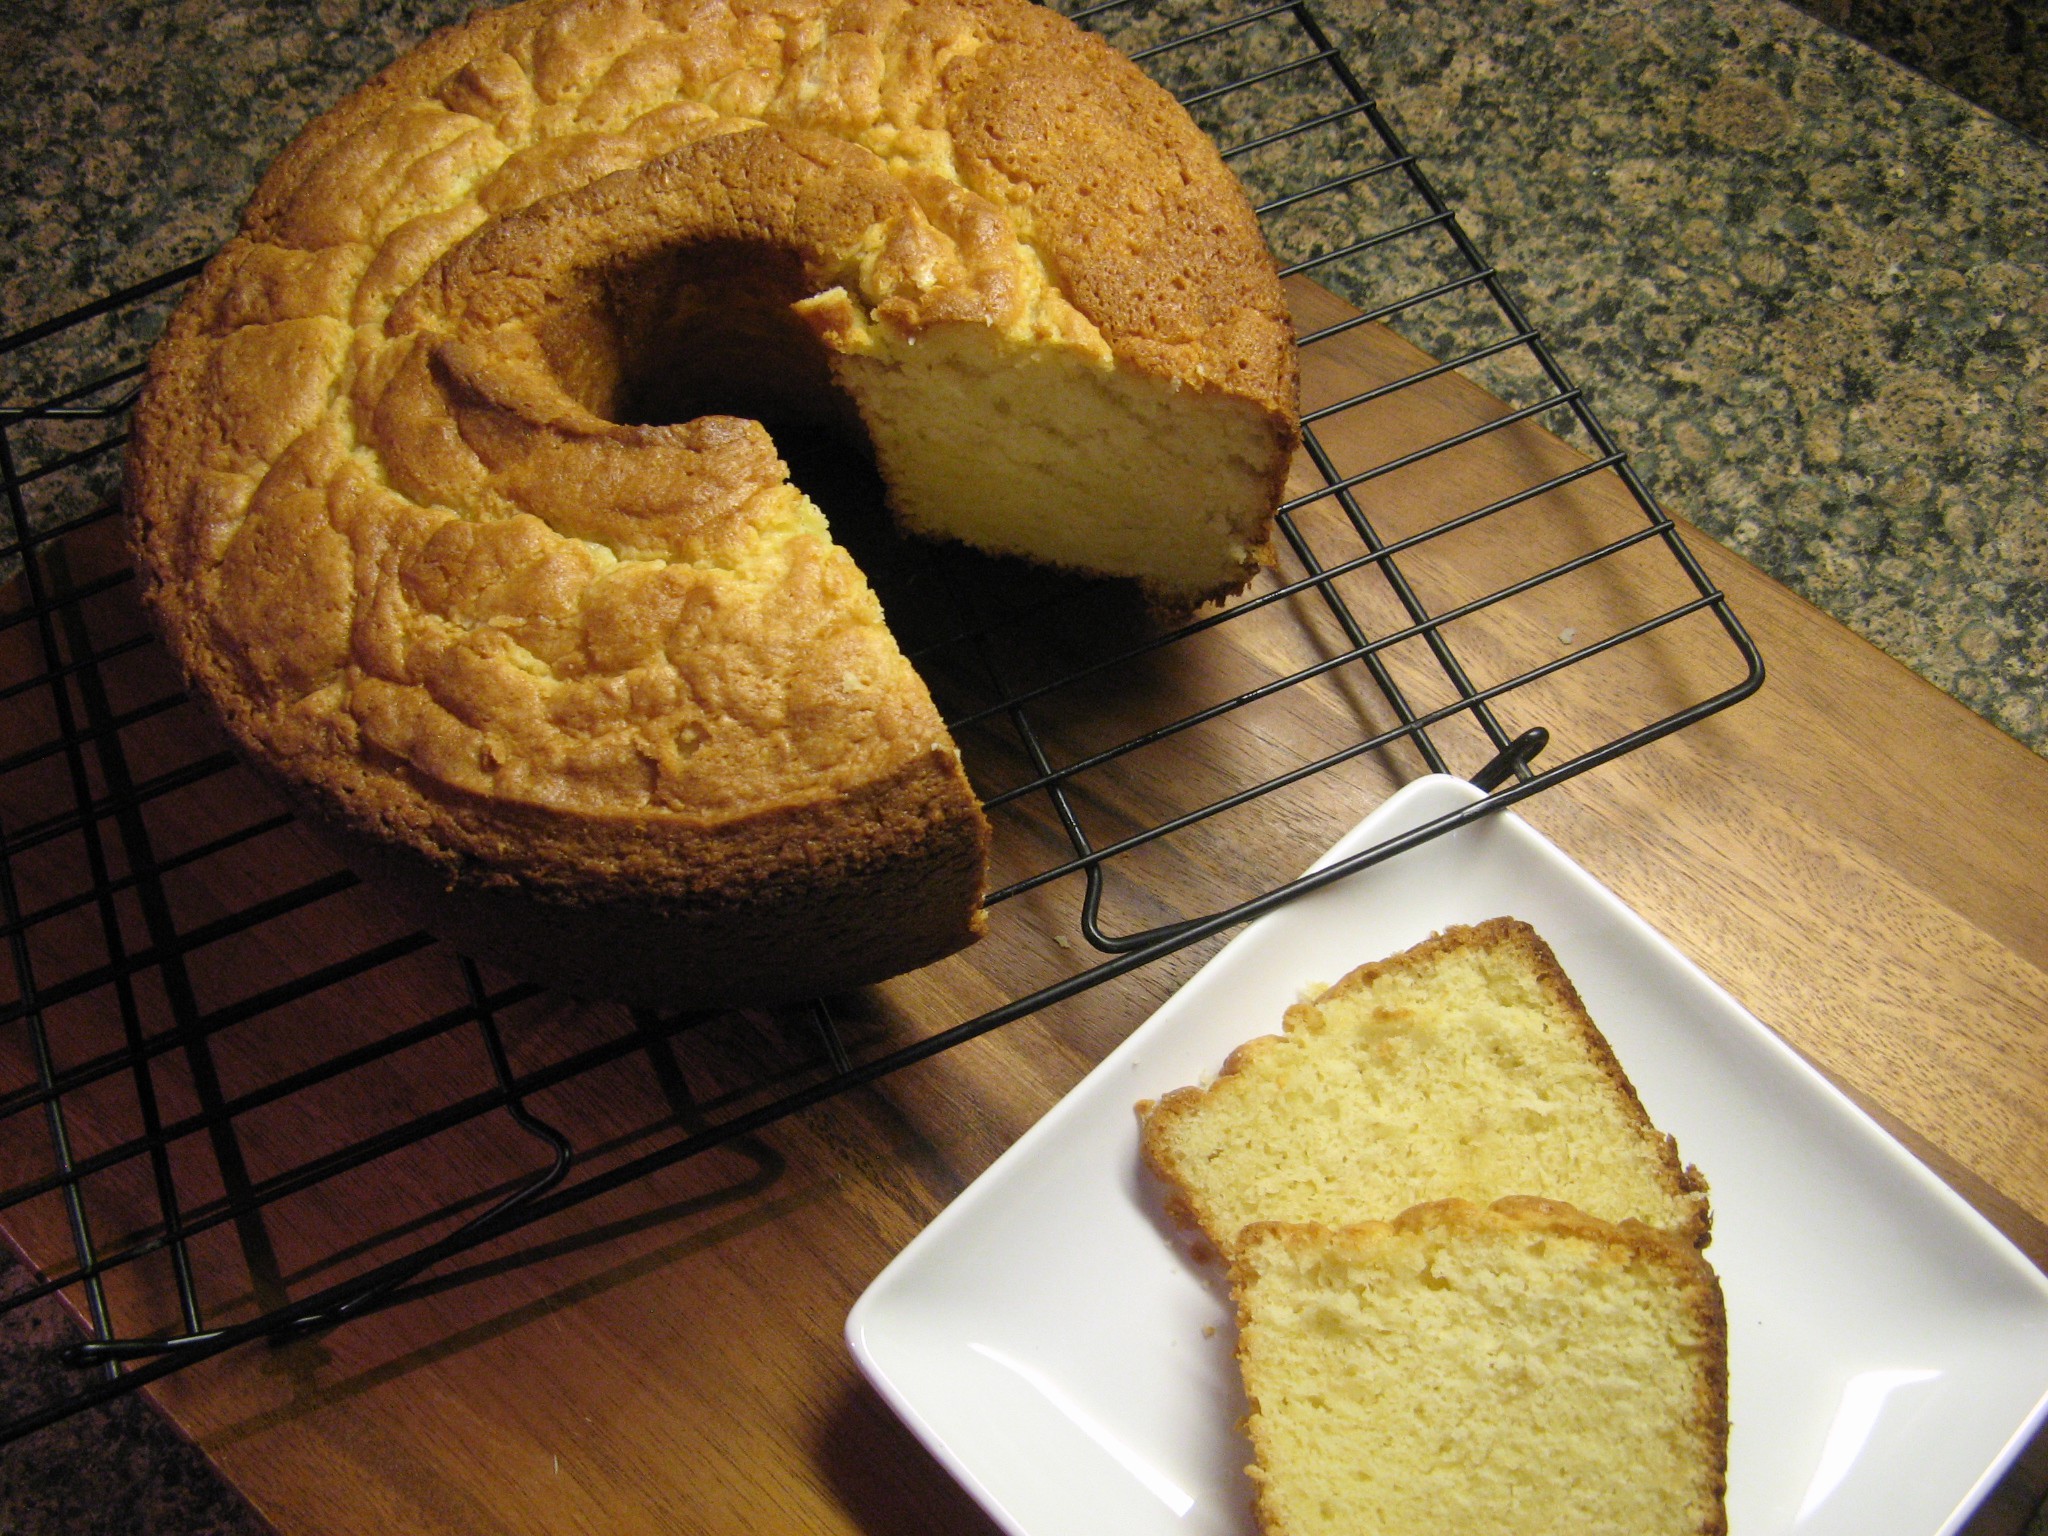
After baking the cake in a 325 F preheated oven for 55 minutes it came out perfect and smelled amazing.

IMG_6797

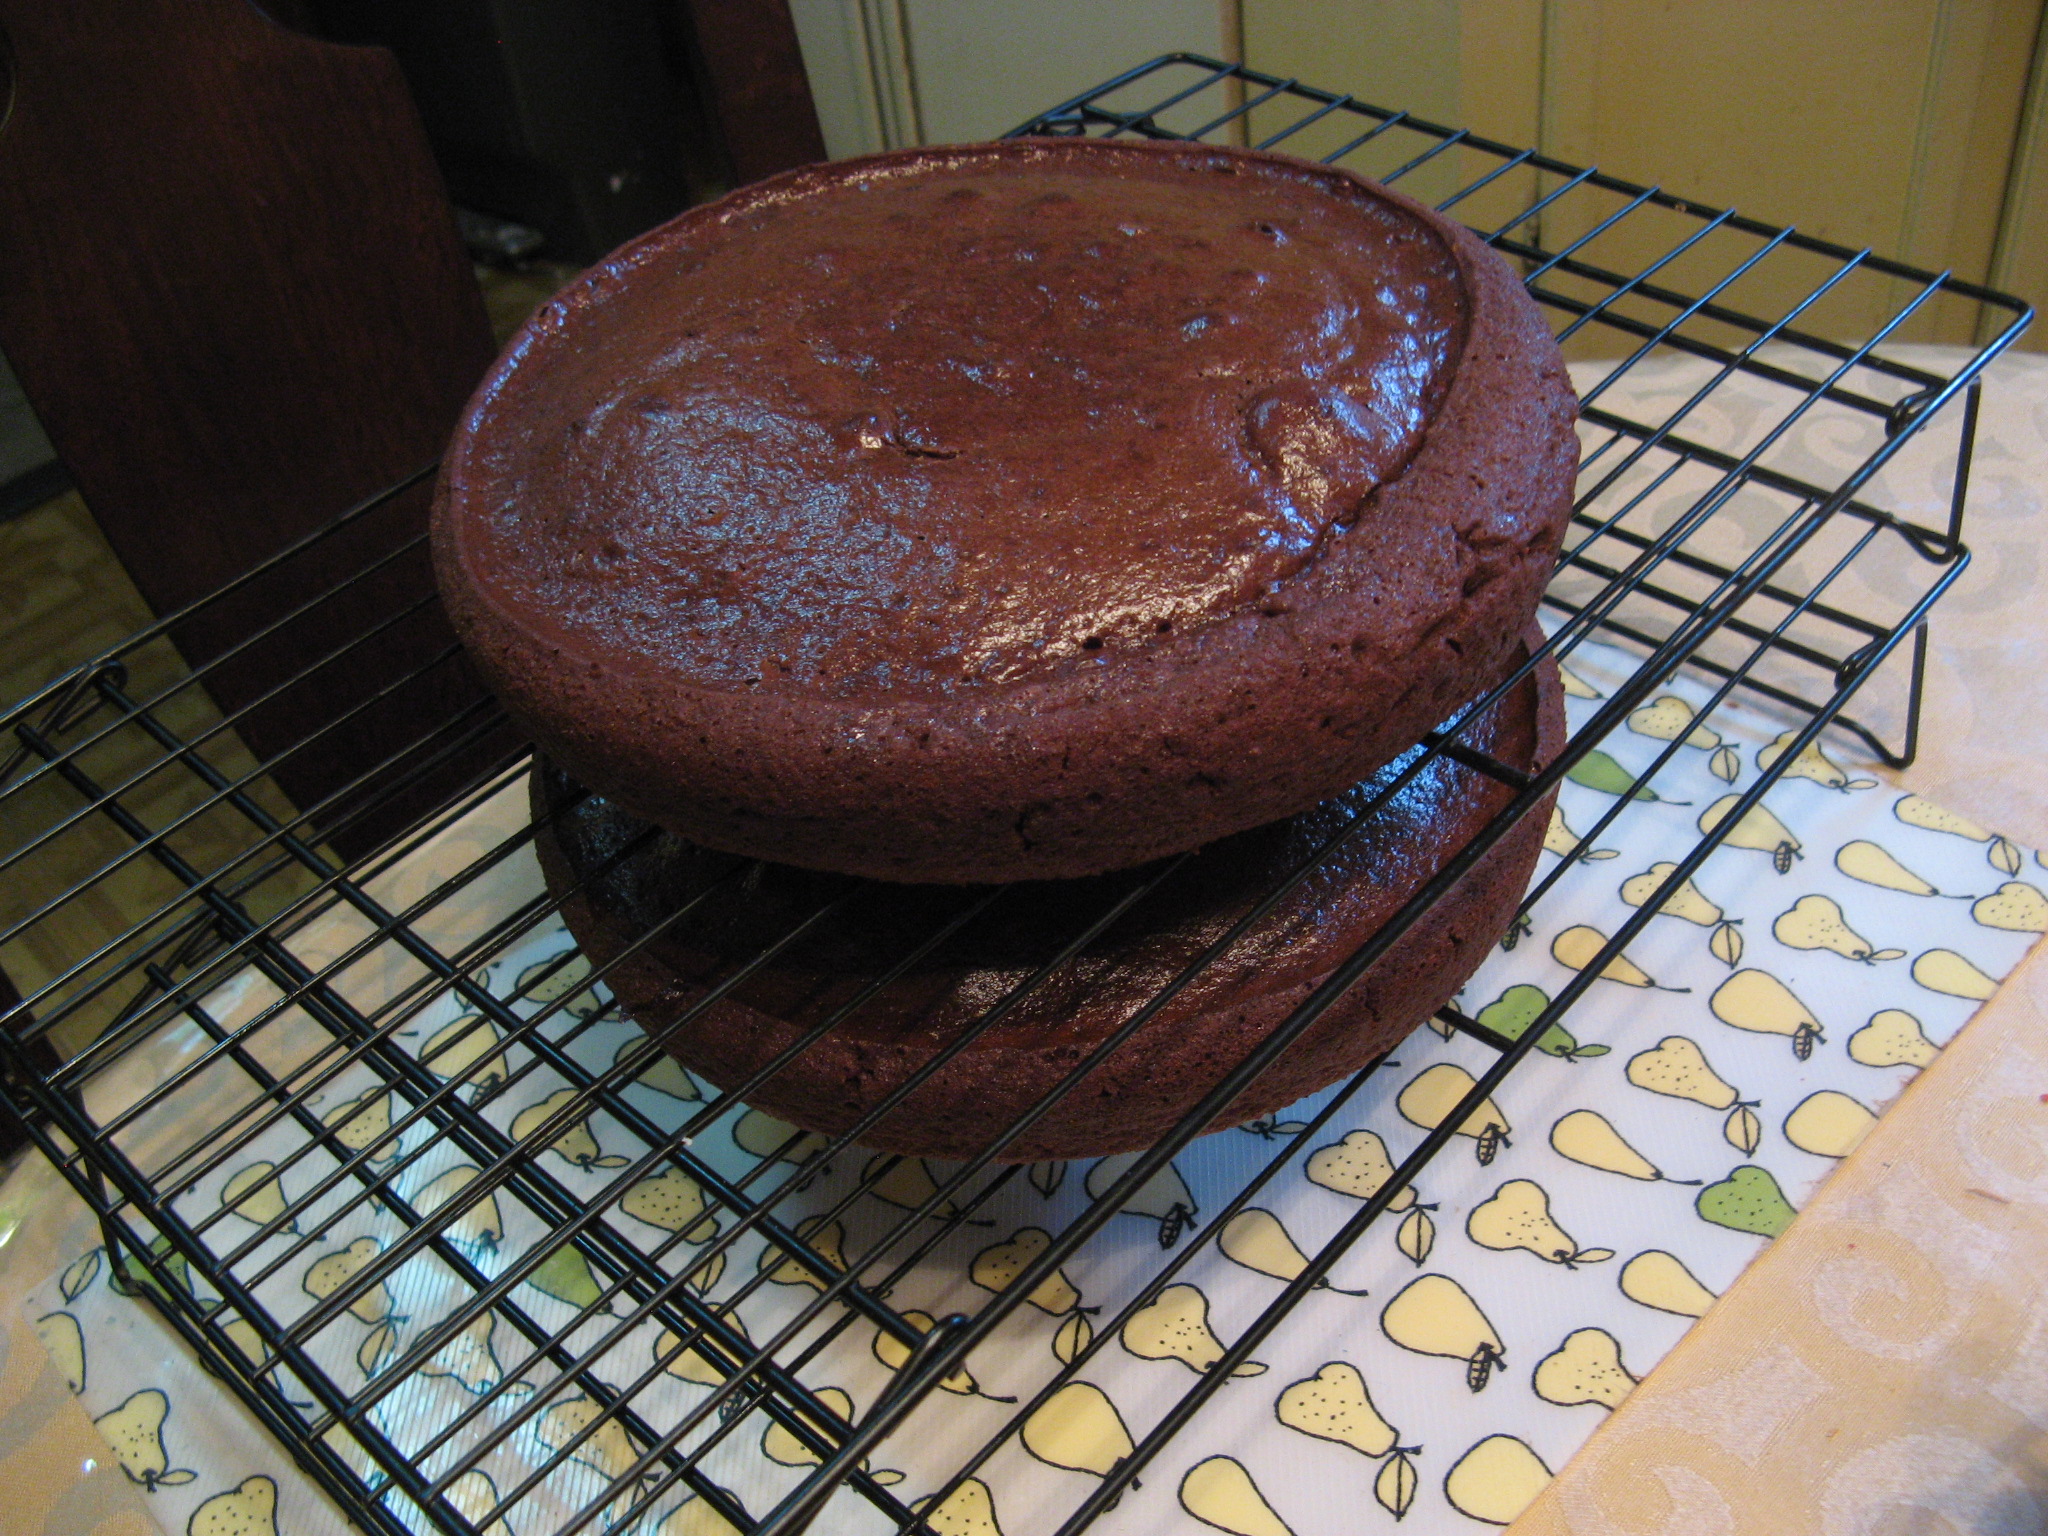
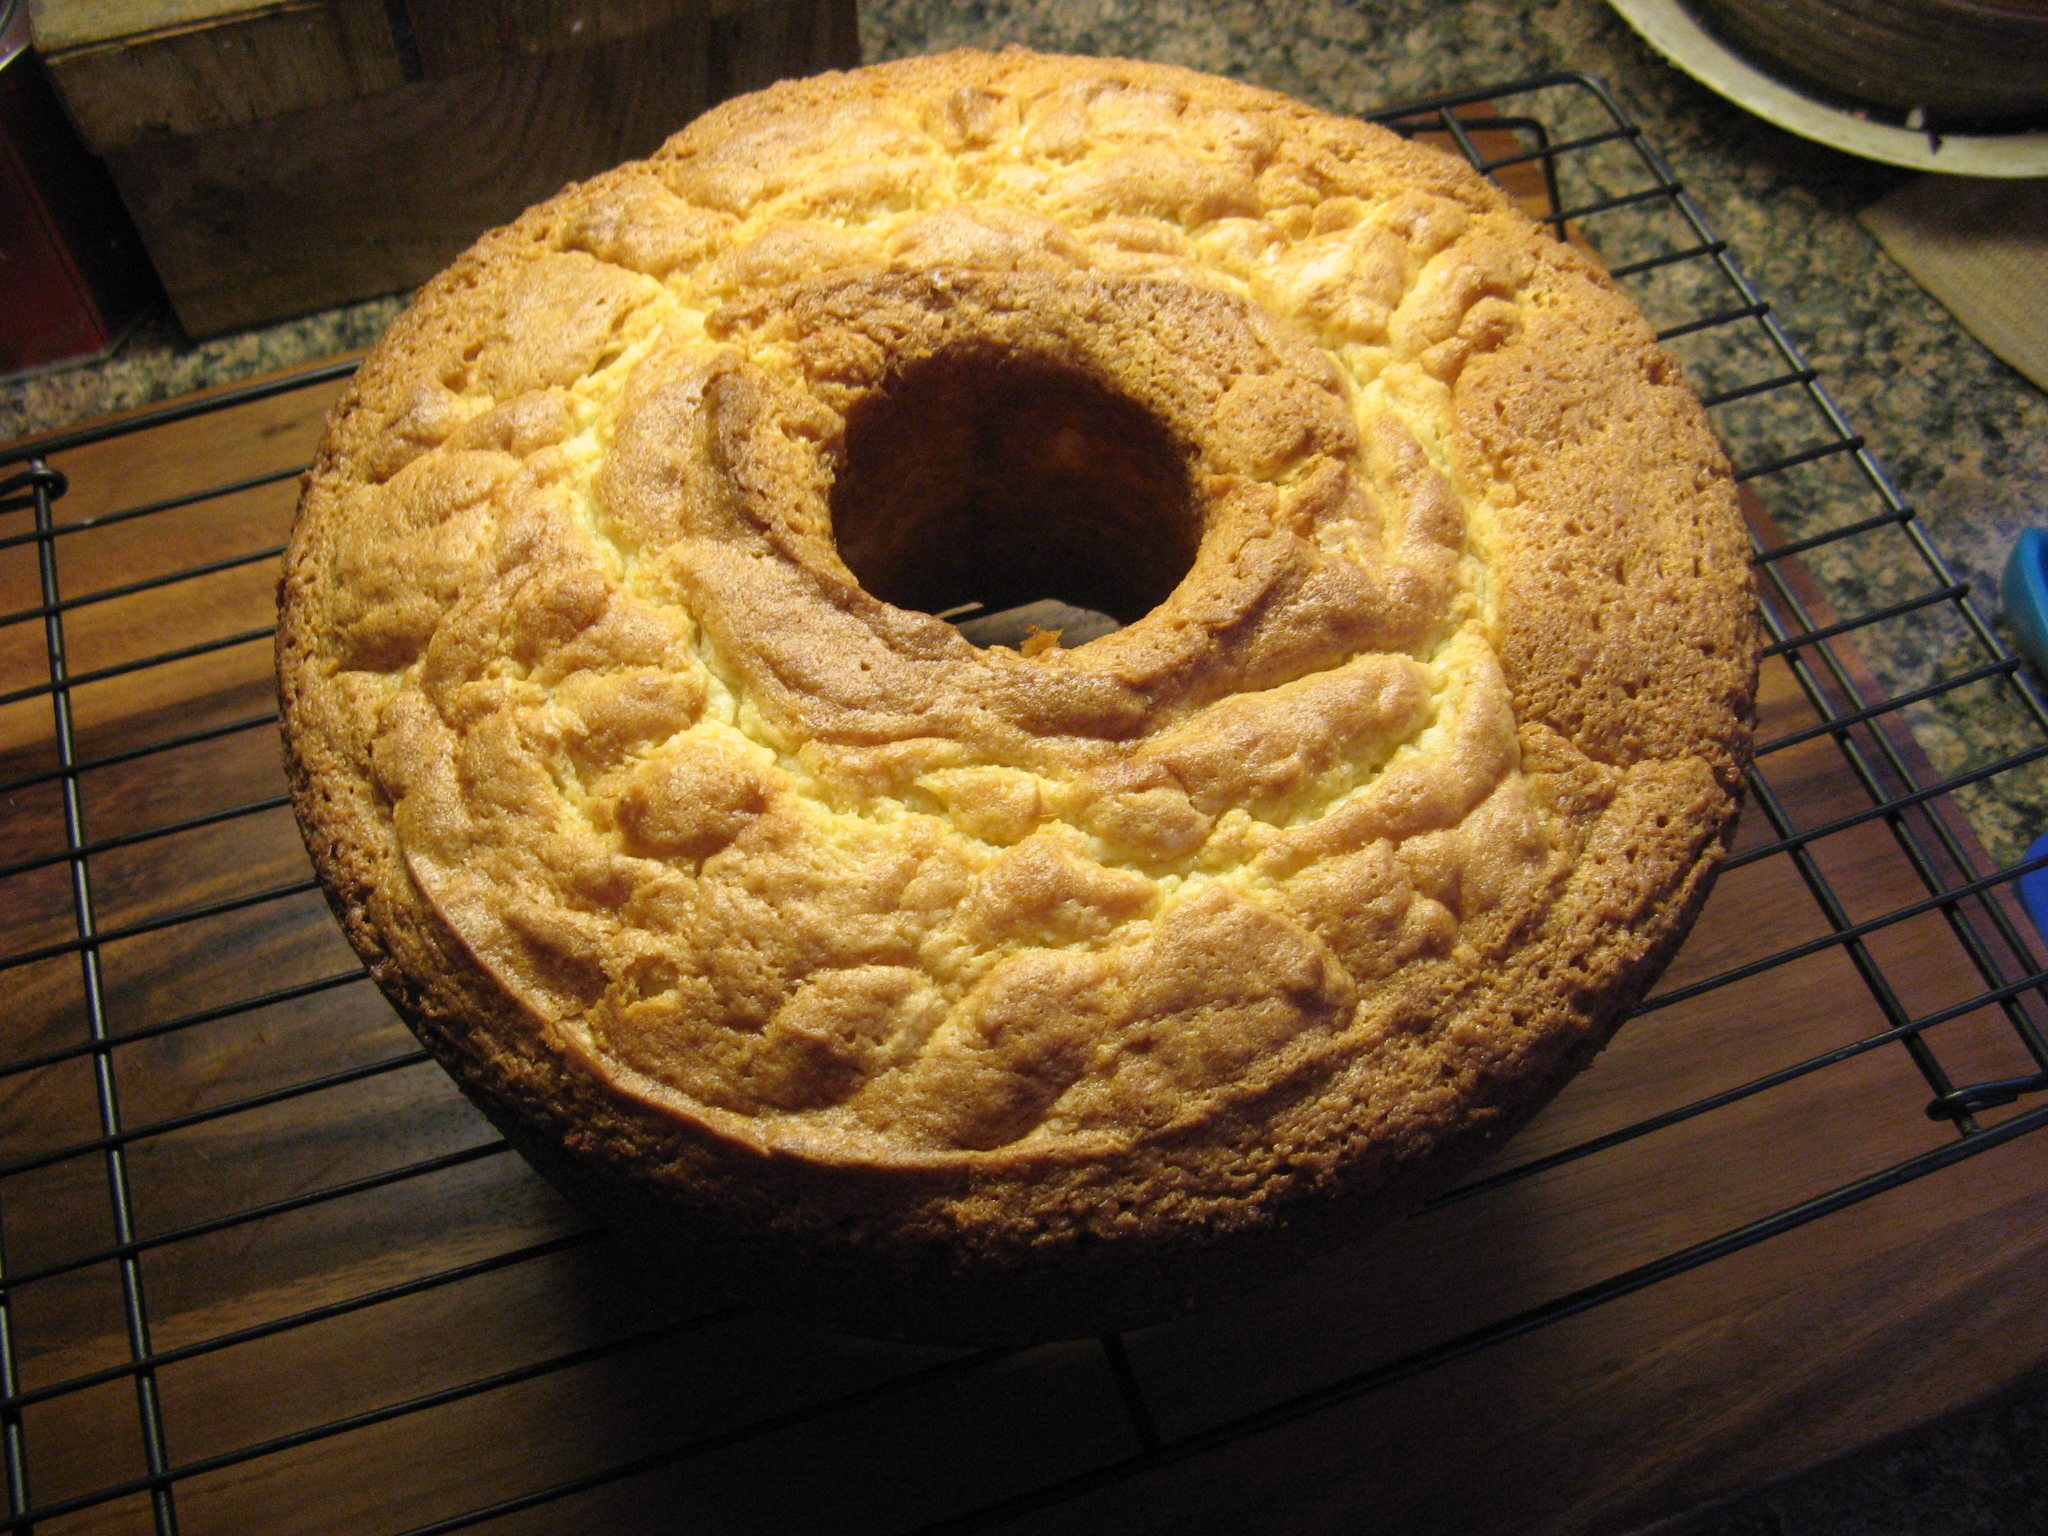
I let the cake cool in the pan for 10 minutes and then removed it and let it cool completely on a wire rack.

IMG_6800

I couldn’t wait to slice it into it and I wasn’t disappointed. This was the perfect comfort dessert for the cold weather this winter has brought. It had the dense familiarity of a pound cake while still being moist and a hint of almond flavoring thanks to the almond paste.

IMG_6813

Almond Pound Cake – Adapted from here

Ingredients:

1 cup (2 sticks) unsalted butter, at room temperature

2 cups sugar

1 8oz. package cream cheese, at room temperature

4 oz. almond paste, crumbled

1 tsp, vanilla extract*

6 eggs, at room temperature

2 cups flour

1 tbsp. baking powder

1 tsp, salt

*For an extra dose of almond flavor use almond extract

Directions:

1. Preheat the oven to 325 F. Grease and flour (or spray with a baking spray that includes flour) a fluted tube or tube pan.

2. Combine flour, baking powder and salt in a medium bowl and set aside.

3. Beat butter in a large bowl with an electric mixer on medium speed until creamy. Gradually add sugar, beating well after each addition. Continue beating until the mixture becomes light and fluffy. Add the cream cheese, almond paste and vanilla extract and beat for another minute. Add the eggs, one at a time, beating well after each addition. Add the flour mixture to the butter mixture and beat until well blended.

4. Pour the batter into the prepared pan and bake for about an hour or until golden brown and a cake tester comes out clean. Cool 10 minutes in the pan and then remove and let it cool completely on a wire rack.

Red Velvet Cupcakes

While it is safe to say we all like a dessert that will create a moment of utter bliss when we take that first bite, there are those times that all we want are tried and true classics that evoke nostalgia for a certain time and/or place or simply cannot be beat – i.e. a chocolate chip cookie, a yellow cake (or cupcake) with chocolate frosting or a chocolate cake (or cupcake) with vanilla frosting and more recently red velvet!

IMG_5832

I cannot say for sure what makes Red Velvet so special. Is it the bold red color? The flavor that is somewhere along the lines of chocolate thanks to the addition of cocoa powder? Or maybe it’s the creamy cream cheese frosting? Who knows, all I know is that it’s delicious!

IMG_5844

I began making the cupcakes by beating together butter and sugar until it was light fluffy.

IMG_5798

In then mixed in eggs, buttermilk, vanilla extract and a fluid ounce of red food coloring, which essentially gives this cake its name. But, I should note that there are recipes out there – like this one and this one –  that use beets instead to obtain that vivid red color. One more thing, if you wanted to make a red velvet cake in other colors you could simply just swap out the red food coloring for whatever color you wanted; i.e. a purple velvet cake, pink velvet cake, green velvet cake, etc…

IMG_5799

By hand I then stirred in baking soda and vinegar and finally flour, cocoa powder and salt which I had combined in another bowl.  I chose to incorporate these ingredients into the mixture by hand so I wouldn’t accidentally overbeat the batter which would turn out dense and dry cupcakes as opposed to the light and fluffy ones these turned out to be.

IMG_5801

I then divided the batter among paper lined cupcake tins and baked them in a 350 F preheated oven for twenty minutes.

IMG_5806

After the cupcakes had cooled it was time to frost them. I opted to frost them with a Cream Cheese Frosting as I think it’s the best flavor to enhance the flavors of the red velvet cake. I have had them with buttercream frosting and it’s just not the same.

IMG_5814

I also sprinkled a few of the cupcakes’ with red velvet cake crumbs and they turned out tasting just as good as they looked!

IMG_5851

Red Velvet Cupcakes

Makes 20 Cupcakes

Ingredients:

1/2 cup butter

1 1/2 cups sugar

2 eggs

1 cup buttermilk

1 fluid ounce red food coloring

1 teaspoon vanilla extract

1 1/2 teaspoons baking soda

1 tablespoon distilled white vinegar

2 cups all-purpose flour

1/3 cup unsweetened cocoa powder

1 teaspoon salt

Directions:

1. Preheat oven to 350 degrees F. Line two muffin pans with 20 paper baking cups.

2. In a large bowl, beat the butter and sugar with an electric mixer until light and fluffy. Mix in the eggs, buttermilk, red food coloring and vanilla. Stir in the baking soda and vinegar. Combine the flour, cocoa powder and salt; stir into the batter just until blended. Spoon the batter into the prepared cups, dividing evenly.

3. Bake in the preheated oven until the tops spring back when lightly pressed, 20 to 25 minutes. Cool in the pan set over a wire rack. When completely cooled frost.

Cream Cheese Frosting

Ingredients:

2 – 8 ounce packages cream cheese, softened

1/2 cup butter, softened

2 cups sifted confectioners’ sugar

1 teaspoon vanilla extract

Directions:

In a medium bowl cream together the cream cheese and butter until creamy. Mix in the vanilla, and then gradually stir in the confectioners’ sugar.

Nilla Wafer Cupcakes with Banana Cream Cheese Frosting

I have a confession to make; I have never had a s’more. It sounds like a good combination, a roasted marshmallow sandwiched between two graham crackers and a piece of chocolate; then again, I am not a big fan of marshmallows. I used to love them as a child but somewhere along the way I just wasn’t as keen on them as I got older. And then recently, in the July issue of Real Simple magazine, I came across a recipe for S’mores Cupcakes that I thought of trying but then I had the idea of swapping out the graham cracker crumbs in the cupcake for Nilla Wafer crumbs and because I didn’t think that the marshmallow and chocolate ganache would be the right topping for it I decided to create a banana cream cheese frosting to top it off.

IMG_4483

To begin I used a food processor to turn approximately twenty-five Nilla Wafer cookies into crumbs.

IMG_4458

I then whisked the crumbs in with flour, baking powder and salt.

IMG_4459

In another bowl I creamed together butter and sugar until it was light and fluffy and then added in two eggs – one at a time – and finally vanilla extract. It was then time to add the crumb mixture along with whole milk to this mixture.

IMG_4461

I alternated between the crumb mixture and milk, beginning and ending with the crumb mixture, until the batter came together.

IMG_4462

Using my trusted ice cream scoop I filled a 12-cup muffin tin lined with paper liners.

IMG_4466

After baking for a little over 20 minutes (I rotated the tin halfway through) the cupcakes were done. I let them cool in the tin for 10 minutes before removing them and letting them cool completely on a wire rack.

IMG_4471

And then it was time for the frosting… To begin I used an electric mixer to beat an overripe banana to “liquefy” it.

IMG_4475

Following that I added in one stick of butter and an 8 oz. bar of cream cheese – both at room temperature – and creamed them together until they were incorporated. To sweeten the frosting a bit I added in 1/2 cup of confectioners’ sugar 1/4 cup at a time. I ended up with a frosting that was quite fluffy.

IMG_4476

While it wouldn’t have been a bad idea to let the frosting sit in the refrigerator for a few minutes so it could stiffen up a bit, I opted to frost with it immediately.

IMG_4480

Final verdict… A winning flavor combination!

IMG_4489


Nilla Wafer Cupcakes – Adapted from here

Makes 12

1 cup Nilla Wafer crumbs (from 25-30 crackers – If you have any extra crumbs you can use them as a topping for the cupcakes)

1 cup all-purpose flour, spooned and leveled

1 1/2 teaspoons baking powder

1/2 teaspoon fine salt

1/2 cup (1 stick) unsalted butter, at room temperature

3/4 cup sugar

2 large eggs

1 teaspoon pure vanilla extract

3/4 cup whole milk

1. Heat the oven to 350 F and line a standard 12-cup muffin tin with paper liners. Whisk together the Nilla Wafer crumbs, flour, baking powder and salt in a medium bowl.

2. Beat the butter and sugar in a separate bowl with an electric mixer until light and fluffy, 2 to 3 minutes. Beat in the eggs, one at a time, then the vanilla extract, scraping down the sides of the bowl as necessary. Reduce the mixer to low and add the dry ingredients and milk, alternately, beginning and ending with the dry ingredients and mixing well between additions. Mix until just combined.

3. Divide the batter among the muffin cups. Bake, rotating once, until a toothpick inserted in the center of a cupcake comes out clean, 20 to 24 minutes. Cool in the tin for 10 minutes; transfer to a wire rack to cool completely.


Banana Cream Cheese Frosting

1 overripe banana

1/2 cup (1 stick) unsalted butter, at room temperature

8 oz. (1 bar) cream cheese, at room temperature

1/2 cup confectioners’ sugar

1. Beat the banana with an electric mixer on medium speed to “liquefy” it. Add the butter and cream cheese and continues mixing until all of the ingredients are well combined.

2. Beat in the confectioners’ sugar in 2 additions – 1/4 cup at a time. Continue mixing until the sugar has been completely incorporated.

Lemon Buttermilk Cupcakes with Cream Cheese Frosting

Hope you all had a wonderful 4th on Friday and that the rest of your holiday weekend was good. As for me, the 4th was a bit of a washout due to rain but the rest of the weekend was beautiful which meant I was able to do some yard work. The rain wasn’t all that bad though, it gave me the perfect excuse to stay in and bake some patriotic themed cupcakes. I settled on making Lemon Buttermilk Cupcakes with Cream Cheese Frosting. I should note that the recipe for the Lemon Buttermilk was originally for a loaf cake, but, I decided to turn it into cupcakes and add some frosting.  
IMG_4319
I began by whisking together the dry ingredients -flour, baking powder and salt – in one bowl and the wet ingredients – oil, sugar, buttermilk, eggs, lemon zest and juice – in another.
IMG_4290 IMG_4291
After whisking those ingredients together by hand I opted to use my hand mixer to whisk all of the ingredients together.
IMG_4292
I then used an ice cream scoop – I find it’s always the perfect size for scooping cupcake batter – to fill patriotic themed cupcake liners.
IMG_4297 IMG_4298
I then baked them in a 350 F preheated oven for 20 minutes – rotating the tins halfway through. After letting the cupcakes cool for a few minutes in the pan I removed them and let them cool completely on a wire rack.
IMG_4307 IMG_4310
I then whipped up a batch of Cream Cheese Frosting and used a large open star tip to pipe the frosting onto the cupcakes.
IMG_4311
And since these were patriotic themed cupcakes I added some red and blue with stars and stripes sprinkles, blueberries and strawberries and blueberries and raspberries.
IMG_4353
Final verdict… Lemon & Cream Cheese are a winning combination!
IMG_4330

Lemon Buttermilk Cupcakes – adapted from here

Makes 14 Cupcakes

Ingredients:

1/2 cup canola oil

2 cups all-purpose flour, spooned and leveled

2 teaspoons baking powder

1/2 teaspoon kosher salt

1 1/2 cups sugar

3/4 cup buttermilk

2 large eggs

1 tablespoon finely grated lemon

1/4 cup lemon juice

1/2 teaspoon vanilla extract

Directions:

1. Heat oven to 350 F. Line a cupcake tin with paper liners.

2. In a large bowl, whisk together the flour, baking powder and salt; set aside

3. In a medium bowl, whisk together the oil, sugar, buttermilk, eggs, lemon zest and juice. Add to the dry ingredients.

4. Divide the batter evenly among the lined cups and bake until a cake tester comes out clean, about 20 minutes, rotating the tins halfway through.

5. Cool the cupcakes in the tins on a wire rack for a few minutes and then remove them and let them cool completely on the wire rack.

6. Frost and enjoy!


Cream Cheese Frosting

Ingredients:

8oz. cream cheese, room temperature

1/2 cup (1 stick) unsalted butter, room temperature

2 cups Confectioners’ sugar, sifted

1 teaspoon vanilla extract

Directions:

1. Cream together the cream cheese and butter with an electric mixer

2. With the mixer on low speed add the confectioners’ sugar 1 cup at a time until smooth and creamy

3. Beat in the vanilla extract

Comfort Desserts

It’s been about a month since I last posted and it’s not for the lack of baking, beading or knitting. I did a bunch of baking for a friend’s birthday earlier this month but stuck to treats that were among his favorite and ones that I have blogged about before- my newly discovered pumpkin doughnuts, mini chocolate-chip cheesecakes and a strawberry shortcake birthday cake. As for knitting, I recently completed two scarves which I plan to post about soon – a ruffle scarf for a friend and a cowl neck for myself. I liked the ruffle scarf so much I am planning on making one for myself. And finally beading, after about a four month hiatus I finally picked up some beading needles and started making jewelry again. But in between all of that I did try out two recipes for what I like to call comfort desserts – a pound cake and a rice pudding. I know rice pudding is not most people’s cup of tea when it comes to desserts, but it has been a favorite of mine for quite some time. Both of these recipes are super easy to follow and turn out some delicious treats.

Grandma’s Pound Cake

Prep Time: 15 Minutes

Total Time: 1 hour 15 Minutes

Servings: 12

Ingredients:

2 cups flour

1 tbsp. baking powder

1 8 oz. pkg. cream cheese, softened

1 cup (2 sticks) butter, softened

2 cups sugar

1 tsp. vanilla

6 eggs

Directions:

Heat oven to 350ºF.

Mix flour and baking powder; set aside. Beat cream cheese, butter, sugar and vanilla in large bowl with mixer until blended. Add eggs, 1 at a time, beating after each until blended. Gradually beat in flour mixture on low speed until blended.

Pour into 12-cup fluted tube or 10-inch tube pan sprayed with cooking spray.

Bake 1 hour or until toothpick inserted near center comes out clean. Cool in pan 10 min. Loosen cake from sides of pan with knife. Invert cake onto wire rack; gently remove pan. Cool cake completely.

IMG_1510

Arborio Rice Pudding

Prep Time: 5 Minutes

Total Time: 40 Minutes

Servings: 4

Ingredients:

1 cup water

pinch of salt

1/2 tbsp. butter

1/2 cup Arborio rice

2 cups whole milk

4 tbsp. sugar

1 tsp. vanilla extract

Few dashes ground cinnamon

Whipped cream, for serving

Directions:

Bring water, salt, and butter to a boil in a medium saucepan. Add the rice, return to a boil, and then reduce the heat to the lowest setting. Shake the pan occasionally and cook until rice has absorbed the water but it still al dente, about 15 minutes.

Bring milk, sugar, vanilla, and a few dashes of cinnamon to a simmer in a separate saucepan. Add the cooked rice and cook at a simmer over medium-low heat until rice absorbs most of the milk and mixture starts to get thick and silky, about 10 to 15 minutes.

Transfer pudding to a large bowl and cool to room temperature. Place in refrigerator until cool and set. Serve with whipped cream and a dash more cinnamon.

IMG_1578

Enjoy!

A Quintessential Fall Birthday Cake

A good friend recently celebrated a birthday and a few days prior to it I asked her what kind of cake she would like me to bake for her and she responded with an apple cake. The only apple cake I could recall making was an Apple Walnut Cake that really wasn’t what I would consider to be a birthday cake. So, after a few texts back and forth we settled on an apple cake with walnuts with a cinnamon cream cheese frosting. While her birthday technically falls in the summer according to the calendar it’s unofficially in the fall since it is after Labor Day, hence this cake being the quintessential fall birthday cake. Since I haven’t mastered creating my own recipes I did a few internet searches to find a recipe for the cake and frosting. After coming up empty handed I decided to follow the recipe for my favorite carrot cake and substitute grated apples in lieu of the carrots and for the frosting, I made my favorite cream cheese frosting and added in ground cinnamon in small increments until I reached my desired flavor.

To begin I prepped my Granny Smith Apples…

IMG_1301

First I peeled them…

IMG_1303

Then cored and sliced them using an apple divider…

IMG_1305

And finally grated them using a food processor.

IMG_1308

I started the batter by combining the dry ingredients and setting it aside.

IMG_1313

I then creamed butter and sugar together.

IMG_1316

Once the butter and sugar were mixed together well I added in the eggs and dry ingredients by alternating between the two.

IMG_1318

And them some vanilla extract.

IMG_1322

It was then time to add in the grated apples.

IMG_1323

And finally I folded in some chopped walnuts.

IMG_1325

Once the walnuts were incorporated well into the batter it was time to divvy it up among my prepared pans.

IMG_1326 IMG_1327

Once divided I popped them into a 350 degrees oven.

IMG_1328

After baking for 25 minutes the cakes were done.

IMG_1331

I let them cool for a bit in the pans and then inverted them onto cooling racks to let them cool completely.

IMG_1332

After the cakes cooled completely I made the Cinnamon Cream Cheese Frosting by combing cream cheese, butter, confectioners’ sugar, vanilla extract and of course cinnamon.

IMG_1333

I spread frosting between each of the layers…

IMG_1336

And then crumb coated the cake and refrigerated it for a bit while I made another batch of frosting to finish covering the cake and for decorating.

IMG_1337

After about twenty minutes in the fridge I finished frosting it…

IMG_1339

And then I added some decorations and scattered some walnuts along the sides of the cake prior to writing a birthday message on it.

IMG_1343

Final verdict: It was a hit… Definitely something I’ll make again!

Apple Walnut Cake
(Adapted from Gigi’s Carrot Cake)
Ingredients
3 sticks unsalted butter
2 cups granulated sugar
2 cups all-purpose flour
2 teaspoons baking soda
2 teaspoons ground cinnamon
1 teaspoon salt
4 large eggs
1 teaspoon pure vanilla extract
3 cups grated apples (I used Granny Smith apples)
1 cup chopped walnuts
Directions
Preheat the oven to 350 degrees F.
Spray 3 (9-inch) cake pans with baking spray and set aside. In a large bowl, cream the butter with an electric mixer. Add the sugar, and beat. In a medium bowl combine the flour, baking soda, cinnamon, and salt and mix well.
Add the dry ingredients, alternating with the eggs, beating well after each addition. Add the vanilla extract and mix. Add the apples and beat on medium speed until well incorporated, about 2 minutes. Fold in the walnuts. Divide the batter between the 3 cake pans and bake until set and a cake tester inserted into the middle comes out clean, 25 to 30 minutes. Remove from the oven and let rest in the cake pans for 10 minutes. Invert onto wire racks, remove from the pans, and let cool.
Cinnamon Cream Cheese Frosting
Ingredients
2 8-oz packages cream cheese, softened
1 stick butter, softened
2 cups sifted confectioners’ sugar
1 teaspoon vanilla extract
1 teaspoon ground cinnamon
Directions
In a medium bowl cream together the cream cheese and butter until creamy. Add in the vanilla extract and then gradually add in the confectioners sugar. And finally mix in the ground cinnamon.

Sweetened Ricotta Cheesecake

Unbeknownst to me July 30th was National Cheesecake Day and coincidentally that day (I’m a little behind in my postings!) I decided to try out a Ricotta Cheesecake recipe from Marcela Valladolid that I came across in People magazine. What interested me in the recipe was that instead of using sugar as the sweetener it uses sweetened condensed milk. It was also super simple to follow which is always a plus.

I started off by making the crust. While I know there are traditionalist out there who like to crush their own graham crackers to make their crust – I’ve done it a few times and this recipe actually called for that as well – I am not a big fan of graham crackers so buying a box of them is a waste so I opt to buy them already crushed and ready to use for the specific purpose of making a crust.

IMG_0948
Along with my graham cracker crumbs, I needed butter and sugar from the crust.
IMG_0951
I mixed all of the ingredietns together…
IMG_0952
And then pressed the crumbs into the bottom of a 9-inch springform pand and about an inch and a half up the sides.
IMG_0956
After baking for 7 minutes I let the curst cool while I got to working on the cheesecake filling.
IMG_0964
The ingredients were basic: cream cheese, ricotta cheese, sweetened condensed milk, eggs, vanilla extract and orange zest.

IMG_0967

I started by beating together the cream cheese and the sweetened condensed milk.

IMG_0970  IMG_0971

Following that I added in the ricotta cheese, vanilla extract and orange zest.

Prior to adding in the eggs I couldn’t resist the temptation of trying the filling and I found it to be awfully sweet and was concerned that the final product would be so as well, but, after adding in each of the four eggs individually the sweetness level of the filling dropped considerably. While I know some people would say it’s not a smart idea to try batter with raw eggs in it I haven’t got sick yet… I’m going to go knock on some wood now!

IMG_0974 IMG_0975
And finally I poured the filling into the cooled crust.
IMG_0978
After baking for about 50 minutes in a 350 degrees oven the cheesecake was done and looked perfect – yes, it was a little brown, but, it didn’t crack which I was very happy about!
IMG_0980

I did attempt to make a quick strawberry topping for the cheesecake by heating strawberry jam, sugar and fresh strawberries in a saucepan on the stove, but, it was a completely fail. I believe the jam I used wasn’t the best quality and it produced a horrible flavor. Luckily though the cheesecake was perfect on its own.

IMG_0981

Ricotta Cheesecake

by Marcela Valladolid


18 cinnamon-sugar graham crackers

1/2 cup (1 stick) unsalted butter, melted

8 oz. cream cheese, softened

1 (14 oz.) can condensed milk

15 oz. fresh ricotta or requeson cheese

1 tbsp. vanilla extract

1 tsp. fresh orange zest

4 large eggs


1) Adjust oven rack to middle position. Preheat oven to 350 degrees.

2) Process graham crackers in food processor until finely crumbled. Add butter; process until blended. Pat crumbs over bottom and 1 1/2 inches up sides of a 9-inch springform pan. Place on baking sheet; bake 10 minutes until golden. Cool completely.

3) Beat cream cheese and condensed milk at medium speed in bowl of electric mixer until smooth. Add ricotta, vanilla, and orange zest; beat until smooth. Add eggs 1 at a time, beating well after each addition.

4) Pour mixture into cooled crust. Bake 50 minutes until cheesecake is puffed and golden and a tester inserted 1 inch from center comes out clean. Cool on wire rack for 35 minutes. Cover and chill at least 2 hours. Serve at room temperature.


Chocolate & Raspberries… Always A Good Combination

There’s nothing like a homemade birthday cake and whenever I bake one I usually let the honoree pick whatever they want – as was the case when I recently baked one for a friend’s mom. She had loved the Raspberry Cream Cheese frosting I used when I made the Lemon Cupcakes so I wanted to make a cake that would complement it and at the right moment I received an email from Real Simple with a Classic Chocolate Layer Cake recipe that sounded like the perfect match.

I started off by combining all of my dry ingredients (flour, sugar, cocoa powder, brown sugar, baking soda & salt) in a large bowl and whisking them together.

IMG_0739 IMG_0741

I then combined two sticks of unsalted butter and a cup of water in a small saucepan and brought it to a boil.

IMG_0743

Once it boiled and the butter was completed melted I added it to the dry ingredients.

IMG_0745

Once it was combined I added in two eggs one at a time.

IMG_0747

Then sour cream.

IMG_0748

And finally vanilla extract.

IMG_0749

I then divided the batter between two 9-inch round pans and baked it in a 350 degrees preheated oven for 35 minutes.

IMG_0751

I let the cakes cool completely before frosting them.

IMG_0756

I whipped up a batch of Raspberry Cream Cheese Frosting and folded in about a cup of fresh raspberries into half of the frosting and used it as the filling between the two cakes. I used the other half of the frosting to crumb coat the cake and then refrigerated it for about fifteen minutes so the filling and frosting could set. Meanwhile I made another batch of the frosting to cover and decorate the cake. I also used some fresh raspberries to decorate the cake and this was the final outcome…

IMG_0762

It looked and more importantly tasted delicious. Definitely something I’ll make again!

Classic Chocolate Layer Cake

Serves 8

Hands-On Time: 45m

Total Time: 2hr 00m

Ingredients

1  cup  unsalted butter (2 sticks), cut into pieces, plus more for the pans

2  cups  all-purpose flour, spooned and leveled

1 1/2  cups  granulated sugar

3/4  cup  unsweetened cocoa powder

1/2  cup  dark brown sugar

1  teaspoon  baking soda

1  teaspoon  kosher salt

2  large eggs

1/2  cup  sour cream

1  teaspoon  pure vanilla extract

Directions

1. Heat oven to 350º F. Butter two 8- or 9-inch round cake pans and line the bottom of each with a round of parchment paper.

2. In a large bowl, whisk together the flour, granulated sugar, cocoa powder, brown sugar, baking soda, and salt.

3. In a small saucepan, combine the butter and 1 cup water and bring to a boil. Add to the flour mixture and, using an electric mixer, mix until combined. Beat in the eggs, one at a time, then the sour cream and vanilla.

4. Divide the batter evenly between the prepared pans. Bake until a toothpick inserted in the center of each cake comes out clean, 35 to 45 minutes. Cool in the pans for 20 minutes, then turn out onto a rack to cool completely.

Raspberry Cream Cheese Frosting

Ingredients

1 8 oz. package cream cheese, softened

1 stick unsalted butter, softened

1 teaspoon vanilla extract

2 cups confectioners’ sugar

1/4 cup seedless raspberry jam

Directions

Begin by creaming the cream cheese and butter together and then add in the vanilla extract. Reduce the speed of the mixer to low and add in the confectioners’ sugar, once the sugar is incorporated add in the raspberry jam and continue mixing on medium speed.