Lemon Ricotta Fritters

It’s the first Friday in June and you know what means… Happy National Donut Day! A little history just in case you didn’t know, this food holiday started in 1938 by the Chicago Salvation Army as a means to raise money during the Great Depression and to honor the WWI Salvation Army volunteers who helped prepare baked goods, including donuts, and coffee for soldiers. I wonder if this could possibly be the oldest “food holiday”, I tried to do some research but came up empty-handed. In honor of the day I am sharing with you a recipe for Lemon Ricotta Fritters.

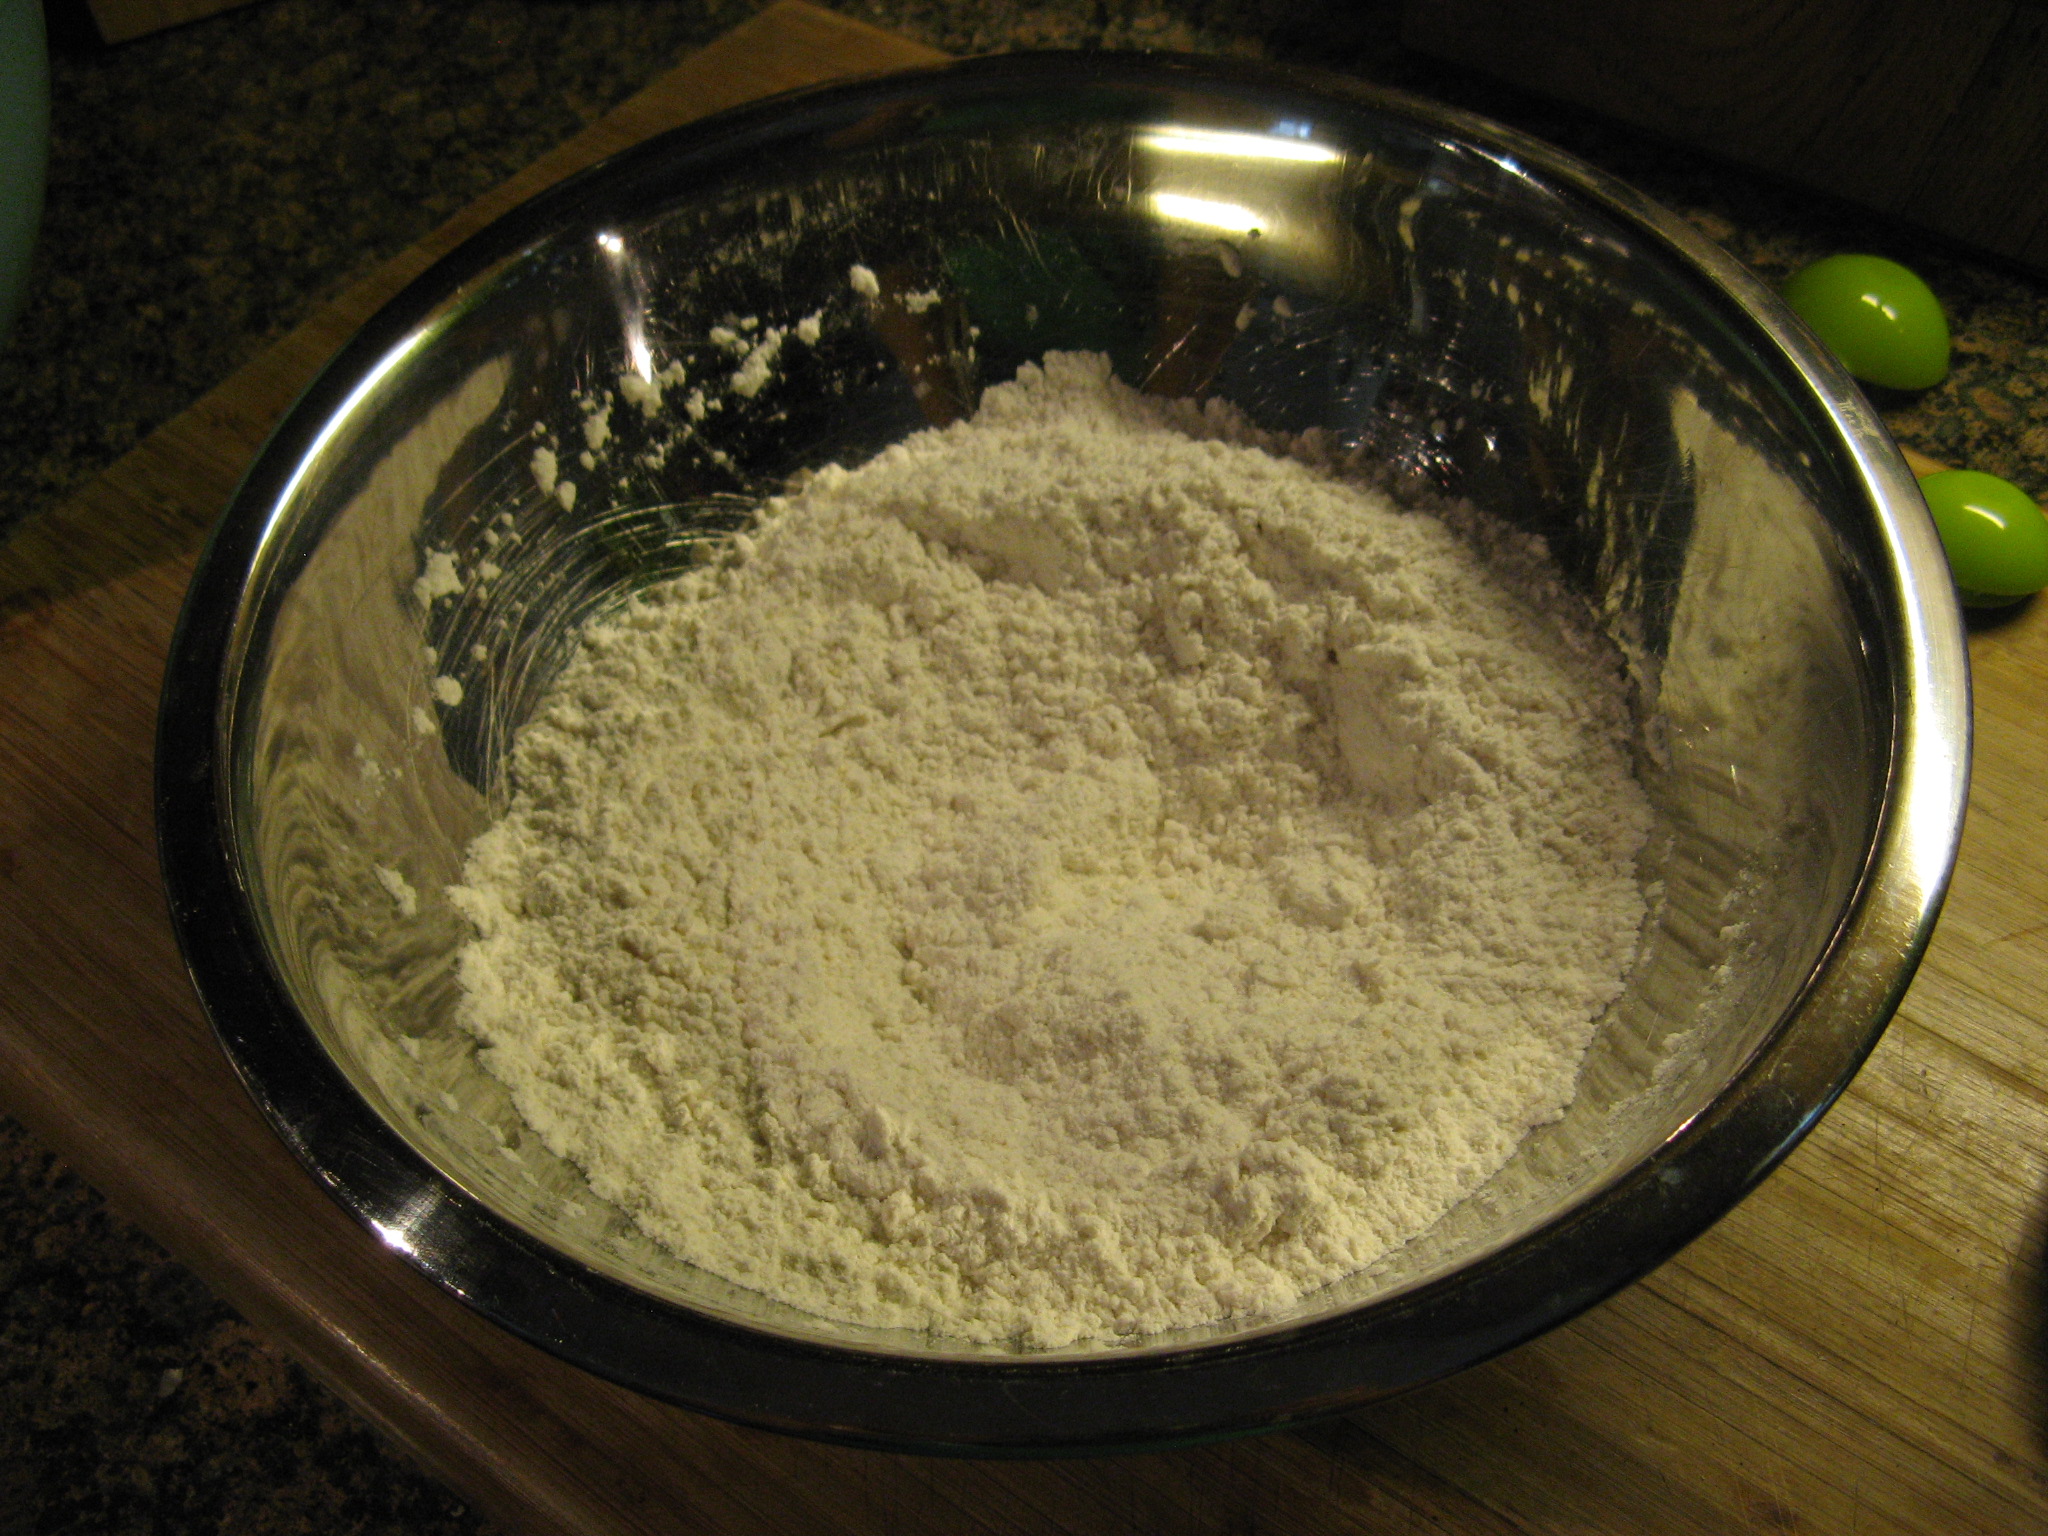
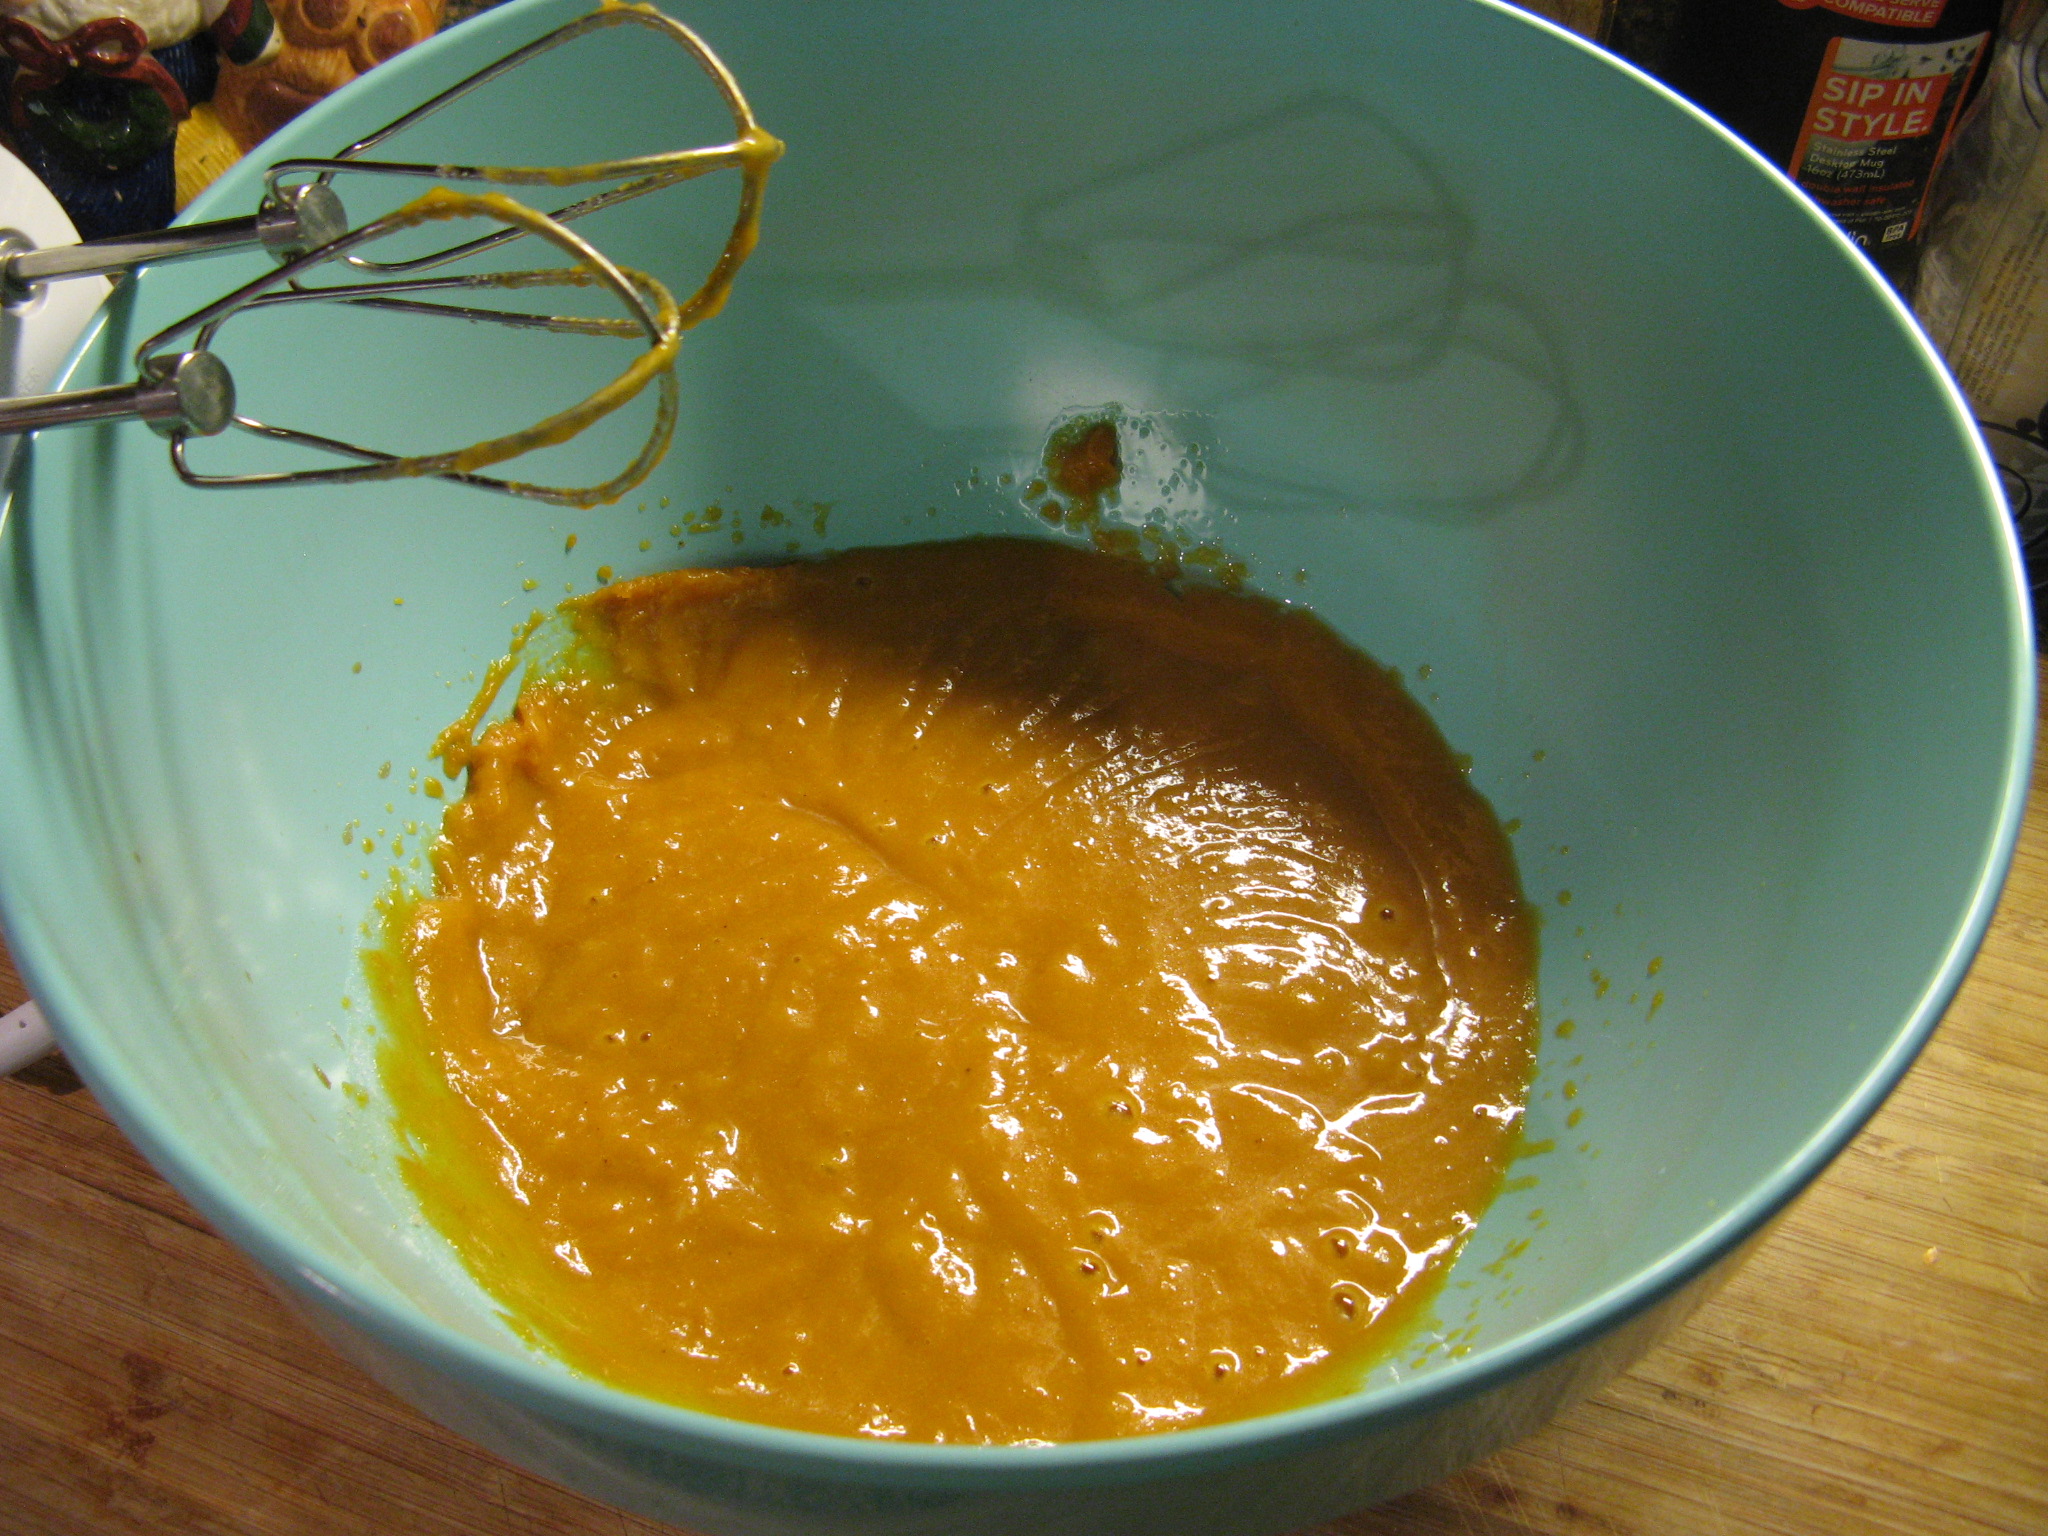
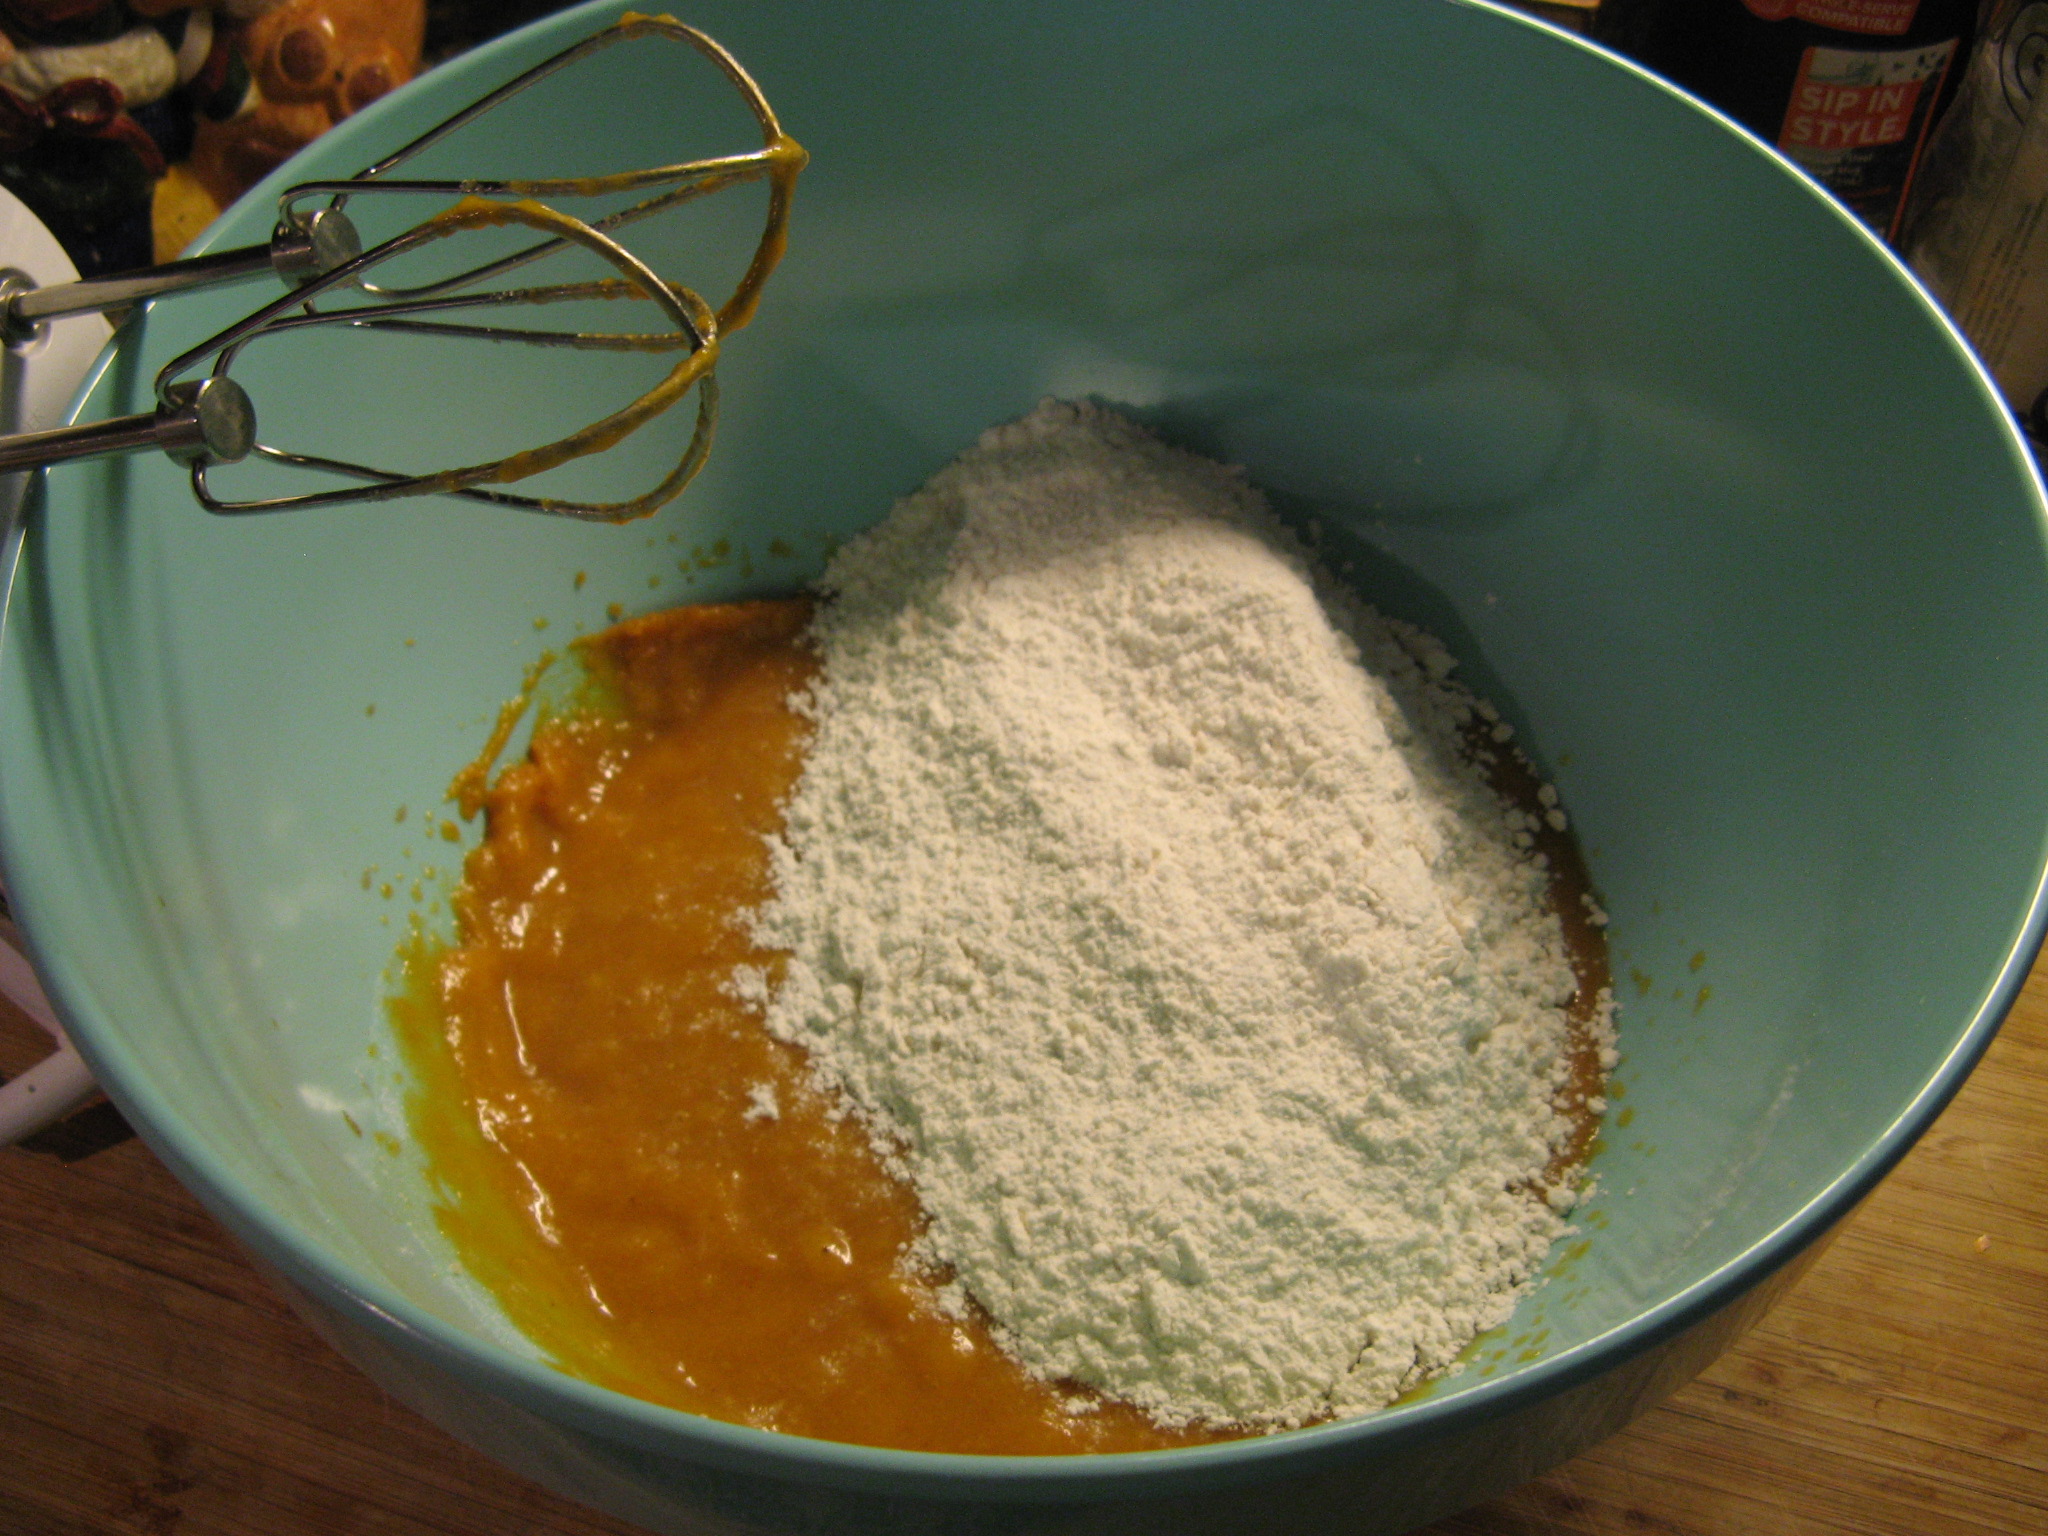
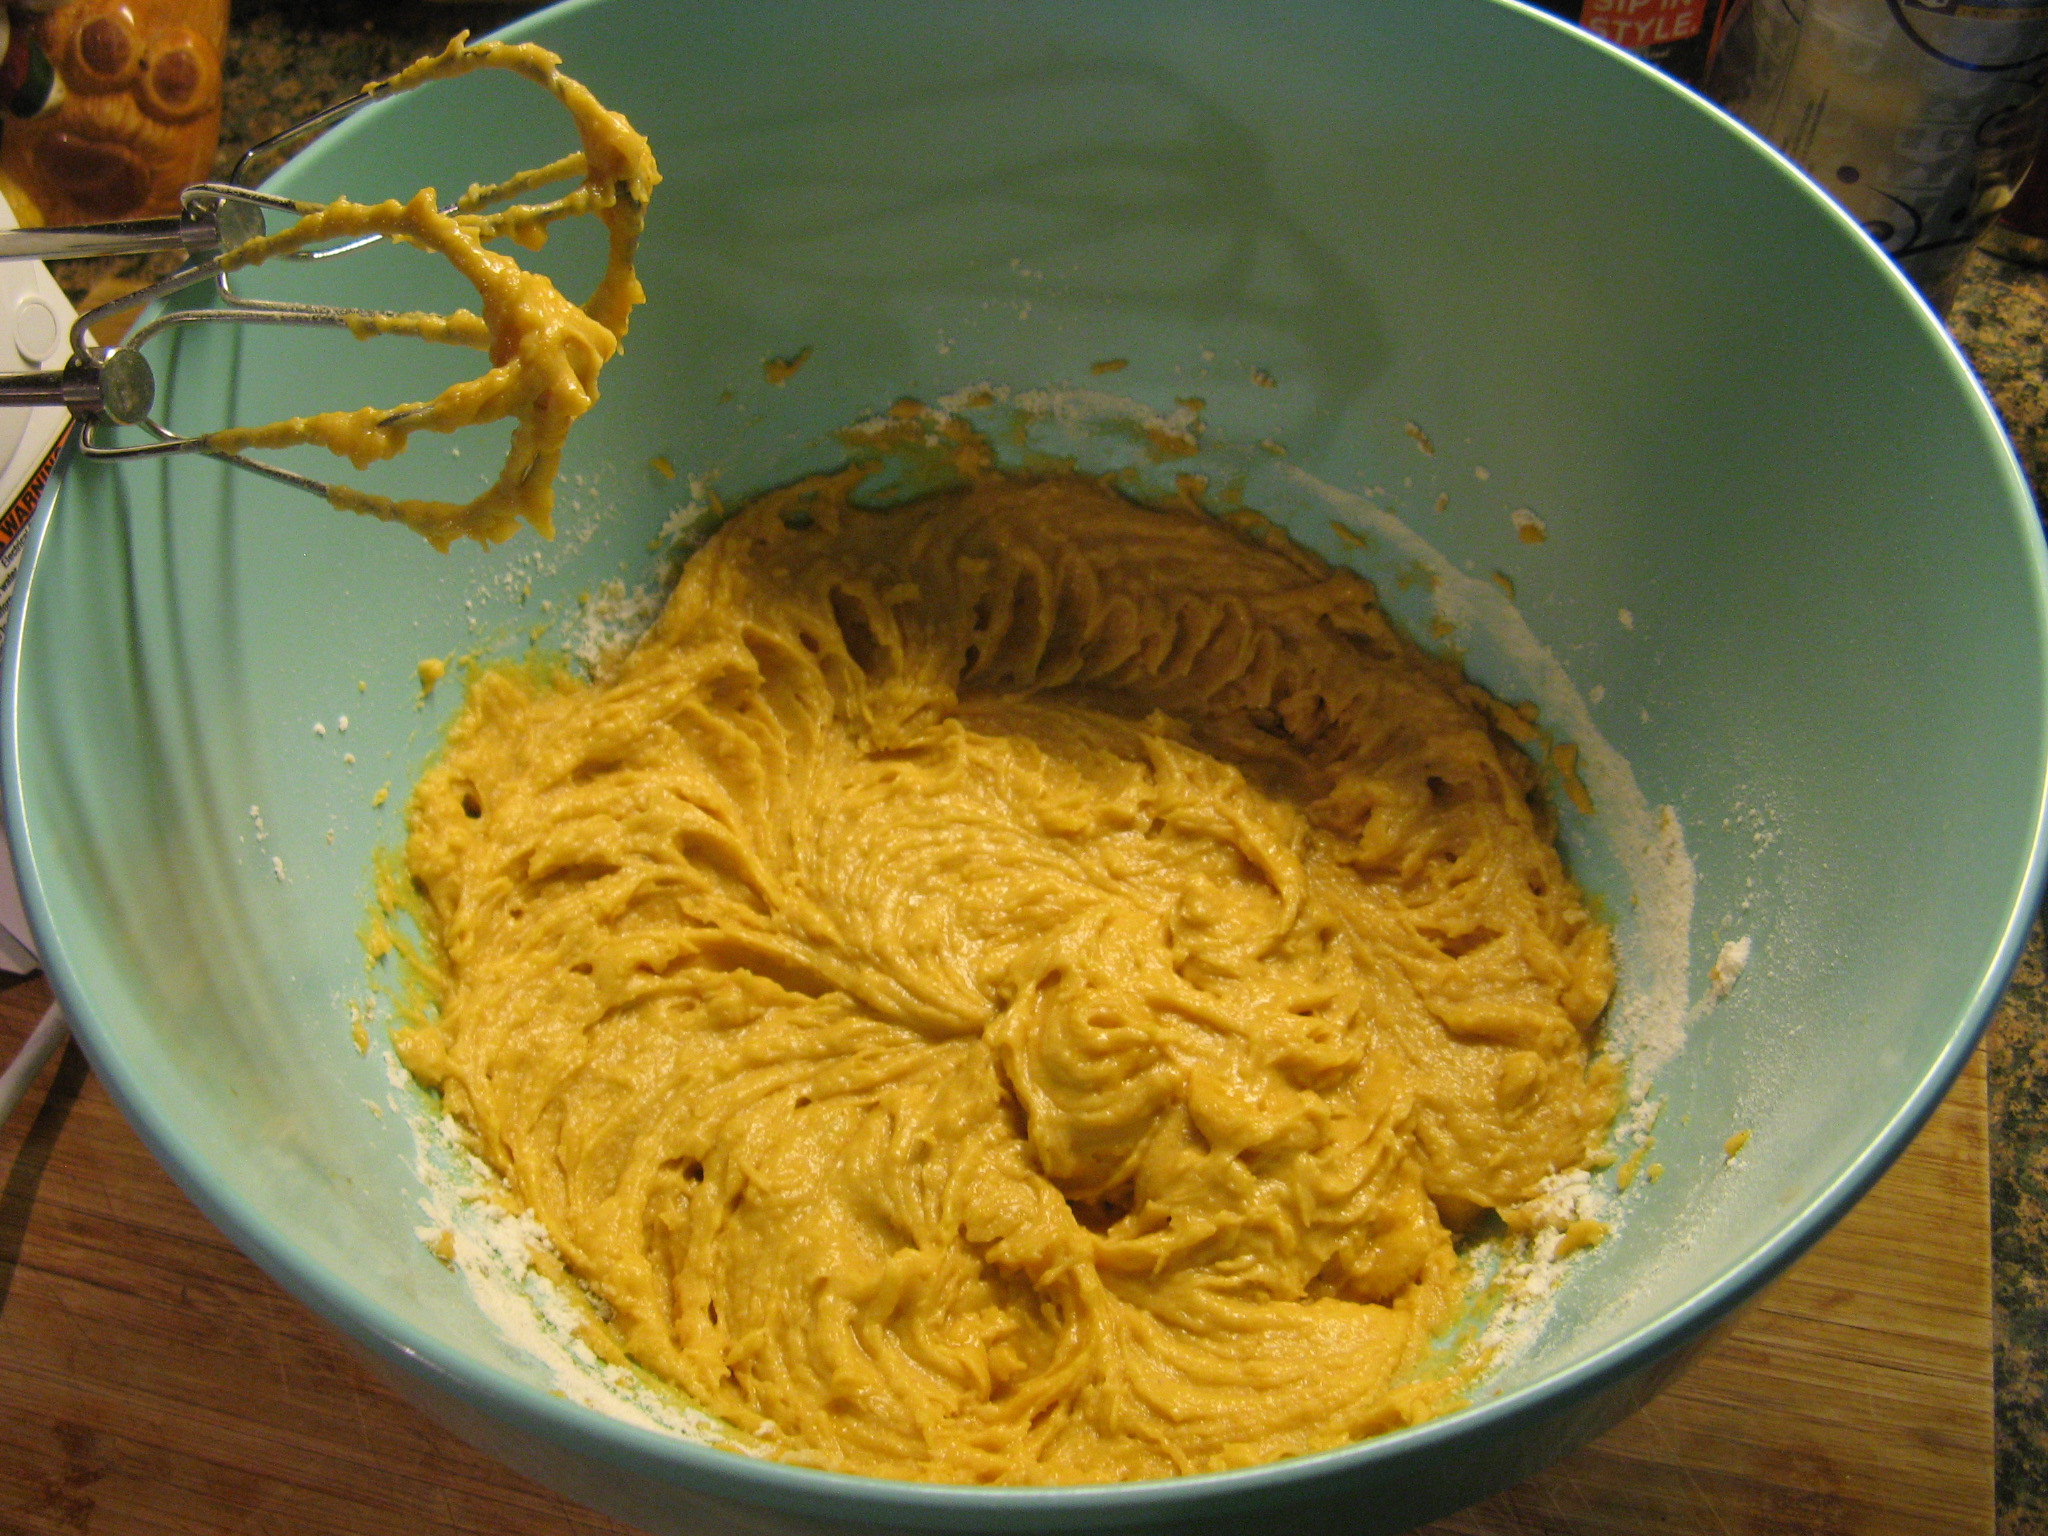
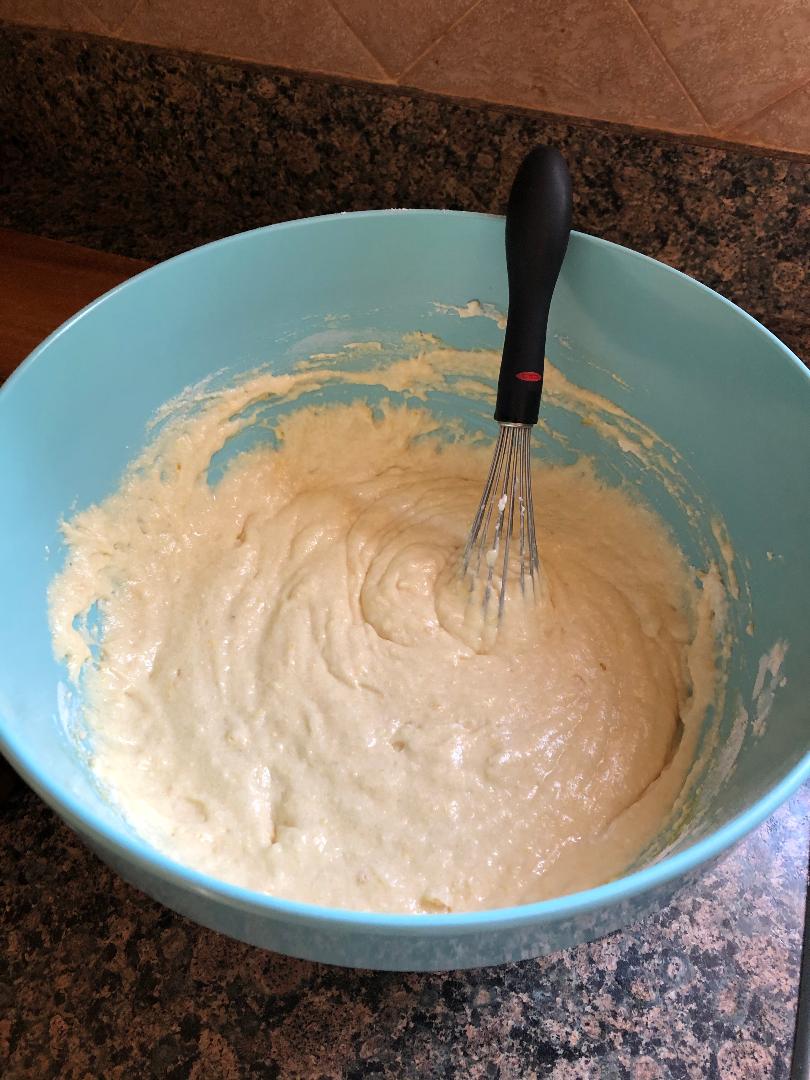
I began by making the batter. In a large bowl I whisked together flour, sugar, baking powder and salt. Next, I added in lemon zest, eggs, whole milk ricotta cheese and vanilla extract and continued whisking until the ingredients were well combined.

Meanwhile I heated vegetable oil in my Dutch oven over medium low heat to 350 F. I normally use my cast iron skillet to fry things, but, I already had my Dutch oven out and I like that the higher sides of the pot prevent the oil from splattering. Also, I find that the temperature of the oil remains consistent in the Dutch oven throughout the frying process. It’s important to keep the oil around 350 F, any hotter and you could end up with cooked fritters on the outside with raw dough in the middle. Once the batter was ready I used a cookie scoop to drop small amount of dough into the oil and fried them until they were golden brown, about 3 to 4 minutes on each side.

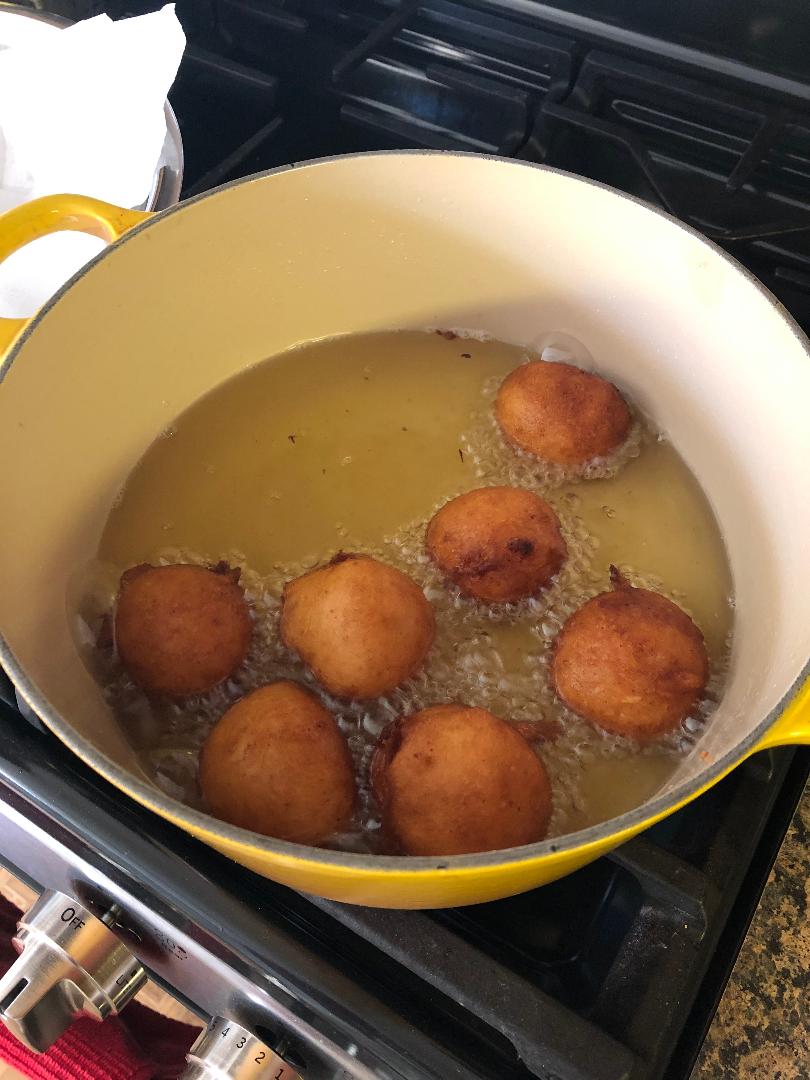
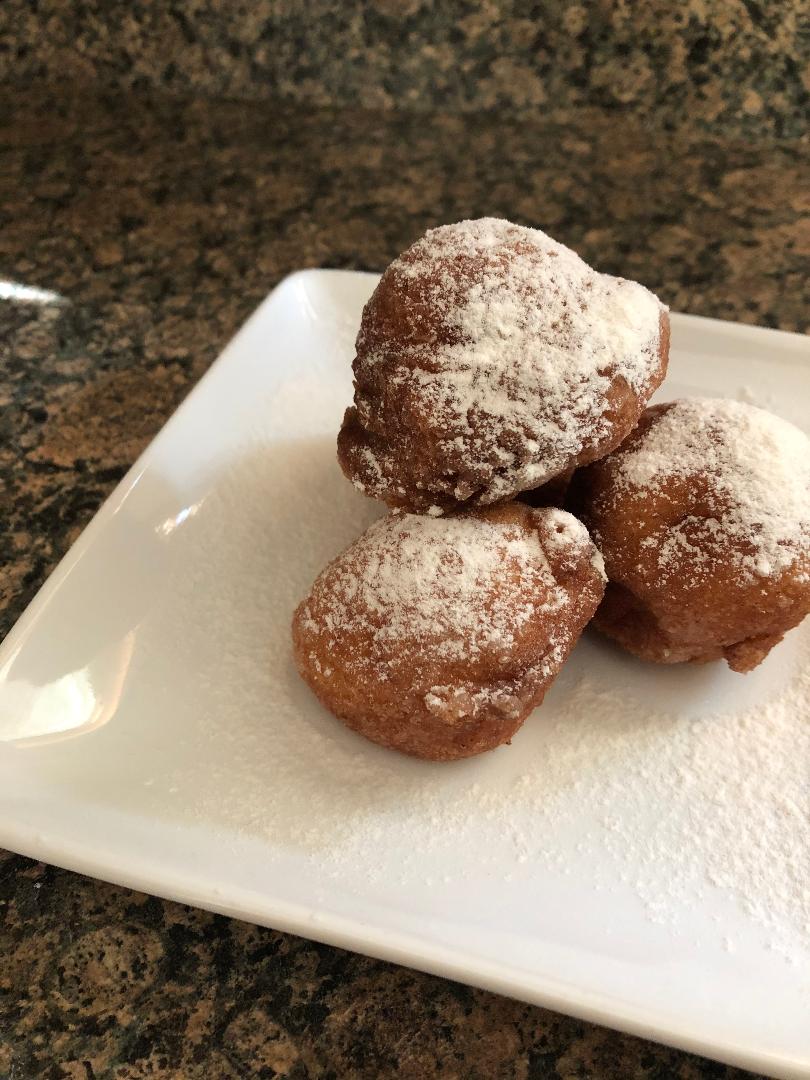
I then transferred them to a paper towel lined cookie sheet to drain off the excess oil. Now, these were delicious on their own, they are incredibly light with just enough hint of lemon…

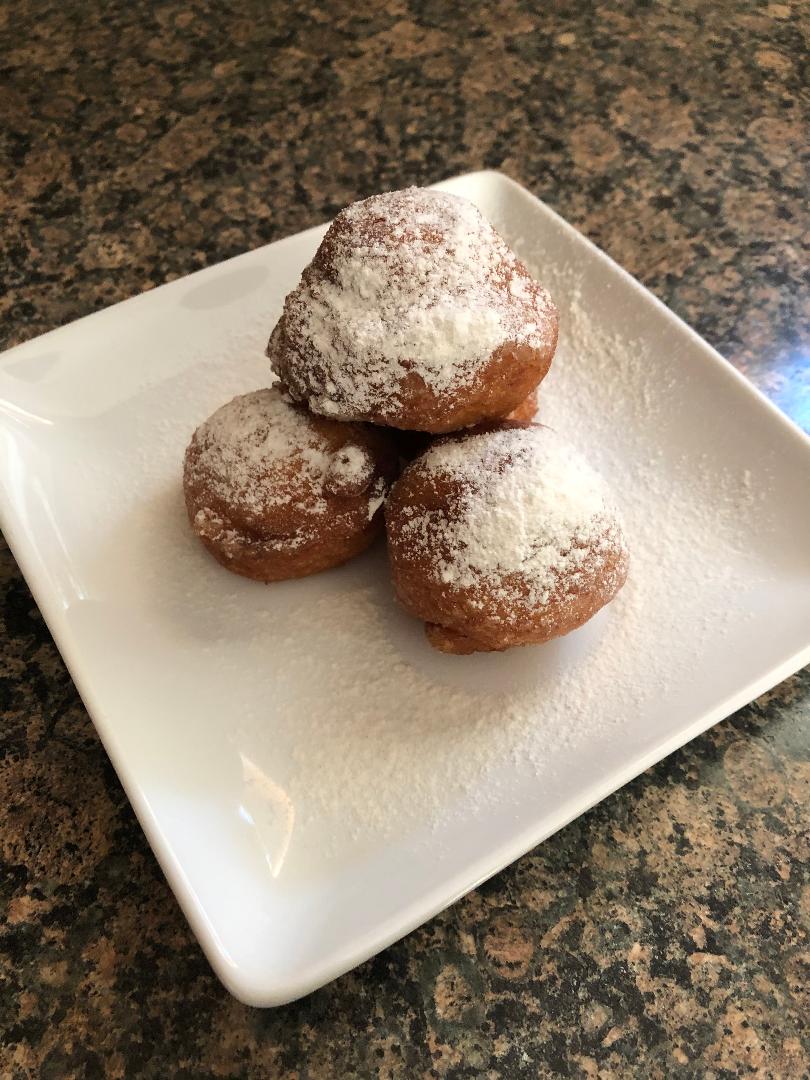
But, if you want a little extra sweetness, while they are still warm, dust them with confectioners’ sugar. I prefer to sift the sugar over them as opposed to rolling them in the sugar so it’s not too thick or clumpy.


If you love the combination of lemon and ricotta, check out these other lemon ricotta recipes:

Lemon Ricotta Bars

Lemon Ricotta Cookies

Lemon Ricotta Pancakes


Lemon Ricotta Fritters

  • Servings: About 40 Fritters
  • Print

Ingredients:

Vegetable oil, for frying*

2 cups flour

3/4 cups sugar

2 tablespoons baking powder

1/4 teaspoon salt

2 tablespoons lemon zest (from 2 lemons)

5 large eggs

1 3/4 cups ricotta cheese**

1 tablespoon vanilla extract

Confectioners’ sugar for coating


*Can sub with canola or corn oil

**I used whole milk ricotta cheese


Directions:

In a large saucepan or Dutch oven, heat the oil over medium low heat to 350 F. Line a cookie sheet with paper towels to drain the fritters as they come out of the oil.

In a large bowl whisk together the flour, sugar, baking powder and salt. Add in the lemon zest, eggs, ricotta cheese and vanilla extract and continue whisking until the ingredients are well combined.

Using a cookie scoop drop mounds of the batter into the hot oil. Add about 5 to 6 at a time, make sure not to crowd the pot. Fry until the fritters are golden brown. About 3-4 minutes on each side. Check the temperature of the oil periodically. You don’t want the oil to get too hot because then the fritters will cook on the outside but be raw on the inside. Remove from the oil and drain on the paper towel lined cookie sheet. Repeat until the dough is finished.

While the fritters still warm dust with the confectioners’ sugar. You can either roll them in a bowl of the sugar or use a sifter (or a fine mesh sieve) to dust the sugar over the fritters.

Store leftovers in an airtight container at room temperature for 3 to 5 days.

Recipe slightly modified from Domino Sugar

Comfort Desserts

It’s been about a month since I last posted and it’s not for the lack of baking, beading or knitting. I did a bunch of baking for a friend’s birthday earlier this month but stuck to treats that were among his favorite and ones that I have blogged about before- my newly discovered pumpkin doughnuts, mini chocolate-chip cheesecakes and a strawberry shortcake birthday cake. As for knitting, I recently completed two scarves which I plan to post about soon – a ruffle scarf for a friend and a cowl neck for myself. I liked the ruffle scarf so much I am planning on making one for myself. And finally beading, after about a four month hiatus I finally picked up some beading needles and started making jewelry again. But in between all of that I did try out two recipes for what I like to call comfort desserts – a pound cake and a rice pudding. I know rice pudding is not most people’s cup of tea when it comes to desserts, but it has been a favorite of mine for quite some time. Both of these recipes are super easy to follow and turn out some delicious treats.

Grandma’s Pound Cake

Prep Time: 15 Minutes

Total Time: 1 hour 15 Minutes

Servings: 12

Ingredients:

2 cups flour

1 tbsp. baking powder

1 8 oz. pkg. cream cheese, softened

1 cup (2 sticks) butter, softened

2 cups sugar

1 tsp. vanilla

6 eggs

Directions:

Heat oven to 350ºF.

Mix flour and baking powder; set aside. Beat cream cheese, butter, sugar and vanilla in large bowl with mixer until blended. Add eggs, 1 at a time, beating after each until blended. Gradually beat in flour mixture on low speed until blended.

Pour into 12-cup fluted tube or 10-inch tube pan sprayed with cooking spray.

Bake 1 hour or until toothpick inserted near center comes out clean. Cool in pan 10 min. Loosen cake from sides of pan with knife. Invert cake onto wire rack; gently remove pan. Cool cake completely.

IMG_1510

Arborio Rice Pudding

Prep Time: 5 Minutes

Total Time: 40 Minutes

Servings: 4

Ingredients:

1 cup water

pinch of salt

1/2 tbsp. butter

1/2 cup Arborio rice

2 cups whole milk

4 tbsp. sugar

1 tsp. vanilla extract

Few dashes ground cinnamon

Whipped cream, for serving

Directions:

Bring water, salt, and butter to a boil in a medium saucepan. Add the rice, return to a boil, and then reduce the heat to the lowest setting. Shake the pan occasionally and cook until rice has absorbed the water but it still al dente, about 15 minutes.

Bring milk, sugar, vanilla, and a few dashes of cinnamon to a simmer in a separate saucepan. Add the cooked rice and cook at a simmer over medium-low heat until rice absorbs most of the milk and mixture starts to get thick and silky, about 10 to 15 minutes.

Transfer pudding to a large bowl and cool to room temperature. Place in refrigerator until cool and set. Serve with whipped cream and a dash more cinnamon.

IMG_1578

Enjoy!

Pumpkin Doughtnuts

I recently purchased a Wilton Doughnut Pan and had every intention of making cinnamon doughnuts to try it out but then some other recipes got in the way of that and I kept putting the doughnuts on the back-burner. But then last week I made Tortellini with Pumpkin Alfredo Sauce (which was super simple and quite delicious) and I had leftover canned pumpkin and it was only a day or two before that I had come across a recipe for Pumpkin Doughnuts in the recent issue (October 2013) of Real Simple magazine… It was pretty much kismet. I scratched the cinnamon doughnuts and opted for the pumpkin doughnuts instead.

The pan and the leftover canned pumpkin…

IMG_1394 IMG_1385

To begin I whisked all of my dry ingredients together: flour, baking powder, baking soda, salt and a pinch of cinnamon, nutmeg, ginger and ground cloves. (The recipe actually called for pumpkin pie spice which I didn’t have on hand, hence me using cinnamon, nutmeg, ginger and ground cloves.)

IMG_1386

In another bowl I whisked together pumpkin, granulated sugar, brown sugar, oil, egg and vanilla extract.

IMG_1389

Next up I mixed the dry ingredients into the pumpkin mixture.

IMG_1392 IMG_1393

Then it was time to scoop it into my prepared doughnut pan.

IMG_1396

Per the directions I scooped a 1/4 of a cup of the batter into each doughnut crevice.

IMG_1399

I then baked them in a 350 degree preheated oven for 13 minutes.

IMG_1400

After letting them cool in the pan for 15 minutes I prepped my second batch of doughnuts to be baked. I ran a little short on batter so as you can see one of the crevices was barely filled.

IMG_1403 IMG_1405

That small doughnut ended up being my tester and I was quite pleased with how they came out. I let the remaining 11 doughnuts cool properly before trying another one.

IMG_1407

The doughnuts were a hit among my friends and I already received requests to make them again!

IMG_1416

Pumpkin Doughnuts*

Makes 12

Ingredients

1/2 cup canola oil, plus more for the pans

1 3/4 cups all-purpose flour, spooned and leveled

1 teaspoon baking powder

1/2 teaspoon pumpkin pie spice

1/2 teaspoon fine salt

1/4 teaspoon baking soda

1 cup pure pumpkin puree

3/4 cup granulated sugar

1/4 cup packed light brown sugar

1 large egg

1 teaspoon pure vanilla extract

Directions

1. Heat oven to 350° F. Lightly oil two 6-compartment doughnut pans* (or use 1 pan and bake in batches). Whisk together the flour, baking powder, pumpkin pie spice, salt, and baking soda in a medium bowl; set aside.

2. In a separate bowl, whisk together the pumpkin puree, granulated sugar, brown sugar, oil, egg, and vanilla. Add the dry ingredients and mix until just combined (do not overmix).

3. Spoon ¼ cup batter into each compartment of the prepared pans. Bake until the doughnuts are golden brown and spring back lightly when touched, 12 to 14 minutes. Let cool in the pans for 15 minutes, then transfer to a wire rack to cool completely.

*The original recipe included a Sour Cream Icing which I opted not to put on the doughnuts.

%d bloggers like this: