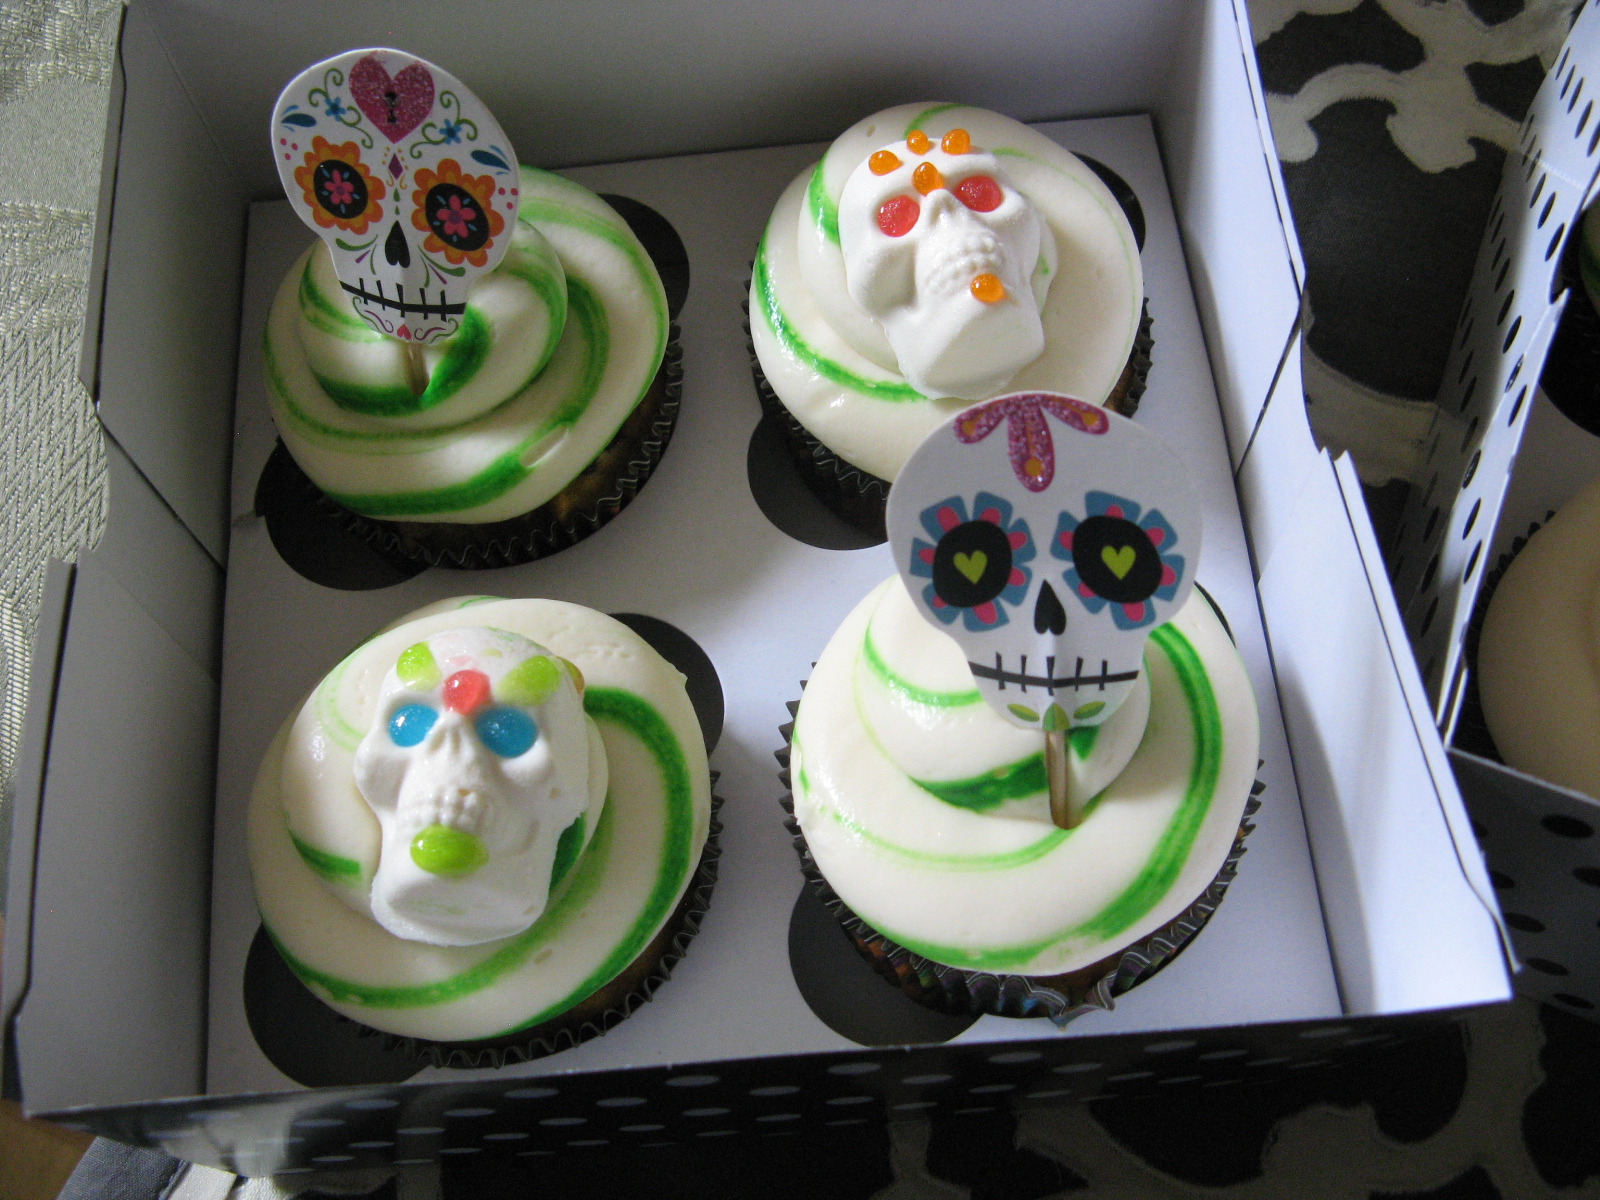
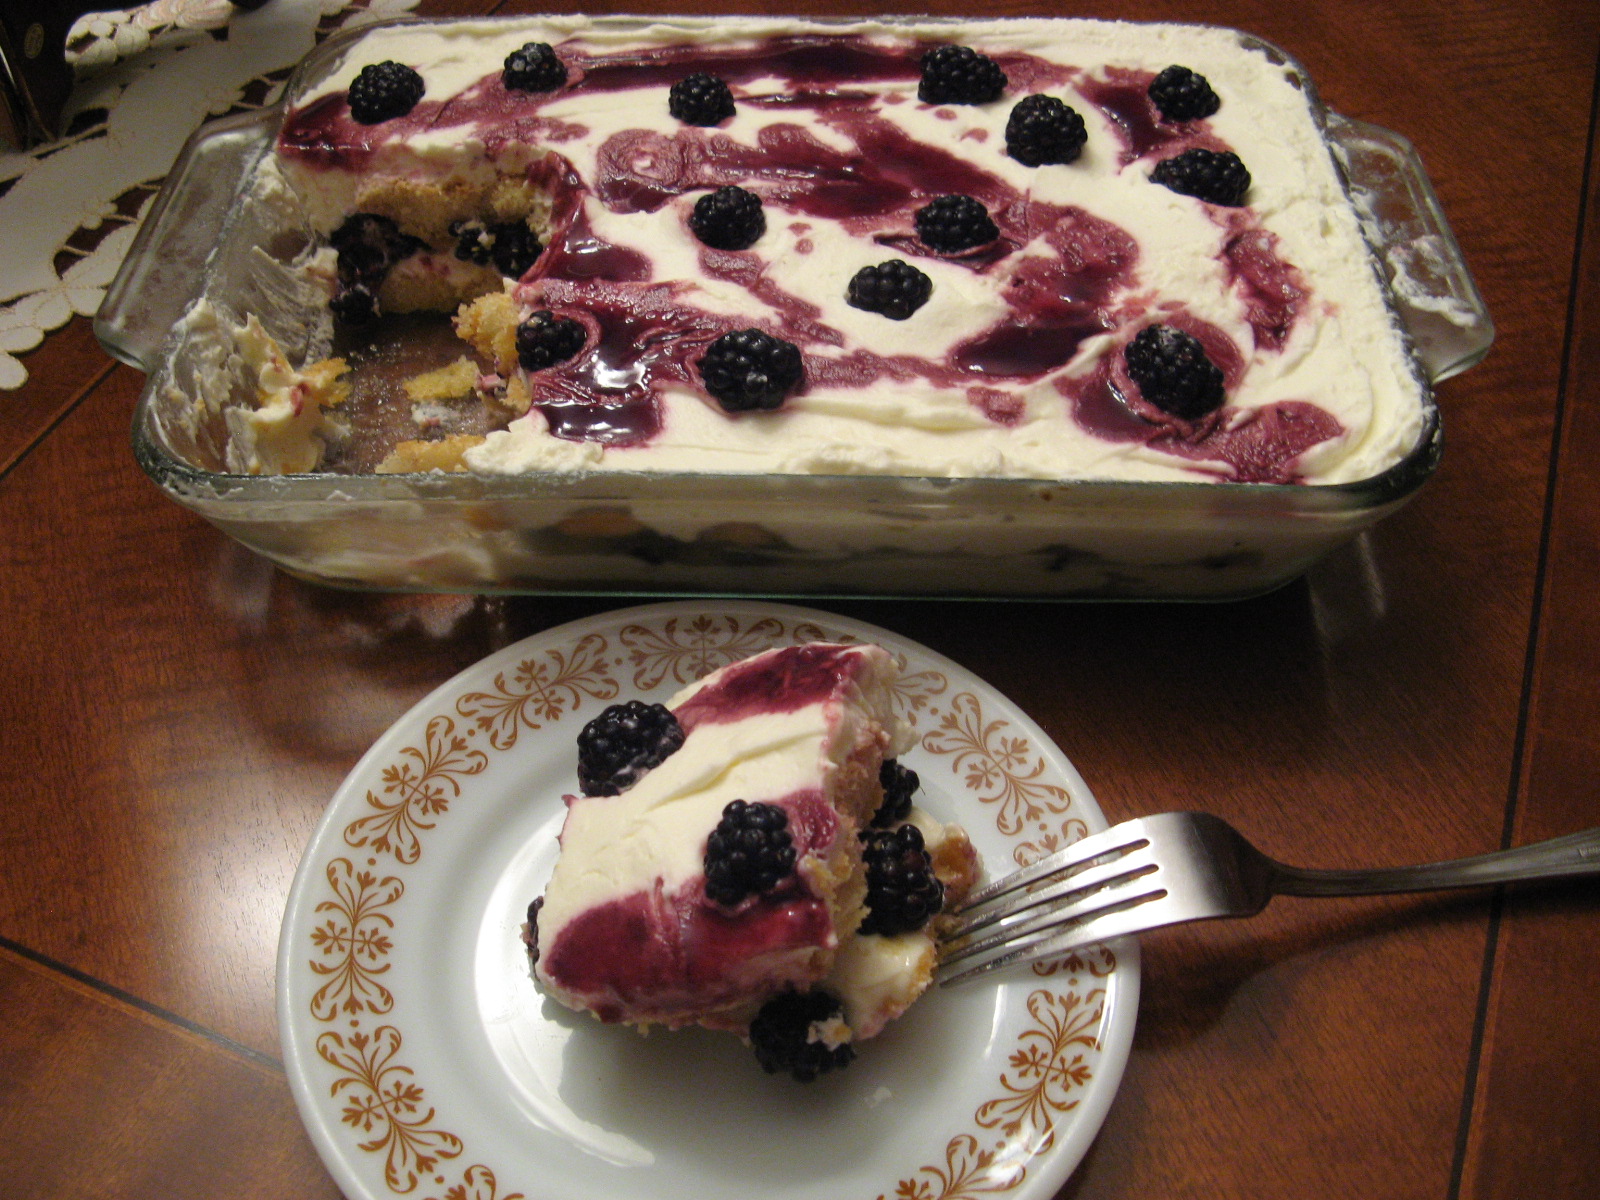
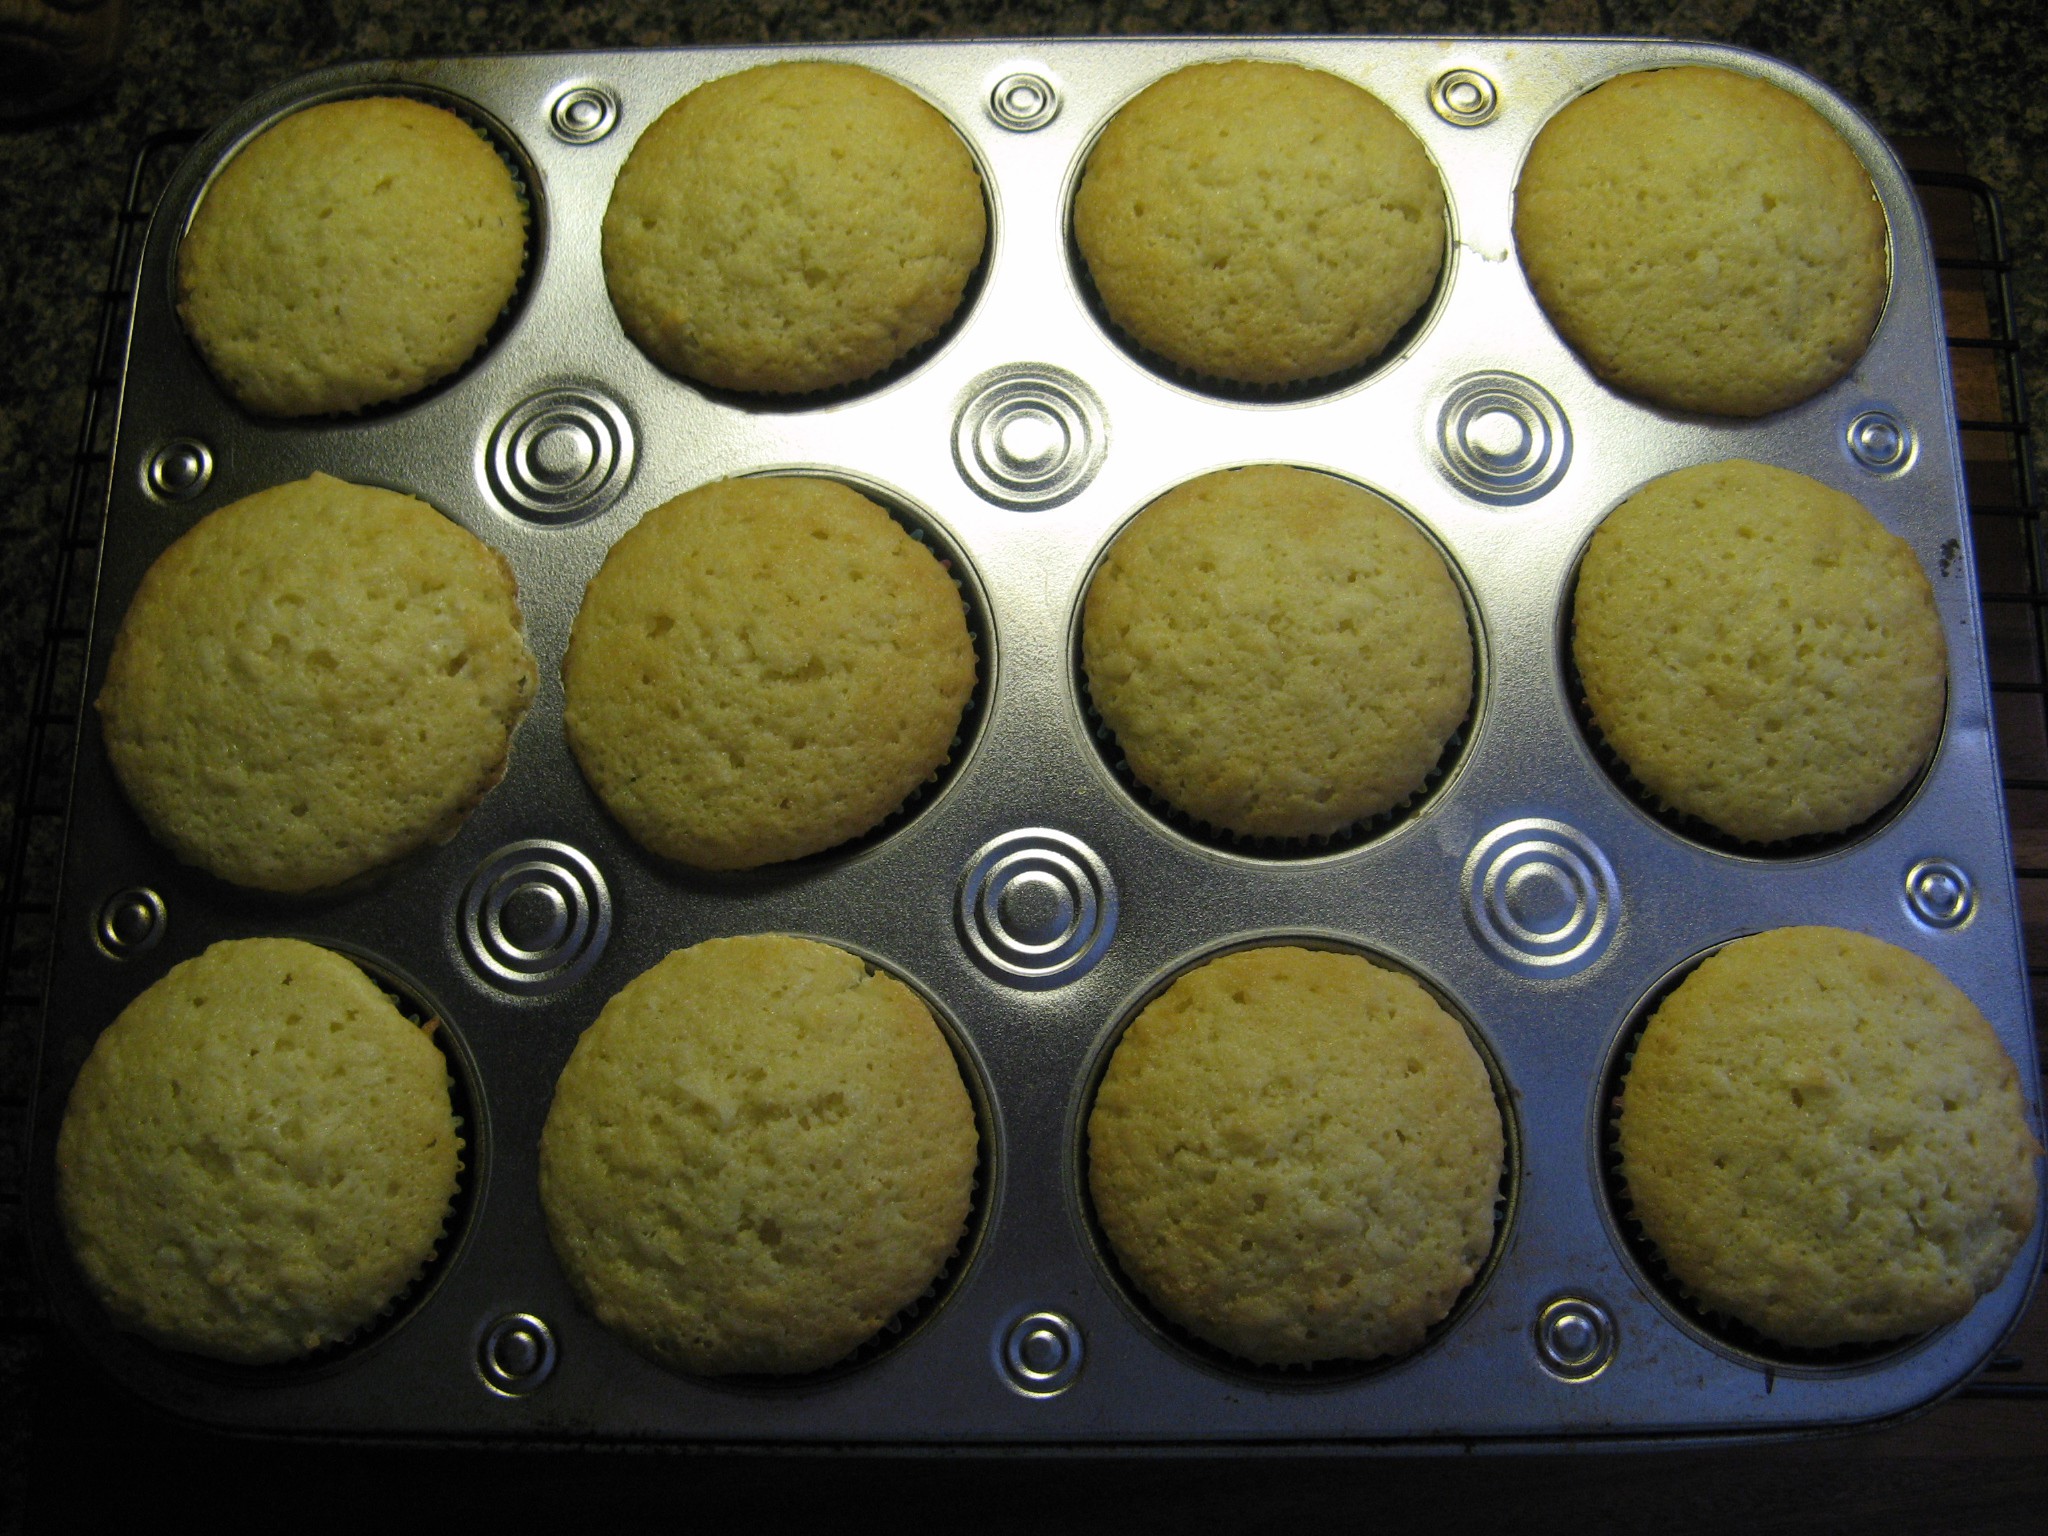
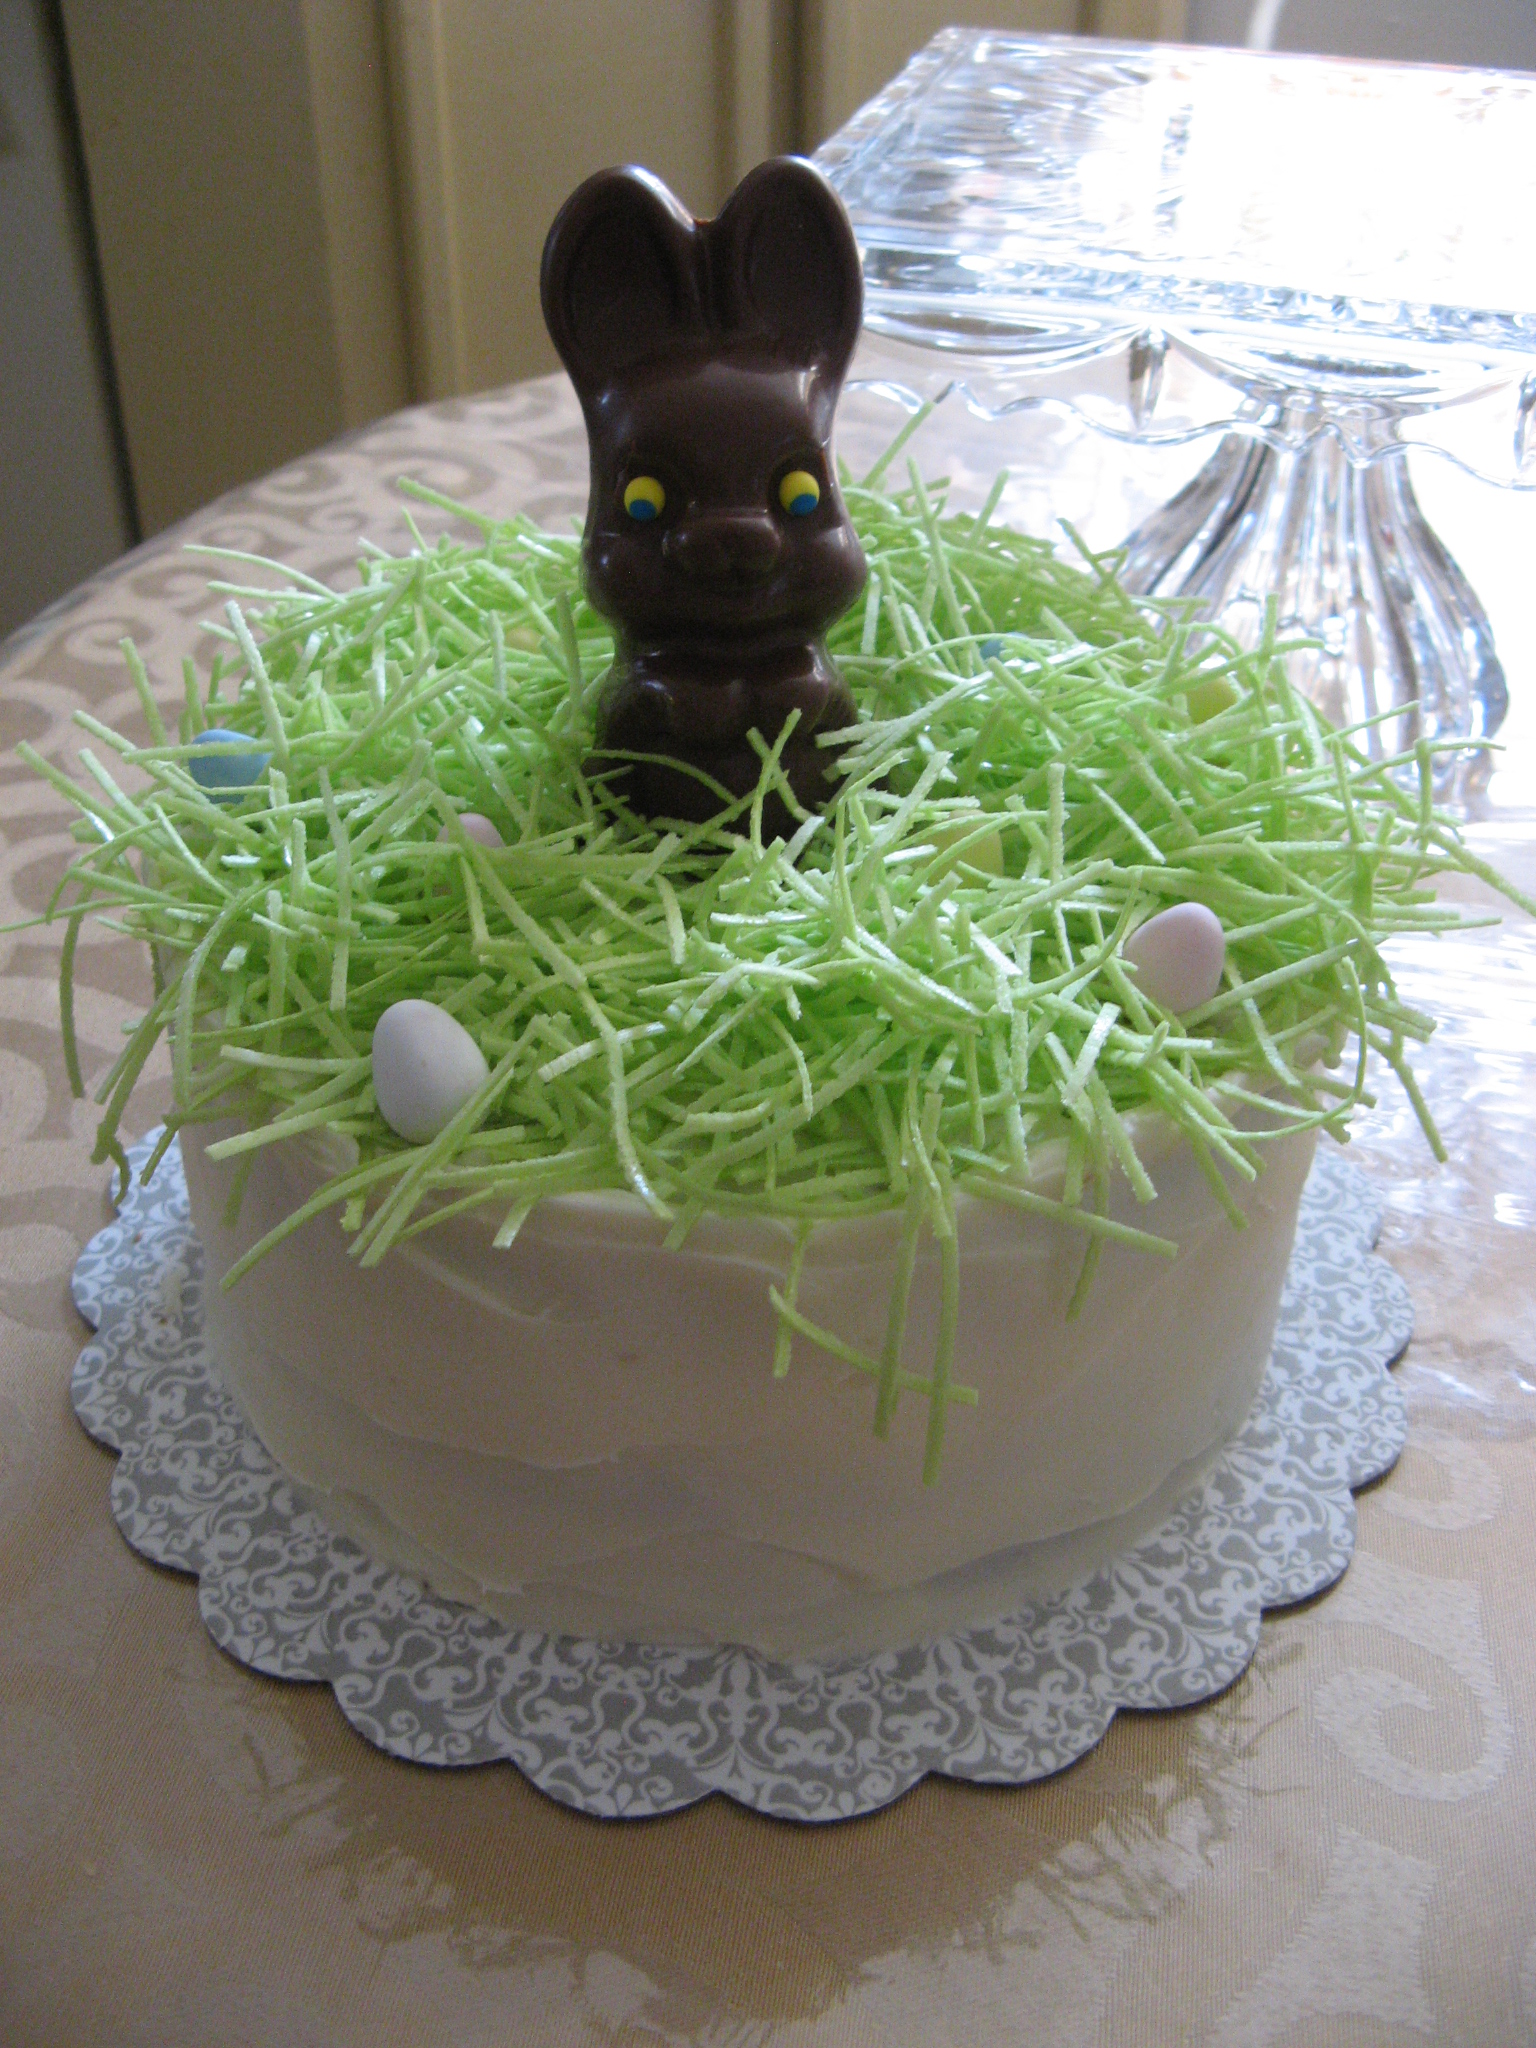
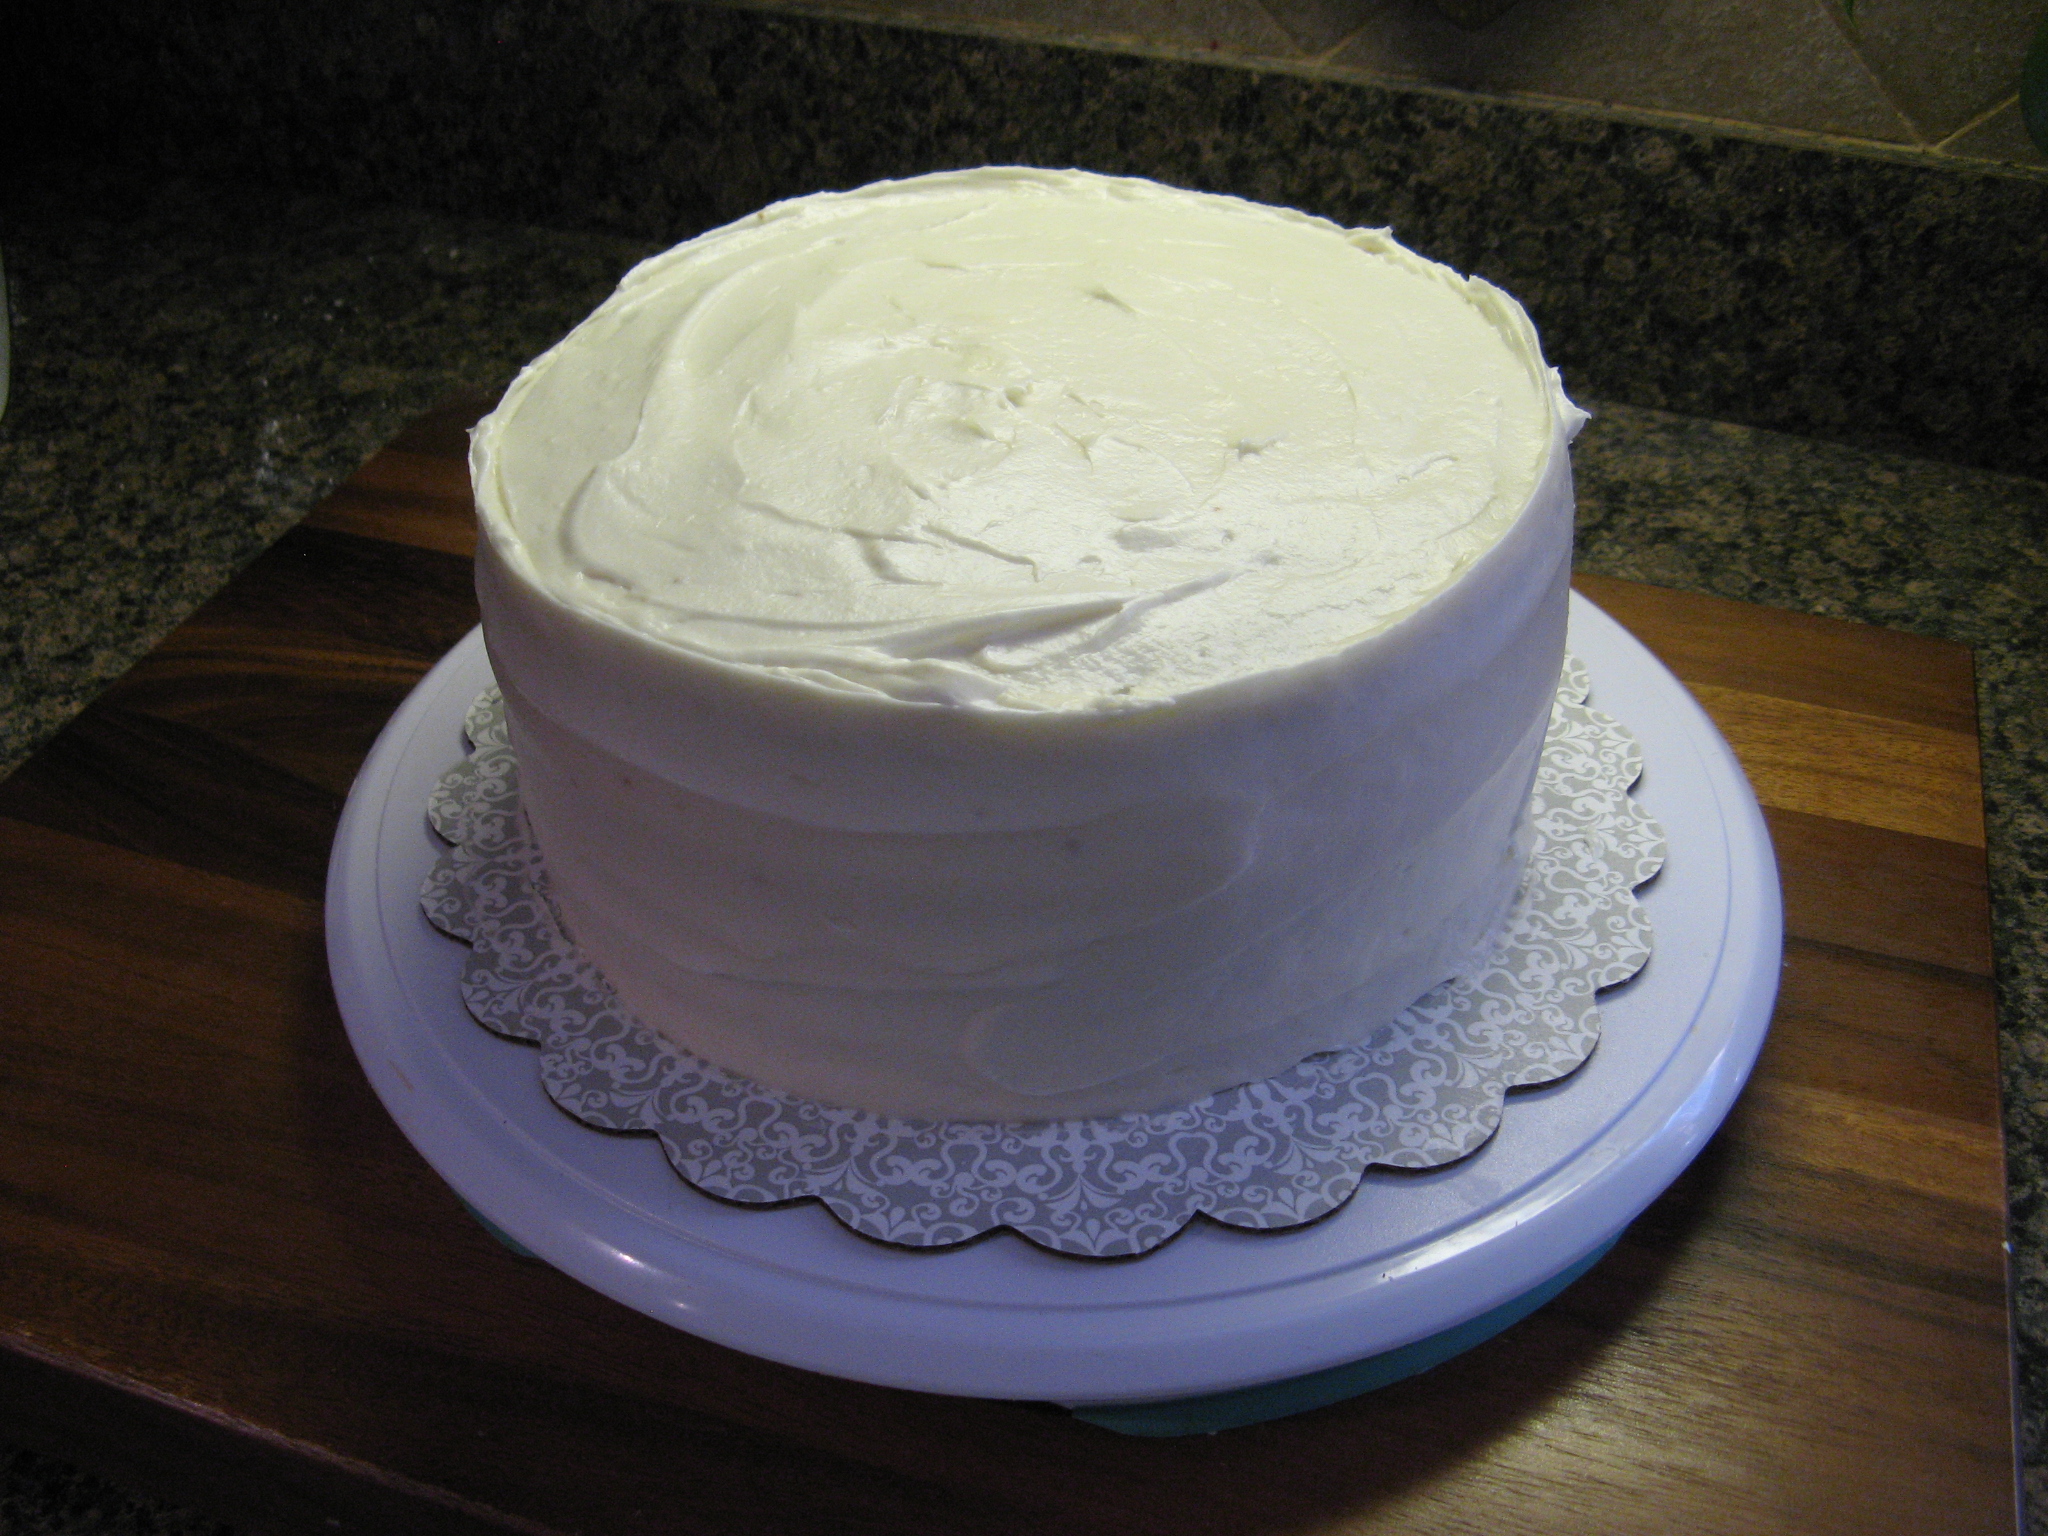
So, what happens when you bake a cake late at night and then frost it early the next morning? You don’t take pictures! But, that’s okay. I don’t need pictures to tell you how delicious this cake is. I do have this lovely final picture though…
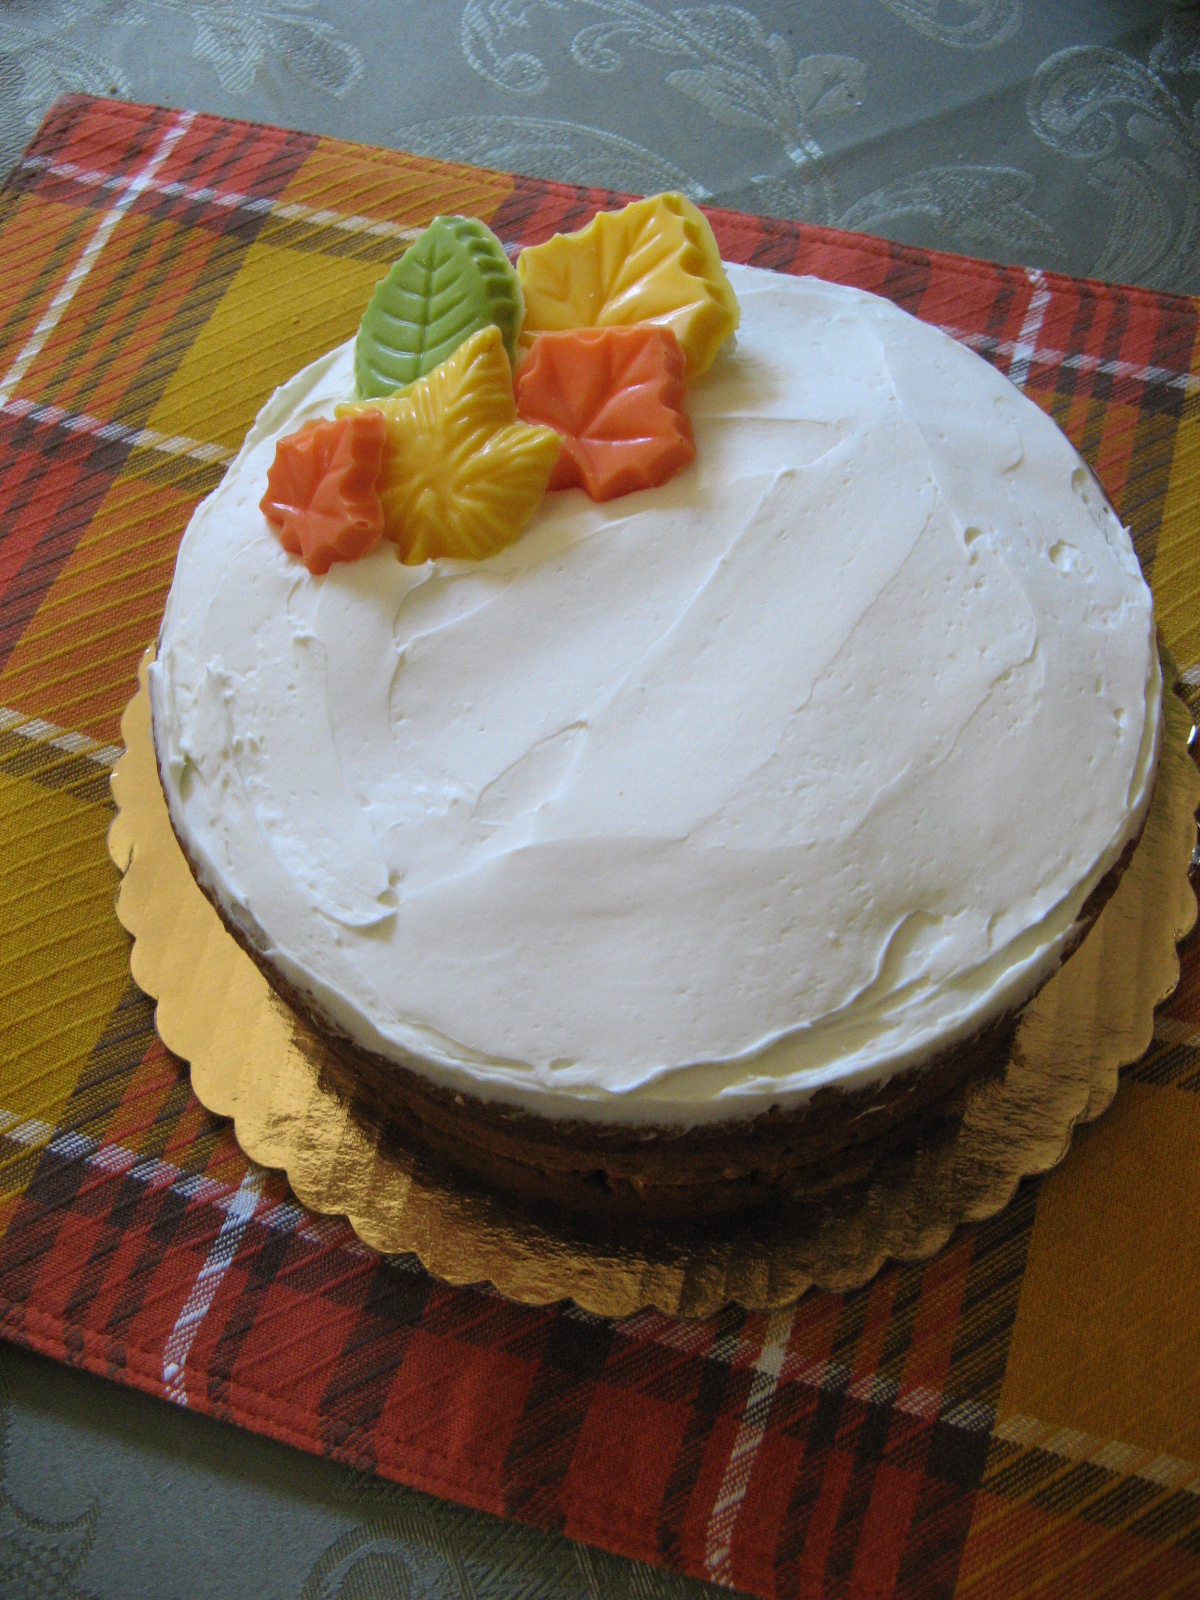
With Thanksgiving this week this Pumpkin Cake with Goat Cheese Frosting is my final pumpkin dessert of the season. I can’t say it’s the best as that title goes to the Pumpkin Tiramisu I posted about last month, but, it’s definitely a close second, and I am sure would be a welcome addition to your Thanksgiving dessert table. I actually made it for a Friendsgiving celebration I had with some wonderful friends last weekend. If you’ve never had your own Friendsgiving celebration I strongly advise you to have one next year. There’s absolutely no drama and you get to spend some time with people who are just as important or in some cases more important to you than your own family!
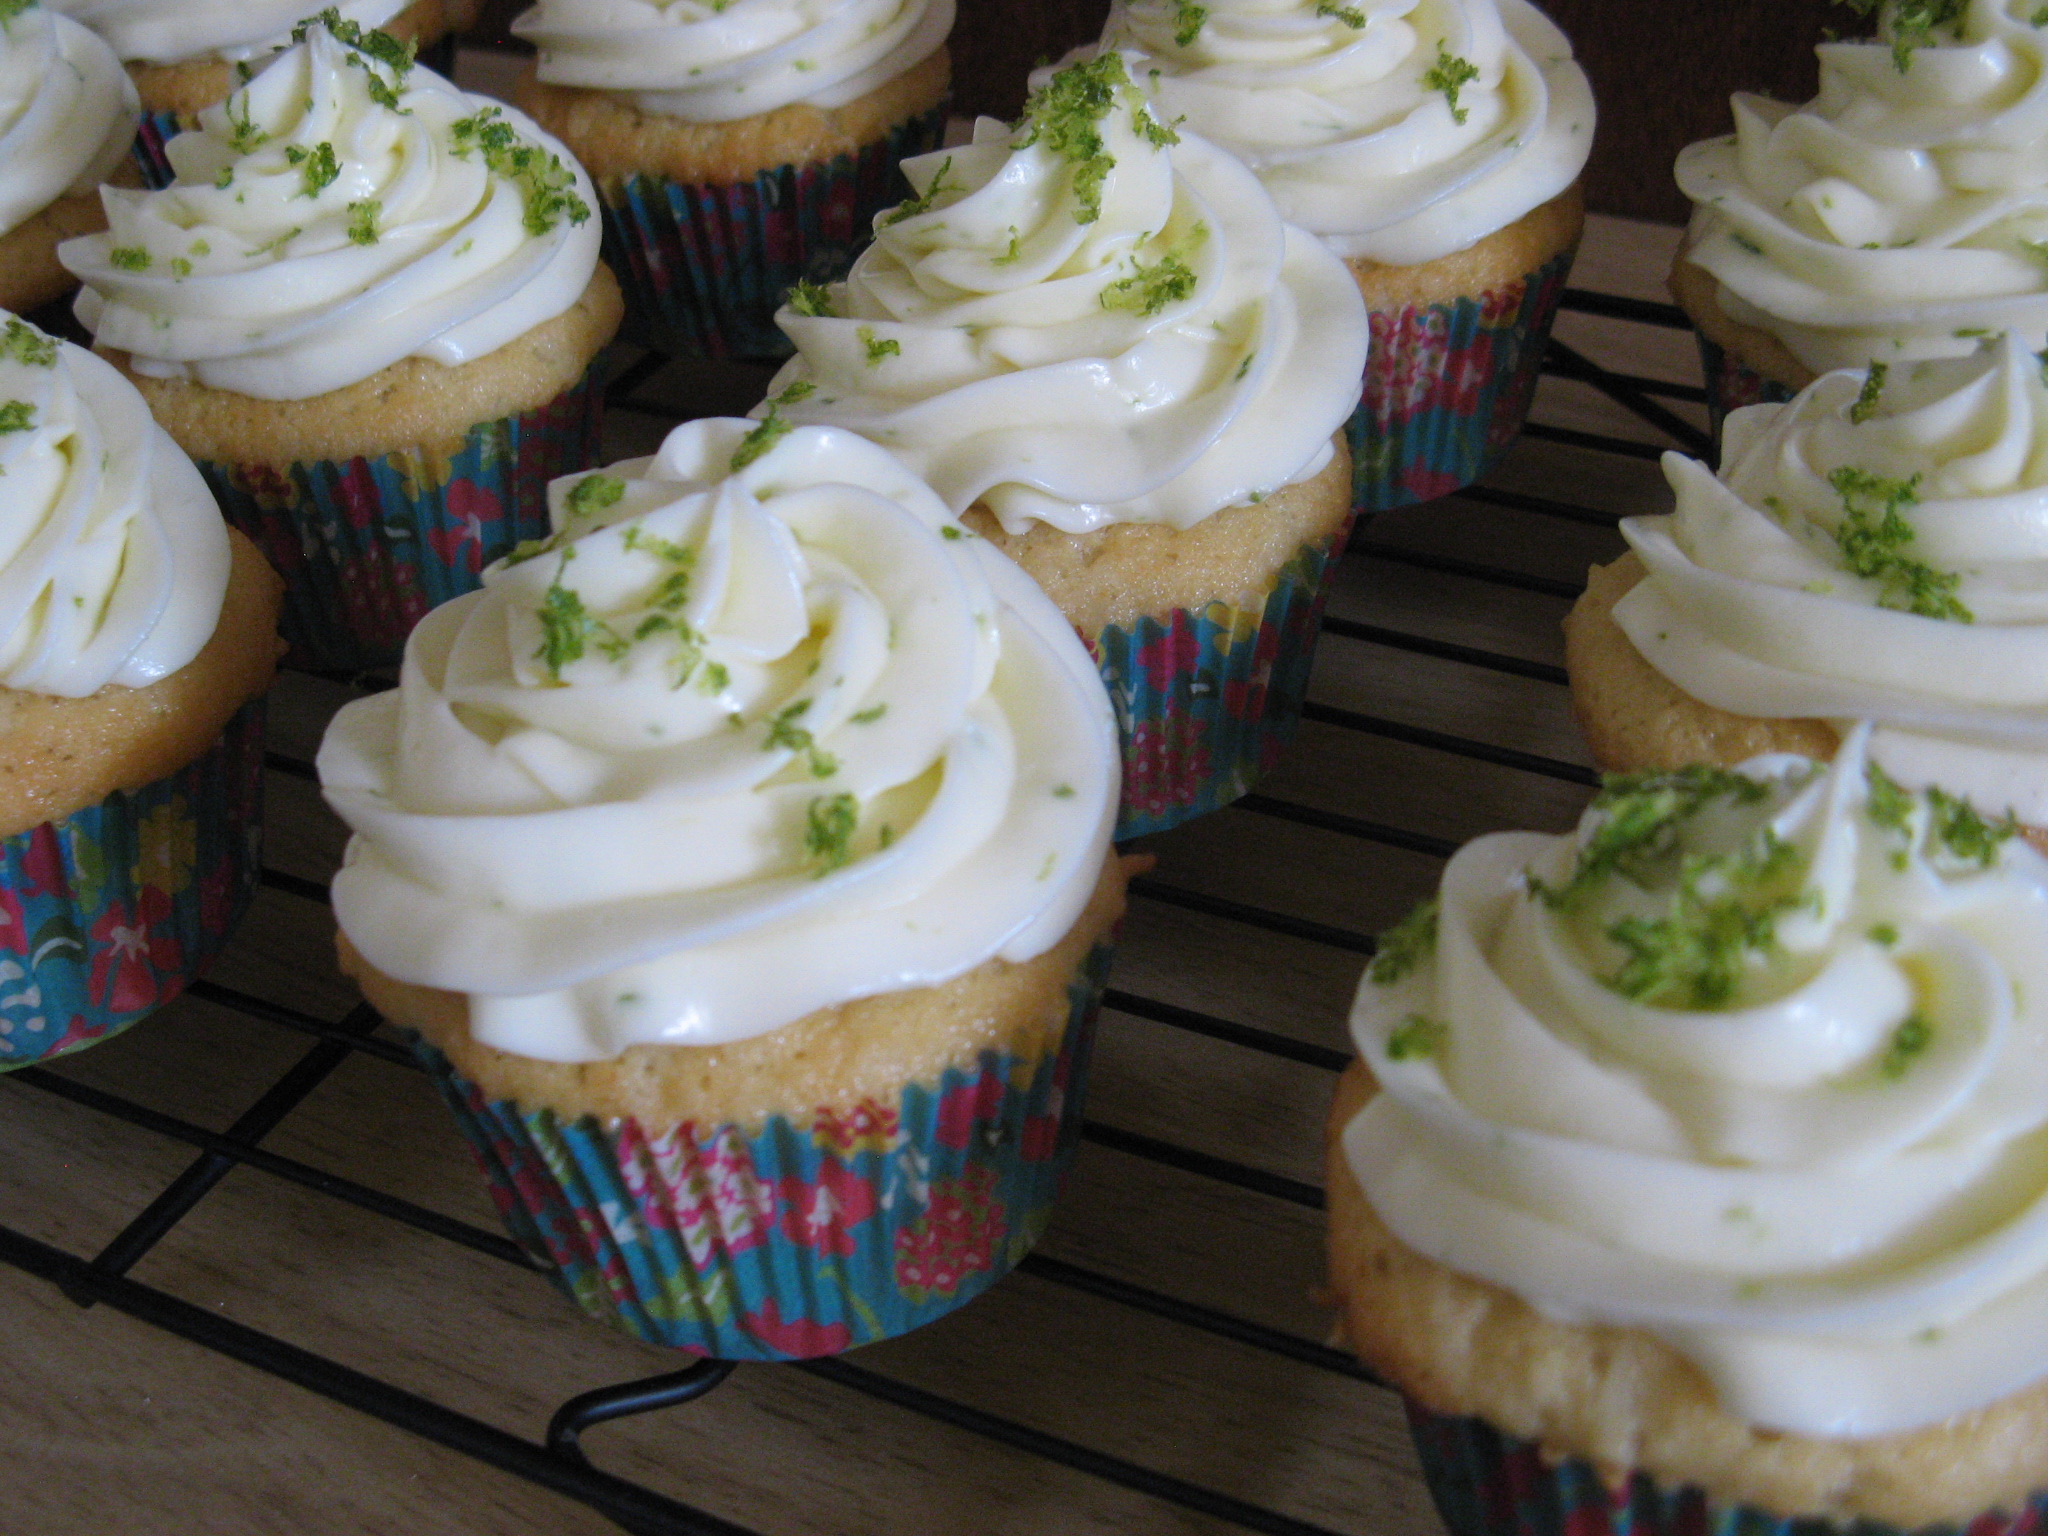
Here are some quick notes about this cake though… Definitely go with the freshly grated nutmeg and don’t try to substitute ground ginger for the freshly grated ginger, trust me, these two things make a huge difference in the flavor. I speak from experience. Make your own buttermilk by combining vinegar (or lemon juice) and milk (for this cake, I used 1/2 tablespoon of vinegar and 1/2 cup 2% milk to make the buttermilk.) And finally, if you’re not a fan of goat cheese go with a simple cream cheese frosting. You can never go wrong with cream cheese frosting.
So, however you’re spending your Thanksgiving I hope it’s one with delicious food, sweet desserts and great company. And remember, no matter what has happened in life there is ALWAYS something to be grateful for!
Pumpkin Cake
Ingredients:
2 sticks unsalted butter, at room temperature
2 3/4 cups all-purpose flour
1 1/2 teaspoons baking powder
1 teaspoon baking soda
1 1/2 teaspoons ground cinnamon
3/4 teaspoon freshly grated nutmeg
1/2 teaspoon salt
2 cups light-brown sugar
3 large eggs
1 1/2 cups solid-pack pumpkin
1 teaspoon pure vanilla extract
3/4 teaspoon grated peeled fresh ginger
1/2 cup buttermilk*
*To make your own combine 1/2 tablespoon vinegar (or lemon juice) with 1/2 cup milk – I used 2%. Let stand for 5-10 minutes at room temperature. When the milk is ready it will have thickened and you will see small curdled bits.
Directions:
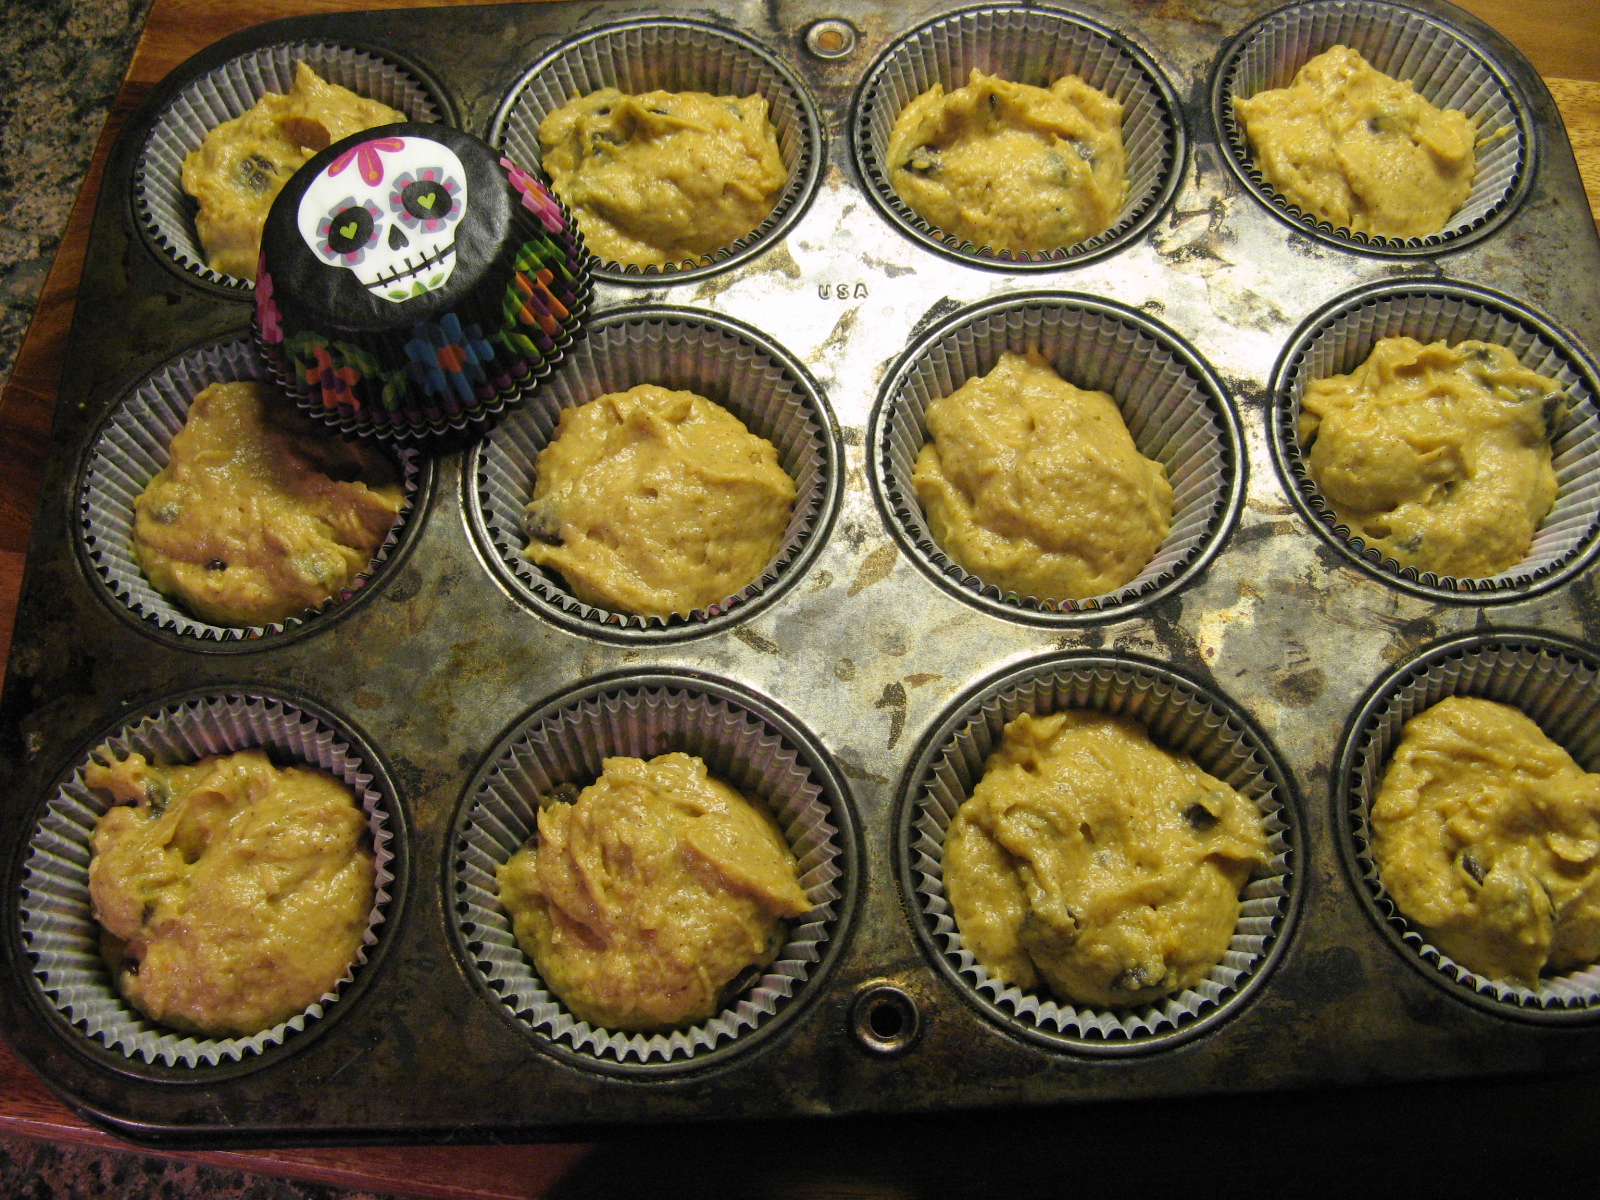
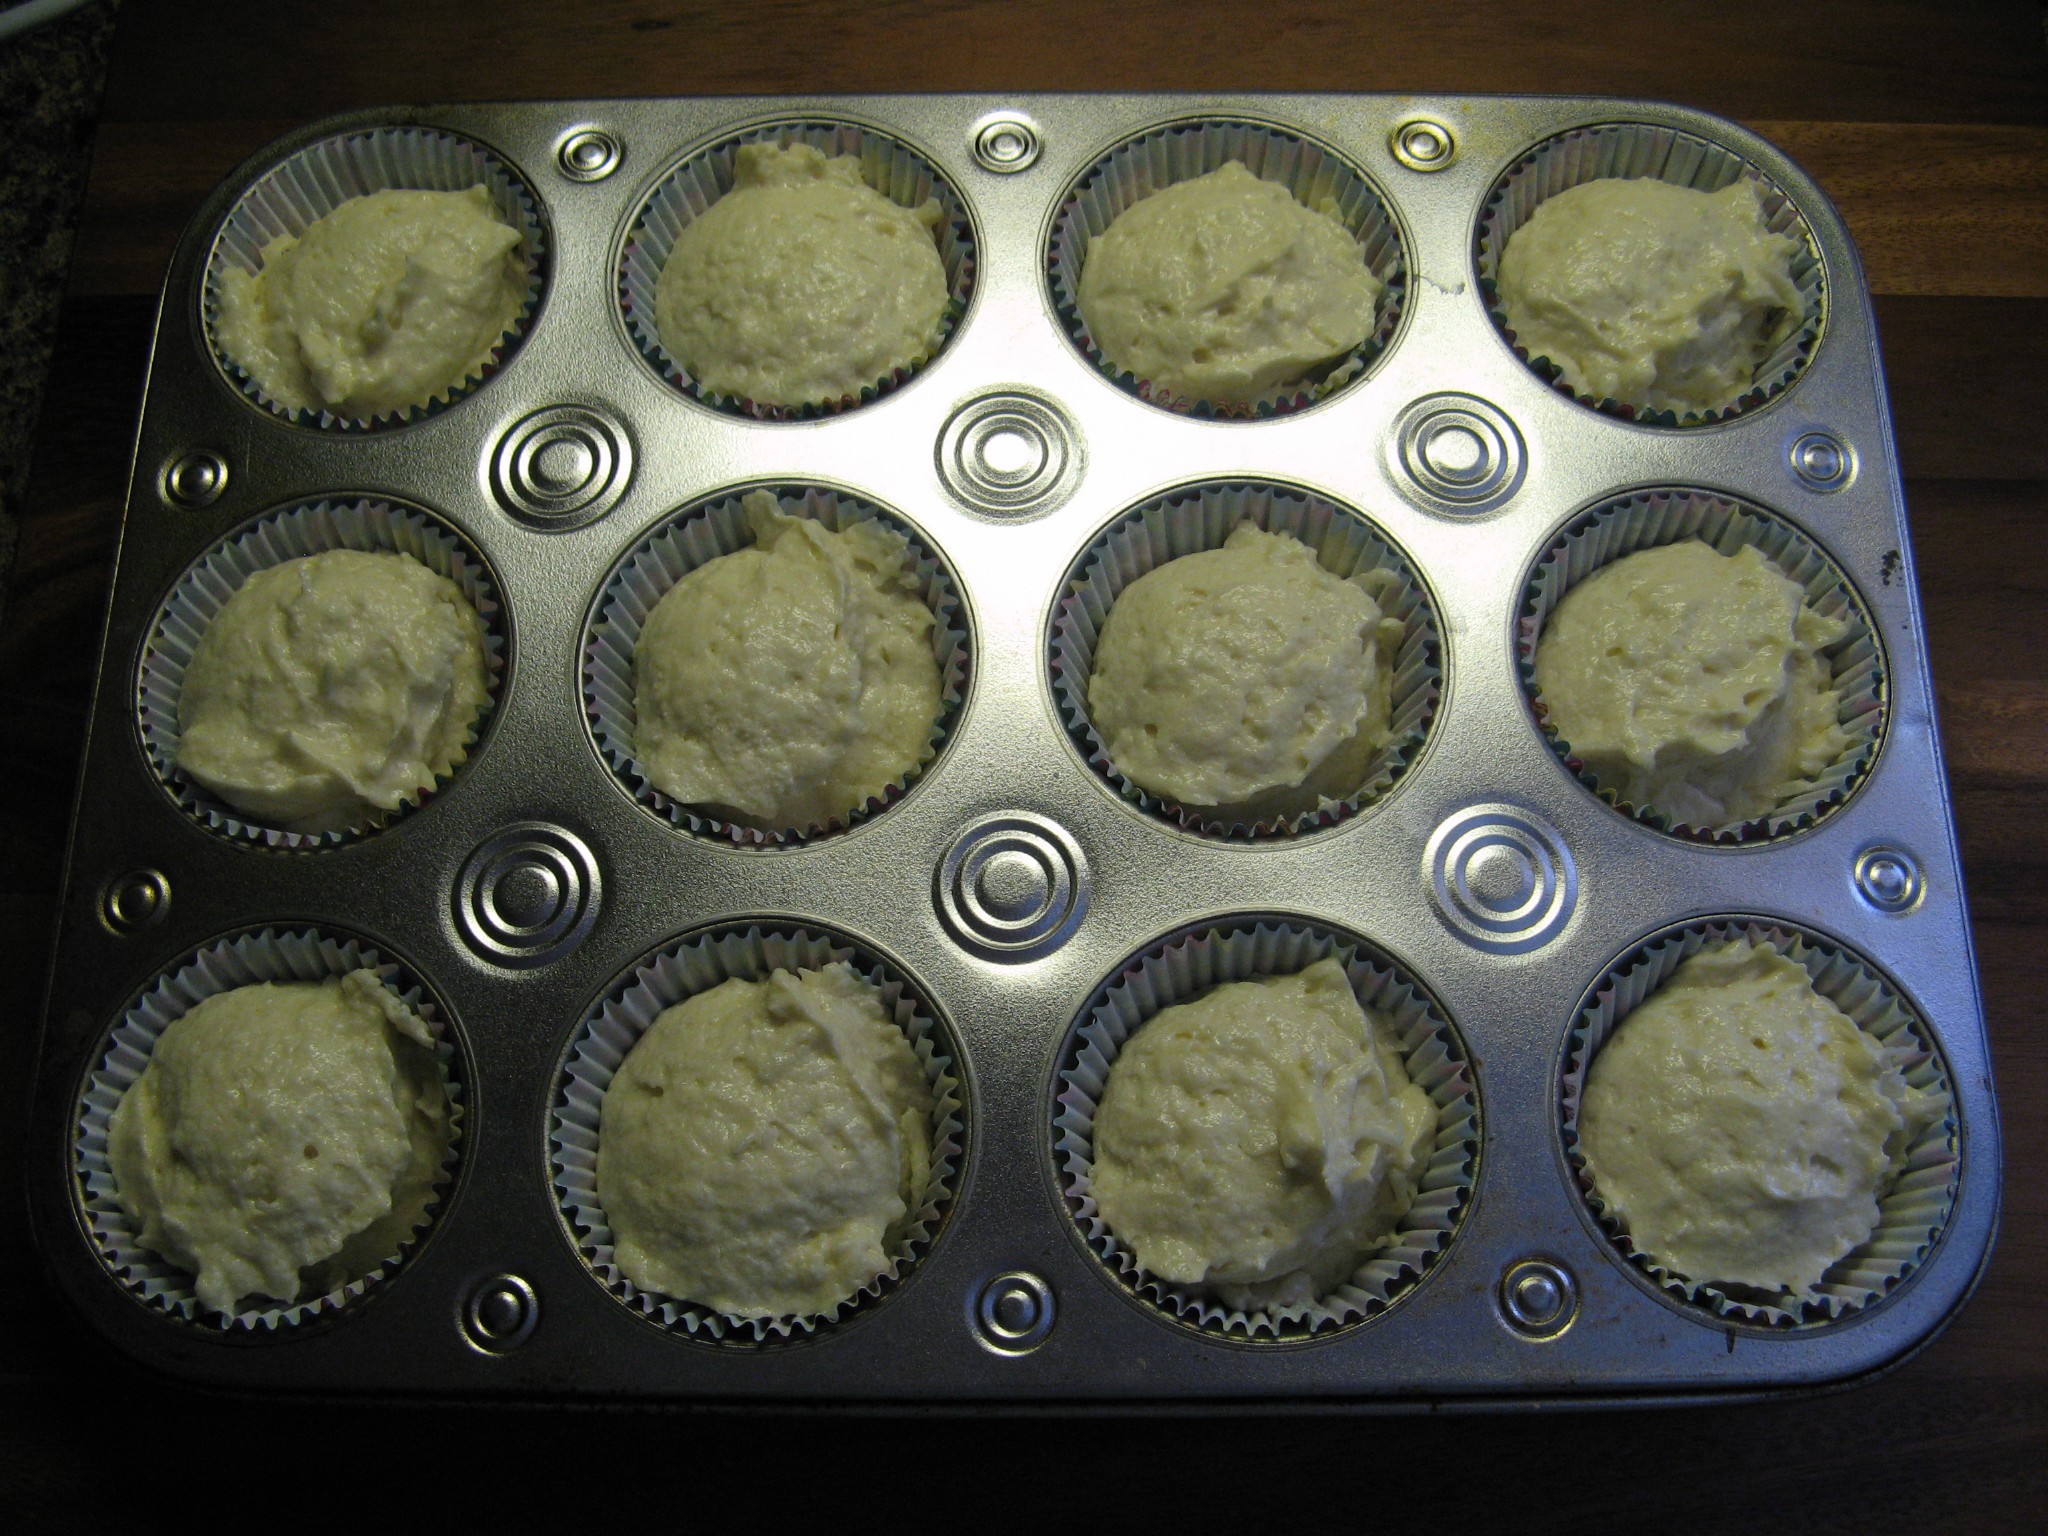
Preheat oven to 350 F. Prep two 8-inch round pans, either by spraying them with baking spray (what I did) or brush the pans with butter, line the bottoms with parchment paper, butter the parchment paper then dust the pans with flour, tapping out the excess.
In a medium bowl whisk together the flour, baking powder, baking soda, cinnamon, nutmeg and salt.
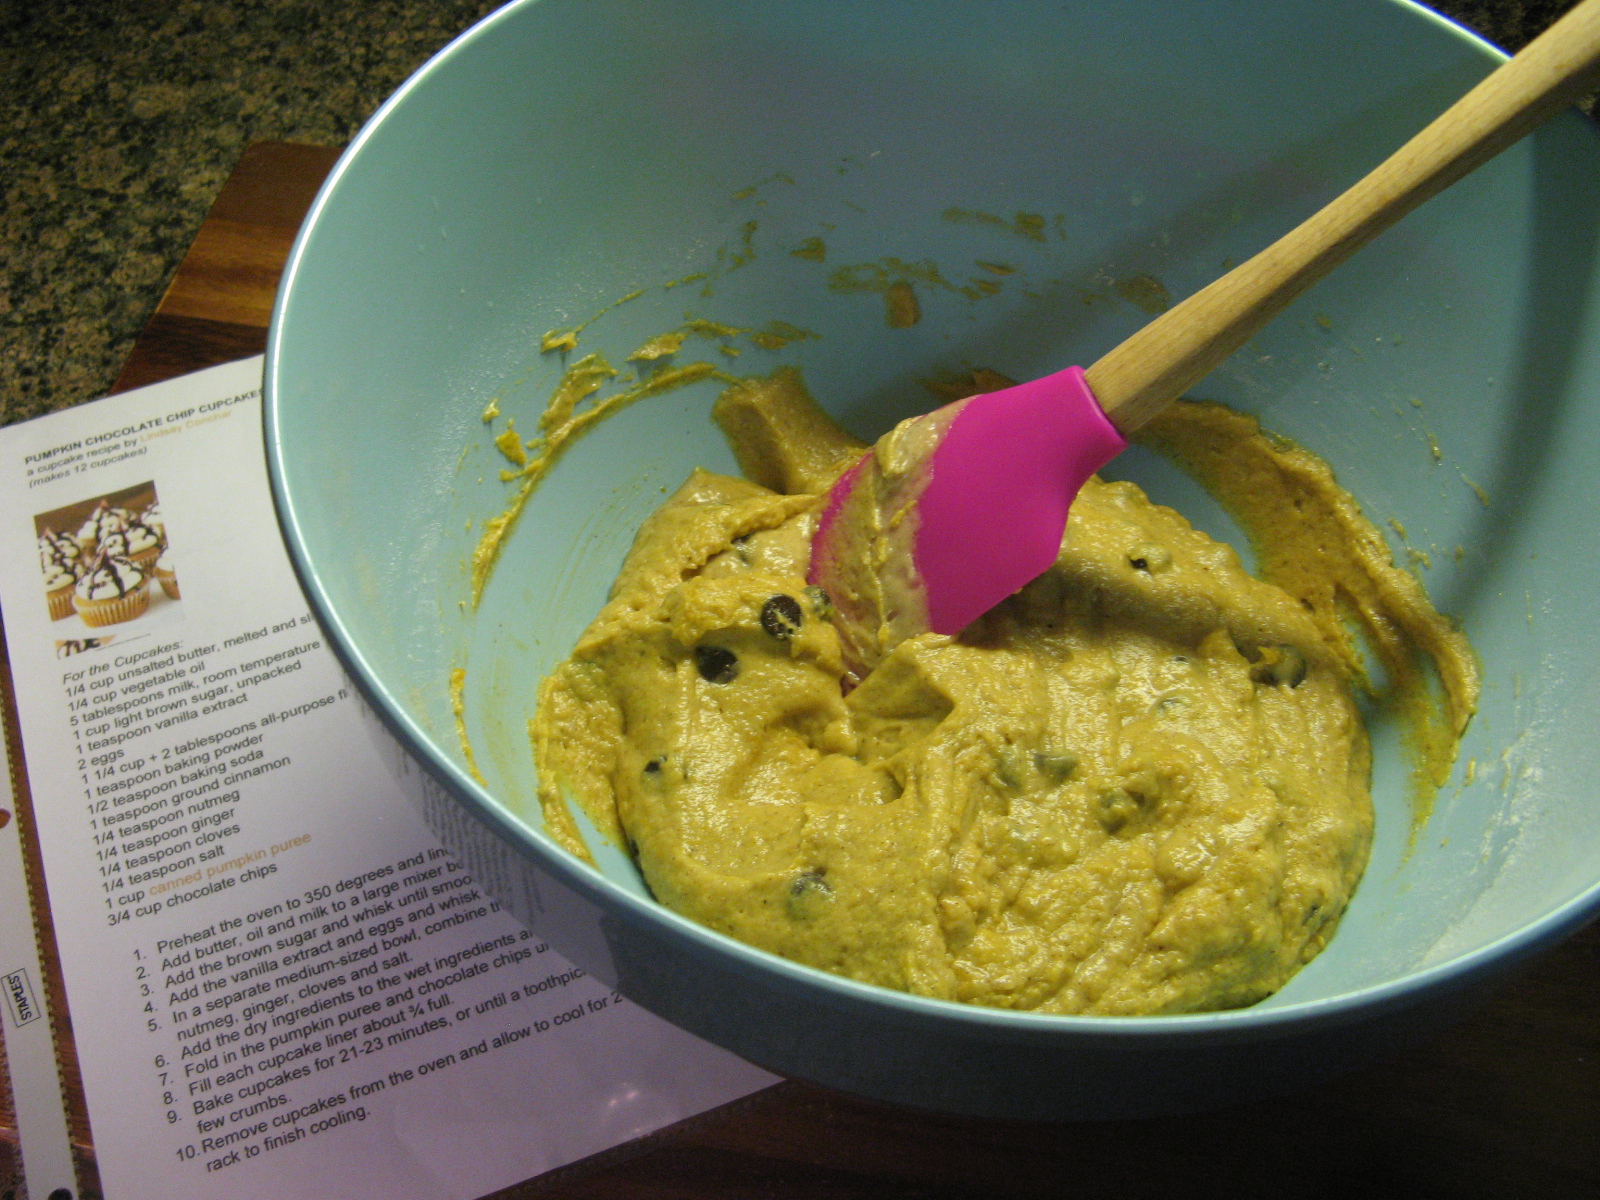
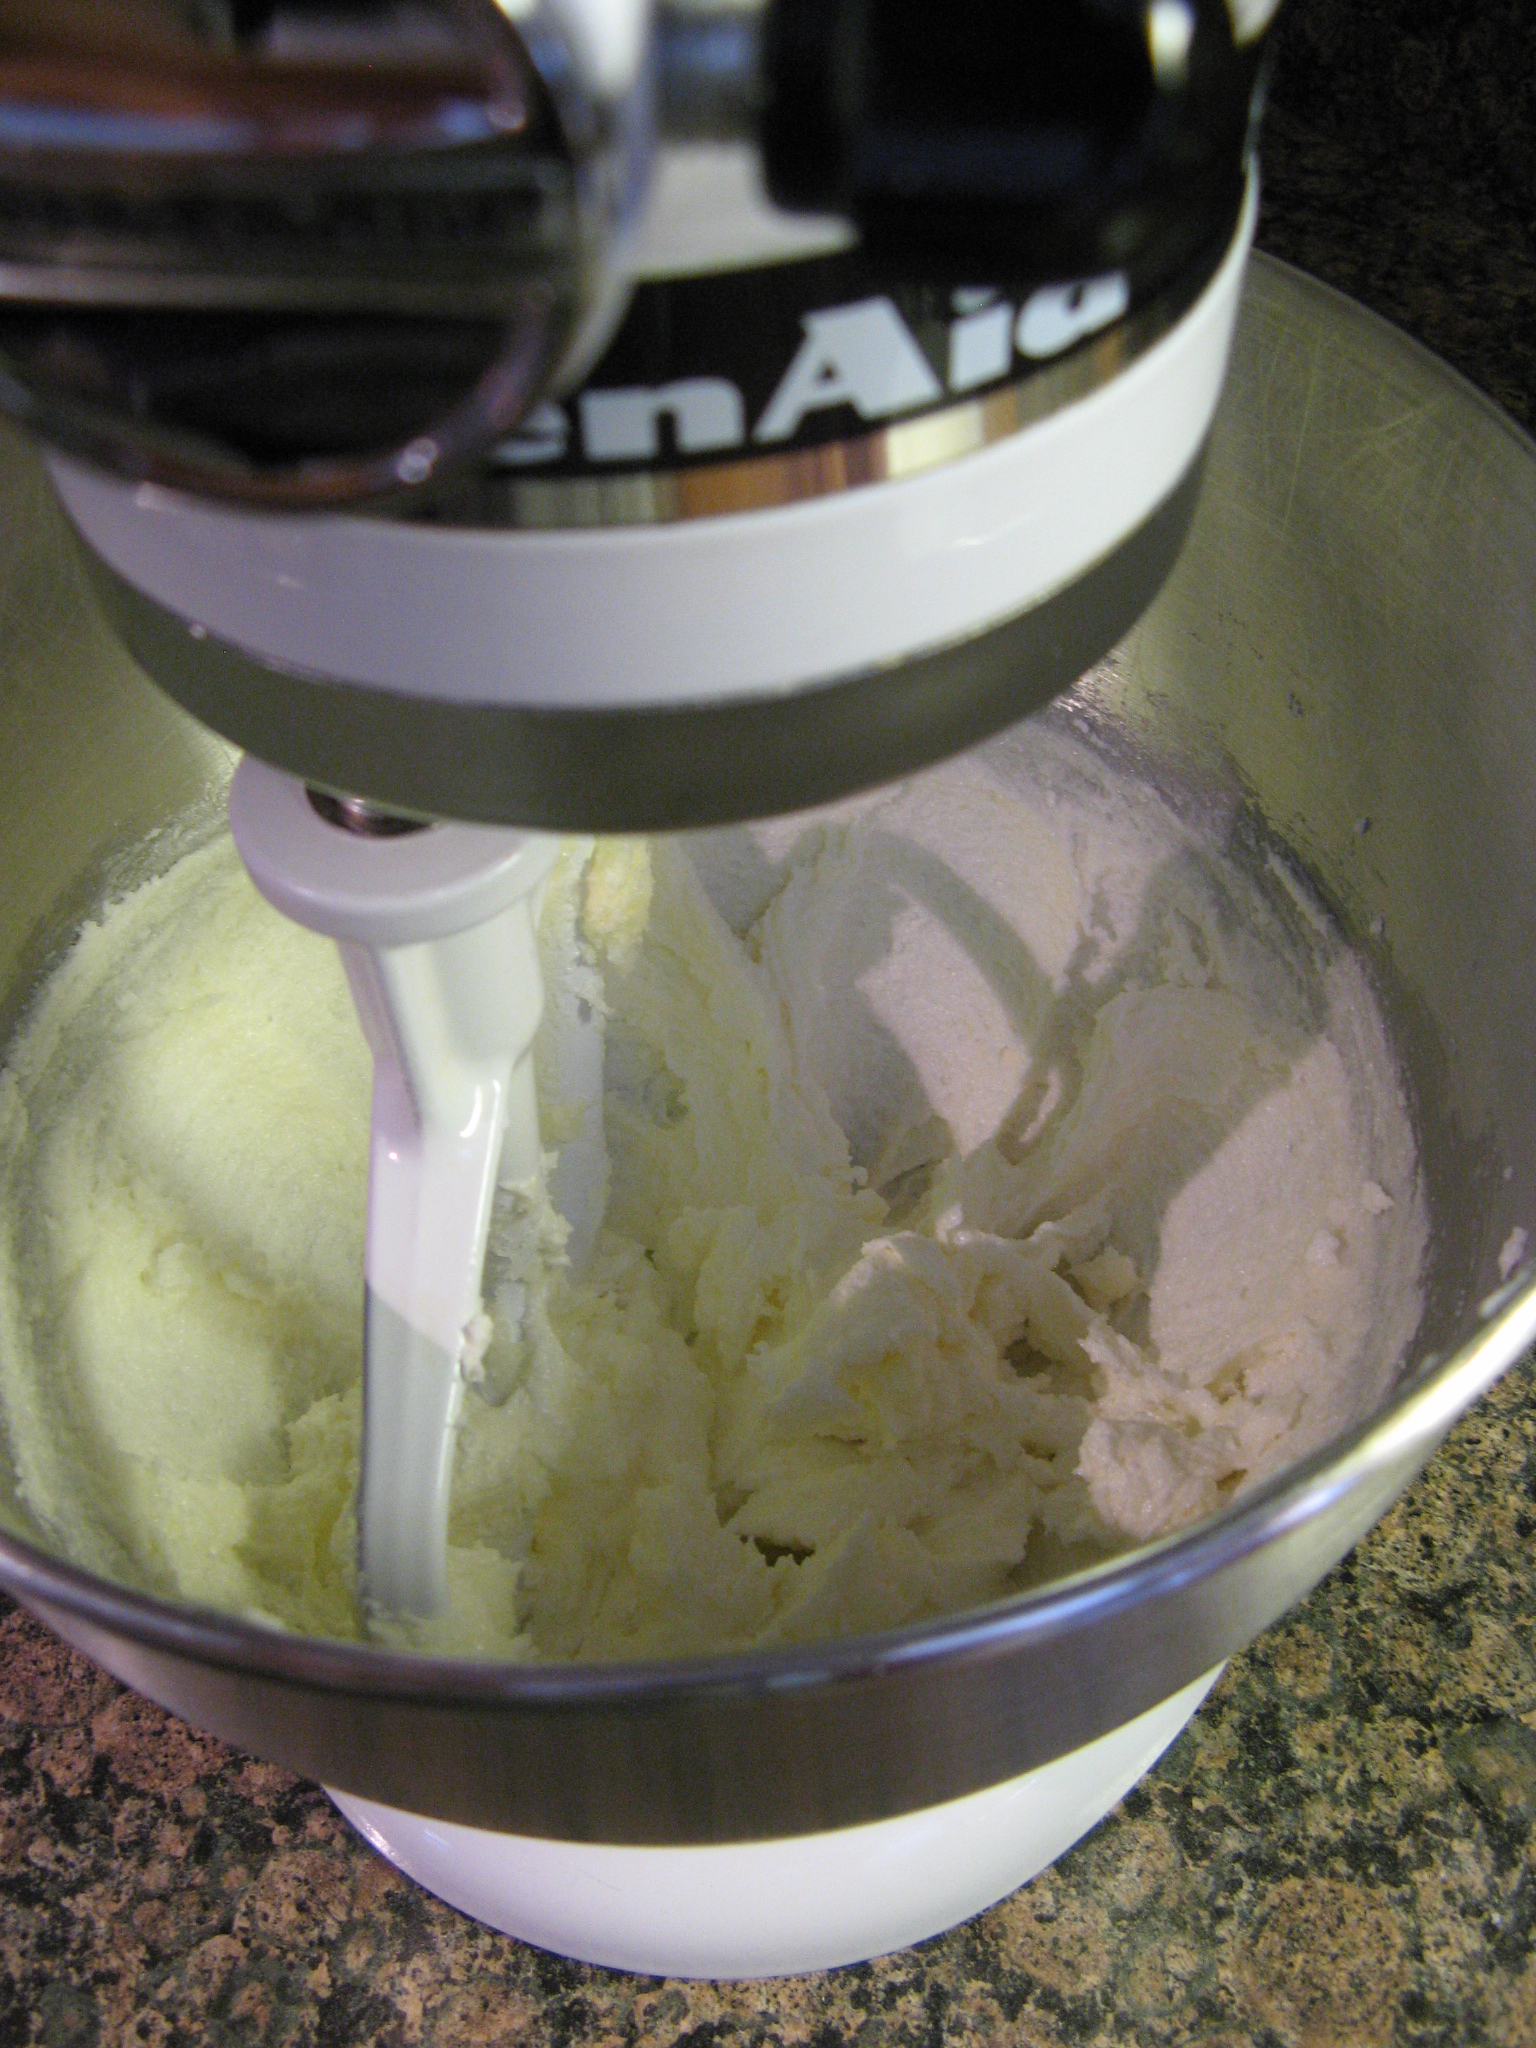
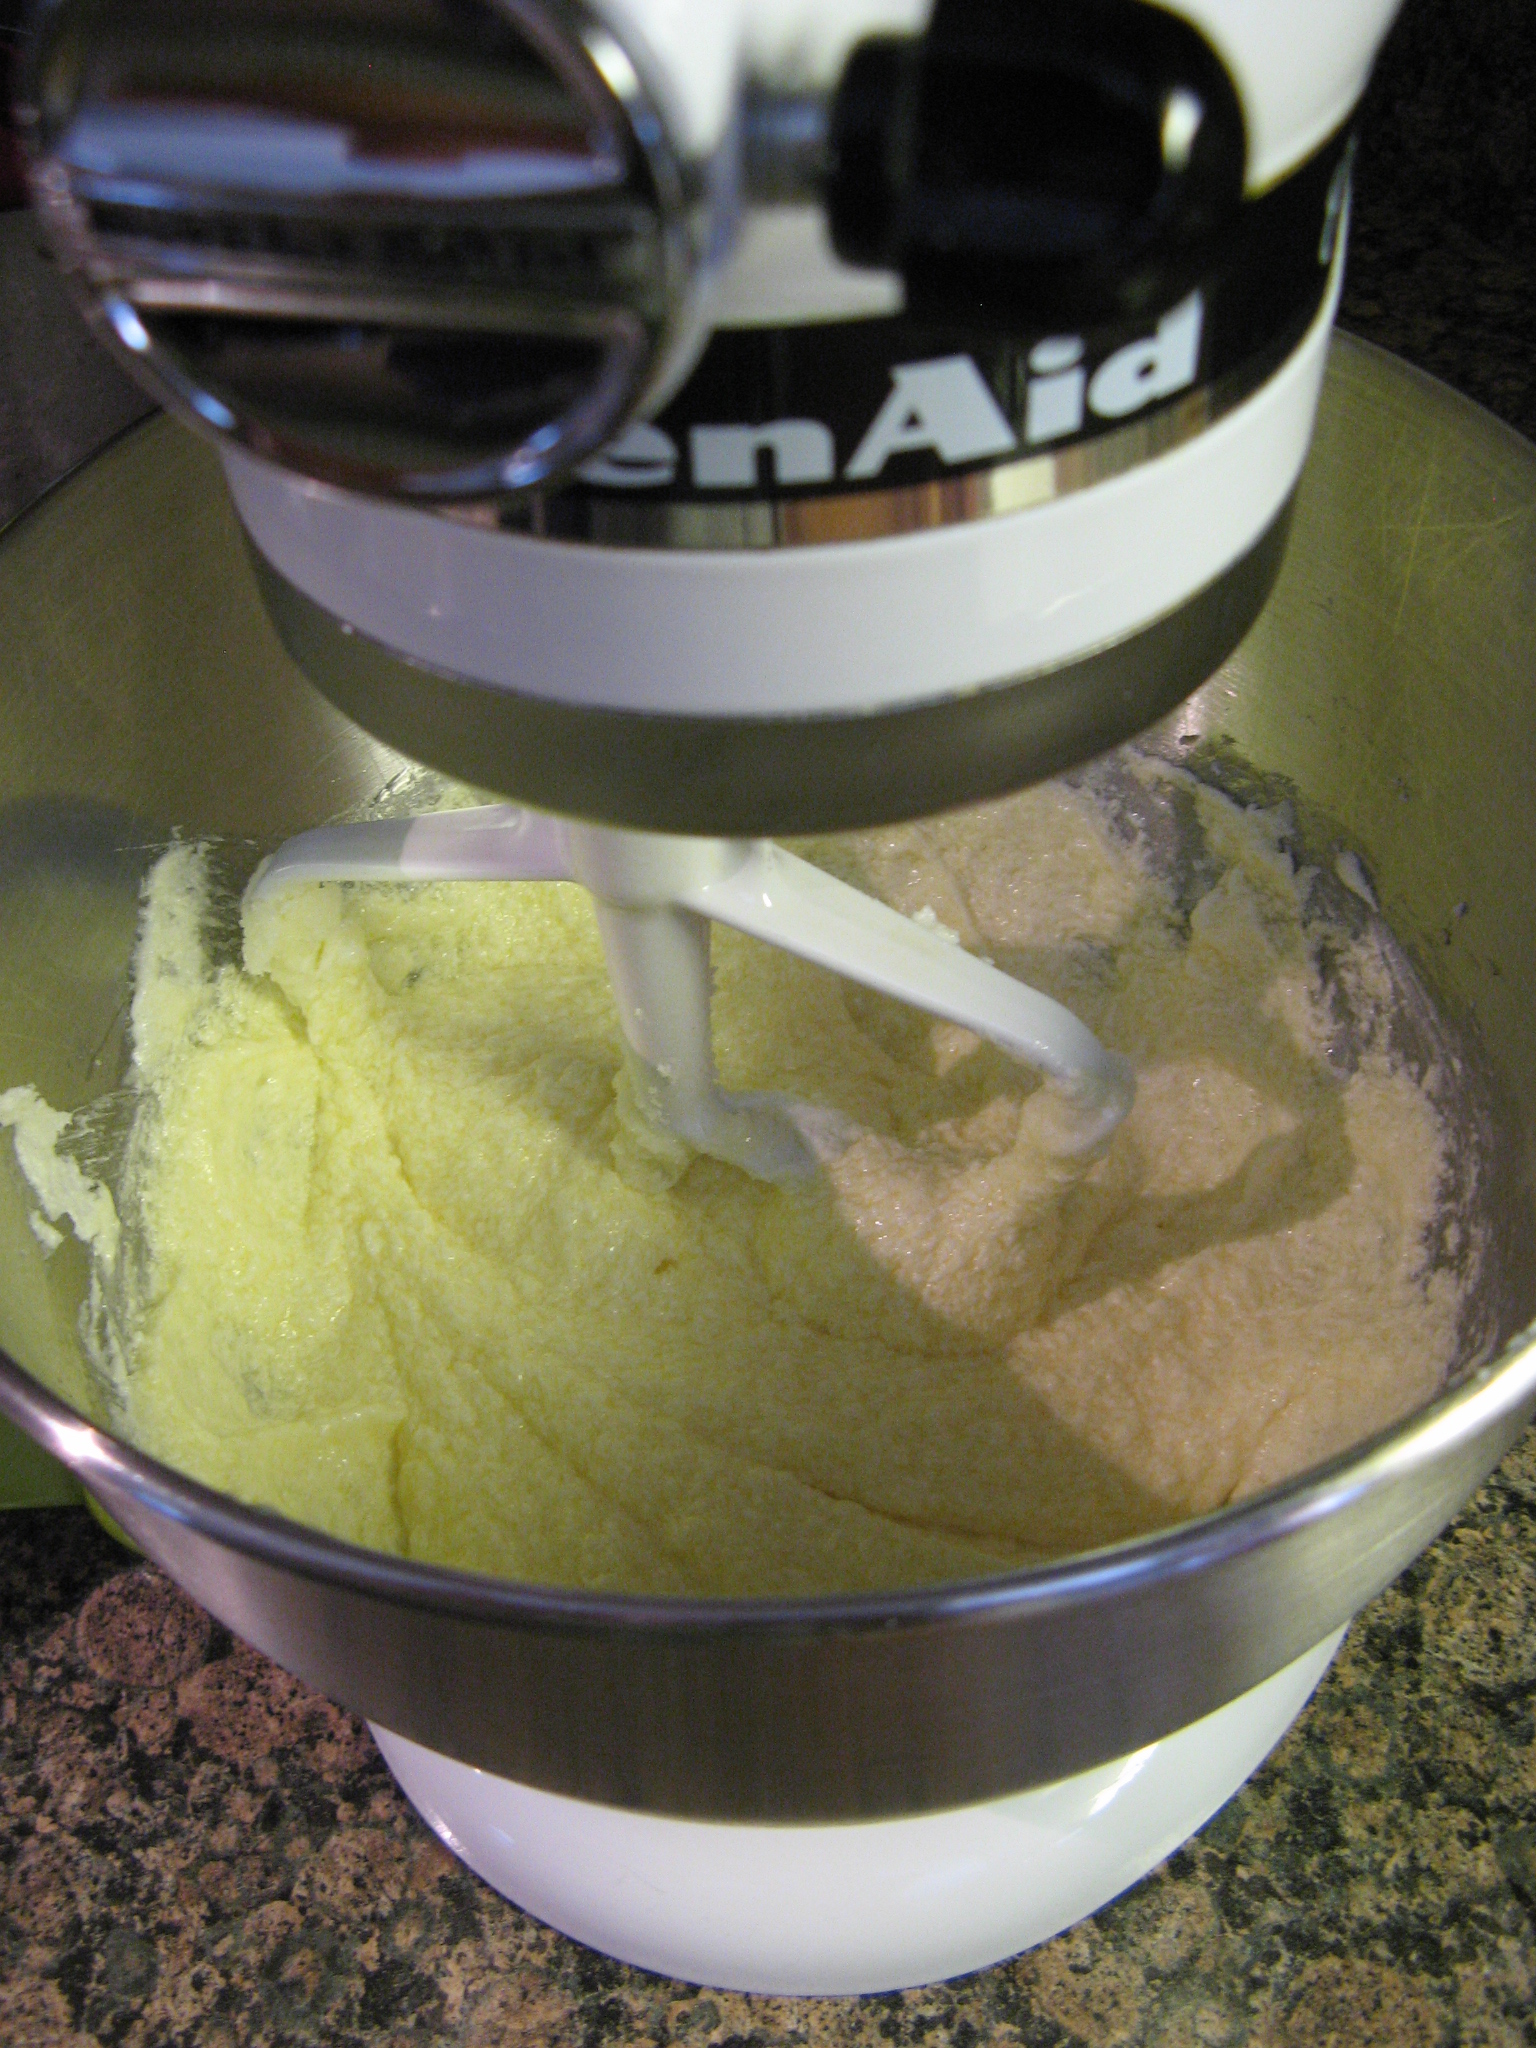
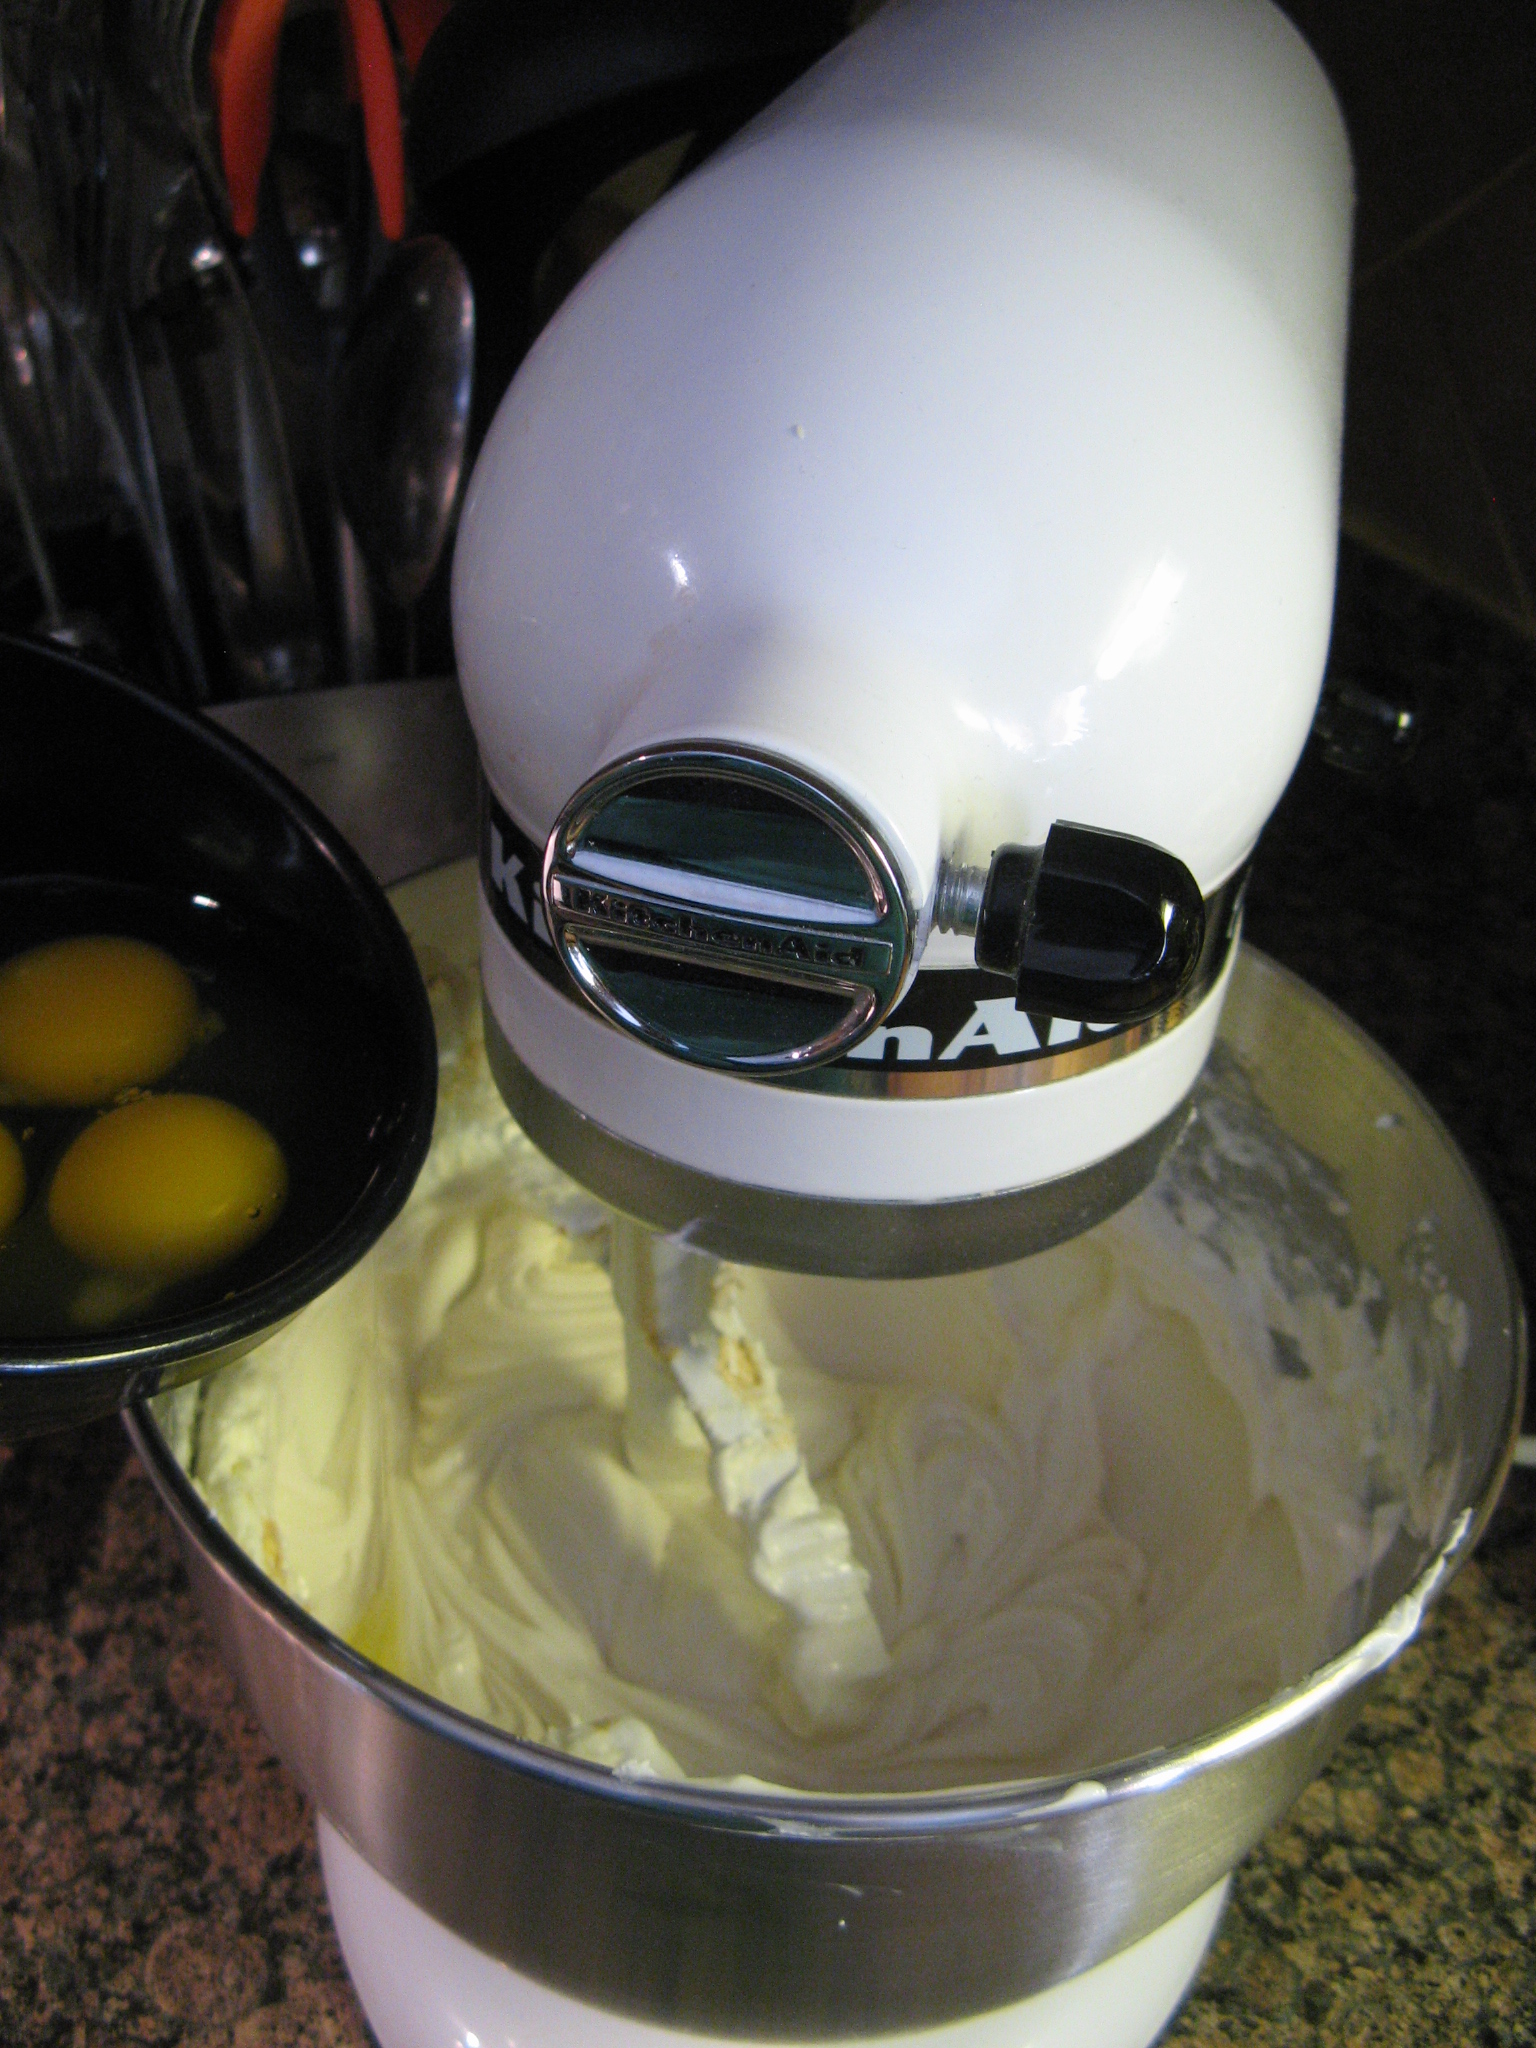
With an electric mixer (or stand mixer) beat the butter and brown sugar on medium speed until pale and fluffy, 3 to 4 minutes. Beat in the eggs, 1 at a time. Then beat in the pumpkin and finally the vanilla and ginger. Reduce the speed to medium and add the flour in the batches alternating with 2 batches of the buttermilk, beating until just combined, scraping down the sides of the bowl as necessary.
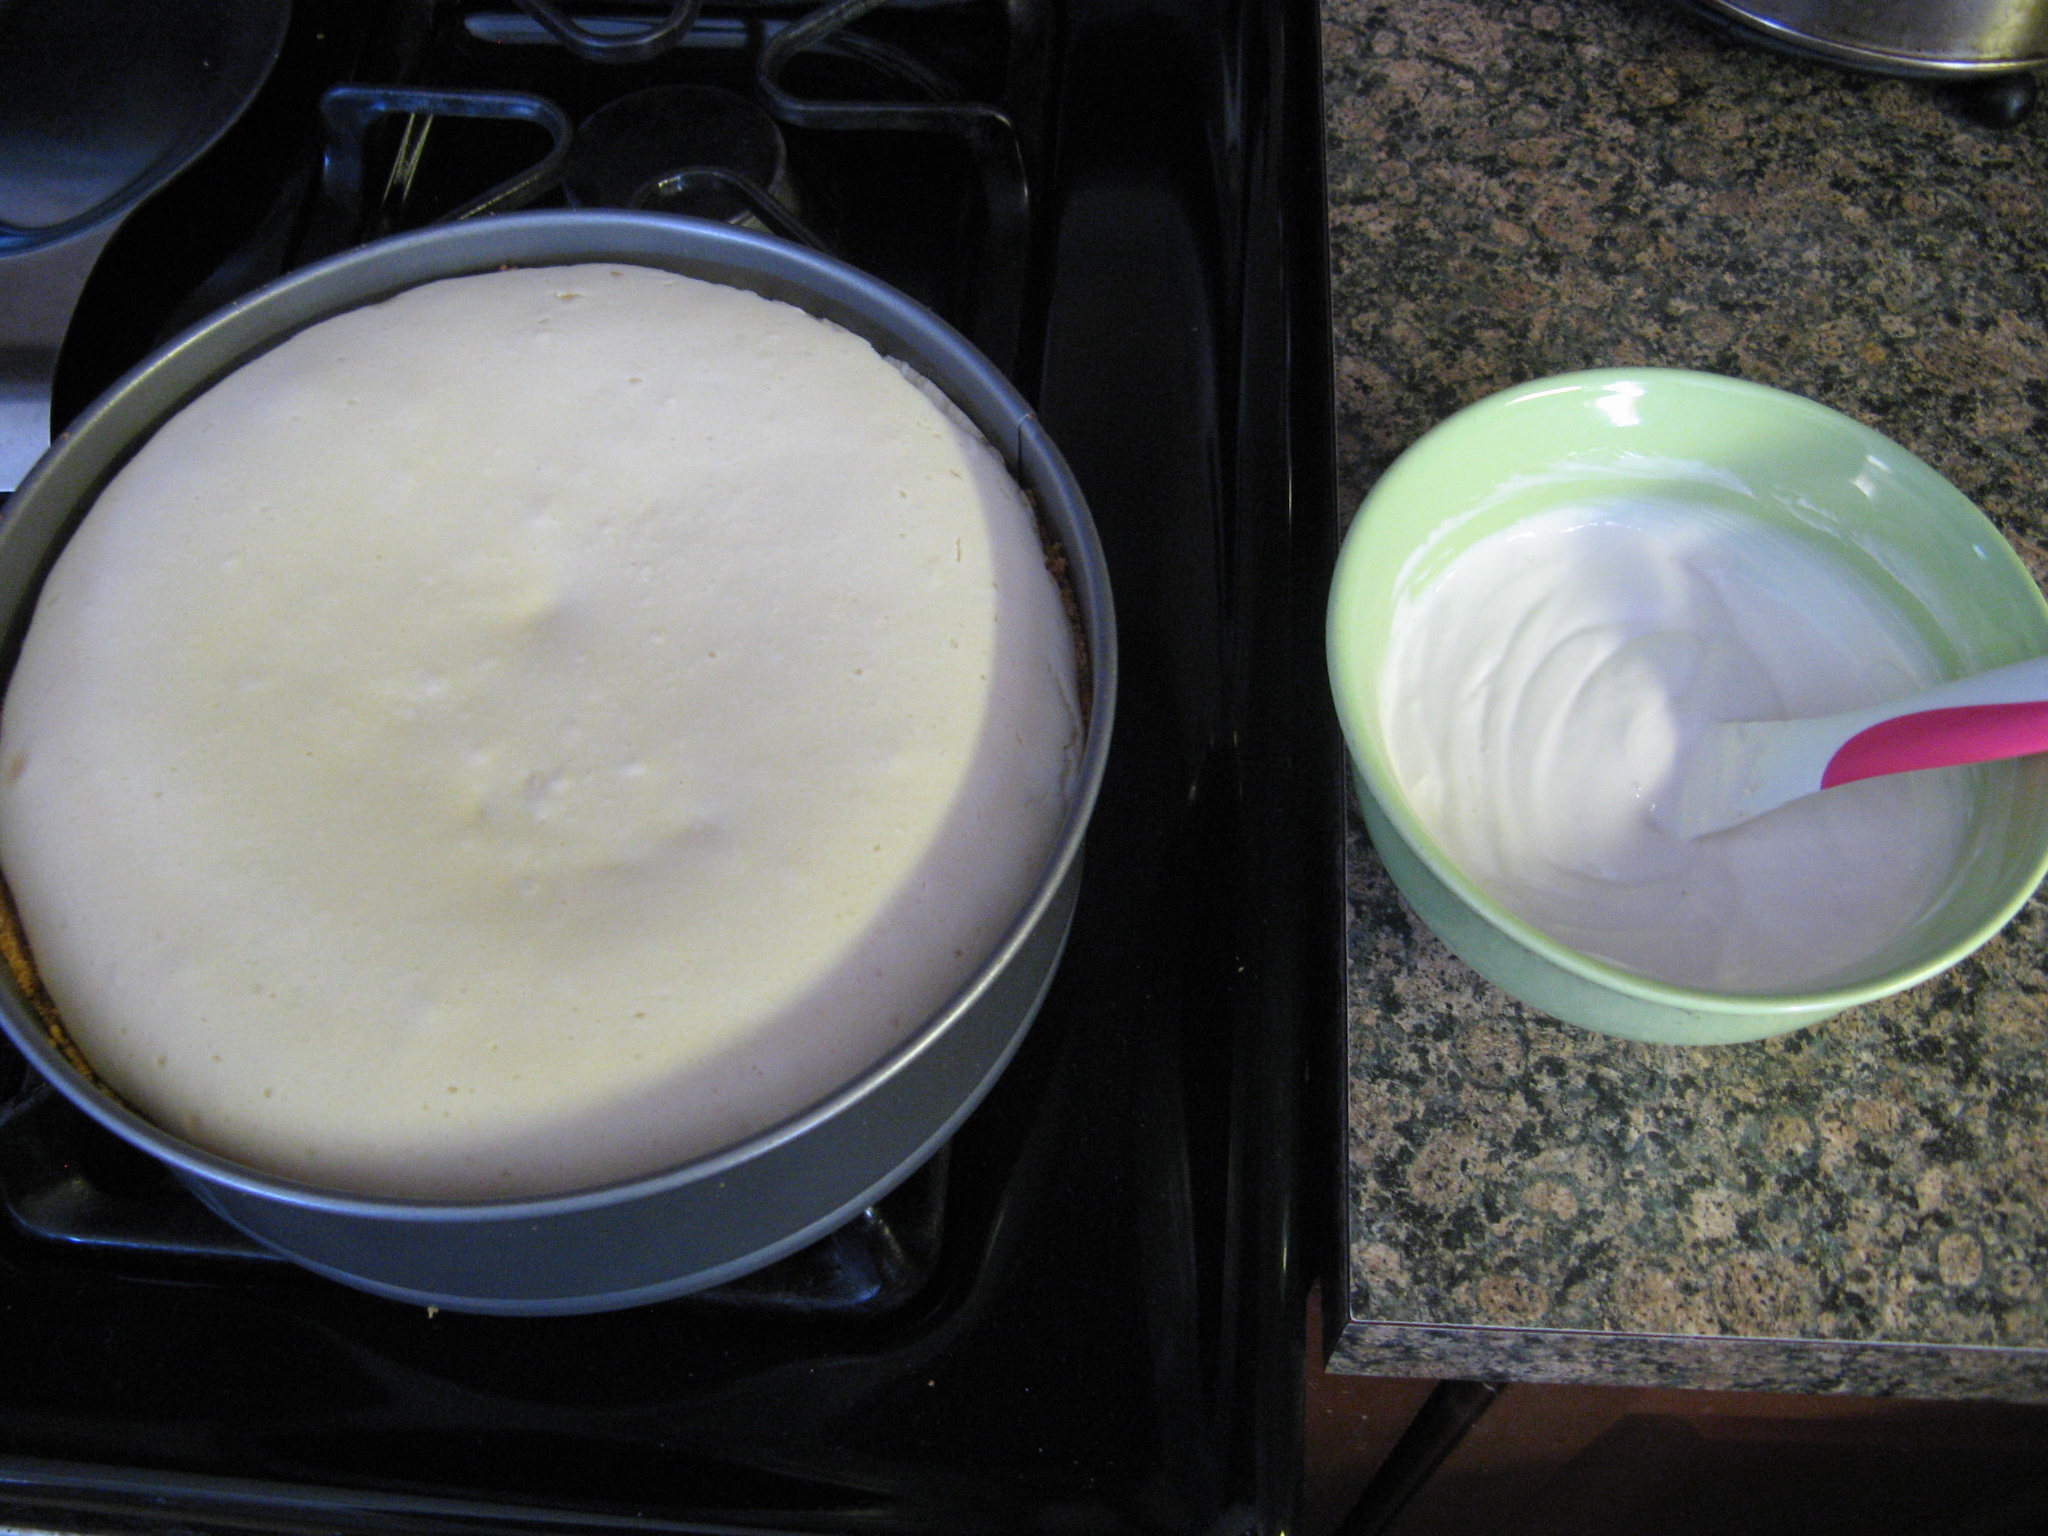
Divide the batter evenly between the prepared pans. Bake until the cakes are golden brown, the edges pull away from the sides of the pan and a cake tested comes out clean, about 30 -35 minutes. Transfer the pans to a wire rack to cool for 15 minutes. Turn out the cakes onto the racks to cool completely.
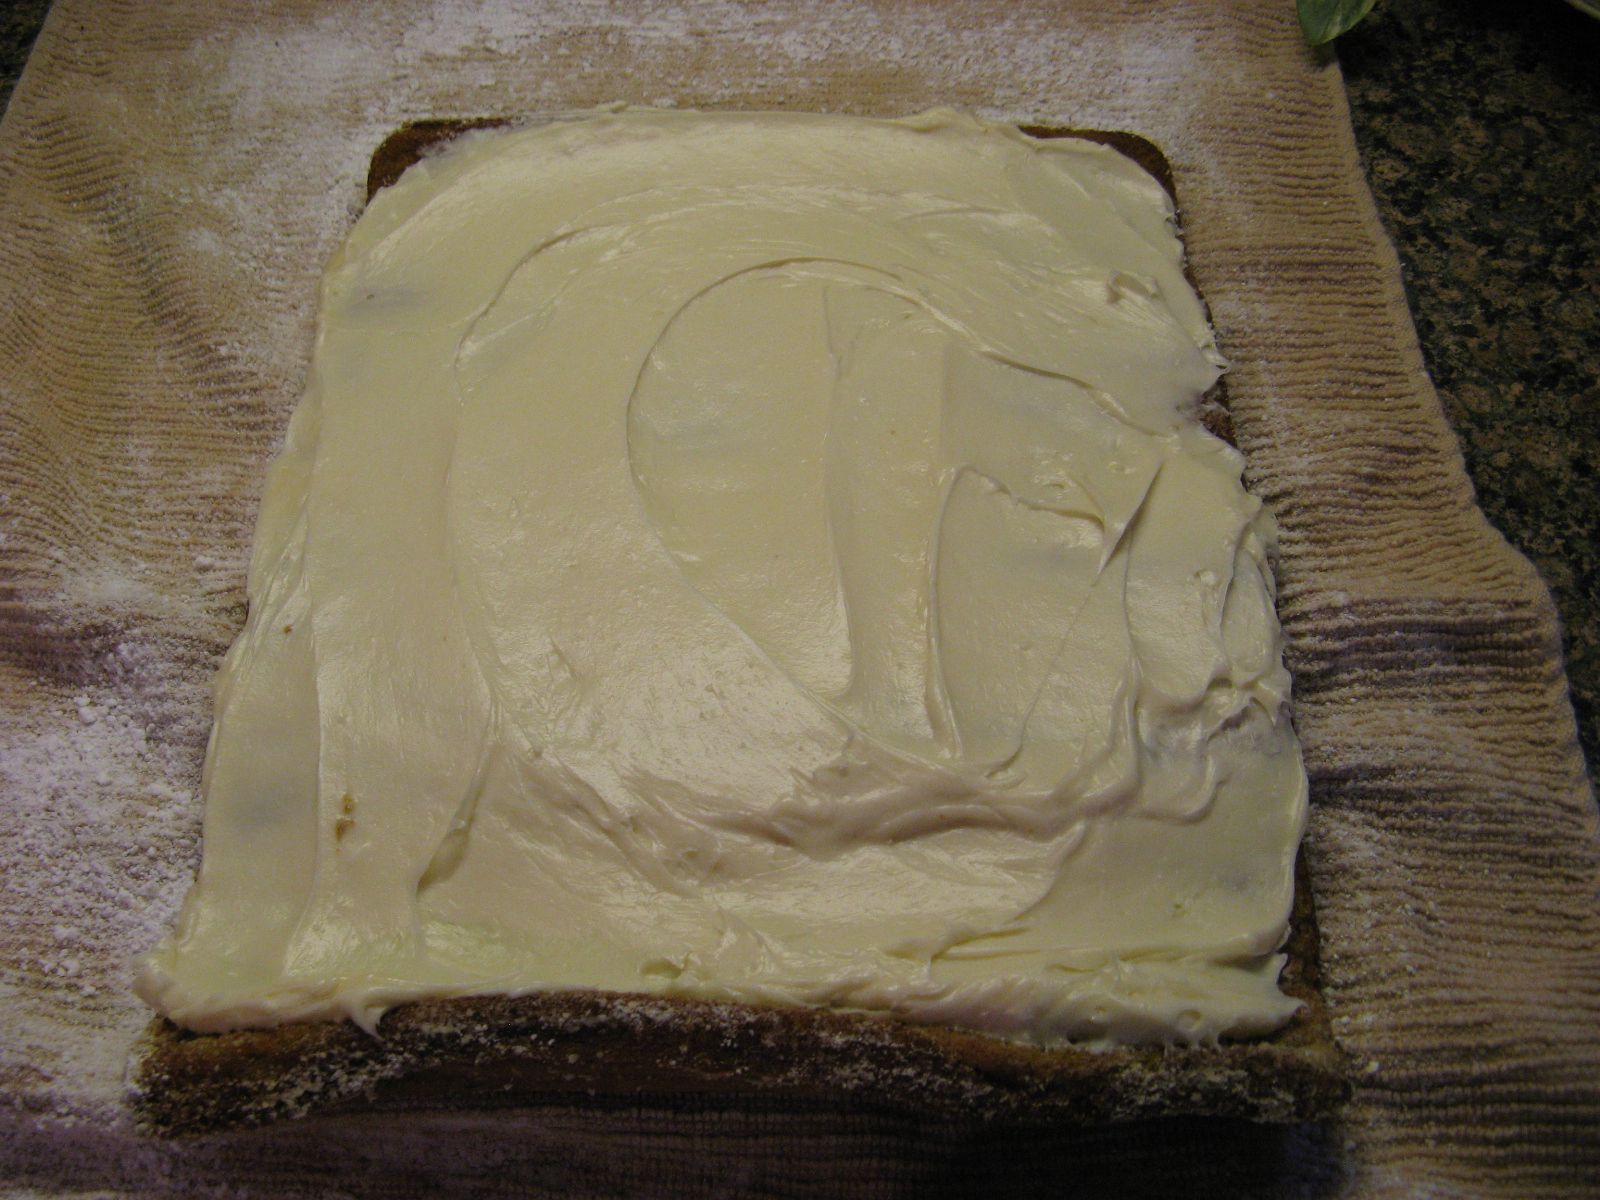
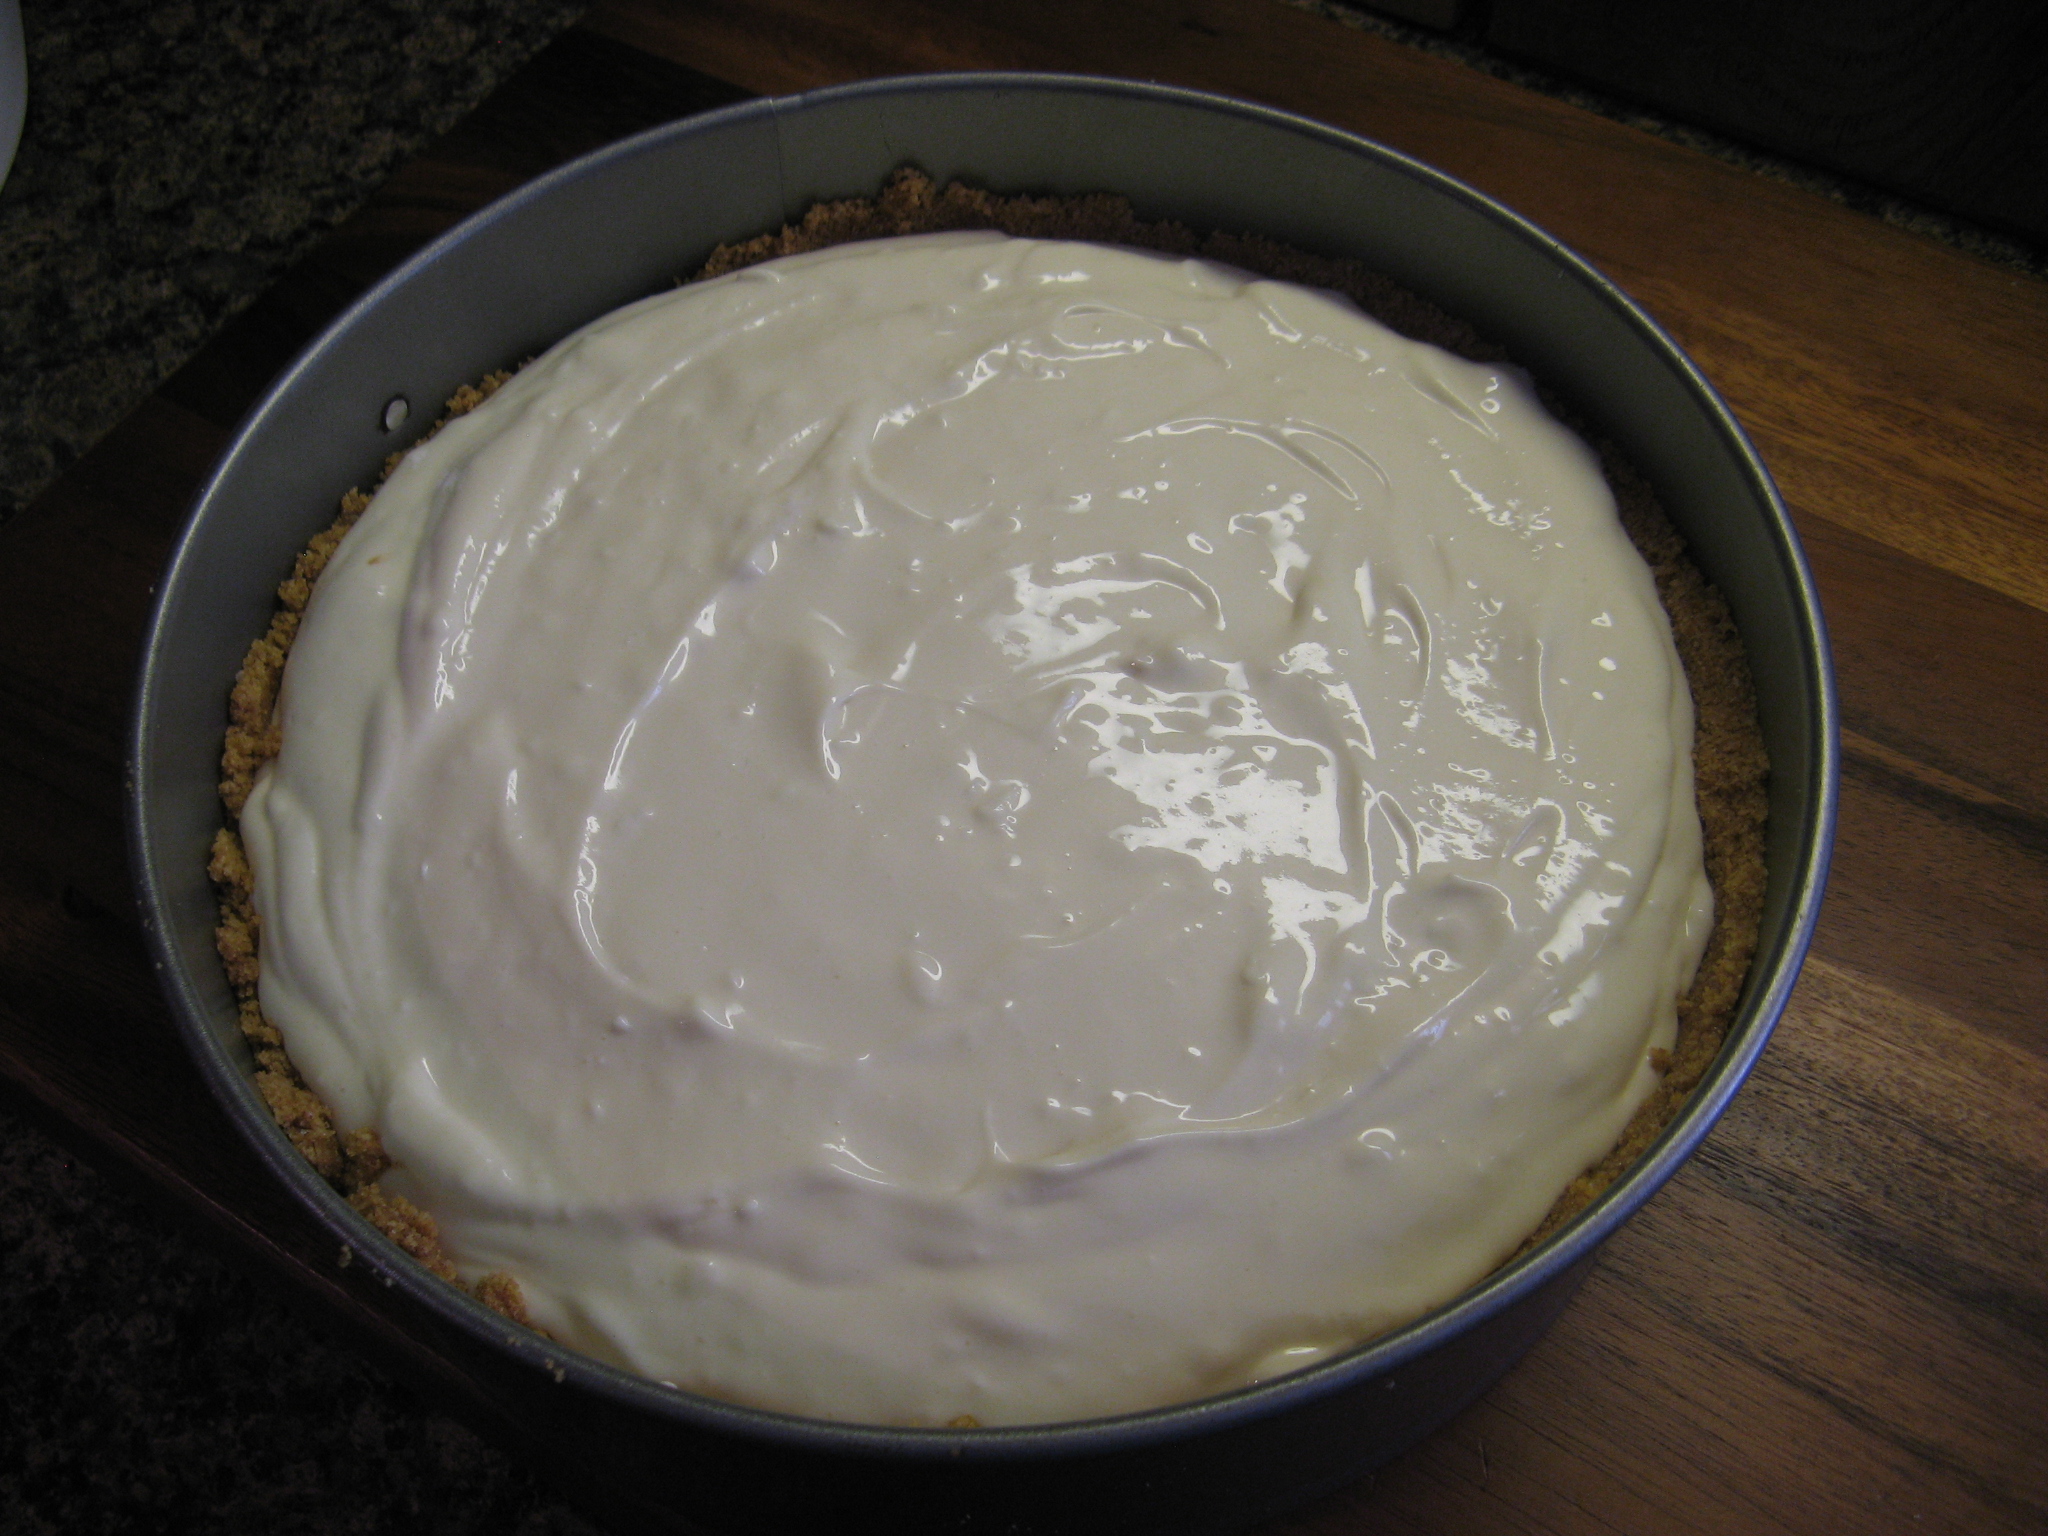
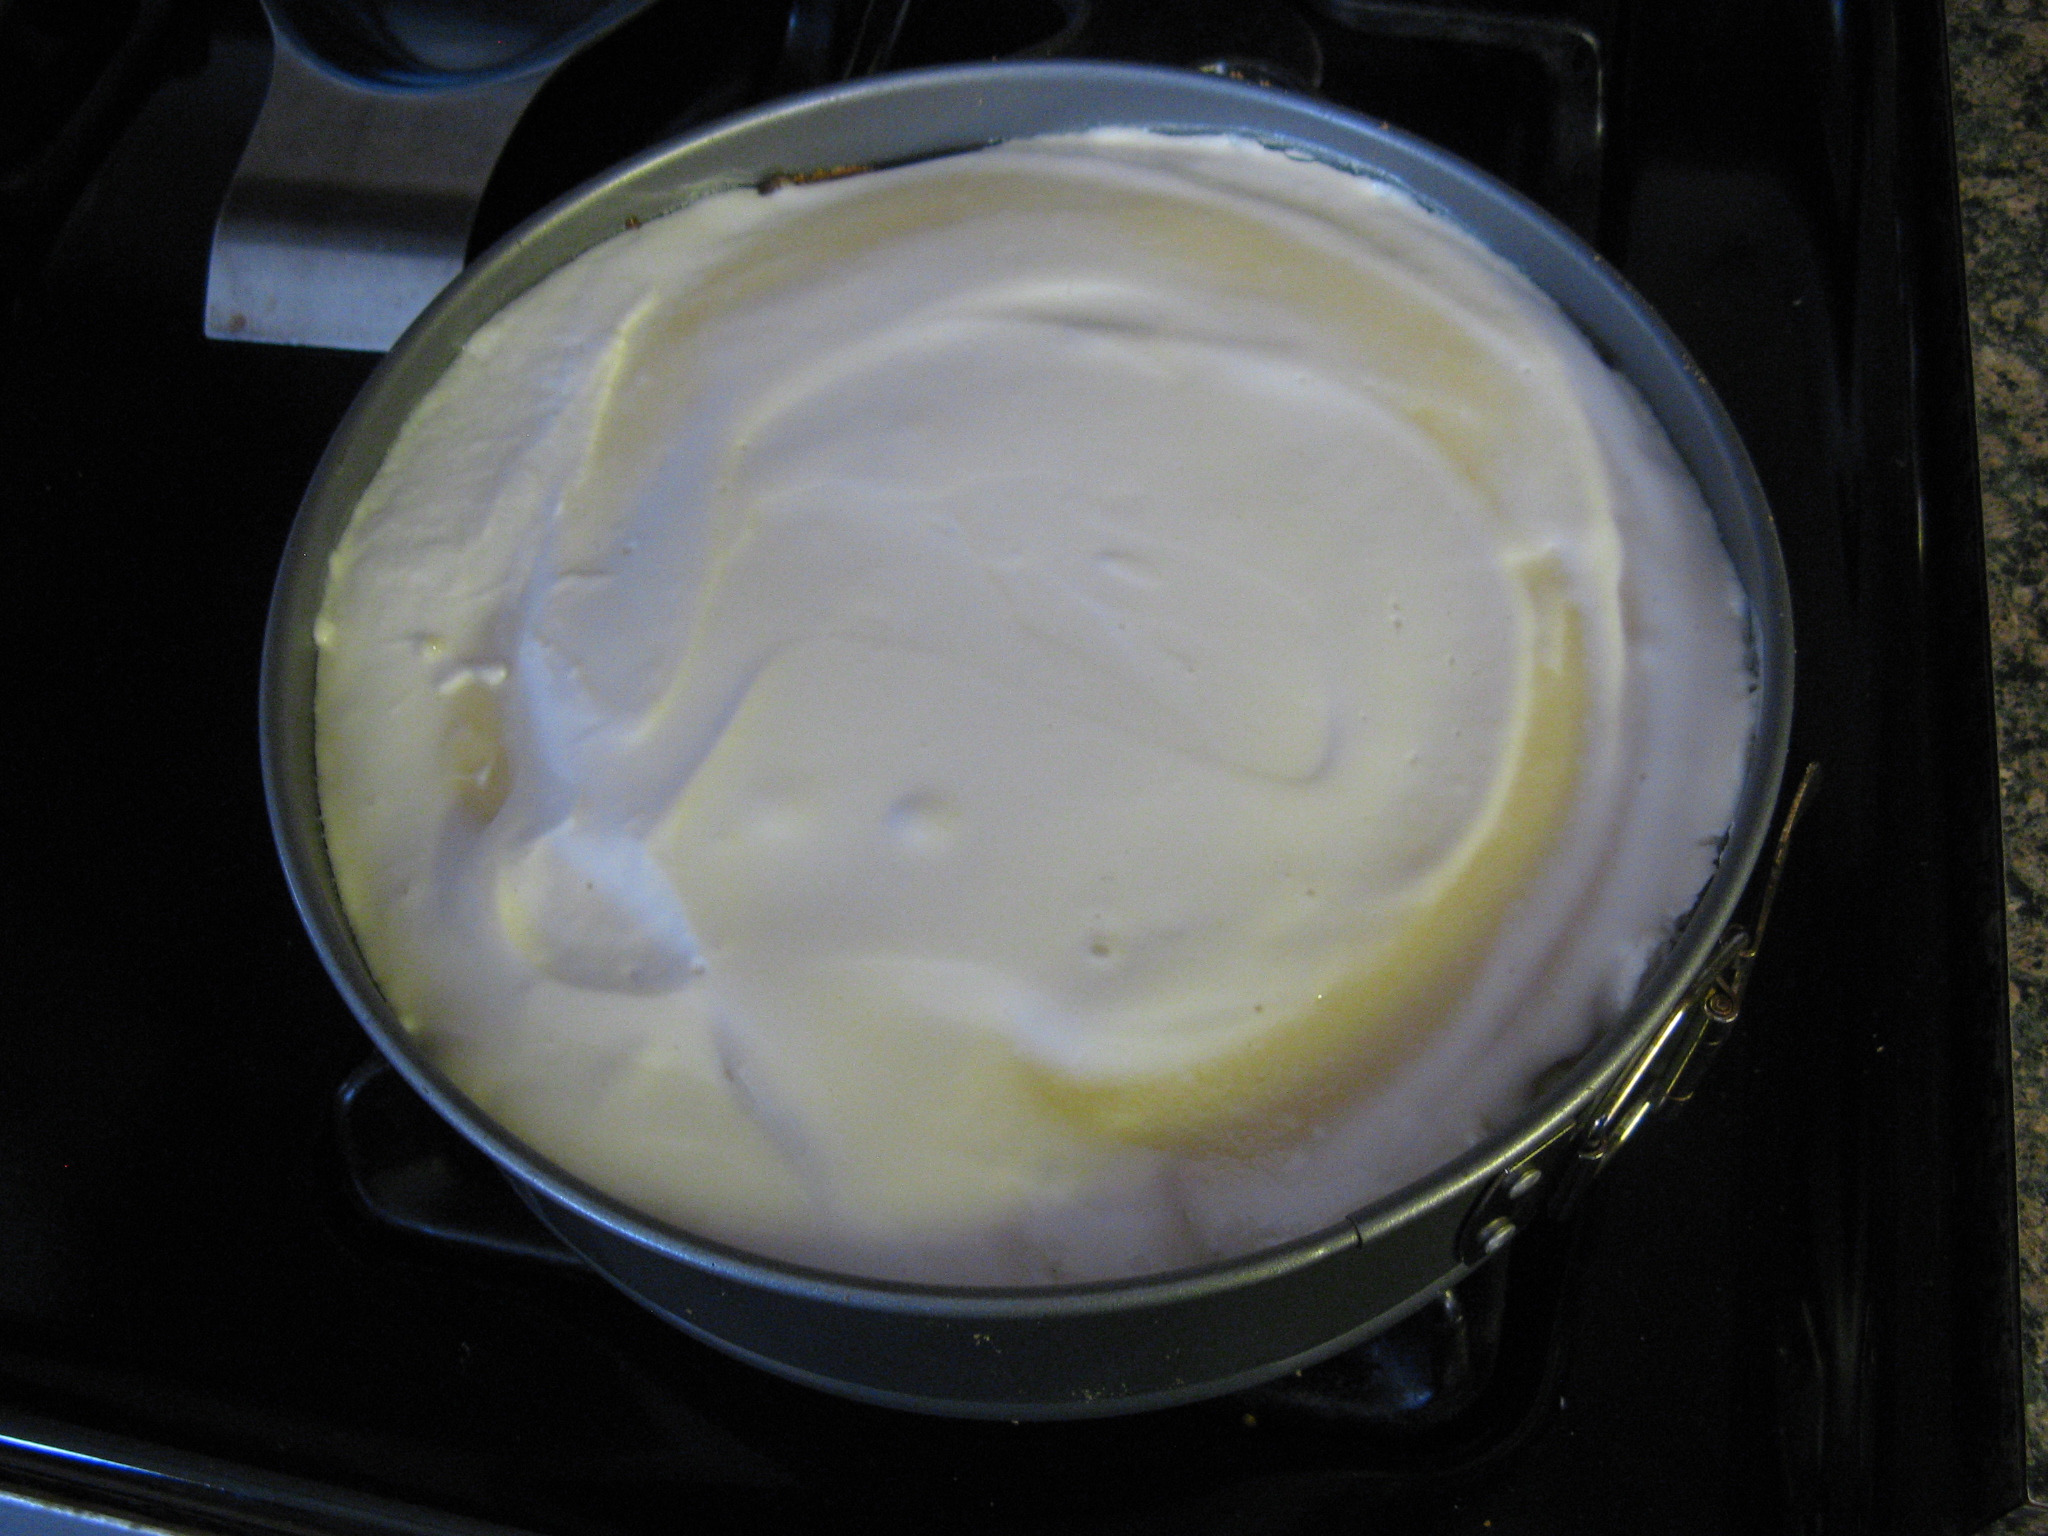
Place the bottom layer of the cake on a cake stand (or board) and spread half of your desired frosting evenly over the cake. Top with the second layer and evenly spread the remaining frosting over the cake.
Recipe from Martha Stewart
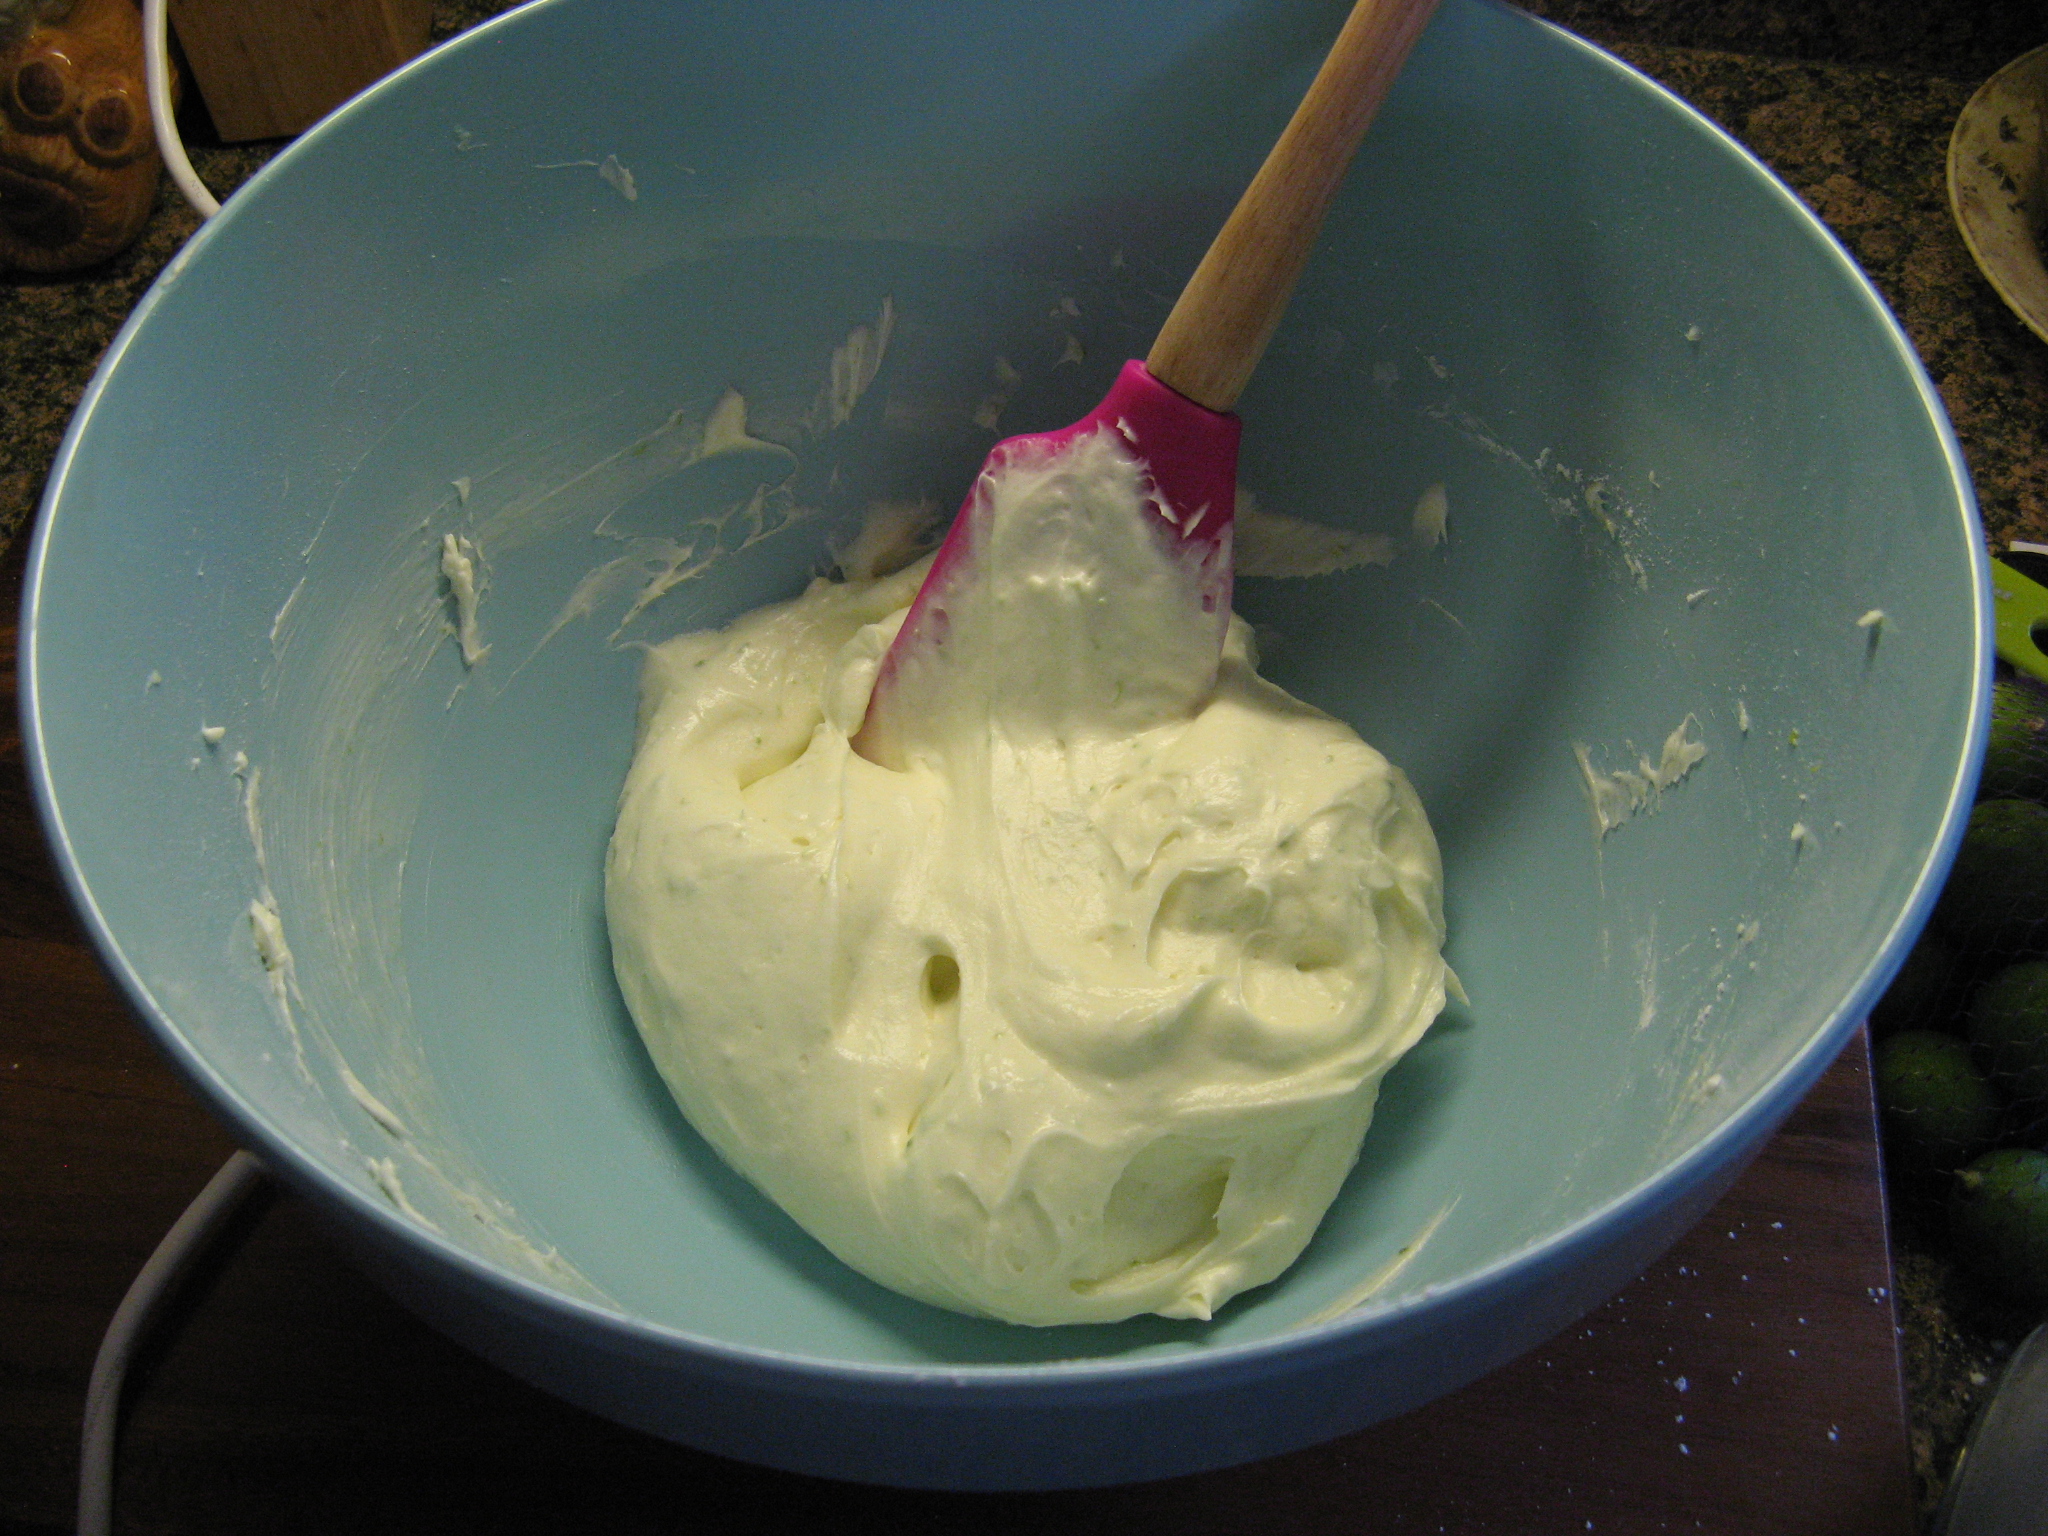
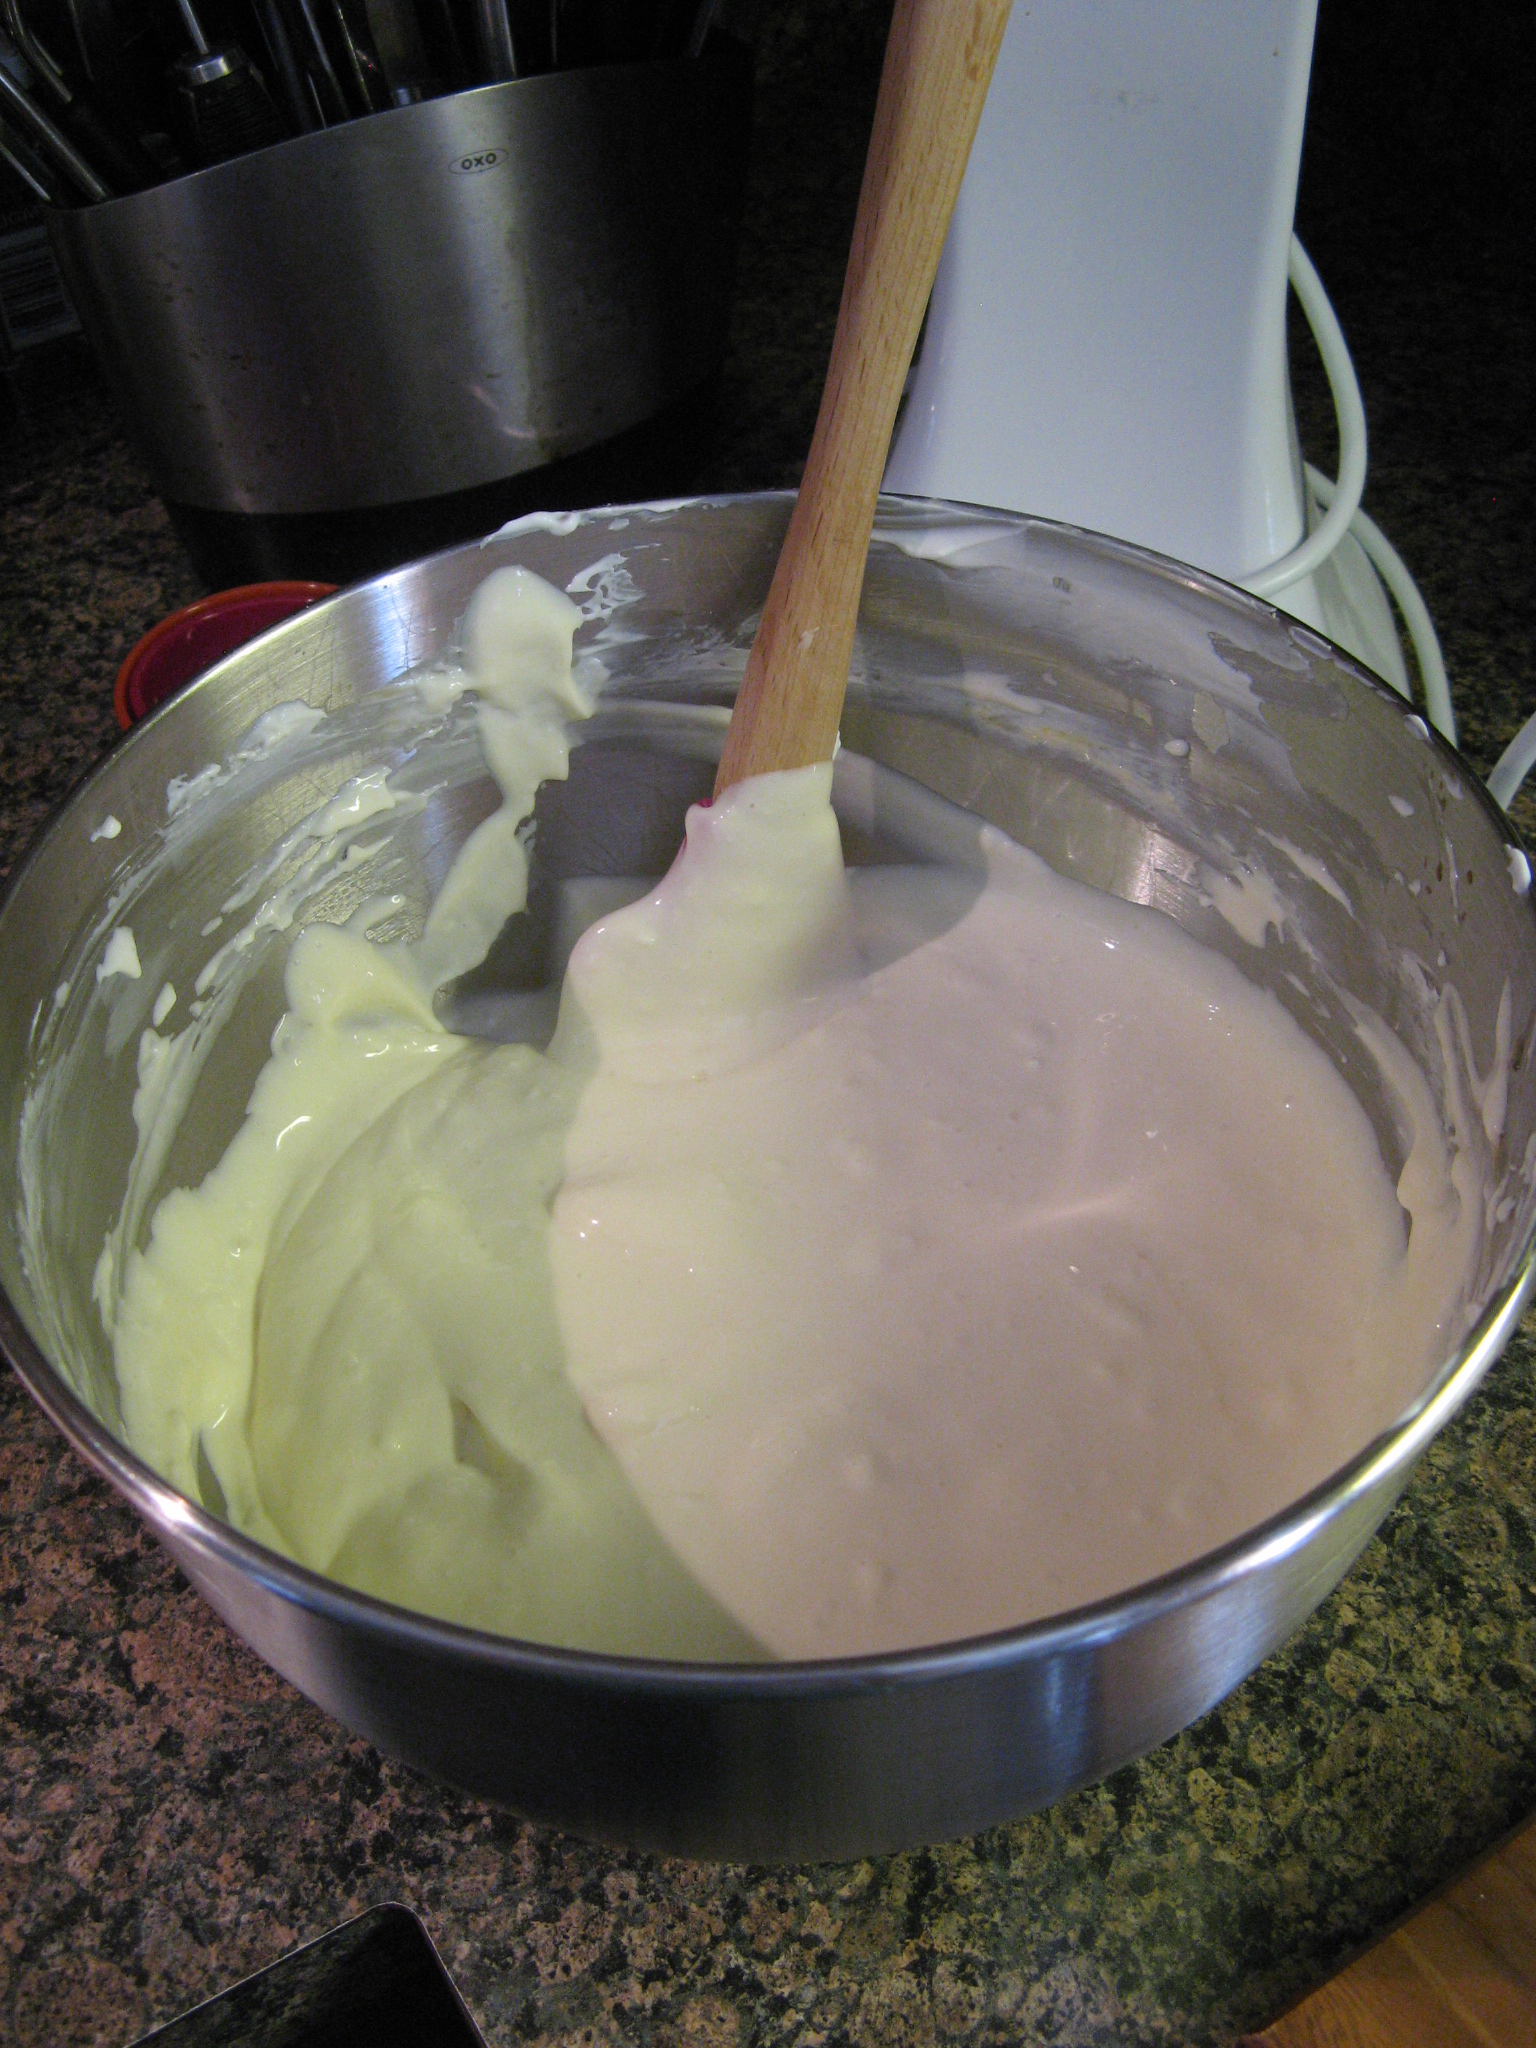
Goat Cheese Frosting
Ingredients:
1 pound (2 – 8oz bars) cream cheese, at room temperature
8 ounces soft goat cheese, at room temperature
1/2 cup confectioners’ sugar
Directions:
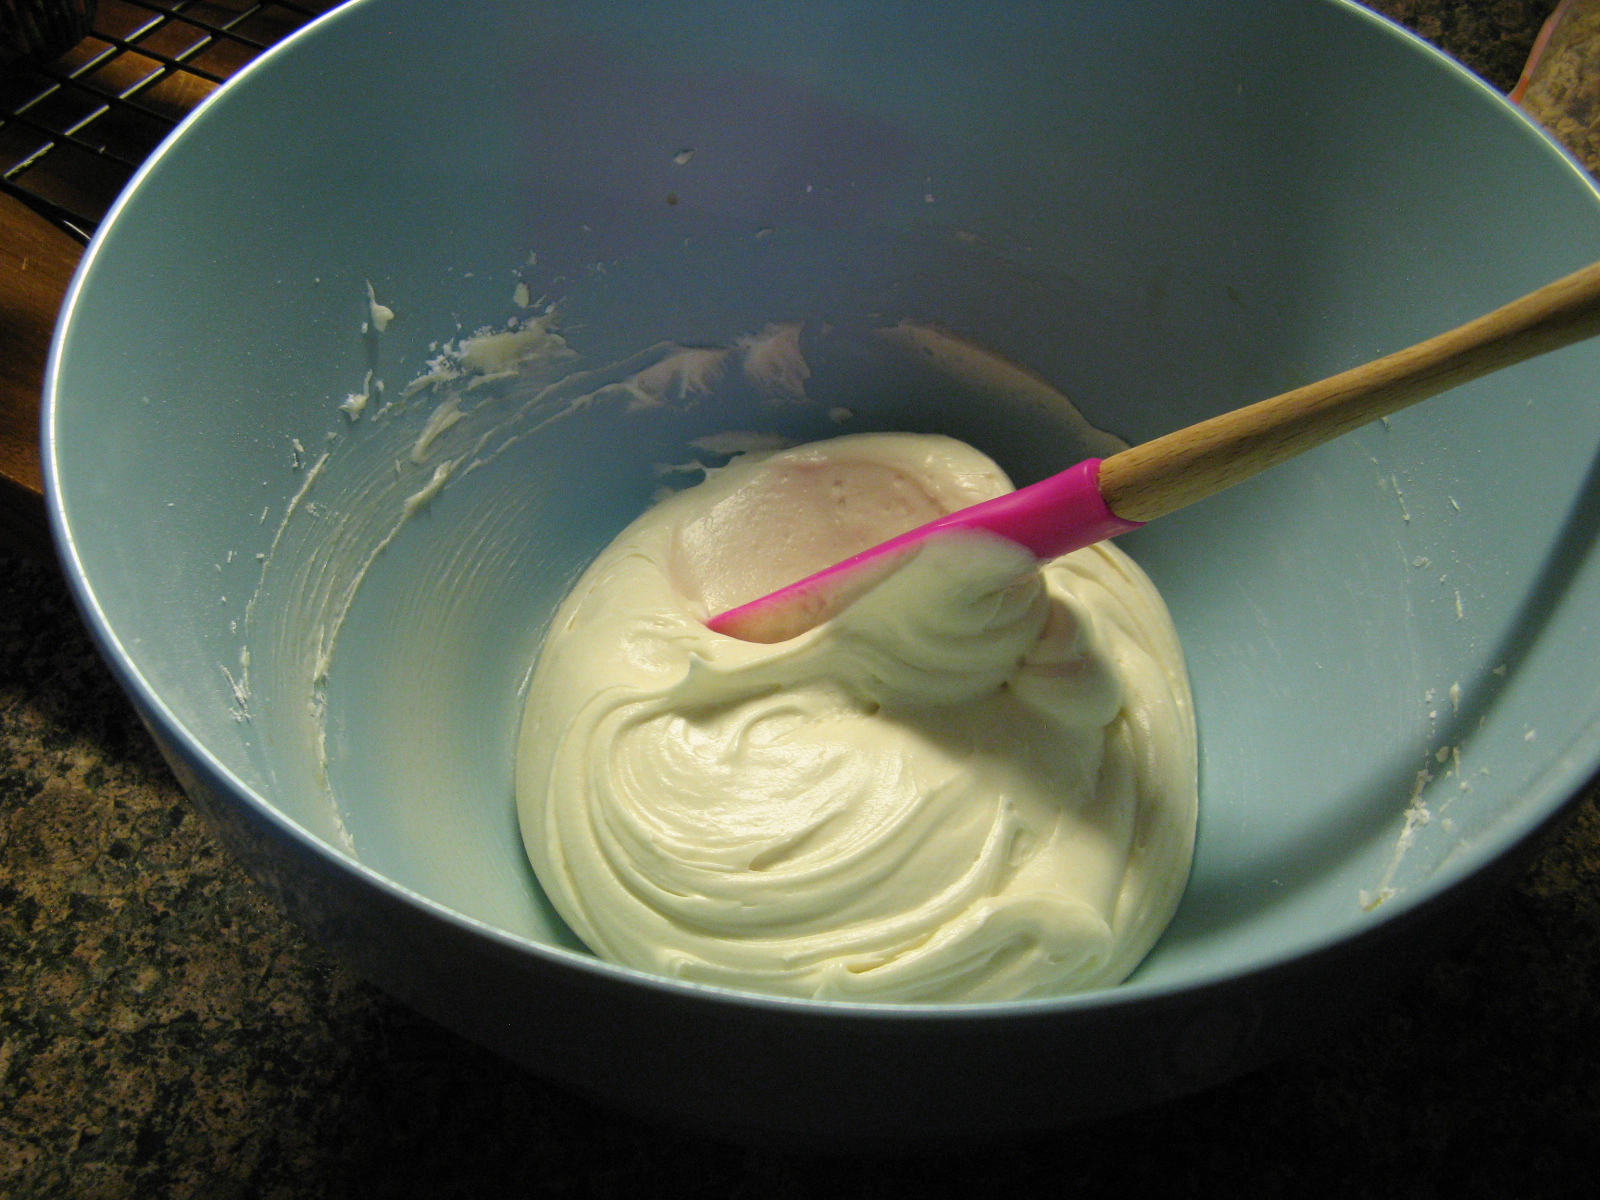
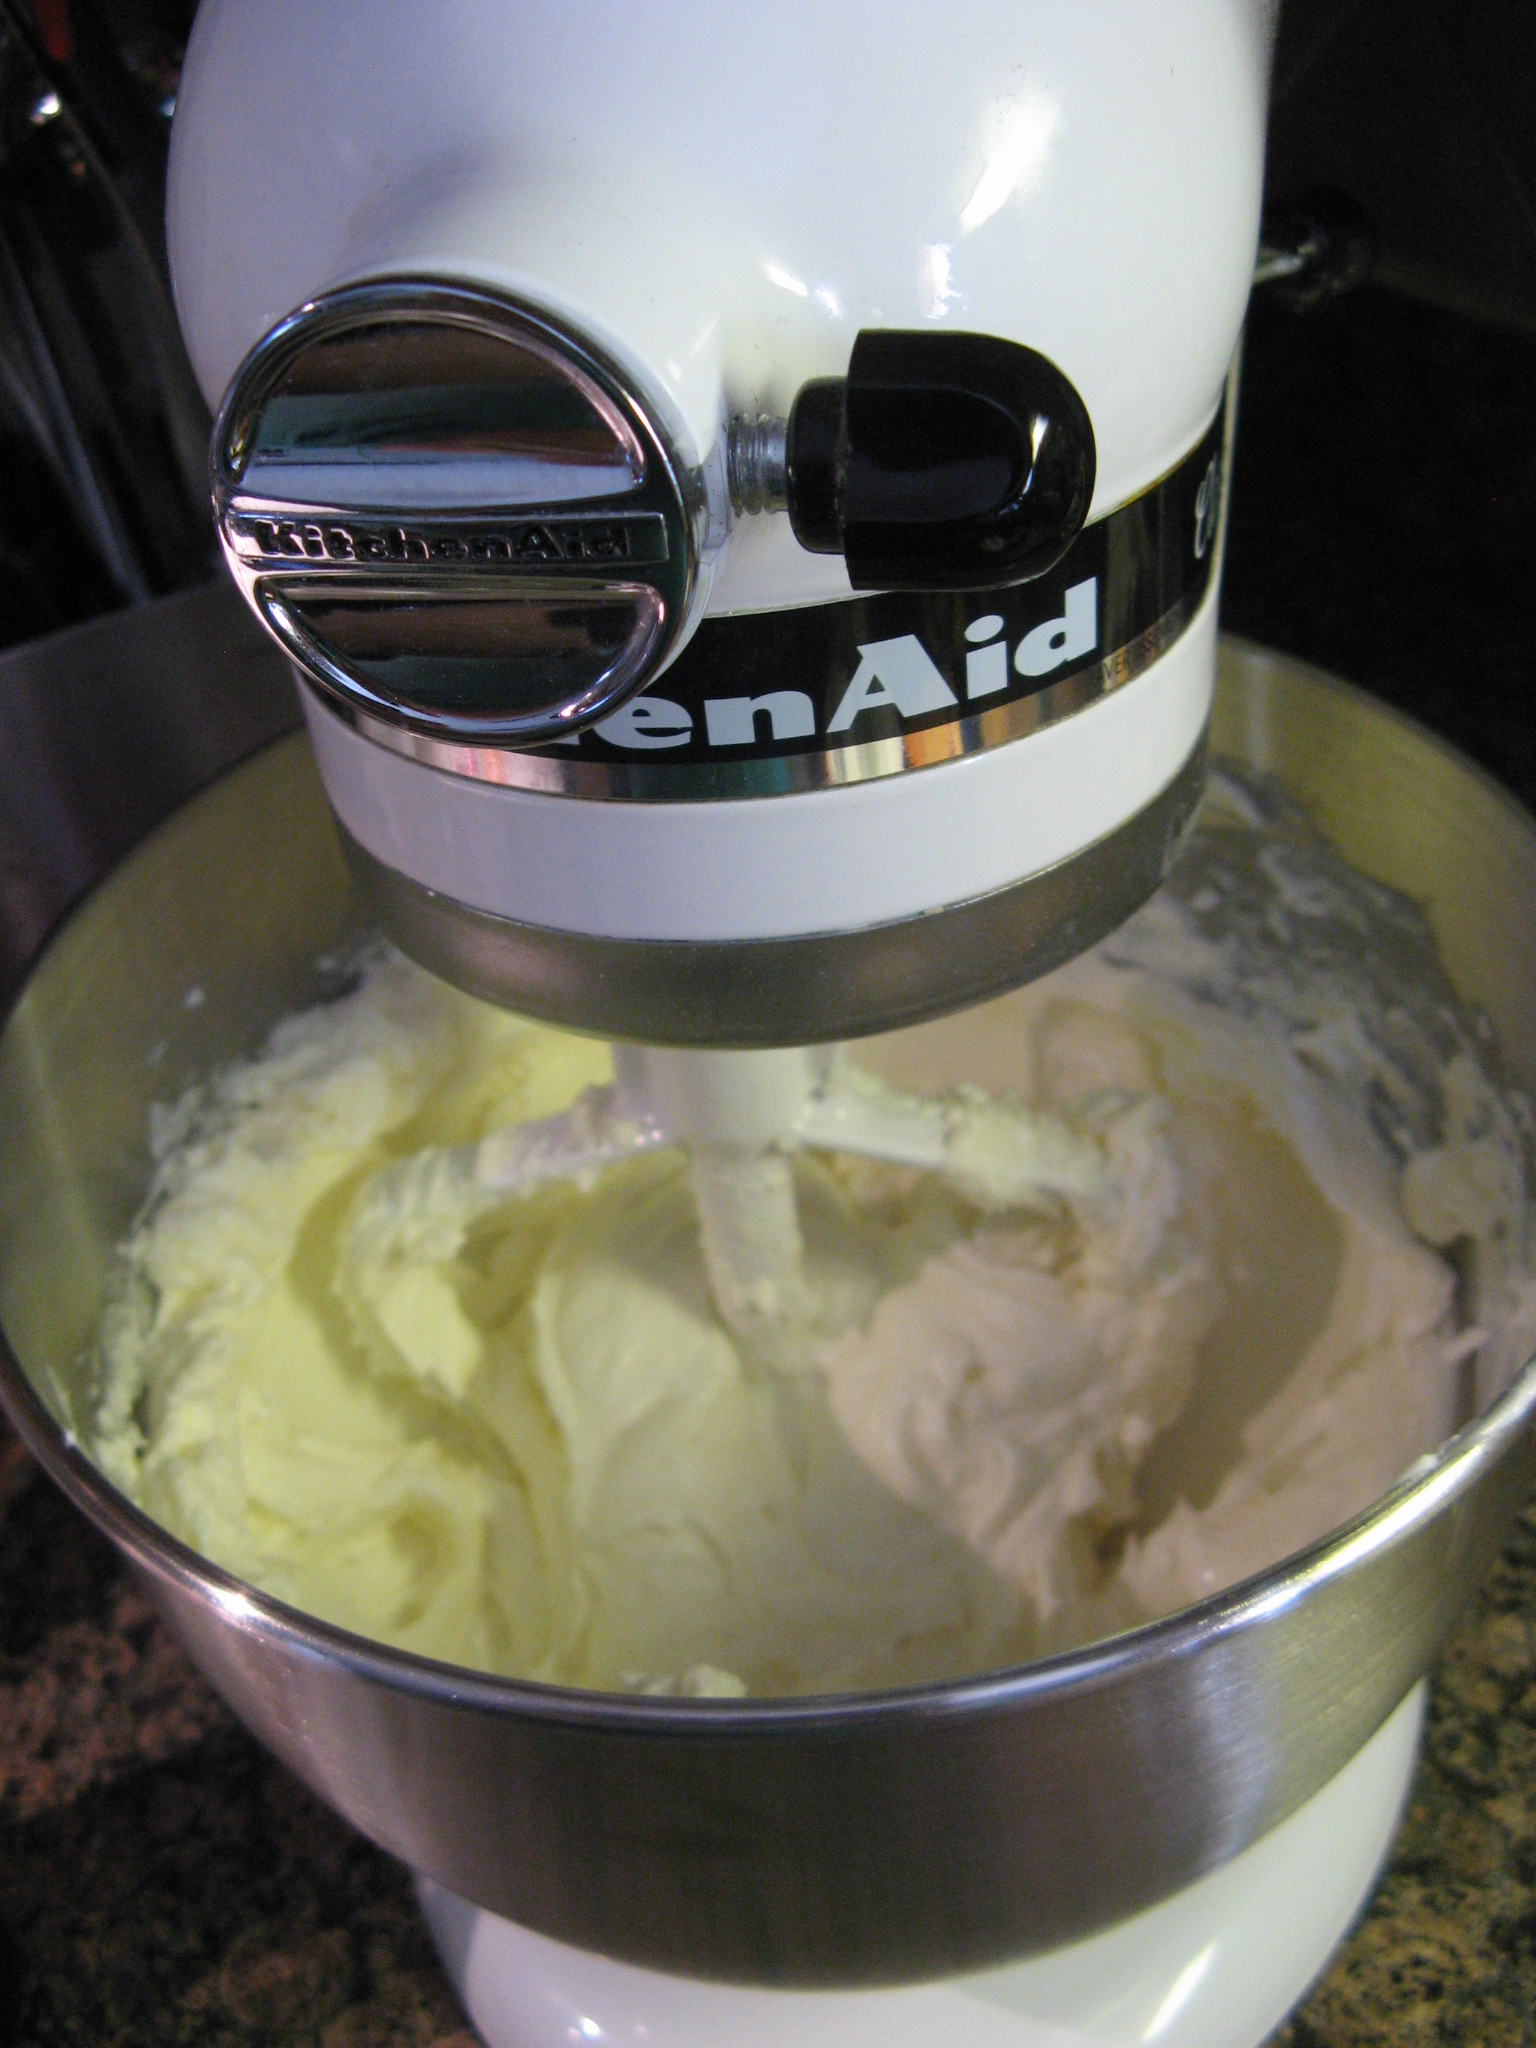
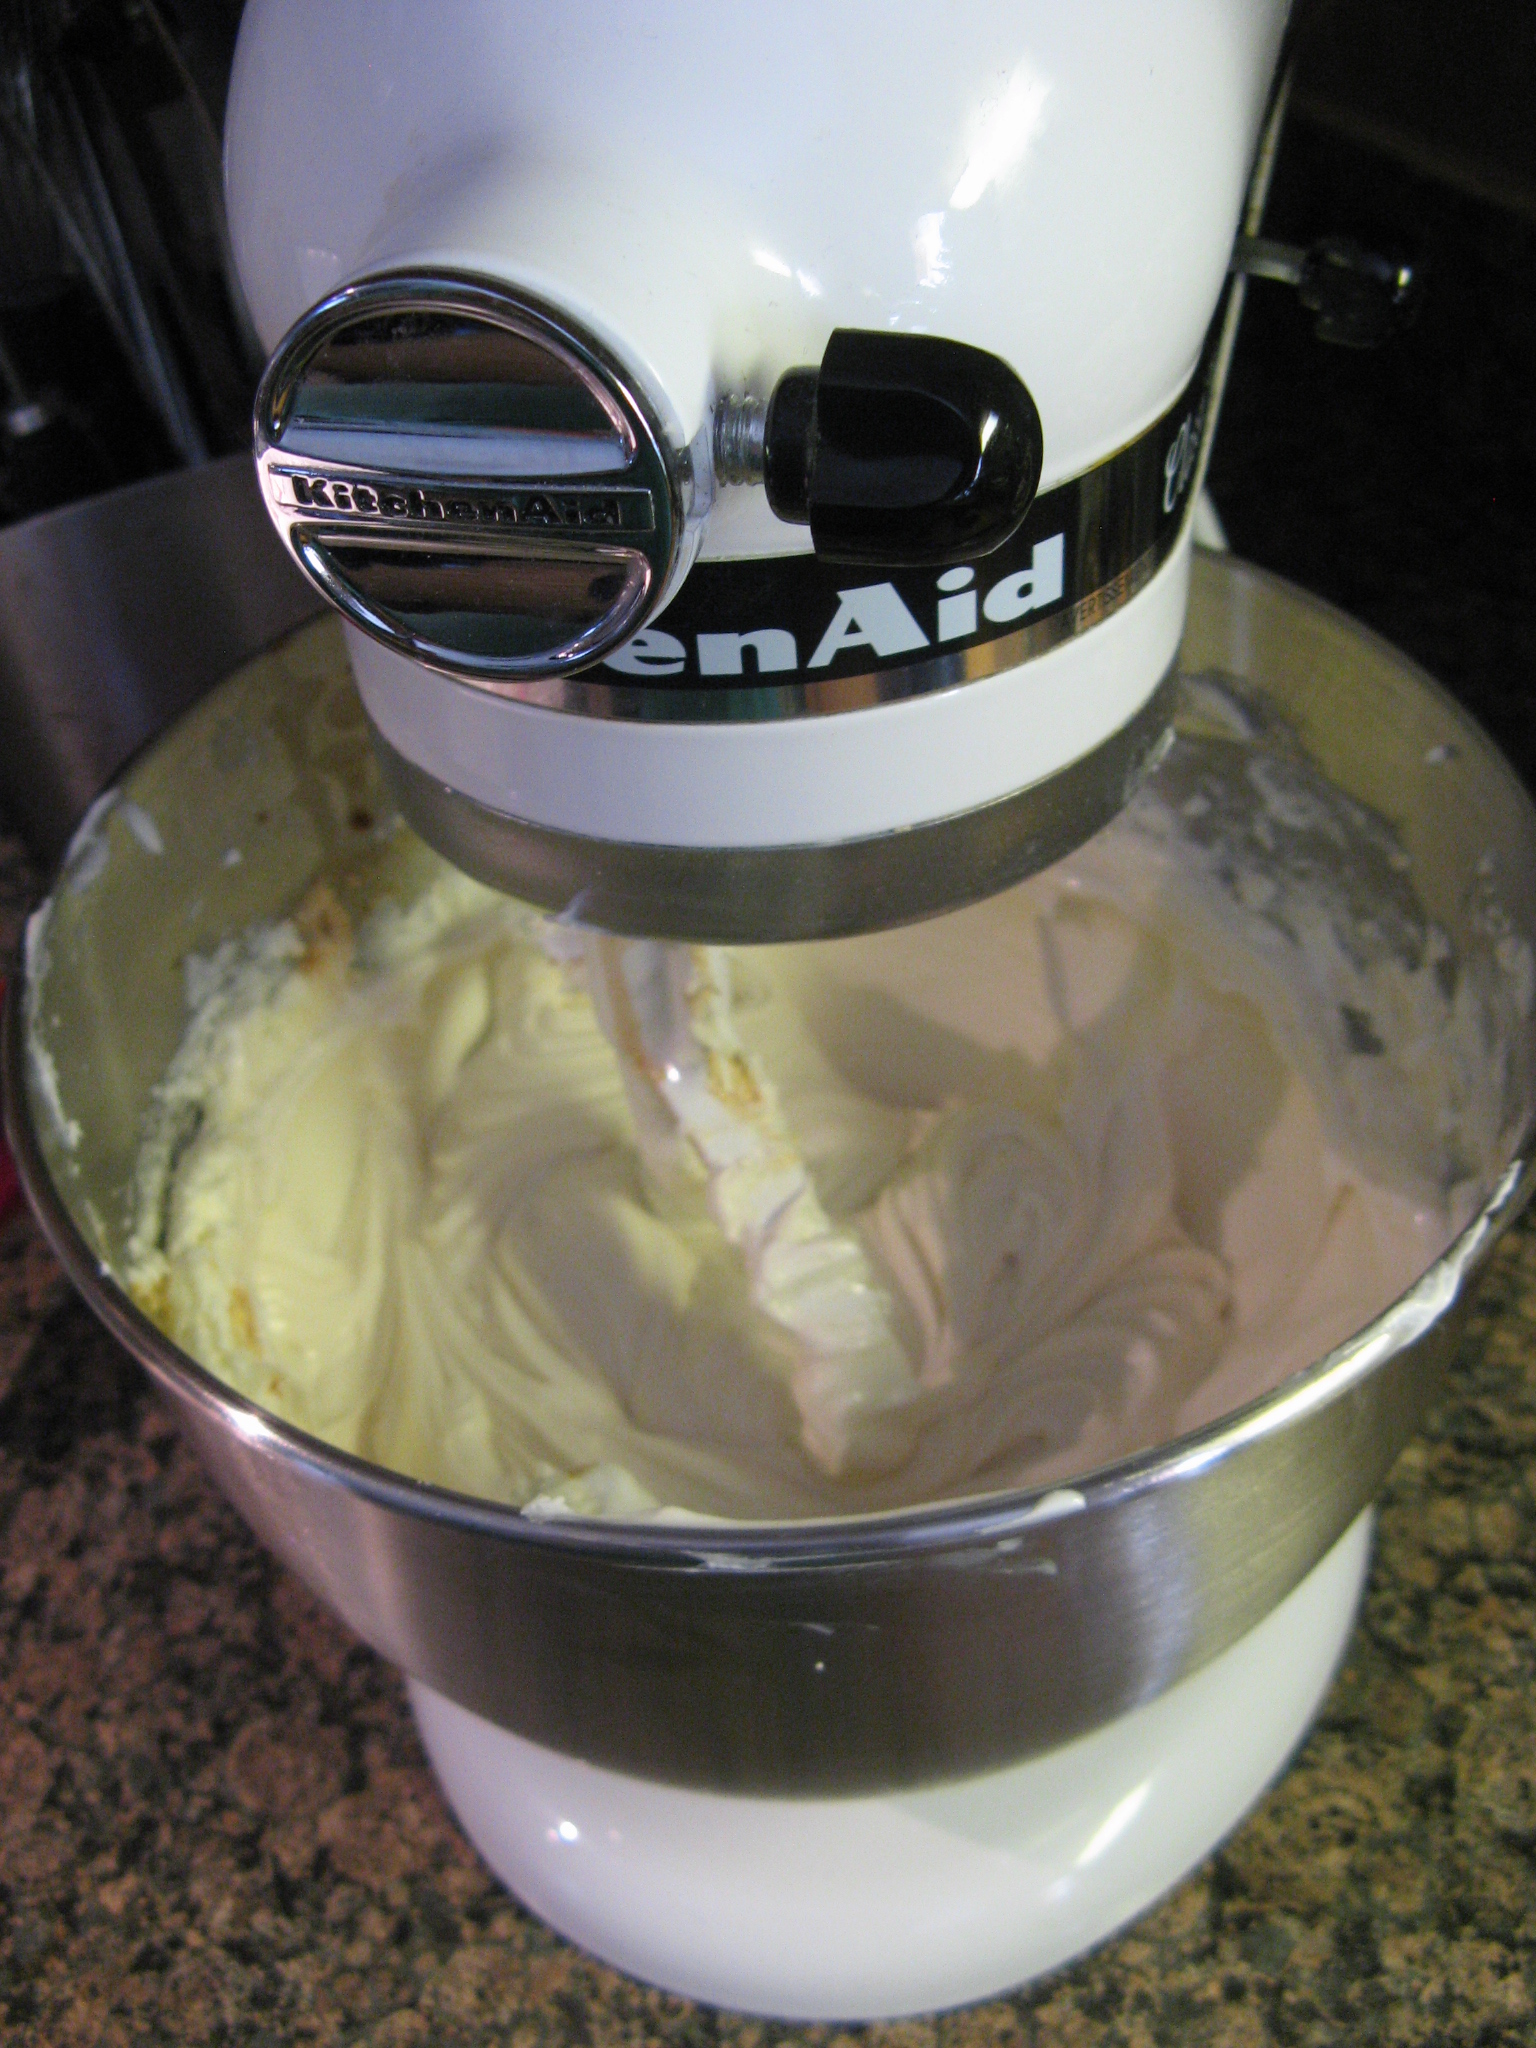
Beat cheese until combined, then gradually add sugar and continue beating until smooth and creamy.
Recipe from Martha Stewart