Chocolate Crinkles

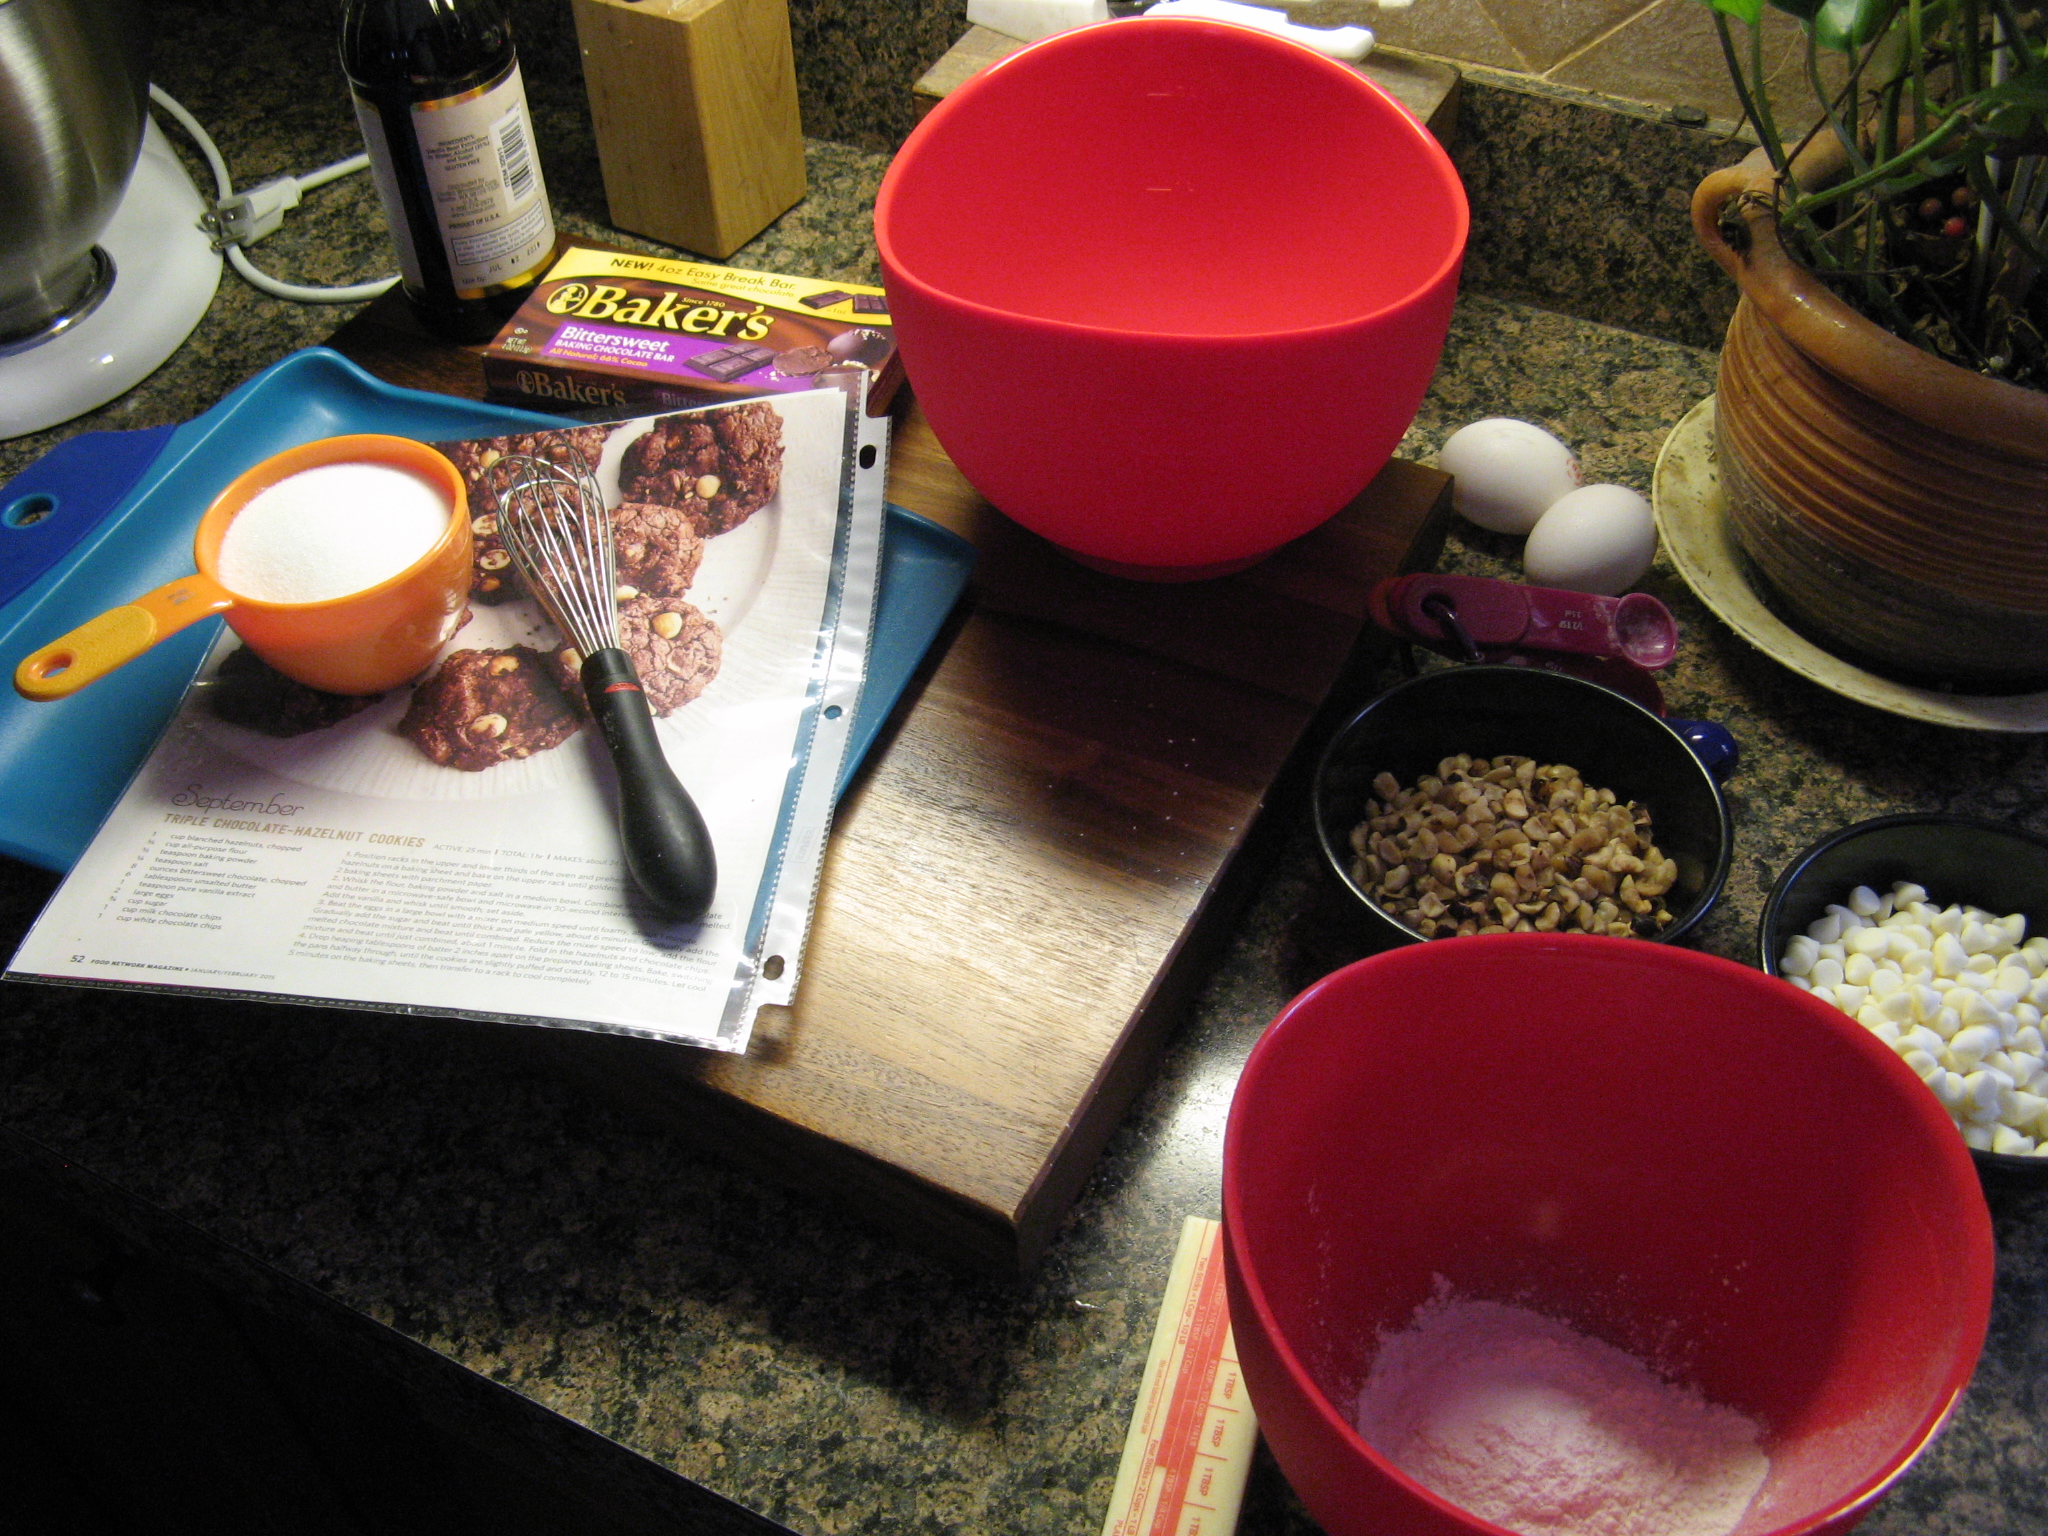
The Christmas Cookie fun continues with today’s Chocolate Crinkles. Now, I know the cookie recipes I’ve posted earlier – Rosemary and Pine Nut Cookies and Orange Scented Elephant Ears – aren’t your traditional holiday cookie recipes, but, these are definitely in line with what you see around the holidays. I’ve seen recipes for these cookies for quite some time, I probably have 1 or 2 saved in my recipe binder, but, it wasn’t until I was flipping through a Christmas Cookie recipe magazine recently that I finally decided to try them out and I wish I had tried them sooner. They are a cinch to make and delicious… Chocolatey without being overpowering.

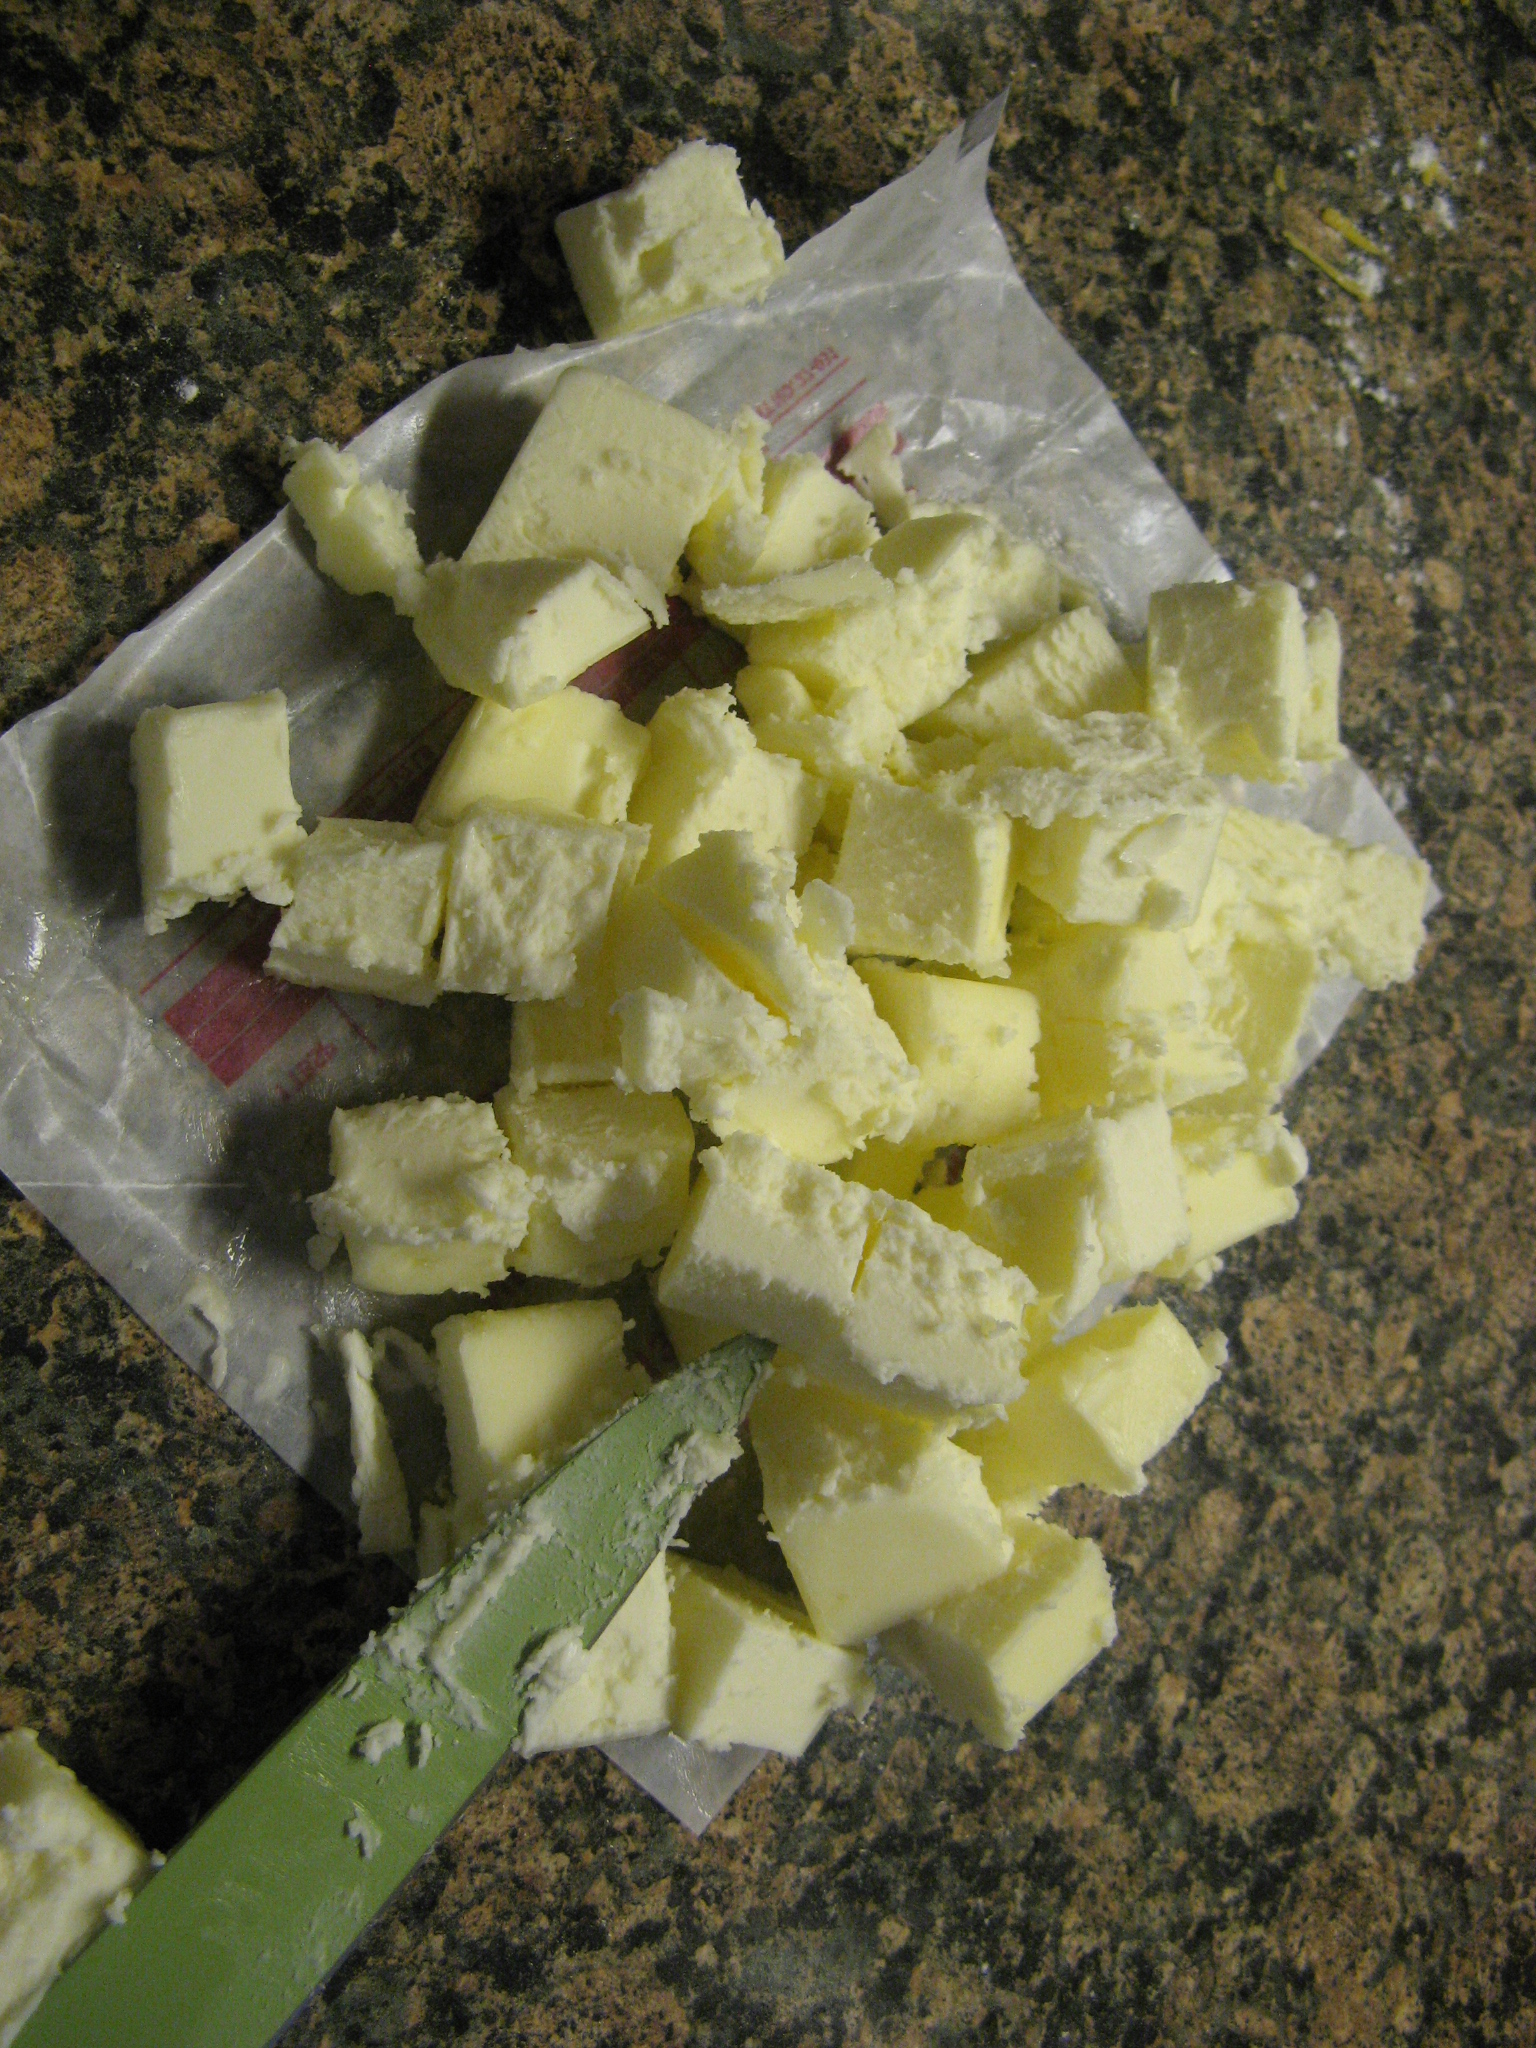
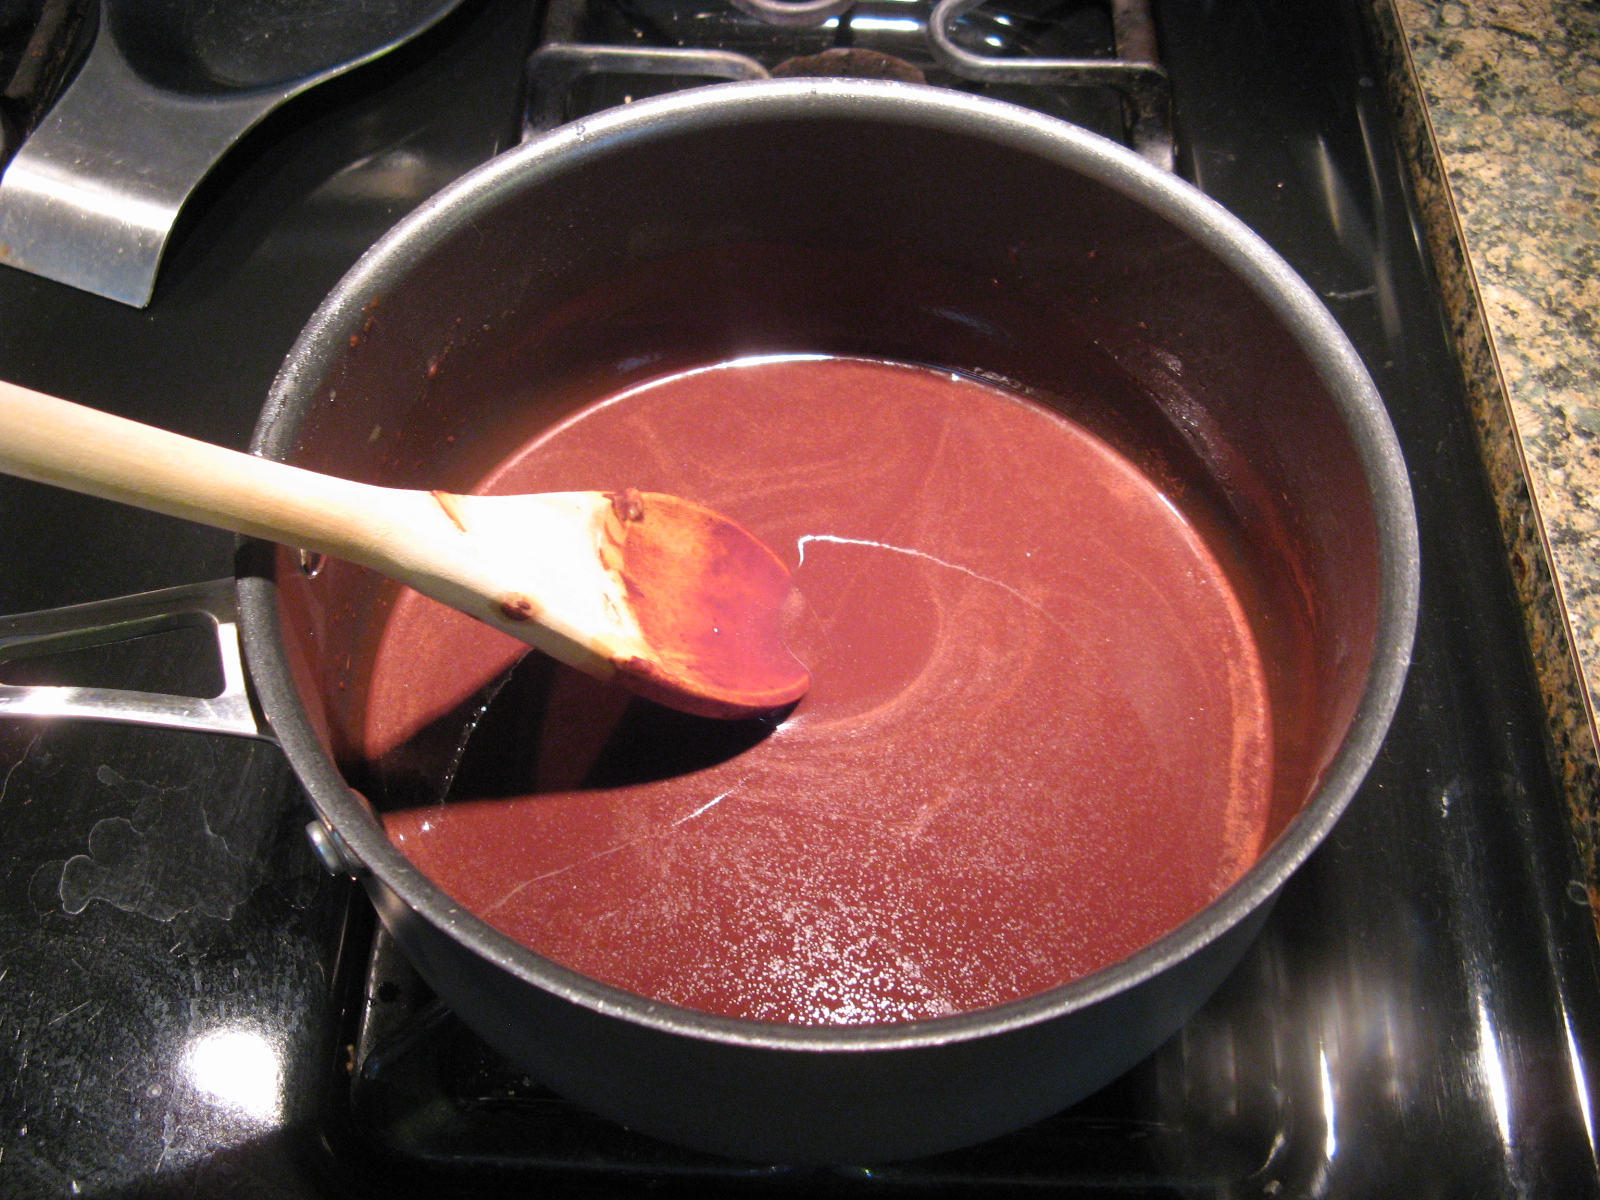
I started off by melting unsweetened chocolate, shortening and butter over low heat in a medium saucepan.

IMG_0025

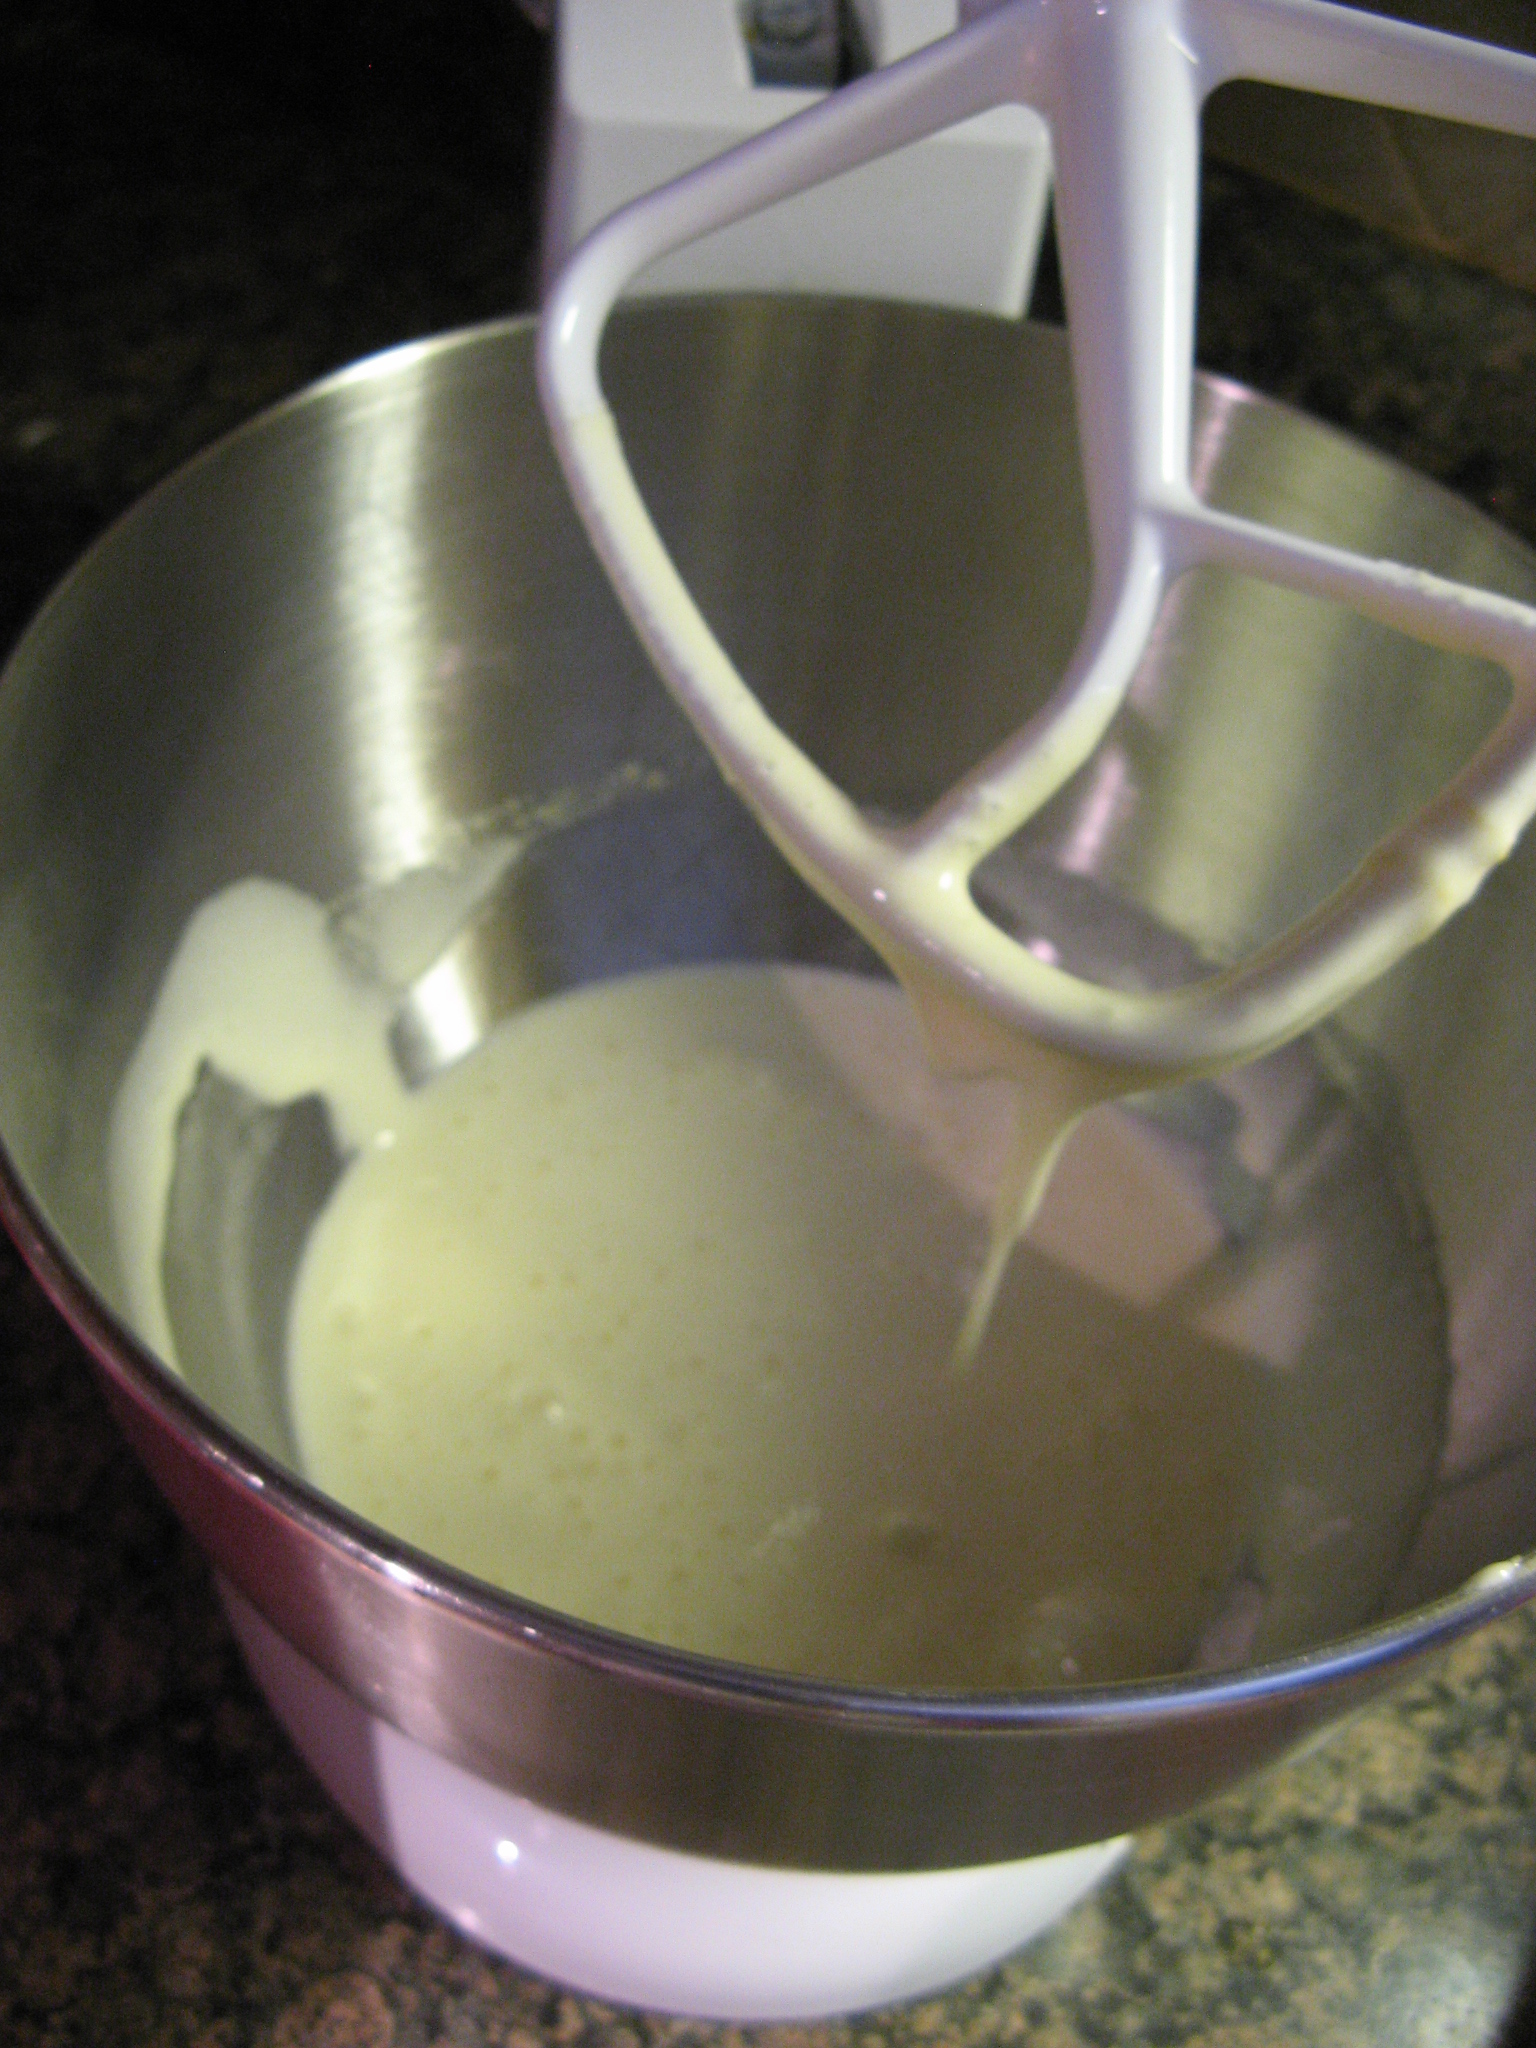
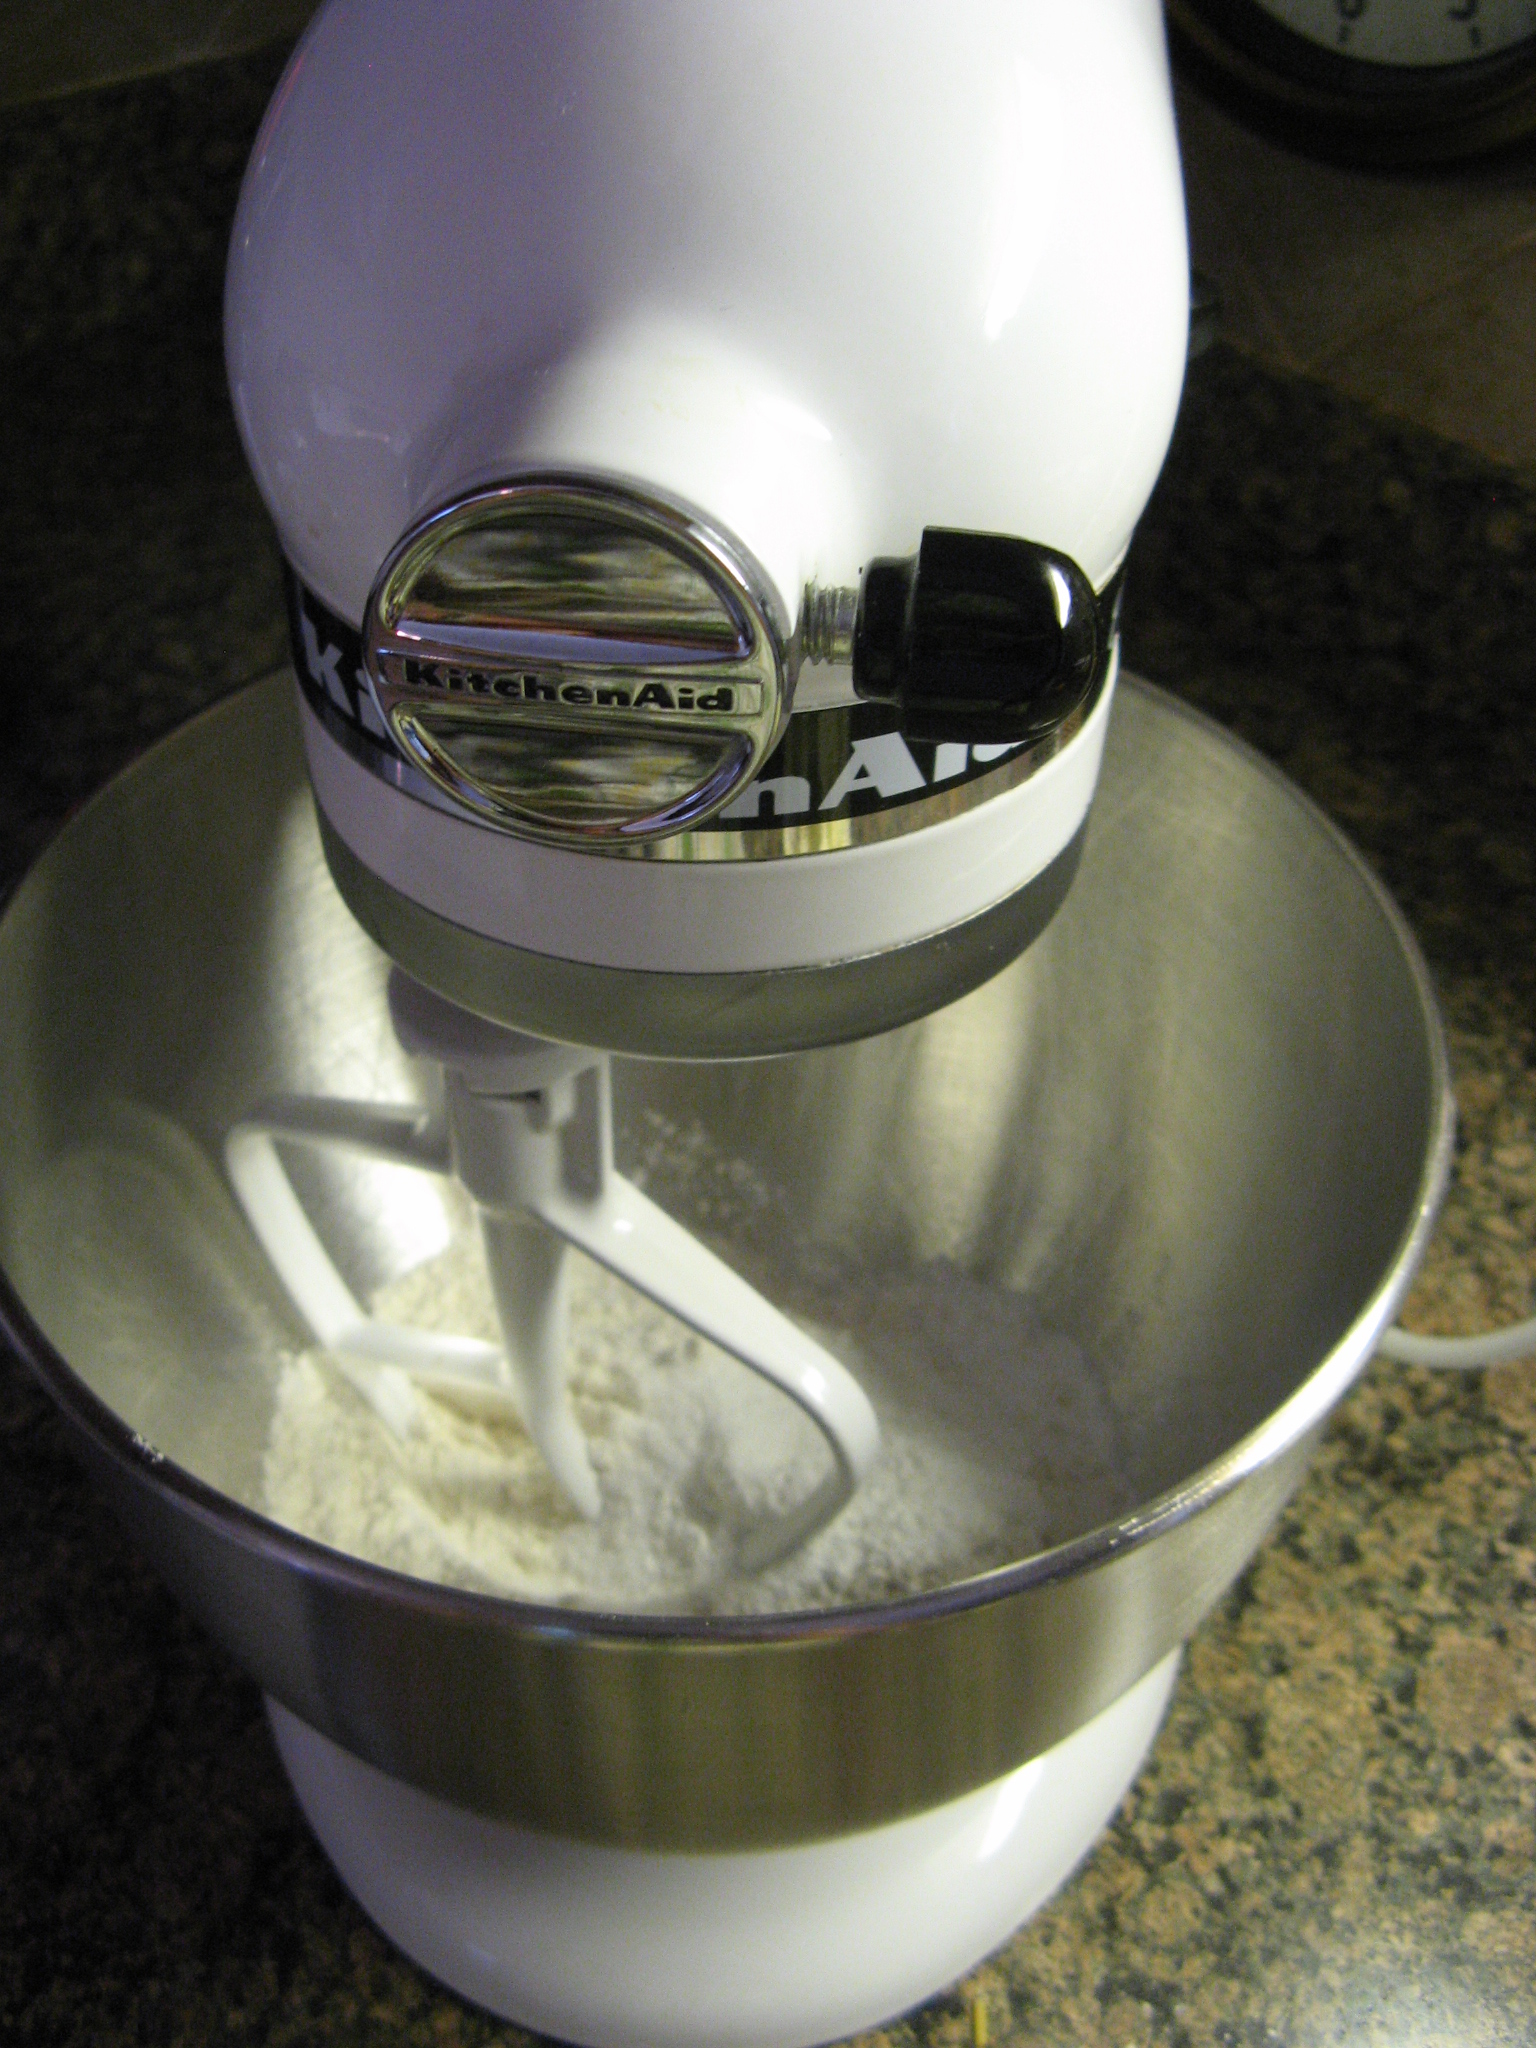
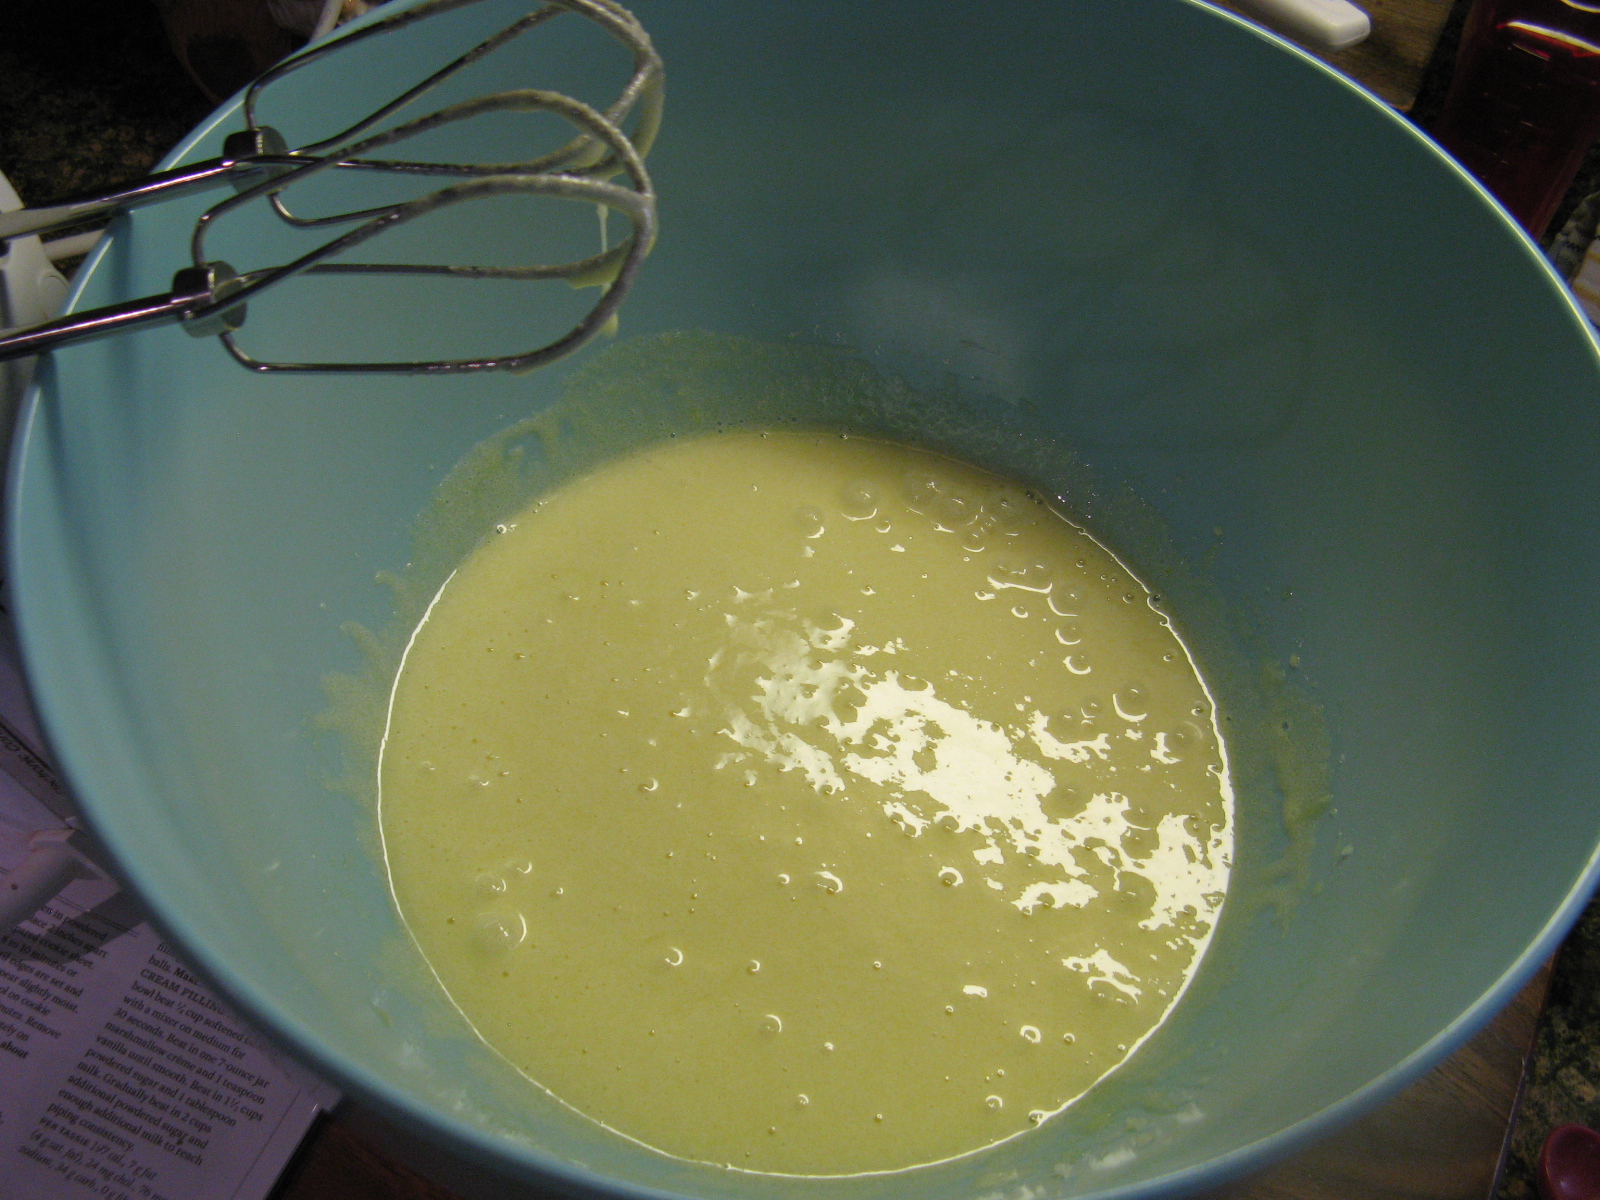
After letting the chocolate mixture cool for a few minutes I continued making the dough for the cookies by mixing together eggs, sugar, baking powder, baking soda and salt.

IMG_0026

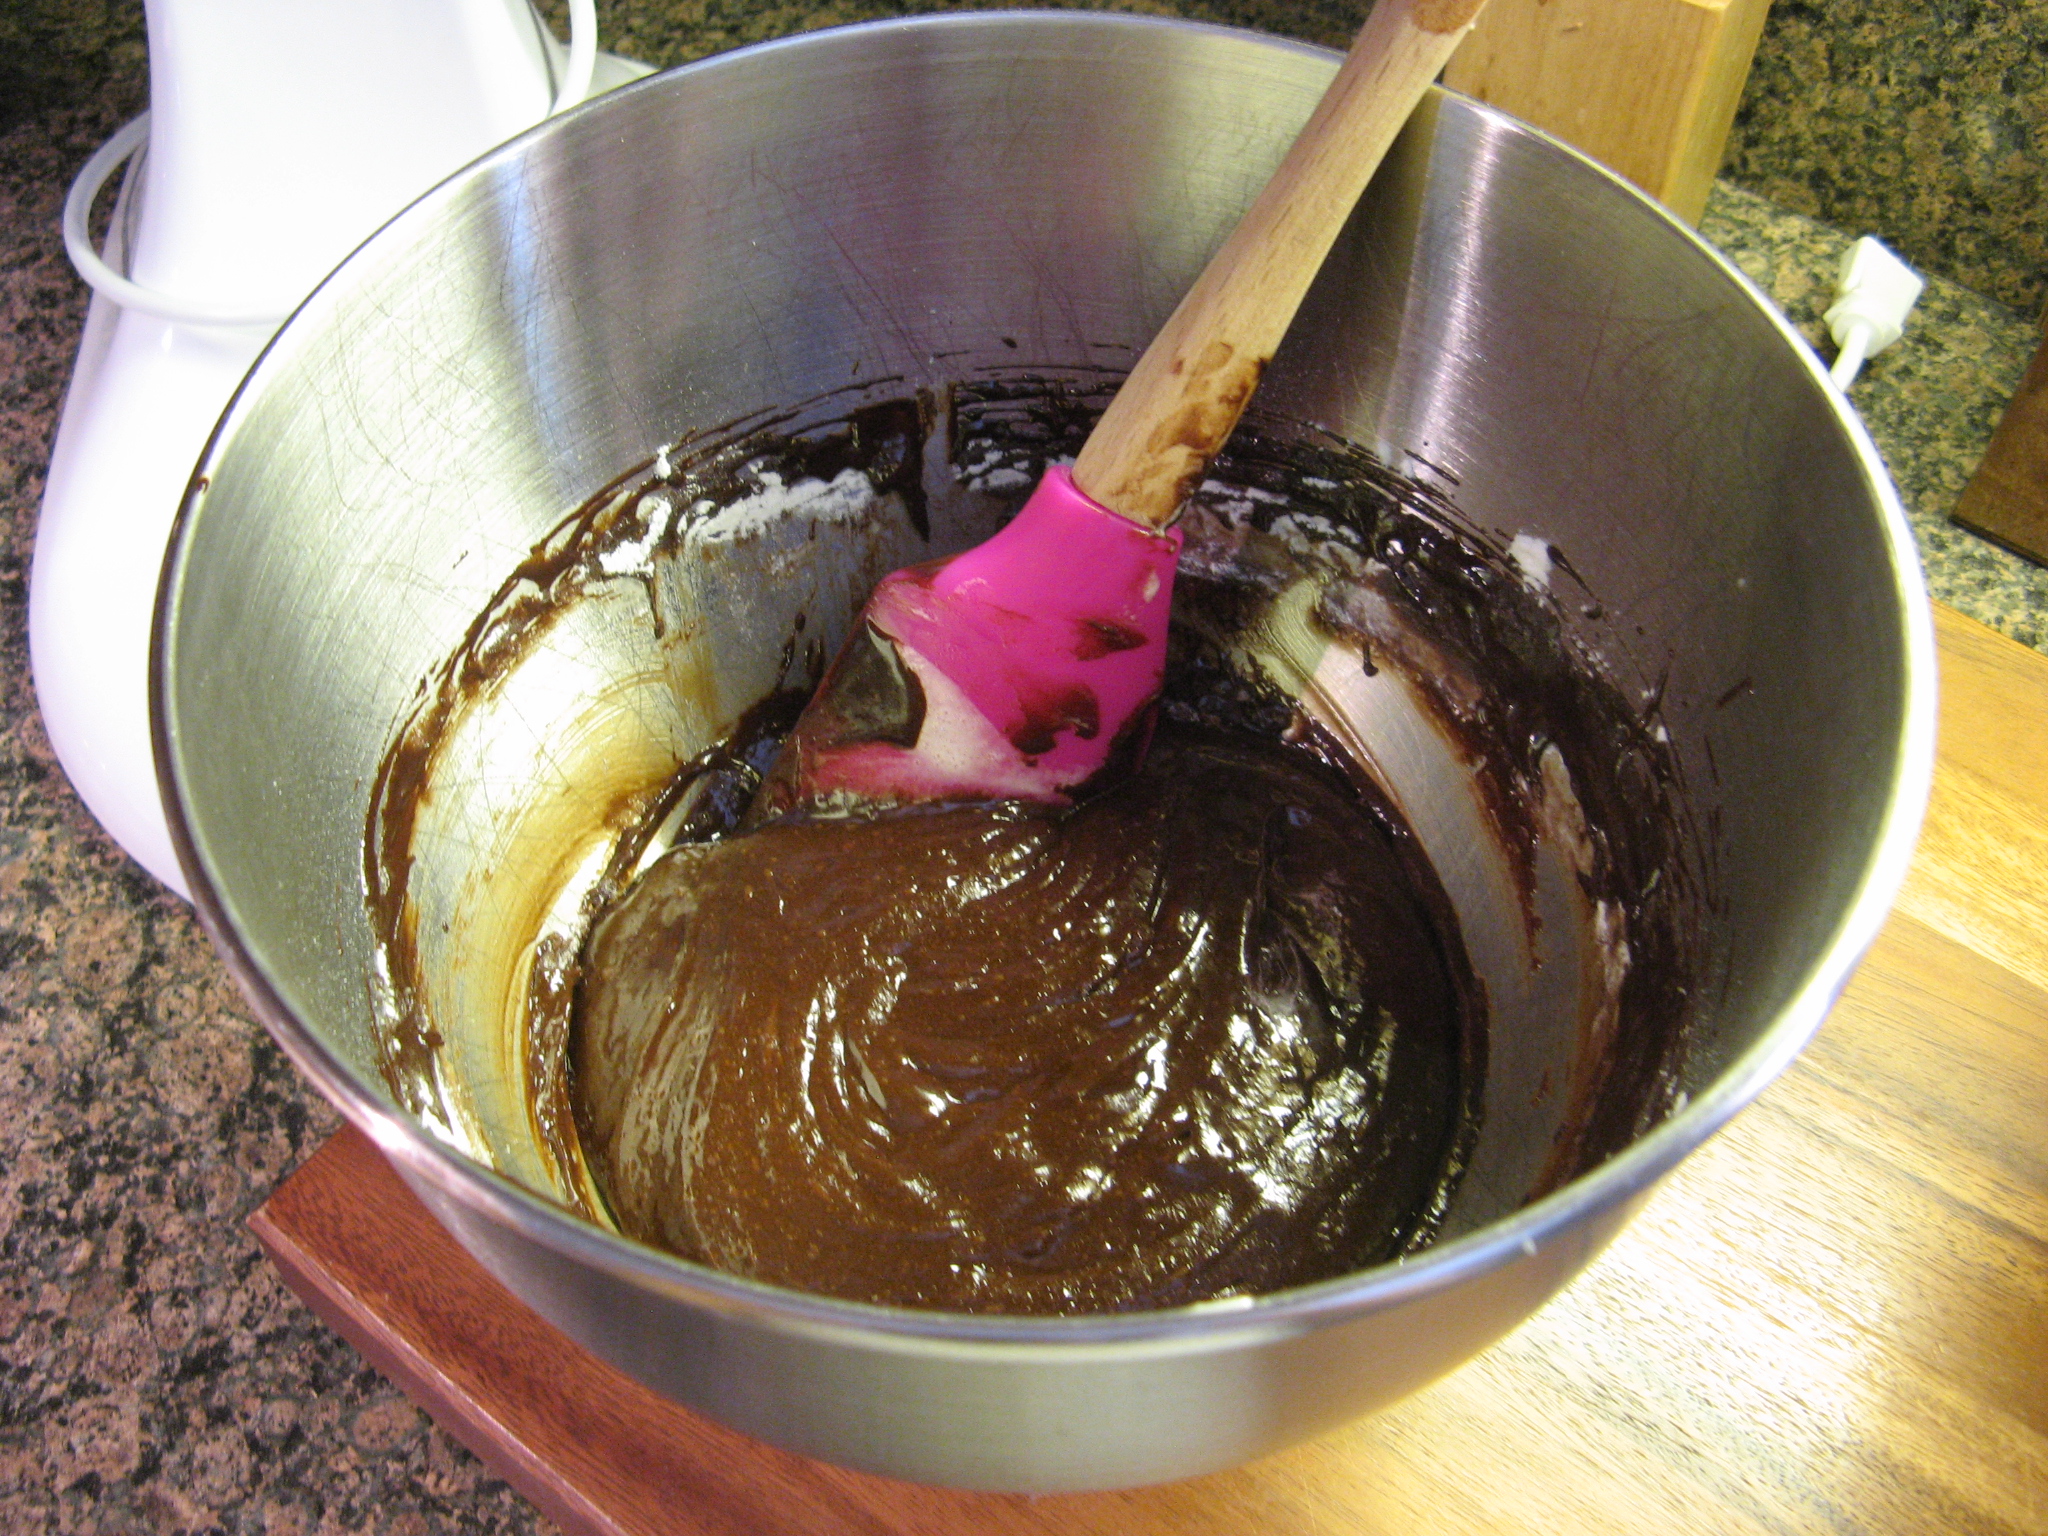
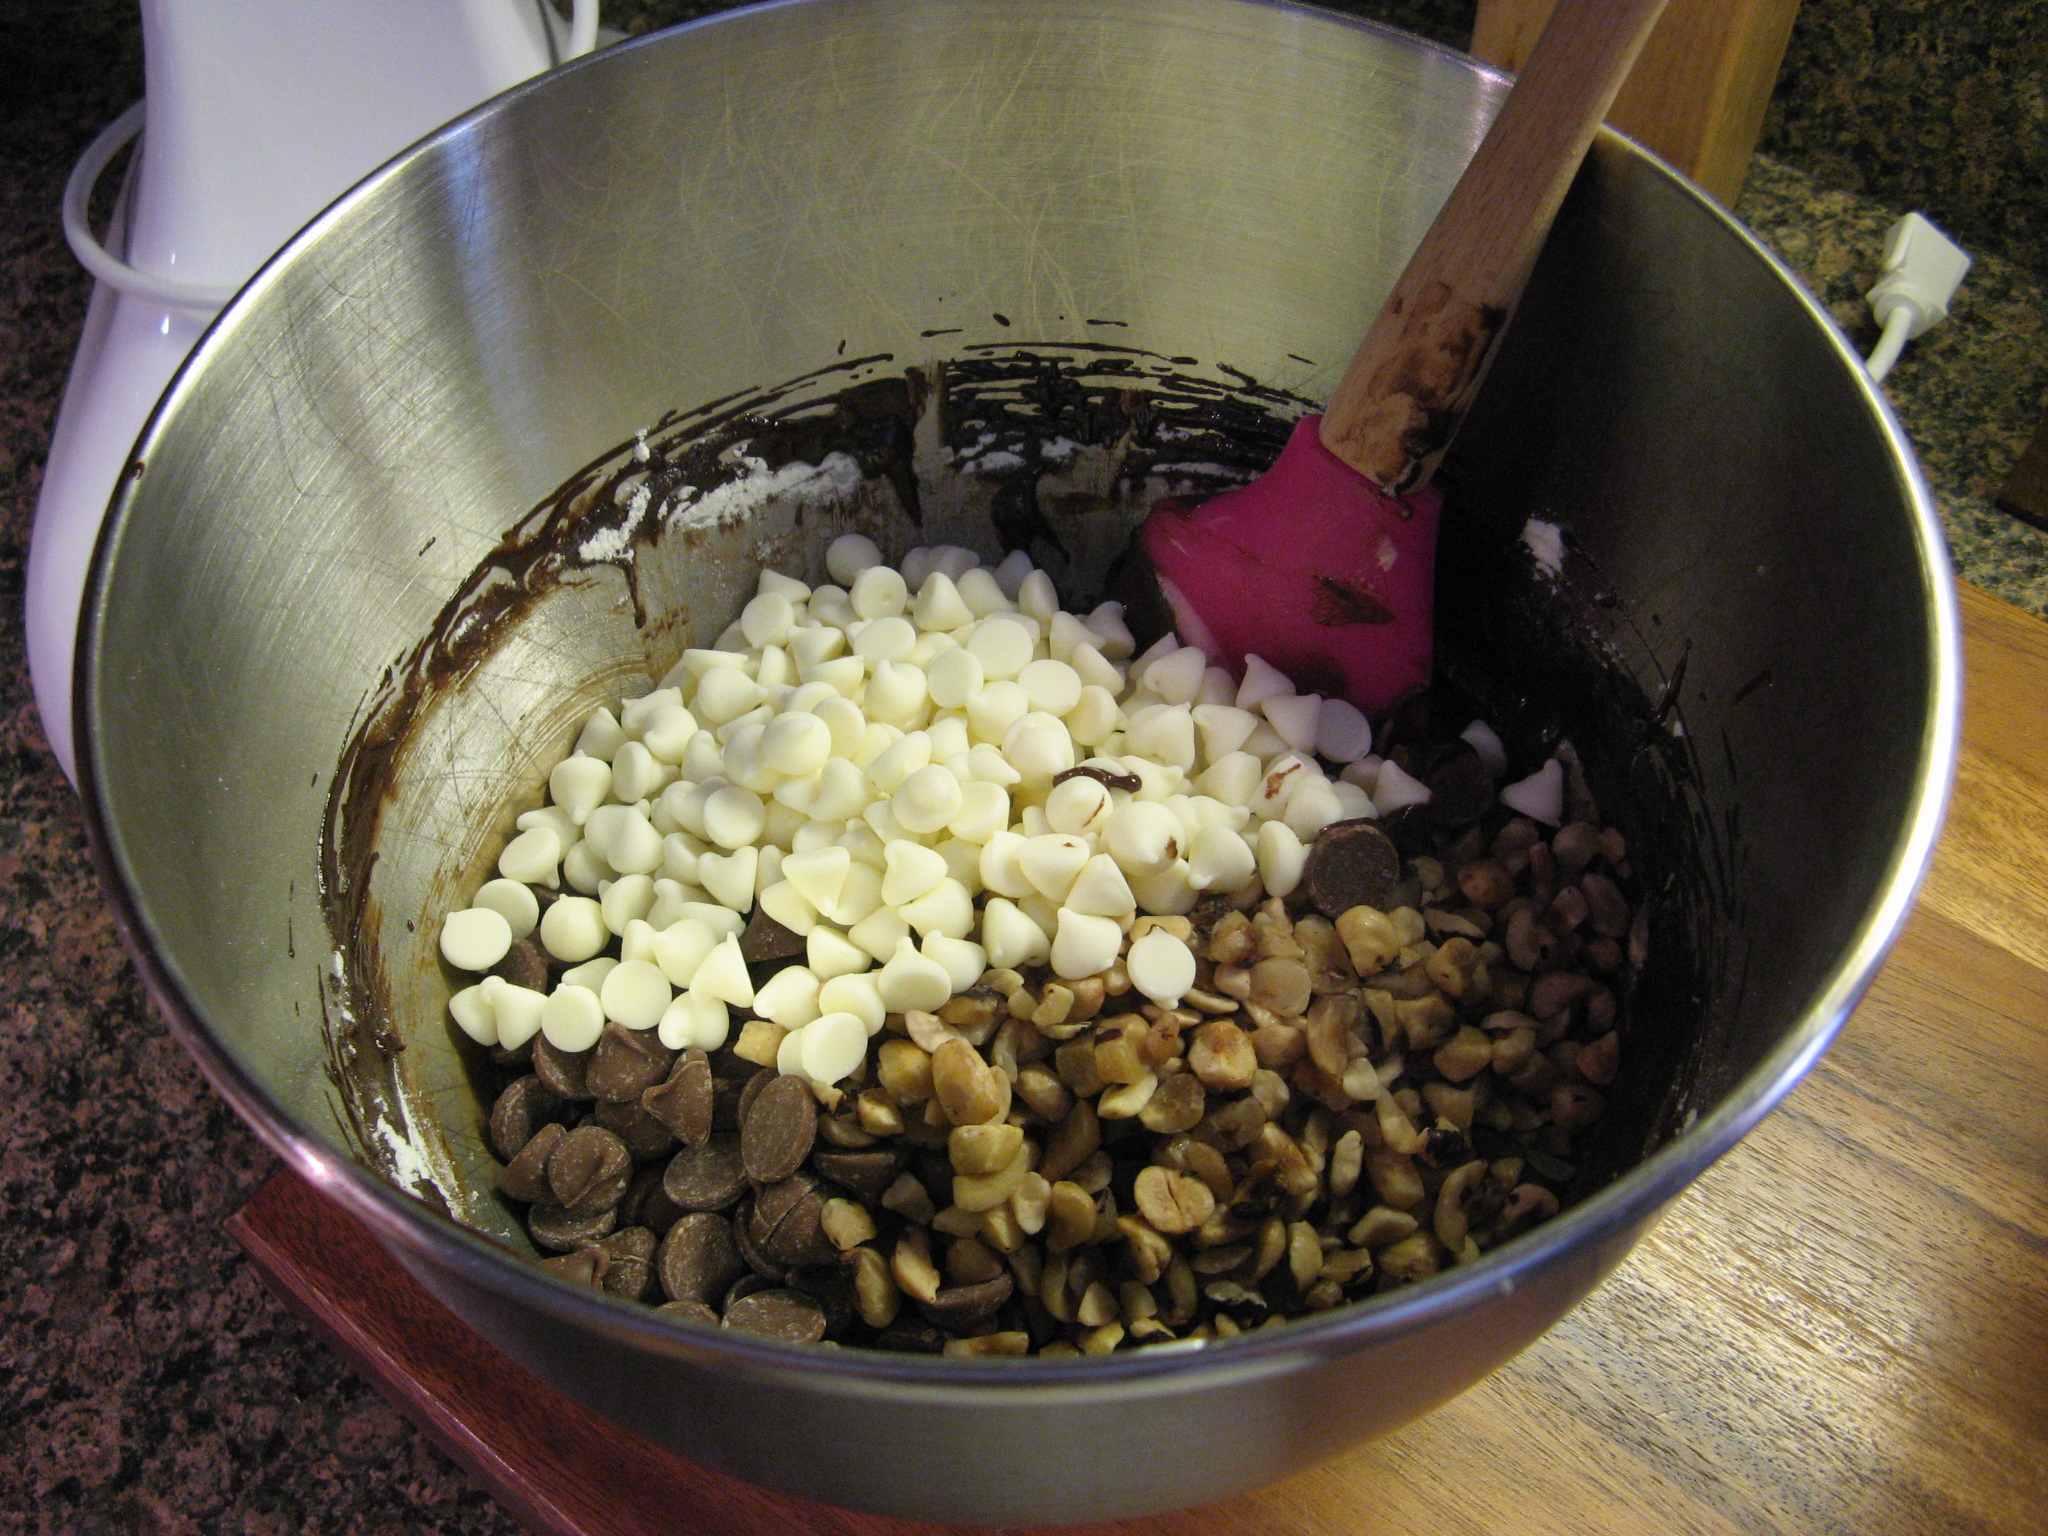
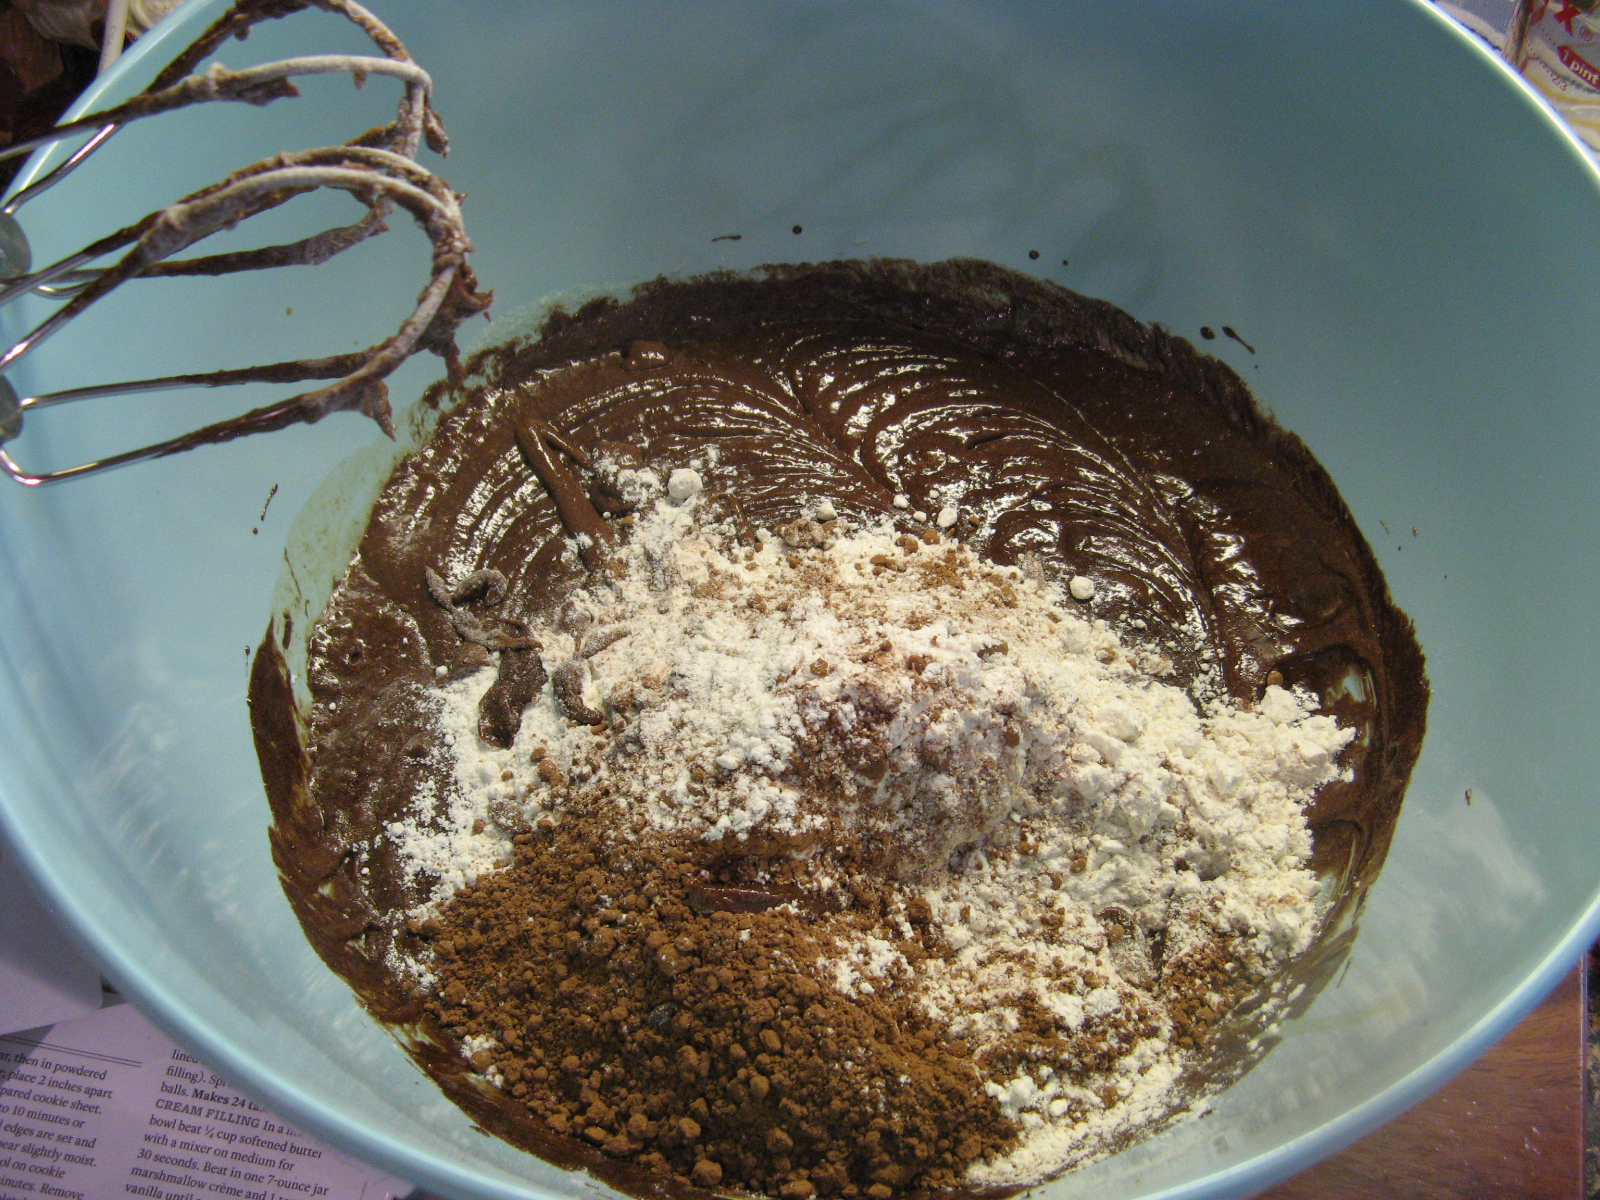
Once that was well mixed I then added in the melted chocolate and vanilla extract and finally flour and unsweetened cocoa powder.

IMG_0027

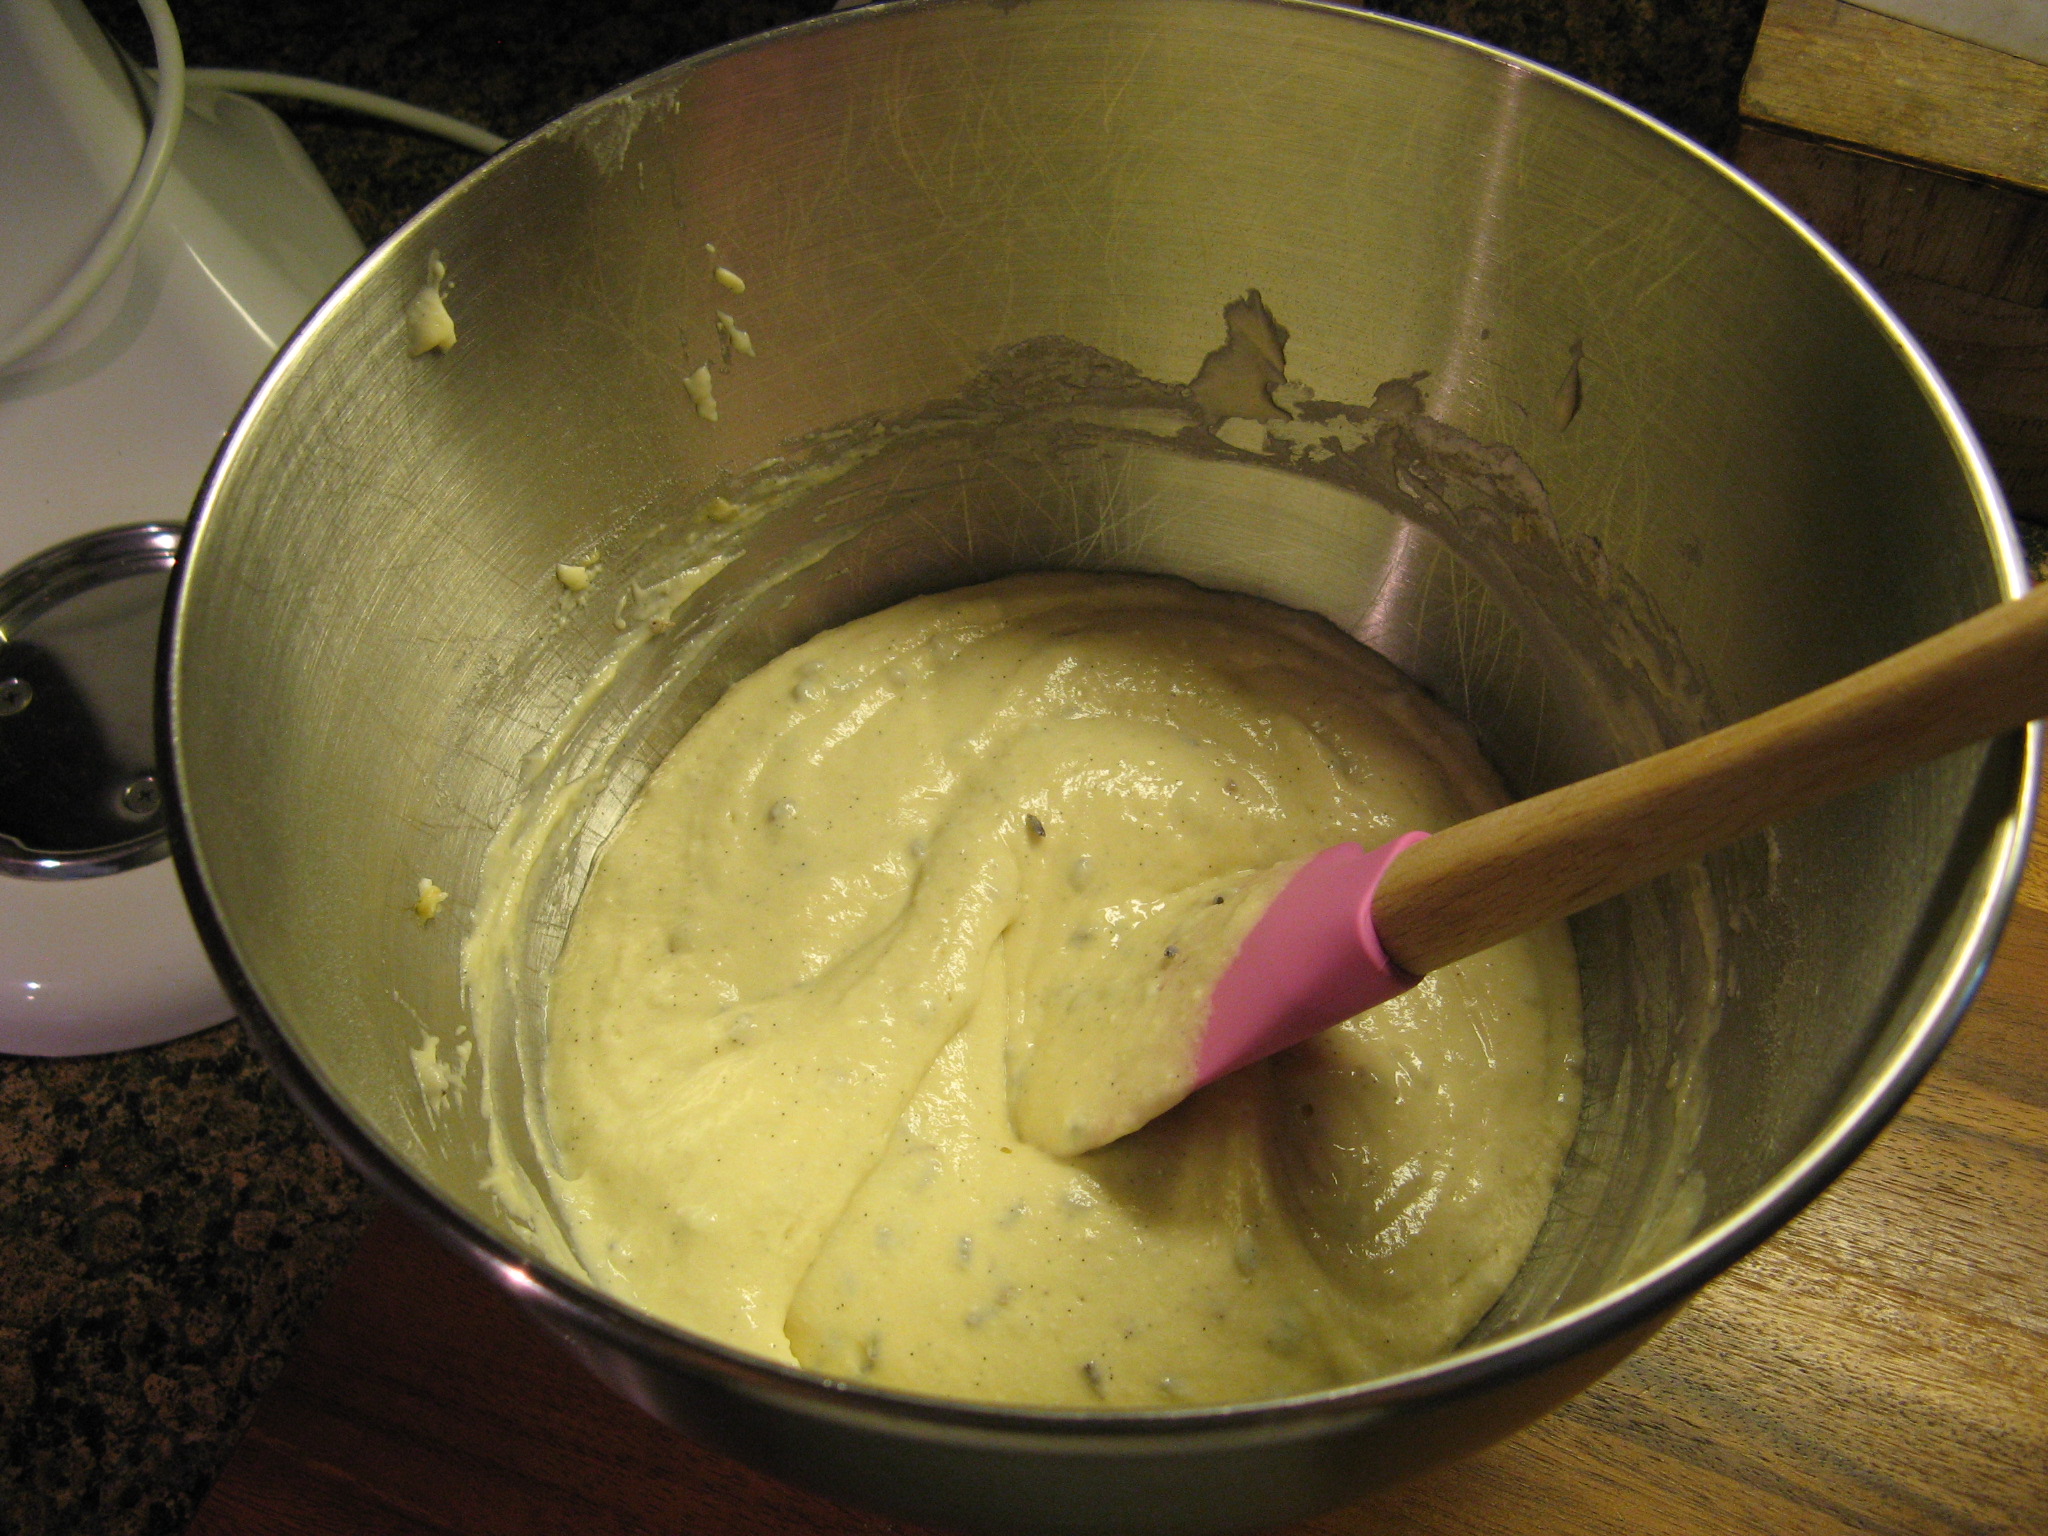
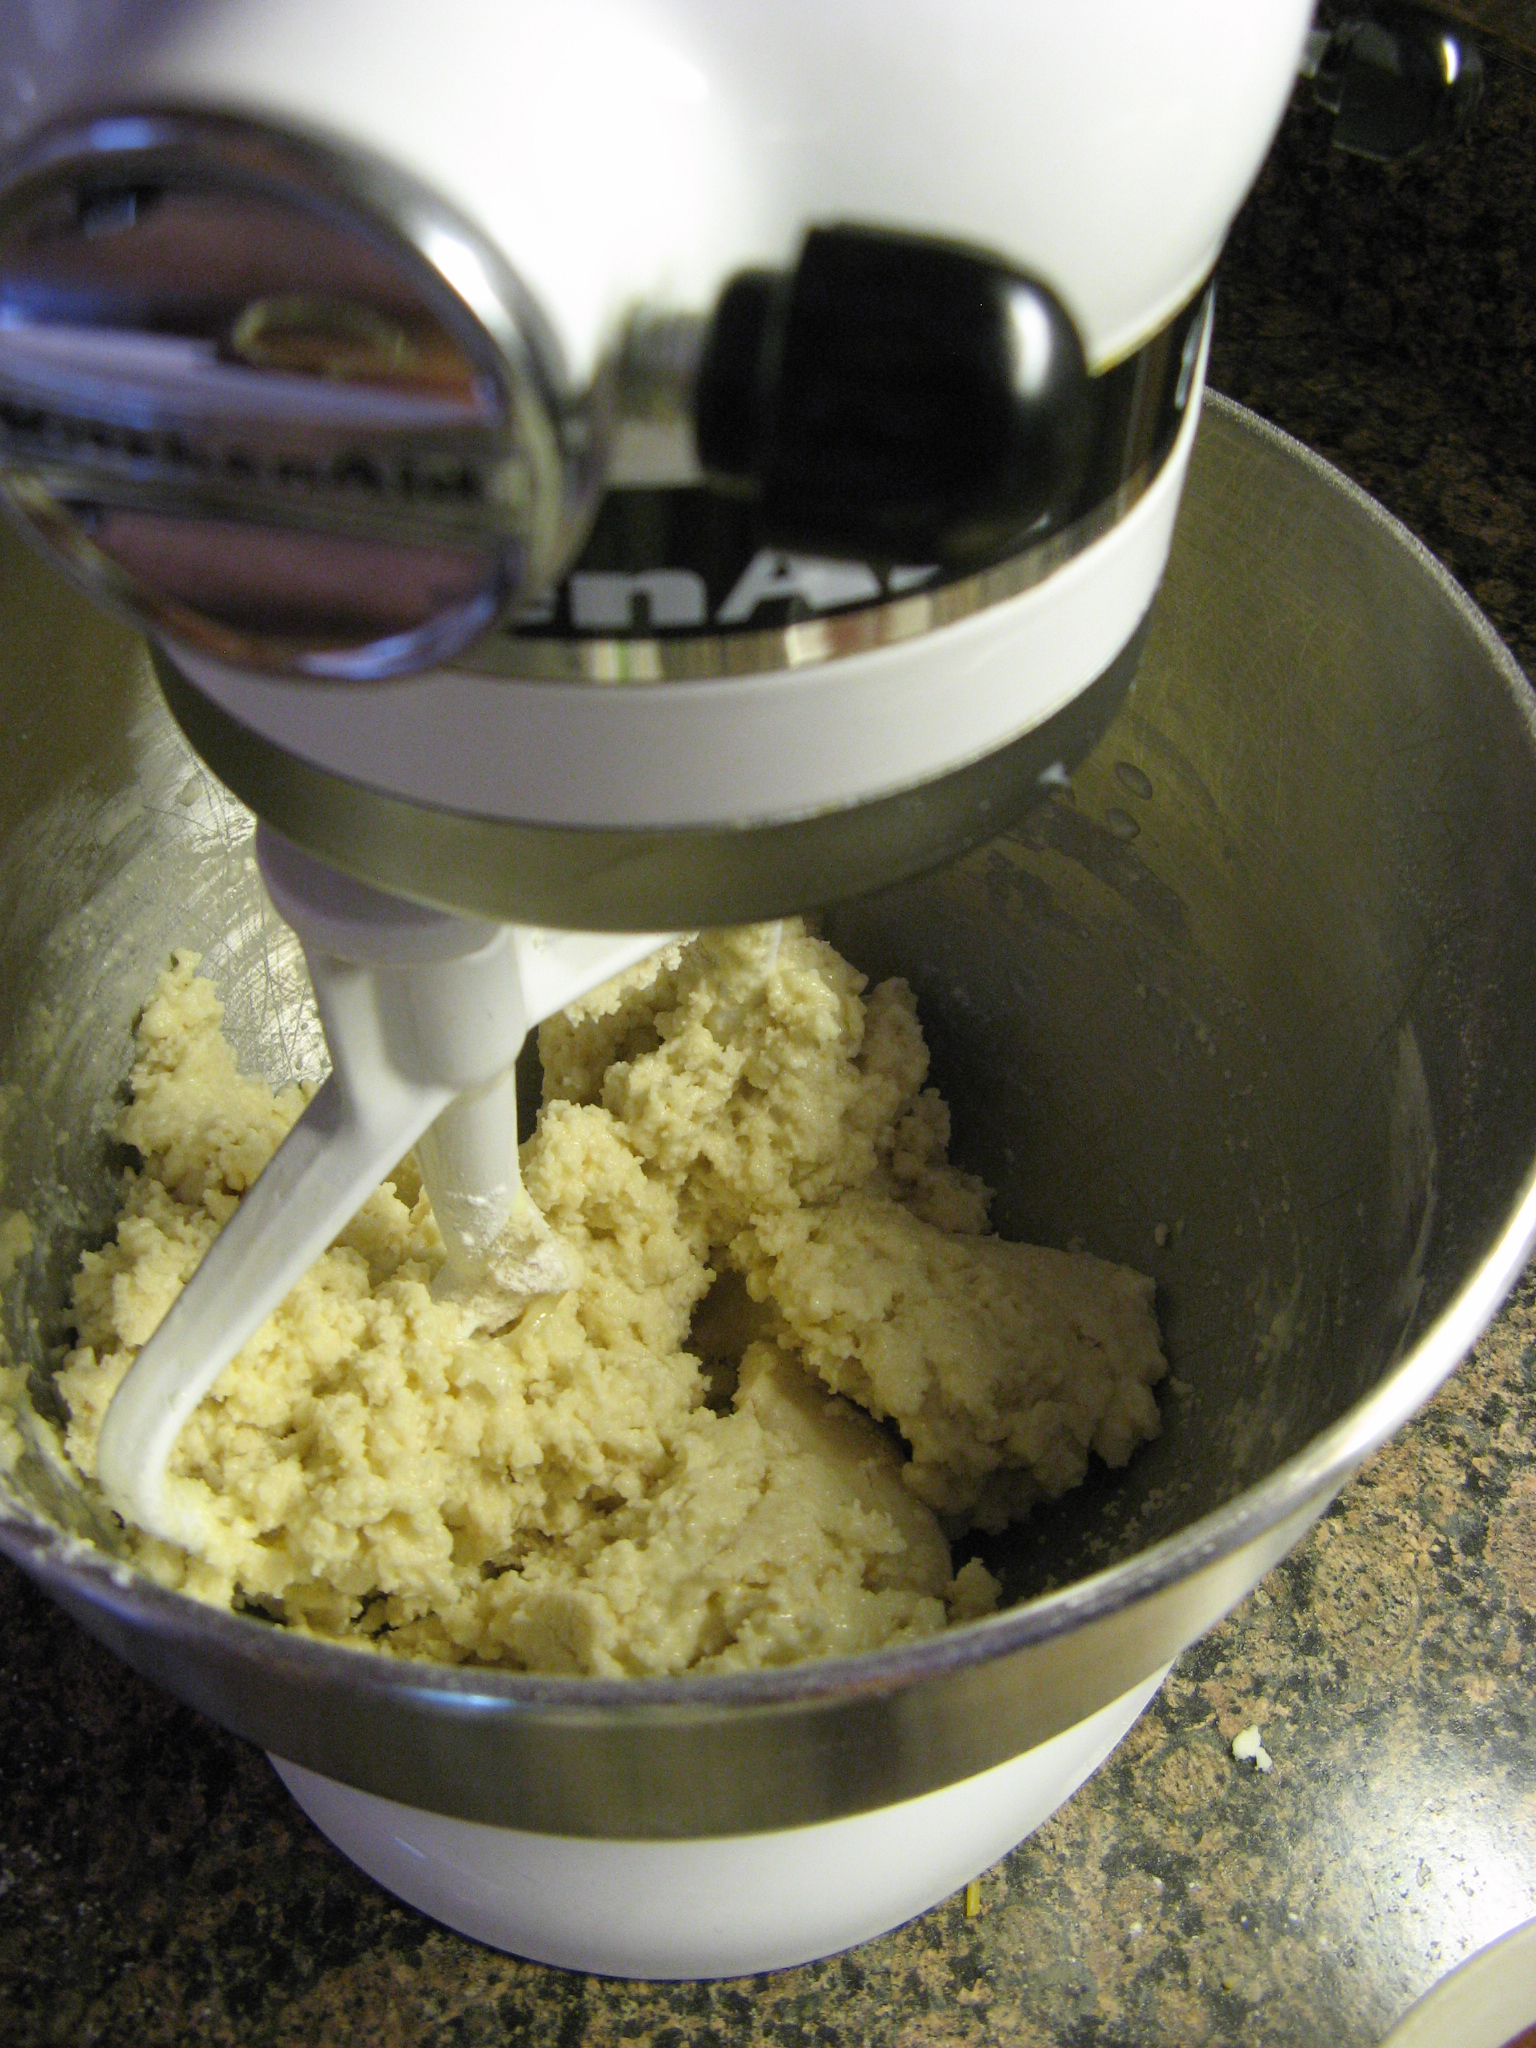
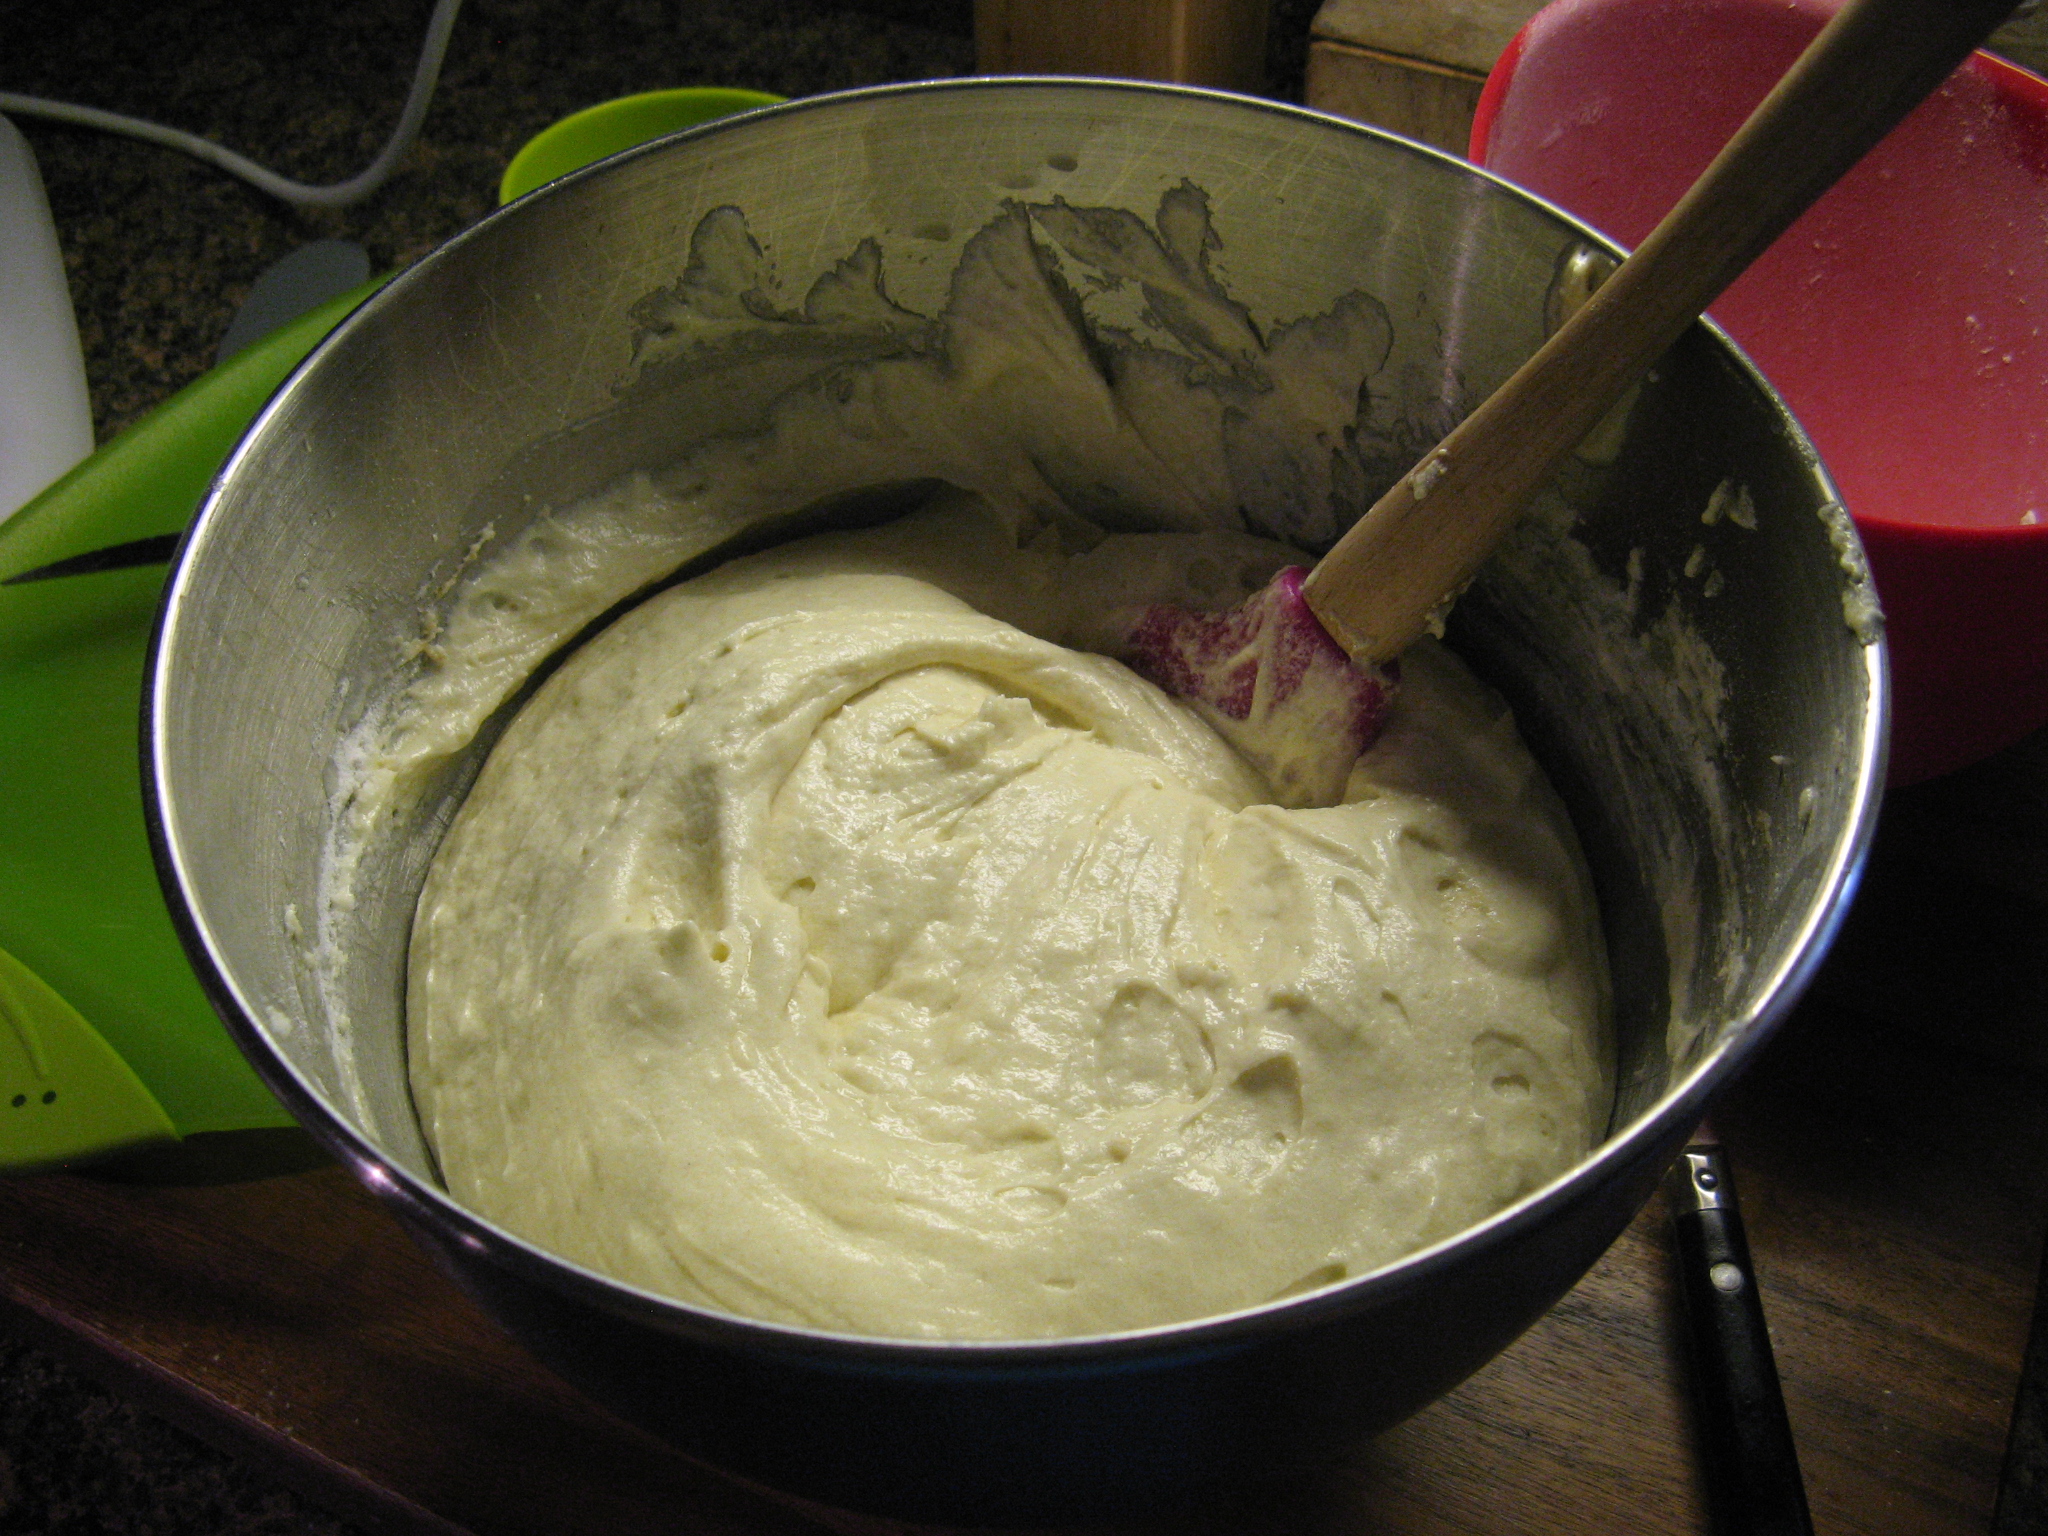
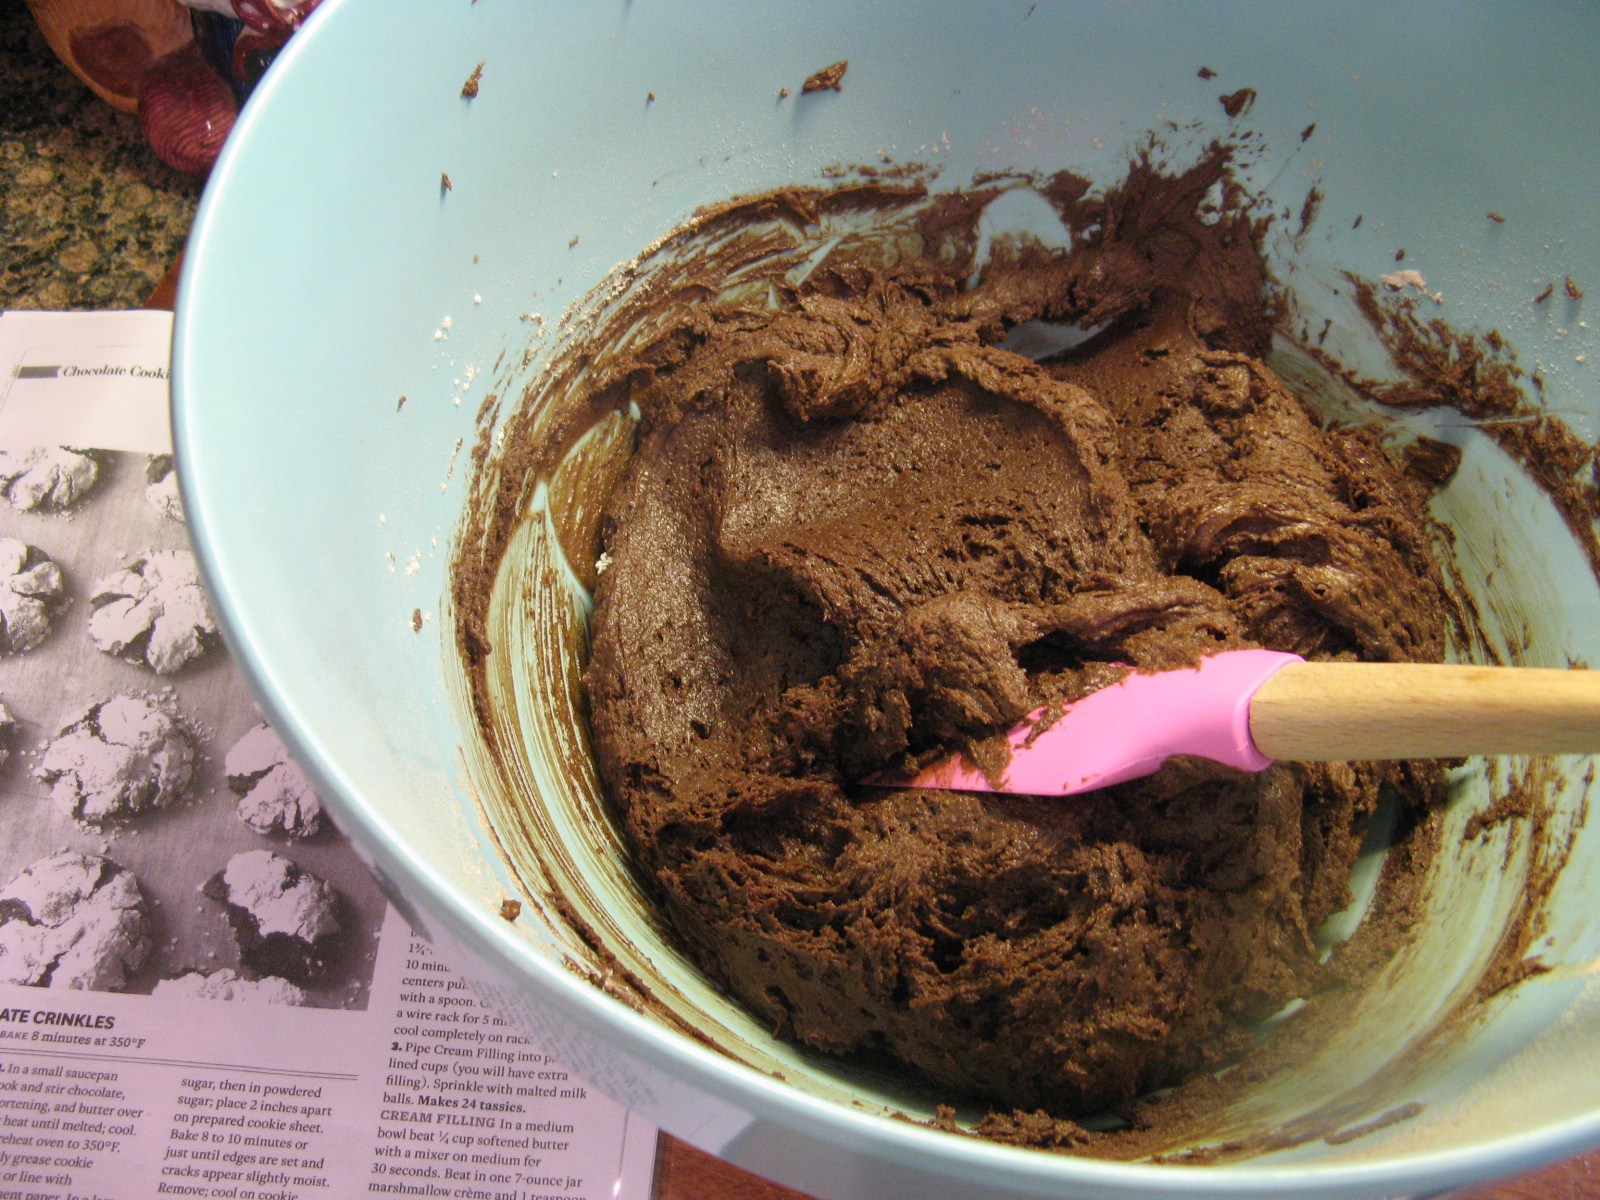
It wasn’t long before the dough had come together. To make sure all of the ingredients had incorporated I gave the dough a few good folds using a spatula.

IMG_0028

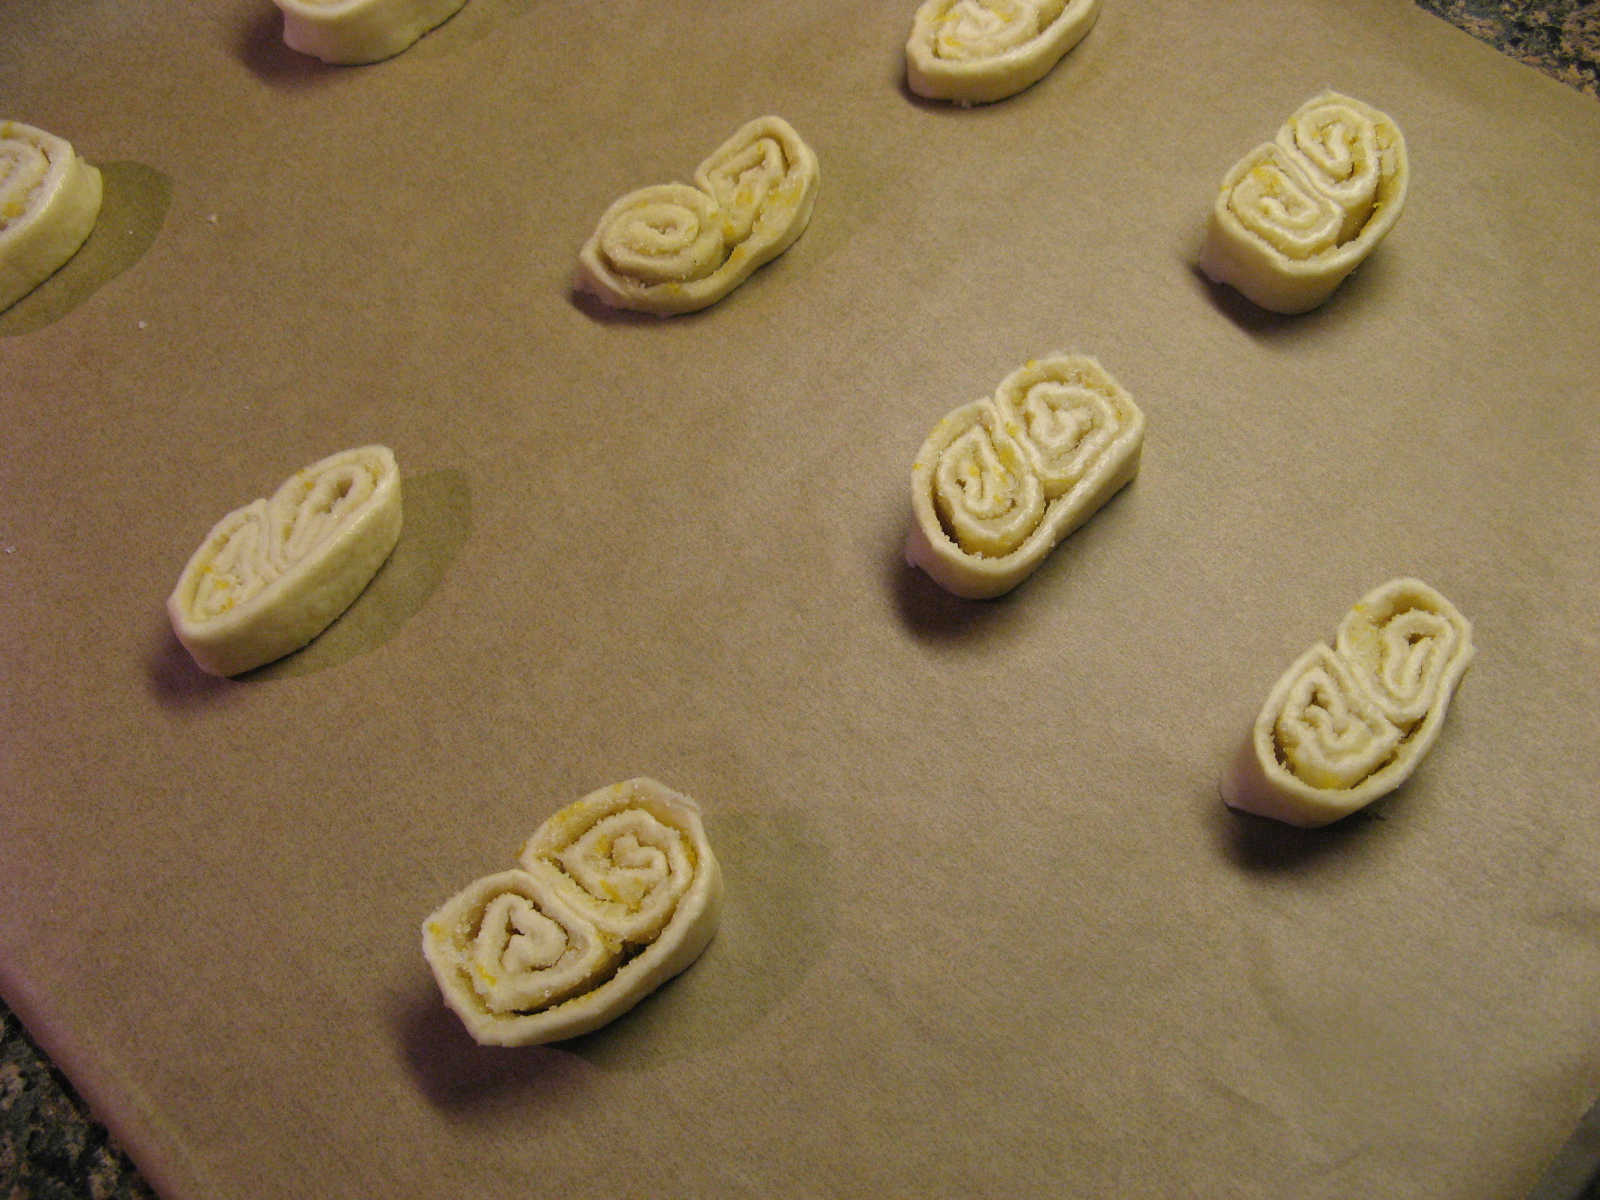
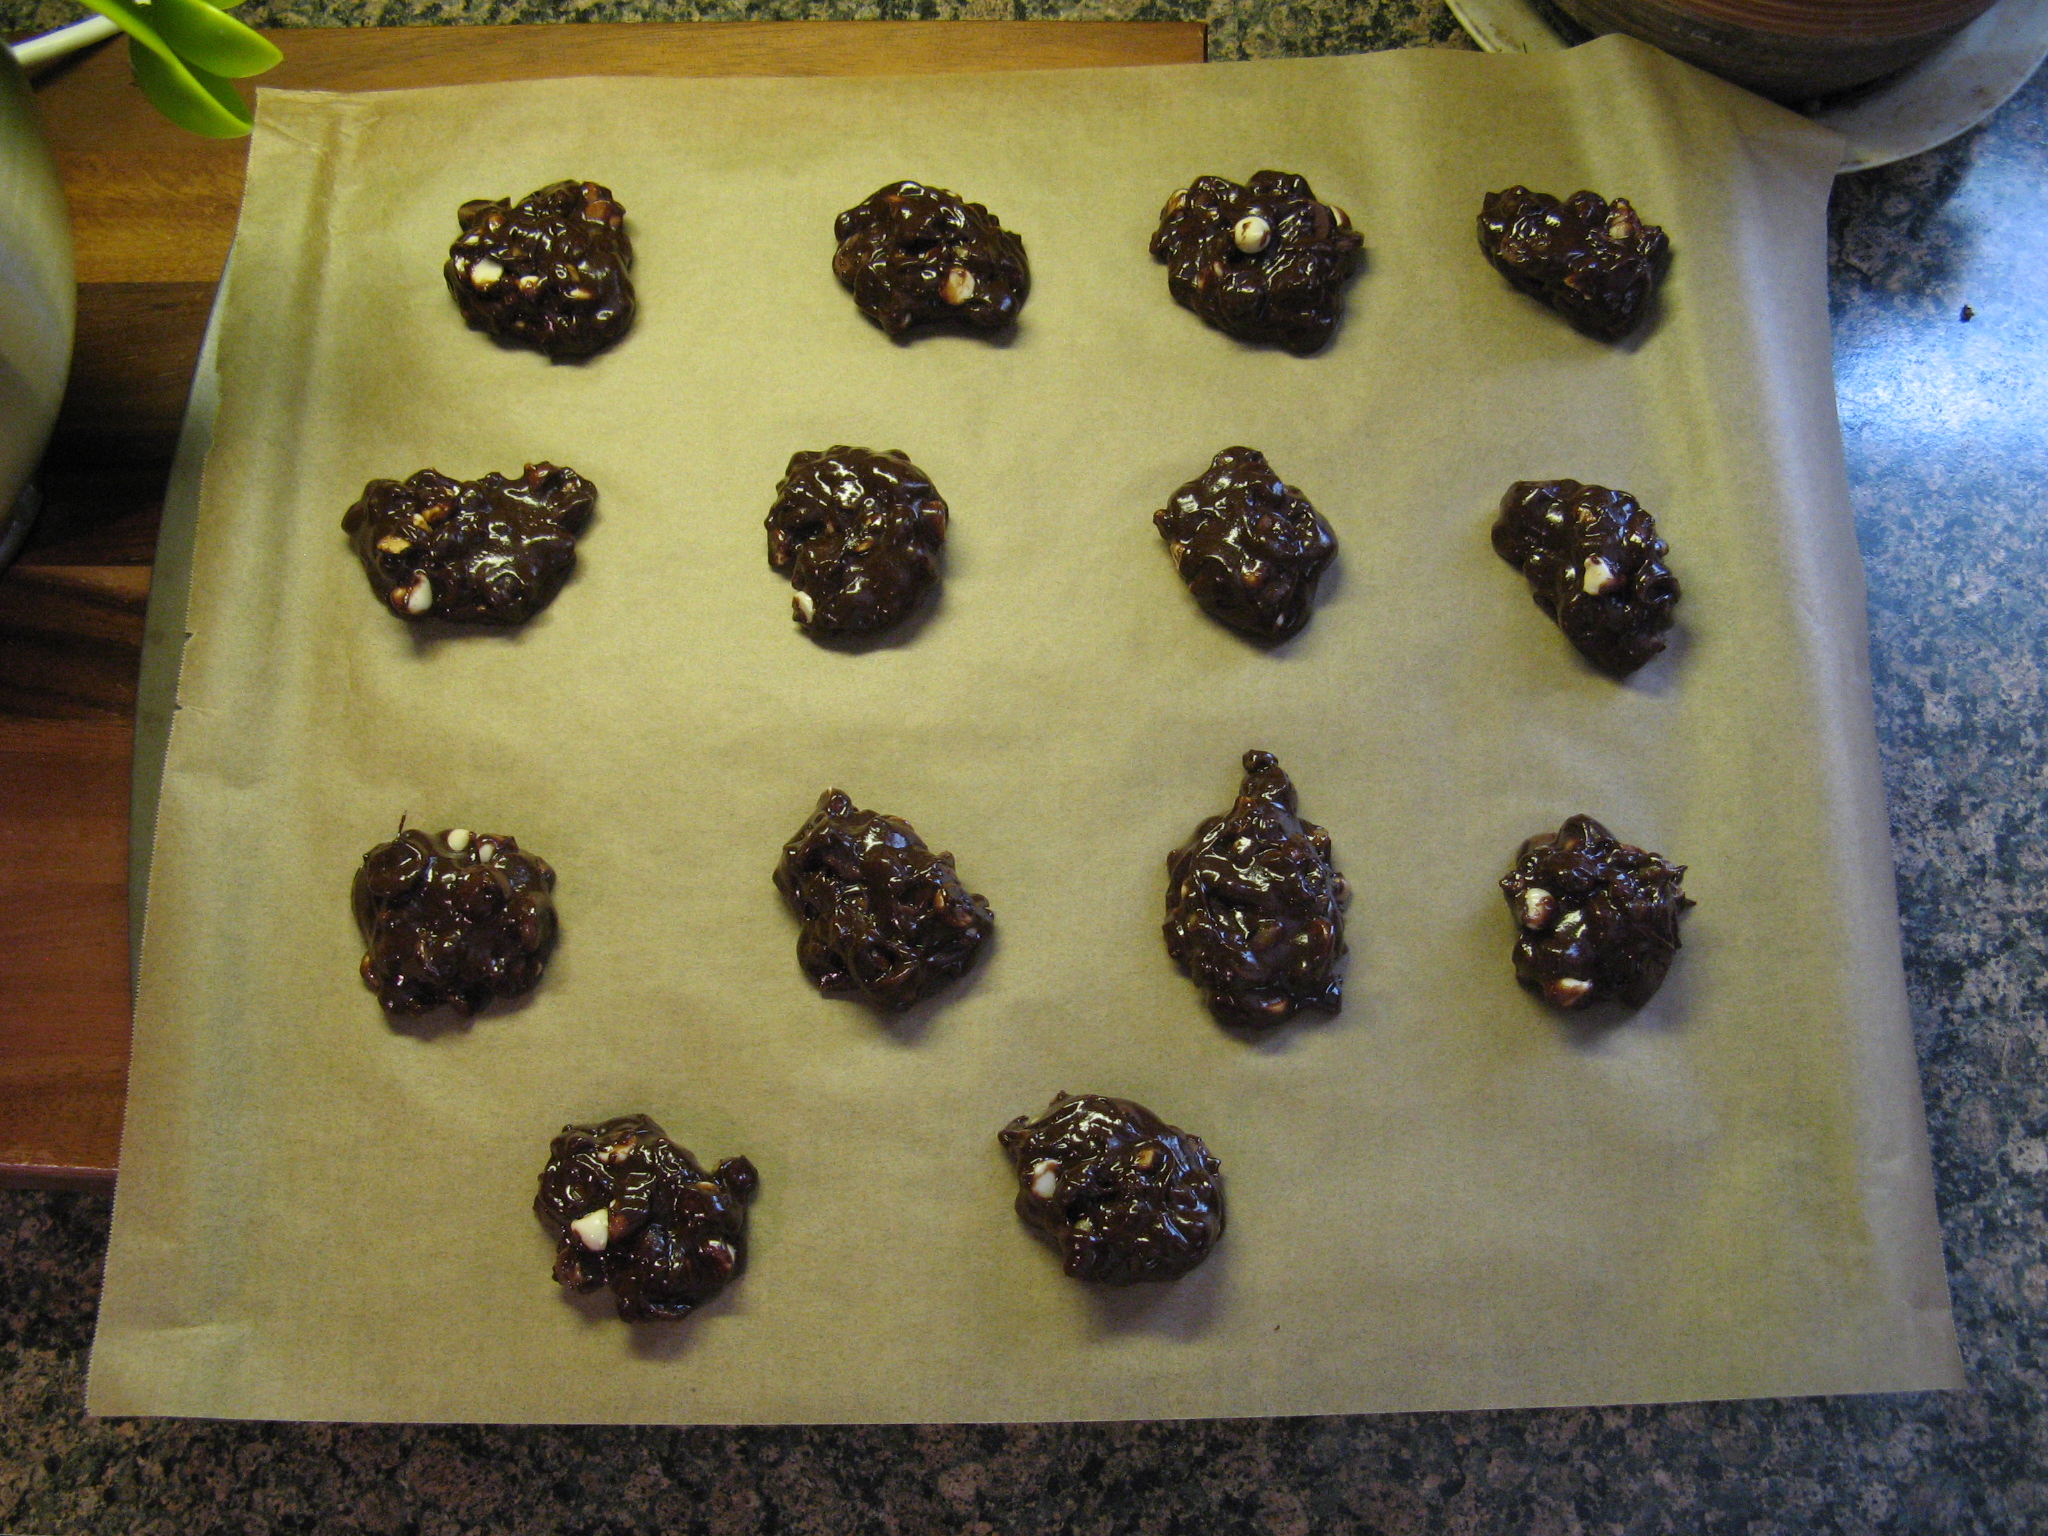
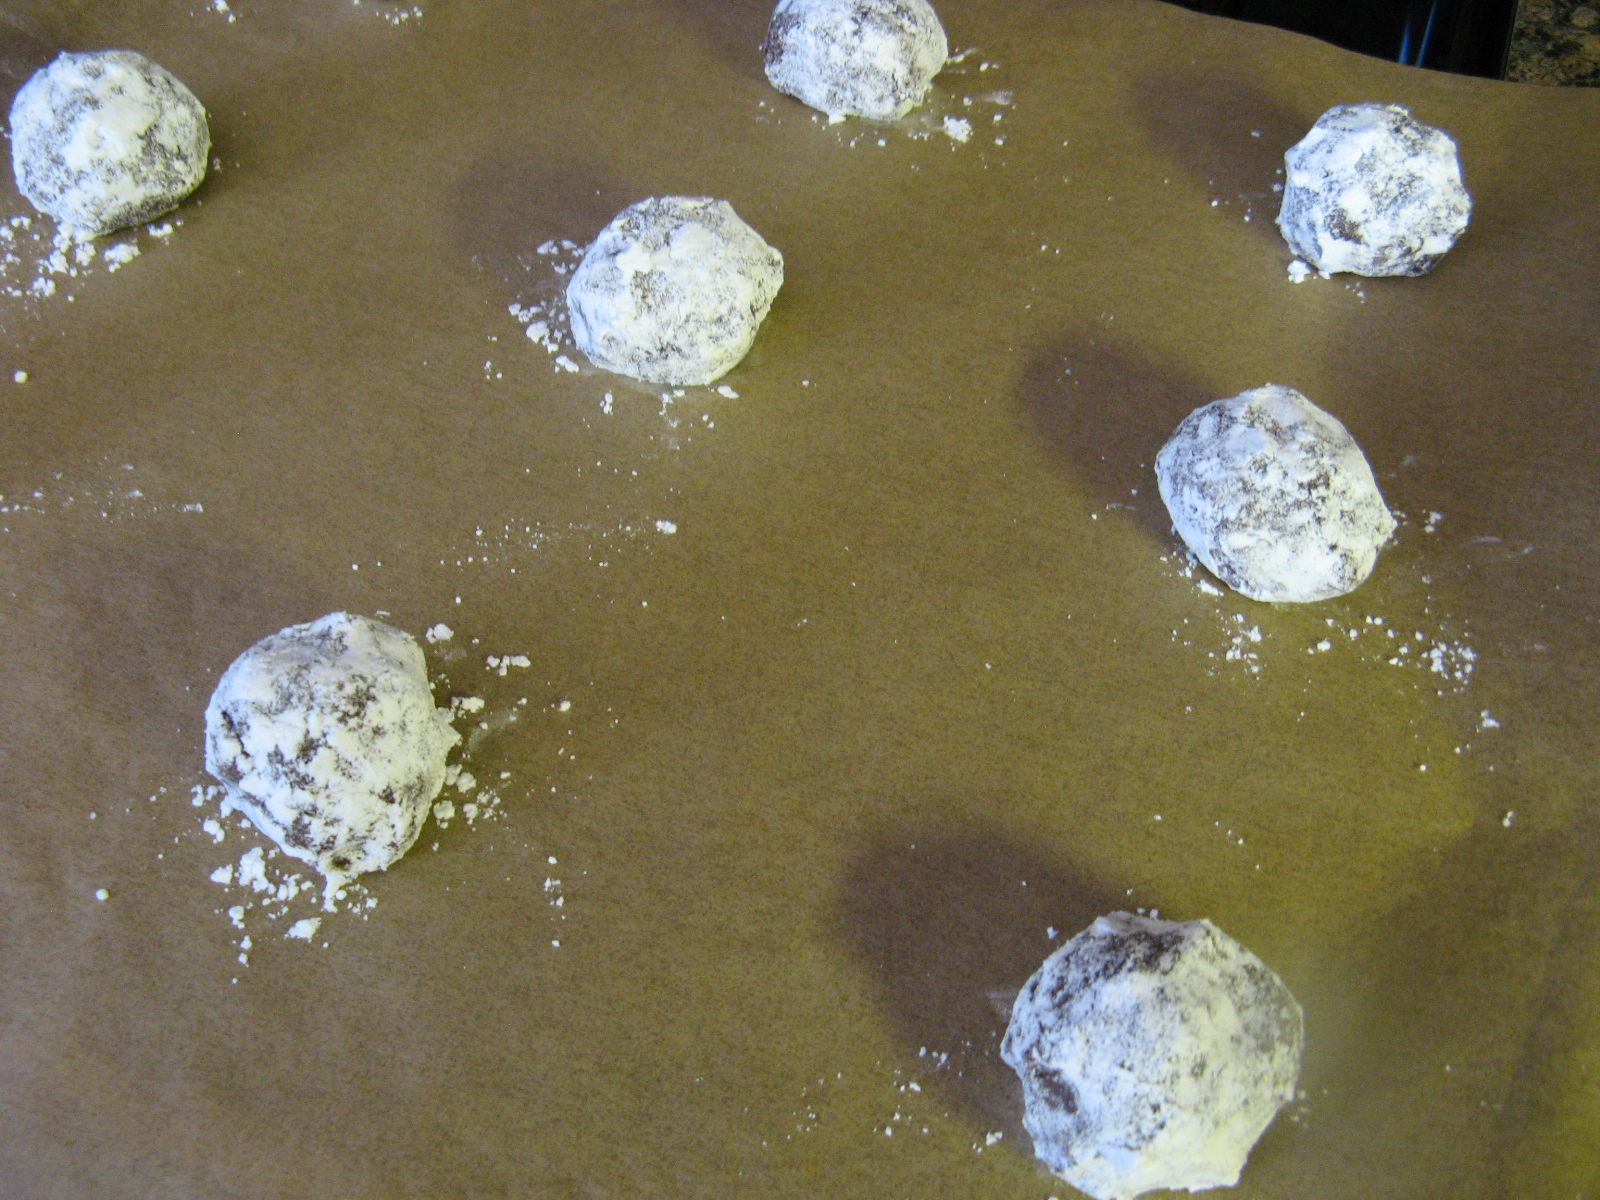
Using a cookie scoop I scooped up the dough and shaped it into a ball and then rolled it in granulated sugar and then confectioners’ sugar. I then placed them on a parchment lined cookie sheet.

IMG_0029

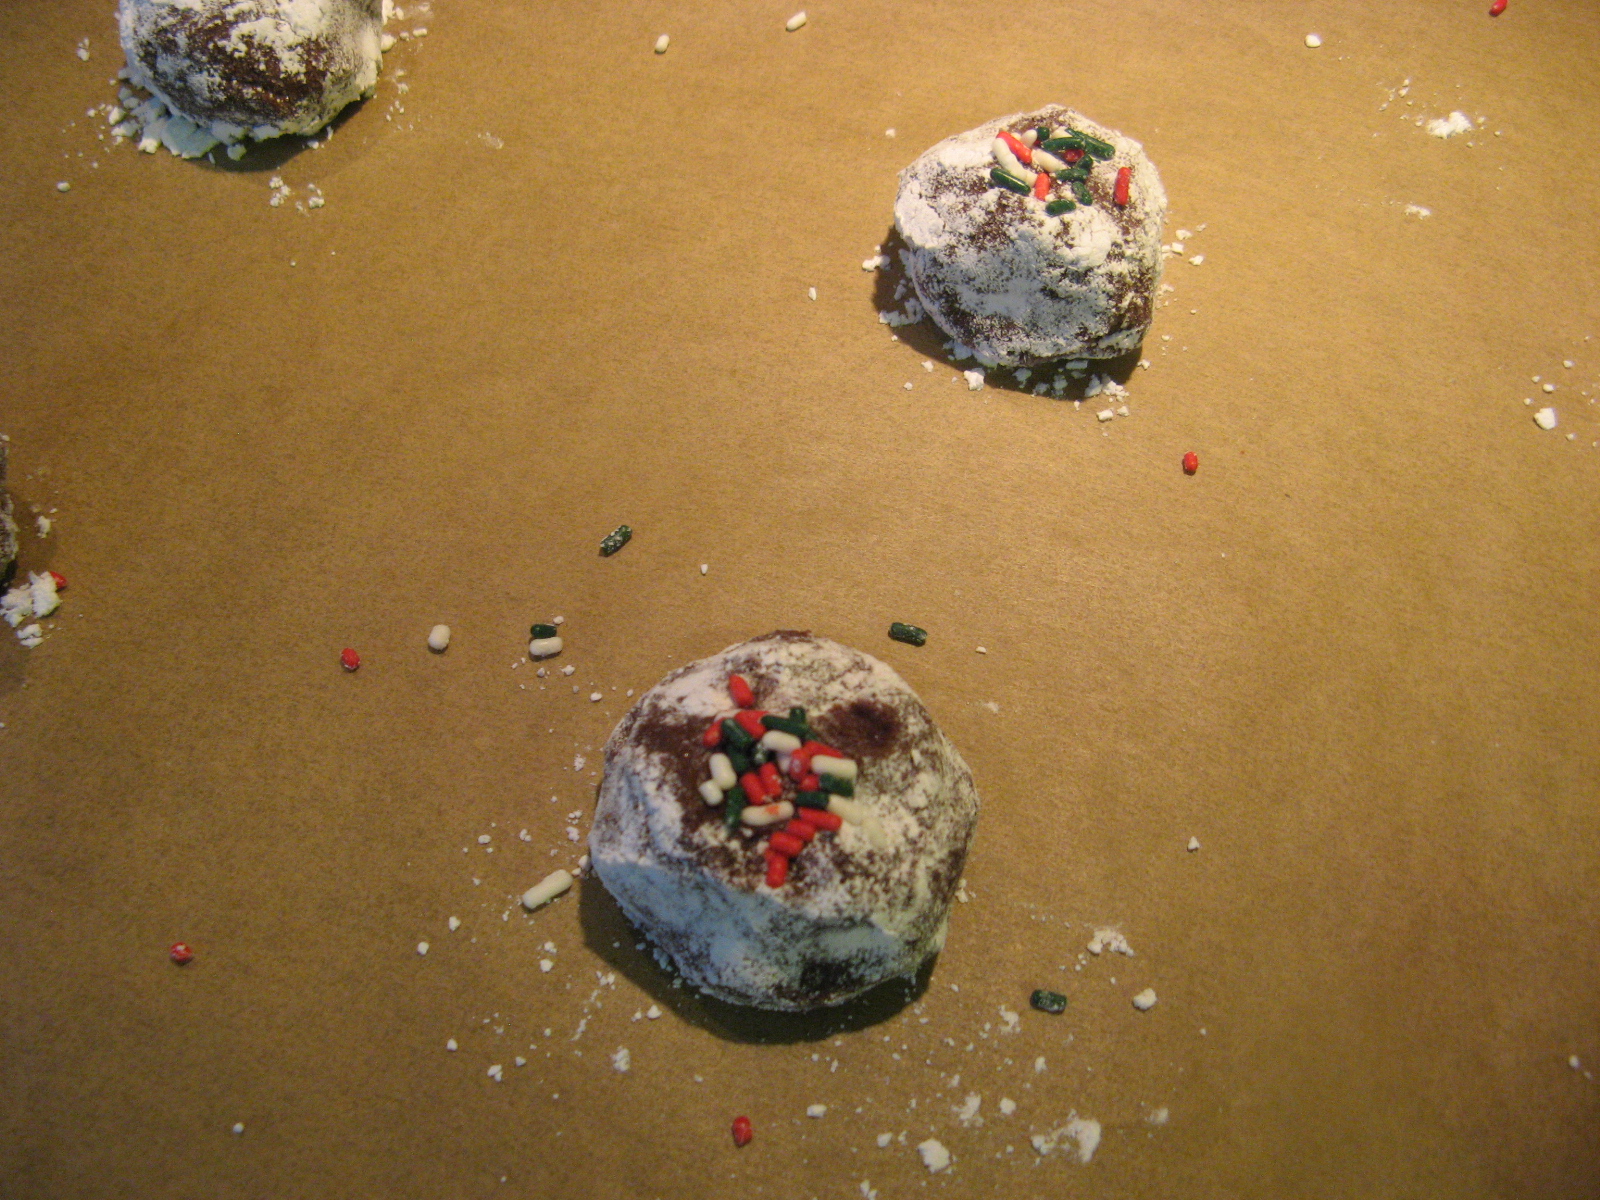
To give some of the cookies a festive touch I sprinkled them with red, green and white sprinkles.

IMG_0031

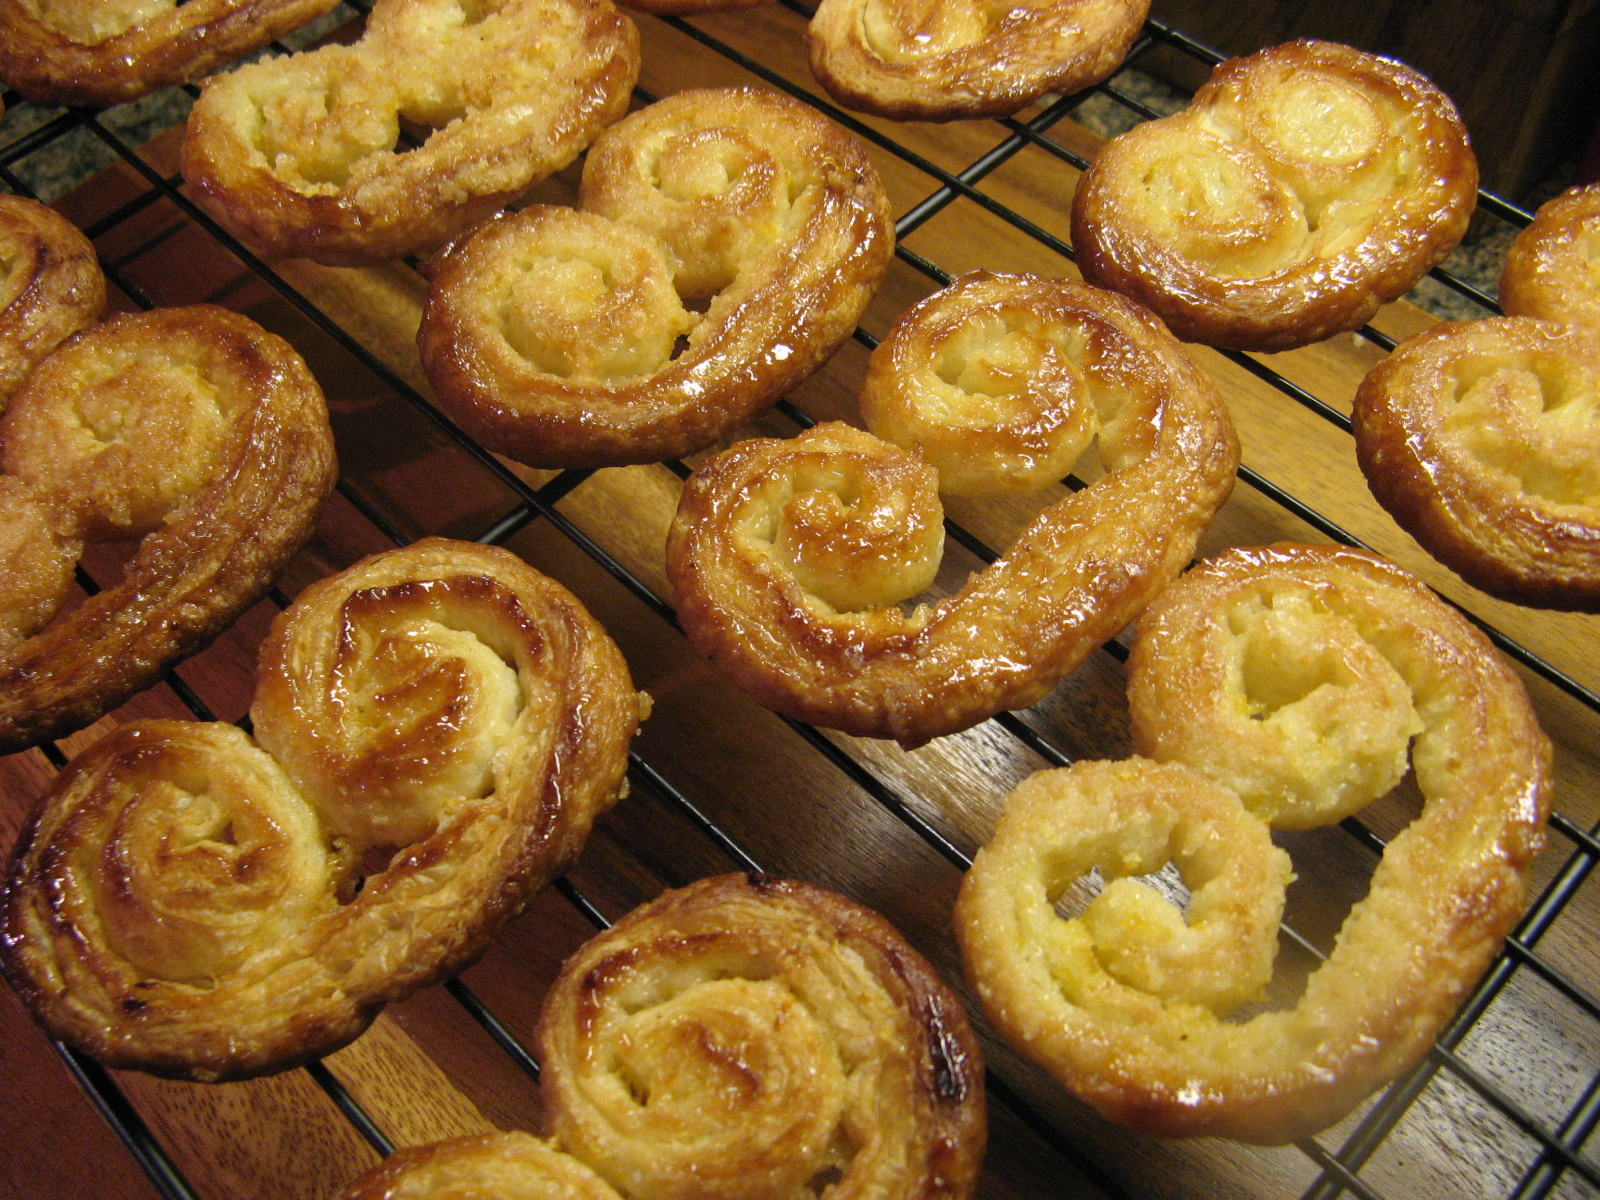
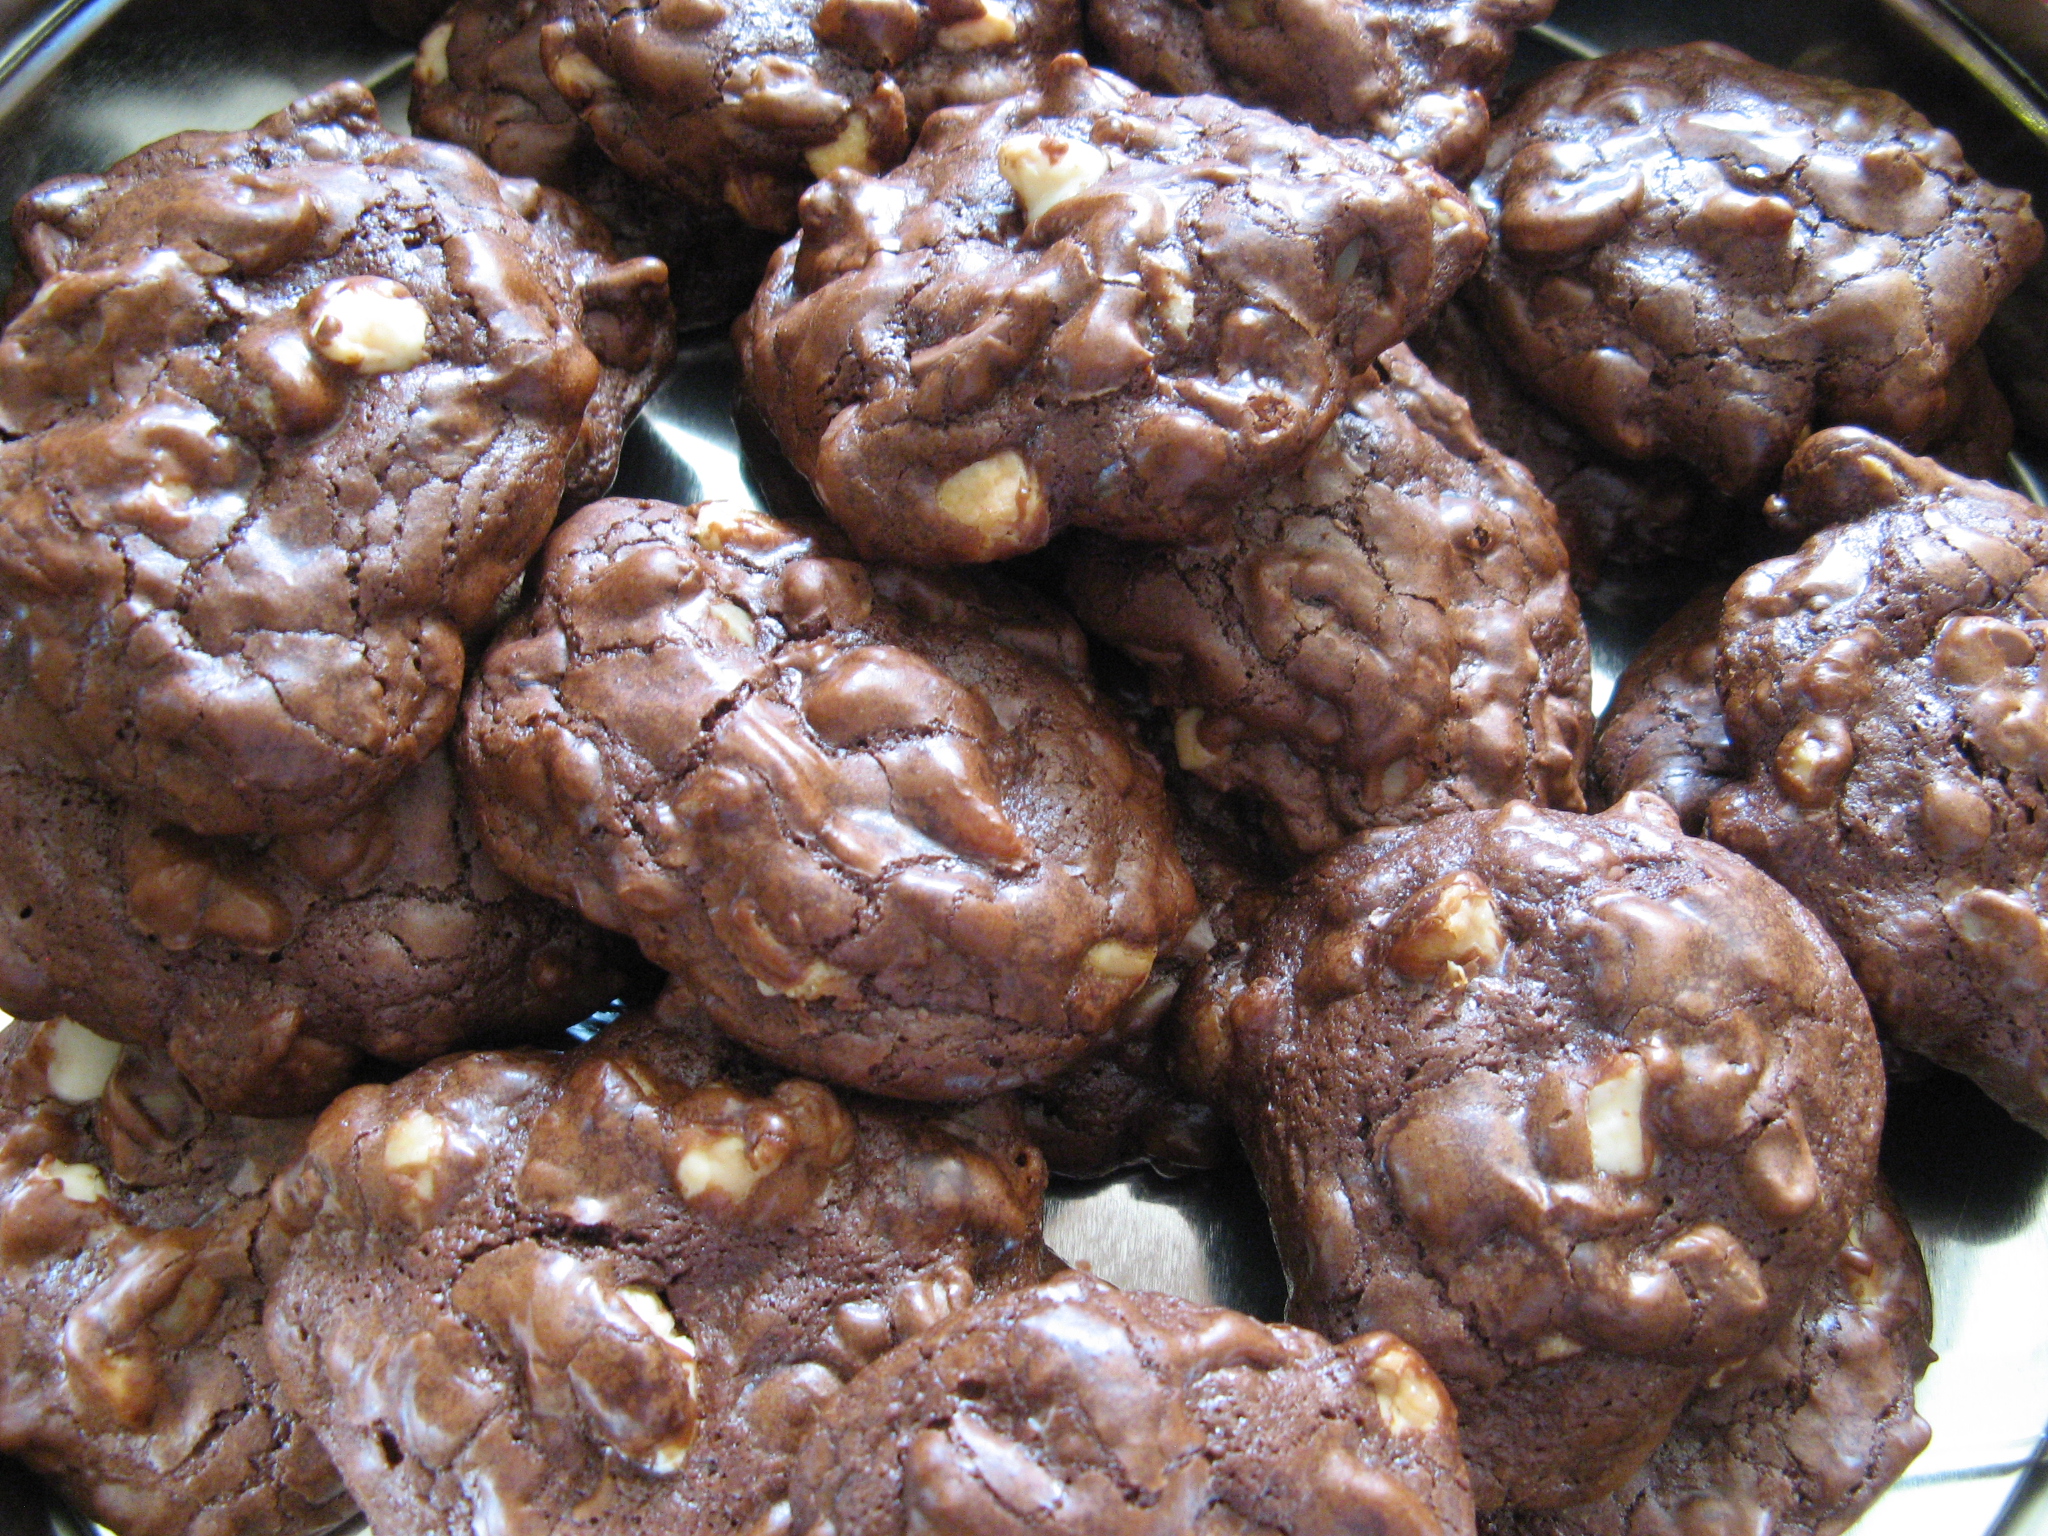
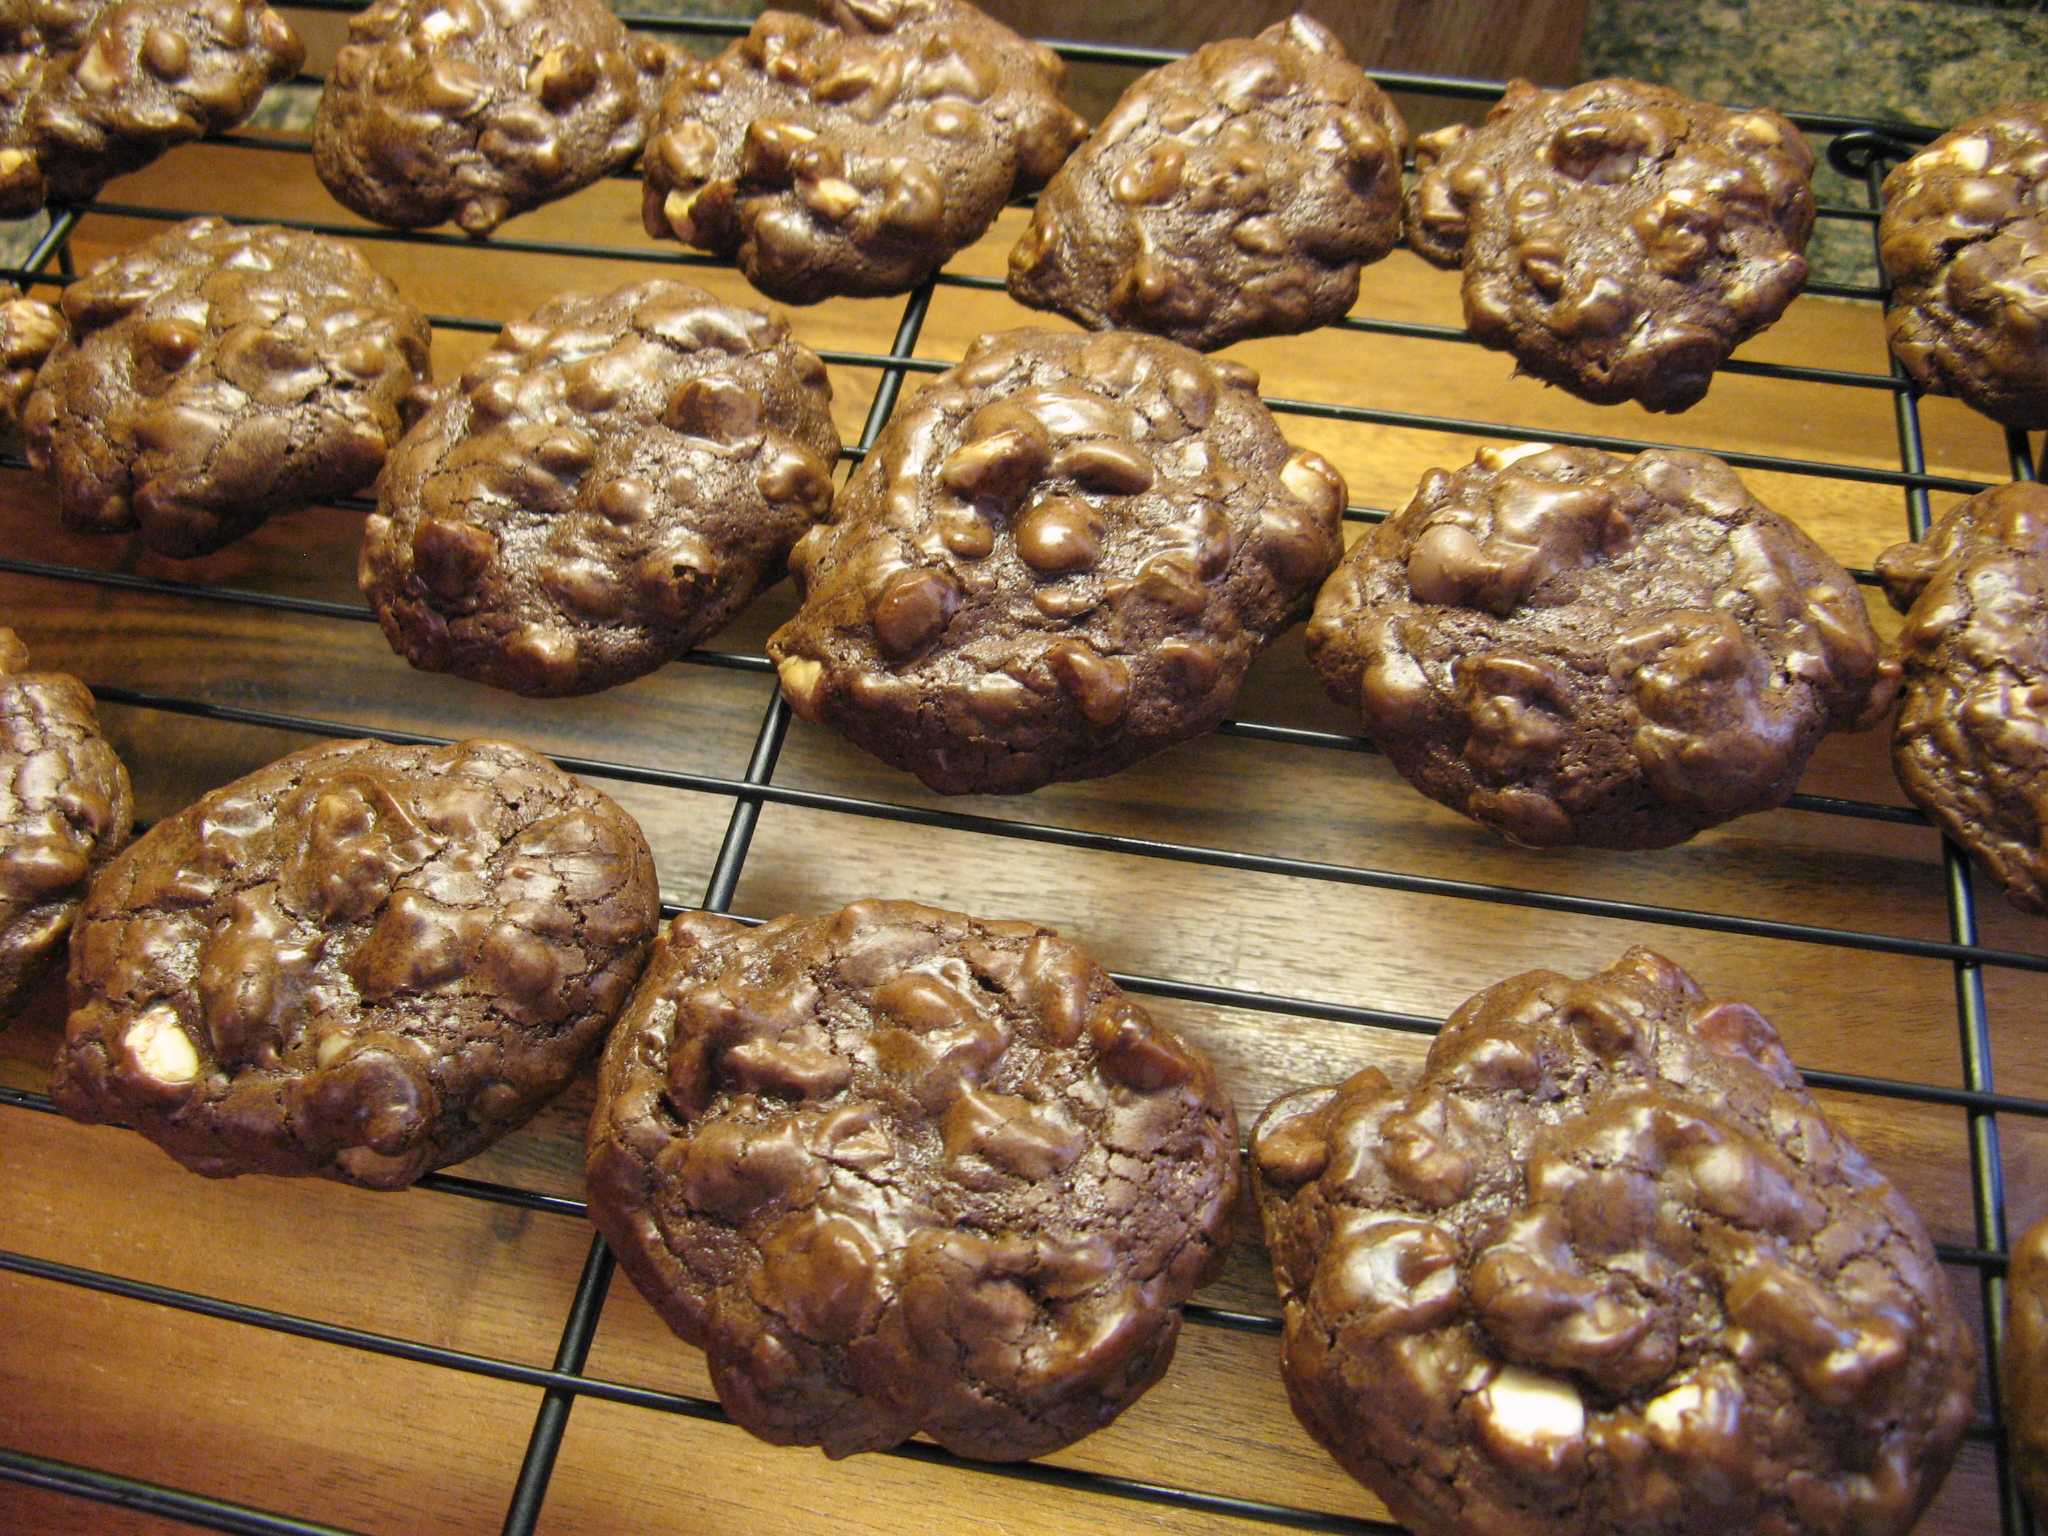
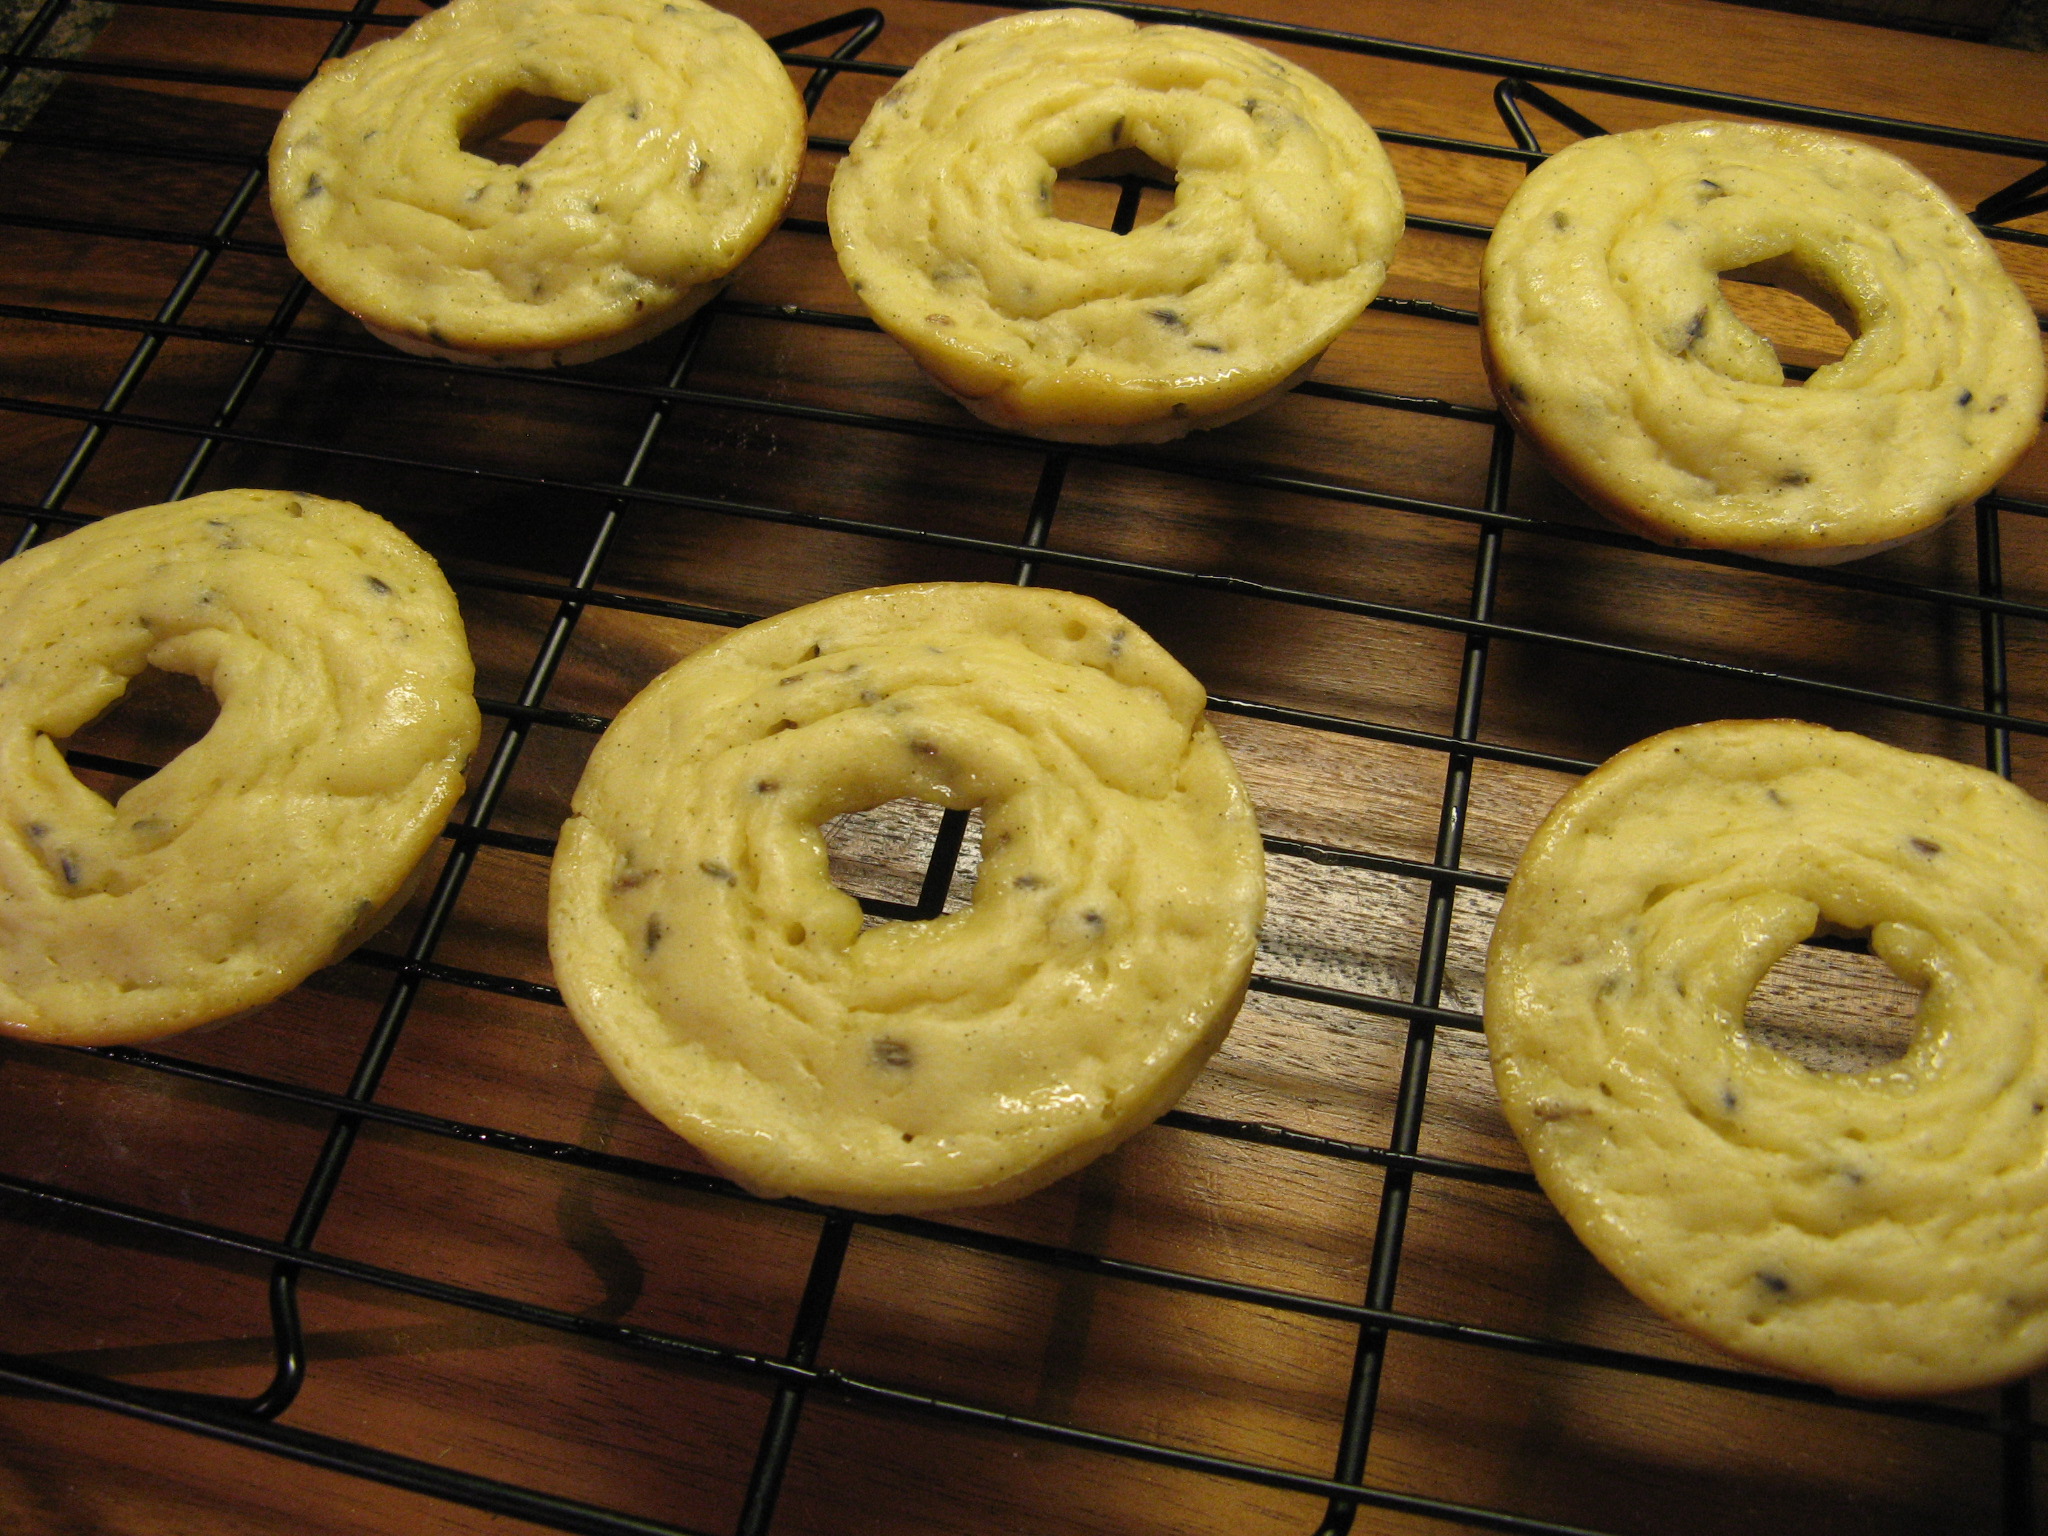
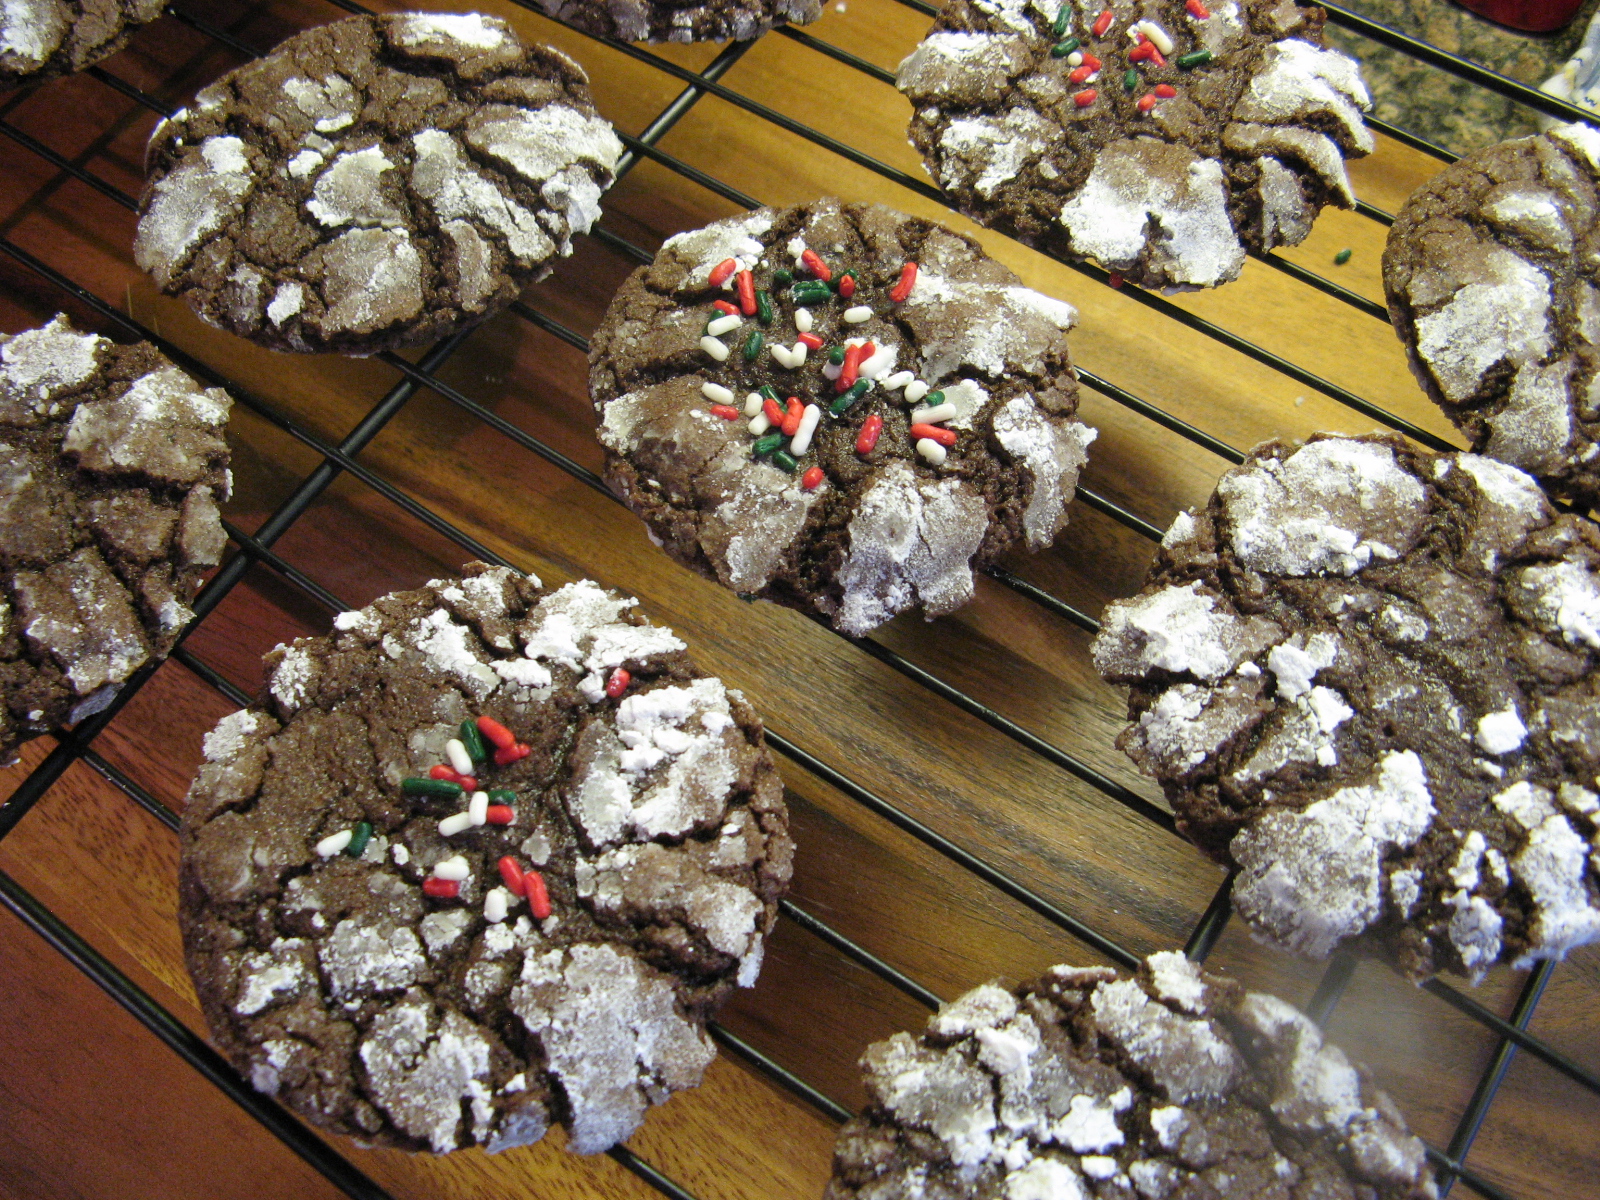
After baking them in a 350 F preheated oven for 8 minutes, I let them cool on the pan for a few minutes before transferring them to a wire rack to cool completely. While the recipe says to bake them for 8-10 minutes, I always like to bake my cookies on the lower end of the time span to ensure that I don’t end up with cookies that are like rocks. Letting them sit on the hot pan for a few minutes allows them to cook and set for a few more minutes. At first I thought I may have removed these cookies from the oven too soon, but, as they continued to cool on the wire rack they firmed up more and the texture of the cookie was spot-on. A little crisp on the outside and completely soft on the inside!

IMG_0036


Chocolate Crinkles

Ingredients:

4 oz. unsweetened chocolate, chopped

1/2 cup shortening

1/4 cup unsalted butter

3 eggs, lightly beaten

1 3/4 cup granulated sugar

2 teaspoons baking powder

1/4 teaspoon baking soda

1/4 teaspoon salt

2 teaspoons vanilla extract

1 1/3 cups all-purpose flour

1/3 cup unsweetened cocoa powder


For Rolling Dough:

1/4 cup granulated sugar

2/3 cup confectioners’ sugar


Directions:

Preheat oven to 350 F and line cookie sheets with parchment paper.

Over low heat in a medium saucepan melt the chocolate, shortening and butter. Let cool.

In a large bowl combine eggs, granulated sugar, baking powder, baking soda and salt. Stir in the melted chocolate and vanilla extract. And then stir in the flour and cocoa powder.

Using a cookie scoop, scoop out dough and shape into balls and roll the ball in the granulated sugar and then the confectioners’ sugar. Place 2 inches apart on the prepared cookie sheets. Bake 8 to 10 minutes or just until edges are set and the cracks appear slightly moist. Cool on the sheet for 2 minutes and then transfer to a wire rack to cool completely.

Recipe from Better Homes & Gardens 100 Best Cookies Magazine

Orange Scented Elephant Ears

Whether you call them Palmiers or Elephant Ears, one thing is certain they are super simple to make and delish! Truthfully anyone can make these cookies, even those of you who swear you cannot bake. All you need is frozen puff pastry, sugar, and in this case orange zest.

To begin thaw out a sheet of frozen puff pastry. While the puff pastry is thawing take a tablespoon of orange zest and combine it with a 1/3 cup of granulated sugar.

IMG_9809

Once the puff pastry is ready, lay a large piece of plastic wrap on your counter and roll the puff pastry out on it into a rectangle, sprinkle it evenly with sugar on the top and bottom as you go.

IMG_9810

Then pour melted butter in the middle of the puff pastry and spread it around using an offset spatula. Then sprinkle the orange zested sugar over the butter.

IMG_9811

Next, cut the puff pastry in half crosswise and roll the shorter end towards the middle.

IMG_9812

Do the same with the opposite end and pinch the two rolls together. Wrap them in plastic wrap for about an hour until firm. Once they are firm place them on a cutting board, seam side down, and cut them into 1/2 inch thick slices and place them on a parchment lined cookie sheet.

IMG_9816

Bake them in a 425 F preheated oven for about 12 minutes. Flip them when you have about 3 or 4 minutes left to the baking to ensure that they brown nicely on both sides. Once out of the oven transfer them to a wire rack to cool completely.

IMG_9818

So, yes, these may take a little time to make with the thawing and refrigerating, but, they are completely doable and look quite fancy.


Orange Scented Elephant Ears

  • Servings: 22 cookies
  • Print

Ingredients:

2/3 cup granulated sugar

1 tablespoon orange zest

1 sheet frozen puff pastry, thawed

2 tablespoons butter, melted


Directions:

Put 1/3 cup of the sugar in a small bowl with the orange zest and stir until blended, set aside.

Arrange a large piece of plastic wrap on a flat surface. Roll out the puff pastry on the plastic wrap into a 10 x 15-inch rectangle. Sprinkle both sides with the remaining 1/3 cup of sugar to prevent sticking – you won’t use the entire amount. Pour the melted butter into the center of the rectangle and using an offset spatula spread the butter evenly. Sprinkle the reserved orange zested sugar evenly over the butter.

Cut the dough in half crosswise (you’ll have two 10 x 7 1/2-inch rectangles.) Starting with one of the shorter ends, roll the puff pastry towards the center. Repeat with the opposite edge until the 2 rolls meet. Pinch the rolls so they stick together. Repeat with the other piece of dough. Wrap the rolls in the plastic wrap and refrigerate for about an hour until firm.

Preheat the oven to 425 F and line two cookie sheets with parchment paper.

Once firm, place the rolls on a cutting board, seam side down, and slice them into 1/2 inch thick slices. Arrange them on the prepared cookie sheets about 1 1/2-inches apart. Bake until golden brown, about 12-14 minutes. Turn over and bake for an additional 1 to 2 minutes until golden brown. Keep an eye on them because I baked them for a total of 12 minutes and ended up flipping them at about 9 minutes.

Transfer to a cooling rack to cool completely. Serve immediately or cover and store at room temperature for up to 2 days.

Recipe from Fine Cooking

Maple Walnut Cheesecake

You can pretty much find cheesecake in any flavor these days. Have you ever been to the Cheesecake Factory? Looking at their endless list of options can make you cross-eyed. While there is nothing wrong with the classic, whether you like yours made with ricotta cheese or cream cheese, sometimes you want a cheesecake with an extra hint of flavor and something a little different. Hence me trying out a recipe for a Maple Walnut Cheesecake. Those flavors just seem synonymous with the Fall season and with Thanksgiving just a few days away this may be a good option for you to serve for those guests who are just not into Apple or Pumpkin Pie.

I began by making the crust. I pulsed a sleeve of graham crackers – 9 crackers – in my food processor until they were crushed. I then added in walnuts and brown sugar and continued pulsing the mixture until it was finely ground. Finally I added in melted butter, salt and nutmeg and continued pulsing the mixture until it was combined. Following that I pressed it into the bottom and about an inch up the side of a 9-inch springform pan that I wrapped with aluminum foil. I then baked it in the middle rack of a preheated 350 F oven. On the lower rack of the oven I placed a roasting rack filled halfway with water. Once the crust was light golden, about 10 minutes, I transferred the crust to a wire rack to cool. Once it was cool it was time to make the filling…

IMG_9287

To make the filling I began by creaming together 4 8 oz. packages of room temperature cream cheese in my stand mixer until it was smooth. I then added in maple syrup and granulated sugar. Following that 4 eggs, one at a time. And finally flour, heavy cream, lemon juice and vanilla extract. The original recipe called for maple extract, but, since the recipe only called for a quarter of a teaspoon I didn’t want to buy an ingredient that I was certain I wouldn’t use again anytime soon, if ever.

IMG_9288

Once the filling was ready I poured it into the cooled crust and then placed the cheesecake in the oven directly over the roasting pan with water.

IMG_9290

After baking for about an hour I transferred the cheesecake to a wire rack to cool to room temperature. I knew it was ready because it was set around the edges but slightly jiggly in the middle. After it cooled I covered it with aluminum foil and refrigerated it overnight.

IMG_9292

The following day before removing the springform ring I let the cheesecake sit at room temperature for an hour and then ran a knife along the edges. The ring came off without incident (i.e. no sides of the cheesecake were ripped). I couldn’t wait to enjoy a slice and while the cheesecake was perfectly creamy it didn’t have much of a maple flavor in my opinion. I’m not sure if that’s because I didn’t use the maple extract or because it is meant to be more of a subtle flavor as opposed to one that overpowers the cheesecake. One thing that did stand out was the walnuts in the graham cracker crust; it added a nice nutty flavor.

IMG_9345

Maple Walnut Cheesecake

Ingredients:

For the Crust:

1 sleeve graham crackers, 9 crackers

3/4 cup walnut pieces

1/3 cup light brown sugar

4 tablespoons unsalted butter, melted

Pinch of nutmeg

Pinch of Kosher salt

For the Filling:

4 8-ounce packages cream cheese, at room temperature

3/4 cup pure maple syrup

1/2 cup granulated sugar

4 large eggs

3 tablespoons all-purpose flour

1/2 cup heavy cream

1 tablespoon lemon juice

1/4 teaspoon maple extract*

*I opted to use vanilla extract

Directions:

Fill a roasting pan halfway with water and set on a rack in the lower third of the oven, position another rack in the middle of the oven and preheat the oven to 350 F. Wrap the bottom of a 9-inch springform pan with aluminum foil.

To make the crust; pulse the graham crackers in a food processor a few times until crushes. Add in the walnut and brown sugar and continue pulsing until finely ground. Add in the melted butter, nutmeg and salt and pulse to combine. Press into the bottom and about 1-inch up the side of the prepared springform pan. Bake until the crust is lightly golden, about 10 minutes. Transfer to a wire rack to cool completely.

To make the filling; beat the cream cheese in a stand mixer with the paddle attachment on medium speed until smooth, about 1 minute. Add the maple syrup and granulated sugar and beat until smooth, about 2 minutes. Add the eggs, one at a time, beating after each one. Increase the speed to medium high and beat in the flour, heavy cream and lemon juice and extract until the filling is smooth and silky, about 1 minute.

Pour the filling into the cooled crust and transfer the cheesecake to the oven directly over the water bath. Bake until golden and set around the edges and slightly jiggly in the middle, about 60 -70 minutes. Transfer to a wire rack and let cool to room temperature, then cover and refrigerate until cold and set, at least 5 hours or overnight. Let the cheesecake sit at room temperature for 20 minutes, then run a knife around the edges and remove the springform ring.

Recipe from the Food Network

Pumpkin Roll

A few weeks ago I brought you Pumpkin Custards and this week I am bringing you a Pumpkin Roll. I’ve seen recipes for jelly rolls and such but was always intimidated to try them because I just wasn’t sure how the whole rolling and unrolling of the cake would work out for me, but thankfully I gave it a try with this Pumpkin Roll because it was quite delicious – the combination of pumpkin cake and cream cheese frosting is right up there with the combination of peanut butter and chocolate.

I began by making the batter… In a small bowl I whisked together the dry ingredients (flour, baking powder, baking soda, cinnamon, nutmeg, ginger and kosher salt). In the bowl of my stand mixer I beat sugar and eggs until they were thick and then added in pure pumpkin and finally stirred in the flour mixture. Once it was all combined I spread it onto a parchment lined jelly roll pan; I sprayed the pan itself and the parchment paper with baking spray.

IMG_9238

After baking it in a preheated 375 F oven for about 12 minutes, I immediately removed the cake from the pan and placed it on a clean kitchen towel that I dusted with confectioners’ sugar. I then rolled the cake and towel together starting with the narrow end. It is crucial to dust the towel with the sugar to ensure it won’t stick and will easily unroll. Following that I placed it on a wire rack to cool completely.

IMG_9243

I let it cool for about 2 hours and then unrolled it and spread a cream cheese filling over the cake.

IMG_9246

After rolling it up again I wrapped it in plastic wrap and refrigerated it for about an hour so it could set.

IMG_9247

After unwrapping it I dusted it with confectioners’ sugar and immediately enjoyed a slice.

IMG_9251

Pumpkin Roll

Ingredients:

Cake:

3/4 cup all-purpose flour

1/2 teaspoon baking powder

1/2 teaspoon baking soda

1 teaspoon cinnamon

1/2 teaspoon nutmeg

1/4 teaspoon ginger

1/2 teaspoon kosher salt

3 large eggs

1 cup granulated sugar

2/3 cup pure pumpkin

Confectioners’ sugar

Filling:

1 8oz. package cream cheese, at room temperature

1 cup sifted confectioners’ sugar

6 tablespoons unsalted butter, at room temperature

1 teaspoon vanilla extract

Directions:

Preheat oven to 375 F. Spray a 15 x 10 inch jelly roll pan with baking spray and line it with parchment paper. Spray the parchment paper with baking spray as well. Alternatively you could also use flour and butter instead of baking spray. Sprinkle a cotton kitchen towel with confectioners’ sugar.

In a small bowl whisk together the flour, baking powder, baking soda, cinnamon, nutmeg, ginger and kosher salt. Beat the eggs and granulated sugar in a large mixing bowl until thick and then add in the pumpkin. Stir in the flour mixture. Spread the batter evenly into the prepared jelly roll pan.

Bake for 12 – 14 minutes, until the top of the cake springs back when touched. Immediately remove the cake from pan and turn it onto the prepared kitchen towel. If the parchment paper sticks to the cake, carefully remove it. Roll the cake and the towel together starting with the narrower end. Cool on a wire rack.

To make the filling, beat the cream cheese, confectioners’ sugar, butter and vanilla extract with a mixer until smooth.

Once cooled, carefully unroll the cake and spread the cream cheese mixture over the cake. Reroll the cake – without the towel – and wrap in plastic wrap and refrigerate for at least an hour so the cake can set. When ready to serve, sprinkle the cake with confectioners’ sugar.

Recipe slightly modified from Libby’s Pumpkin Roll

S’mores Brownies

I hope you are all having a wonderful summer thus far! Today I have a treat for you that is perfect for these summer days, a spin on a favorite campfire treat… S’mores Brownies.

IMG_8701

I began by spraying a 9 x 13 inch pan with cooking spray and lining it with graham crackers.

IMG_8646

Next, I made my brownie batter and poured it right over the graham crackers…

IMG_8652

And then baked it in a pre-heated 325 F oven for 40 minutes, until a cake tester inserted in the middle came out almost clean.

IMG_8653

I then switched my oven to the broiler setting and topped the brownie with mini marshmallows, chocolate chips and crushed graham crackers and placed it back in the oven for just about a minute until the marshmallows began to brown.

IMG_8664

I let the brownie cool on a wire rack and then transferred it to a cutting board to slice it. The key is to make sure the brownies have completely cooled before slicing into them, if you slice them too soon you will have a marshmallow mess as they will still be warm and gooey and the brownies will fall apart as they won’t have had enough time to set. I speak from experience on the latter.

IMG_8687

These brownies were perfect! The texture was spot-on… Not cakelike or too dense. And while you may think that the addition of the marshmallows and chocolate chips on top would make them too sweet, the opposite is true, it enhanced the flavor of the chocolate in the brownies. And let’s not forget the graham crackers on the bottom, they incorporated nicely into the brownie and while you may think they would get crispier when baked they actually provided a soft base to the brownies, sort of like a built-in plate. Overall, all of these flavors and textures worked together perfectly; just like your regular S’mores does.

IMG_8690


S’mores Brownies

Makes 12 Brownies

 Ingredients:

10 graham crackers

3 cups mini marshmallows

2 cups semi-sweet chocolate chips, plus an additional 1/2 cup for the topping

1 stick unsalted butter

3/4 cup granulated sugar

3/4 cup light brown sugar

4 eggs

1 teaspoon vanilla extract

1 cup flour

1/2 teaspoon salt

Directions:

Preheat the oven to 325 F. Spray a 9 x 13 inch pan with cooking spray and line it with graham crackers.

In a medium saucepan melt 2 cups of the chocolate chips with the stick of butter over low heat, stirring frequently.

Once the chocolate chips and butter have melted remove from the heat and whisk in the granulate sugar and light brown sugar, cool slightly.

Whisk in the eggs, one at a time and then the vanilla extract.

Stir in the flour and salt and pour the batter over the graham crackers.

Bake for 40 – 45 minutes, until a tester inserted in the middle come out almost clean.

Remove the pan from the oven and set the oven to the broiler setting. Top the brownie with the mini marshmallows, and the remaining chocolate chips and graham crackers – crush the graham crackers. Place the pan back in the oven for 30 – 60 seconds, until the marshmallows begin to brown. Remove from the oven and transfer to a wire rack to cool completely. Once cooled transfer the brownie to a cutting board and slice into 12 pieces.


1 Week, 3 Cakes & 48 Cupcakes!

Recently I was elbow deep in flour, sugar and butter for the better part of a week creating some lovely cakes for some momentous occasions – a friend’s daughters’ first birthday and her older daughters’ pre-k graduation.

To kick off my week of cake baking & decorating I made a 3-tier 9-inch white cake layered with vanilla mousse and covered with pink tinted vanilla frosting. I didn’t just simply frost the cake though; I opted to decorate it with buttercream ruffles. To create the ruffles I used a No. 125 Wilton Tip, which is considered a petal tip. Unfortunately I didn’t take any pictures of the process, only the final product. I began by applying a thin layer of frosting to the cake so the ruffles would be able to stick to it. To ensure that the ruffles would be evenly spaced and the same width throughout I used a straight-edge to score the cake. Since I had placed the cake on a cake board that had half-circles around it I used that as my guide to create the lines. Once that was done I scored lines along the top of the cake towards the center. I made those lines double the width of those along the sides of the cake. I then filled my pastry bag that was fitted with the tip and began creating the ruffles. With the thicker side of the tip against the cake I began making the ruffles starting and ending the ruffle when I hit one of the score lines. This video shows the process I used.

IMG_7895

And once I got the cake to its intended destination I topped it with a cake banner topper I made. I did receive one complaint about this cake… It was too nice to cut. I was very happy with how it came out; it looked just like how I envisioned it. But, more importantly it was delicious. The Vanilla Mousse filling was perfect and the frosting wasn’t too sweet, and lastly the cake was incredibly moist and light.

IMG_7917

Next up was another cake to celebrate that first birthday. This time it was a two-tier fondant covered Mickey & Minnie Mouse themed cake. I actually had a bit of anxiety to make this cake. You never know what’s going to happen when you are working with fondant – mainly will it tear!?!? Thankfully there were no tears whatsoever, but, there was an air bubble here and there that was quickly remedied with a needle.

IMG_7976

And to go along with the cake there were cupcakes that followed along with the Mickey & Minnie Mouse theme. These cupcakes actually did cause me some stress. Initially I was planning on using Mickey Mouse themed liners, actually I did use them to bake the first batch of 48 cupcakes but those liners were on the smaller side so my cupcakes all looked like they had been nibbled a little around the edges once I took them out of the cupcake pan. Definitely not something that was presentable and couldn’t be masked with frosting. So, I baked another 48 cupcakes (this blog title should really read 96 cupcakes!) using white cupcake liners that I picked up at a restaurant supply store quite some time ago. It’s a package of 500, so I’ll be using them for quite some time. But, thankfully they turned out perfect cupcakes that I then topped with vanilla buttercream frosting – the same frosting I used for the first cake. I then topped them with Mickey Mouse picks and Mickey Mouse sticker button picks (I made these) to ensure the theme traveled through to the cupcakes. Oh, and since not everyone is a sprinkle lover like myself, I only covered have of the cupcakes with sprinkles.

IMG_7965

The cake and cupcakes together…

IMG_8001

And finally, a cake to celebrate a Pre-K graduation. The young graduate requested chocolate, so I made a Triple Death by Chocolate Cake – Chocolate Cake, Chocolate Mousse and Chocolate Frosting. It was a lot of chocolate but delicious nonetheless. To decorate this cake I opted to cover it with rosettes using a No. 22 Wilton Tip. Initially I was going to use a 1M Tip, but my rosettes just looked too sloppy so big. And to finish it off I topped it with another cake banner topper that I made.

IMG_8088

After a week like this I think I’ll take a break from cakes and cupcakes and stick to cookies for a bit!


Triple Chocolate-Hazelnut Cookies

There are many perks to living on Long Island – being readily close to a beach (although I am not a beach person per se I more so enjoy going to a nearby marina and watching the water, it’s quite calming,) I can be in NYC in about an hour and I can also visit some great wineries an hour in the opposite direction. A group of friends and I make it a point at least once a year – especially when the weather starts to get warmer – to visit the wineries. Although it’s not always the Long Island ones, Hudson Valley also has some great ones that are within driving distance as well. We usually do a potluck of sorts in terms of bringing things to eat and I usually volunteer to bring dessert. Last weekend we had our wine outing and I decided to make a batch of Triple Chocolate-Hazelnut Cookies. These could also be coined “Death by Chocolate Cookies.” They are incredible chocolaty thanks to the three chocolates used: Bittersweet (the base of the cookie which prevents it from being overly sweet), white and milk chocolate.

IMG_7720

My weekdays are usually split into three parts: Errands in the morning, midday, errands in the afternoon. I was squeezing baking these cookies into that midday part so I was pretty focused on getting my measurements for my ingredients ready prior to mixing. Not to say that I am usually a scatter brain baker, but, I usually assemble my ingredients together and then measure as I go along.

IMG_7697

I began by melting chopped bittersweet chocolate with unsalted butter in the microwave in 30-second intervals. You may be tempted to up the time for melting chocolate, but, it really is important to do so in shorter increments and whisking the chocolate between each of the intervals. By upping the time you may end up scorching the chocolate… I speak from experience. Once the chocolate and butter were melted I added in vanilla extract and whisked the mixture until it was smooth.

IMG_7701

Next, I beat two large eggs on medium speed with my stand mixer until they were foamy. Following that I gradually added in sugar until the mixture was thick and pale yellow.

IMG_7703

I then added in the melted chocolate mixture and then a flour mixture (flour, baking powder and salt) and continued mixing until it was just combined.

IMG_7704

And finally I folded in the hazelnuts (which I had blanched & toasted) and white and milk chocolate chips.

IMG_7705

My batter was then ready…

IMG_7707

I dropped the batter by tablespoonful onto parchment lined baking sheets. One thing I did notice was that as the batter sat it became thicker so next time I make these cookies I’ll let the batter sit for a few minutes before dropping them onto the cookie sheets.

IMG_7710

I baked the cookies in a preheated 350 F oven for about 12 minutes and then let them cool on the sheet for a few minutes before transferring them to a wire rack to cool completely.

IMG_7714

After they were cooled I packed them up for the following day’s adventure.

IMG_7722

Overall, these cookies are winning recipe that I will be making again. As for the wine tasting, it was a great day as always. Some of the wine we tried was good, some, I don’t ever need to try again, but what makes the day great is being with wonderful friends and enjoying views like these!

IMG_7726 IMG_7749

And seeing cute signs like this…

IMG_7741

Triple Chocolate-Hazelnut Cookies

Makes: 24 Cookies

Ingredients:

1 cup blanched hazelnuts, chopped

1/3 cup all-purpose flour

1/2 teaspoon baking powder

1/4 teaspoon salt

8 ounces bittersweet chocolate, chopped

6 tablespoons unsalted butter

1 teaspoon pure vanilla extract

2 large eggs

3/4 cup sugar

1 cup milk chocolate chips

1 cup white chocolate chips

Directions:

1. Preheat the oven to 350 F. Spread the hazelnuts on a baking sheet and baked then until golden, about 7 minutes. Line 2 cookie sheets with parchment paper.

2. Whisk the flour, baking powder and salt in a medium bowl and set aside. Combine the bittersweet chocolate and butter in a microwave-safe bowl and microwave in 30-second intervals, whisking, until melted. Add the vanilla and continue whisking until smooth, set aside.

3. Beat the eggs in a large with a mixer on medium speed until foamy, about 1 minute. Gradually add the sugar and continue beating until thick and pale yellow, about 6 minutes. Gradually add the melted chocolate mixture and beat until combined. Reduce the mixer to speed to low and add the flour mixture and beat until just combined. Fold in the hazelnuts and chocolate chips.

4. Drop the batter by tablespoonful 2 inches apart on the prepared baking sheets. Bake until the cookies are slightly puffed and crackly, 12 to 15 minutes. Let cool 5 minutes on the sheets, and then transfer to a wire rack to cool completely.

Lavender Ricotta Donuts

Happy National Donut (or Doughnut) Day! For almost 80 years now (77 to be exact) the first Friday in June has been declared Nation Donut Day – started by the Salvation Army as a way to honor the volunteers of World War I who served donuts to soldiers. Not that there needs to be a reason to enjoy these incredibly sweet and delicious treats, but, on this day enjoying them may be a little more enticing as some places will give you a free one! In honor of today I decided to convert a Lavender Ricotta fritter recipe I made a few years back in a cooking class into donuts.

IMG_7777

To make the batter I combined ricotta cheese, eggs, vanilla paste, sugar, baking powder and flour in the bowl of my stand mixer and used the whisk attachment to mix the ingredients. I then added in dried lavender and continued mixing the batter until it was thick.

IMG_7753

Next I used a piping bag – I just snipped the end of the bag off – and piped the batter into a prepared donut pan; I sprayed it with baking spray.

IMG_7754

I then baked them for about 15 minutes in a 350 F preheated oven. After removing them from the oven I let them cool in the pan before inverting them on a wire rack to cool completely.

IMG_7760

Final outcome… They definitely tasted good – especially after an extra dusting of powdered sugar on top – but I definitely need to work on my donut making skills. I’ll be the first to admit that they are a bit wonky looking! One other thing, they didn’t have the typical dense texture of a donut, more like the moistness of a cruller thanks to the ricotta cheese.

IMG_7776

If you like the flavor of lavender check out these other recipes I’ve made using the herb: Lavender Cupcakes with Mascarpone Frosting and Lavender Vanilla Ice Cream. With both of these recipes I was able to get the flavor of lavender into them by soaking the dried flowers in milk overnight and then straining the milk prior to using it in the recipes.

Lavender Ricotta Donuts

Yield: 10 Donuts

Ingredients:

2 cups ricotta cheese

3 eggs, beaten

1 tablespoon vanilla bean paste*

1/4 cup sugar

3 teaspoons baking powder

1 cup flour

2 tablespoons dried lavender

Confectioners’ powder, for dusting

*Can also use vanilla extract

Directions:

1. Preheat oven to 350 F. Prep donut pan by spraying it with baking spray.

2. Whisk together the ricotta cheese, eggs, vanilla bean paste, sugar, baking powder and flour until combined. Add in the dried lavender and continue mixing until the batter is thick.

3. Transfer the batter to a piping bag or Ziploc bag and snip off the end and pipe the batter into the prepared pan.

4. Bake in the oven for 10-15 minutes, until a cake tested comes out clean. Let cool in the pan for 10 minutes and then transfer to a wire rack to cool completely.

5. Once cooled use a sifter to sprinkle the donuts with confectioners’ sugar.

Buttermilk Cheddar Not Quite Biscuits

We’ve all been there, a mishap in the kitchen. Could it be the recipe, a missed ingredient, an incorrect measurement or maybe it was just an off day for your oven? I had one of those mishaps happen to me recently when I made Buttermilk Cheddar Biscuits. I had some leftover buttermilk in my fridge from a previous recipe and I didn’t want to go to waste and I wanted to make something different; I’ve never made biscuits before. Unfortunately my biscuits didn’t rise and I ended up with some pretty flat biscuits – I don’t even think I can call them biscuits. I’m still not sure what exactly went wrong.

My prep work seemed to be just fine… I started by putting flour, baking powder and salt in the bowl of my stand mixer.

IMG_7596

With the mixer on low I added in cold diced unsalted butter.

IMG_7597

Once the butter looked like small peas I added in a buttermilk / egg mixture and continued mixing the ingredients until the mixture was moistened.

IMG_7600

In a small bowl I combined shredded cheddar cheese with a small handful of butter.

IMG_7601

After adding in the cheddar to the dough I dumped the dough onto a well-floured surface and kneaded the dough a few times and then rolled it into a rectangle.

IMG_7602

I then sliced the dough into 8 pieces and placed it onto a parchment lined cookie sheet and brushed them with an egg wash.

IMG_7606

After baking in a 425 F preheated oven for about 25 minutes this is what I got… Flat biscuits.

IMG_7608

Luckily they tasted really good and were a nice breakfast treat the following morning with my cup of tea! Thankfully my mishap wasn’t a total loss.

IMG_7694

What kind of mishaps have you encountered in your cooking and baking adventures?

Buttermilk Cheddar Biscuits

Yield: 8 Biscuits

Ingredients:

2 cups all-purpose flour, plus more as needed

1 tablespoon baking powder

1 1/2 teaspoon kosher salt

12 tablespoons (1 1/2 sticks) cold unsalted butter, diced

1/2 cup cold buttermilk, shaken

1 cold extra-large egg

1 cup grated cheddar cheese

1 egg, beaten with 1 tablespoon milk

Directions:

1. Preheat oven to 425 F

2. Place 2 cups of flour, the baking powder, and salt in the bowl of an electric mixer and mix on low. Add the butter and mix until the butter is the size of peas.

3. Combine the buttermilk and egg in a small bowl or measuring cup and beat lightly with a fork. With the mixer still on low, quickly add the buttermilk mixture to flour mixture and mix only until it’s moistened. In a small bowl mix the cheddar cheese with a handful of flour. Add the cheese to the dough, still mixing it on low, and mix until roughly combined.

4. Dump the dough onto a well-floured surface and knead lightly about 6 times. Rolled the dough out to a rectangle (10 by 5 inches.) With a sharp floured knife cut the dough lengthwise in half and then across in quarters, making 8 rough rectangles. Transfer to sheet pan lined with parchment paper. Brush the tops with the egg wash and bake for 20 to 25 minutes, until the tops are browned and the biscuits are cooked through. Can serve hot or warm.

Lemon & Raspberry Bundt Cake

This cake was a few different things before it finally came to be a Lemon & Raspberry Bundt Cake. First I thought of making a raspberry crumb cake, then I thought of omitting the crumb part and making a raspberry cake with a cream cheese icing drizzle, this is where the lemon came in and I thought of a lemon raspberry cake, then it was a loaf cake and ultimately it became a Bundt cake. While initially I was thinking of sticking with the cream cheese icing drizzle I decided to pass on it so the cake wouldn’t end up being super-sweet. Did you get all that? Long story short… I ended up making a delicious lemon tinged cake that was filled with perfectly sweet raspberries.

IMG_7538

To make the batter I began by creaming together butter and sugar until it was light and fluffy. Following that I added six eggs, one at a time, beating the mixture well after each addition and finally I added in vanilla extract. I put that aside for a moment and in a medium sized bowl I whisked together flour, baking soda and salt. With my mixer set to a lower speed I then added in the flour mixture in three parts alternating with lemon Greek Yogurt.

IMG_7540

And finally I folded in the juice and zest of one lemon and fresh raspberries which I dredged in flour – dredging the berries in flour prevents them from falling to the bottom of the batter while baking.

IMG_7542

I then poured the batter into a Bundt pan which I sprayed with baking spray and baked it in a 325 F preheated oven.

IMG_7543

After about 50 minutes the cake was ready to come out of the oven.

IMG_7545

I let it rest in the pan for about 20 minutes and then inverted it onto a wire rack so it could cool completely.

IMG_7553

Once cooled, I couldn’t wait to slice into the cake and enjoy a slice, and I wasn’t disappointed, it was absolutely delish. Just the right amount of lemon flavor and the berries were definitely a nice complement to the citrus flavor. And just as important… It was perfectly moist!

IMG_7574

Lemon & Raspberry Bundt Cake

Ingredients:

2 sticks (1 cup) unsalted butter, at room temperature

2 cups sugar

3 cups flour

1 teaspoon baking soda

1 teaspoon kosher salt

6 large eggs, at room temperature

1 teaspoon vanilla extract

1 cup lemon Greek yogurt*

zest and juice from one lemon

2 cups raspberries, dredged in 2 tablespoons of flour

*I used 2 5.3-ounce containers of Chobani Greek Lemon Yogurt. You can also substitute with plain Greek yogurt or sour cream.

Directions:

1. Preheat the oven to 325 F. Prep the Bundt pan by spraying it with baking spray or coating it with butter and then dusting it with flour.

2. Using a mixer beat the butter and sugar on medium speed until light and fluffy – about 5 minutes. Add the eggs one at a time, beating well after each addition and scraping down the sides of the bowl as necessary. Add in the vanilla extract.

3. In a separate bowl whisk together the flour, baking soda and salt.

4. Reduce the speed of the mixer to low and add in the flour mixture in three parts alternating with the yogurt. Mix until just combined.

5. Fold in the raspberries, lemon zest and juice and then transfer the batter to the prepared pan and bake for approximately 50 – 60 minutes, until a cake tester comes out clean.

6. Place the cake on a wire rack and let it cool in the pan for 15-20 minutes before inverting and letting it cool completely.